Christmas Tree Origami
We begin to feel the special energy of the Christmas long before the holiday. The feeling comes with the beginning of decorating houses and streets, with the appearance of Christmas goods in the store. Parents and their children make crafts and decorations for children’s exhibitions and competitions, mastering various techniques.
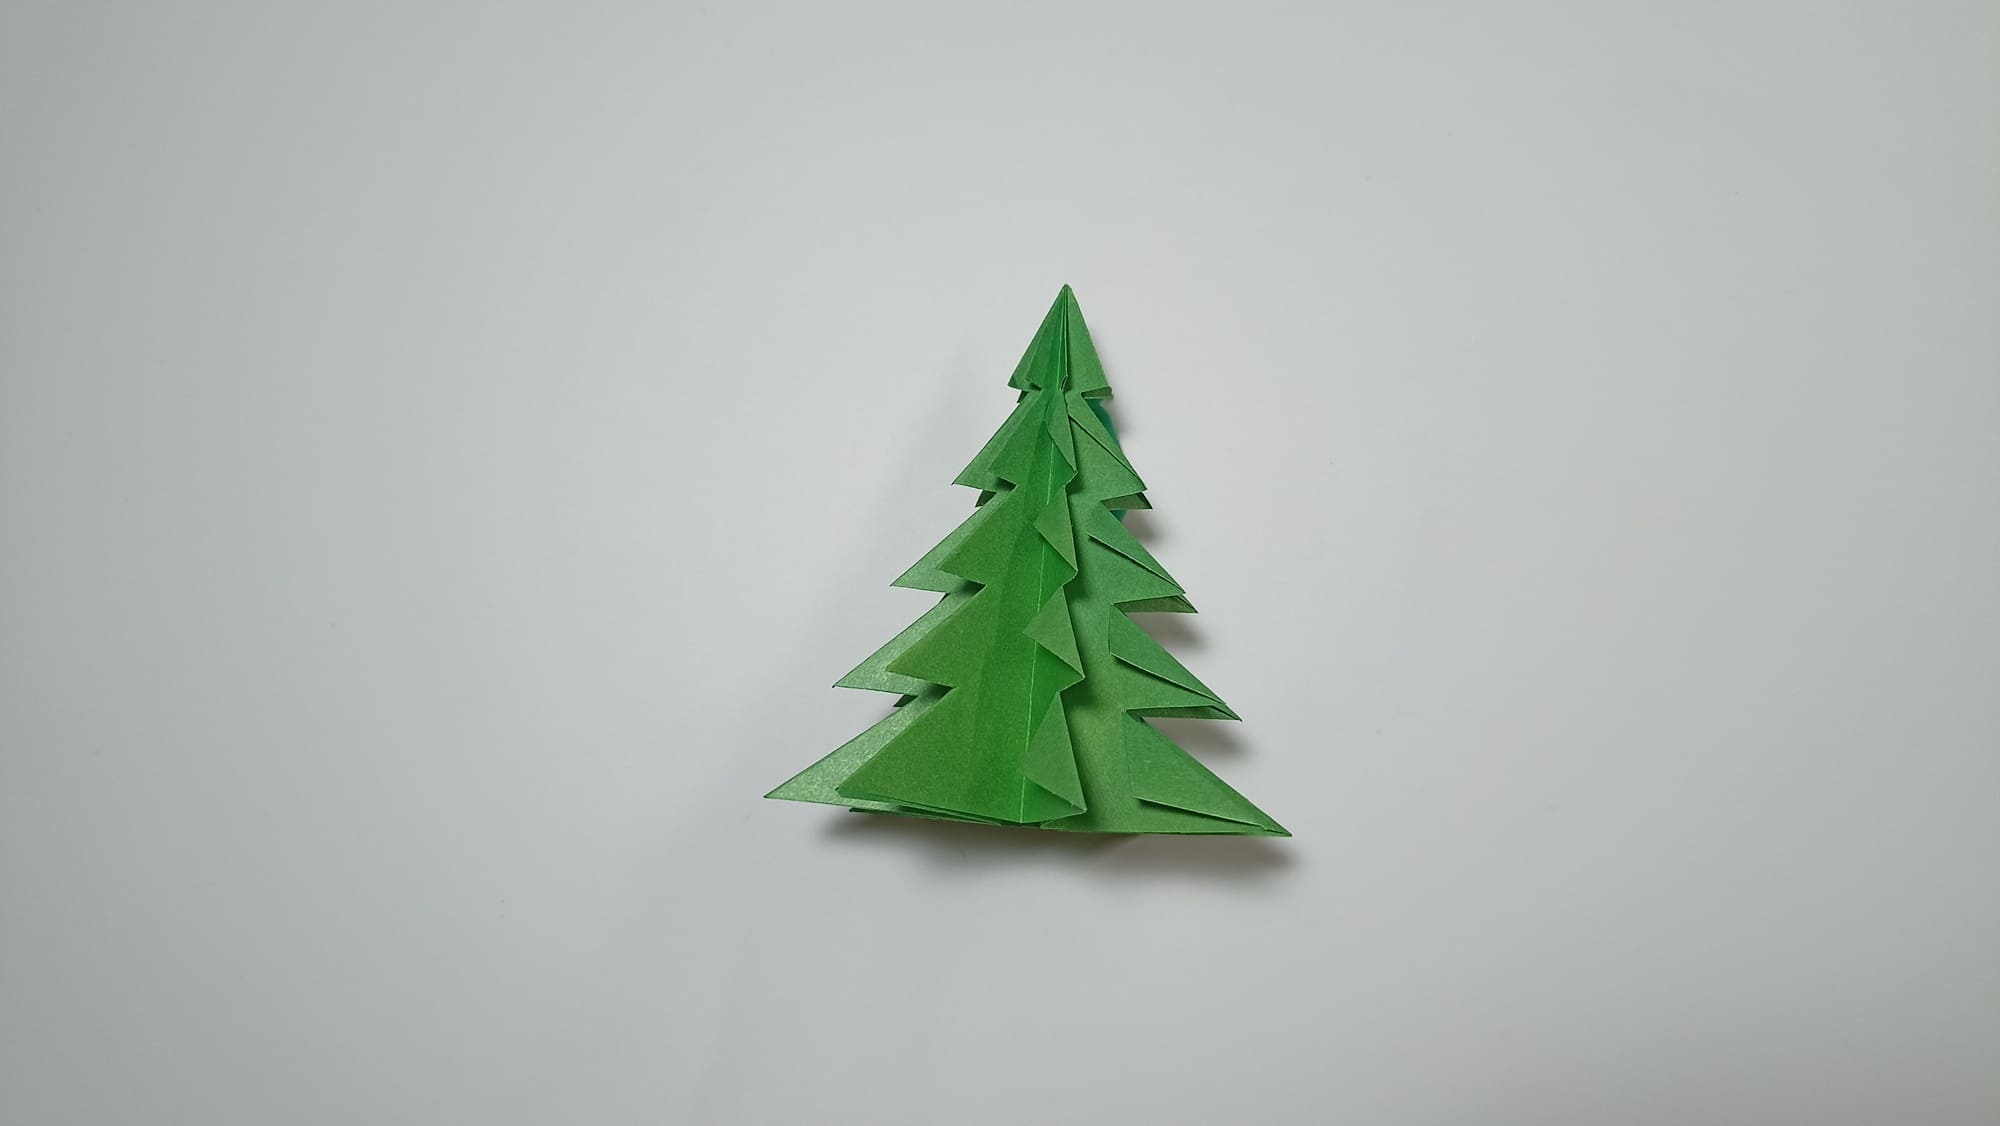
We suggest adding an origami pattern to your handicraft collection for making a three-dimensional Christmas tree. To make this craft, you need to choose the right paper, prepare your scissors, and spend a few minutes of free time. An easy diagram and description will not cause difficulties or require much effort, and the result will bring a lot of good emotions. The Christmas tree will turn out to be almost half the size of the square taken to make the tree. It will stand stably on the surface without any supportive devices.

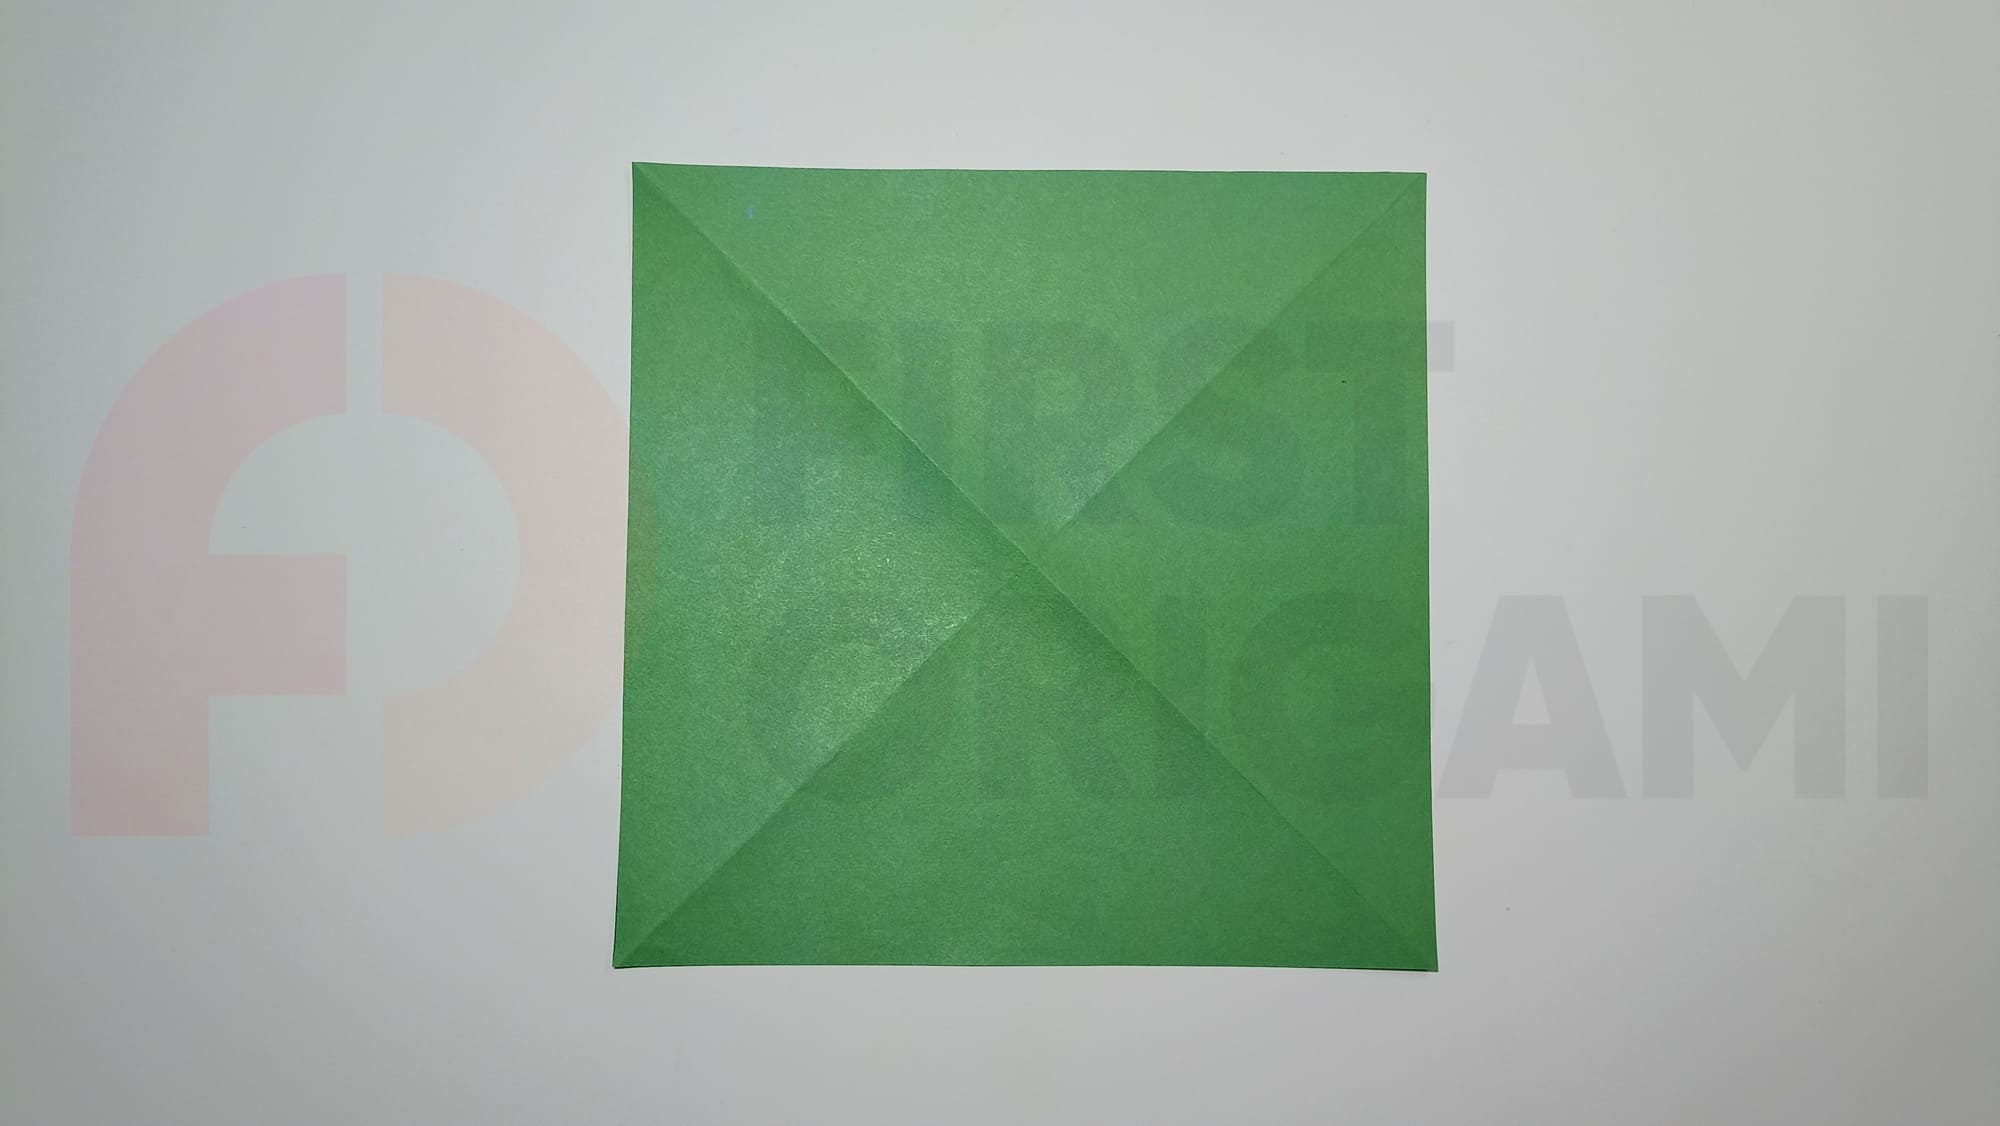
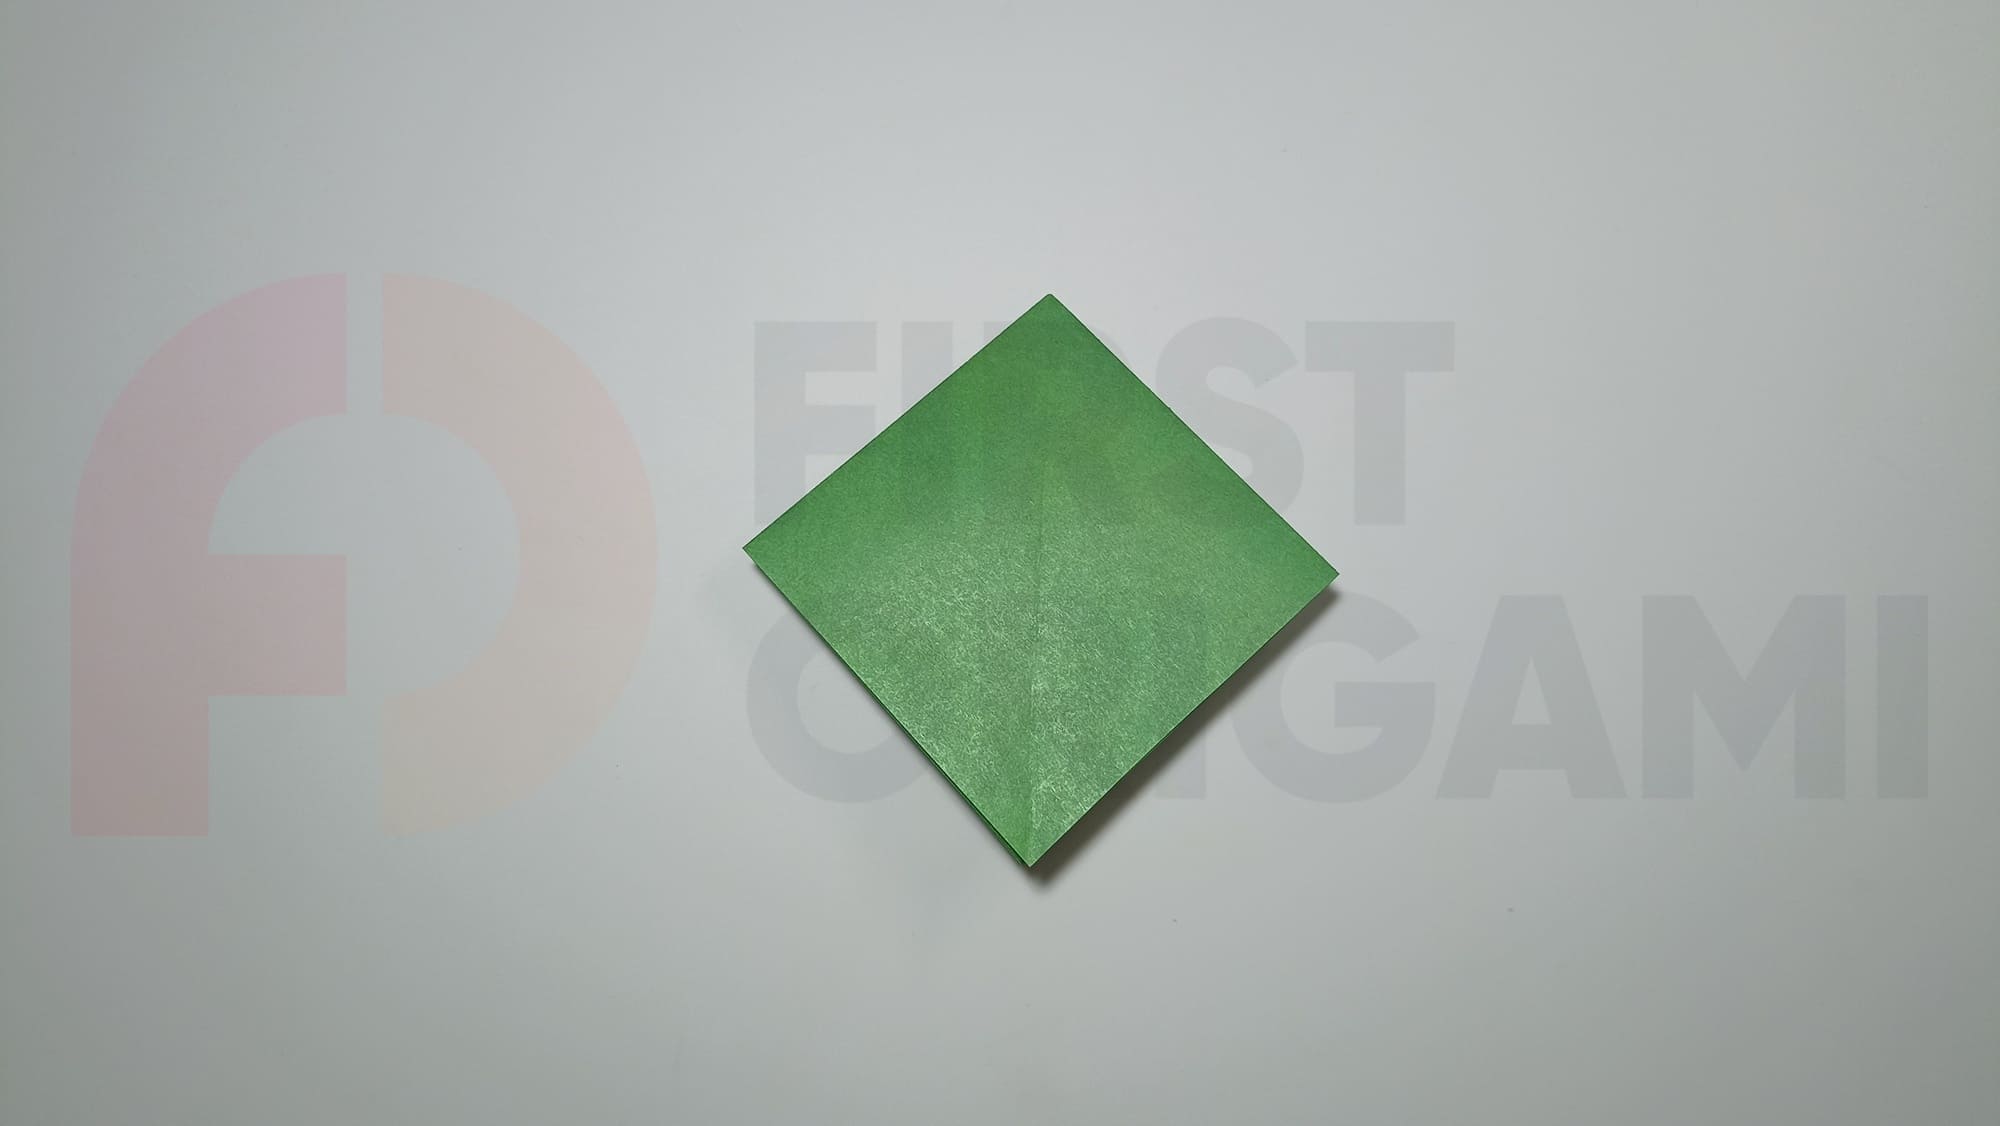
To make this Christmas tree, select a square of paper of the desired size and color.
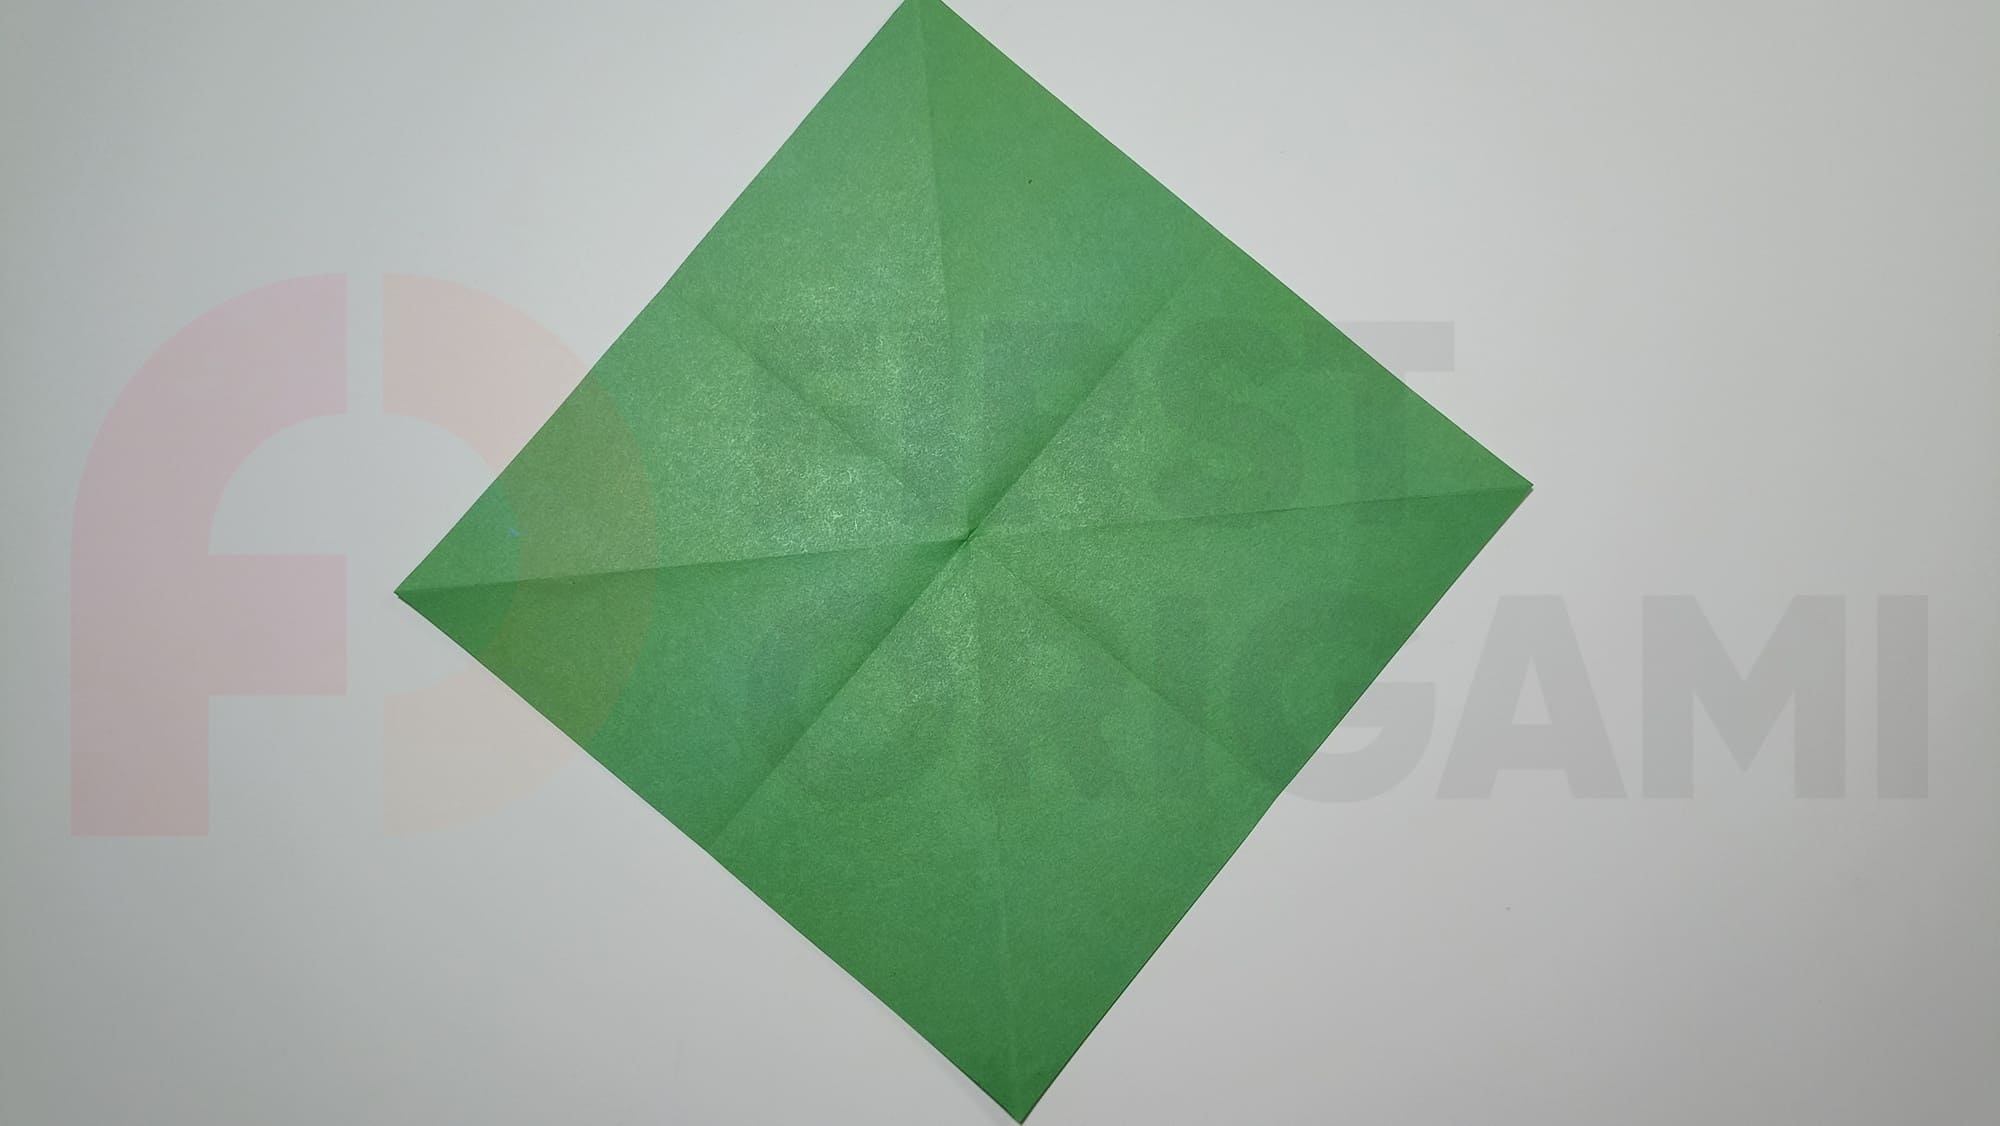
Align the opposite corners one by one, creasing the folds and opening them back.
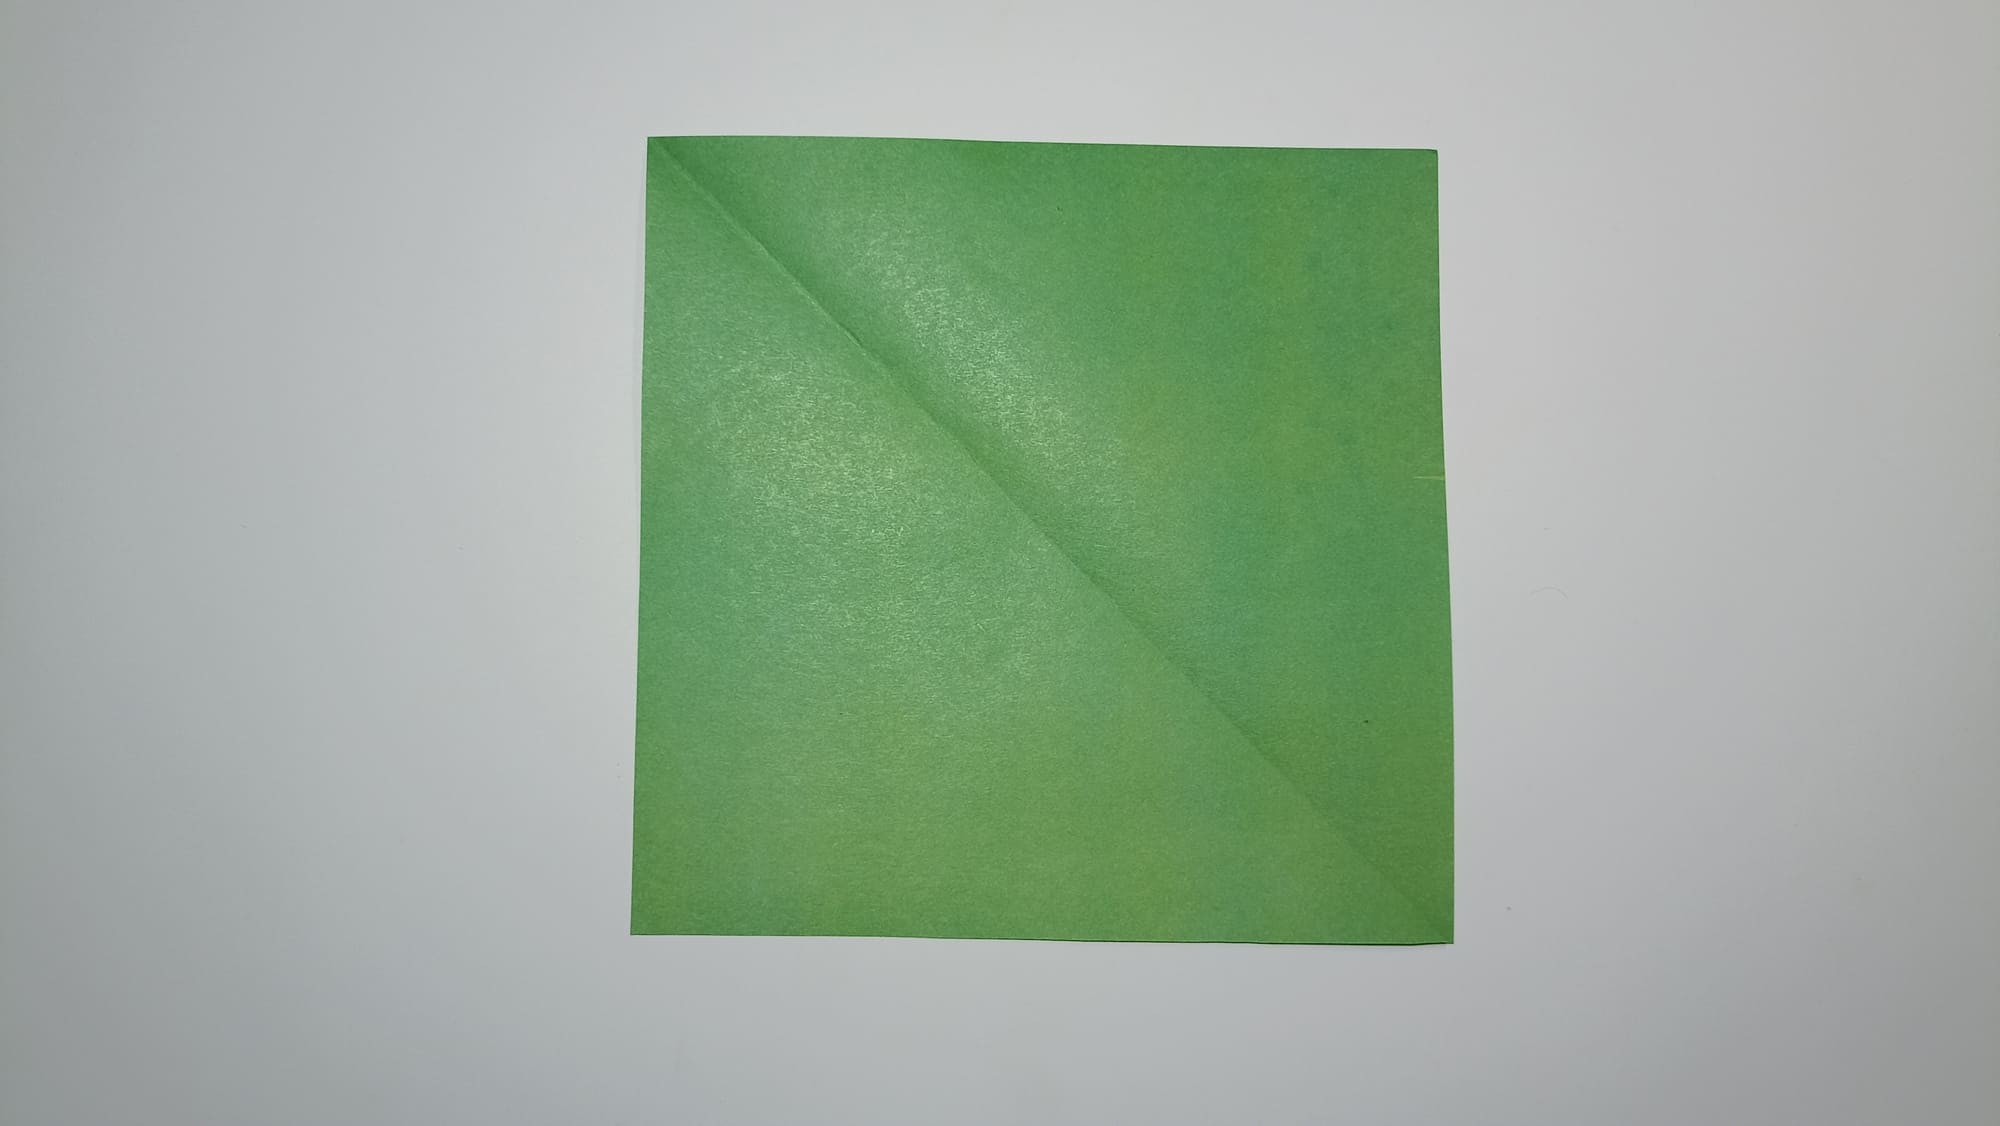

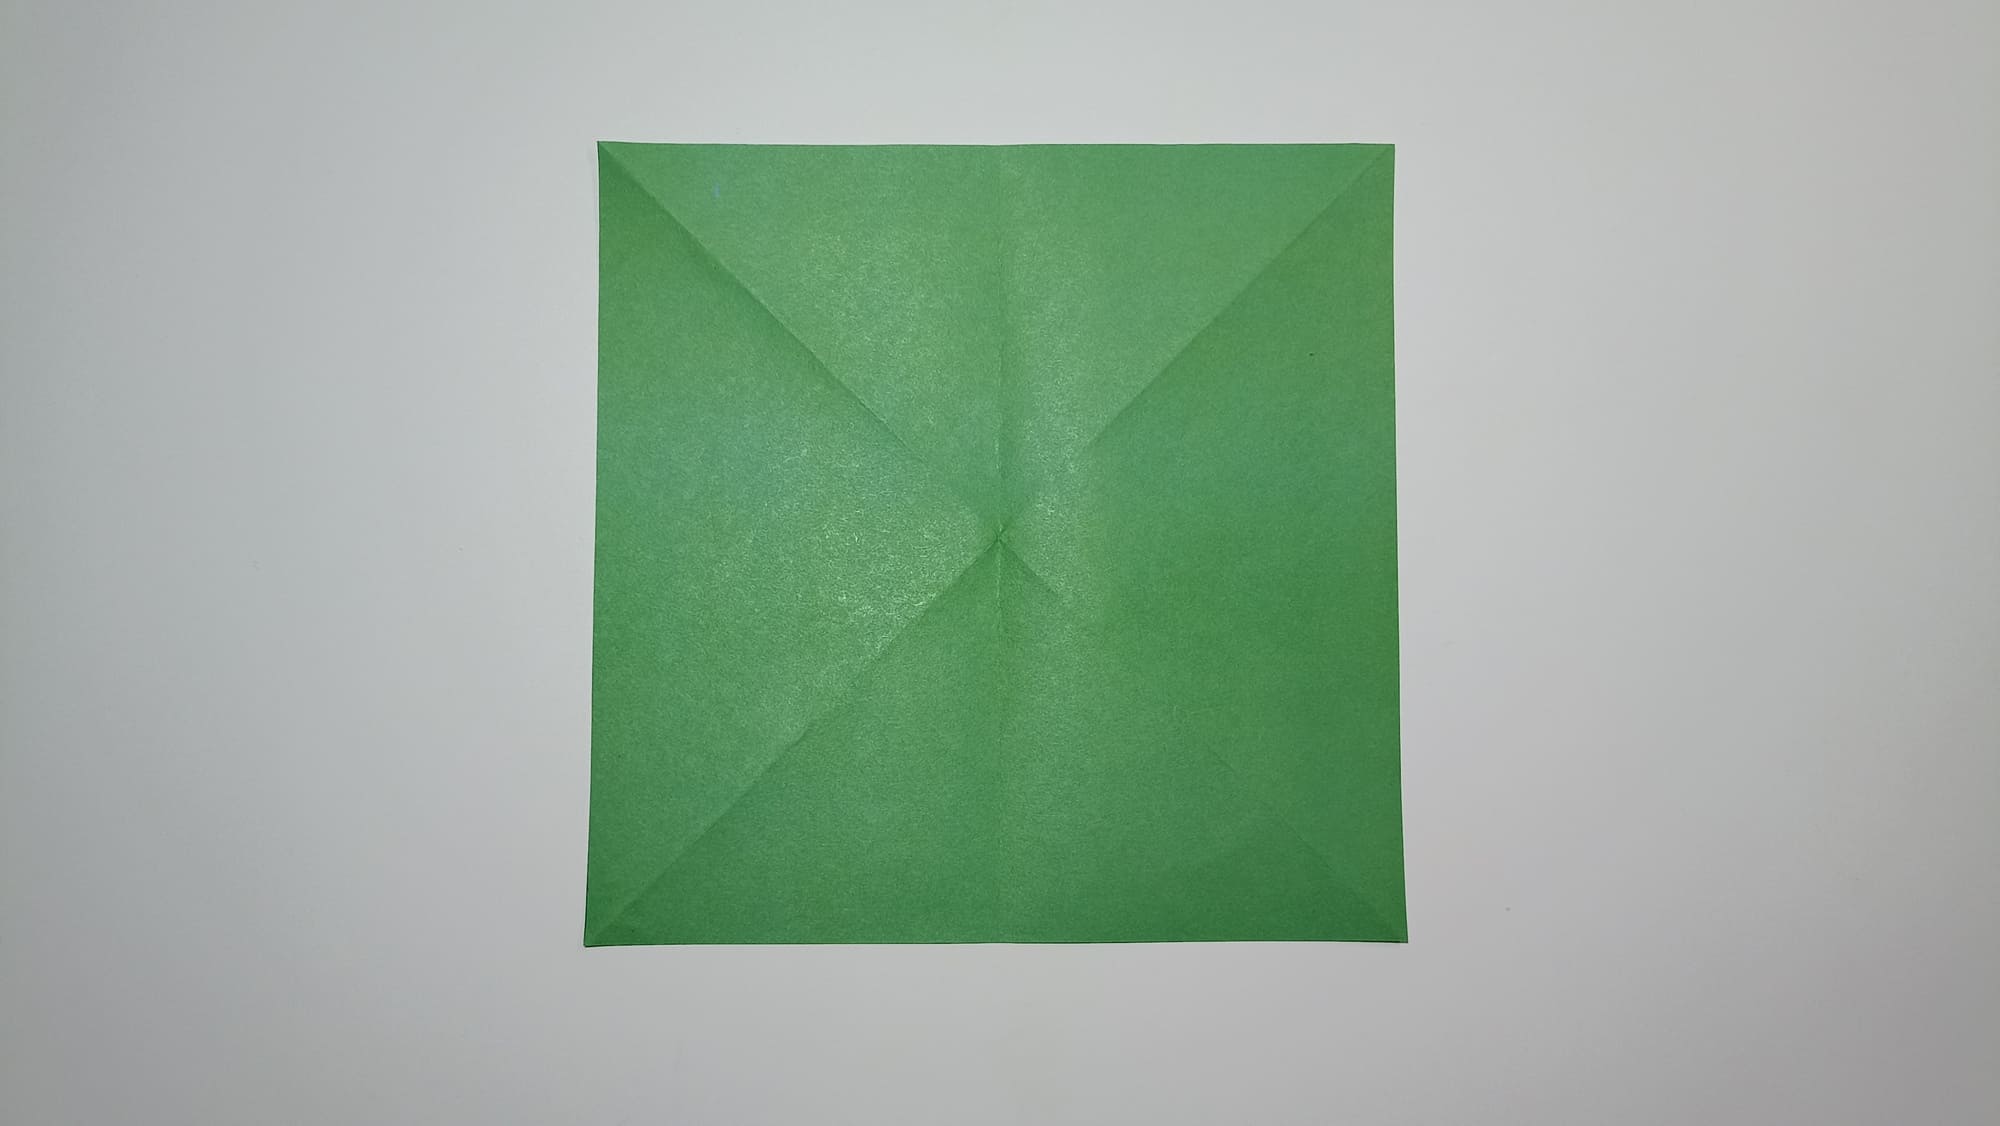
You should get assisting lines intersecting in the middle.
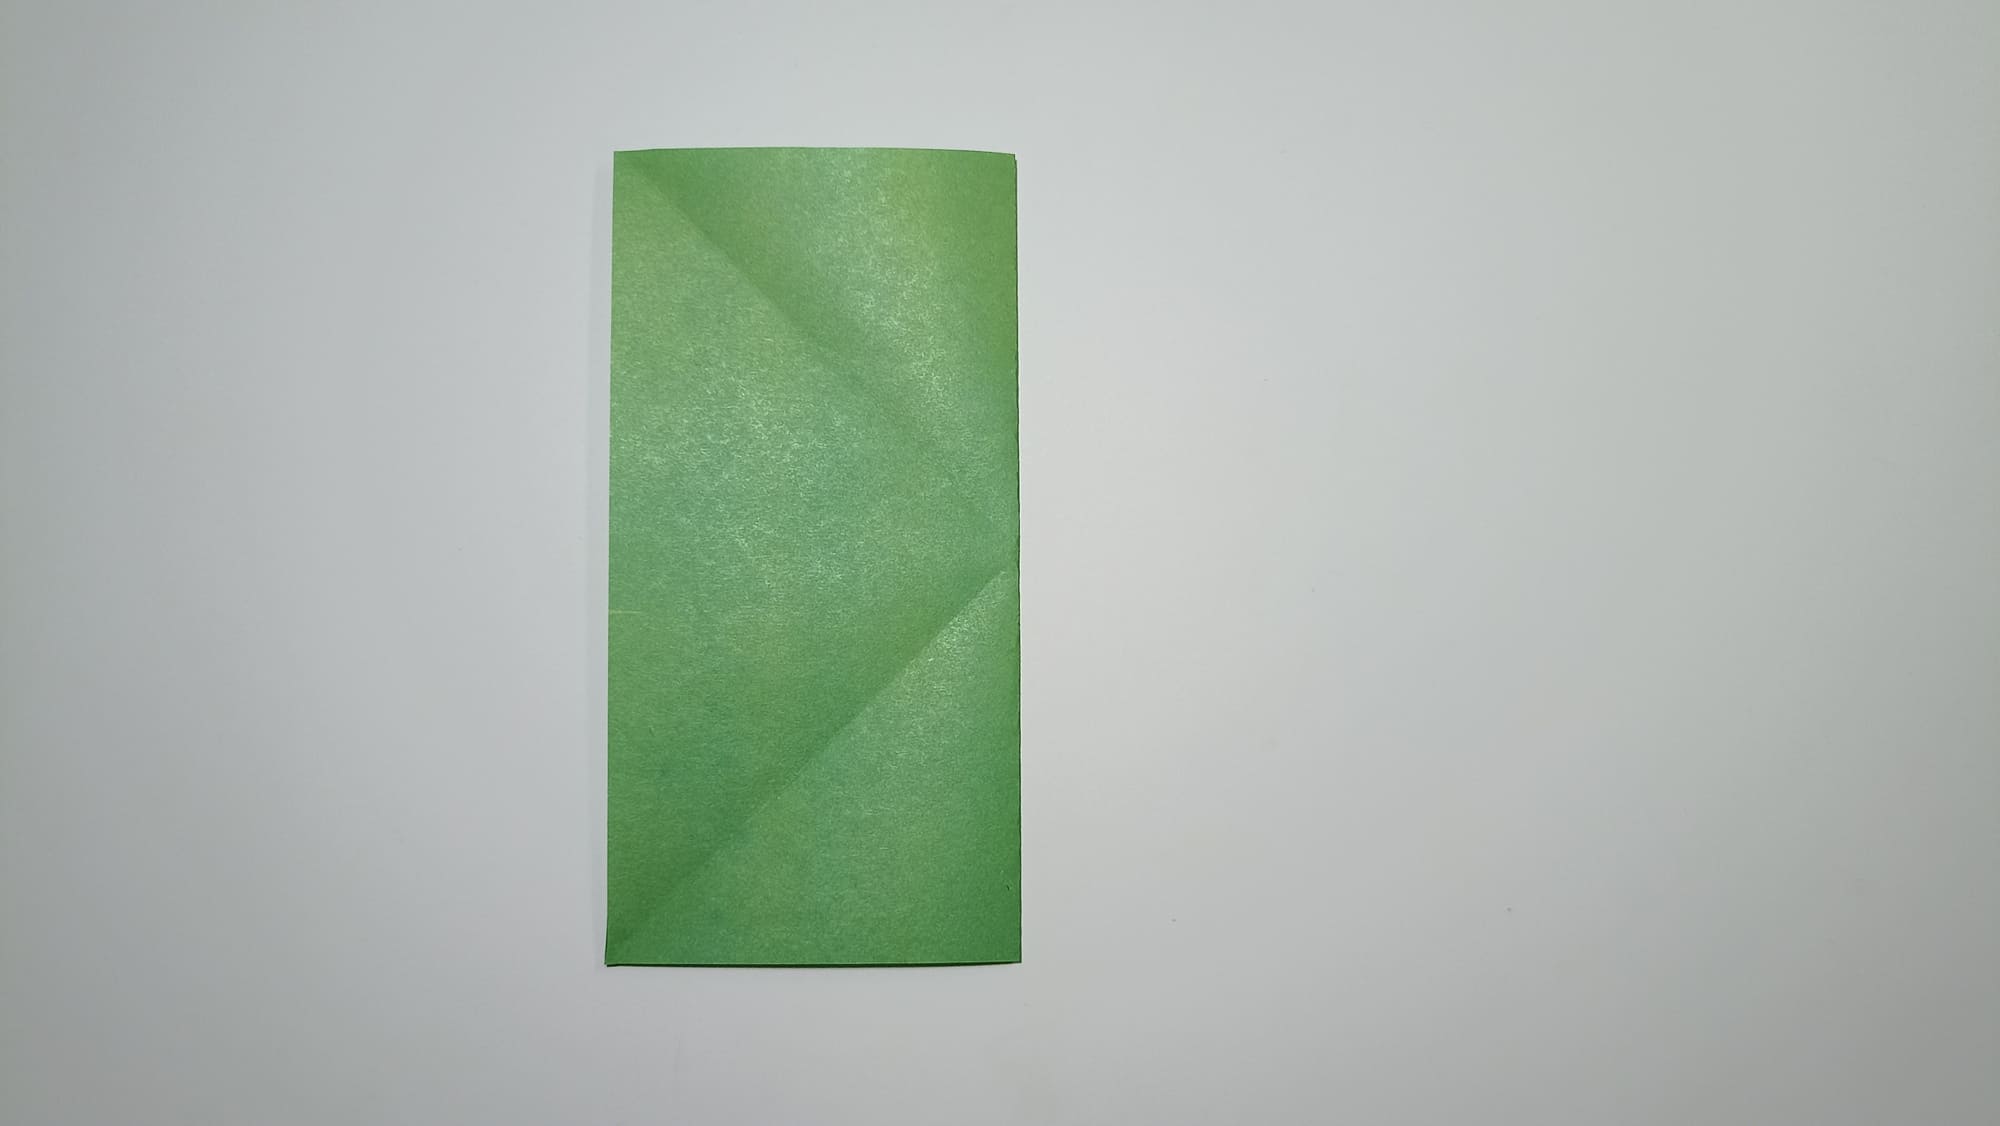
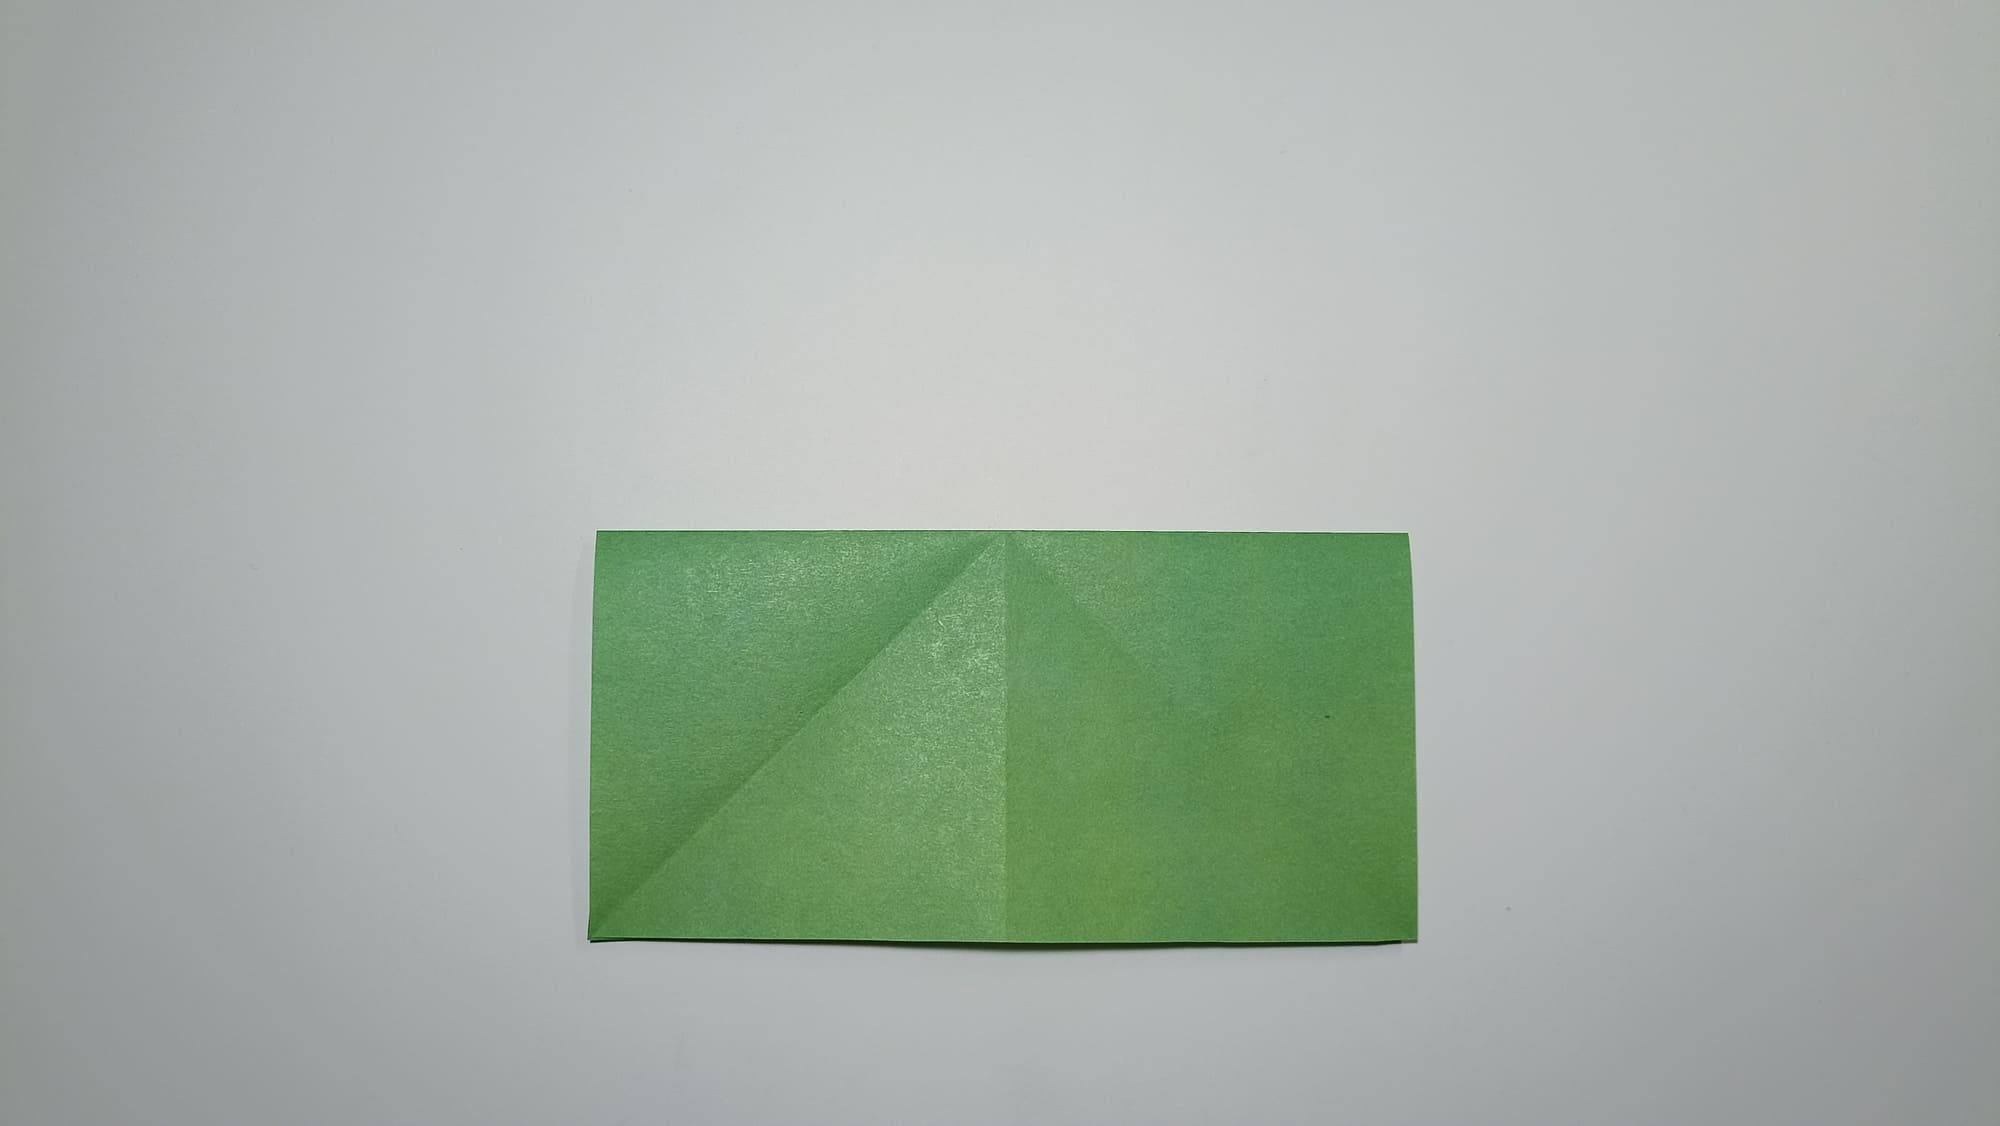
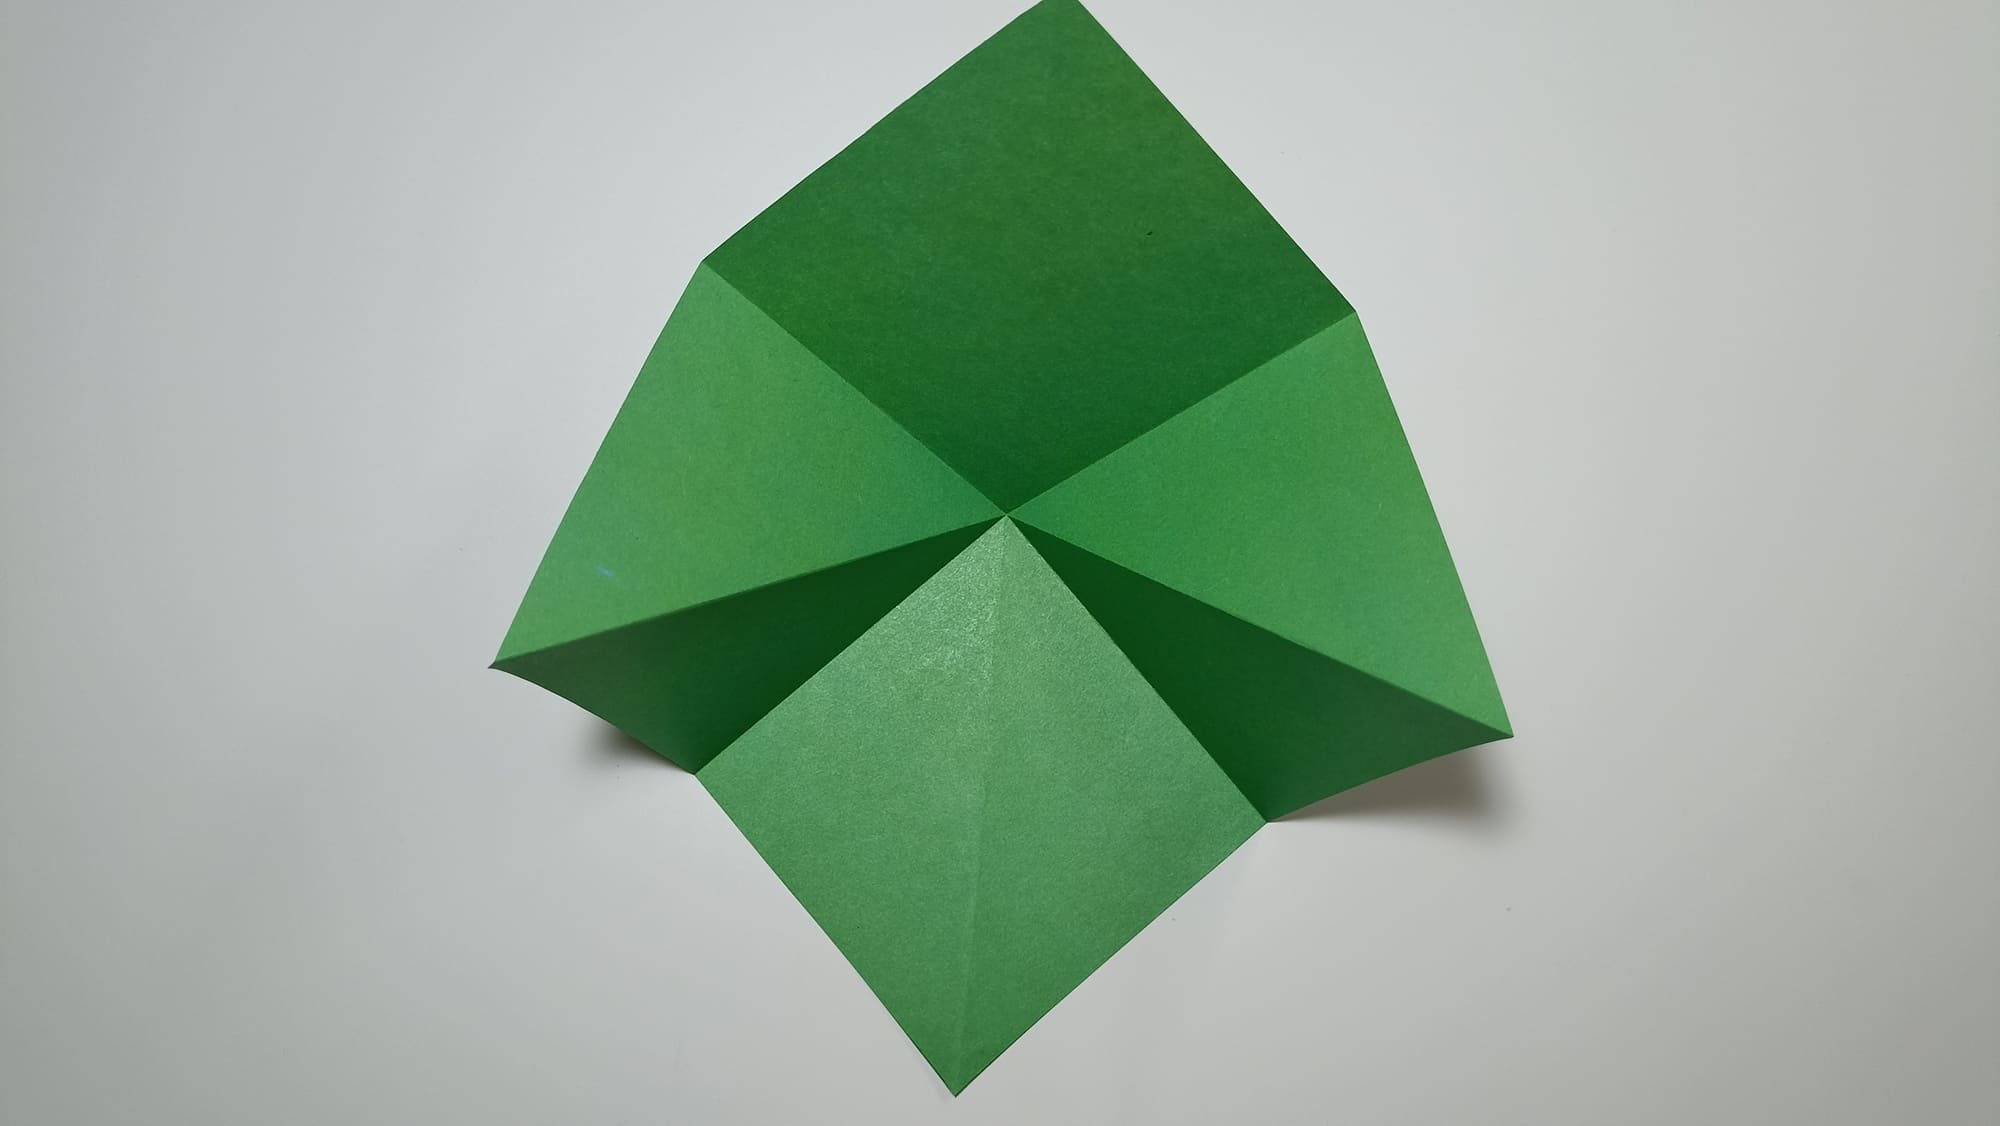
Turn the square over and align opposite sides, marking additional lines.
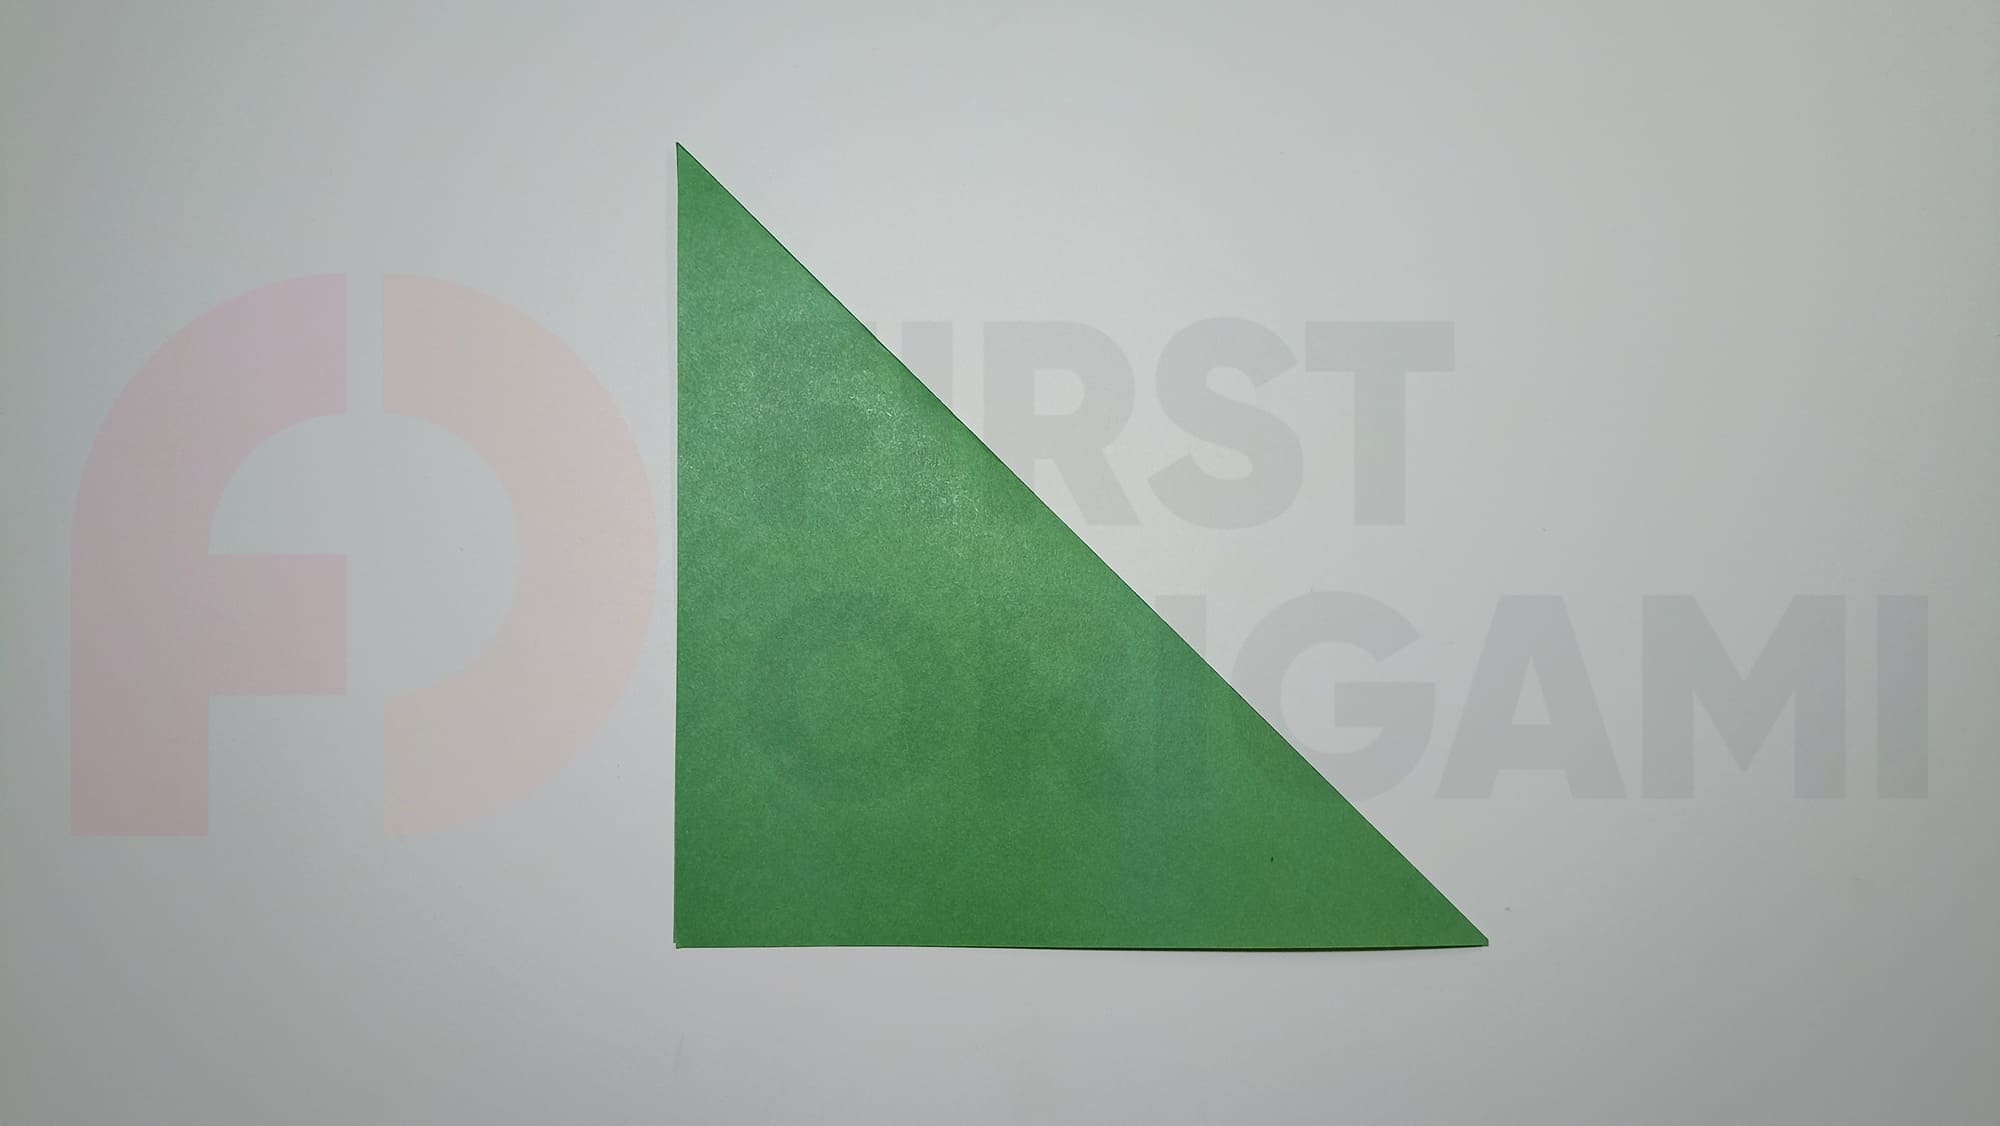
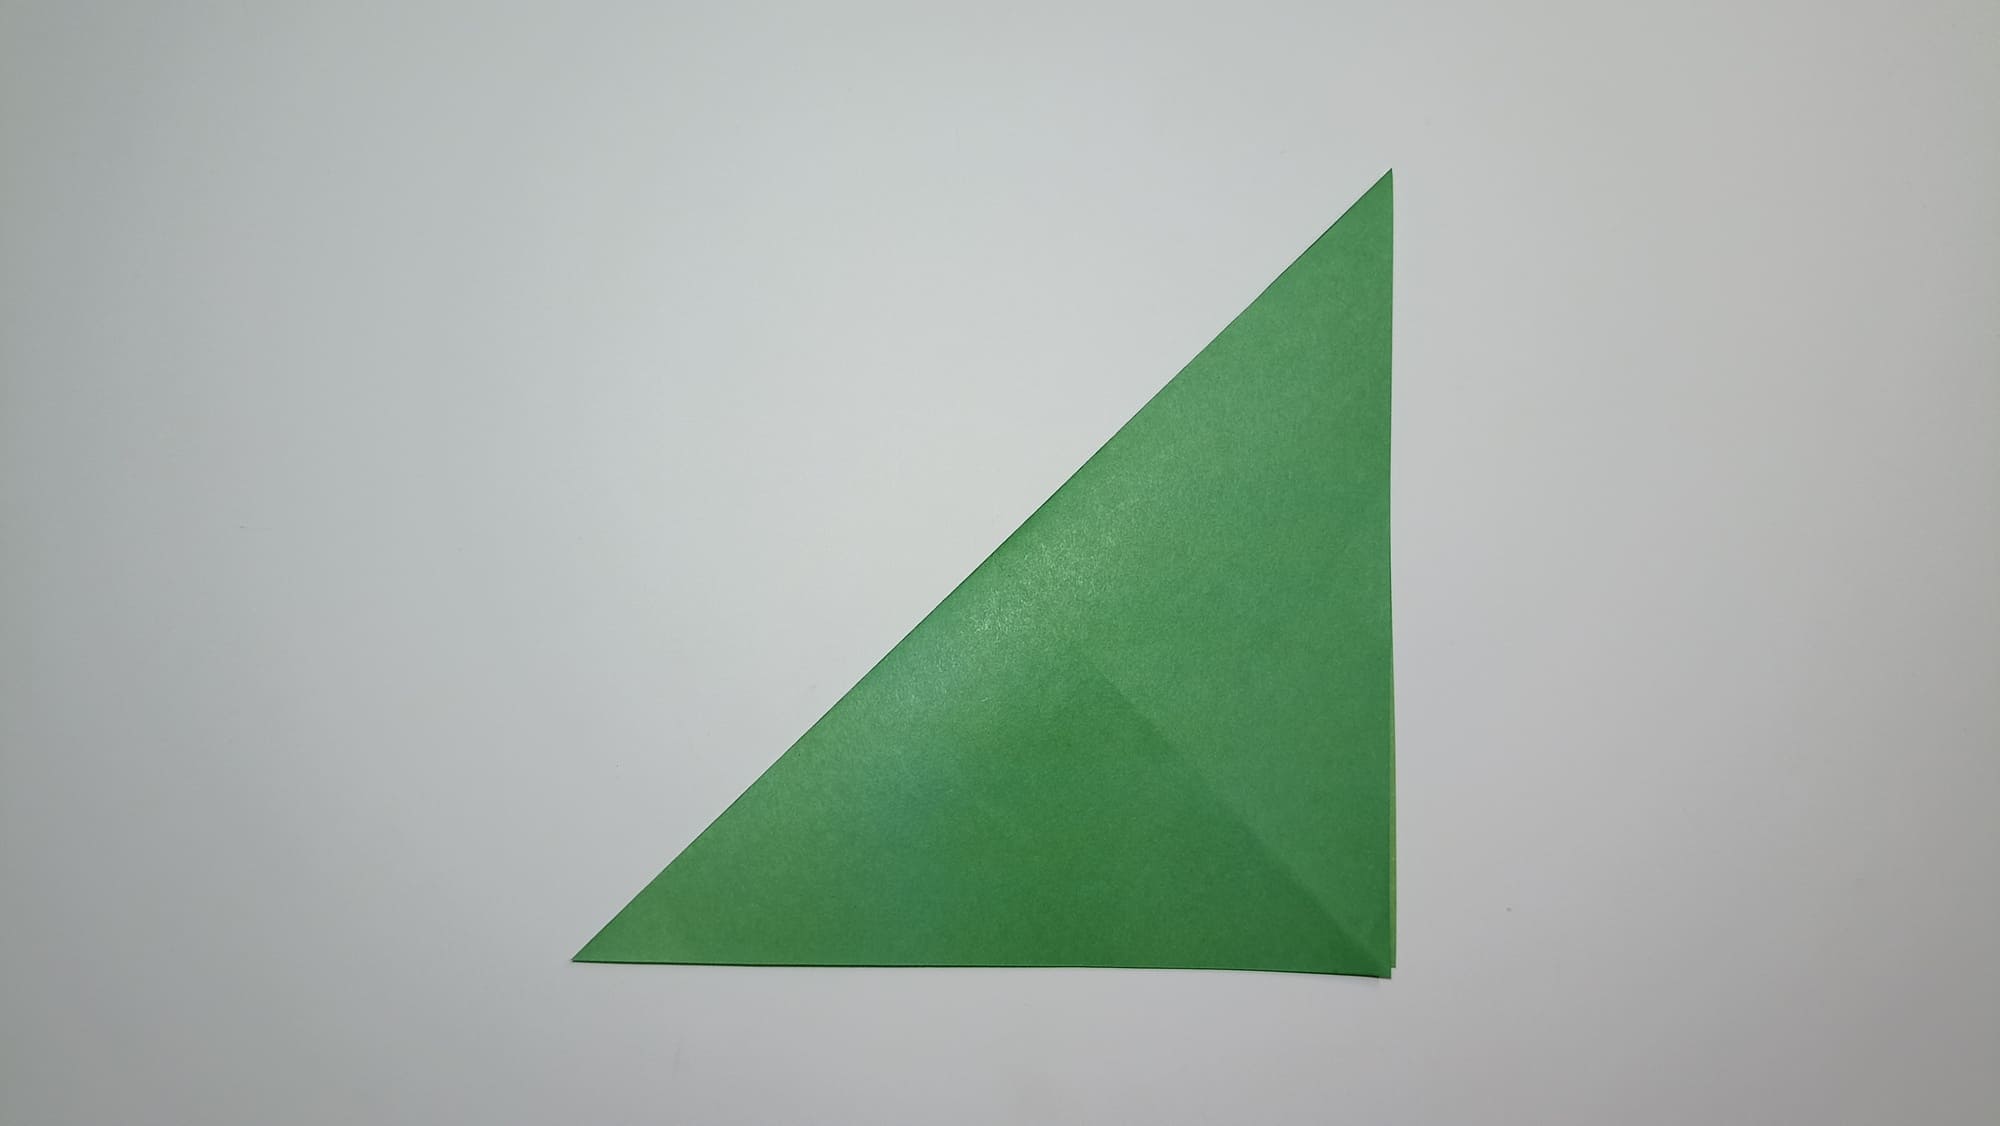
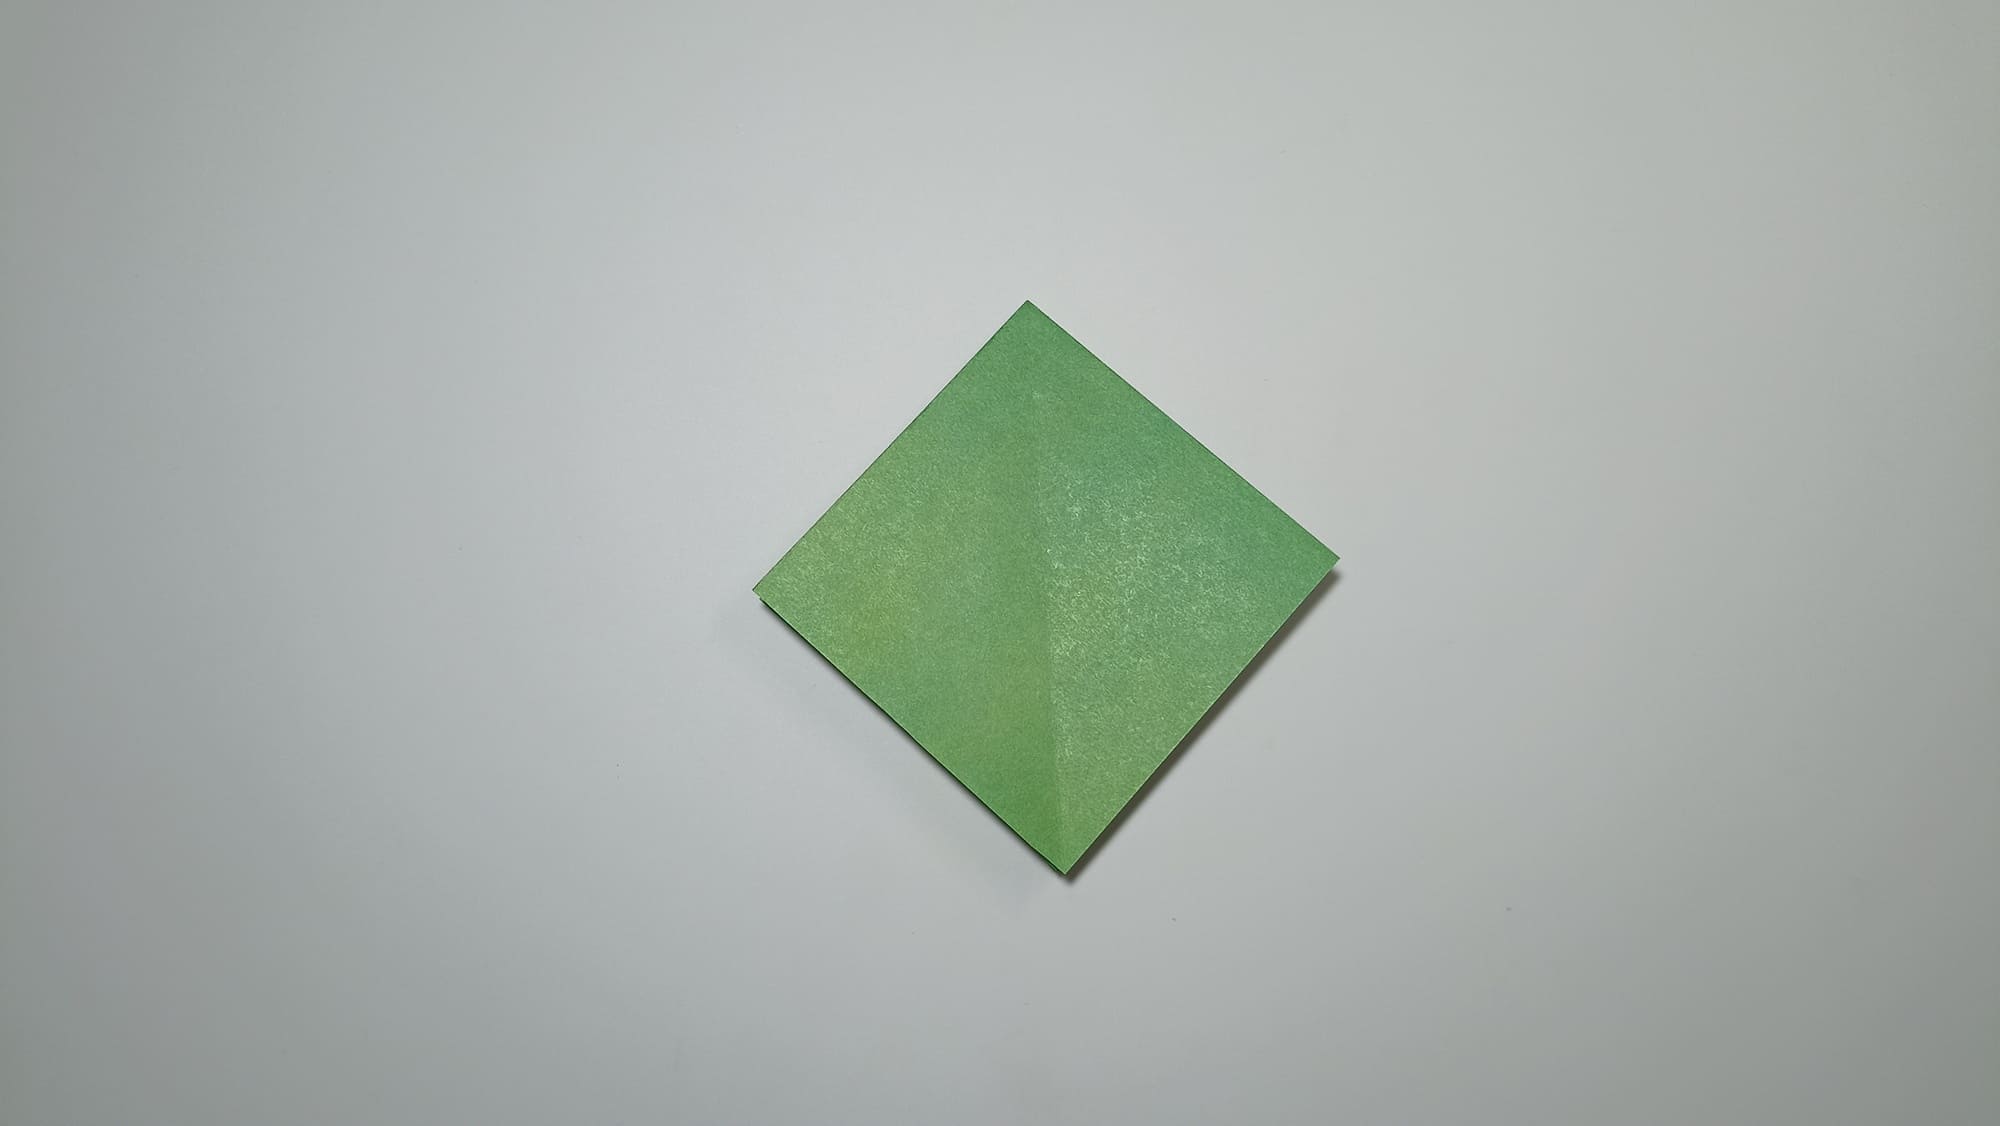
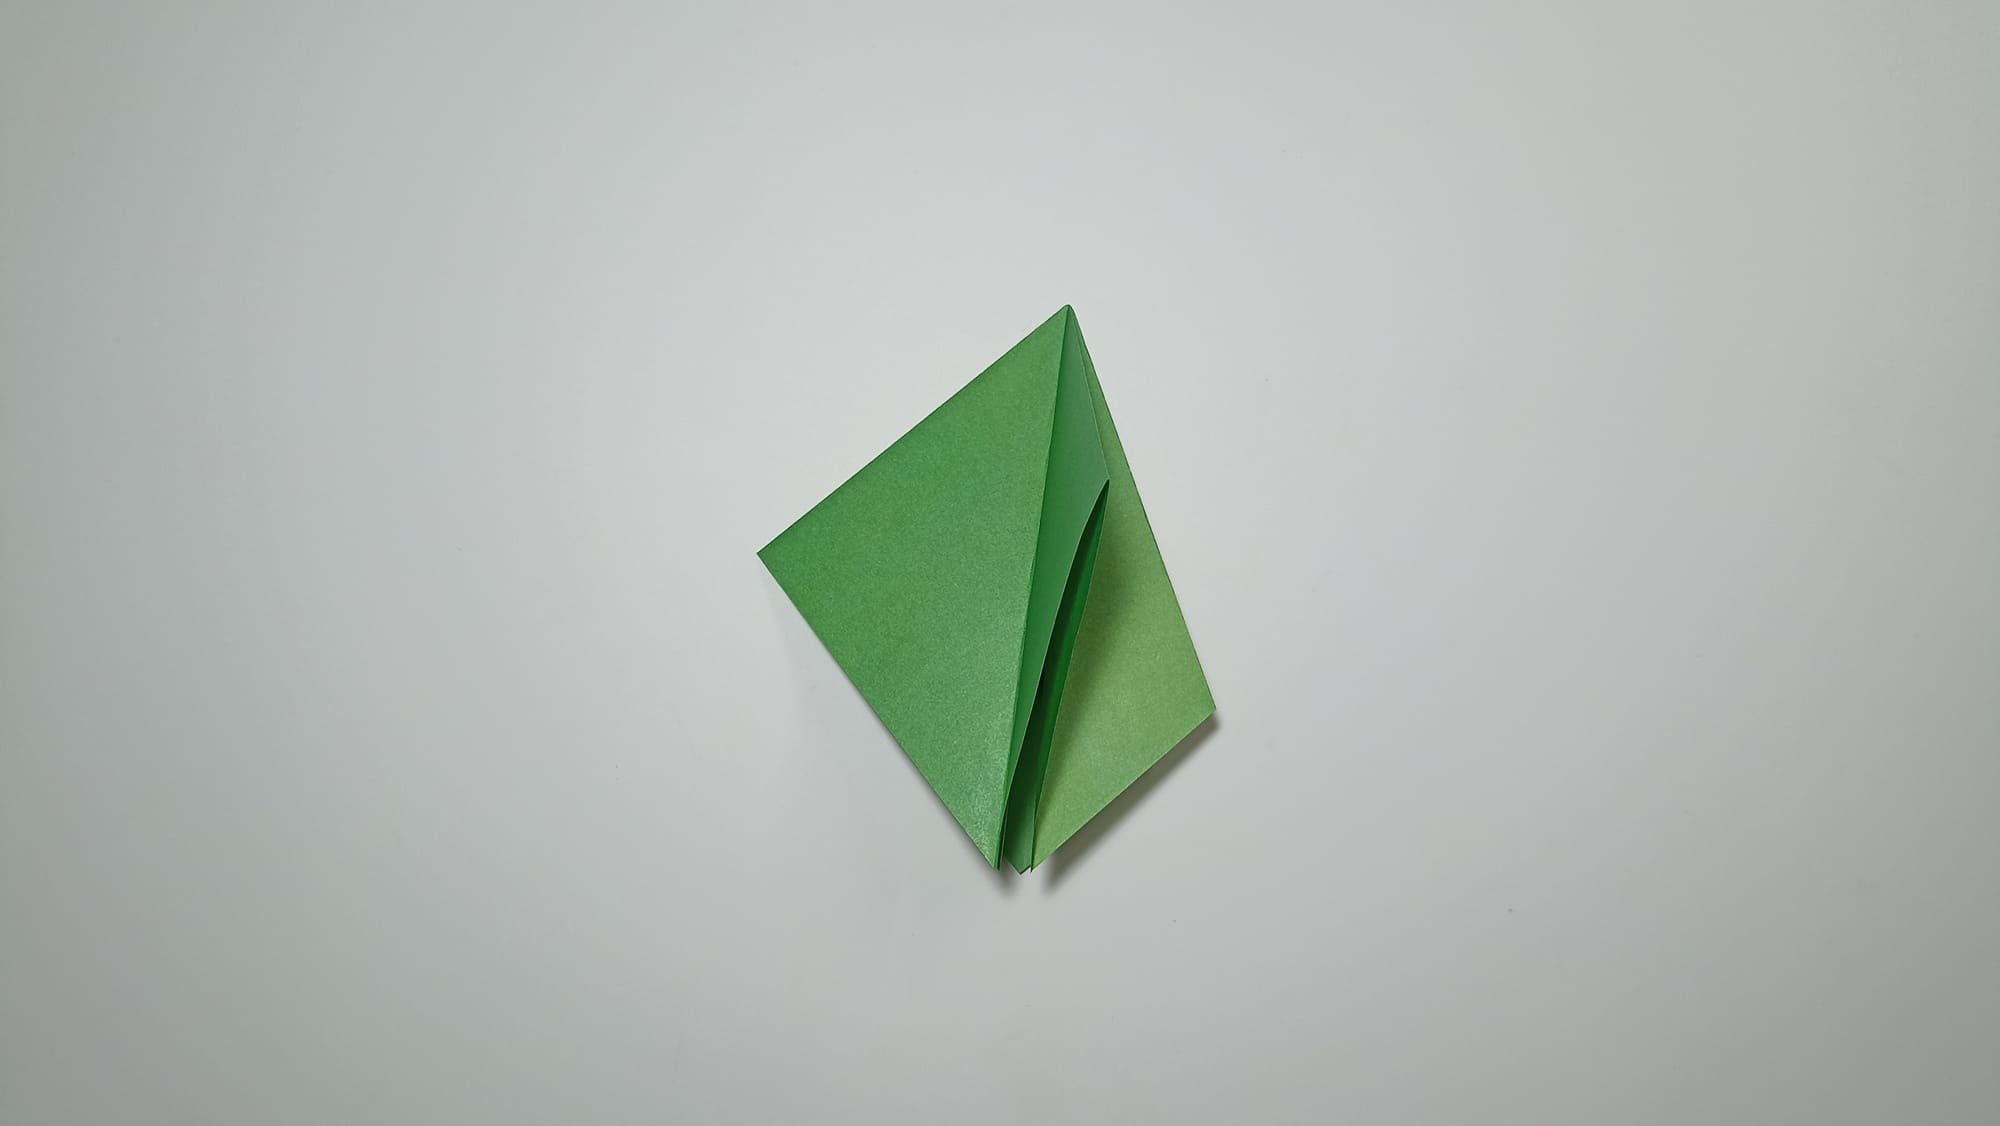
Turn the square with an angle towards you, and align the side corners at the bottom point.
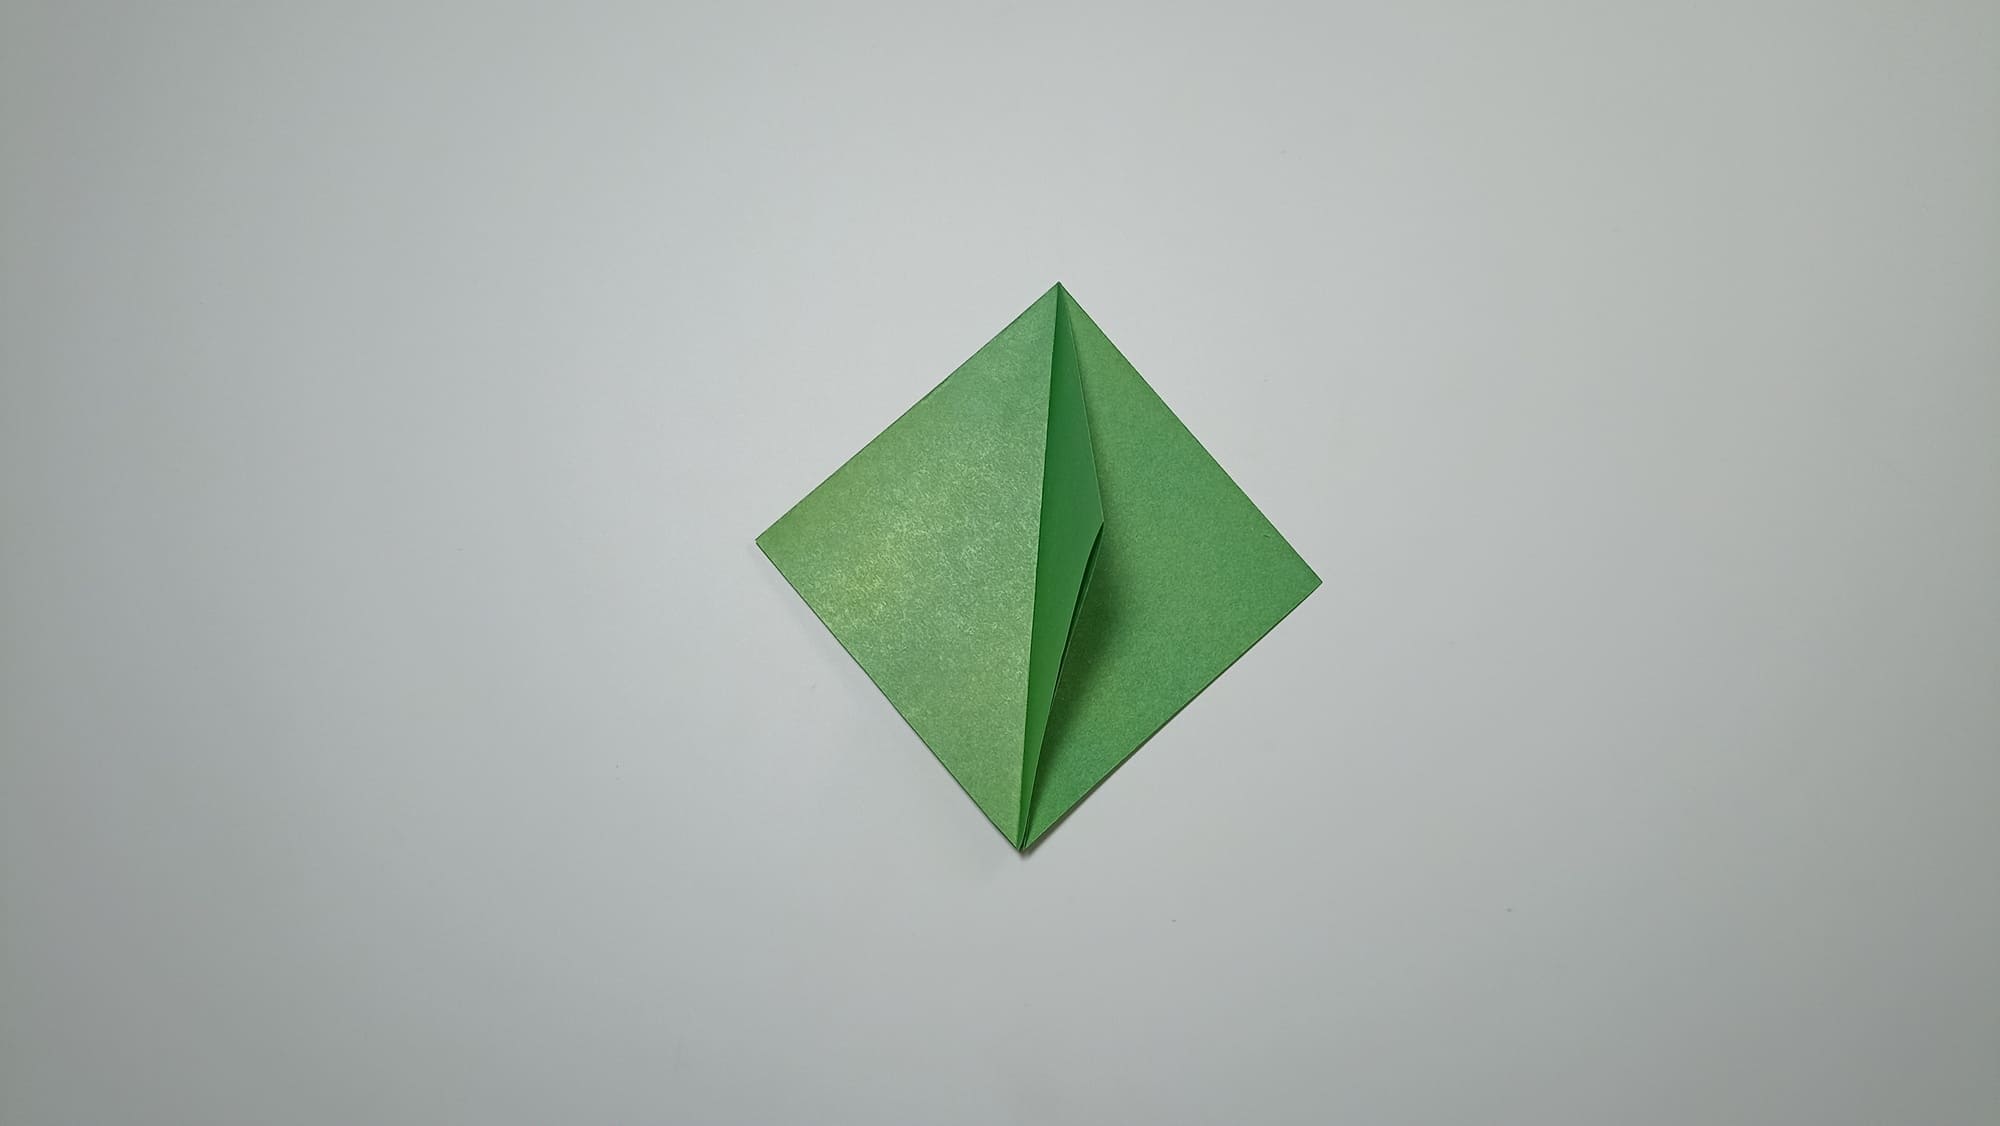
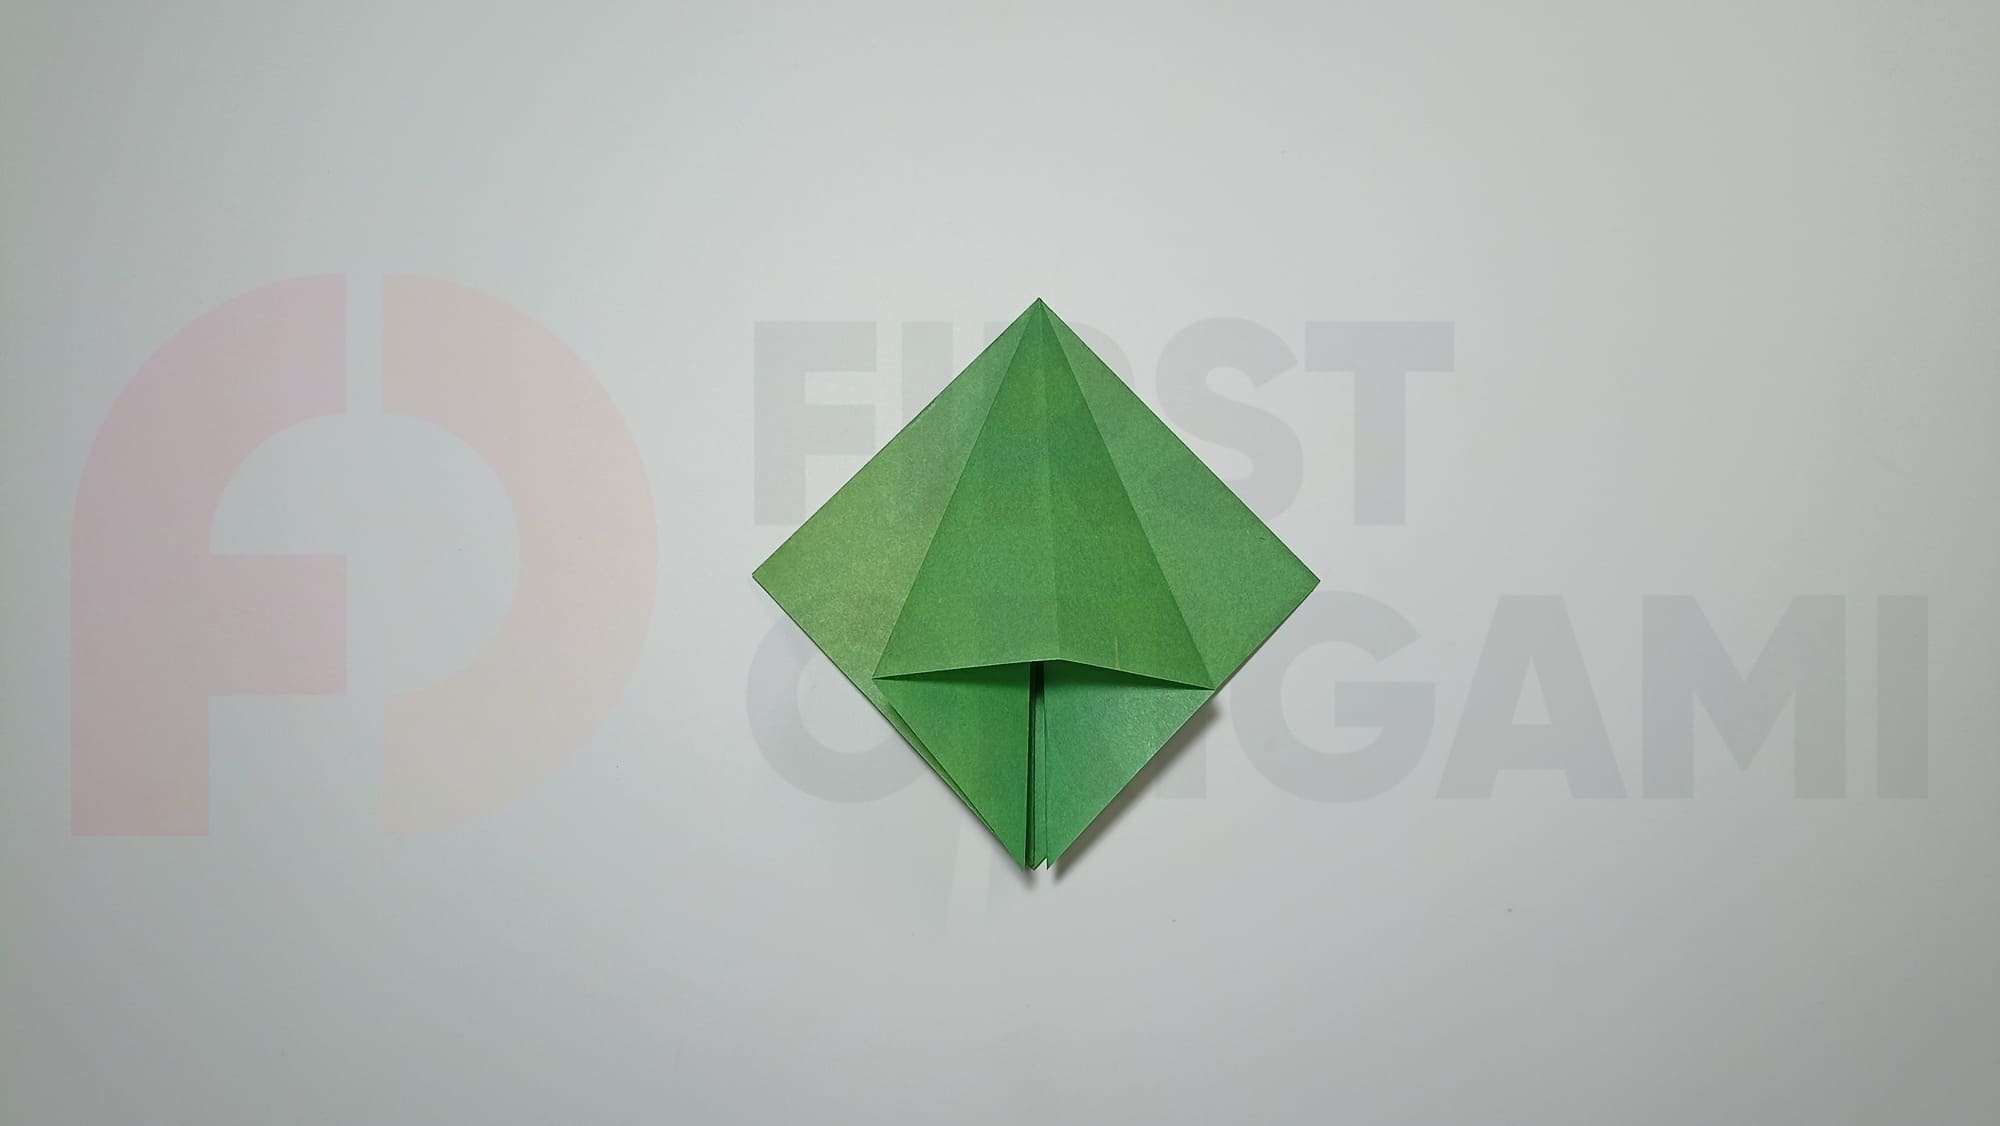
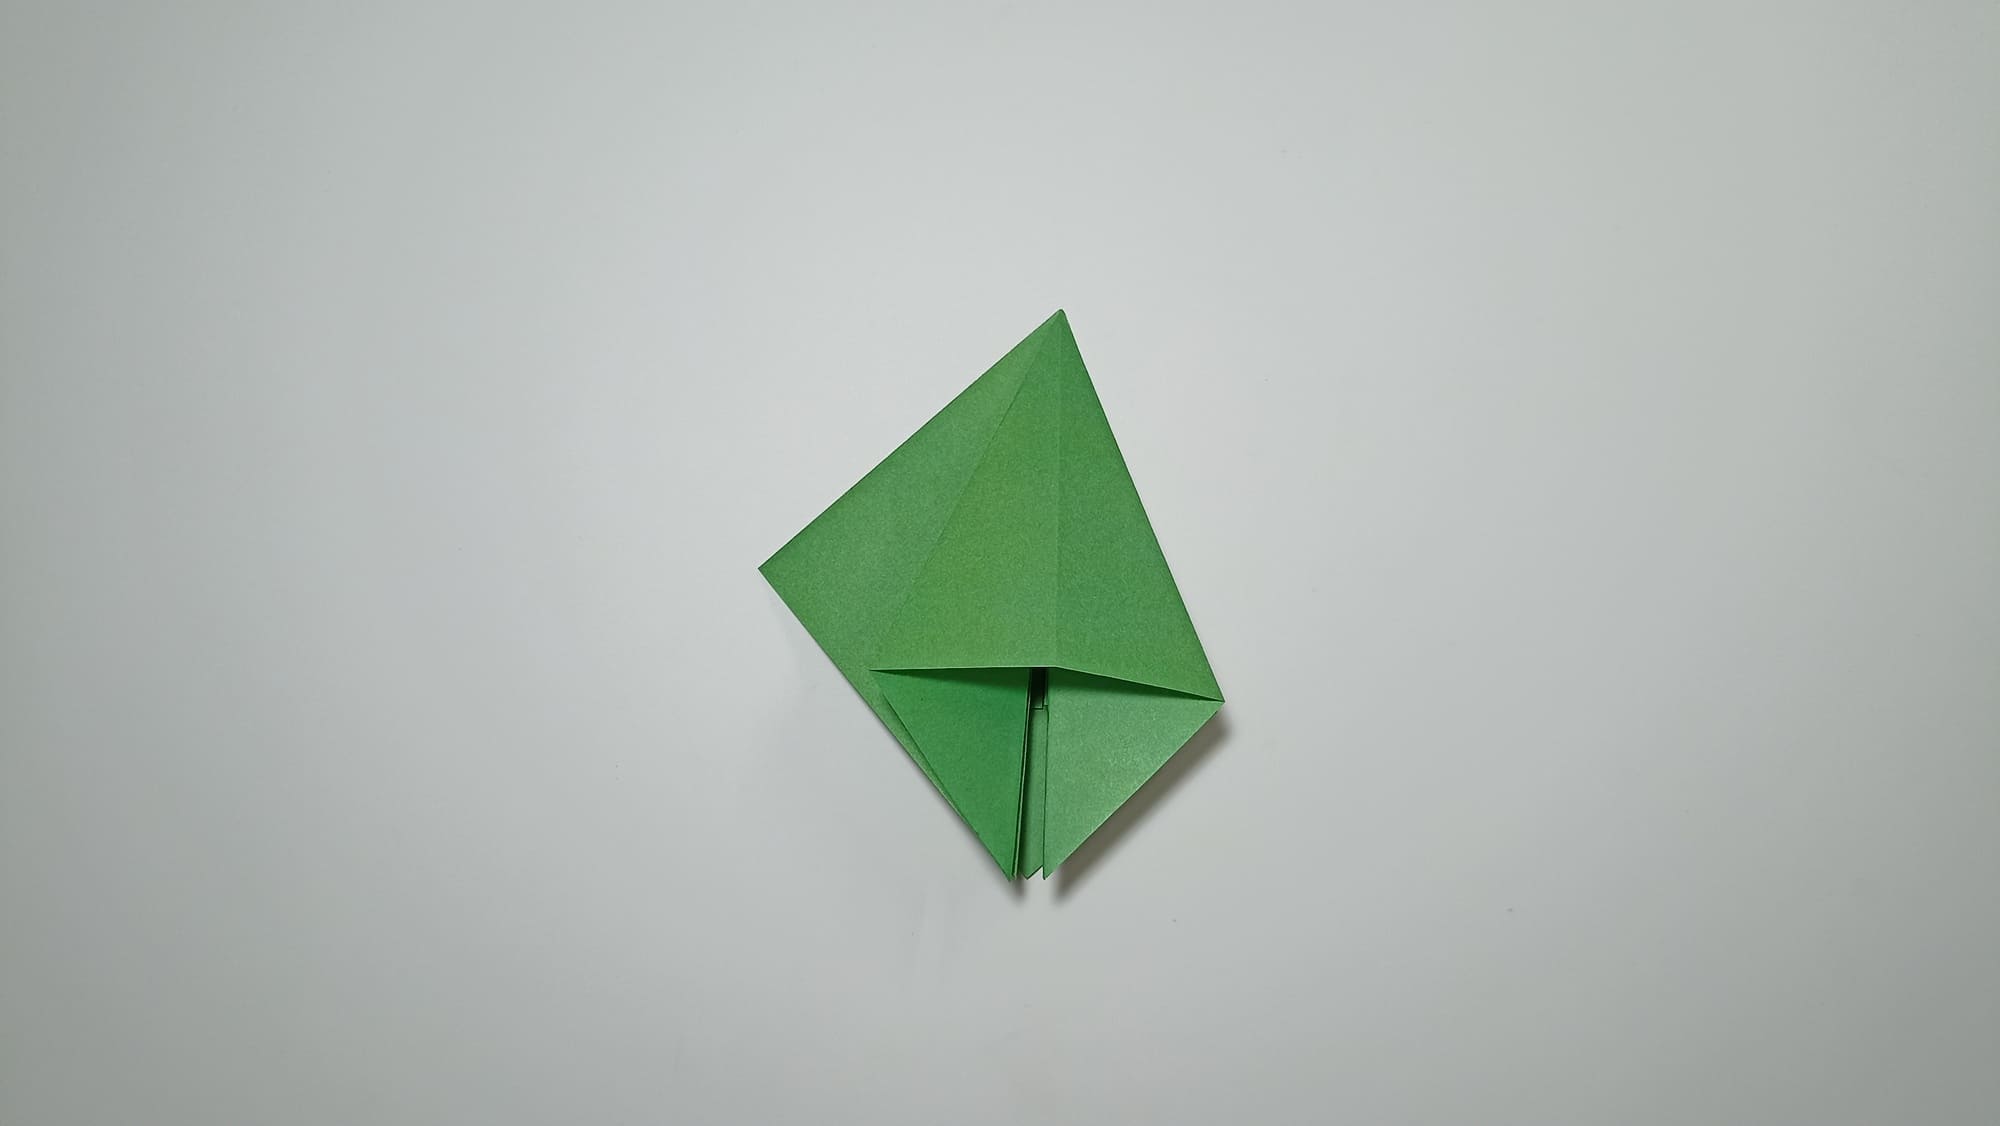
Raise the right corner of the diamond, spread it to the sides, and press it so that the side line coincides with the middle. Repeat the same with the left side of the diamond.
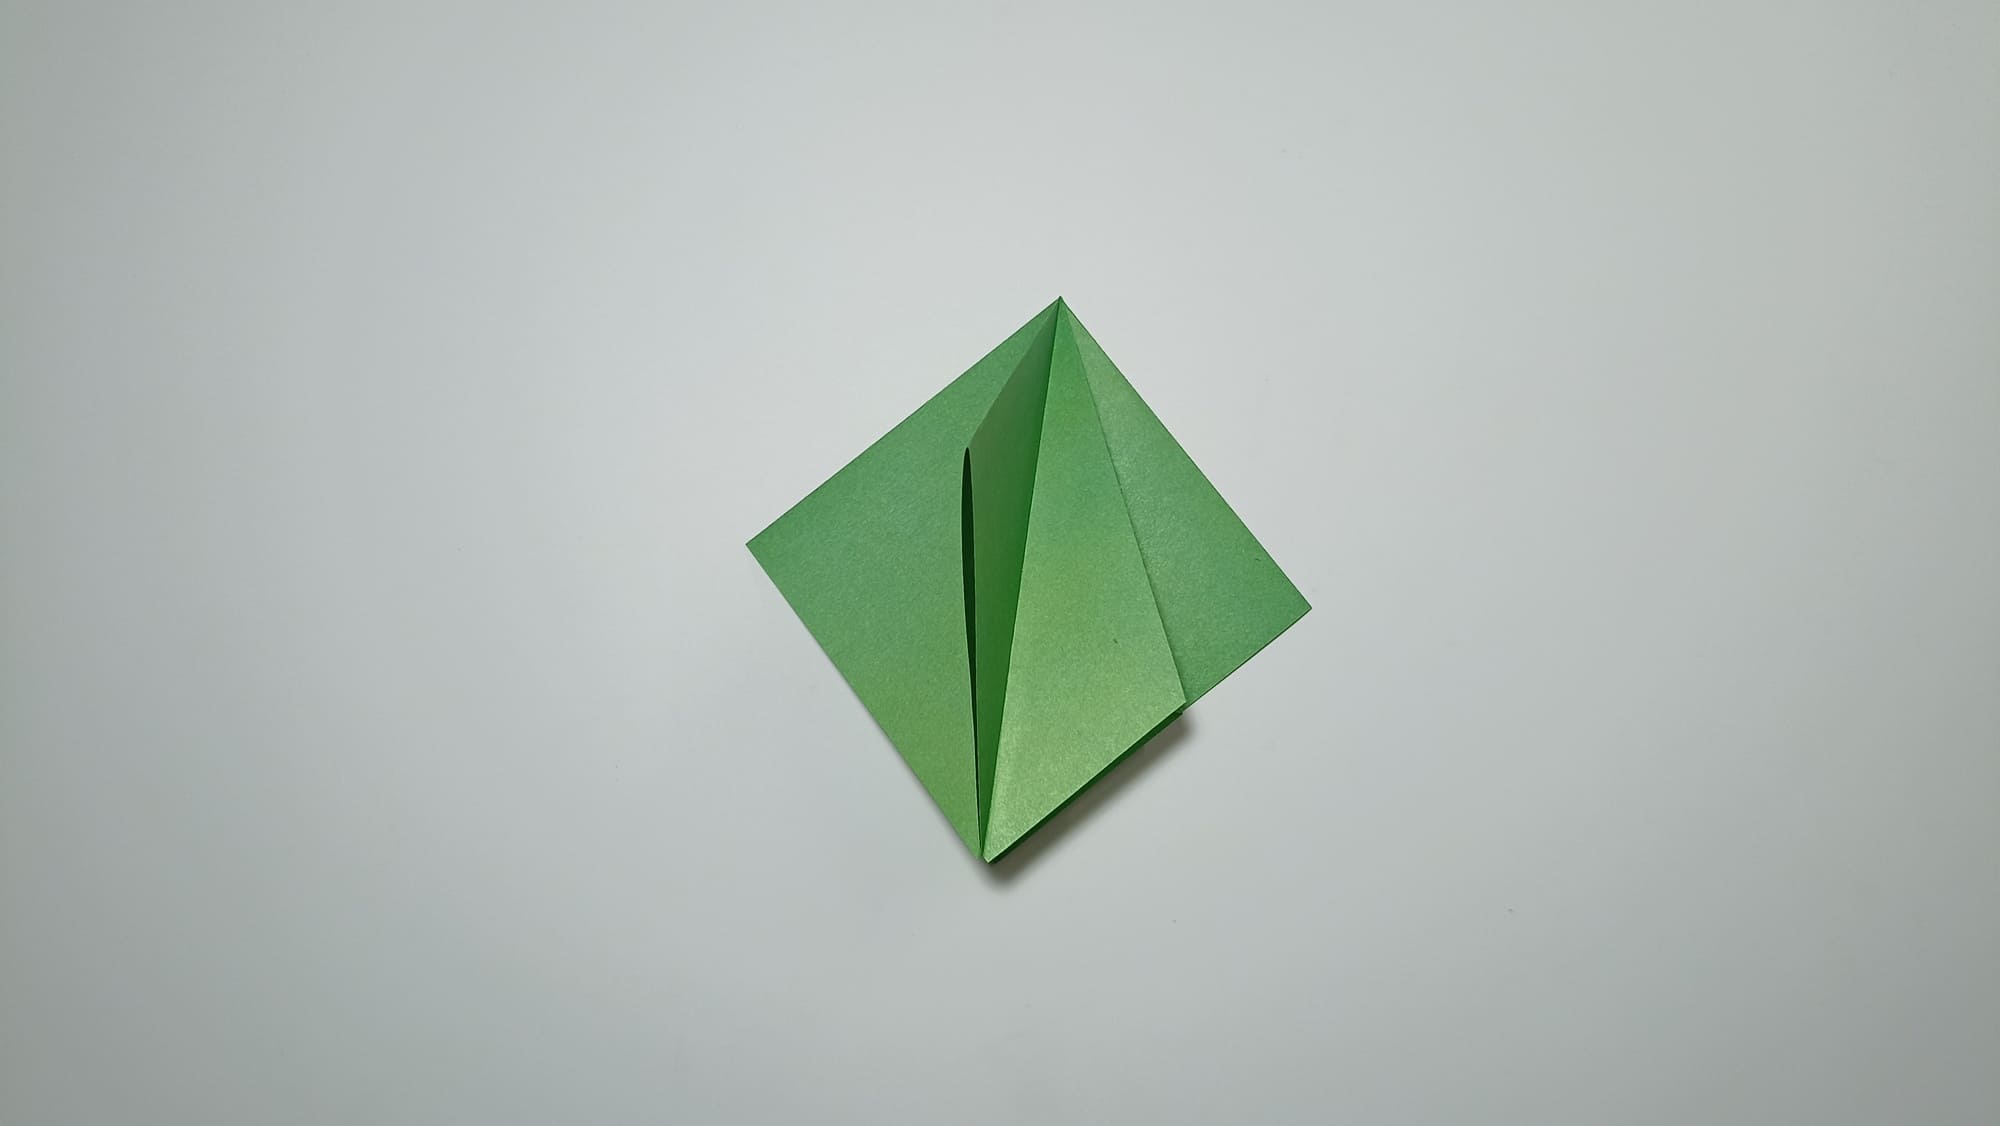
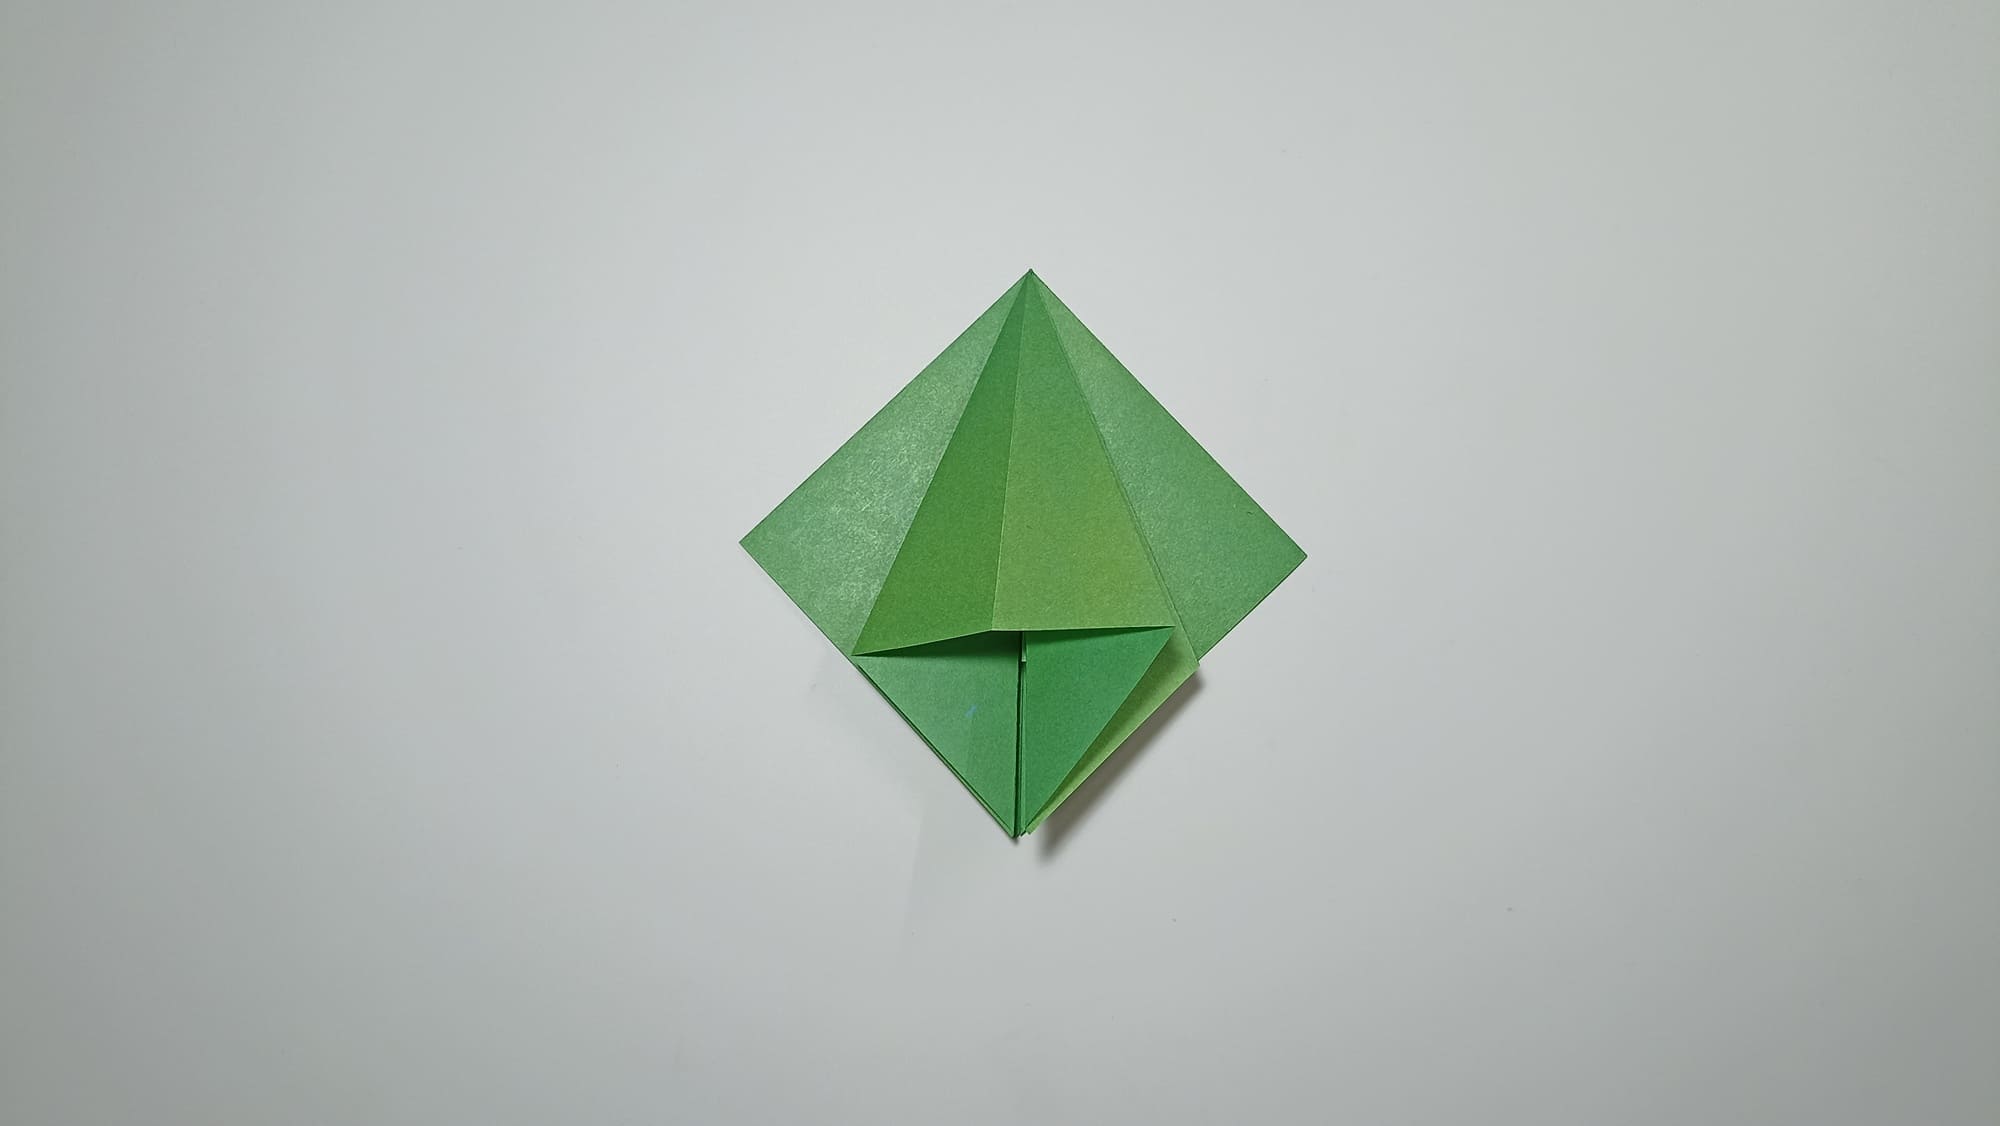
Turn the figure over, as when turning a page, and repeat Steps 13-17.
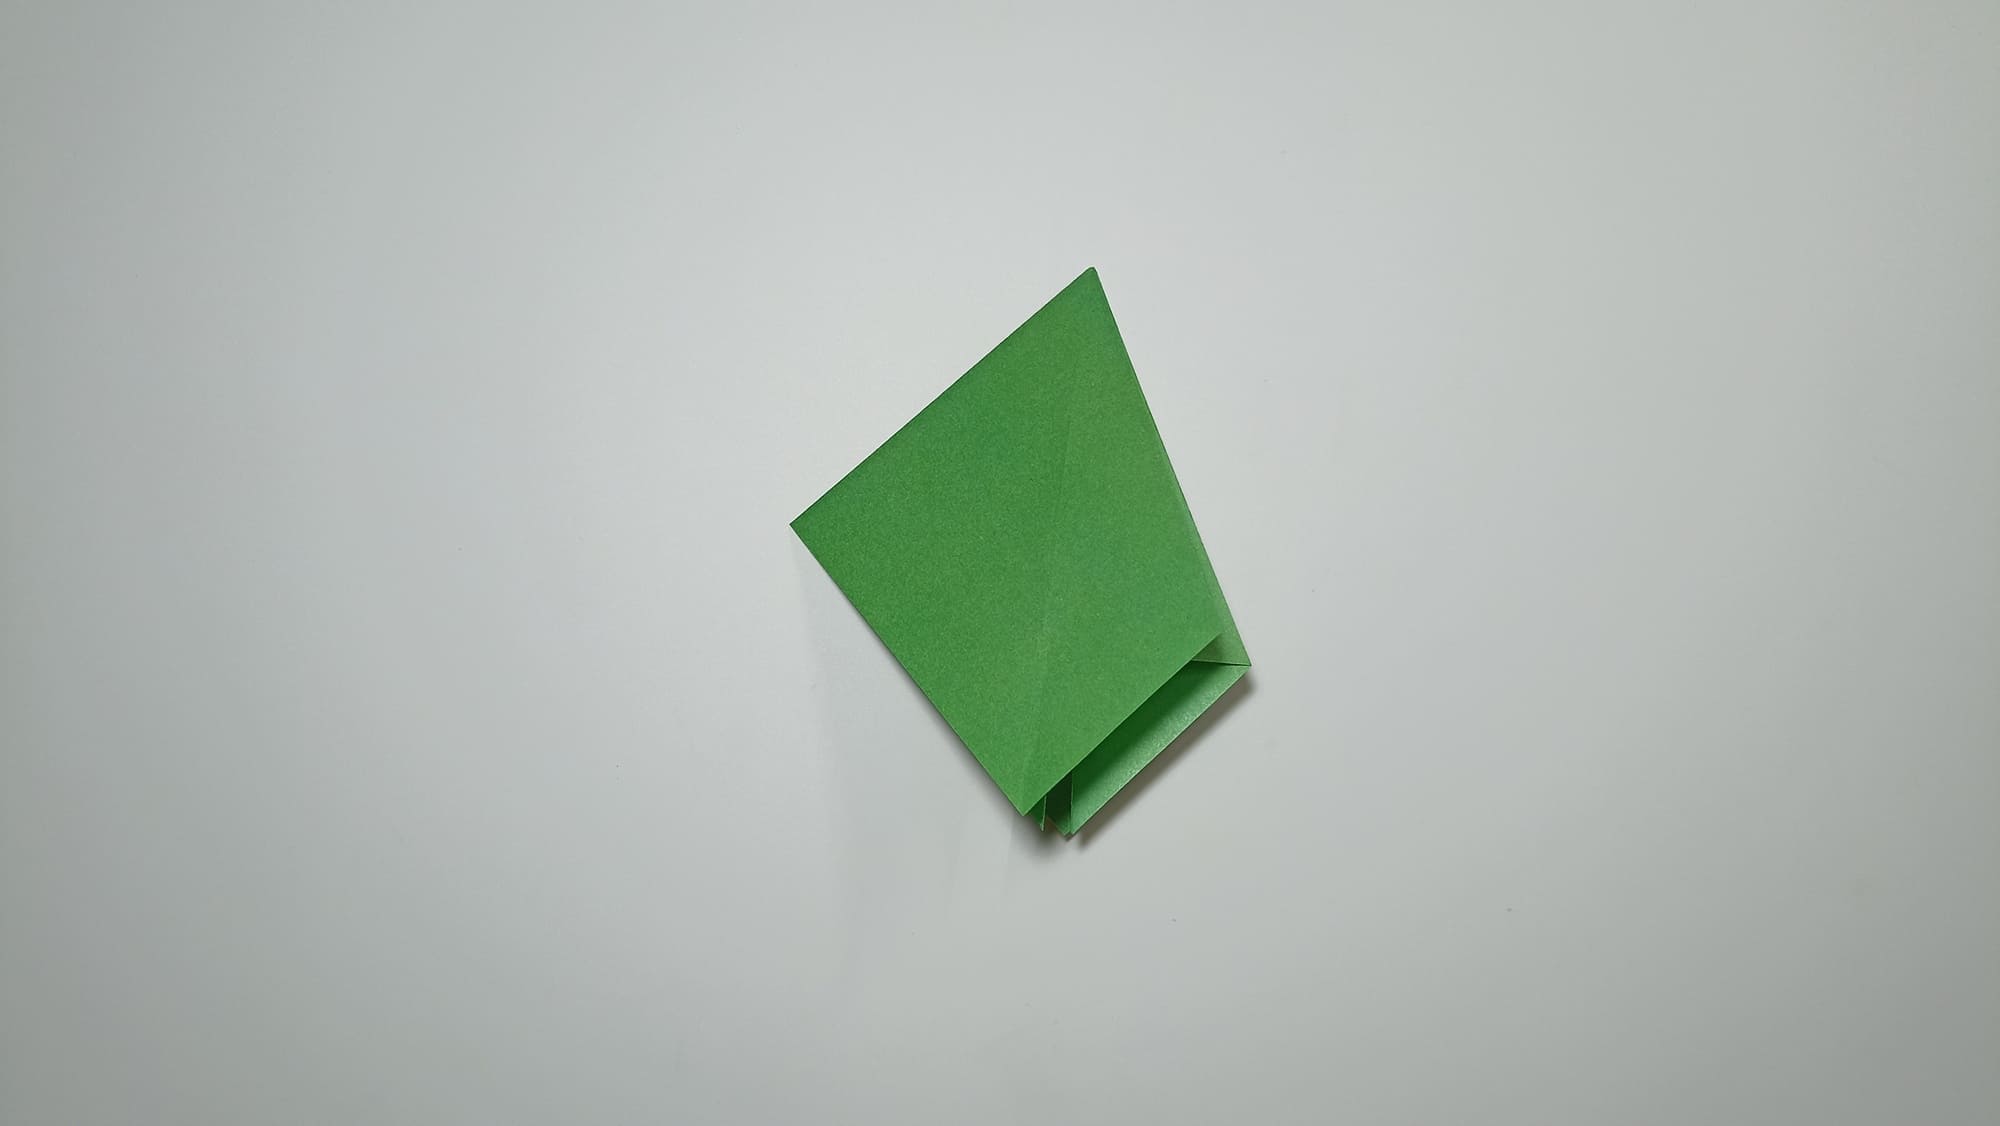
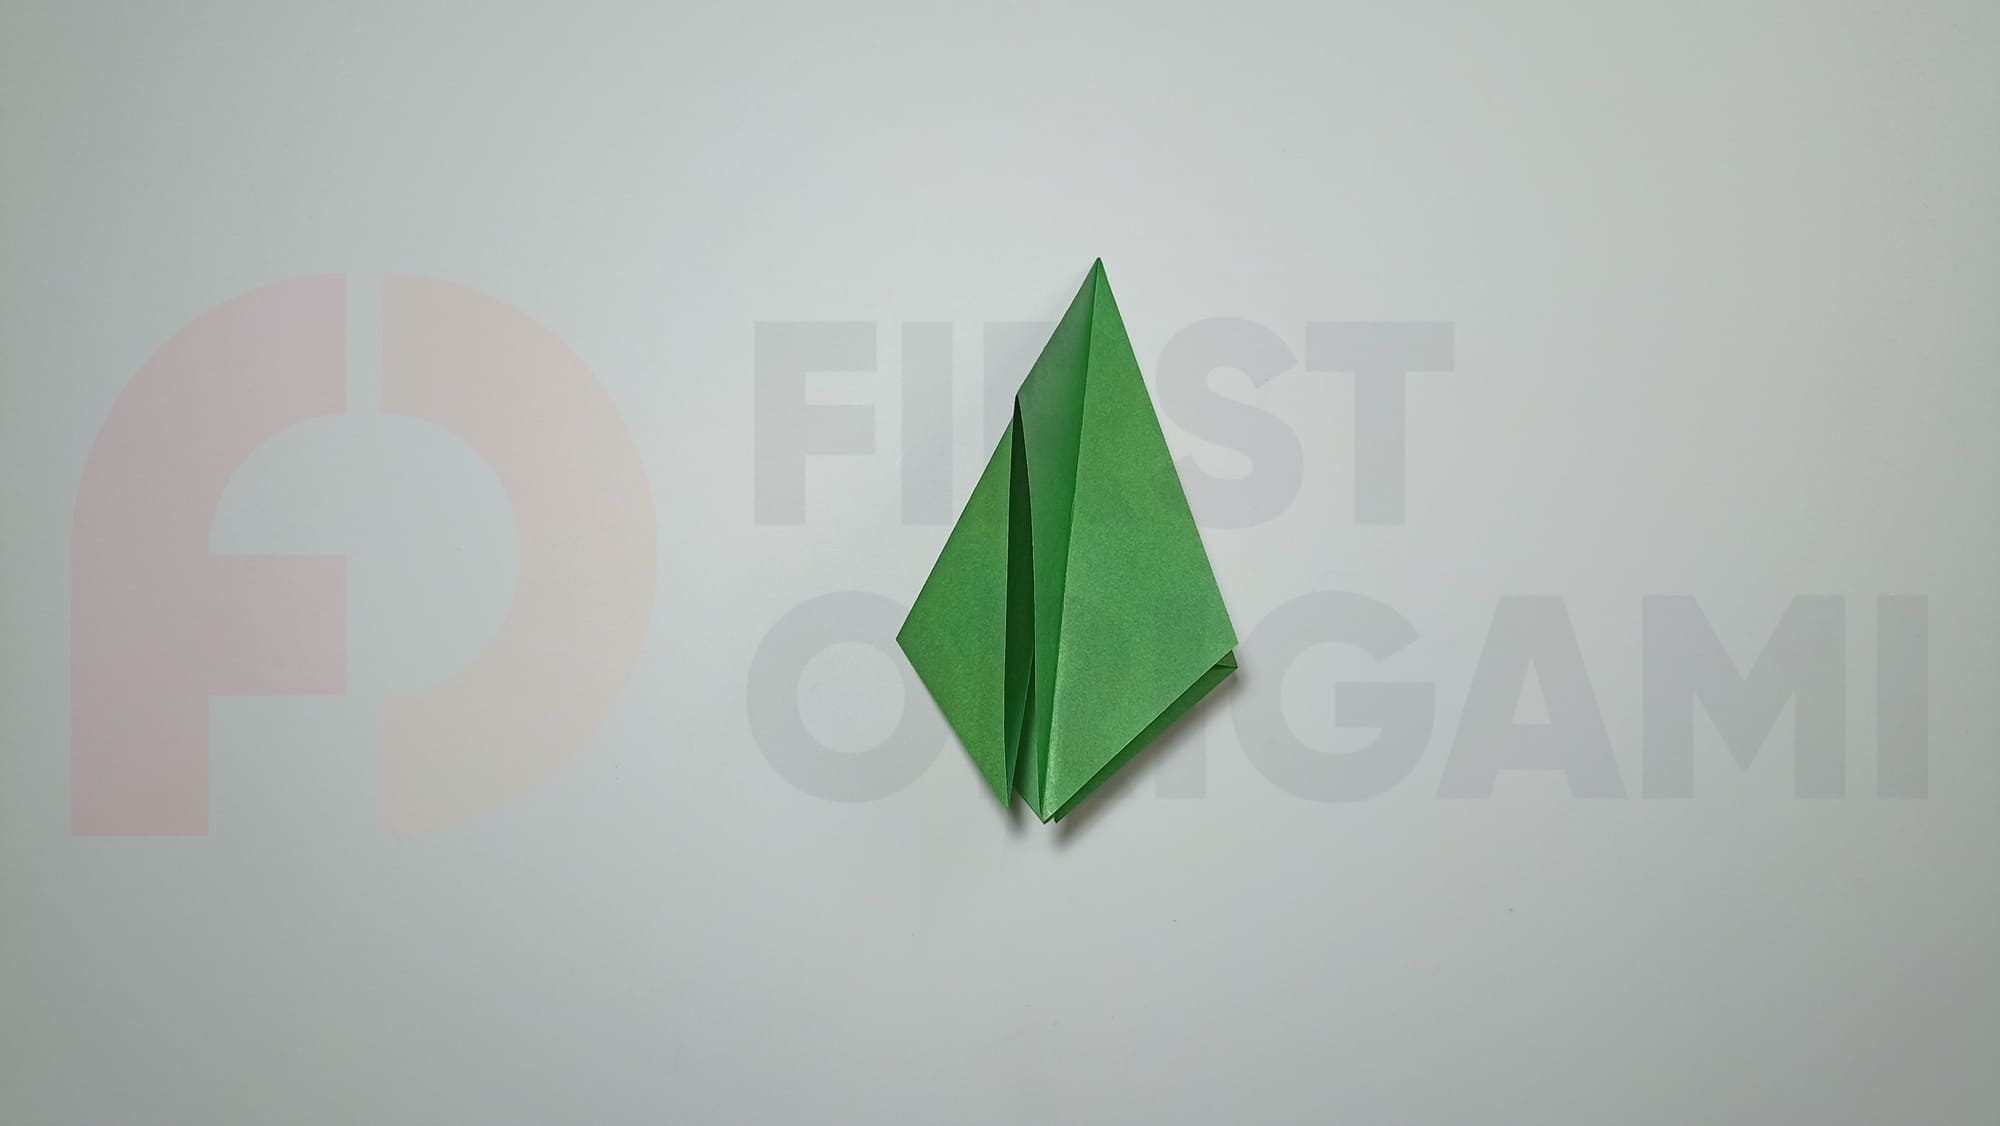
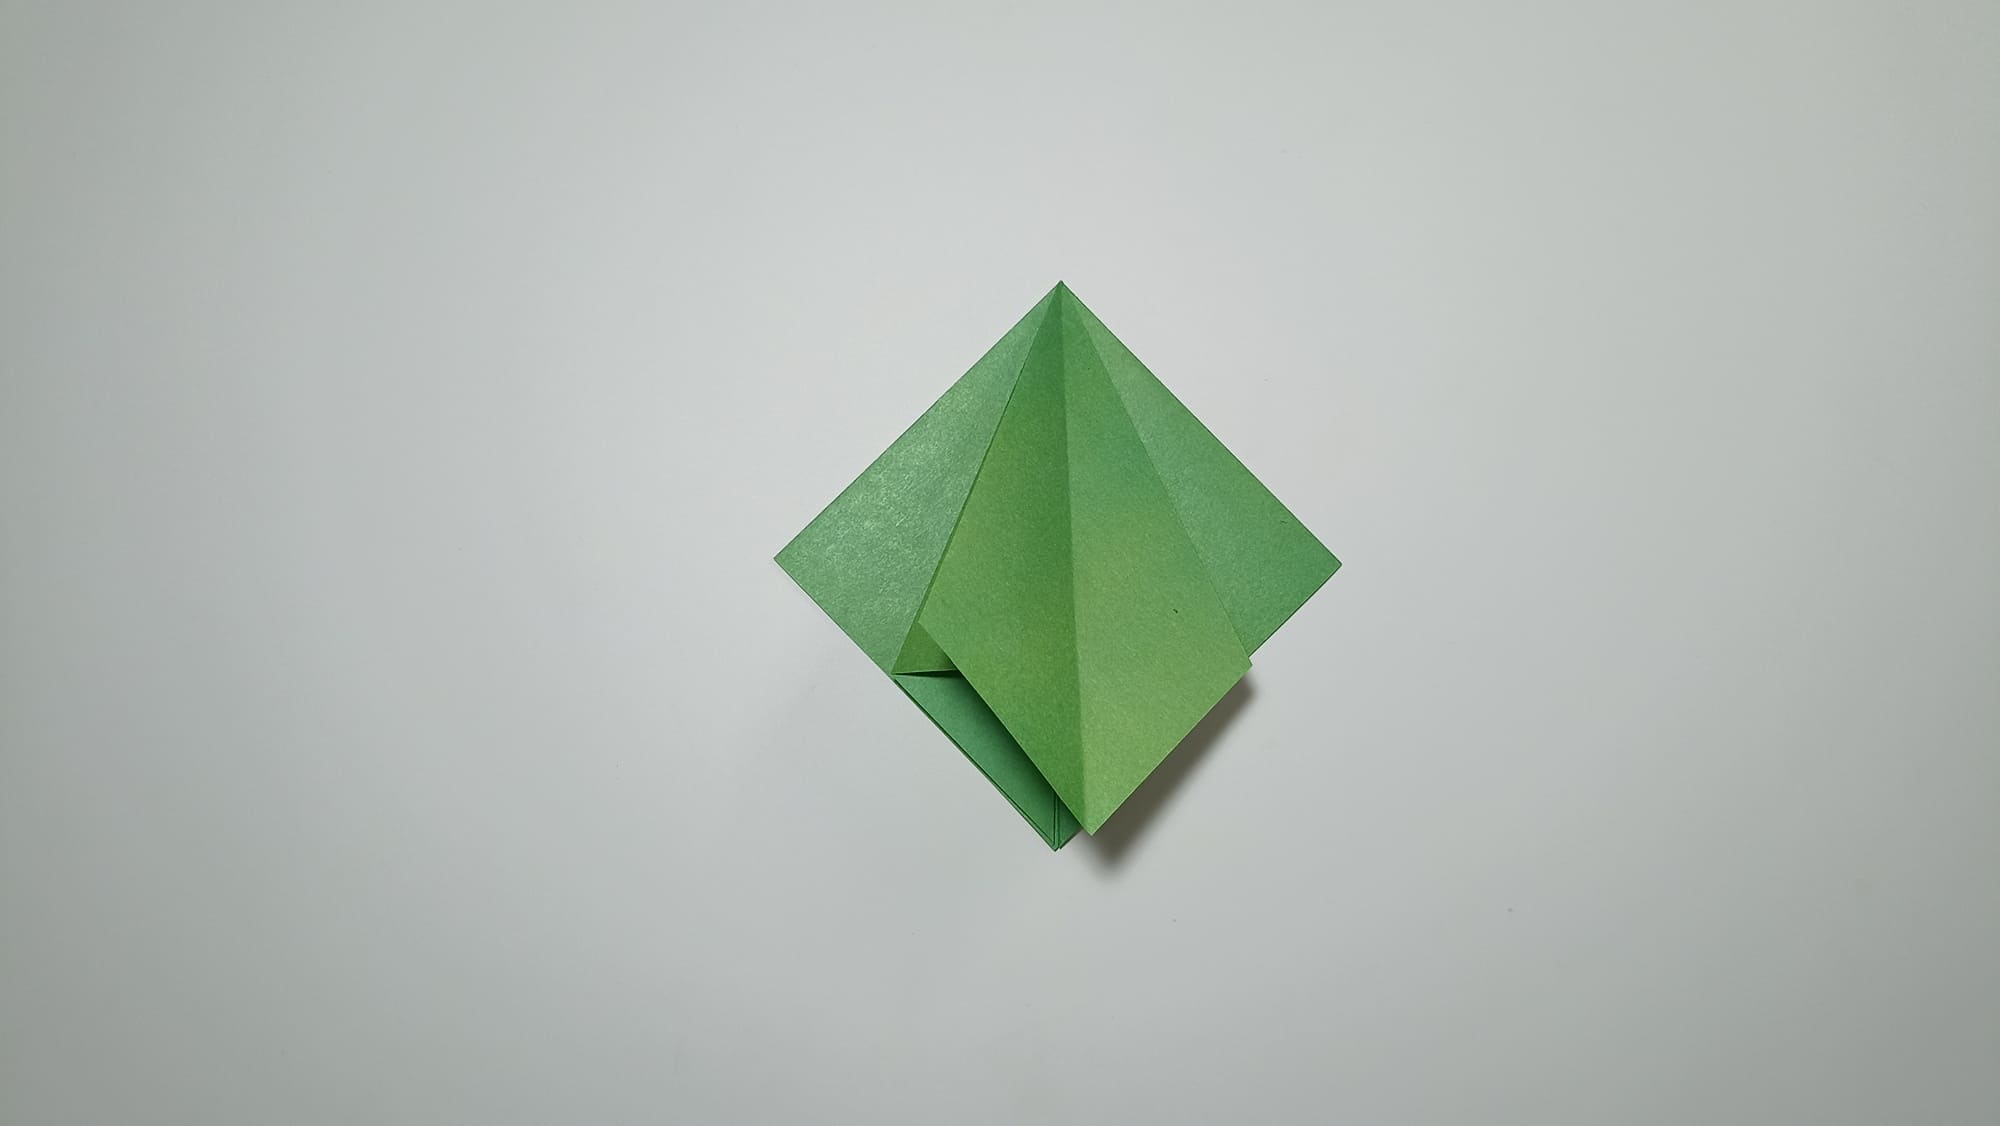
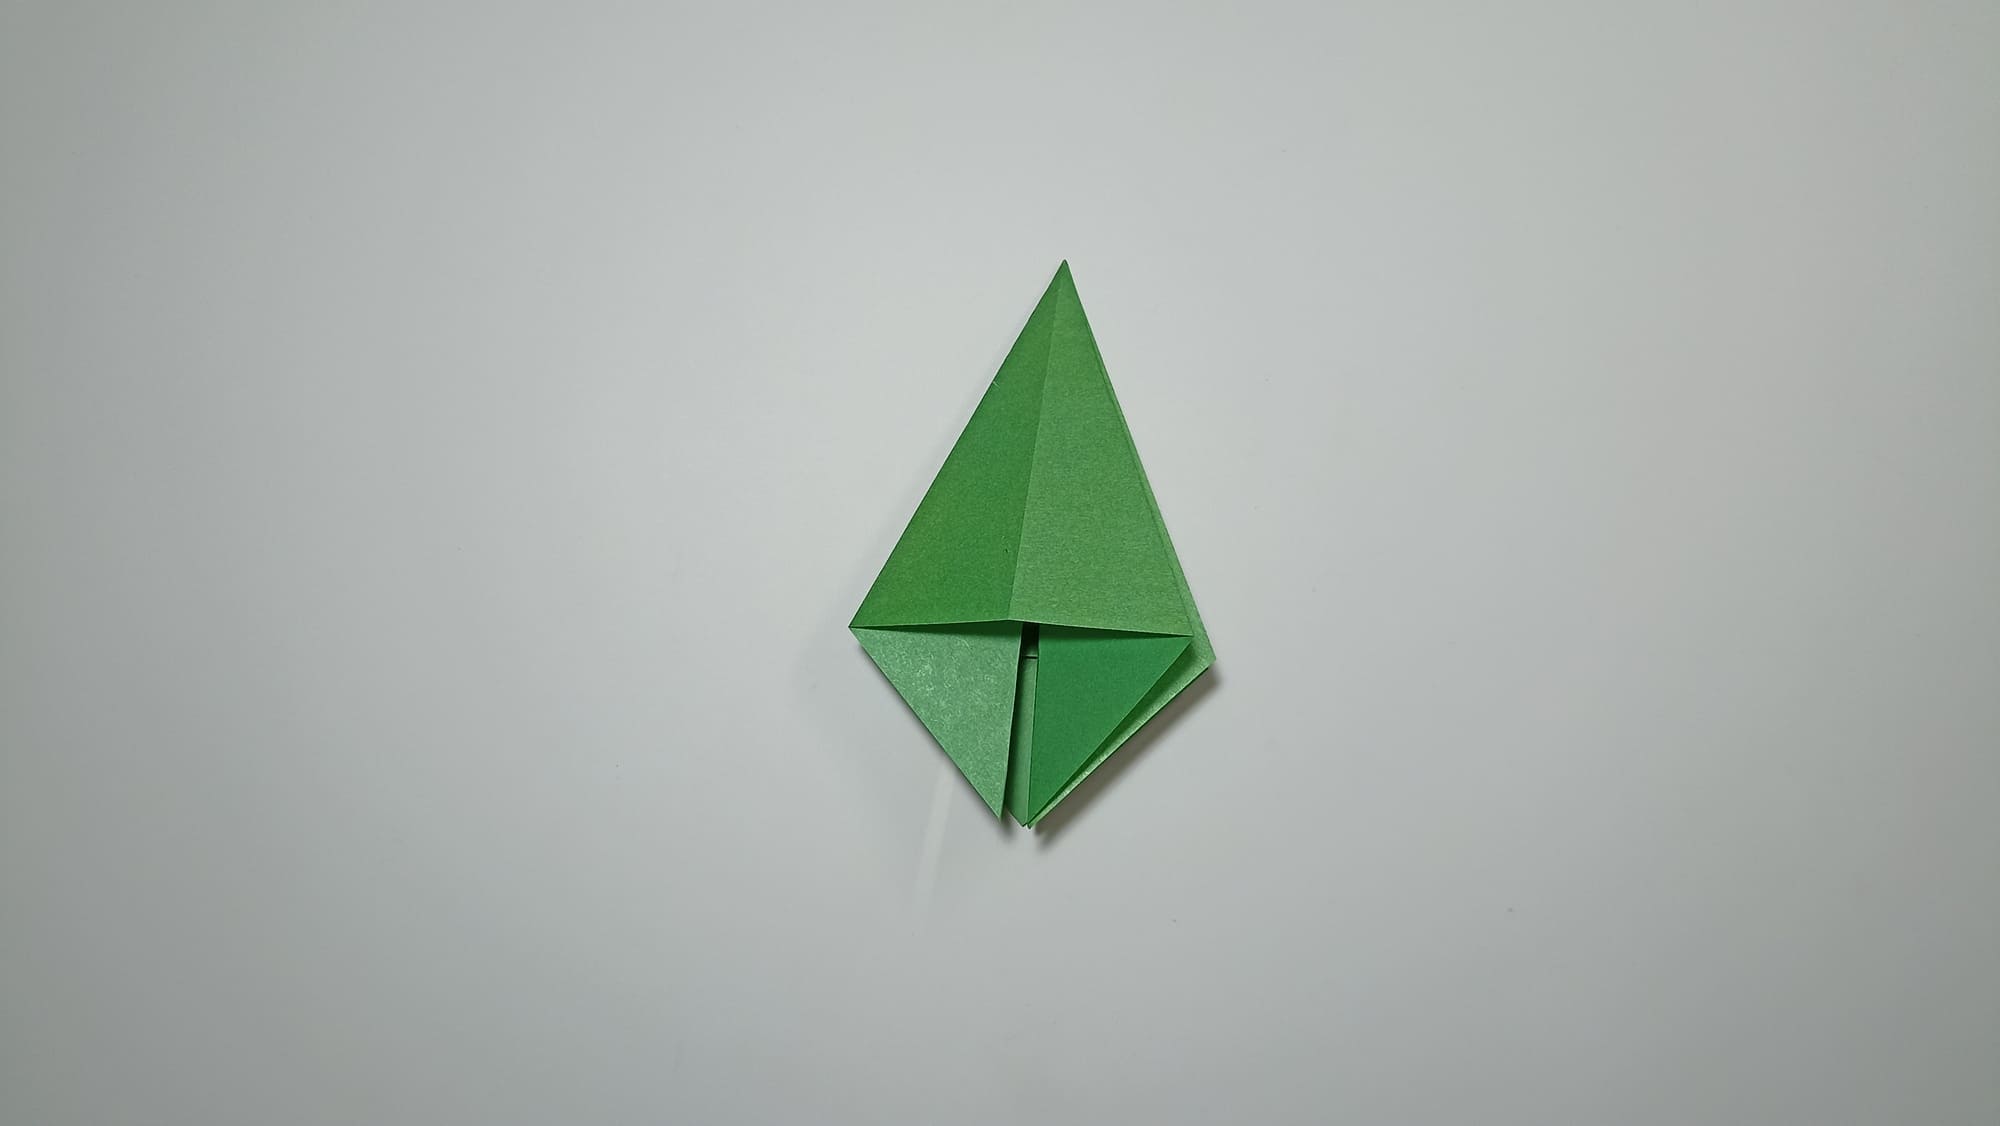
The result should be 8 triangles, connected by the bases on the vertical middle line.
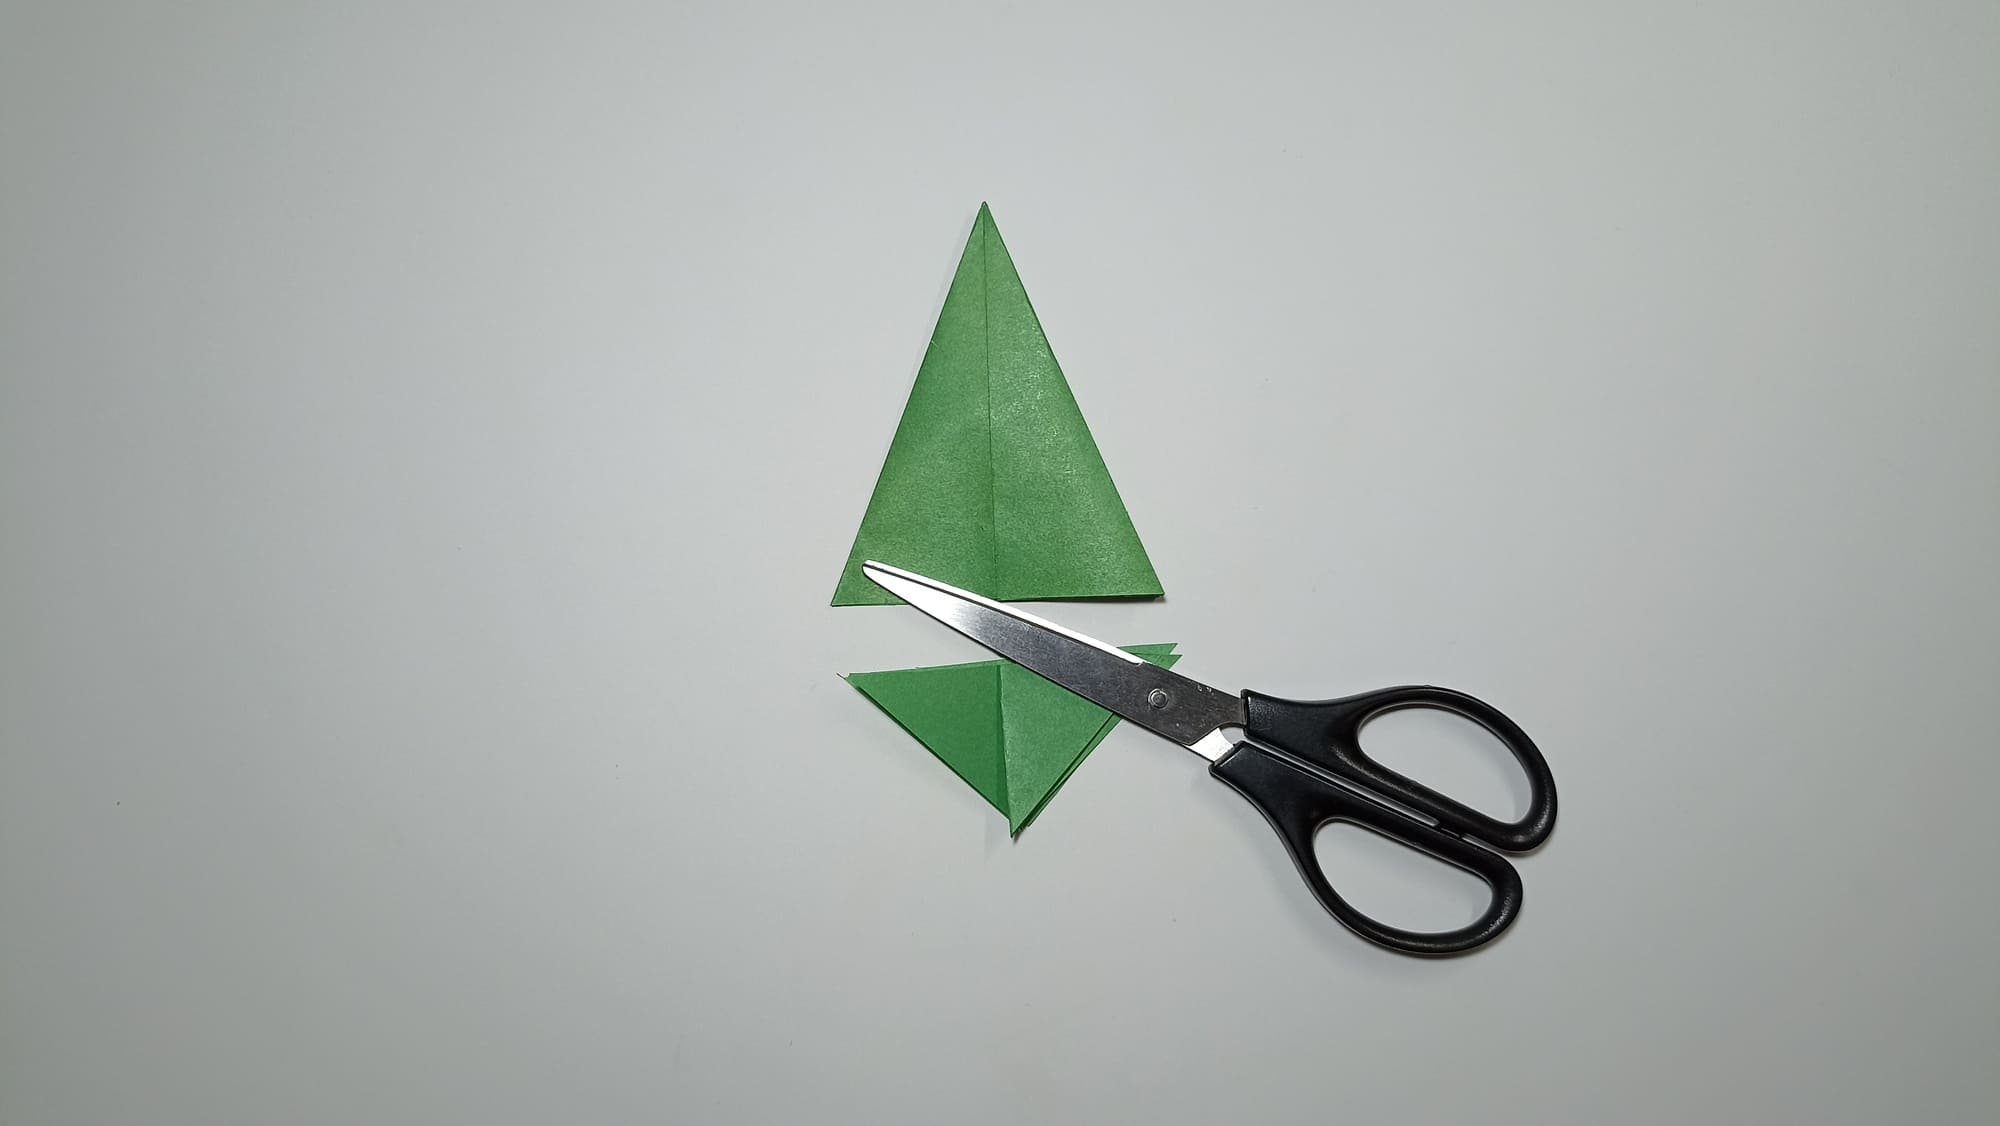
Cut off the bottom small triangles along the horizontal fold line. This is the base of the Christmas tree.
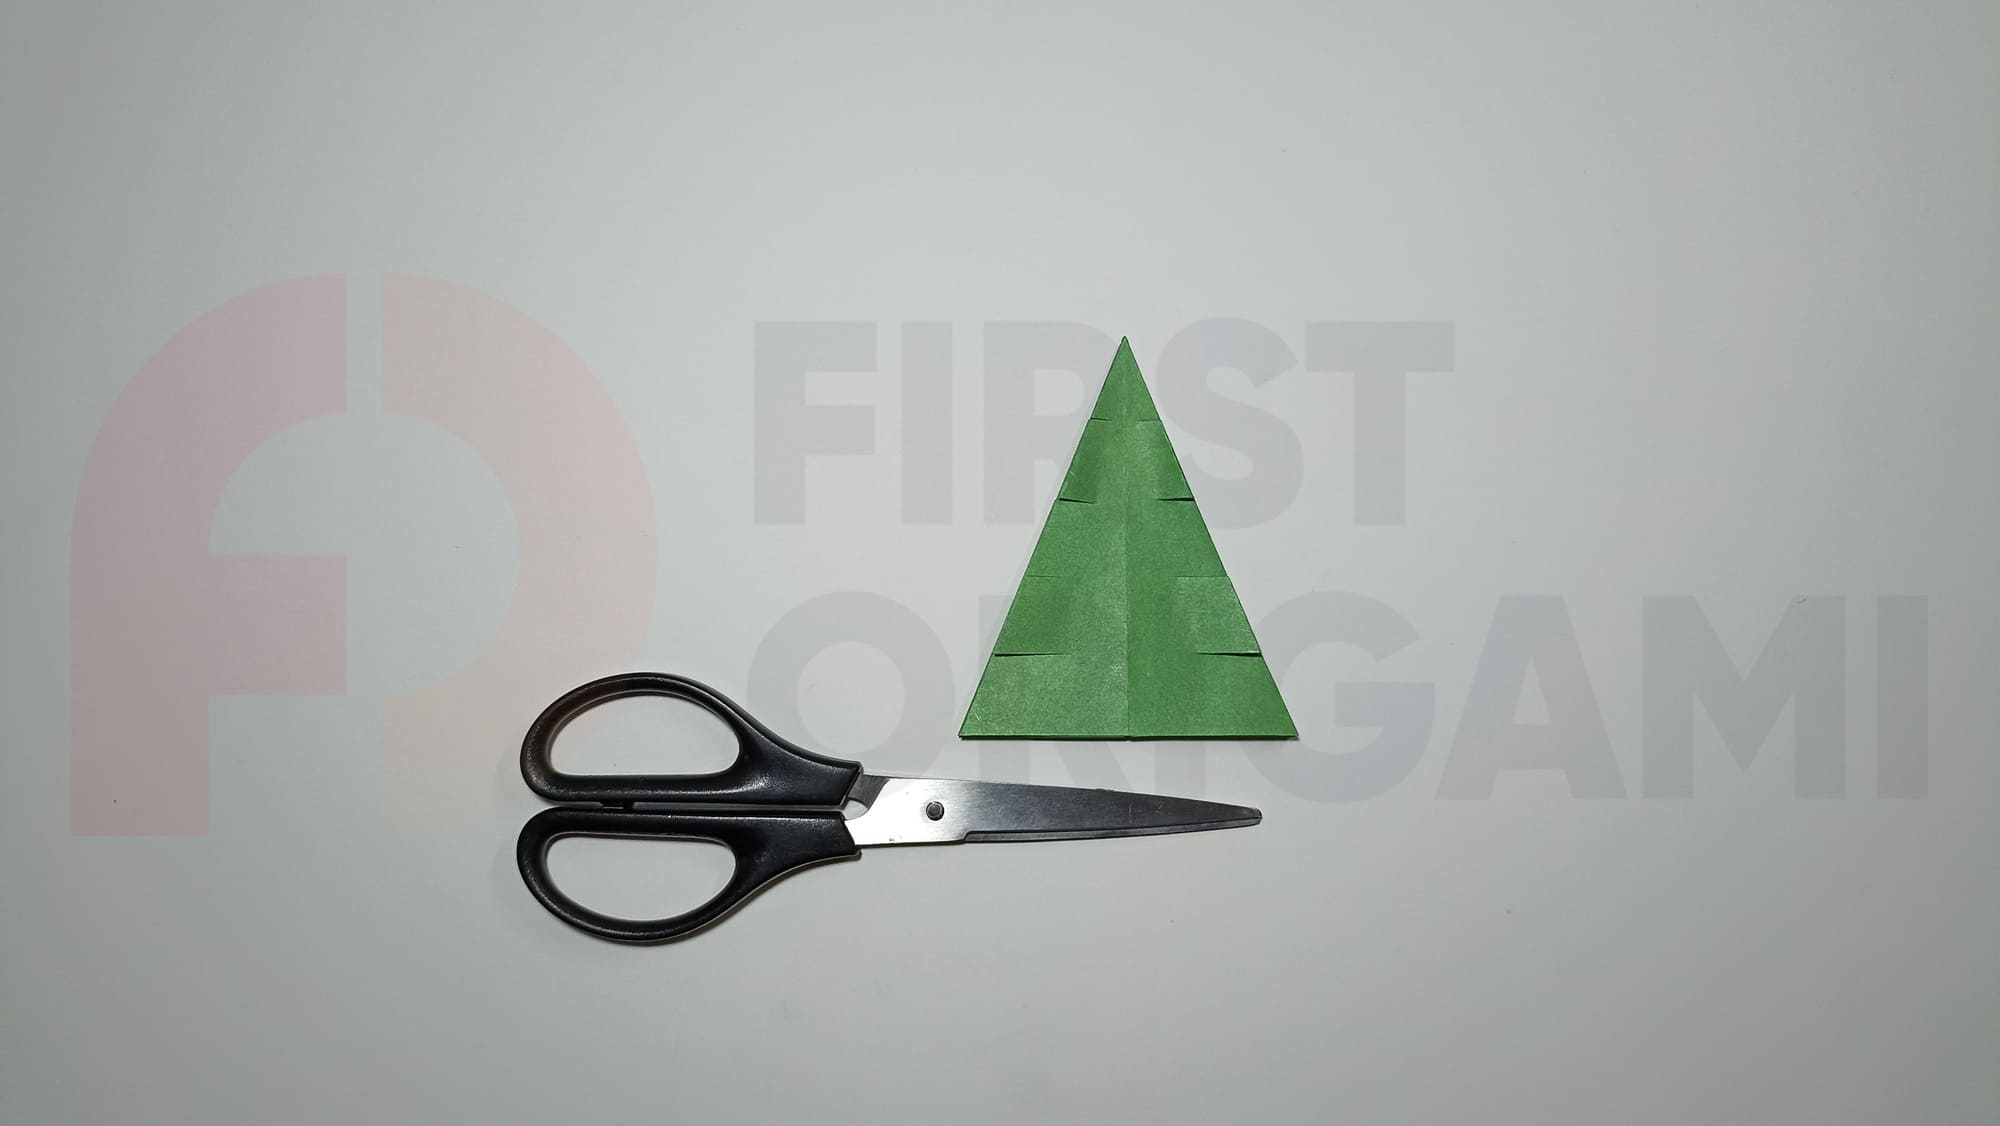
Make cuts on each side of the triangle, which should not reach the vertical middle line by about half of the length. The result is a tree trunk.
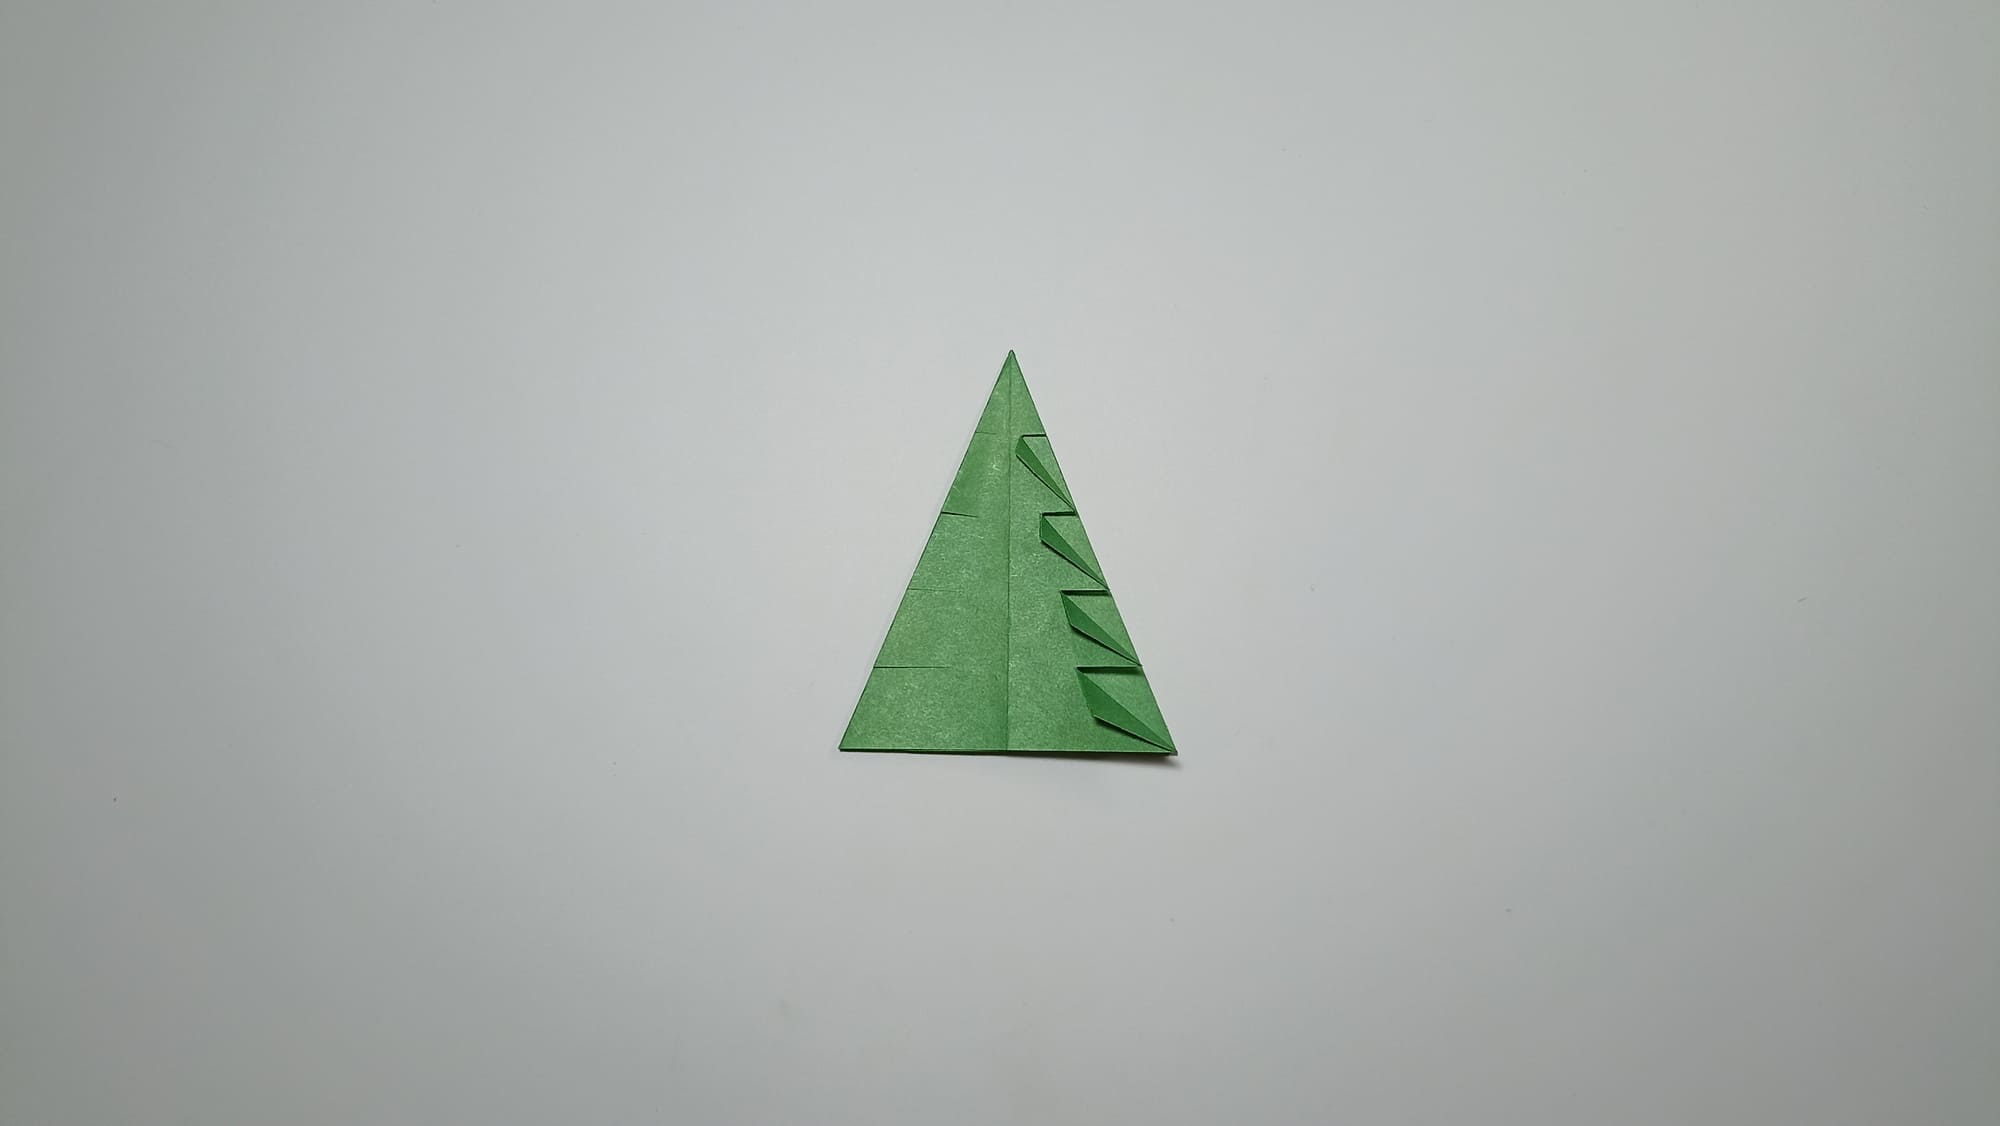
Make folds connecting the top and bottom of the side strips.
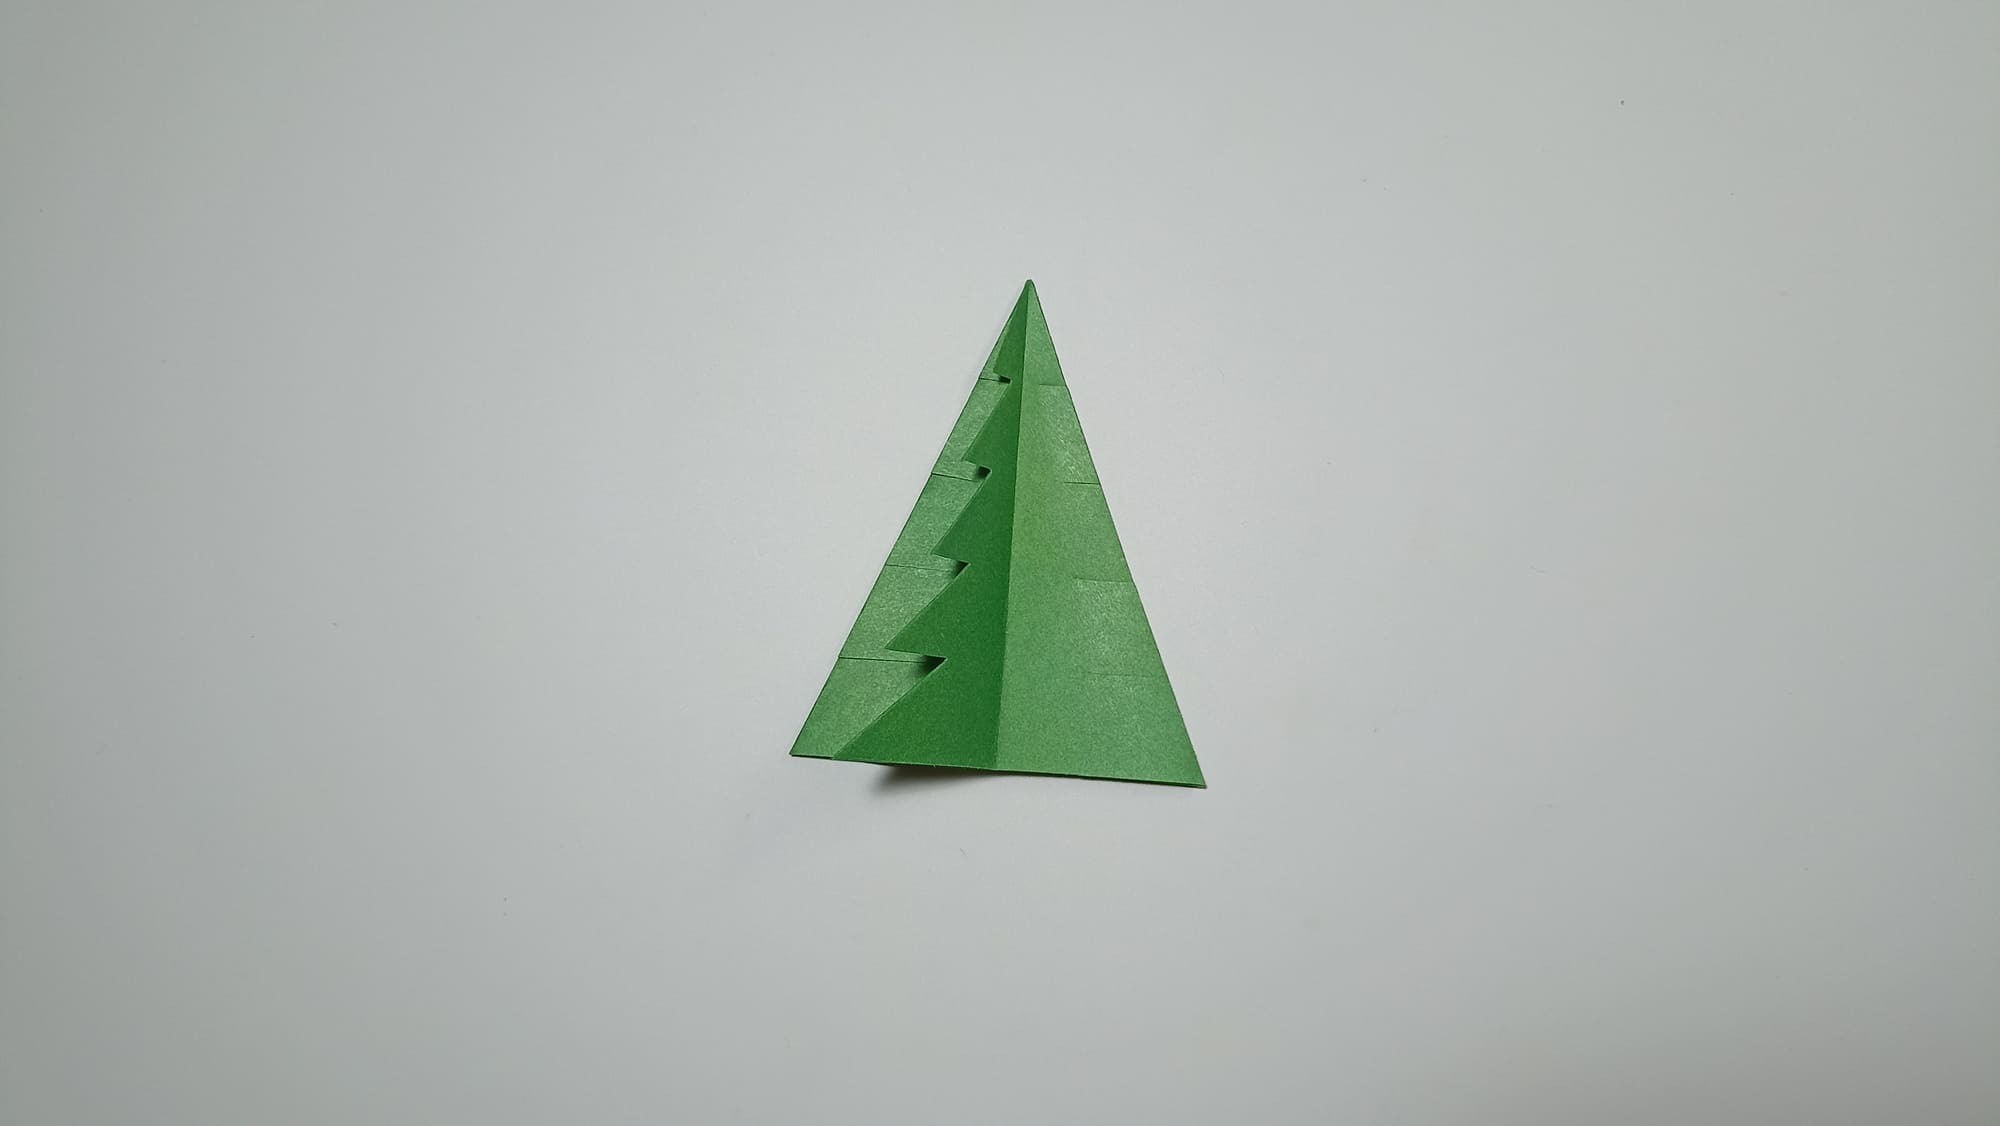
The number of folds will be equal to the number of cuts and will depend on the size of the paper used for work. Flip the layer.

Repeat Steps 26 and 27 seven more times, turning the layer over each time.
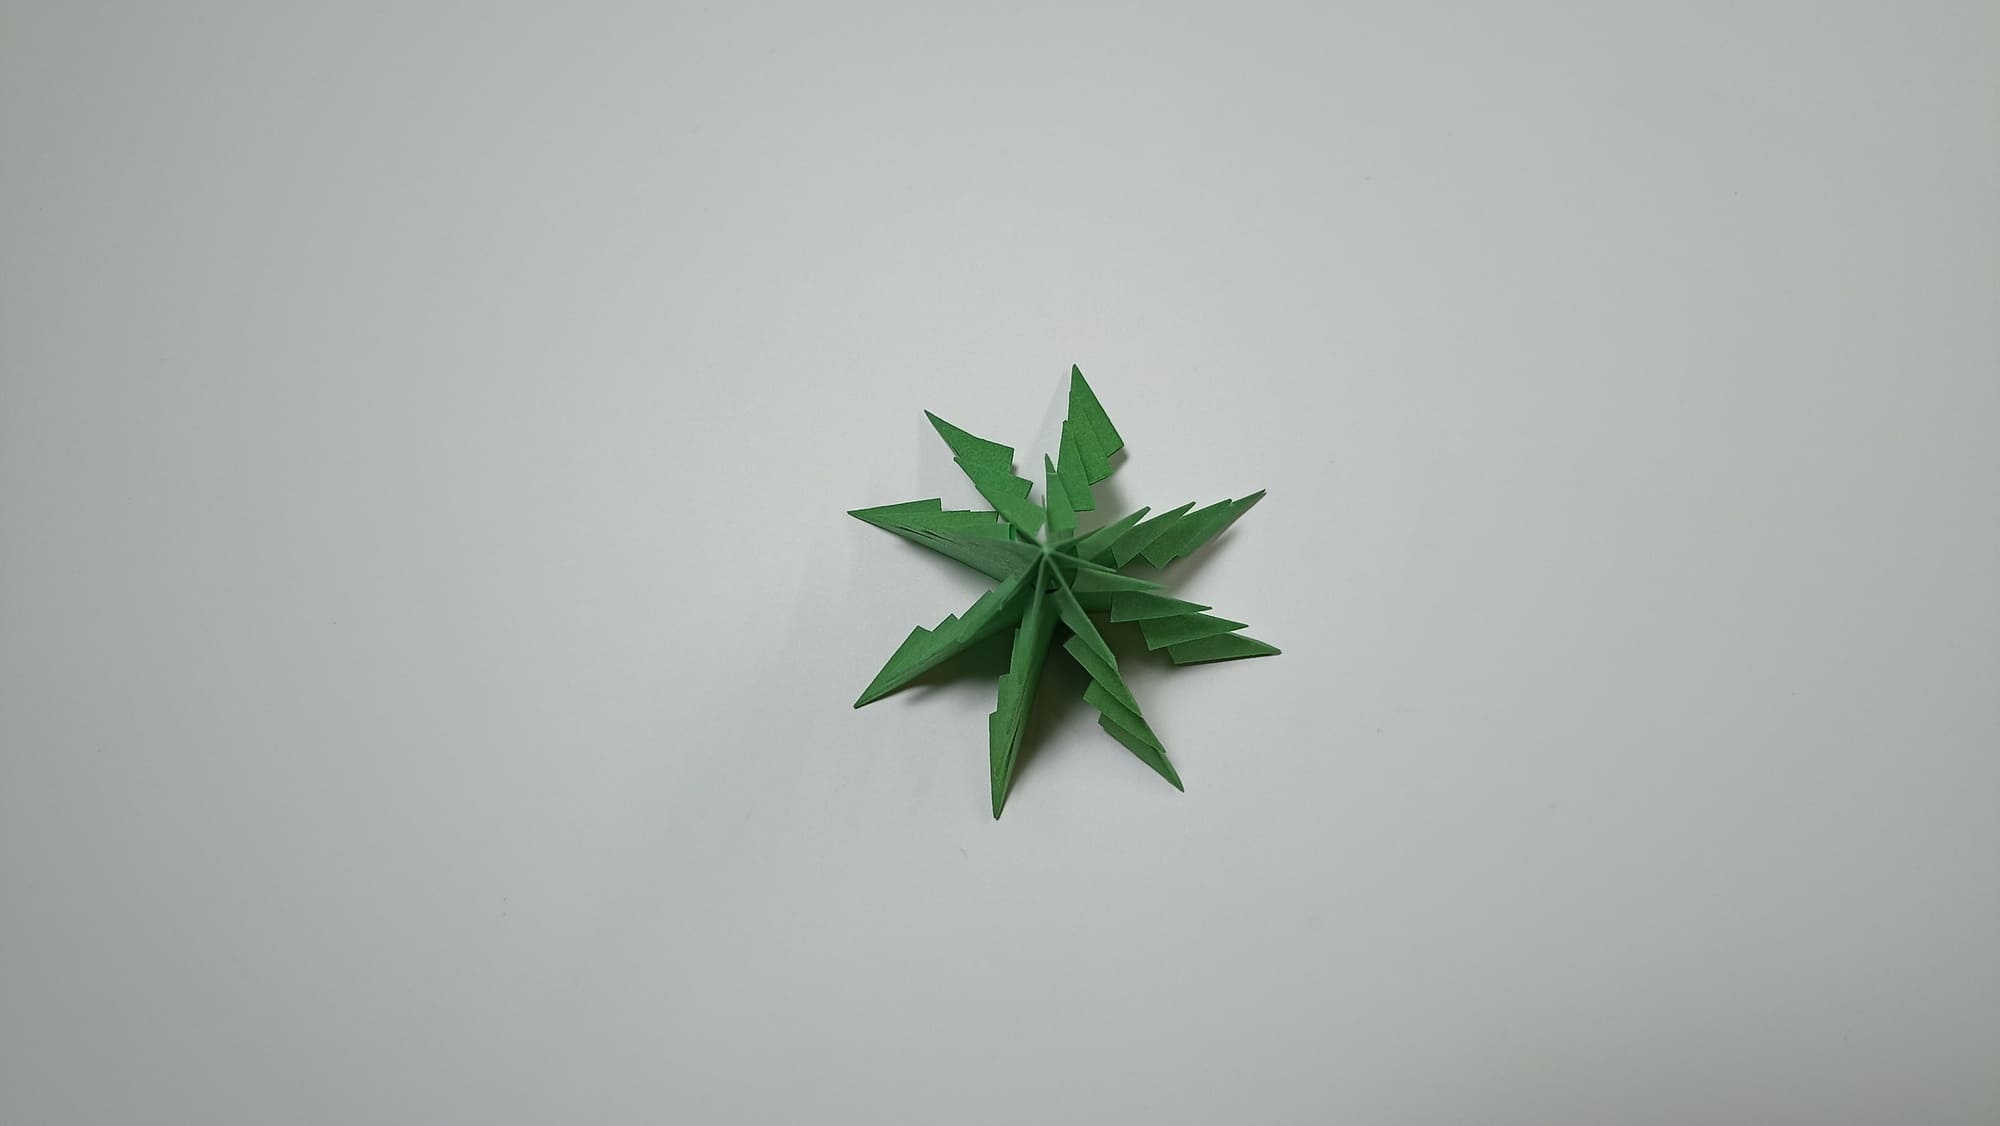
Spread the branches of the Christmas tree evenly in different directions.
The decoration is ready.
The Christmas tree turned out to be prickly, but very lush. Based on such a simple idea, you can make a stage for a home theater or a festive photo area. You can create a stylish winter composition by changing the position and height of the Christmas trees as well as adding an interesting combination of colors.


