Origami Boxes
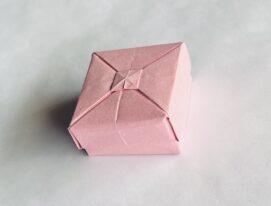
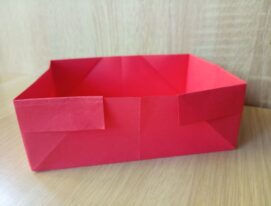
The art of origami extends far beyond creating mere flowers and animal figures; it opens a world of craft where functional items, like Origami Boxes, come to life. These handcrafted boxes, folded from square sheets of paper, serve multiple purposes—from storing little trinkets and jewellery to adorning your desktop or becoming innovative gift packaging. The choice of use is entirely yours!
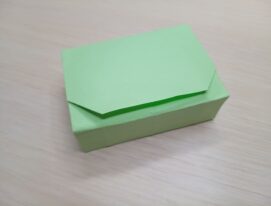
Below, you’ll discover step-by-step tutorials for crafting various types of boxes using origami techniques. Ranging from the classic origami box perfect for beginners to the more intricate masu box with separate lids, these projects cater to all skill levels. Some designs are straightforward, allowing you to engage in this craft alongside your kids, while others may require more time and dexterity, rewarding you with a handmade gift that’s sure to surprise and delight.
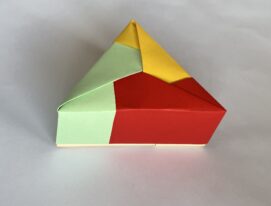
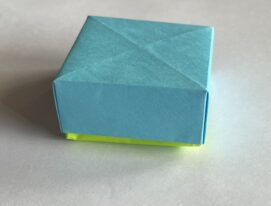
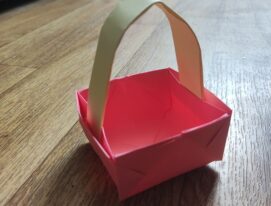
Our collection features not only the easy origami box designs but also more complex structures like rectangular origami gift boxes, baskets, and even tote bags—all essentials for chic, fancy storage options. For a standard model complete with a lid, two square pieces of paper are necessary. It’s advisable to craft larger boxes out of cardboard to maintain their shape over time, with one square slightly smaller by 0.5 cm to ensure the lid fits snugly over the base.
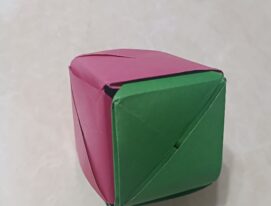
In mere minutes, utilizing everyday materials such as remnants of dense wallpaper, kraft paper, old newspapers, or just plain printer paper, you can create your own convenient organizers for stationery or letters. Moreover, each tutorial can be adapted to your specific needs; for instance, opting for a larger piece of paper will yield a bigger box, perfect for small presents or as a cube box for gift boxes.
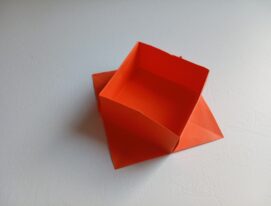
Embrace your creativity and experiment with different paper sizes, colors, and textures to craft unique products. Whether you’re making a simple flap for the bottom of the box, creasing the right edges for a perfect origami box shape, or folding the top edge to form the inside of the box, the possibilities are endless. Through these origami projects, you can produce distinctive items that will not only serve practical purposes but also bring joy to you and your loved ones.