Easy Origami Witches Claws

We love it when the art of origami is used not just for jewelry, but for something more functional, such as costumes. After all, the result of your creativity brings even more satisfaction, in addition, it adds exclusivity to any outfit. Today we will share with you just such an origami scheme. Moreover, it’s not just a small detail, but a full-fledged Halloween costume accent, which will turn even a plain dress dramatic and scary!
Is your Halloween outfit lacking detail? Then this origami pattern is perfect for you. Witch’s Claws is a very easy-to-make origami that will take you minimal time and skill. Choose any color, depending on your costume, because Witch Claws will look cool not only in black! So, let’s get started. Follow the step-by-step instructions below.
By the way, this is one of the simplest origami schemes, so it will be a perfect start for your kids in the art of origami. Plus, they will be able to play with what they have crafted with their own hands!
Start with a square piece of paper 15 cm by 15 cm (you can also take a smaller piece of paper, the result will not change much), face down. The sturdier the paper, the better. We used card stock/scrapbooking paper.
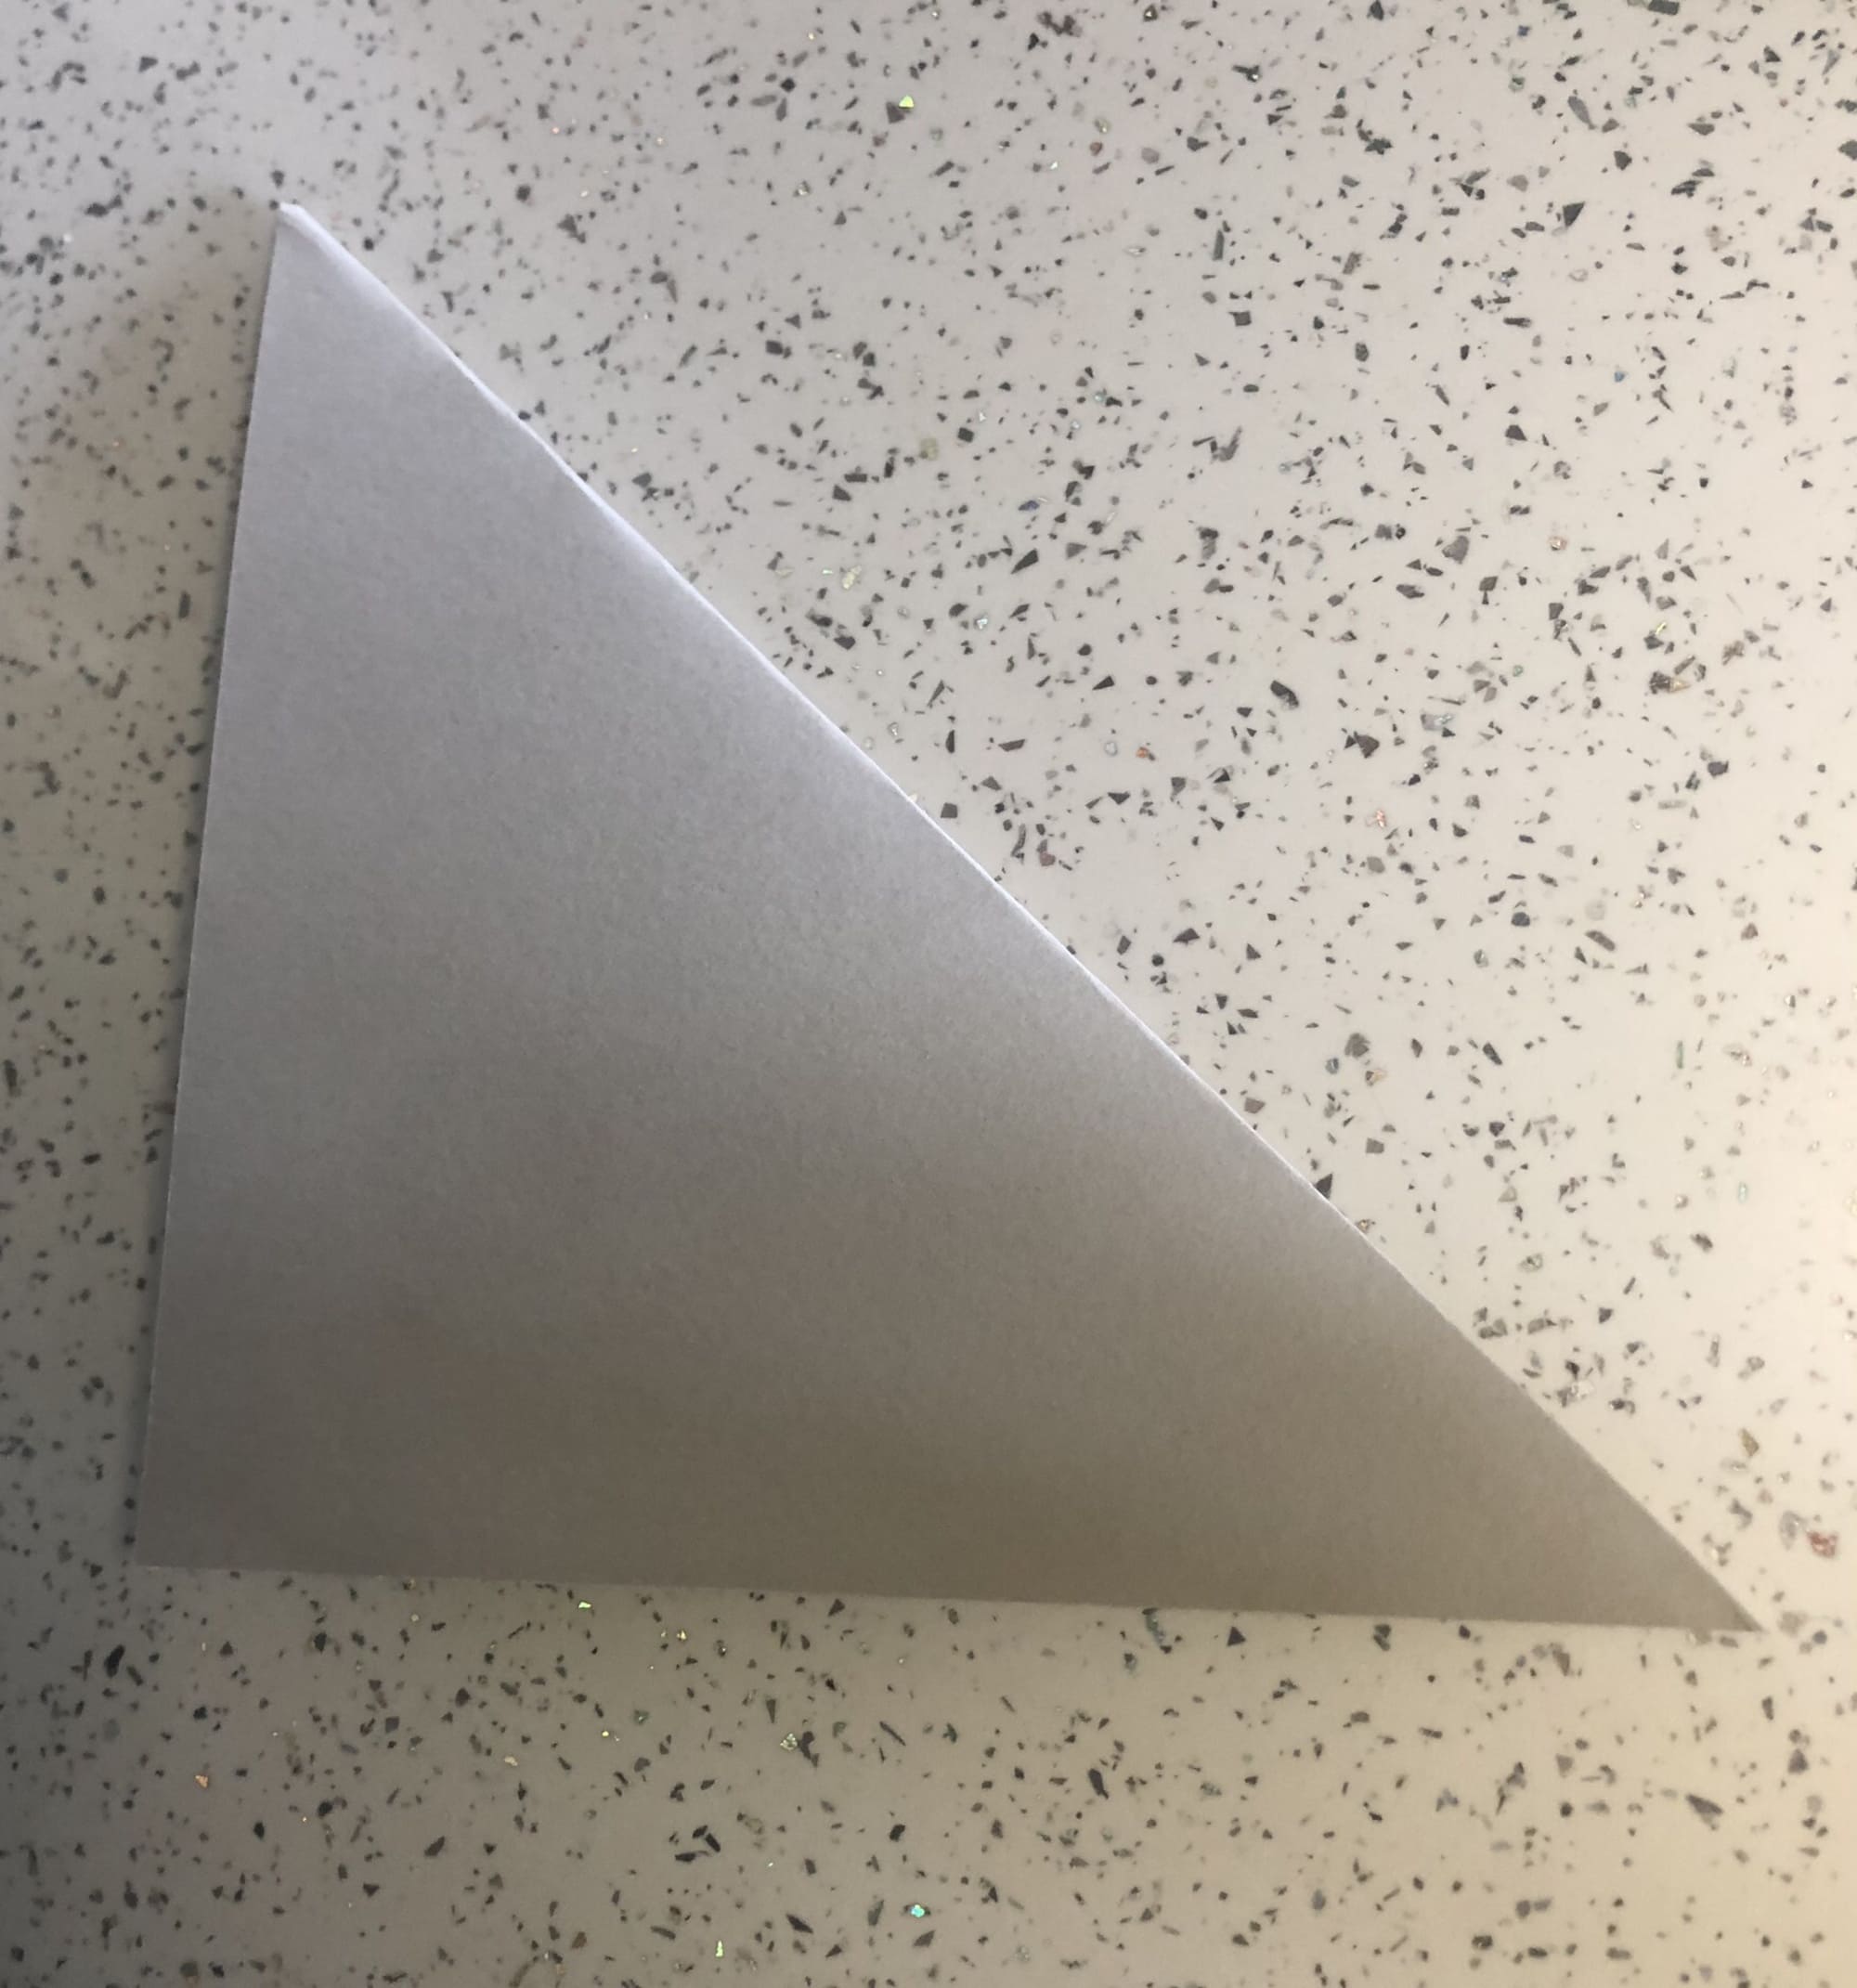
Fold the paper in half diagonally again.
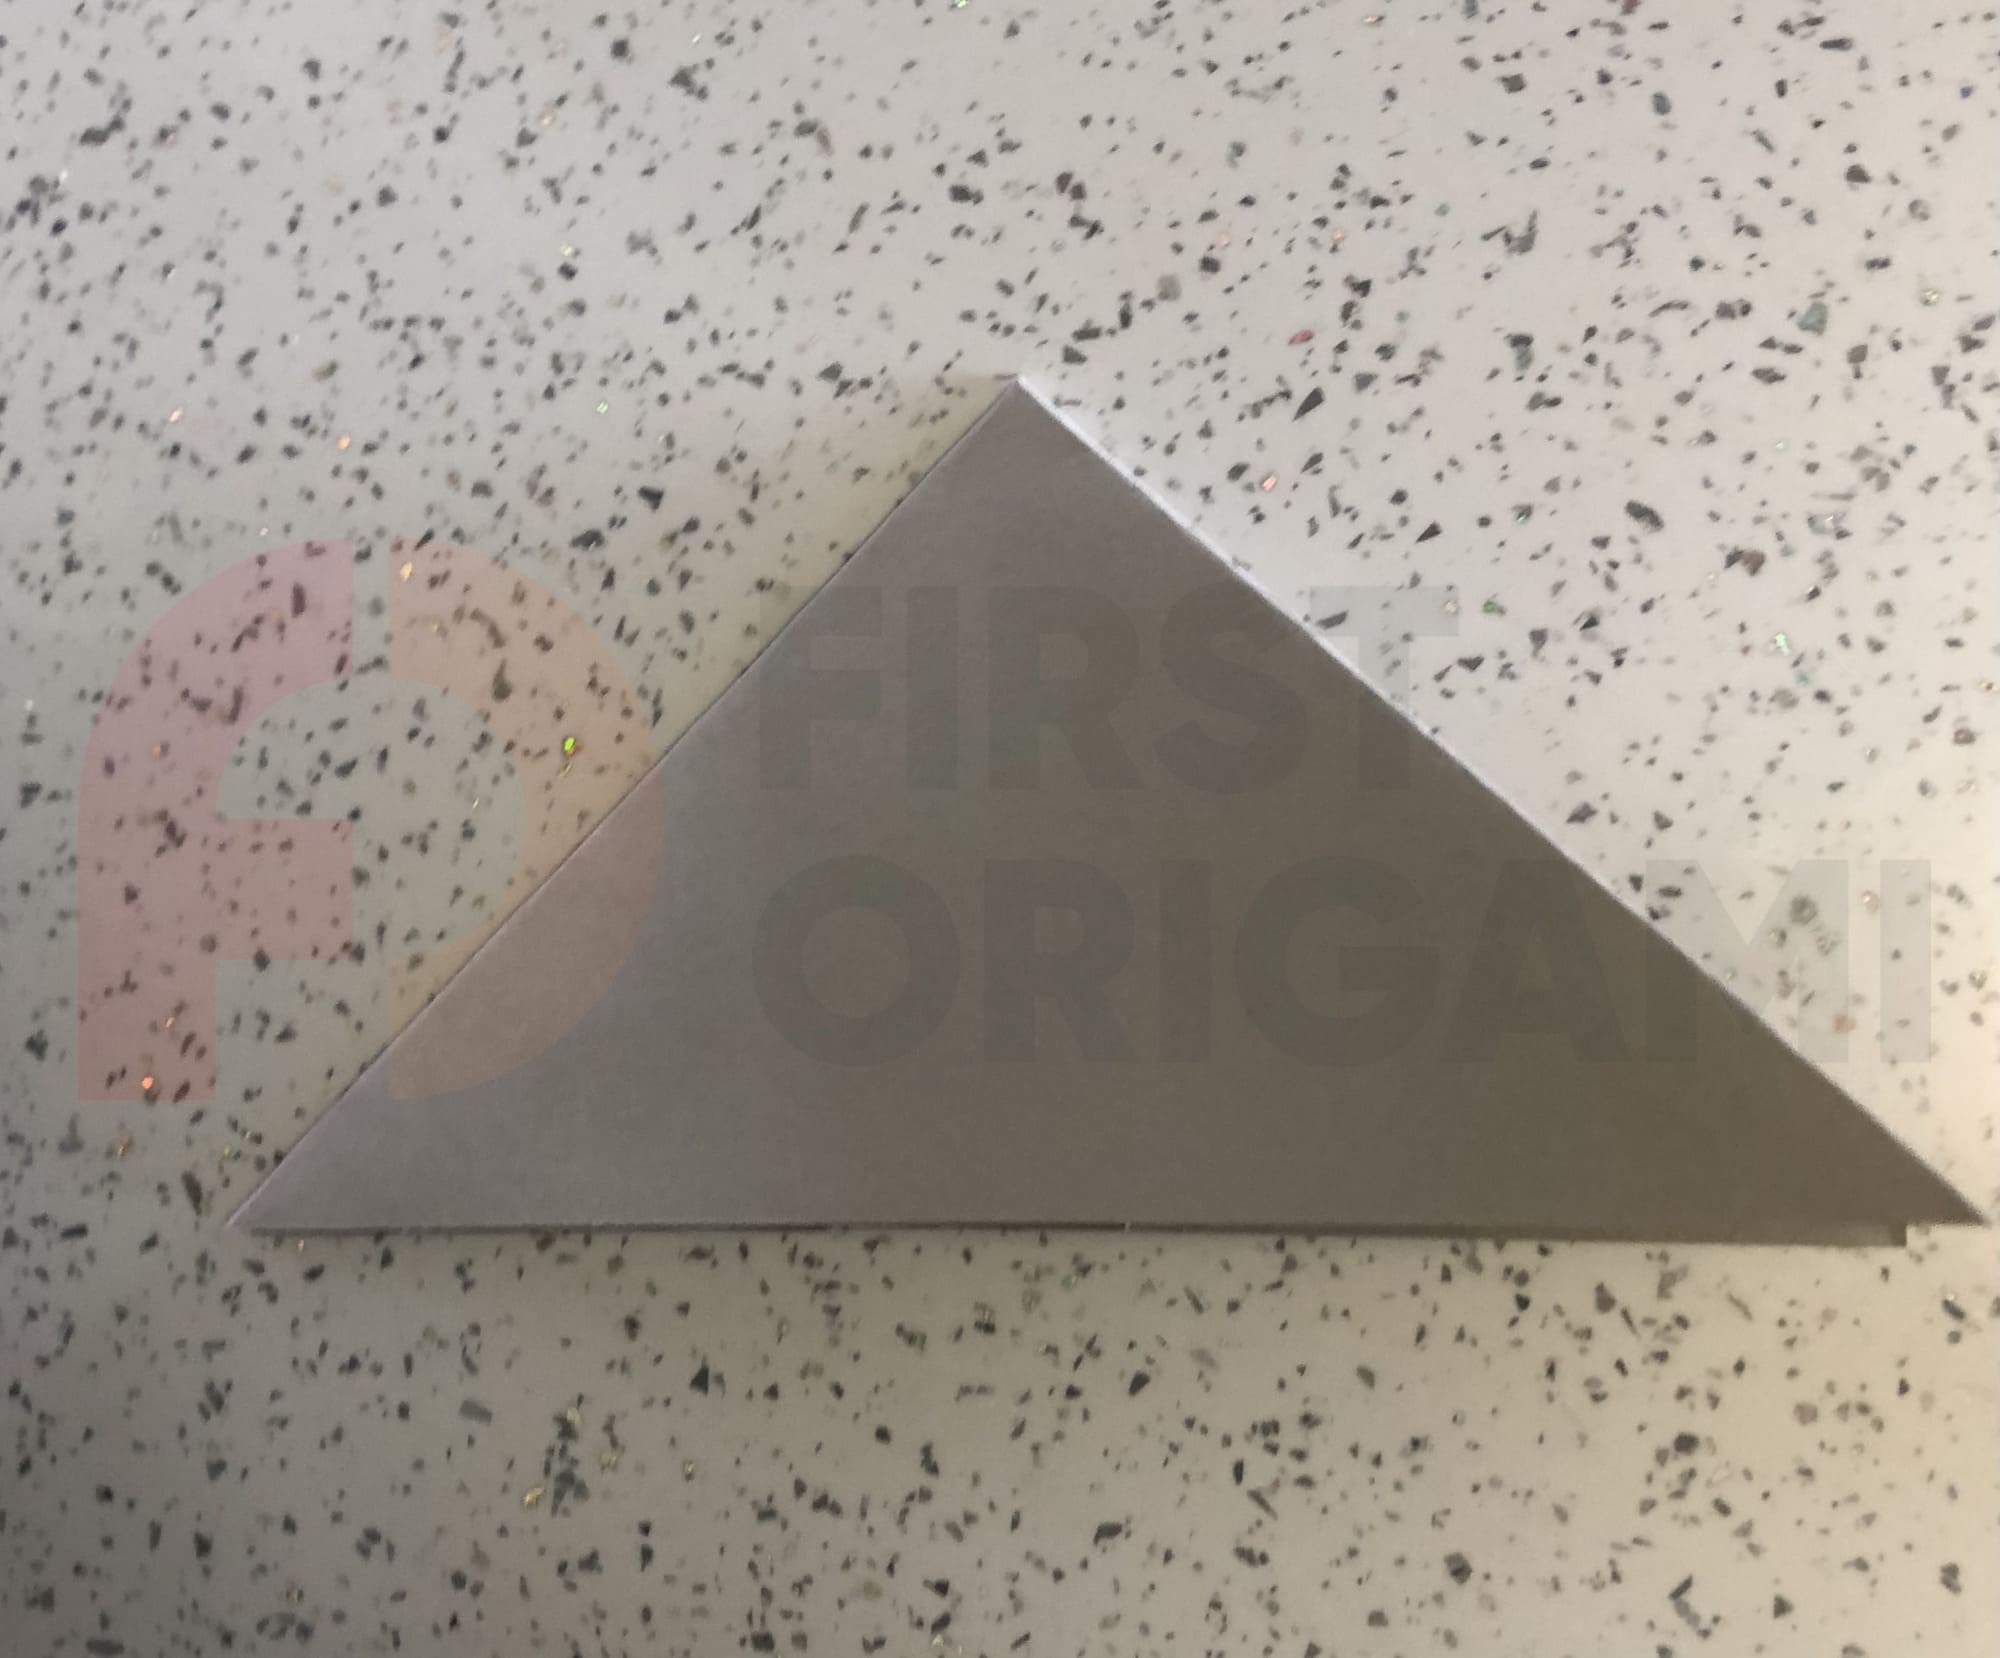
One more diagonal fold…..
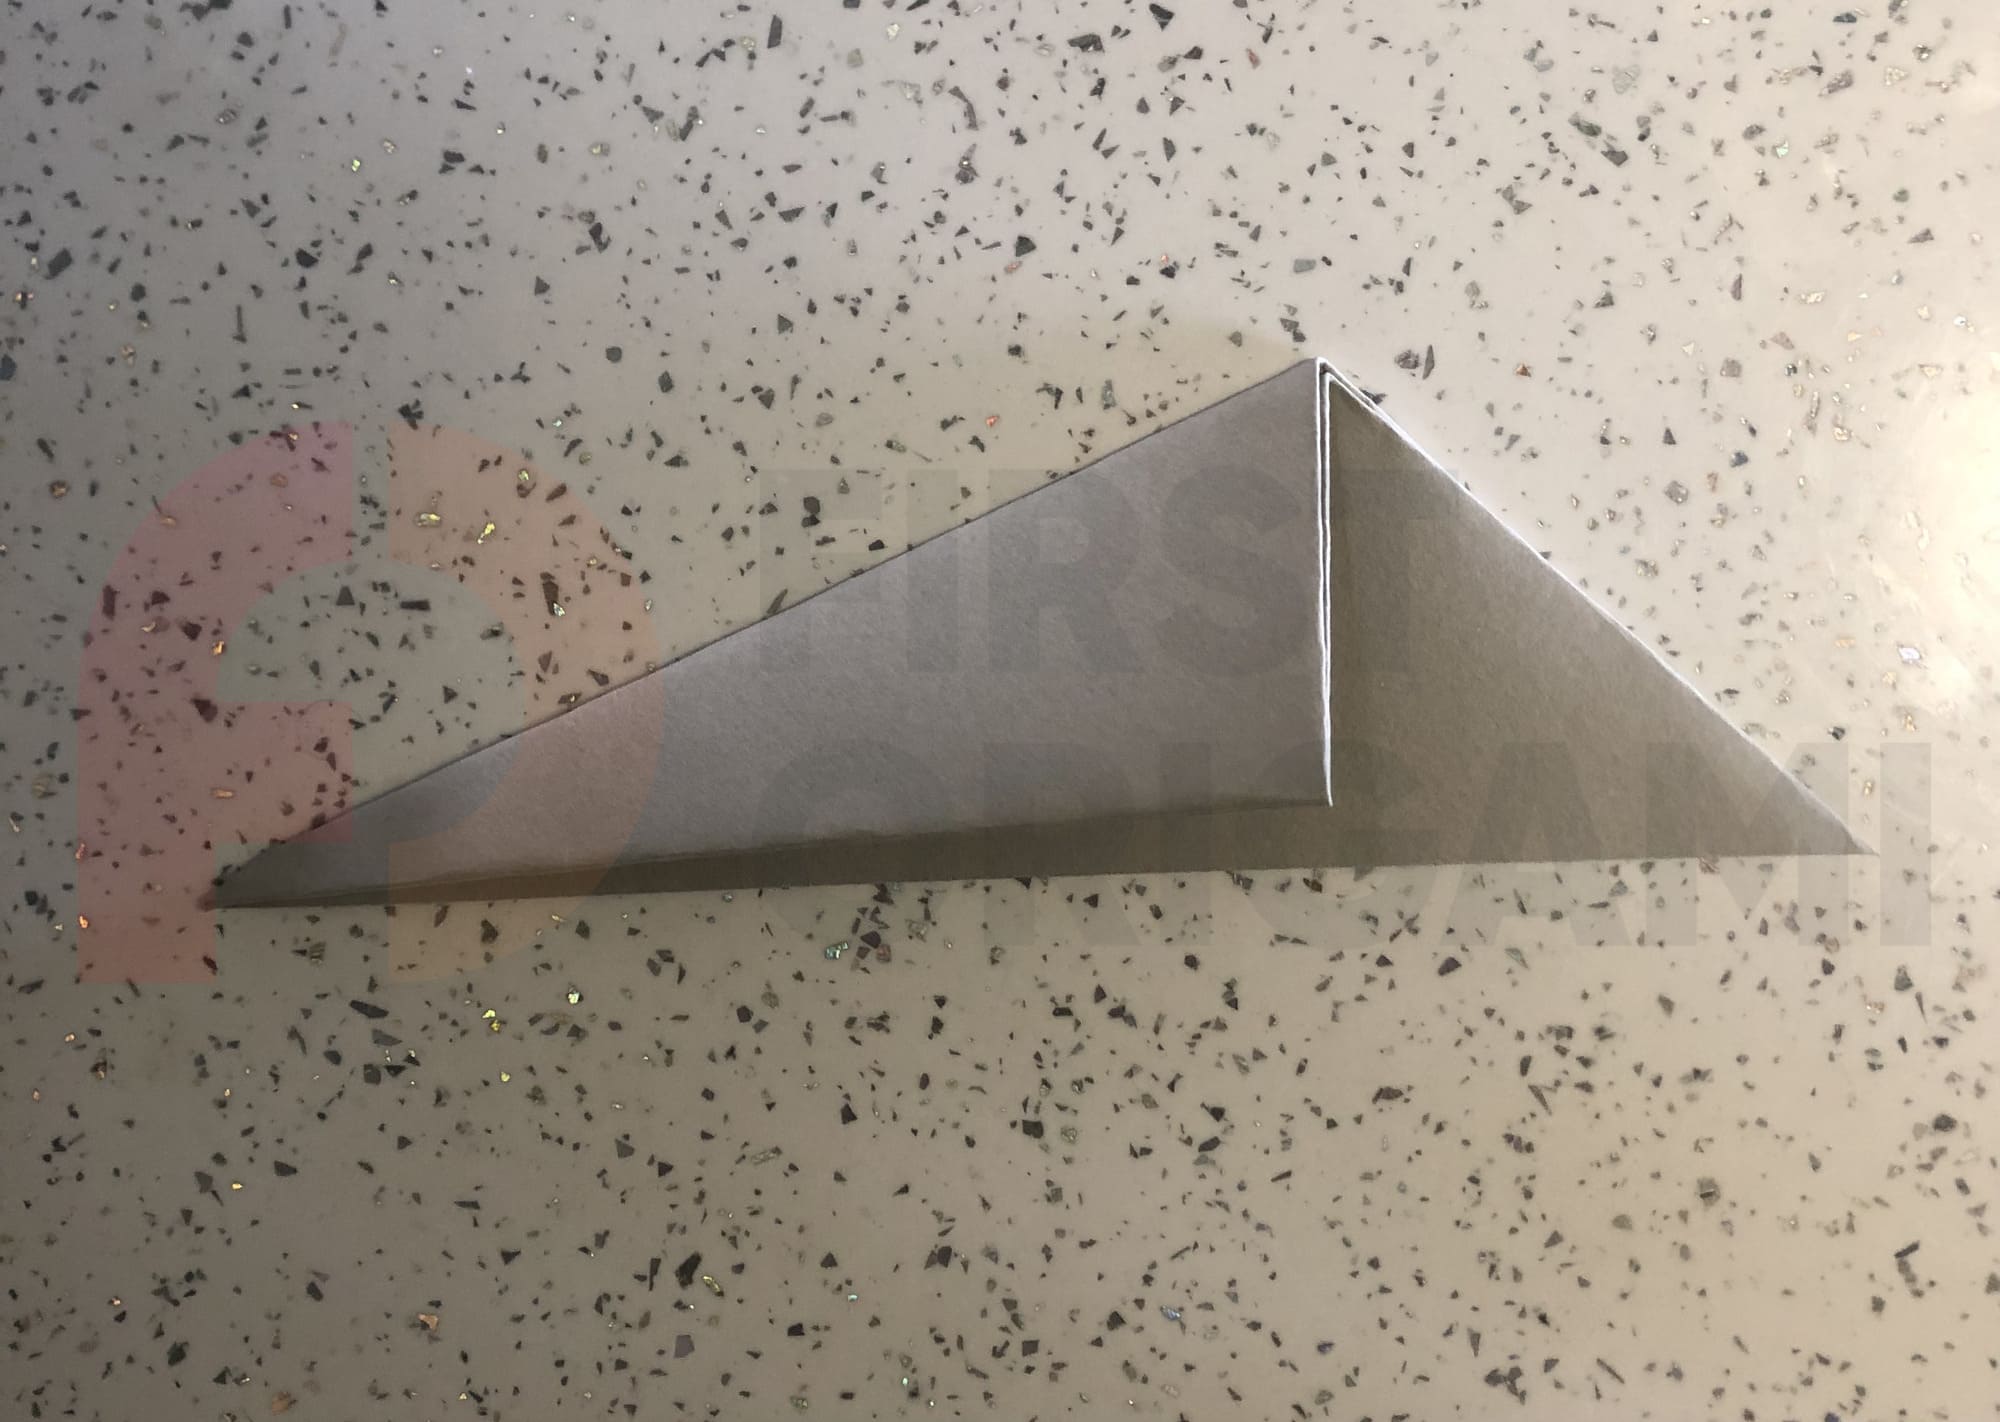
Now make a vertical fold along the longer side of the figure. Unfold the bend and smoothen it.
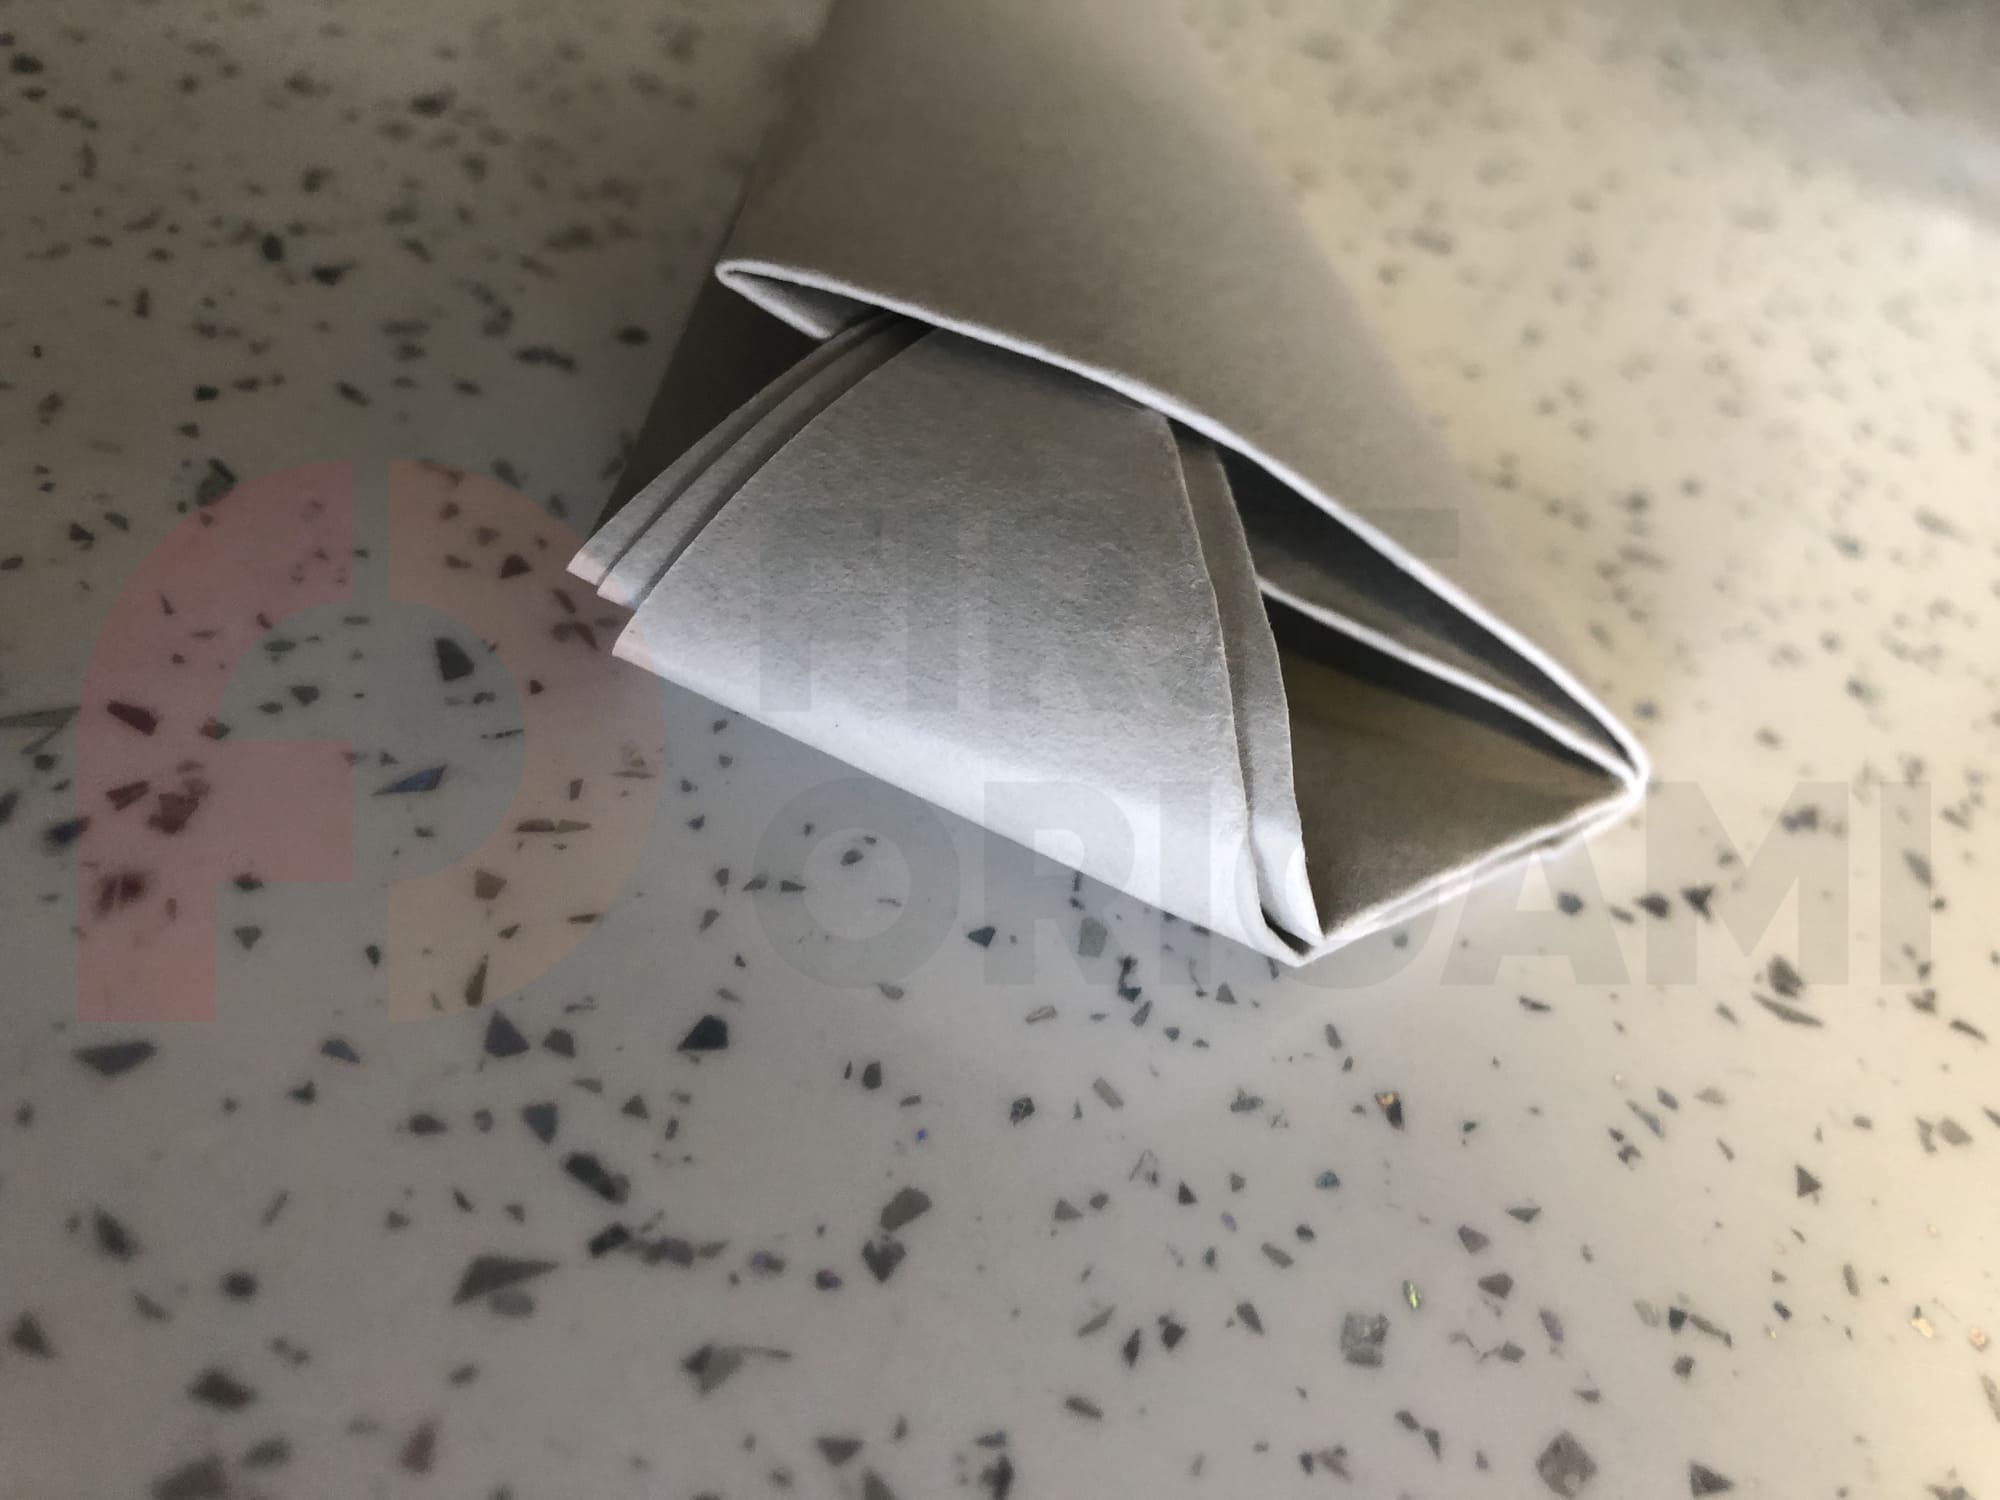
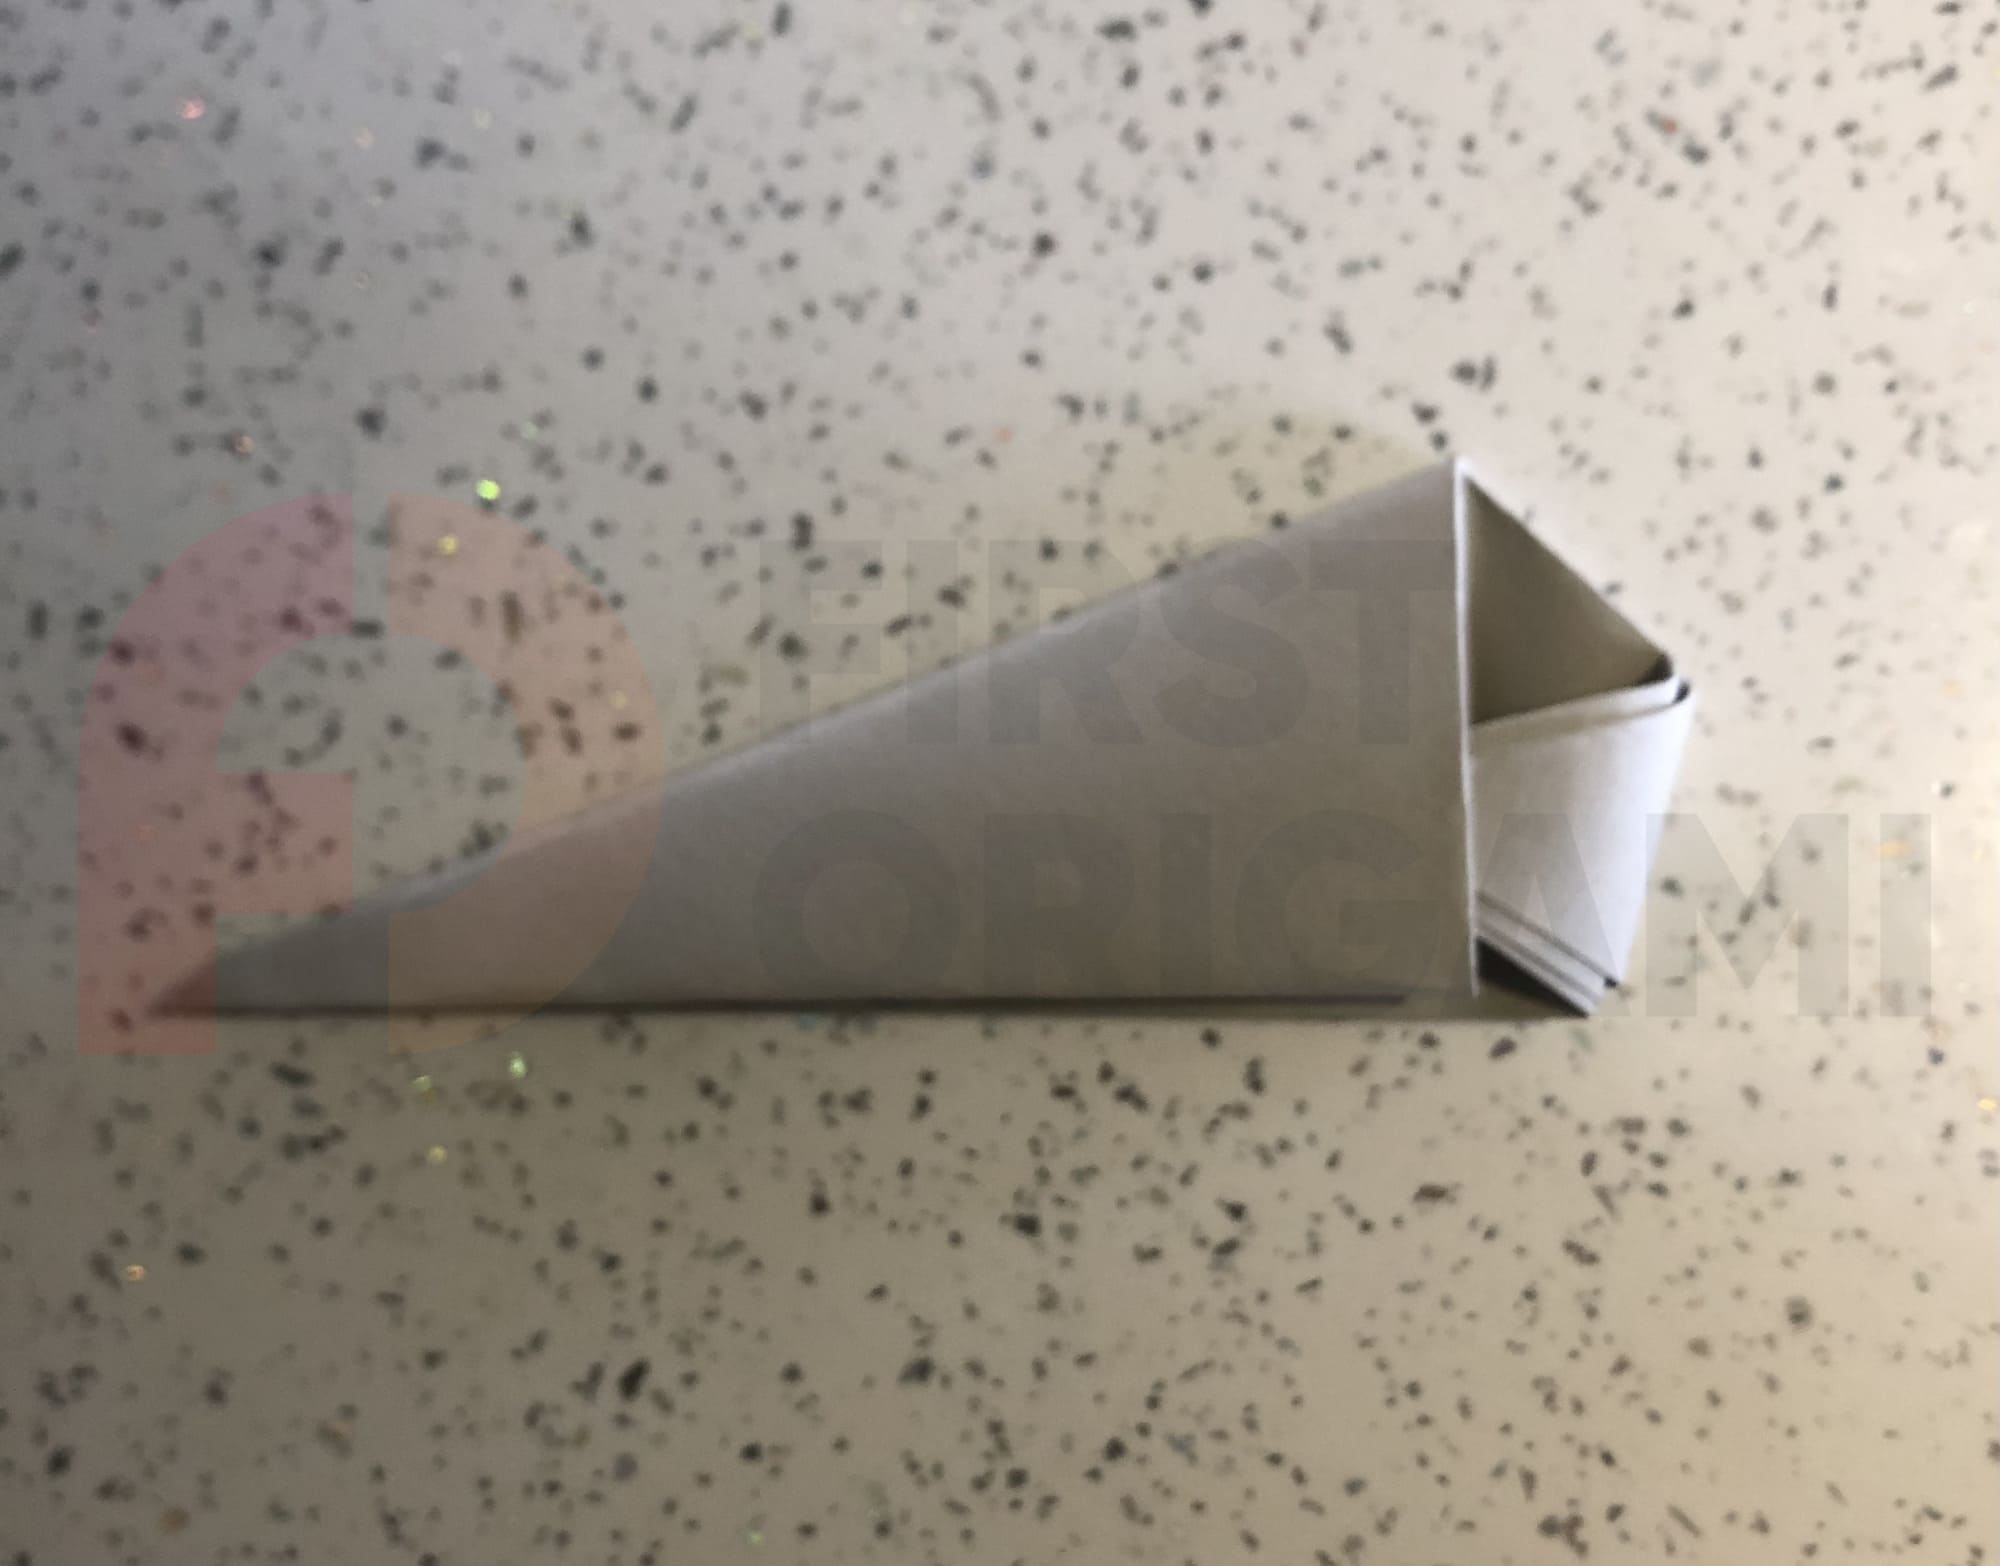
Slip the right end into the pocket.

Here’s a closer look… See the pocket? You need to slip the tip in there completely, as shown in the photo.
Your origami “Witch’s Claw” is ready! Now repeat all the steps nine more times and dress up your fingers for a festive night.
Now dress up, and go get the most amount of candies in your neighborhood!
Now dress up, and go get the most amount of candies in your neighborhood!


