Origami 3D Star

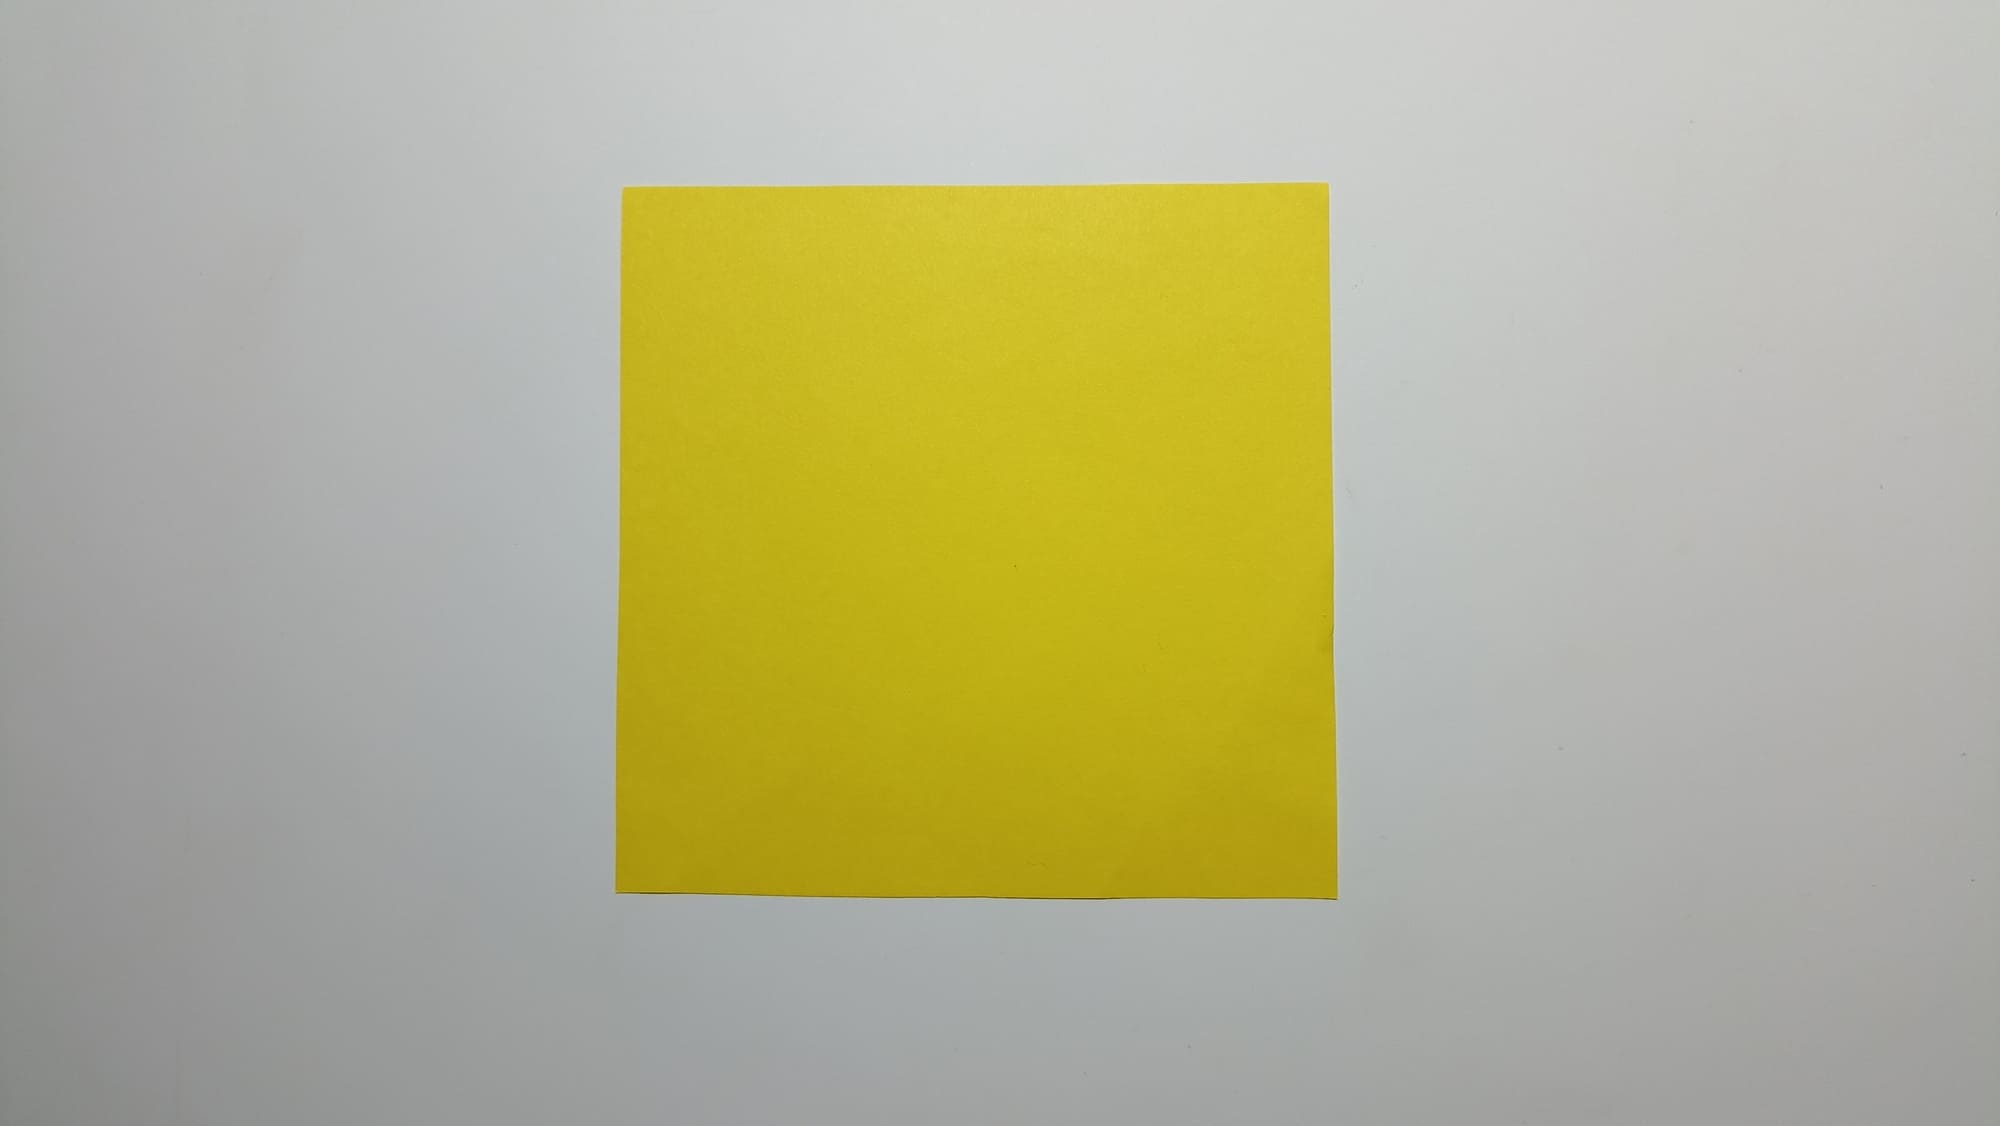
Looking at the star made according to the proposed description, it seems that the master is fluent in the techniques of drawing and geometry, masterfully constructs angles, and measures the necessary segments. Otherwise, how could it be possible to create such a delightfully correct shape? In fact, even a child without special tools and knowledge can make a beautiful star with five rays, using two identical squares of paper, scissors, glue, and the proposed origami pattern.
The origami star is a wonderful decoration. With the finished figure you can decorate the top of the Christmas tree or hang it on a thread, or you can make a whole garland of stars. A show, concert, or musical performance decorated with stars will add joyful and bright feelings. The color, material, and style of decoration may vary depending on the preferences of the event organizers.
Fold the square of paper onto itself, aligning the top and bottom sides, and crease the fold.
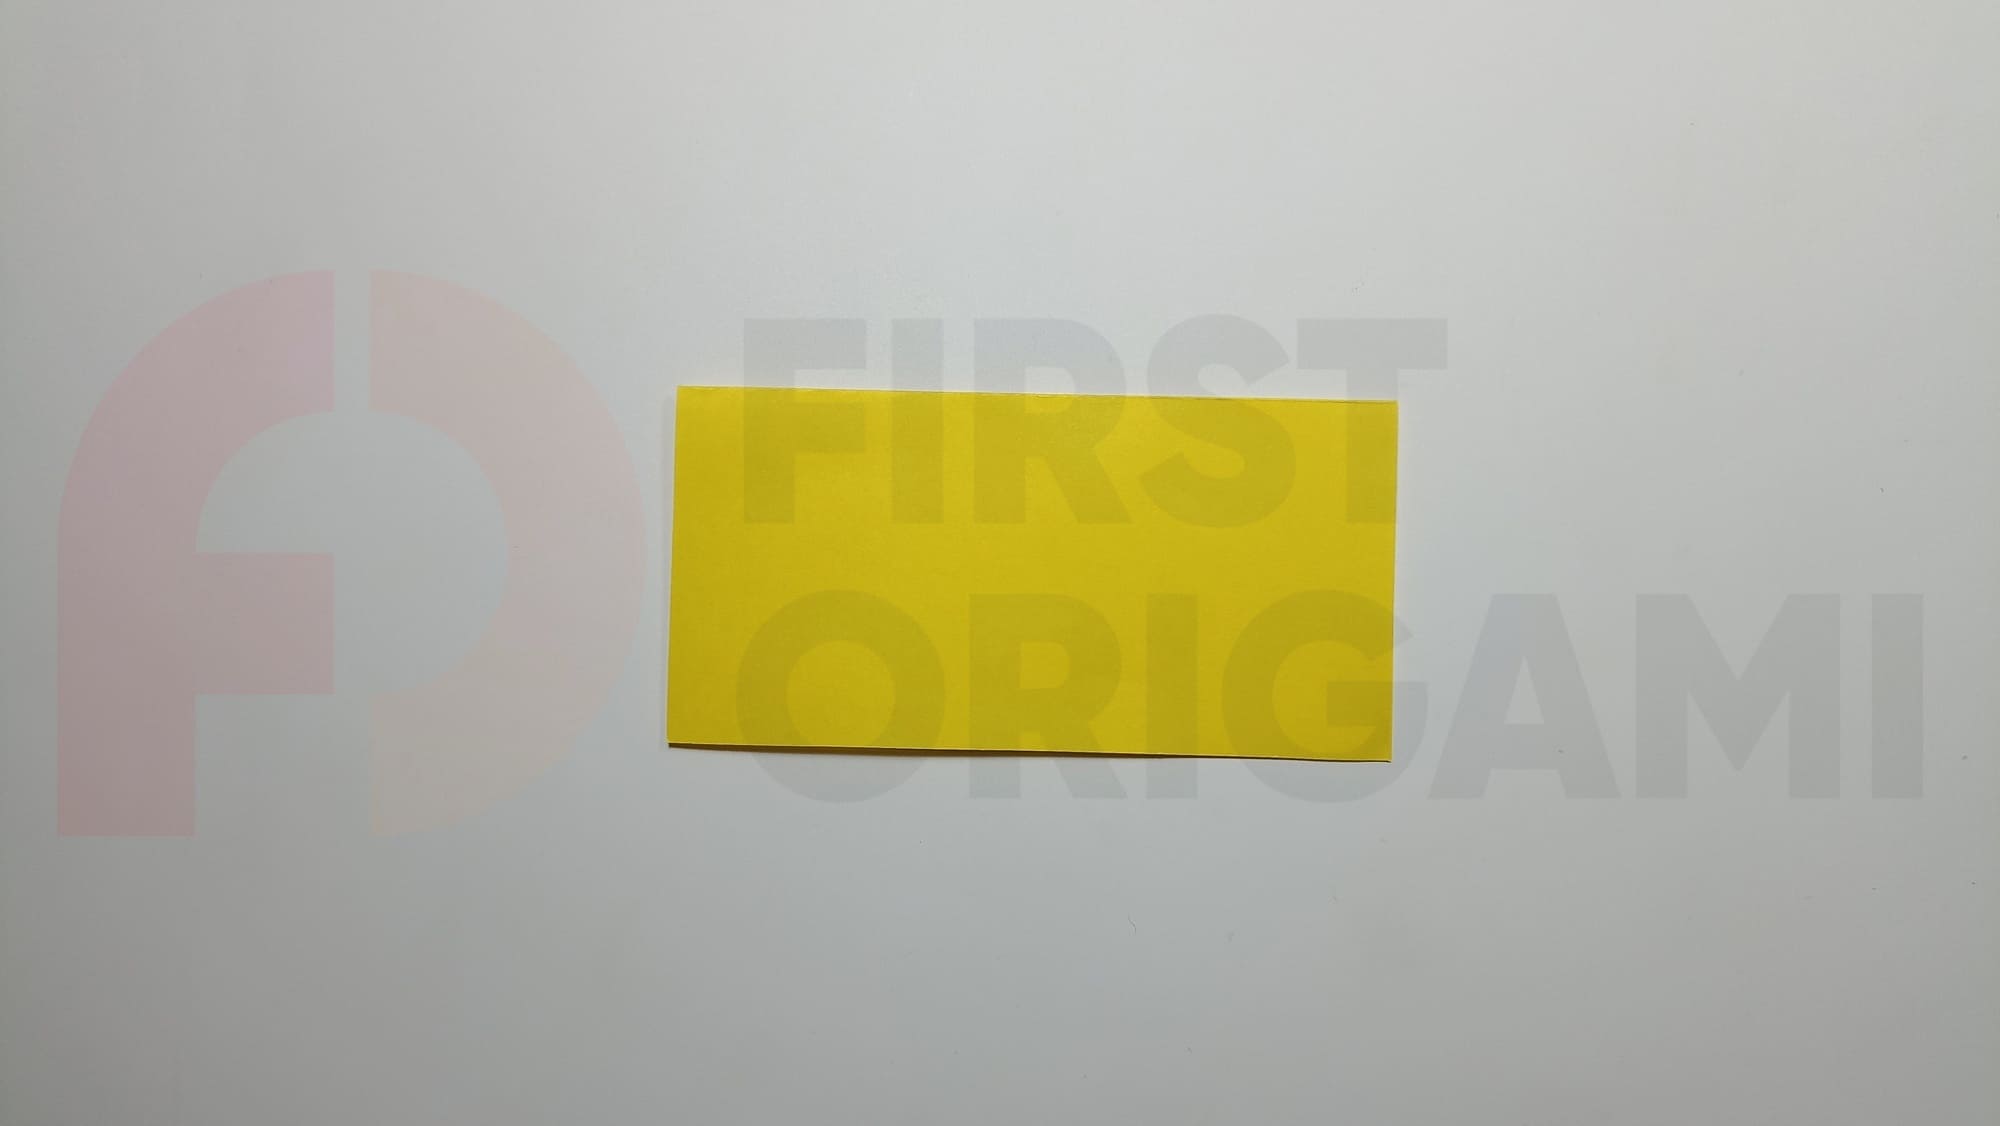

Align the left side with the bottom line of the figure and open it back.

Now, align the same side with the top line and open it back.

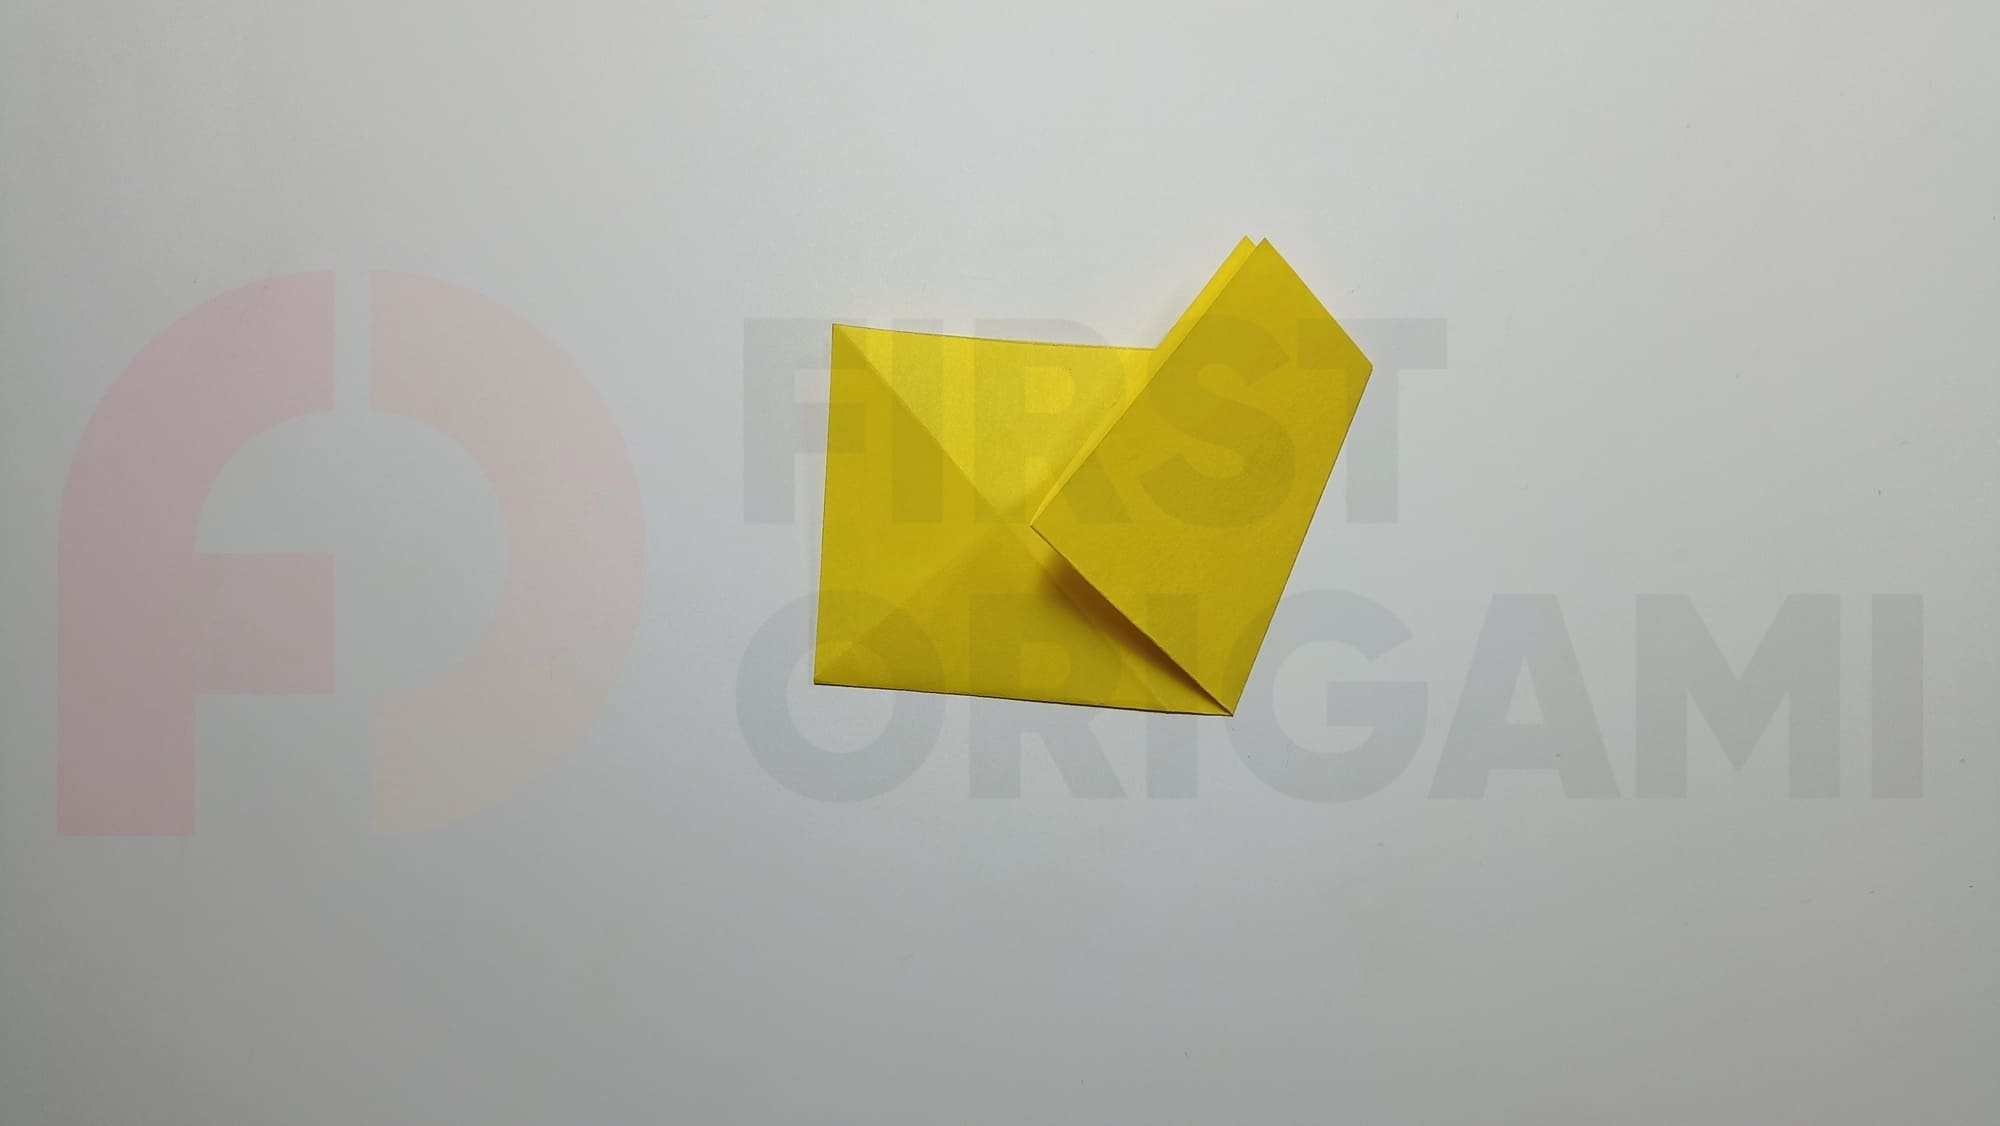
Align the lower right corner of the rectangle with the intersection point of the additional lines obtained in the previous steps.
Divide the corner of the folded part of the paper in half, aligning the left side with the right side. Crease the folds.
Align the bottom part of the sheet of paper with the folds obtained in the previous steps.

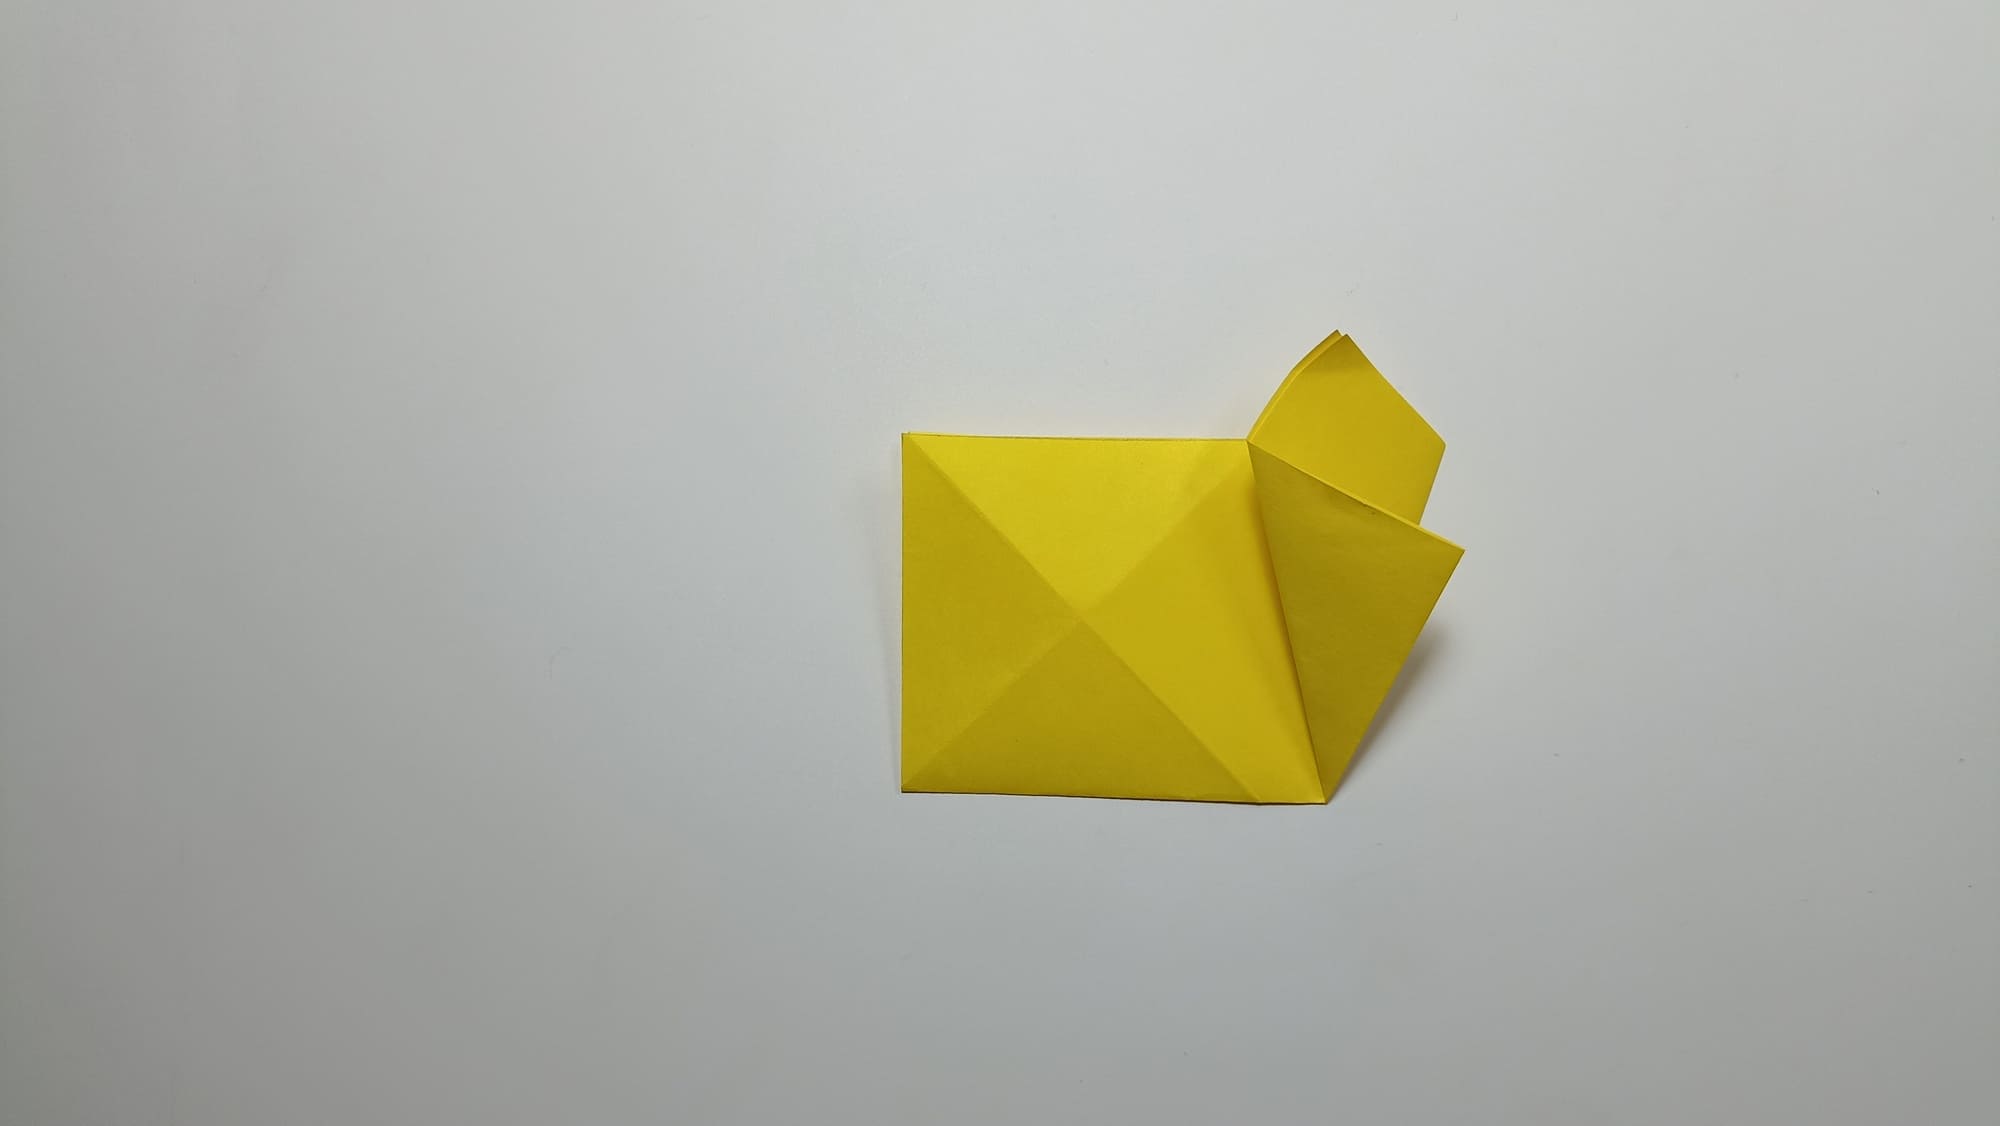
Turn the figure over.
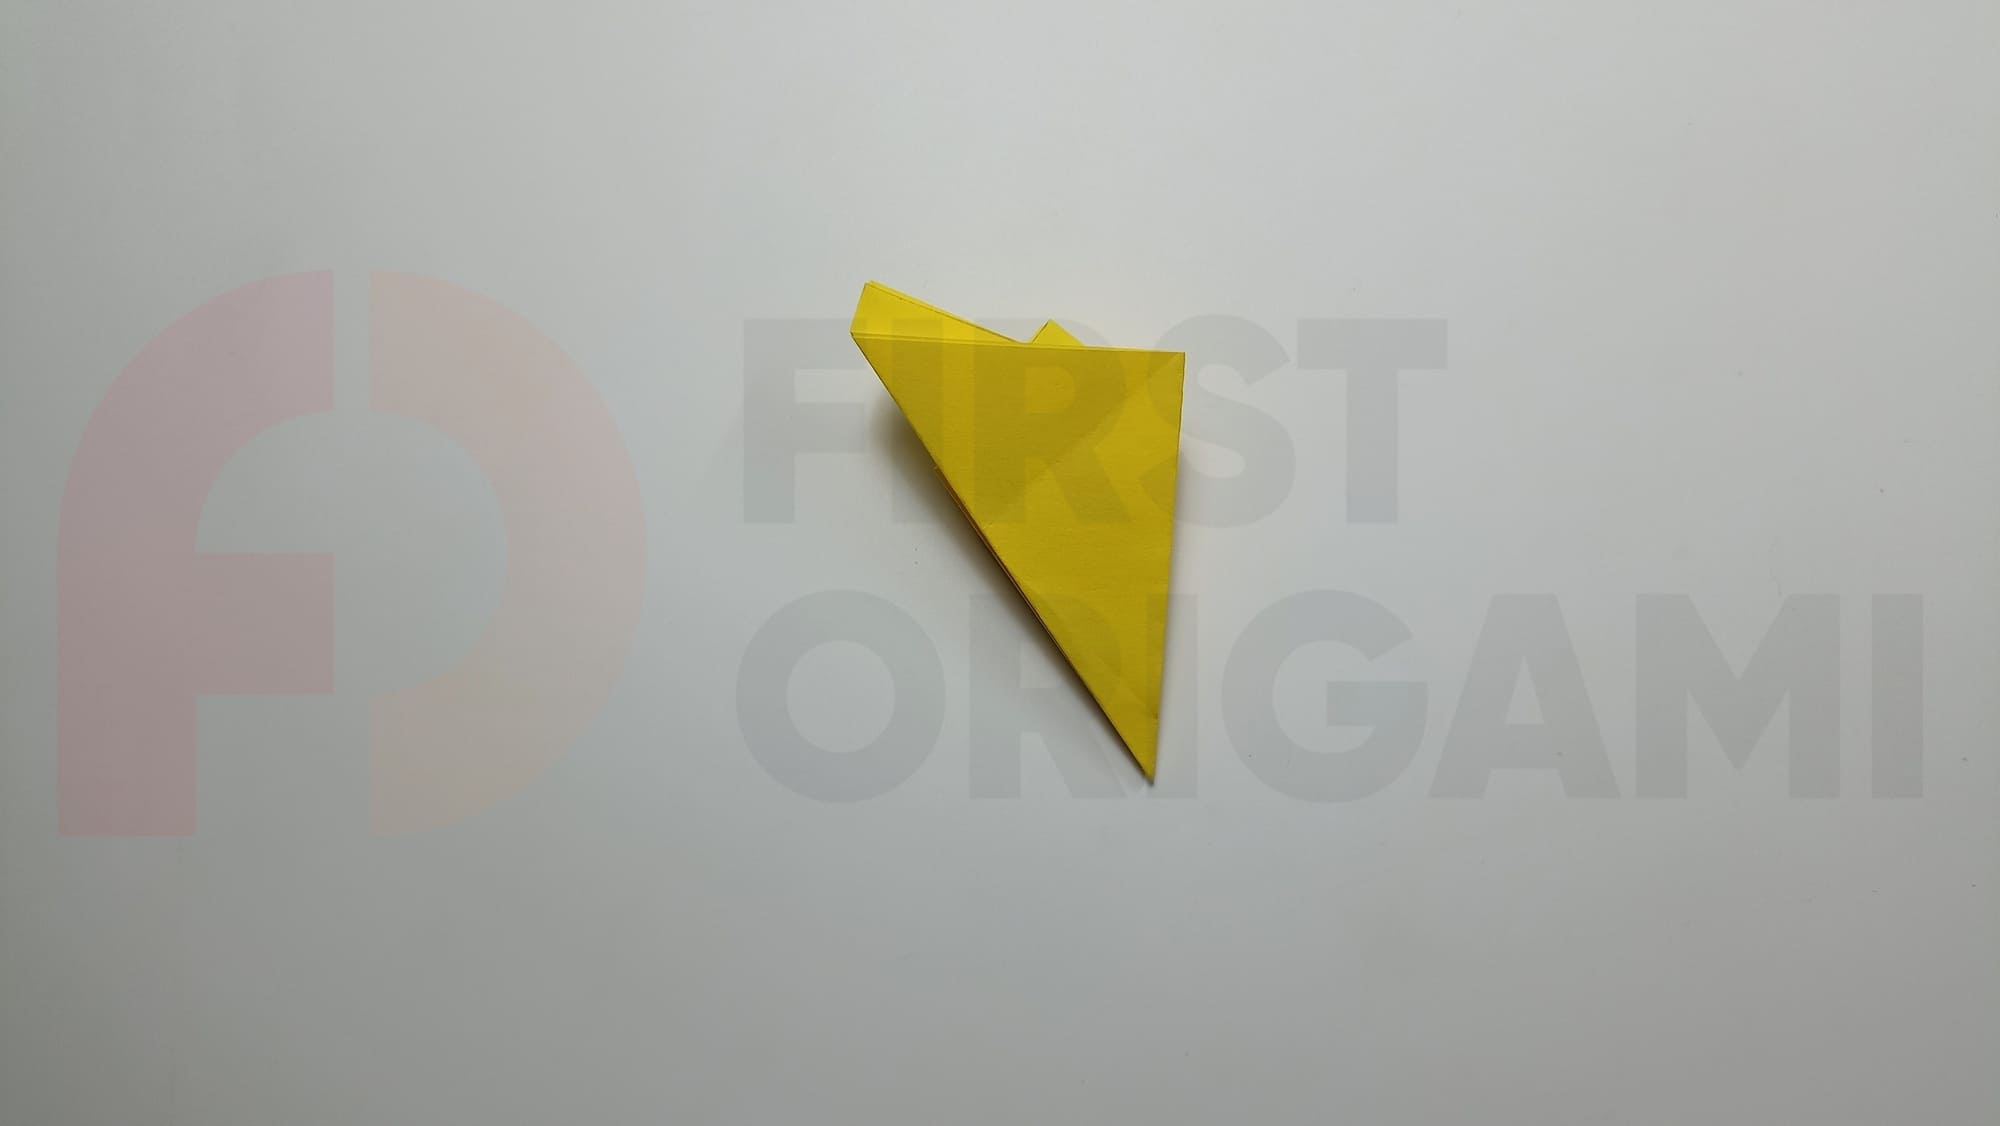
Fold the figure in half, connecting the sides, and turn it sideways.
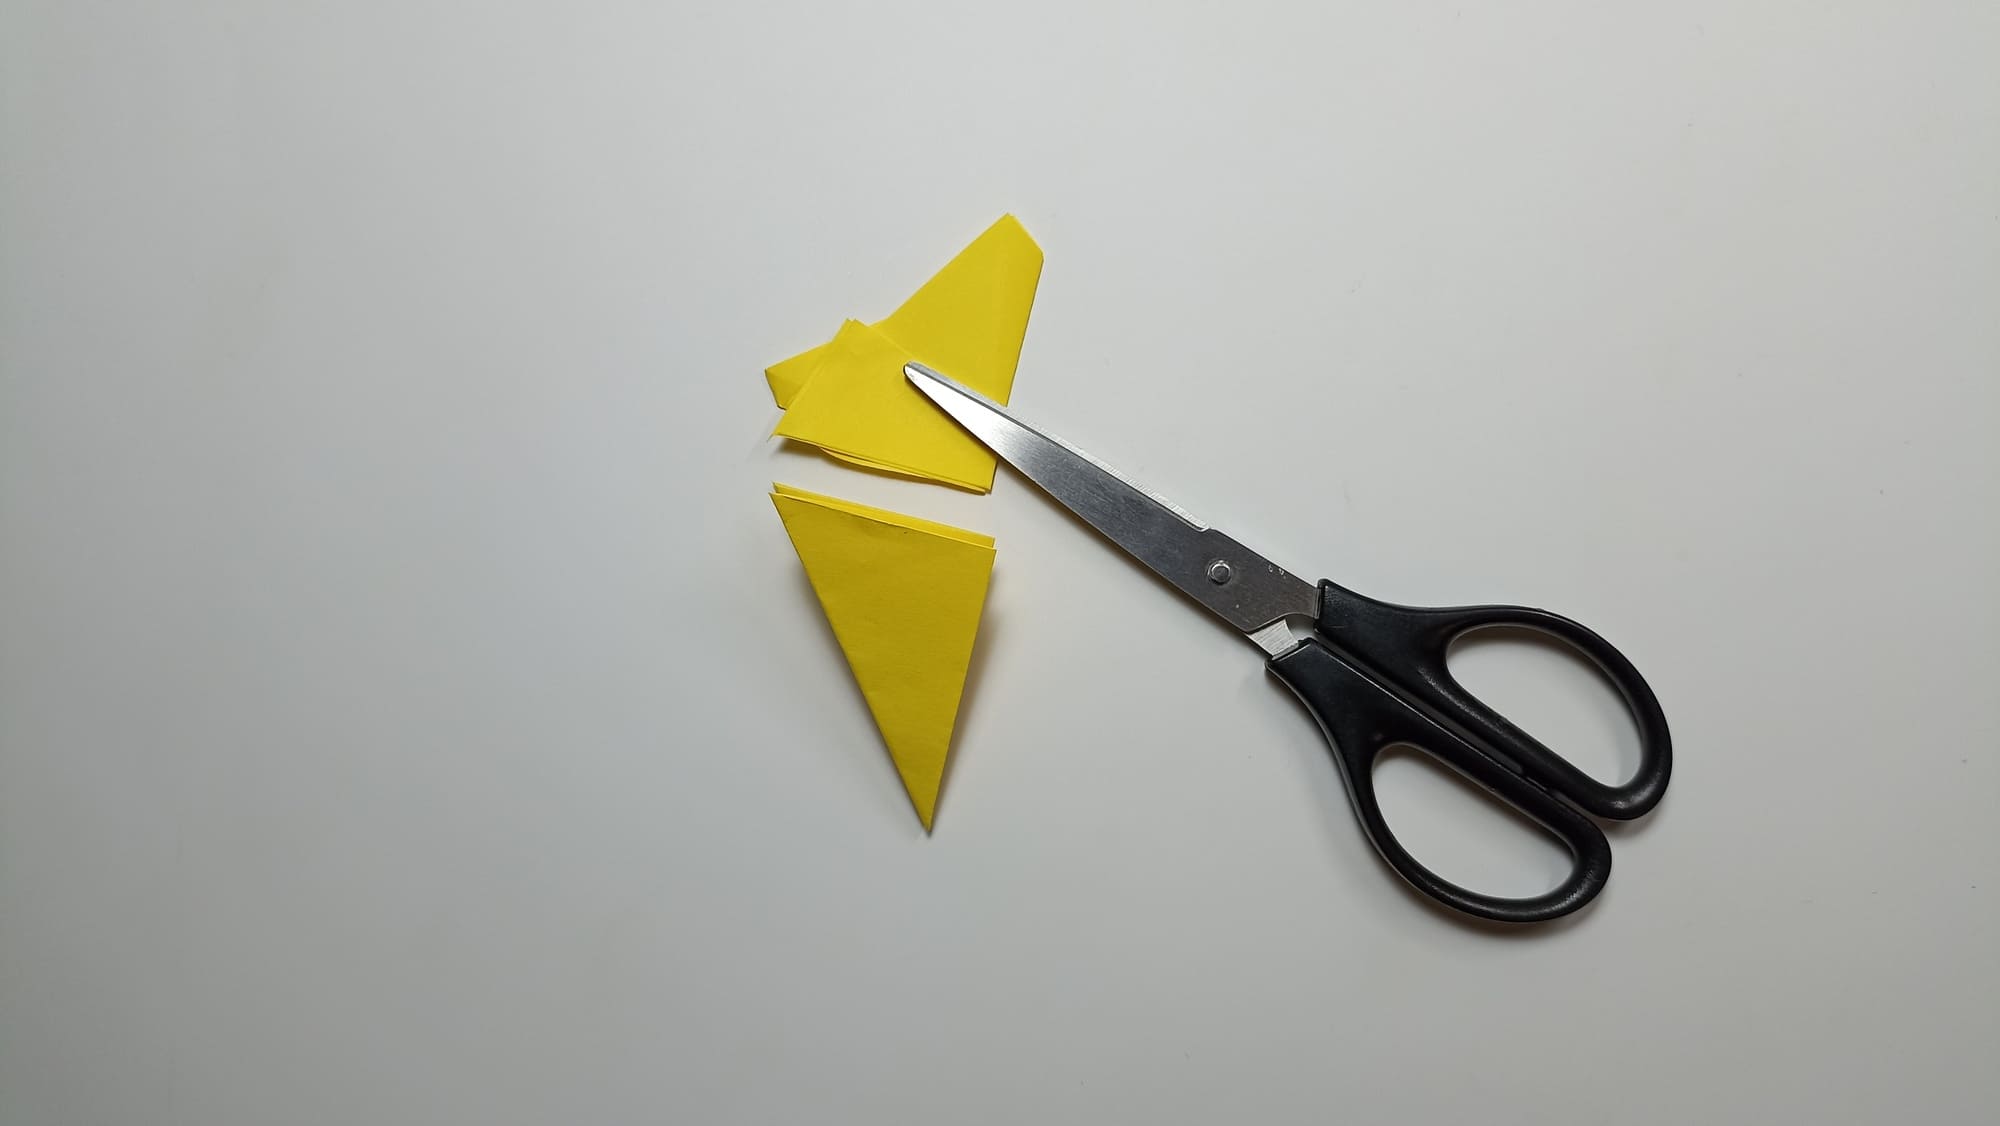
Cut off the protruding parts of the folds along the line.
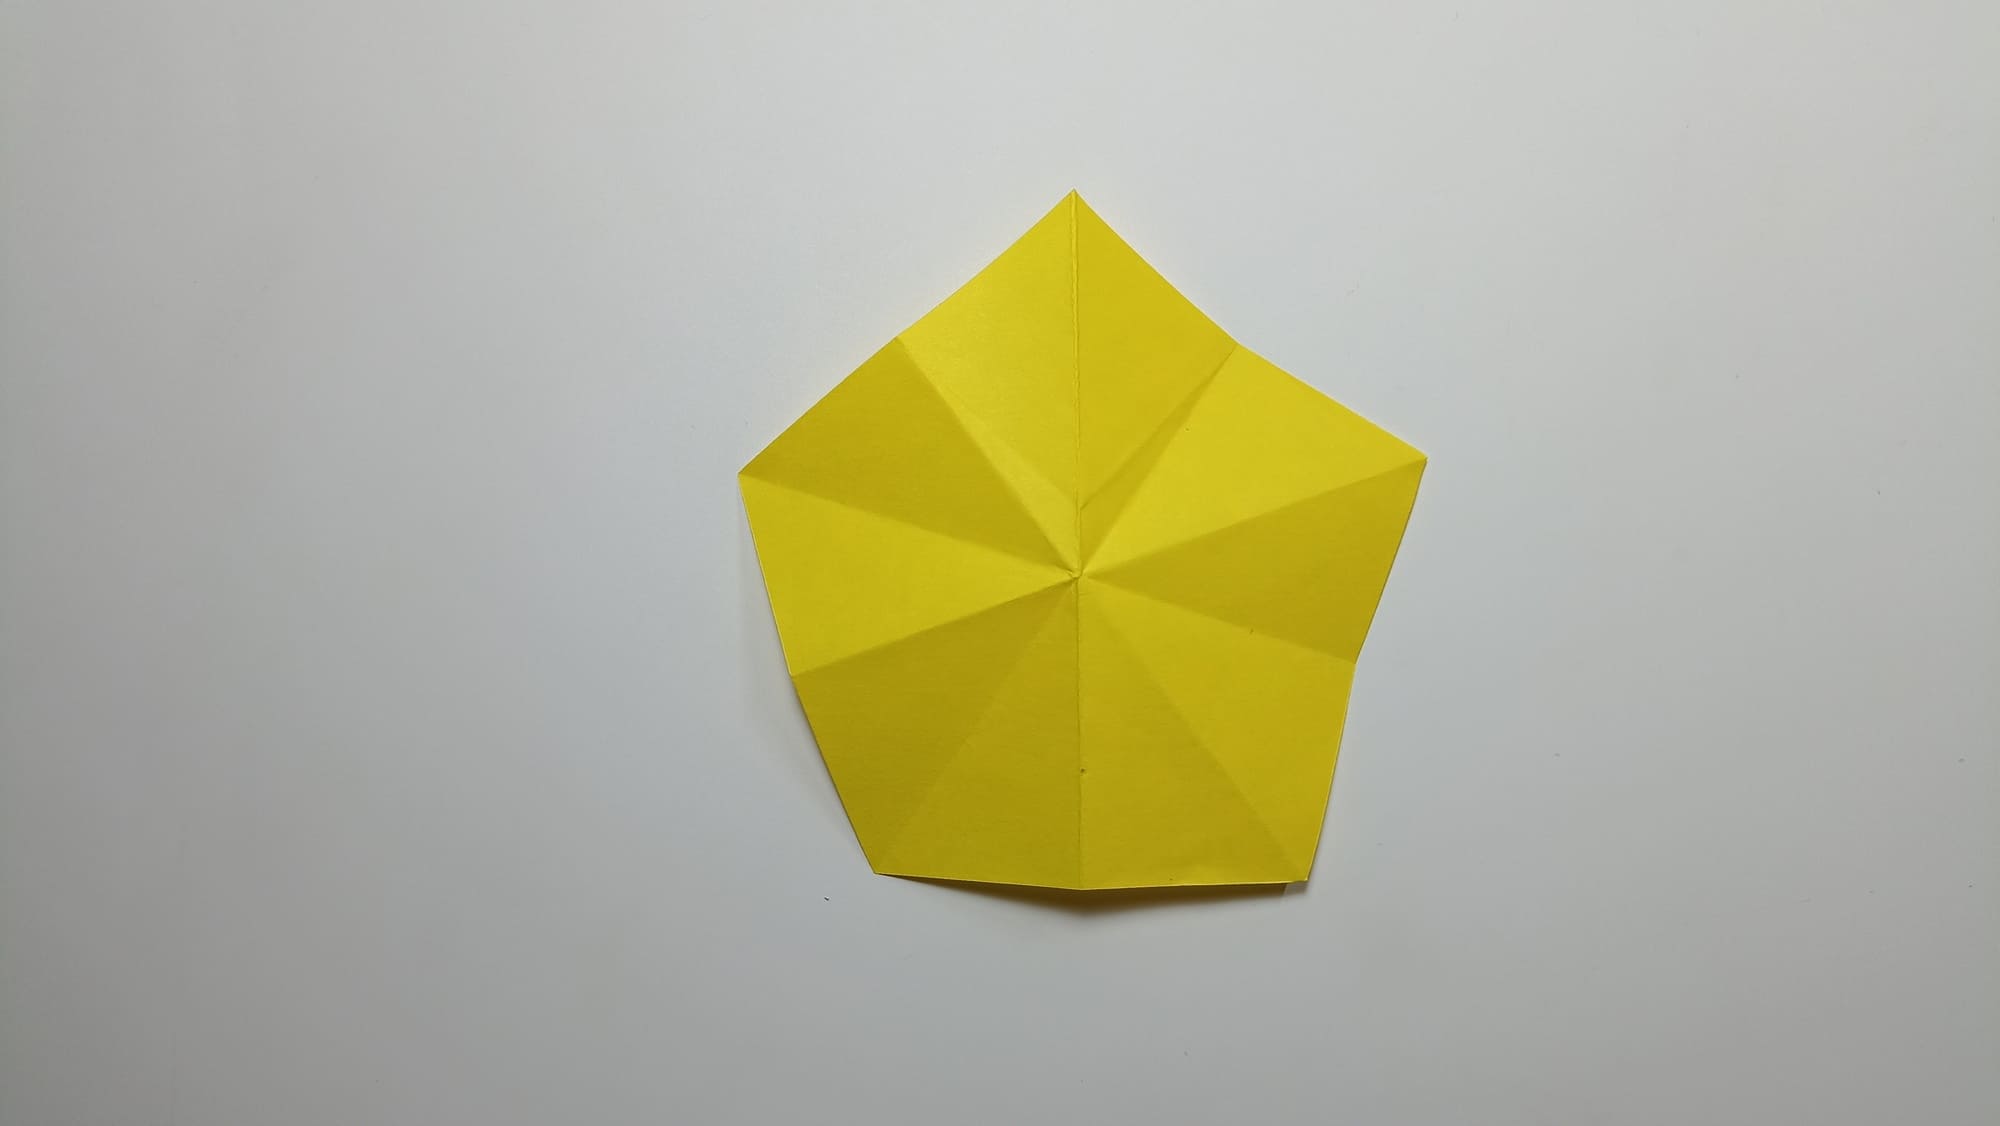
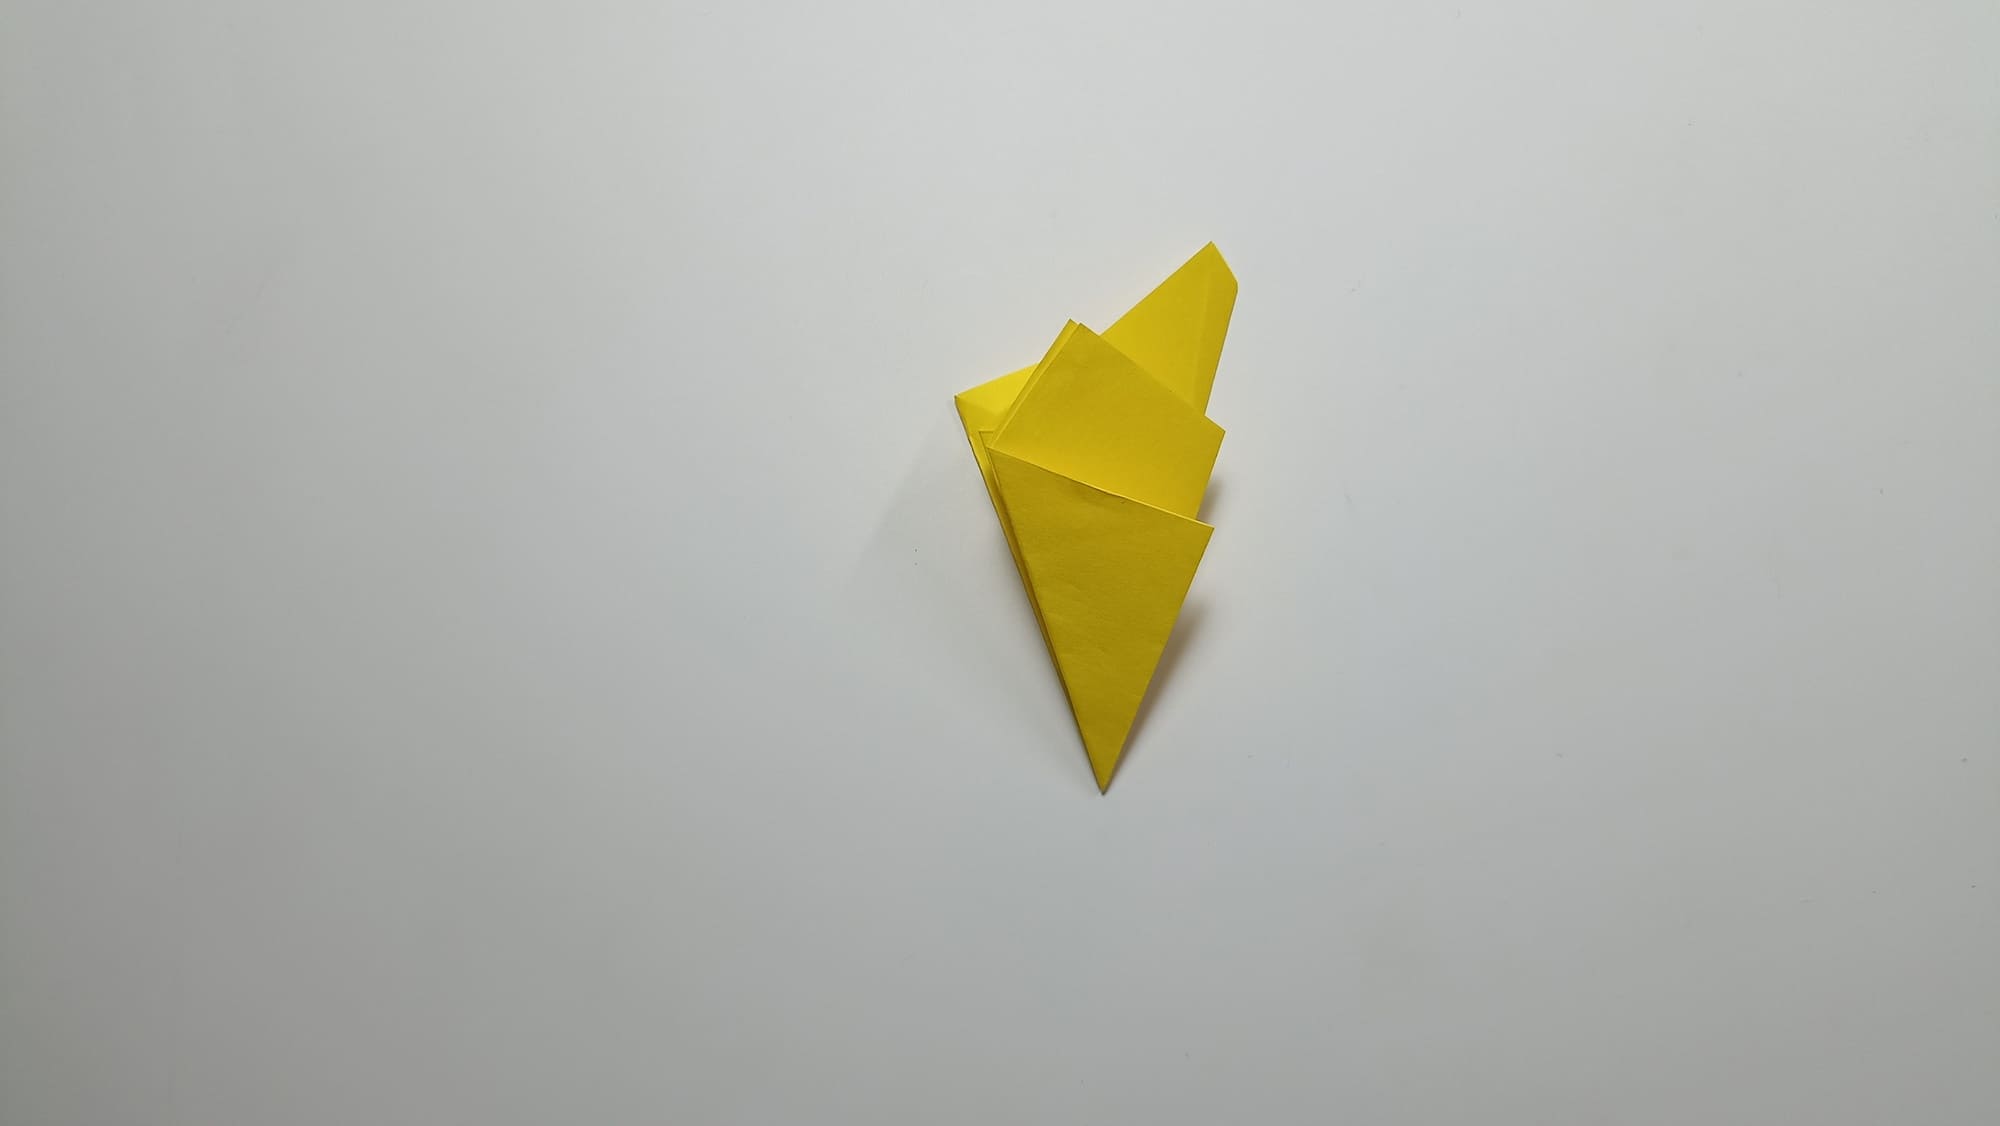
Unfold the figure and make all long folds curved outward. All short folds concave inward.
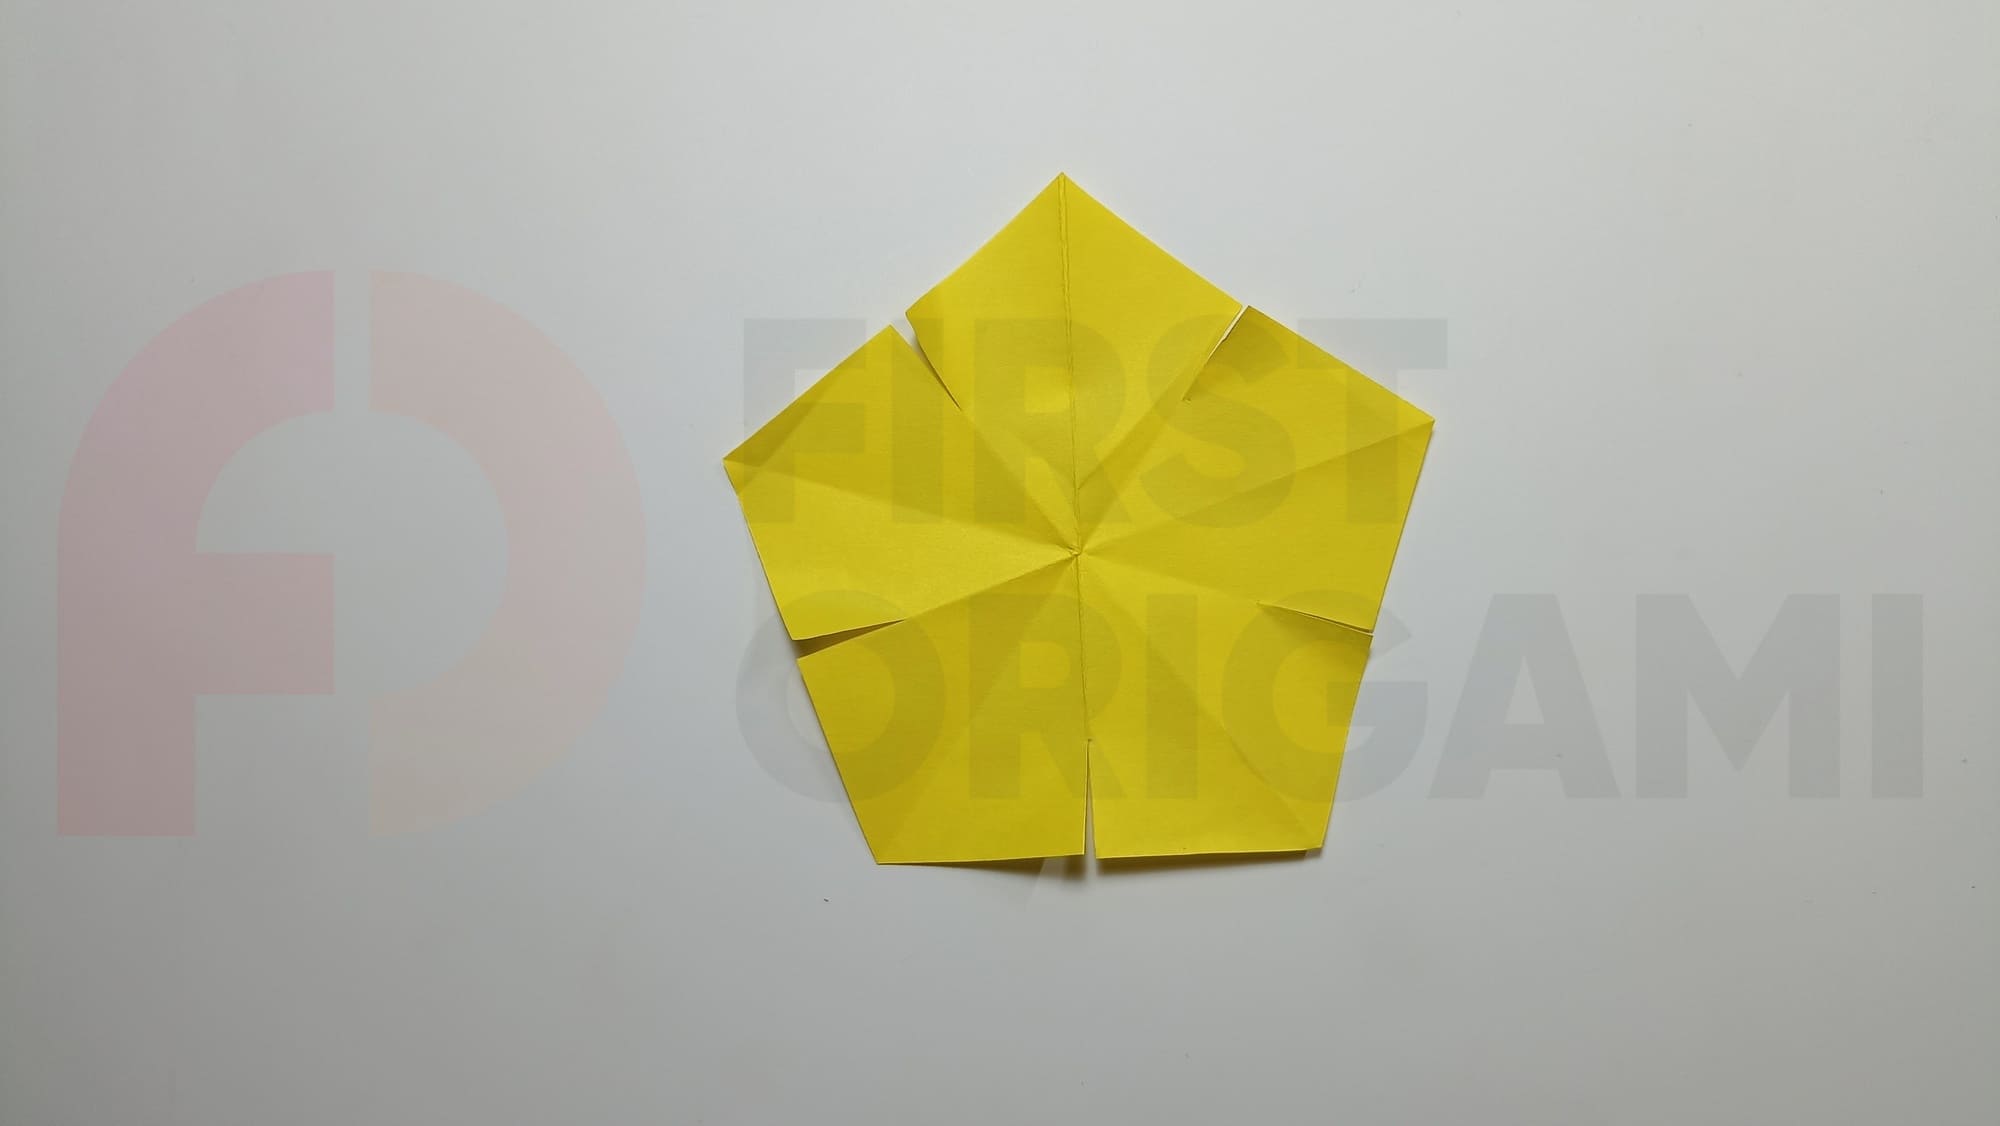
Make five identical cuts along the short folds. The depth of the cut should not exceed one-third of the length of the line.

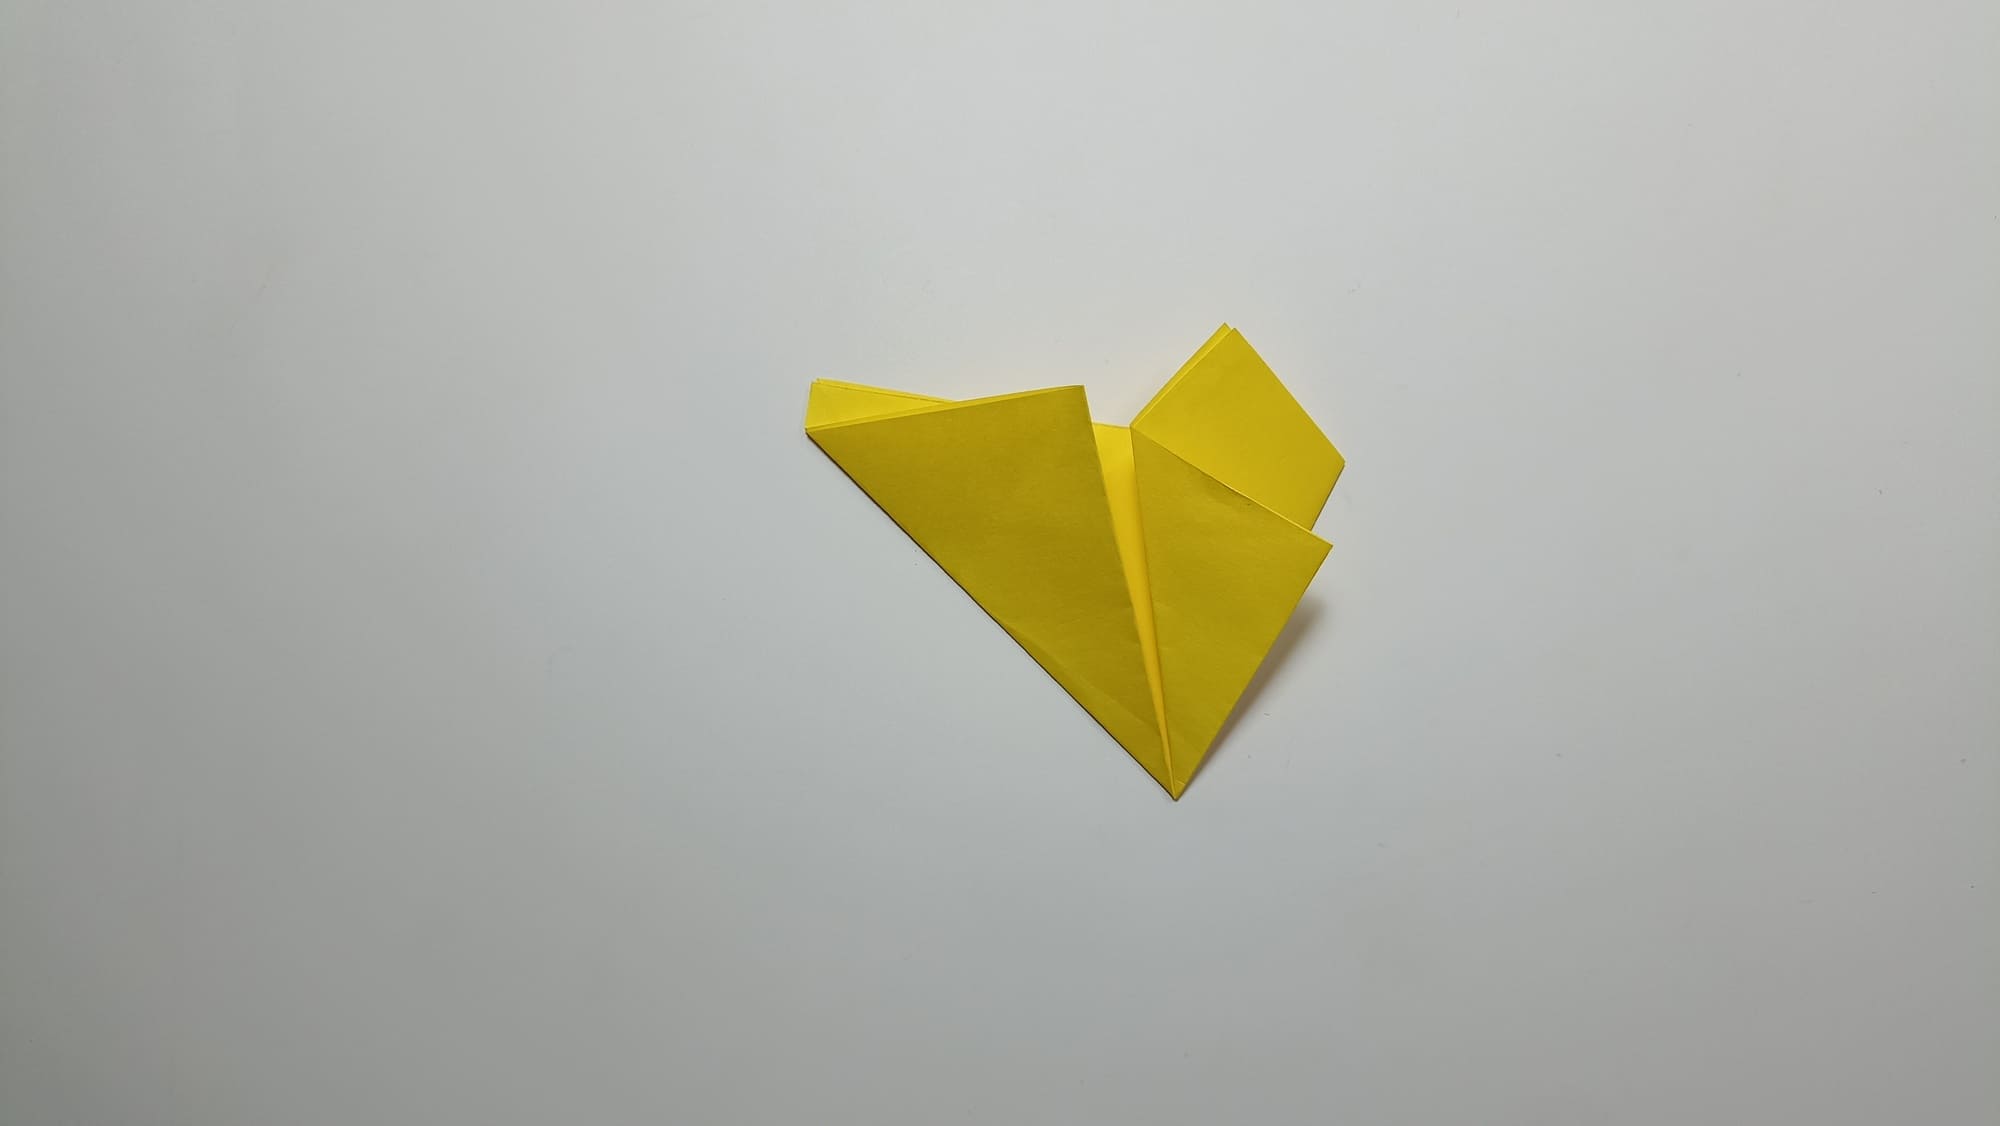
Make folds connecting the top of the corner and the cut point. There are two folds on each top, which makes ten in total.
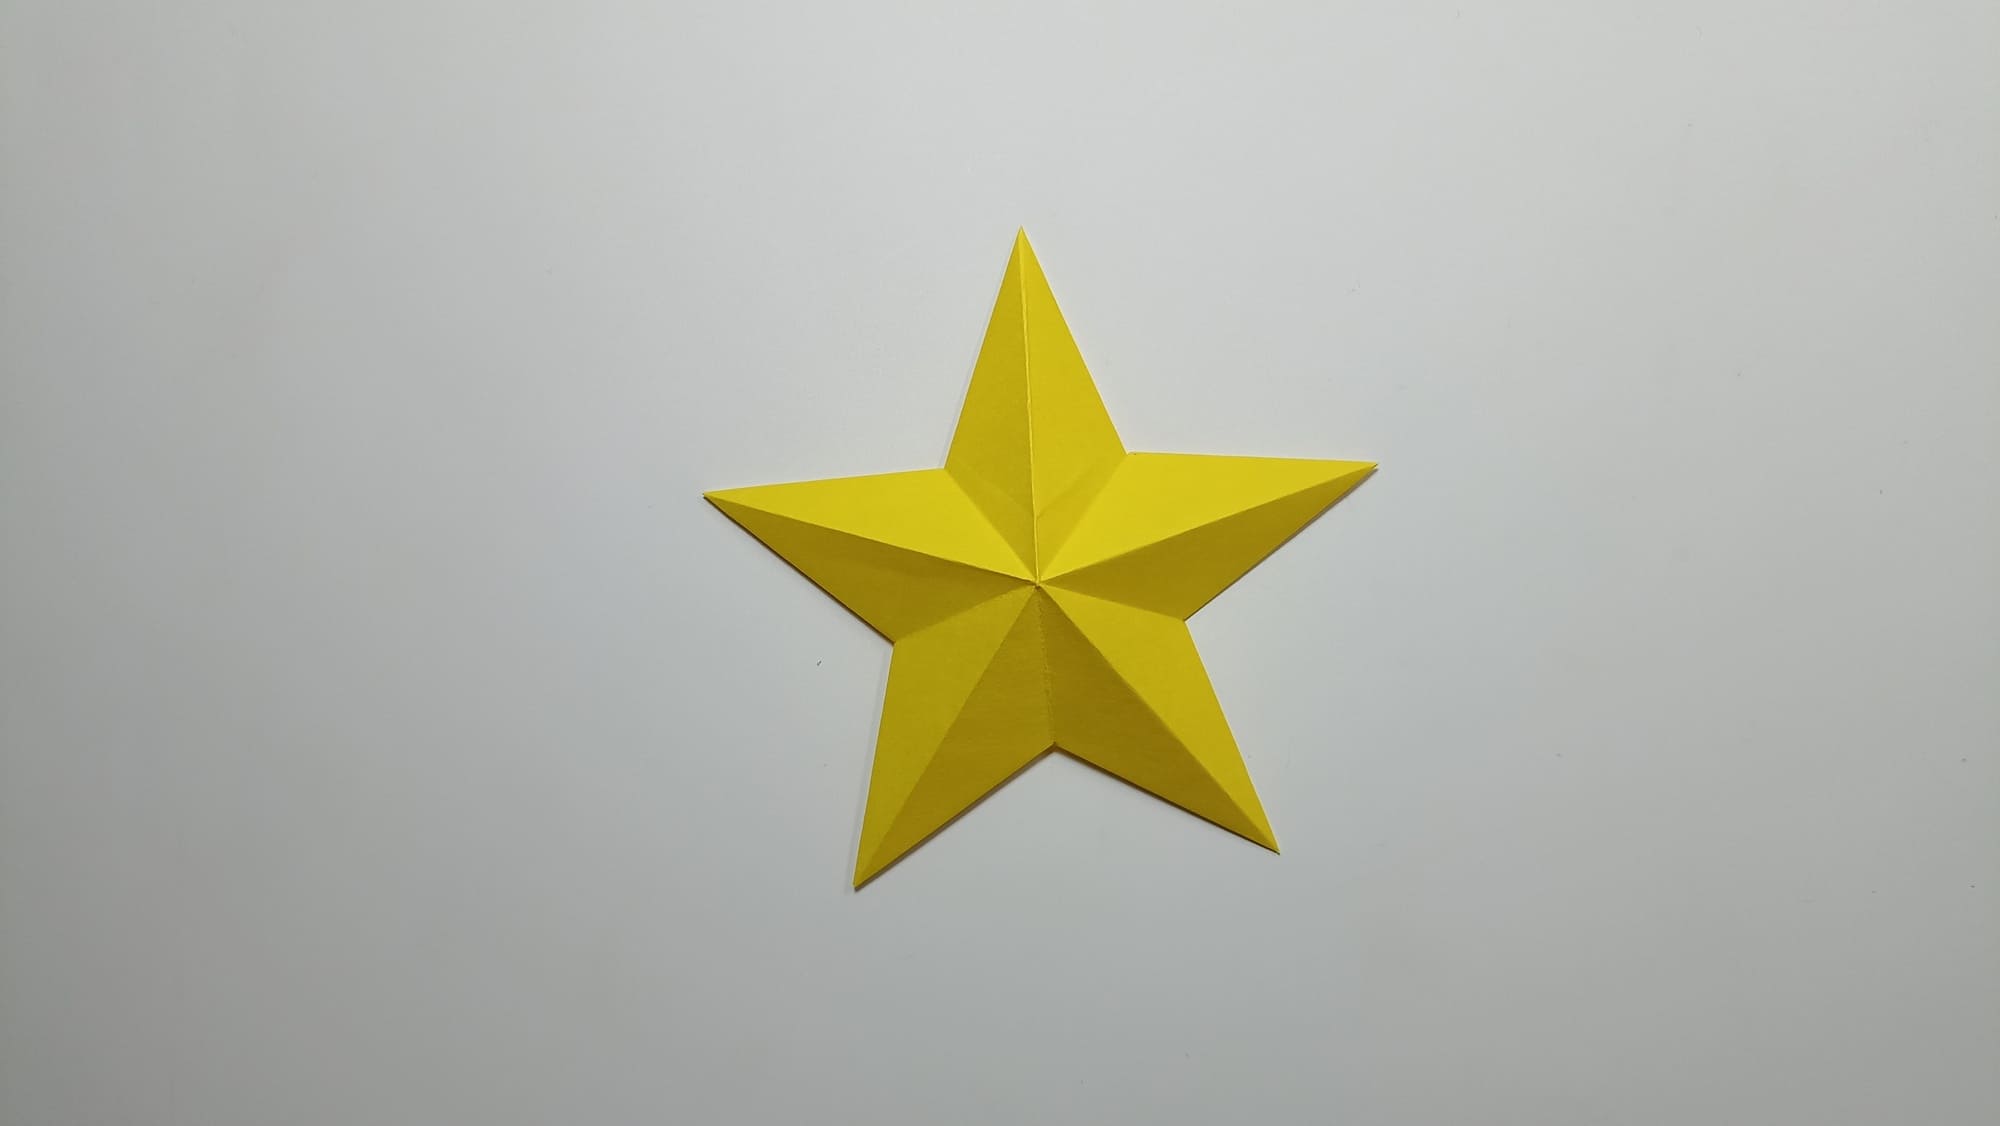
Turn the resulting star over and compress the planes on the sides of the long rays, giving volume.

Repeat all Steps 1-16, performing the second part of the three-dimensional origami star blank.
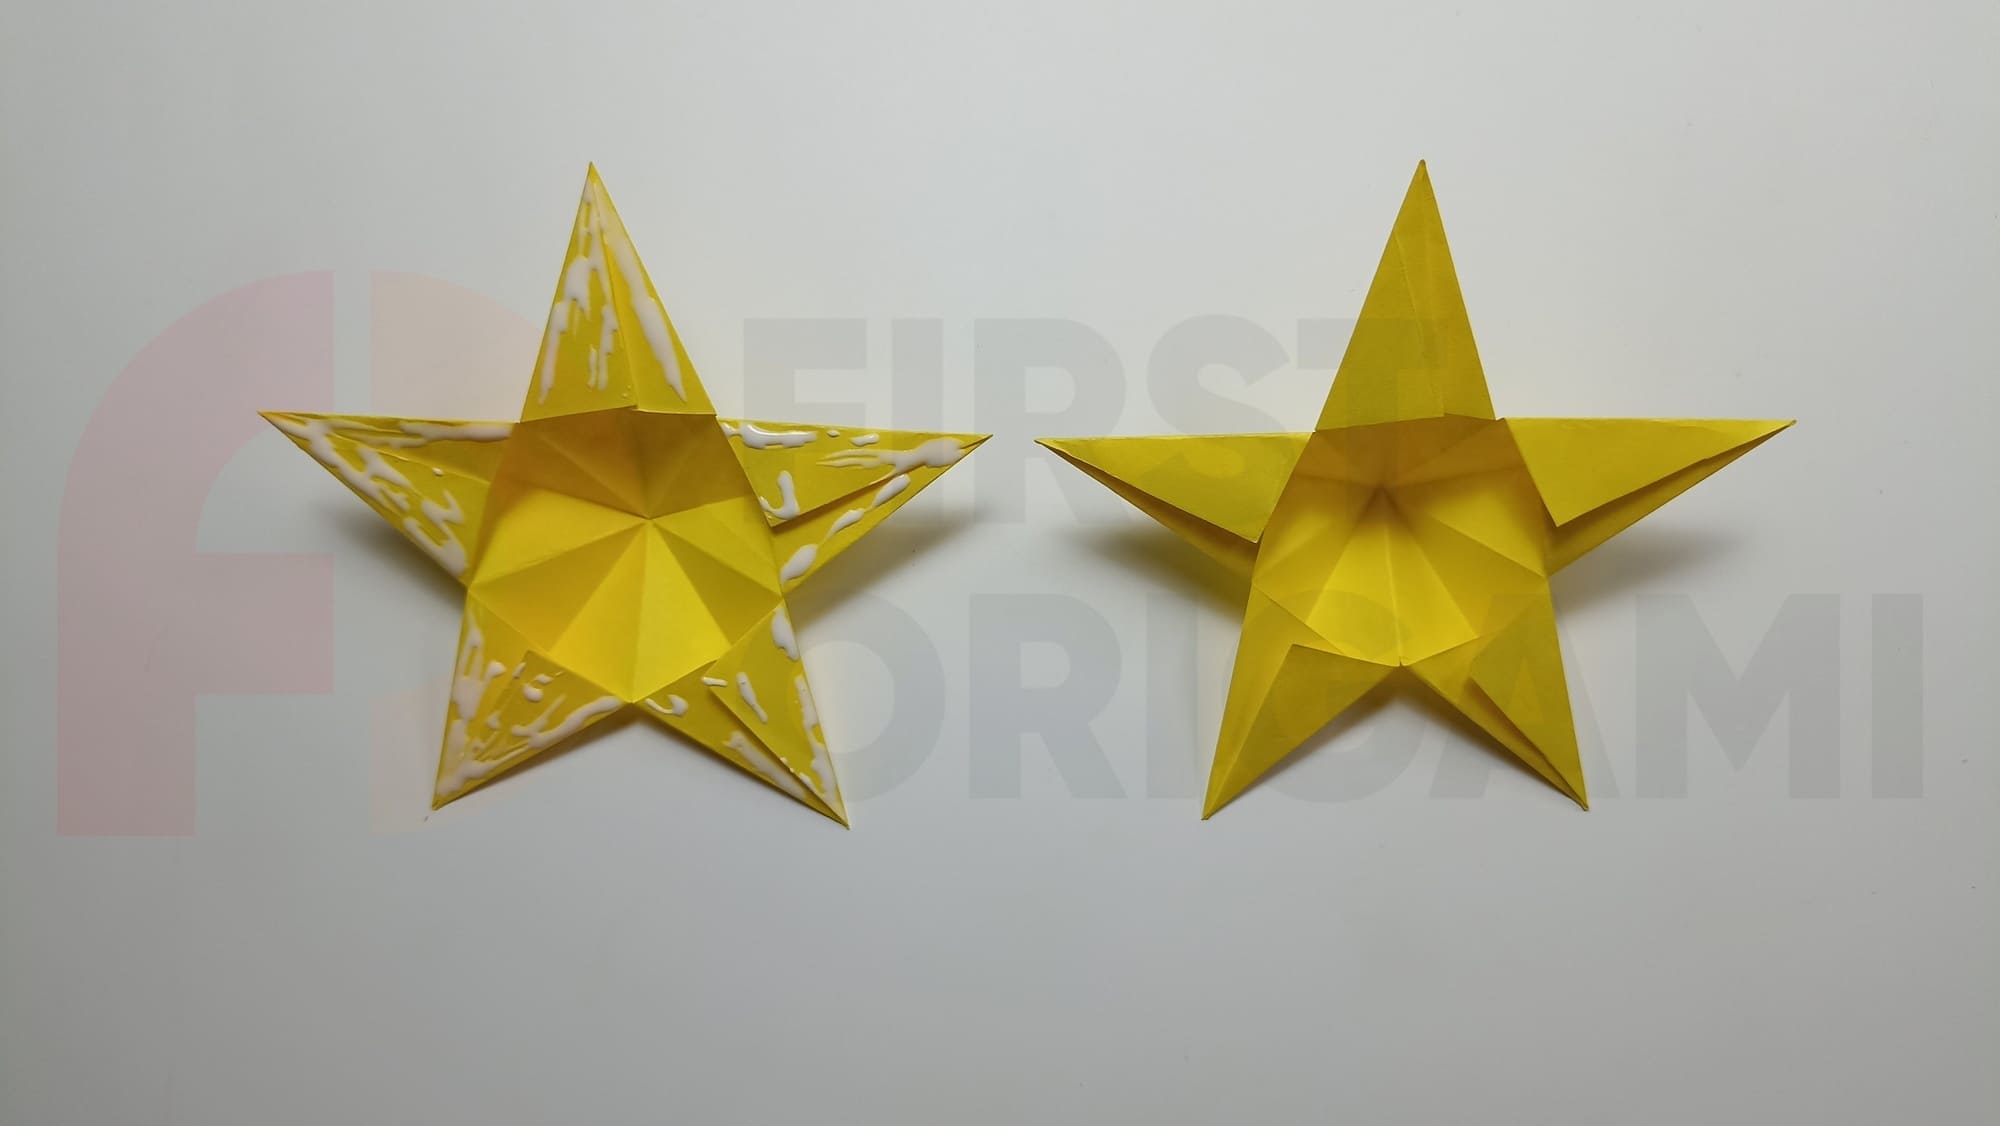
Turn one figure over, apply glue to the edges of the rays, and connect to the other workpiece. Gently press all edges of the parts, aligning the product along the corners and lines.
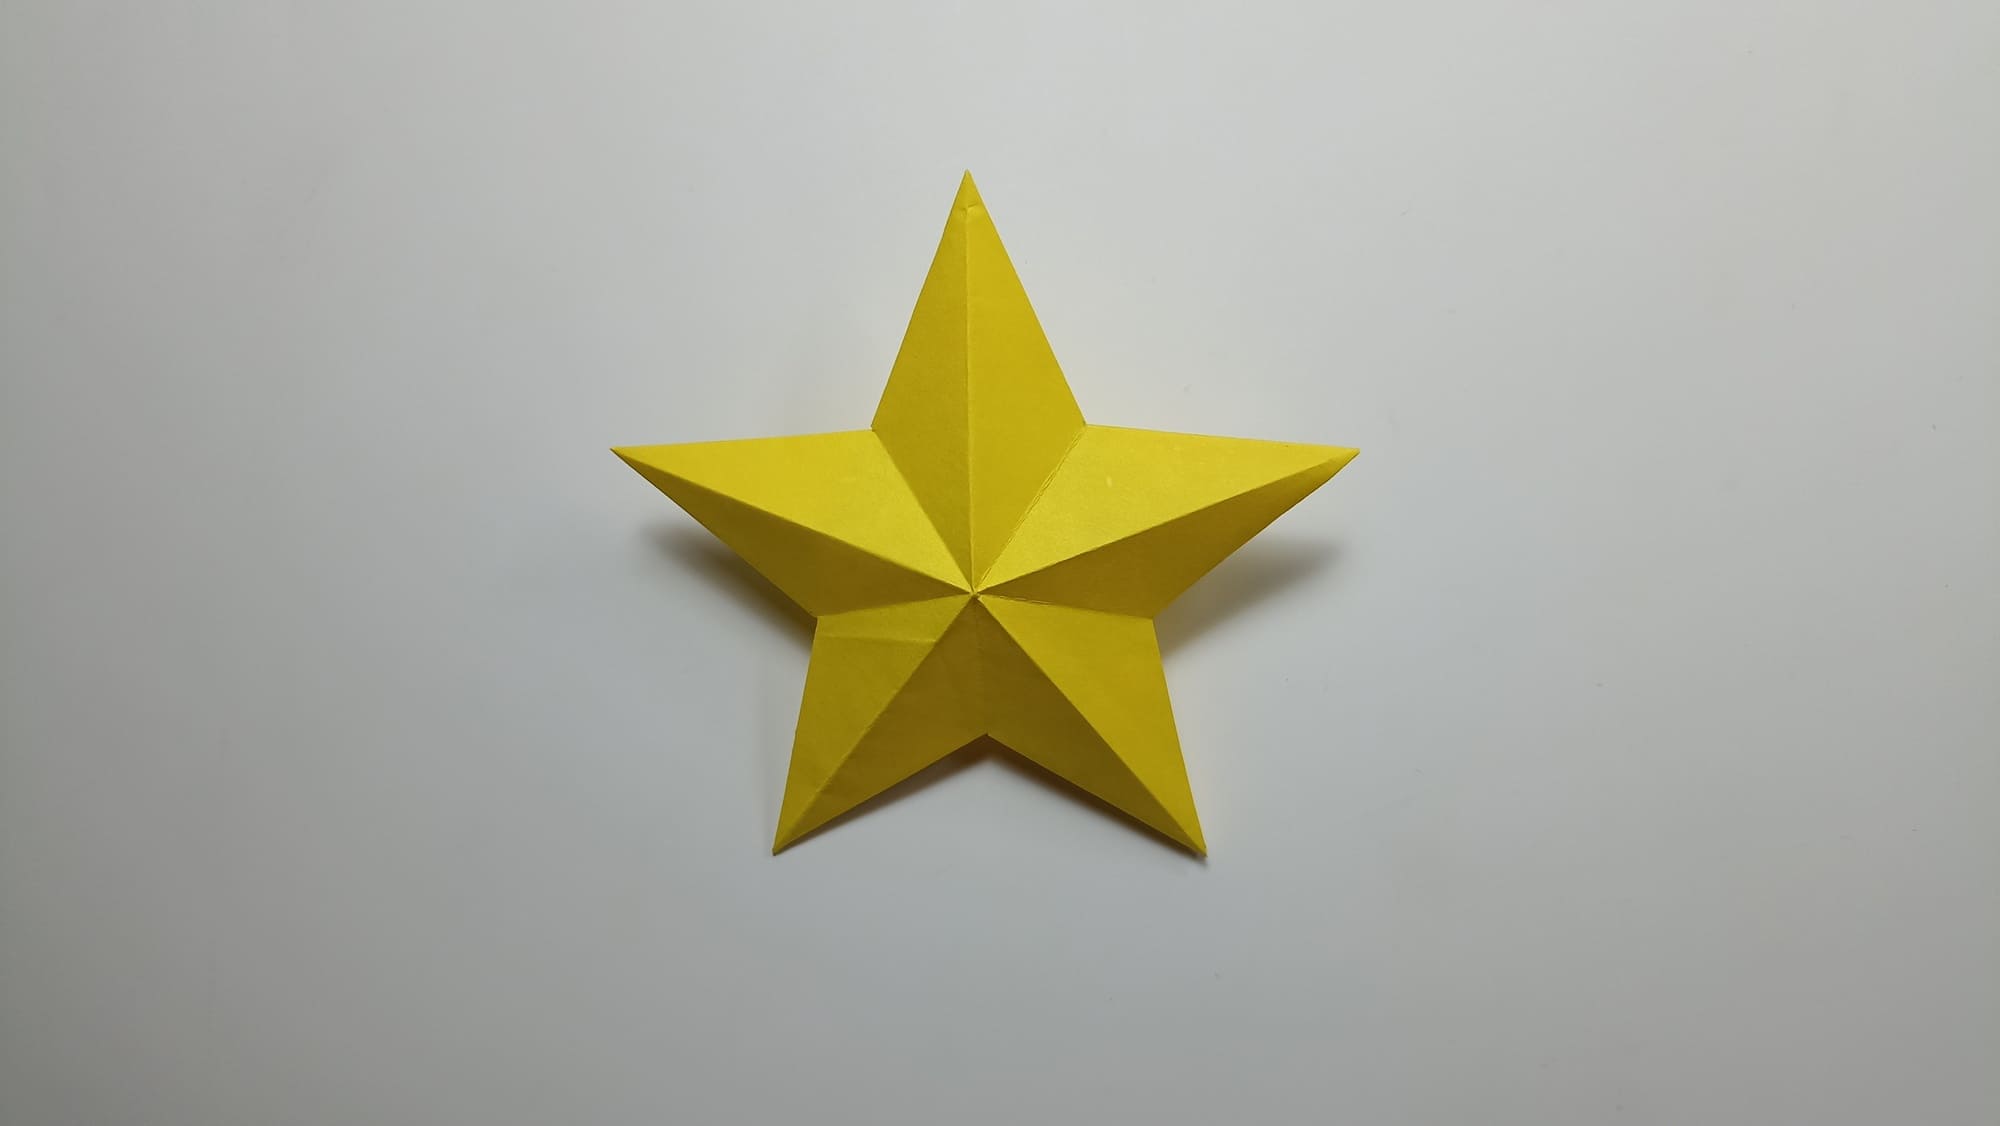
The result turned out to be a voluminous and very beautiful star!
The volume of the star depends on the depth of the cuts. By experimenting, you can achieve the desired shape. Glittery paper or elements will make the craft more festive.


