Origami 8-pointed Hollow Ninja Star

A paper ninja star will definitely appeal to cartoon lovers and everyone who loves interesting origami. For it, you will need paper in two colors as this is the easiest way to learn how to make a star. In the future, you can use one or more colors to your taste. So, let’s begin!
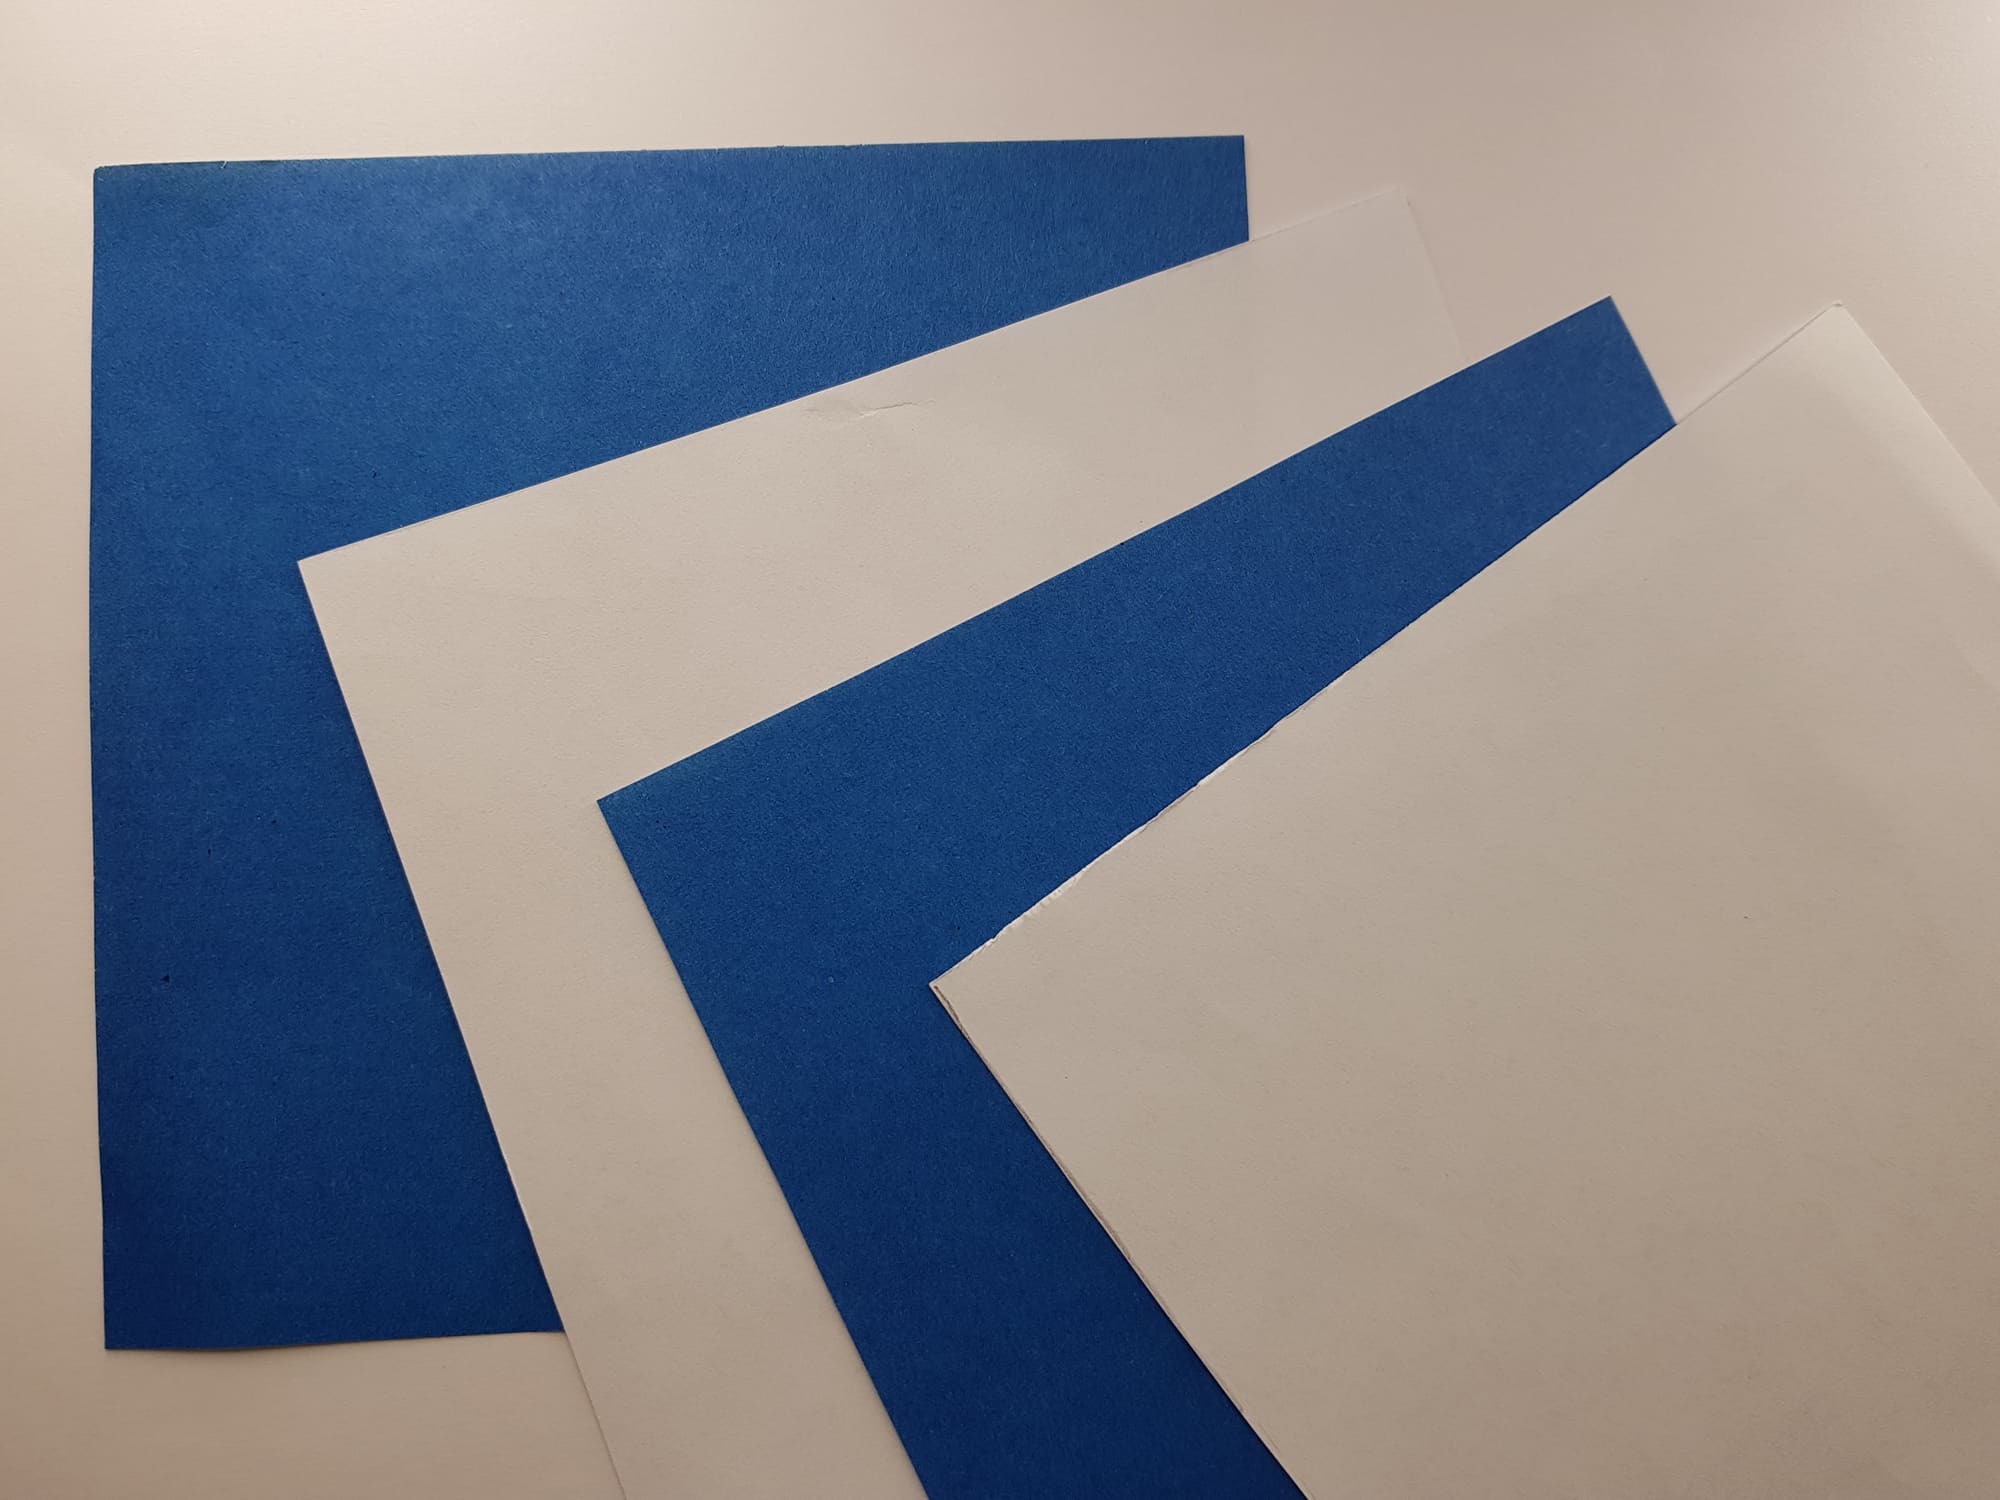
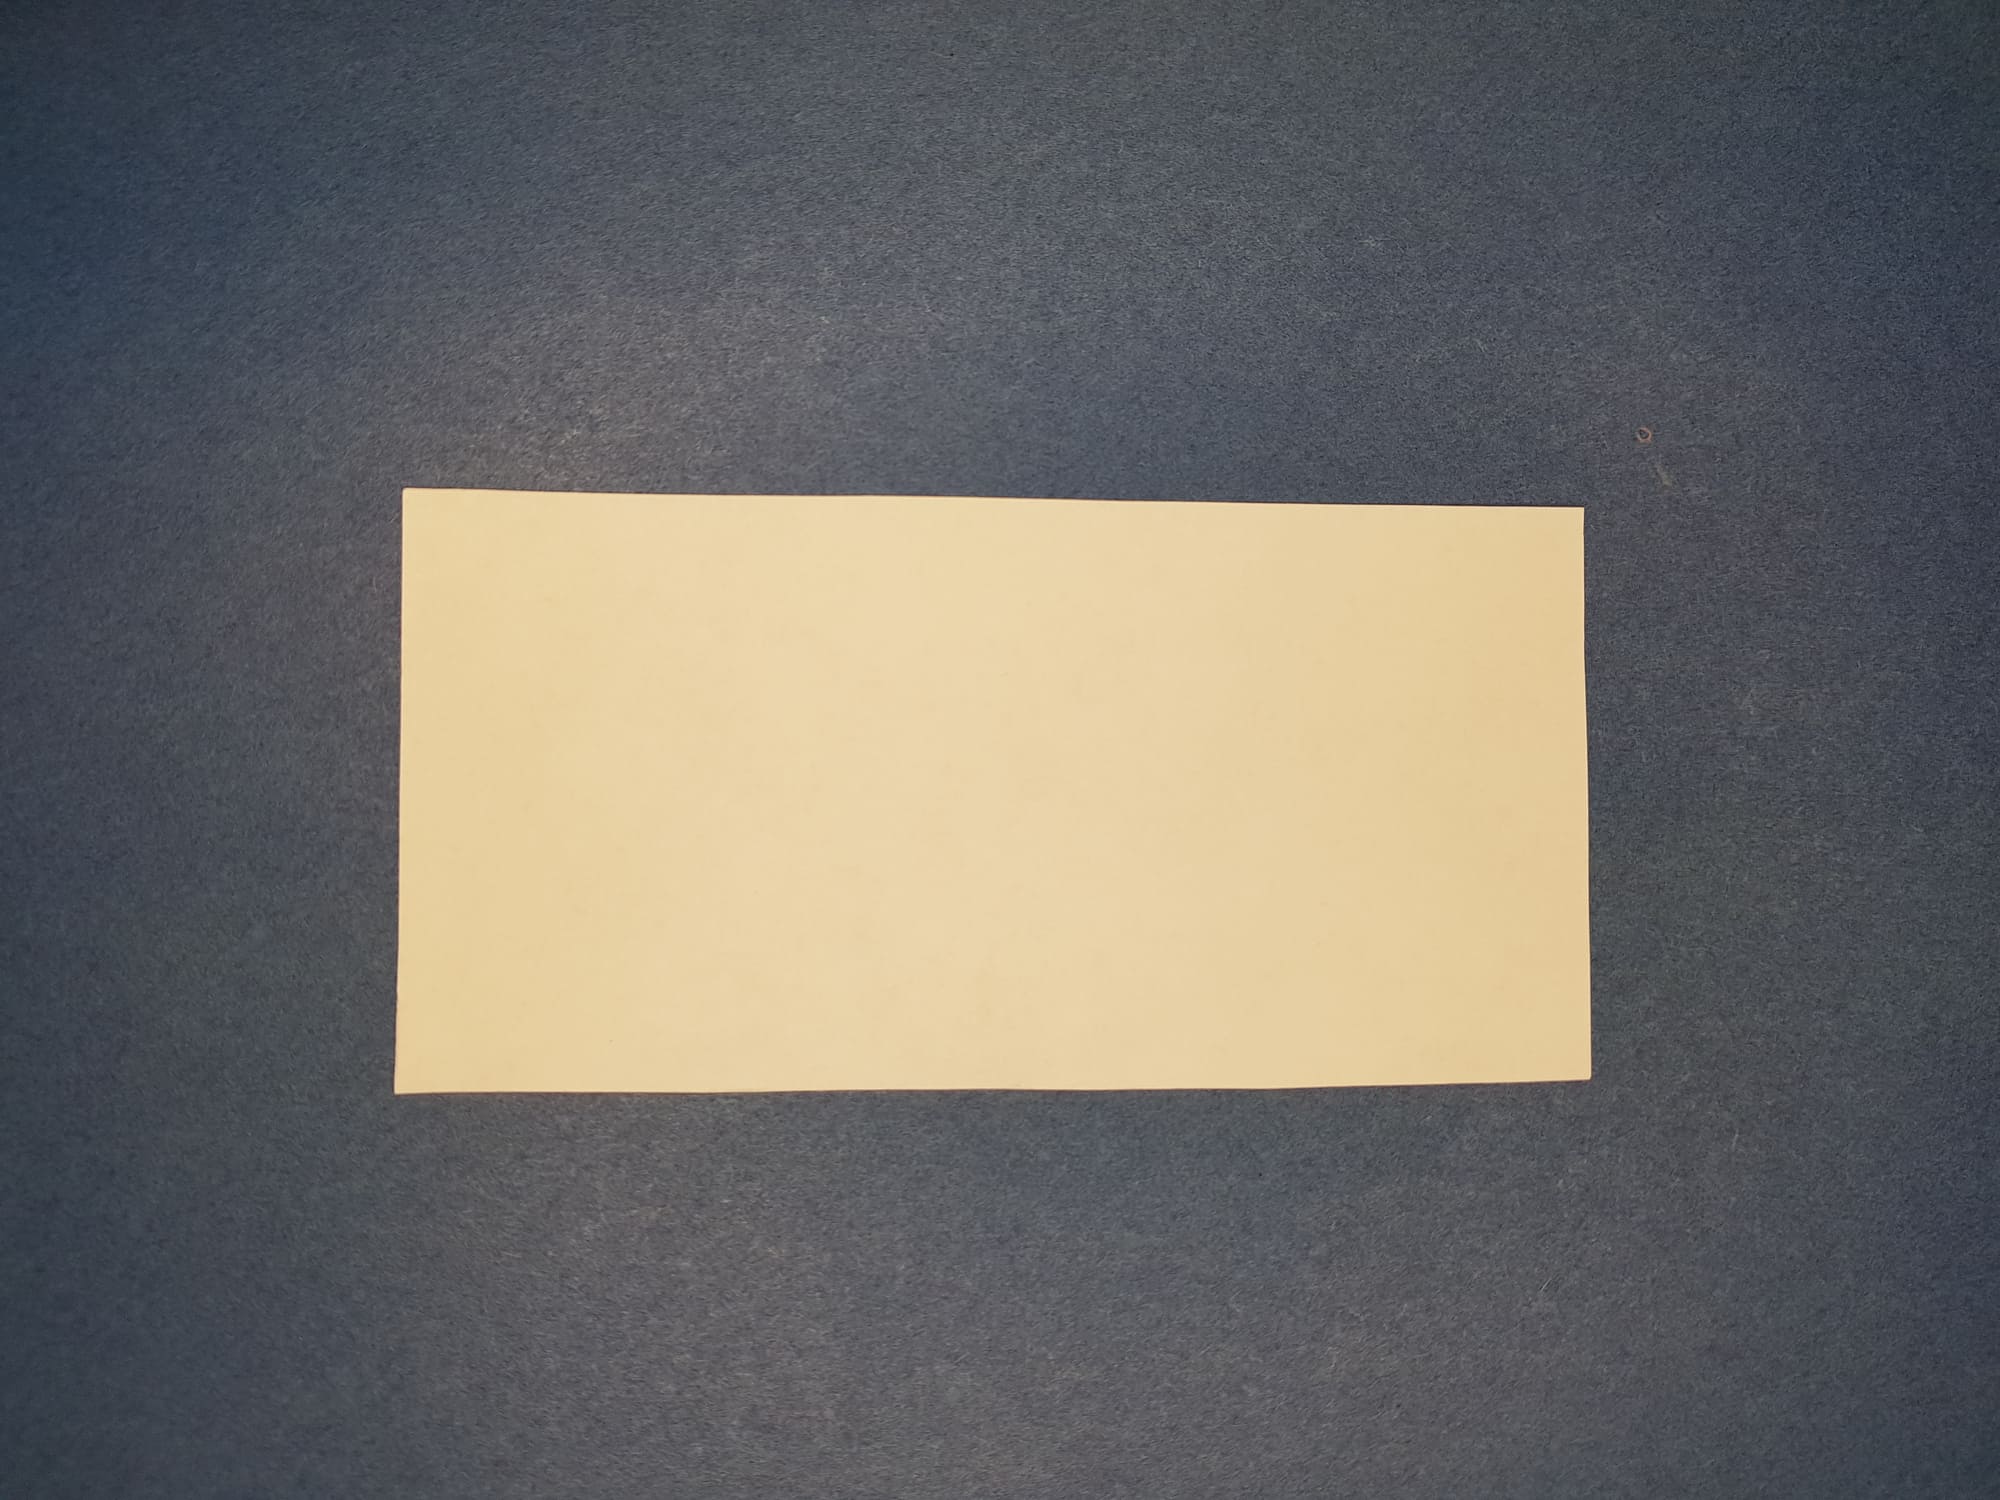
Cut out 4 identical squares from paper – 2 of one color and 2 of another.
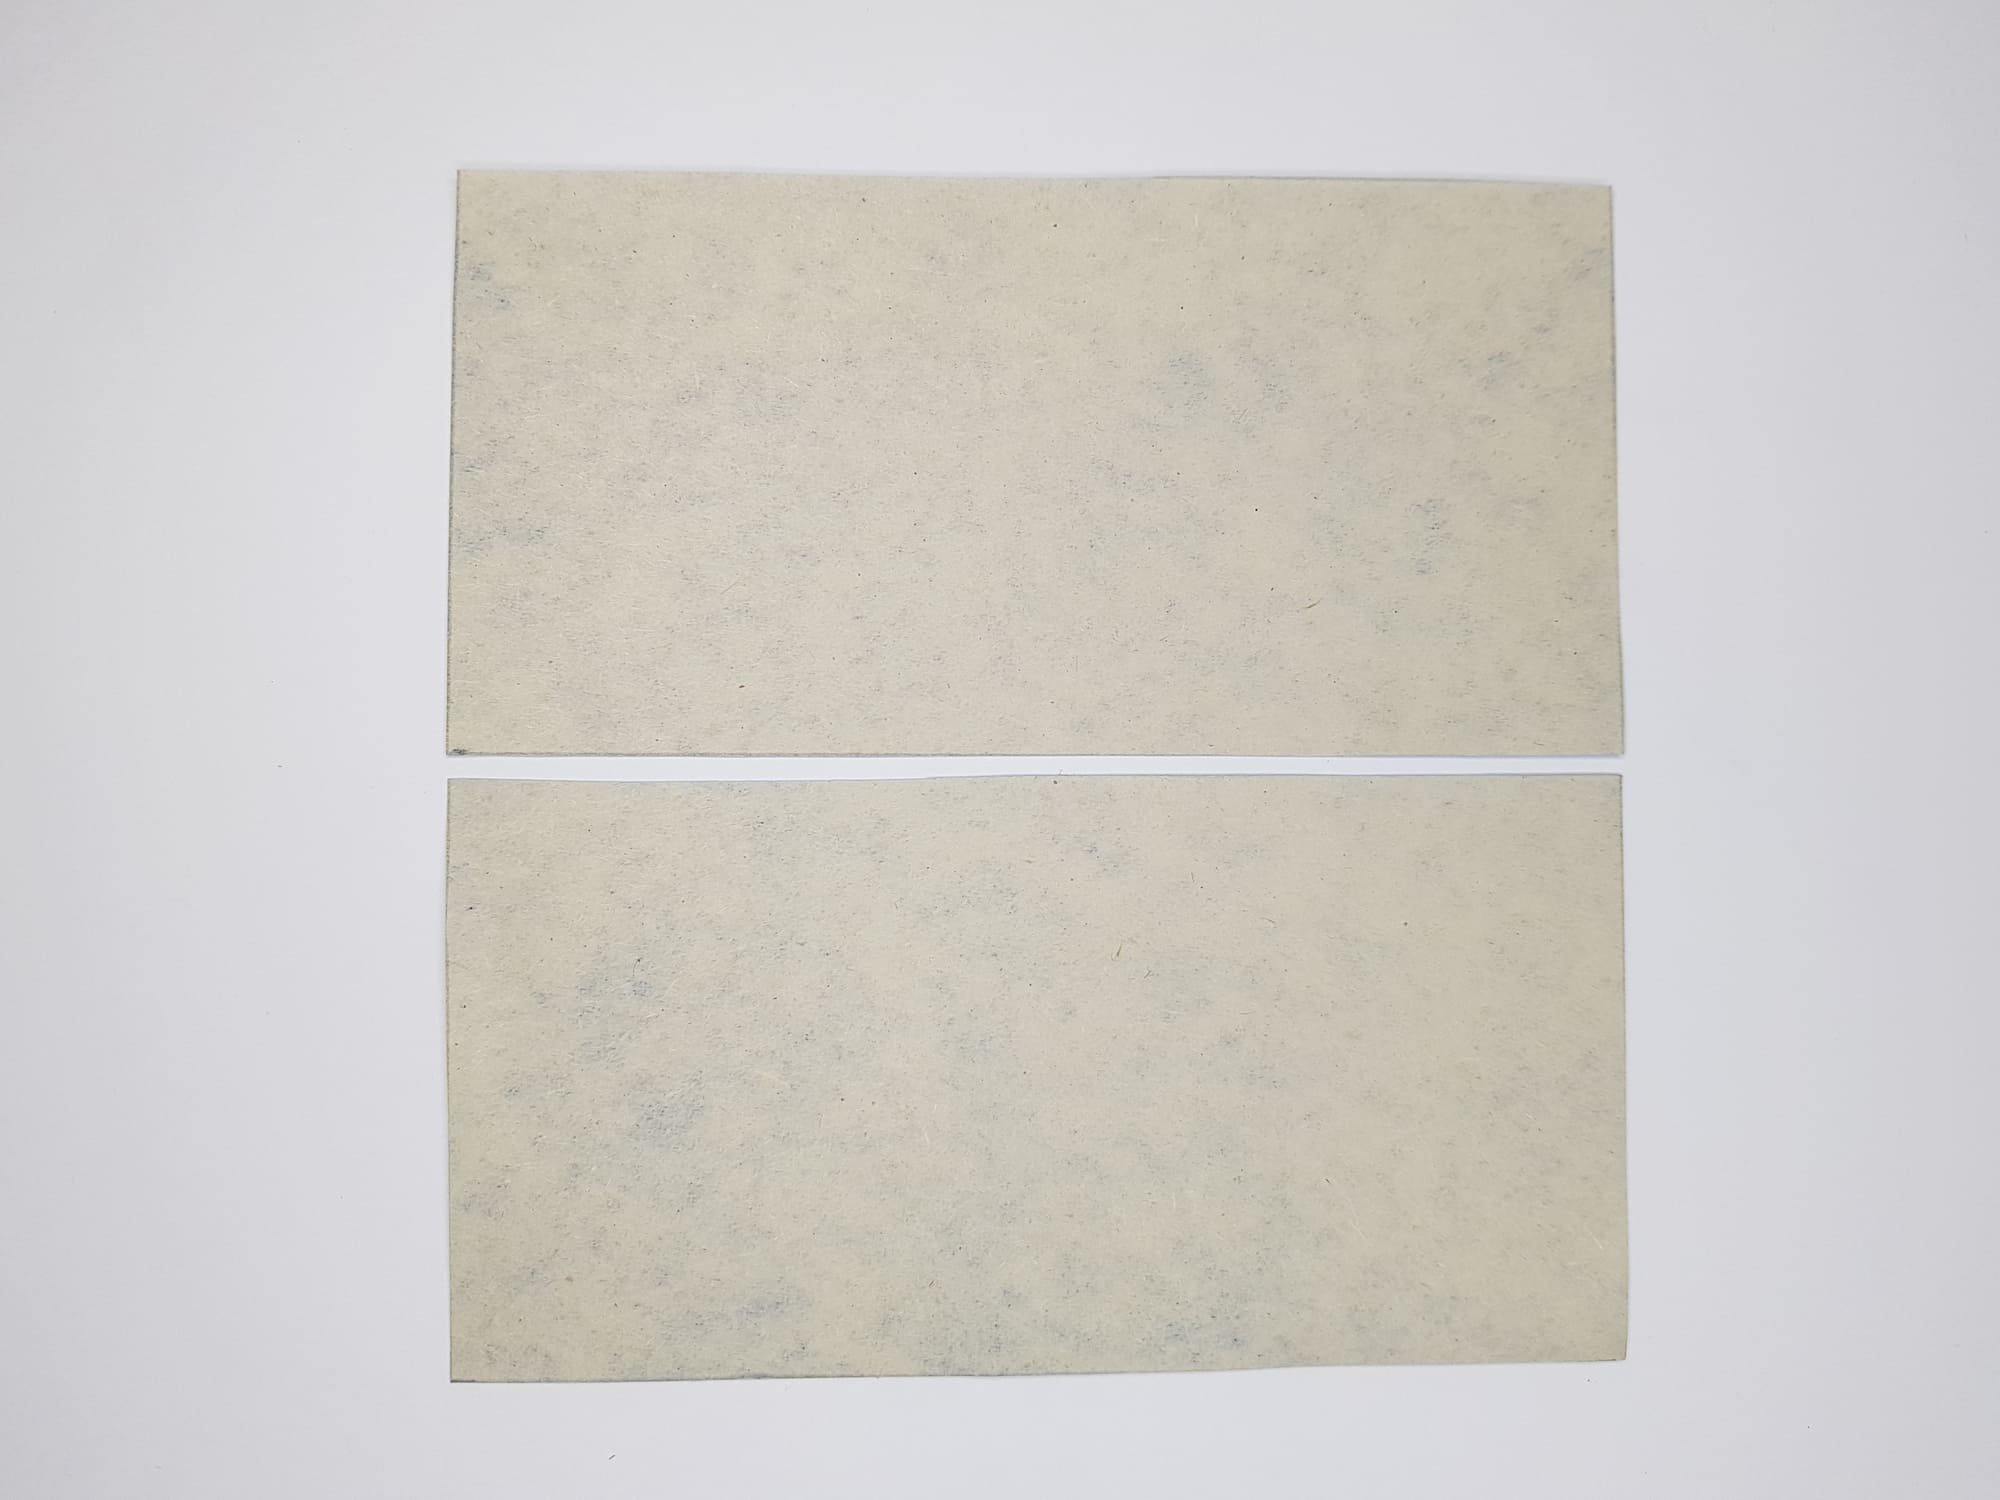
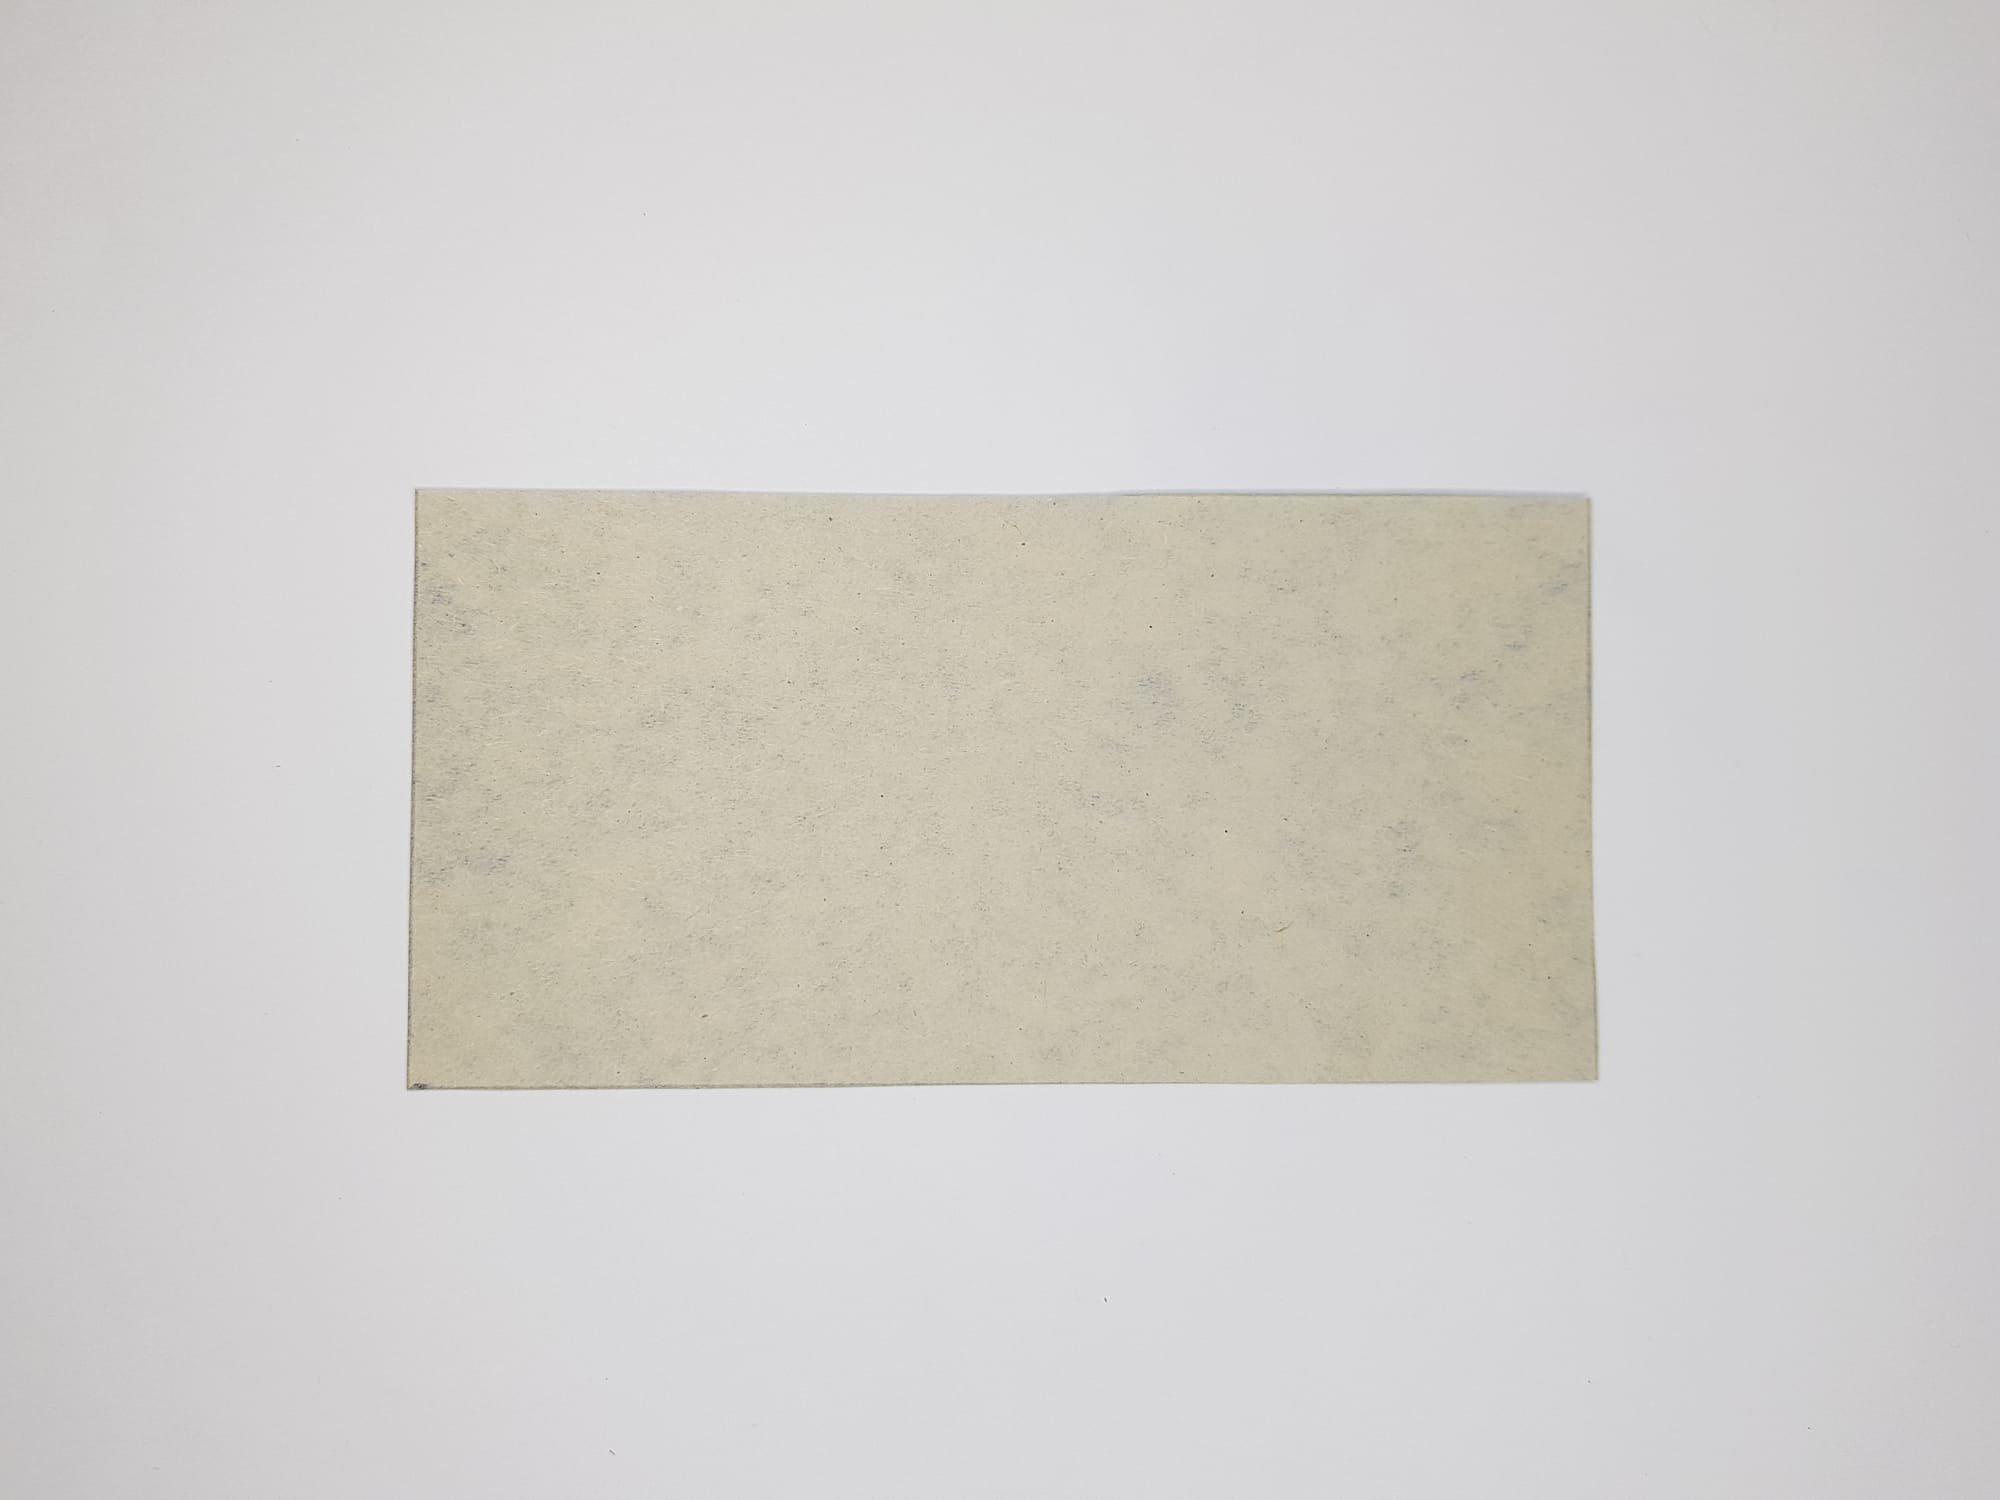
Divide each of them in half to get 8 blanks for future parts.
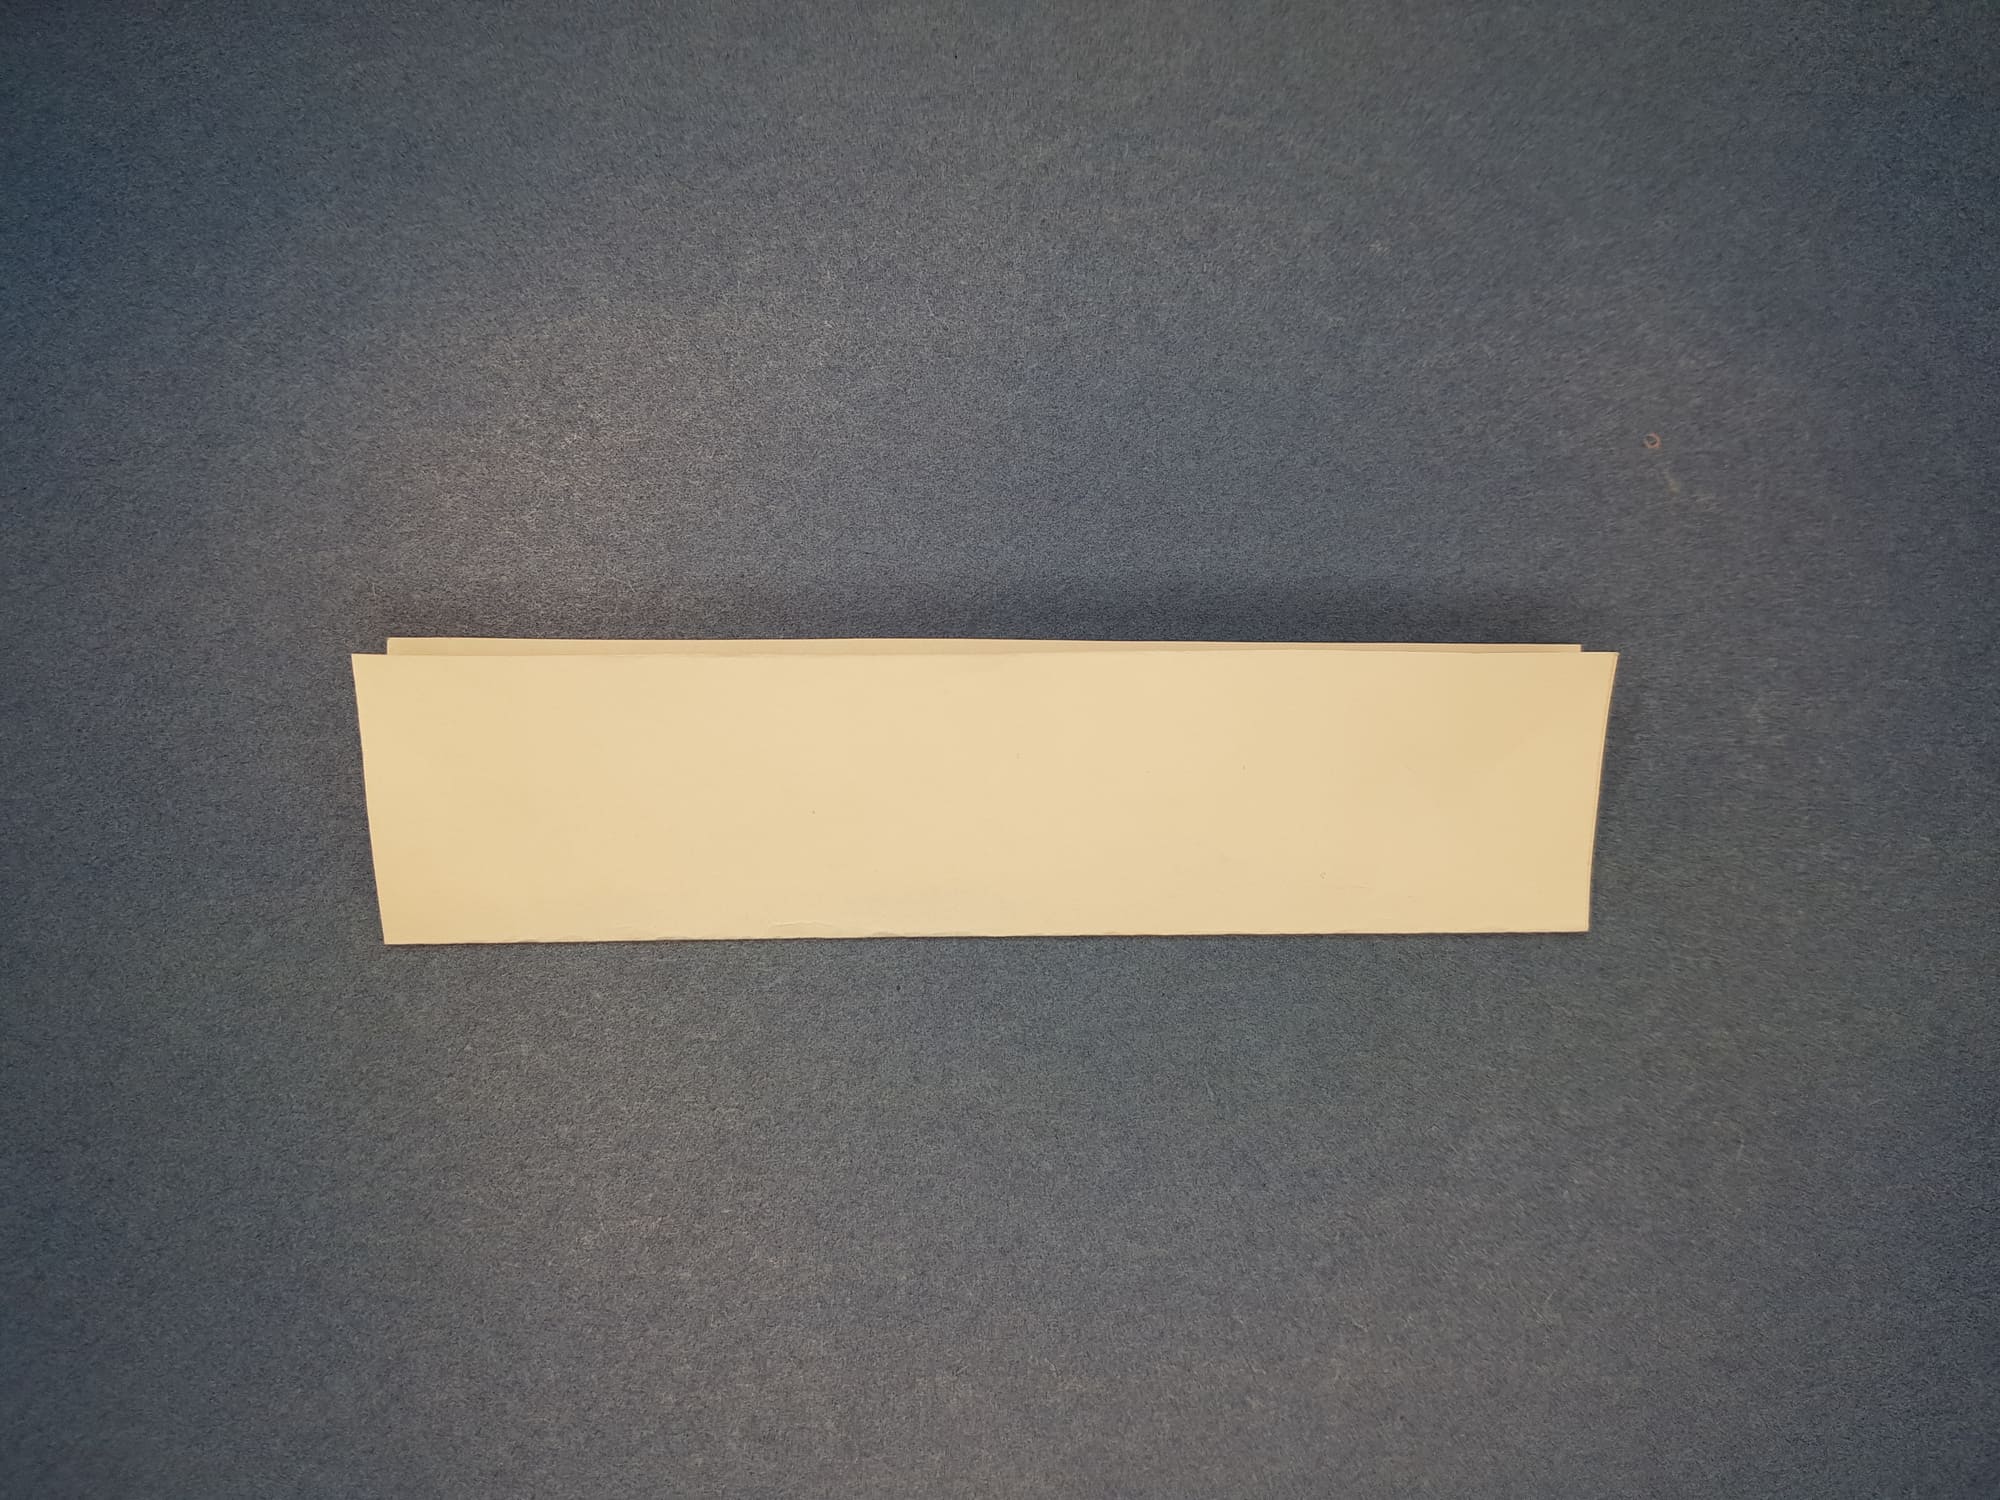
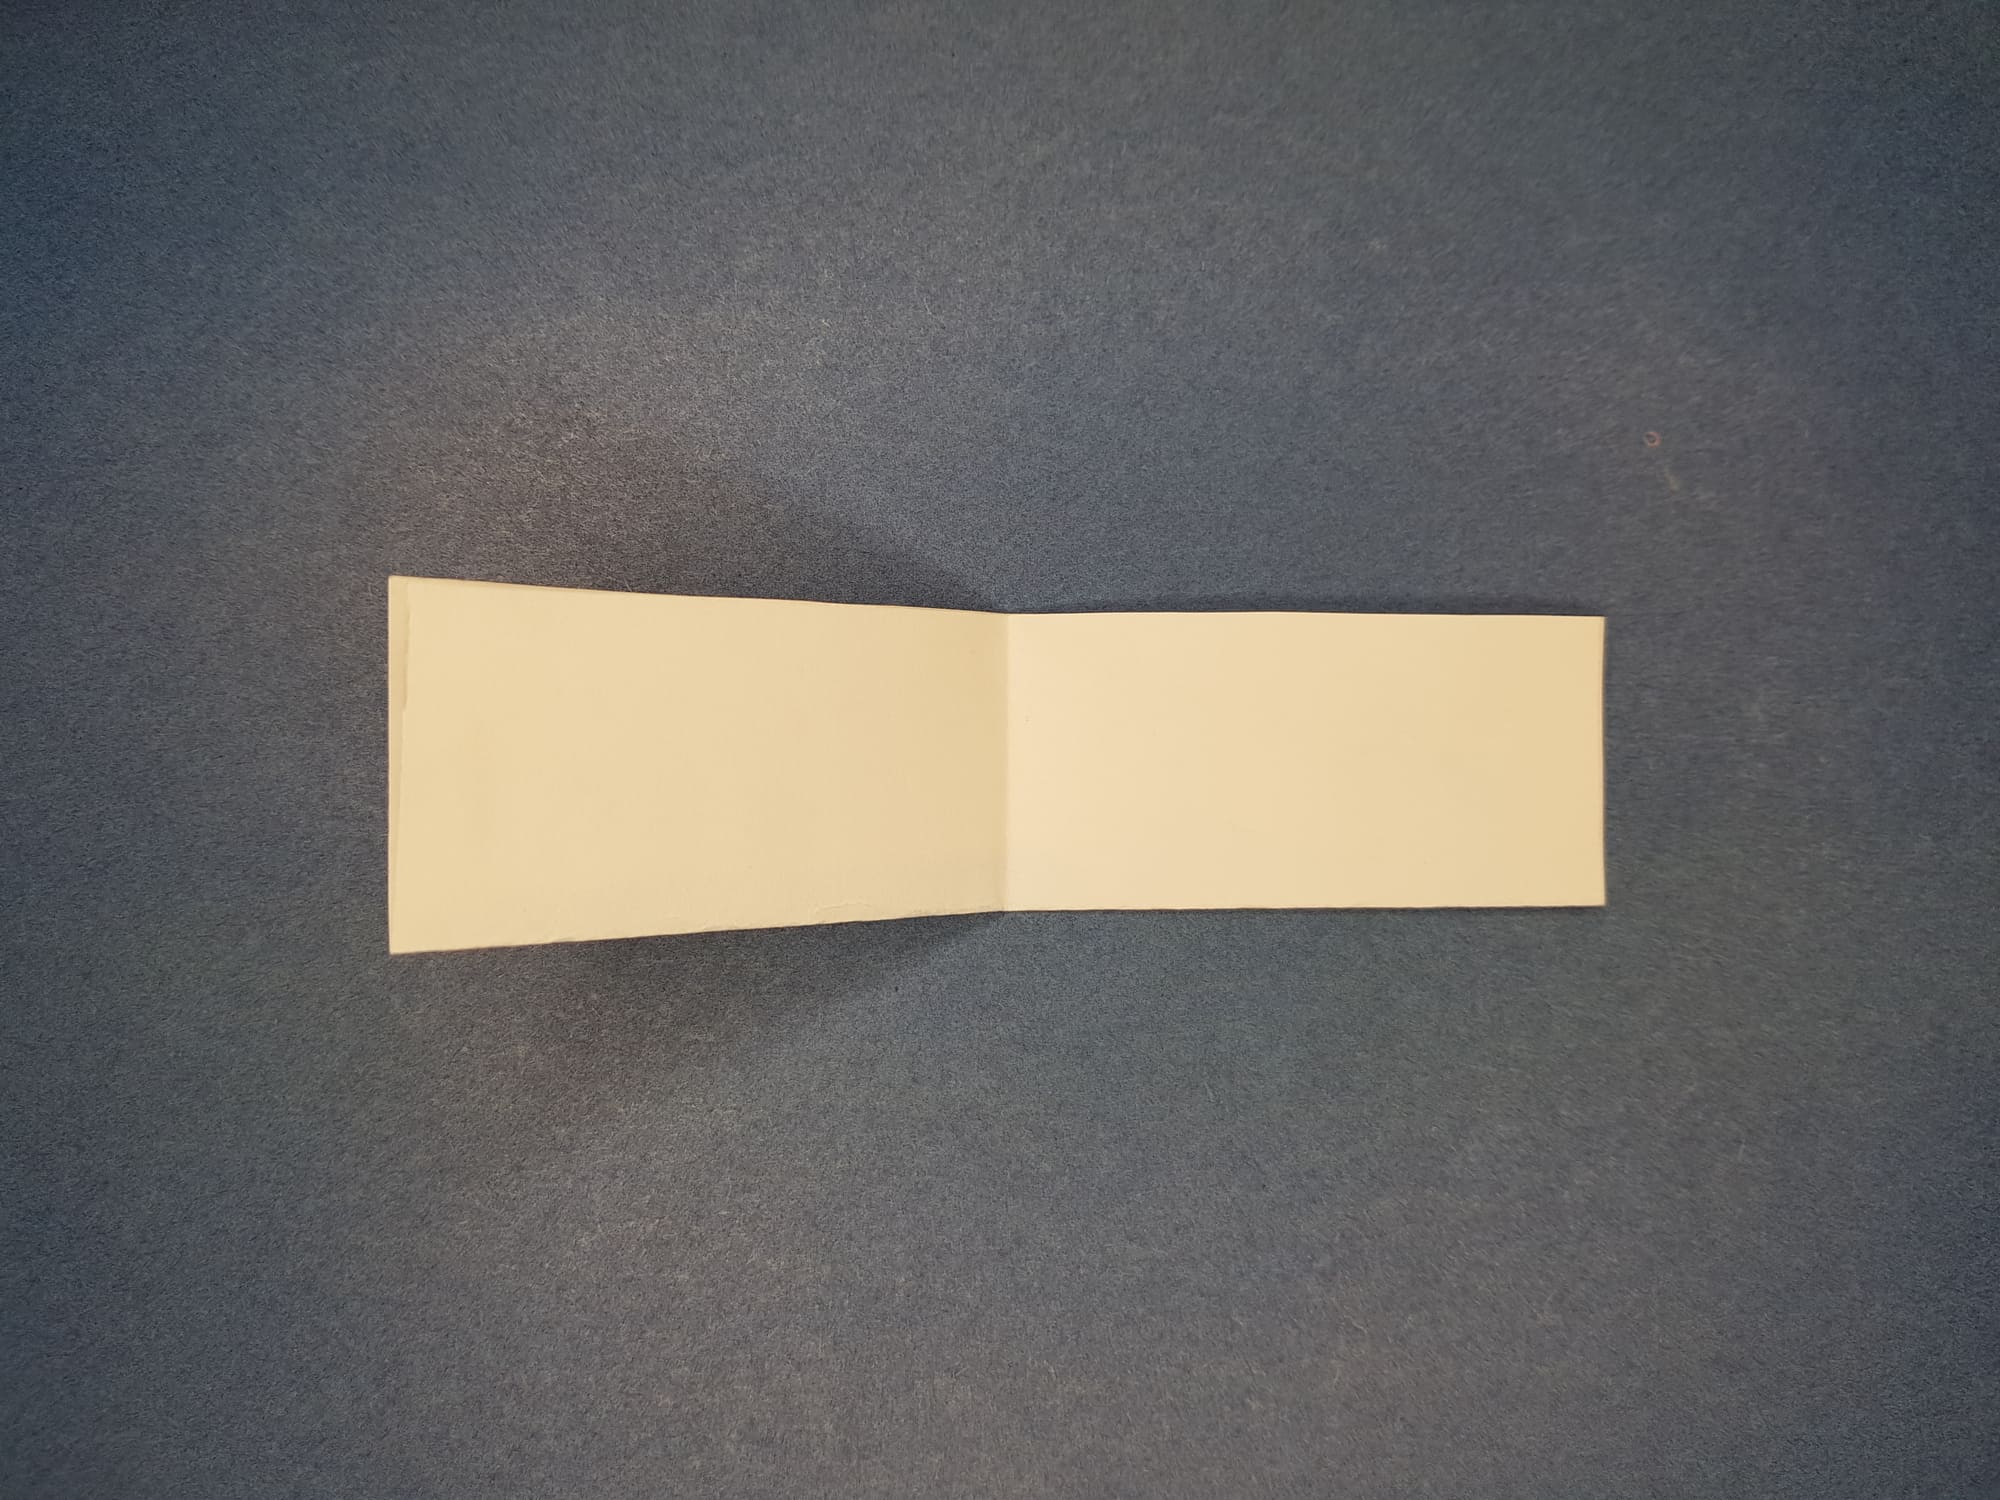
Take the first blank, place it face down, and bend it in half horizontally, then vertically.
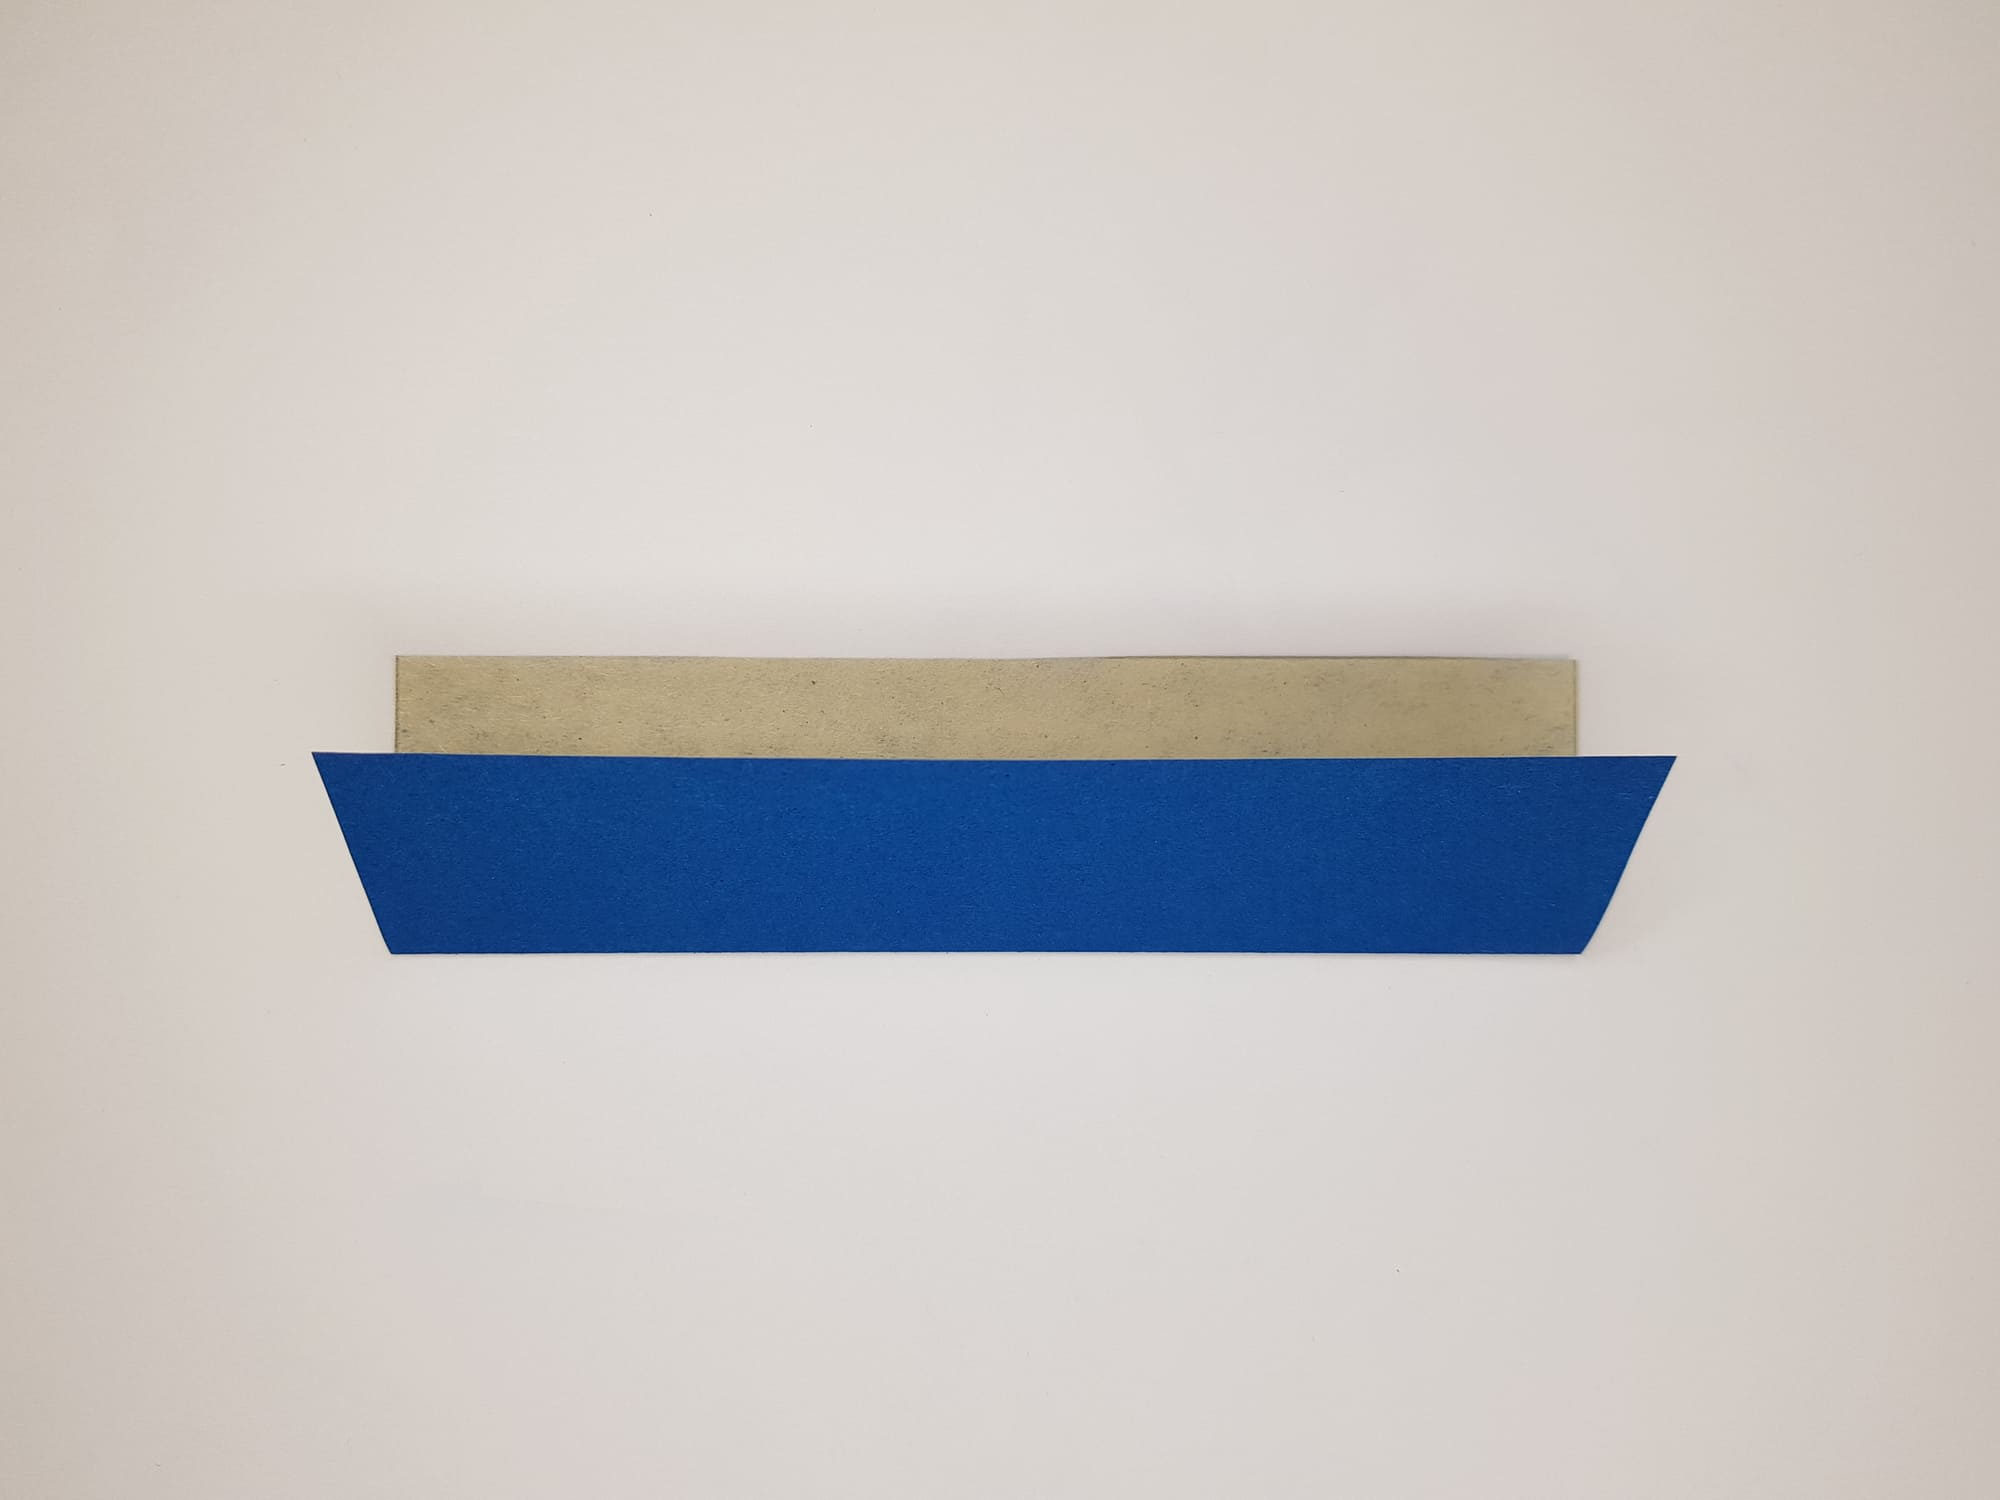
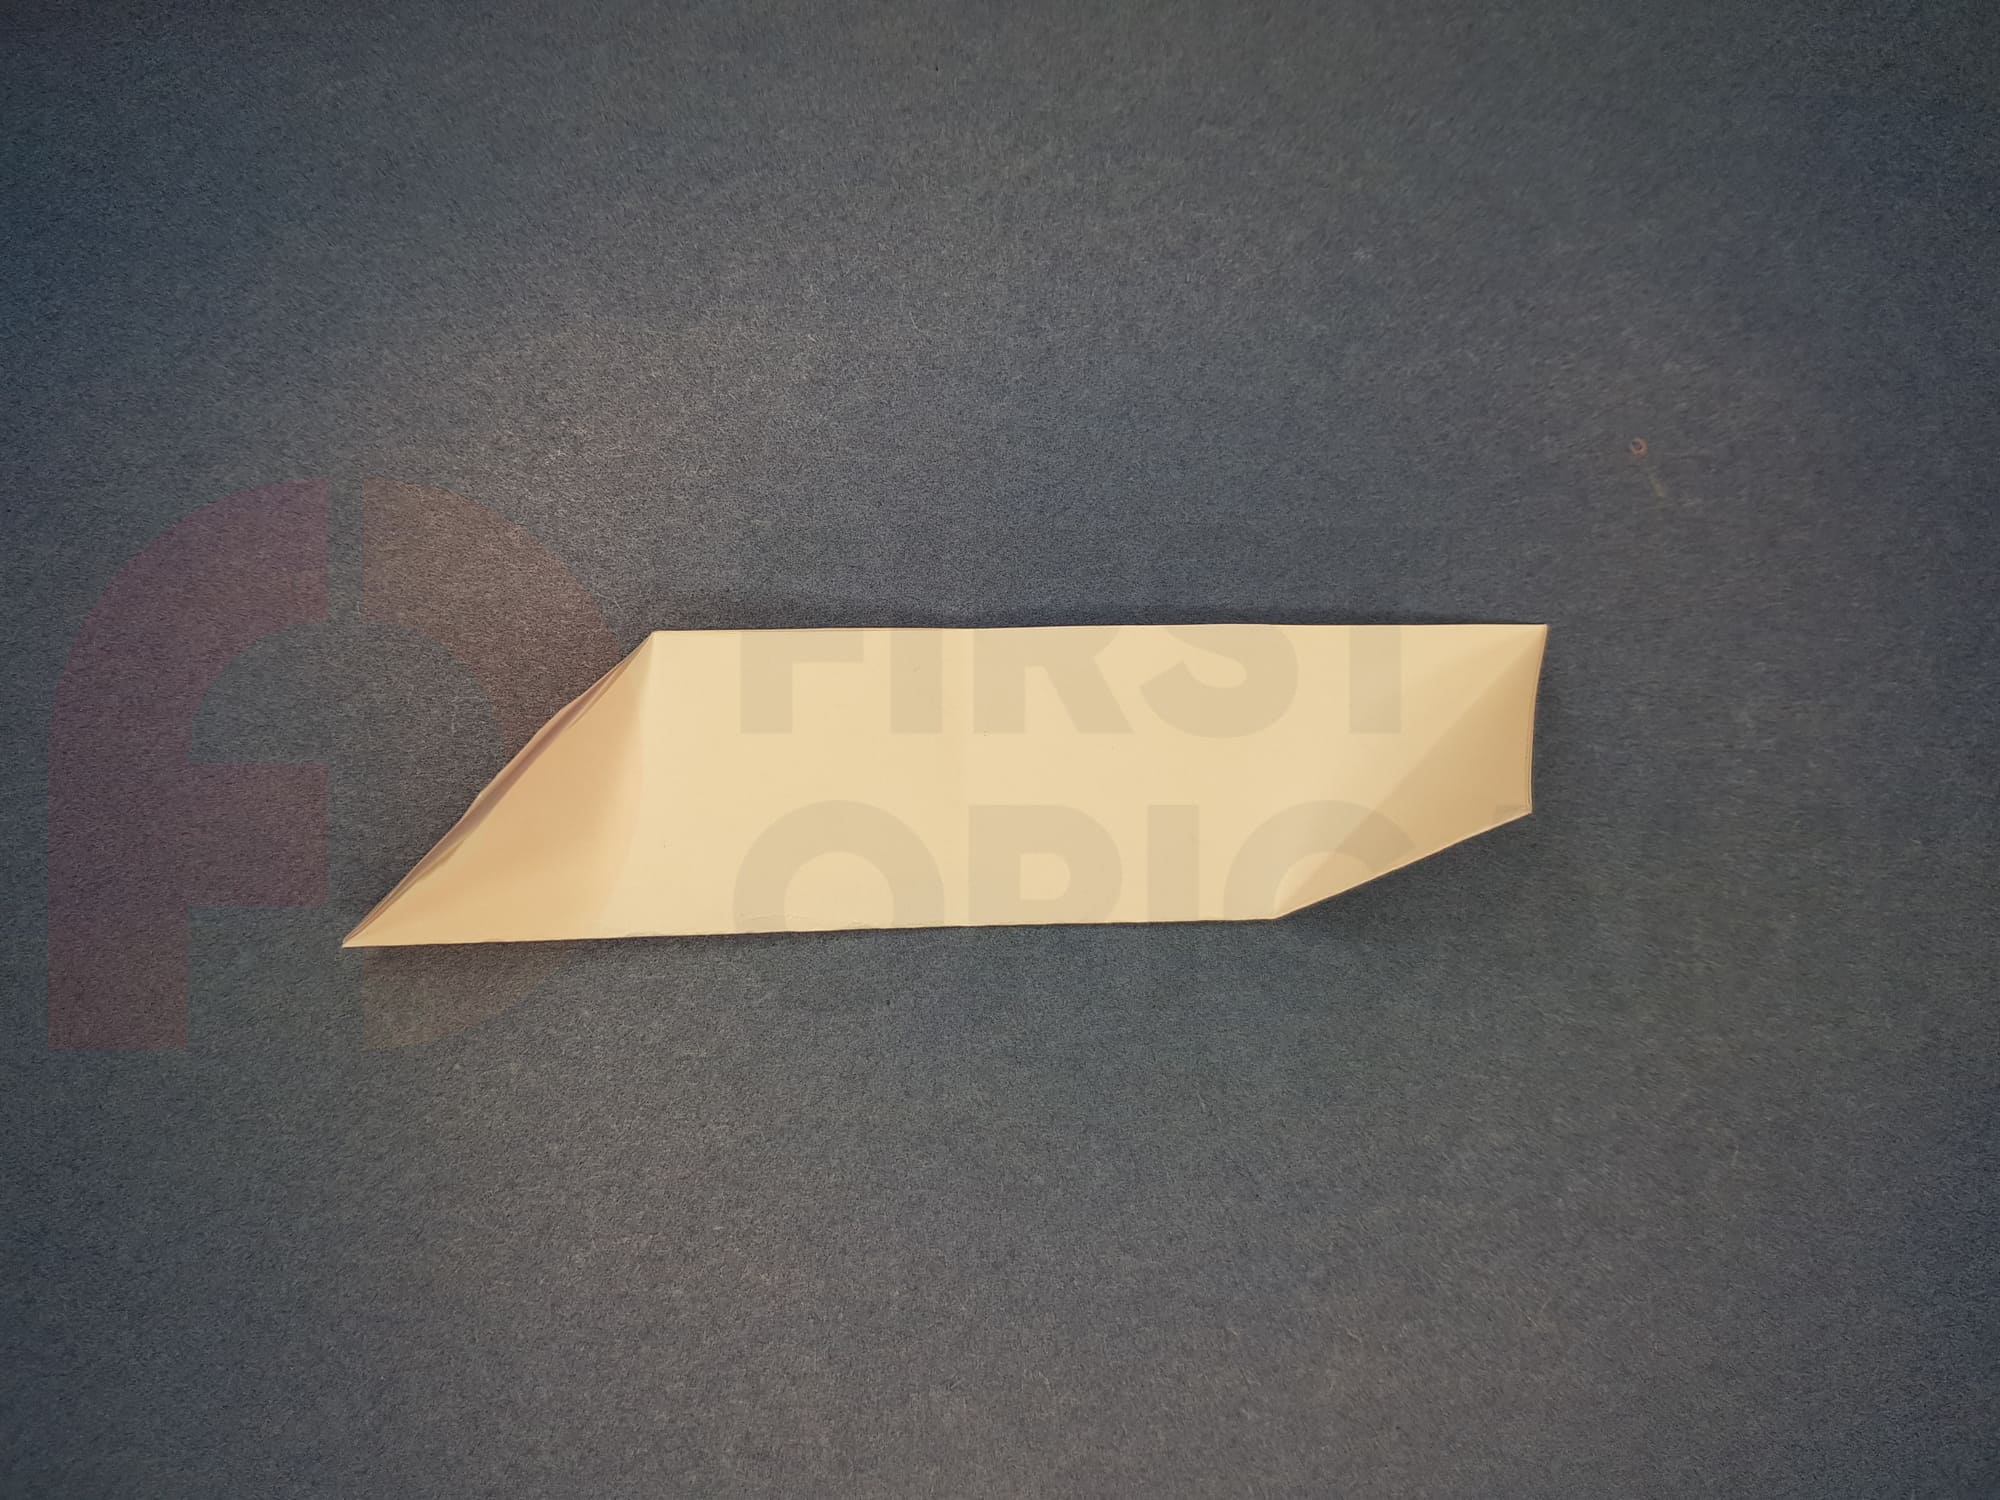
Bend the lower left and upper right corners as shown in the photo.

Bend the corners along the lines indicated in the photo.
The first part is ready.
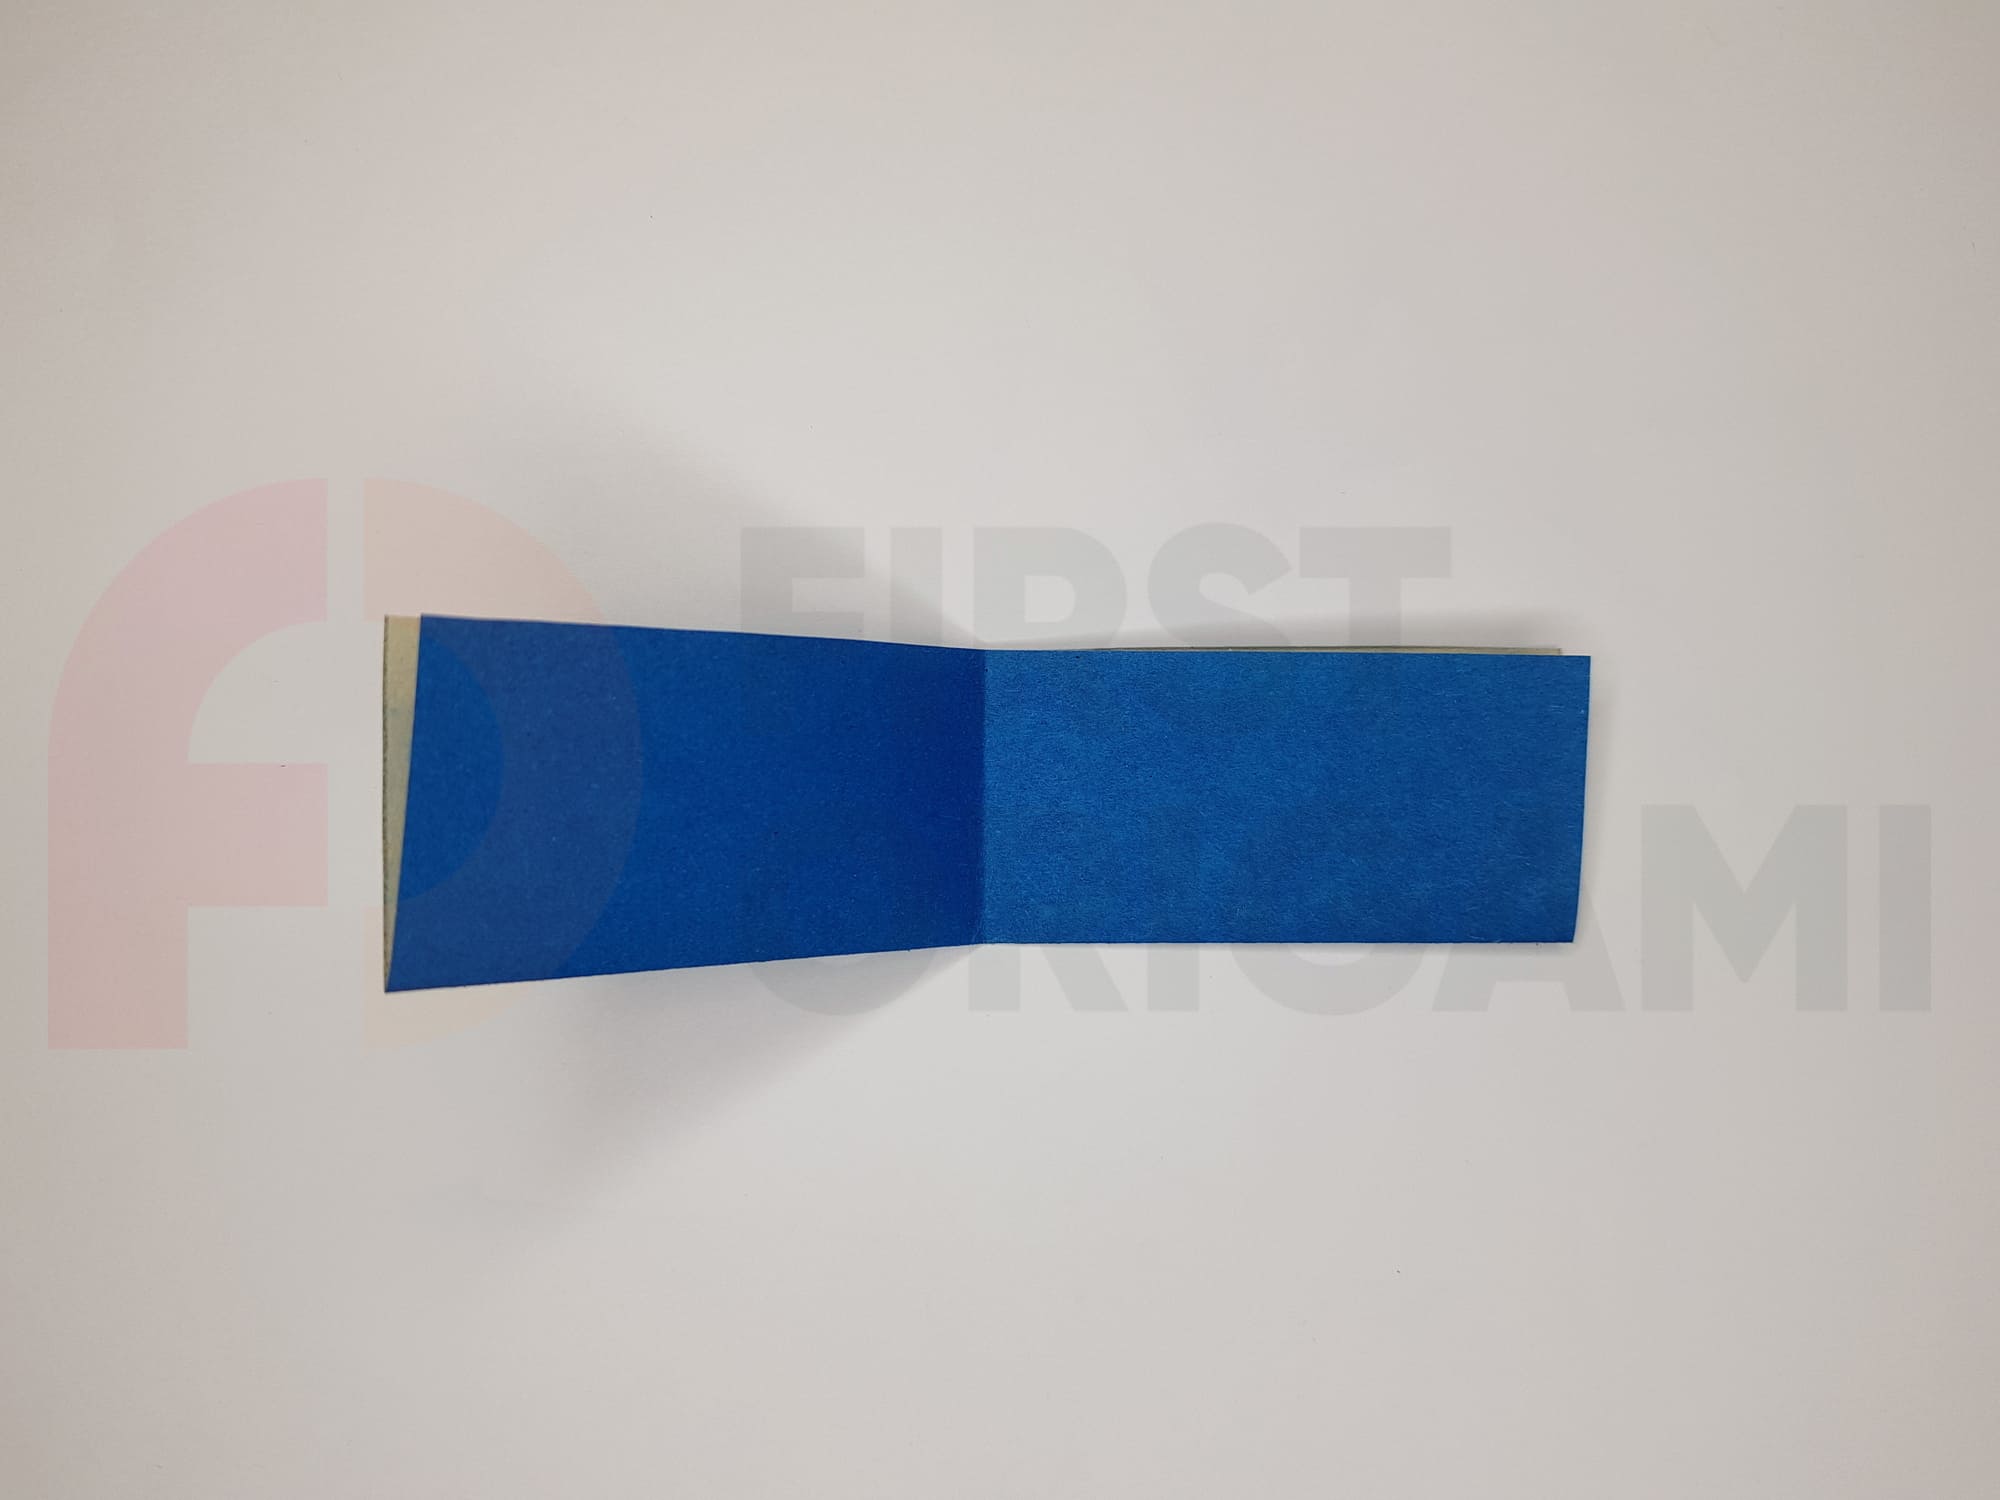
Take a blank of a different color, fold it in half horizontally, then vertically.
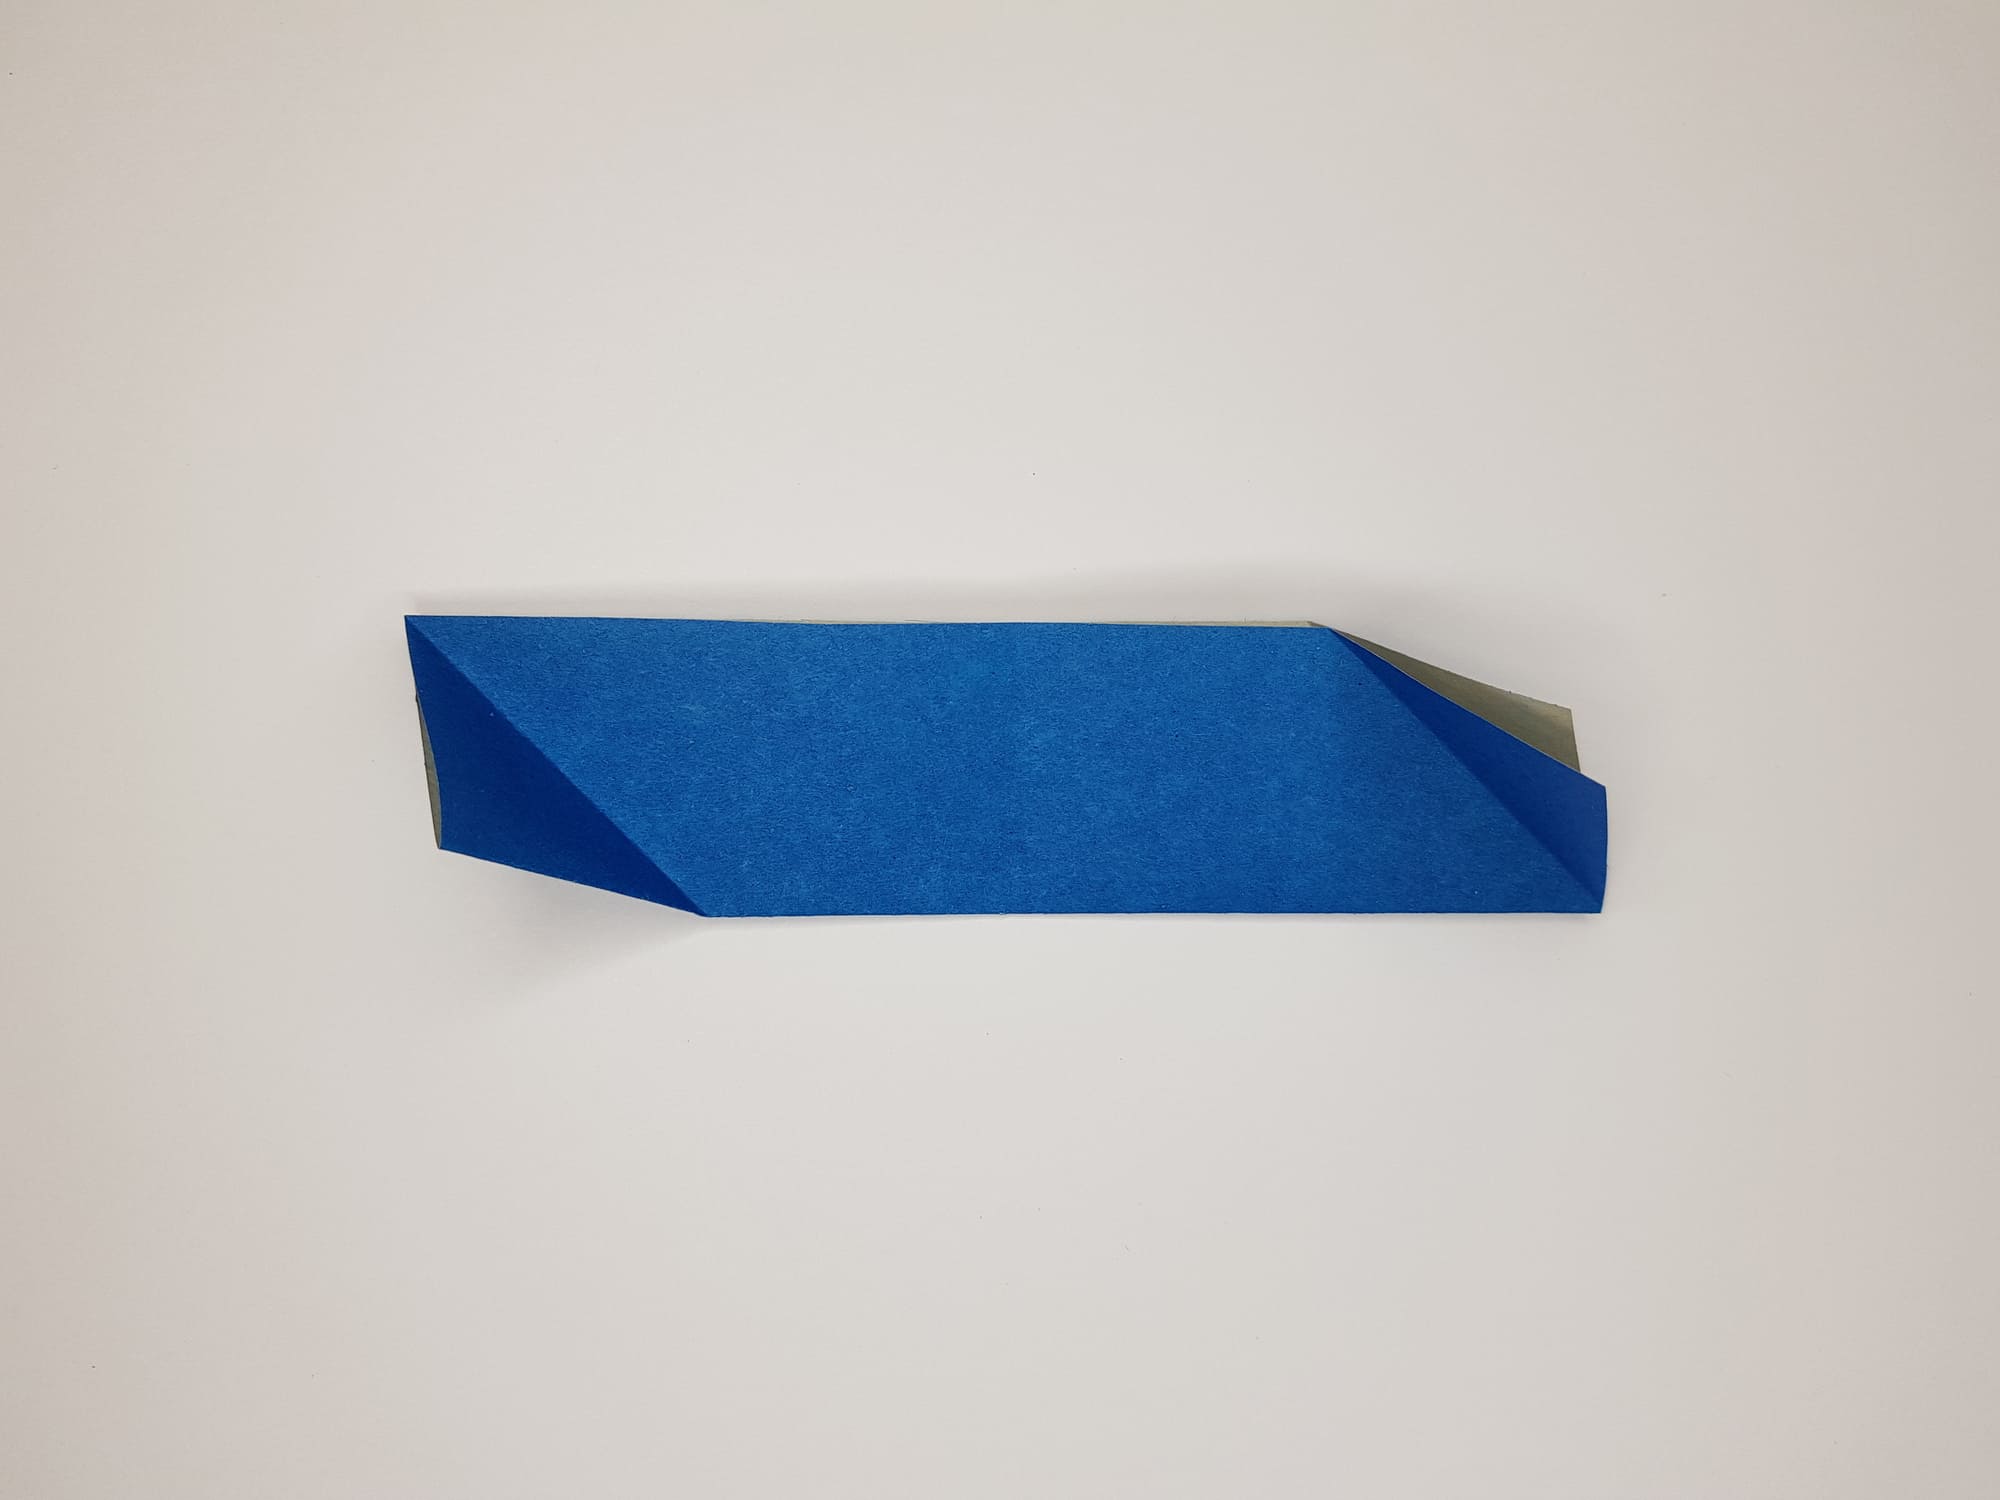
Bend the top left and bottom right corners.
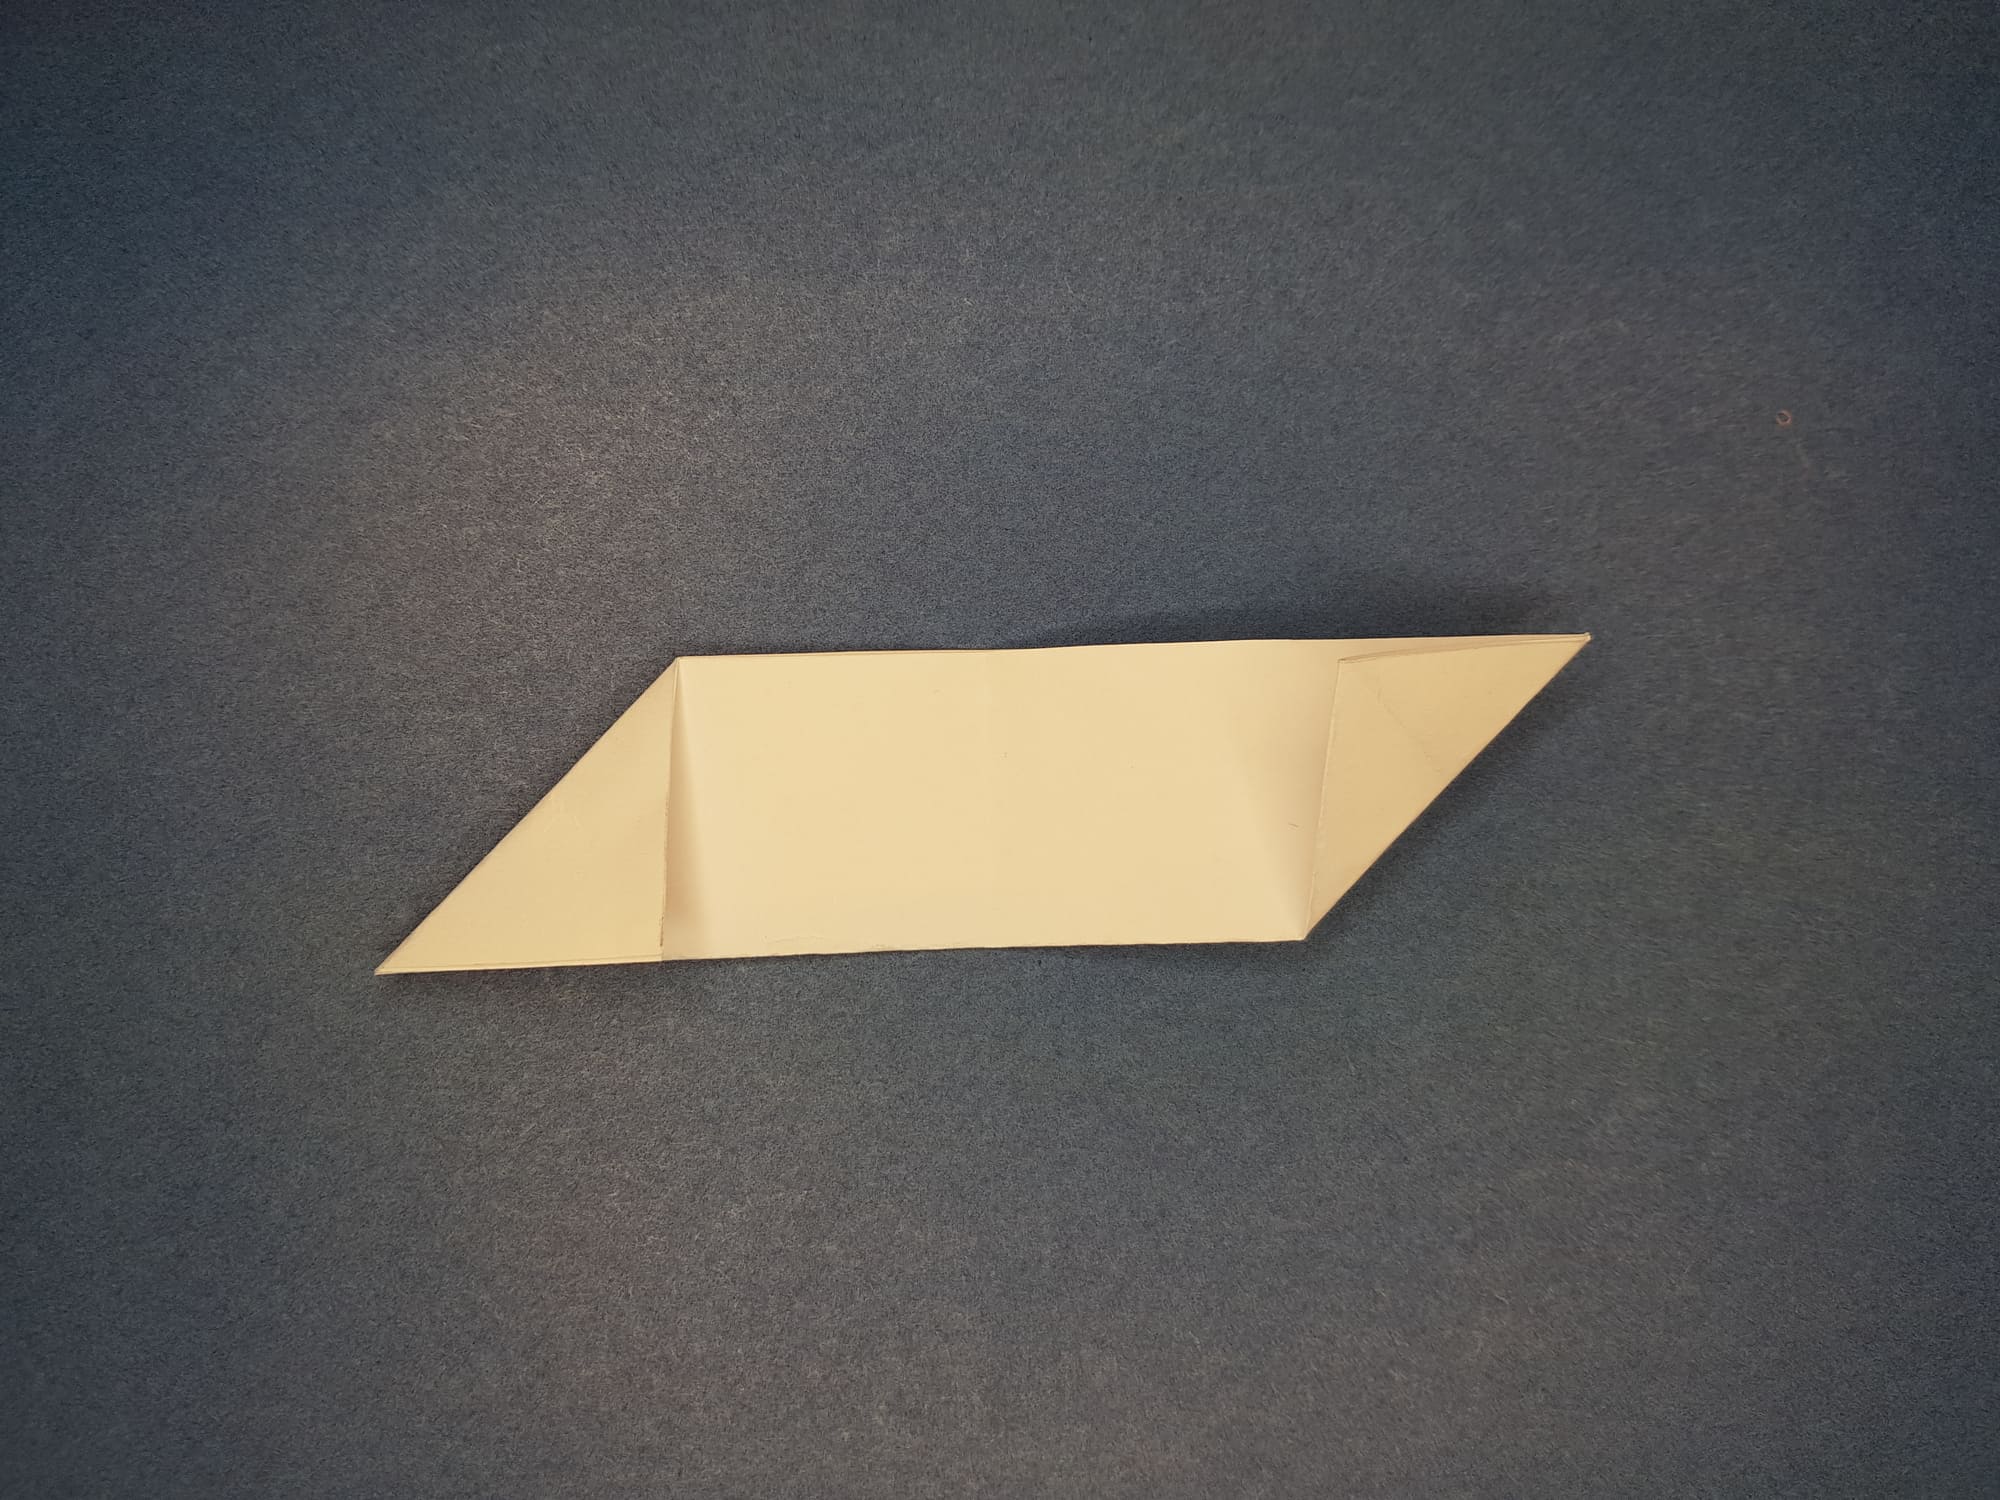
Bend the corners along the lines shown in the photo.
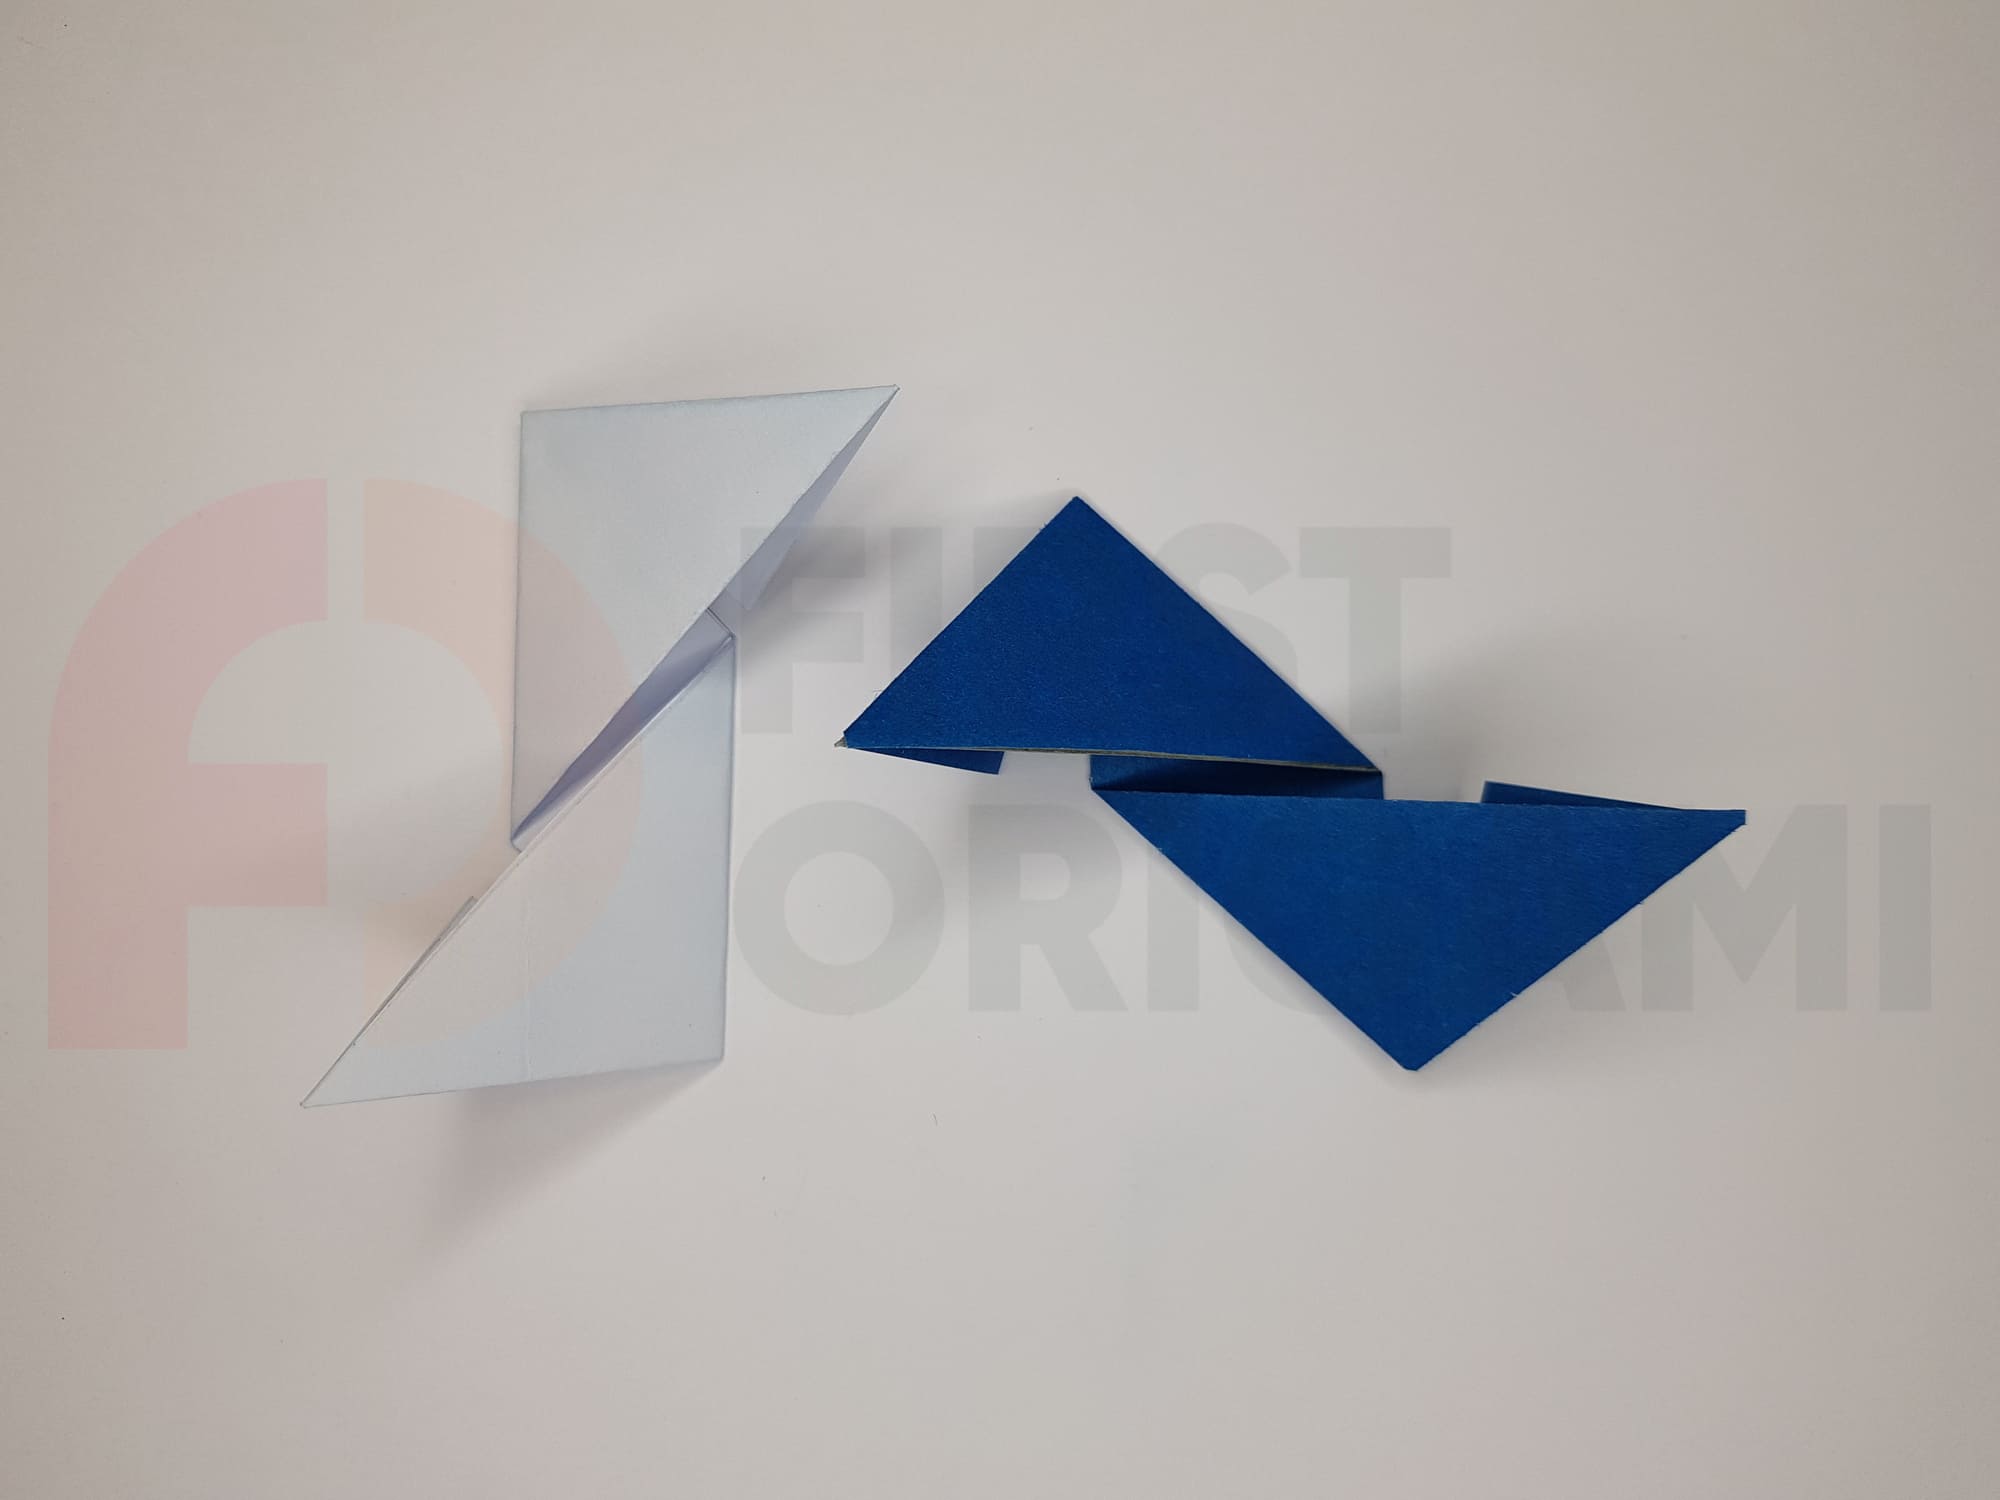
The first two parts for the star are ready.
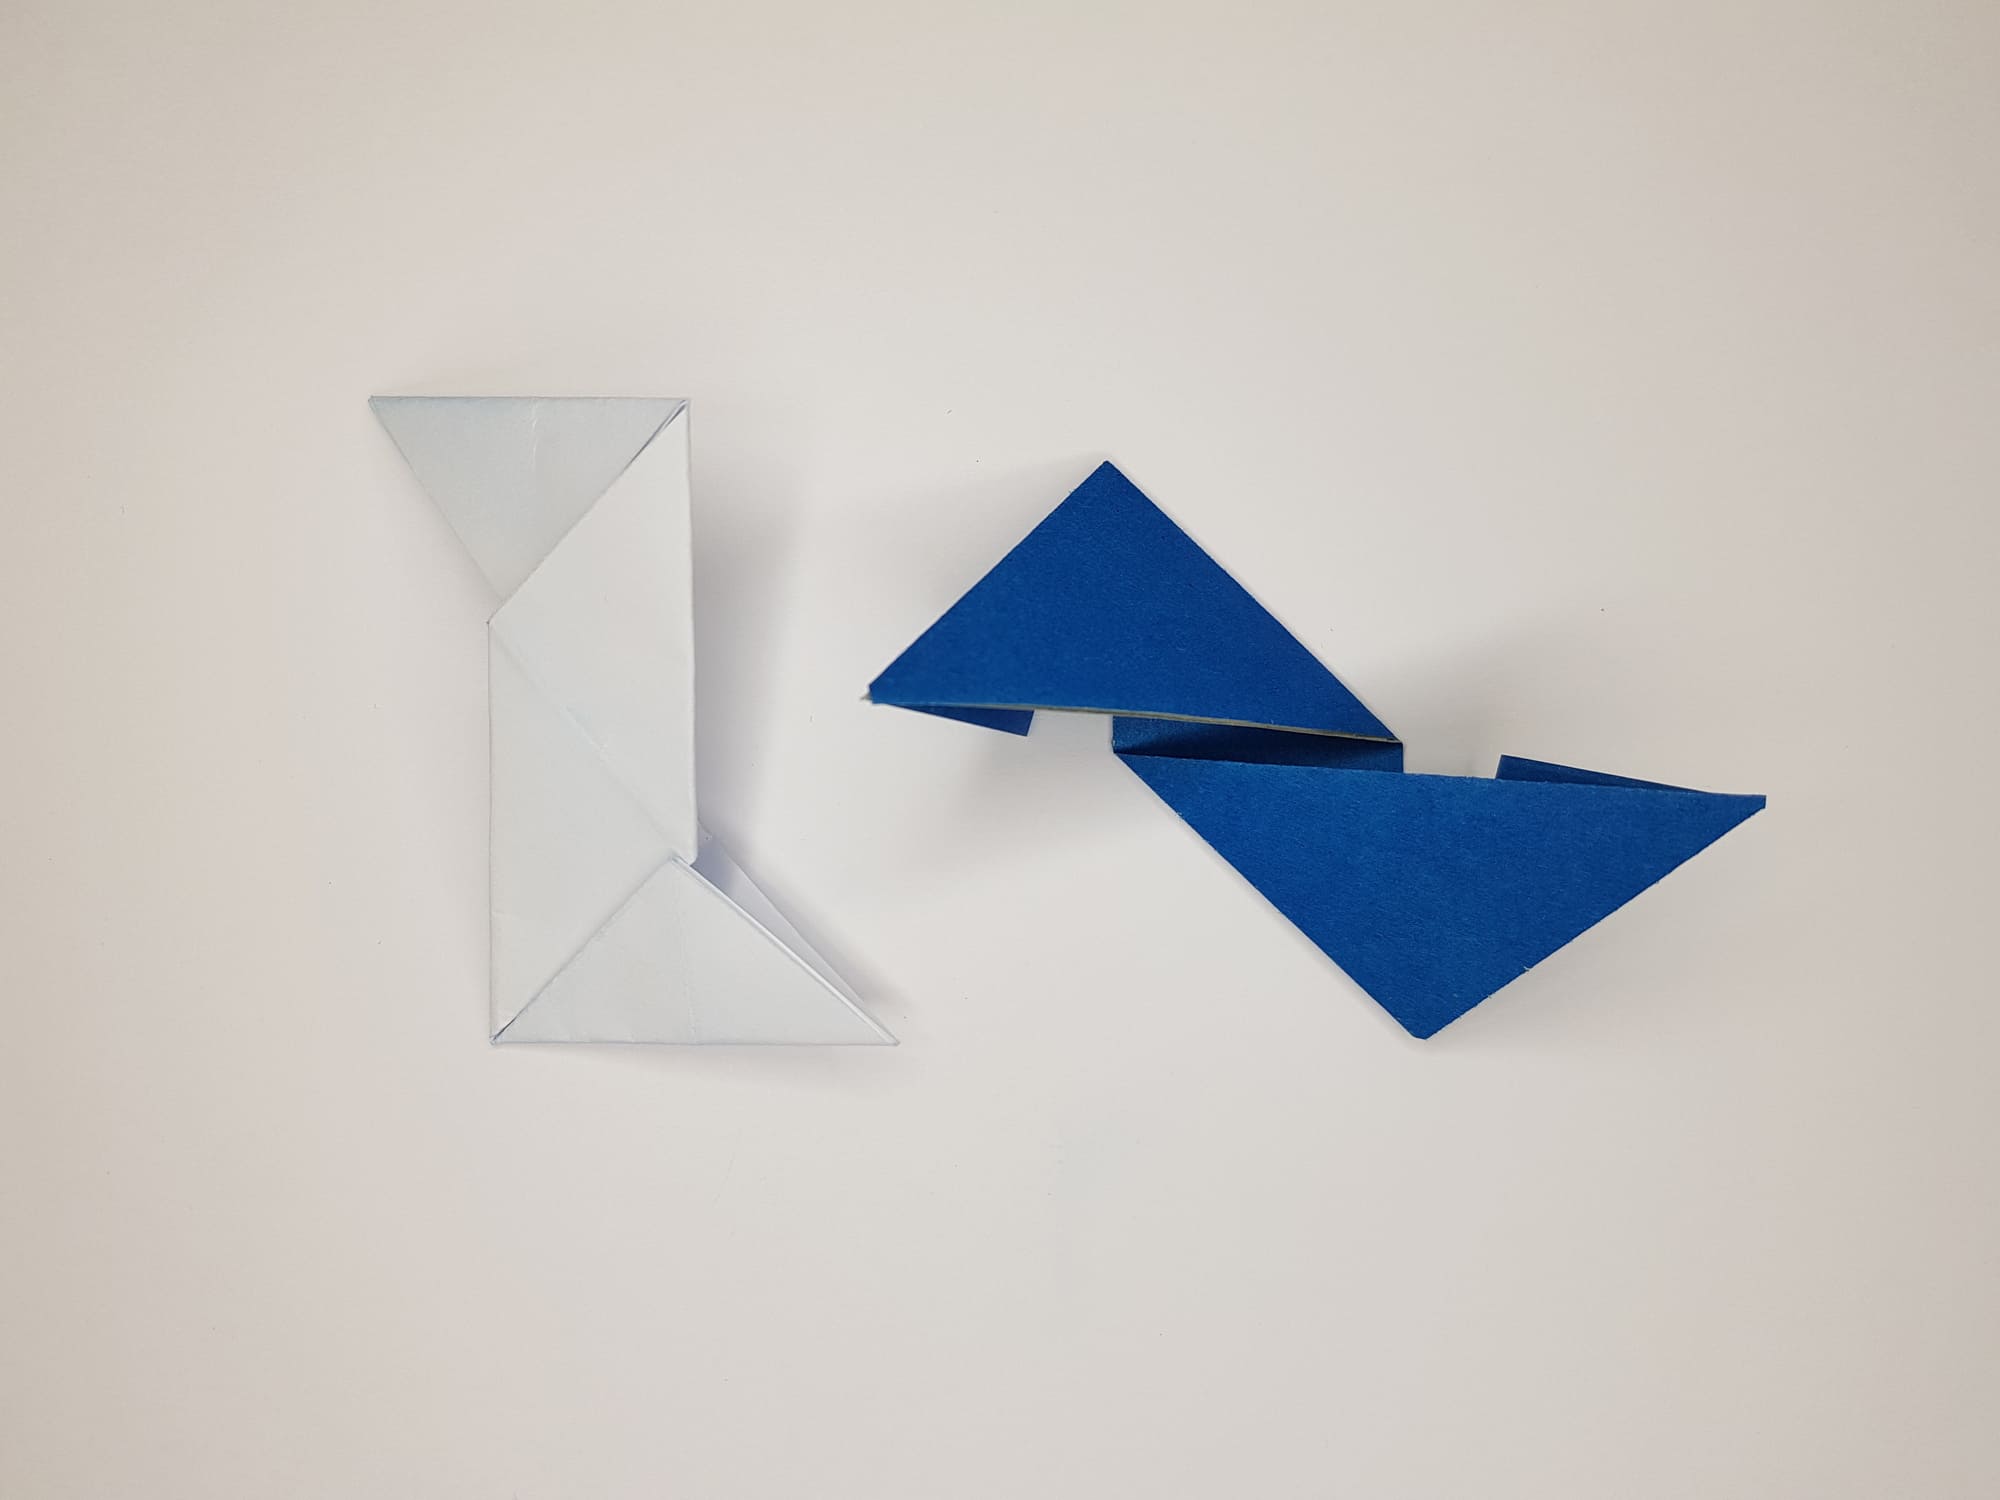
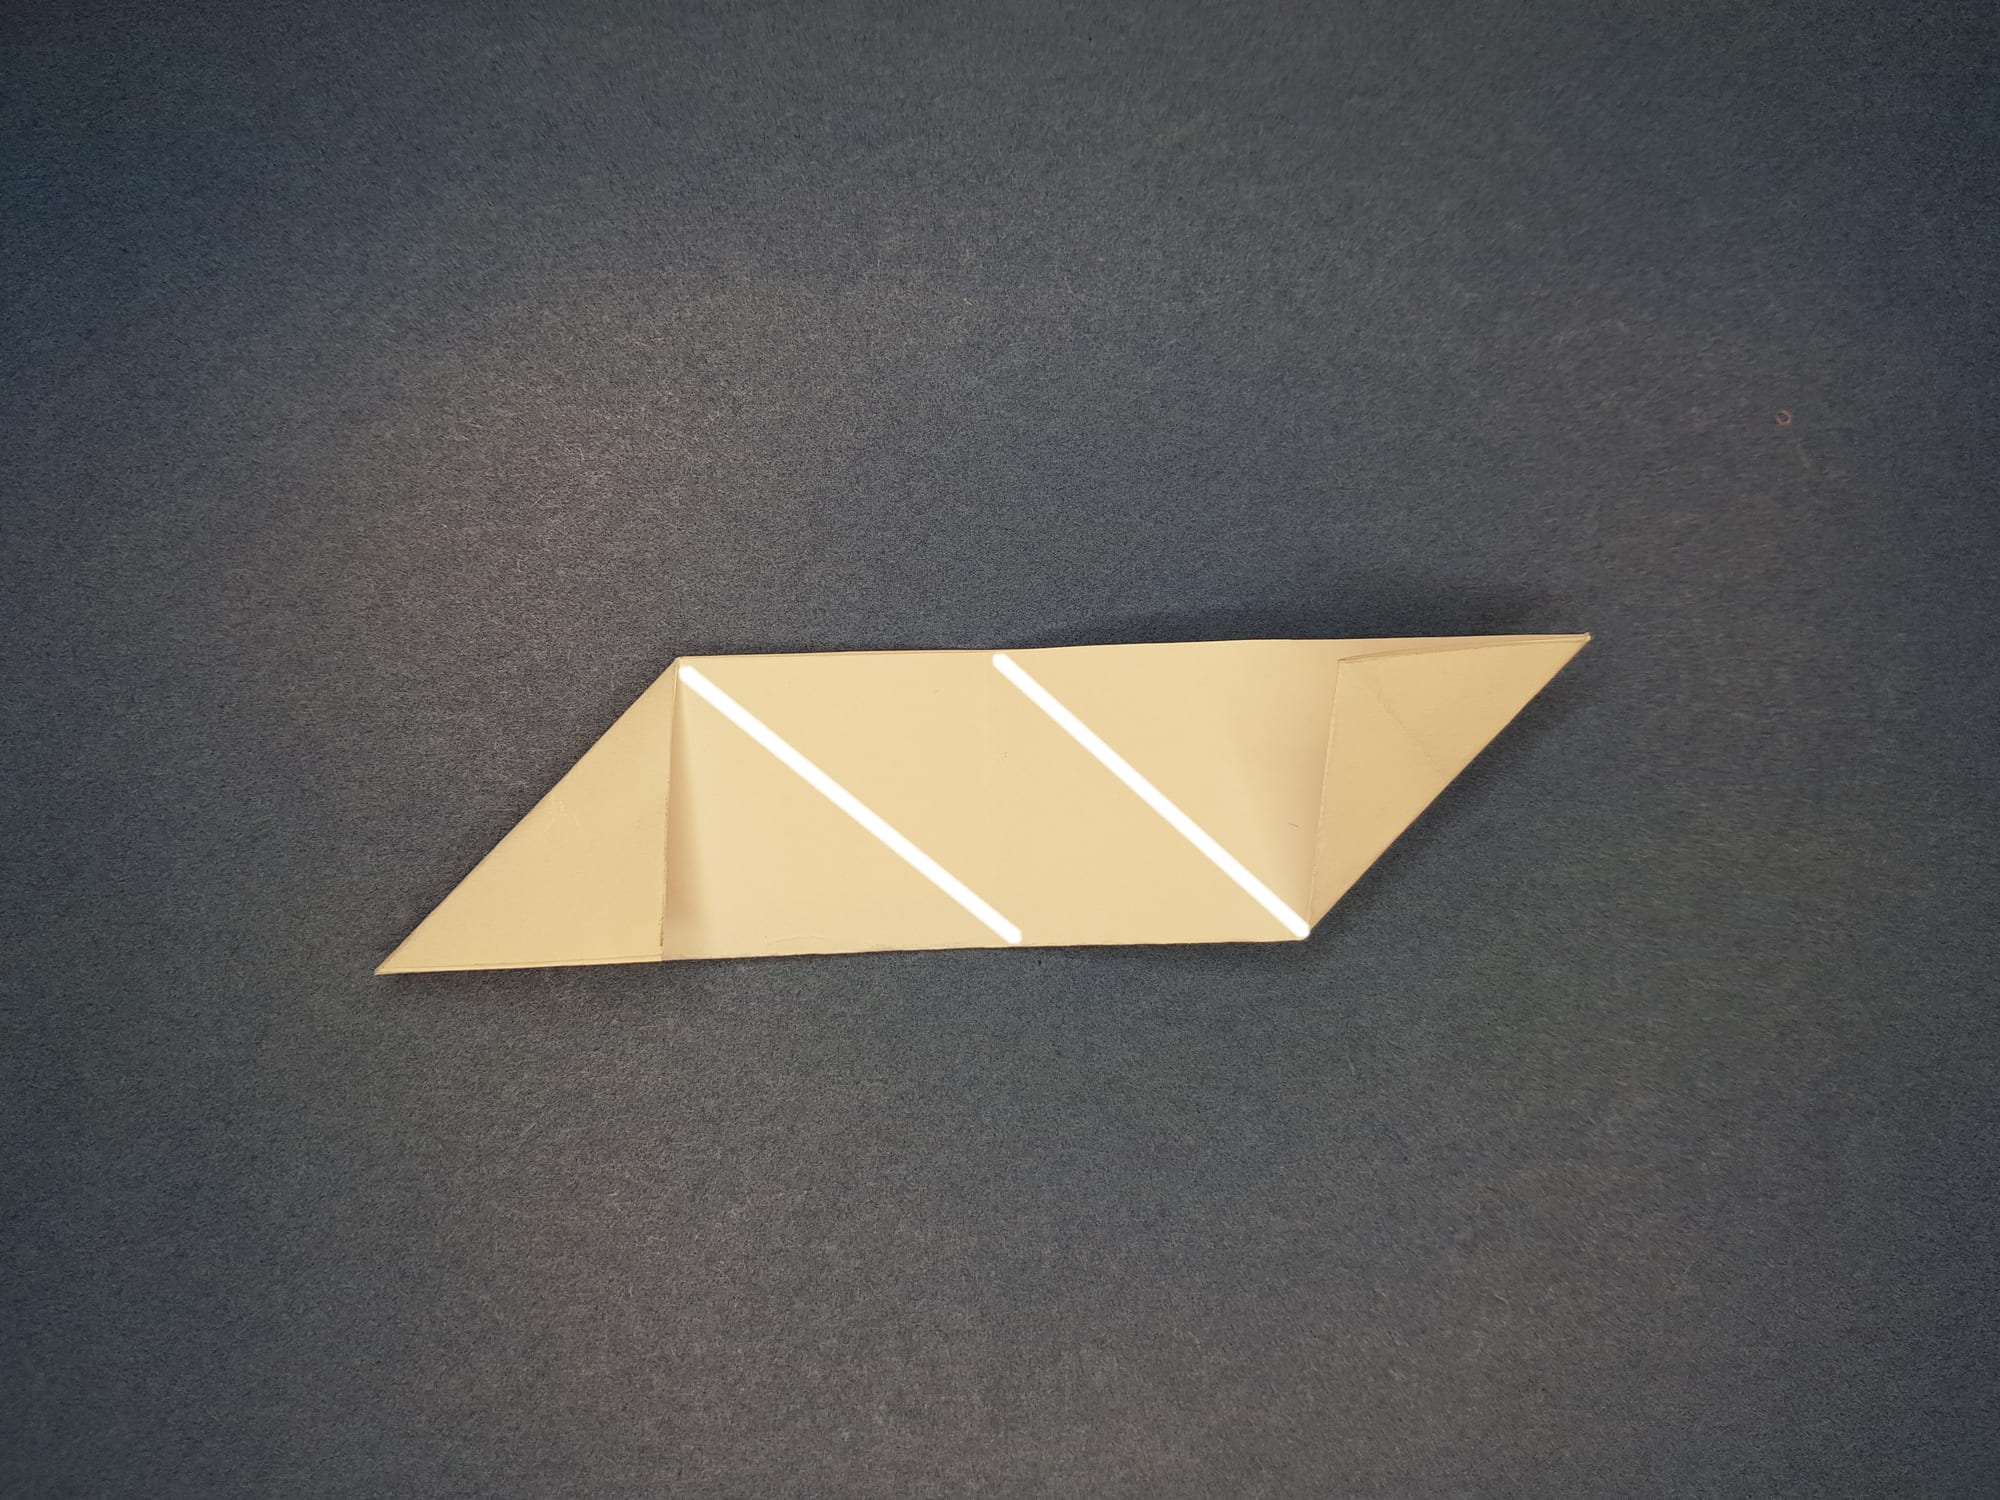
Flip the part on the left (white in the photo) to the wrong side and place the second part on top.

For ease of assembly, infold both parts a little to the right.
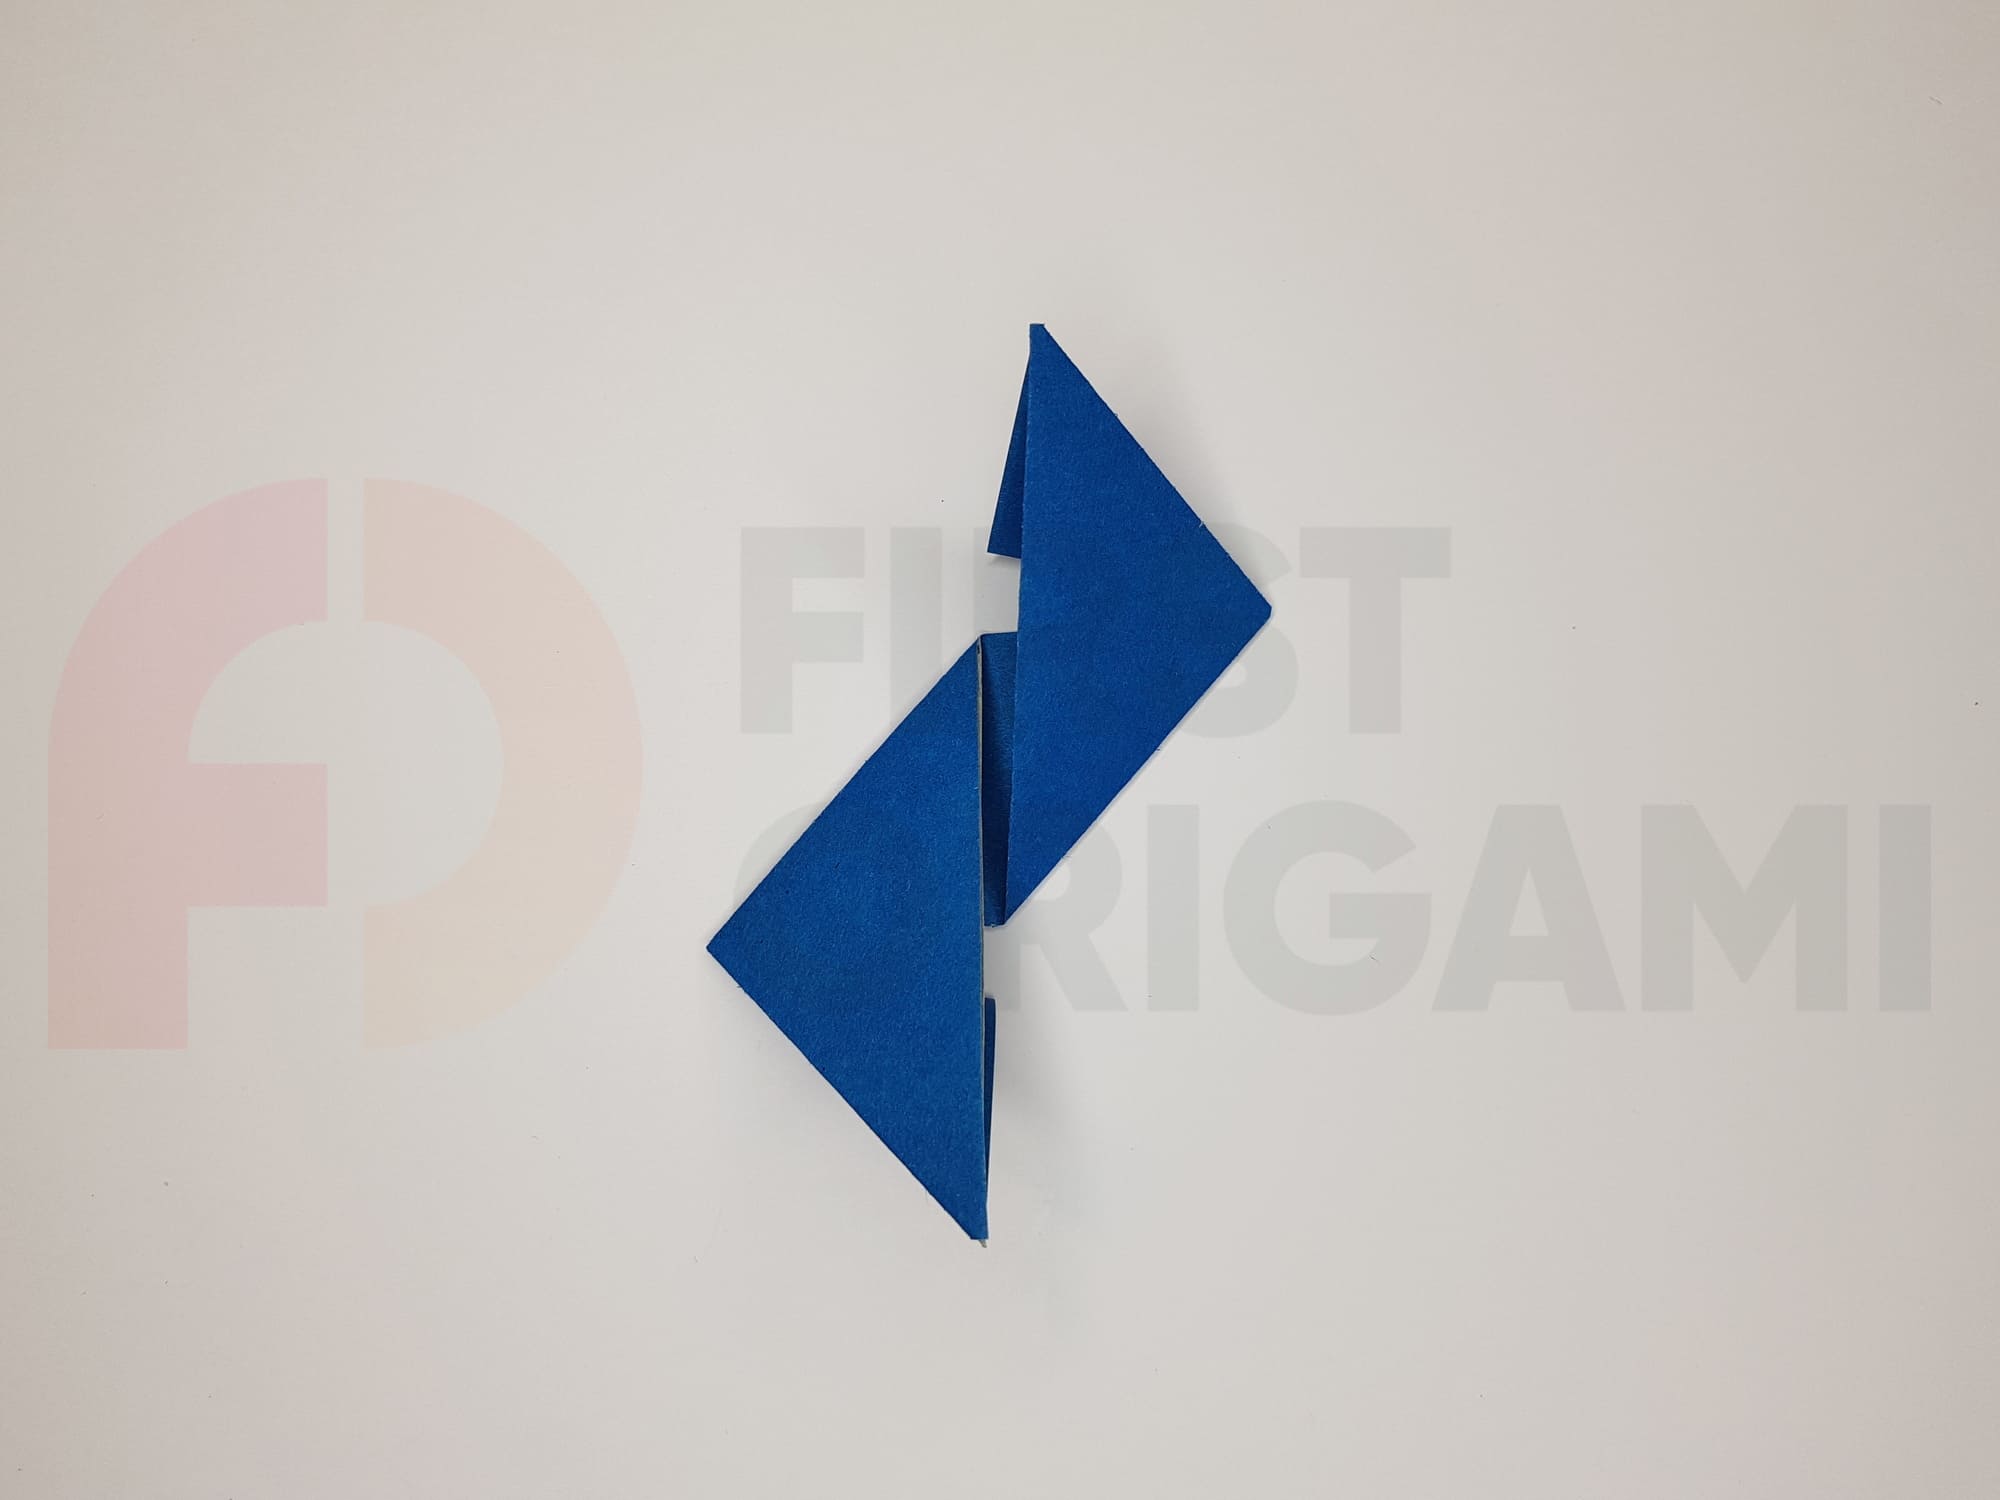
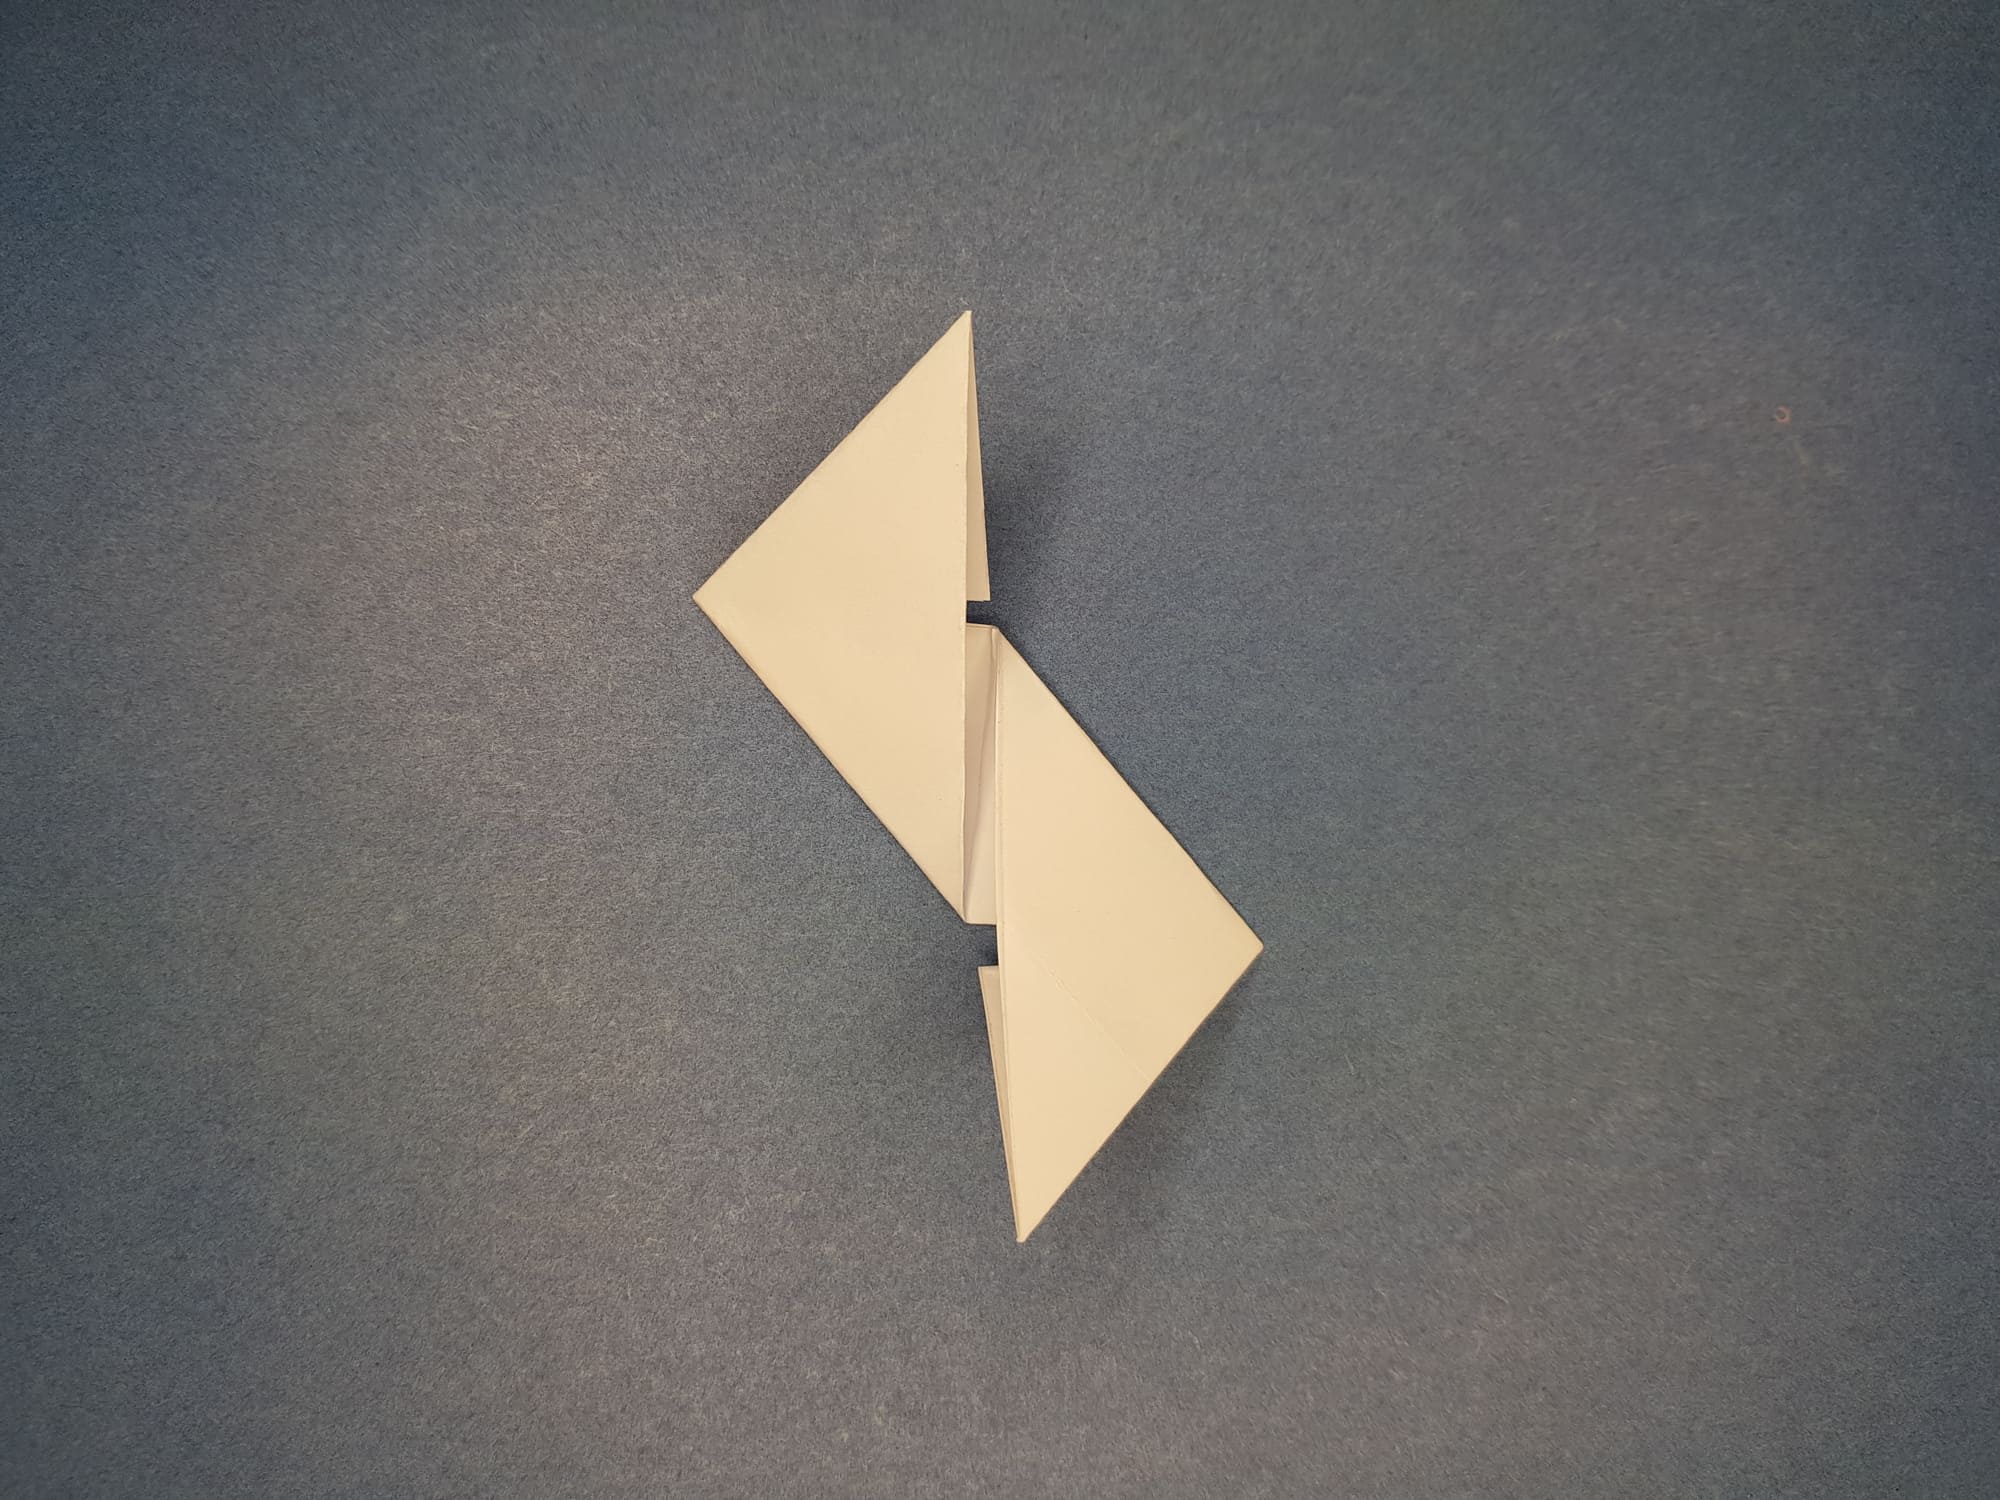
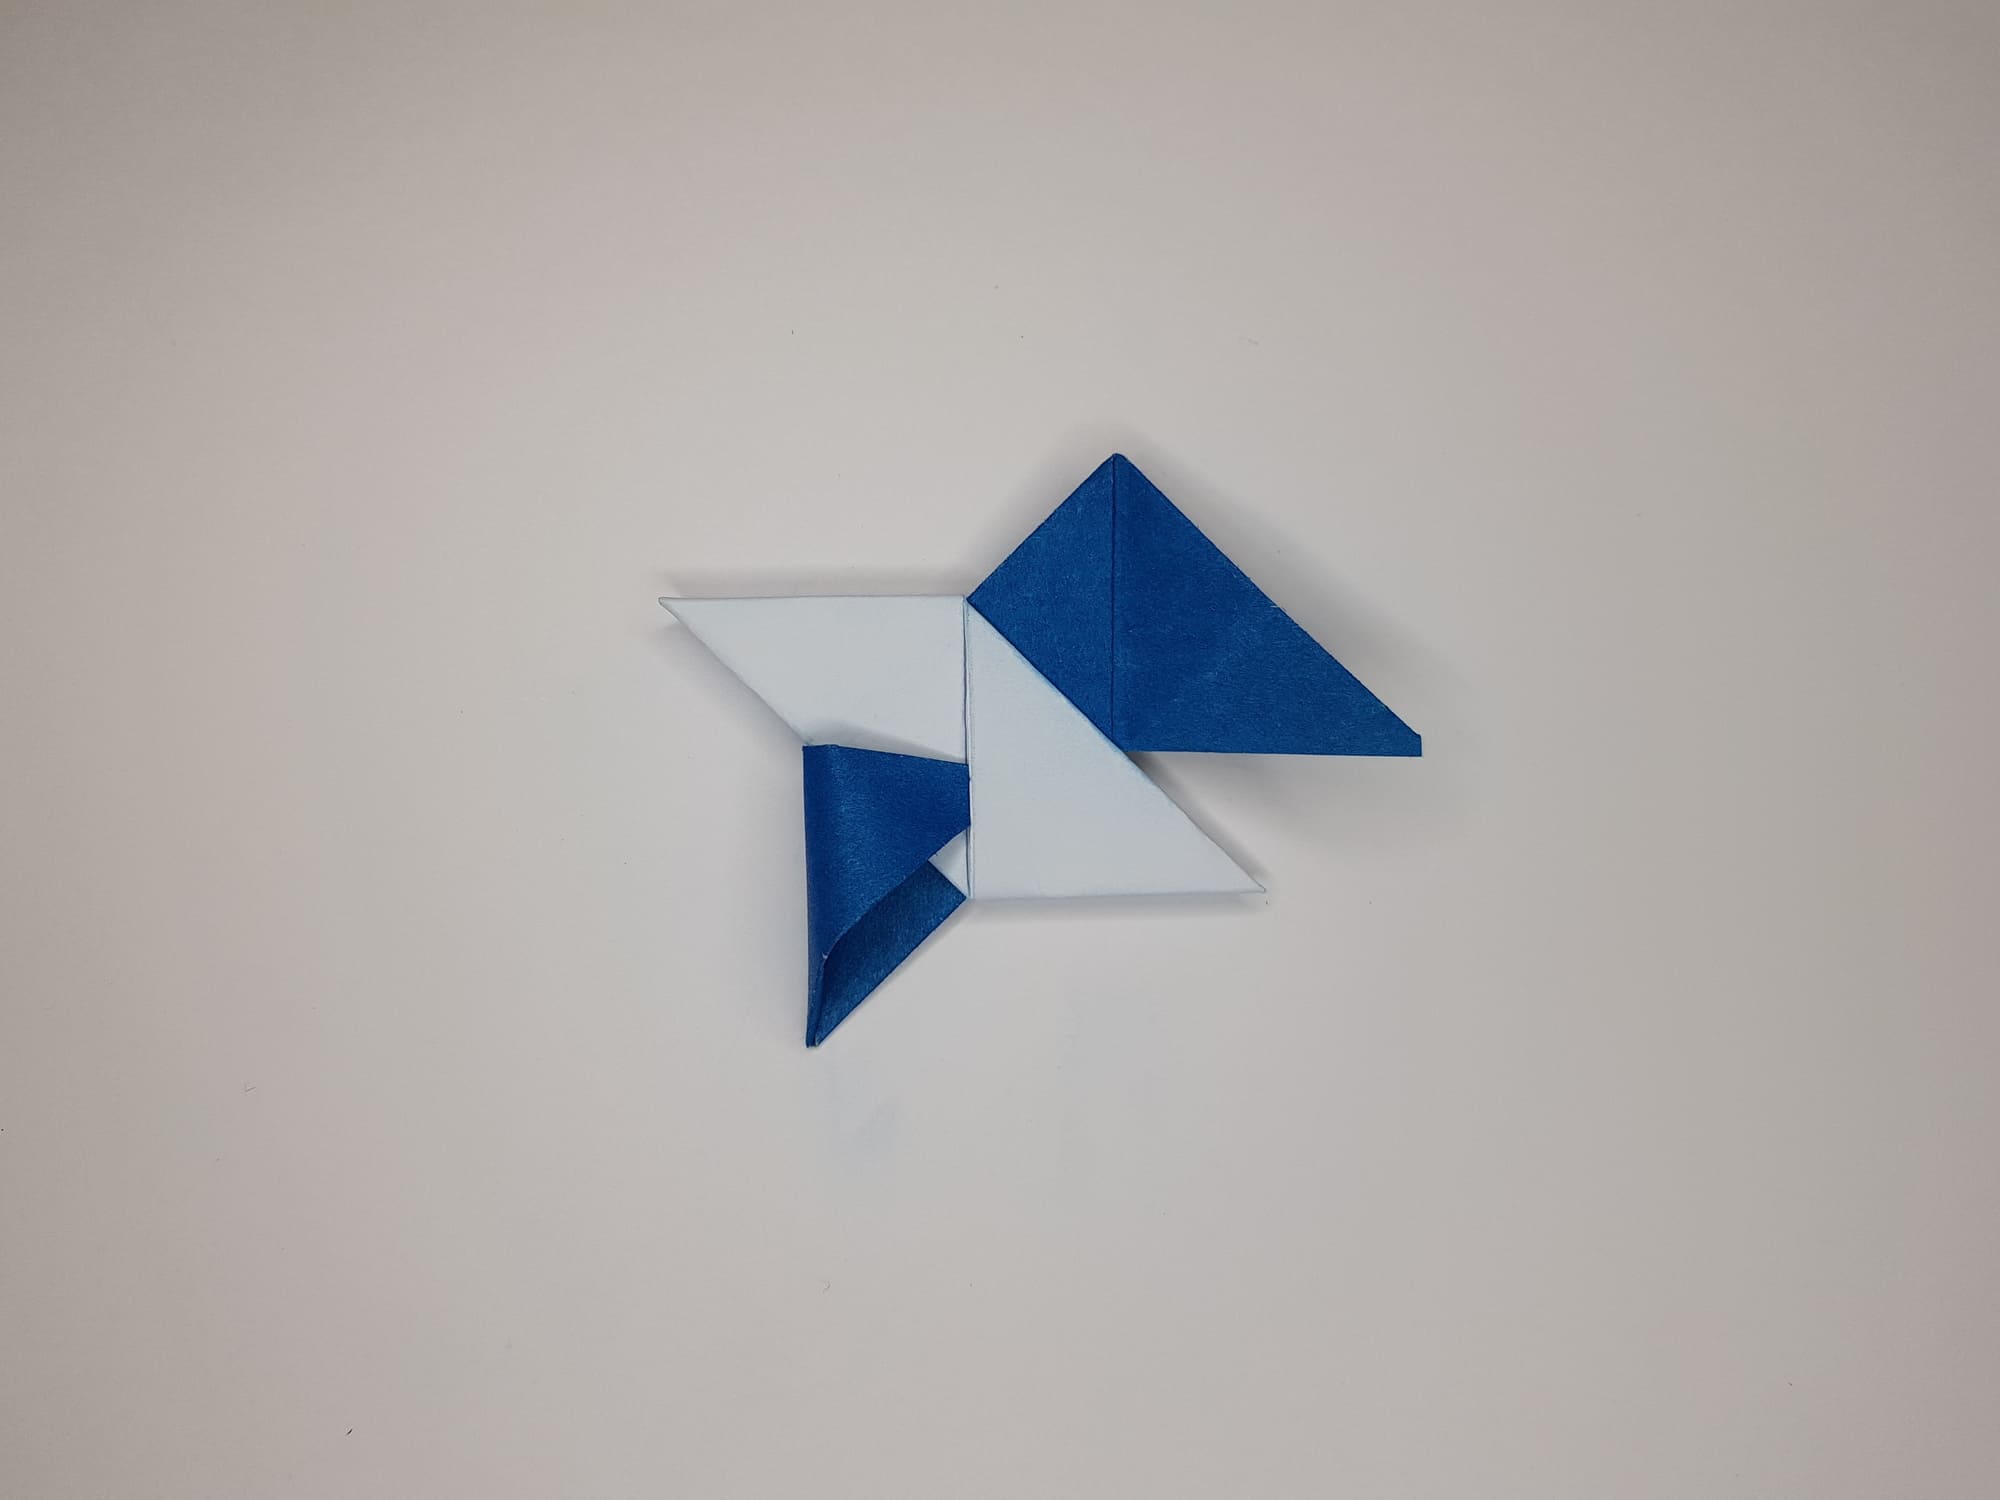
Let’s start connecting the elements. First, bend the corner of one part to the center (white at the bottom of the photo) and hide it in the “pocket” of the second part. Repeat the same with the second corner.

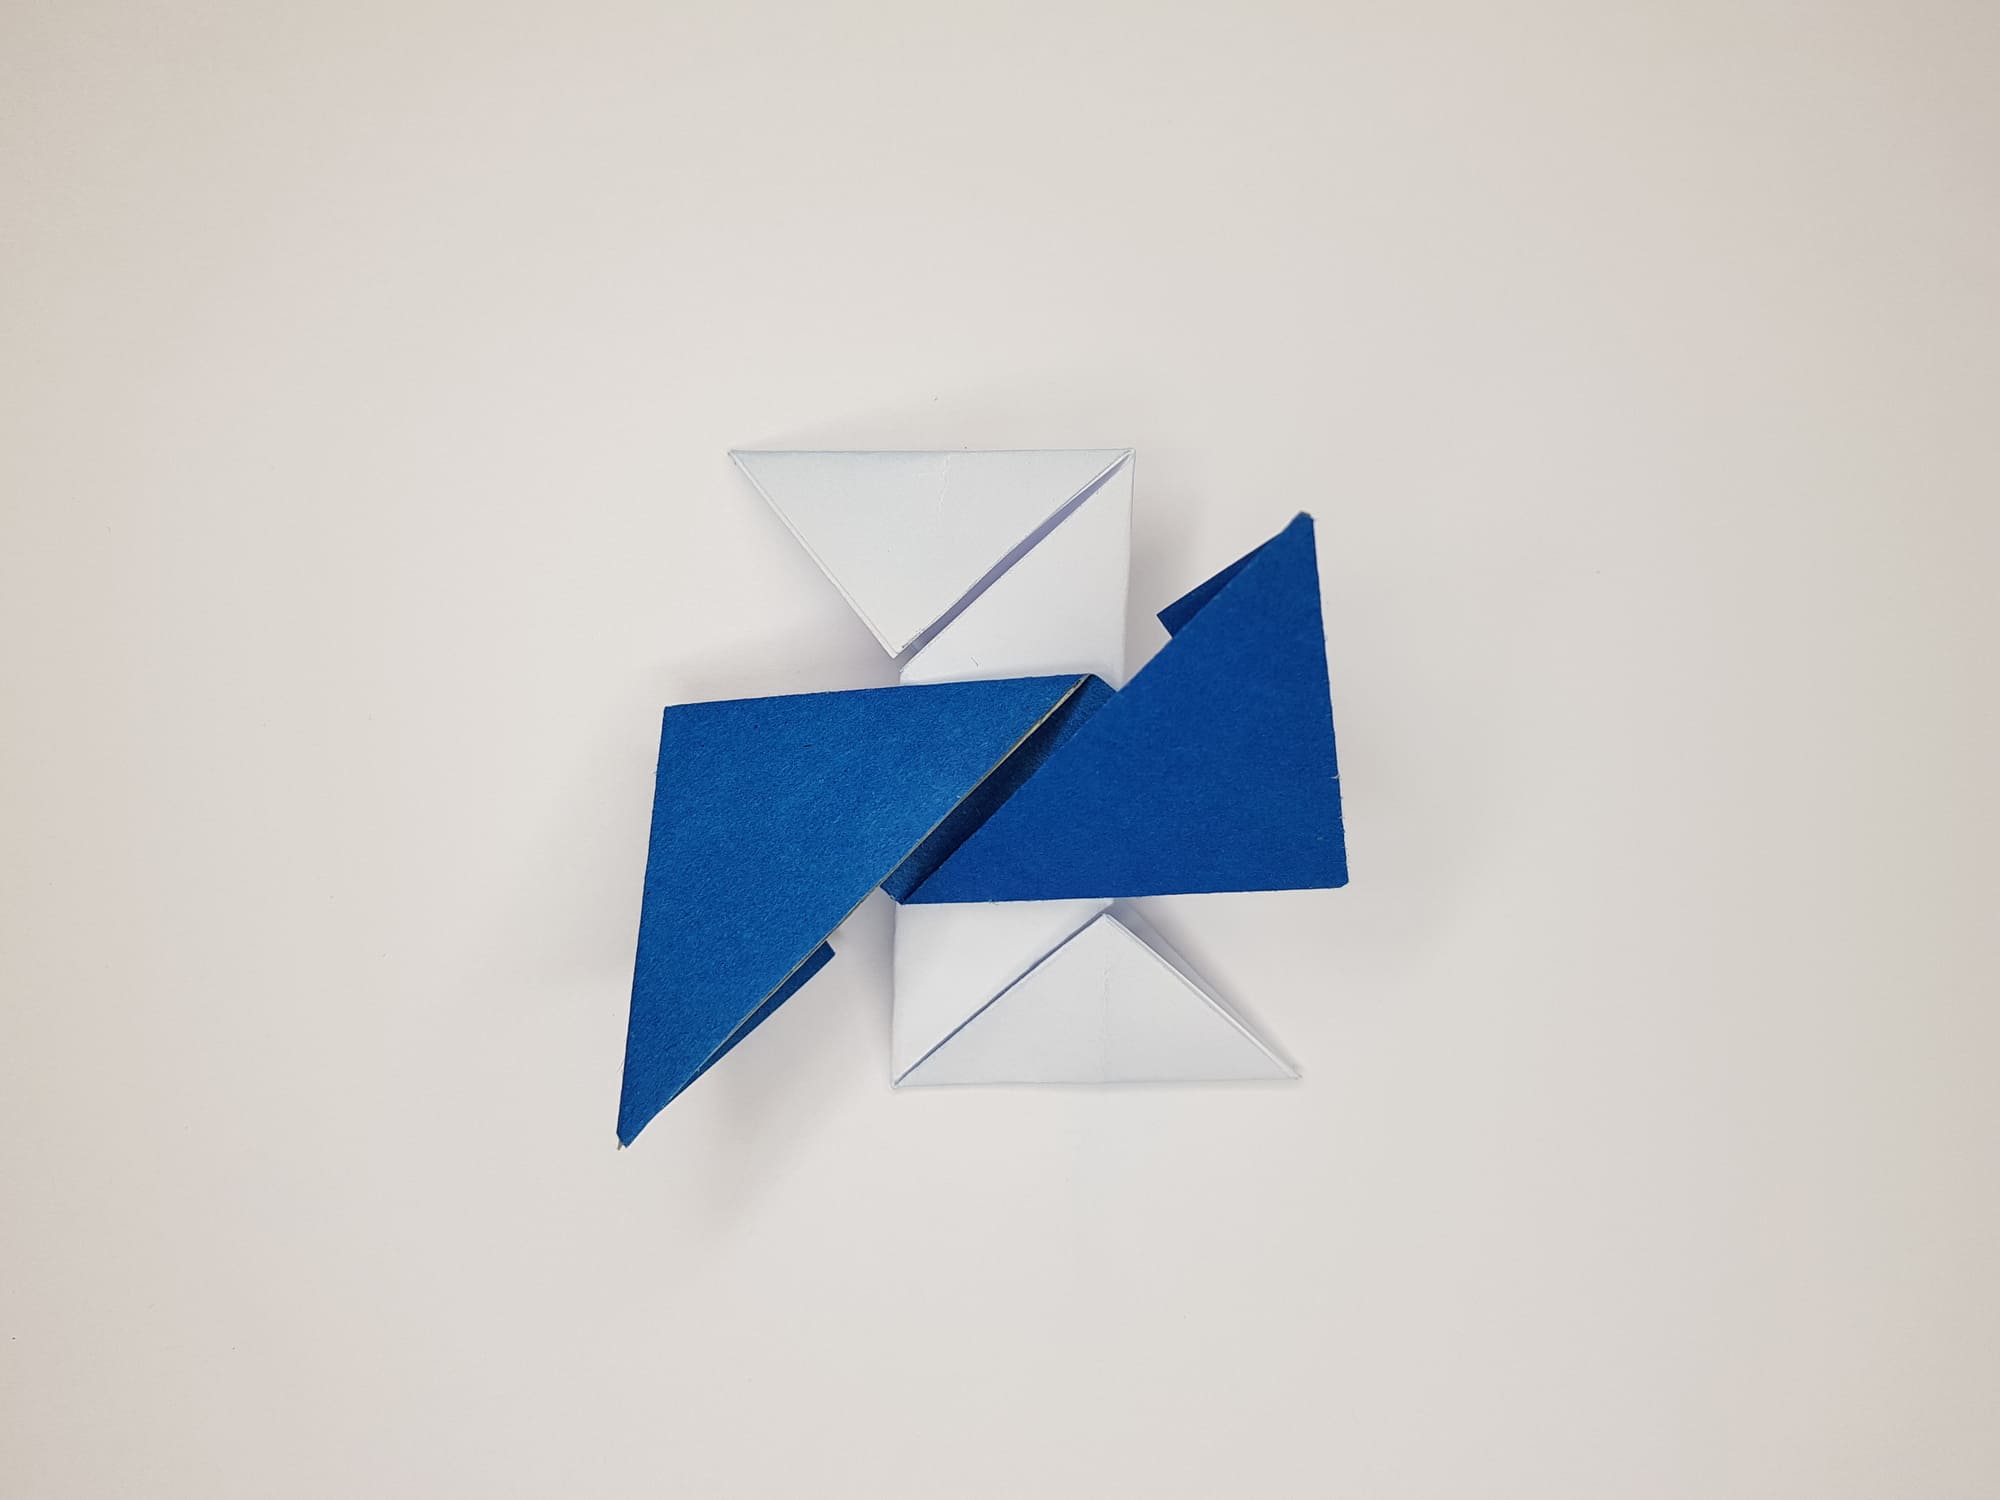
Turn the figure over.
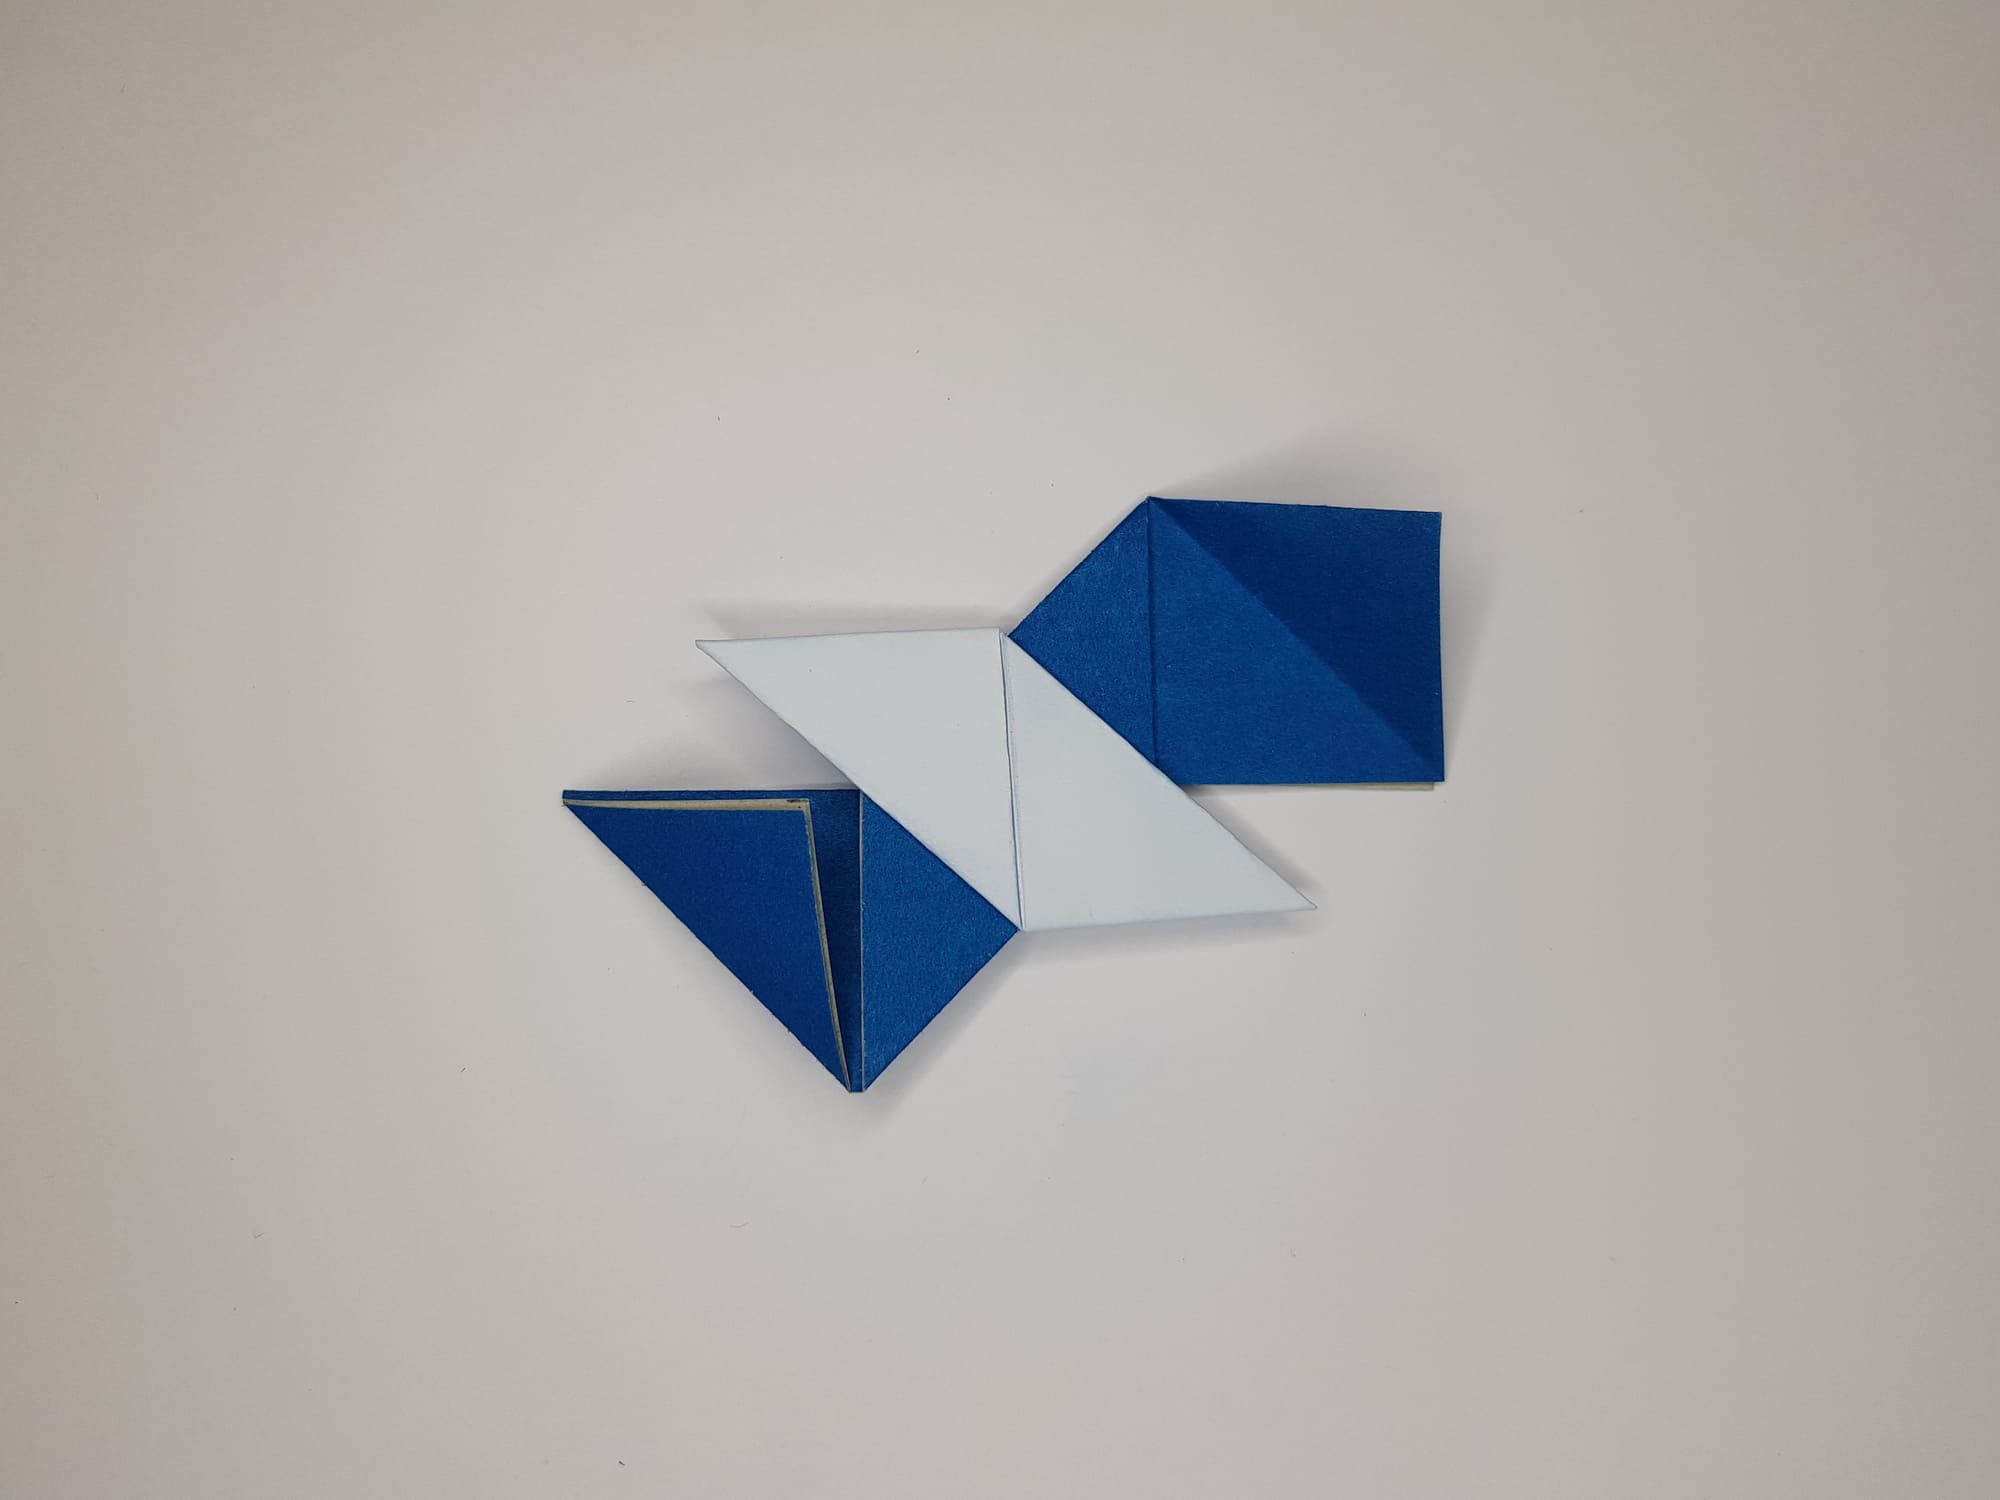
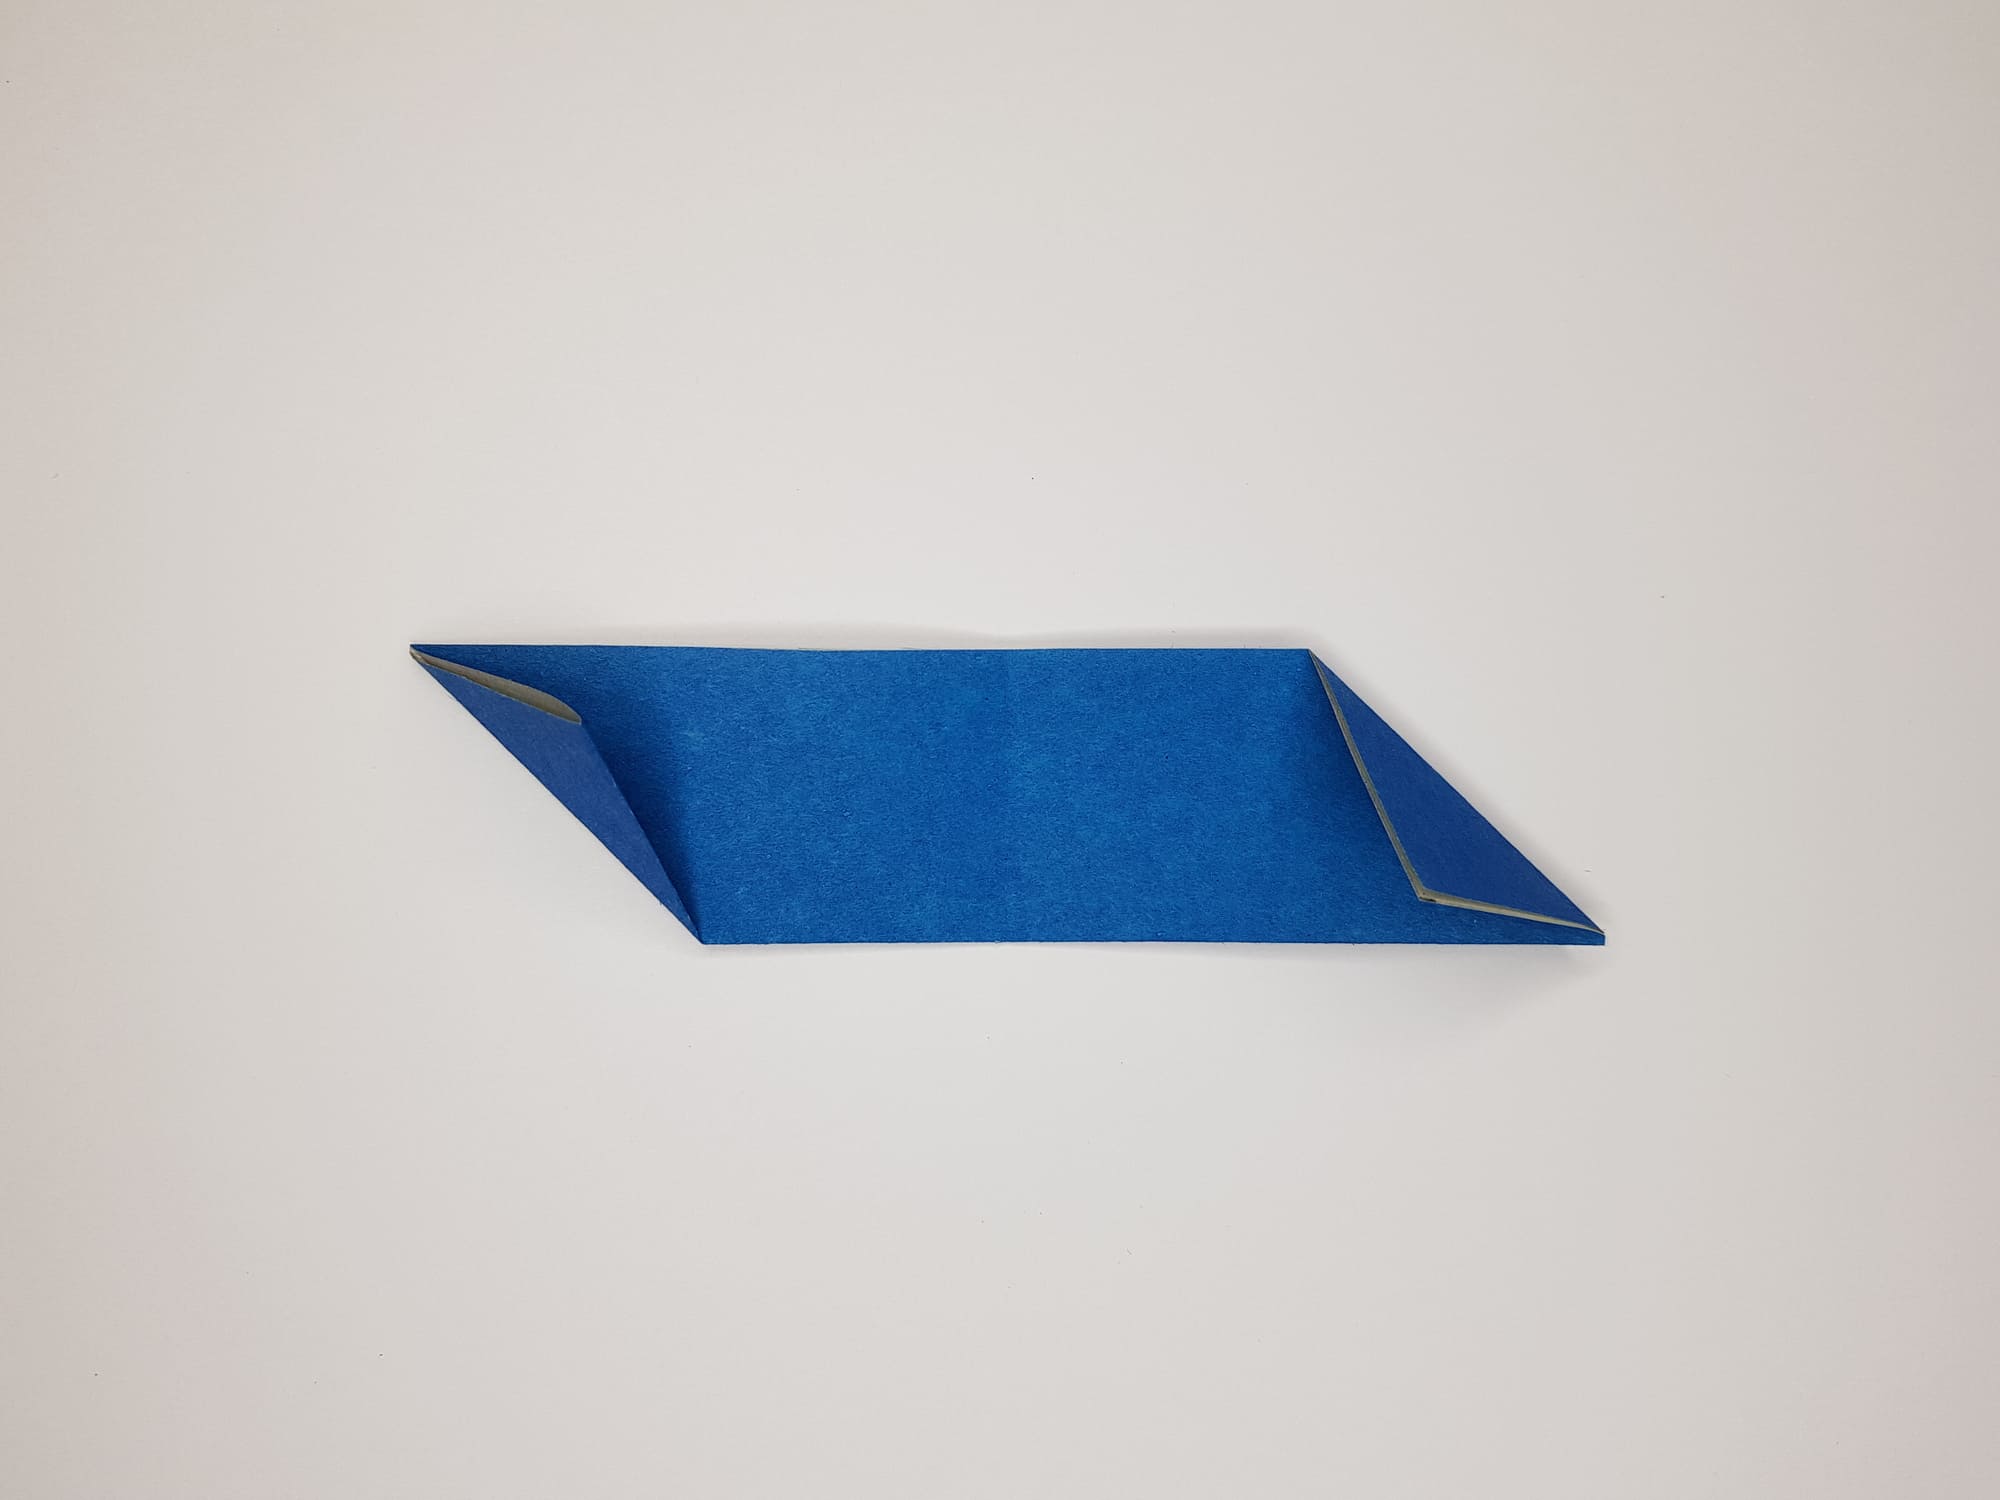
Open the upper right corner and form a triangle, as shown in the photo.
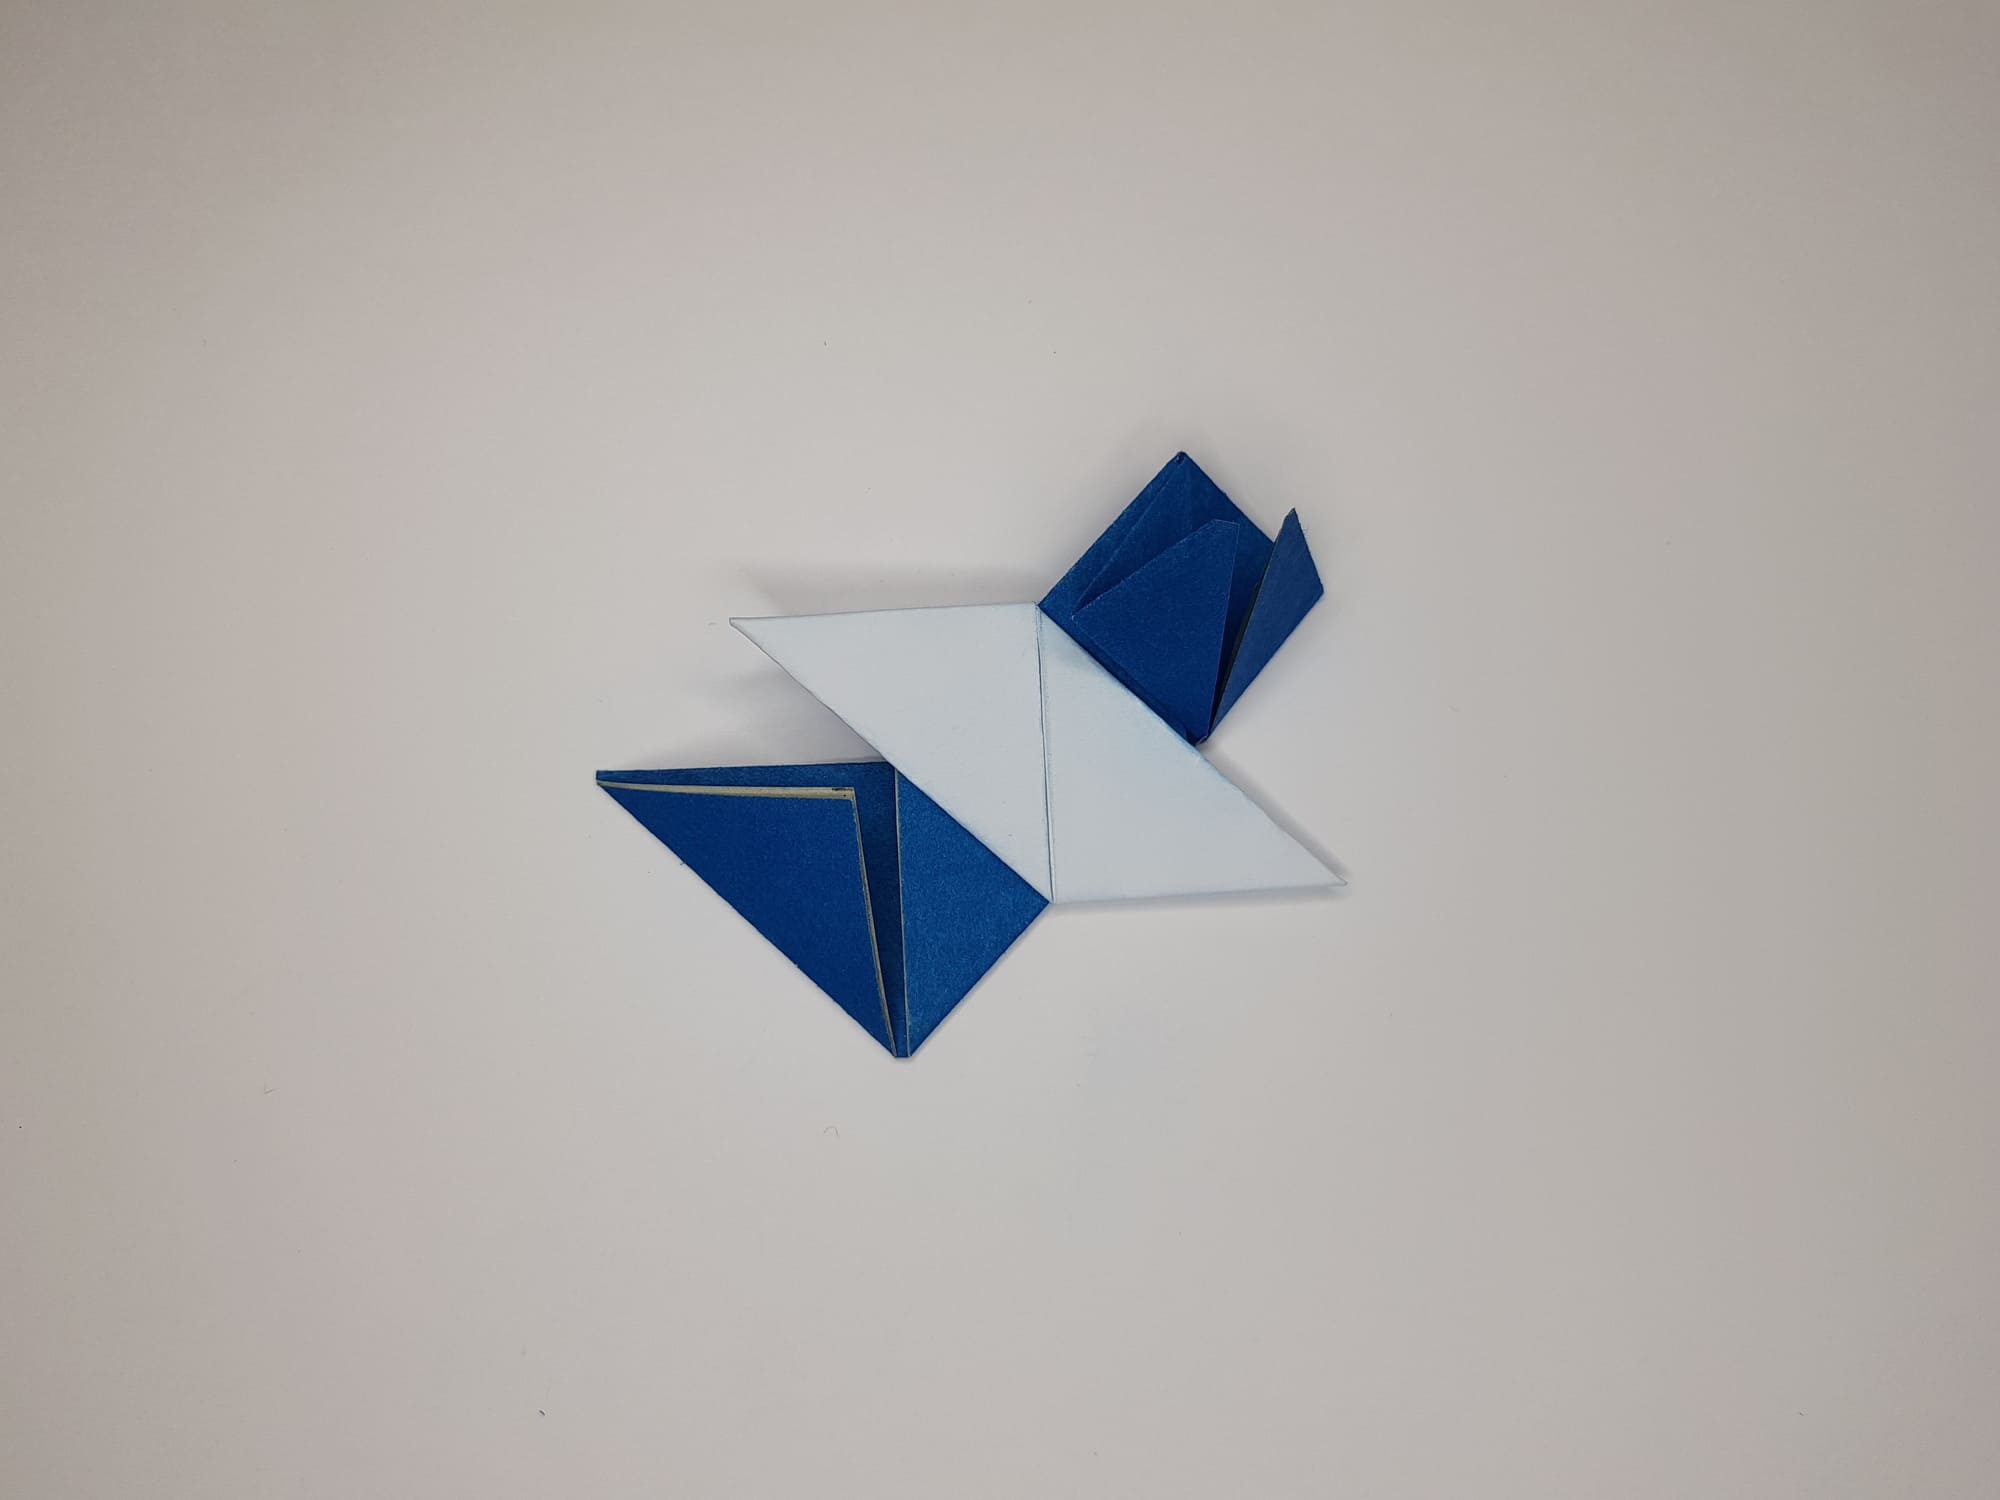
Fold the lower left corner in half and hide it in the pocket, as shown in the photo.
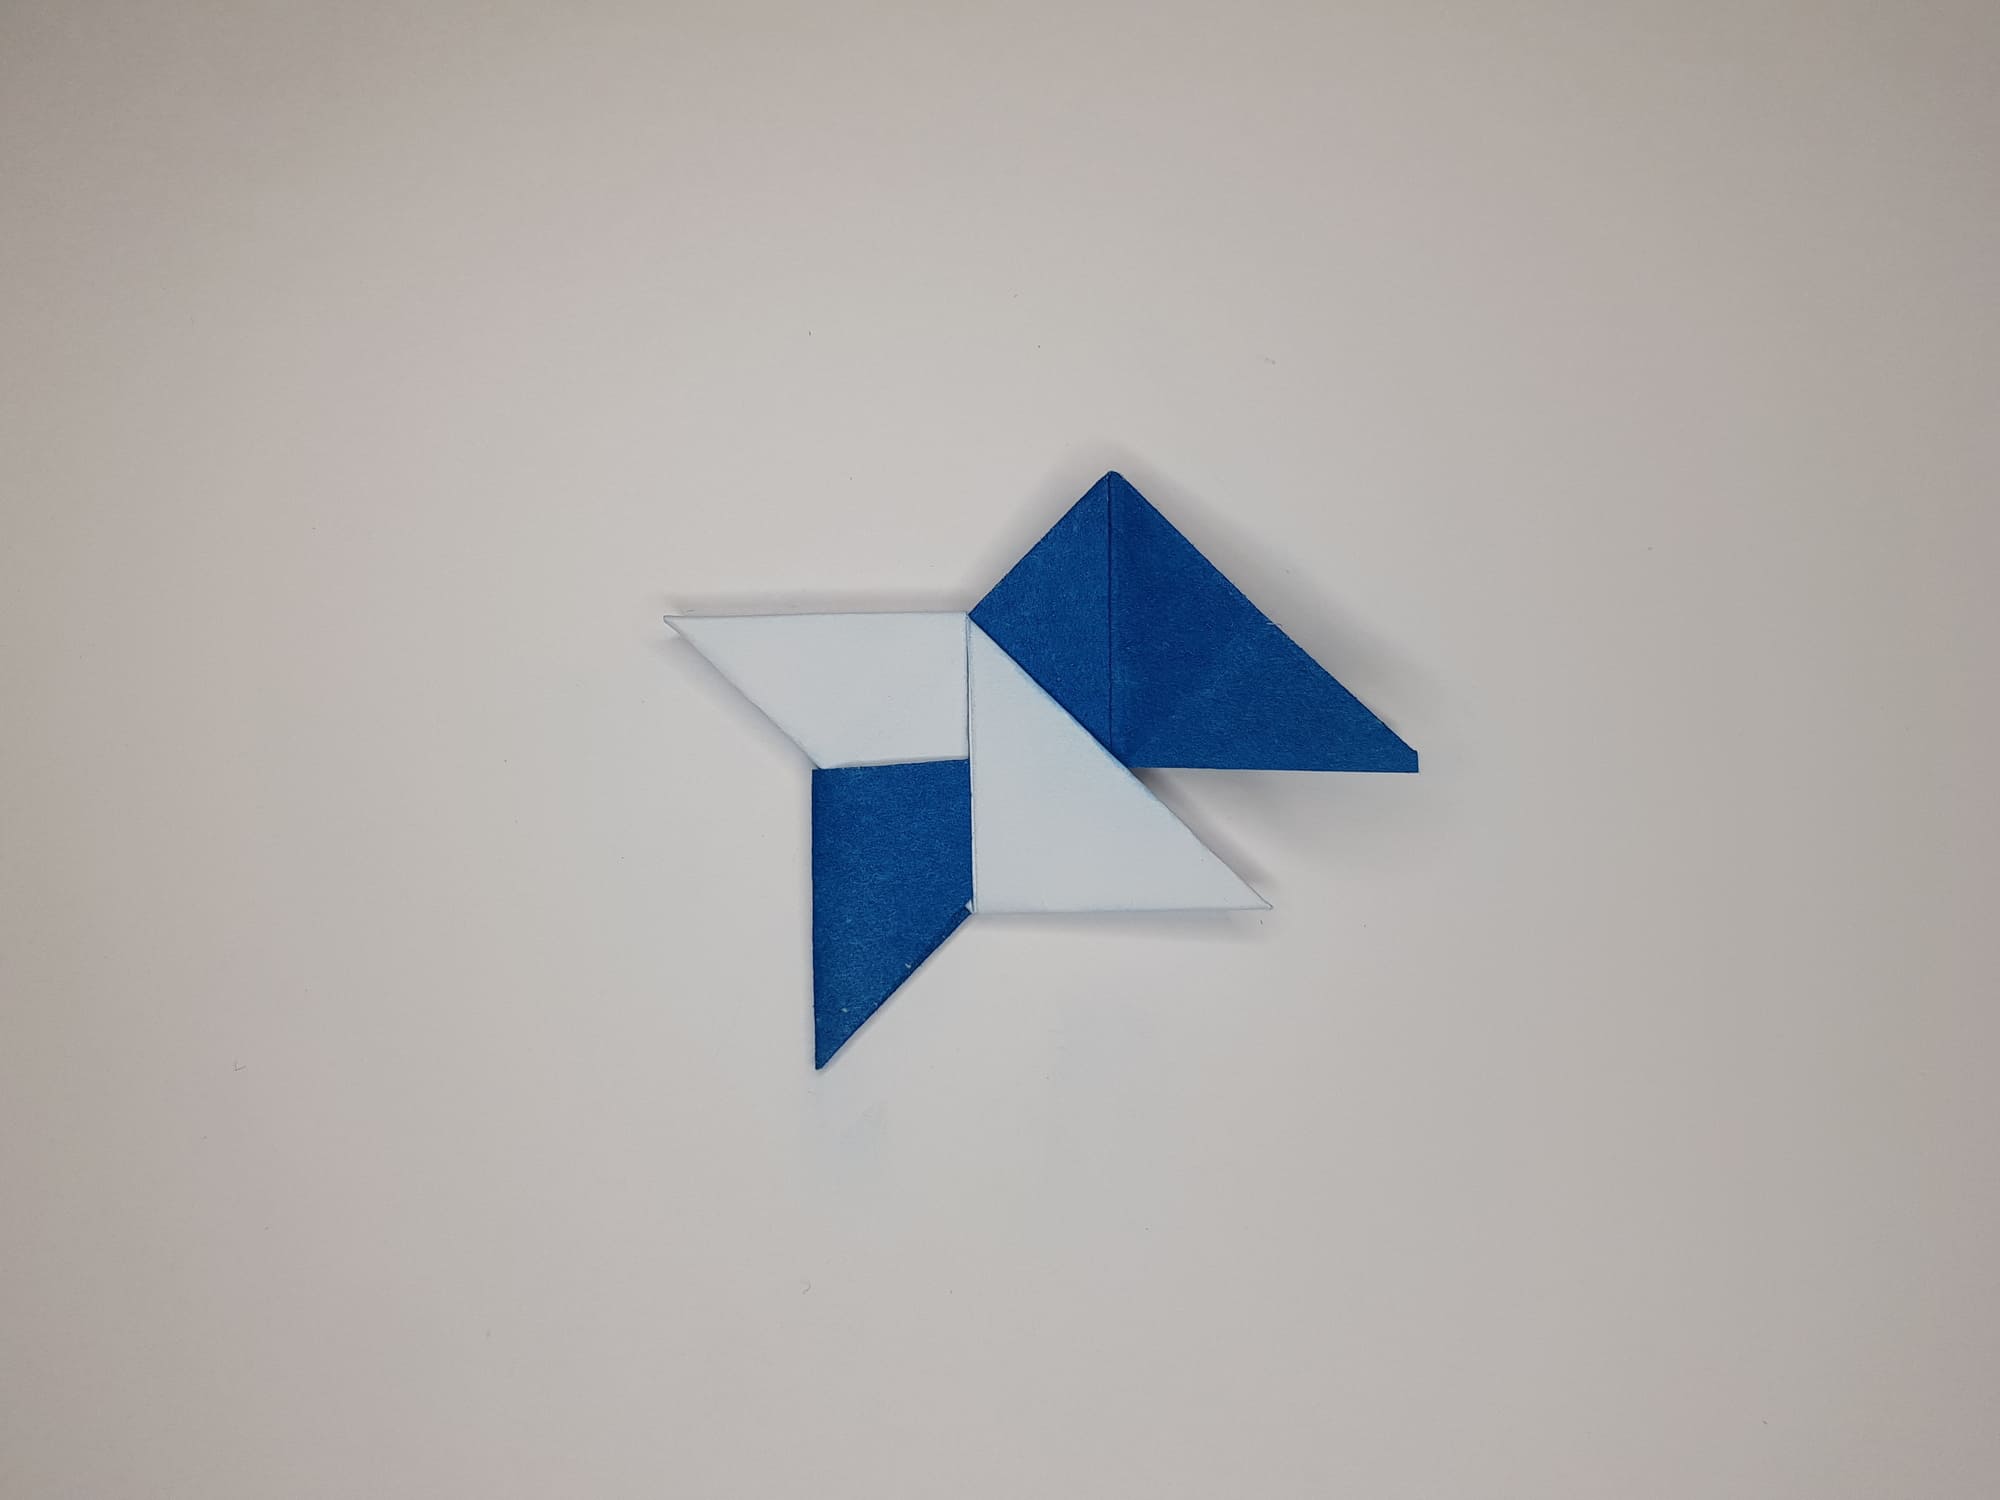
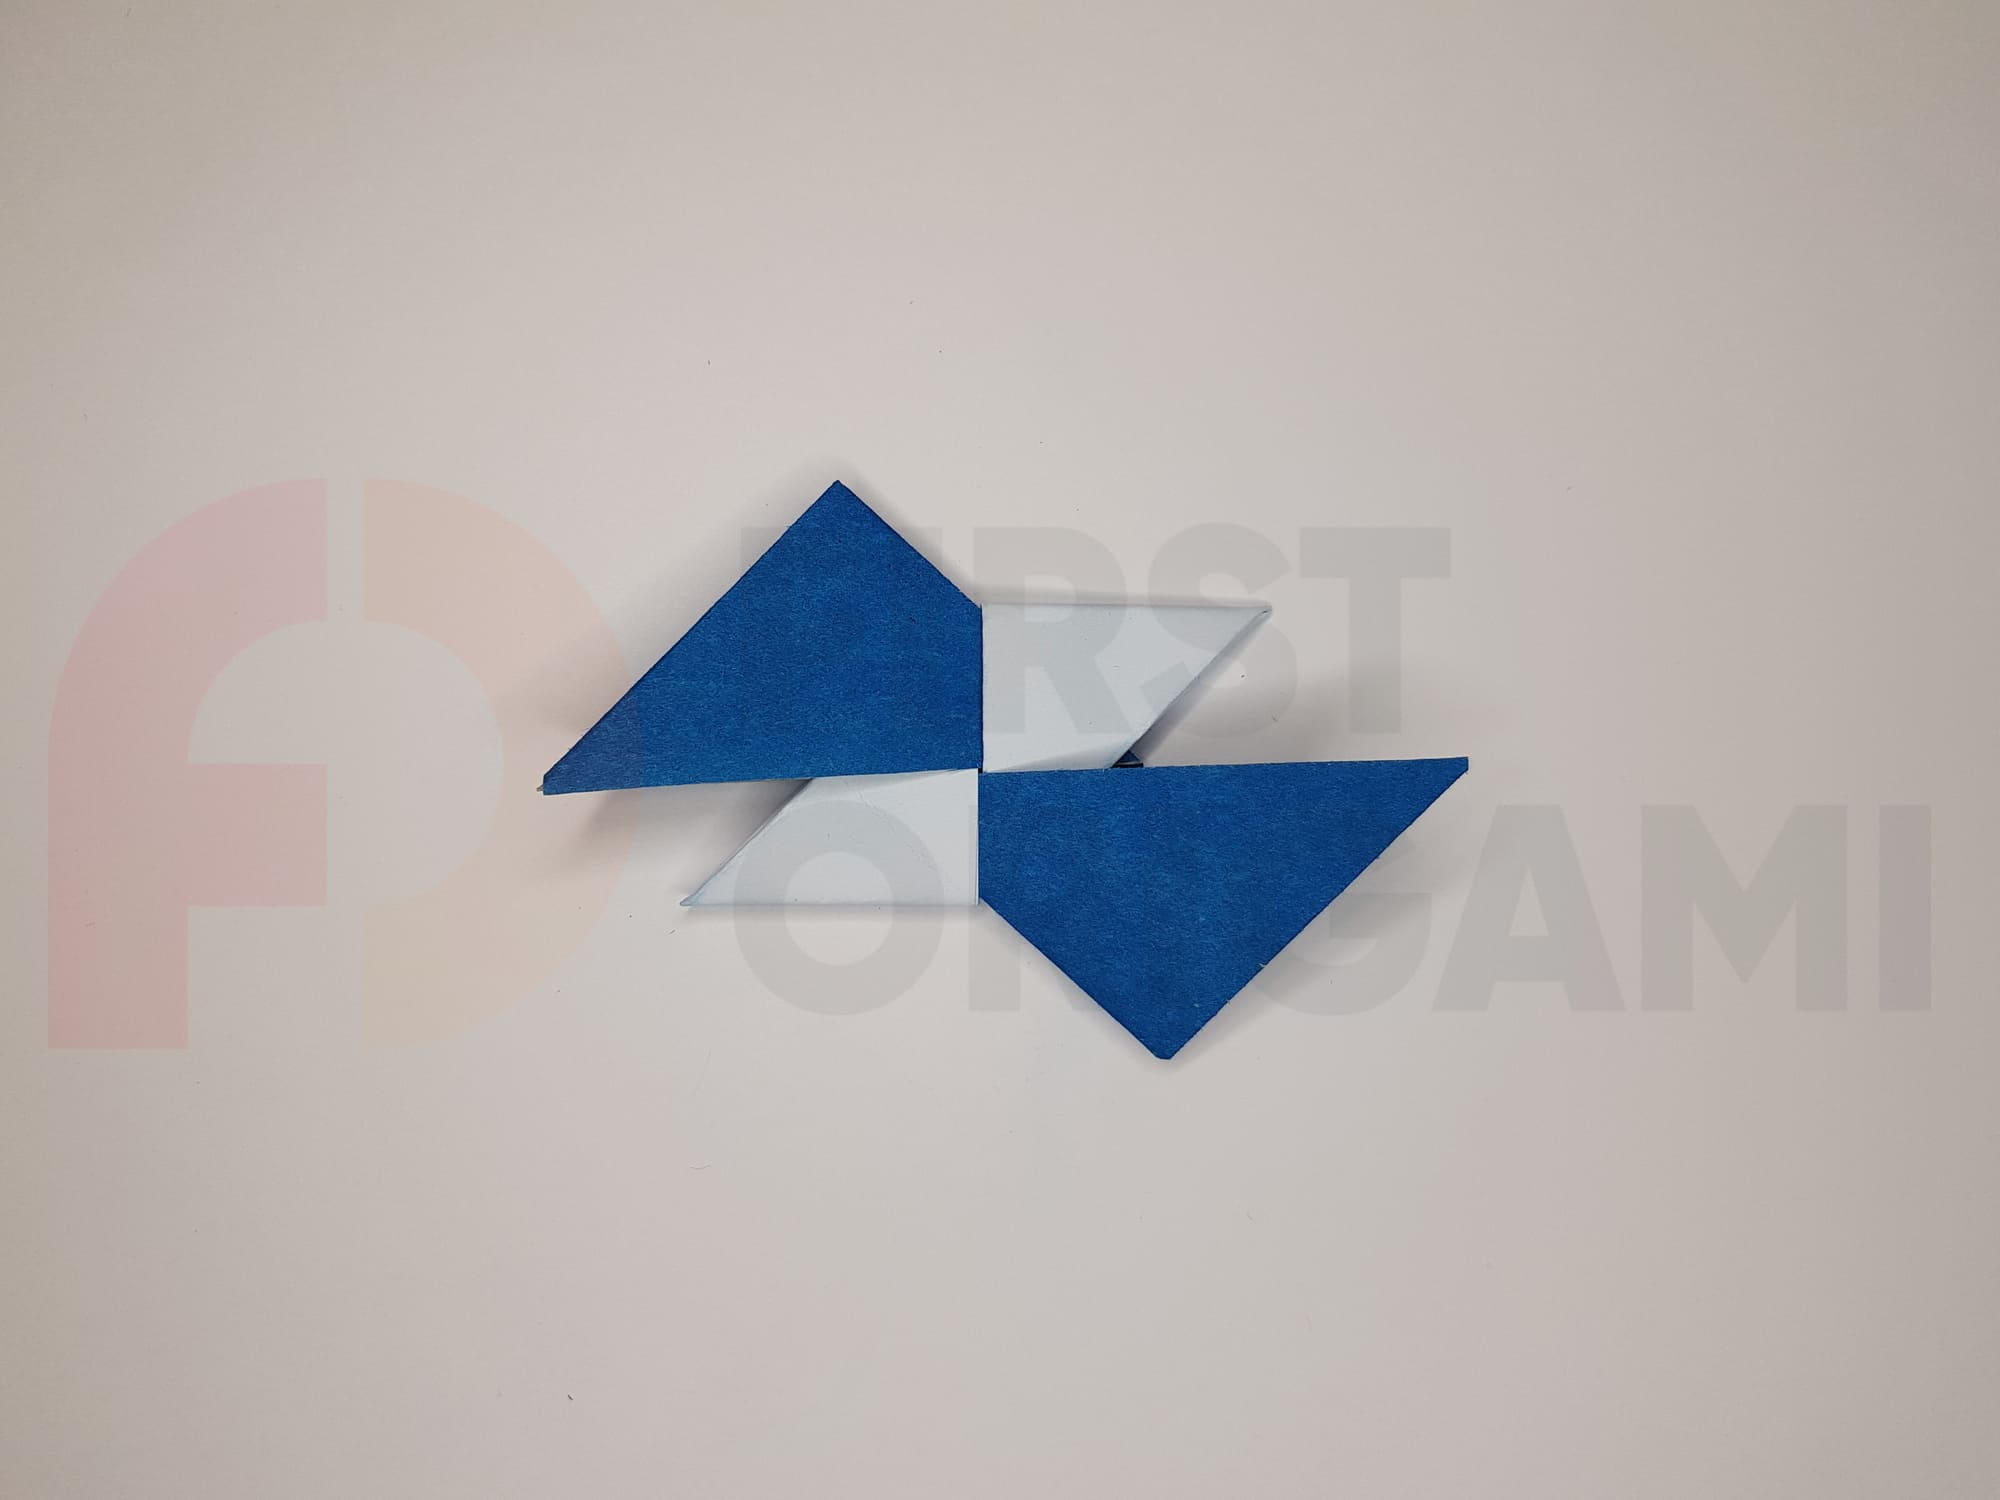
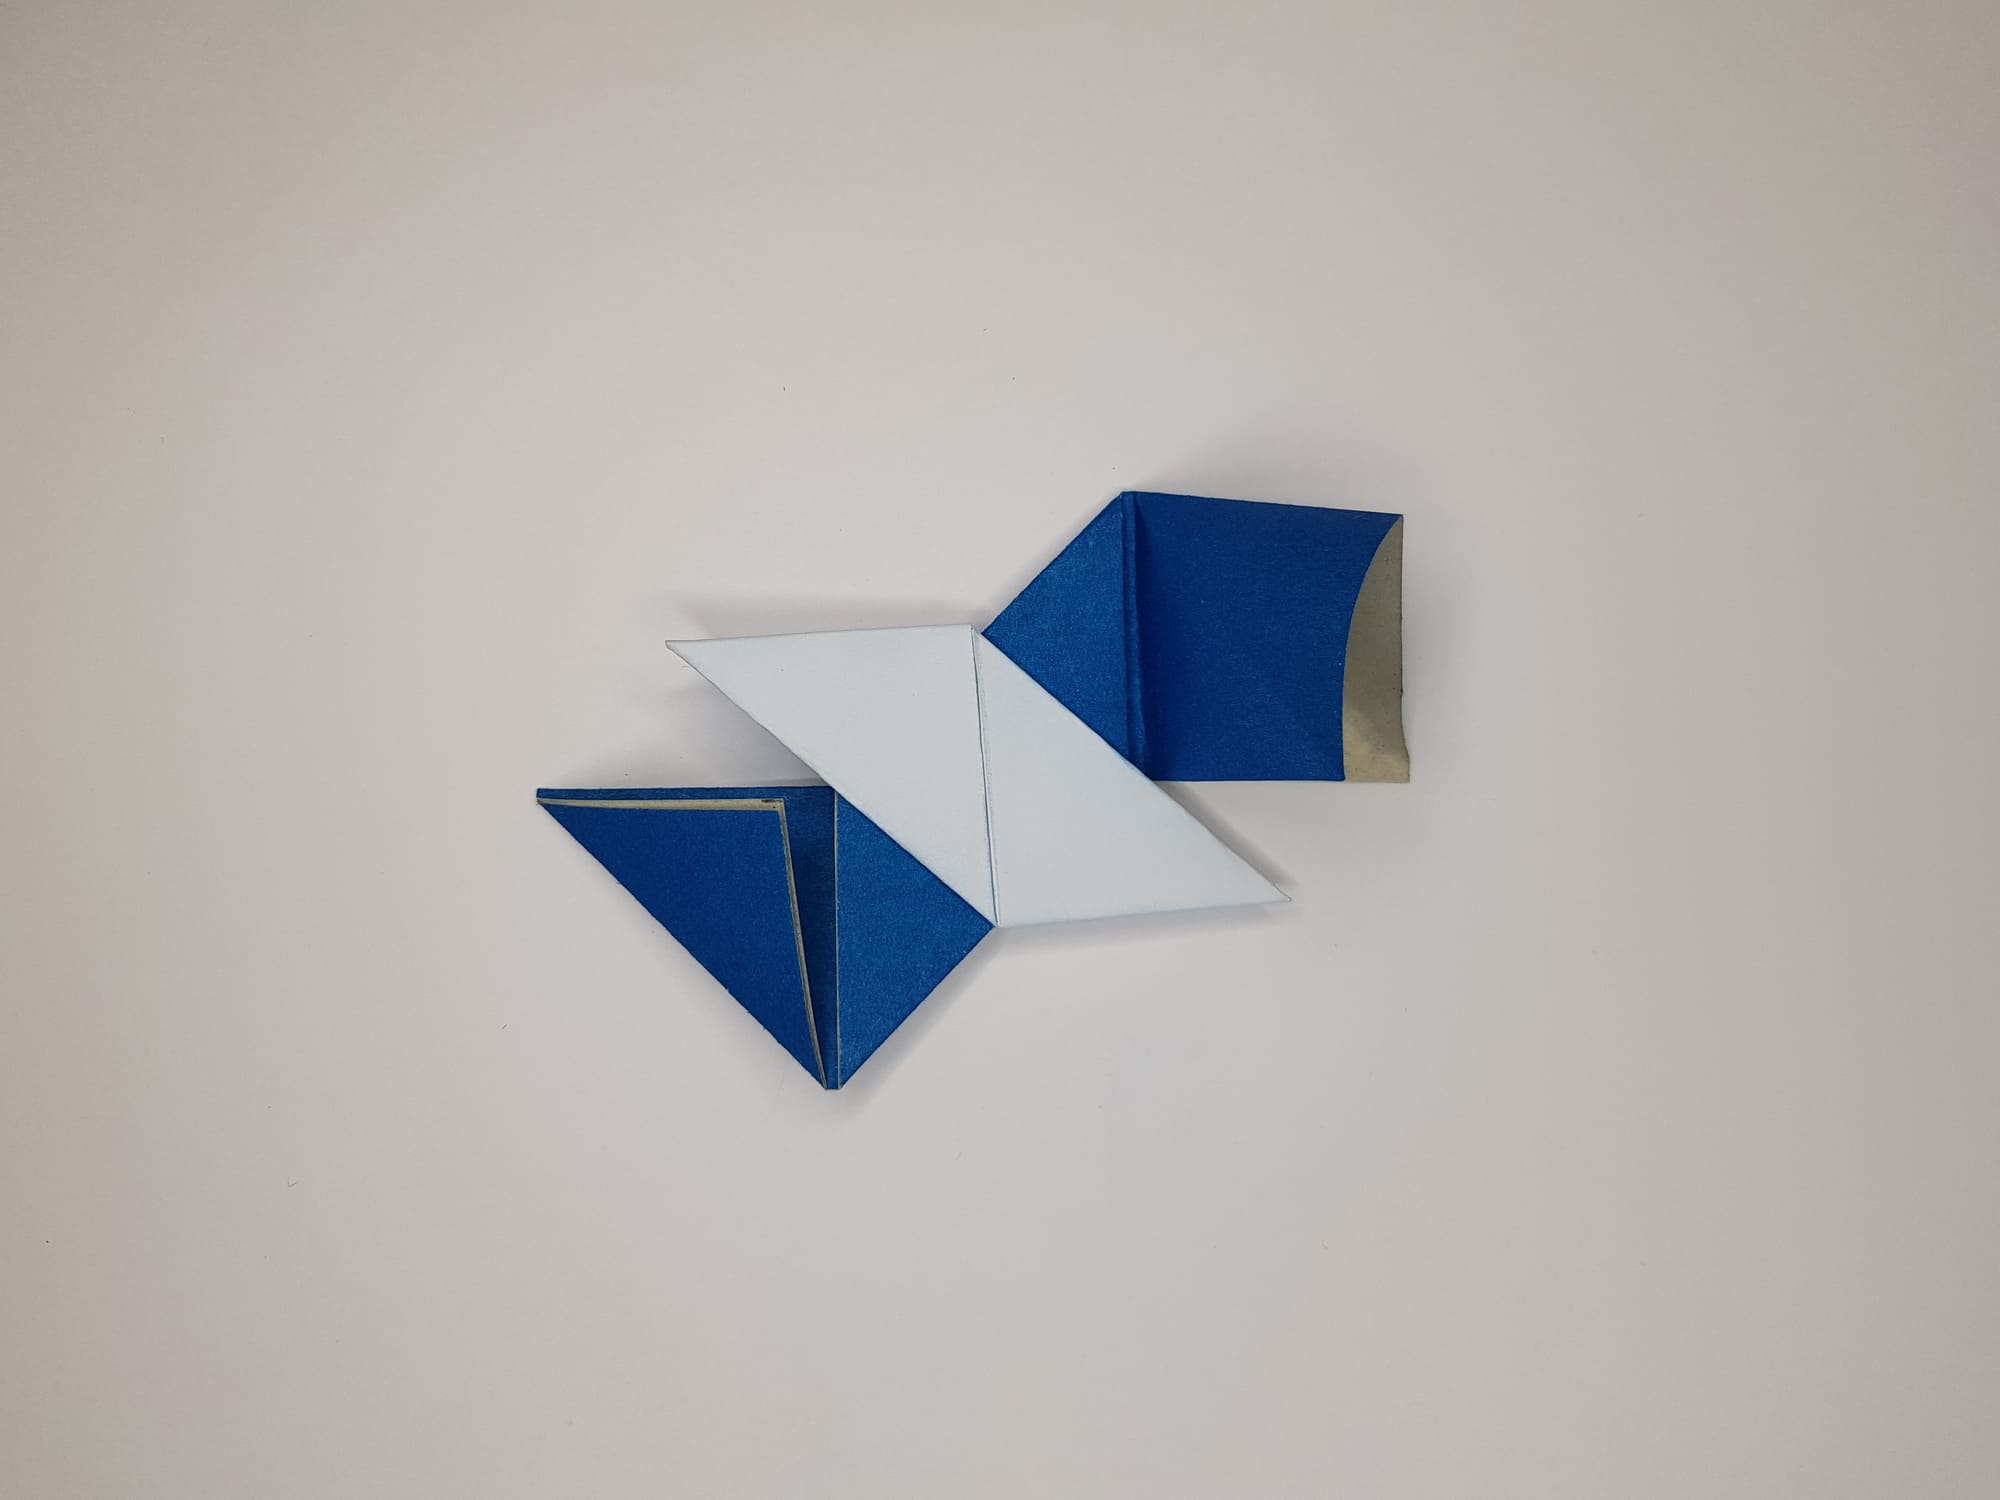
Make 3 more details in the same way.
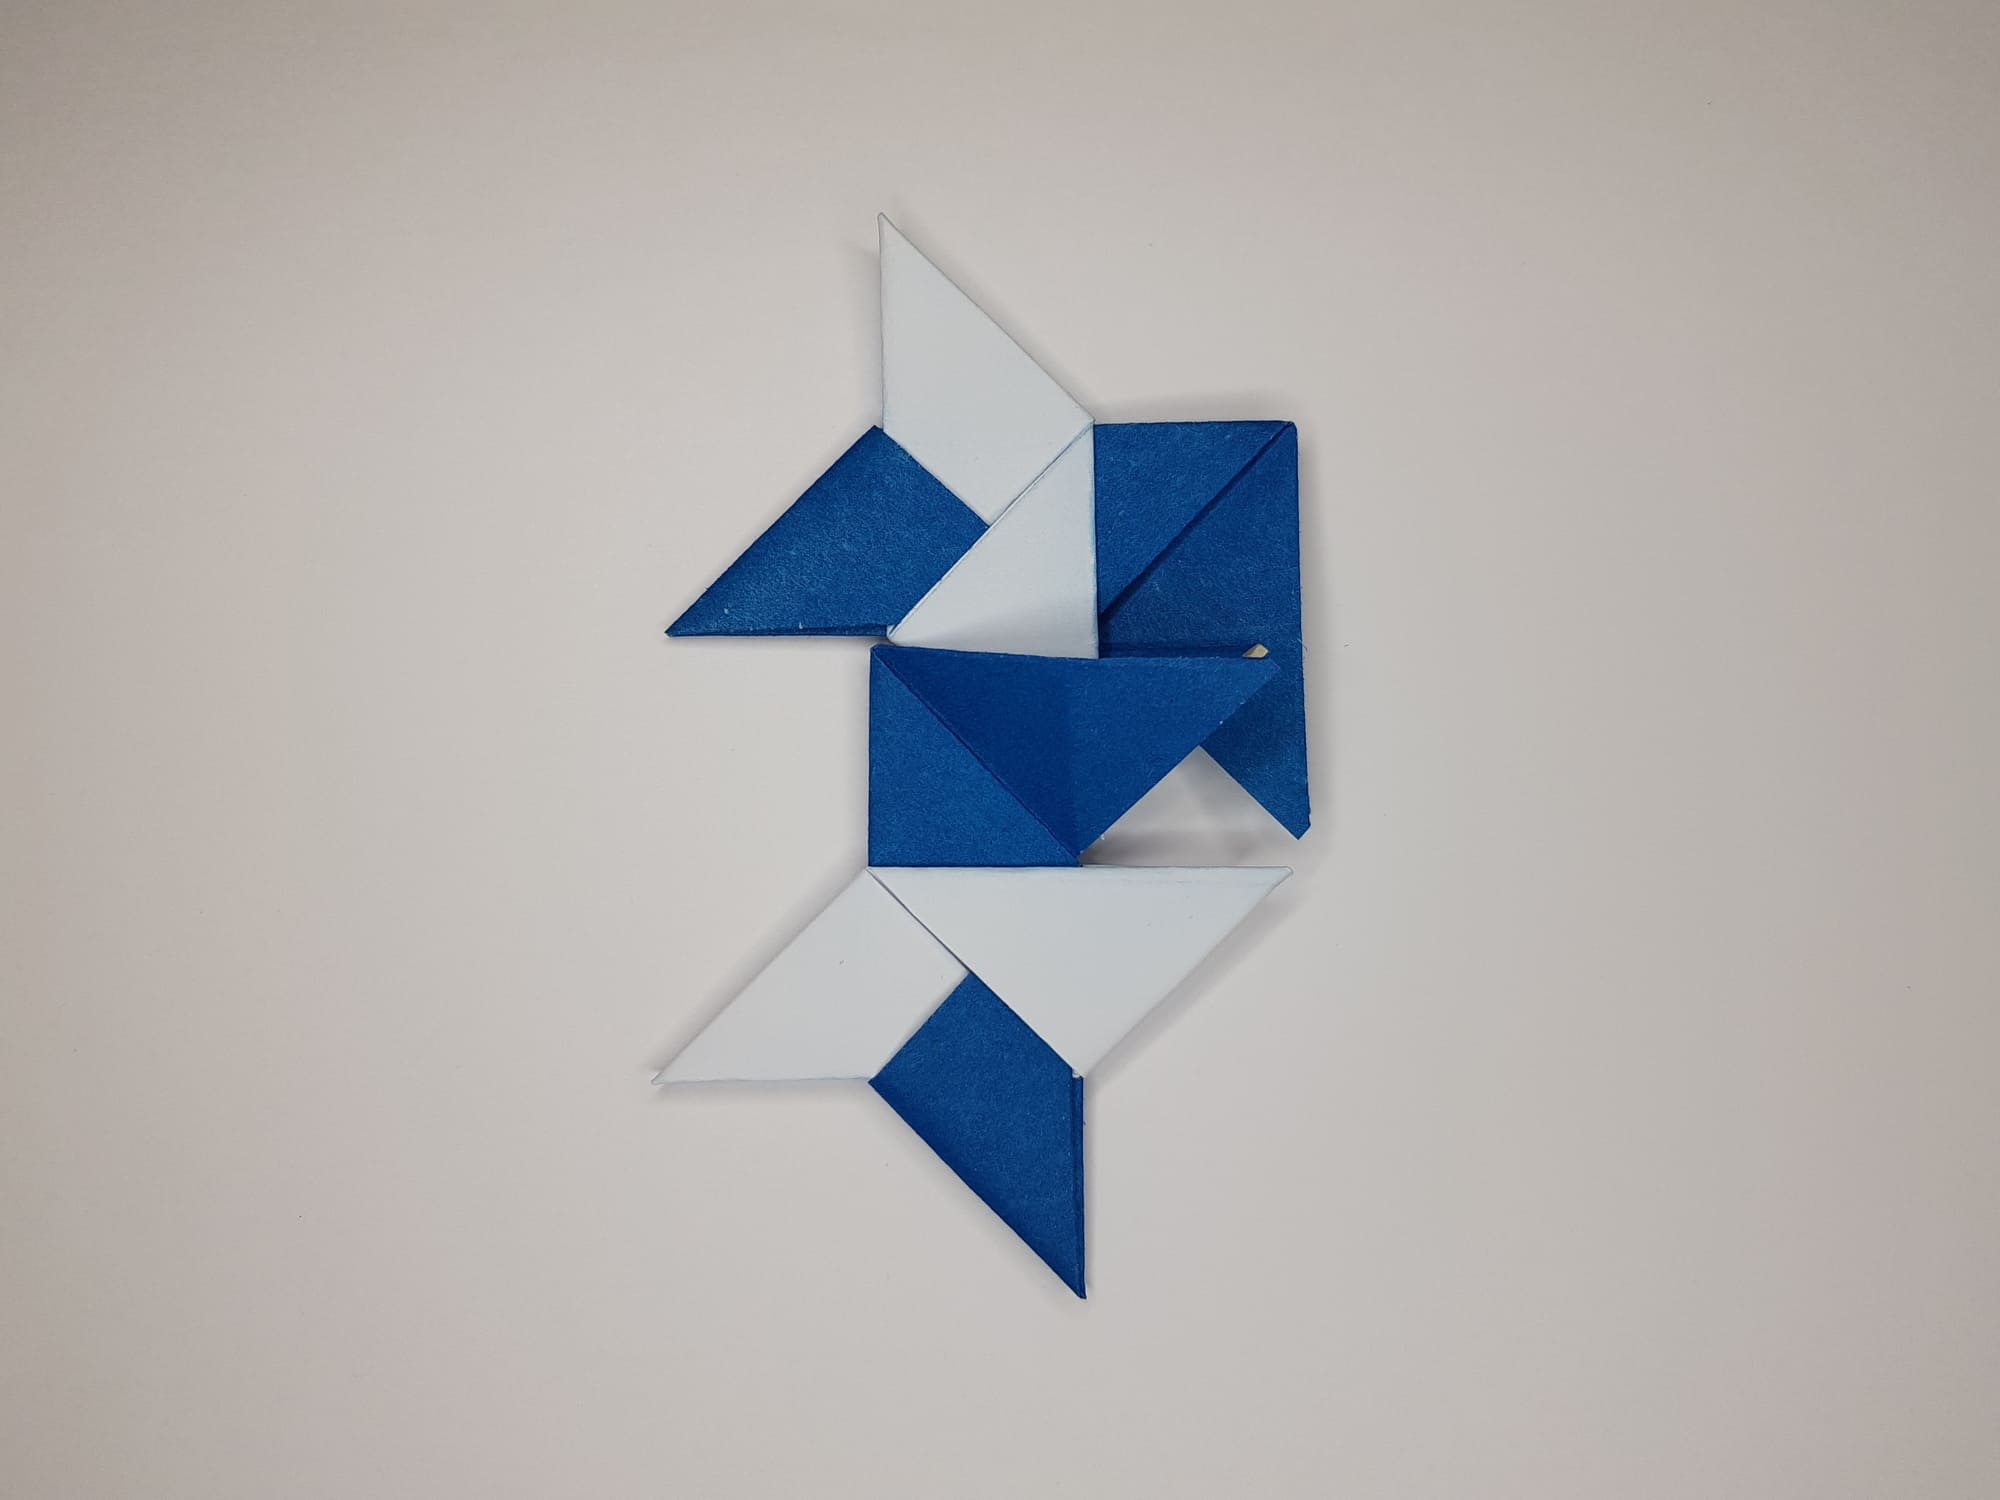
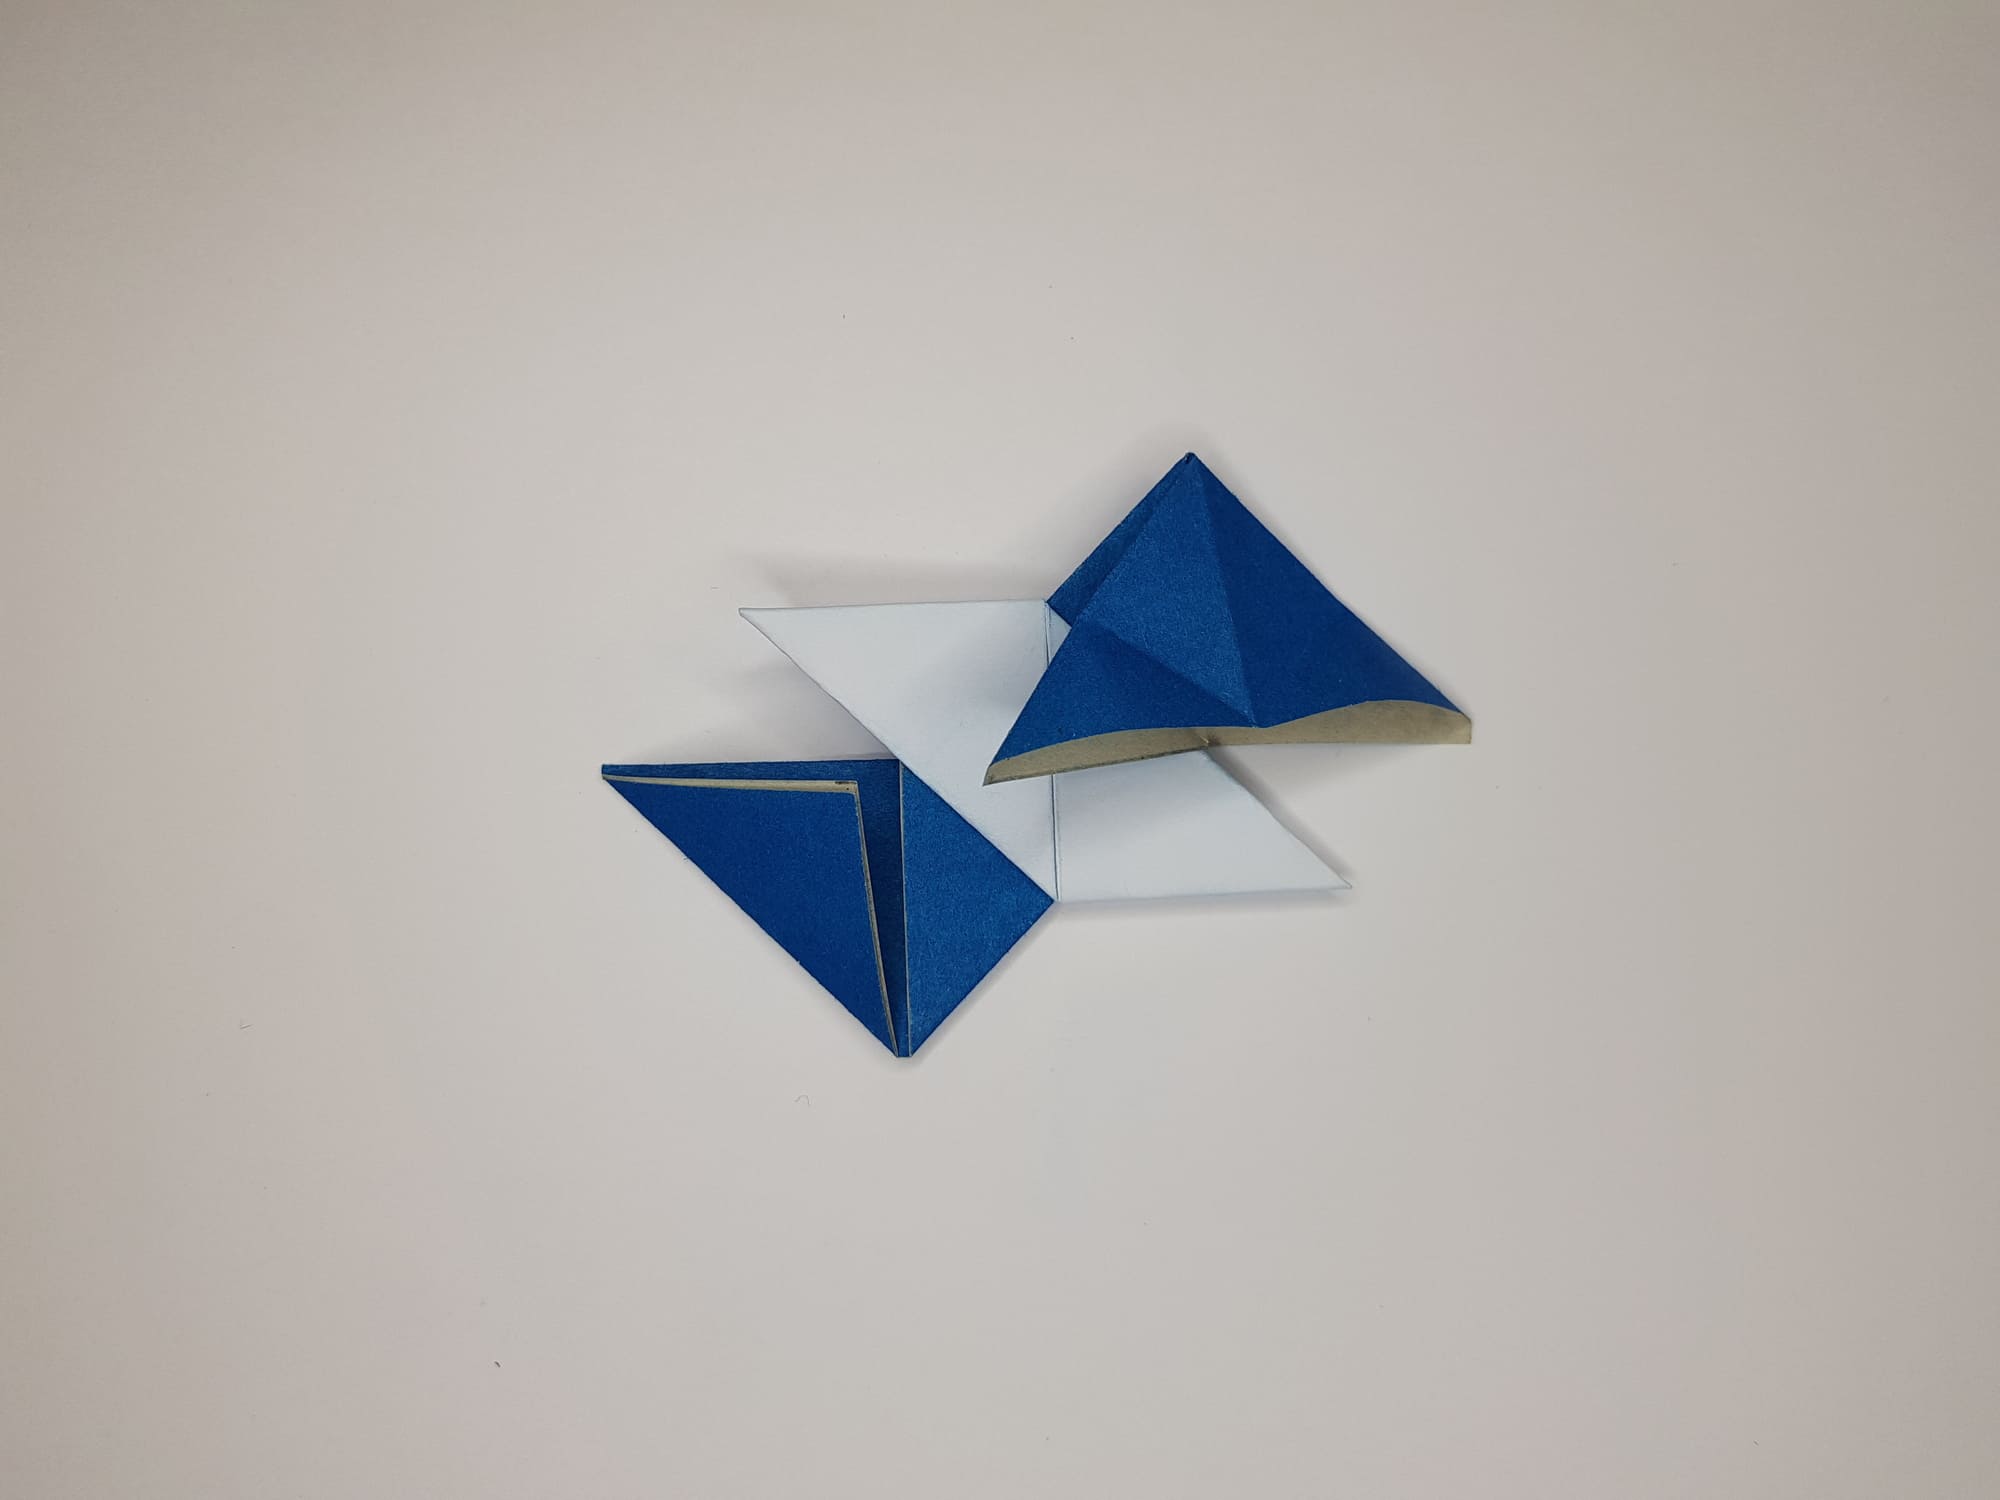
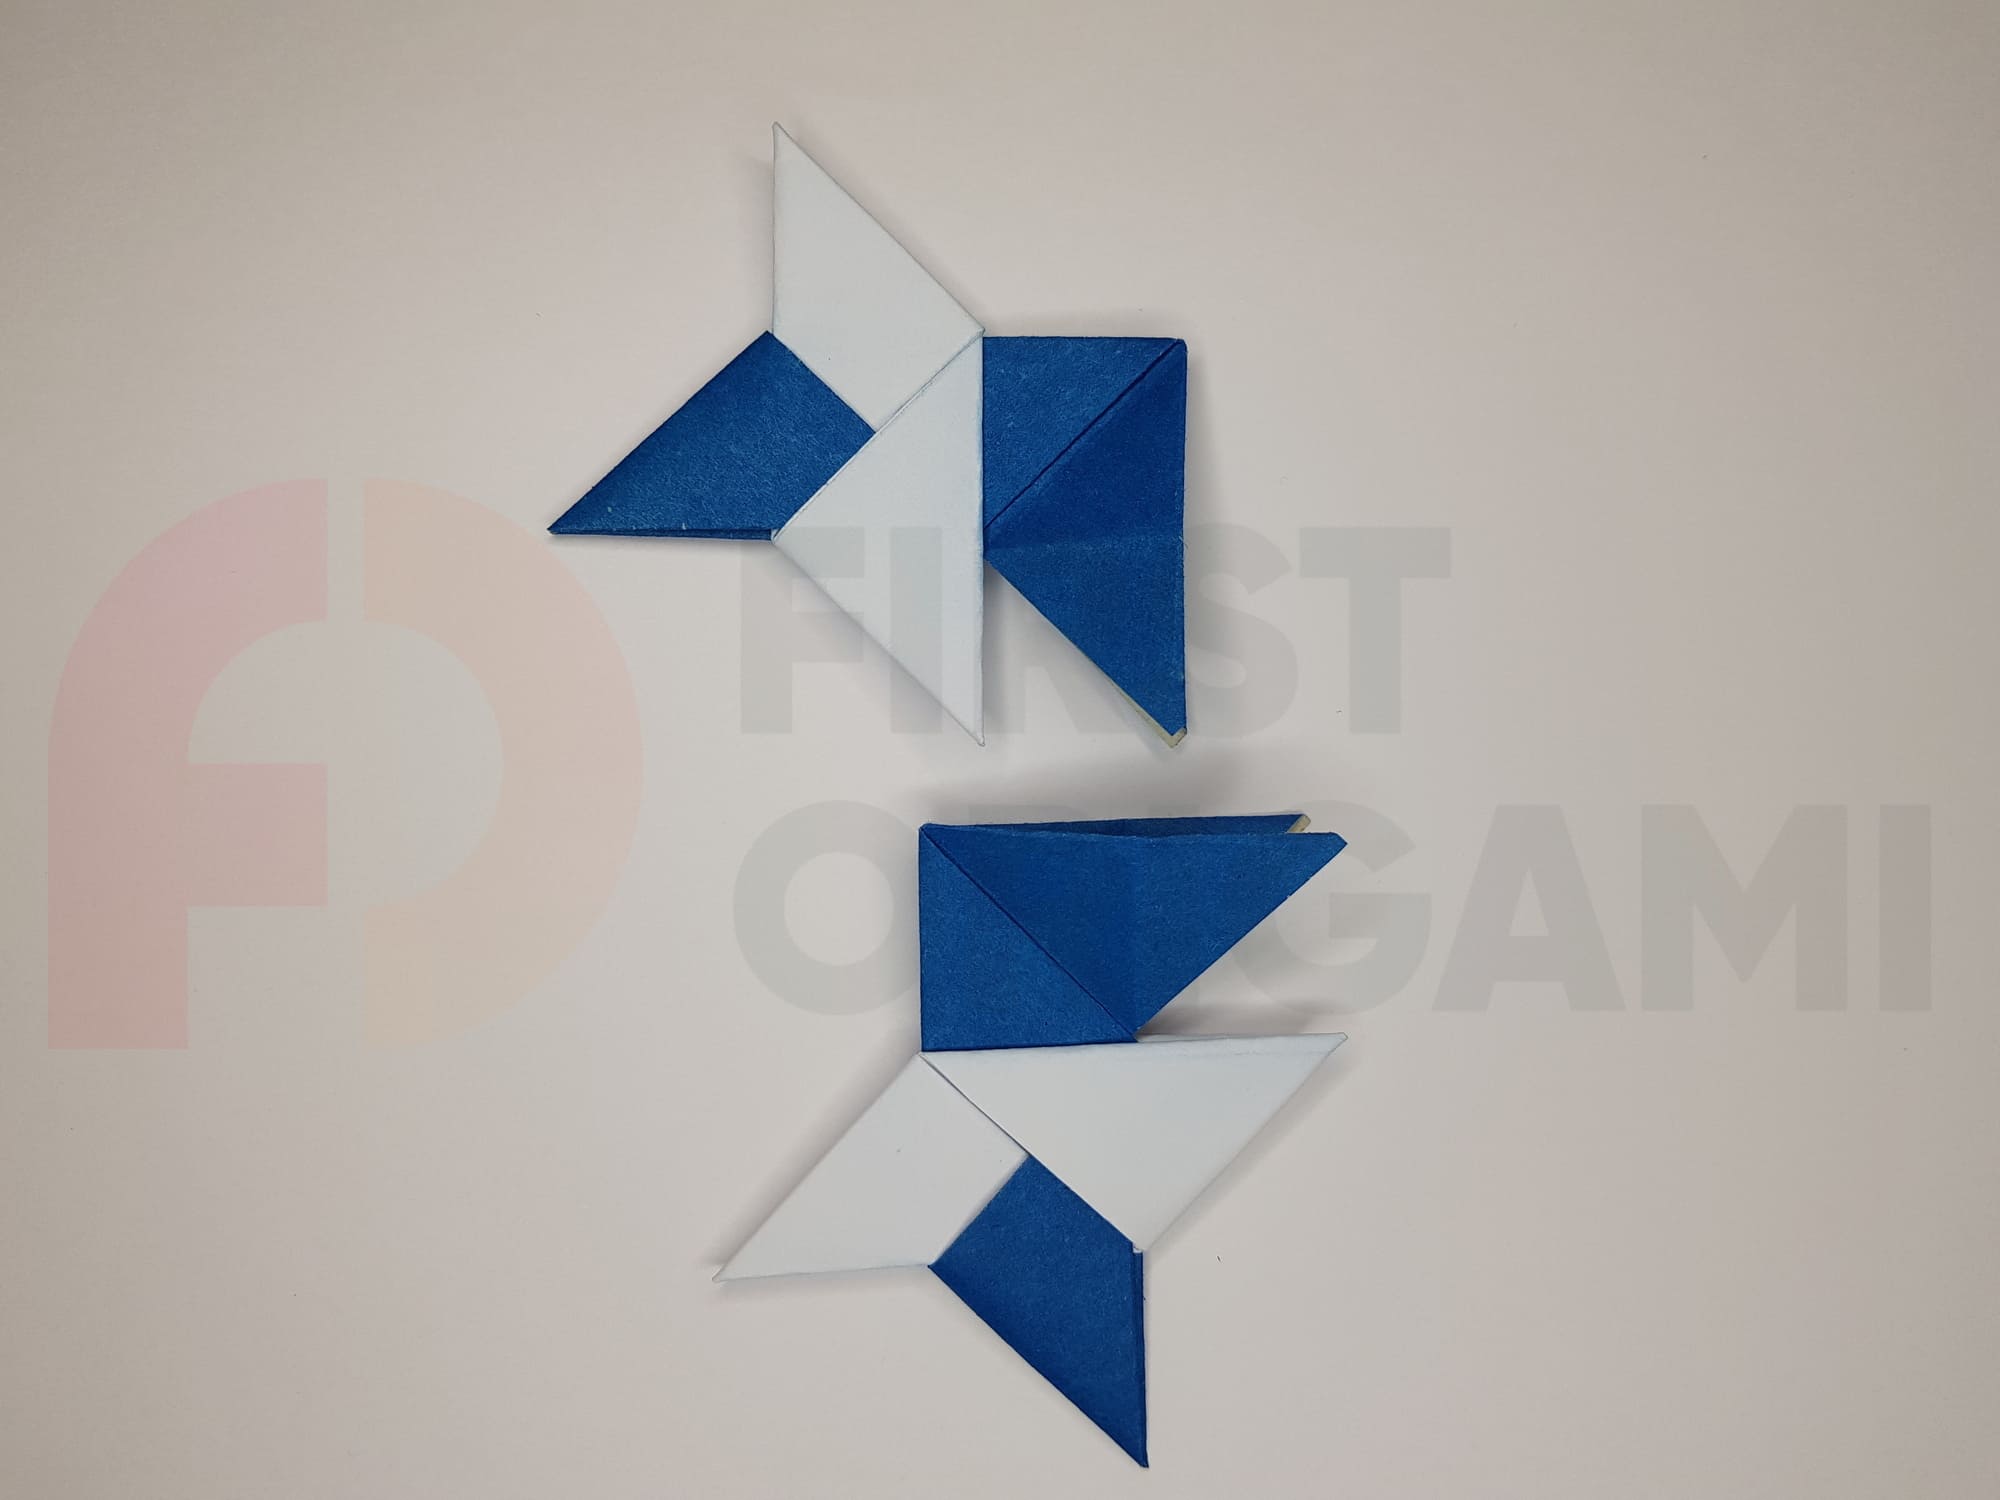
Fold the first two as shown in the following photos.
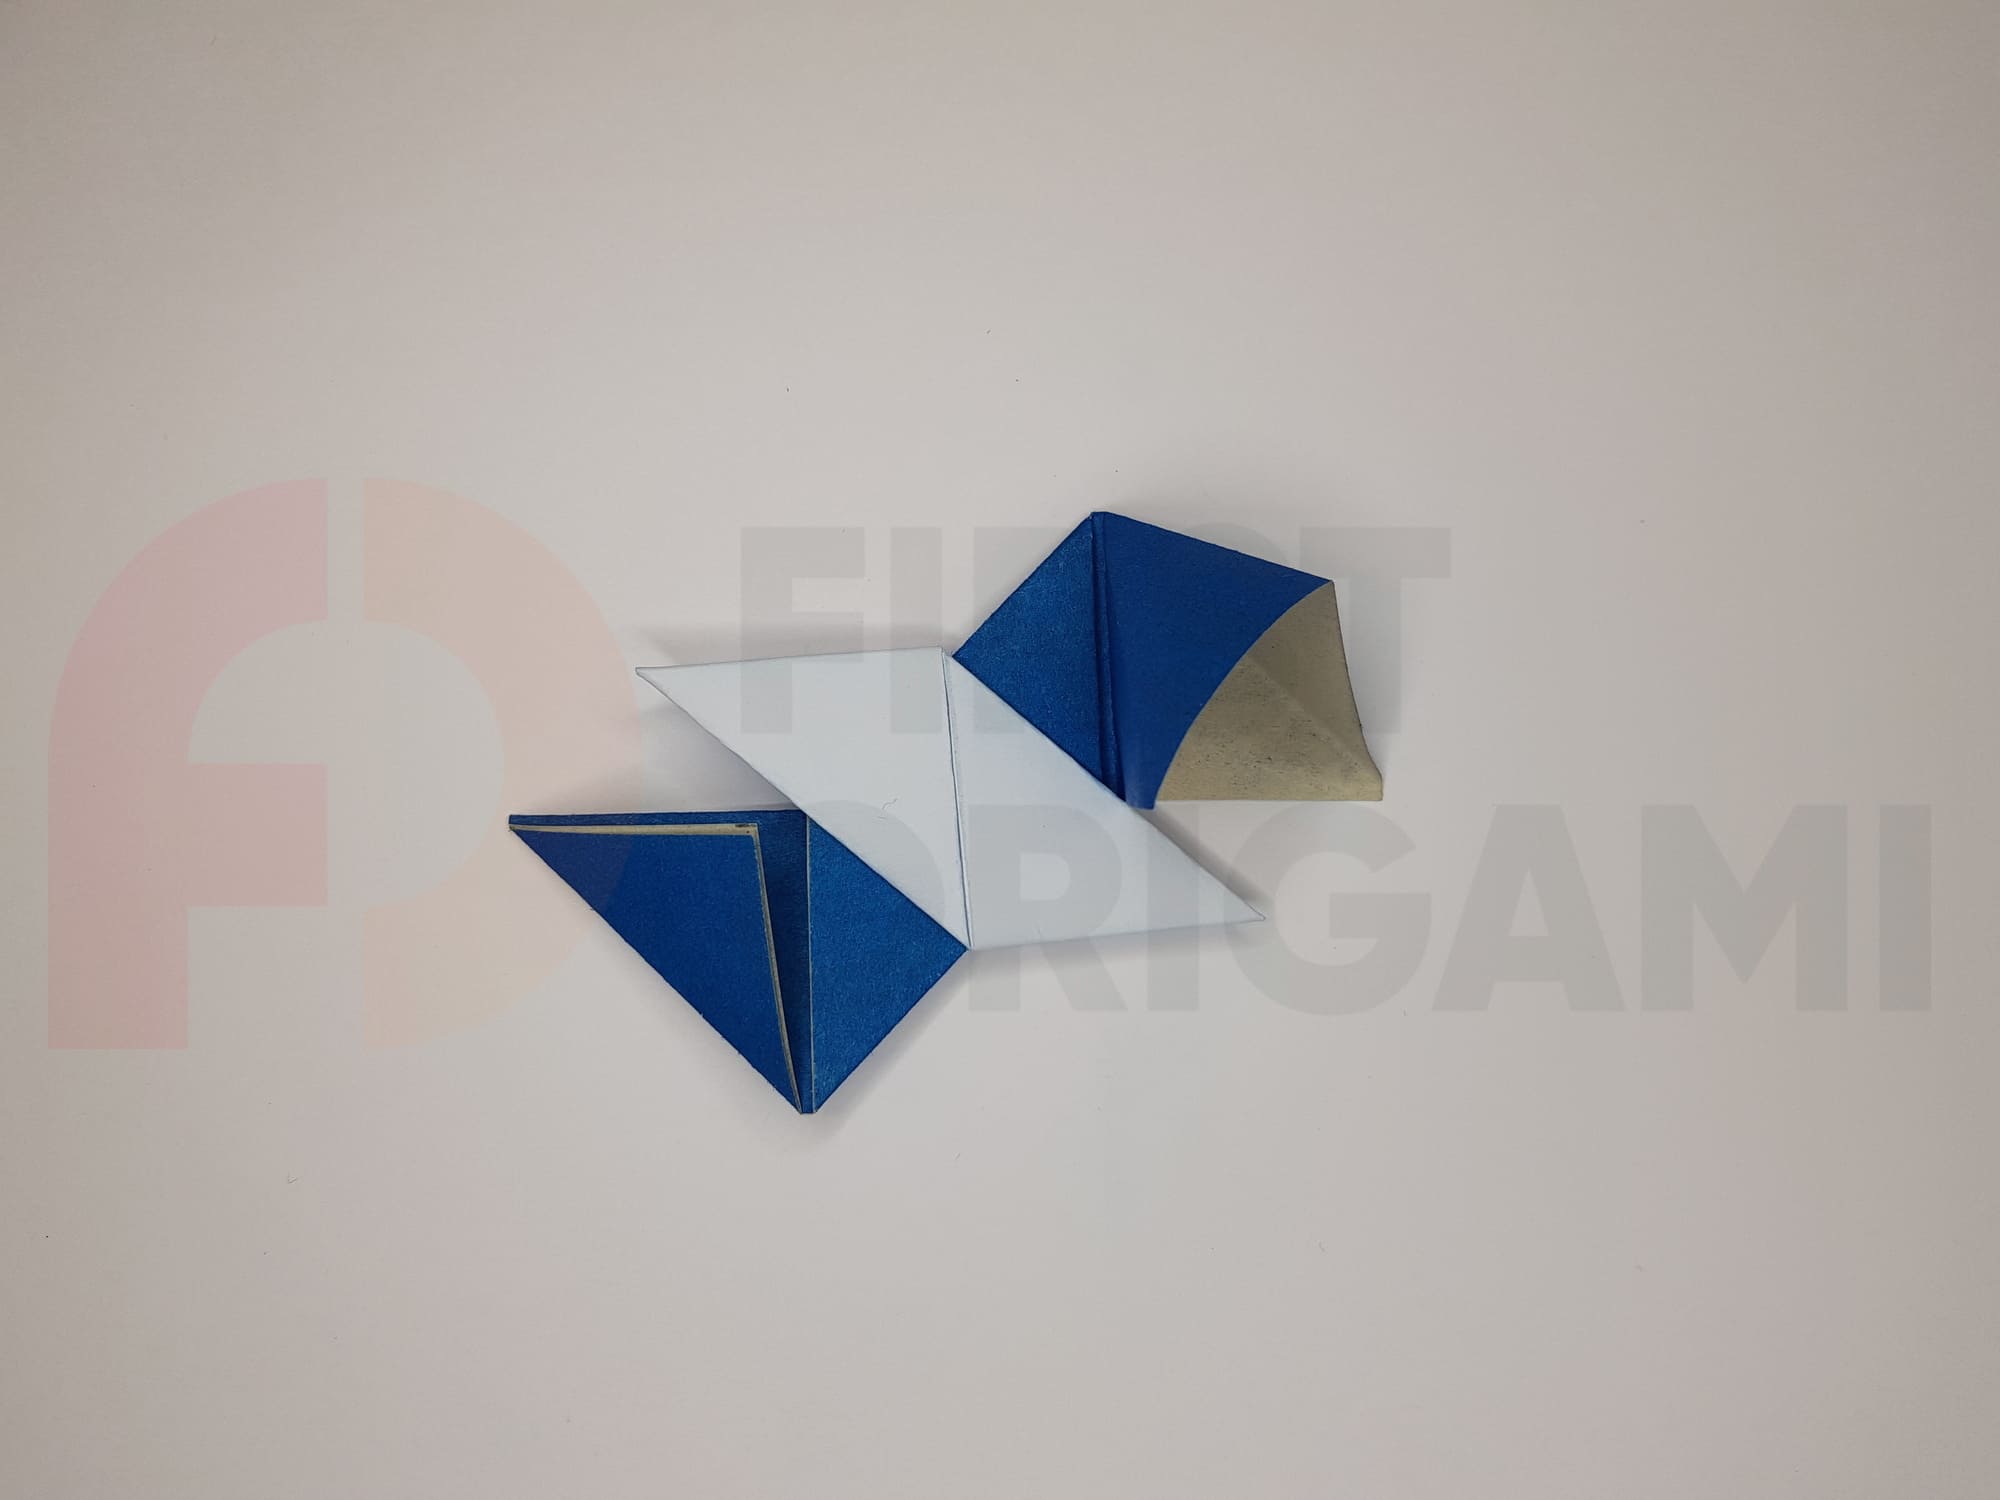
Bend and hide the corners of the bottom part inward – first the top, then the bottom.
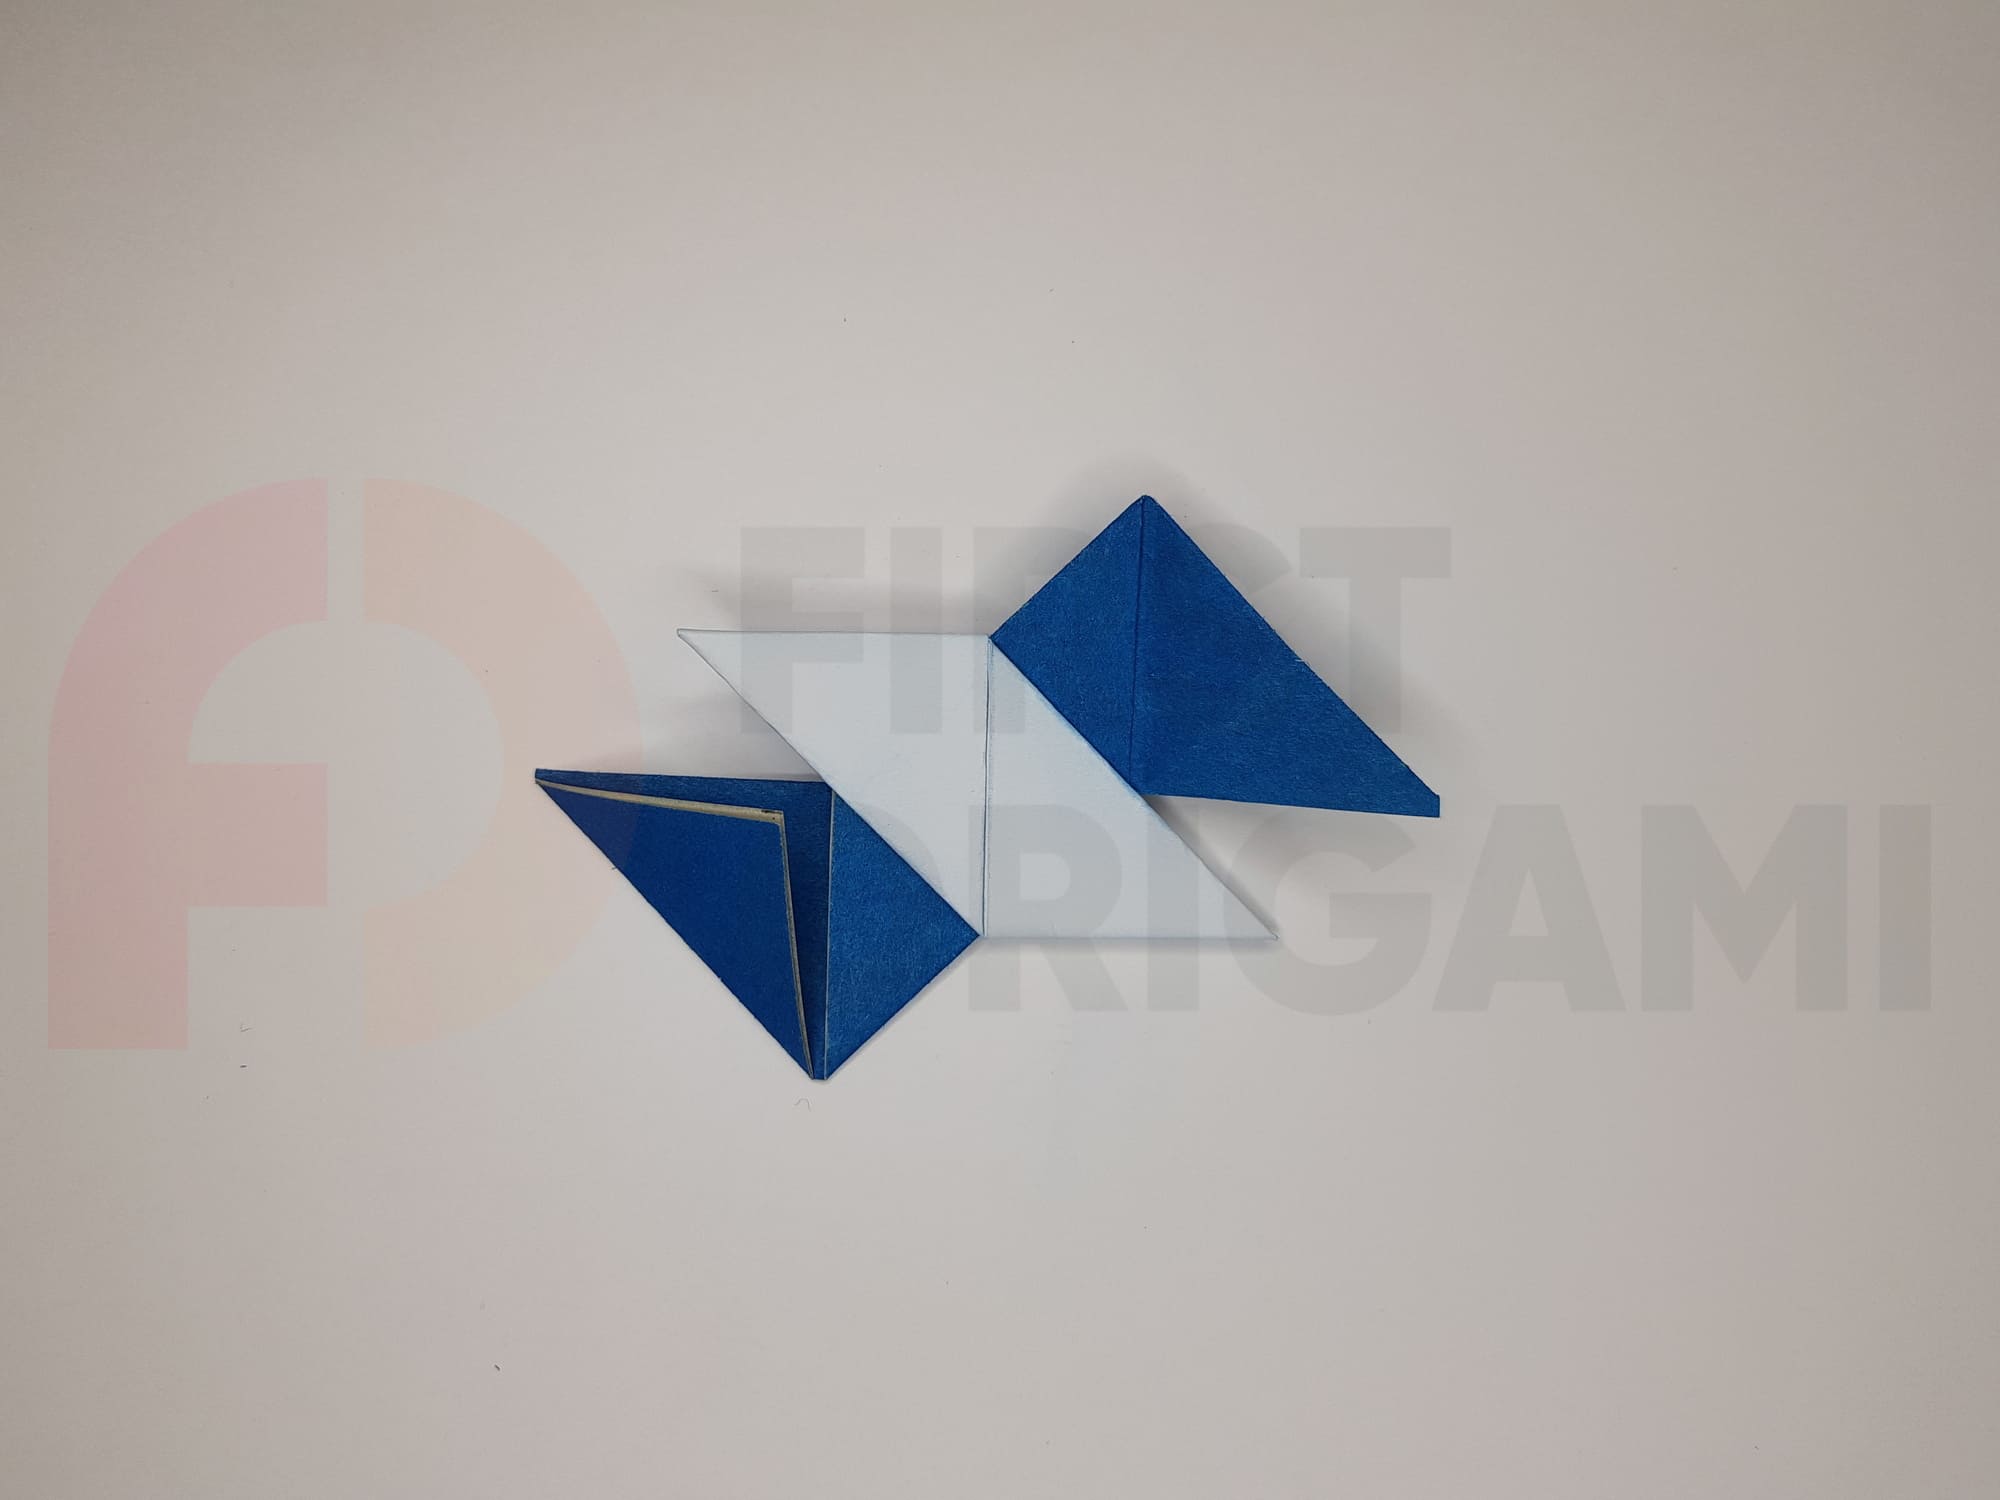
Attach two more parts in this way.
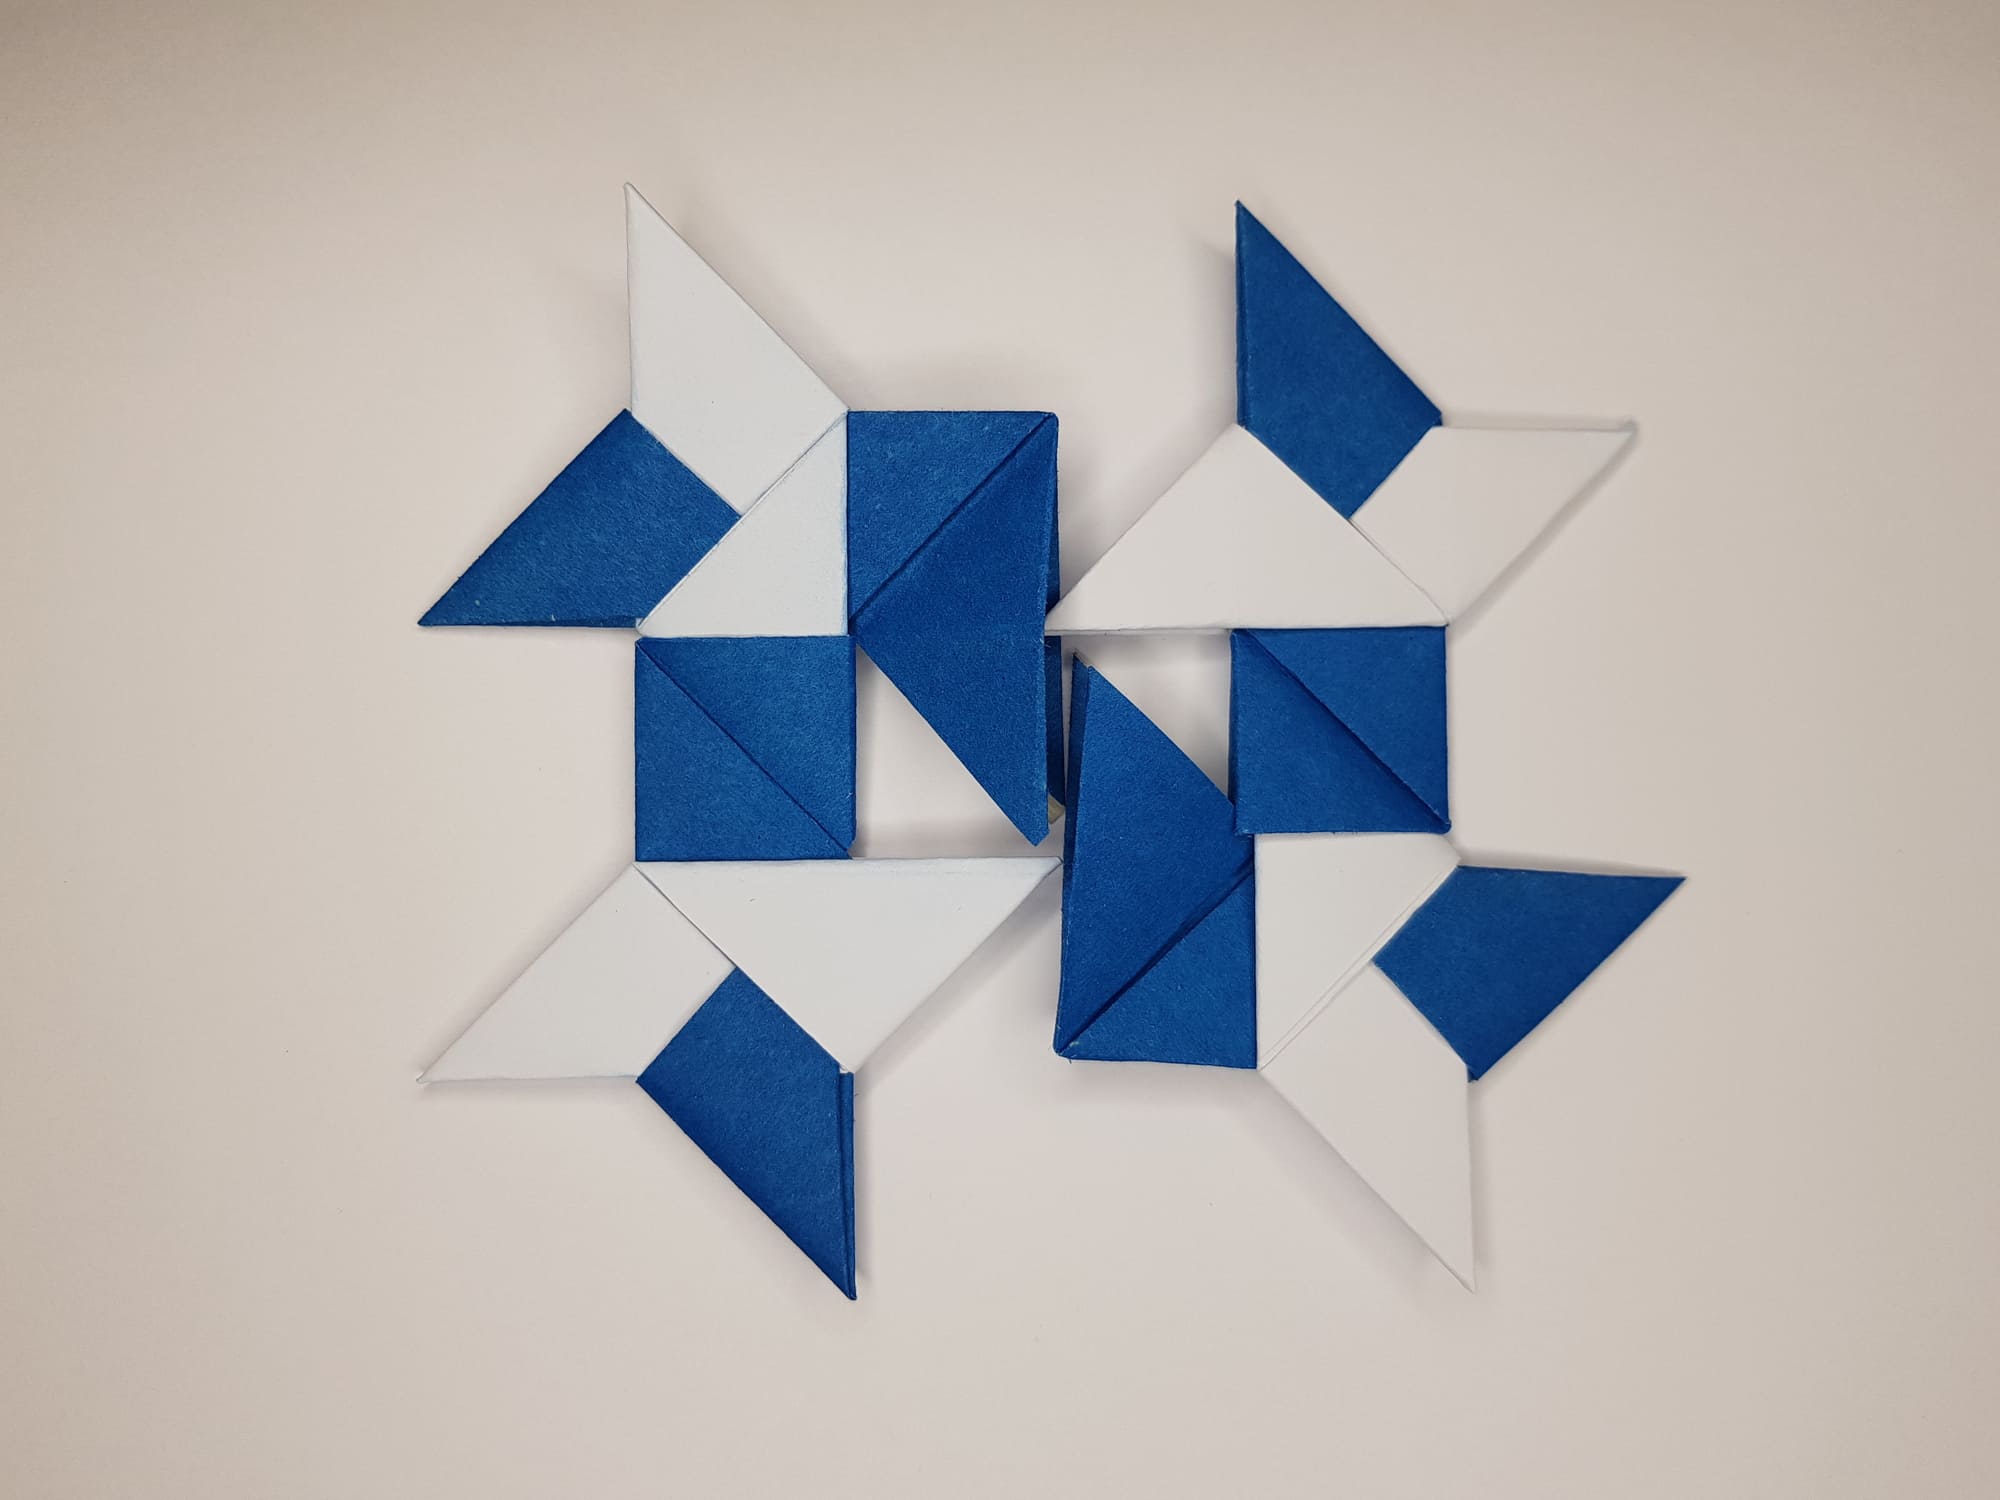
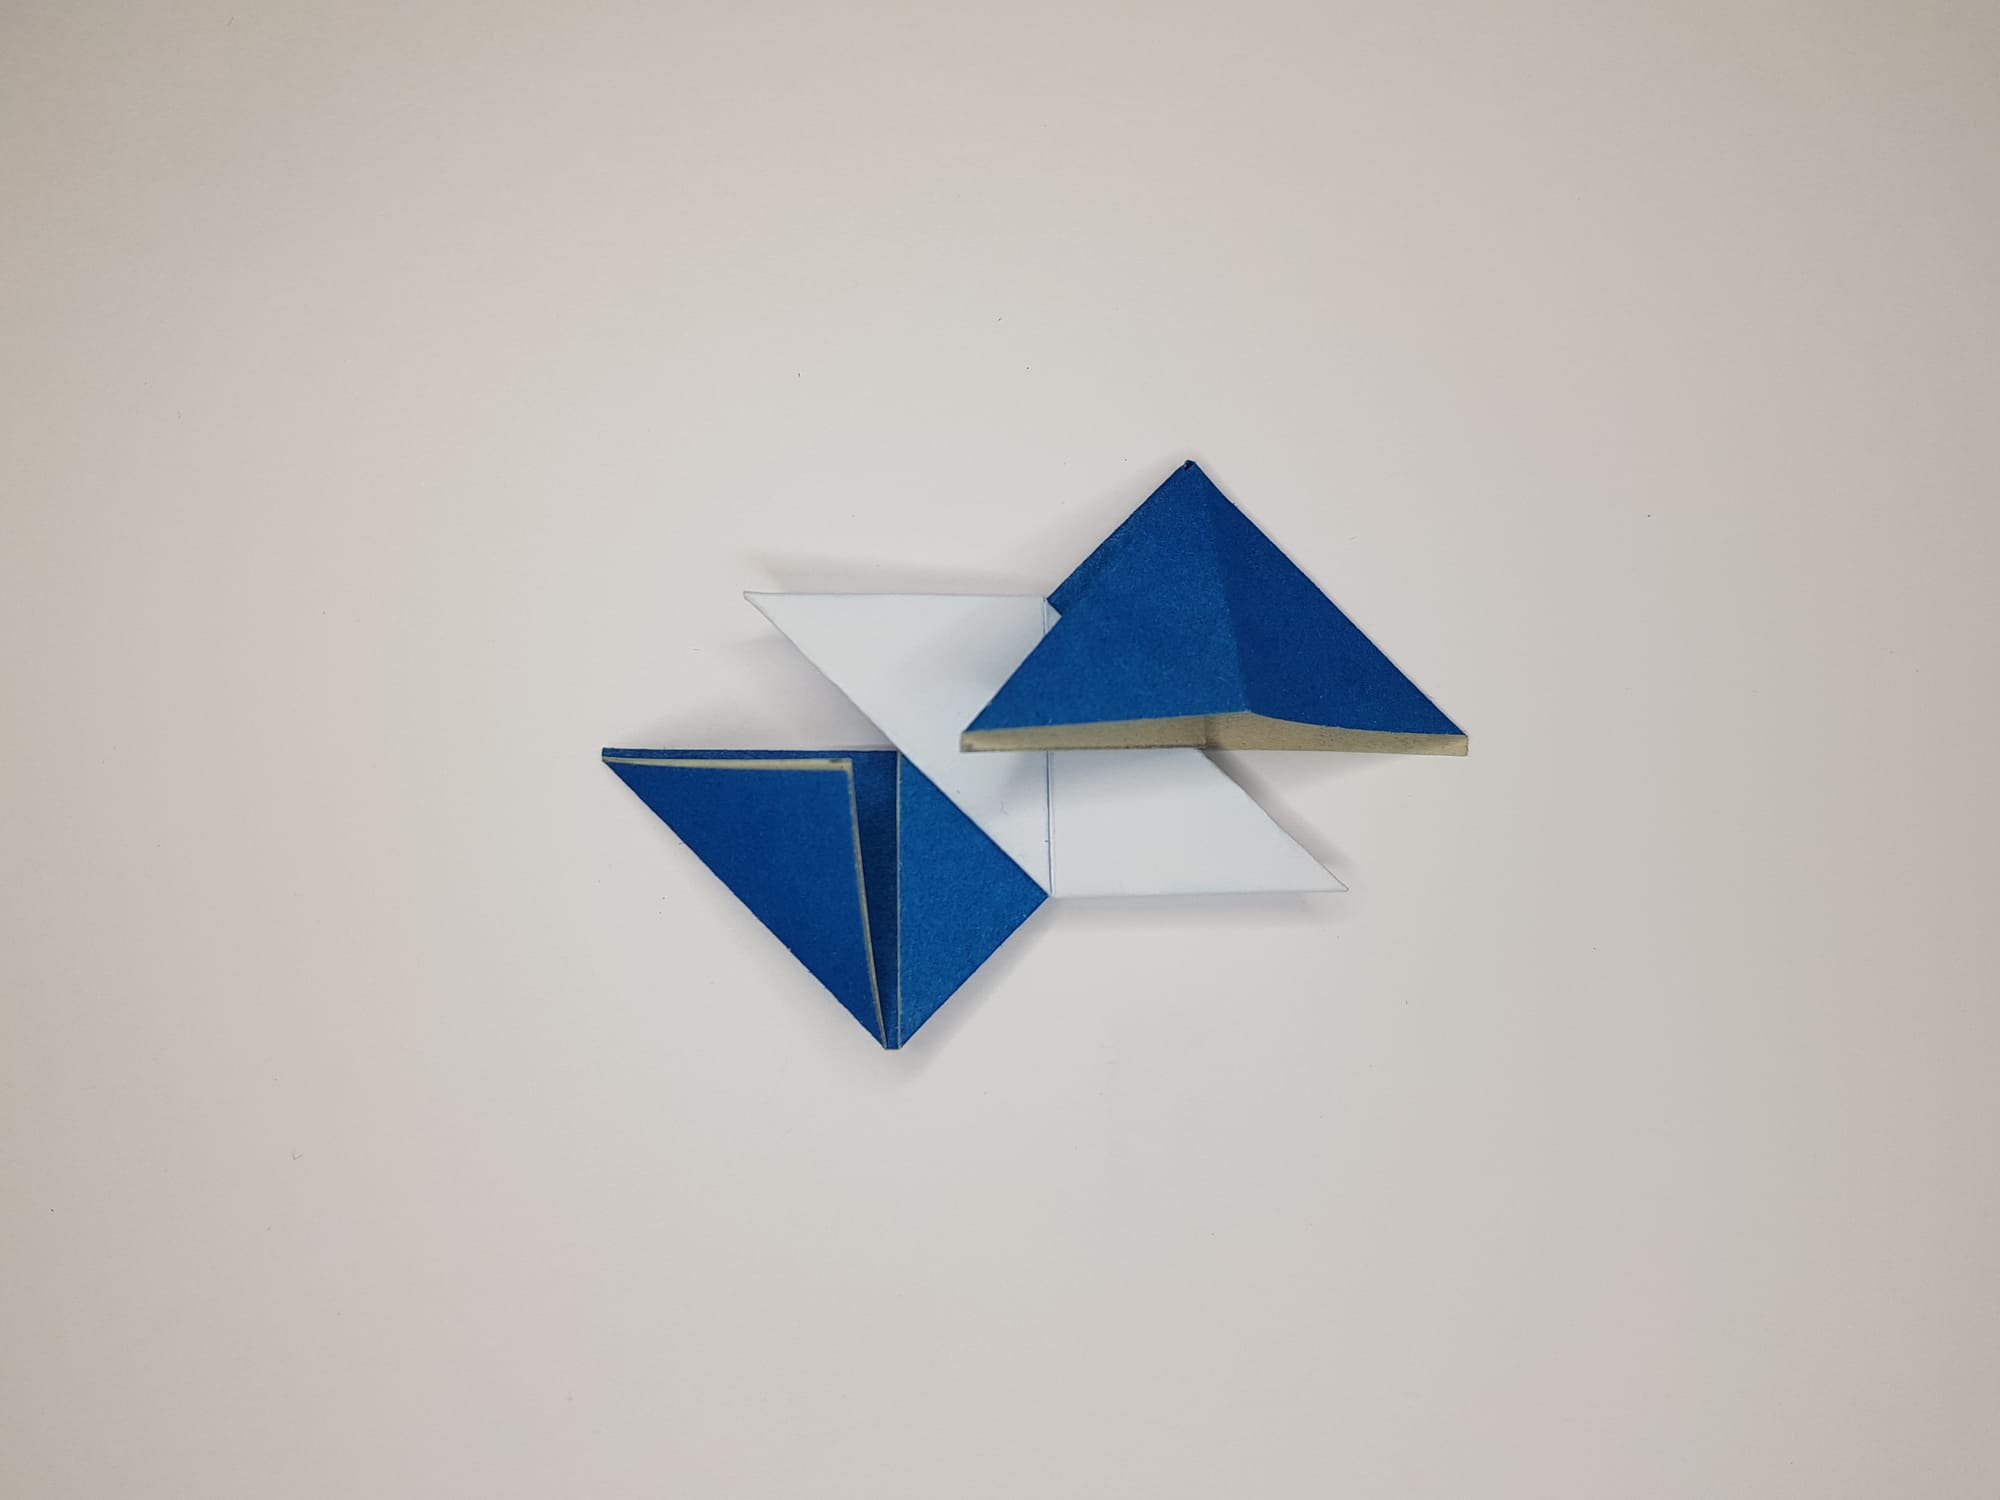
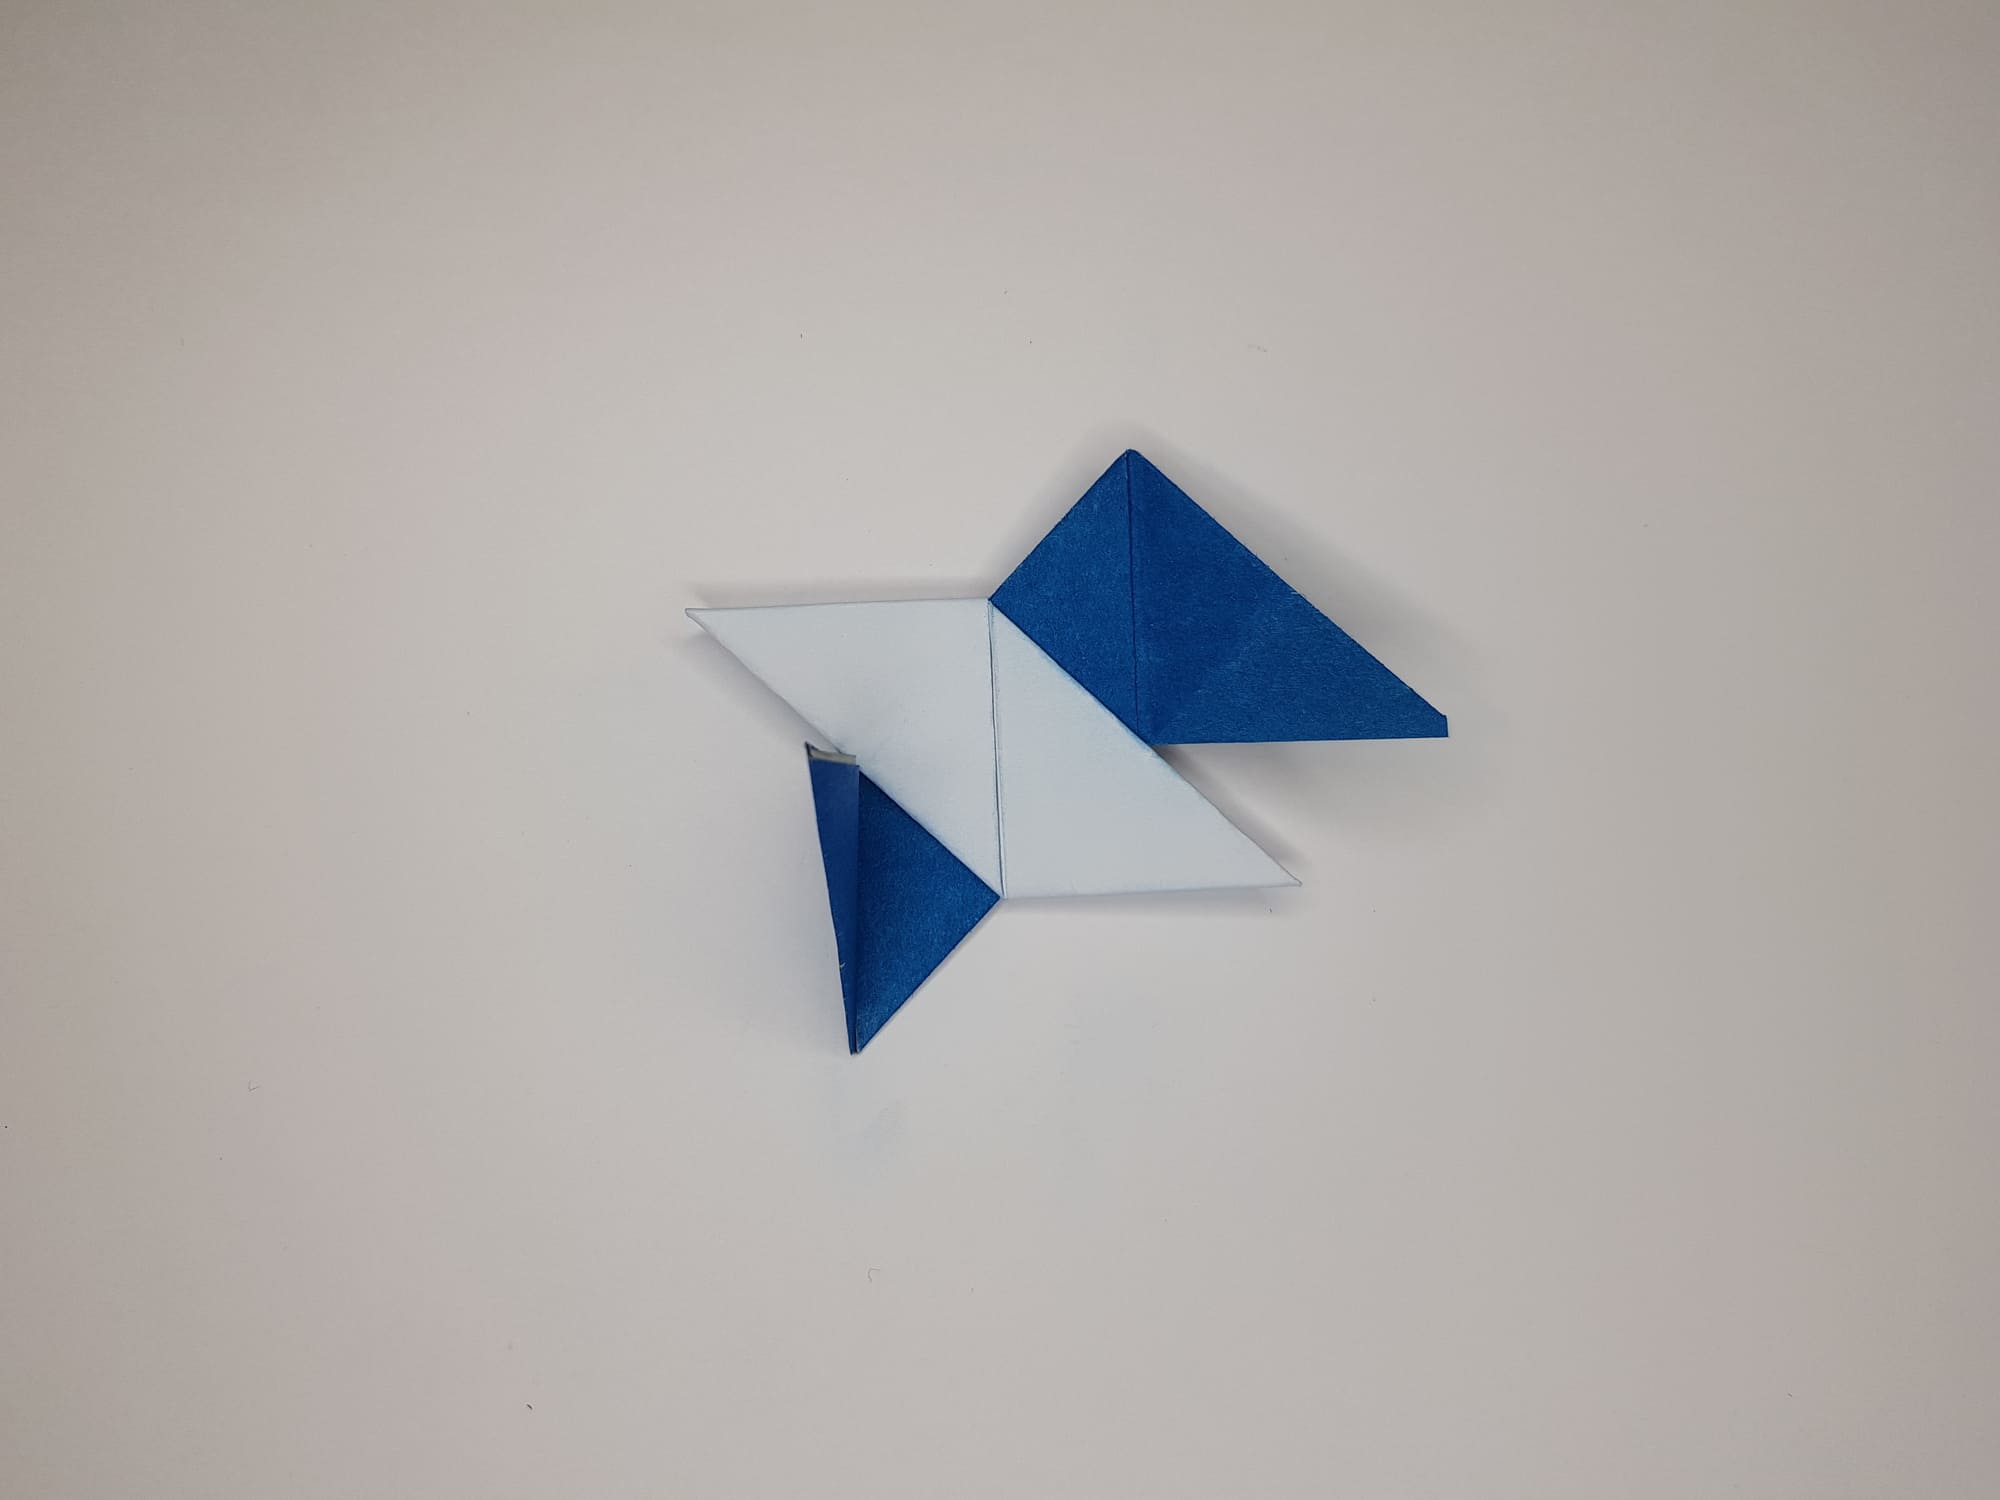
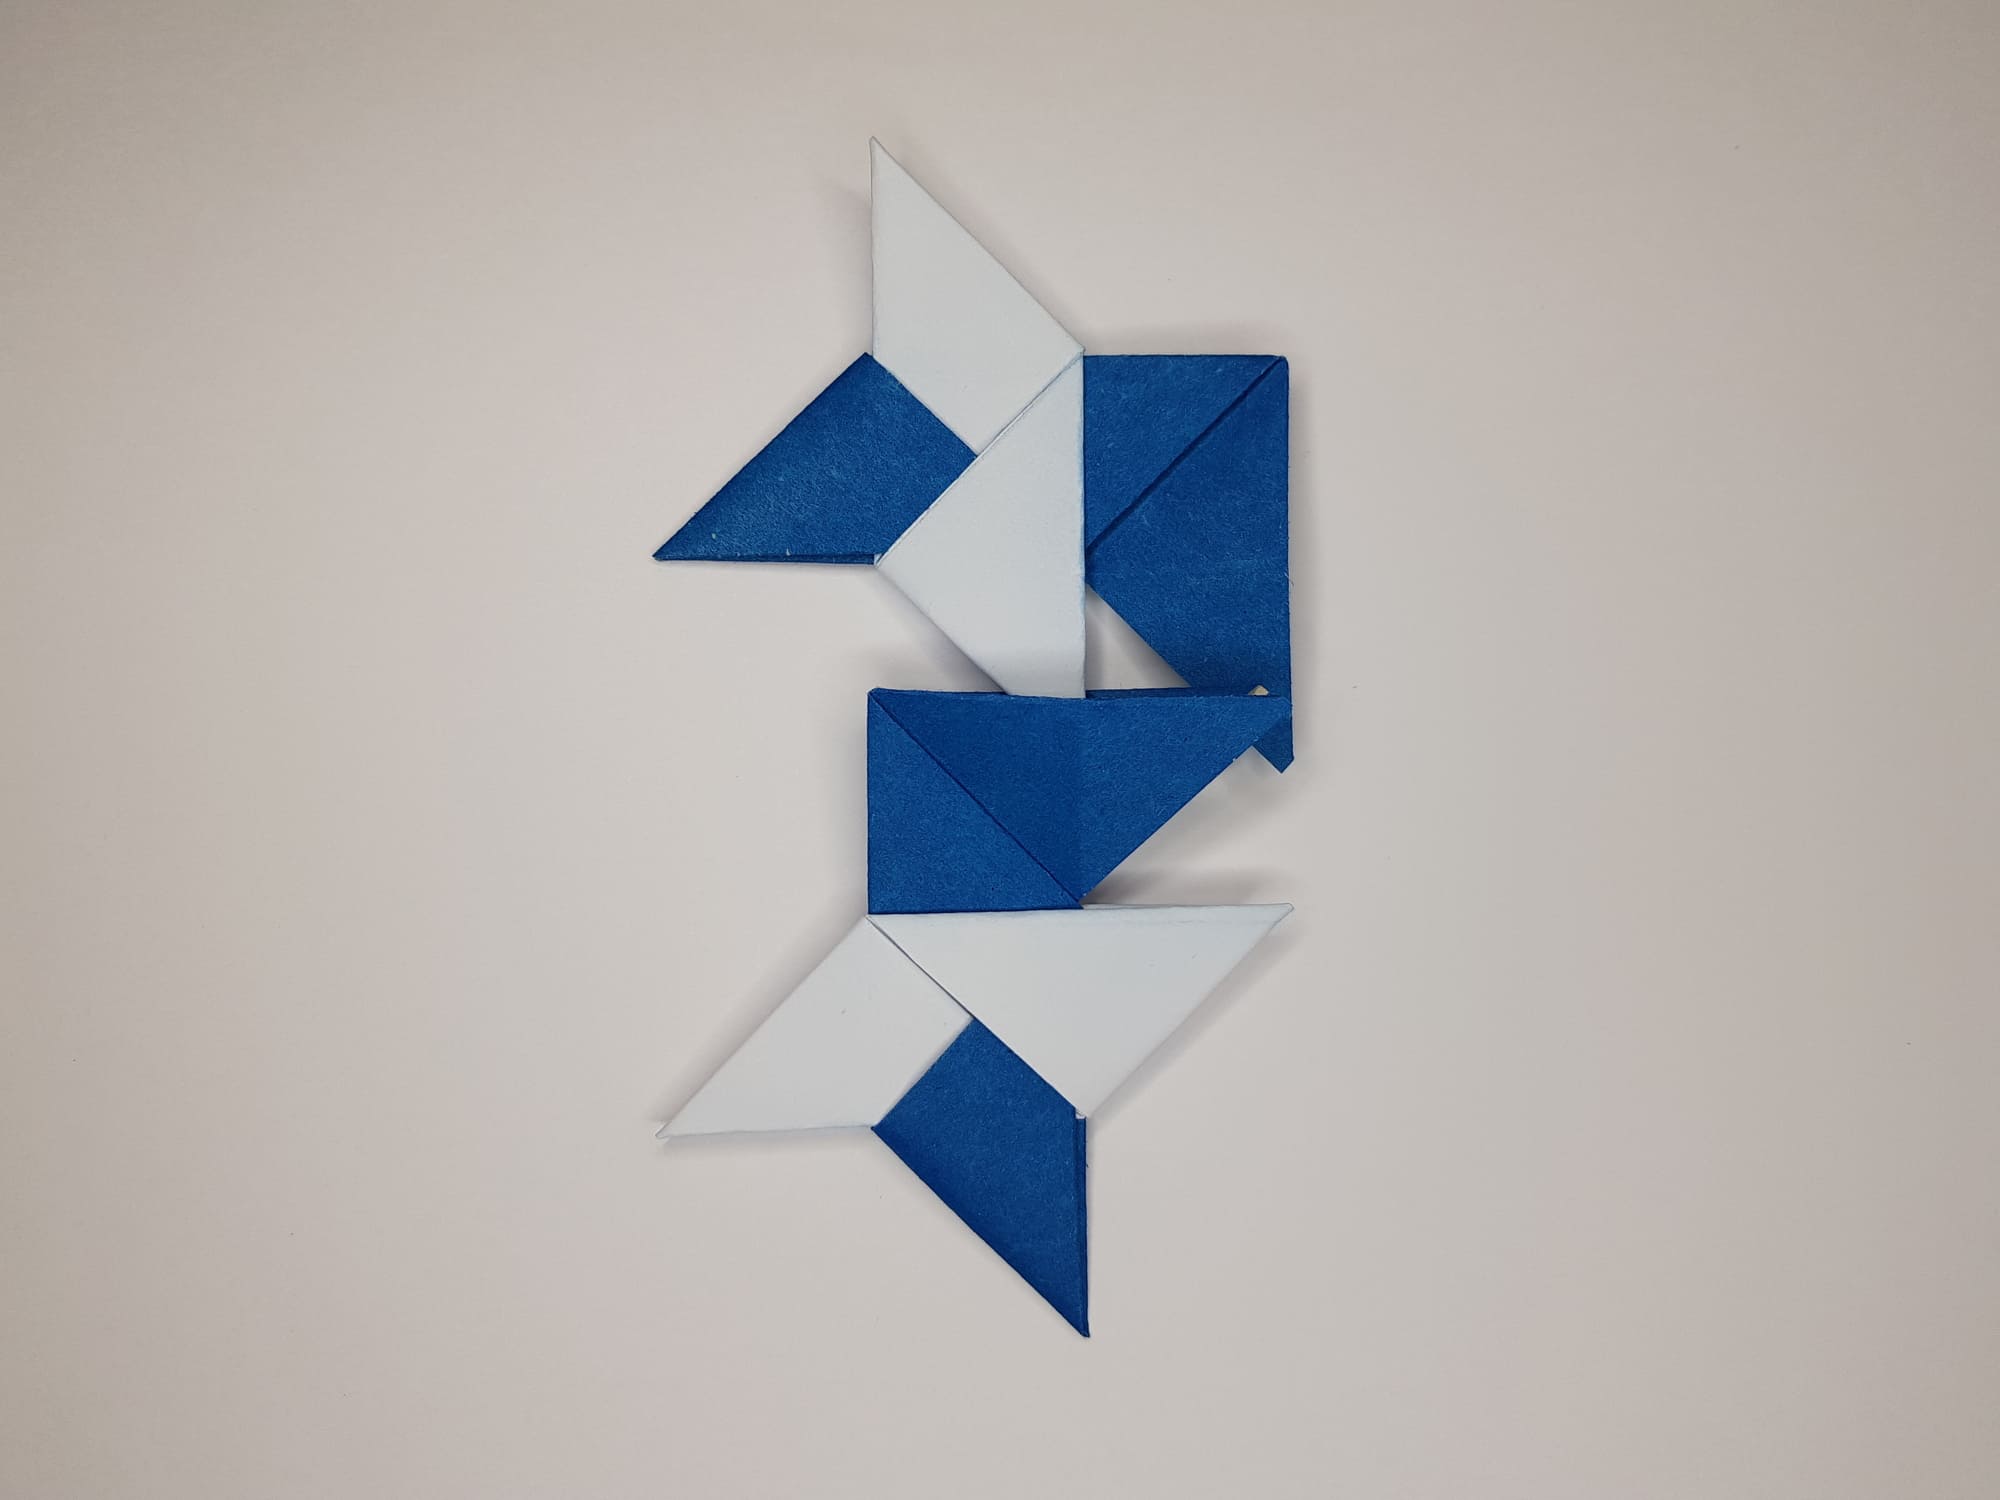
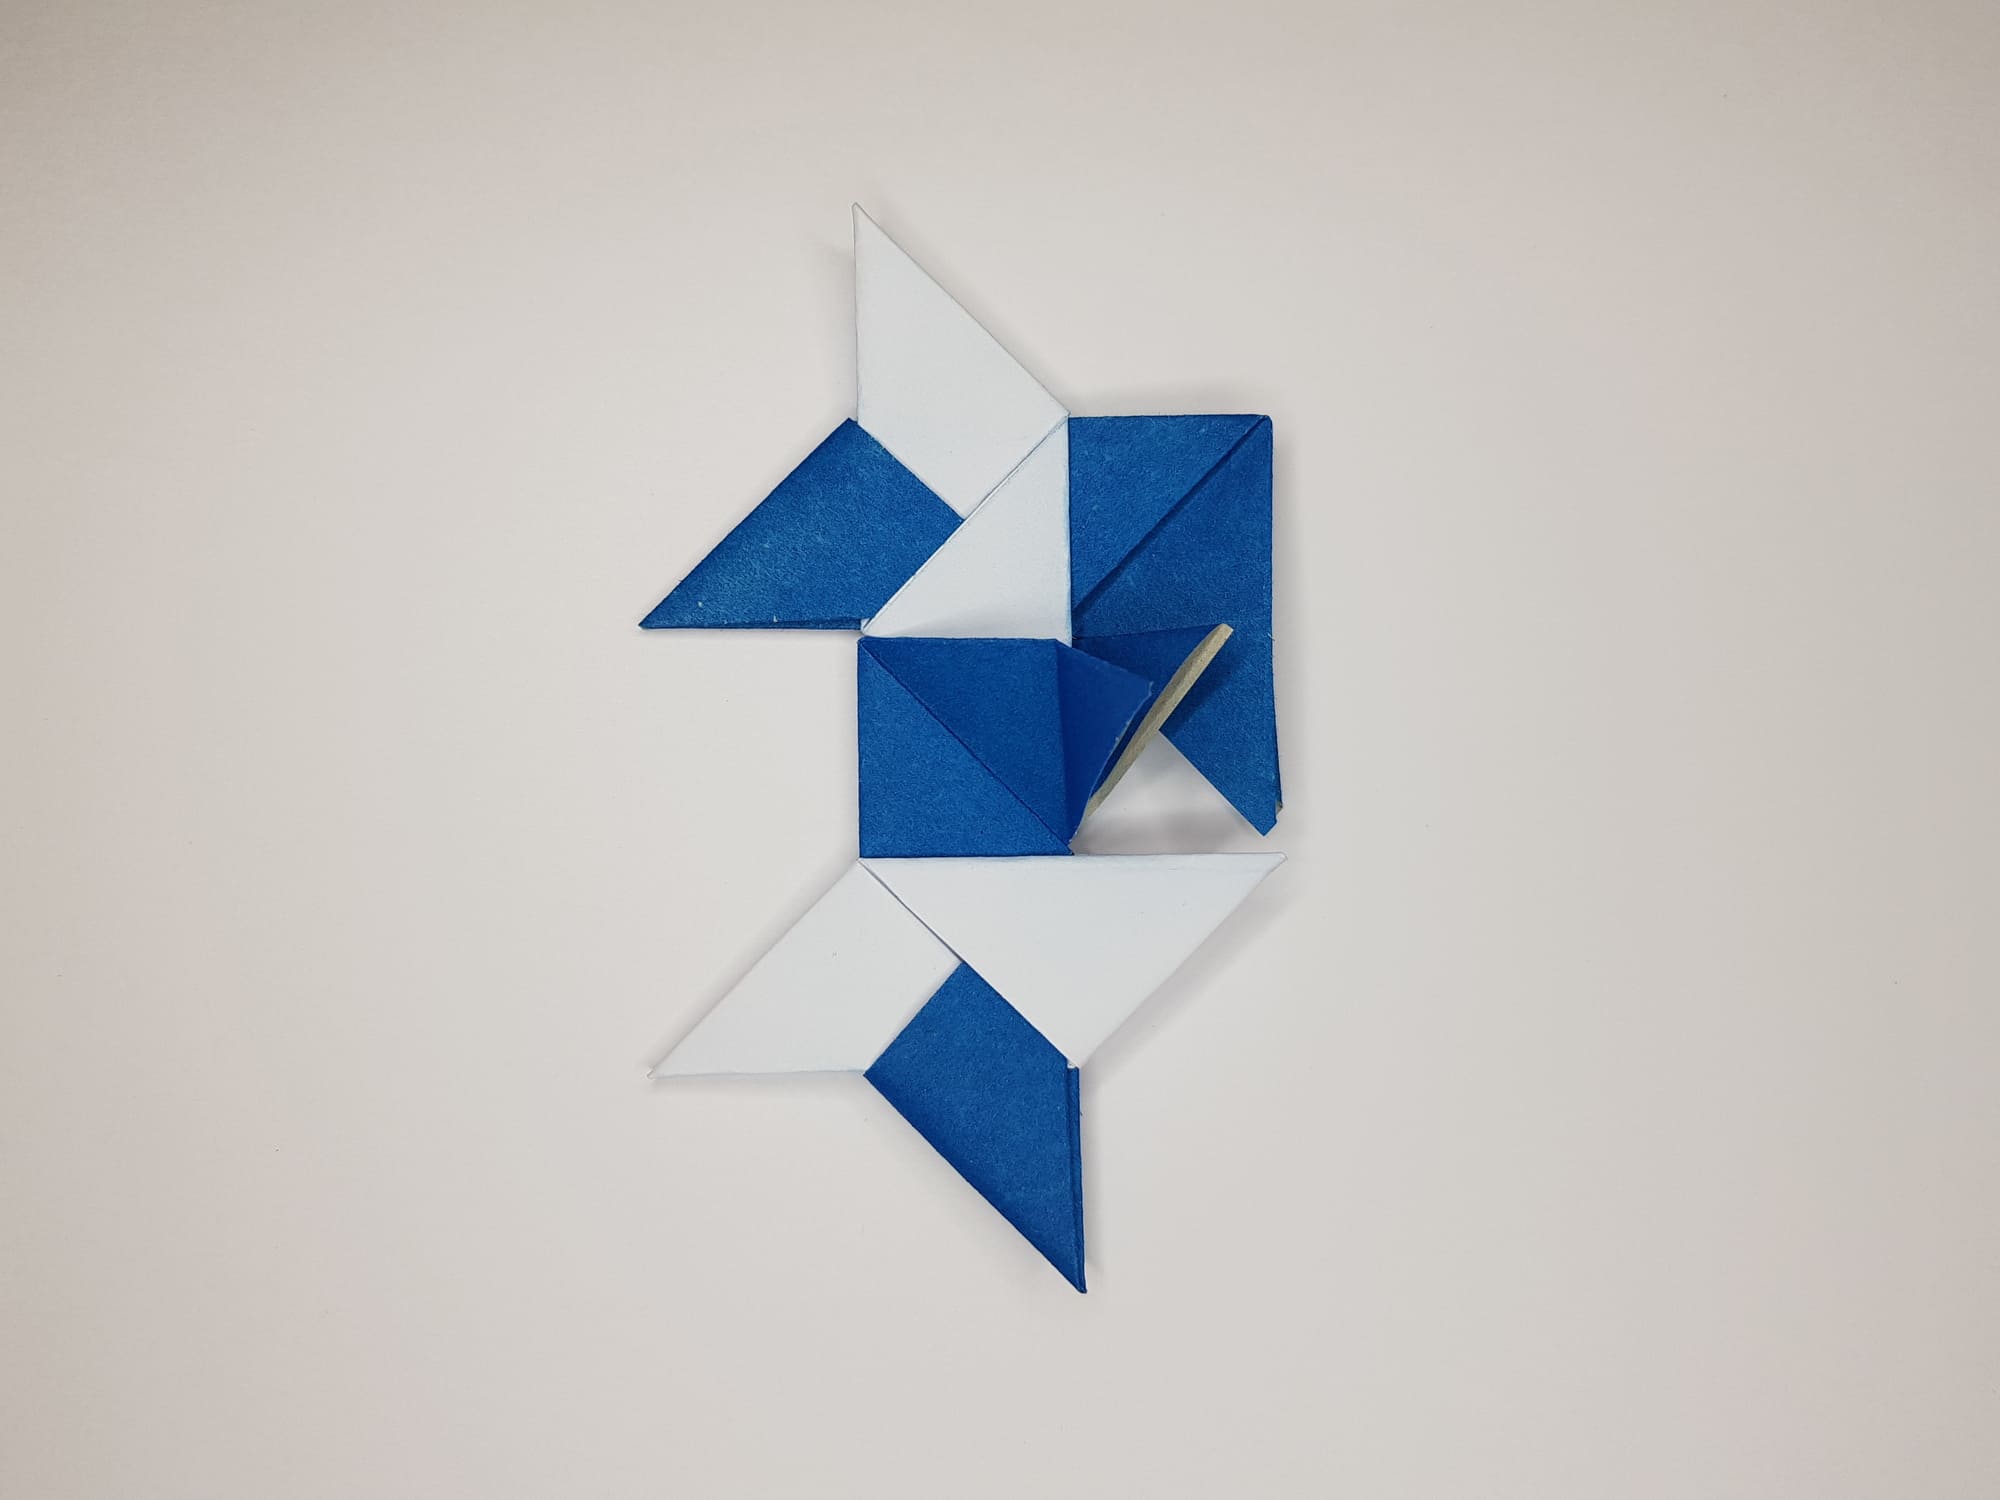
Position the two pieces as shown in the photo and attach them in the same way as in steps 37 and 38, hiding the corners inward.
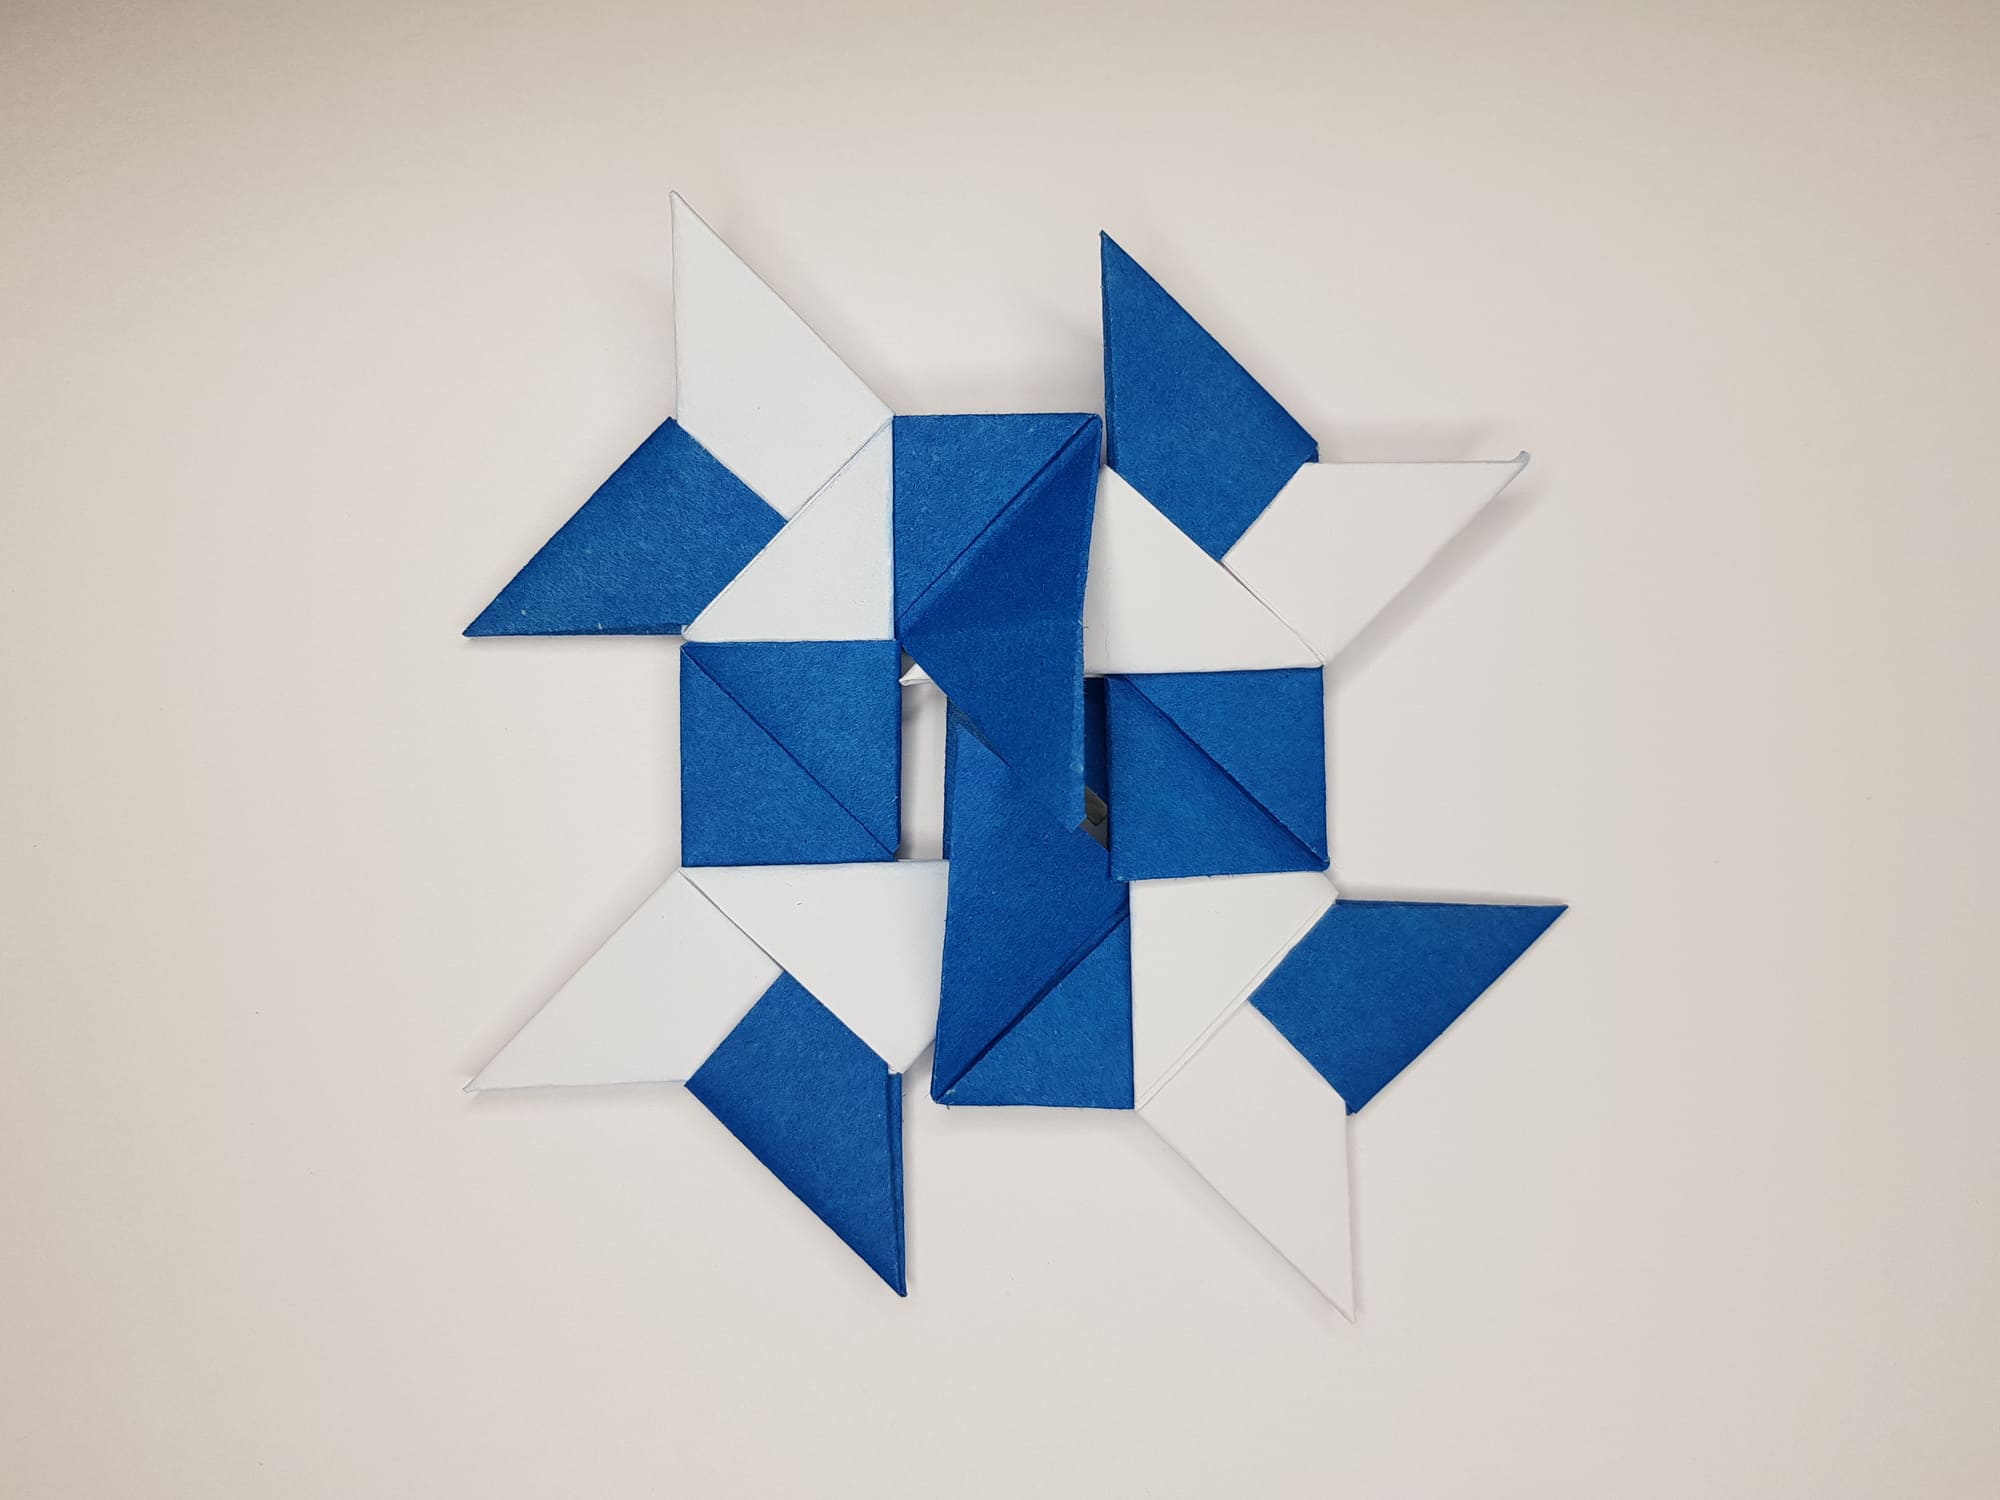
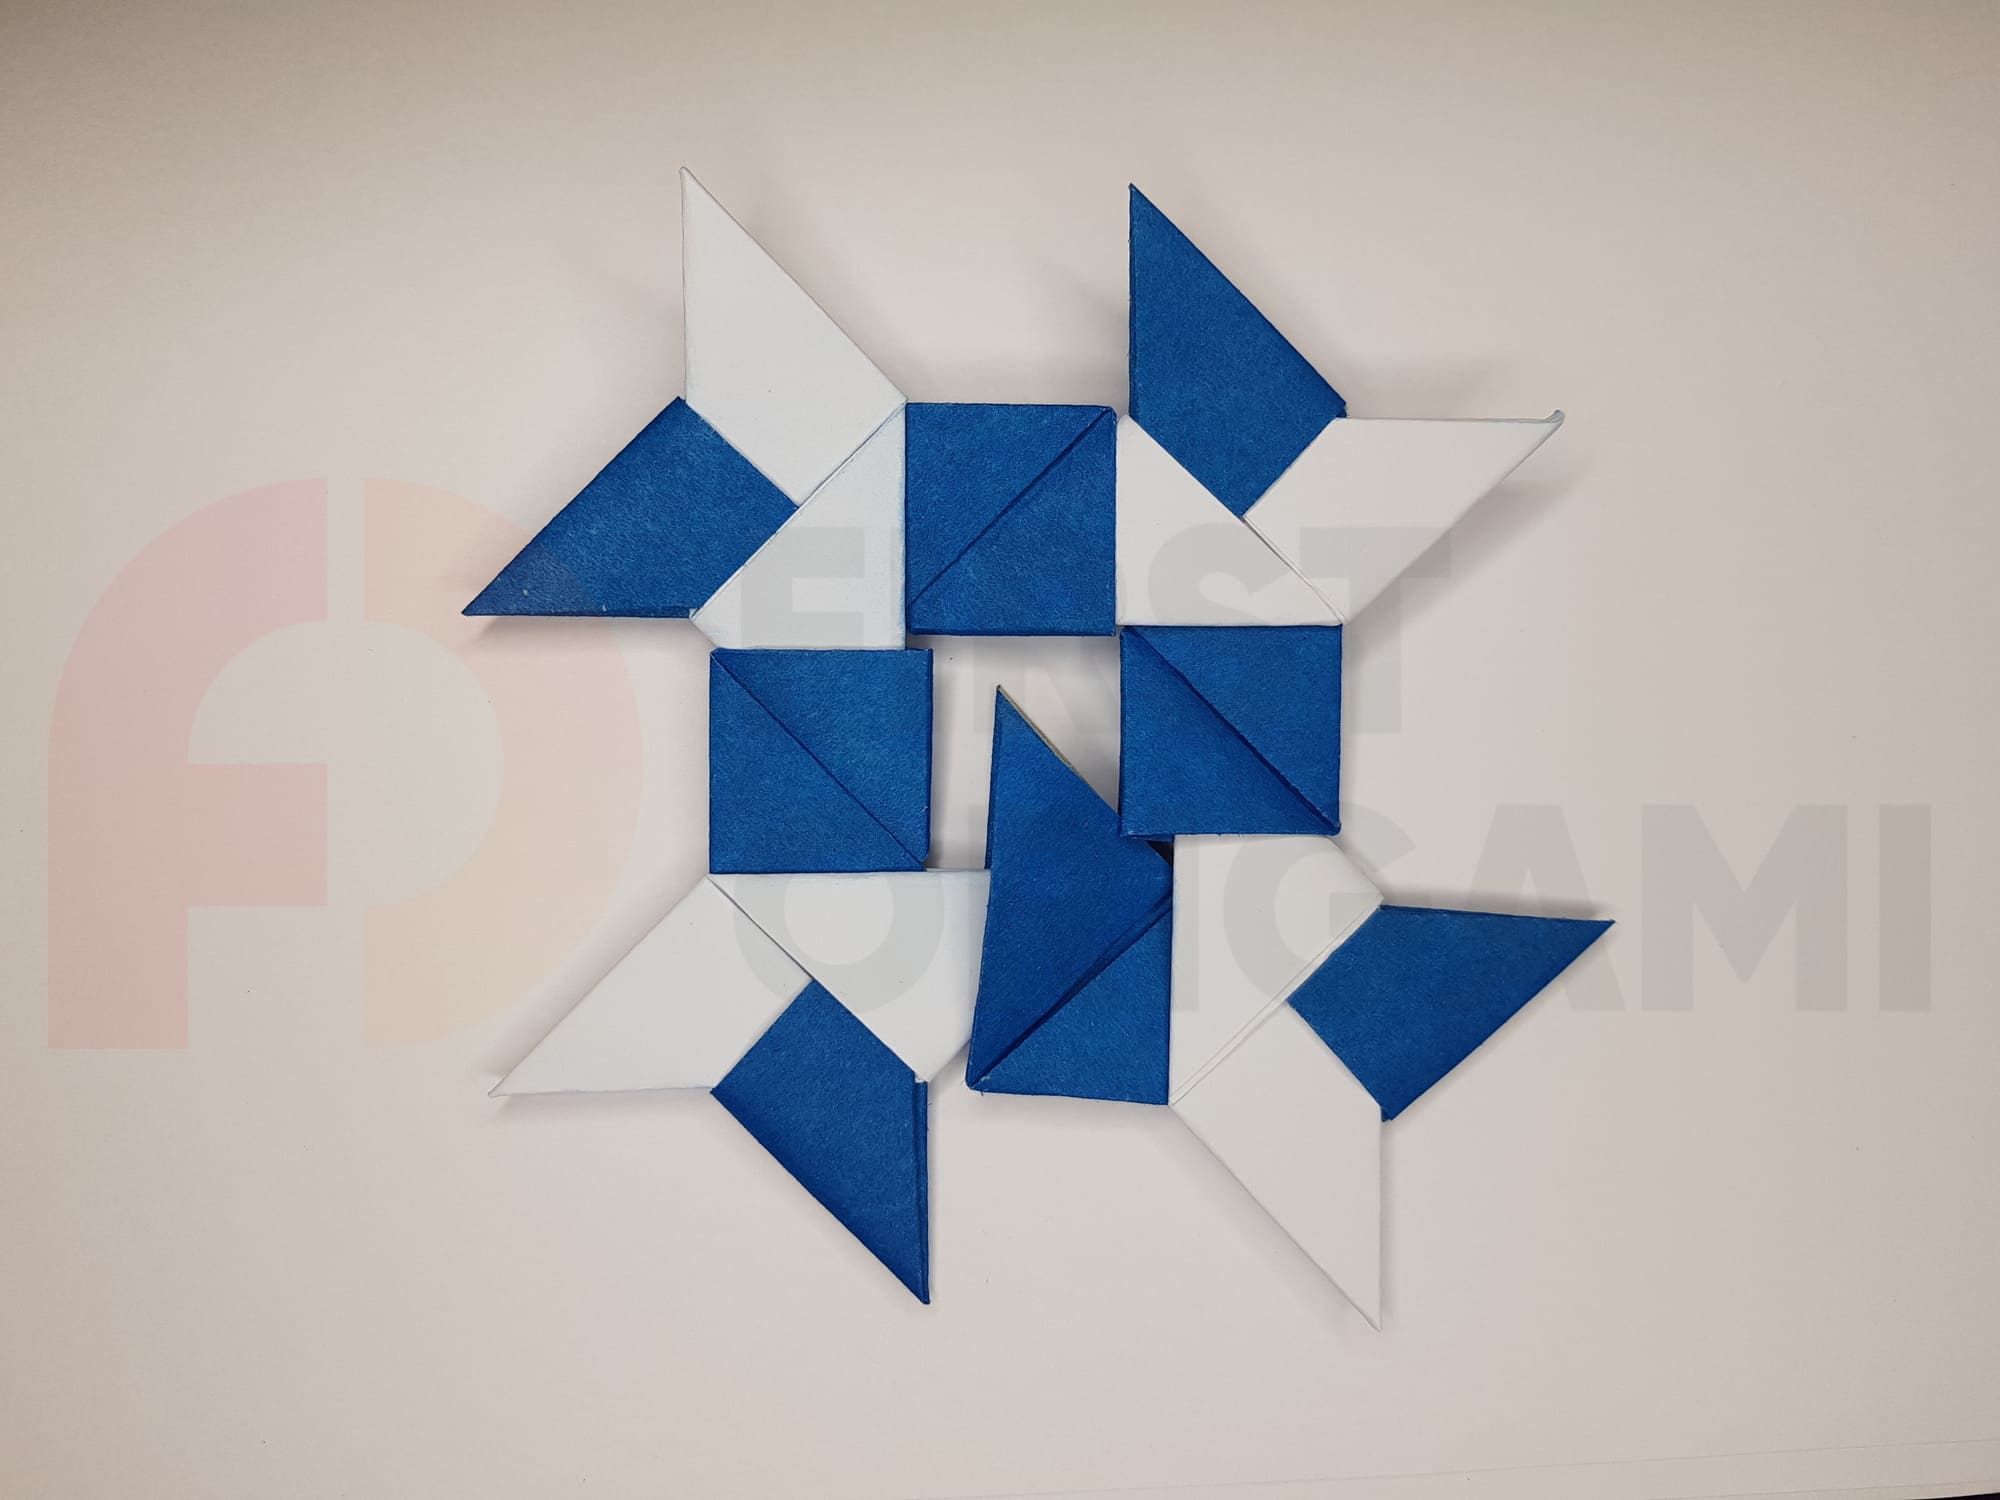
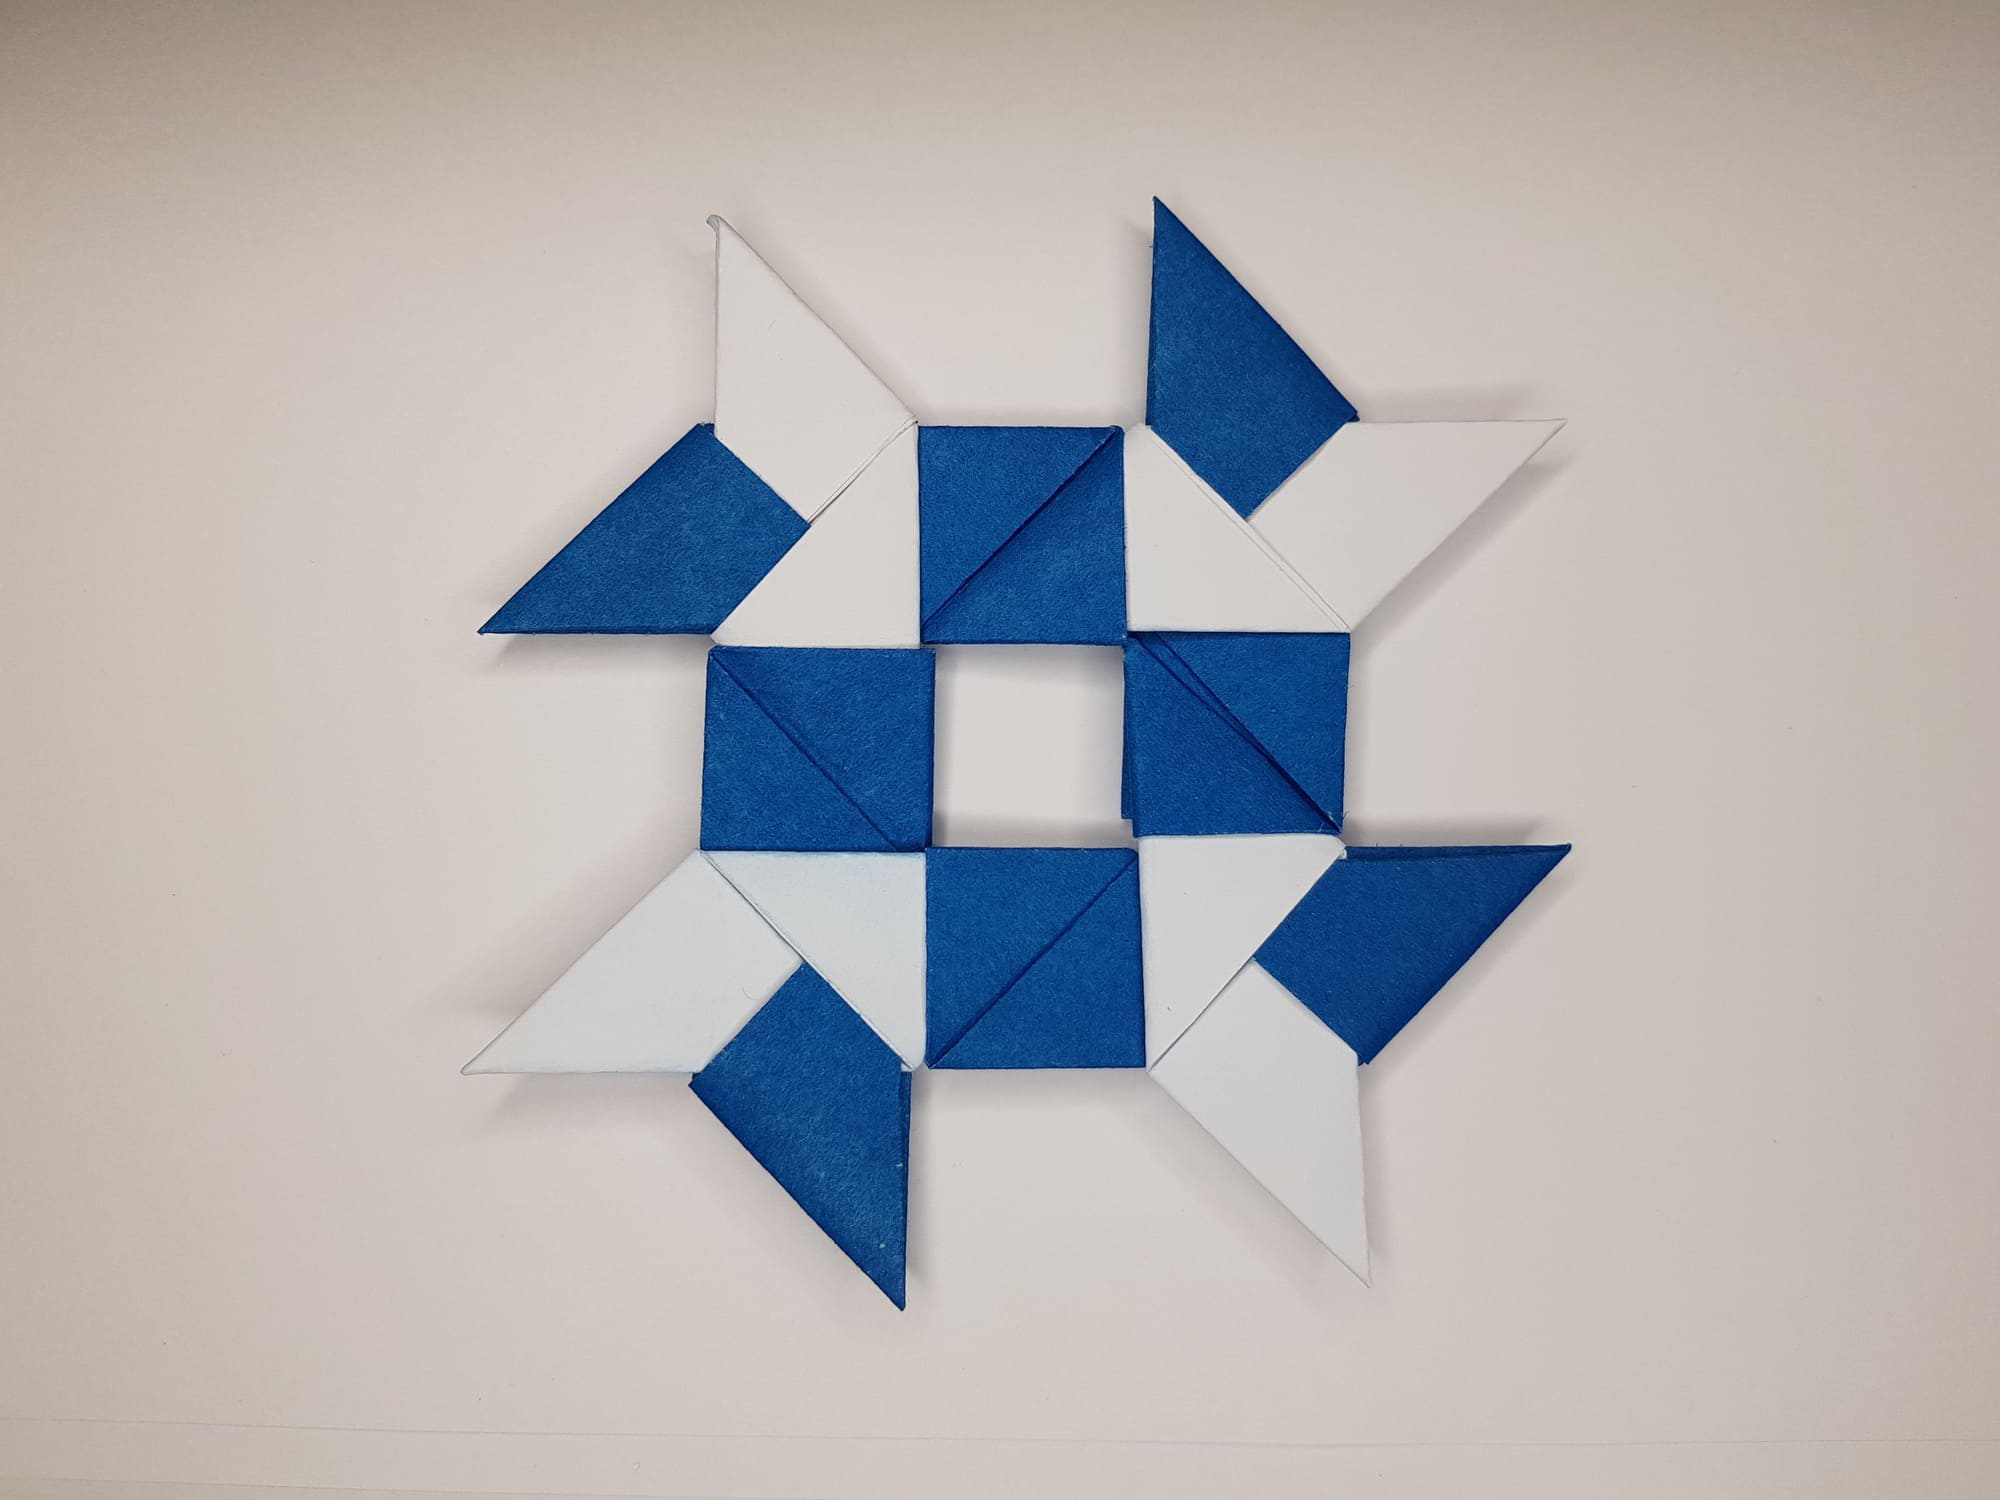
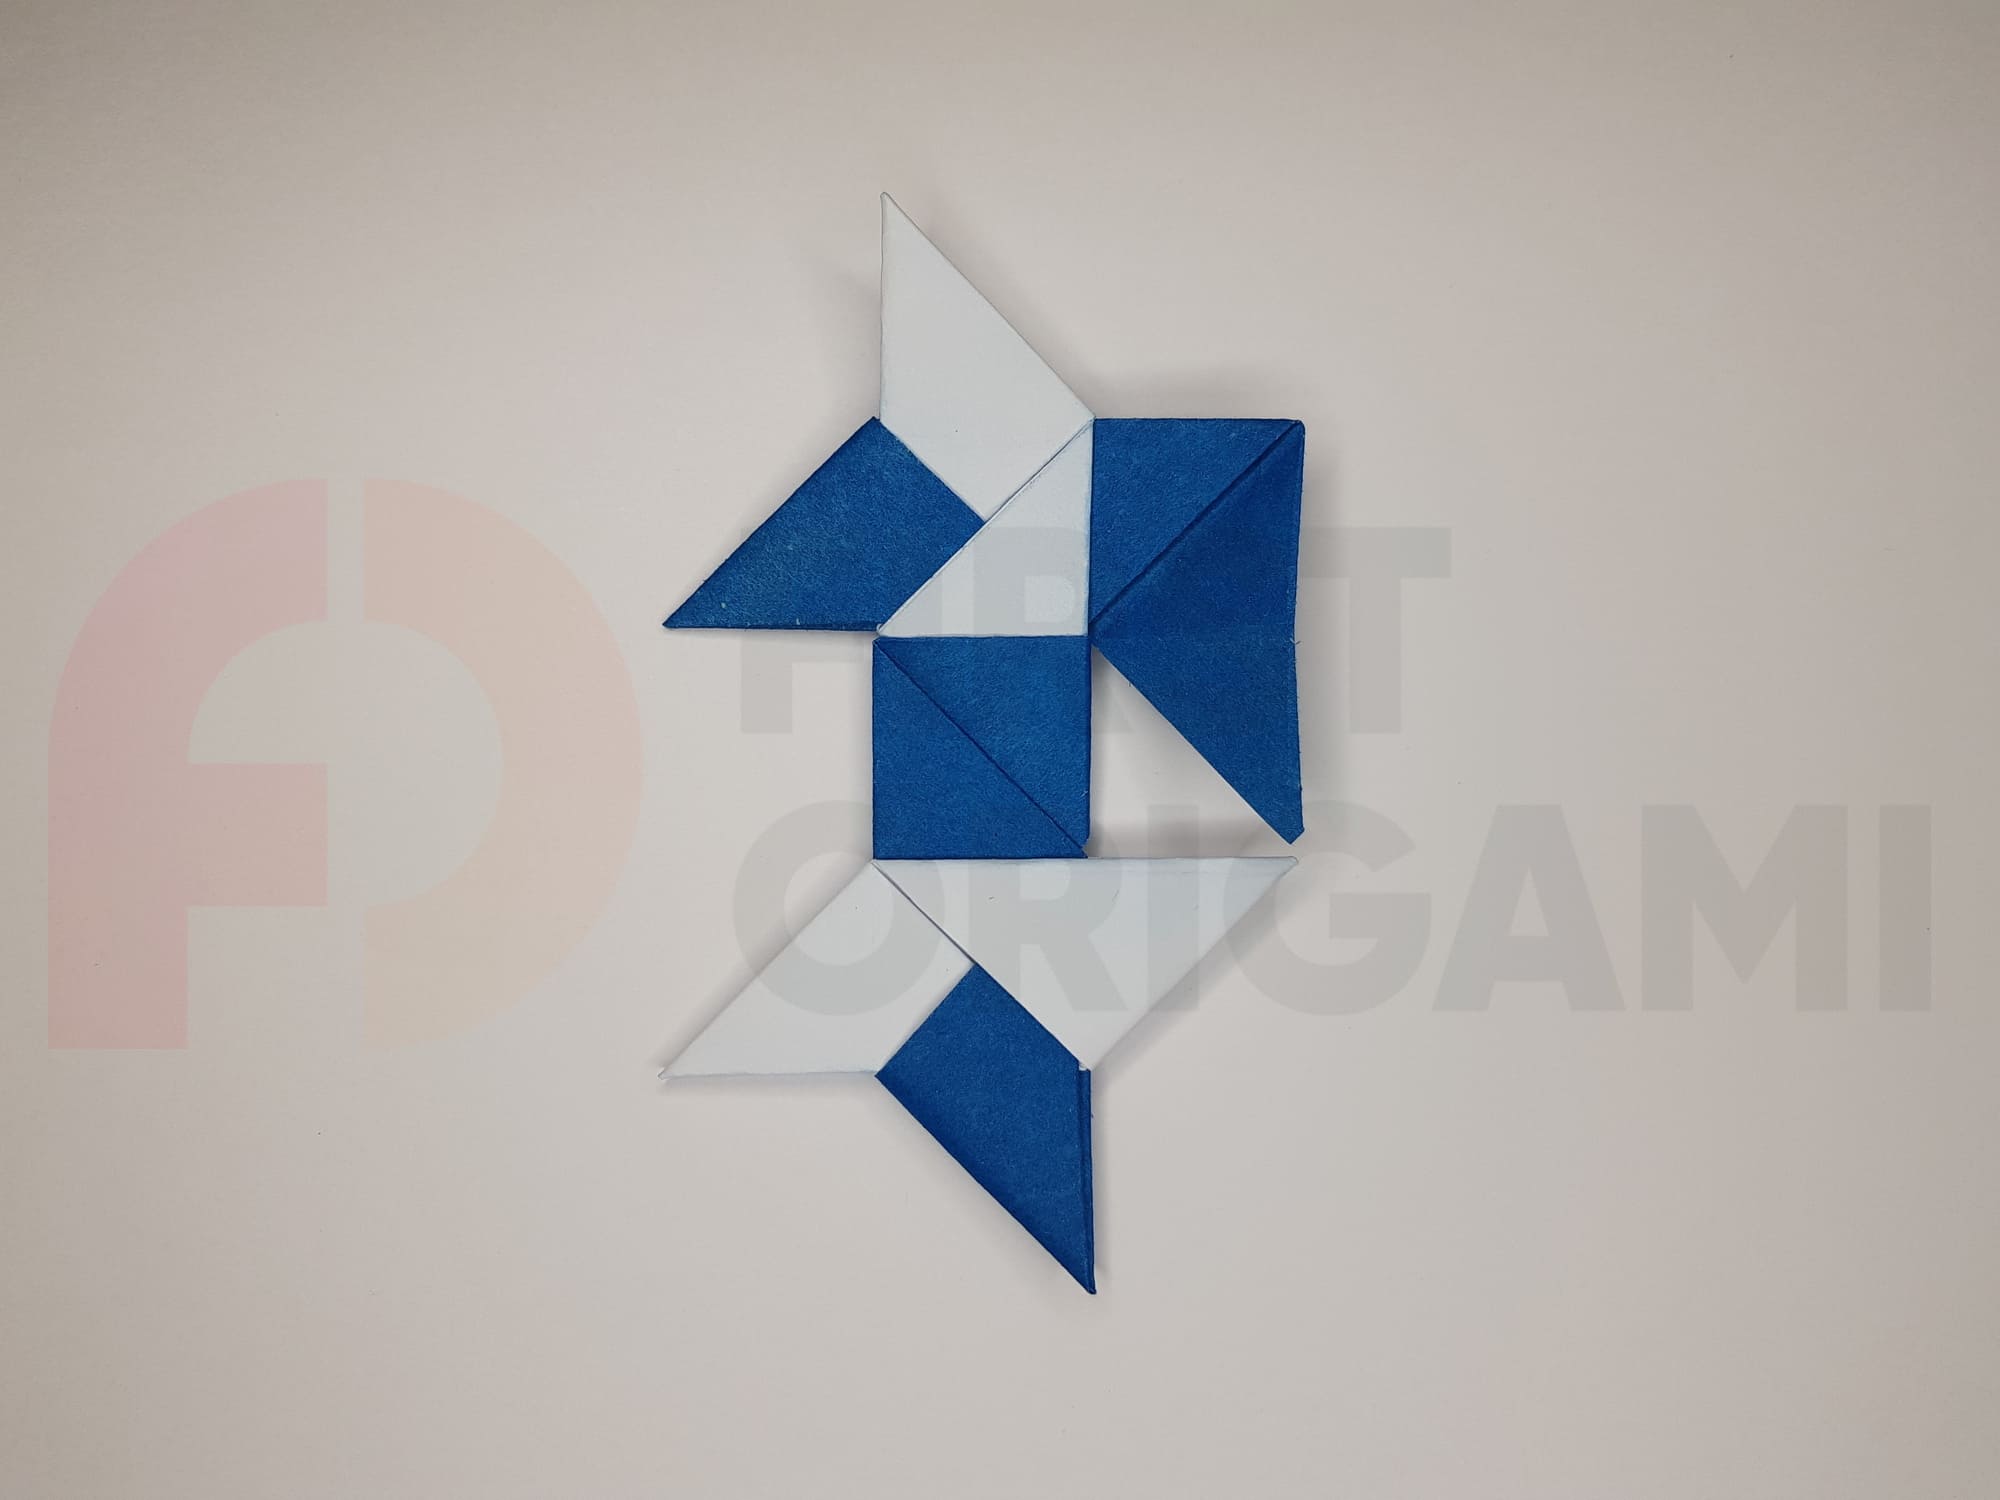
The eight-pointed star is ready!
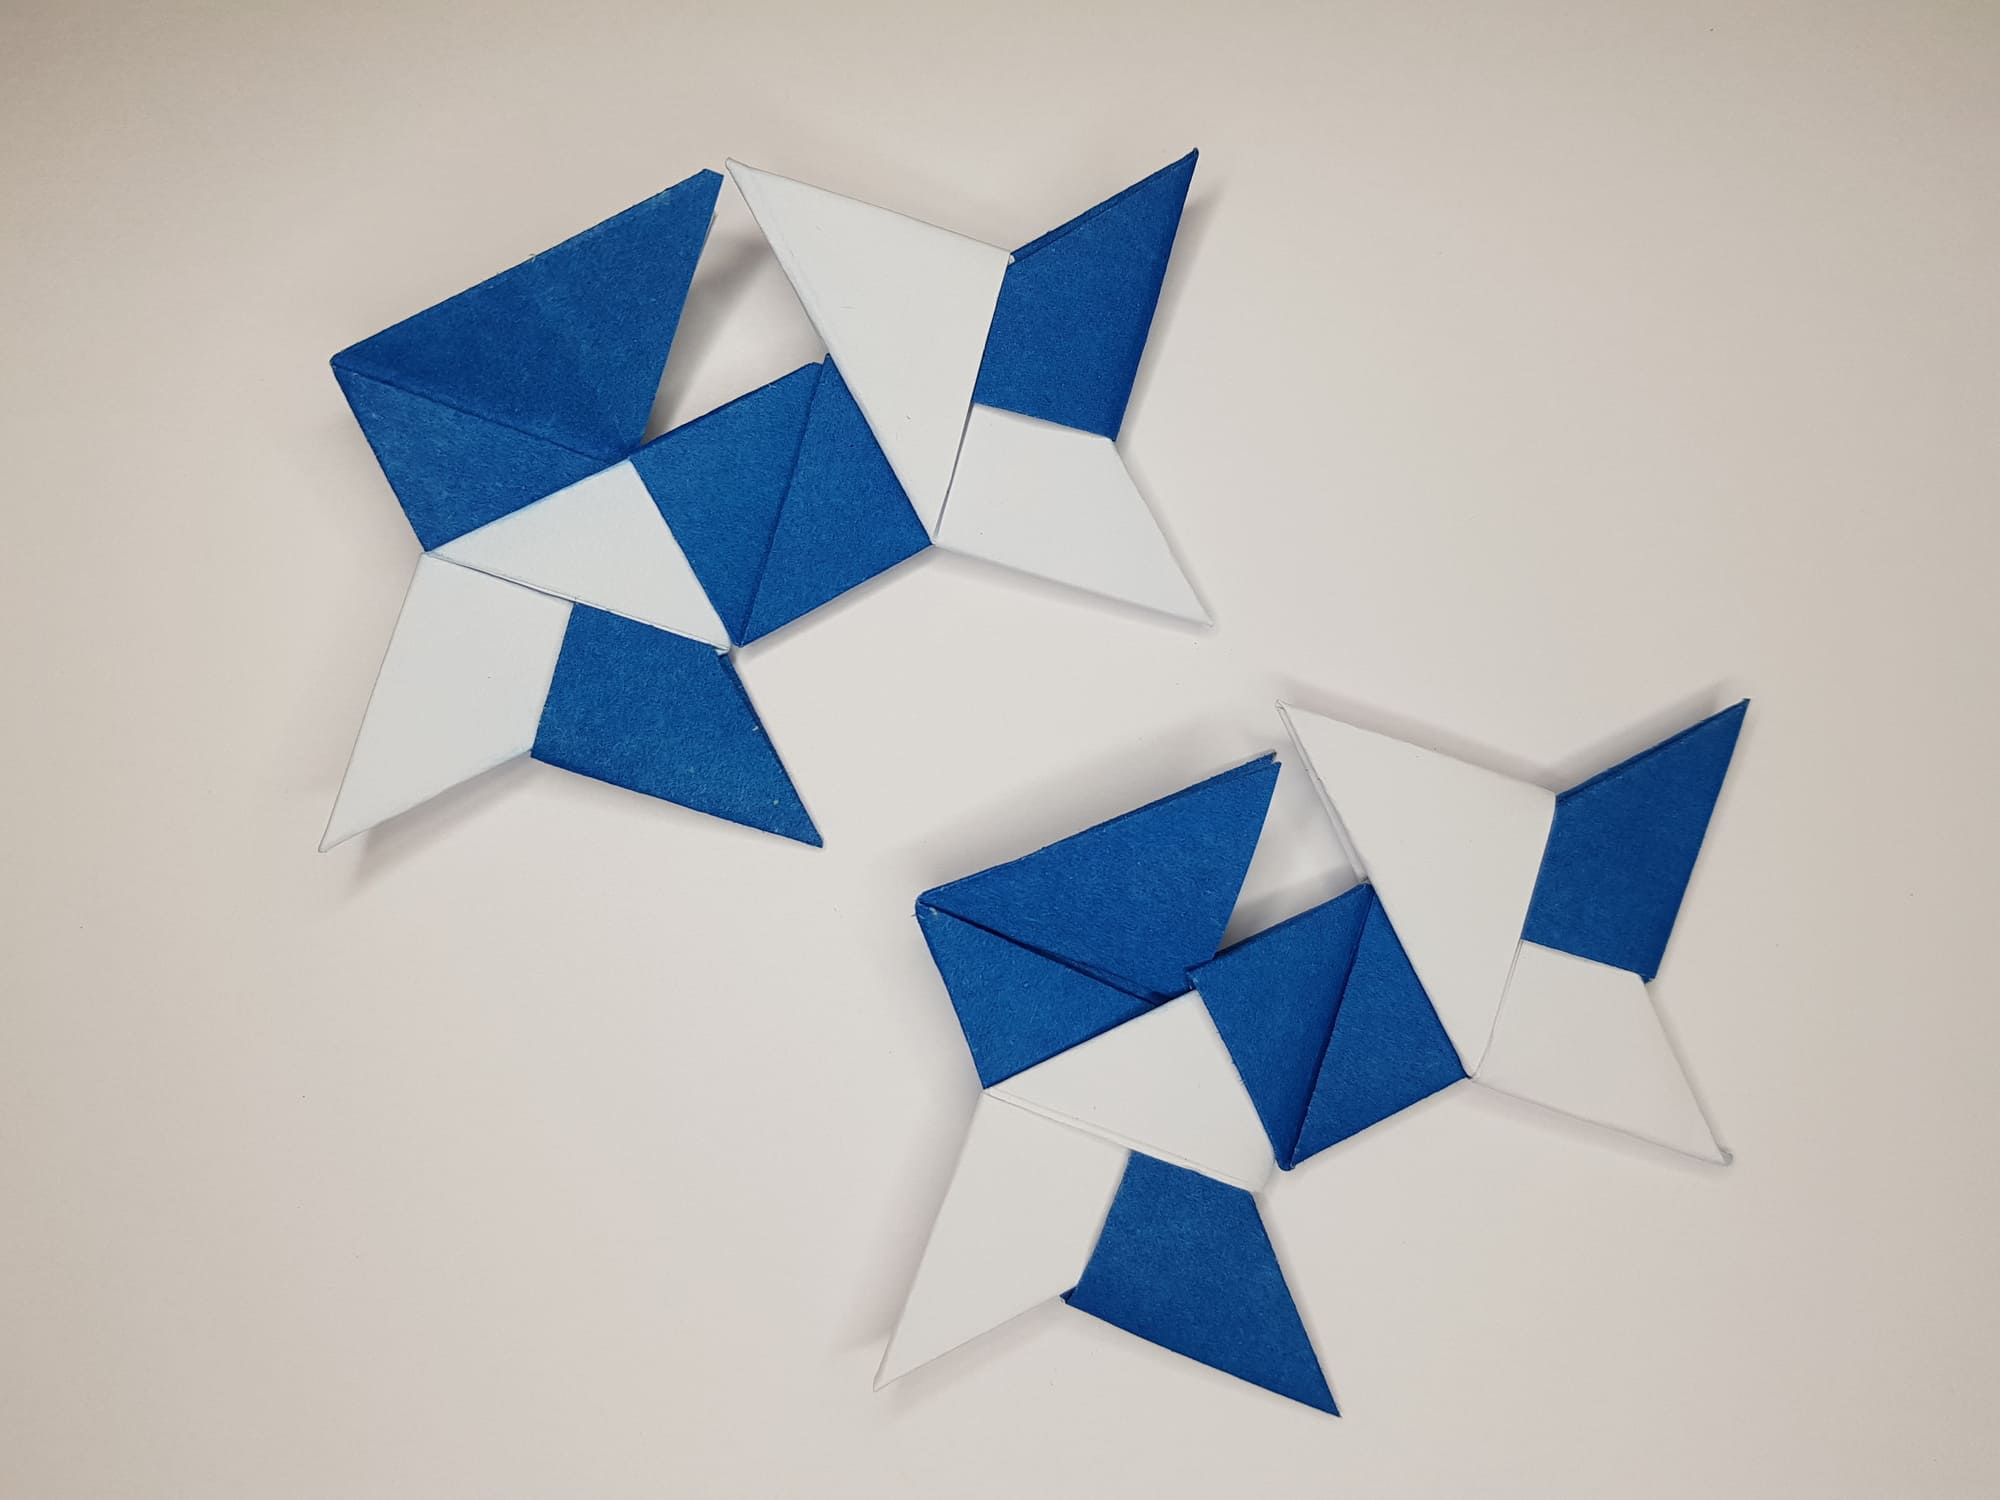
The process was not easy, but you did it! You can make a whole collection of ninja stars in different sizes and colors. If you liked this origami, and it turned out easily and quickly, teach your friends. This will be an interesting master class.


