Origami 8 Pointed Ninja Star
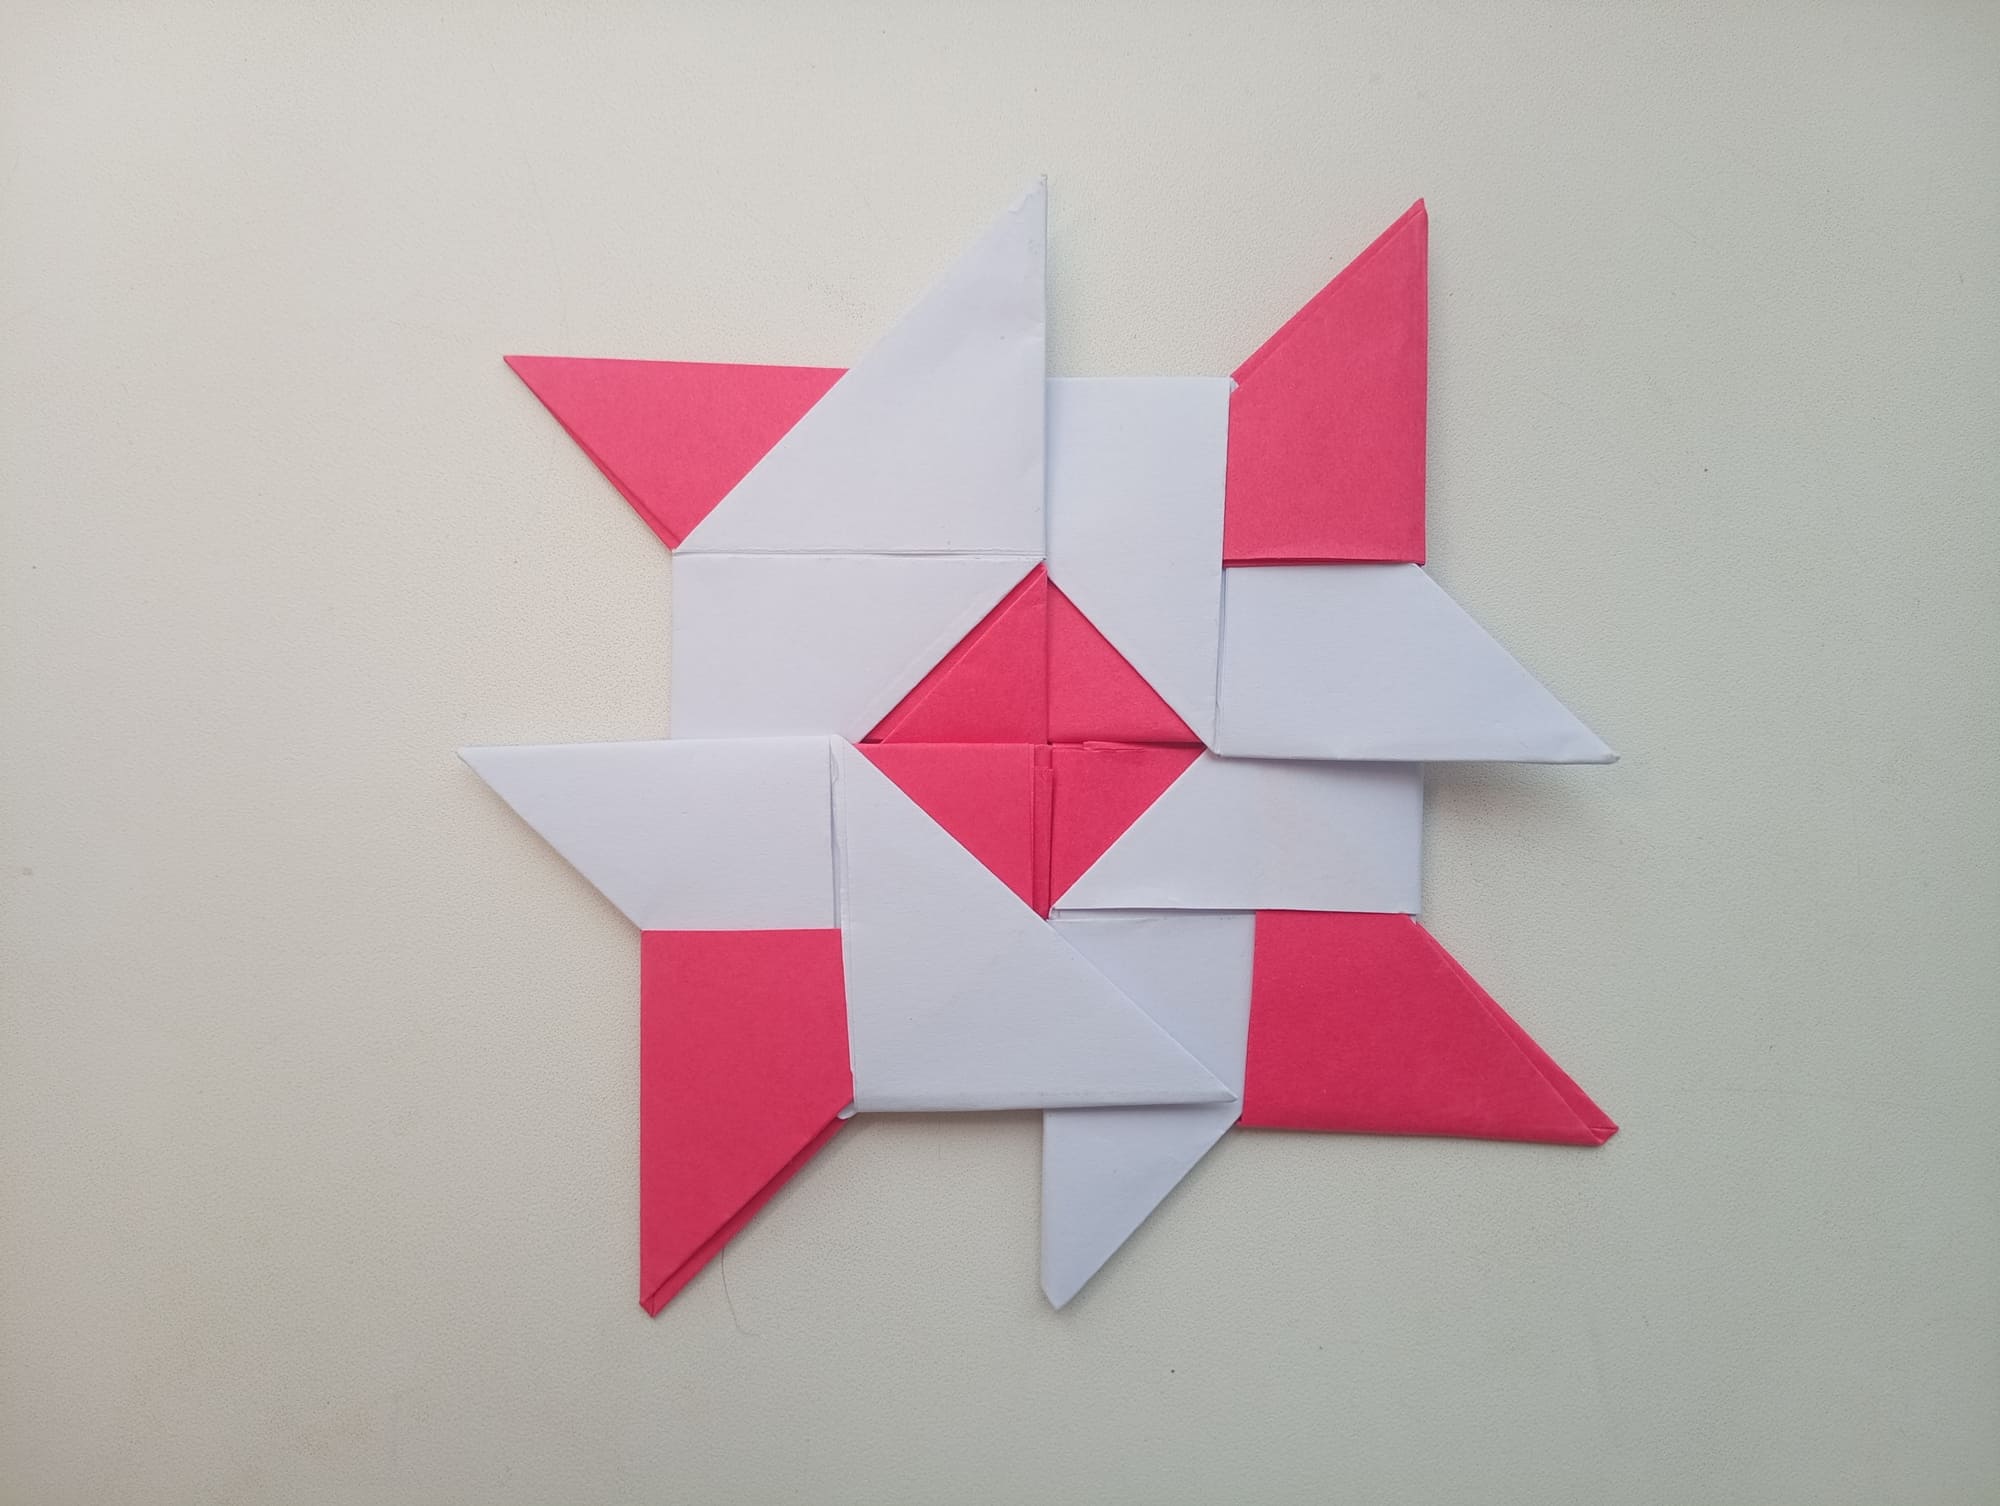
The eight-pointed ninja star made with this master class turns out to be dense and flight stable. You will need 4 sheets of paper of two colors, some origami skills, and time for assembly. Follow the simple steps and everything will work out!
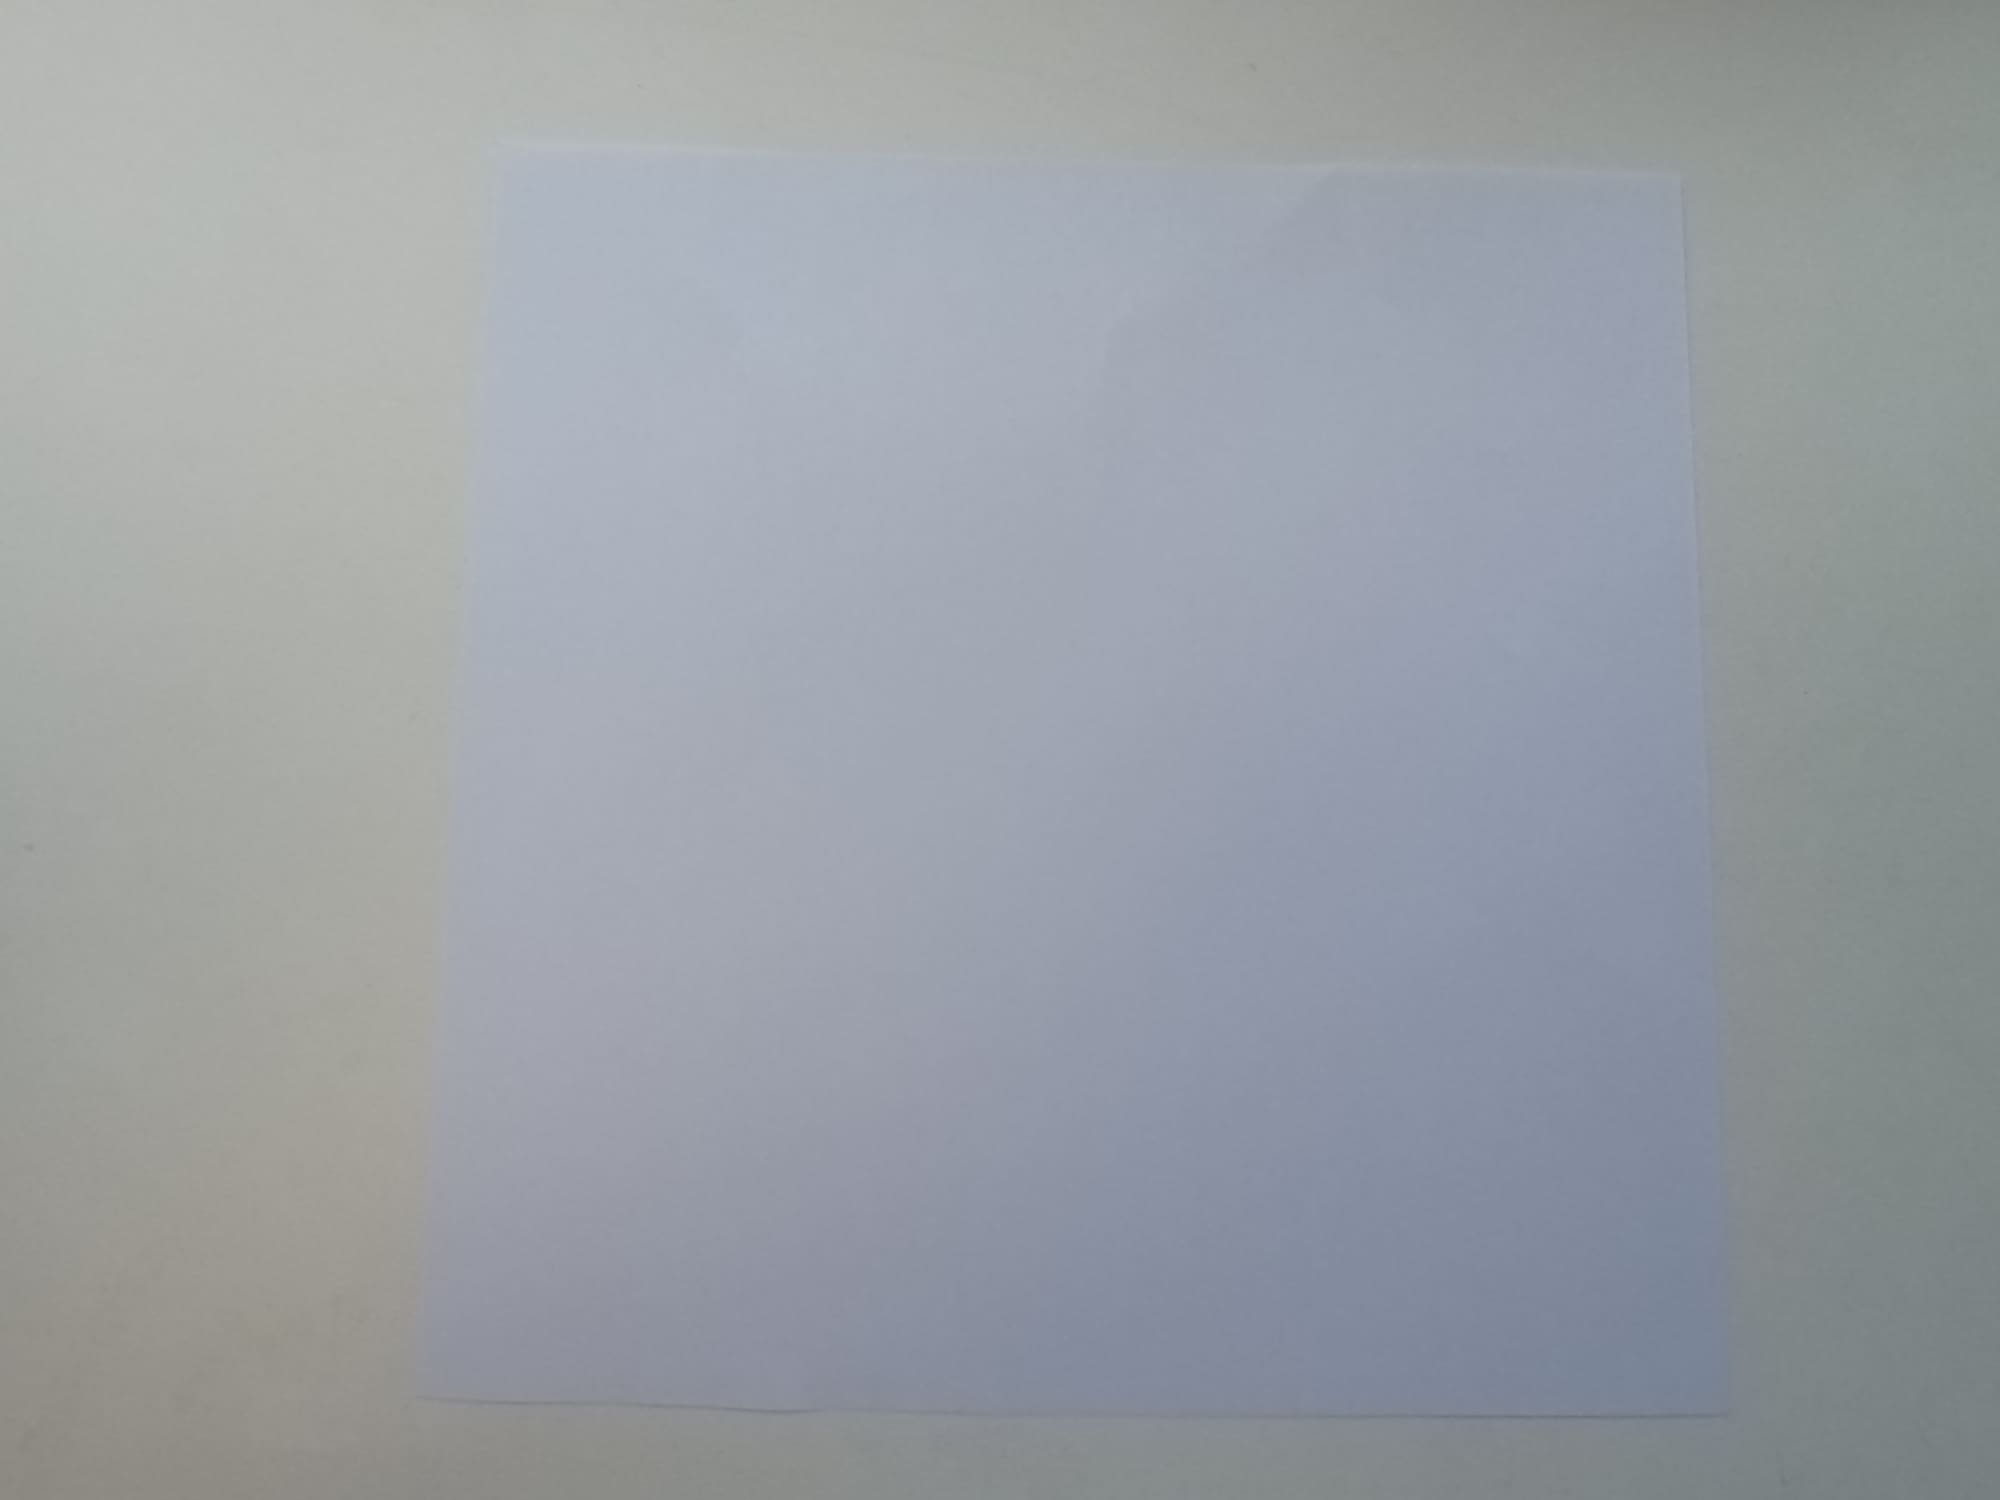
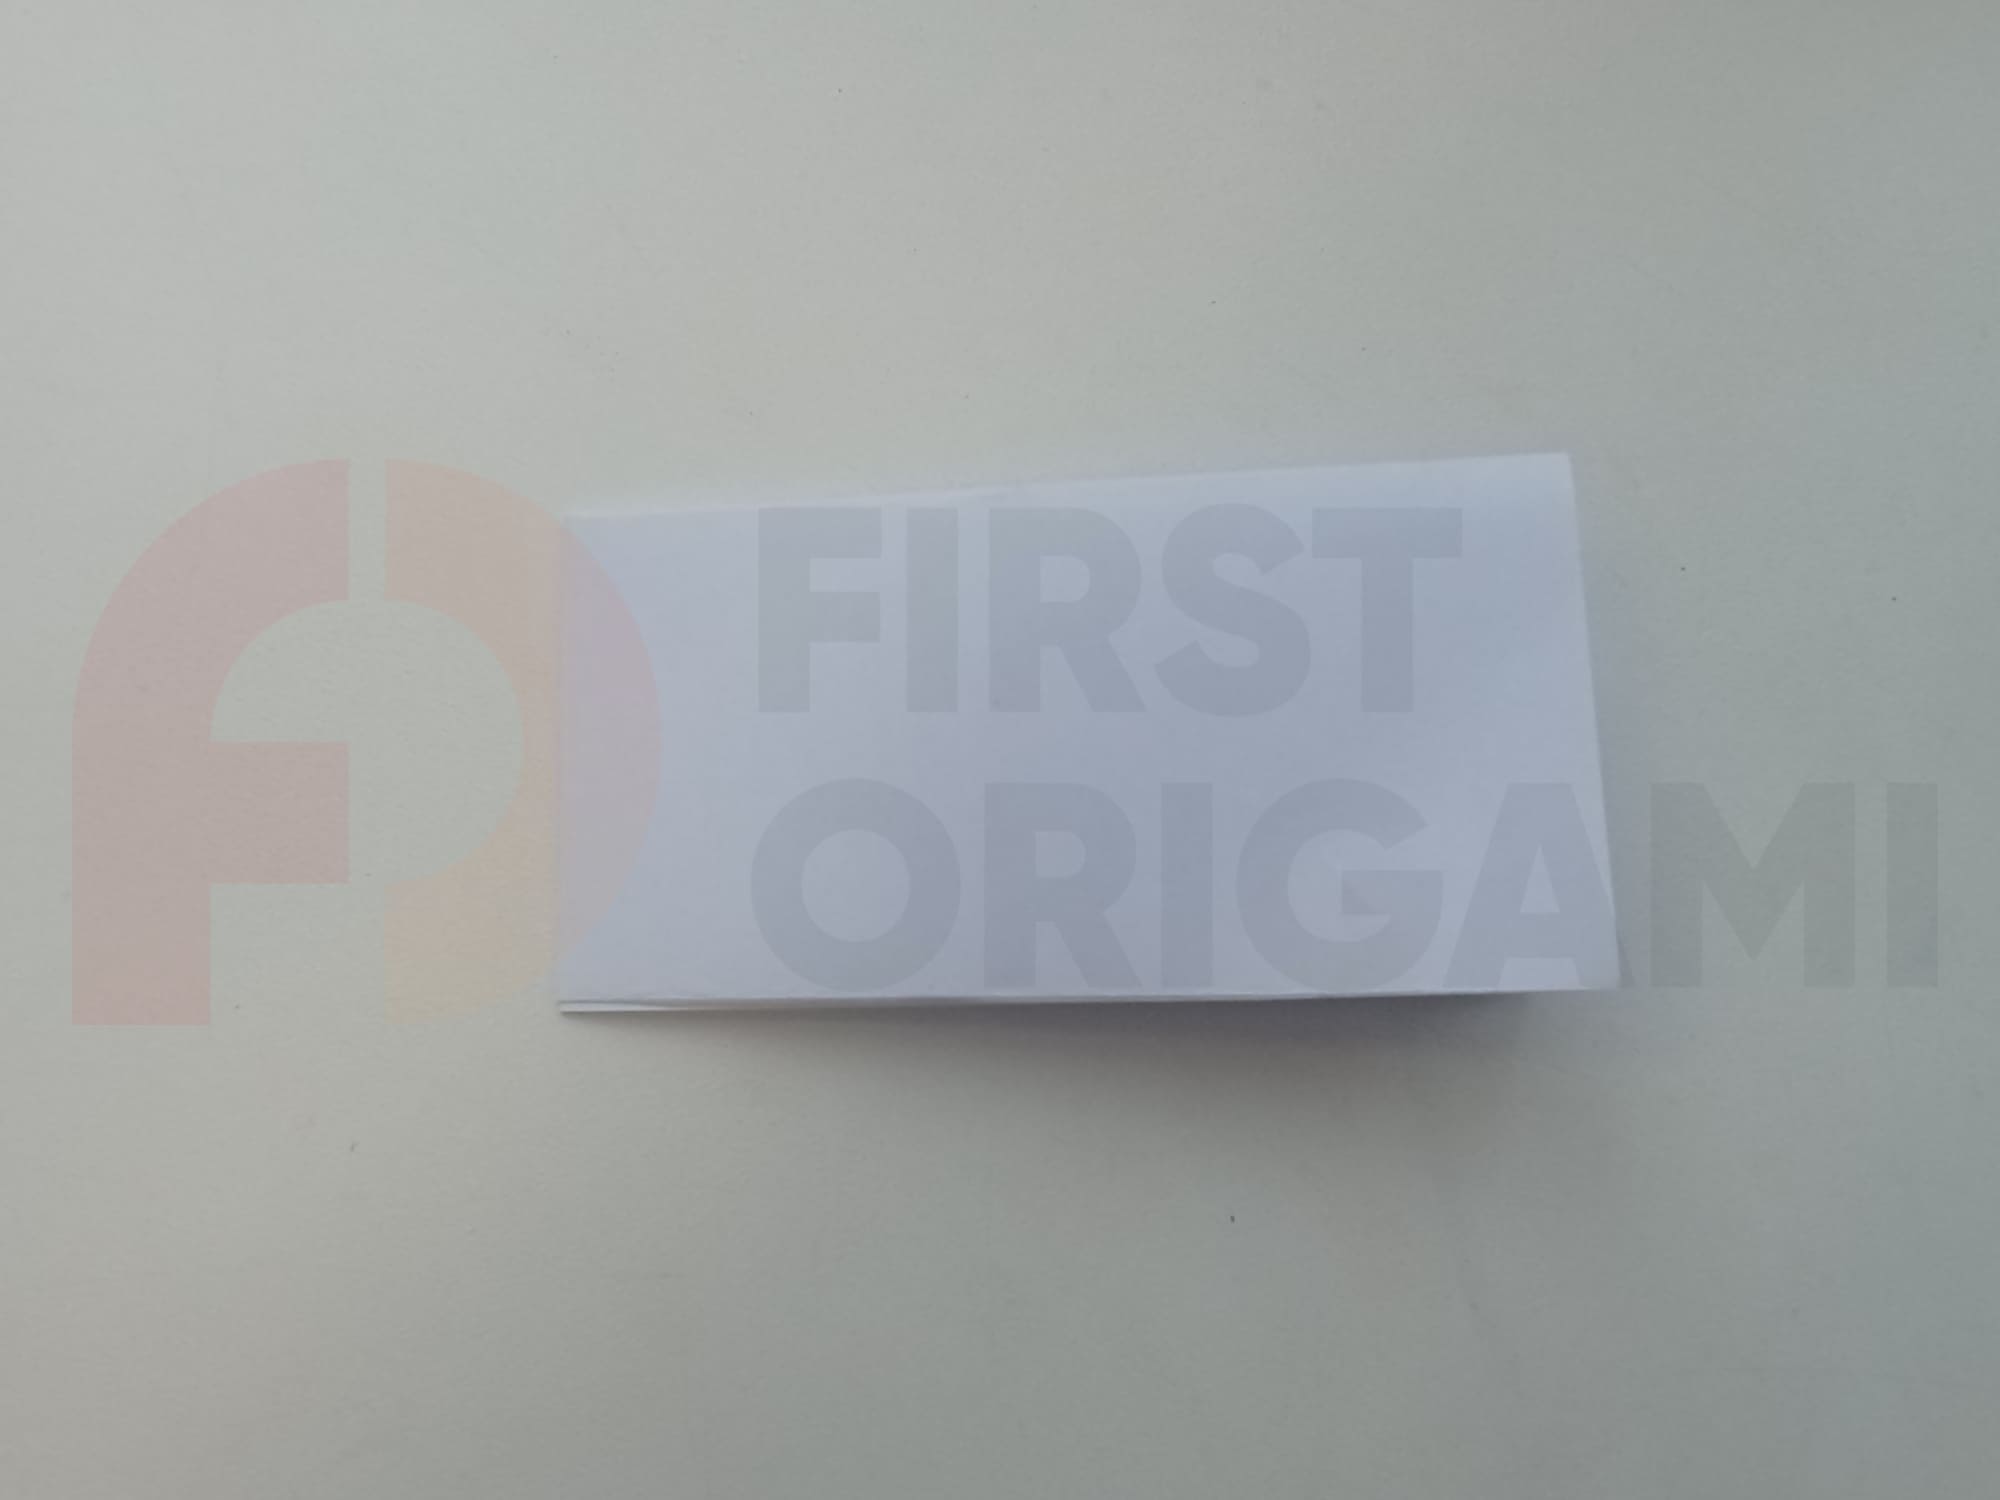
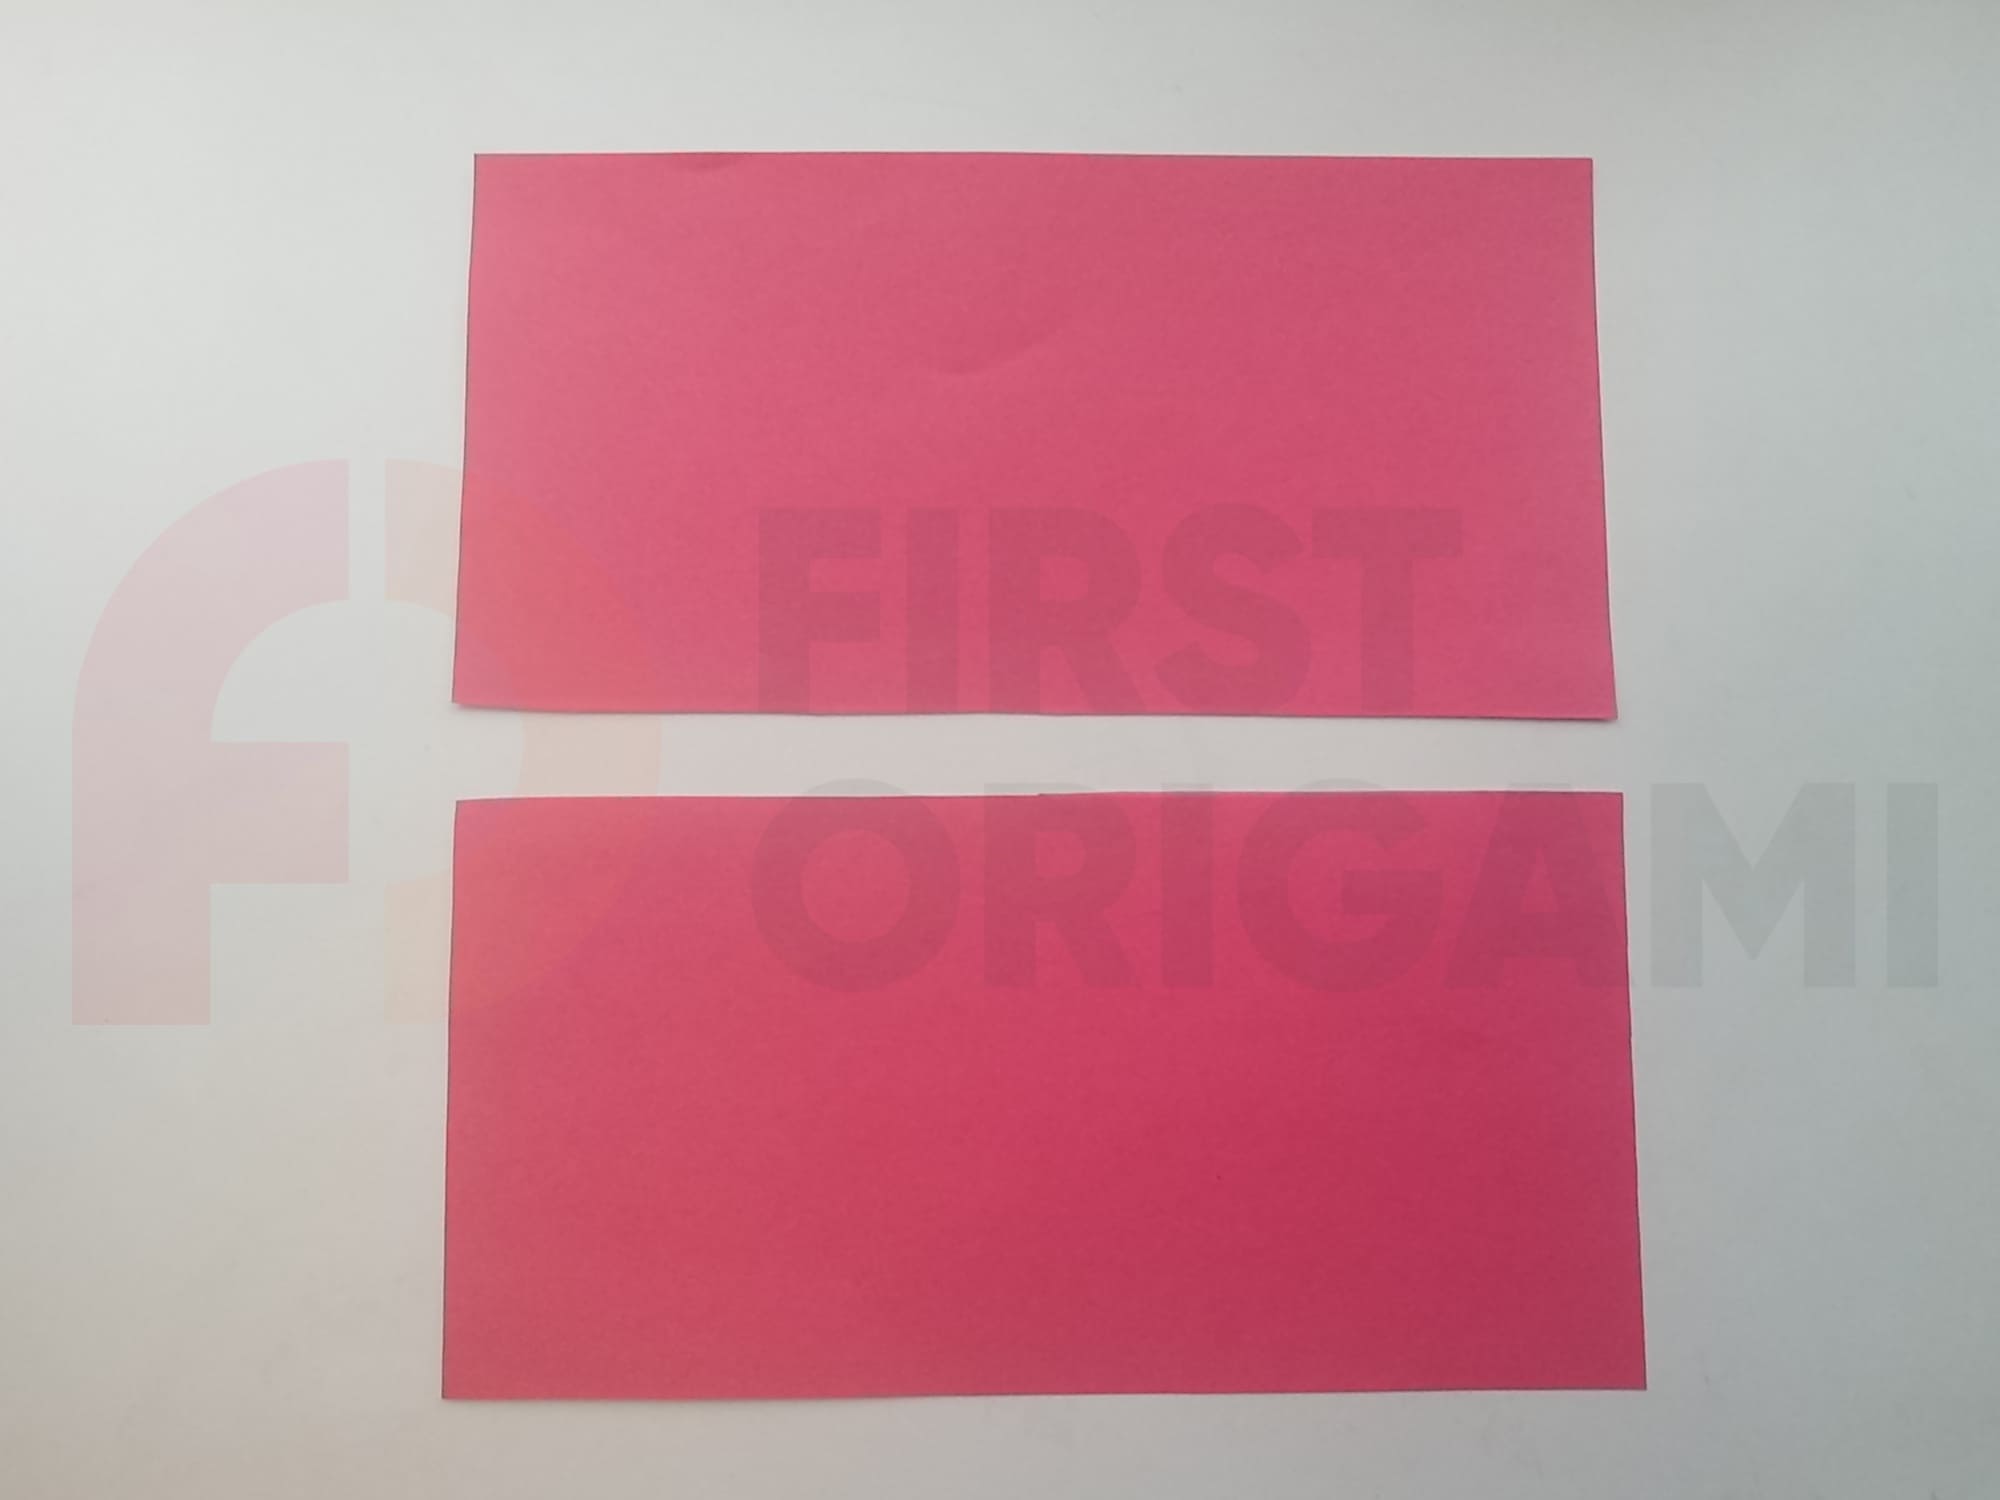
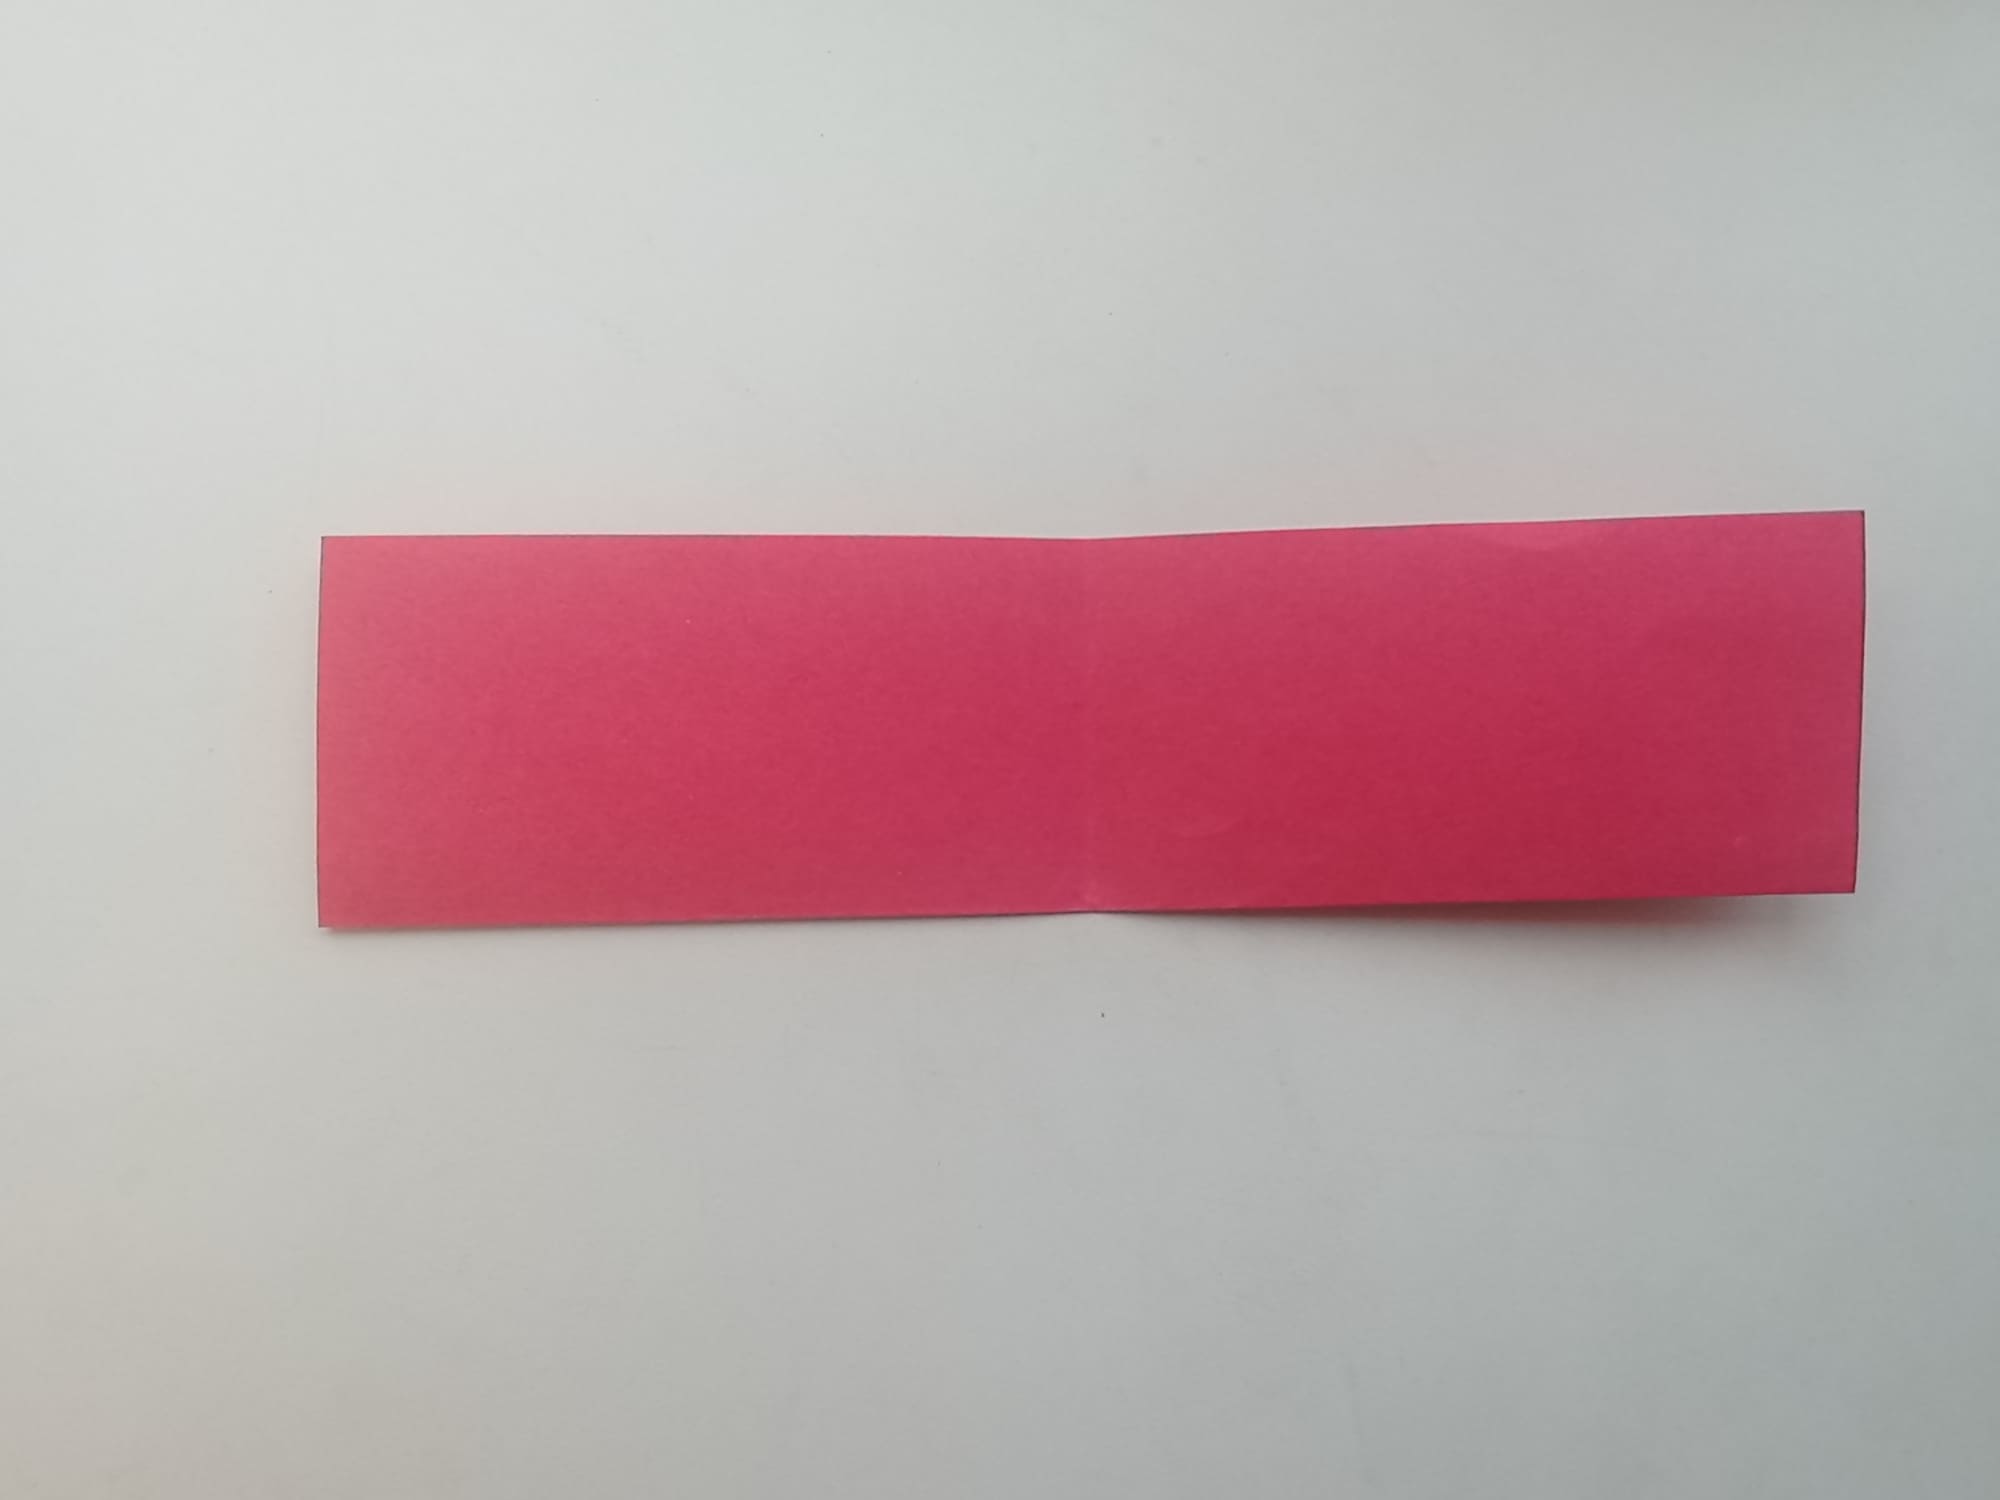
Take a sheet of paper of one color (size 15 x15 cm).
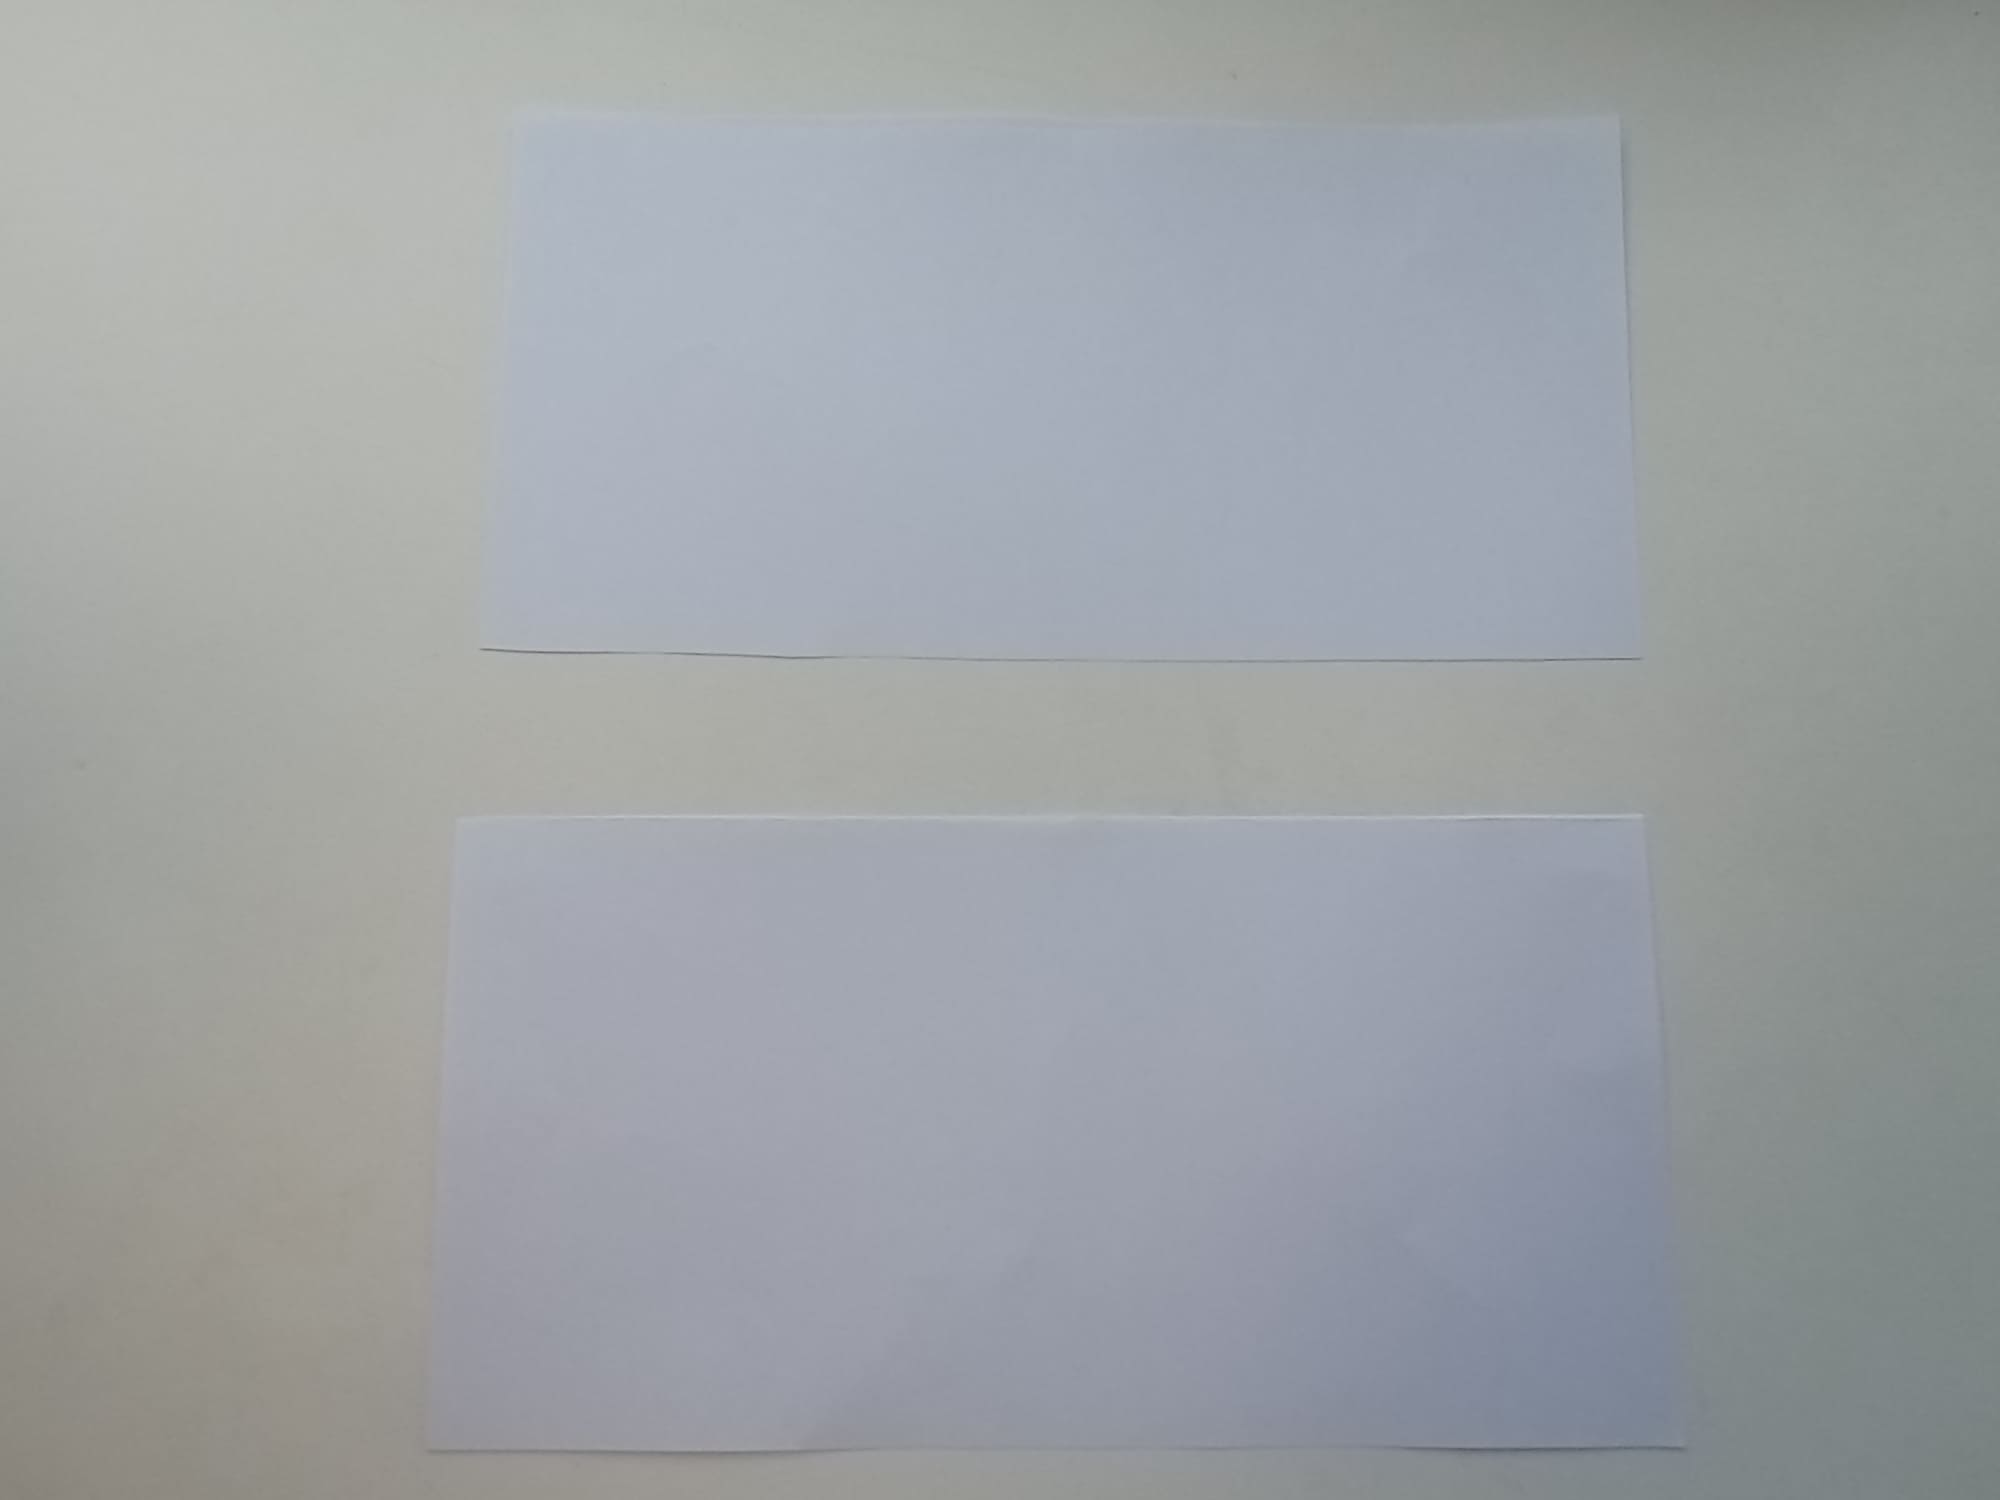
Cut it into two equal pieces lengthwise.
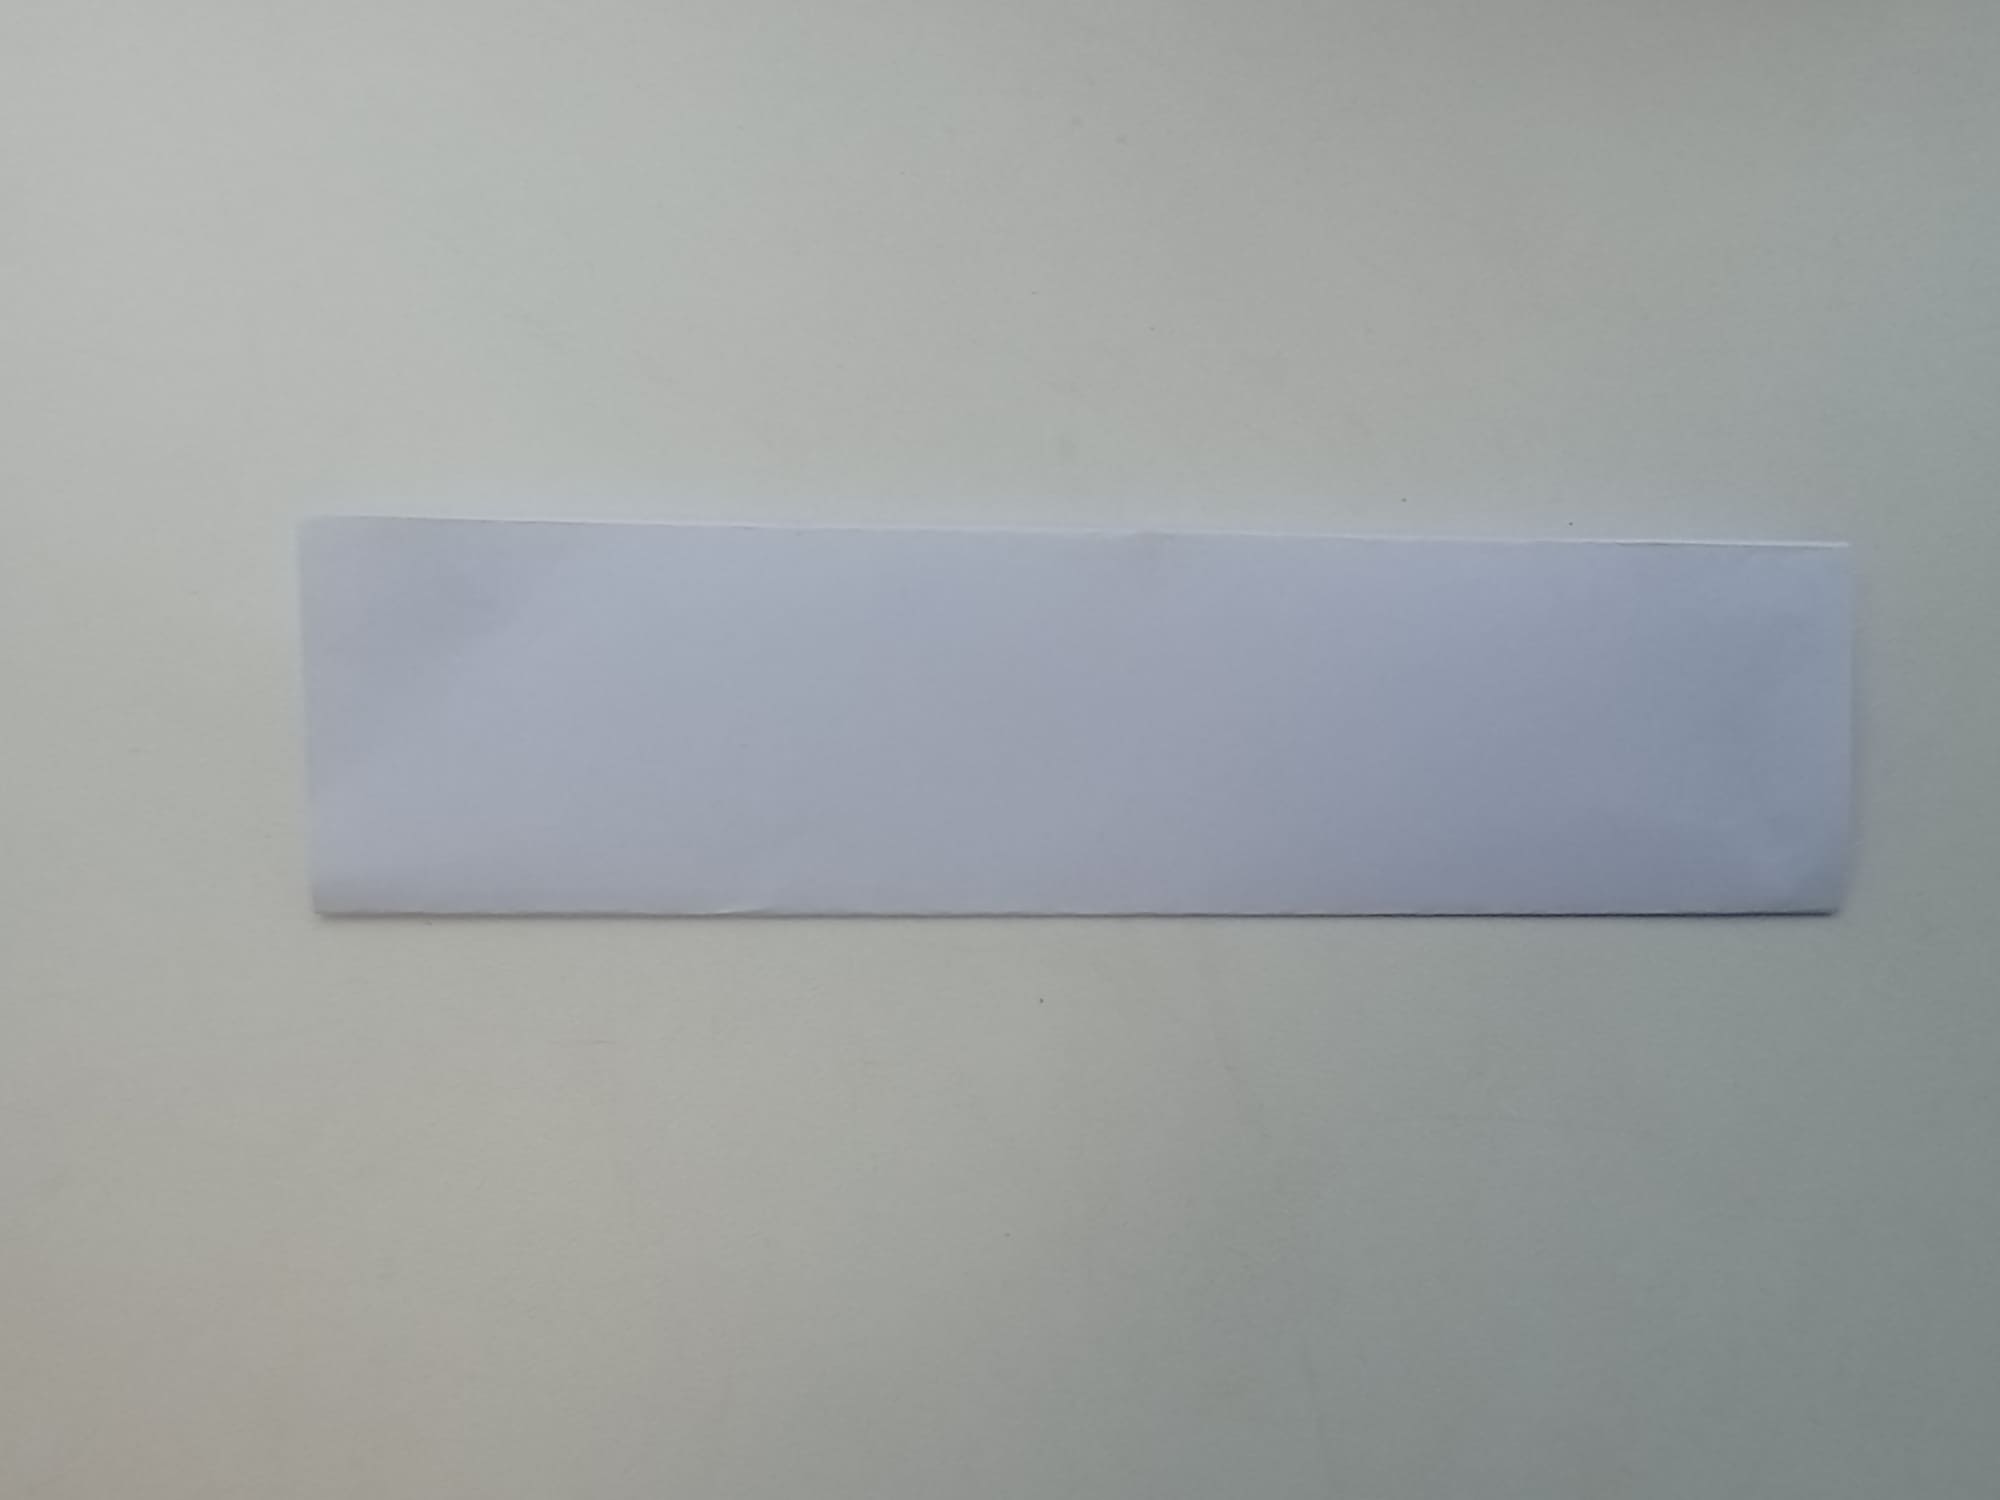
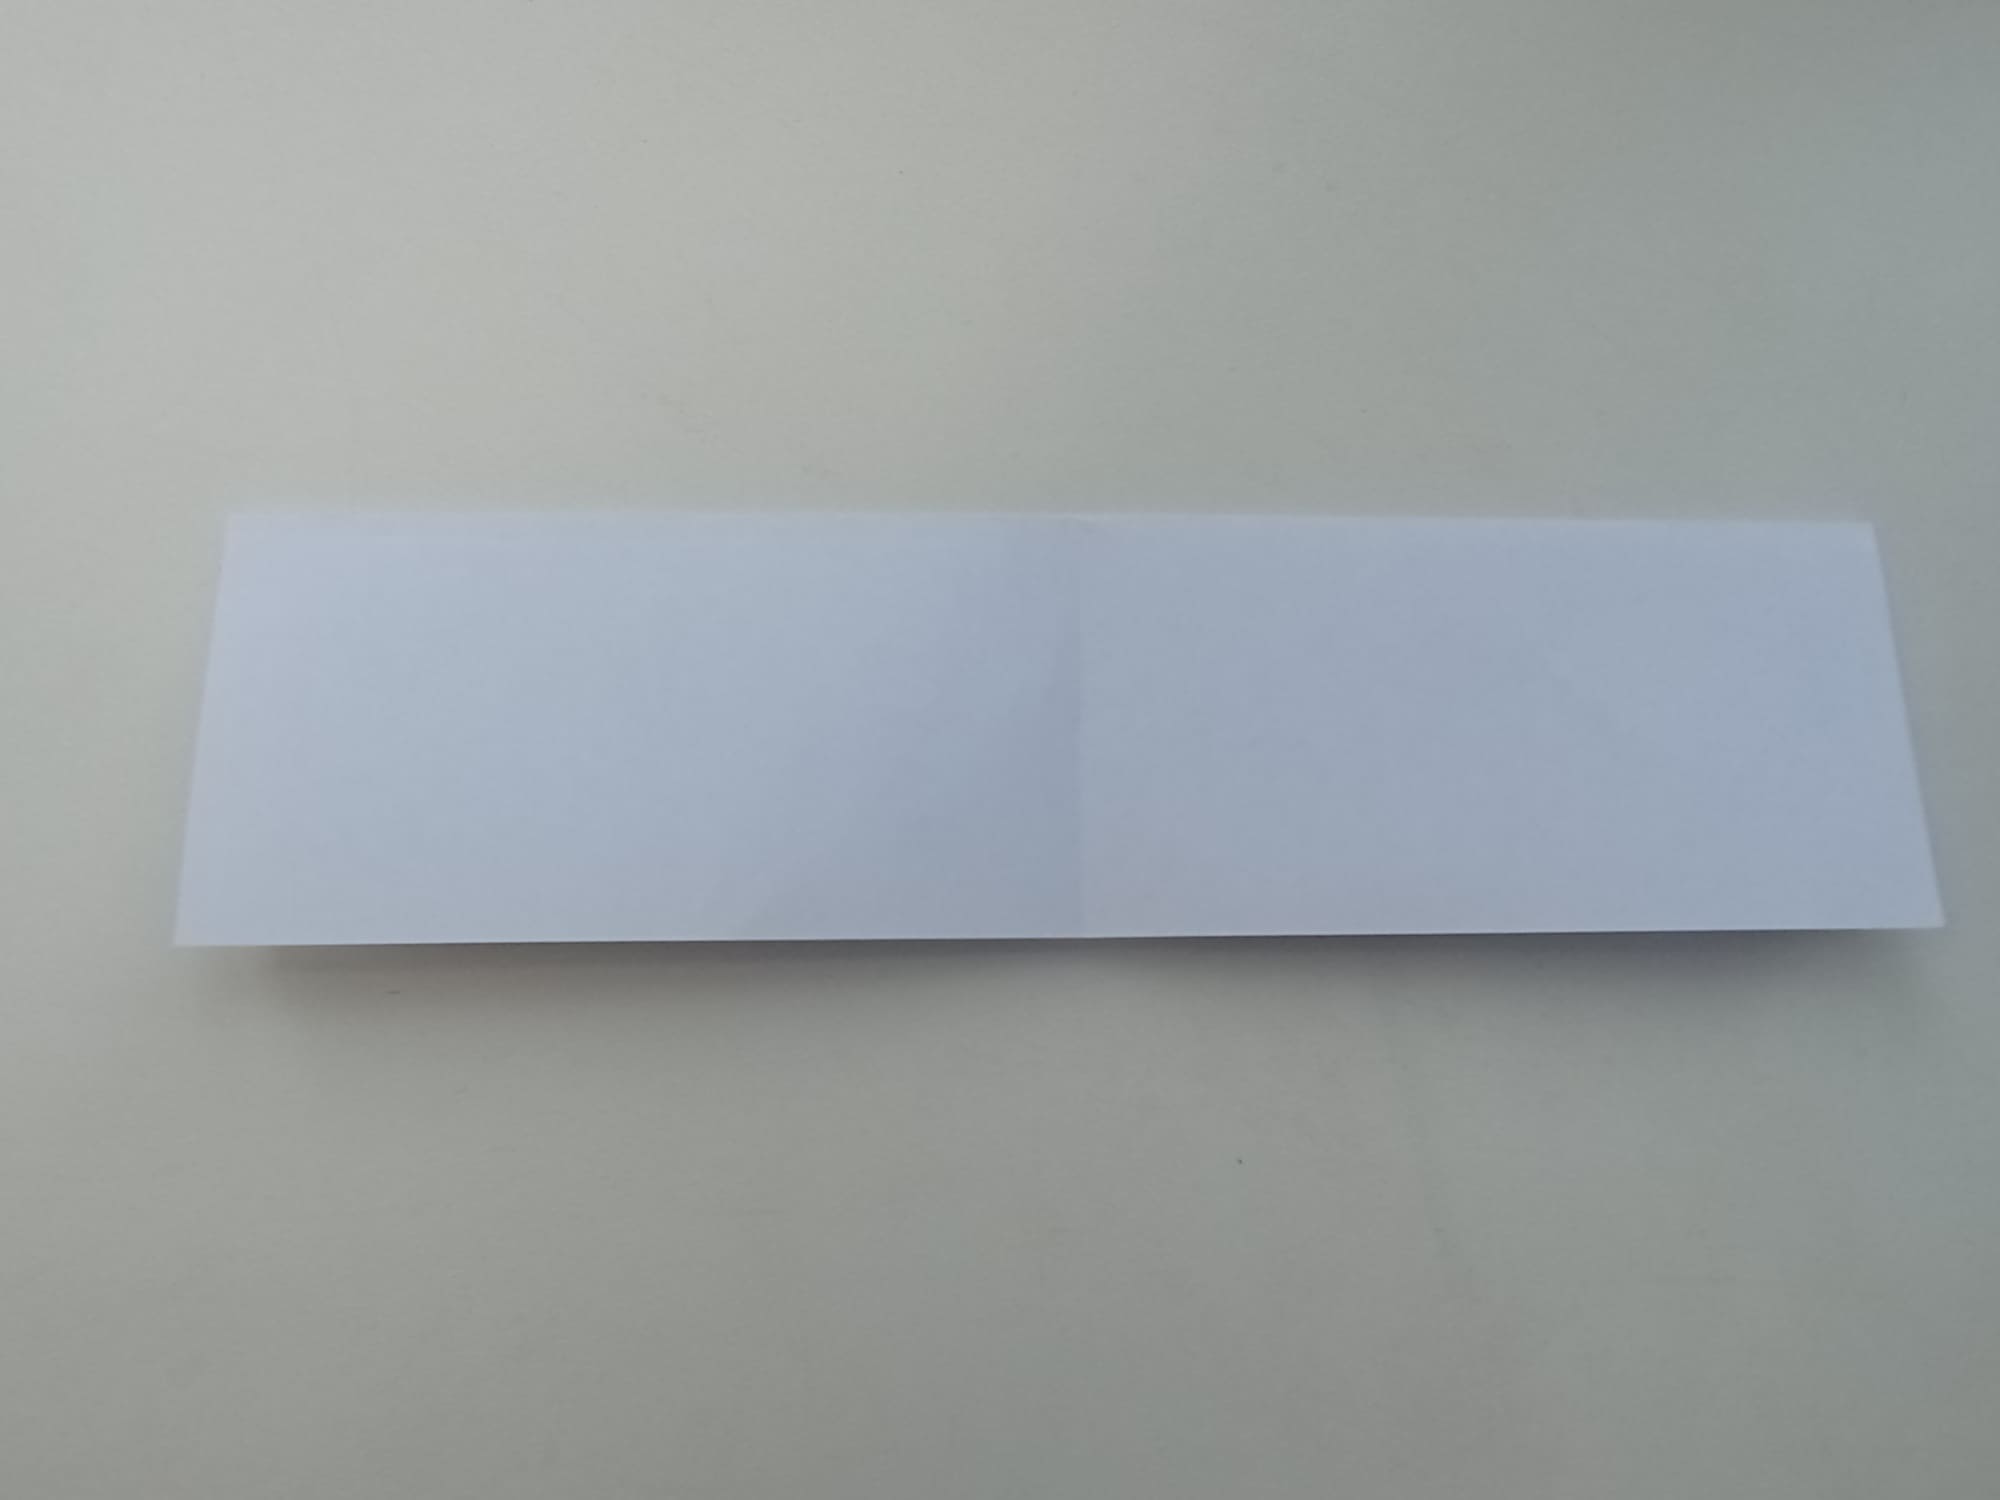
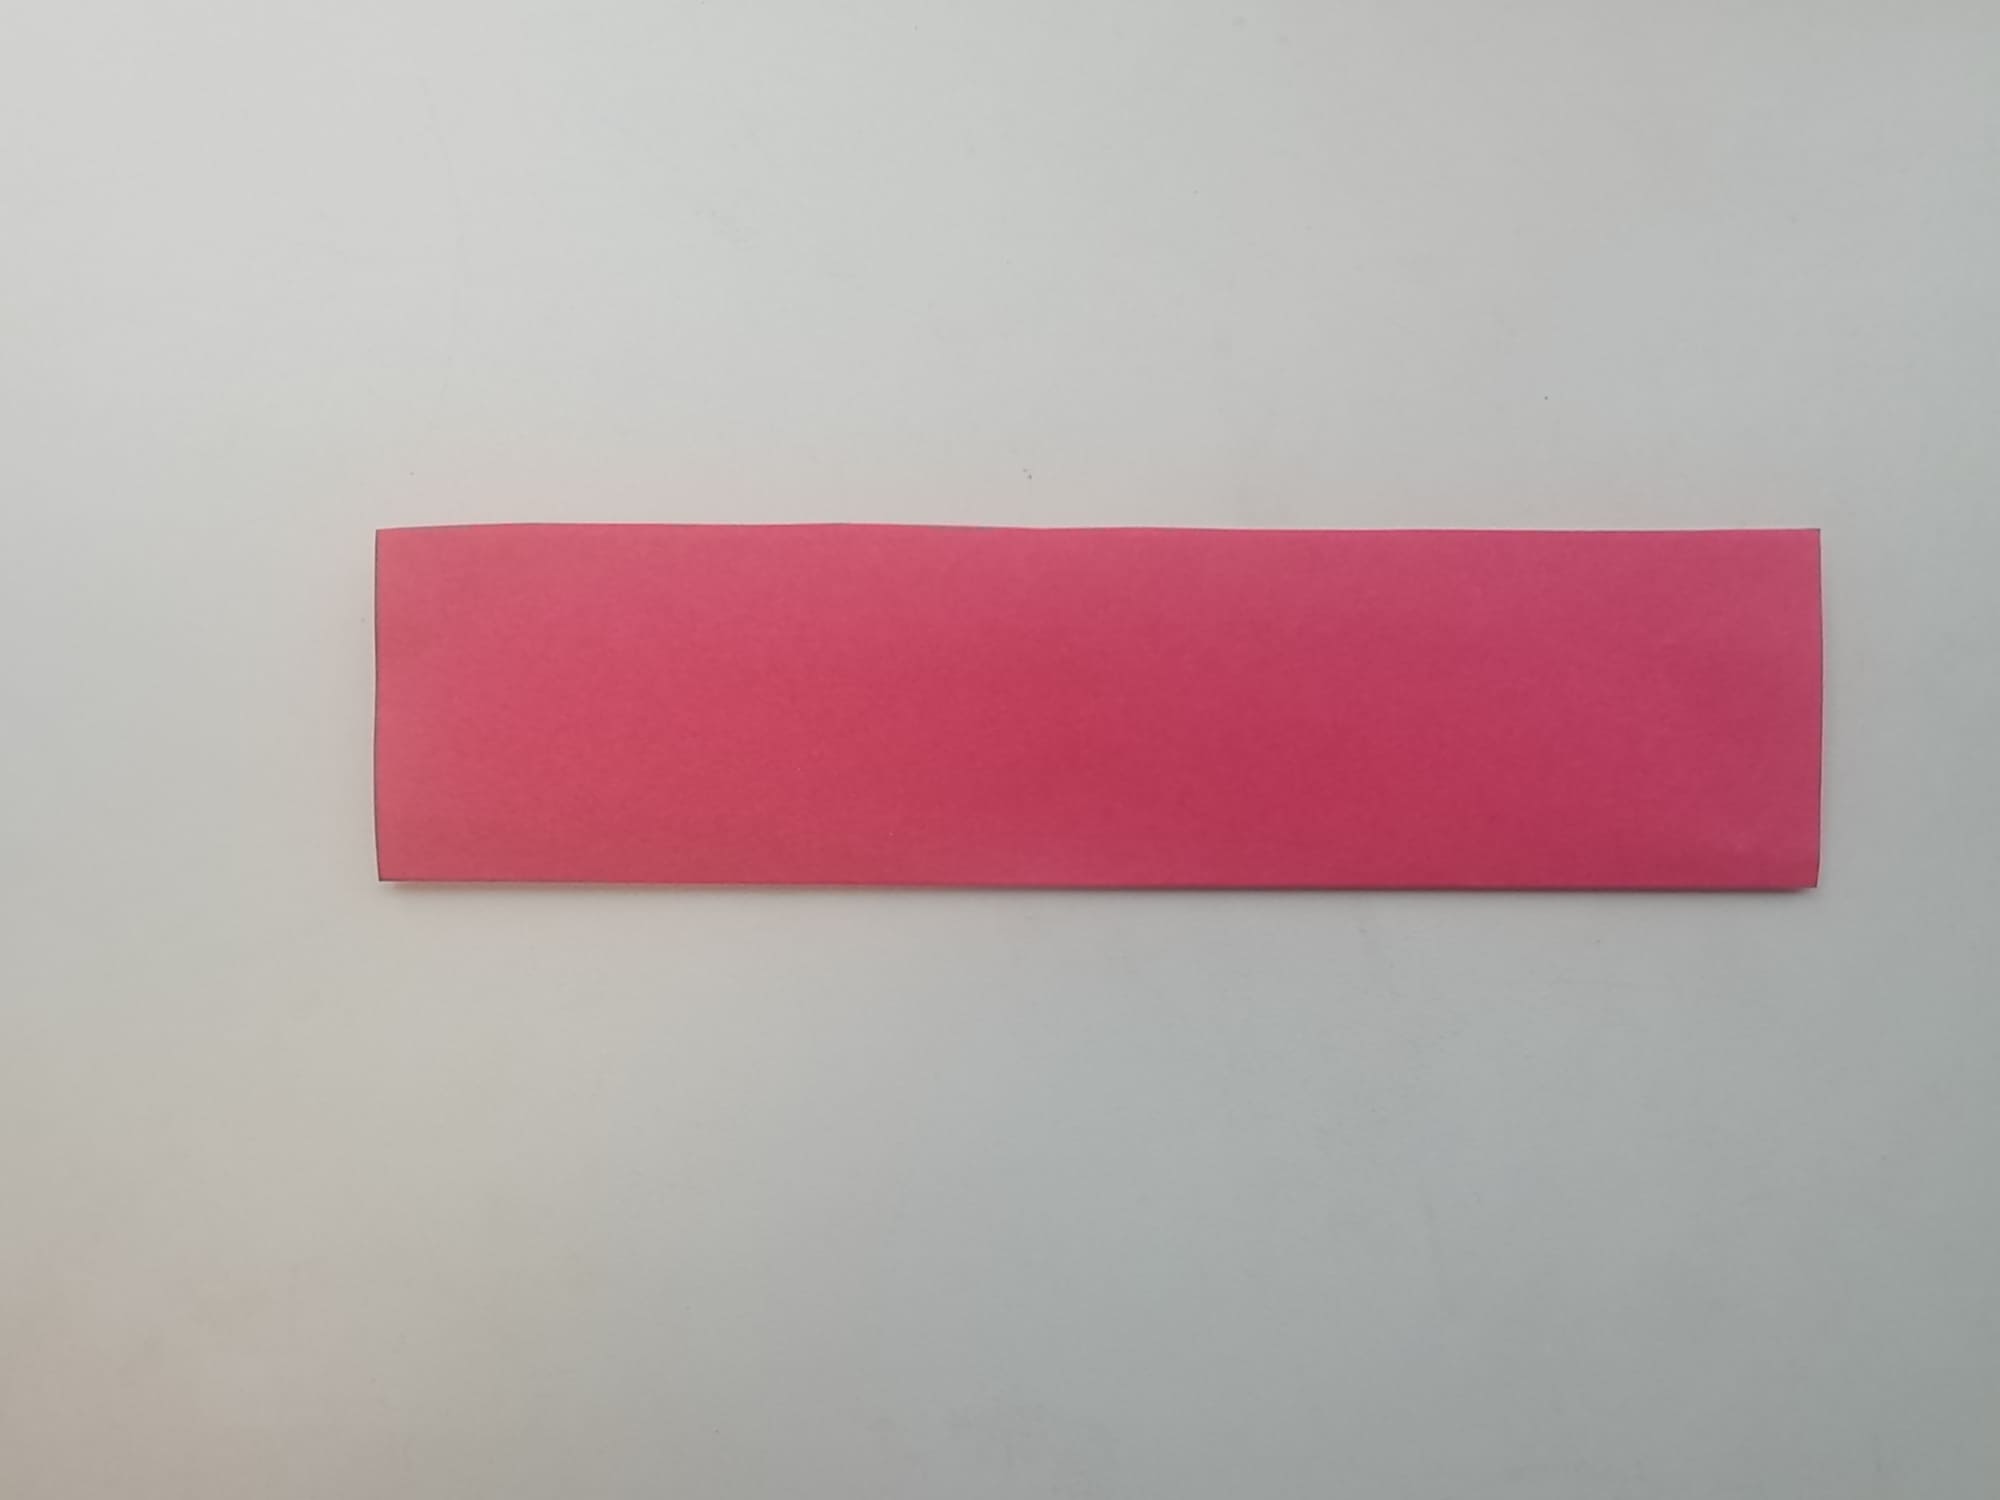
Fold the first part in half along the horizontal axis. See photo.
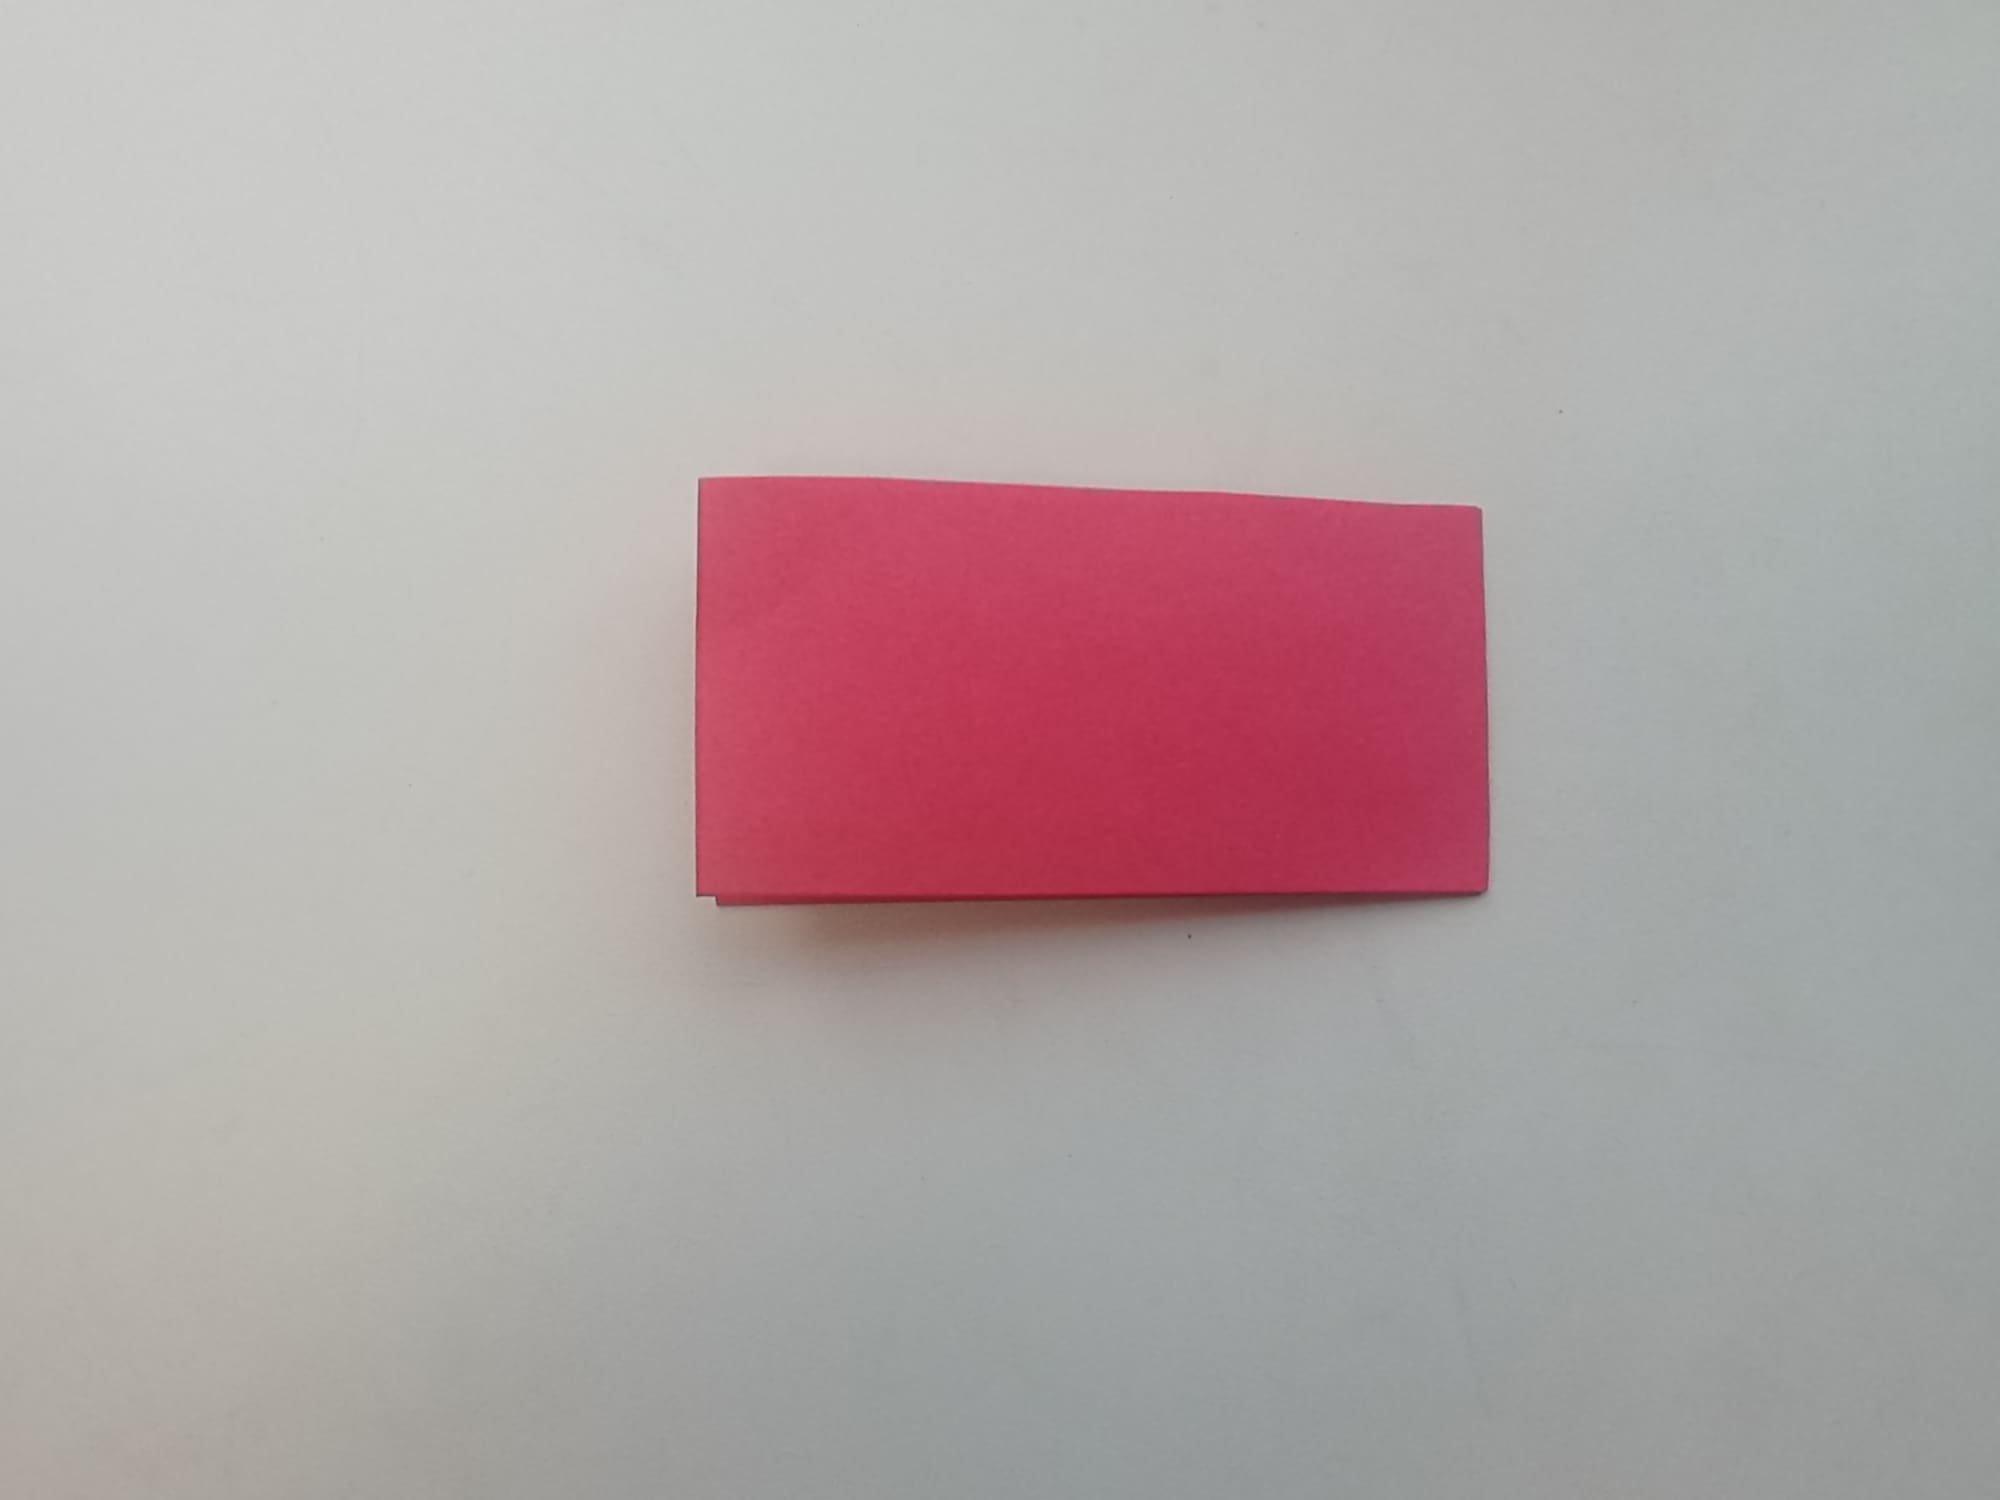
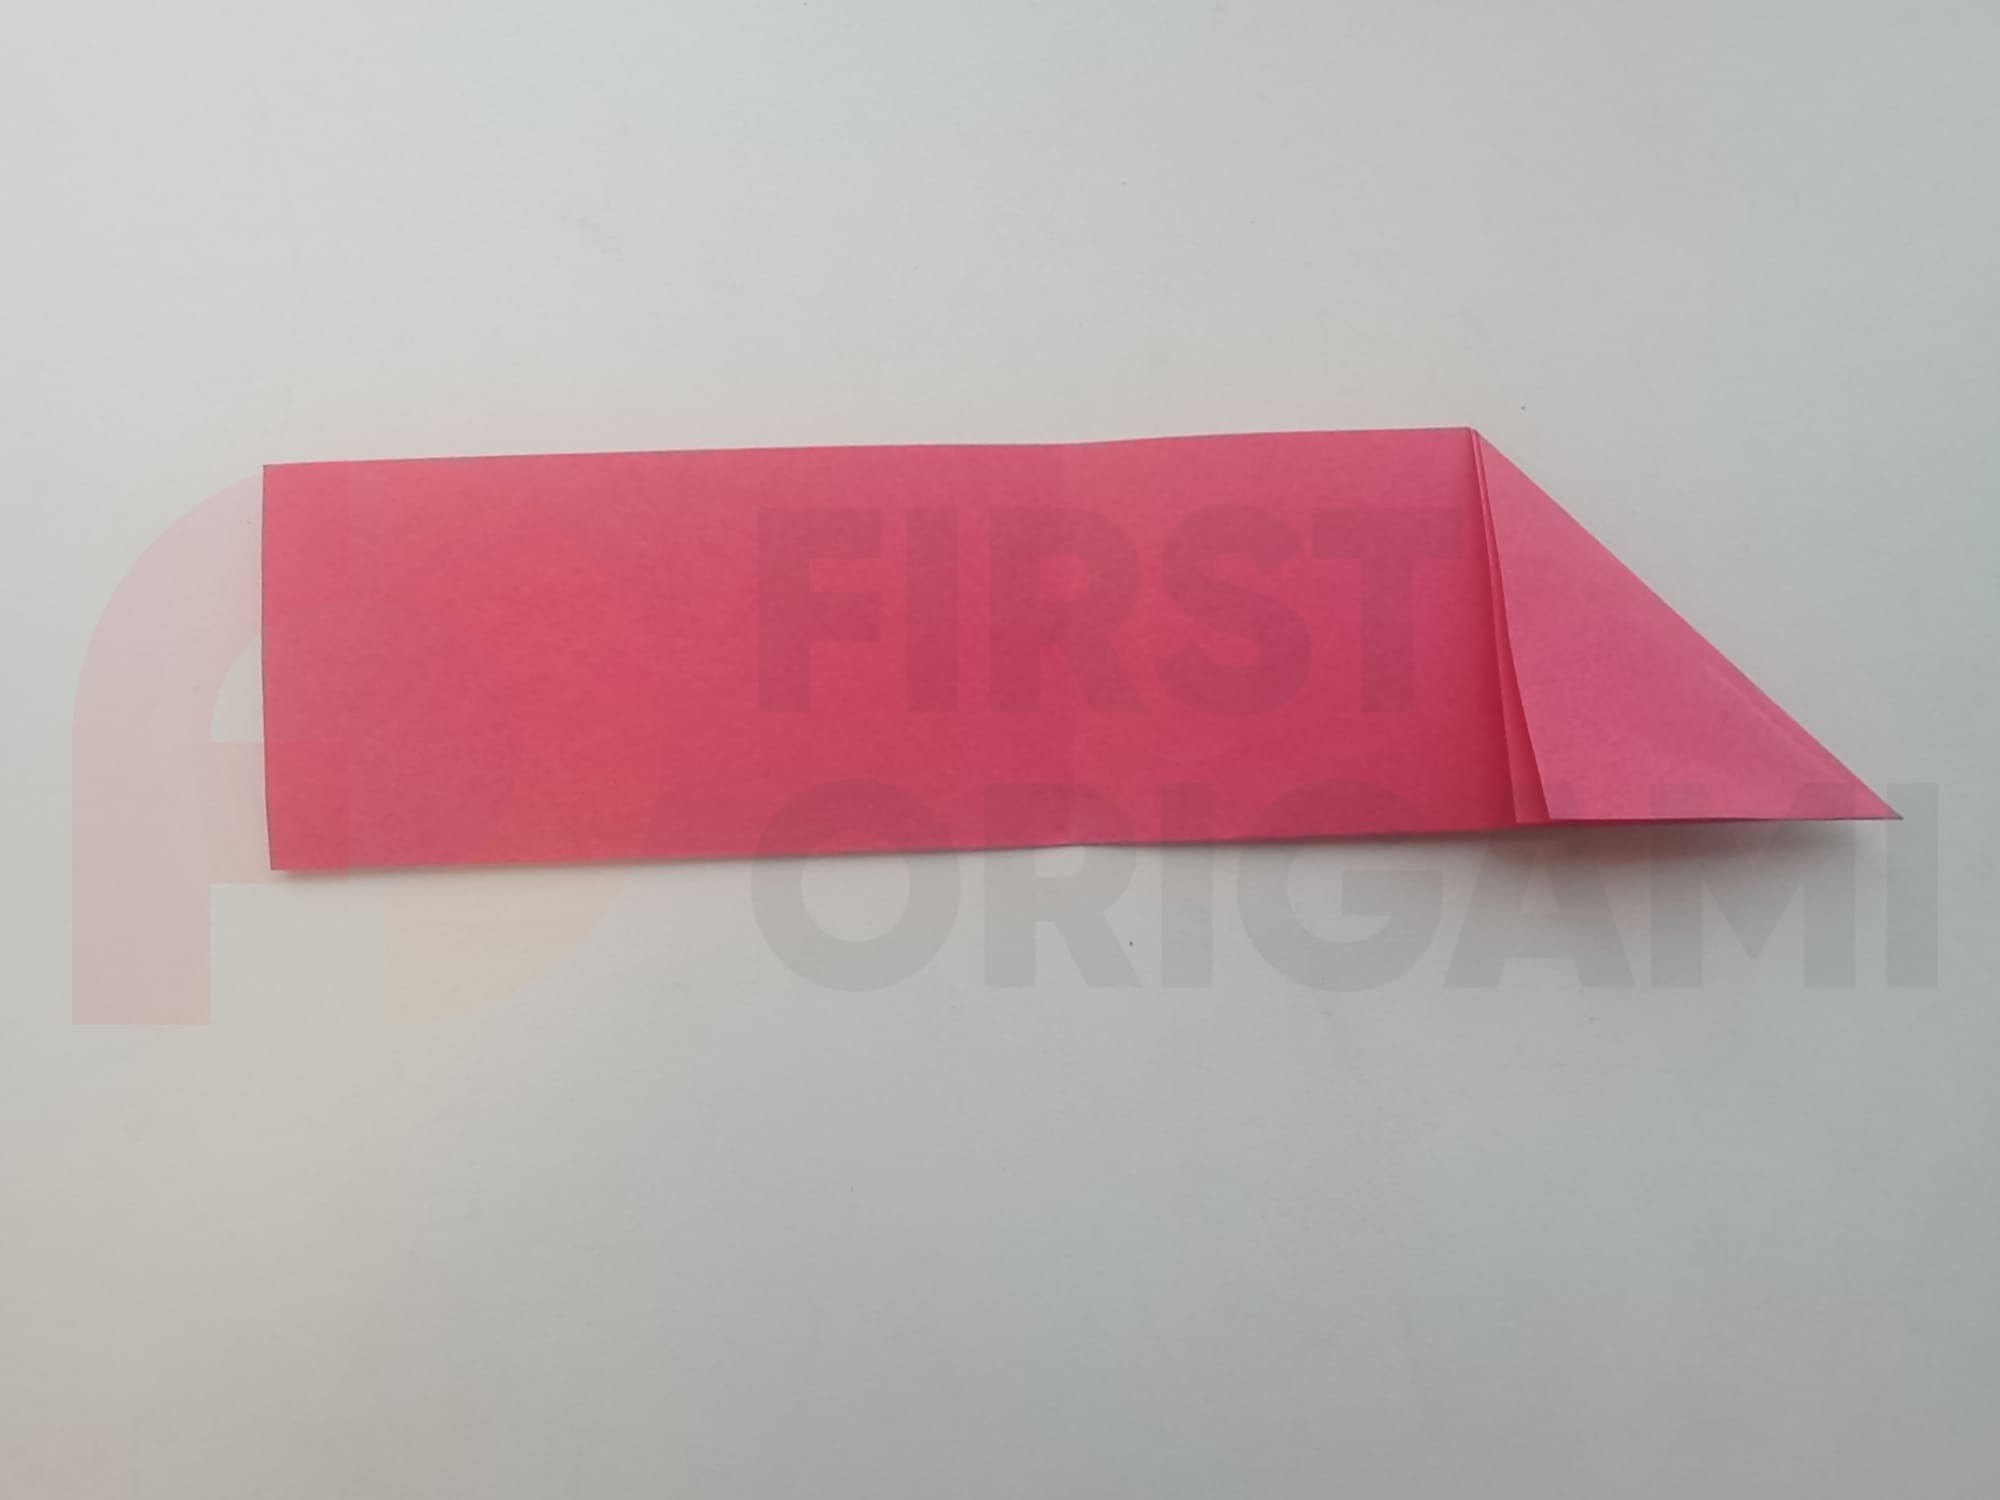
Now fold the same piece along the vertical line in the middle (as in the photo).
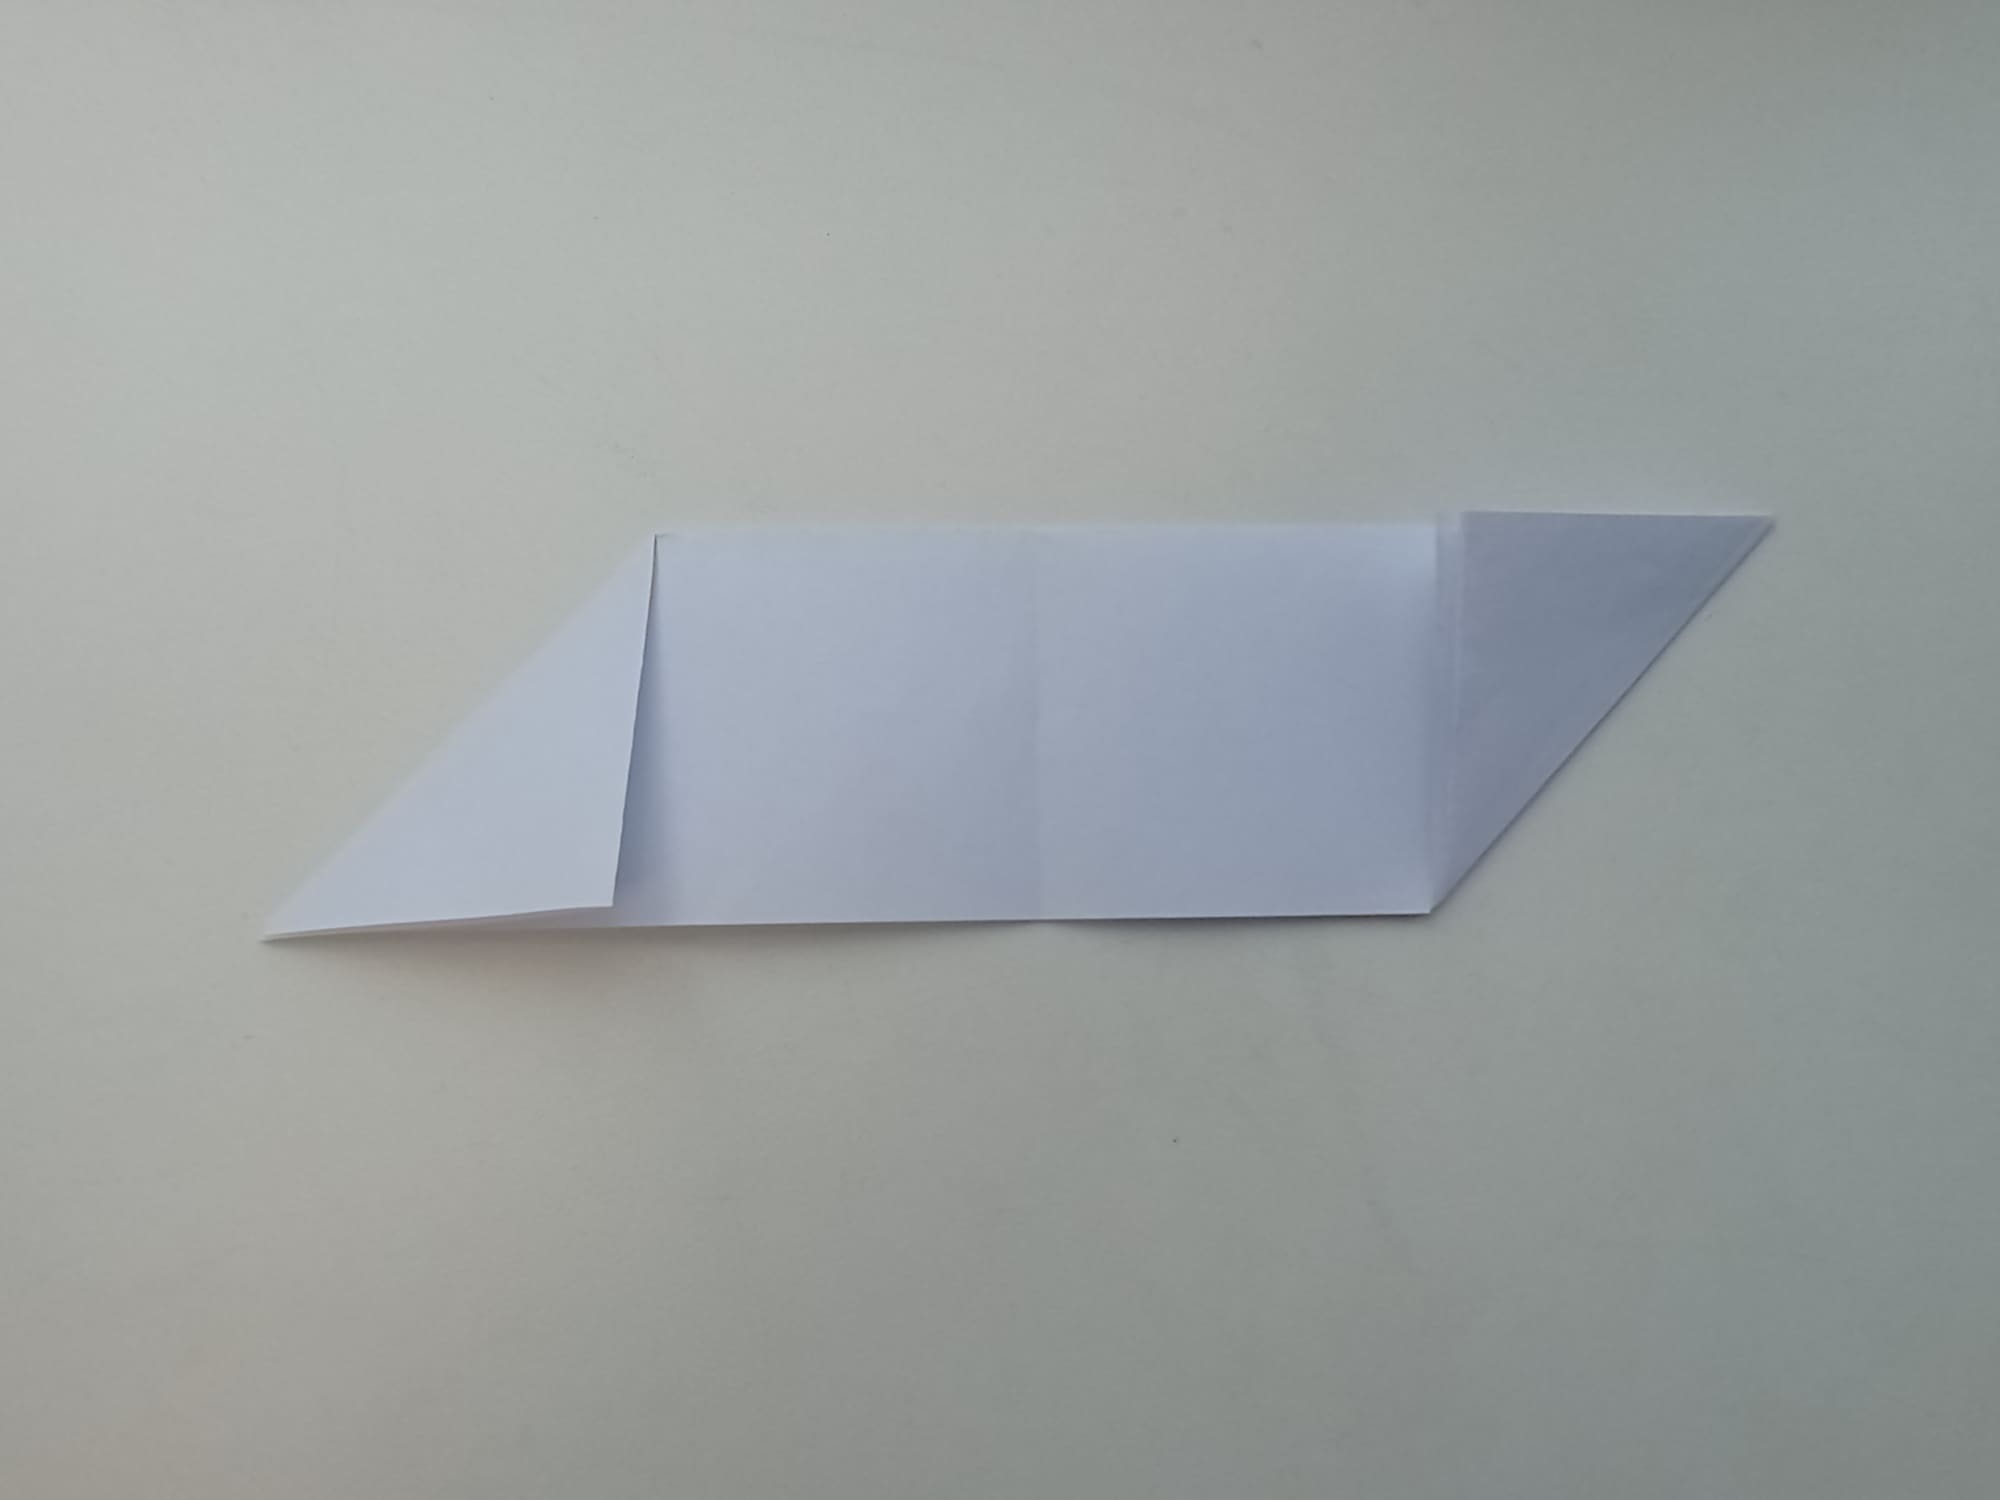
Make two folds on the left and right side as in the photo. It is important to choose the right direction of the folds.
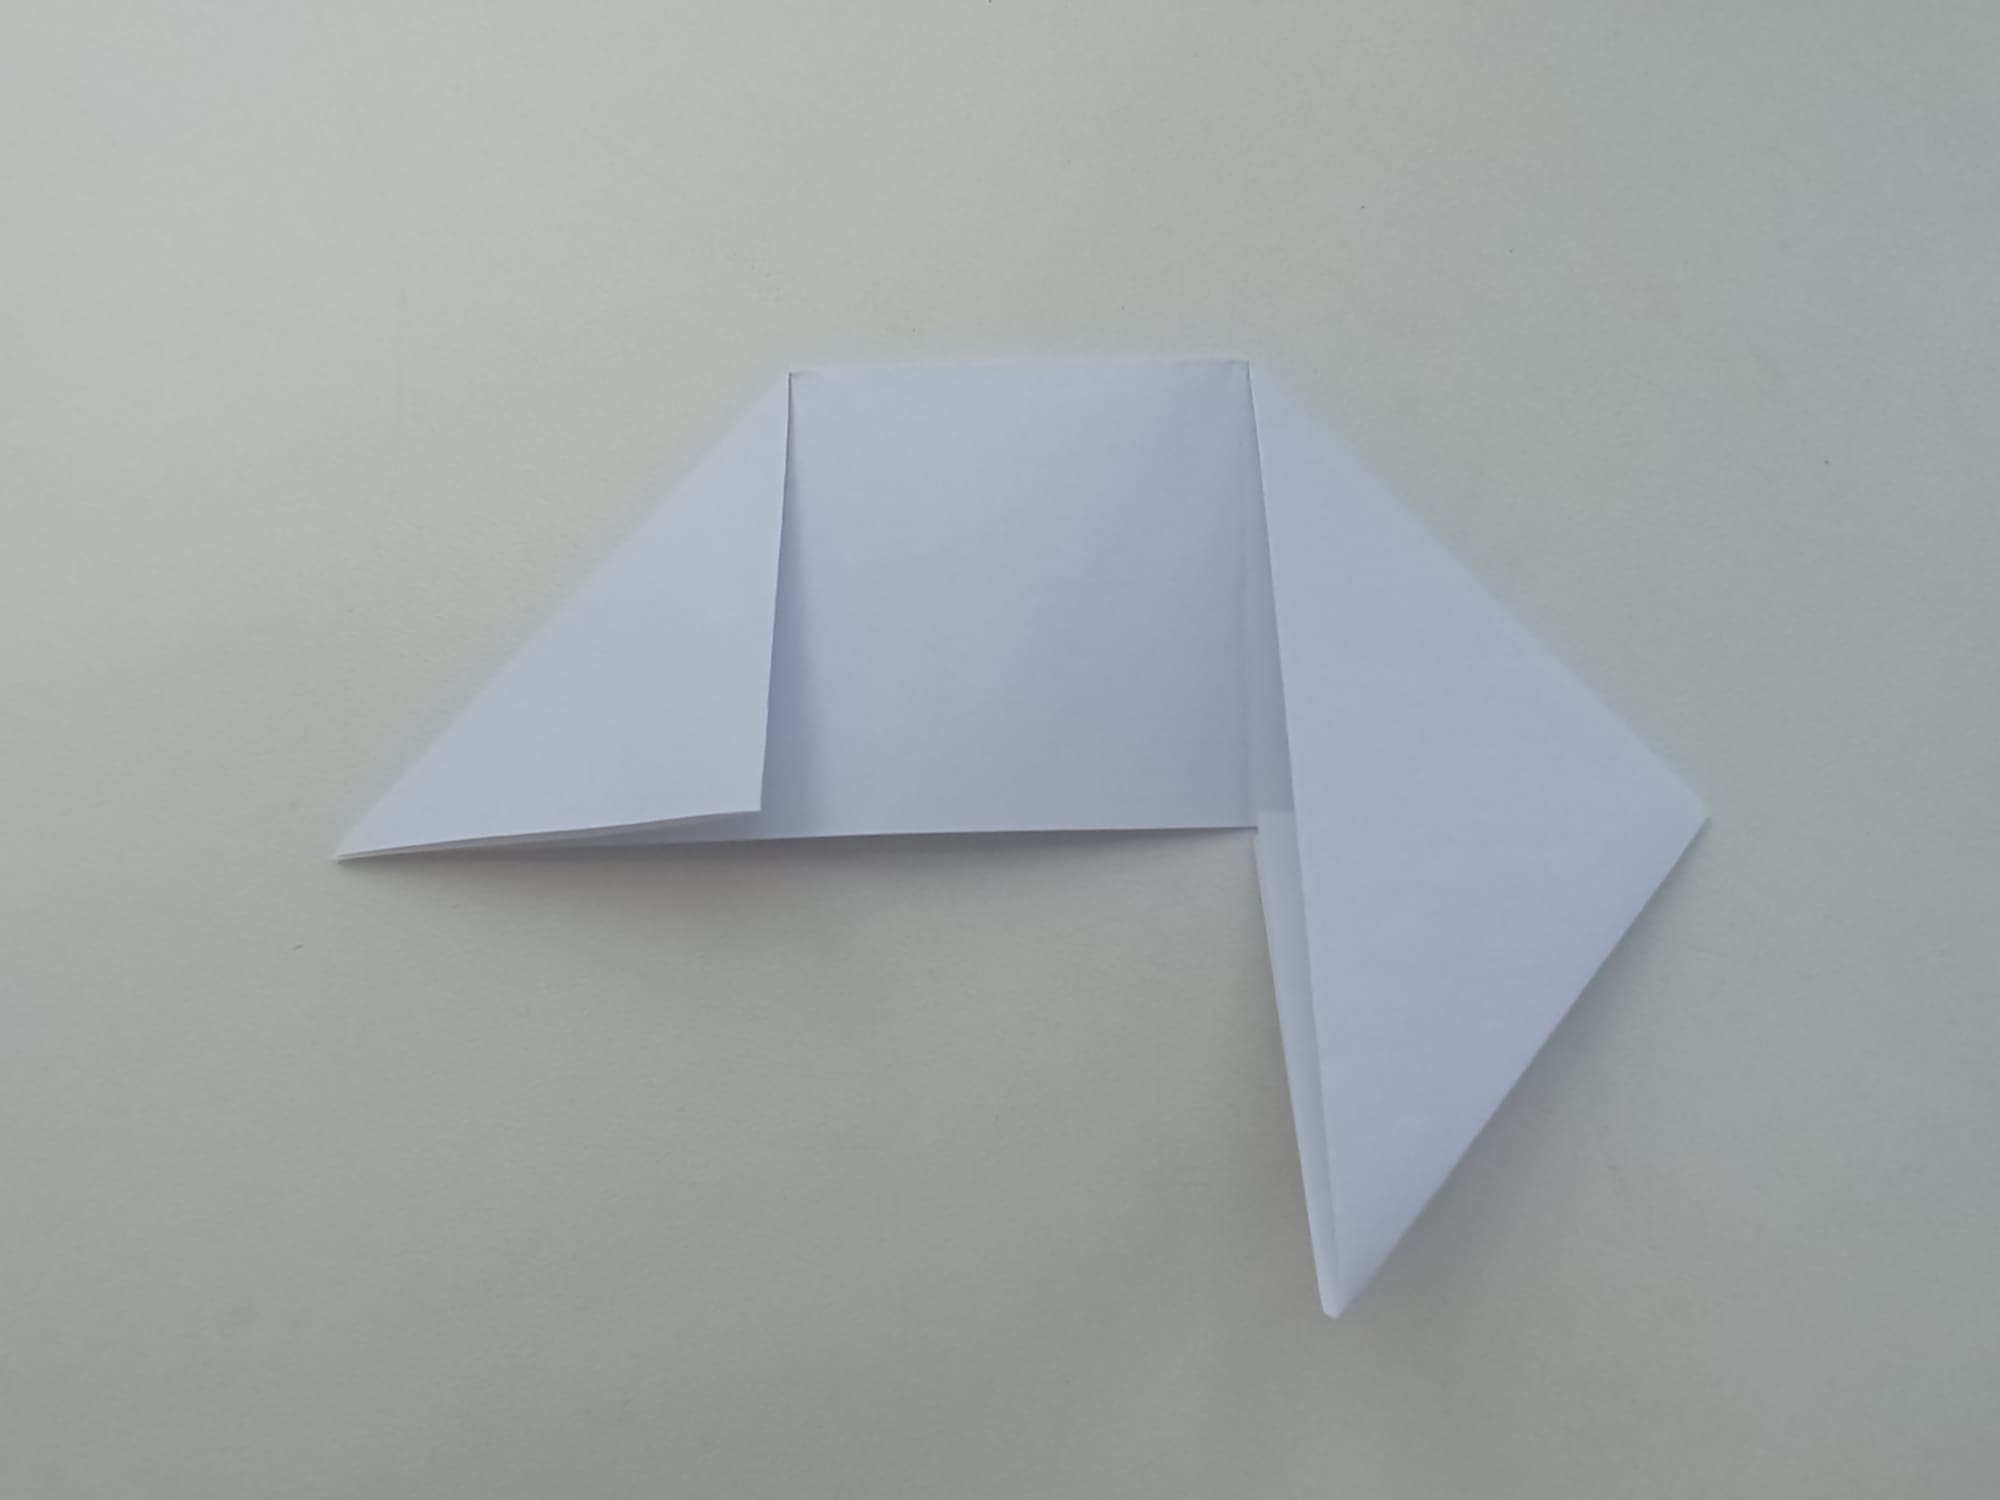
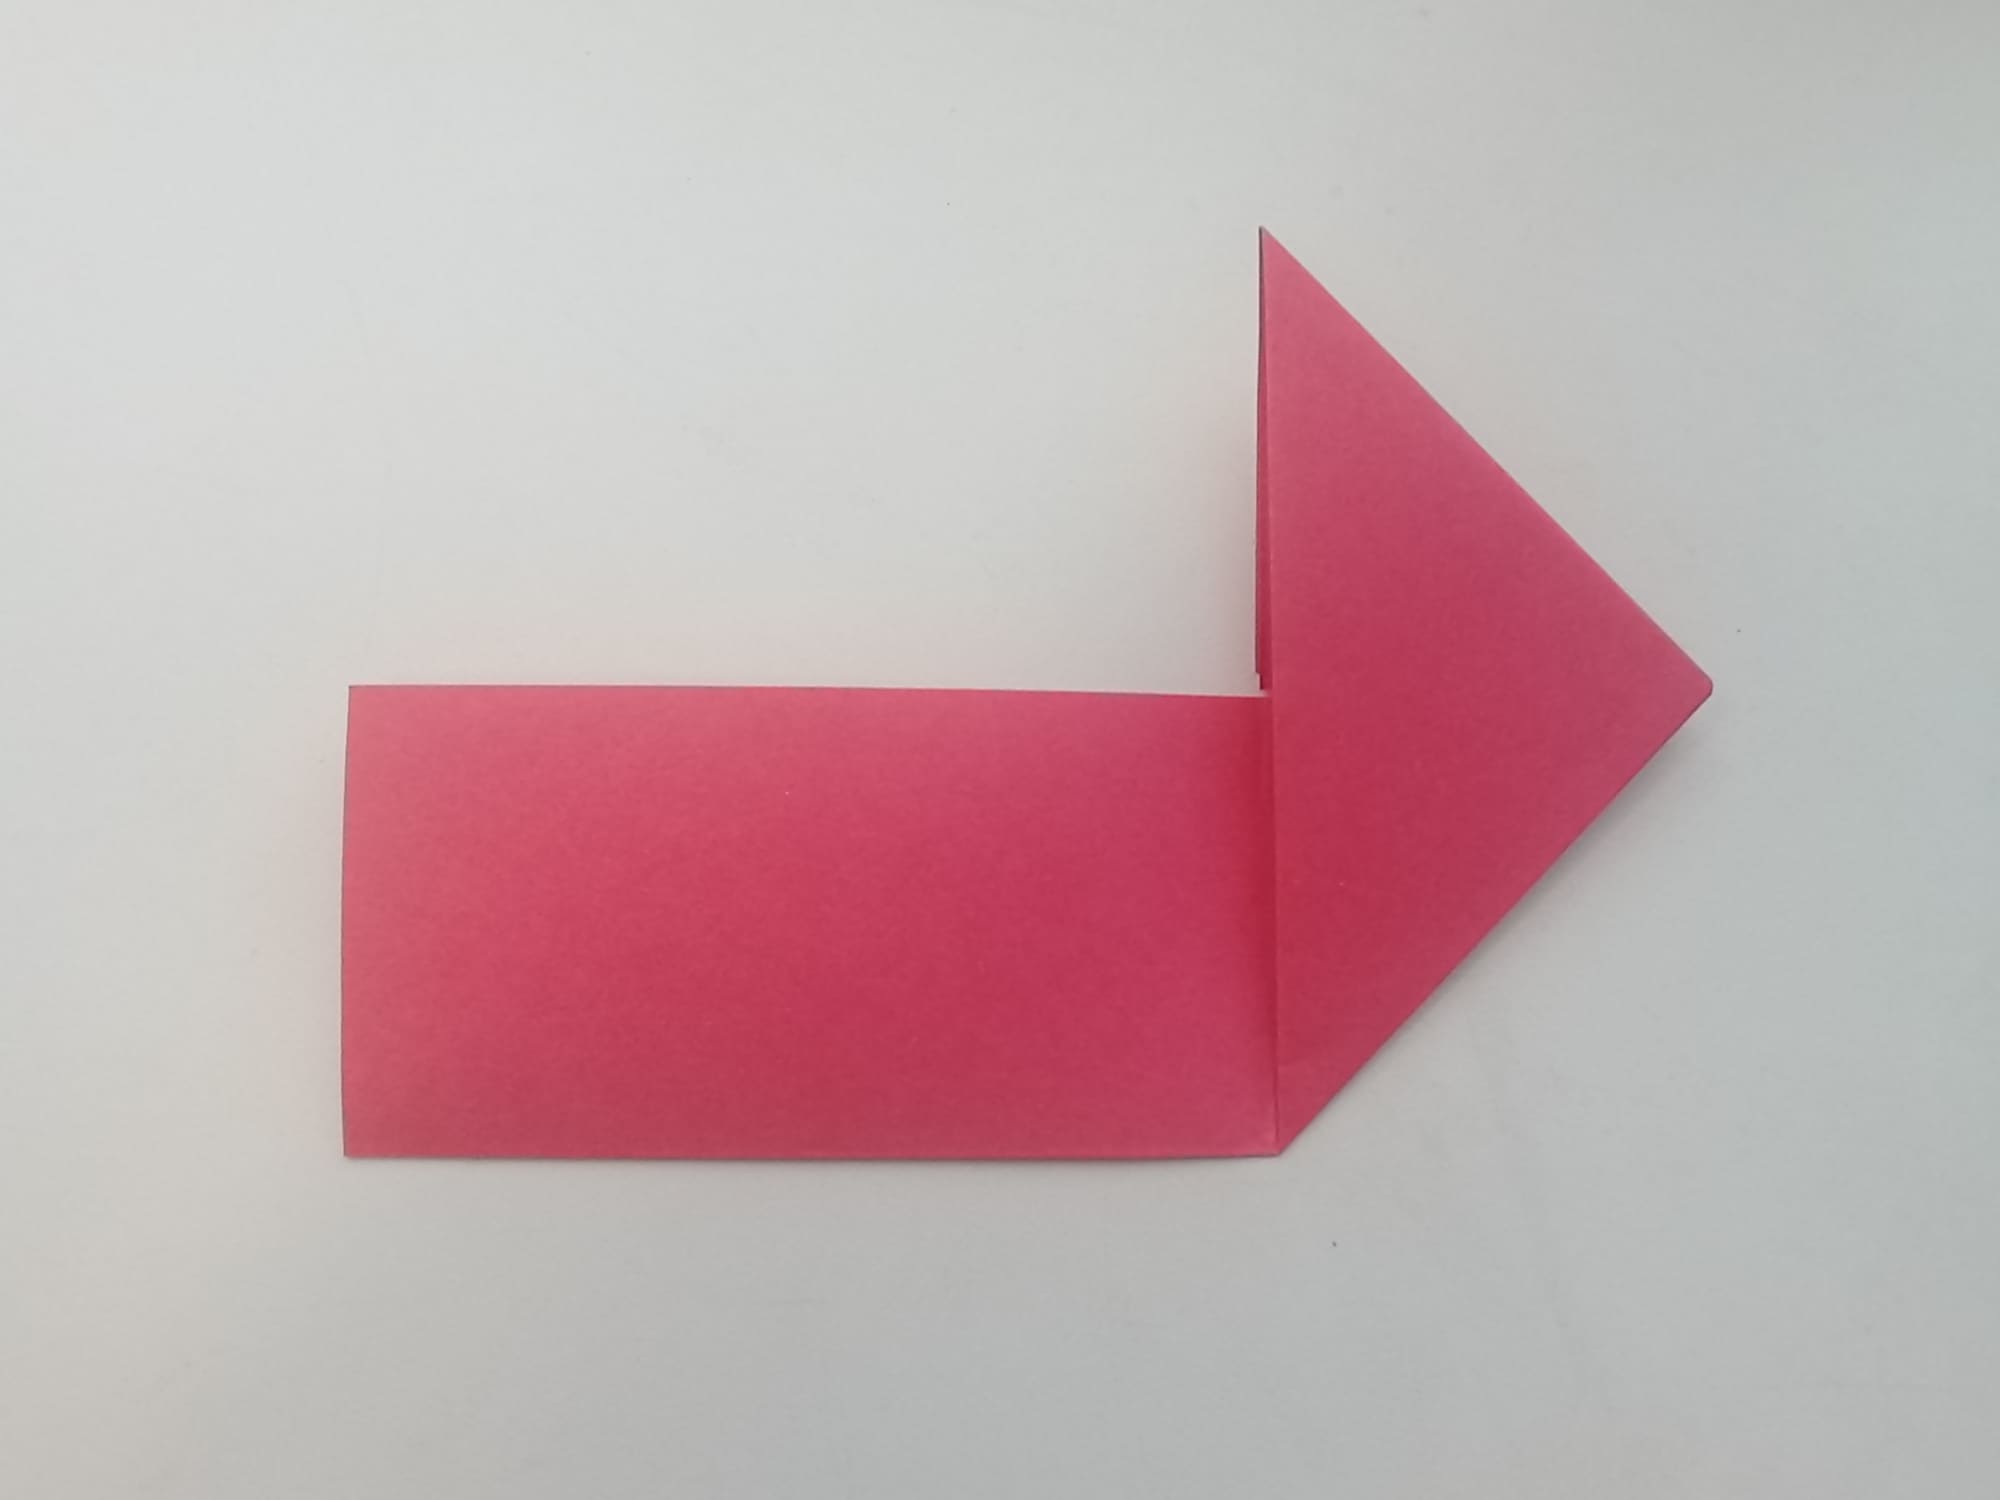
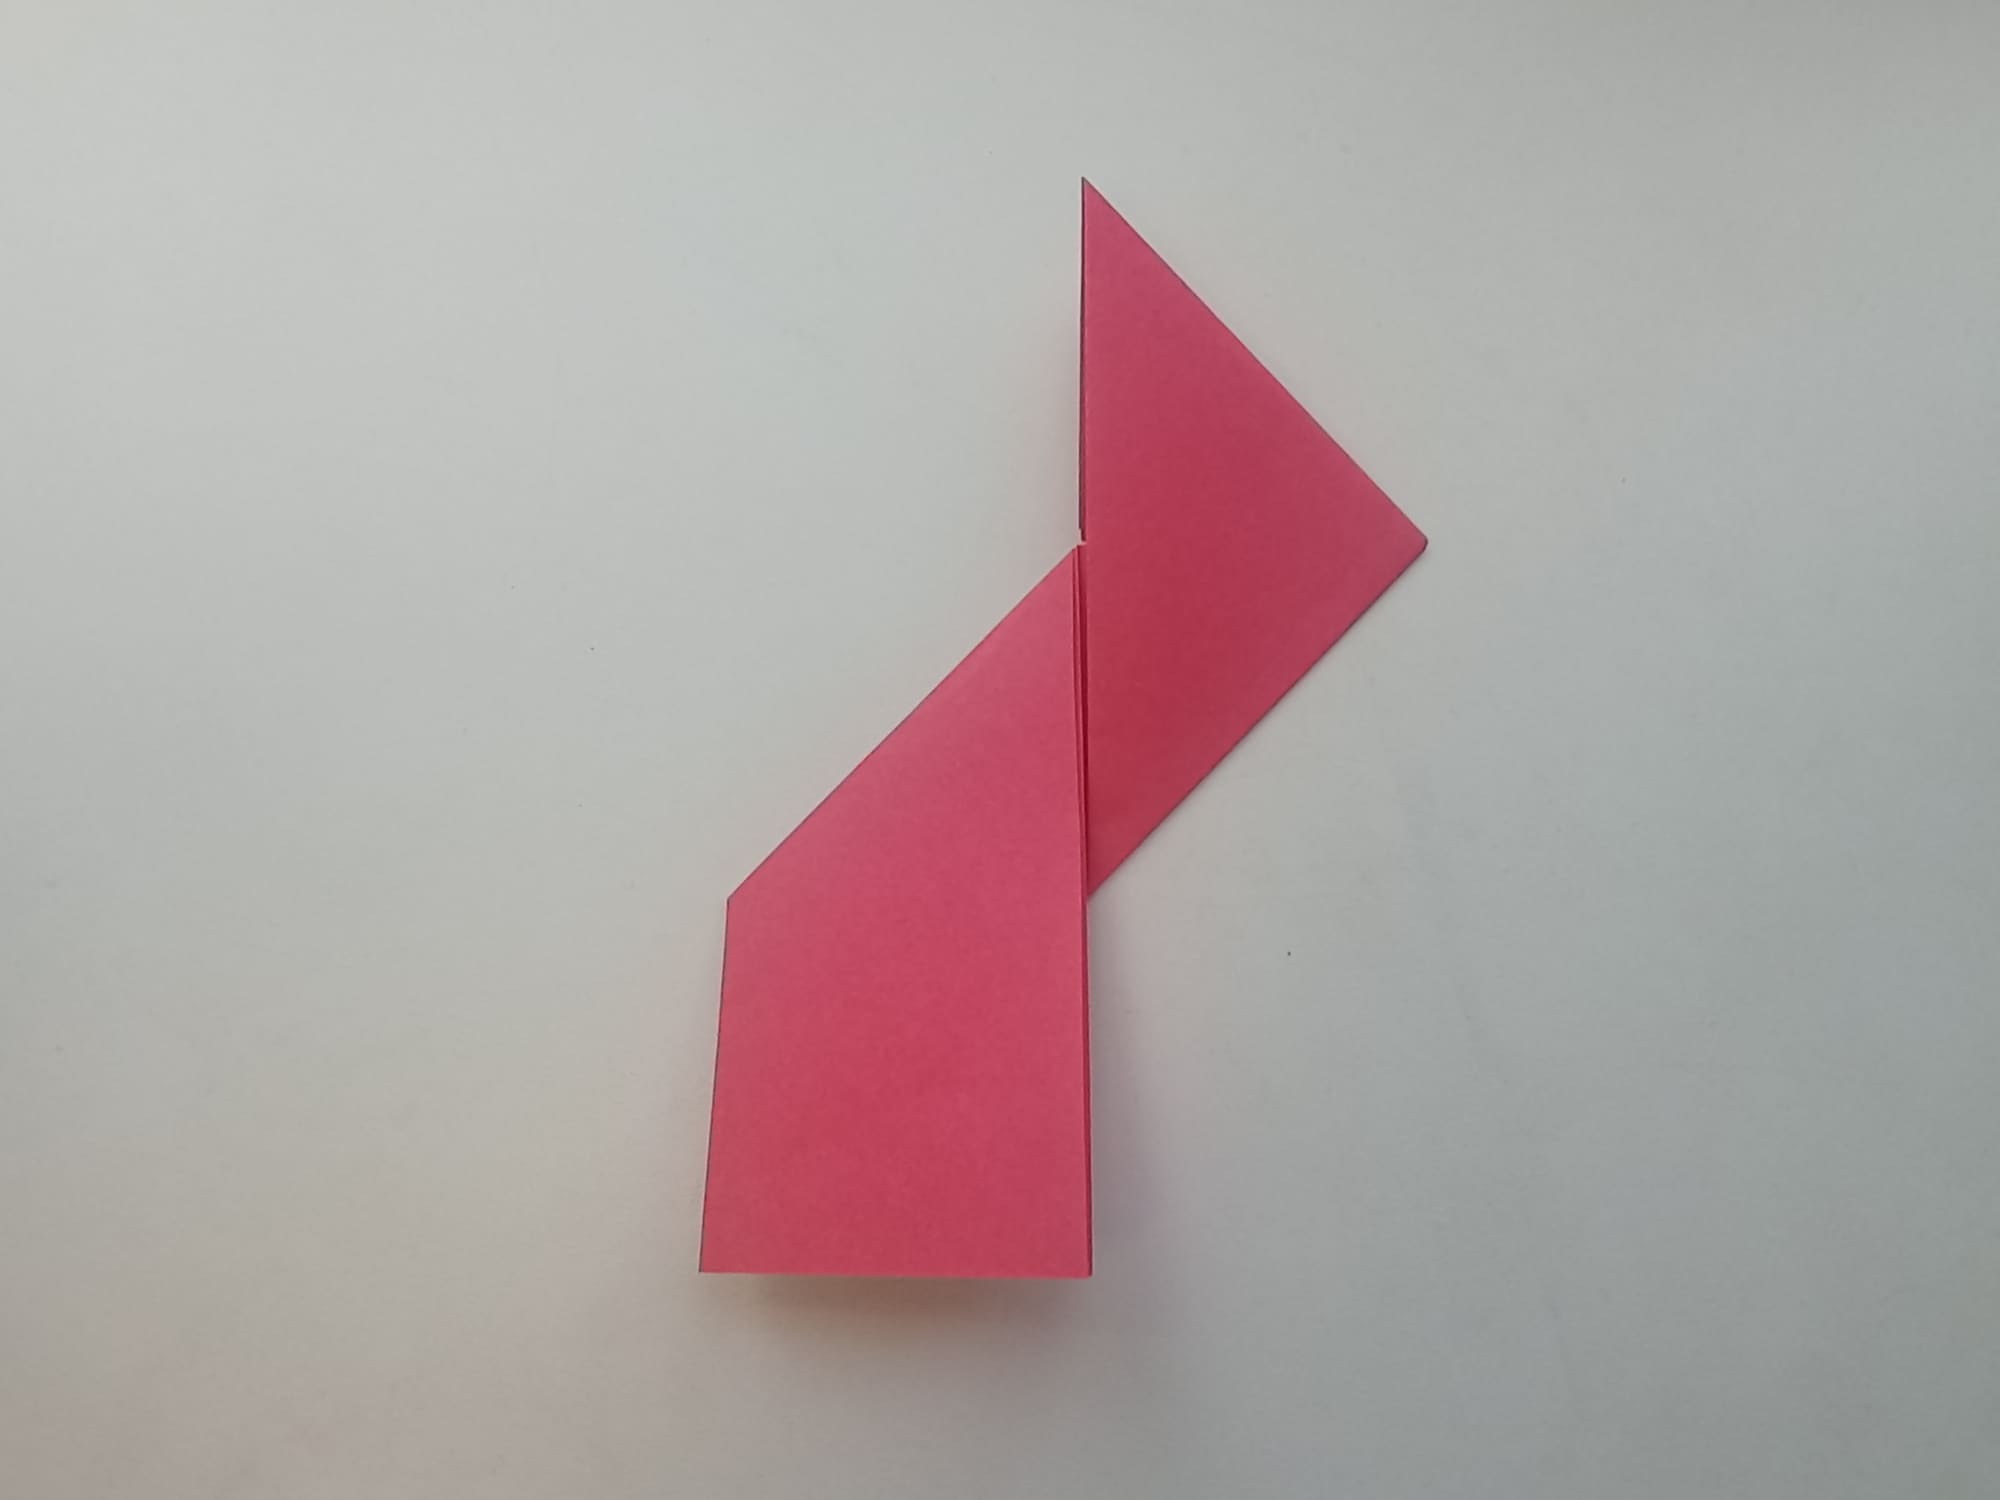
Make two more folds diagonally with this pattern. Again, pay attention to the direction of the folds (see photo). The pattern is ready.

Take a piece of paper of the second color (size 15×15 cm).
Cut it in half like the first sheet.
Fold one part along the horizontal axis, and iron the fold with your fingers.
Now fold the piece along the vertical axis in half. And open the sheet back up.
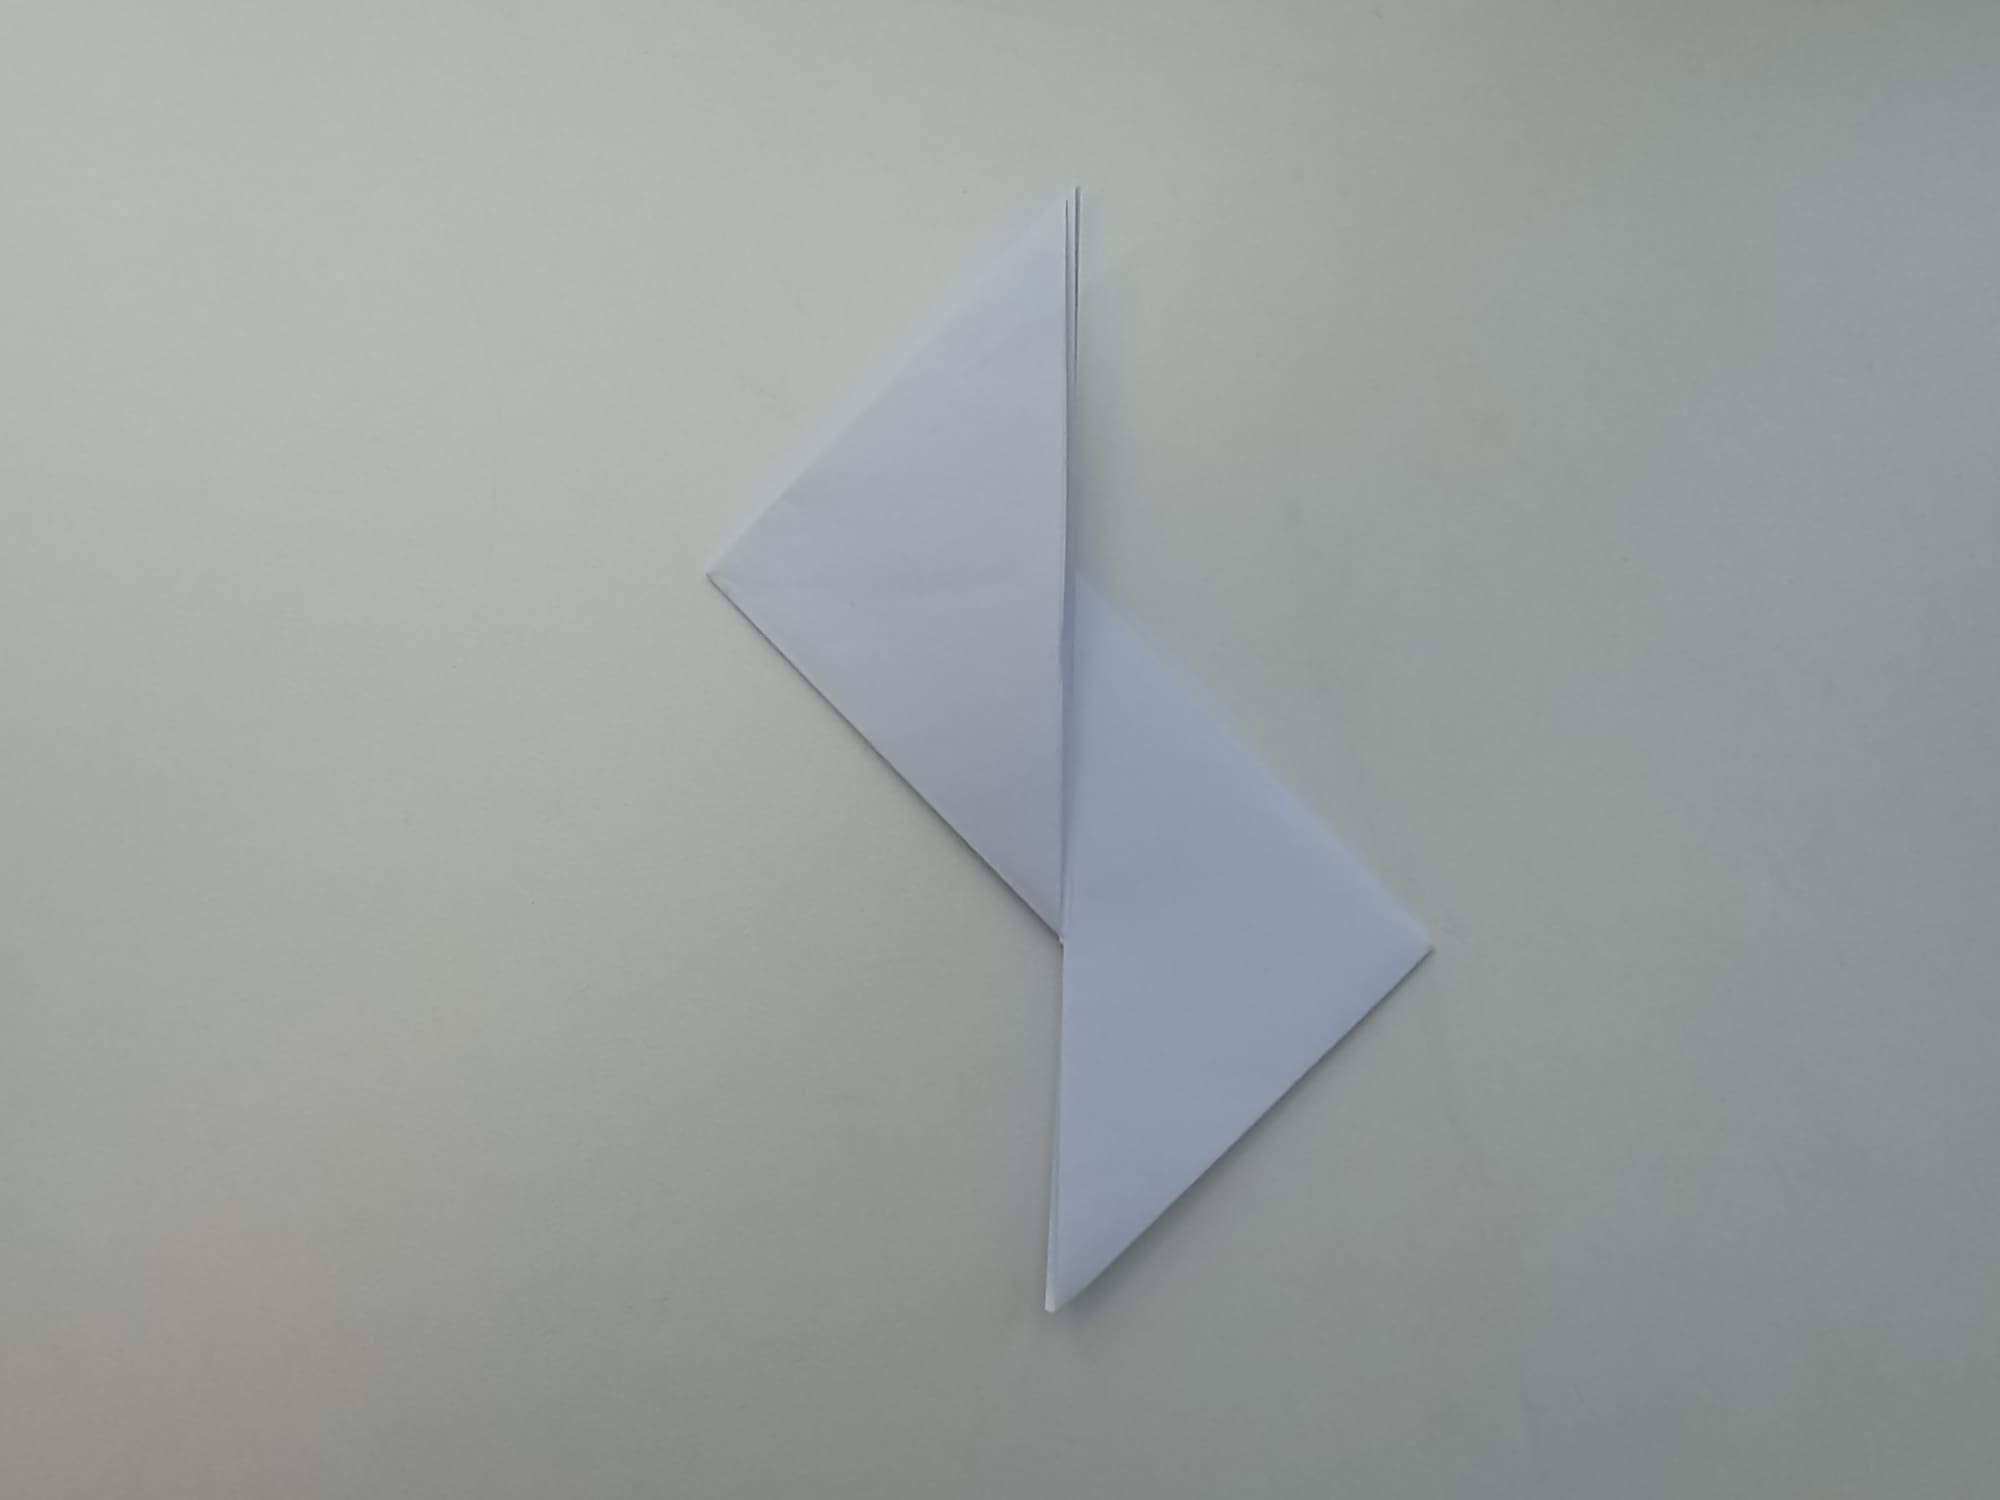
Fold the bottom right corner to the top, keeping in mind the direction of the fold. (see photo).
Fold the same corner diagonally again, as in the photo.
Fold the figure again diagonally and see what you should get on the photo.
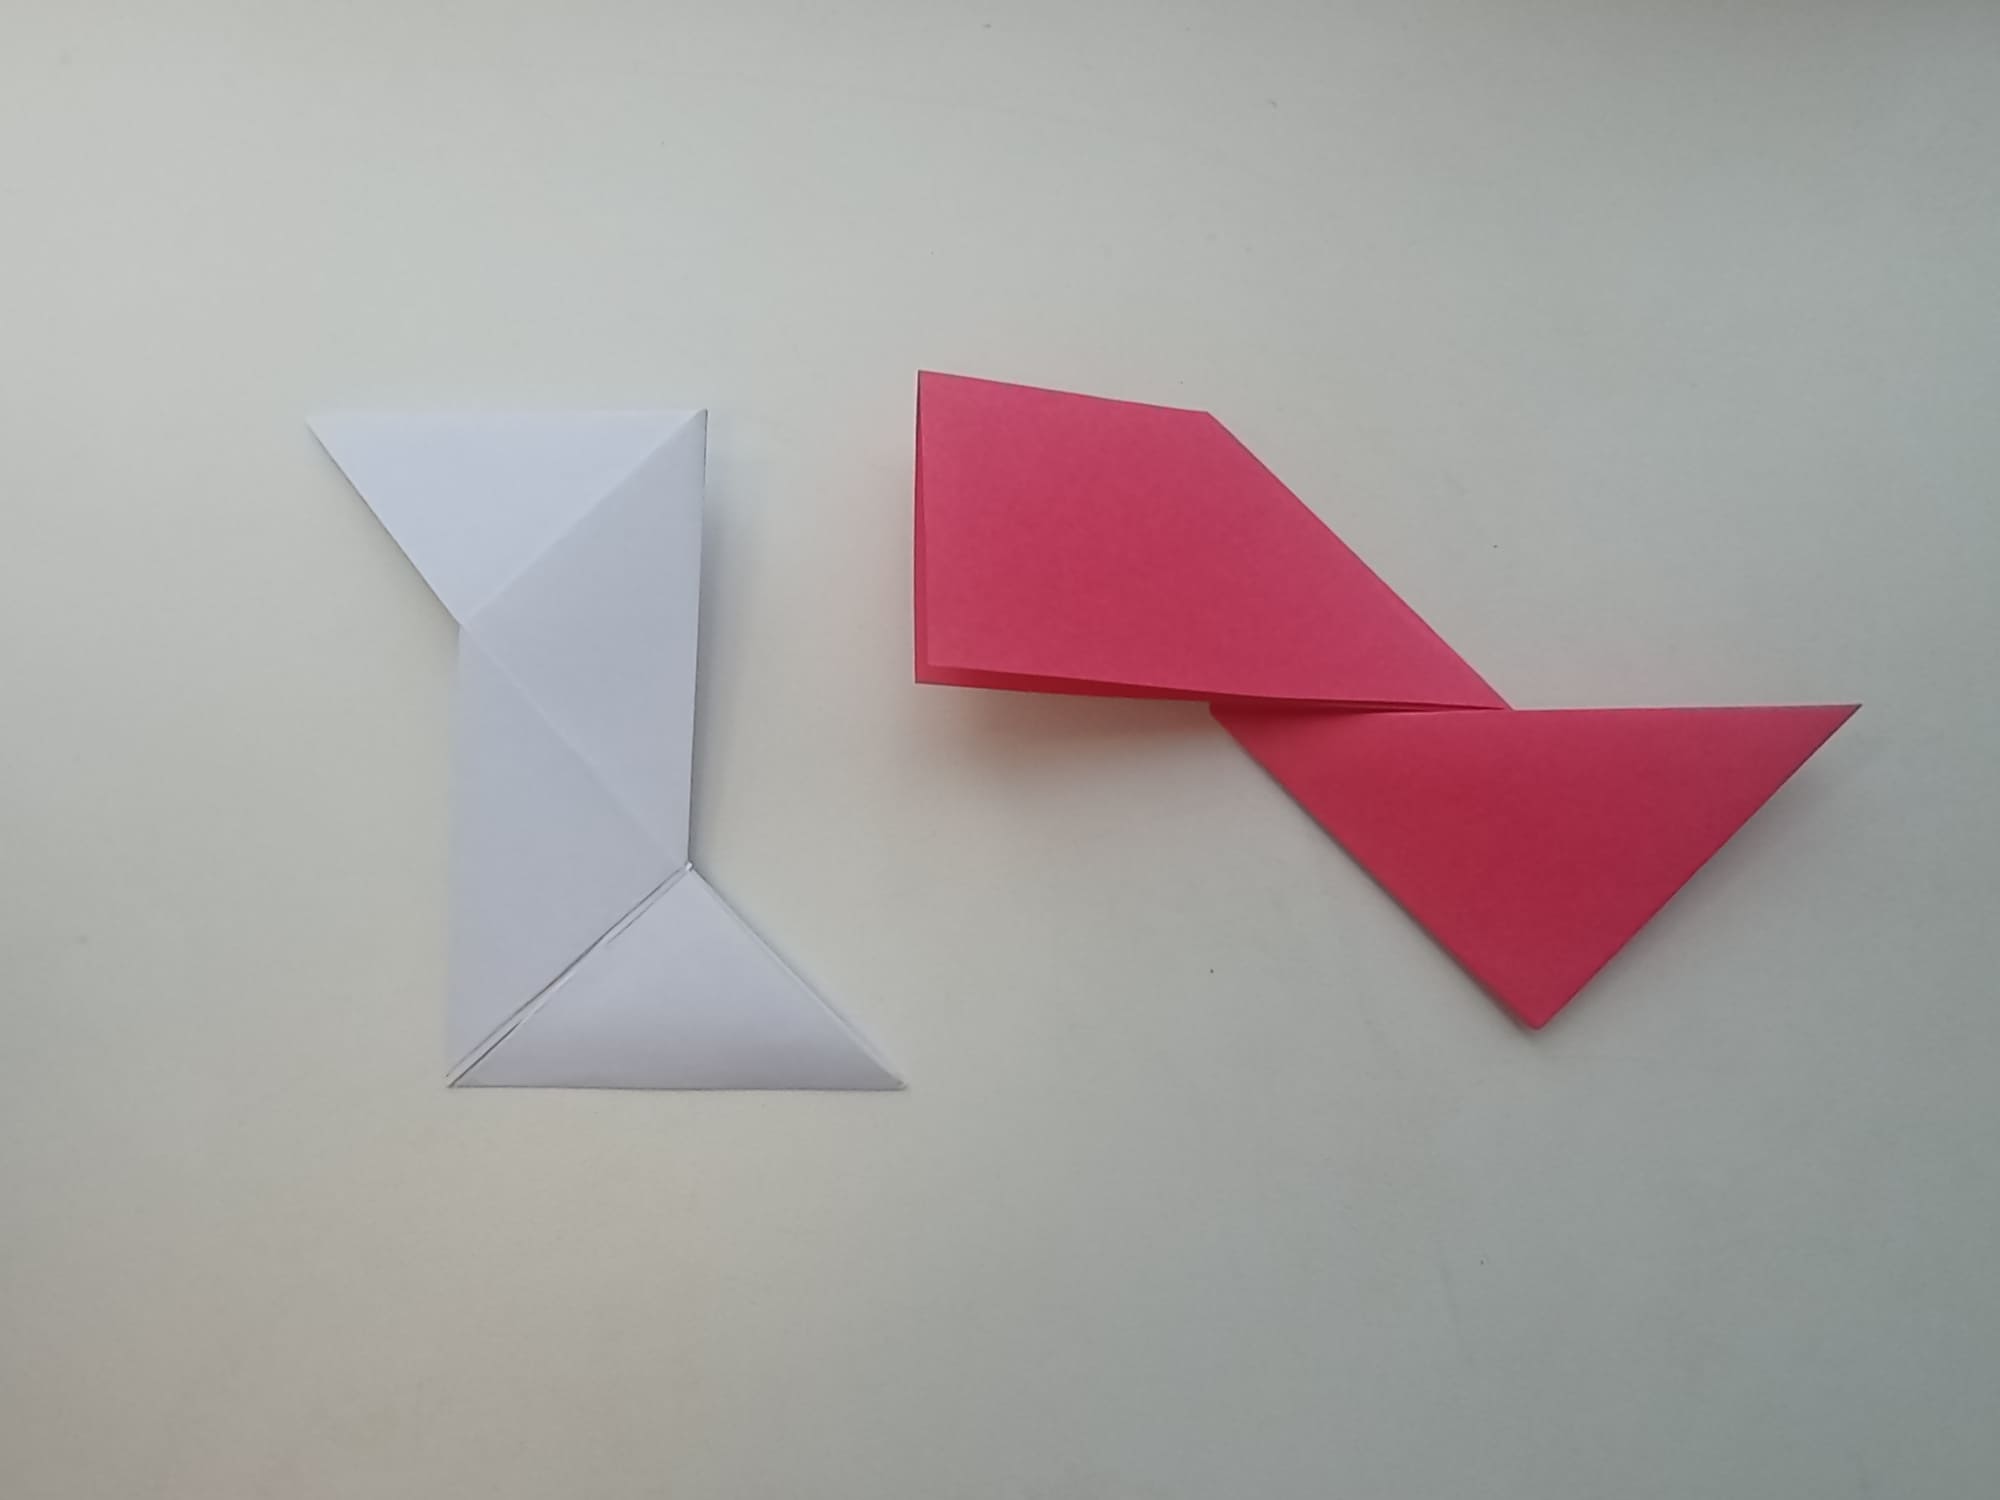
The two pieces are ready. Look at them and make 3 more such pairs for the eight-pointed star. To do this, repeat all the steps 3 times.
Place one piece on top of the second piece as in the photo.
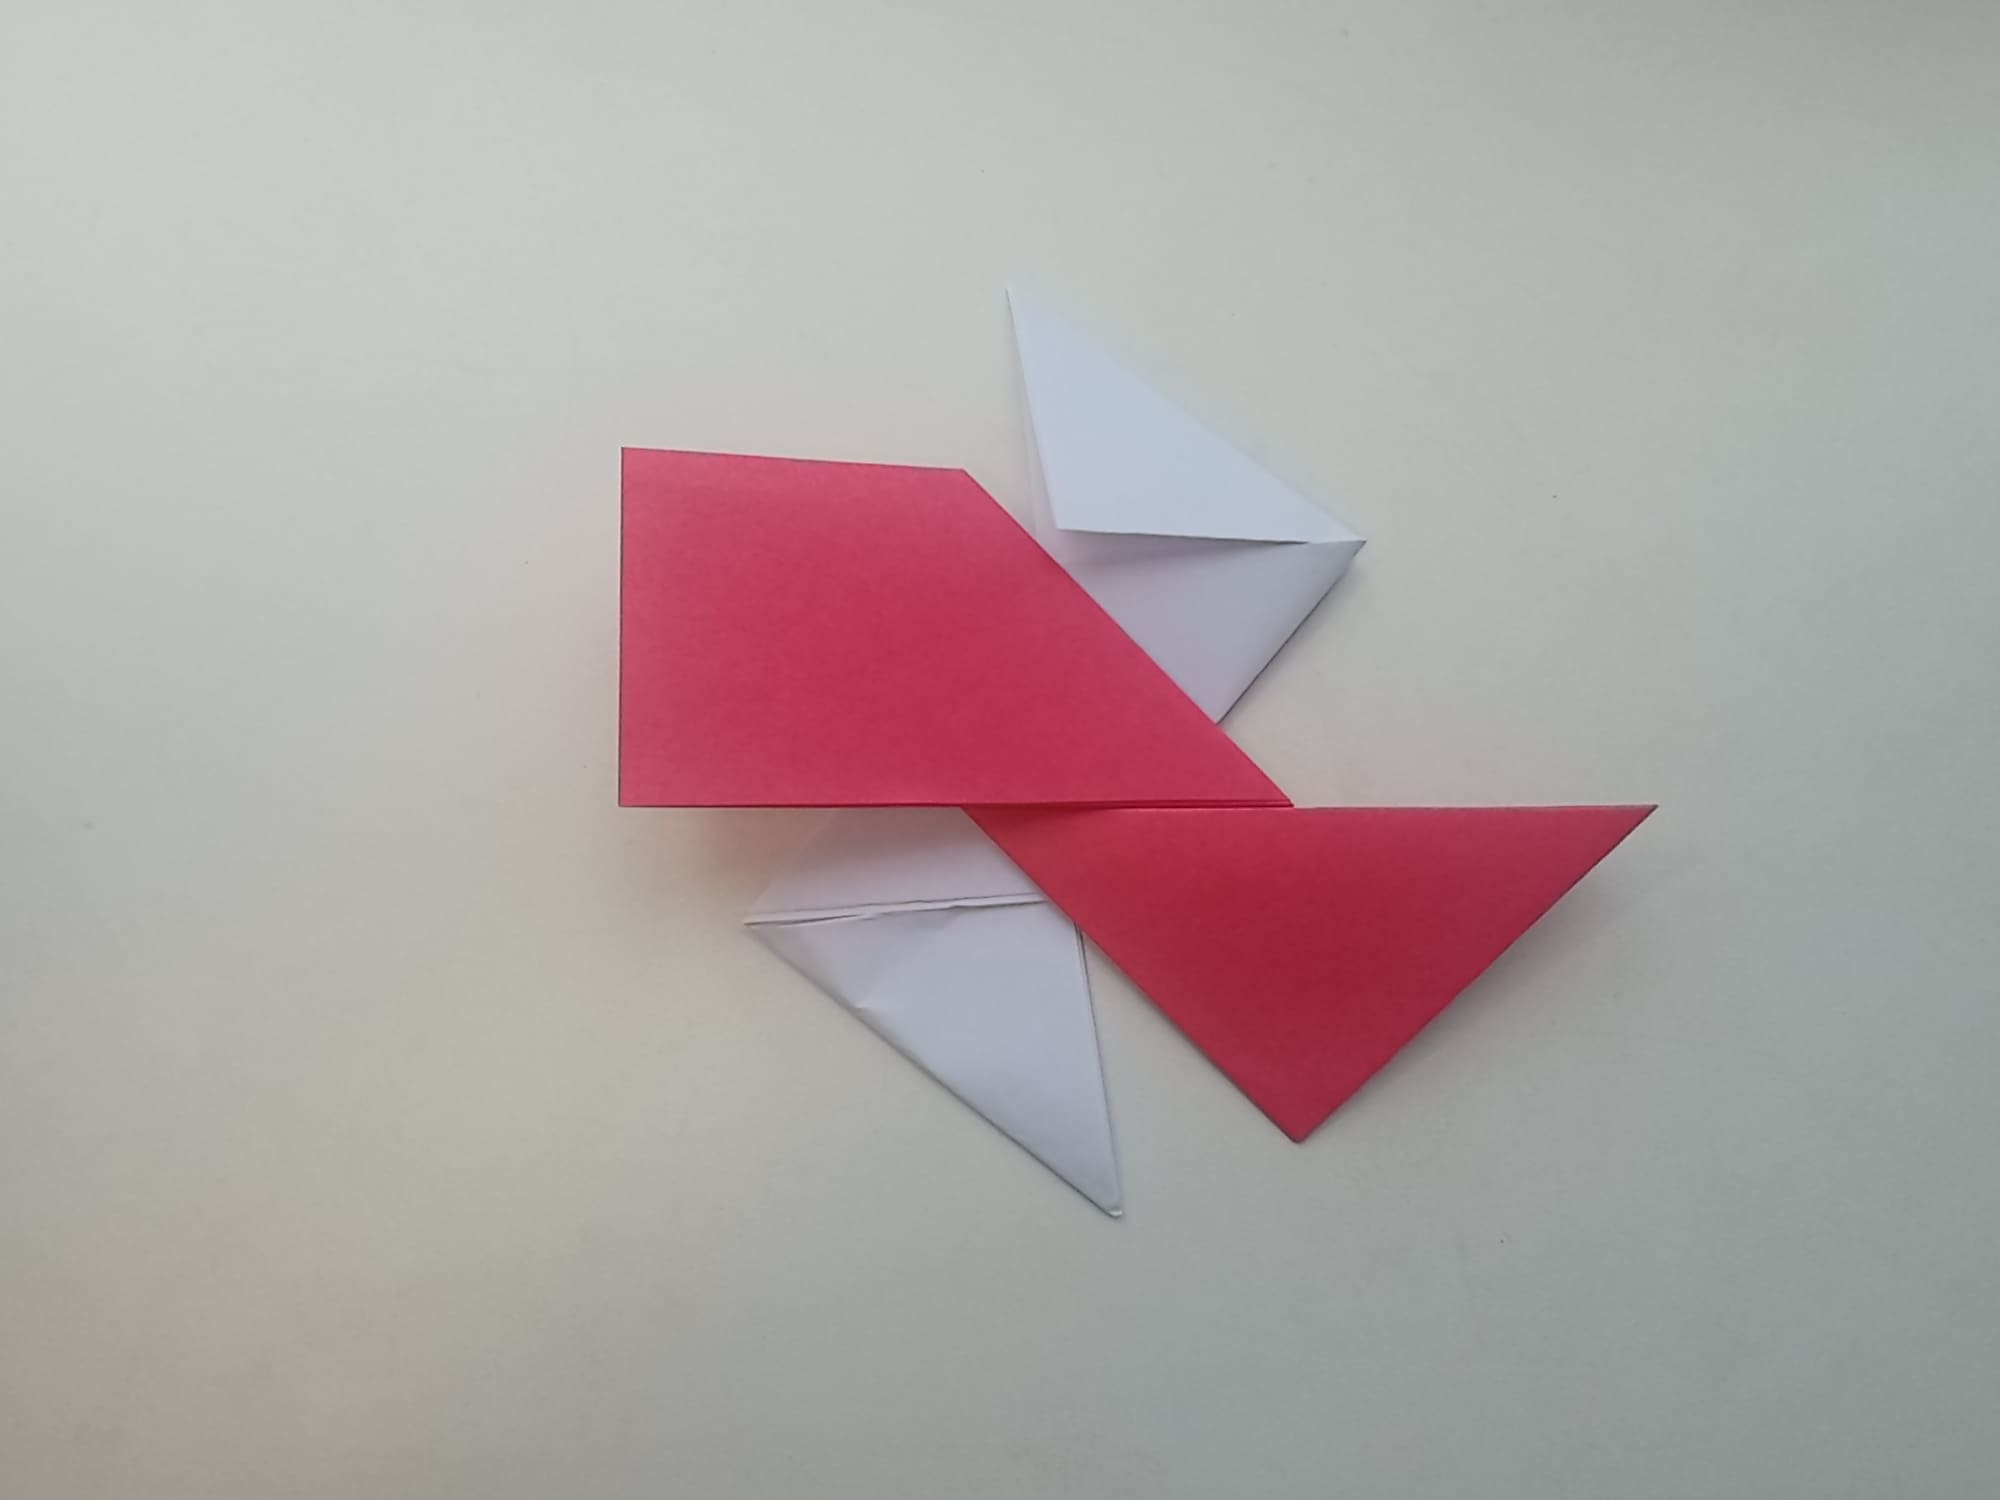
Fold the ends of the white piece under the red piece.
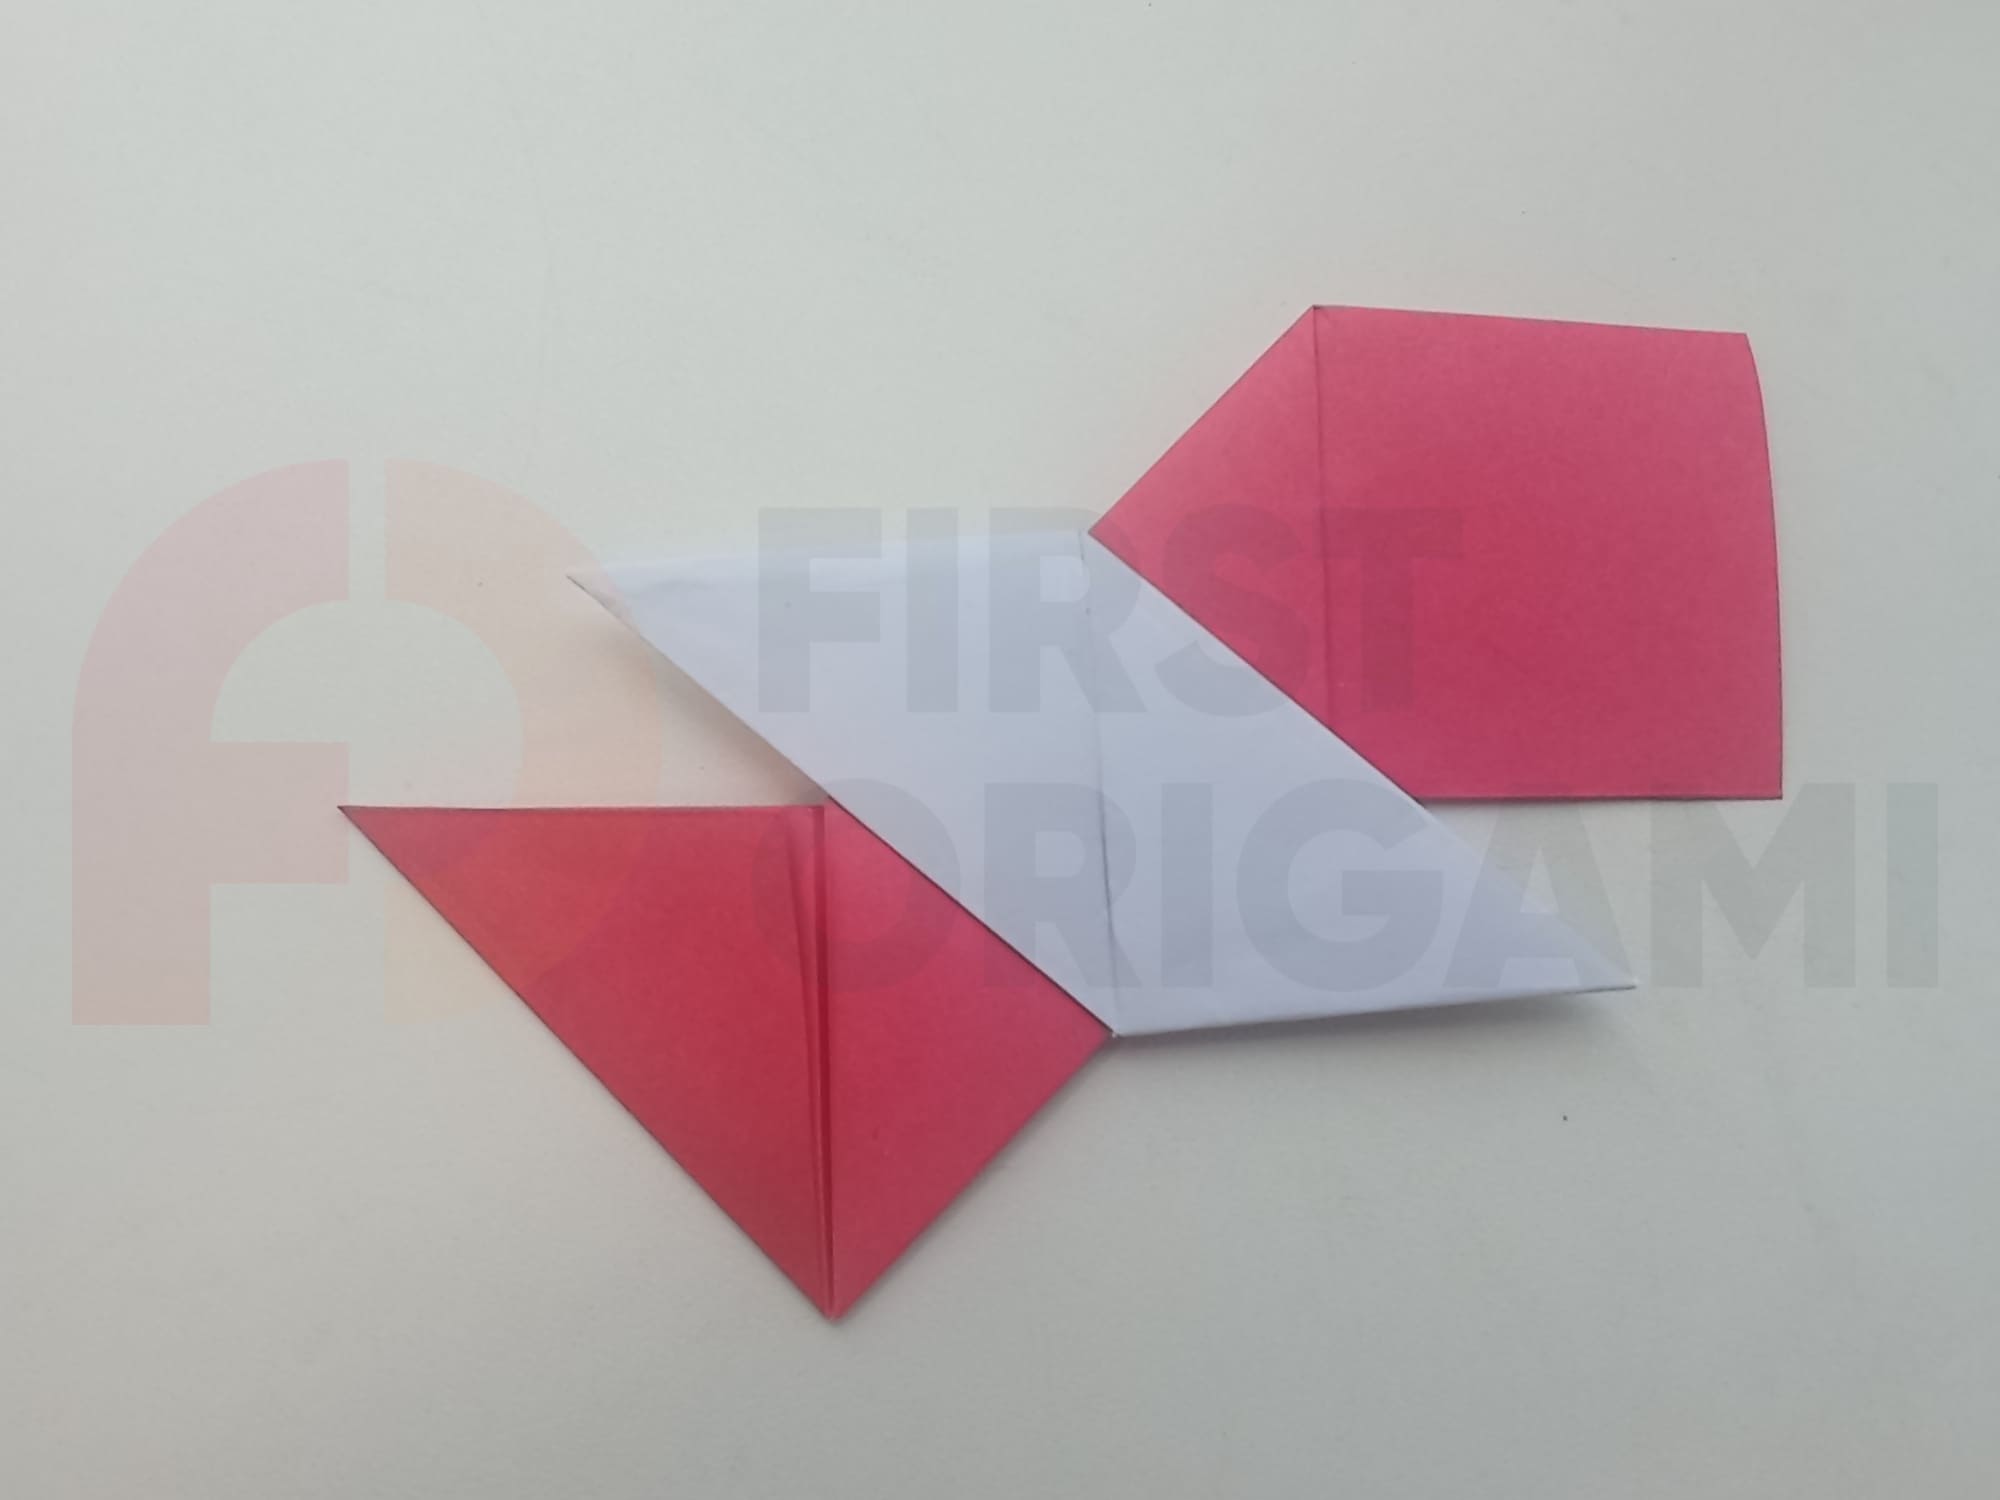
Turn the piece over and tuck one red corner into the white piece (see the photo).

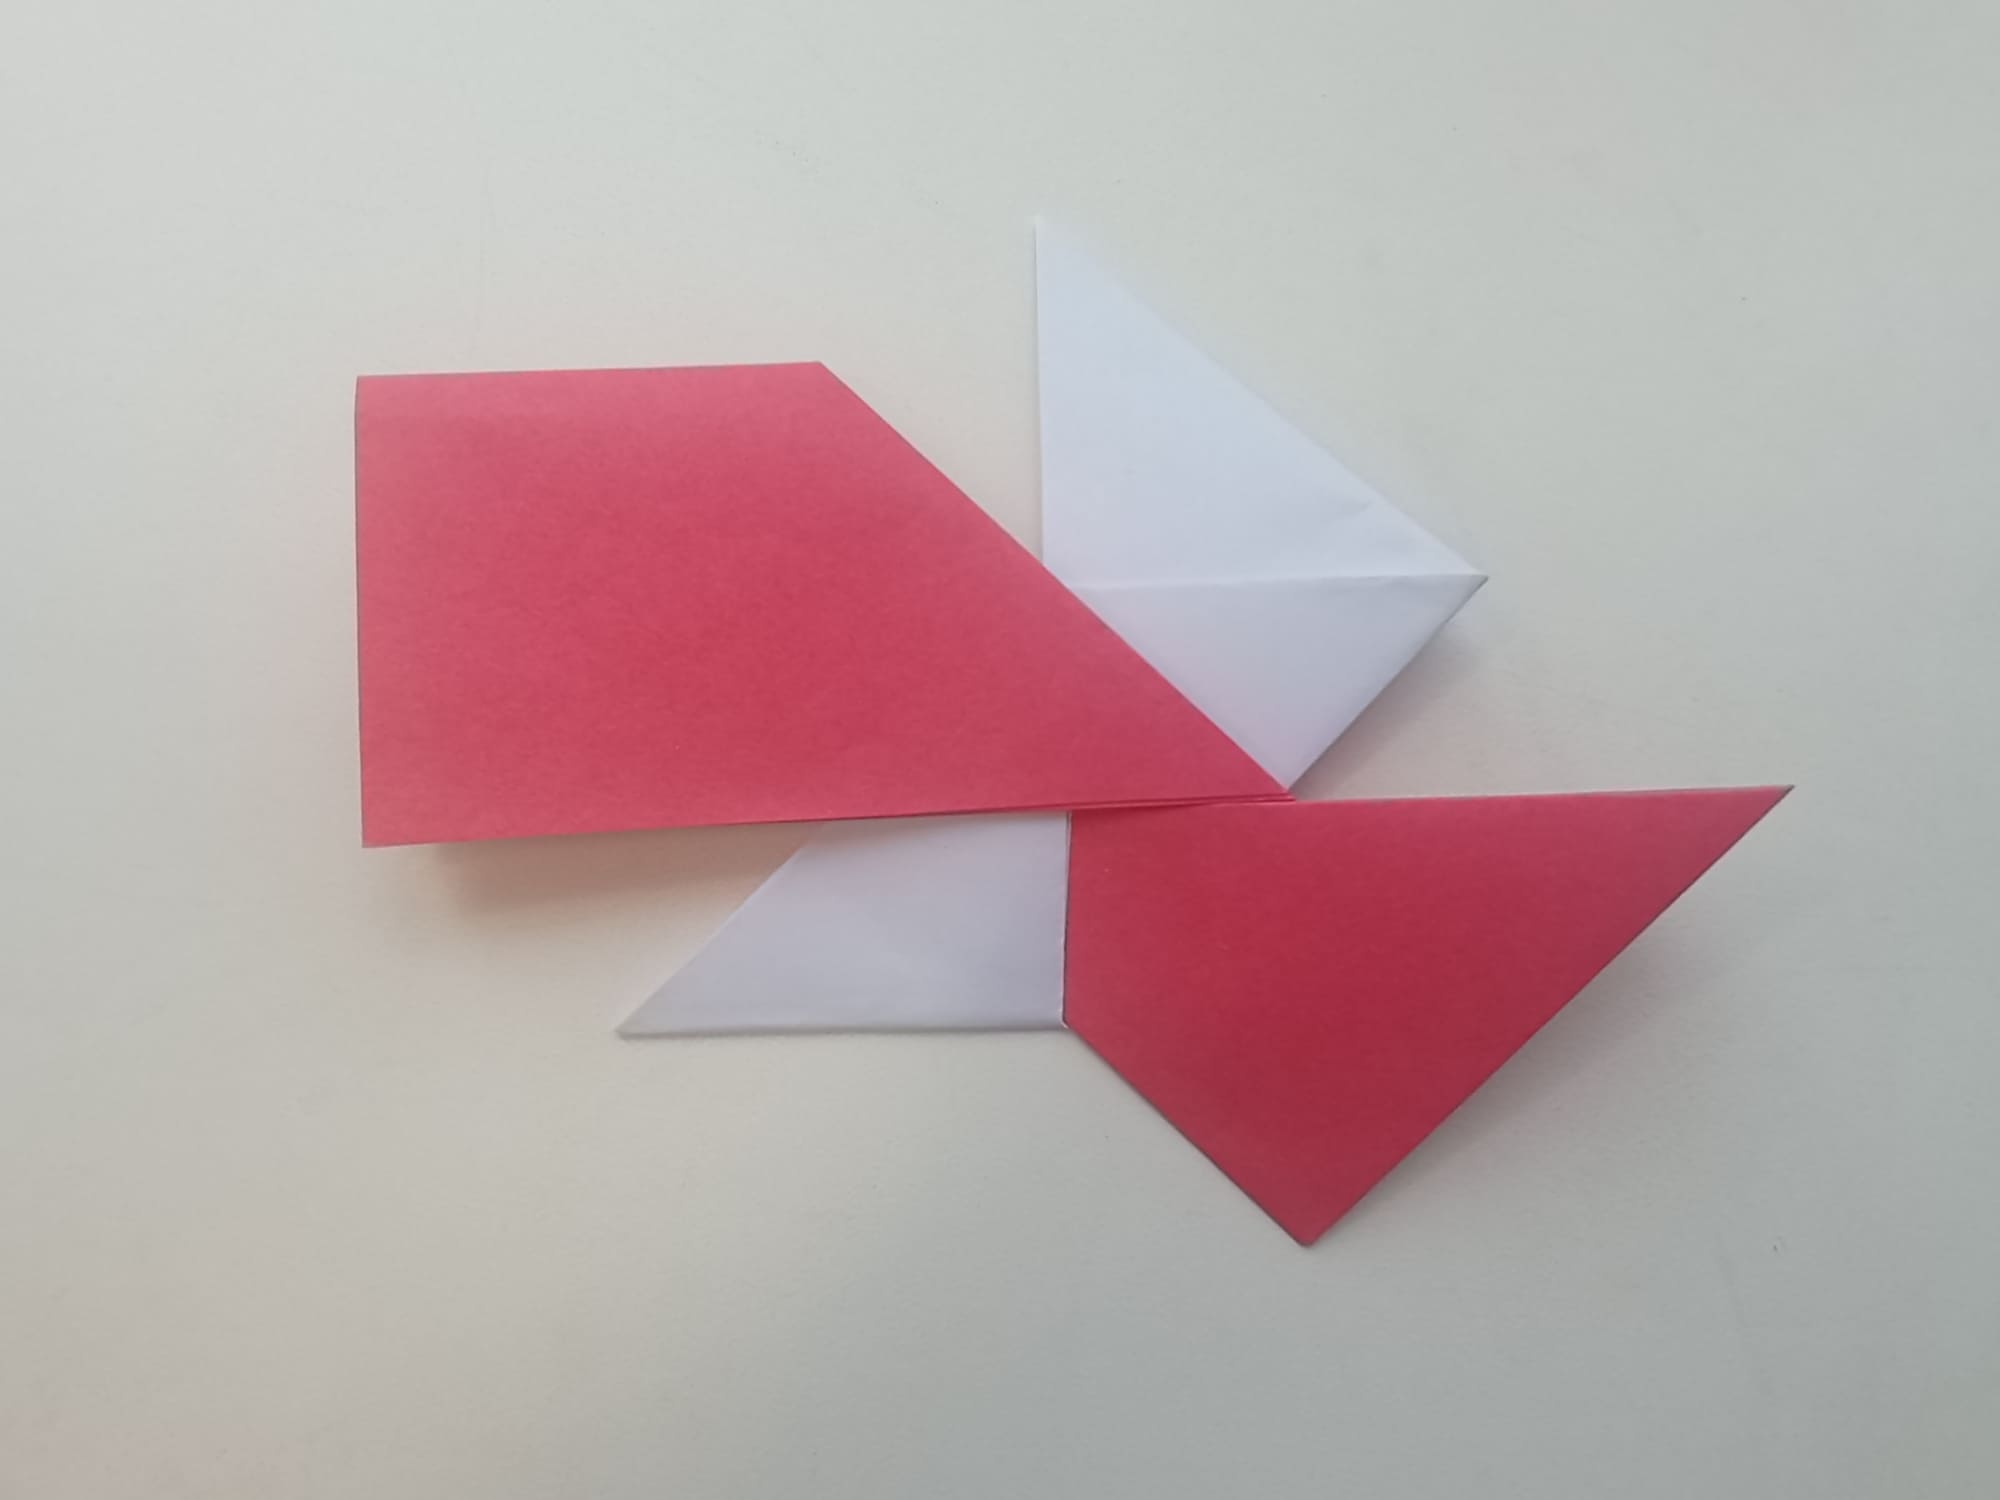
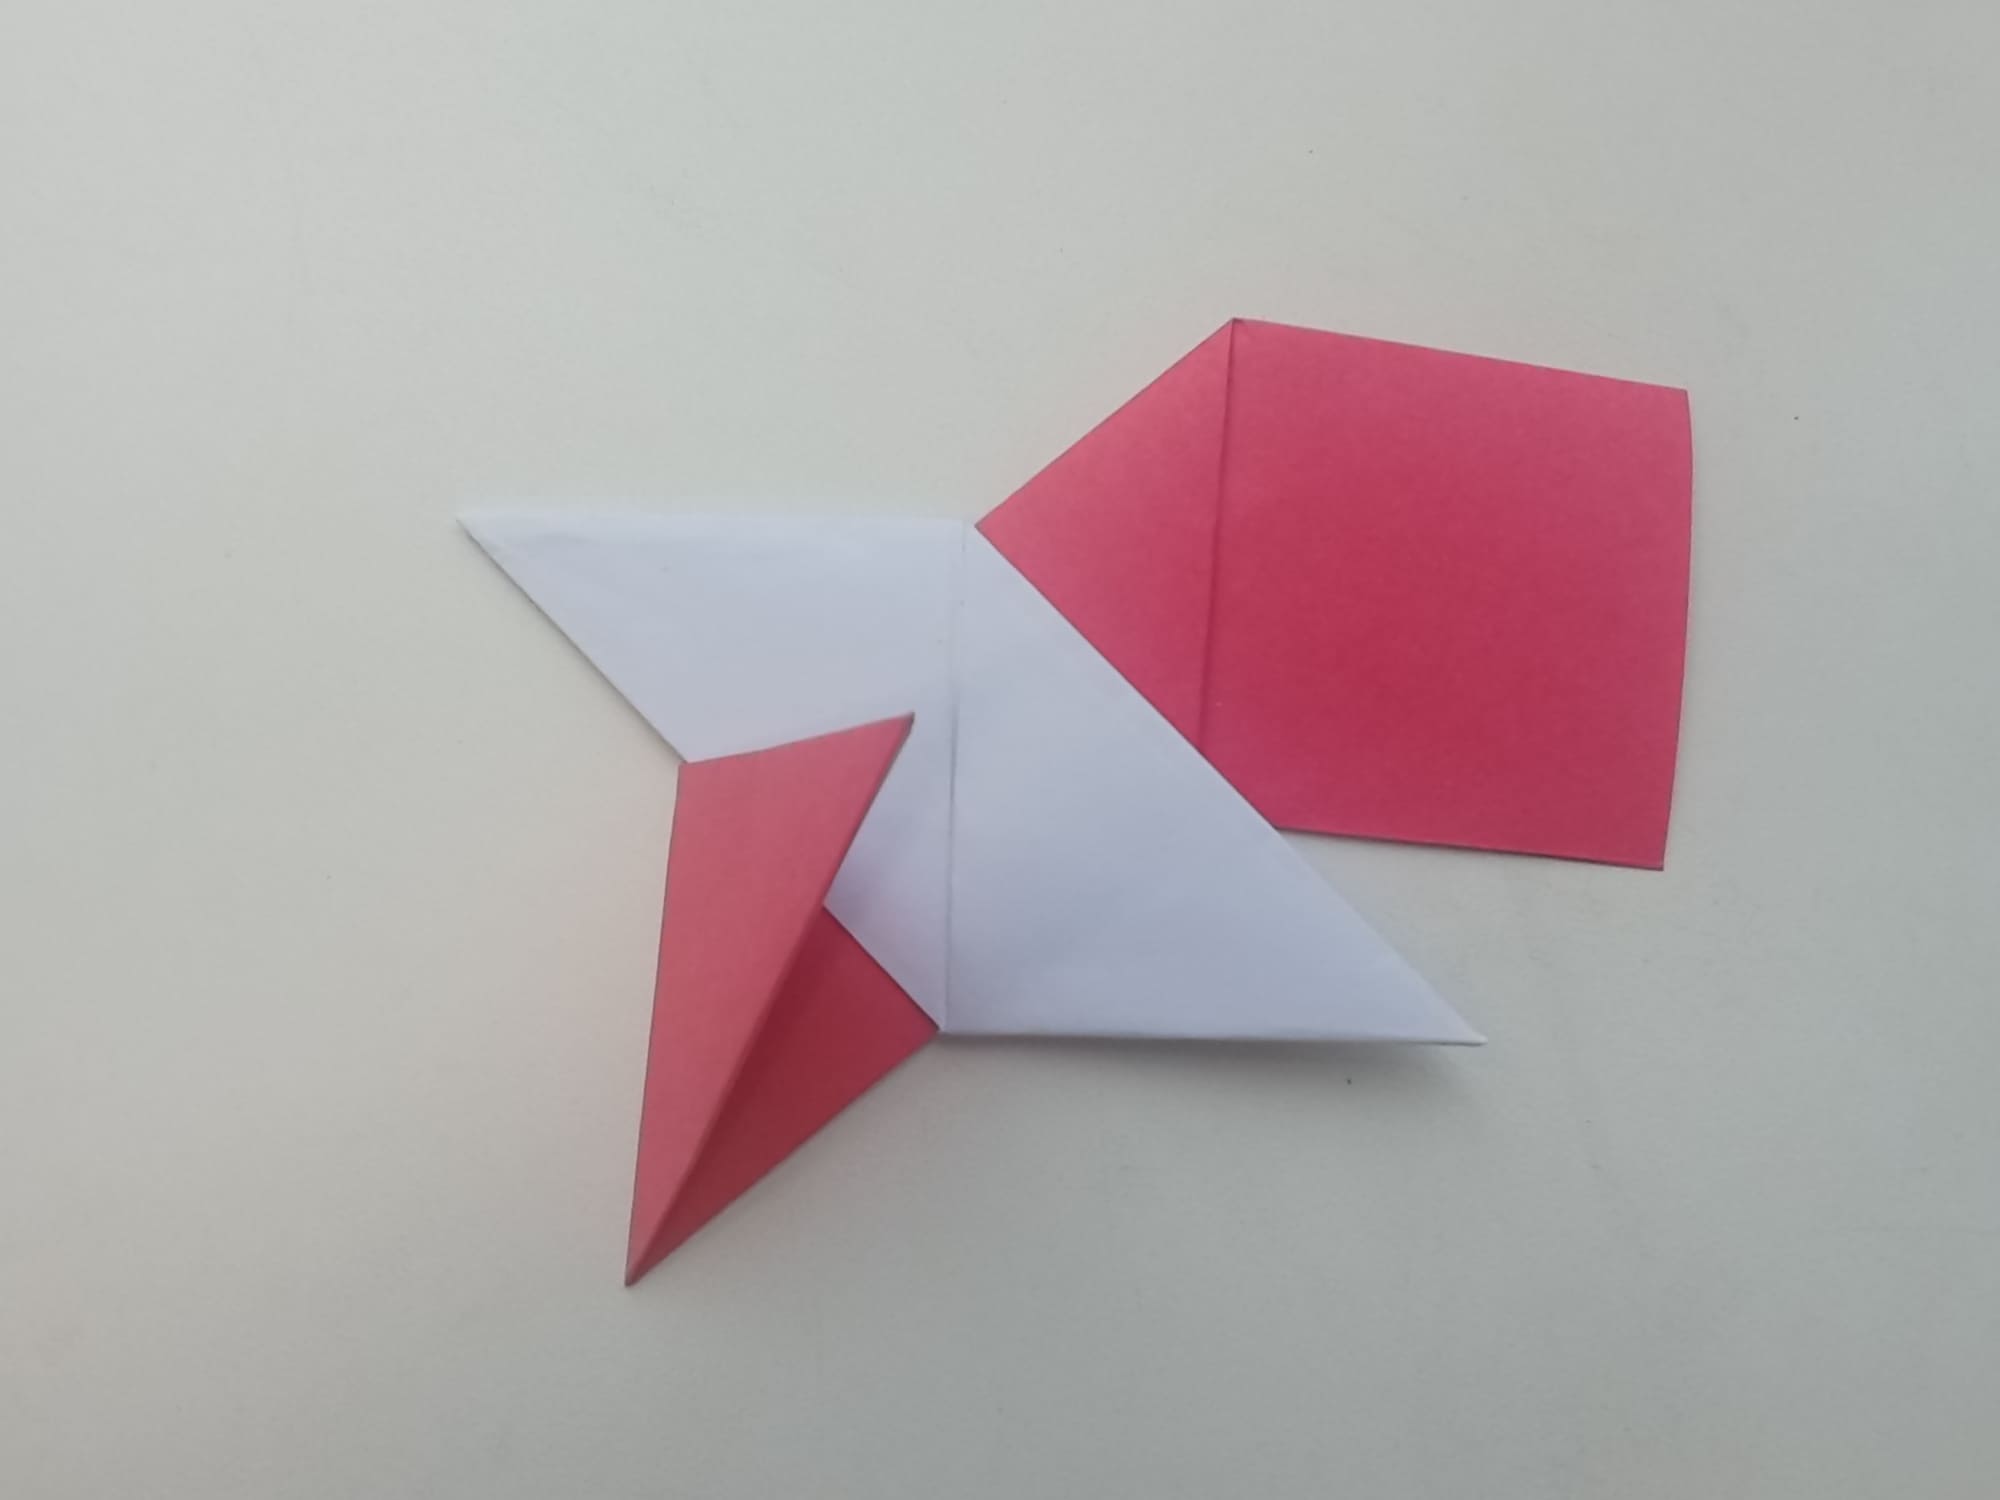
The remaining rectangular tail should be folded in half along the vertical axis.
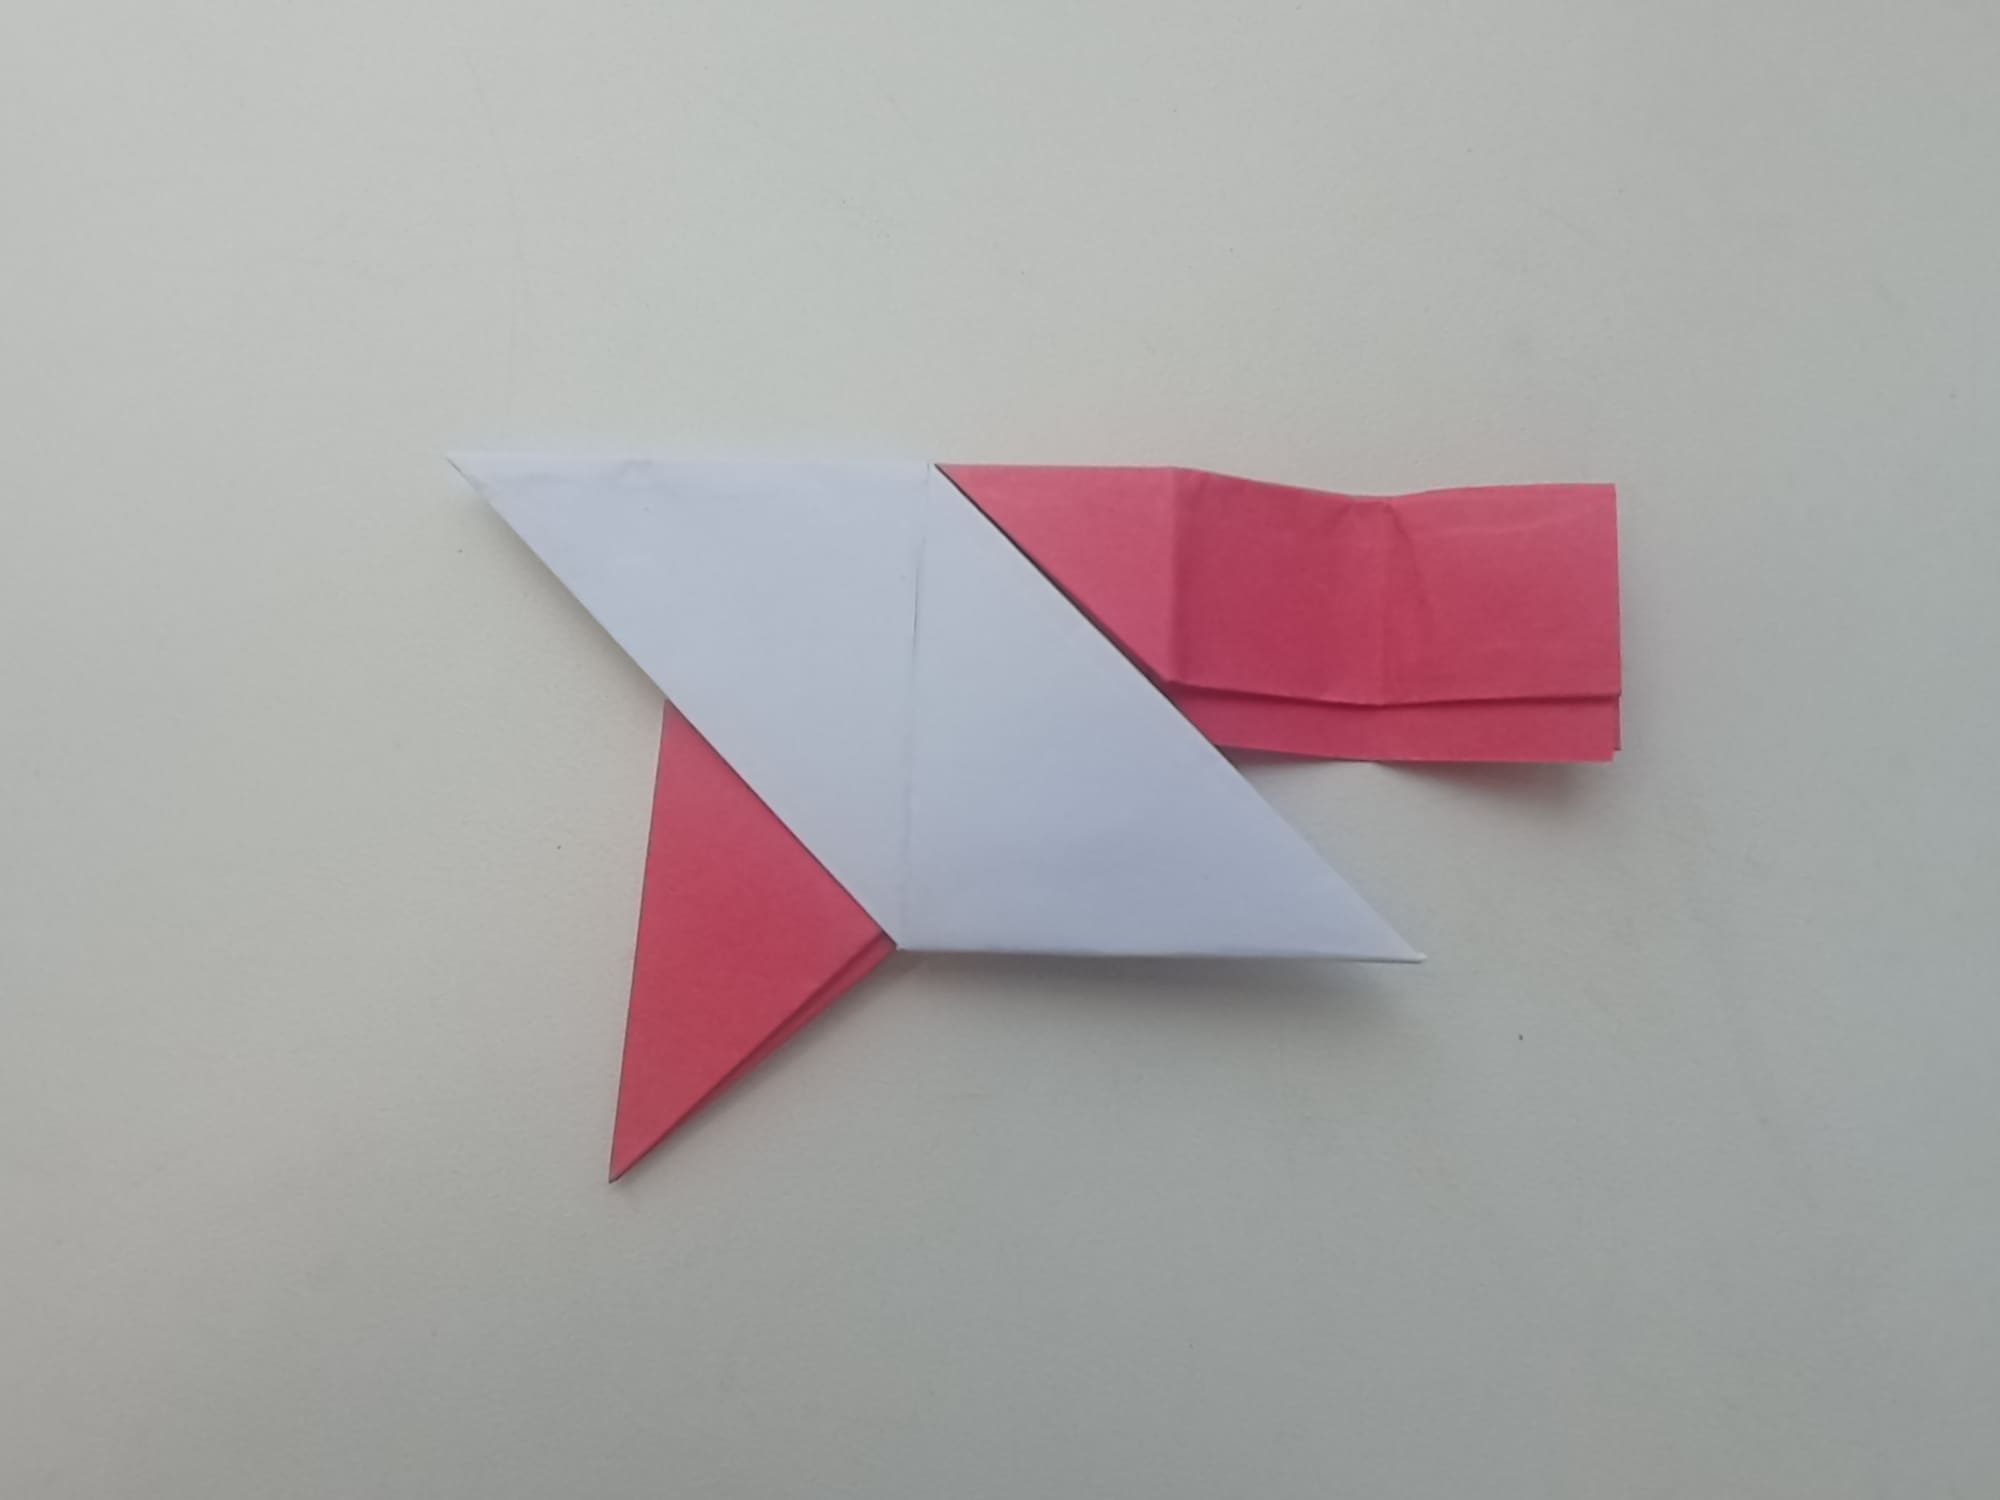
Now fold the rectangle tail three times to create the star attachment.
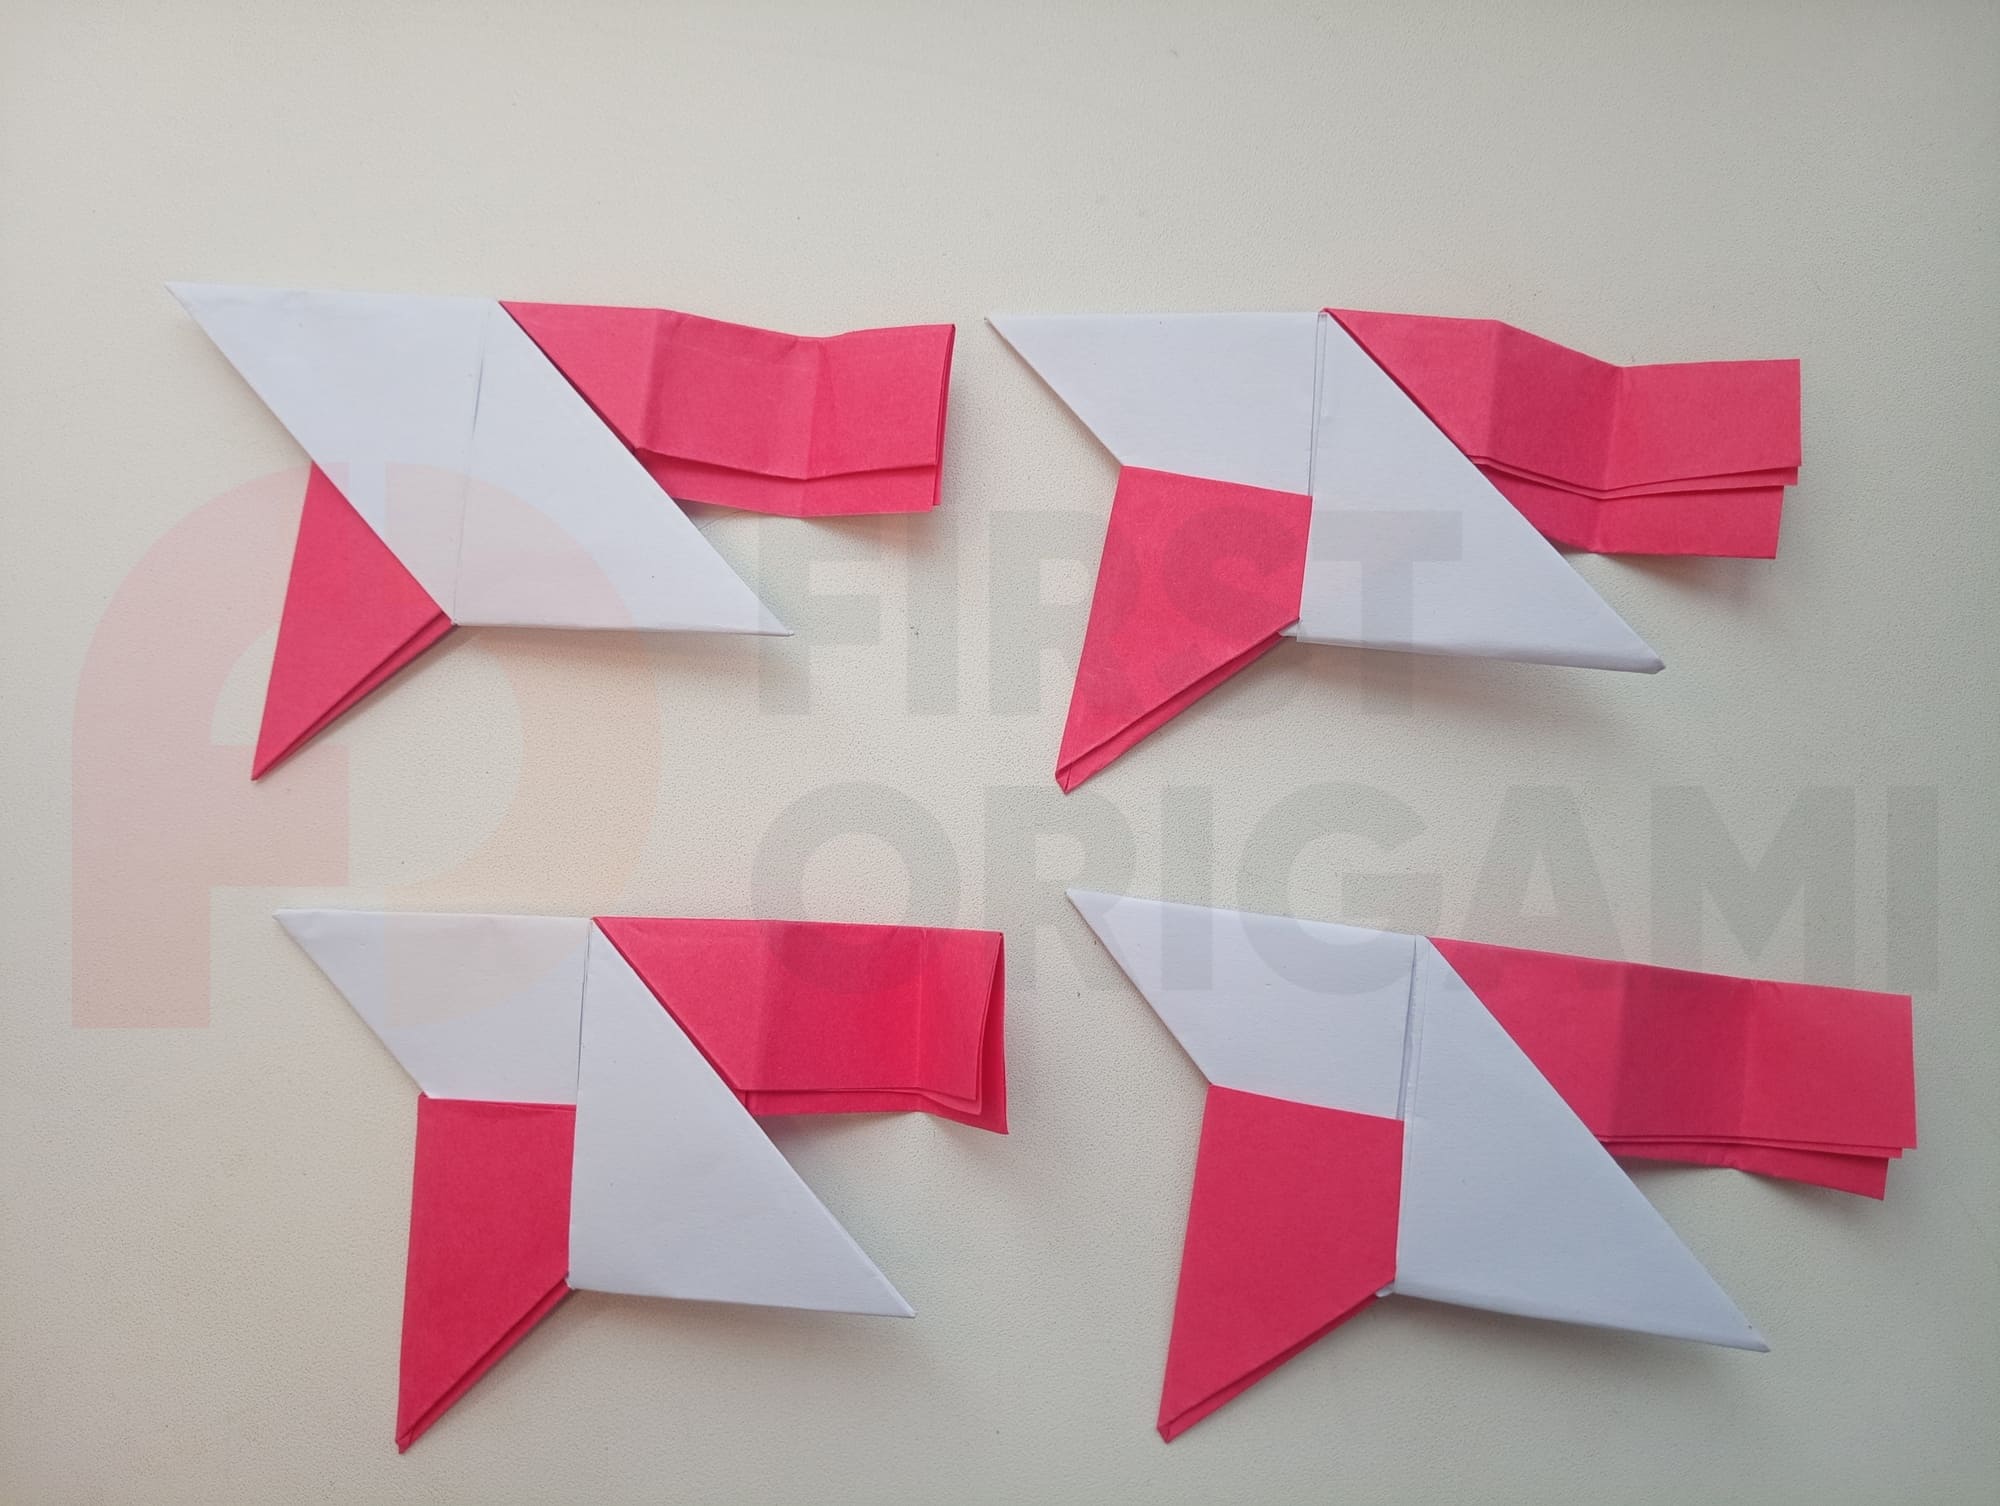
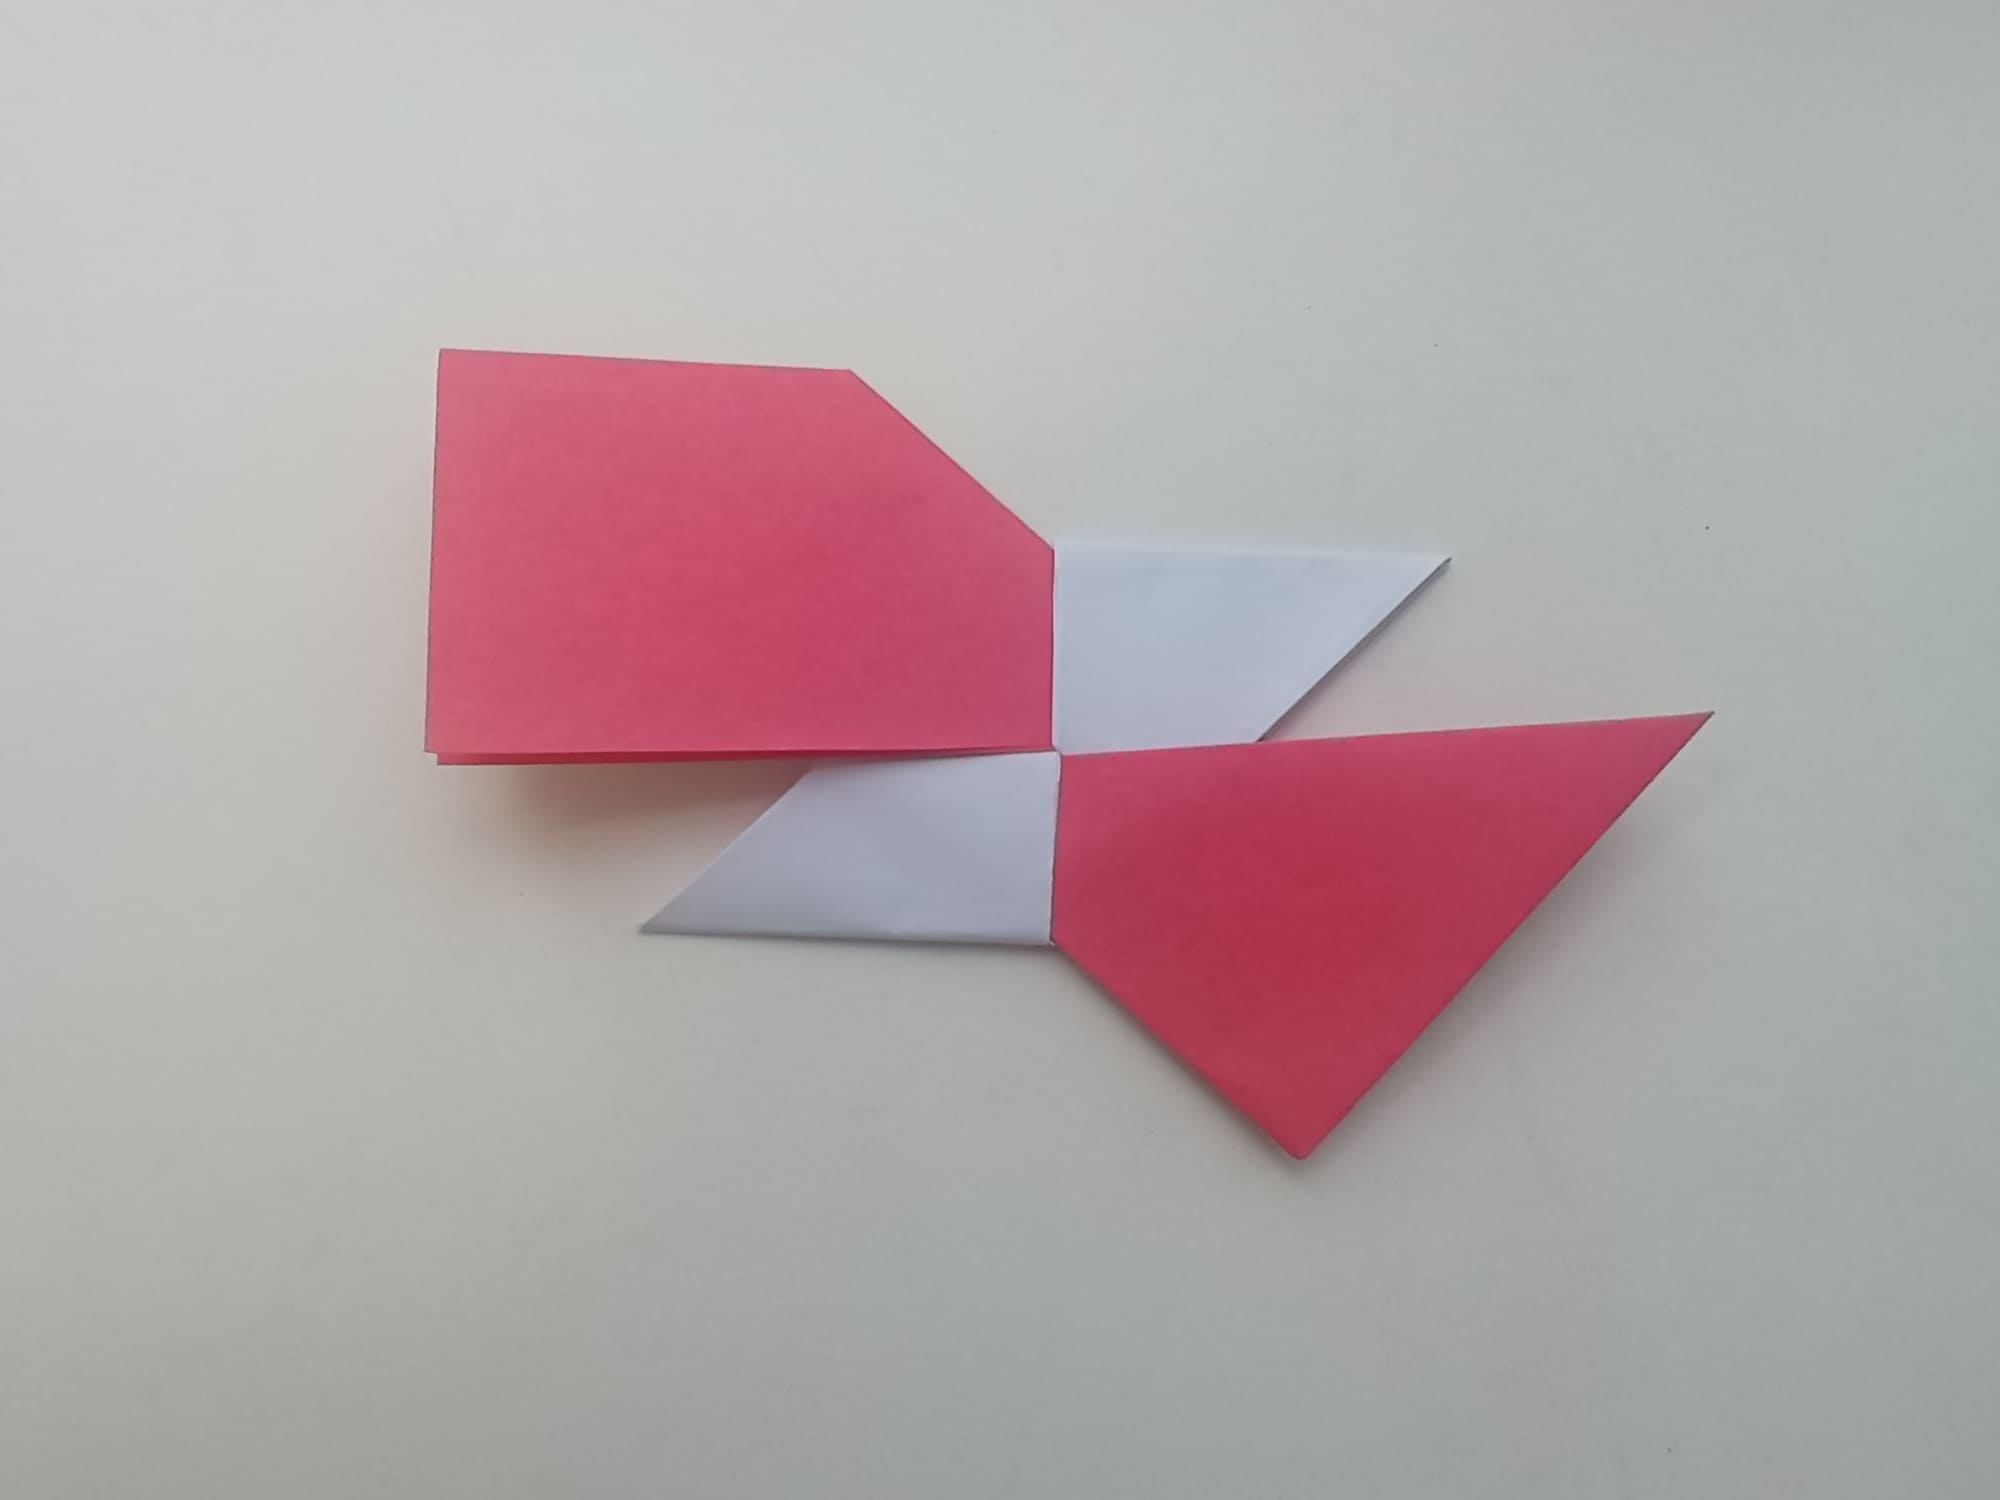
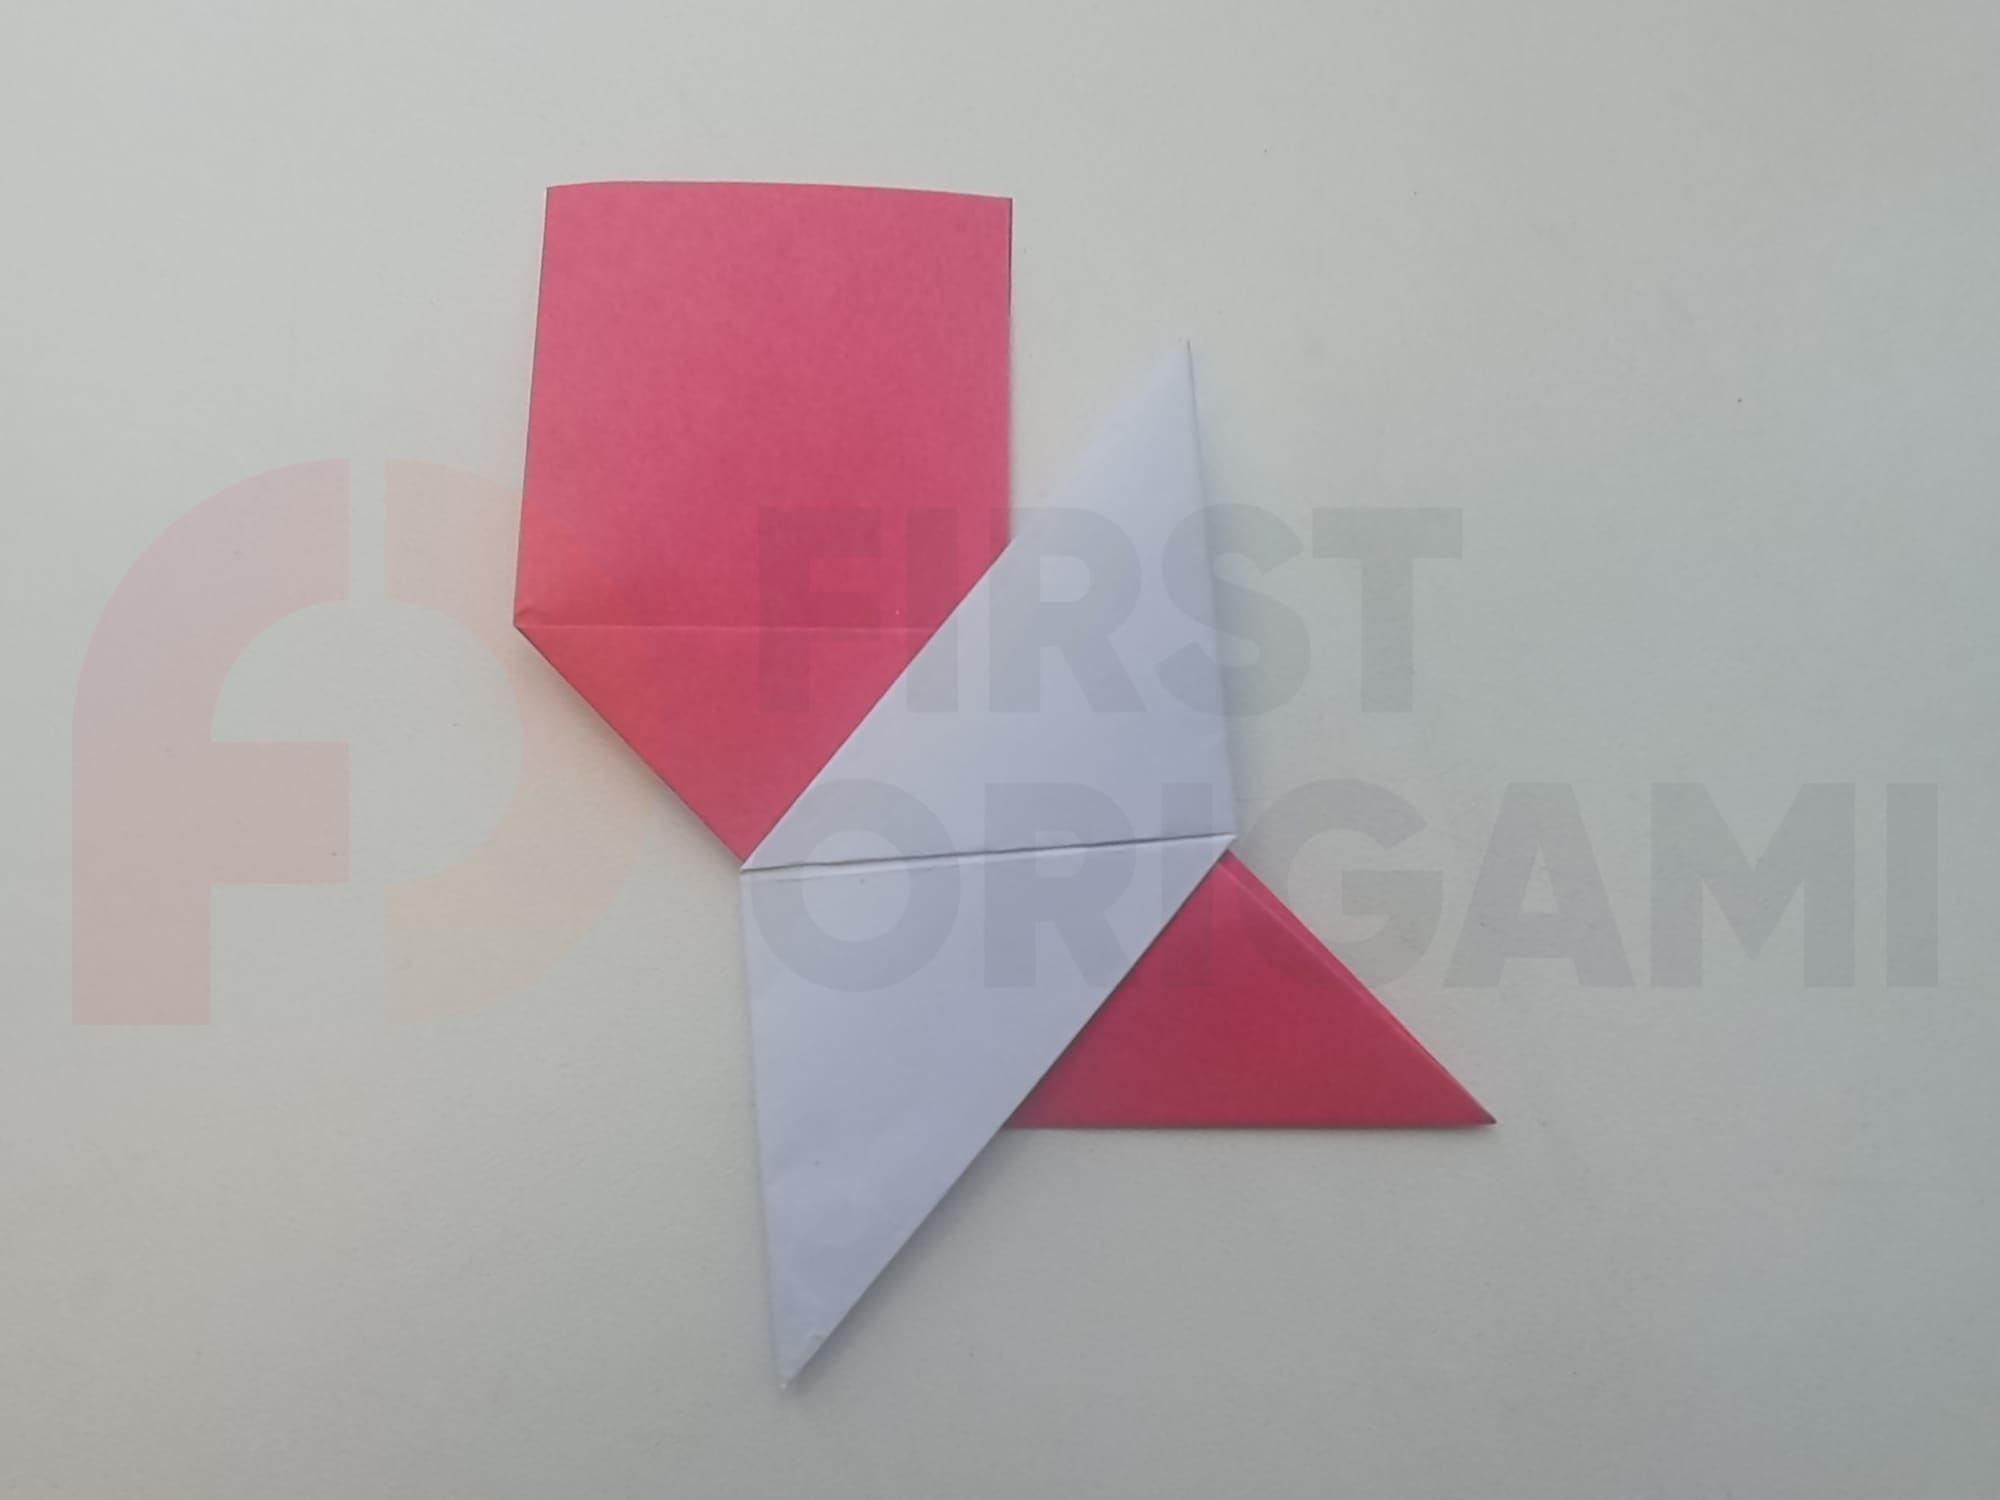
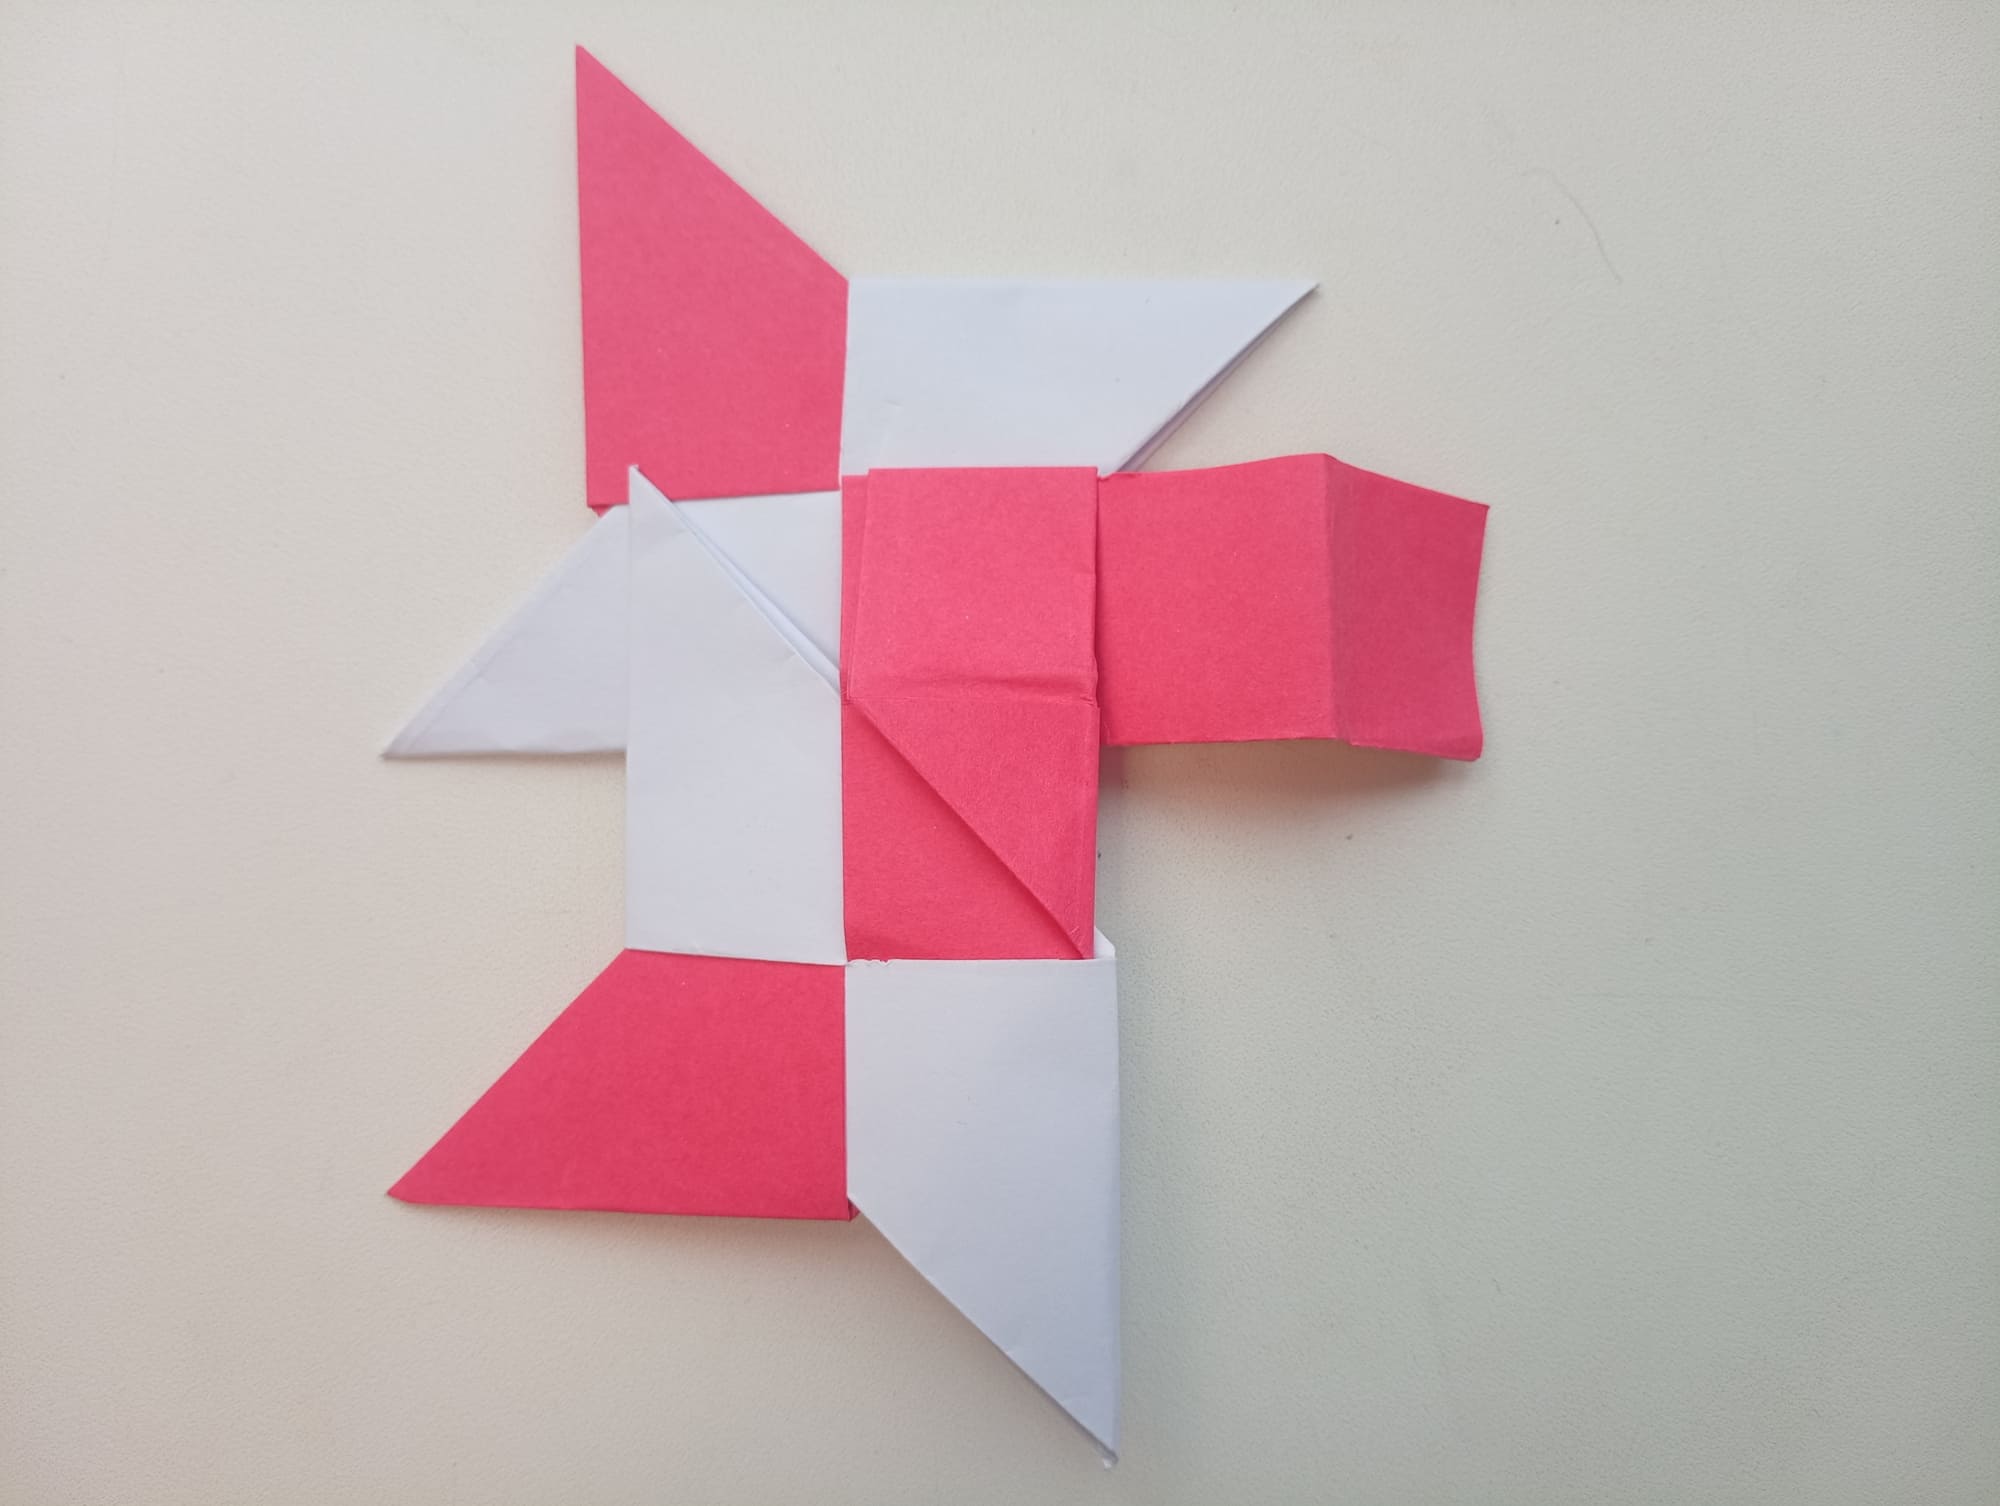
Now the four pieces you should end up with are ready.
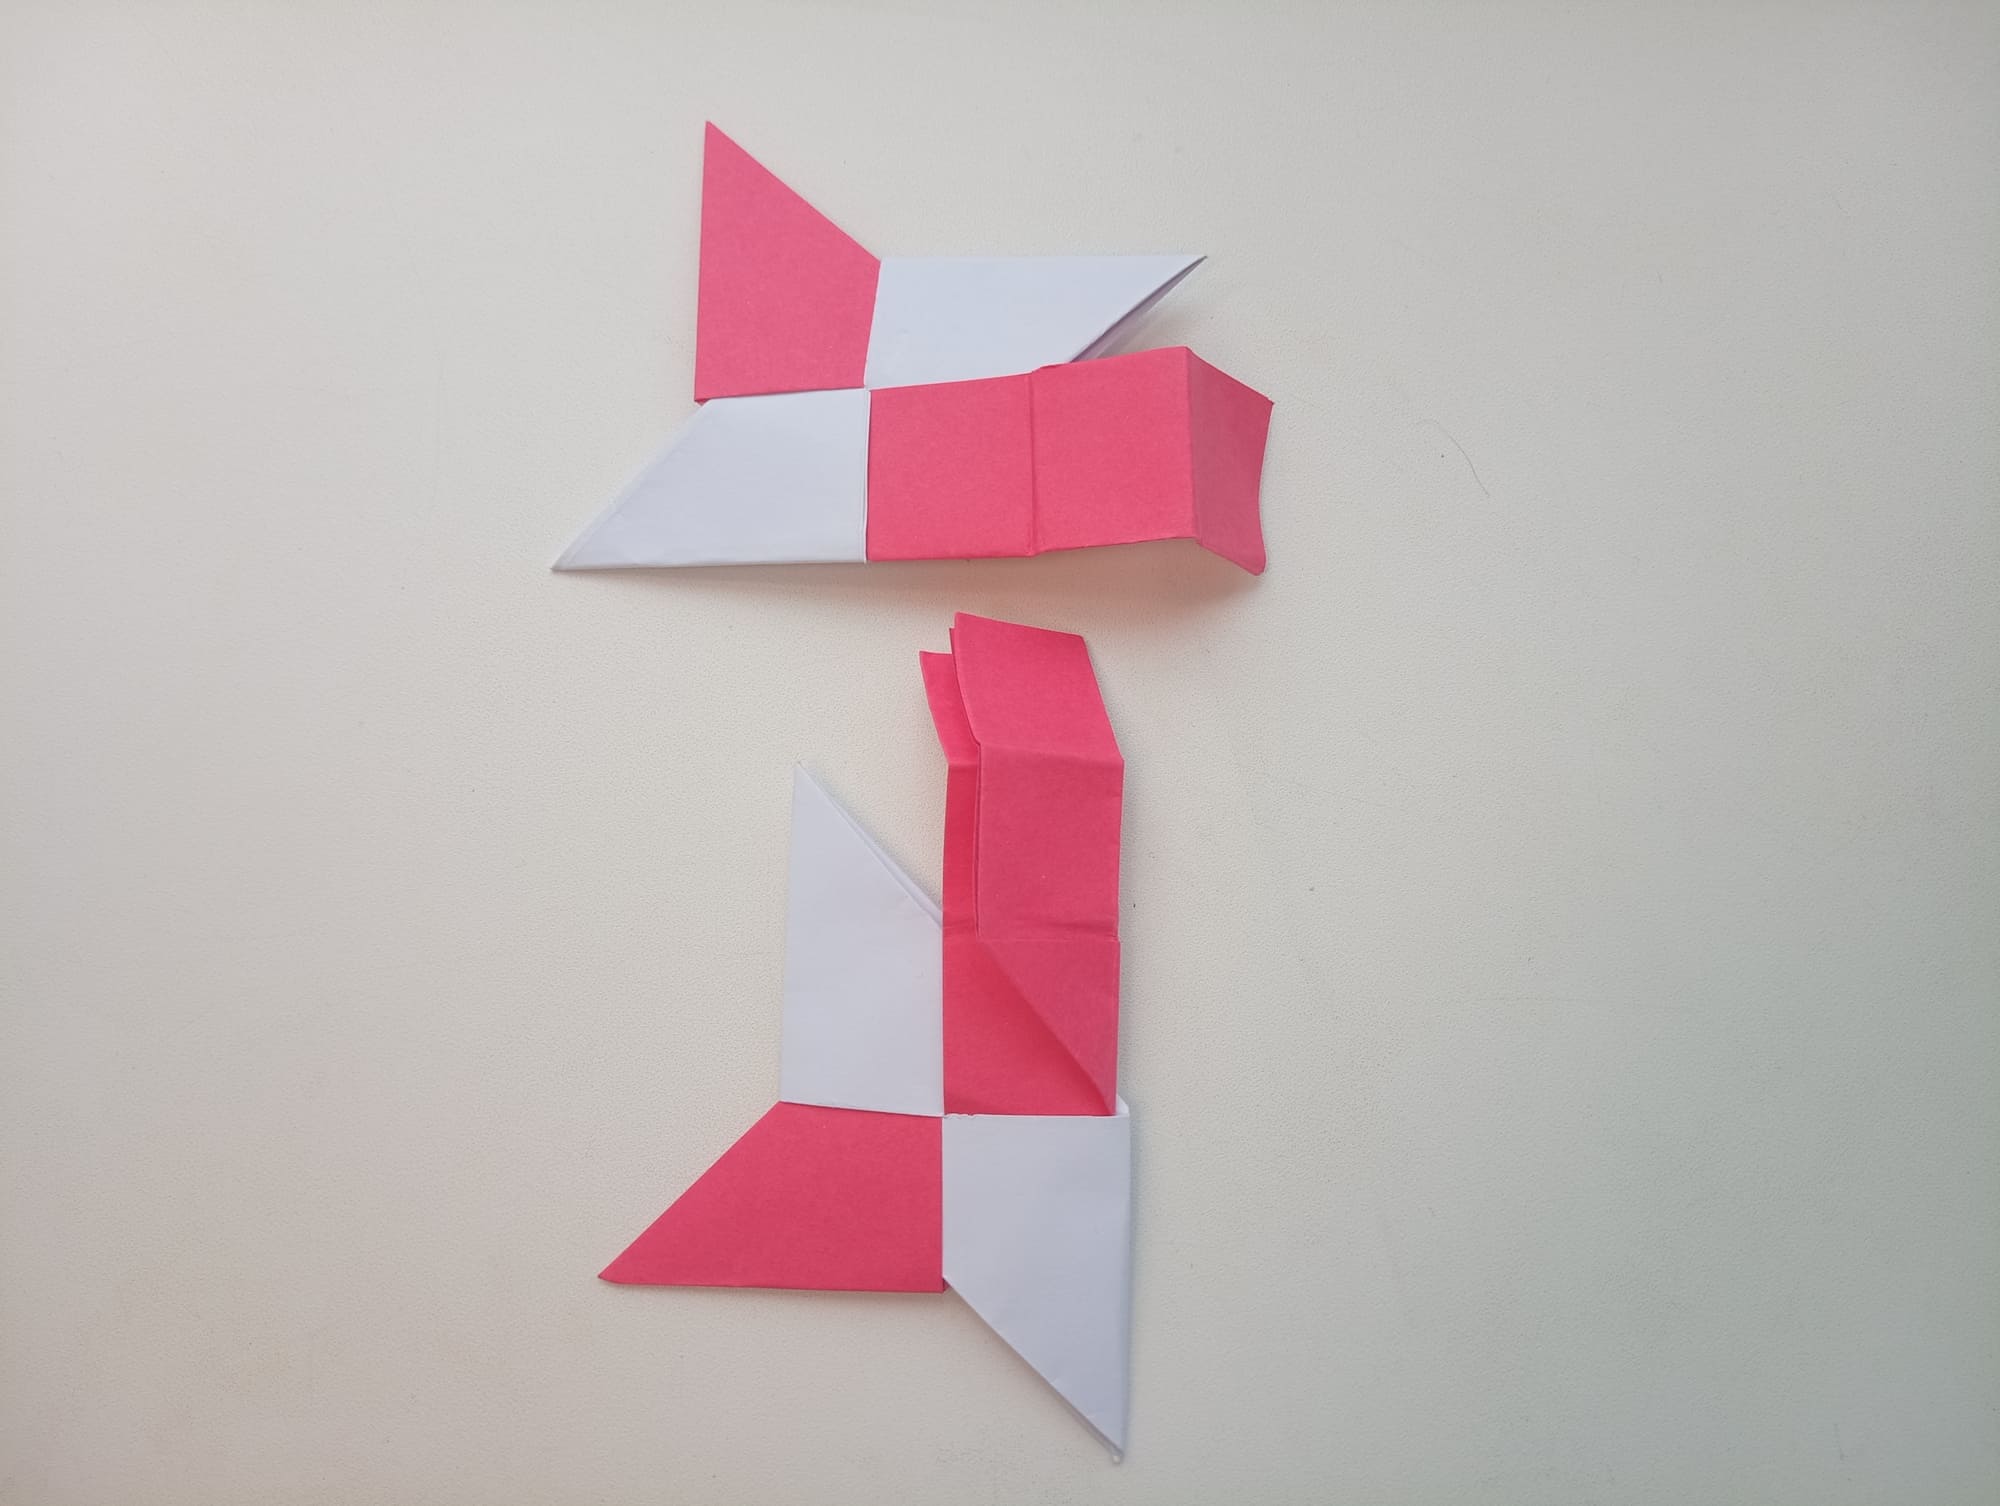
Let’s start assembling. First, connect the two pieces. Arrange the pieces as in the photo. Tuck the tail of the lower piece into the pocket of the upper piece (see the photo)
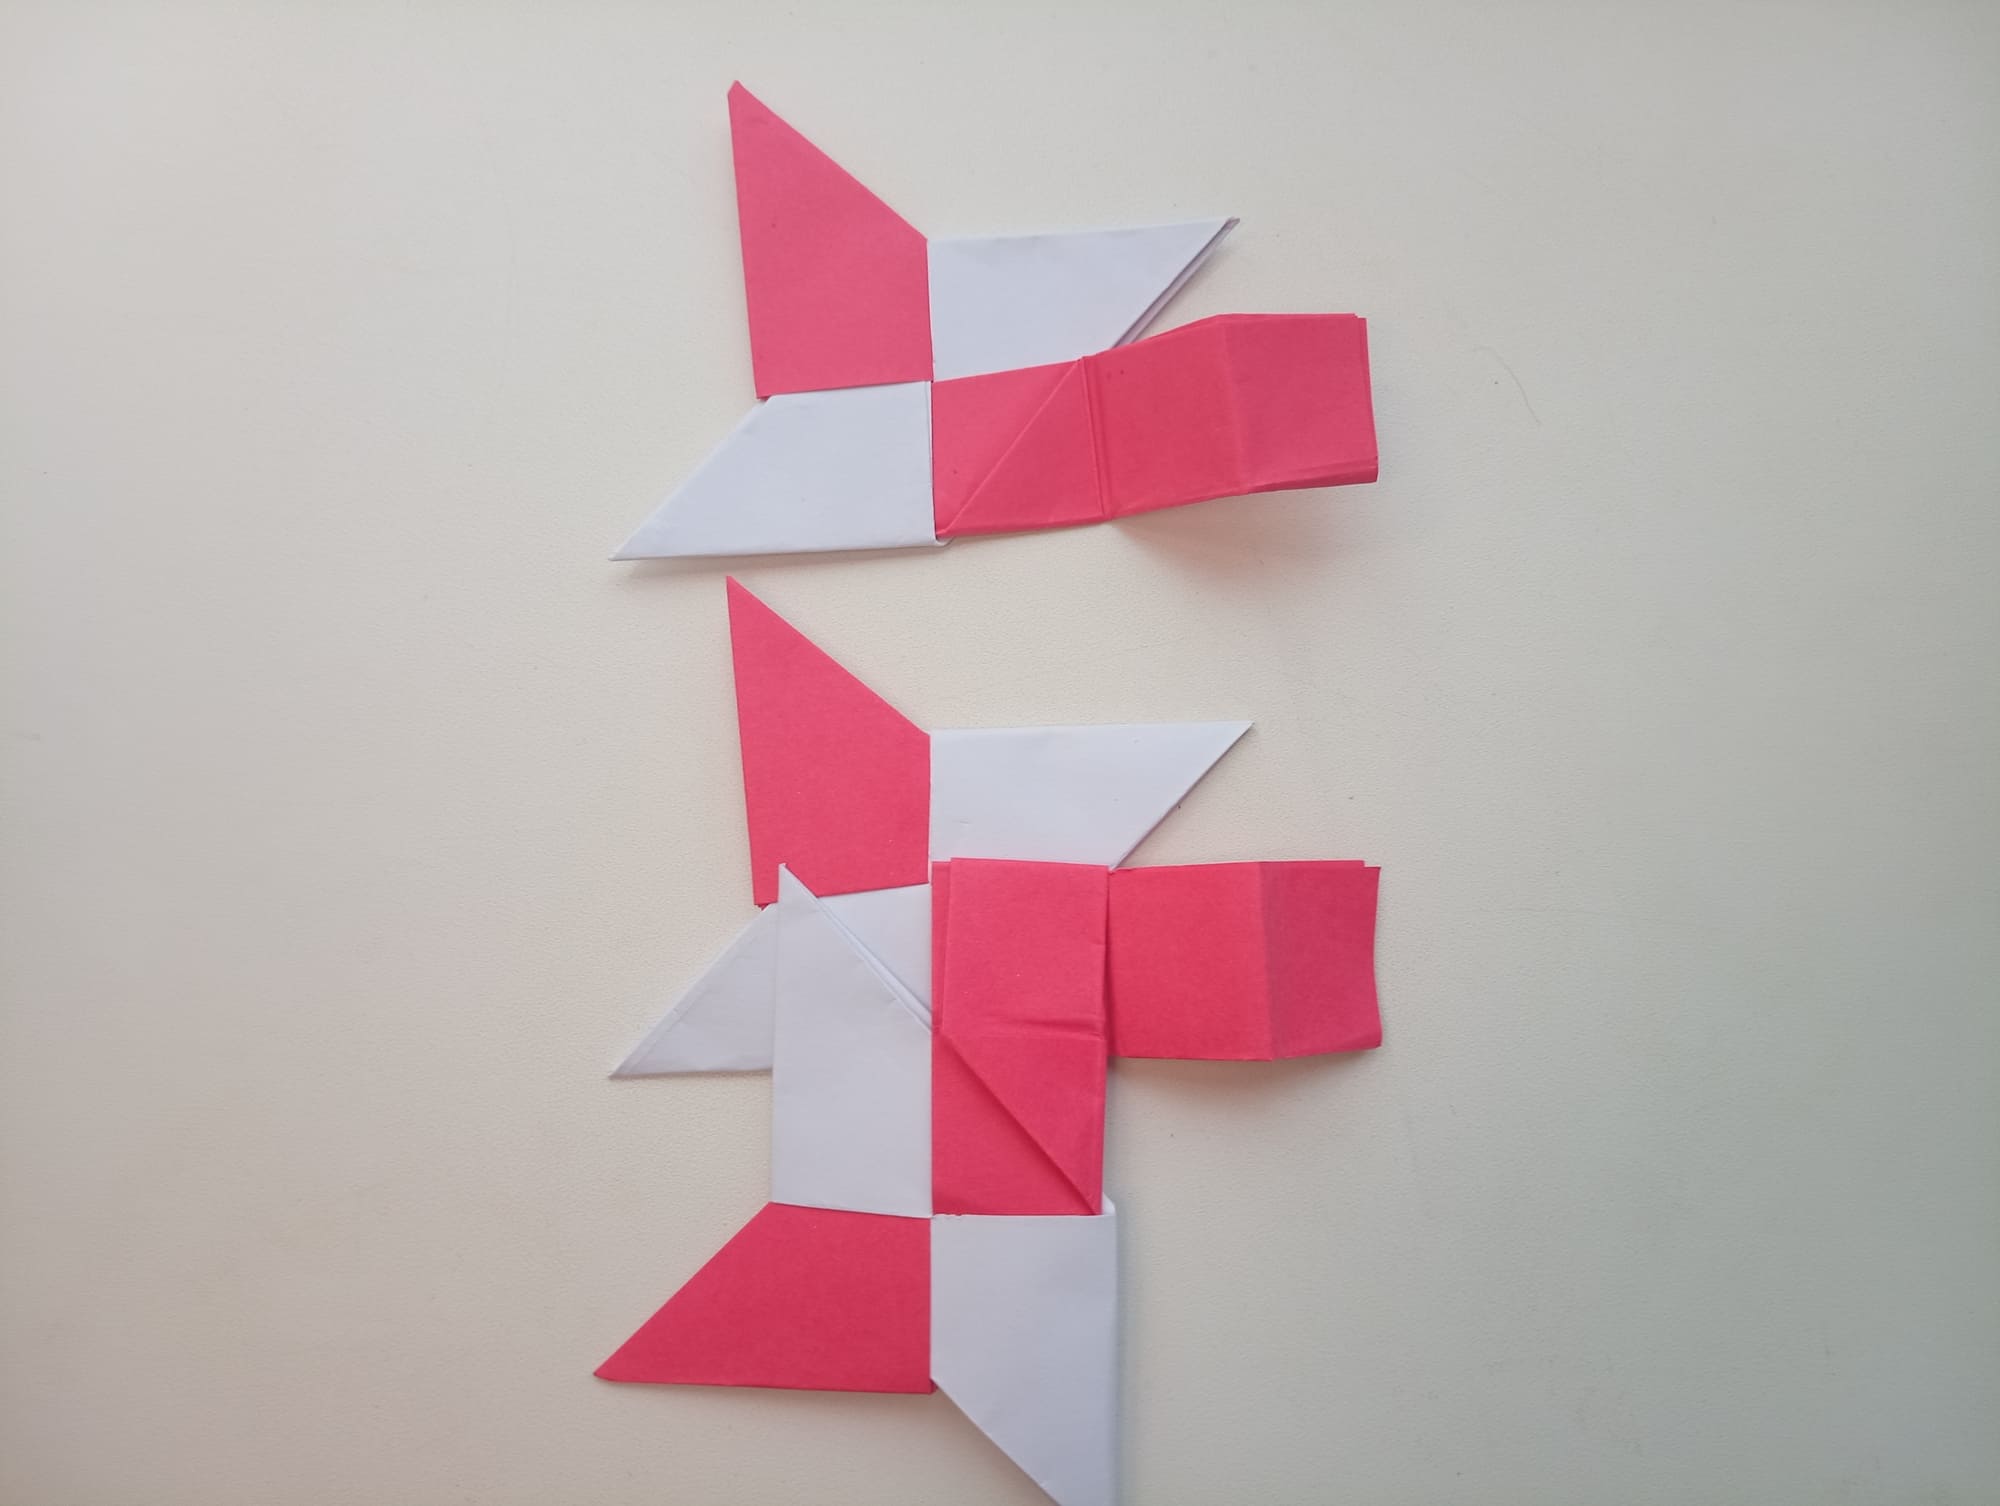
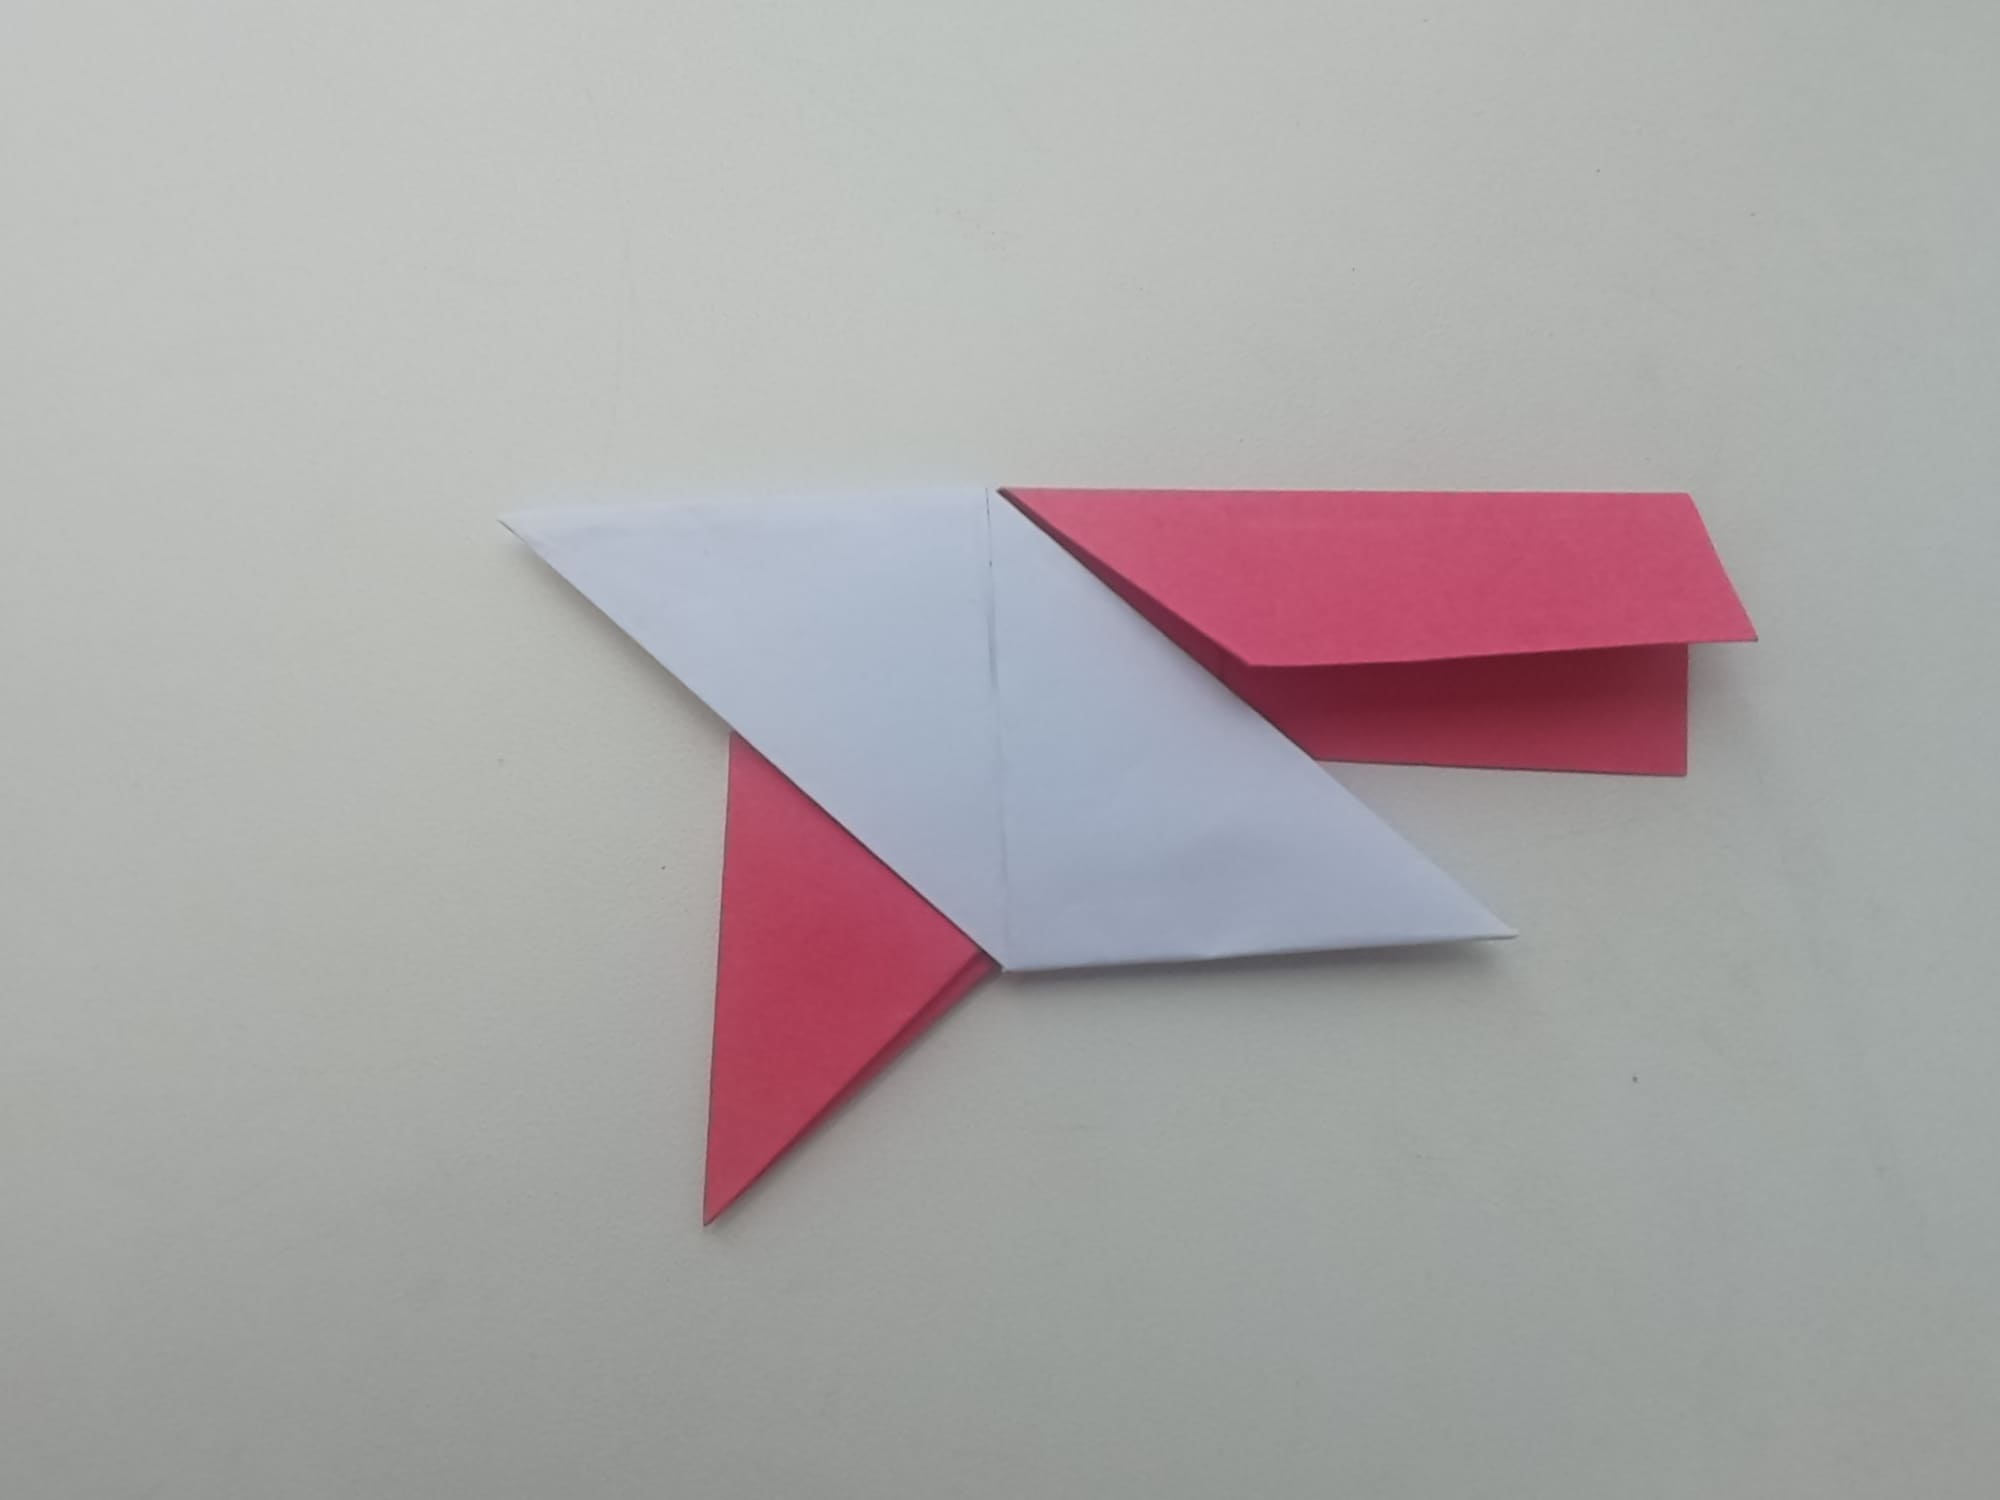
In the same way, we connect the third piece with the figure. Pay attention to the position of the pieces.
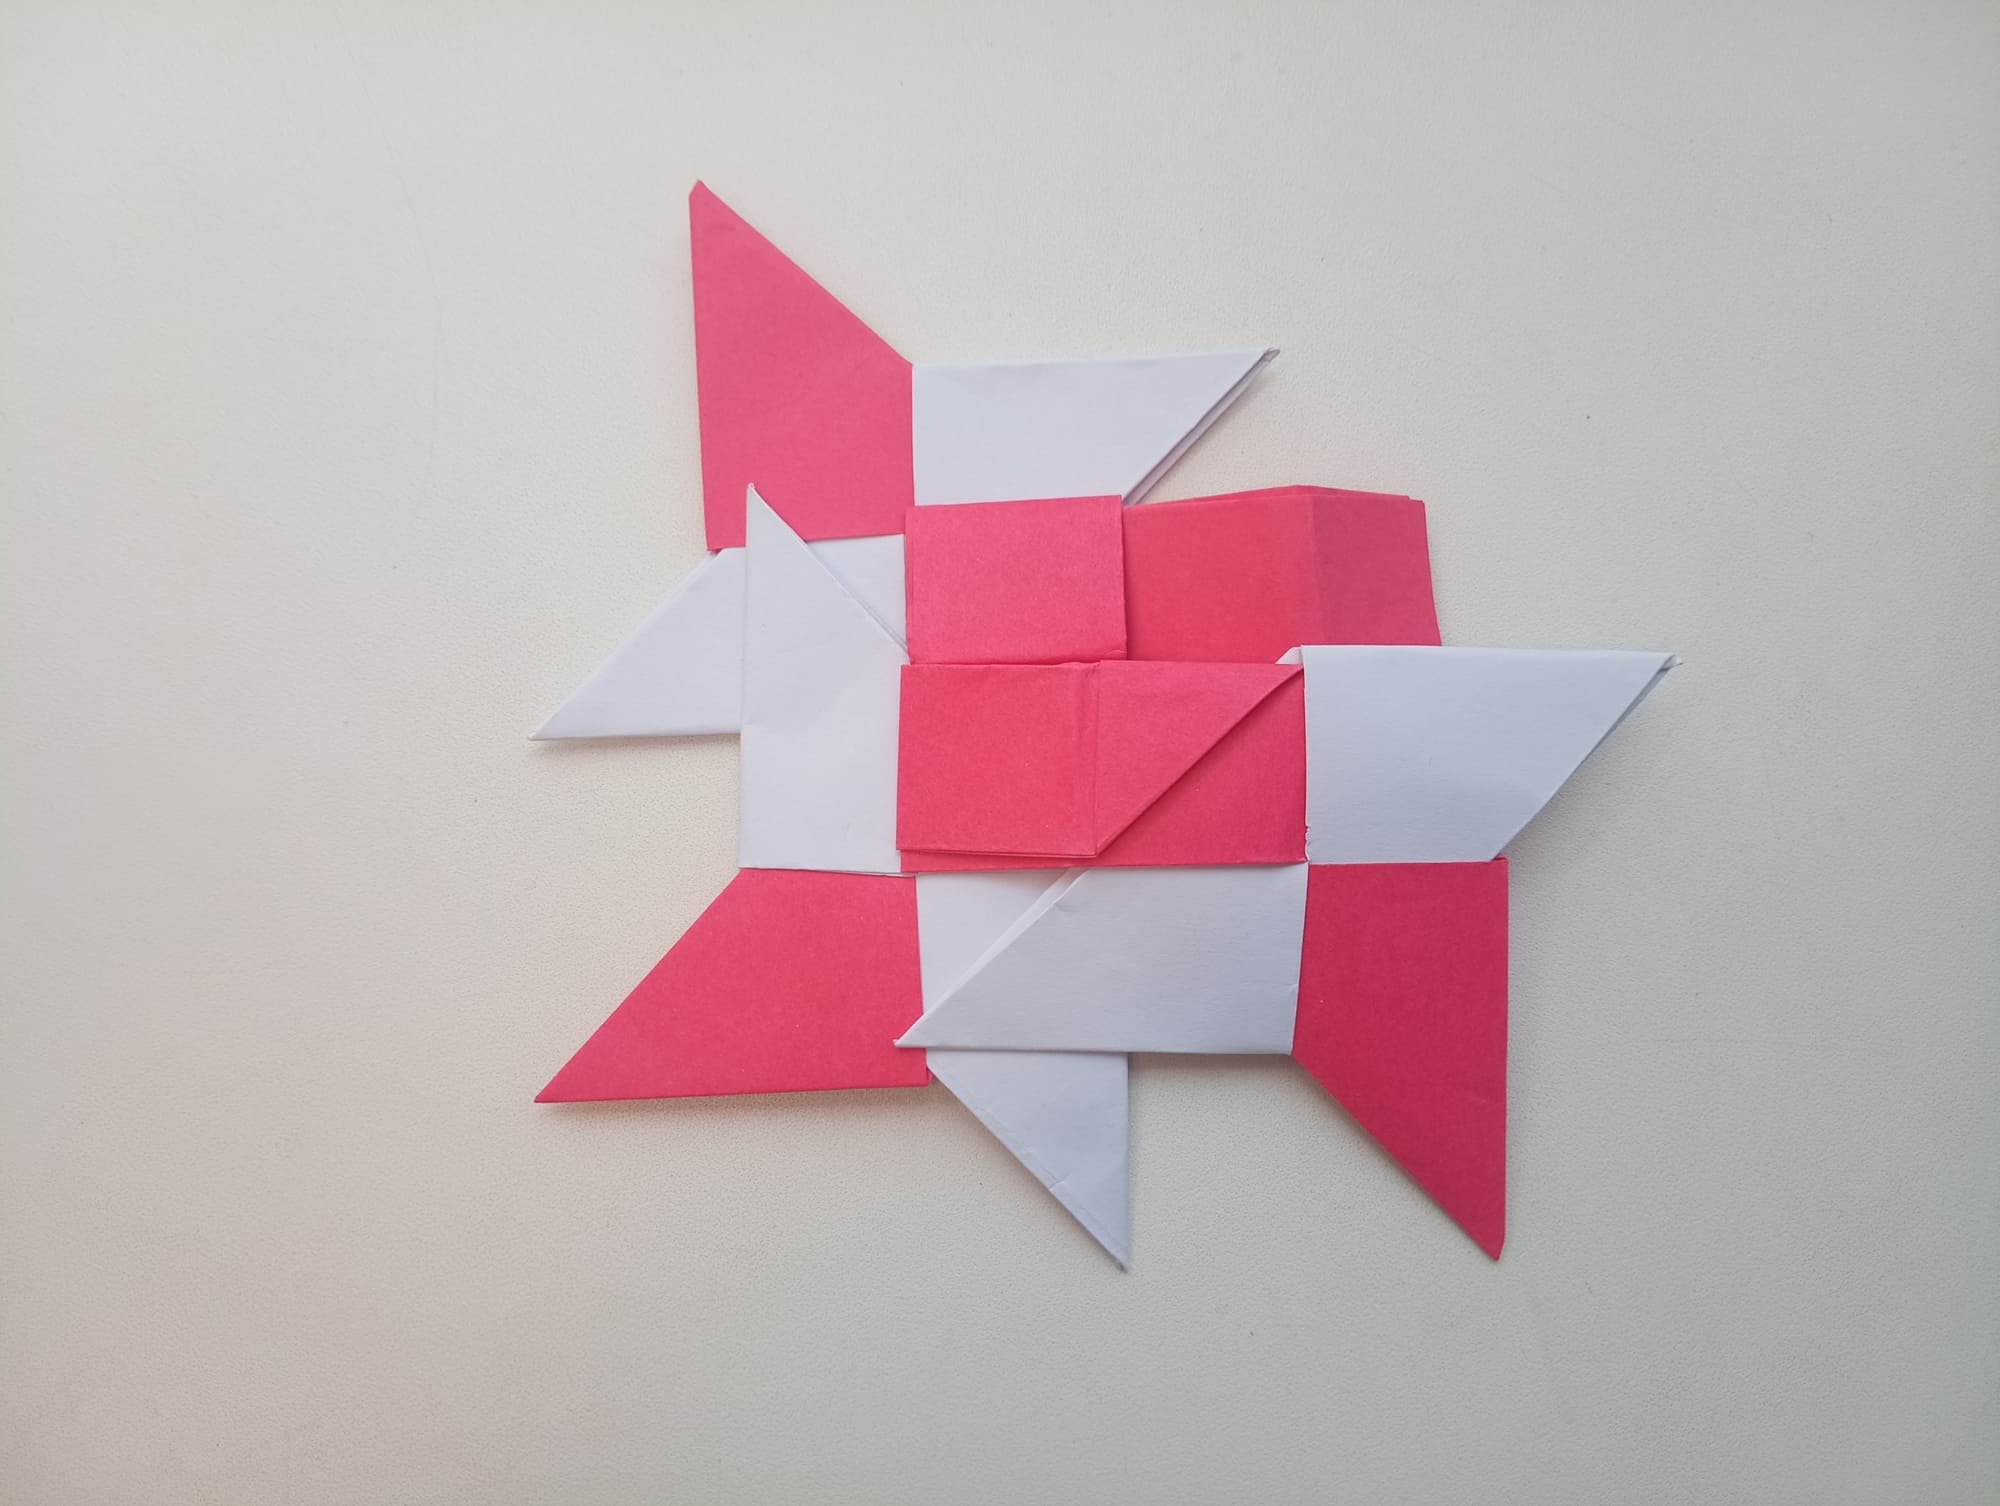
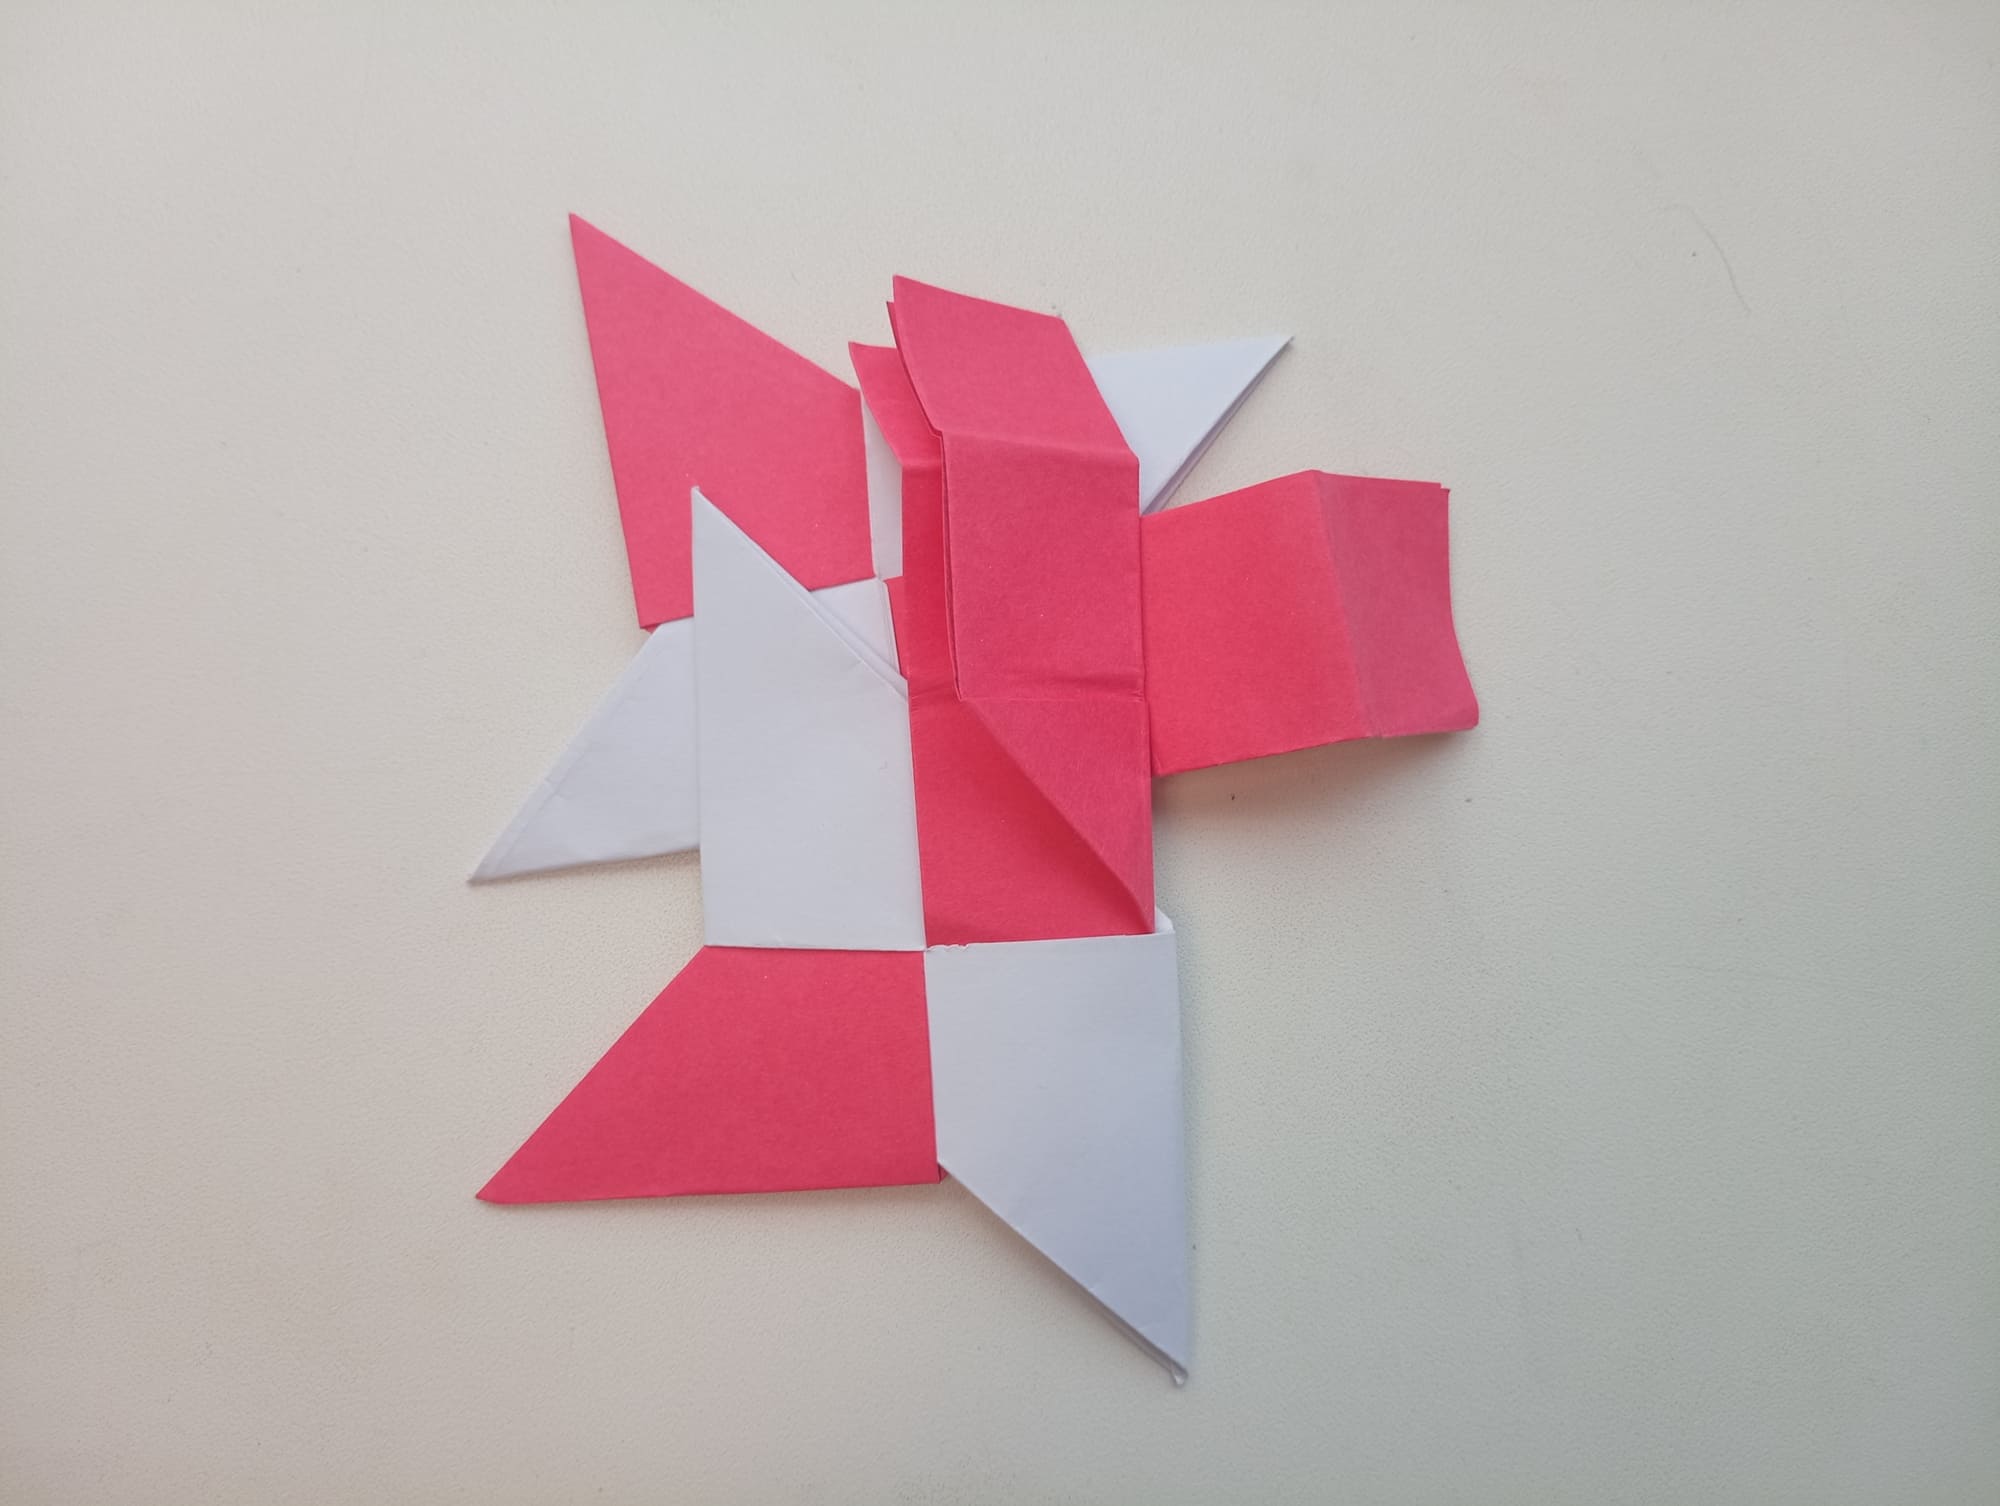
Join also the fourth piece and tuck in the tail. Look how it turns out in the photo.
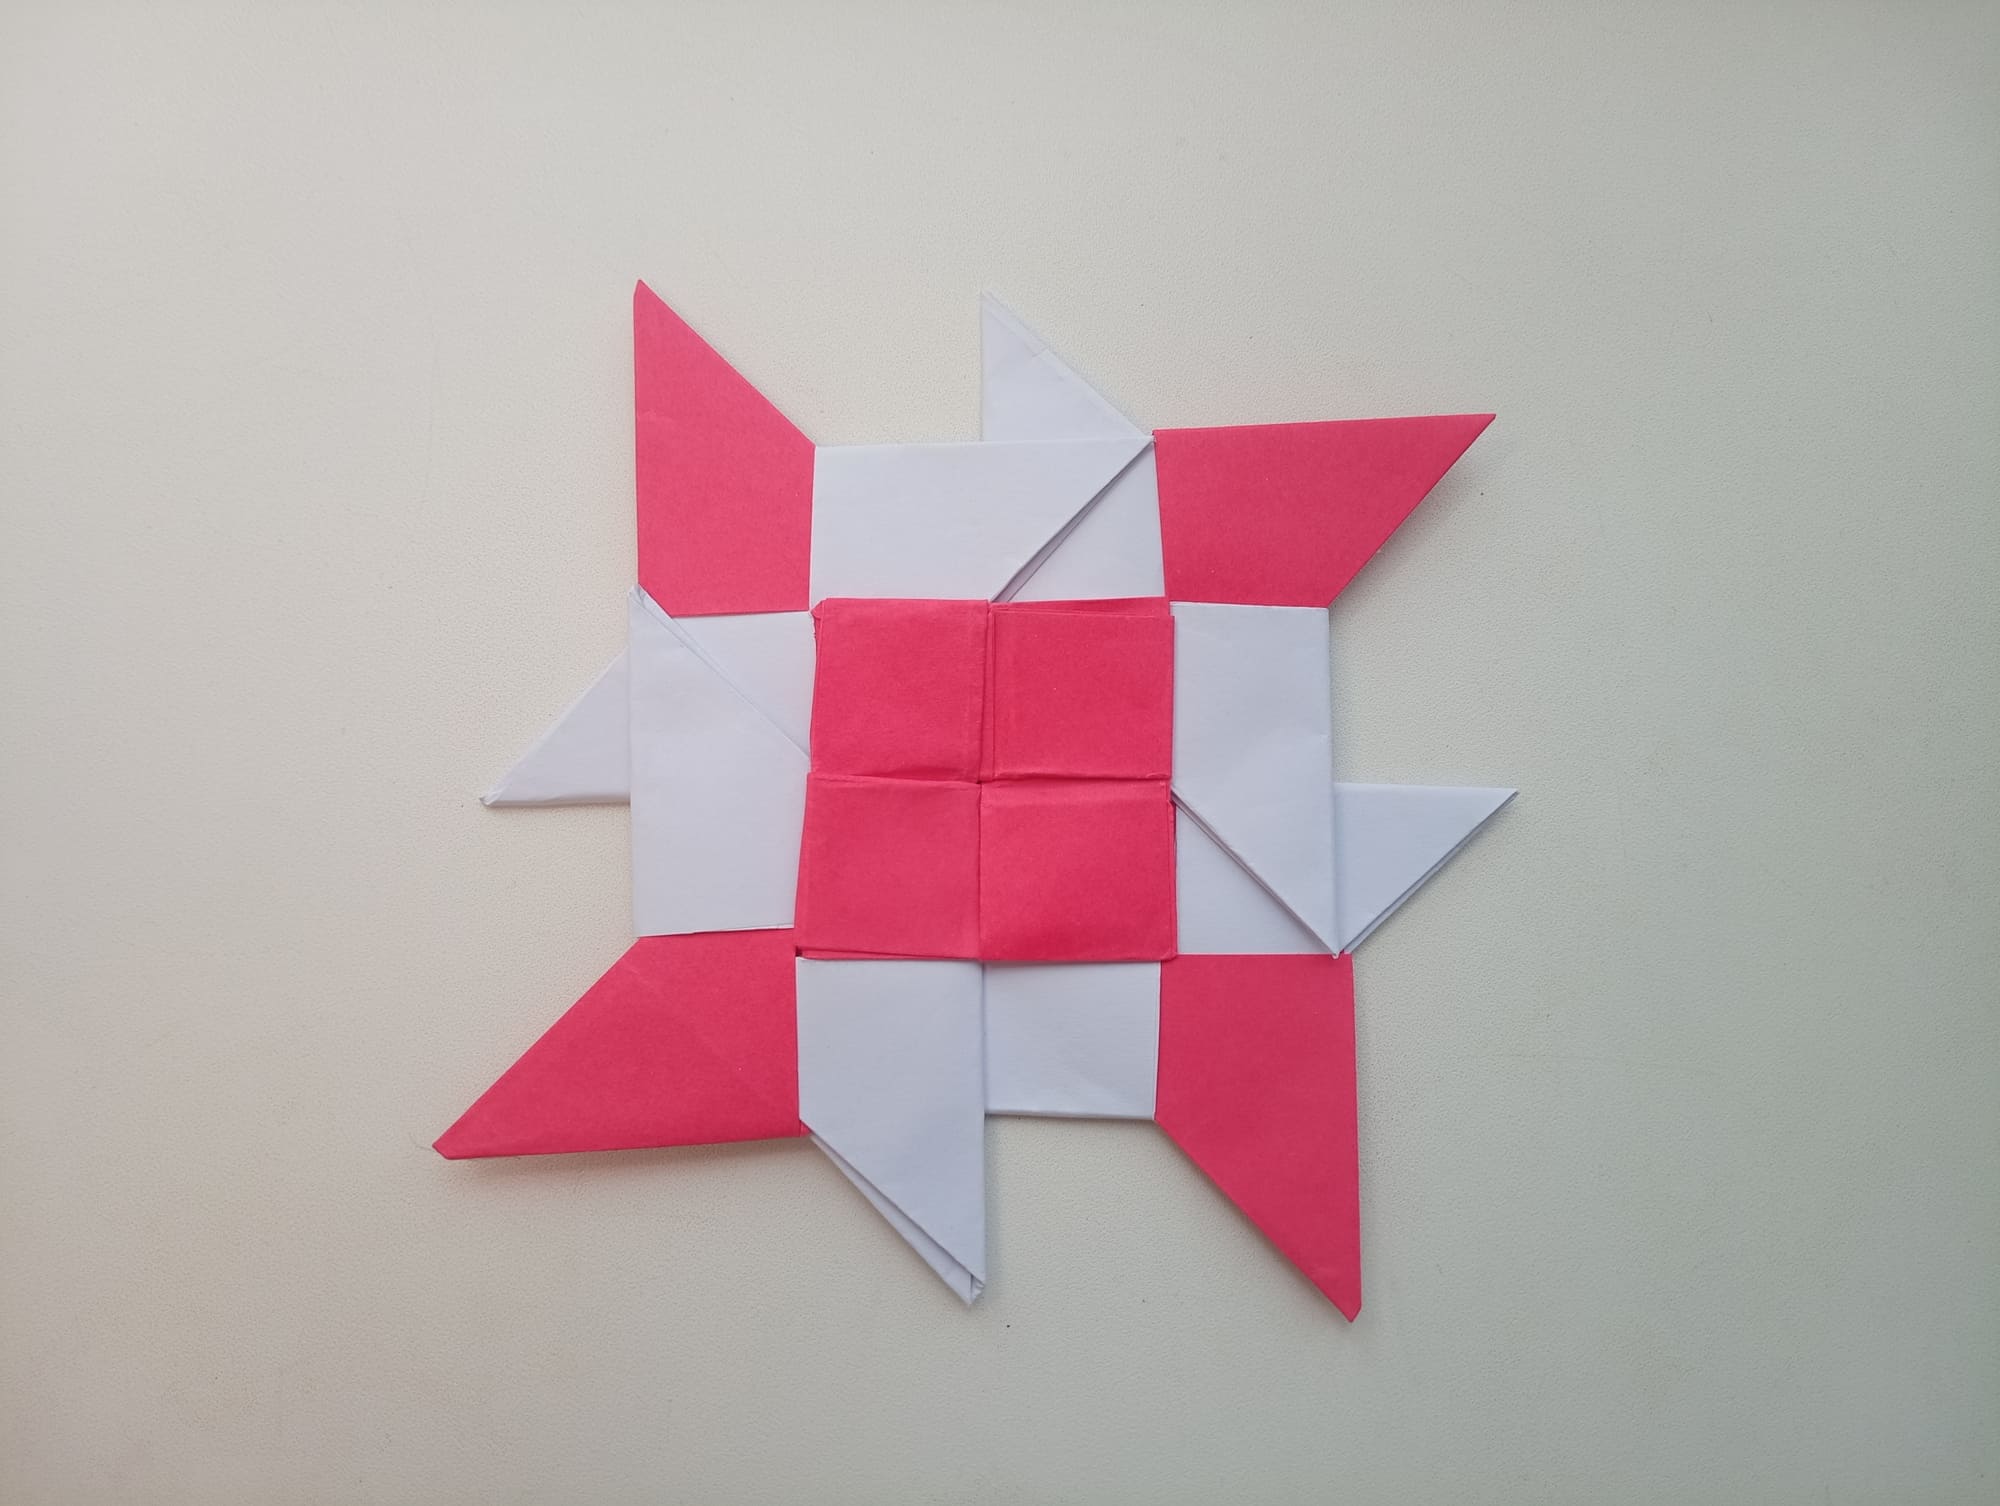
Our star is ready to be launched!
Although it will take you more time to make such origami stars, you will have a great craft that you can show off to your friends!


