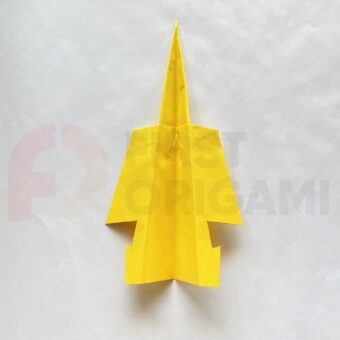
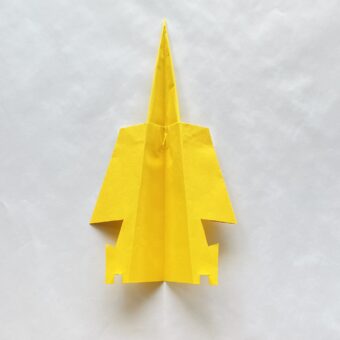
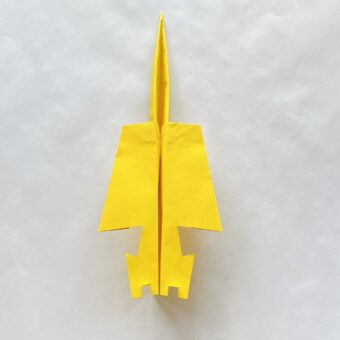
Origami Arrow Airplane
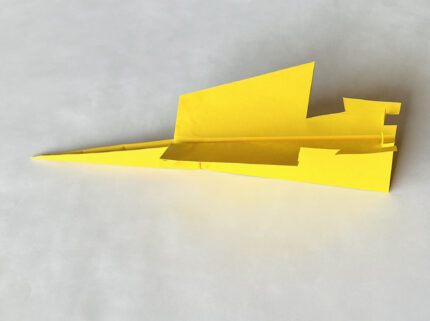
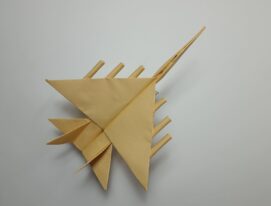
This paper airplane received this name not only because of its shape which resembles an arrow, but also because of its characteristics. The weighted nose of this model allows it to cut through the air faster than others and fly over long distances. However, you should not forget to be careful when launching it: the plane has a sharp nose.
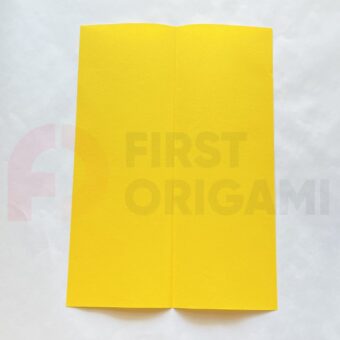
For this origami, you will need a standard sheet of A4 paper, and also, which is not quite usual, a pencil and scissors. We need the latter to modify the tail section of the aircraft.
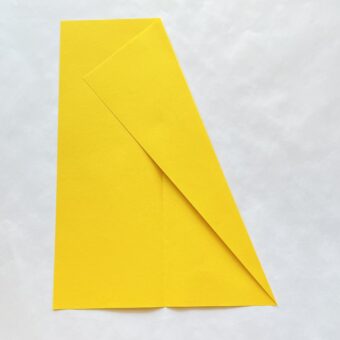
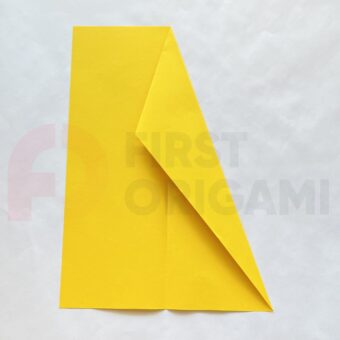
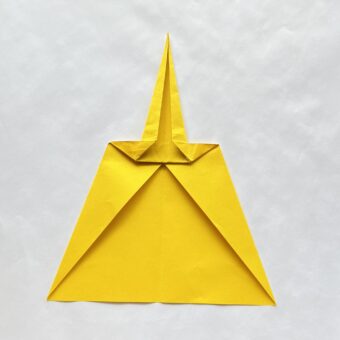
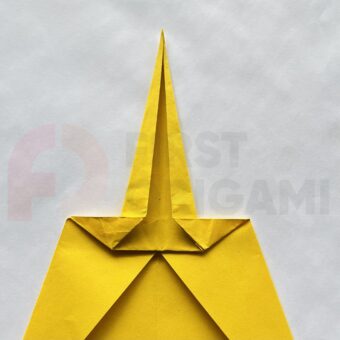
Fold the upper right corner inward so that the fold line passes through the top point of the center line and the top of the lower right corner.
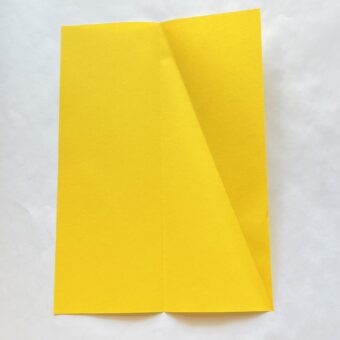
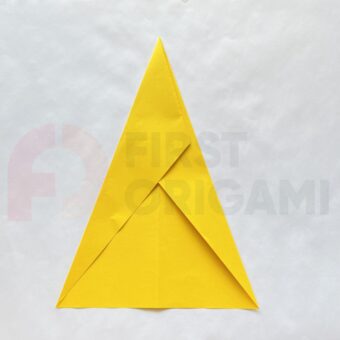
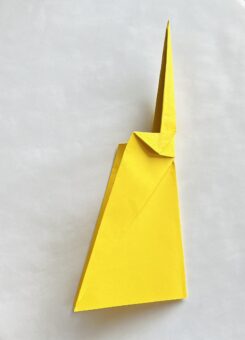
To do this, fold the right half of the top half of the shape inward, holding the right half of the center piece in place. Then, lay the paper flat on the table. If you have any difficulties, you can use the video instructions.
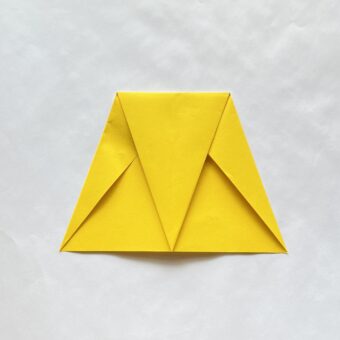
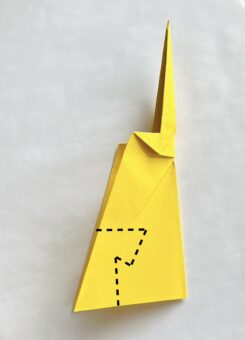
Draw the lines of future cuts with a pencil: we marked them with a dotted line. Then, take the scissors and cut both wings along them.
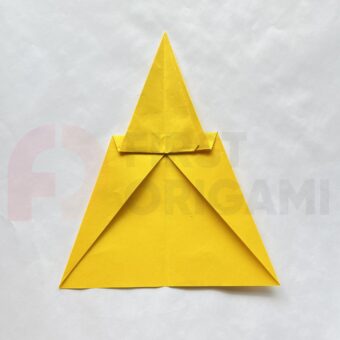
Take the scissors again and make 4 small cuts in the tail, which are indicated by dotted lines. You should have two small squares separated from the tail by cuts: bend them upward.
This aircraft model performs best outdoors. So, feel free to take it with you on a picnic and show it off to your friends.
