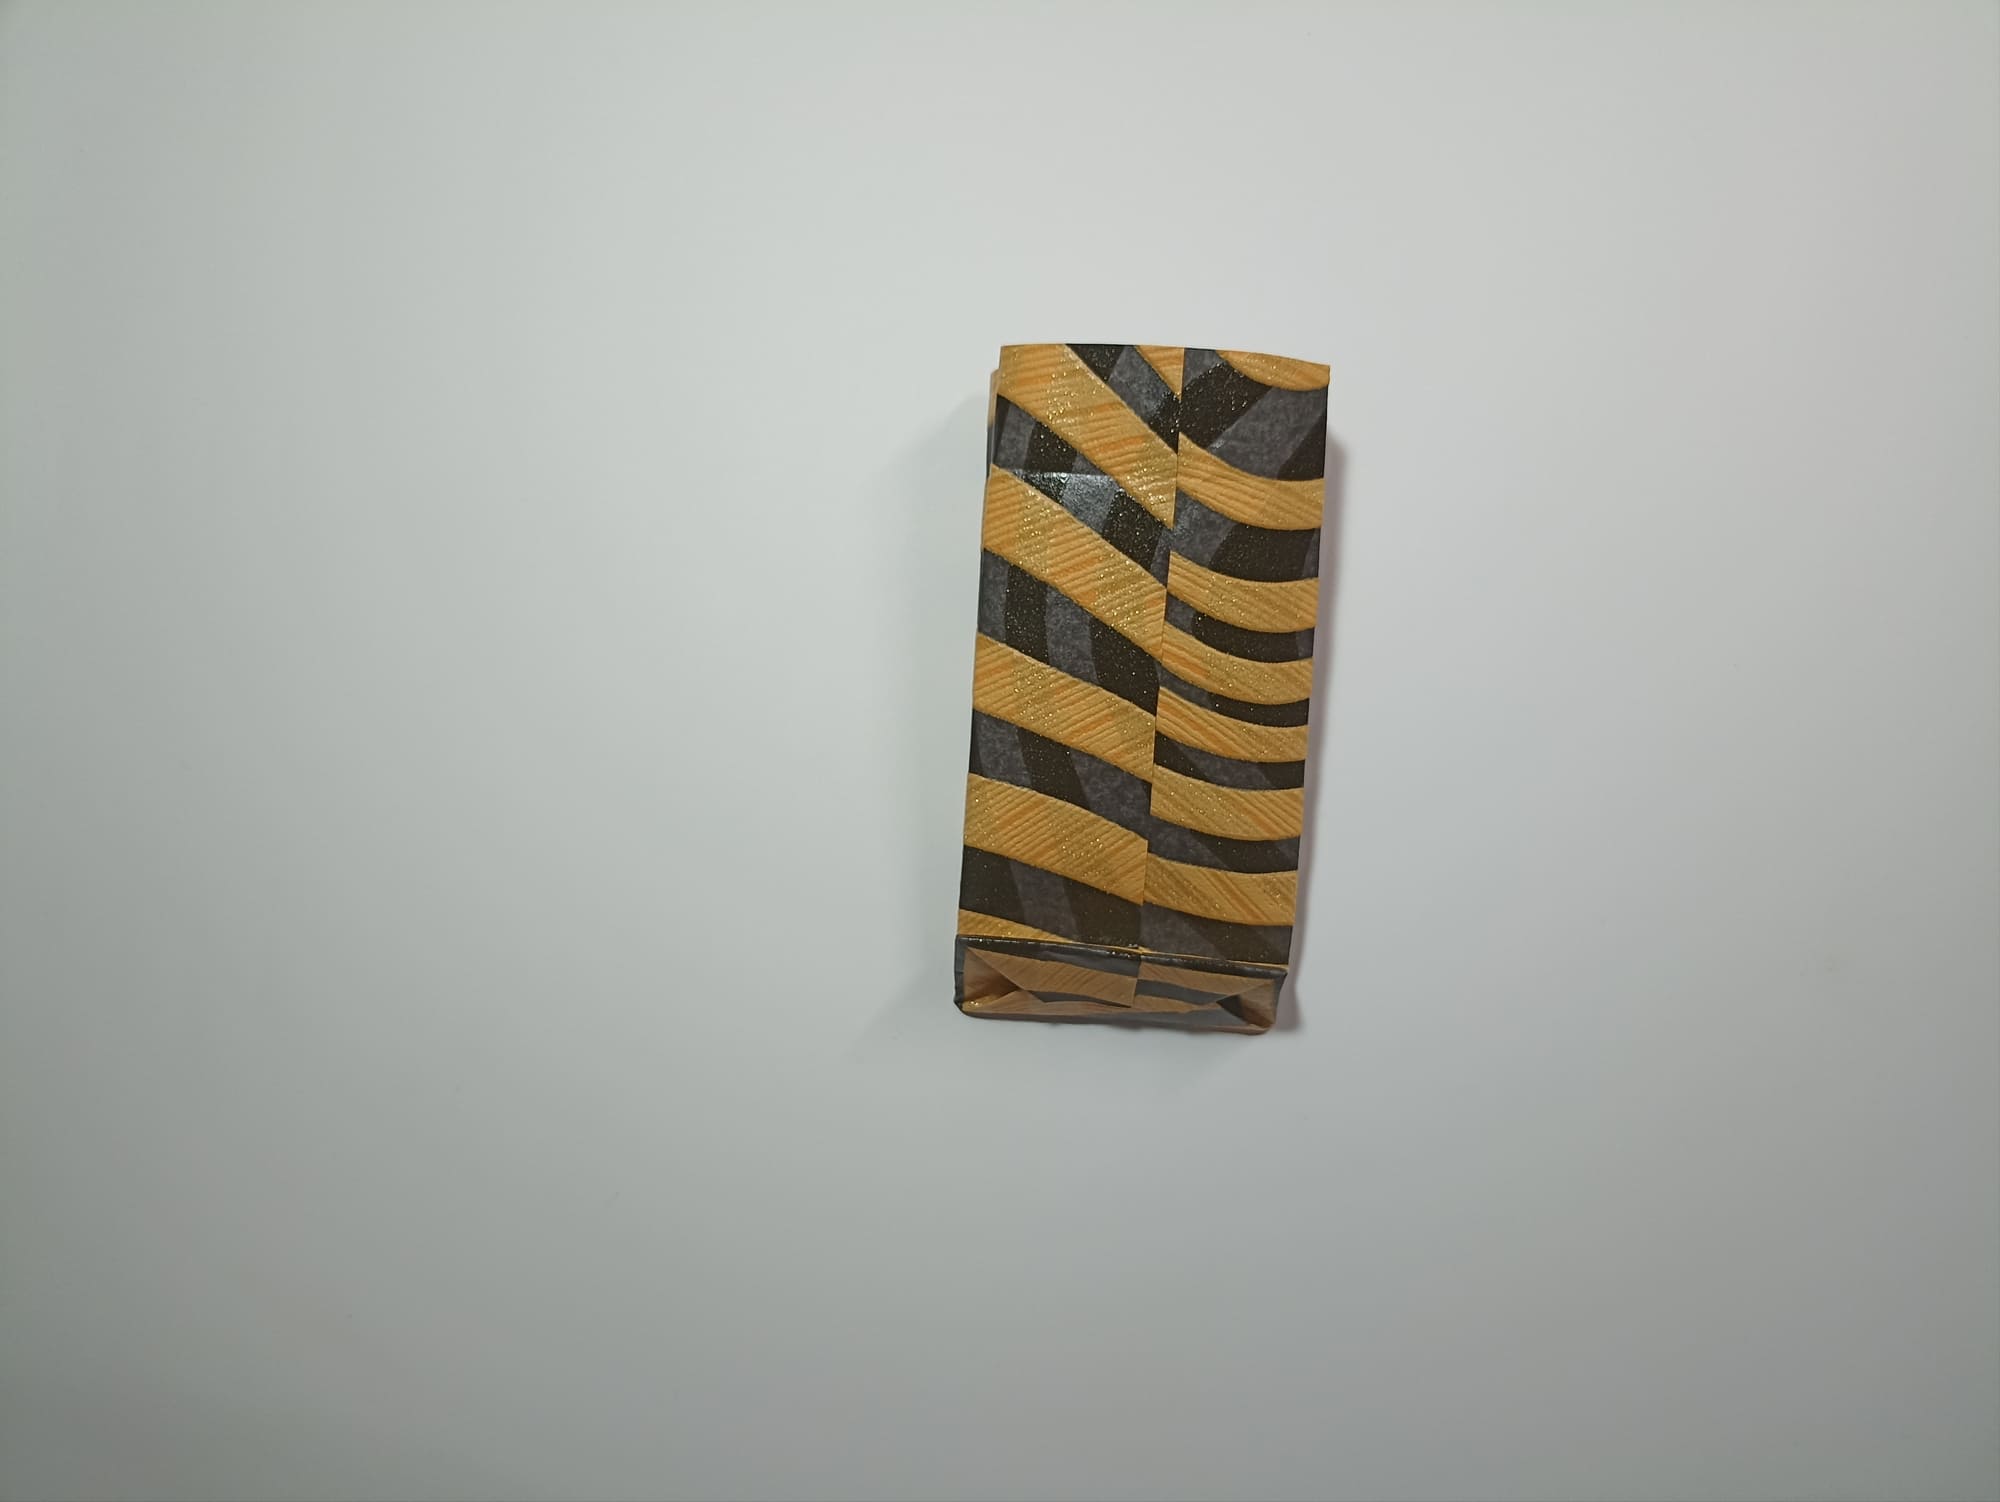
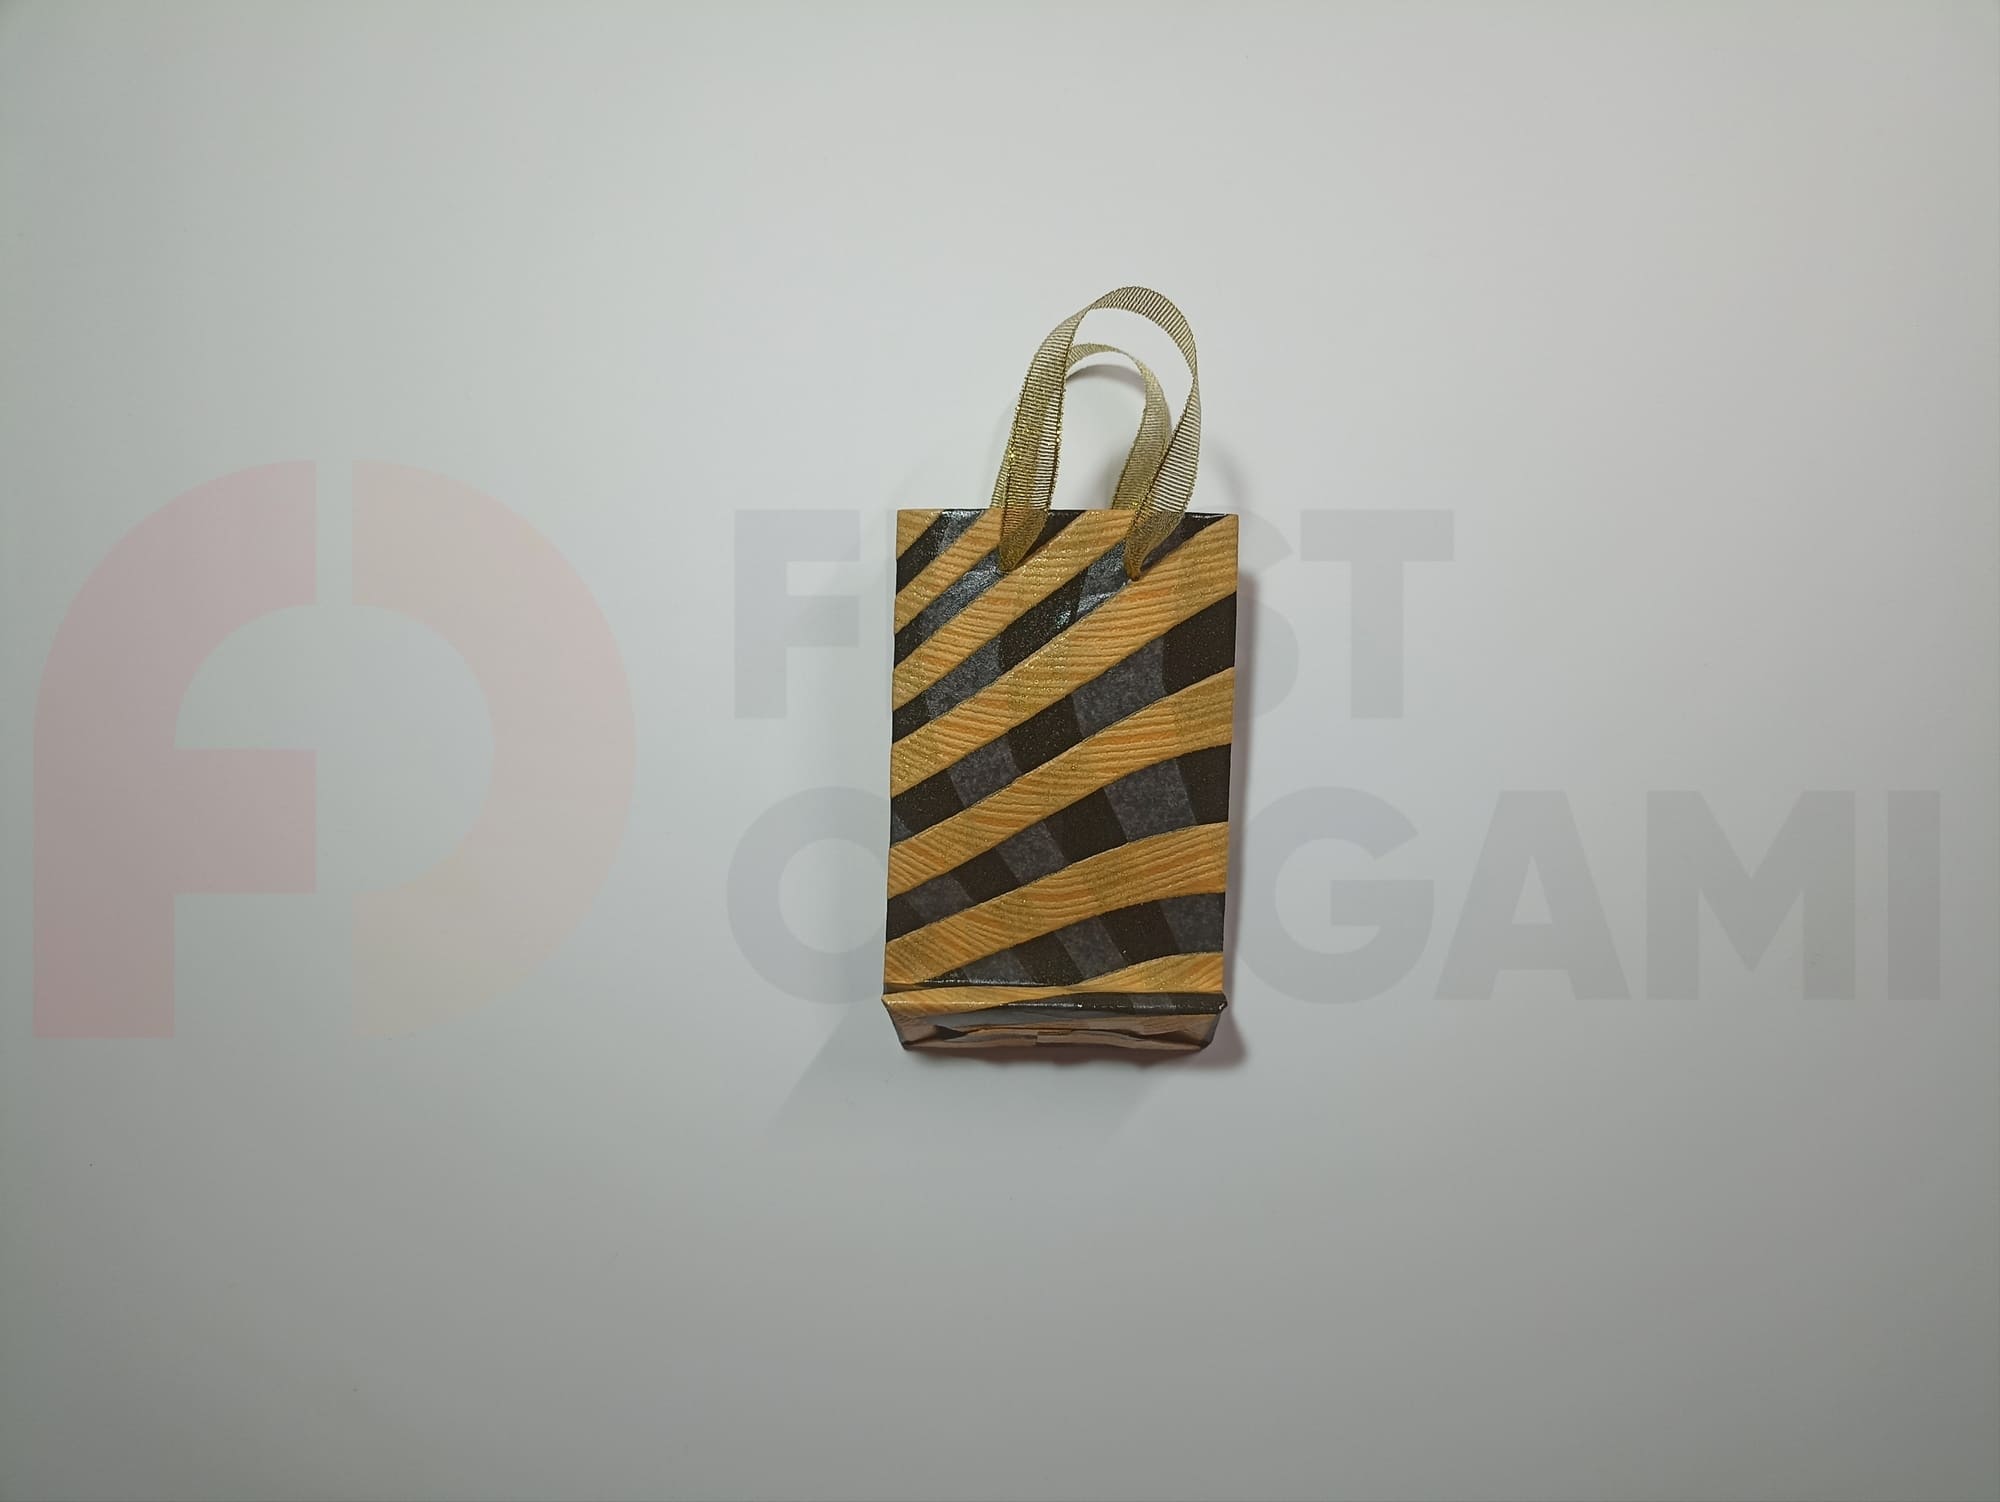
Origami bag out of wrapping paper
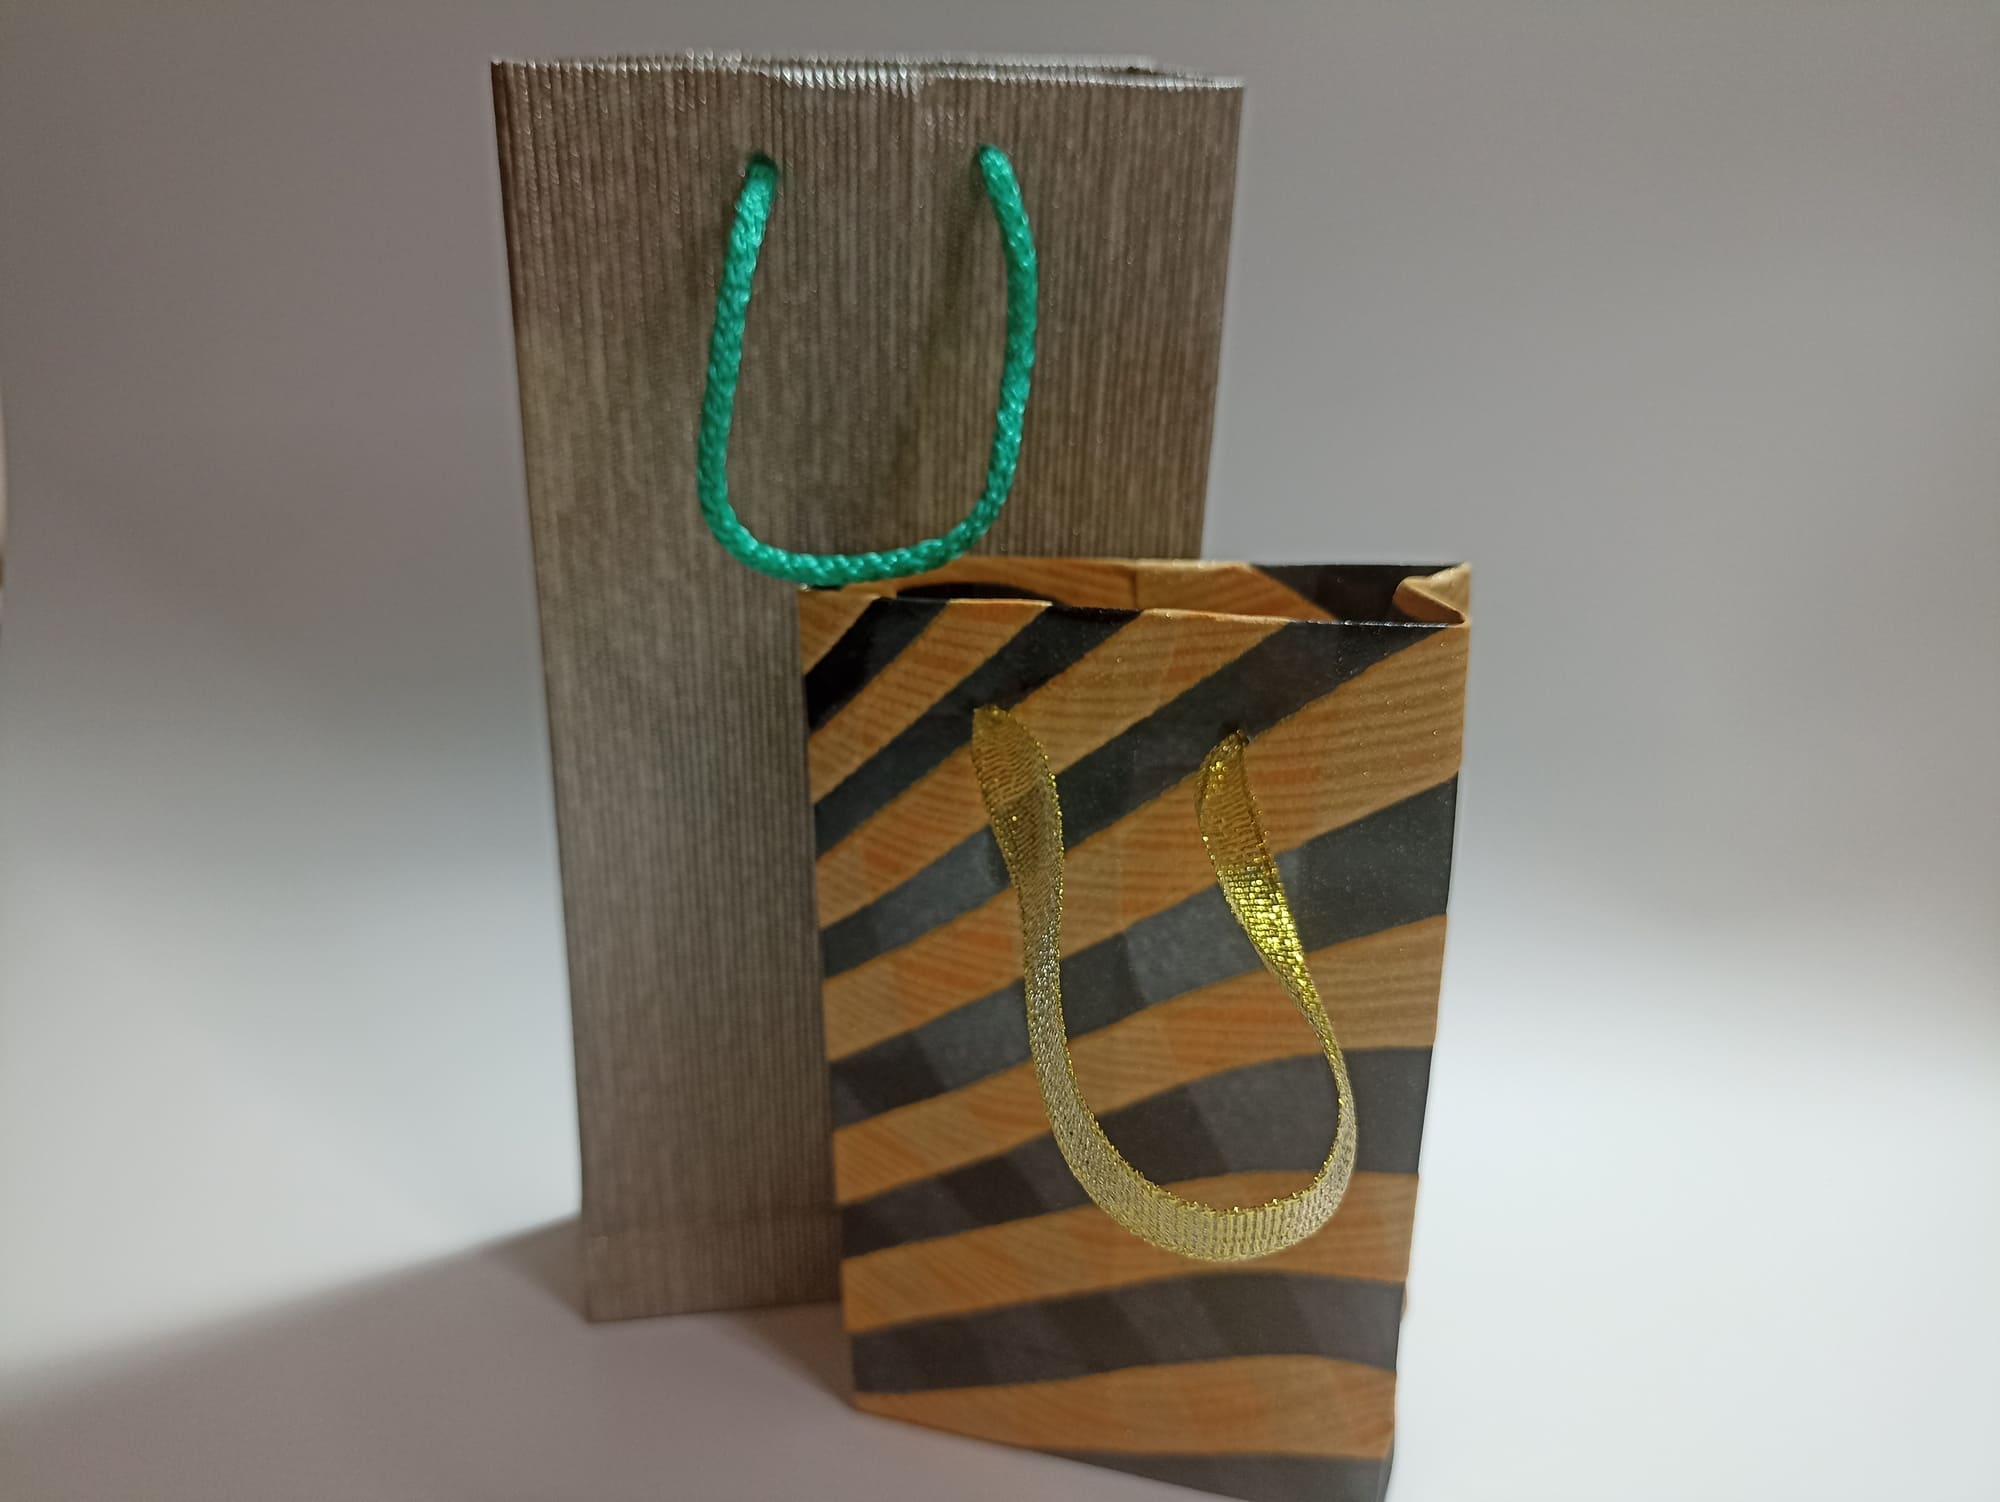
You can make a gift bag yourself. To do this, you will need wrapping paper, leftover wallpaper, magazines, newspapers, or road maps. Such materials can be found in every home. The main thing is to decide on a suitable color and print. Sometimes making a gift bag with your own hands is a way out of a difficult situation when a gift is of non-standard size or shape and you cannot find suitable packaging. A gift given in such a package will become especially valuable because it will be unique, special, and unlike others.
To create this bag, in addition to paper, you will need other materials: pieces of braid or twine for handles, a piece of cardboard for the bottom, glue, or double-sided tape. It is also necessary to have some tools on hand, including scissors, a pencil and ruler, and a hole punch (or a thick needle to make a hole). A detailed description of the steps with photographs will make the assembly process easy and fun. The work takes no more than 15 minutes.
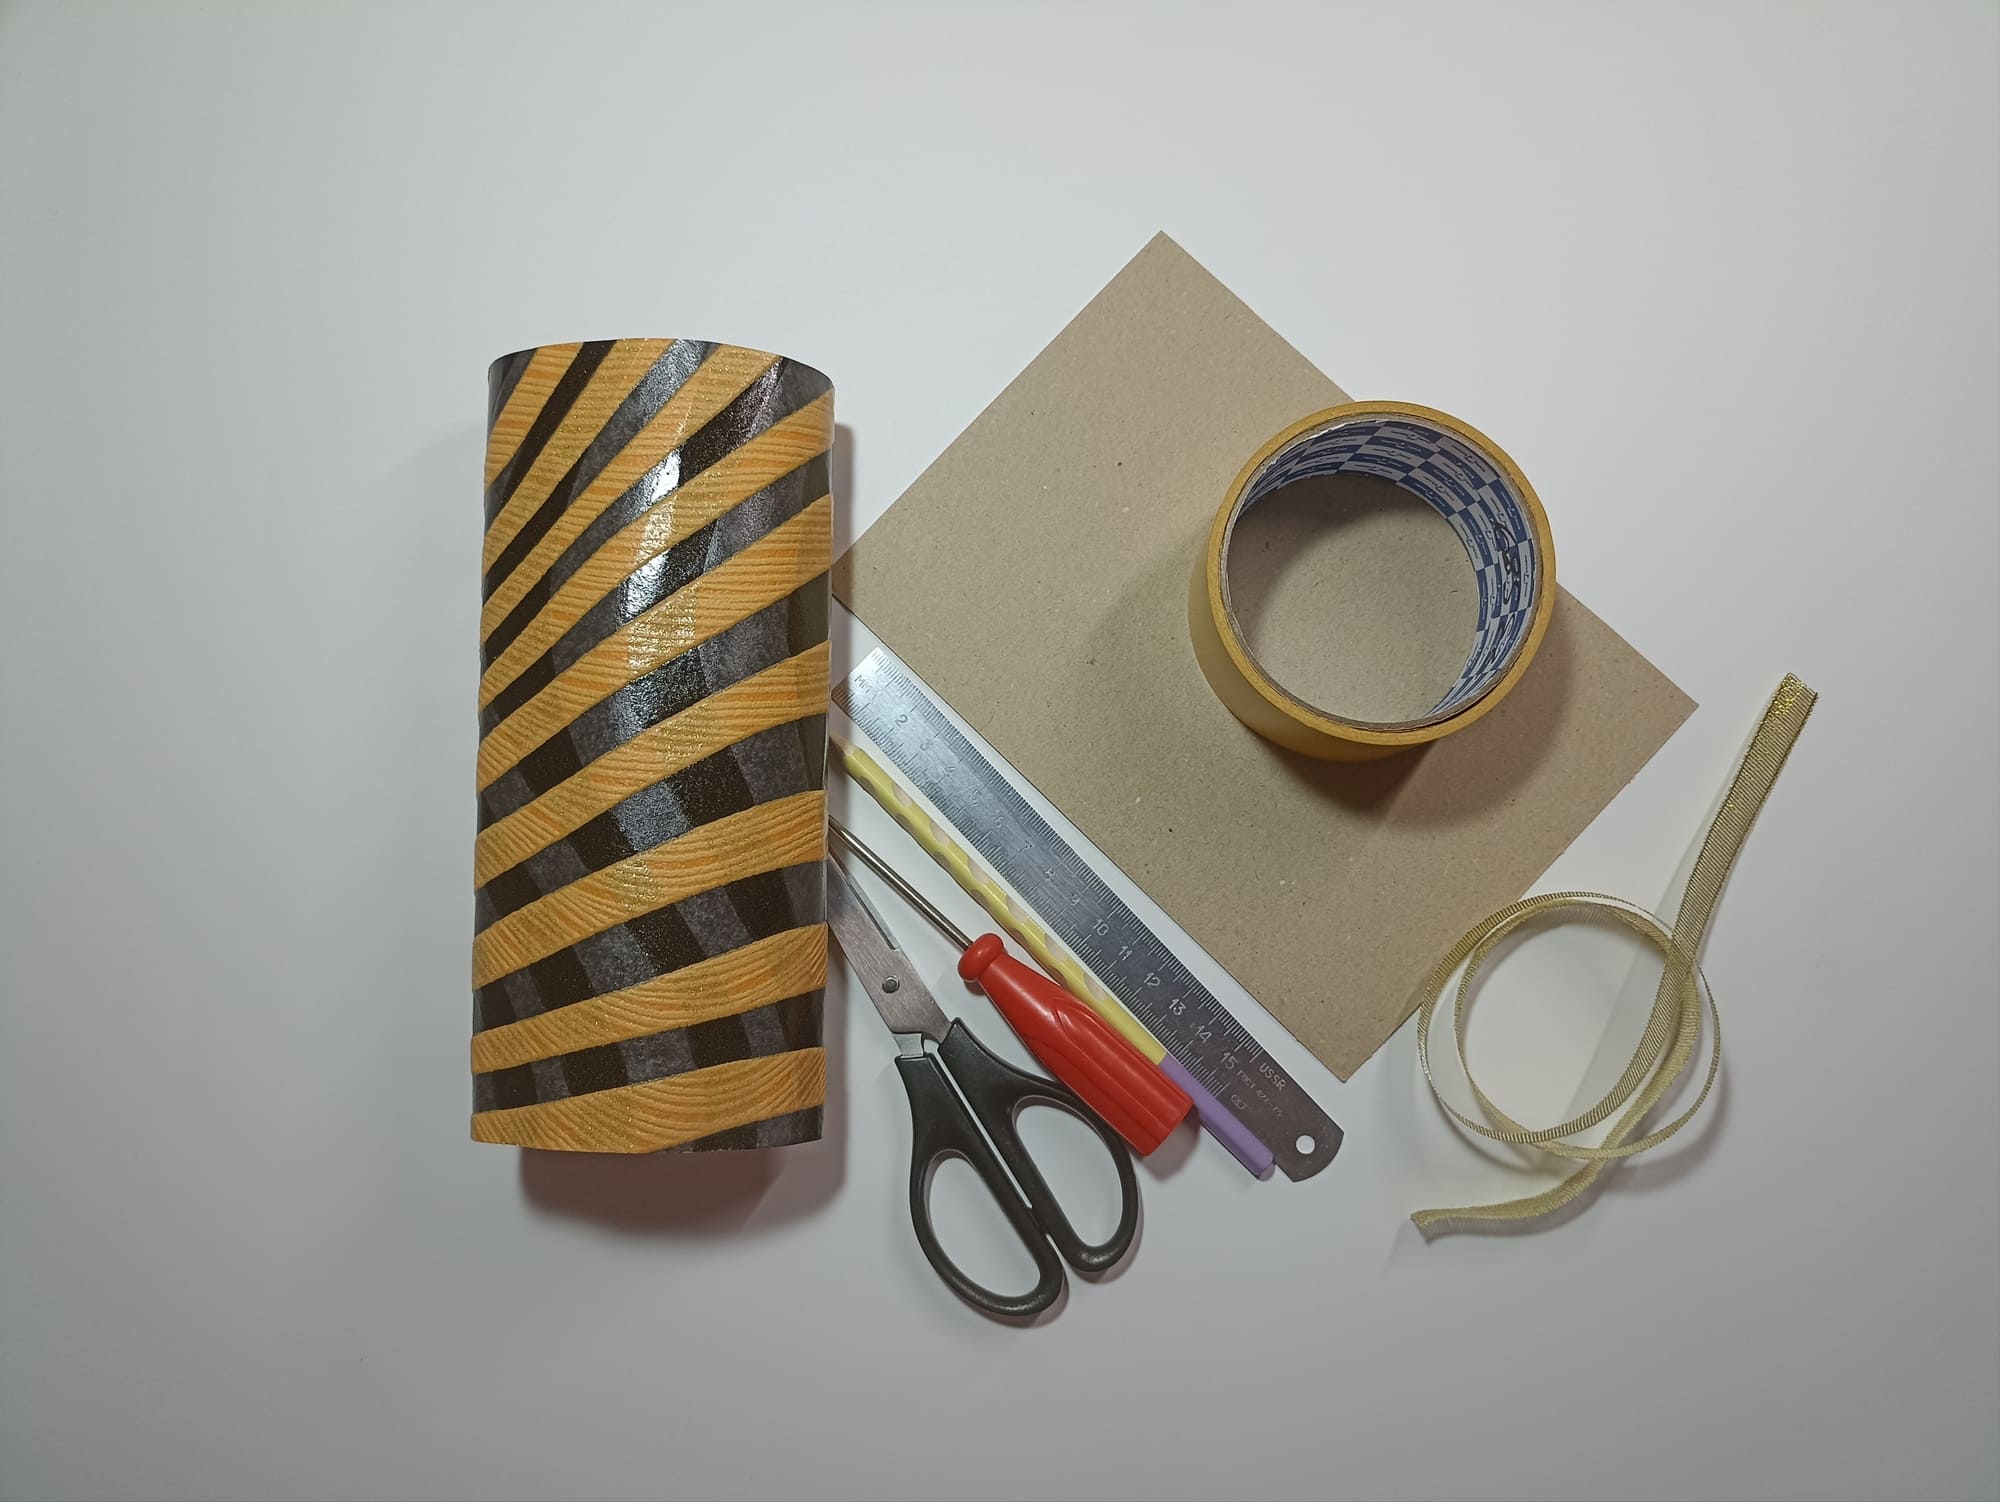
Prepare all materials and tools for work.
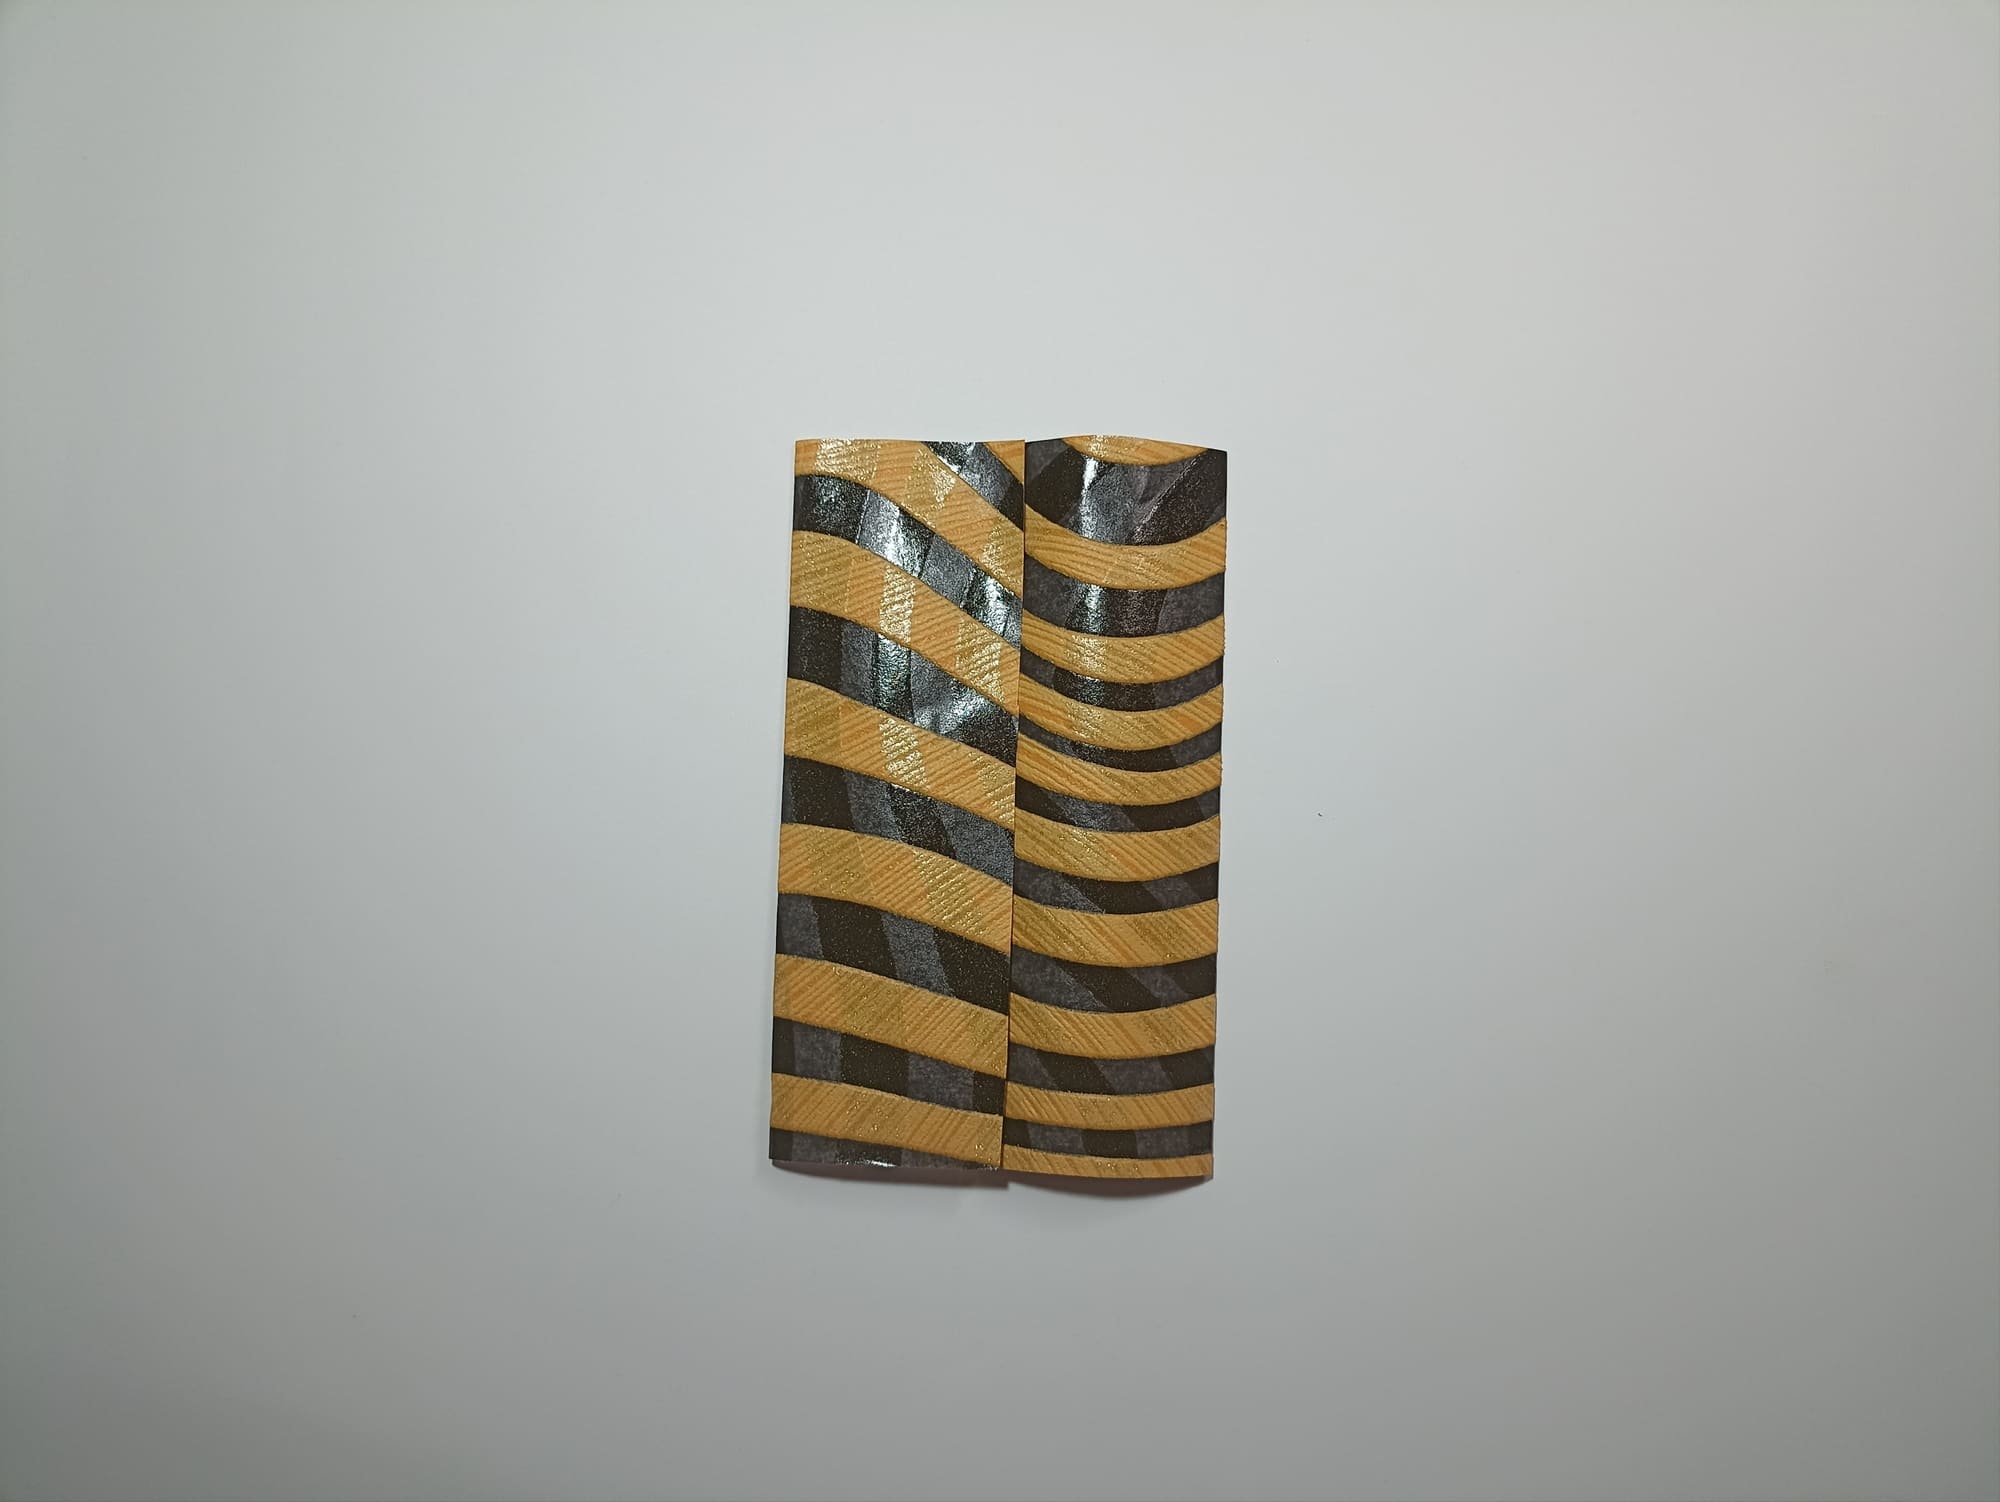
Determine the center of the selected rectangle, fold it in half, and open it back.
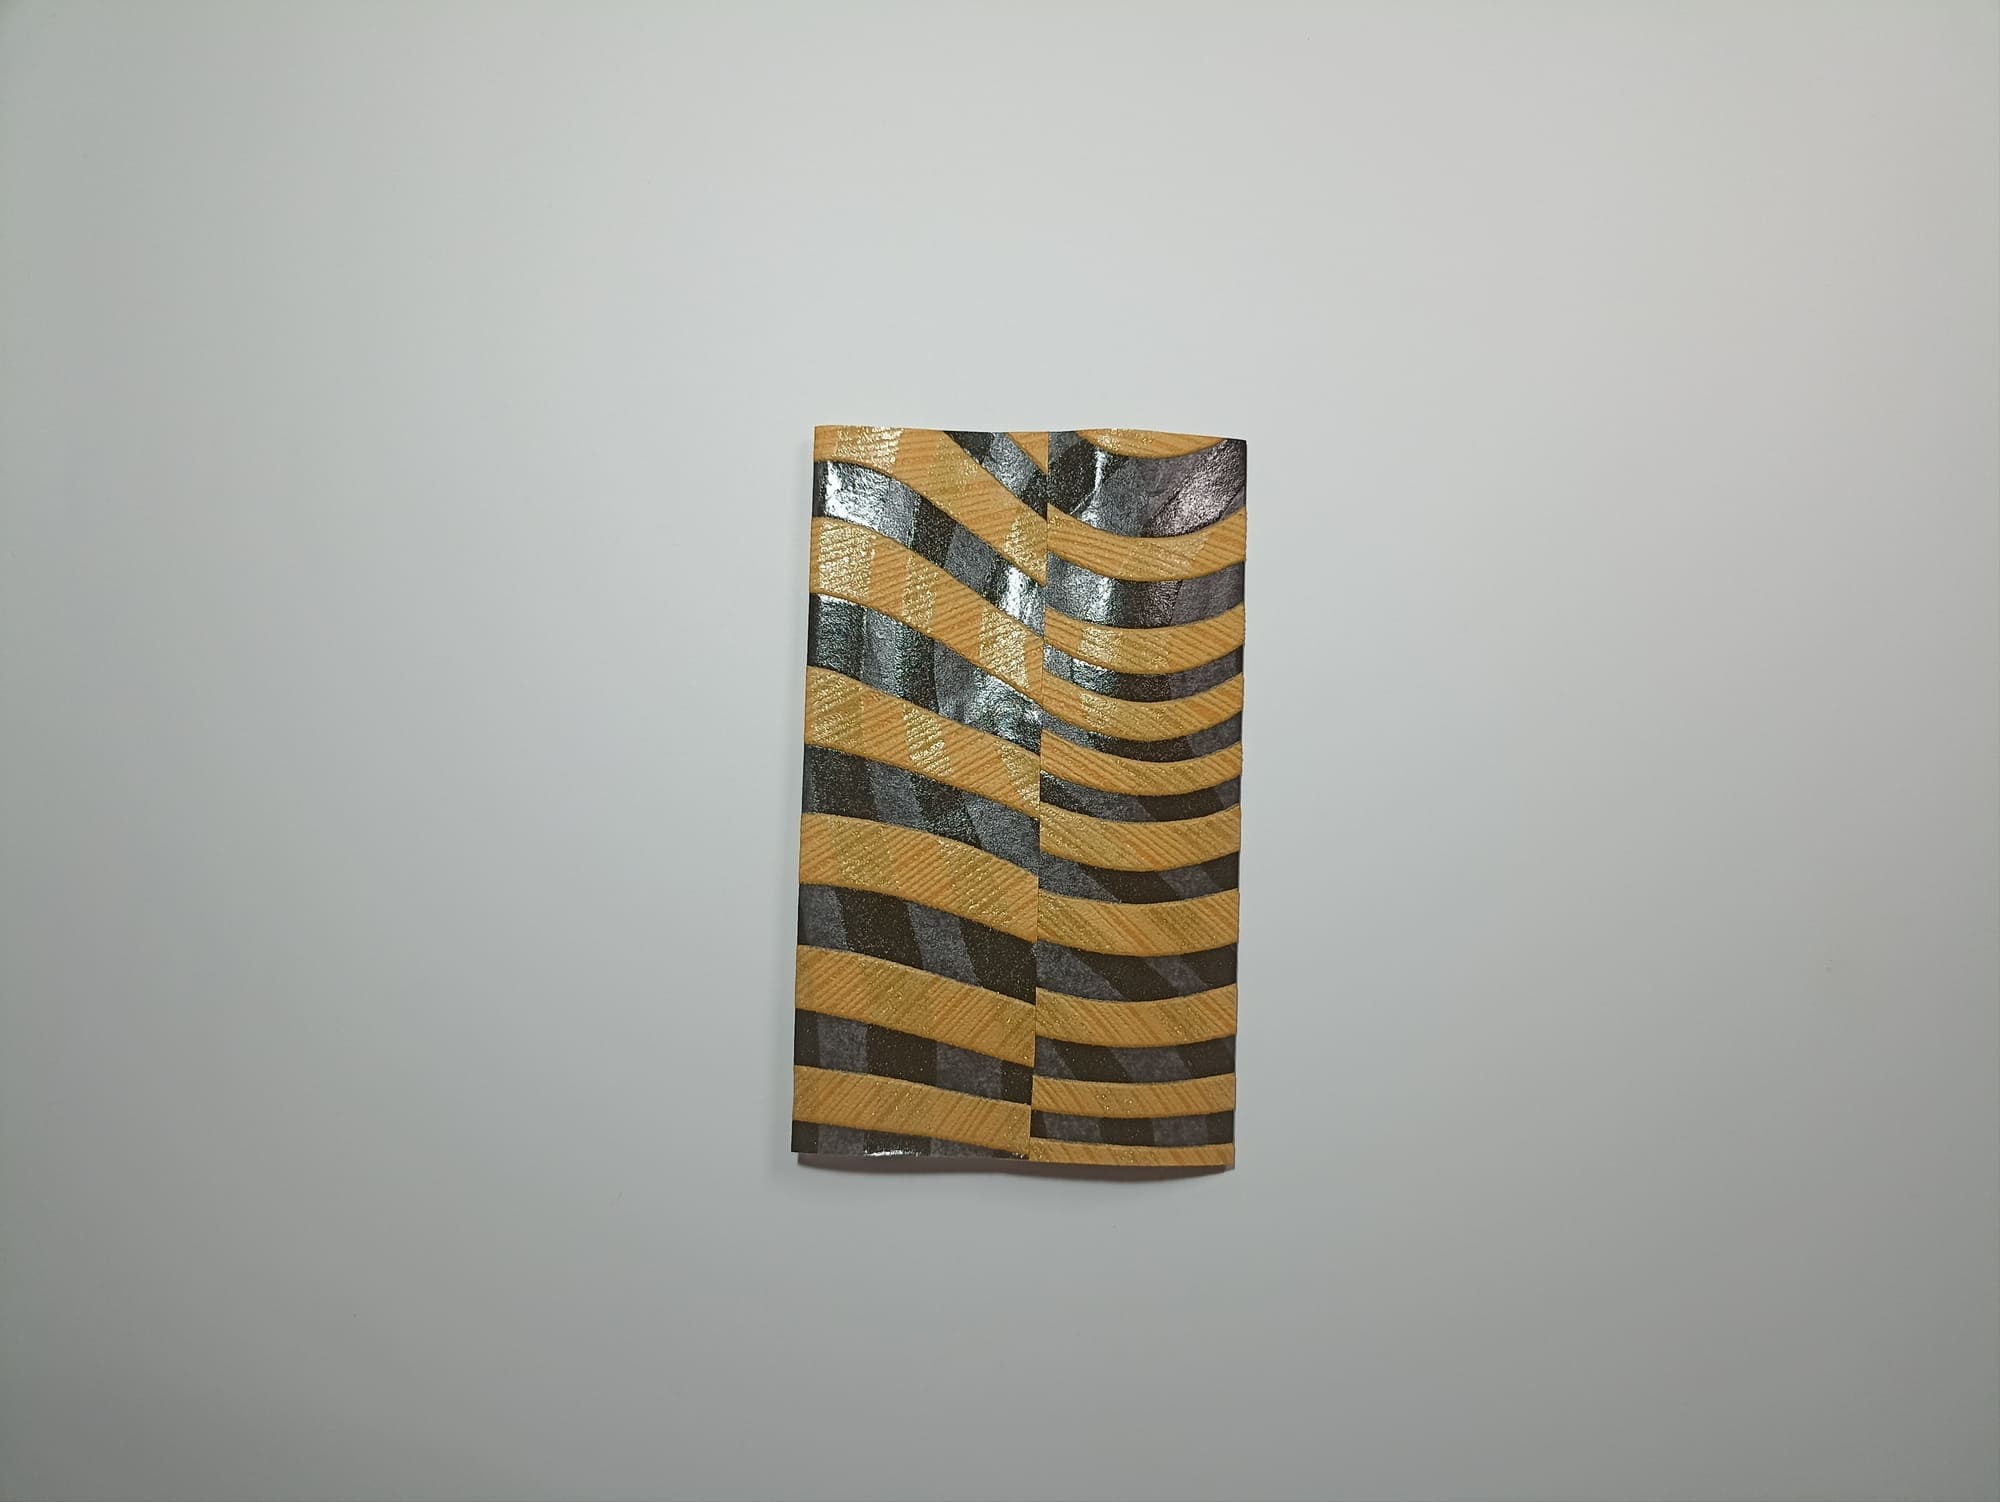
Fold the edges towards the middle, slightly protruding beyond the marking line, to form a connecting edge.
Glue the edges along this line.
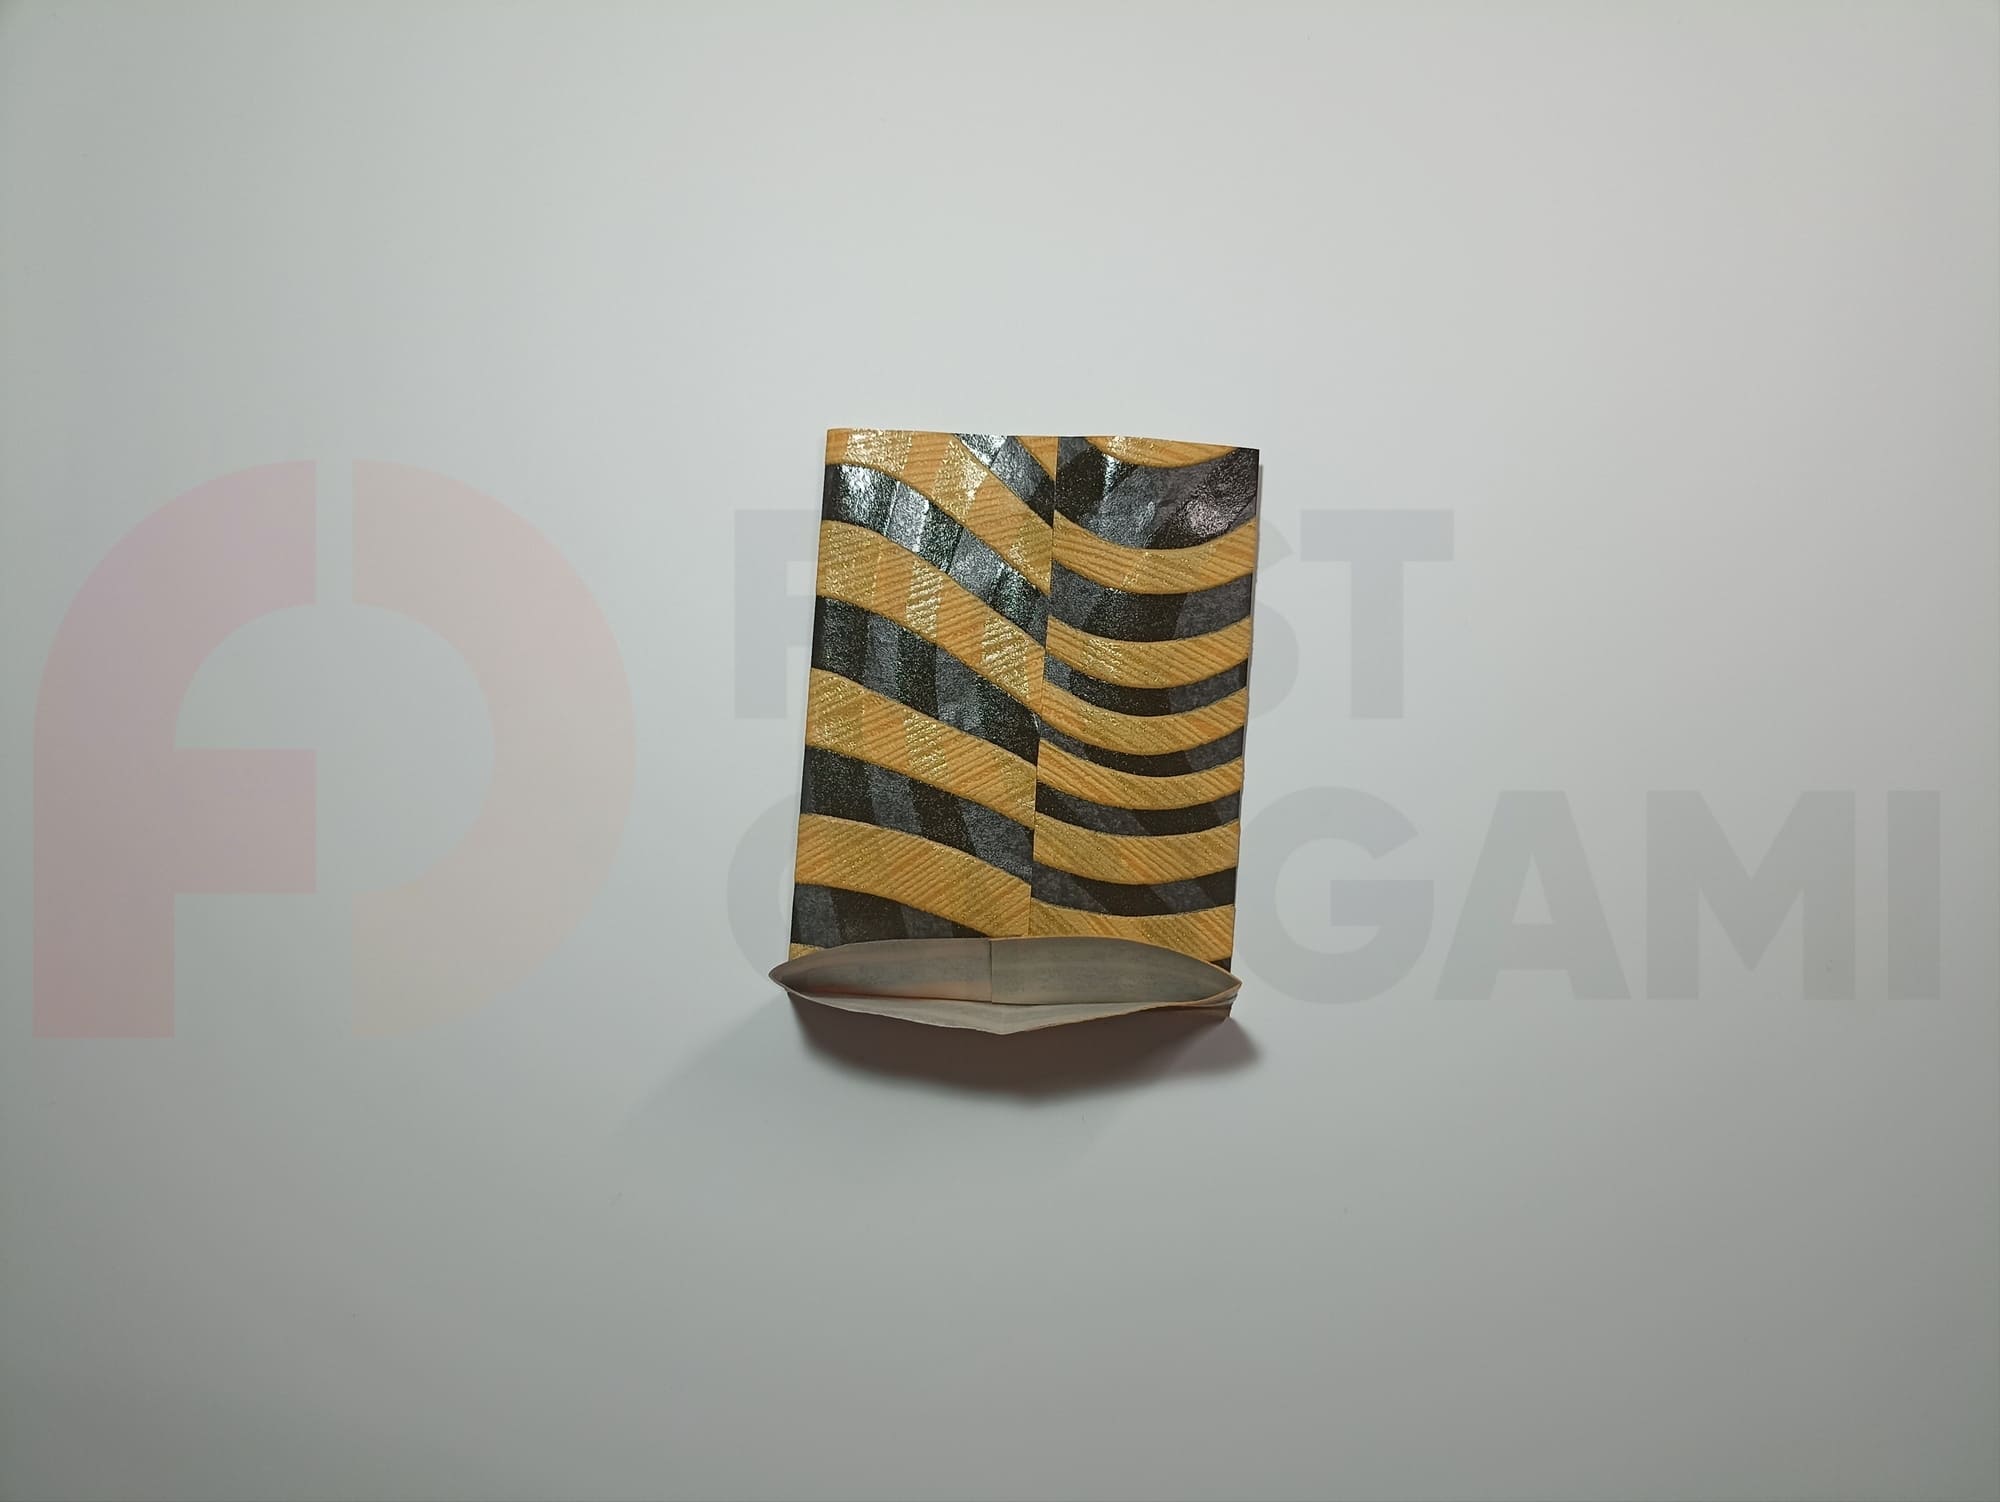
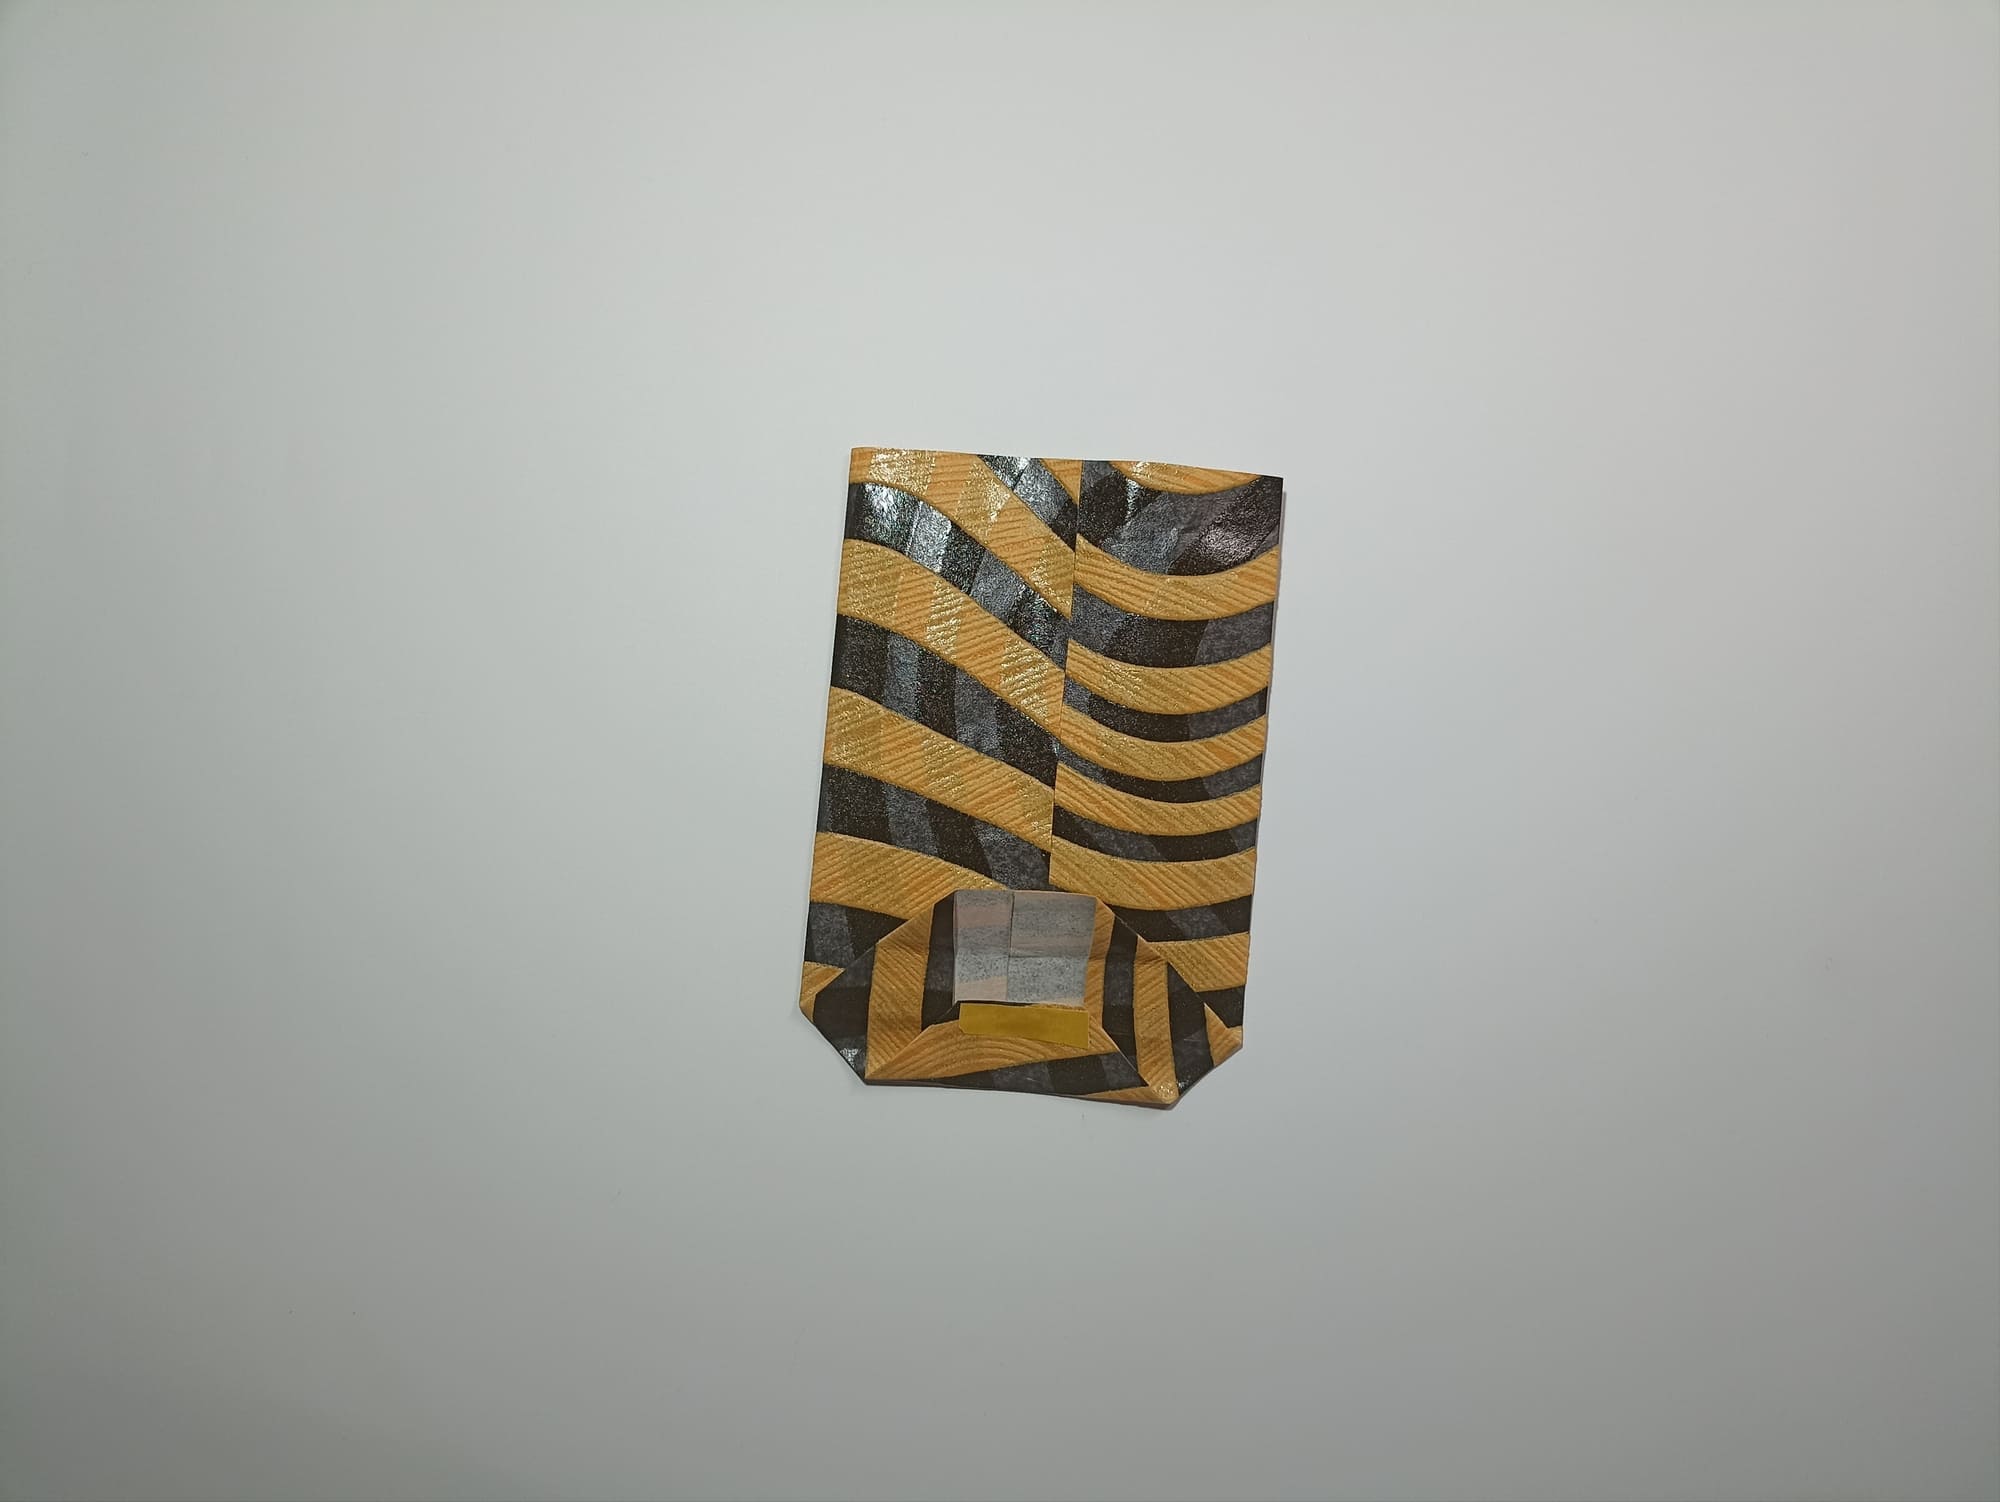
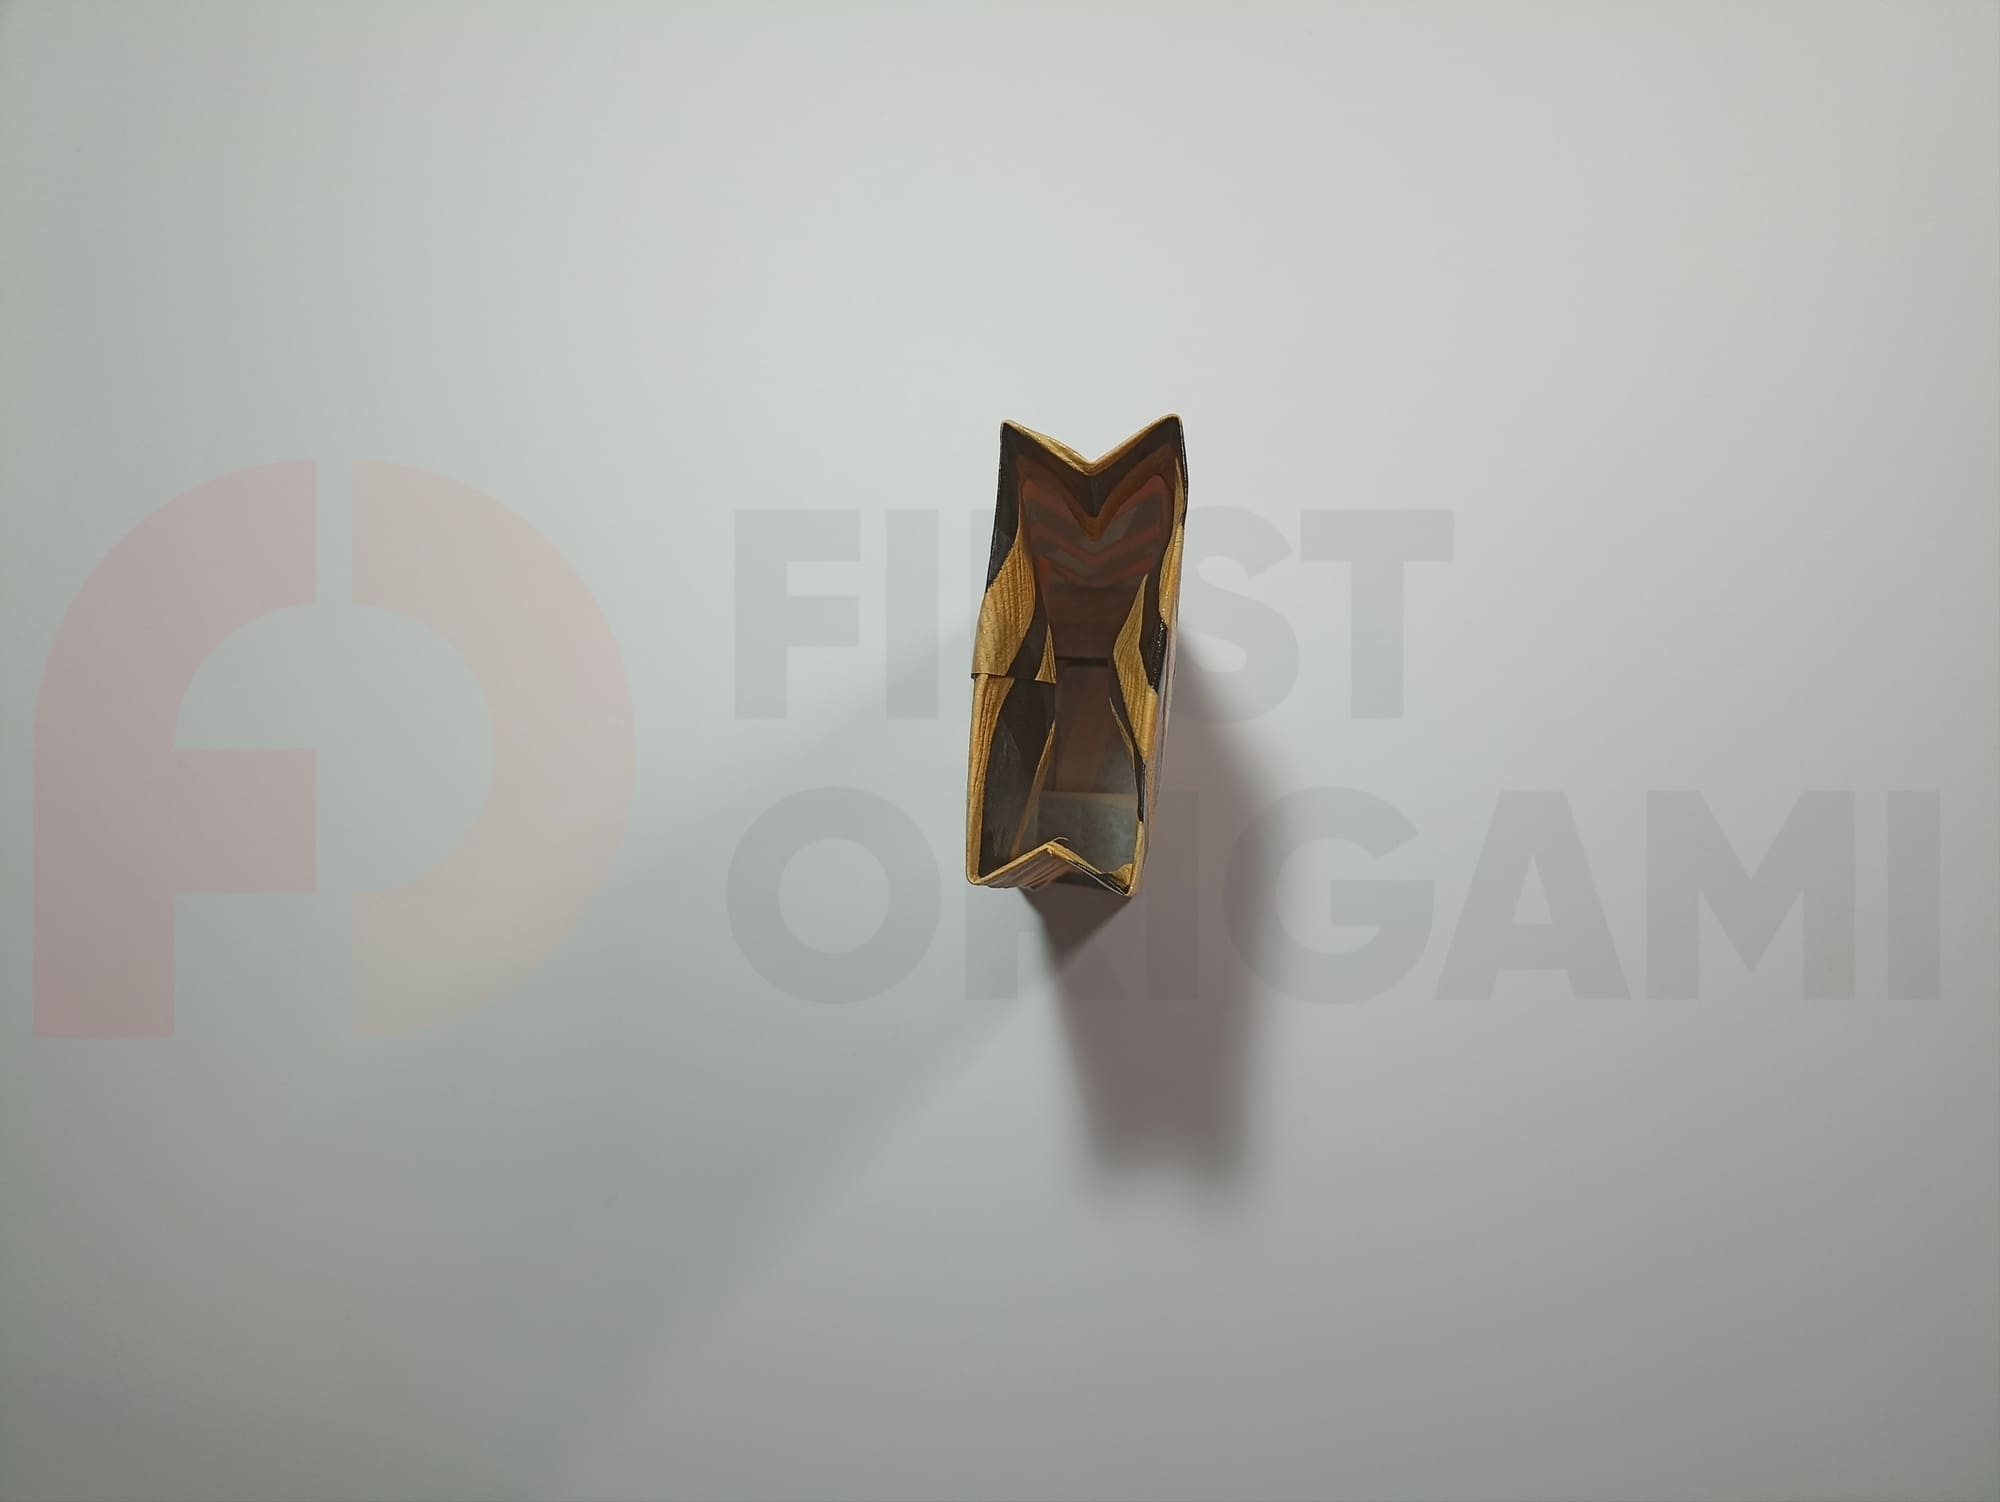
Bend the bottom of your future gift bag upward; the depth of the fold will be equal to the width of the bottom.
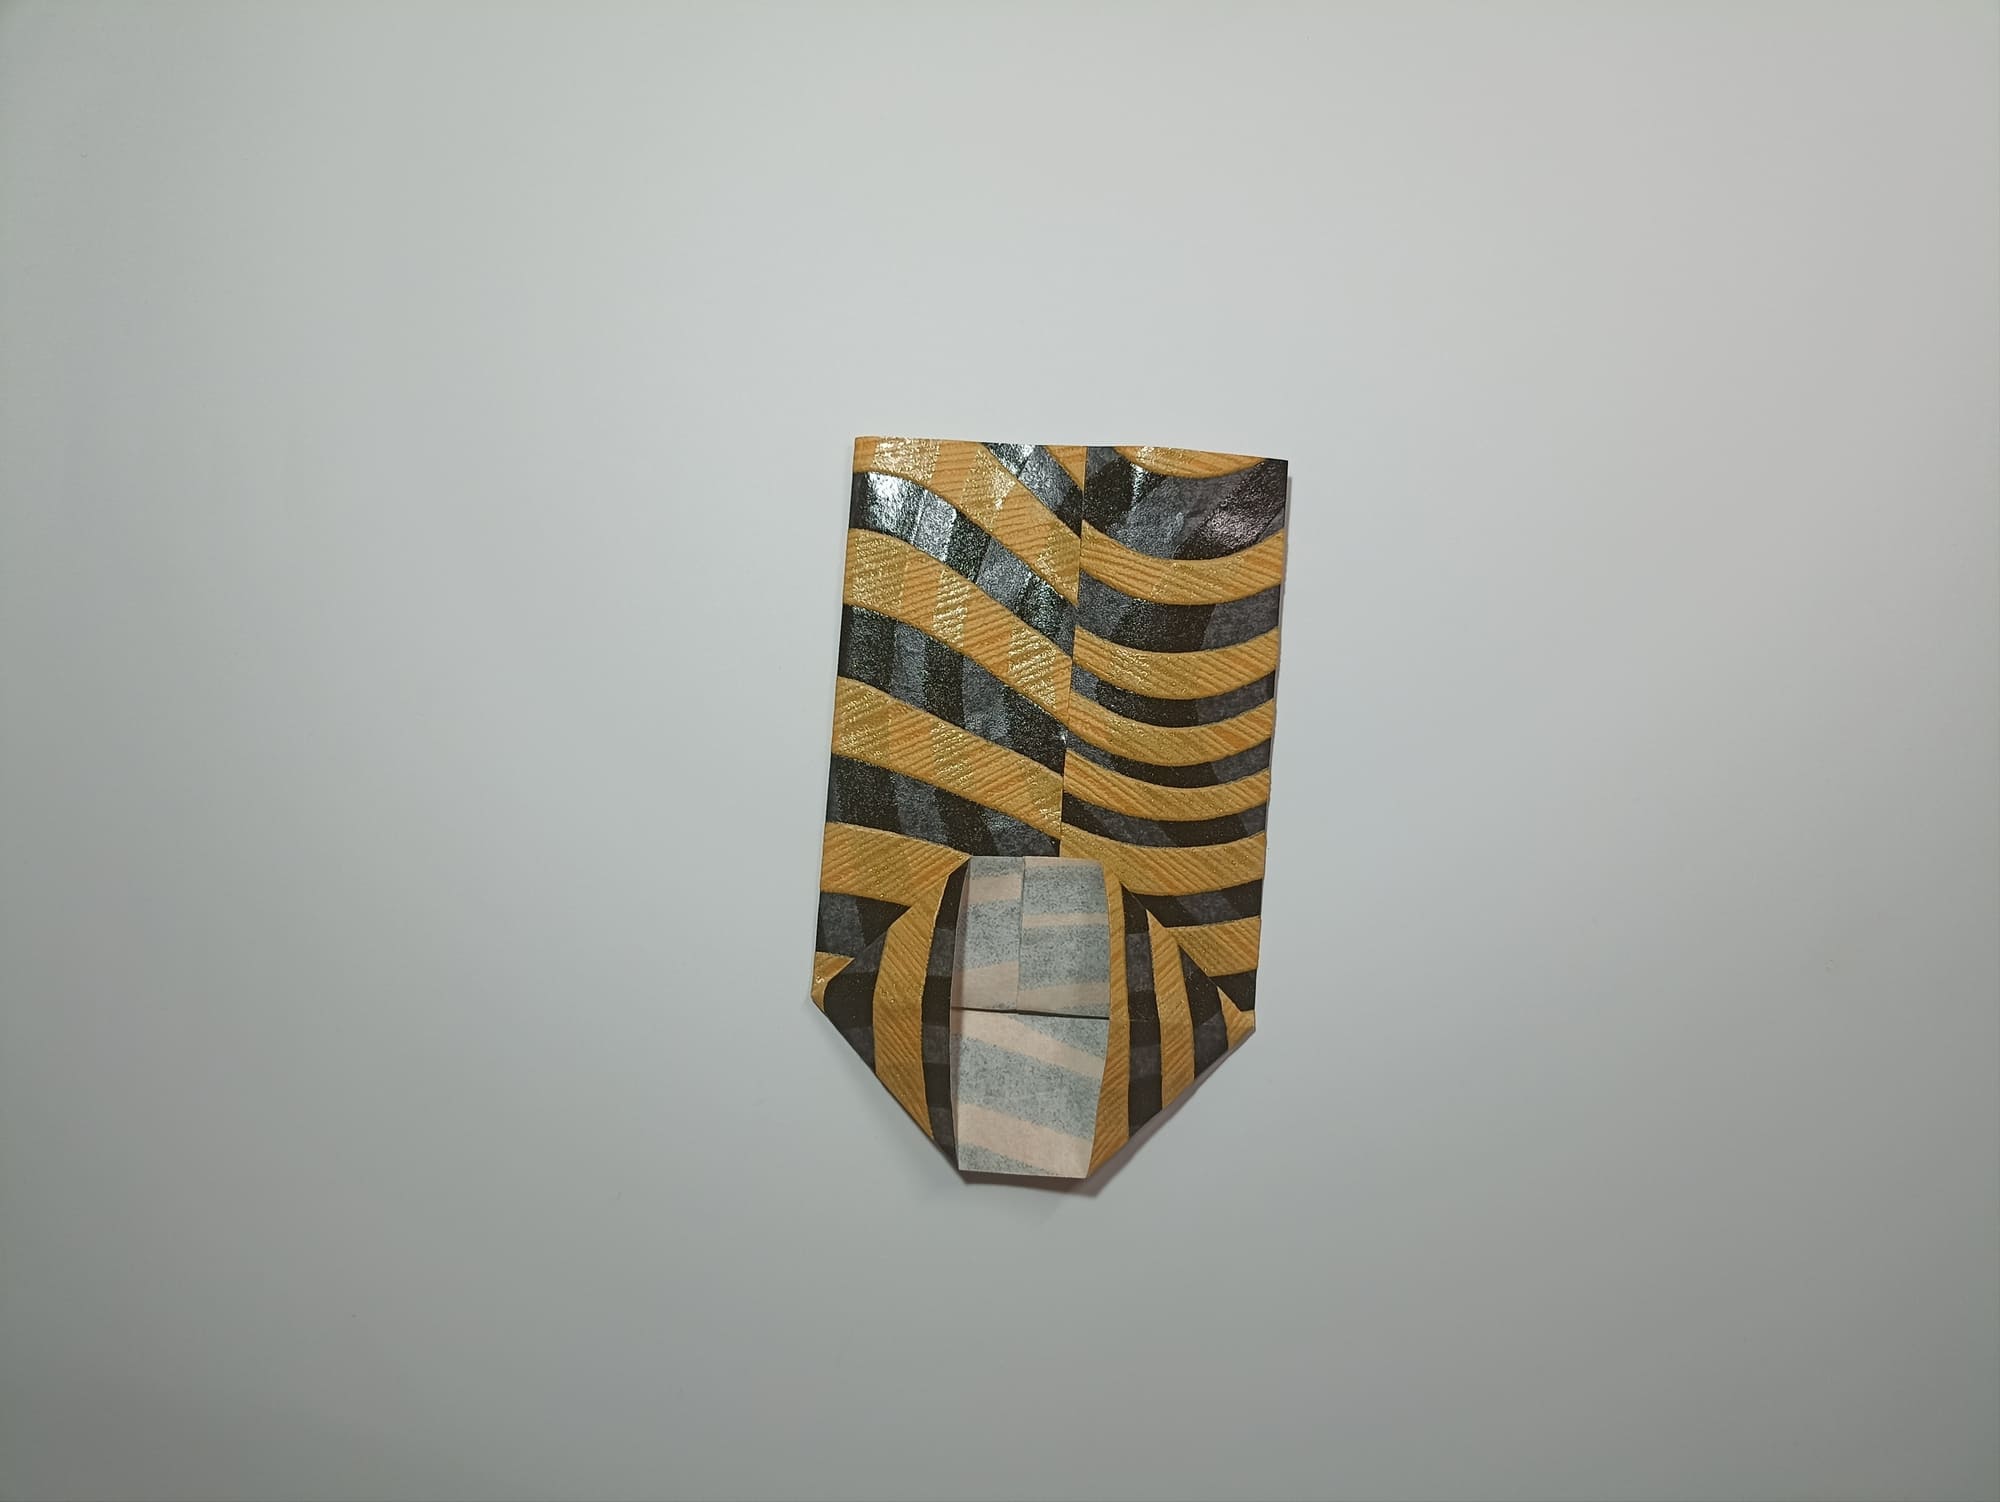
Open the fold, straightening the edges in different directions to form triangles on the sides, and carefully crease the folds.
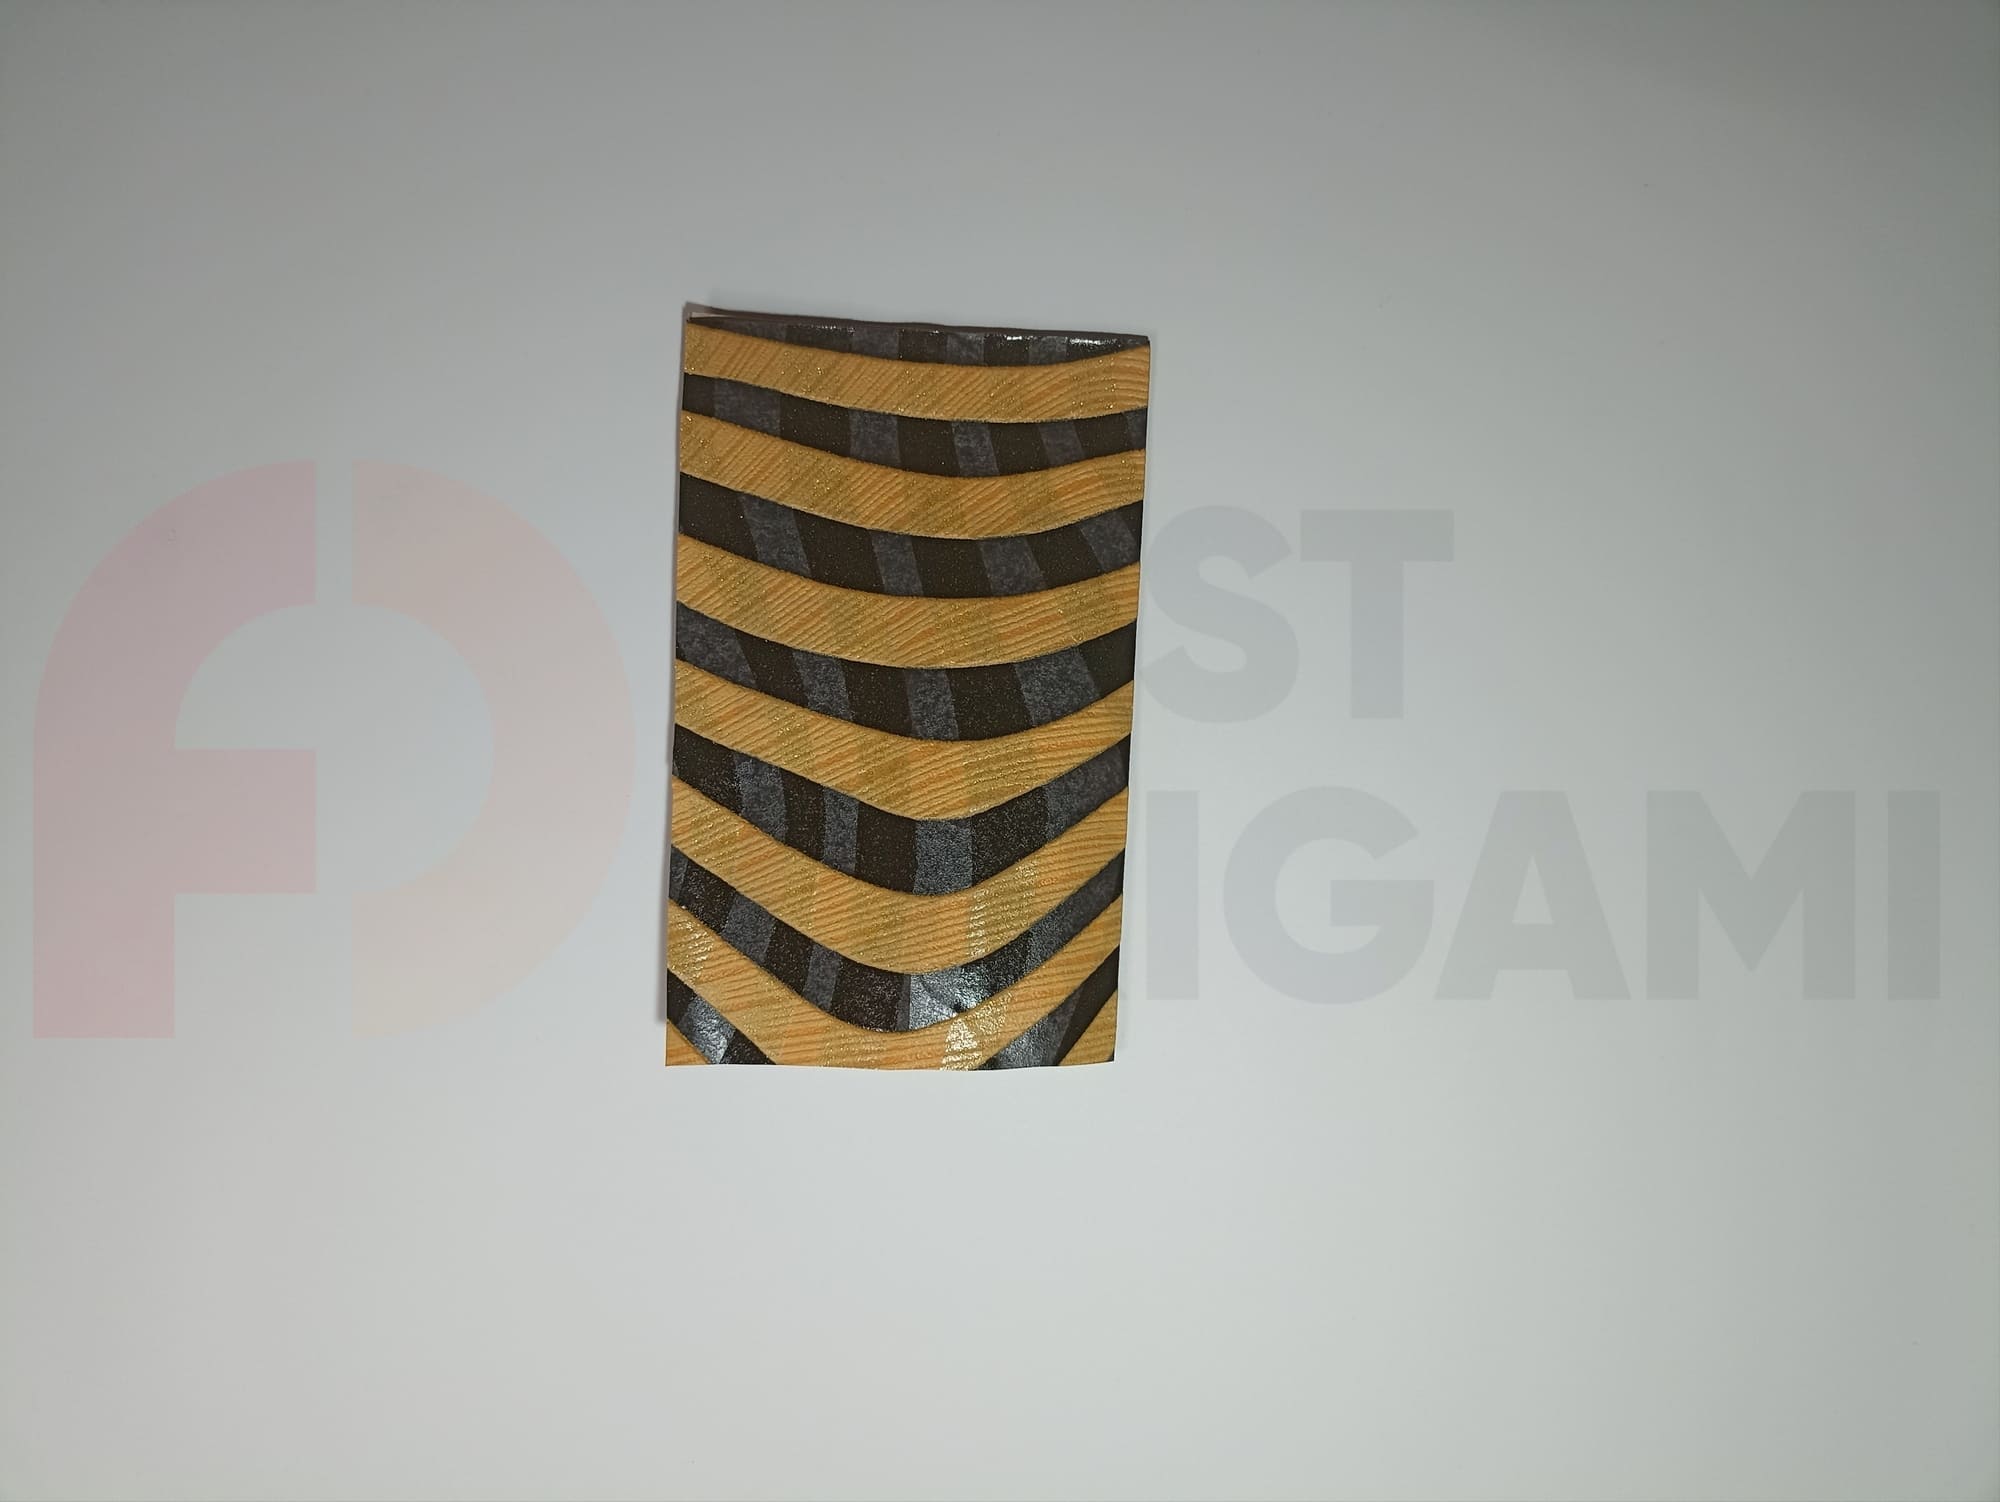
Align the top and bottom edges so that they overlap each other and glue them together.
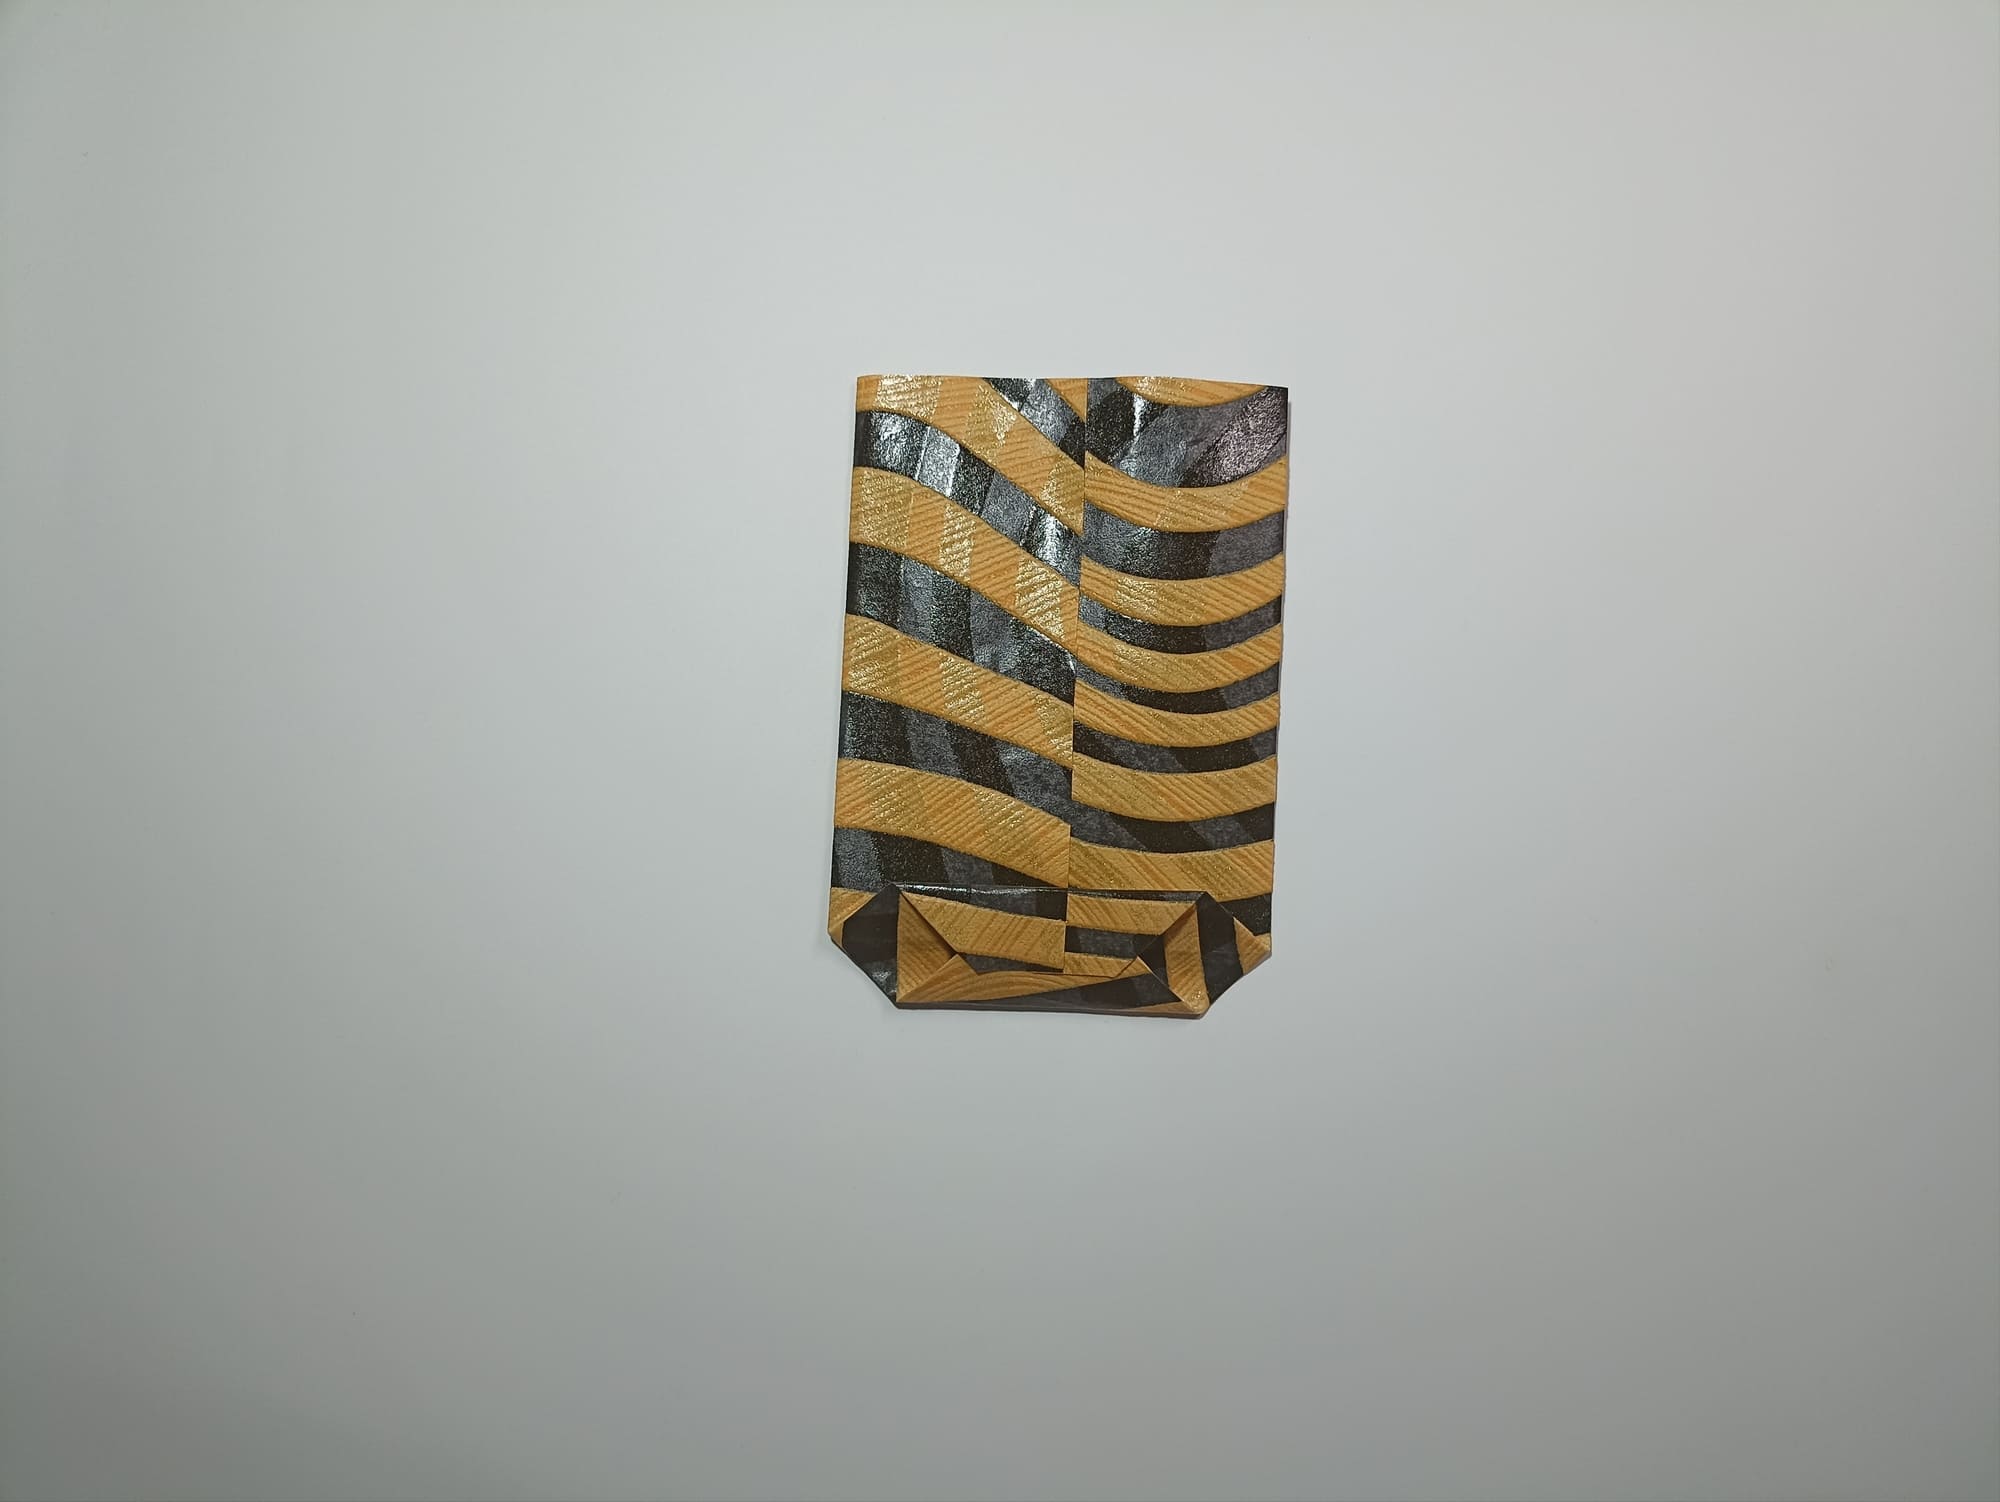
Bend the sides and the top of the figure, as in the illustration.

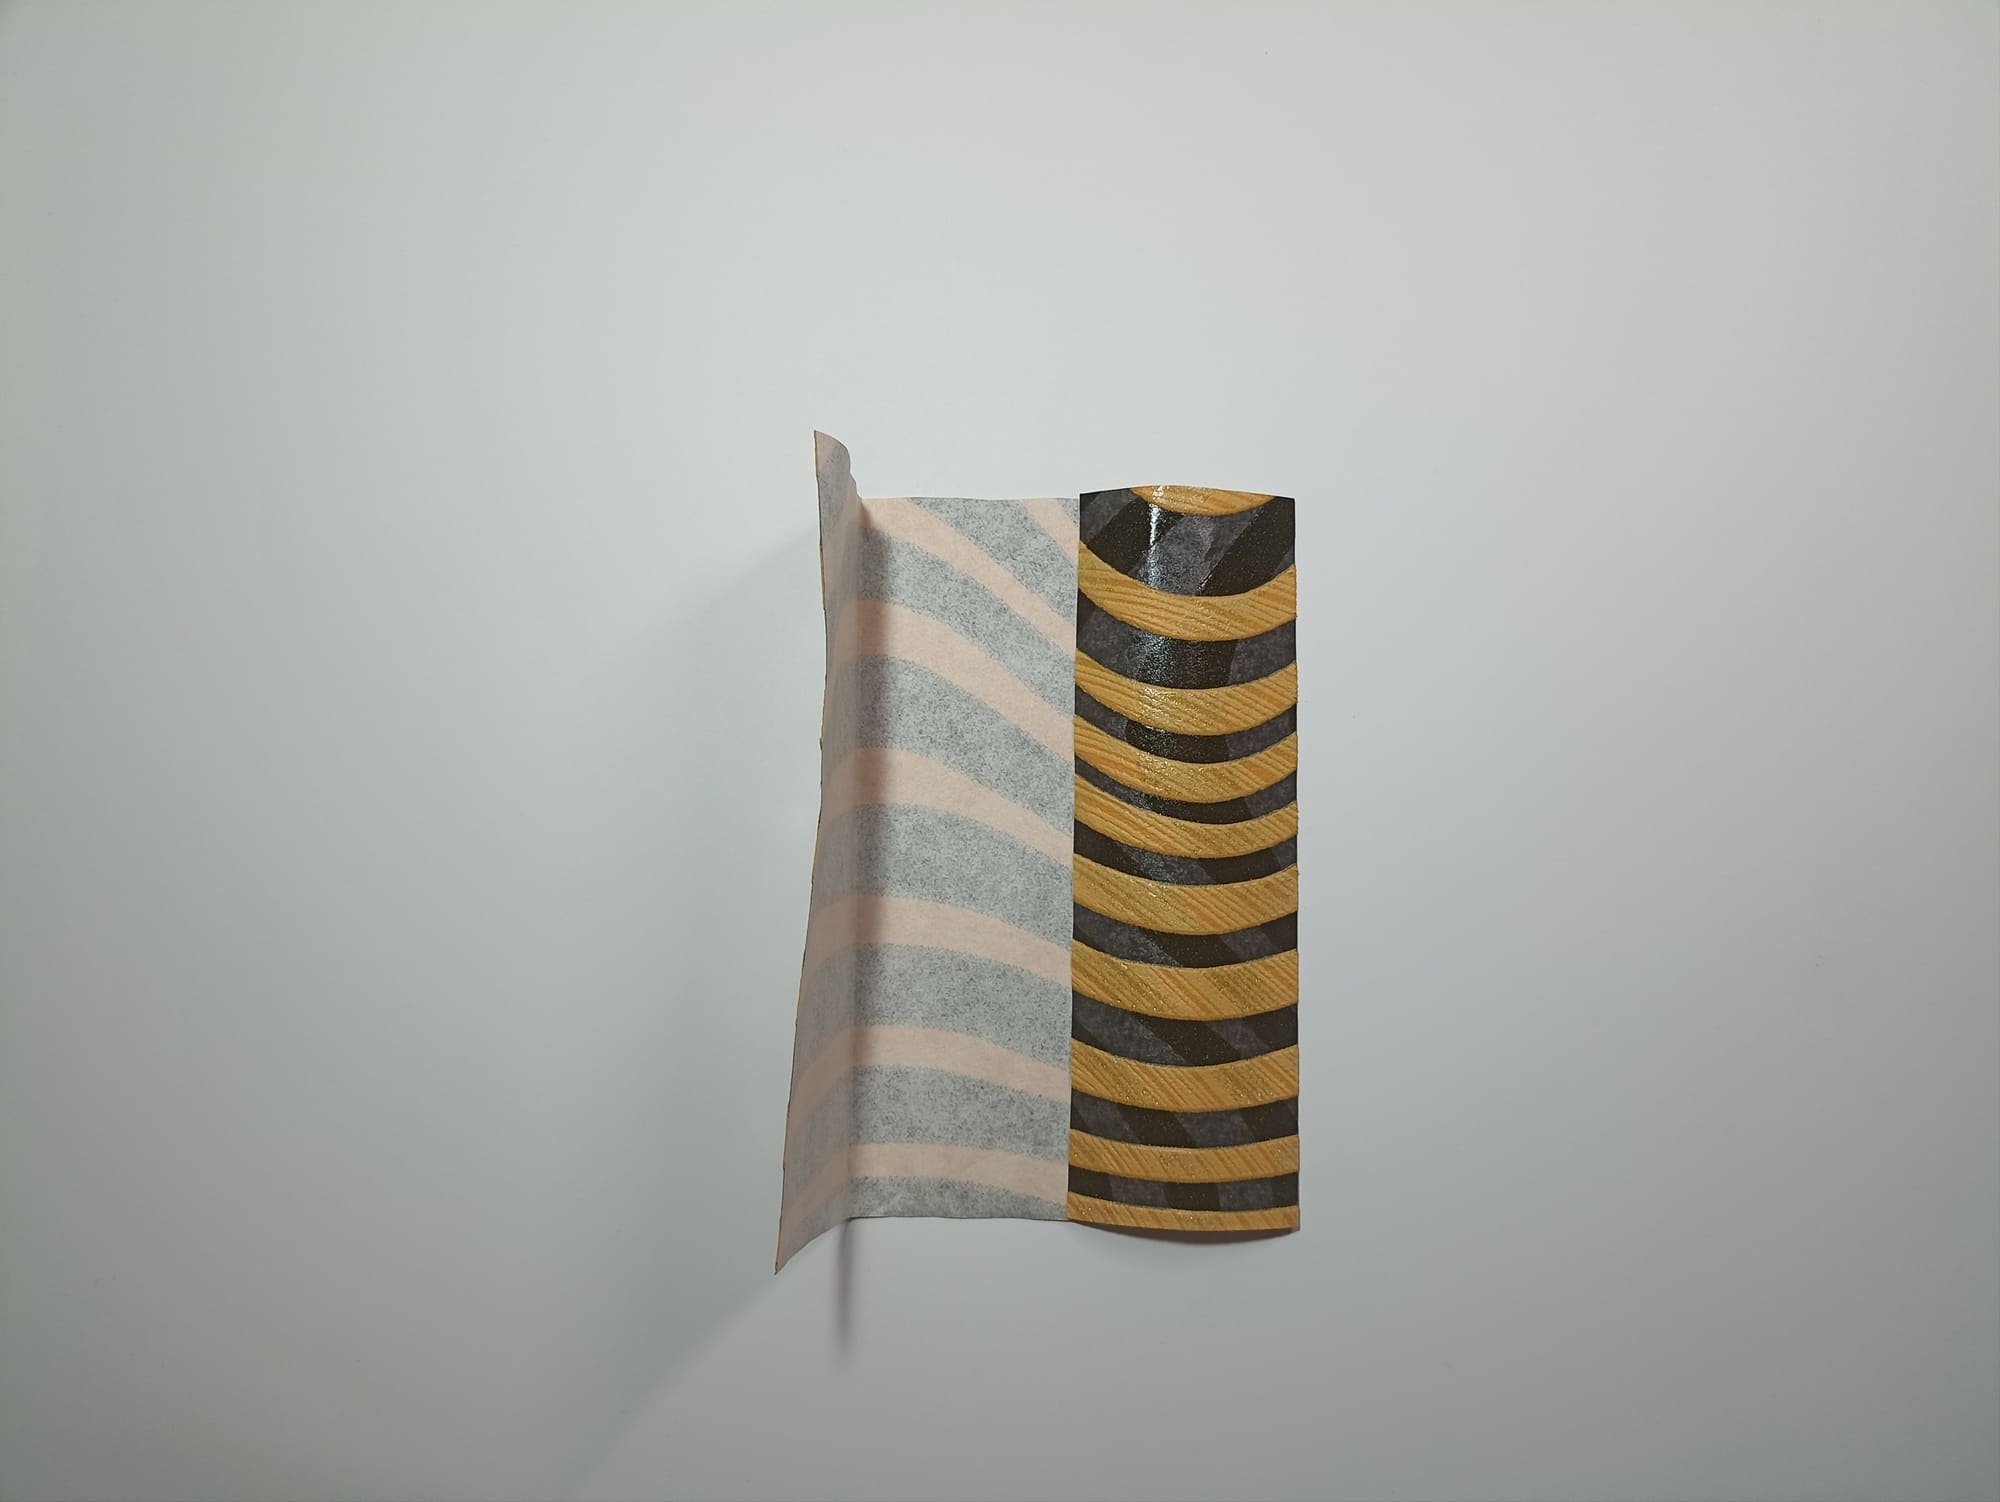
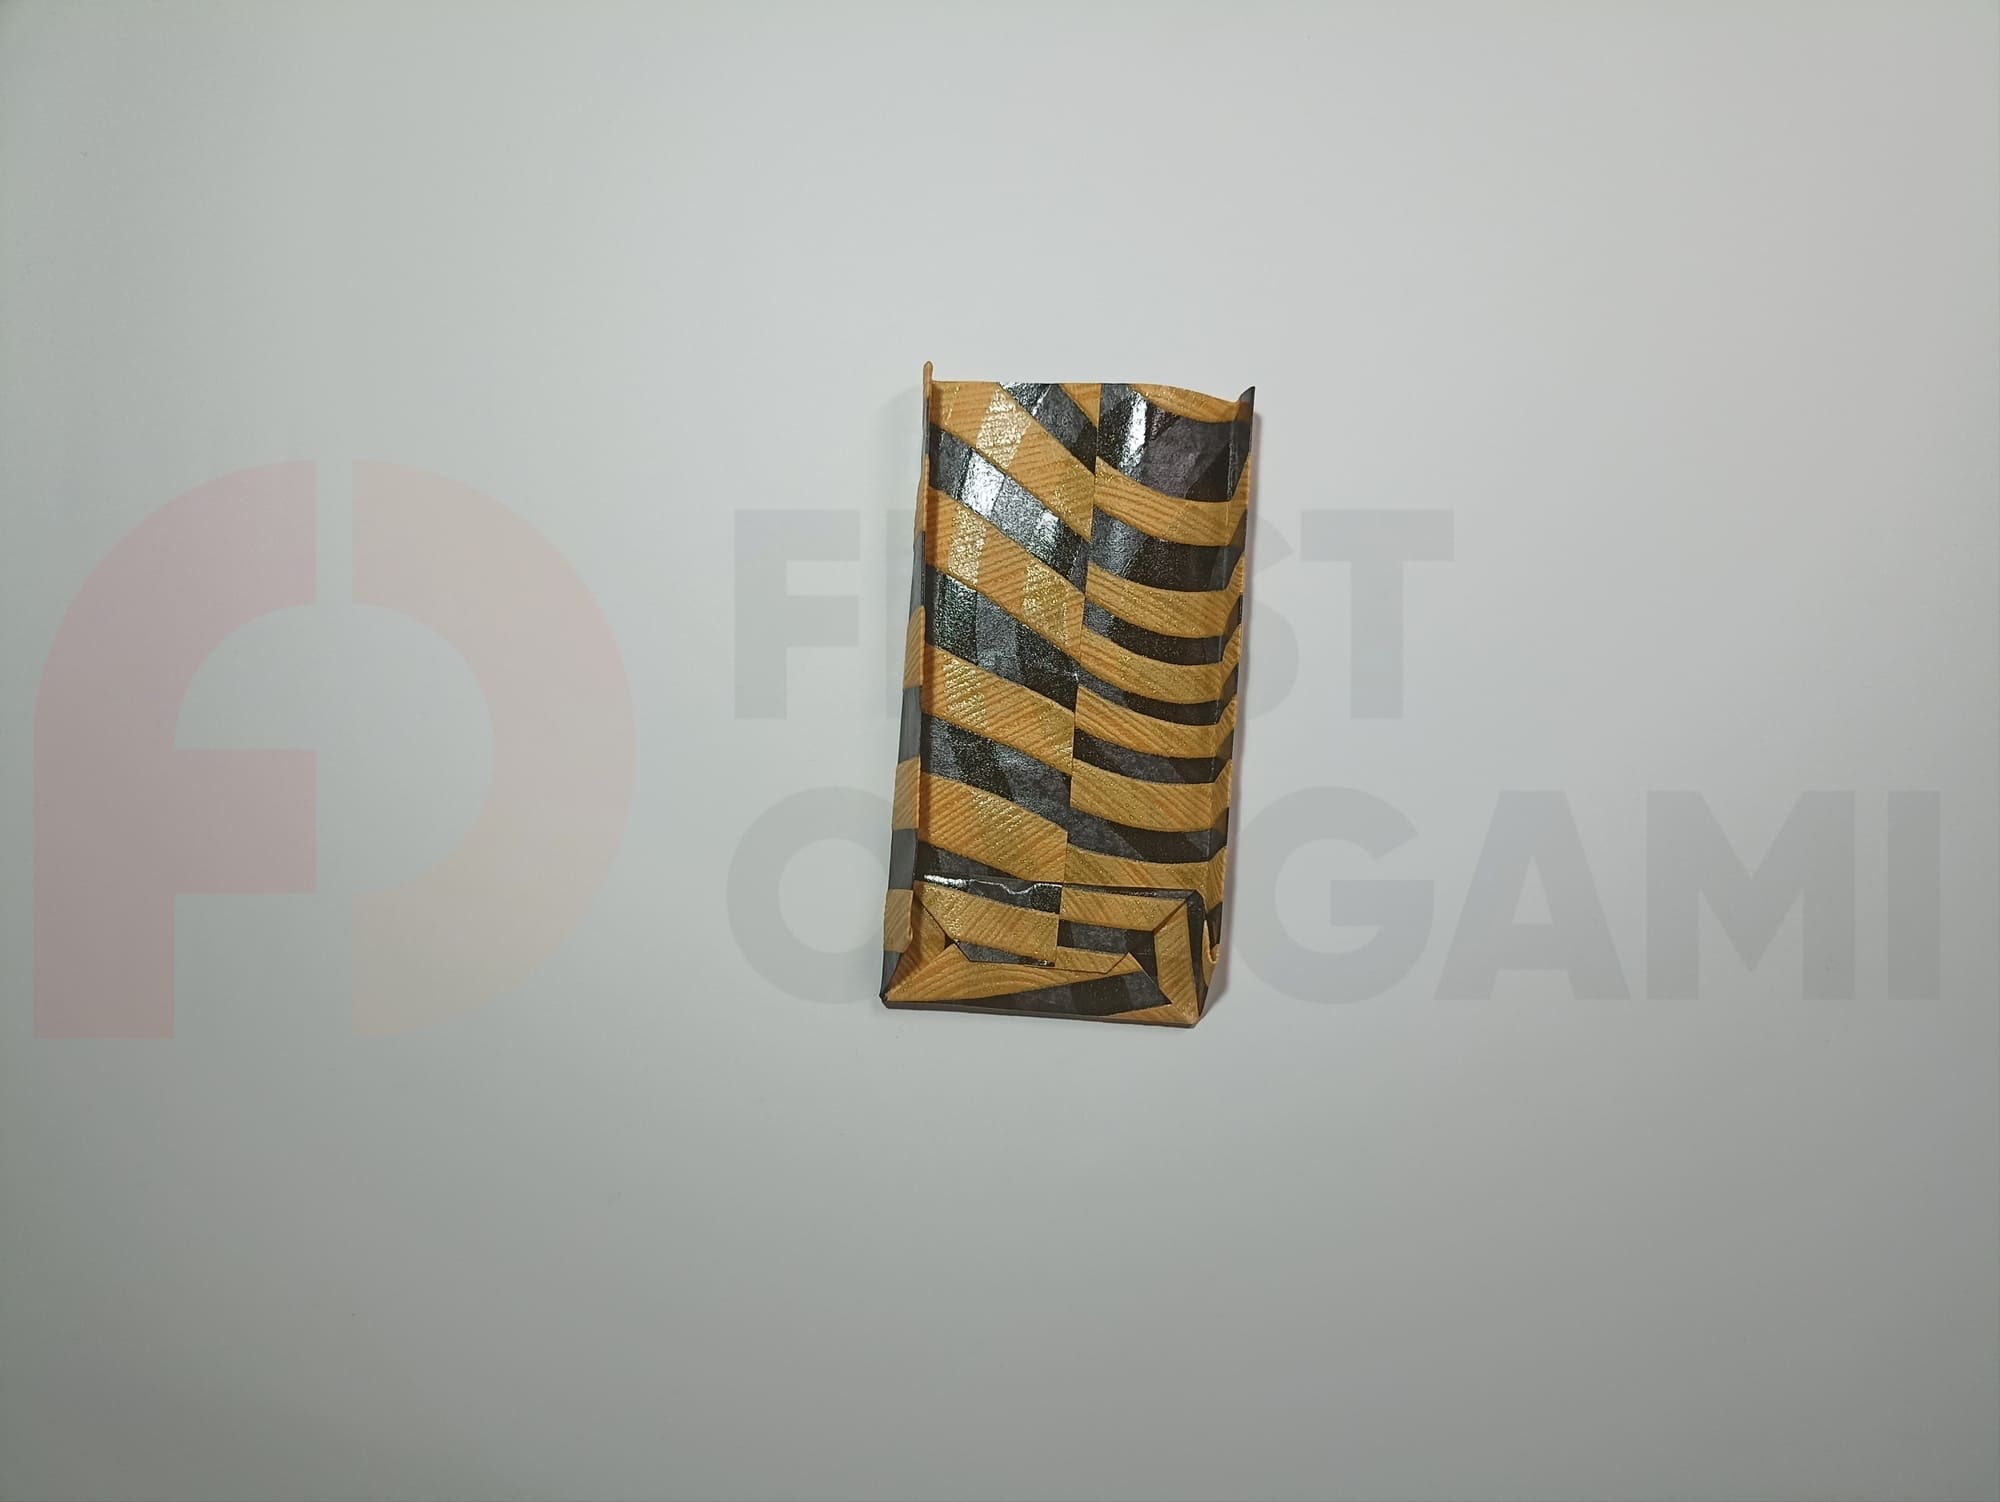
Bend the side folds inward, forming an accordion fold on the sides, and fold the top inward.
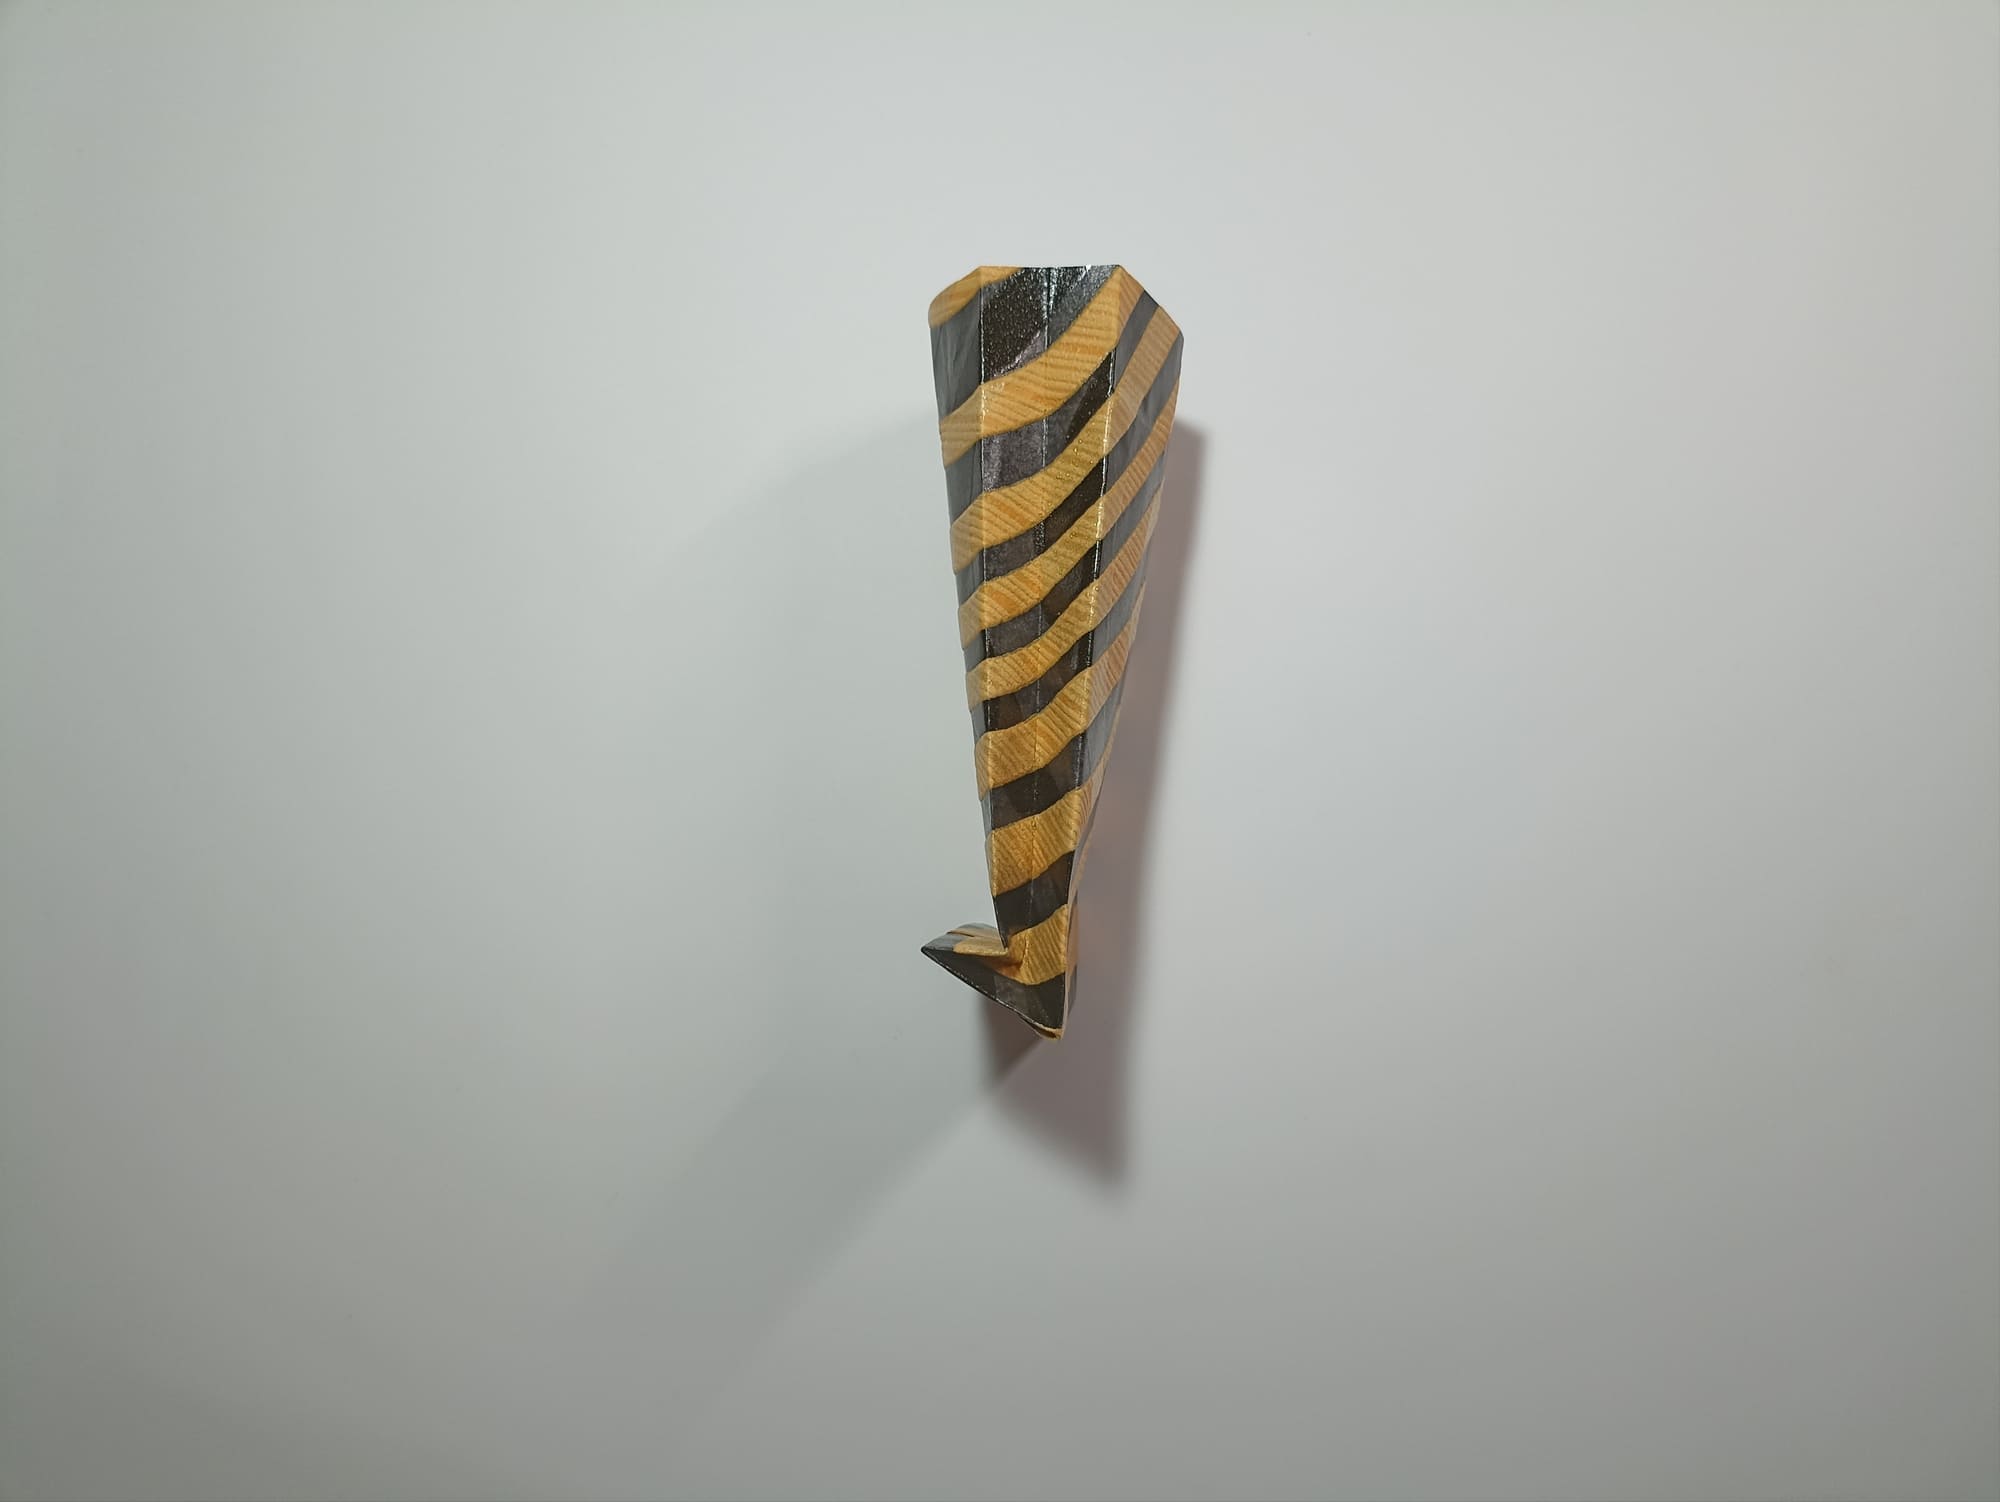
Straighten out all the folds.
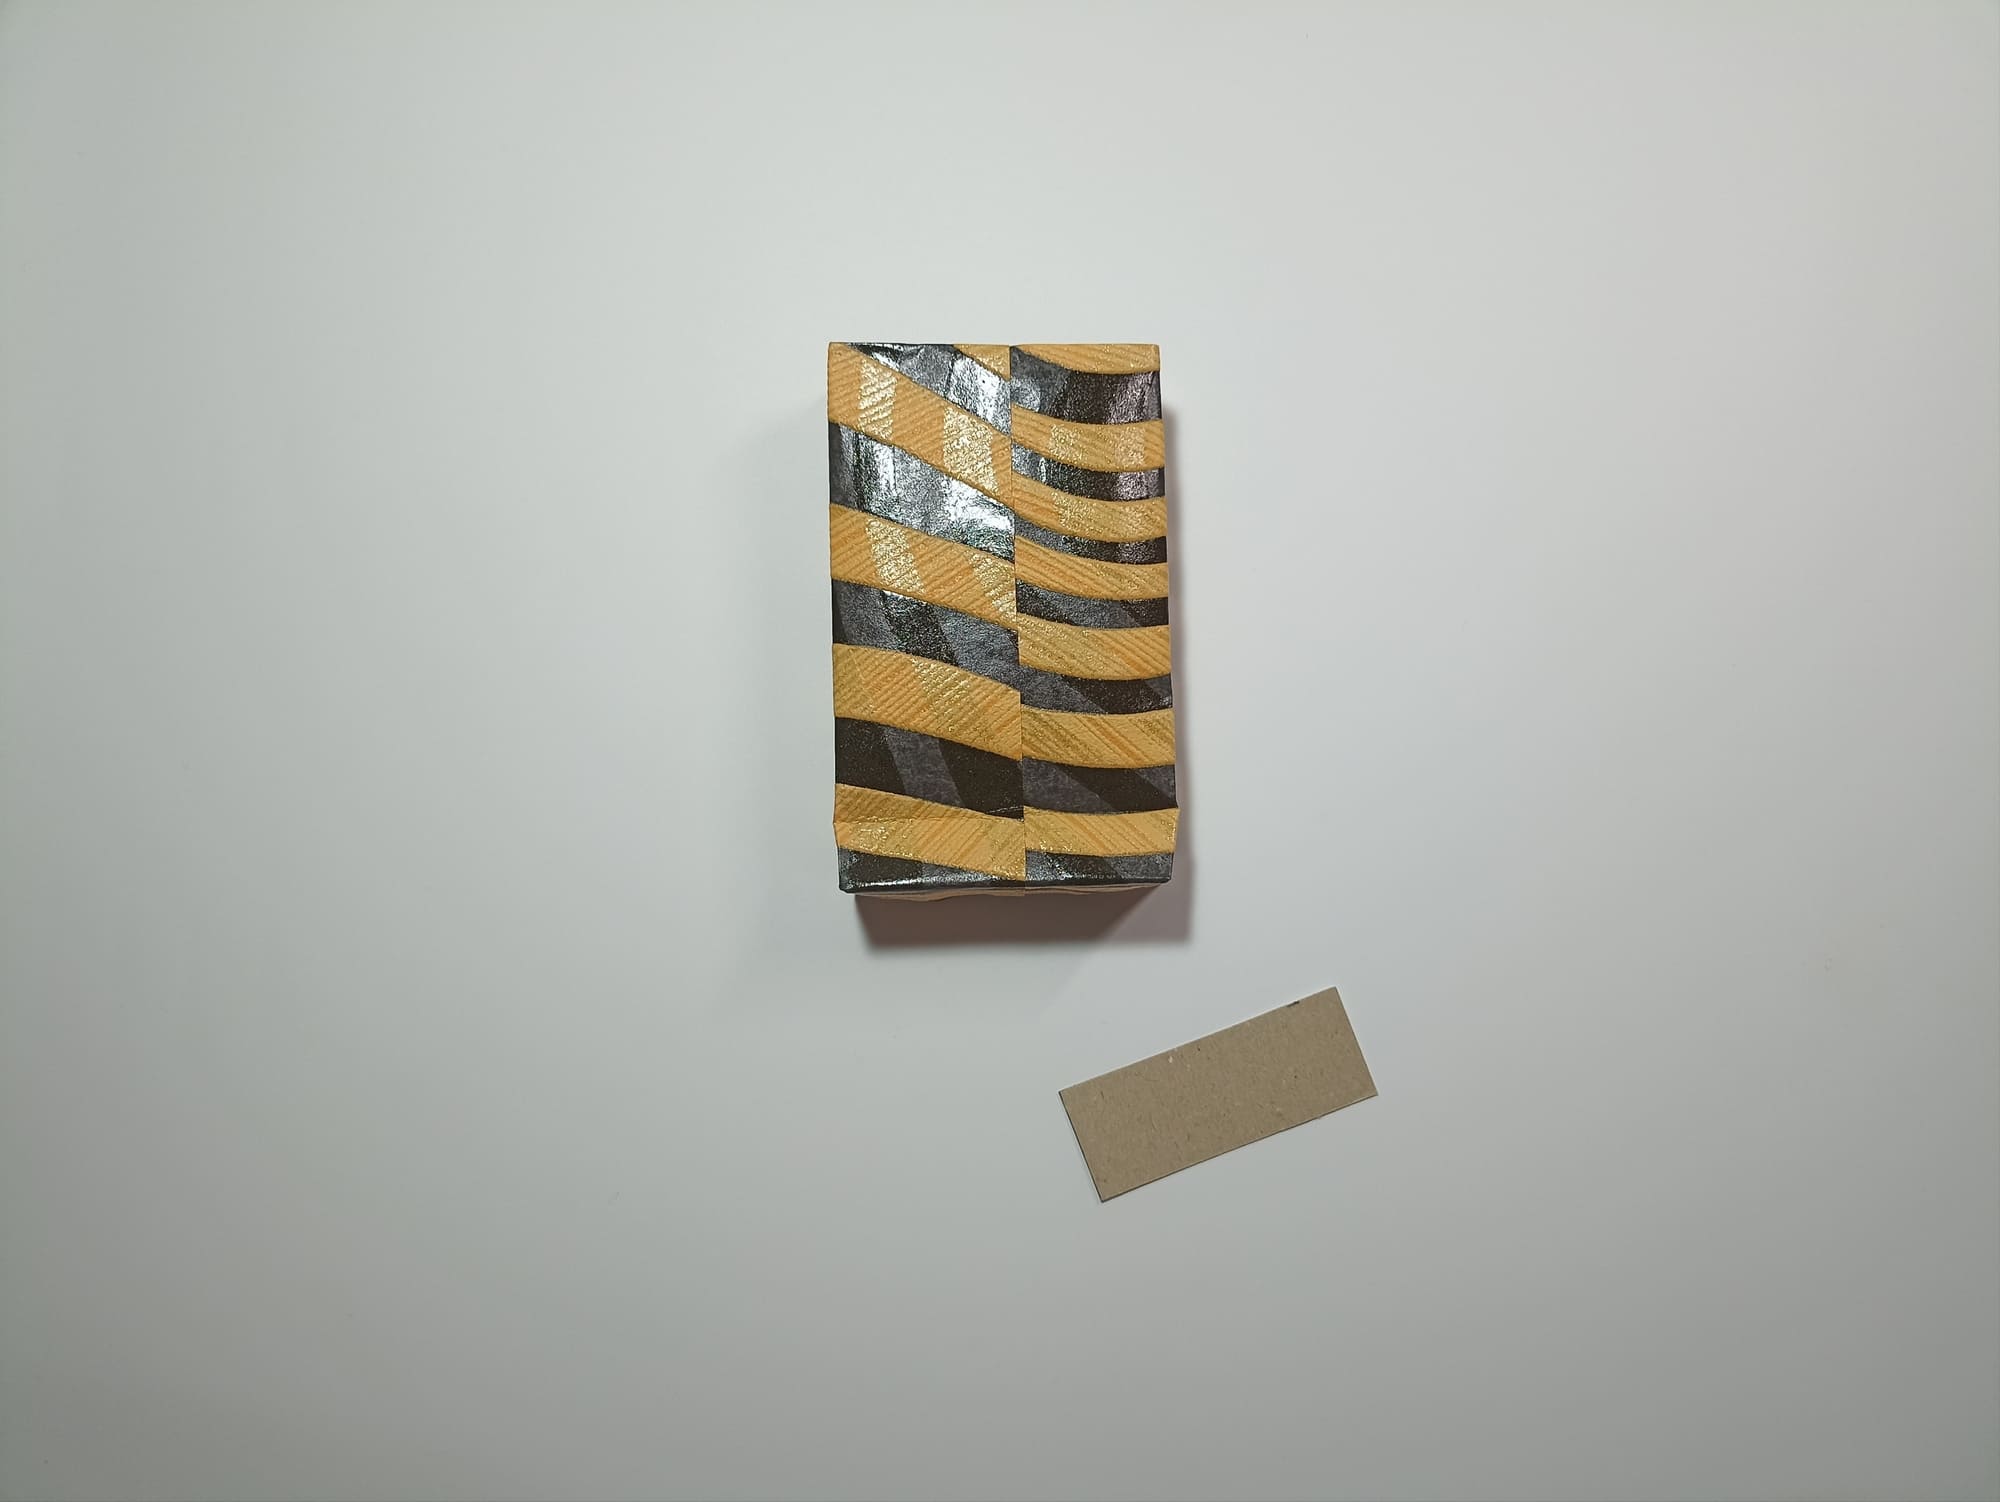
Measure the length and width of the bottom of the bag, cut the bottom out of cardboard, and place it inside.
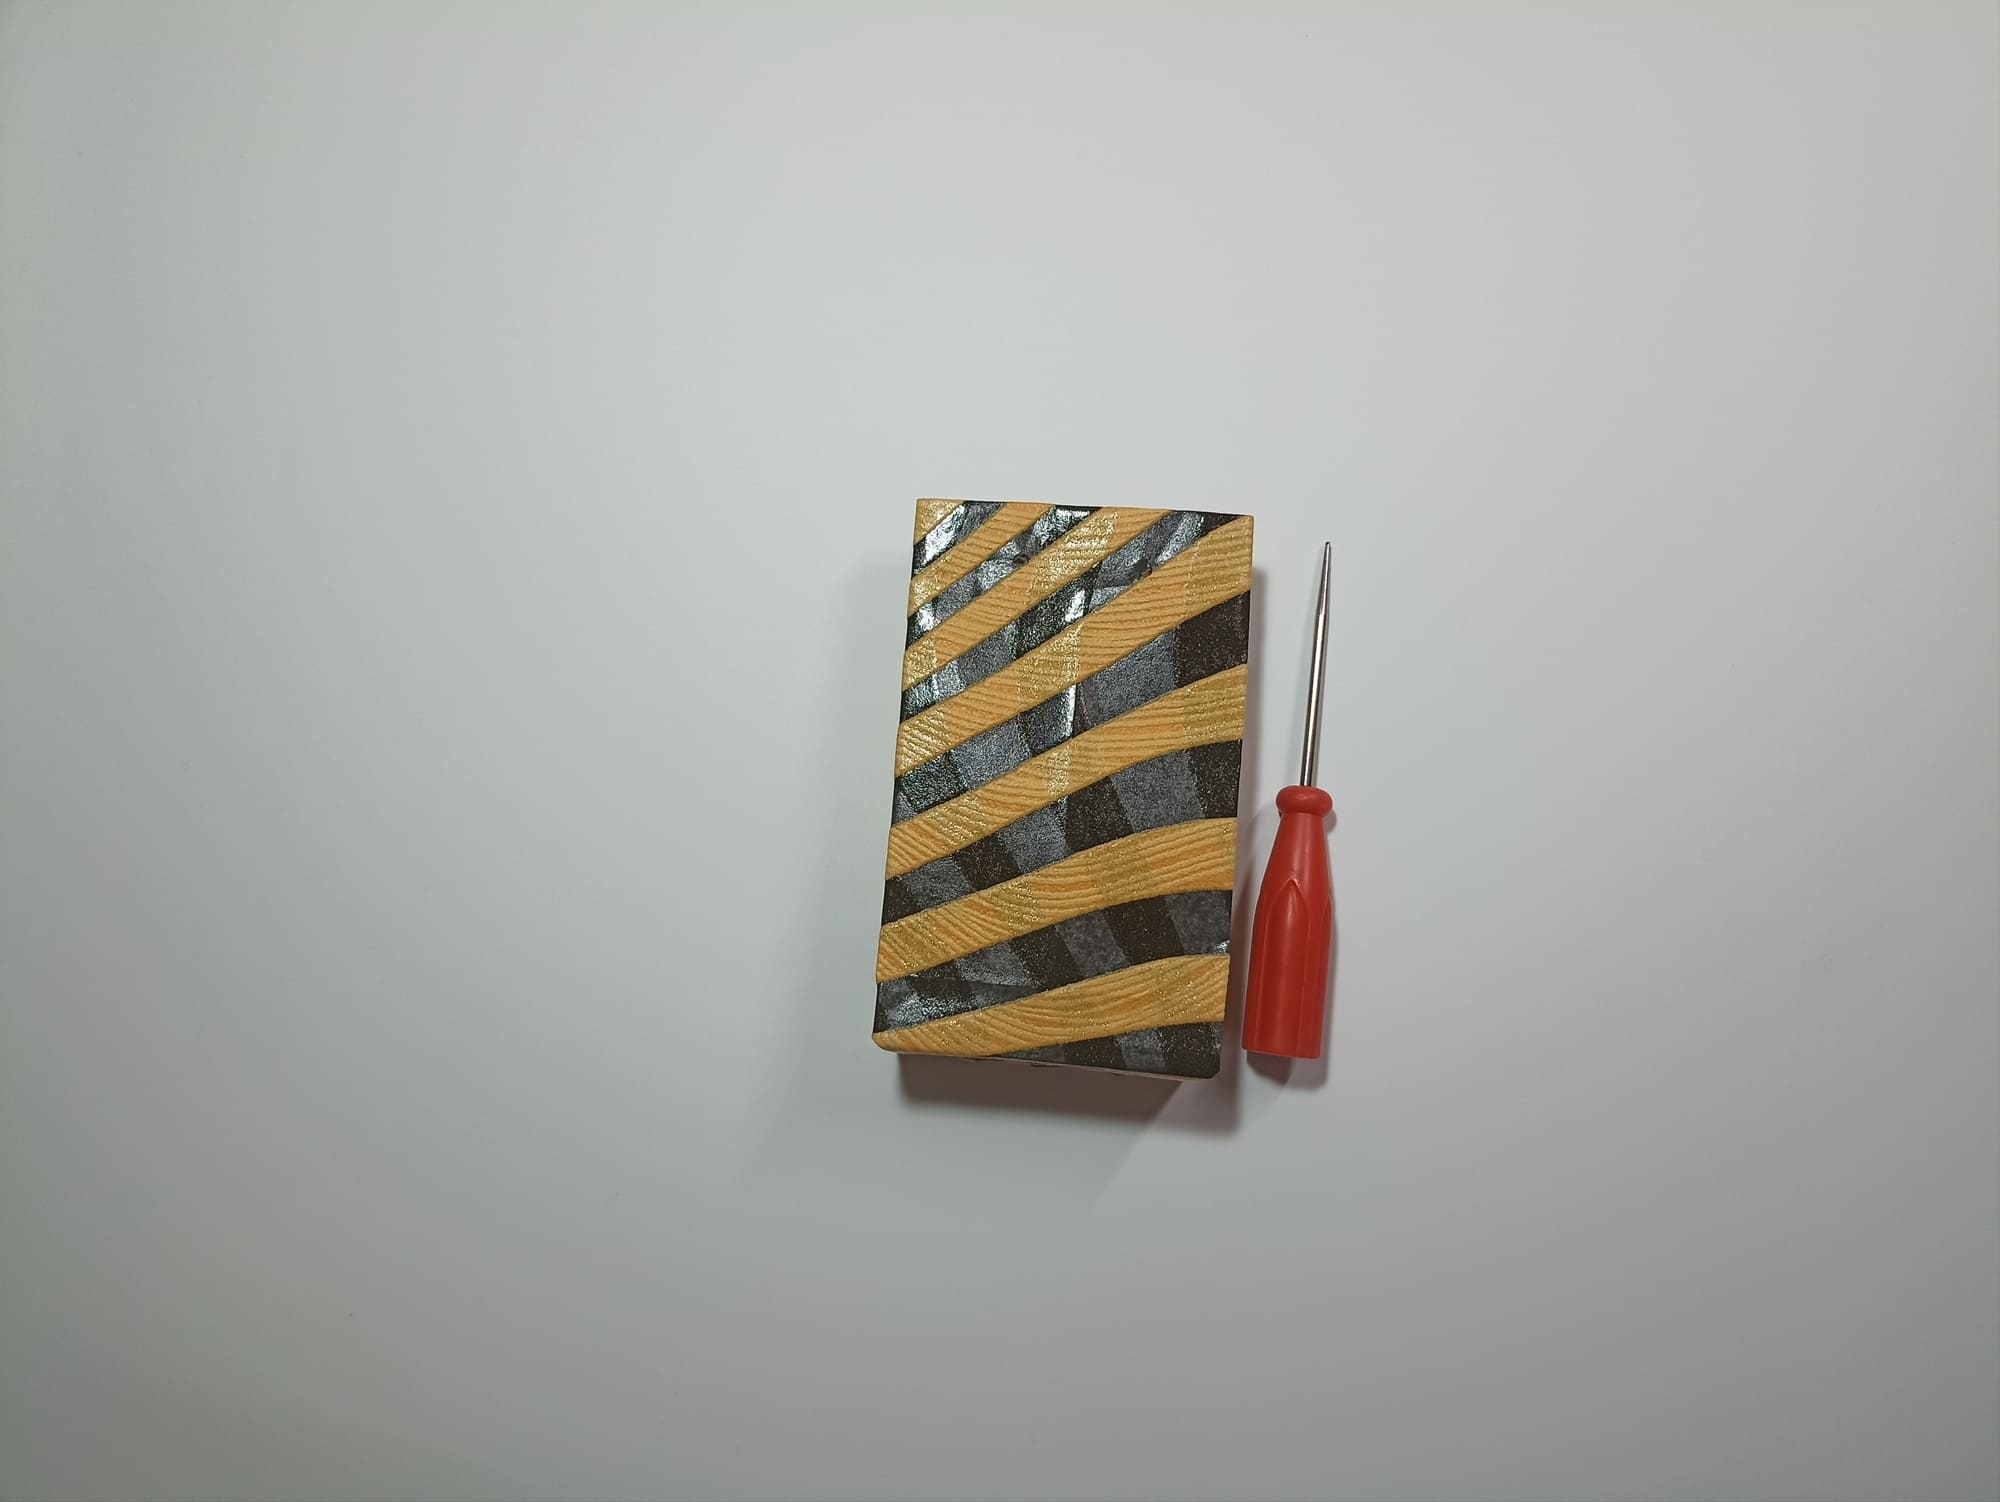
Make holes for the handles using a needle or hole punch, stepping back at least two centimeters from the top.
Thread the braid or twine into the holes and secure with knots inside.
The package is ready!
It is better to choose thicker paper for the bag. It will better withstand the weight of the gift and retain its shape. The holes for the handles can be additionally sealed with tape or thick paper so that the handles do not tear. The gift bag can be decorated with inscriptions or pictures cut out from postcards.


