Origami Basic Airplane
This is one of the simplest aircraft models that almost everyone has tried. The assembly method is intuitive and easy to remember. Such an aircraft is ideal for children because it has simple instructions – even the smallest ones can handle it on their own. Despite the simplicity of the design, this aircraft flies remarkably. It develops good speed and flies far enough from the owner.
If you already have experience folding planes using the origami technique, then you already guessed what kind of paper you need. Classically, all planes are folded from A4 paper. There won’t be many folds in this tutorial, so you can use a smaller size paper if you can keep the aspect ratio.
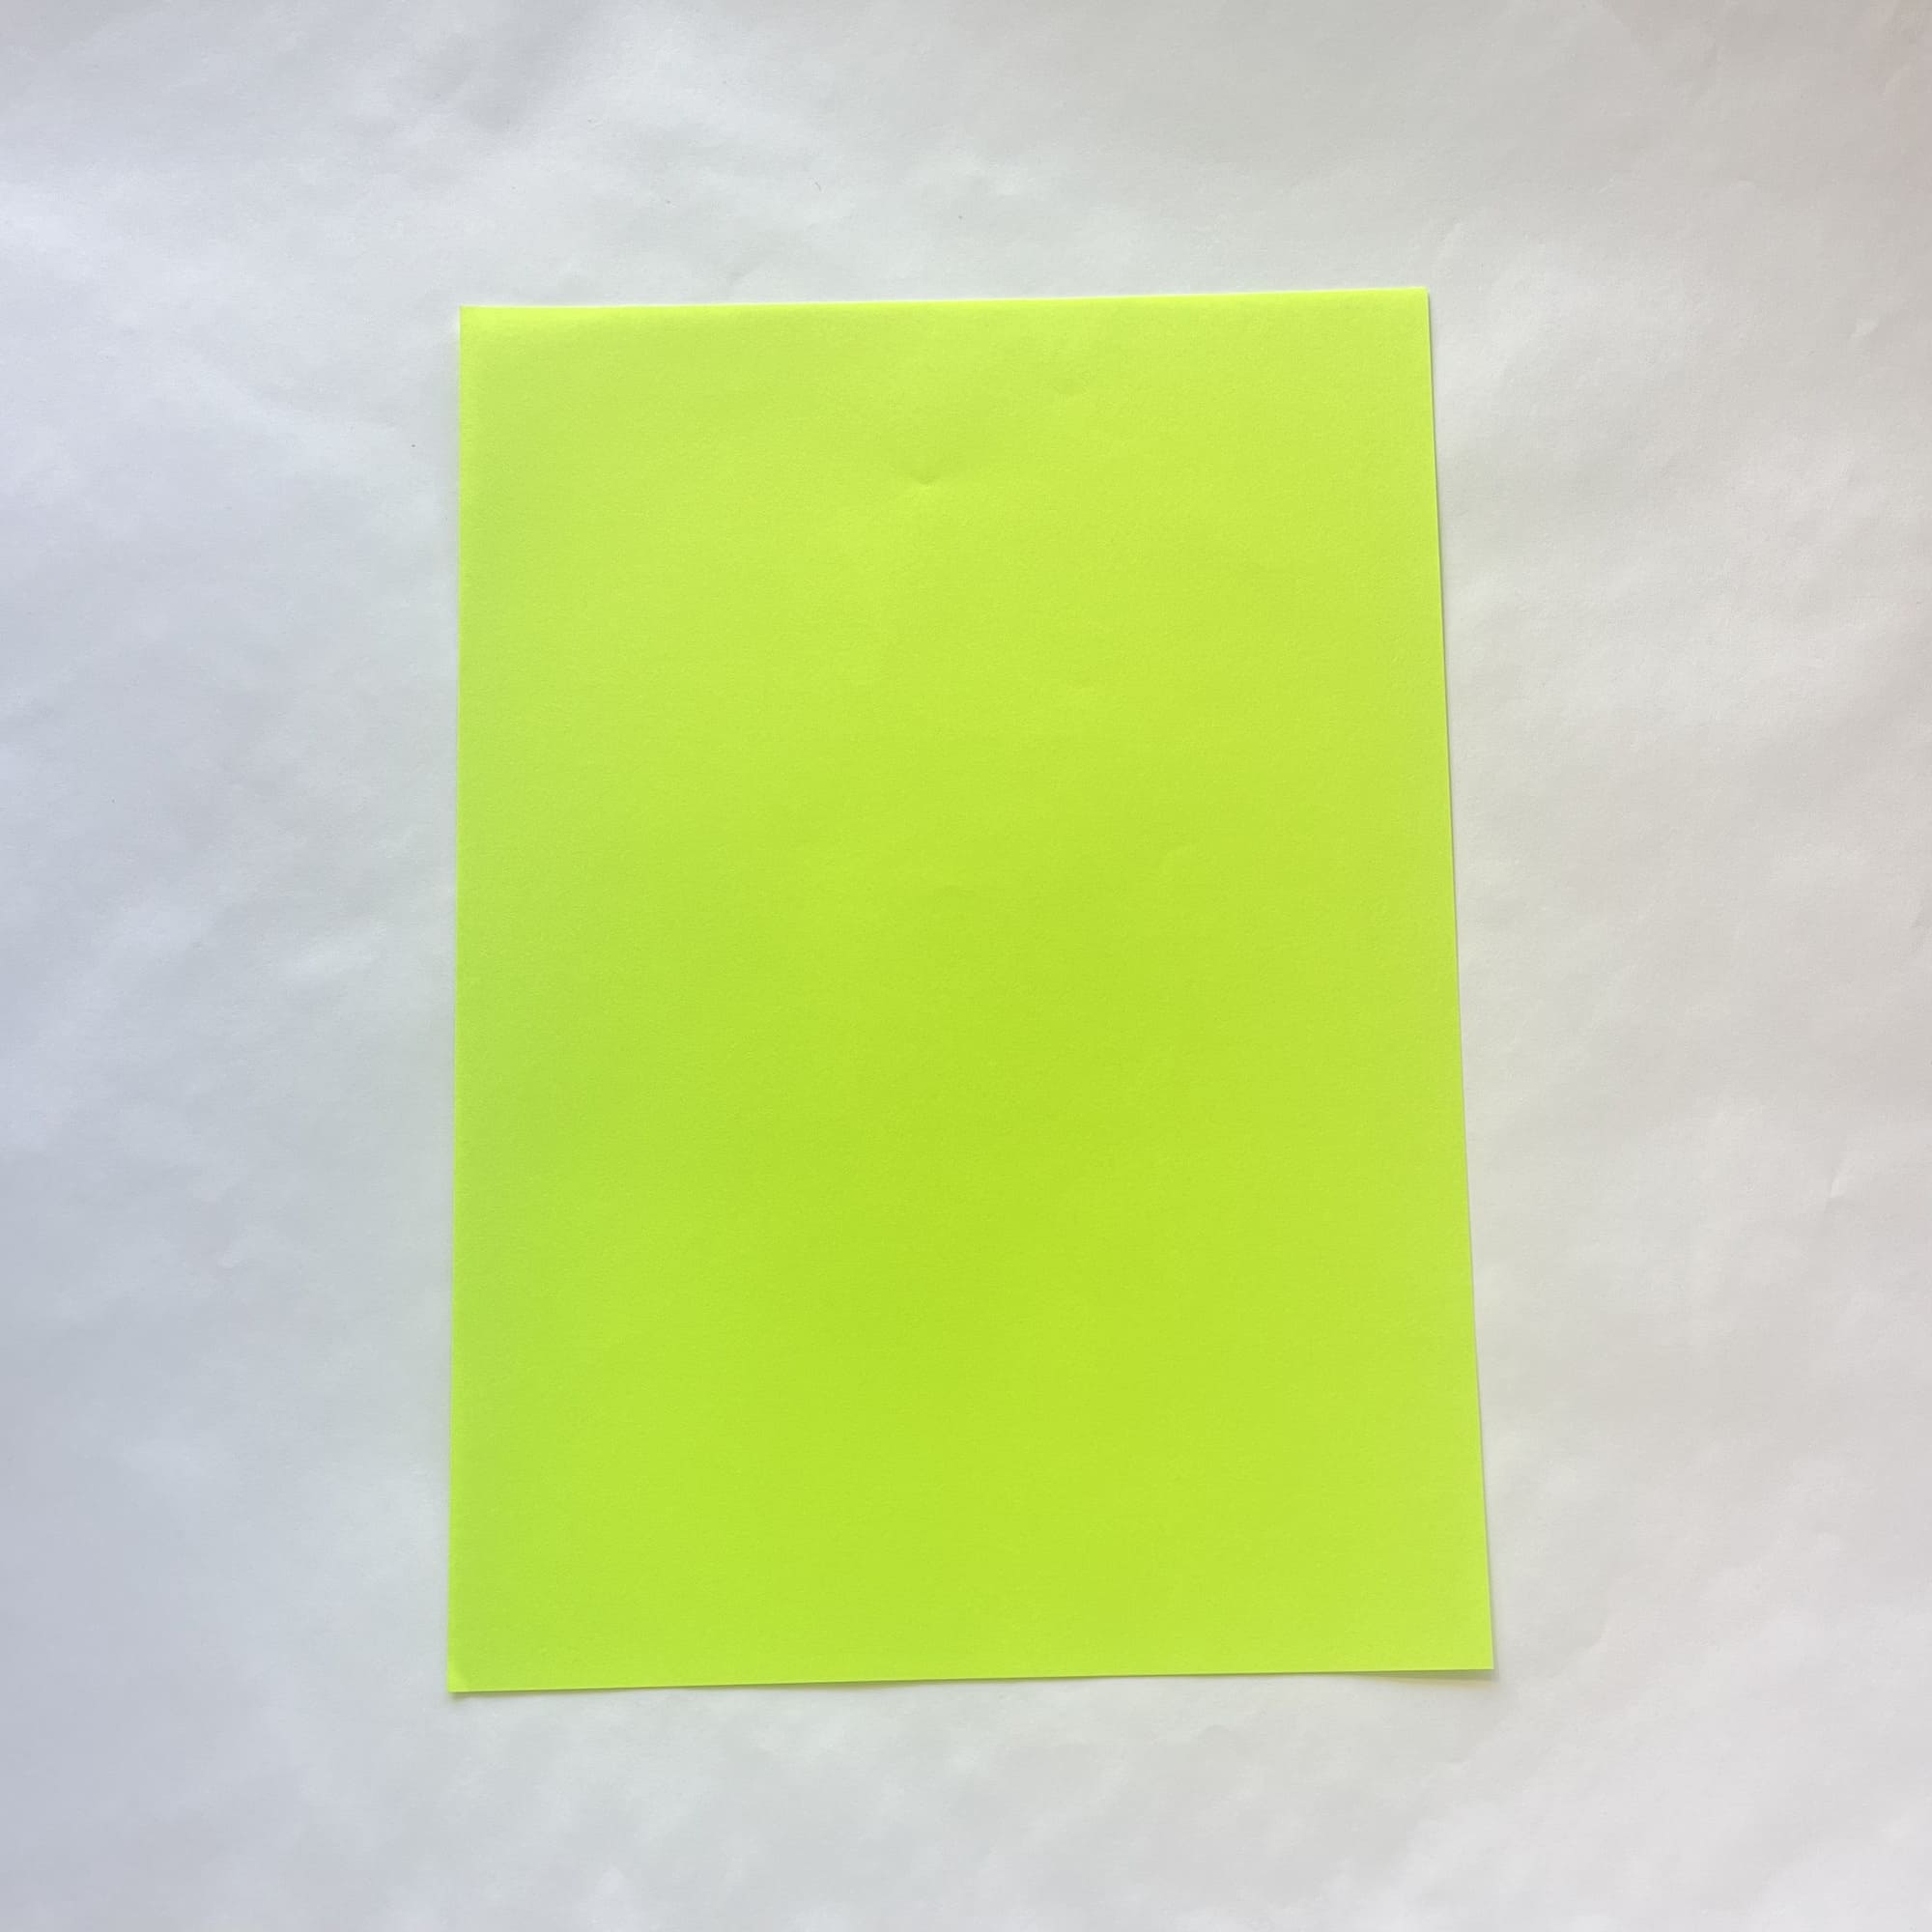
Prepare an A4 (21×28 cm) sheet of paper and place it vertically.
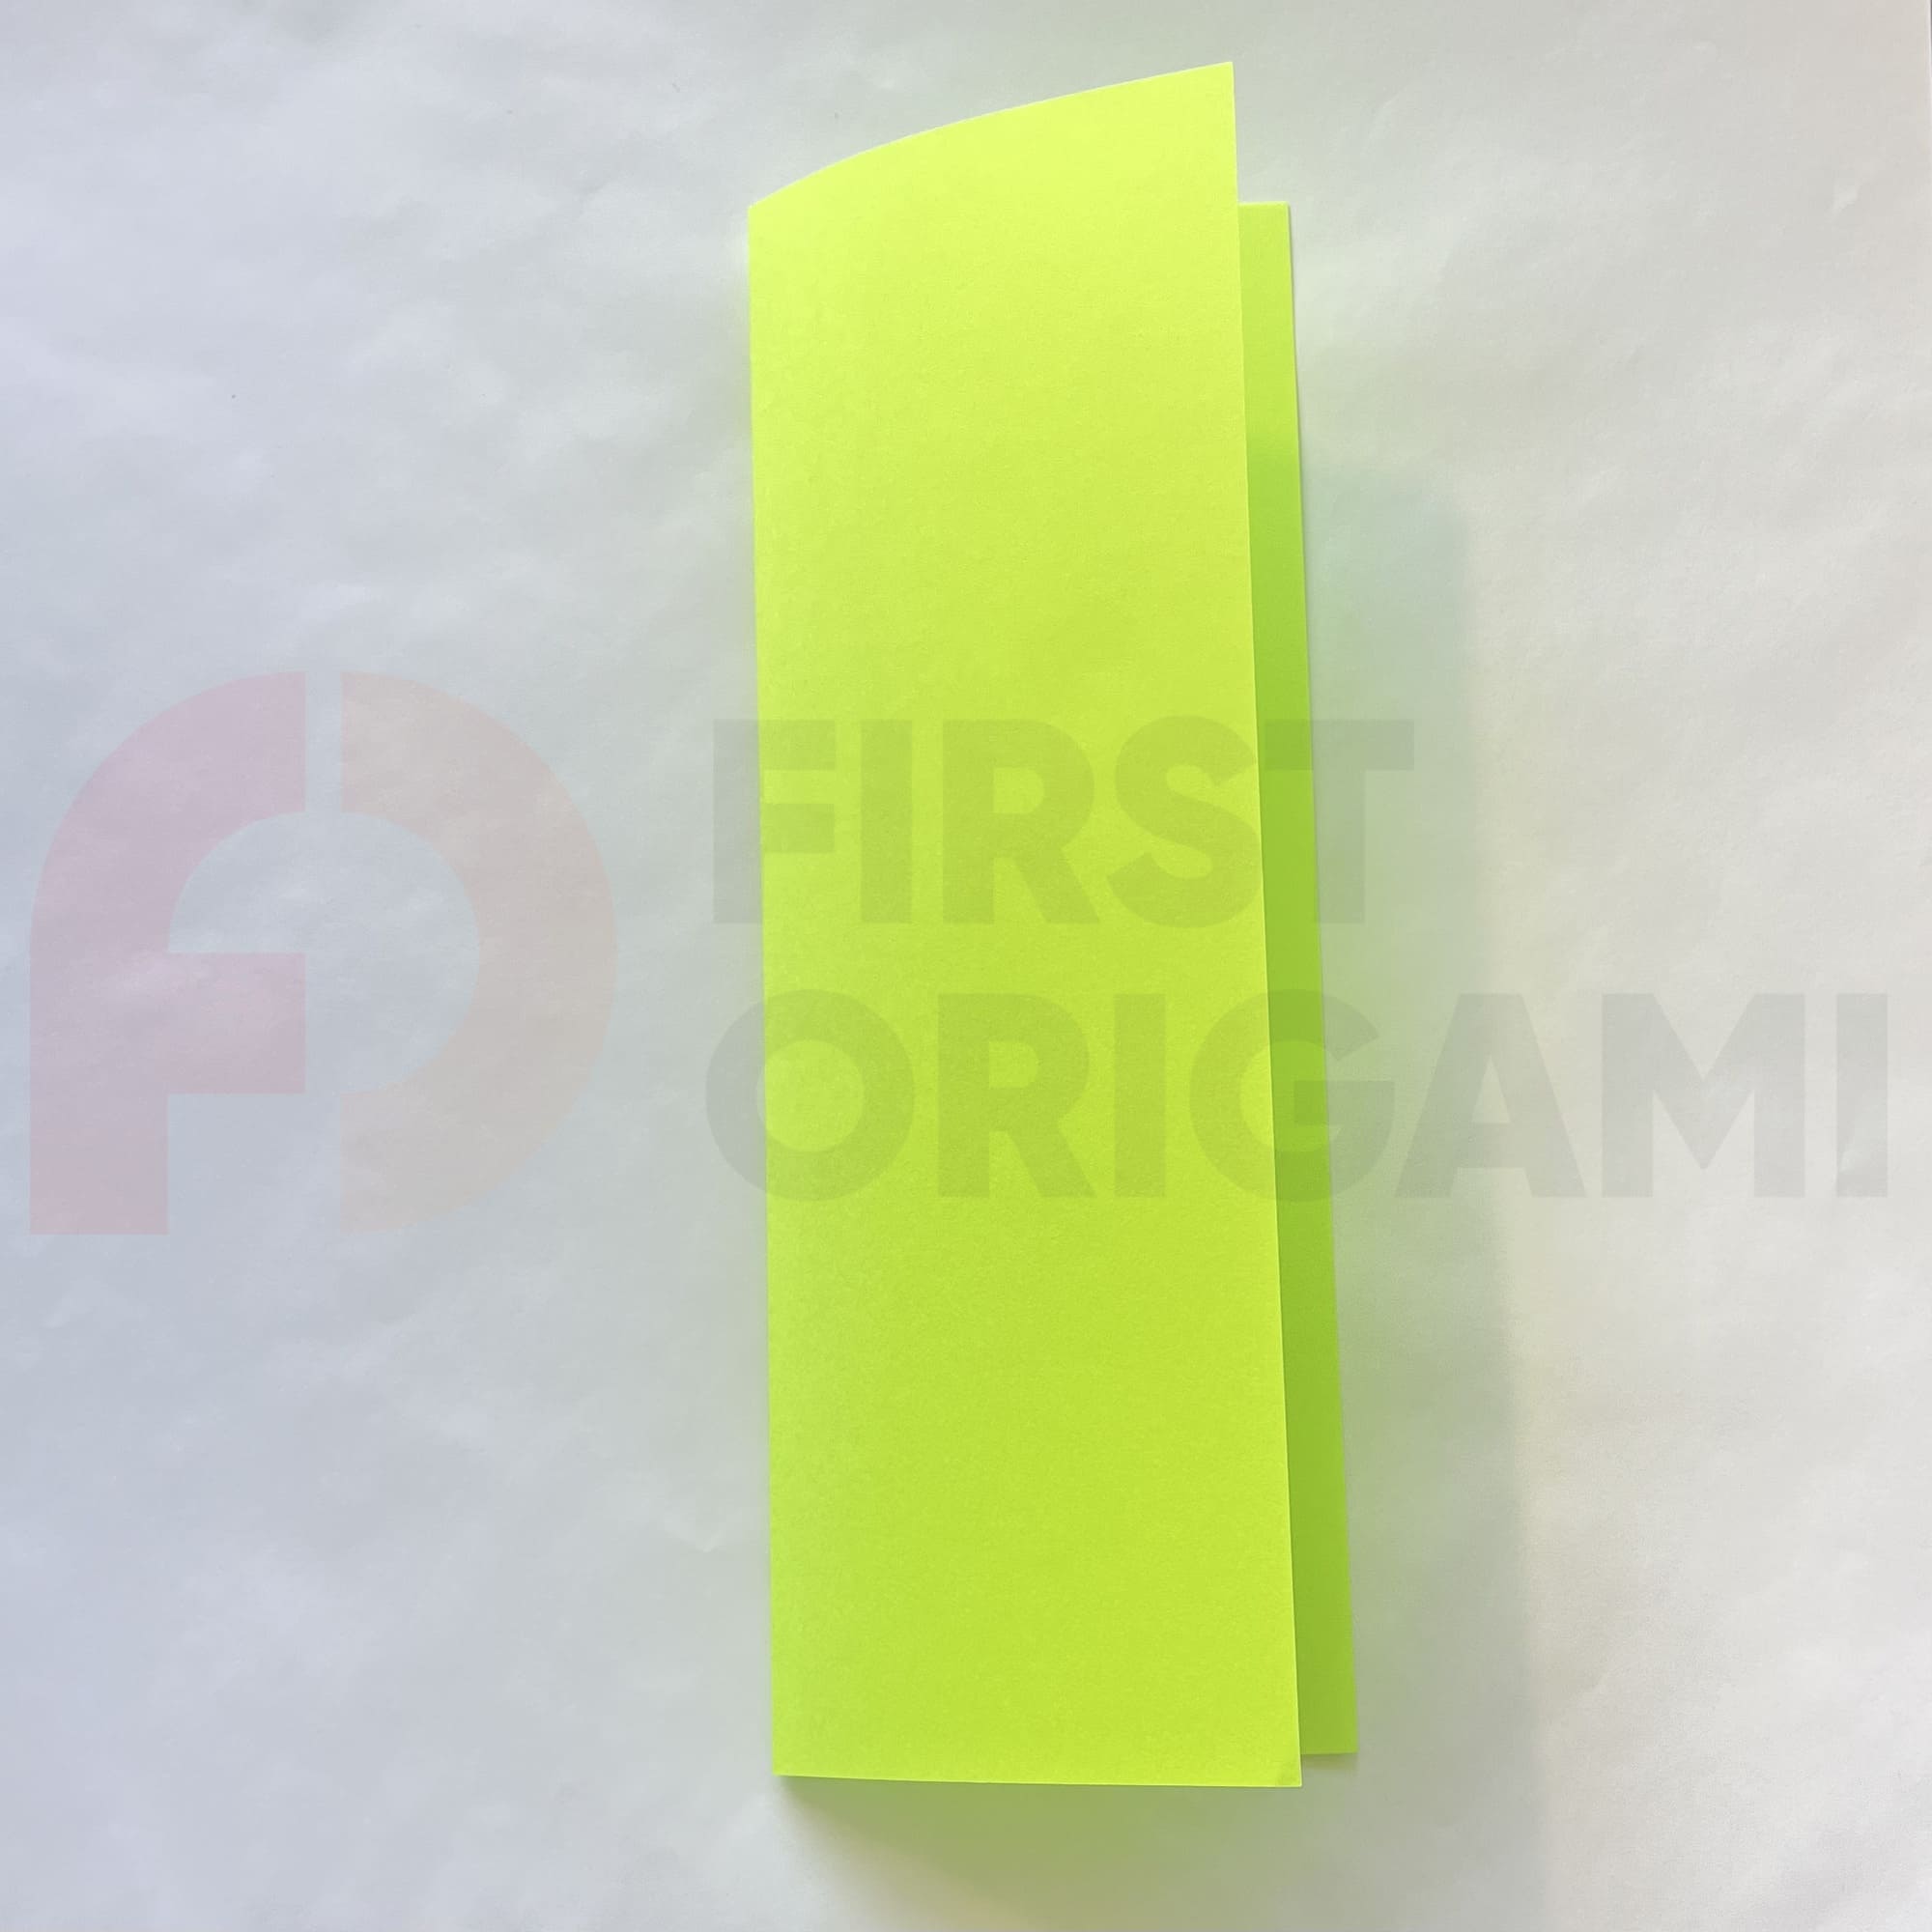
Fold the paper in half, connecting its right and left sides.
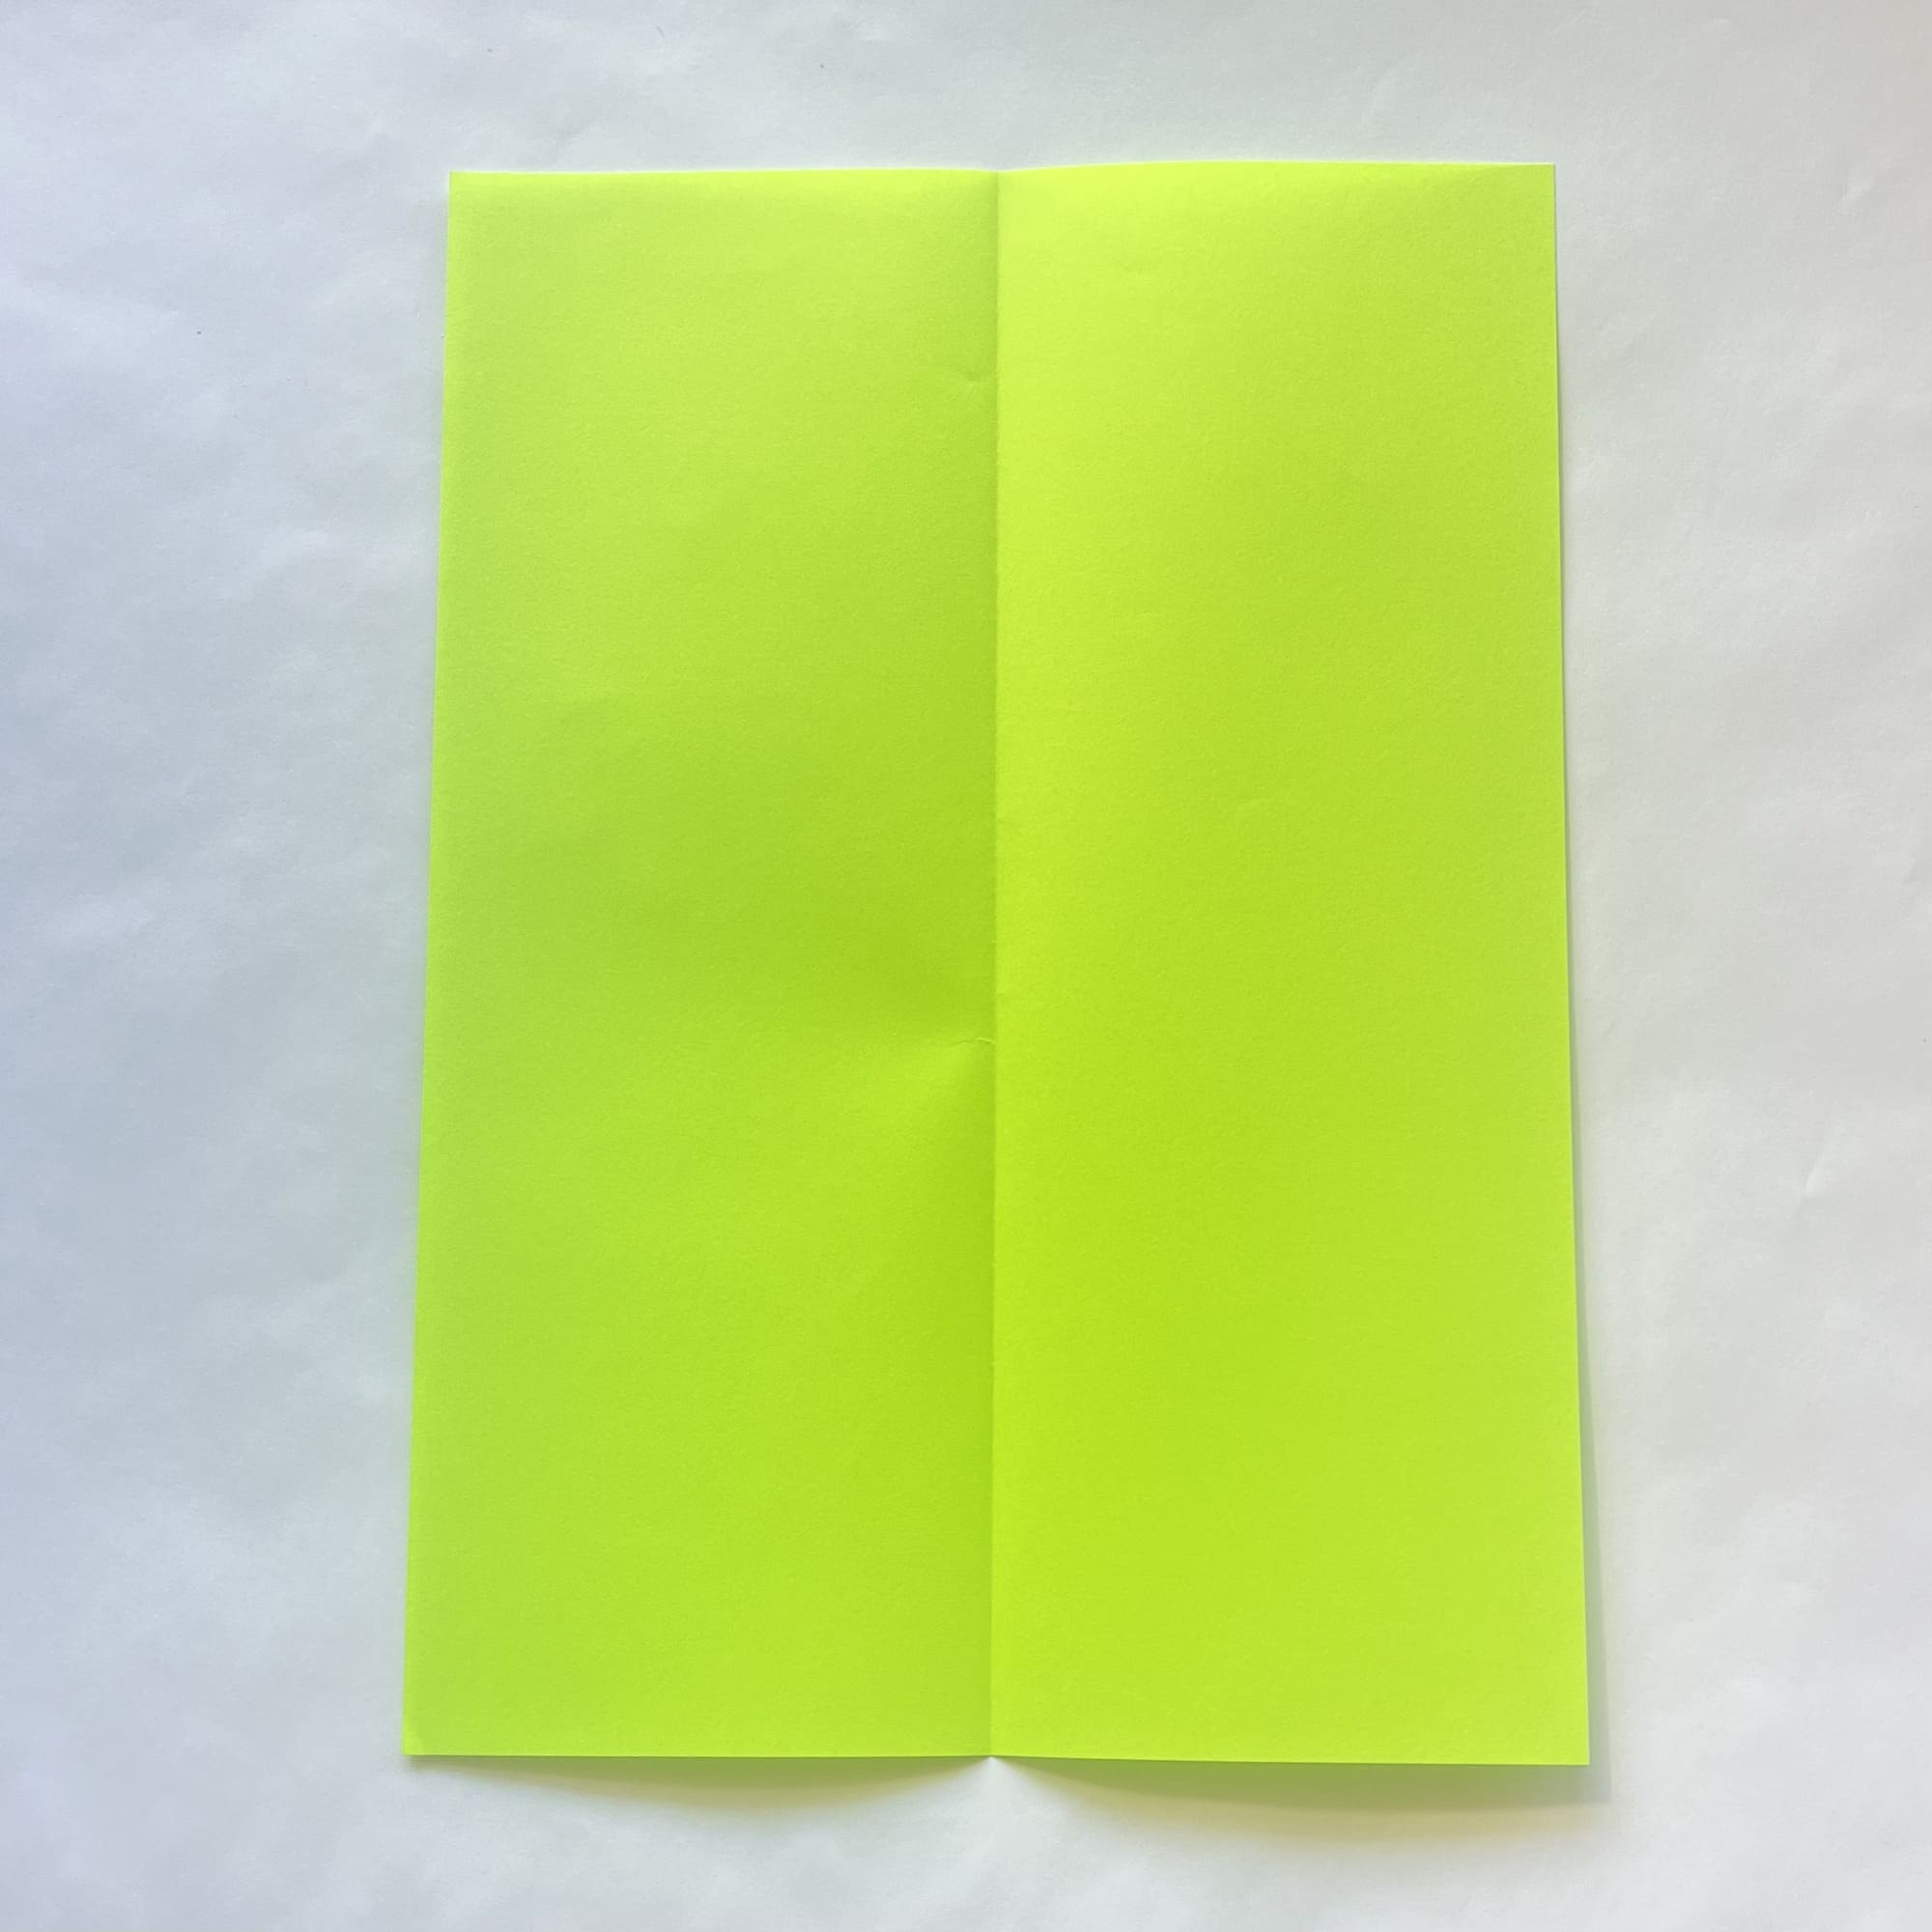
Crease the fold very well, then unfold.
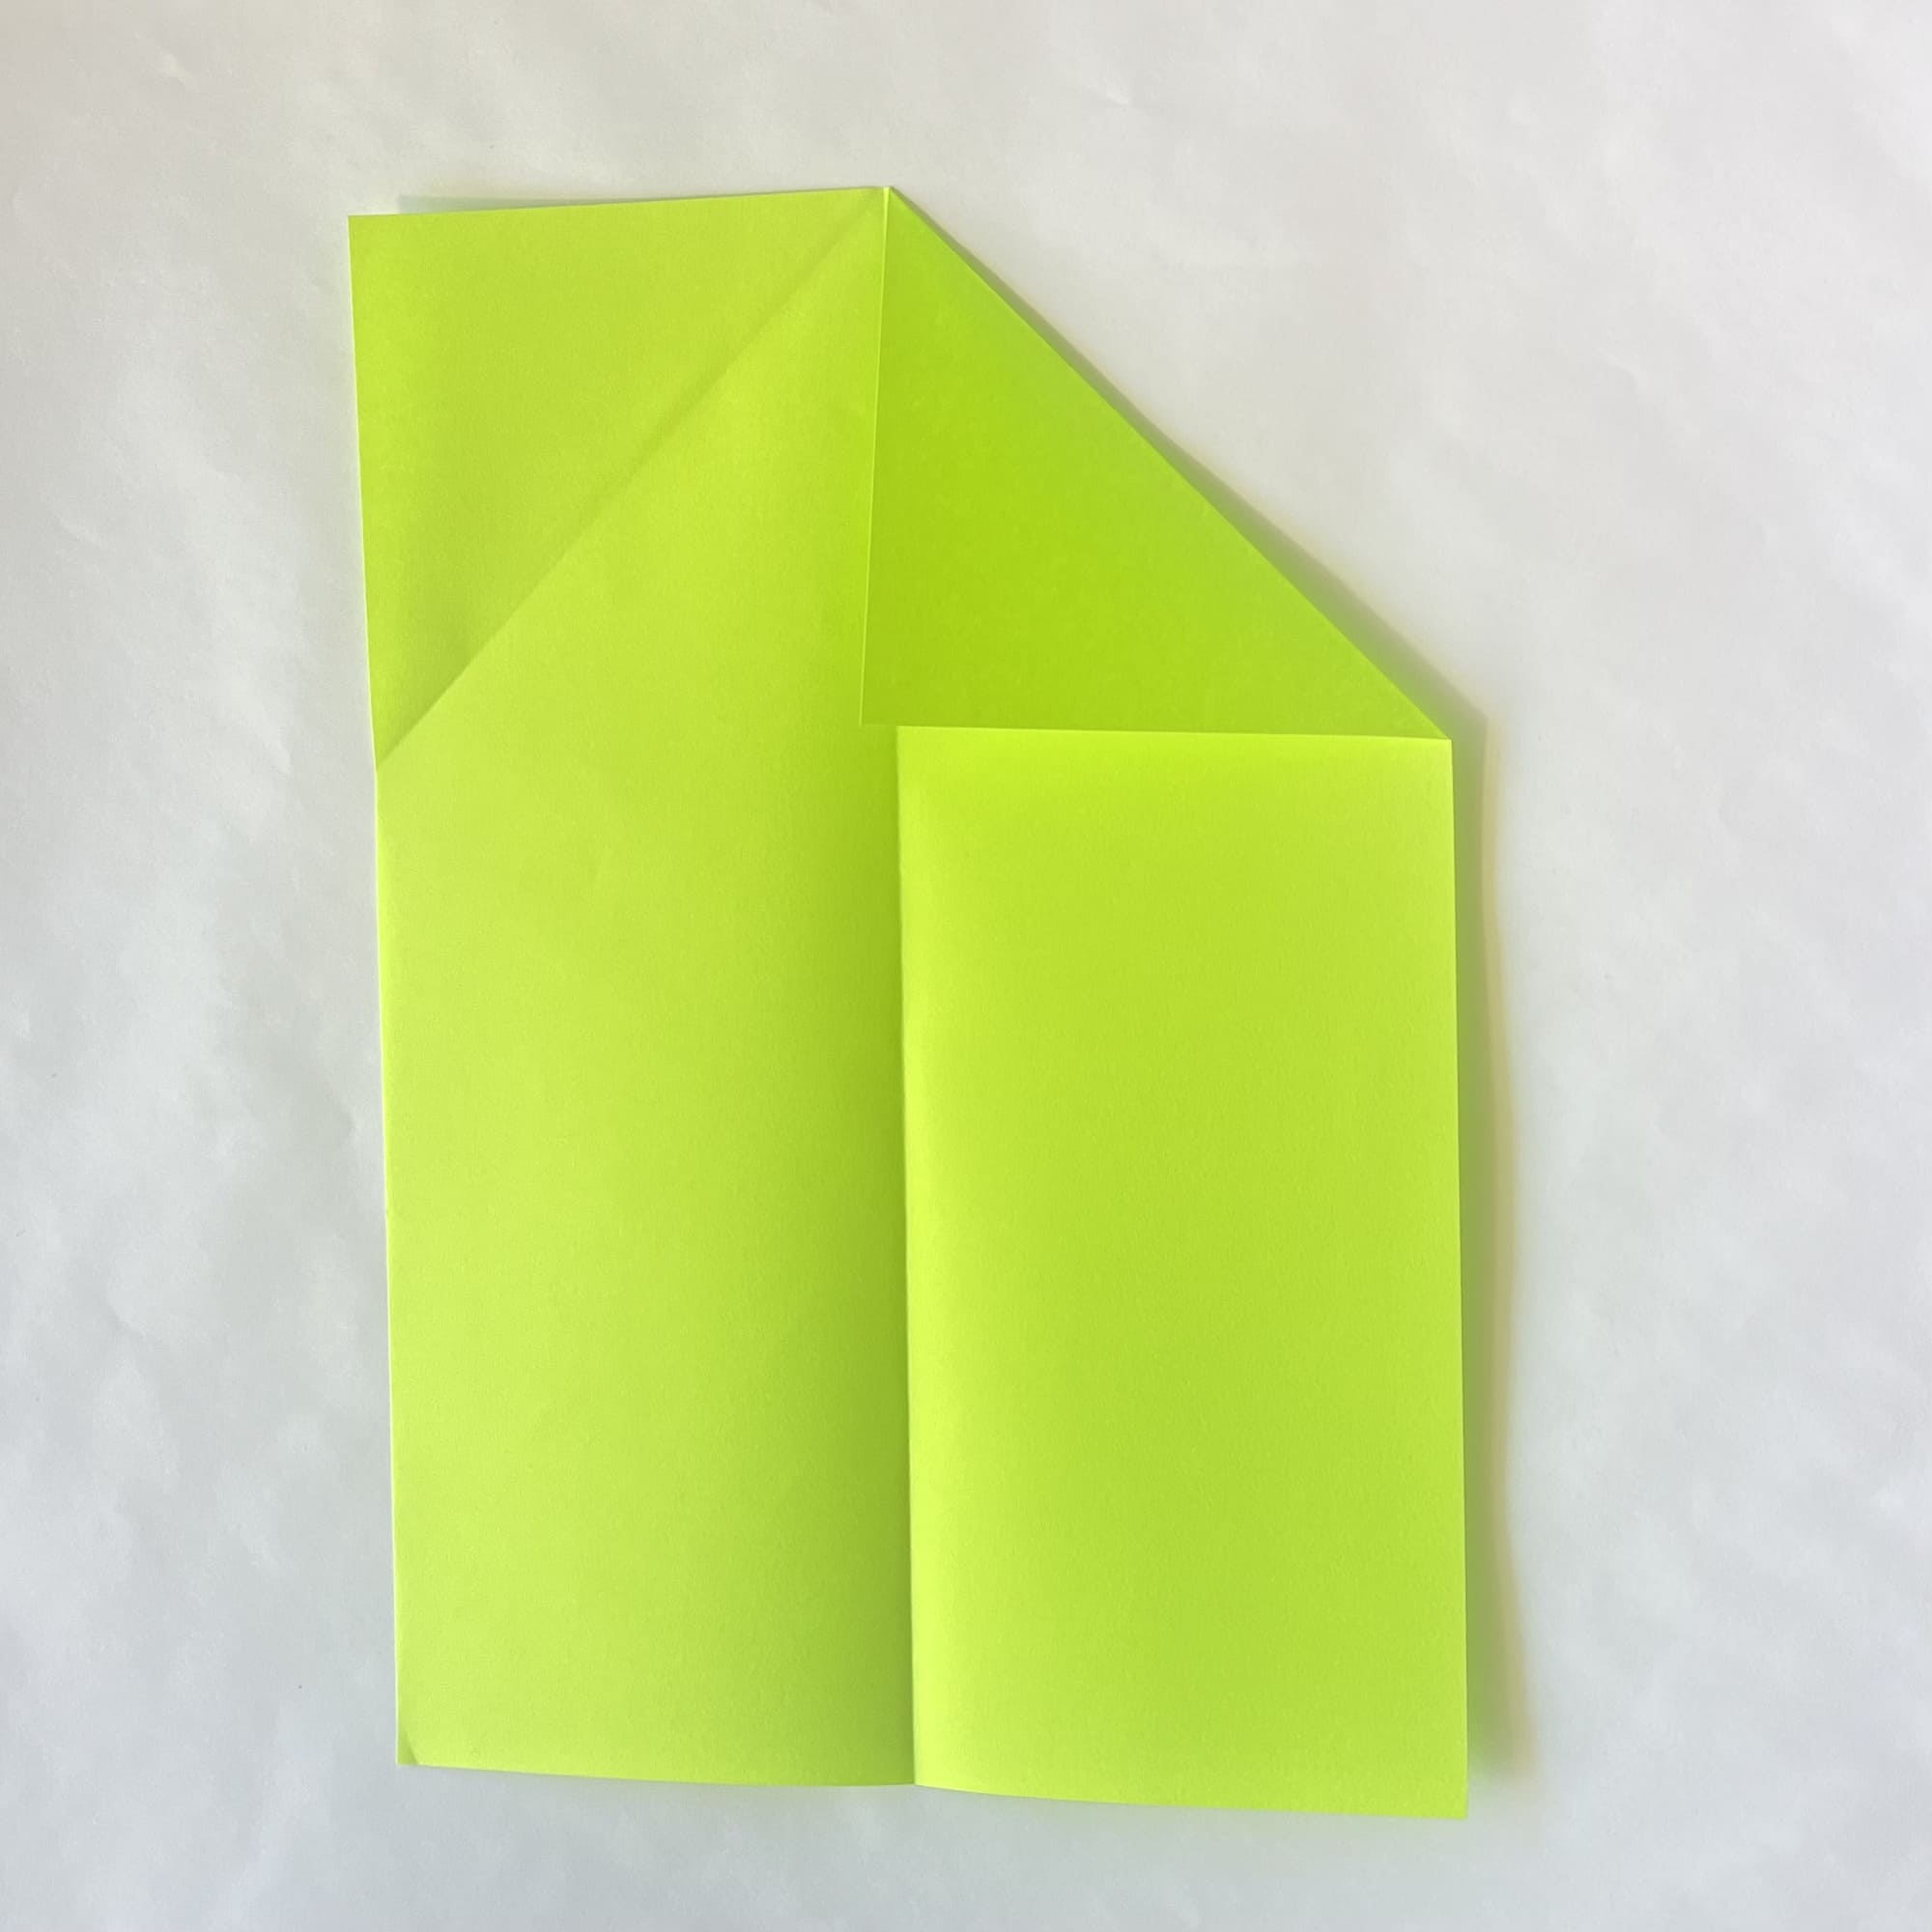
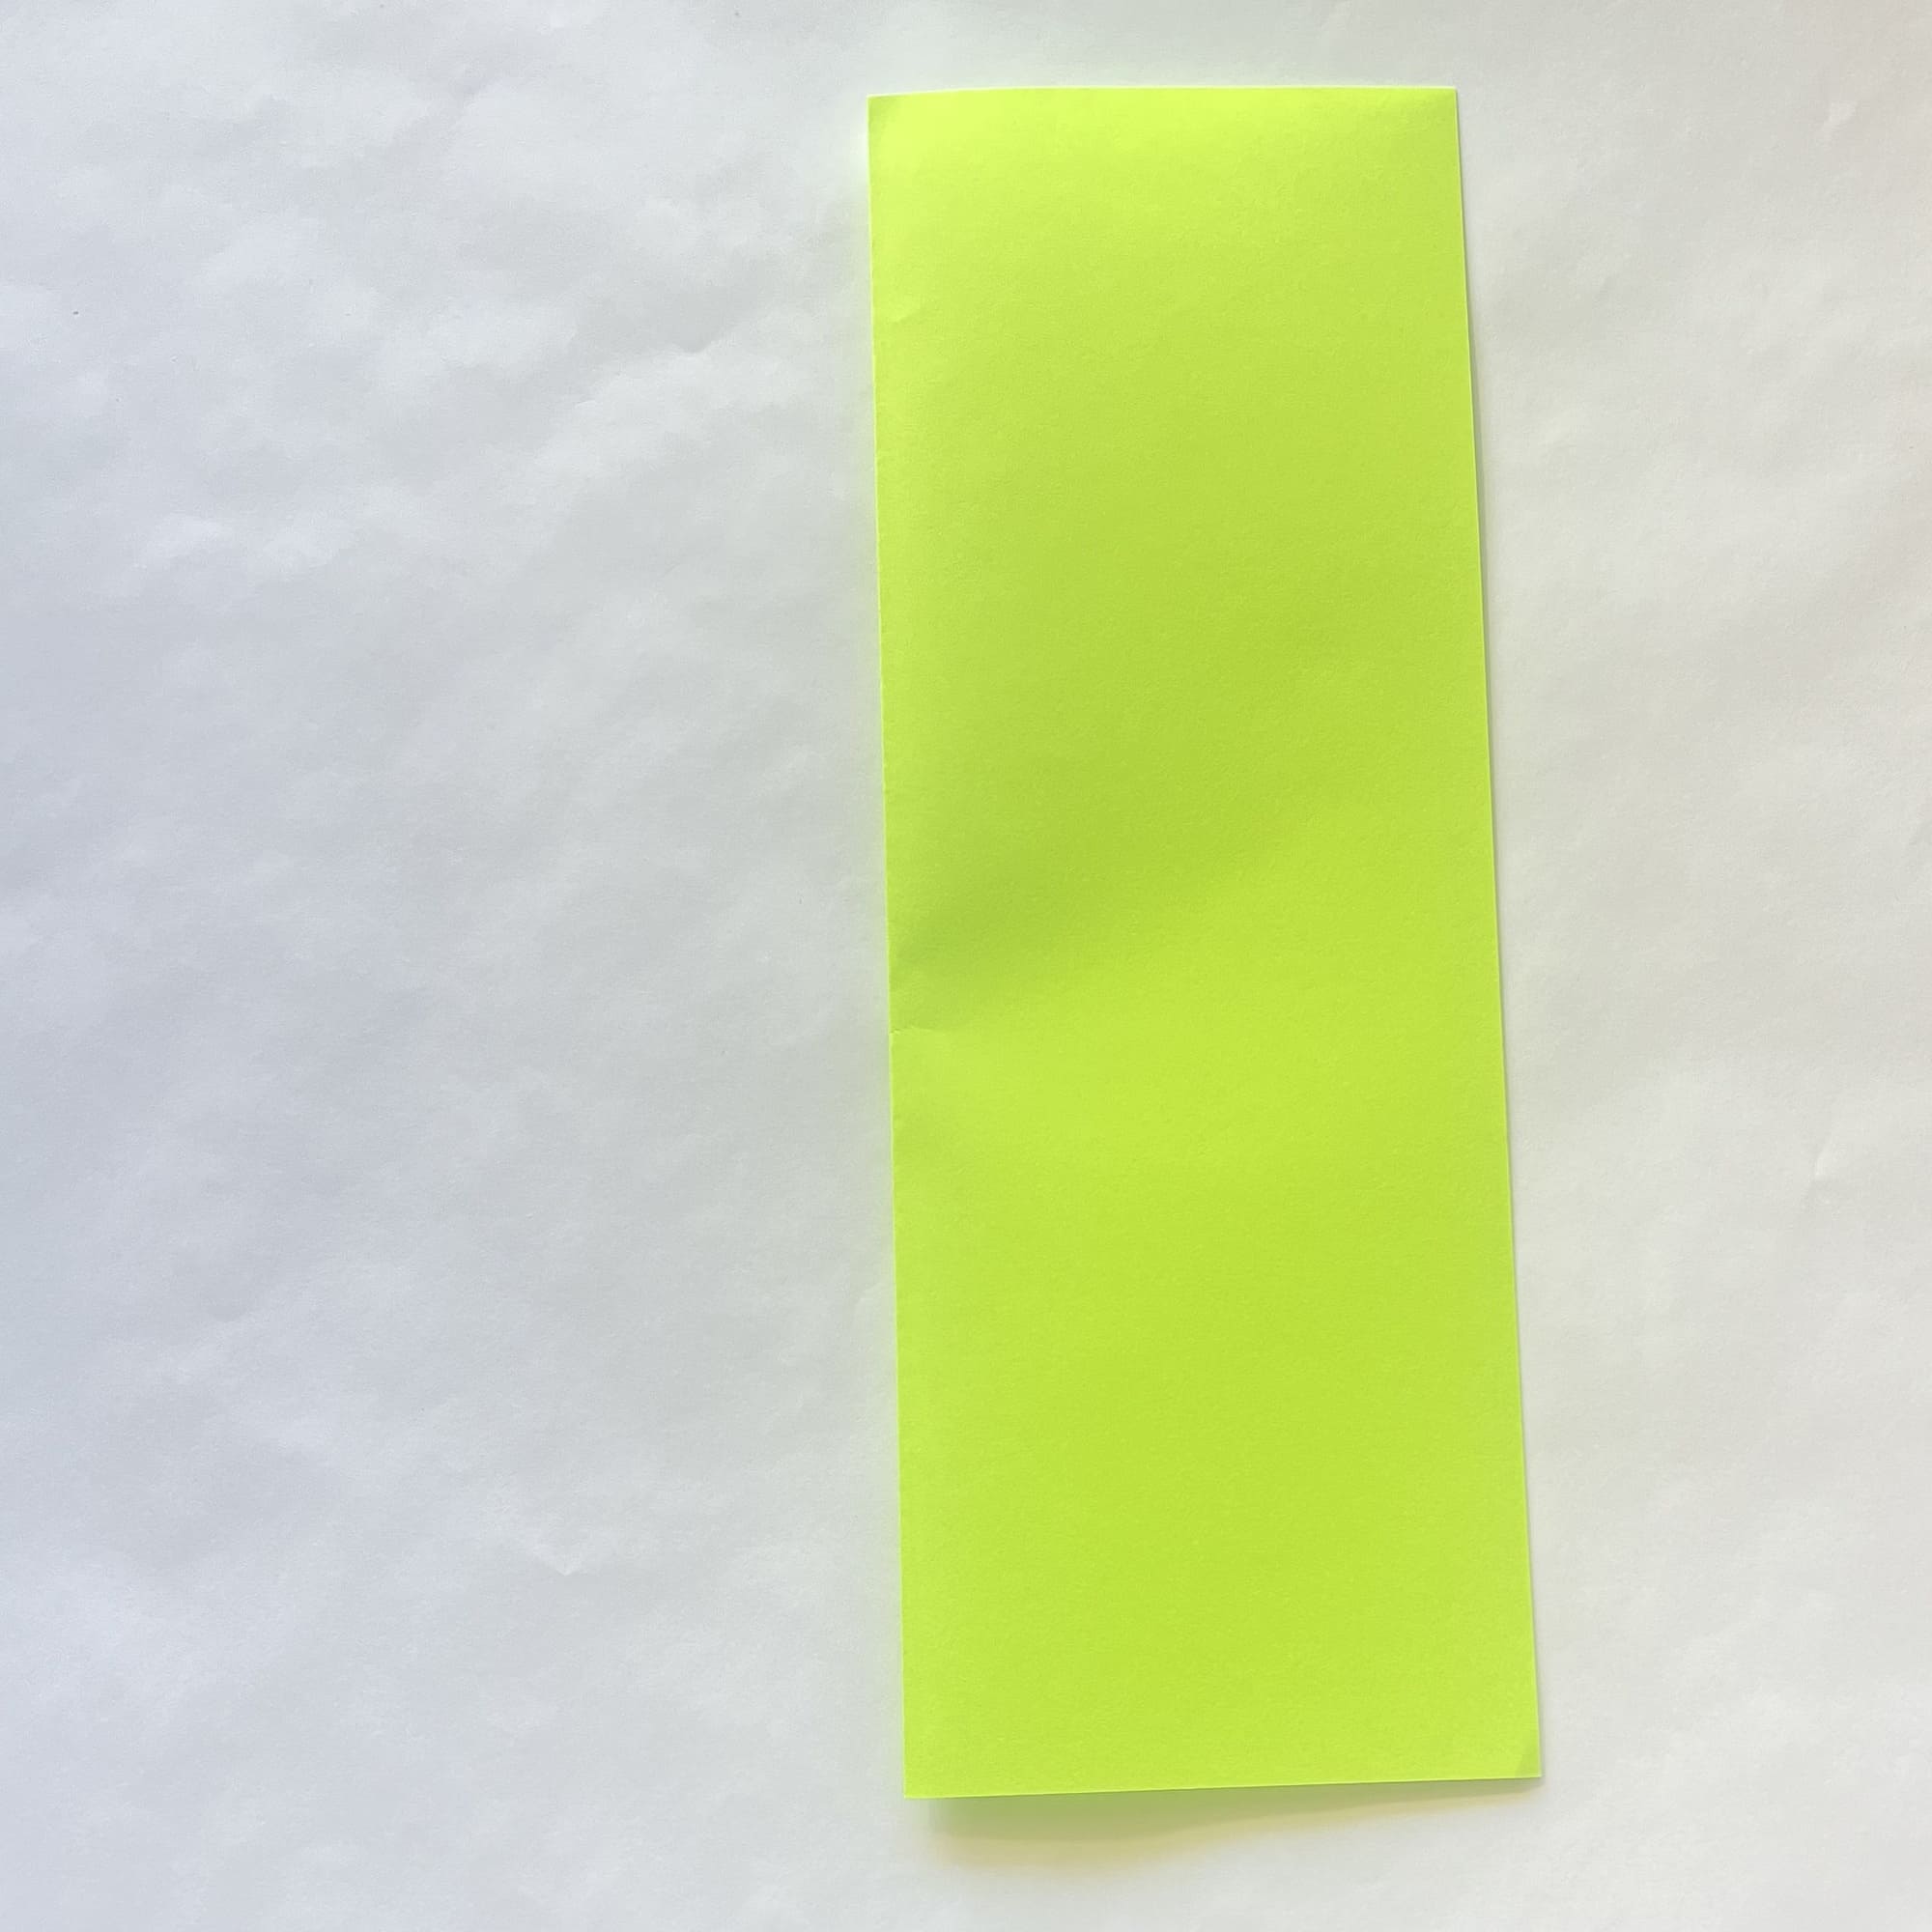
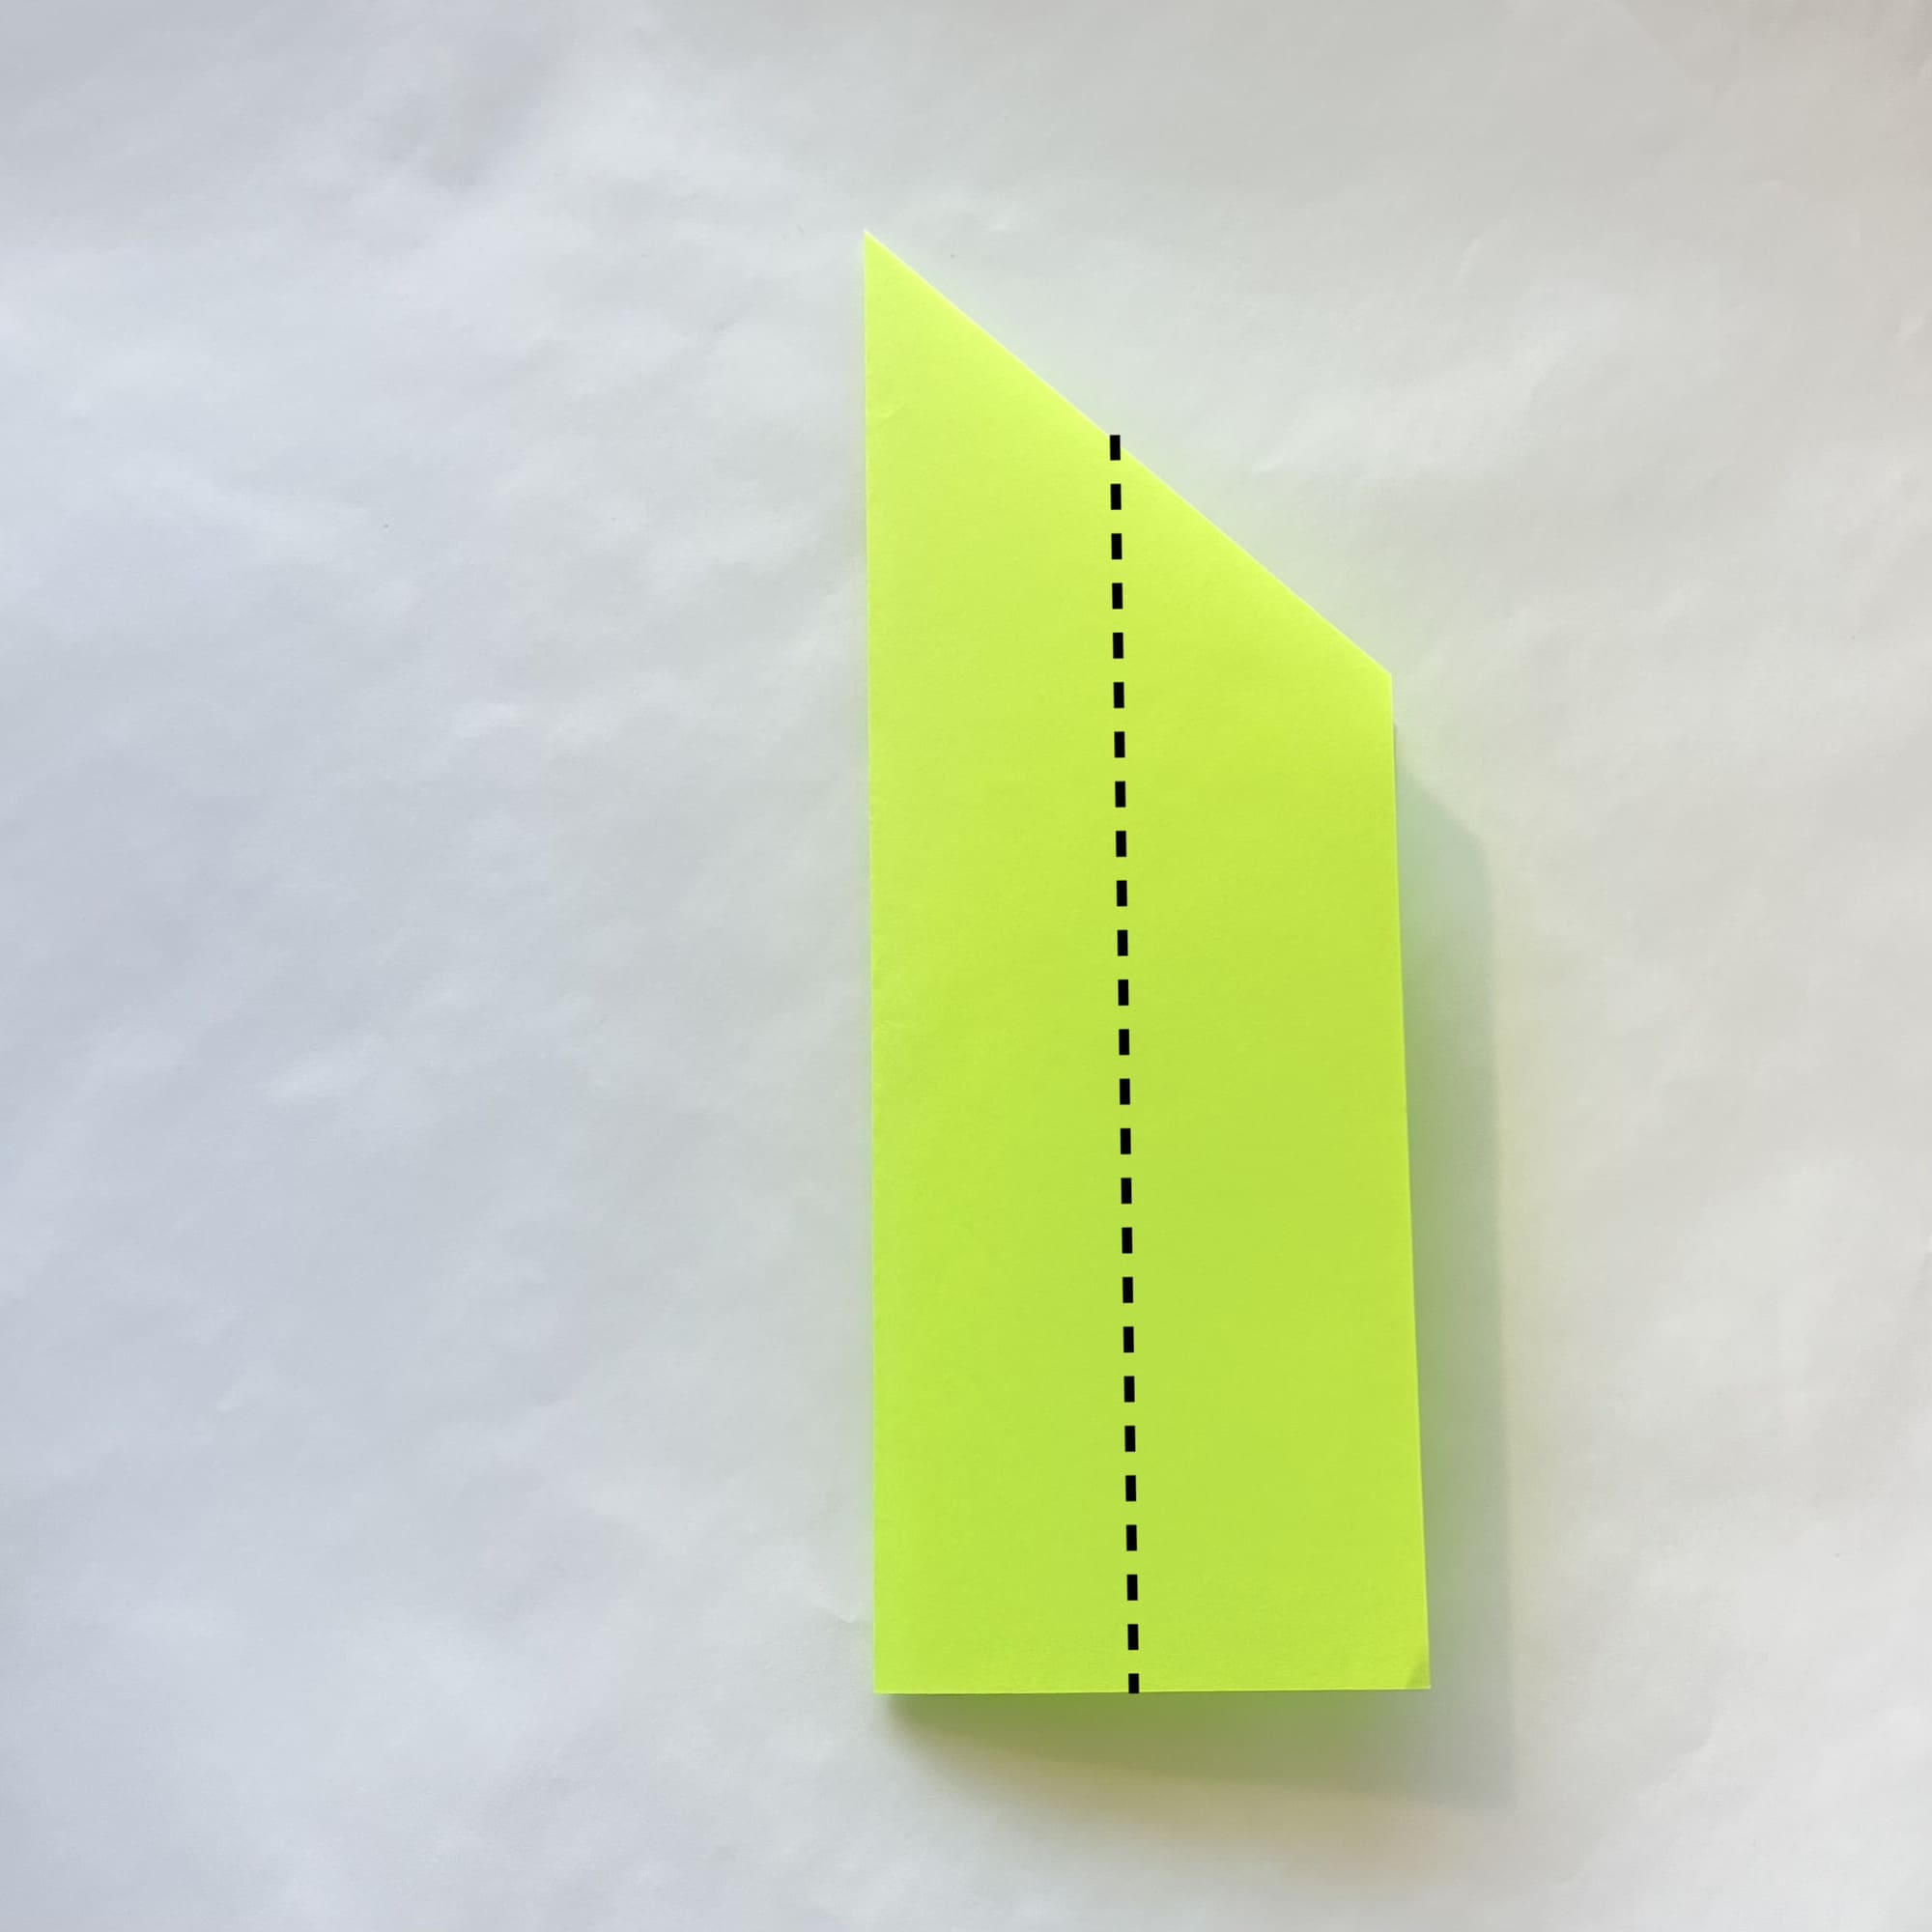
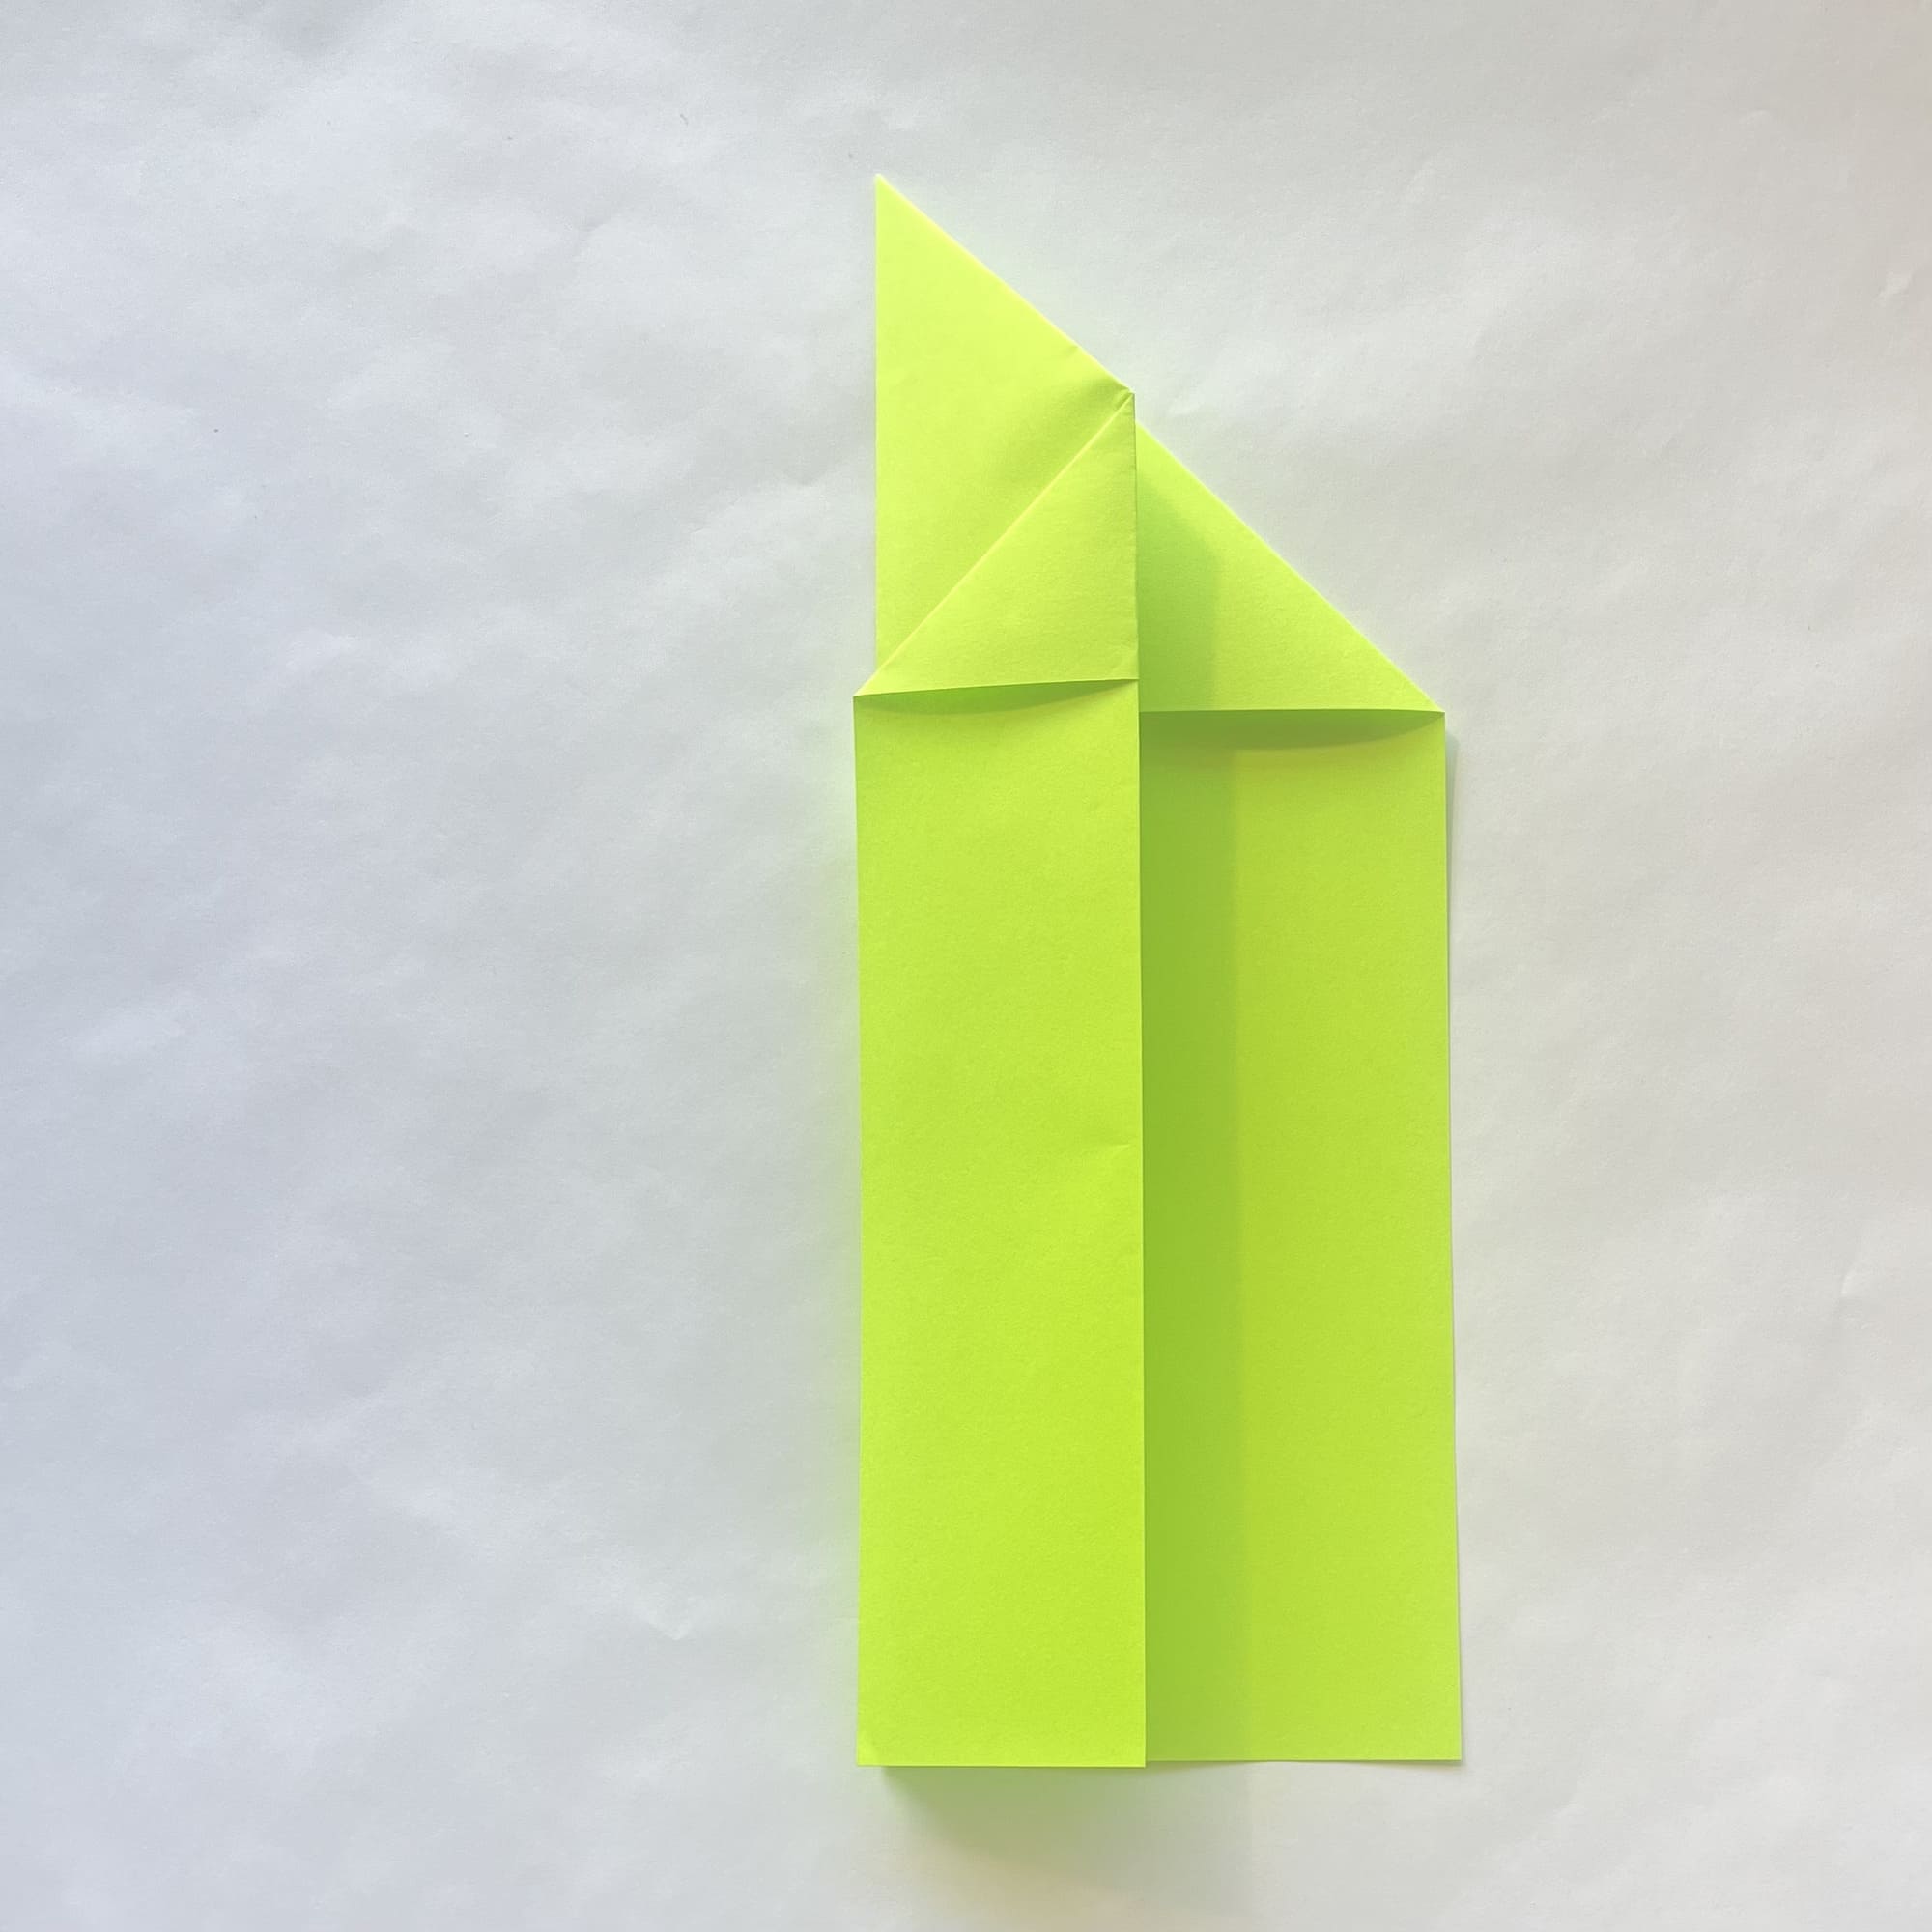
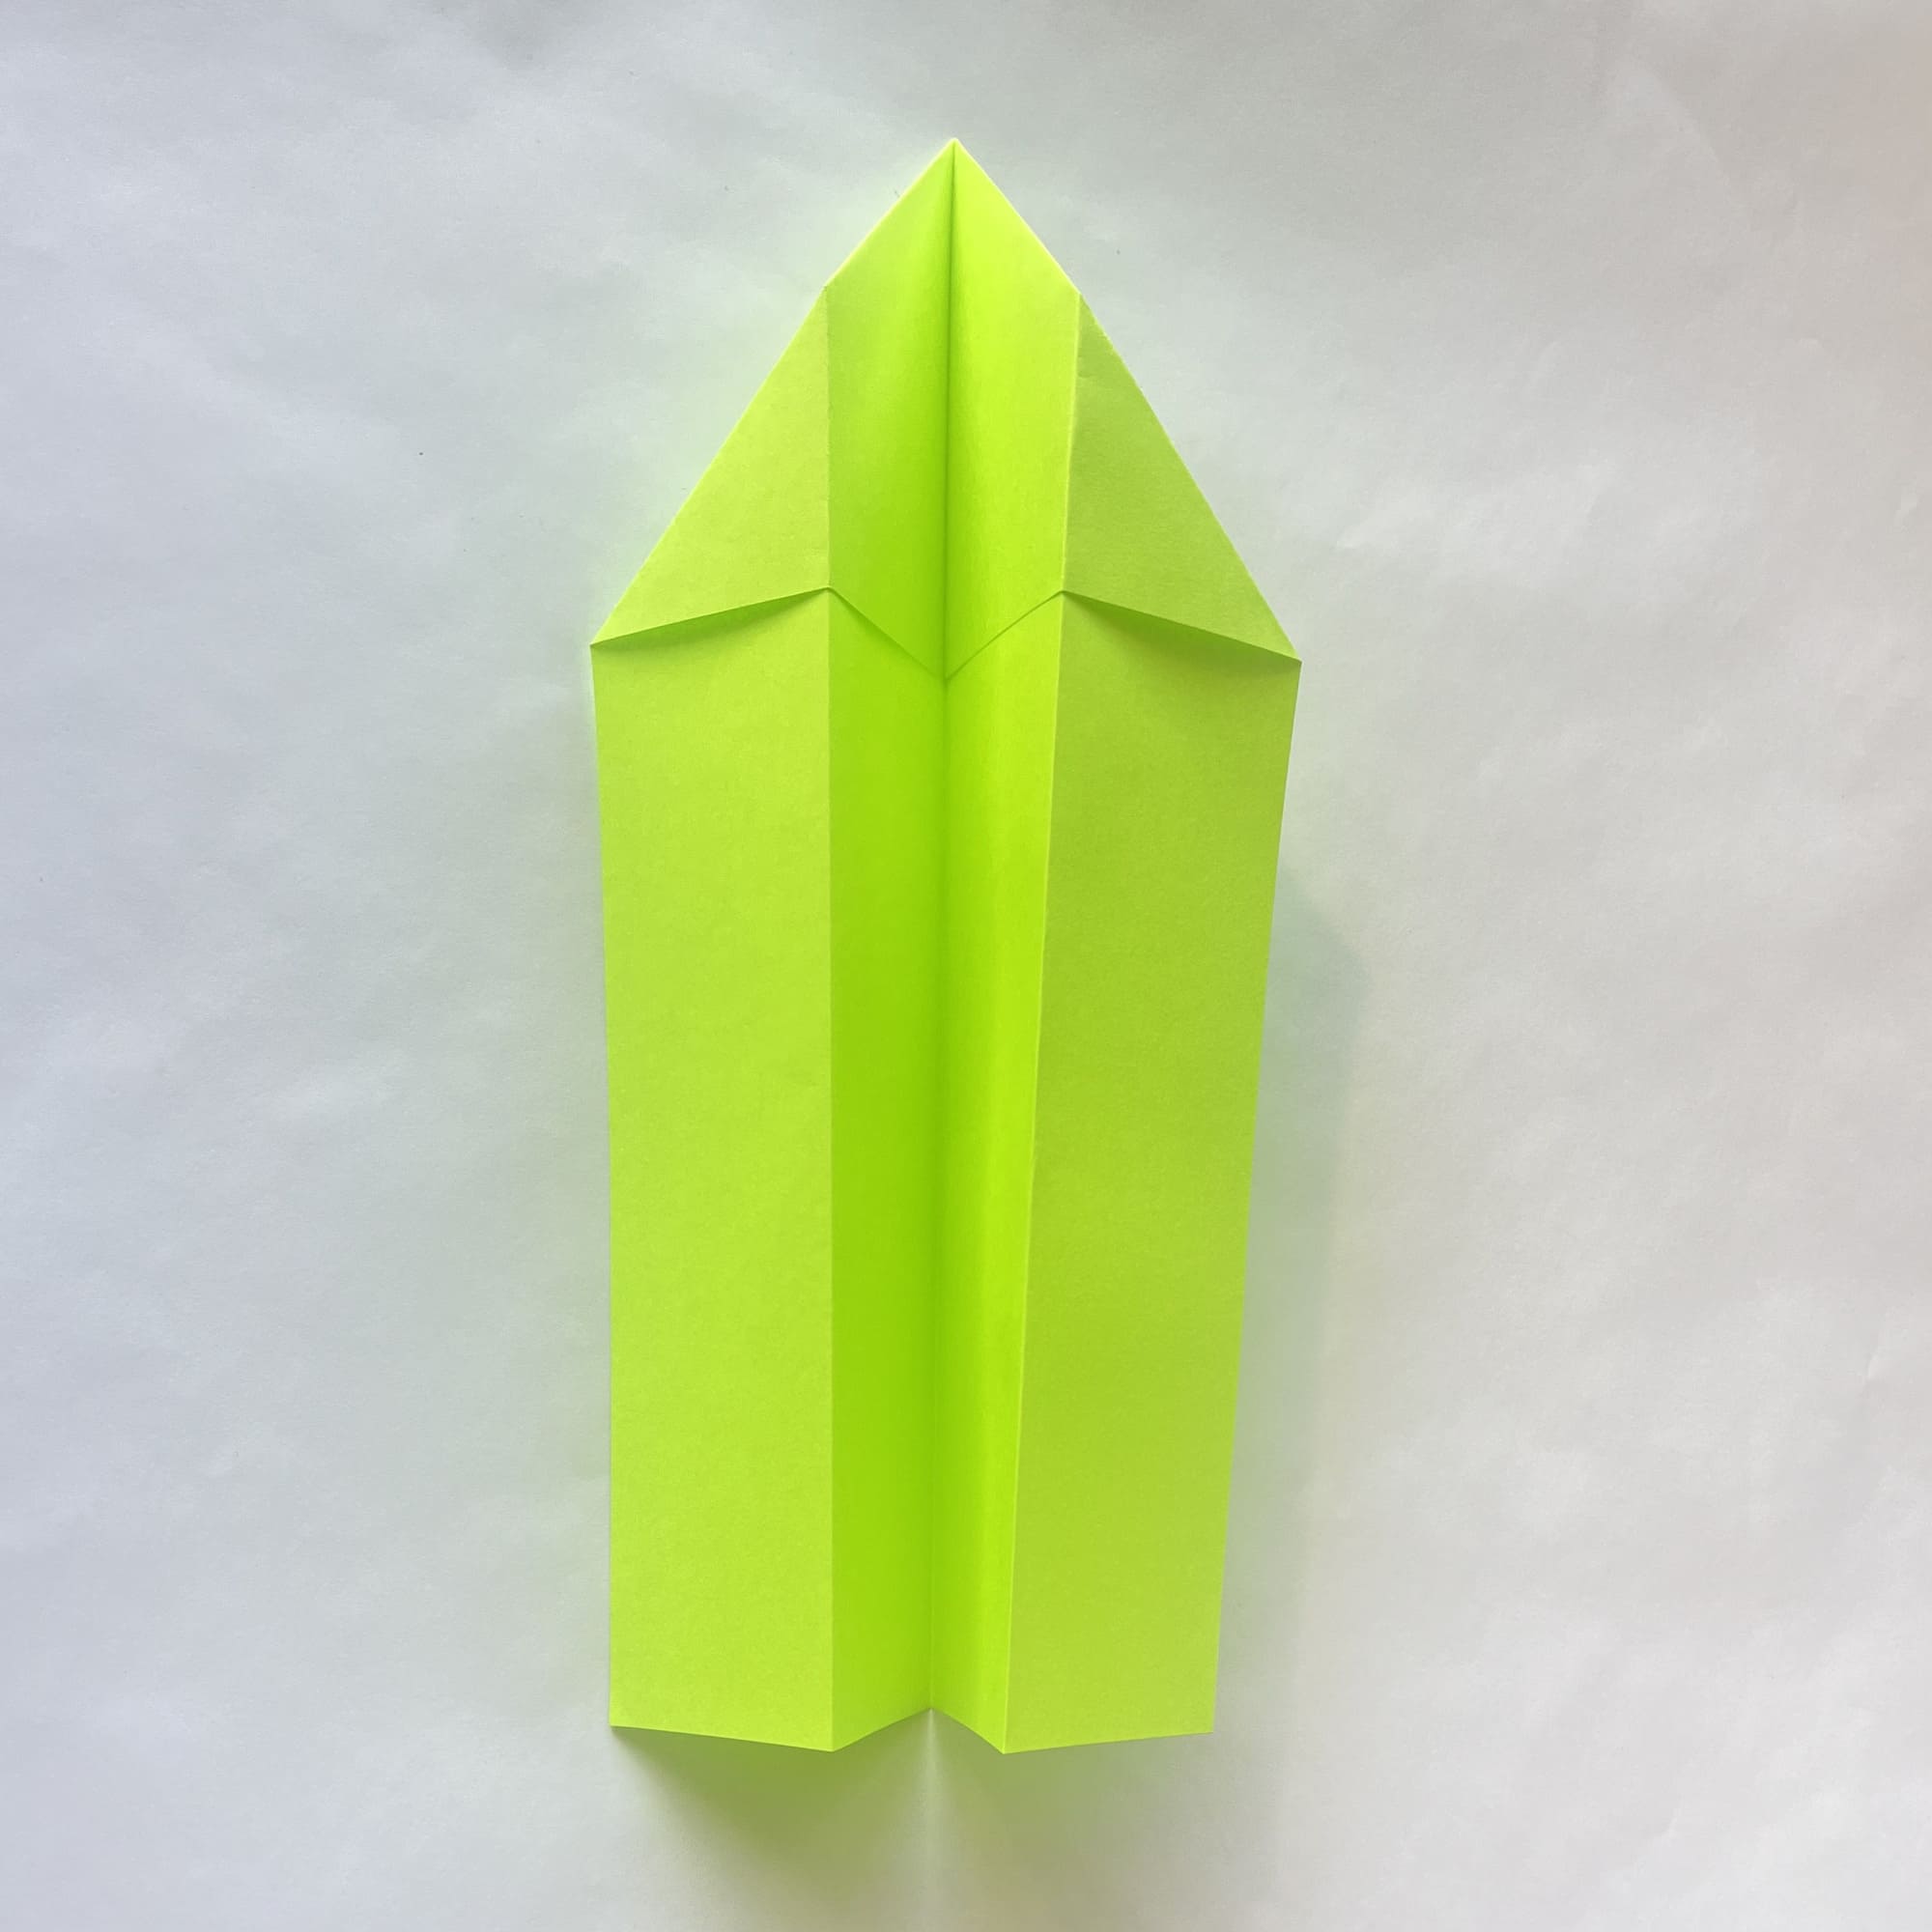
Bend the upper right corner inward so that its outer edge is on the center fold line.
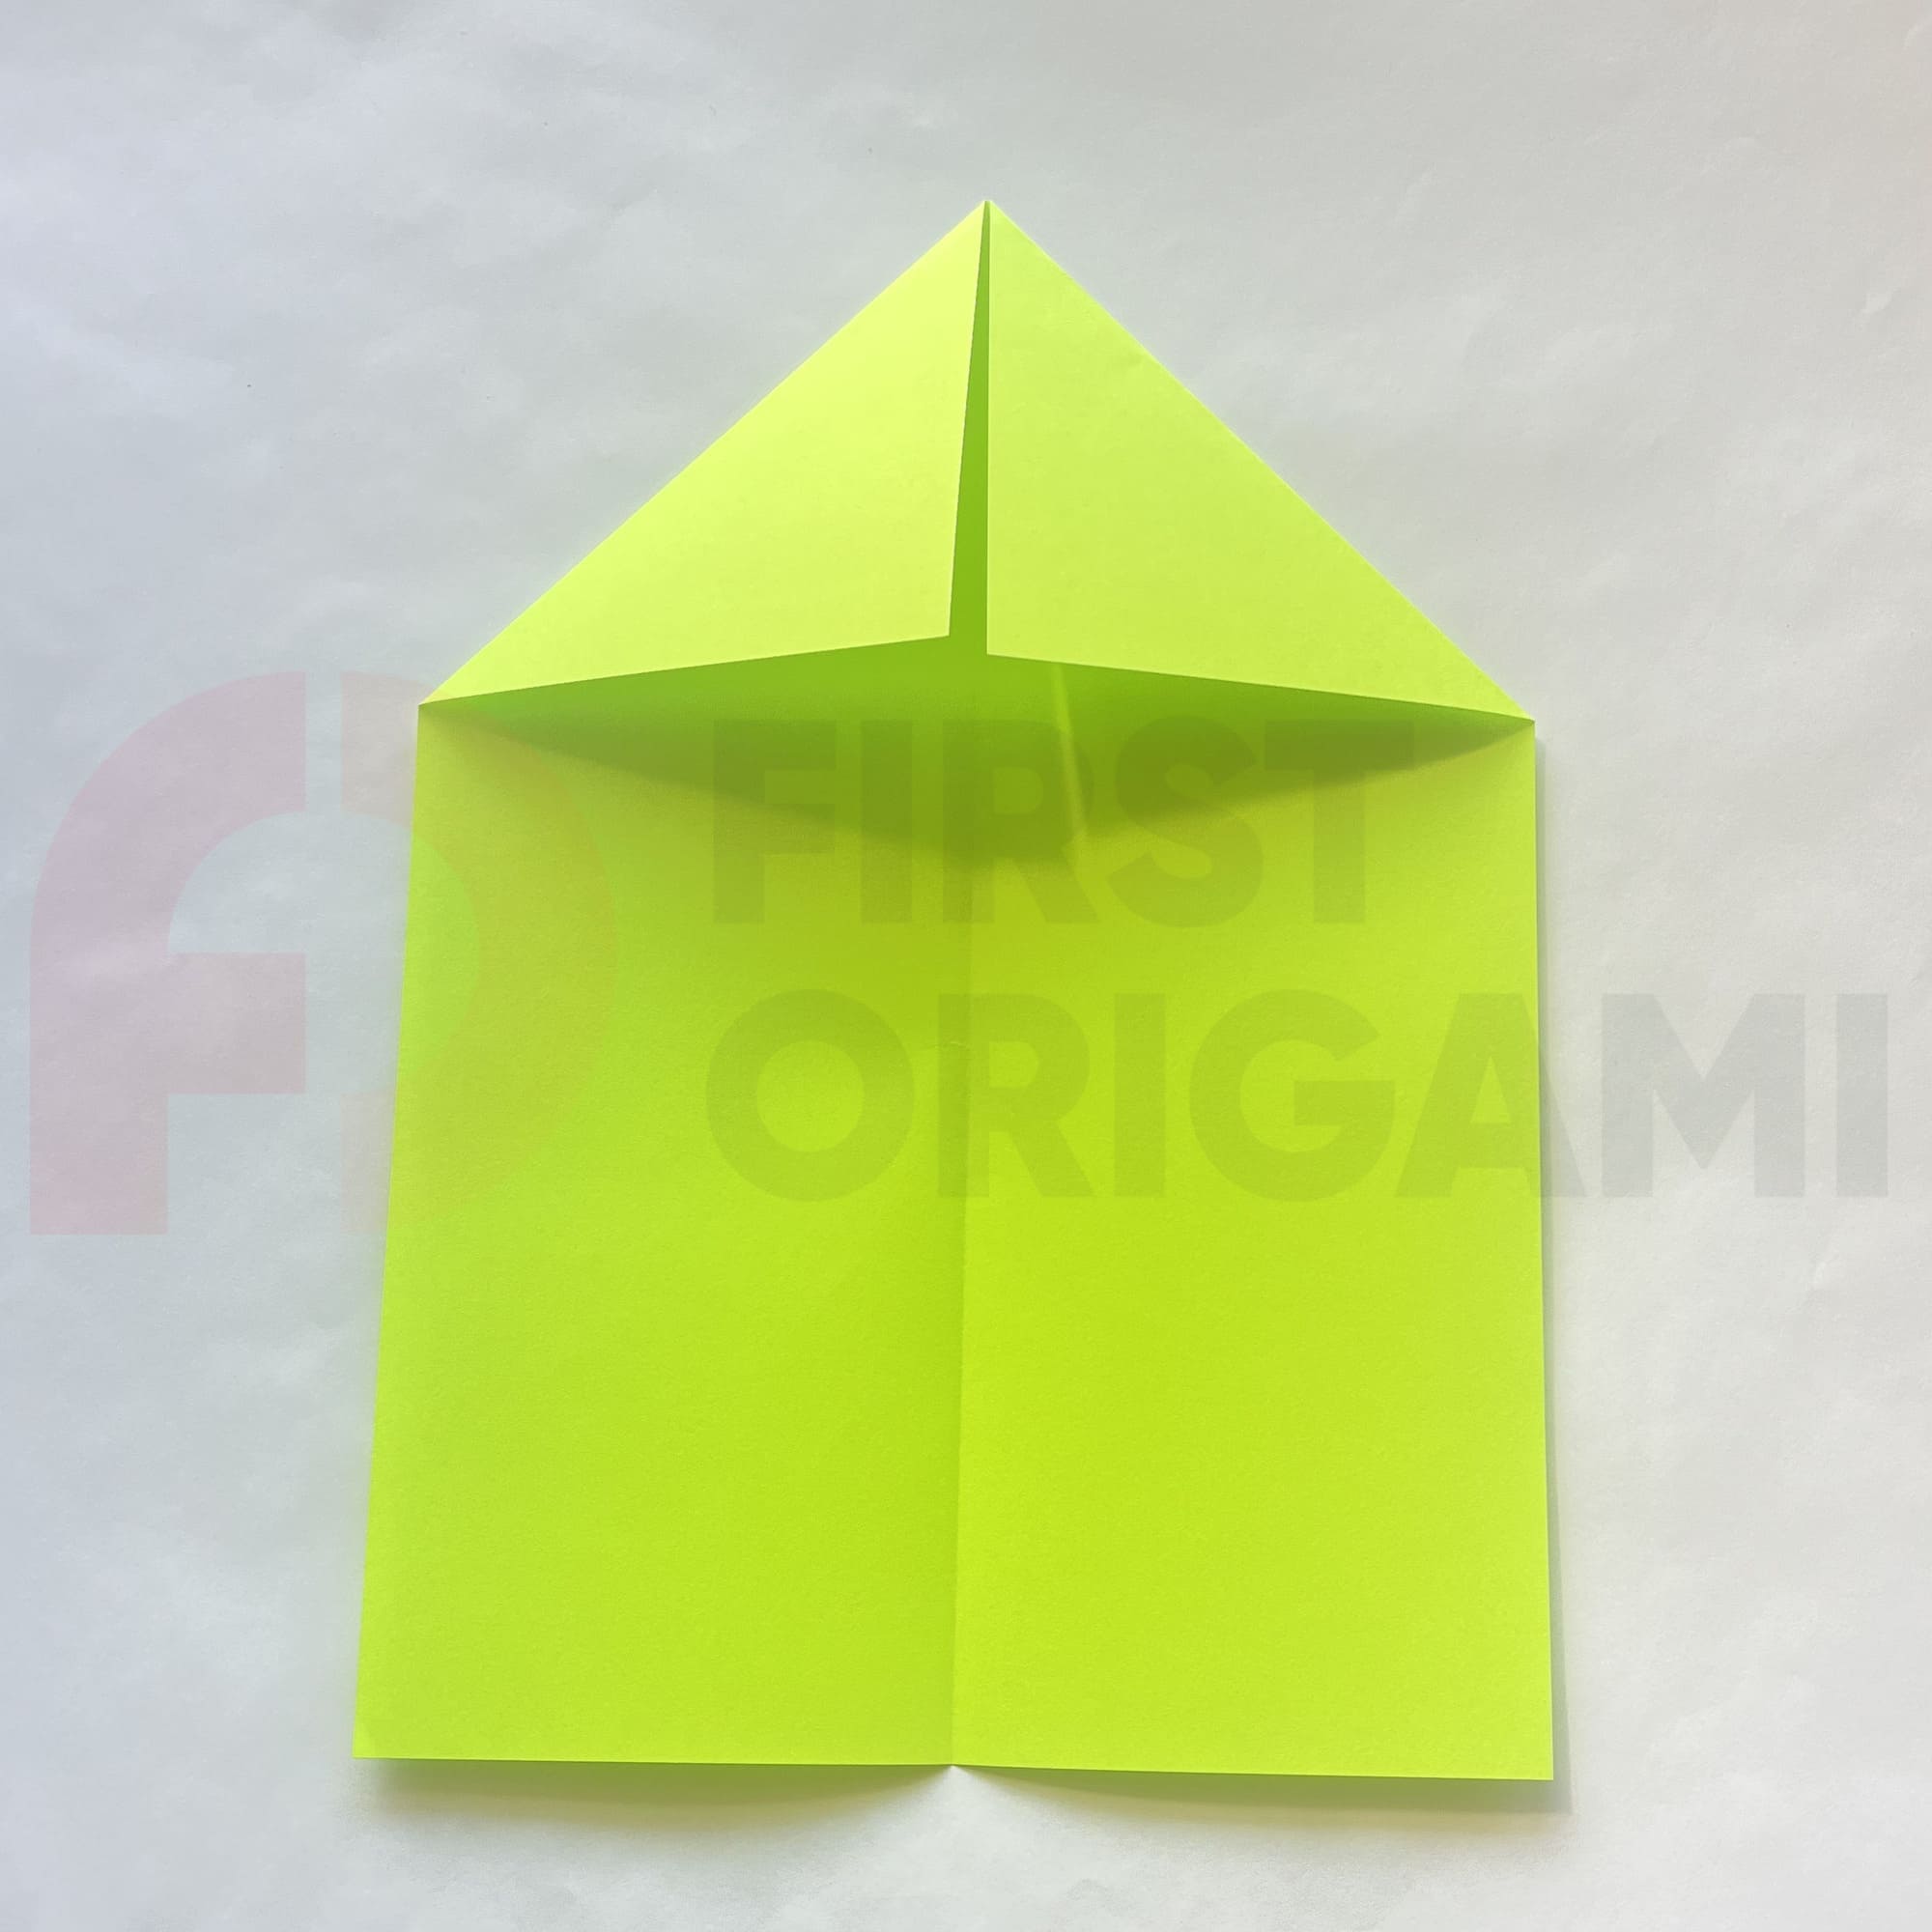
Symmetrically bend inward the upper left corner as well.
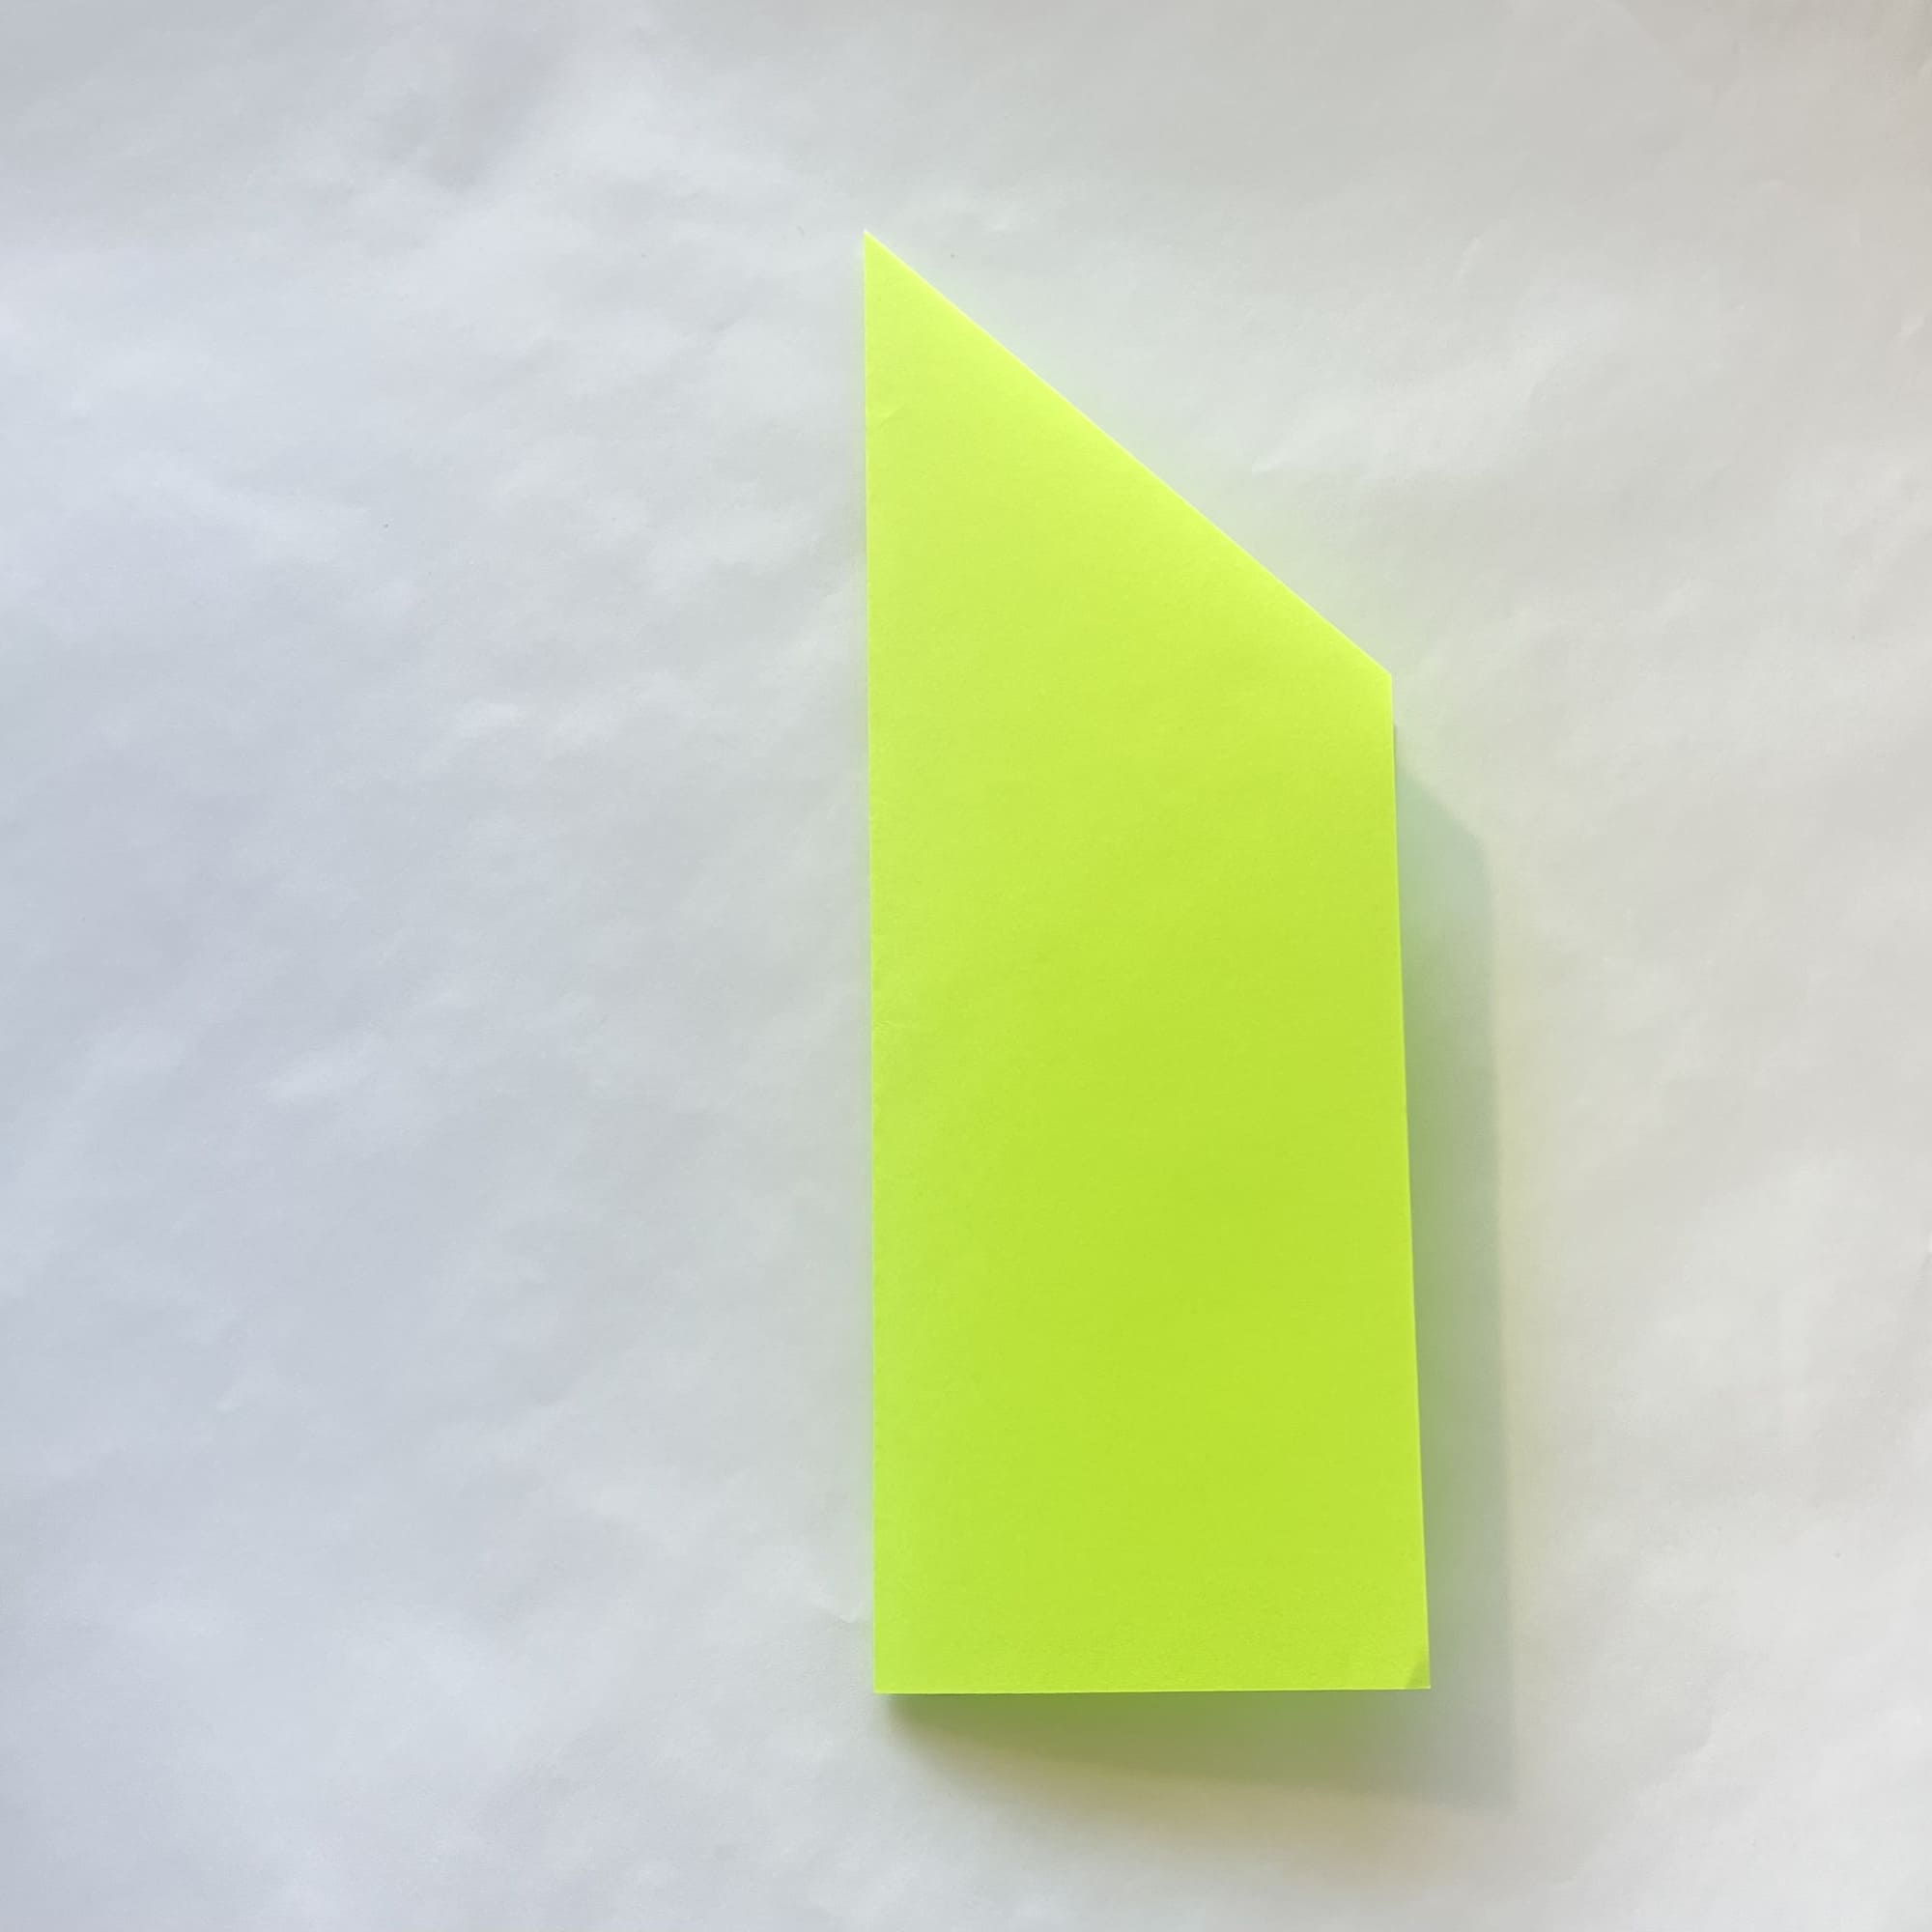
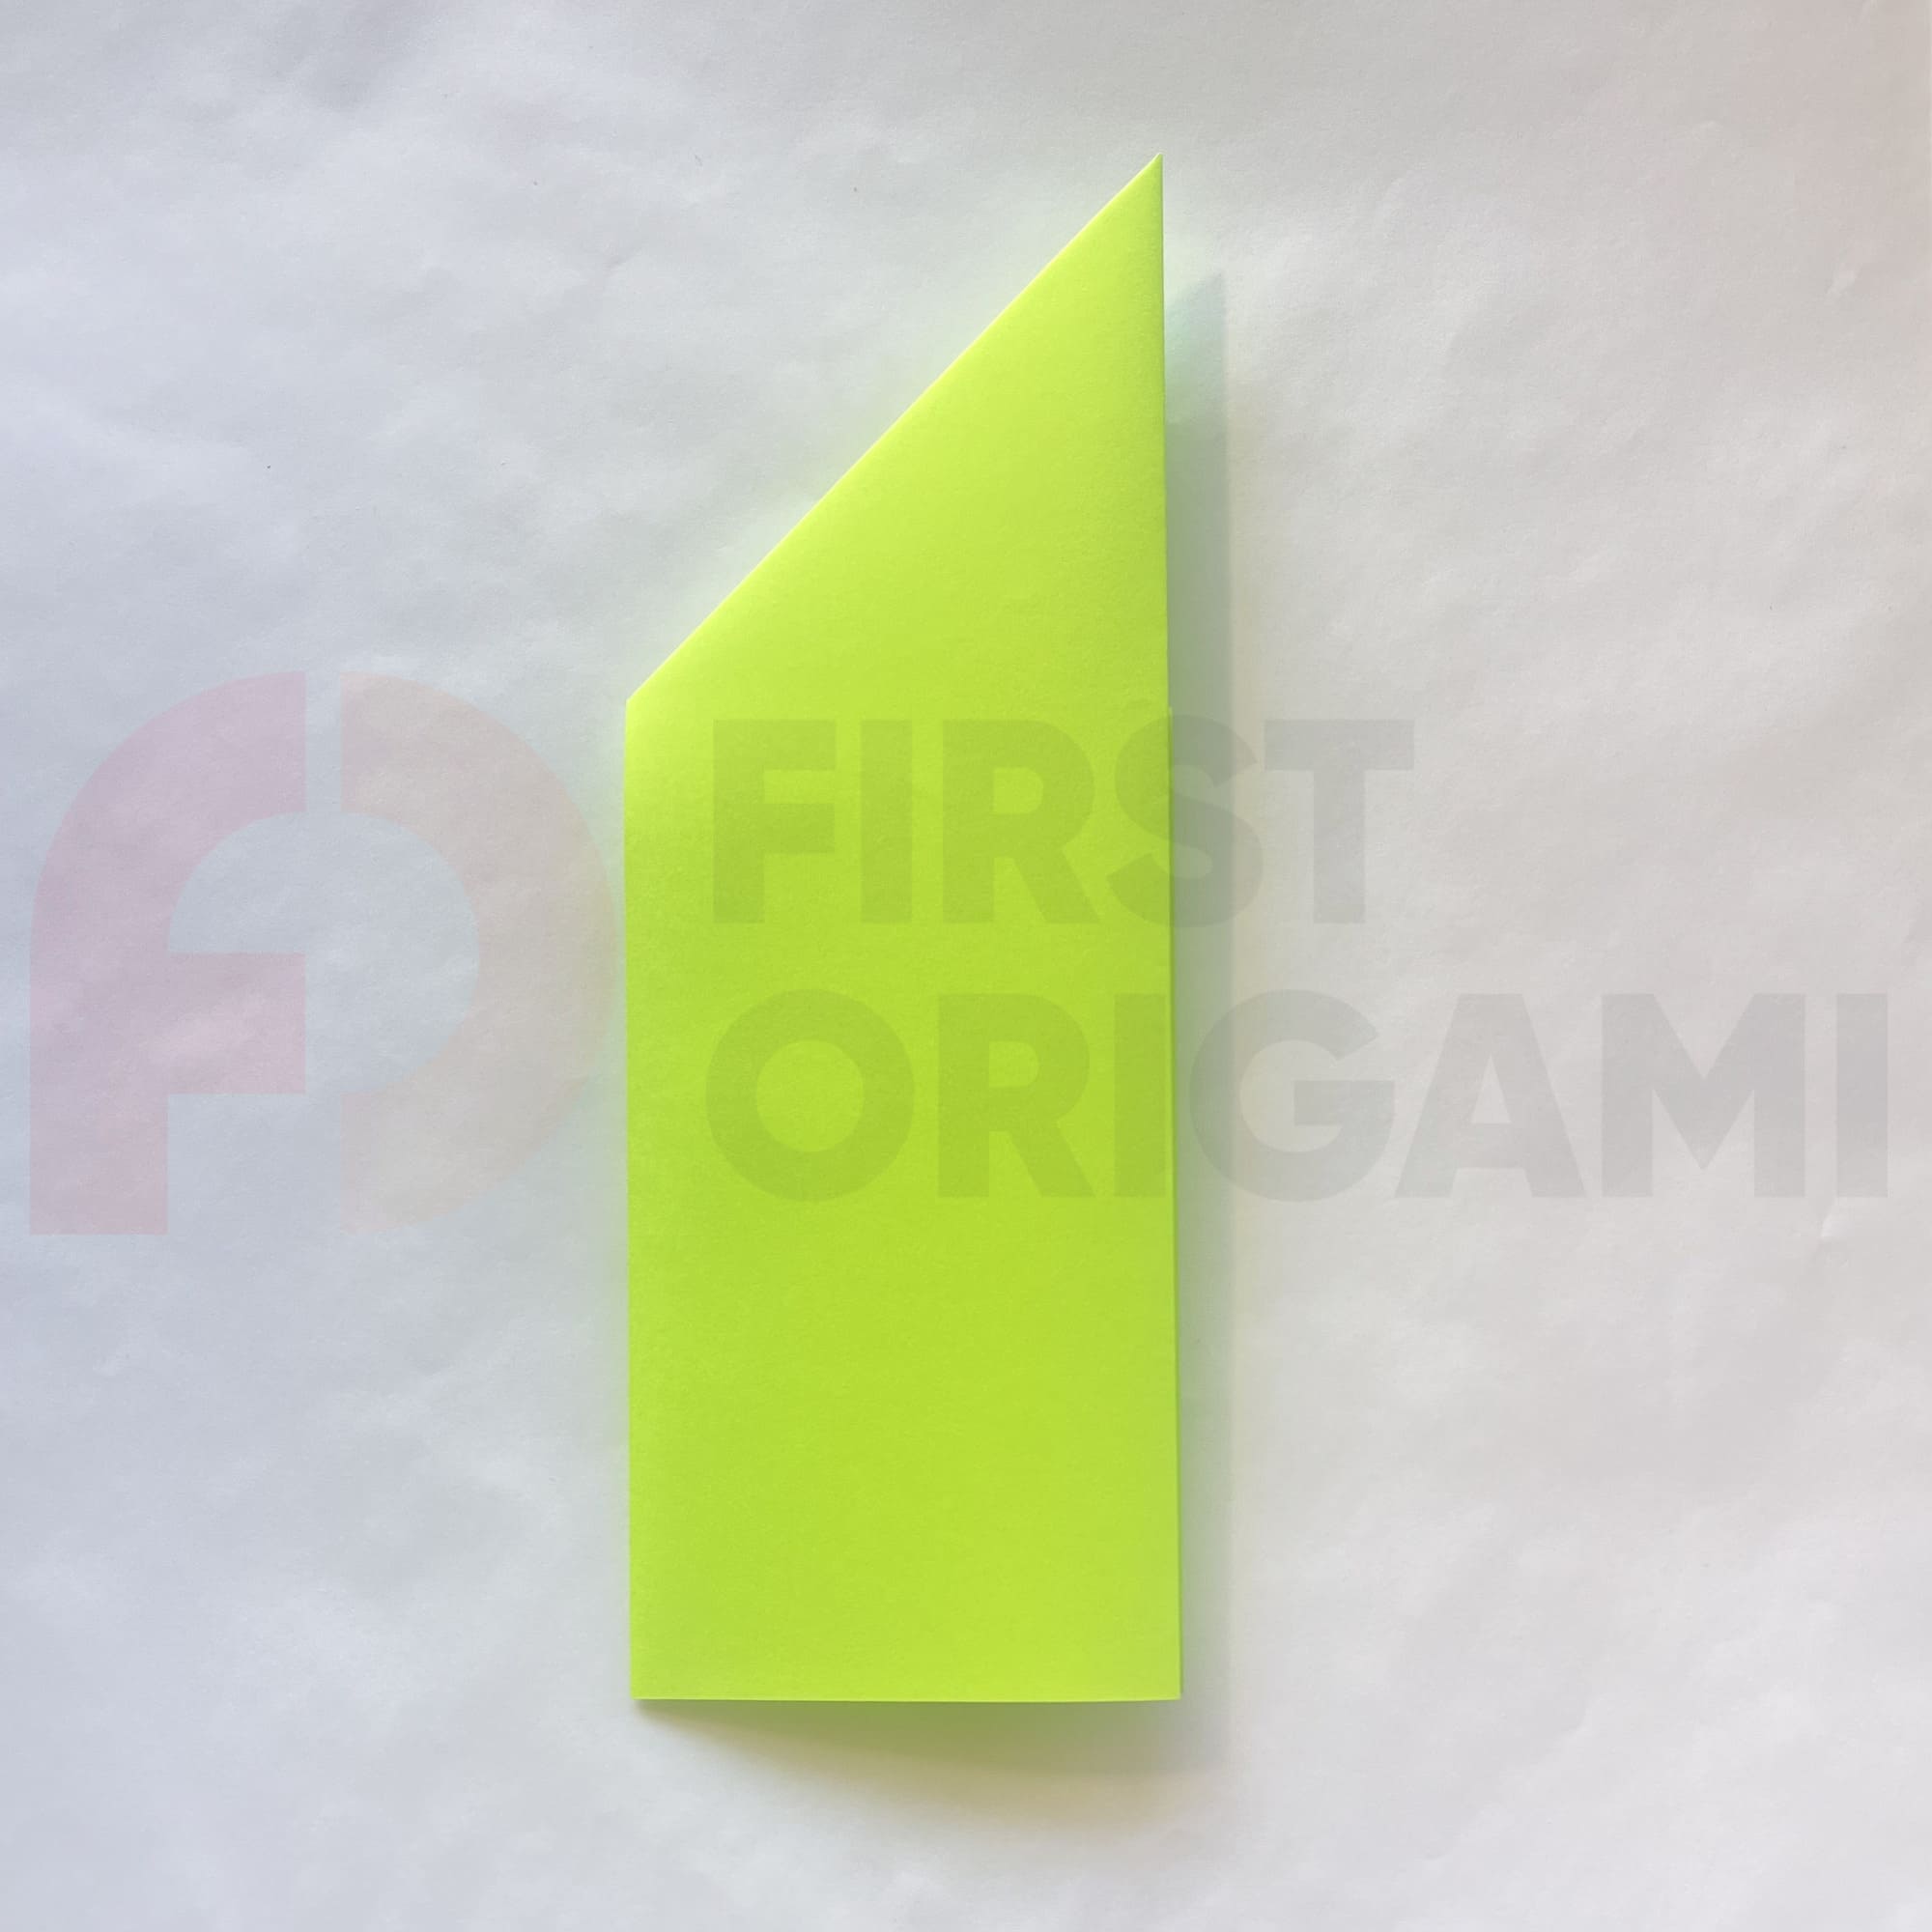
Fold the figure in half along the already marked vertical fold line.
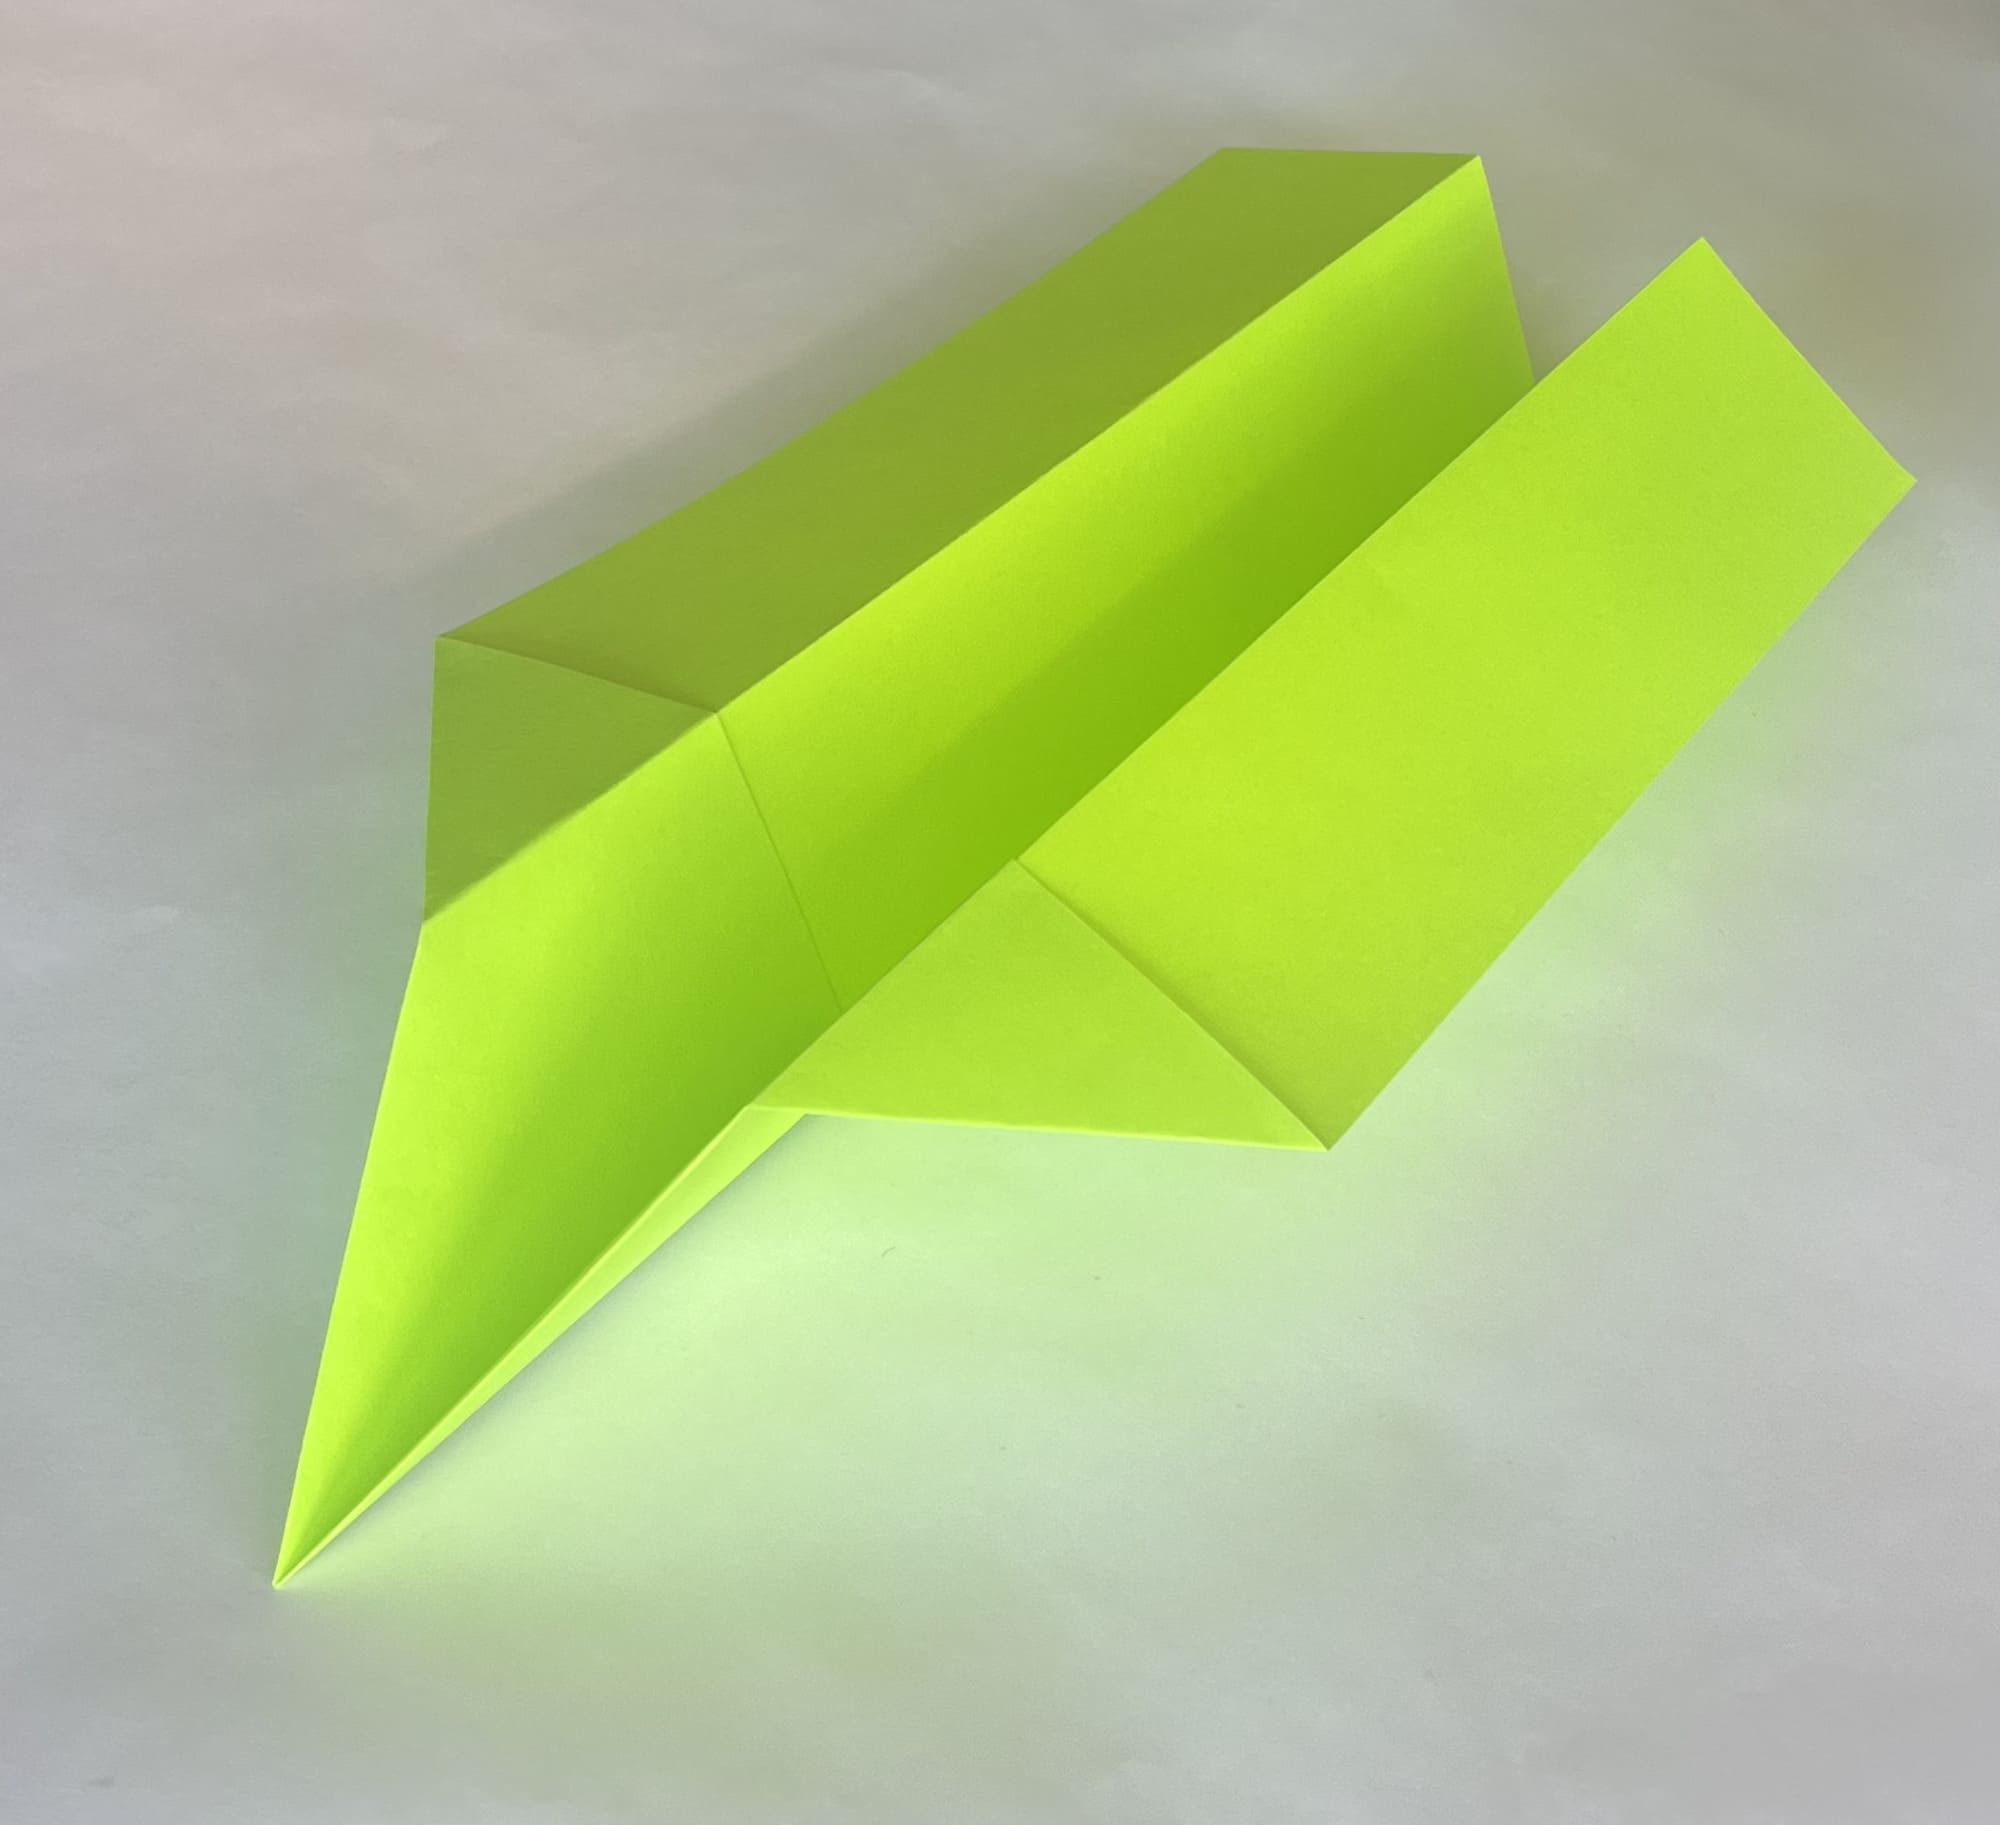
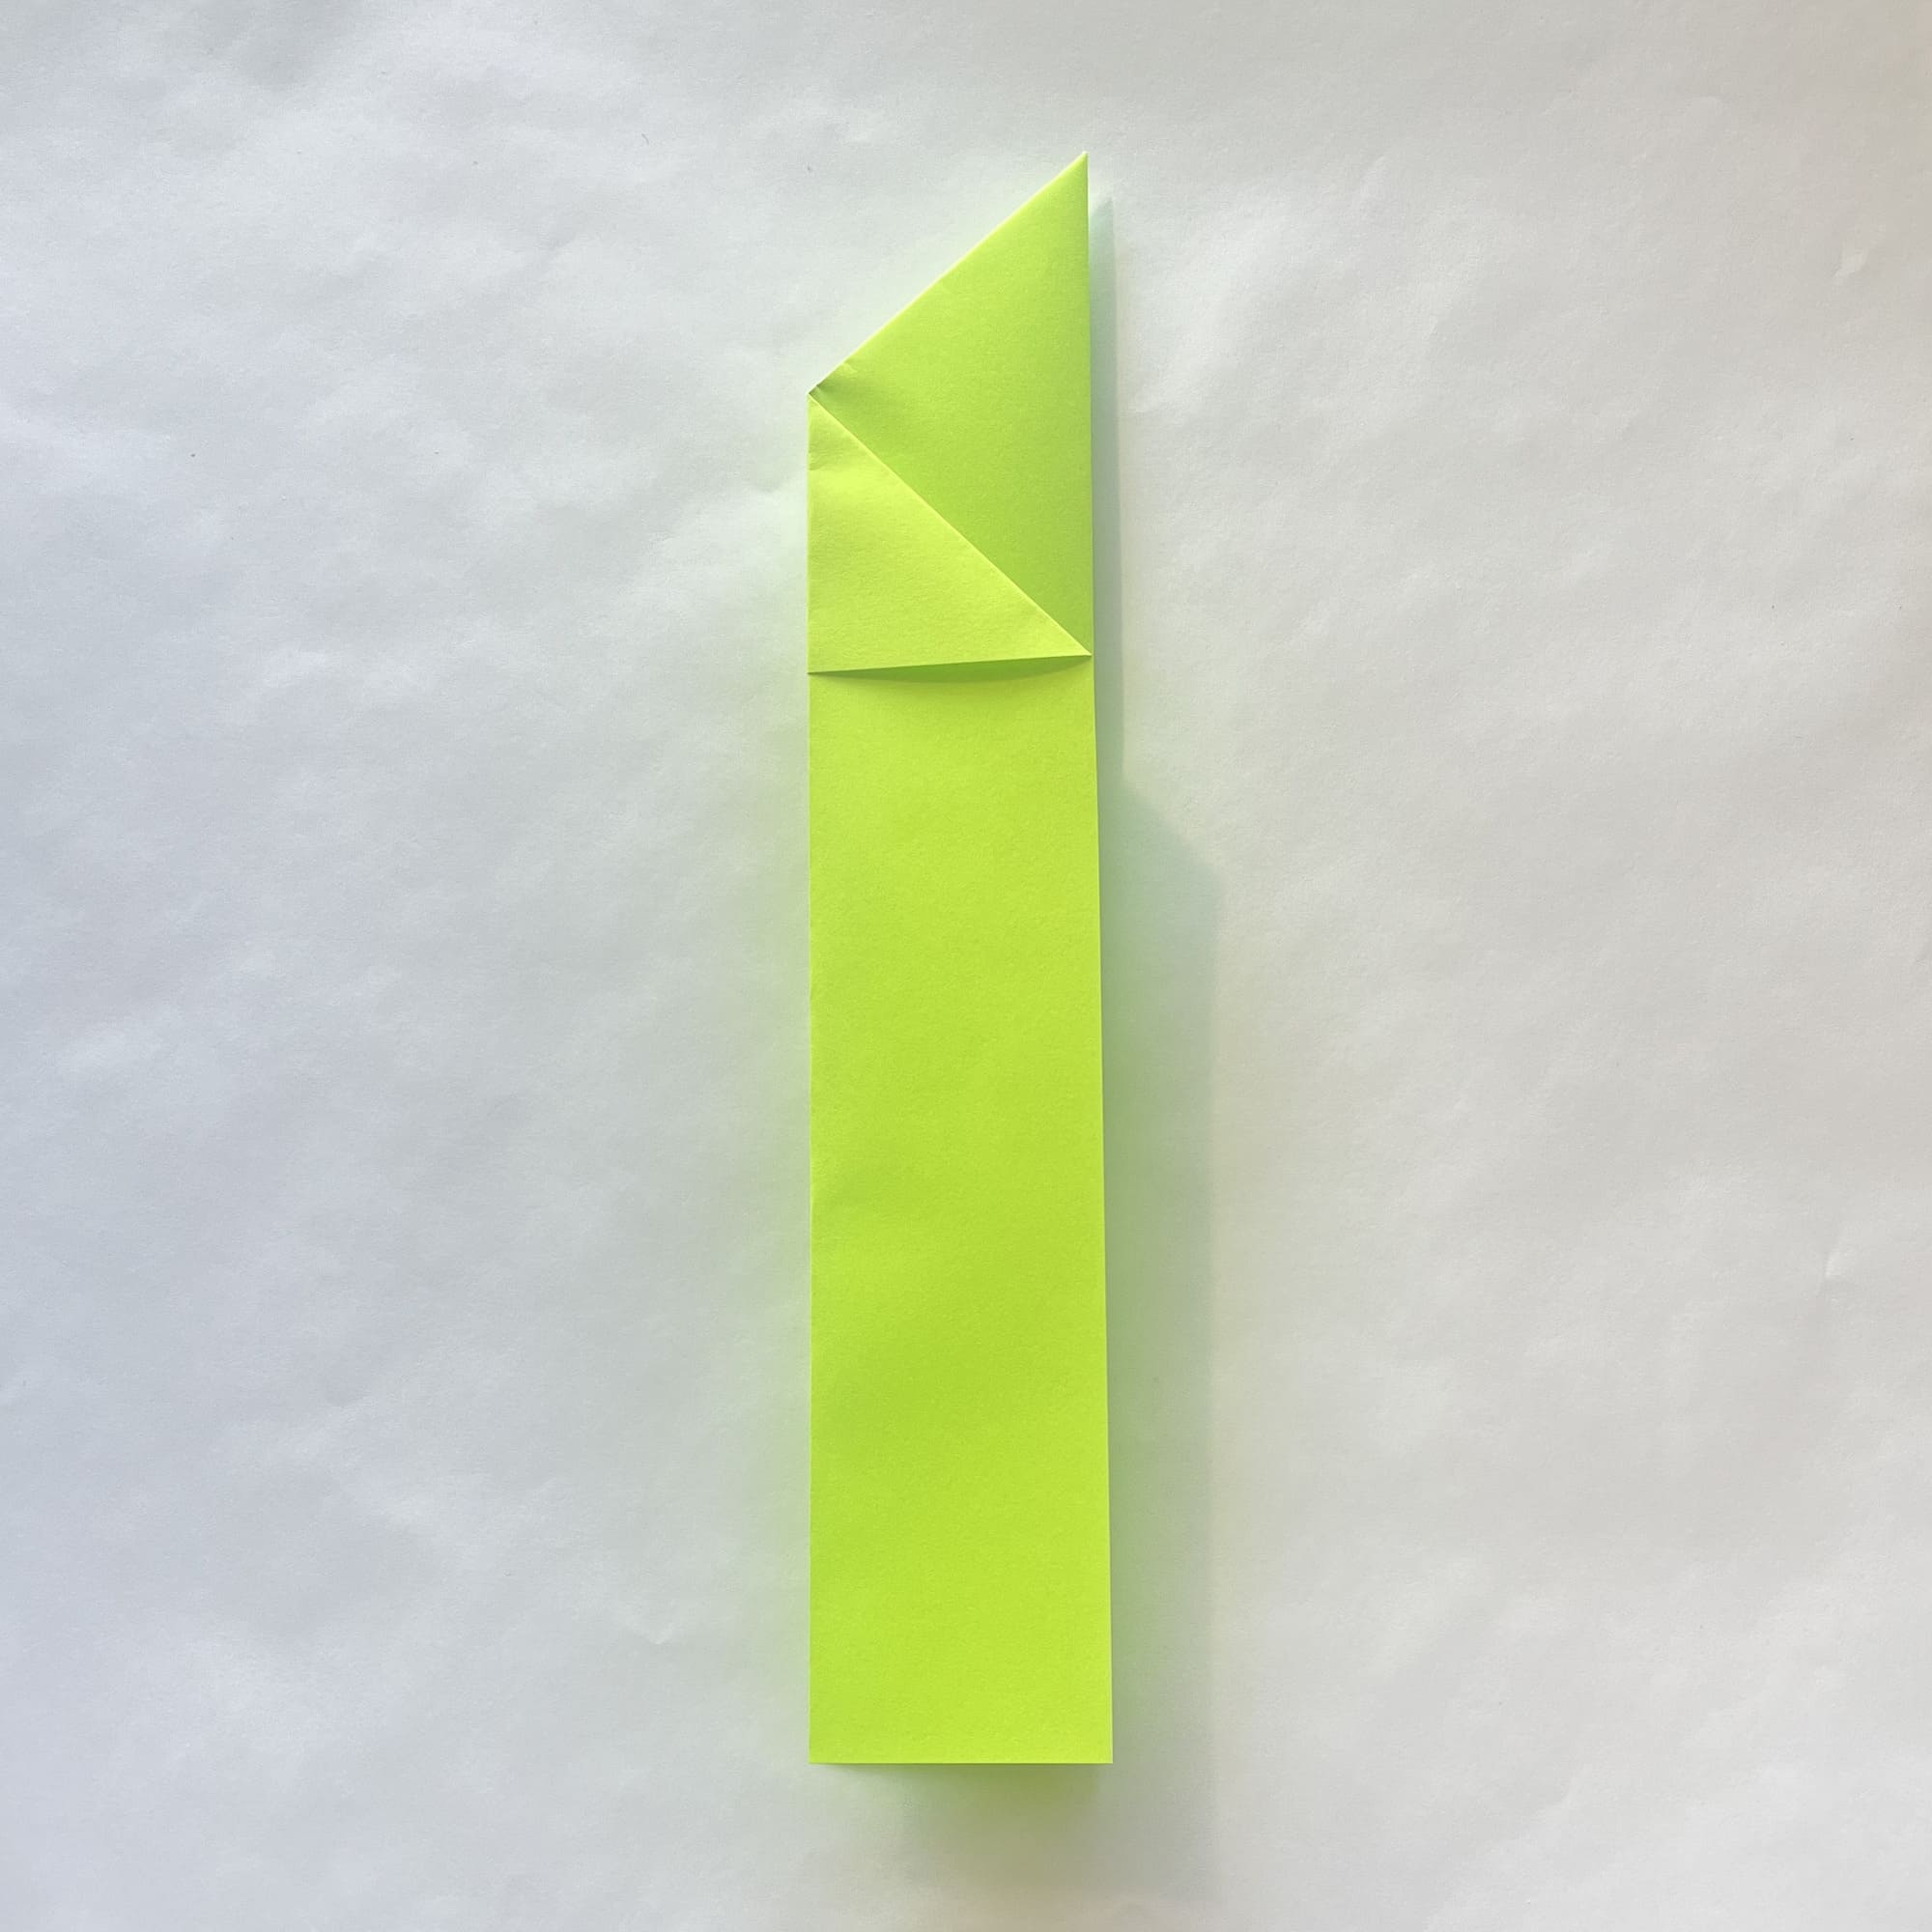
Now, let’s make the wings. Fold the paper along the dotted line.
Turn the figure over and fold the paper again so that the second wing is symmetrical to the first.
The classic plane is ready!
You can use some glue or double-sided tape to make its wings stick together better. If you notice that the plane takes off sharply and then falls, you can try to change it a little by curling the back of the wings slightly. This can improve flight and make it even longer. We suggest you make a few of these planes to arrange speed competitions!


