Origami Bayonet Knife M9
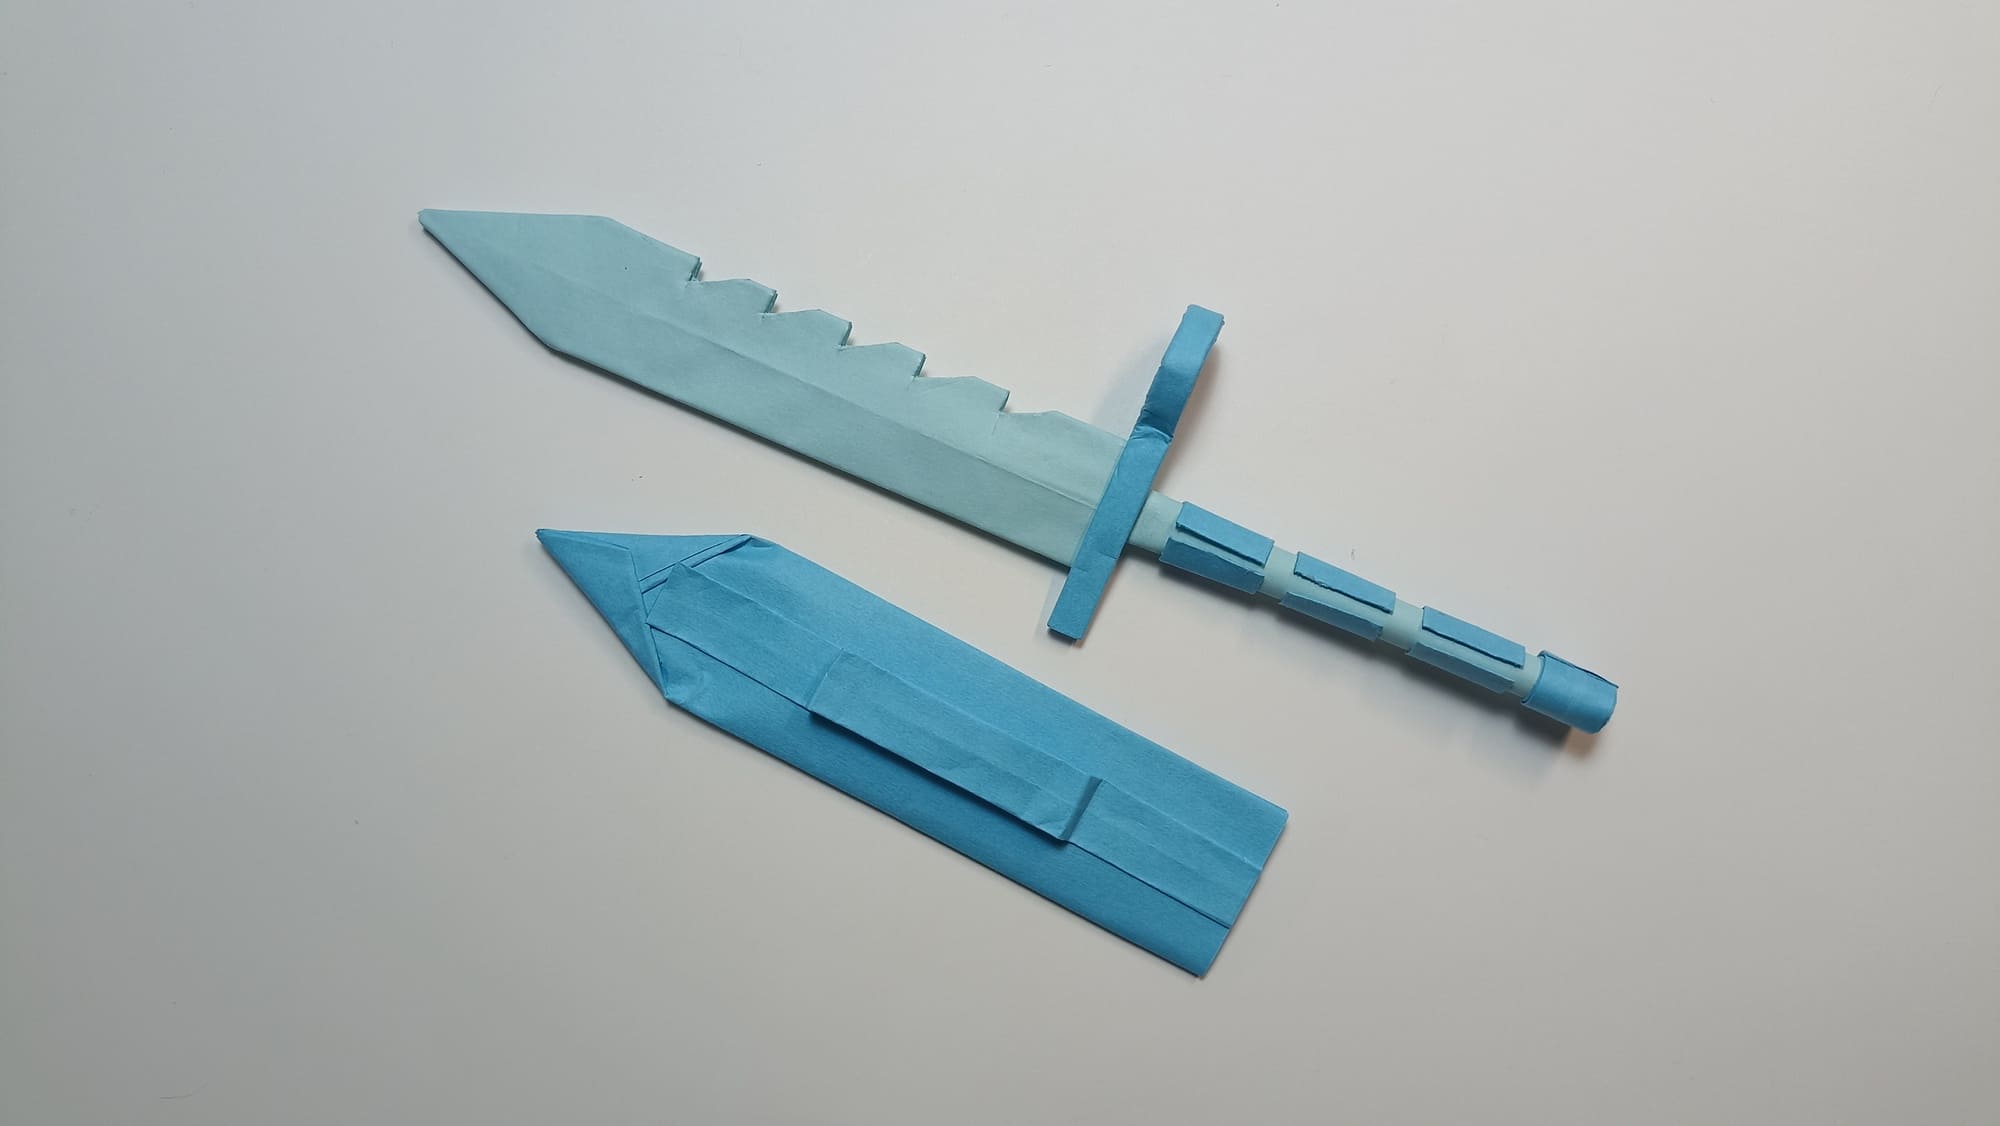
Army equipment includes a legendary knife, which is attached to an assault rifle and is used in extreme conditions to defeat the enemy in hand-to-hand combat, to disable vehicles and equipment, and for survival. Every boy’s dream is to have such a knife in his toy arsenal. You can make a safe, but very similar to the real M9 from paper.
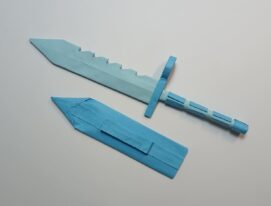
The finished knife, made according to the proposed instructions, has one blade and a saw on the butt. At the base of the handle, there is a fixing bolt and a loop holder. The sheath is equipped with a belt fastening. To create it, you need to prepare 5 sheets of paper and glue and scissors.

Mark the middle line on the sheet of paper.
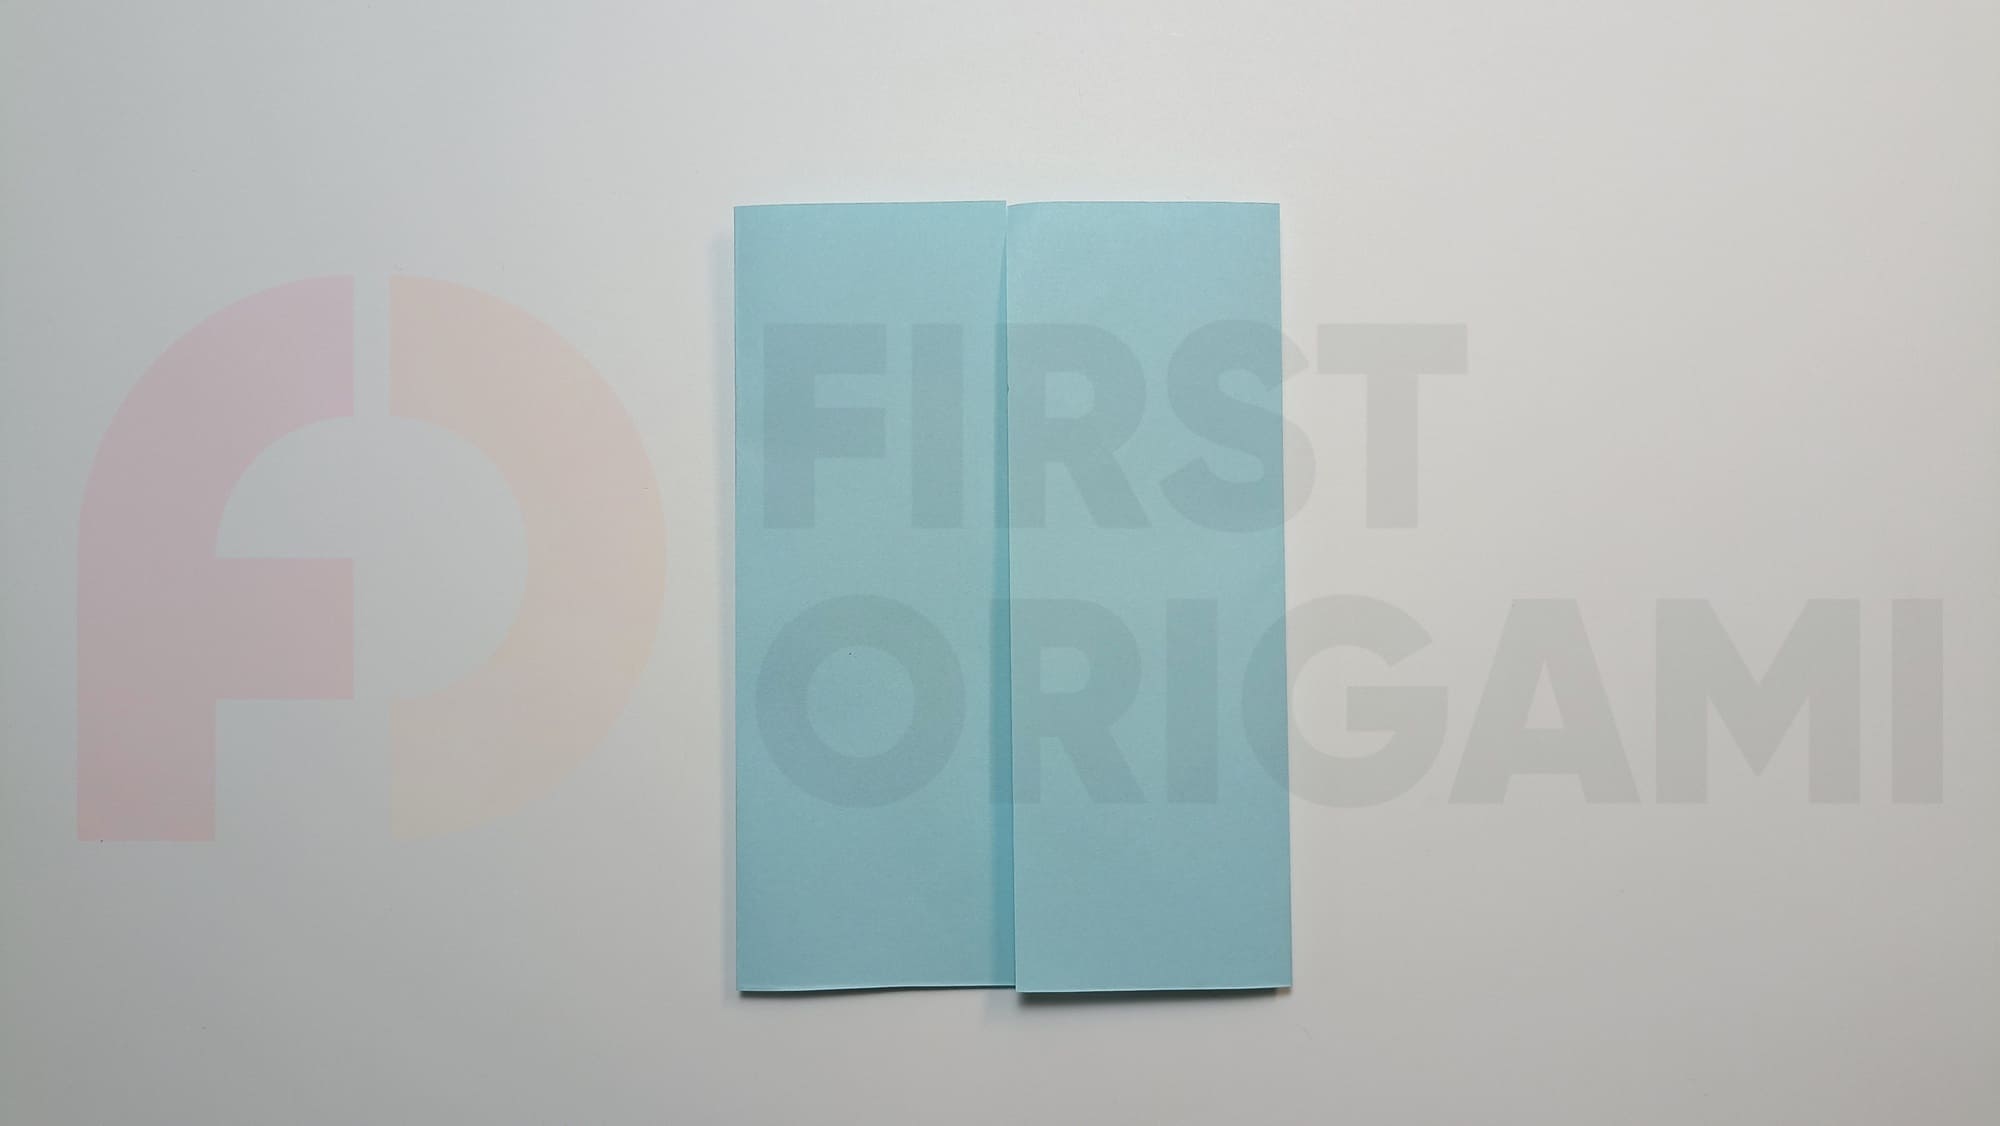
Fold the sides toward the center twice.

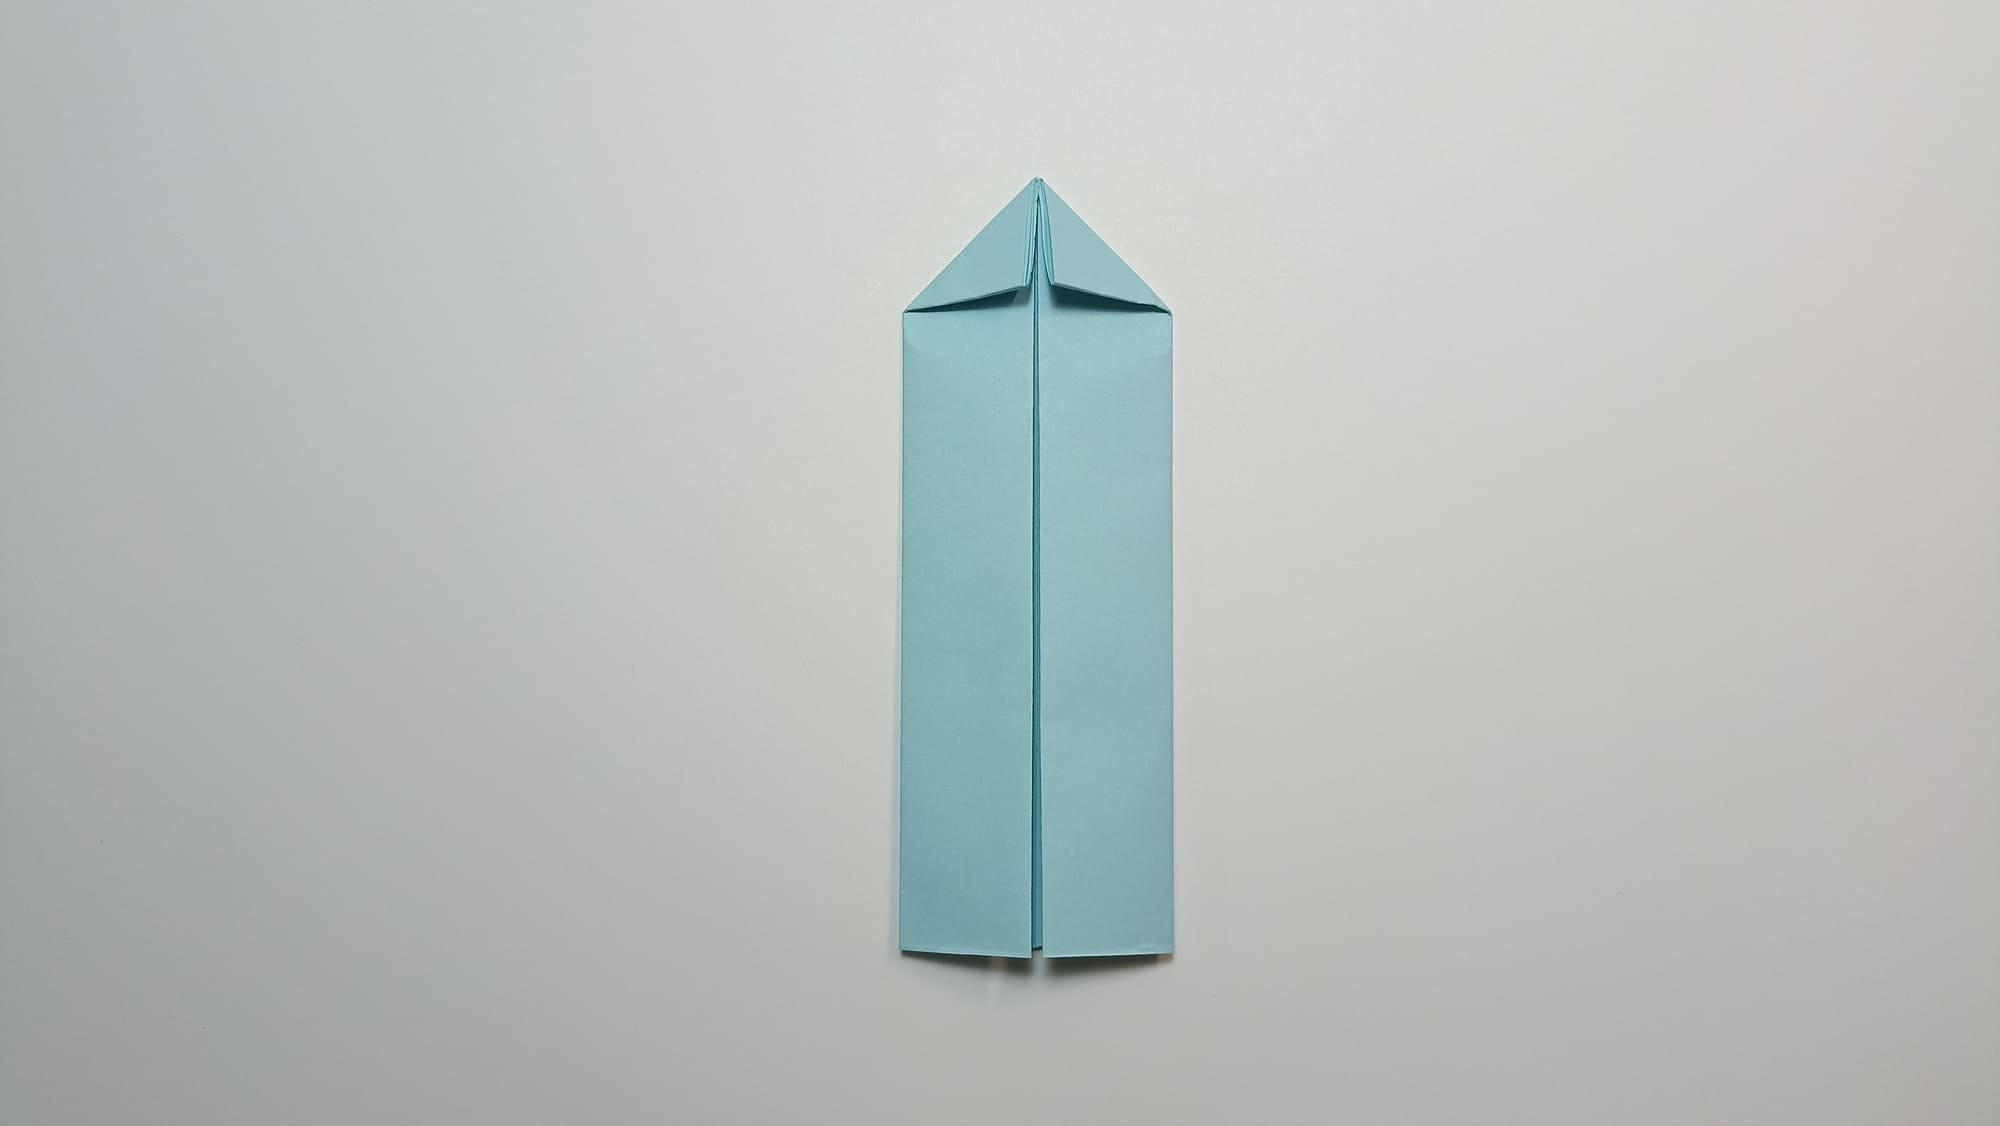
Bend the top edge towards the middle at an angle.
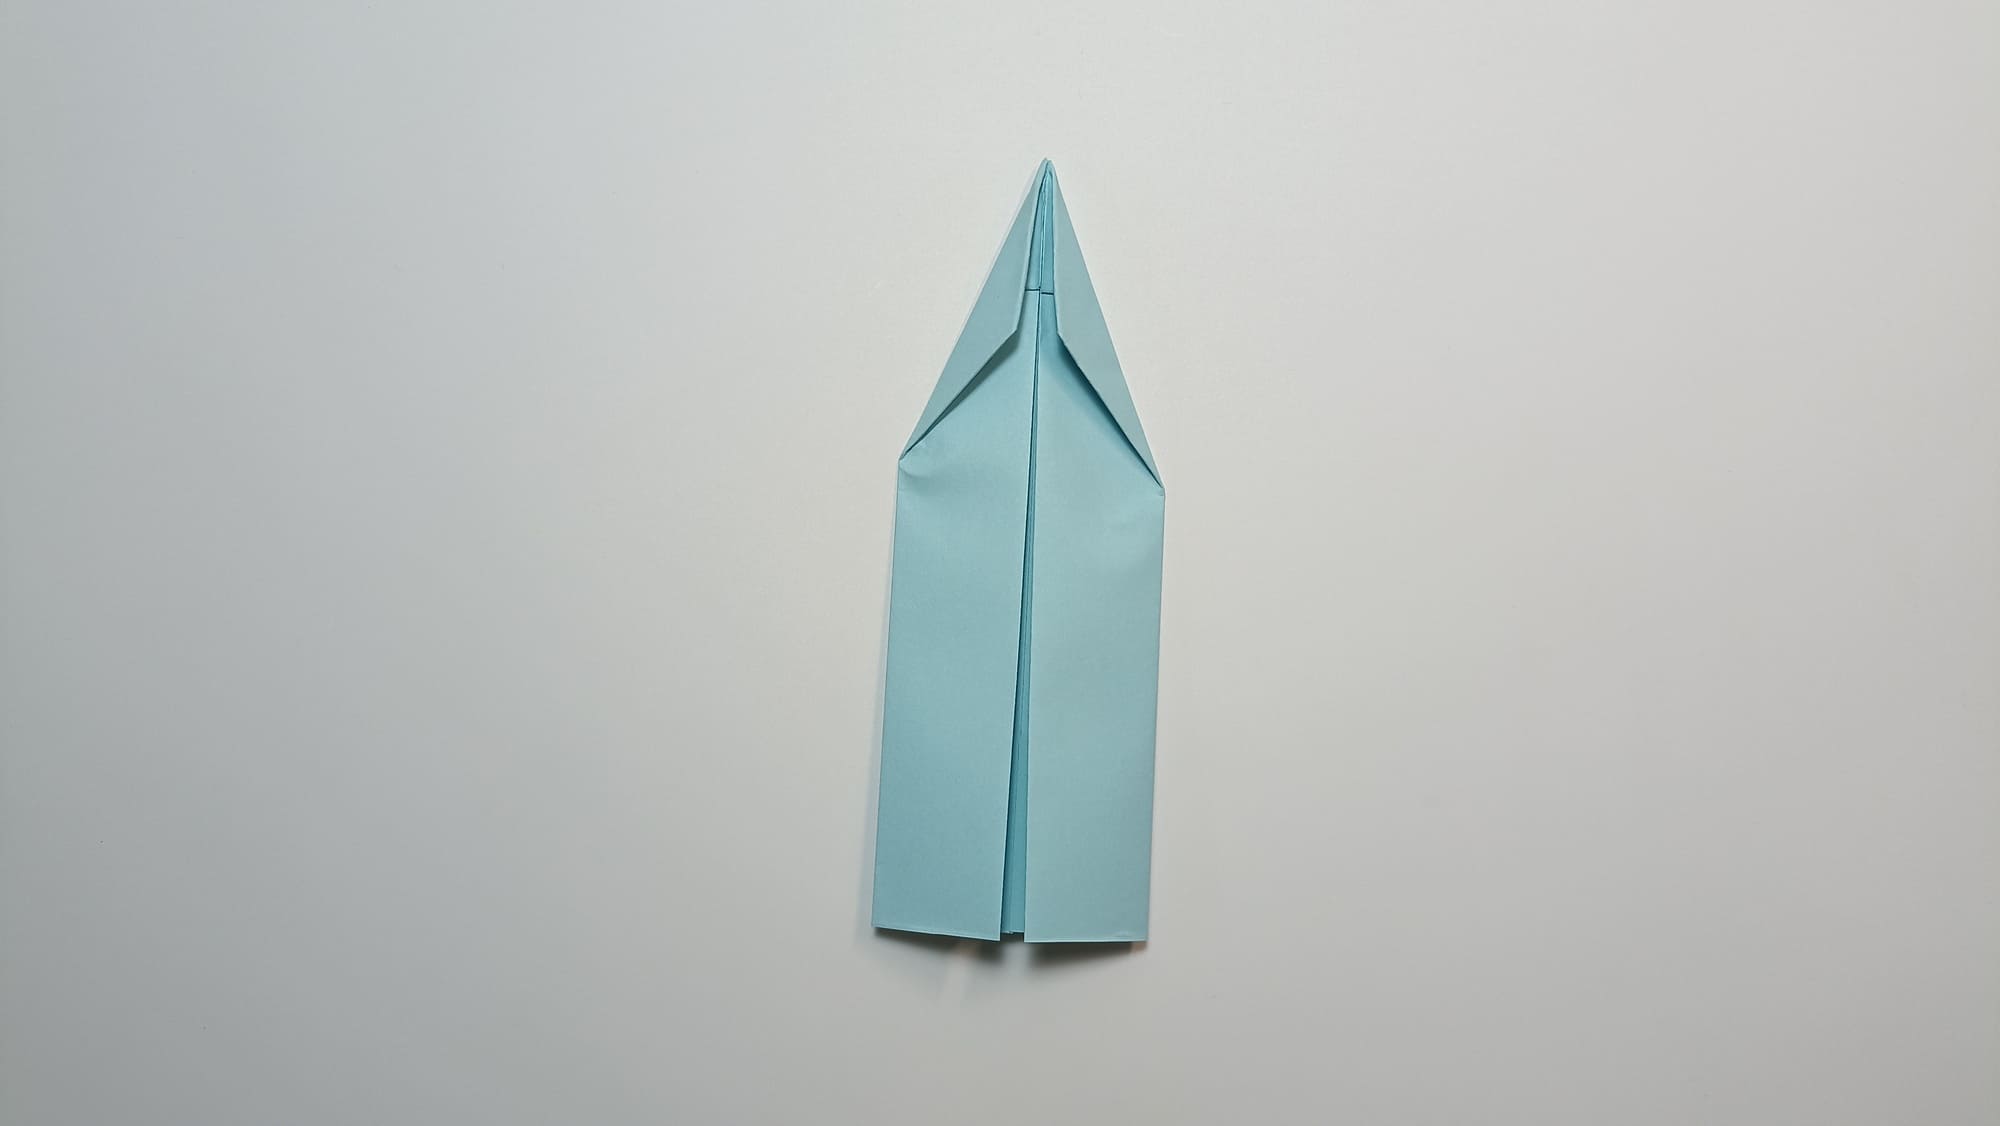
Bend the sides of the corner again.
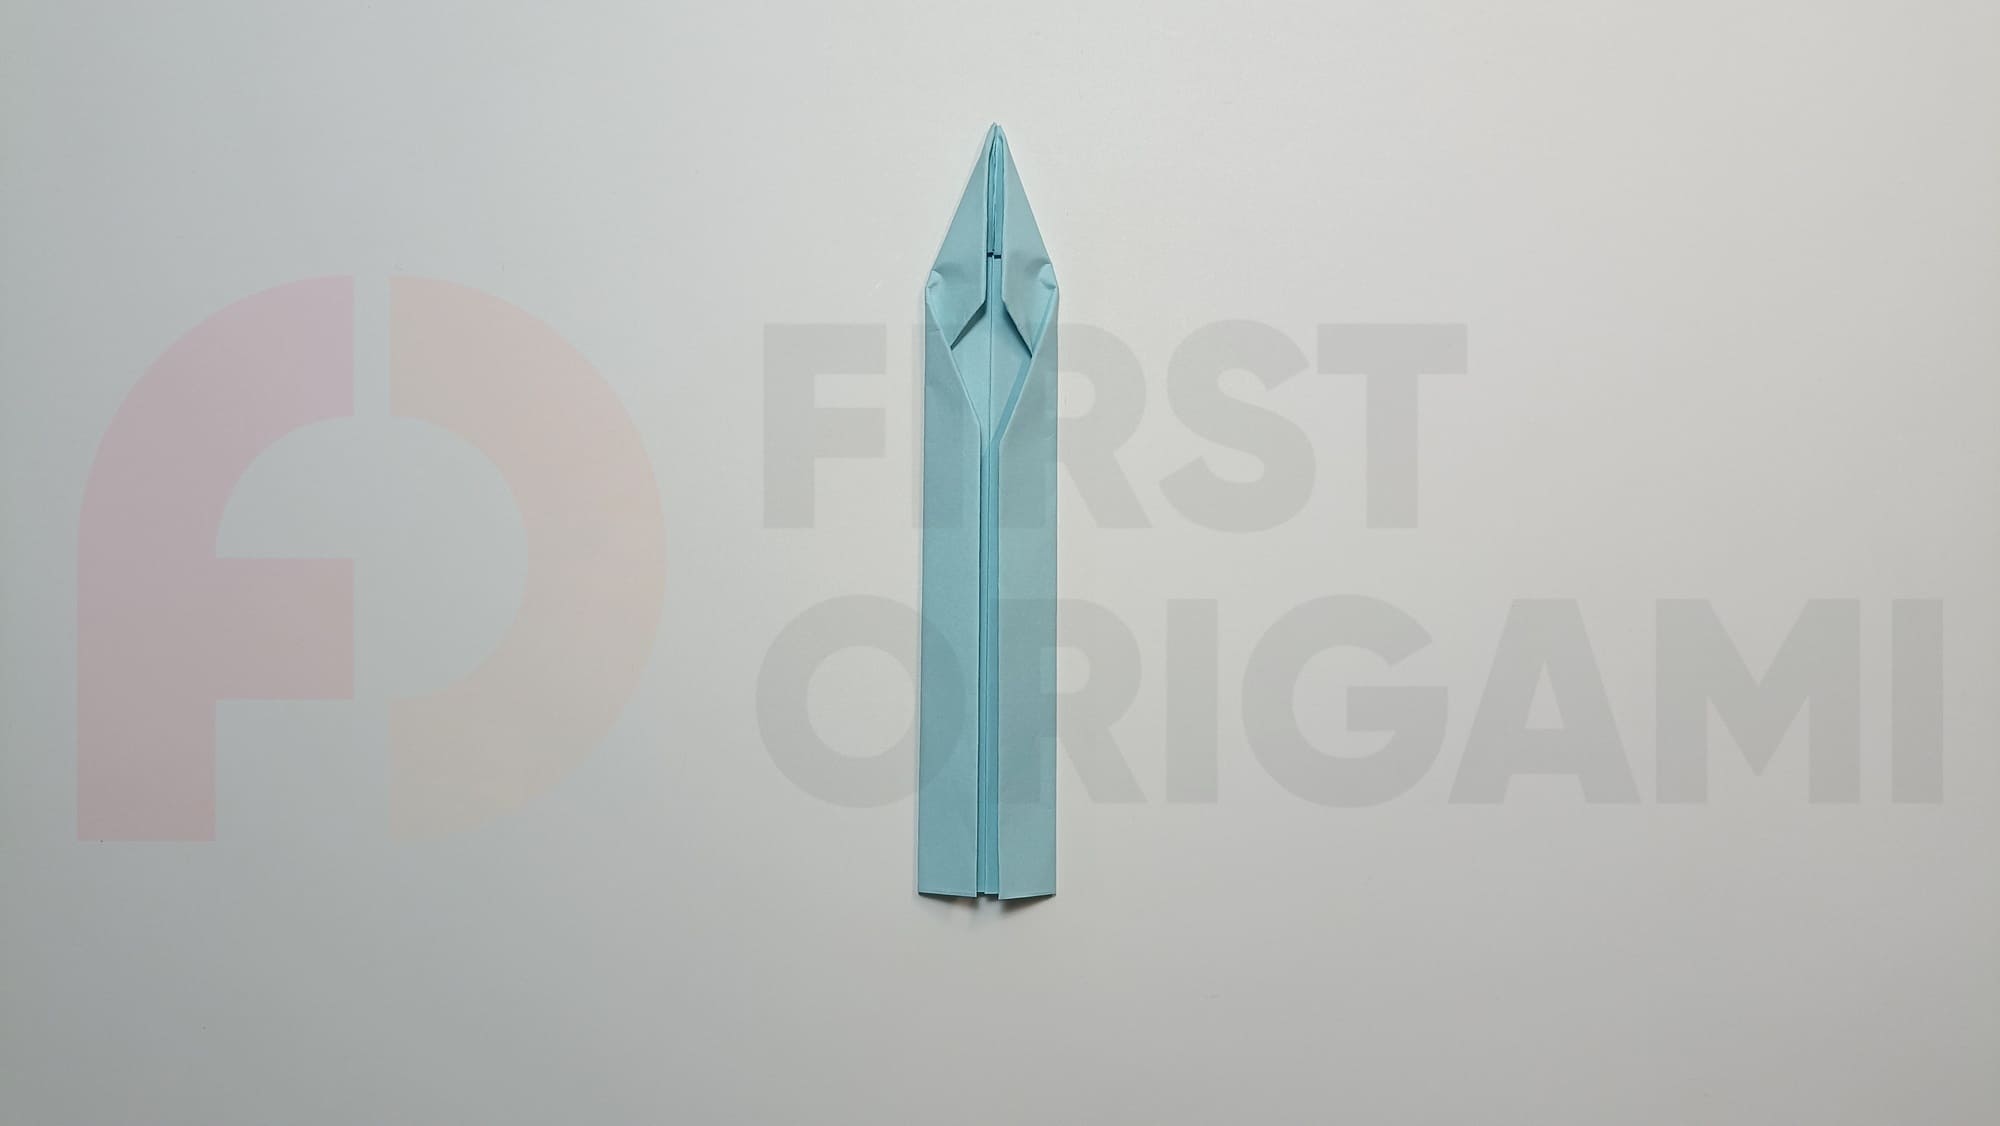
Fold the sides of the figure in half.
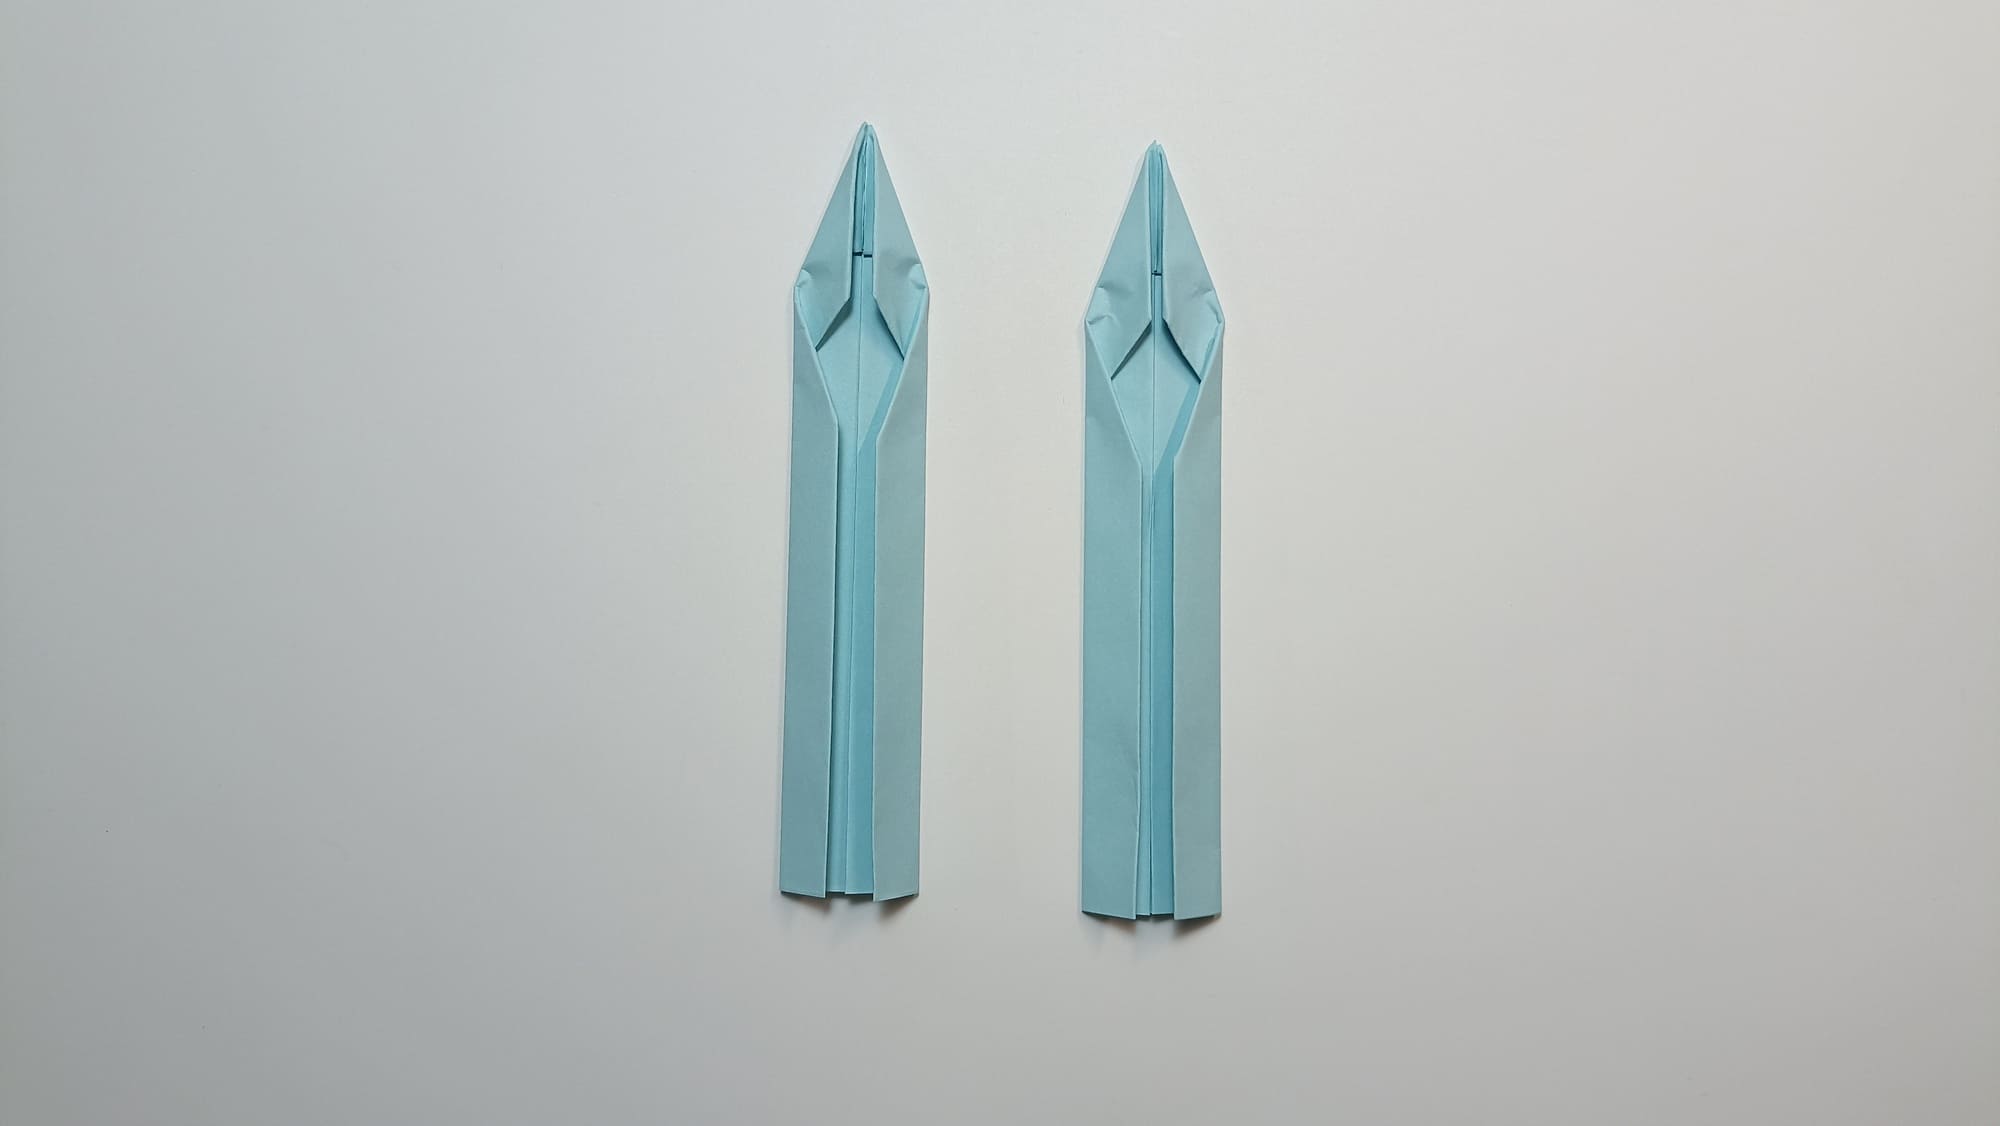
Repeat Steps 1 – 6. You should get two identical blanks for the knife blade.
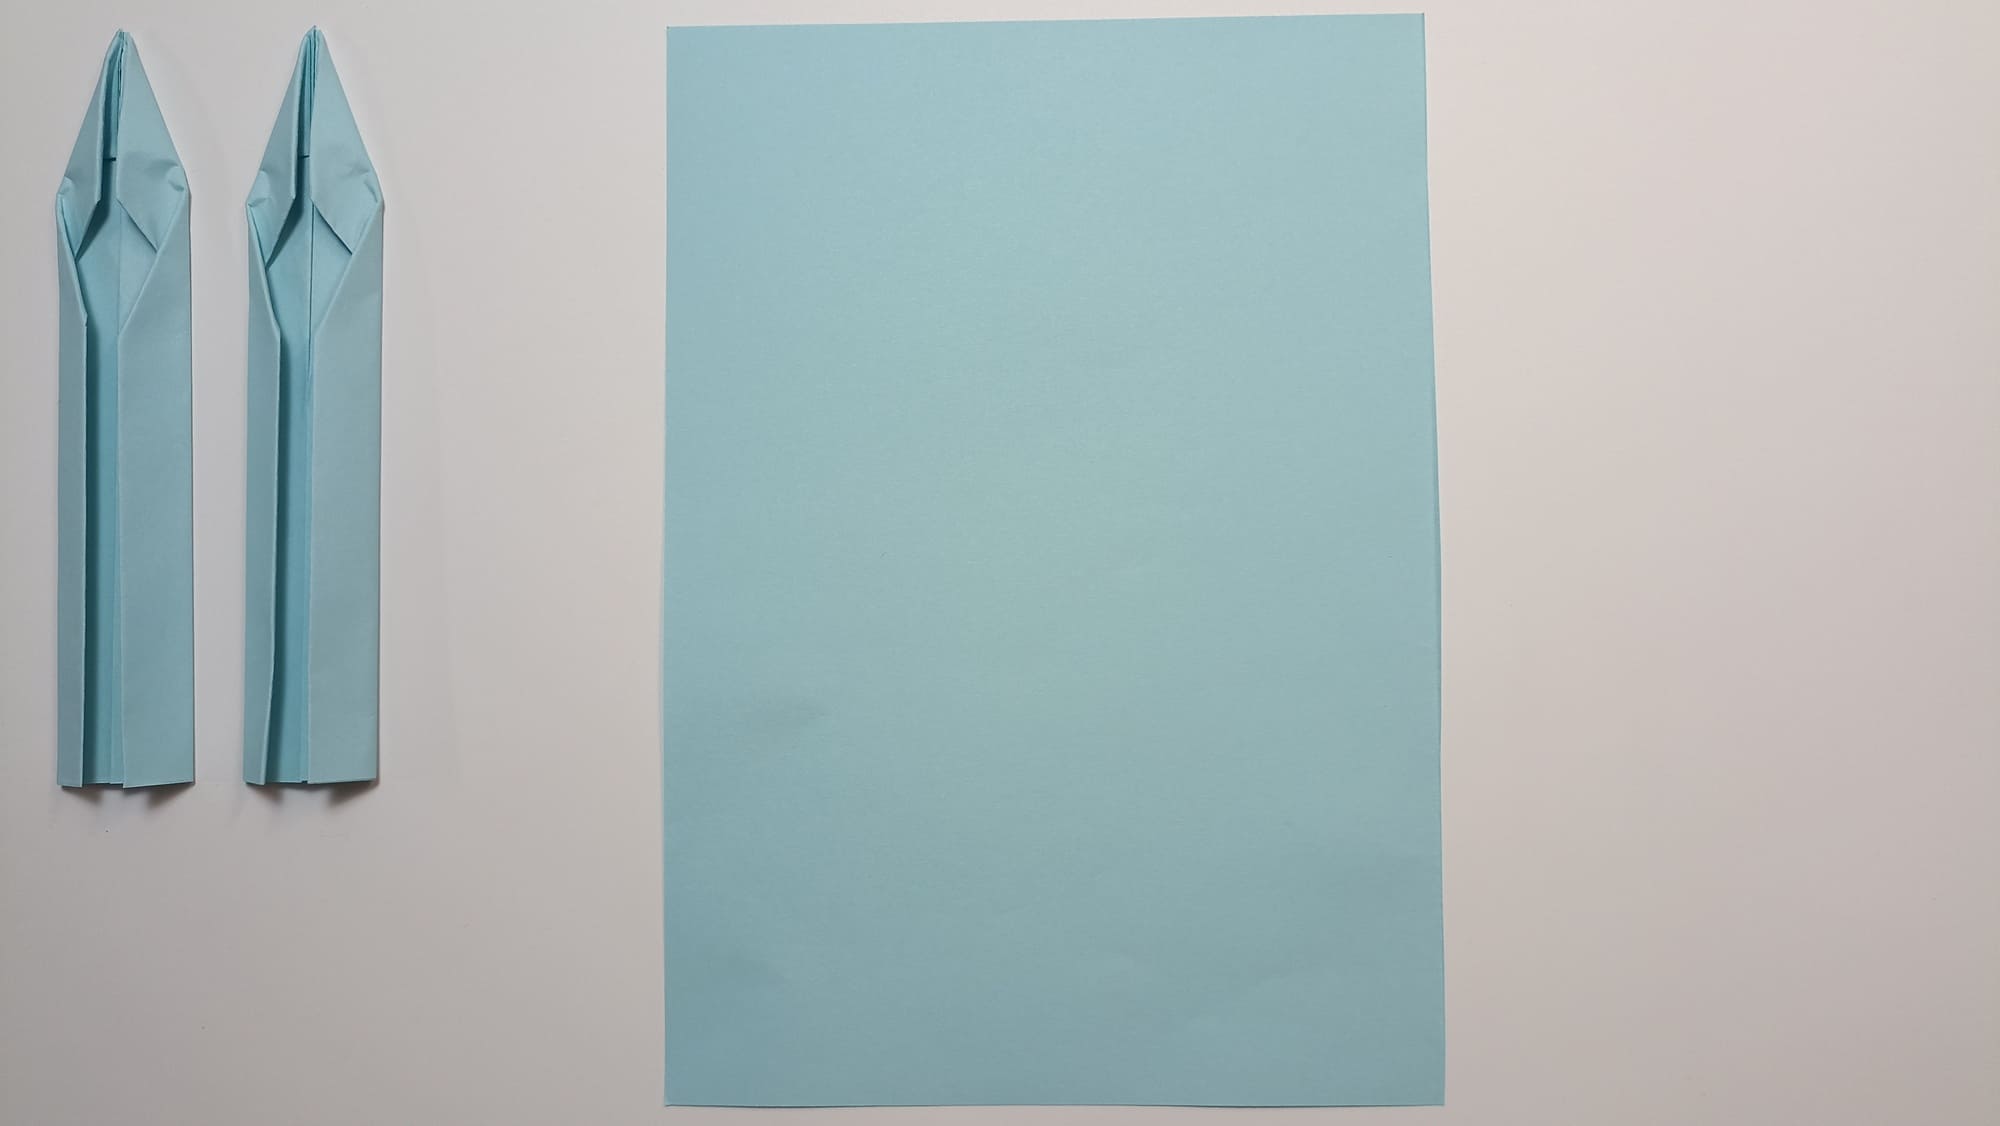
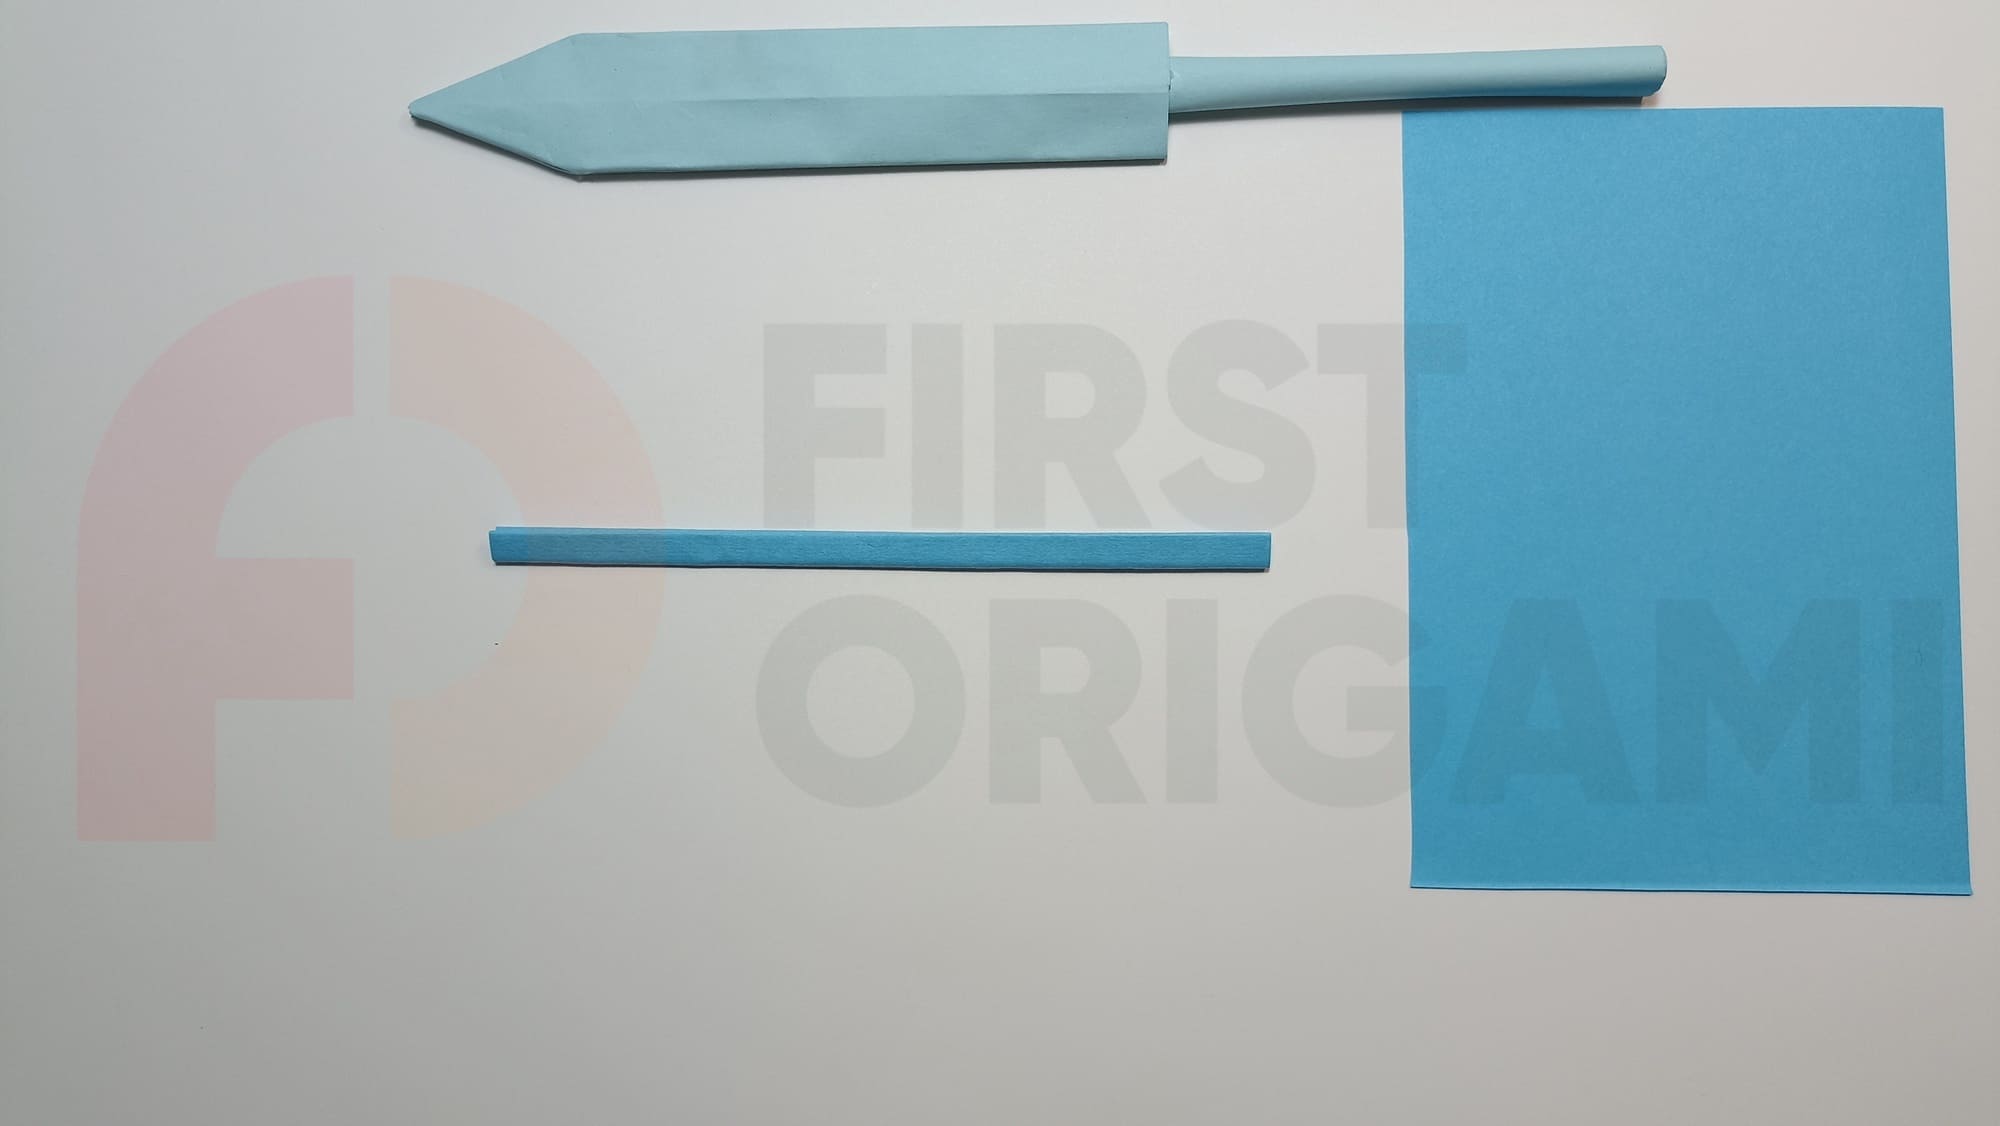
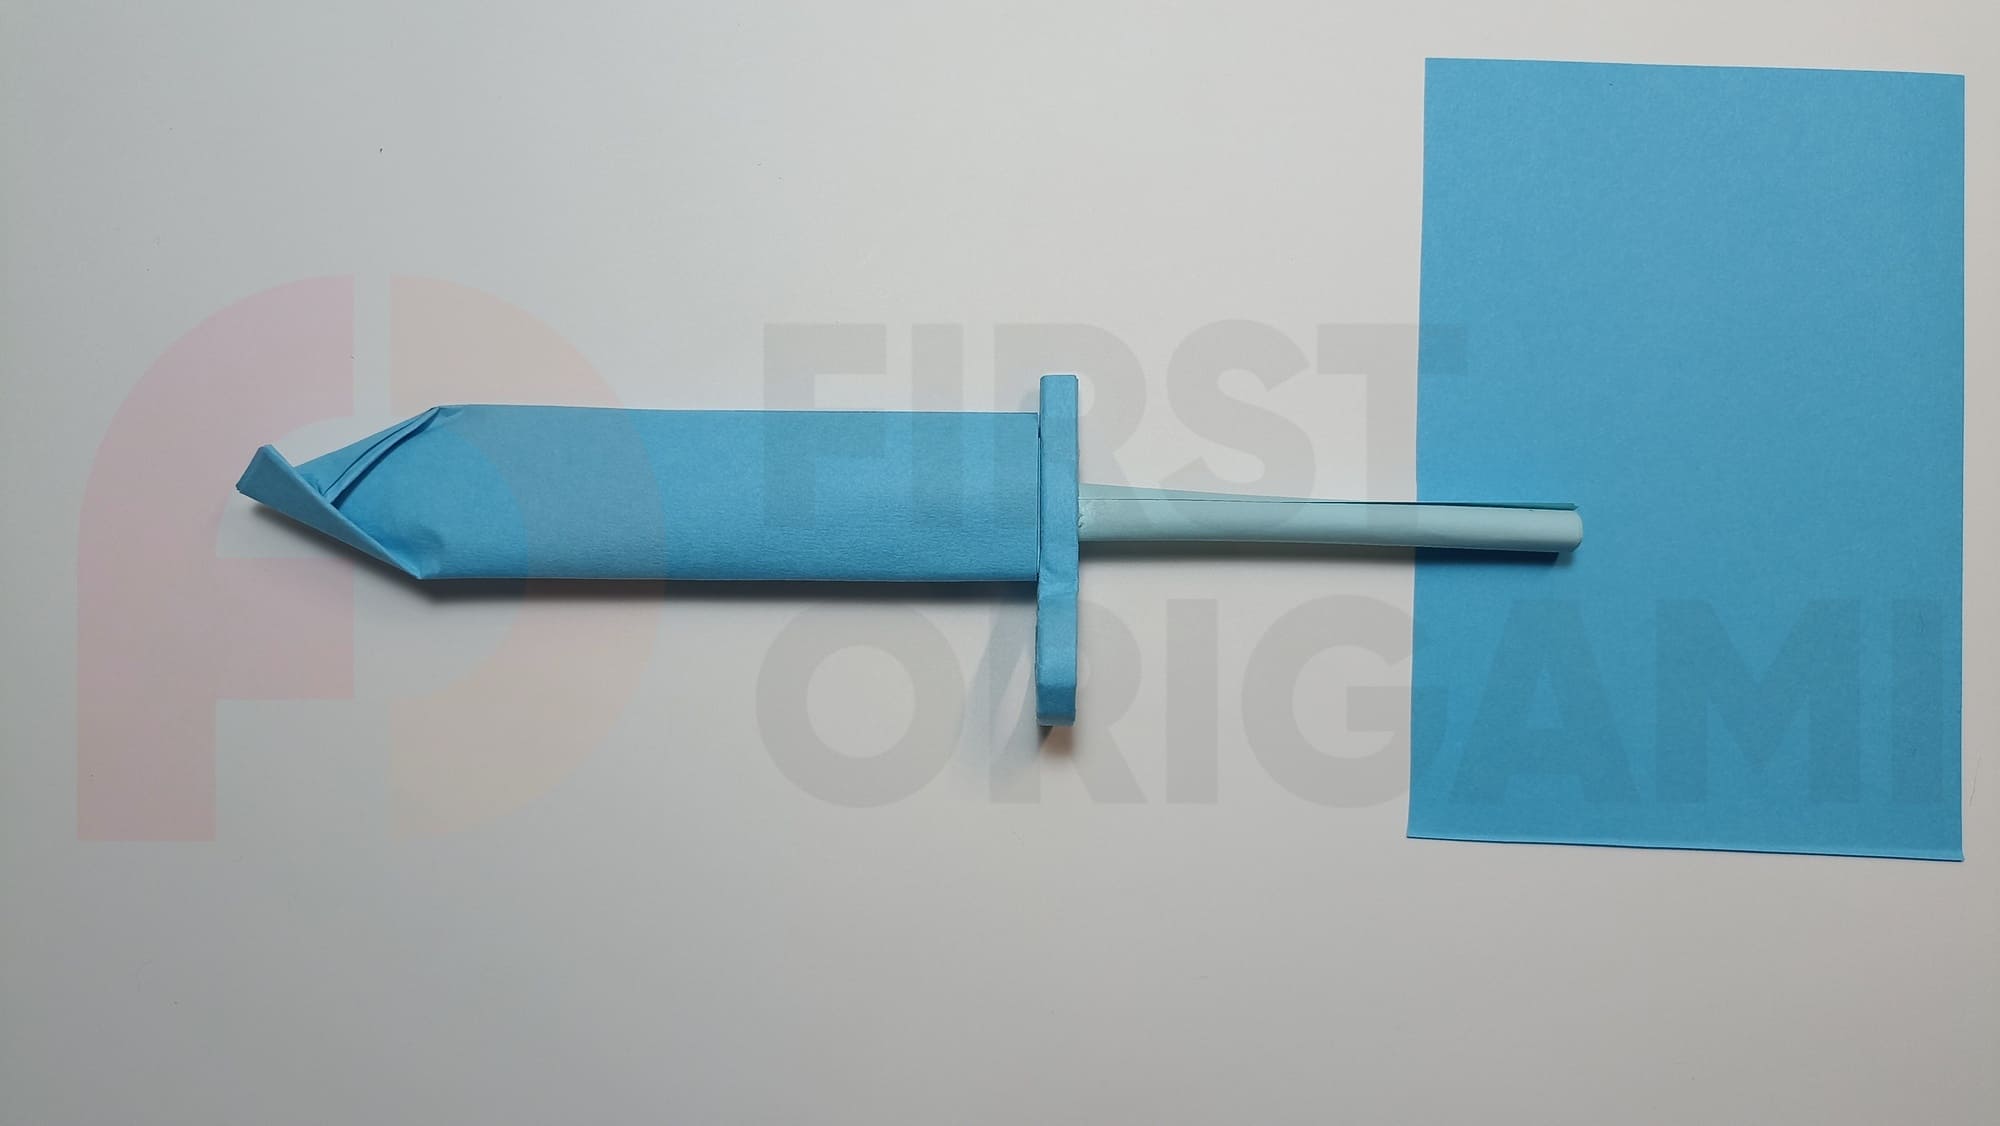
From a whole sheet of paper, twist a tube along the short side and fix it with glue.
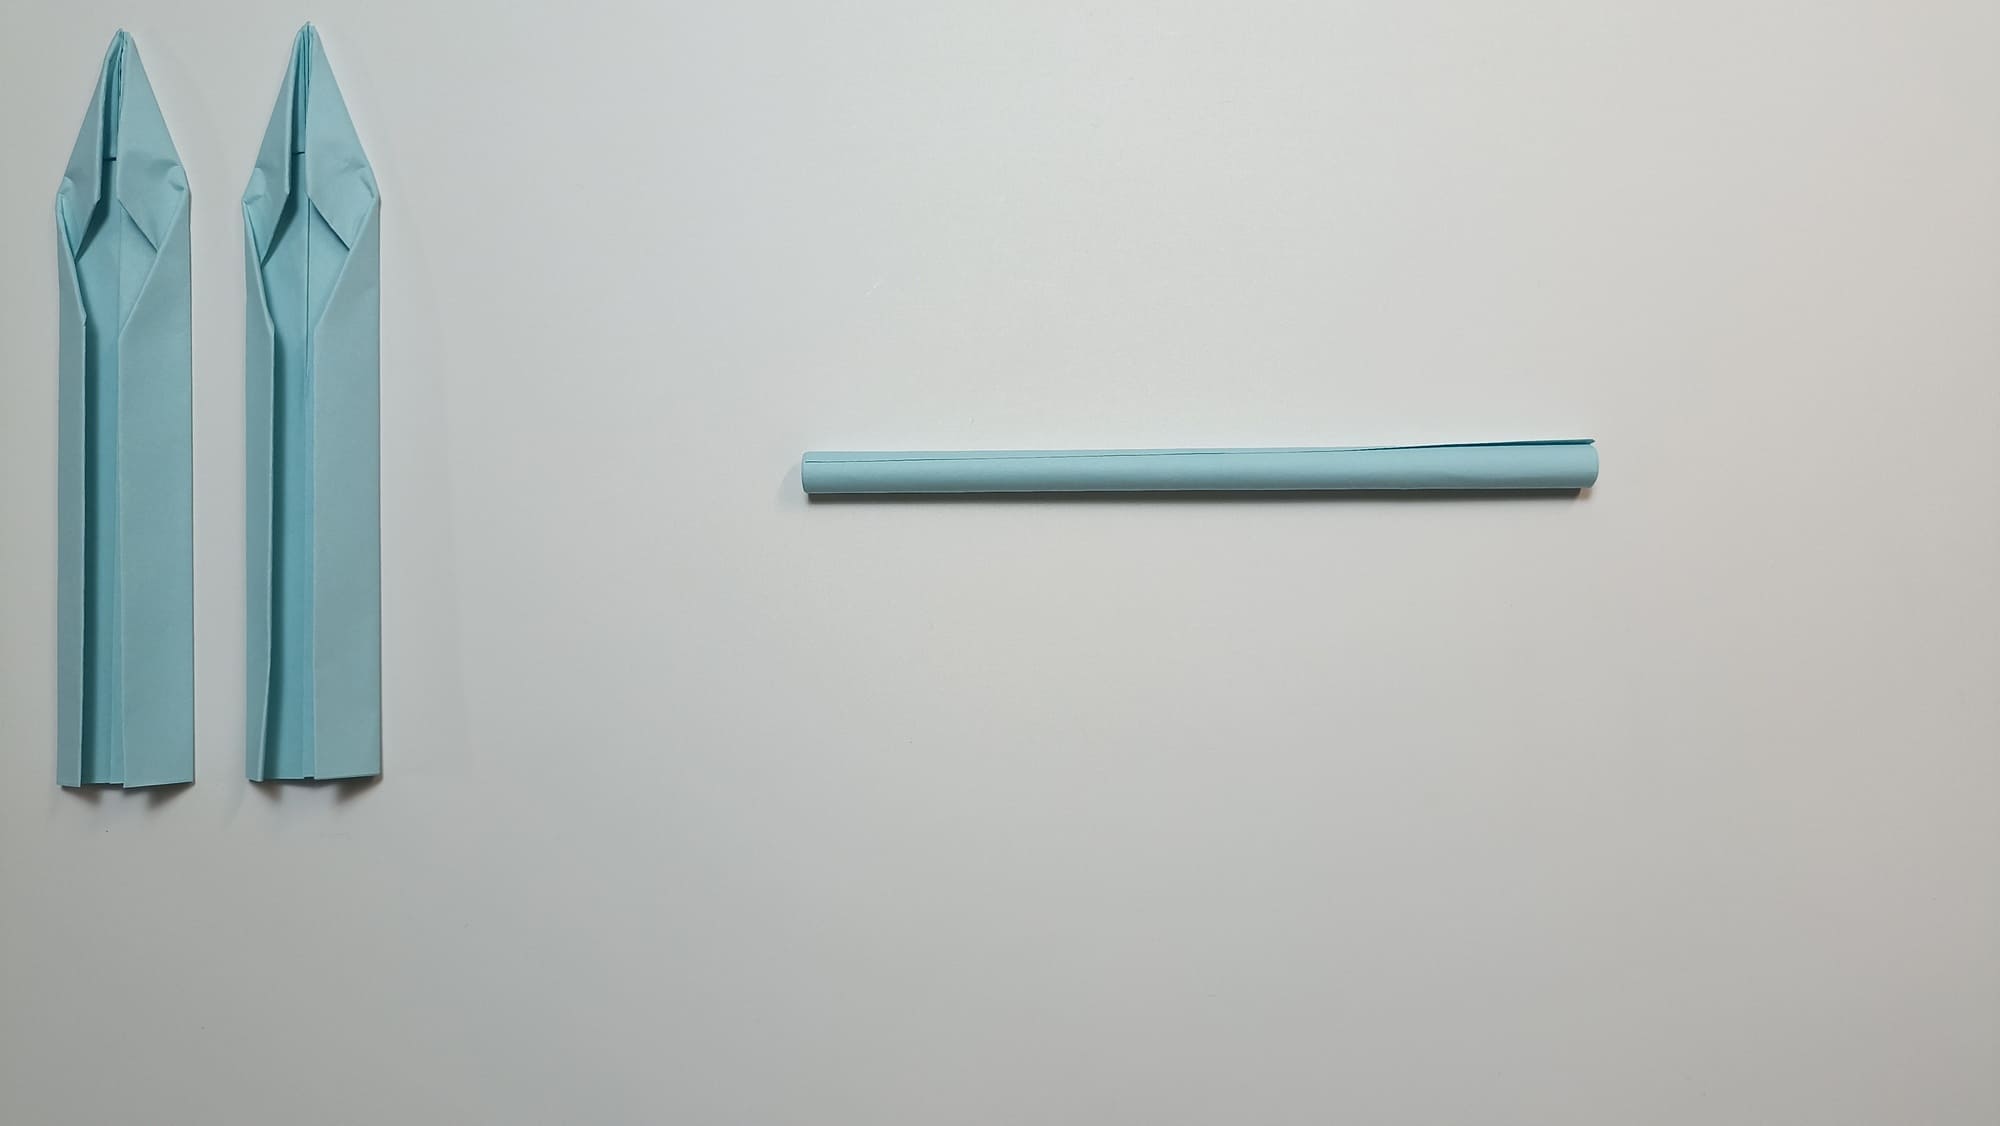
This is a handle.
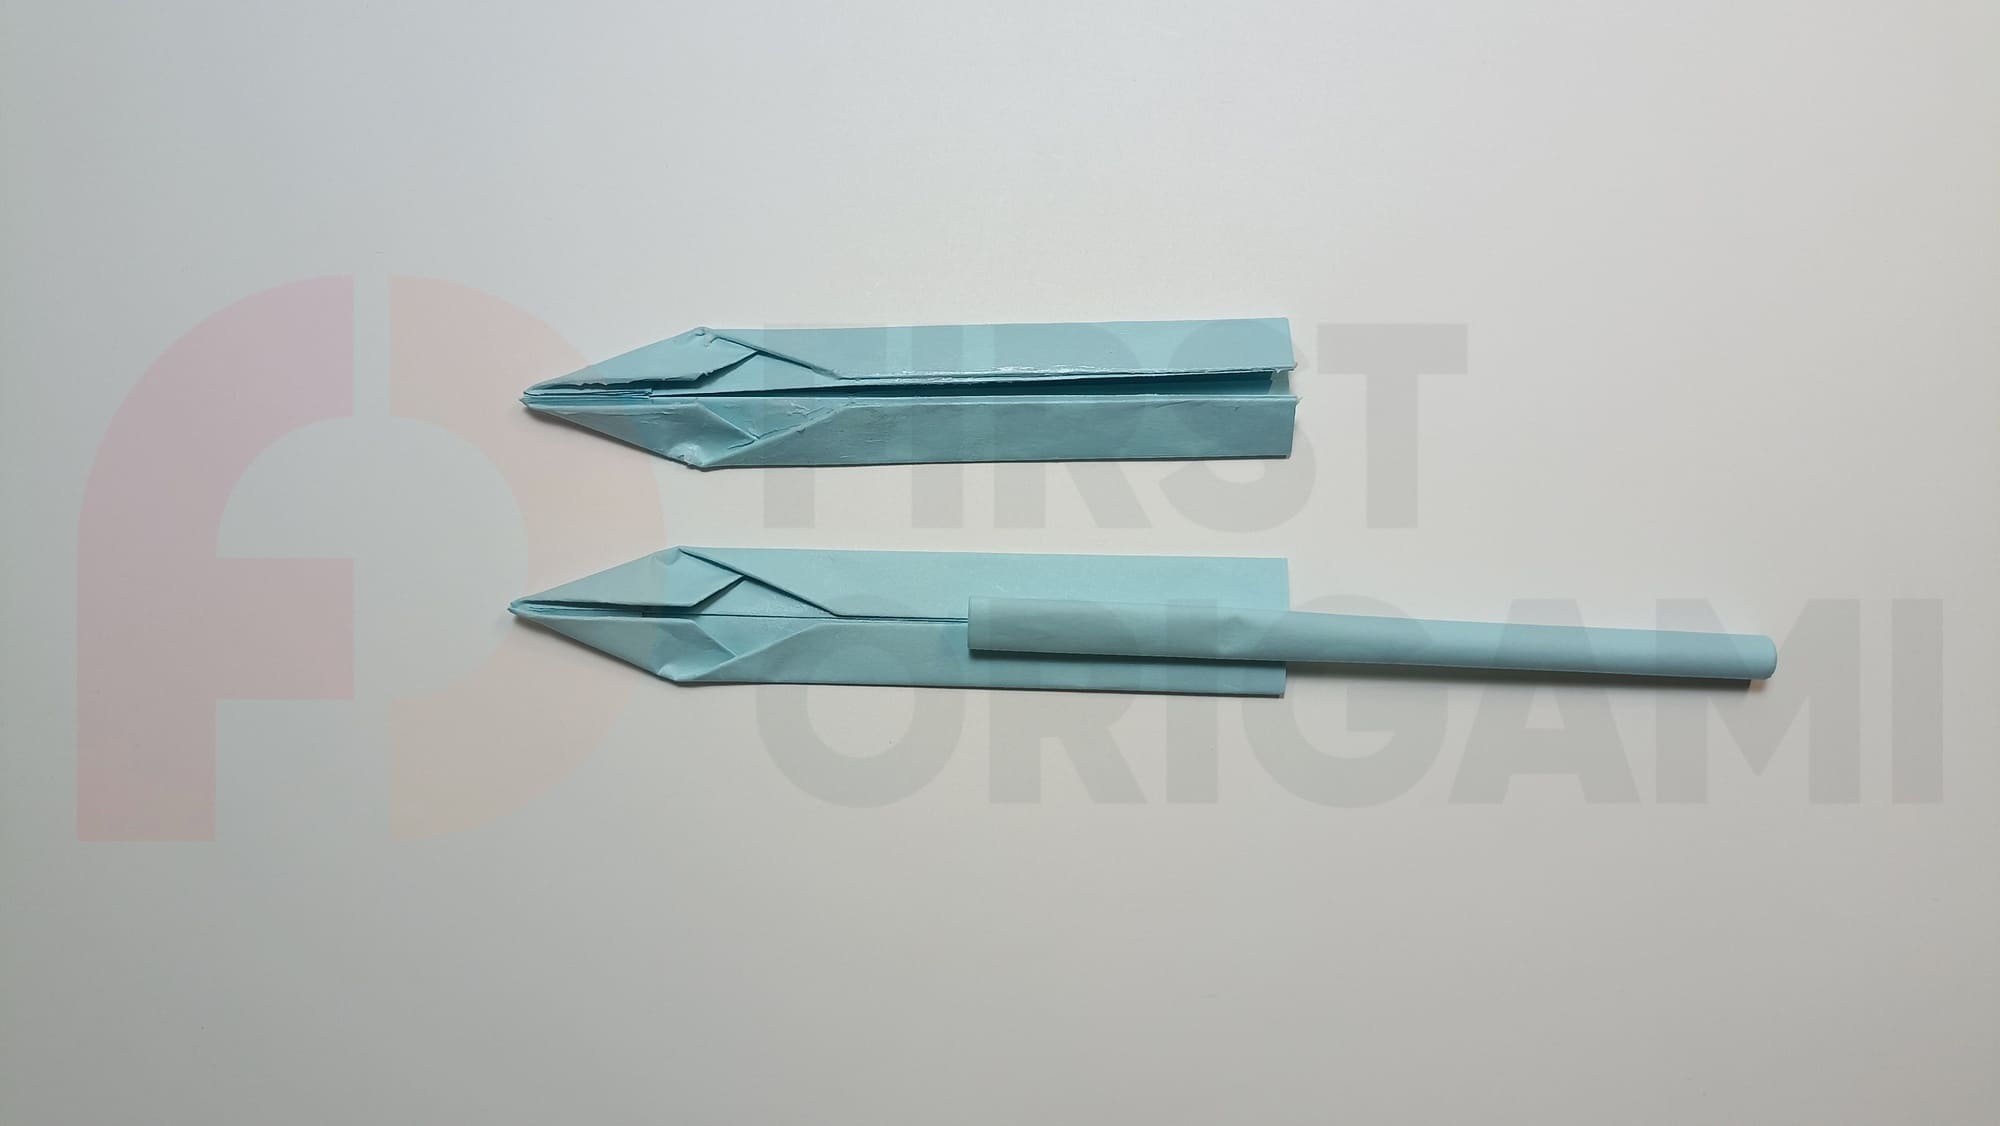
Place the tube halfway between the two blade blanks.
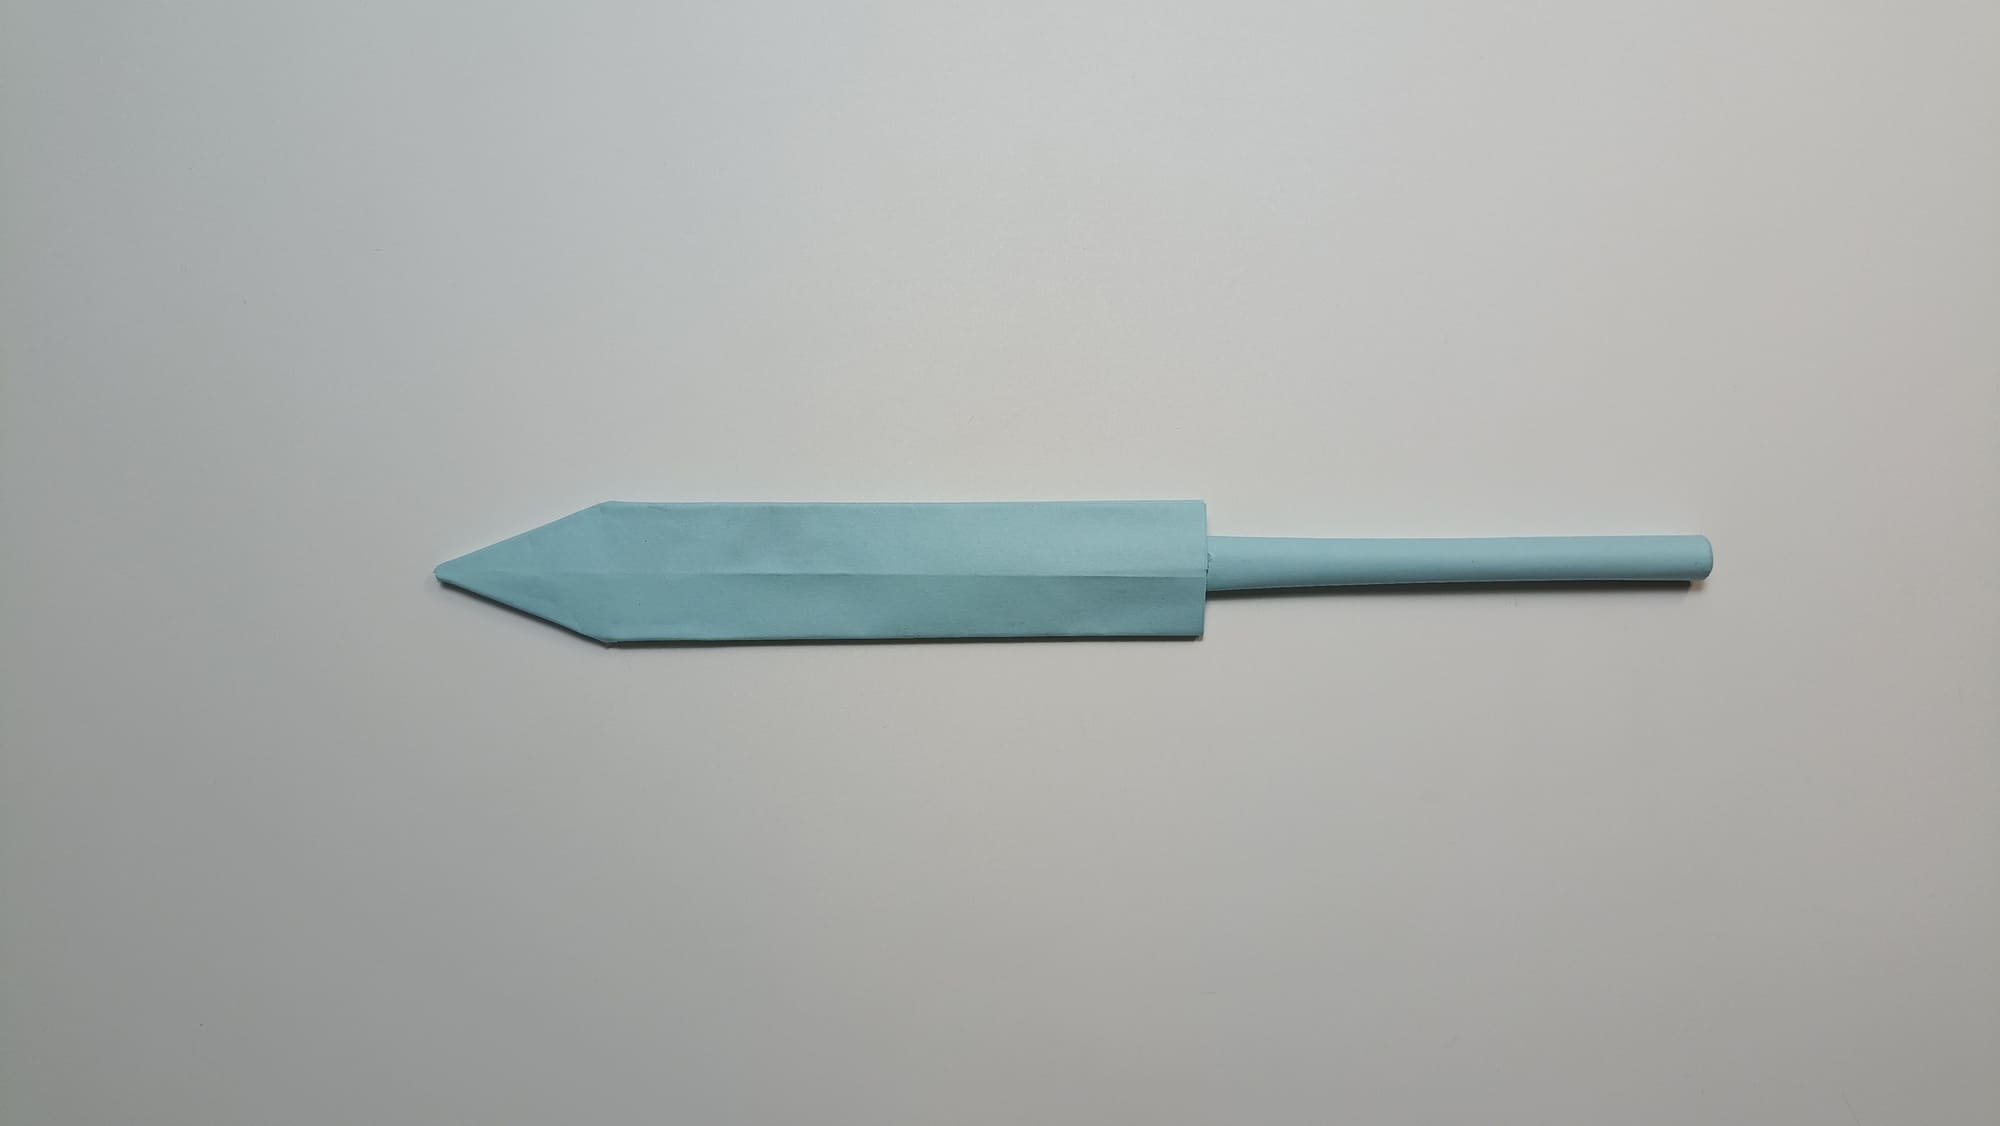
Glue the parts together.
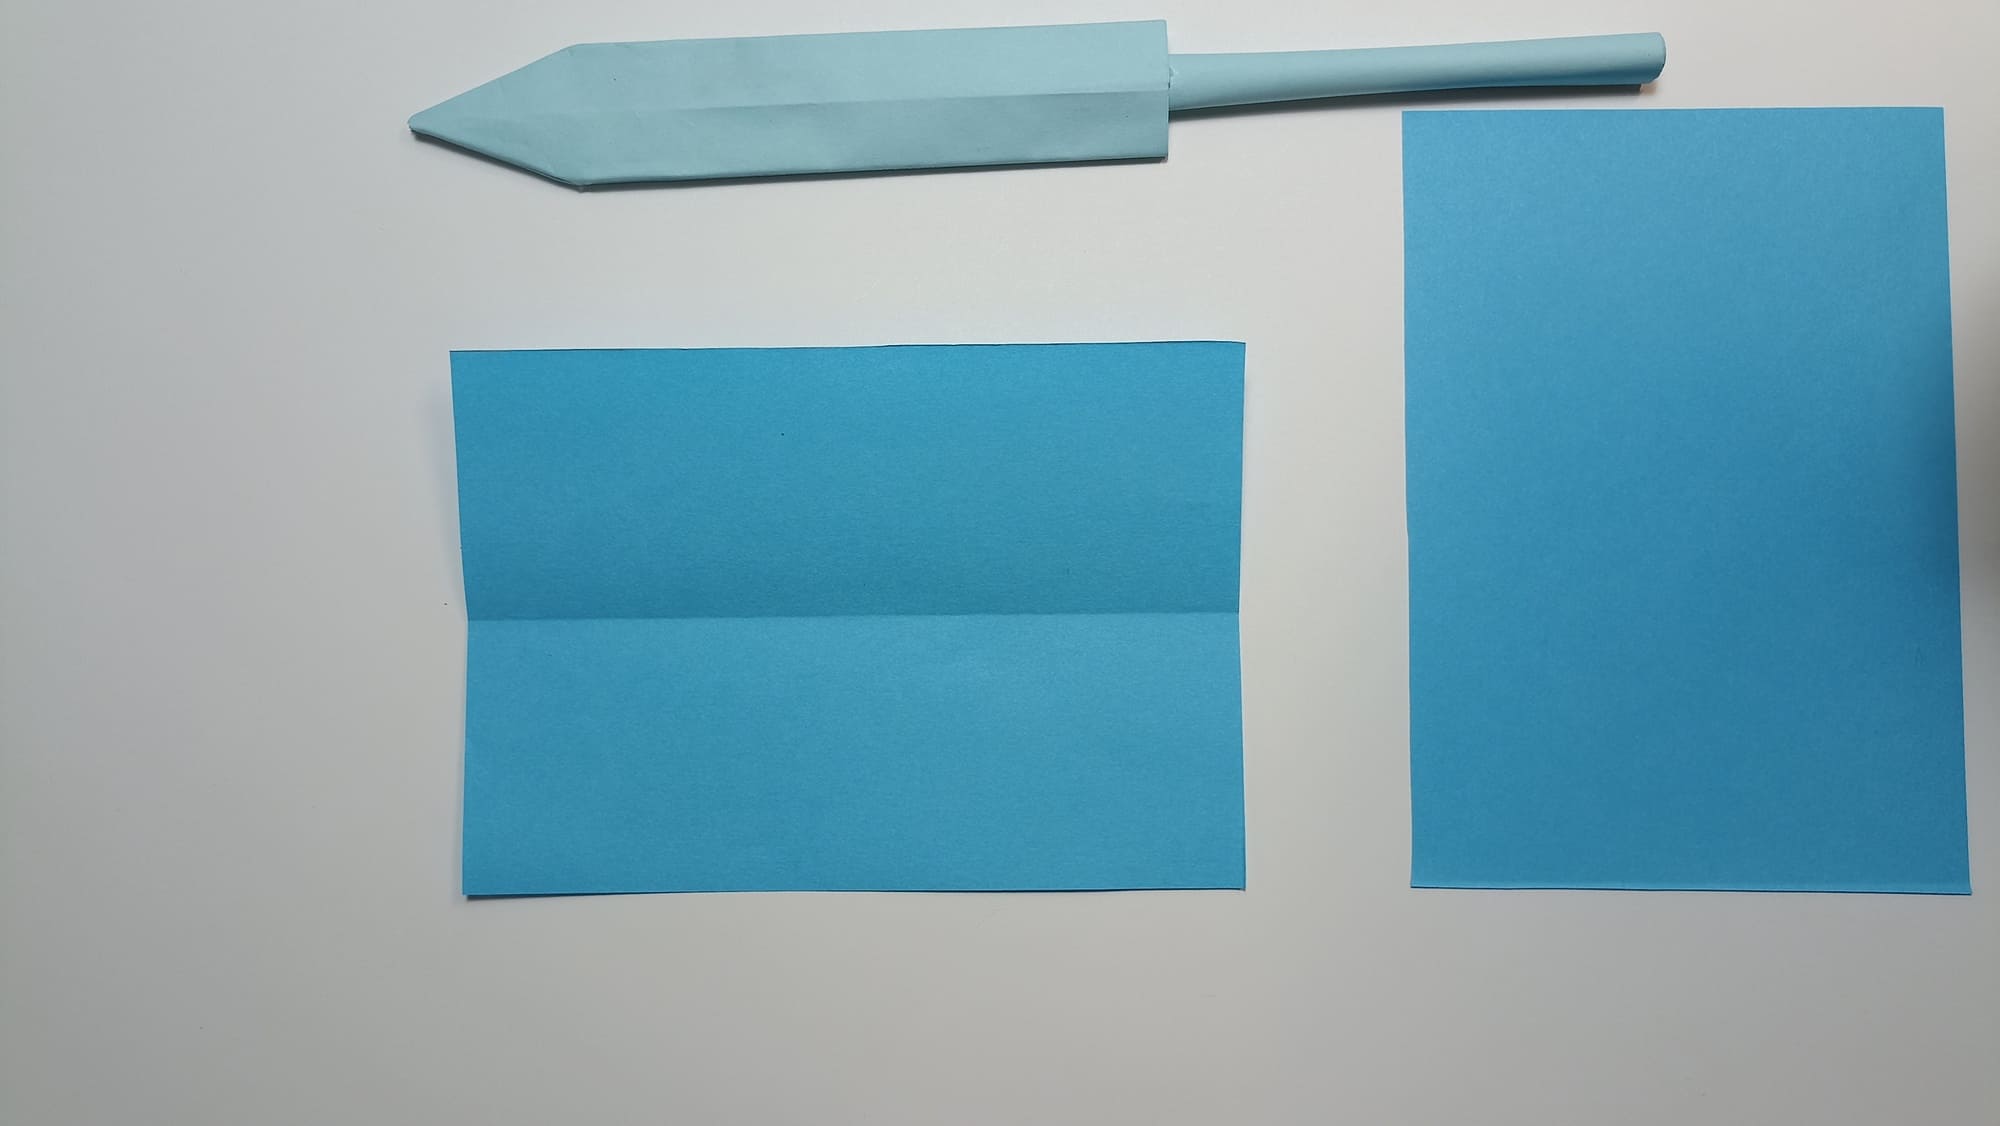
Cut a sheet of paper in half. Mark a center line on one of the parts.
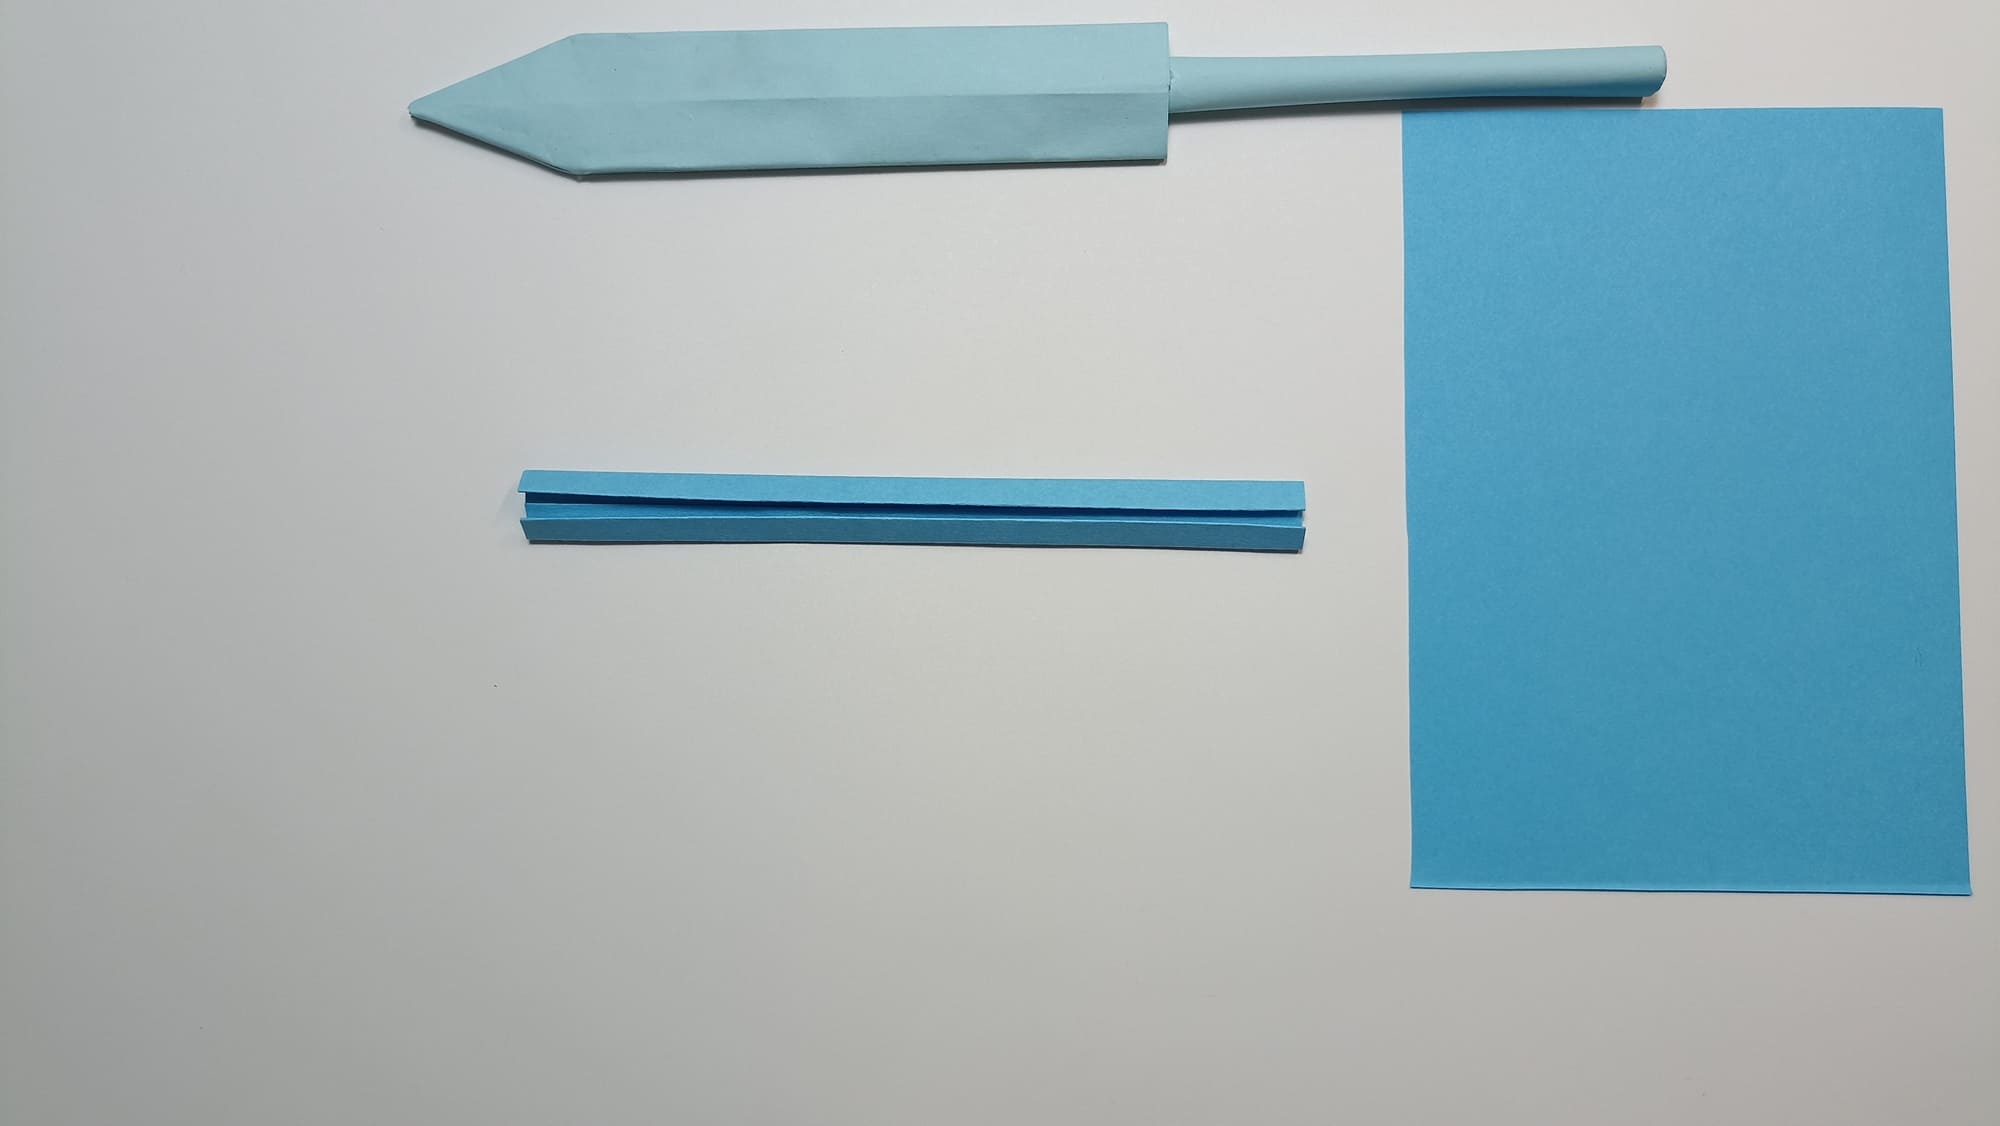
Fold the sides three times towards the middle and in half.
Glue it.
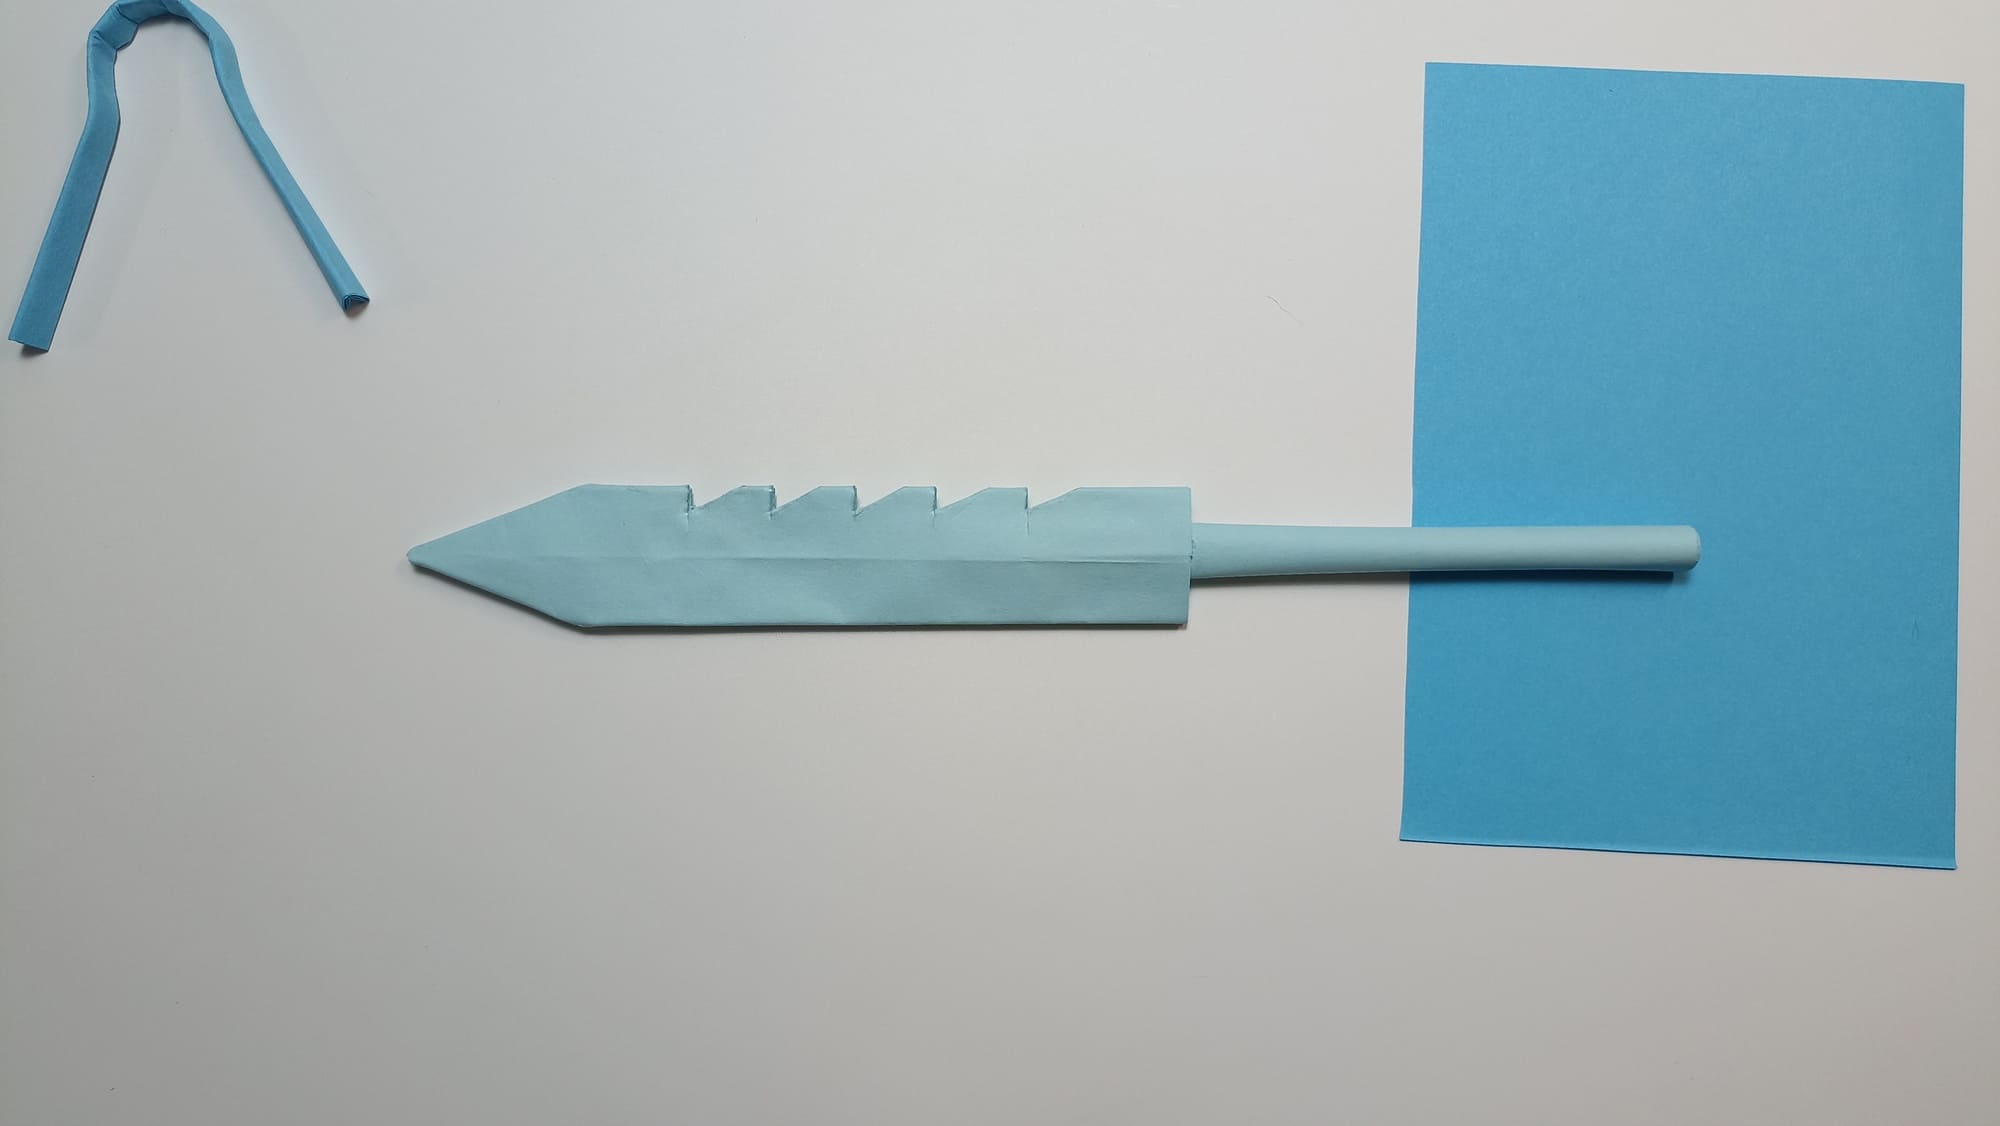
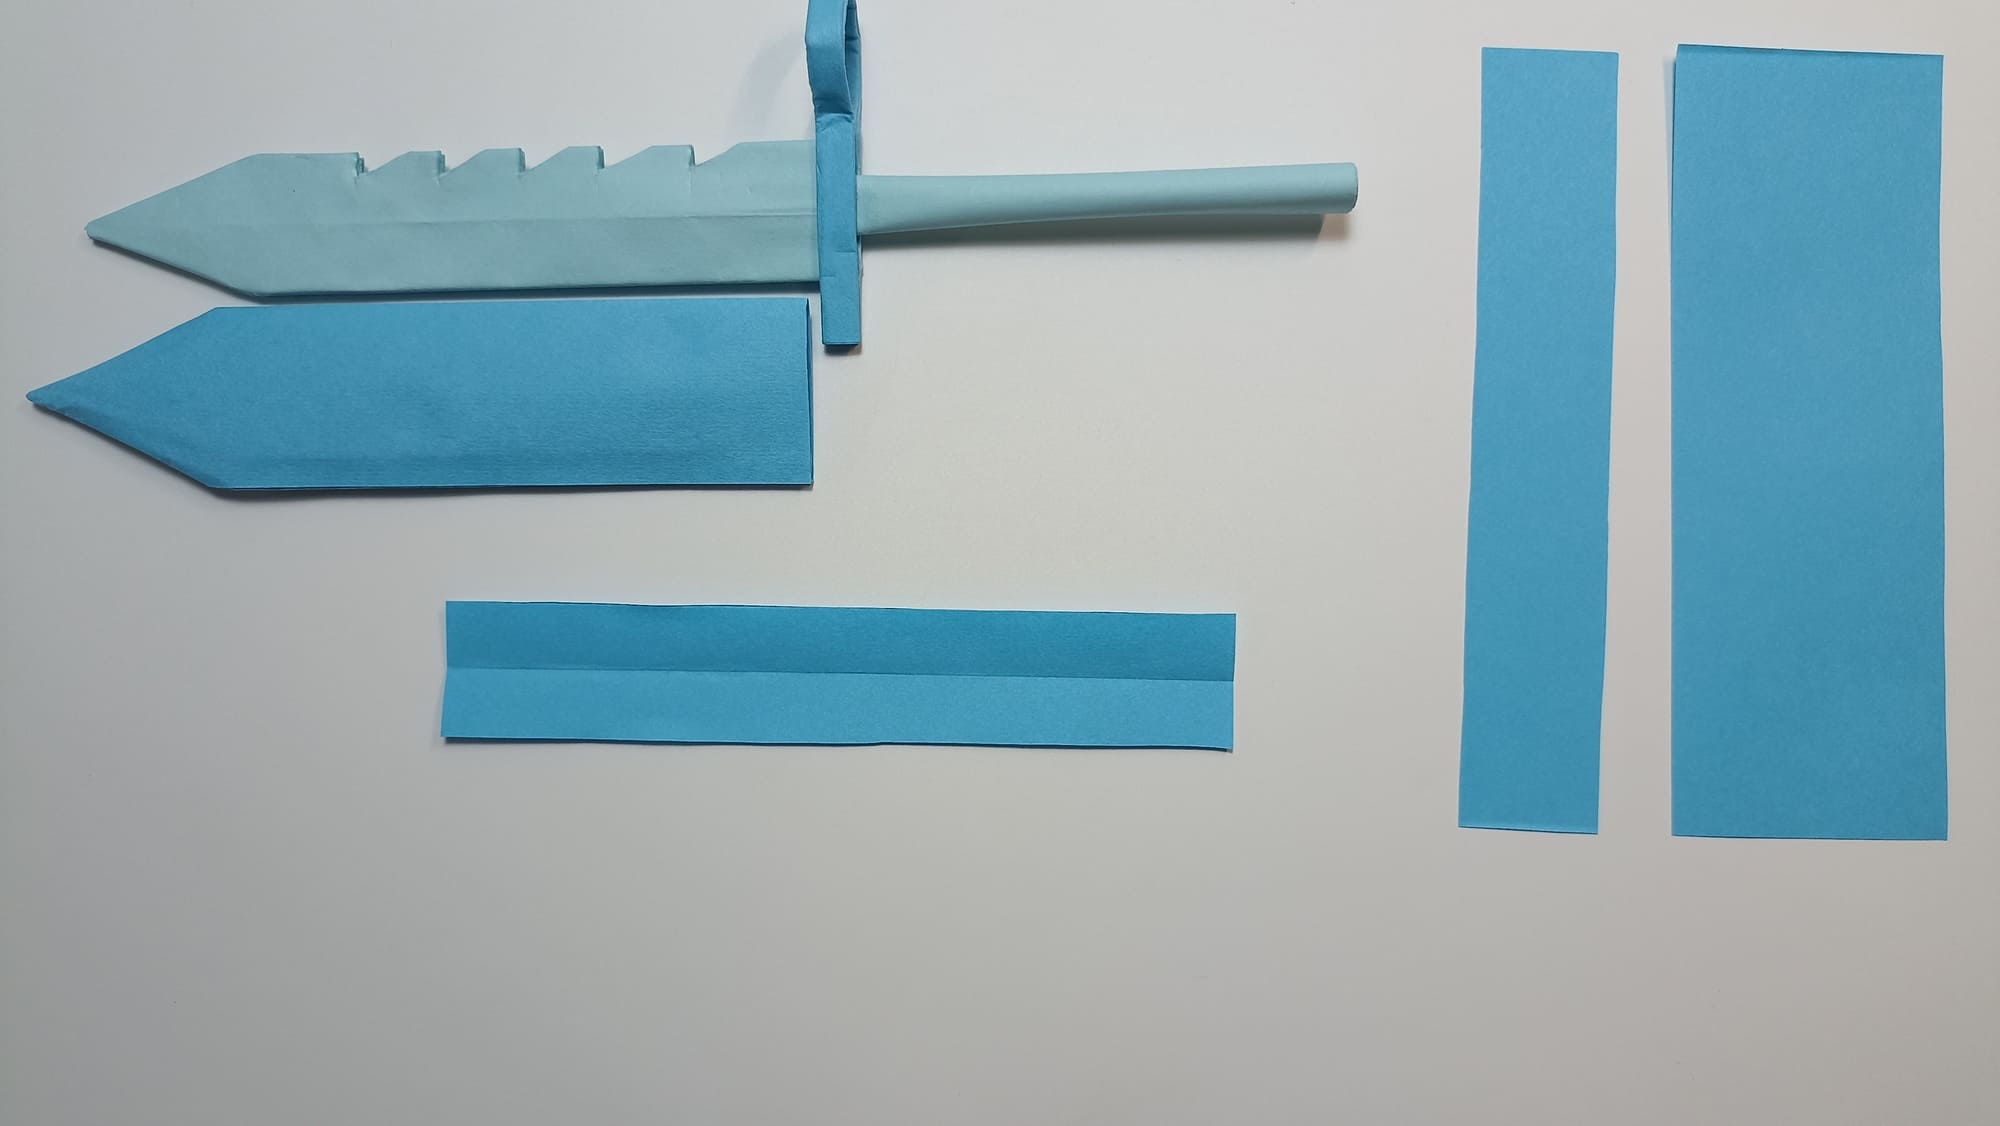
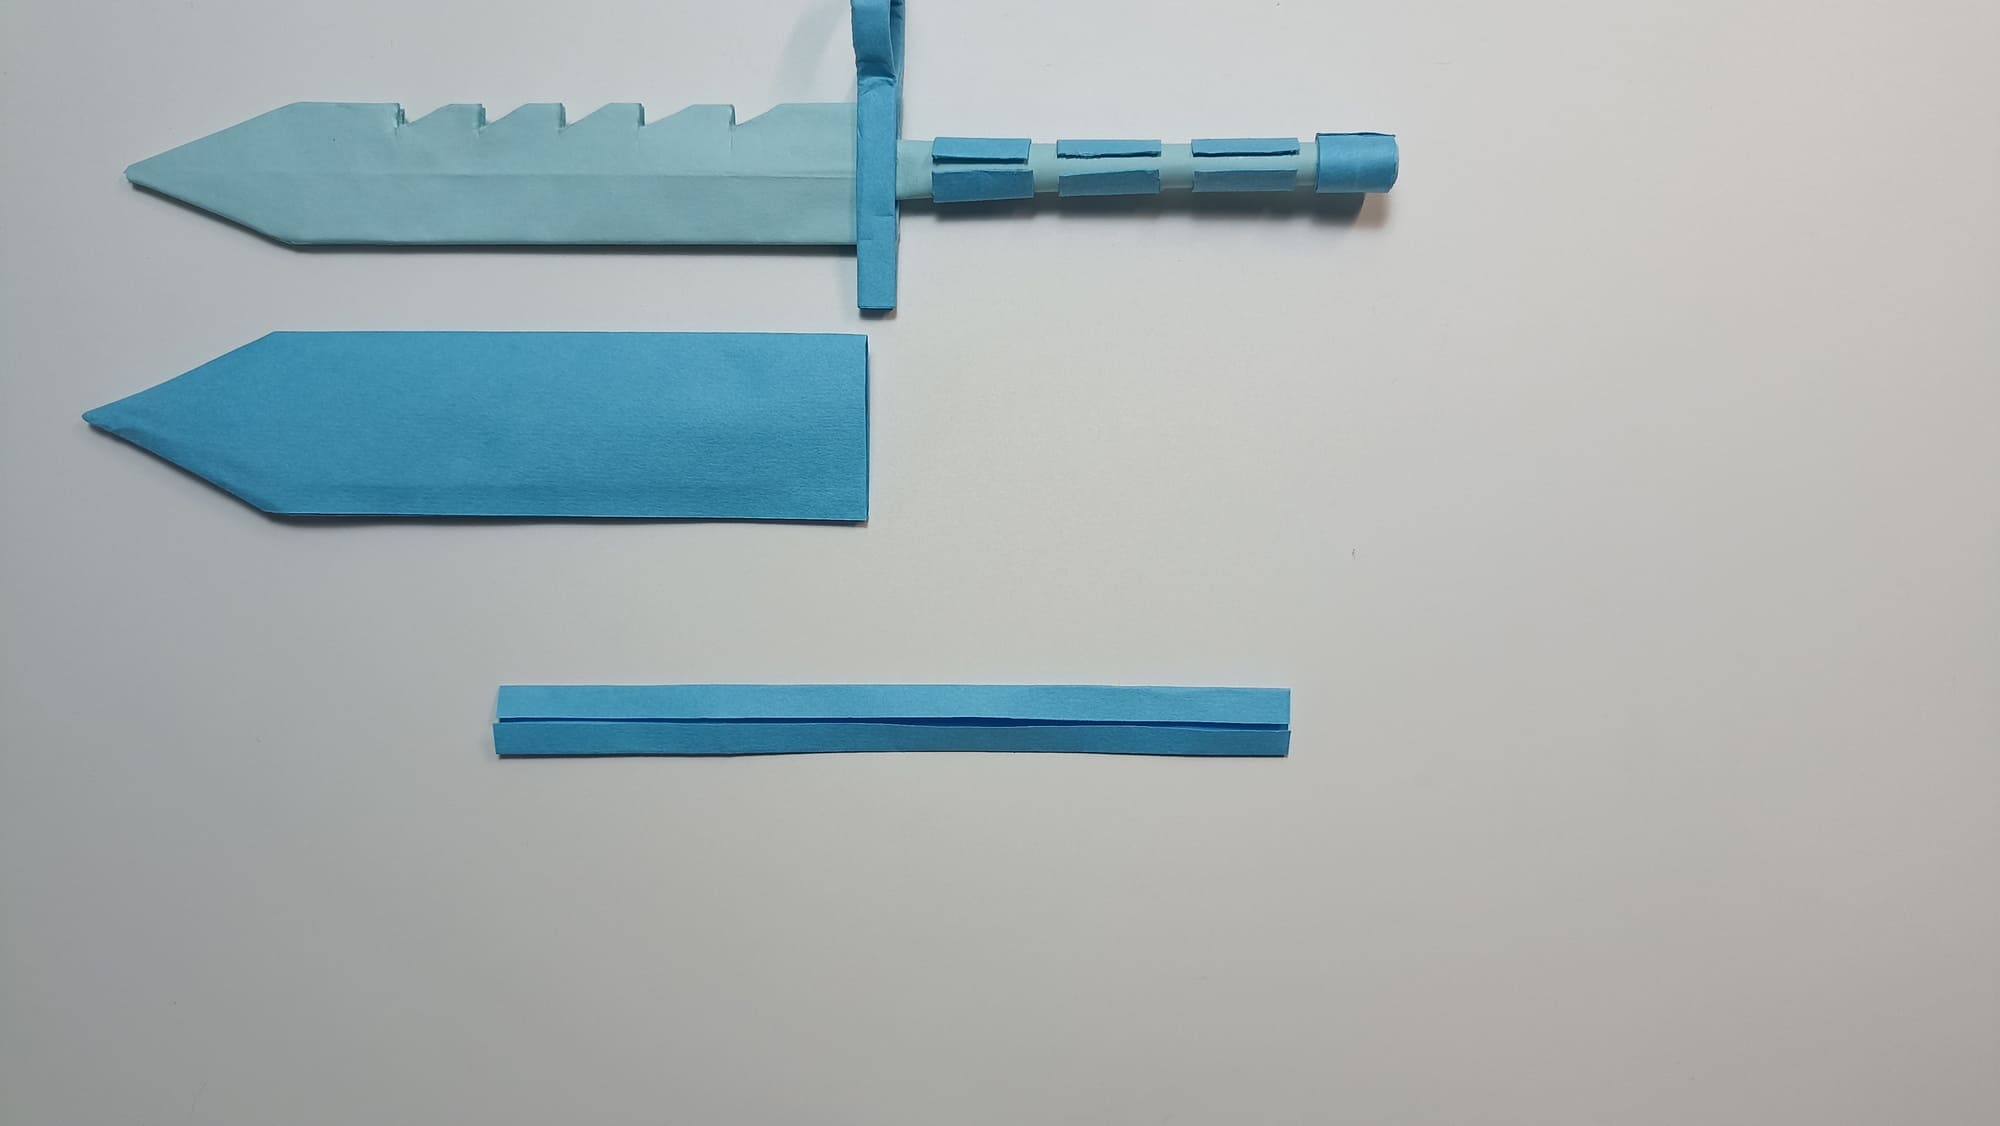
Mark teeth on one side of the knife blade and cut.
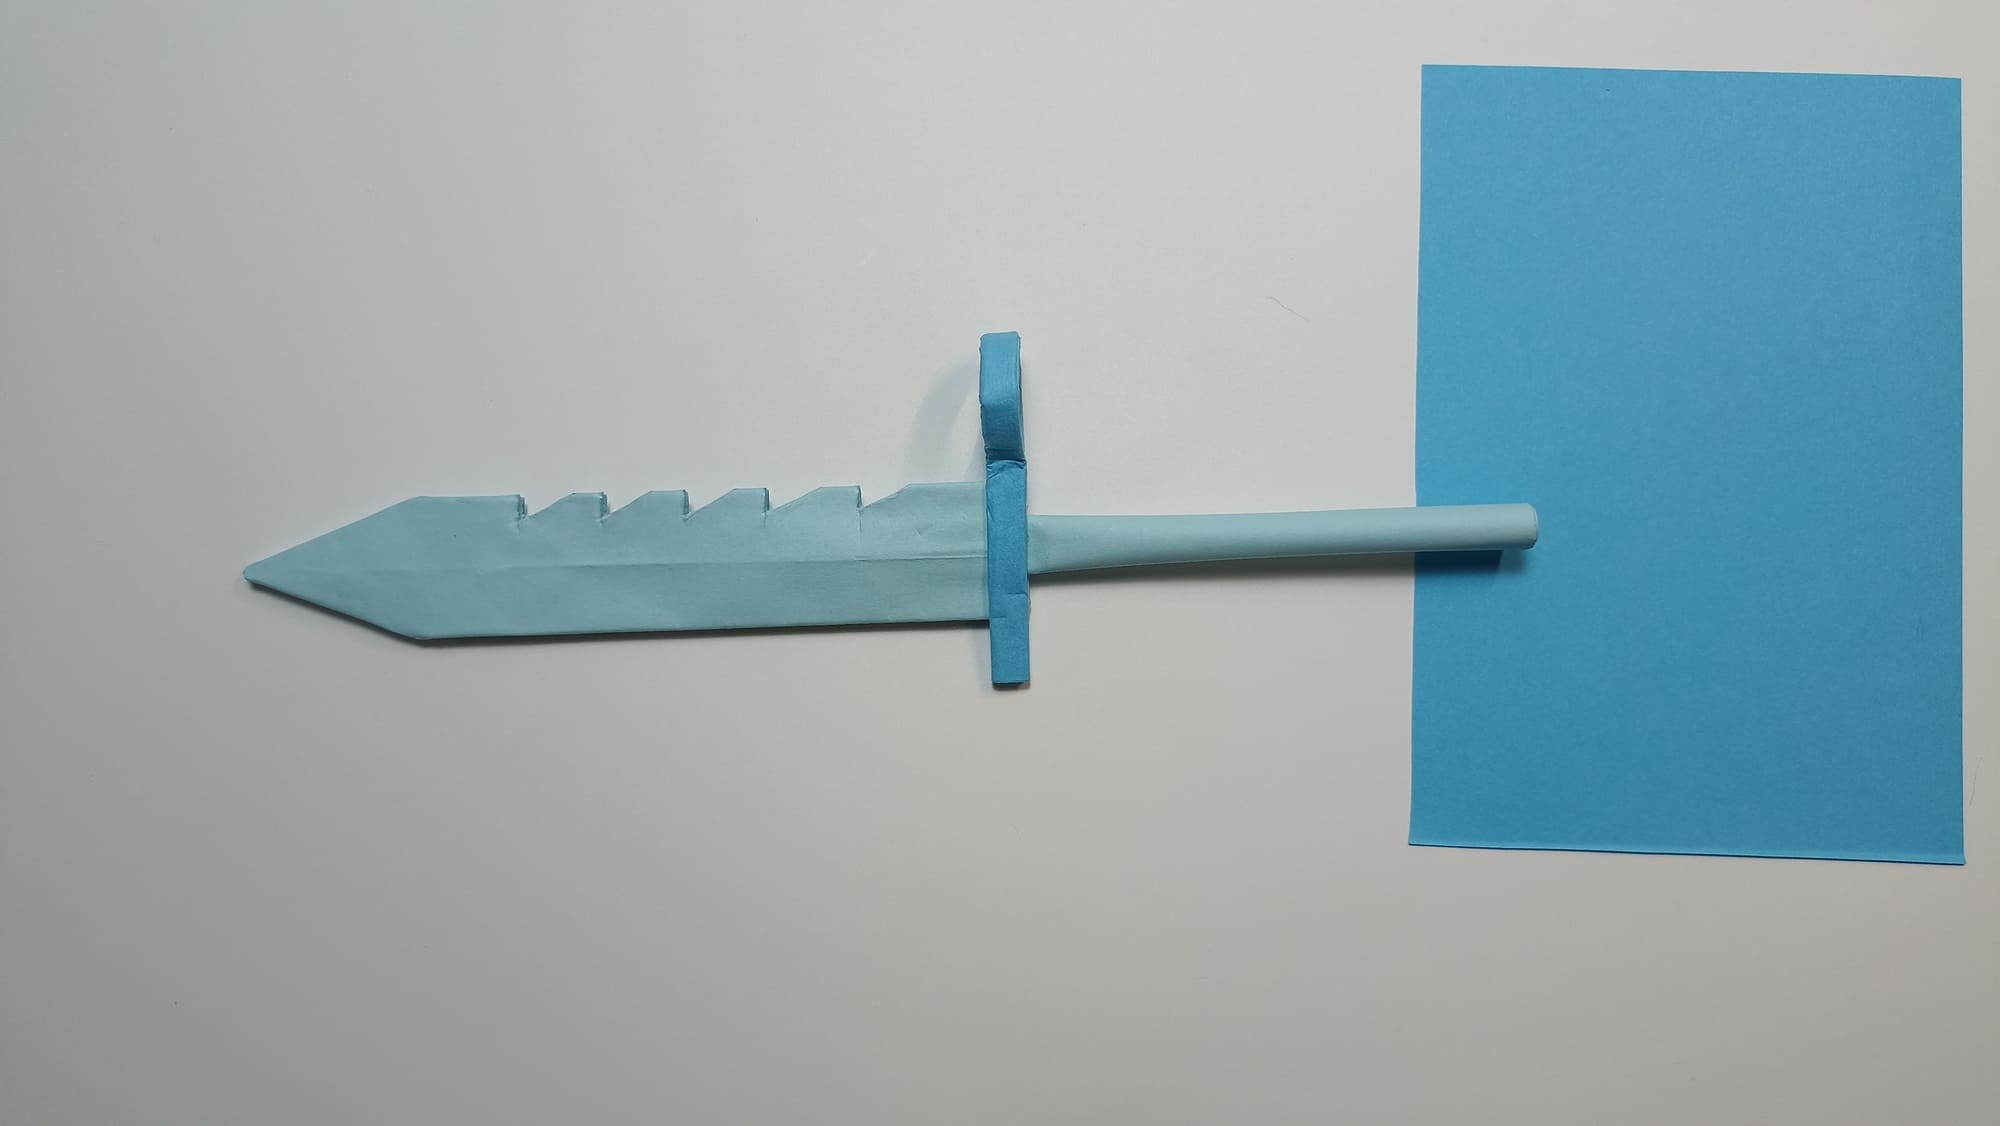
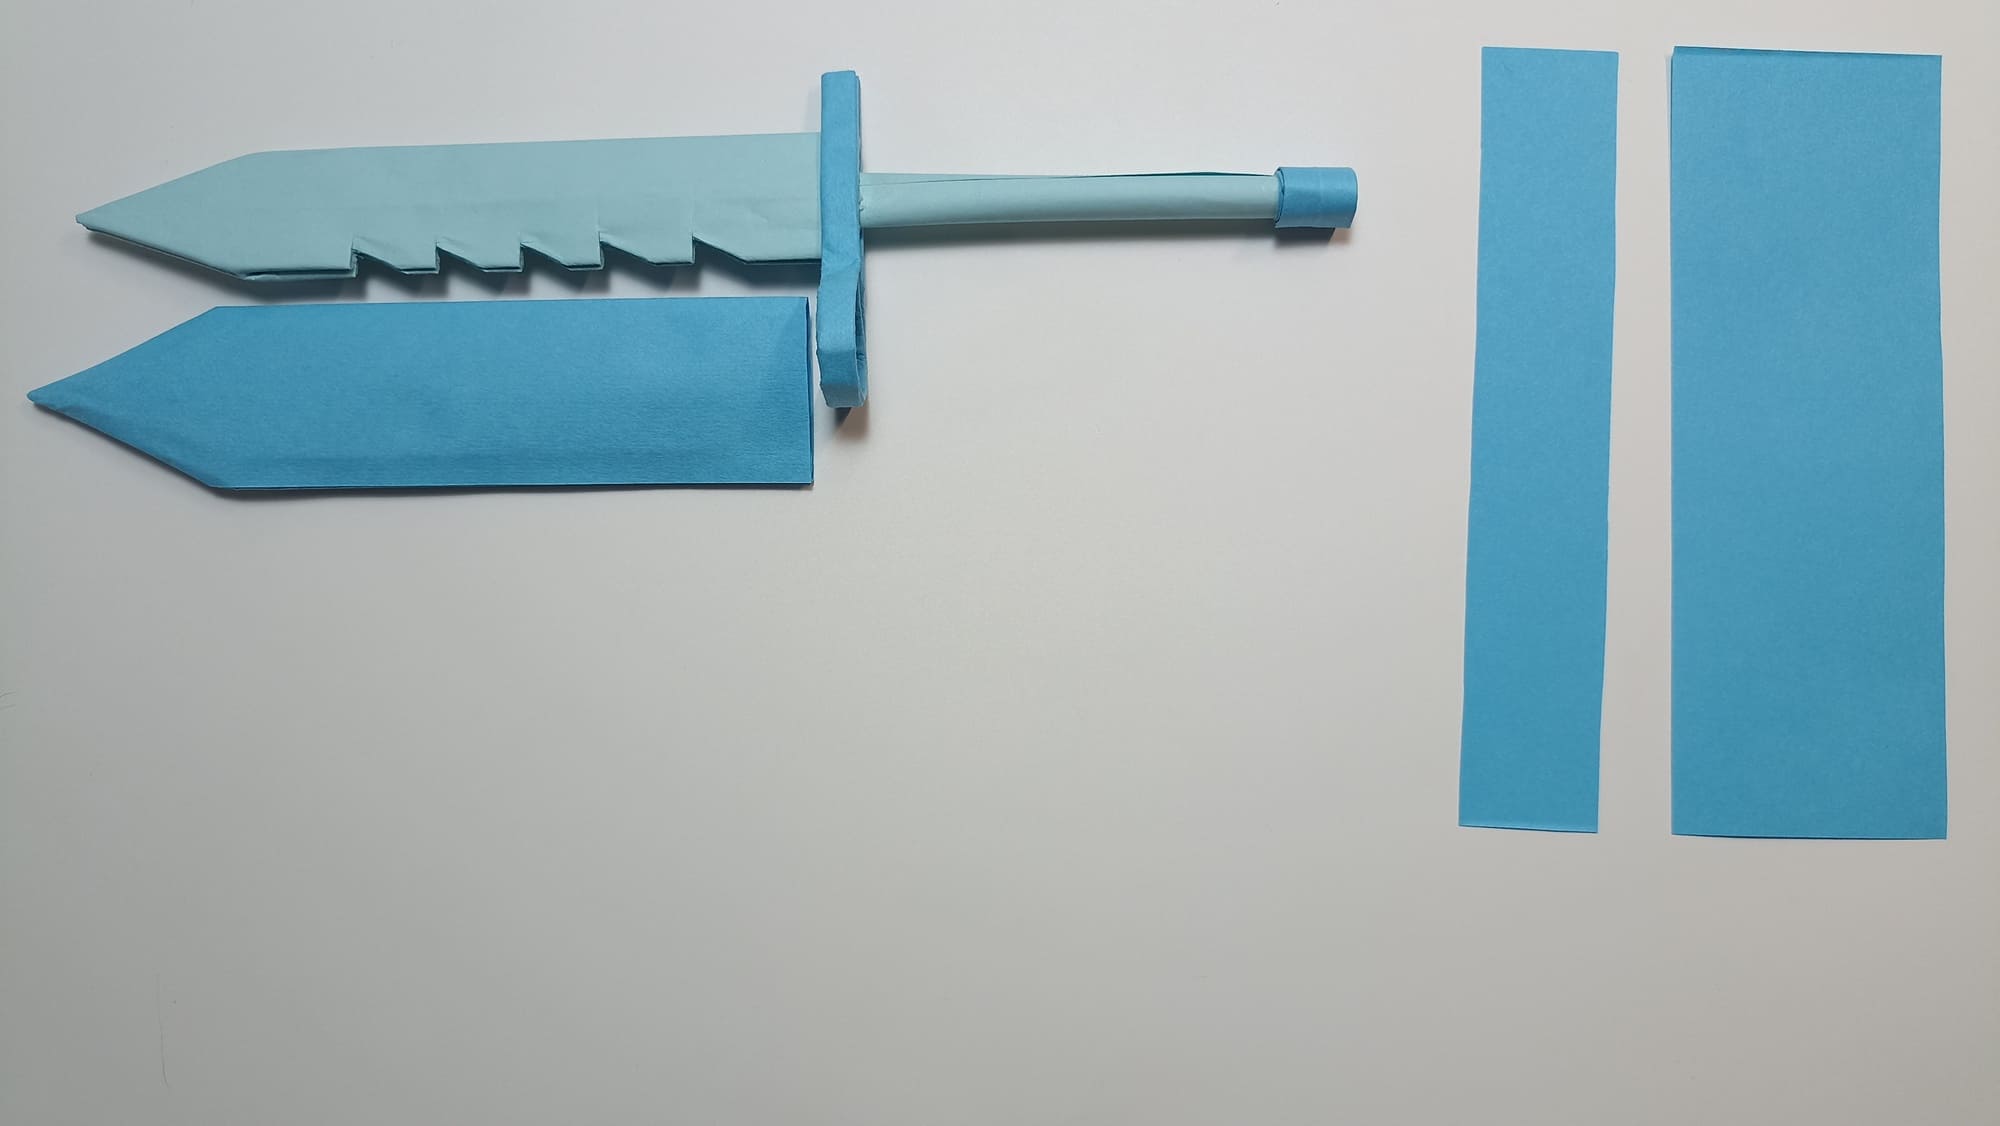
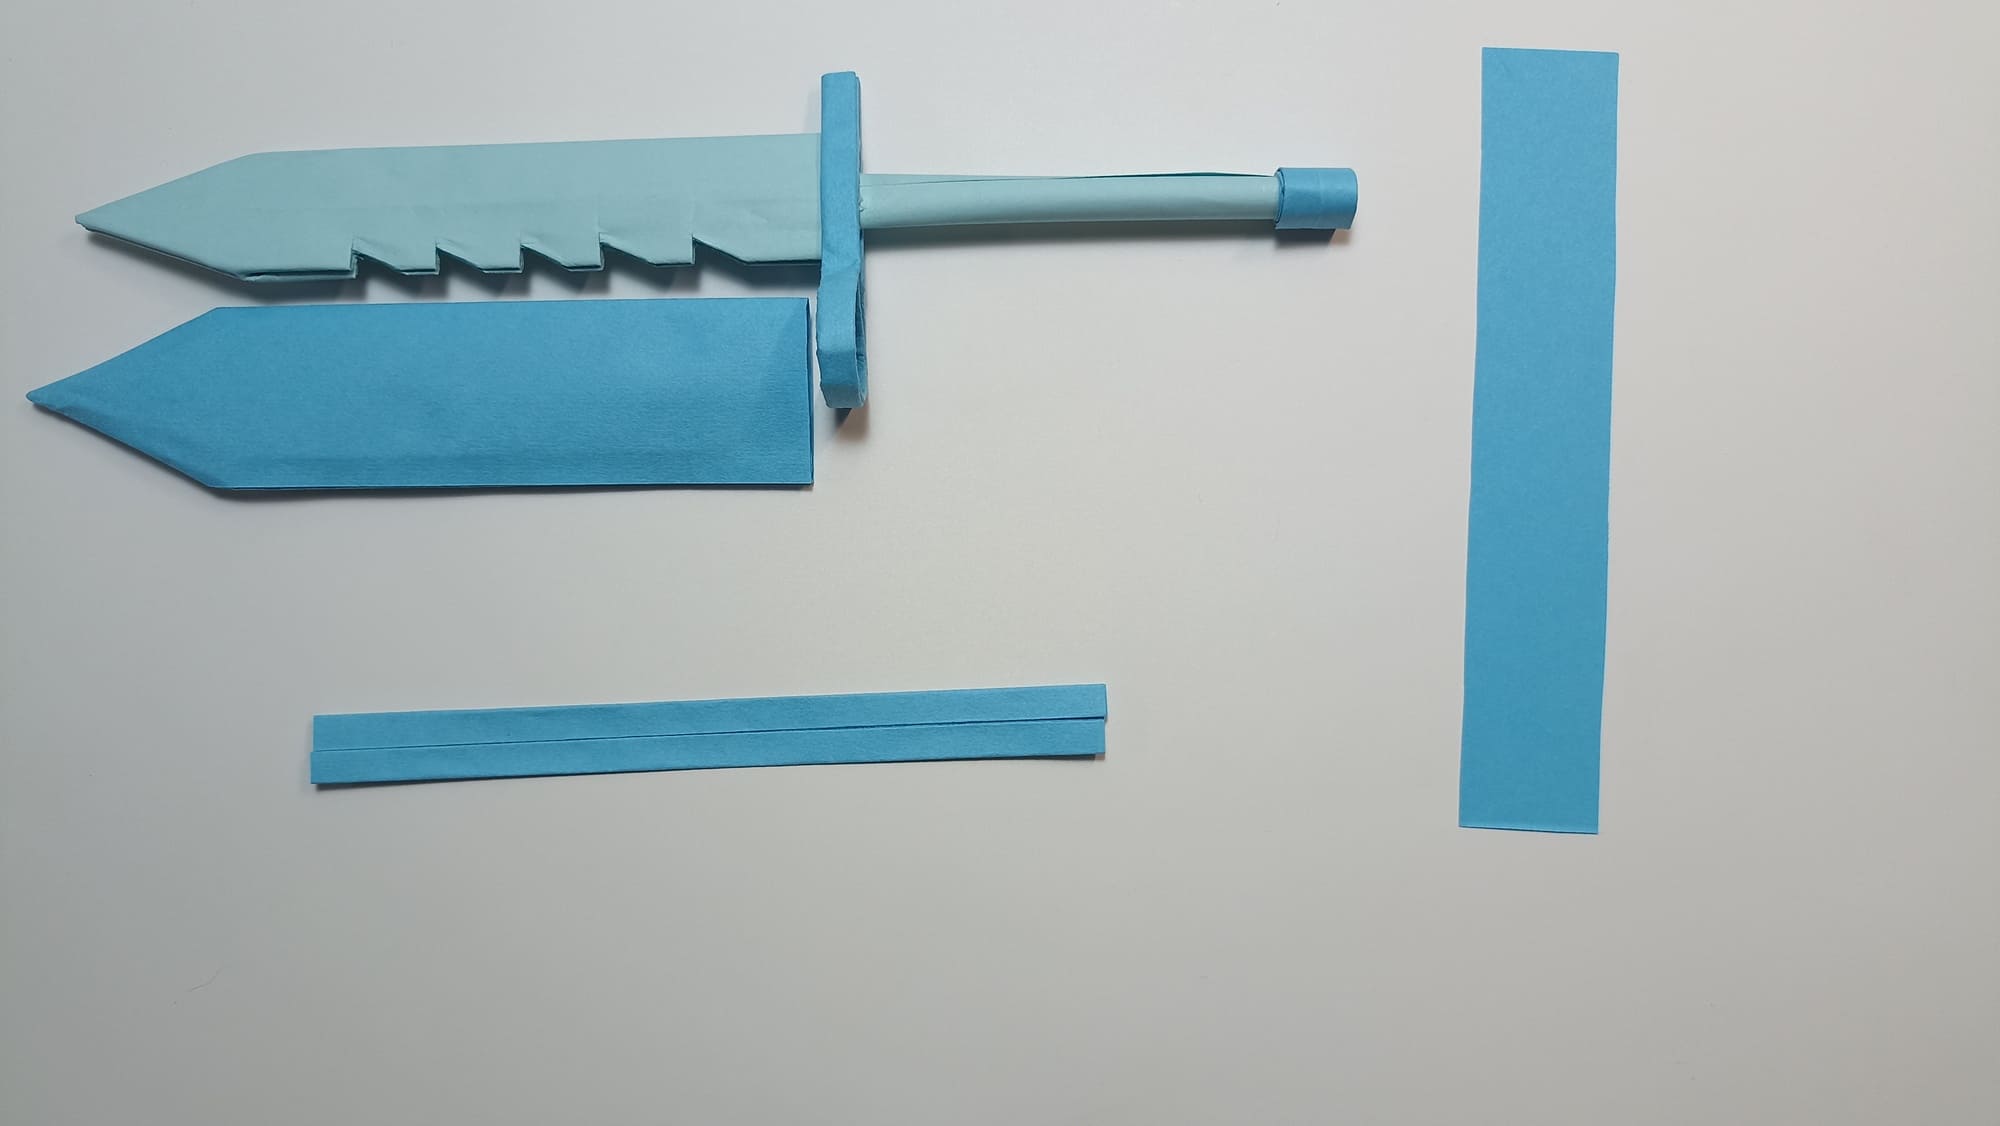
Bend a narrow strip into a ring. Glue on both sides of the base.
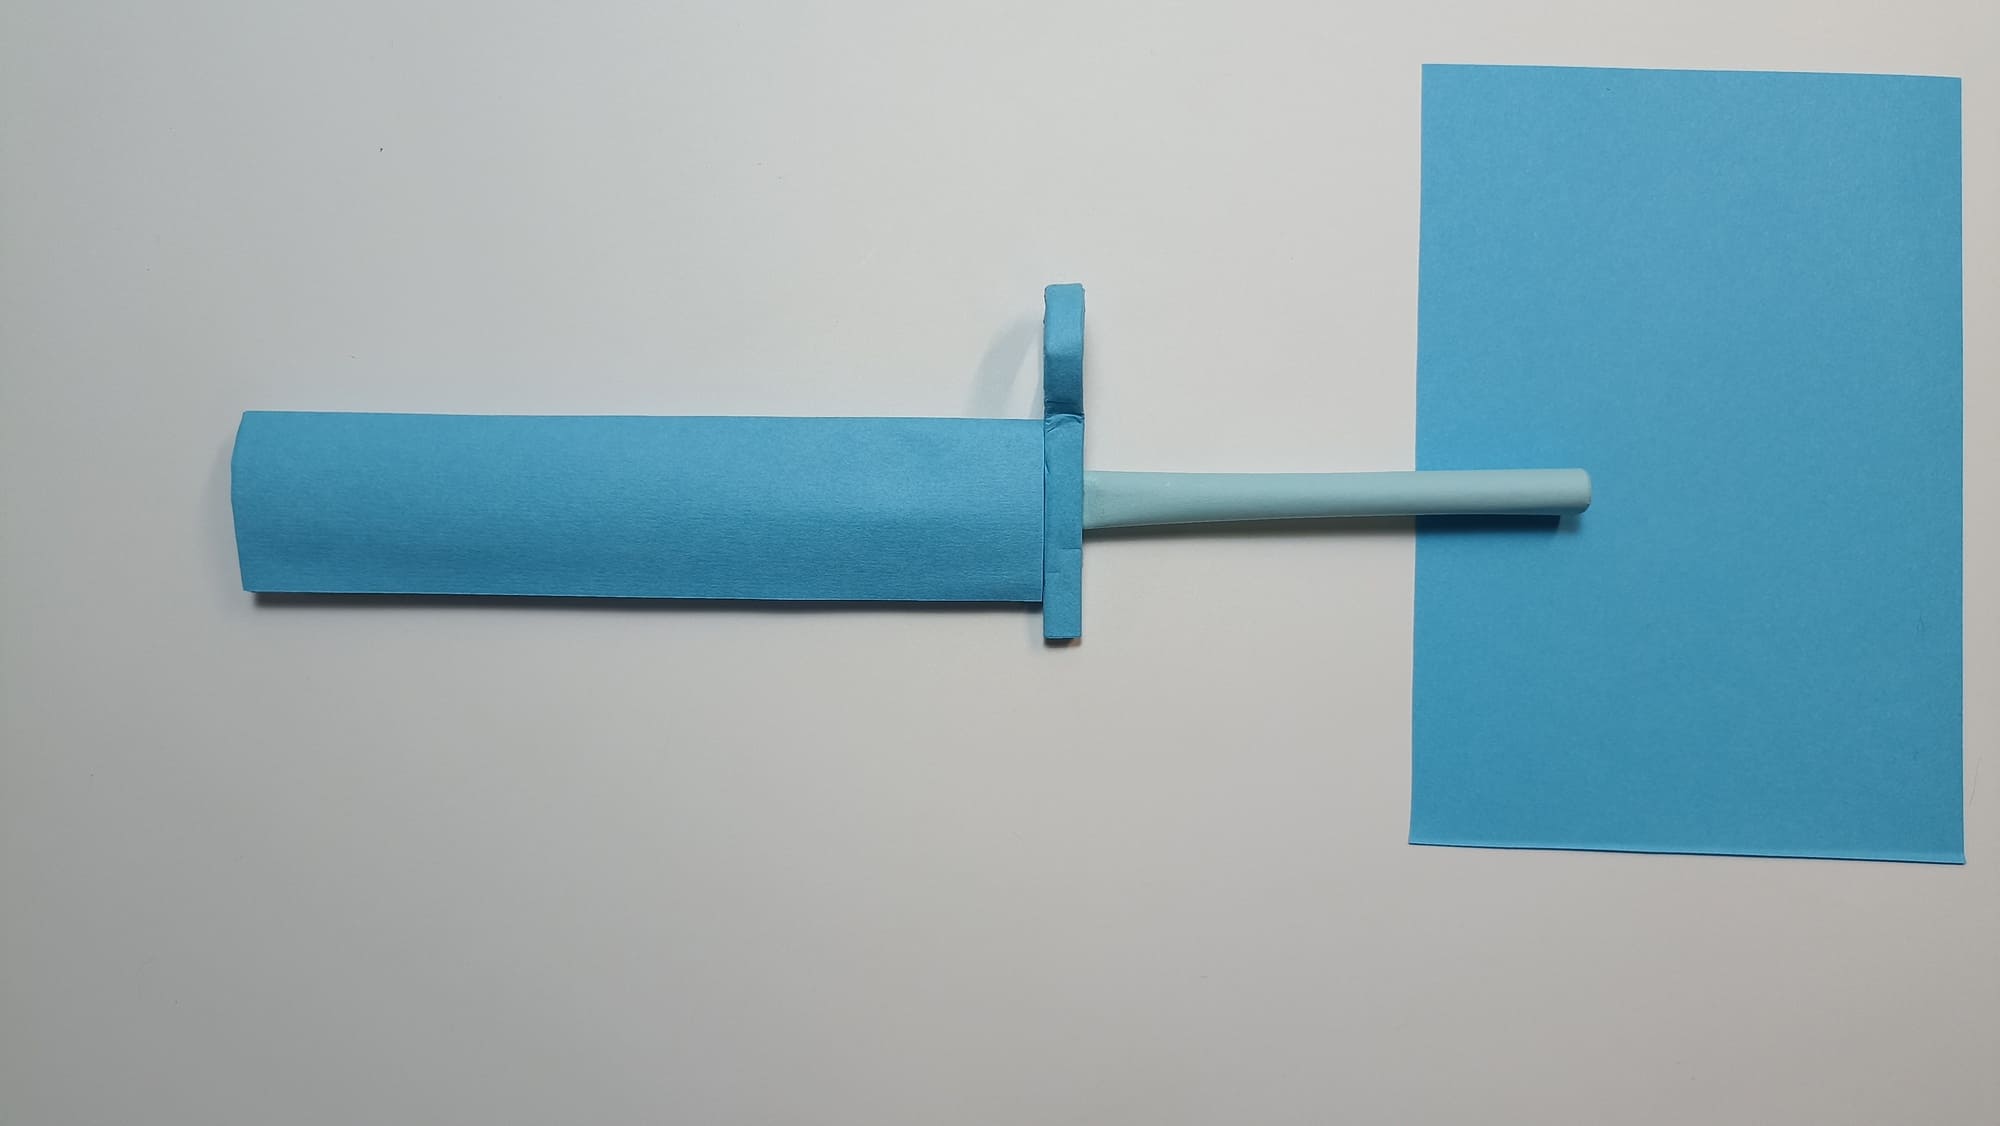
Wrap a whole sheet of paper around the blade. Glue the edge.
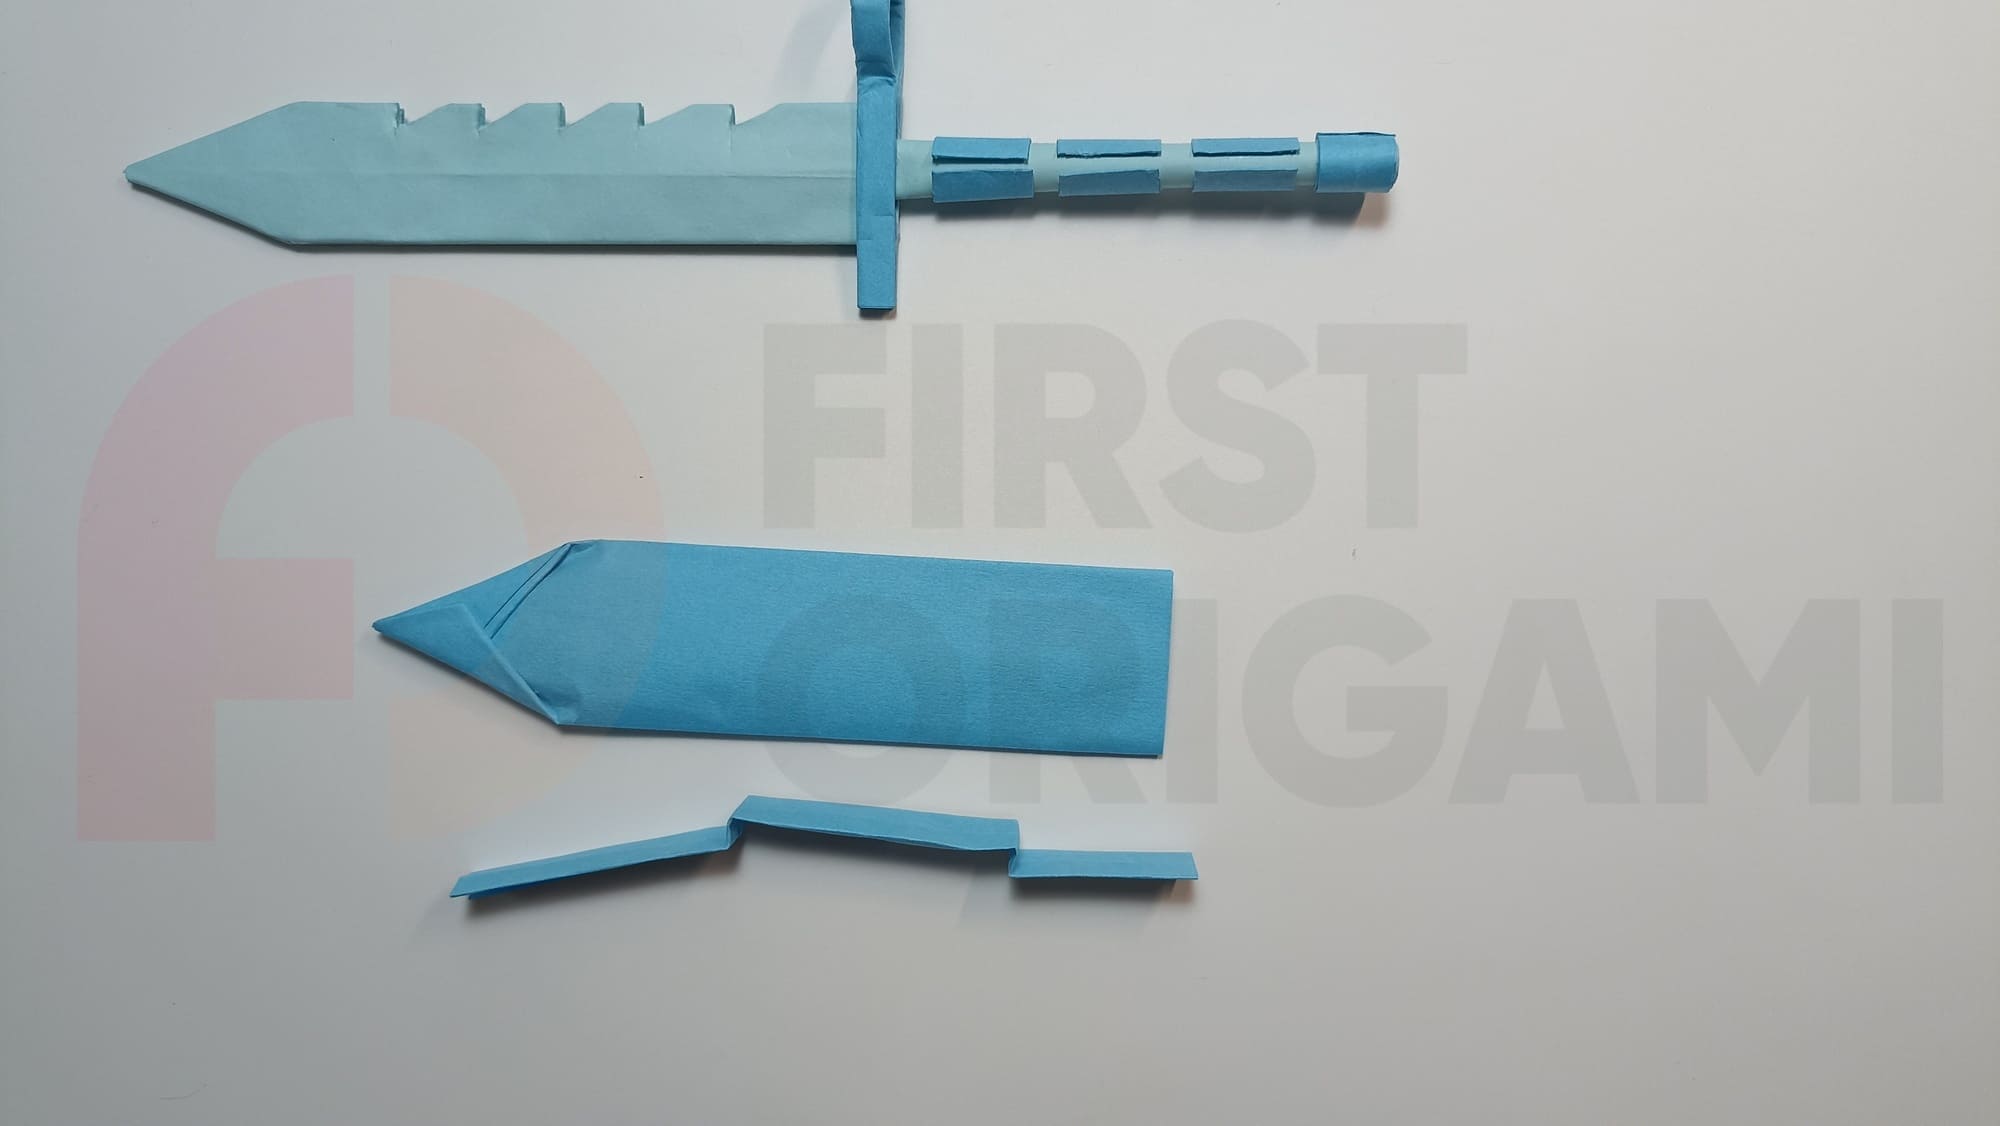
Bend the free side along the contour of the inner part, trim off the excess, and glue it together. This is a scabbard.

Cut the sheet of paper that was left in Steps 12-14 into three parts along the marked lines.
To do this, fold the sheet in half. Fold the top layer in half again. Open back. Bend the edges of the narrow strip towards the middle.
Wrap the ribbon around the edge of the handle.
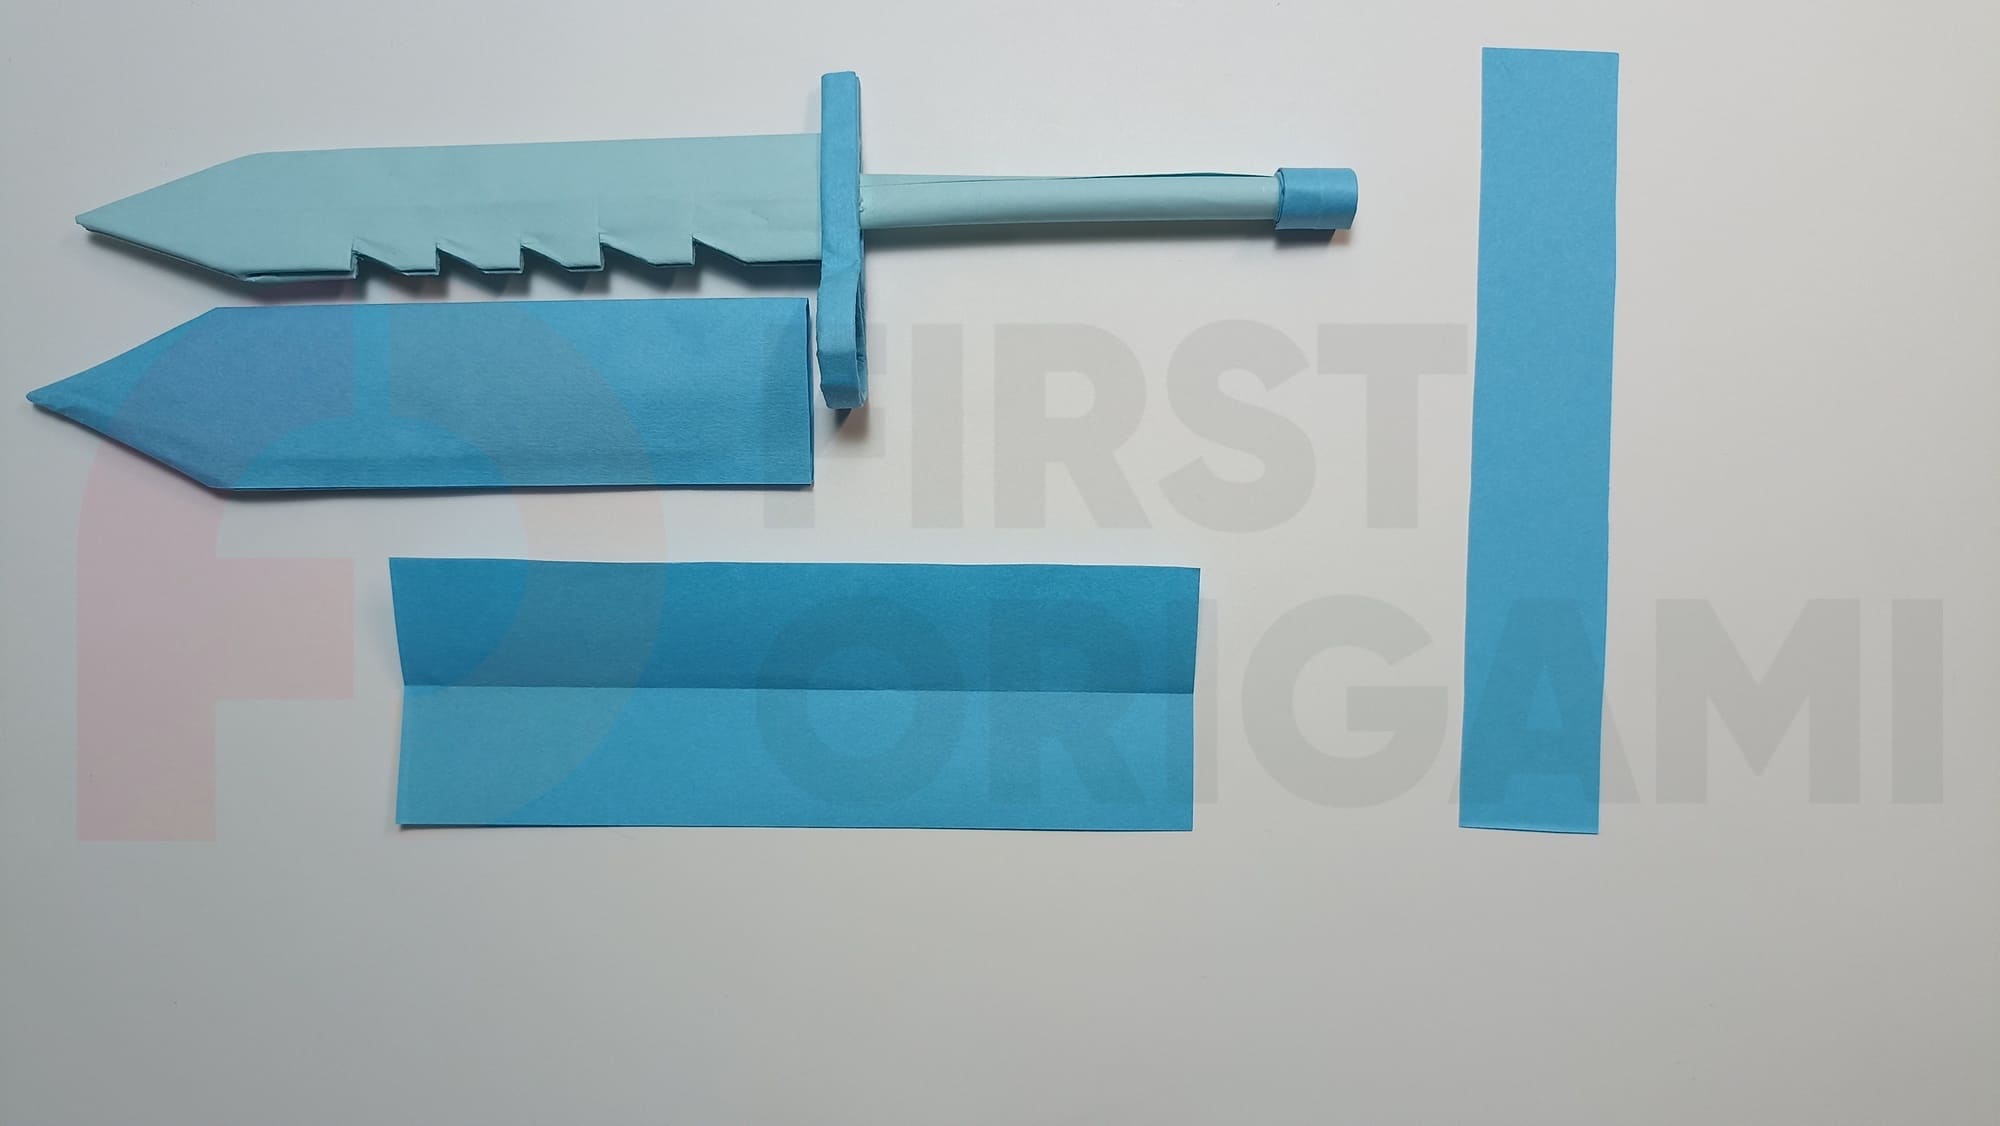
Fold the sides of the wide strip towards the middle twice and glue the folds together.
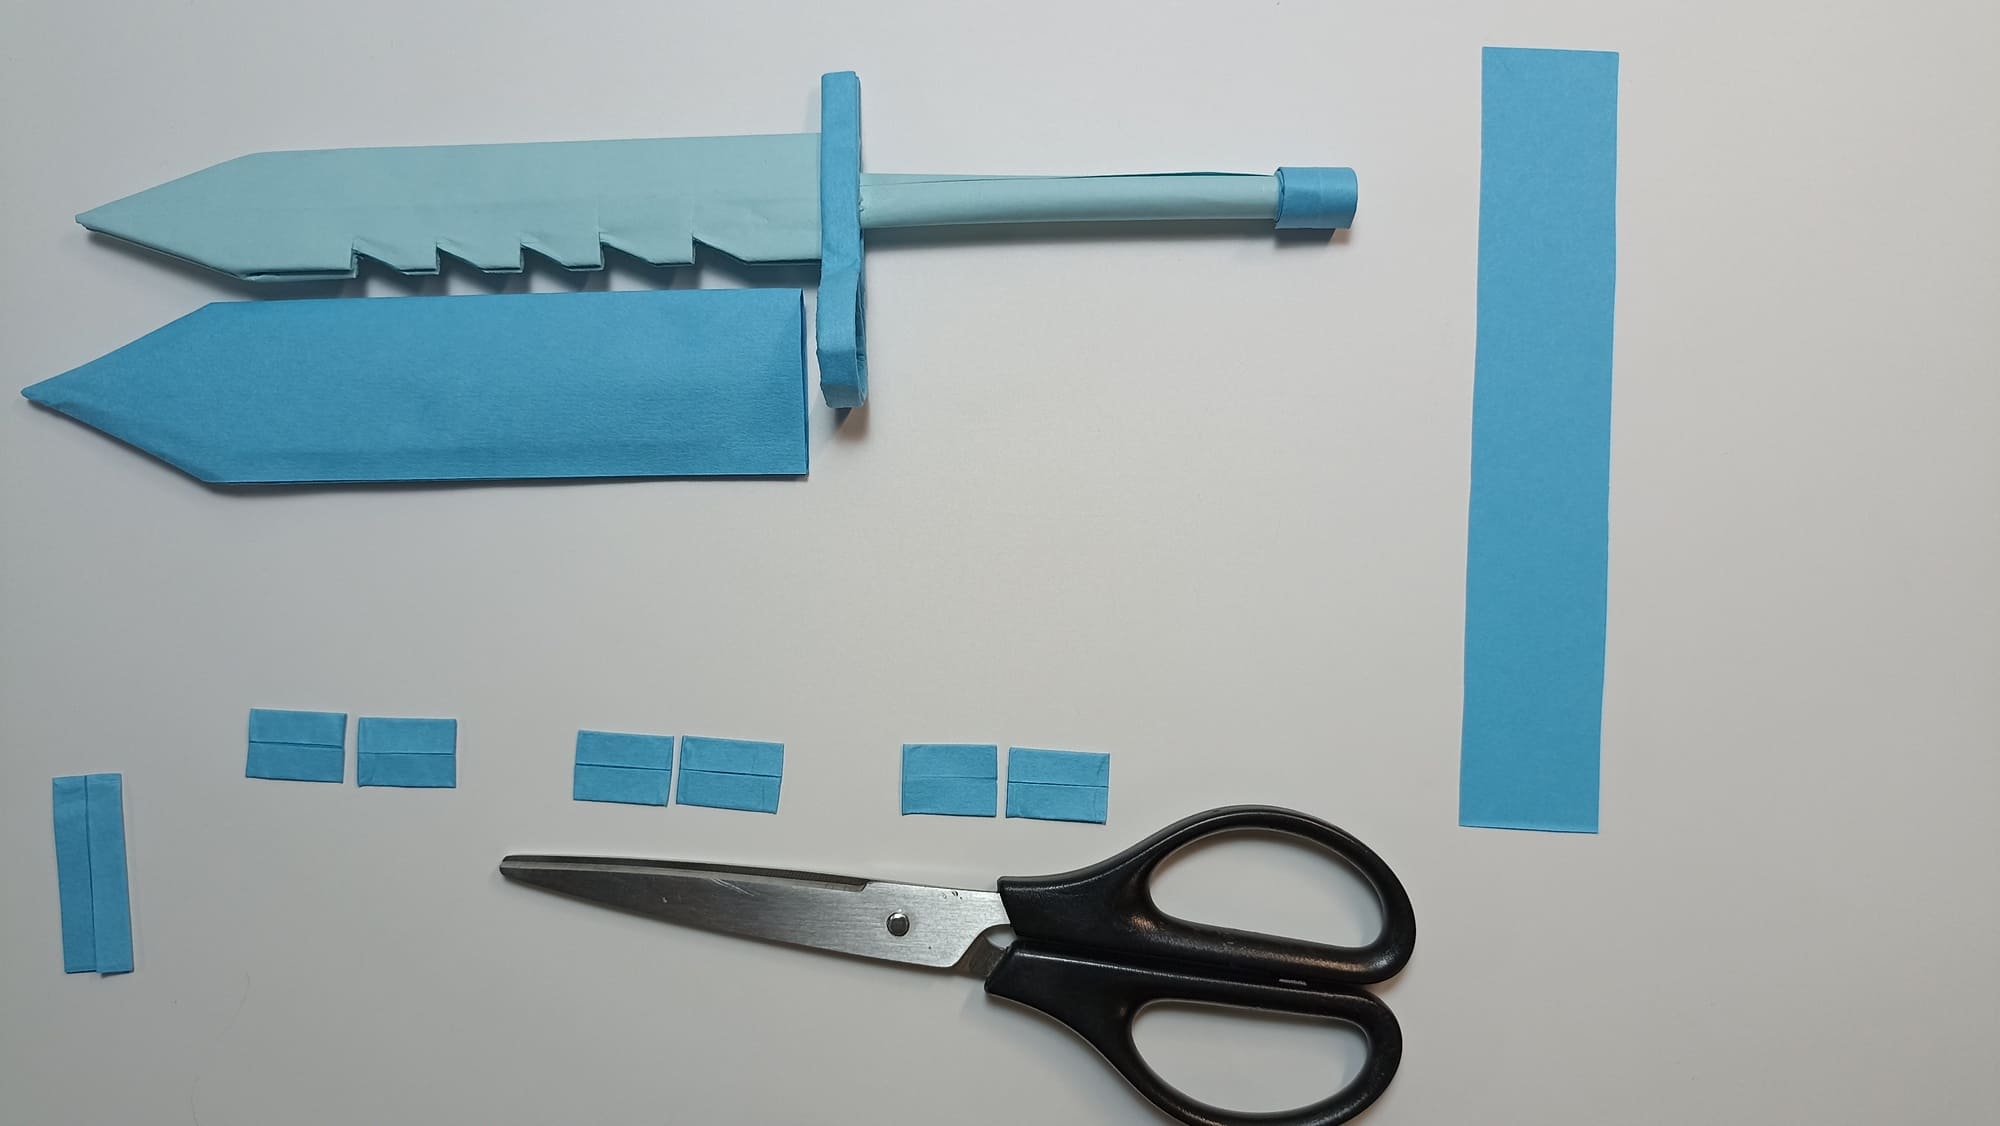
Cut into four parts. Cut the three parts you will actually need in half again.
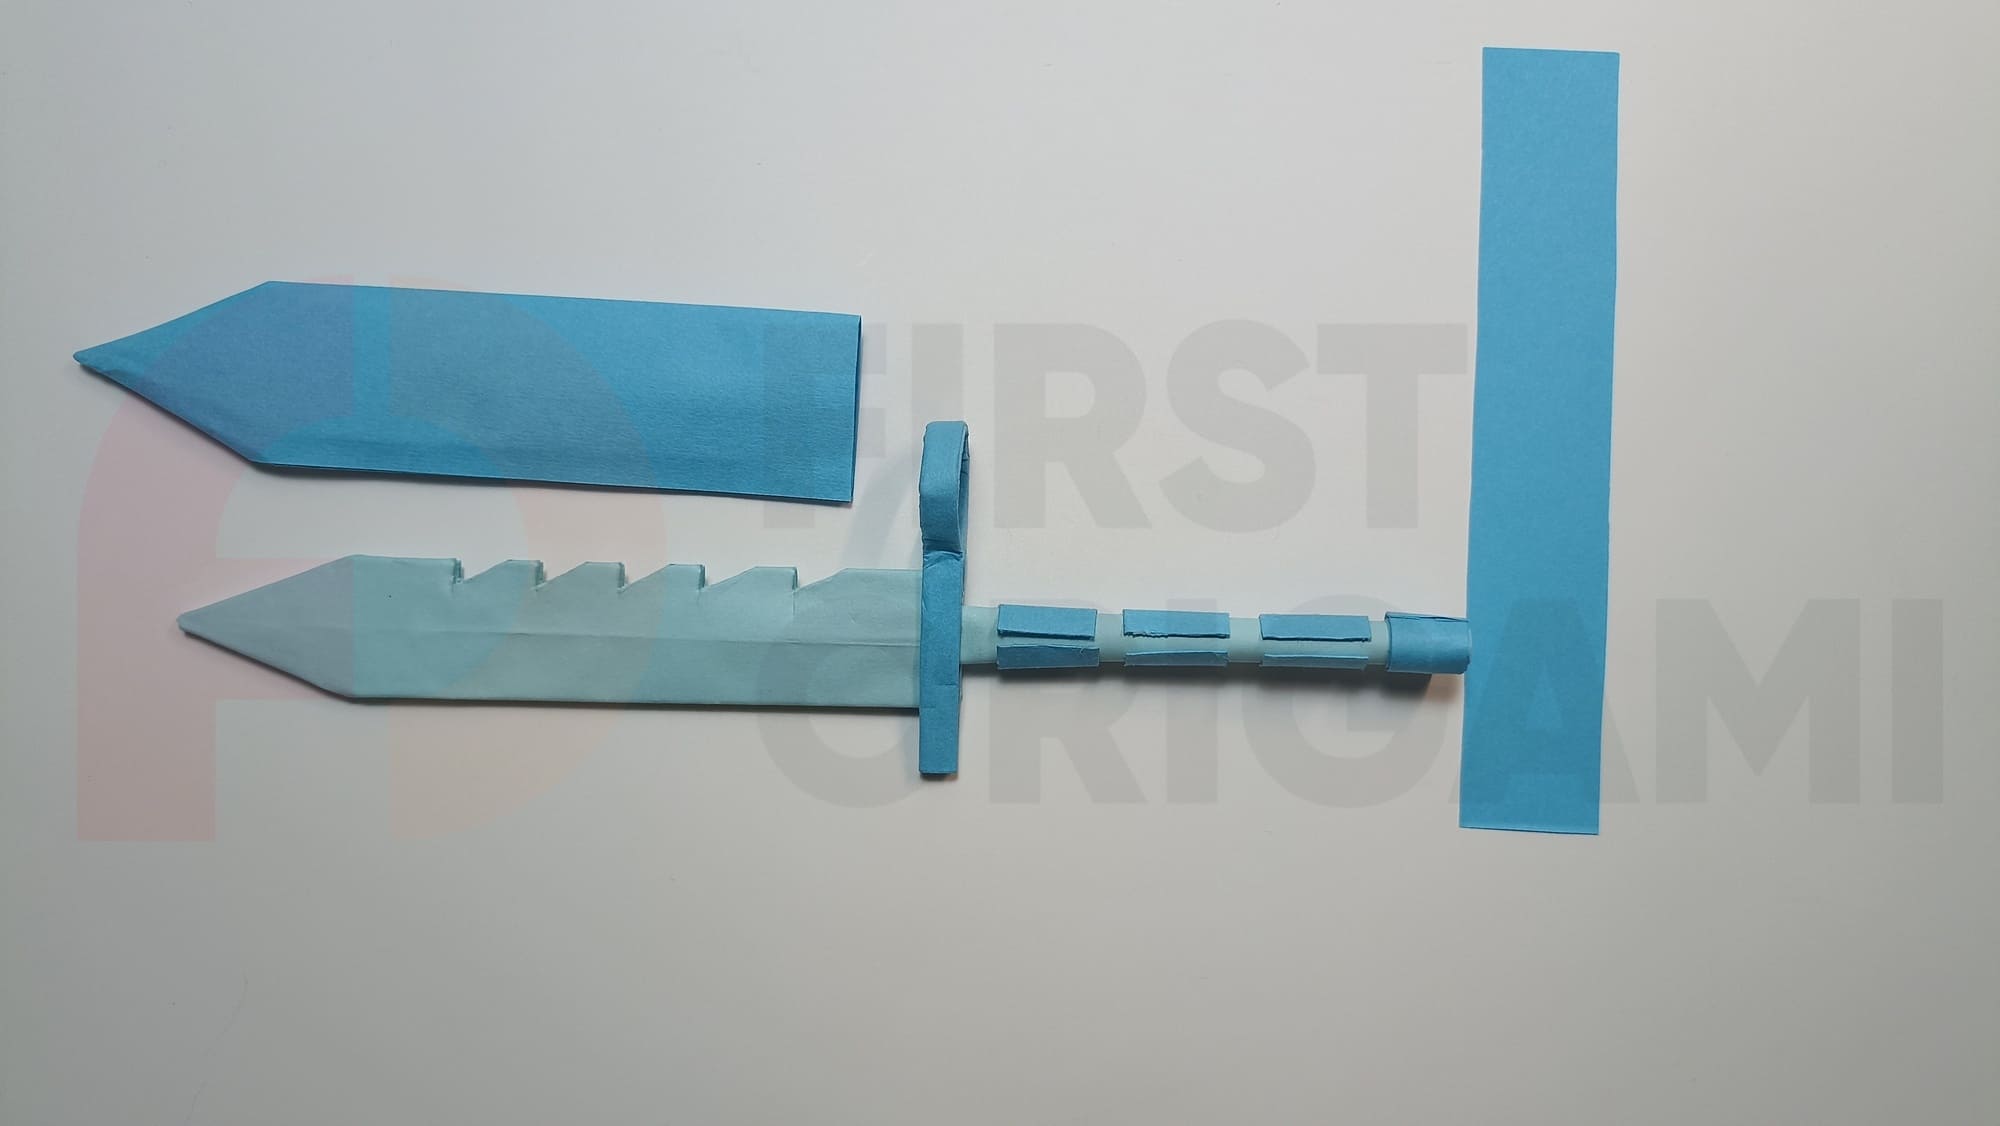
Glue the parts on both sides of the handle symmetrically.
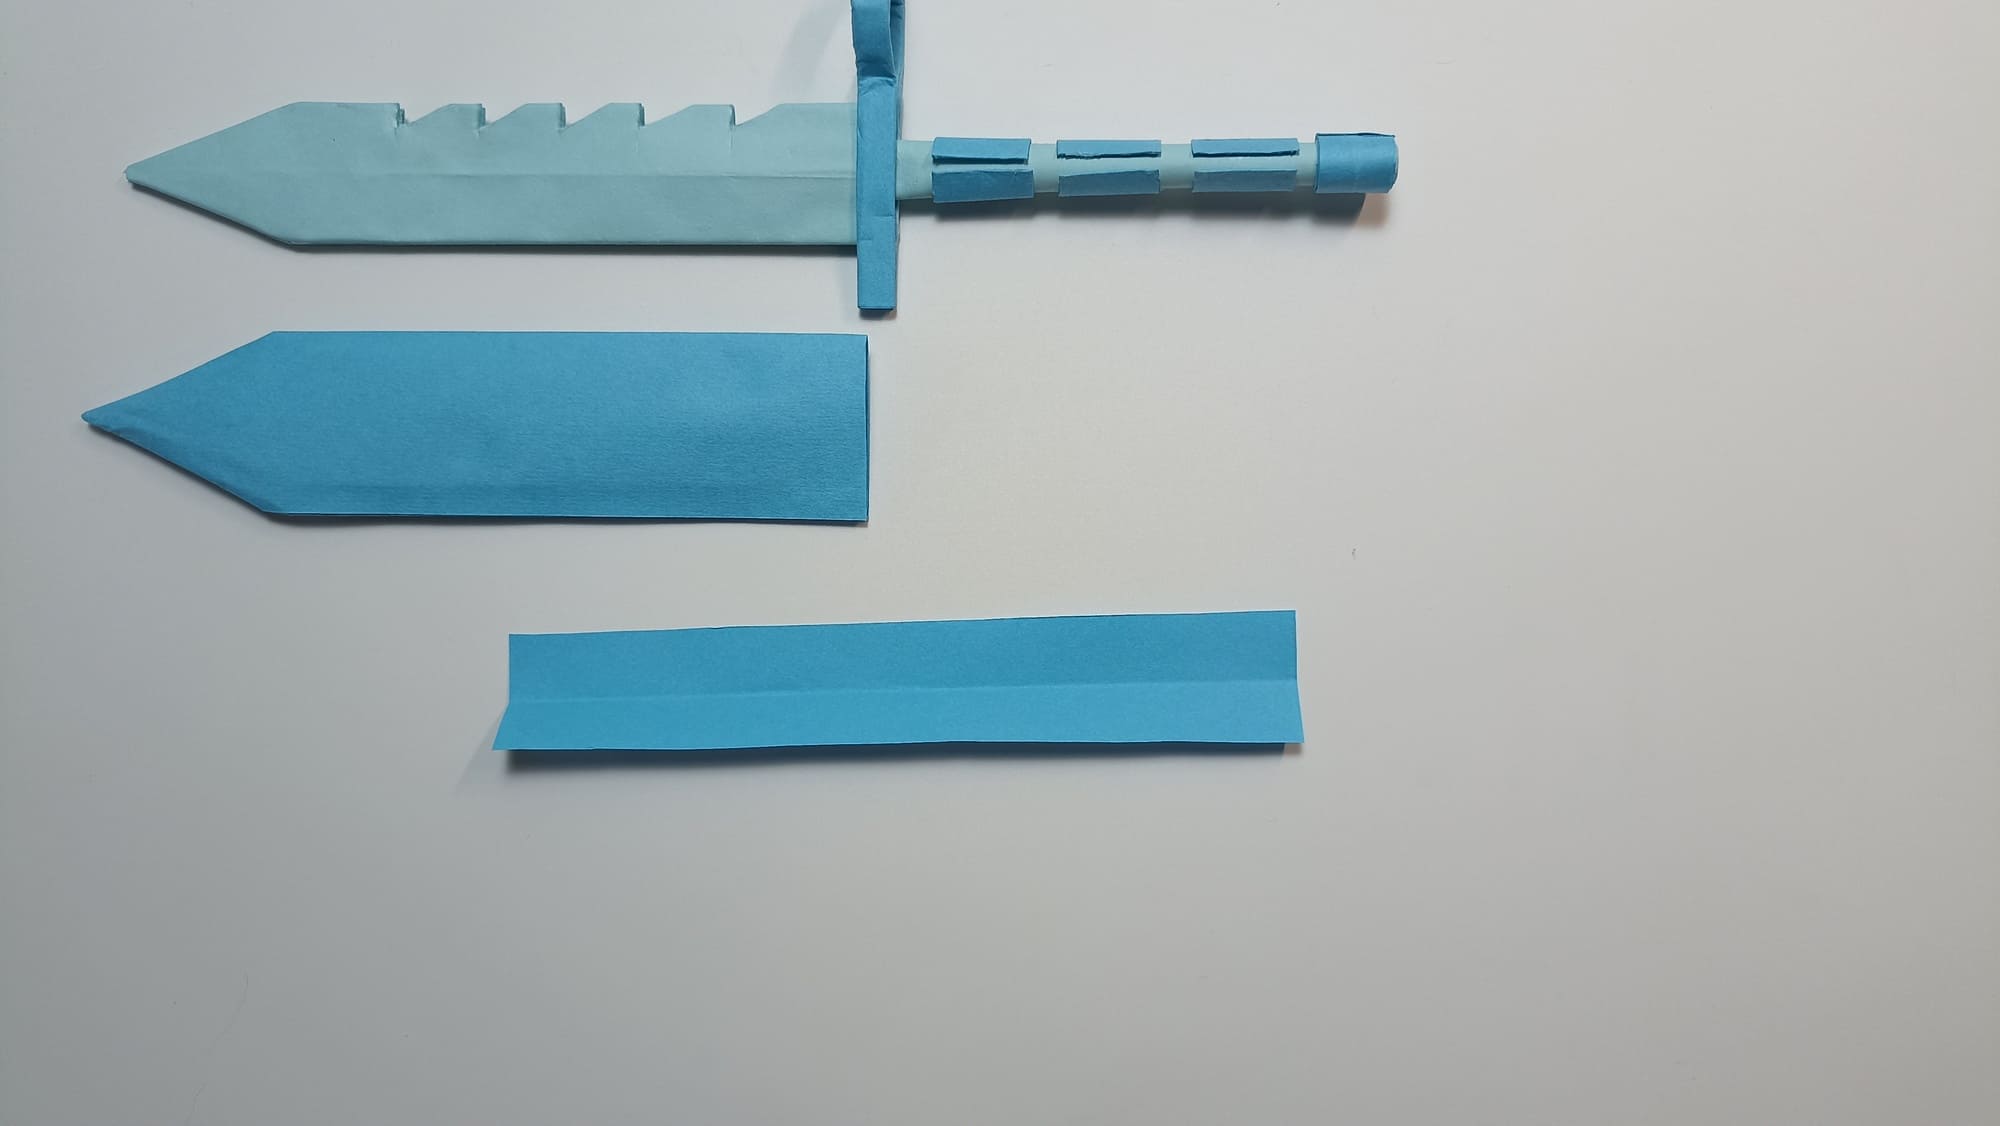
Fold the sides of the remaining narrow strip towards the middle.
Bend as in the sample.
Glue the strip along the edges, leaving free space in the middle.
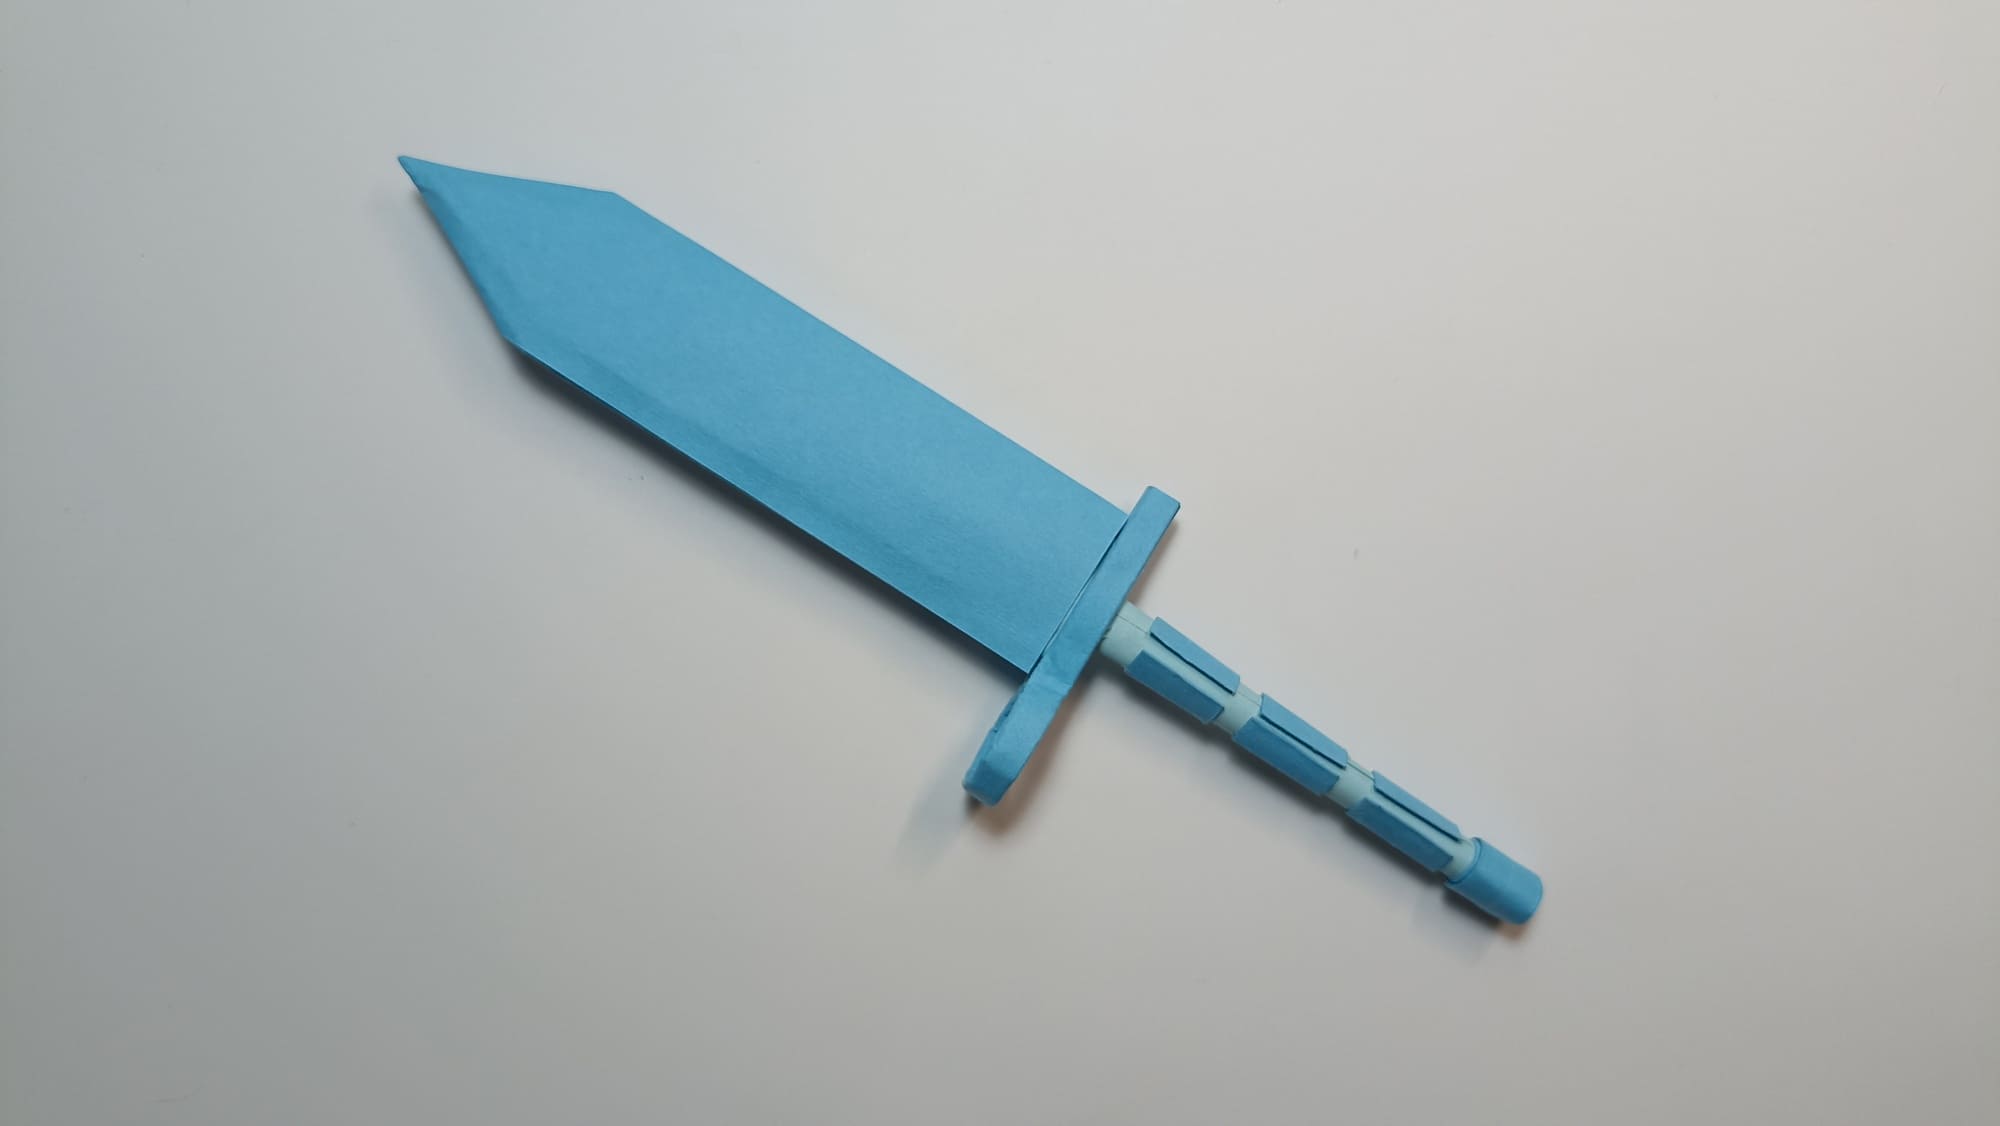
Ready!
The knife can be hung on a belt, secured to a belt, or placed on the top of a boot. In finished form, the homemade product has a size close to the original.