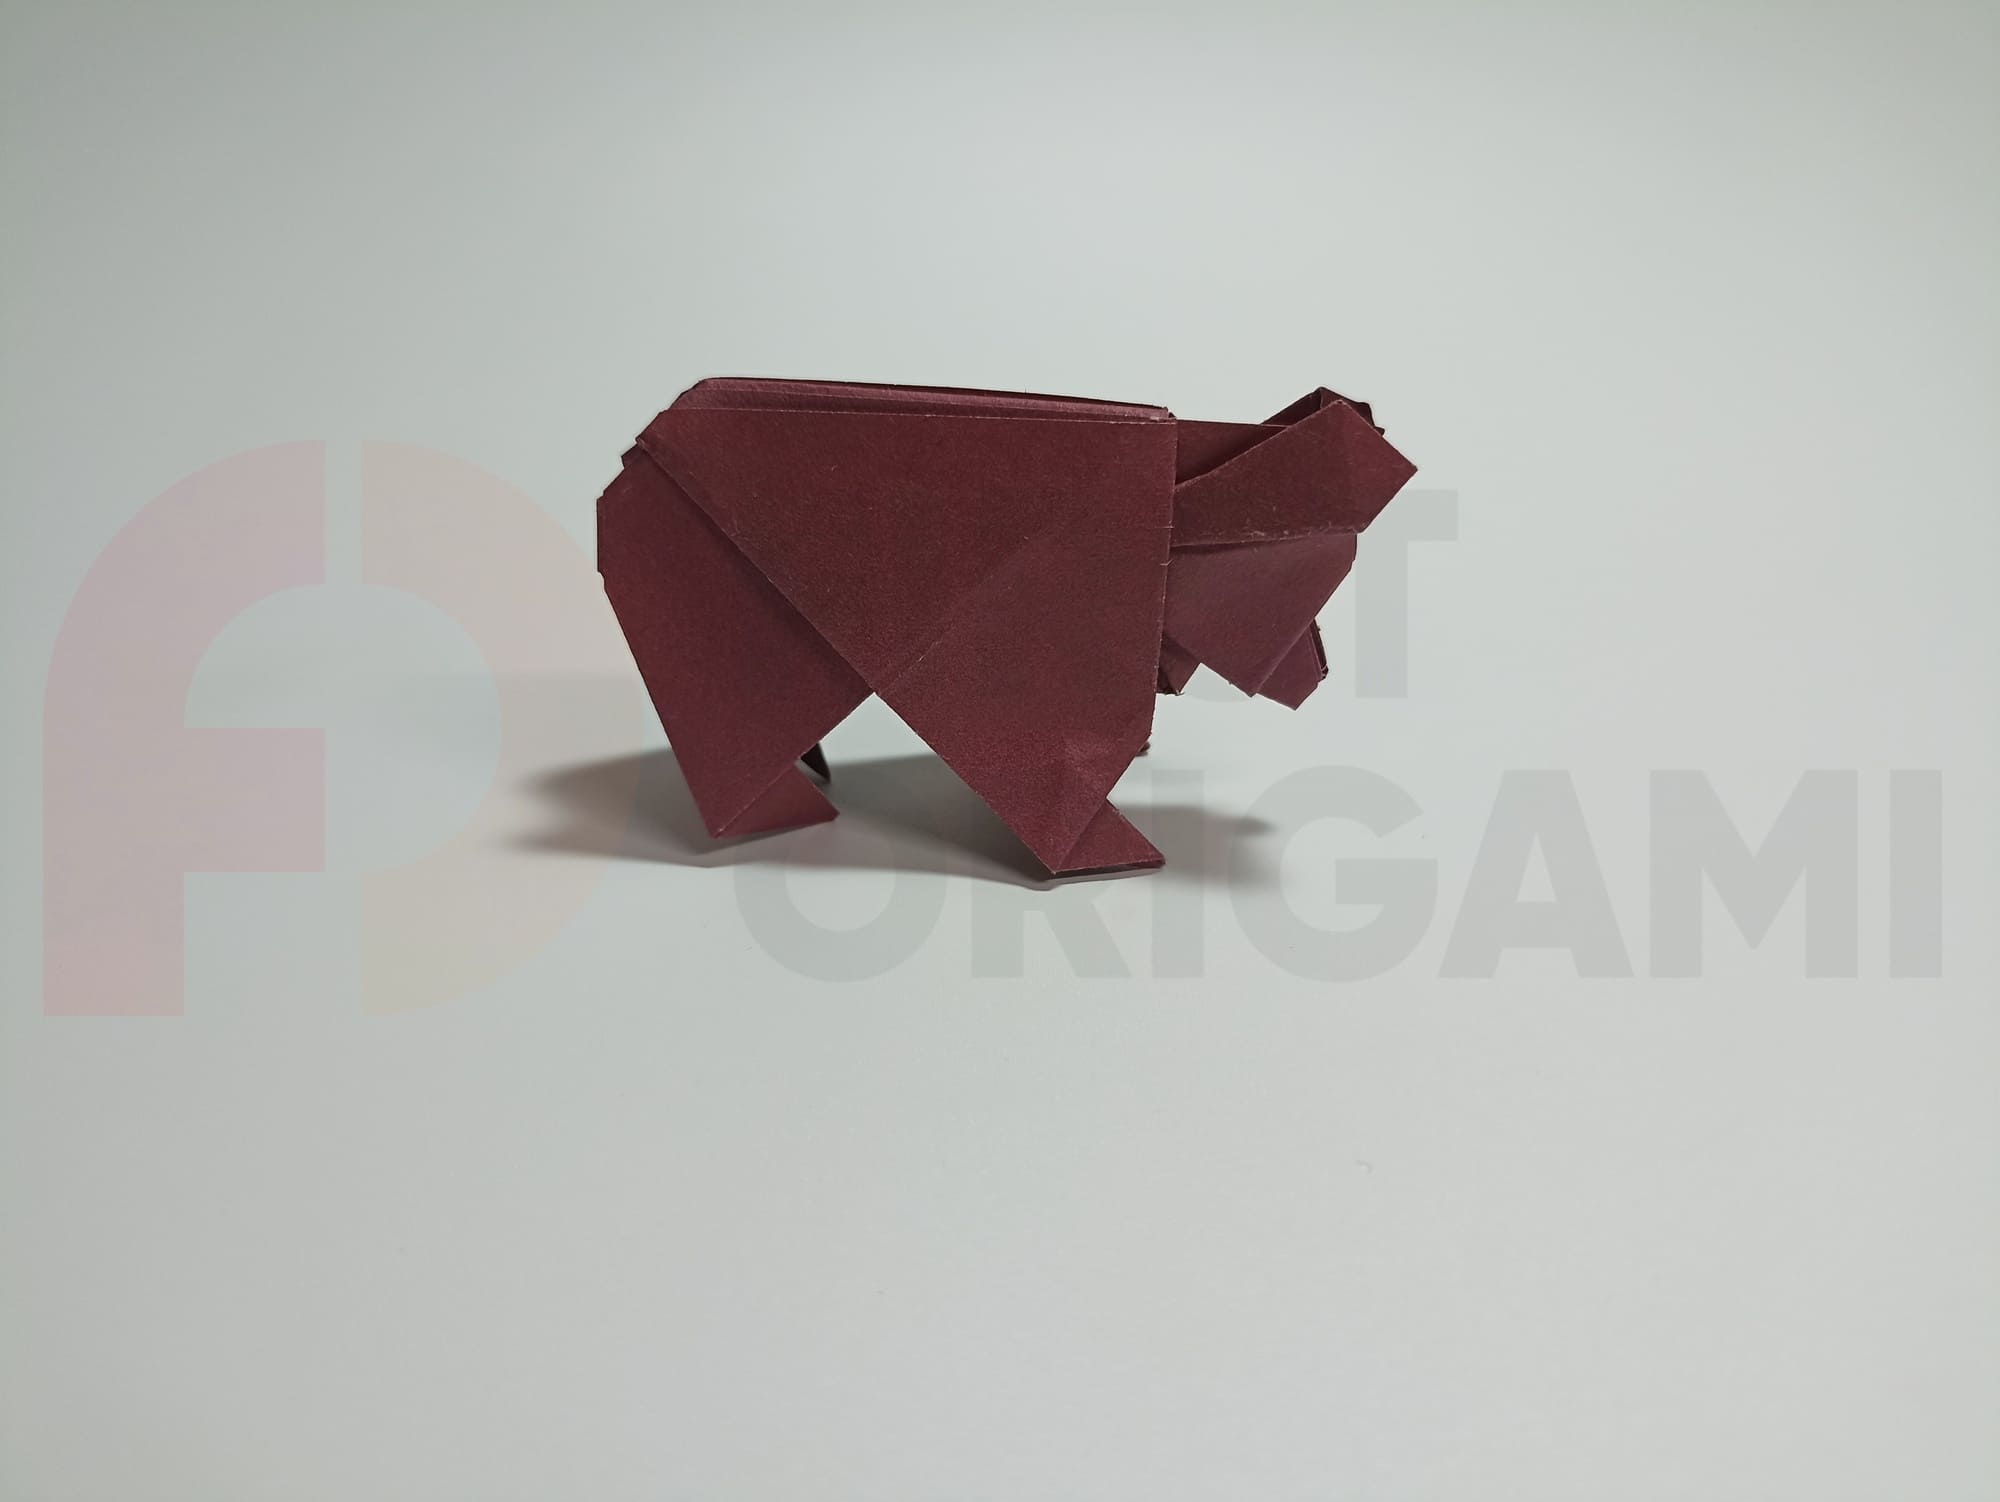
Origami Bear
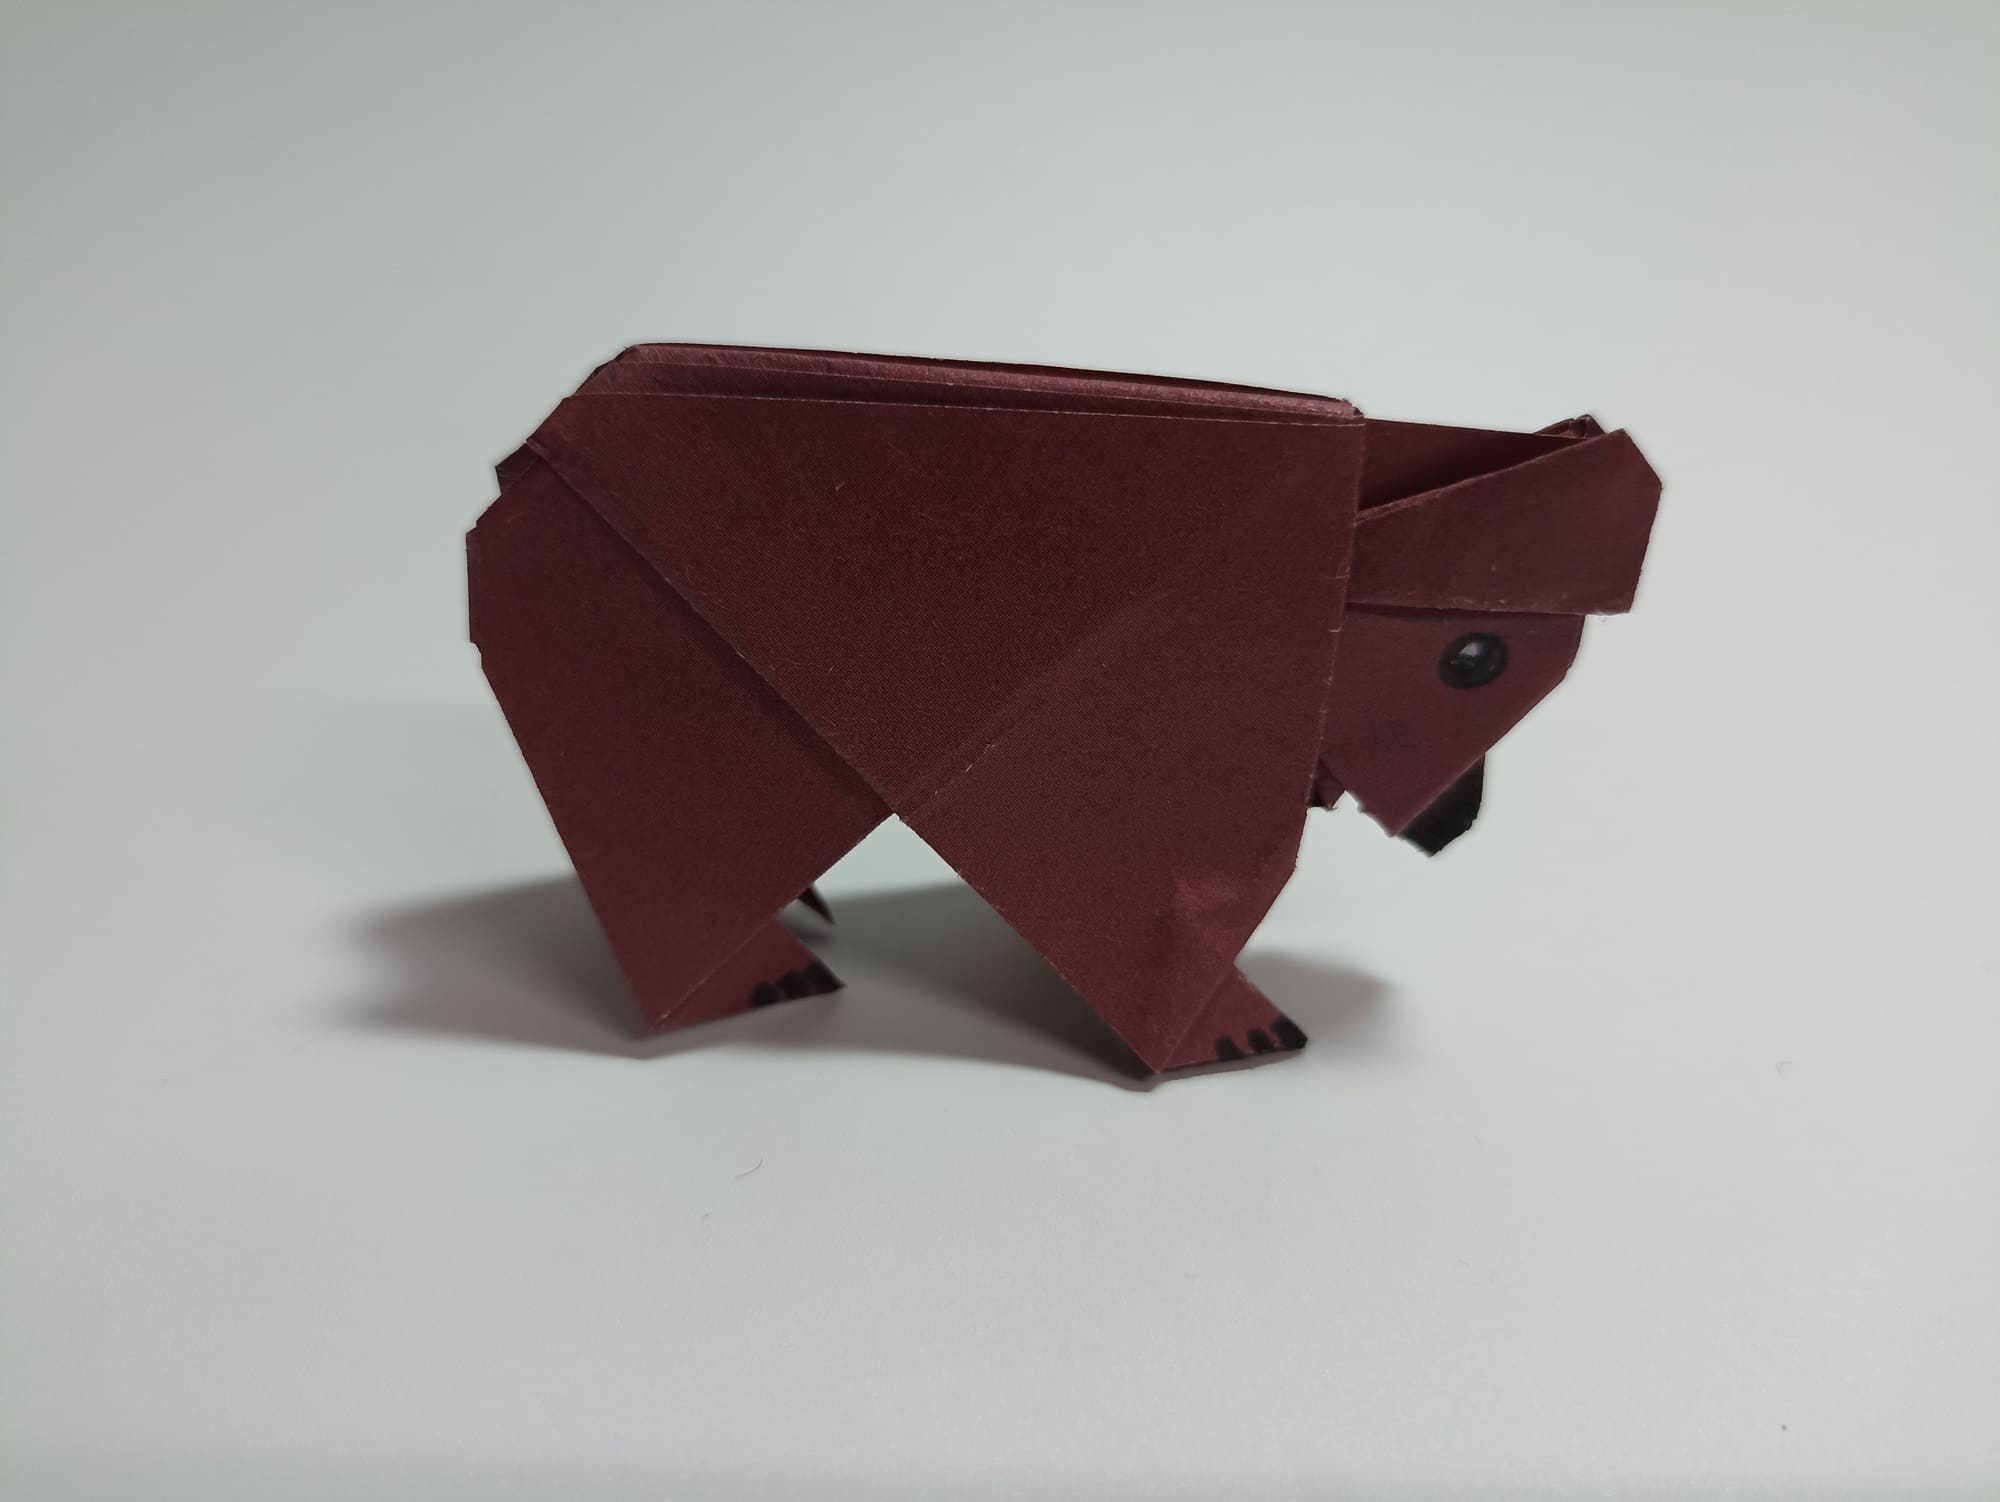
The bear cub figure shows ears and a slightly protruding muzzle. Large, strong paws that are ending in corners resemble sharp claws. The tail is hidden in folds. The bear is made of brown paper, but you can choose grey, black, or white.
A detailed description of the steps will help you complete the assembly correctly. To begin, you should choose a square of larger size, more than 20 centimeters, because it is very difficult to accurately make precise folds on a small paper format. In origami, every fold matters; a mistake will lead to the fact that the figure will become different from the example.
The difficulty level of the craft is average. You shouldn’t give up if something doesn’t work out. A difficult Step of work can be overcome by re-reading the description or carefully examining the photographs. When all the folds are completed, a funny animal figure will be added to the collection, and will be another victory in achieving the goal.

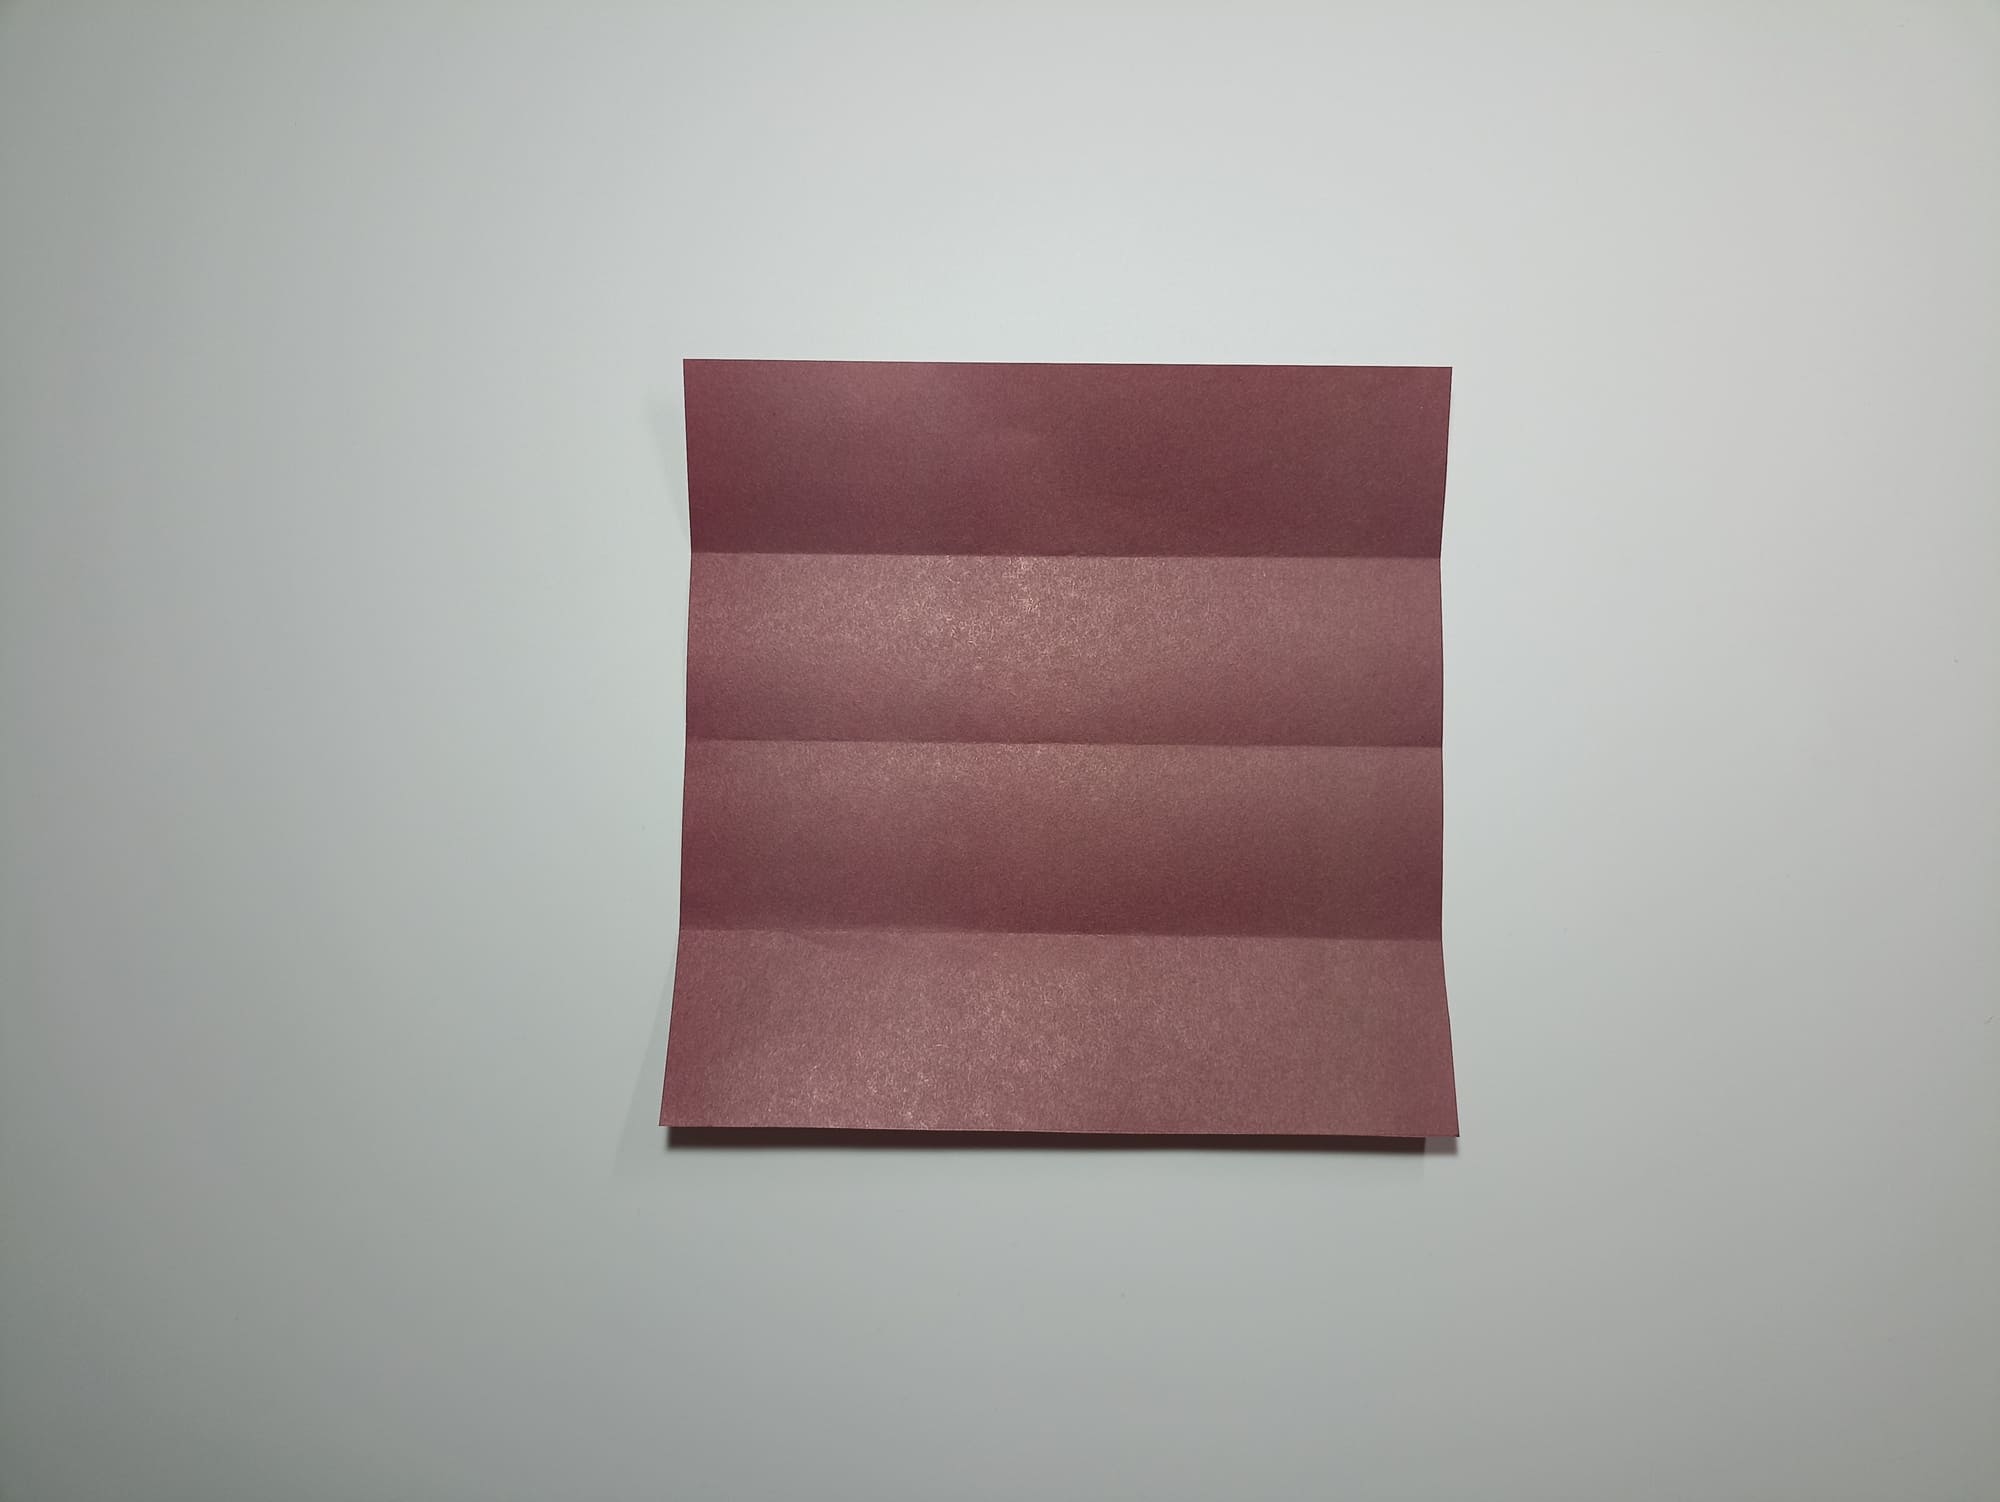
Mark a horizontal fold in the middle.
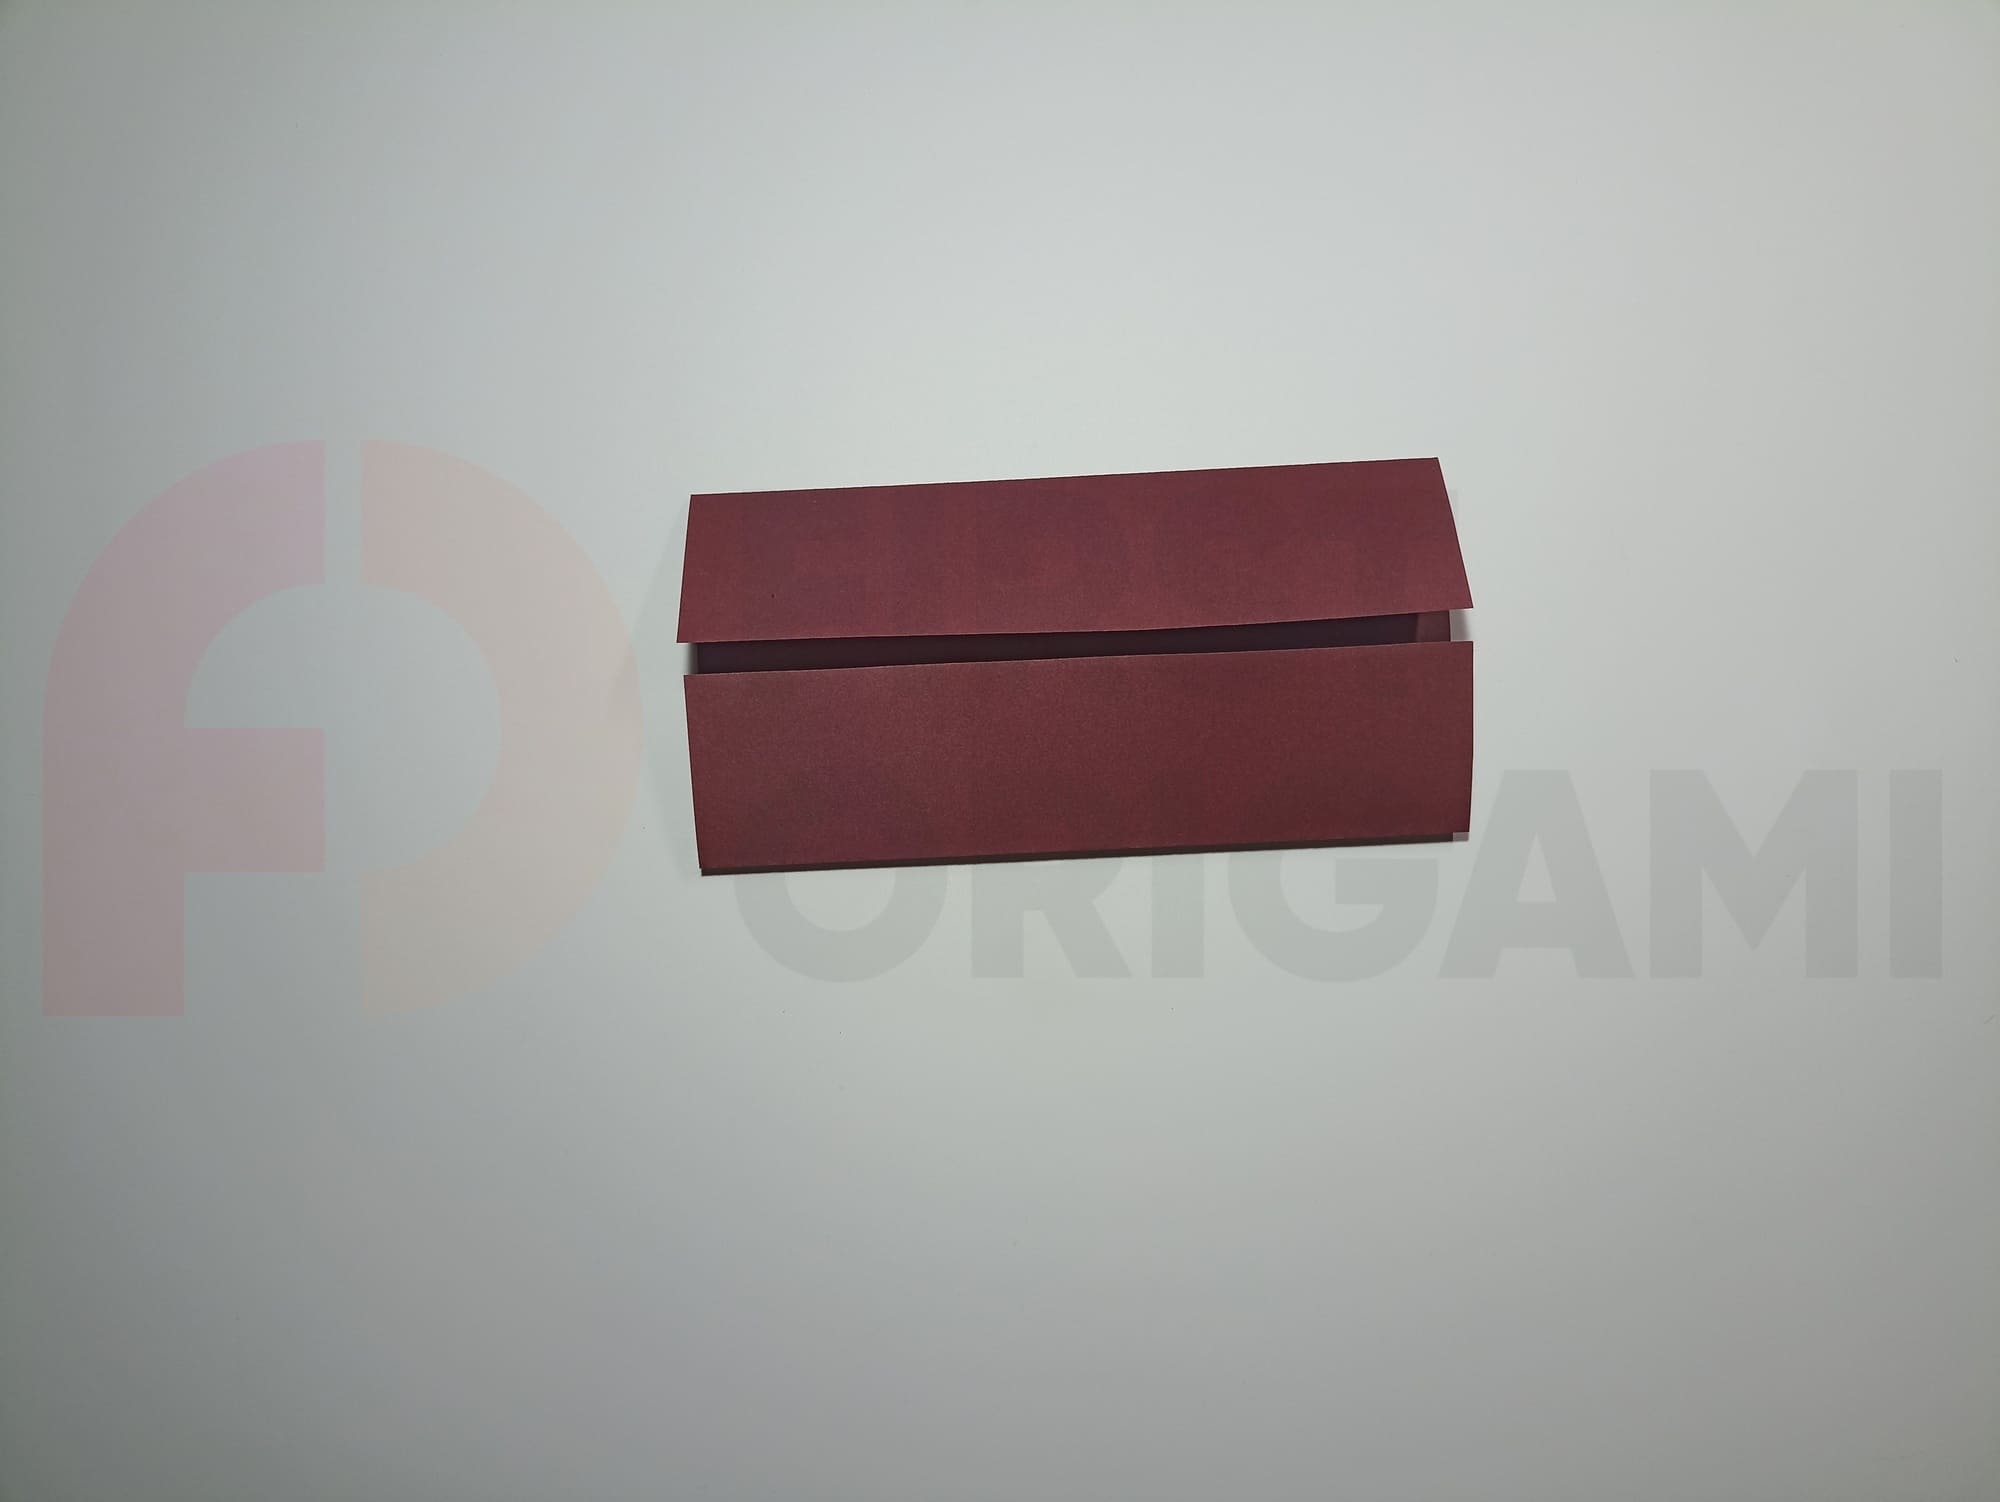
Fold the top and bottom edges of the square to the marked line and open them back.
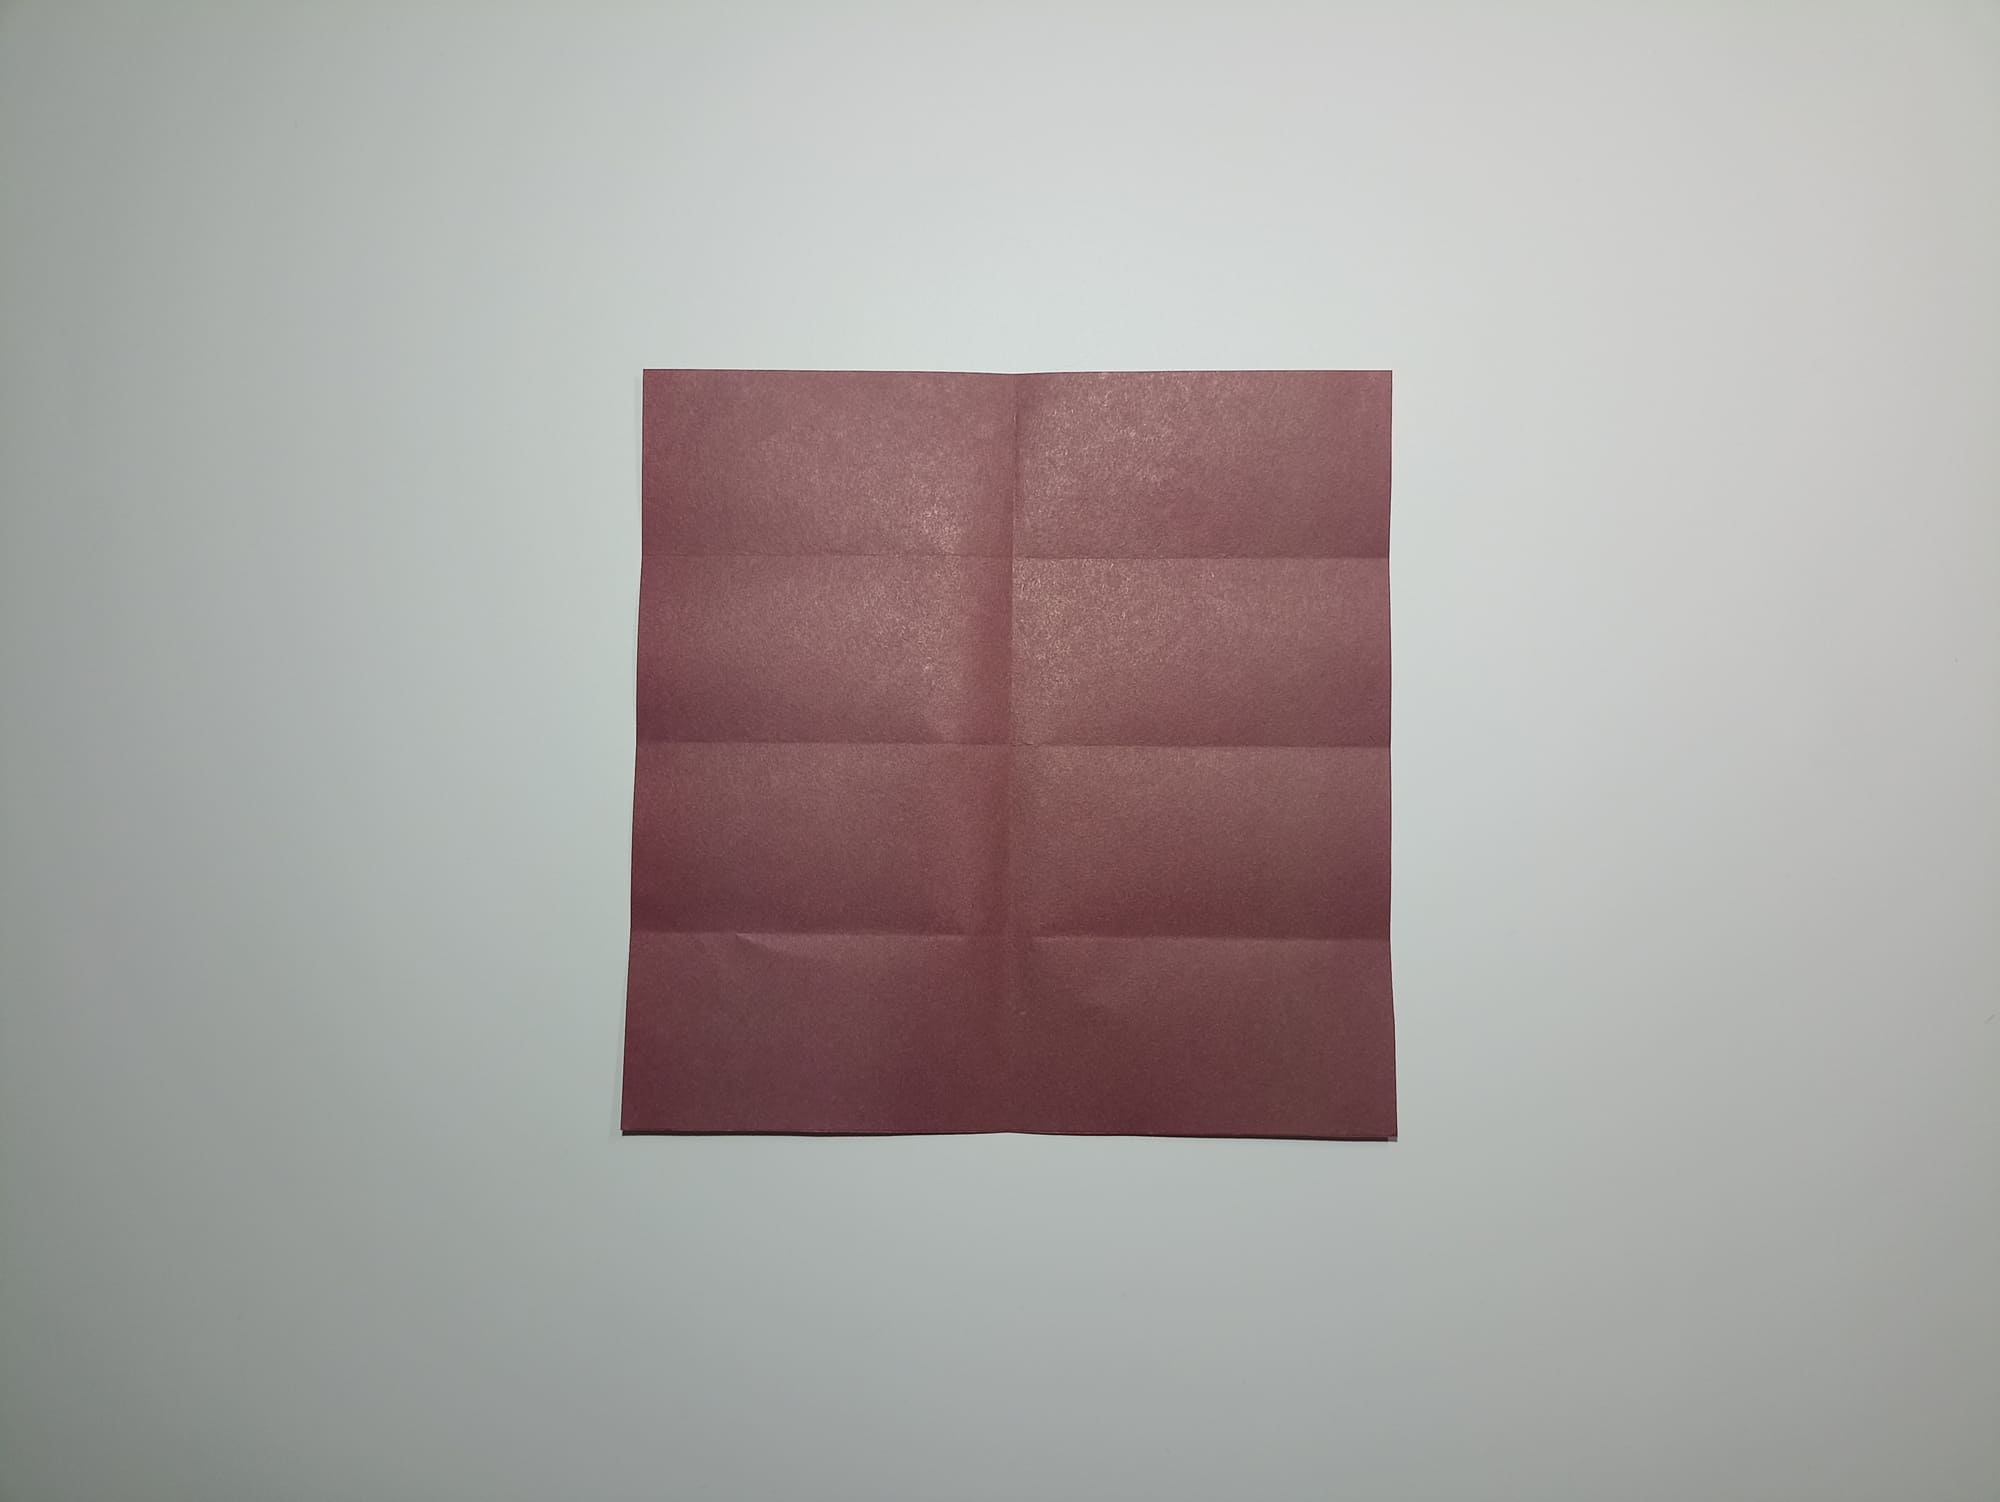
Determine the vertical fold in the middle and fold the side edges of the square towards it.
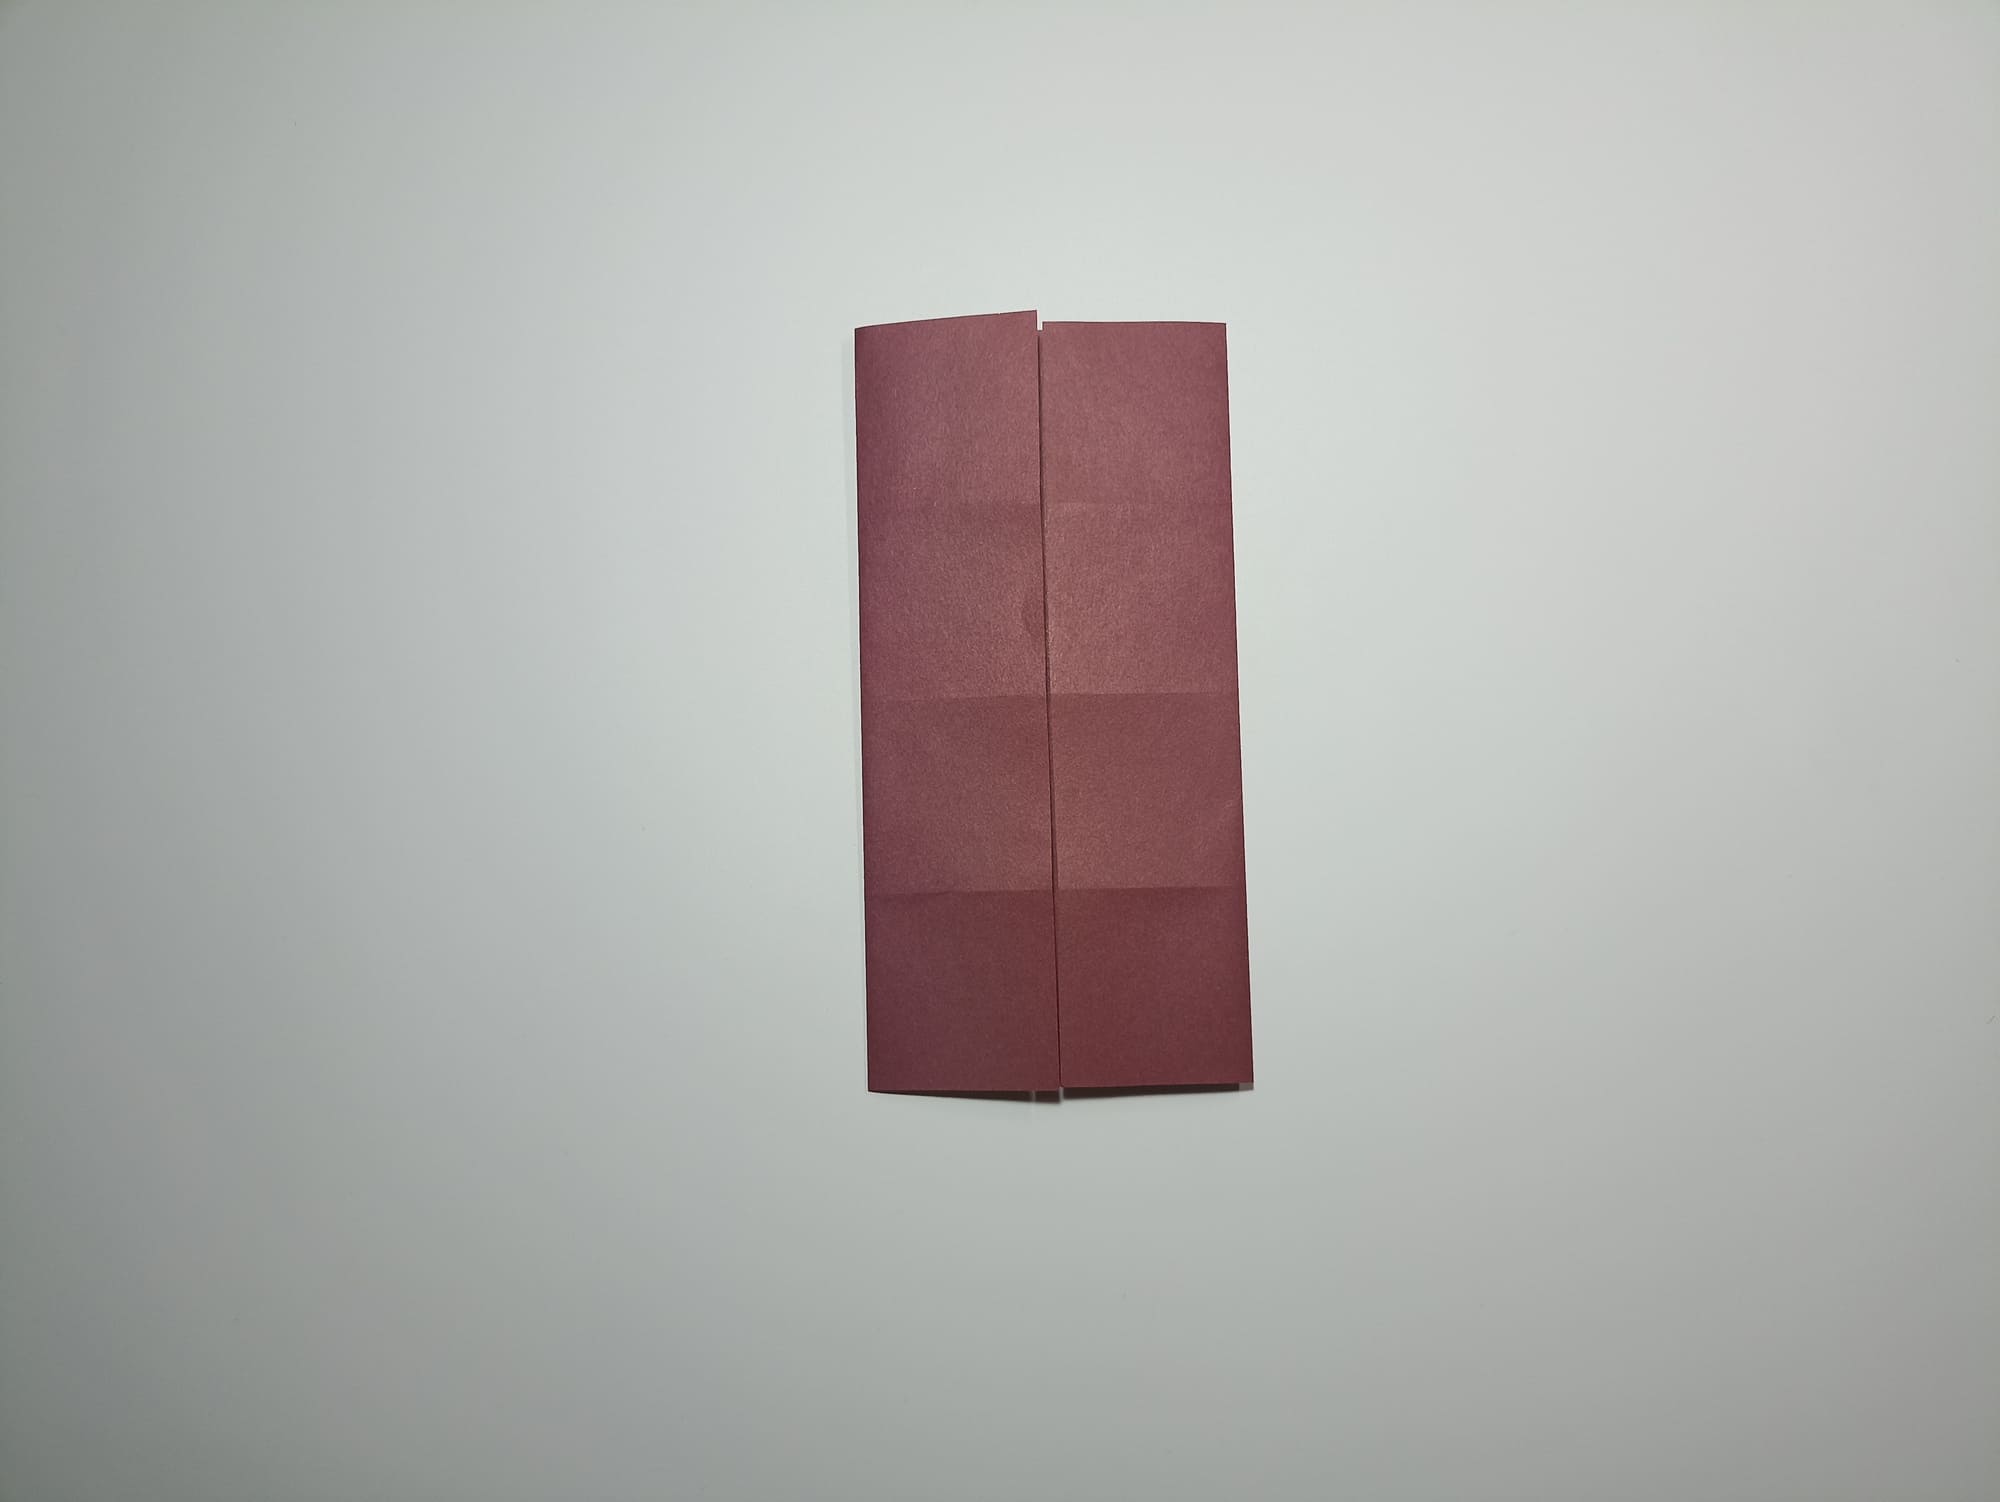
Open it.
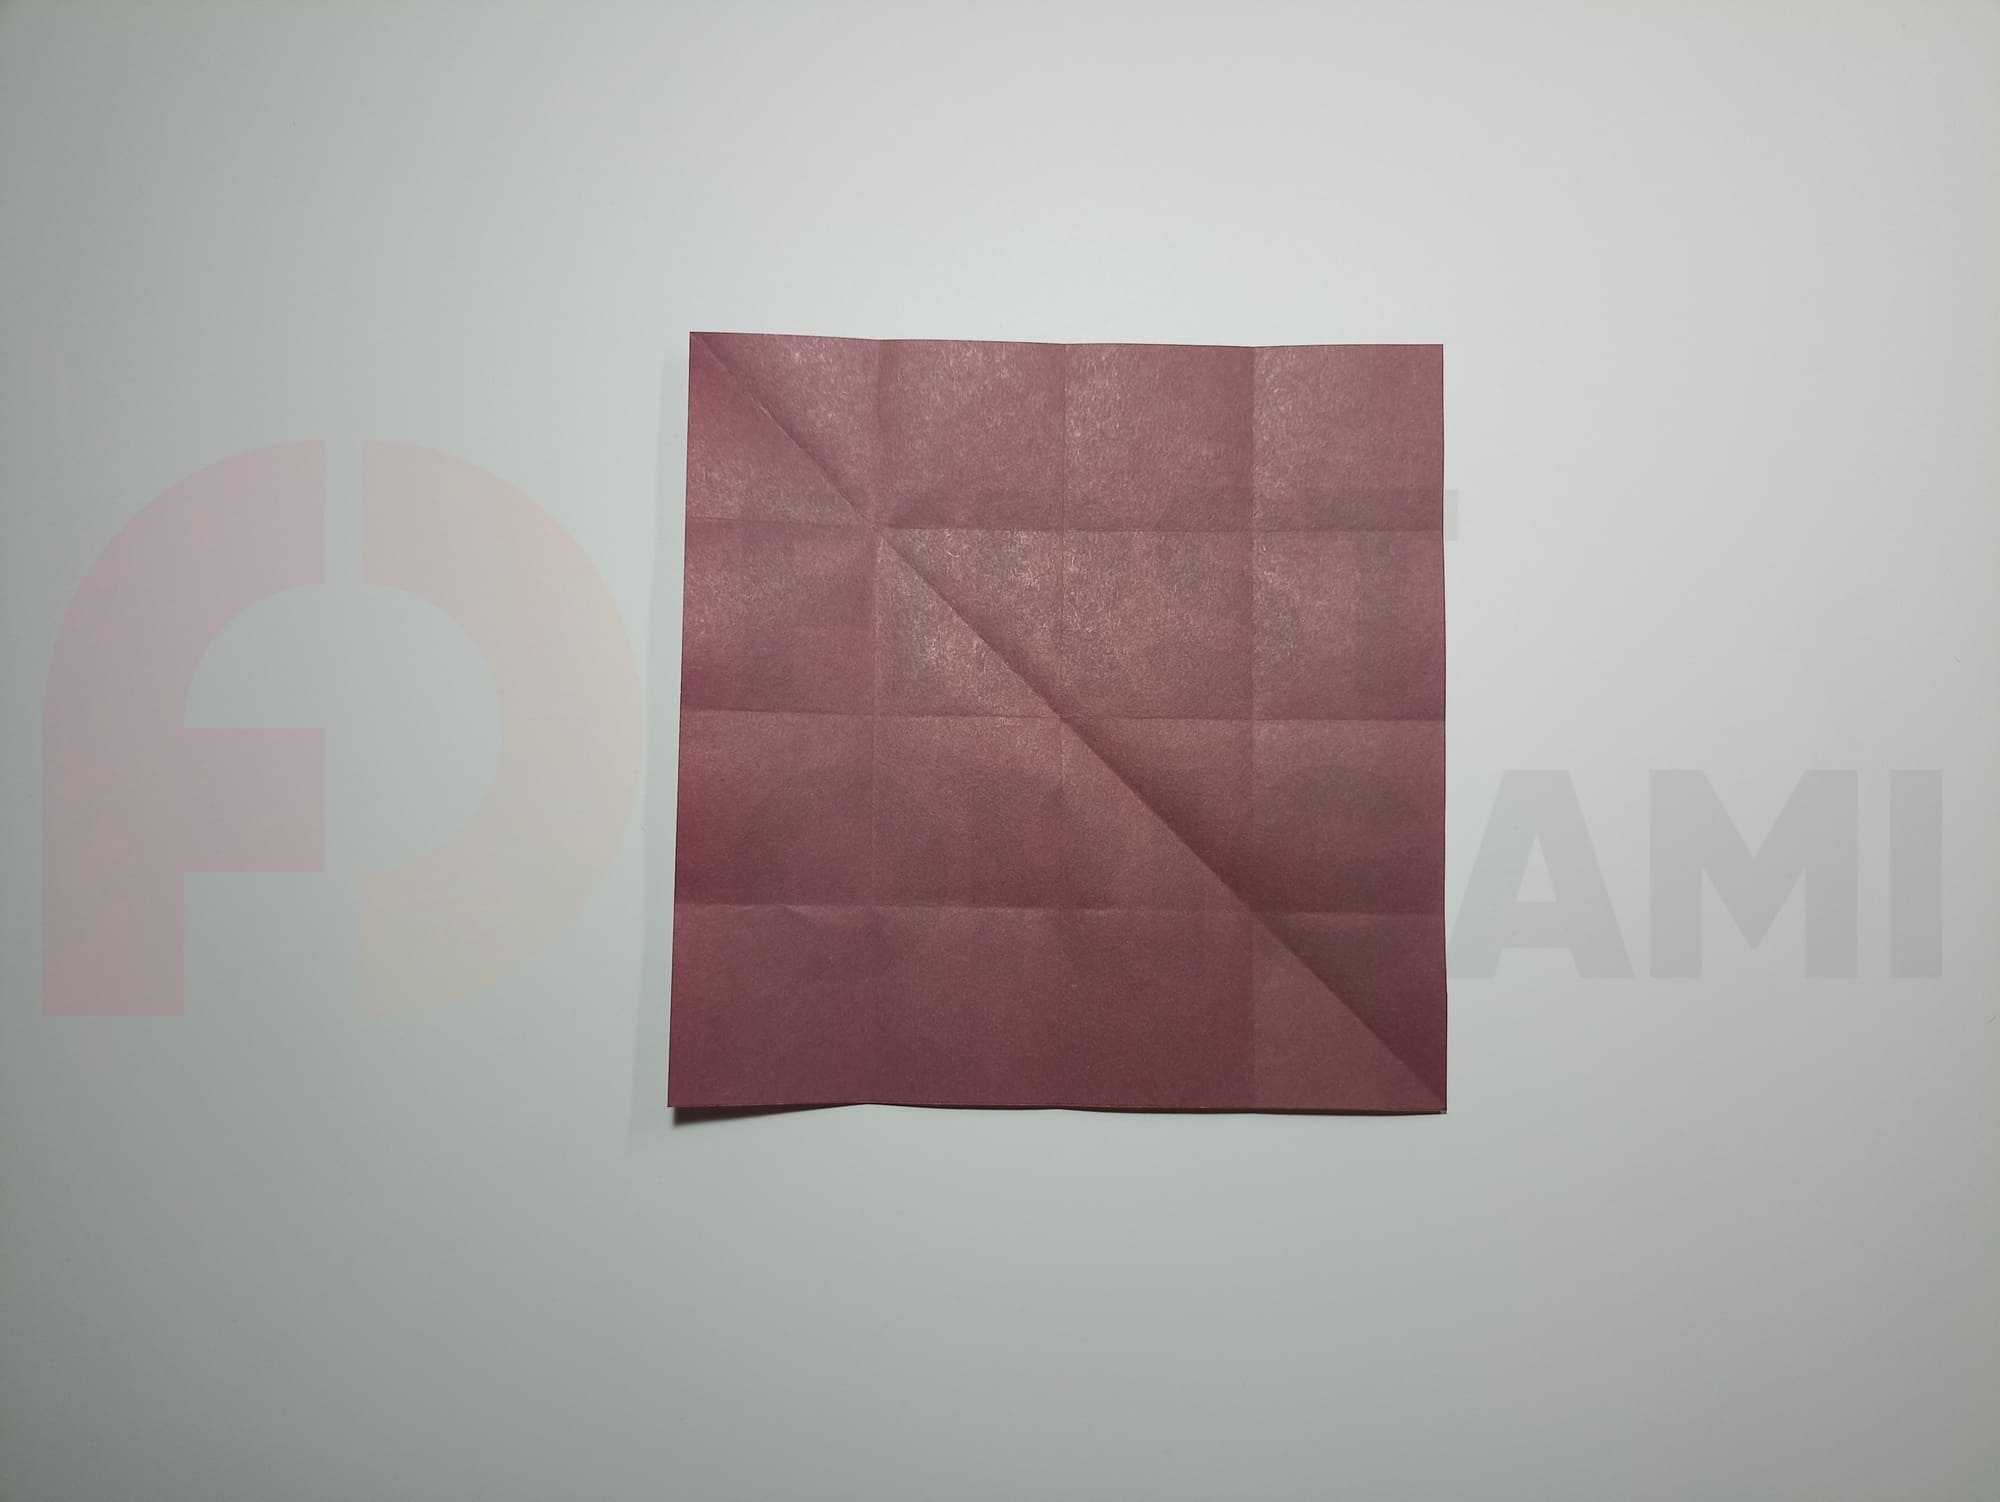
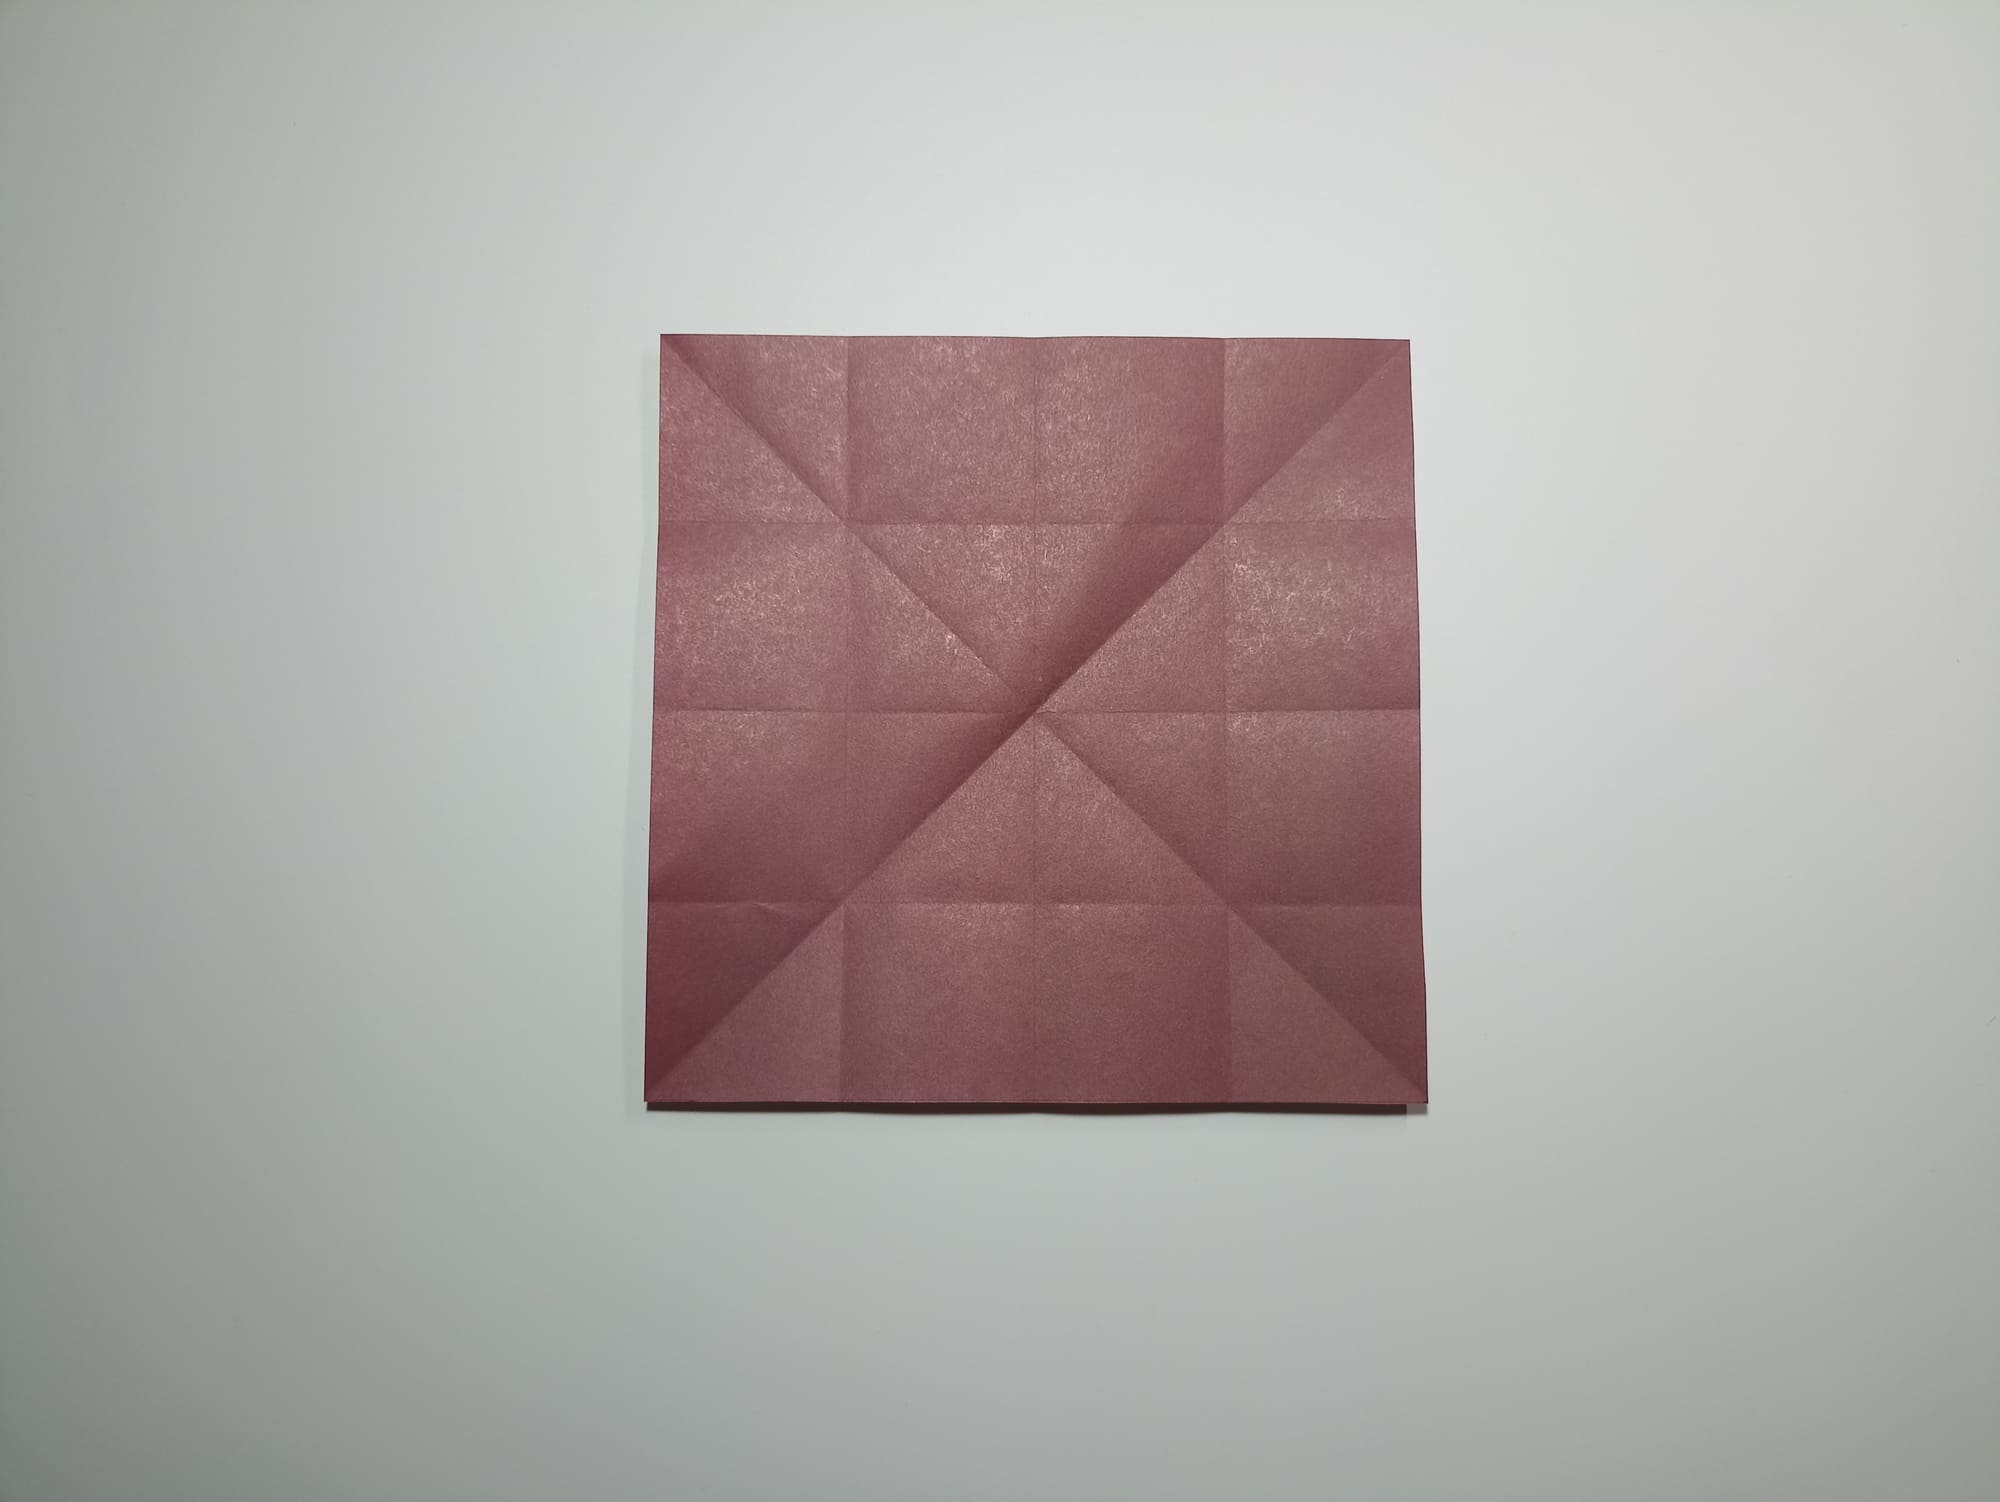
Mark diagonal lines intersecting in the center.
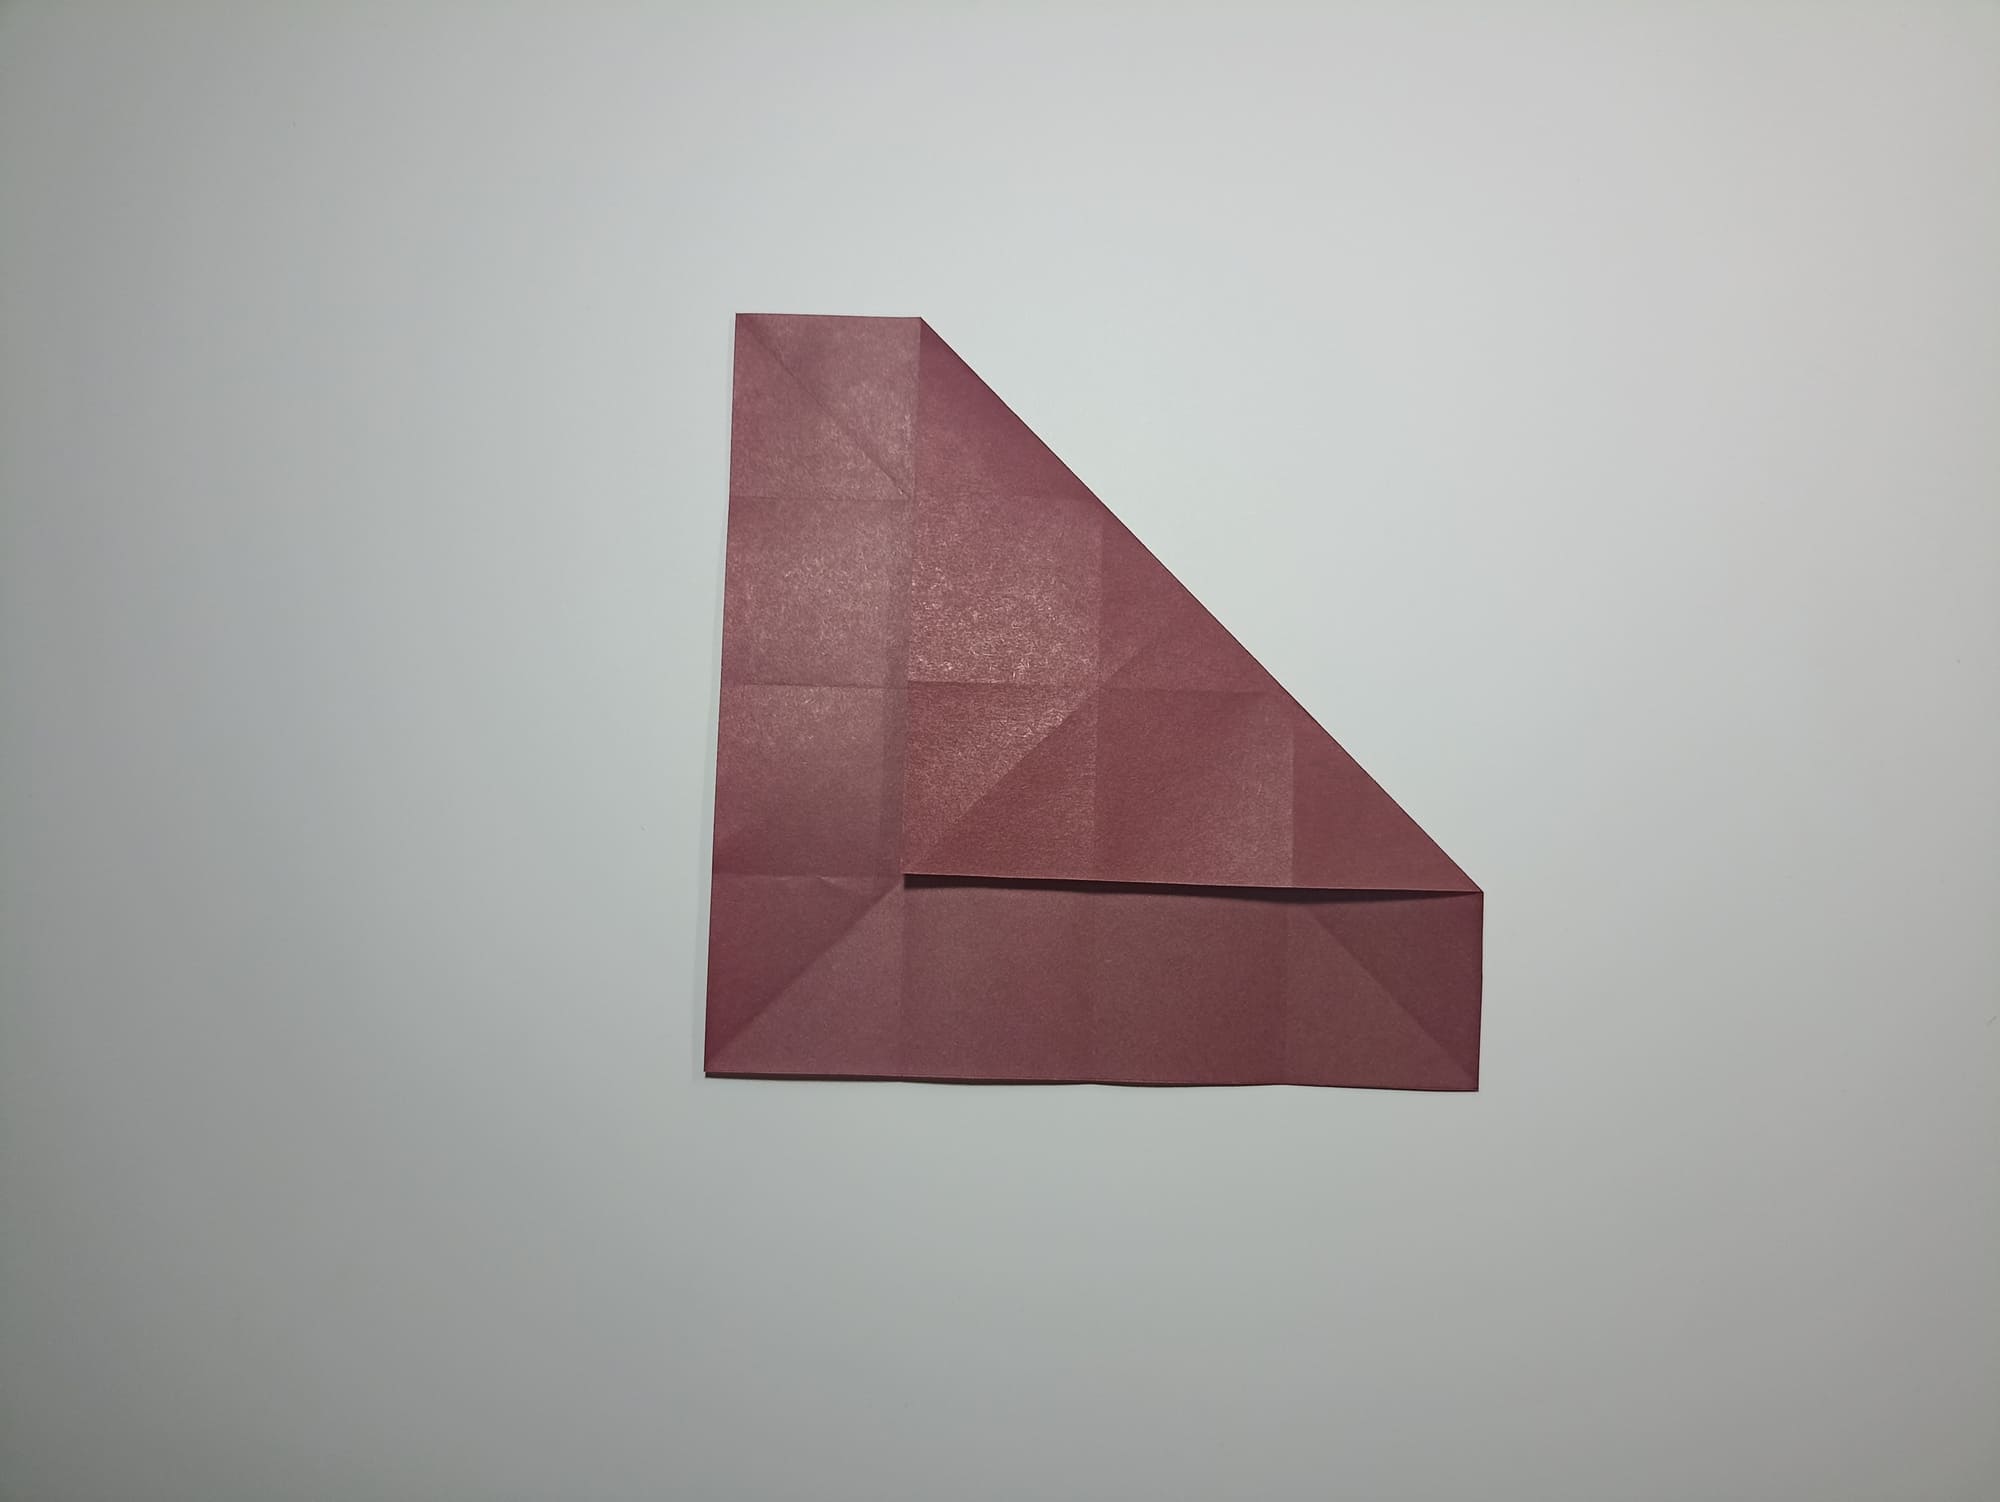
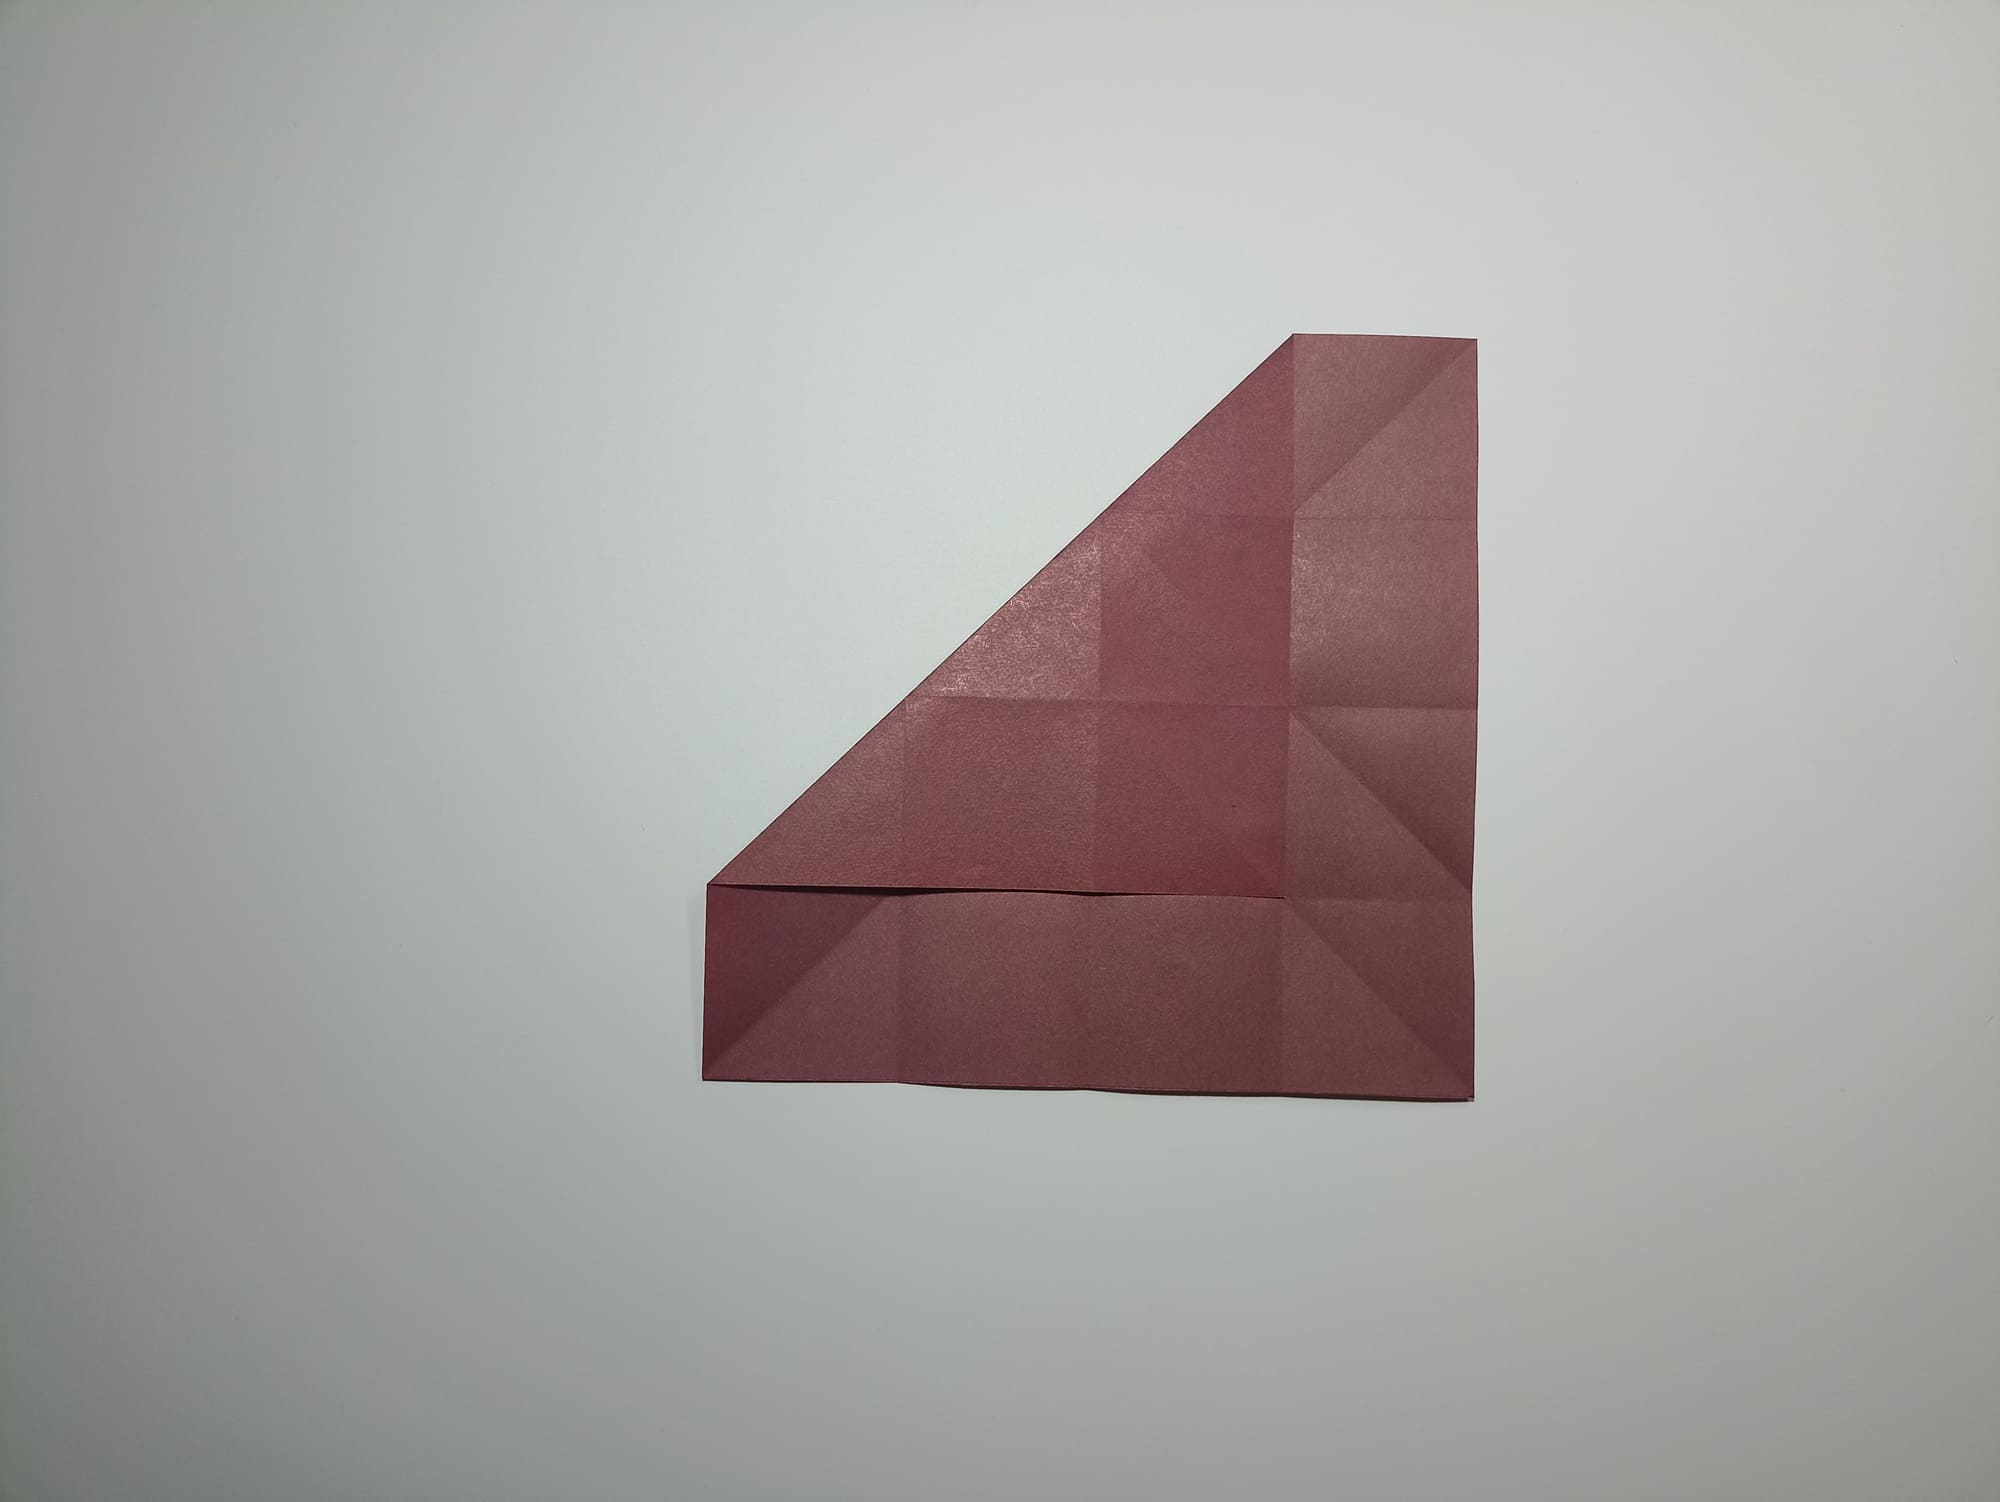
Fold the upper right and left corners alternately, aligning them with the line of the outer rows of rectangles obtained by intersecting the folds.

Align the line of the upper outer rows of rectangles on the vertical middle line and direct the fold to the left.
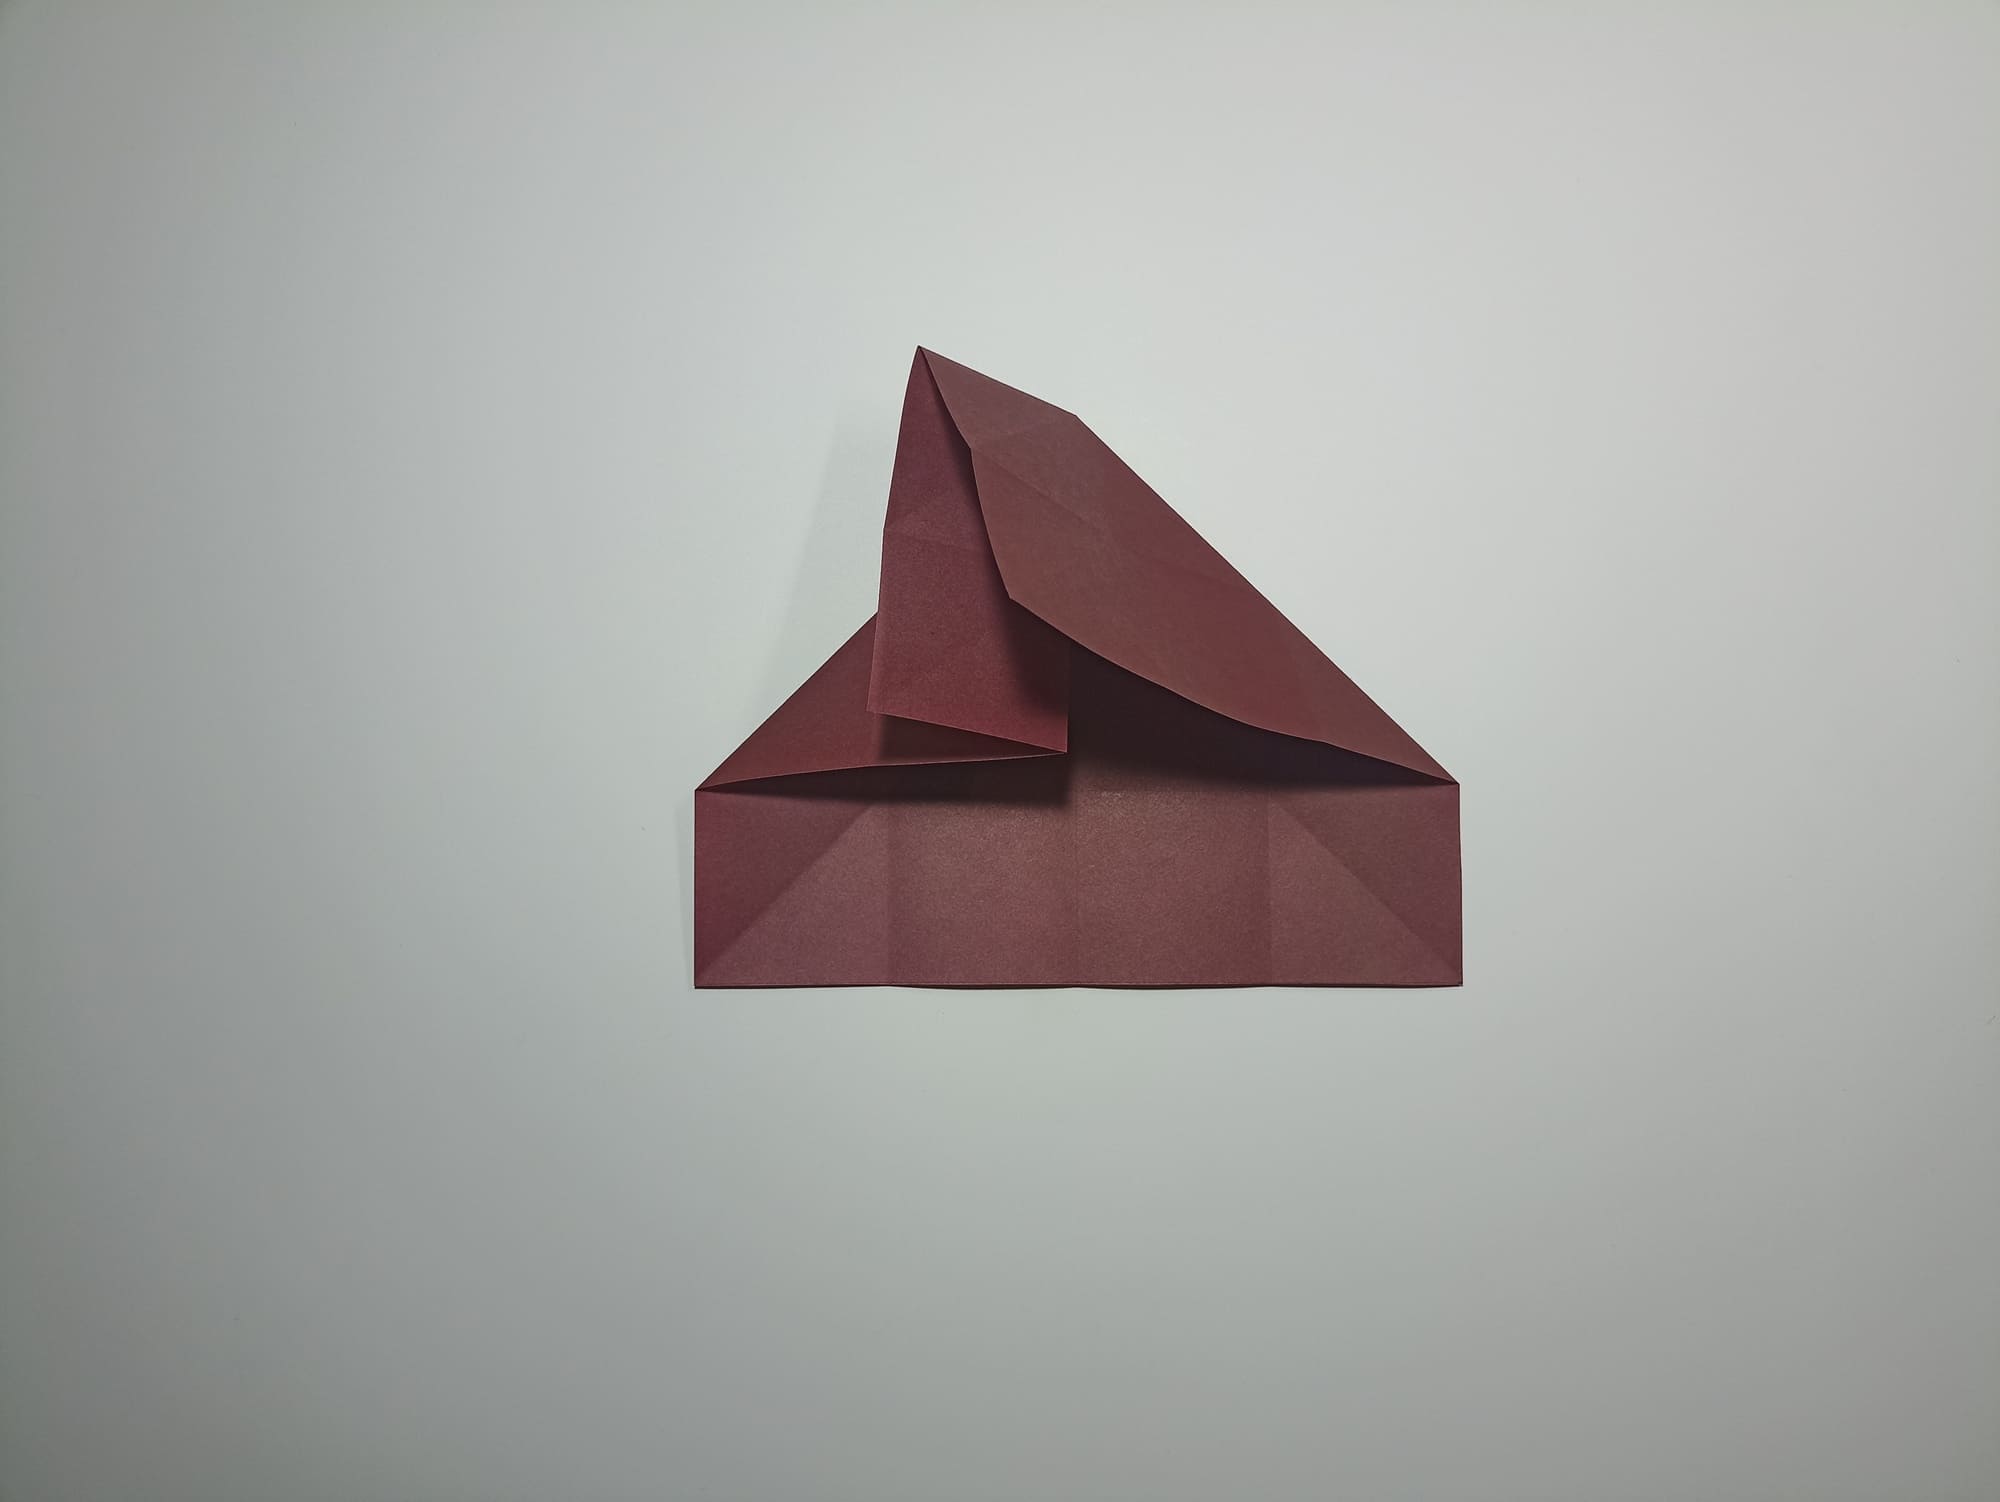
Align the leftmost side of the top part of the shape with the top horizontal line. Crease the fold.
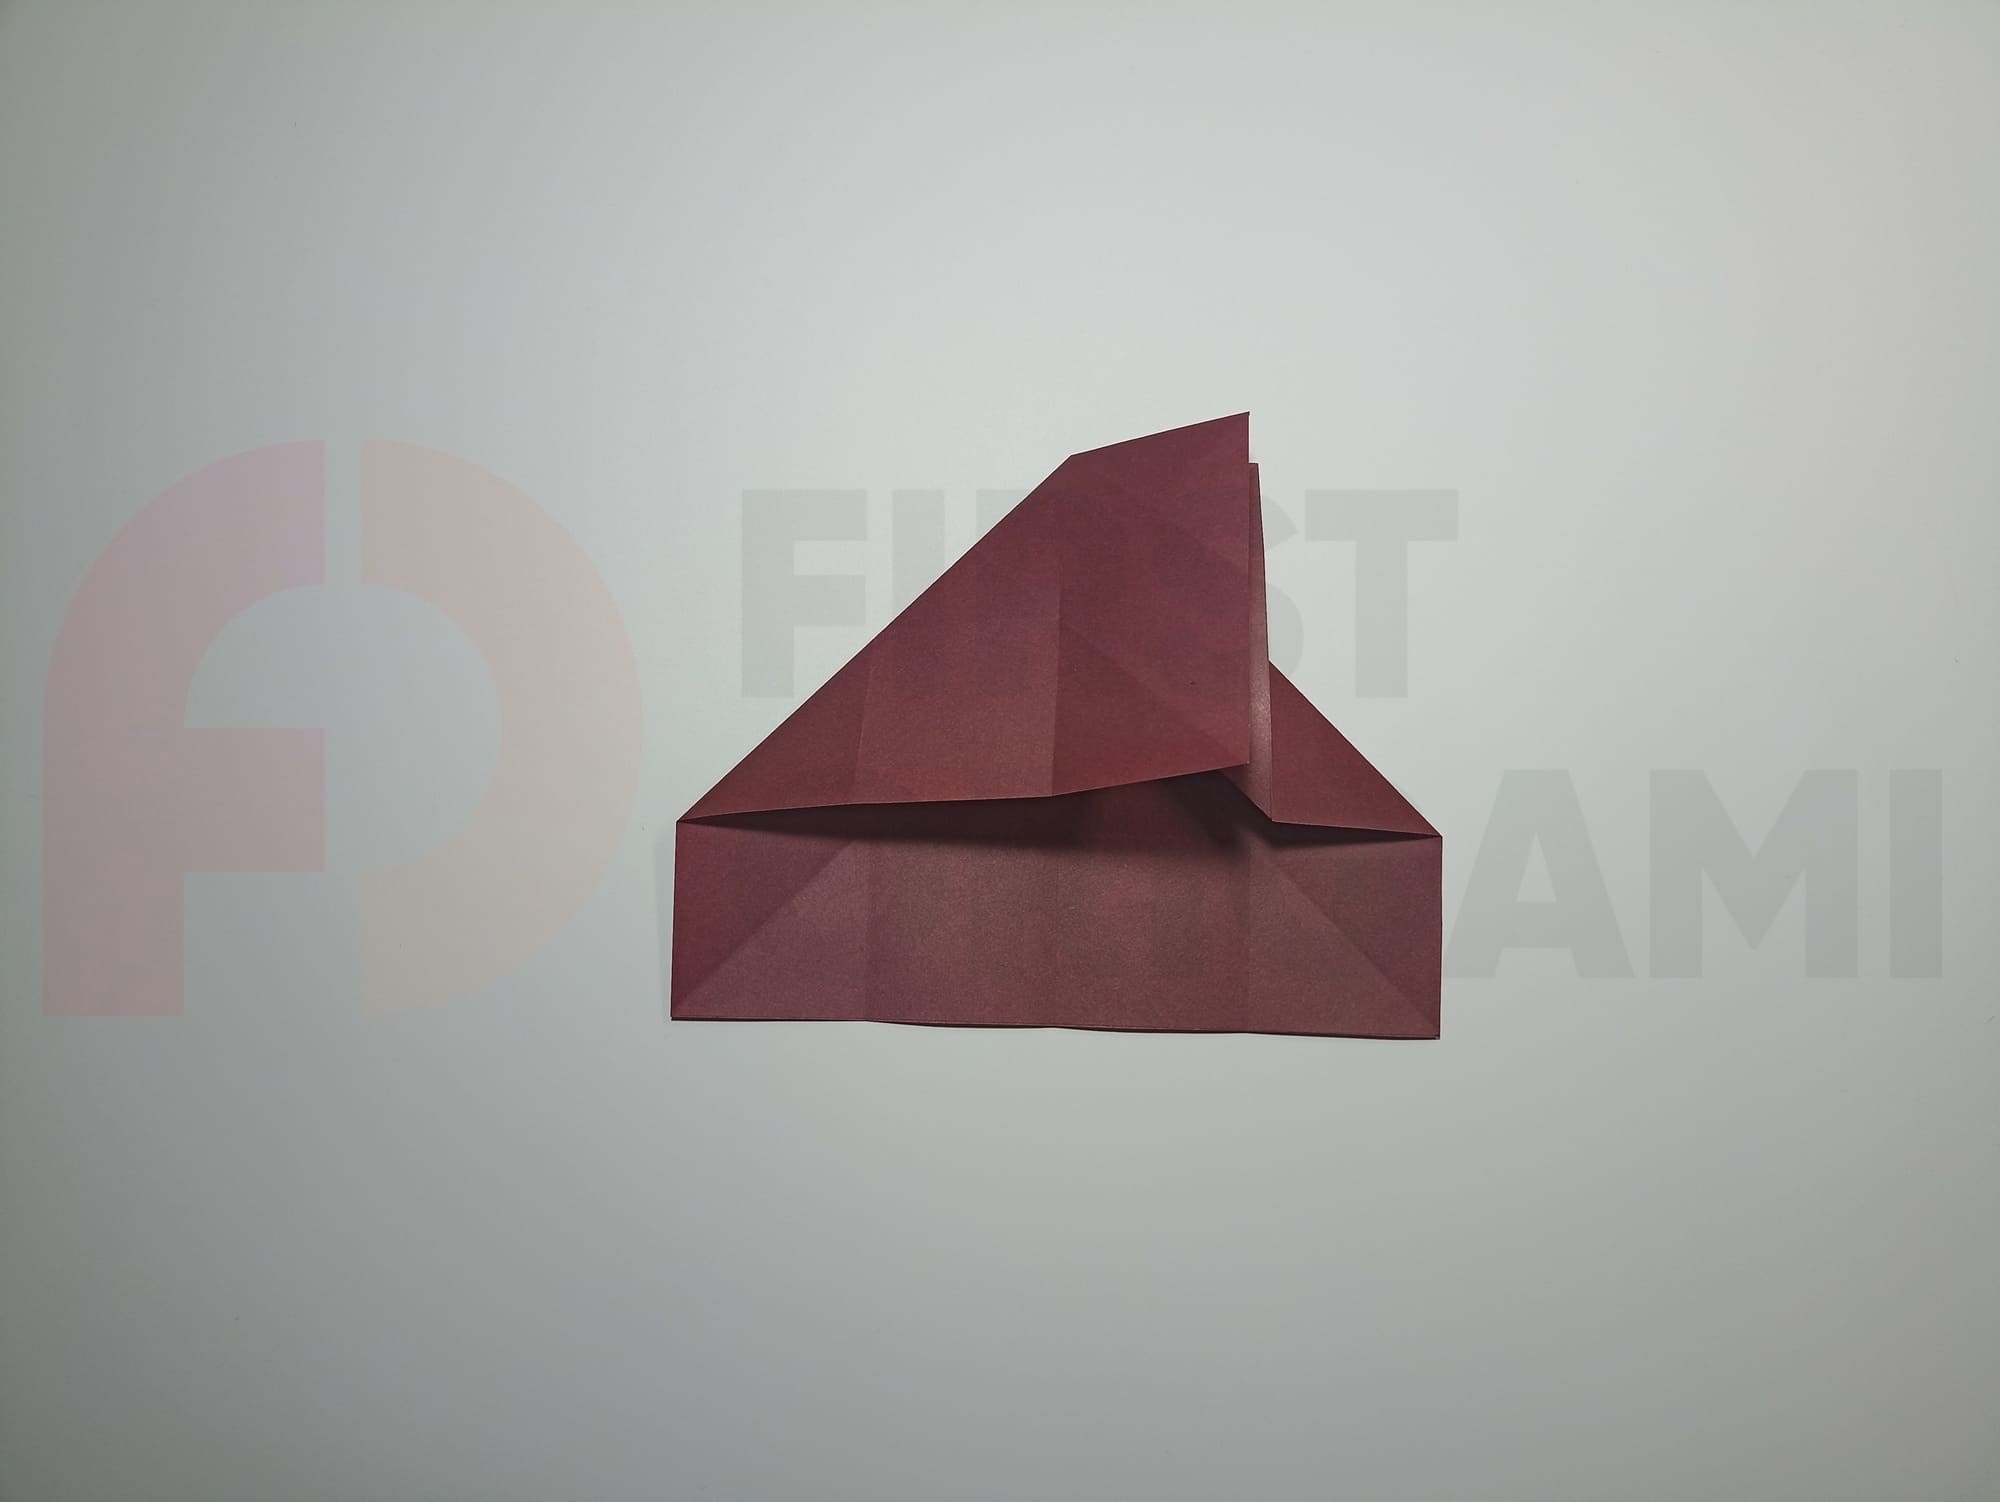
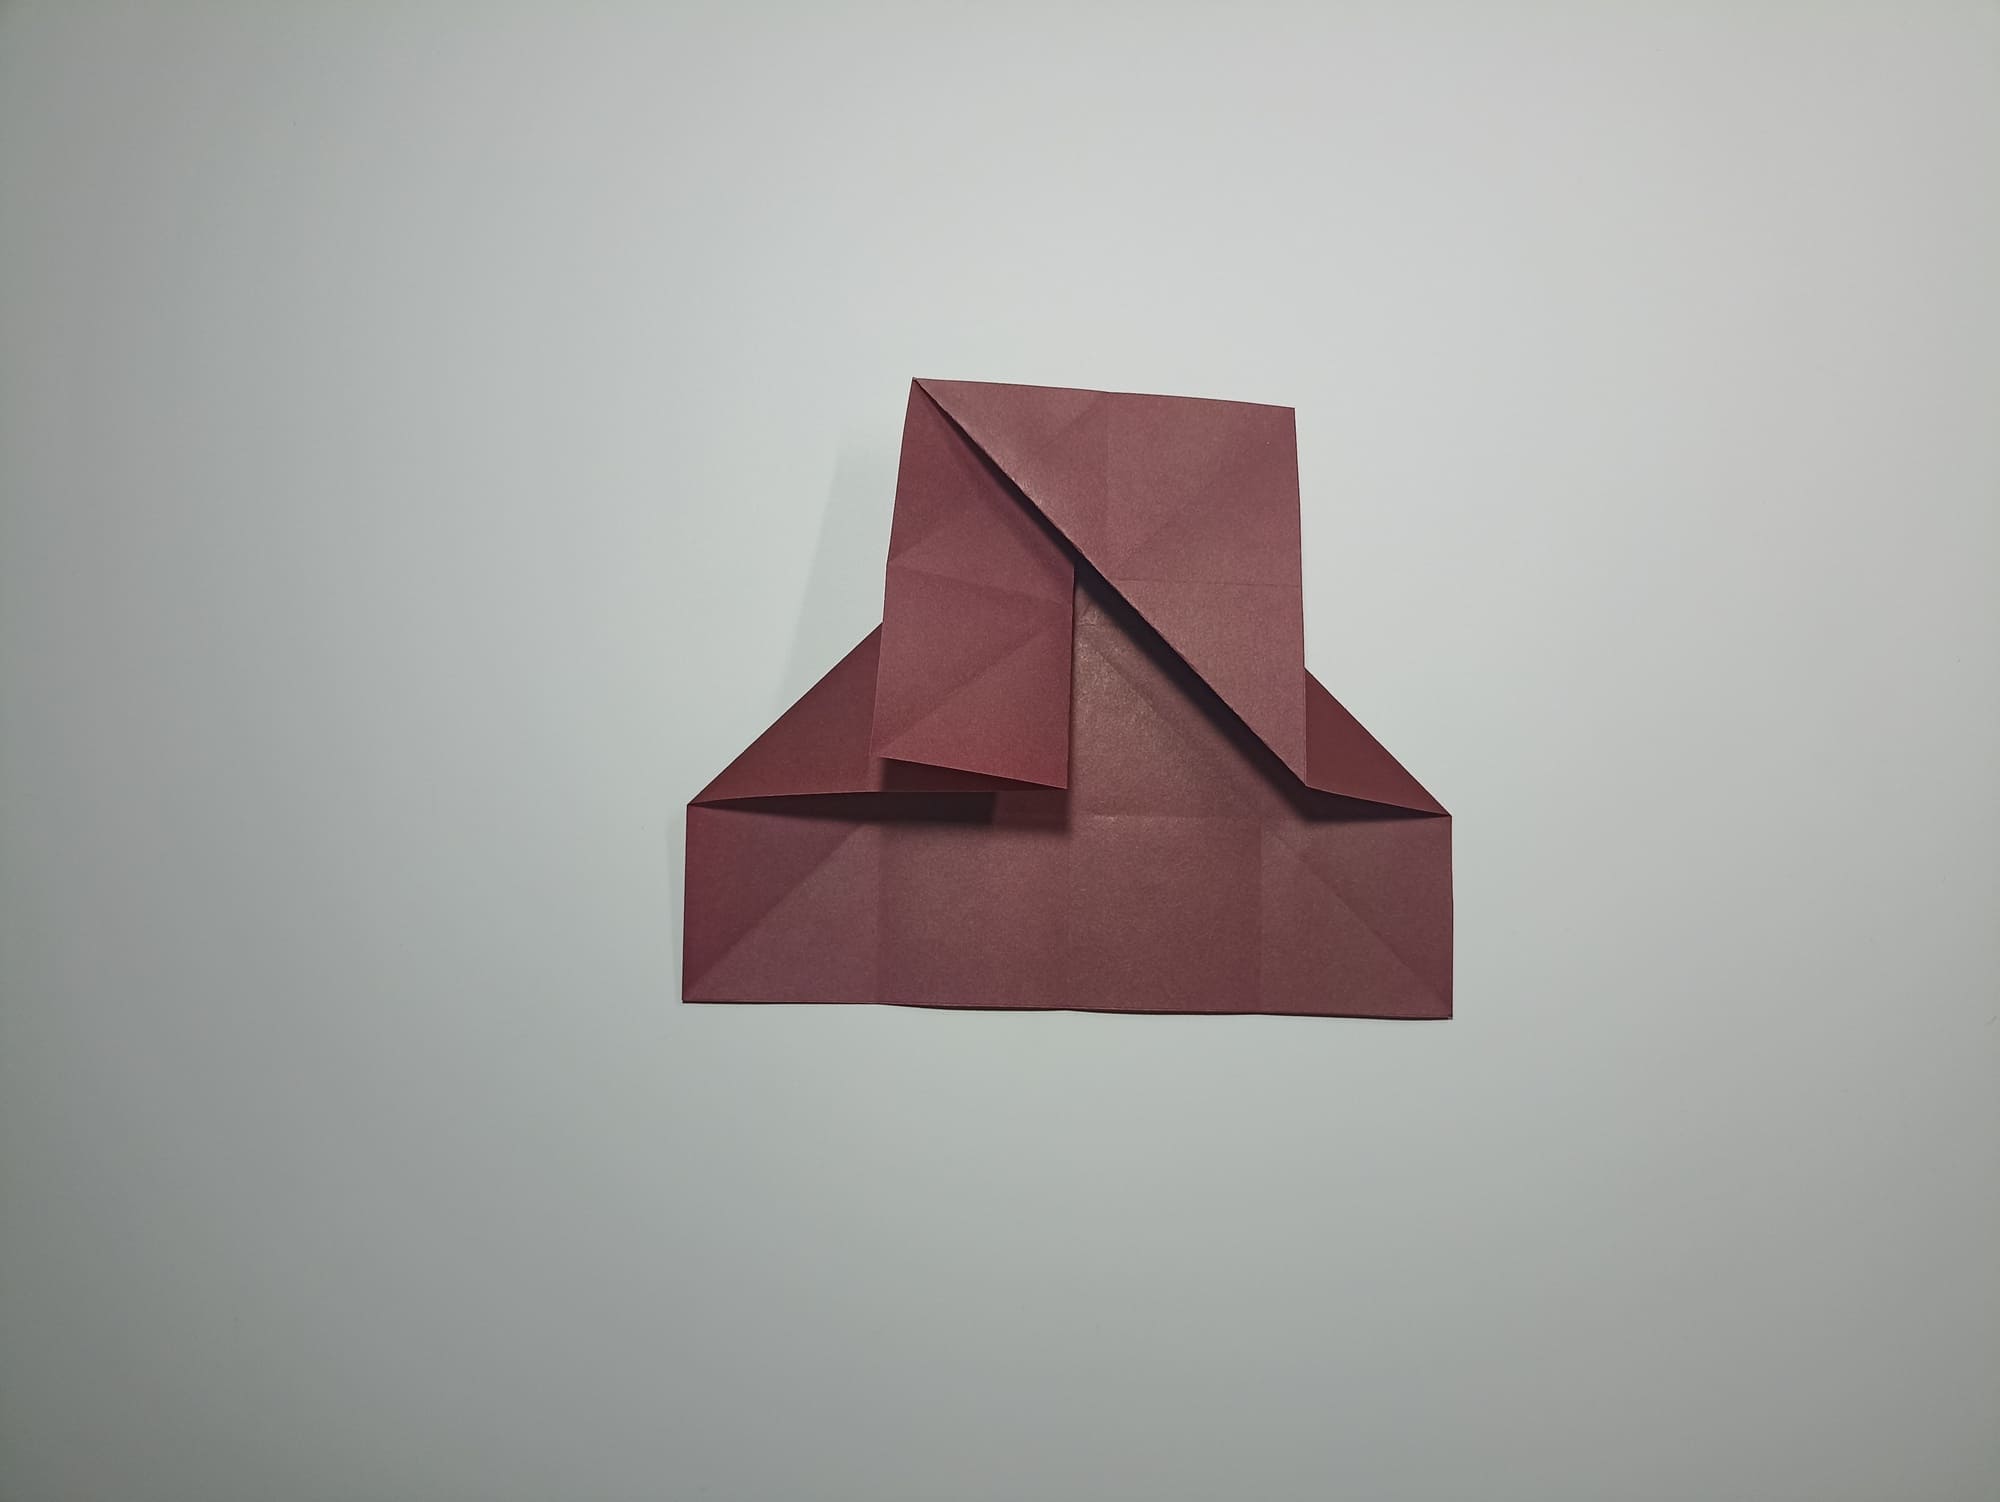
Direct the layer of folds to the right and repeat the alignment with the top of the far right side.
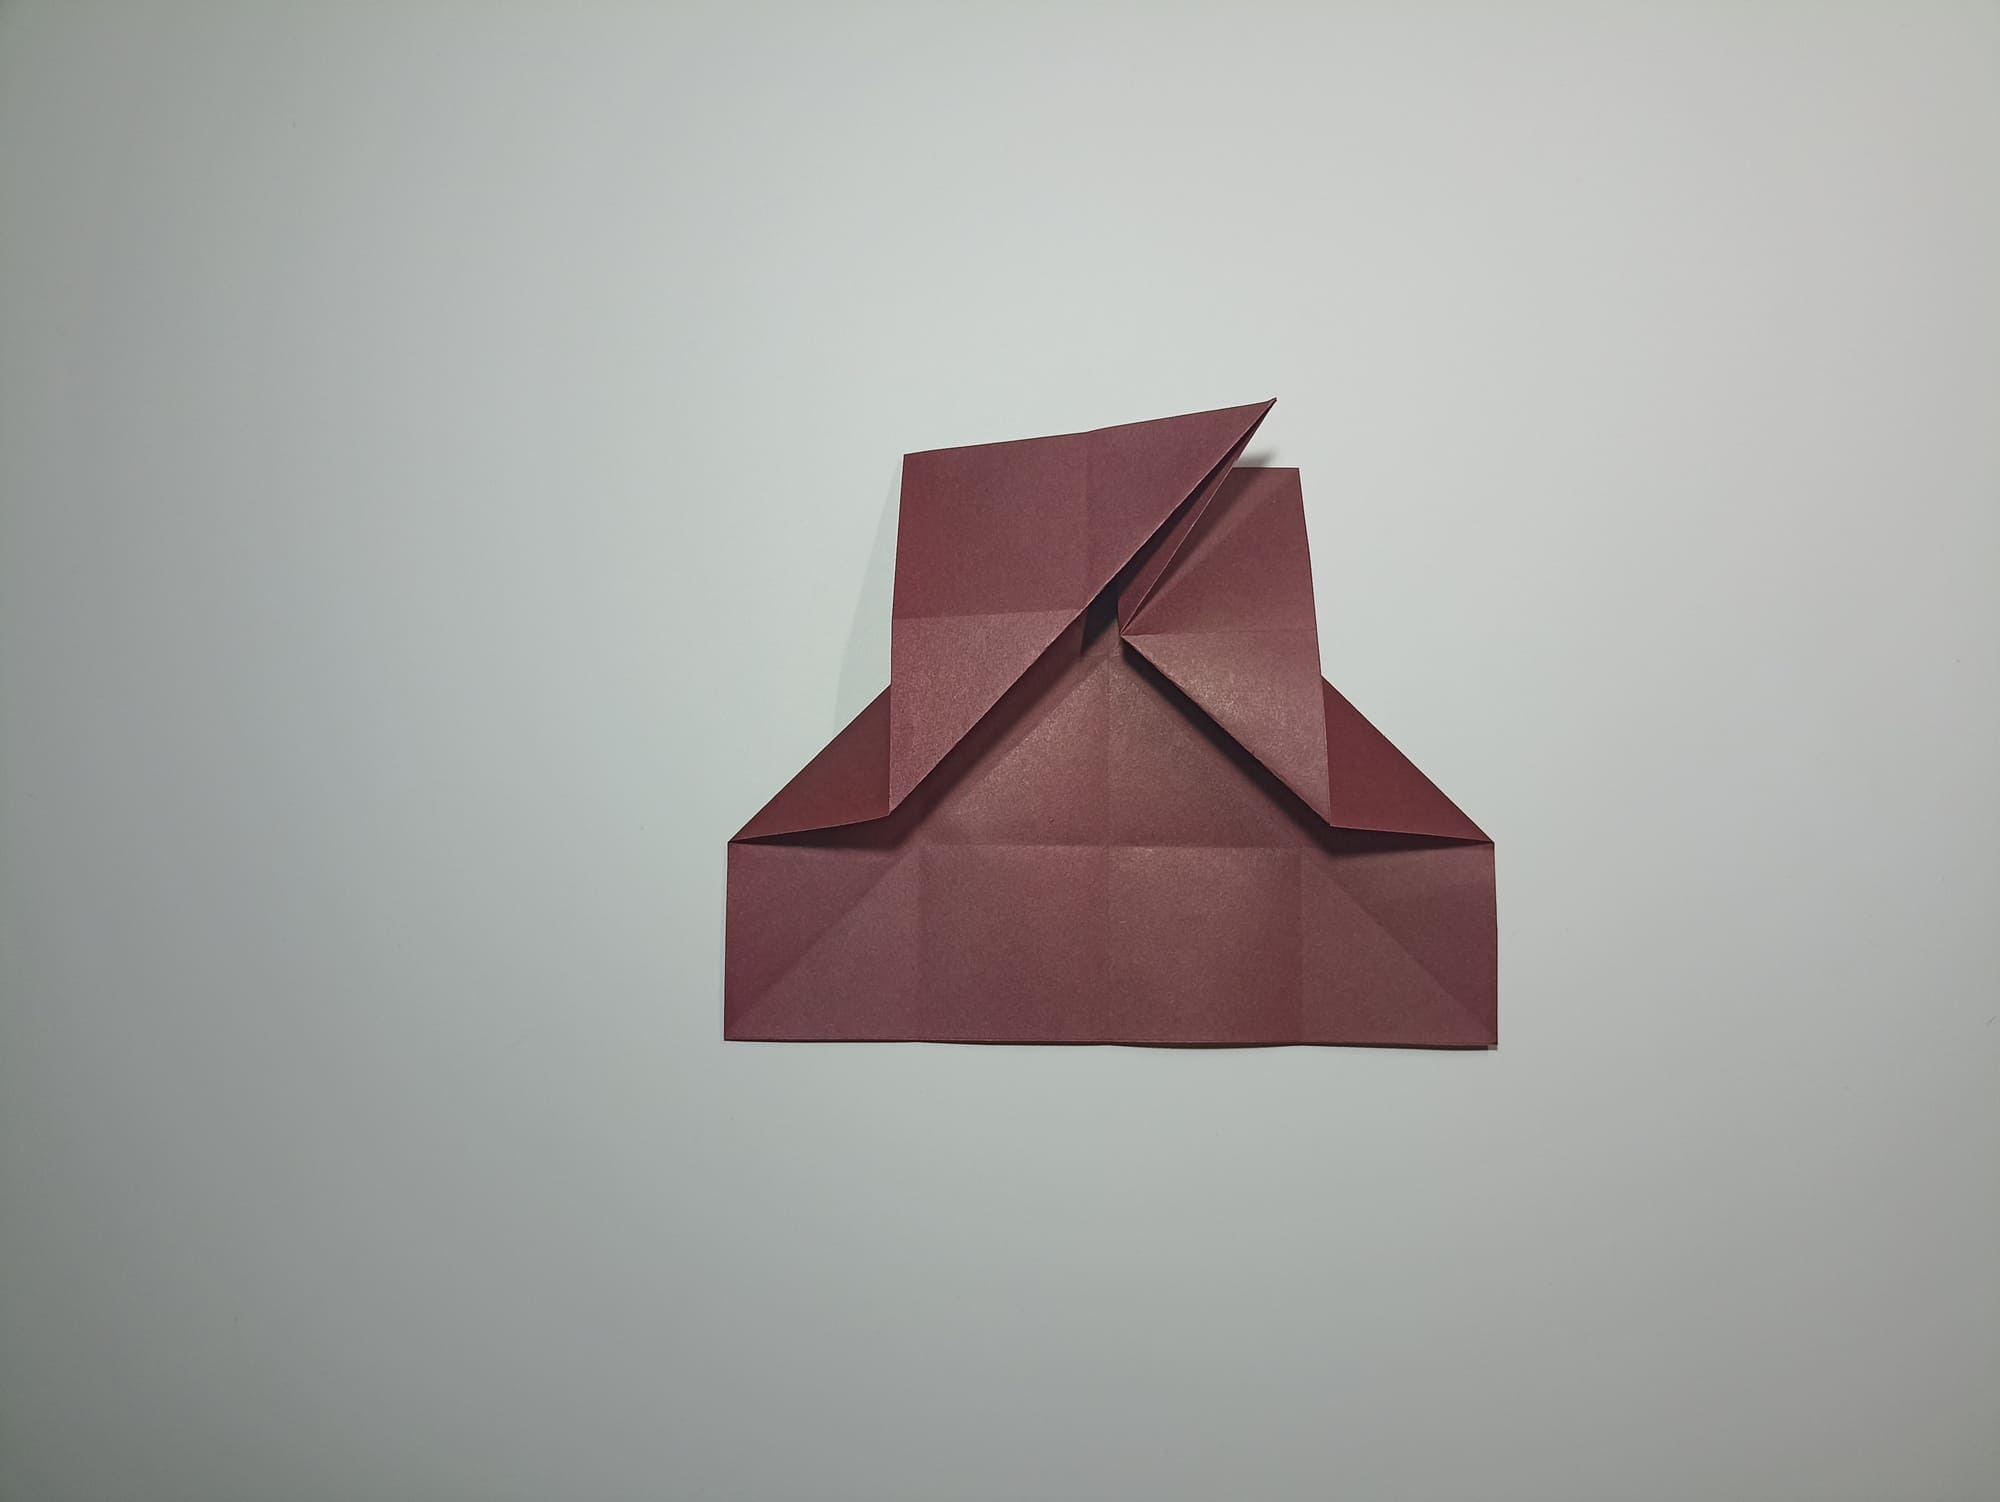
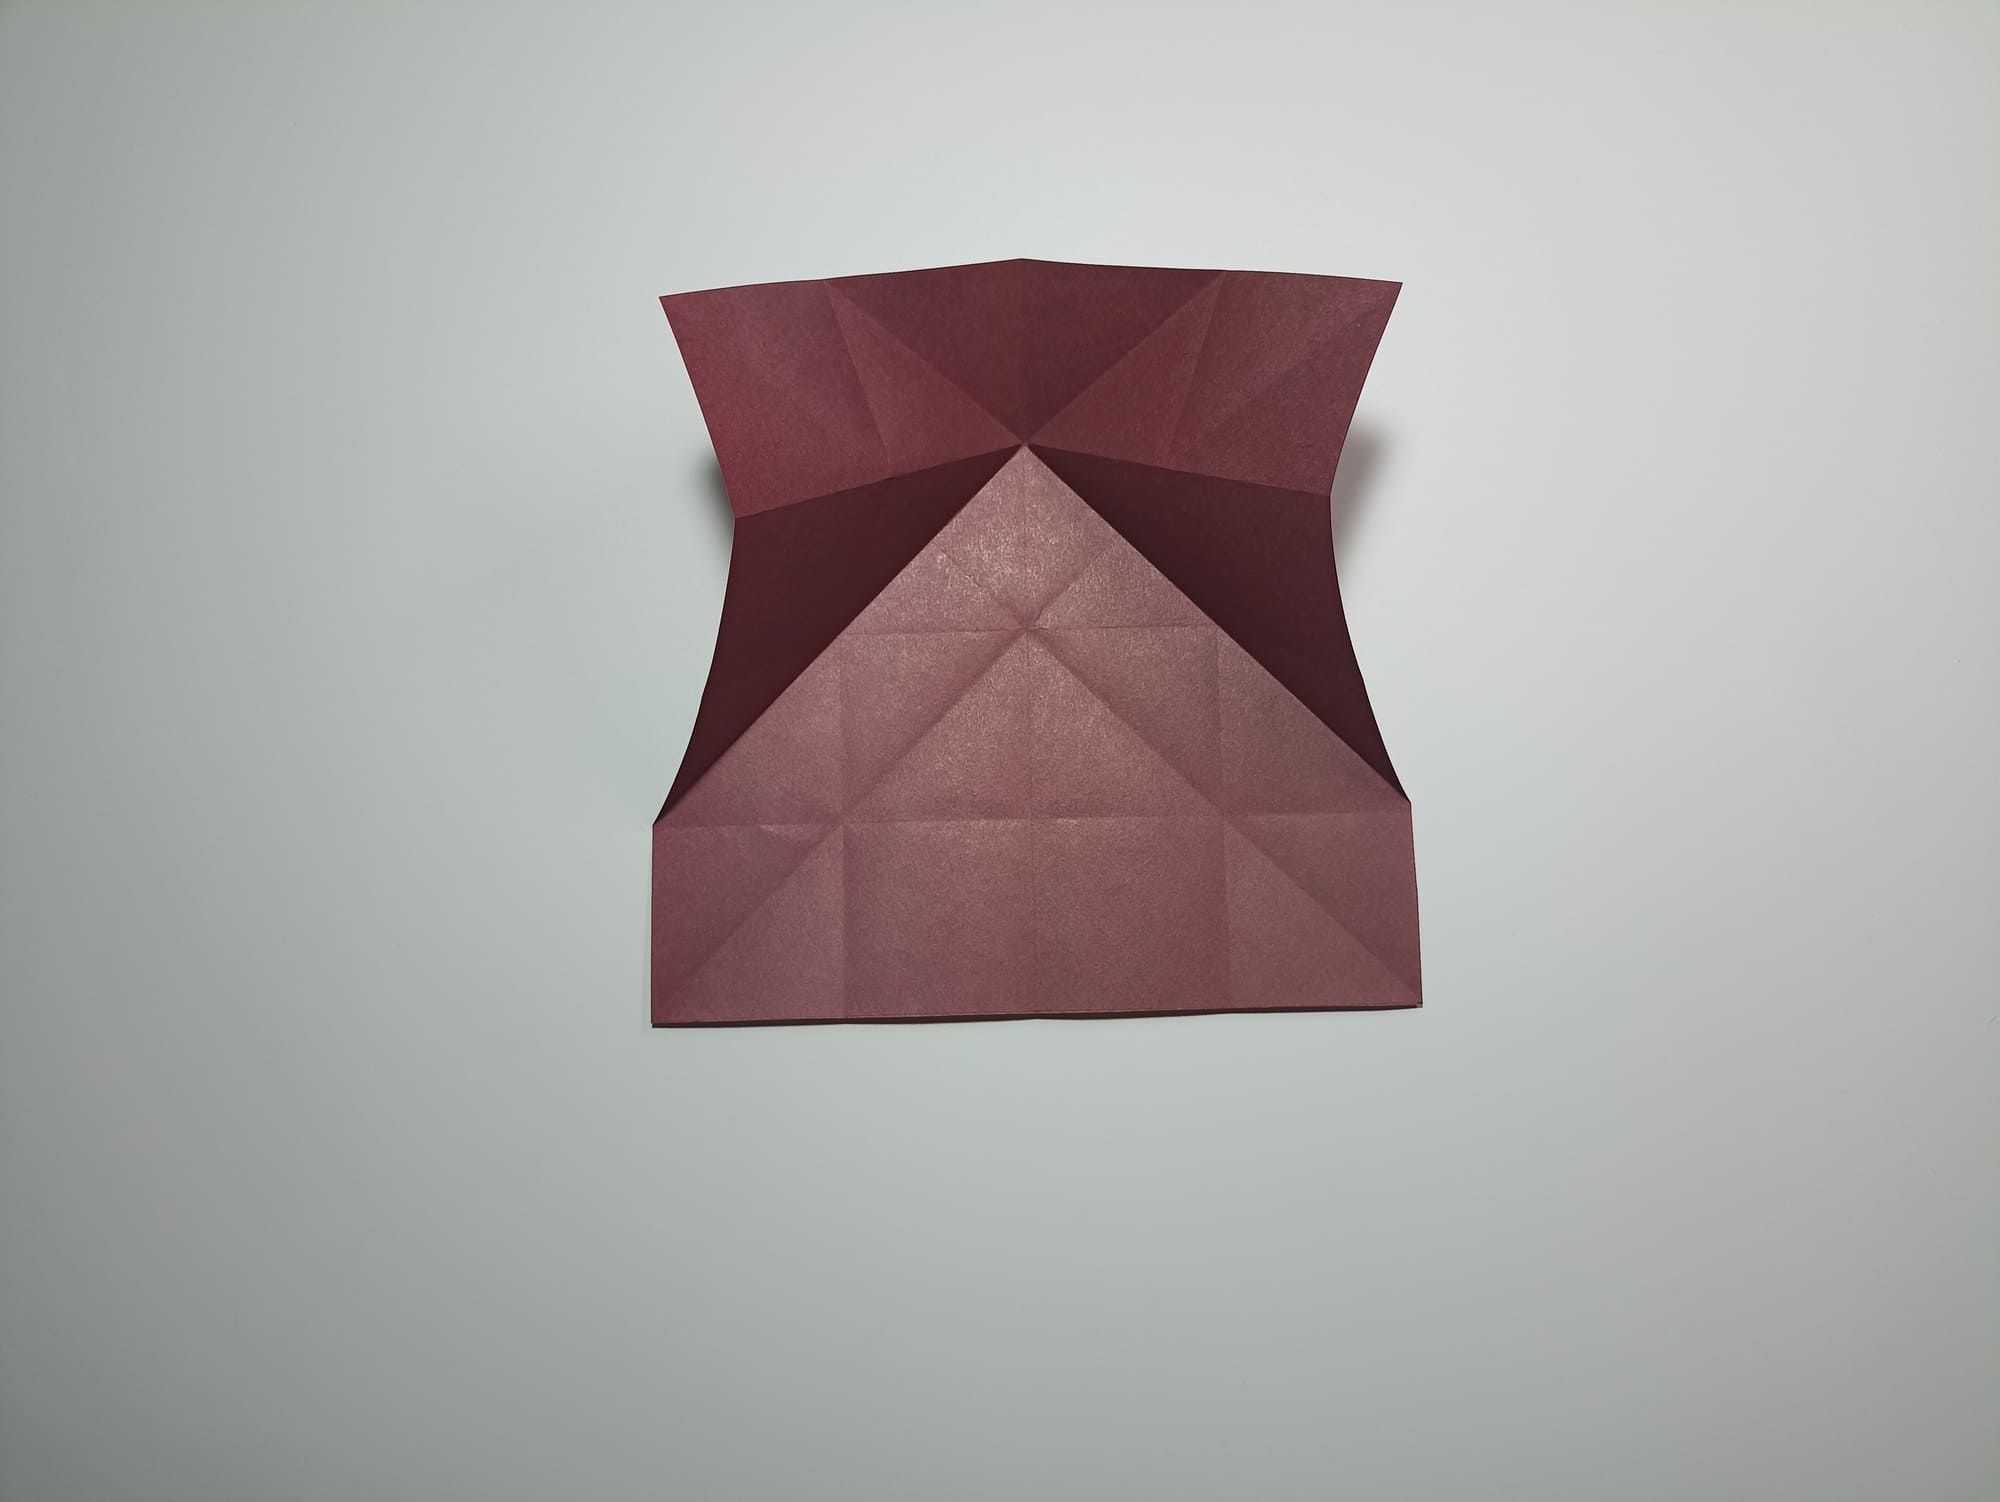
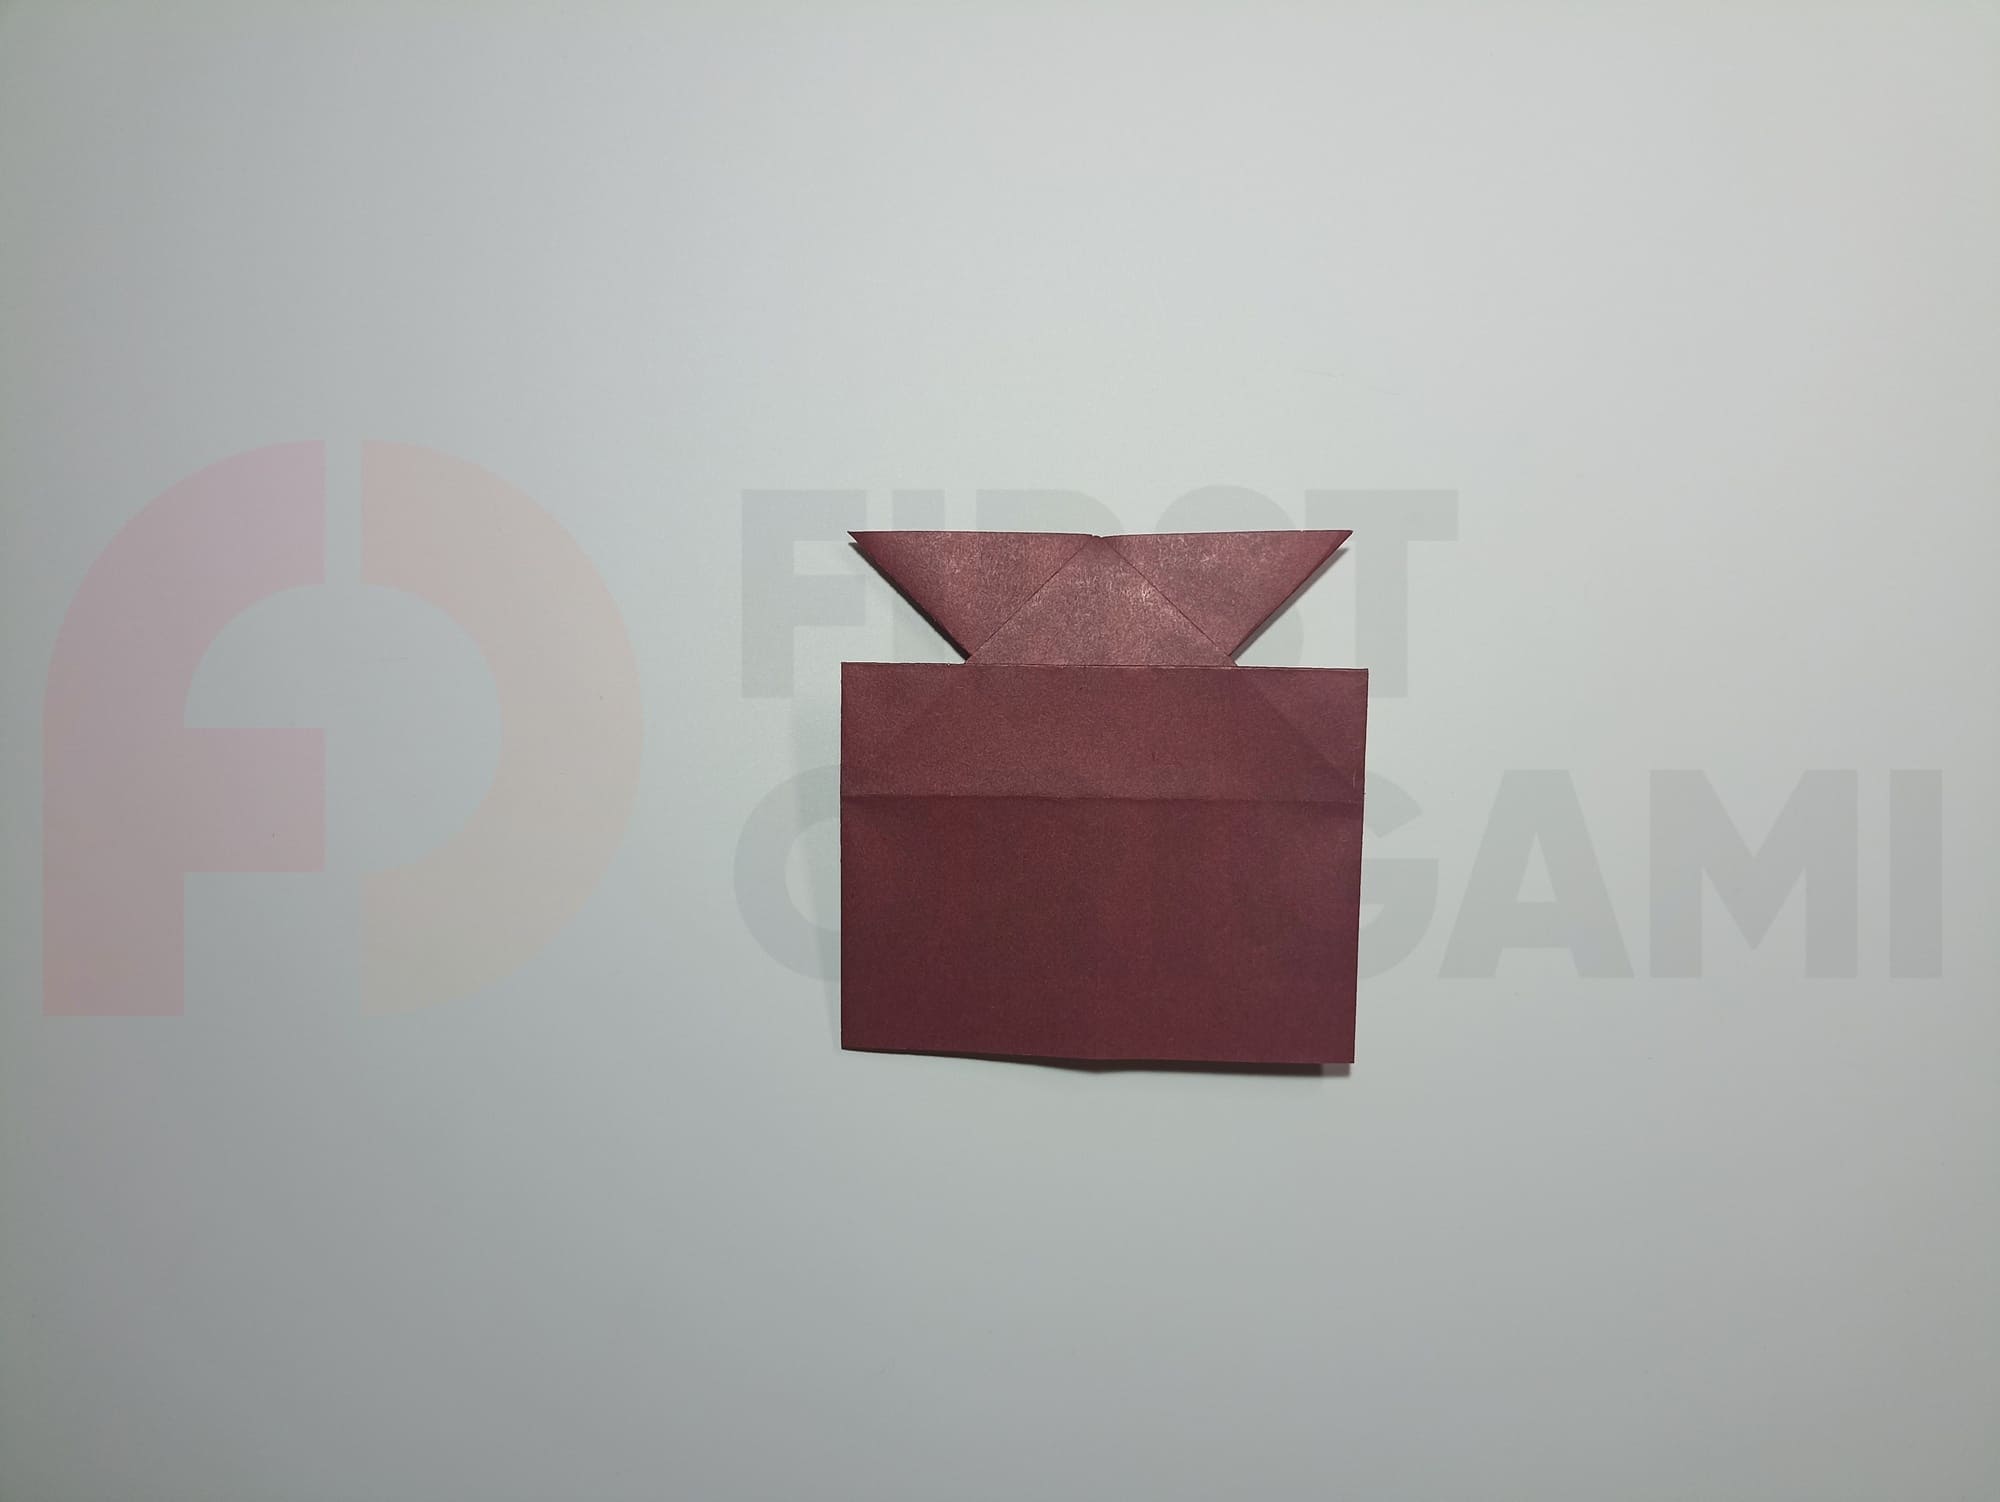
Bend the folds of the sides so that the side lines of the square meet in the center.
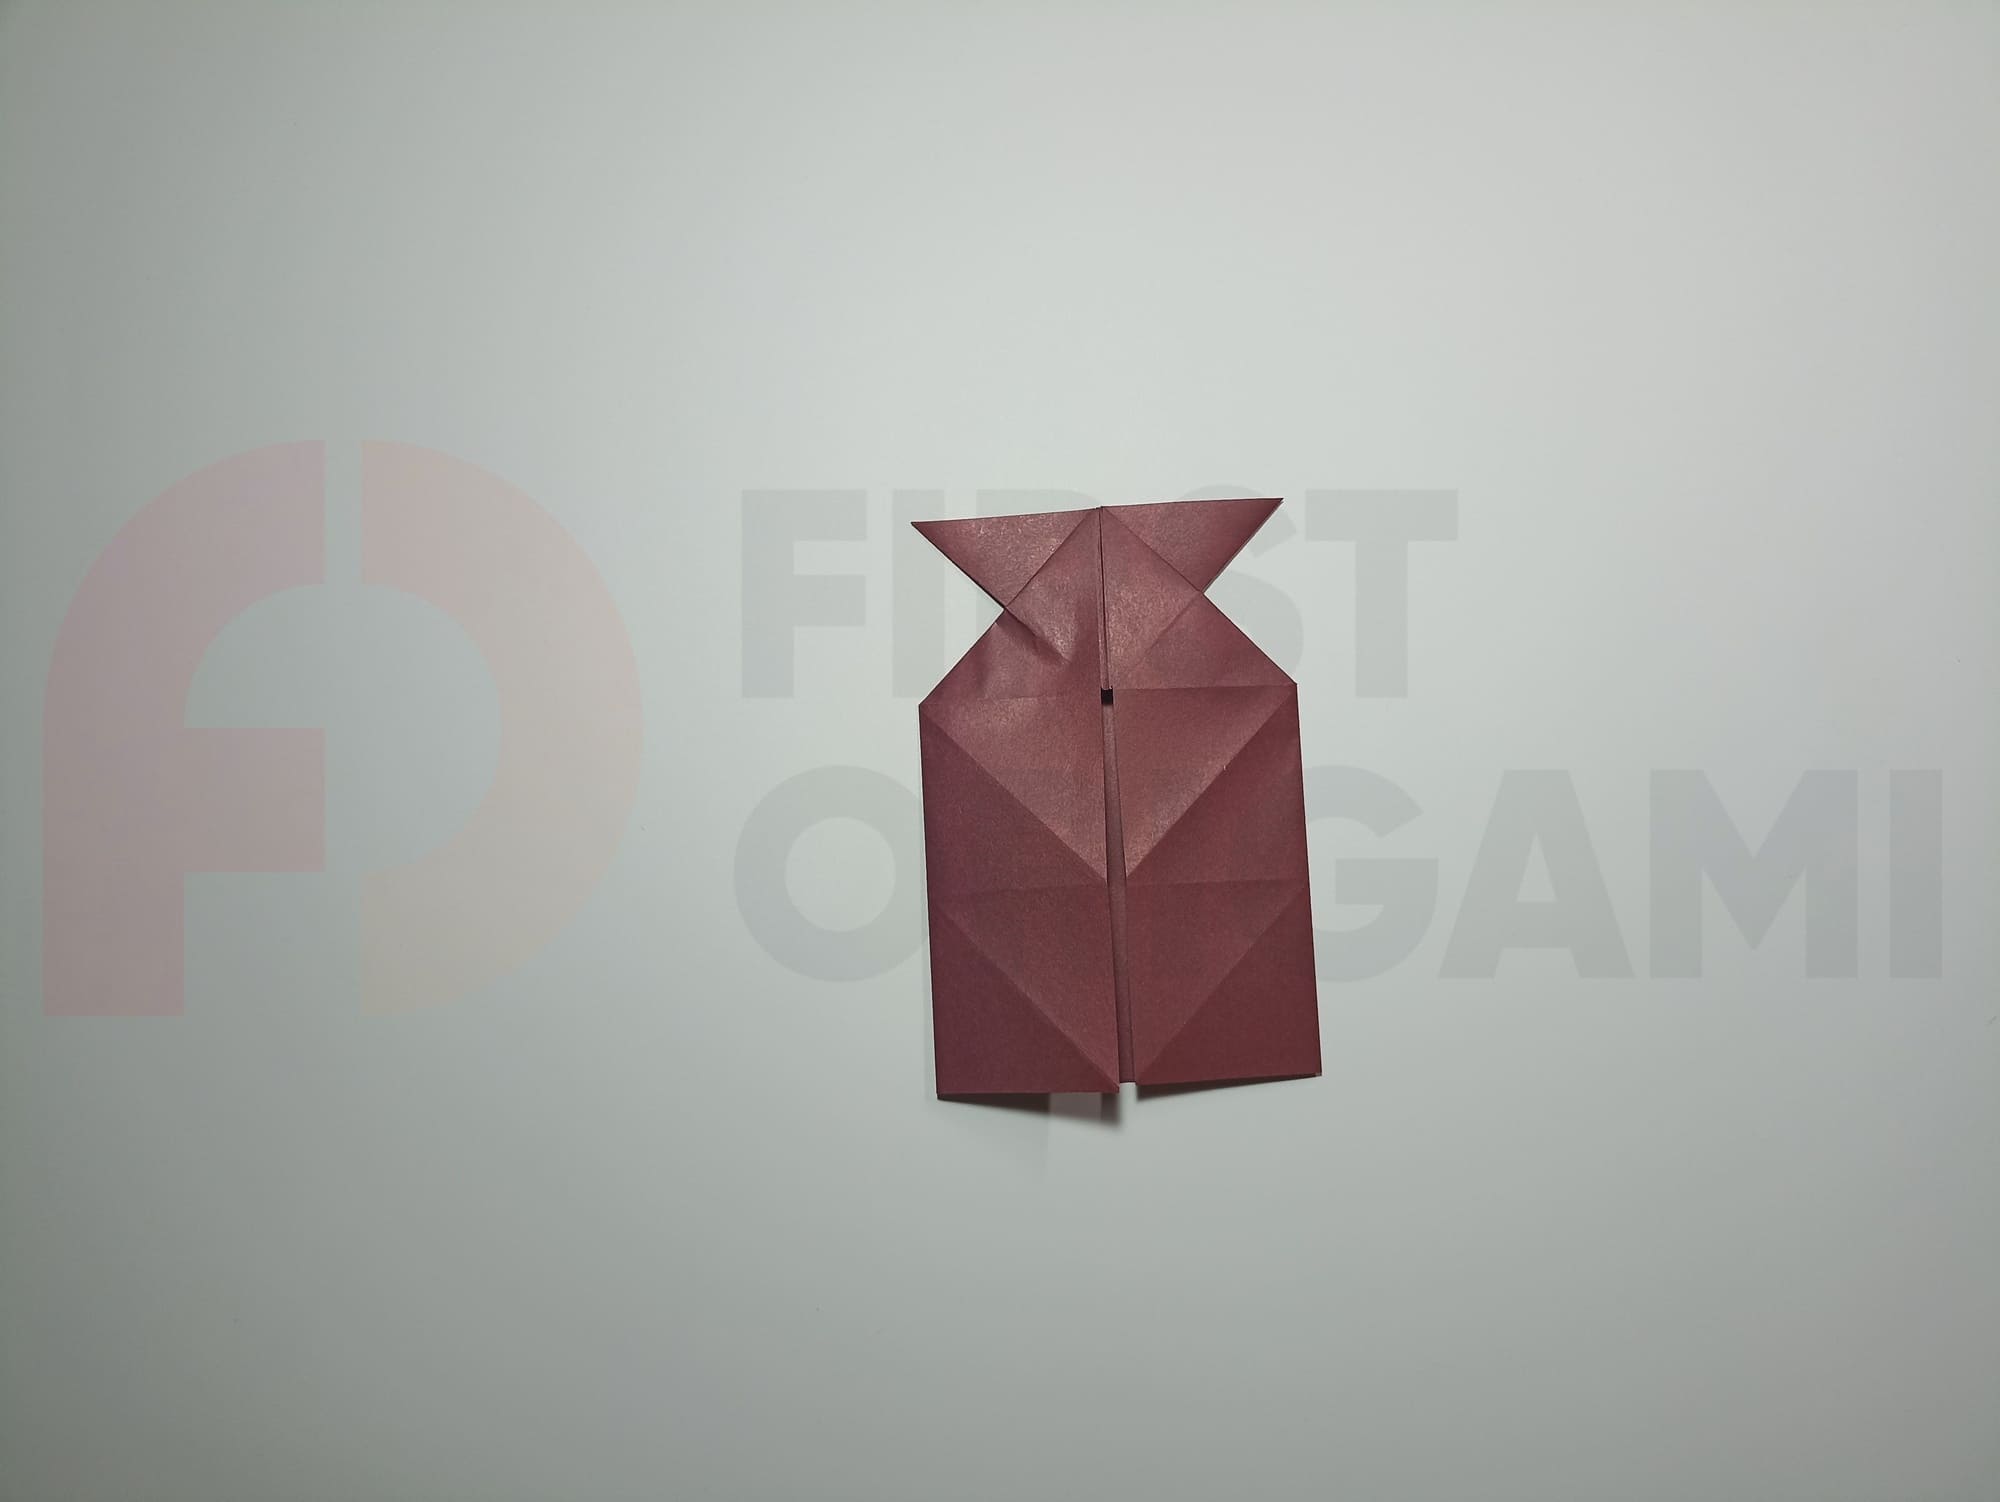
Open the triangle with a side top, turning it into a rhombus.
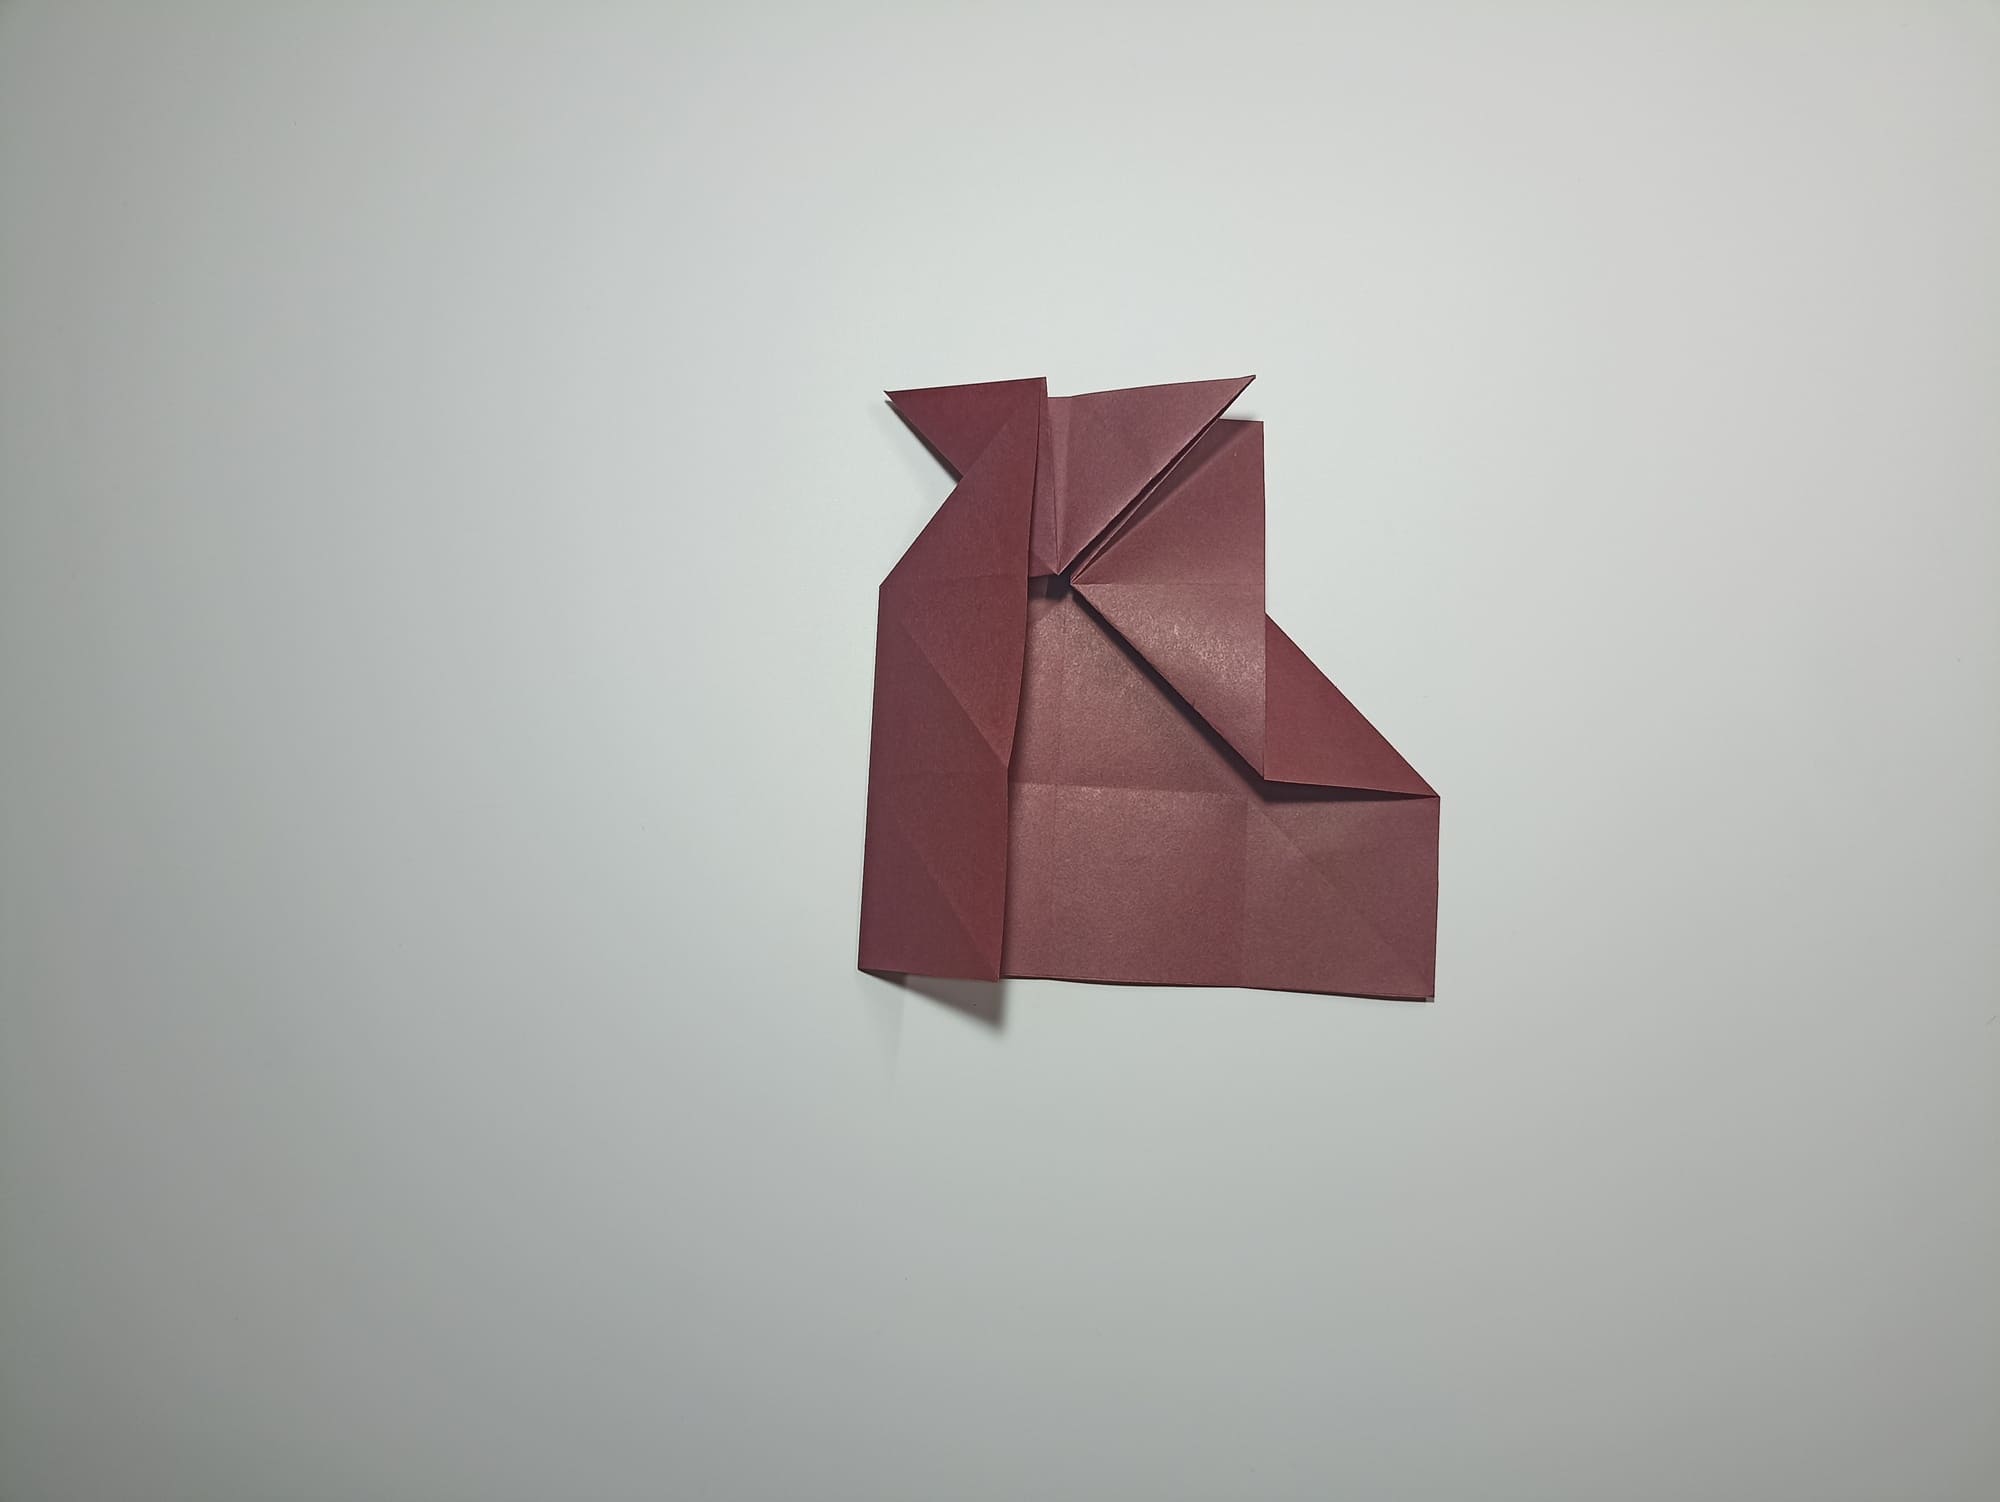
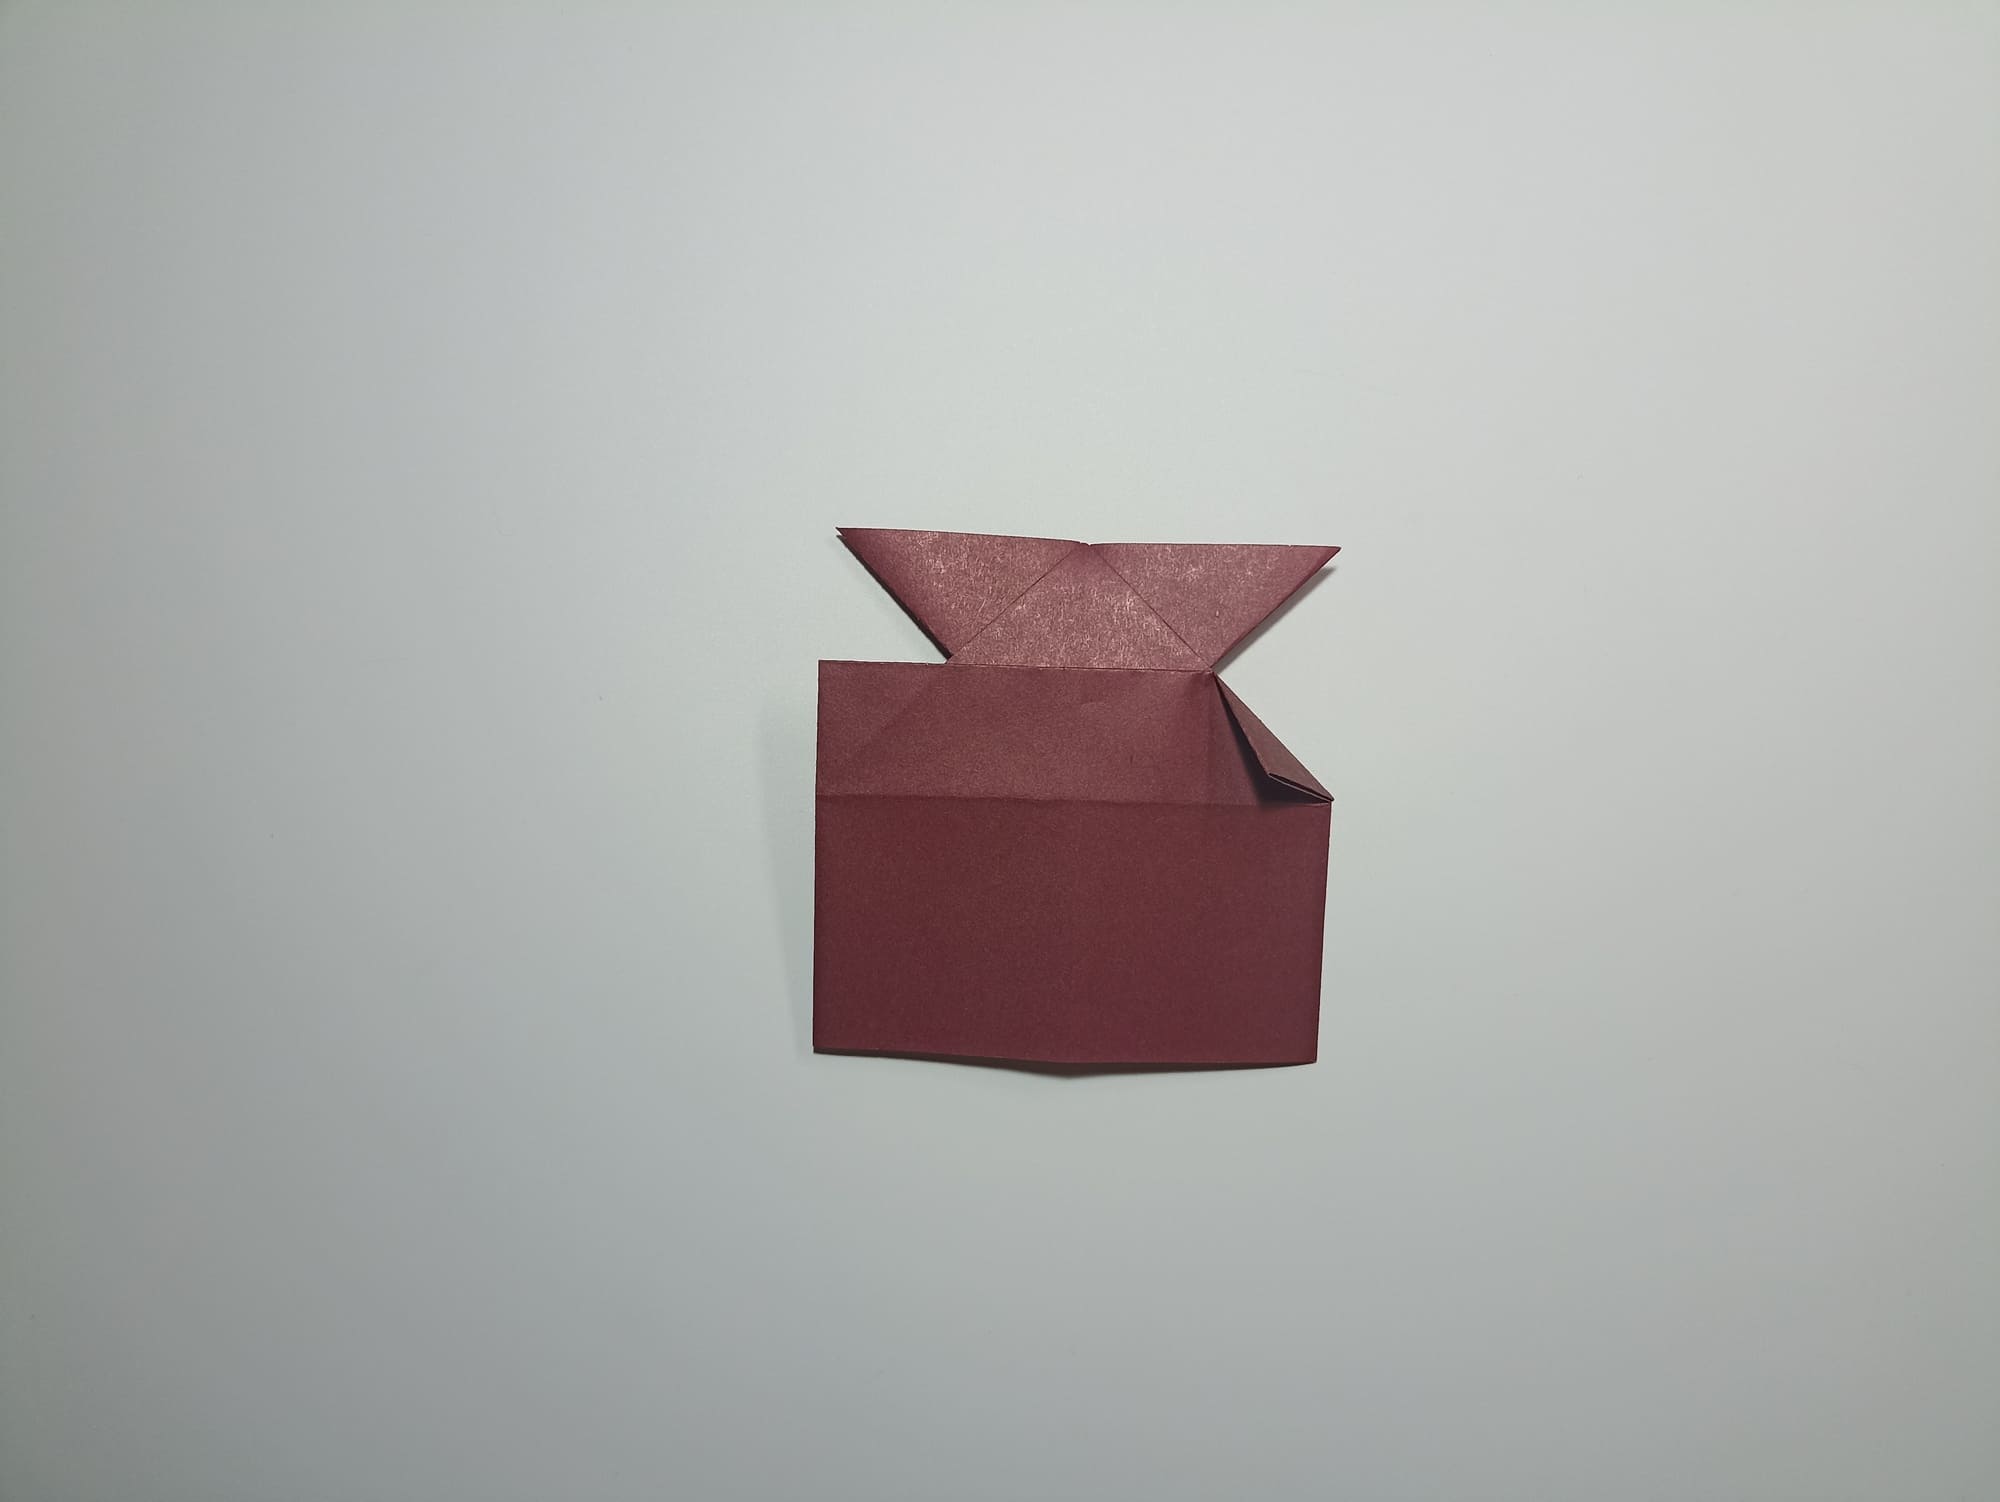
Tuck the corners of the rhombus under the sides aligned in the center.
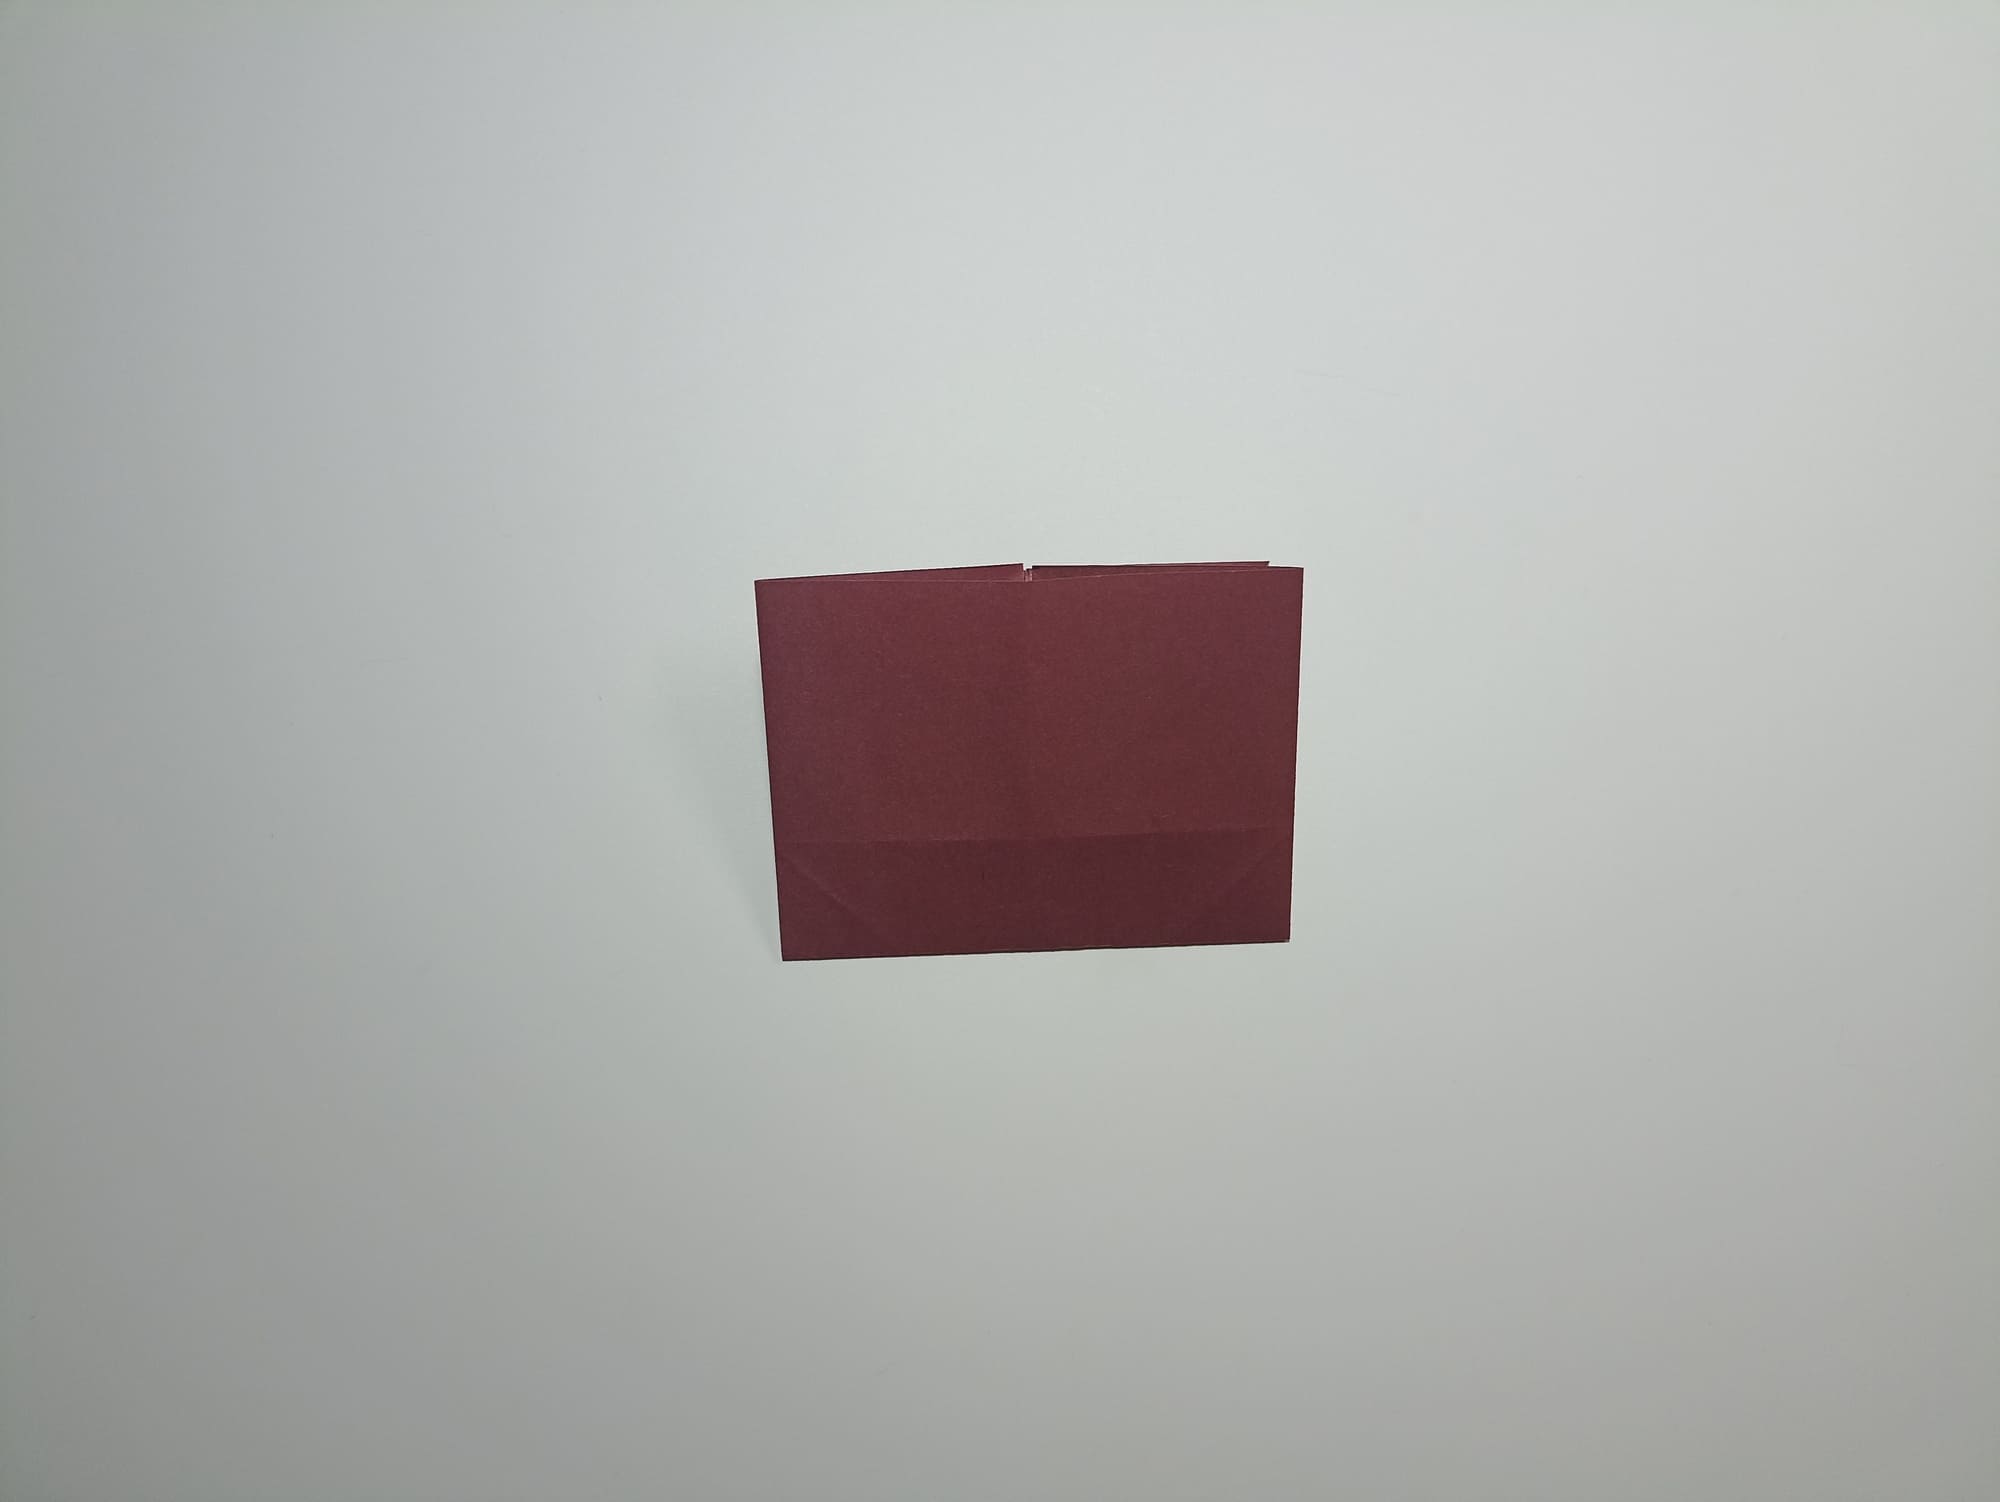
Fold the shape in half, turn it over, and fold the bottom edge along the line connecting the corners of the triangle at the base.
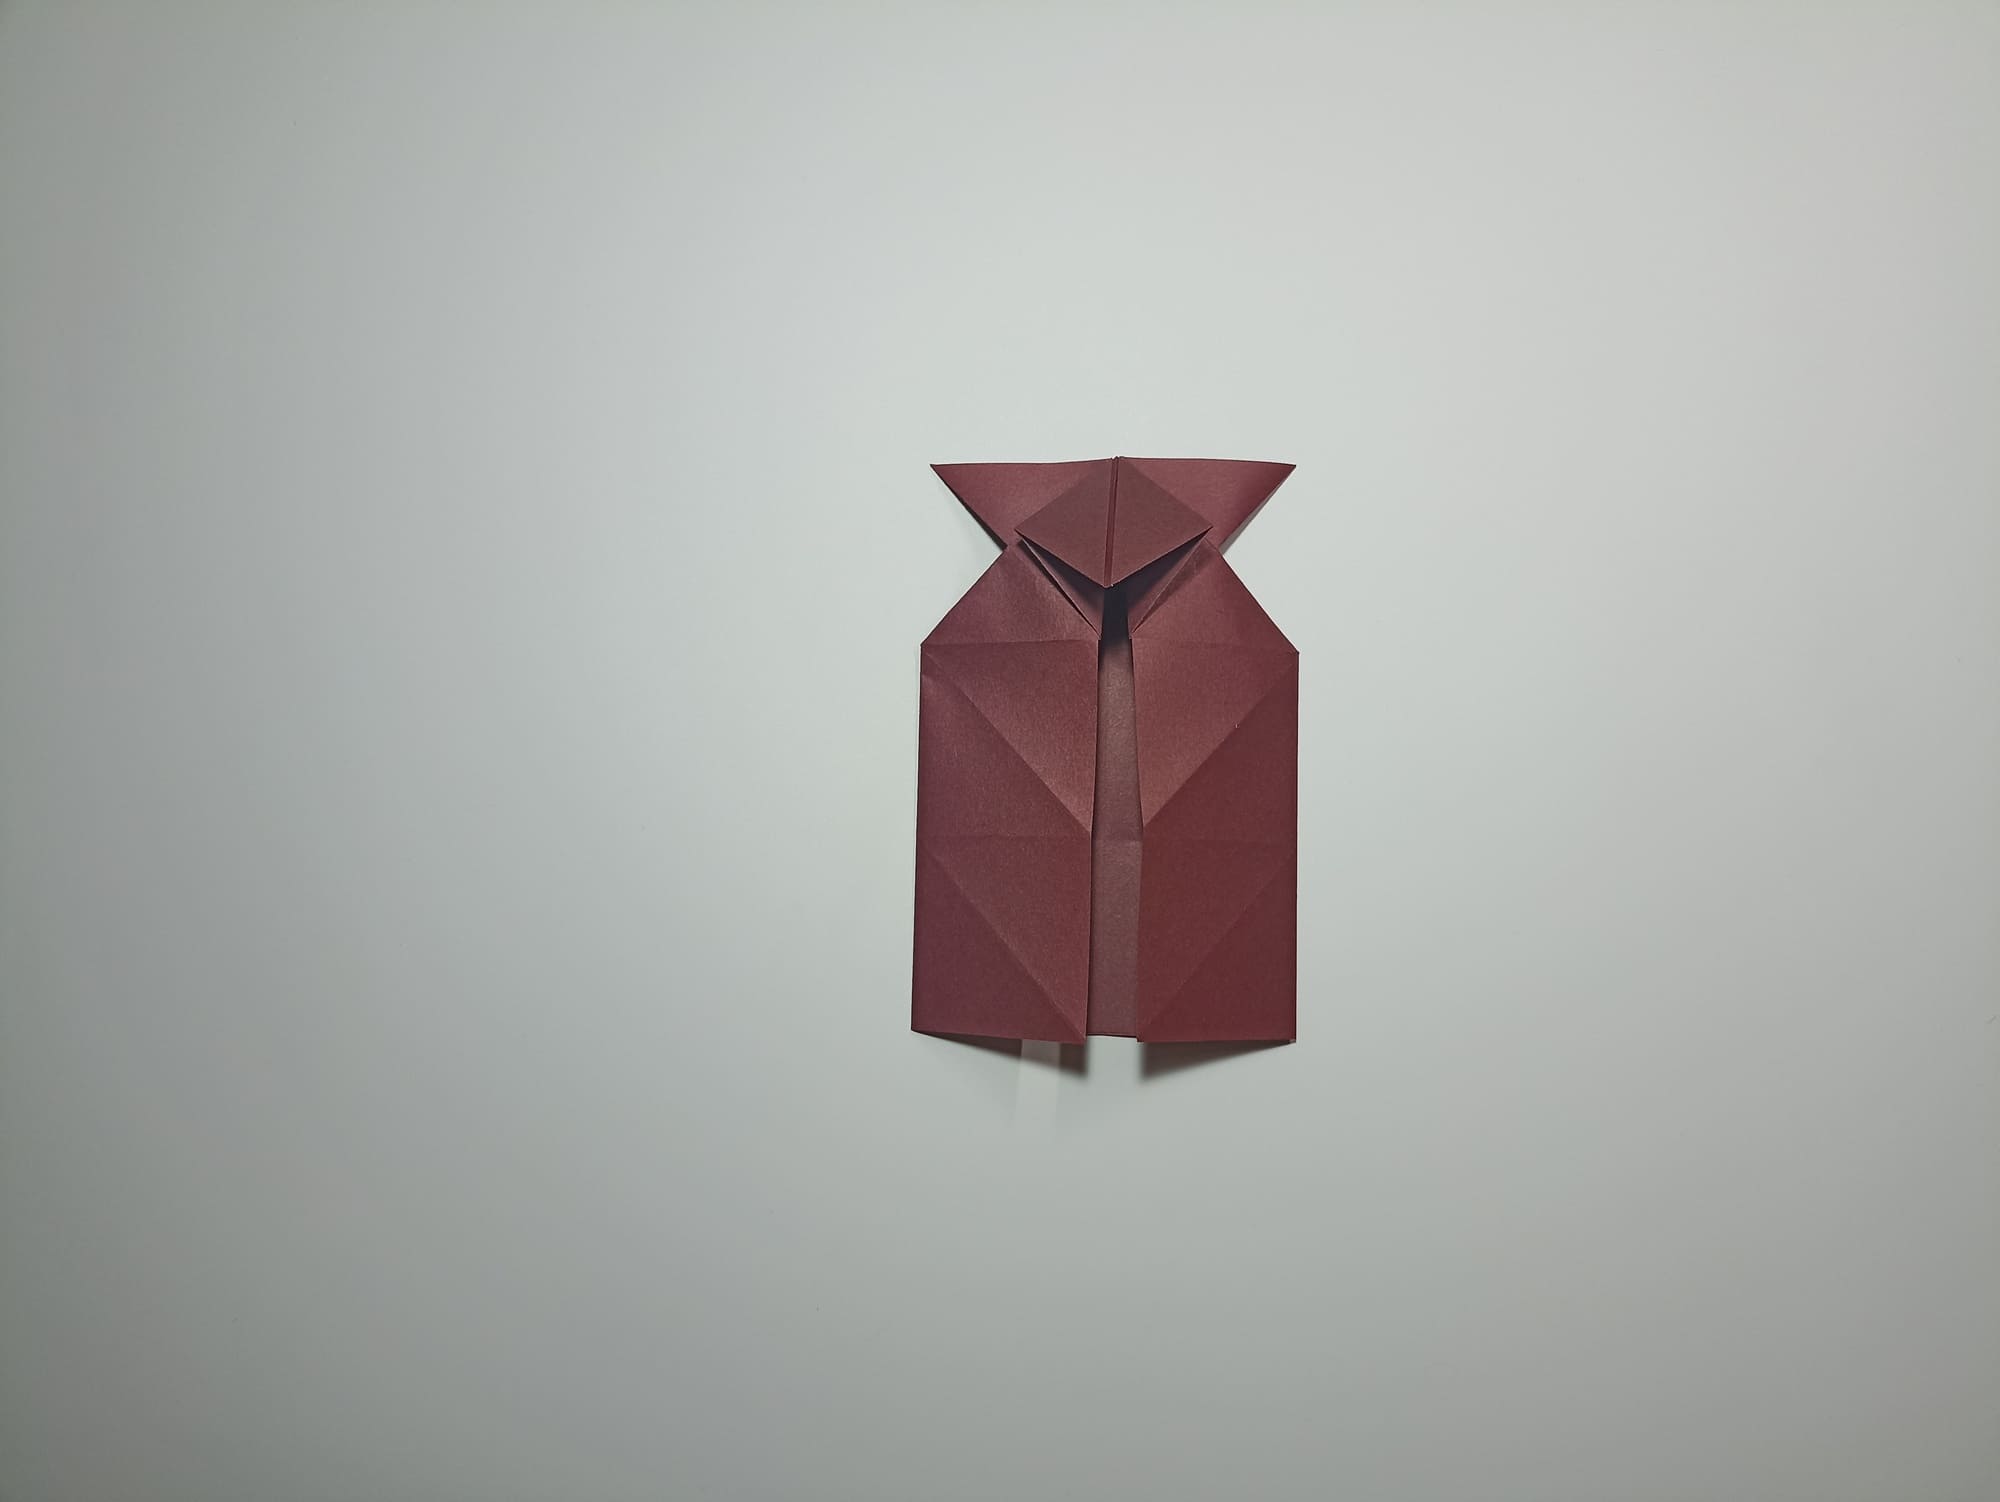
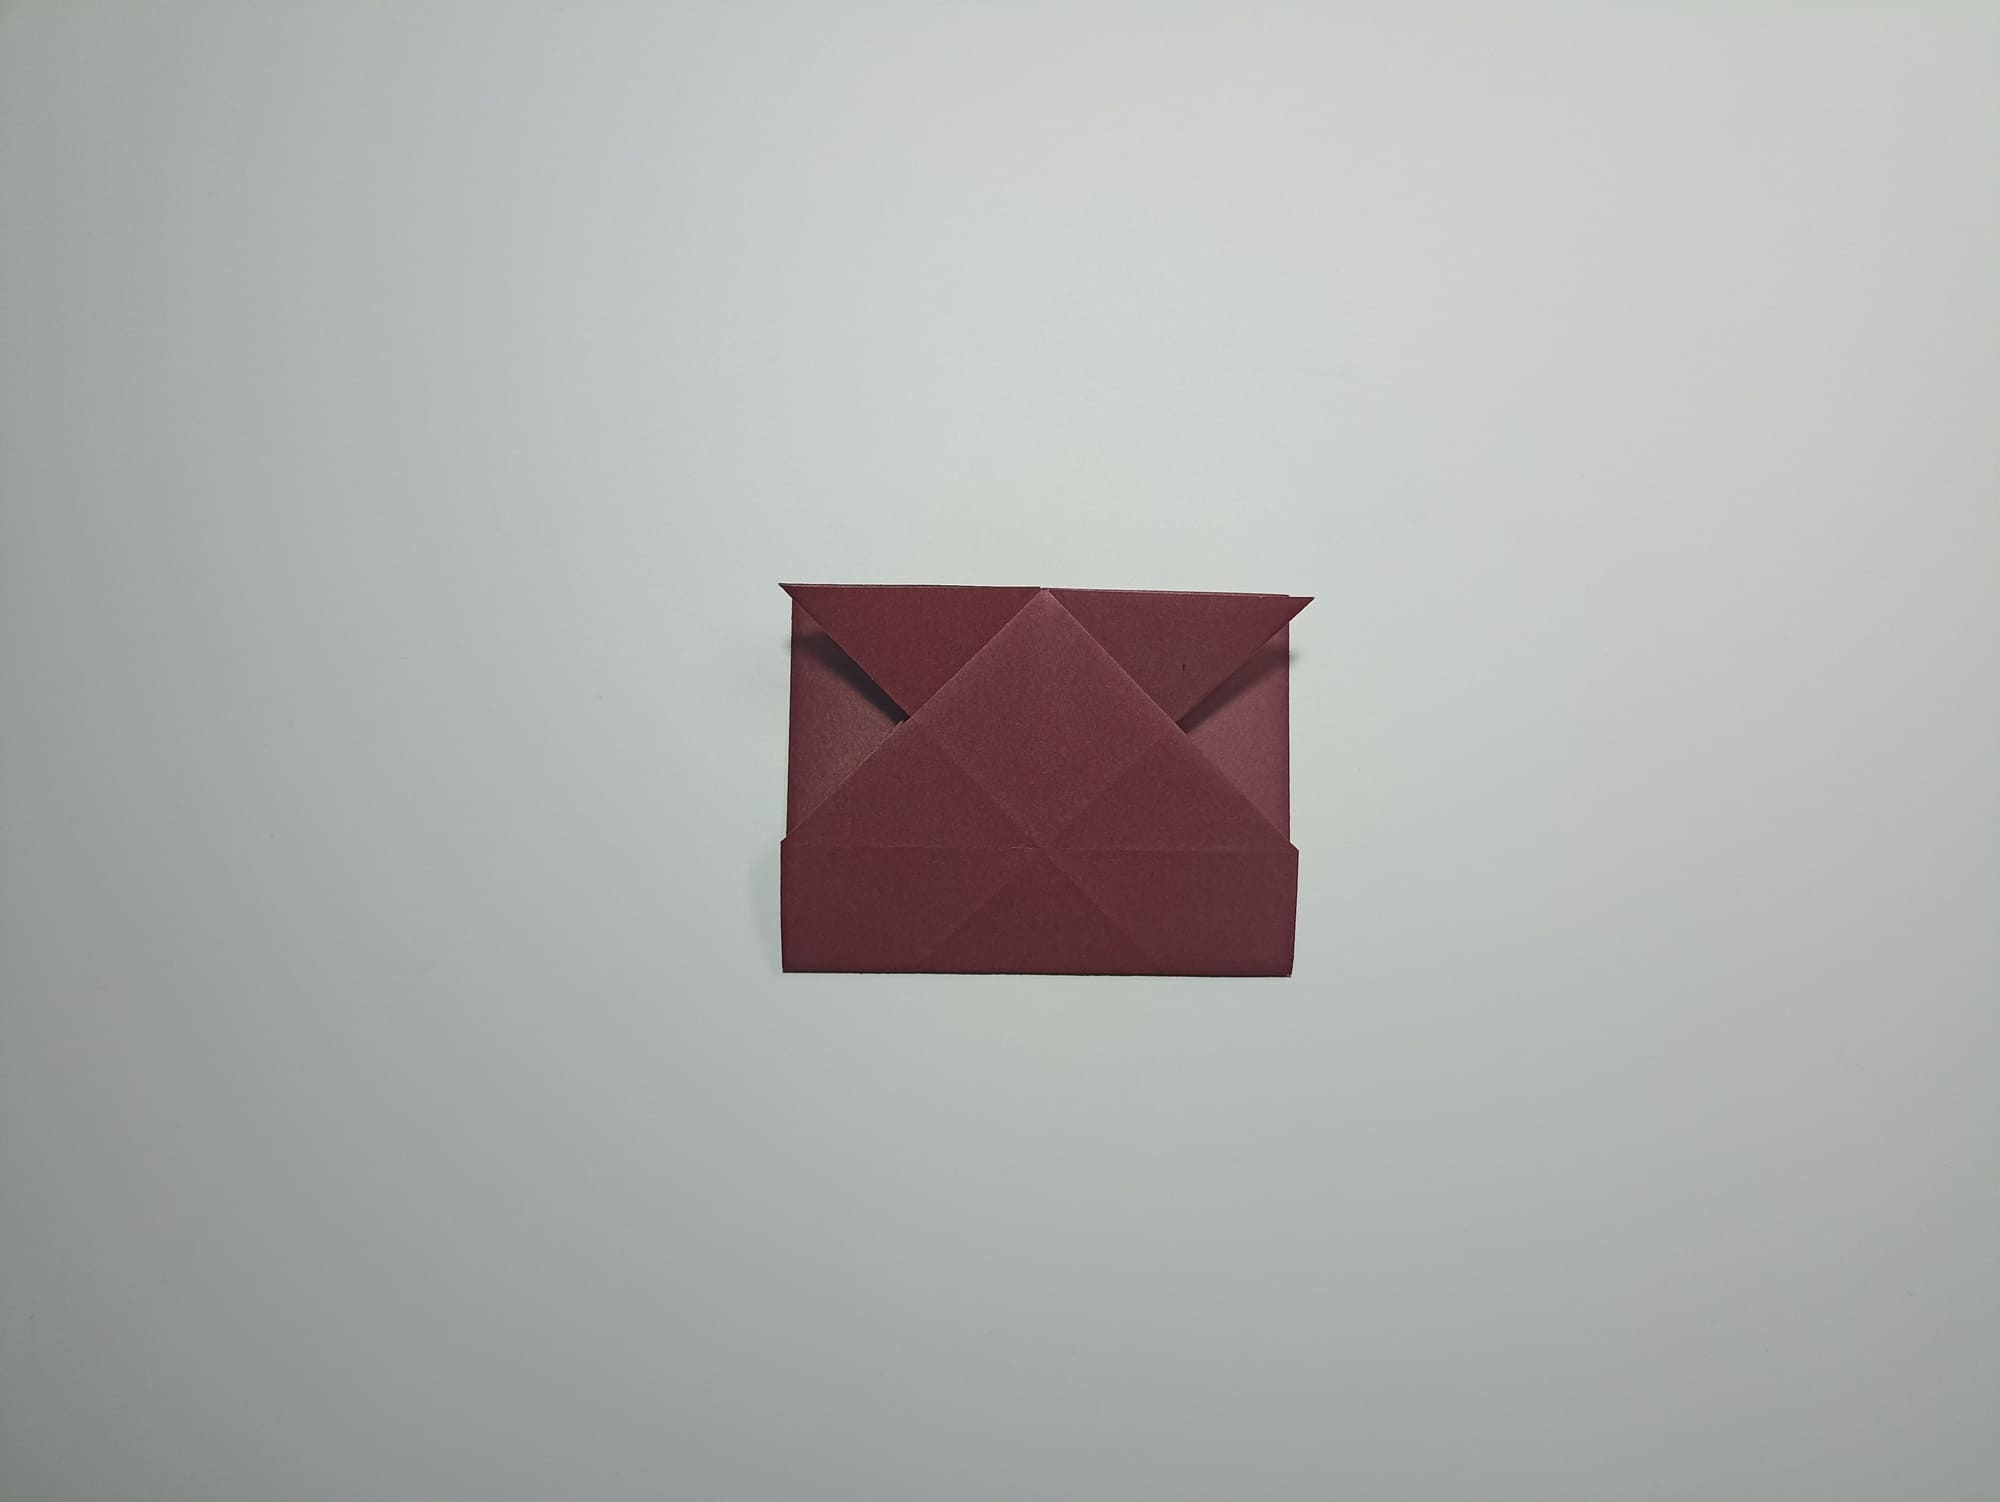
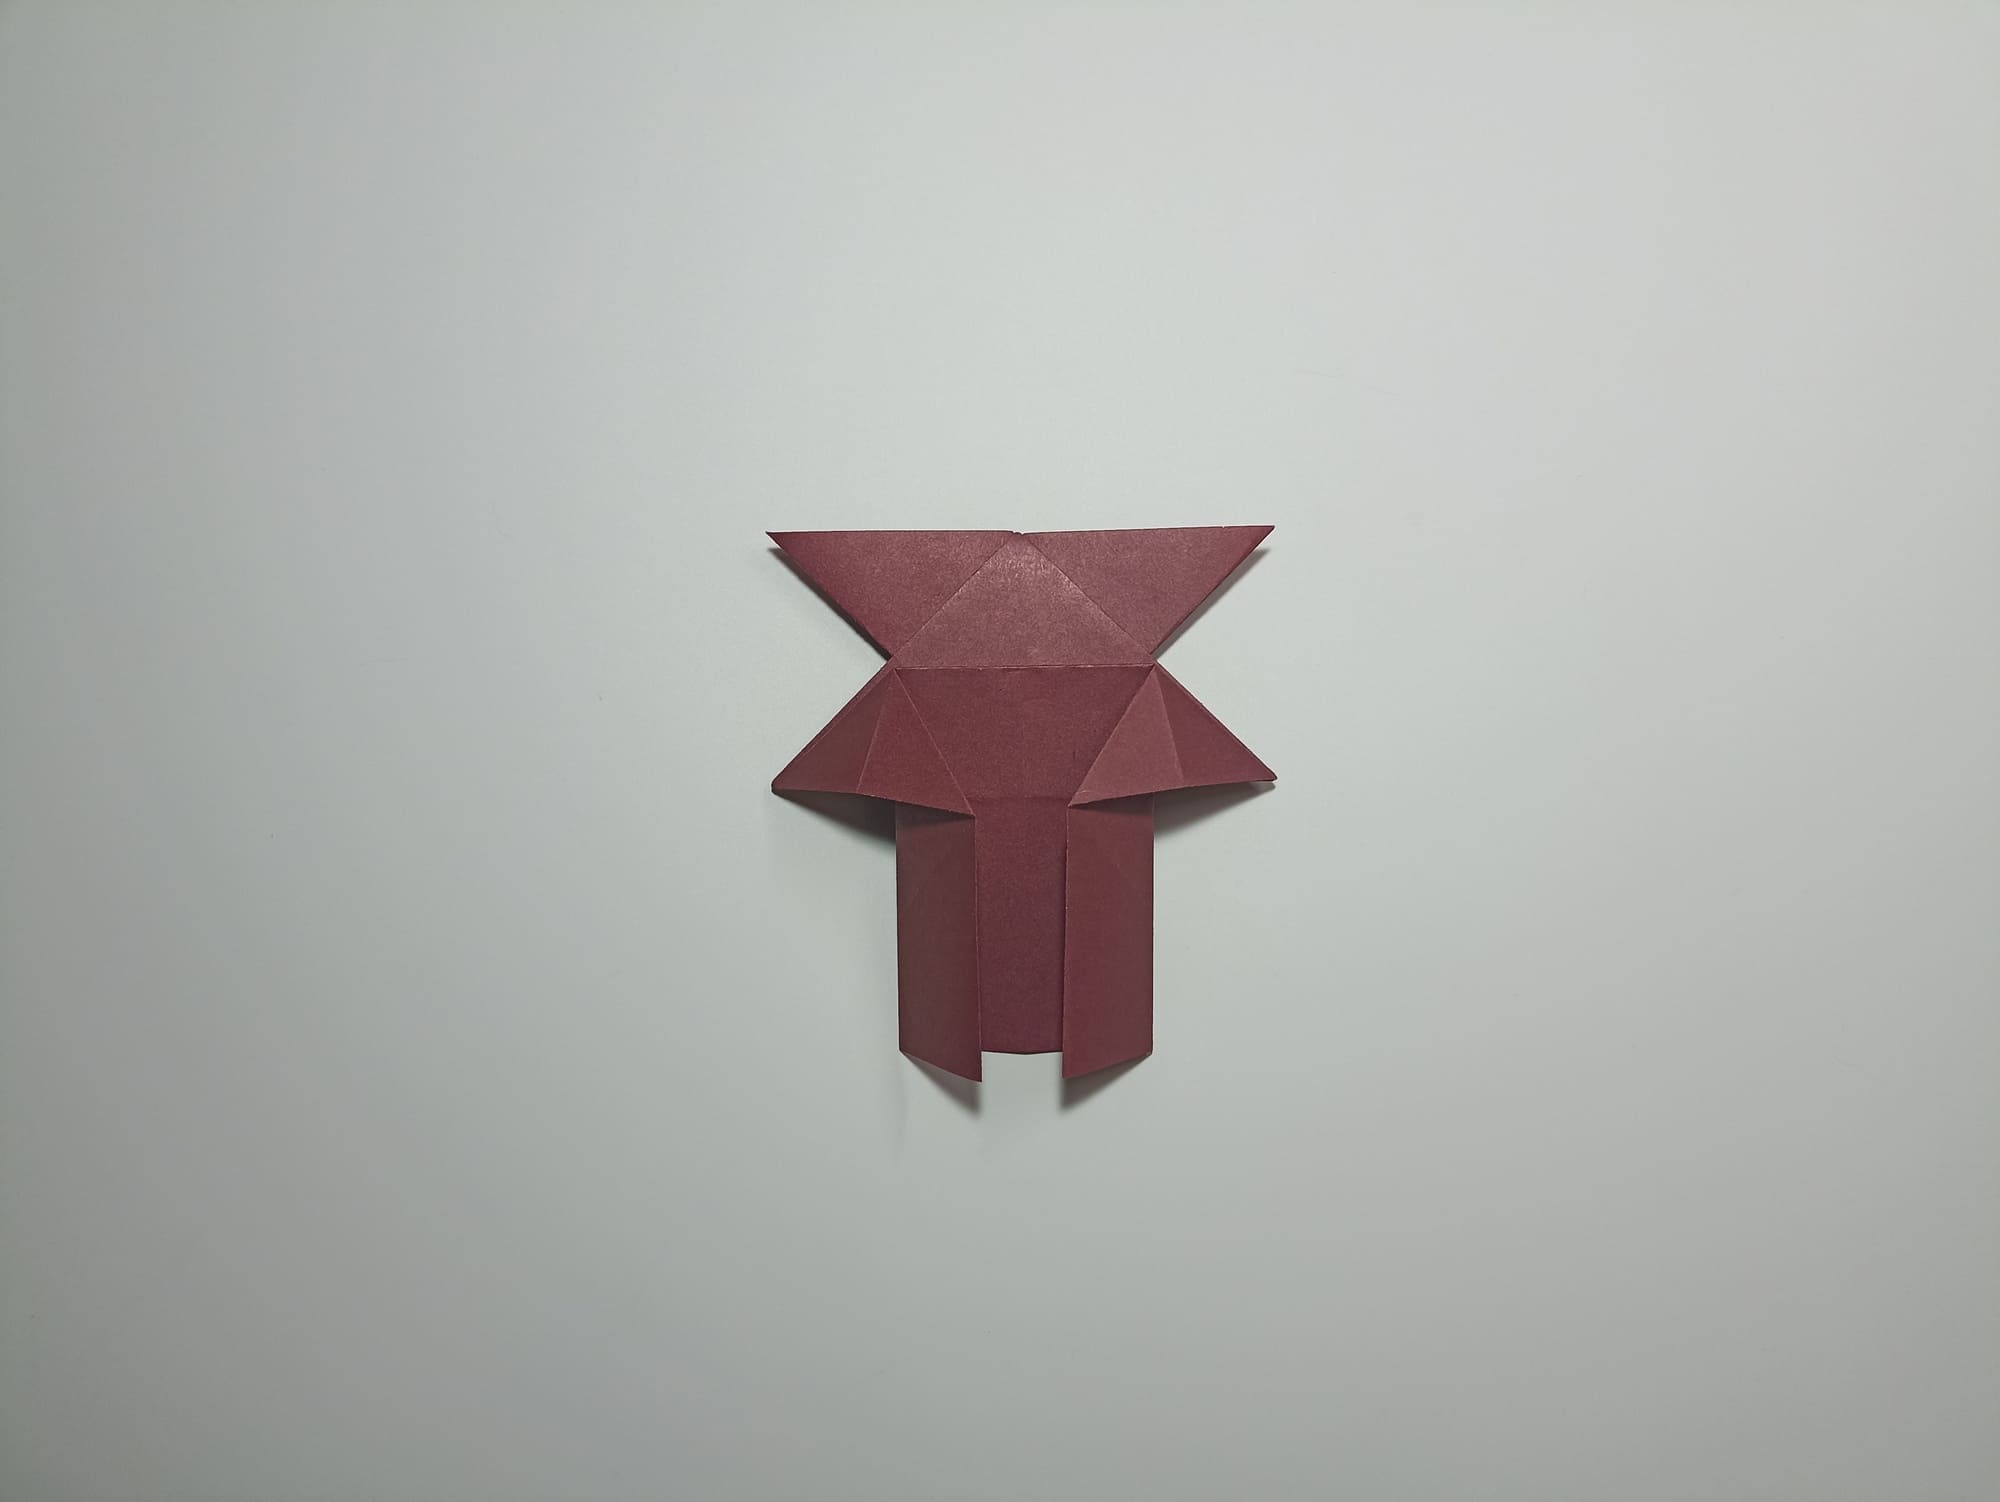
Straighten the bottom of the shape outward.
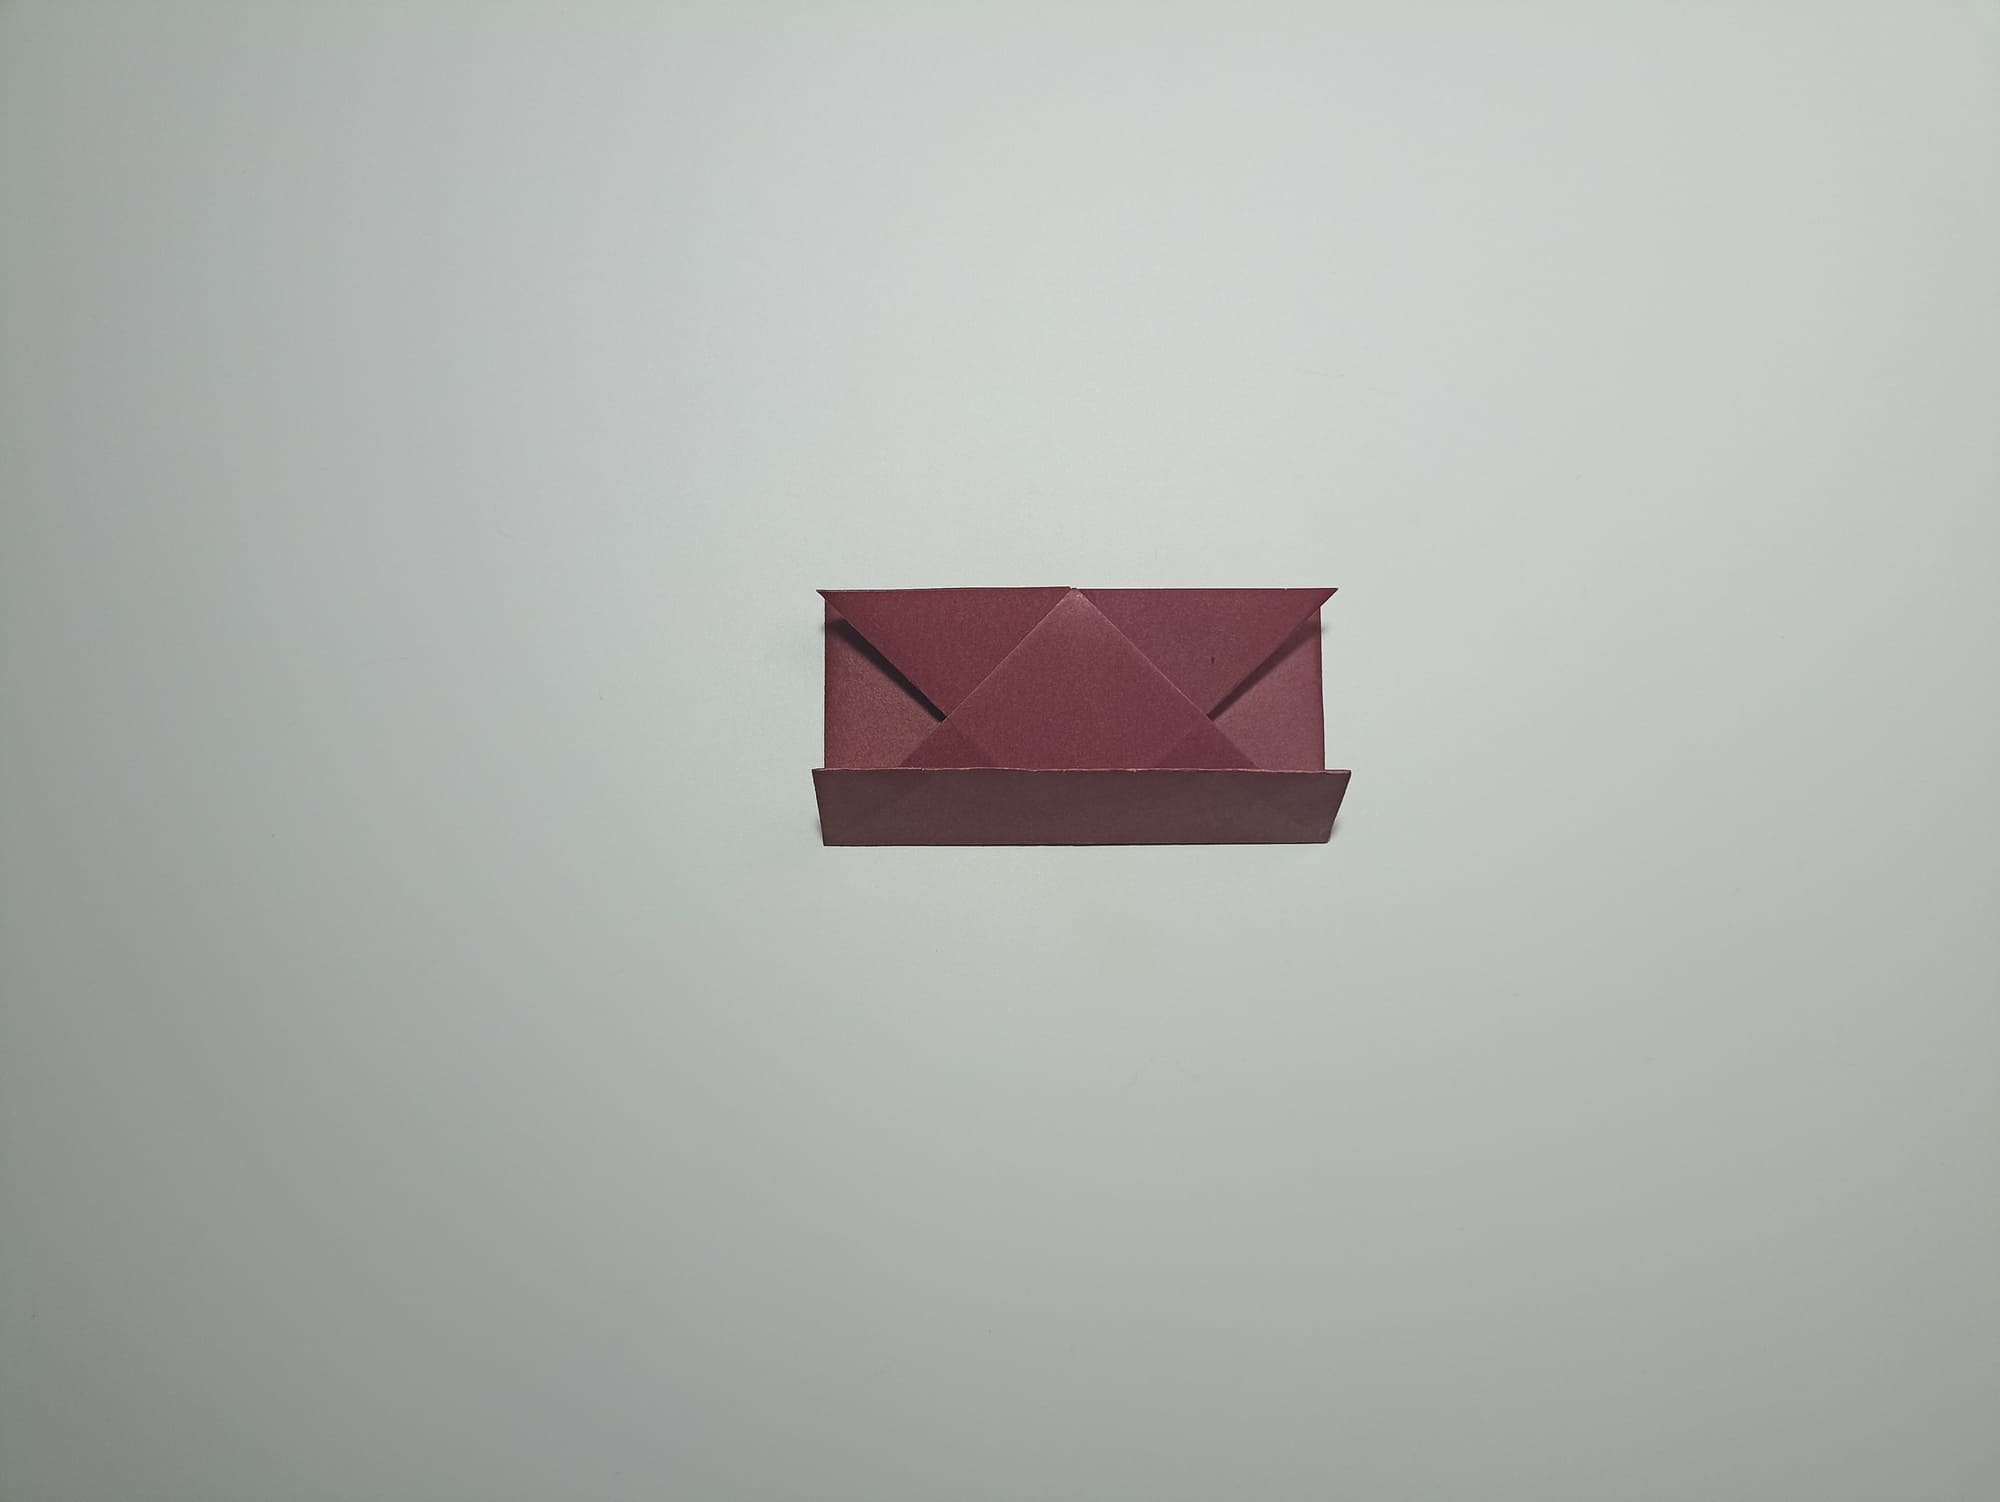
Fold the side corners of the rectangular base along the assisting line, connecting the sides in the middle.

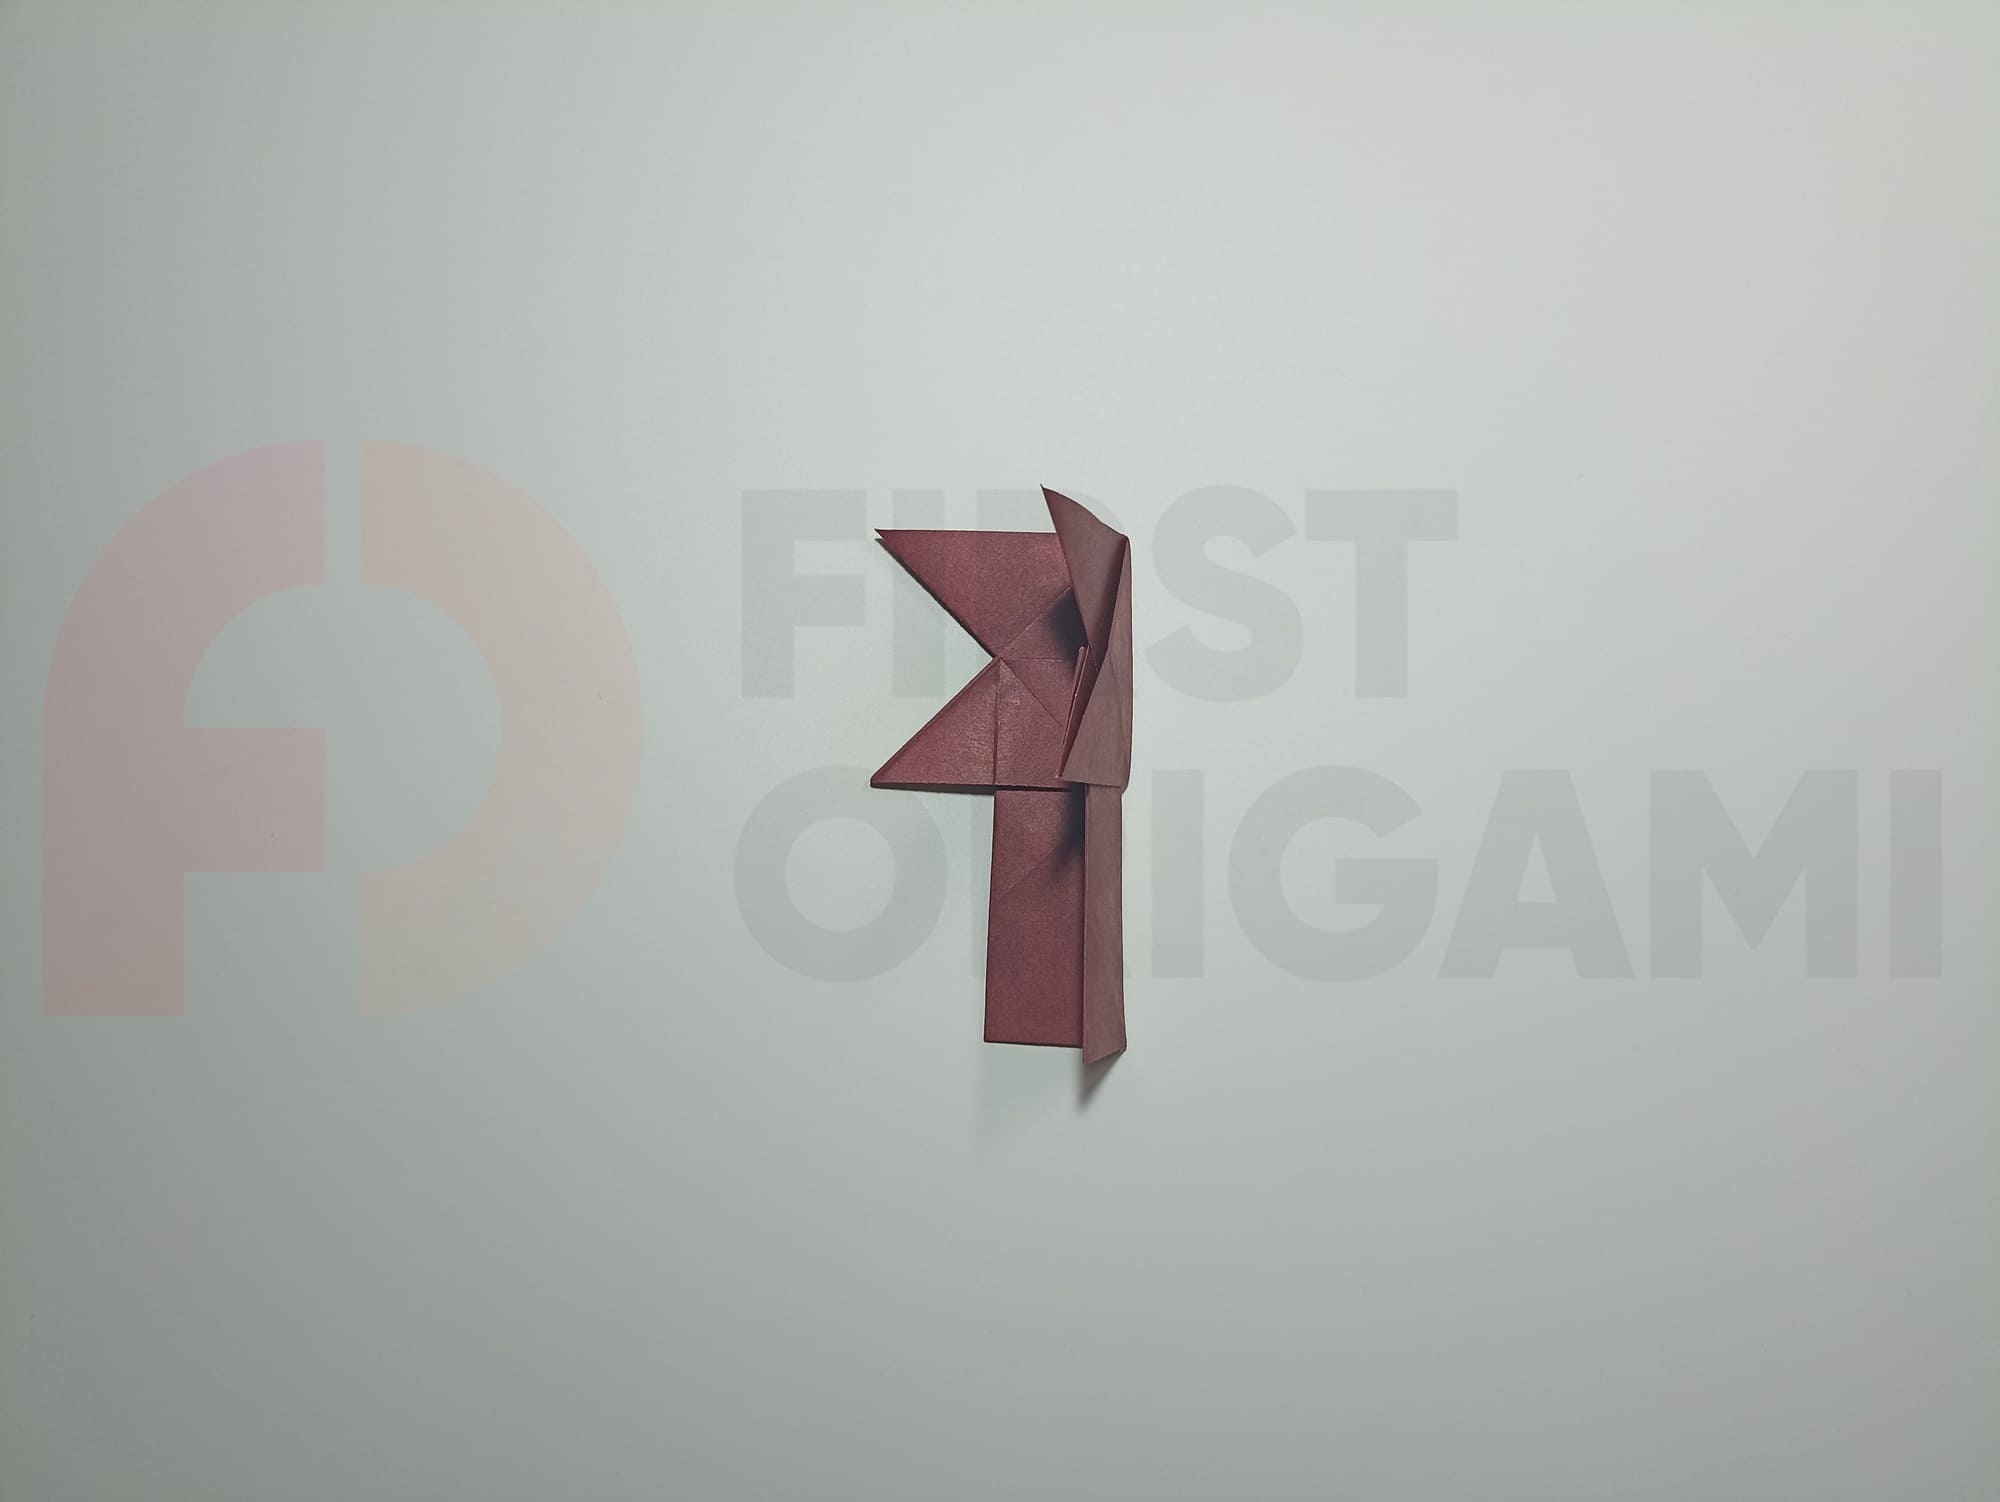
Fold the entire figure along the vertical middle line and turn the sharp corners down.
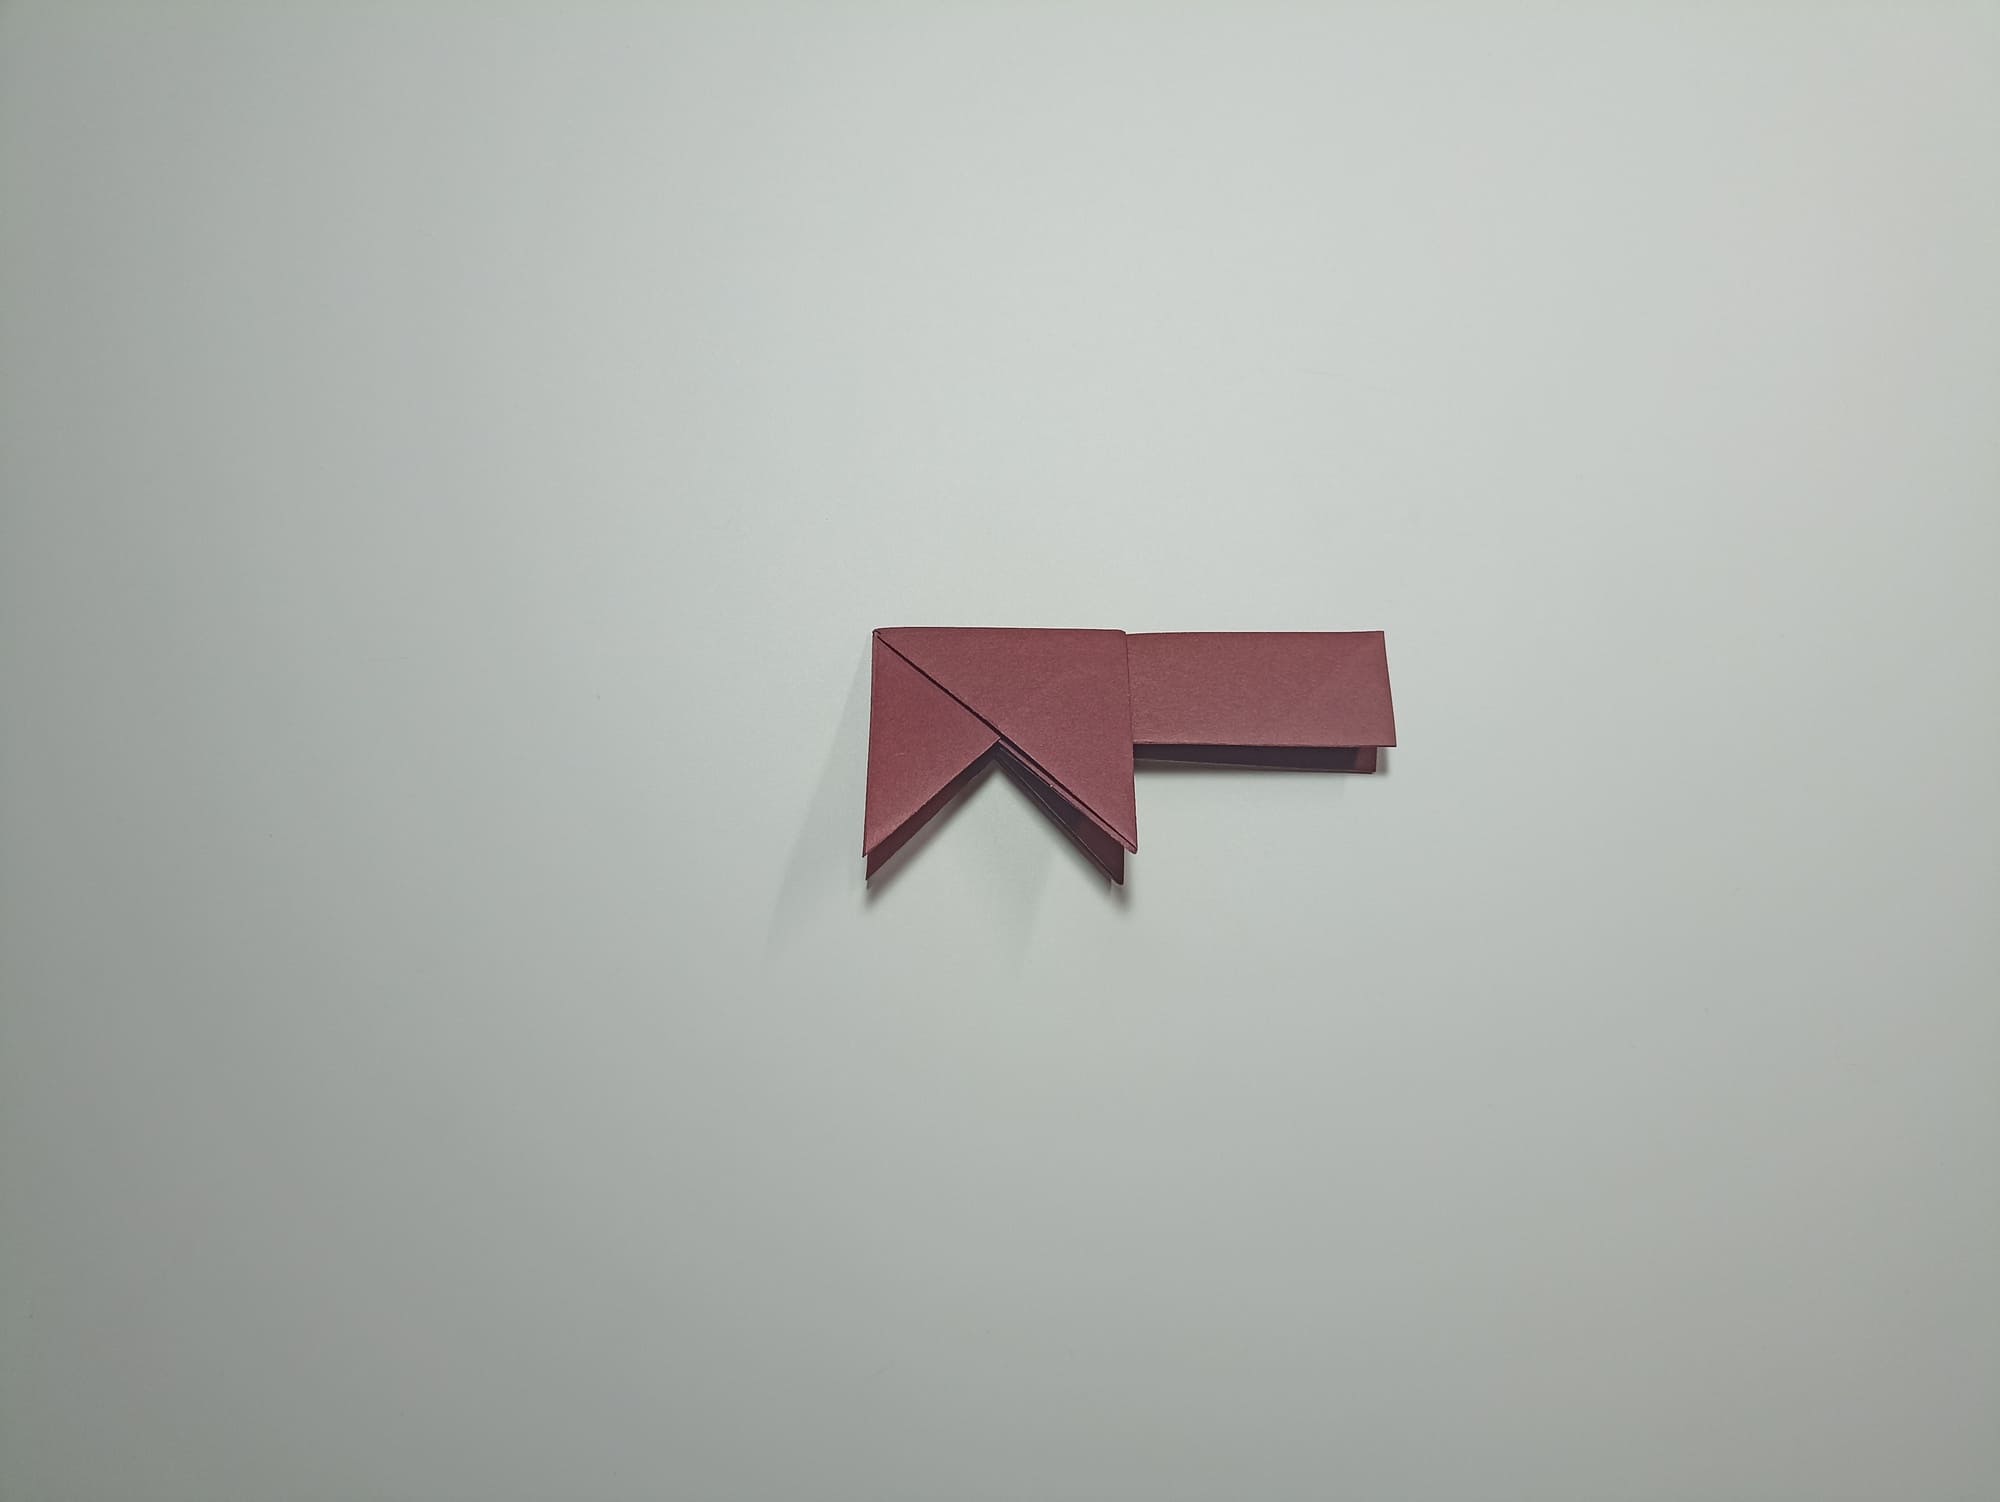
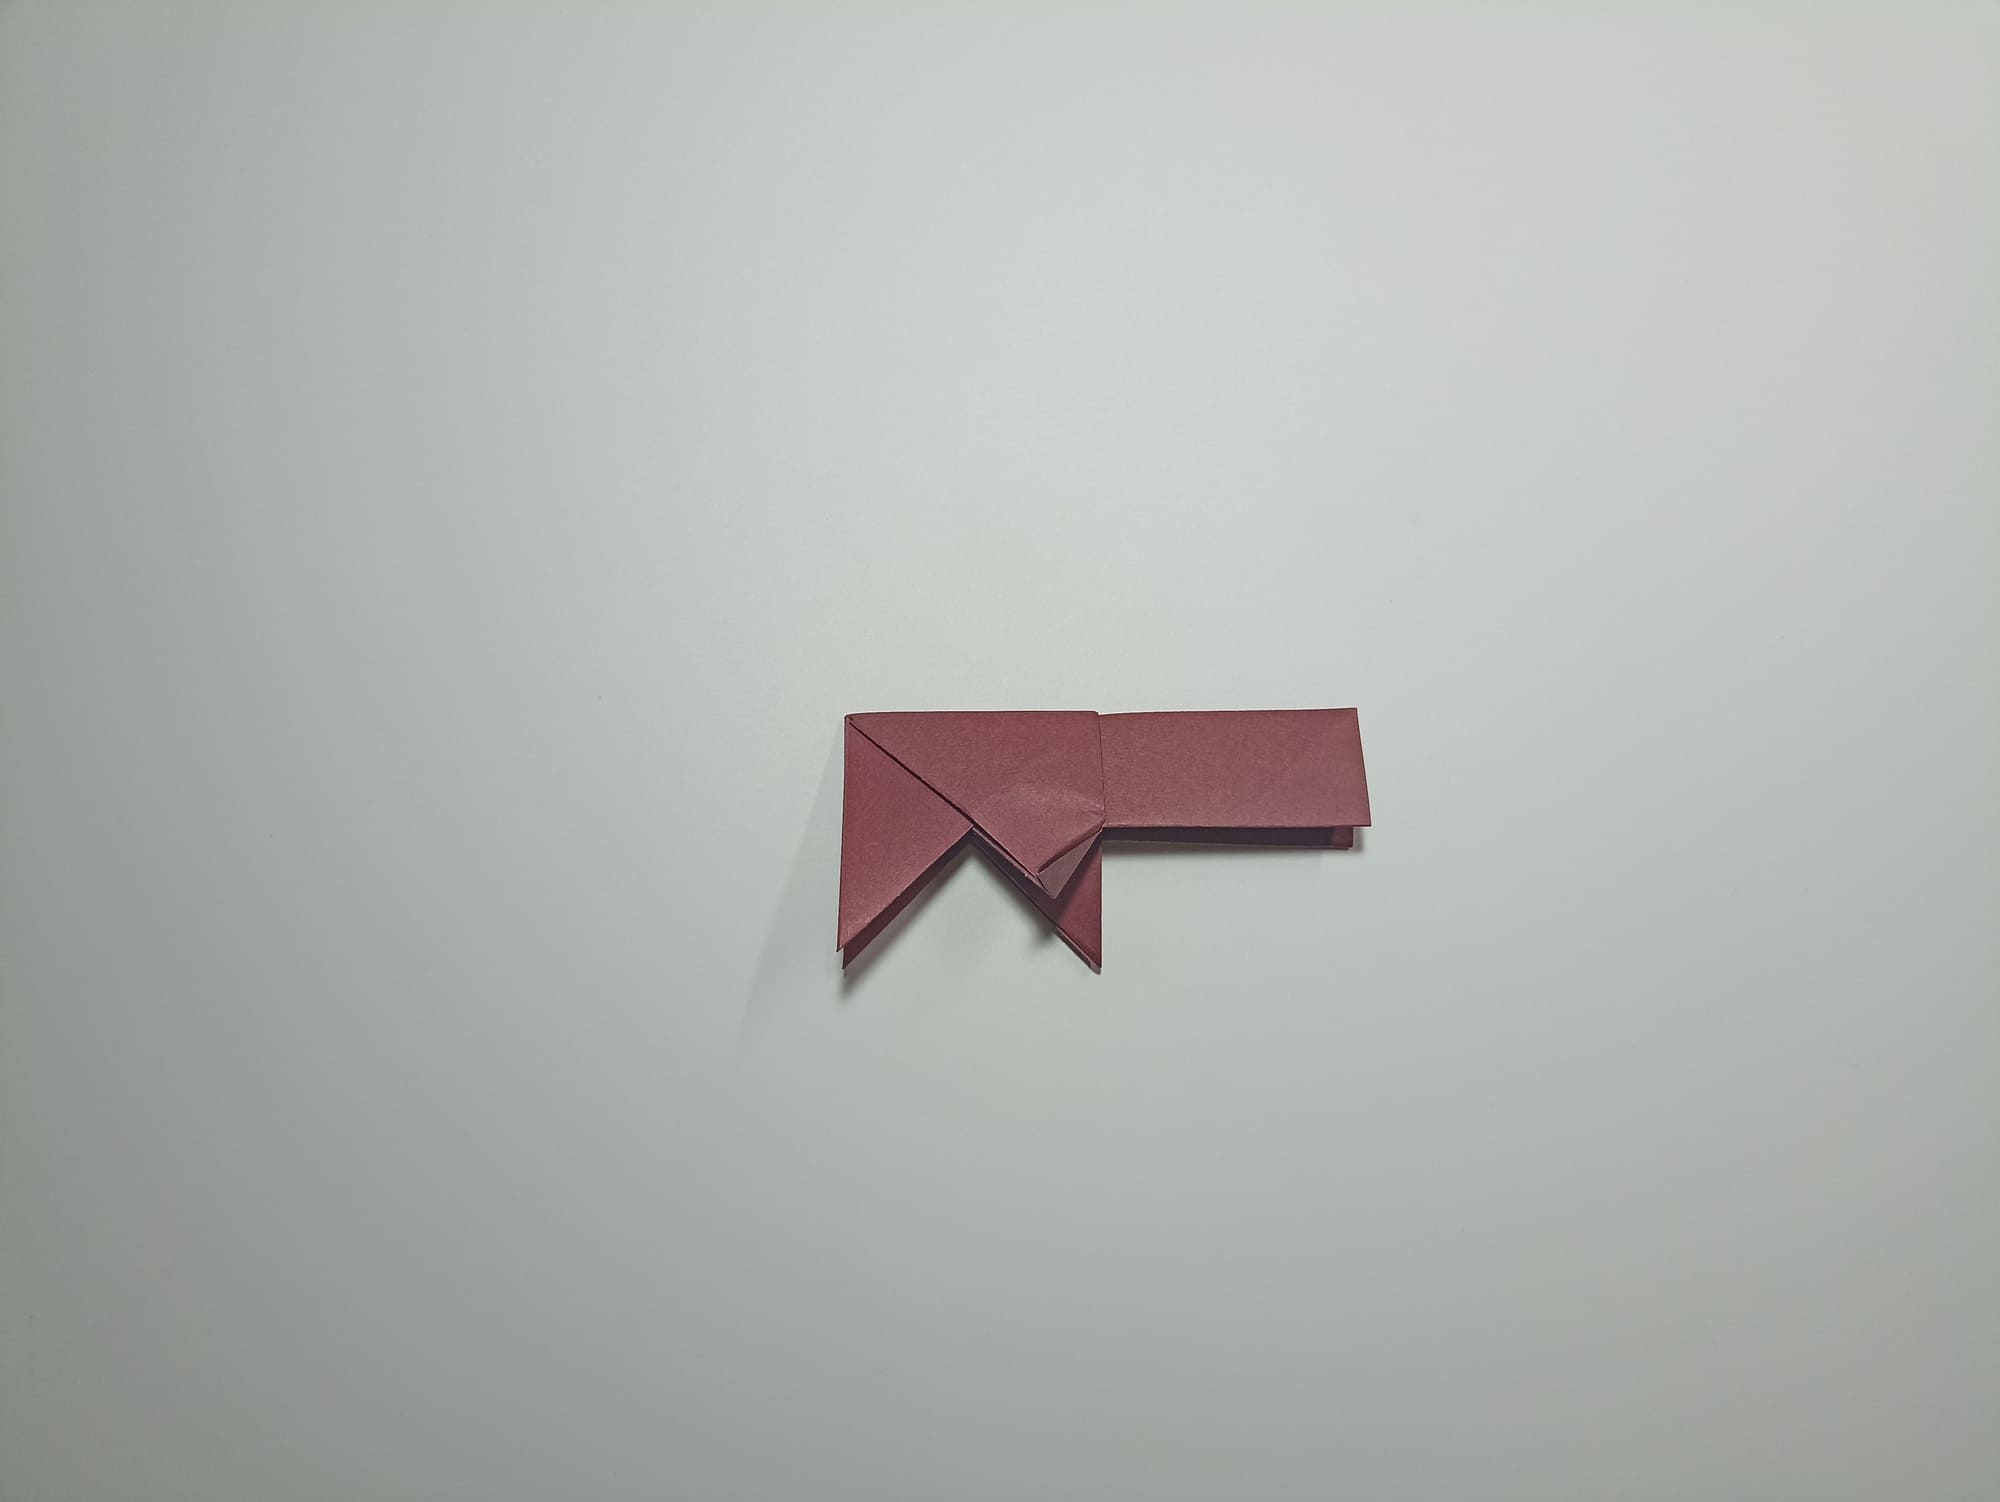
Form the folds of the front paws by forming a small accordion fold and focusing on the horizontal position of the sole.

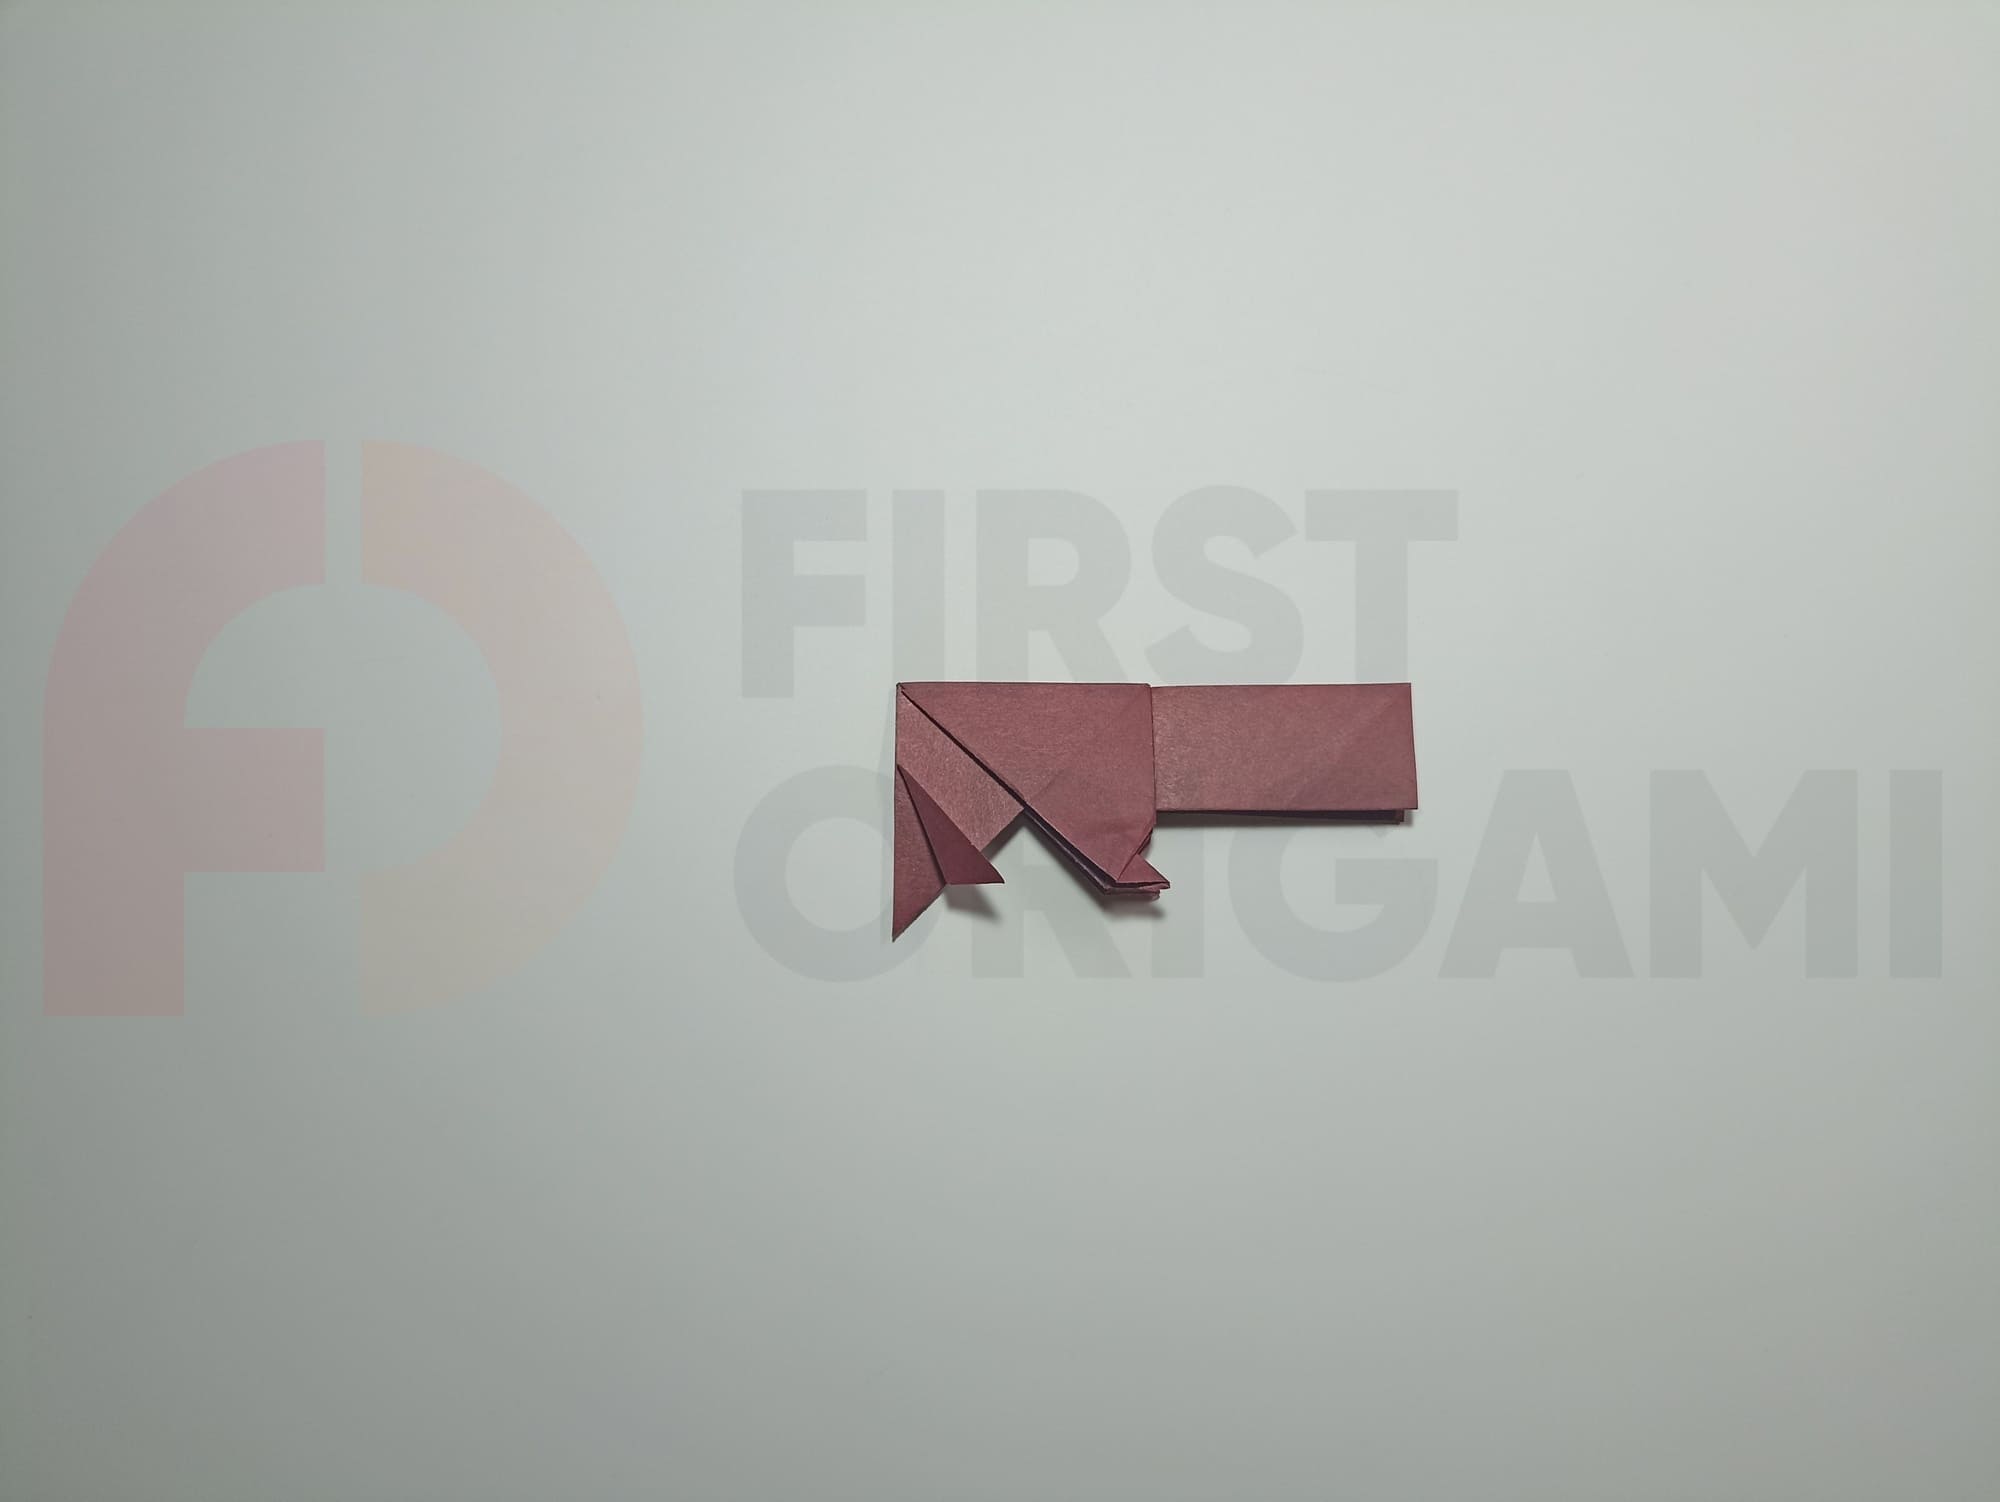
Shape the hind legs, making a fold directed inward.
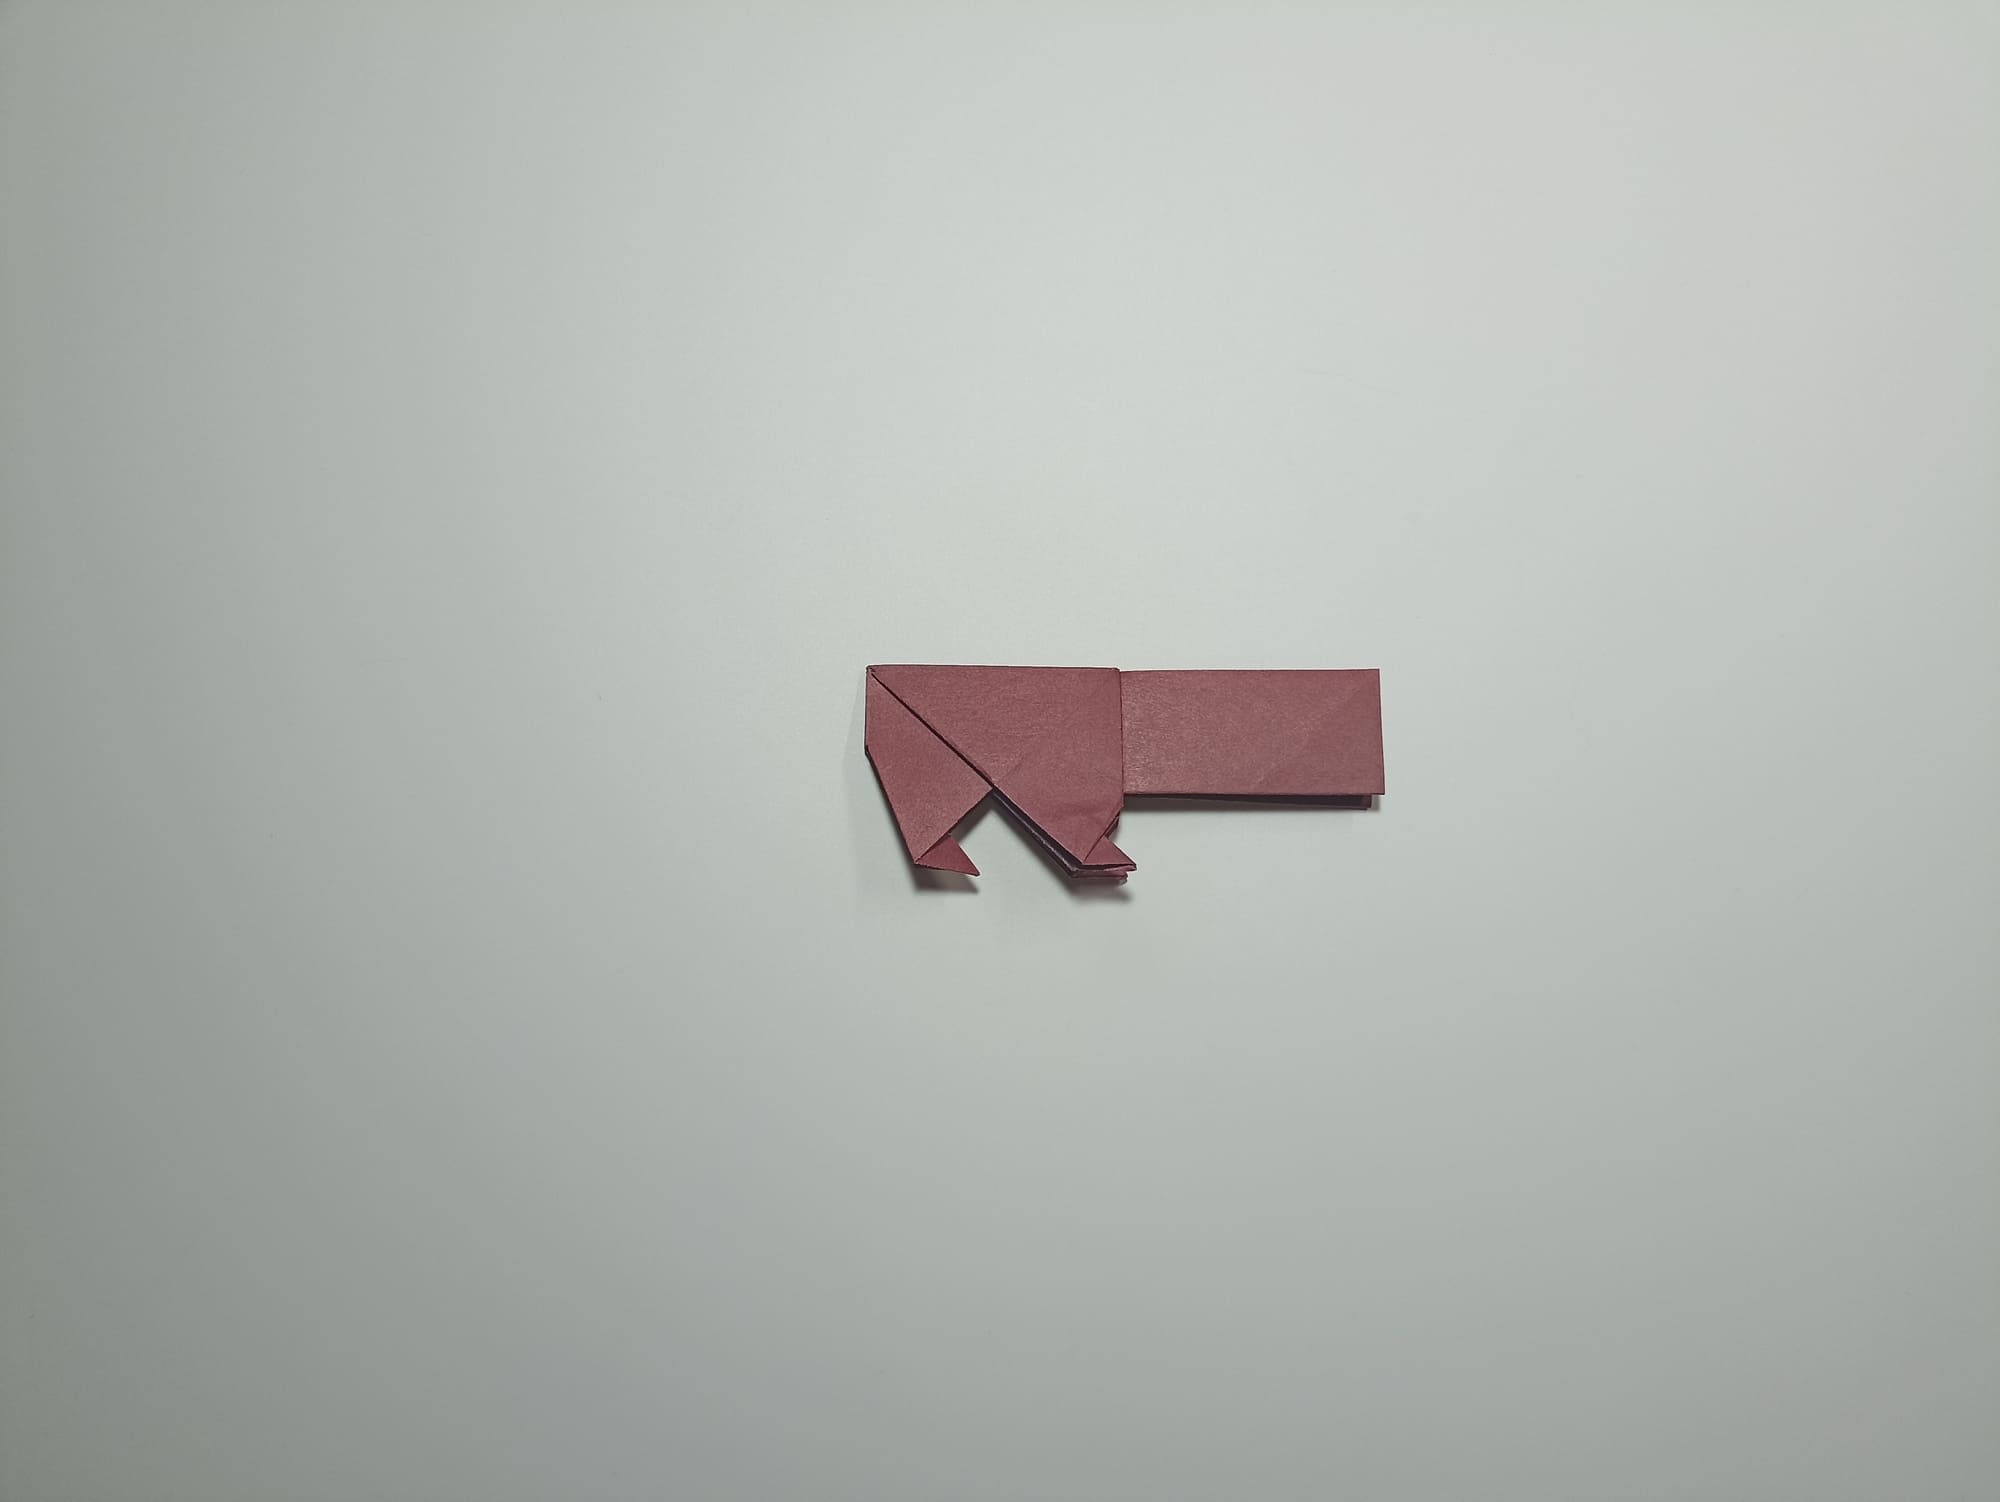
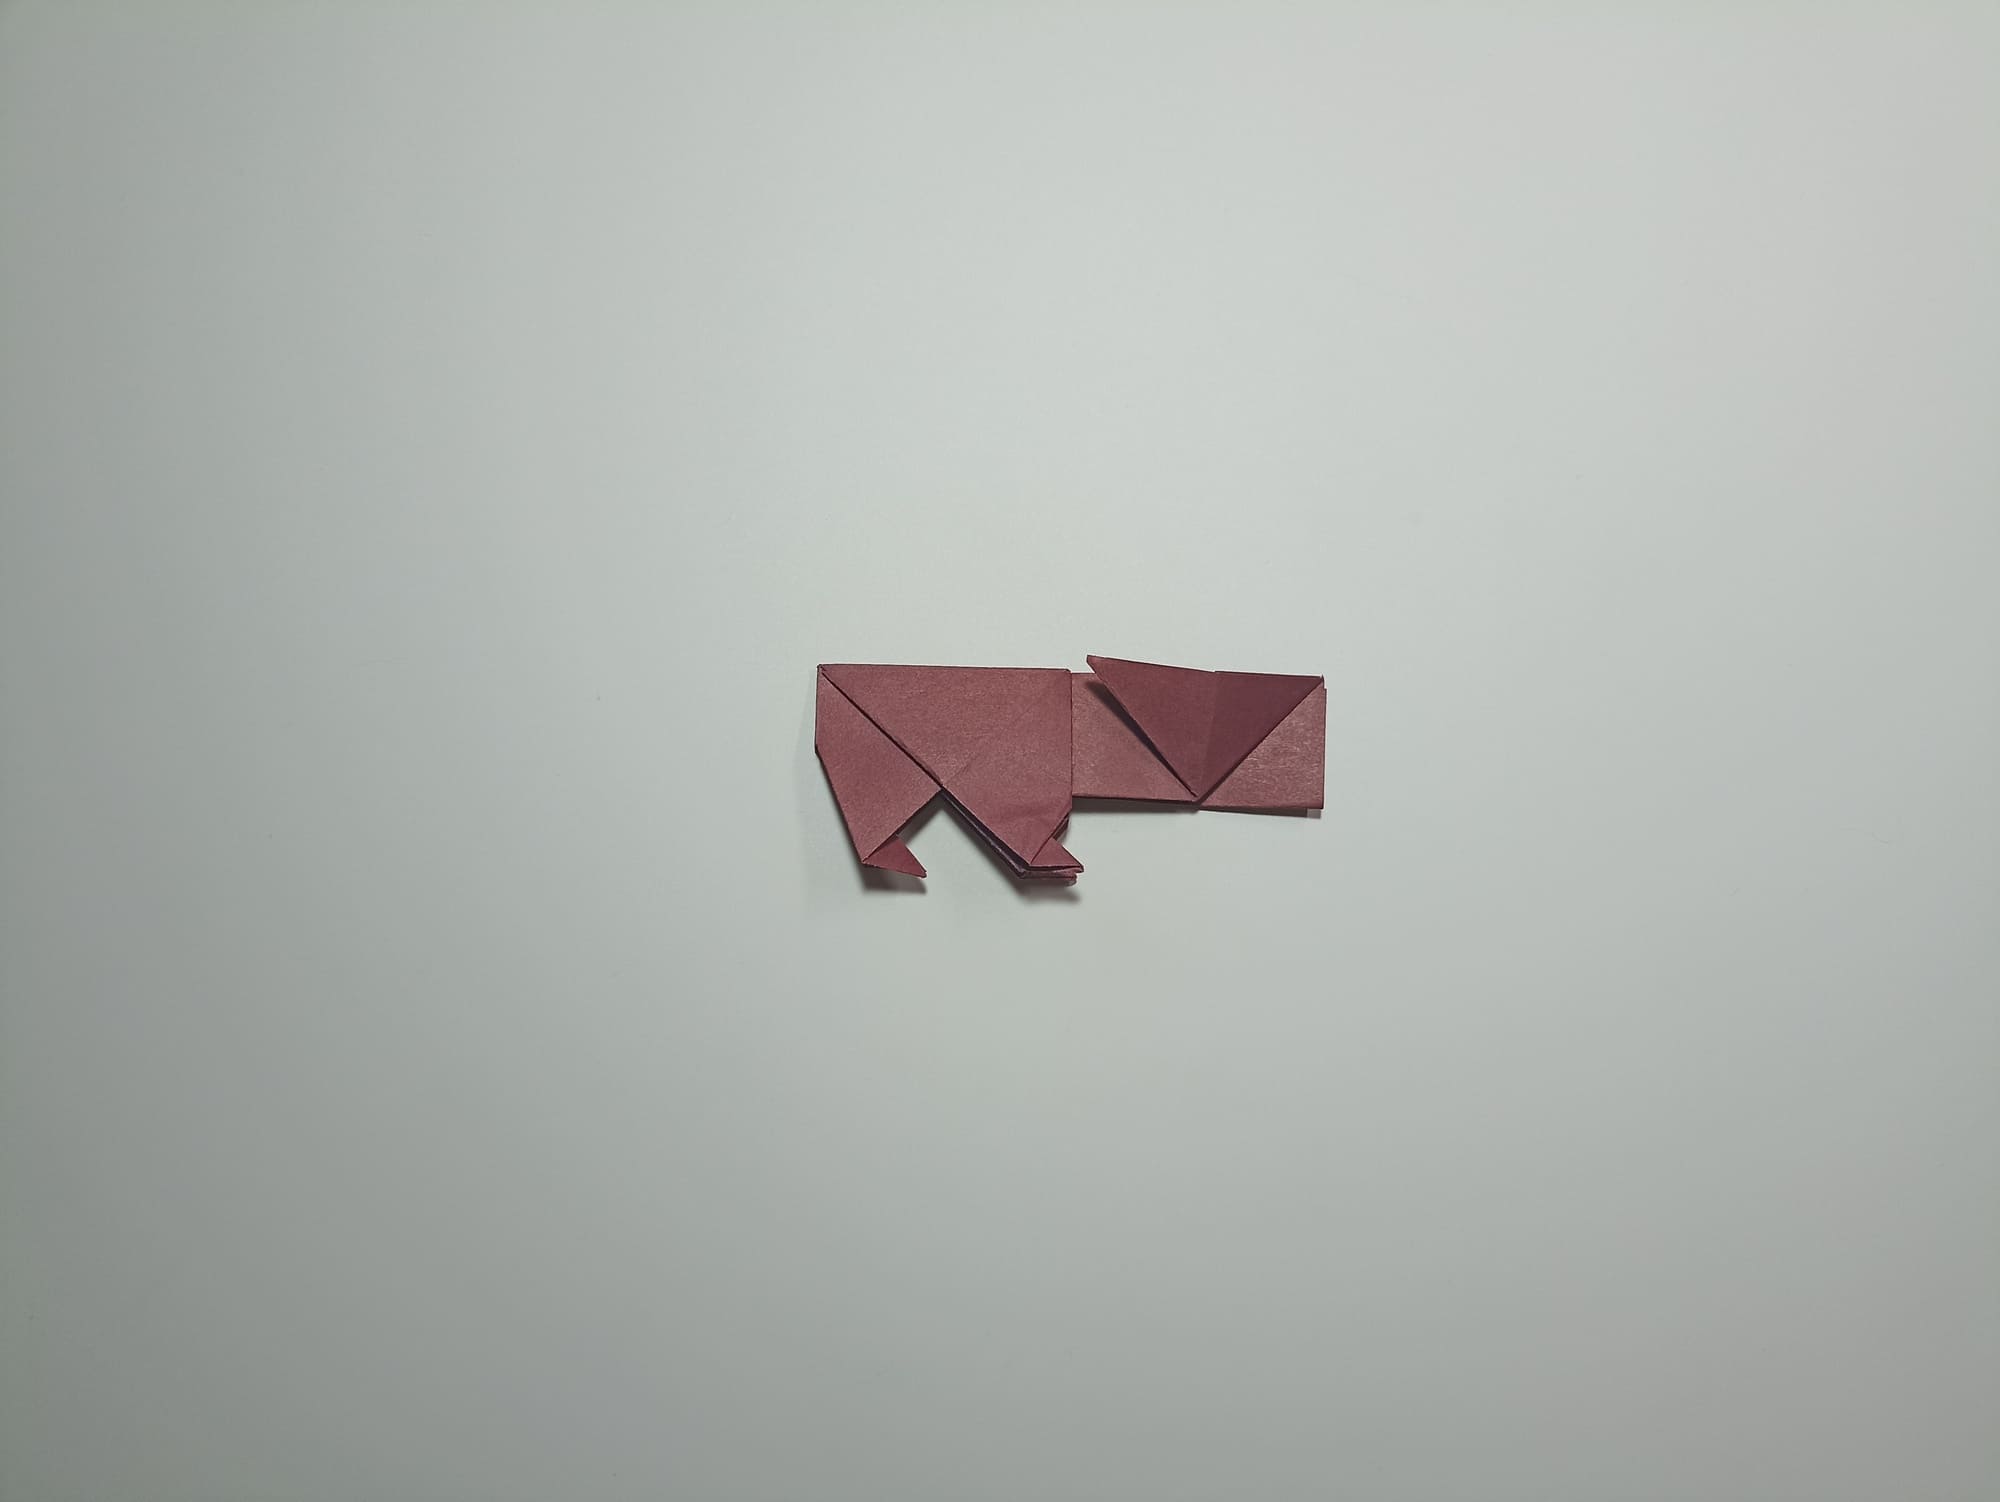
To decorate the head of the figure, unfold each layer of the rectangle into a triangle, aligning the side with the top and connecting the side located closer to the body along the midline.
Outline the fold of the neck. The fold is a continuation of the line of the front legs.
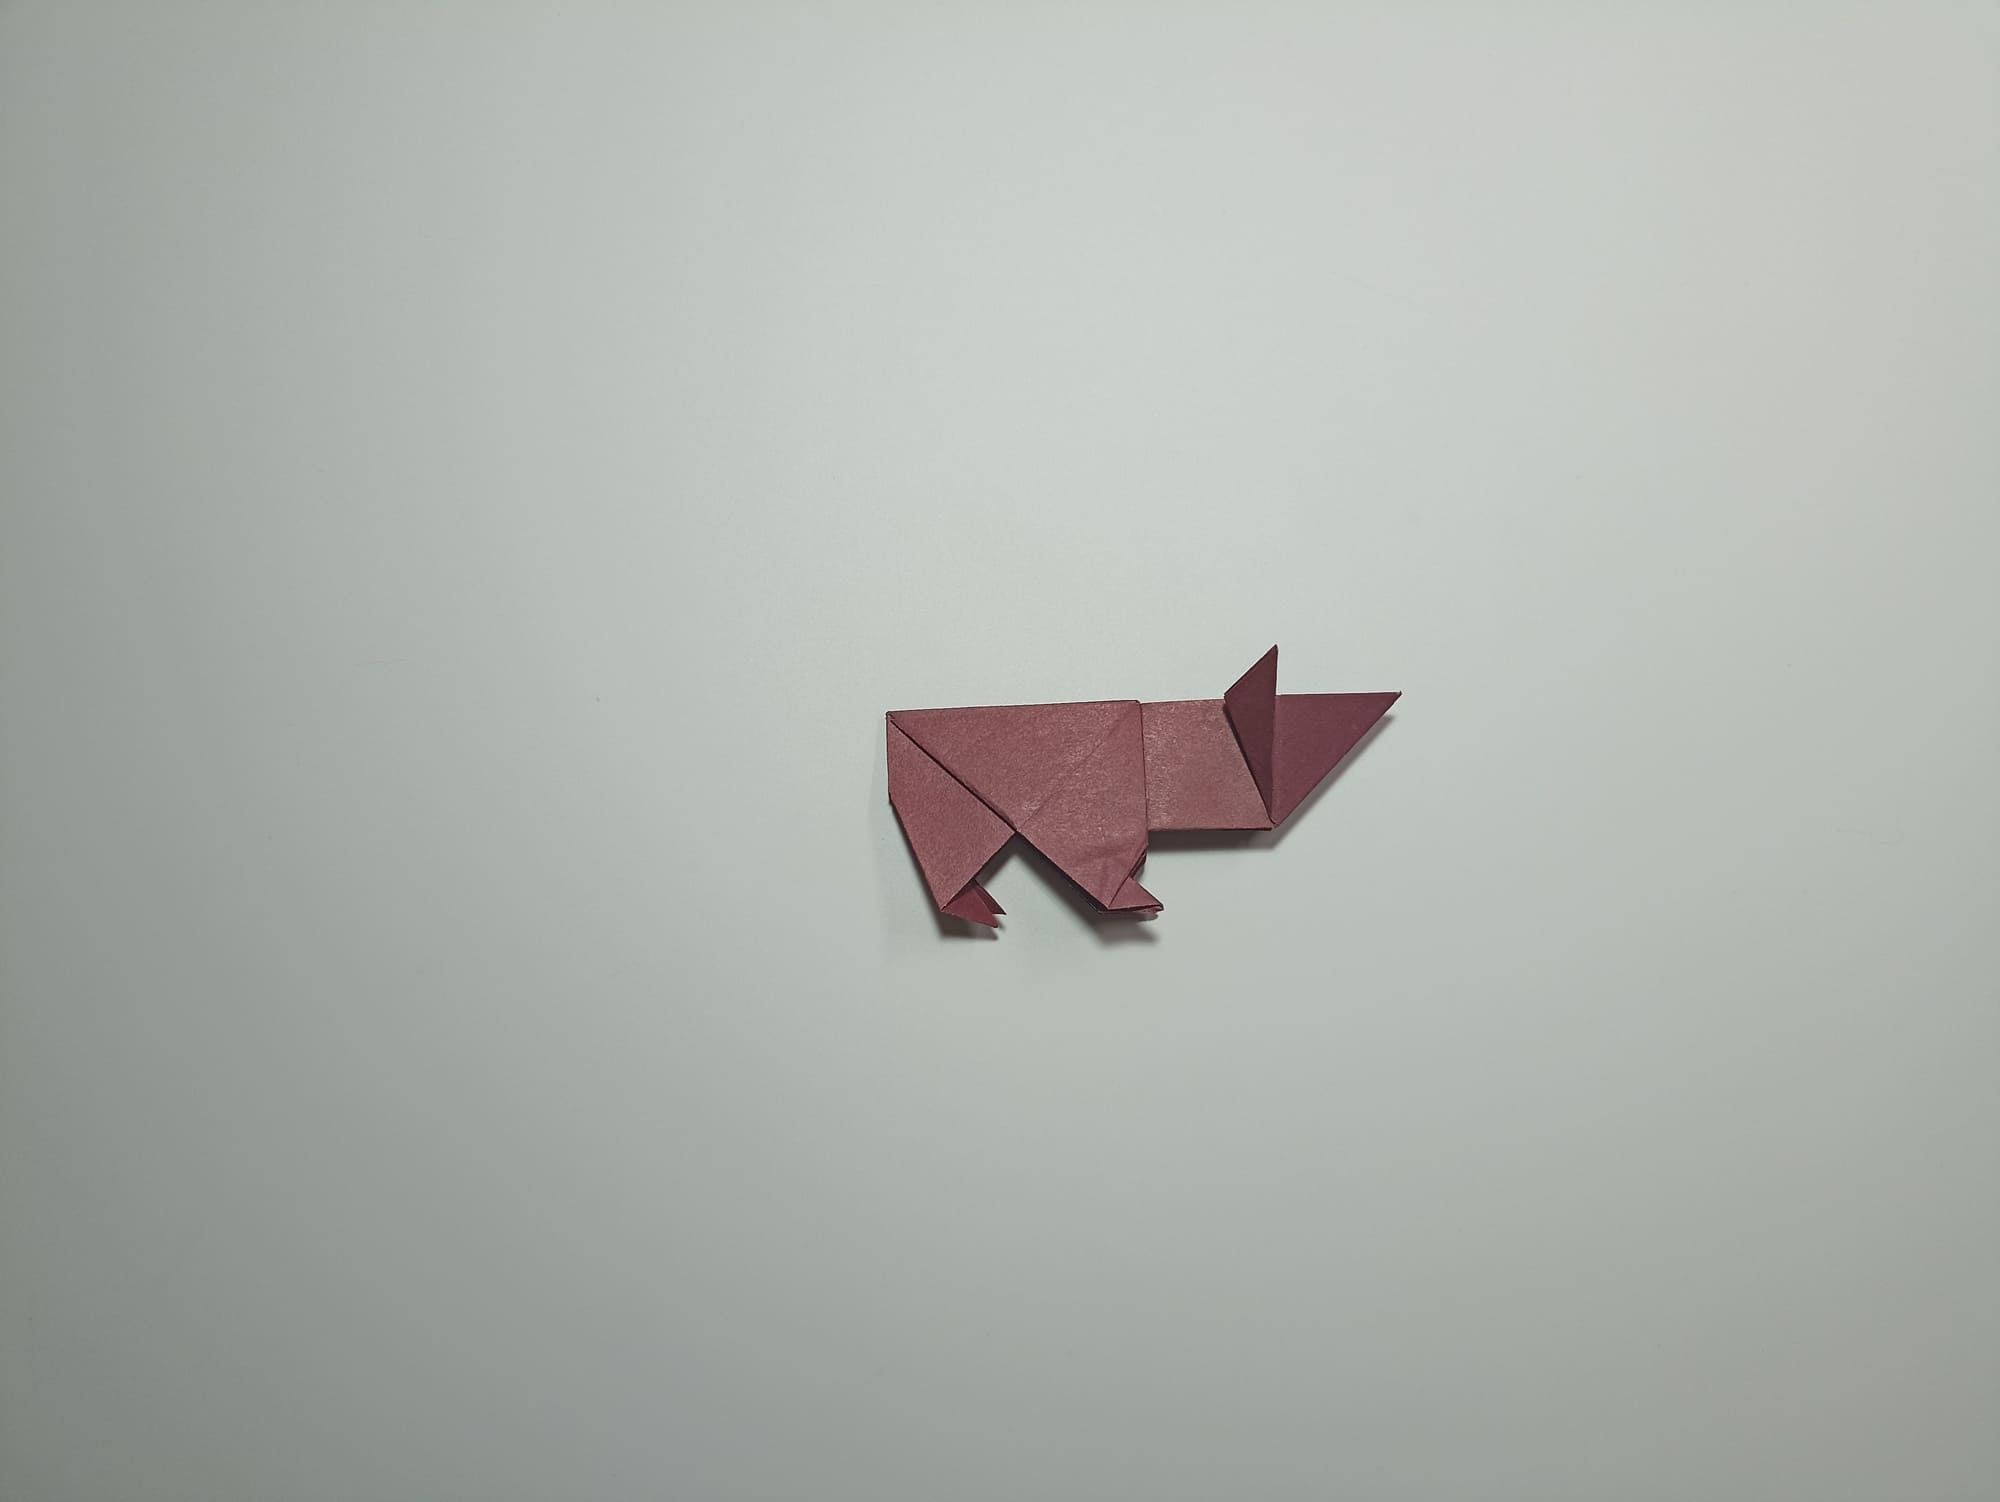
Make an accordion, the fold should be inside.
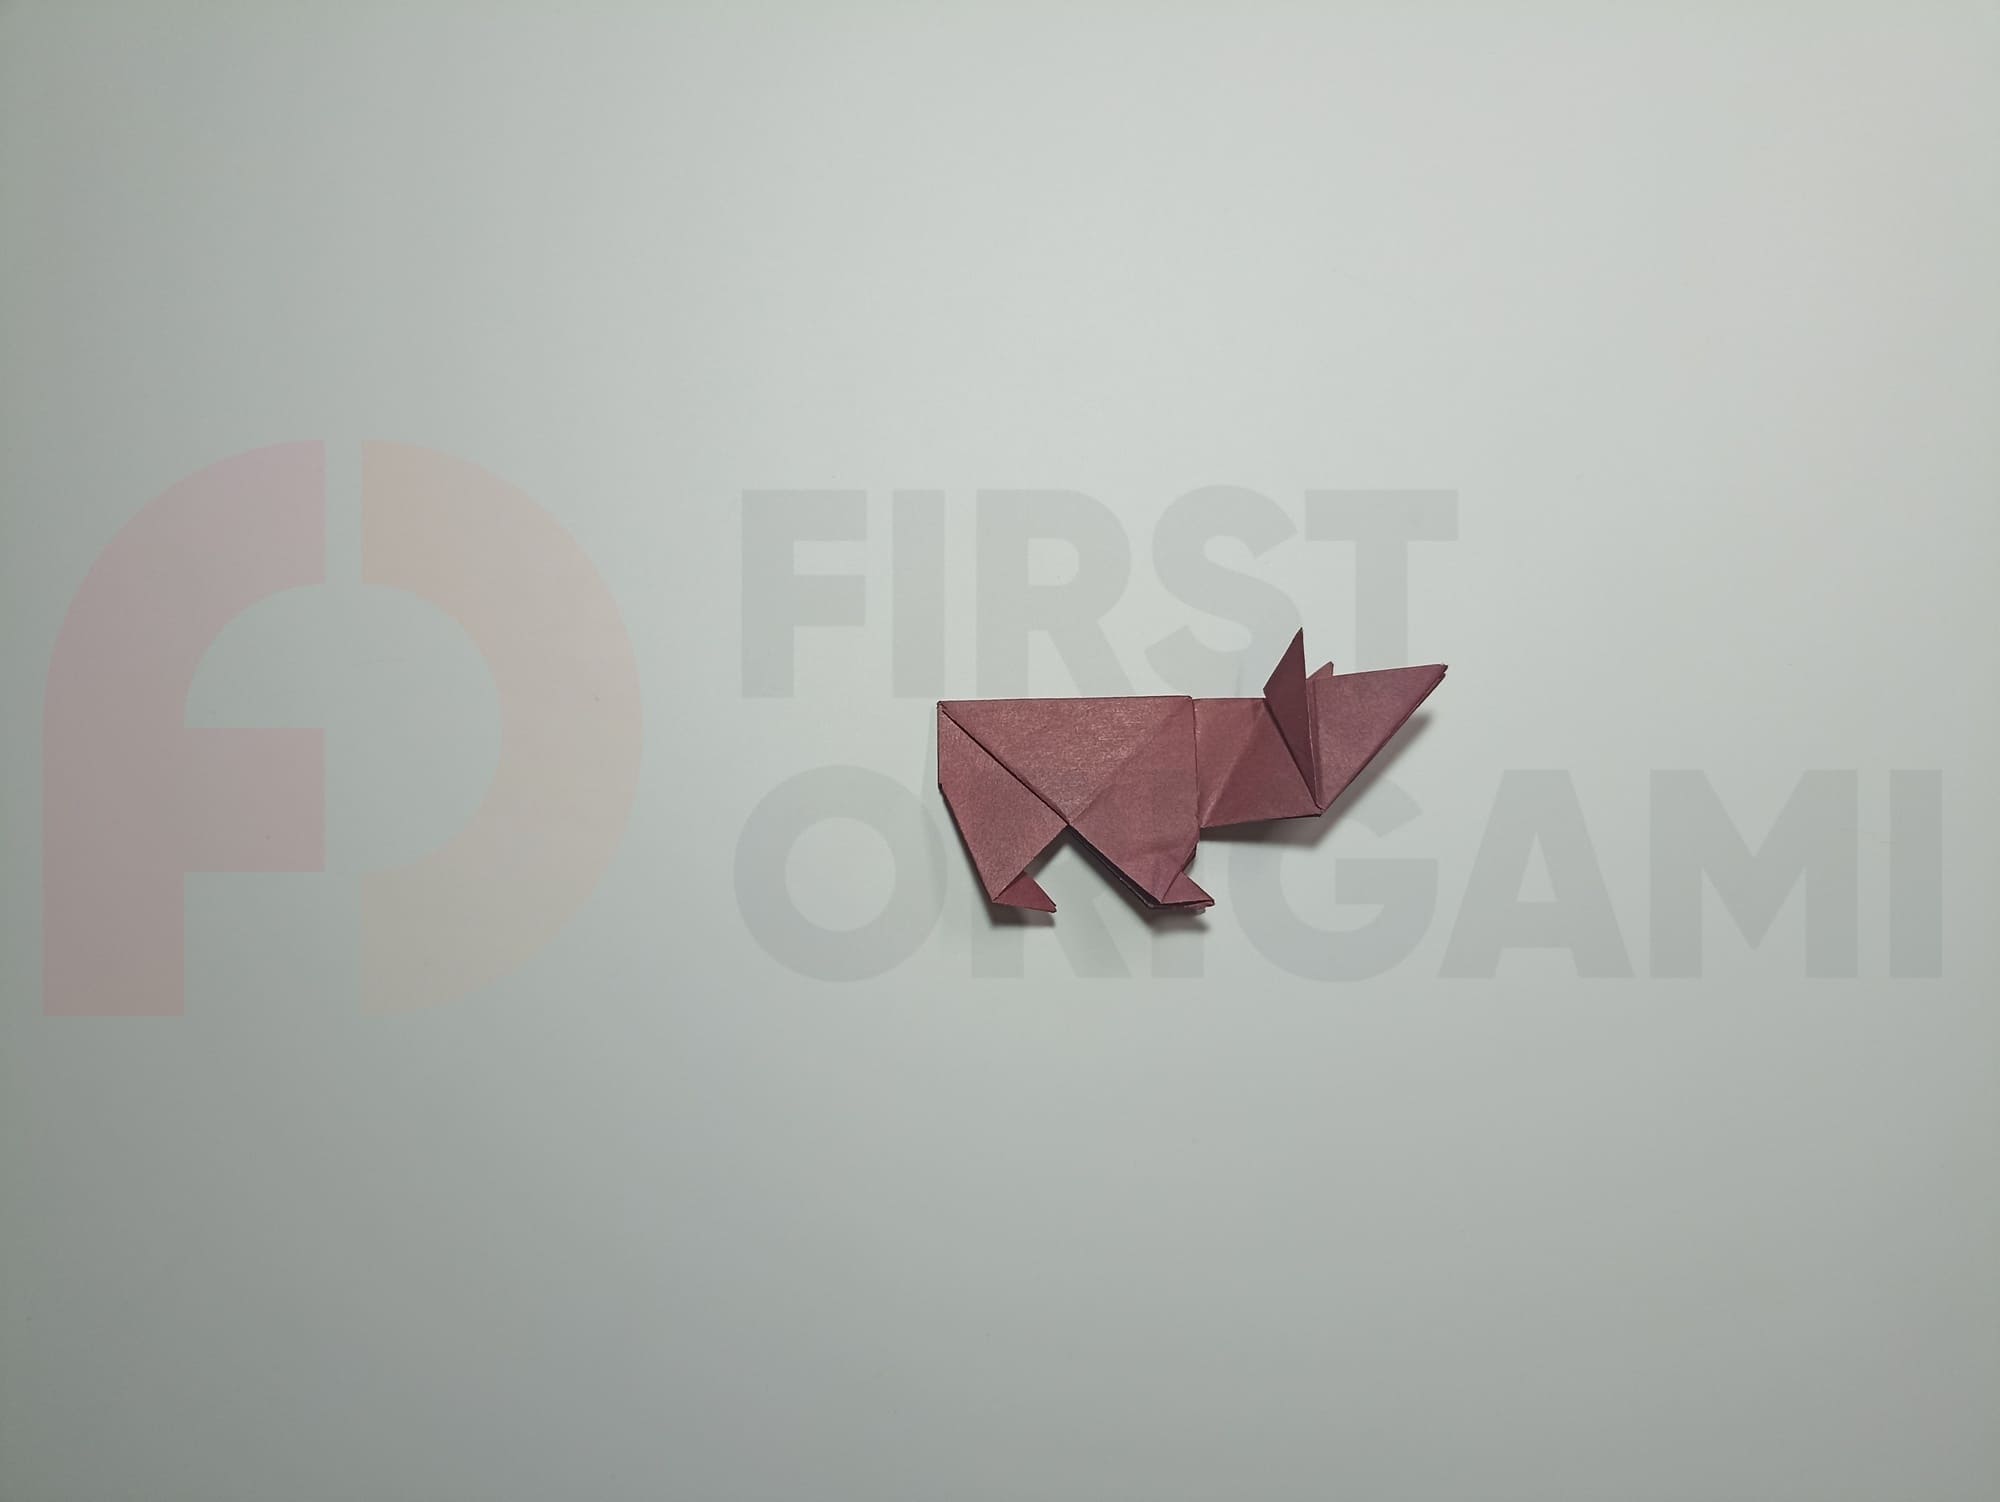
Design the fold of the muzzle and nose as in the example. Round the ears, making additional folds, and tuck the sharp corners of the cheekbones under the fold.
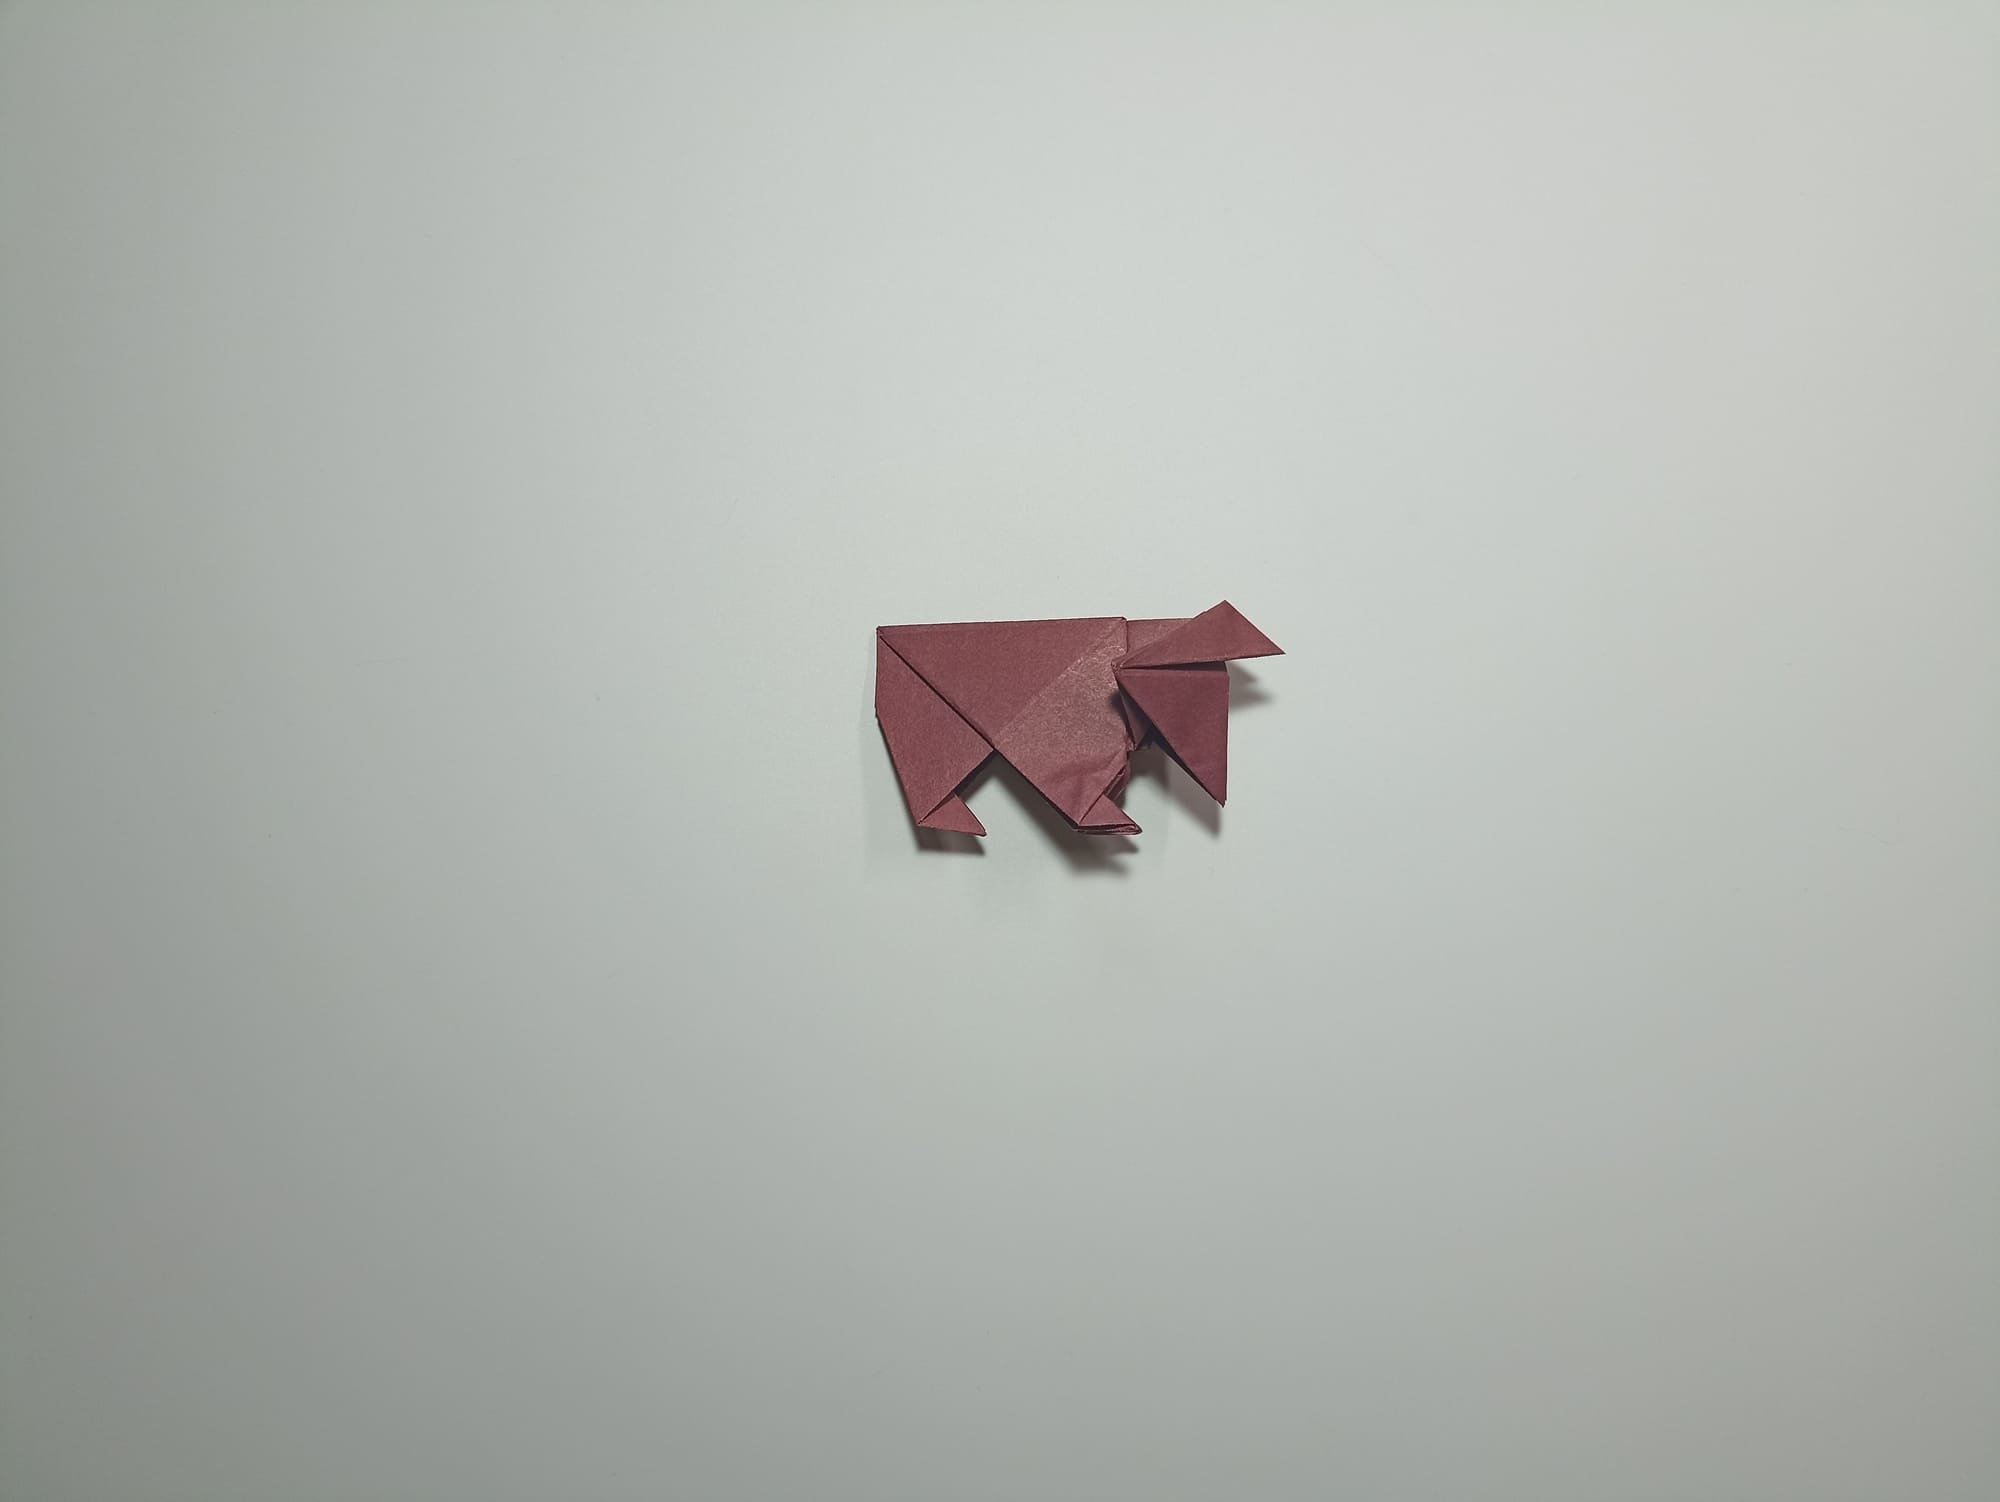
Bend the tail inward.
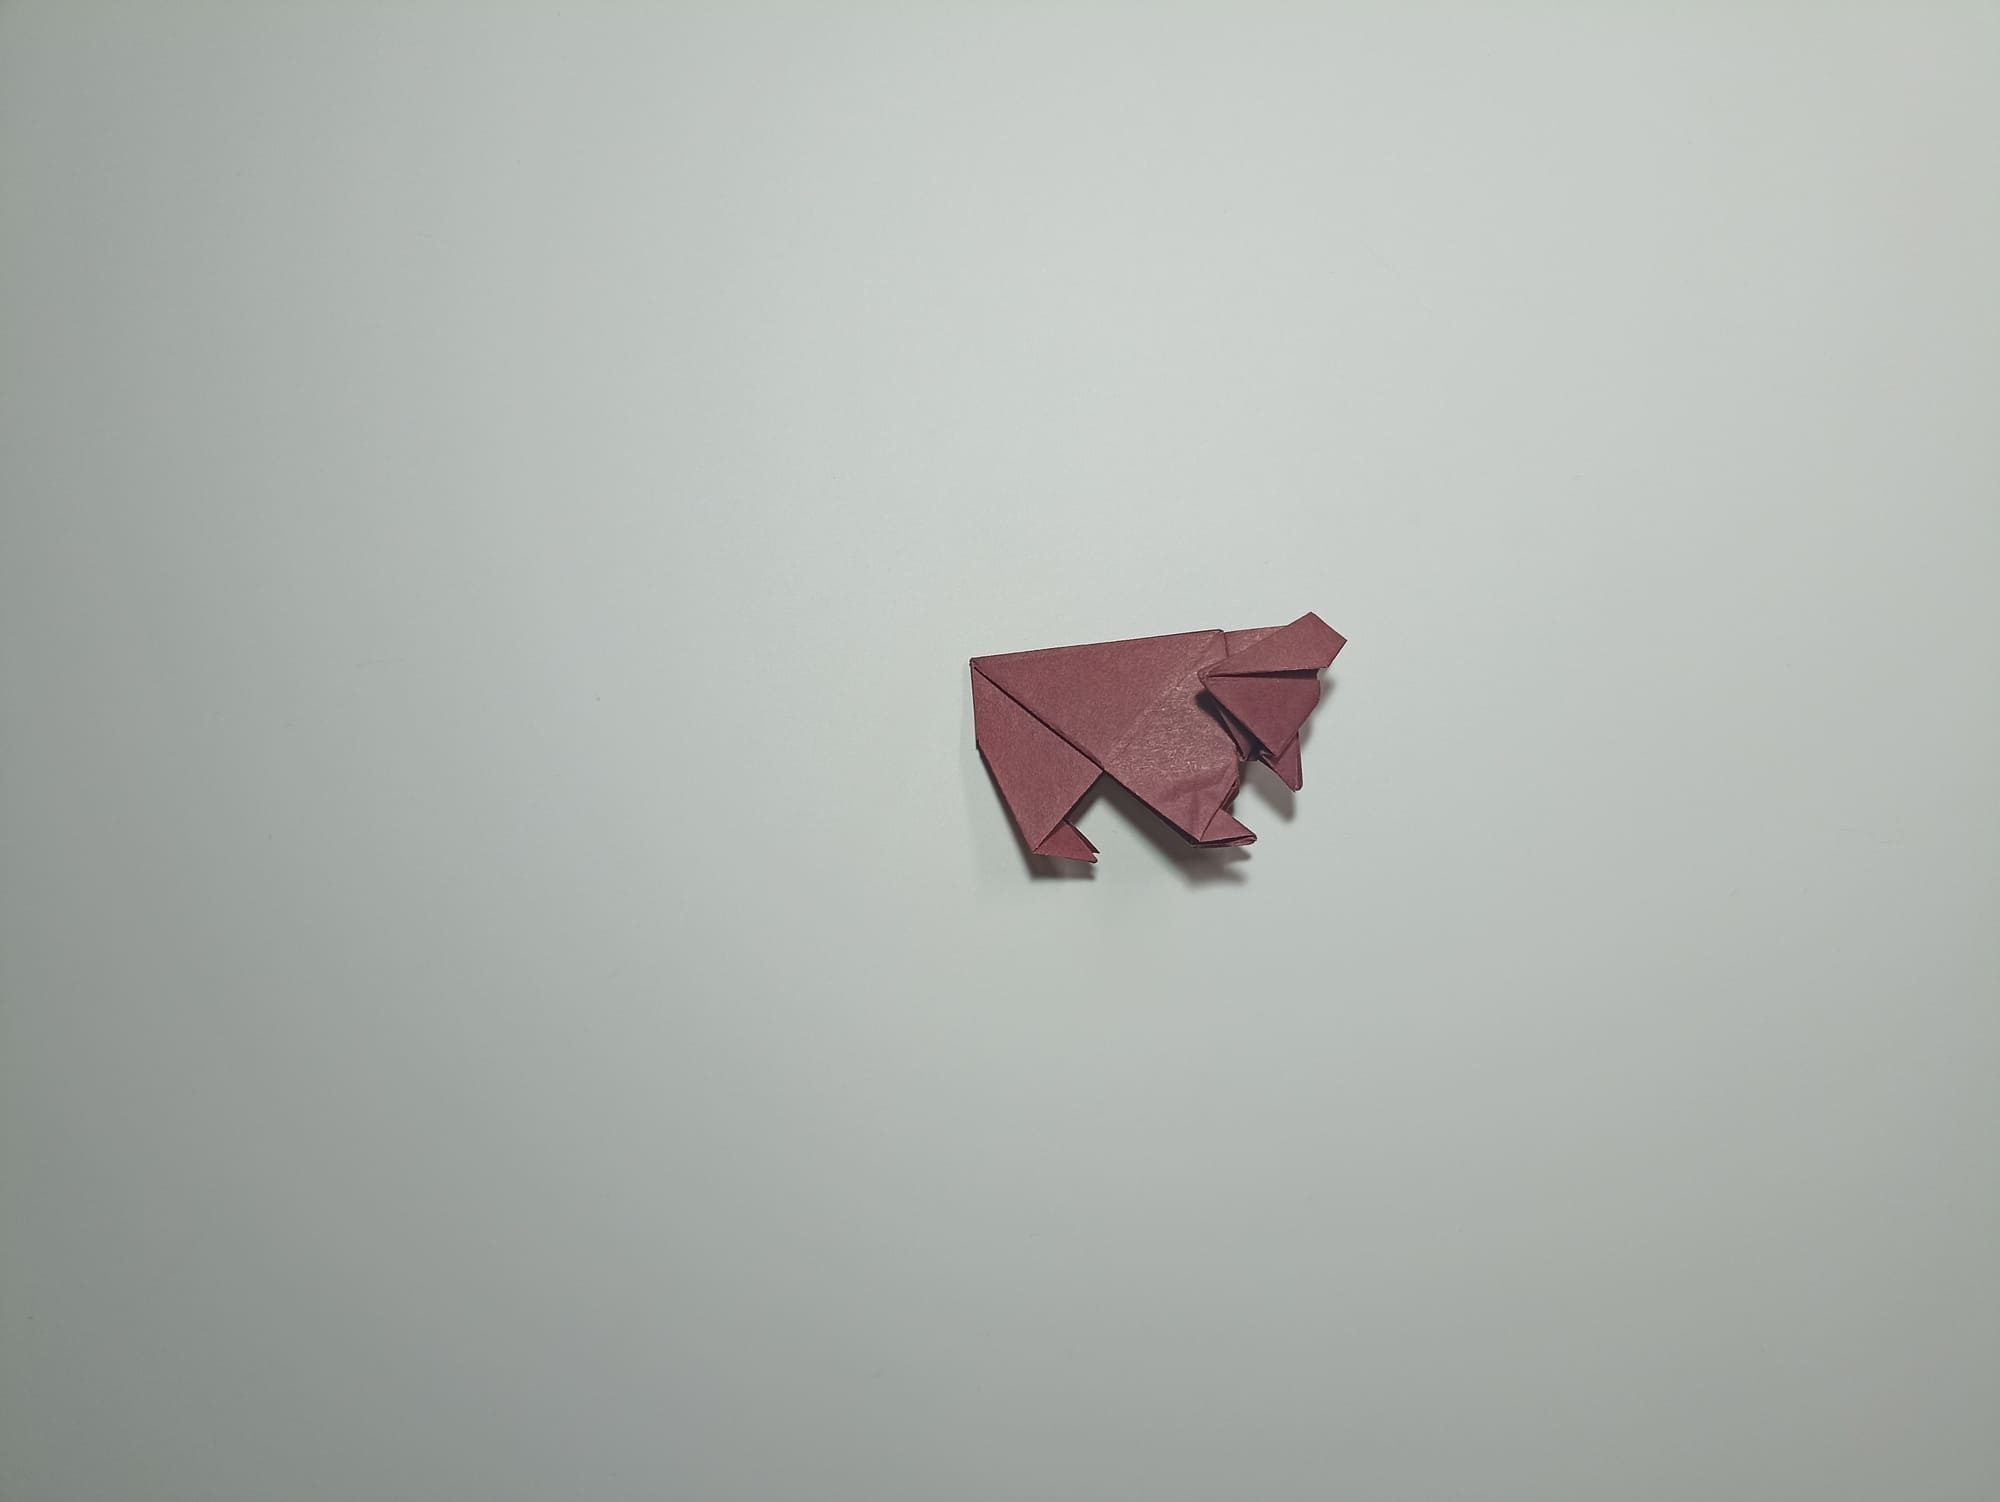
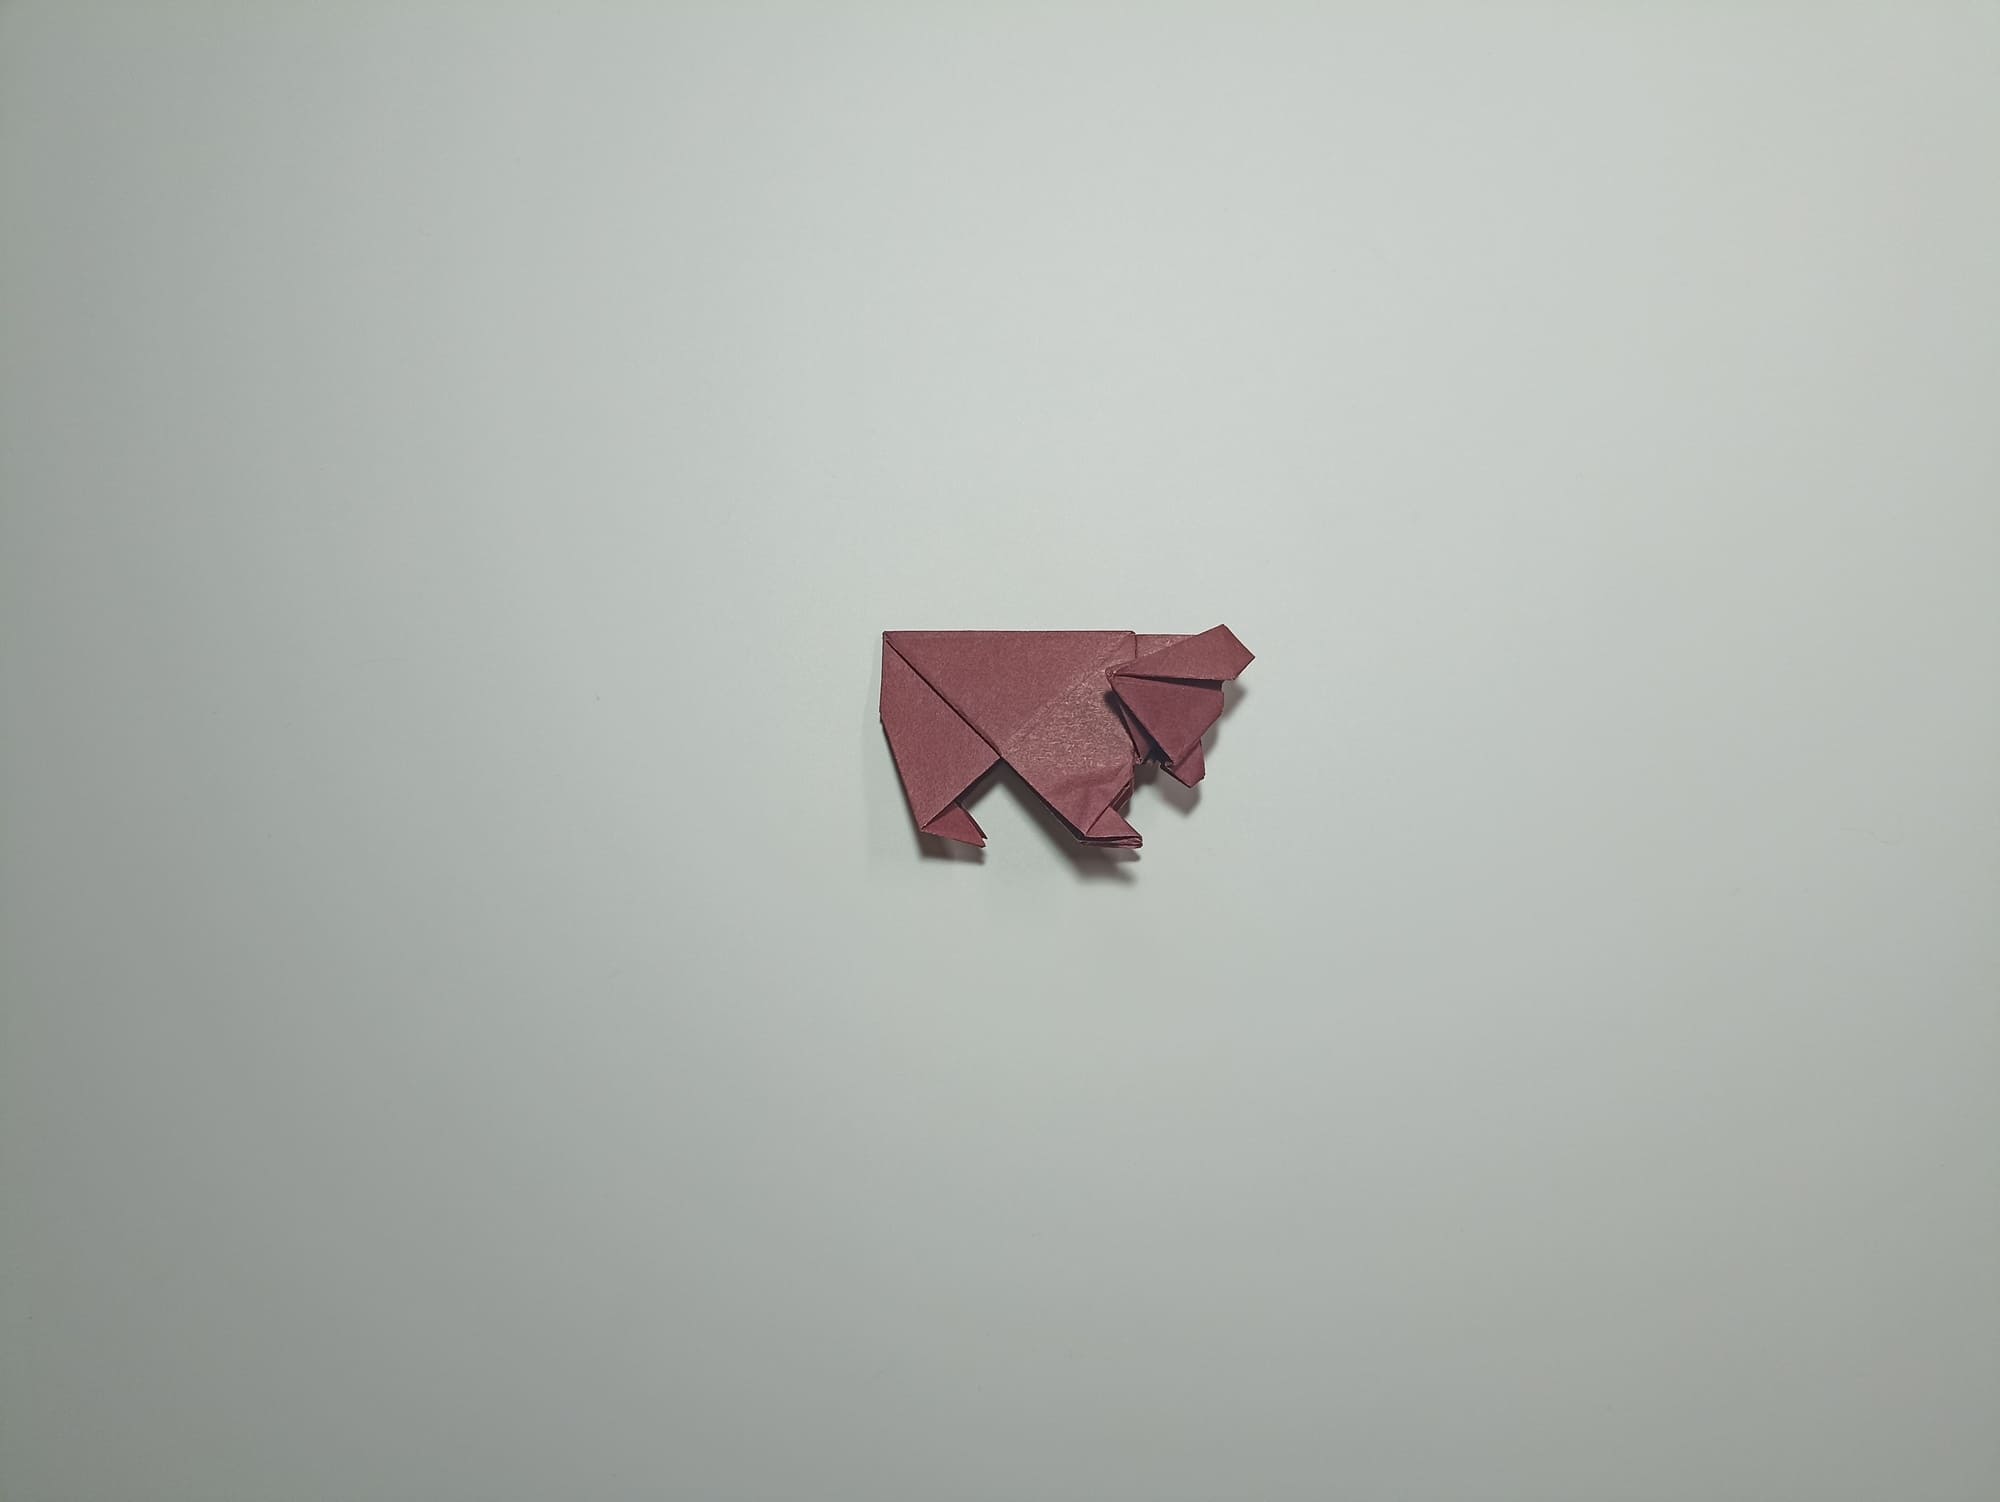
Here comes the bear cub!
The bear turned out to be clubfooted. The figure stands steadily on a flat surface. You can change the tilt of your head by adjusting the crease in your neck.