Origami Bear Face

This bear face origami is a perfect figure to create with your kids. Even though, it’s called a “Bear”, in the technique of origami, you can fold a huge variety of animals. From the simplest models, which take a couple of minutes to create, to complex designs that fully recreate the image of the animal. Choose different colors and draw different faces, and you will get a full zoo for playing or doing a show with your little ones.
Create your bear by following these easy step-by-step instructions, where you will only need an origami paper of the chosen color (we recommend brown or white for the bear), your hands, and a little bit of time!
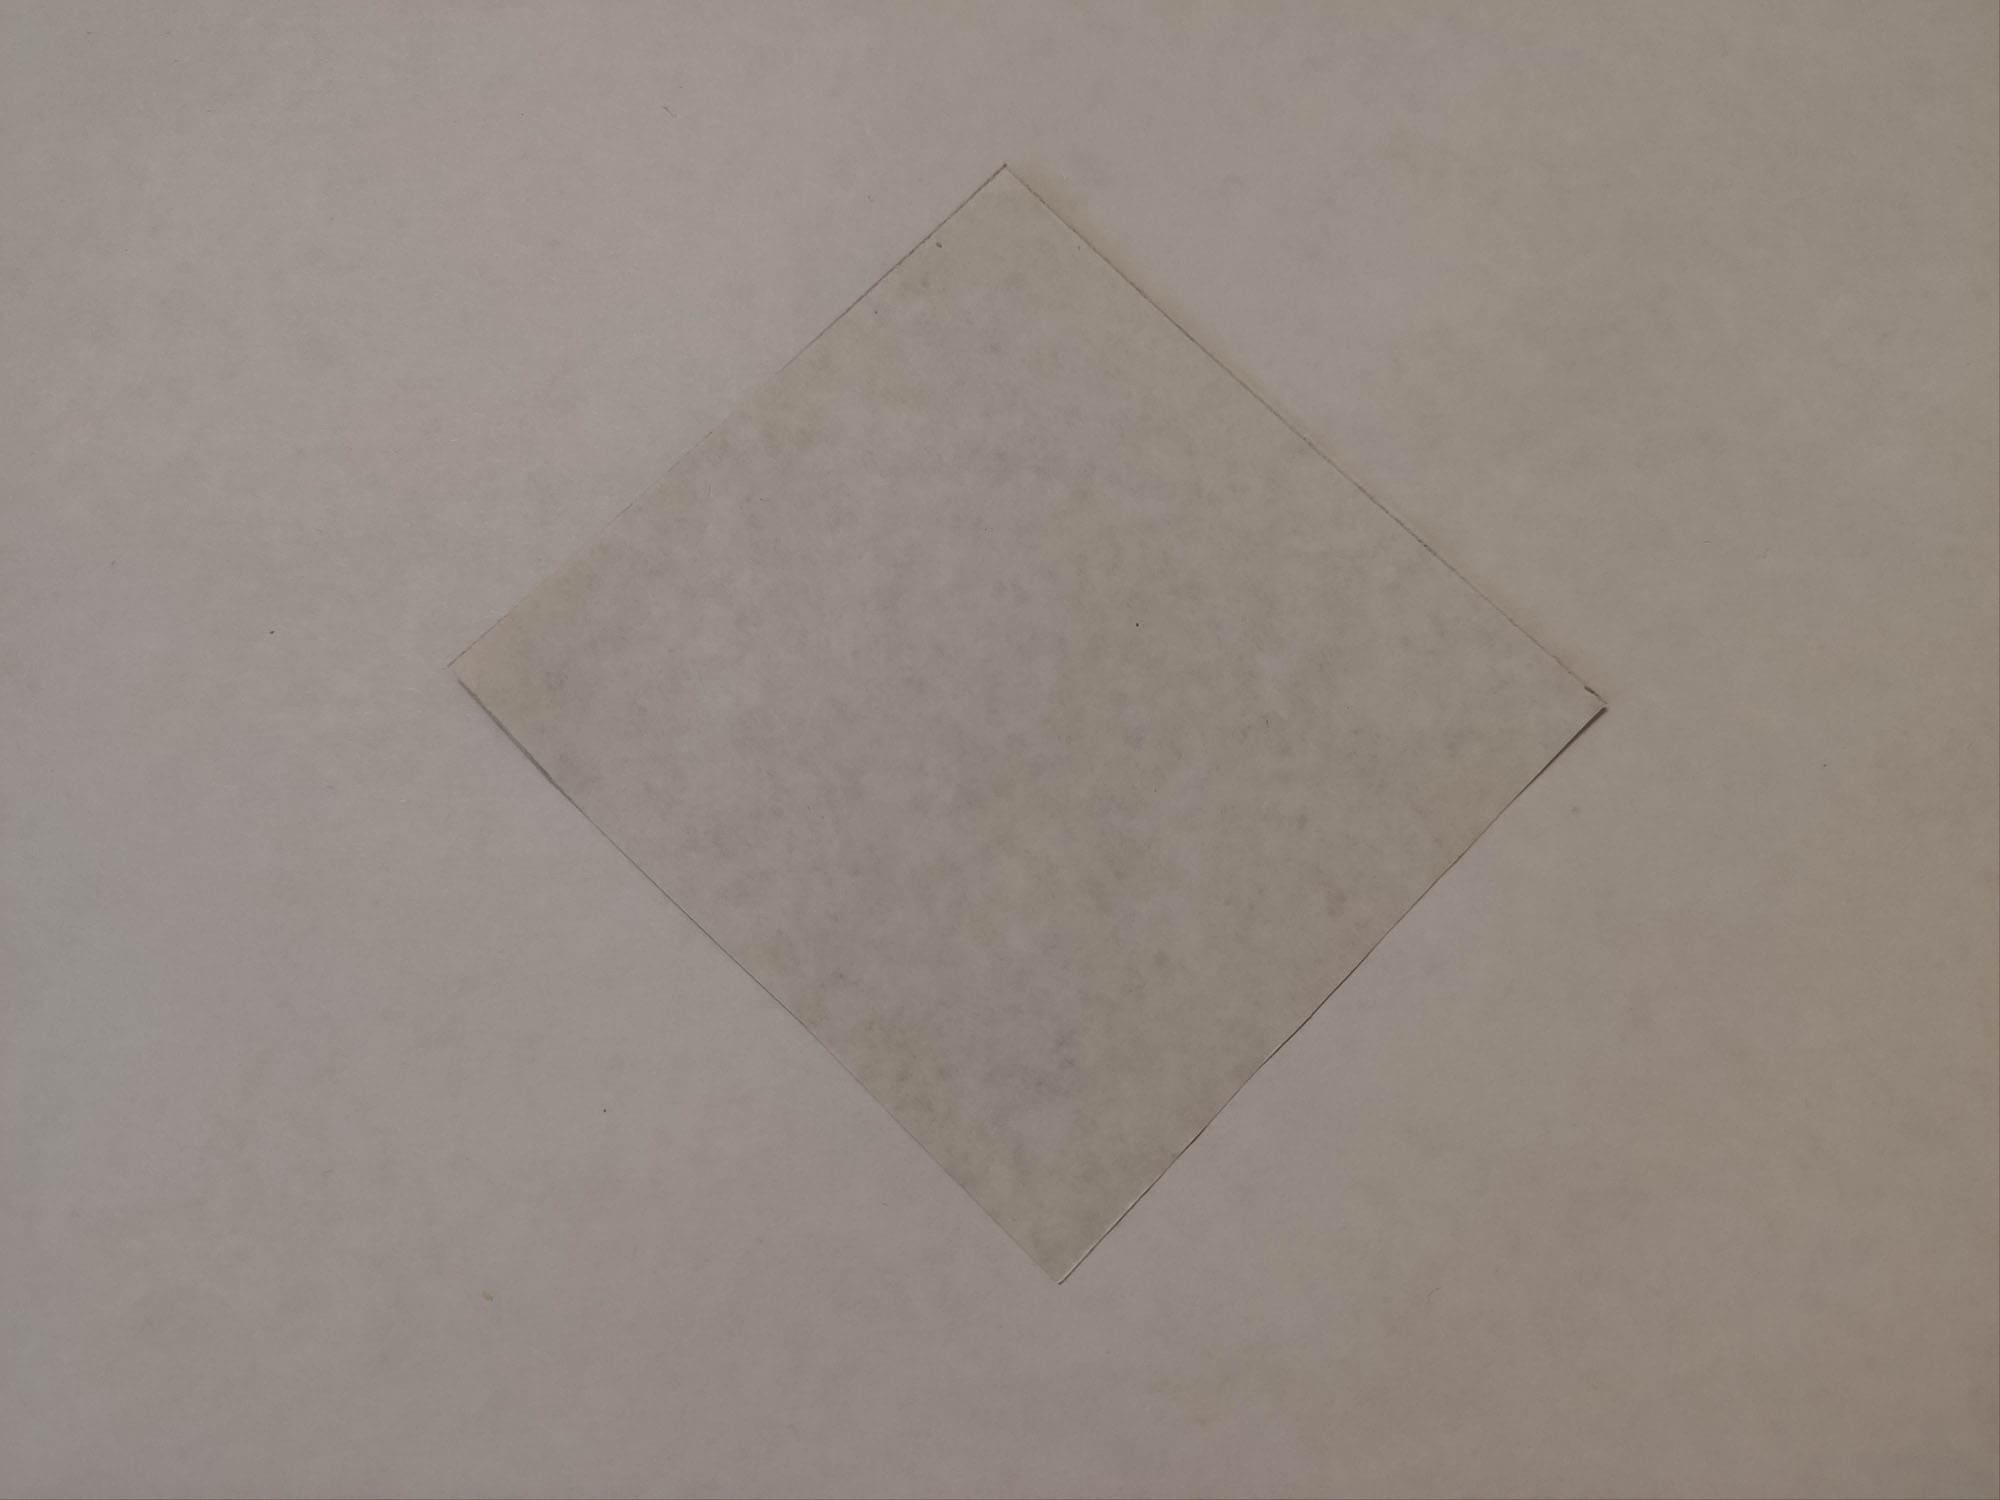
Take a 15×15 cm square piece of paper, and place it with the colored side down.
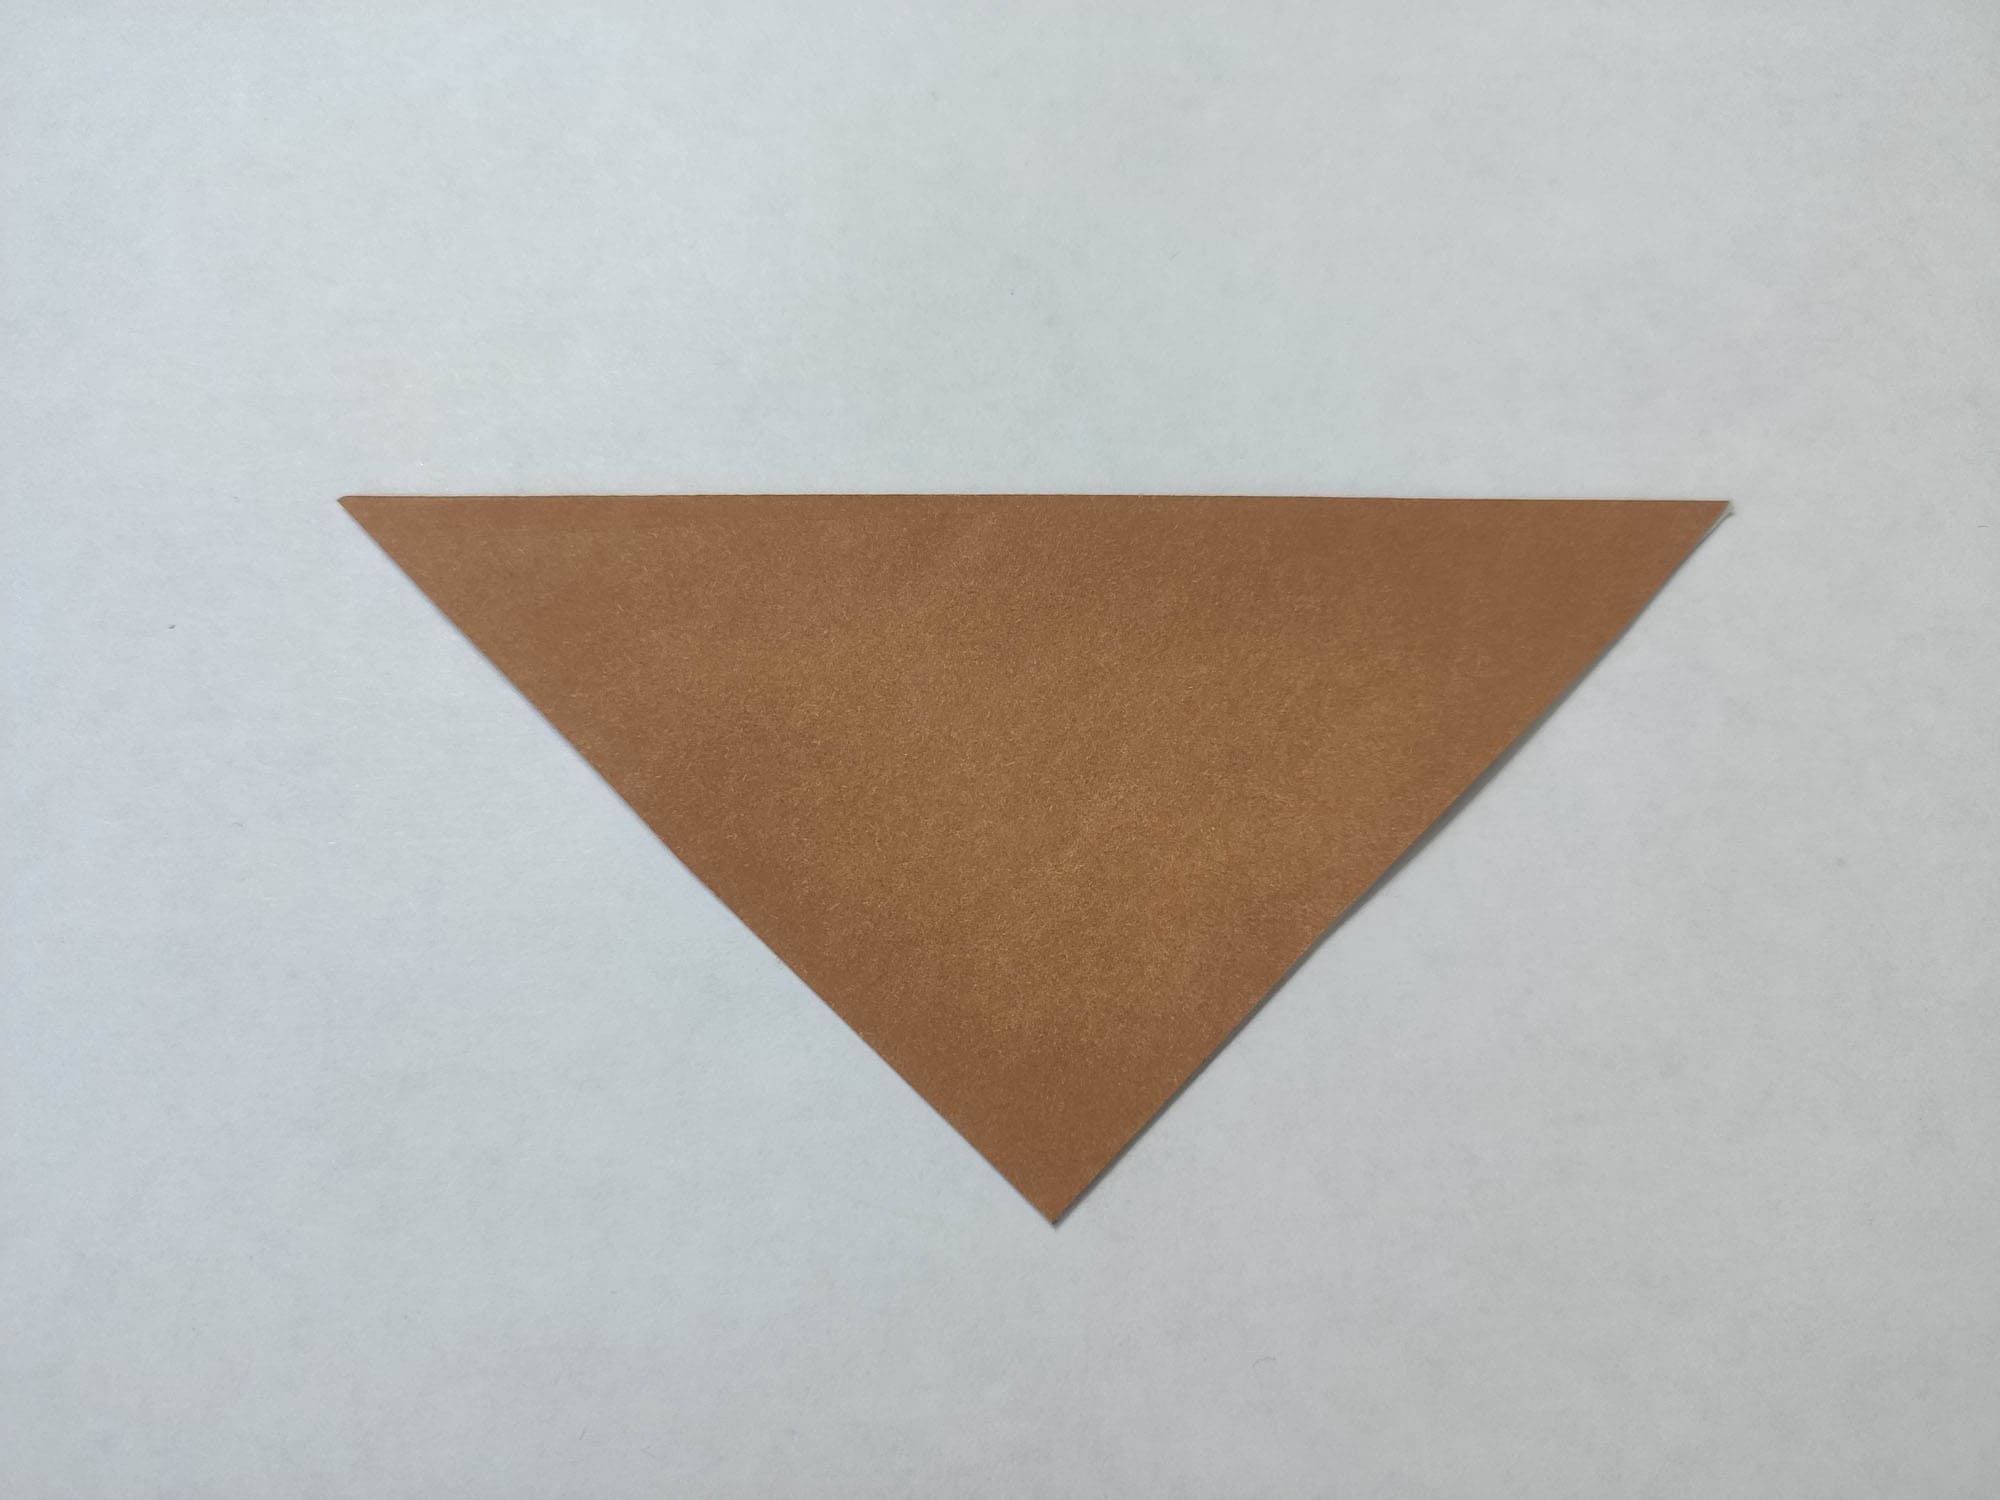
Fold the square diagonally so that the top corner matches the bottom corner.

Fold the triangle in half. Iron well and unfold.
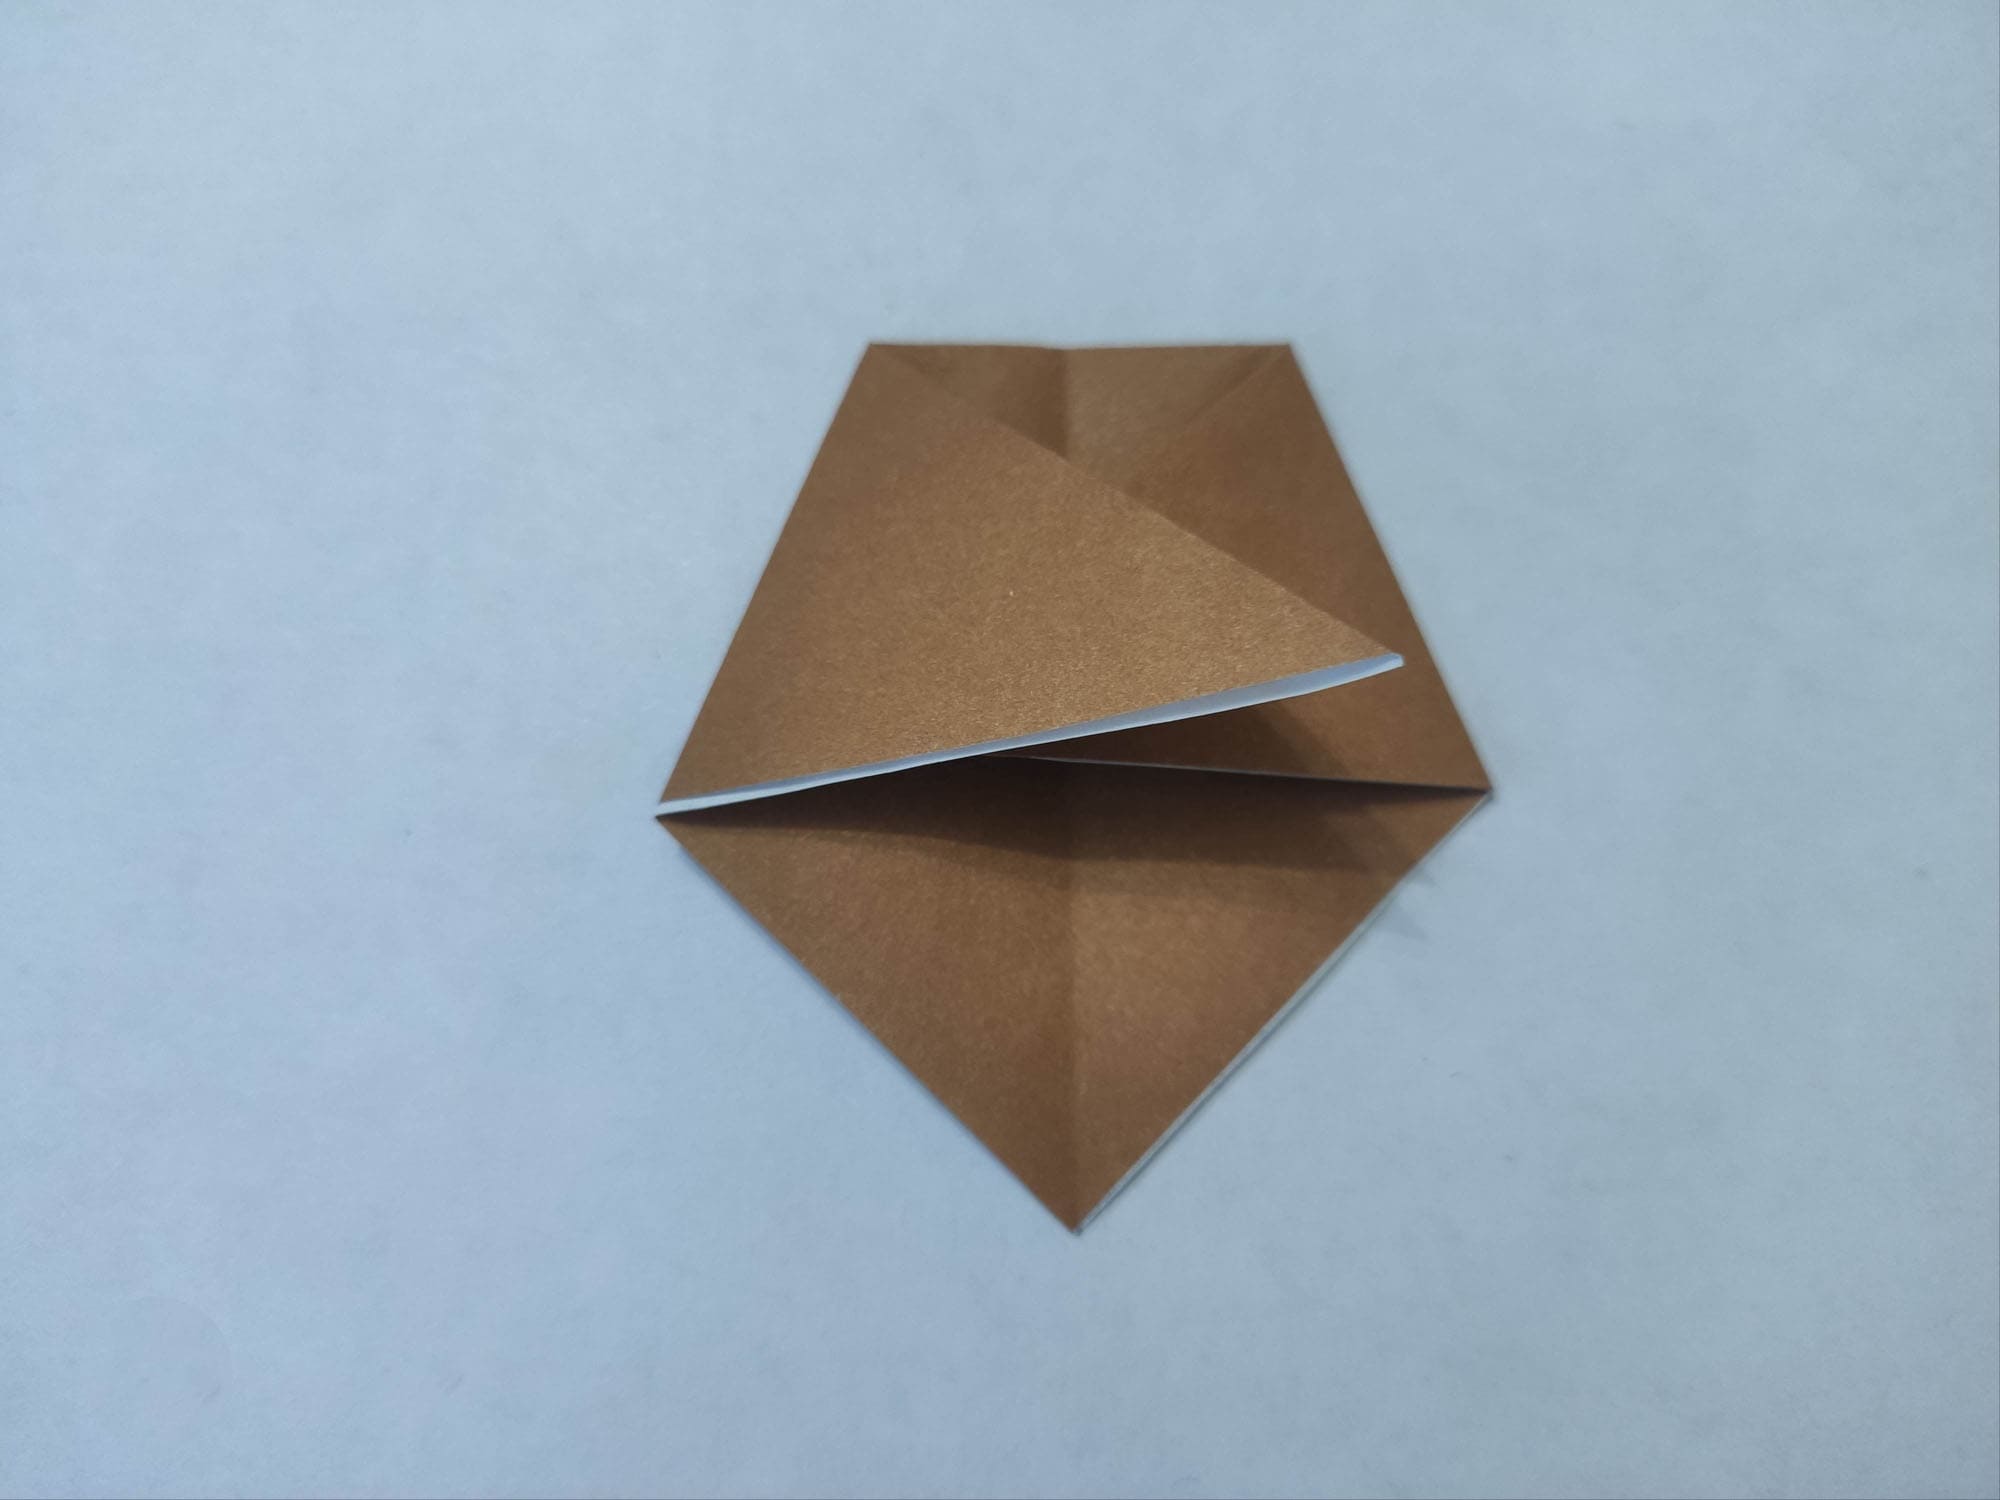
Fold the right and left corners together, facing each other at about a 45-degree angle.
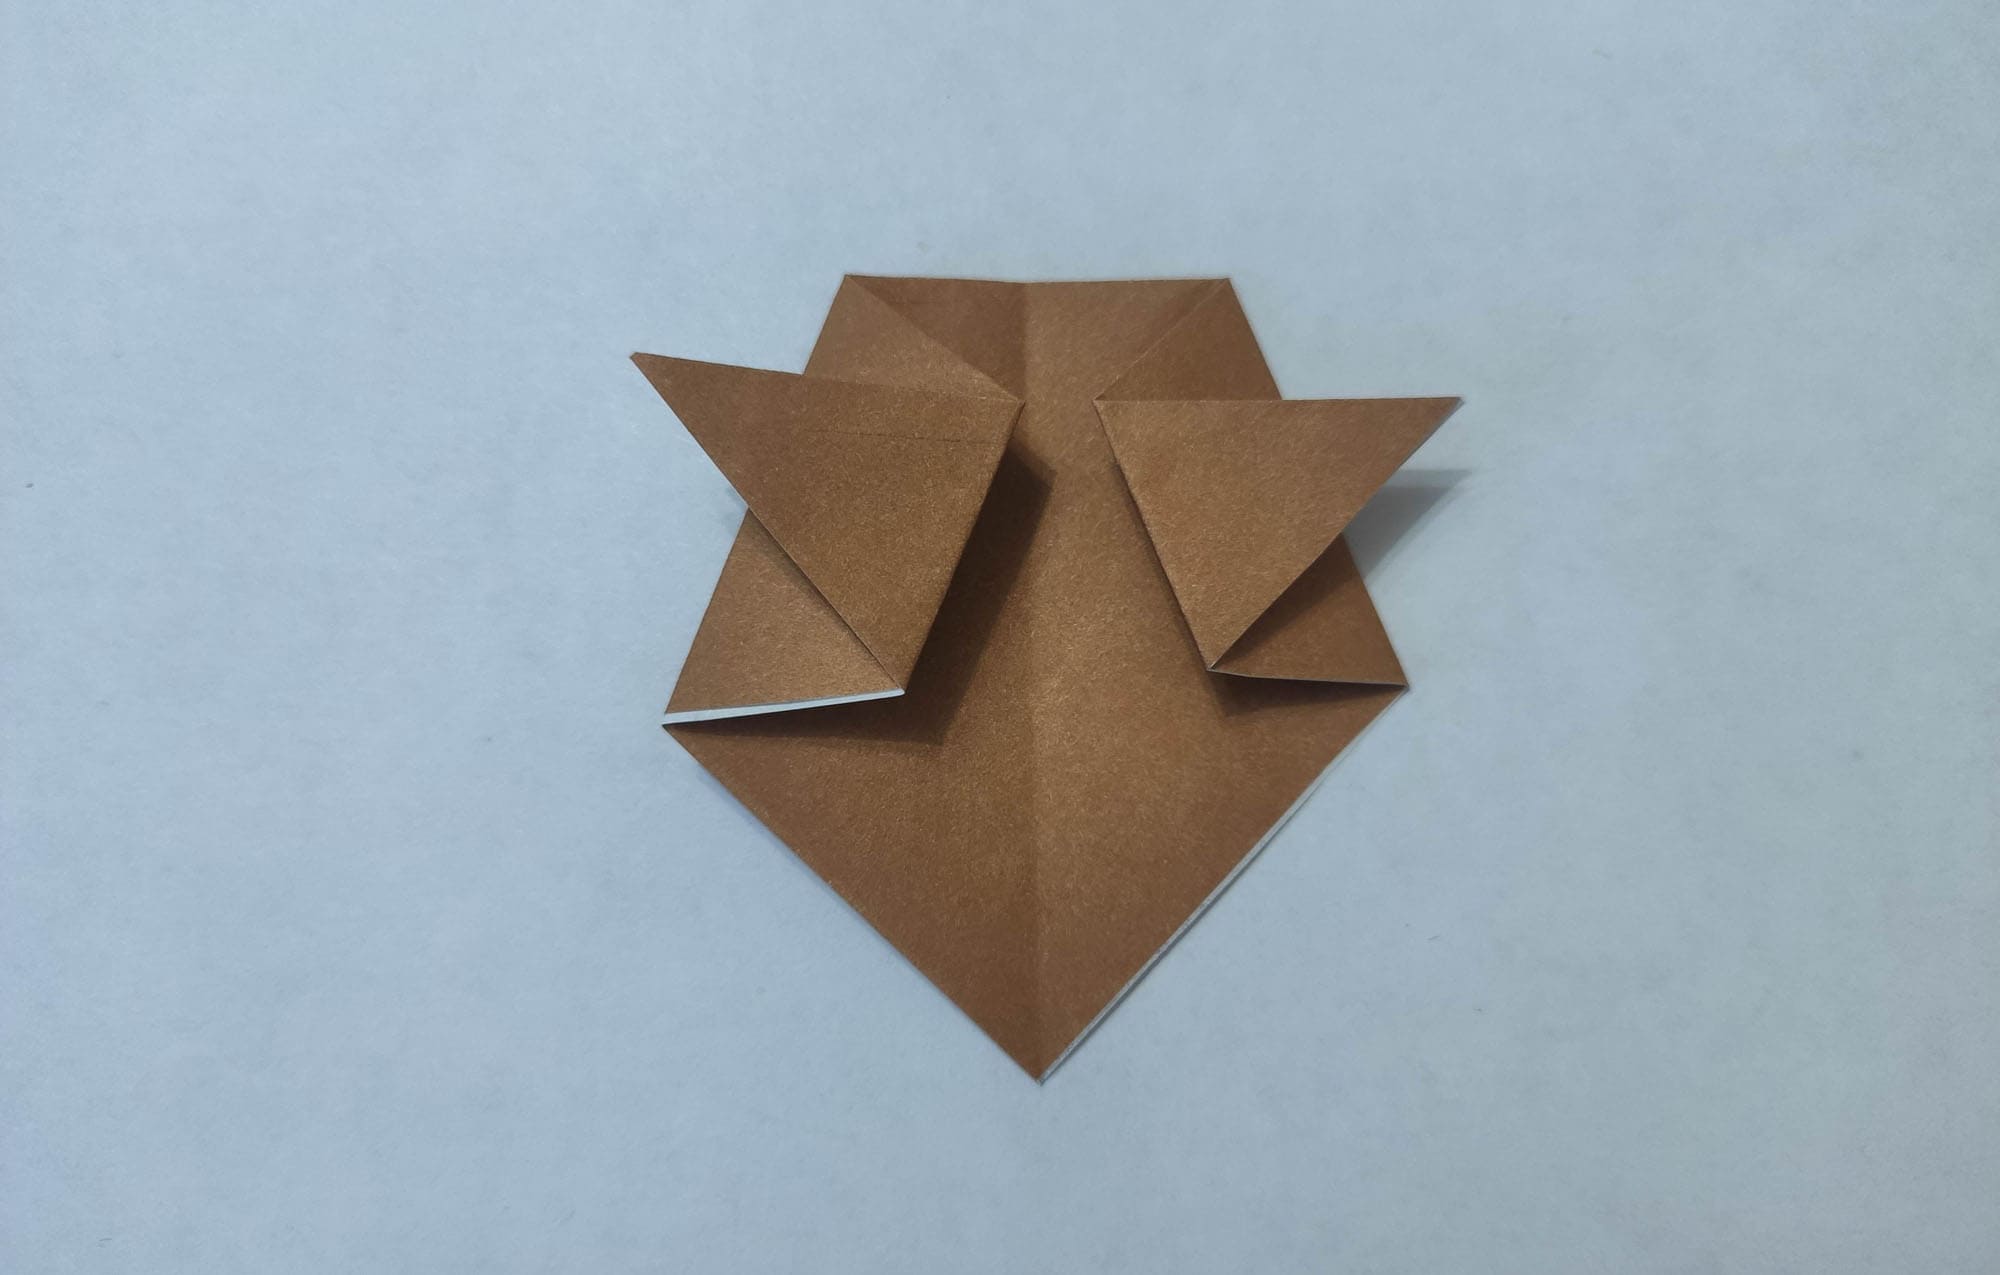
Now fold the right and left corners outward, again at about a 45-degree angle. You are forming the ears of the bear.
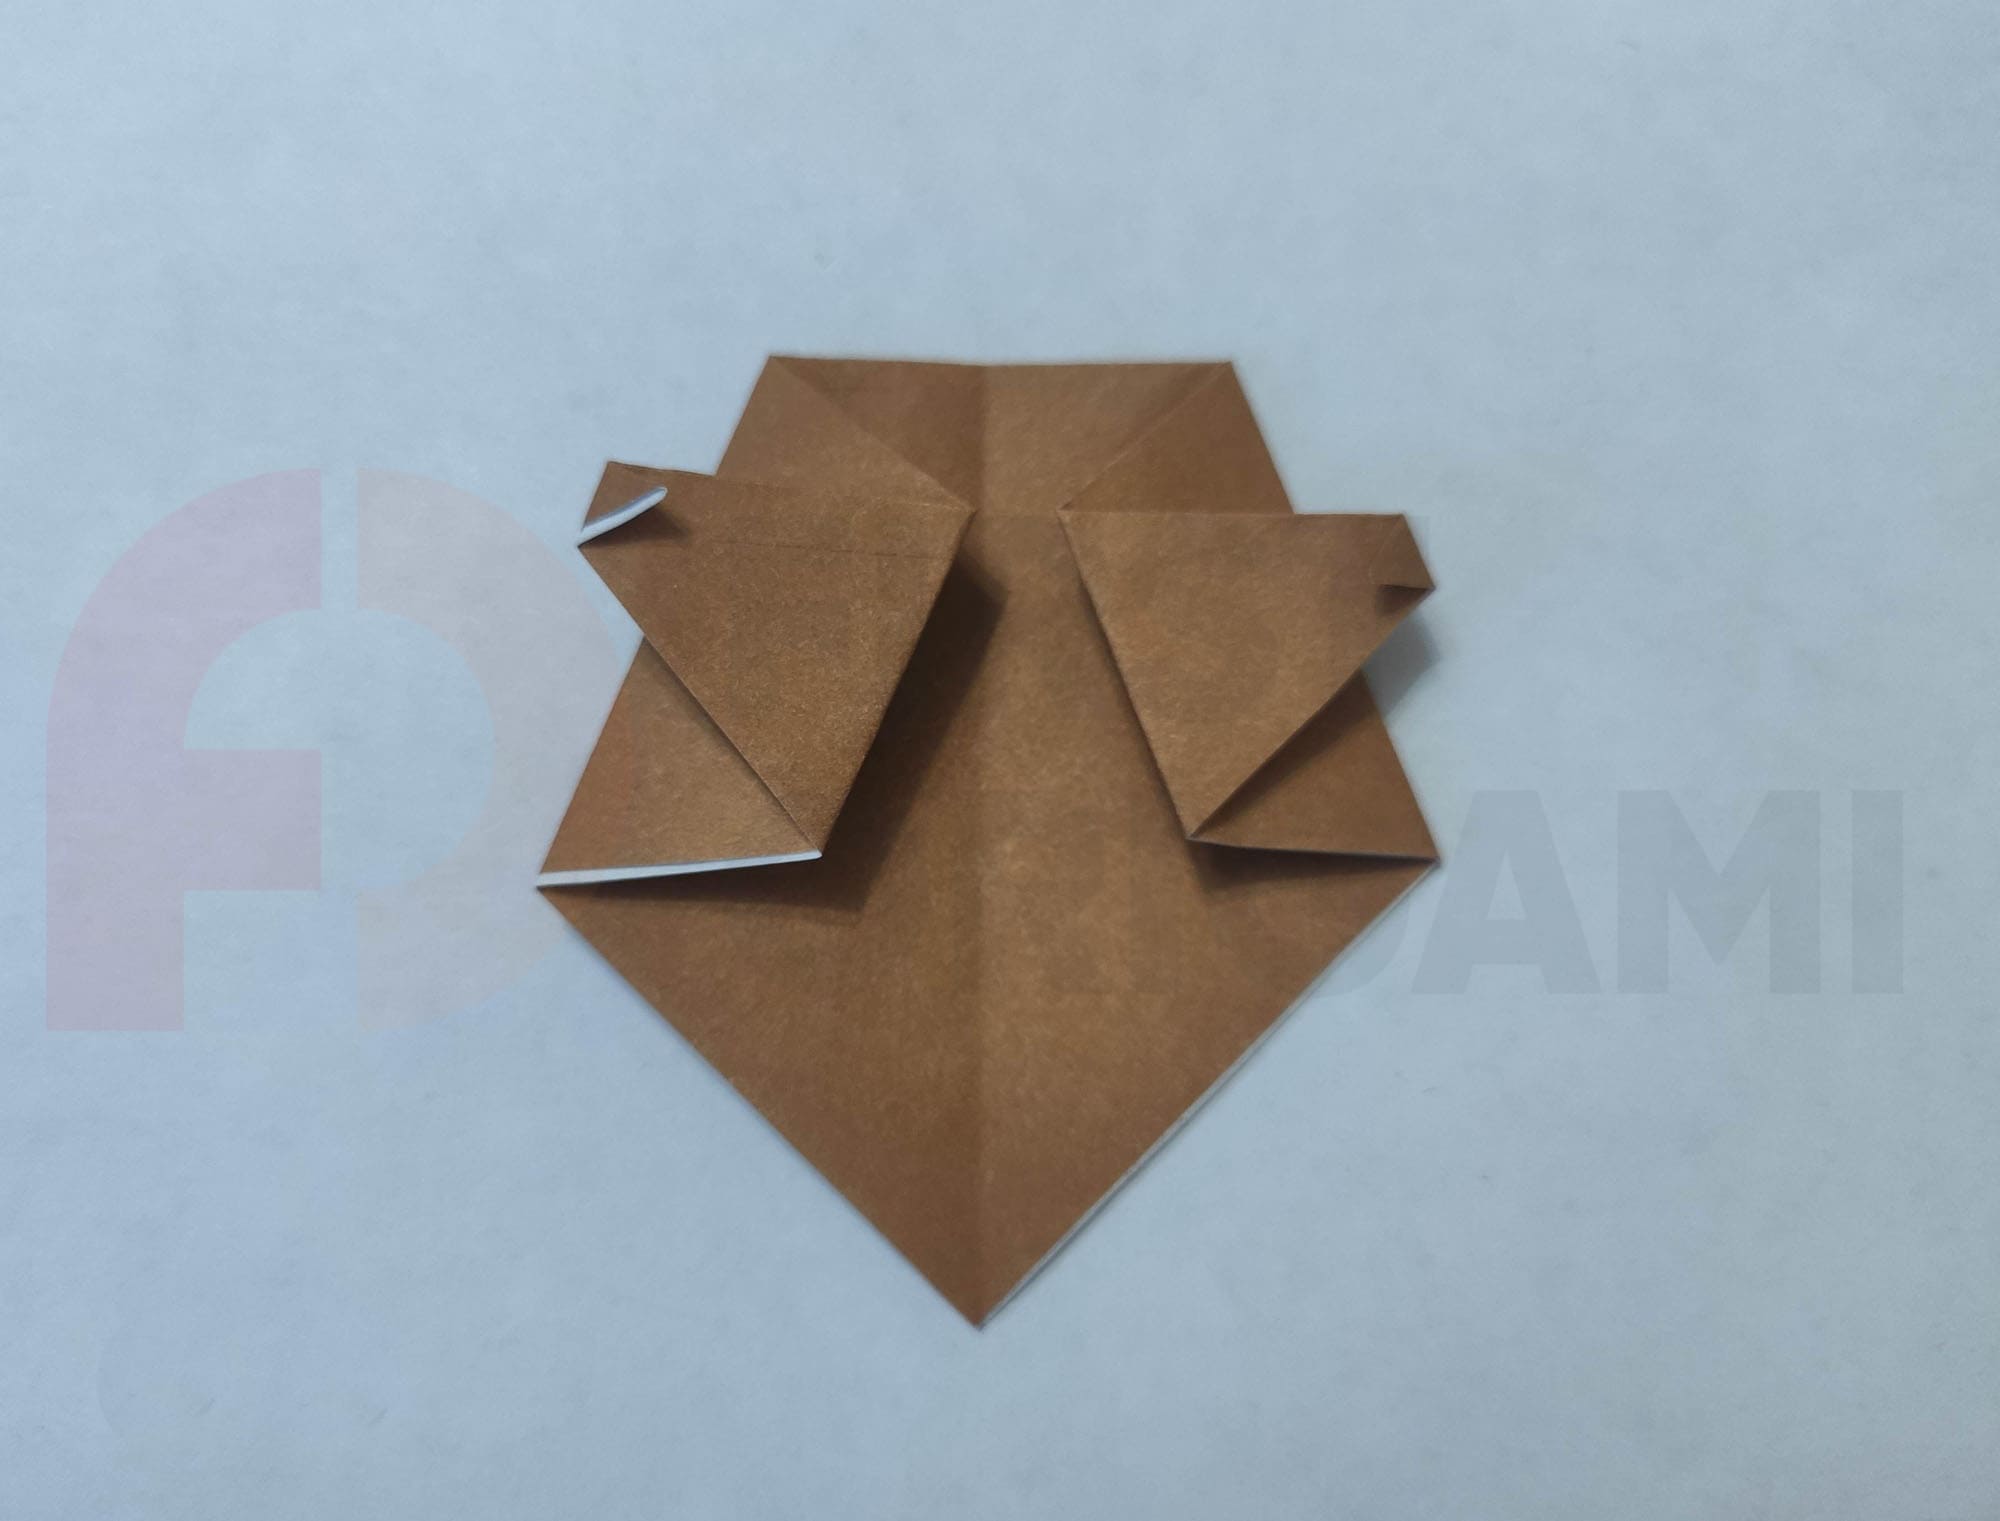
Make two more folds on the ears, this time folding the corners back slightly. Also lift the bottom corner slightly, forming the chin.
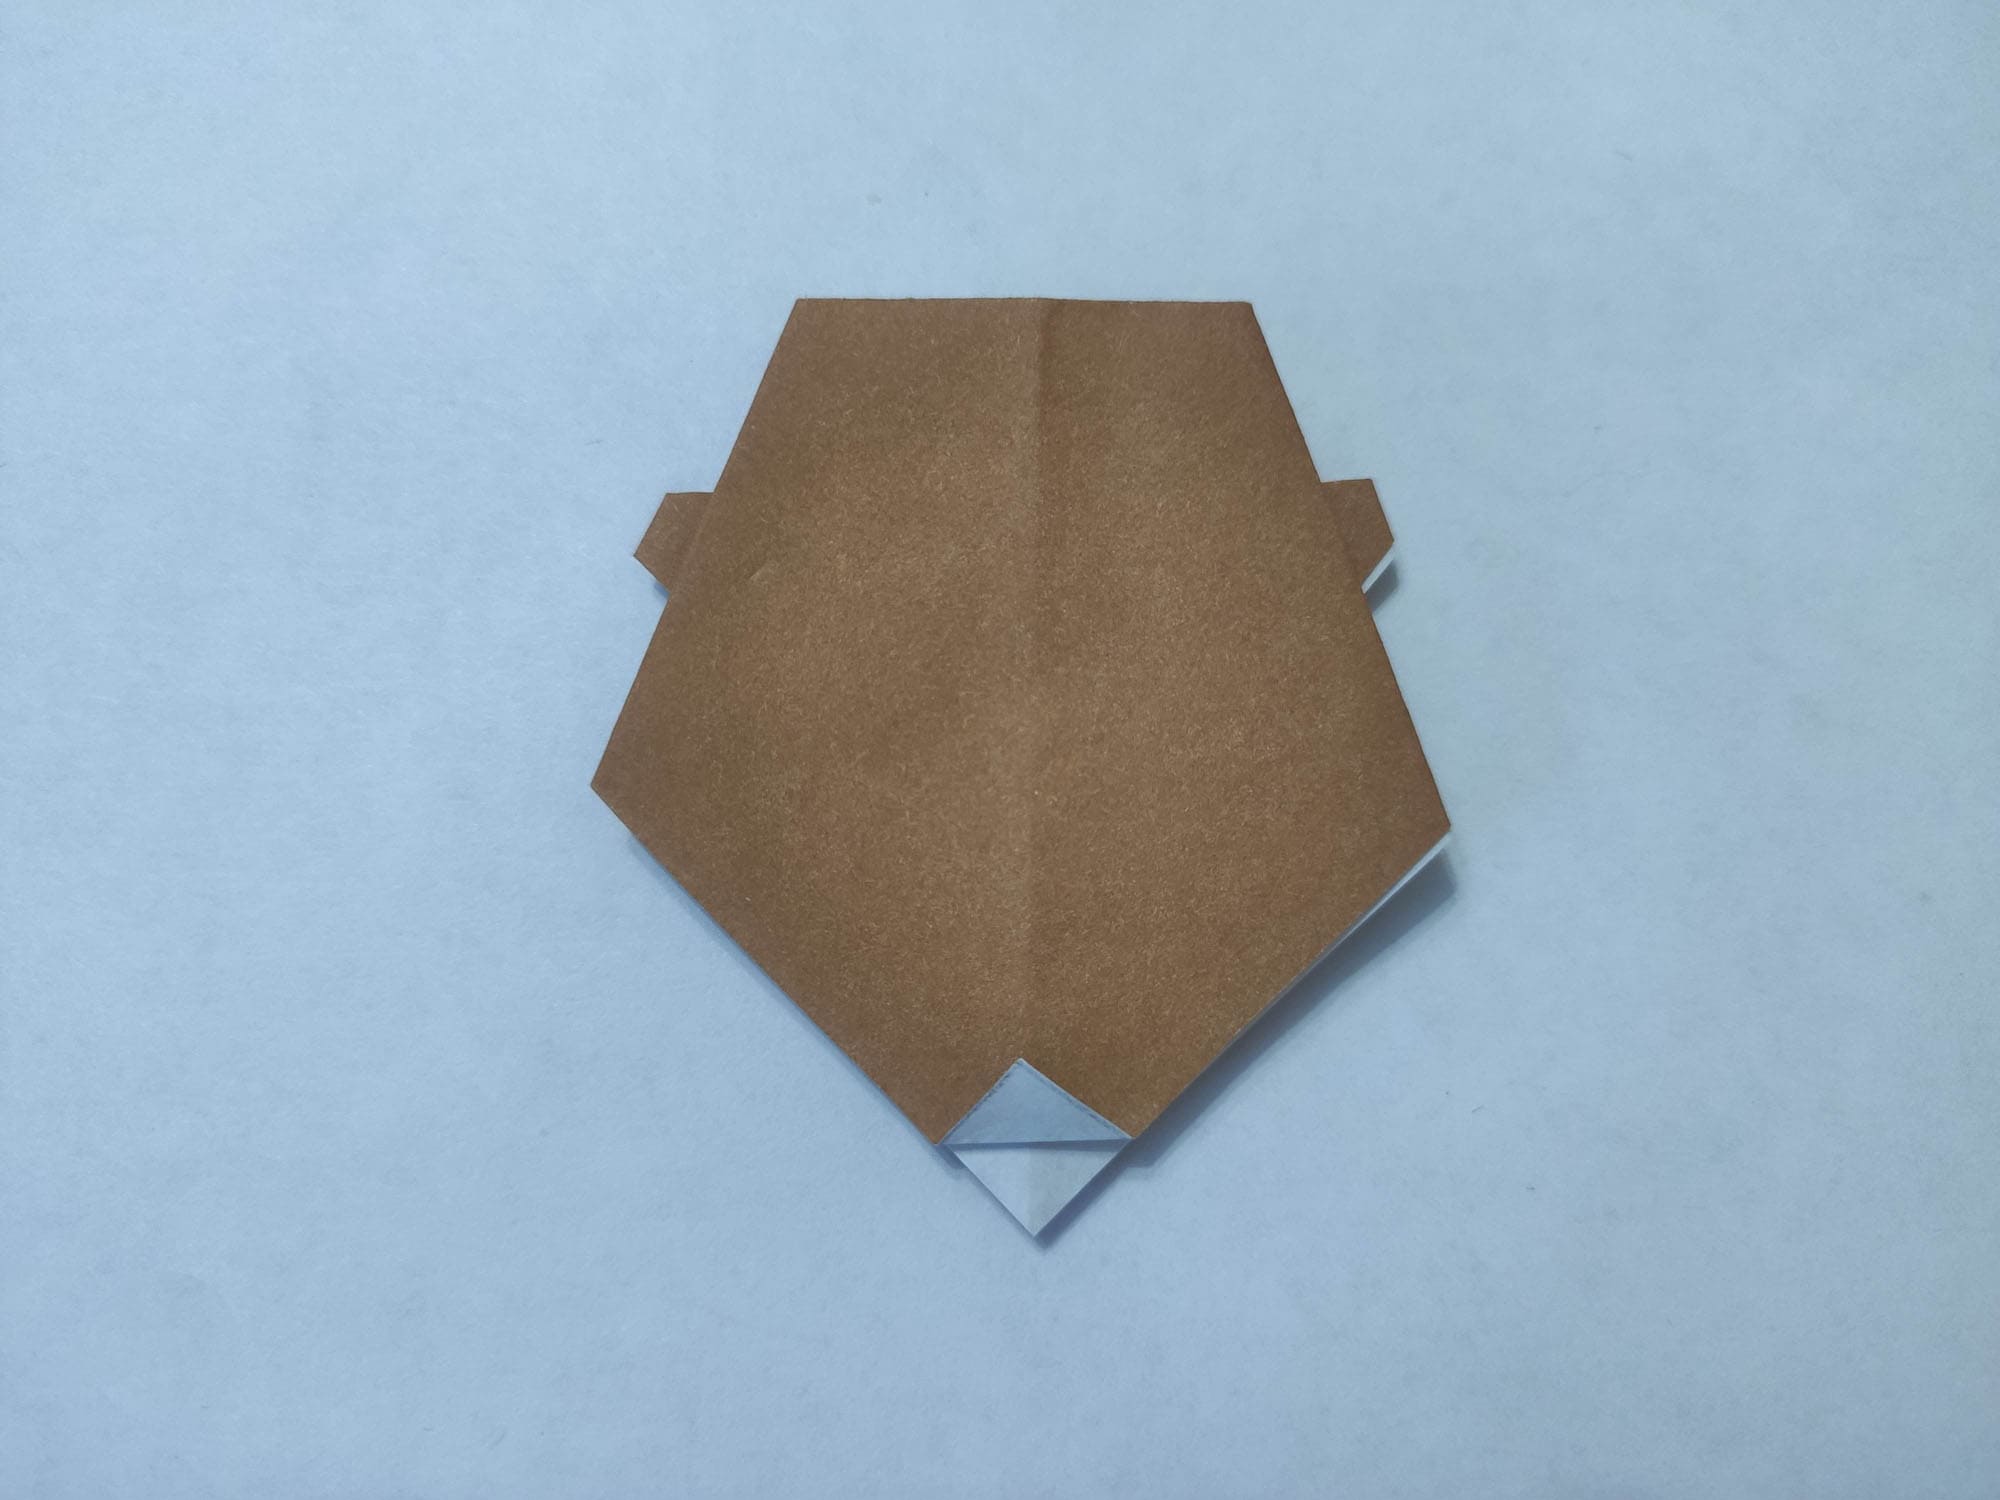
Flip the figure over and lift the bottom corner slightly.
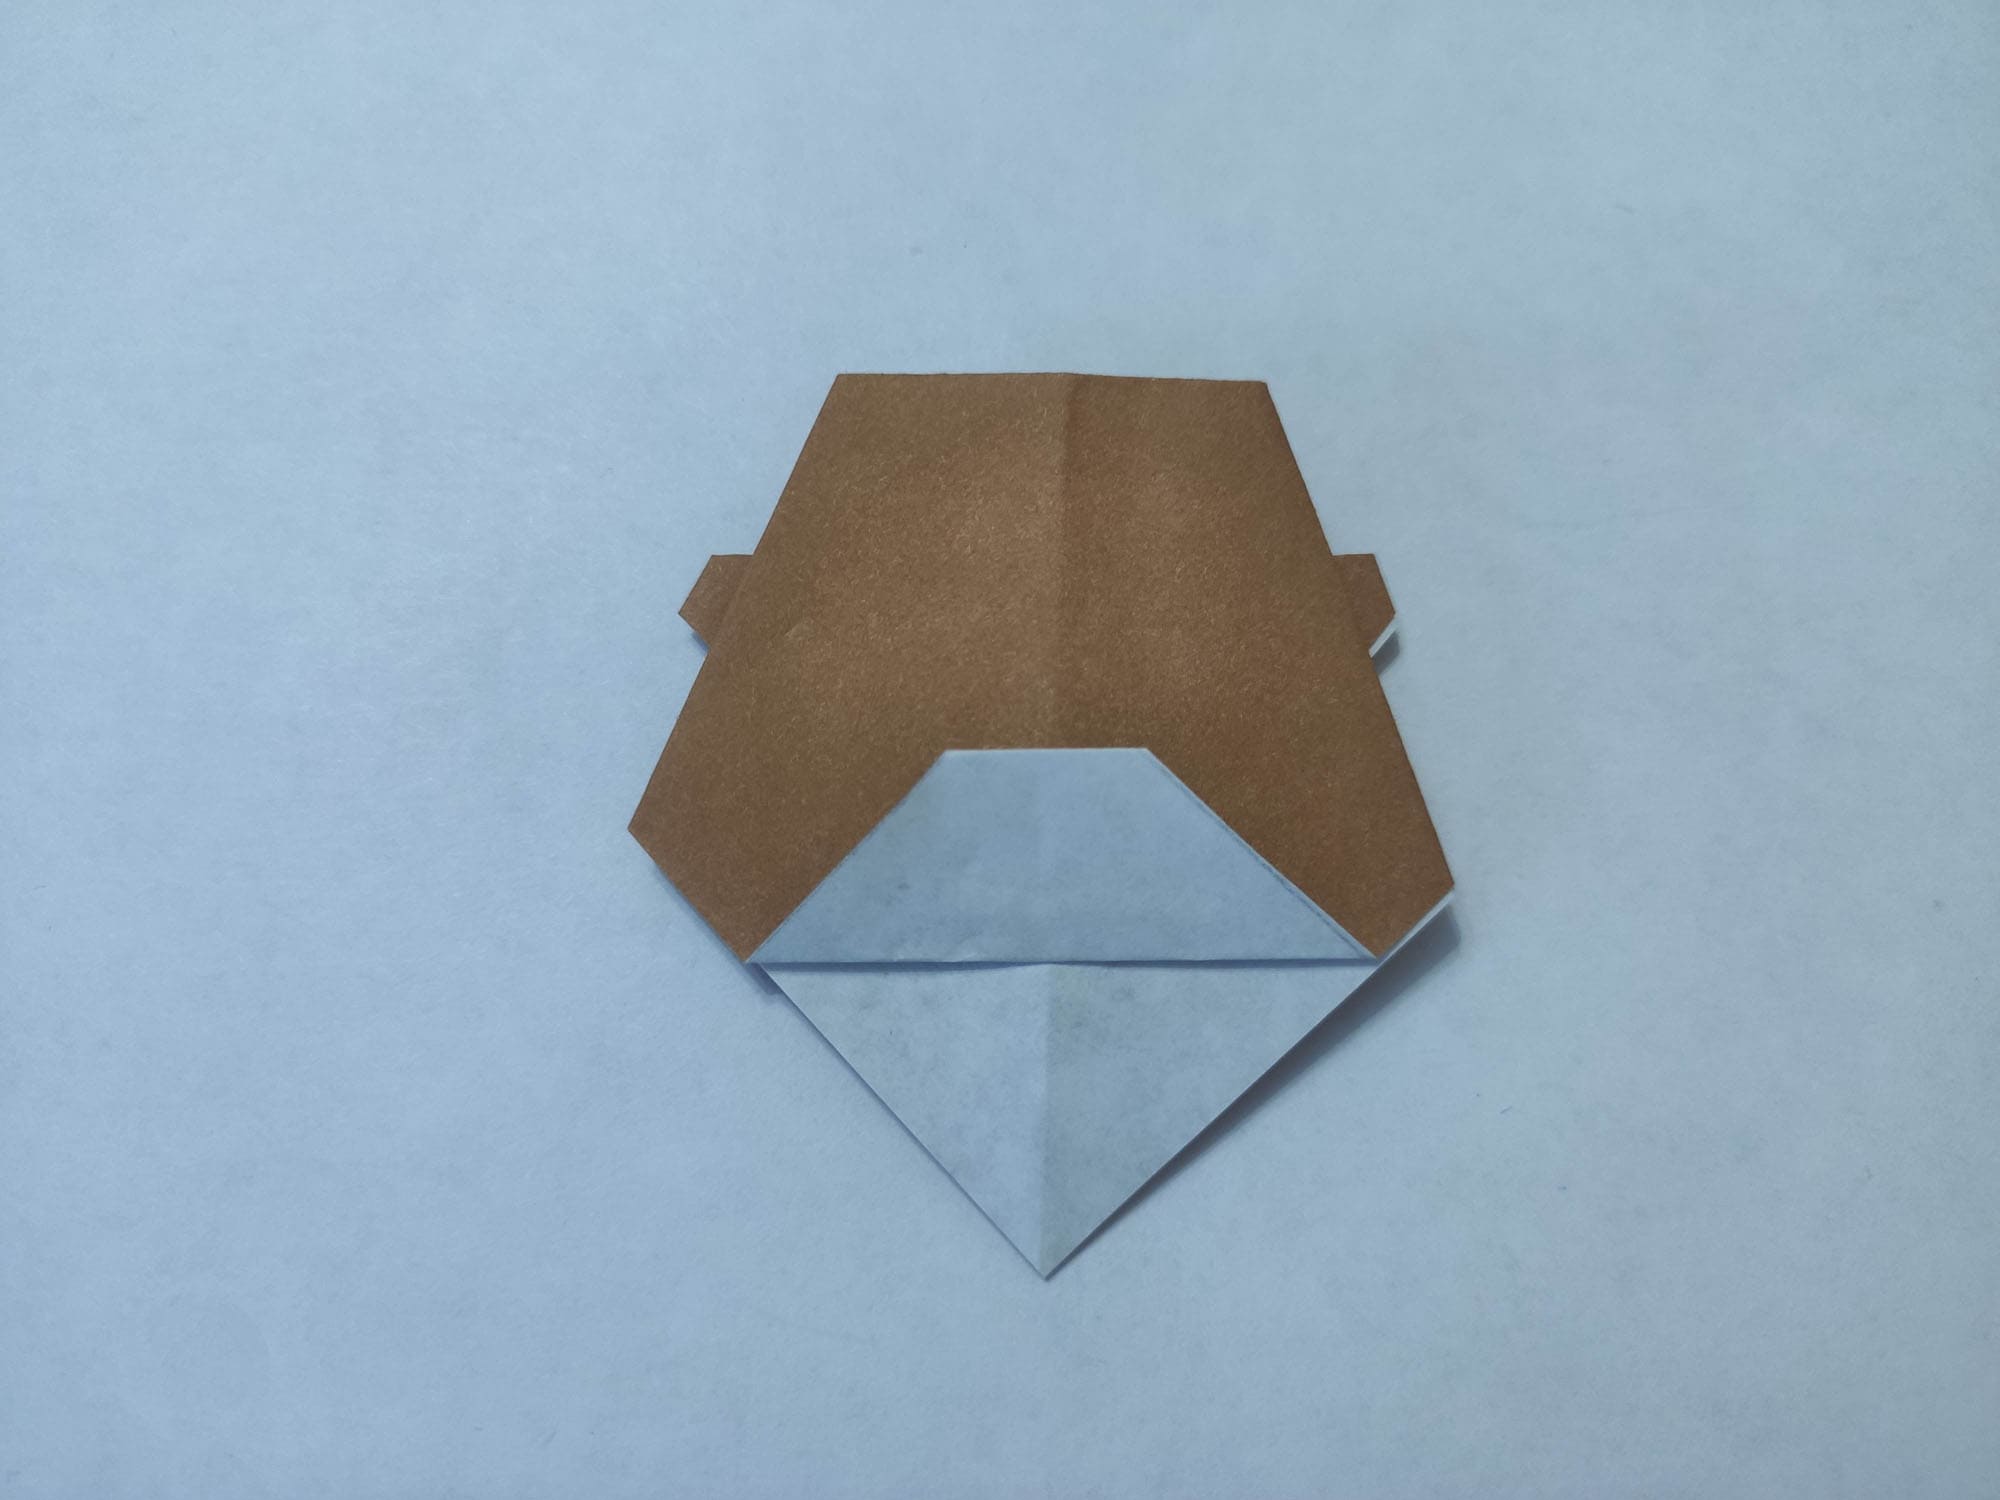
Make one last fold to complete the shape of the muzzle.
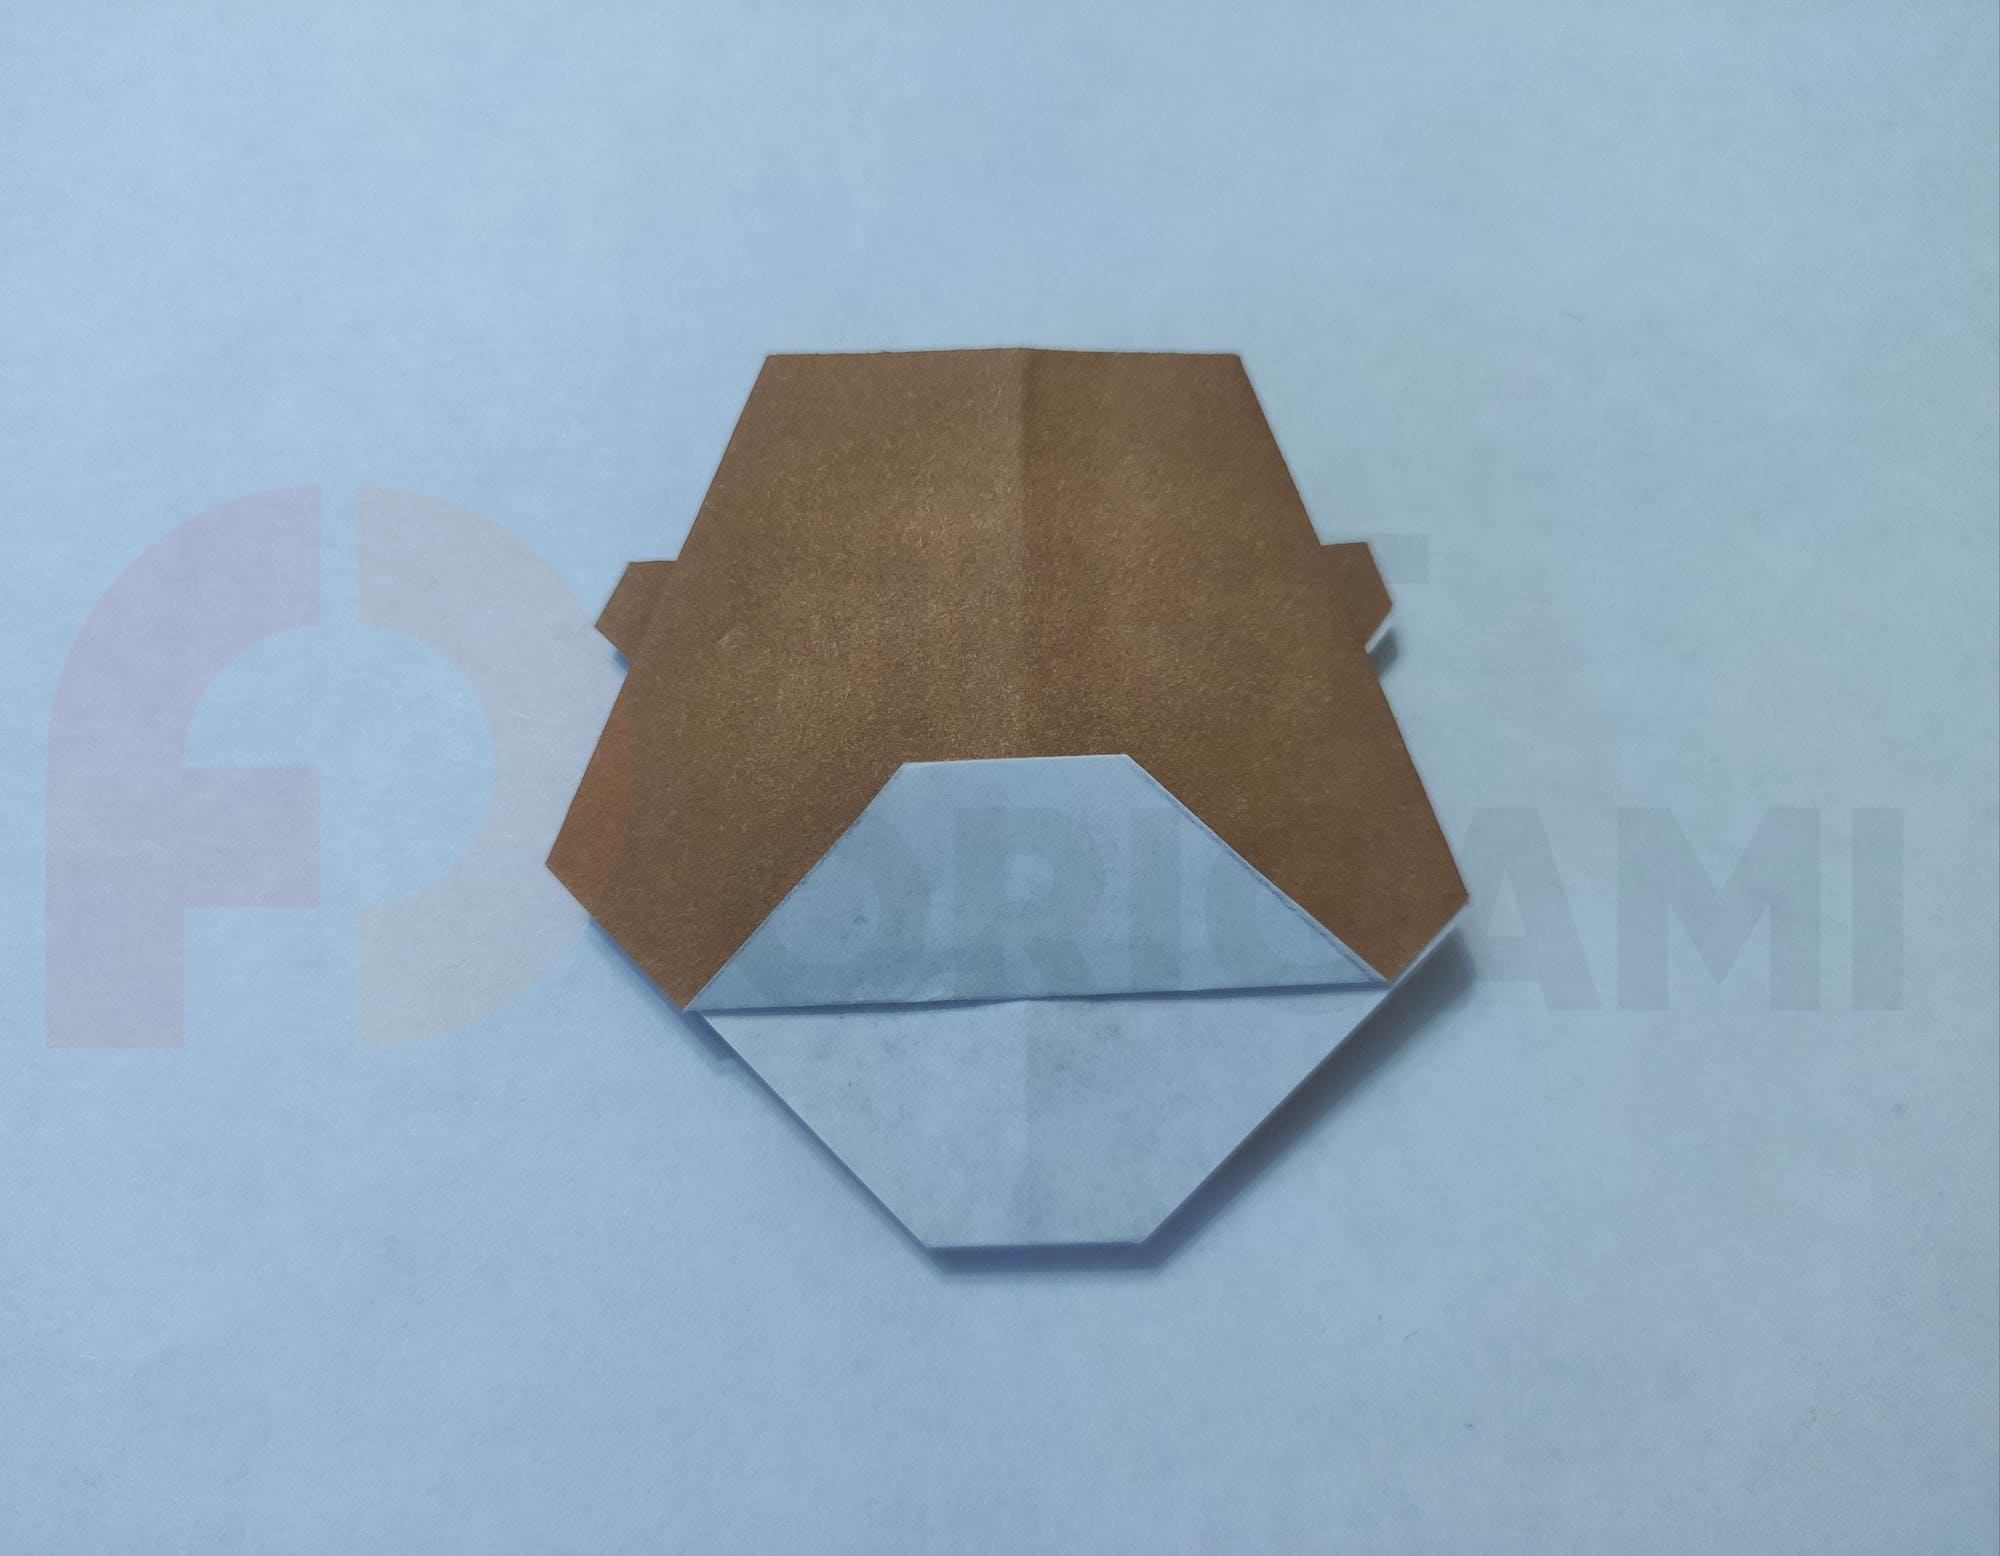
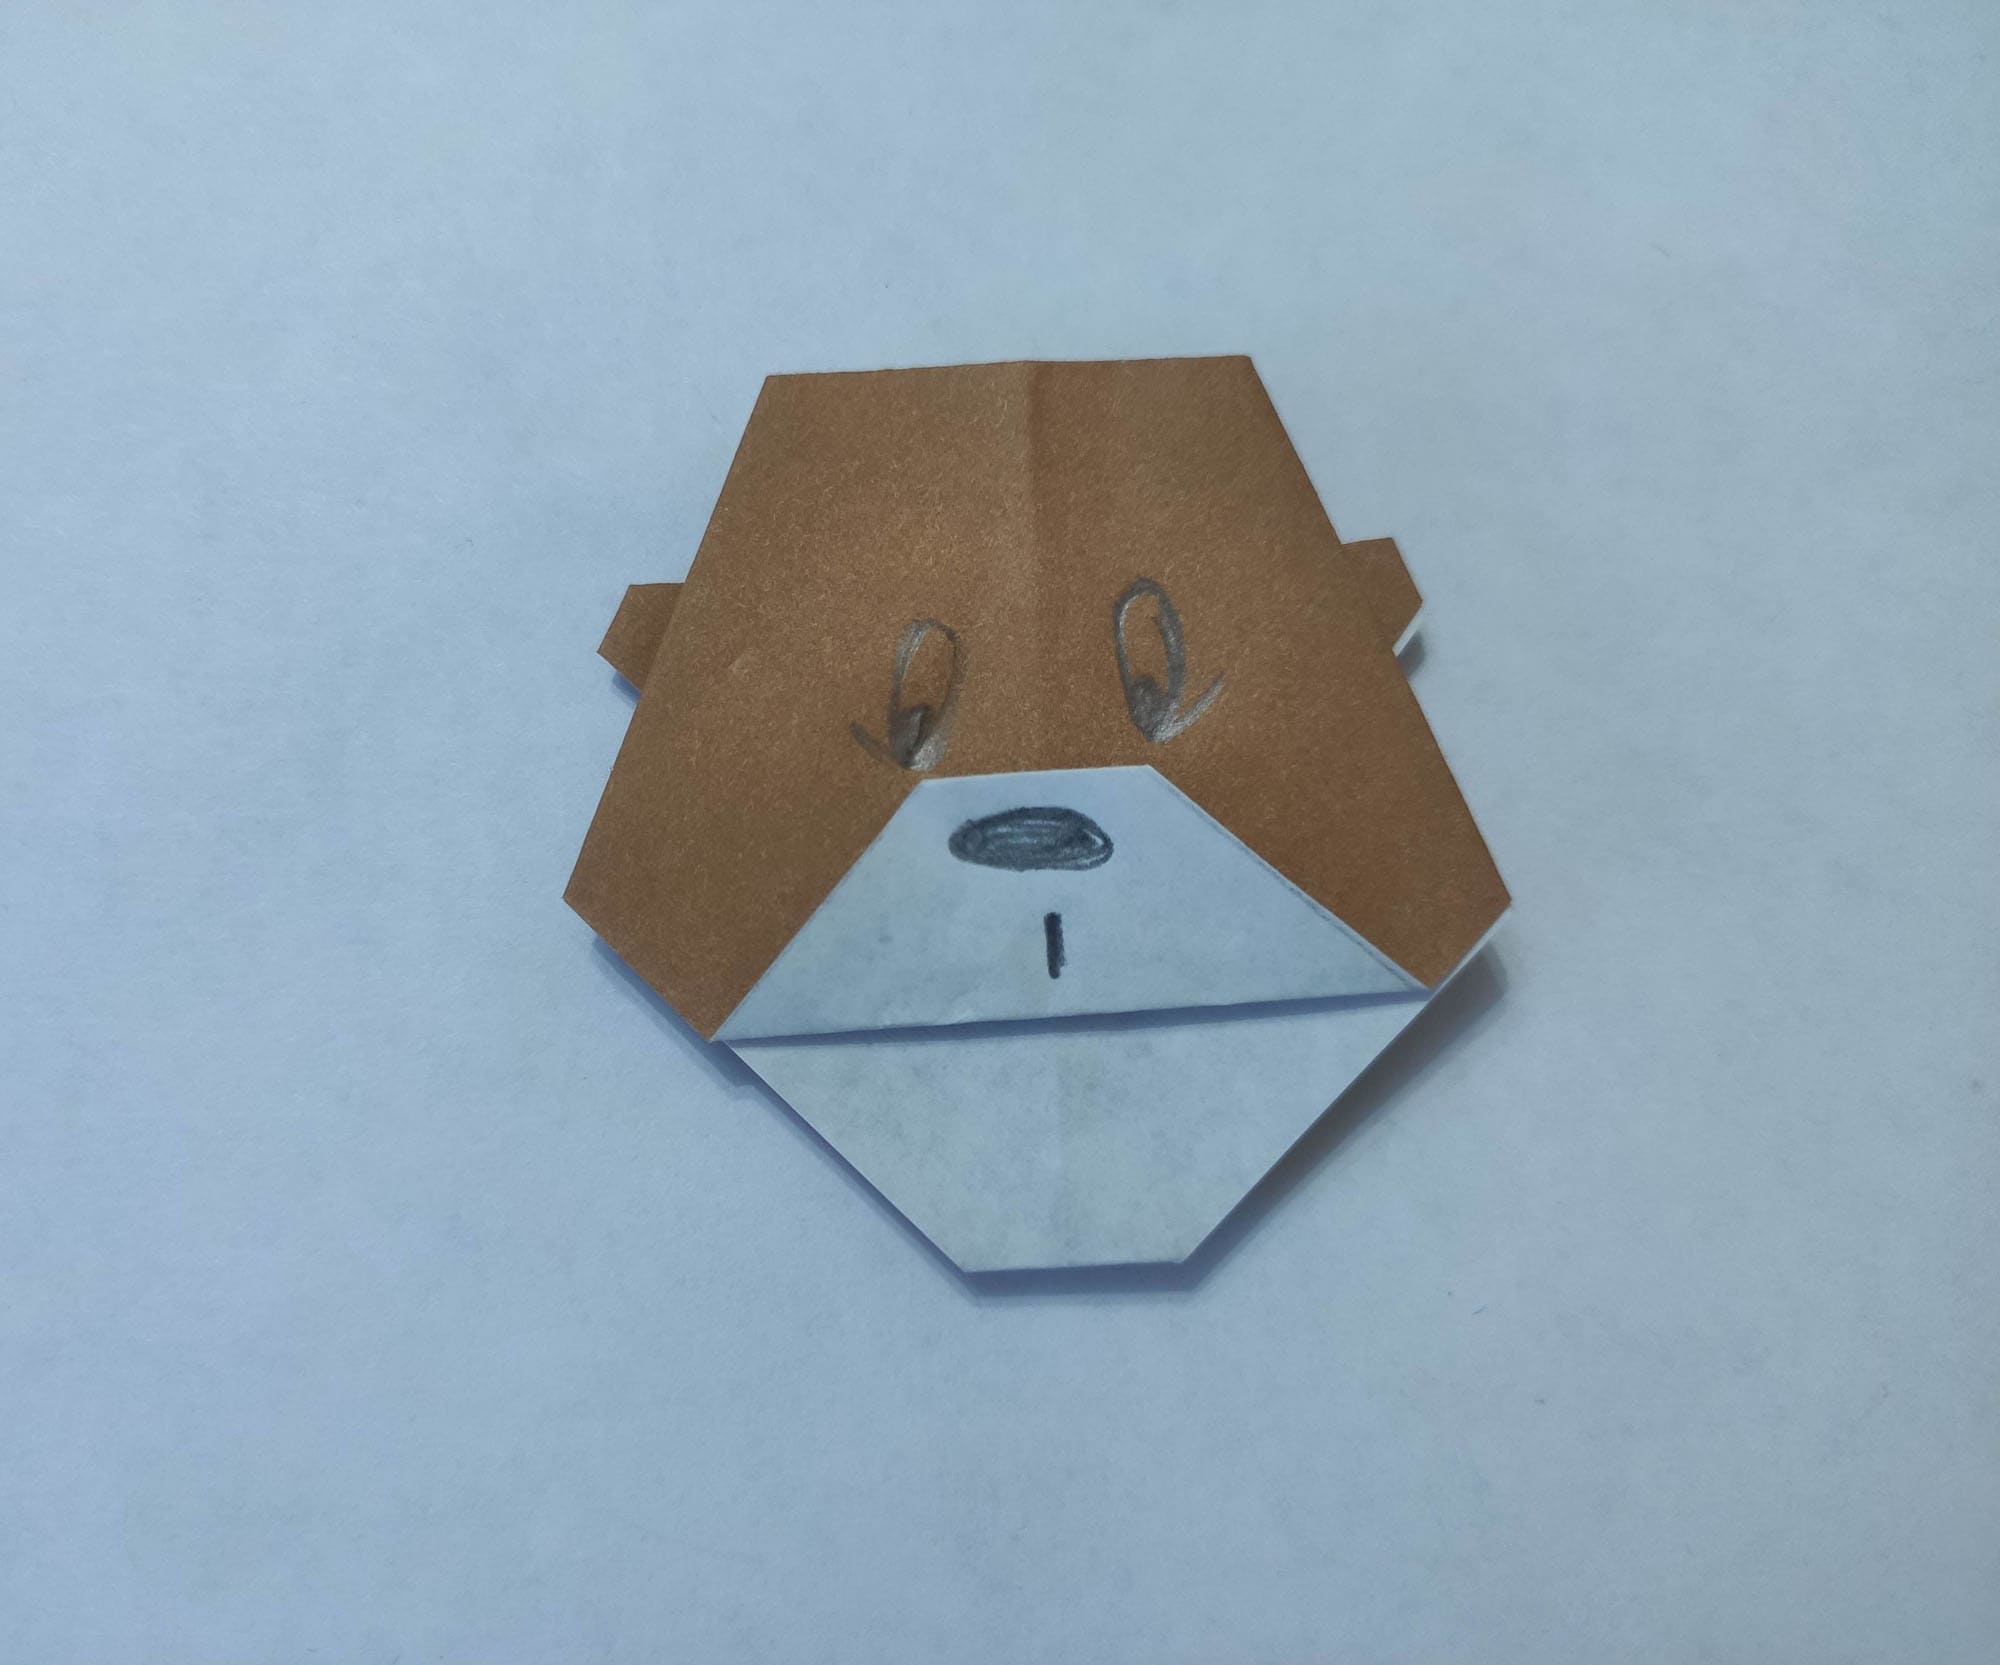
The bear’s muzzle is ready!
We hope you enjoy this creative process! Have fun folding!


