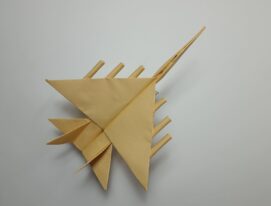
Origami Bird Airplane
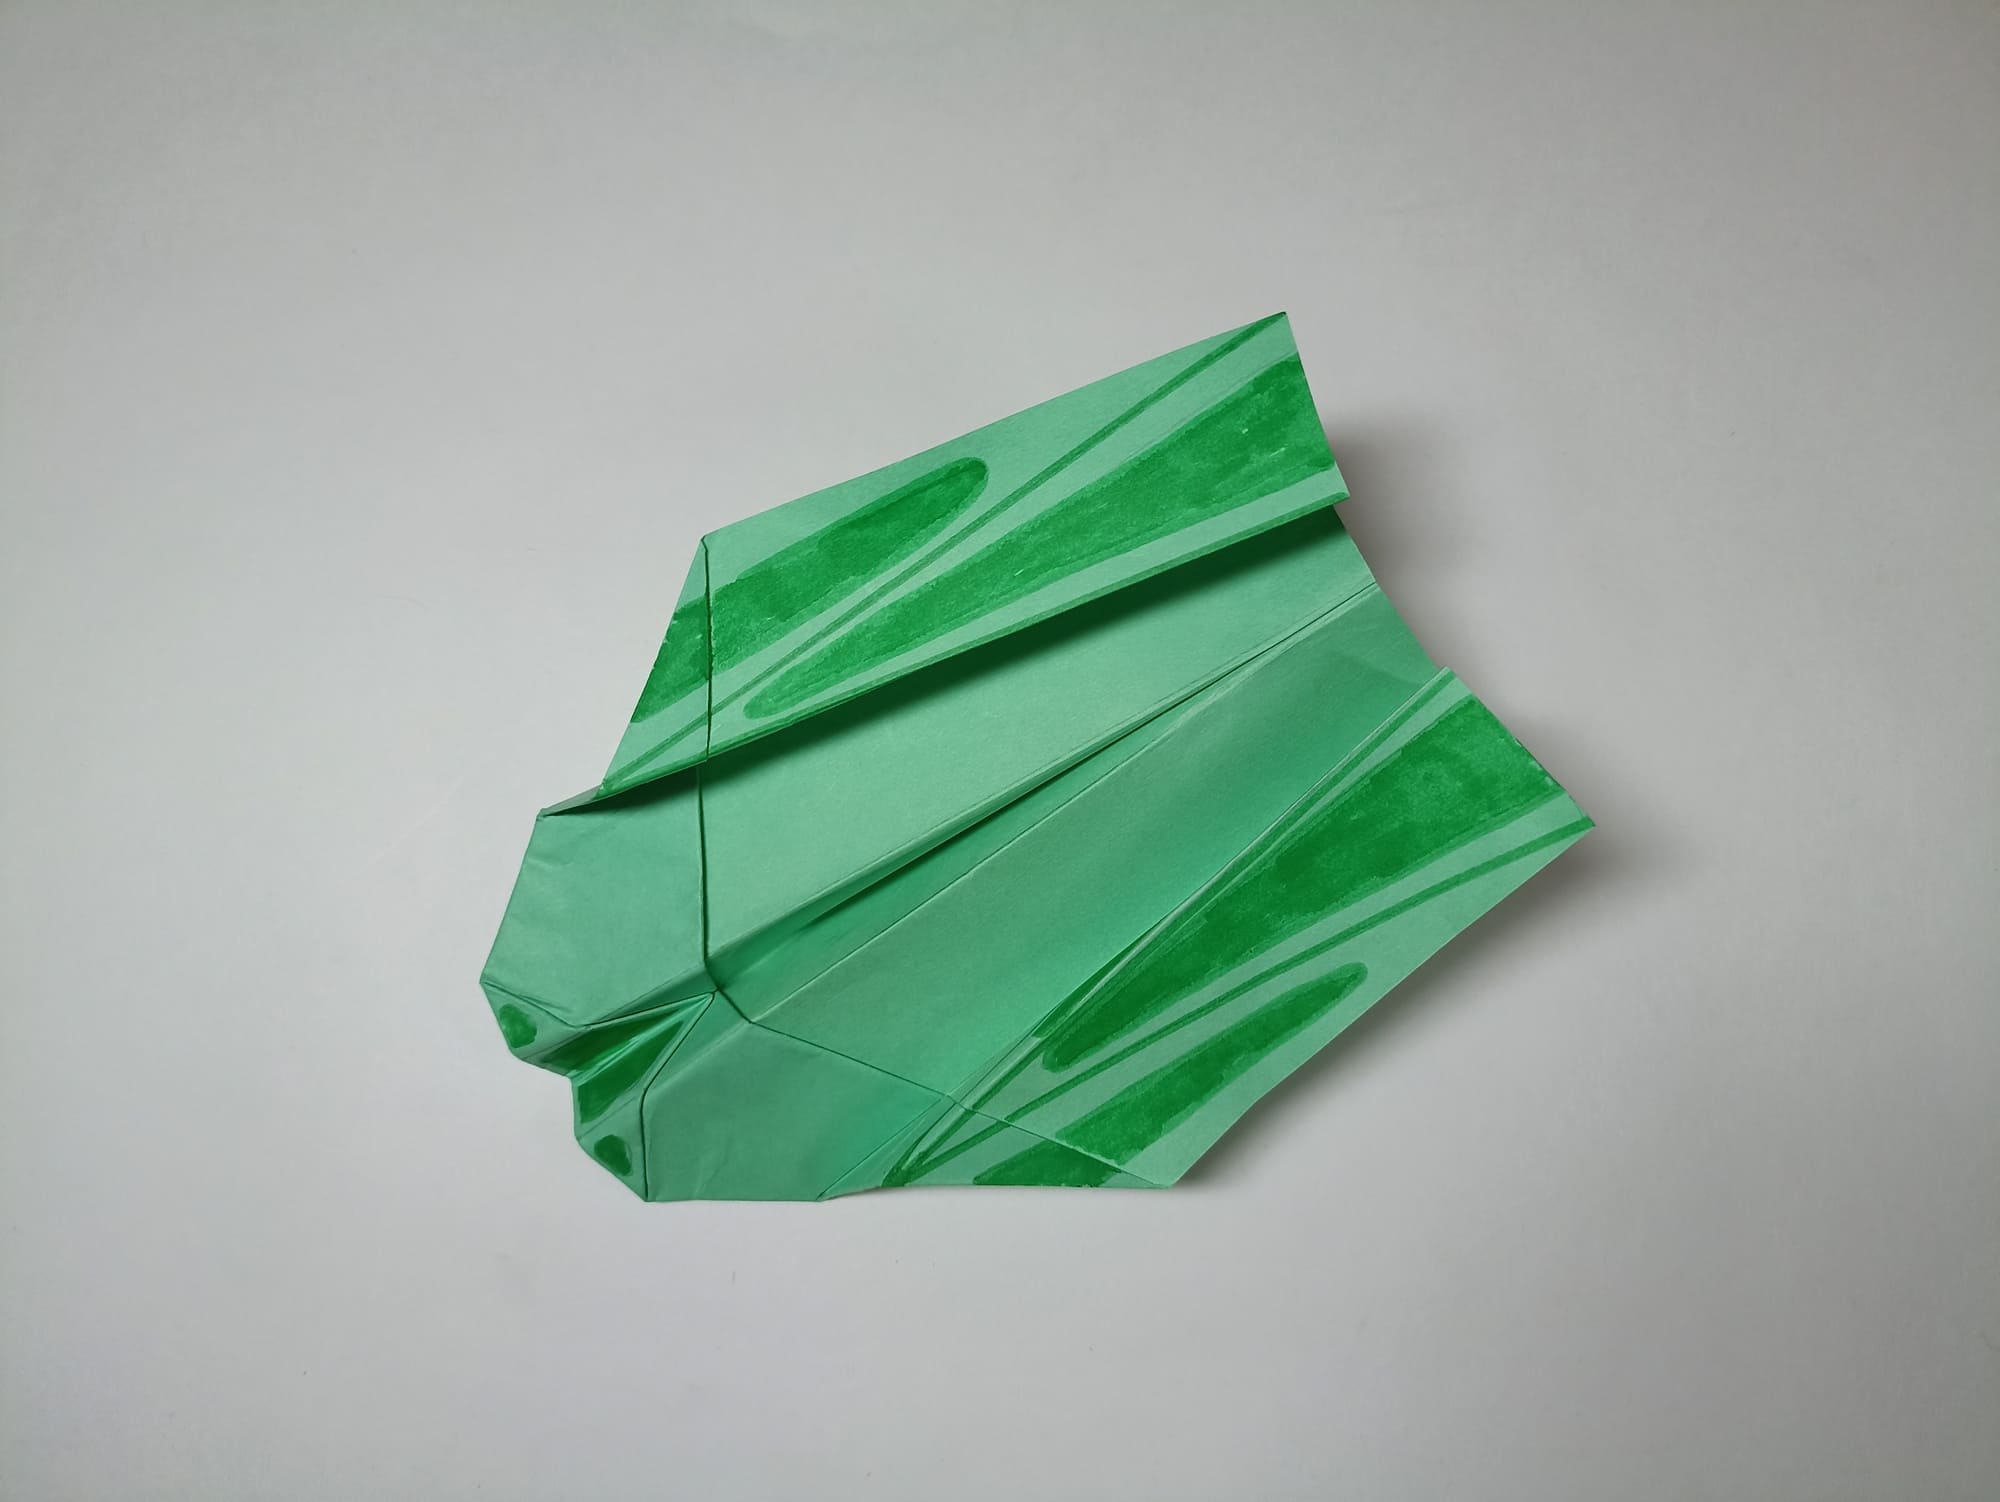
This aircraft is like a bird. The lifting force of the wings is increased by elements raised at the ends. The tail and nose parts are not clearly expressed. The large plane of the wings helps smooth slow gliding.
The airplane is very similar to an unmanned aerial vehicle, the control of which is not in the body, but on the ground. Drones are small in size, fly lower than airplanes, and can go to hard-to-reach places. Iron birds are used for military and defensive purposes, in agriculture, geological exploration, and archaeology.
Place the sheet of paper vertically, and mark additional lines, aligning the top edge alternately with both sides.
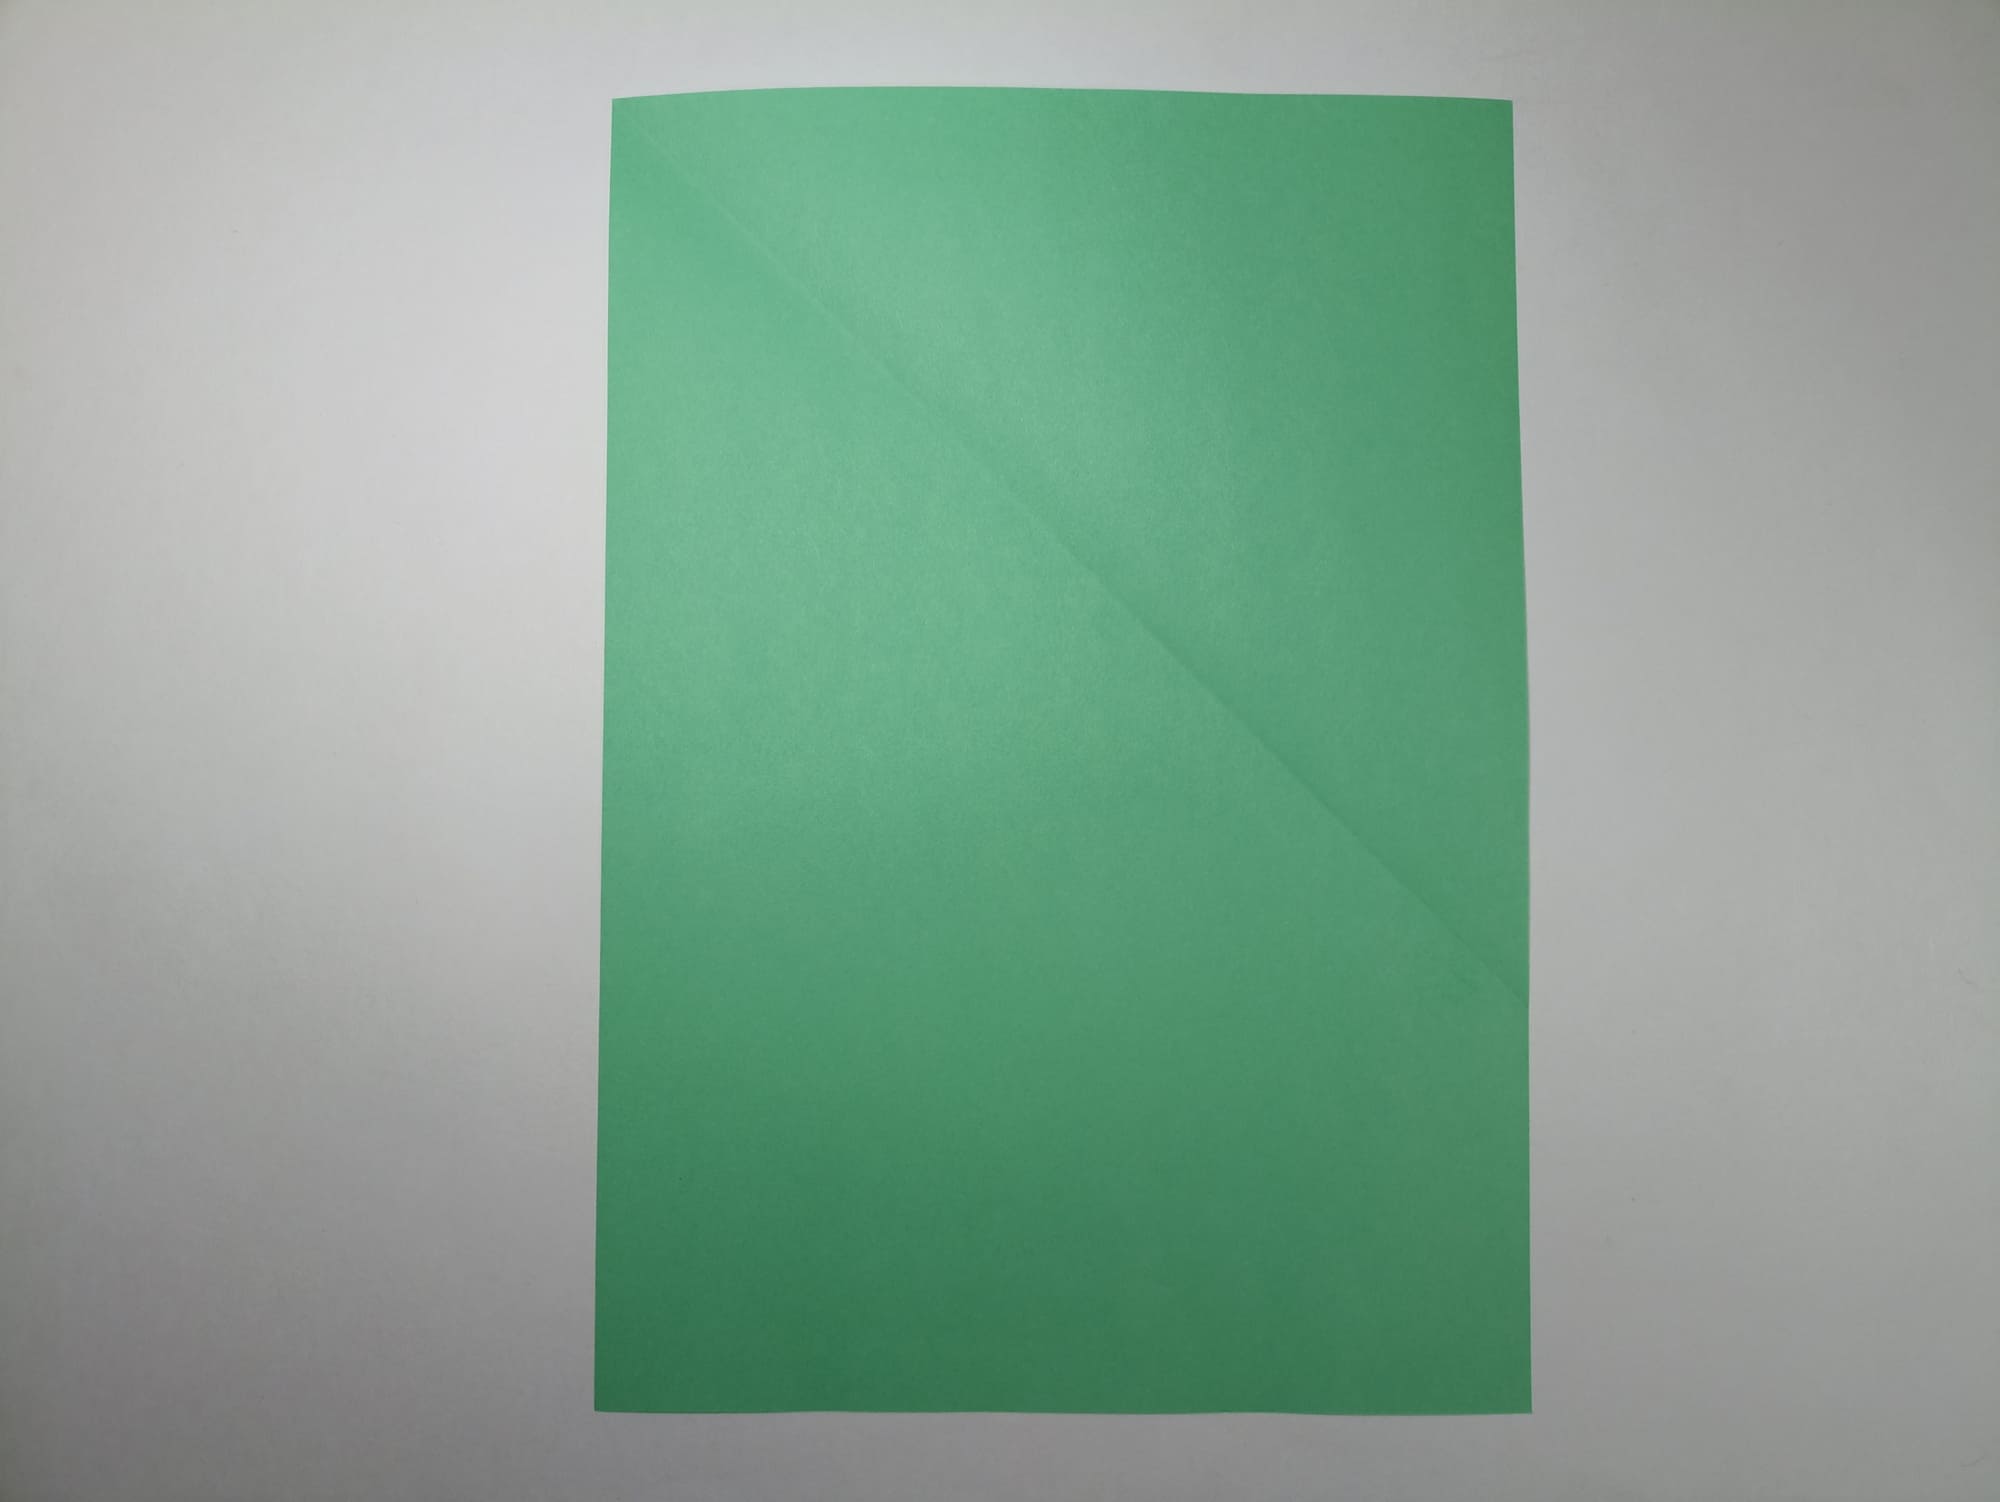
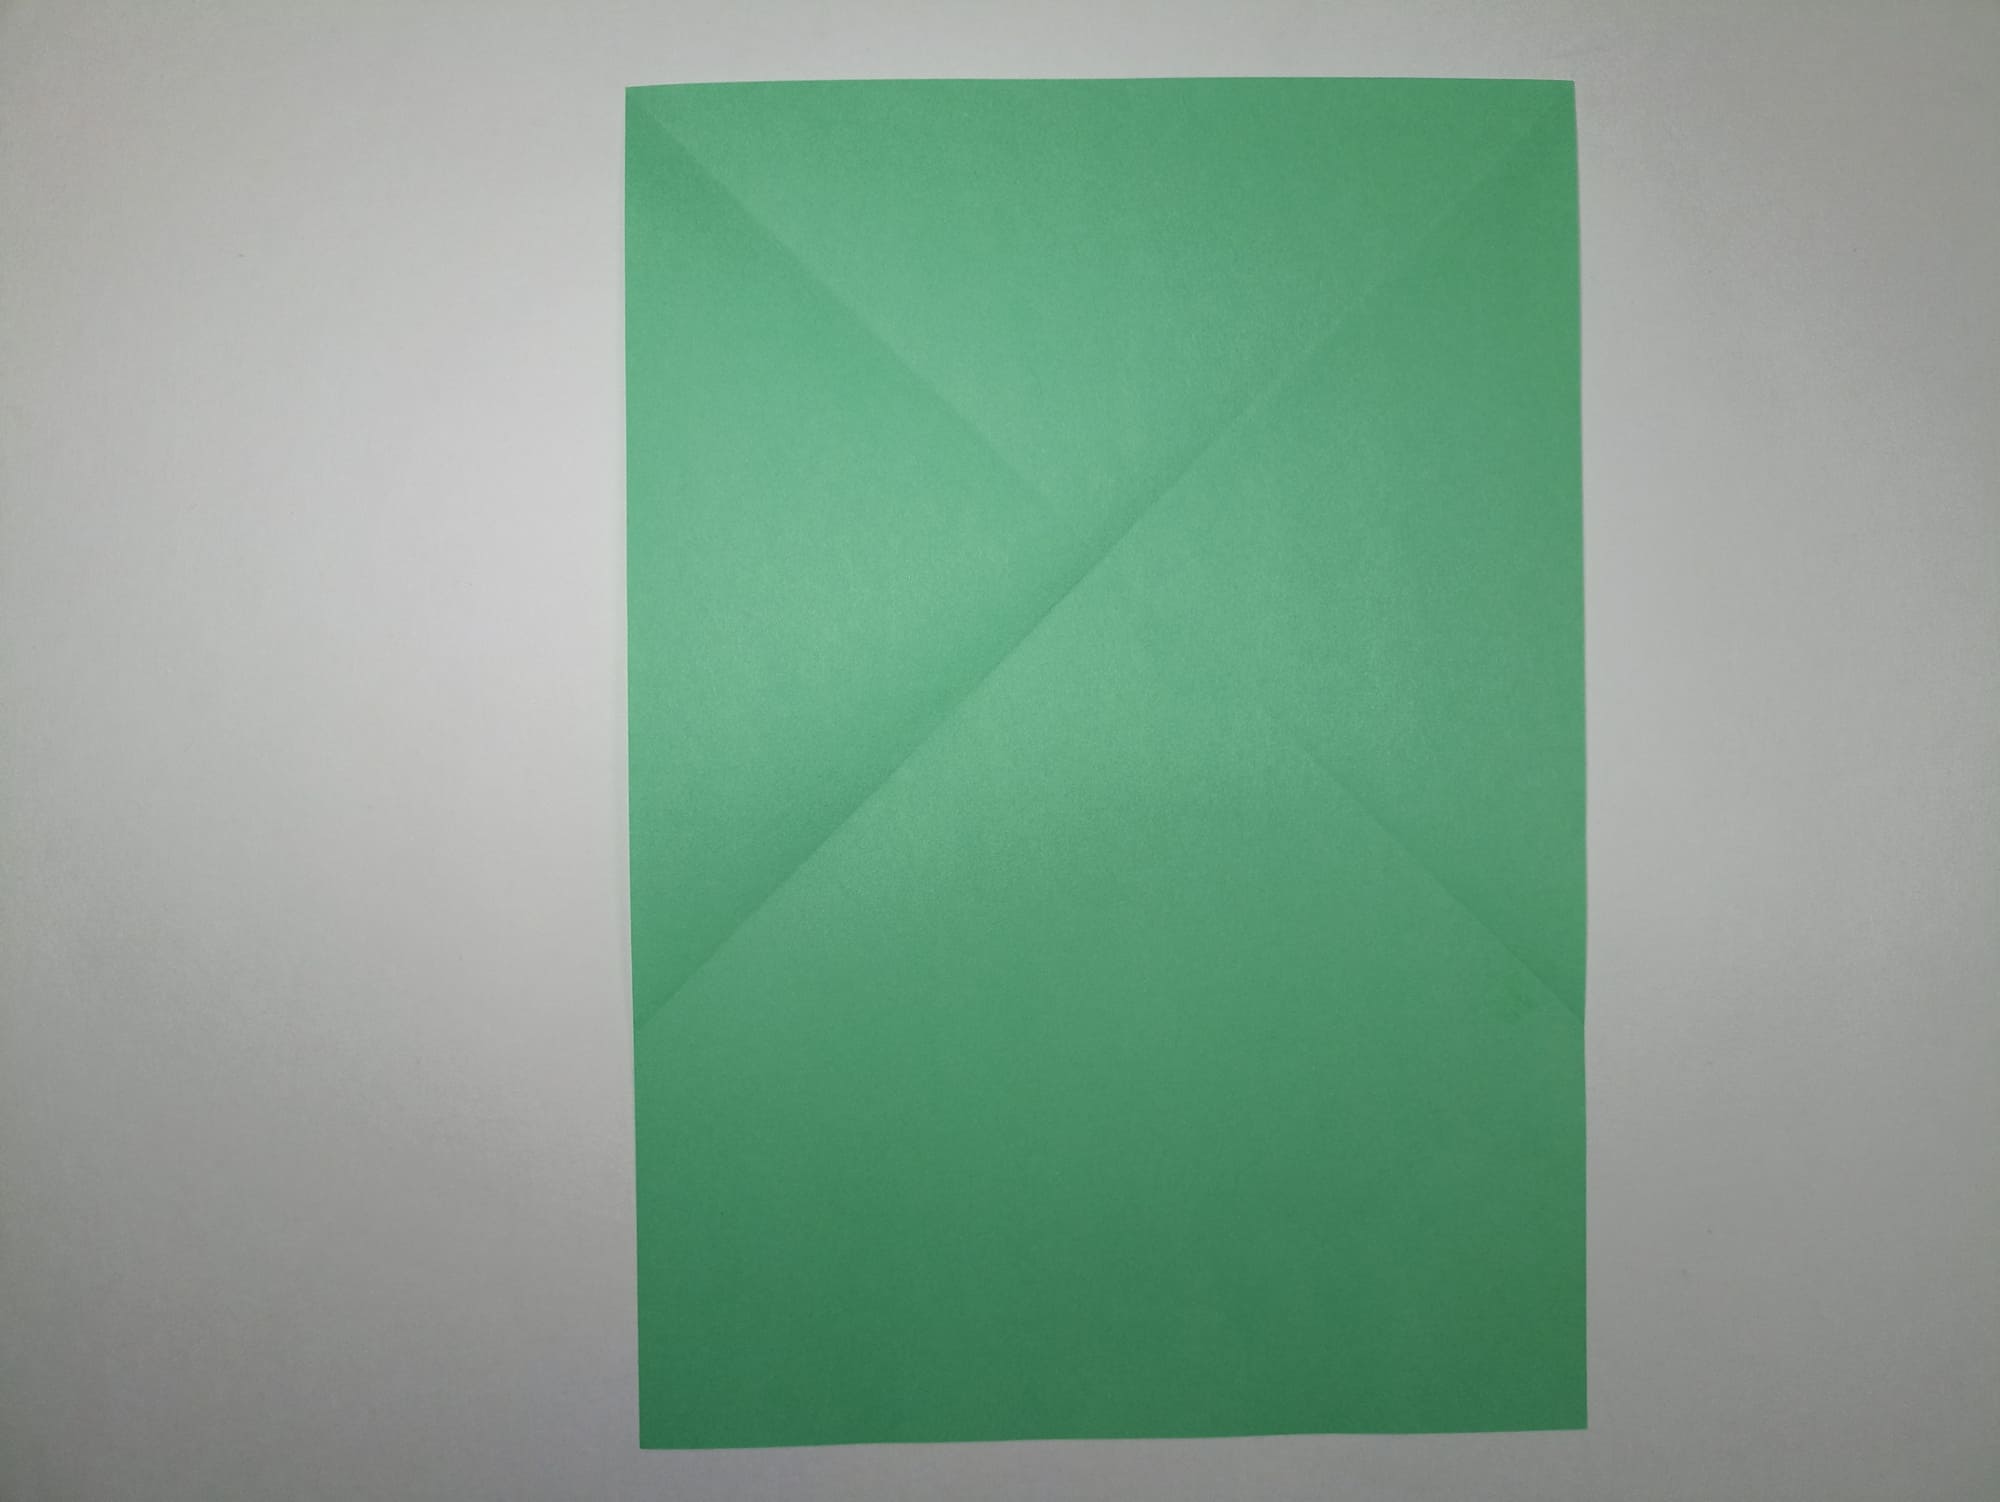
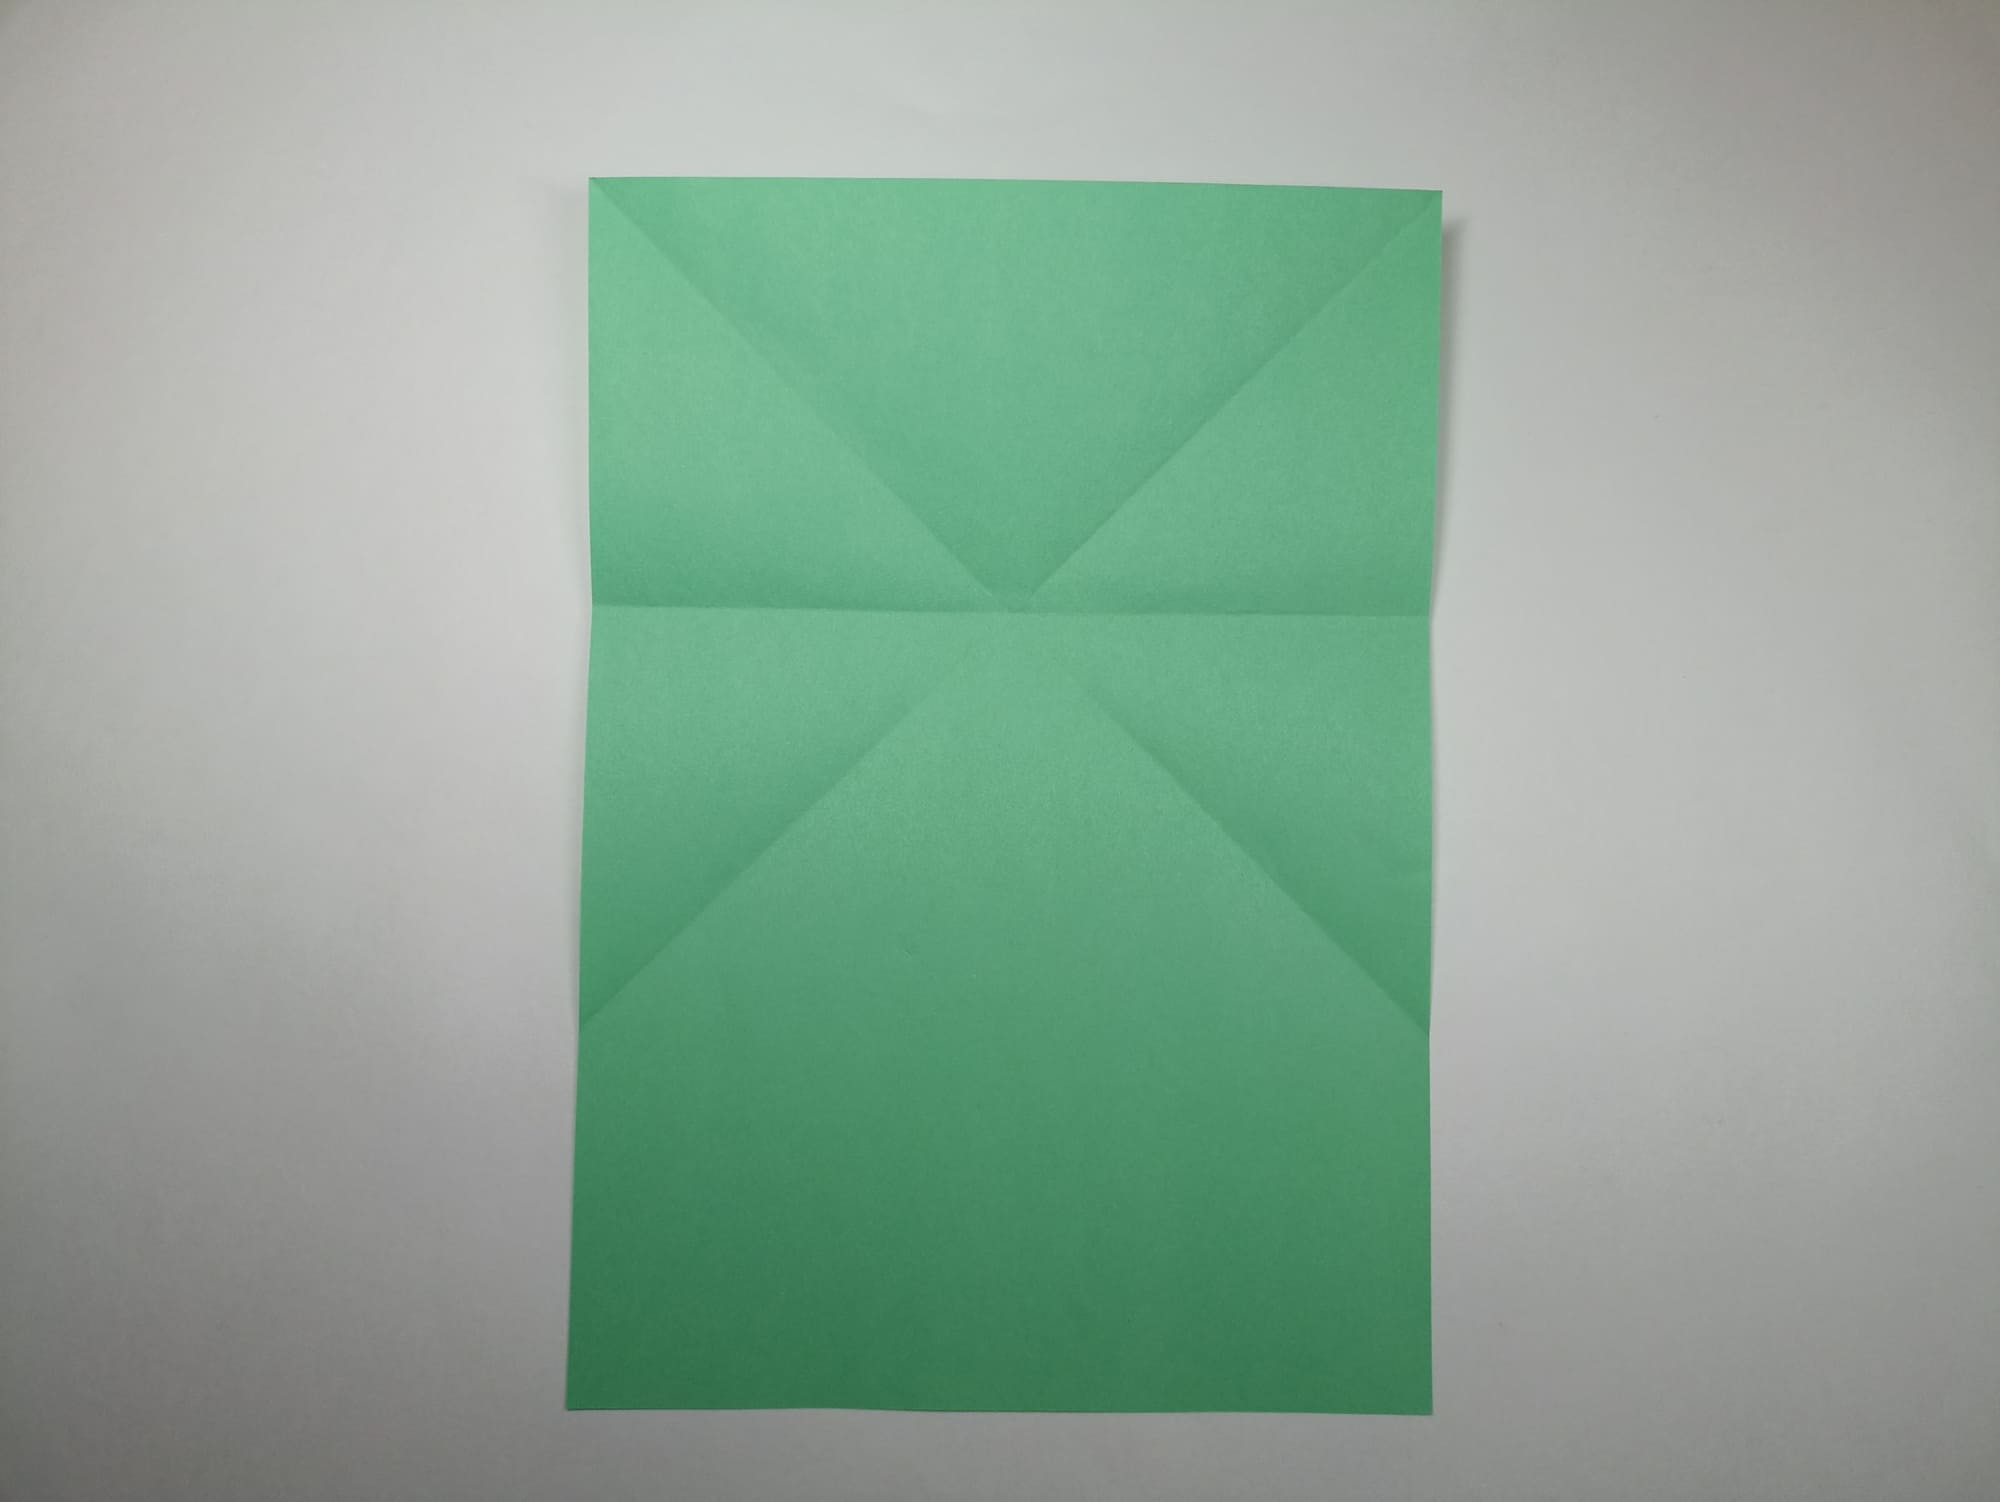
Straighten the paper.
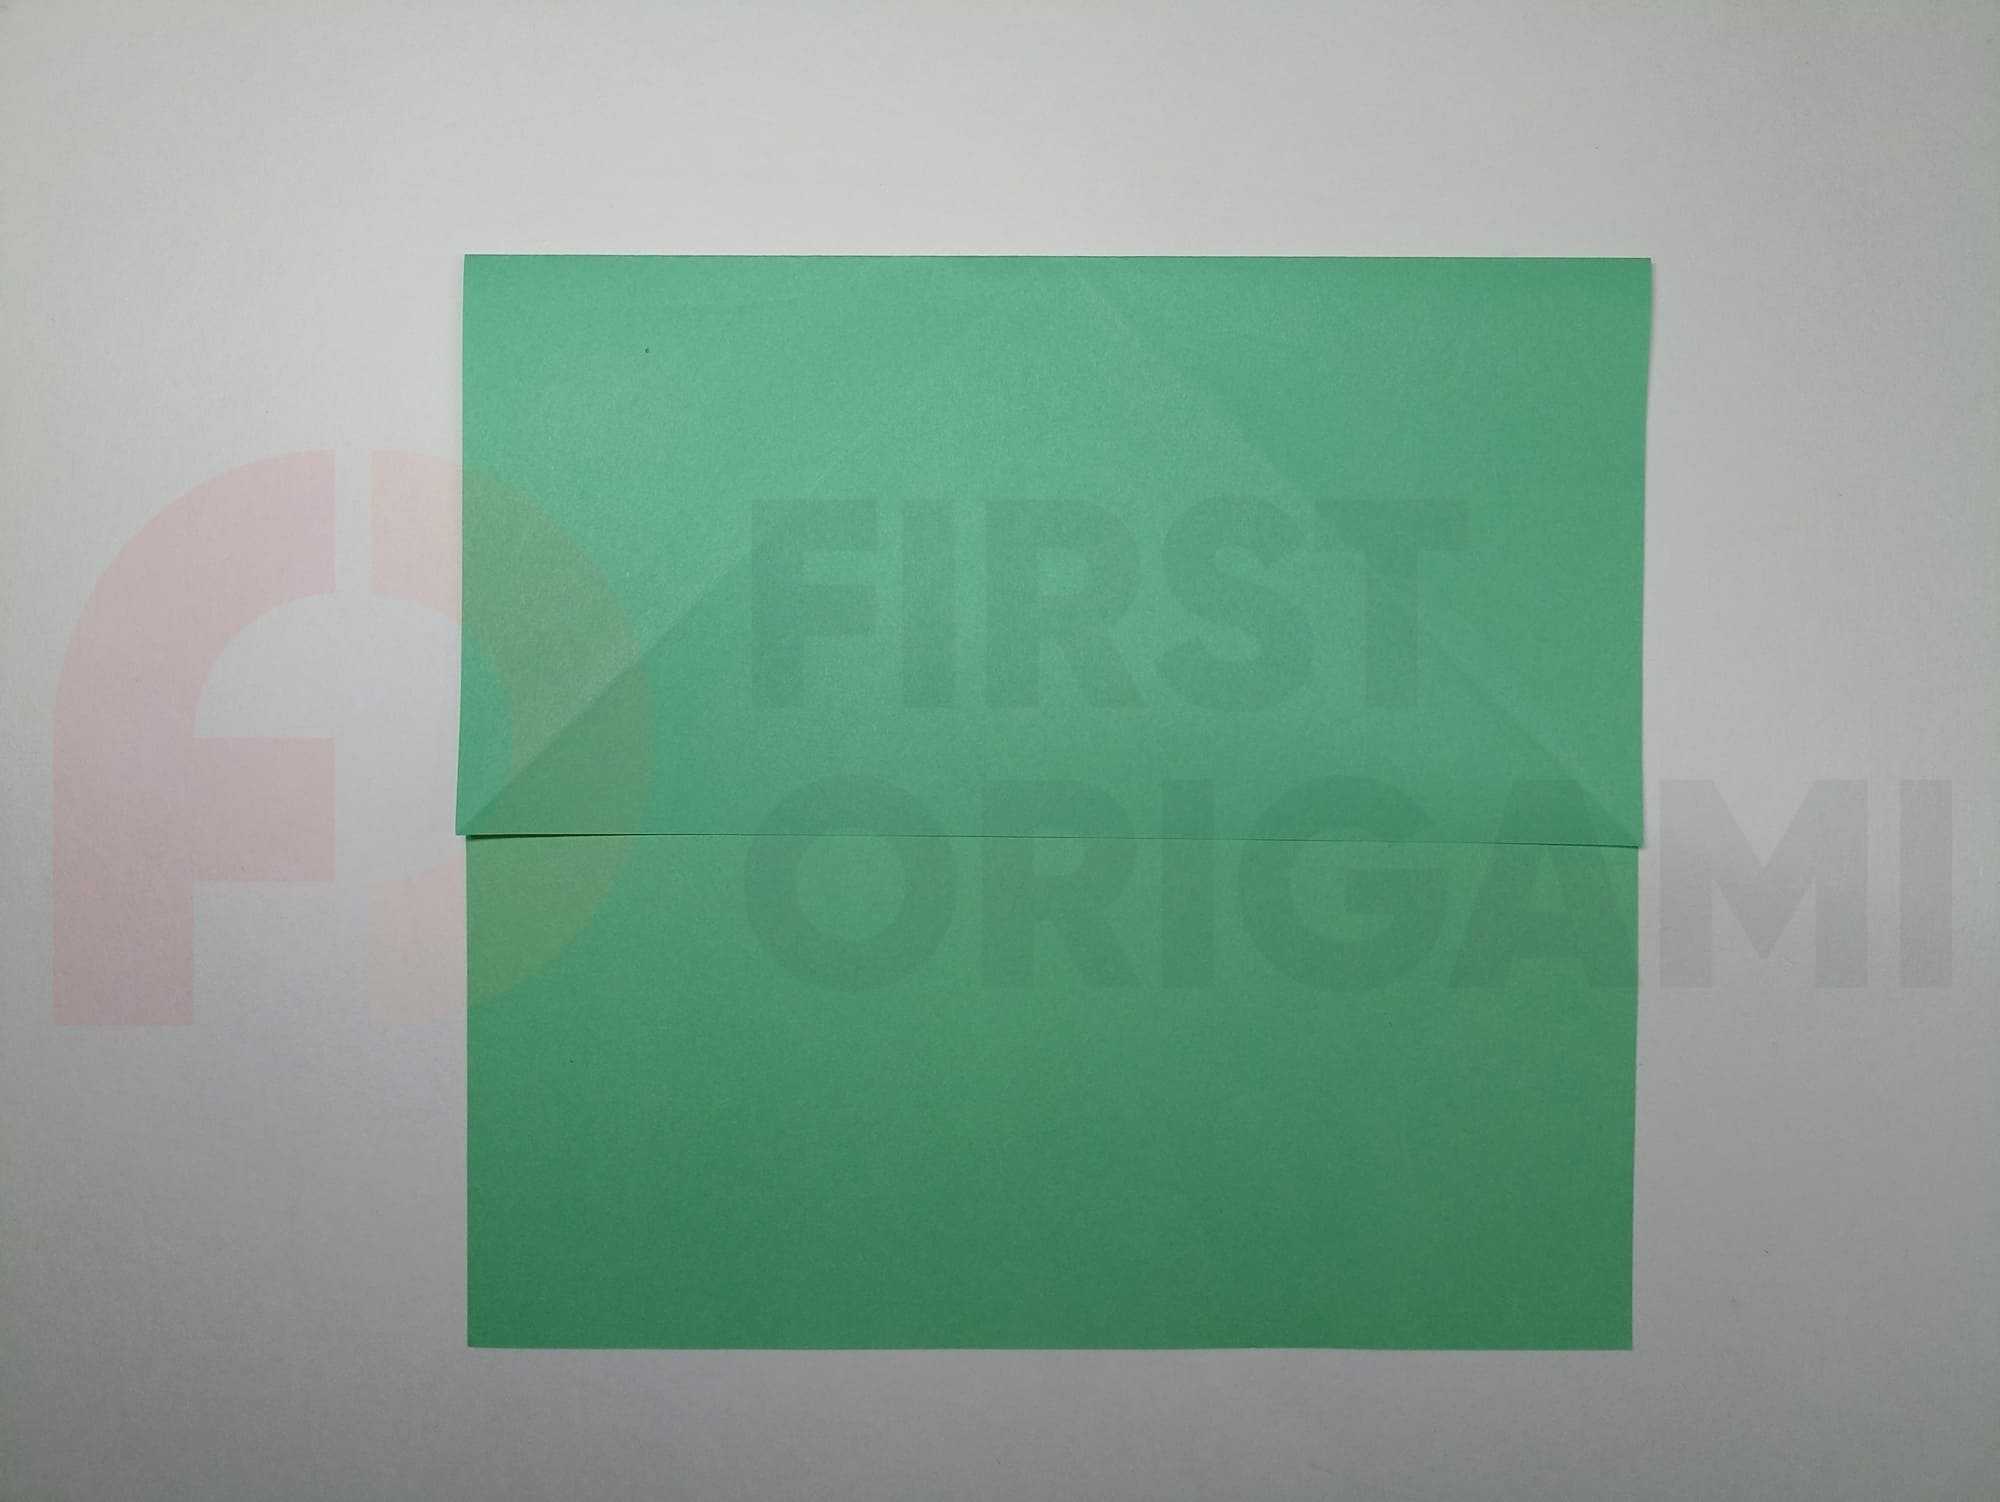
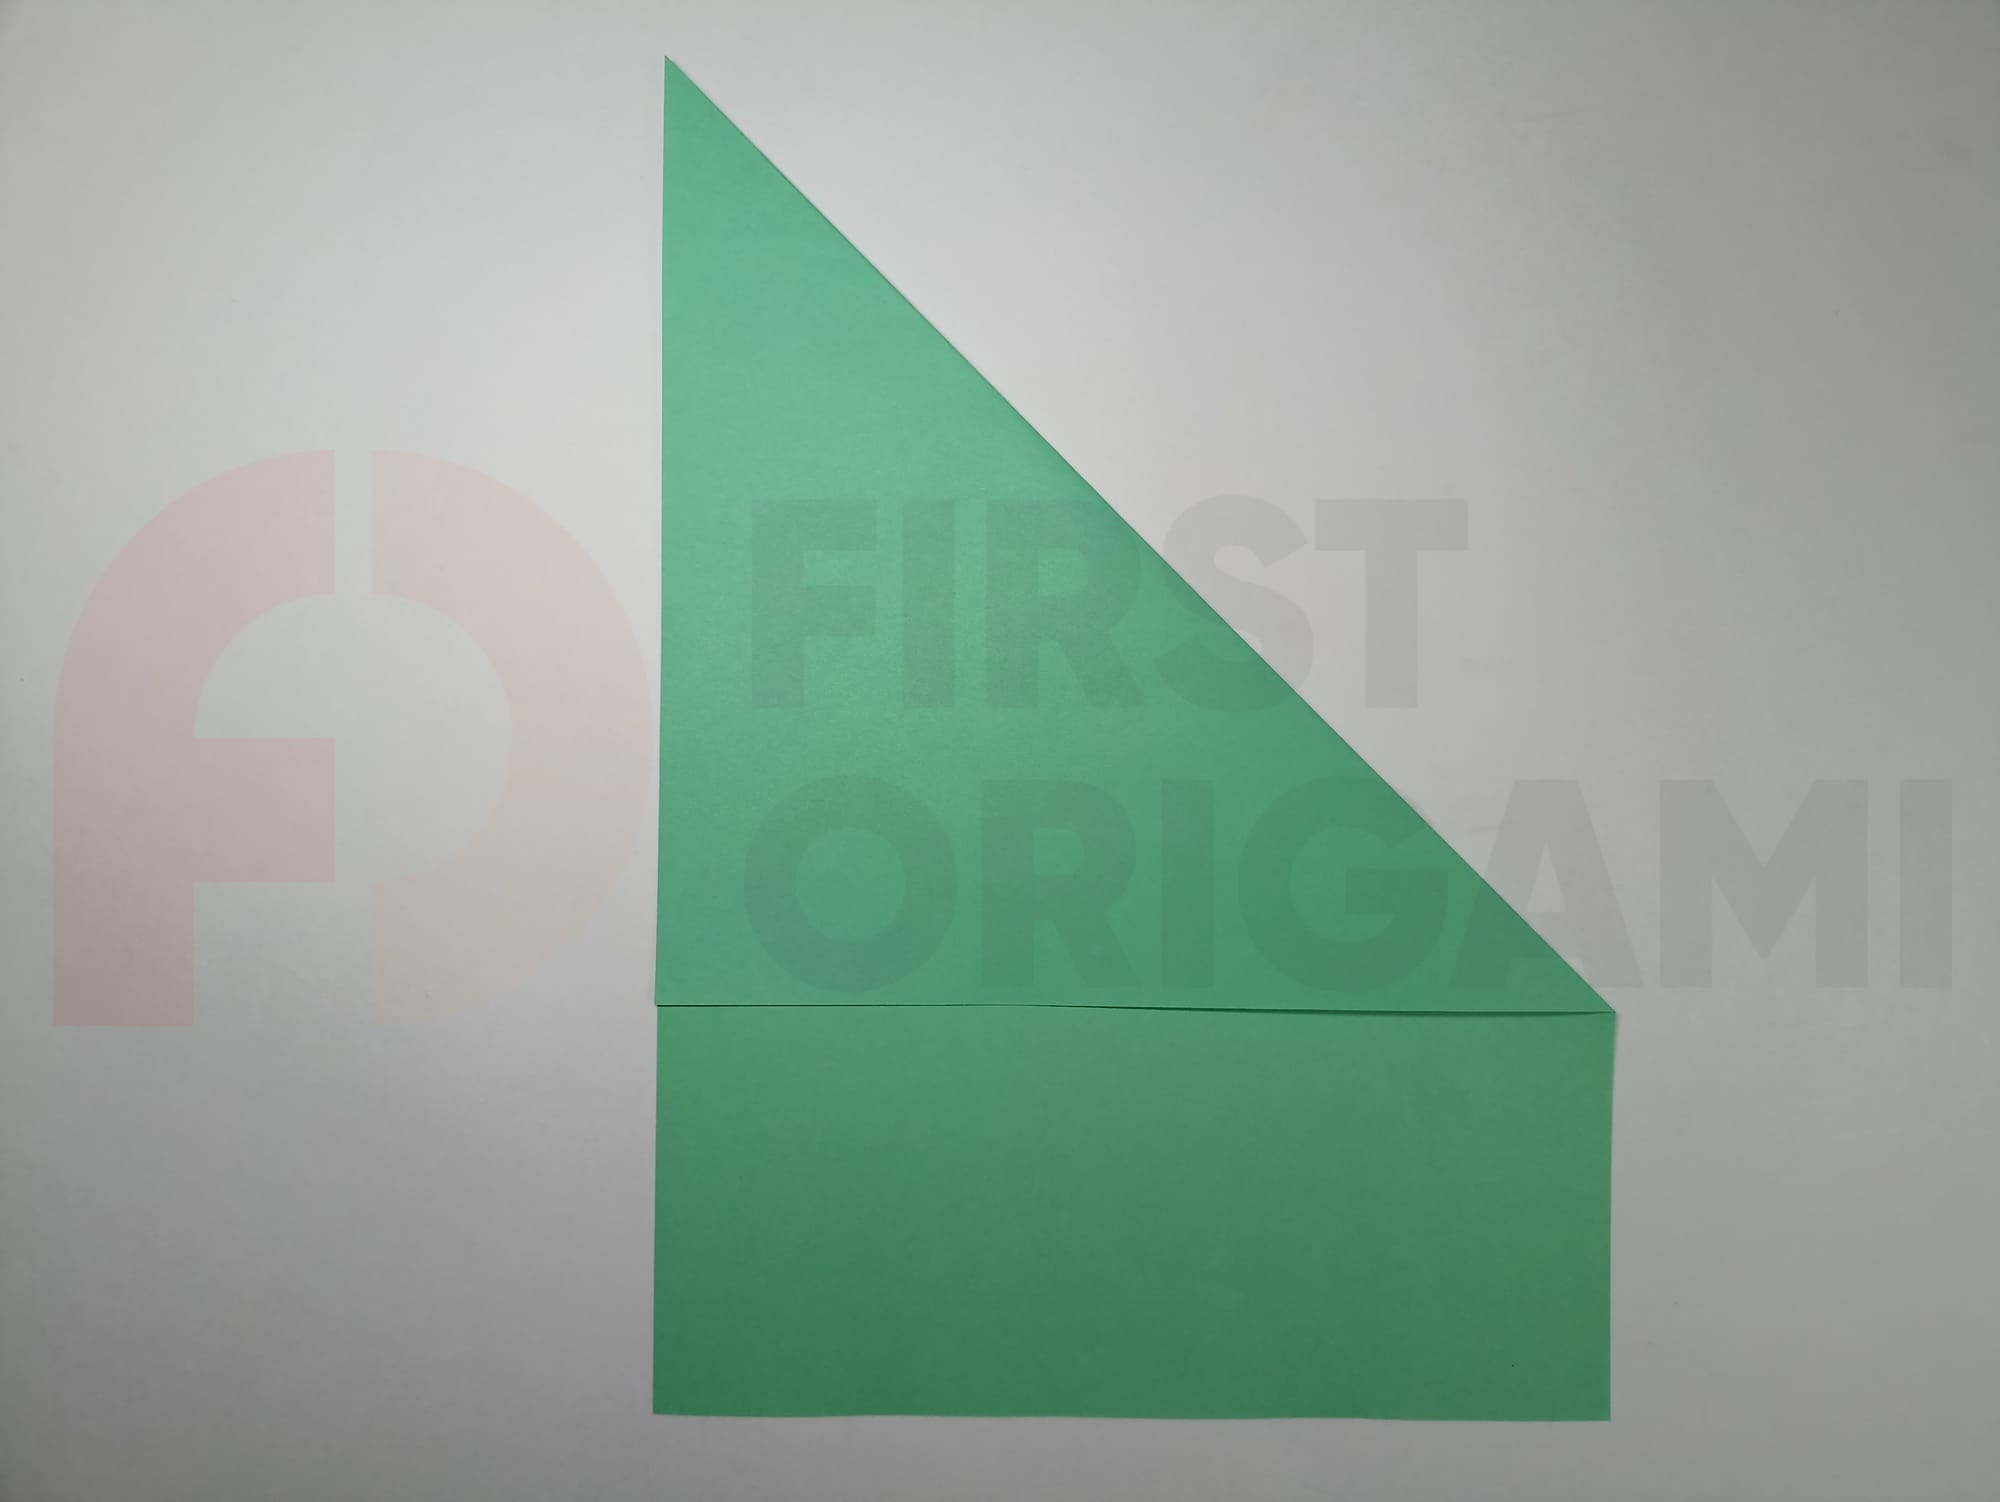
Bend the top of the paper towards you along the line of intersection of the auxiliary lines and straighten it back.

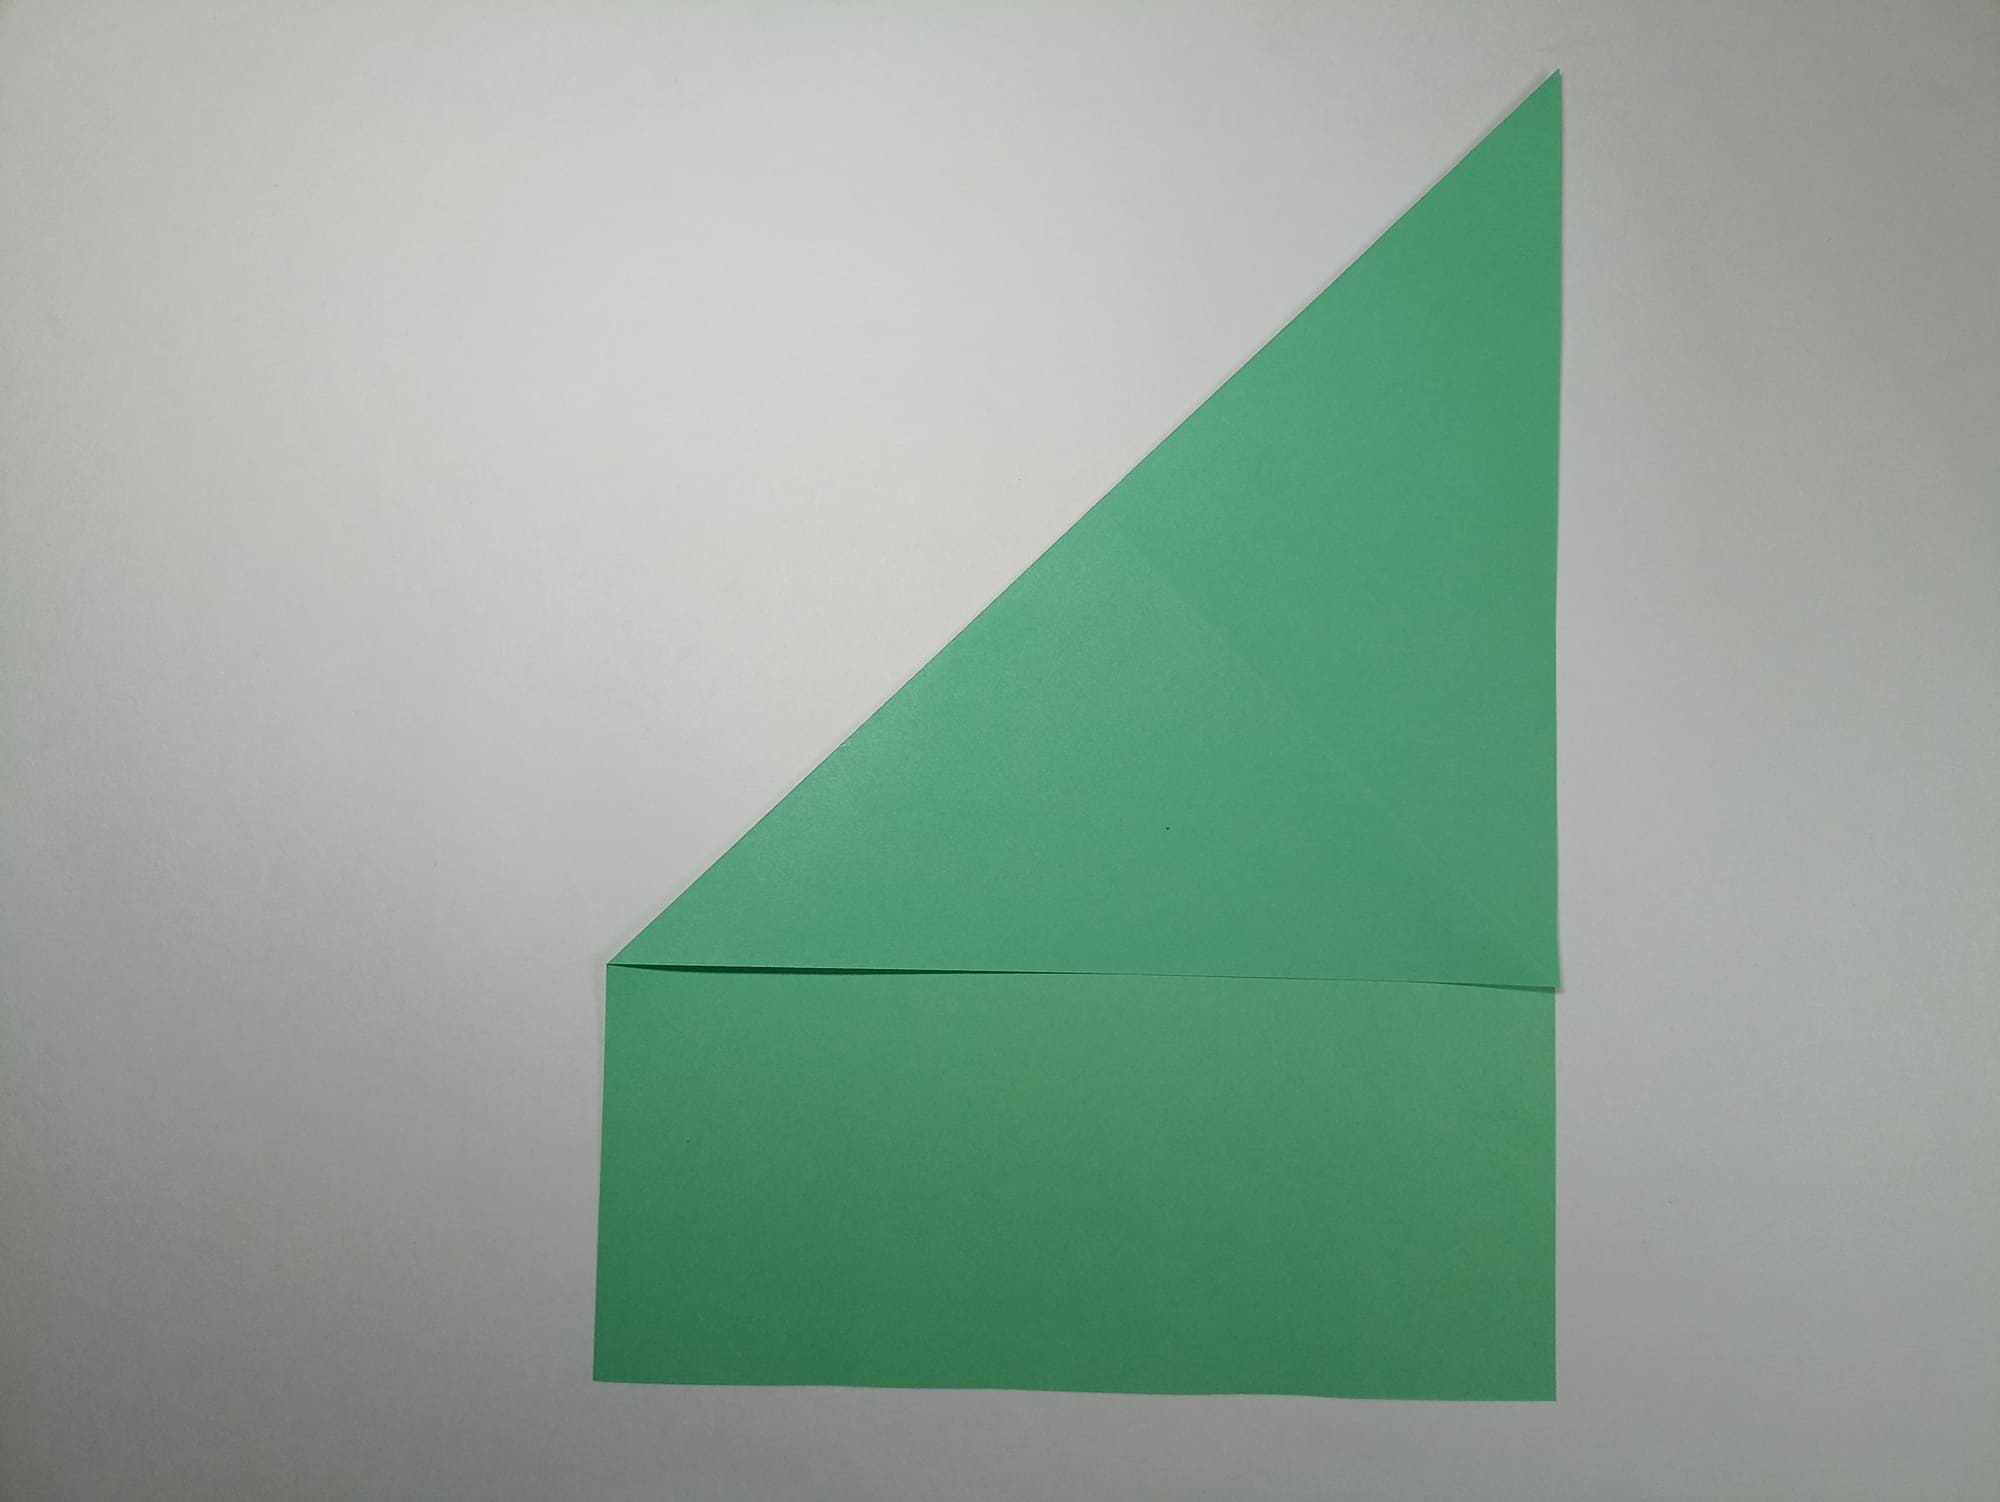
Fold the sheet of paper, aligning the top line with the line of the last horizontal fold.
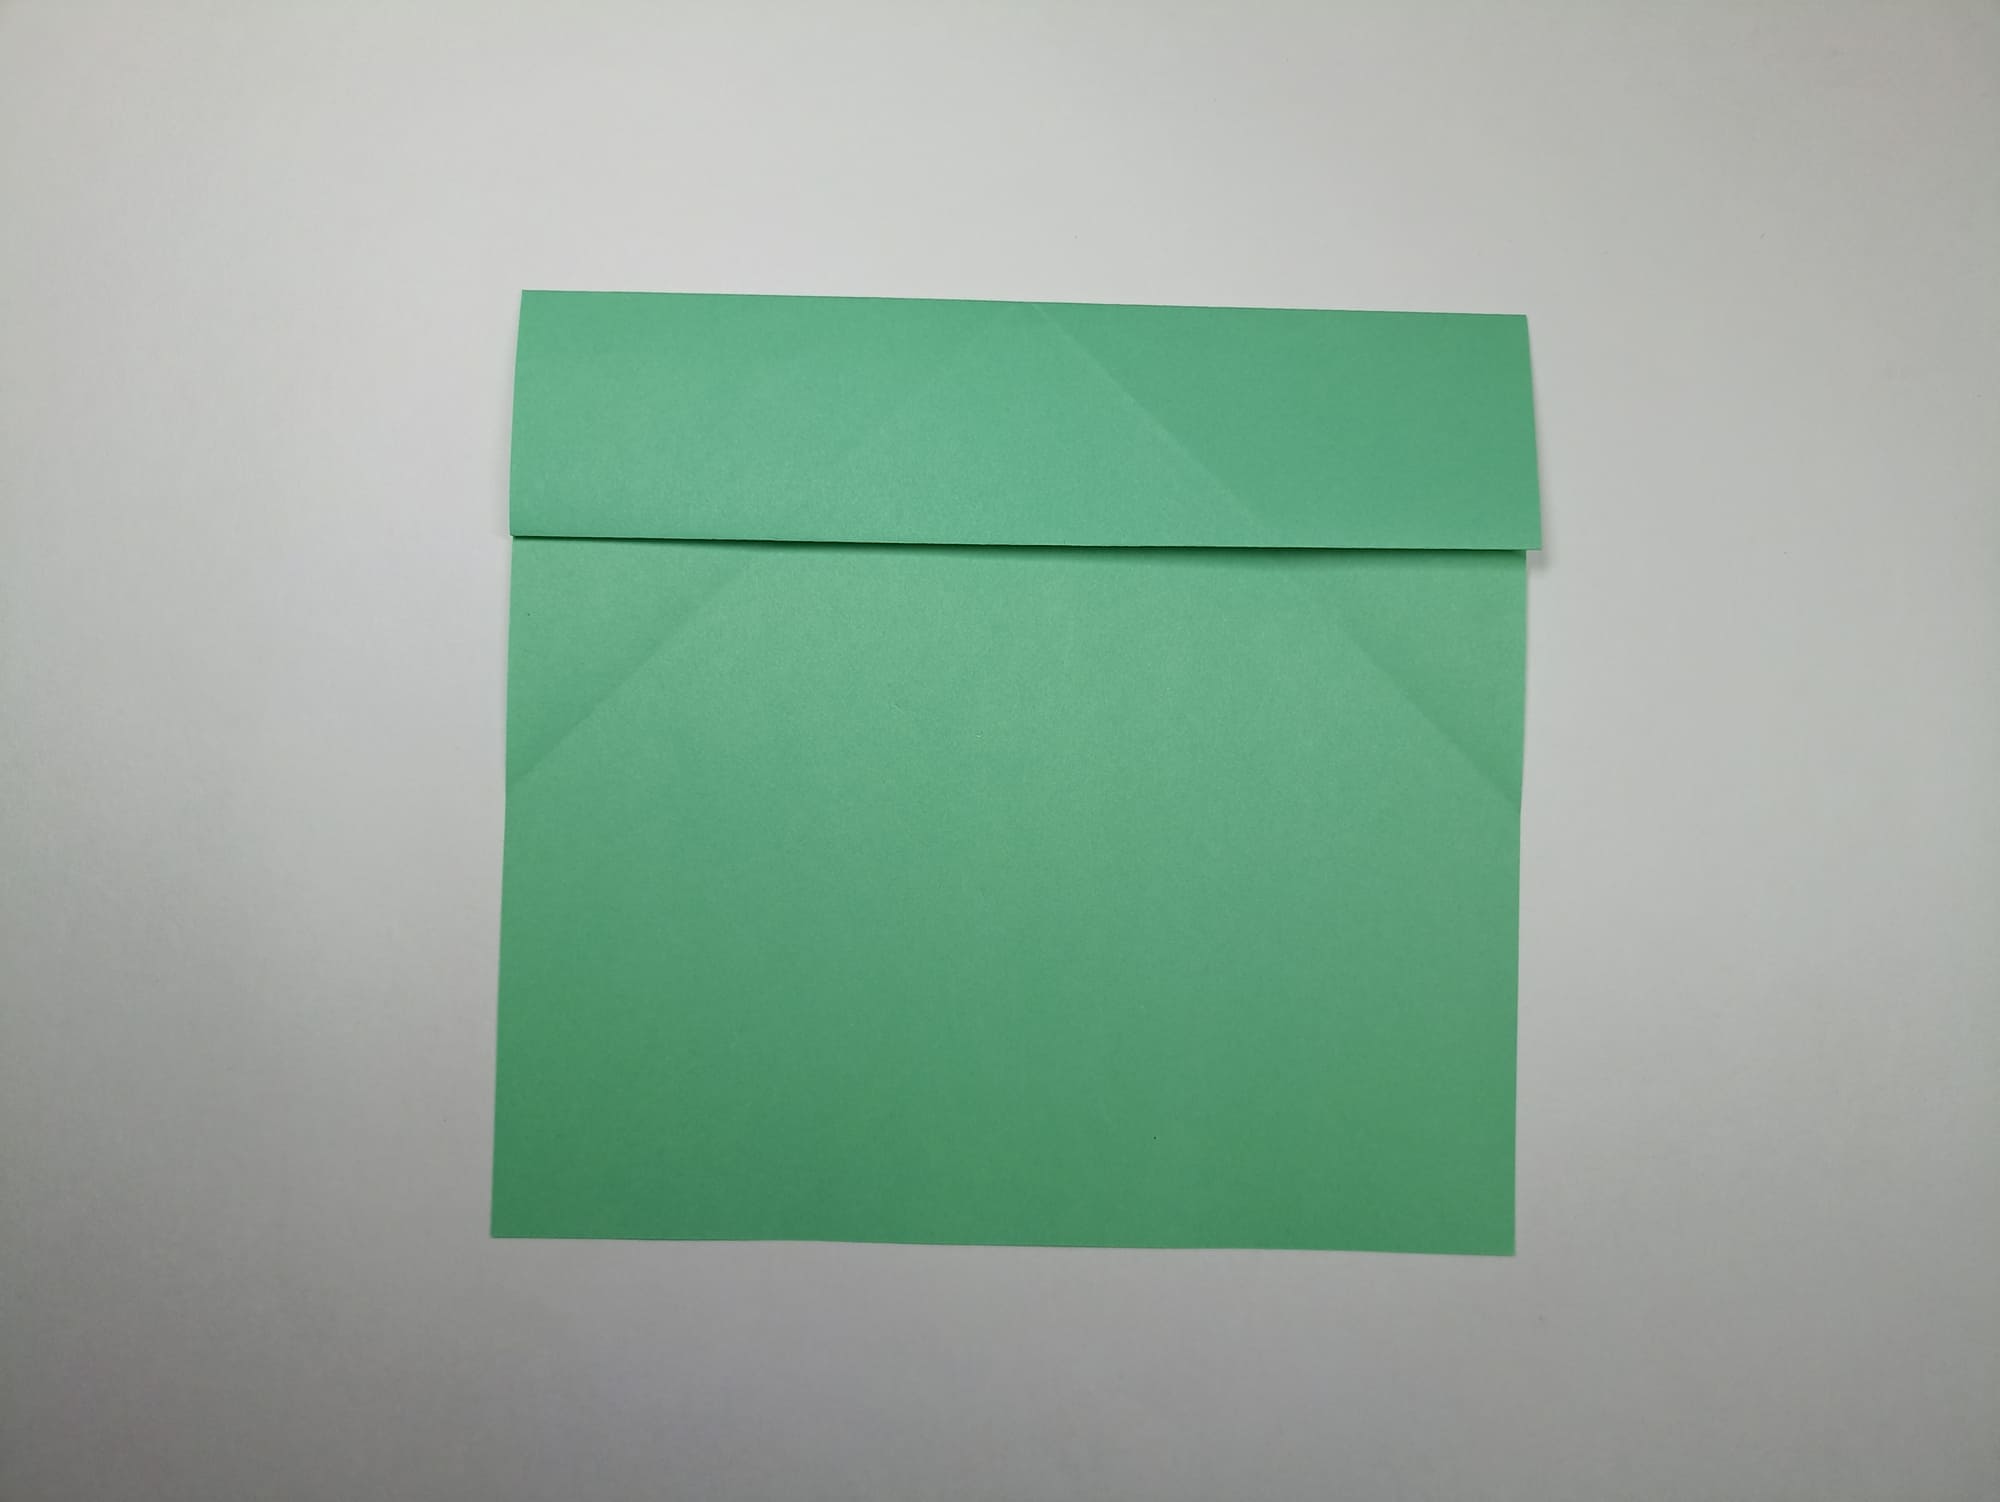
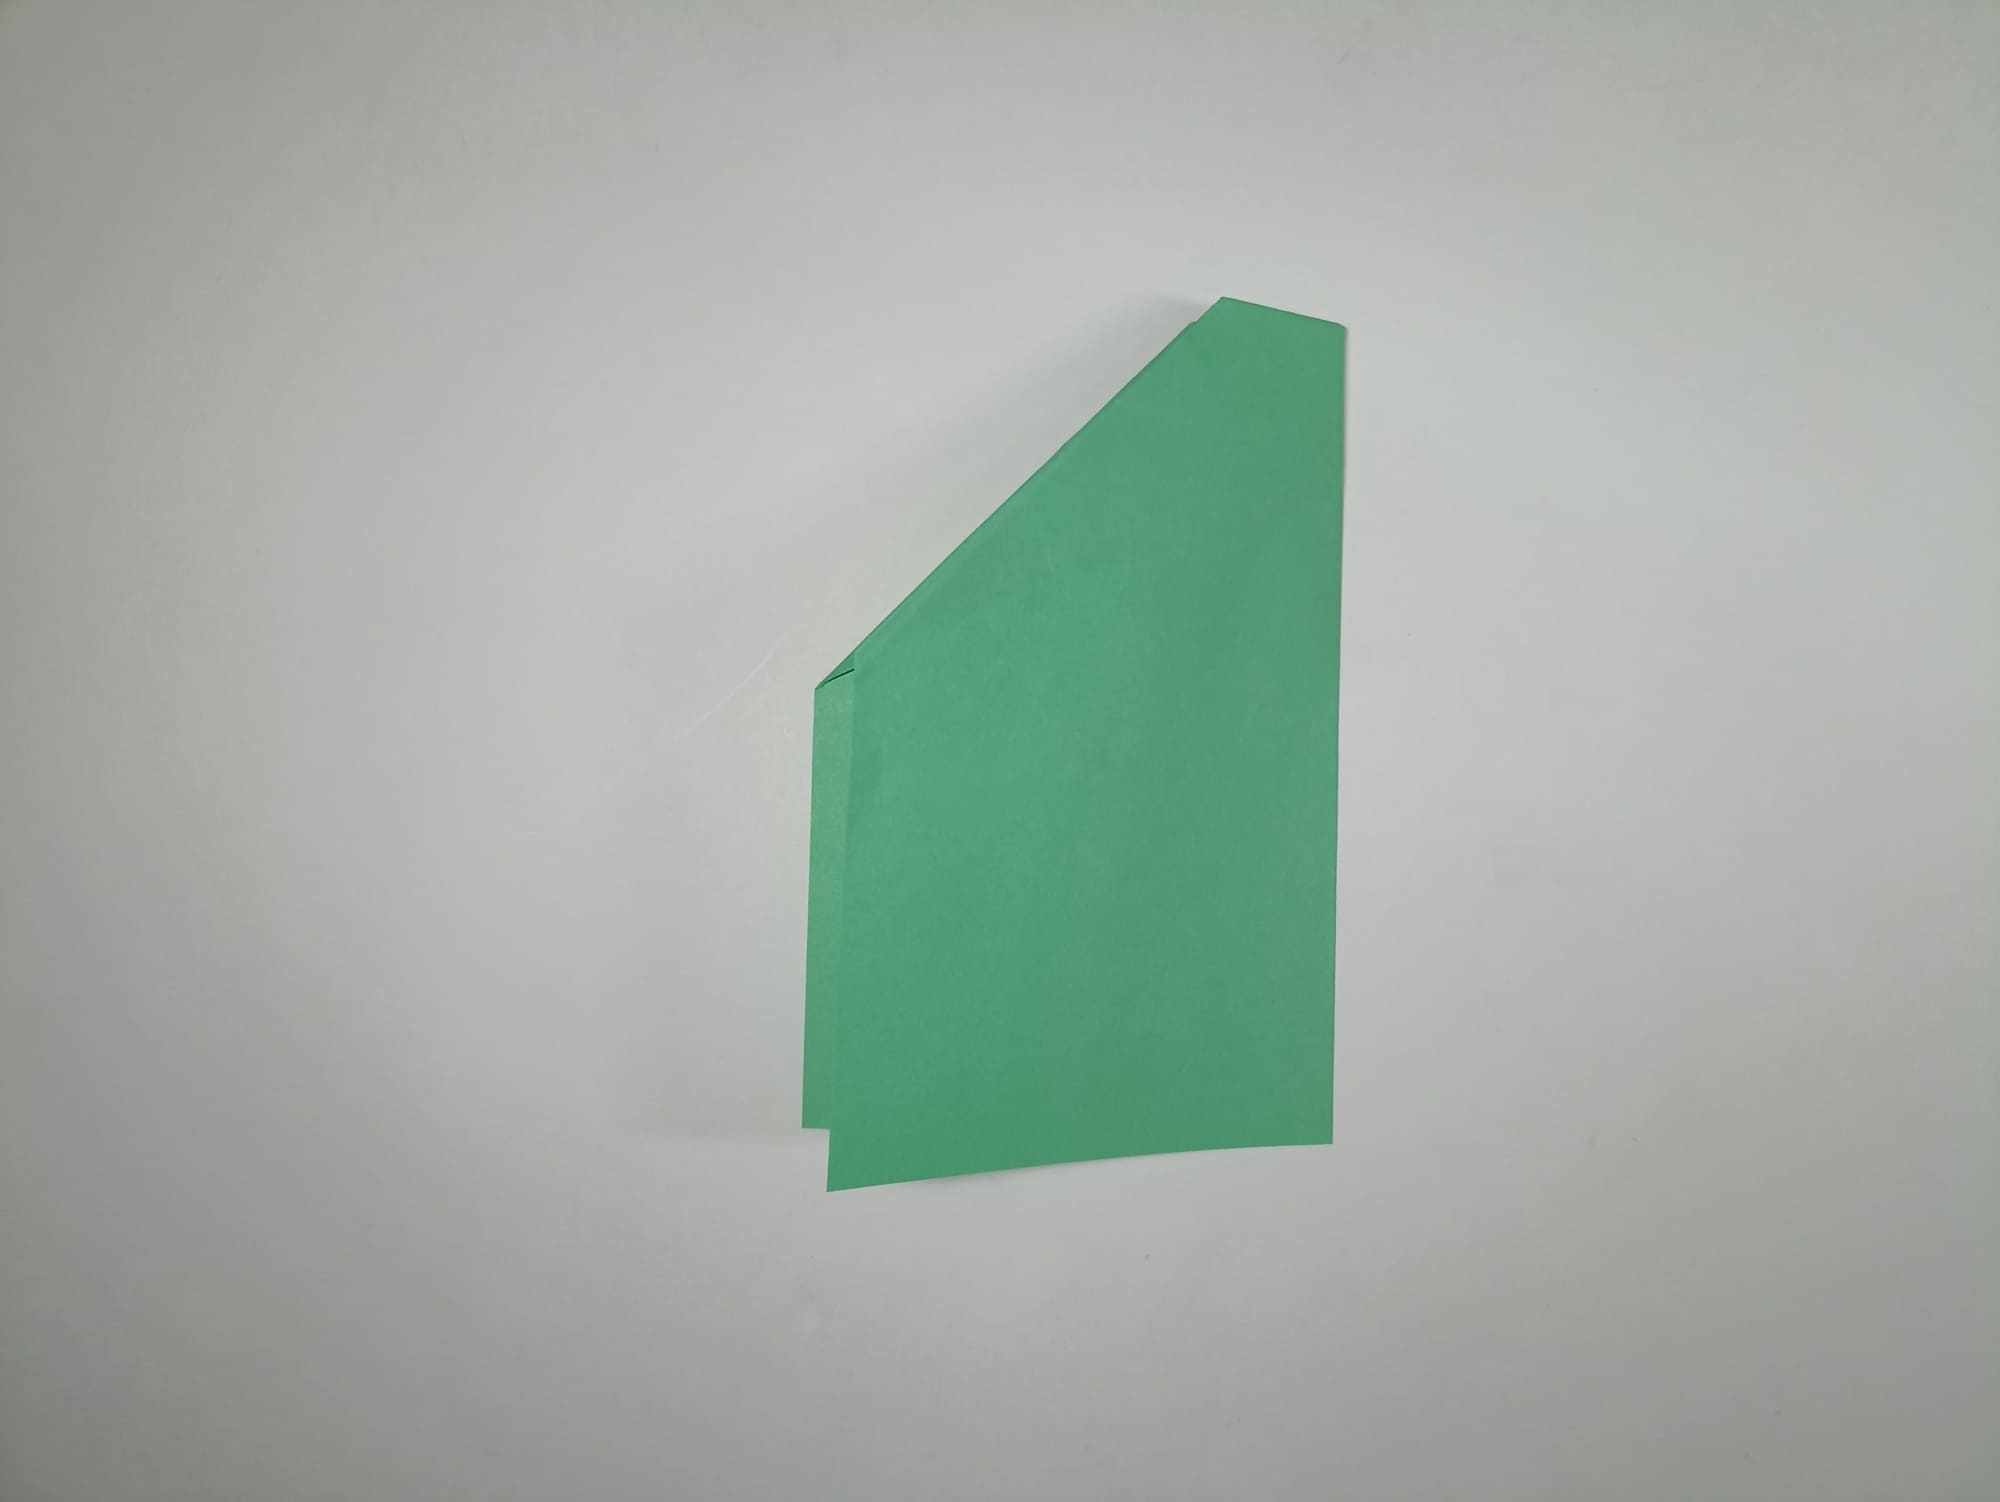
Bend the shape towards yourself to the horizontal middle line, placing the previous layer on the new one.
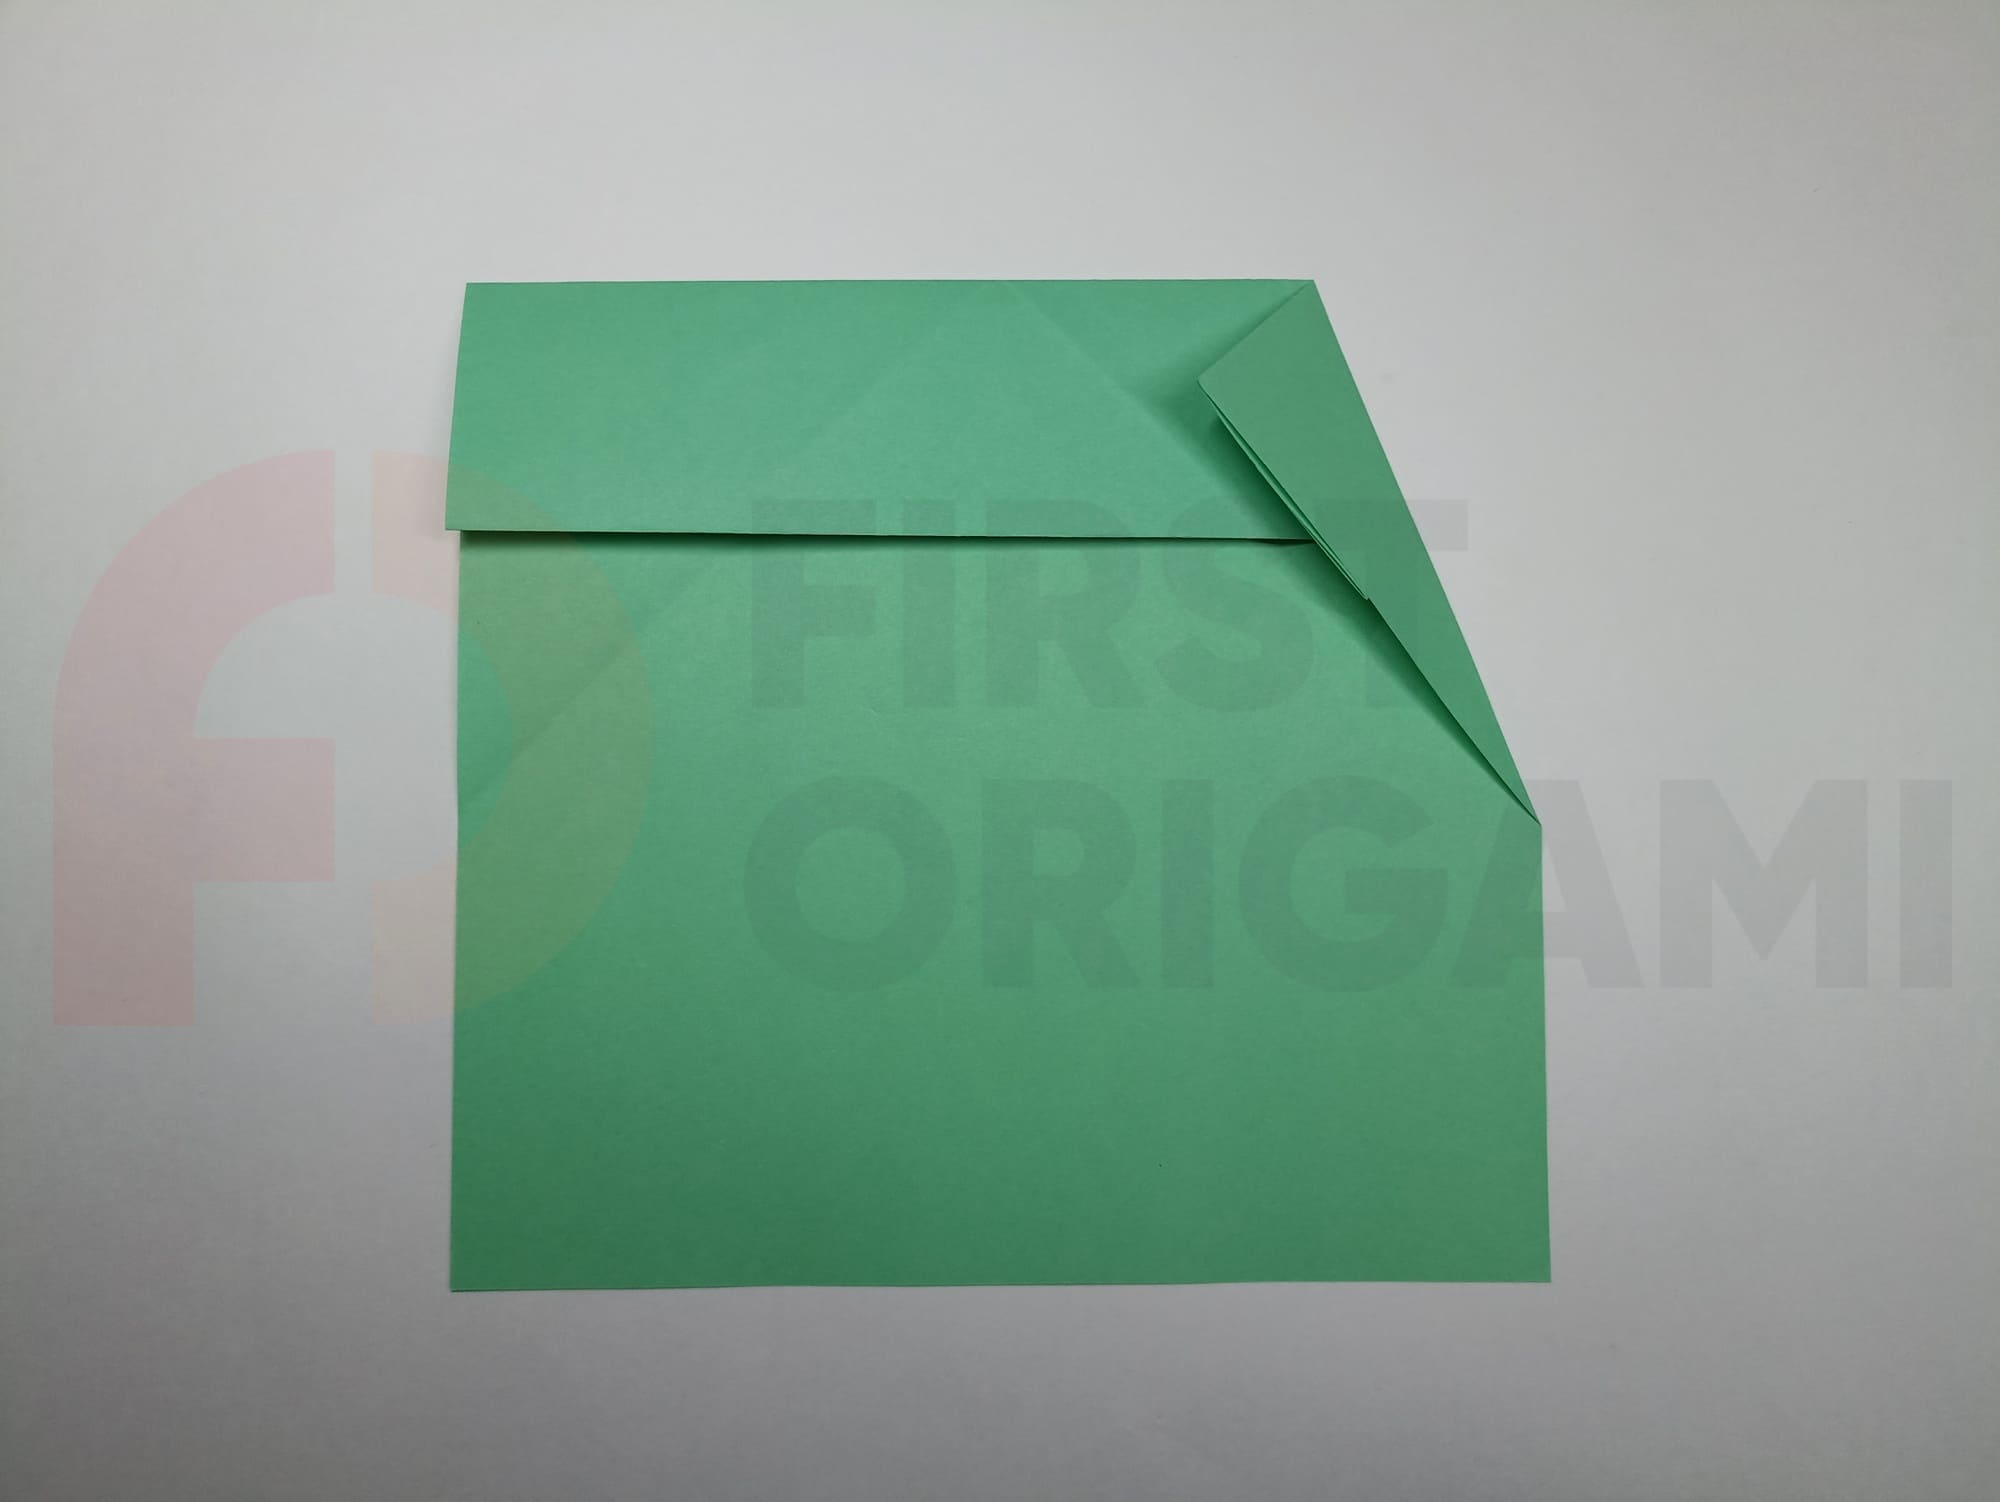
Fold the upper corner of the rectangle along the right line of the intersection of the auxiliary diagonals.
Repeat on the left side and compare the result with the illustration.
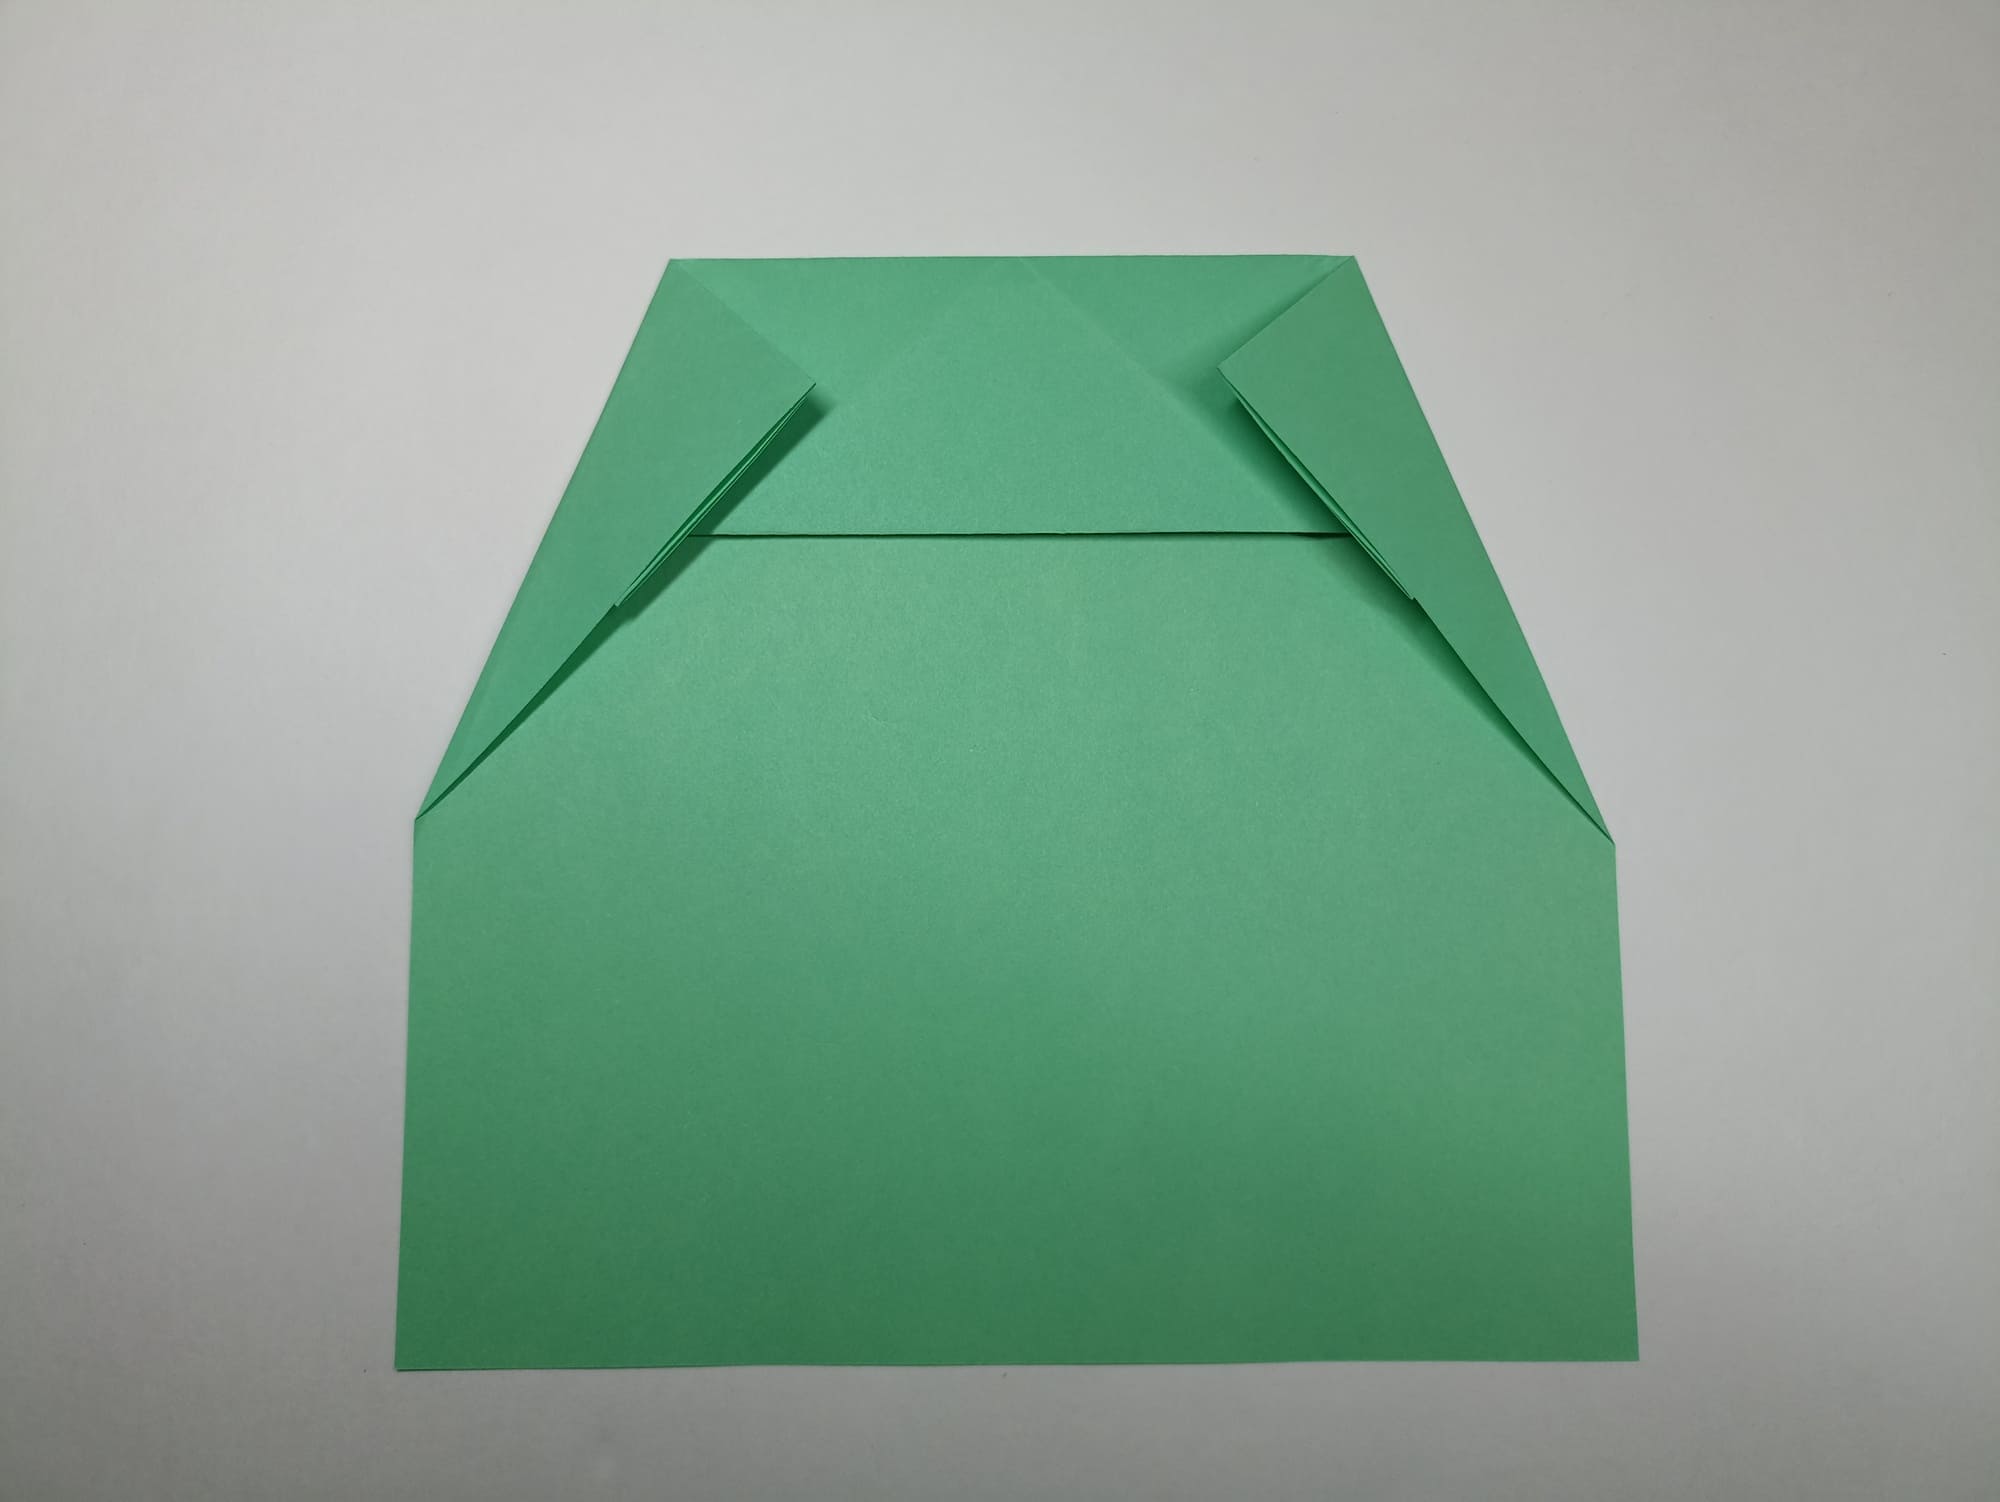
Fold the top of the figure on the right, aligning the edge with the vertical middle line.
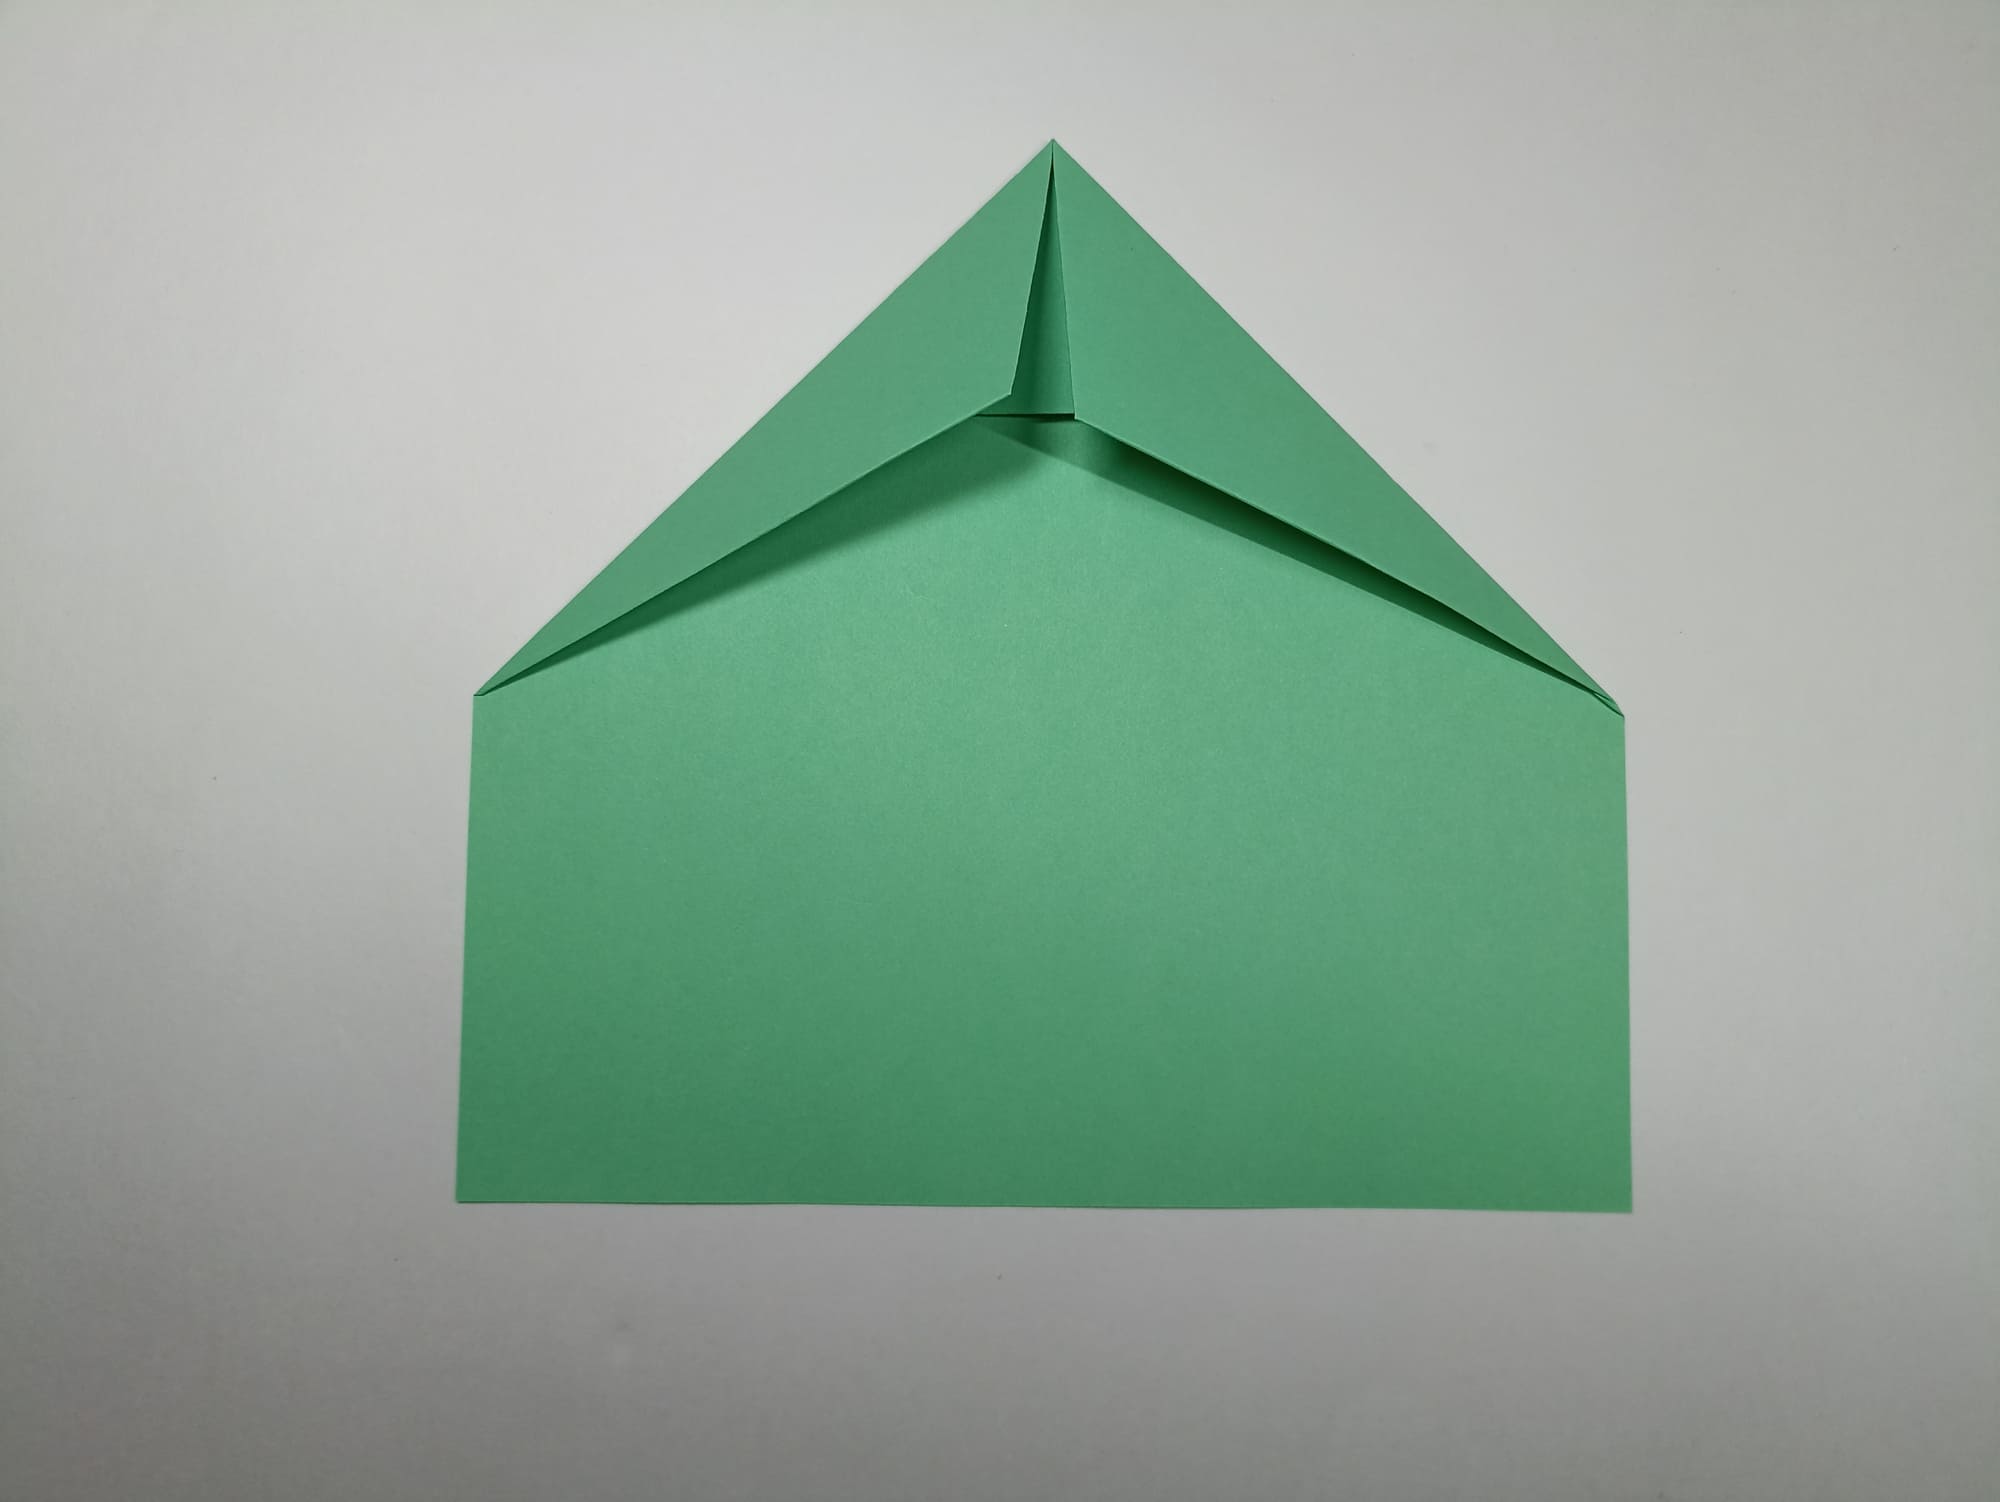
Repeat on the left side.
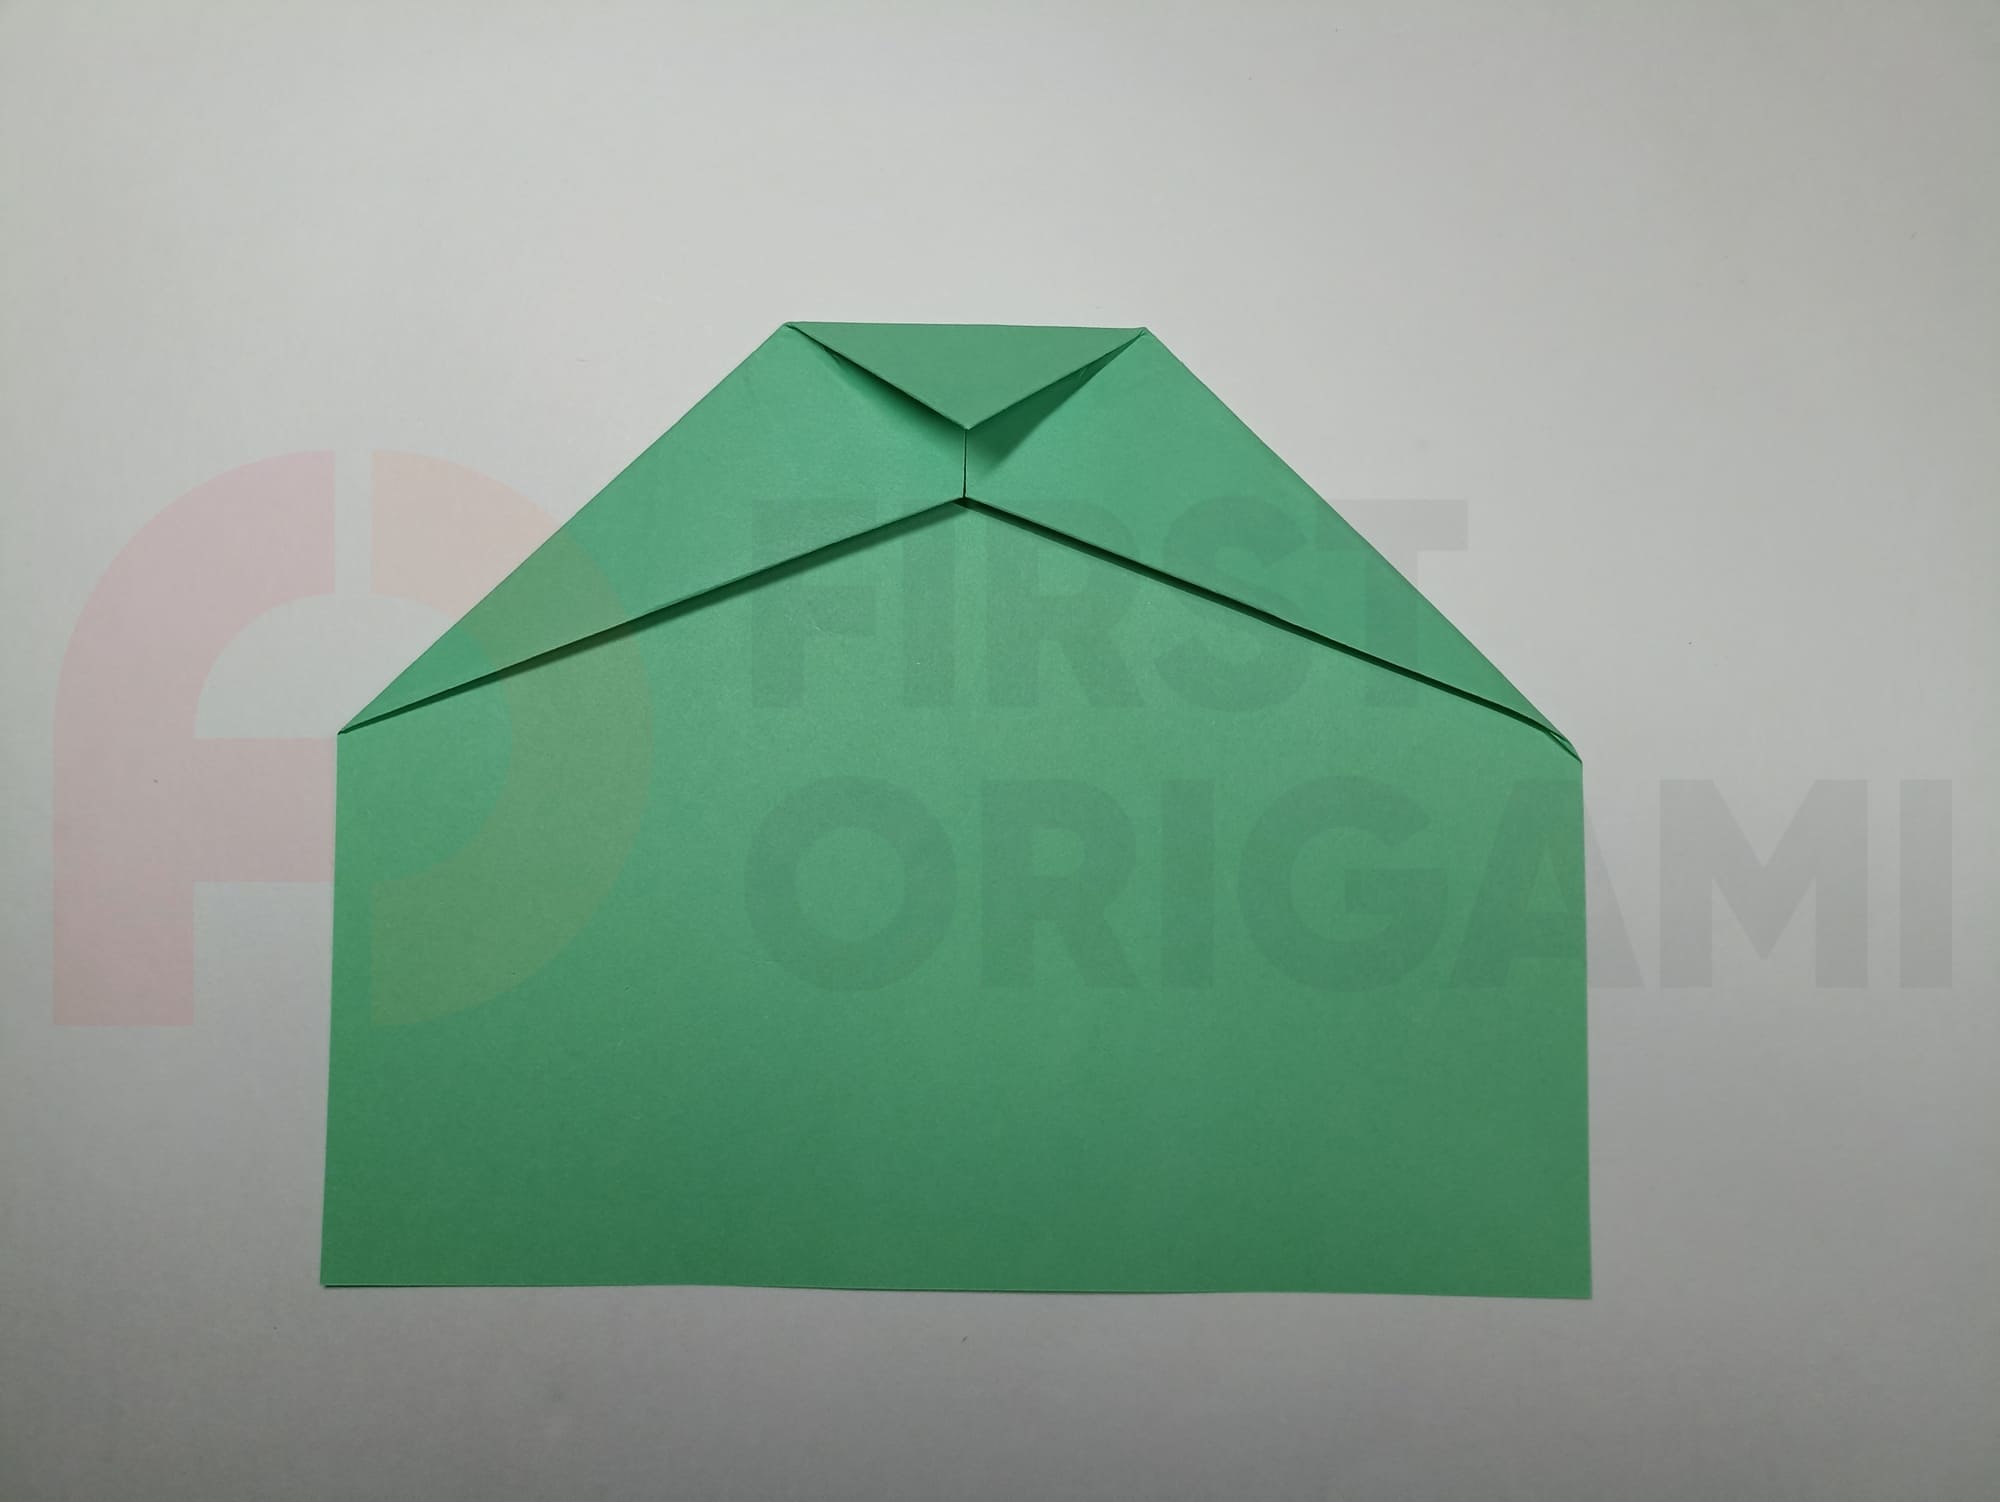
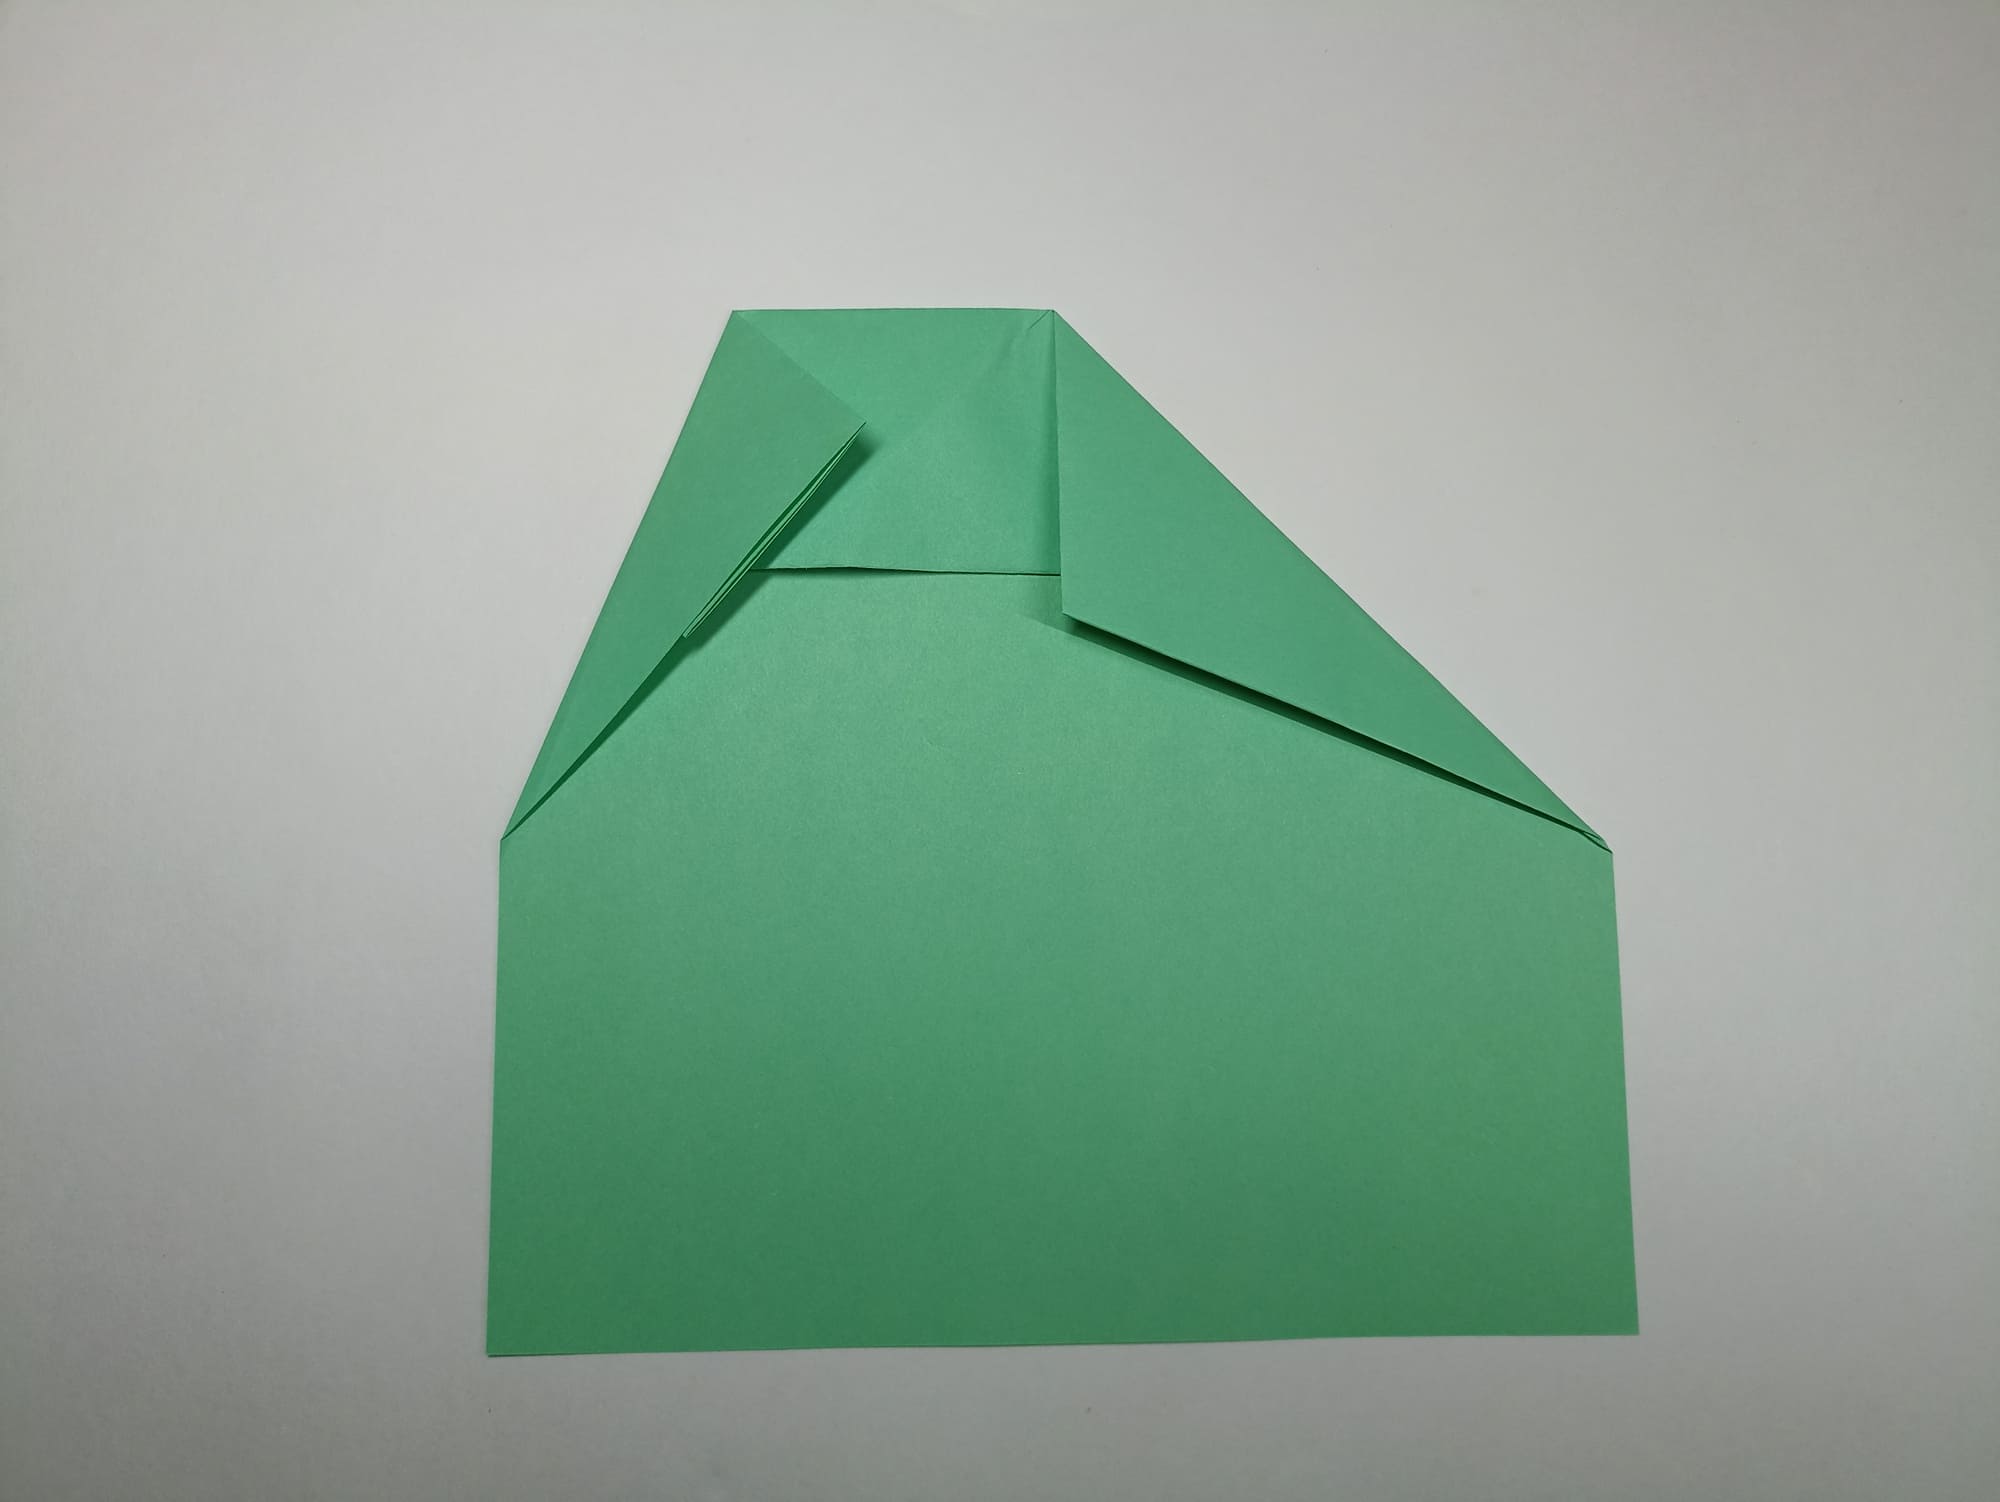
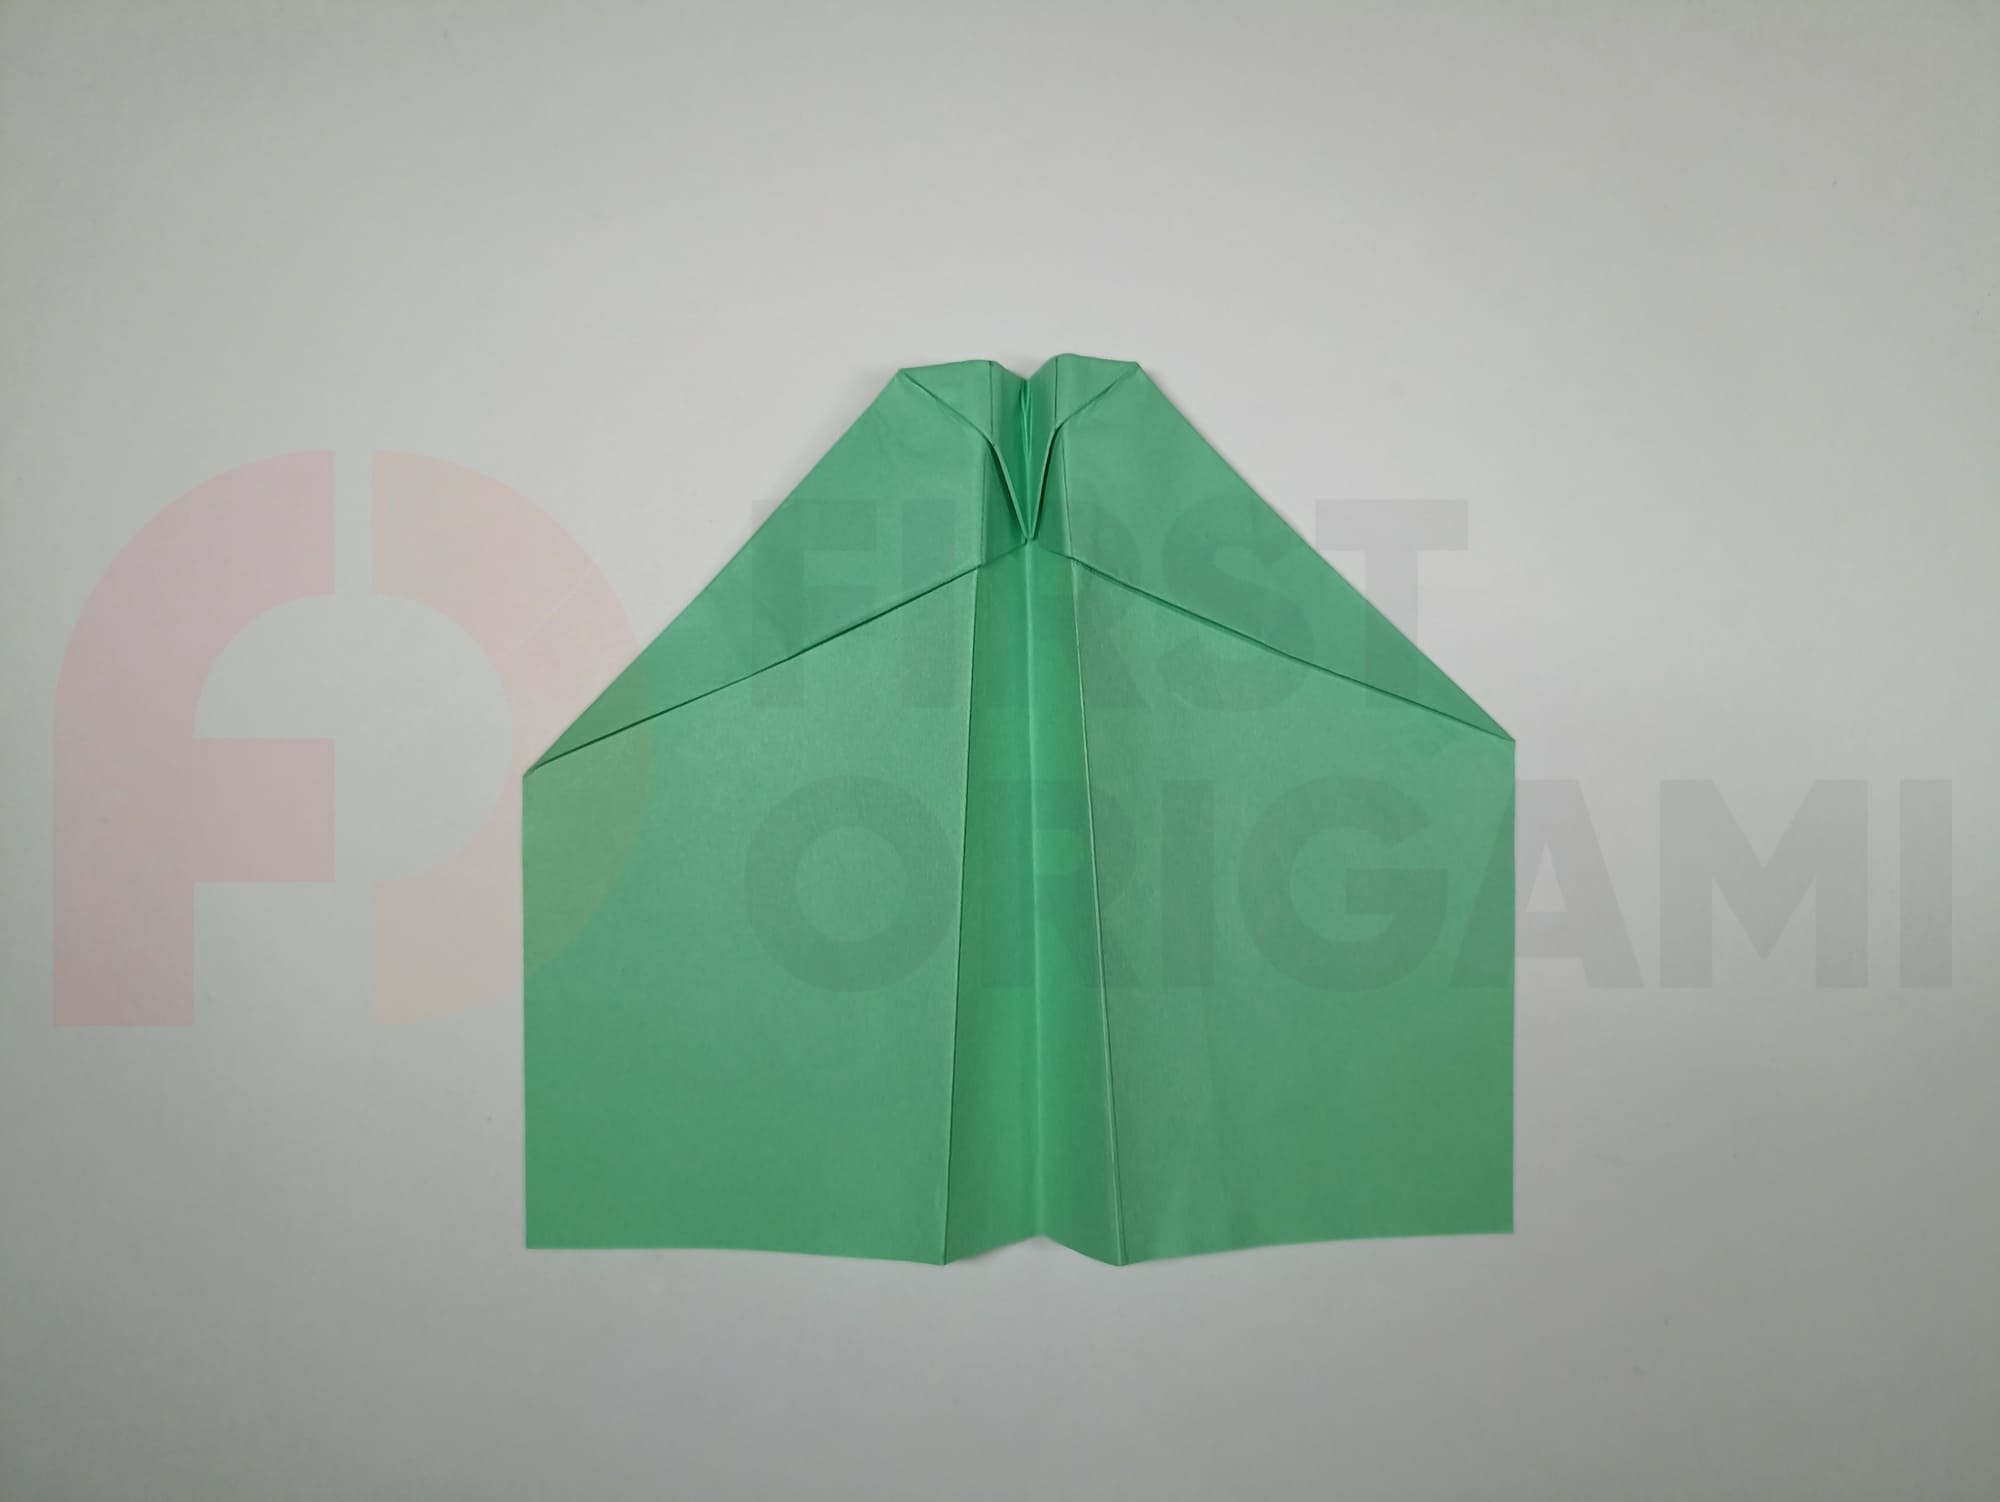
Fold the top of the triangle towards yourself until it aligns with the line where the side parts meet.
Fold the resulting figure in half vertically, then straighten it back.

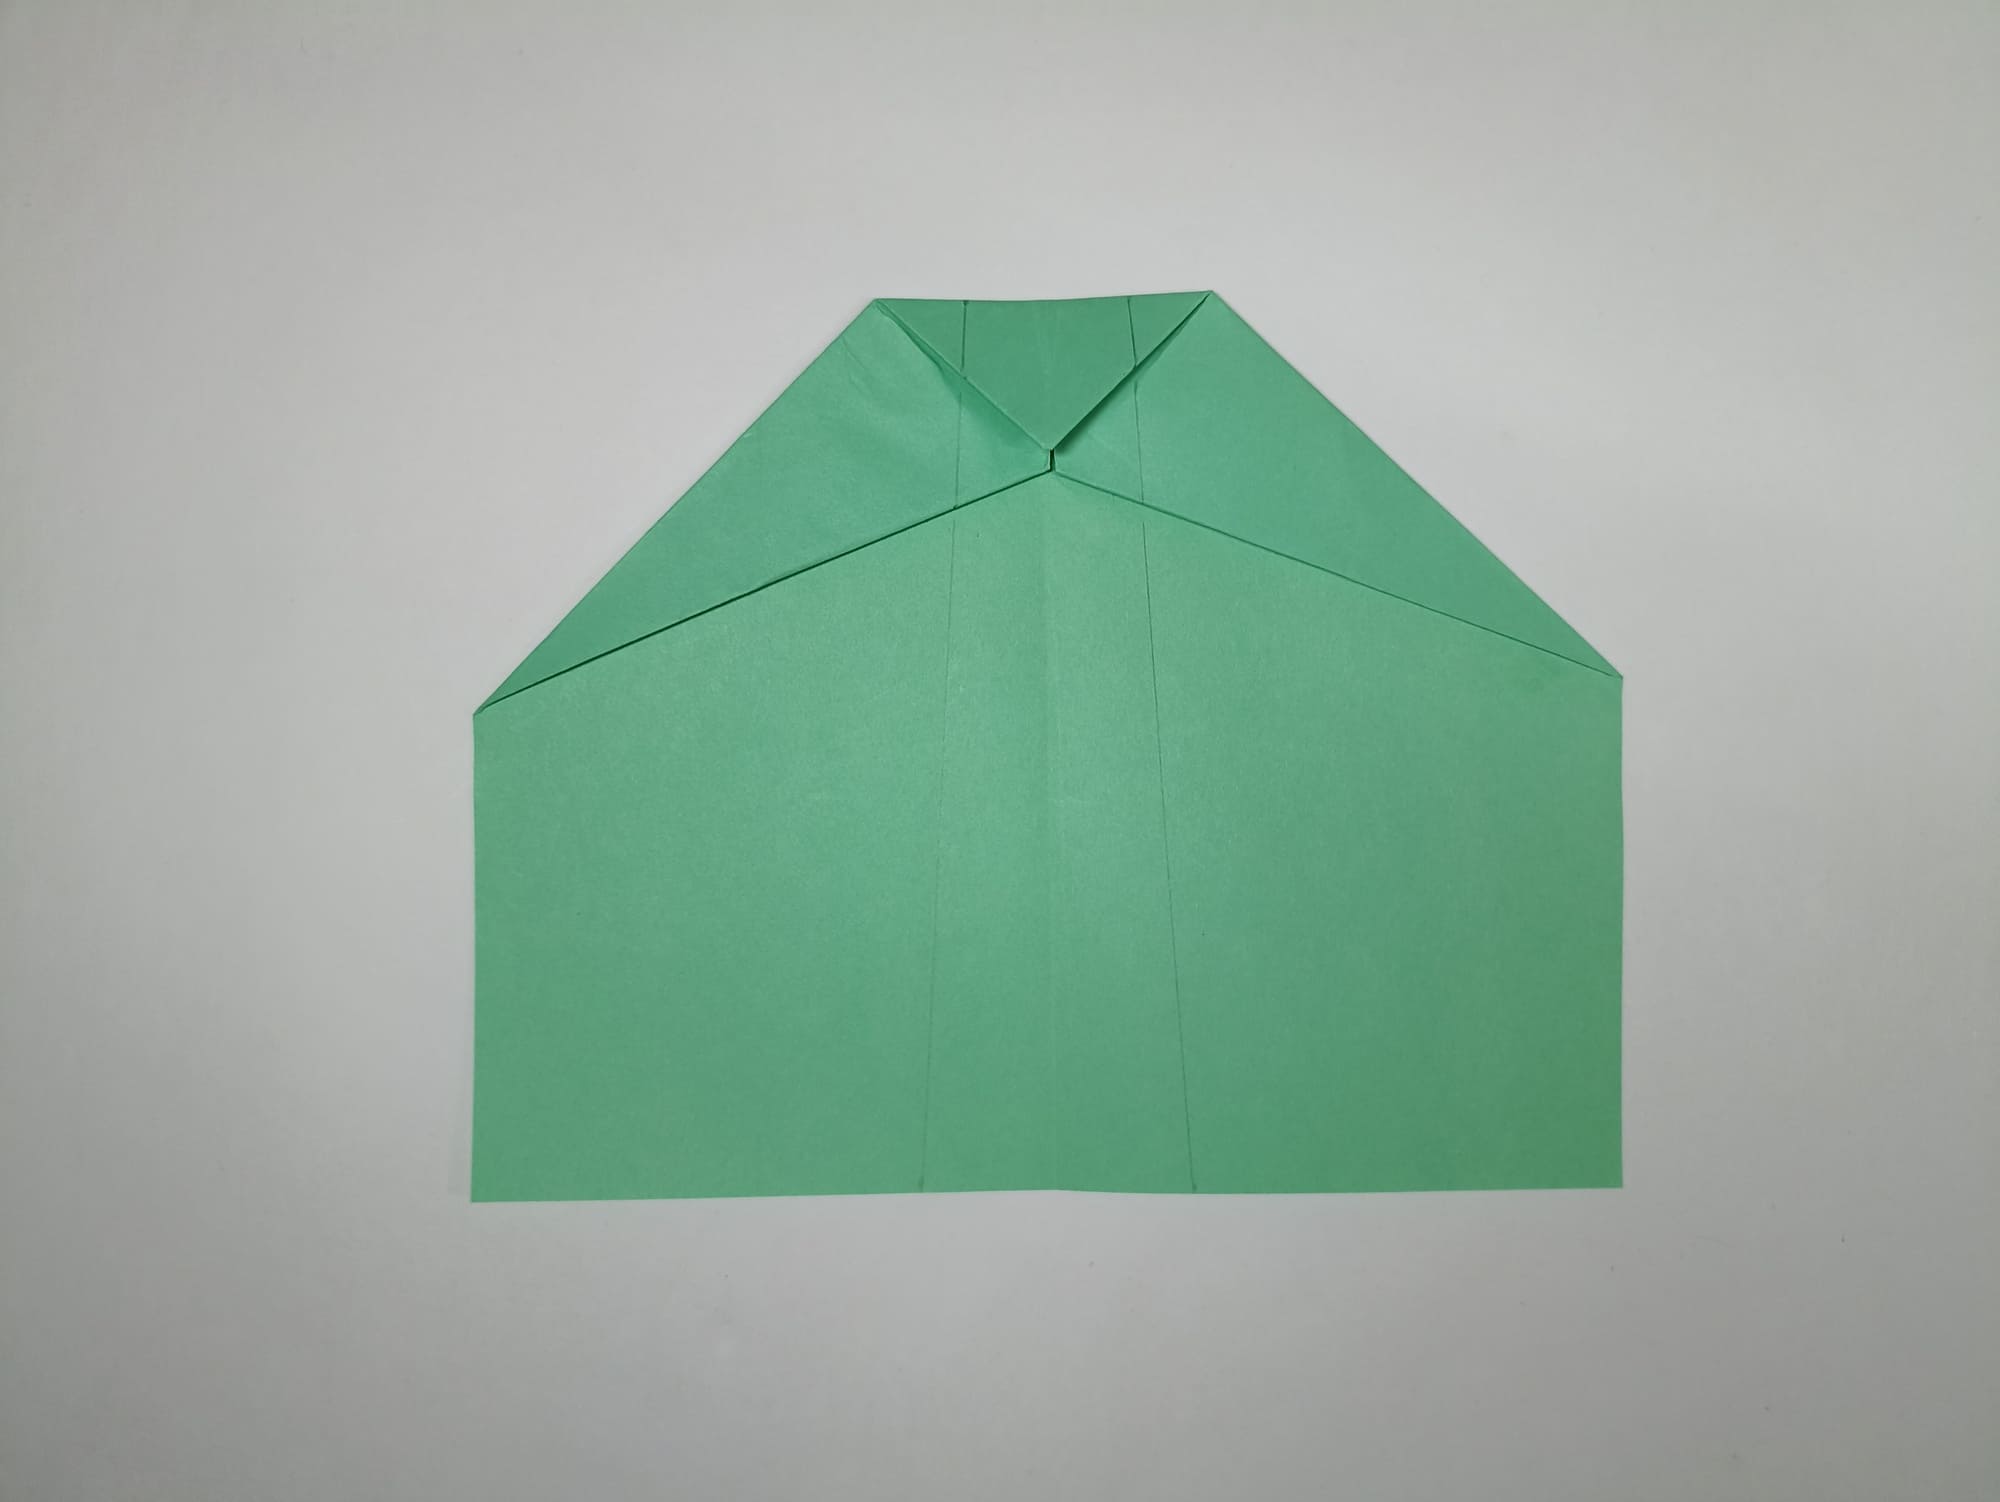
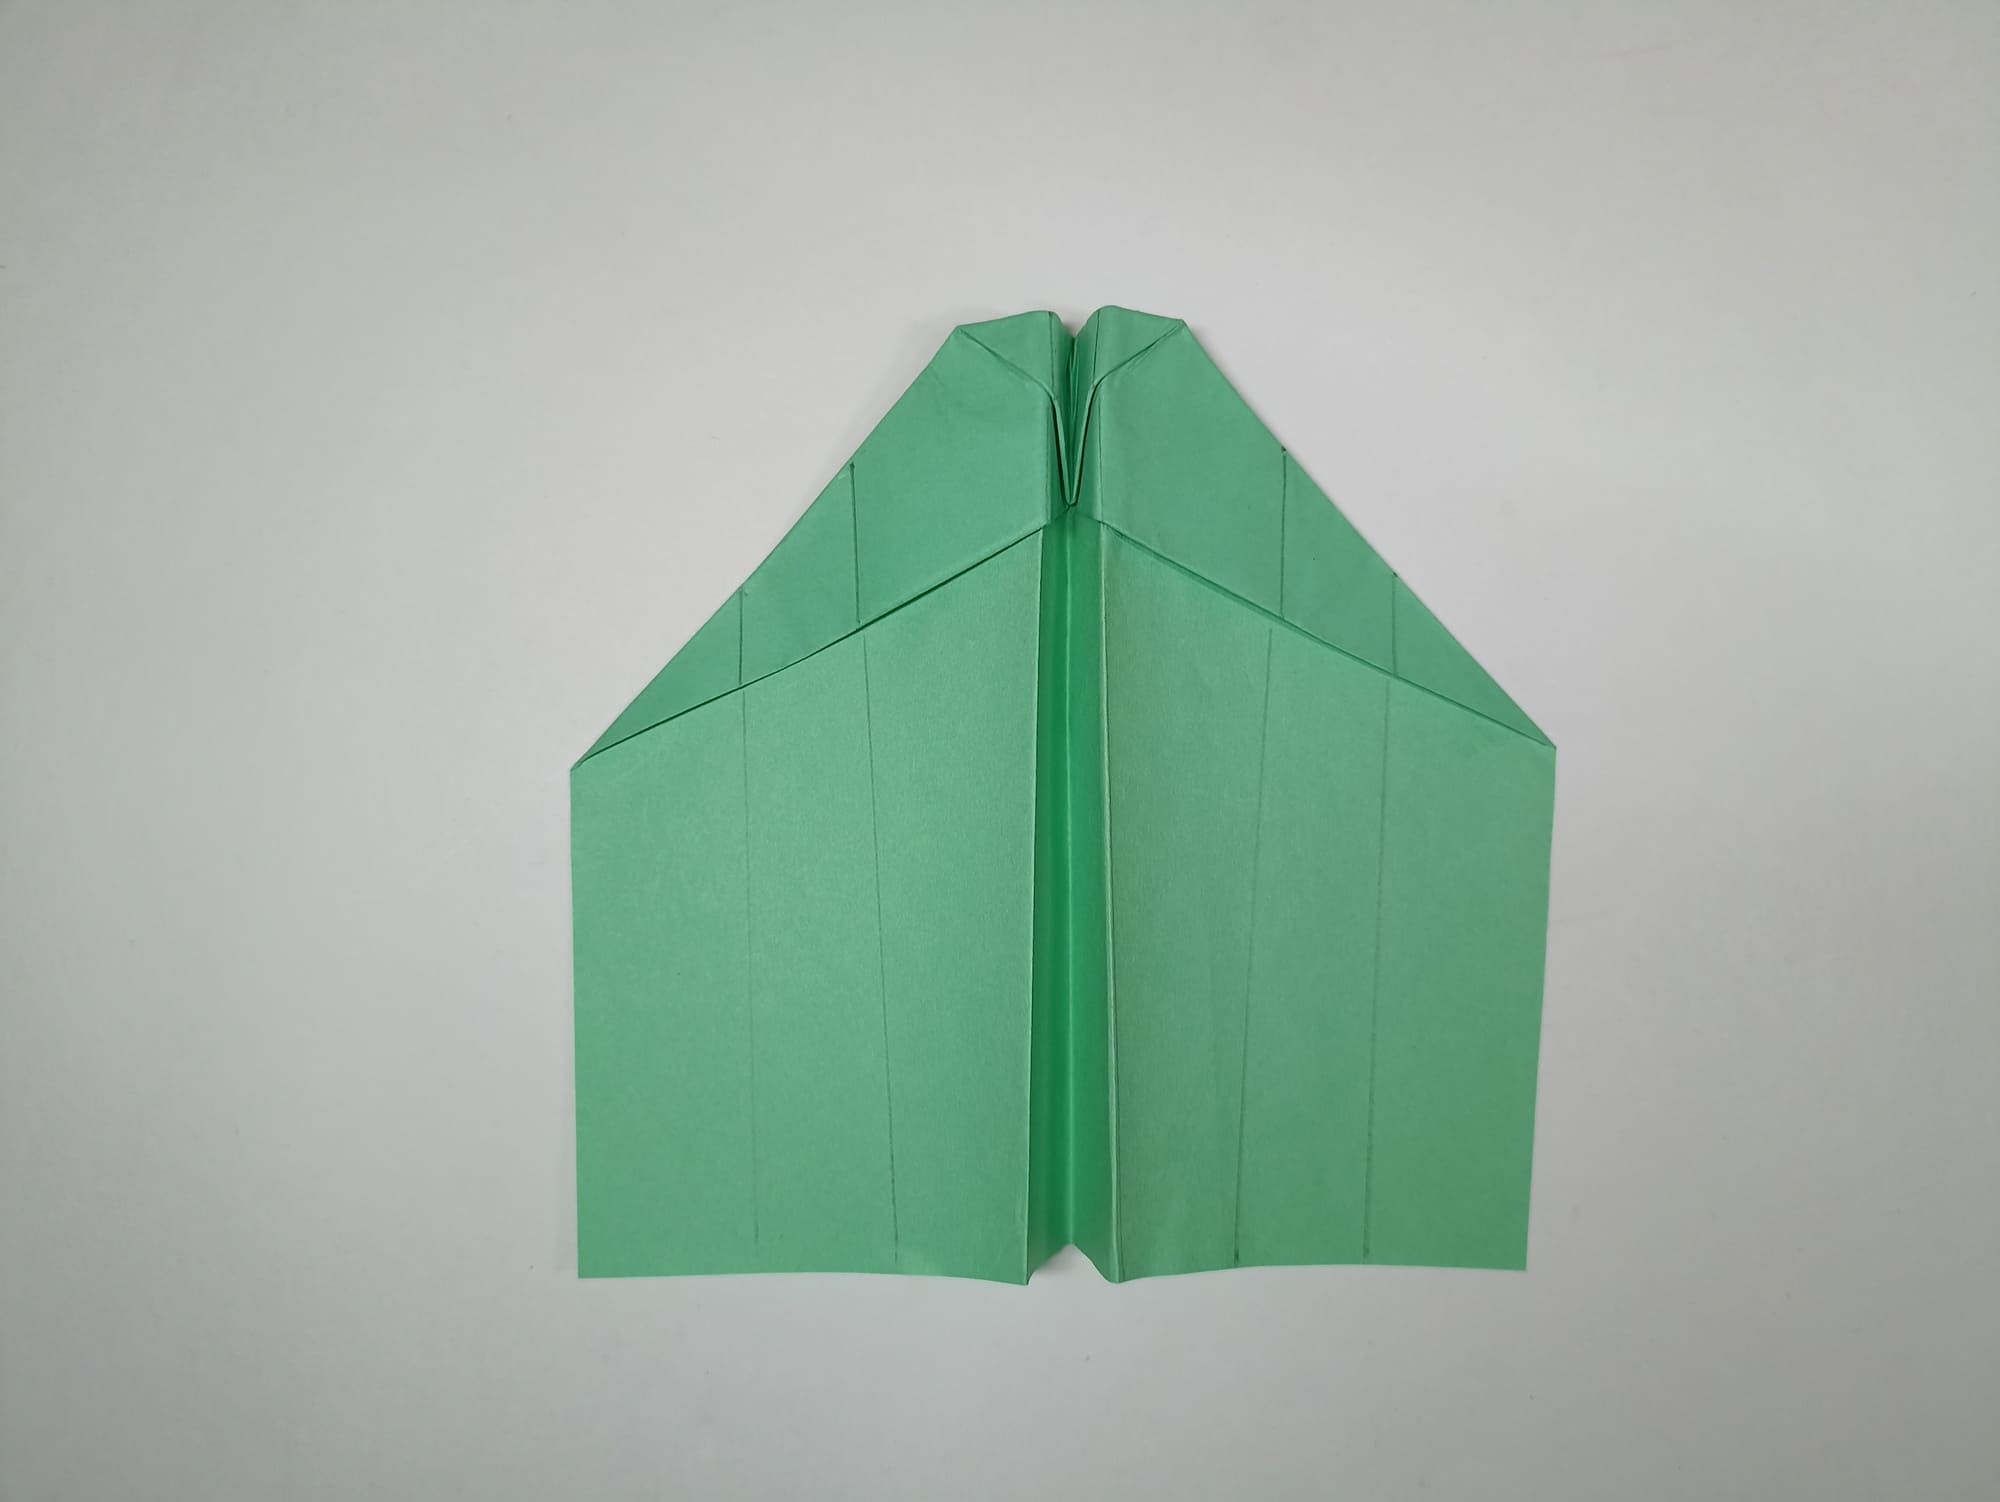
Along the top line, set aside 1.5 cm from the center to the right and left. Along the bottom edge, set aside 2.5 cm to the right and left from the center. Connect the top and bottom points by drawing lines along the ruler.
Make hill folds along the marked lines.
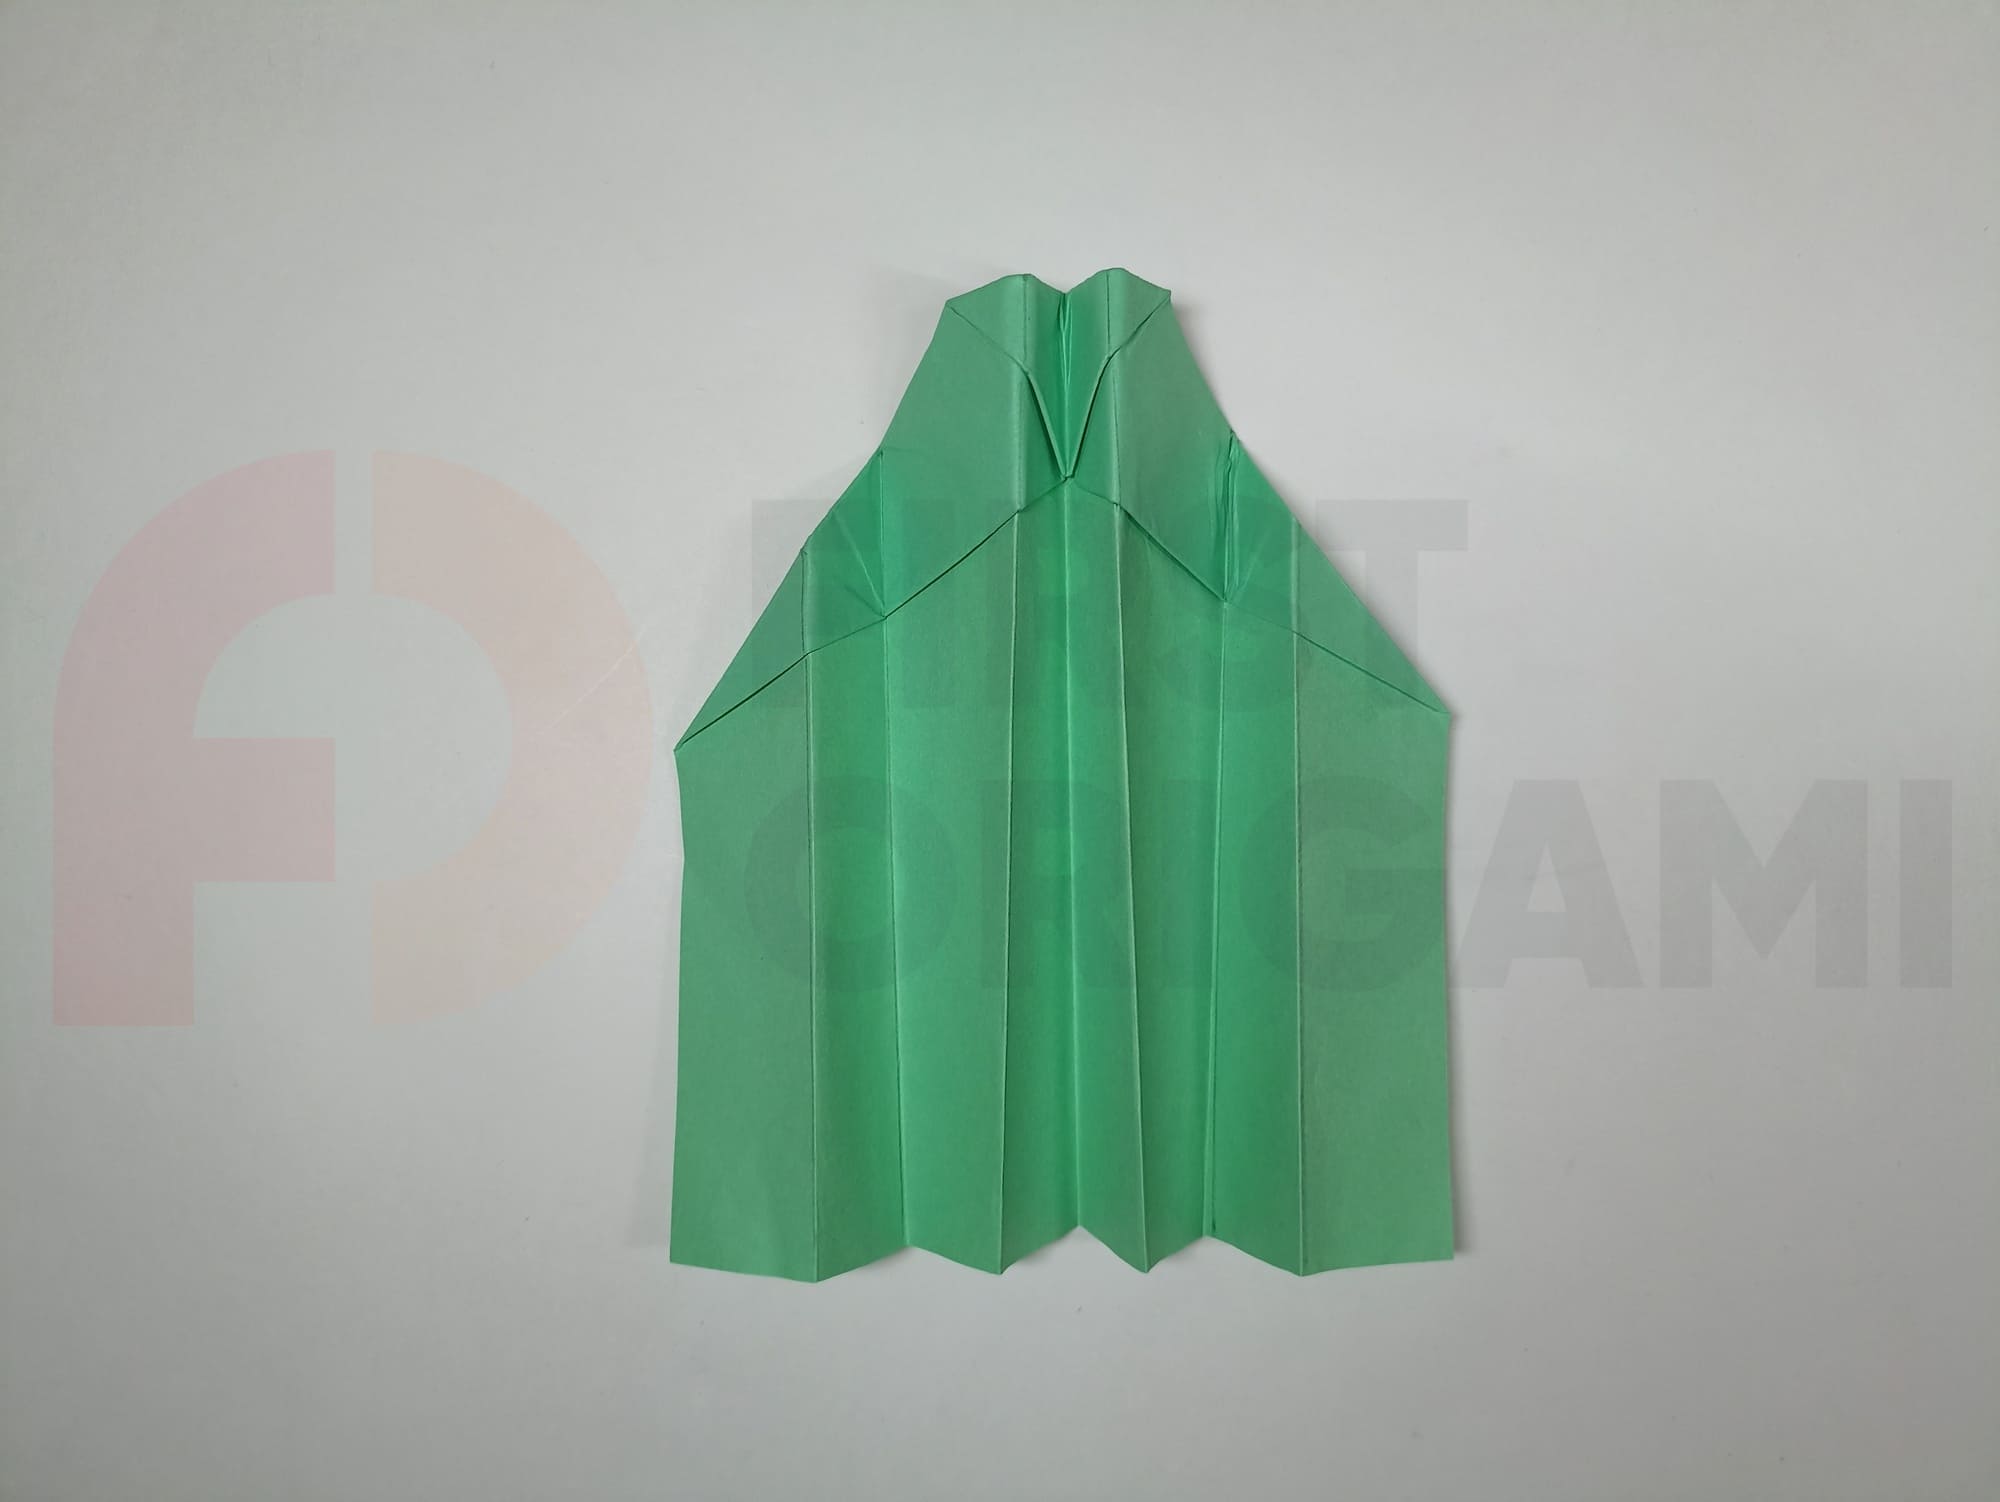
From the upper right corner along the right-side line, set aside 3 cm twice and mark the points. Along the bottom edge from the last line, set aside 2.5 cm two times and mark the points. Connect the dots, two more lines should appear. Make a mirror marking on the left side.

Fold along the lines on the right wing. The line closest to the edge is a hill, and the middle line is a valley.
Repeat the mirror folds on the left wing. Hill and valley folds alternate.
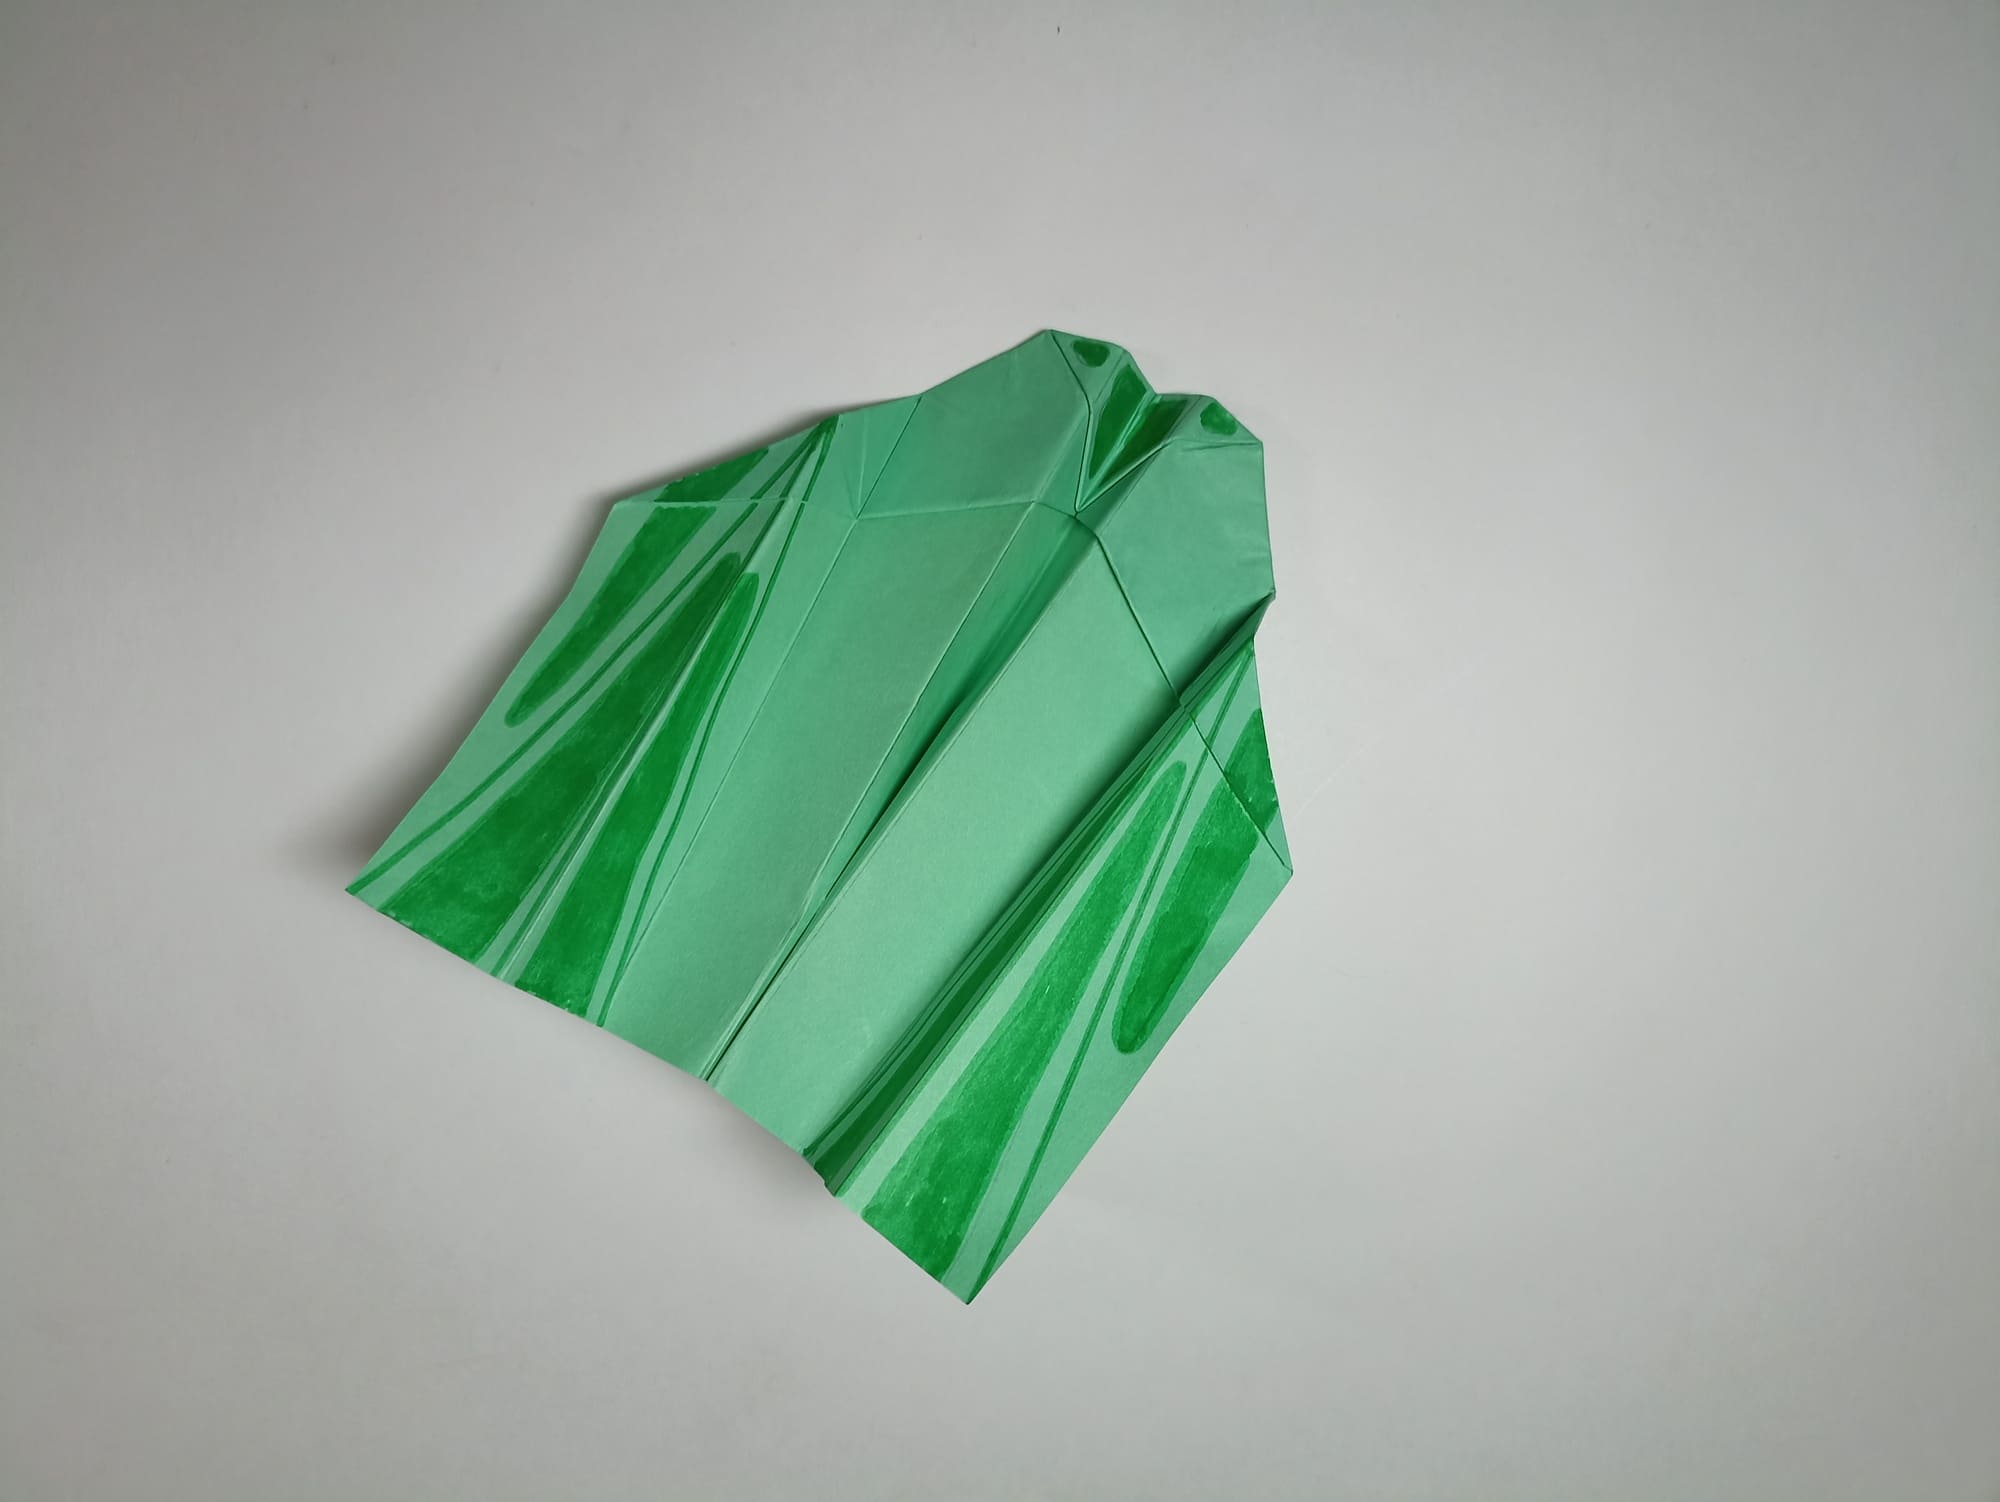
To decorate the nose of the plane, glue the lines closest to the middle with adhesive tape.
What a bird!
All that remains is to adjust the symmetry of the wings and body. It is better to launch the bird by throwing it upward at a low angle or from a height. A glider made according to this design flies far and smoothly.