Origami Bird
A bird is a symbol of lightness and freedom. It is not surprising that different kinds of birds are among the most popular origami figures because they are all unique and graceful. Of course, the first bird specie, associated with origami, is a crane, but today we offer you to try your hand at making a more classic form of bird. In the process of folding a bird, each fold and shape of the paper reflects the attention and diligence with which this amazing work of art is created. And to get a feel for it, follow our step-by-step instructions, with which even a beginner in the art of origami can get a beautiful result!
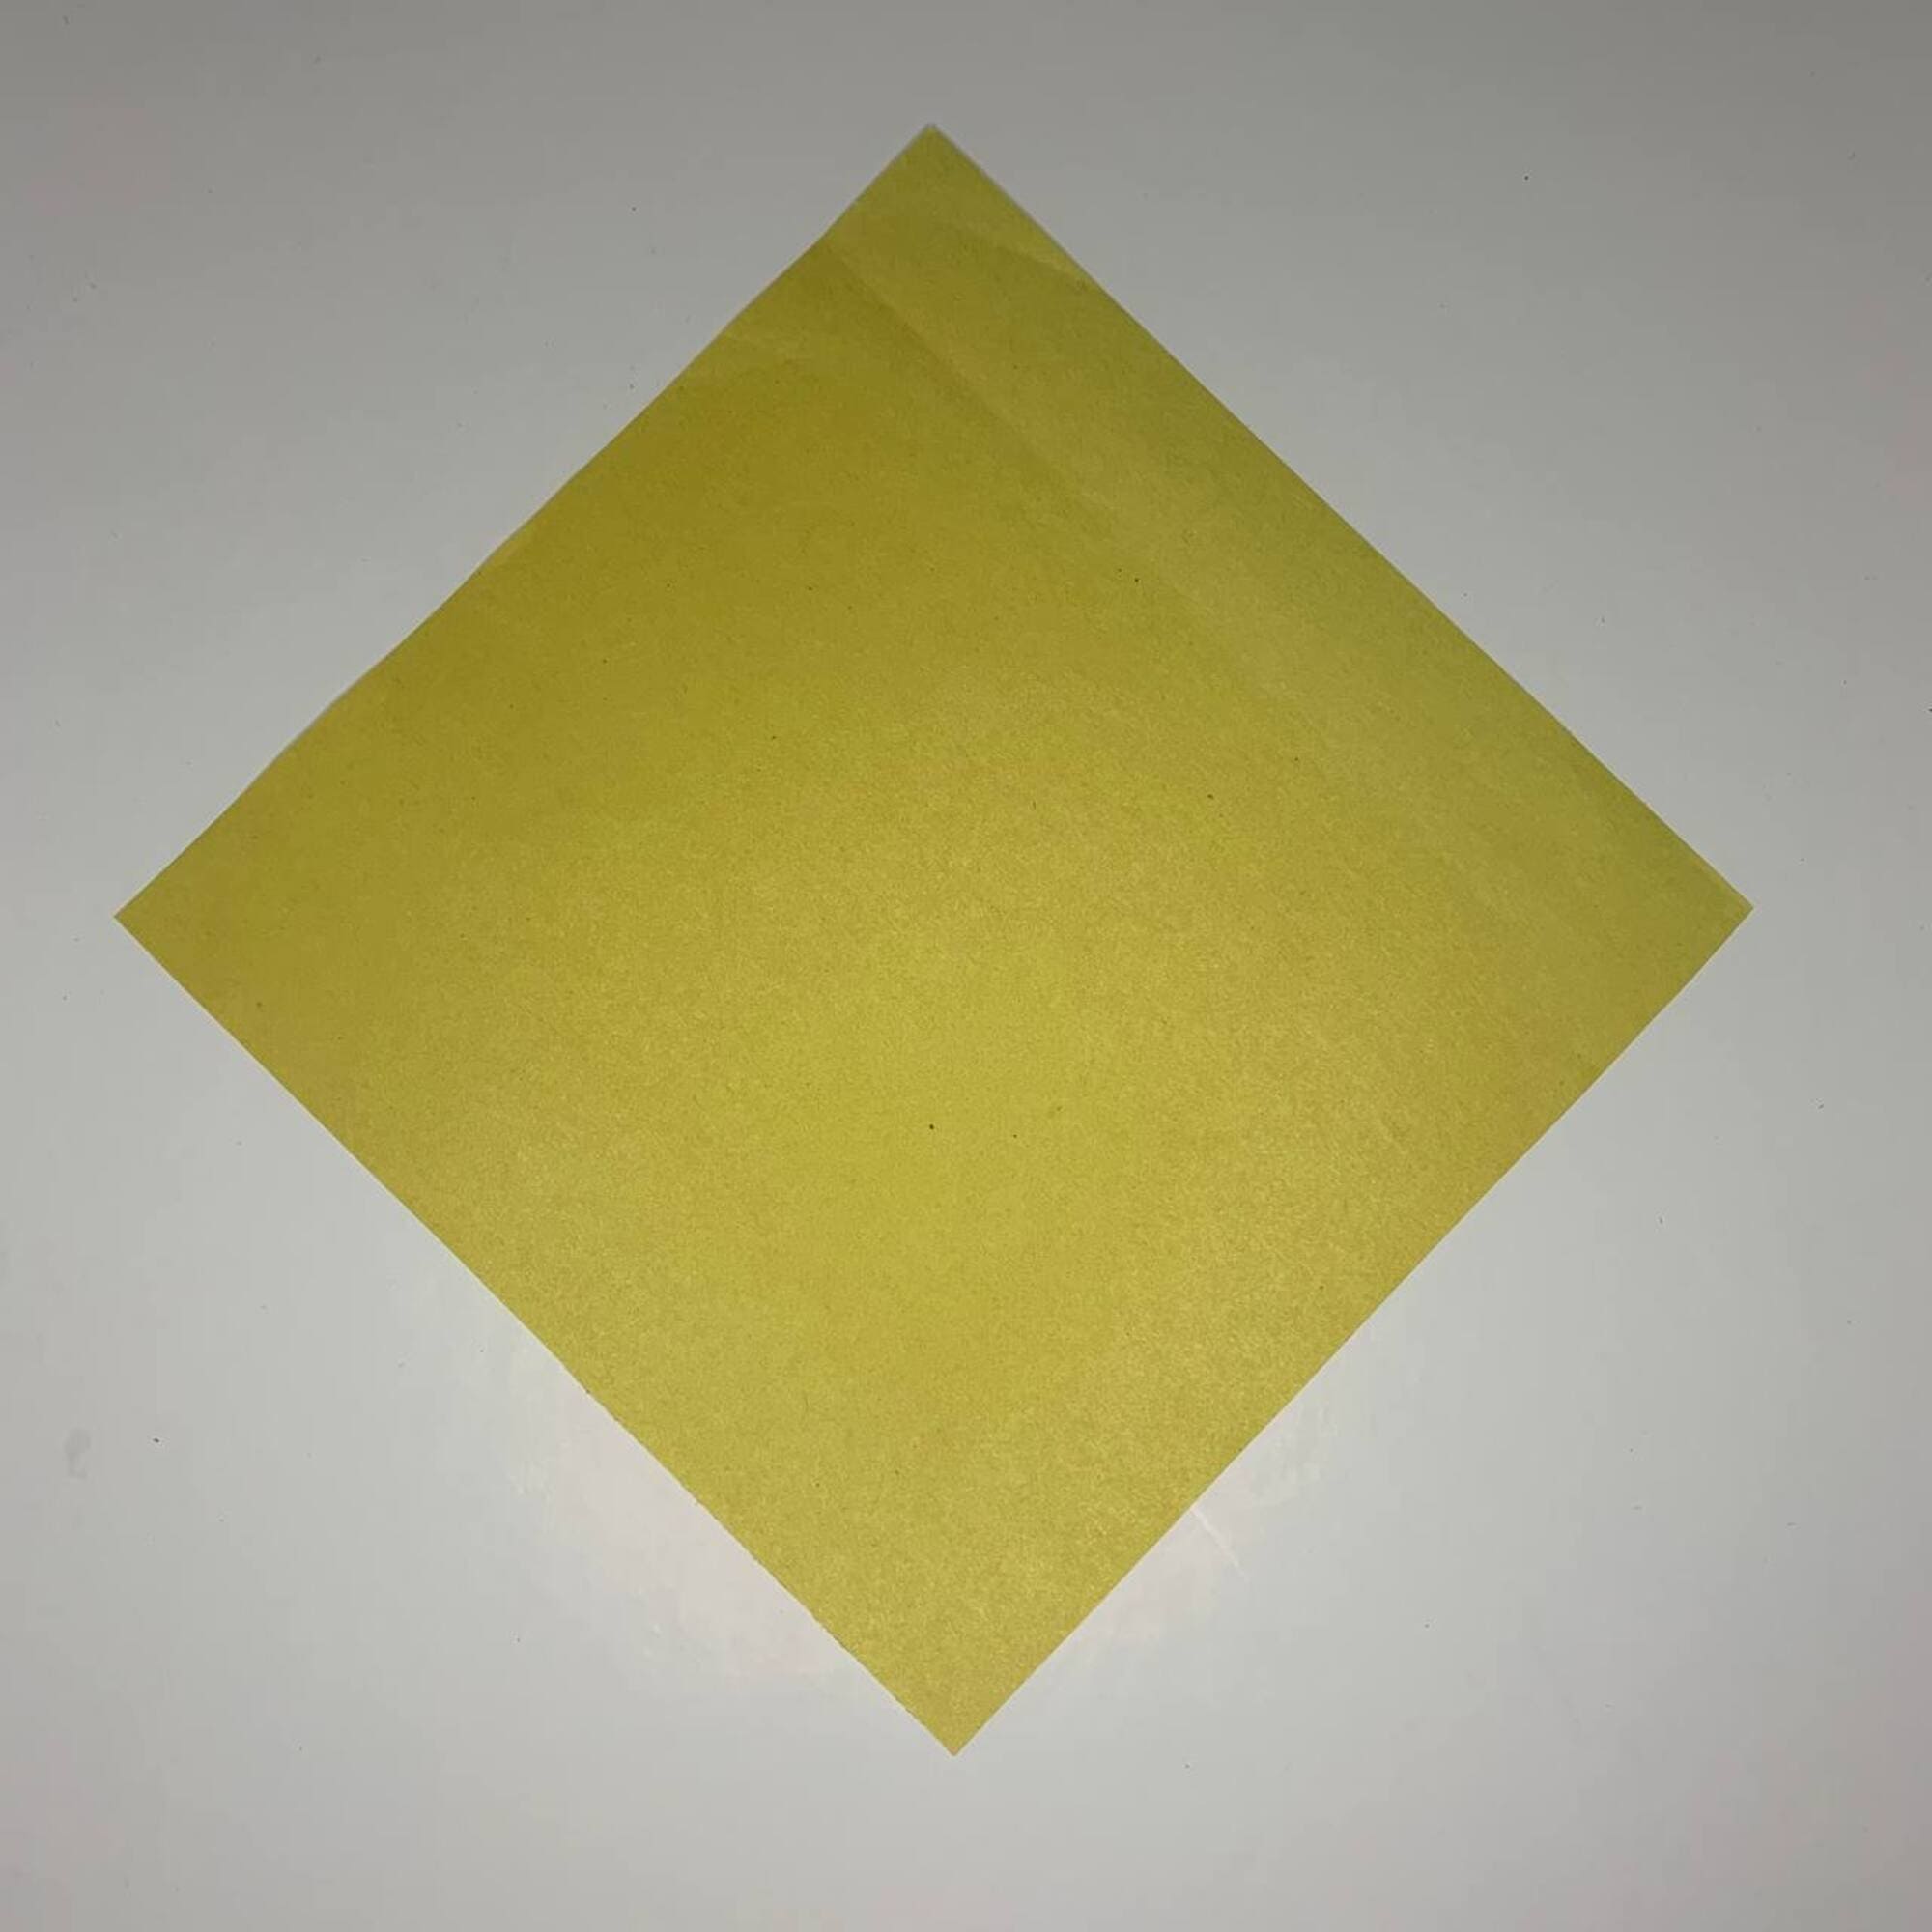
Start with a 15×15 cm square of origami paper.
Then fold diagonally as shown in the photo and then unfold.
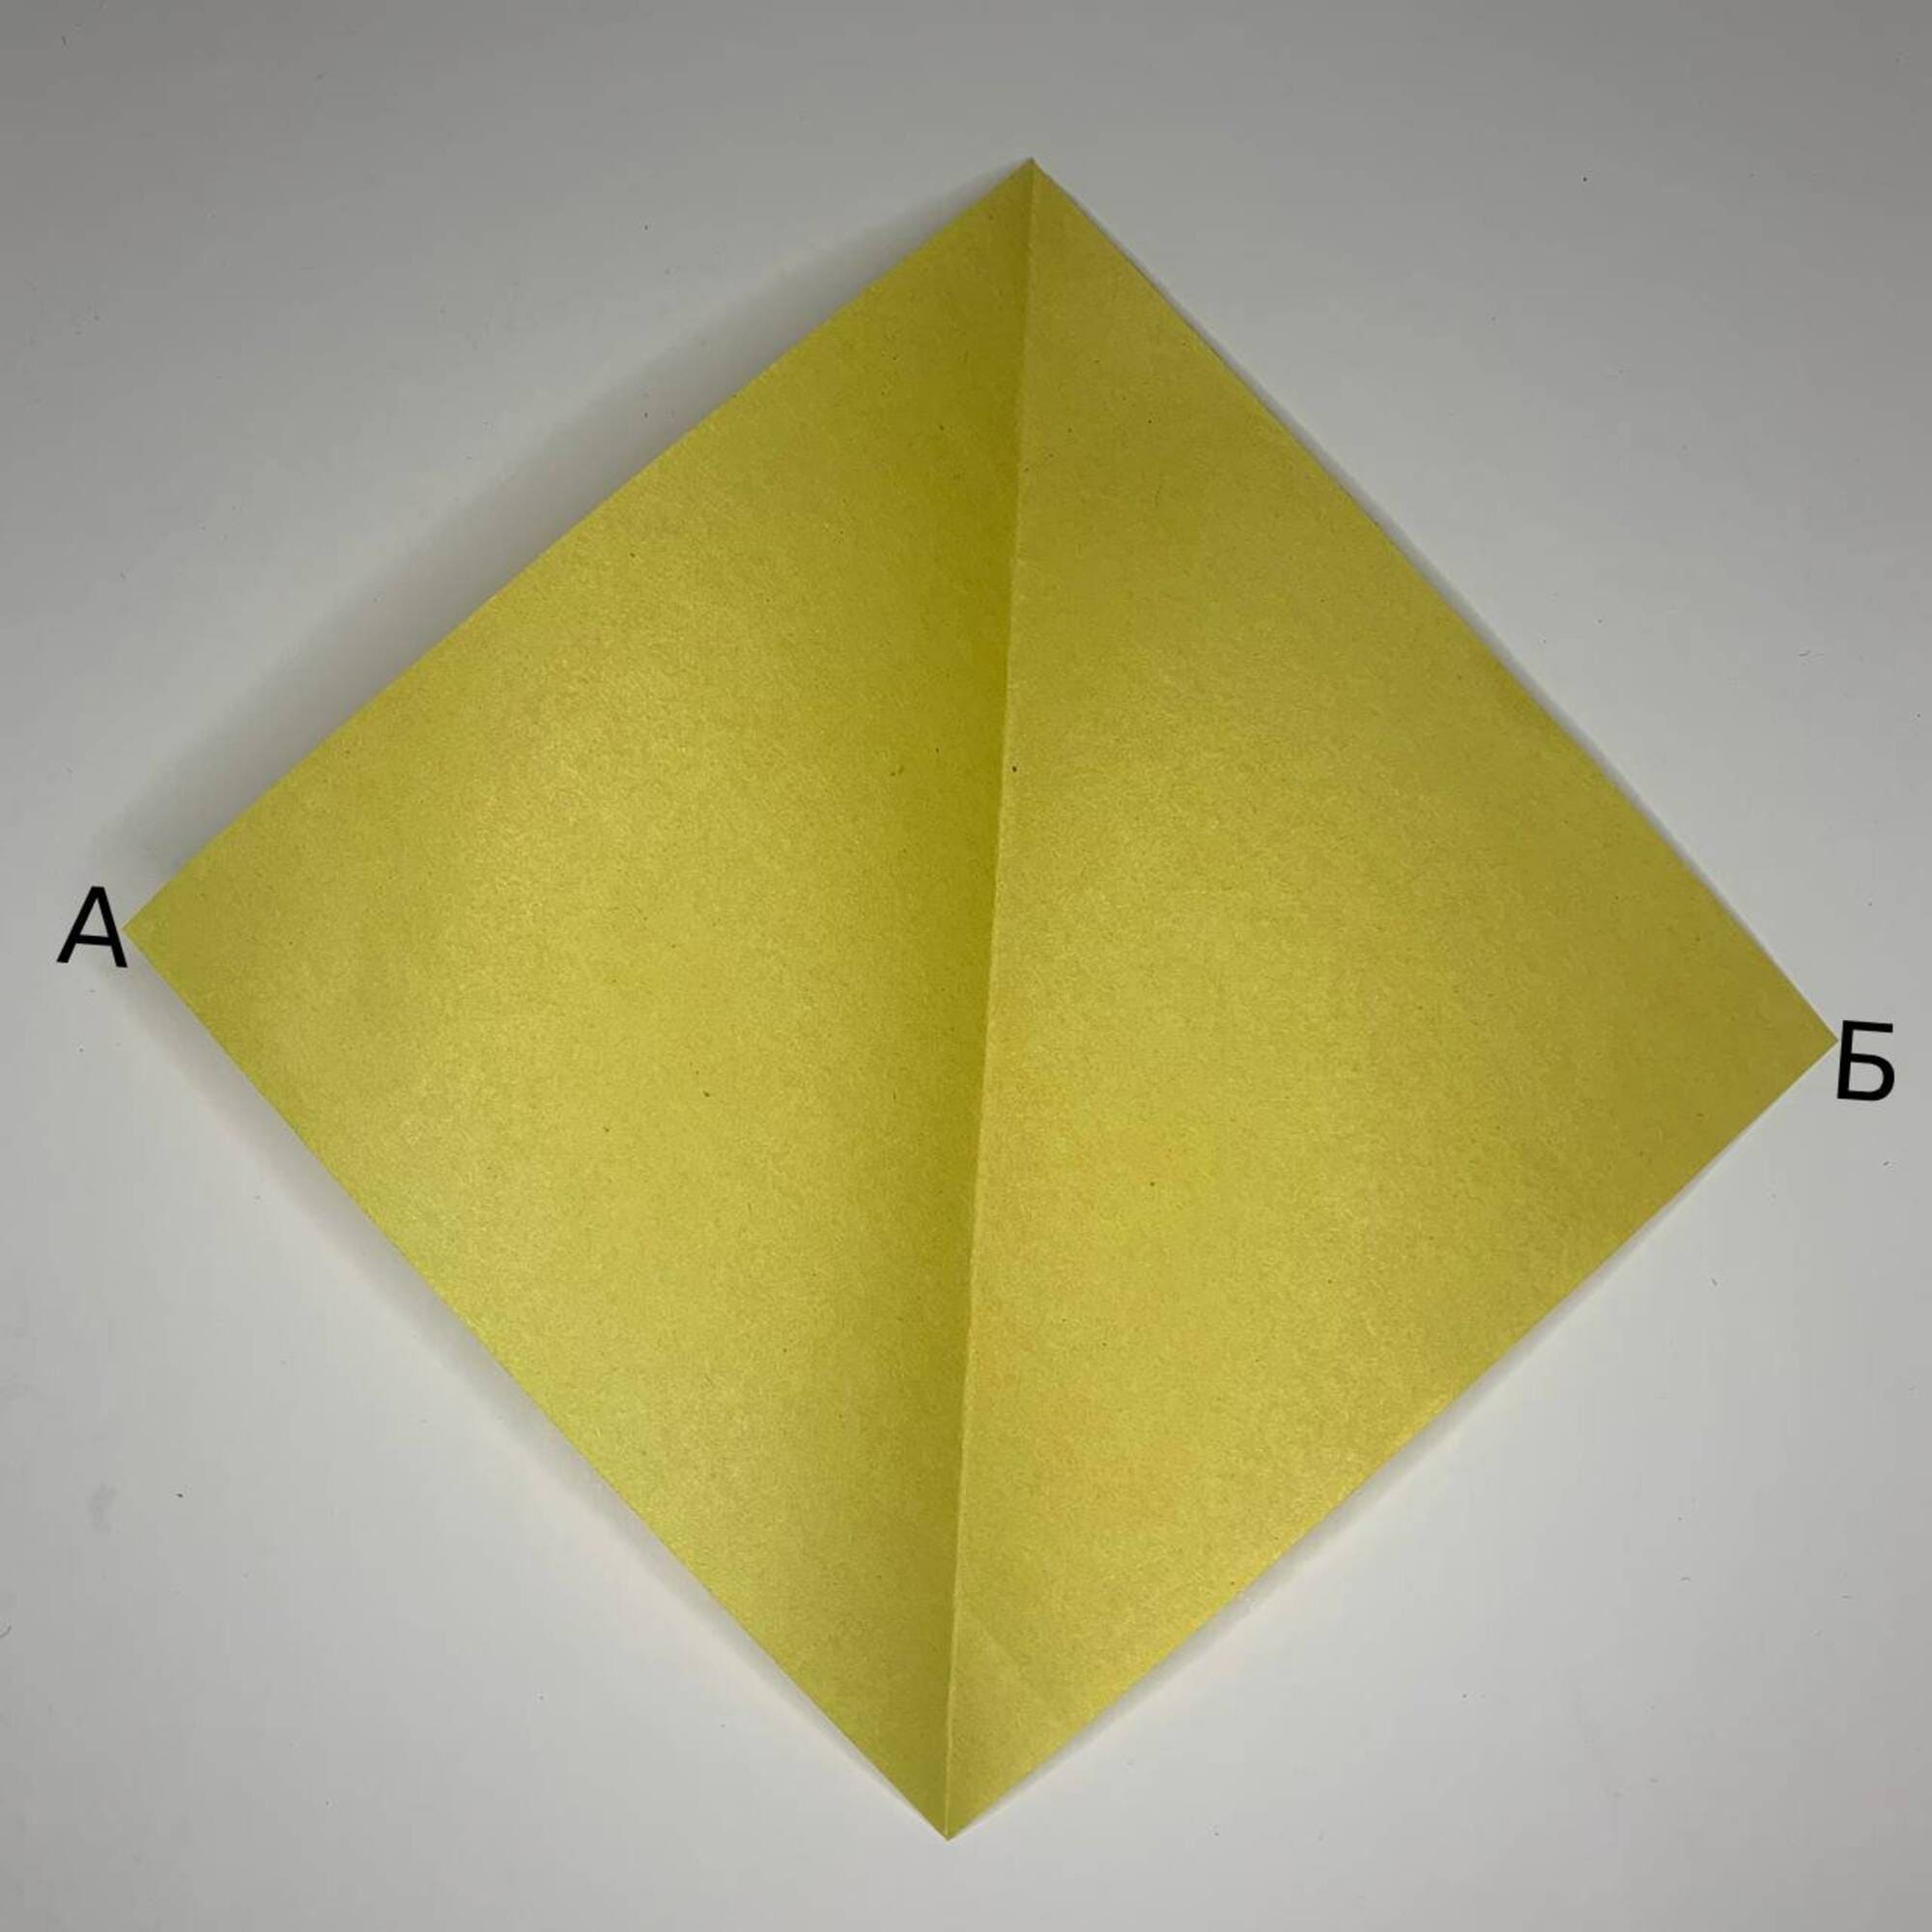
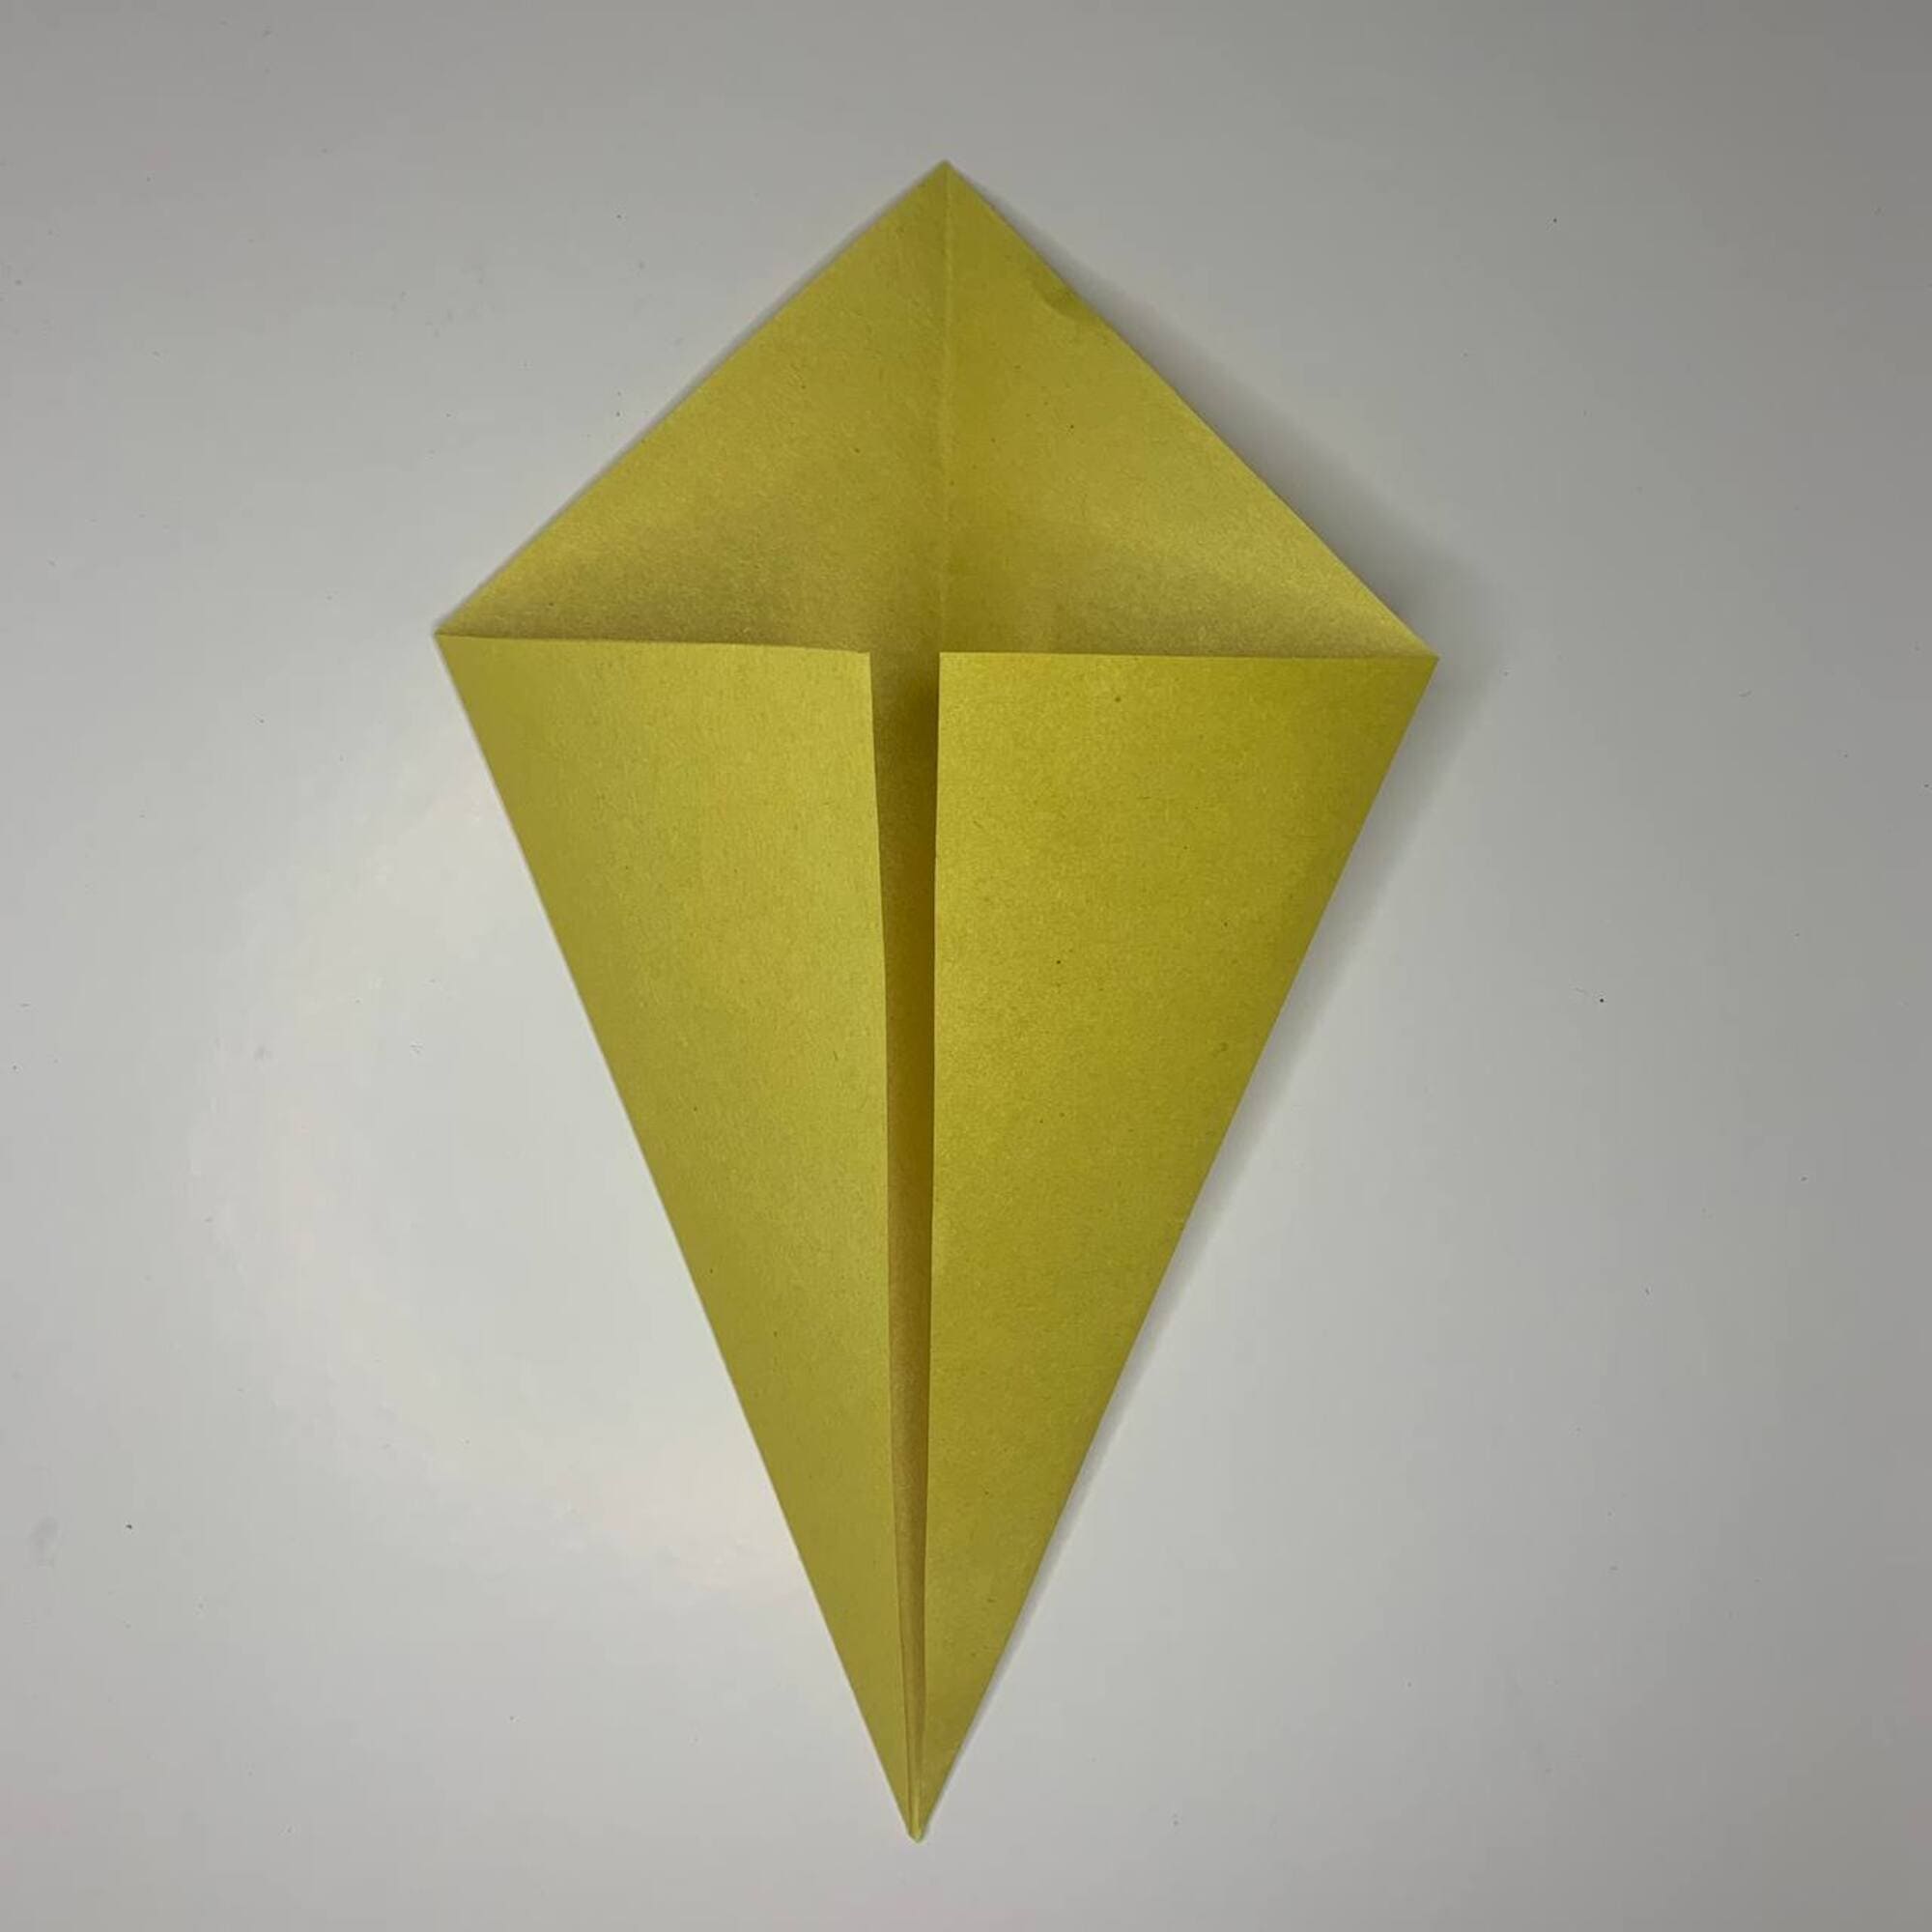
Now fold corners A and B to the center line of the fold you just made.
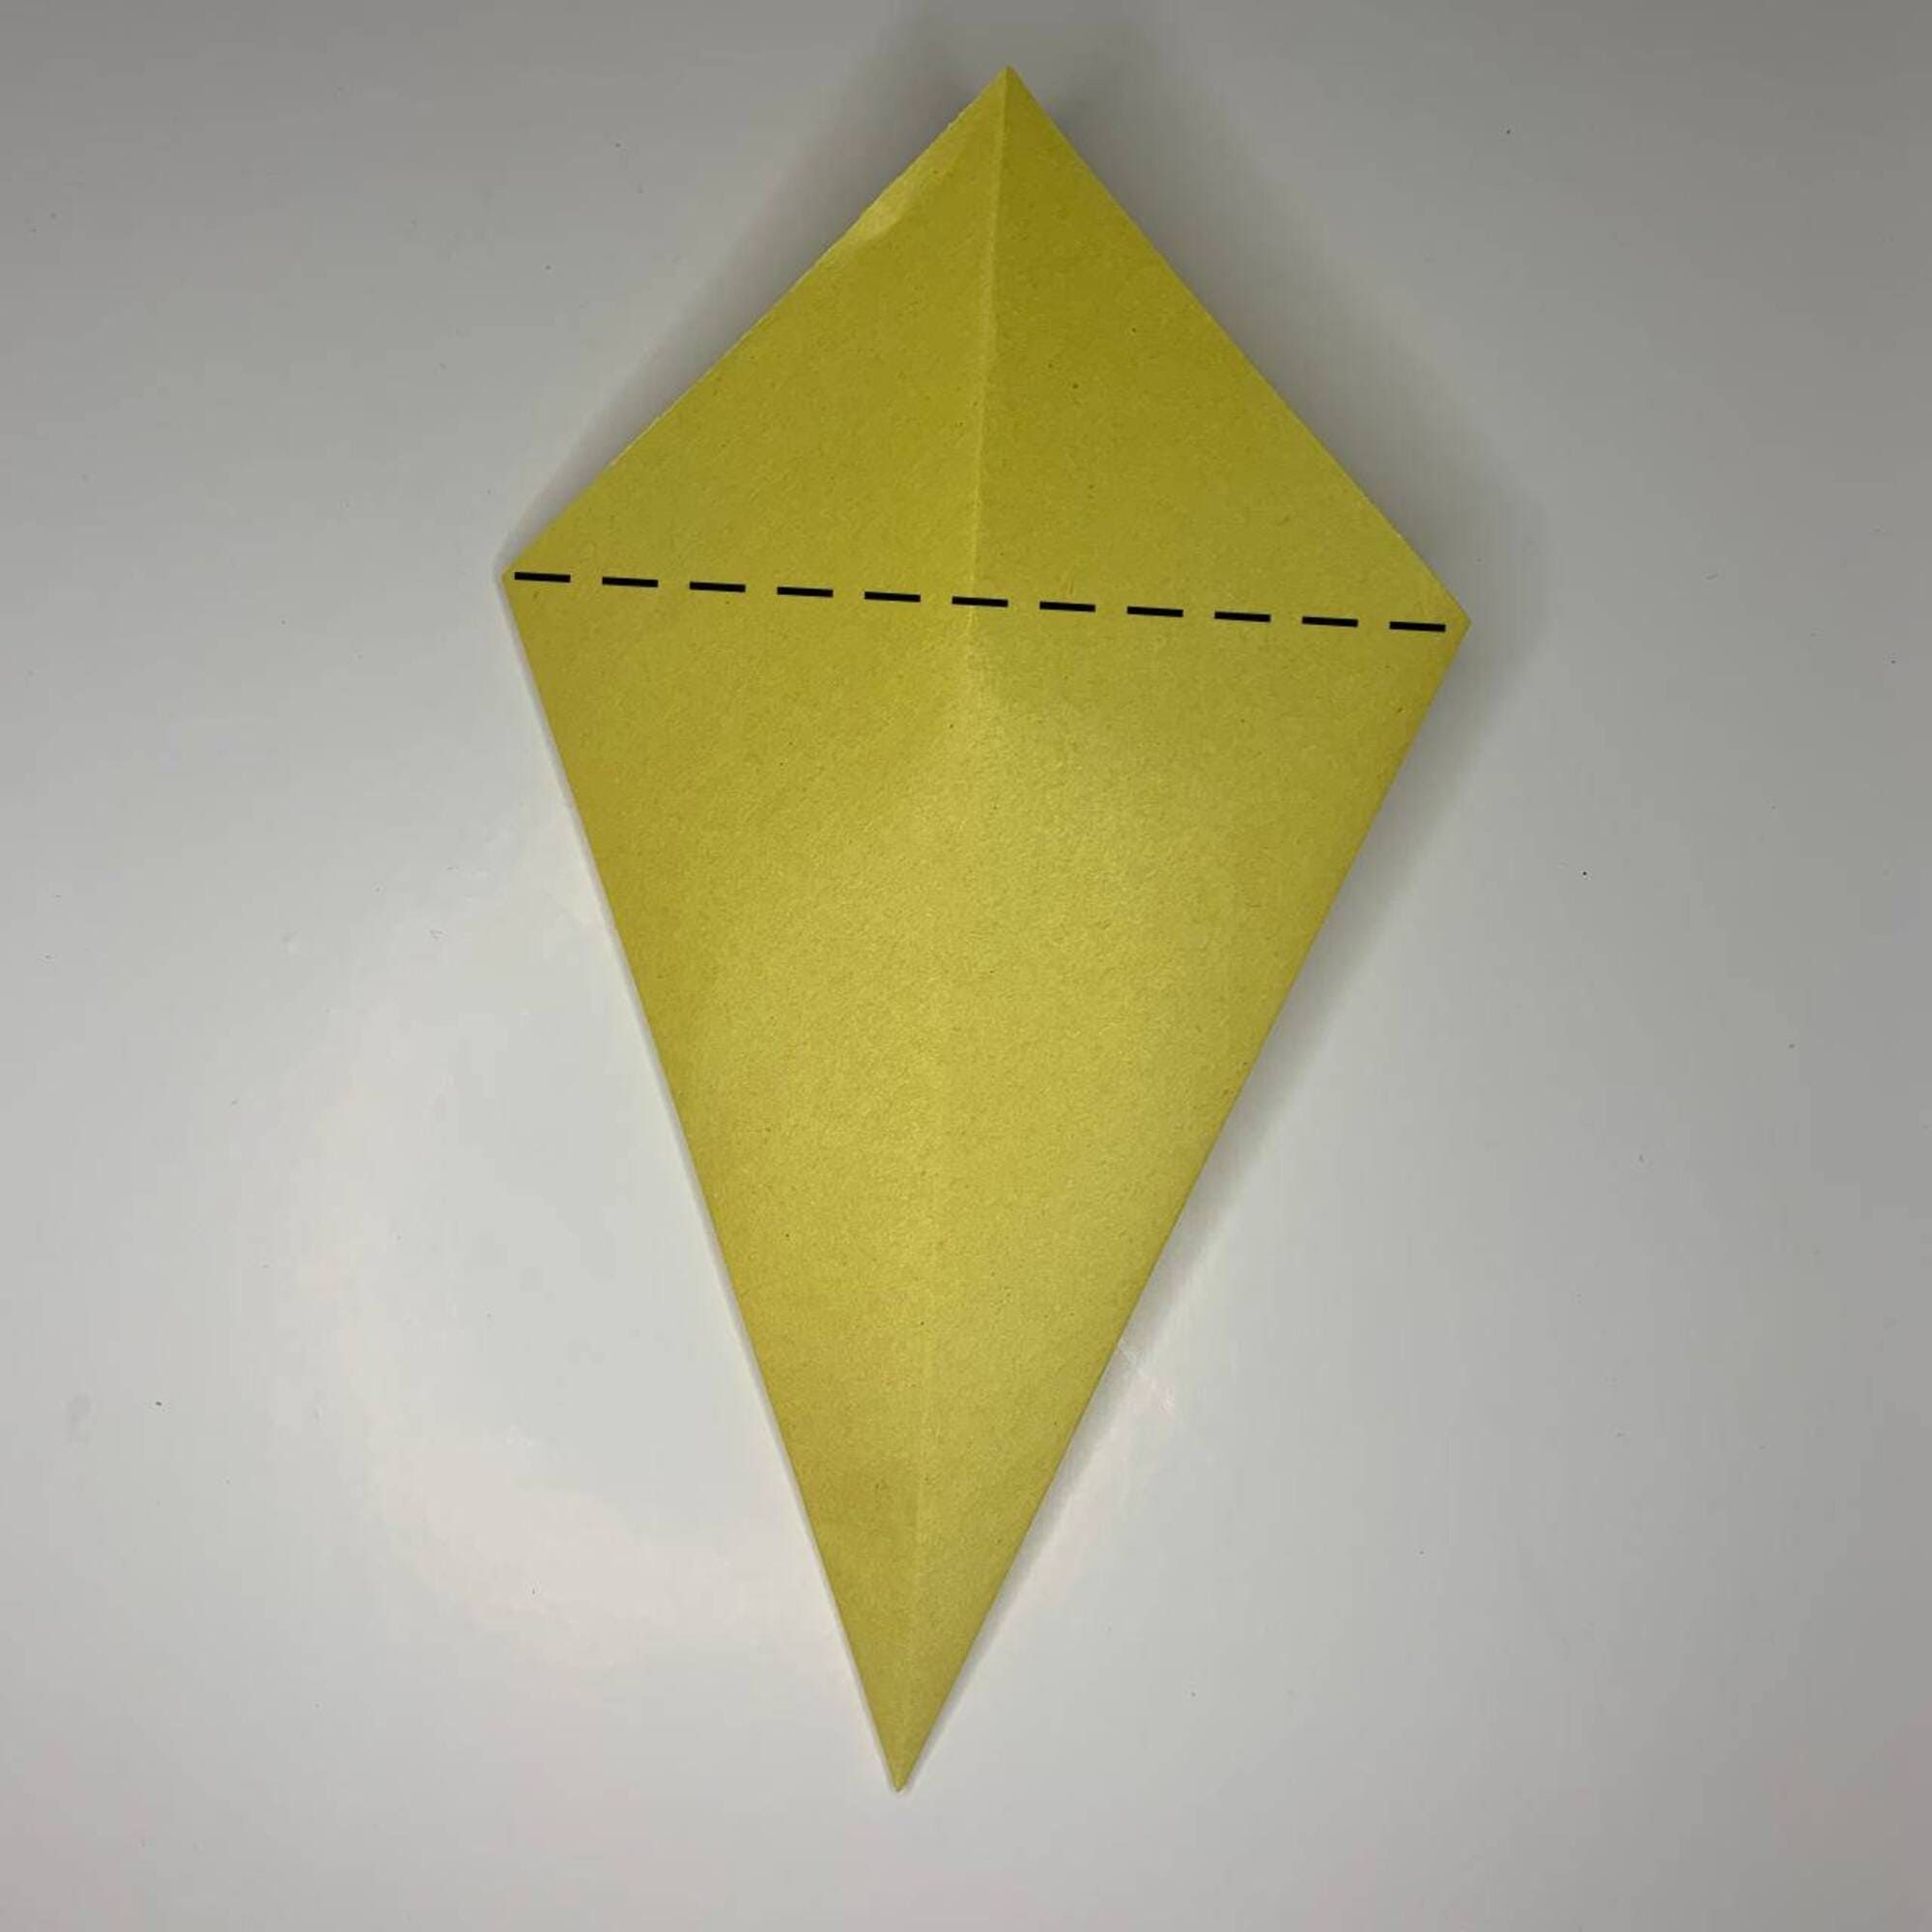
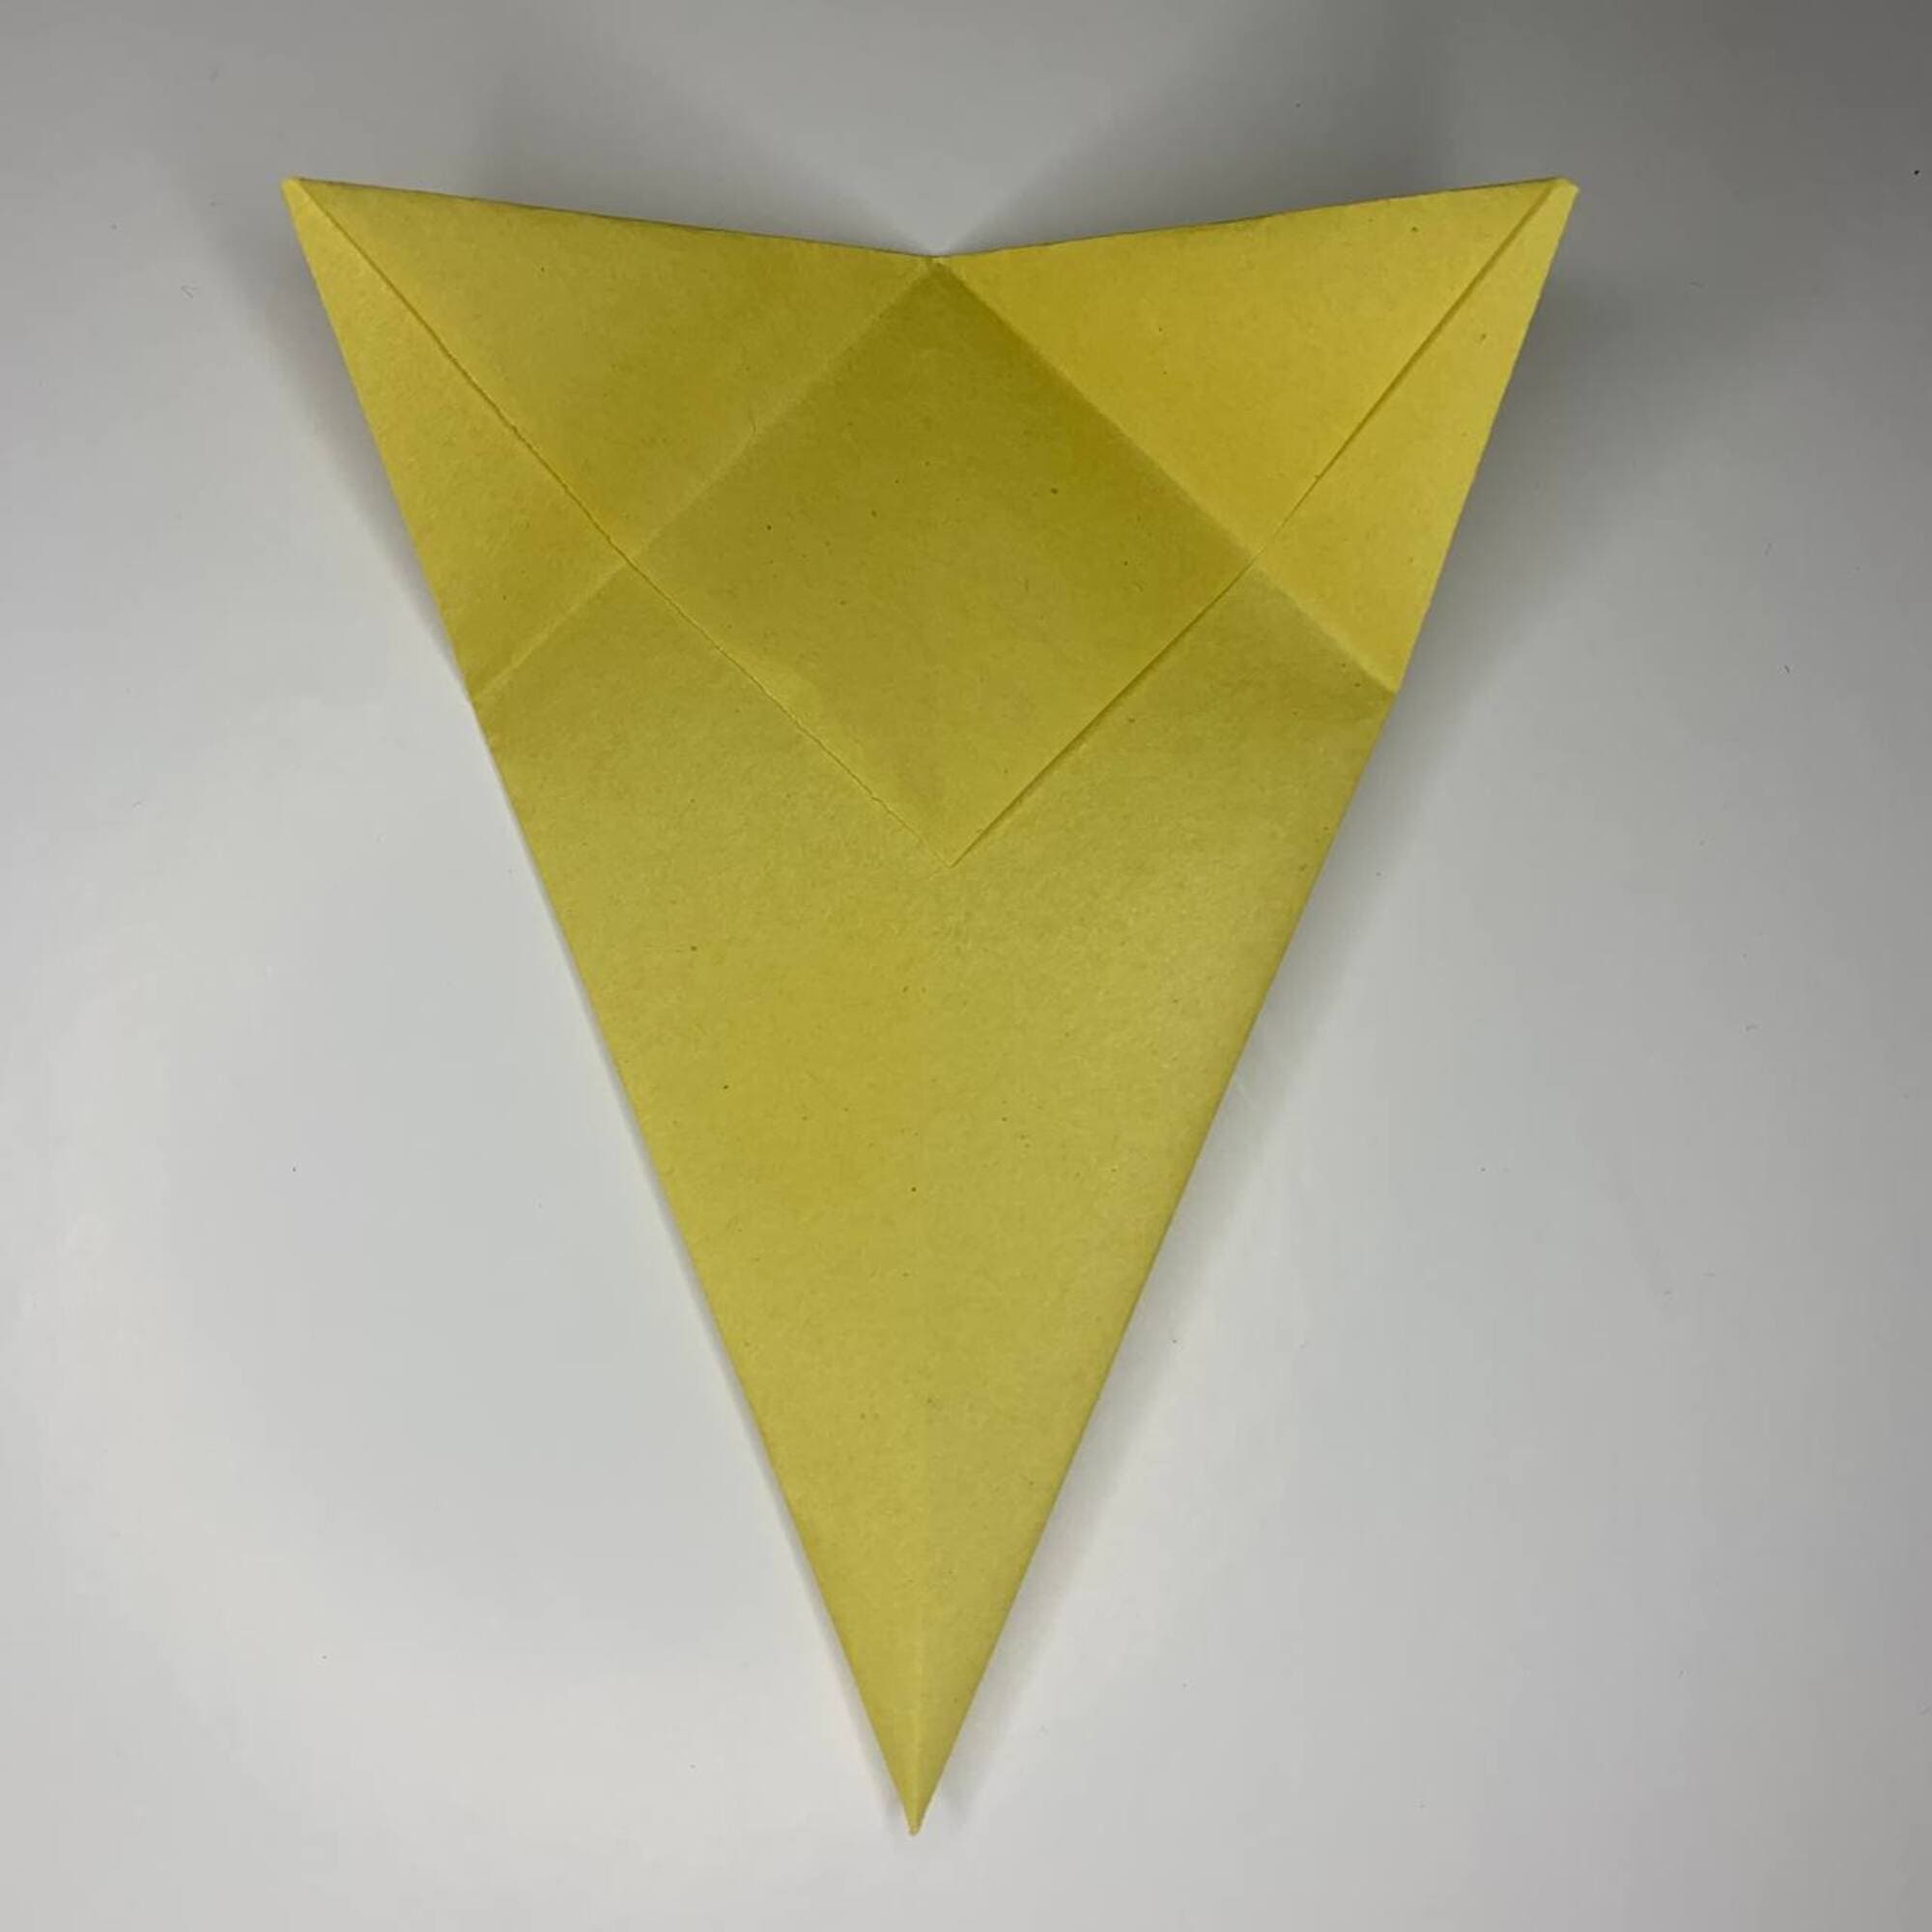
Flip the paper over and fold it along the line shown in the photo.
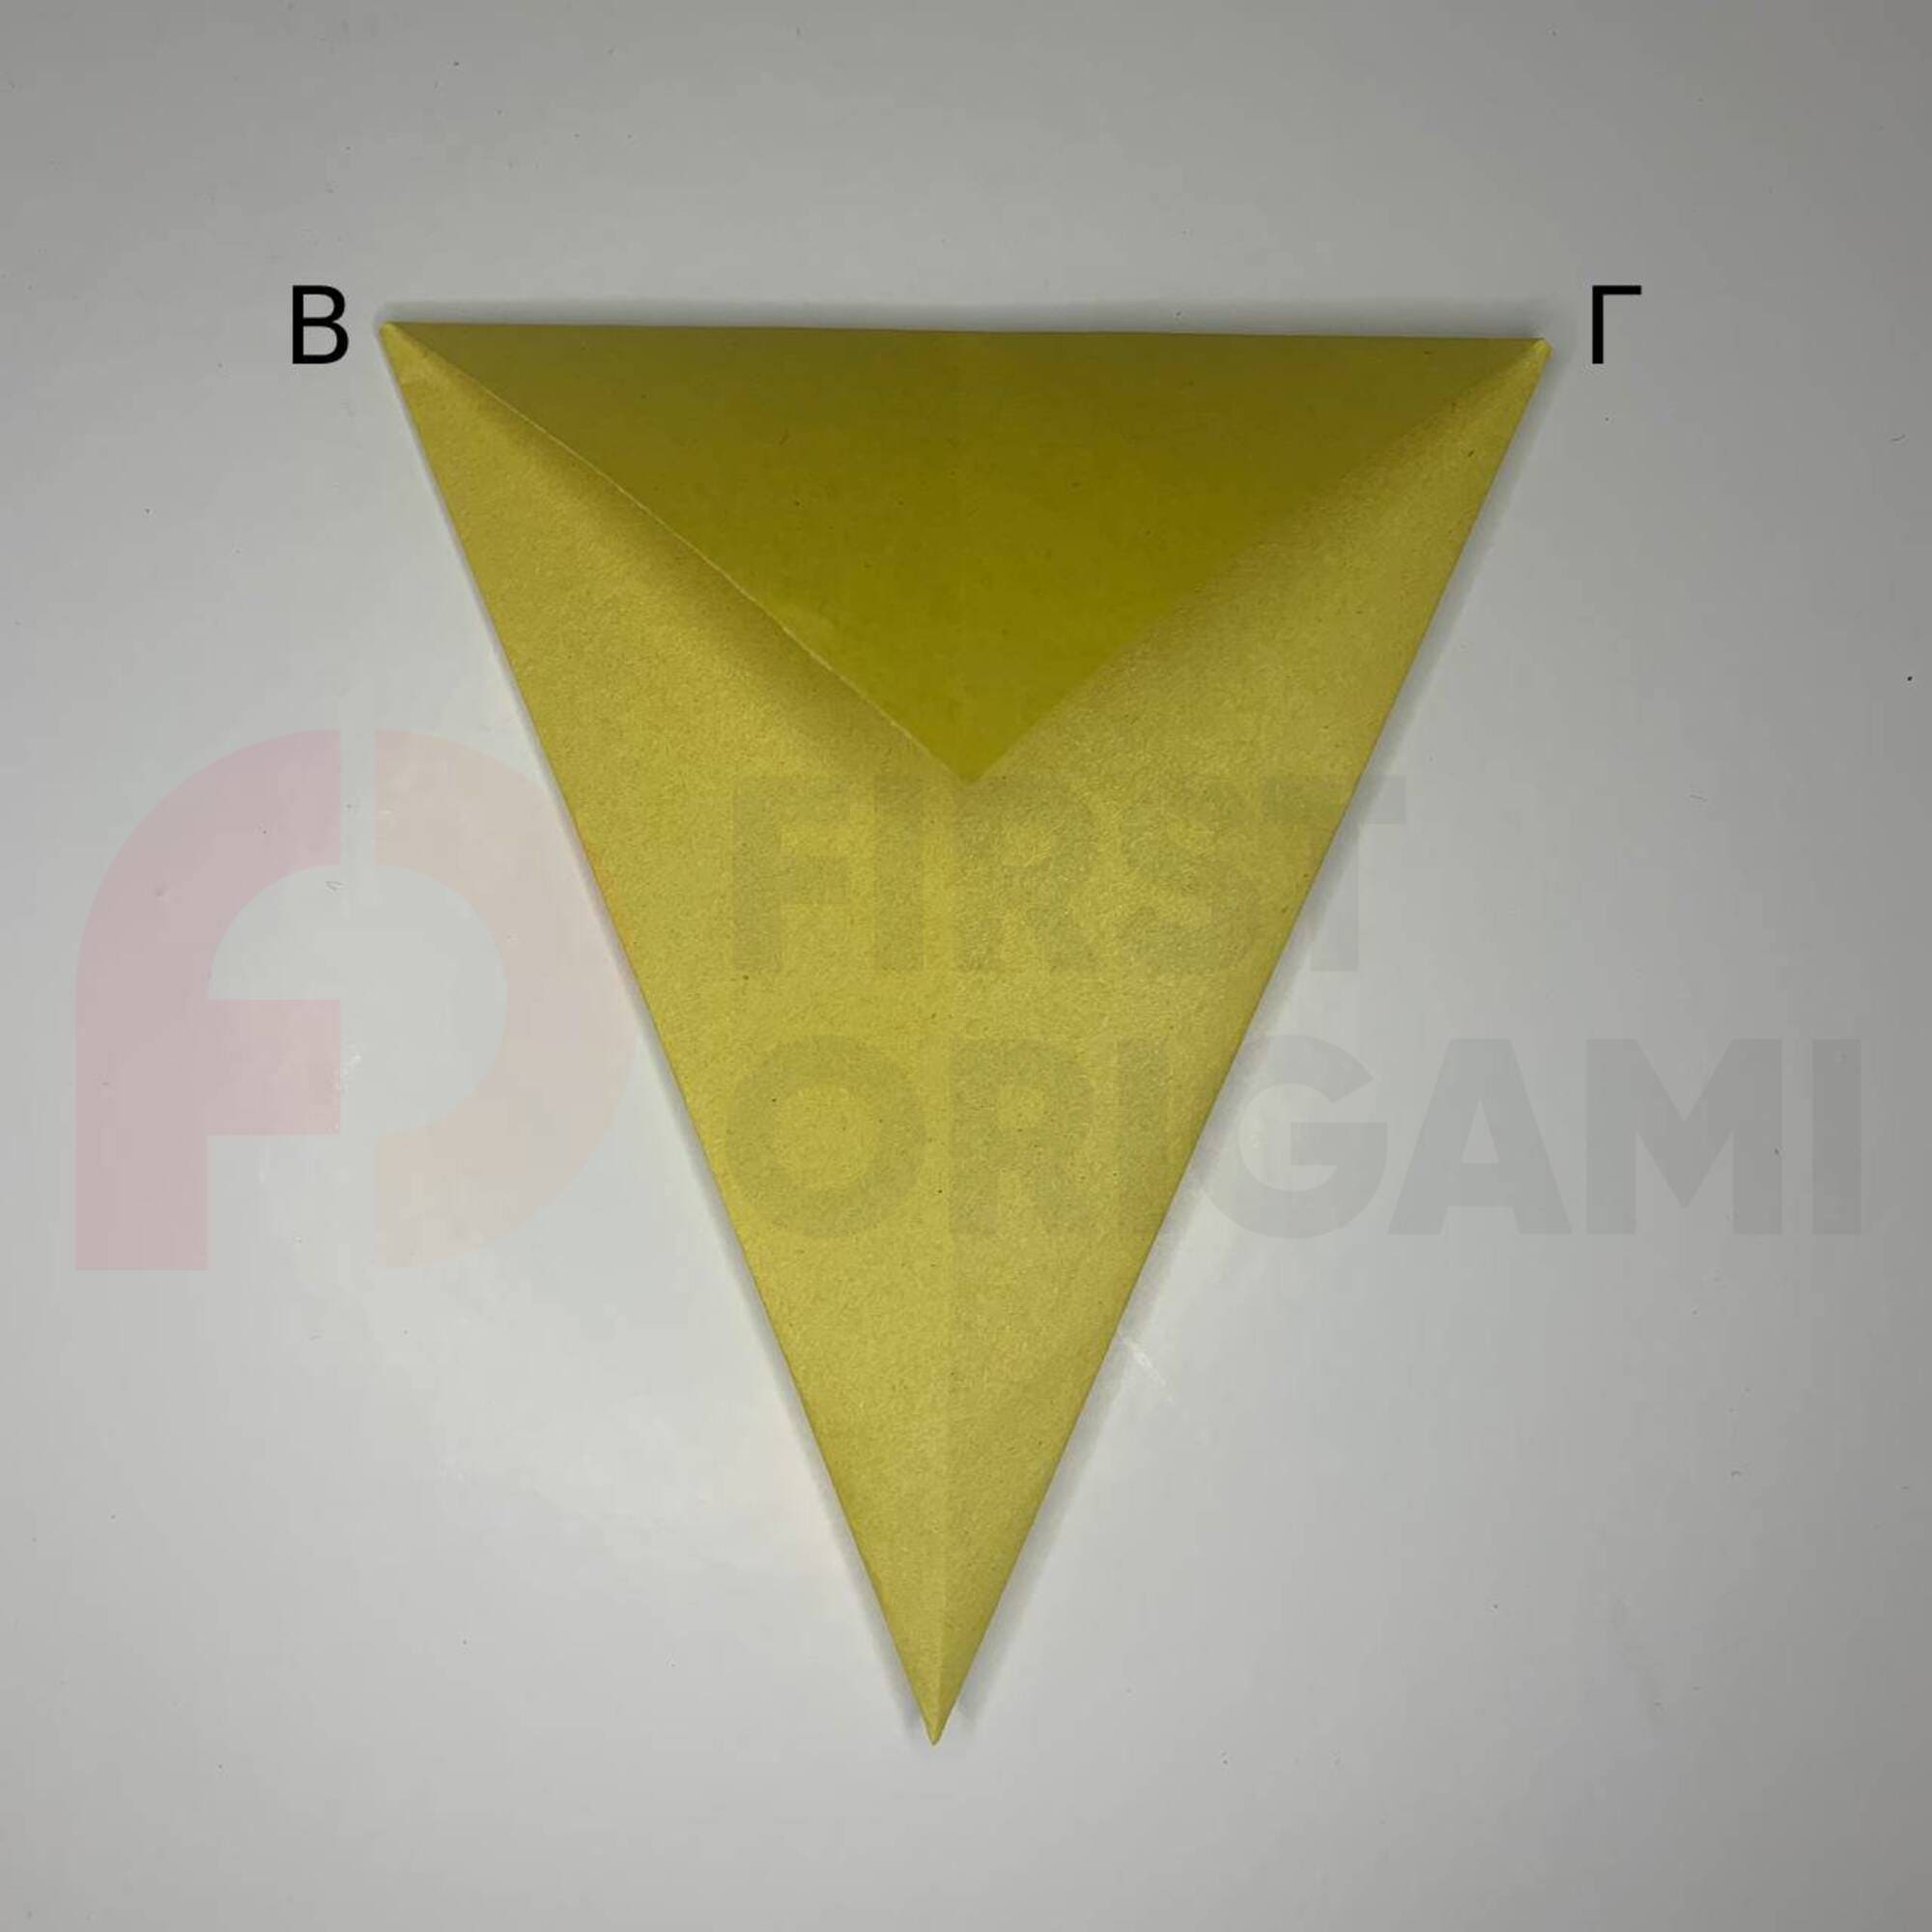
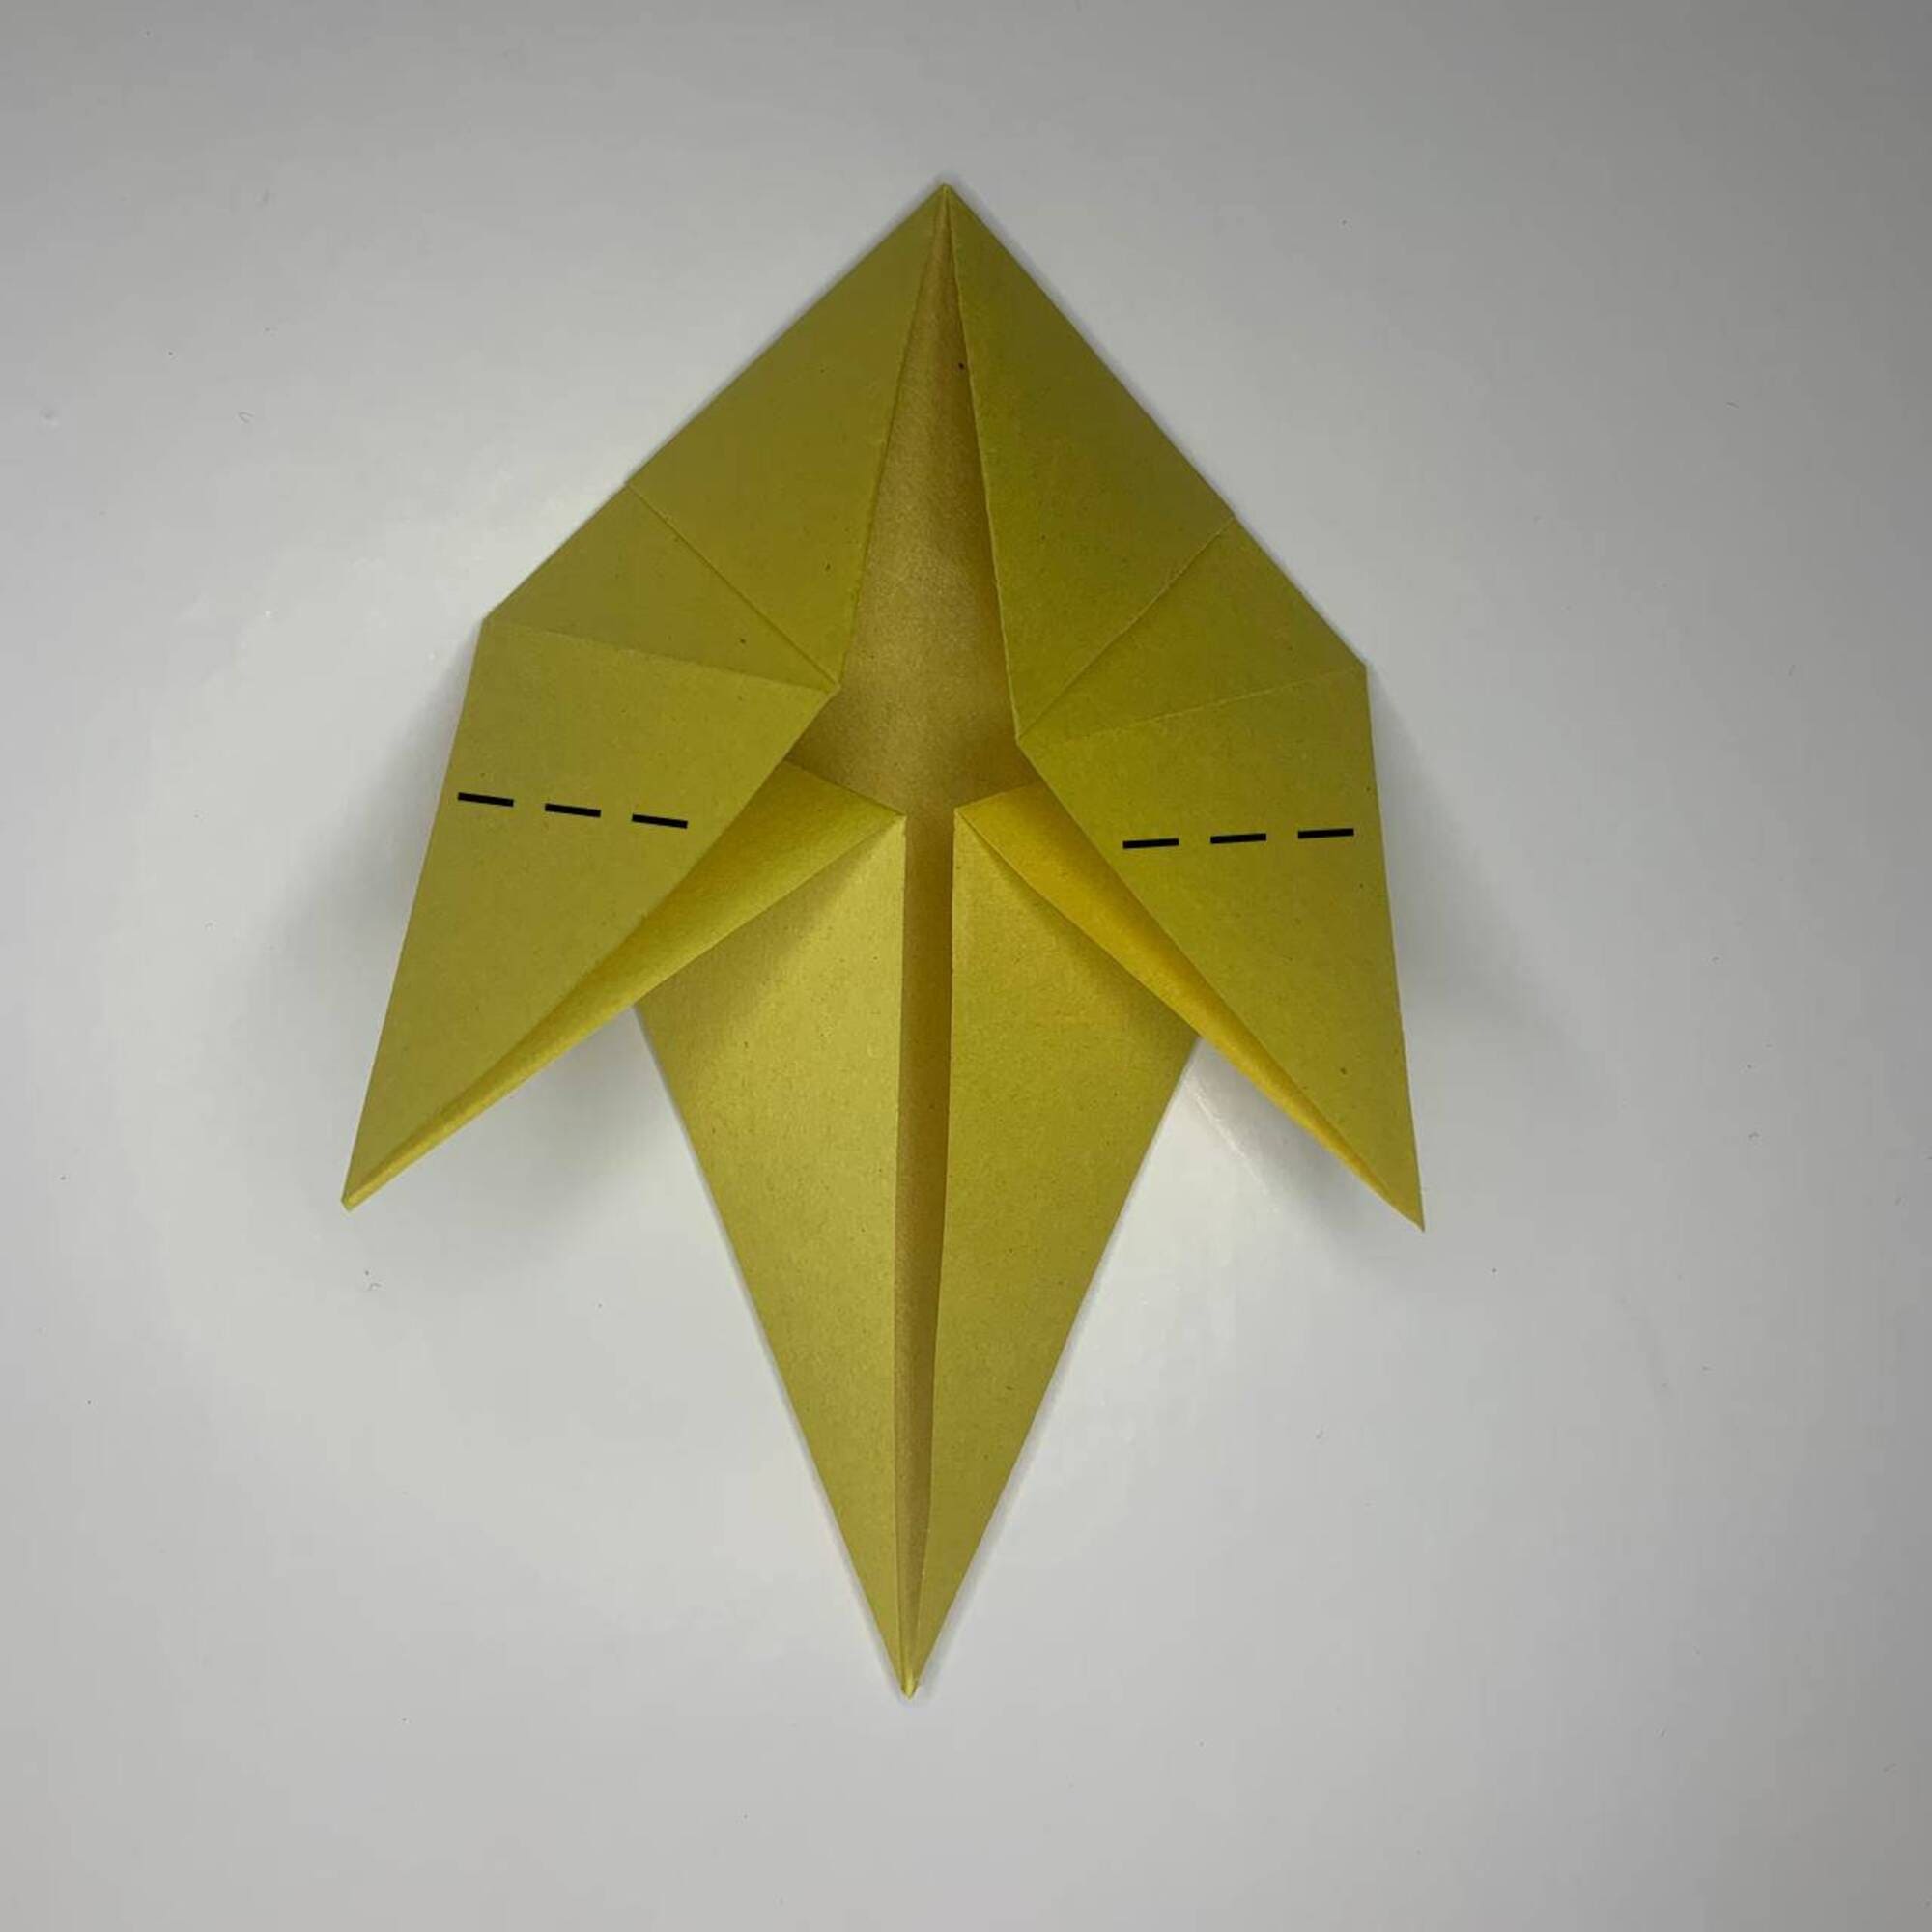
Fold corners B and D to the center line, then unfold.
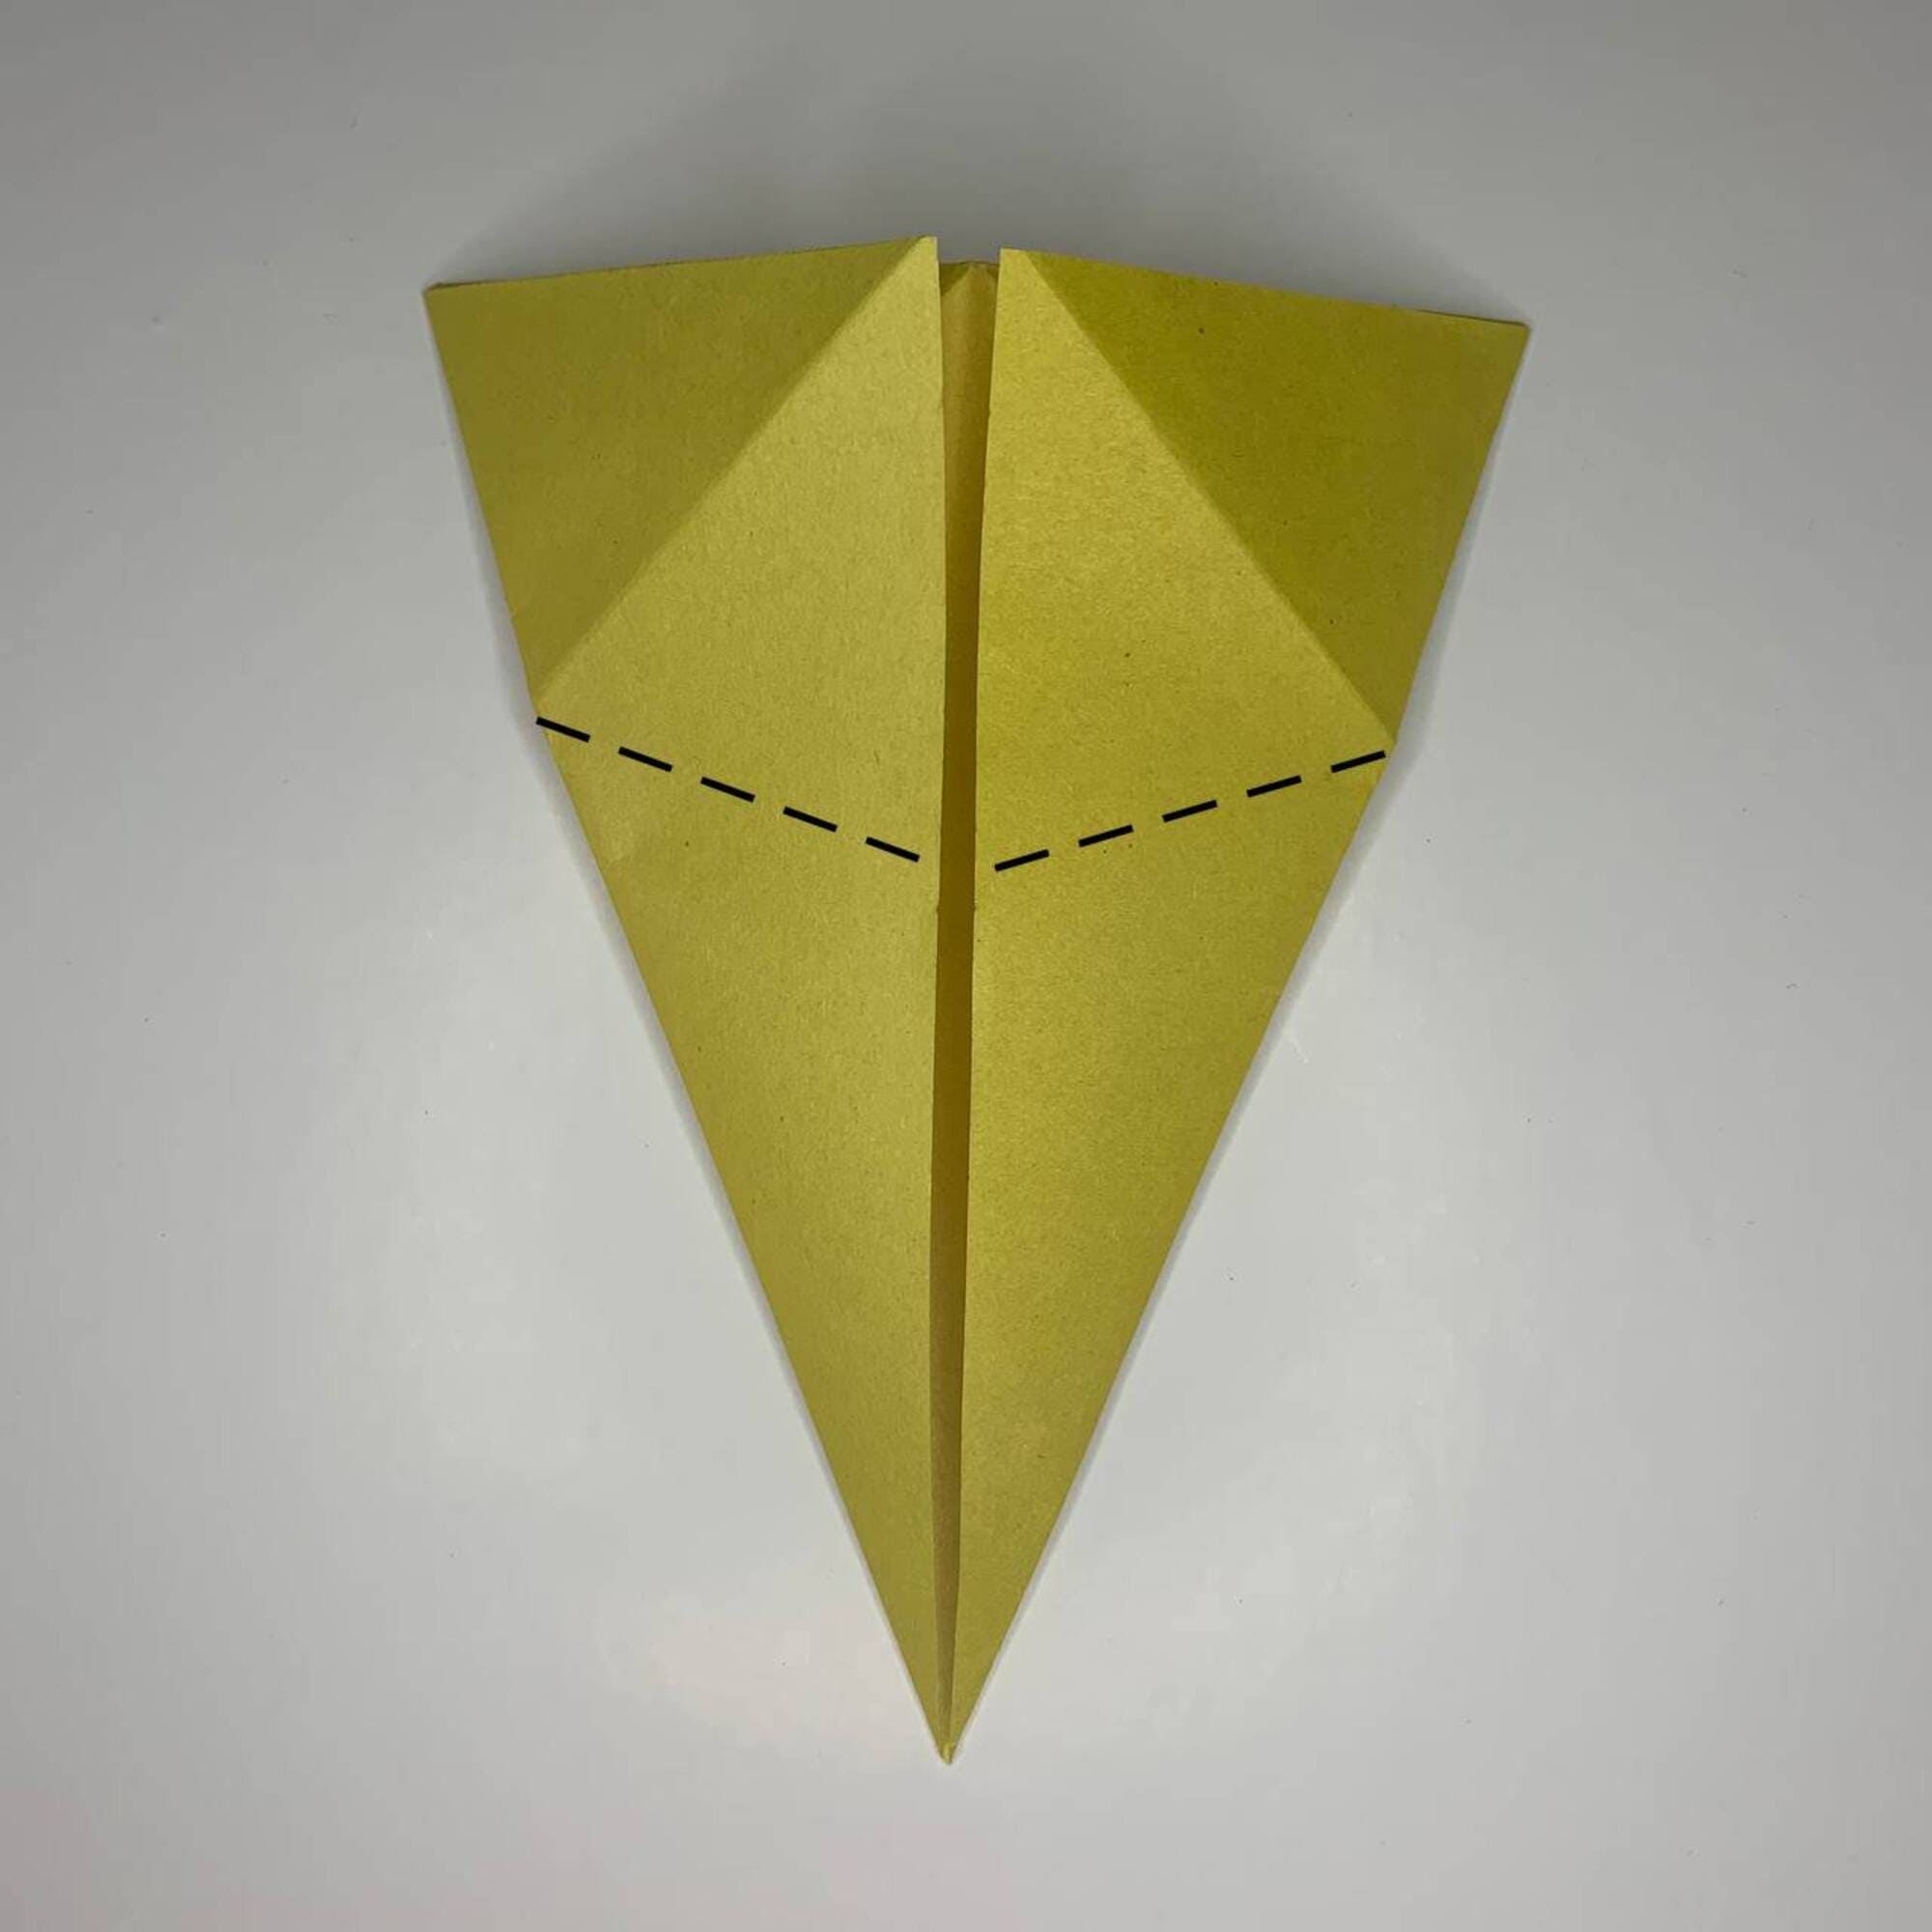
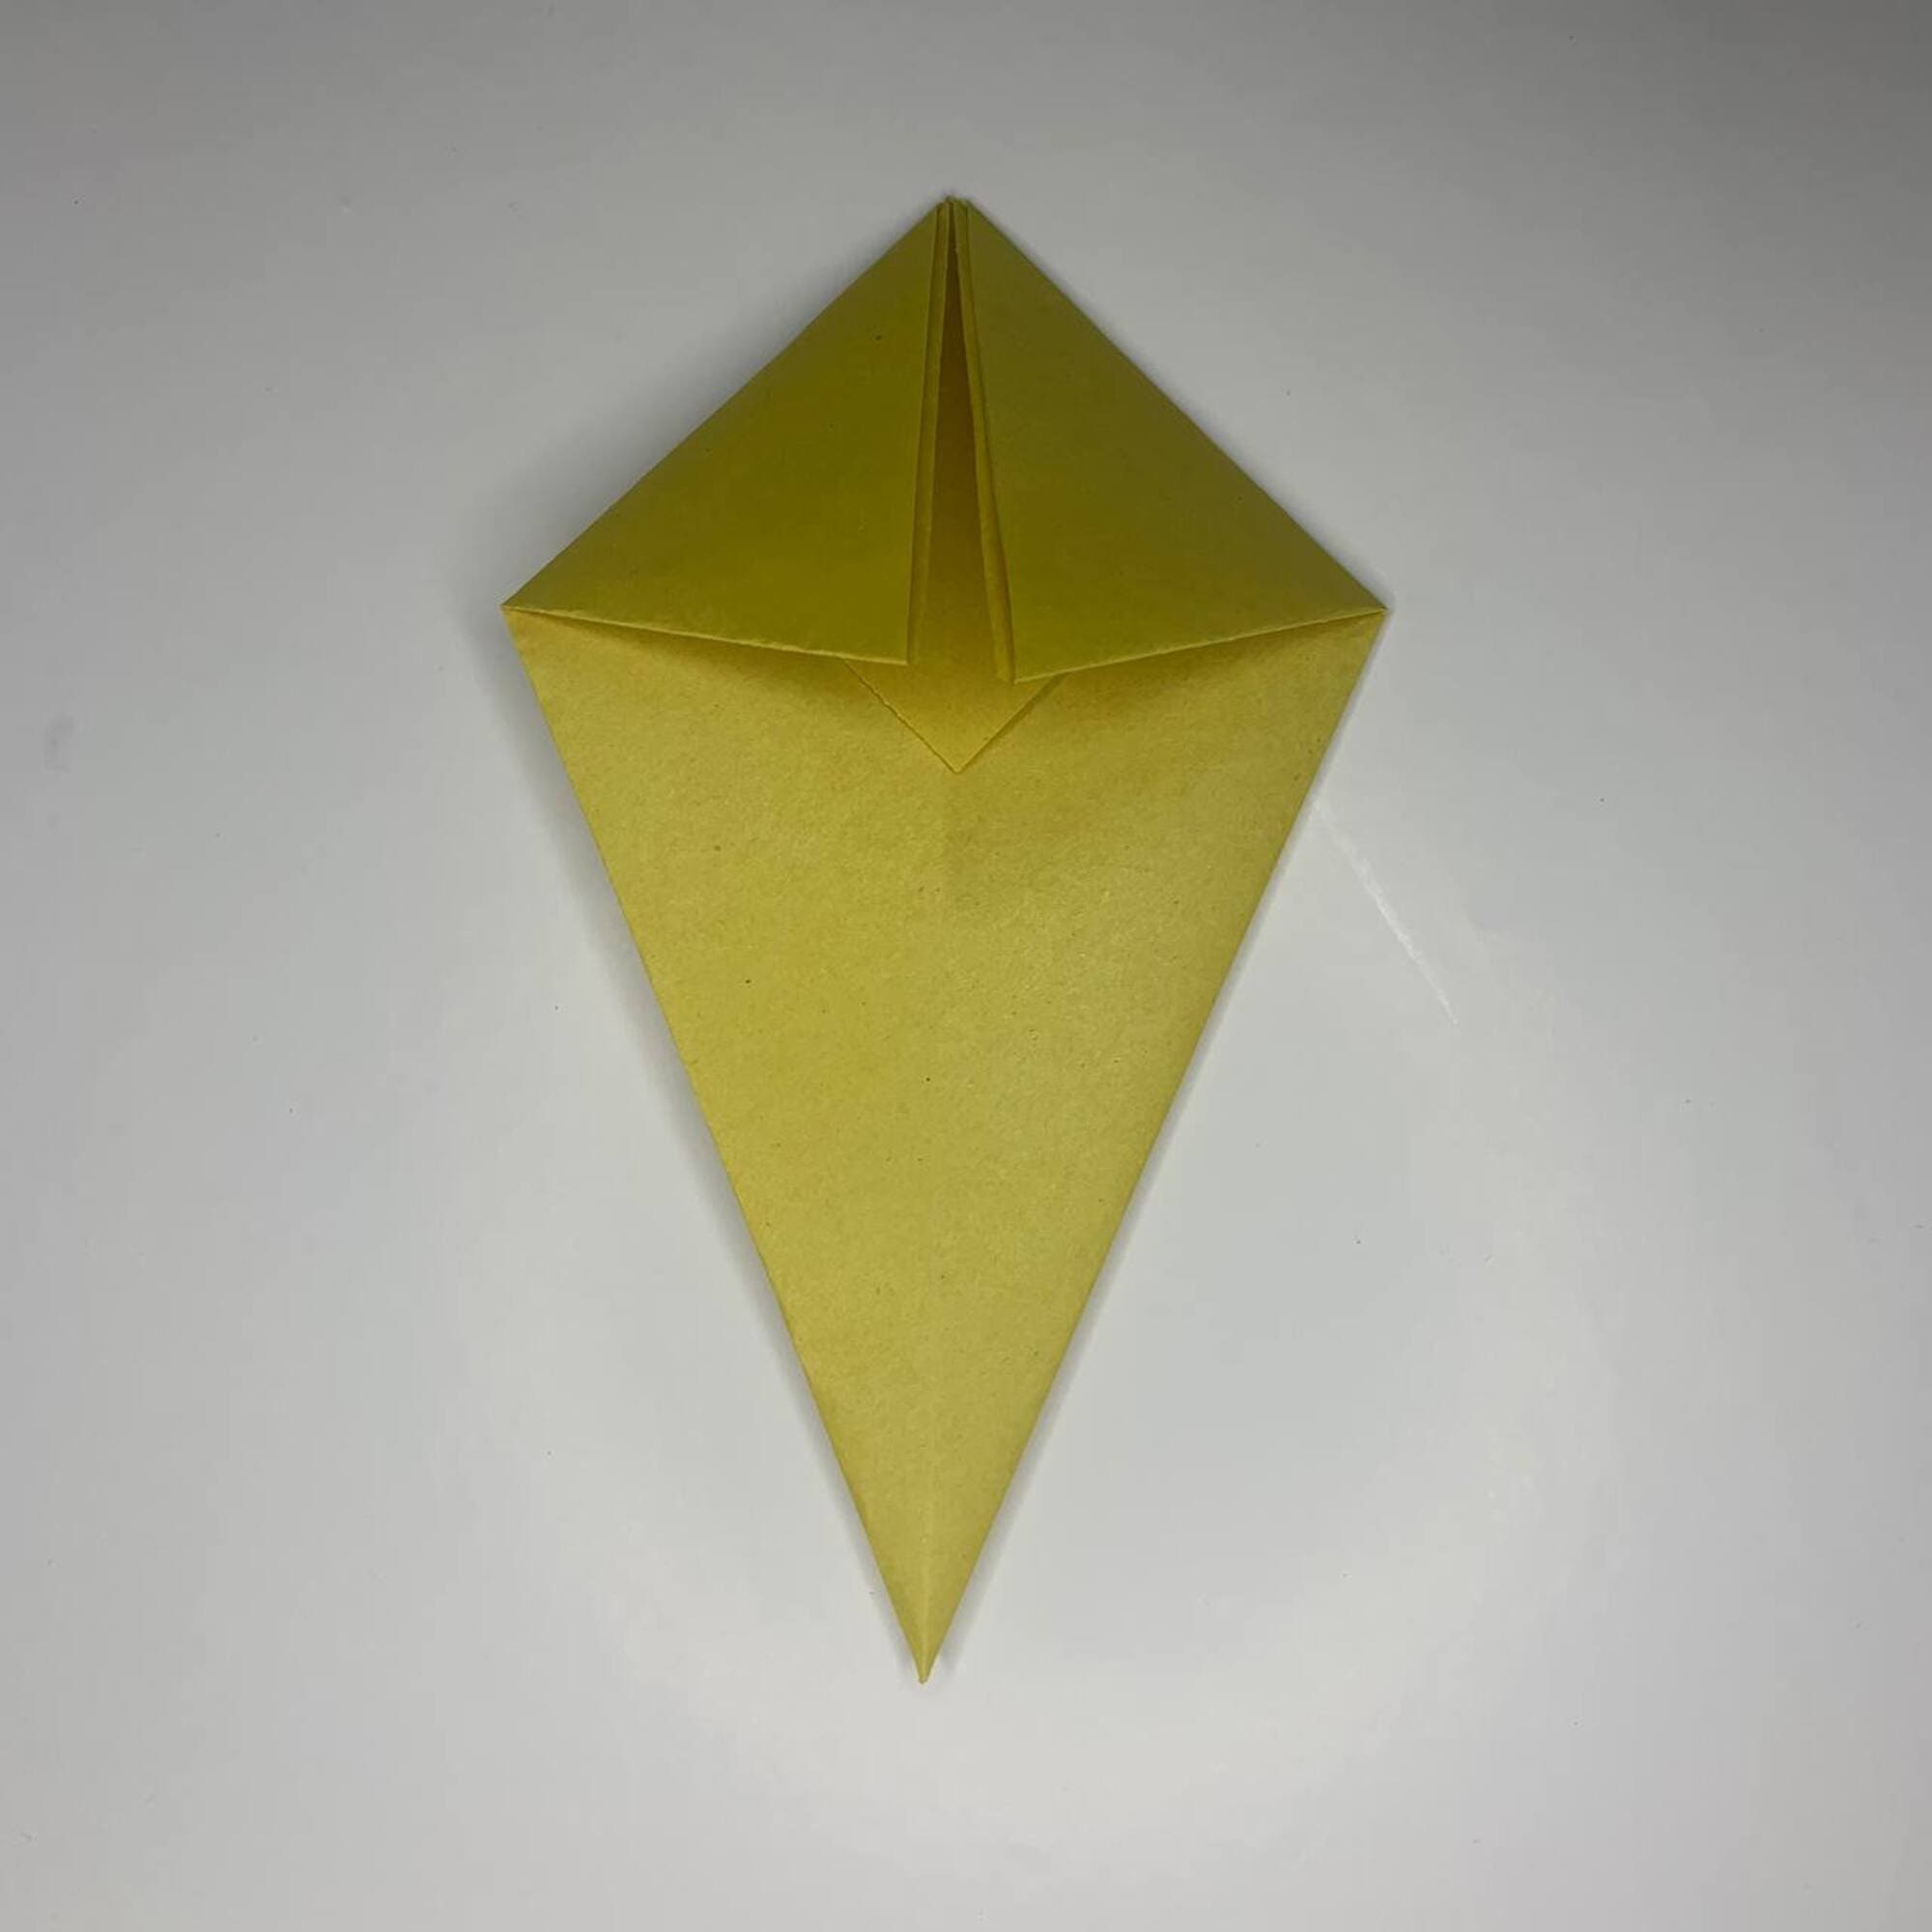
Flip the paper over again.
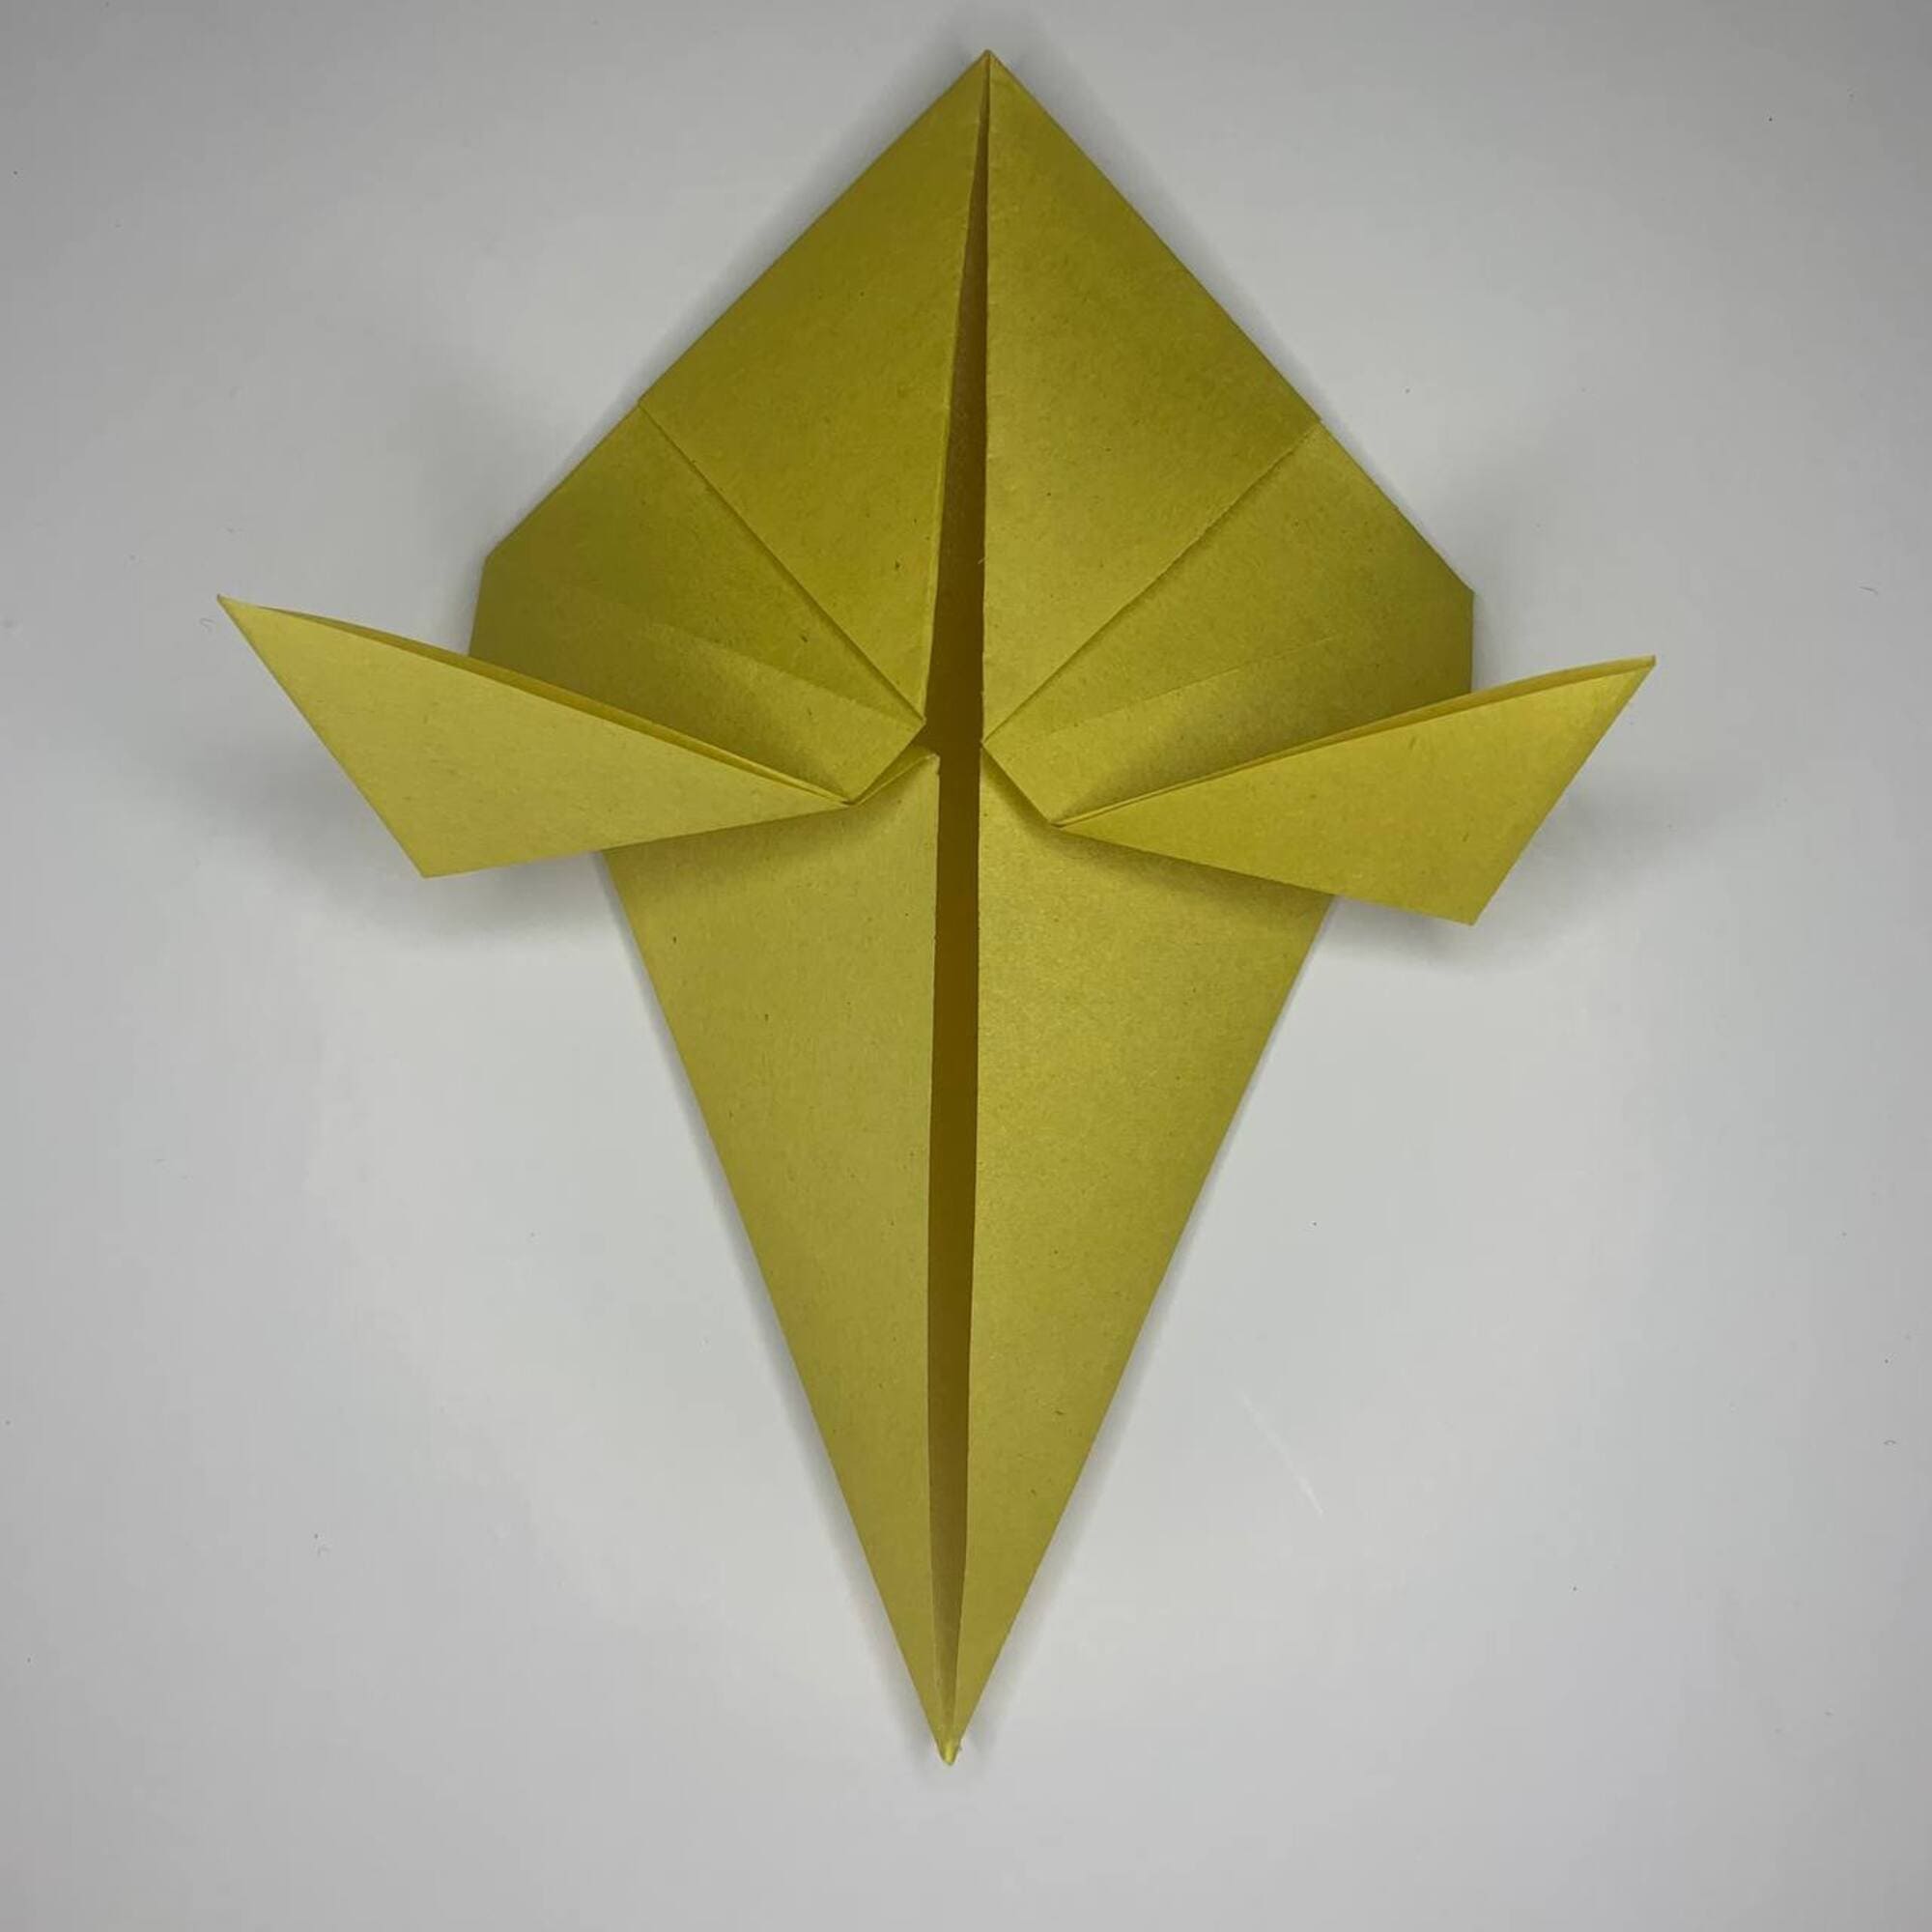
Now you will make a fold, using the fold lines you just made.
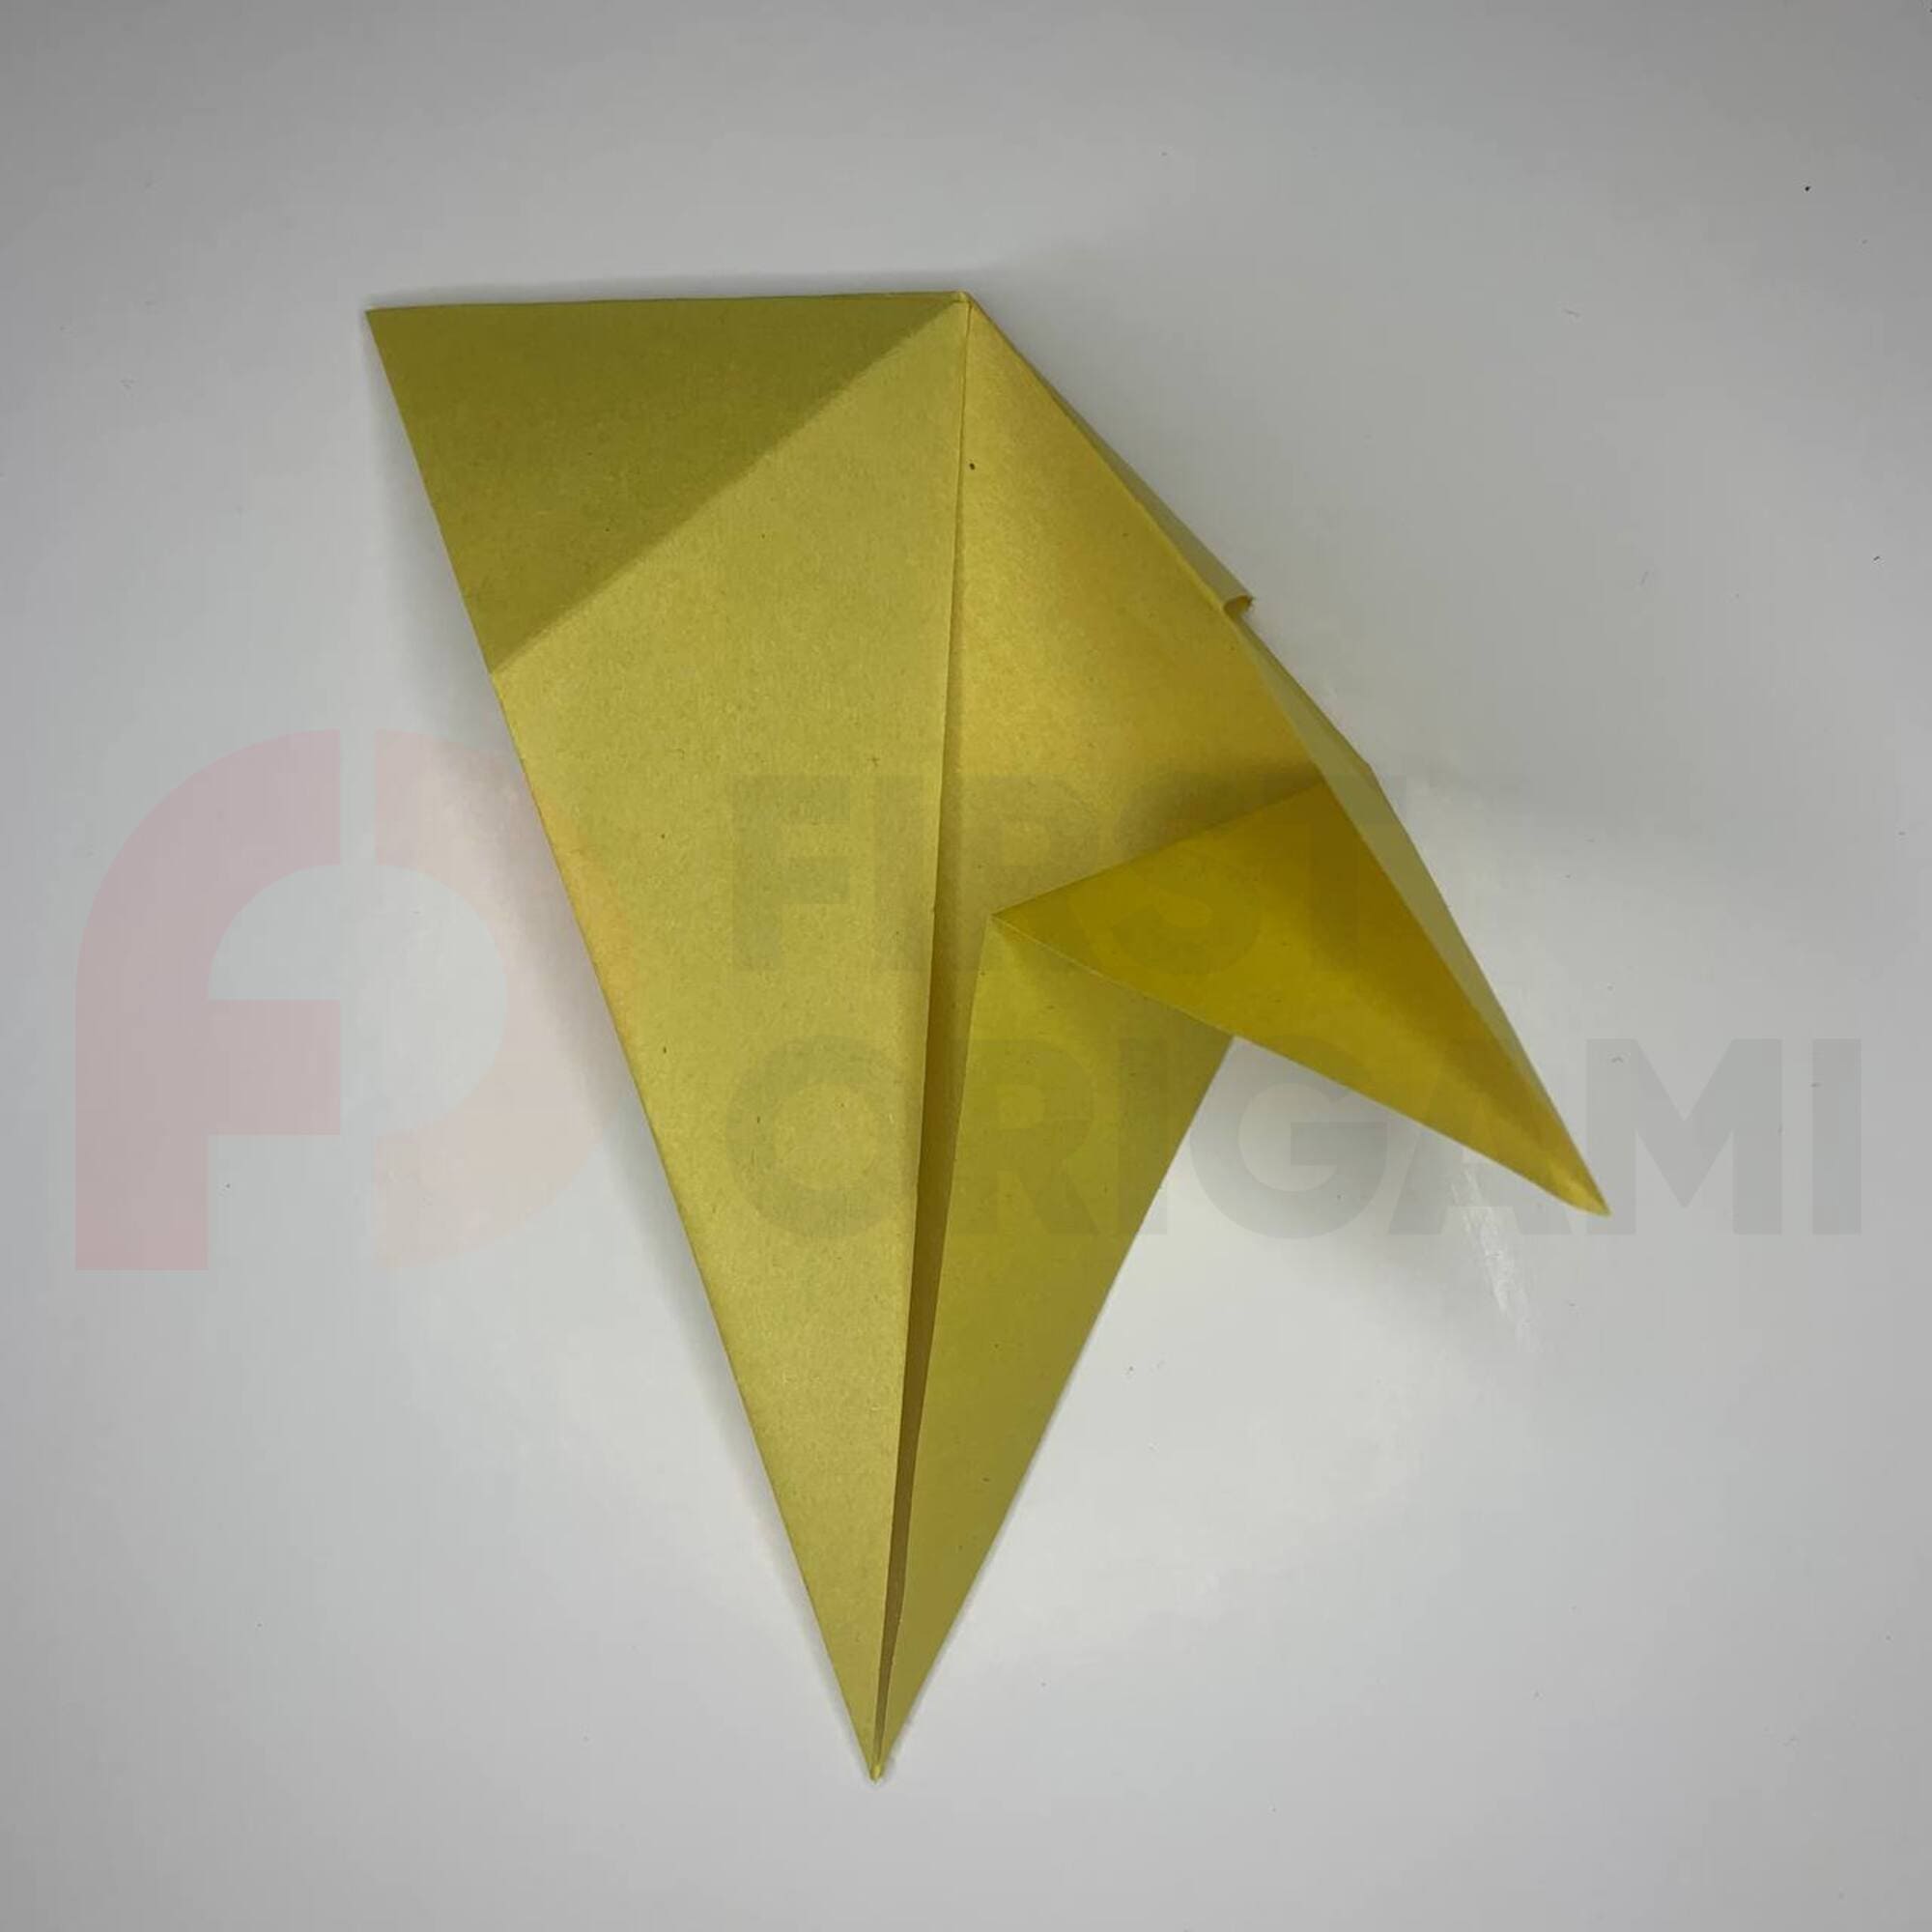
Make the same fold on the other half.
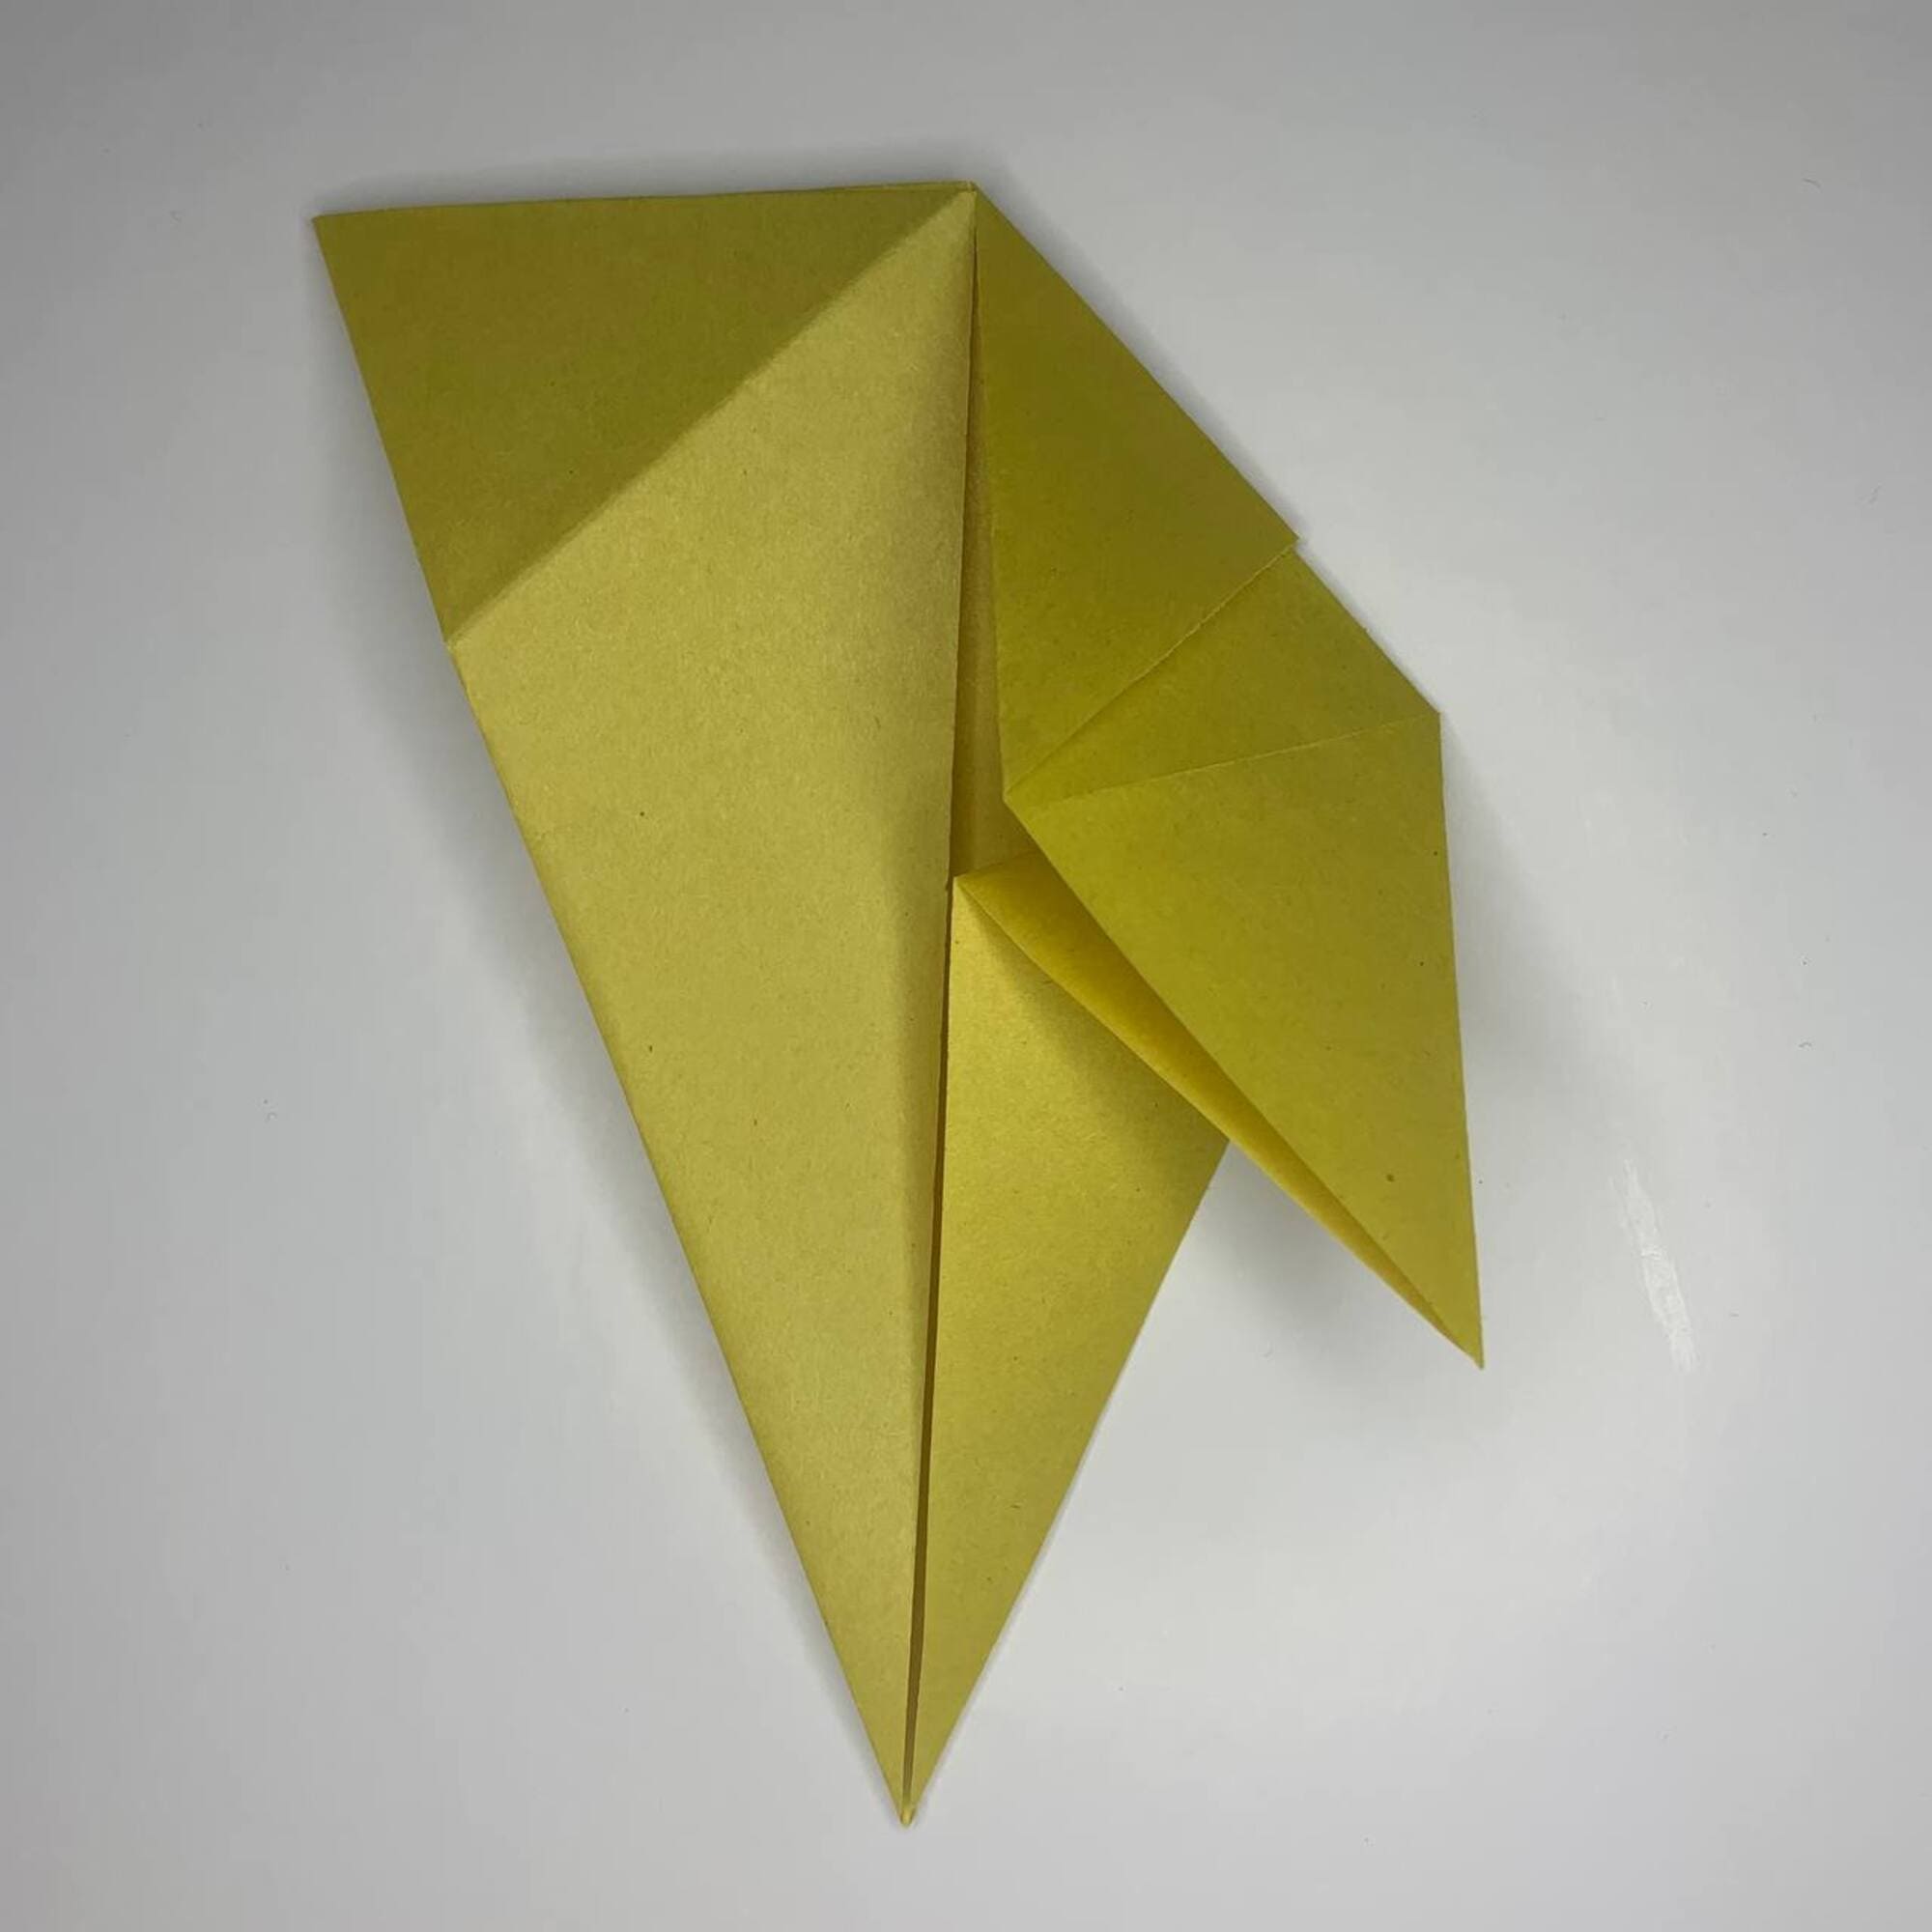
Then make the folds as shown in the photo to form the bird’s legs.
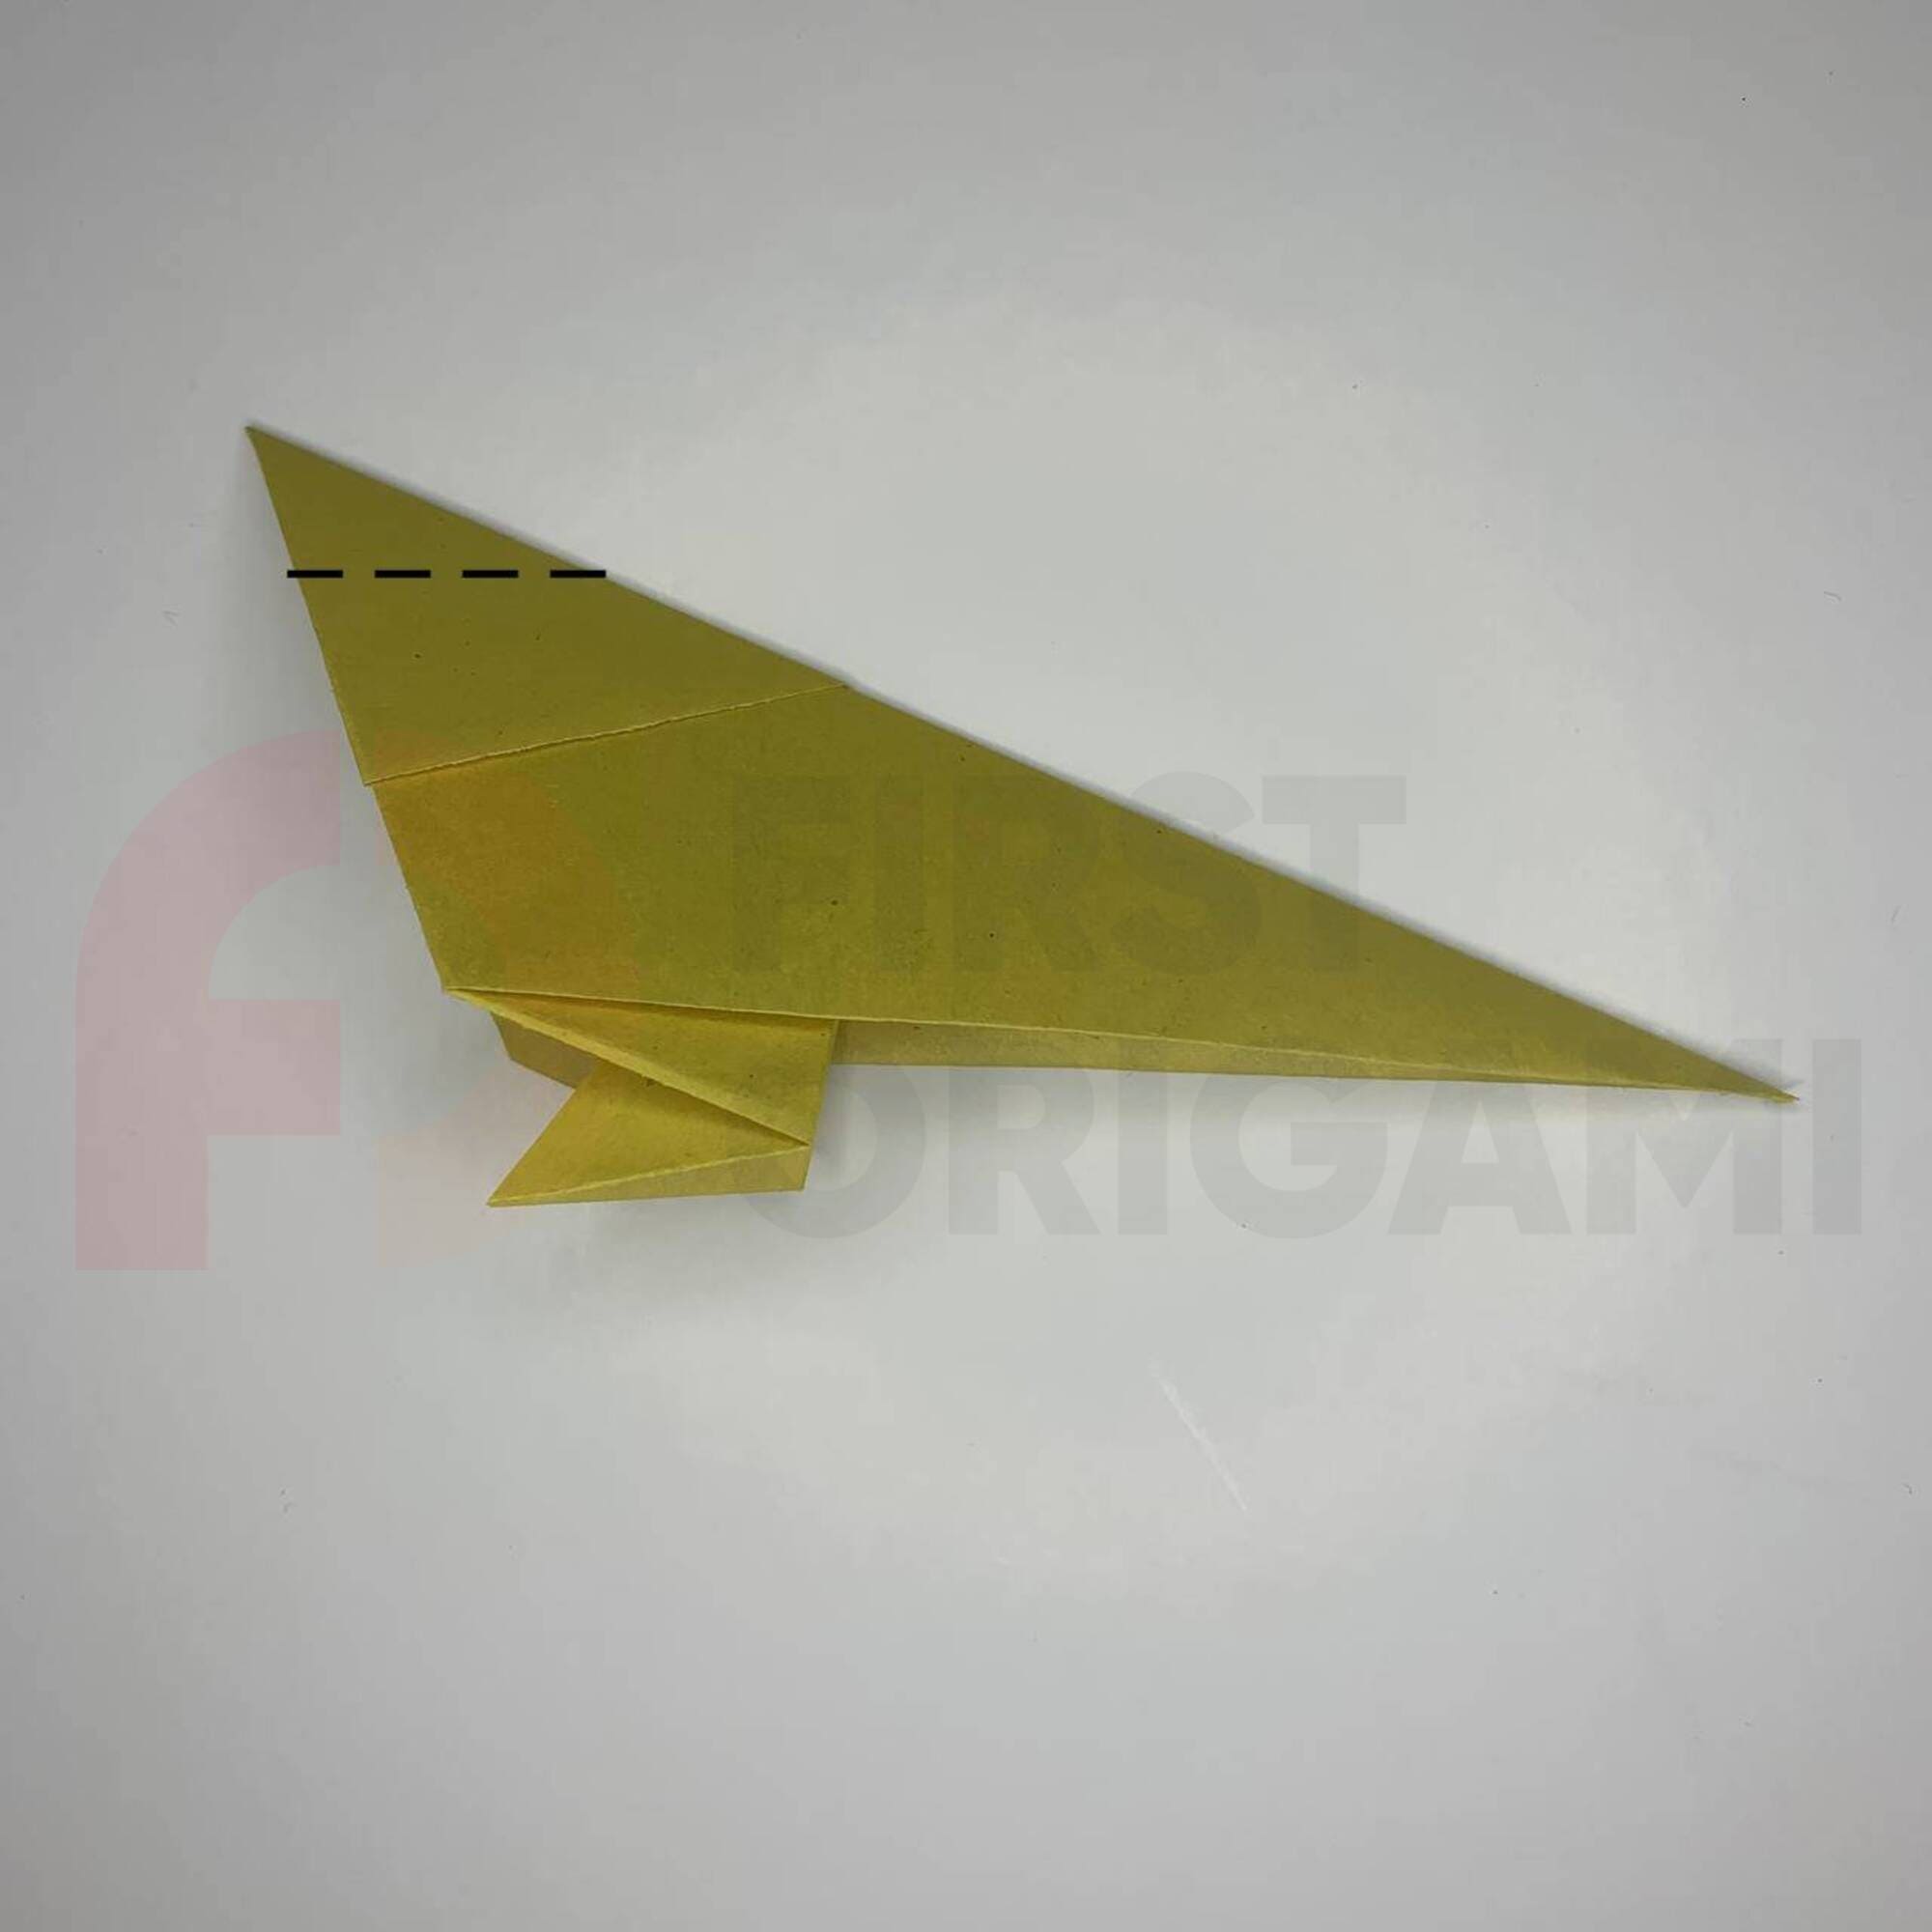
Now fold the paper in half and turn it 90 degrees counterclockwise. It should now look like a bird as shown below.
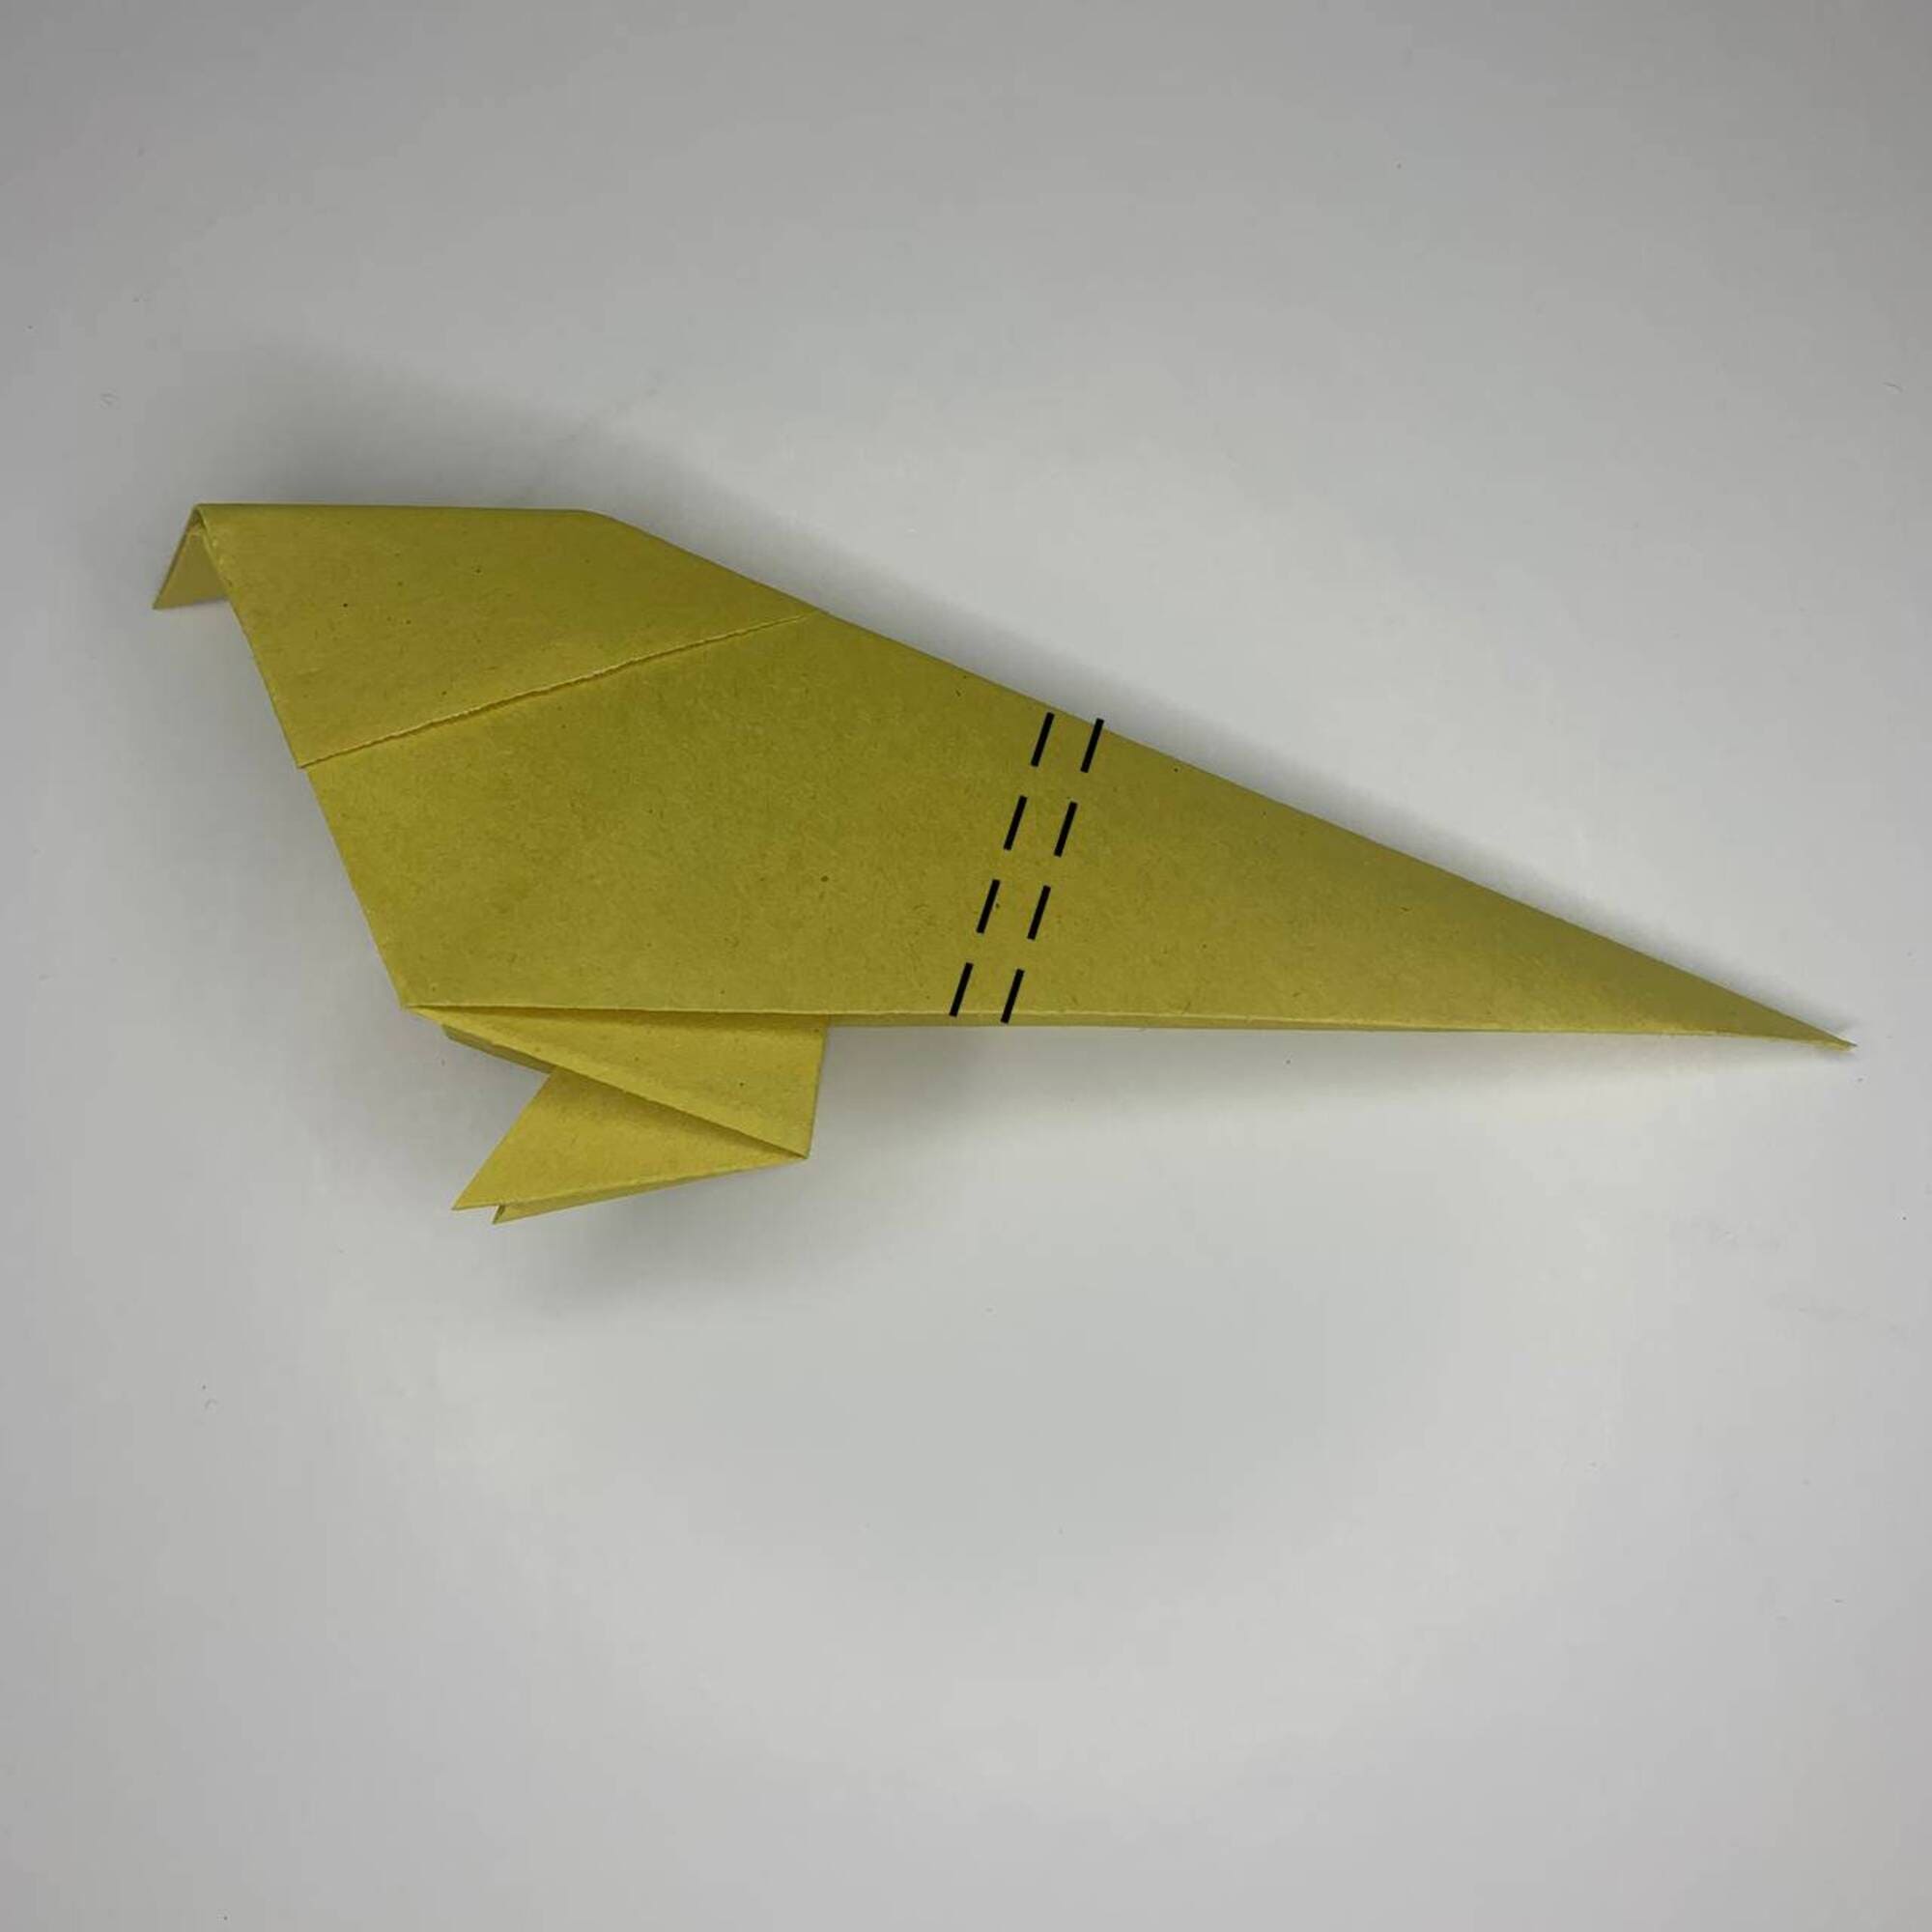
Make inner folds to form the head and the beak.
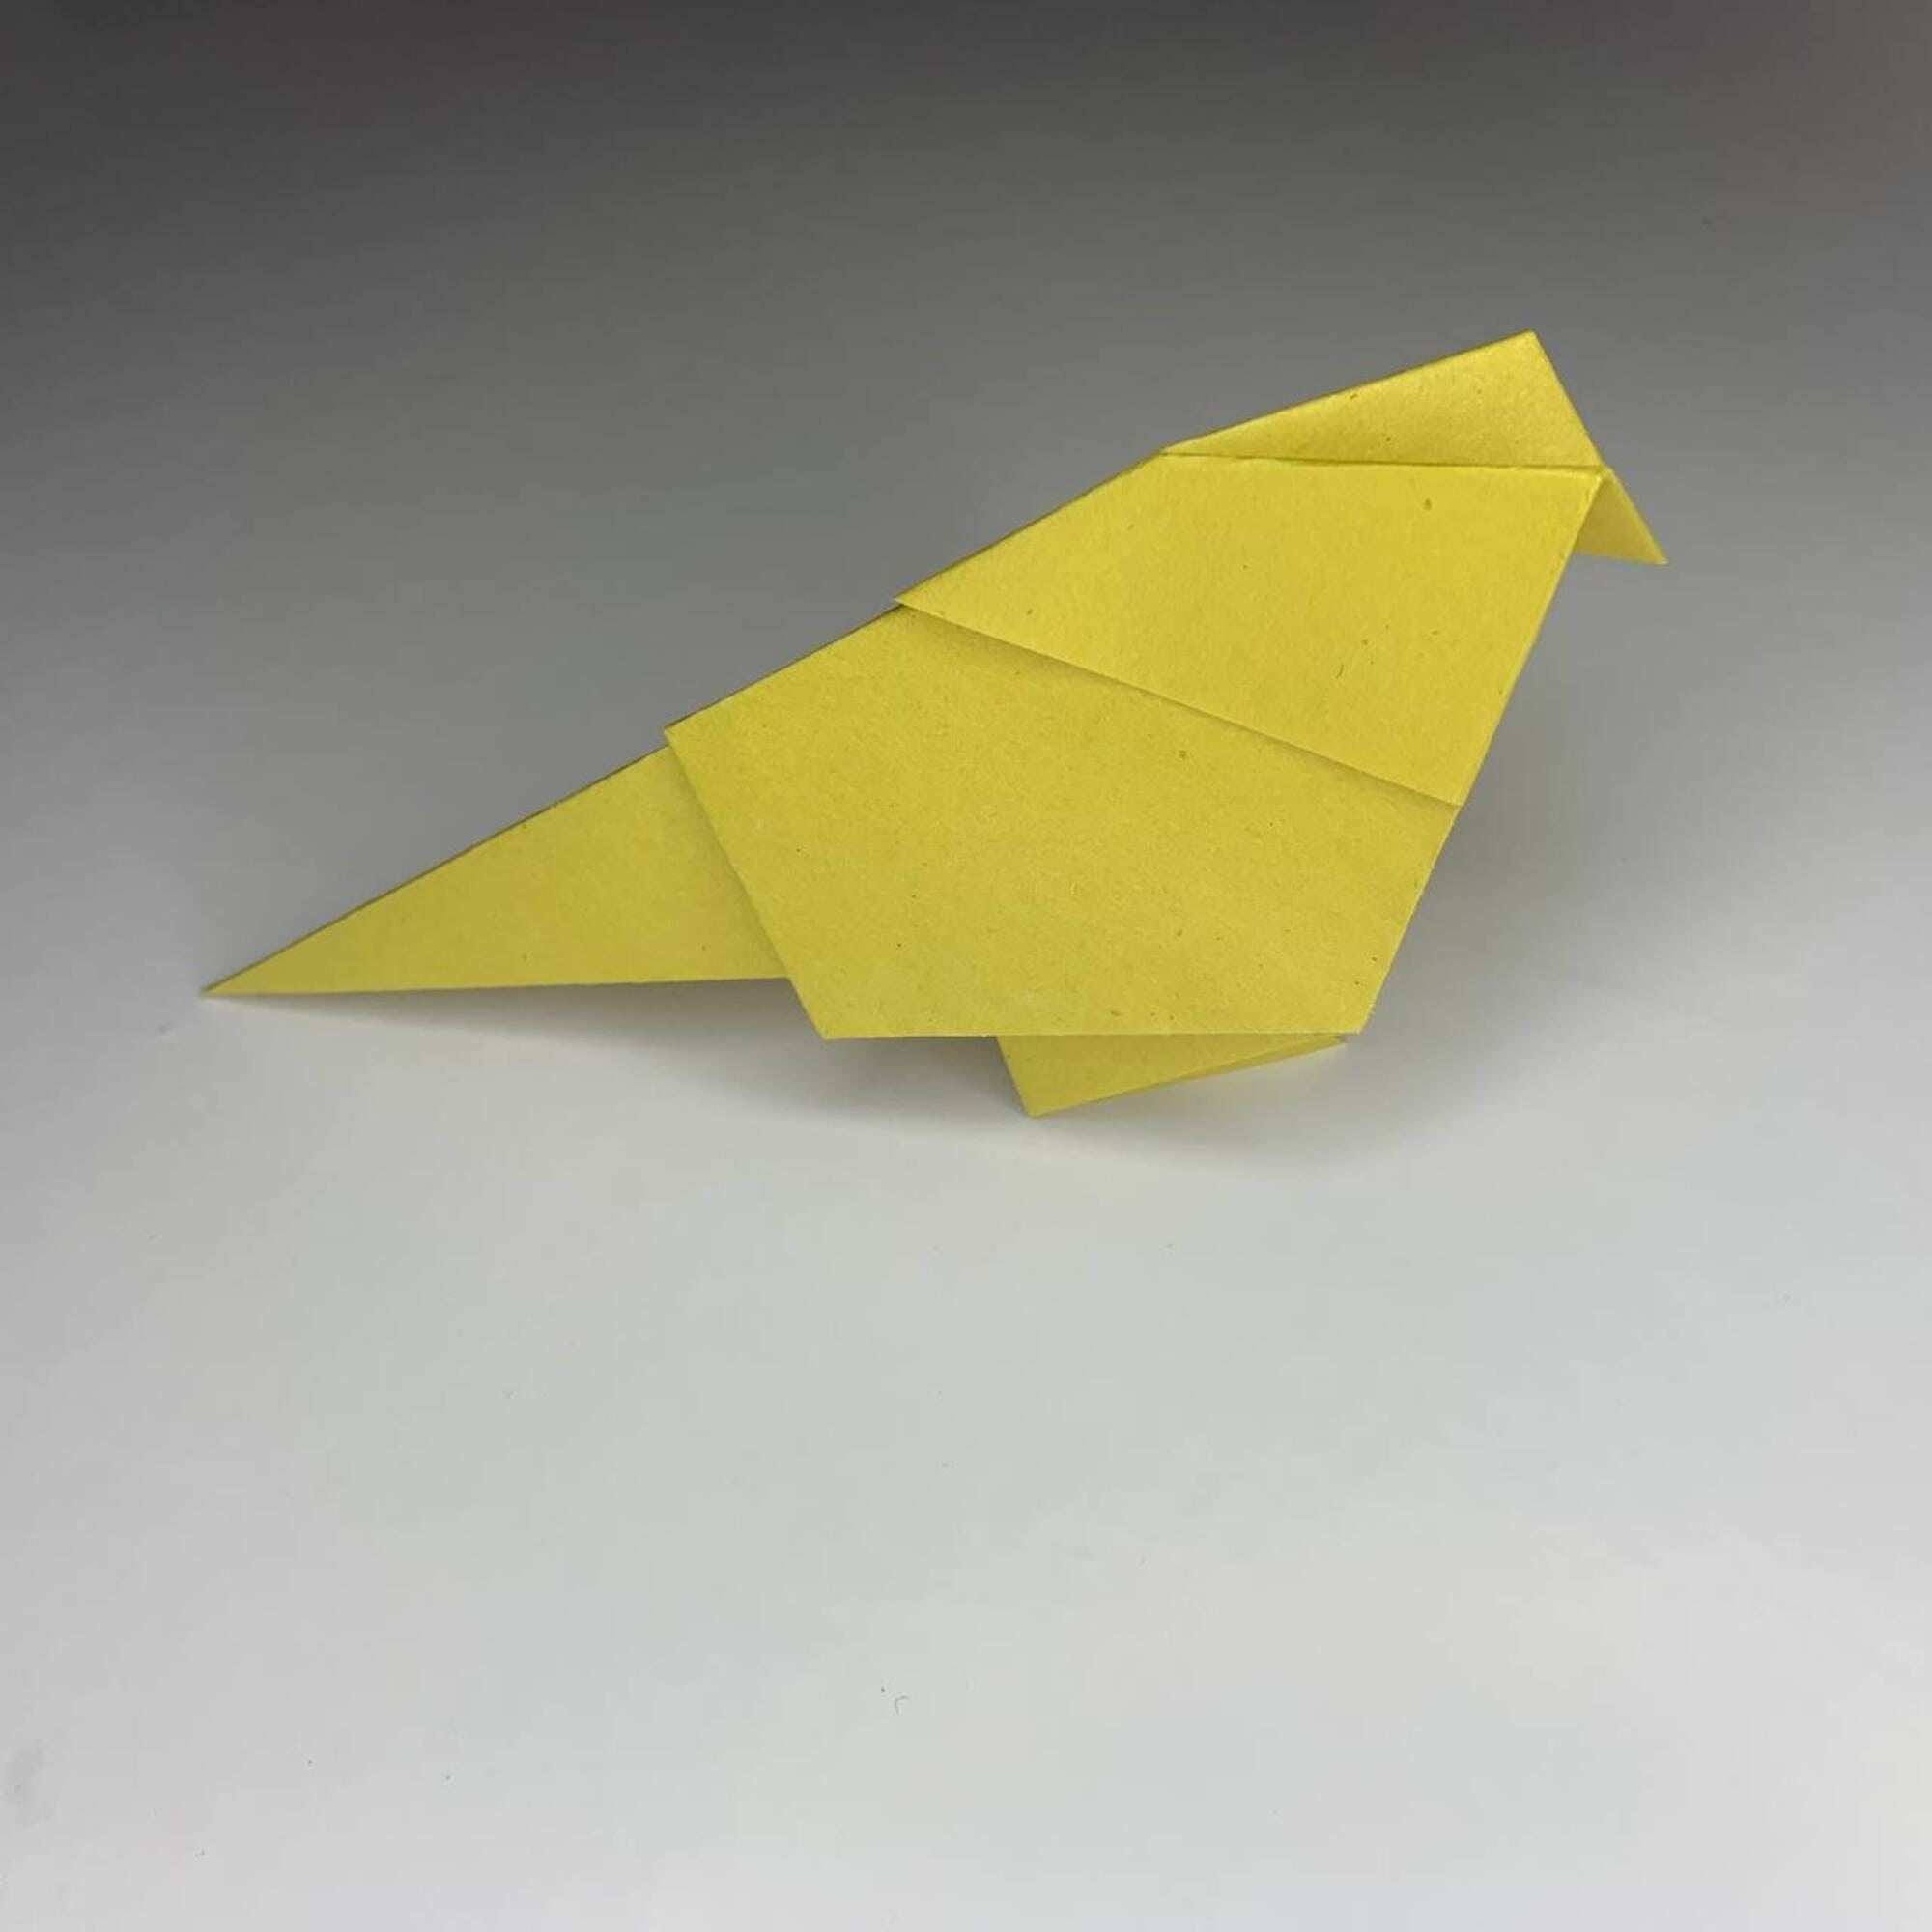
Now your Origami Bird is ready!
You can draw eyes and feathers and enjoy the result.


