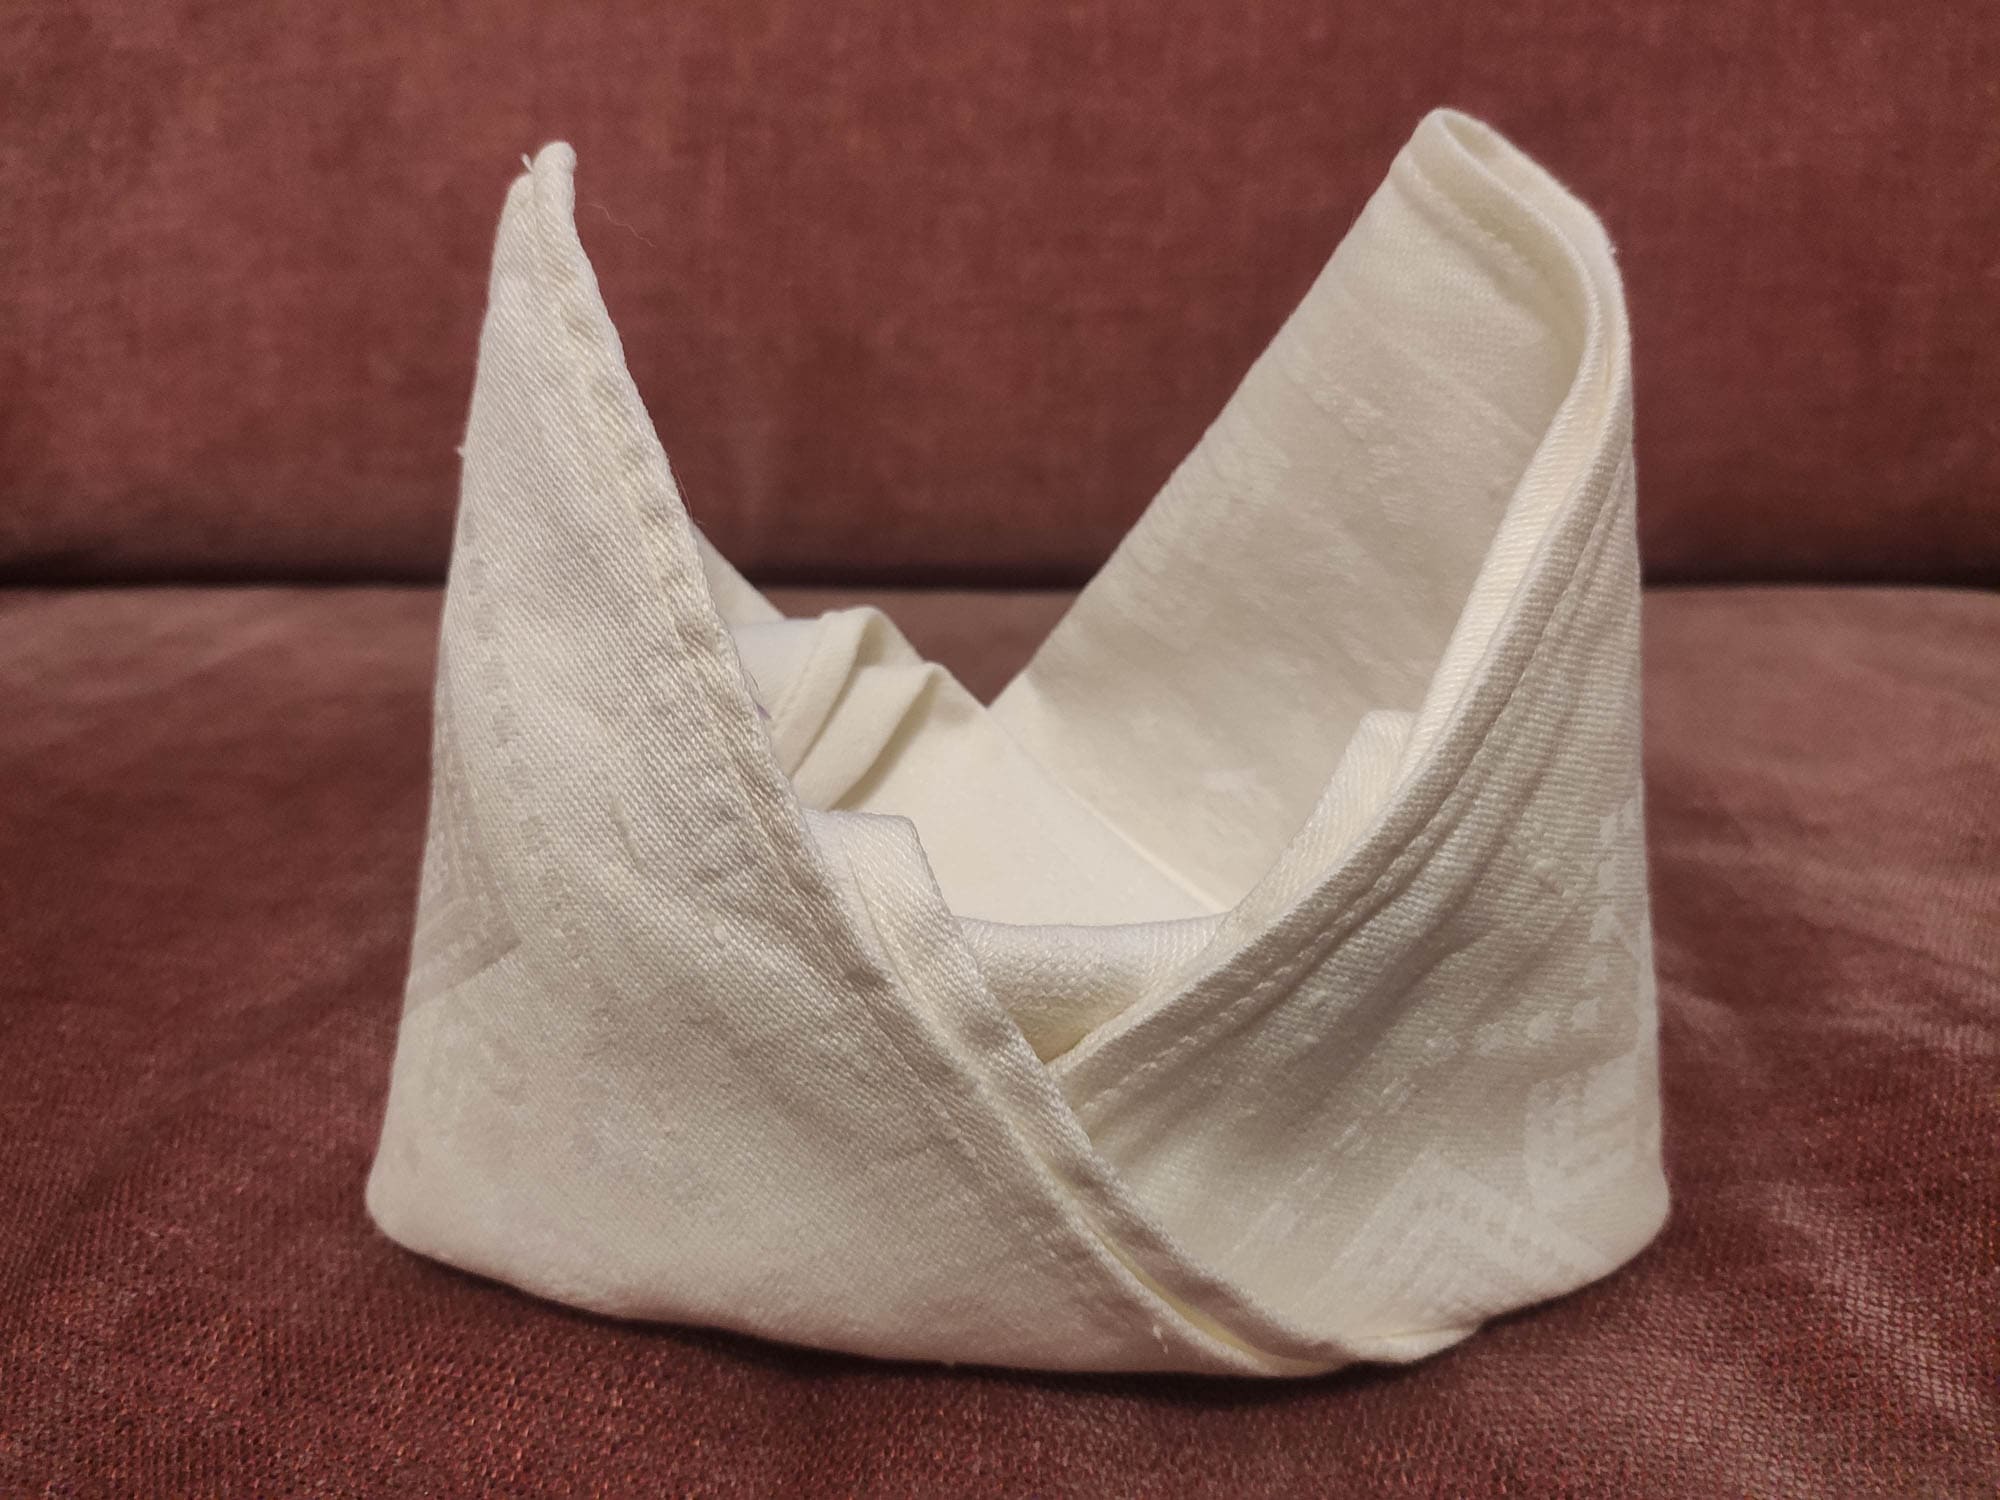
Origami Bishop Hat
The world of origami allows you not only to realize your creative ideas but also to bring beauty and harmony into everyday life.
To work in this technique, usually use squares of special paper of standard size 15×15 cm. However, if you come across other types of paper, do not be afraid to use them – it can give the finished figure a completely new and interesting look!
This article presents the process of creating wonderful origami from a napkin.
So, let’s get started.
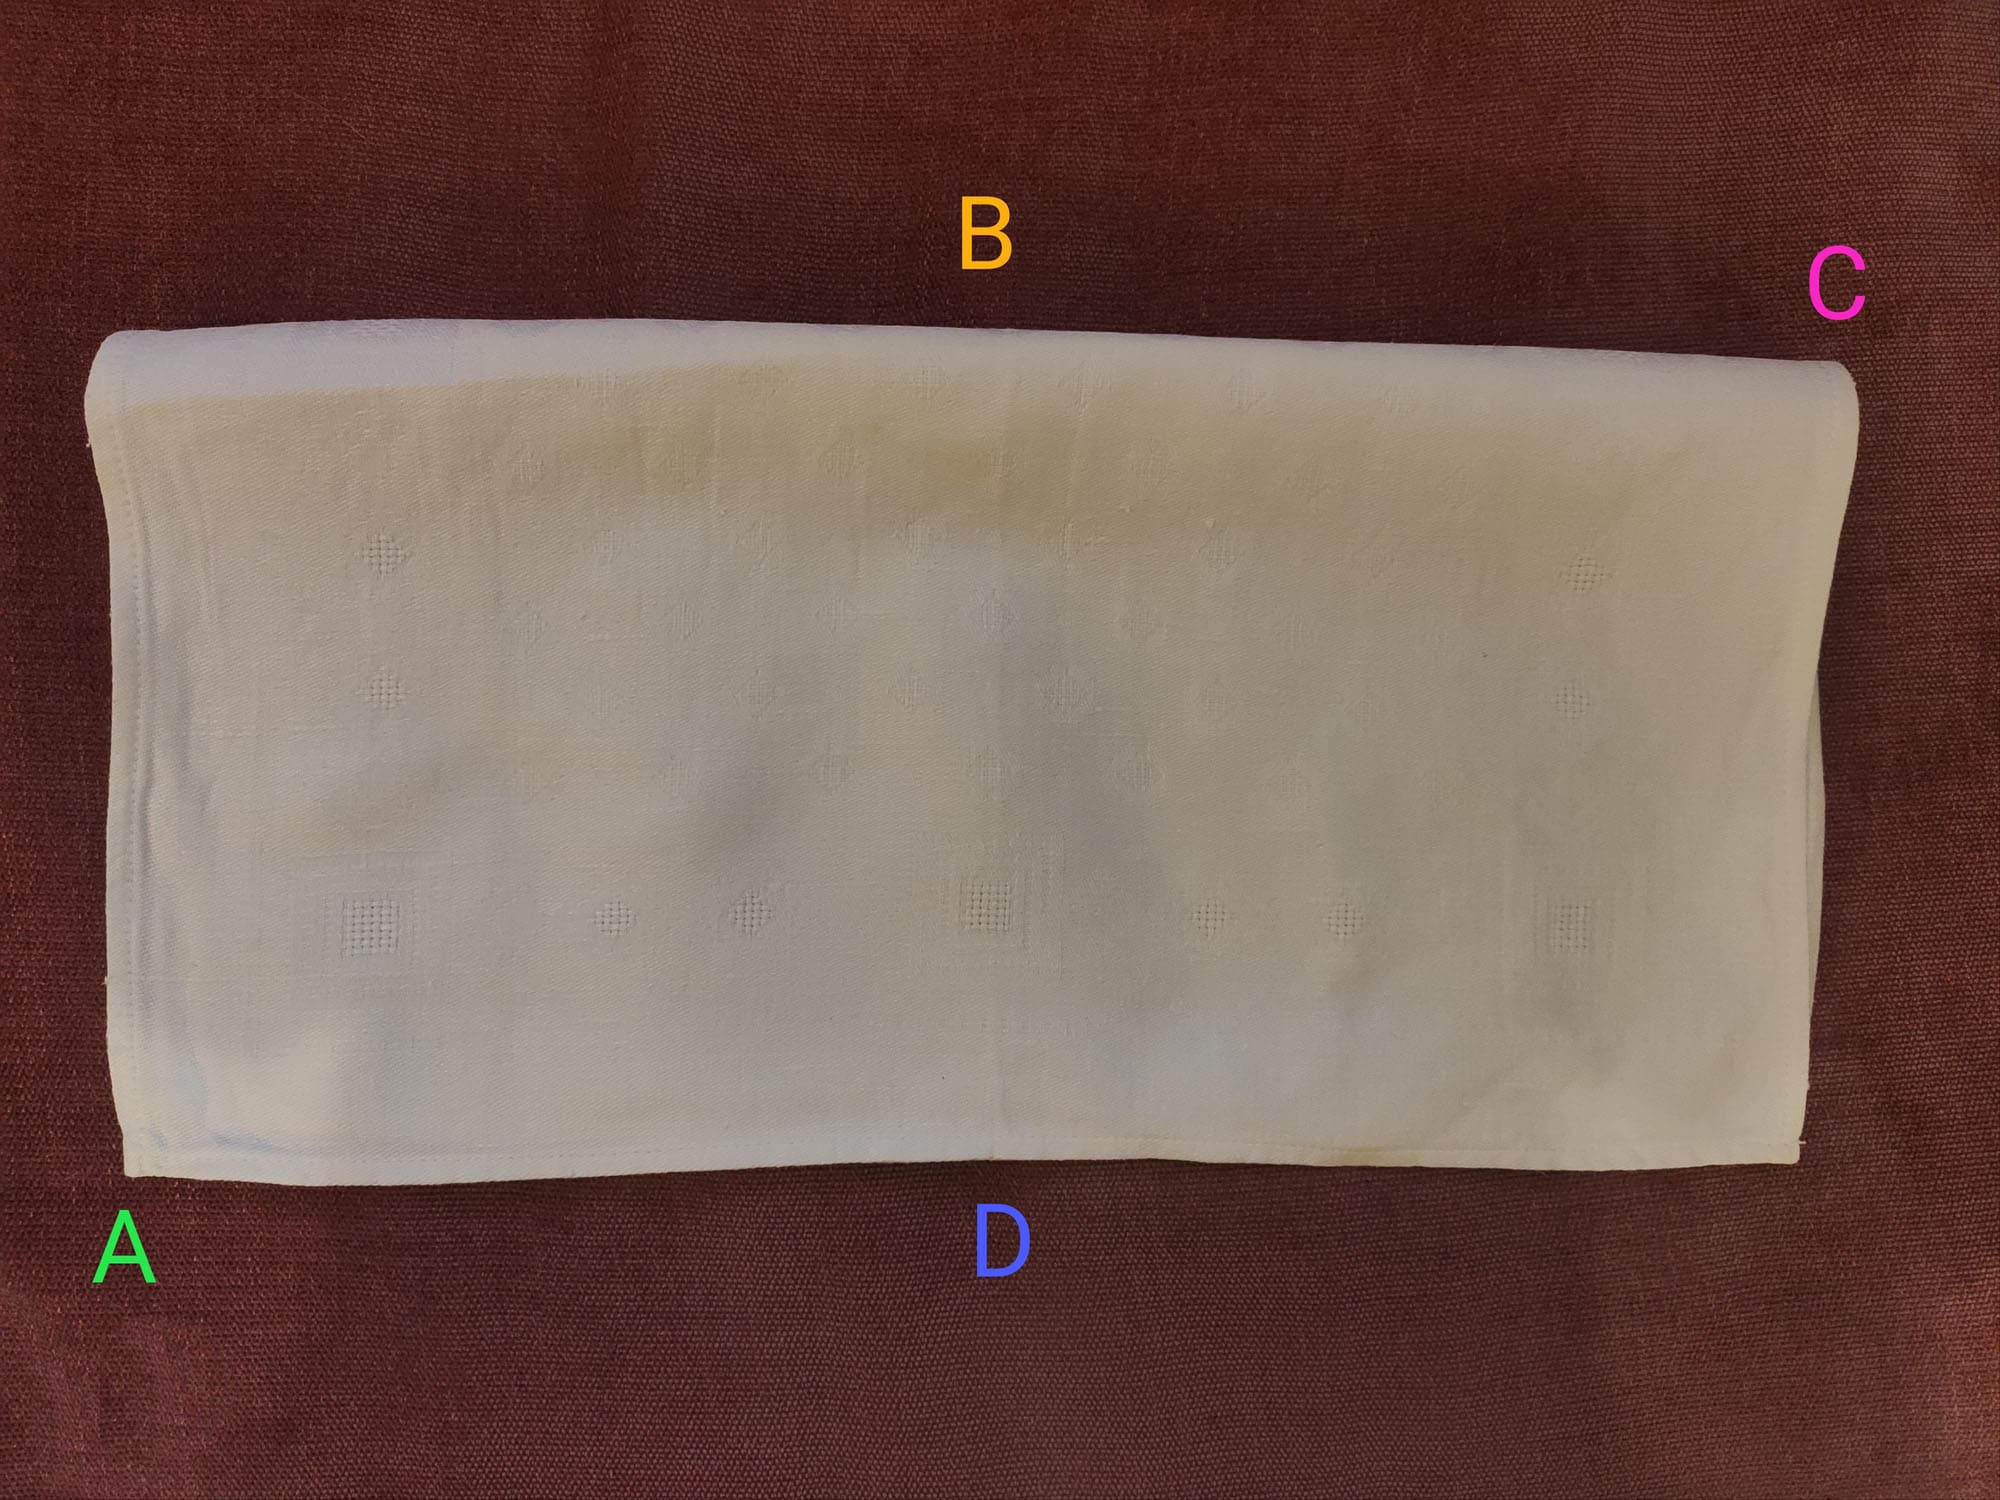
Take a square napkin and fold it in half horizontally.
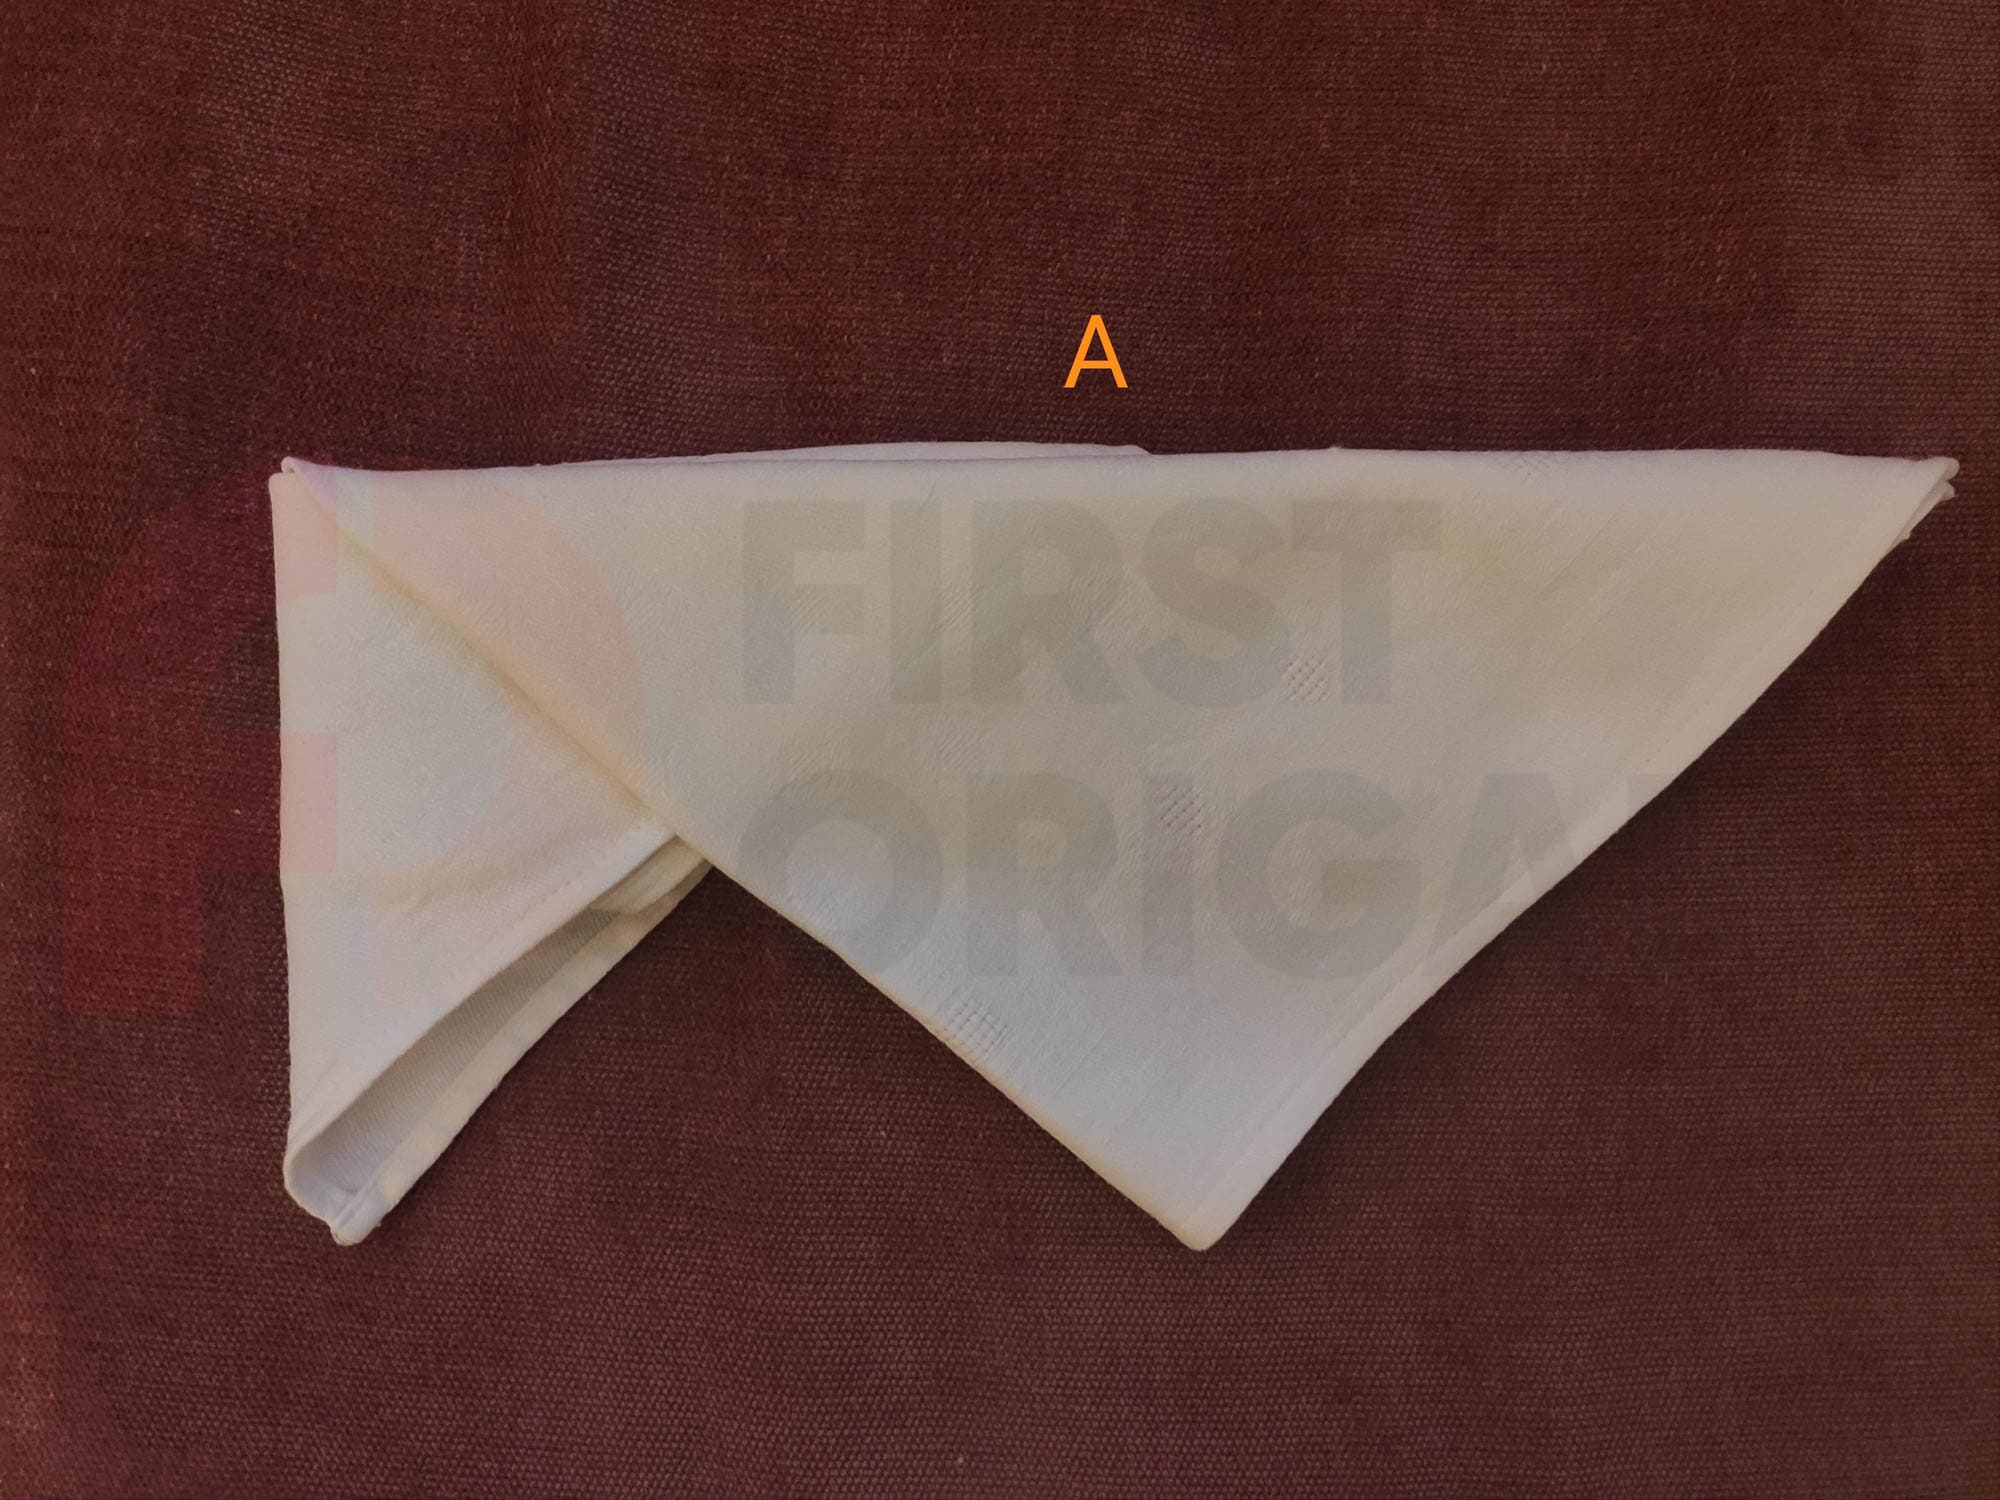
Place corner A on corner B and corner C on corner D.
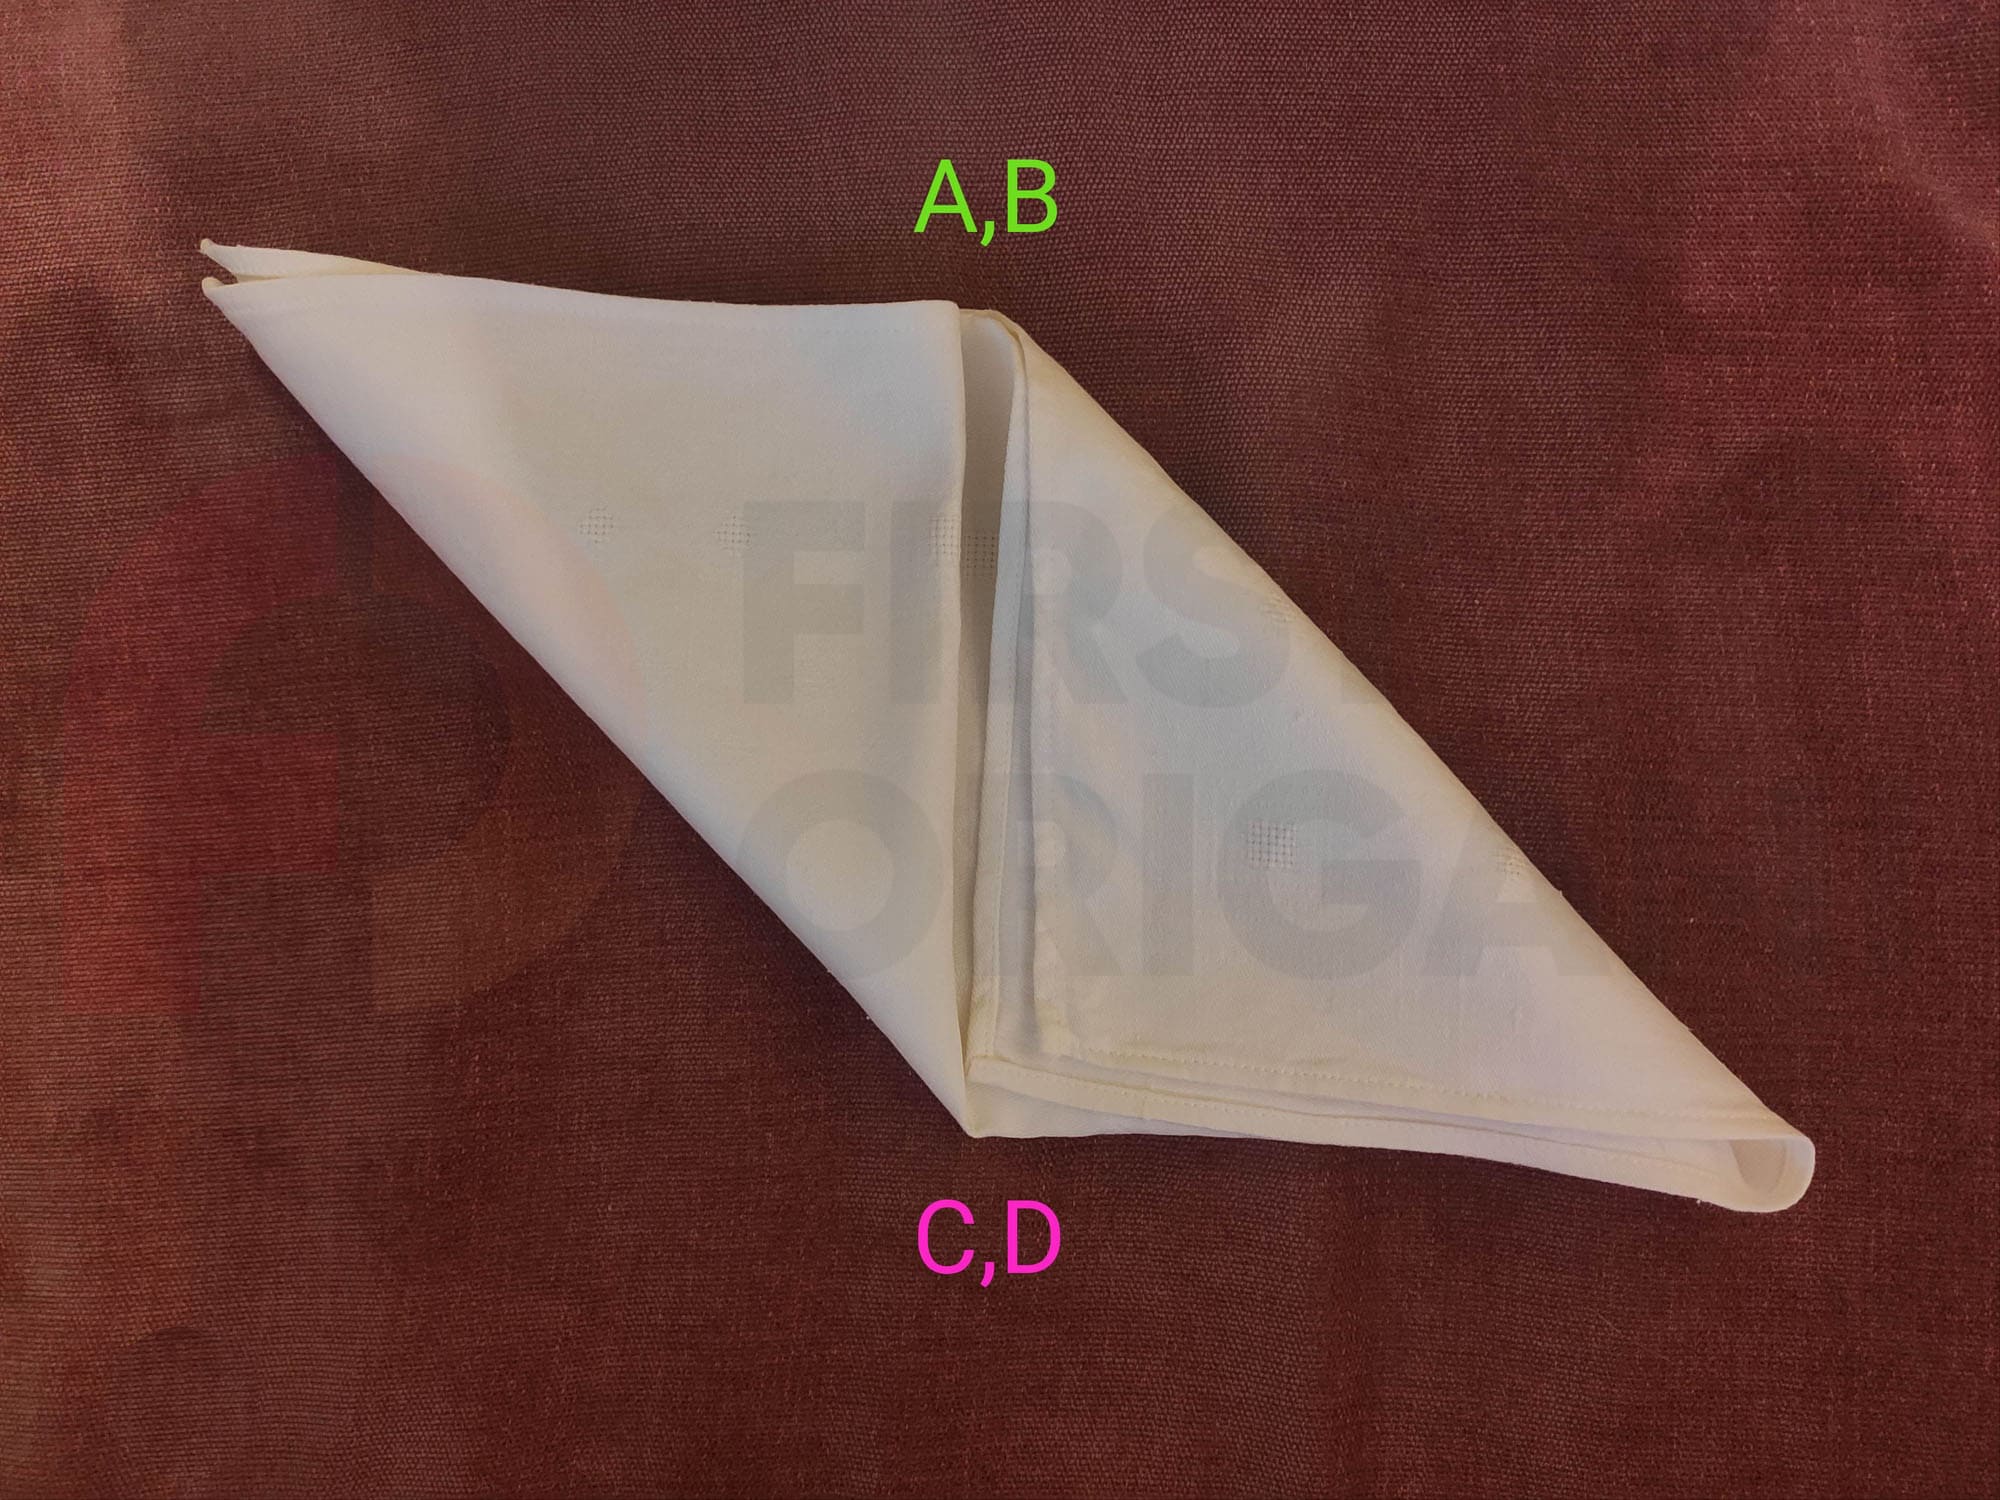
Turn the napkin 90 degrees counterclockwise and flip it from left to right.
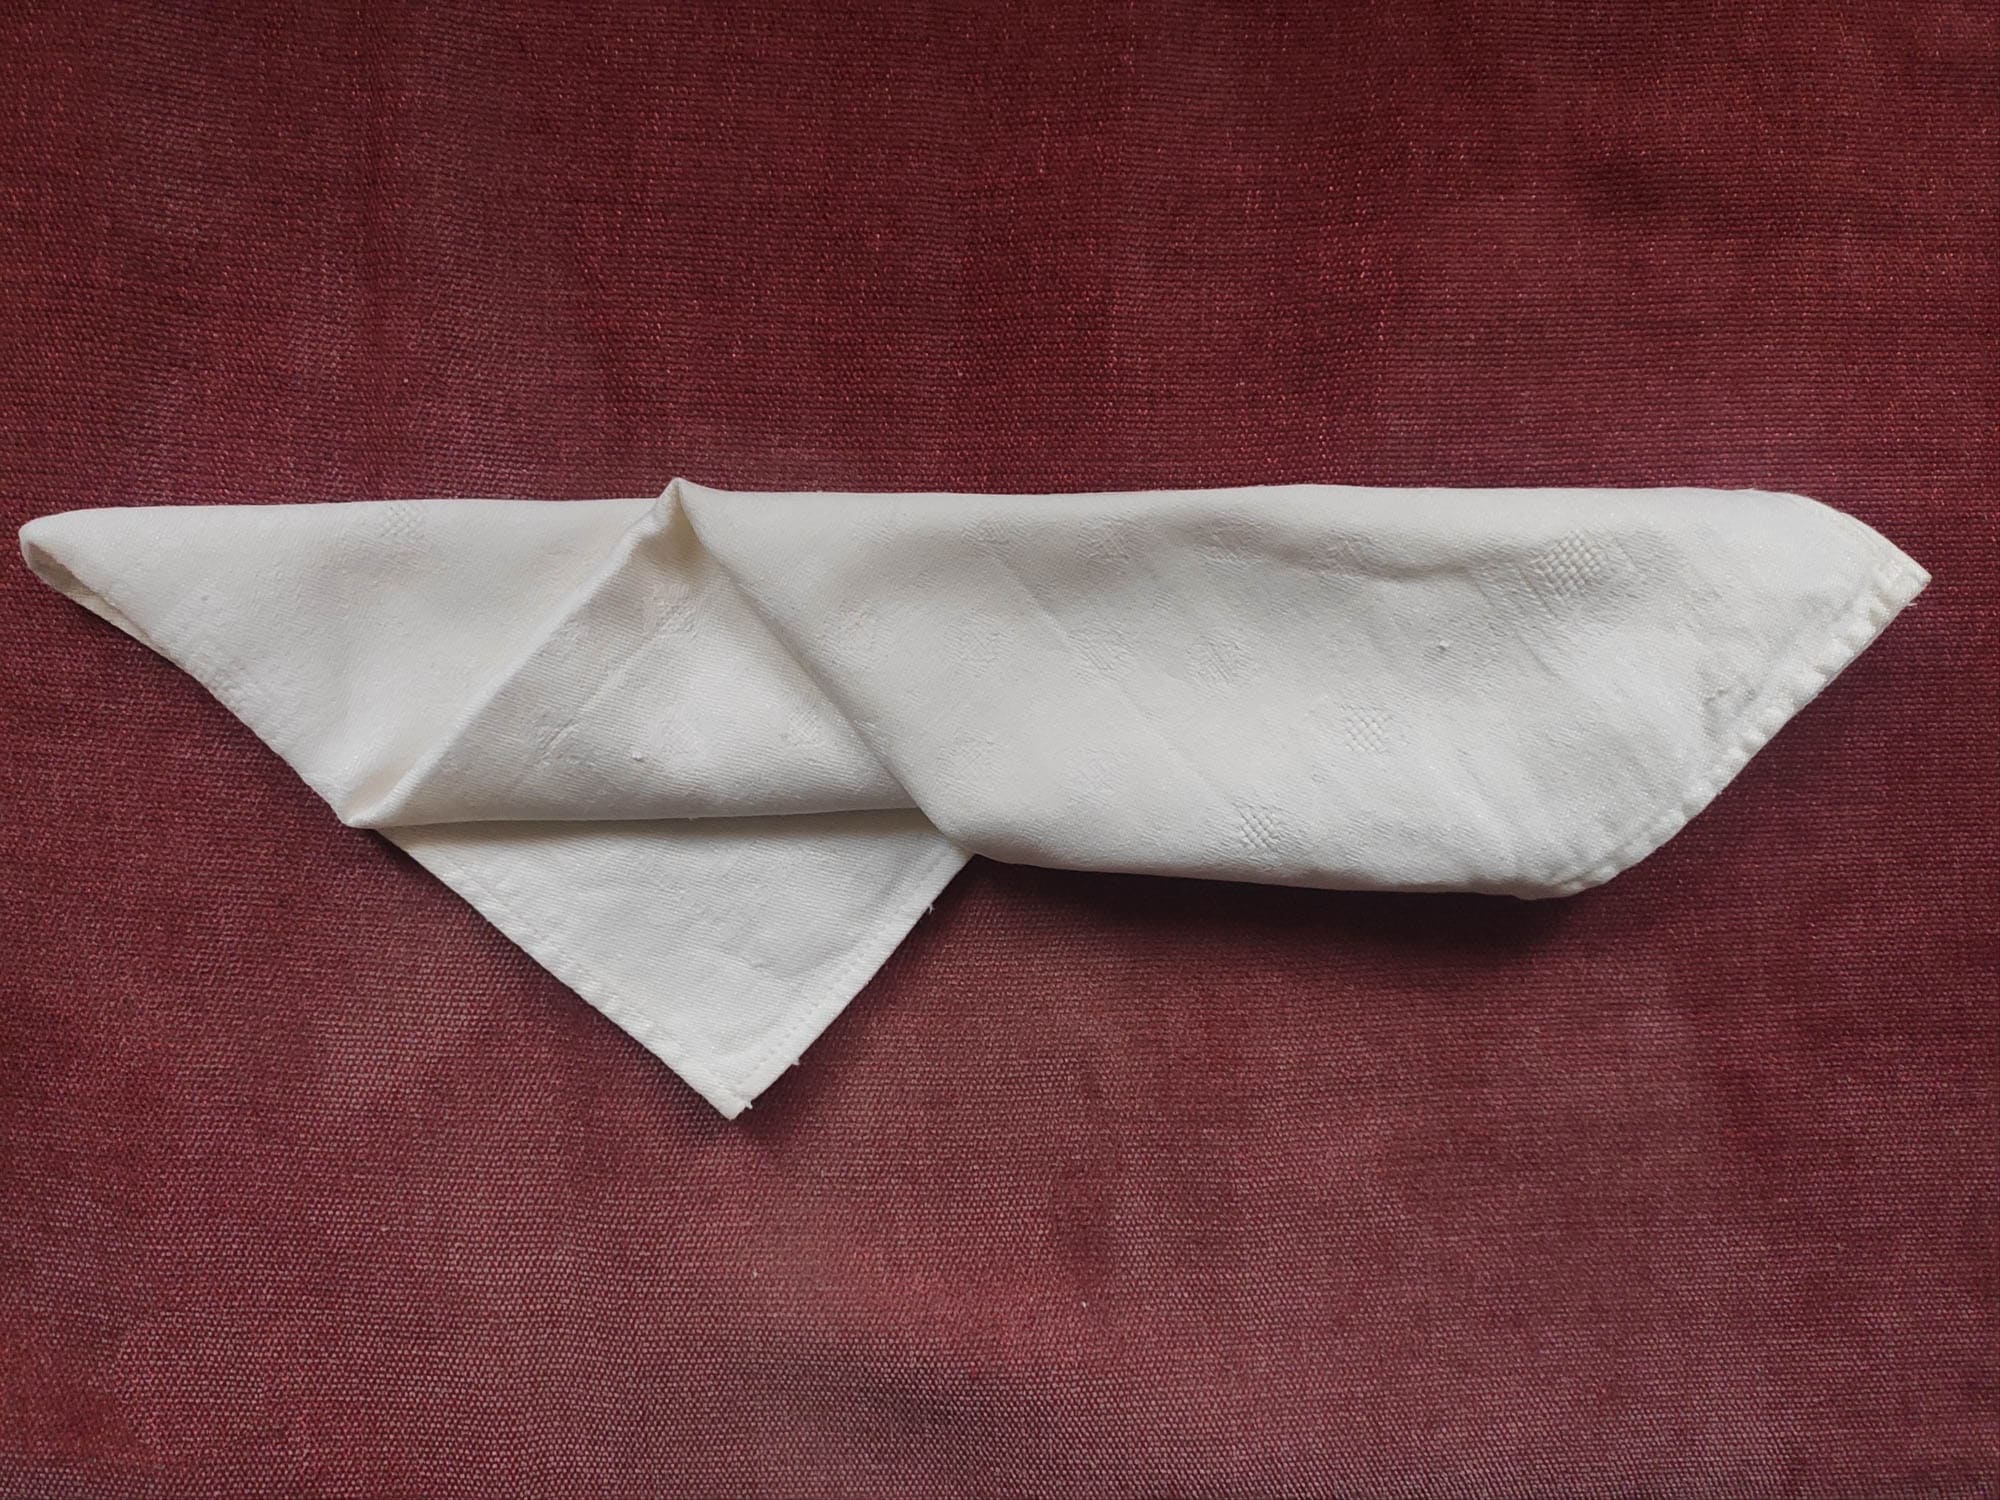
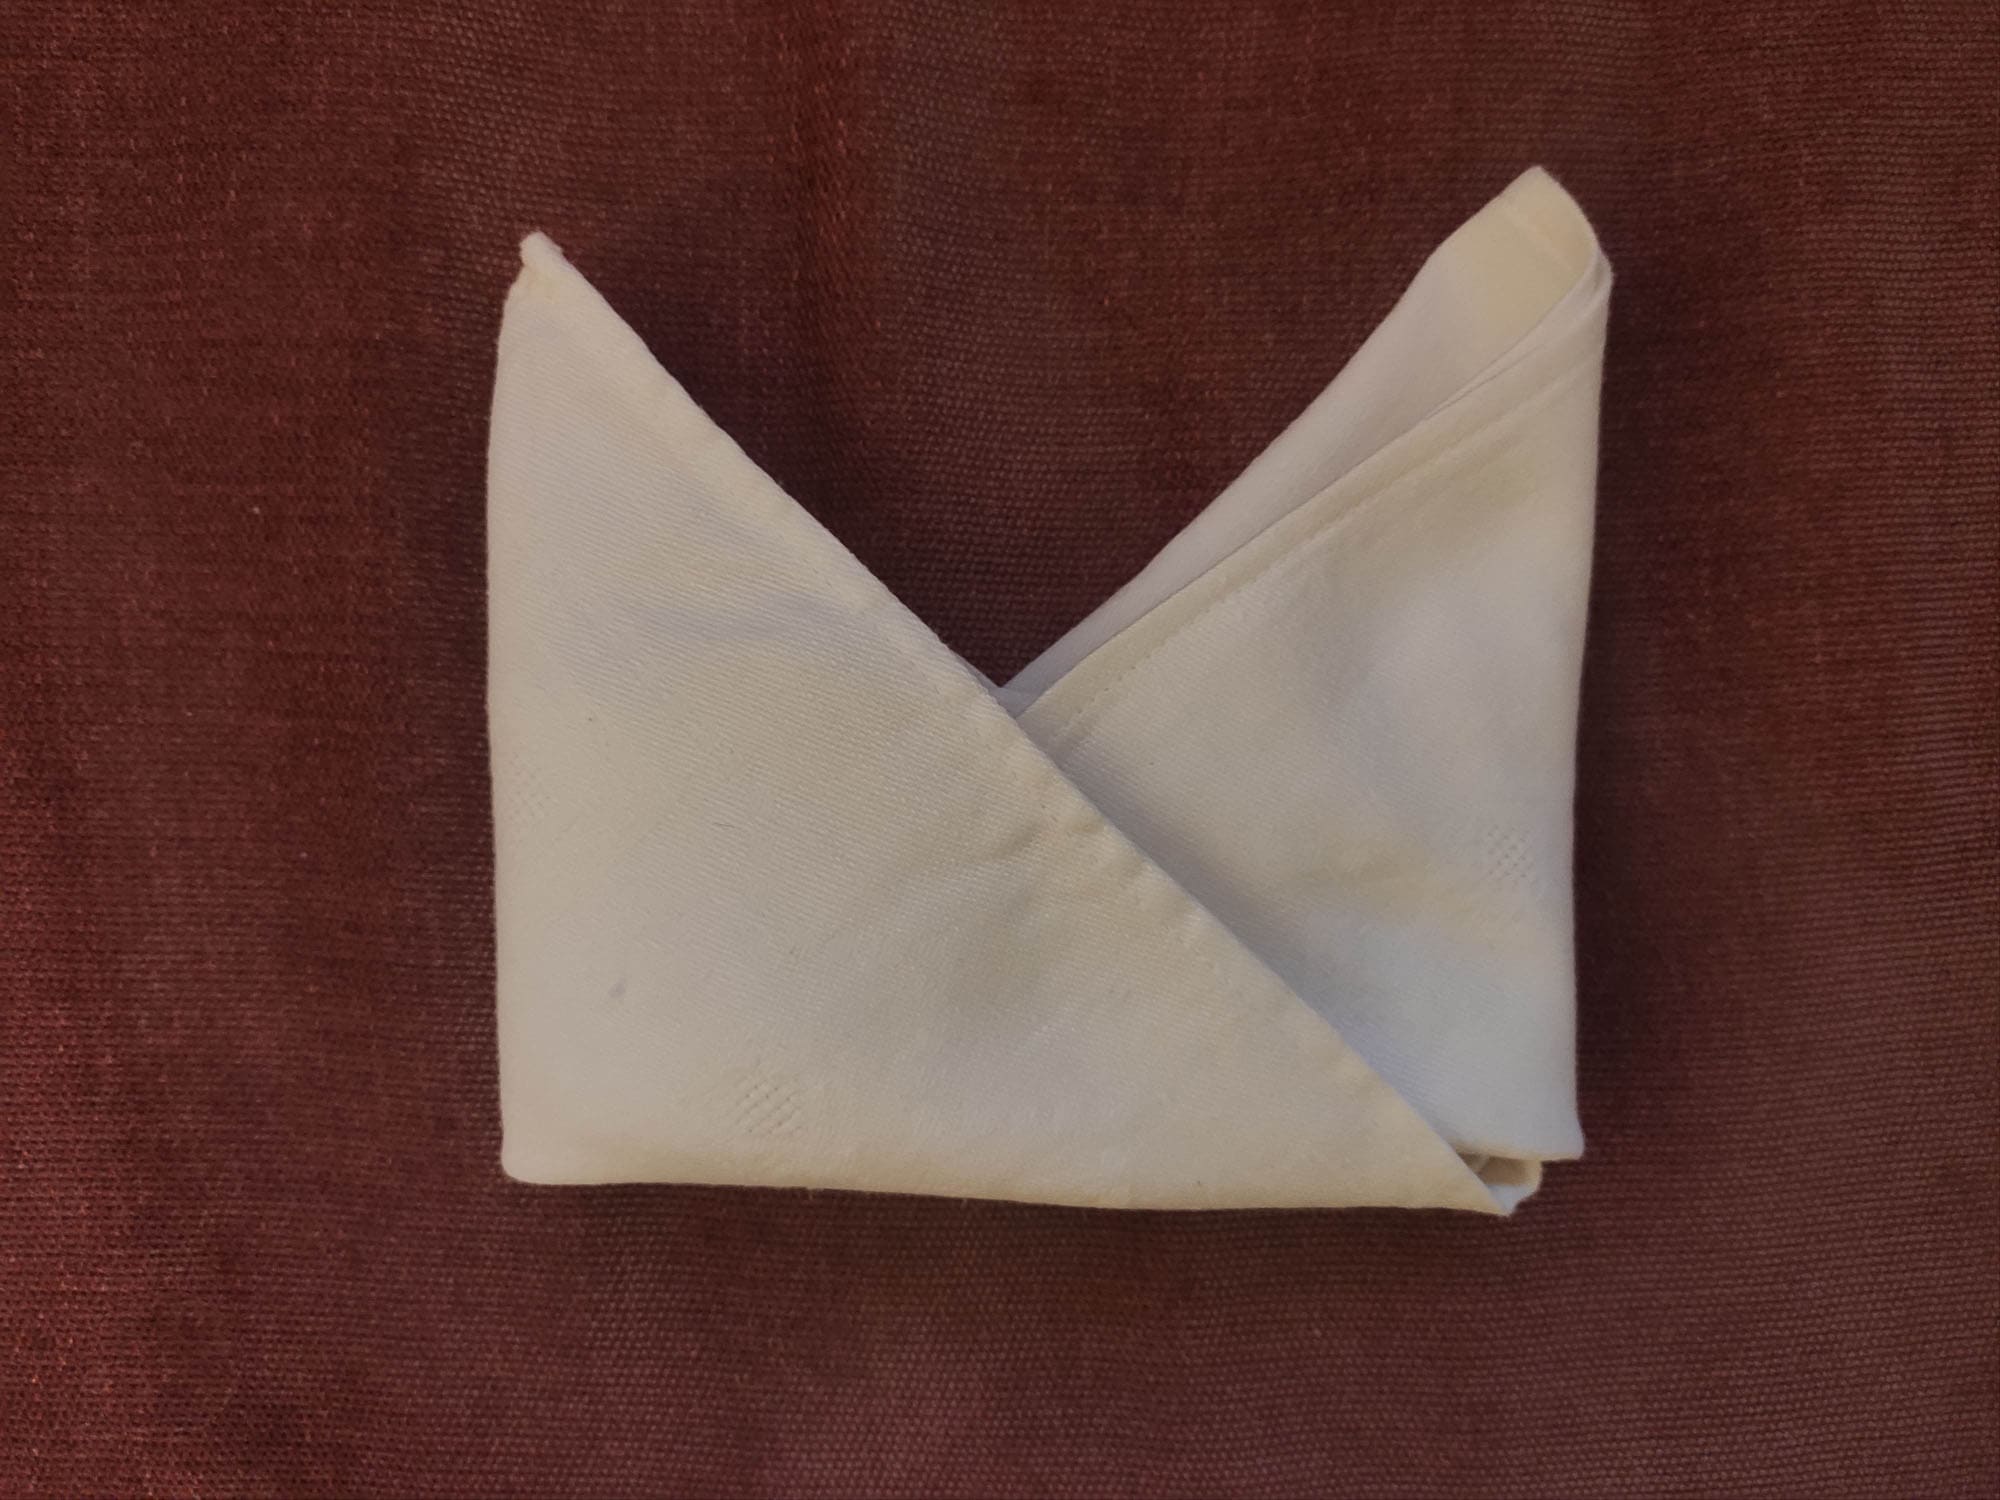
Unfold the two corners according to the image below.
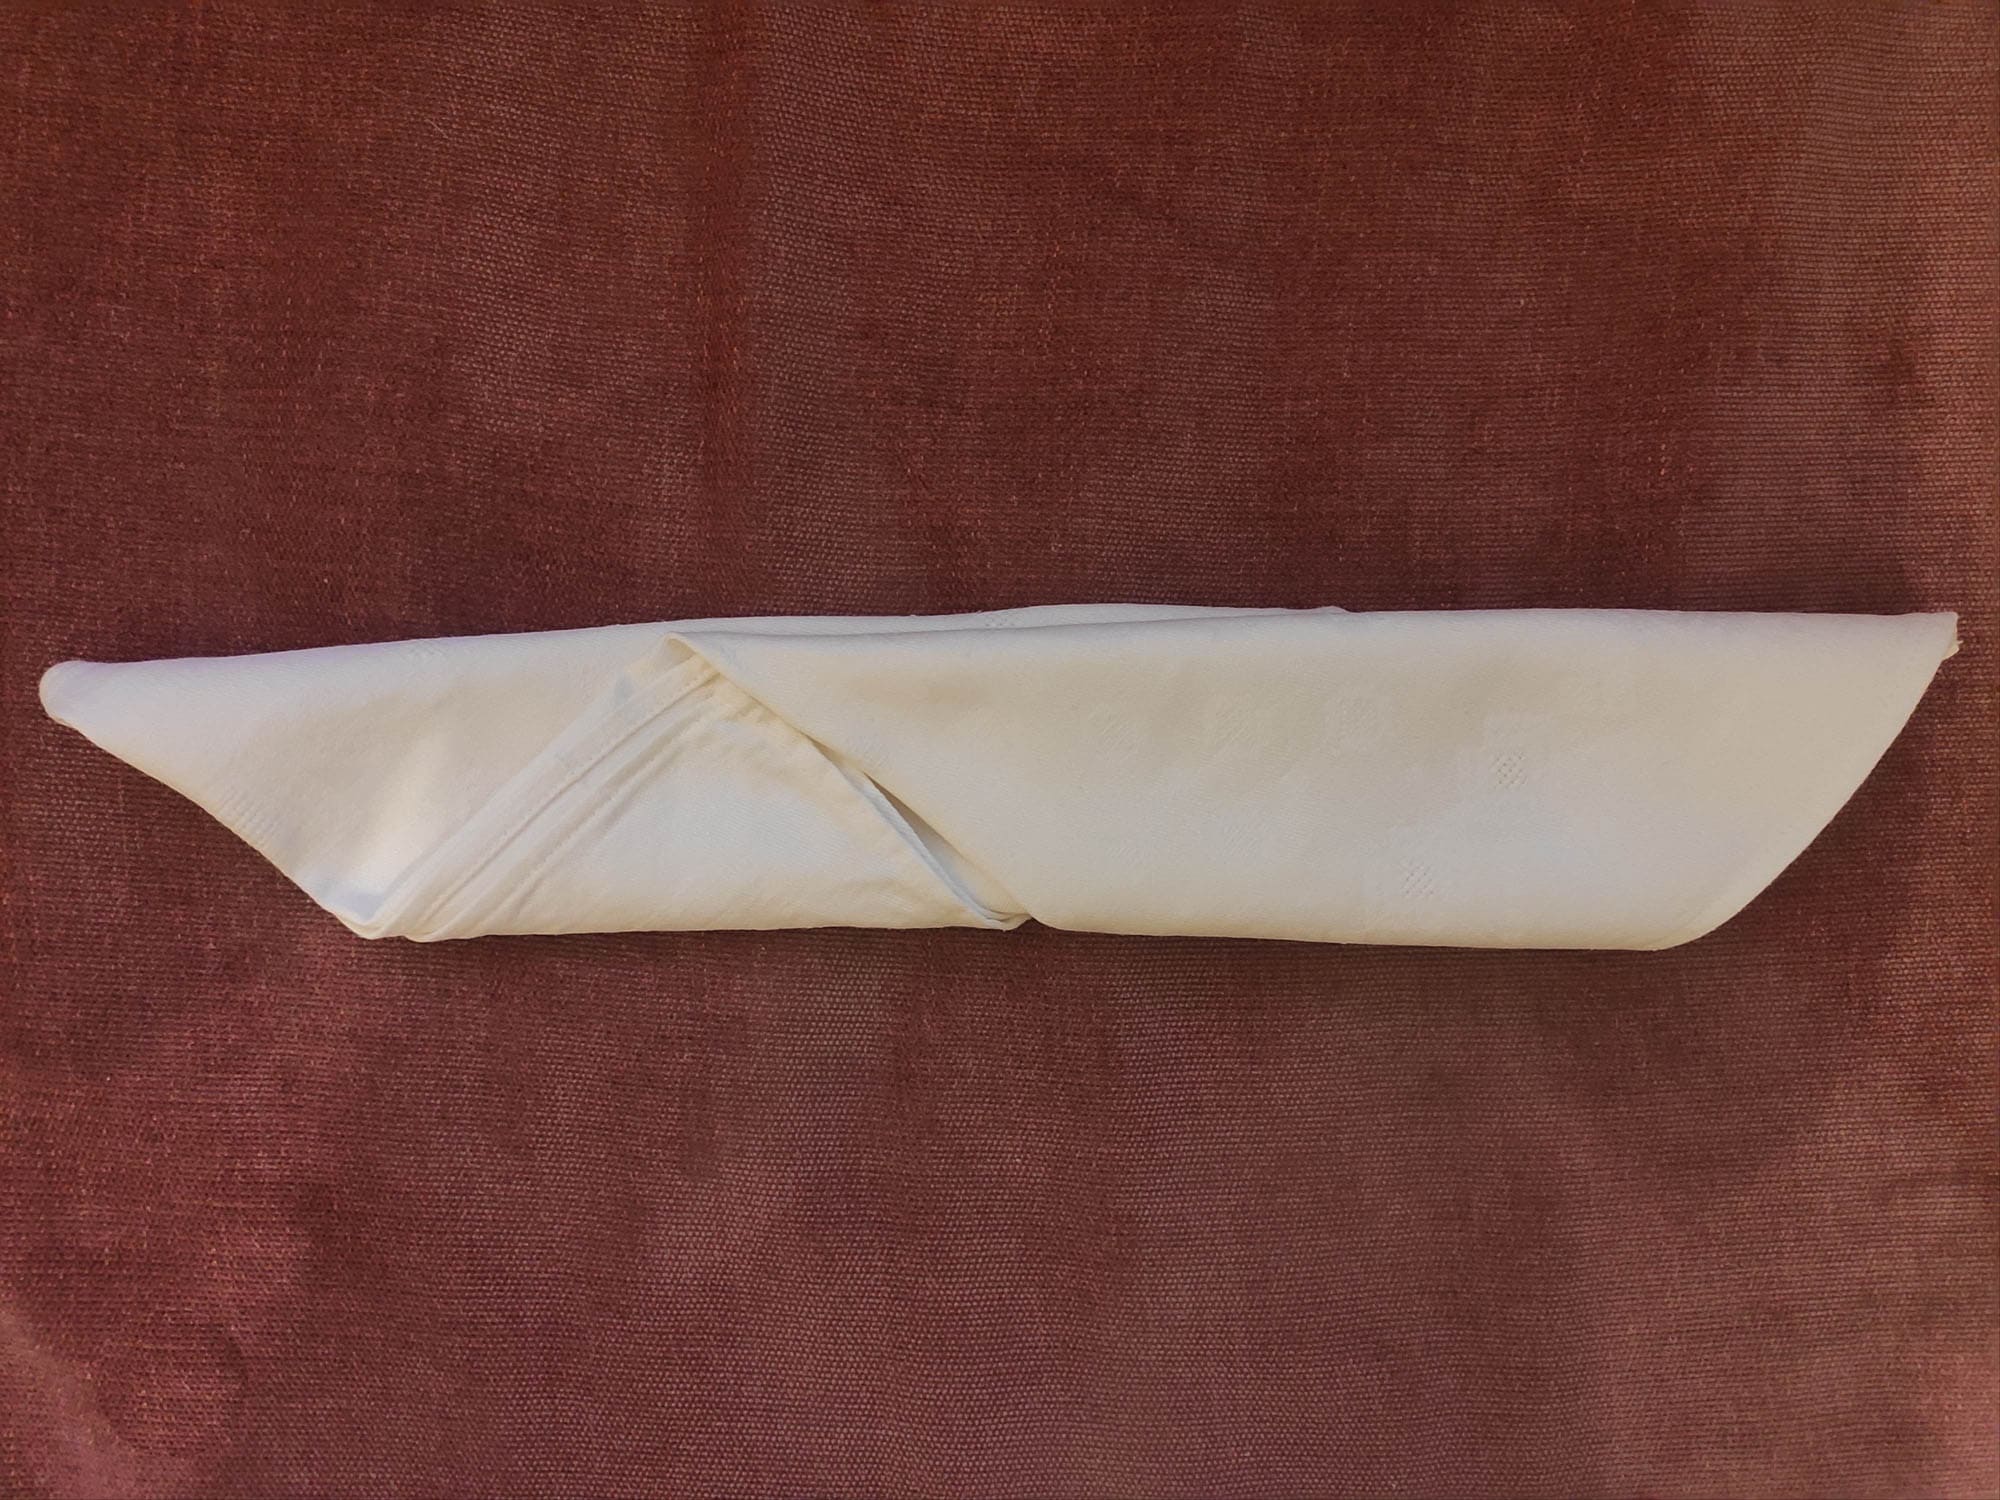
Unfold the larger part of the napkin, opening up one more triangle, as shown in the photo.
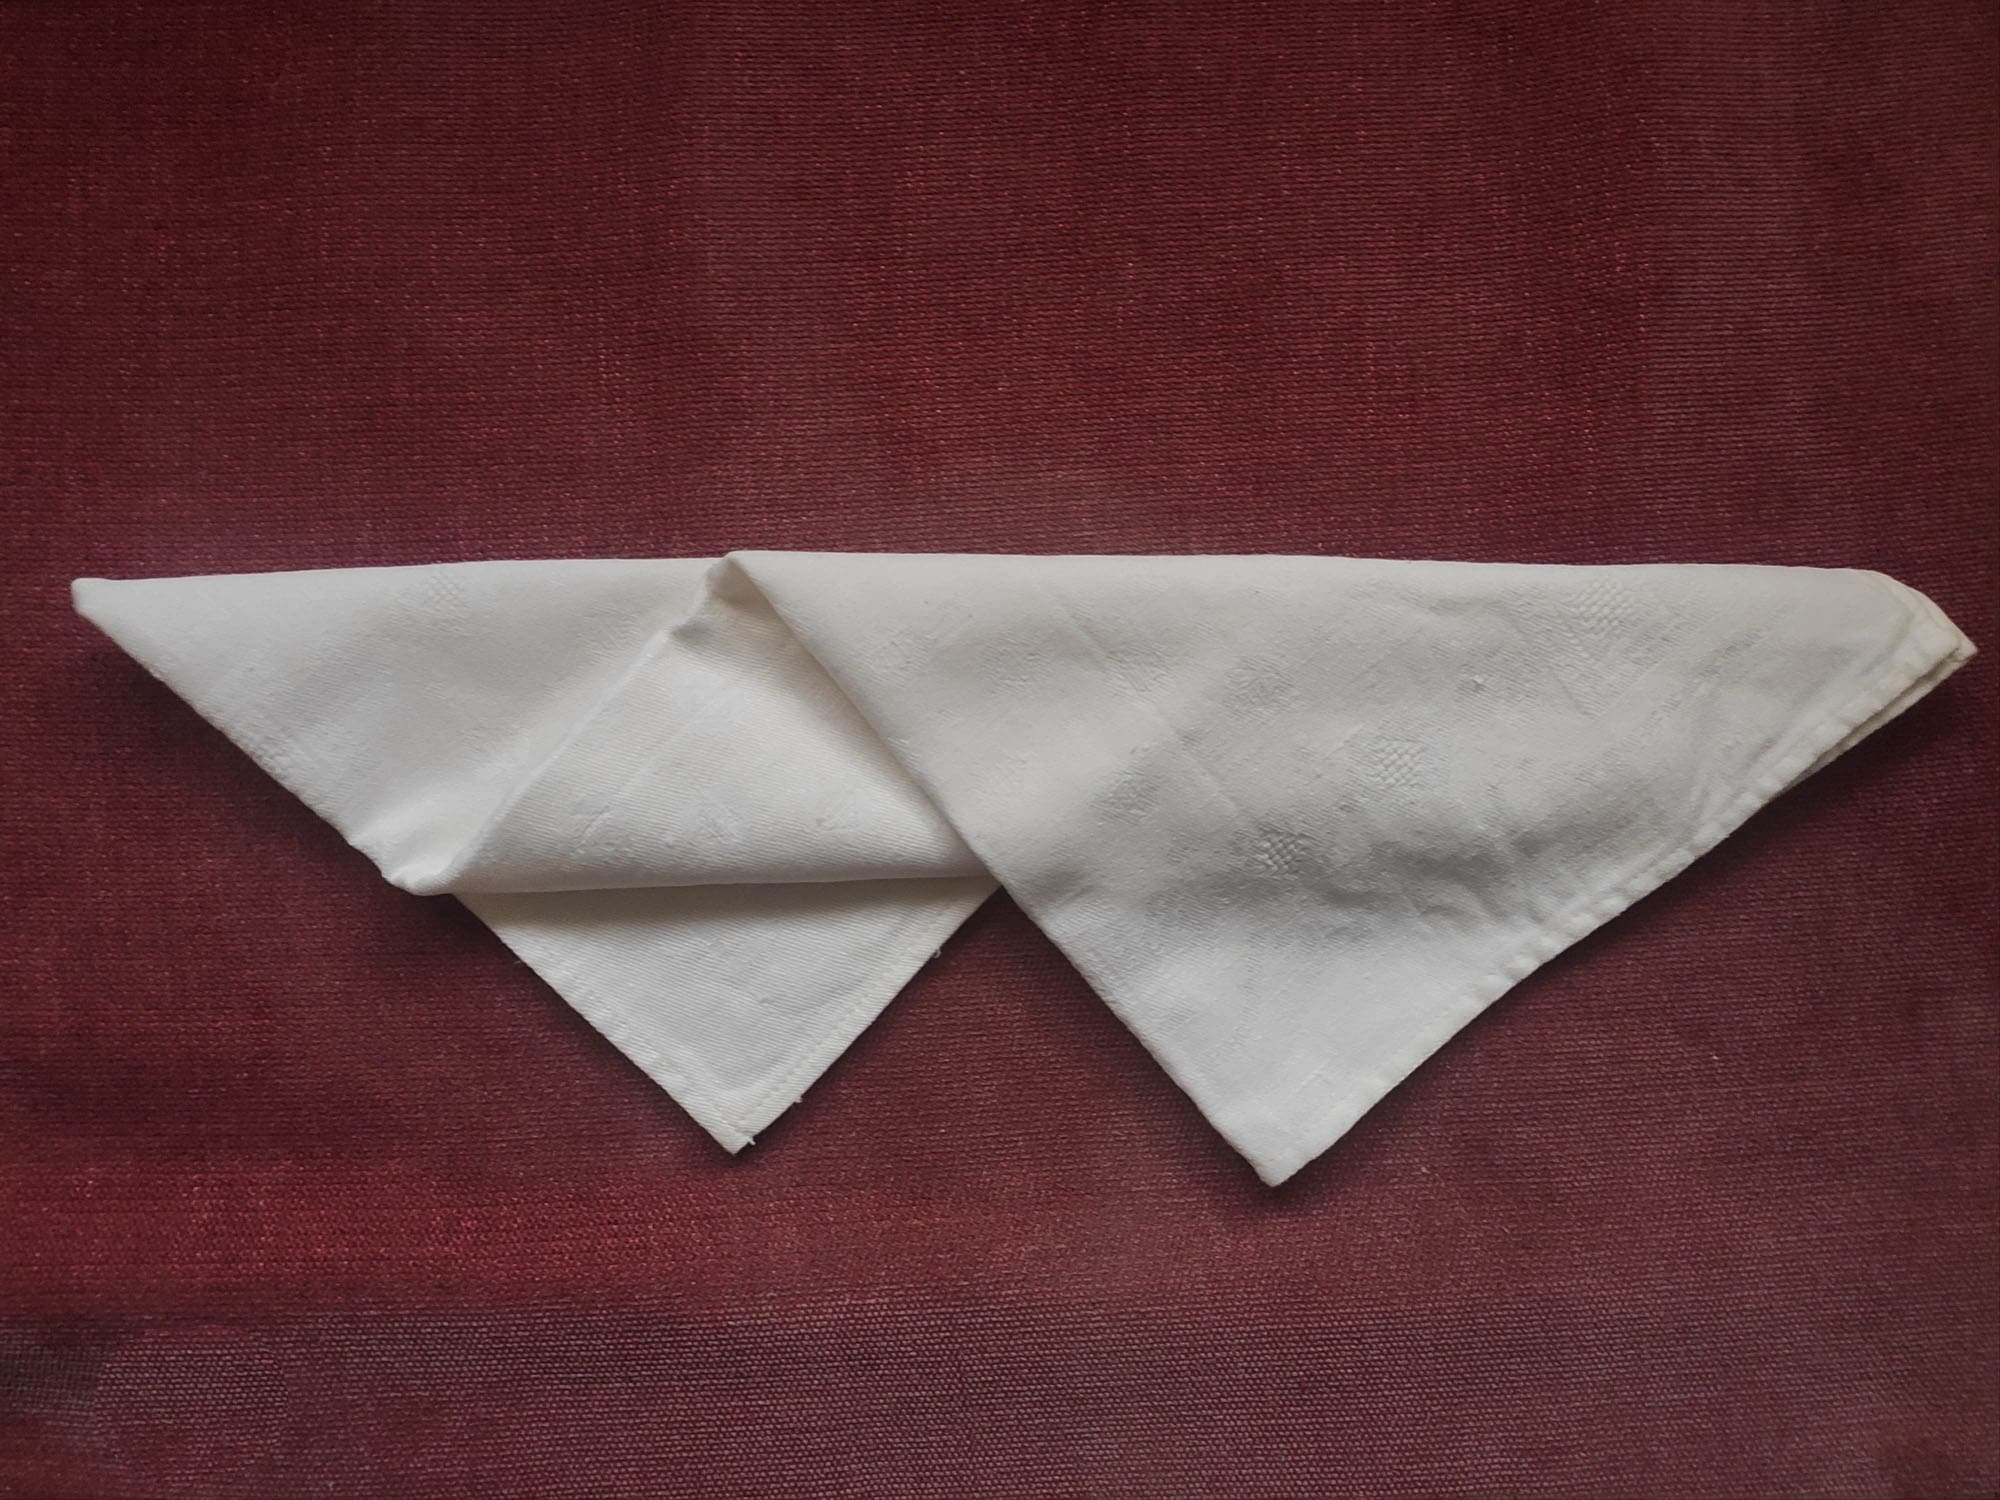
Tuck the leftmost corner under the front flap.
Flip the folded napkin over again, this time from south to north.
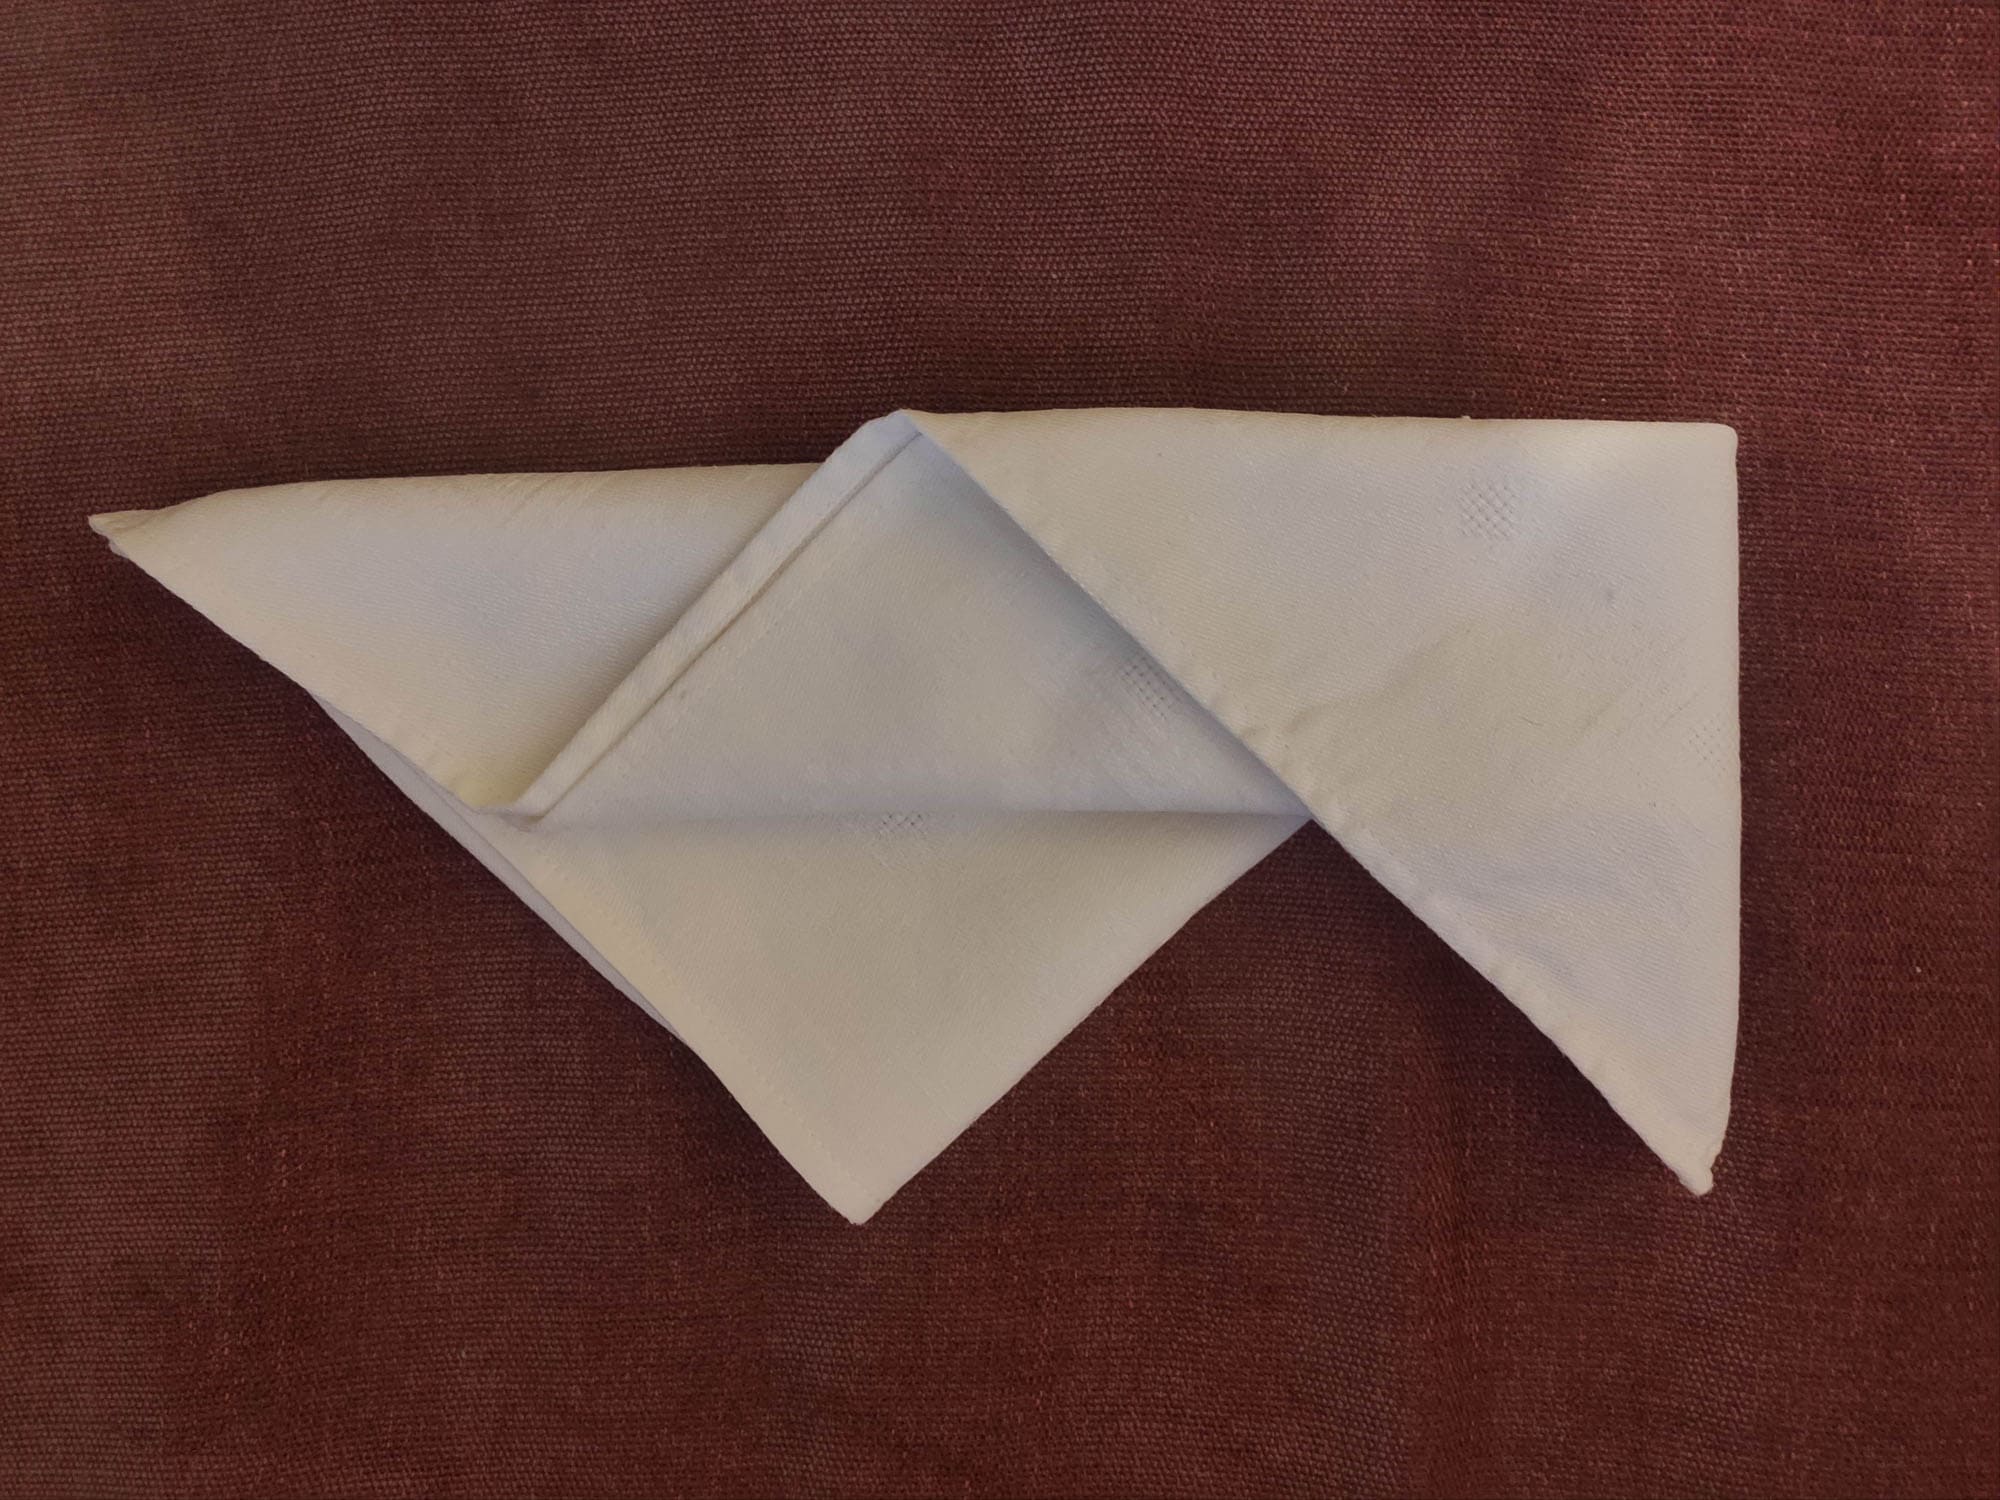
Fold the rightmost corner under the front flap the same way you did with corner A.
And finally, the last step: insert your hand into the bottom of the beanie so that it expands. Then place it vertically on the base.
Follow these instructions step by step and you will create a wonderful origami from a napkin. Enjoy your creativity!


