Origami Bishop’s Mitre

It’s weird, but a bishop’s mitre can be made out of… office paper!
After reading these short instructions, you will be able to find out for yourself.

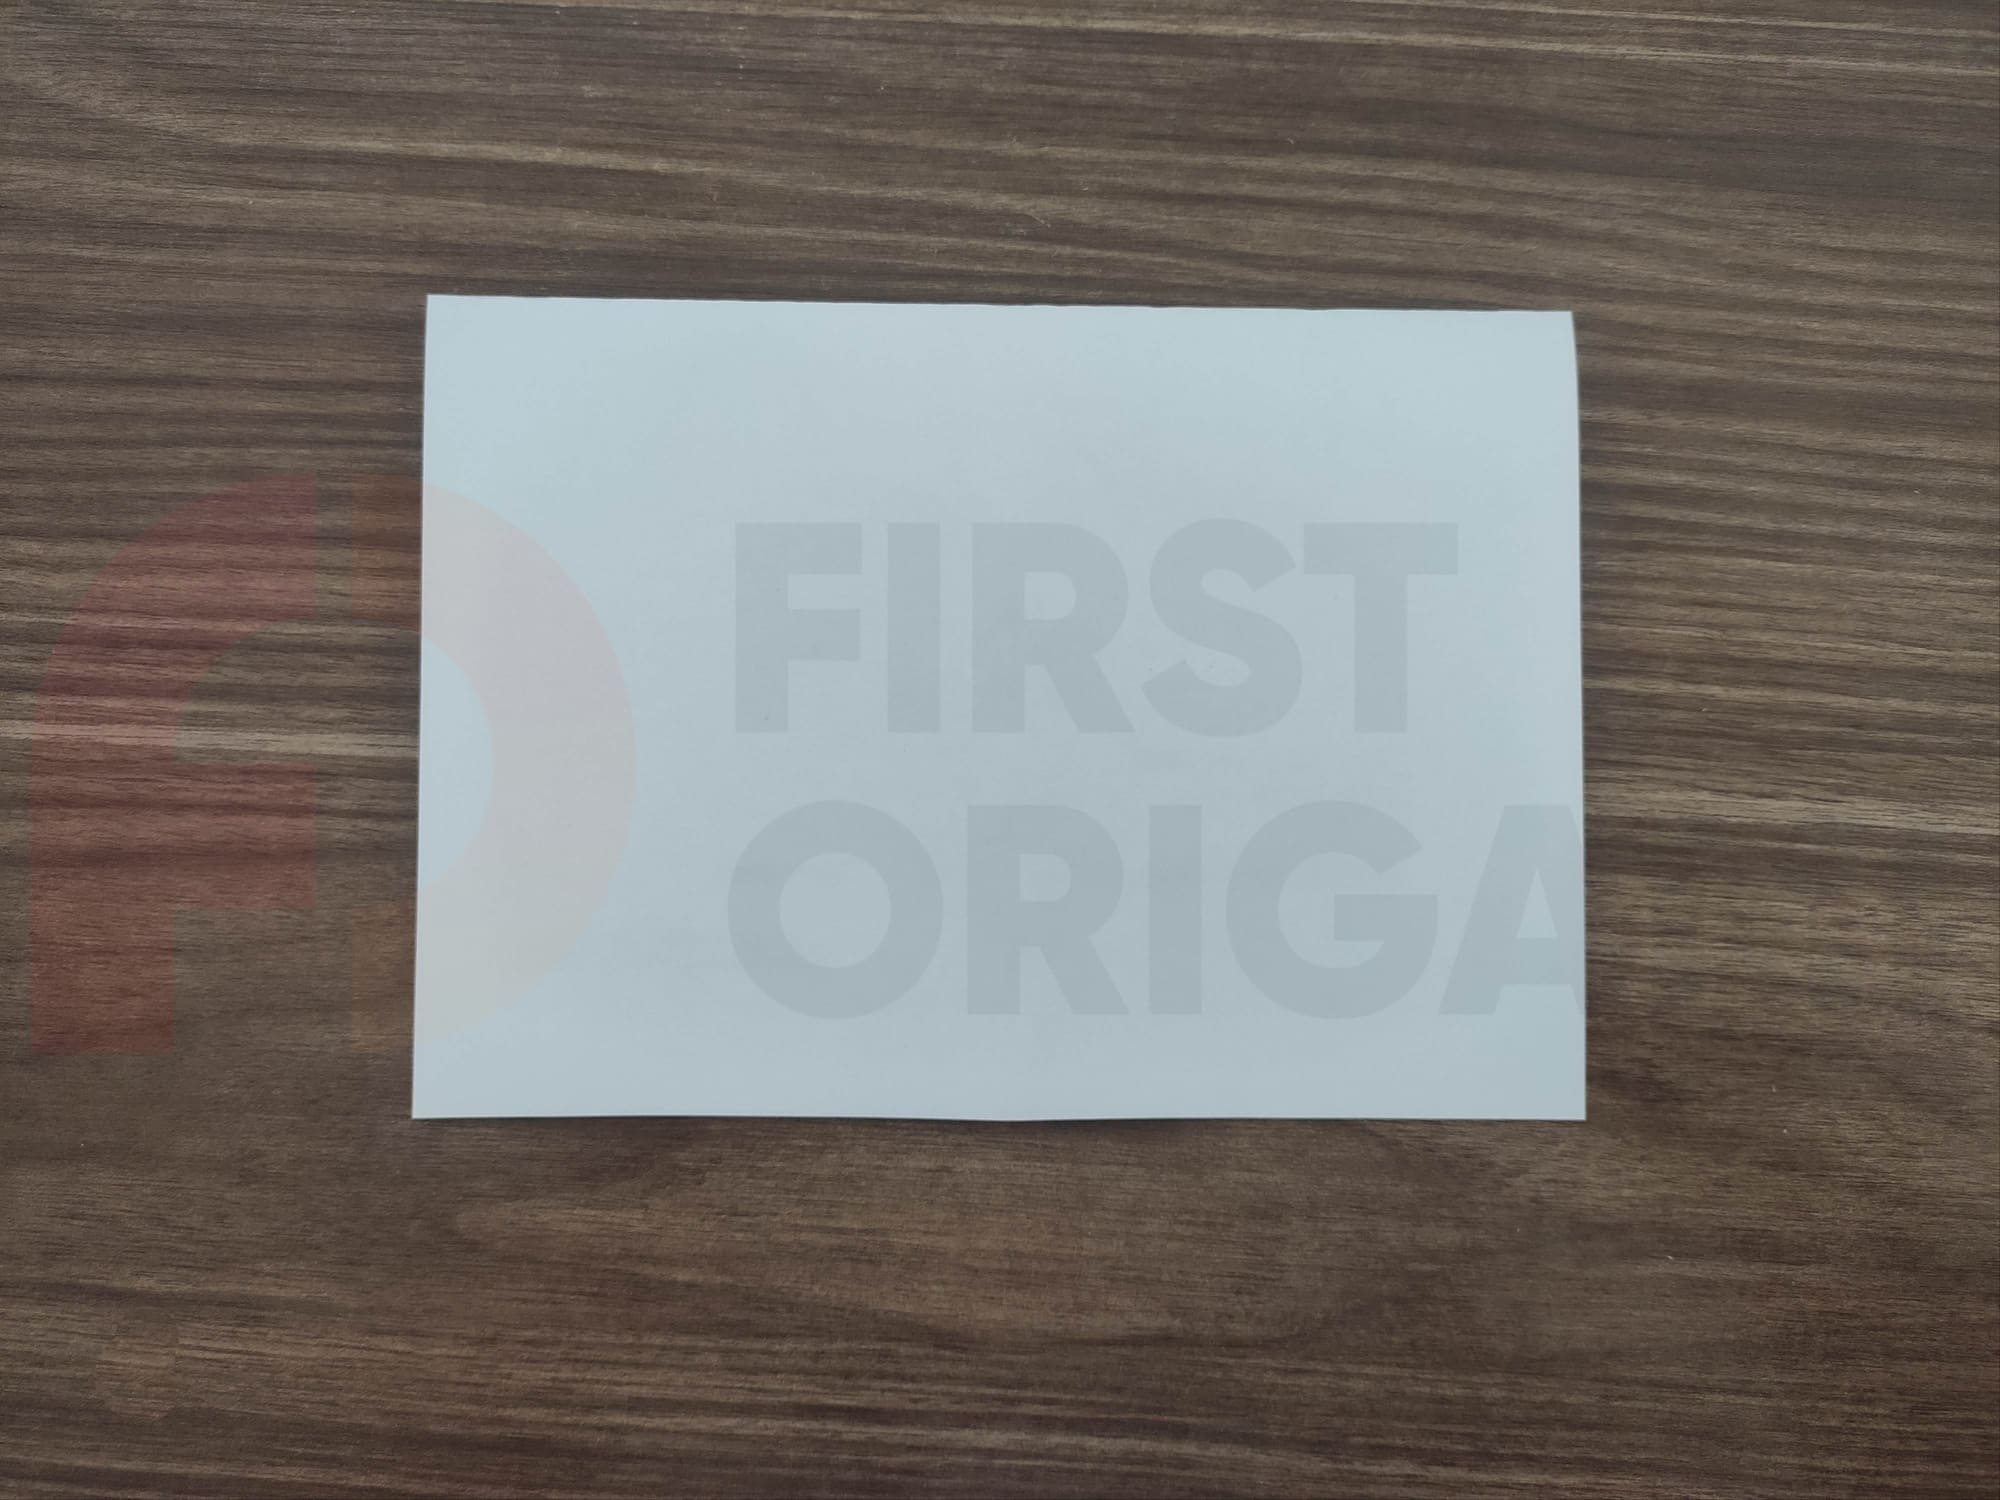
Take a sheet of standard office paper measuring 21.5 x 27.9 cm. You can use any paper of the same size. If one side is printed, lay the paper color side down. Make a vertical fold, folding the paper in half, crease, and unfold it to the starting position.
Now, make a horizontal fold, connecting the top corners with the bottom ones.
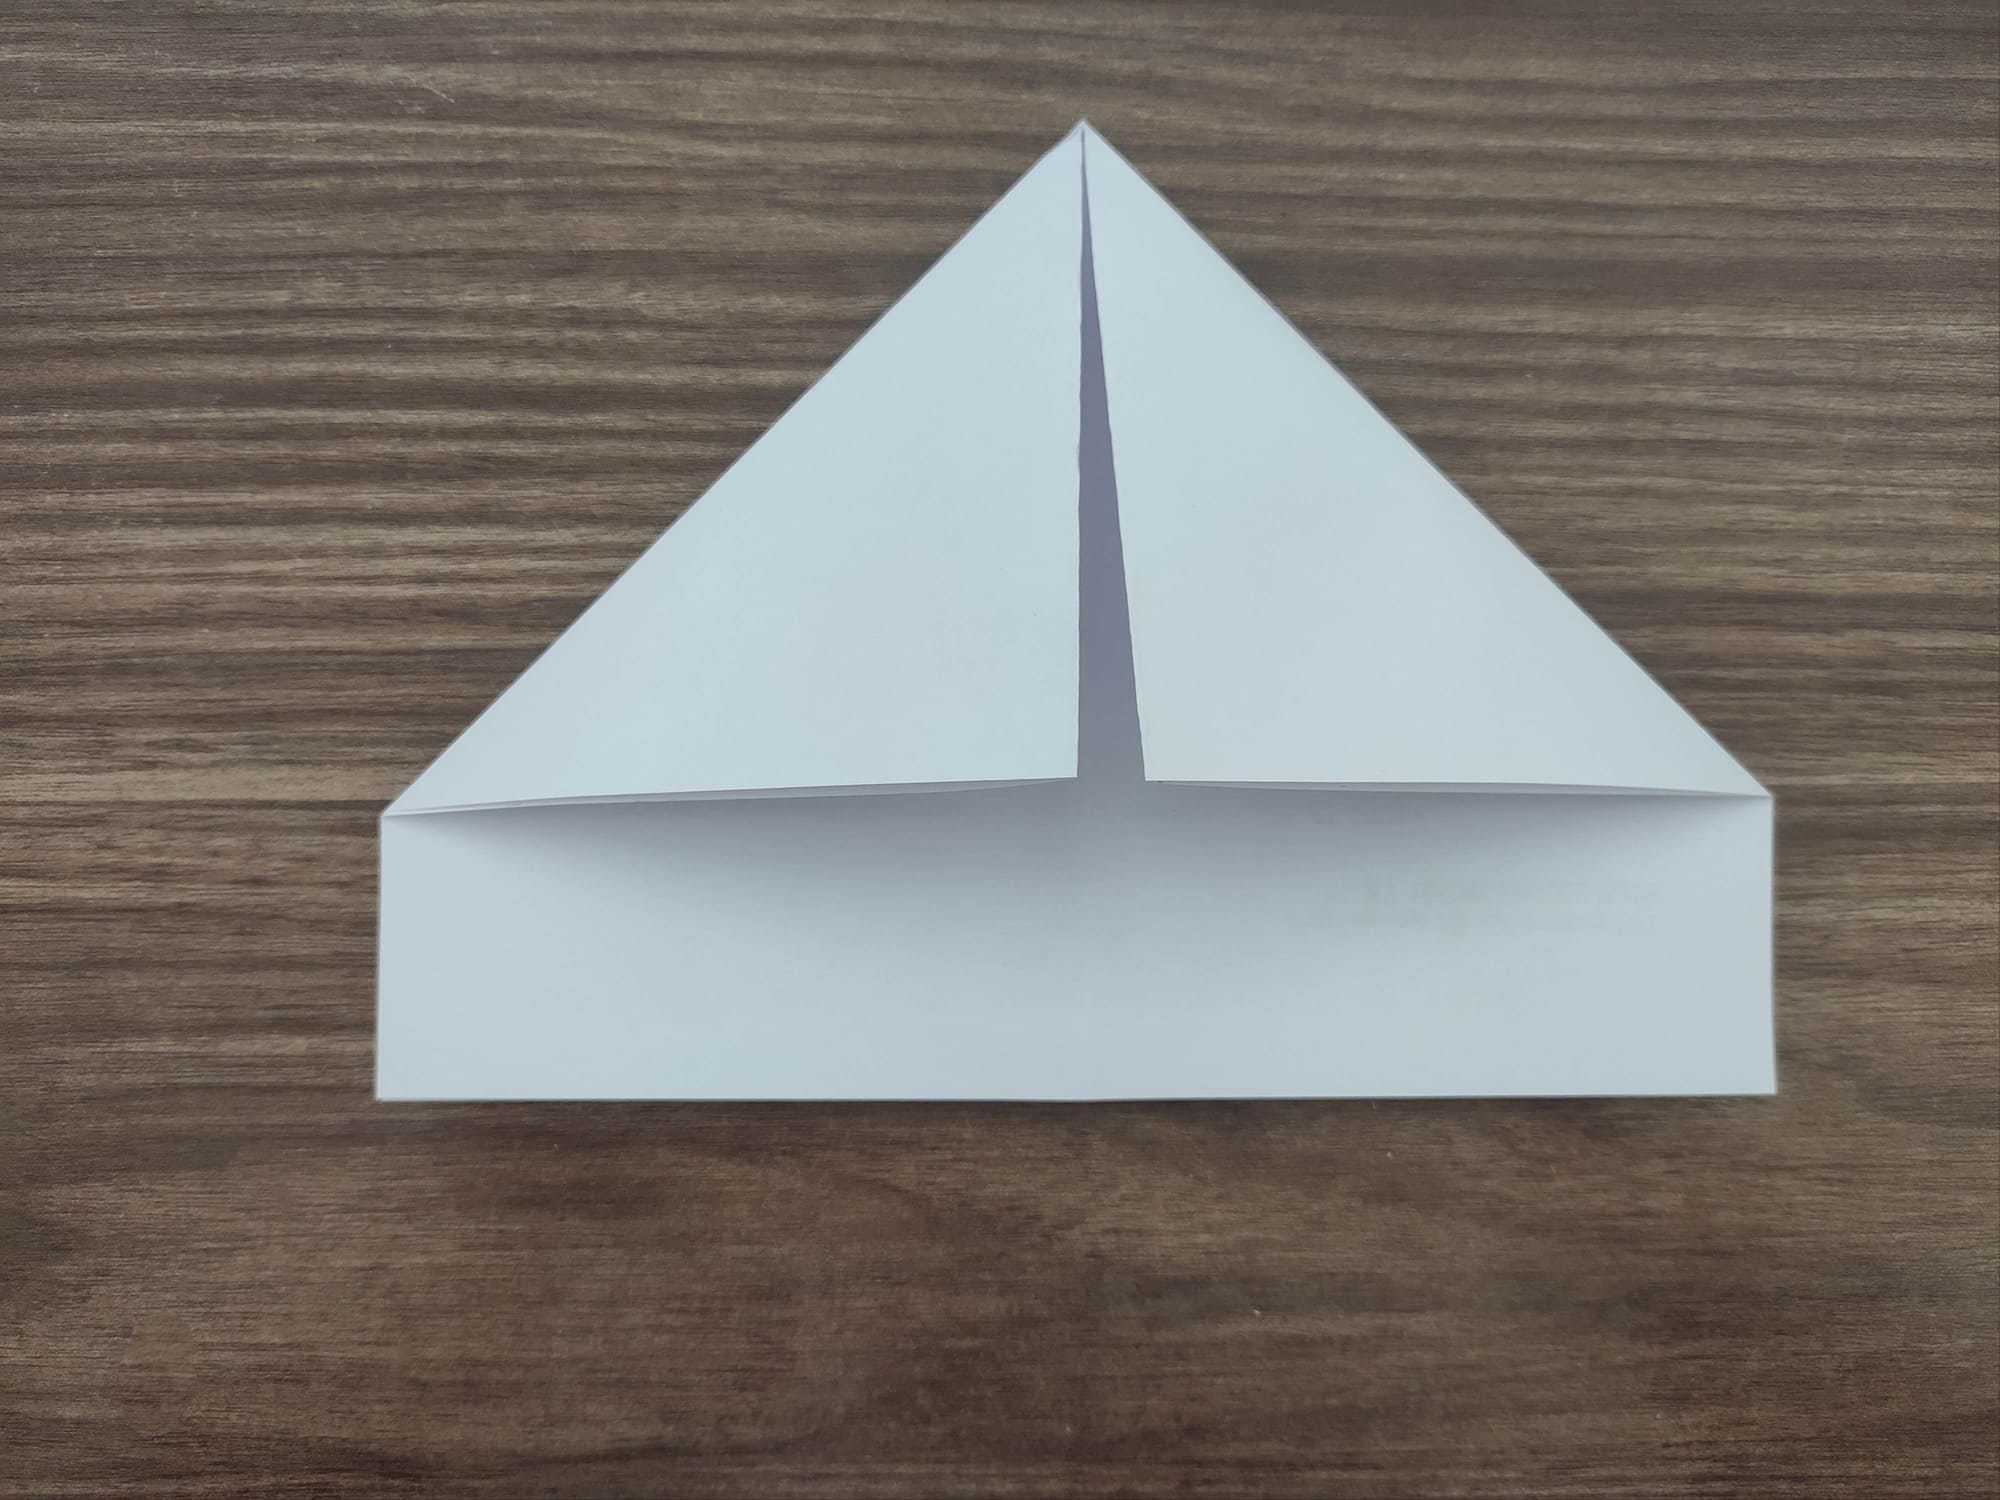
Bend the right and left corners to the center, so that their sides meet at the center fold line.

Fold the top layer of the resulting rectangle, so the line AB meets with the line CD.

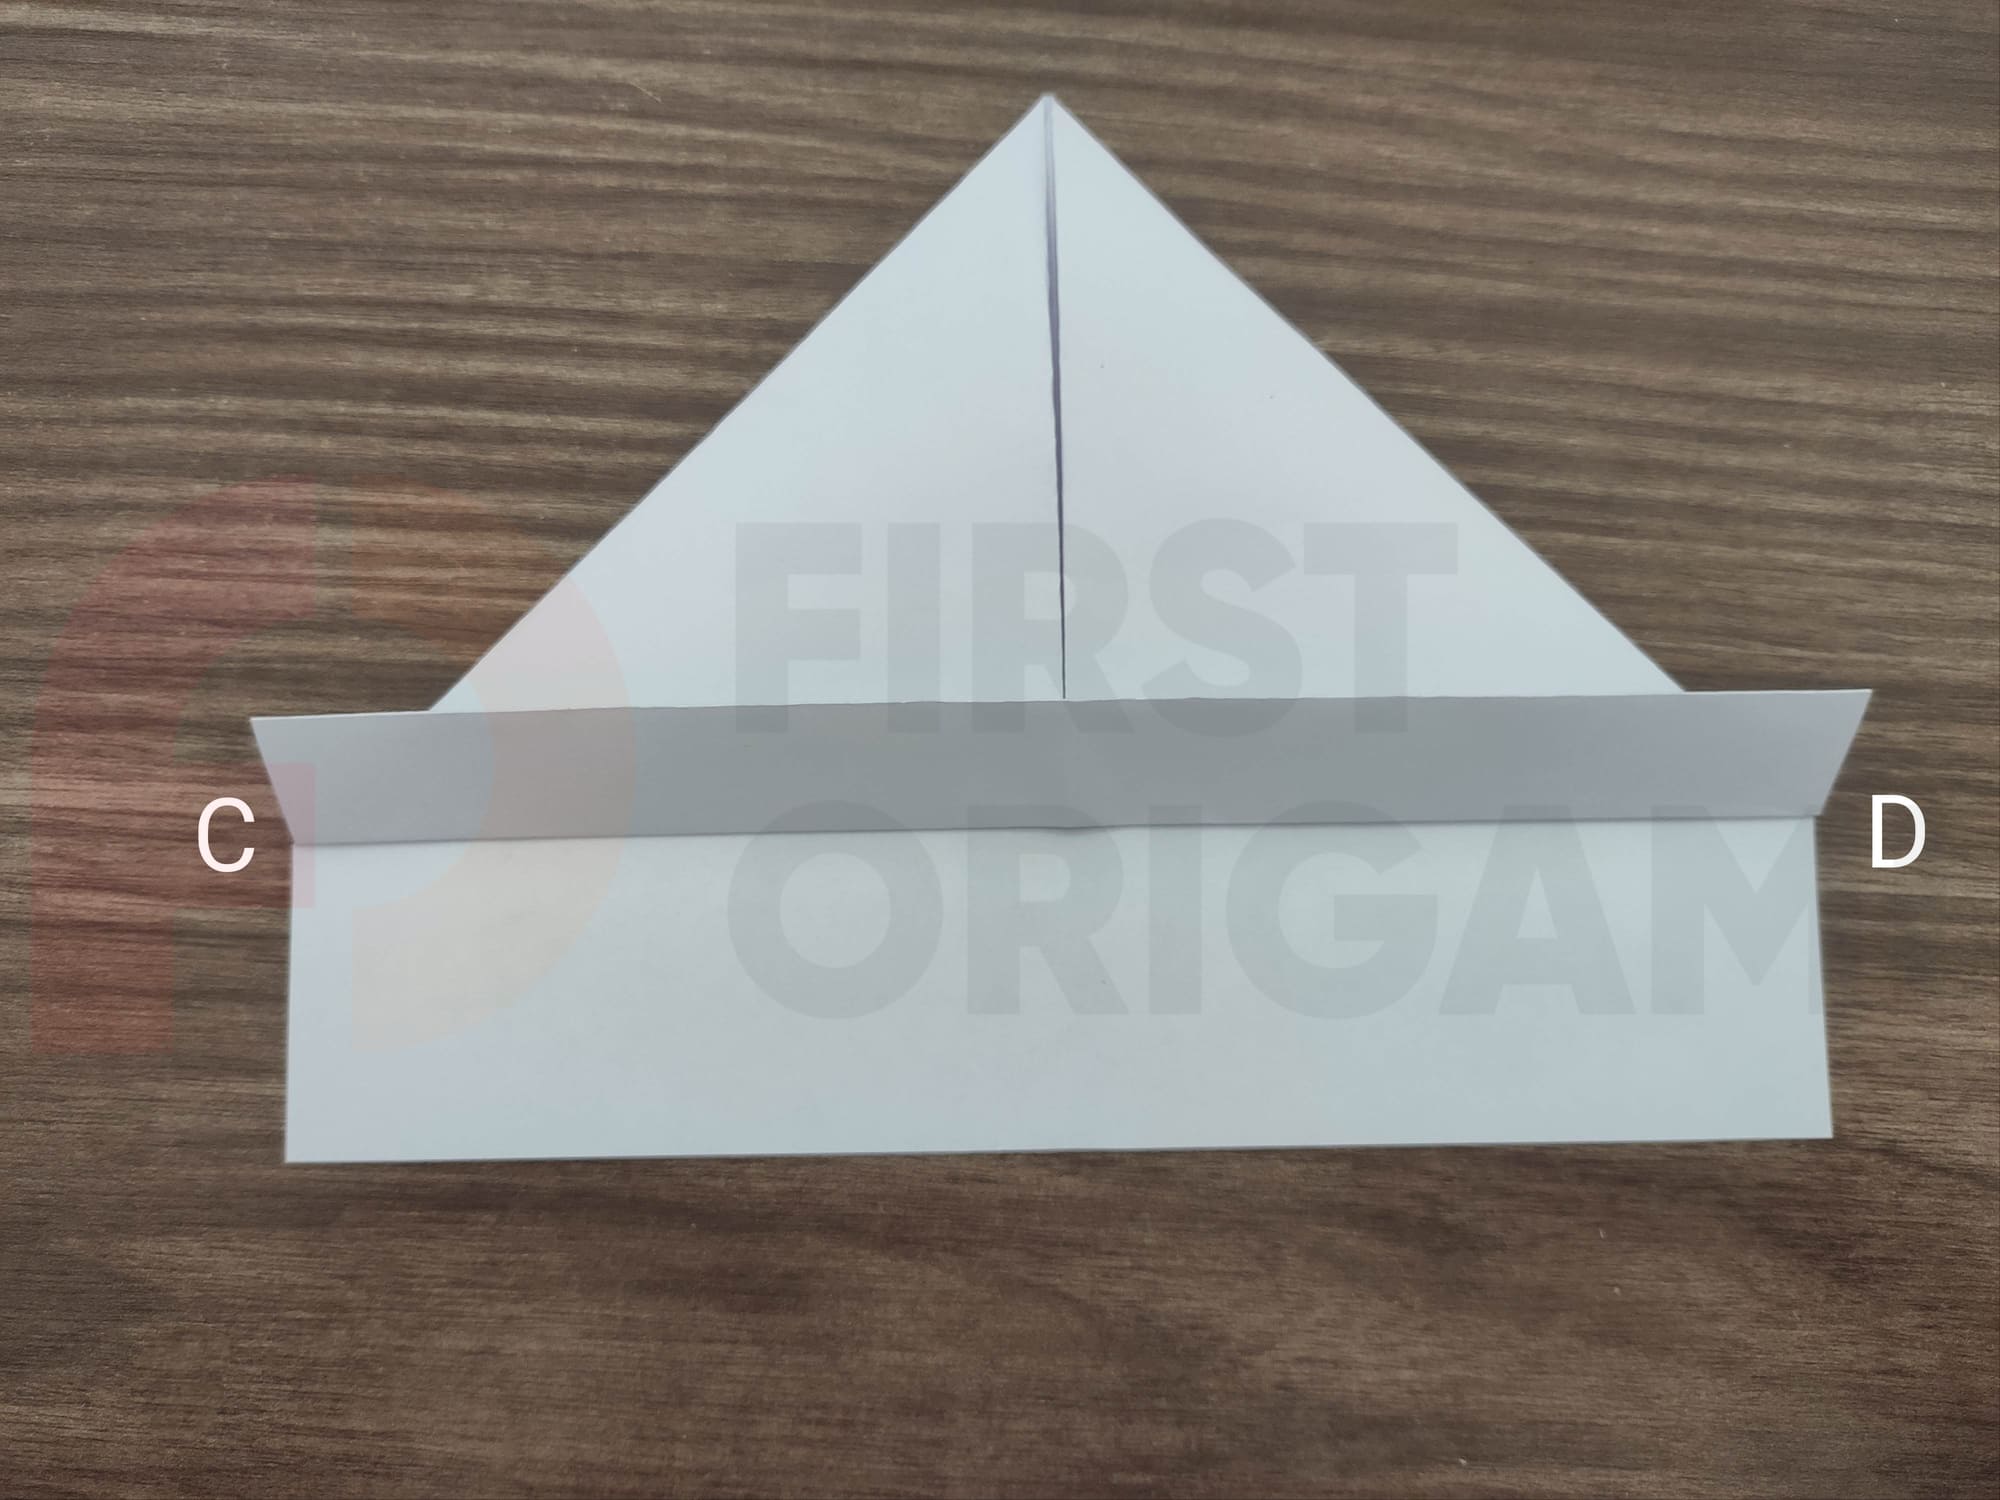
Fold the resulting rectangle along the CD line.
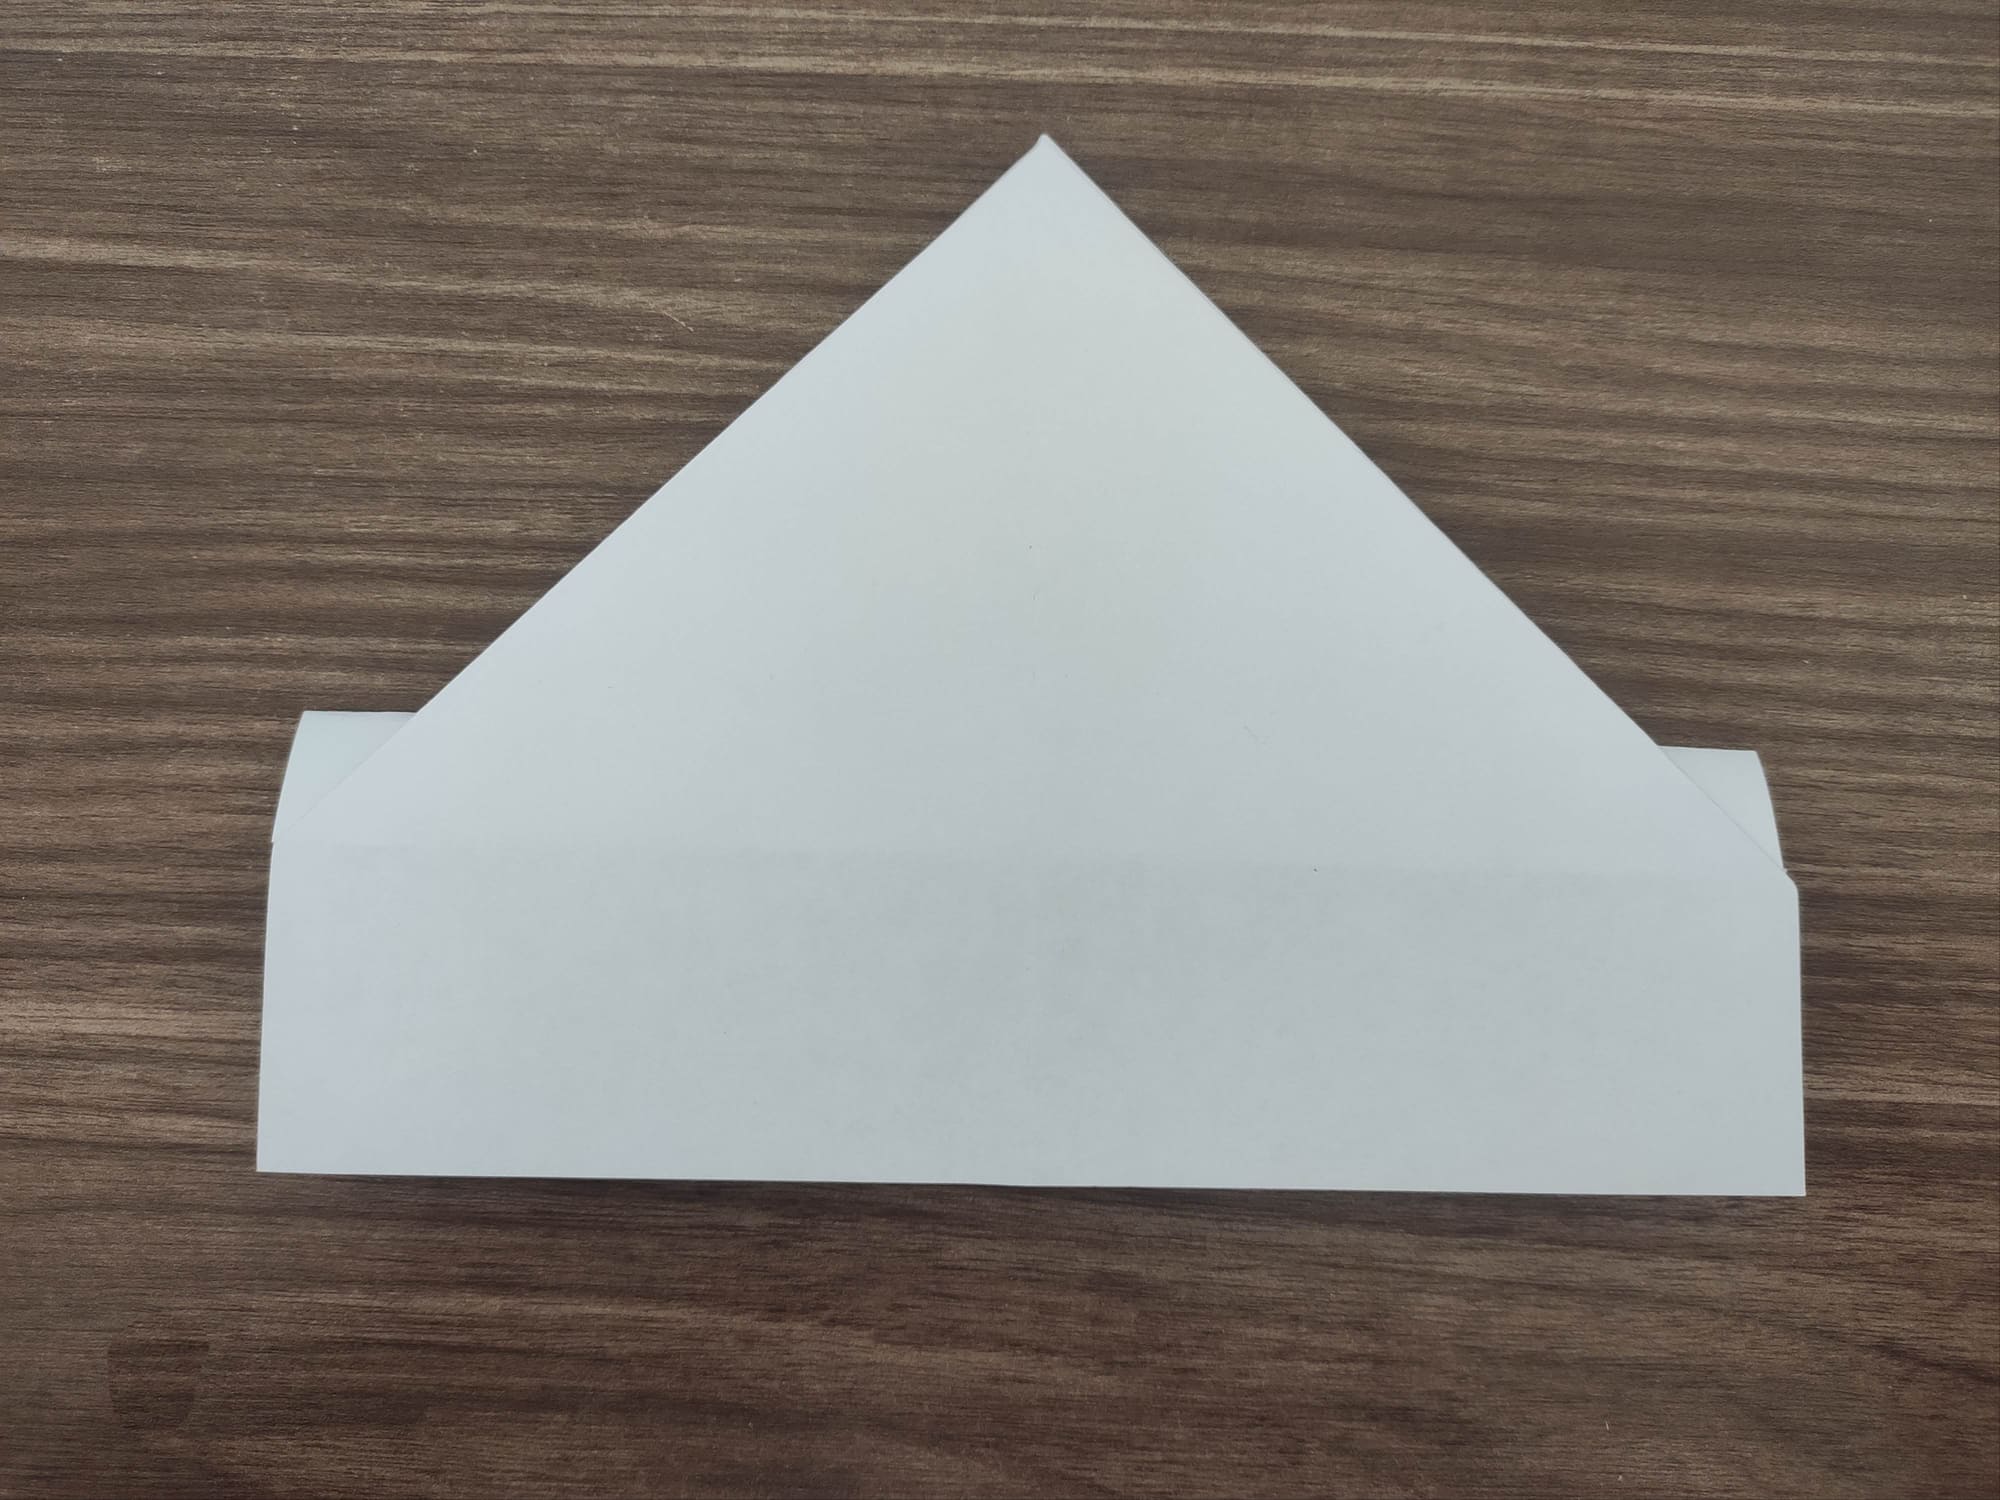
Turn the shape over to the other side.

Fold the right and left sides vertically, so that they meet at the center fold line.
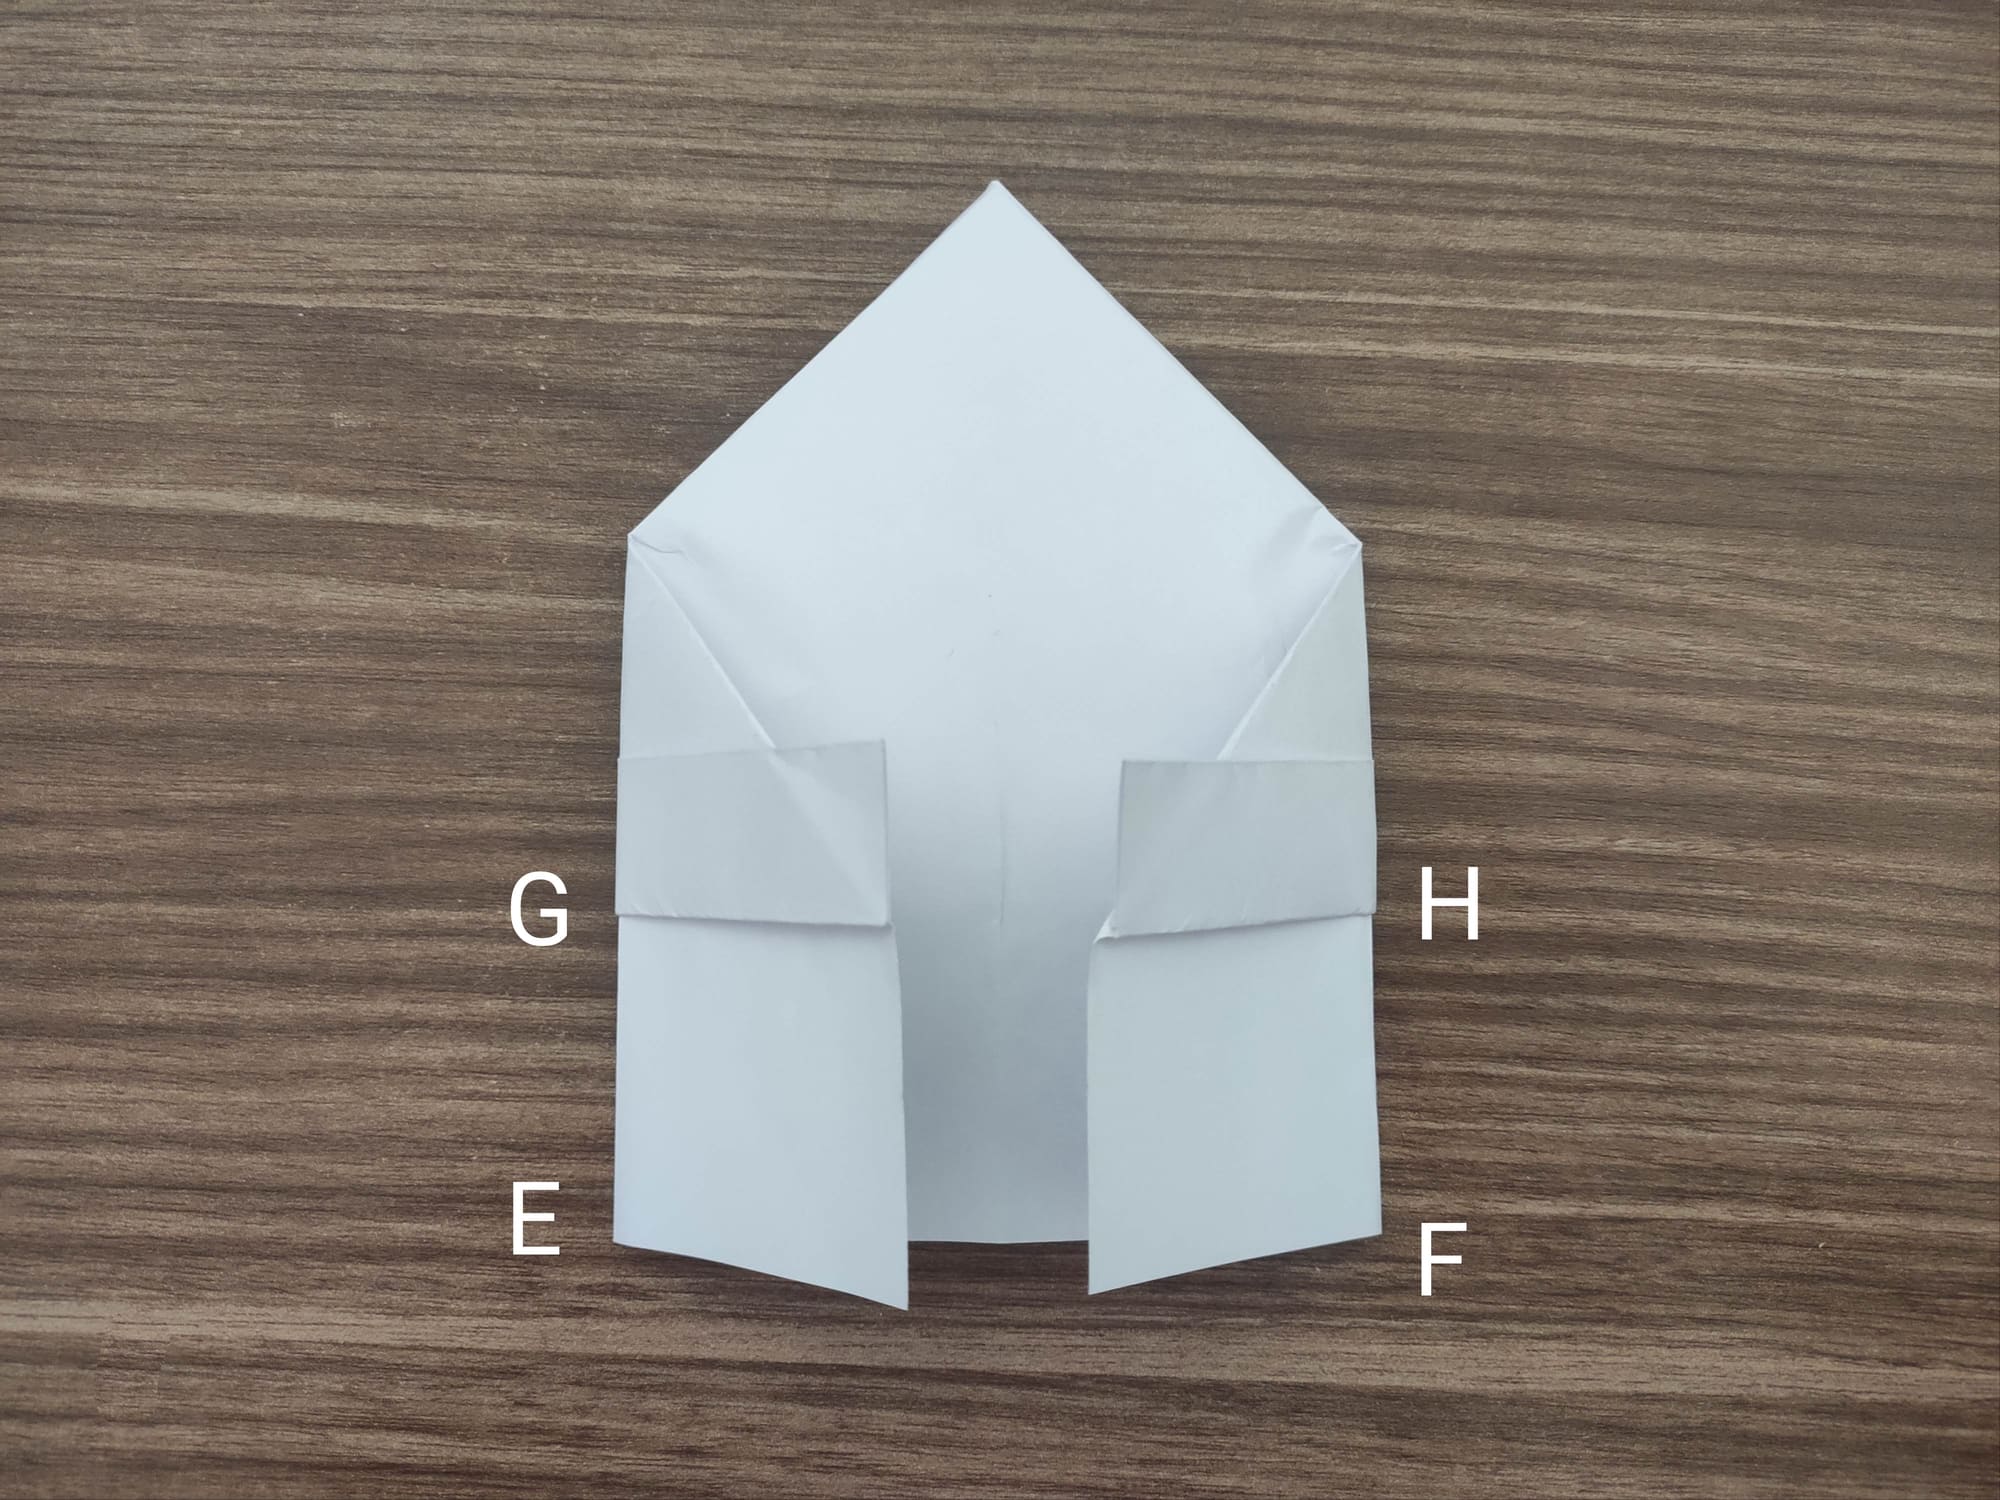
Fold the rectangle formed at the bottom horizontally. In this case, the EF line should meet the GH line. Unfold back.

Fold the right and left corners of the bottom rectangle diagonally.
Fold the resulting quadrangle along the GH line.
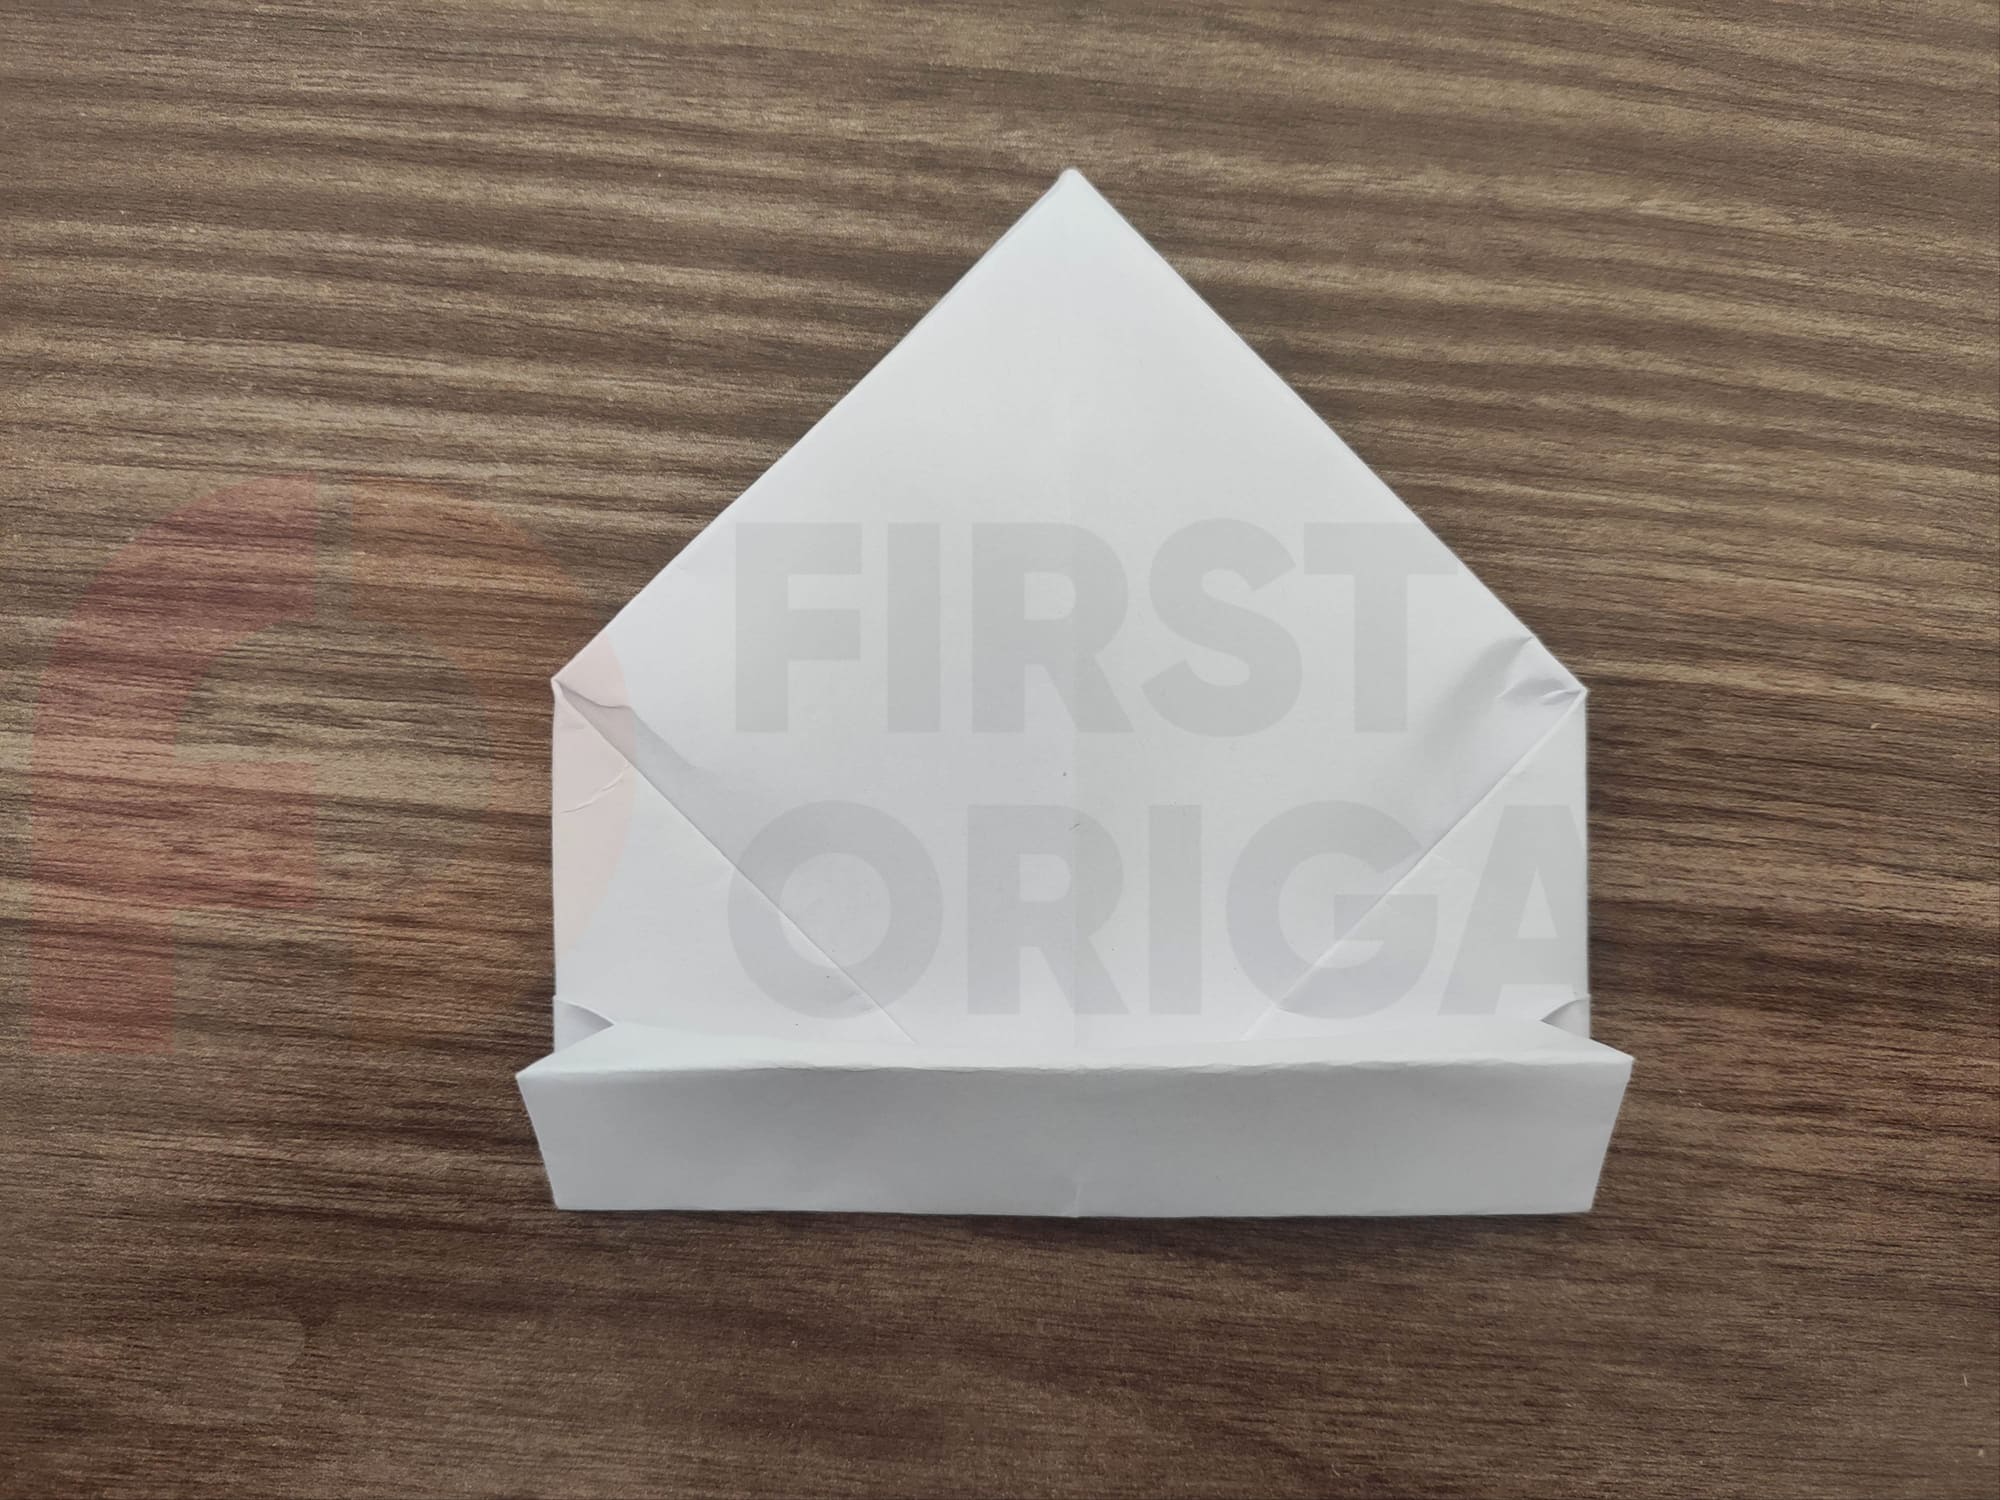
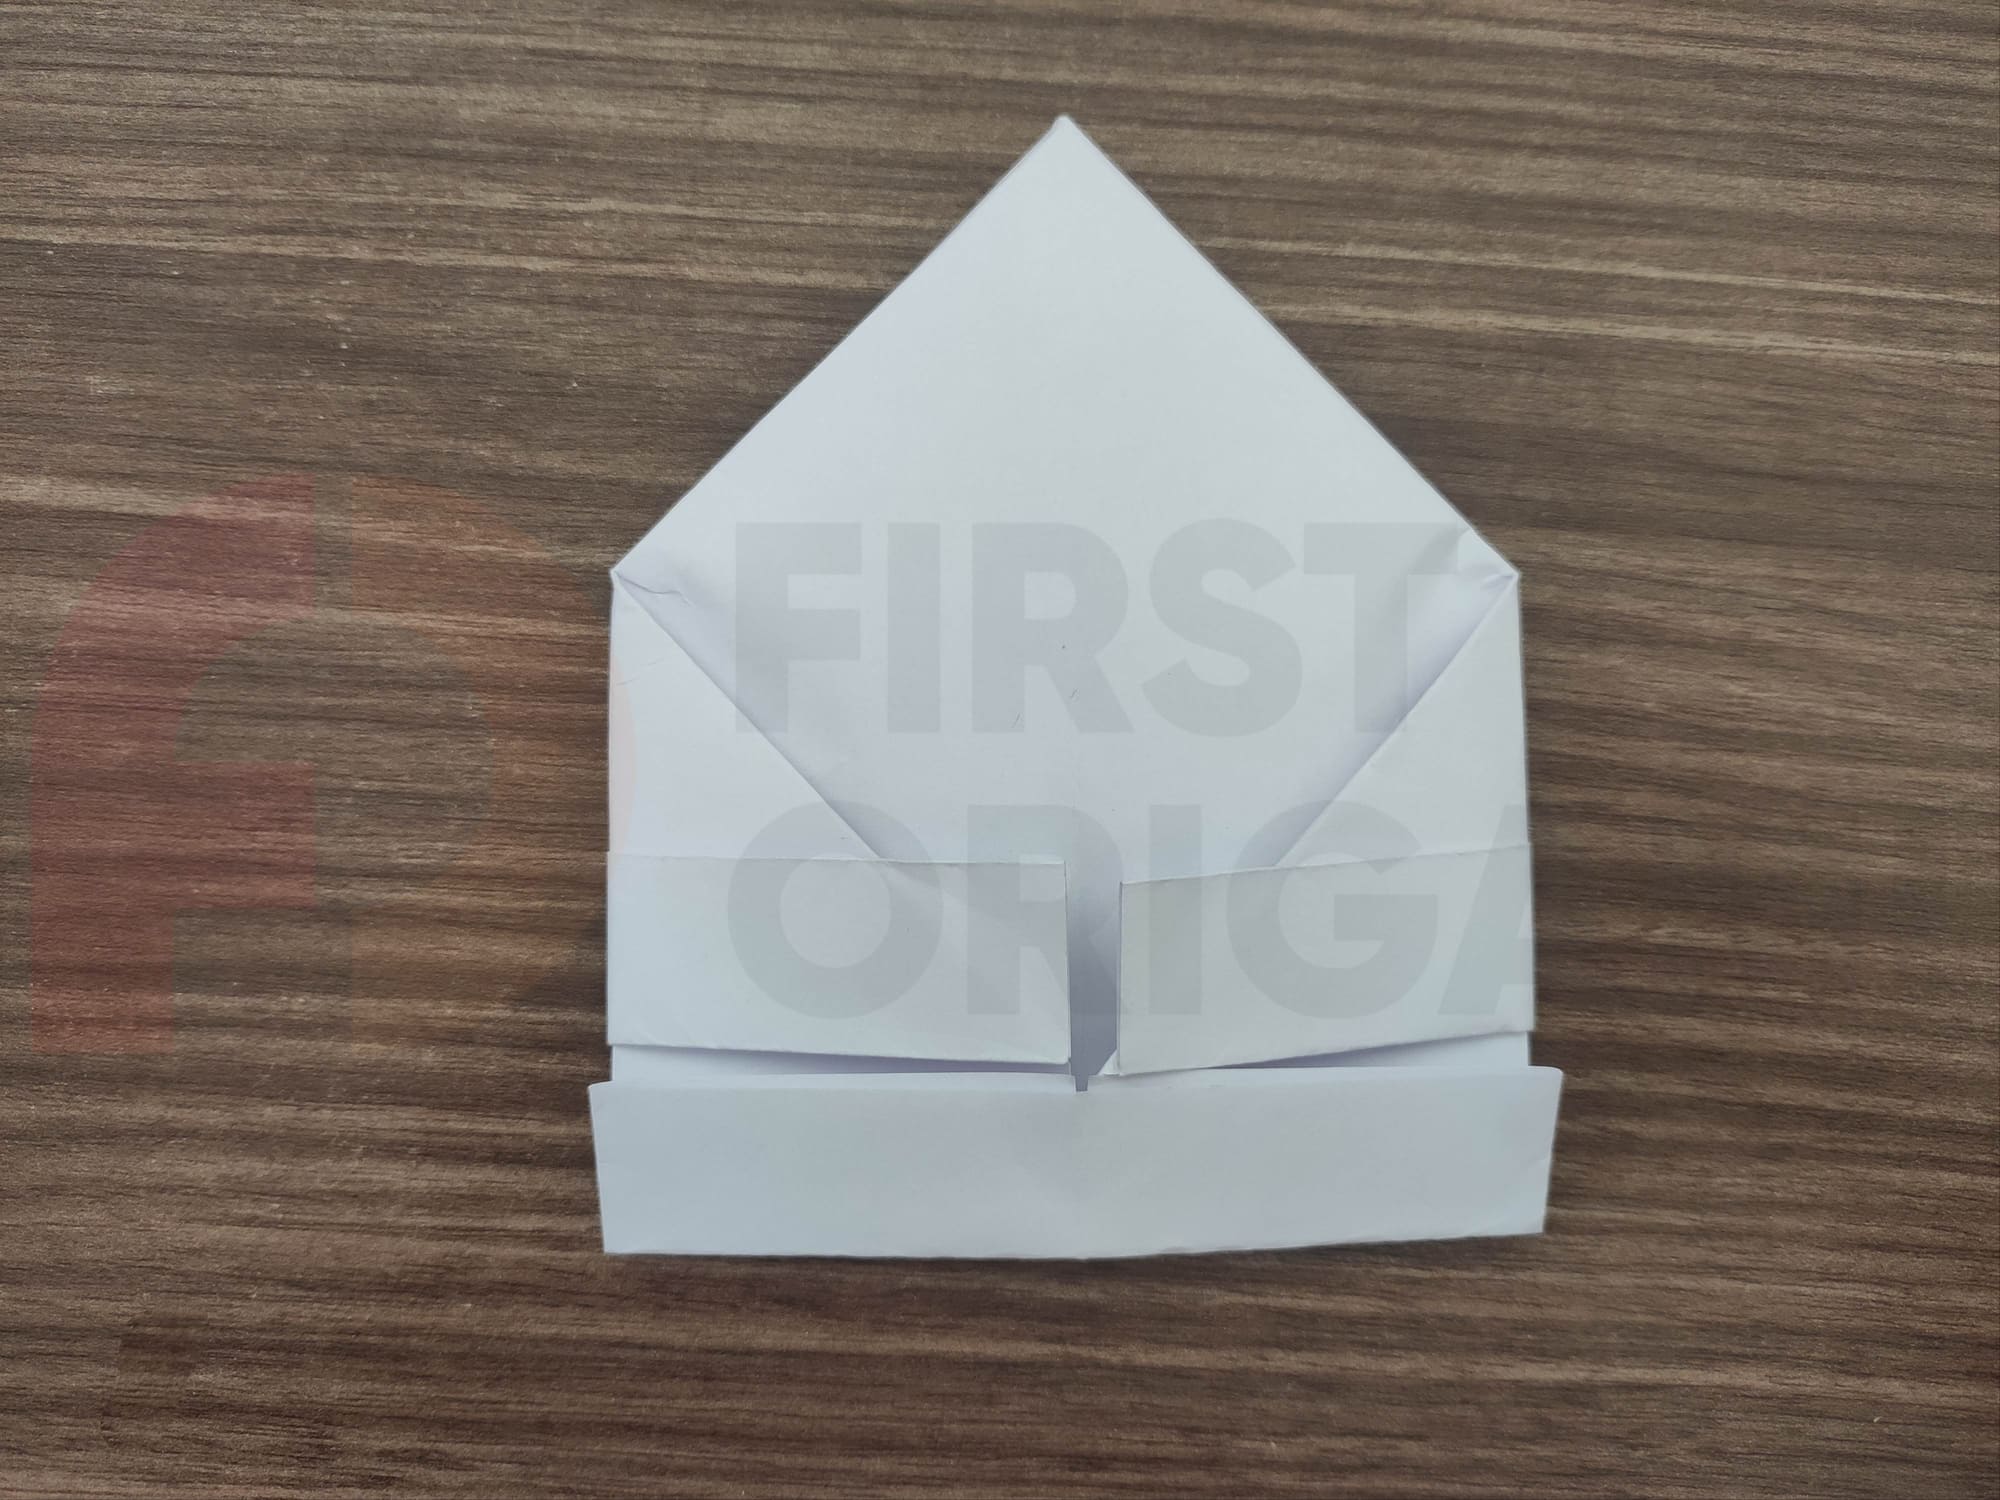
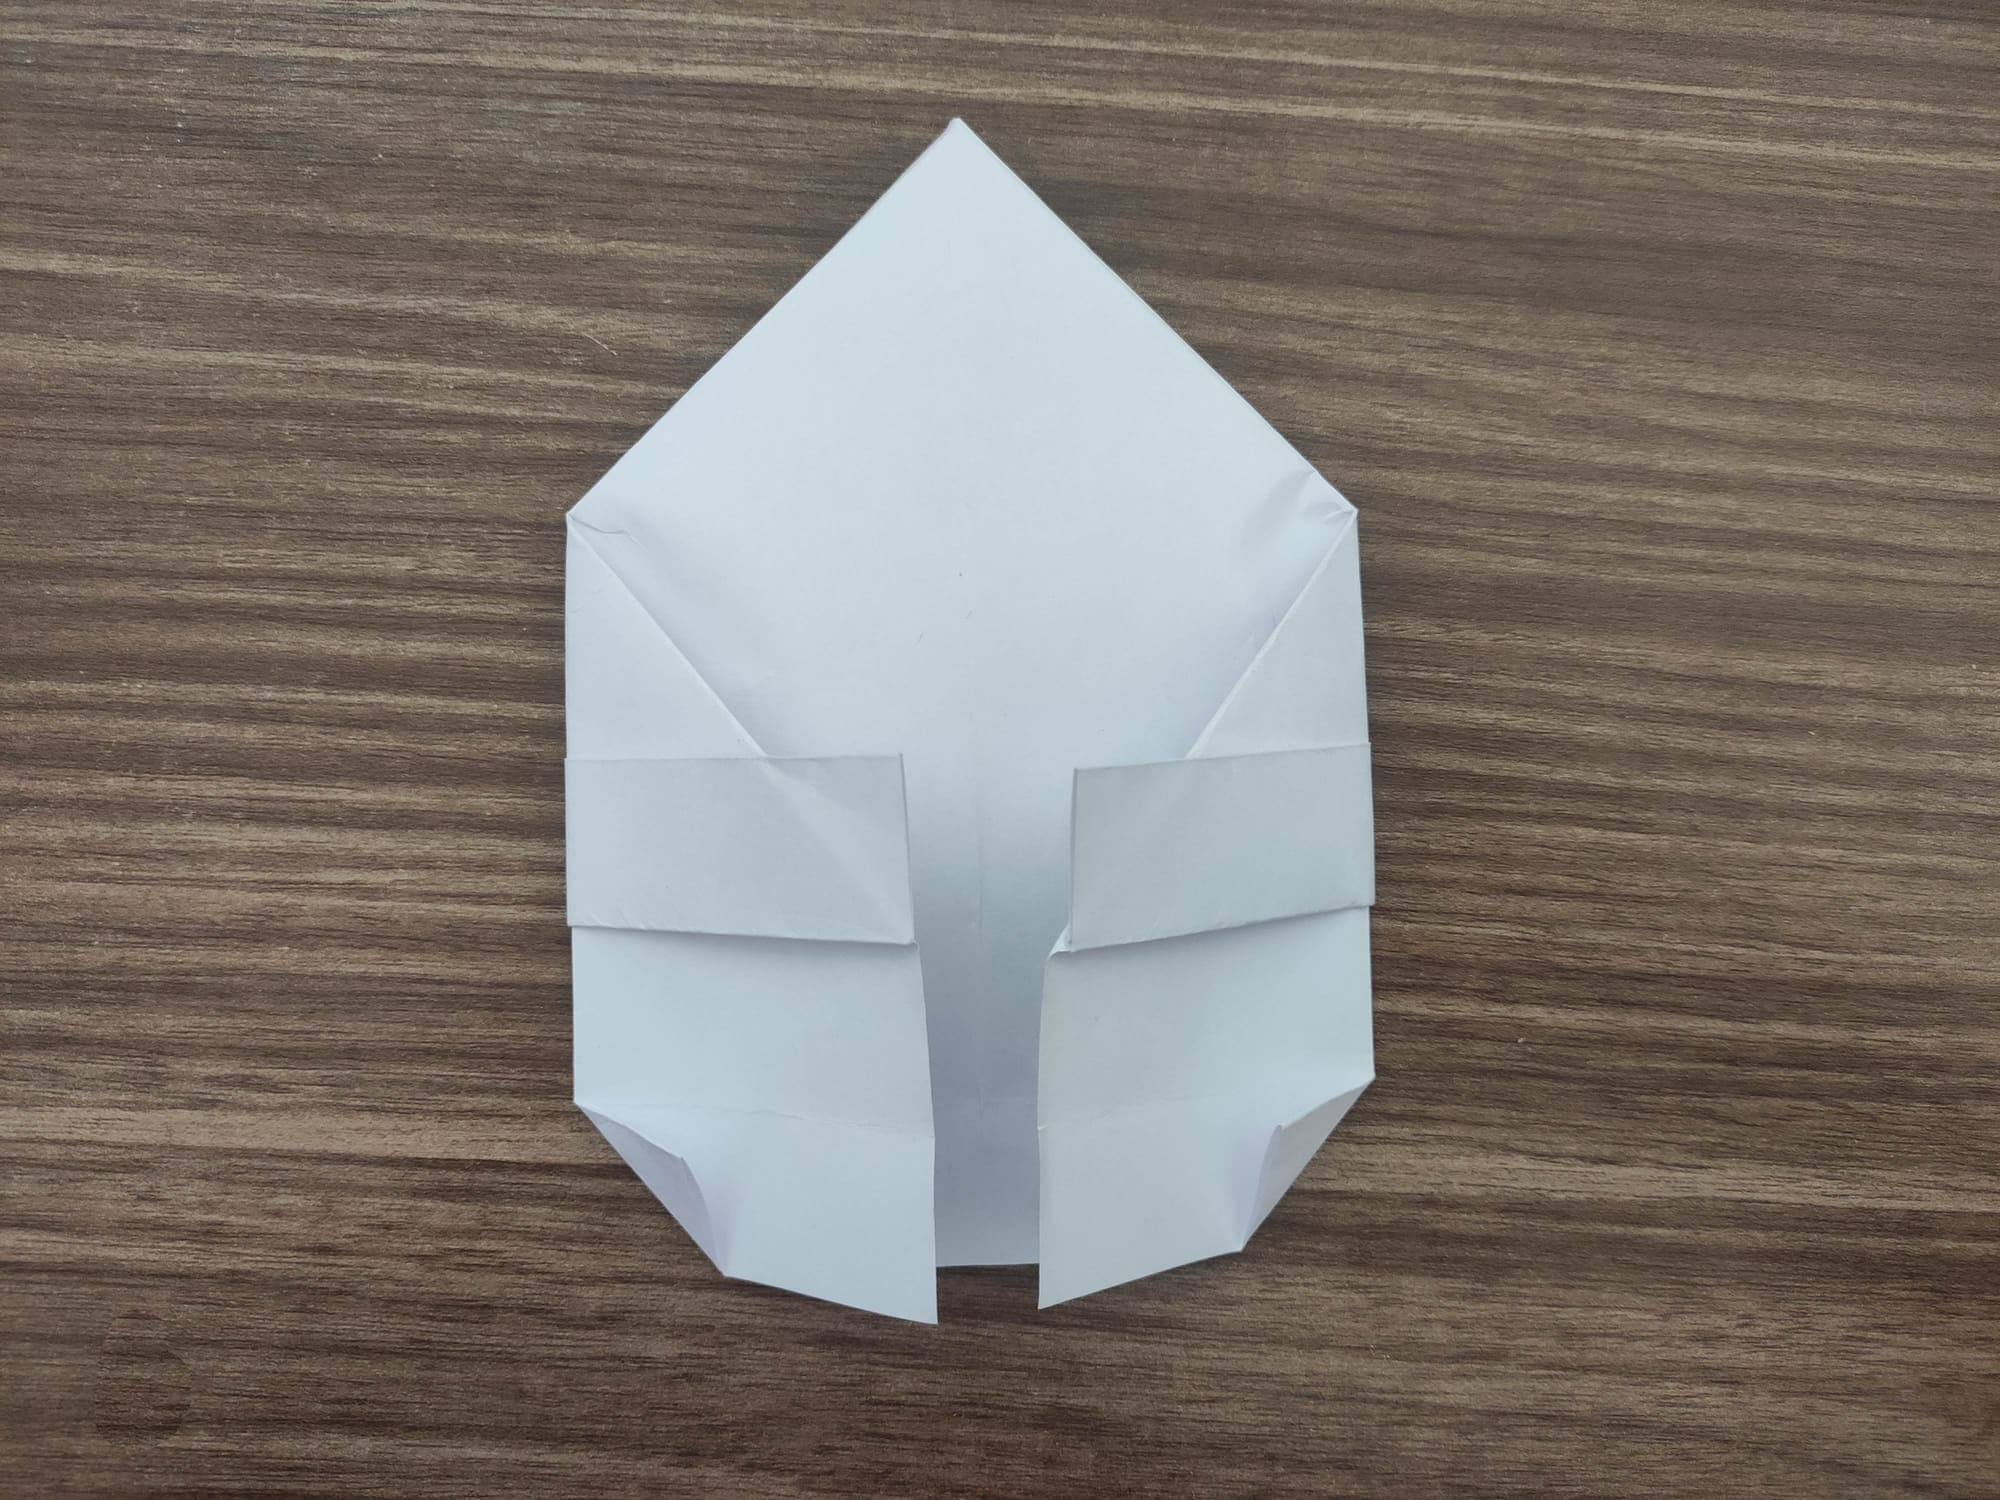
The mitre is almost ready. Tuck it under the bottom layer for better hold!

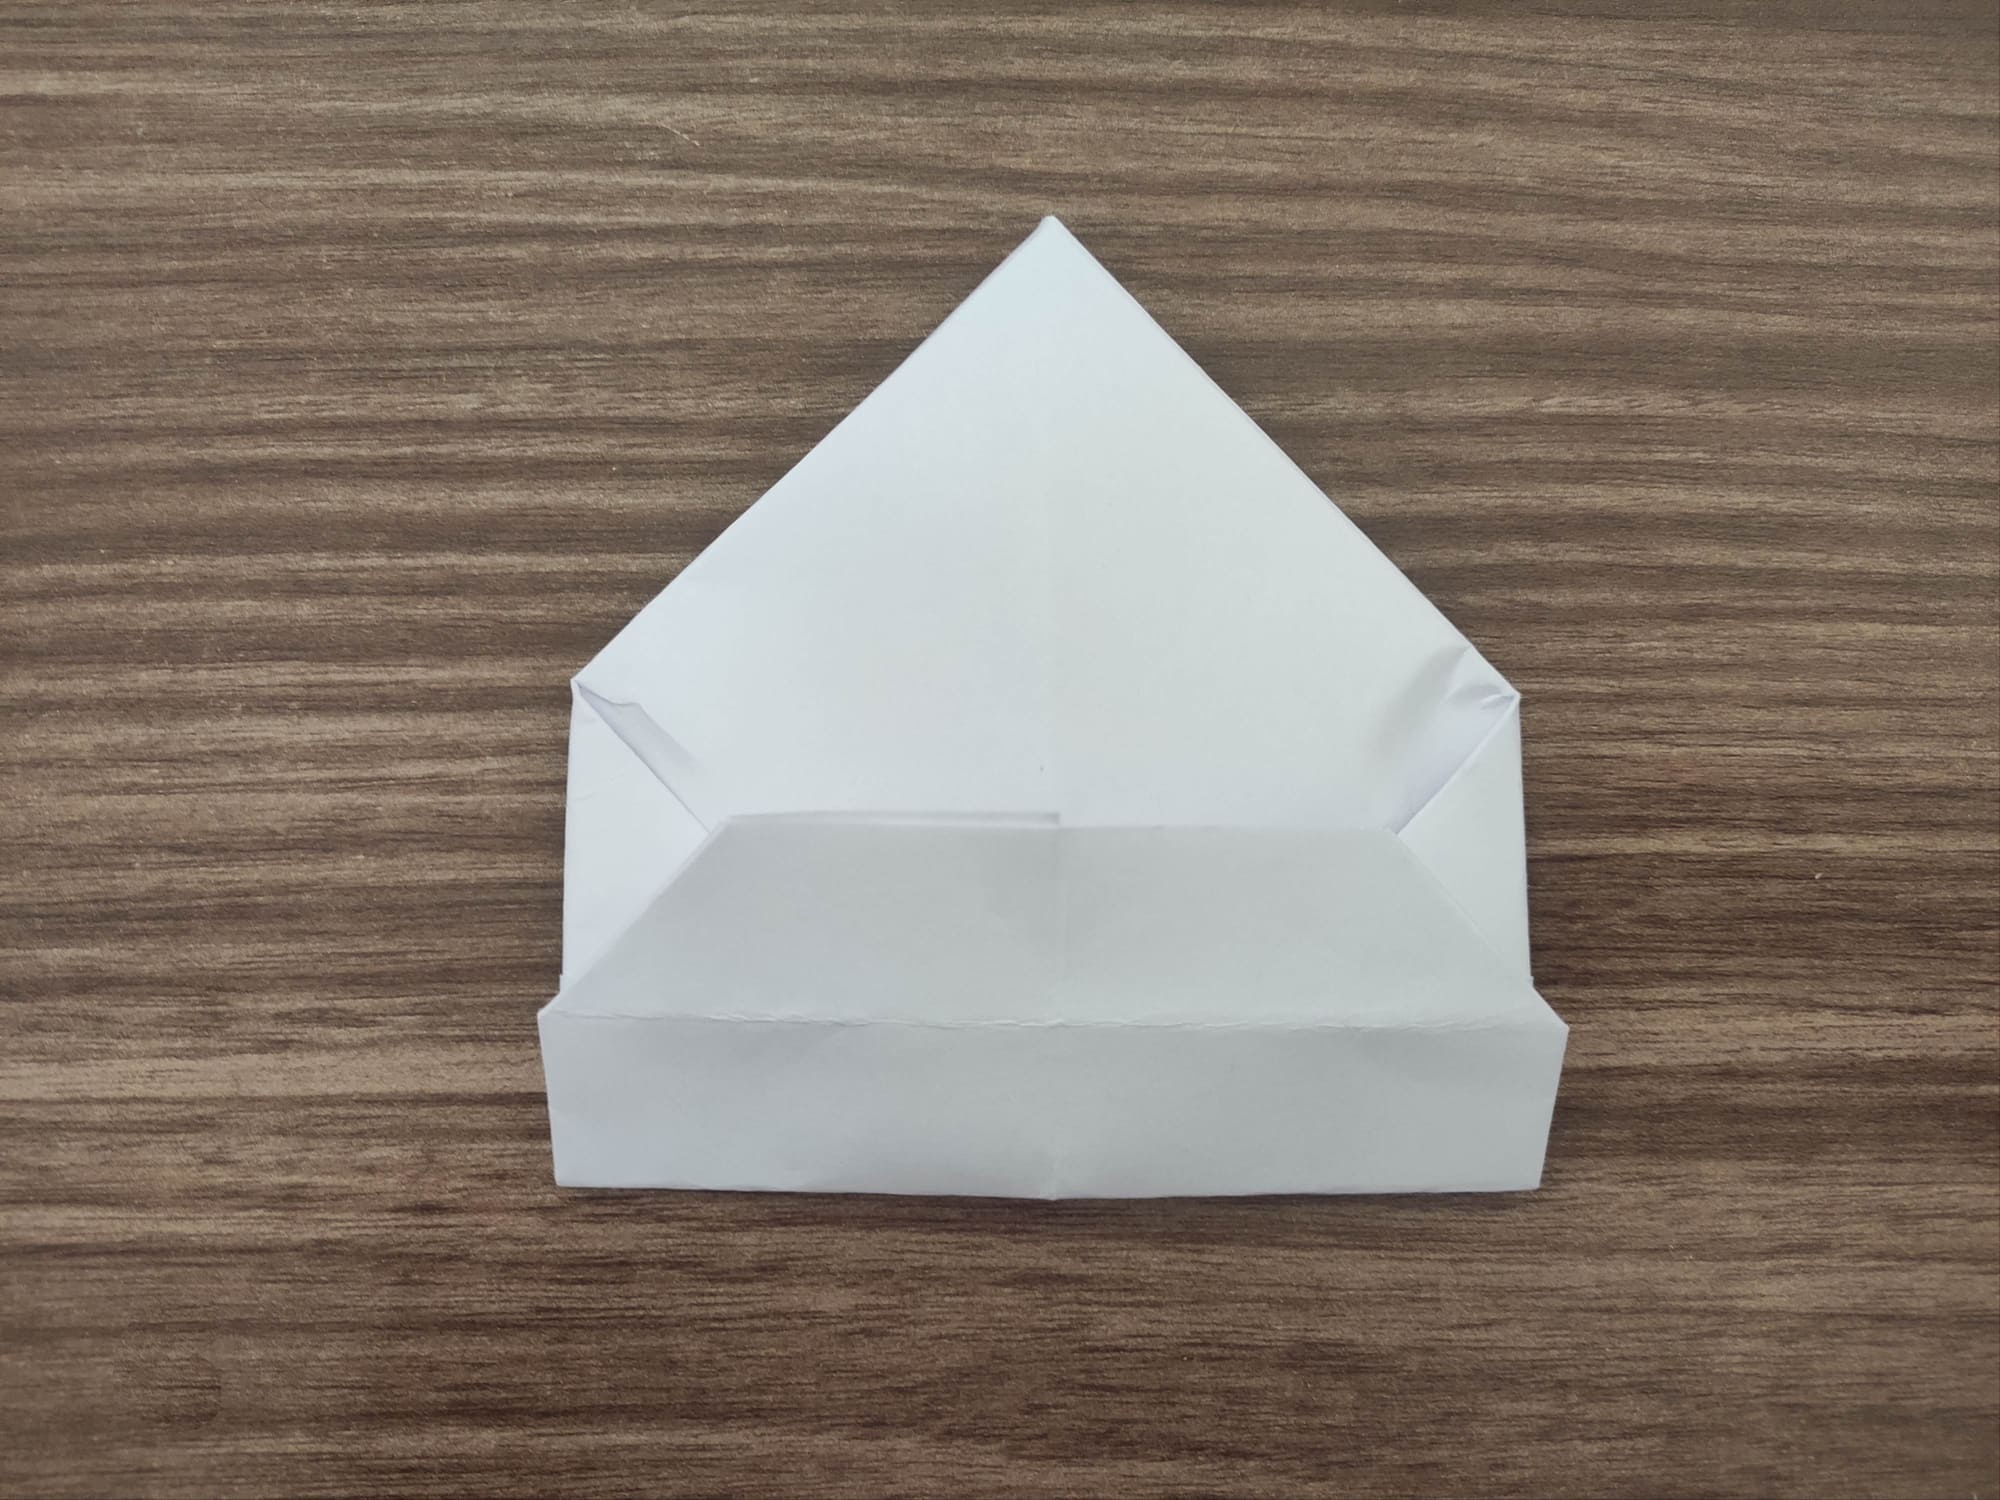
Open the base. The bishop’s mitre is in front of you. Curious, right?
Of course, a miter made of A4 paper will not fit on a human head. H if you make it from a newspaper… Try it!


