Origami Box with Cover
On our site, you may have already seen the instructions for making an origami box. But in some cases, the box needs to be securely closed – for example, if you store candies there and do not want them to fall apart. The lid is folded a little differently than the box itself.
You will need the same classic origami paper of 15×15 cm that you used to make the box. But we will help you fold it so that the lid fits the box perfectly.
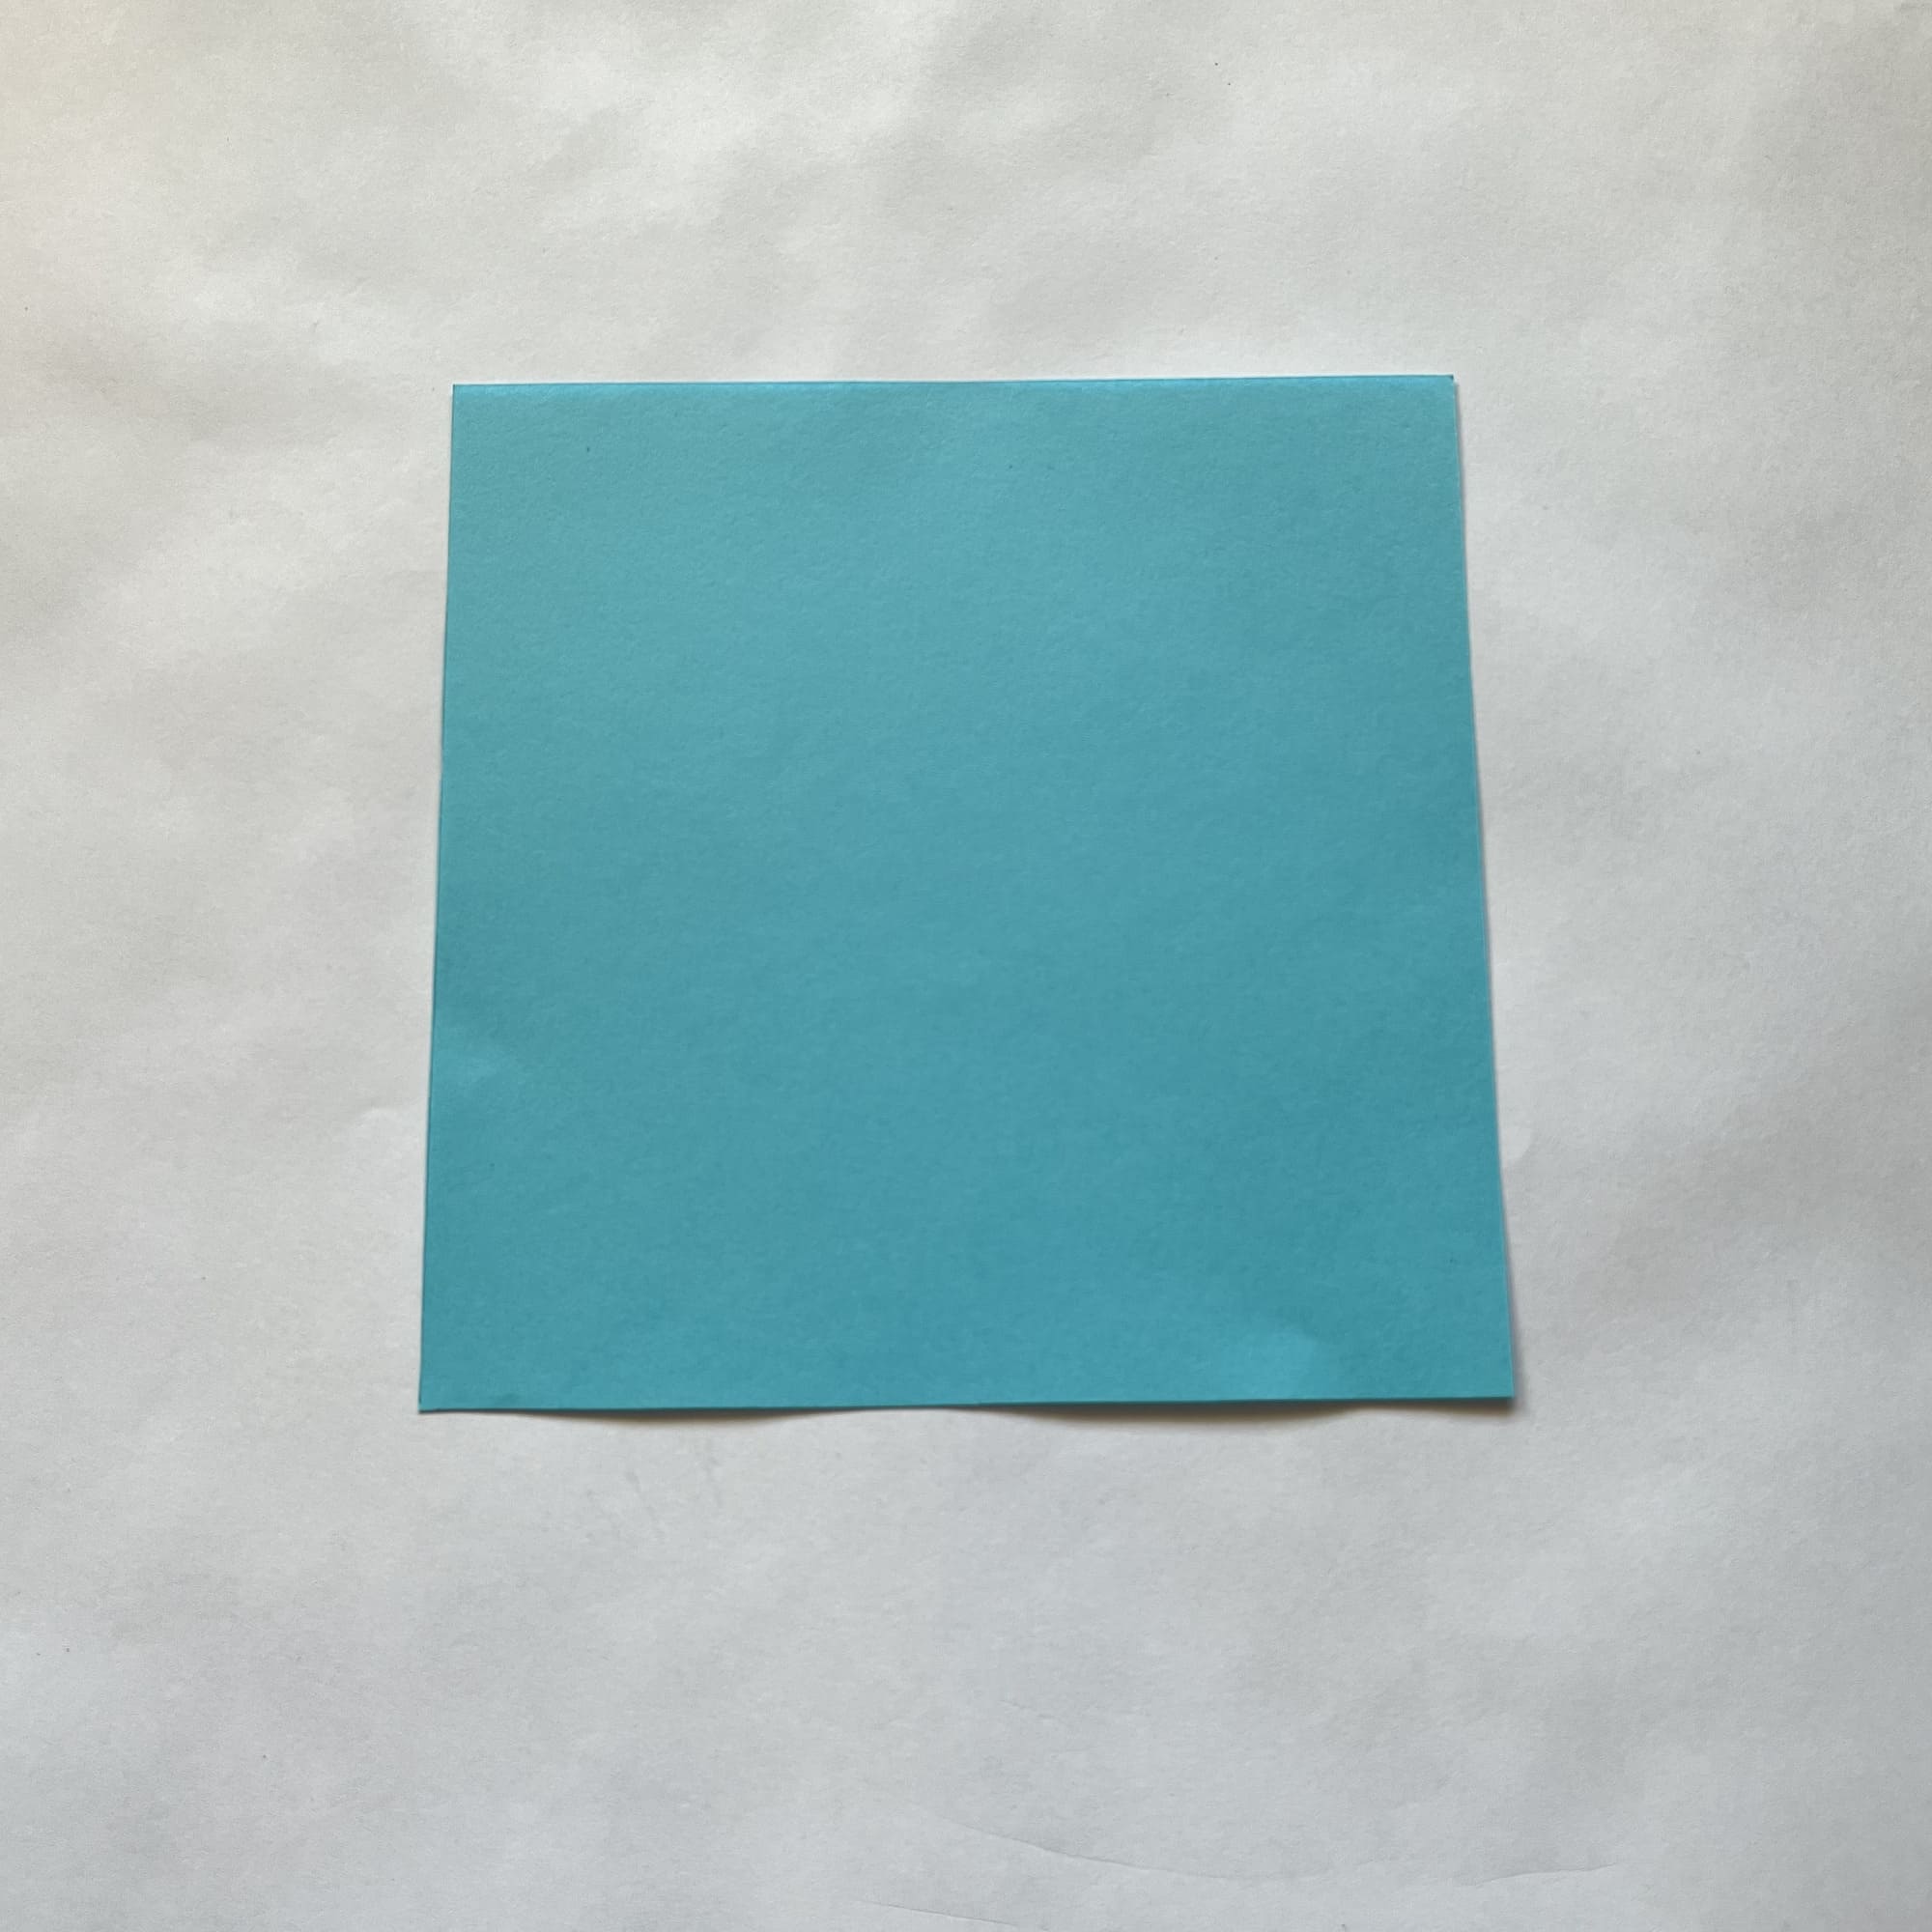
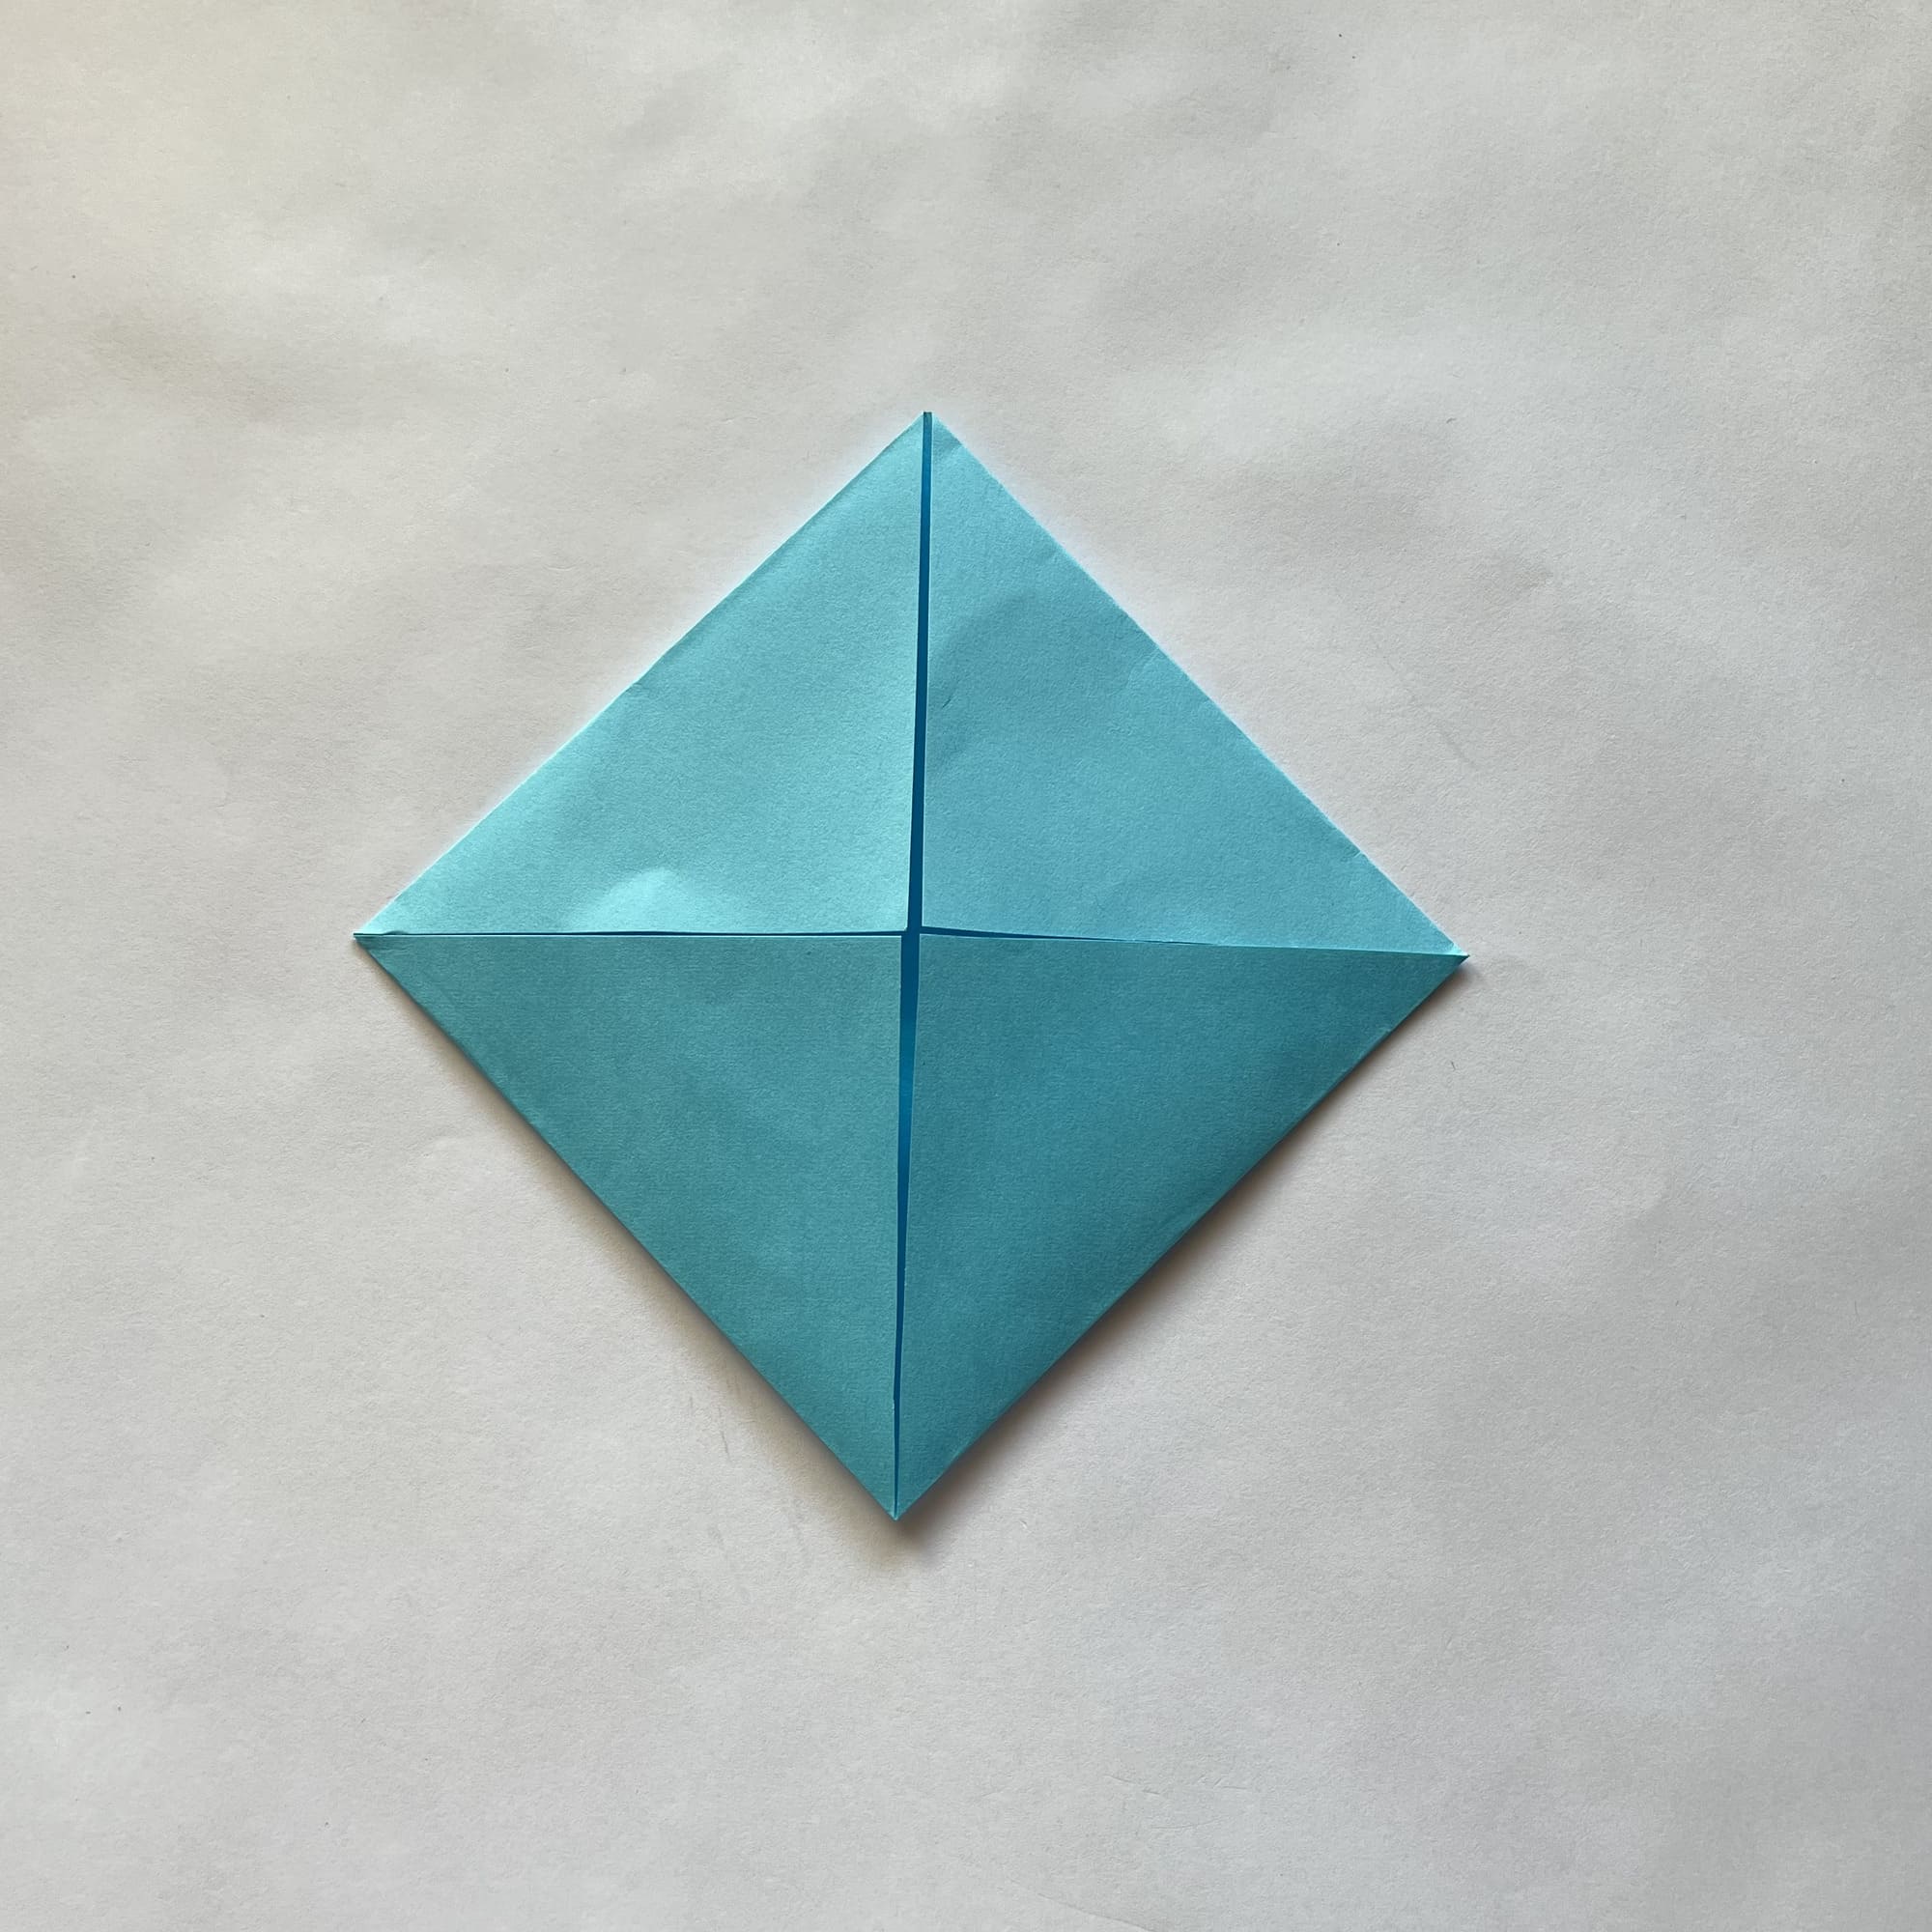
Prepare the paper, if it is one-sided, then the colored side should be at the bottom.
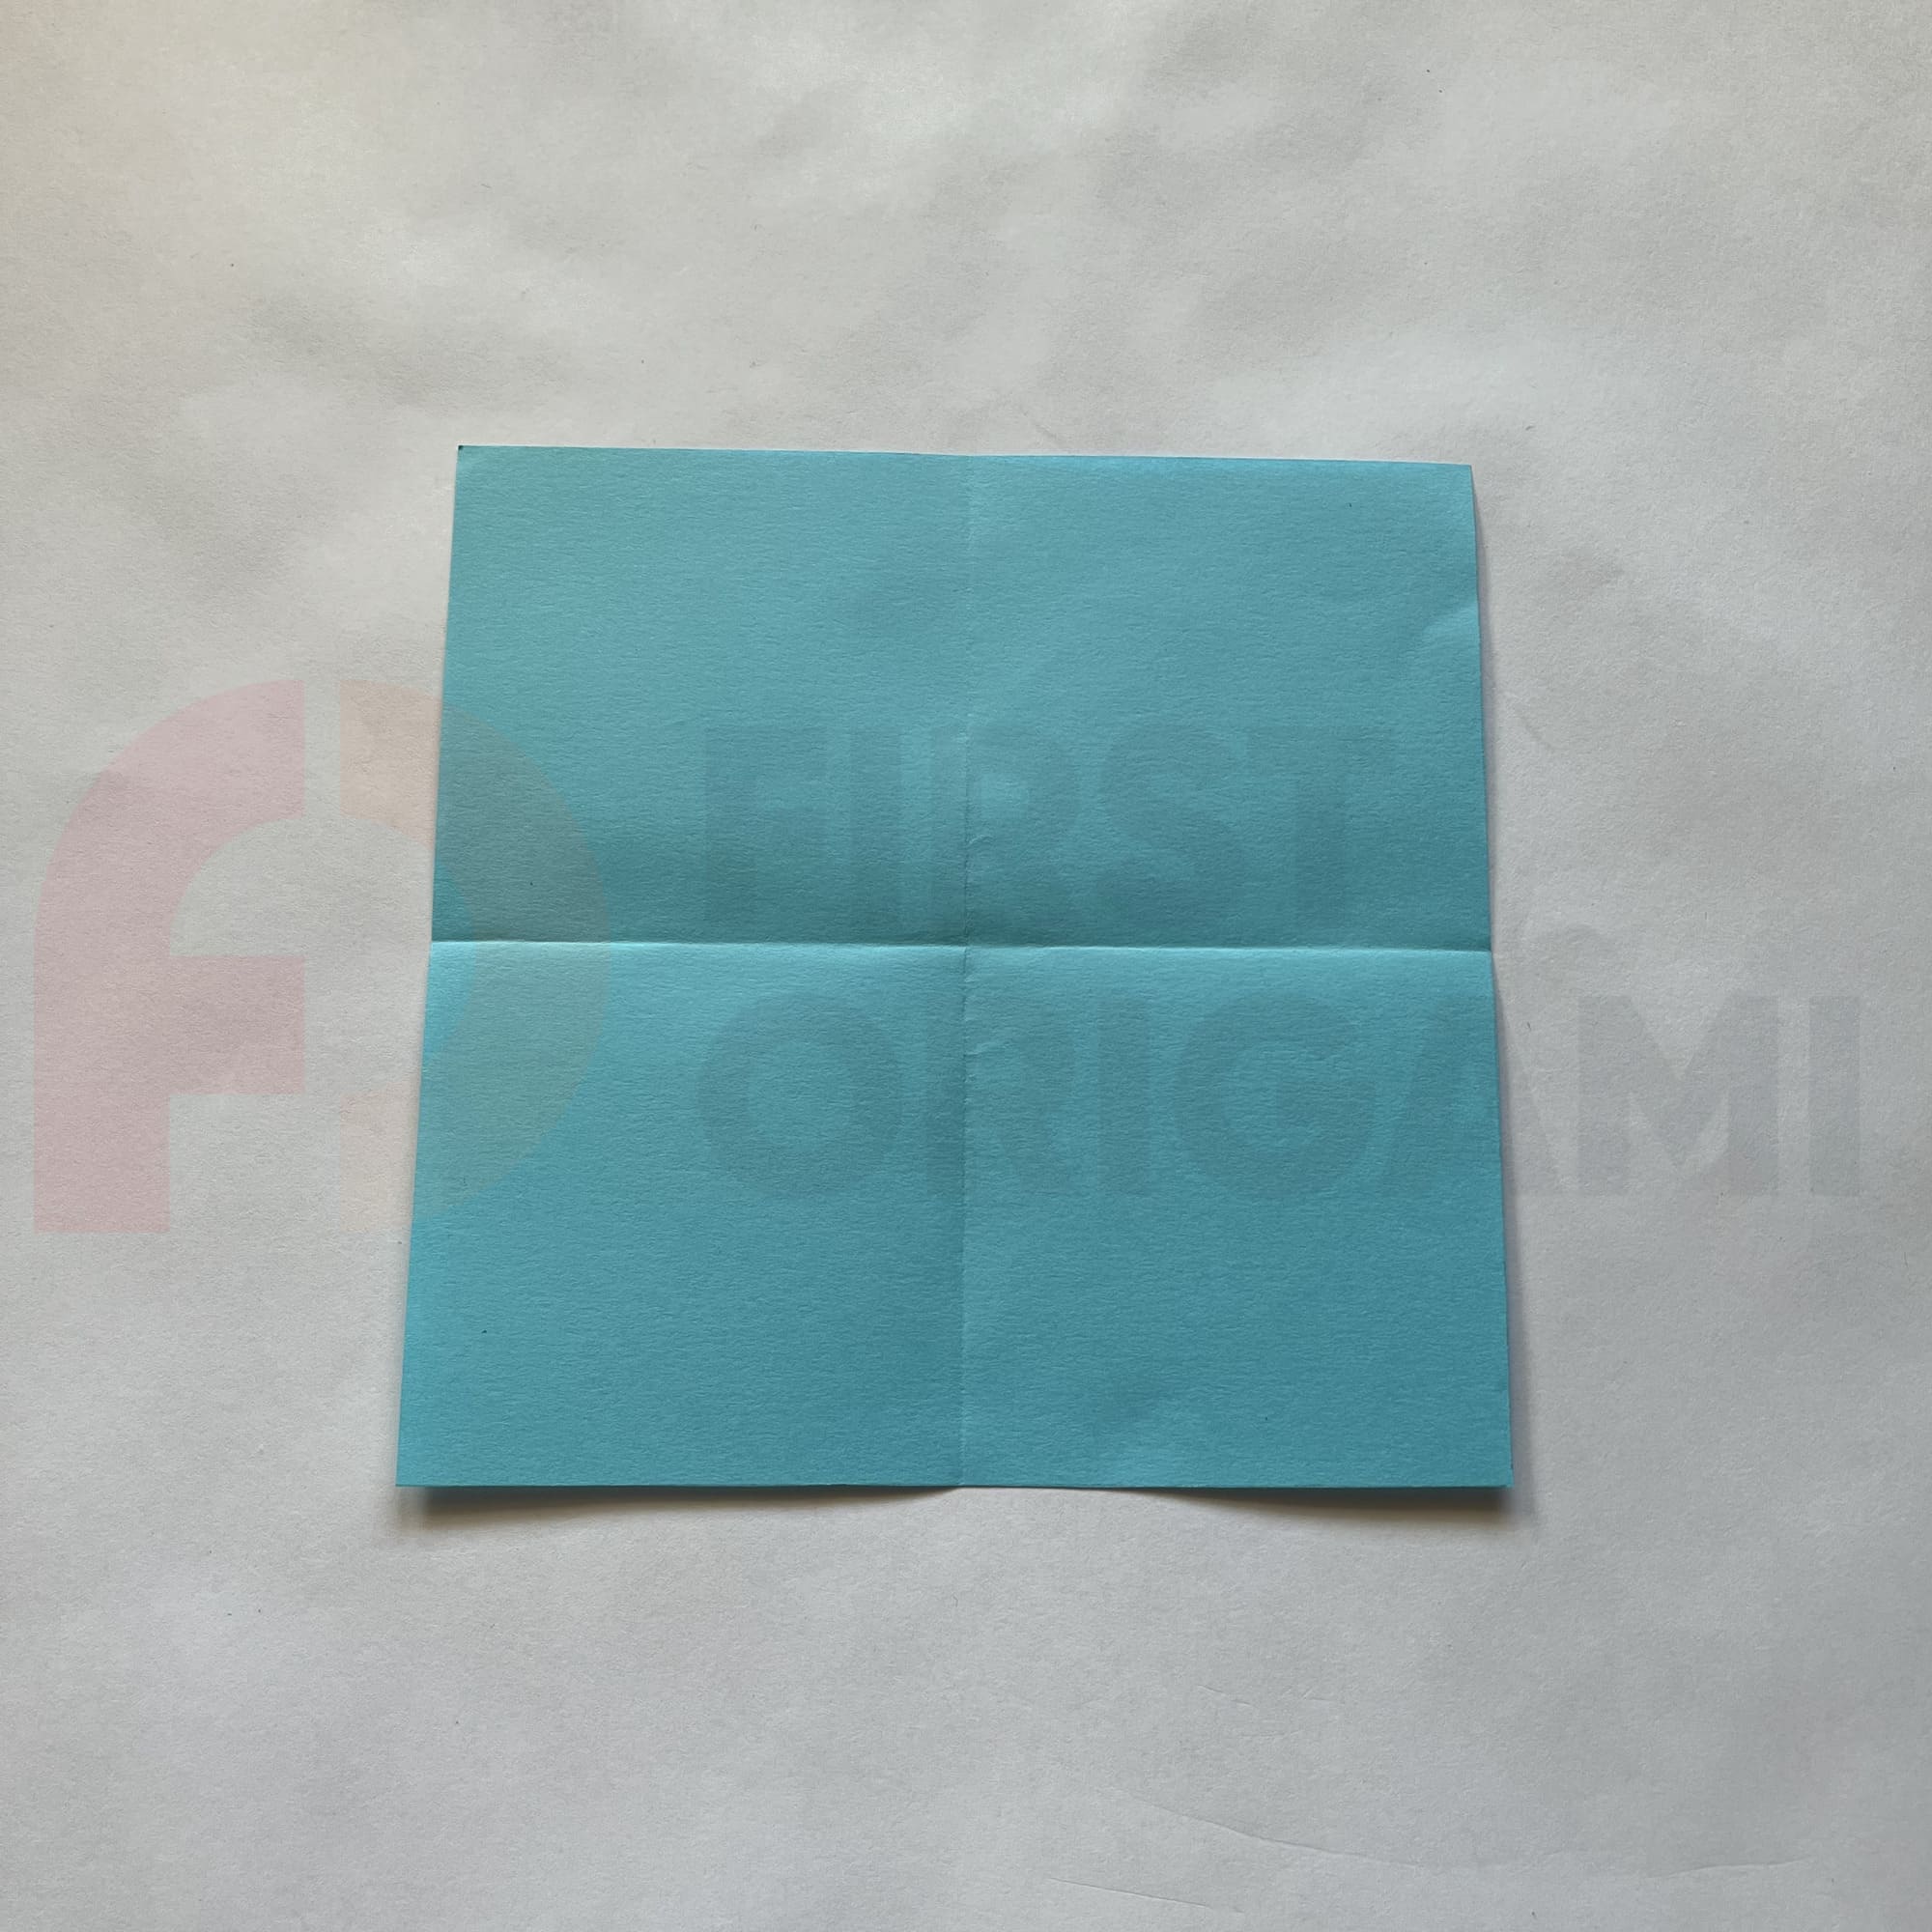
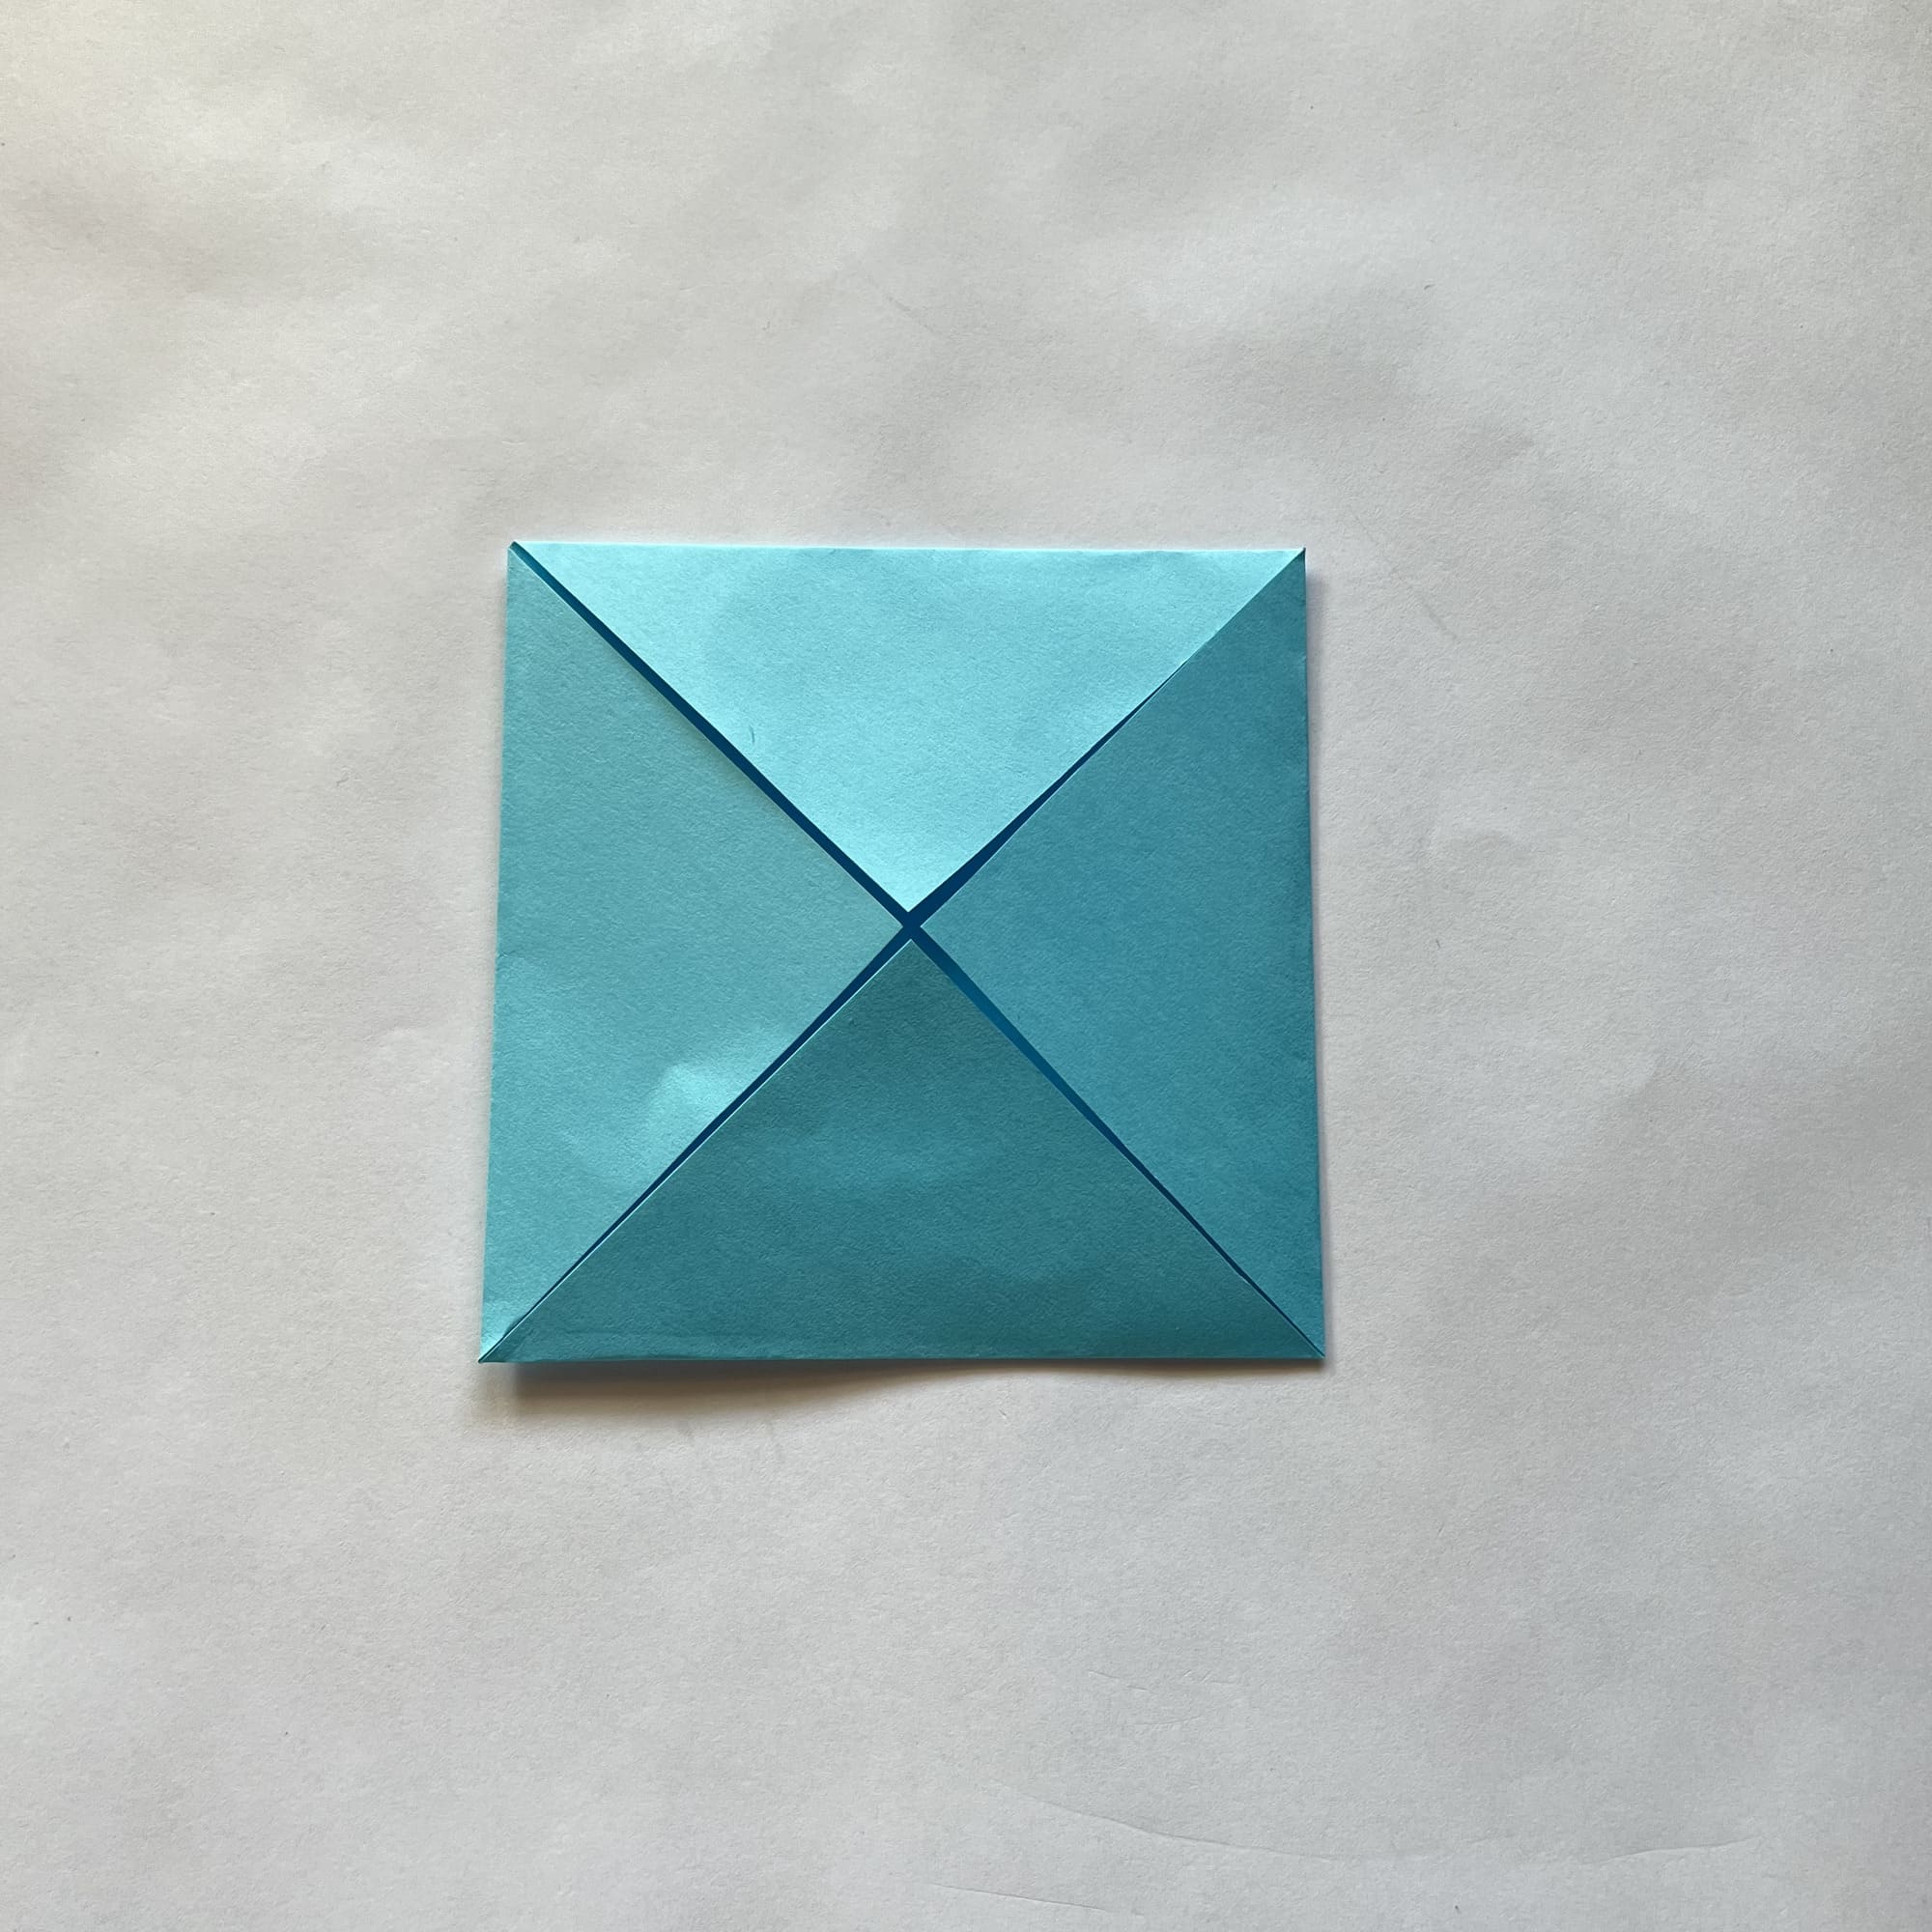
Make folds on the vertical and horizontal axis, then unfold the paper.
Bend the four corners to the center point.
Next, you need to bend the top and bottom parts to the center, but be careful: fold the paper so that the edges do not reach the center line 2-3 mm.
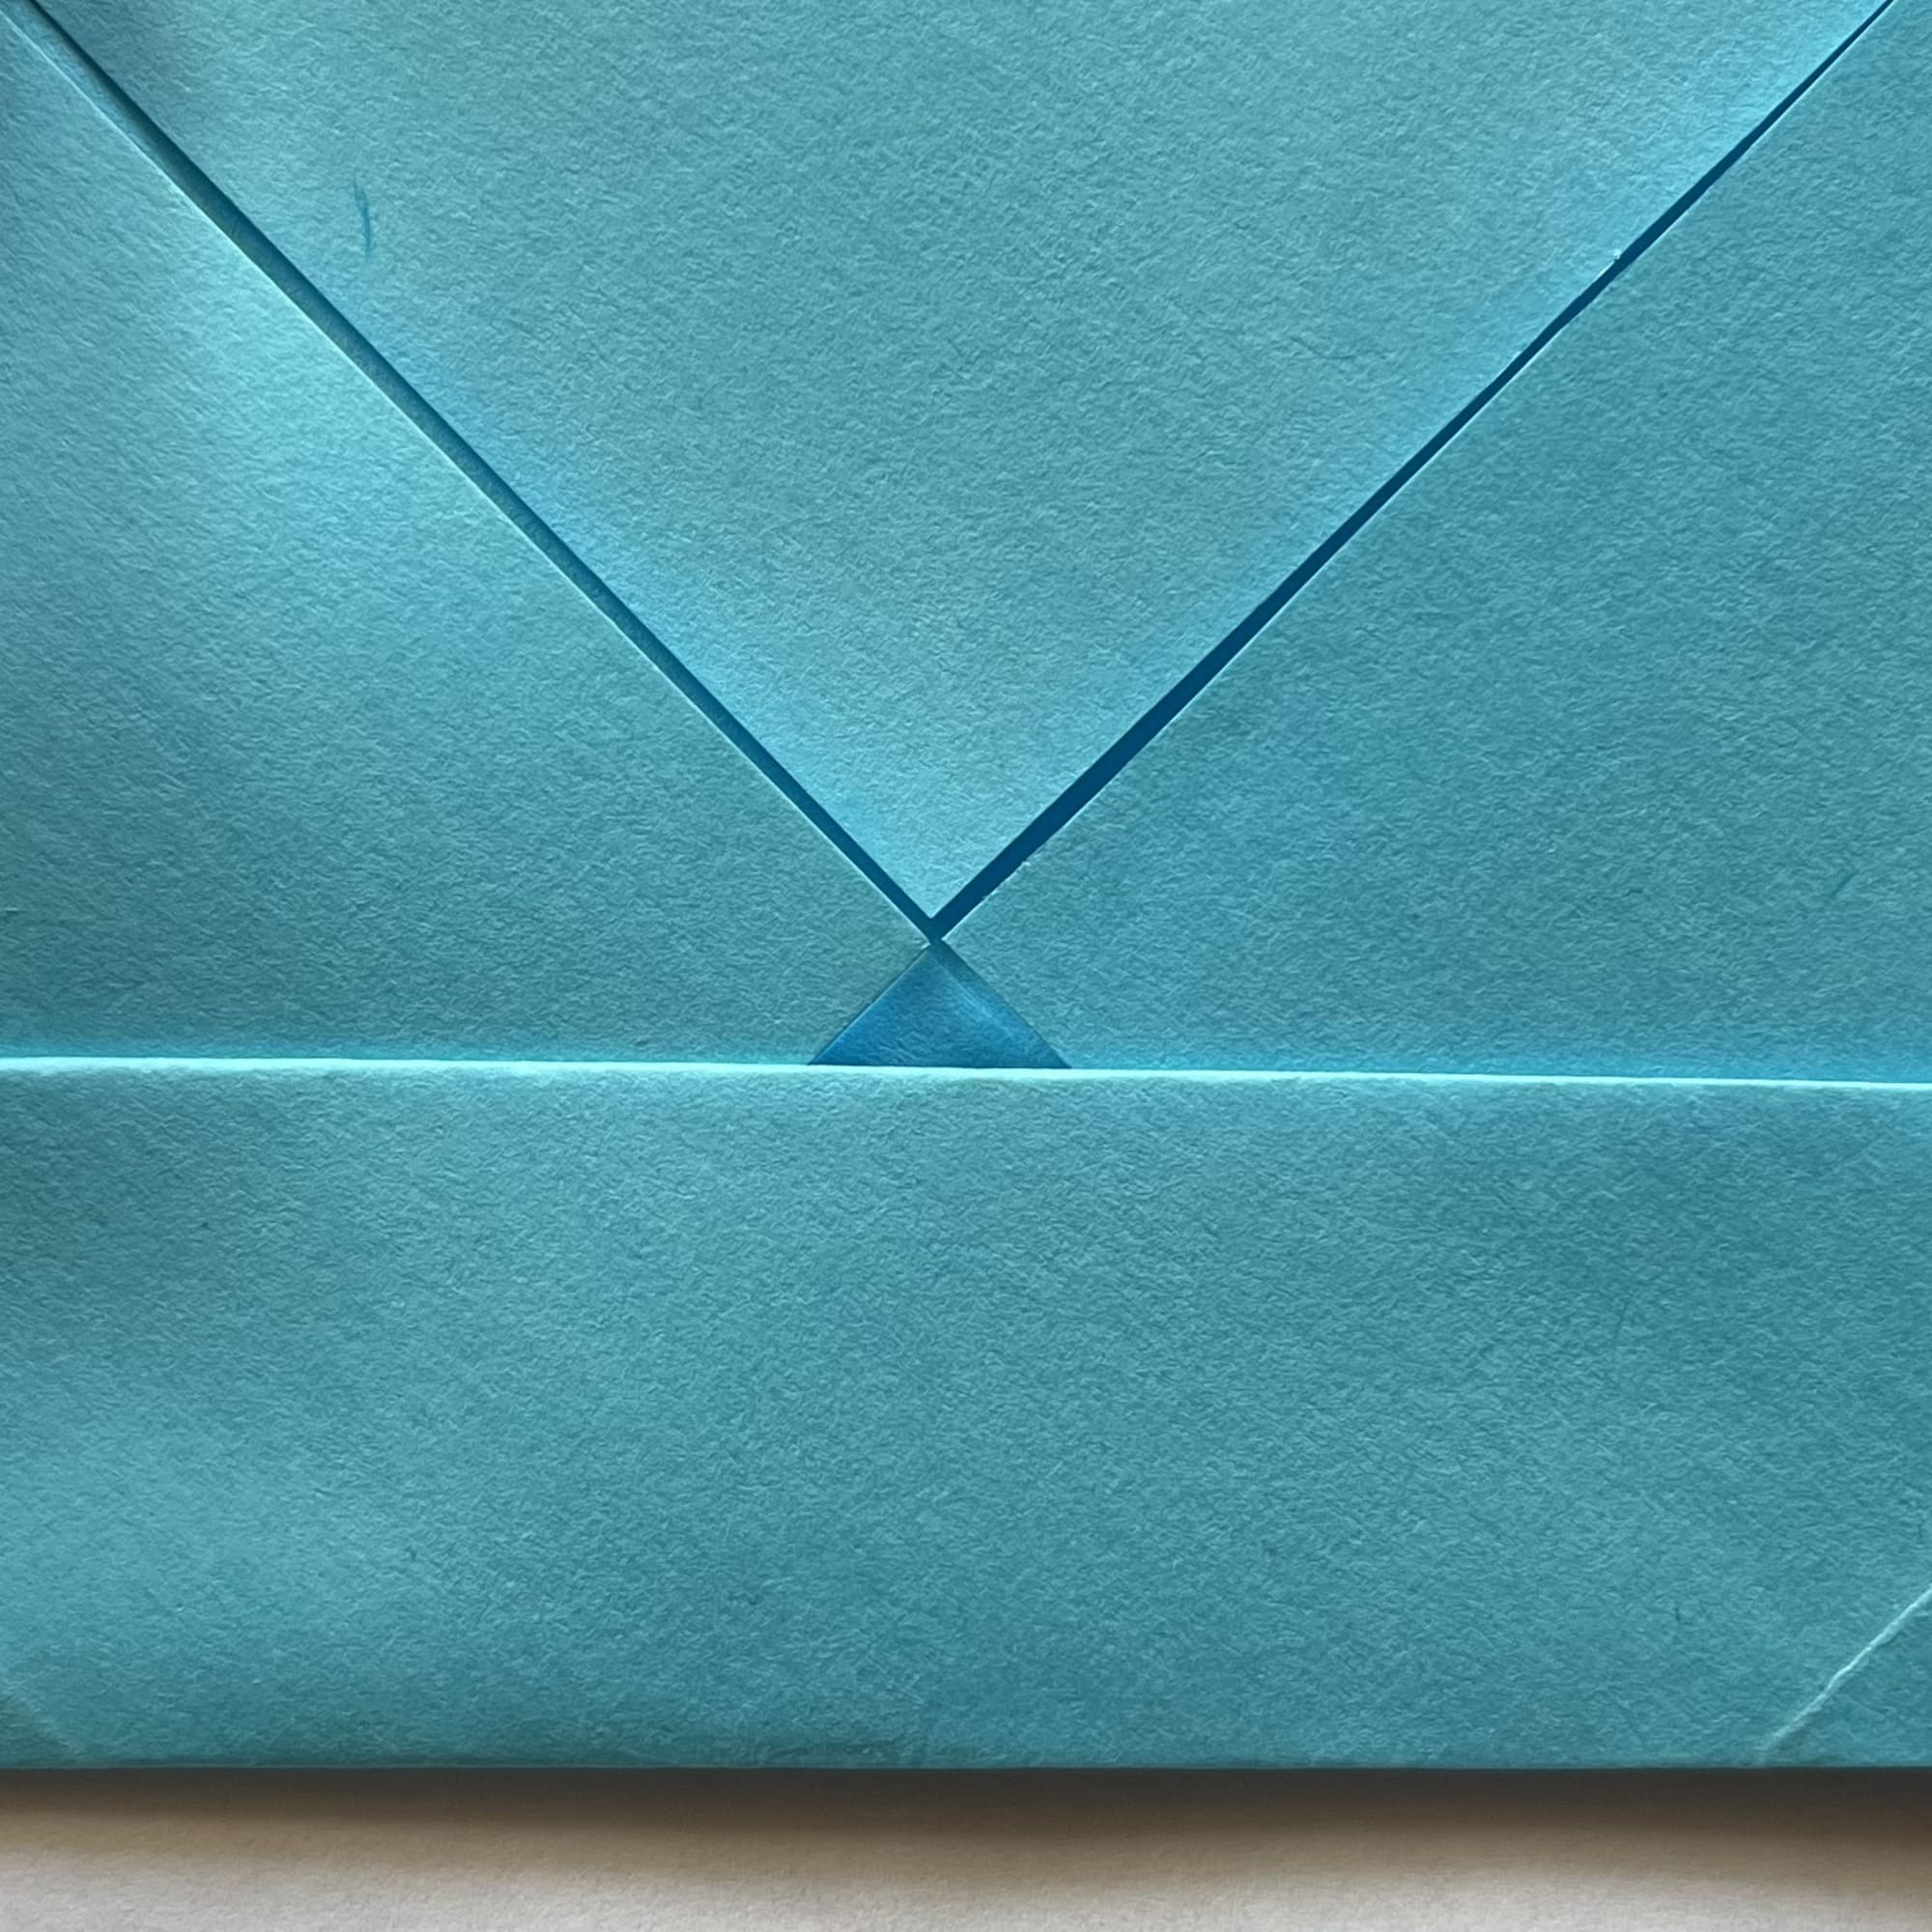
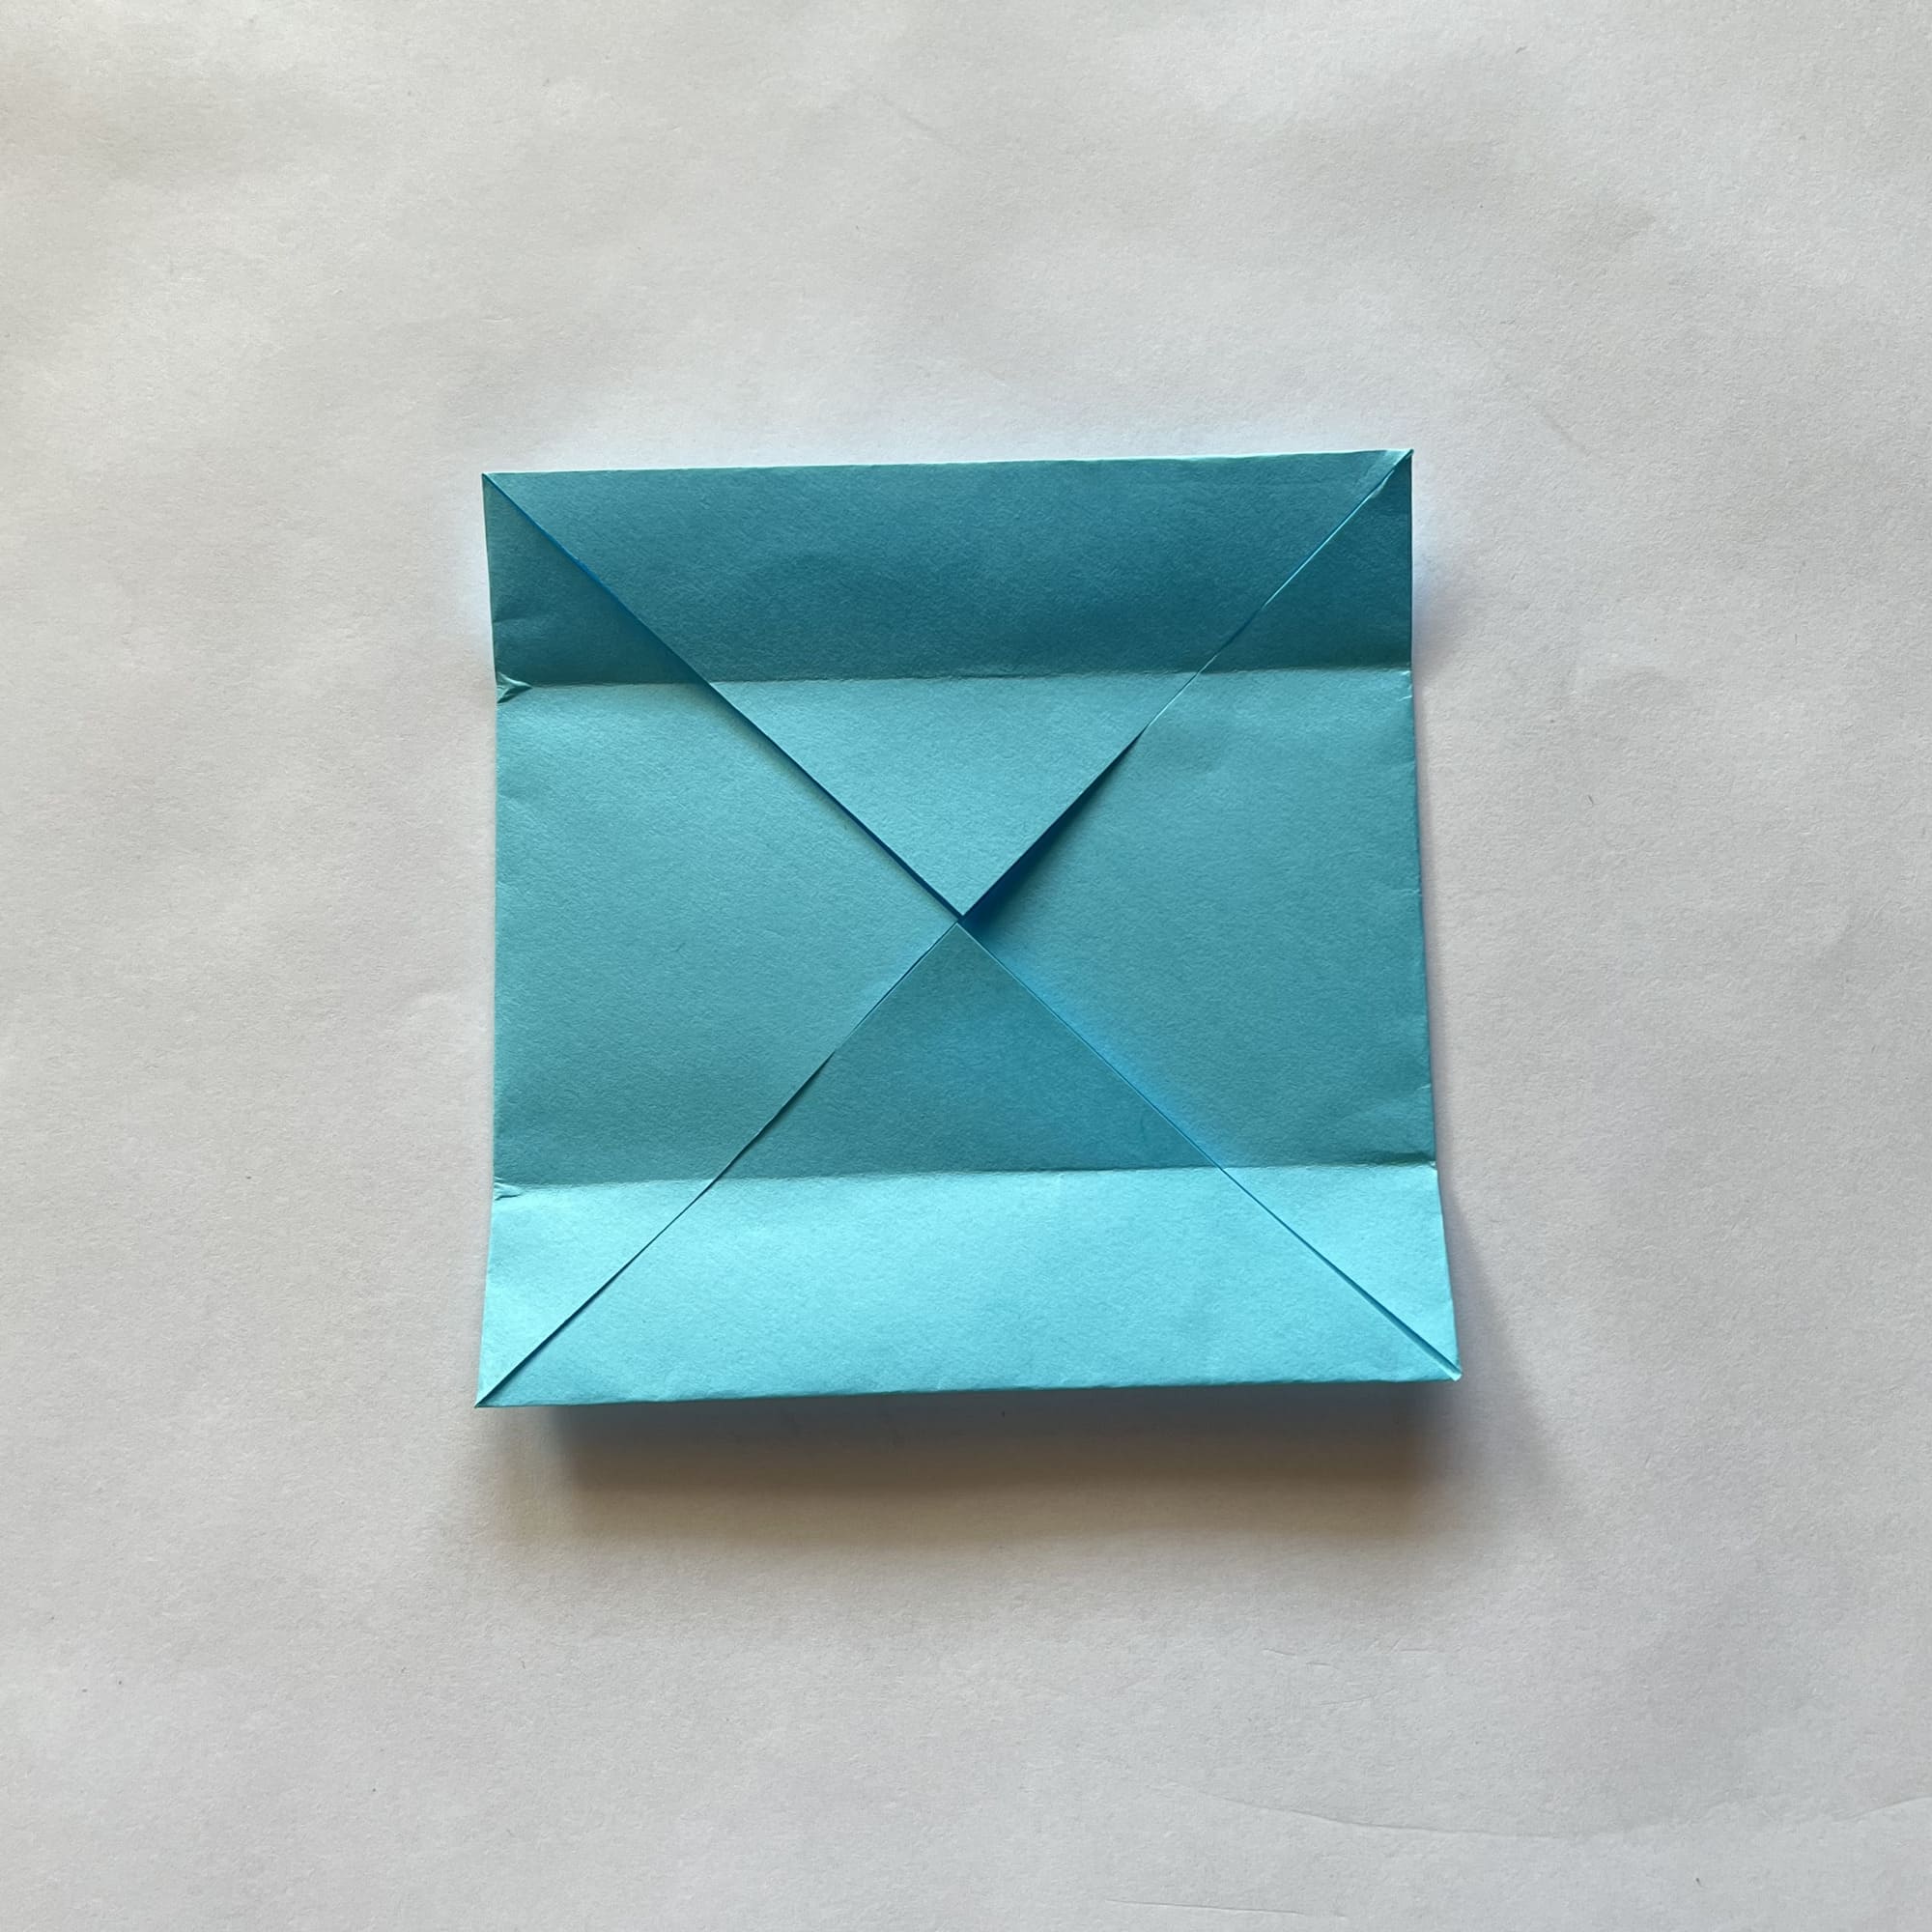
Work through the folds, unfold.
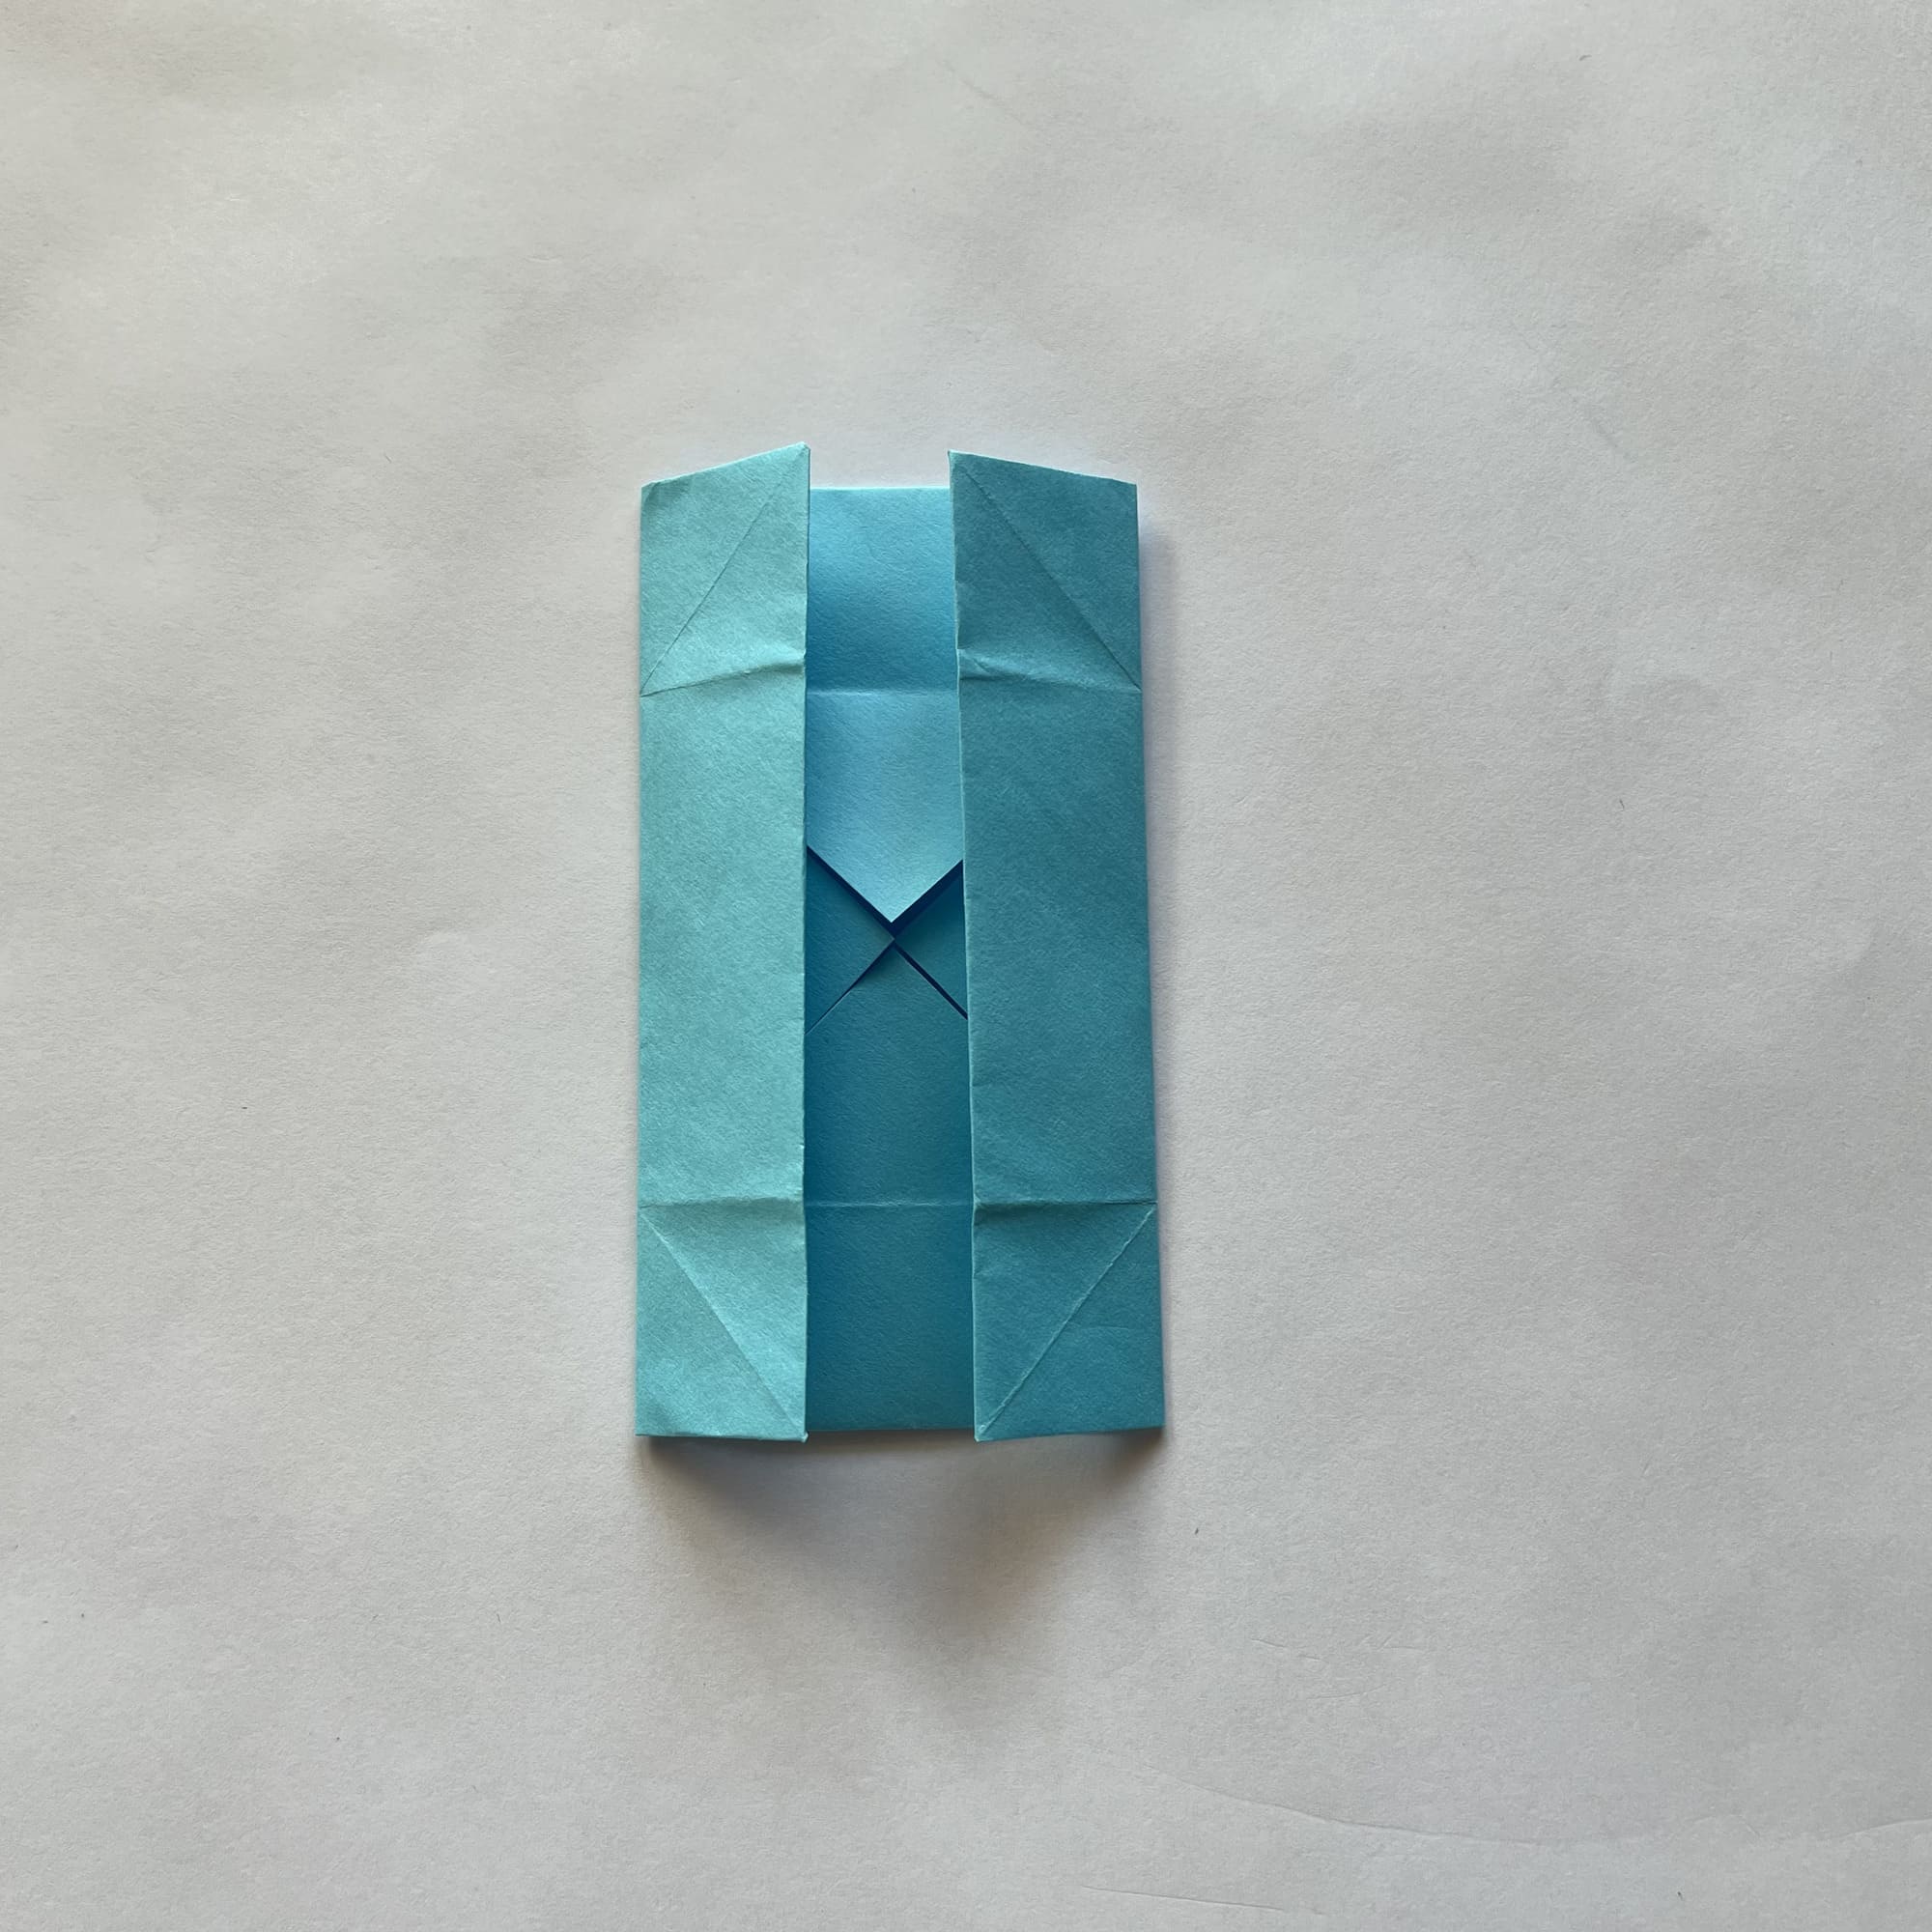
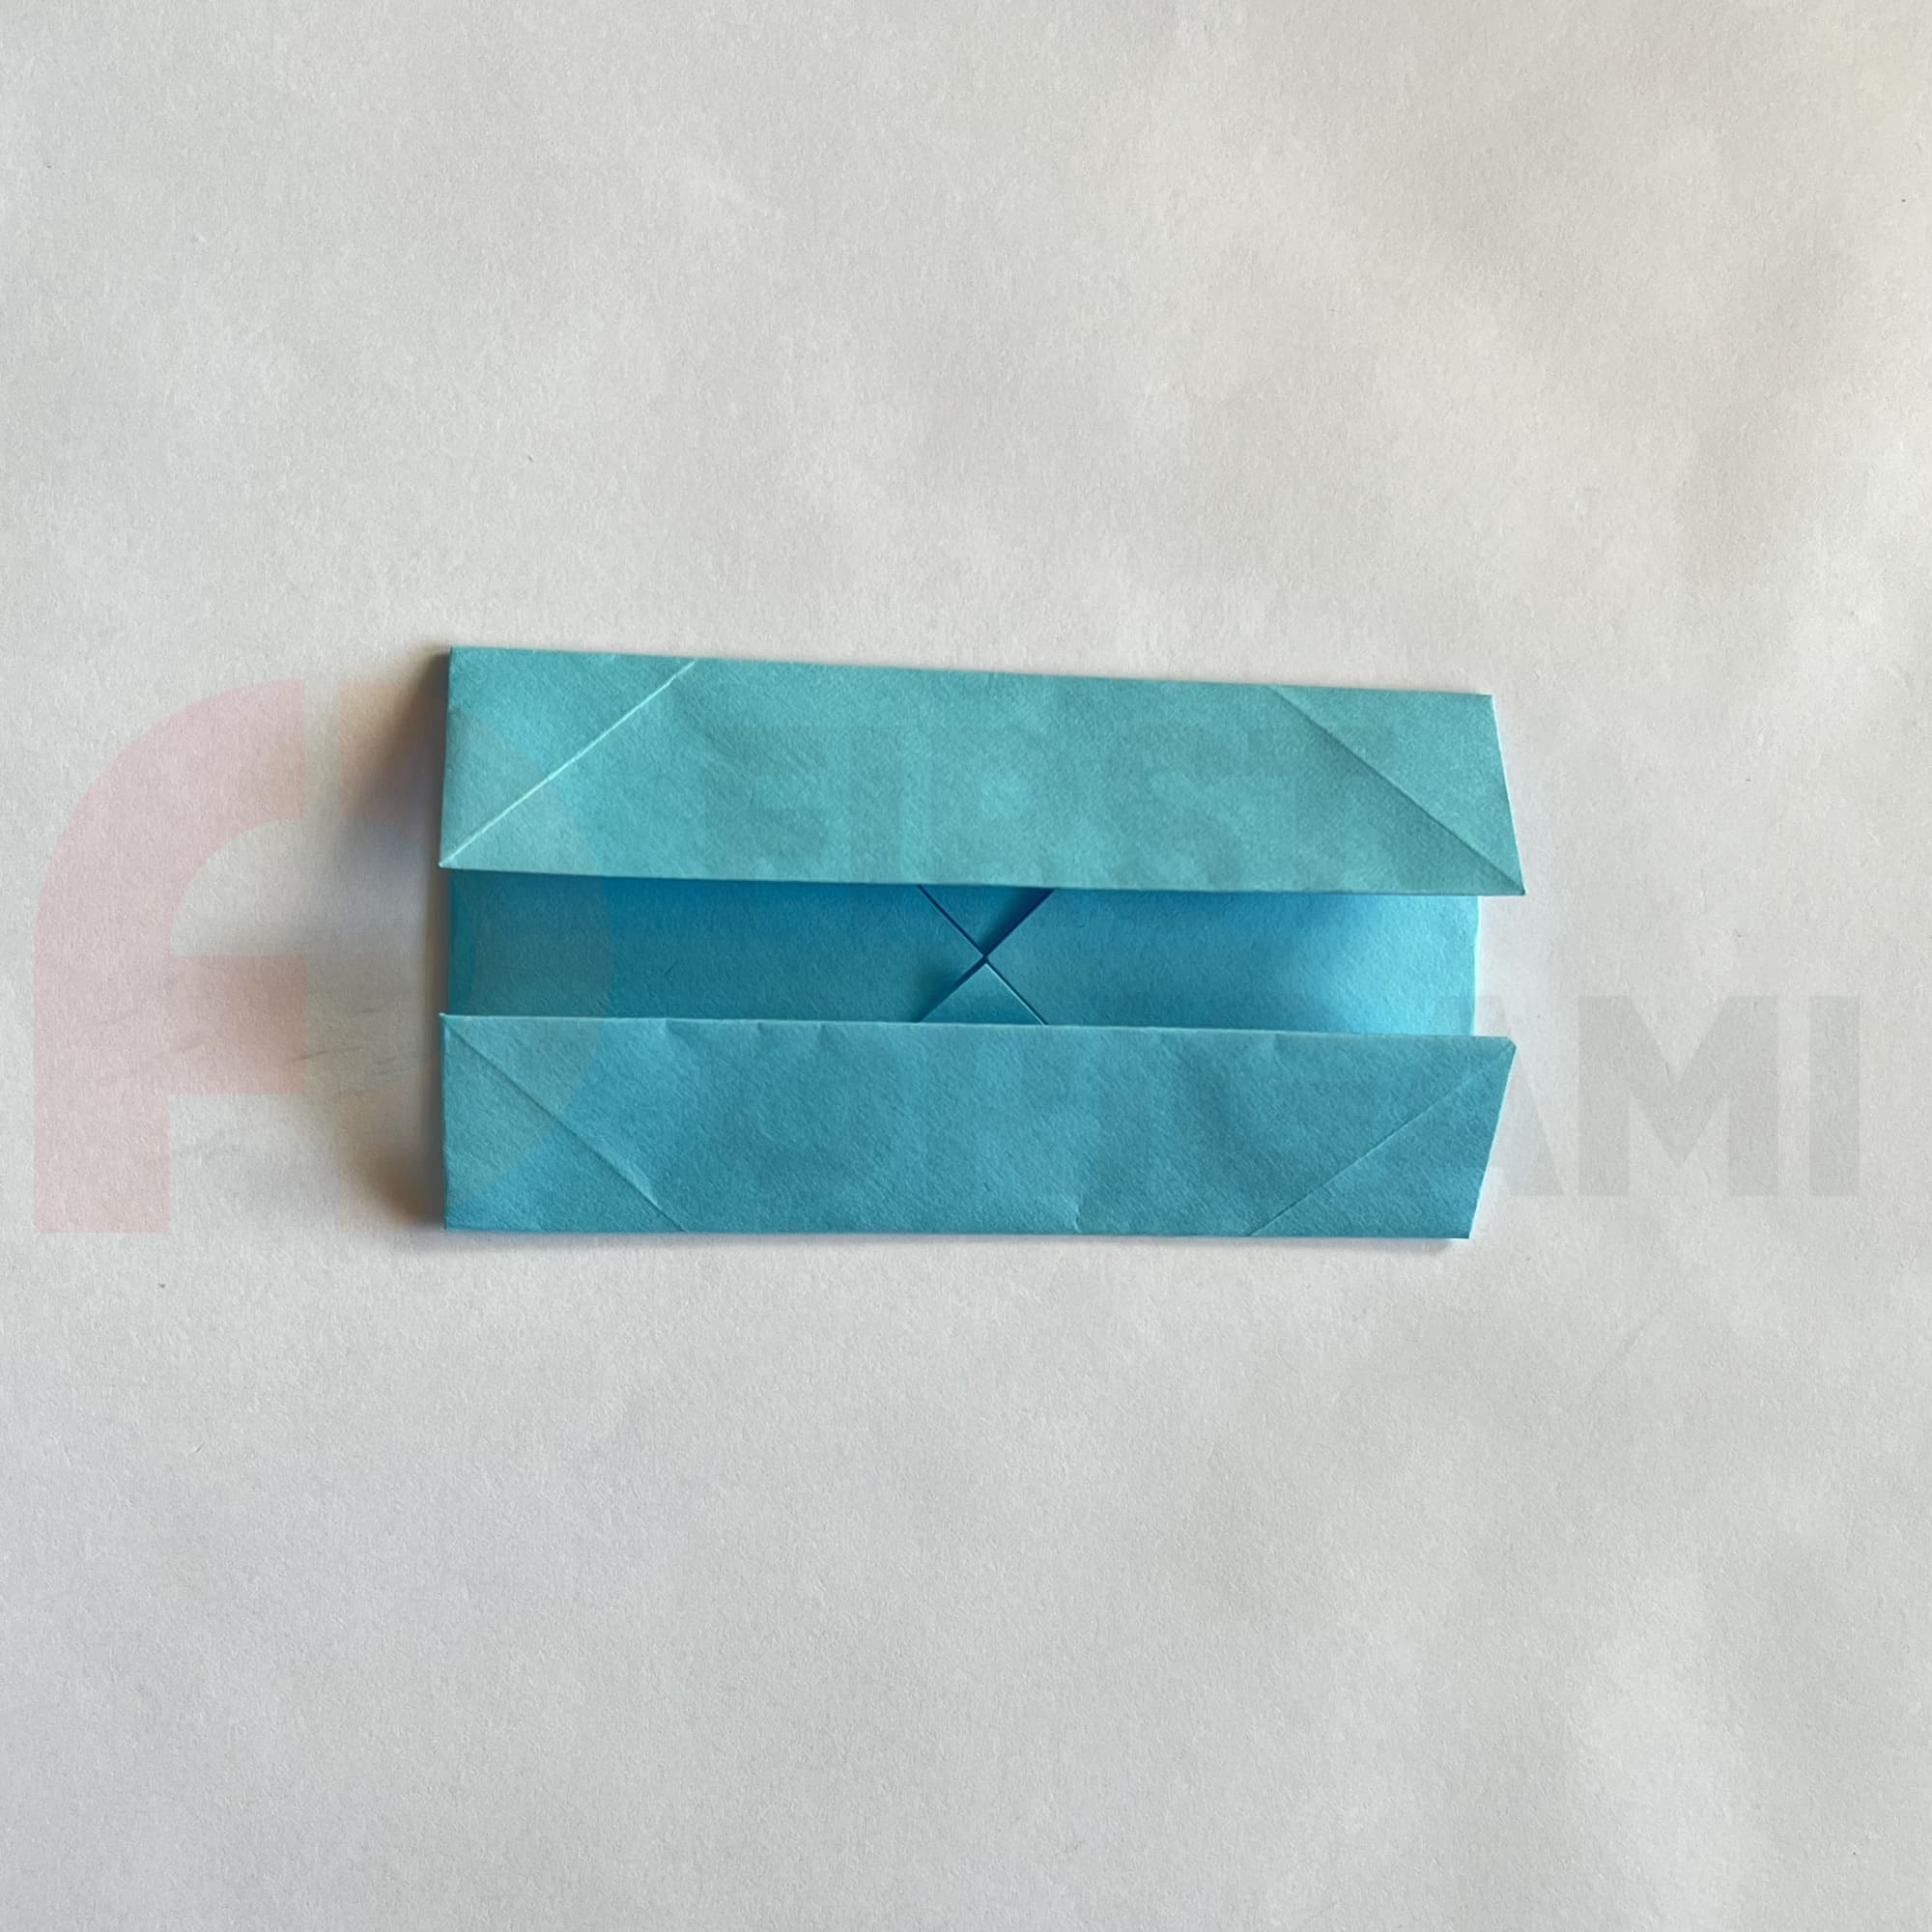
Now fold the sides into the center, also not reaching 2-3 mm.
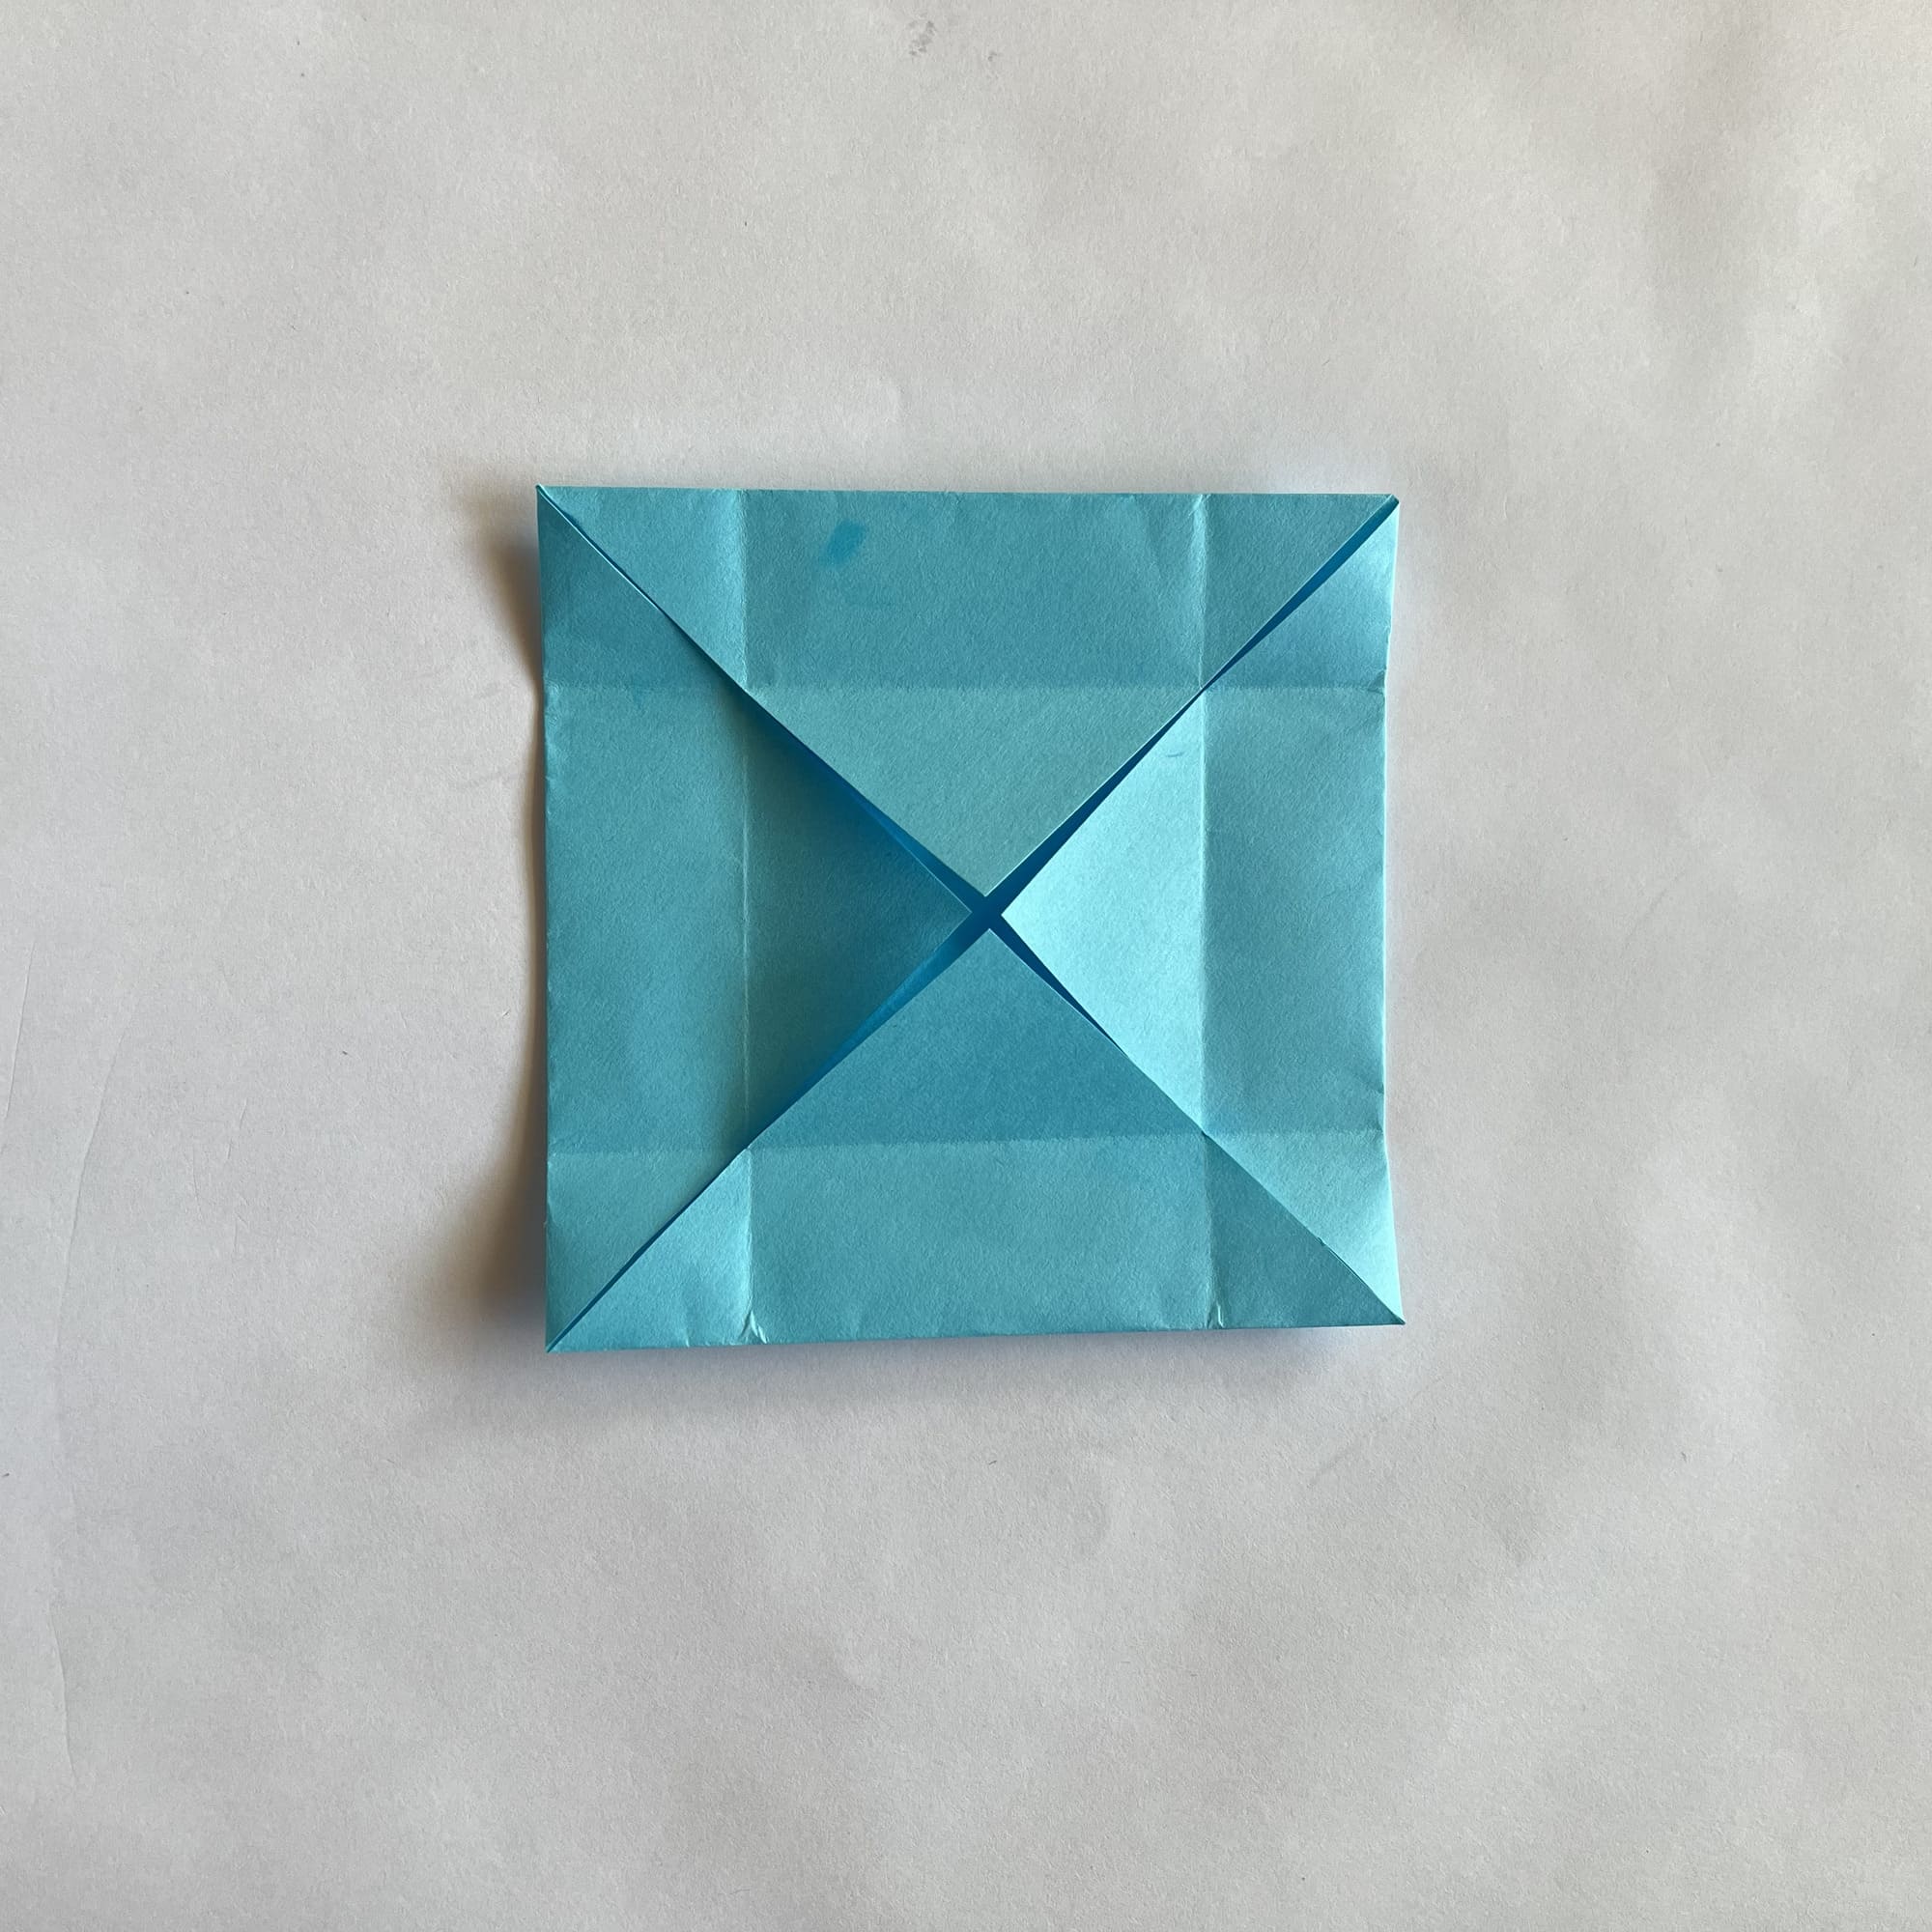
Unfold the right and left sides and turn the figure 90 degrees.

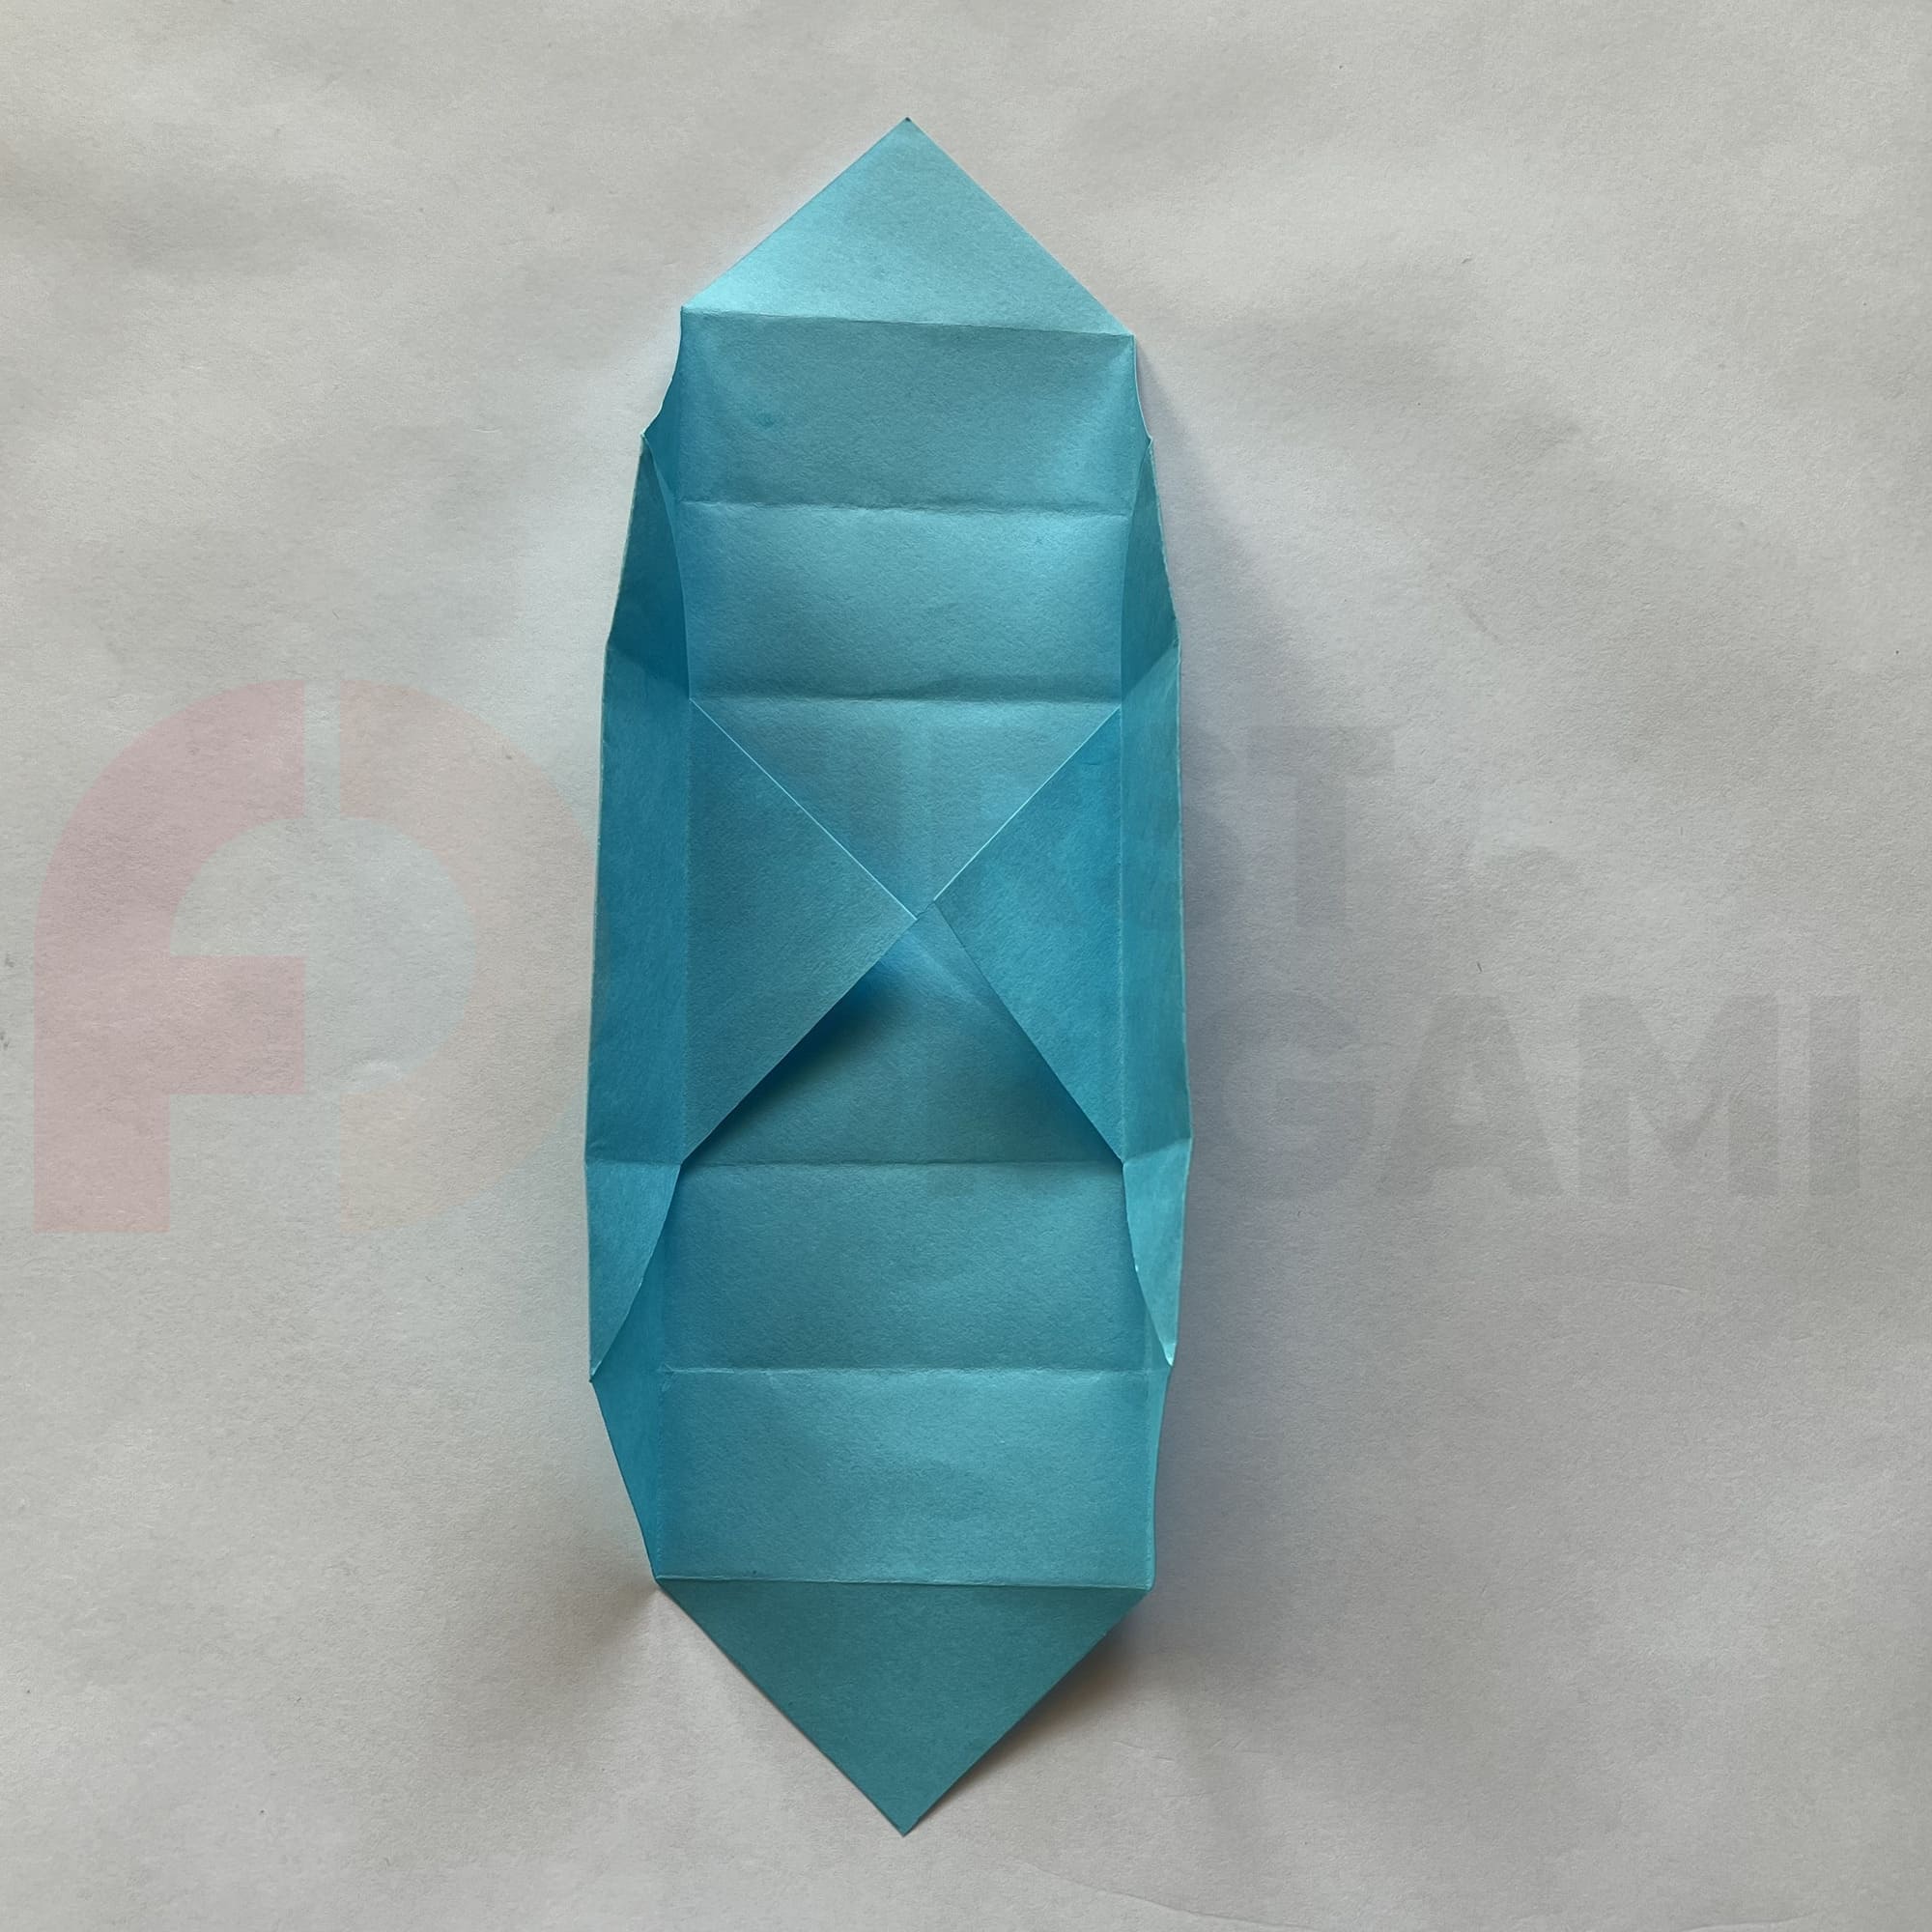
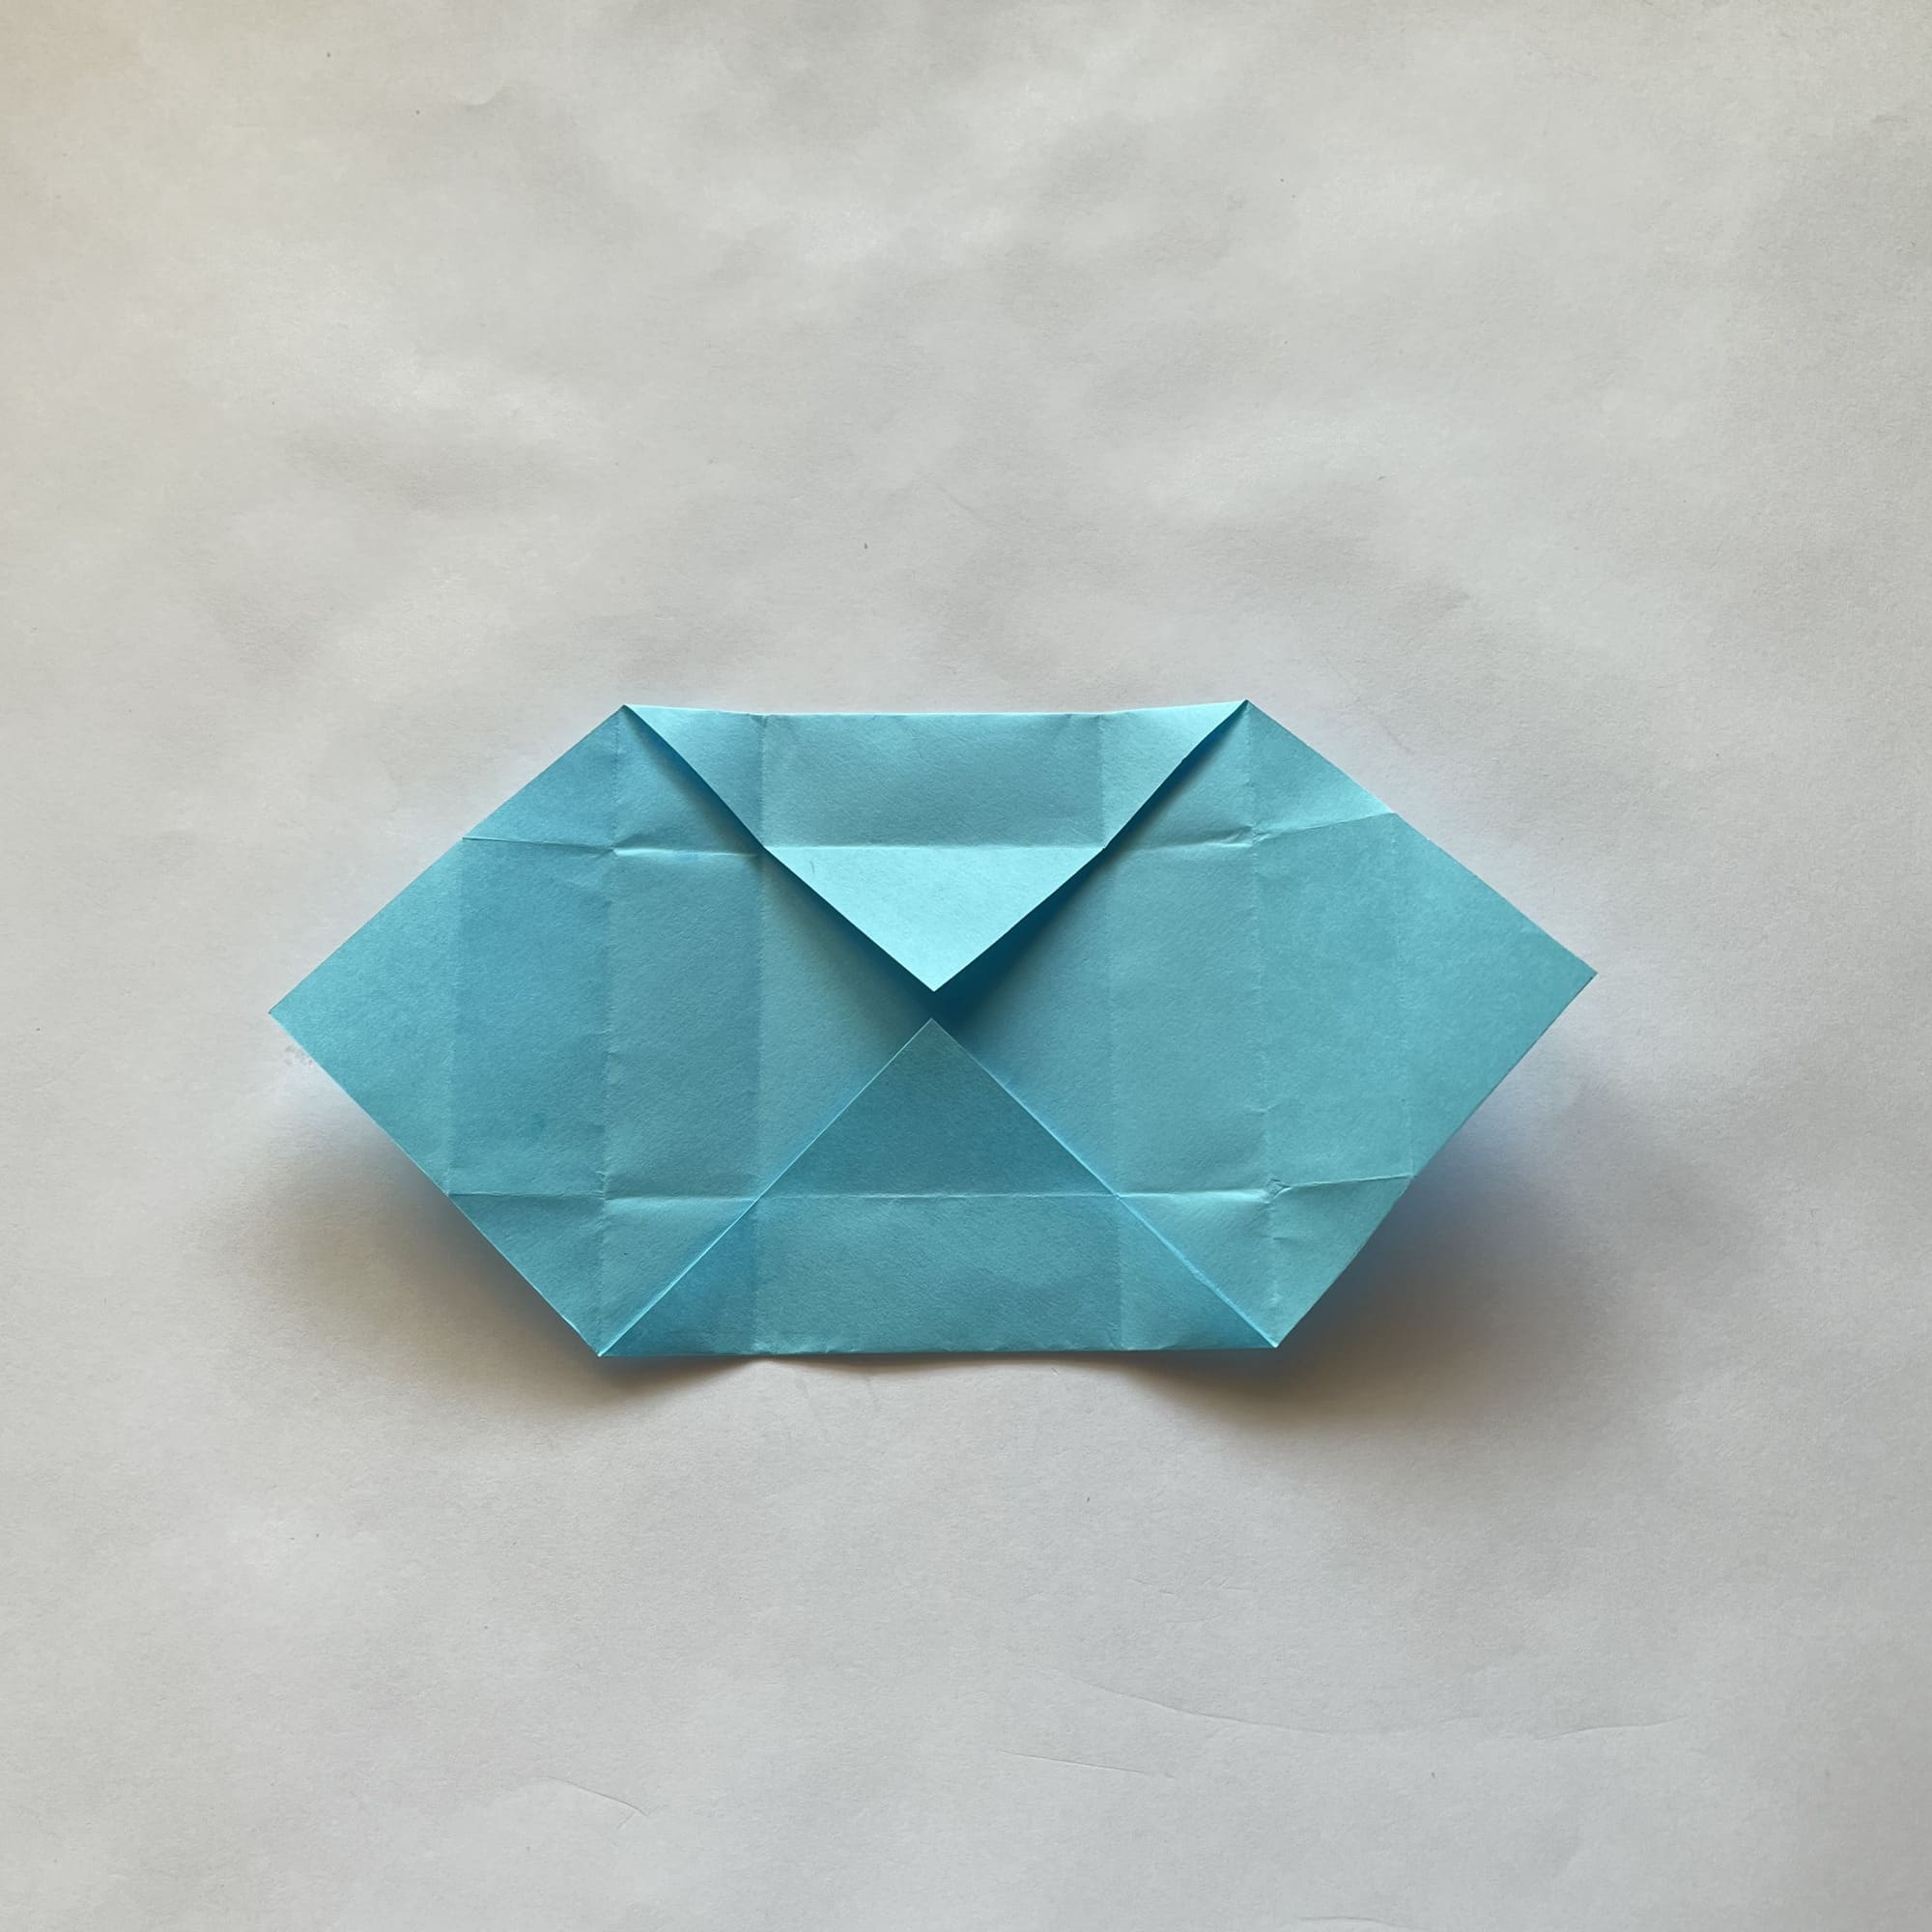
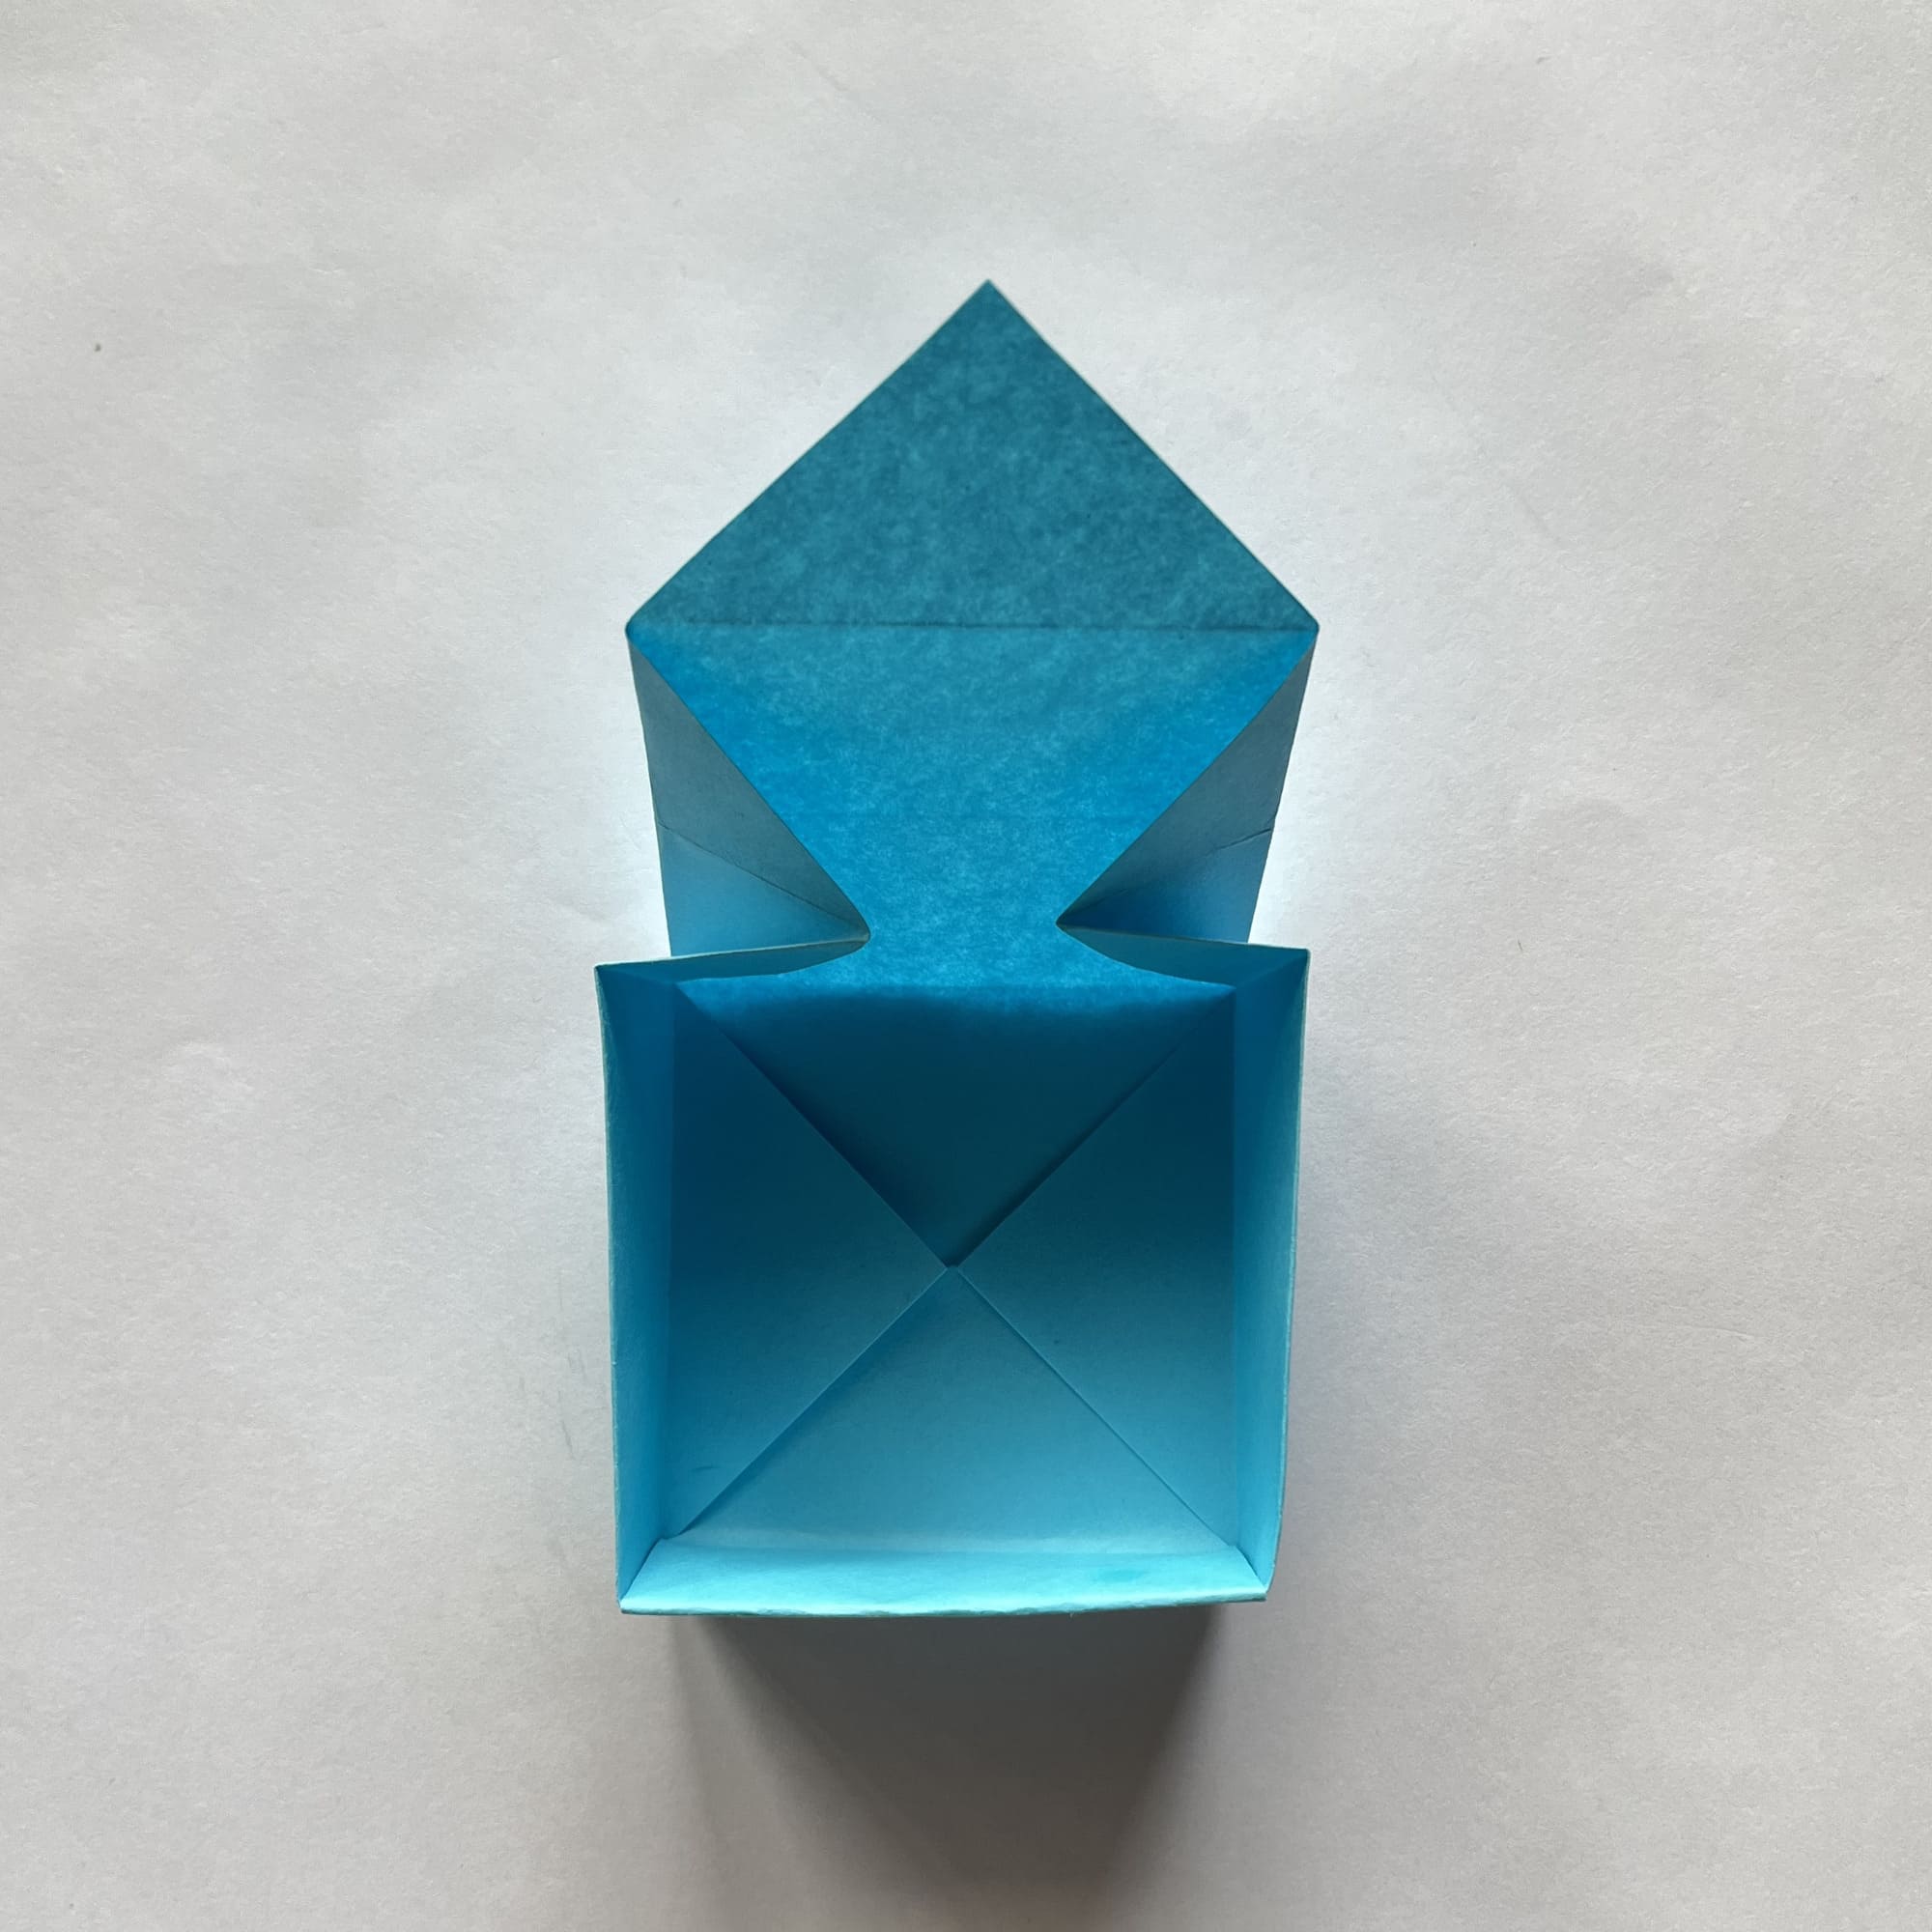
Make reverse folds at the top as shown in the photo.


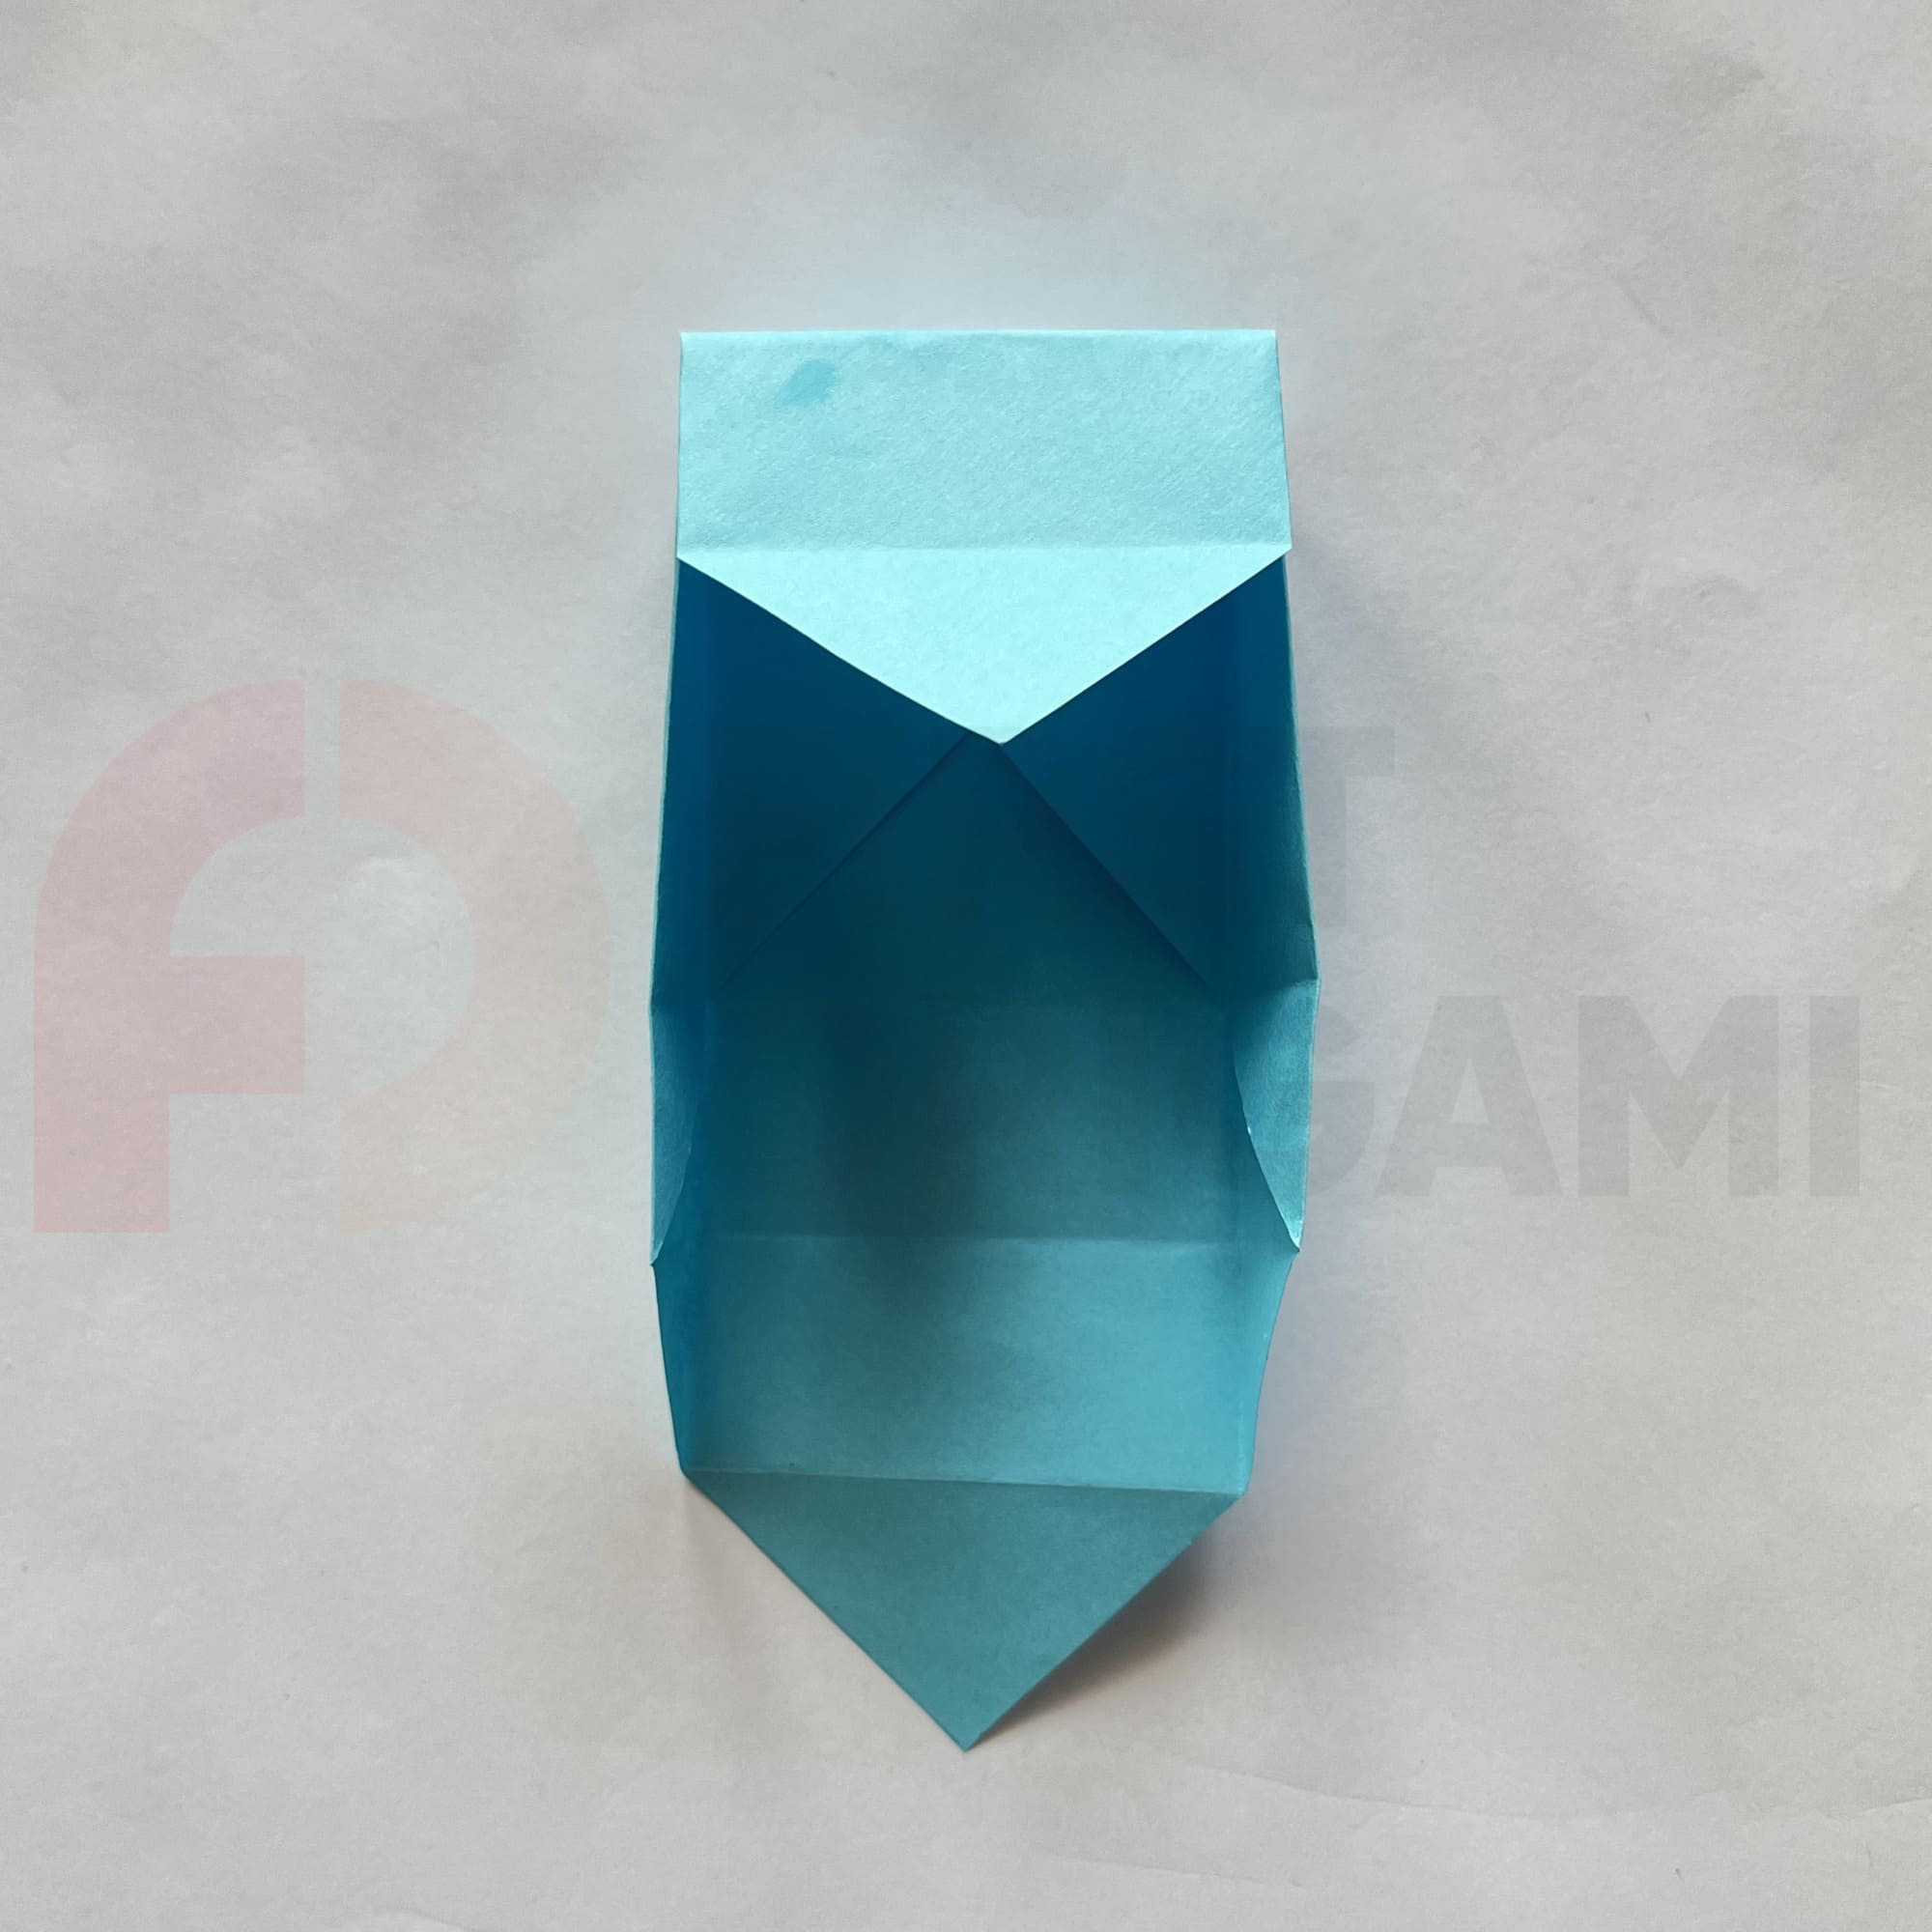
Fold the top corner inwards.
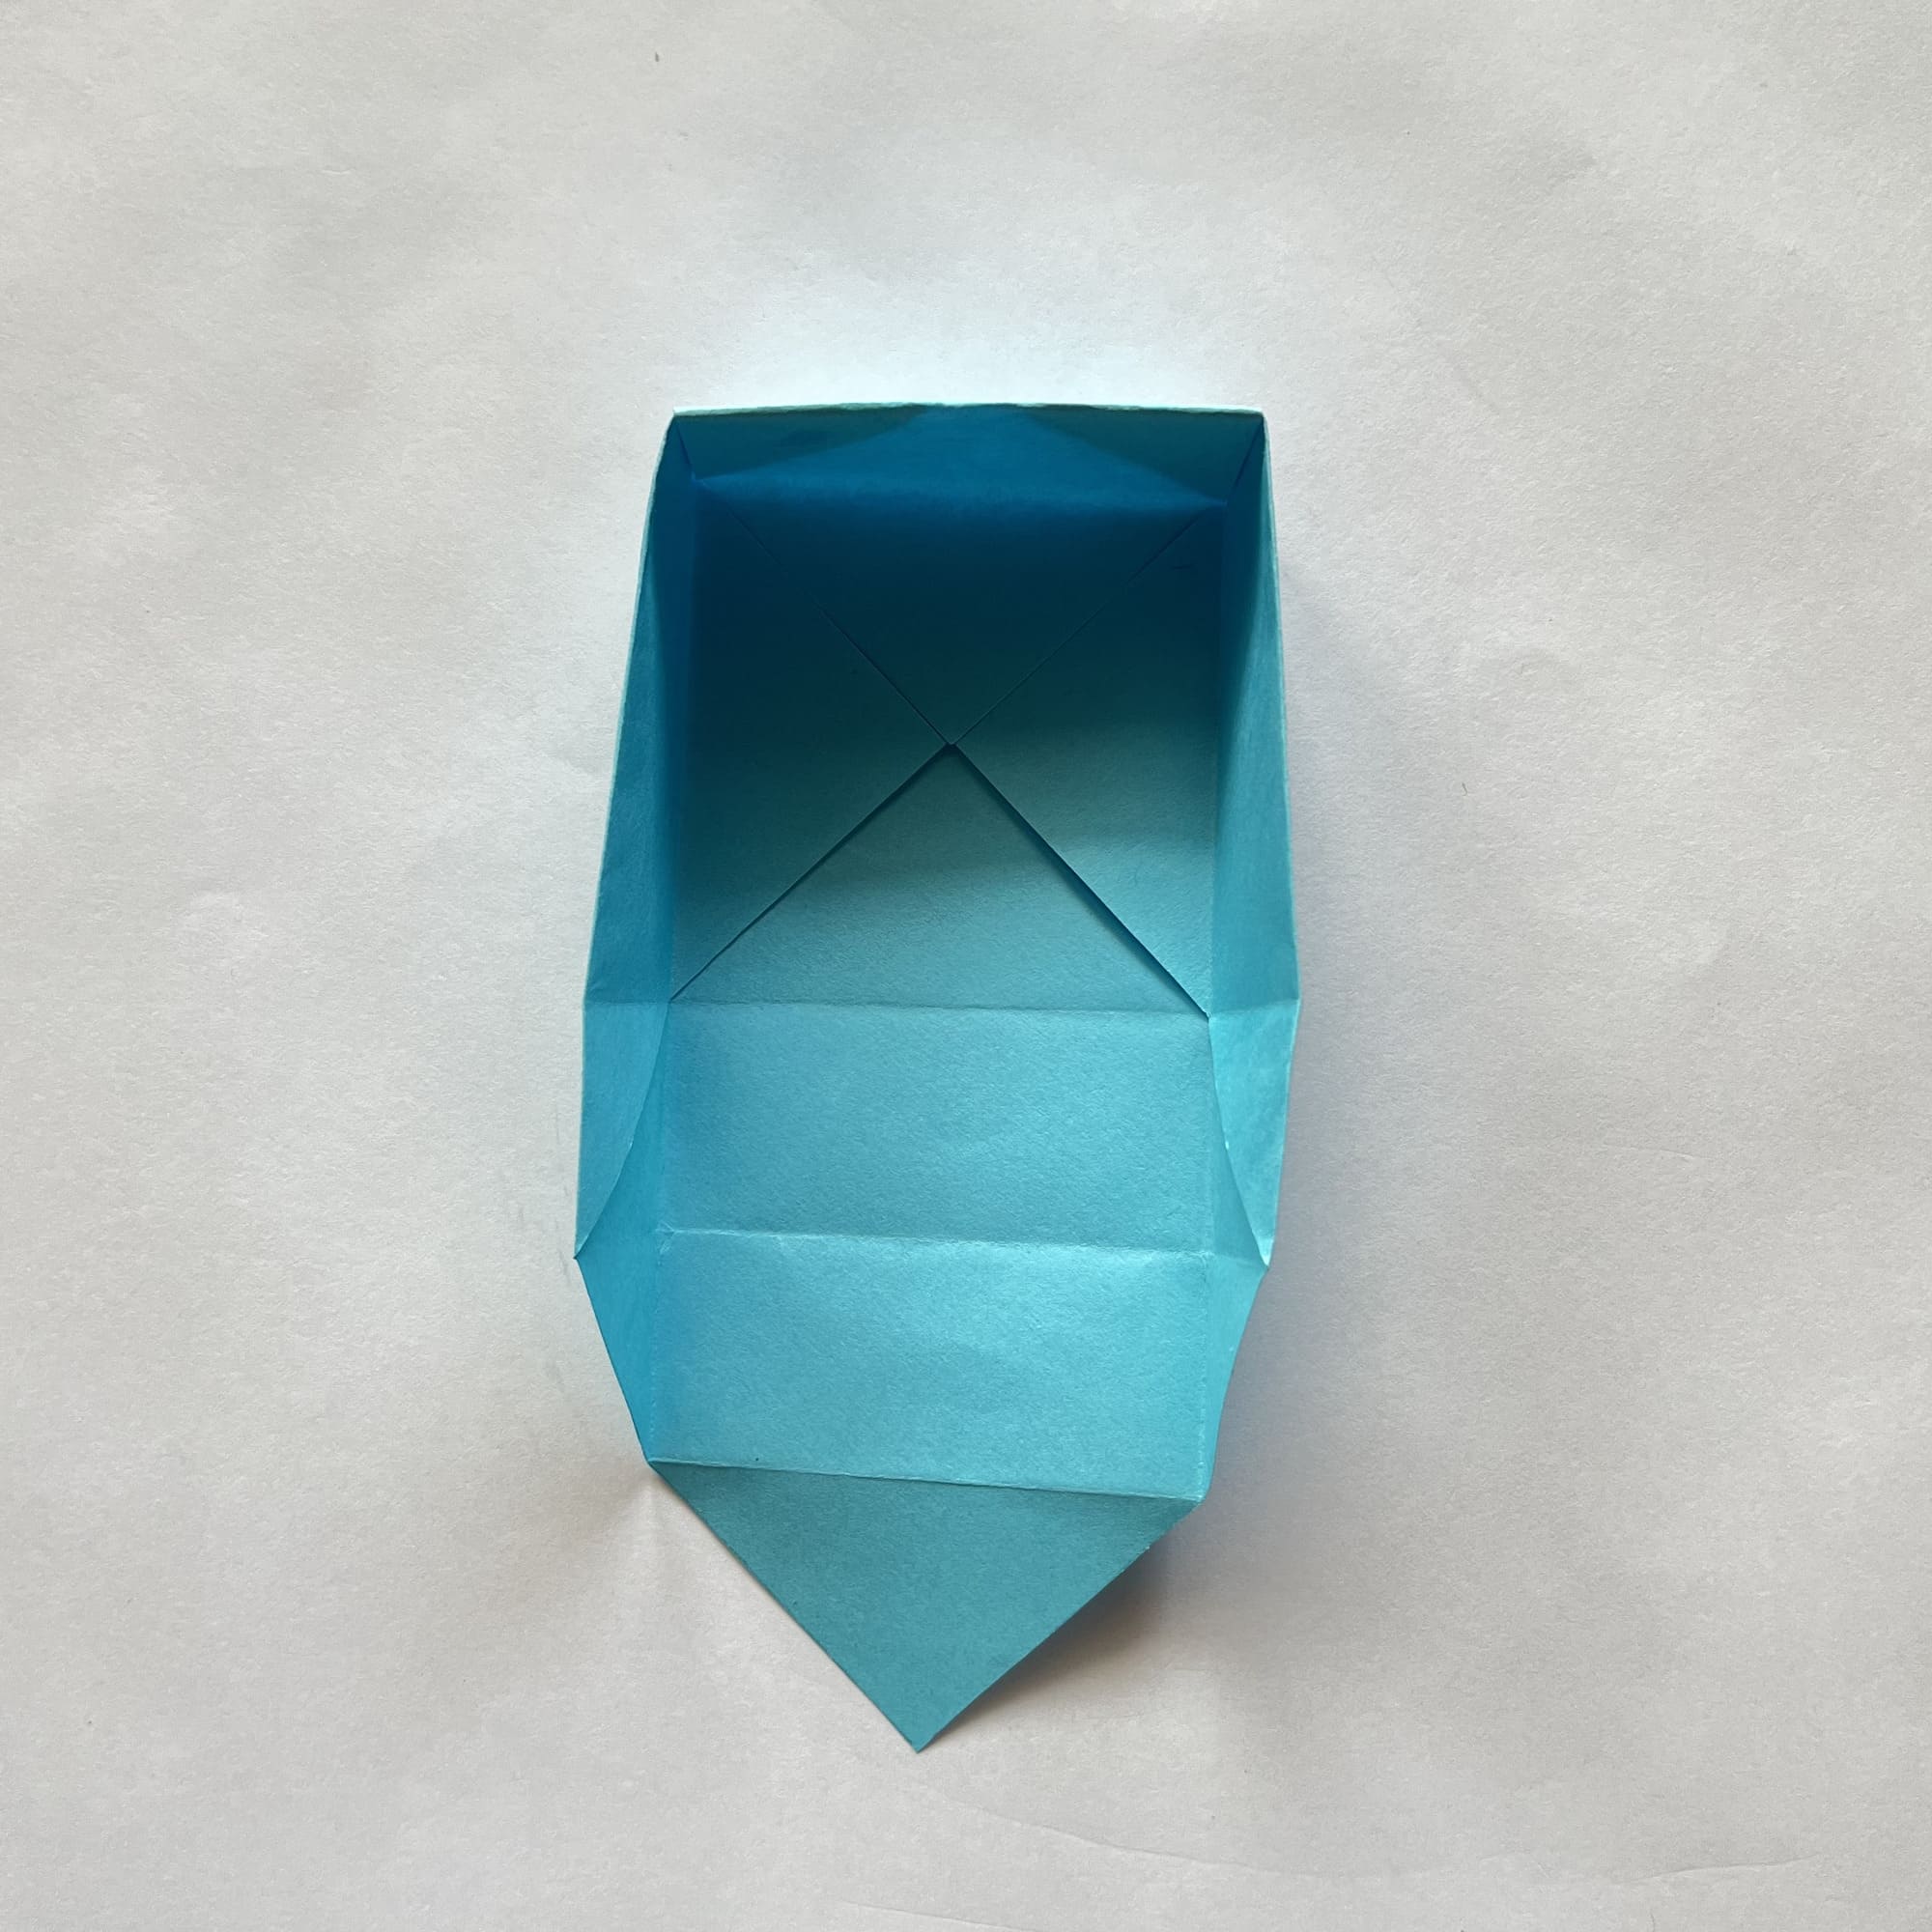
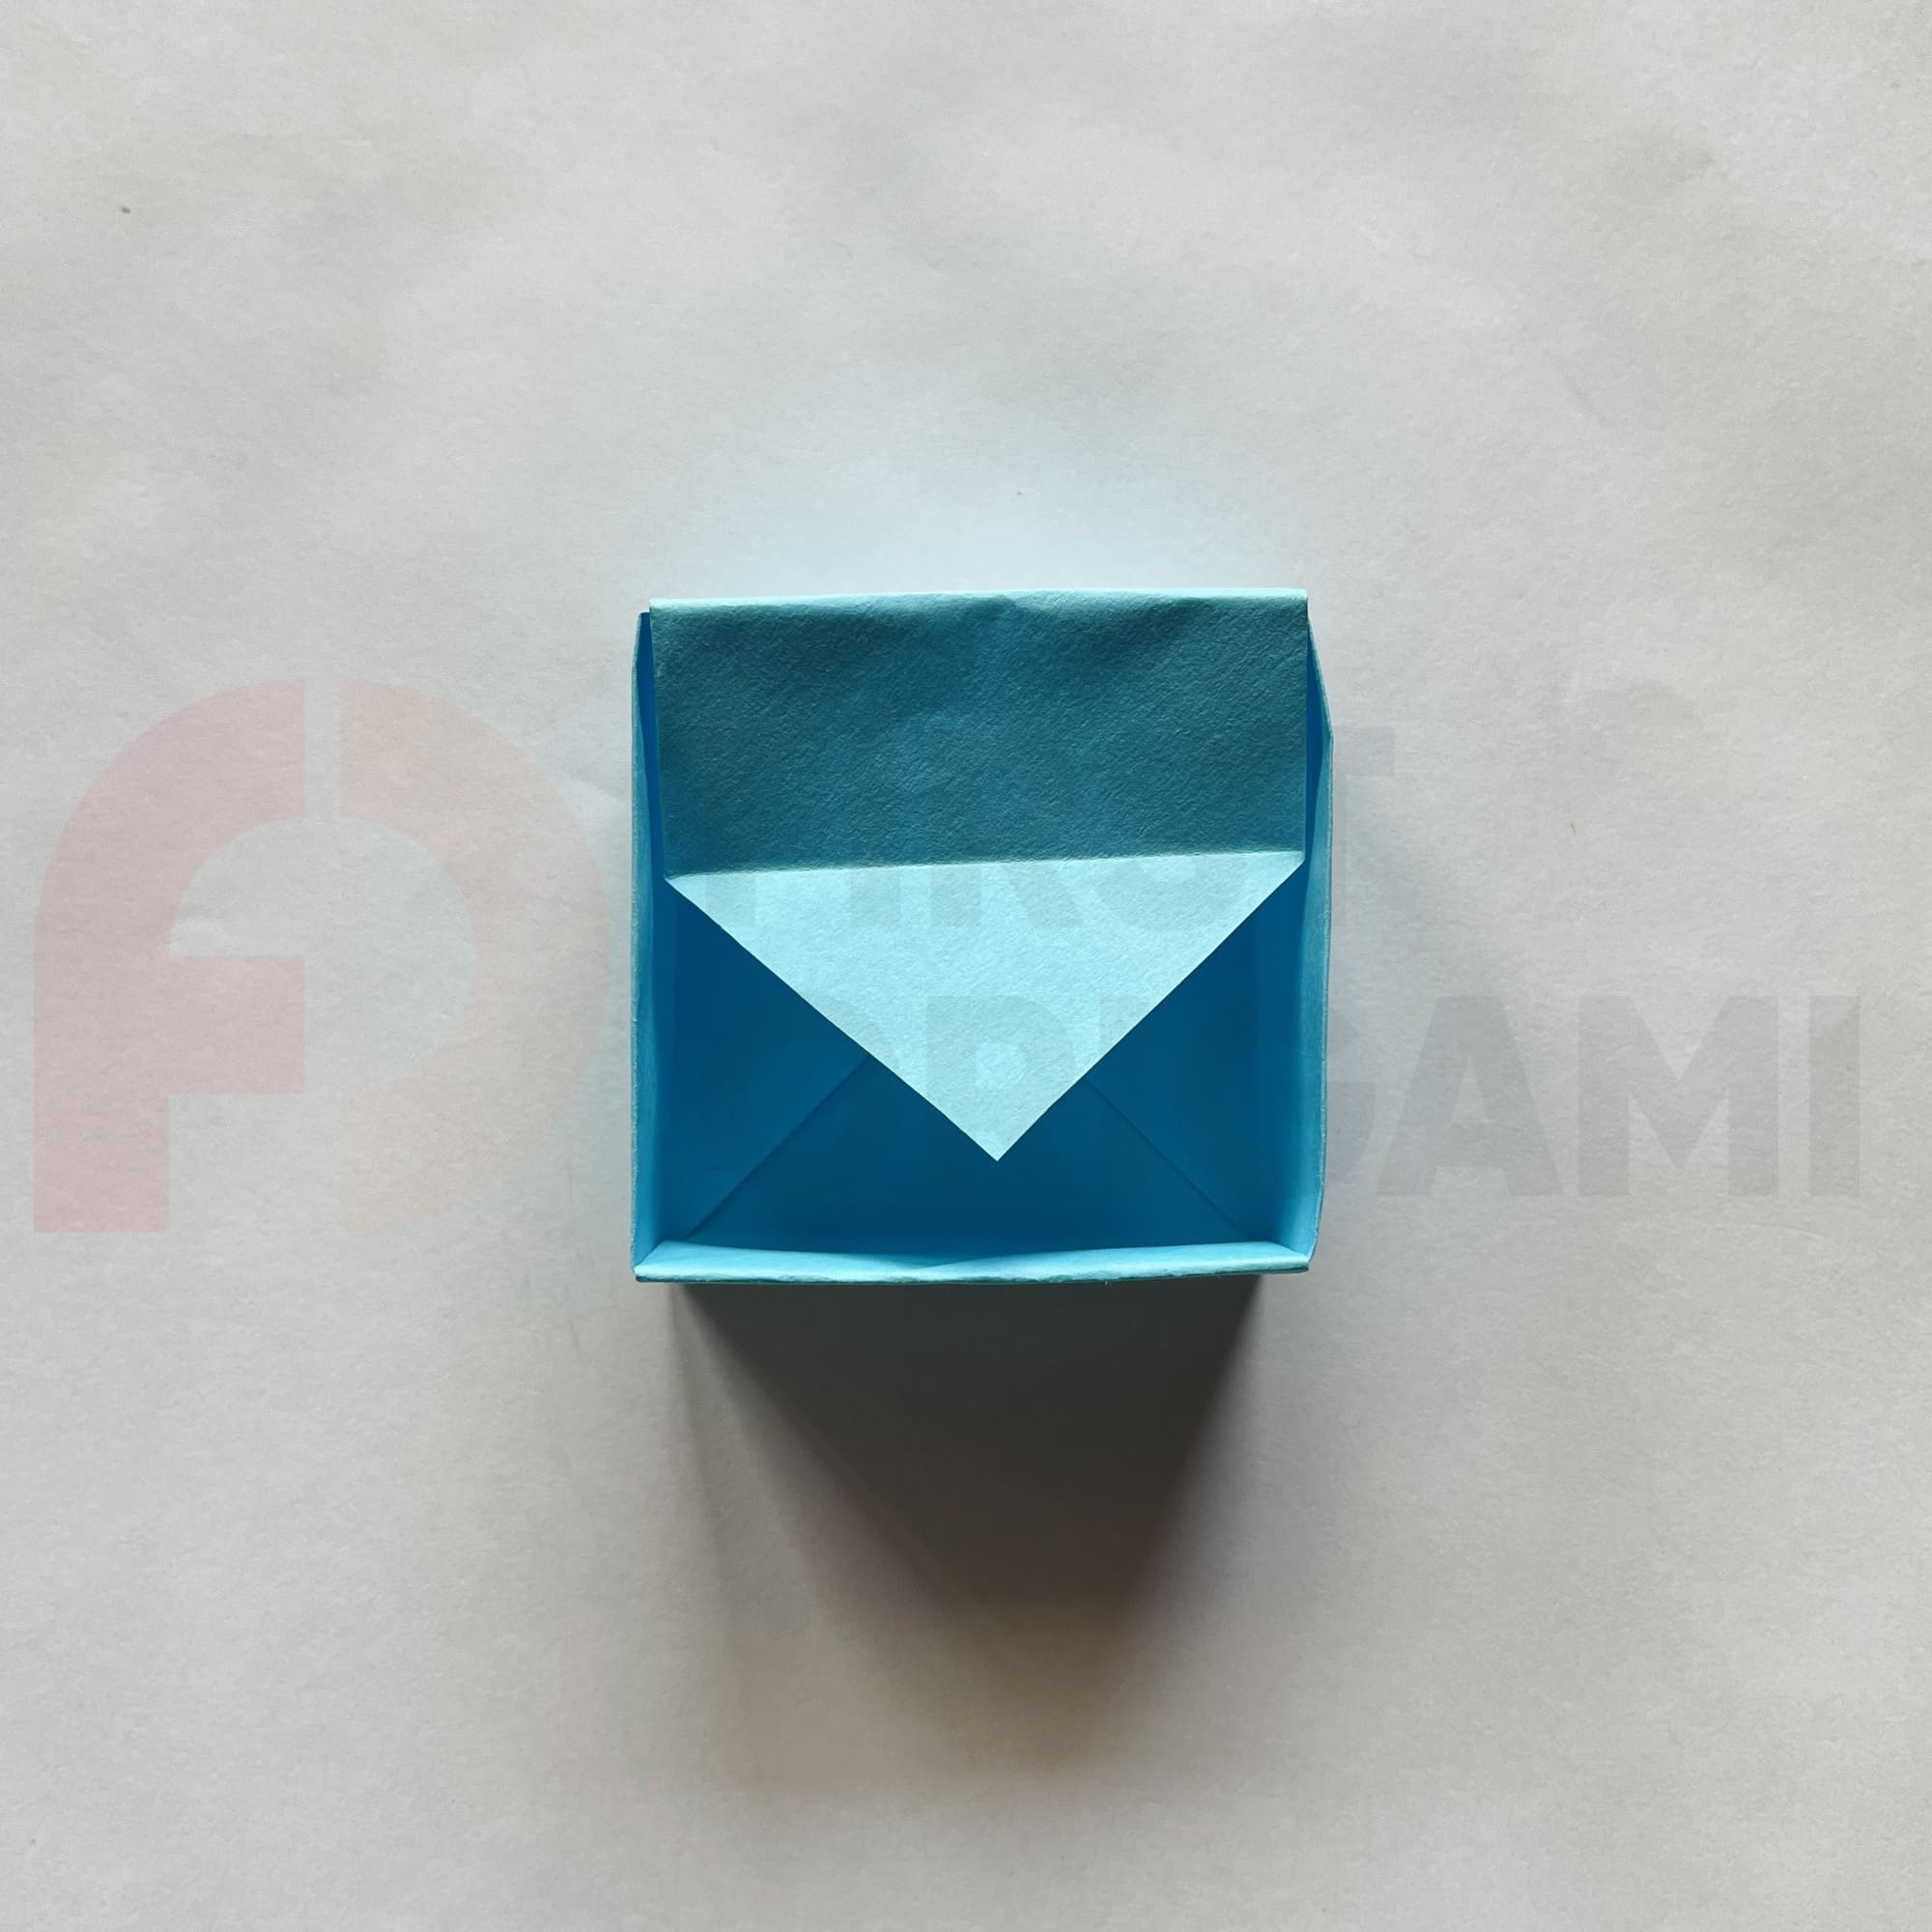
Half of the lid is ready. Turn the piece 180 degrees and repeat Steps from 12 to 17.
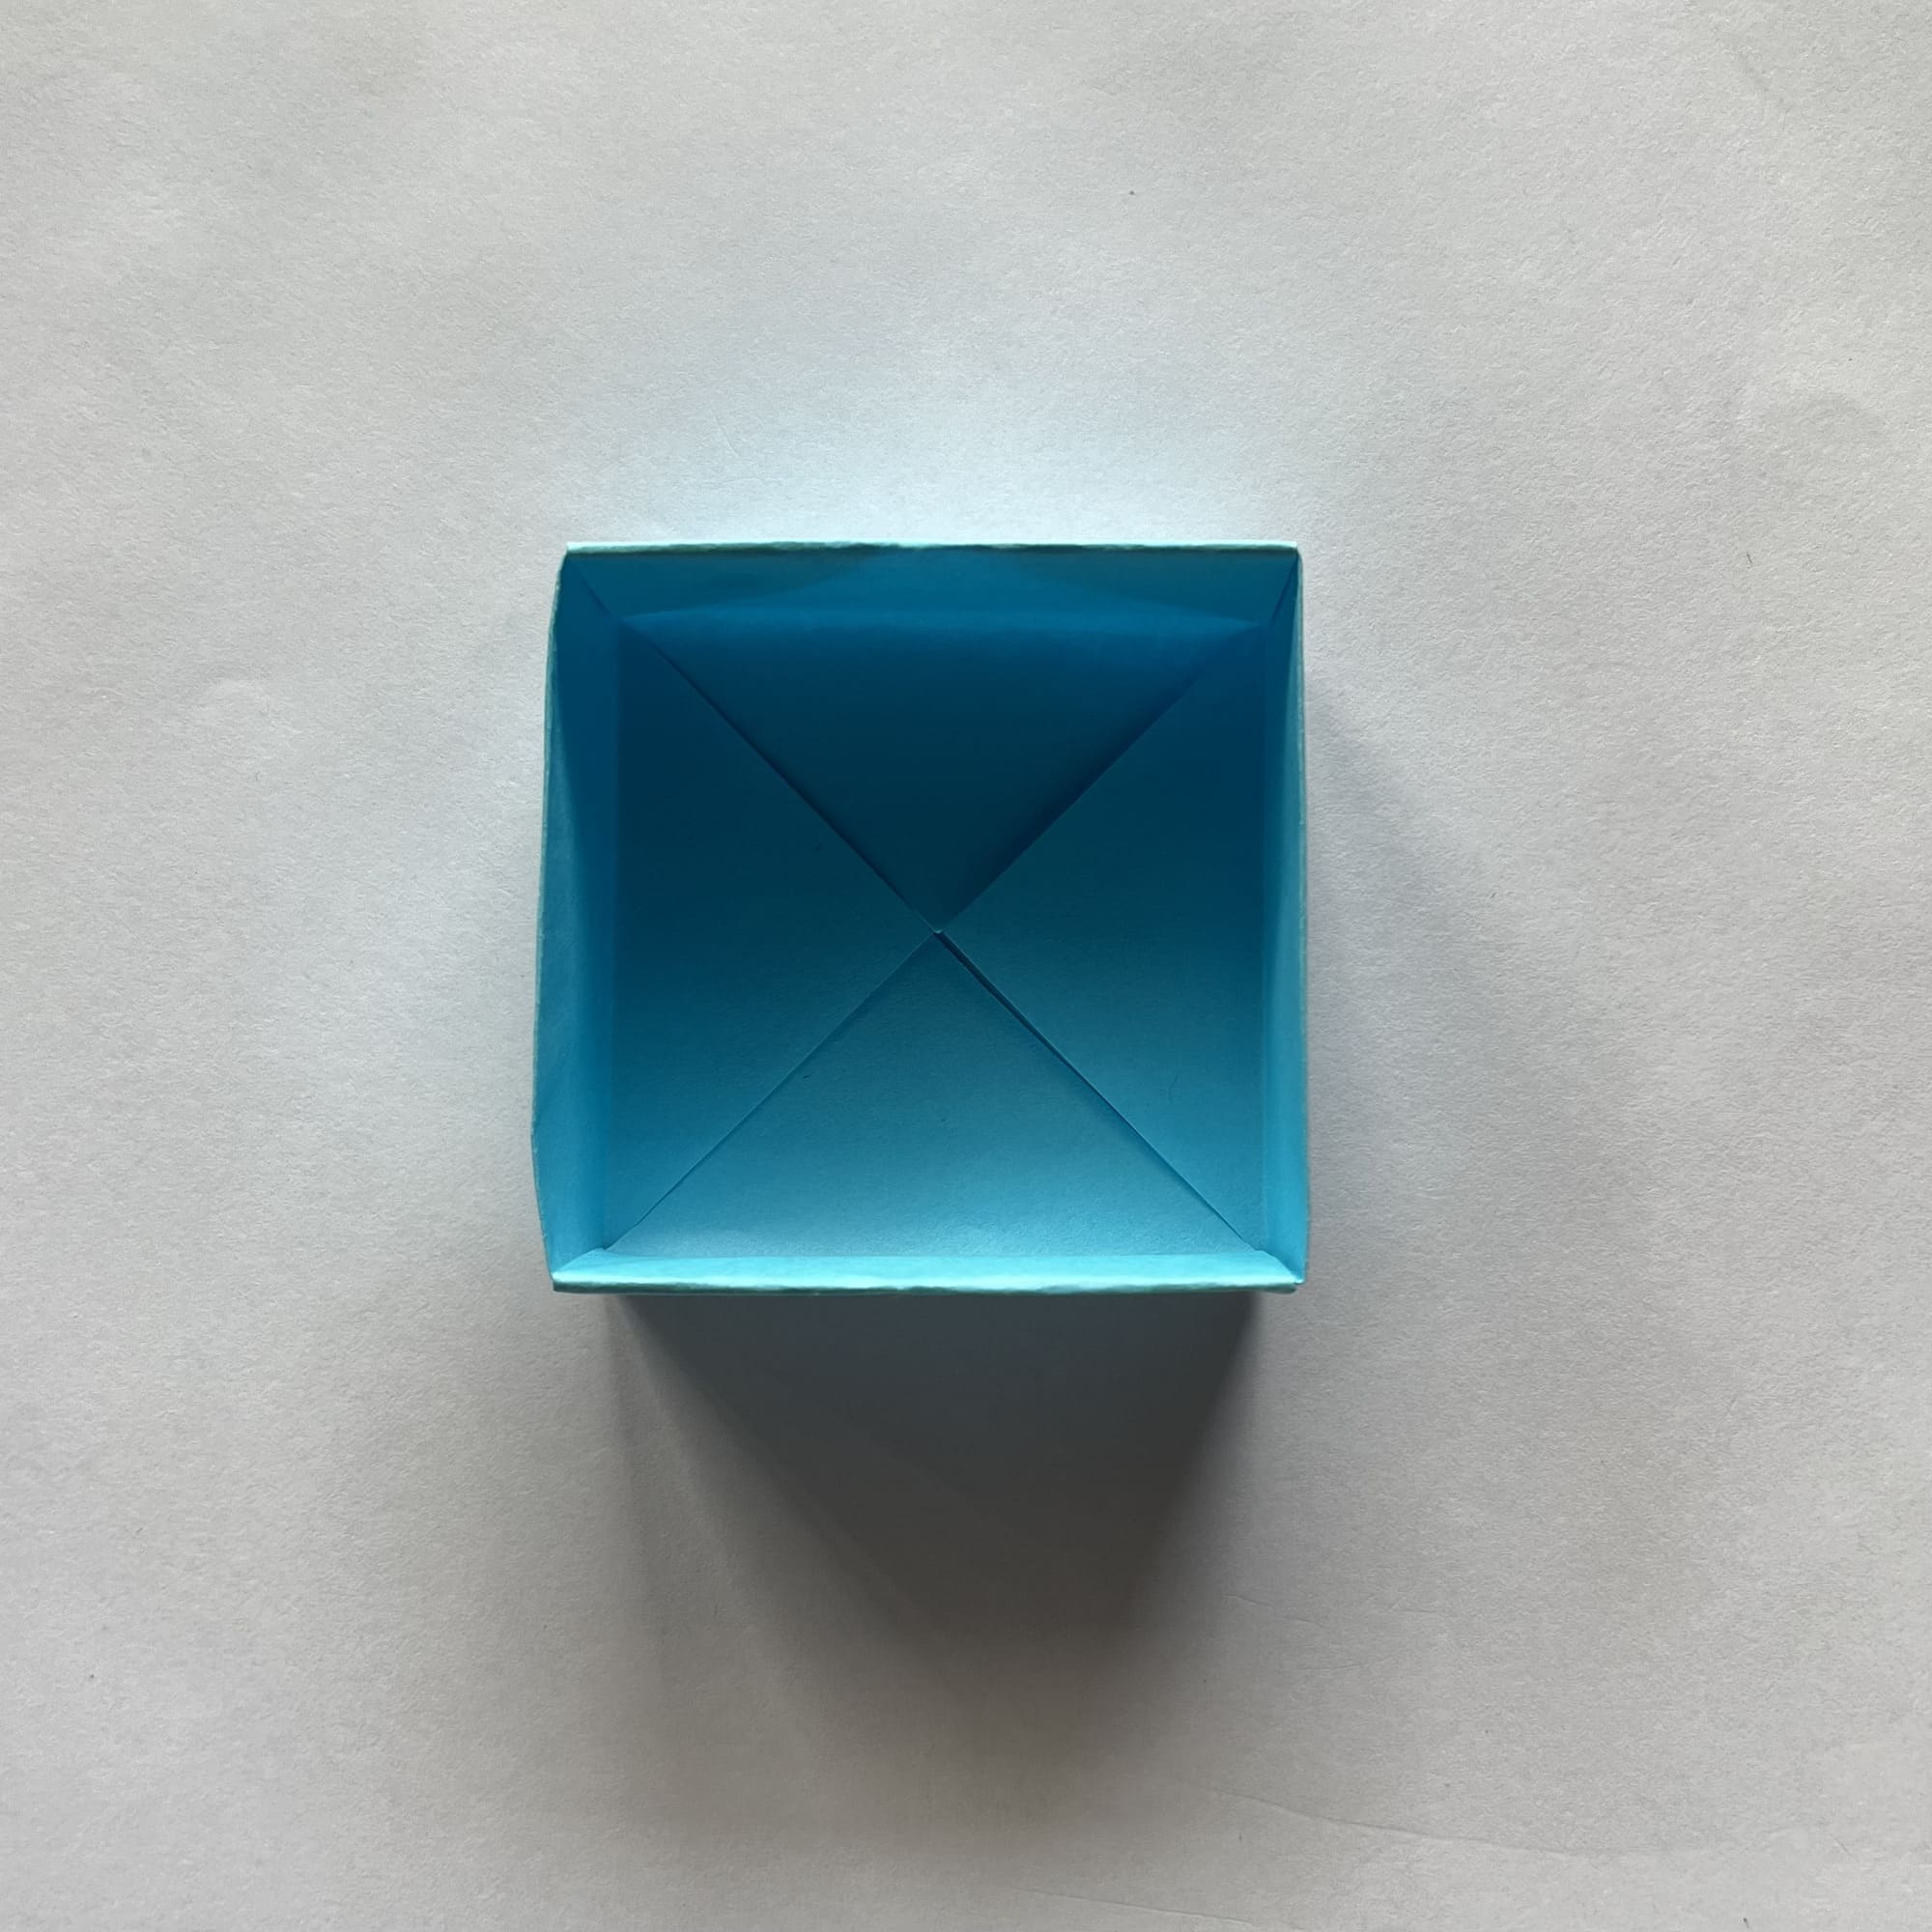
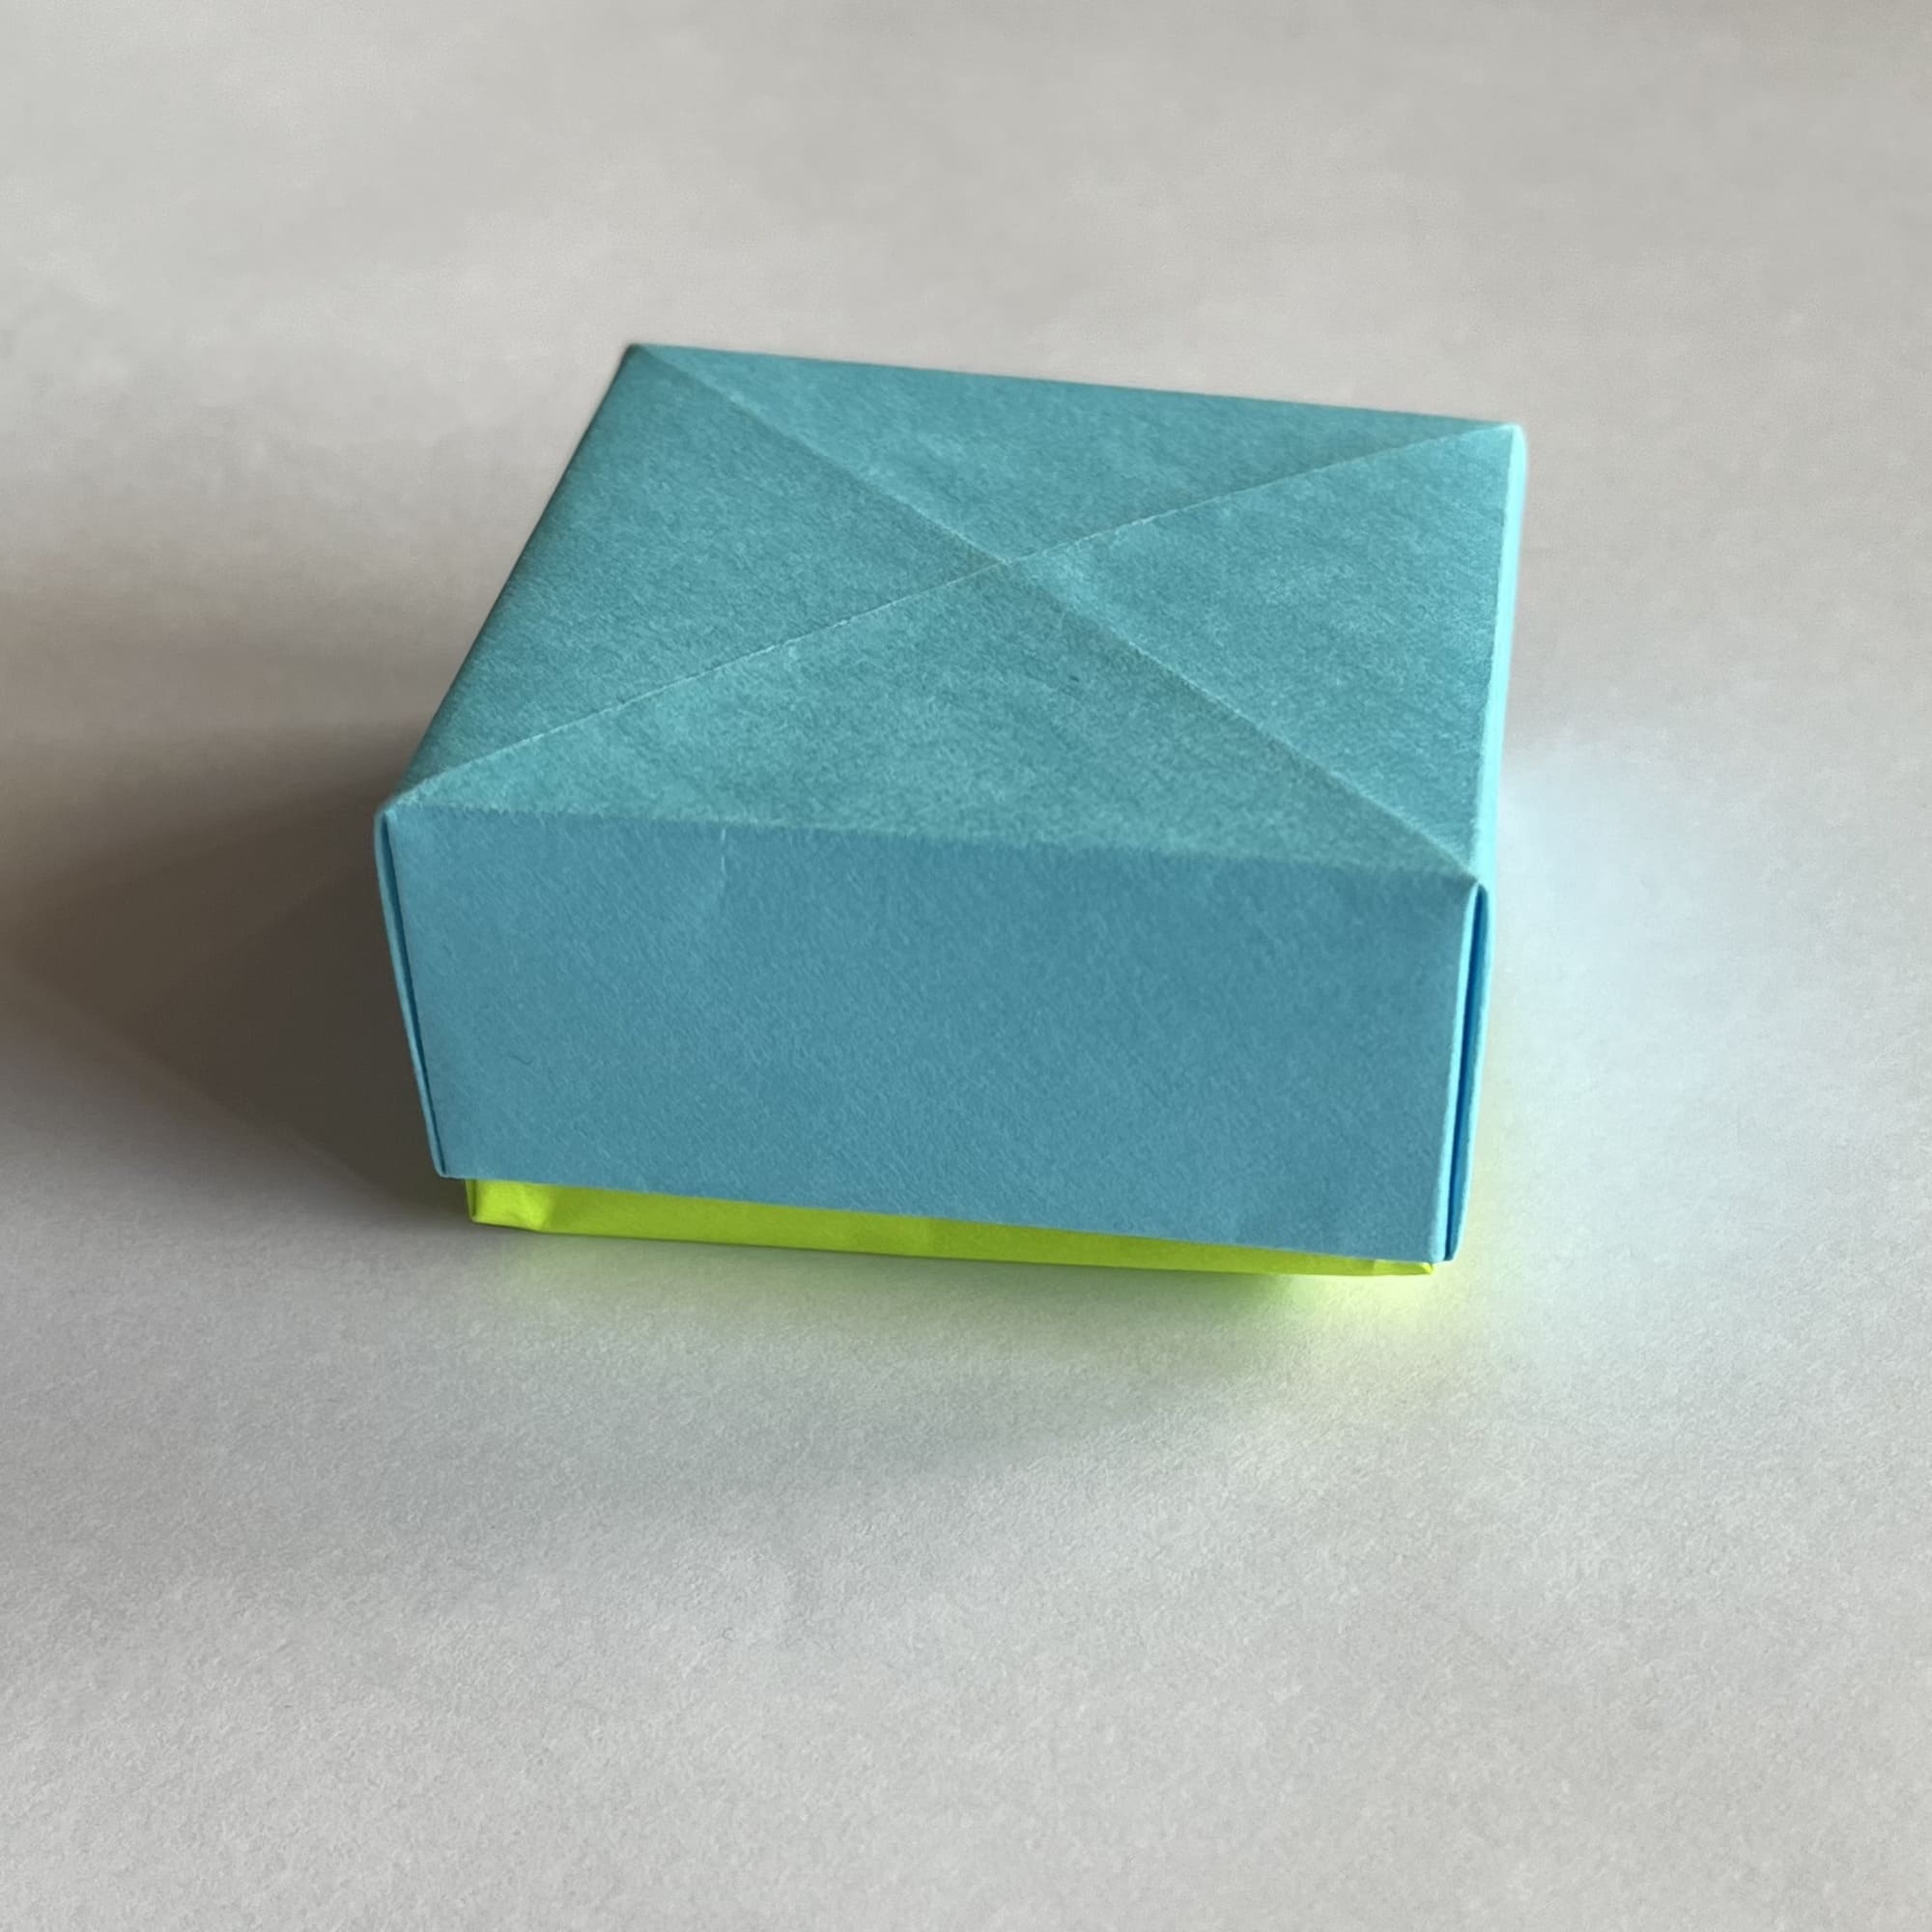
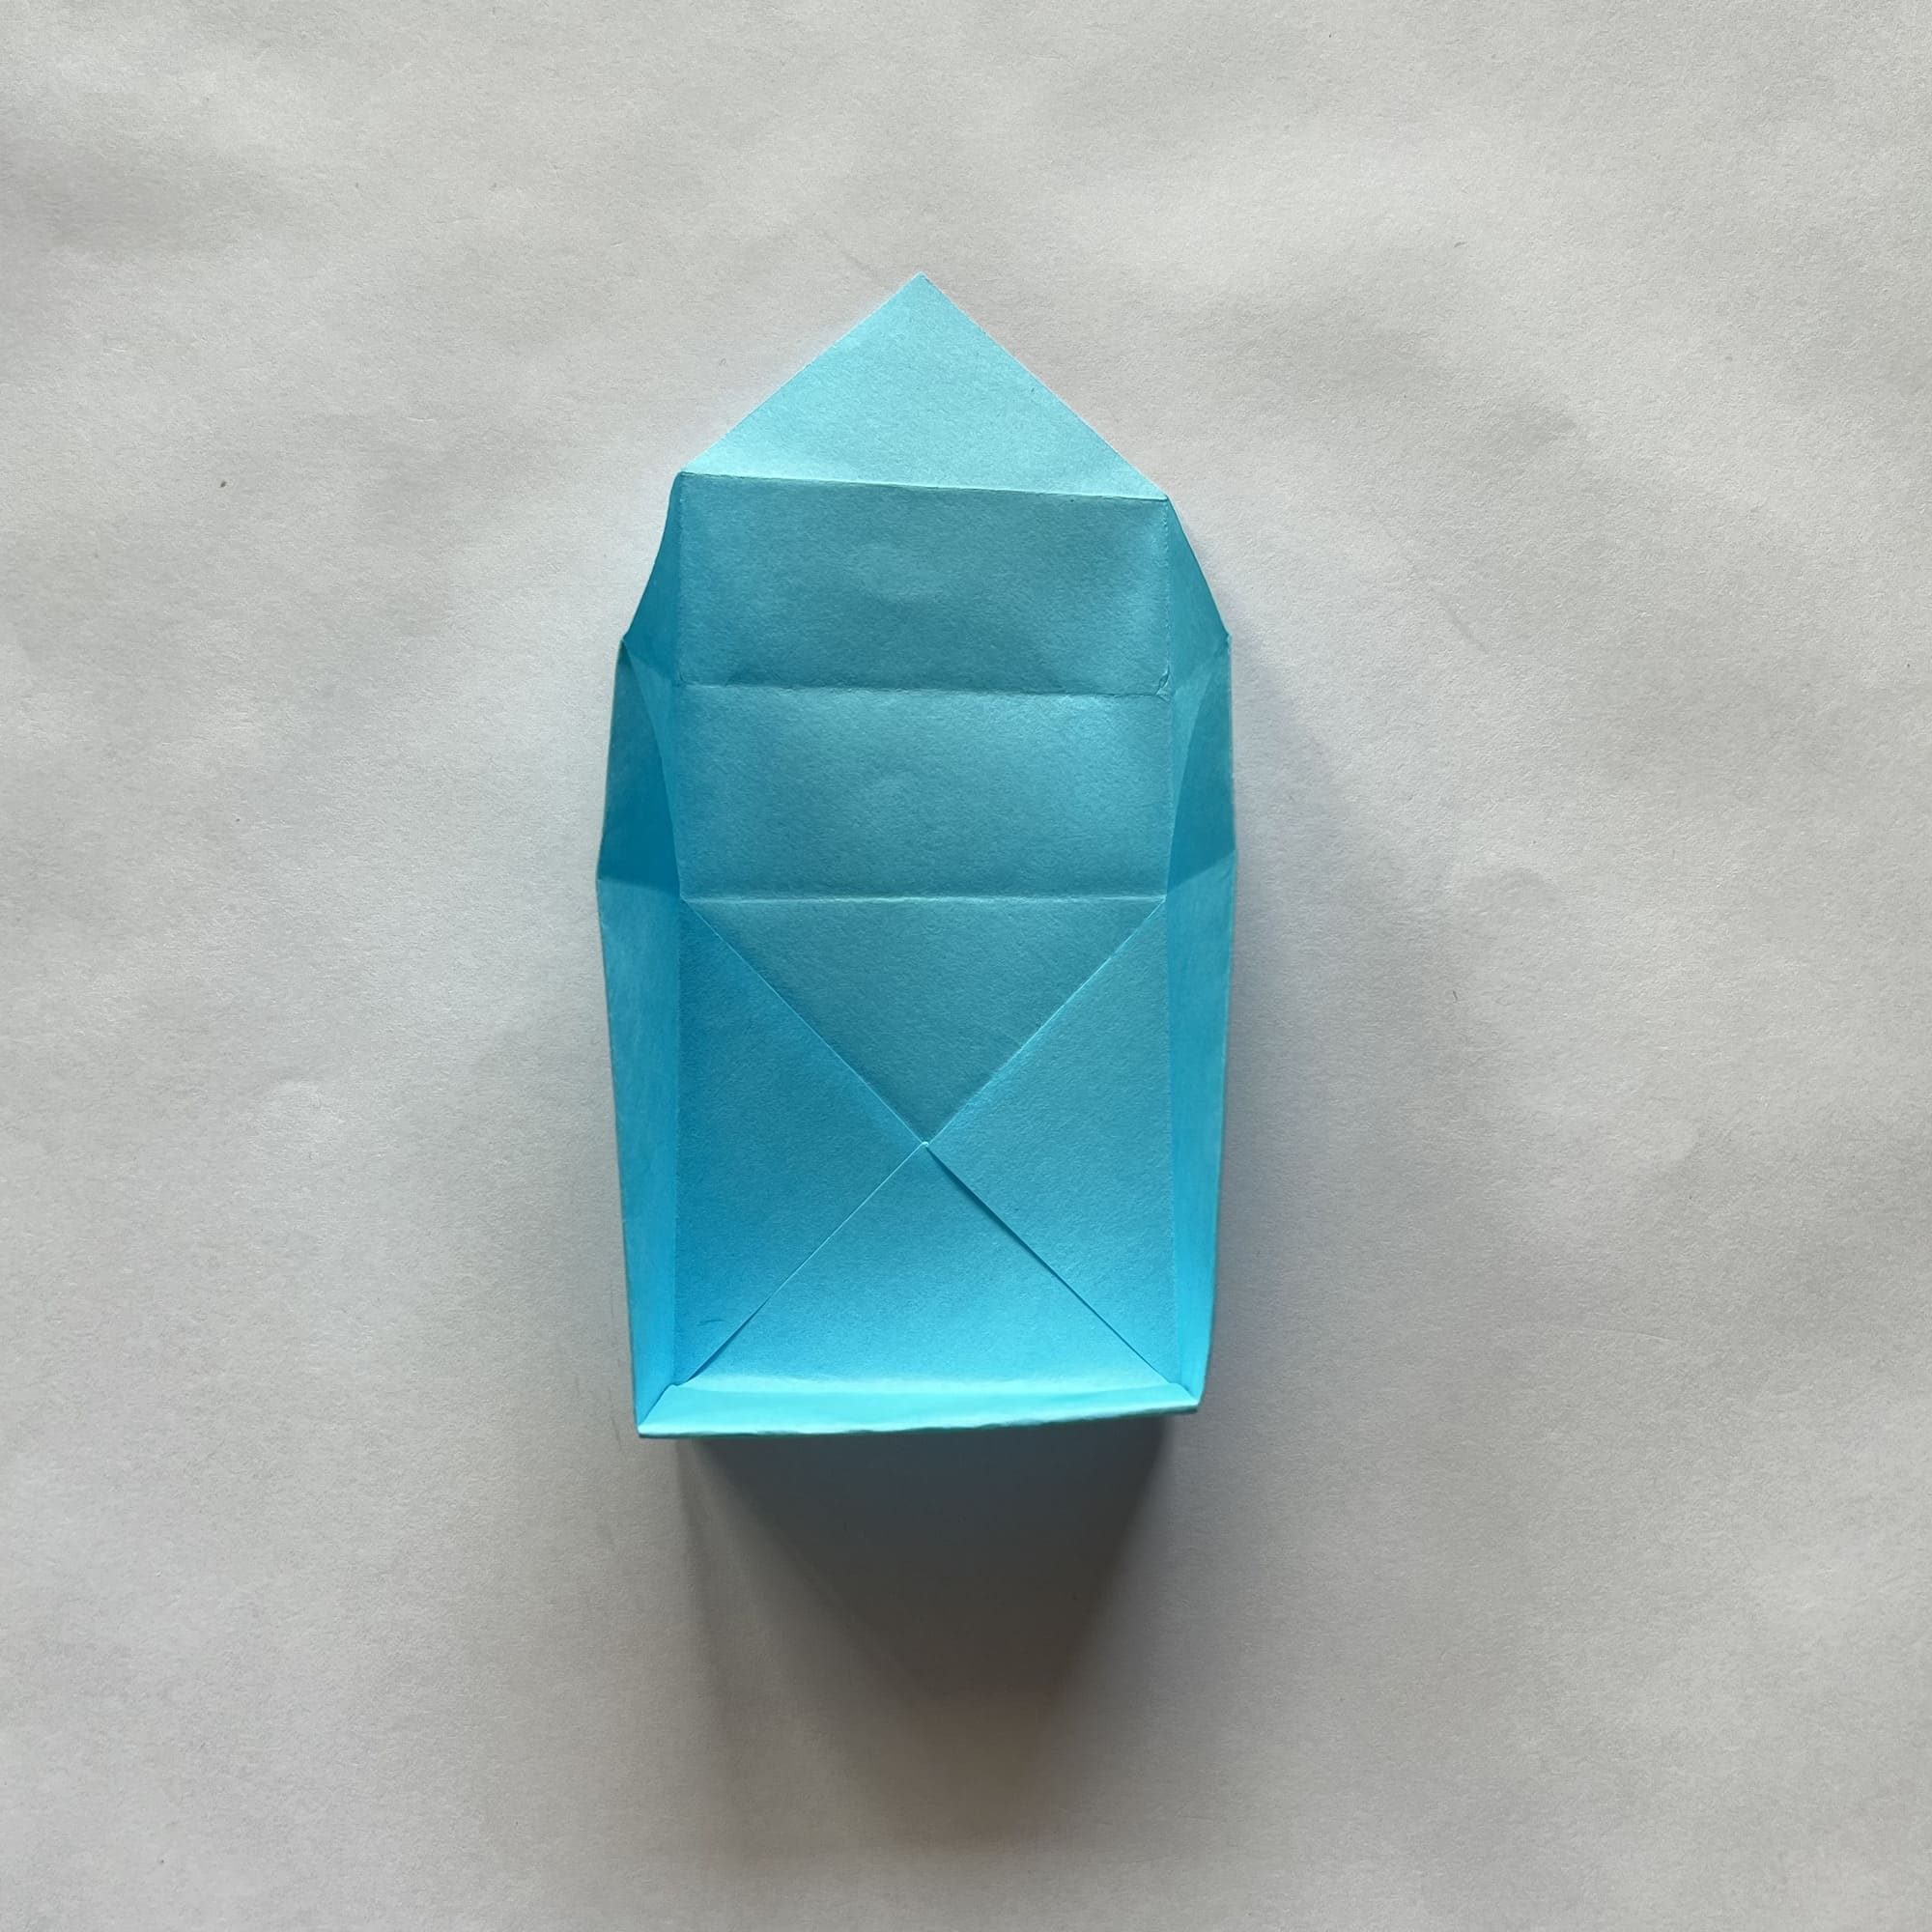
Done!
Now you have a complete origami box that you can use to store small items like paper clips or rings. You can also make a box with a lid from larger sheets of paper to hold larger items.