Origami Butterfly
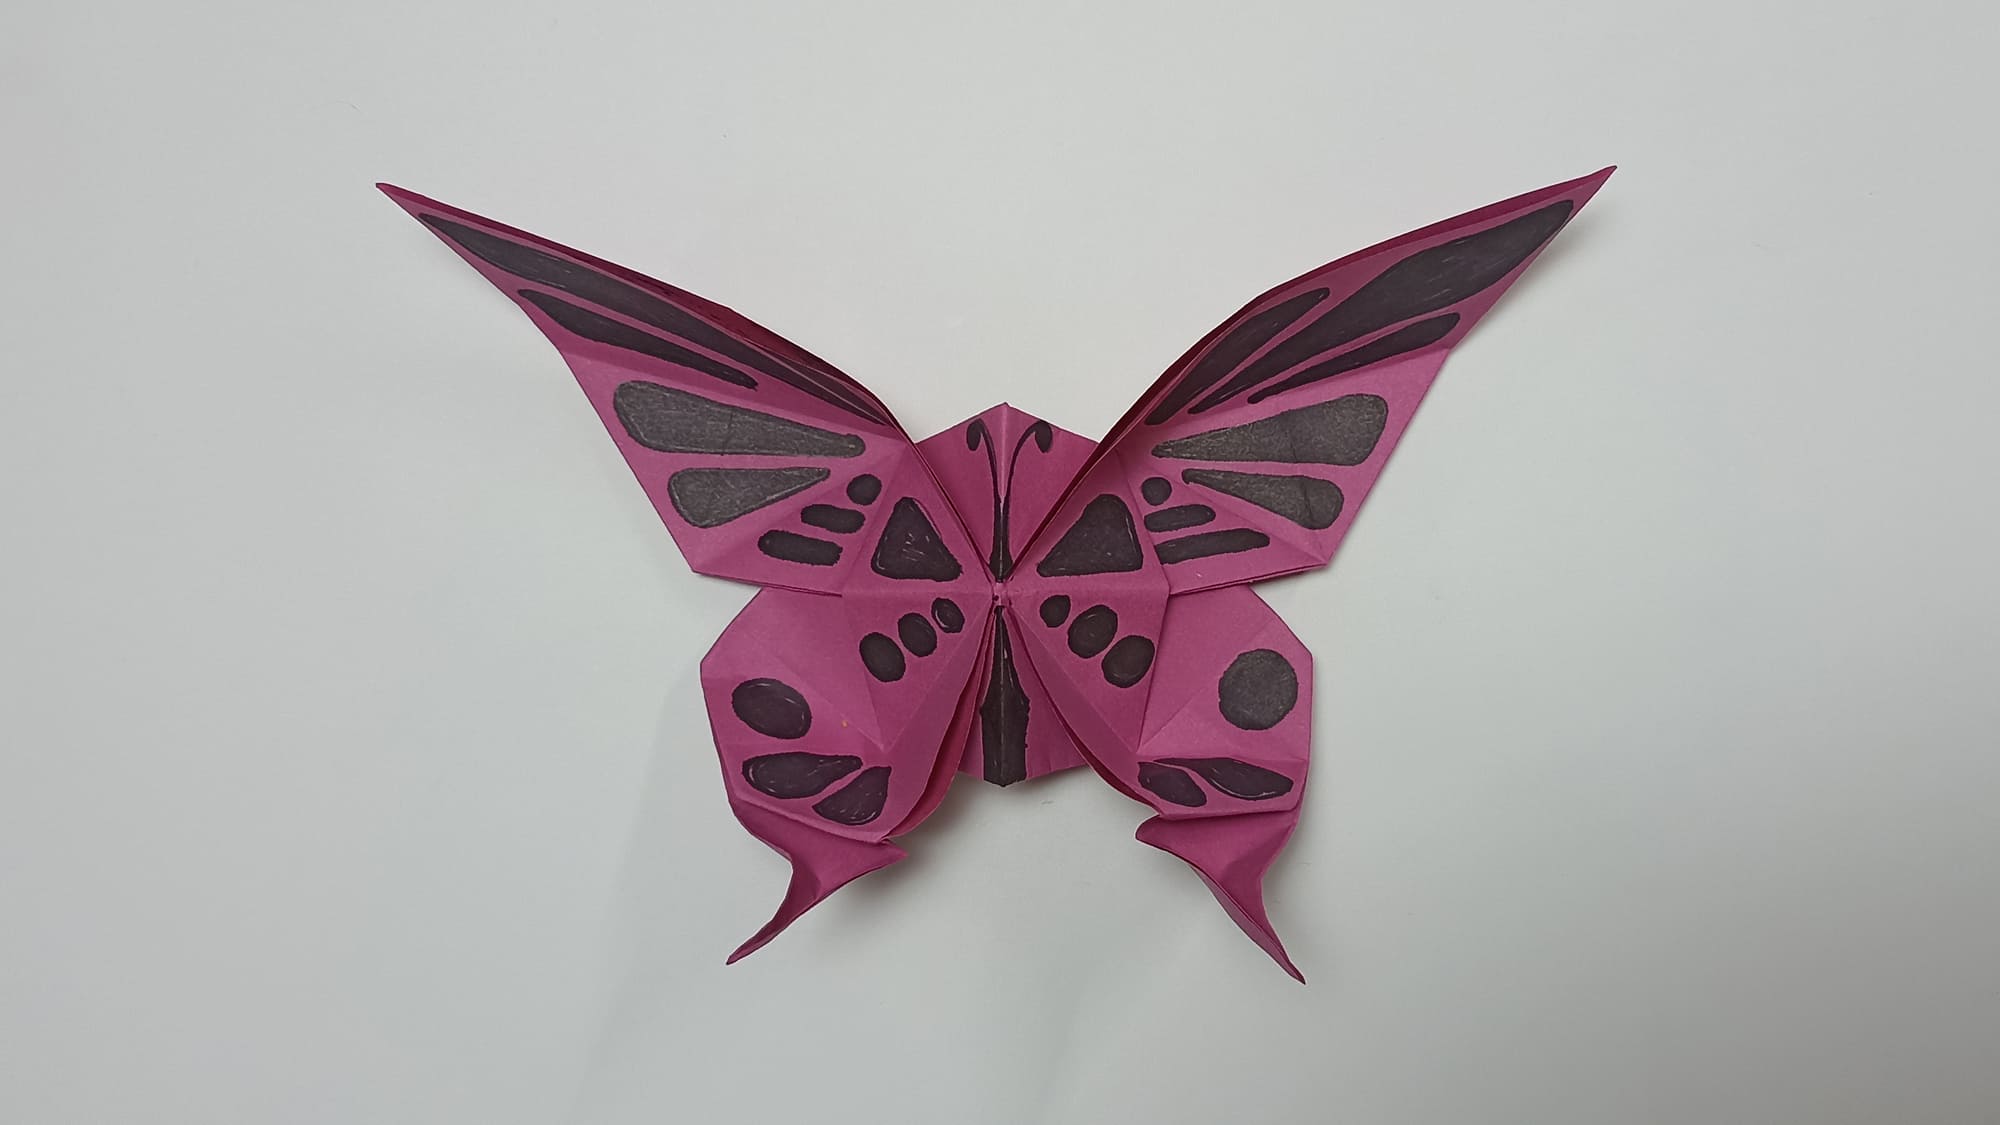
The butterfly is one of the most beautiful insects on the planet. It has become a symbol of youth, beauty, rebirth, and a source of inspiration for creative people. The image has found its magical embodiment in all forms of art, including in the art of paper folding. There are many patterns of butterflies in origami: toys, bookmarks, and decorative crafts.
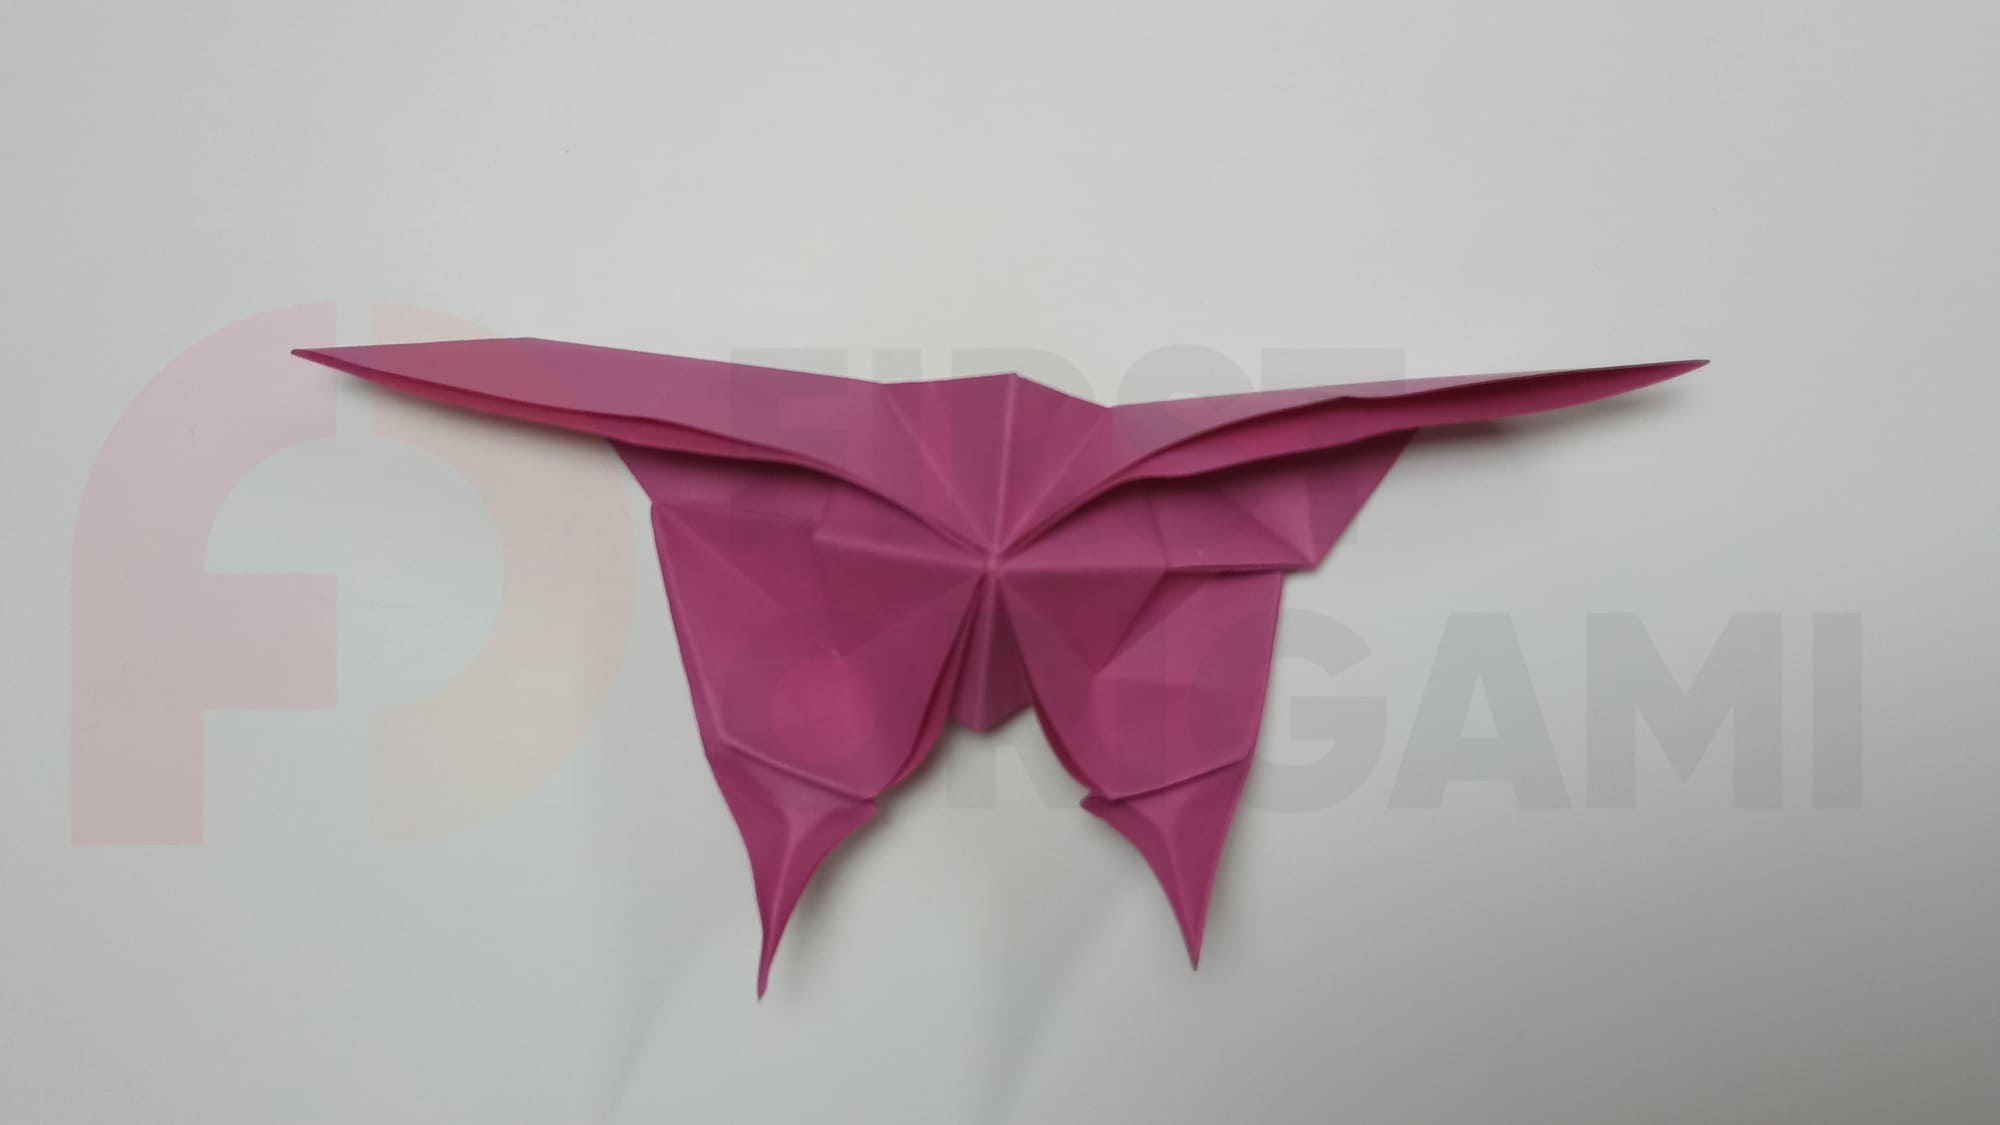
The proposed assembly option is not the simplest; it requires accuracy and attention to detail. The finished craft can be used to decorate a panel, a wall, or a piece of furniture.

Draw an assisting line for the middle of the square, connecting opposite sides.
Bend the side sections towards the middle. Open the folds.
Rotate the shape. Mark the middle line.
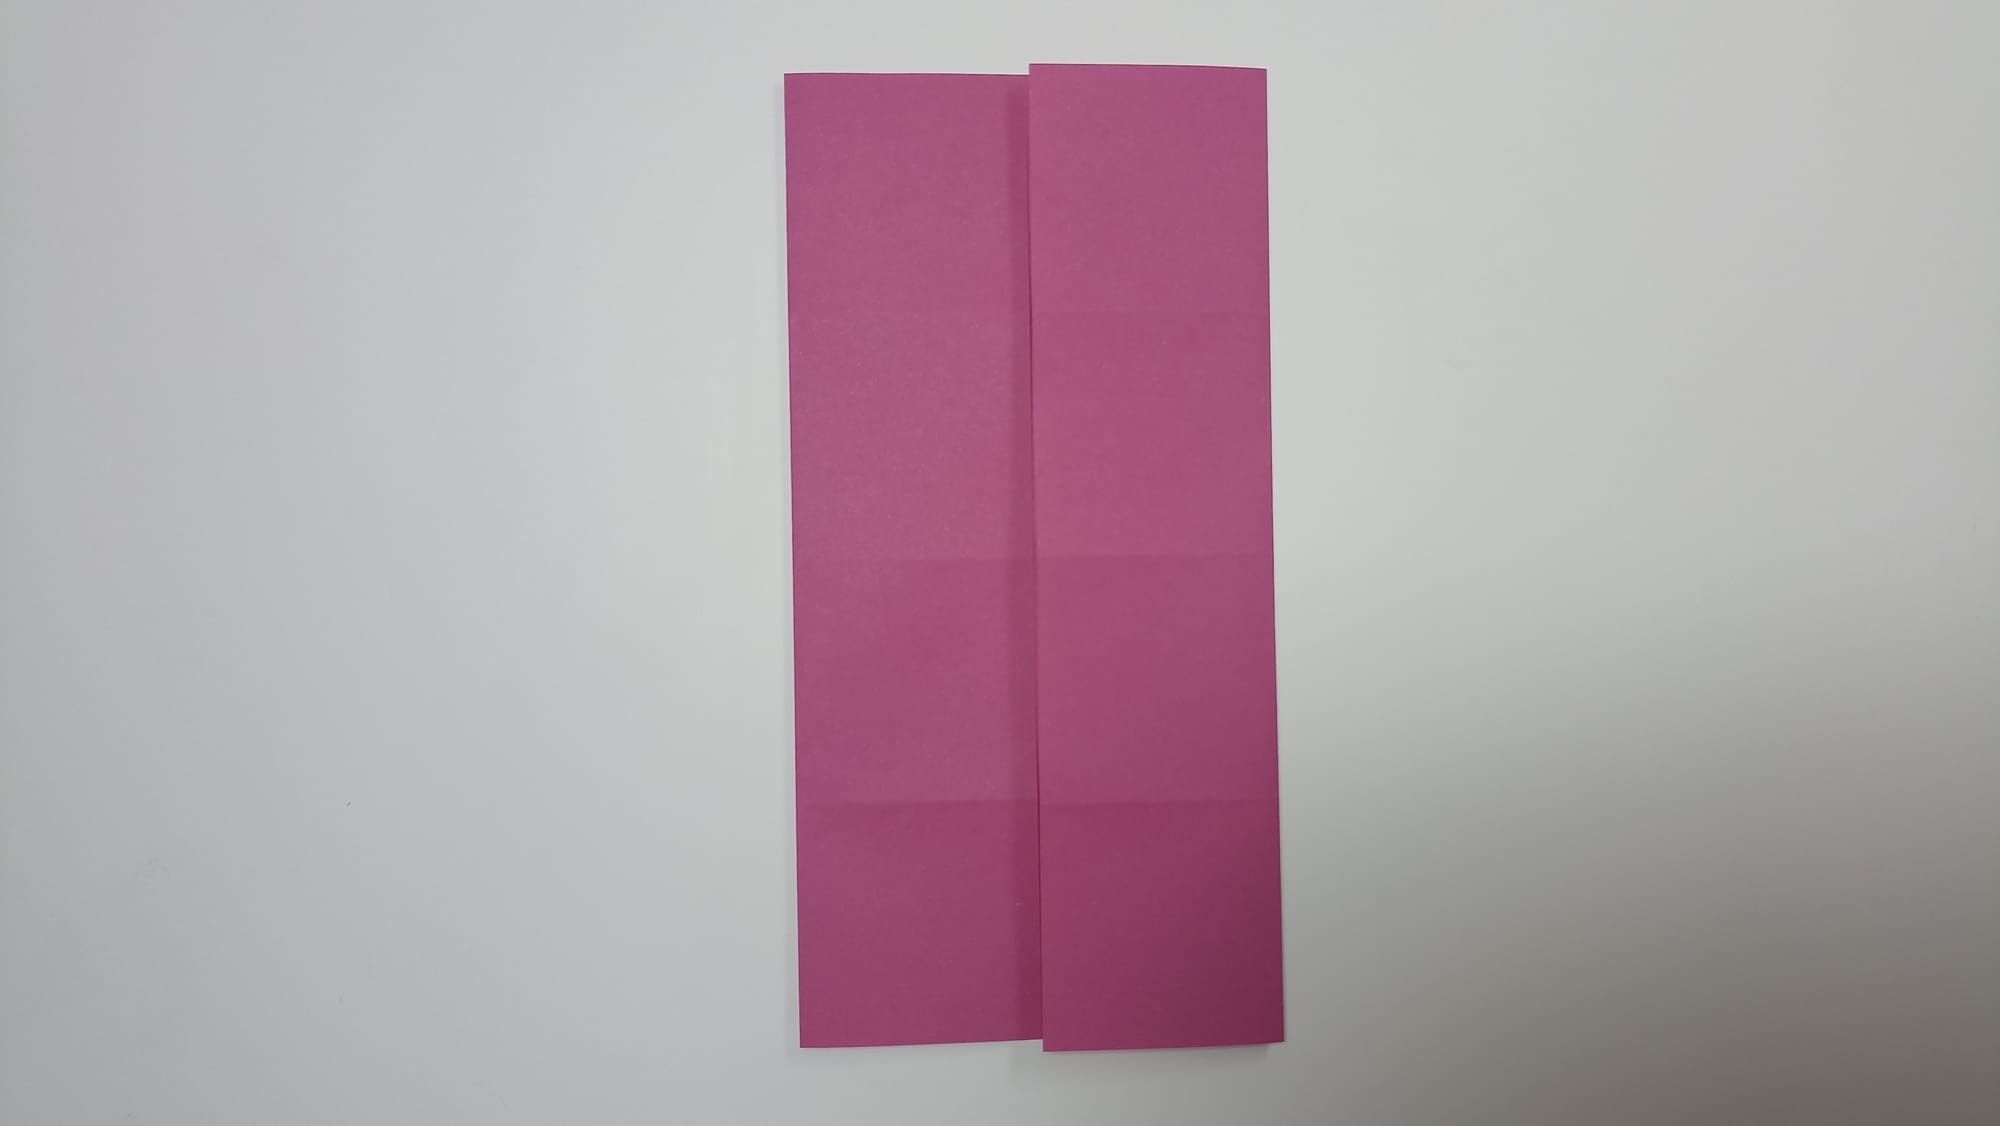
Fold the sides towards the center and unfold.
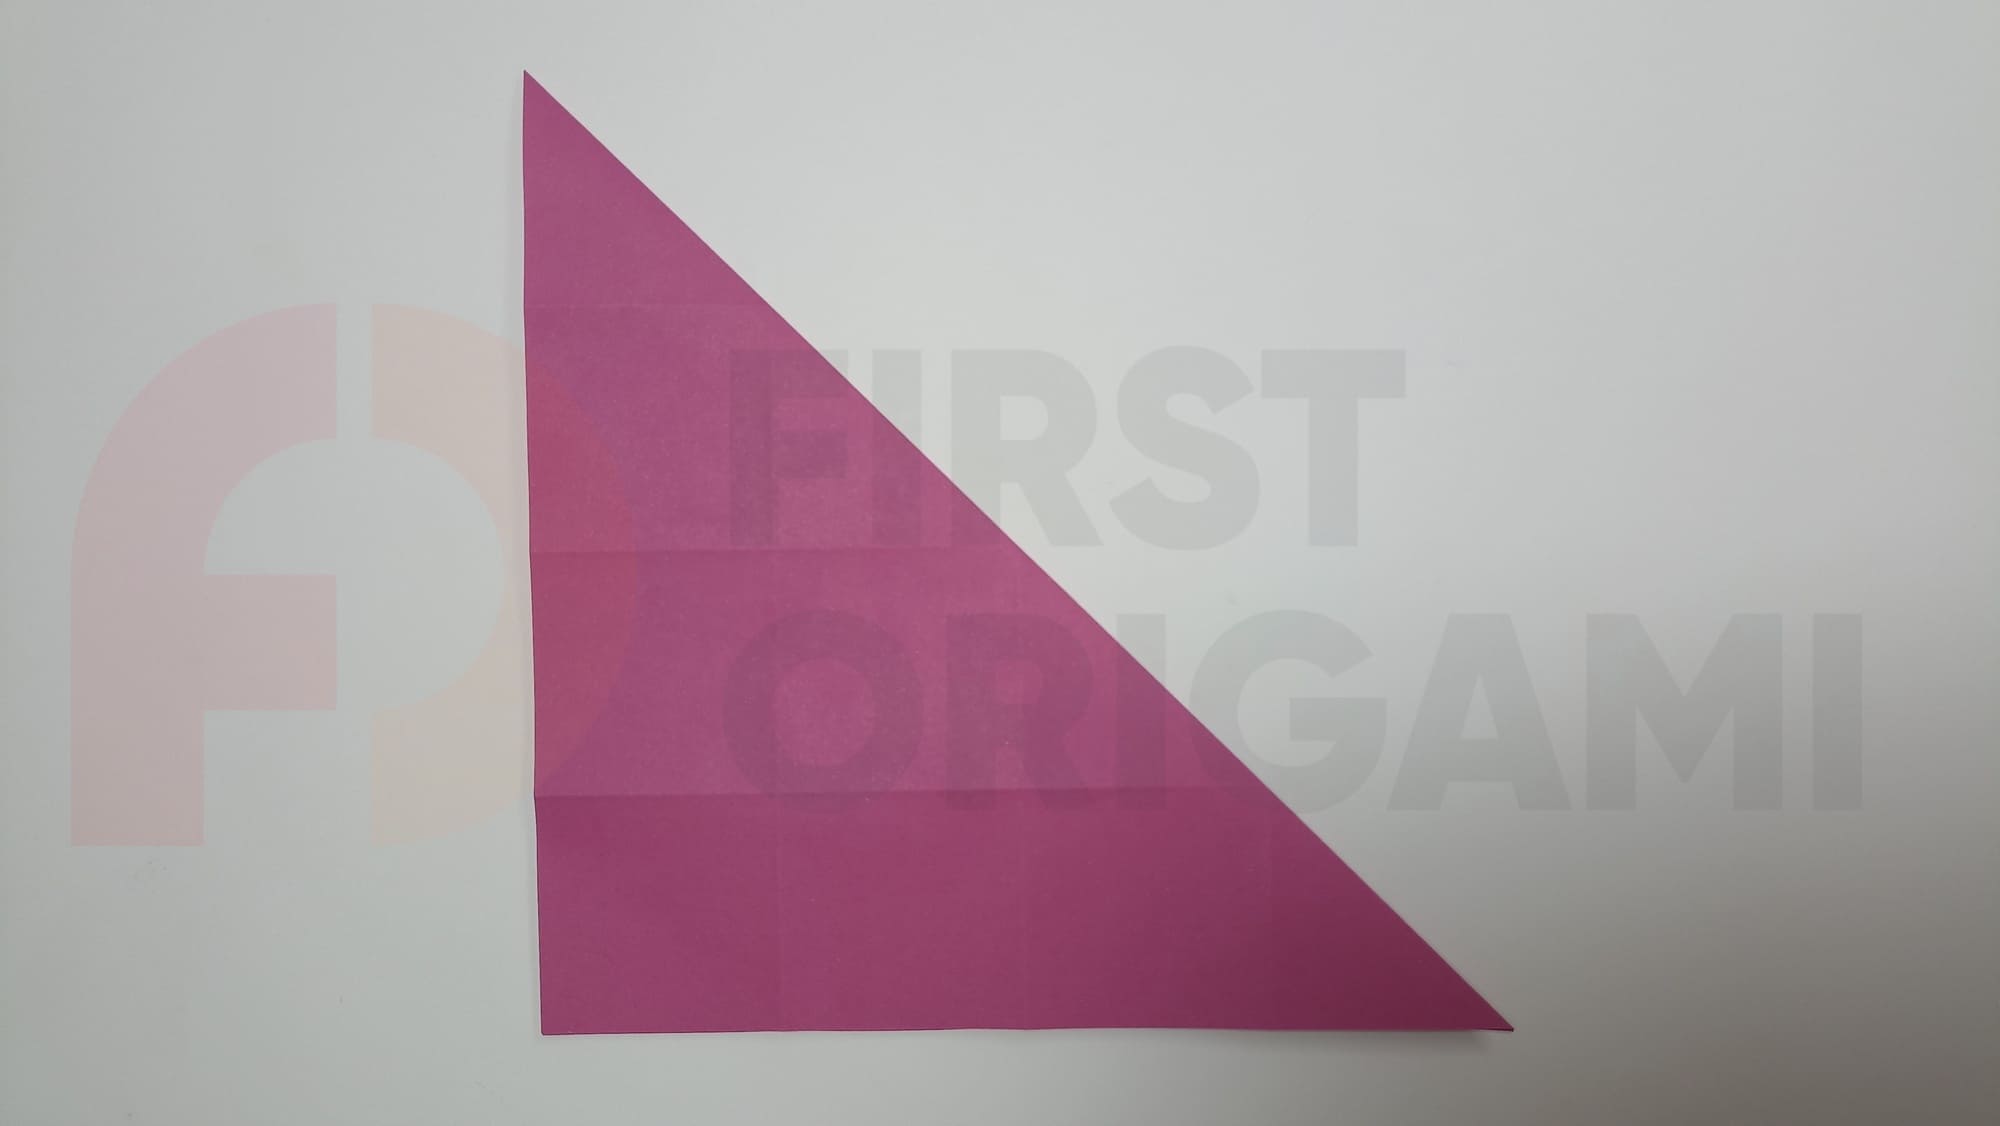
Draw the lines of the diagonals. Flip the square.

Fold the corners to the center point. Open the folds. Turn the shape over.
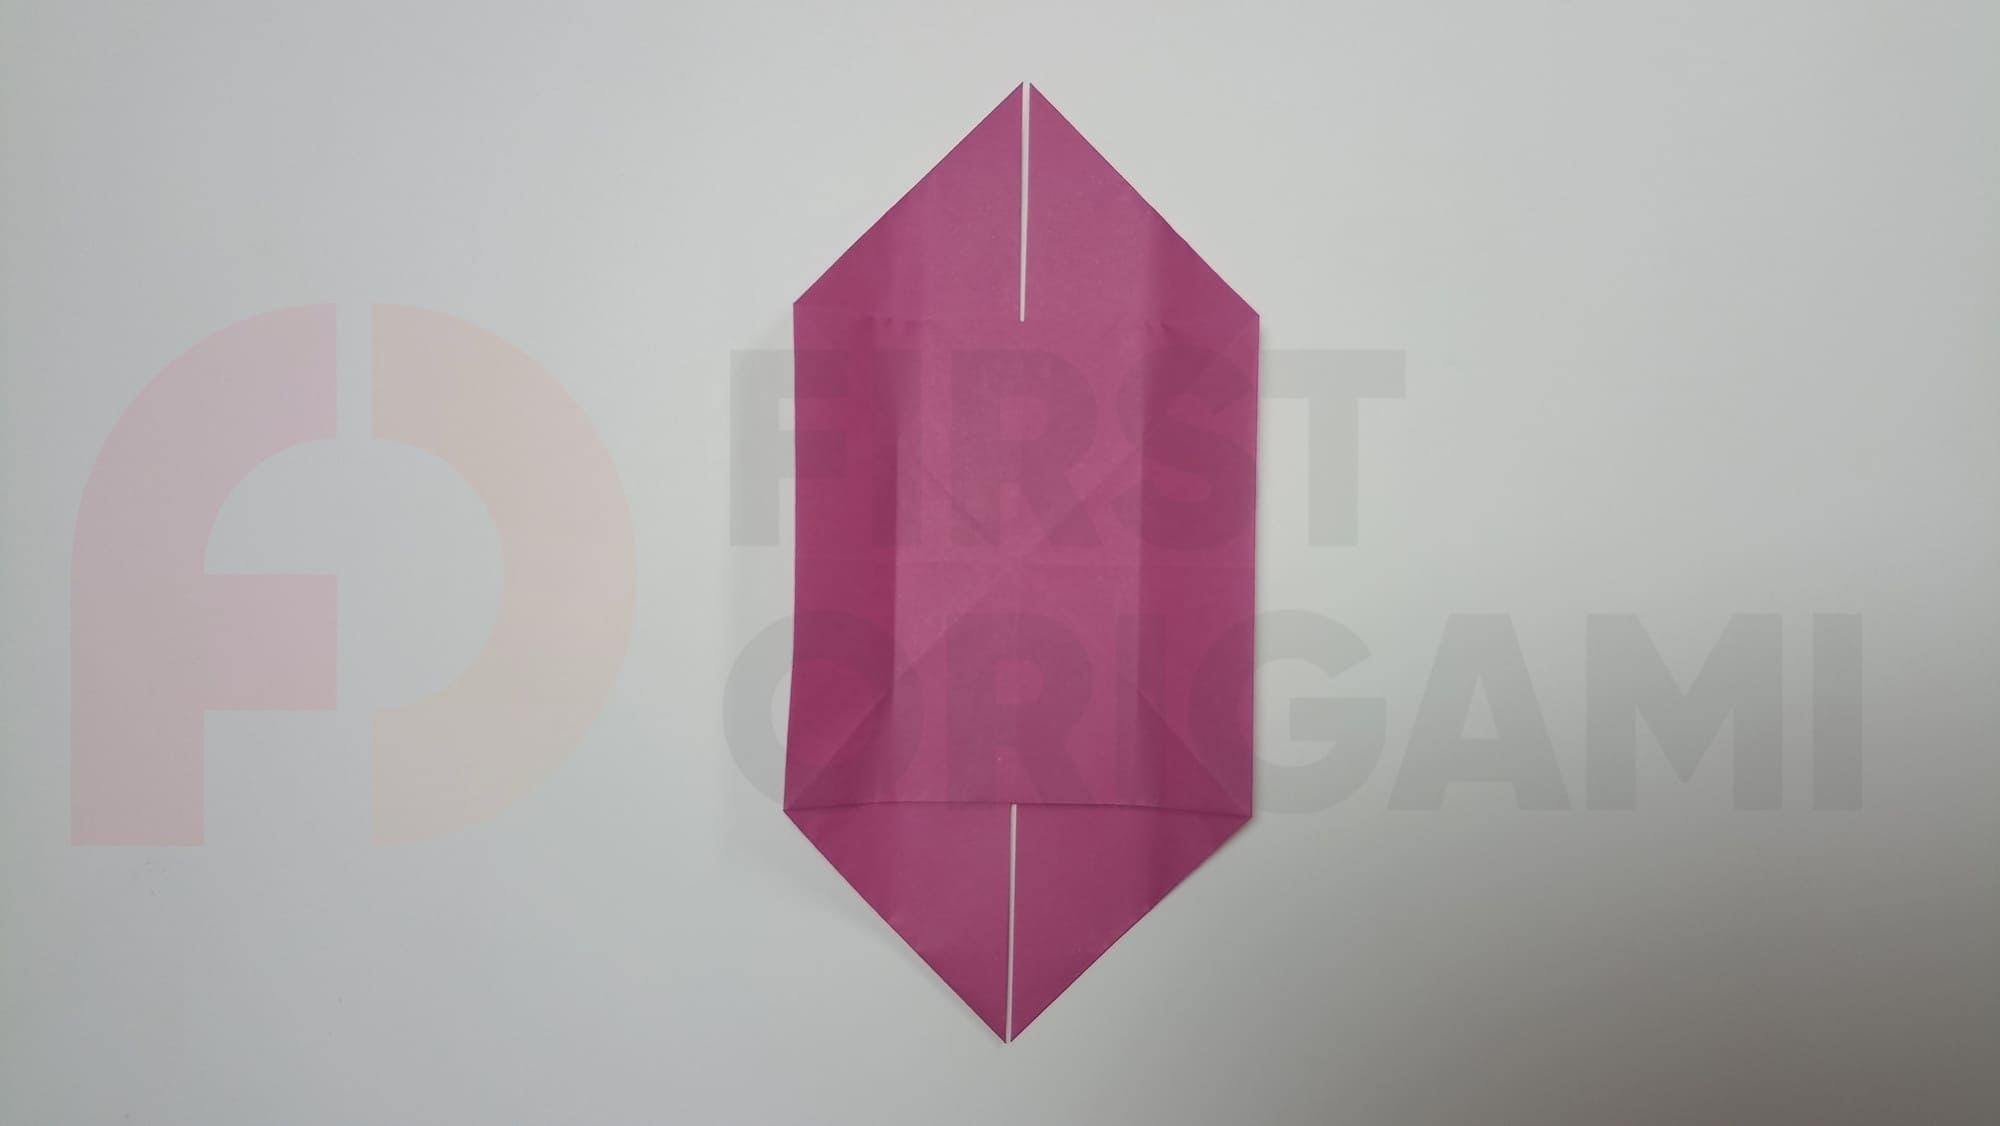
Simultaneously align the side points of the midline in the center.
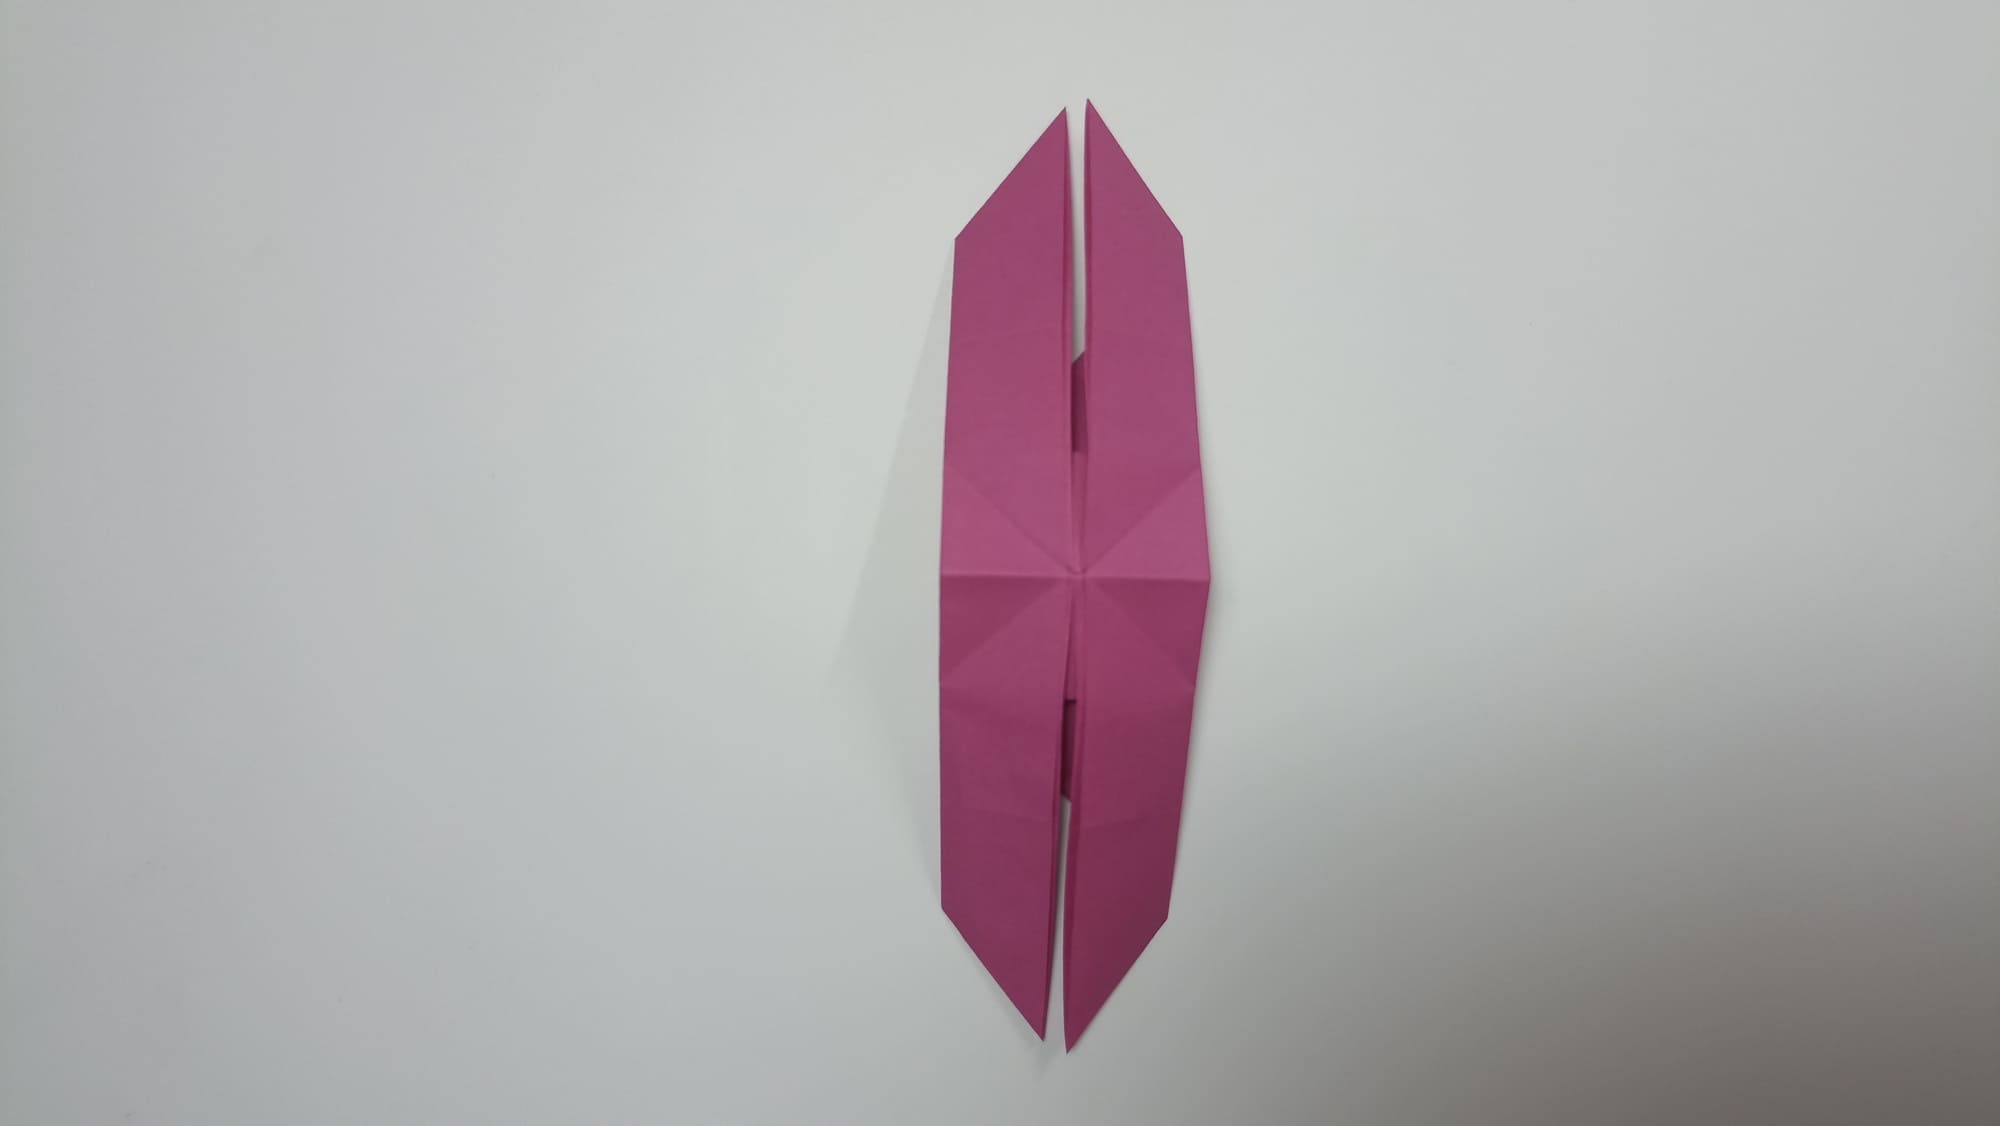
The top and bottom cut should be on the horizontal midline.
Bend the sides of the shape in half. Crease the folds all the way to the edges of the lines.
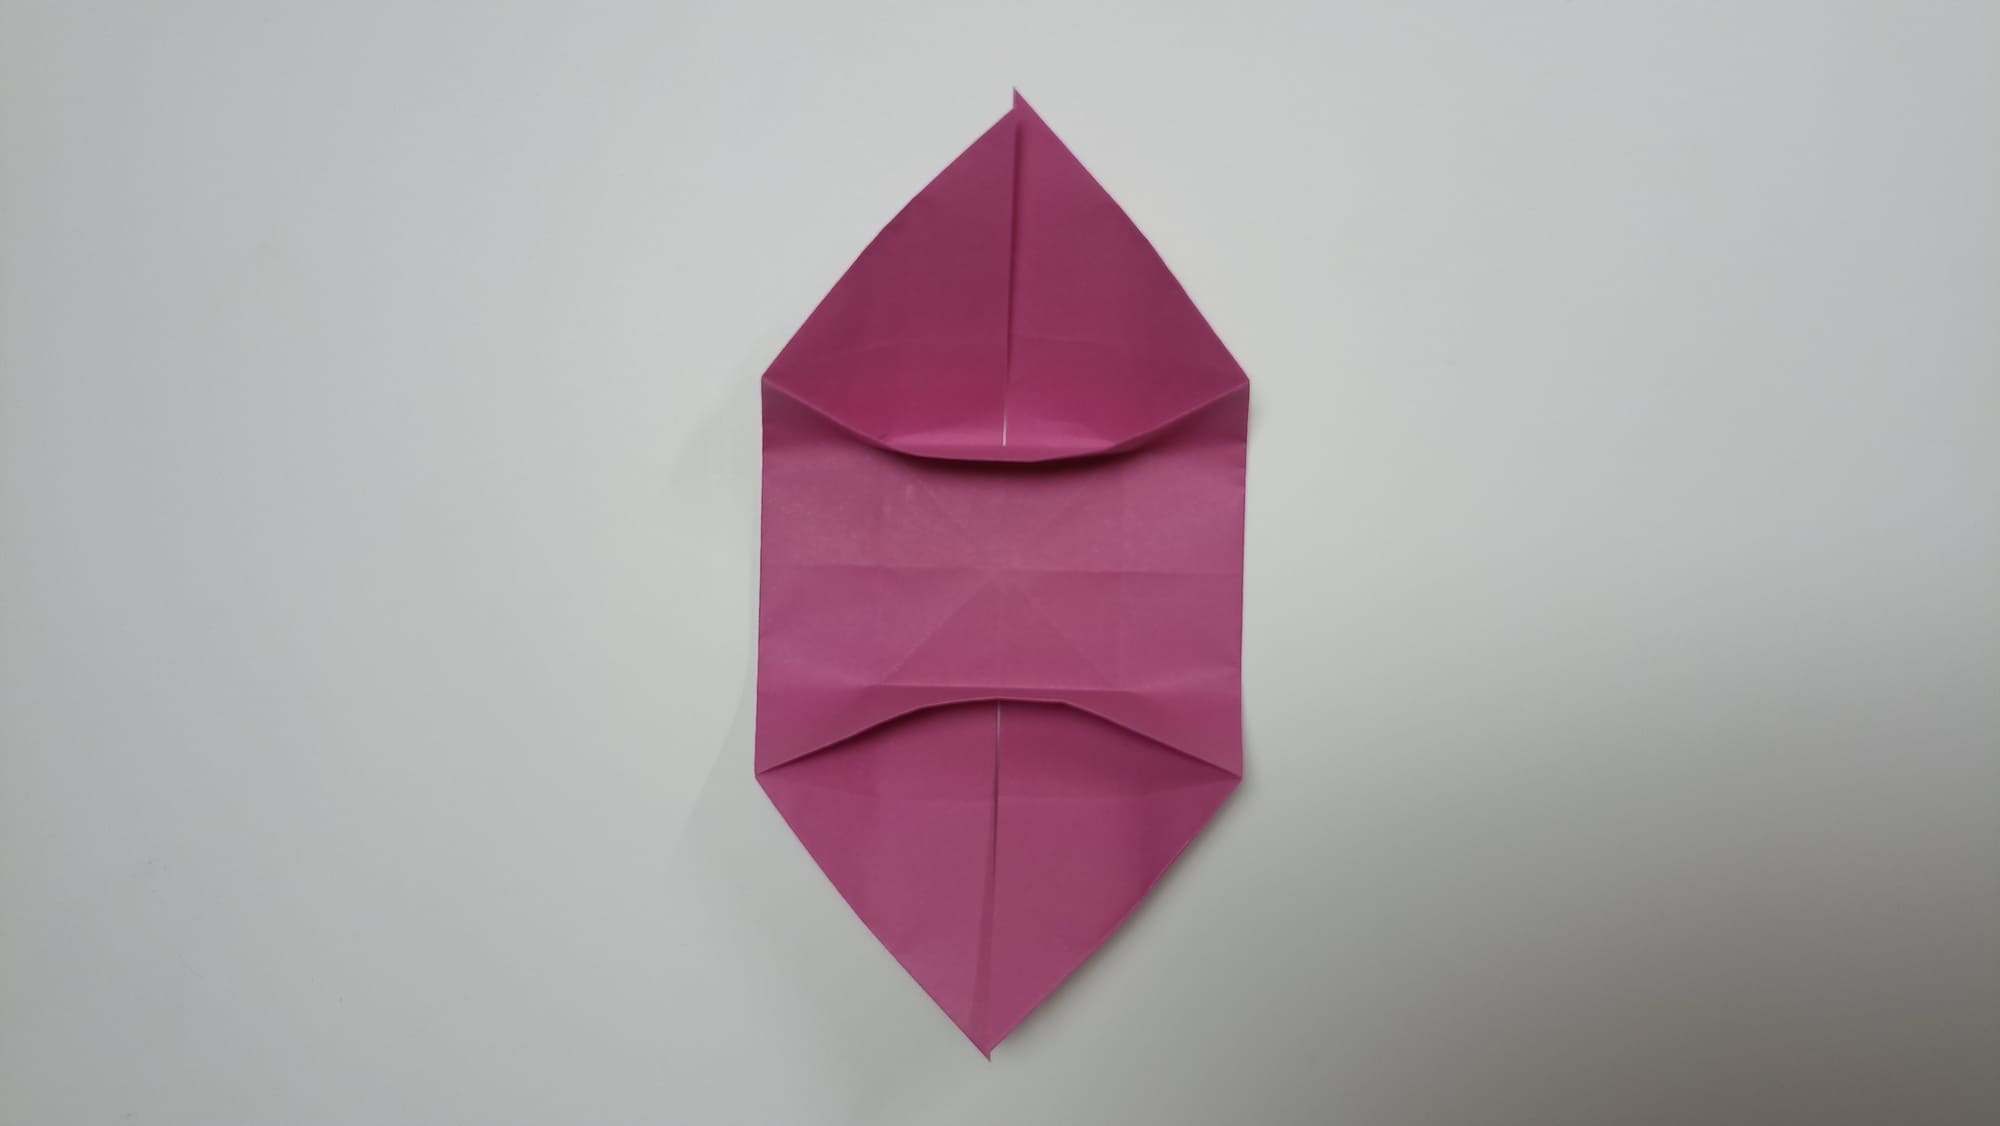
Fold the other two sides in half. Crease only the fold of the inner layer.
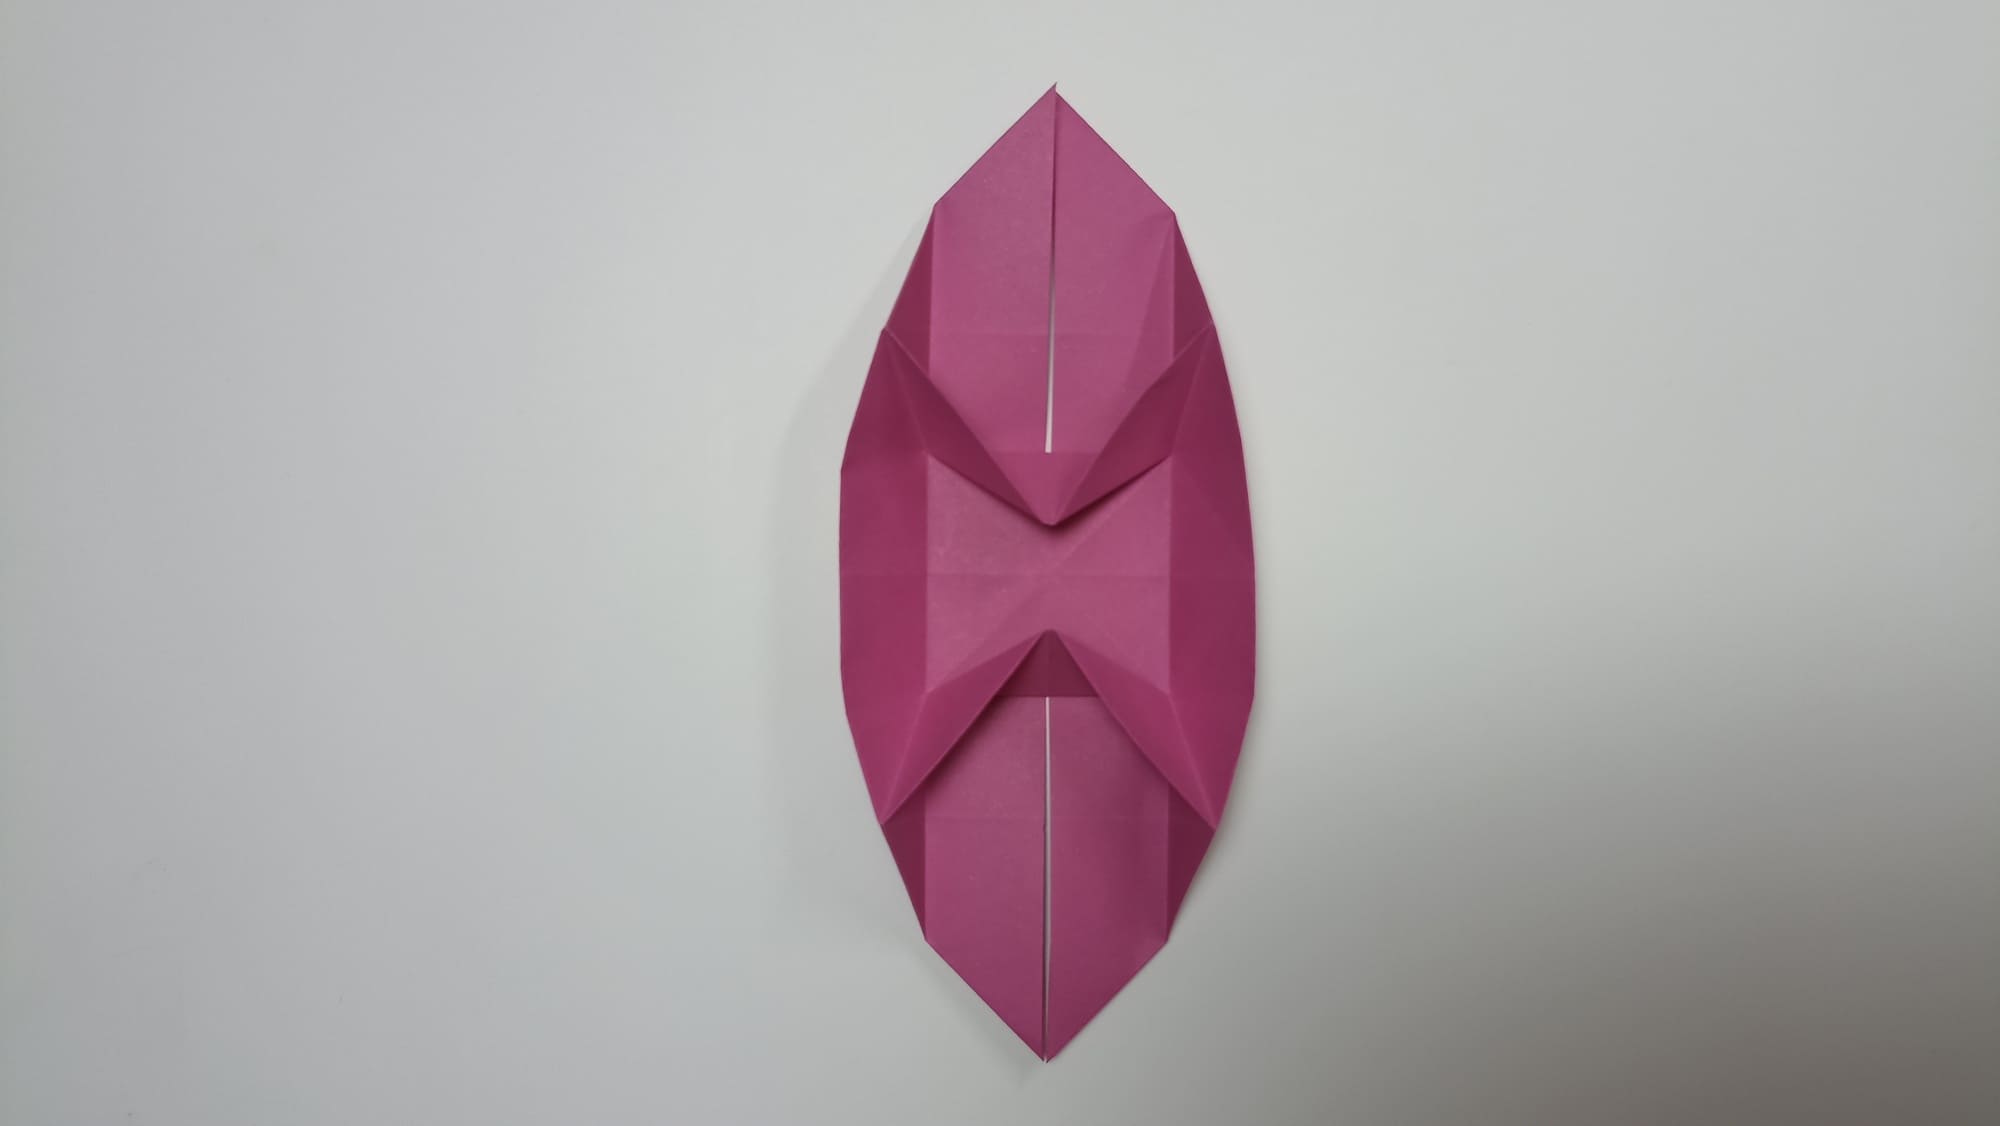
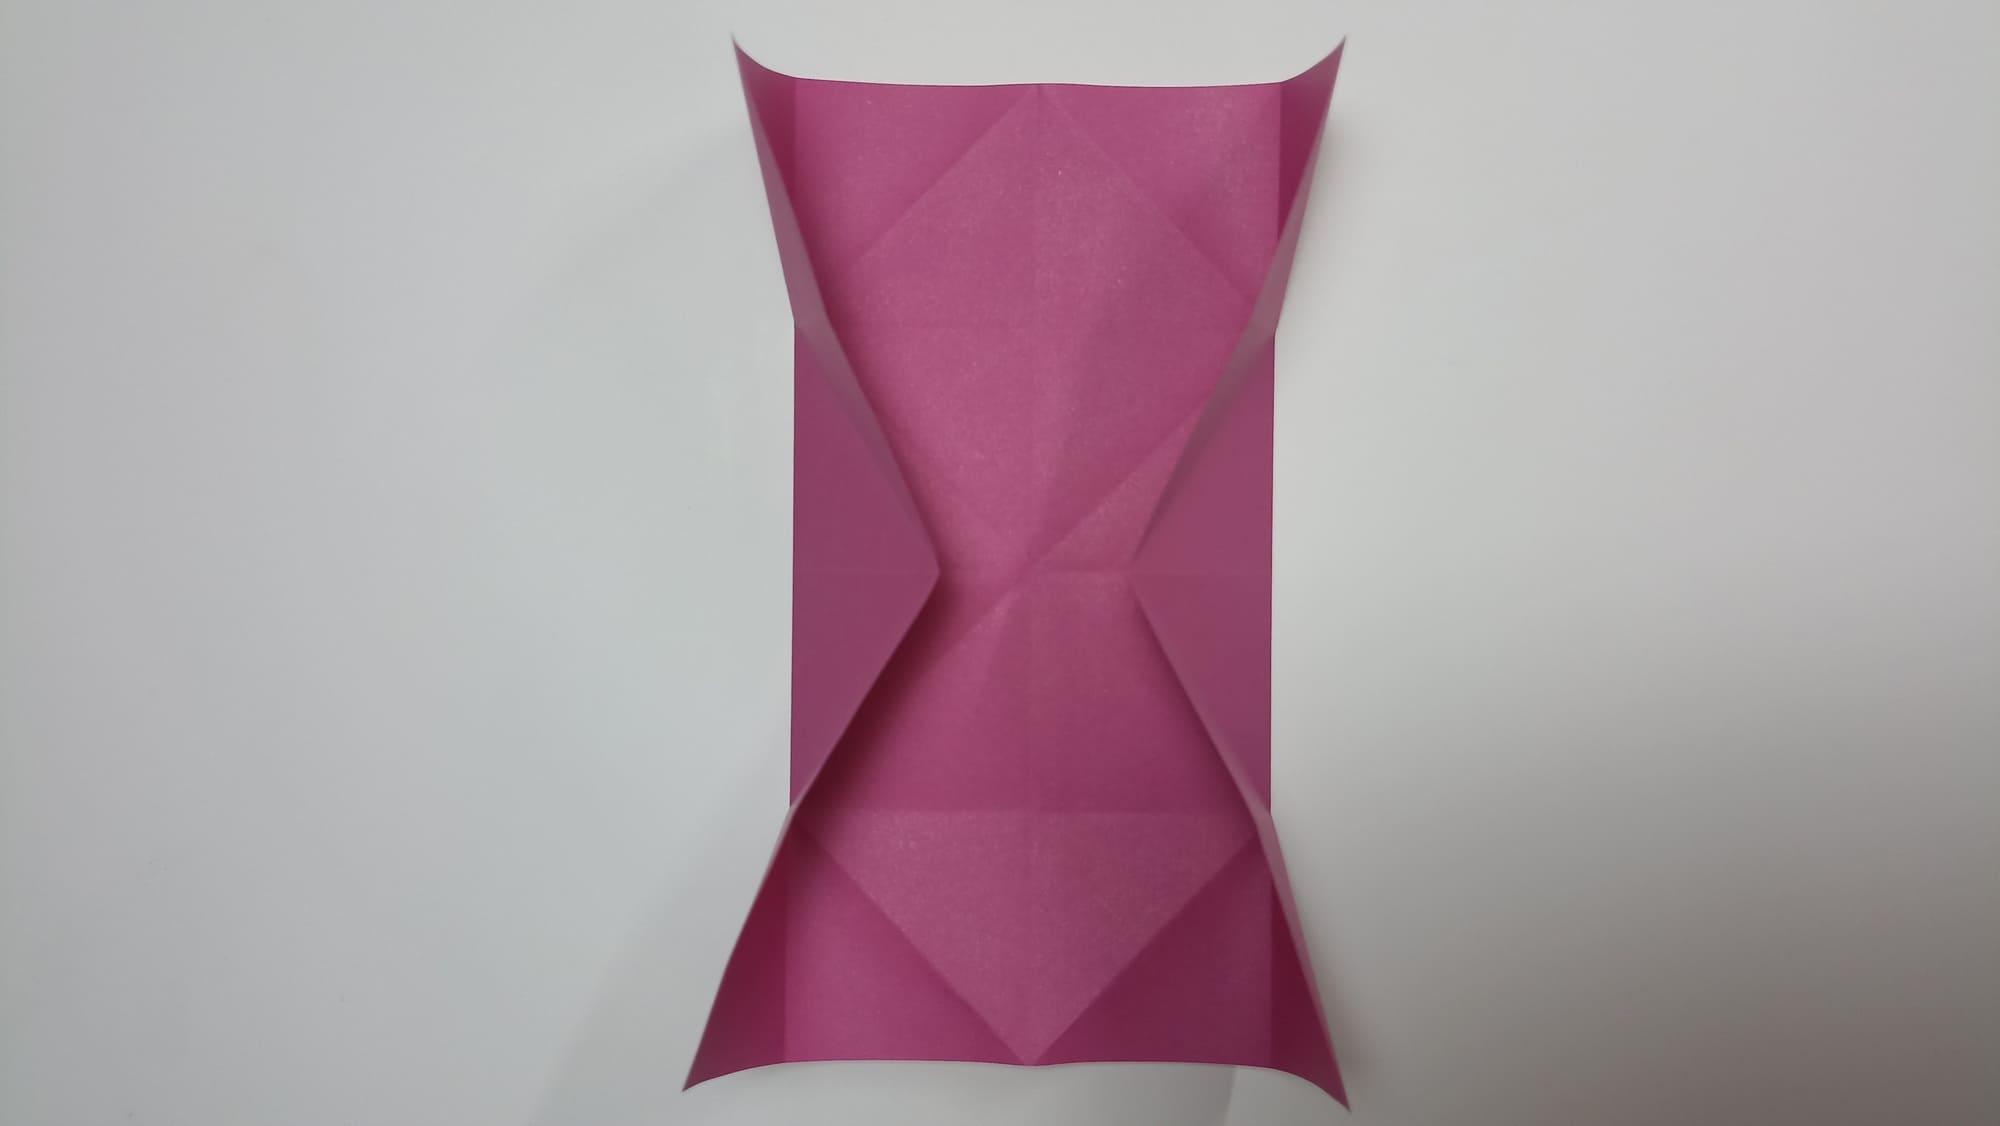
Connect the central points of the side edges in the middle.
Align the sides on the center line. Crease well all internal folds. Turn over your work.
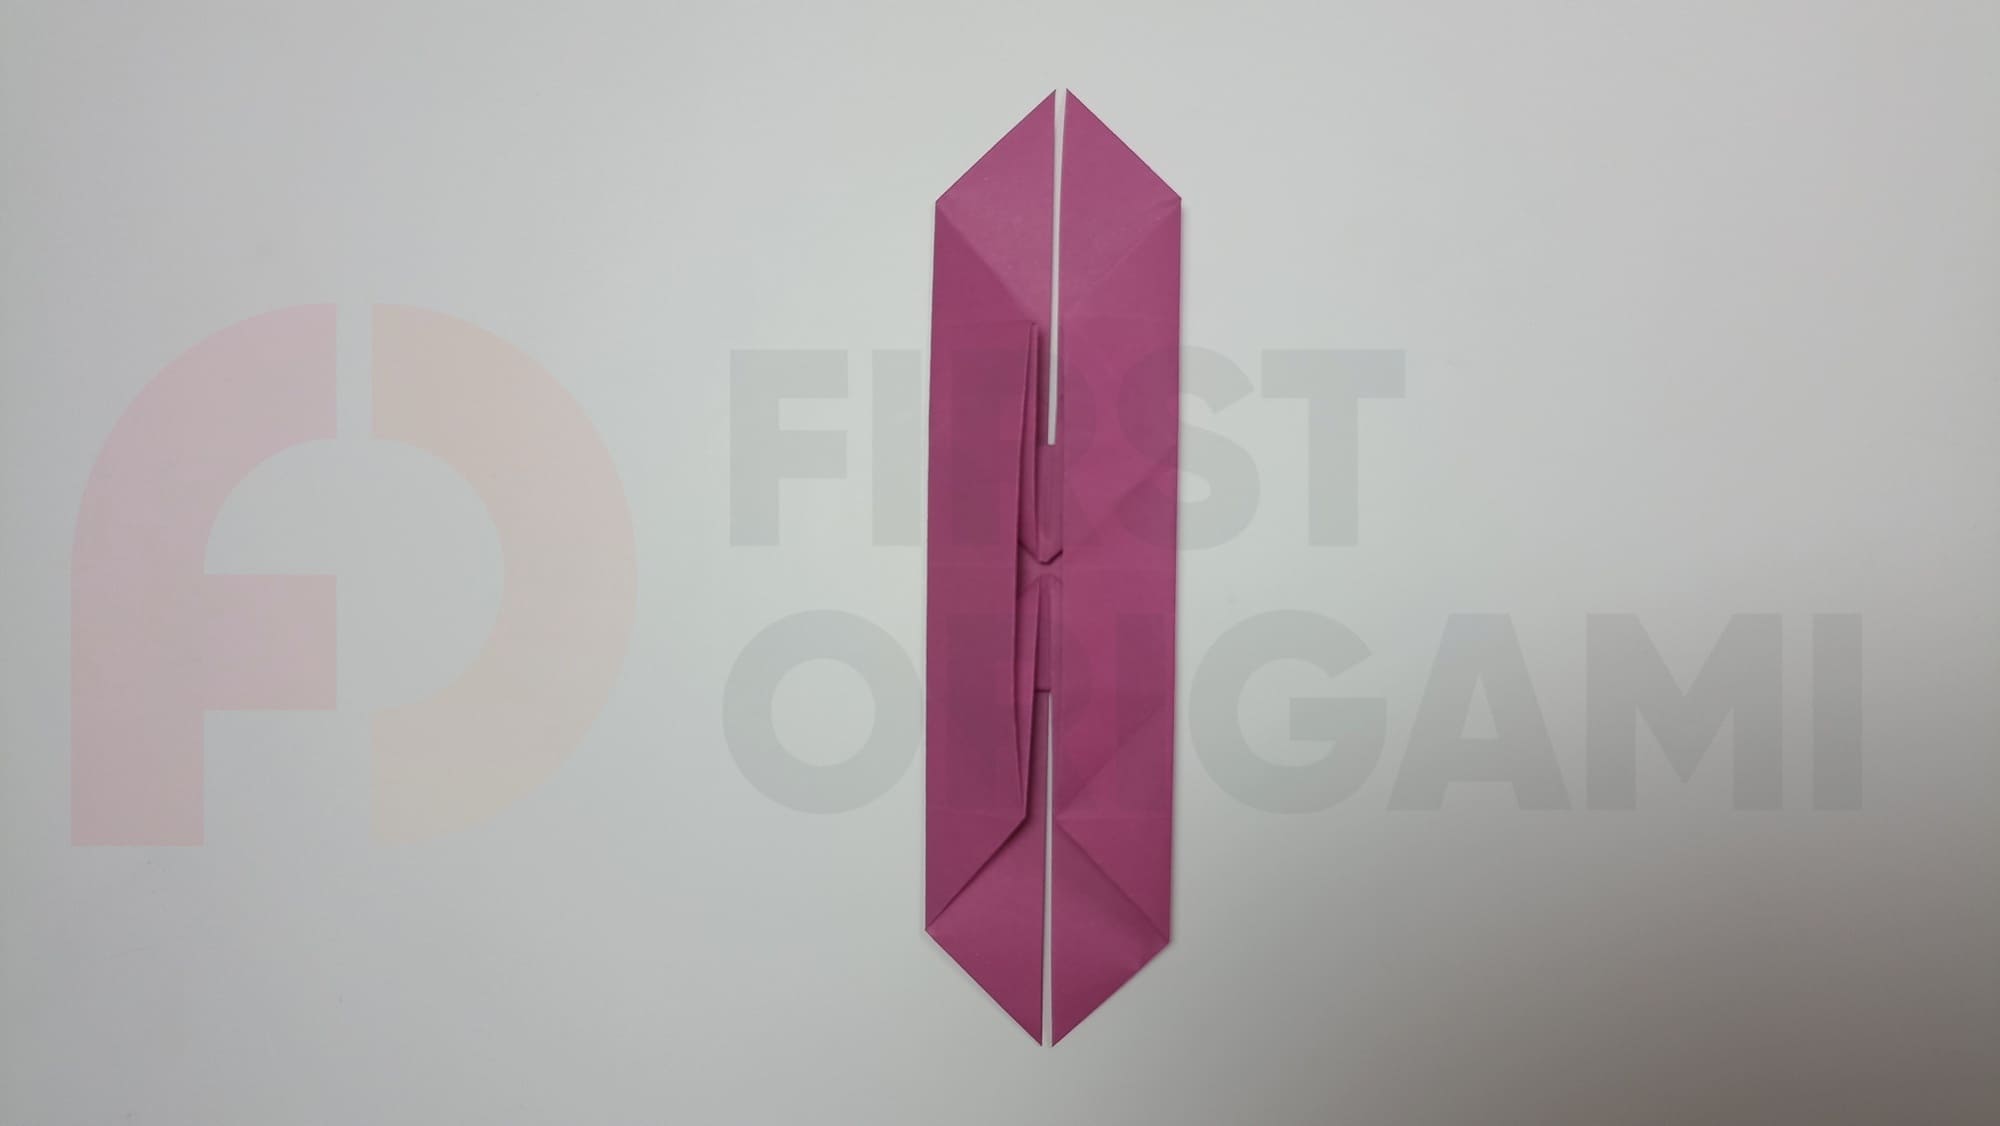
Crease the vertical and horizontal folds.
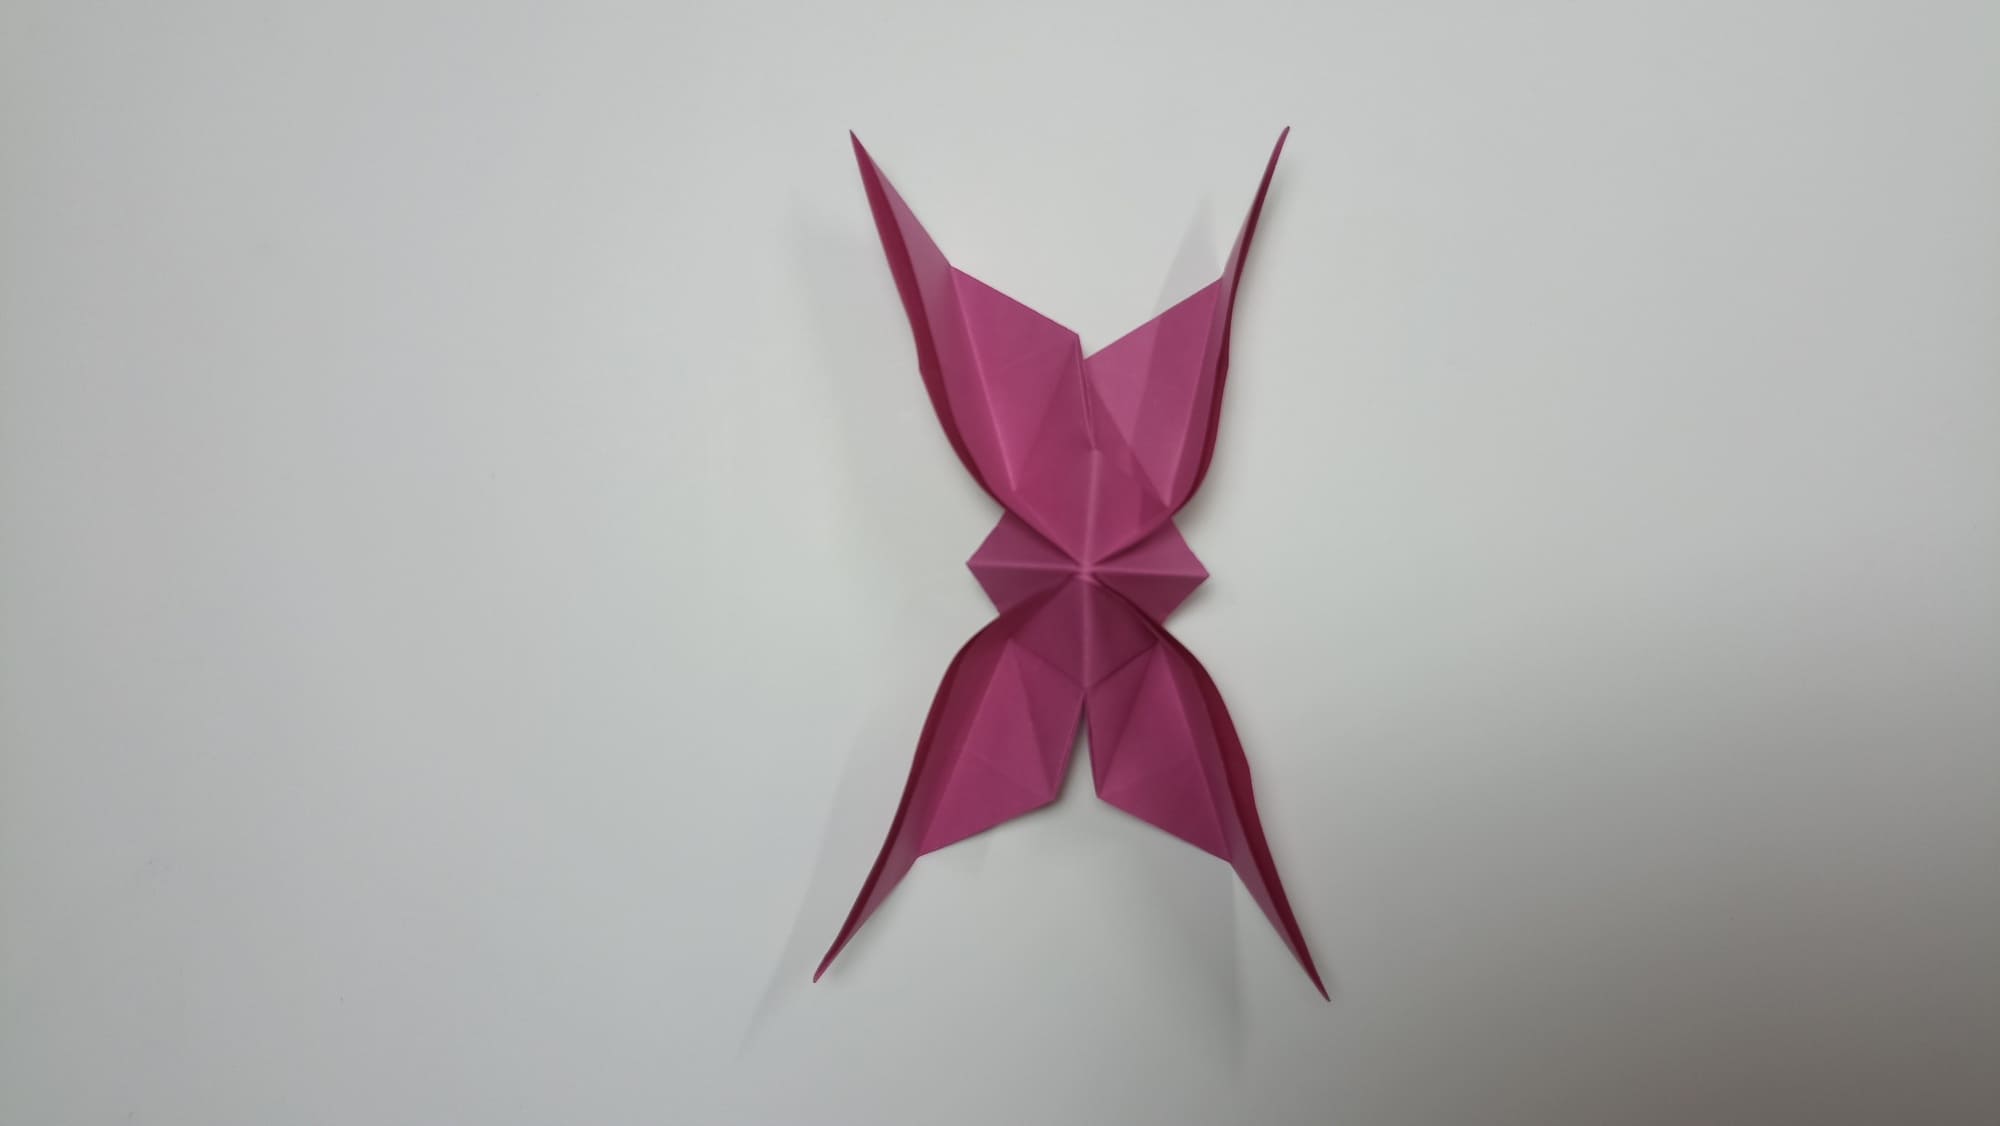
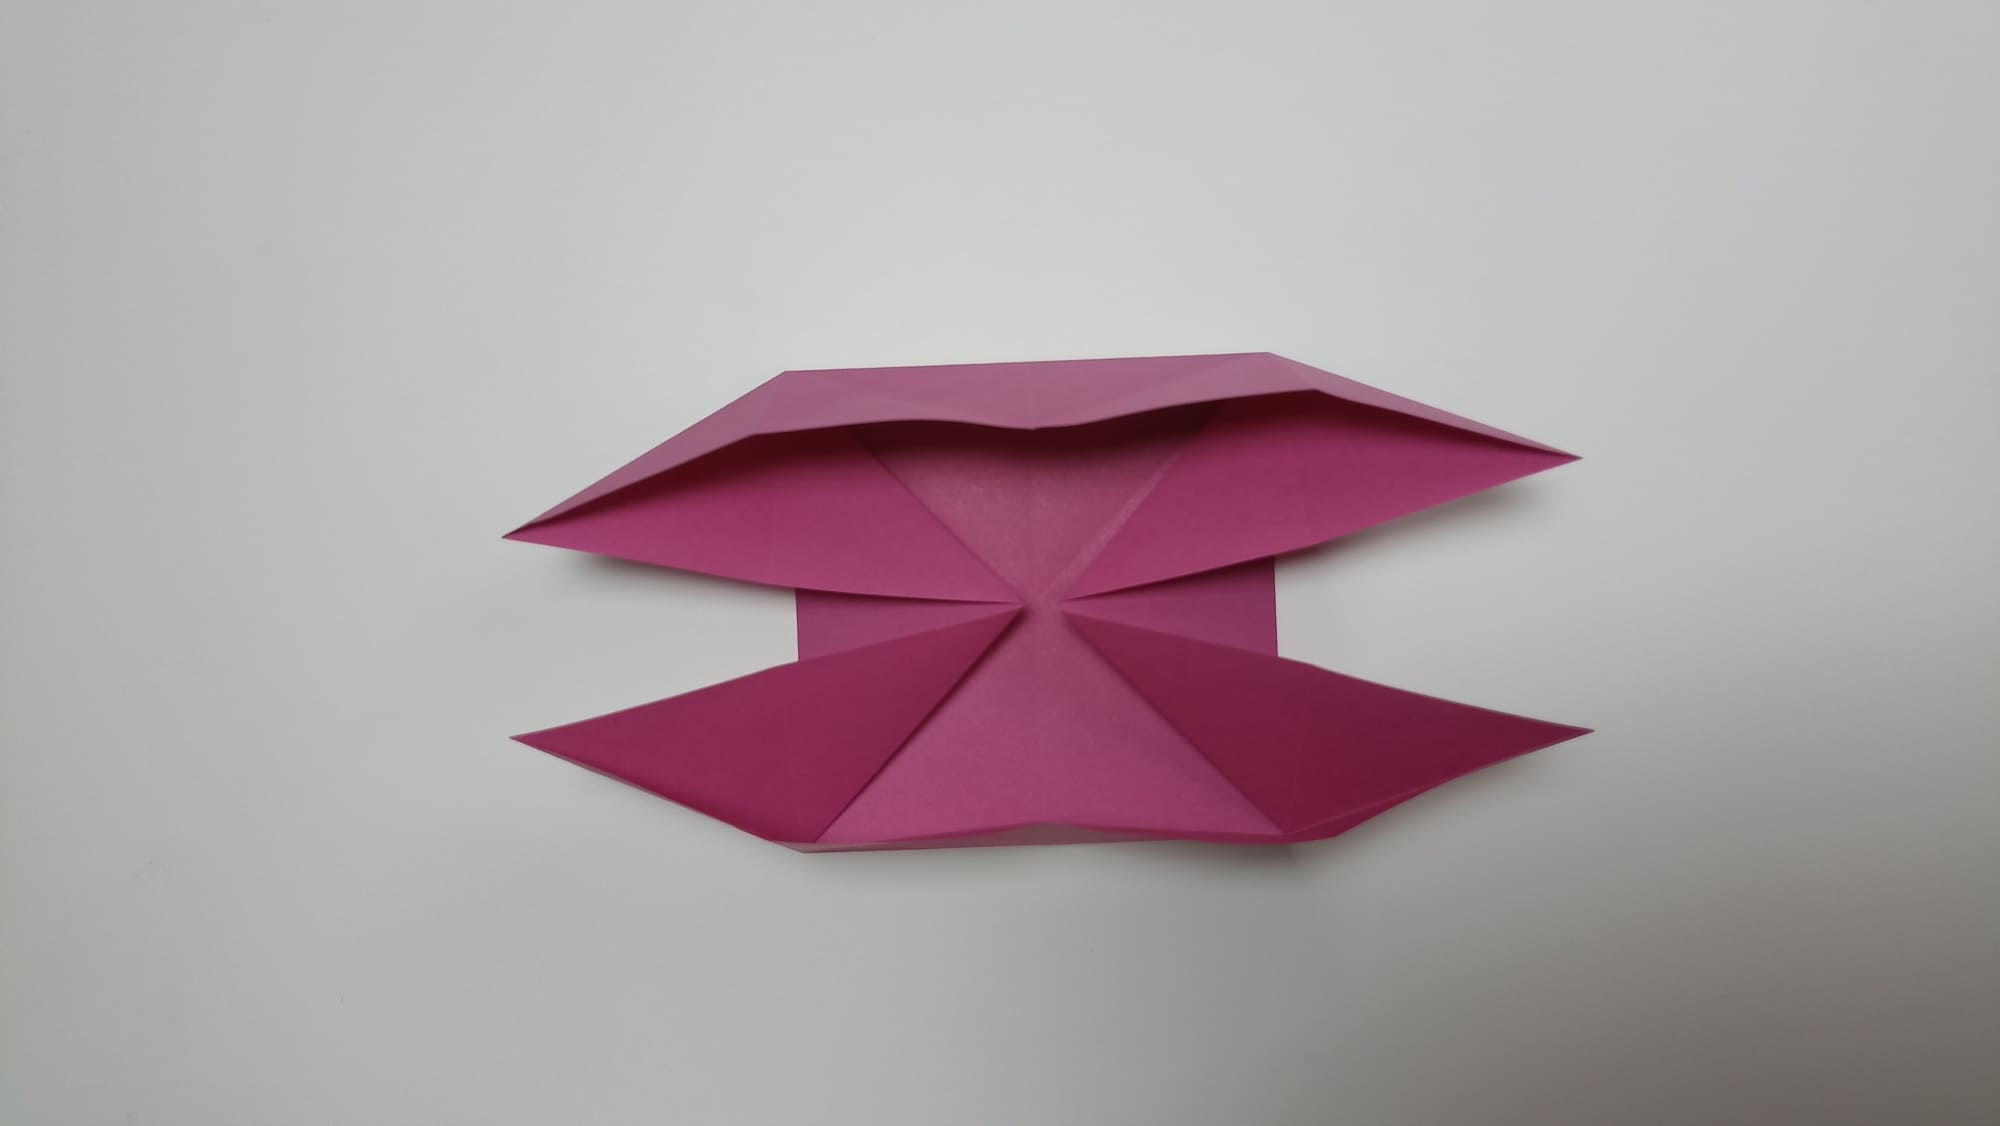
Raise the top layer of folds and make the central folds in the middle into a mountain. Rotate the shape.
Bend the assisting line of the lower wing in the other direction. Make a symmetrical fold on the other side.
Divide the height of the lower side triangle with a concave fold. Make a symmetrical fold on the other wing.
Bend the height of a small triangle obtained as a result of the previous fold. Compare with the example.
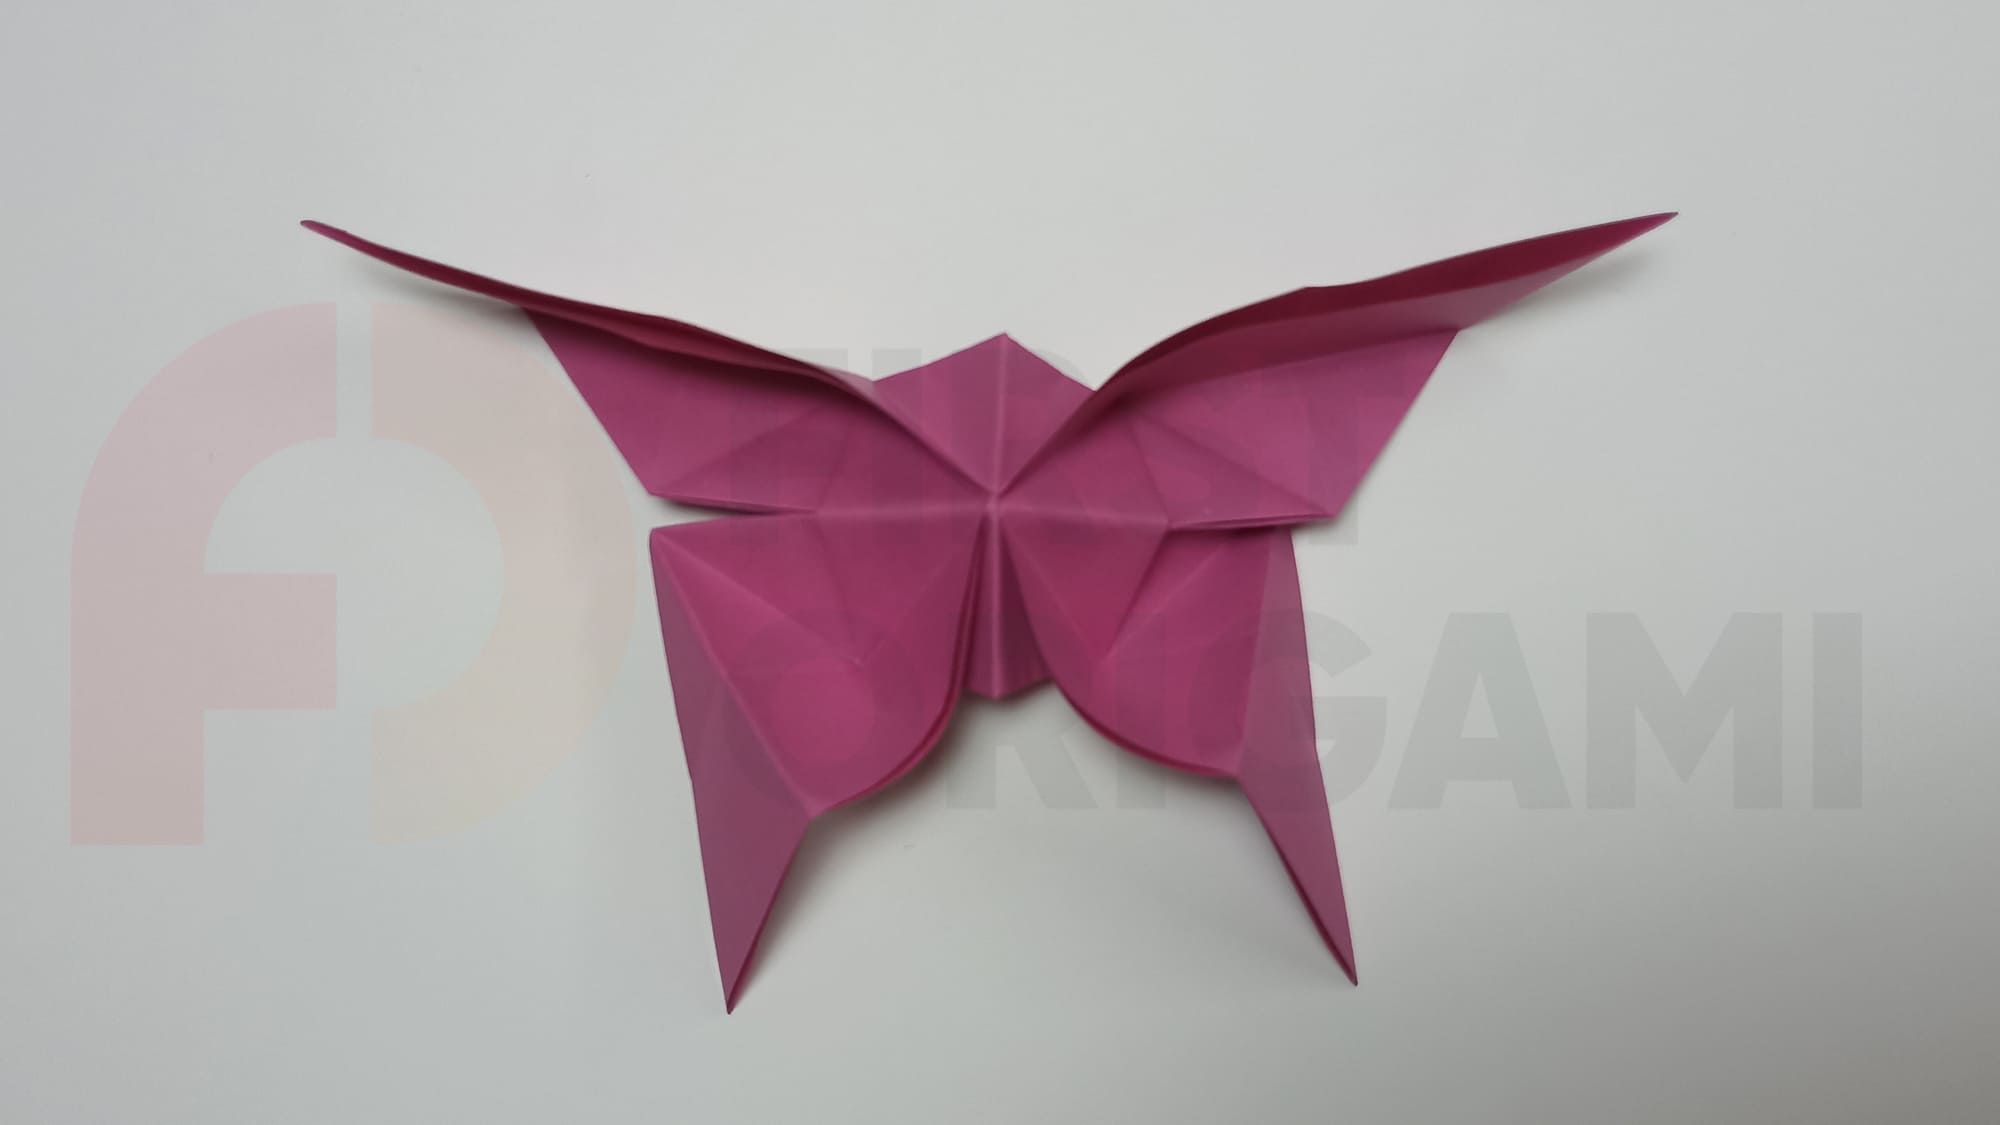
Bend the first fold of the wings on both sides.
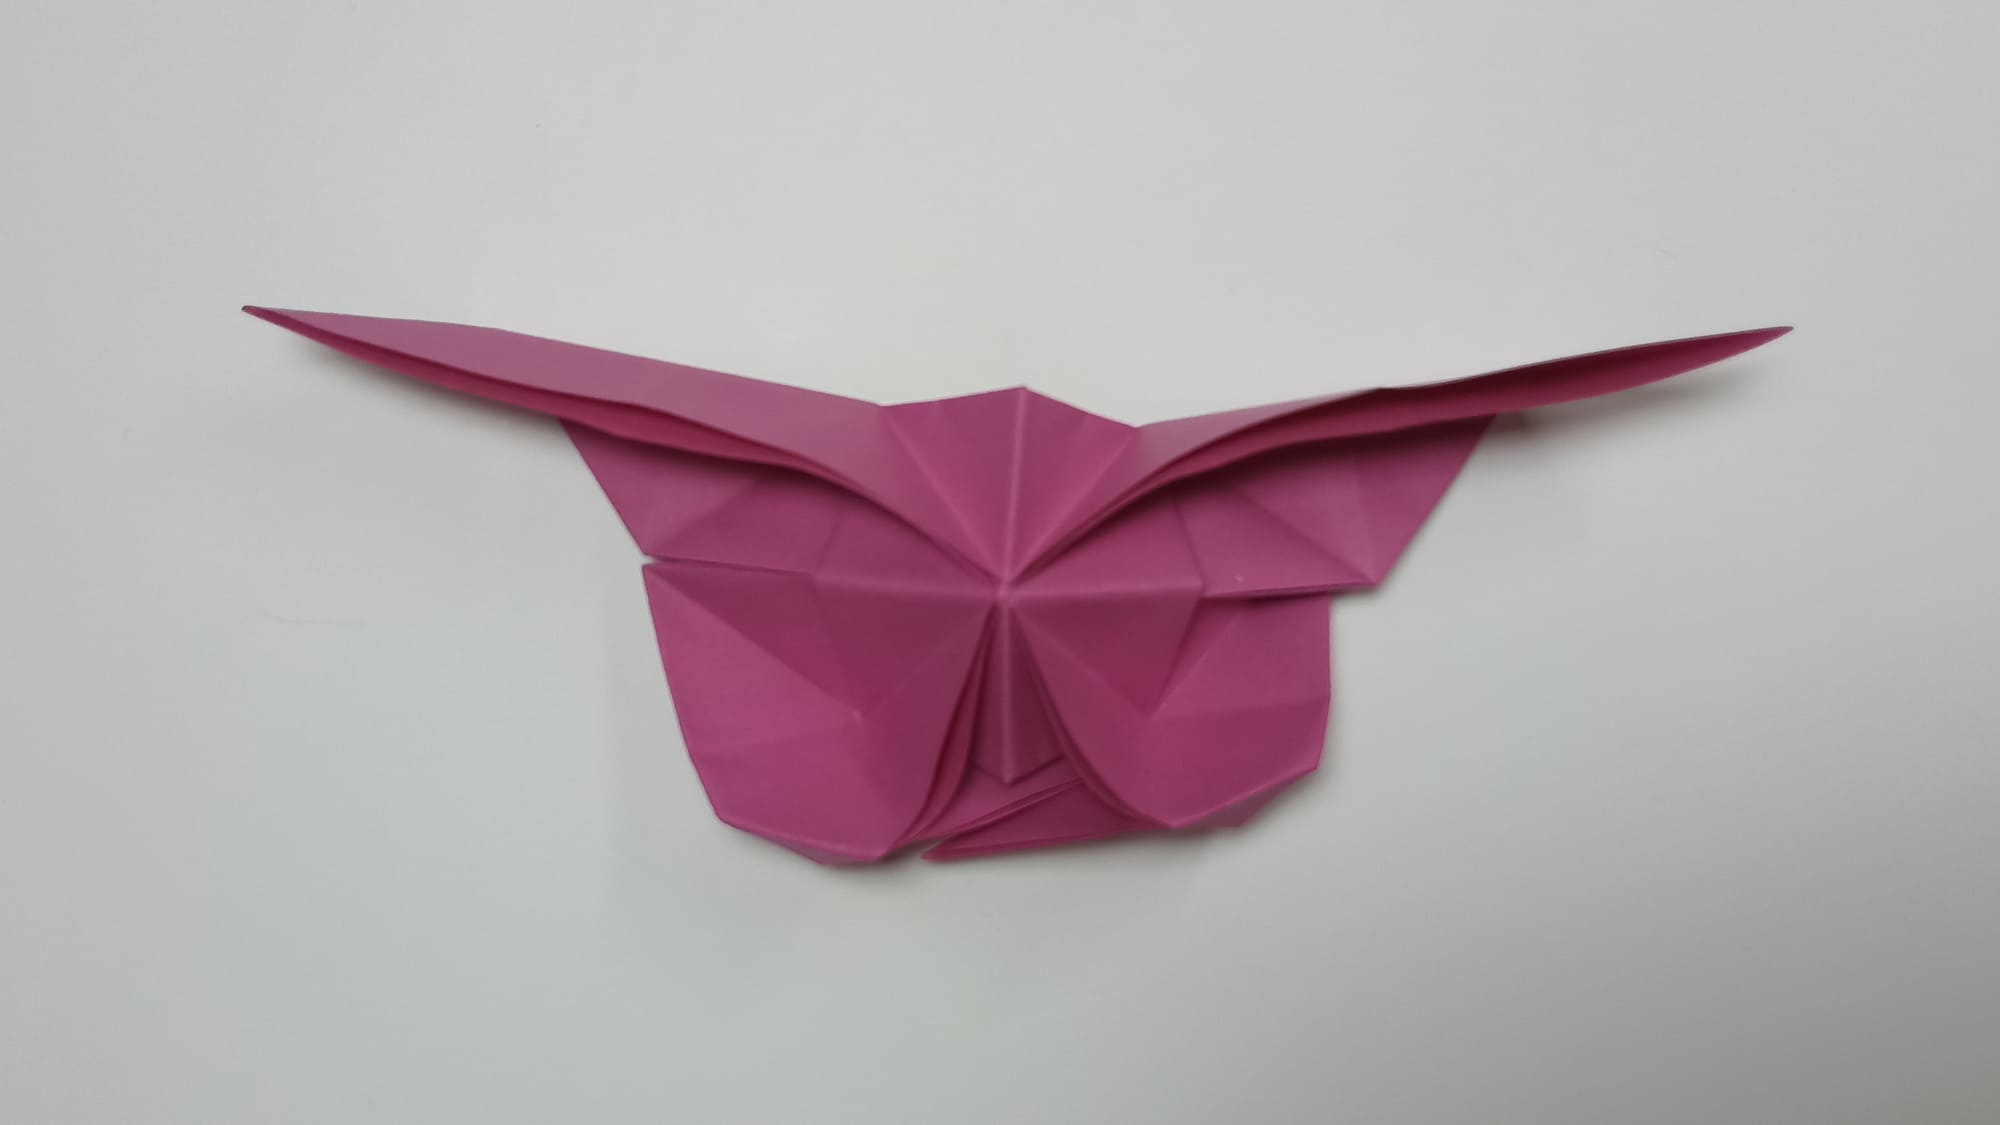
Bend the lower corners away from you to a small depth, symmetrically.
Turn the edge along the contour on both sides of the figure
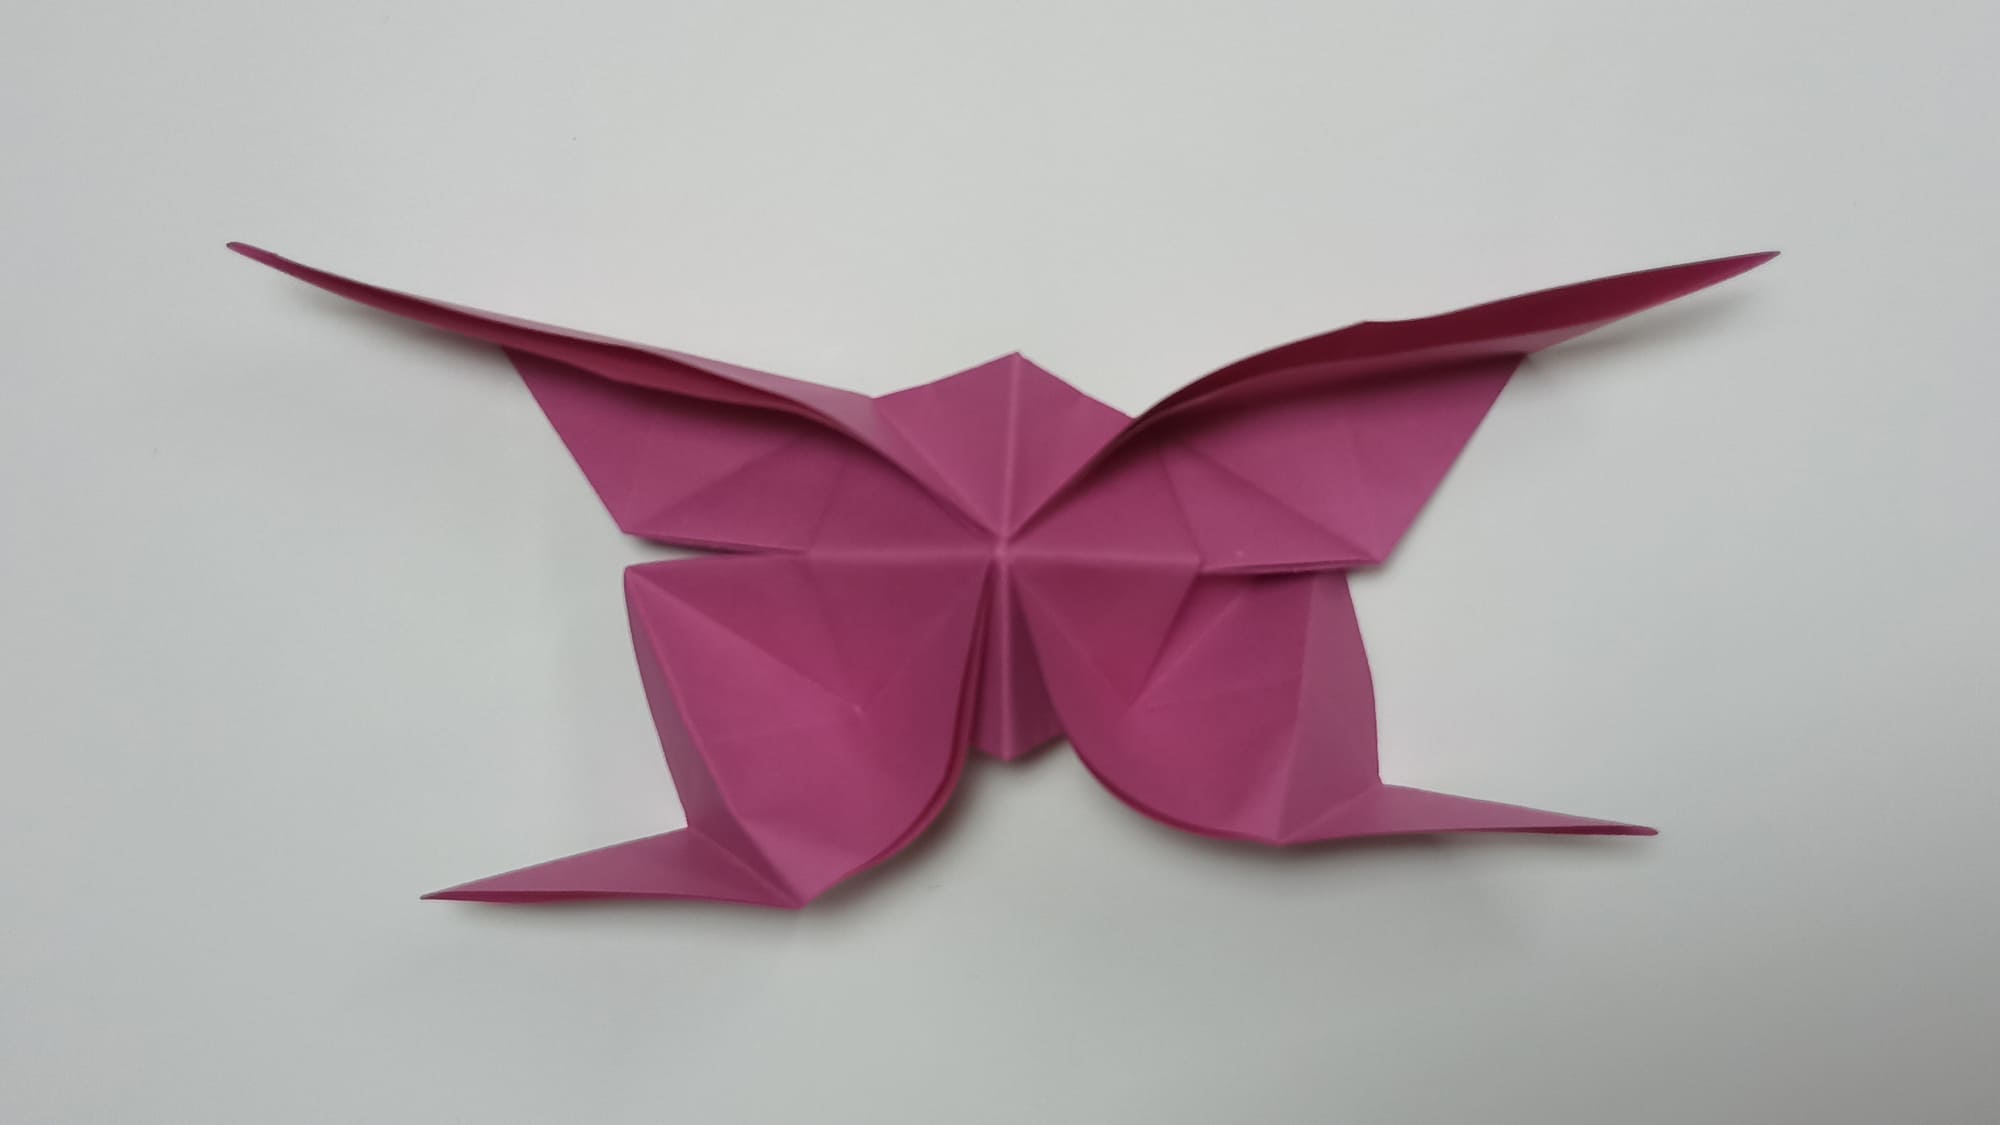
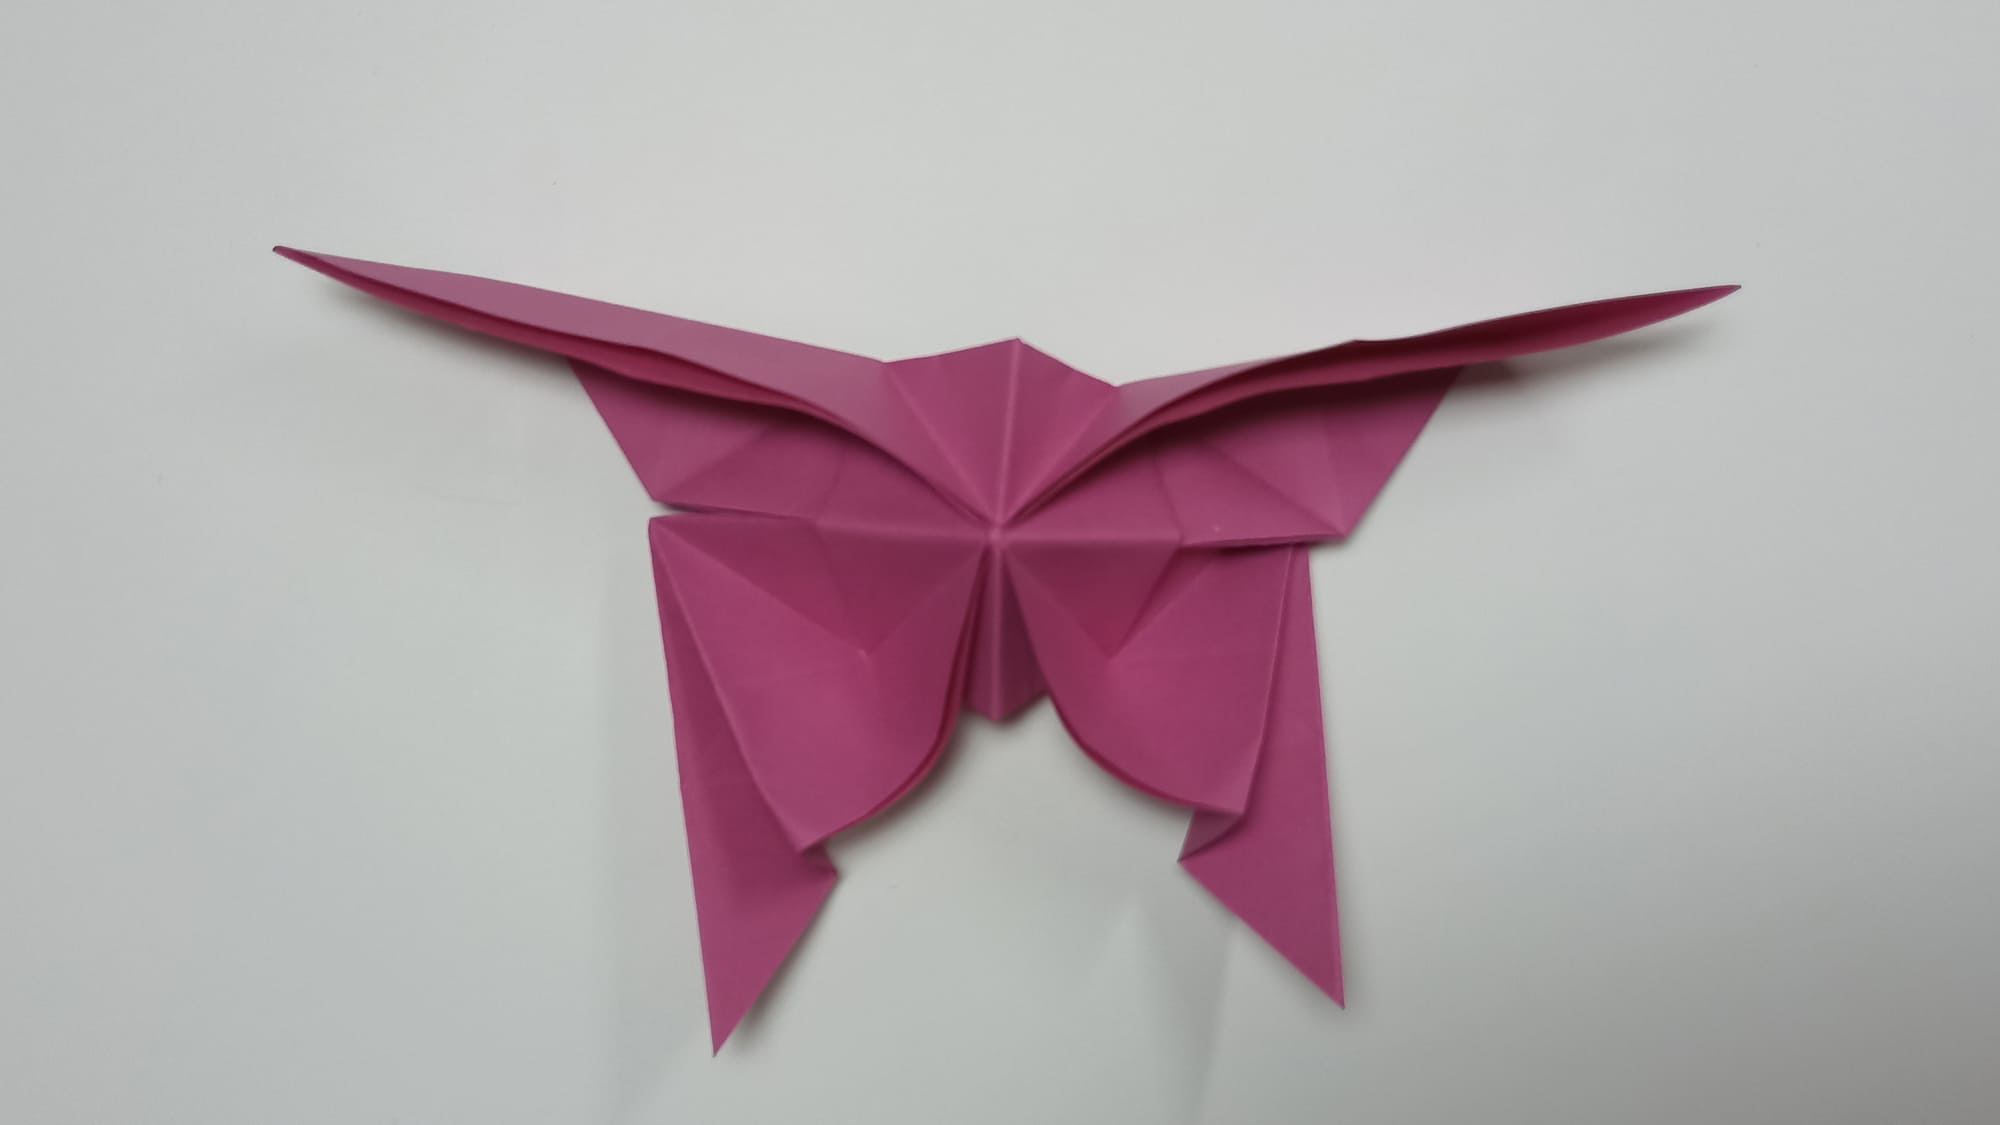
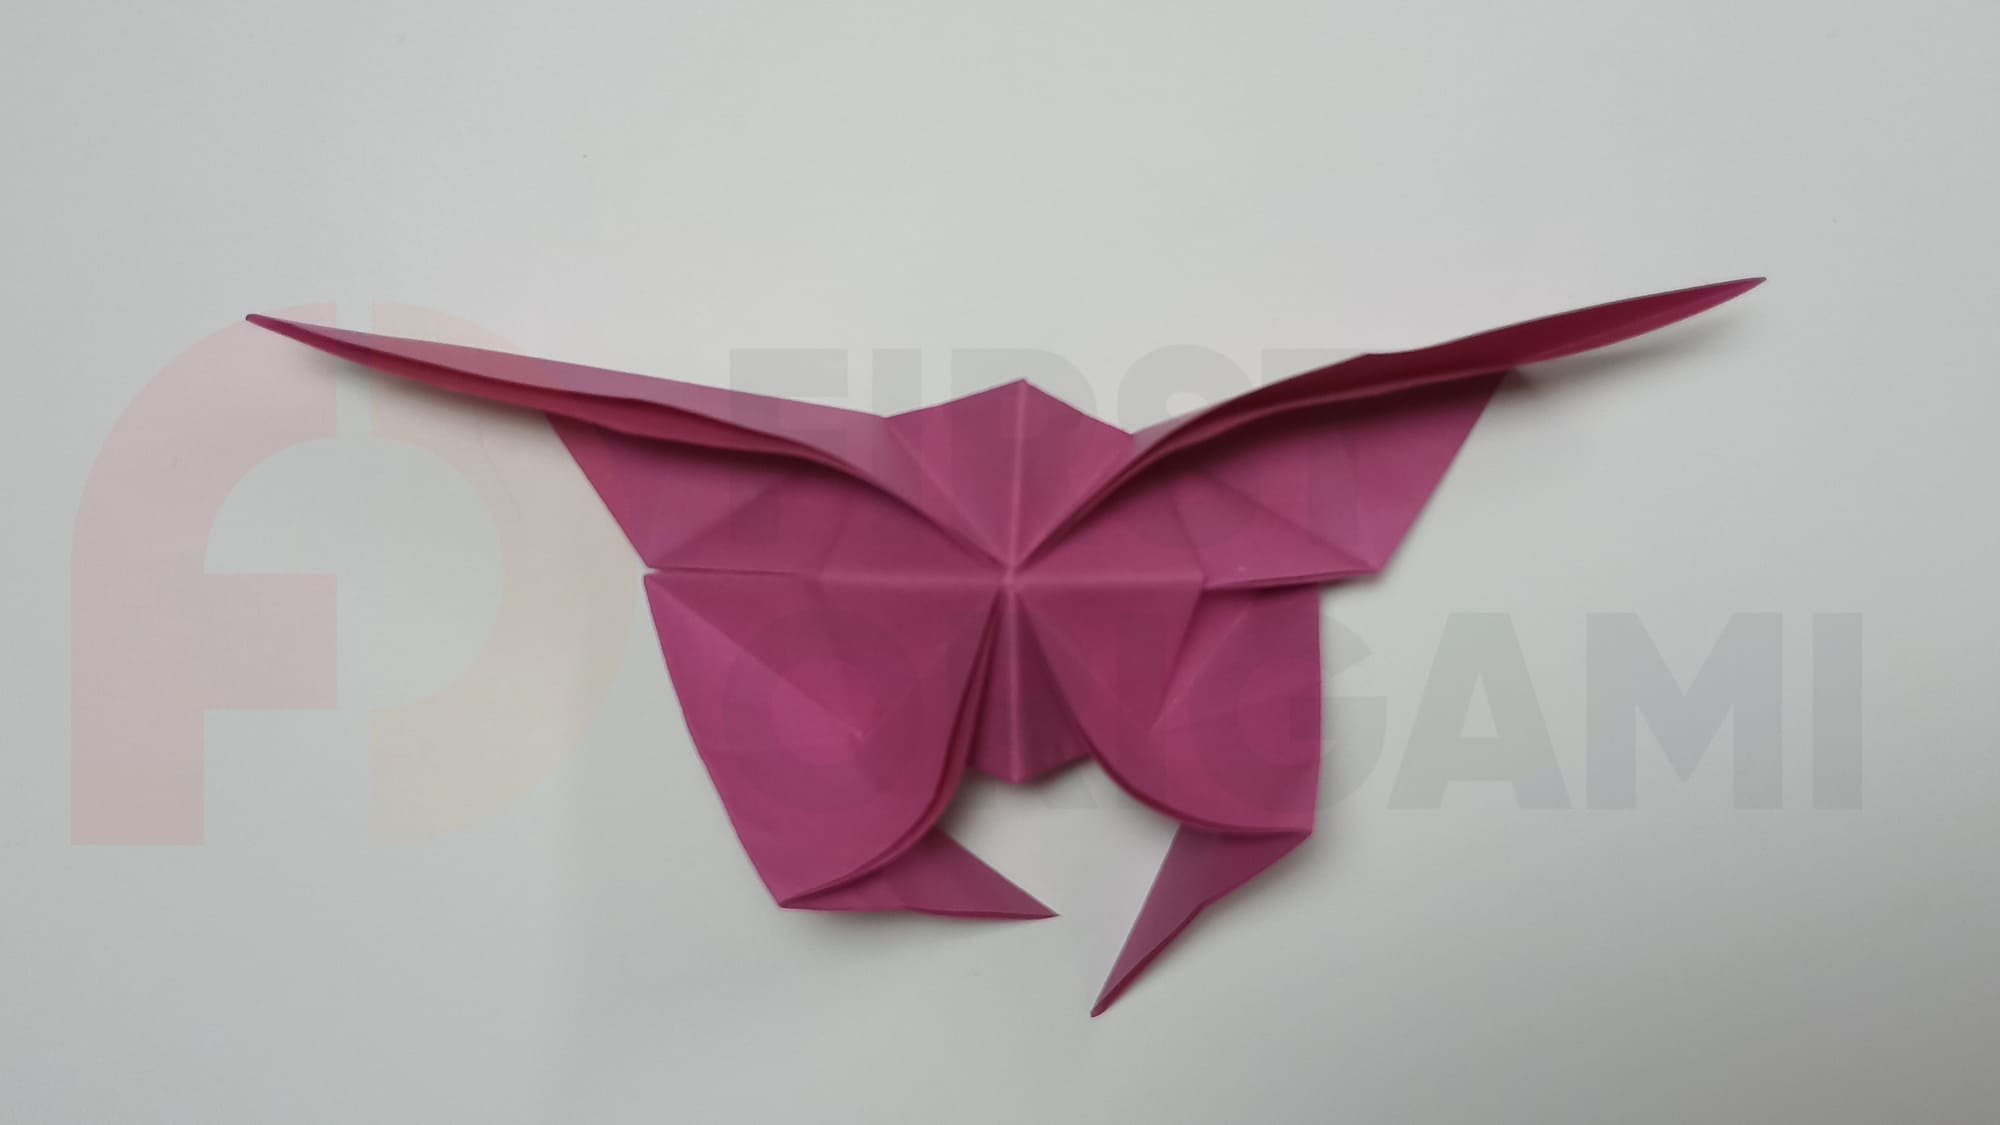
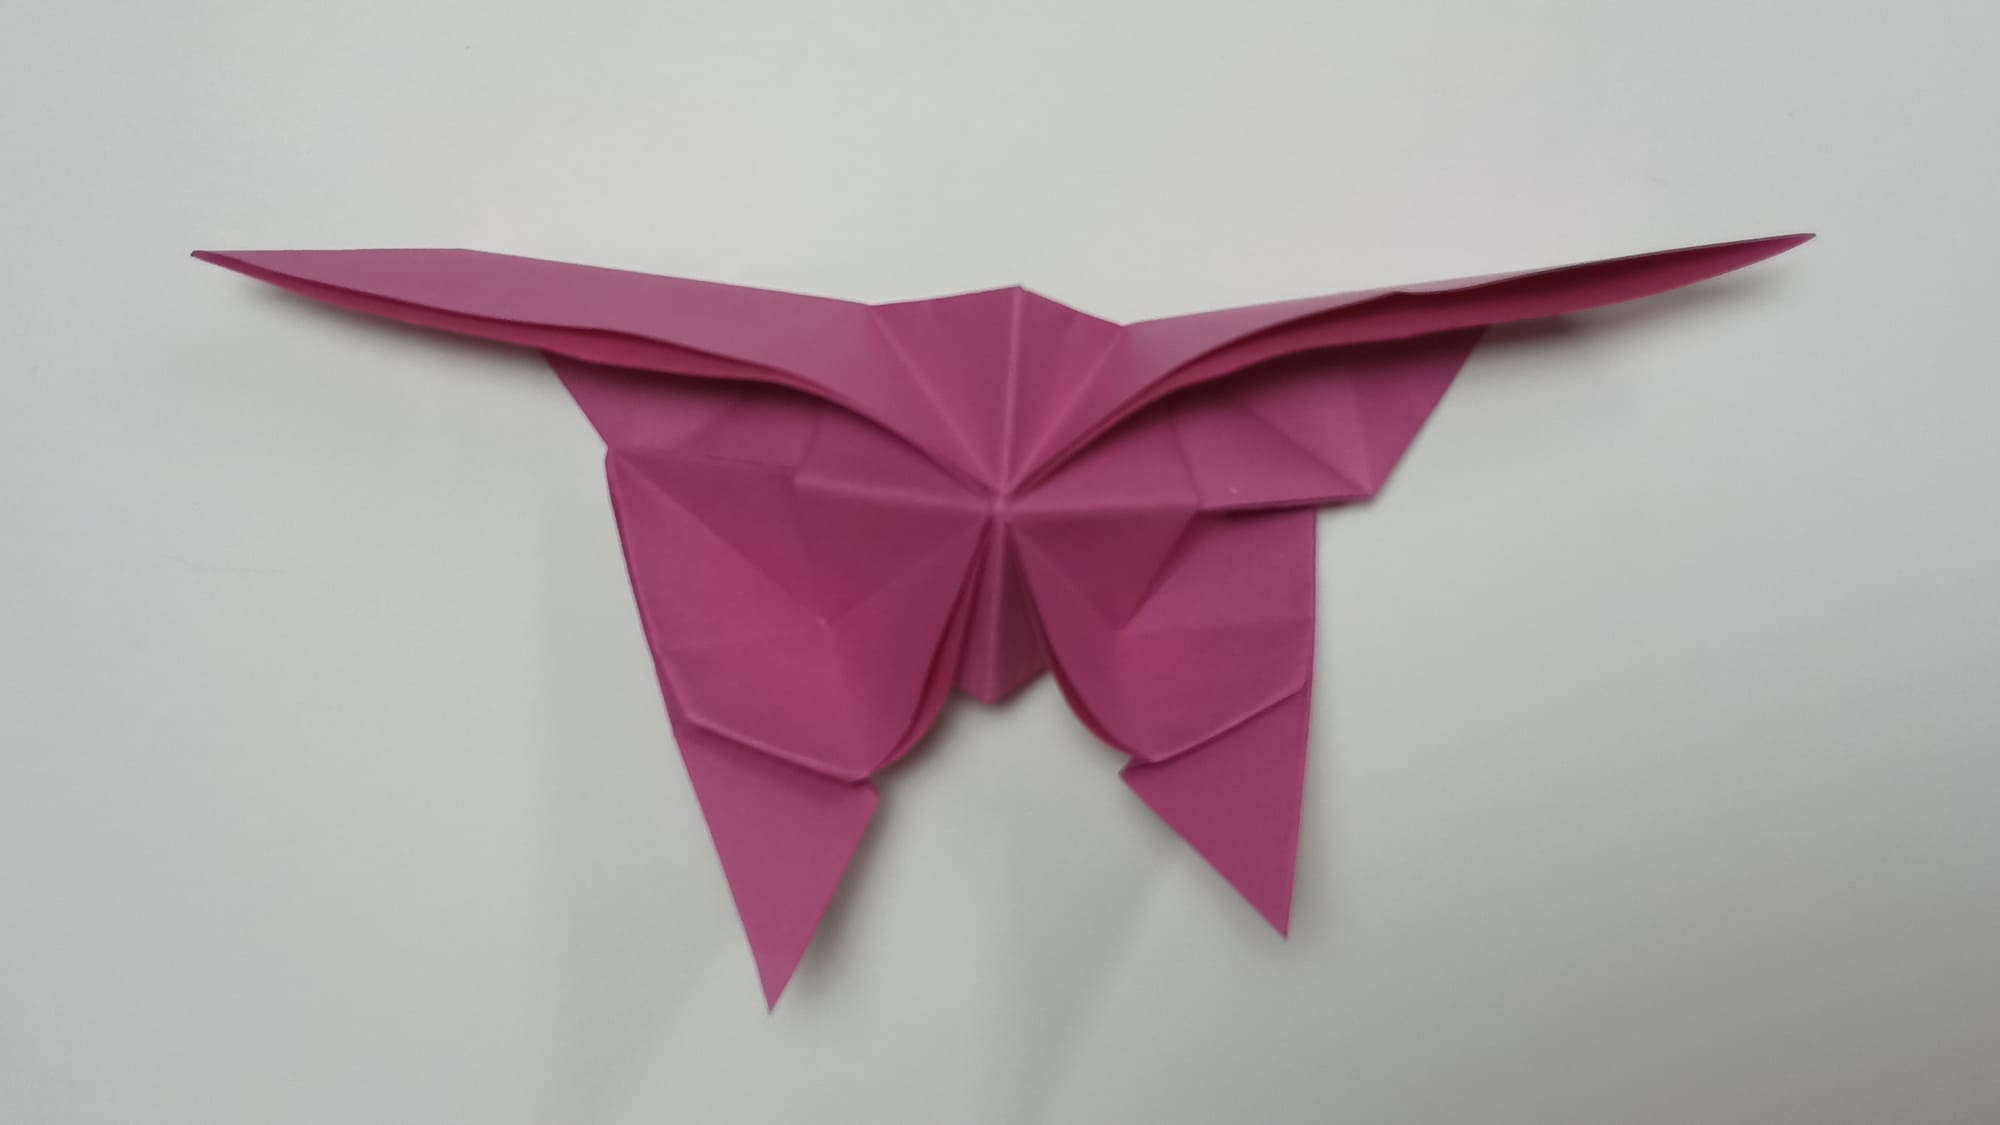
Squeeze the ends of the wings and give them a curl shape.

Spread your upper wings.
The composition of many butterflies will be enhanced with the combination of colors and arrangement. The originality of the single copy is emphasized by the details of the patterns and bright accents on the wings, made with a contrasting marker.


