Origami Canard Airplane
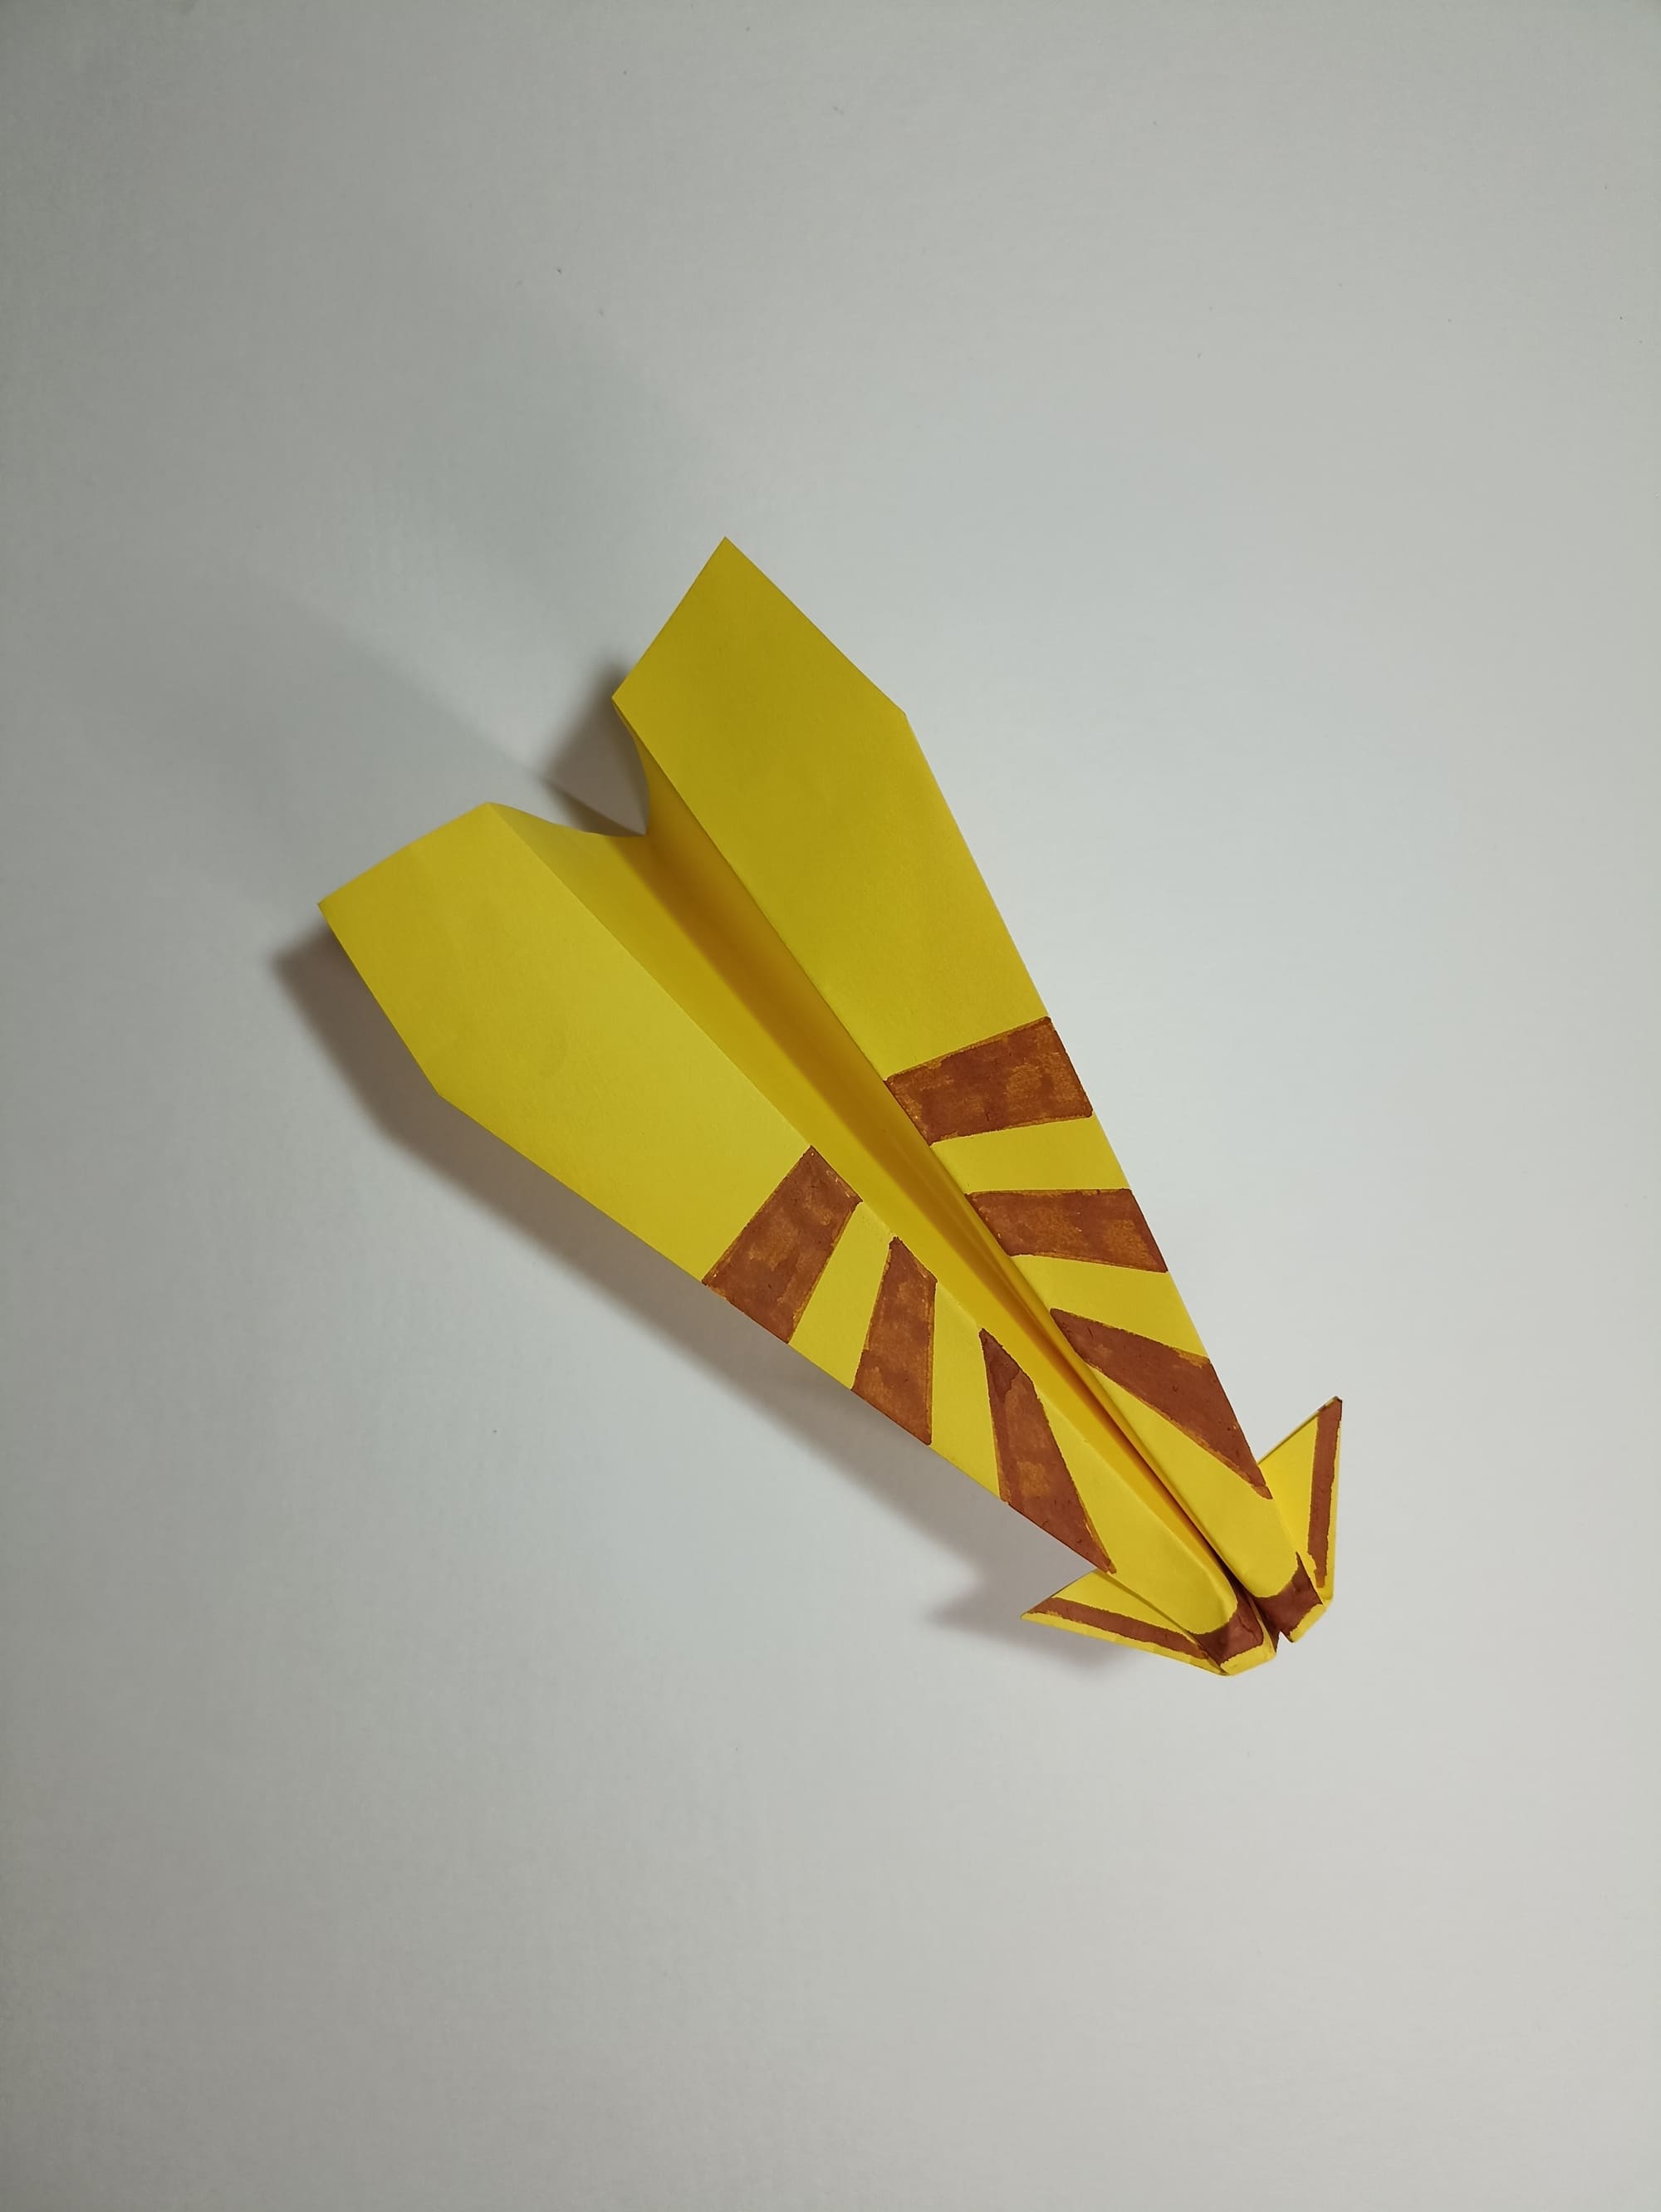
A paper airplane with small front wings flies far and smoothly and maintains good balance. It will not roll over or go off of its intended course. The model has two pairs of wings and no tail. The front pair helps to confidently maintain balance and stabilize the flight.
Lateral front empennage (a pair of small wings in addition to the main ones) can be seen on high-speed attack aircraft built according to the “Duck” design. For such aircraft, the control levers are located in the front part of the body in front of the wing. The design provides increased maneuverability and load capacity.
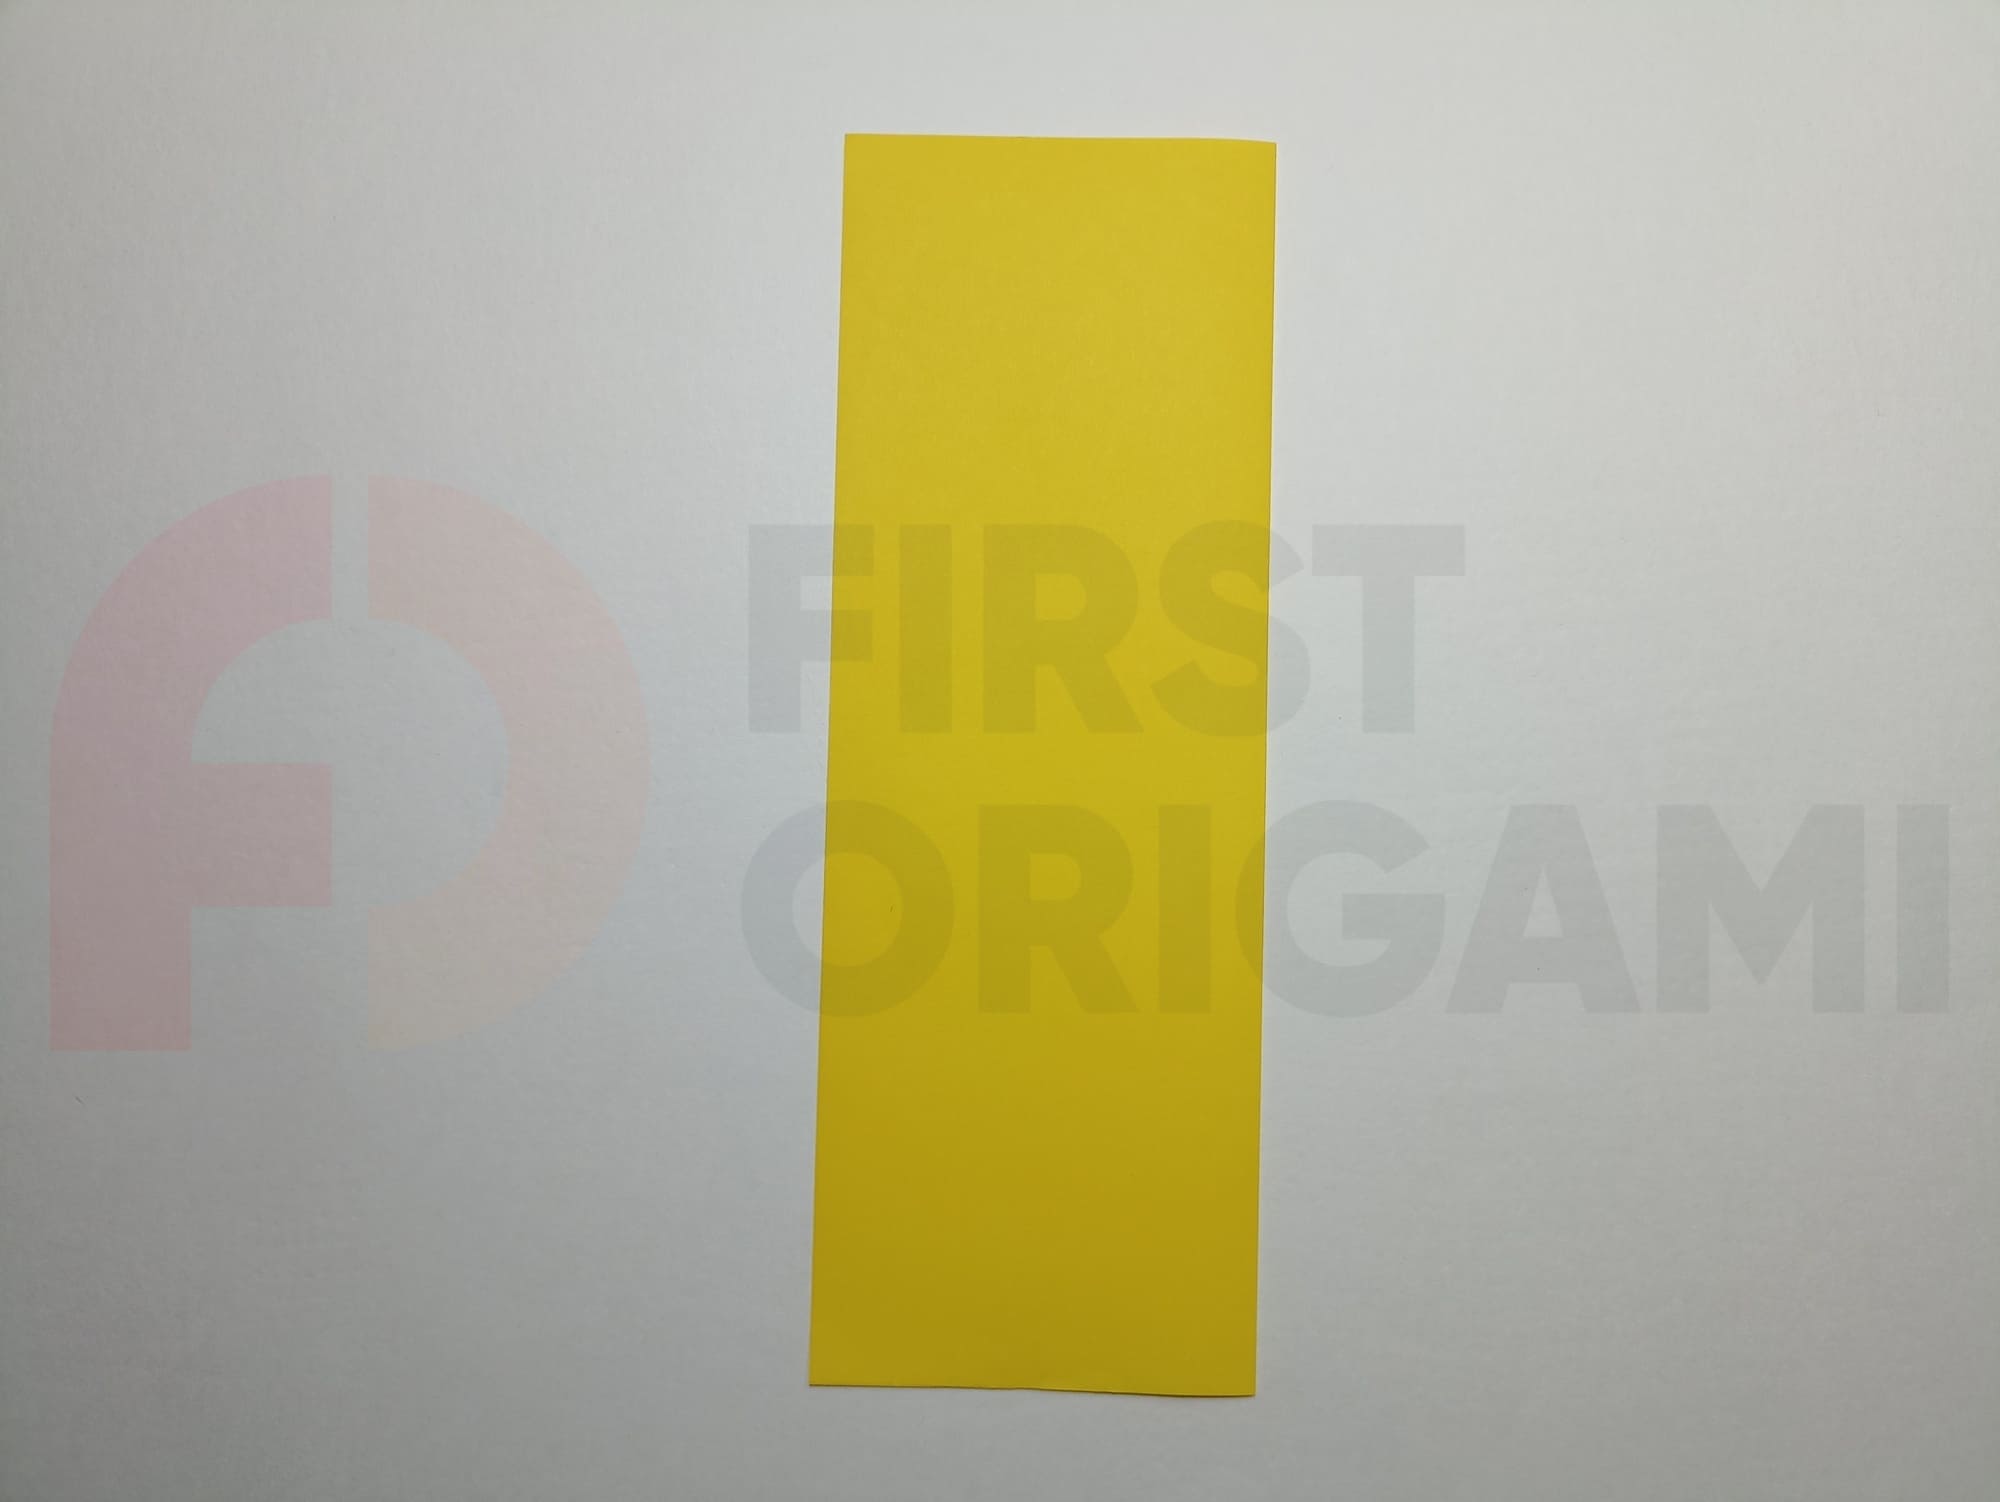
Mark the assisting line: align the right side with the left, crease the fold, and open the fold.
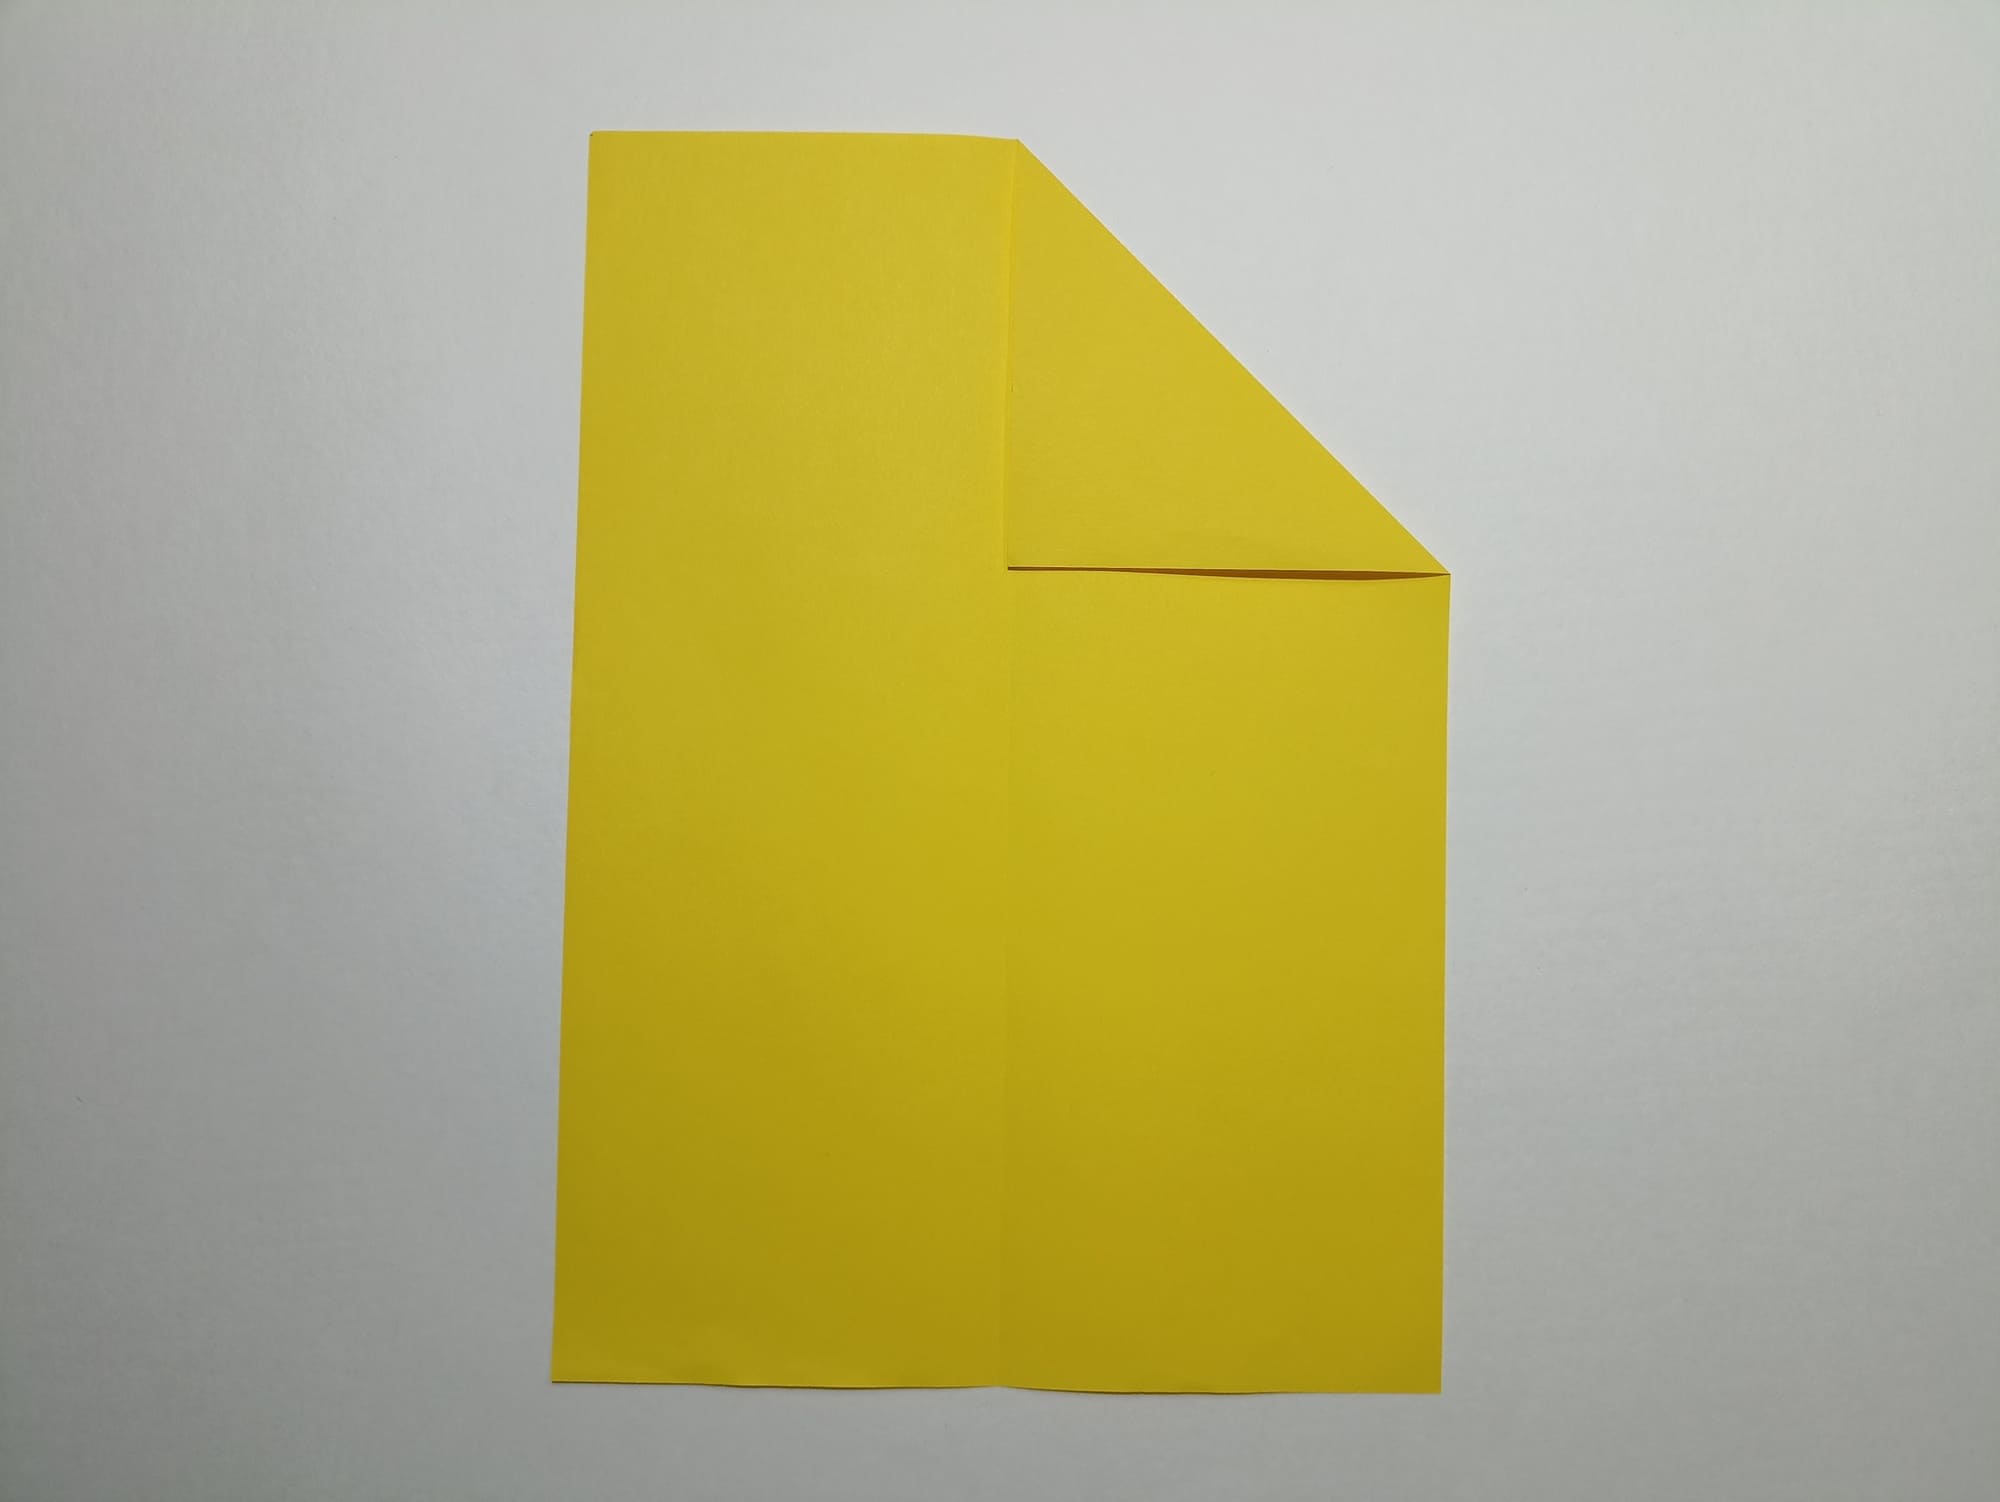
Fold half of the upper right edge of the paper to the marked vertical line to form a triangle, and repeat the action on the left side.
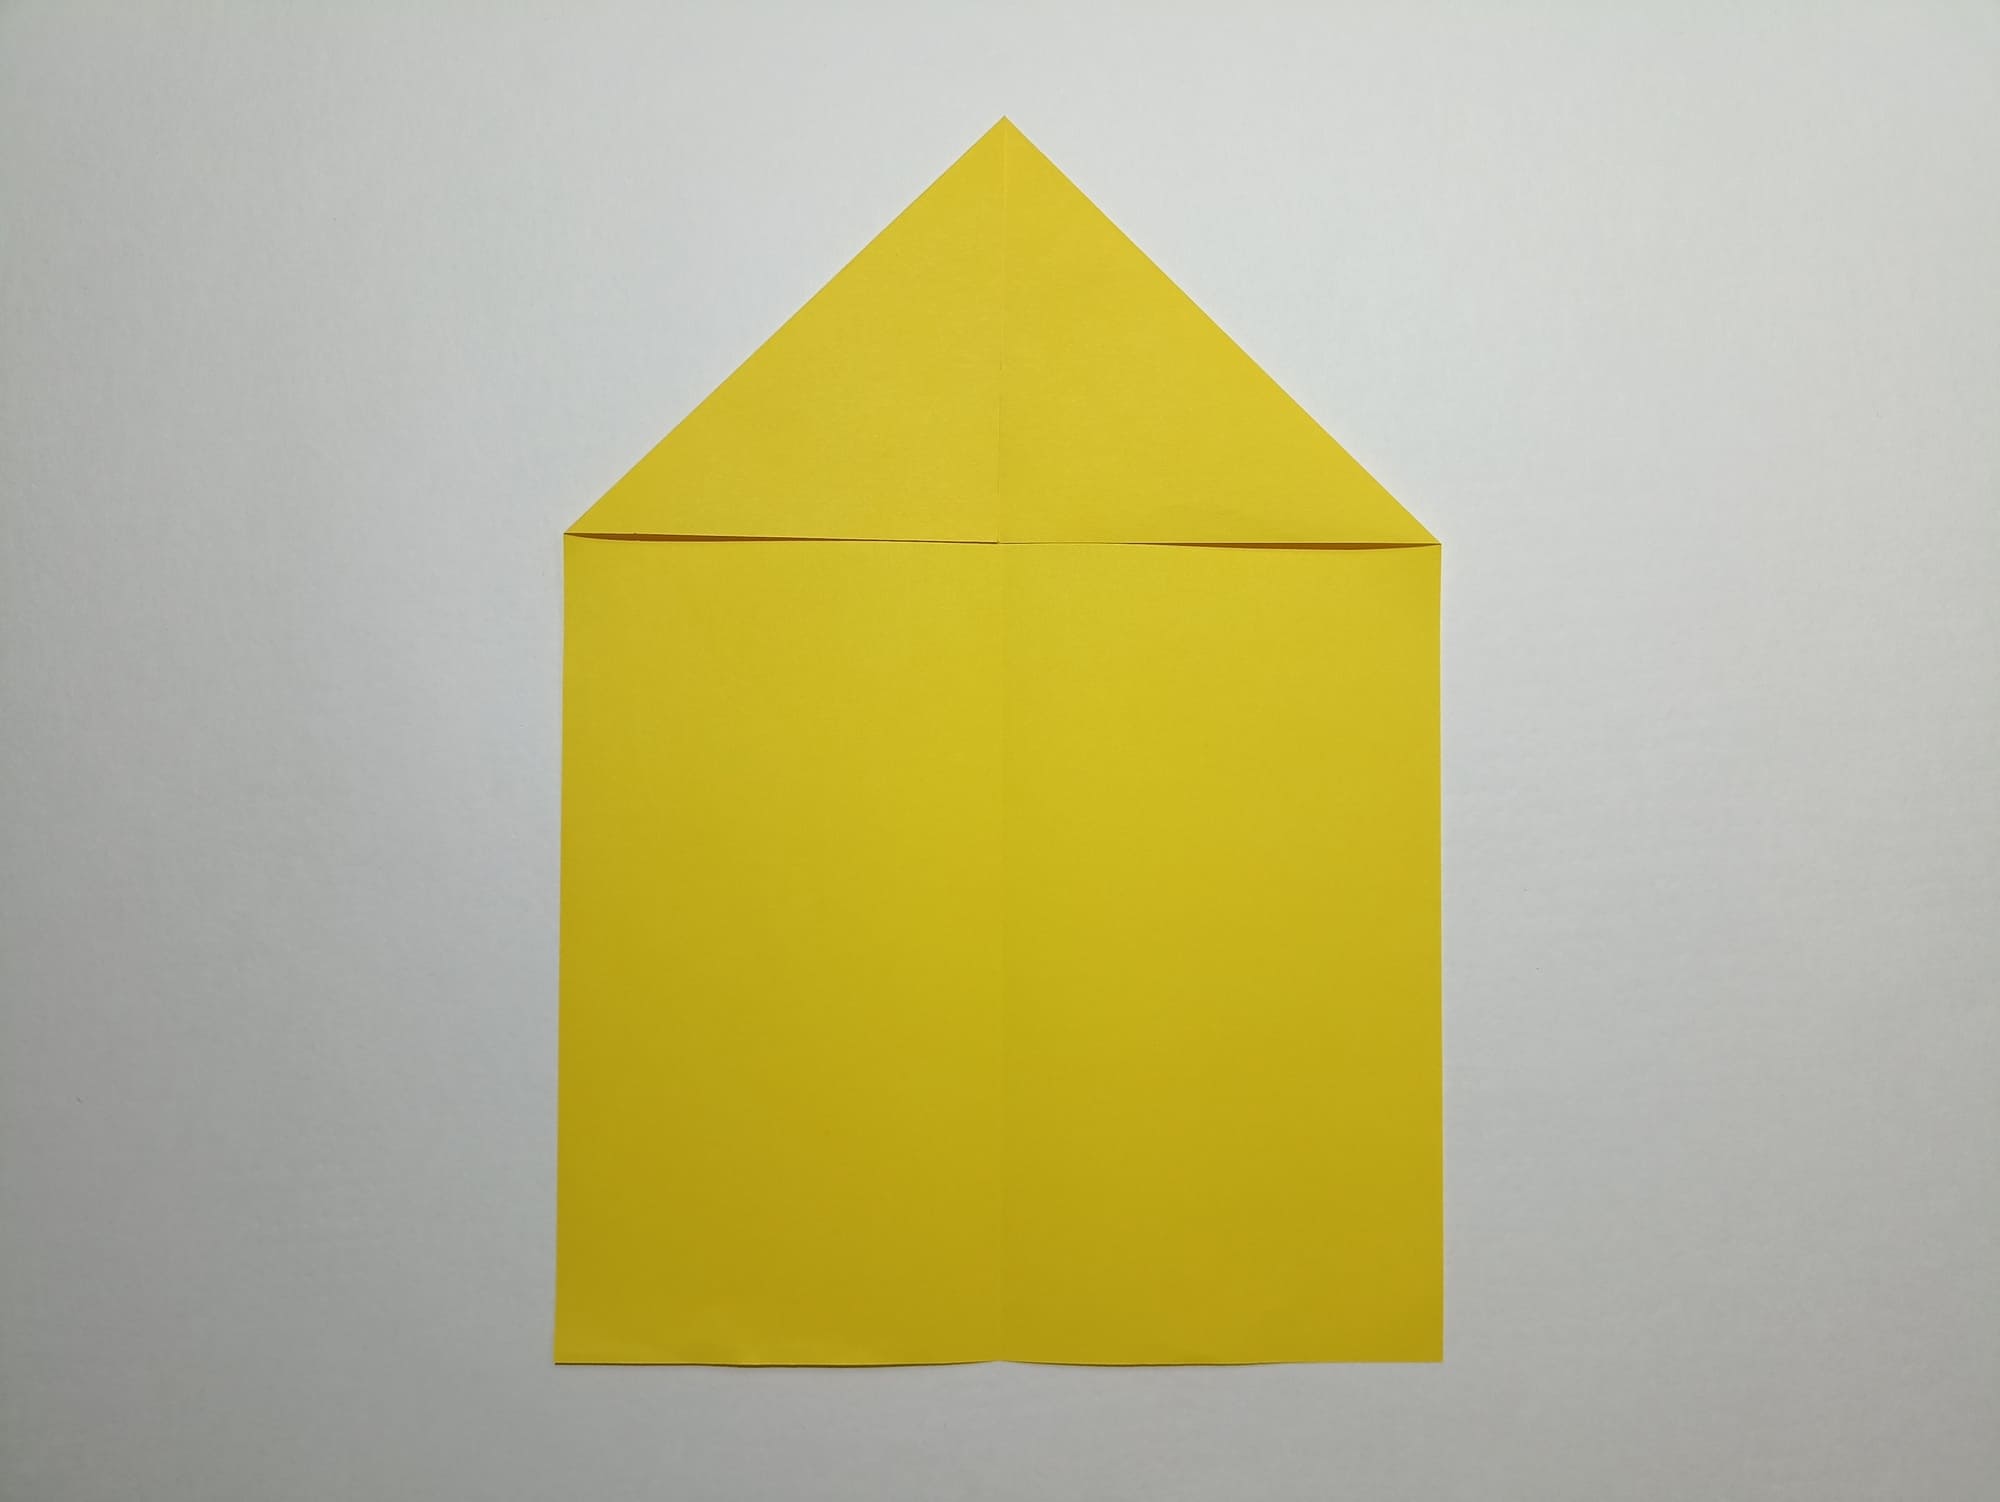
Align the right side of the resulting triangle with the center line, crease the fold, and repeat the same on the left side.
Straighten all the folds down to an unfolded sheet of paper.
Fold the right half of the top edge along the longest marked line.

Bend the upper corner of the resulting triangle to the right along the second line coinciding with the middle line.
Repeat steps 8 and 9 on the other side.
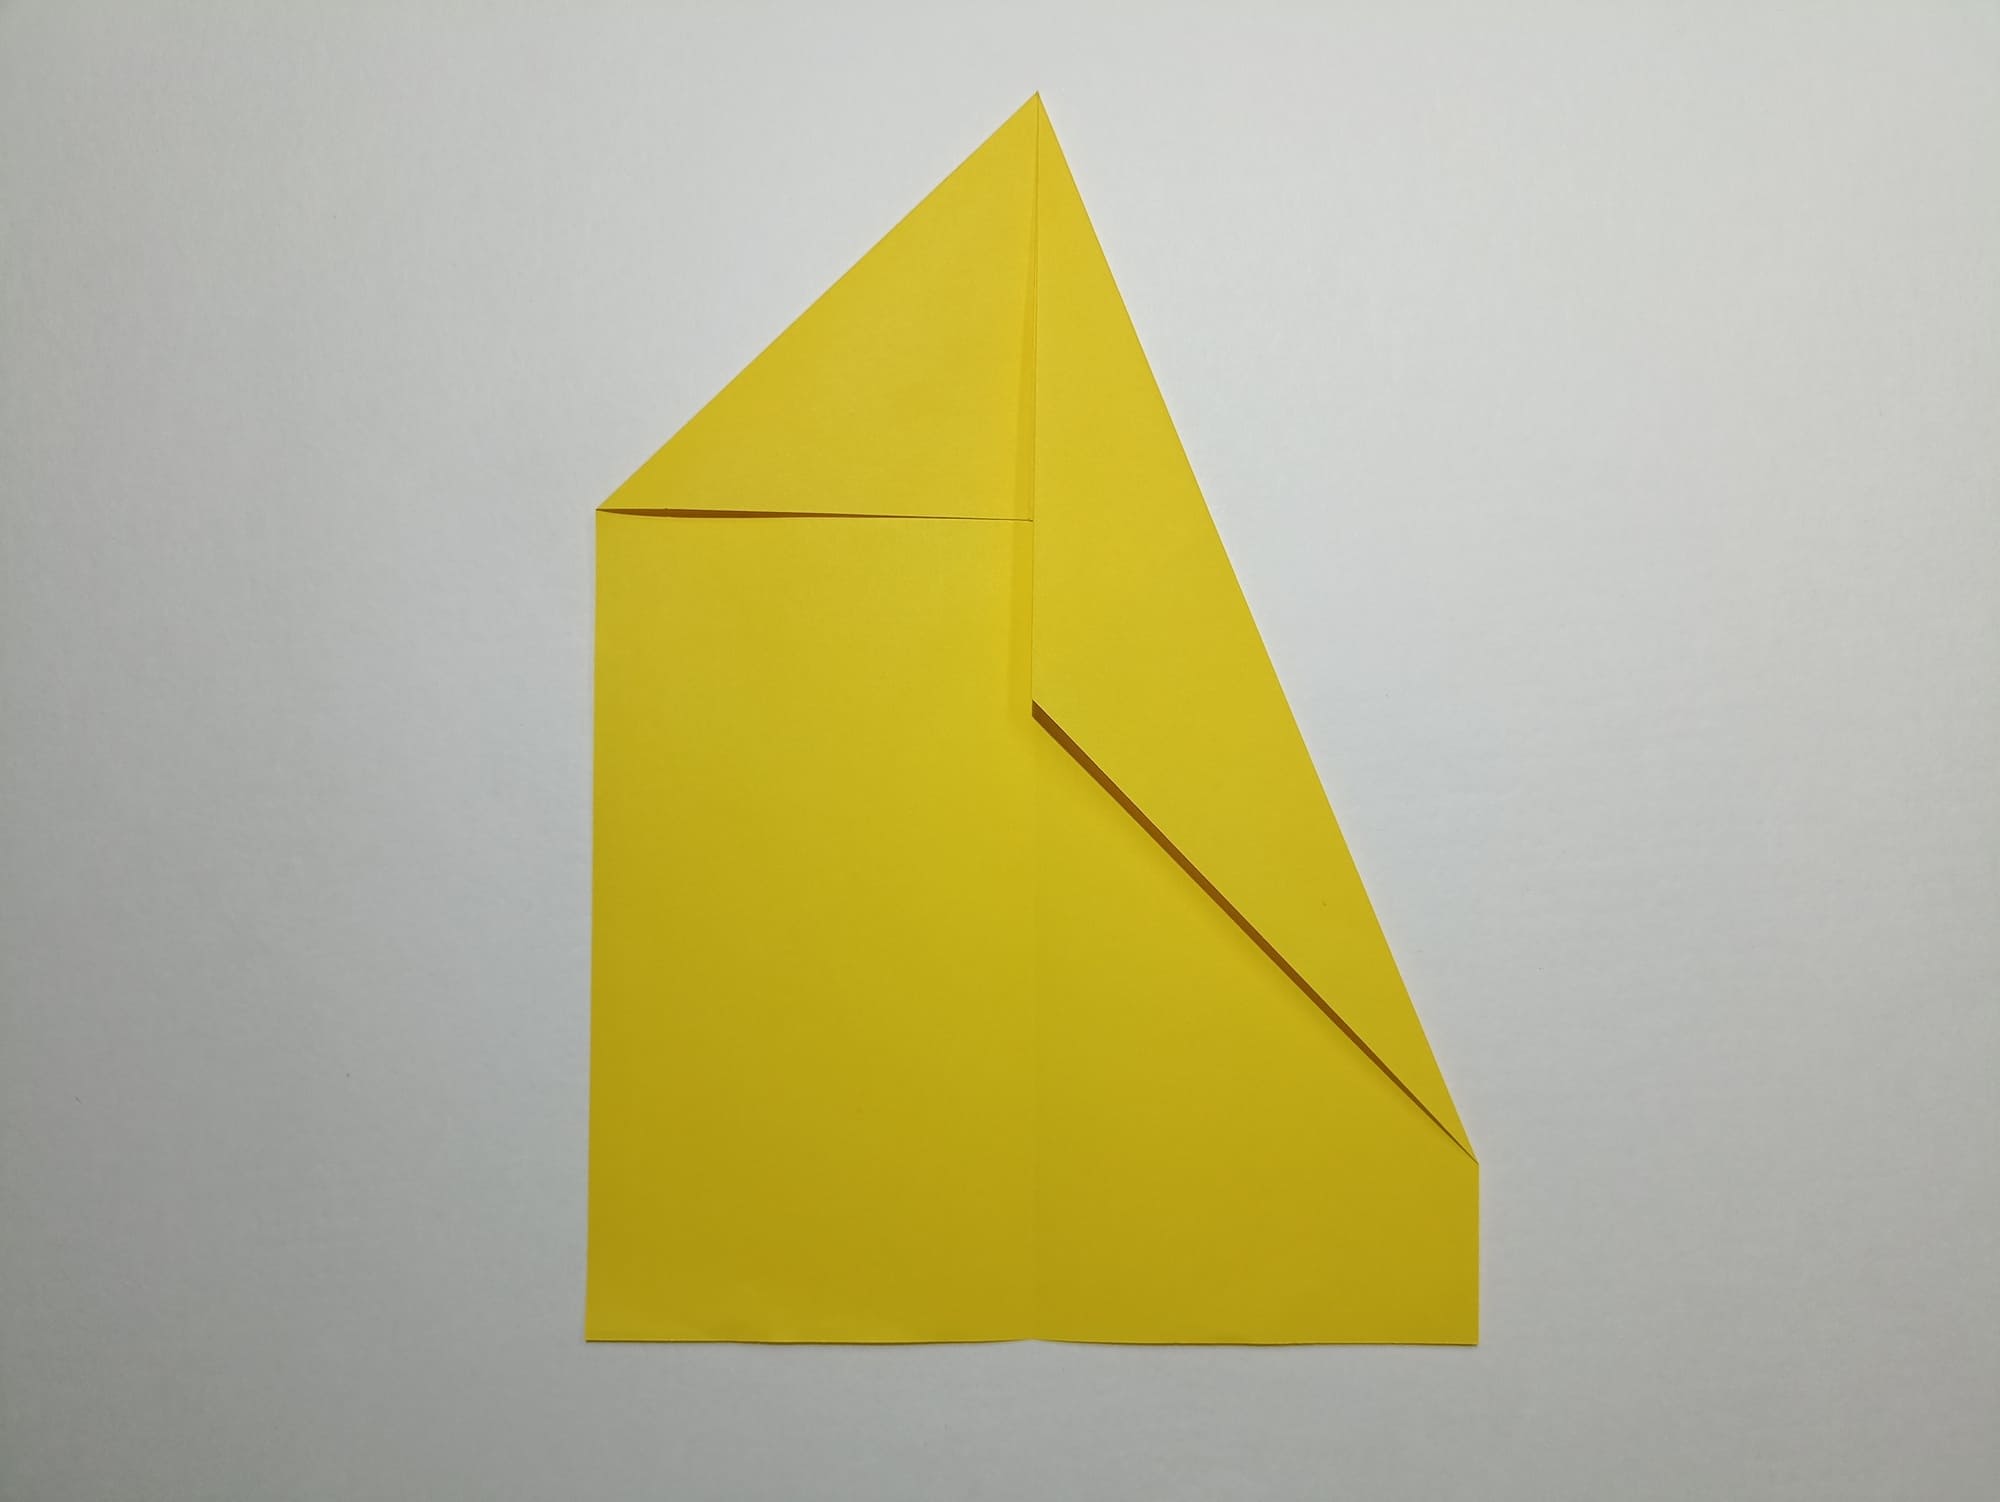
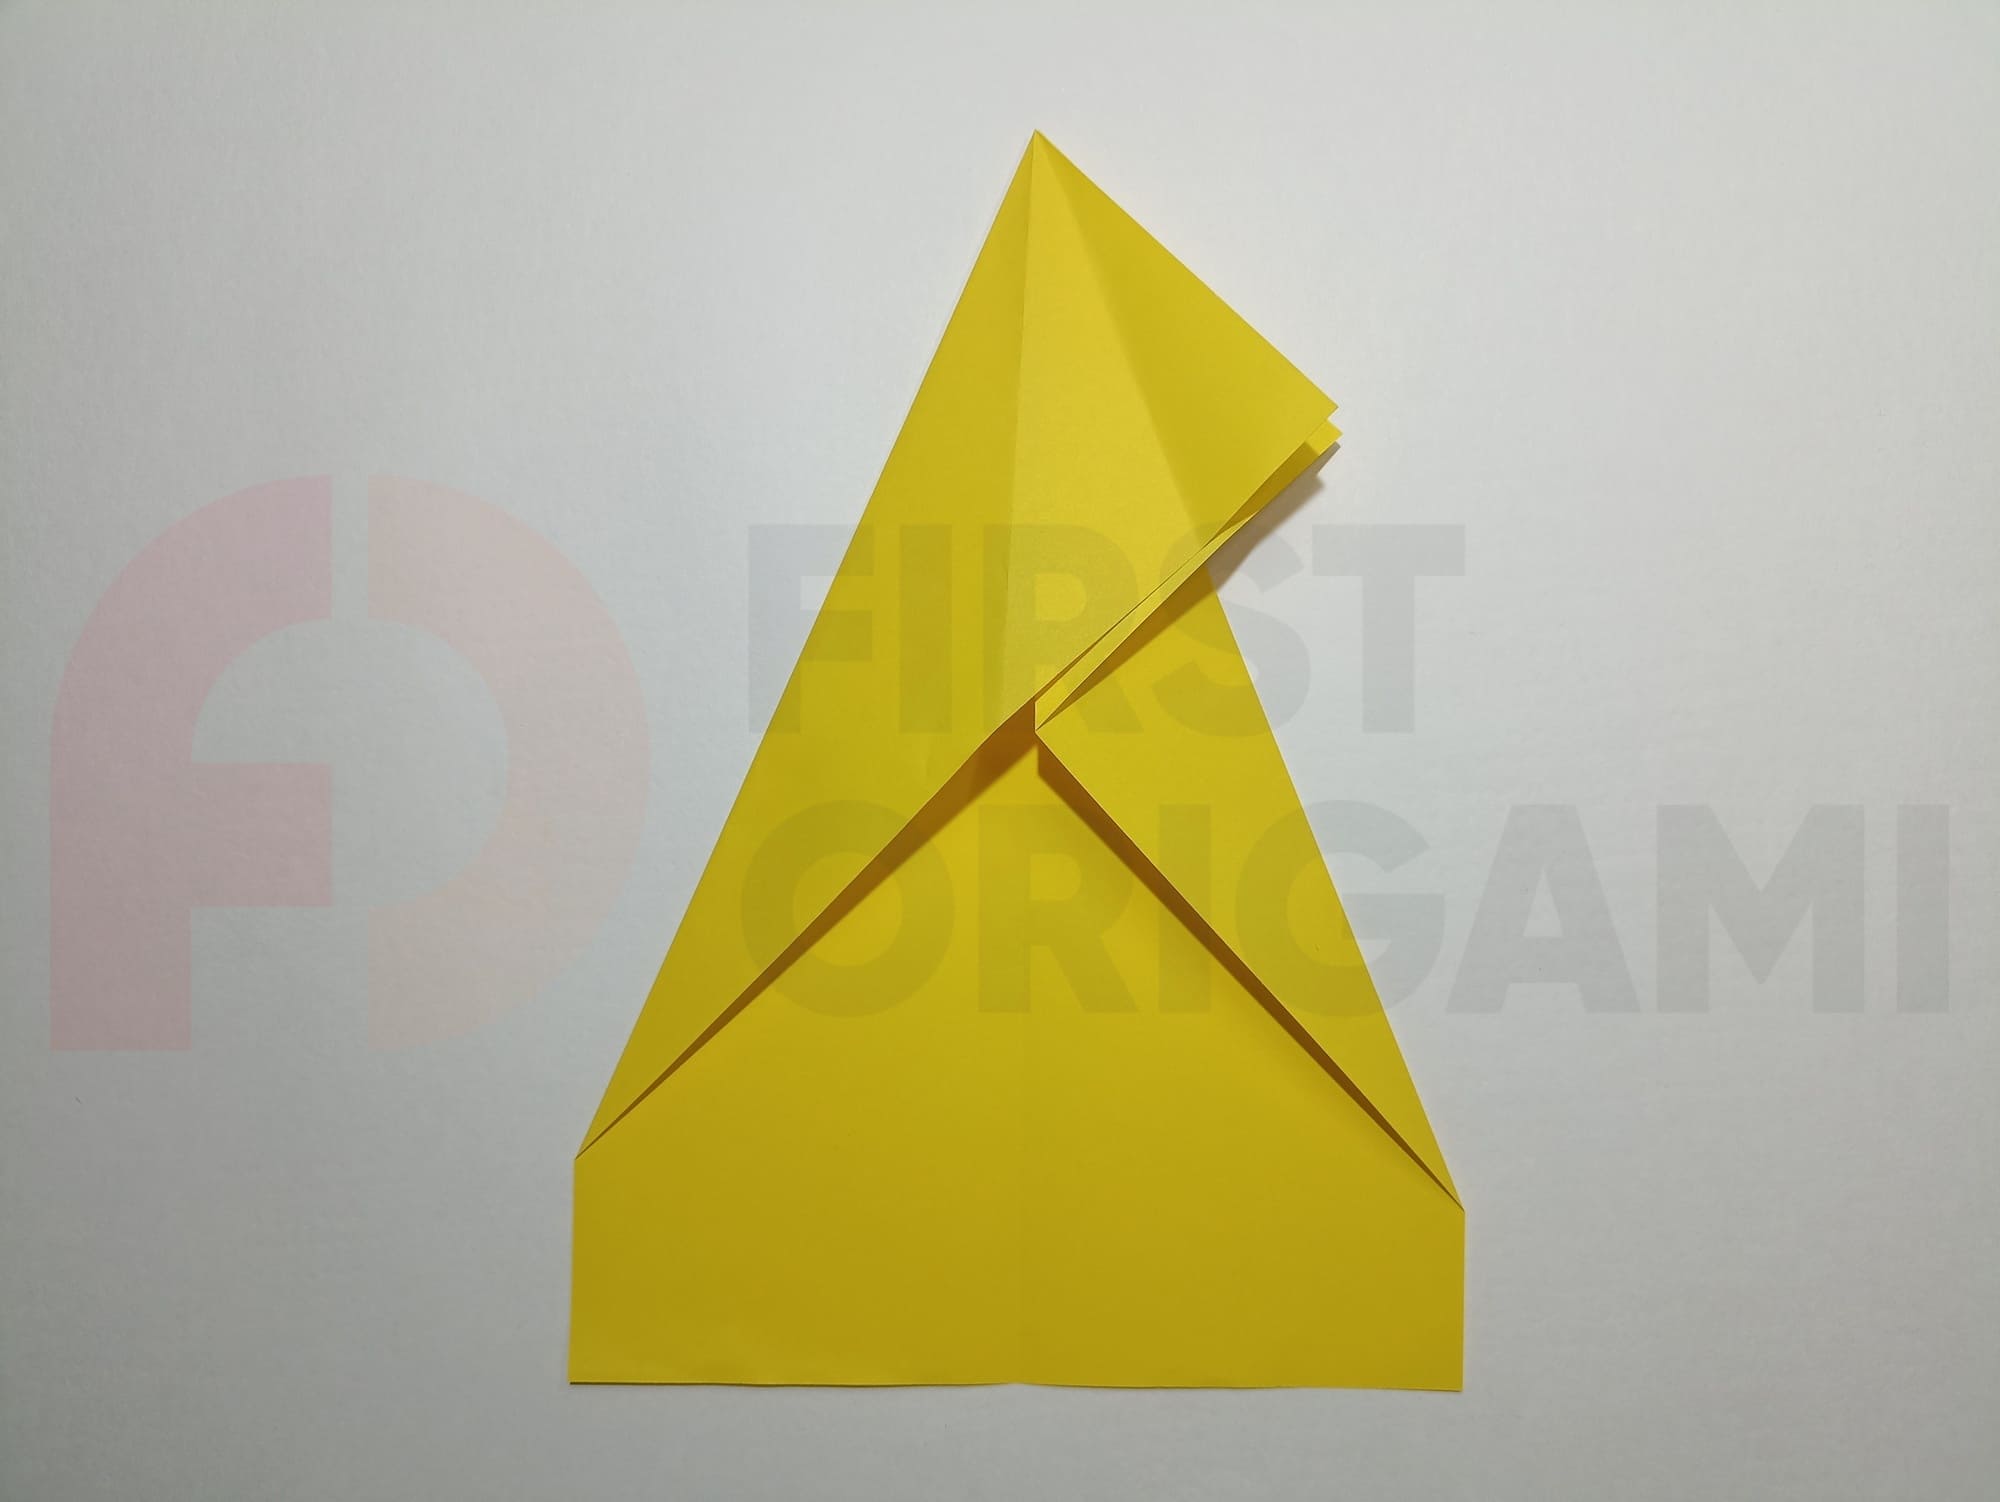
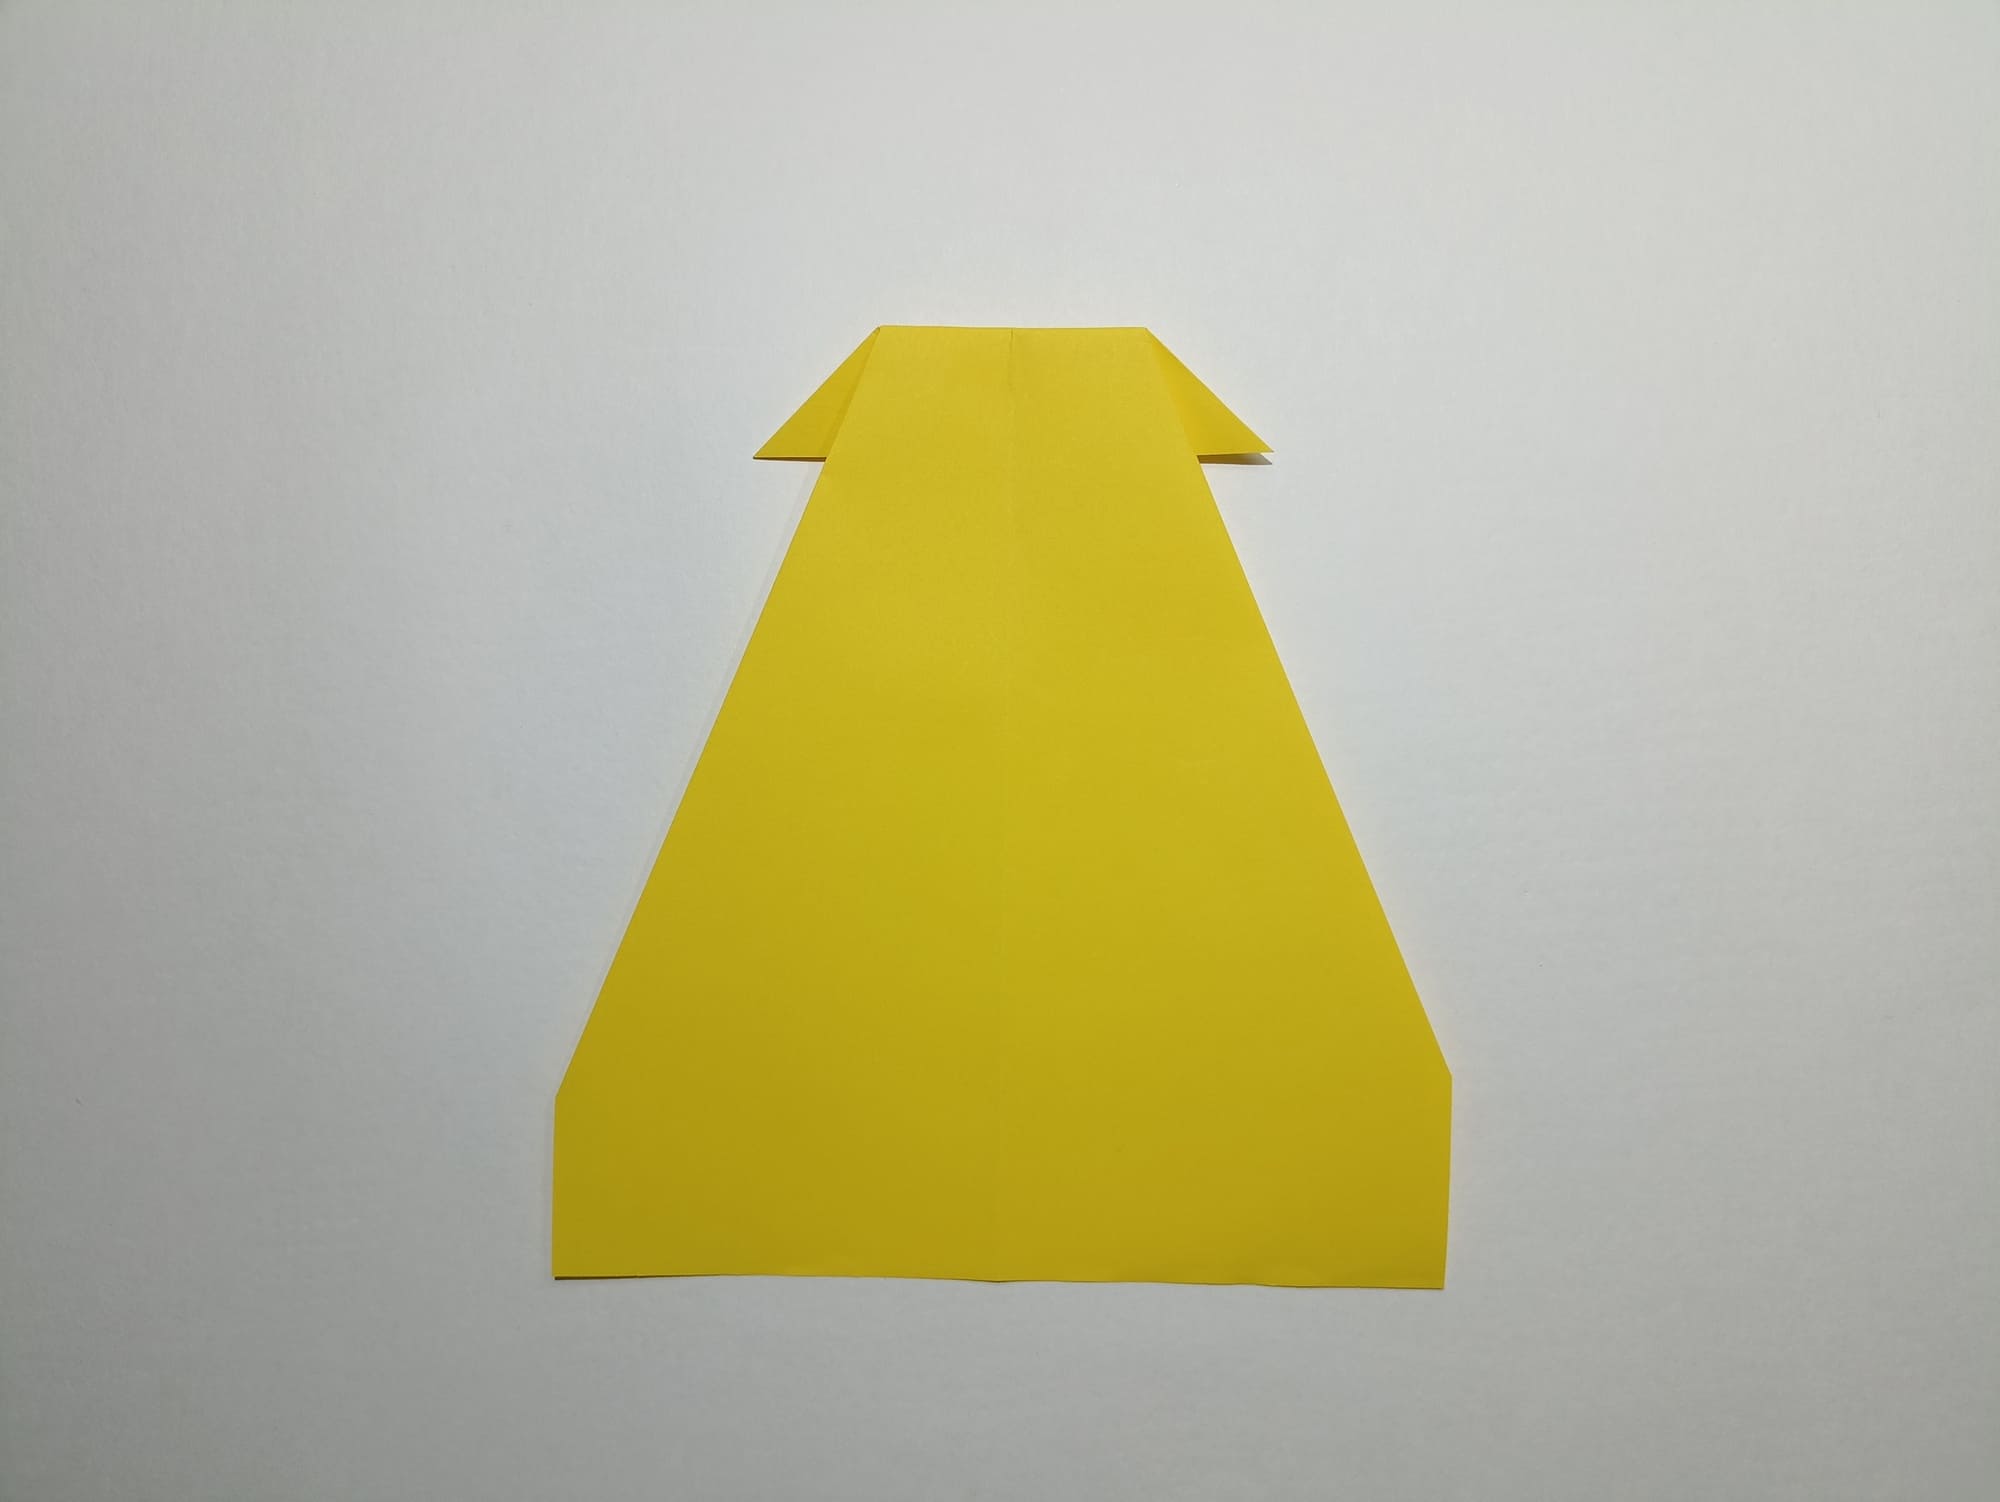
Bend the top of the diamond down, aligning the opposite corners.
Bend the top of the resulting inverted triangle upward so that it protrudes above all the folds, as in the illustration.
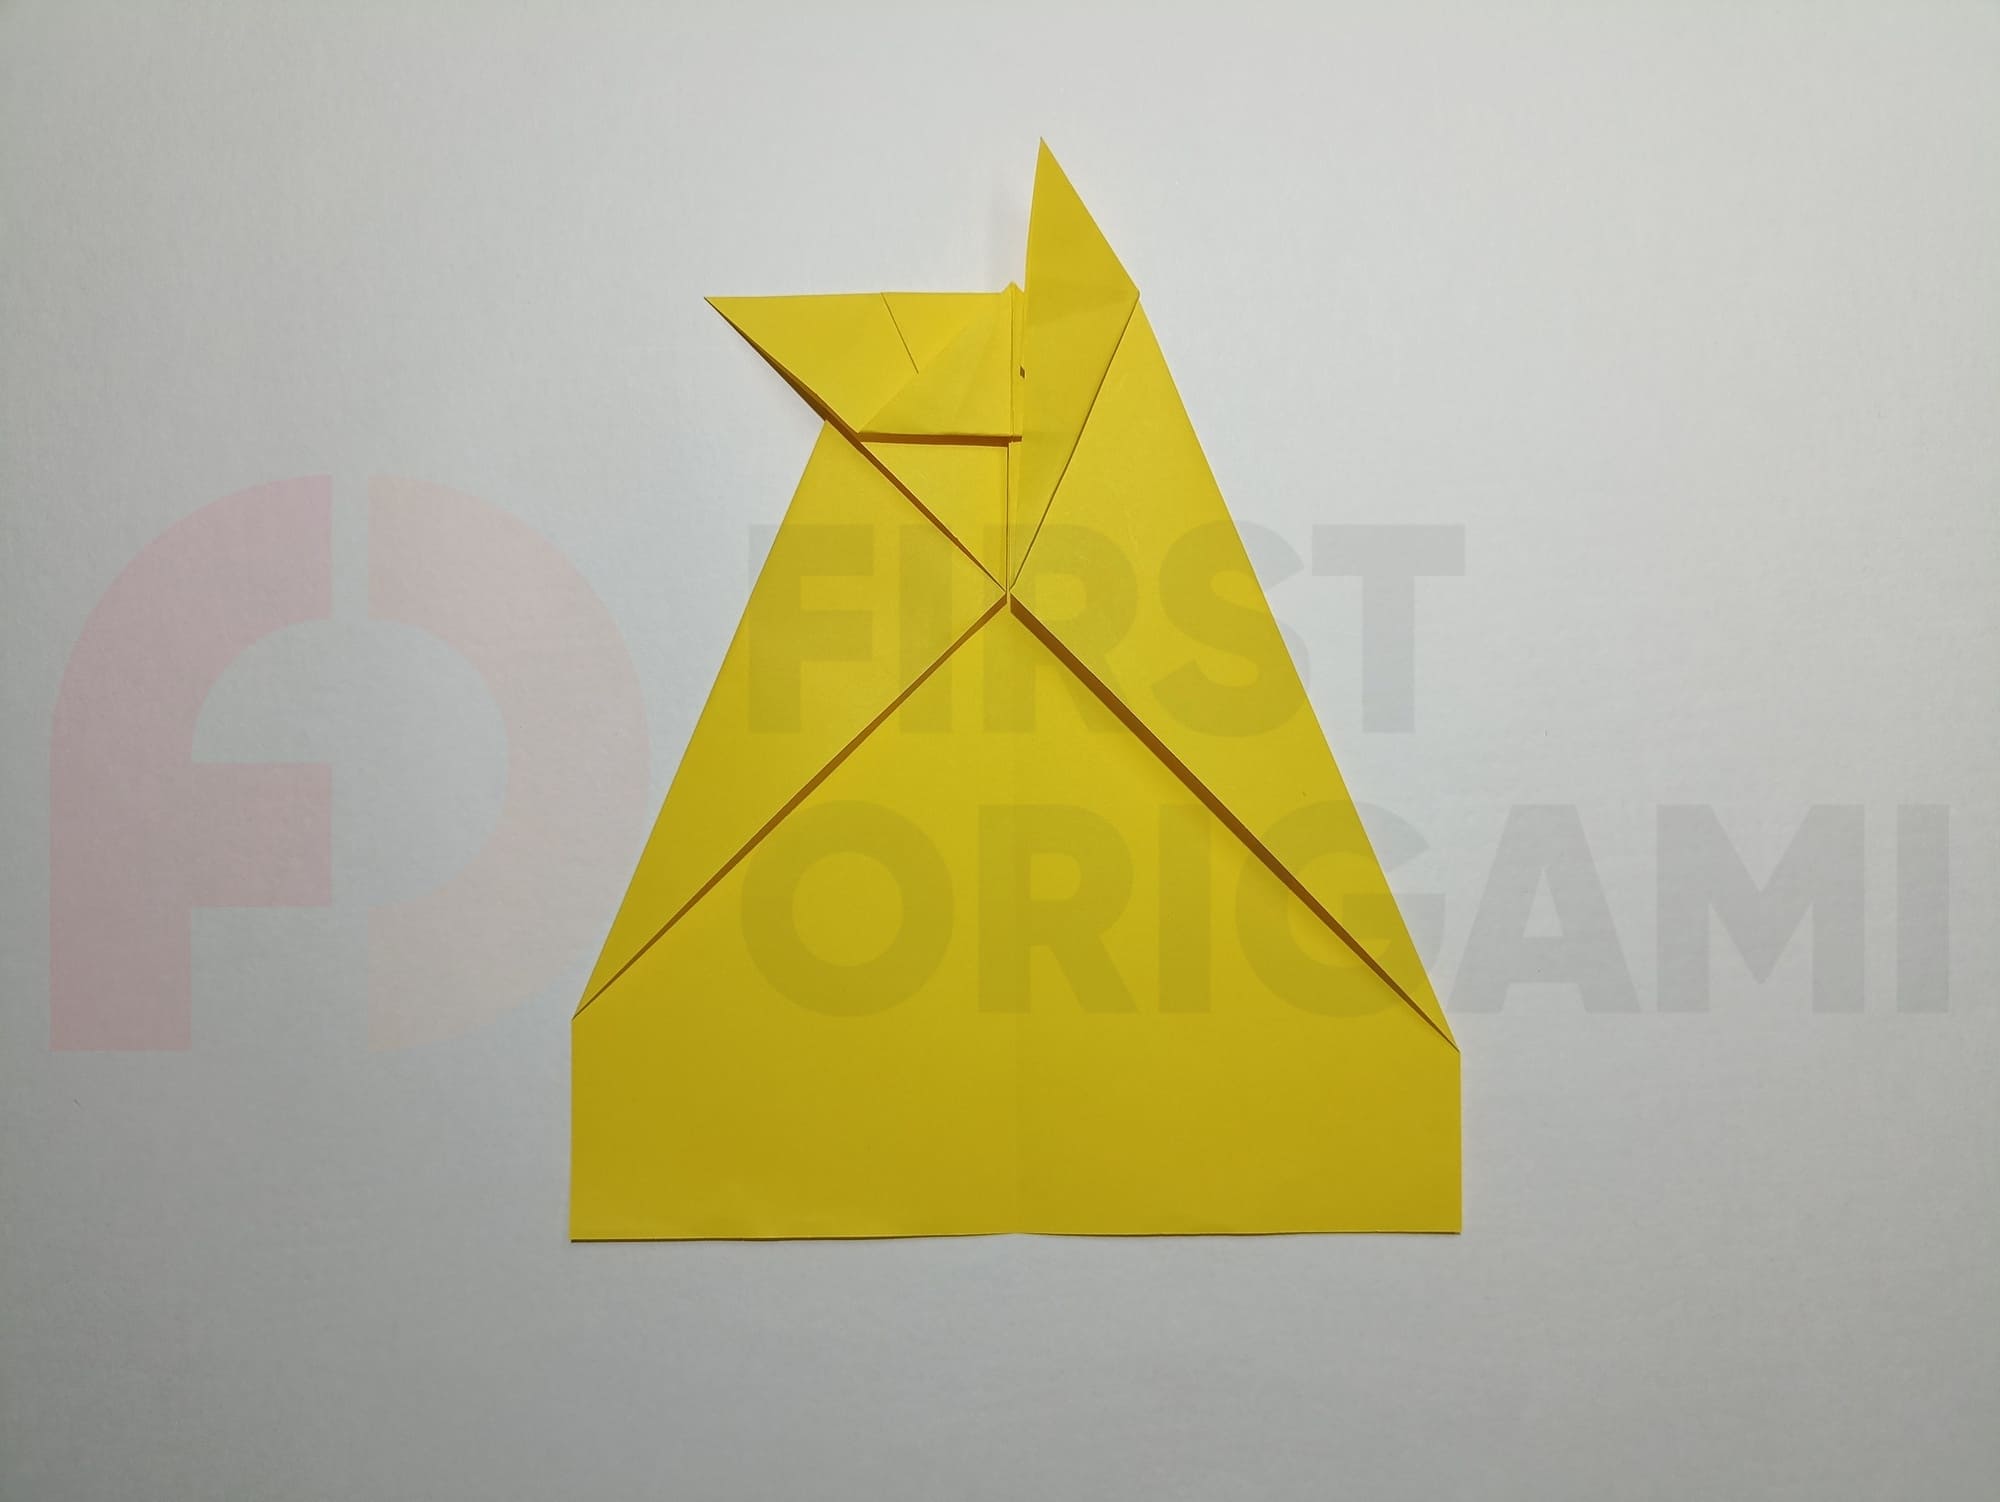
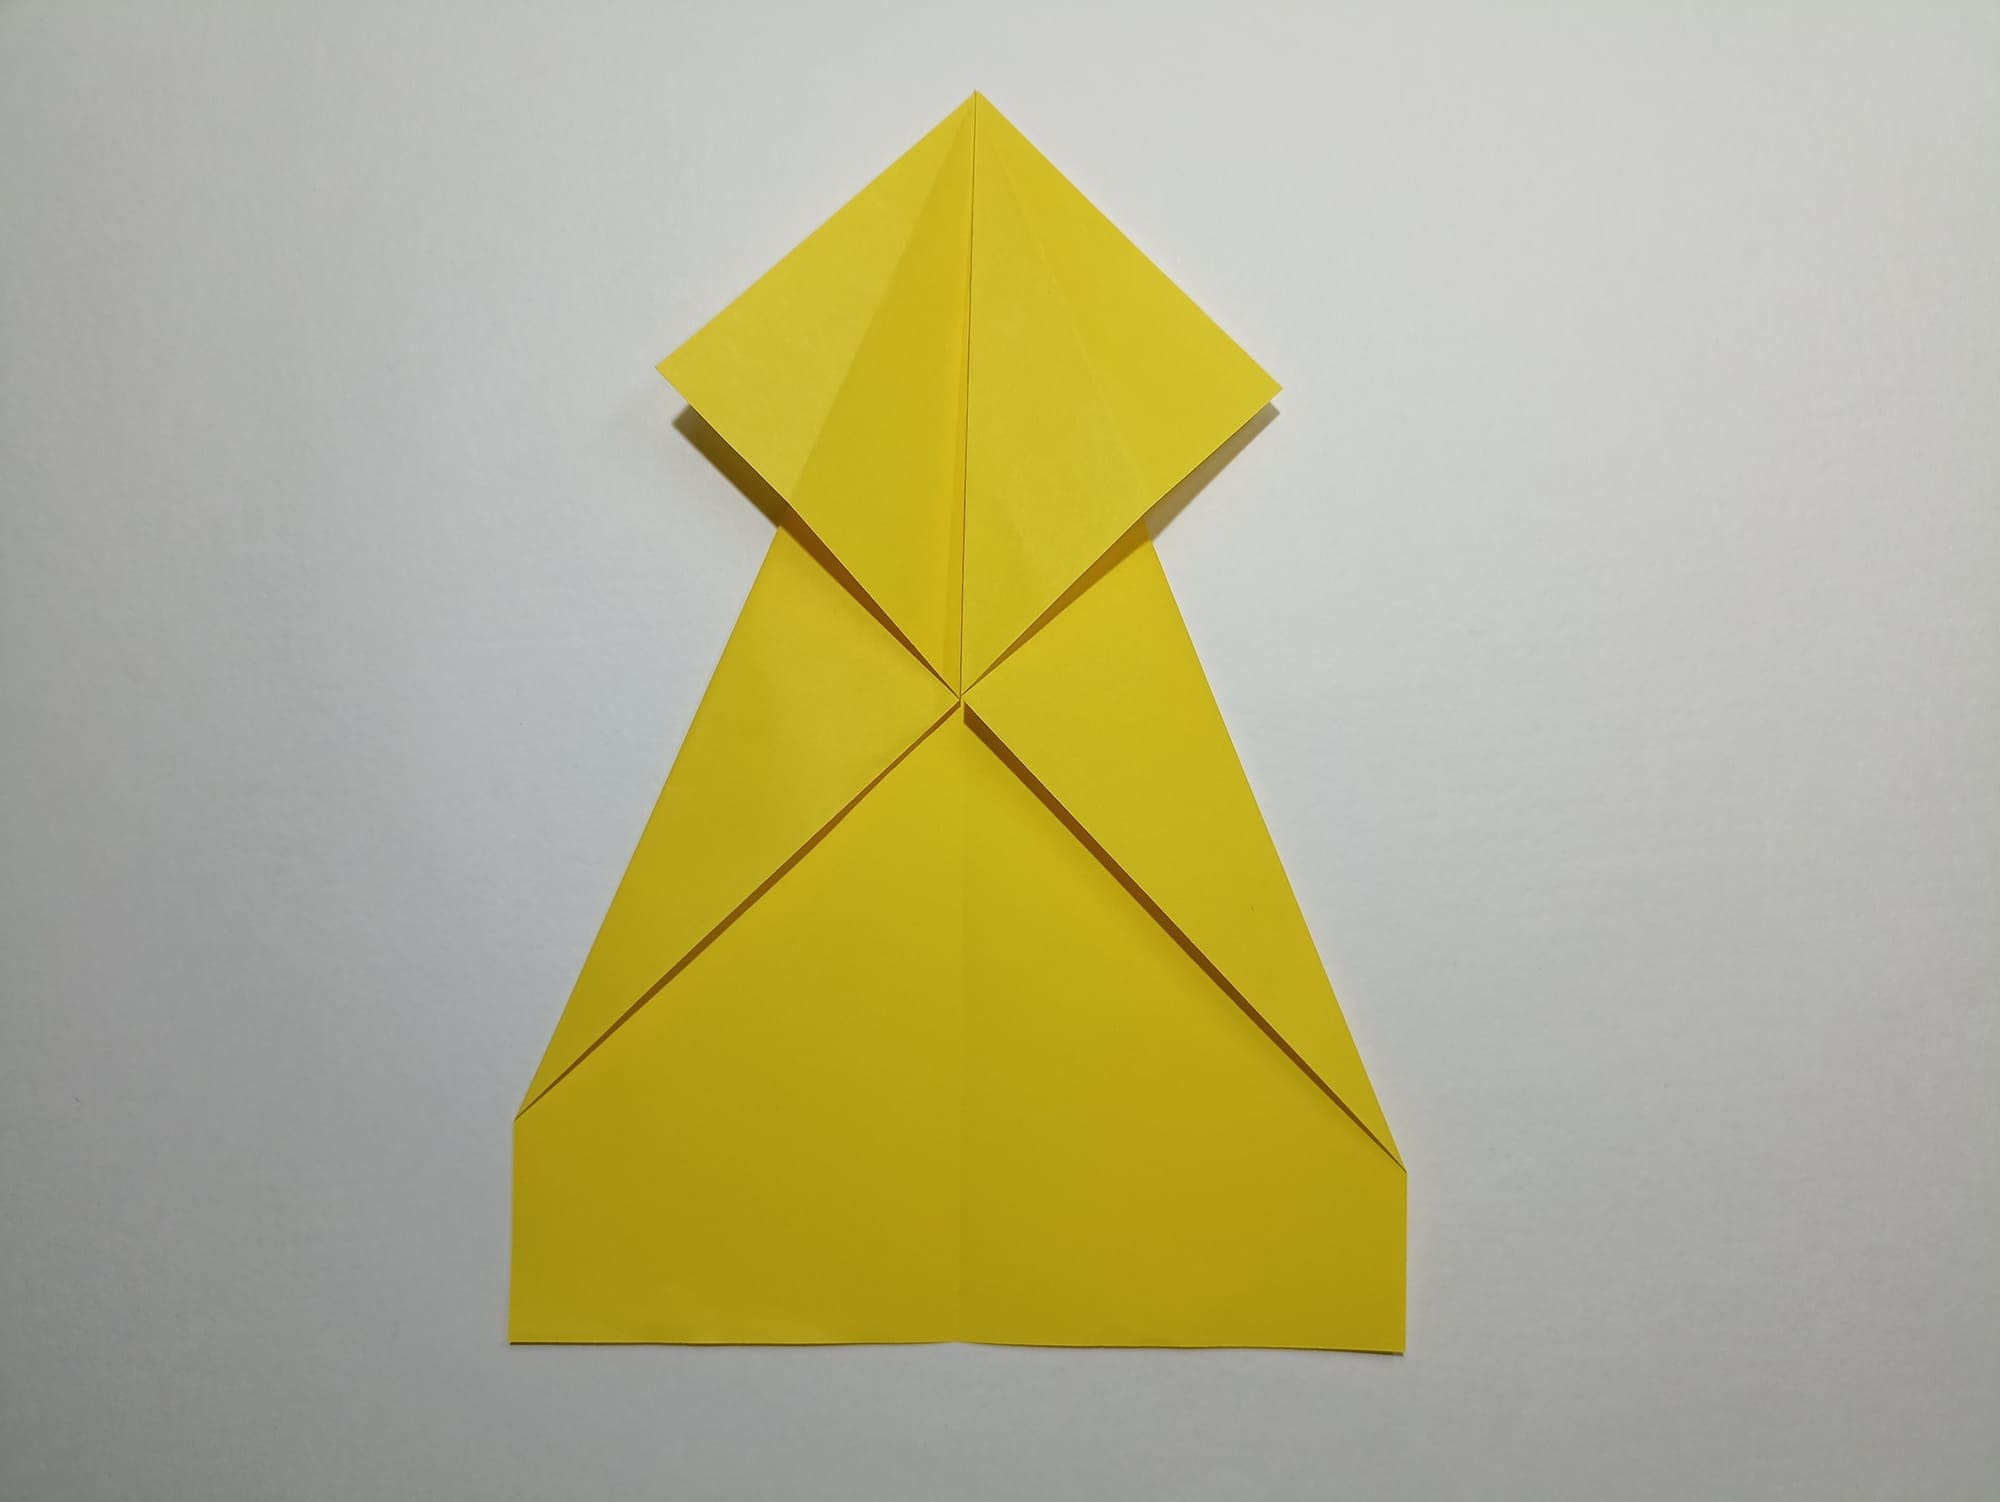
Bend the right side of the inverted triangle upward, connecting it to the middle line.
Repeat symmetrically on the left side.
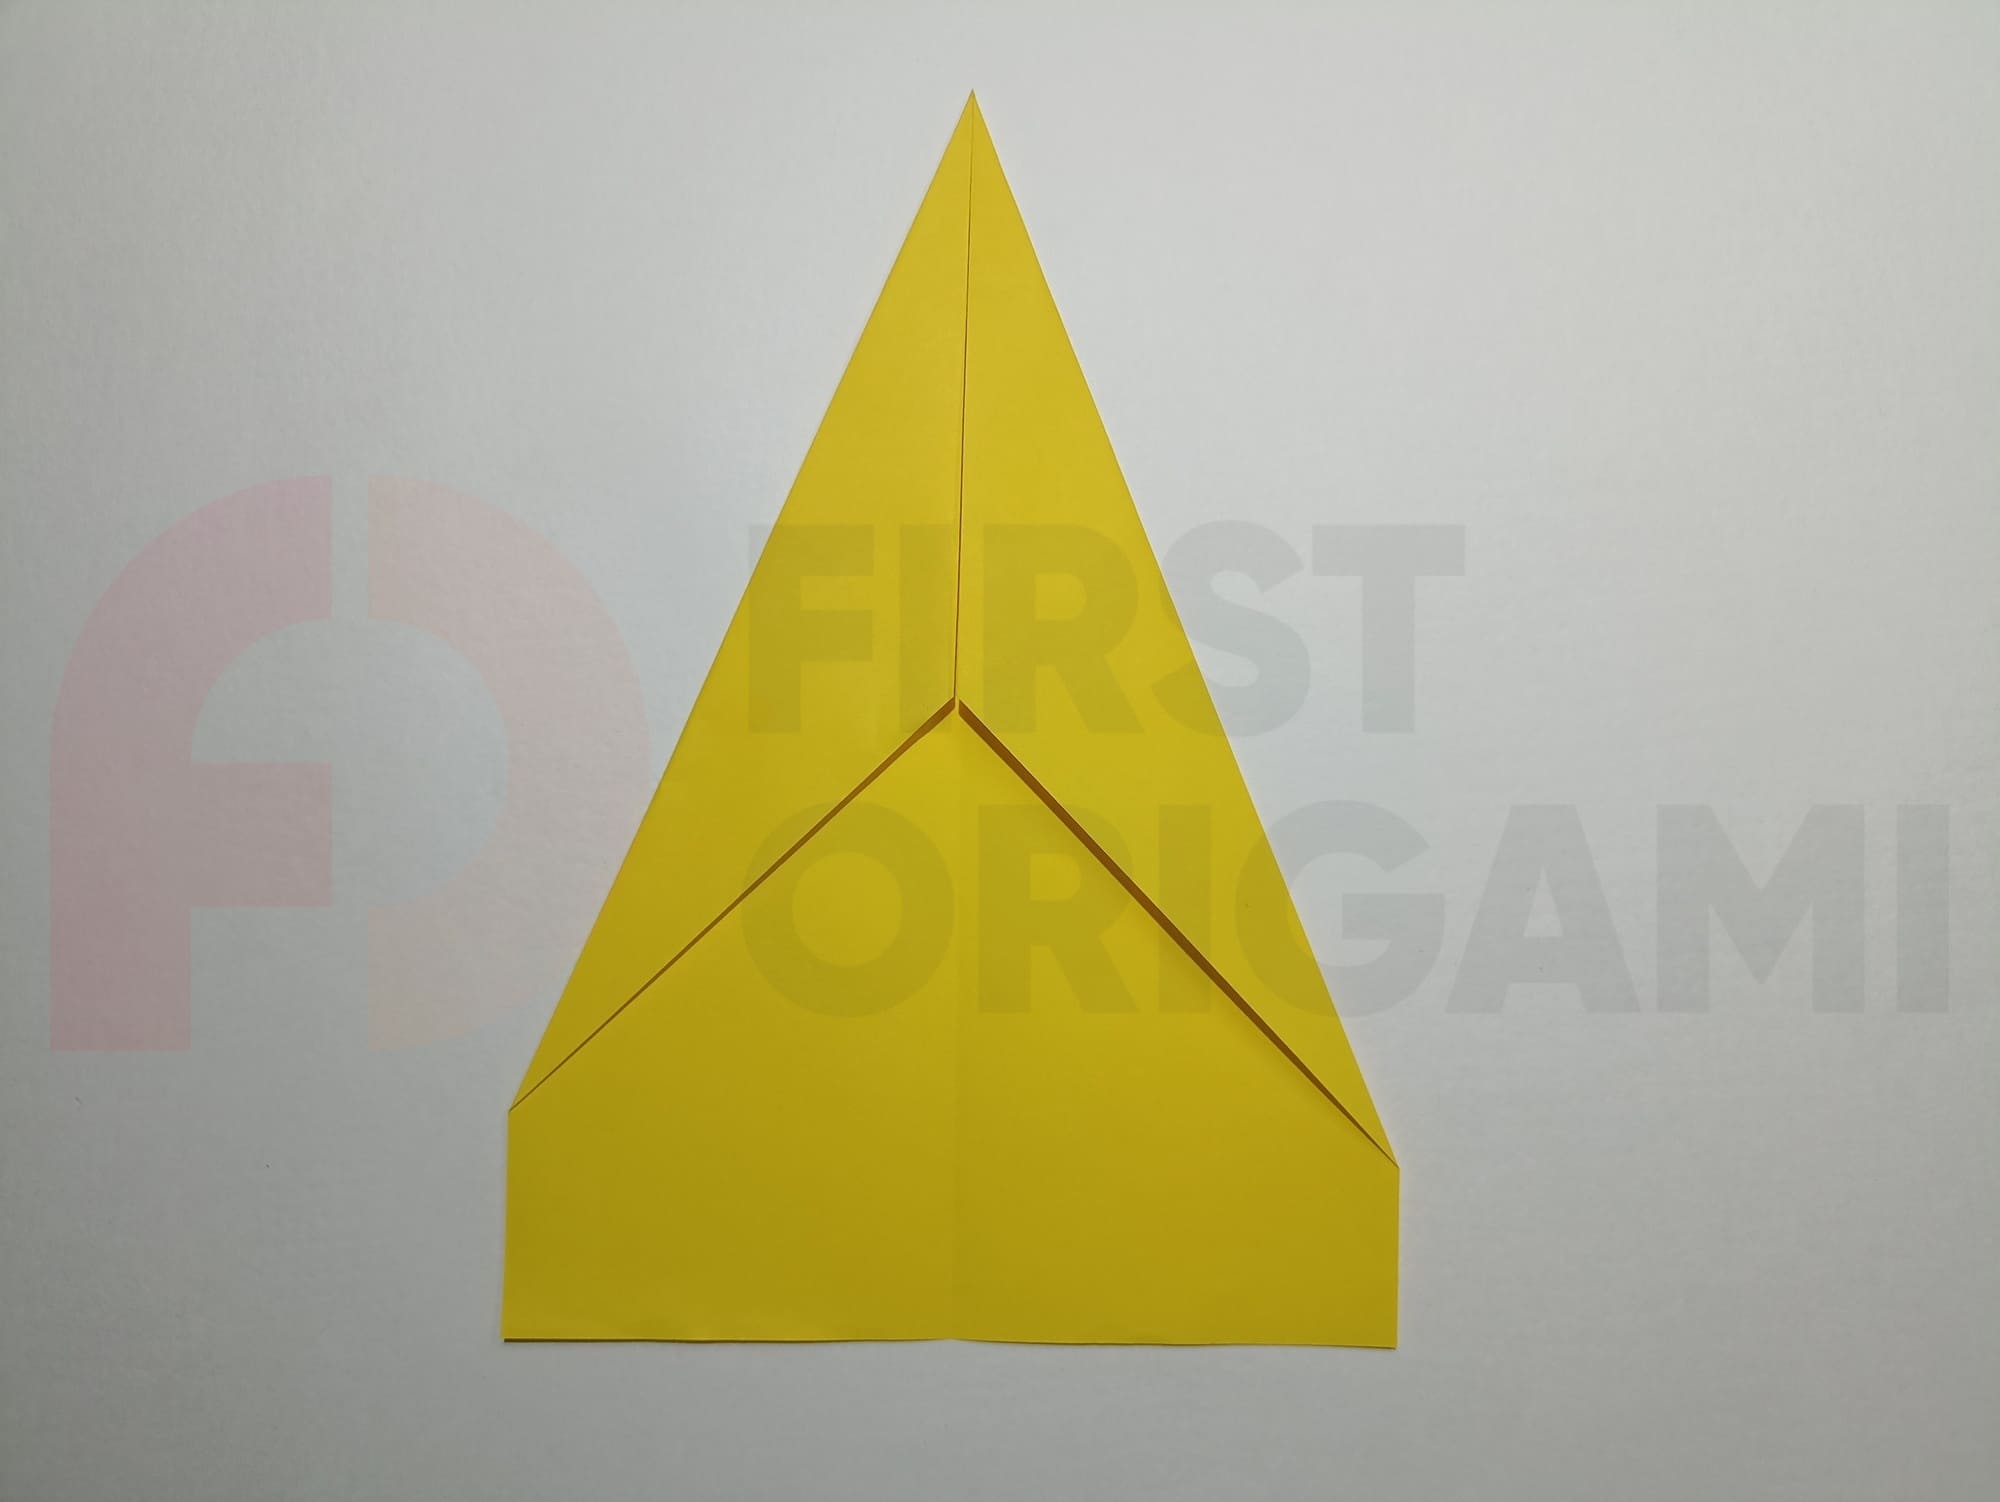
Bend the resulting triangular folds with sharp corners at the top in different directions to form small triangles with bases located horizontally and tops in the corners of the main figure.
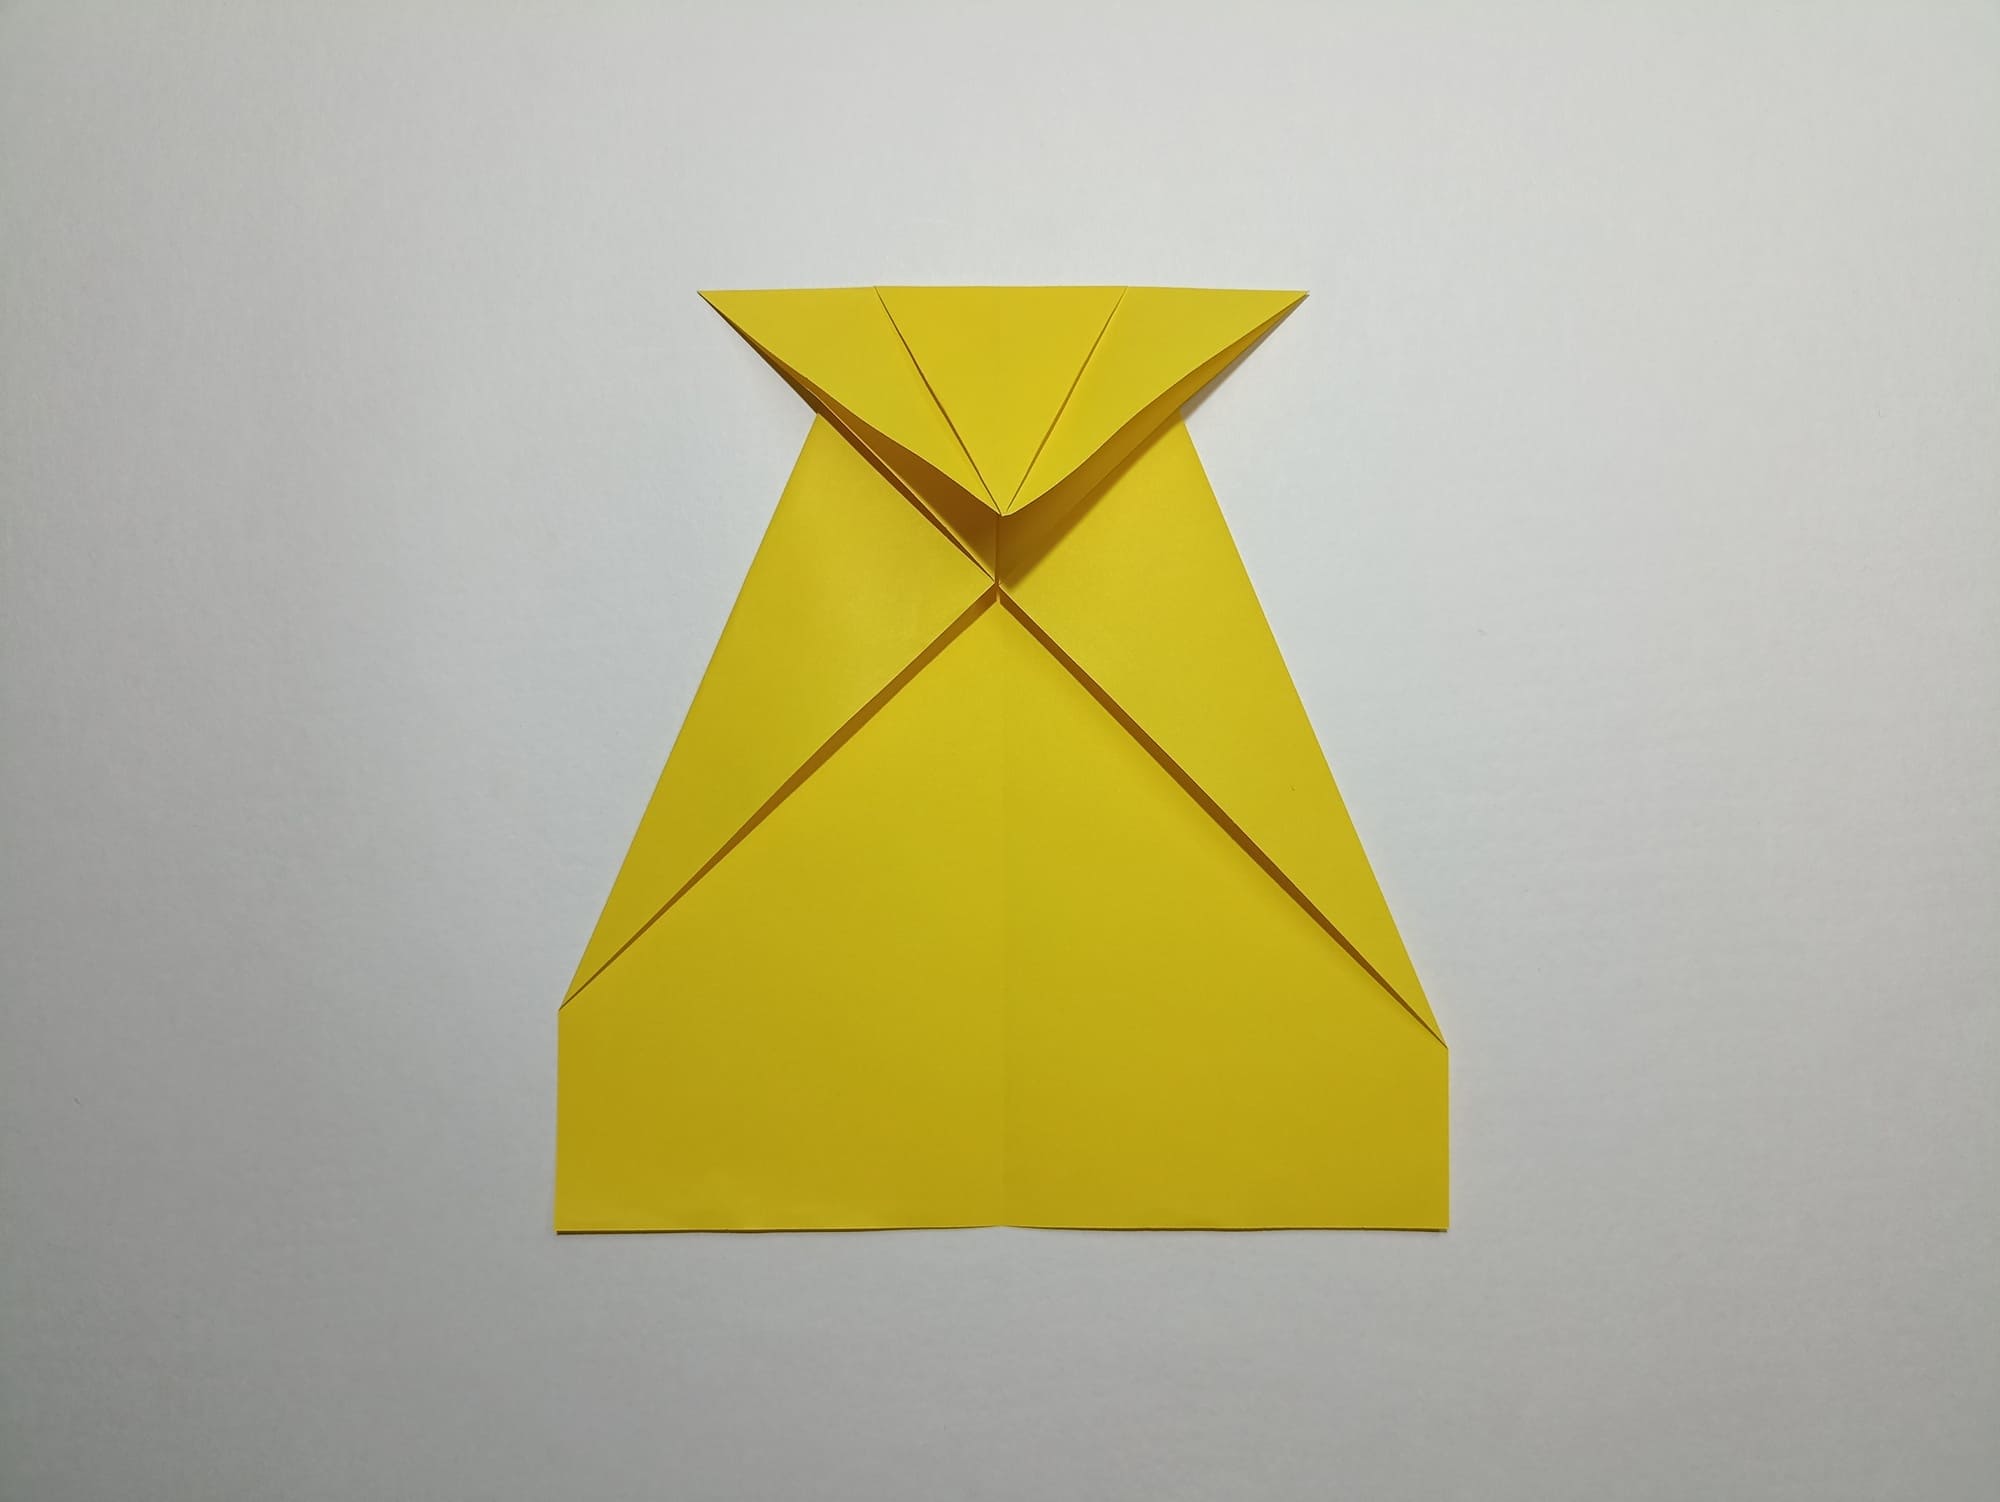
Compare with the illustration.
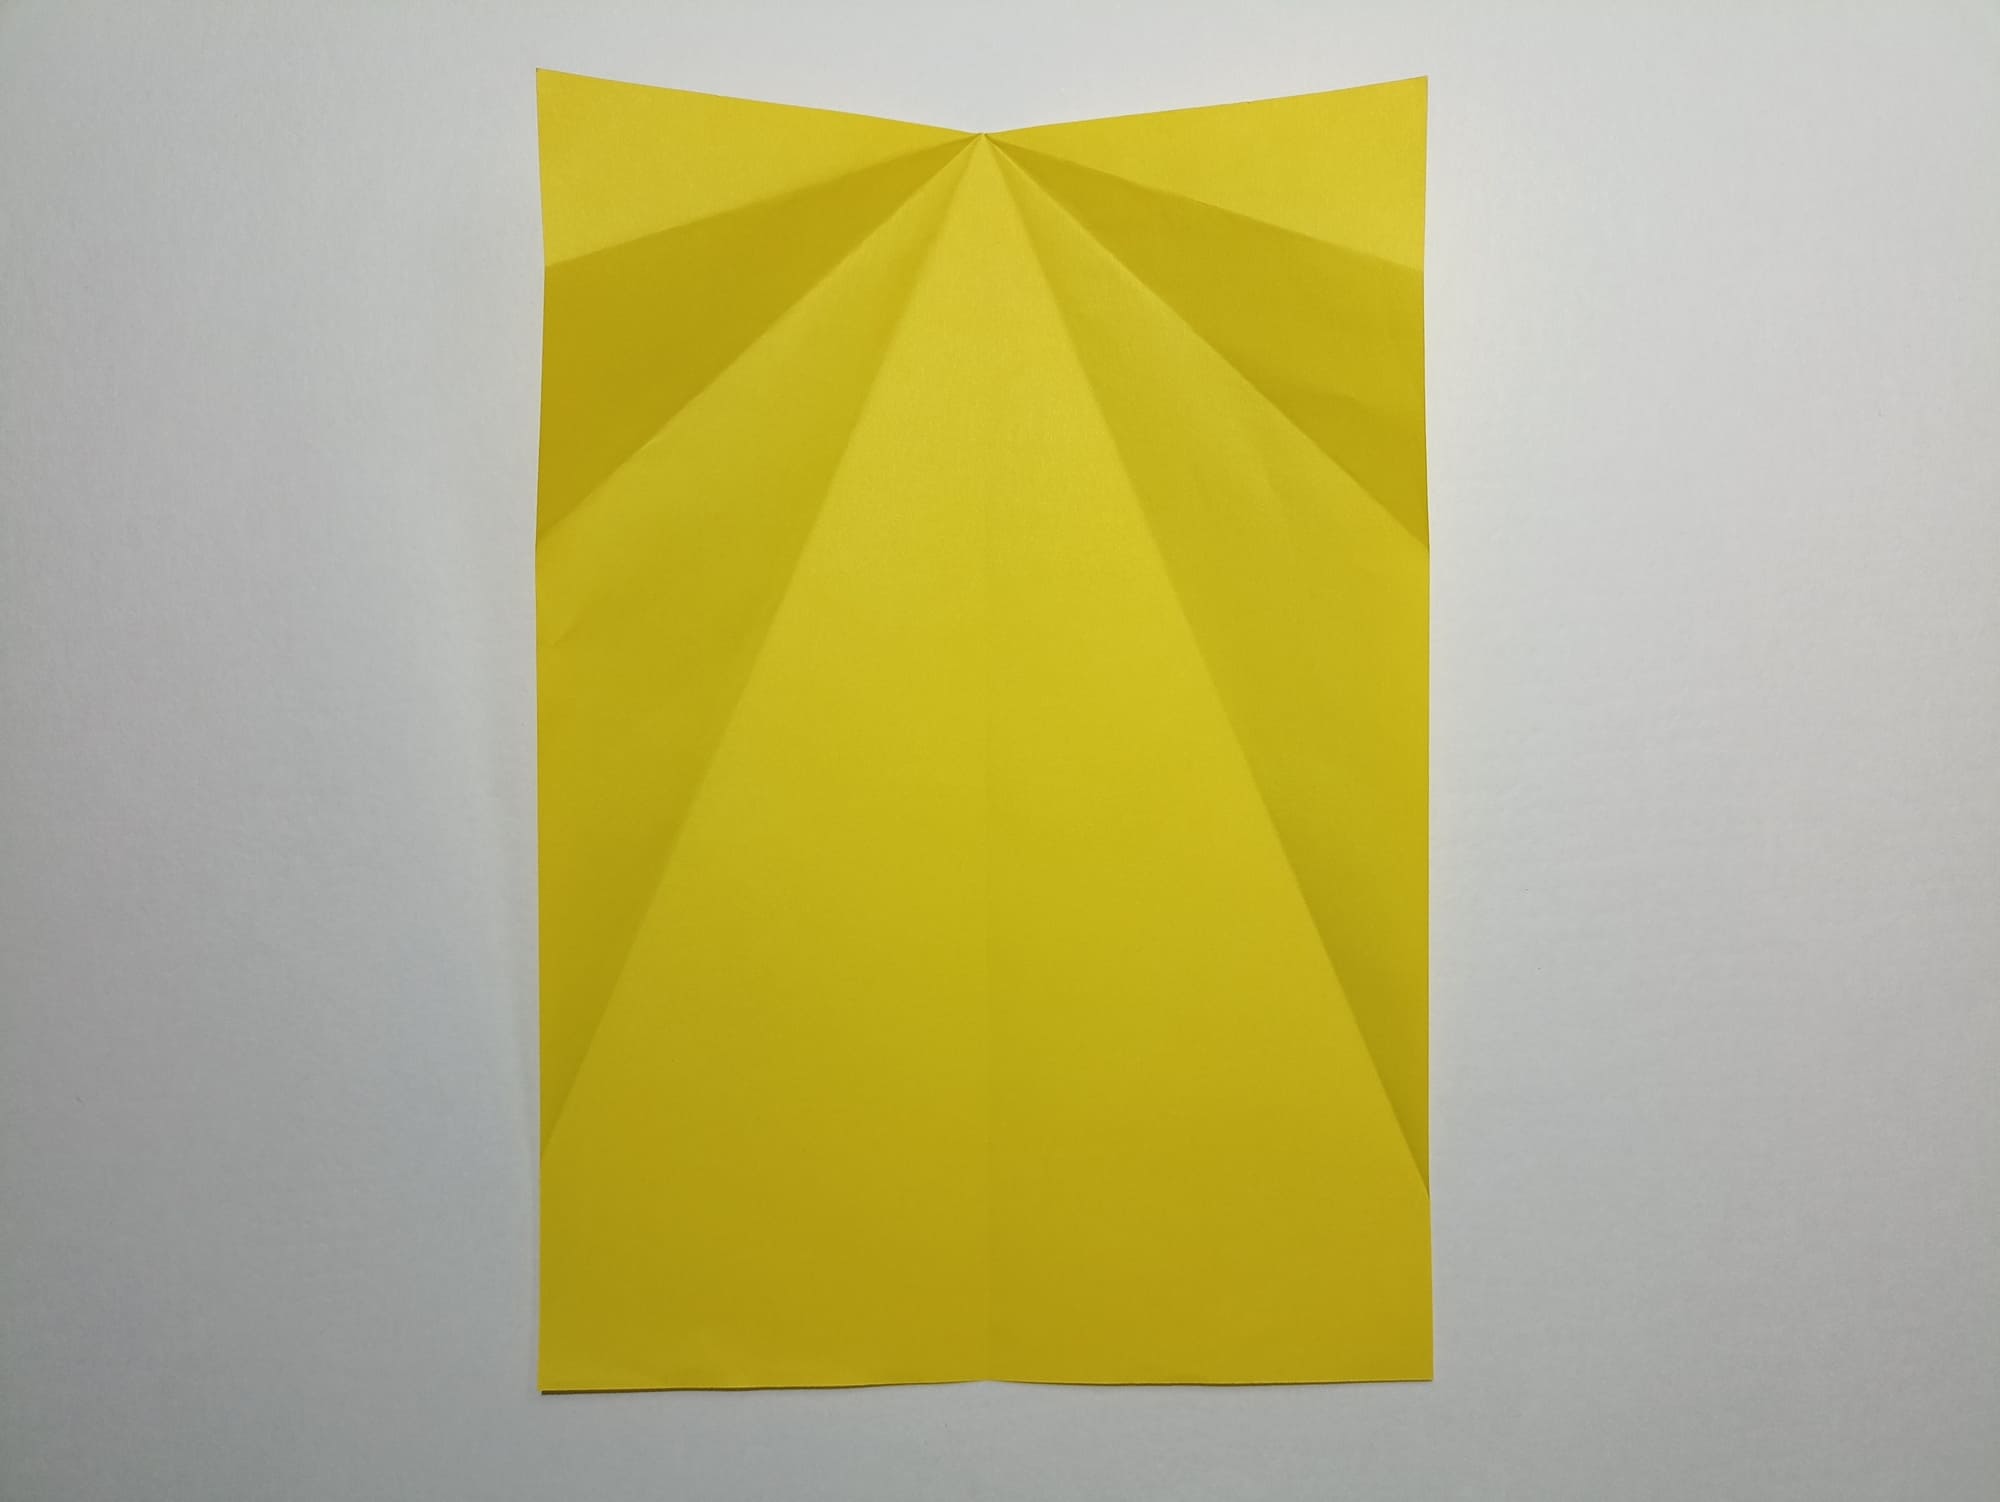
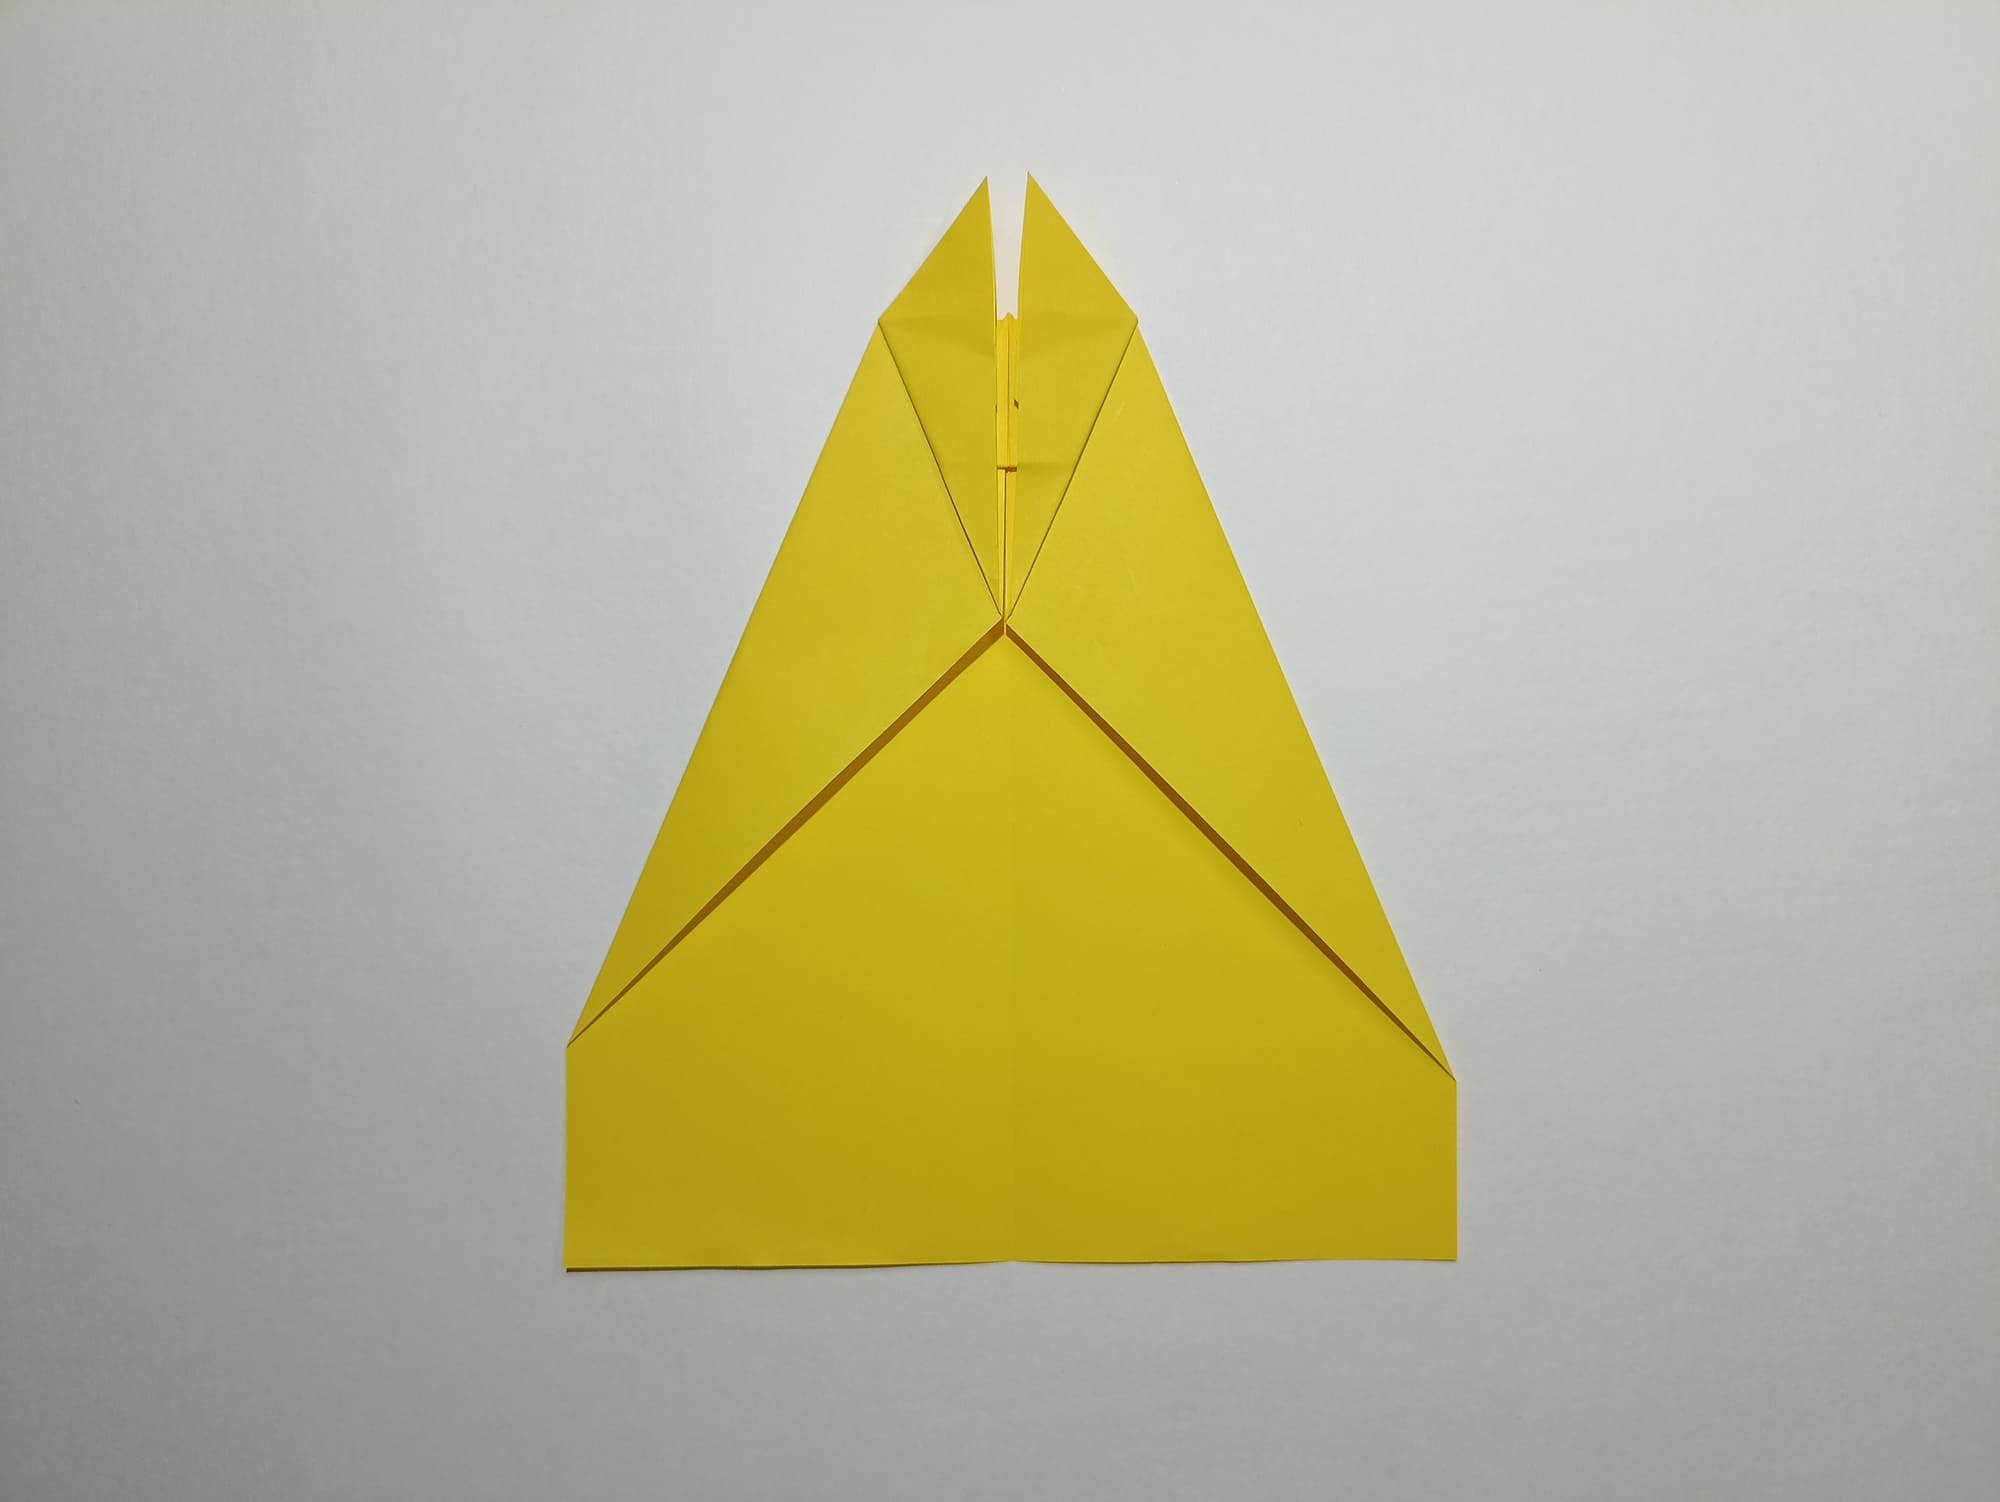
Turn the figure over.
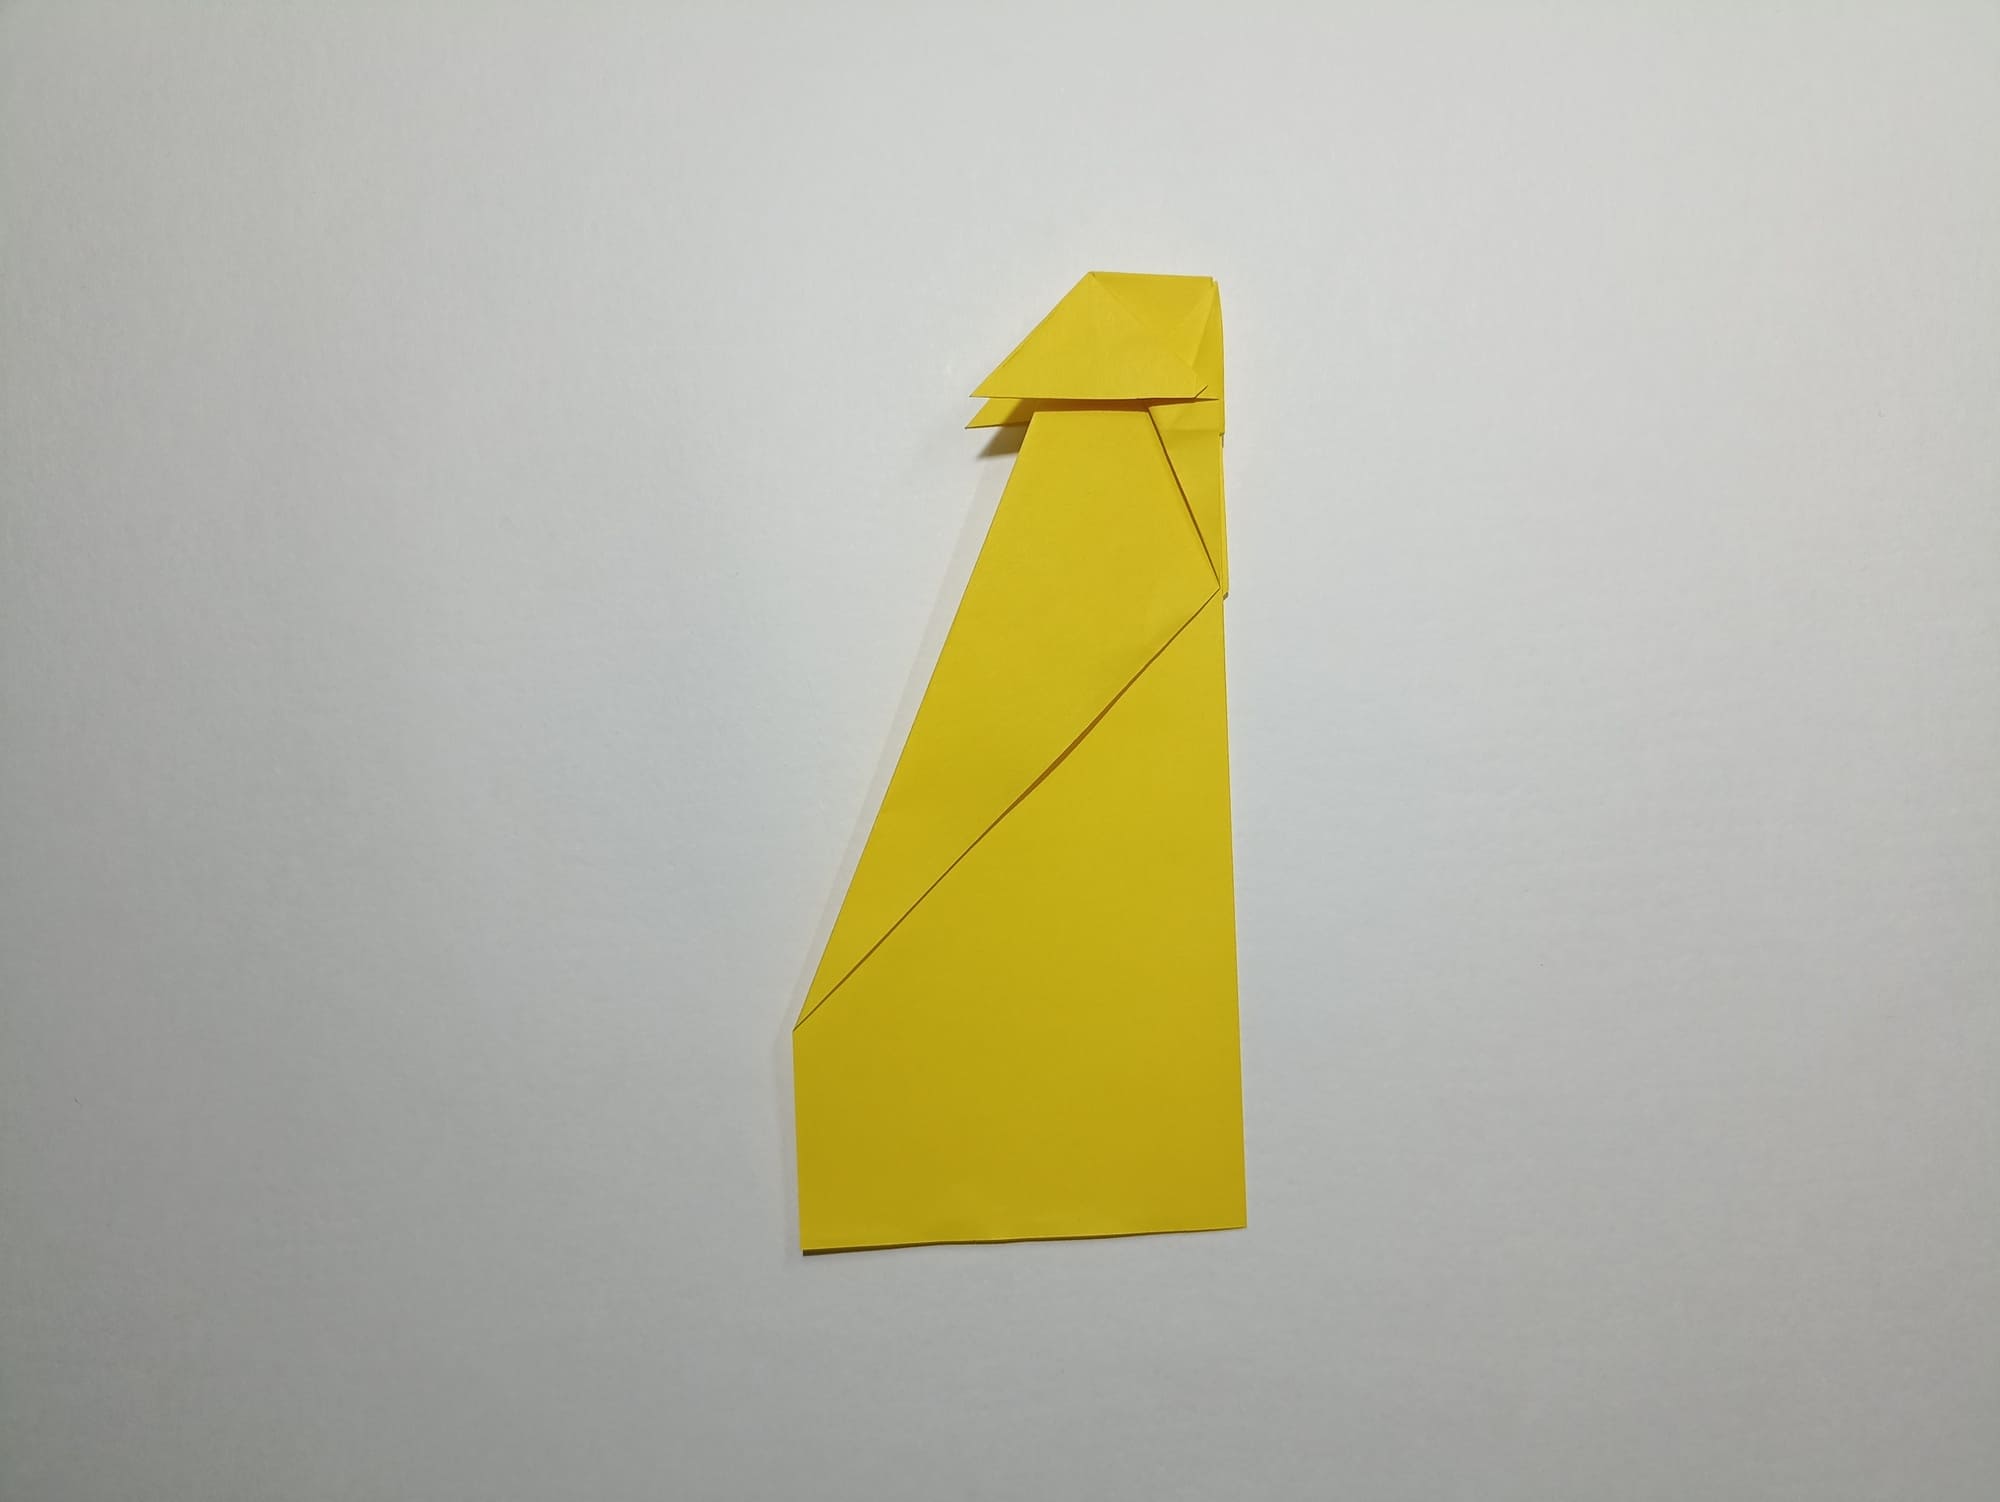
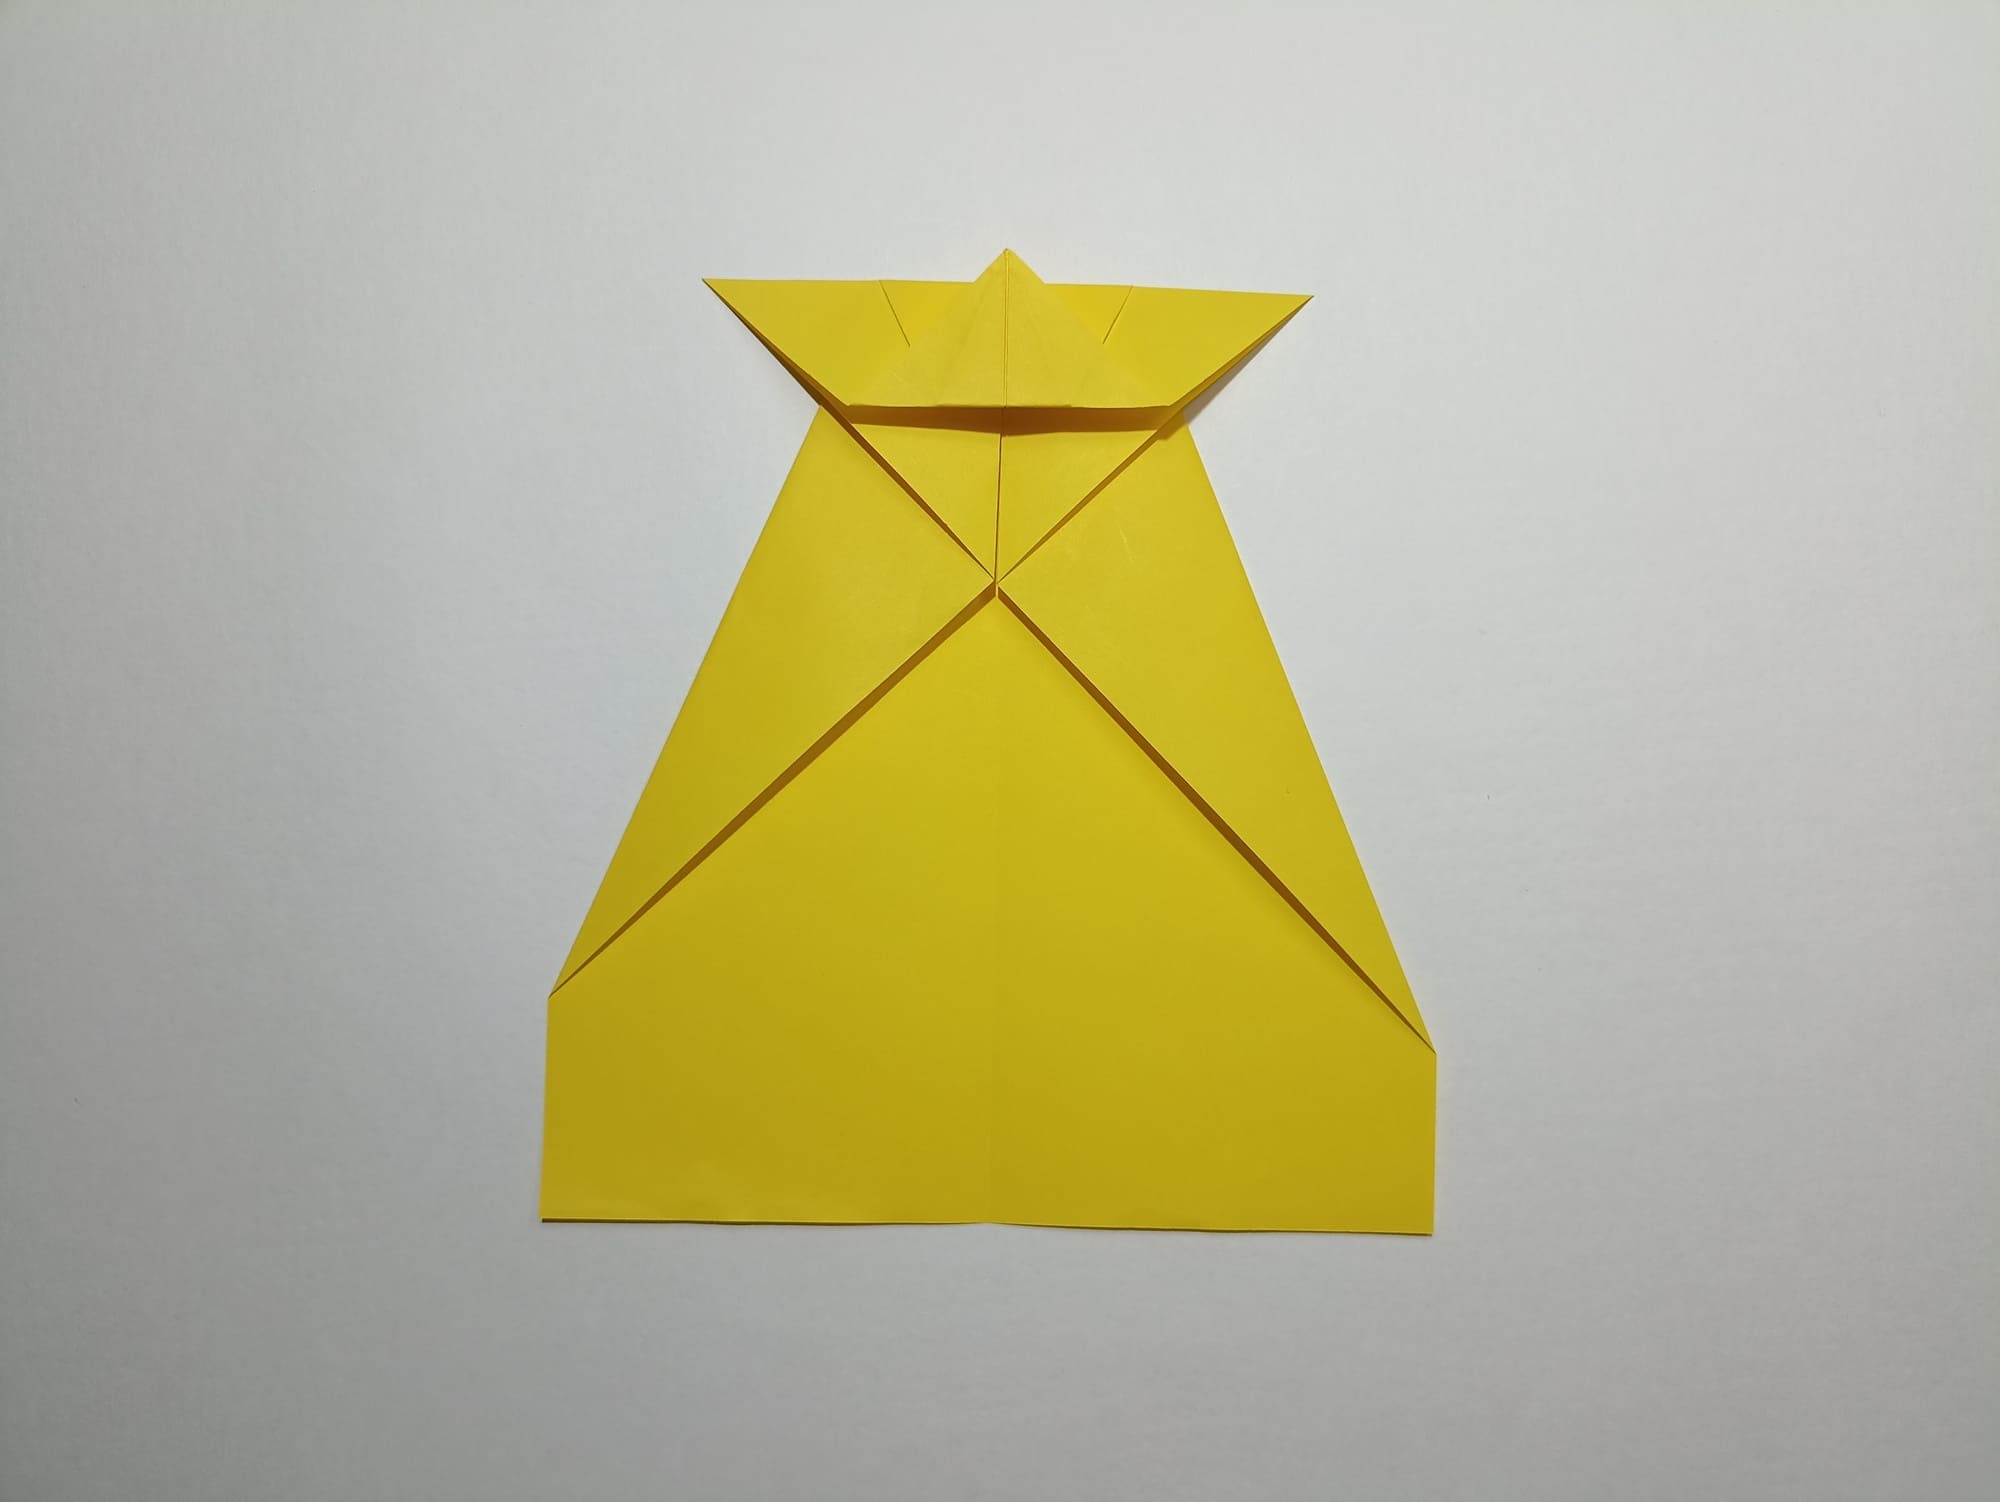
Fold the entire structure along the middle vertical line. Turn the shape so that the base is at the top.
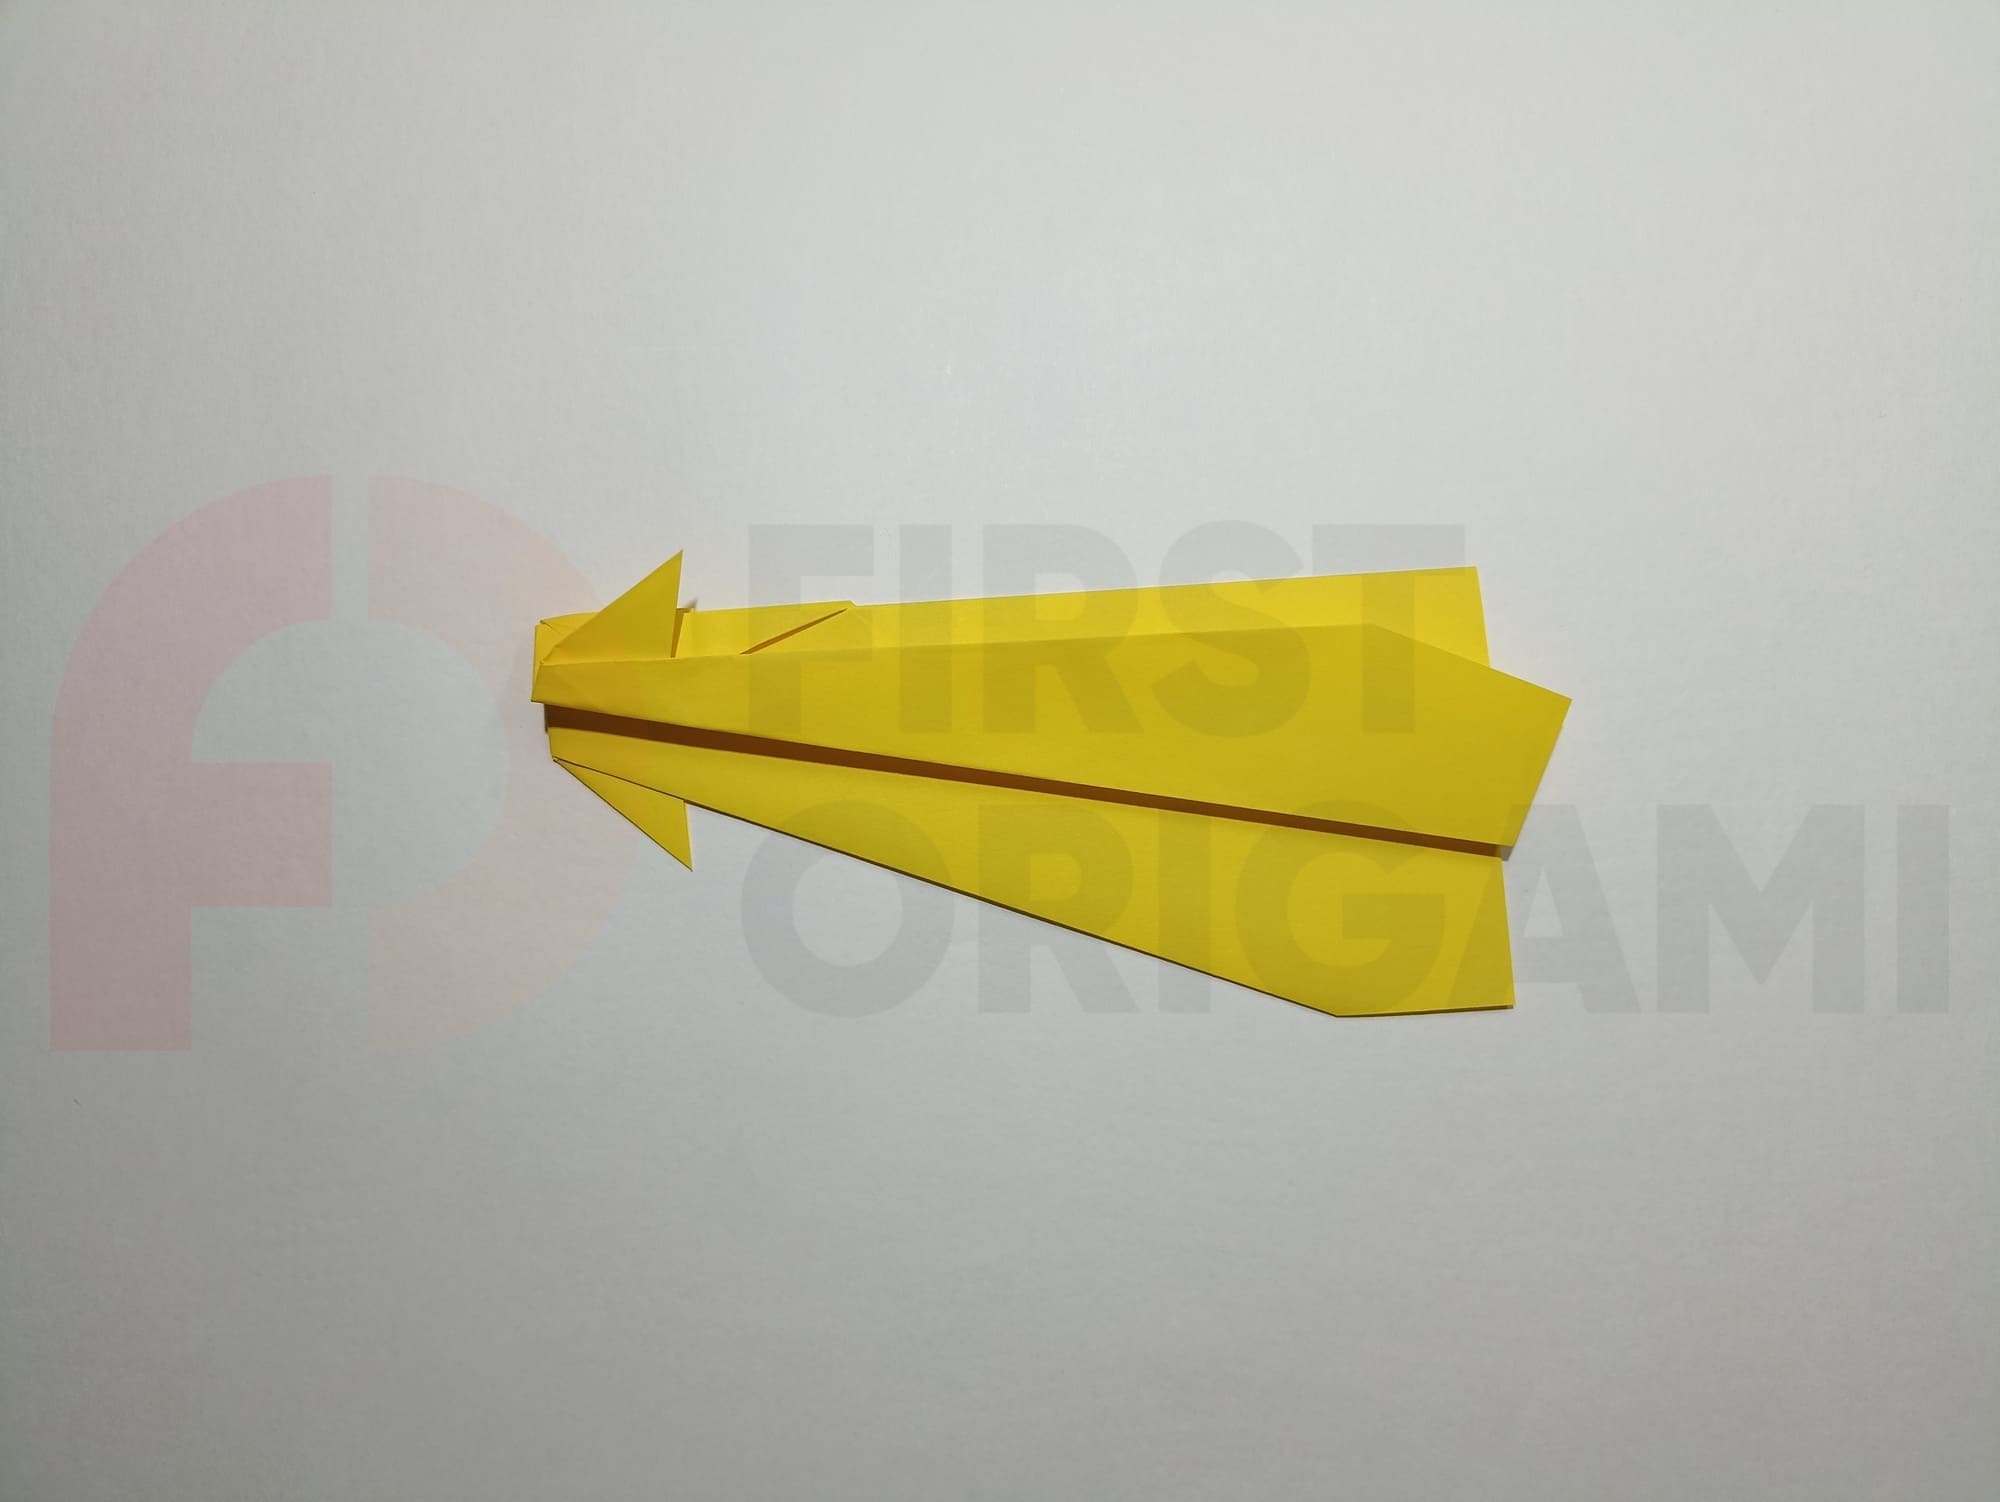
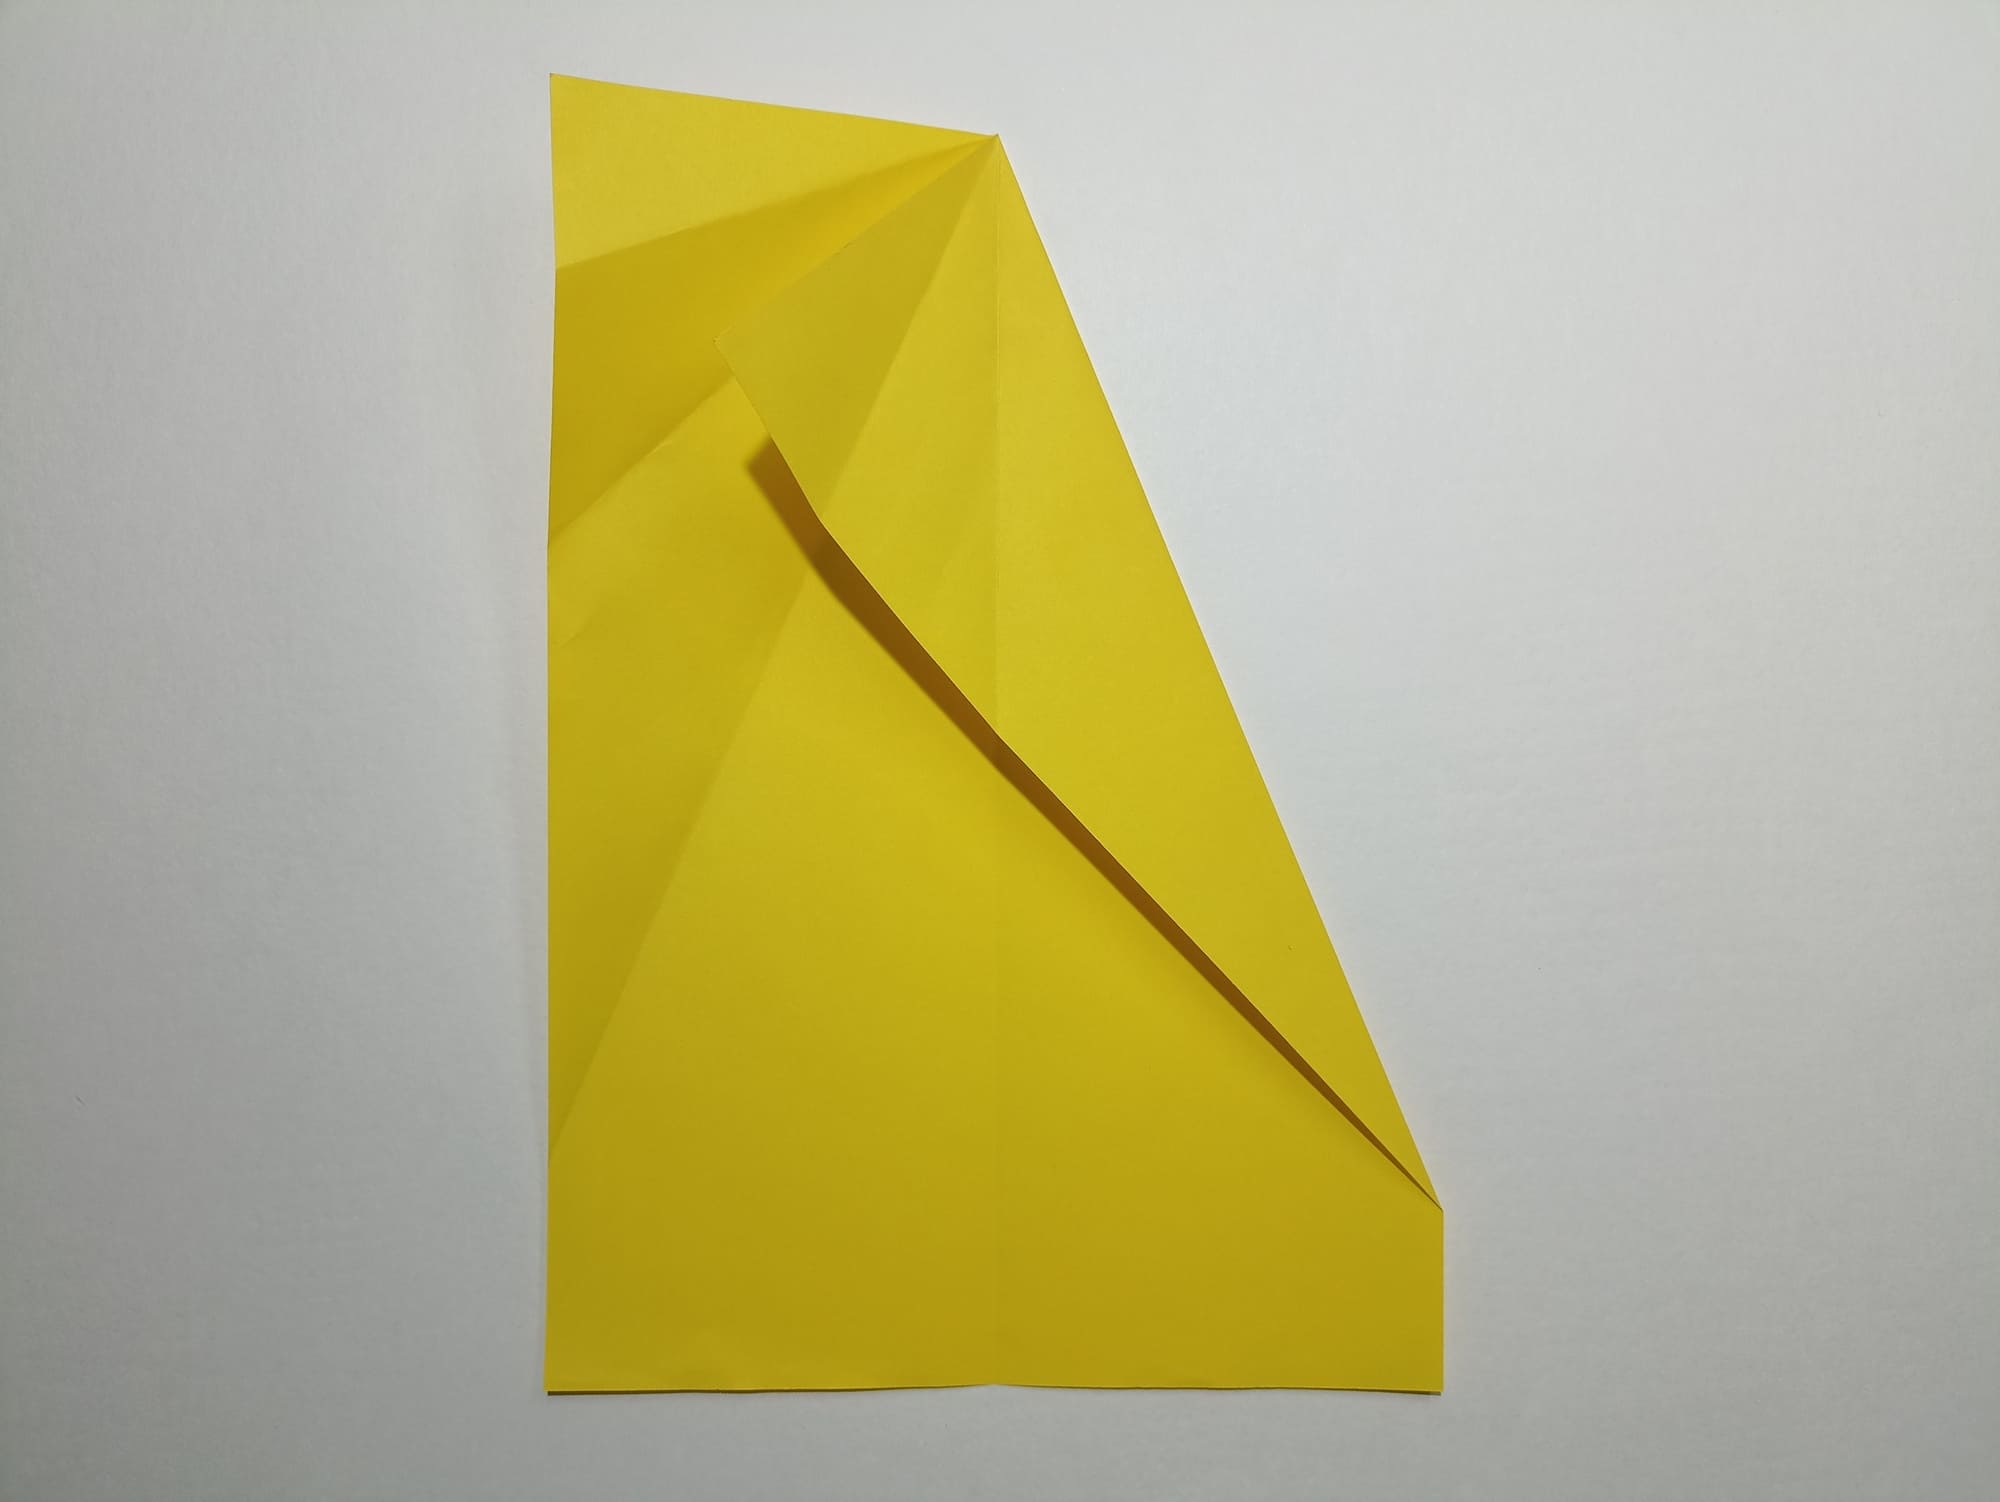
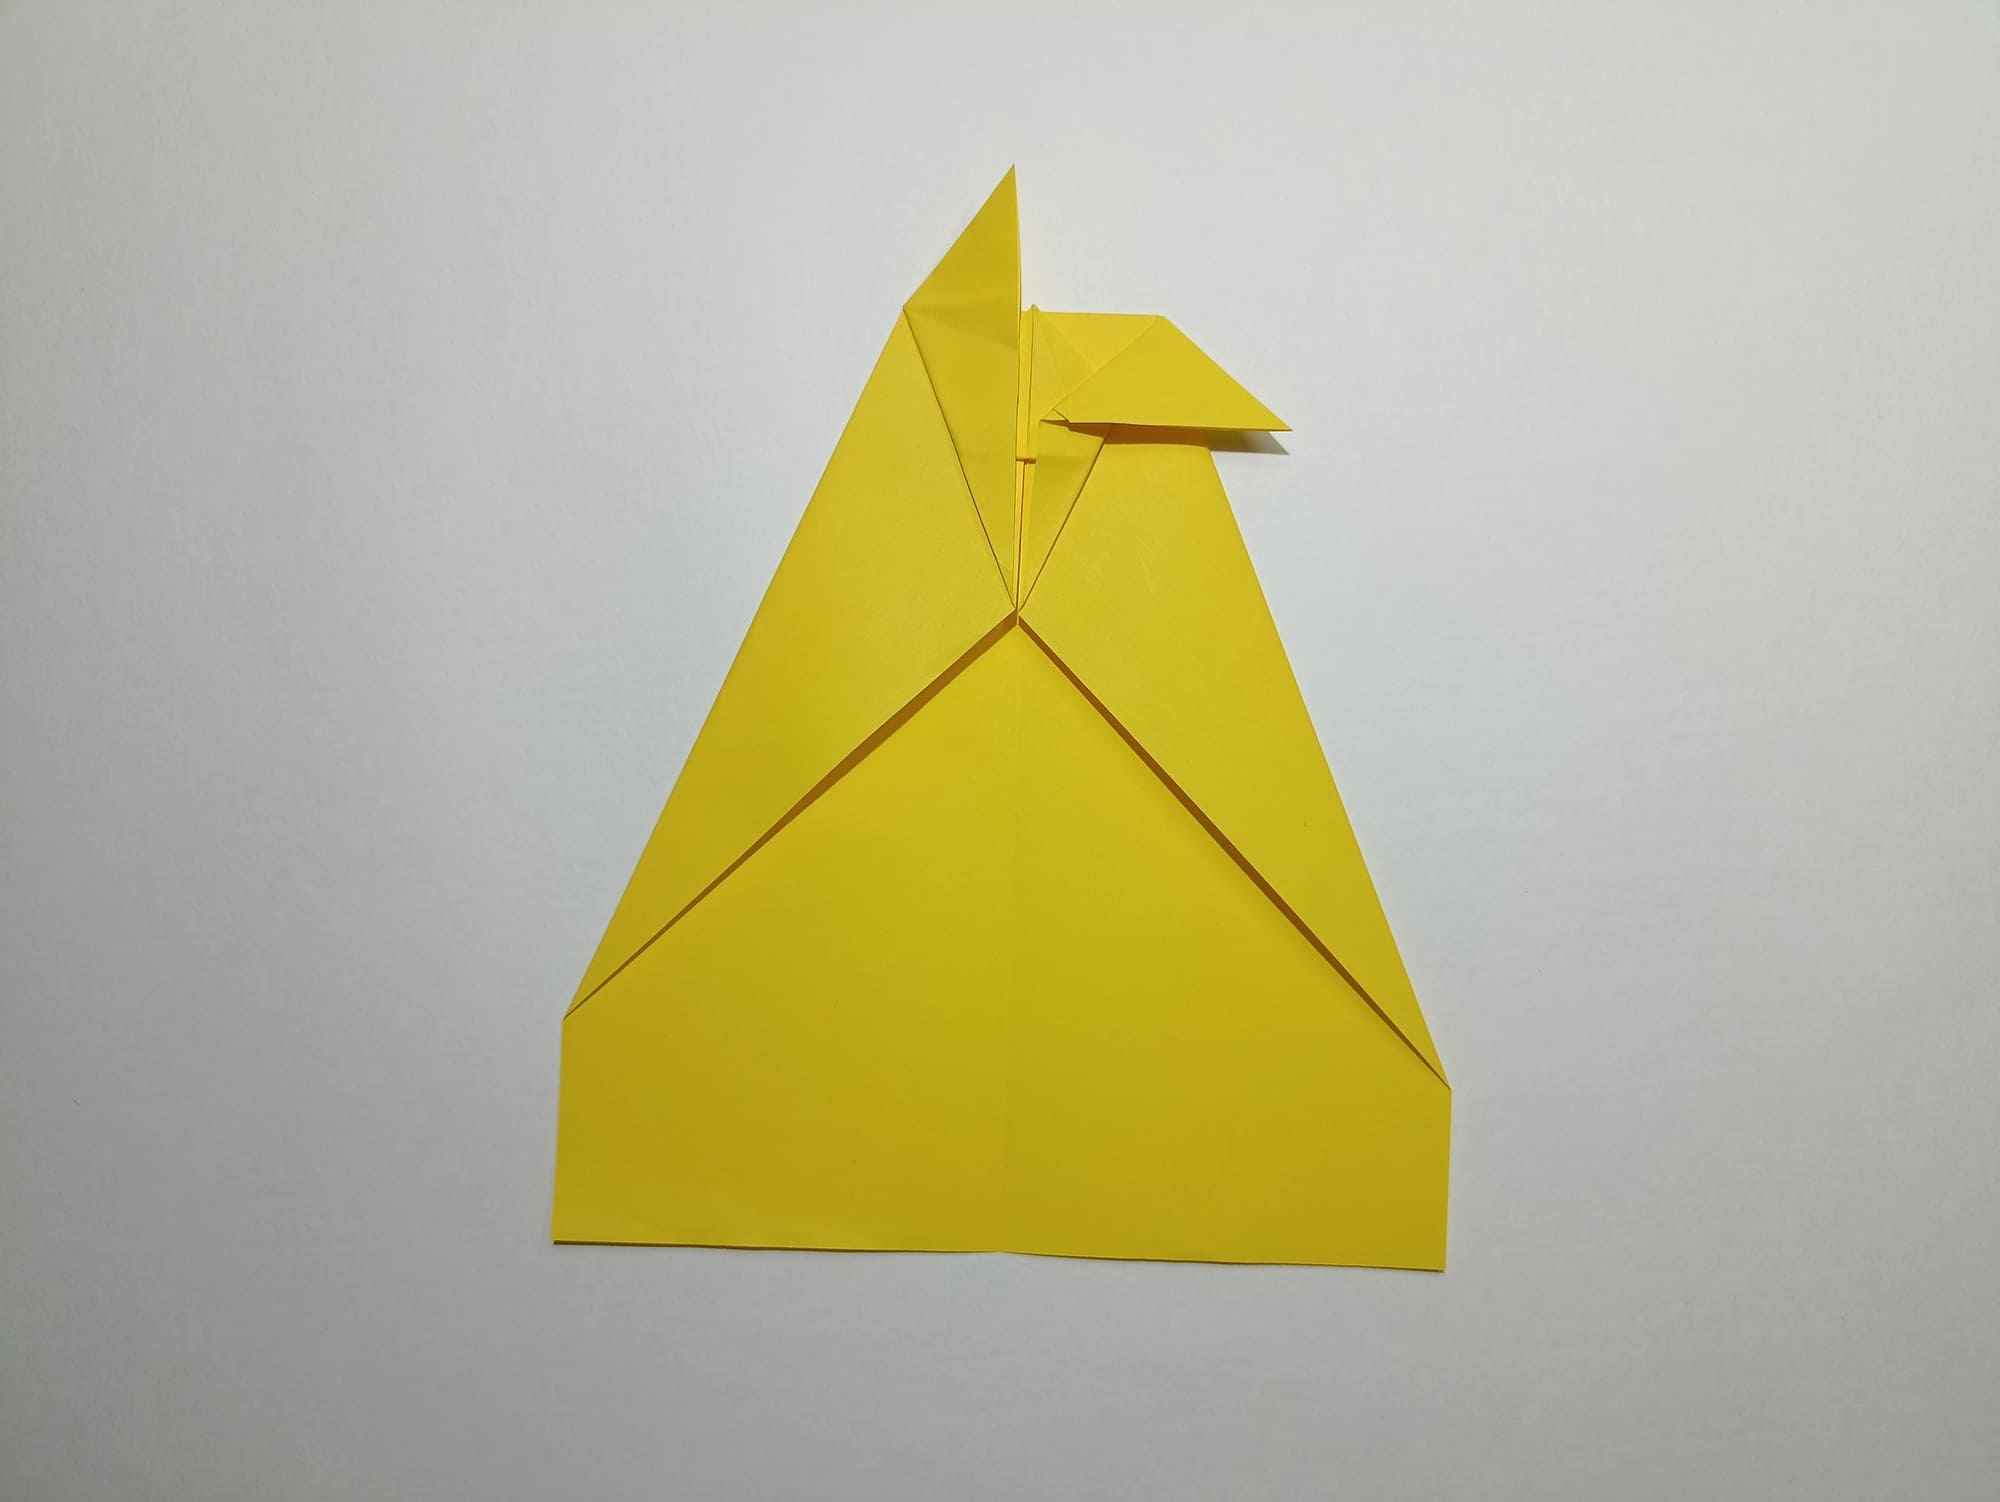
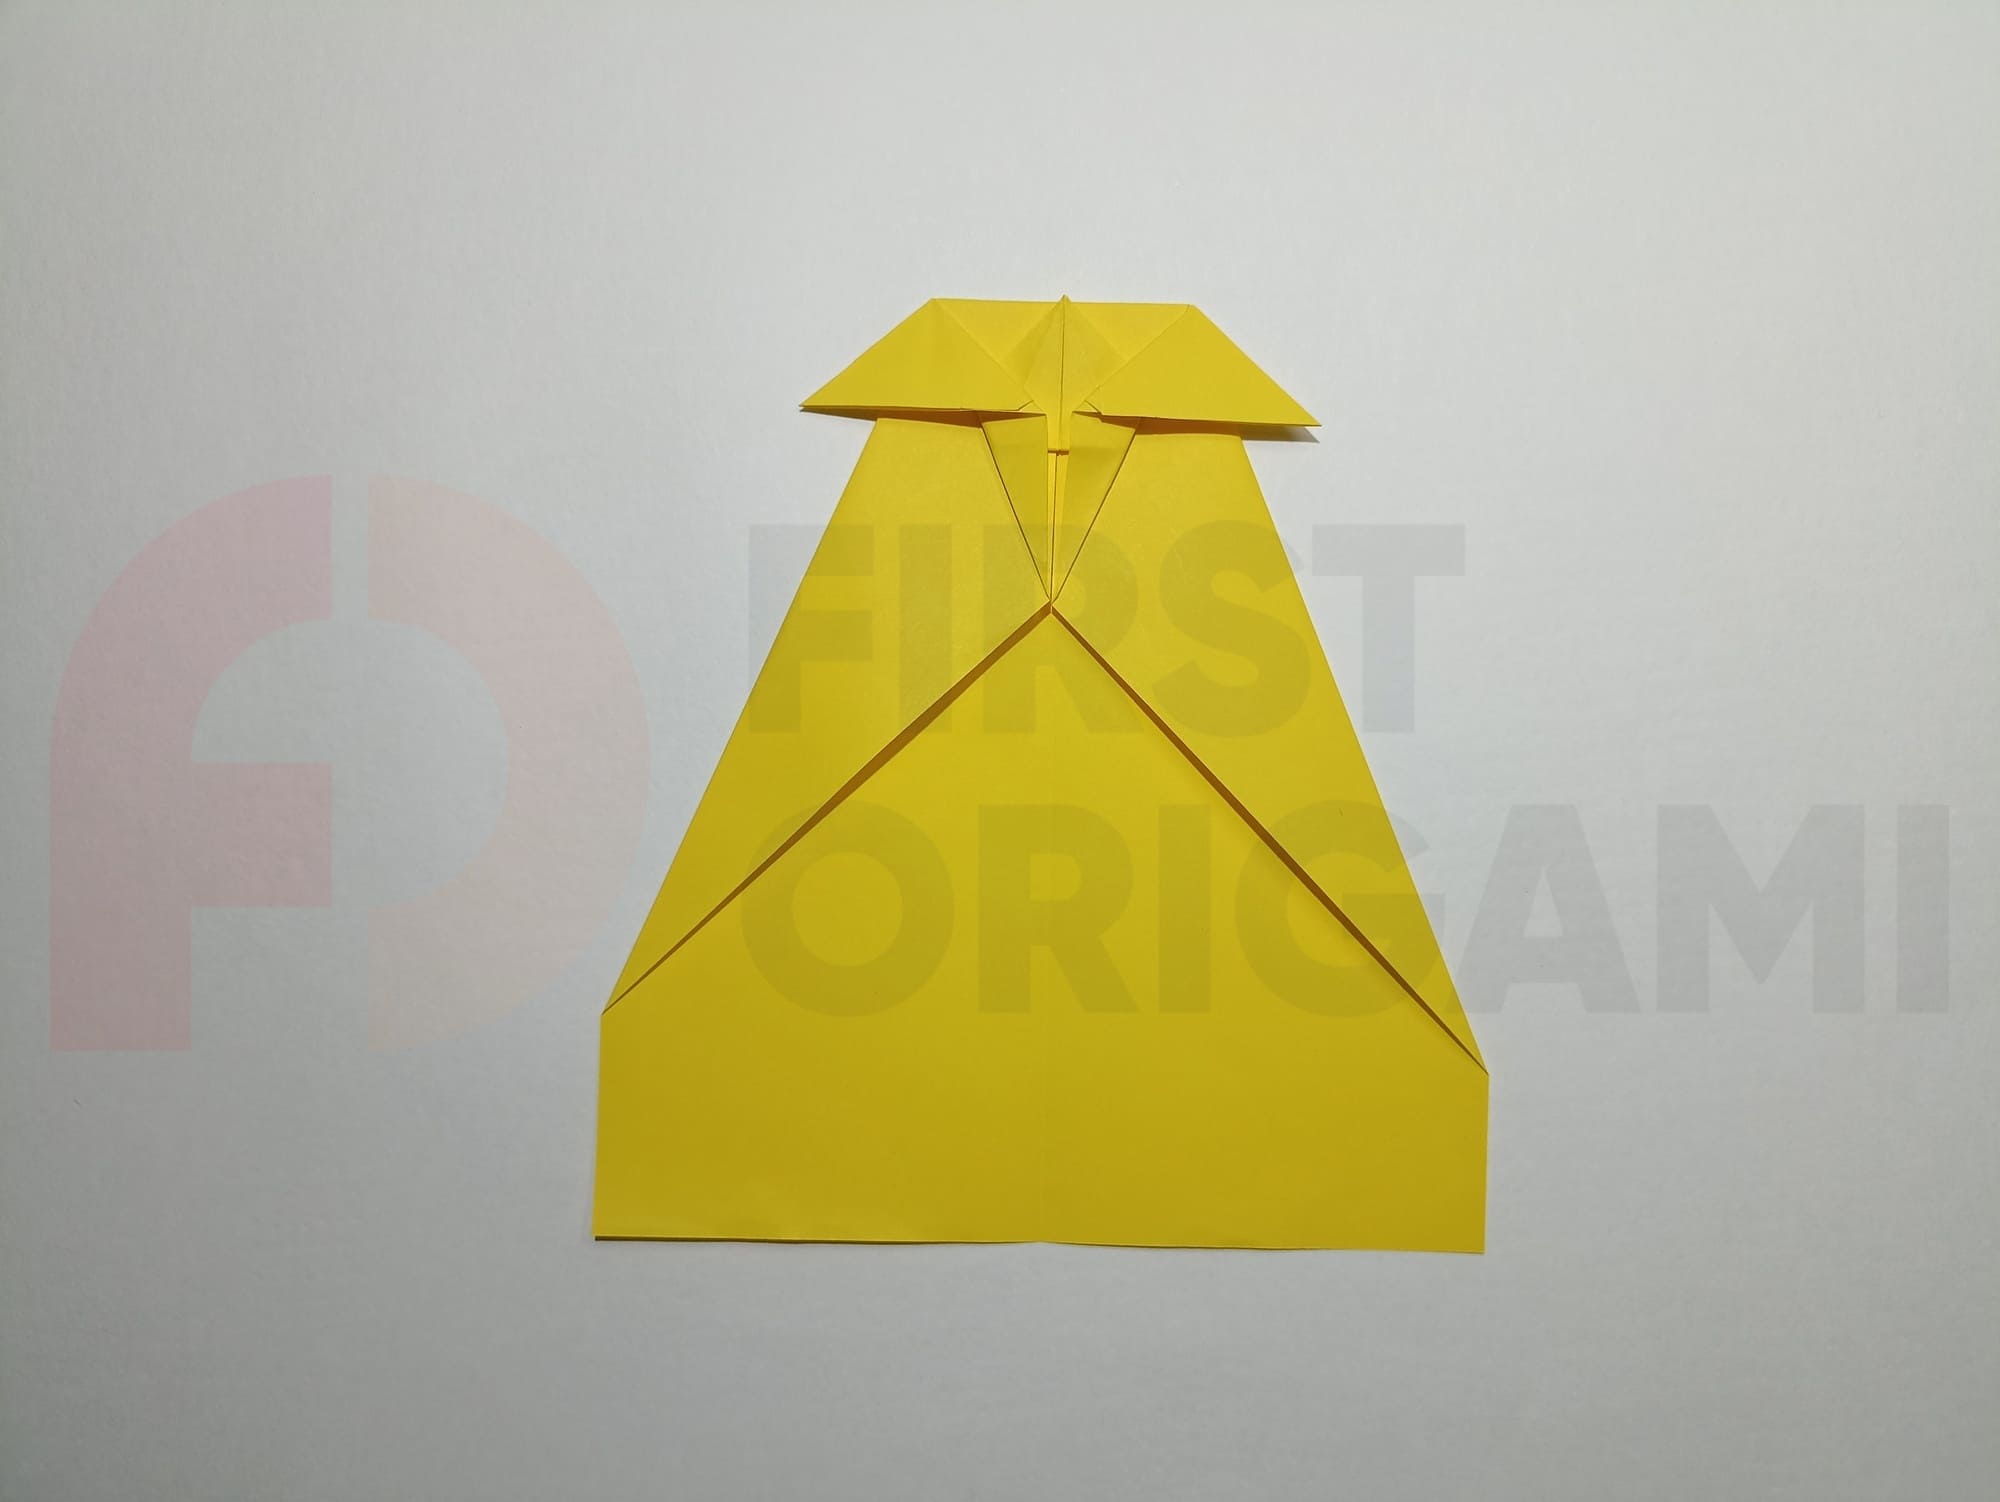
Bend the wing so that the side line is located at a distance of about 1 cm from the base line.
Turn the figure over and bend the second wing.
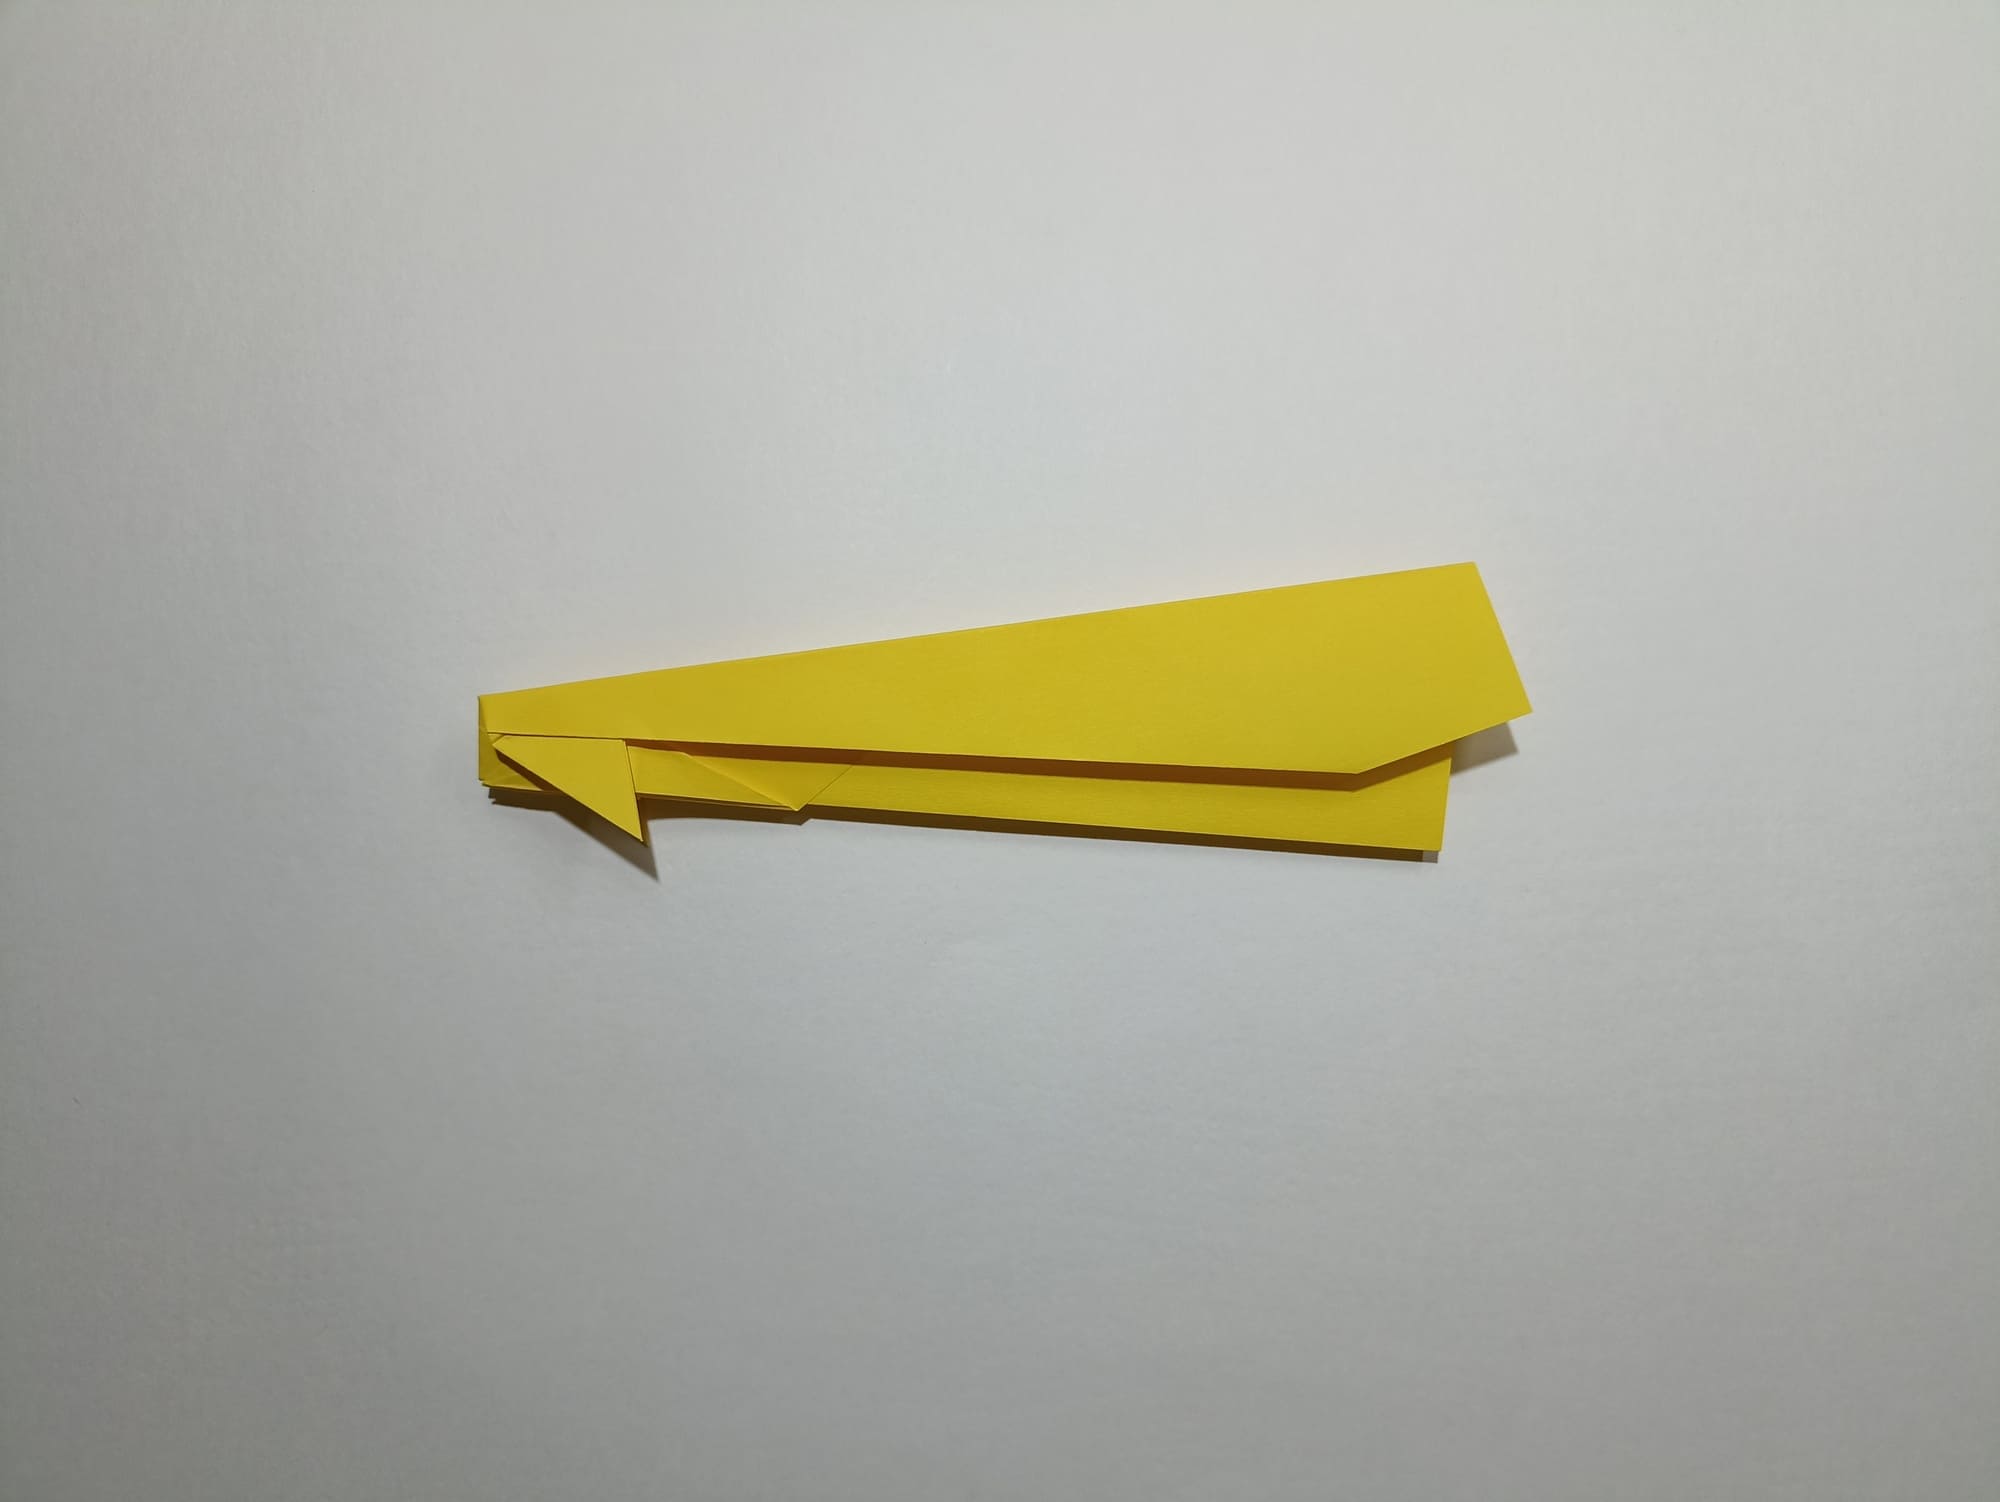
Check that the corners and edges of the parts match correctly and crease all wrinkles.
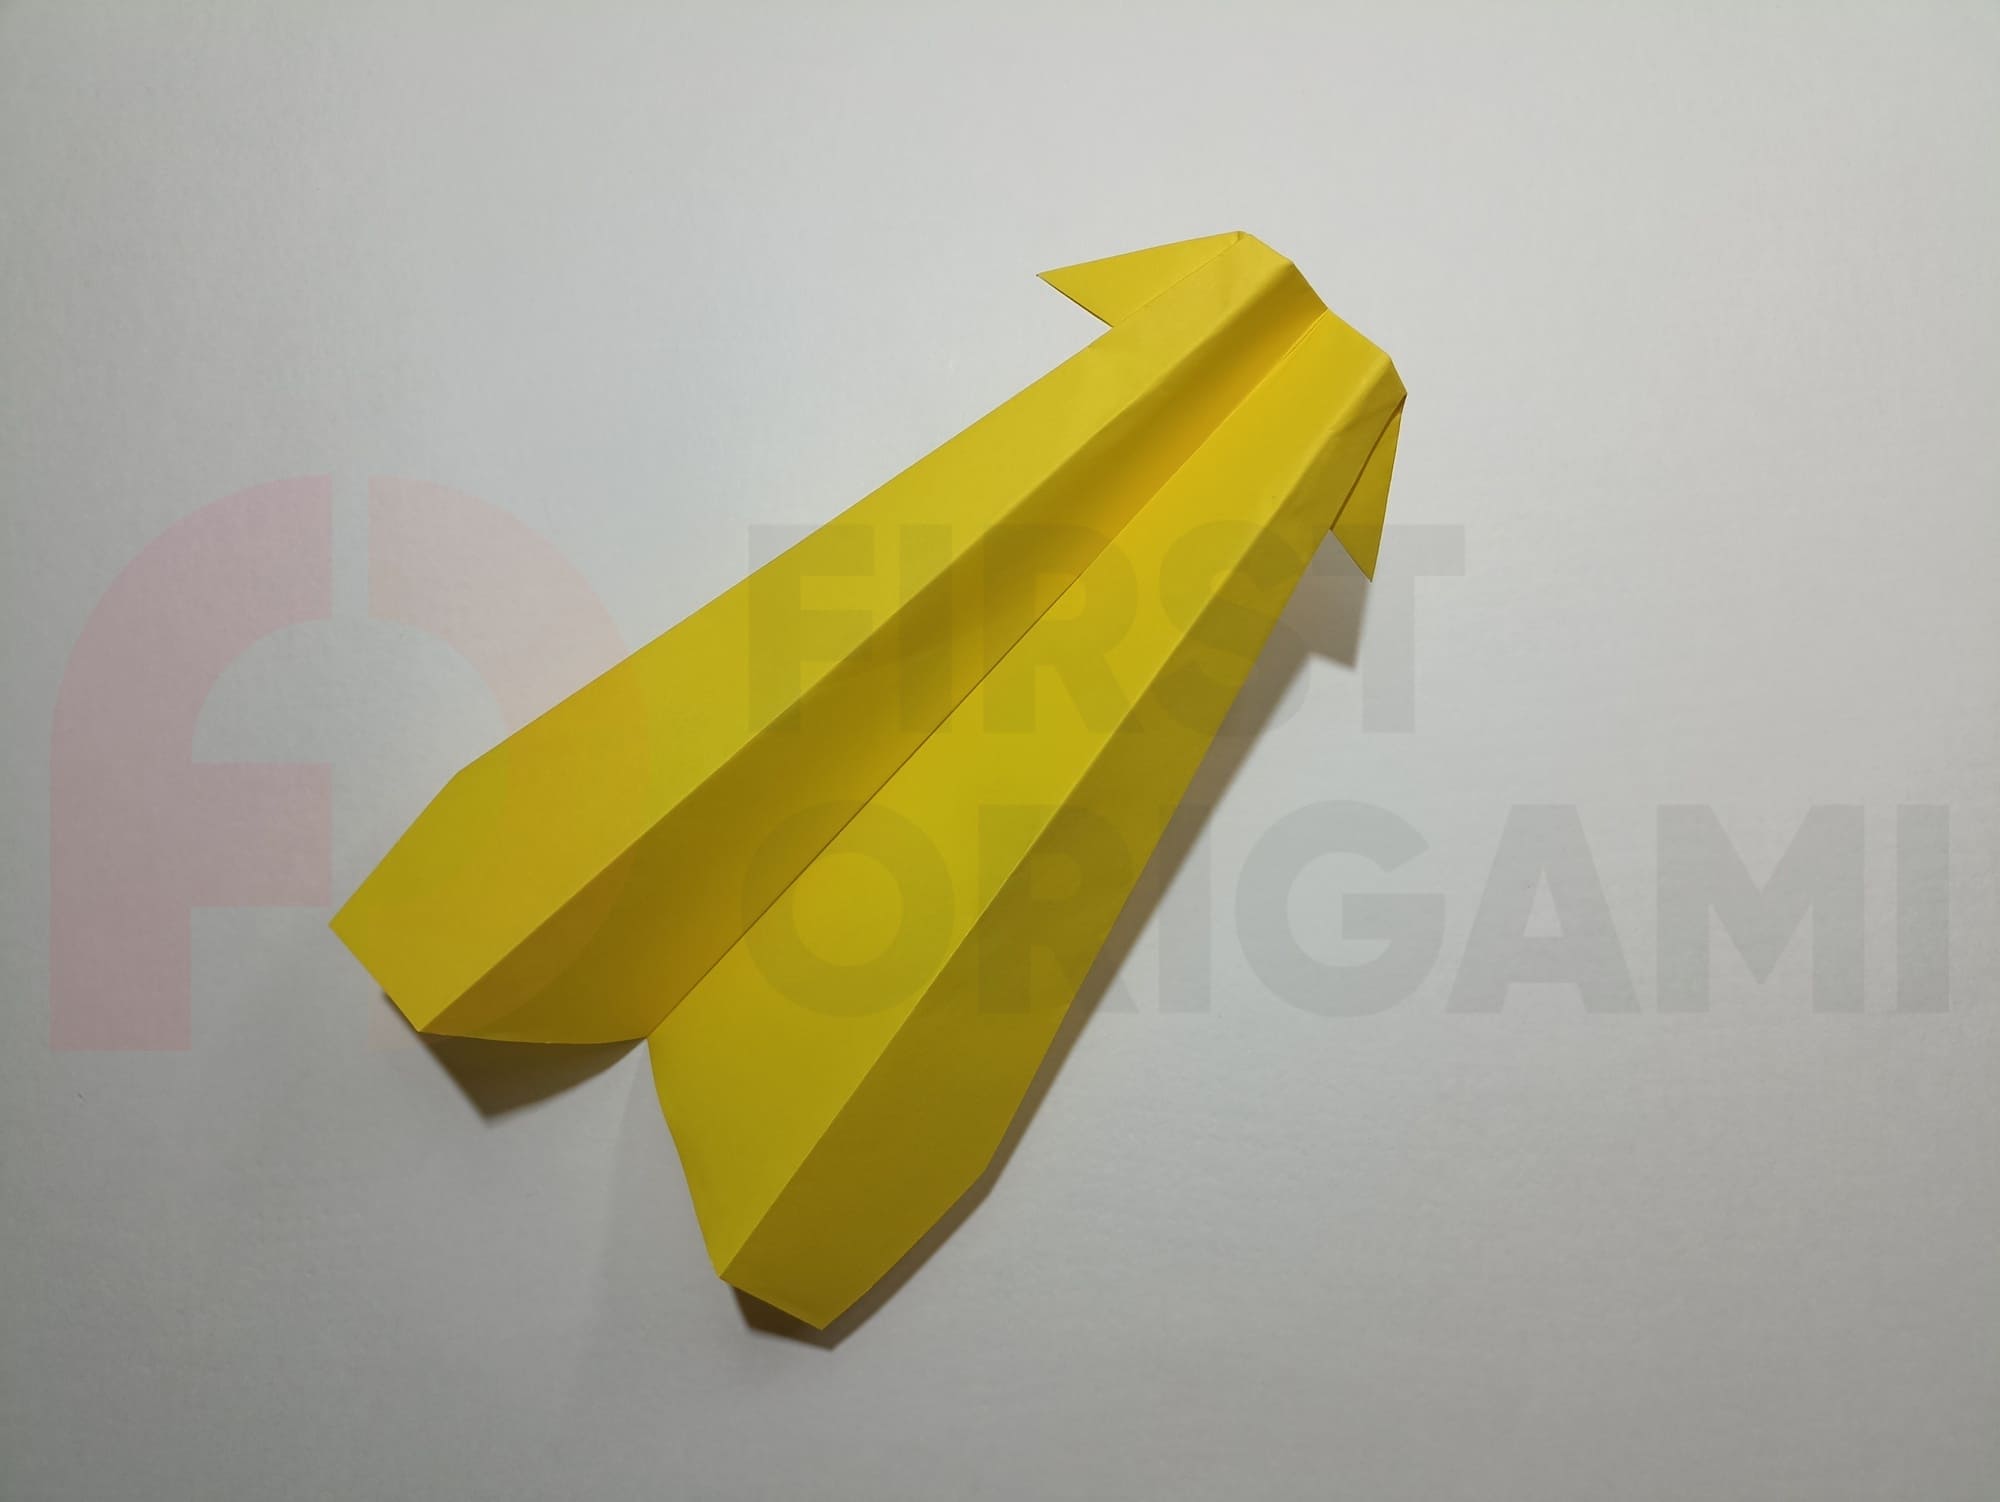
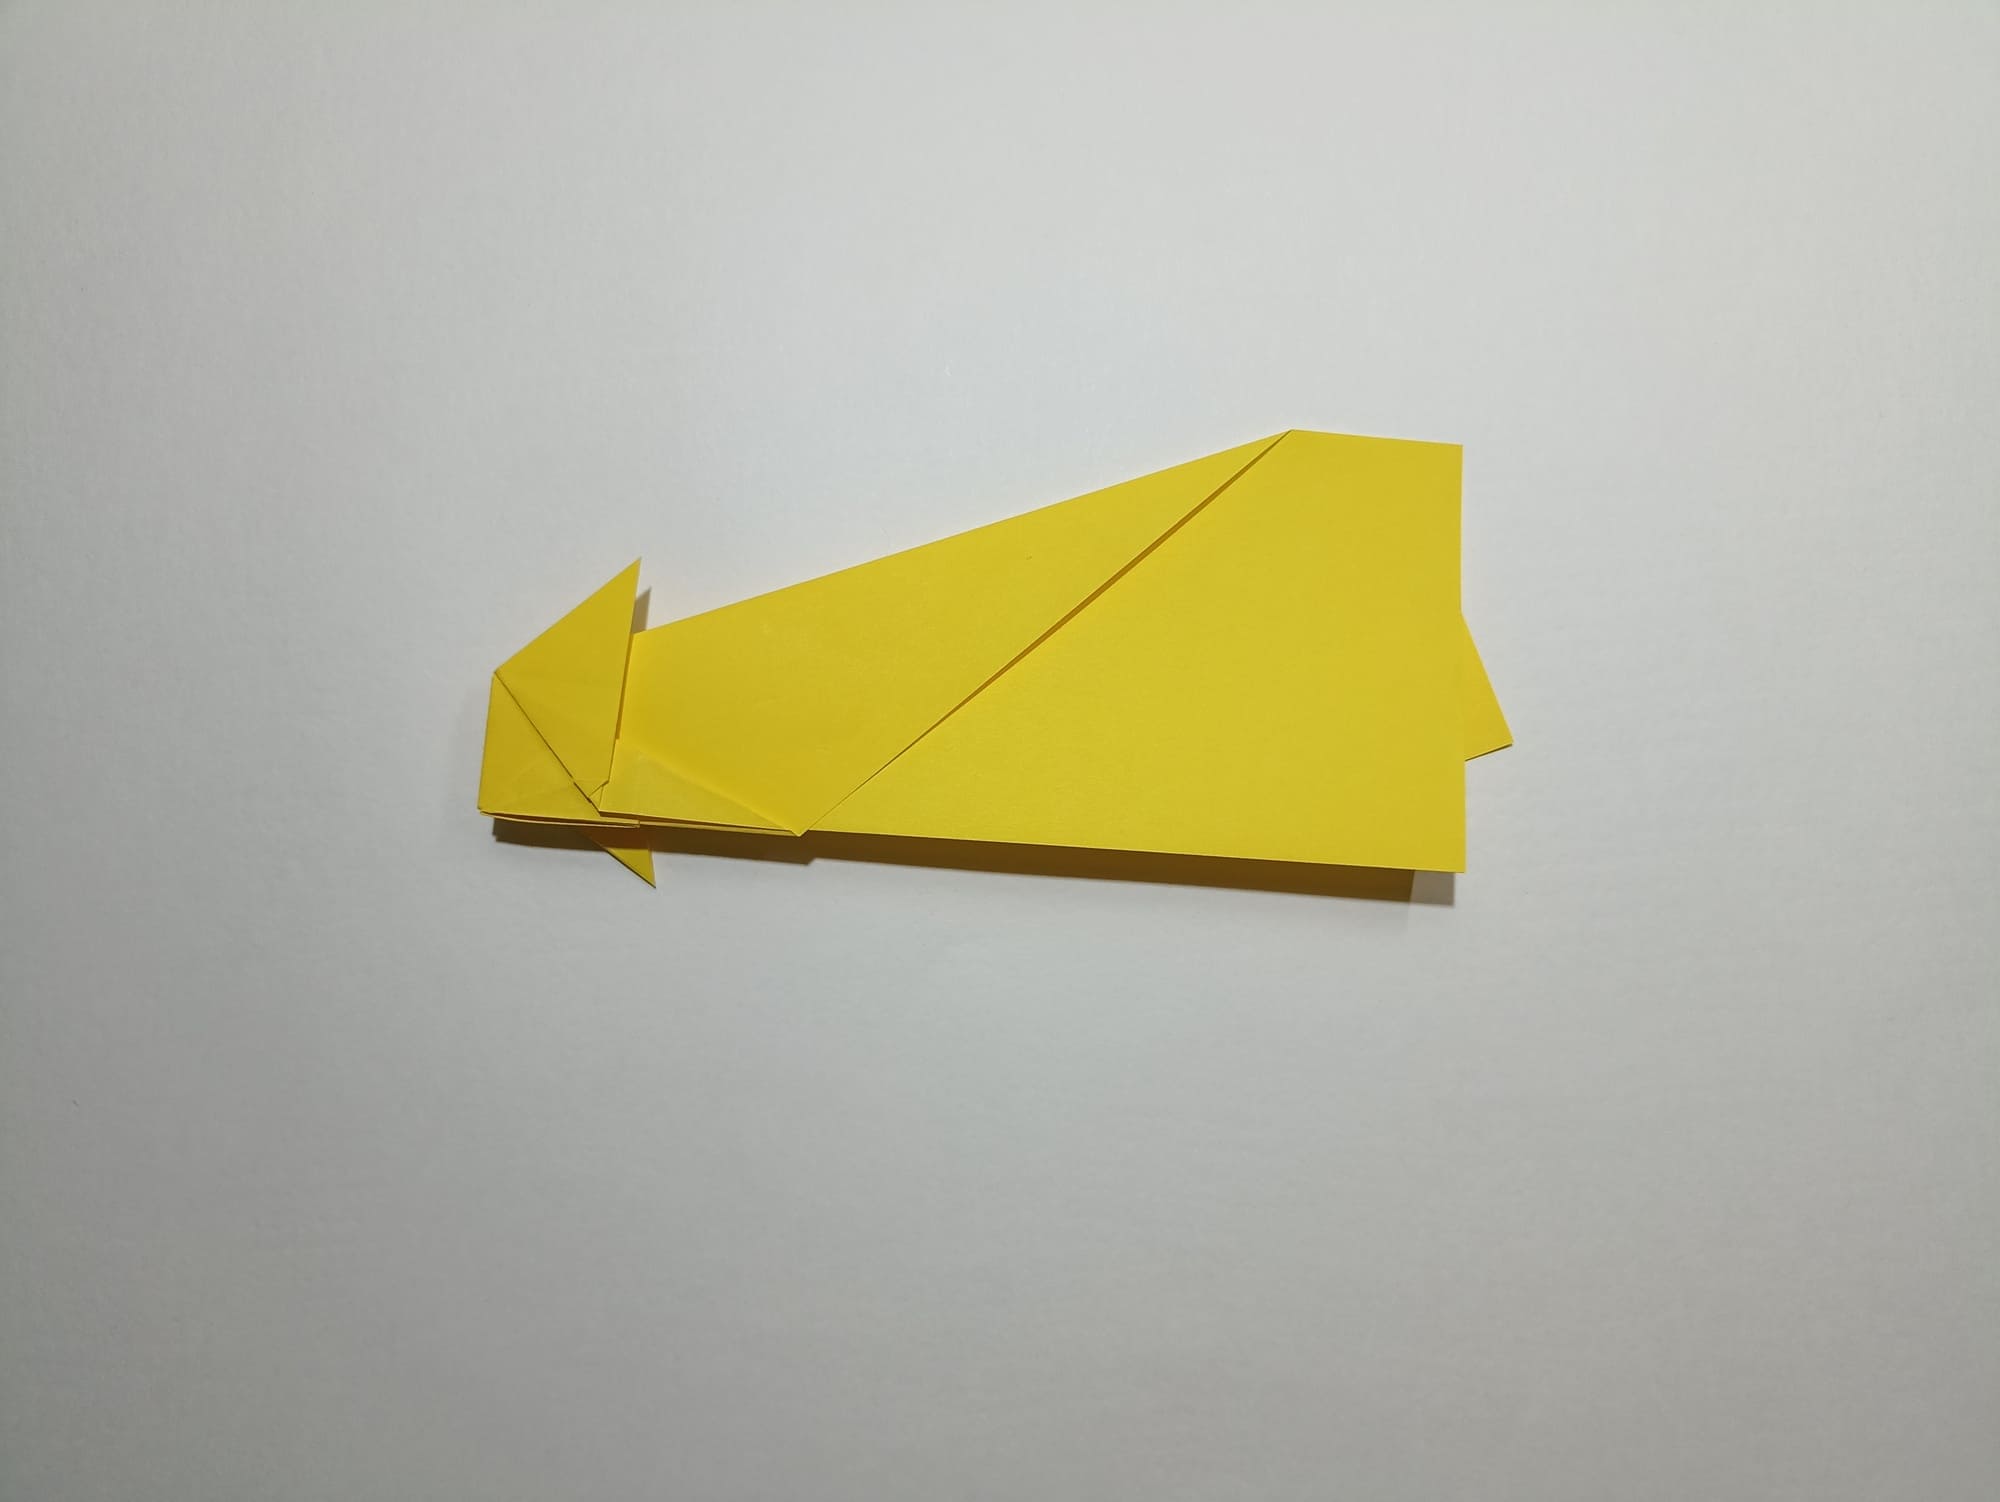
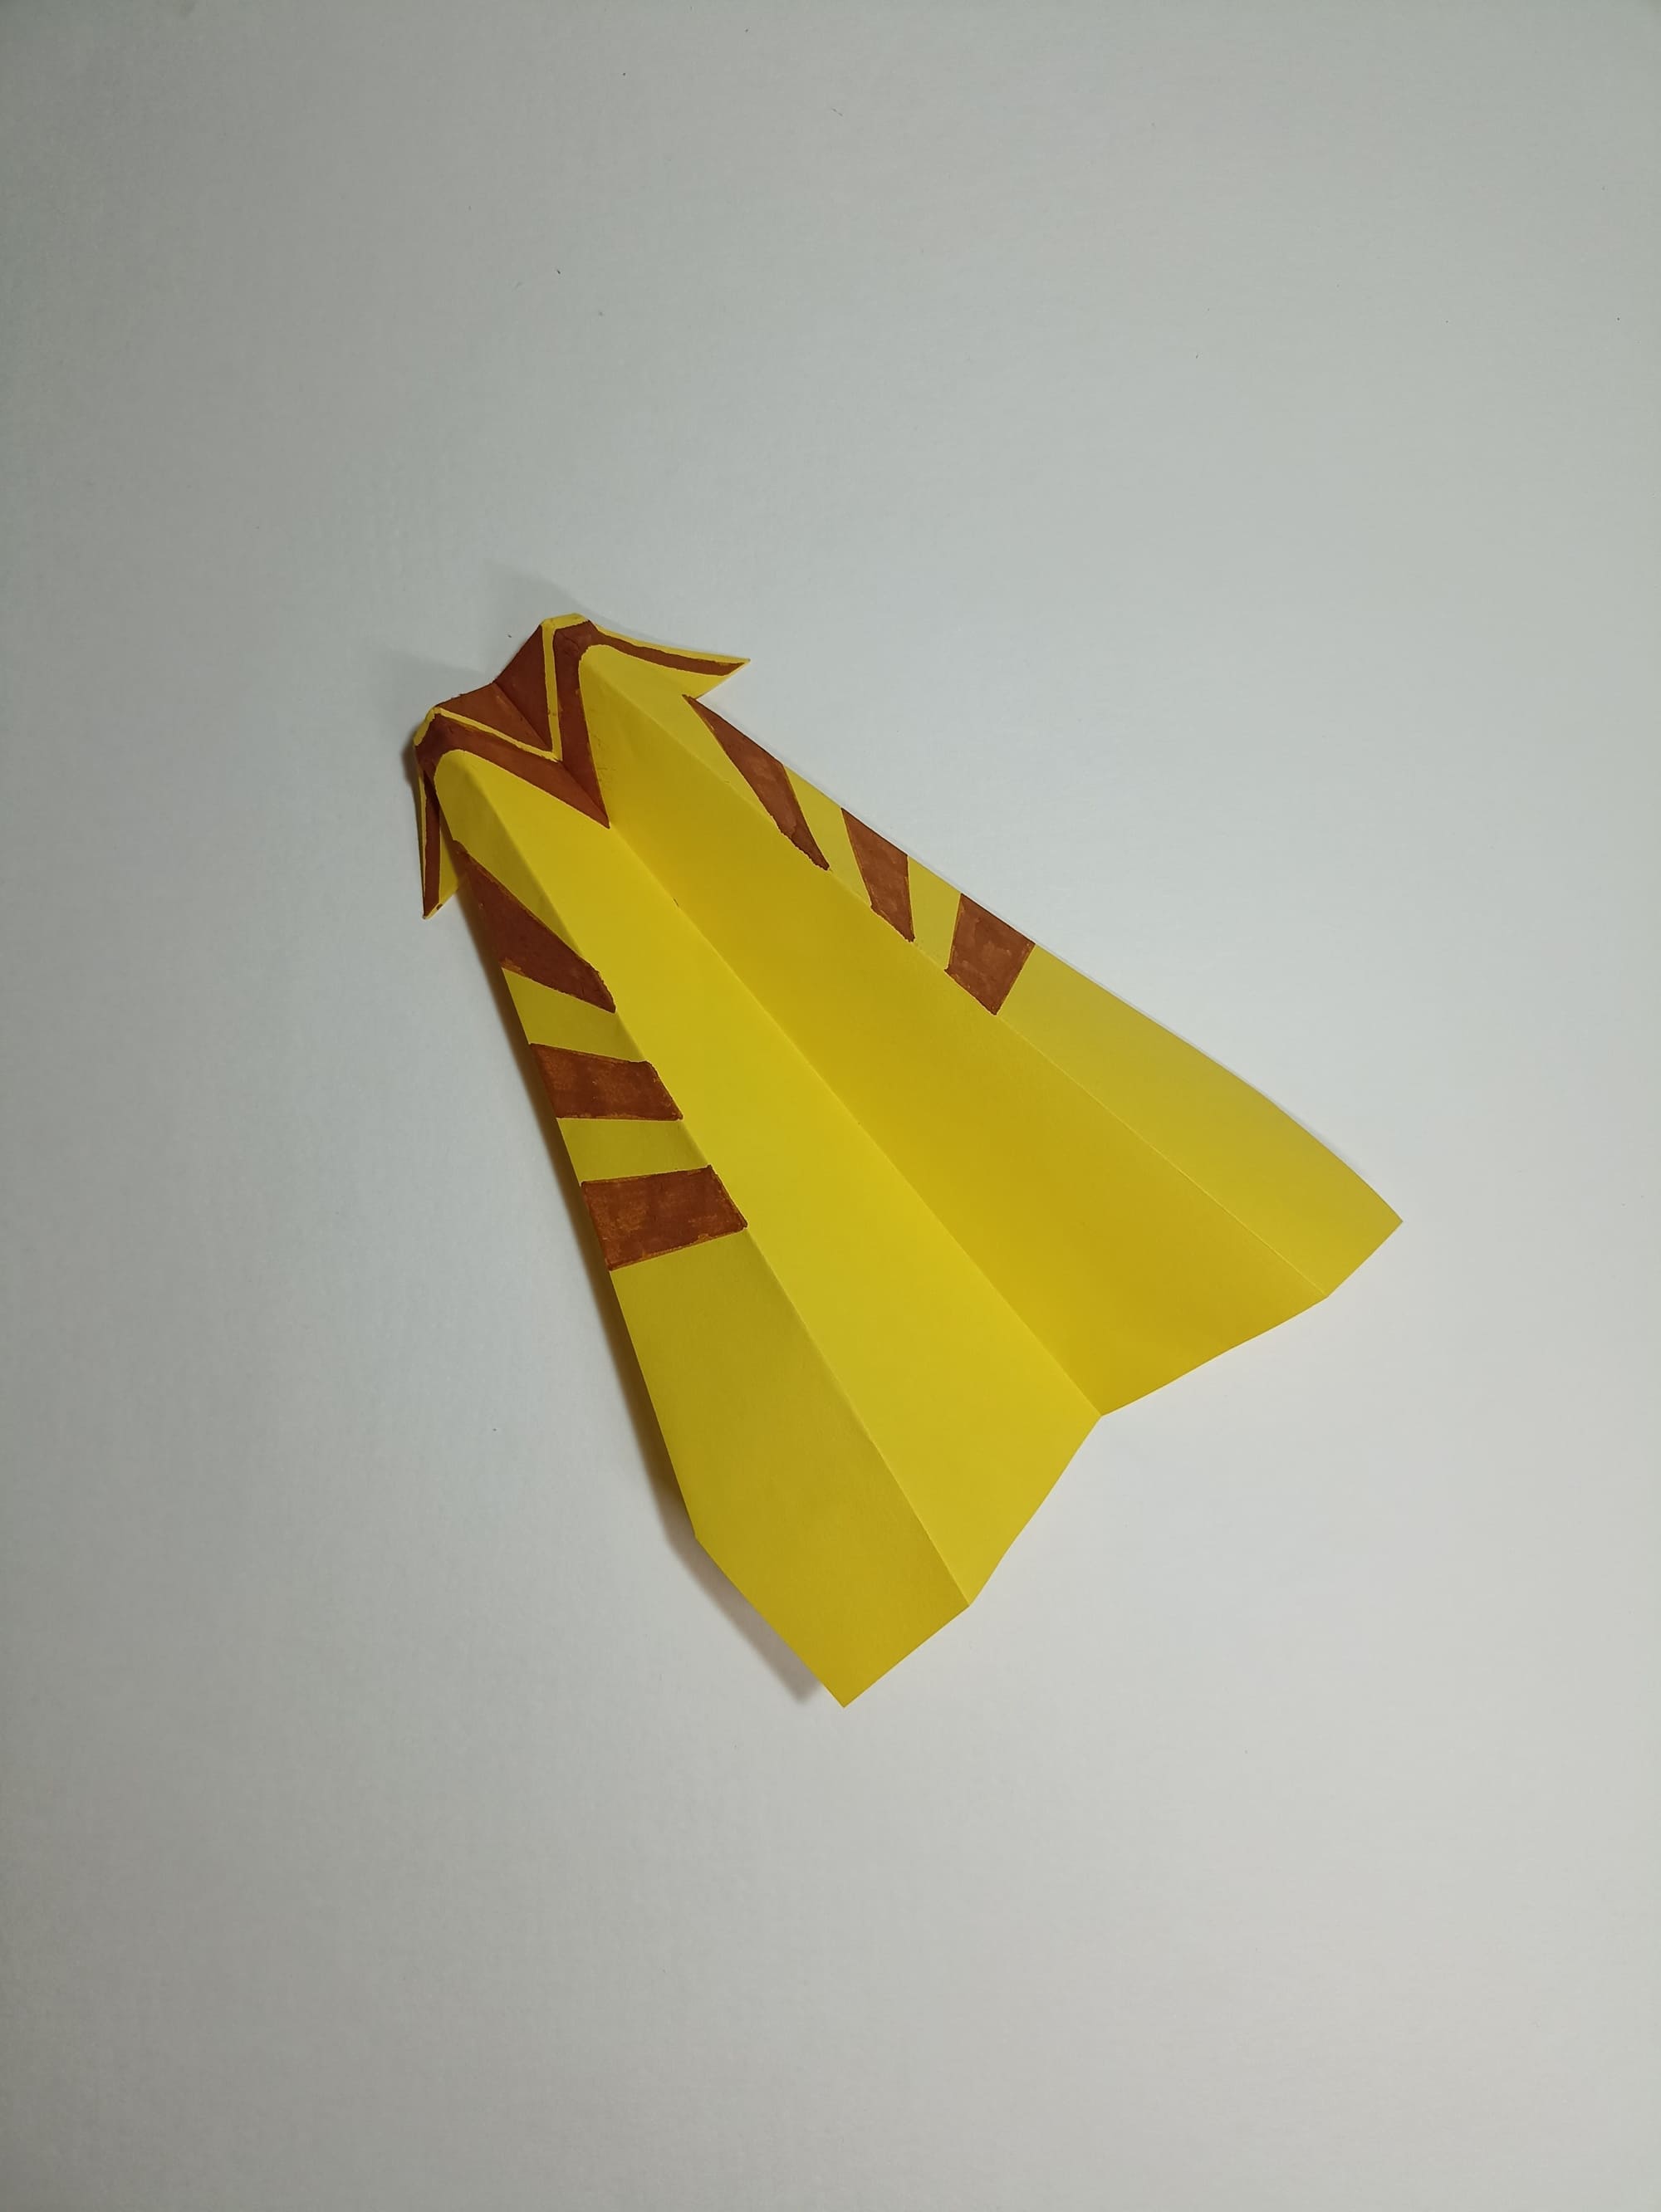
Shape the finished airplane and draw strokes and lines to allow your model better stand out on the runway.
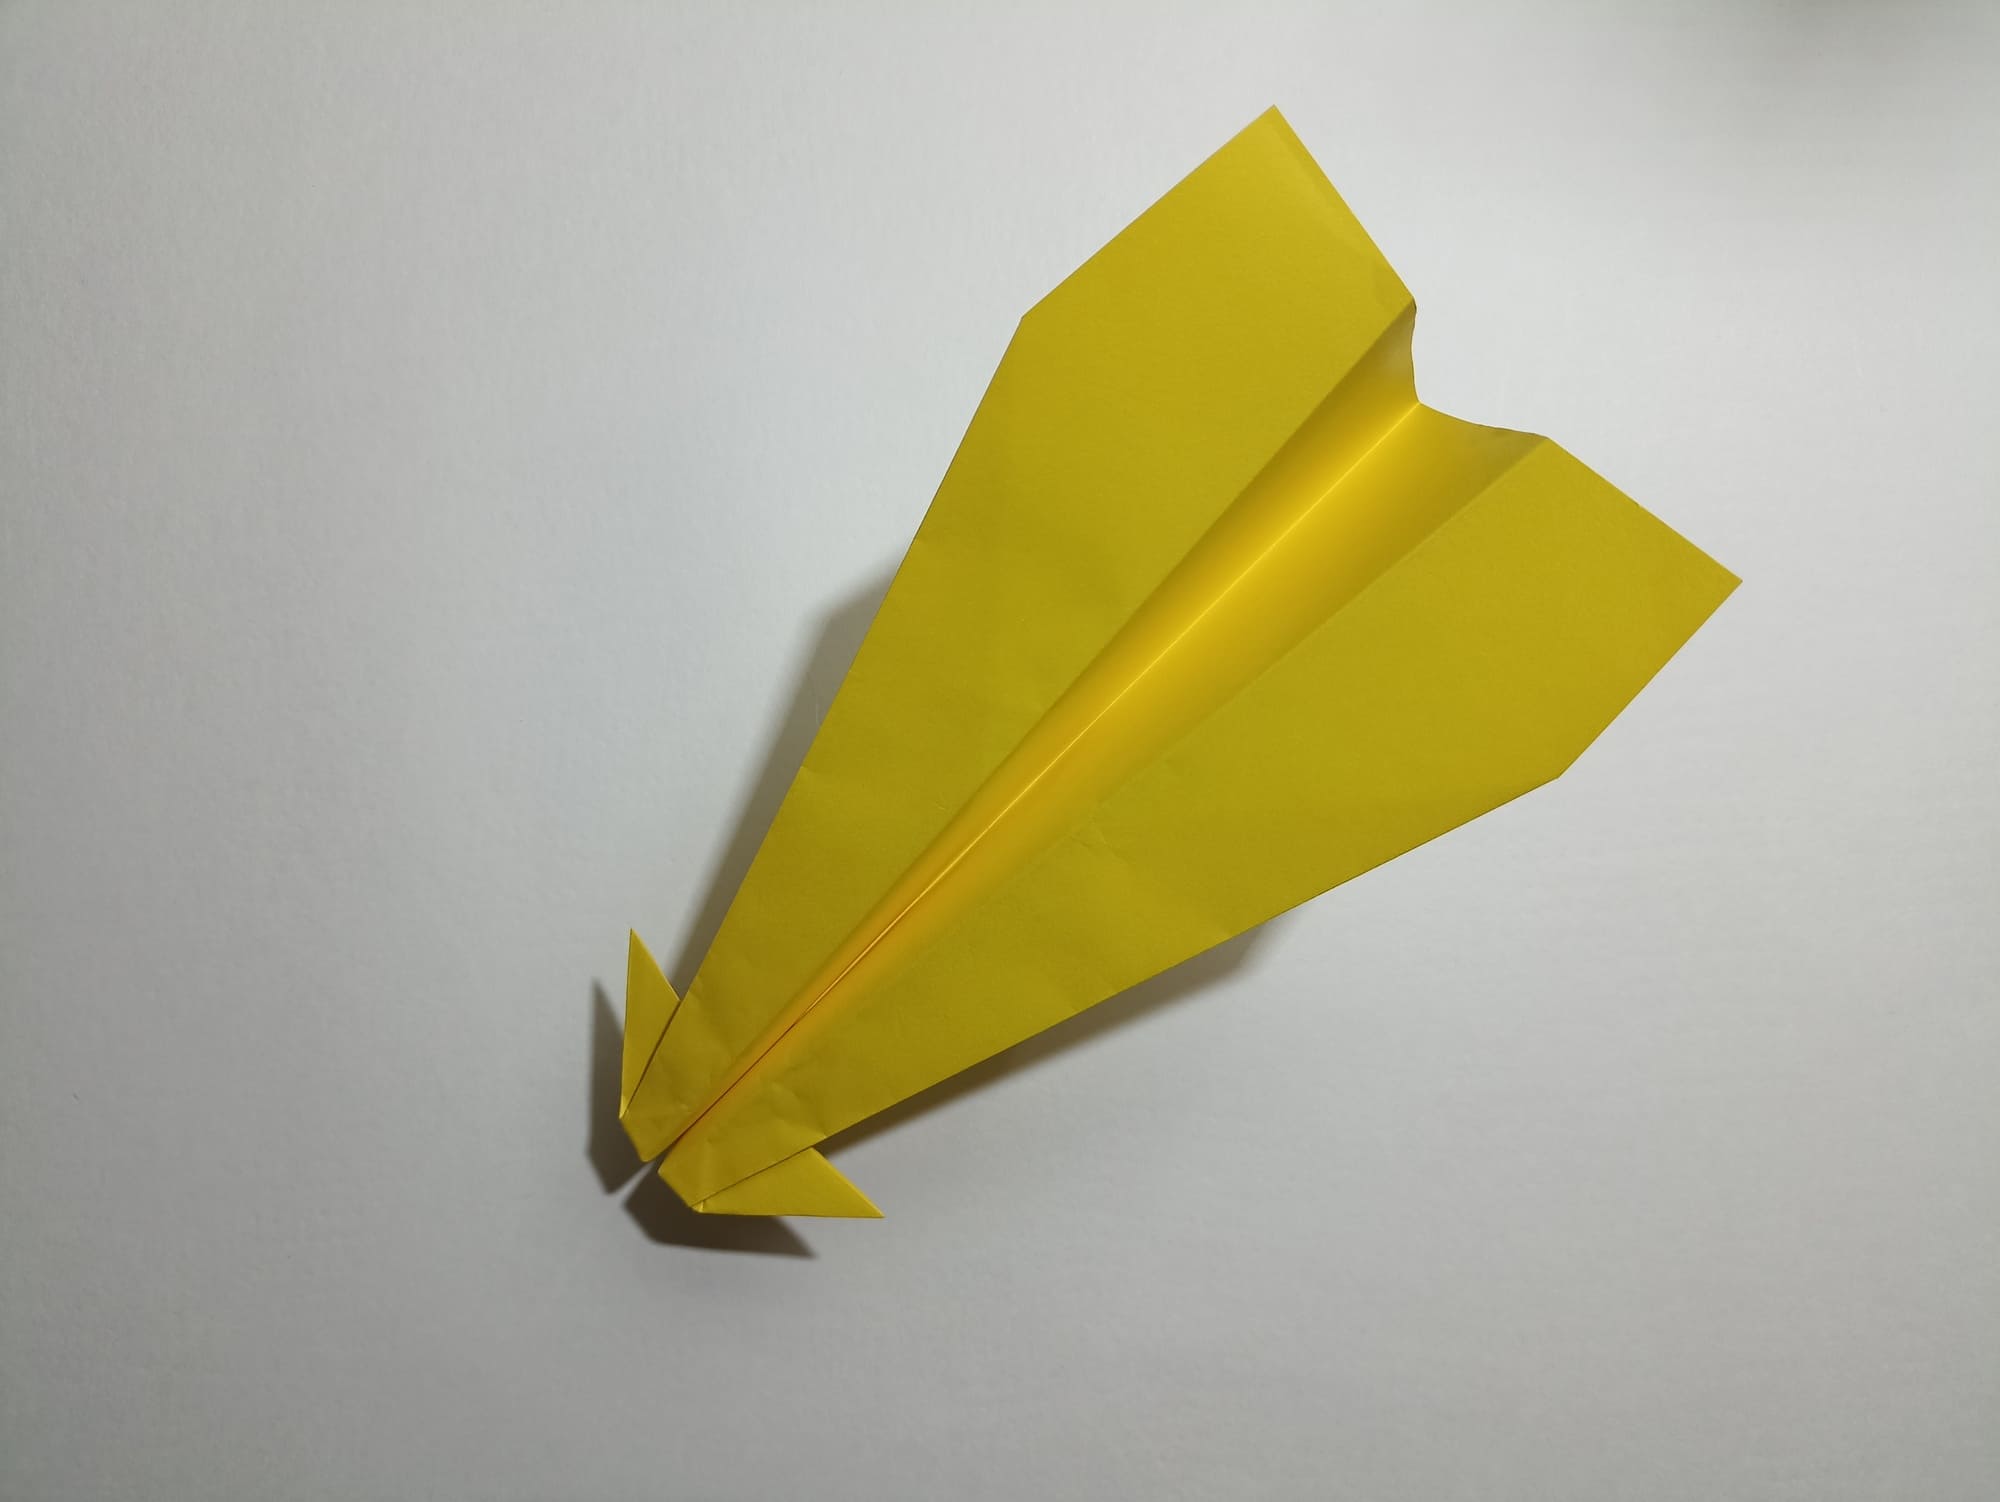
Amazing! Happy flying!
If at step 20 you fold the figure with folds inward, the airplane will still fly well. It will only change its appearance a little. This model is one of the best for paper airplane competitions. It’s great to have one in your collection.