Origami Car
Do you want to please your son with a new toy, or maybe think up an interesting joint activity? Then our instructions for making an origami car from paper are for you! Origami Car is quite easy to make! This little car can move on miniature lanes and surprise others. An Origami car is a model that proves that you can create anything from paper. Even a real car. The choice of color and decoration of the finished car is left solely up to you!
Don’t be scared by the number of steps in this instruction, our Origami Car is really easy to make, and the diagram we are providing below has each step reflected in the photo with a description. So don’t wait any longer, pick up the origami paper of the desired color, and let’s start! You will be pleasantly surprised by how fast and easy you get a cool toy any superhero would want to drive!
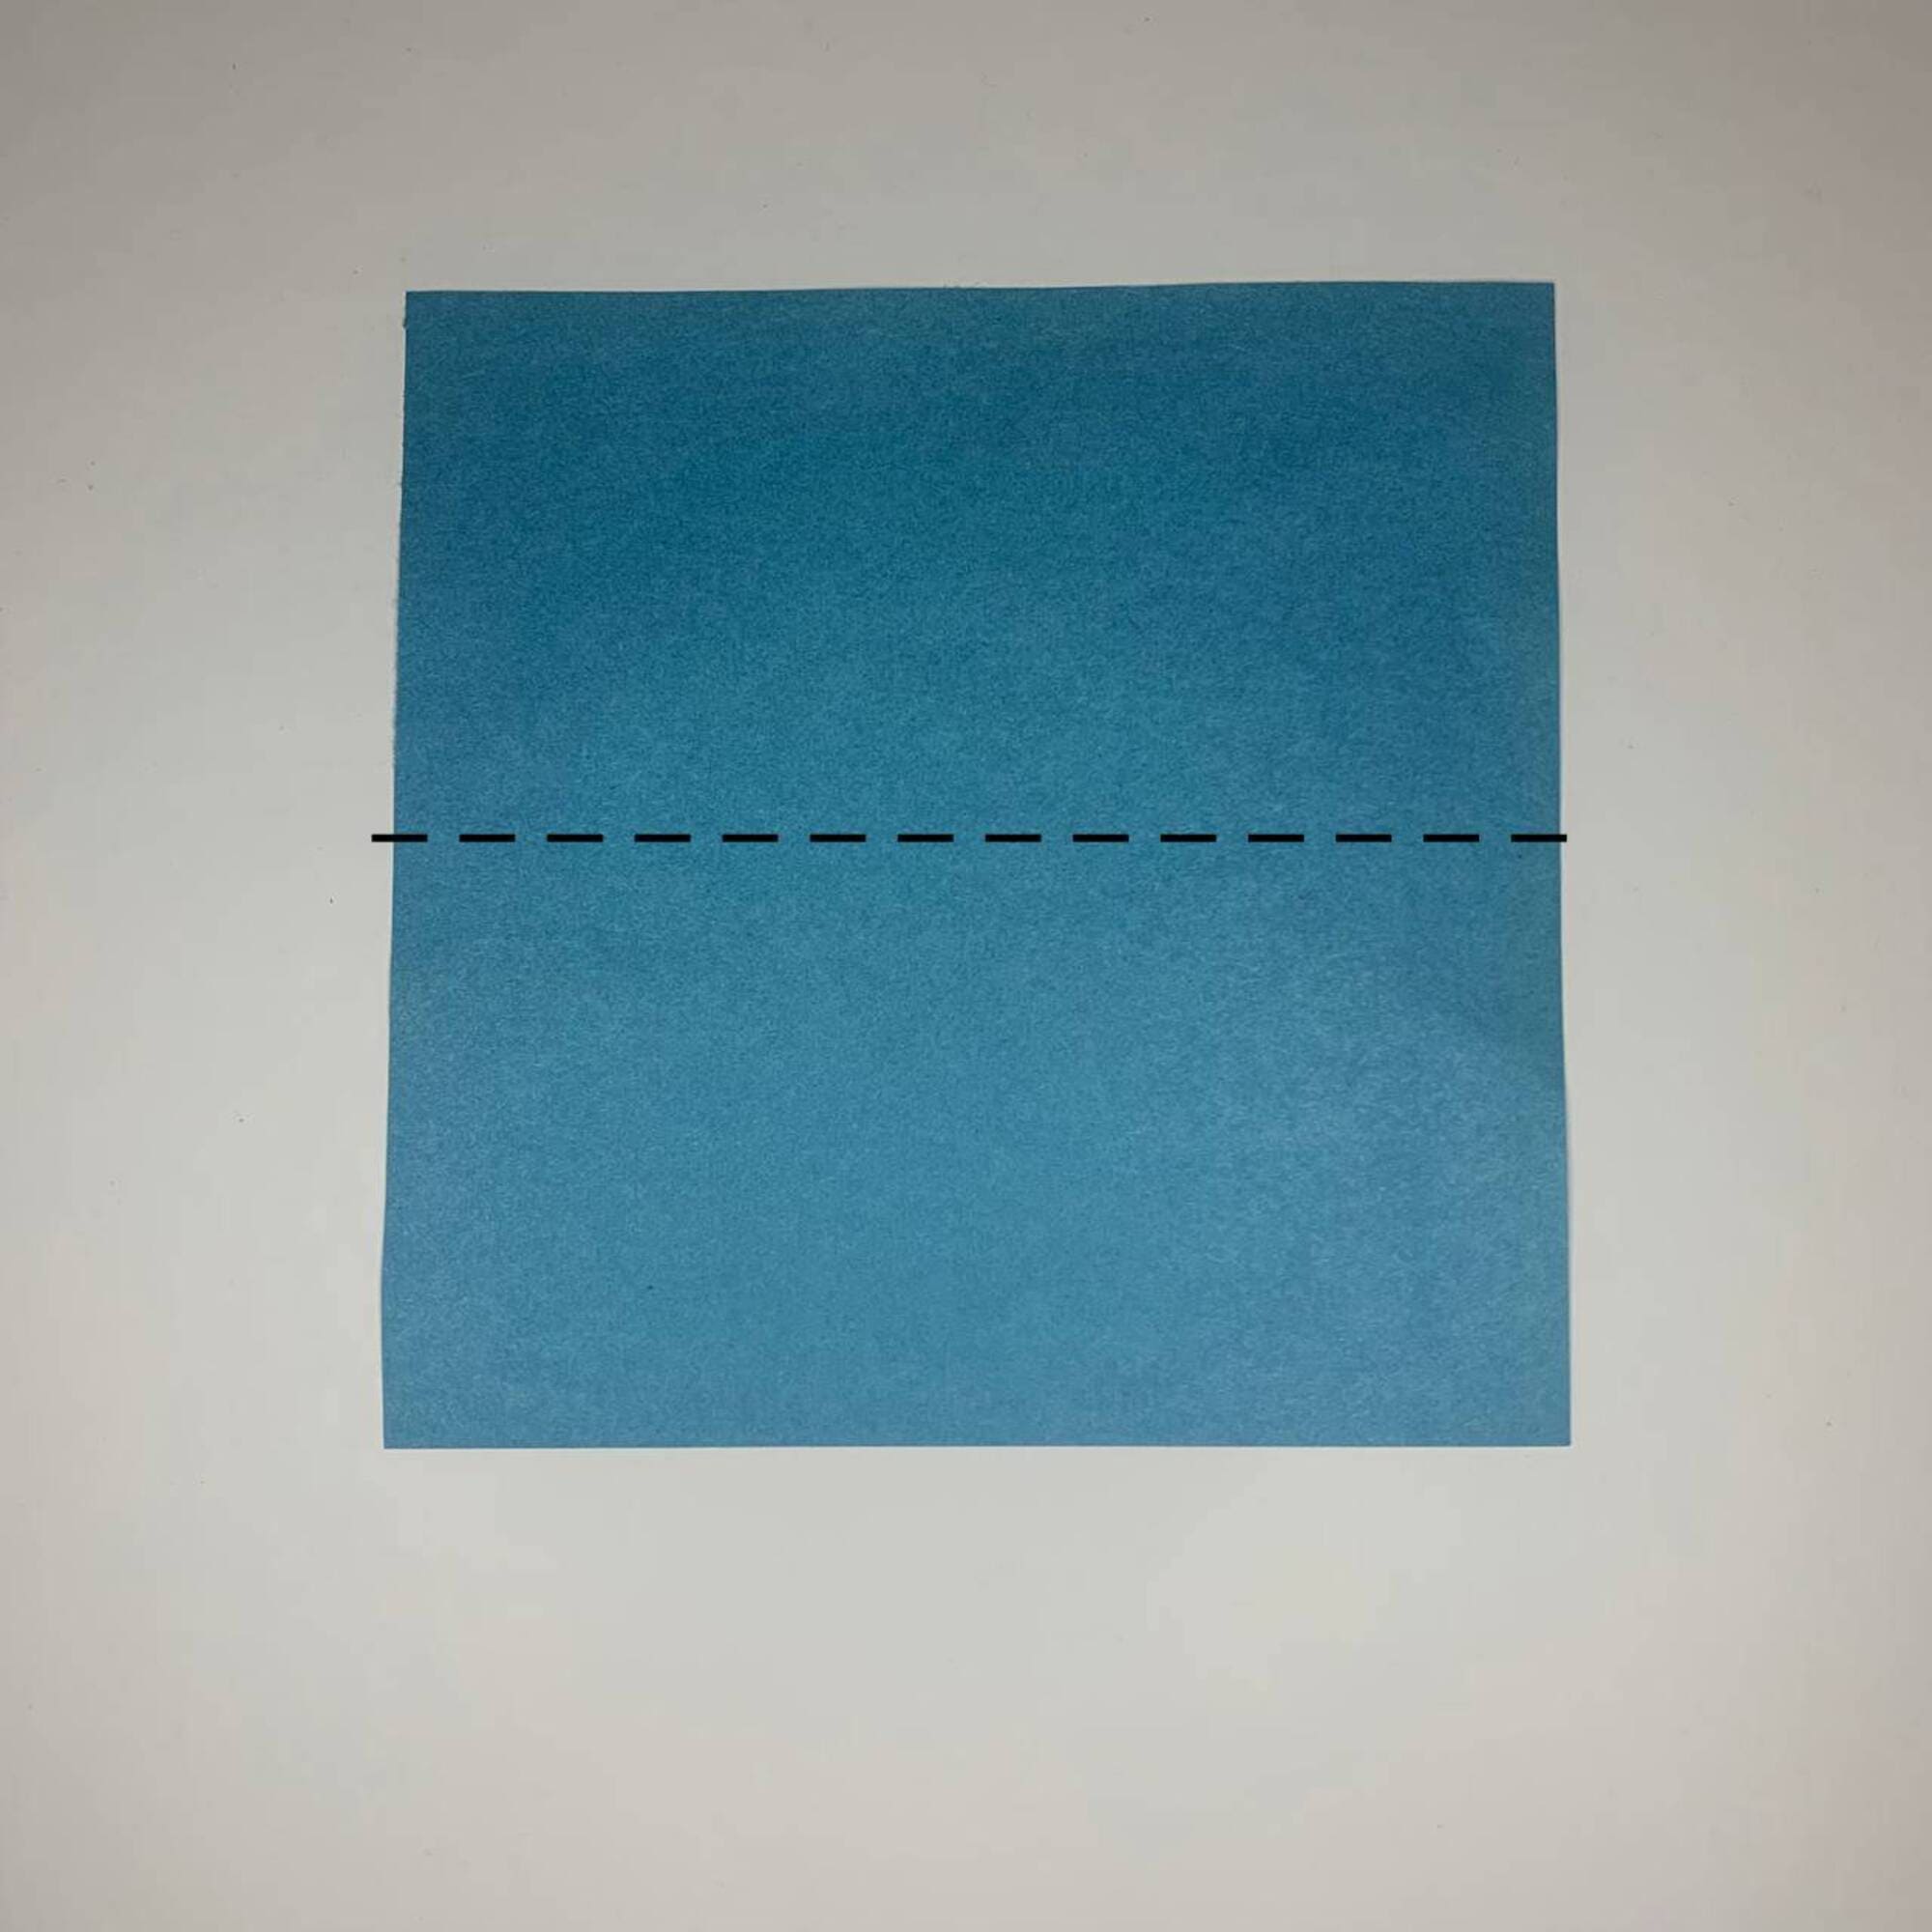
Start with a 15×15 cm square of origami paper in the color of your choice.
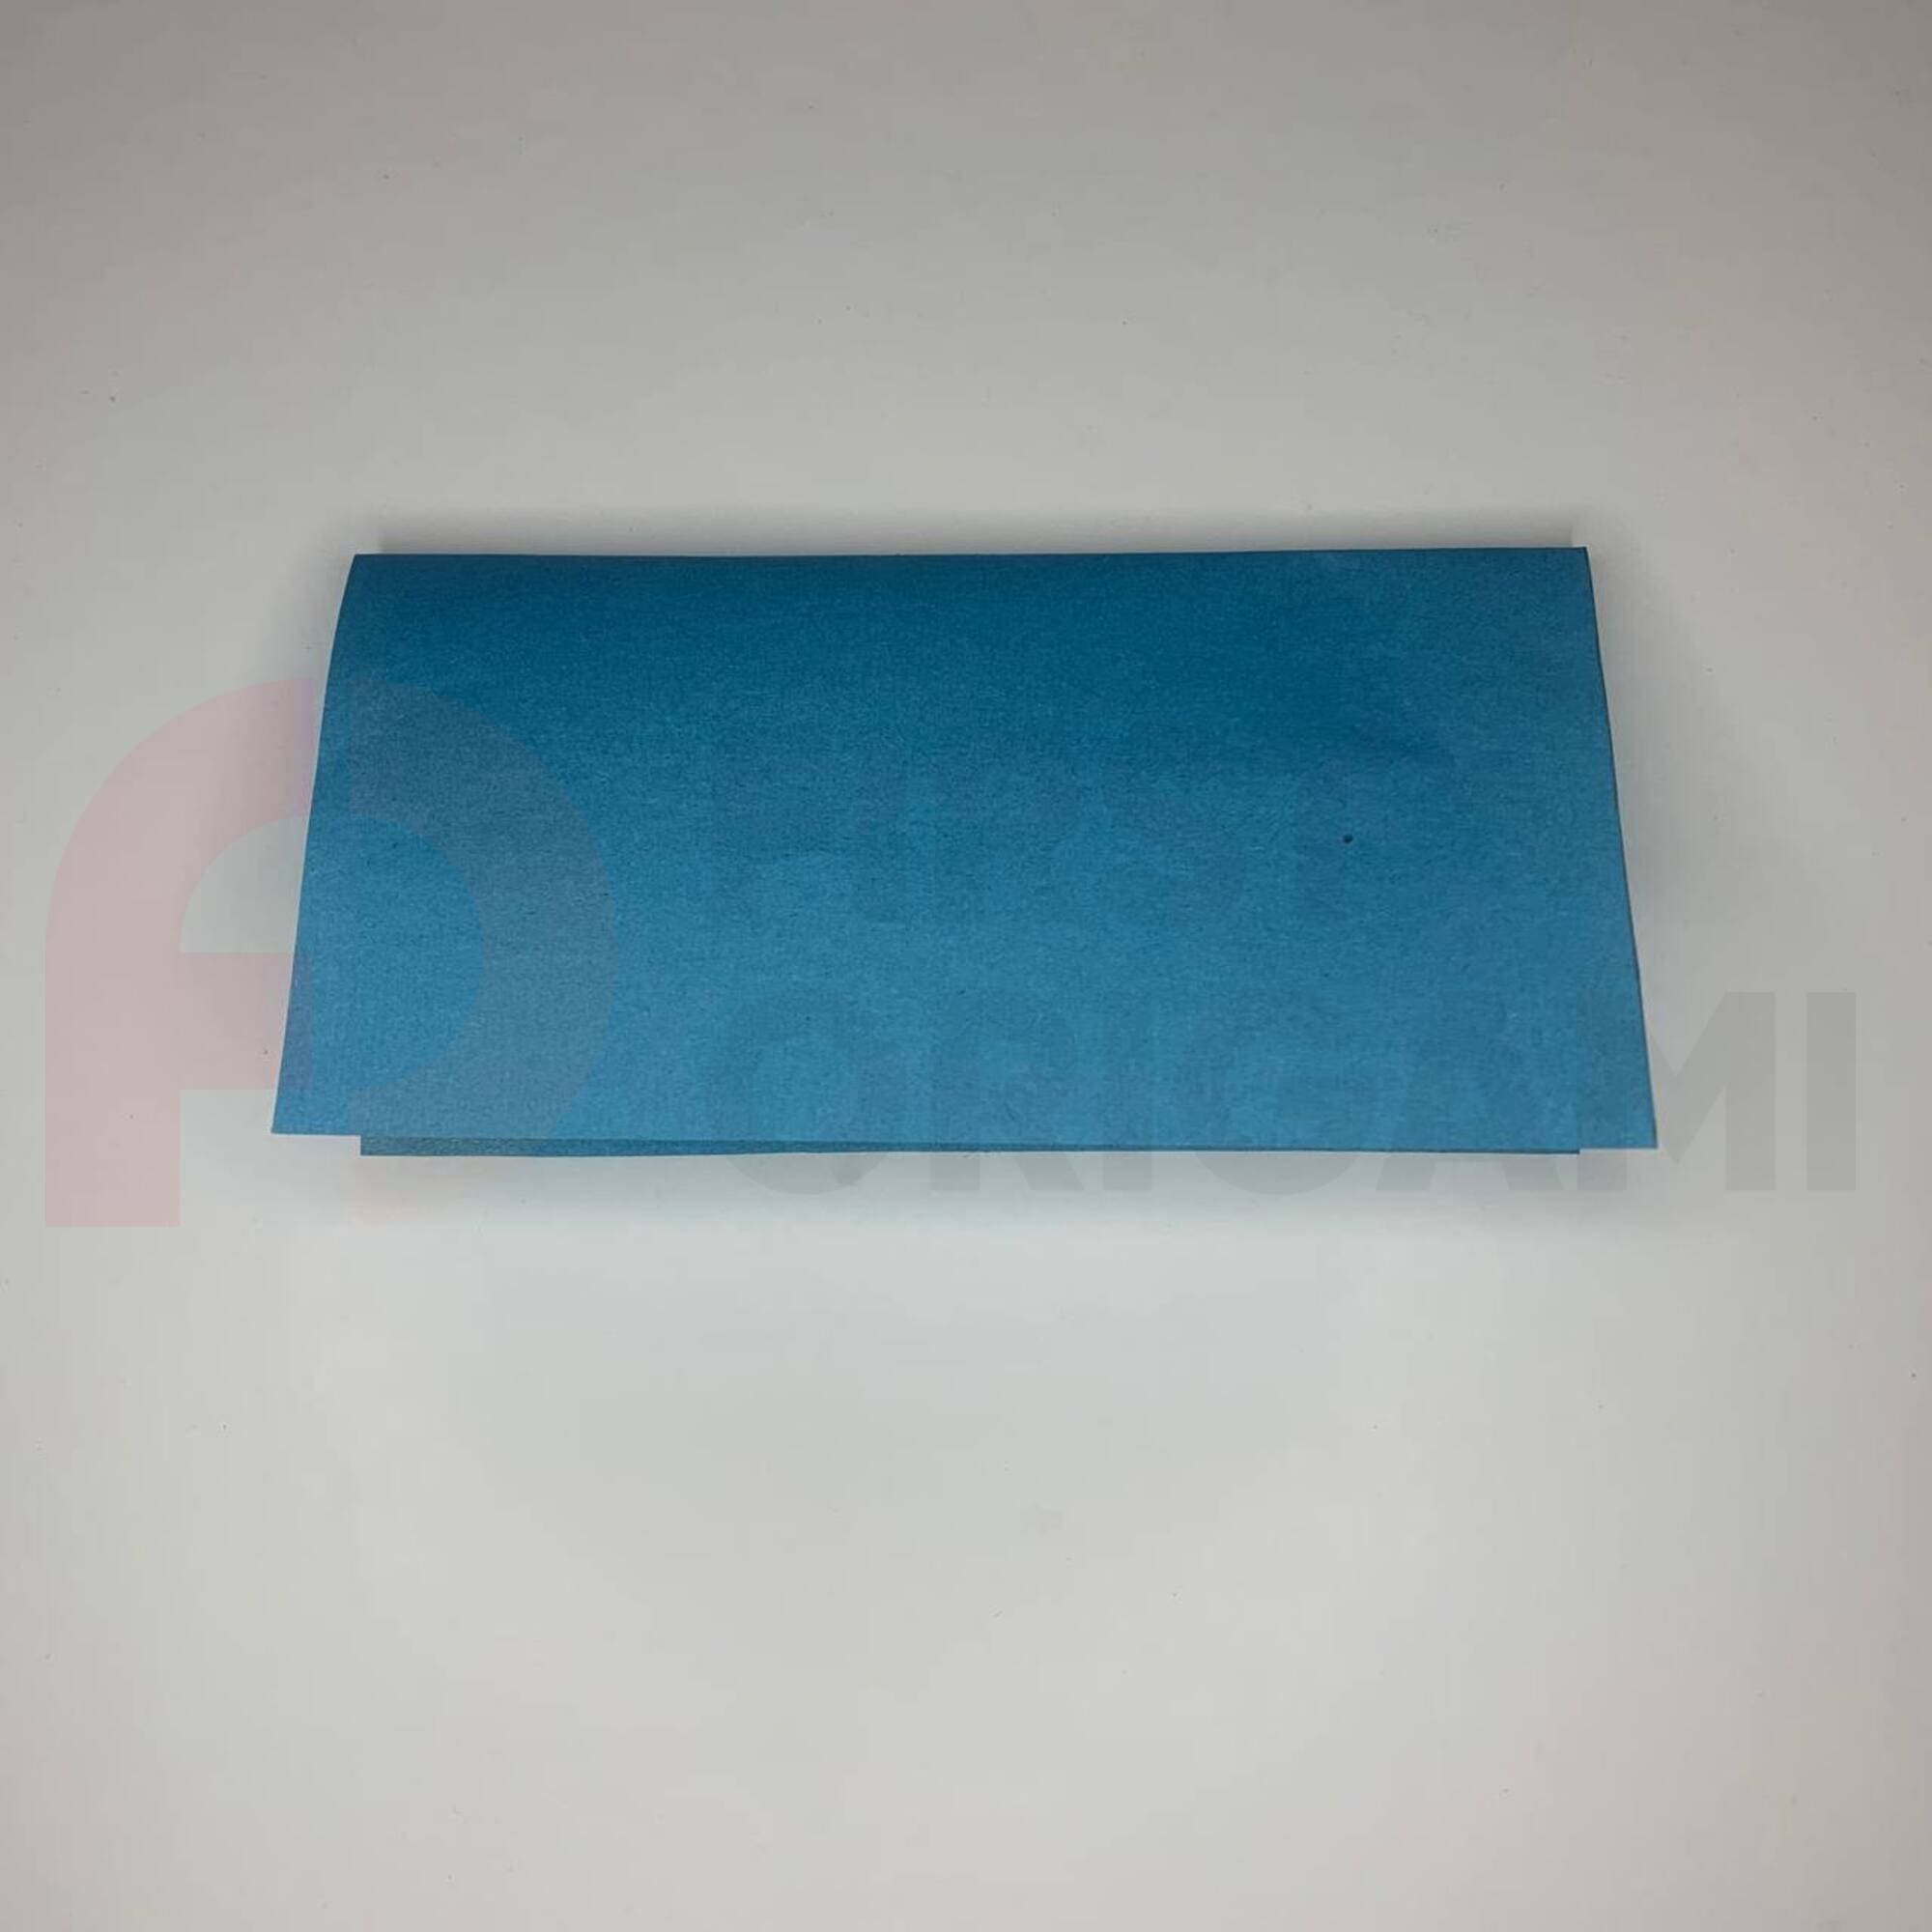
Fold in half and unfold.
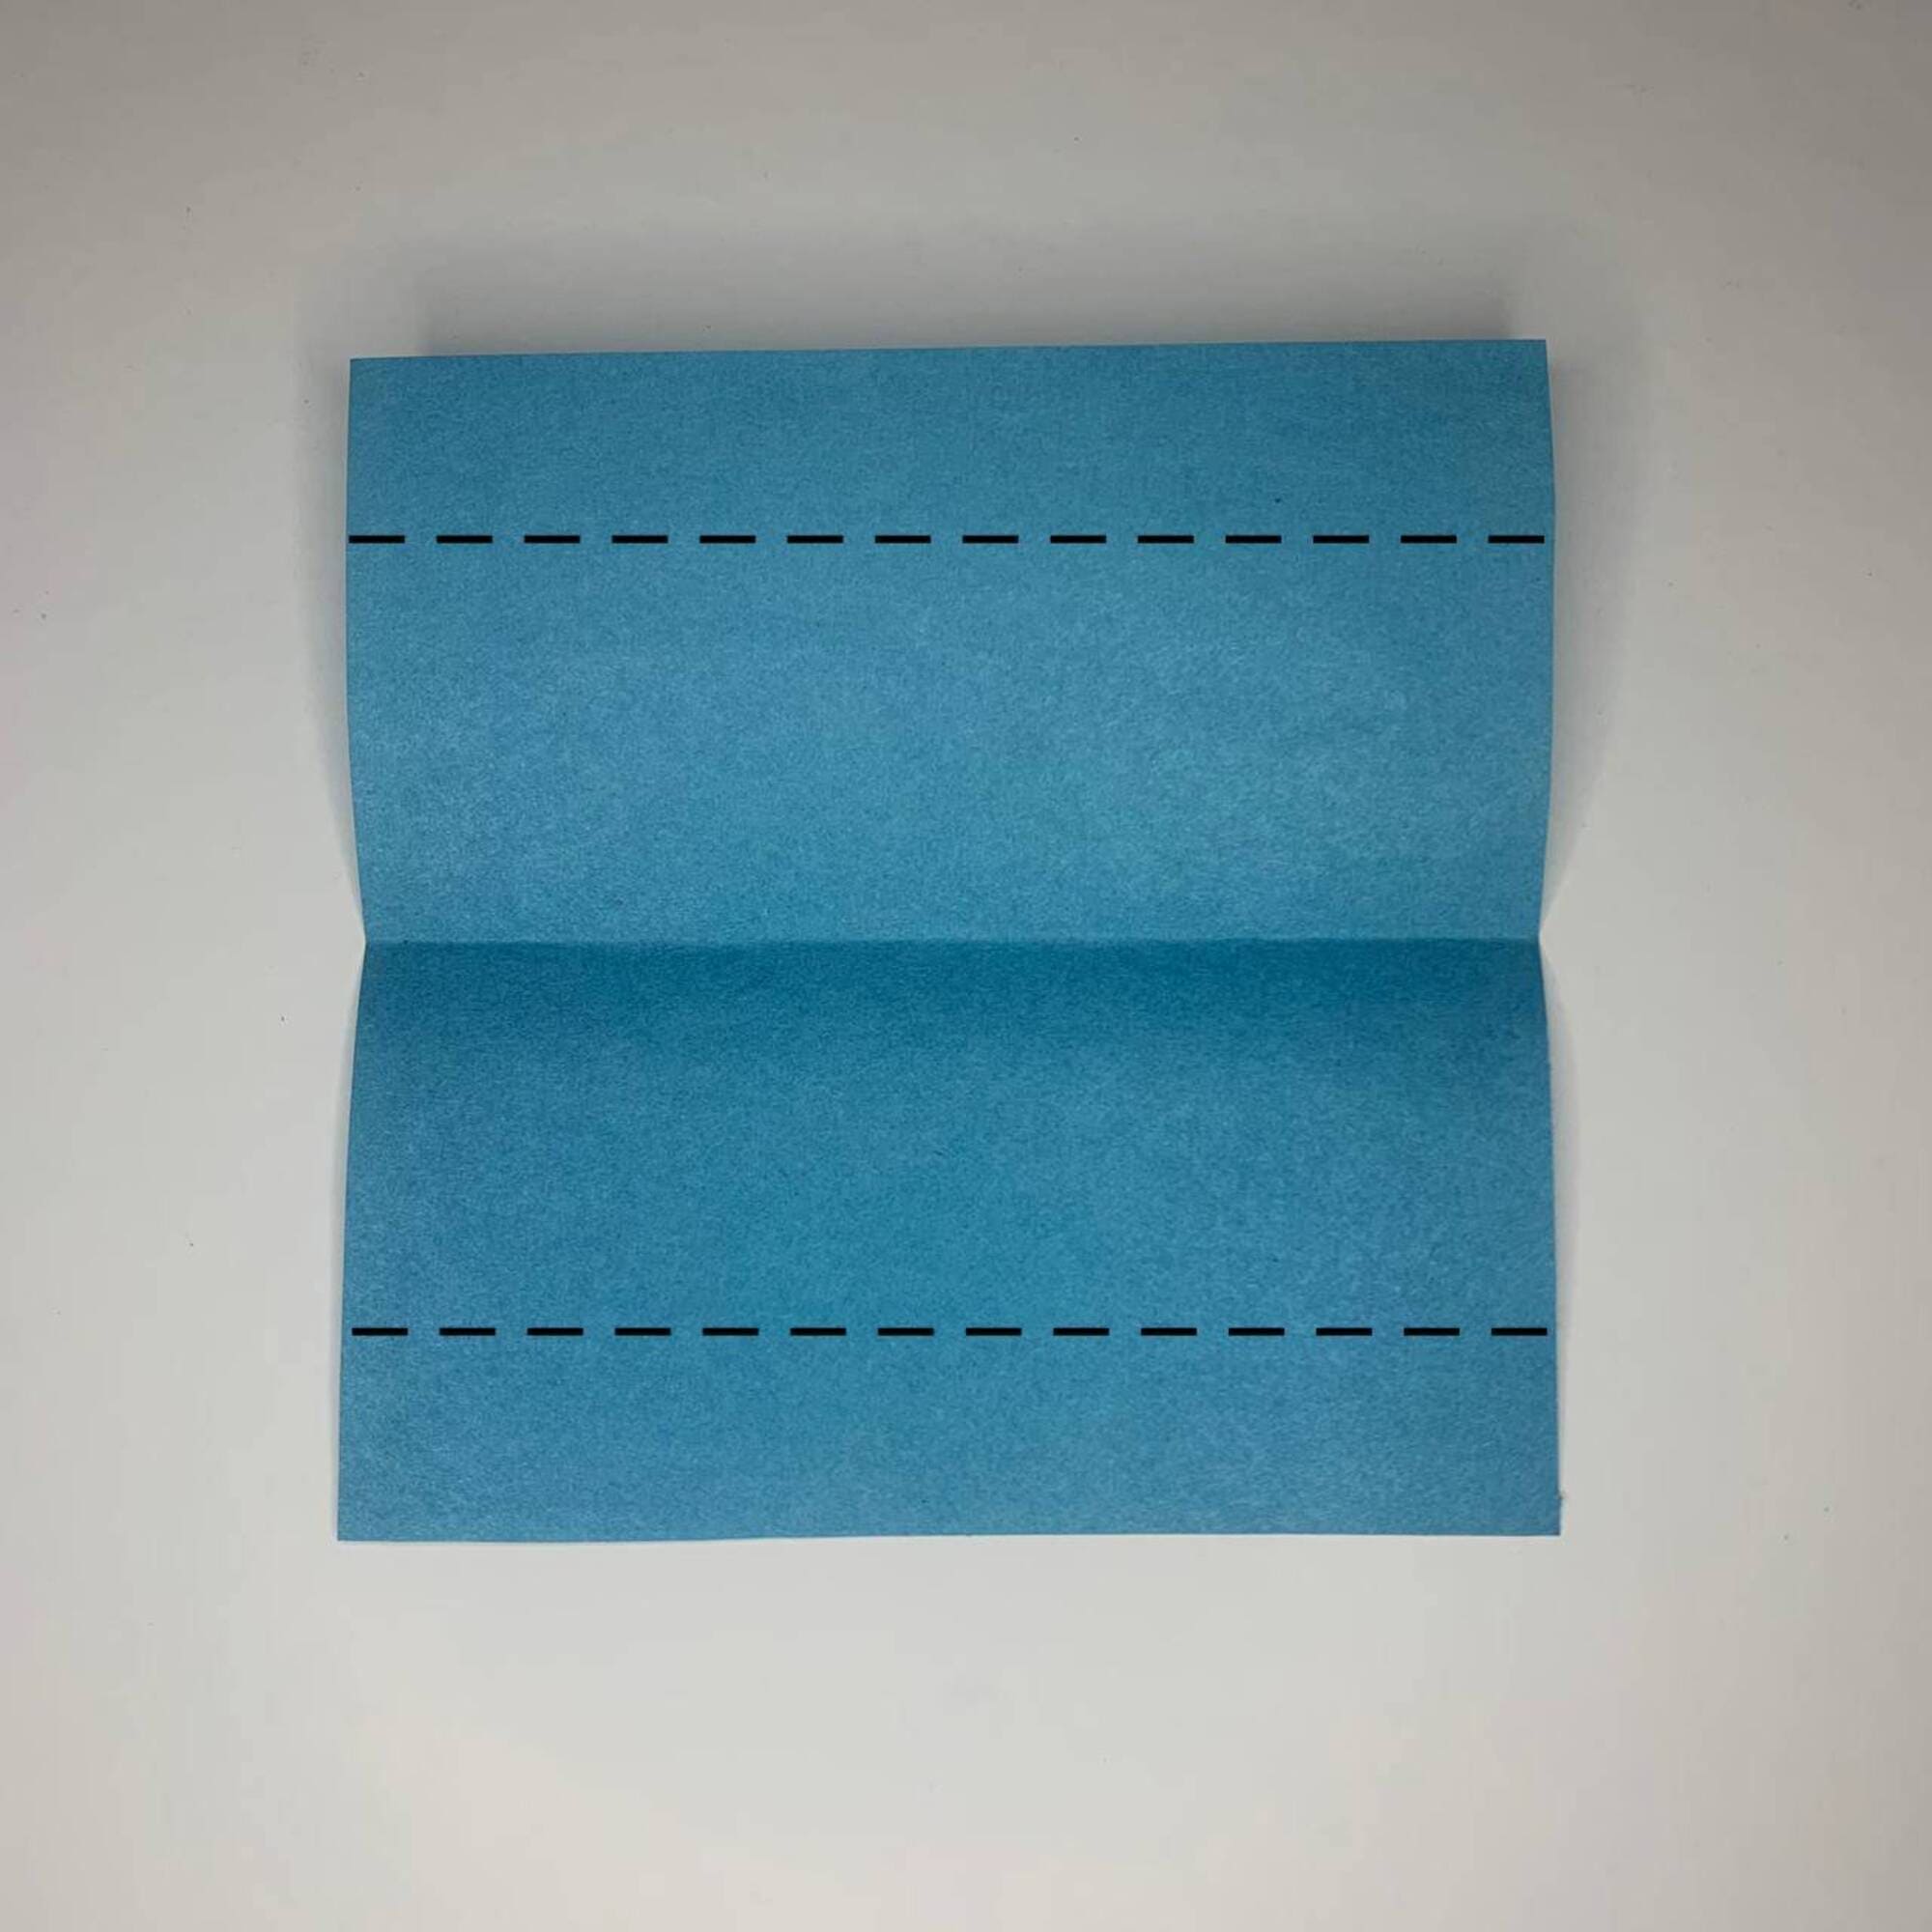
Then mark two narrow rectangles on both the top and bottom parts, as shown in the photo.
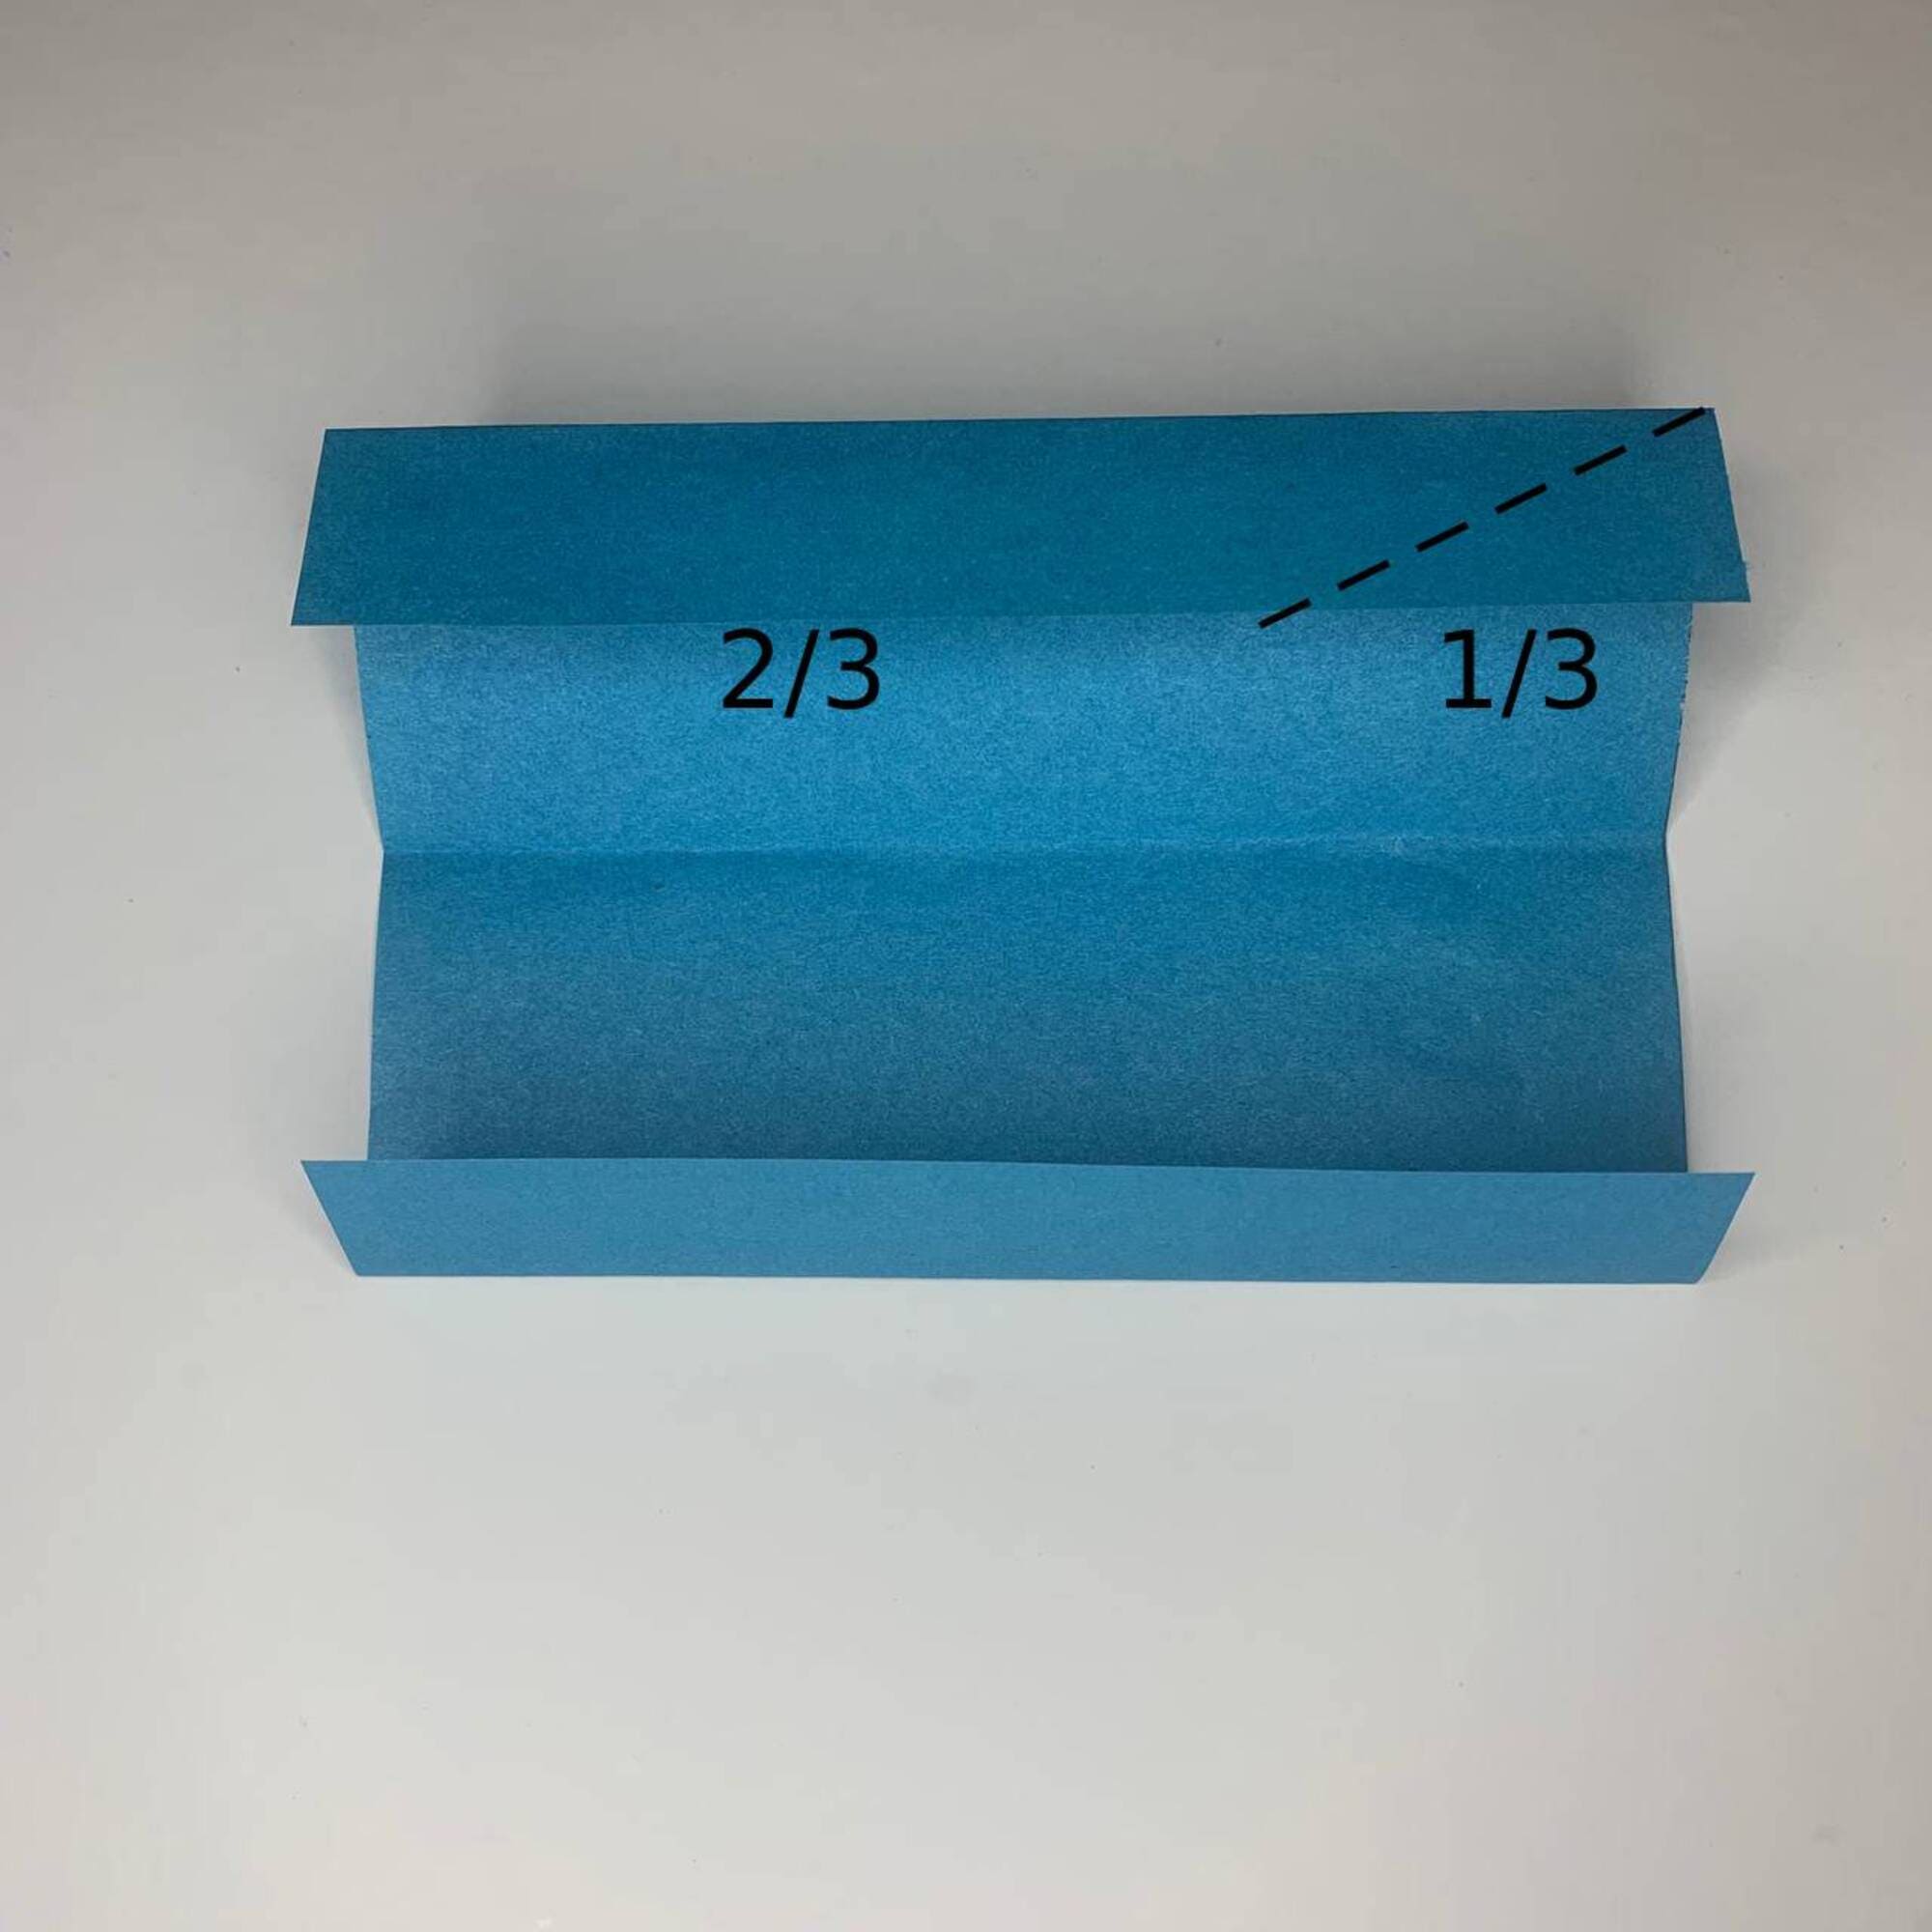
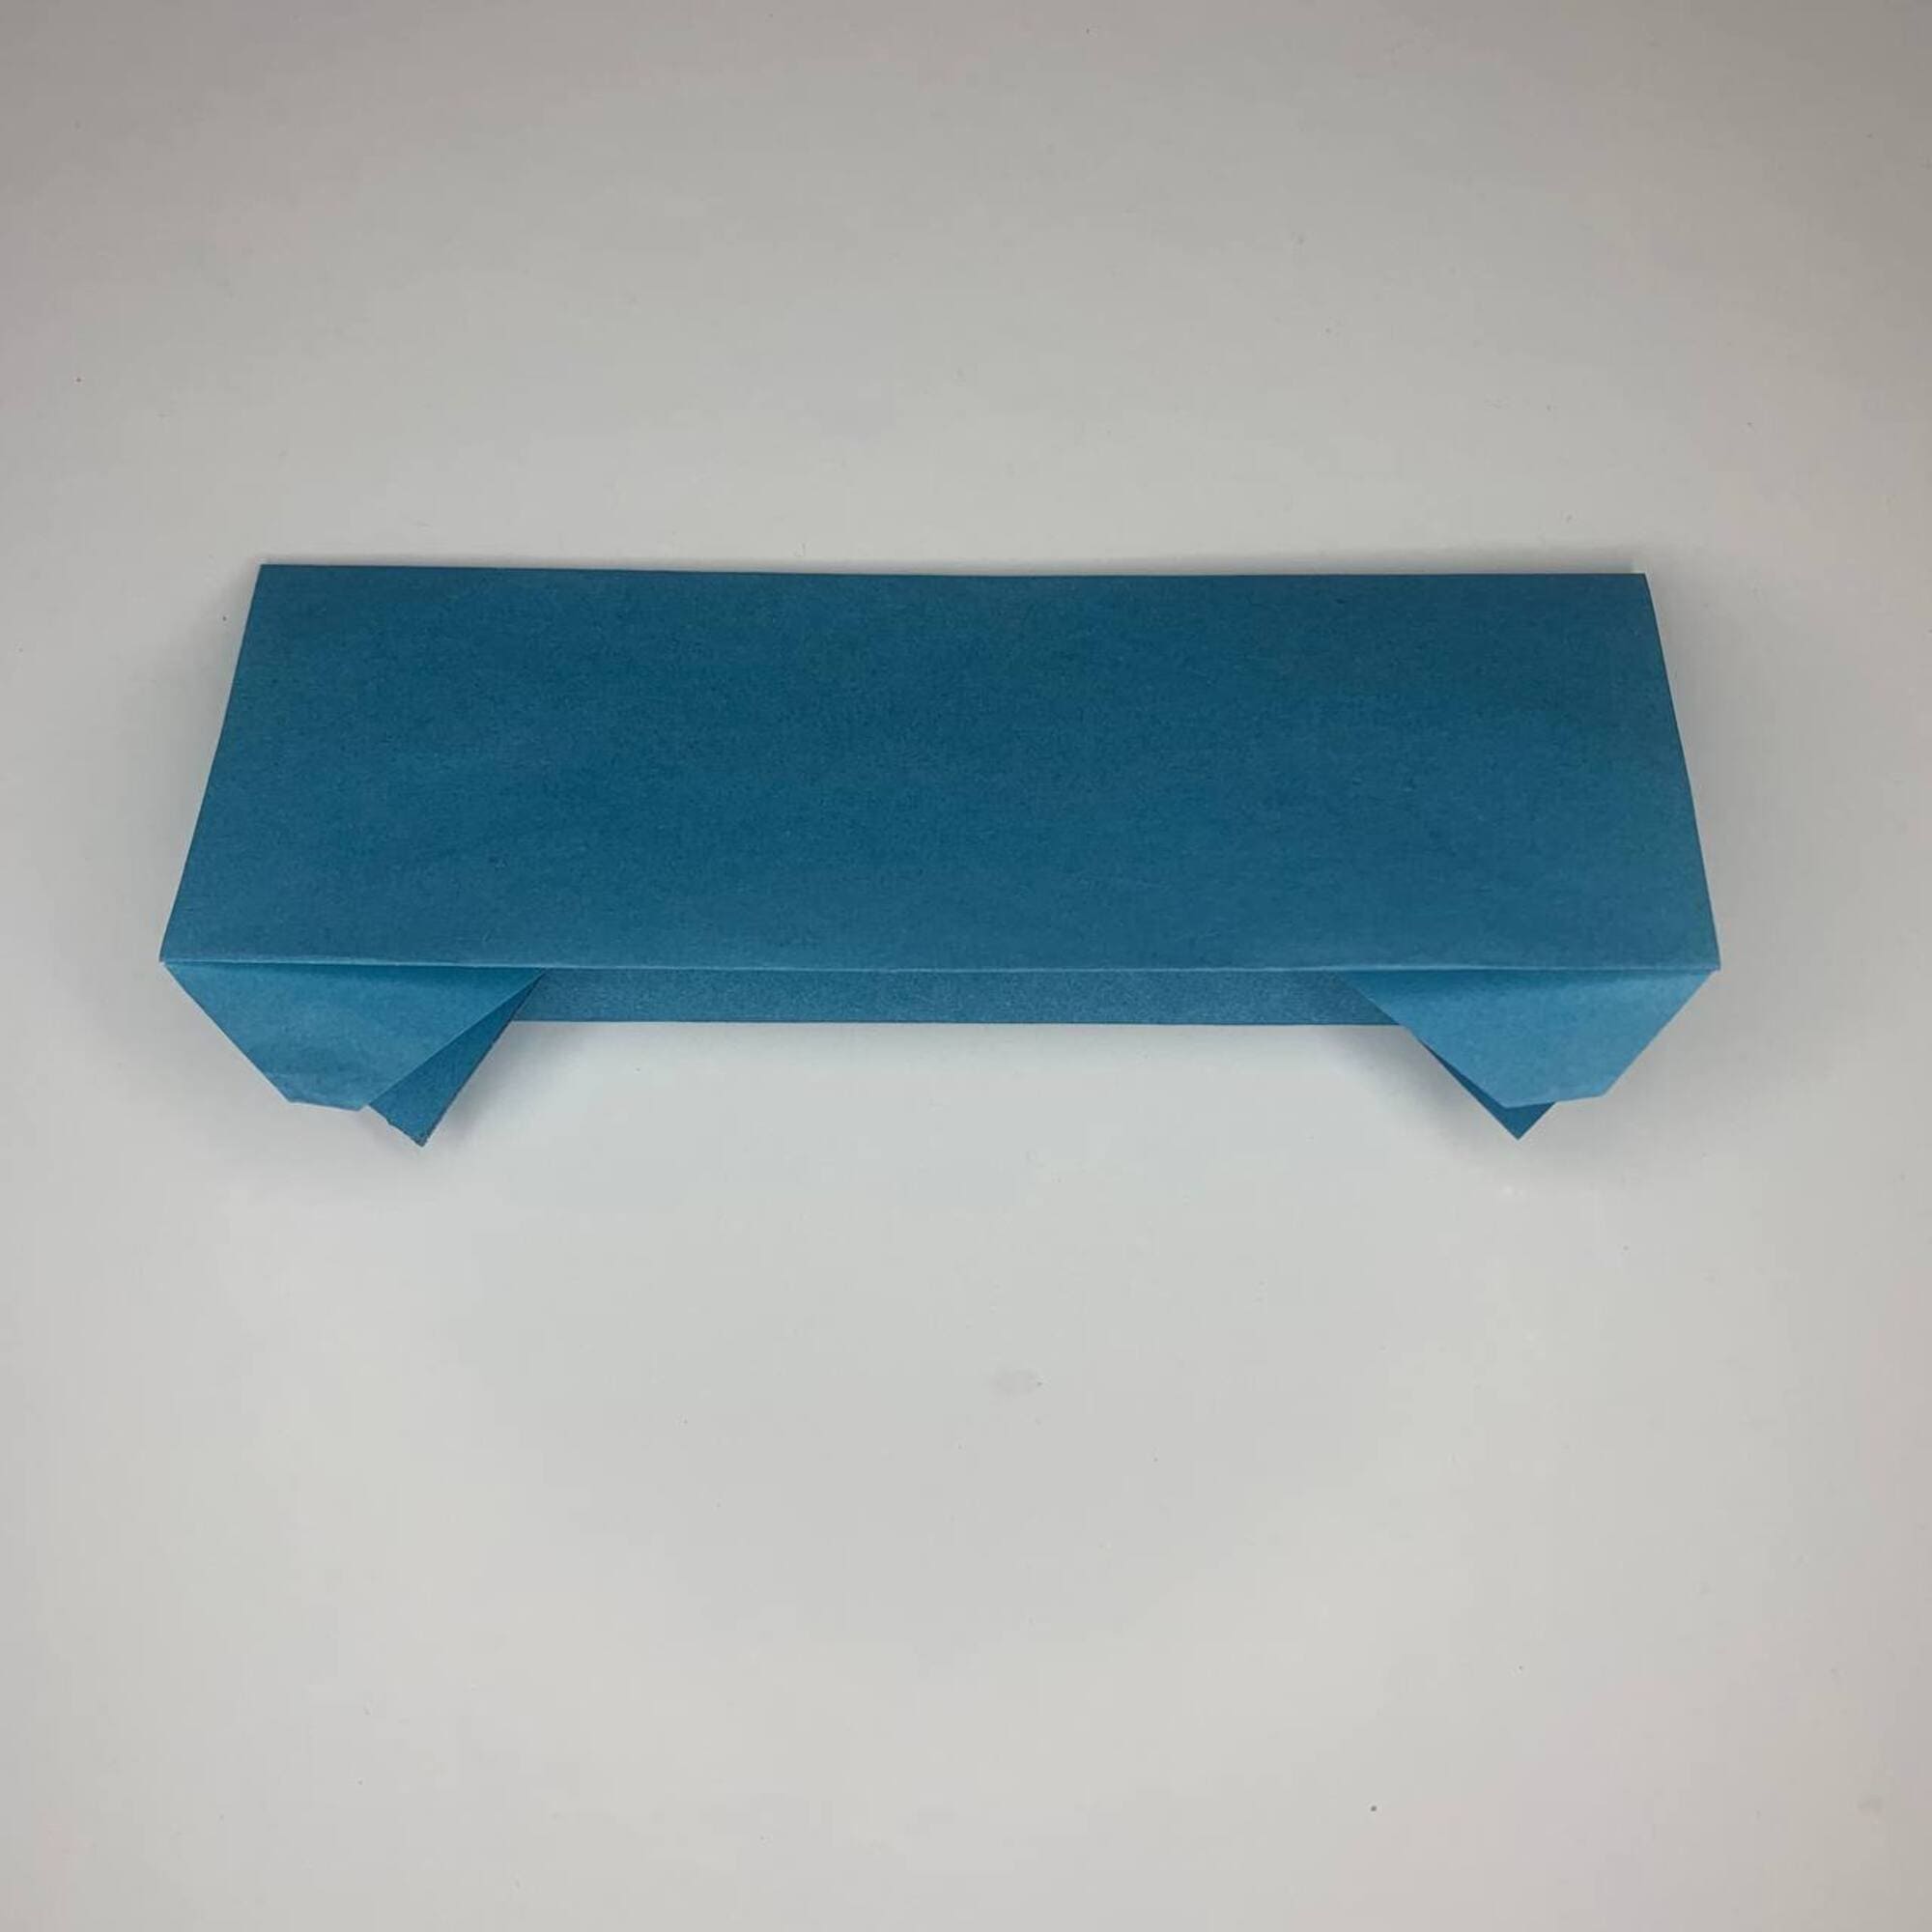
Now make a fold (future wheel) as shown in the photo, about 1/3 of a line for each “wheel” for the top and bottom halves of the paper.
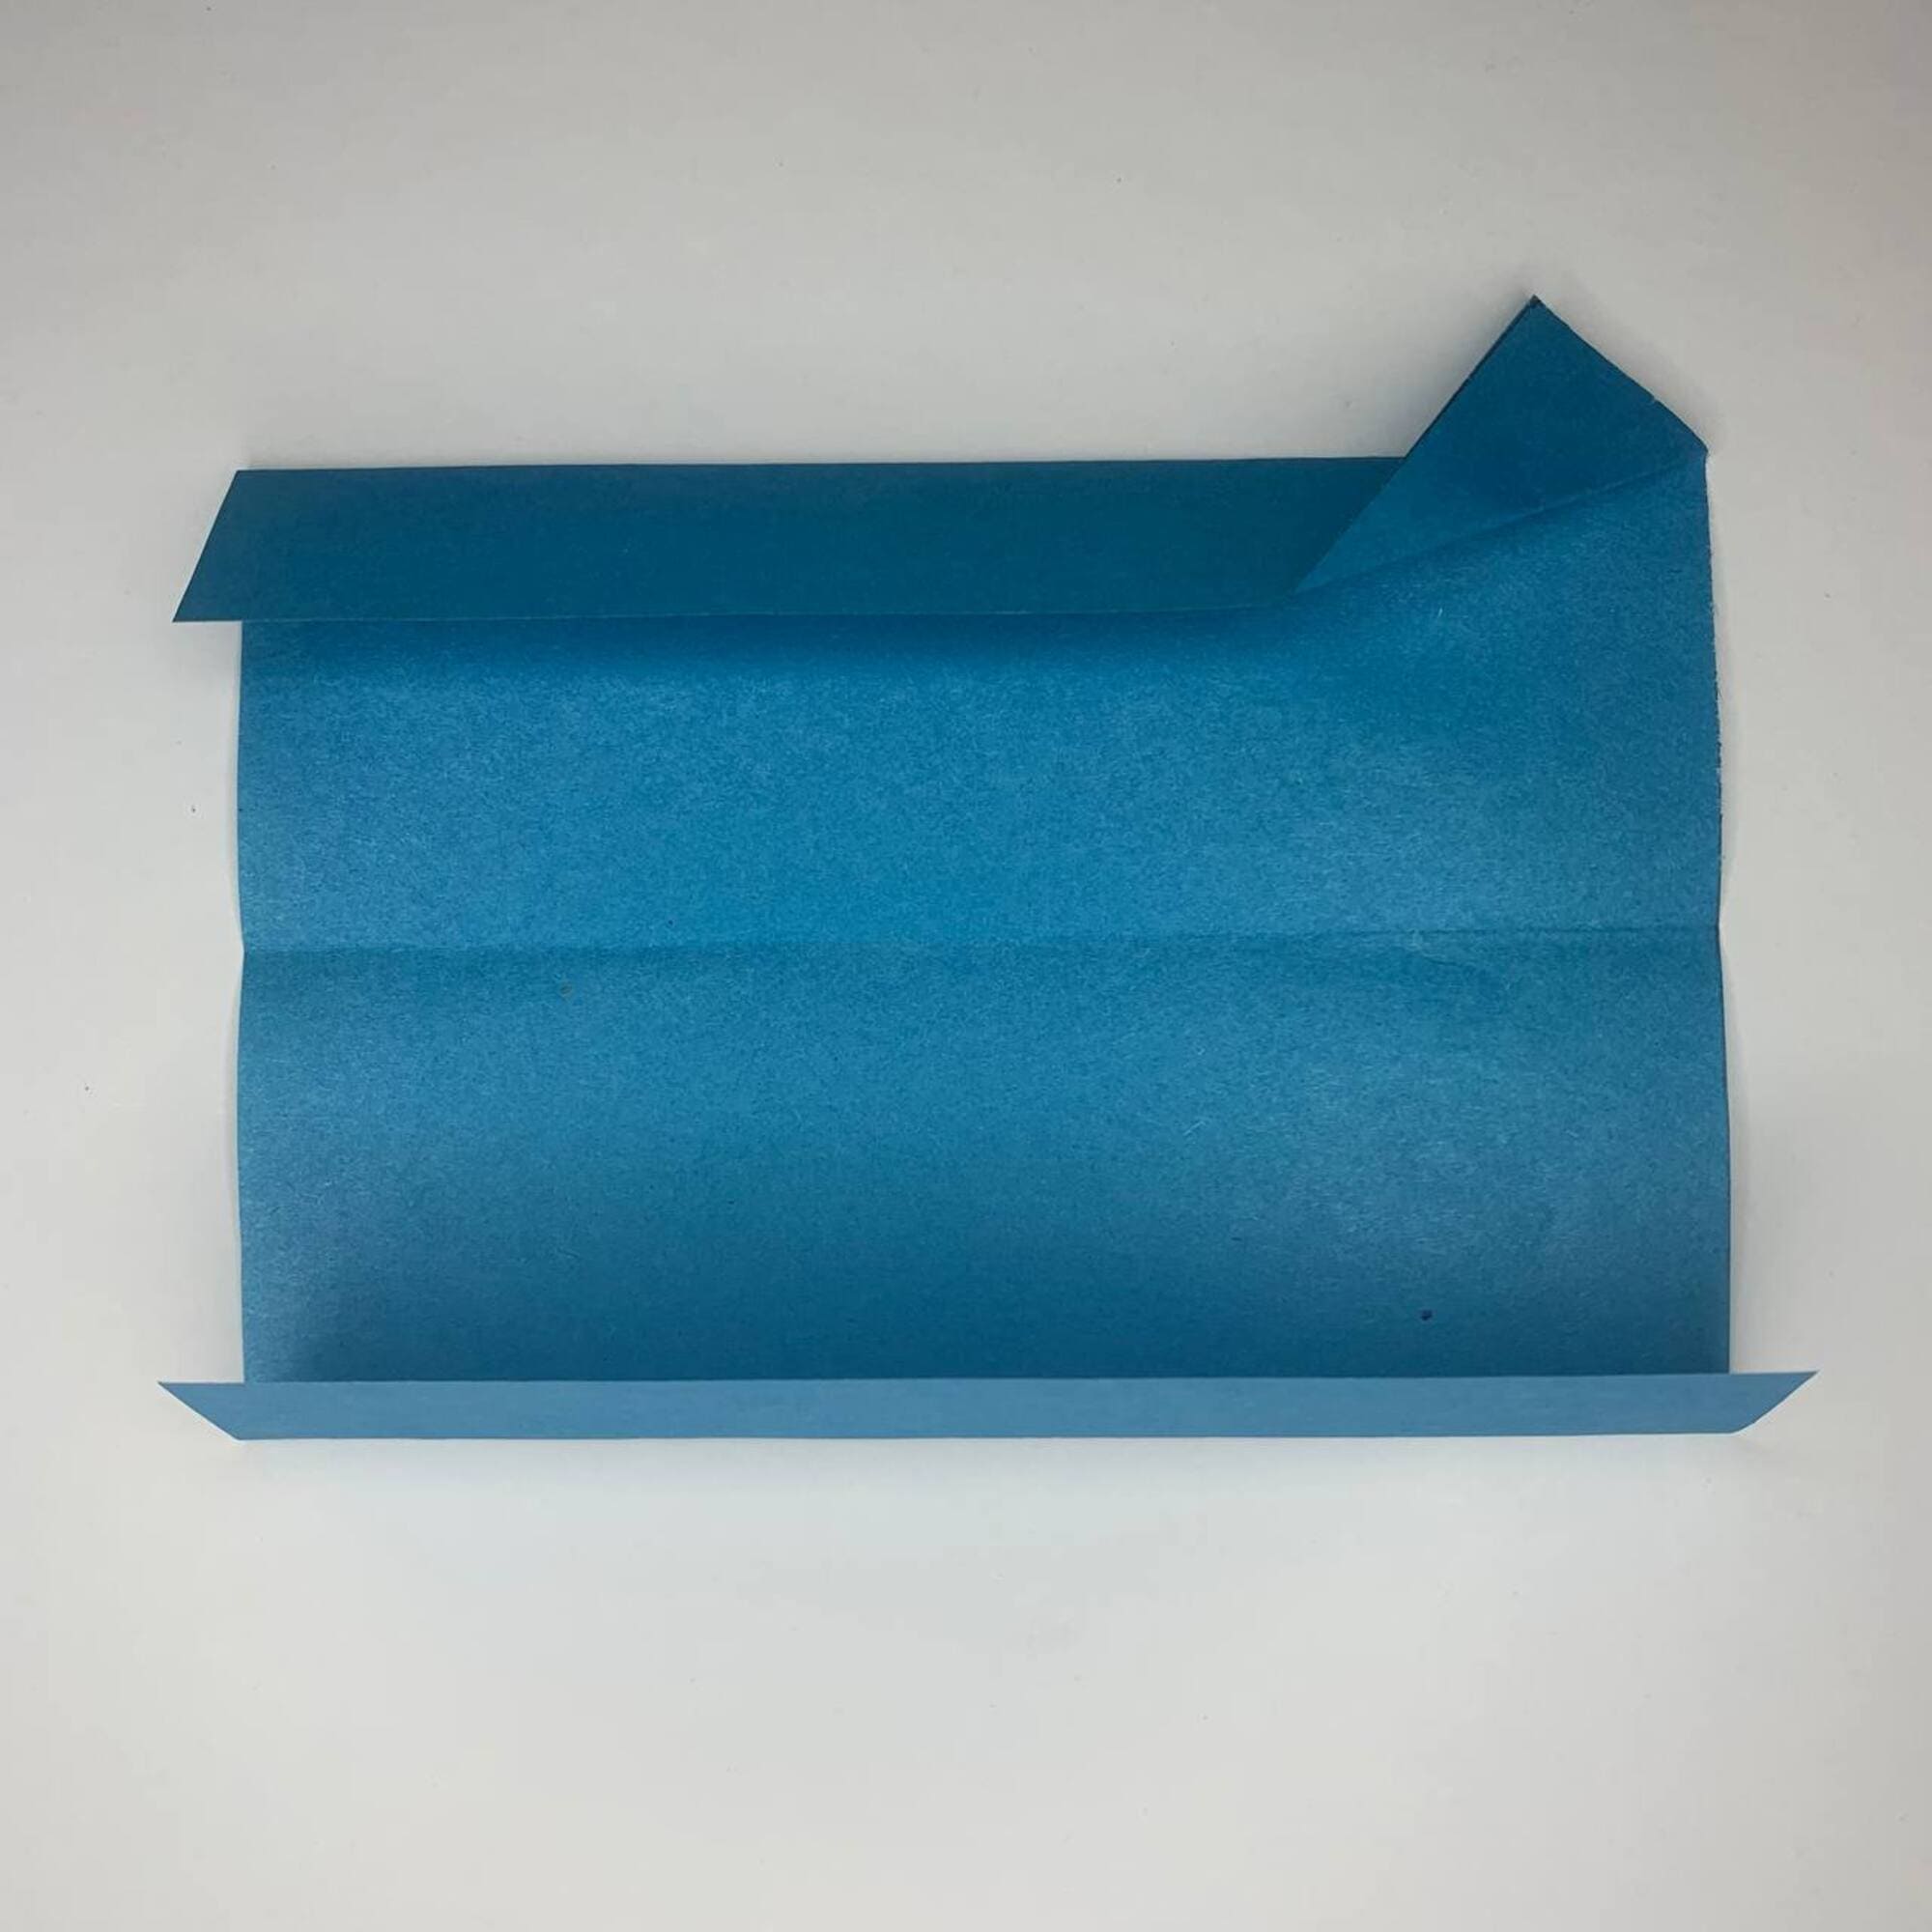
The top part of the paper should have its right part bent upwards.
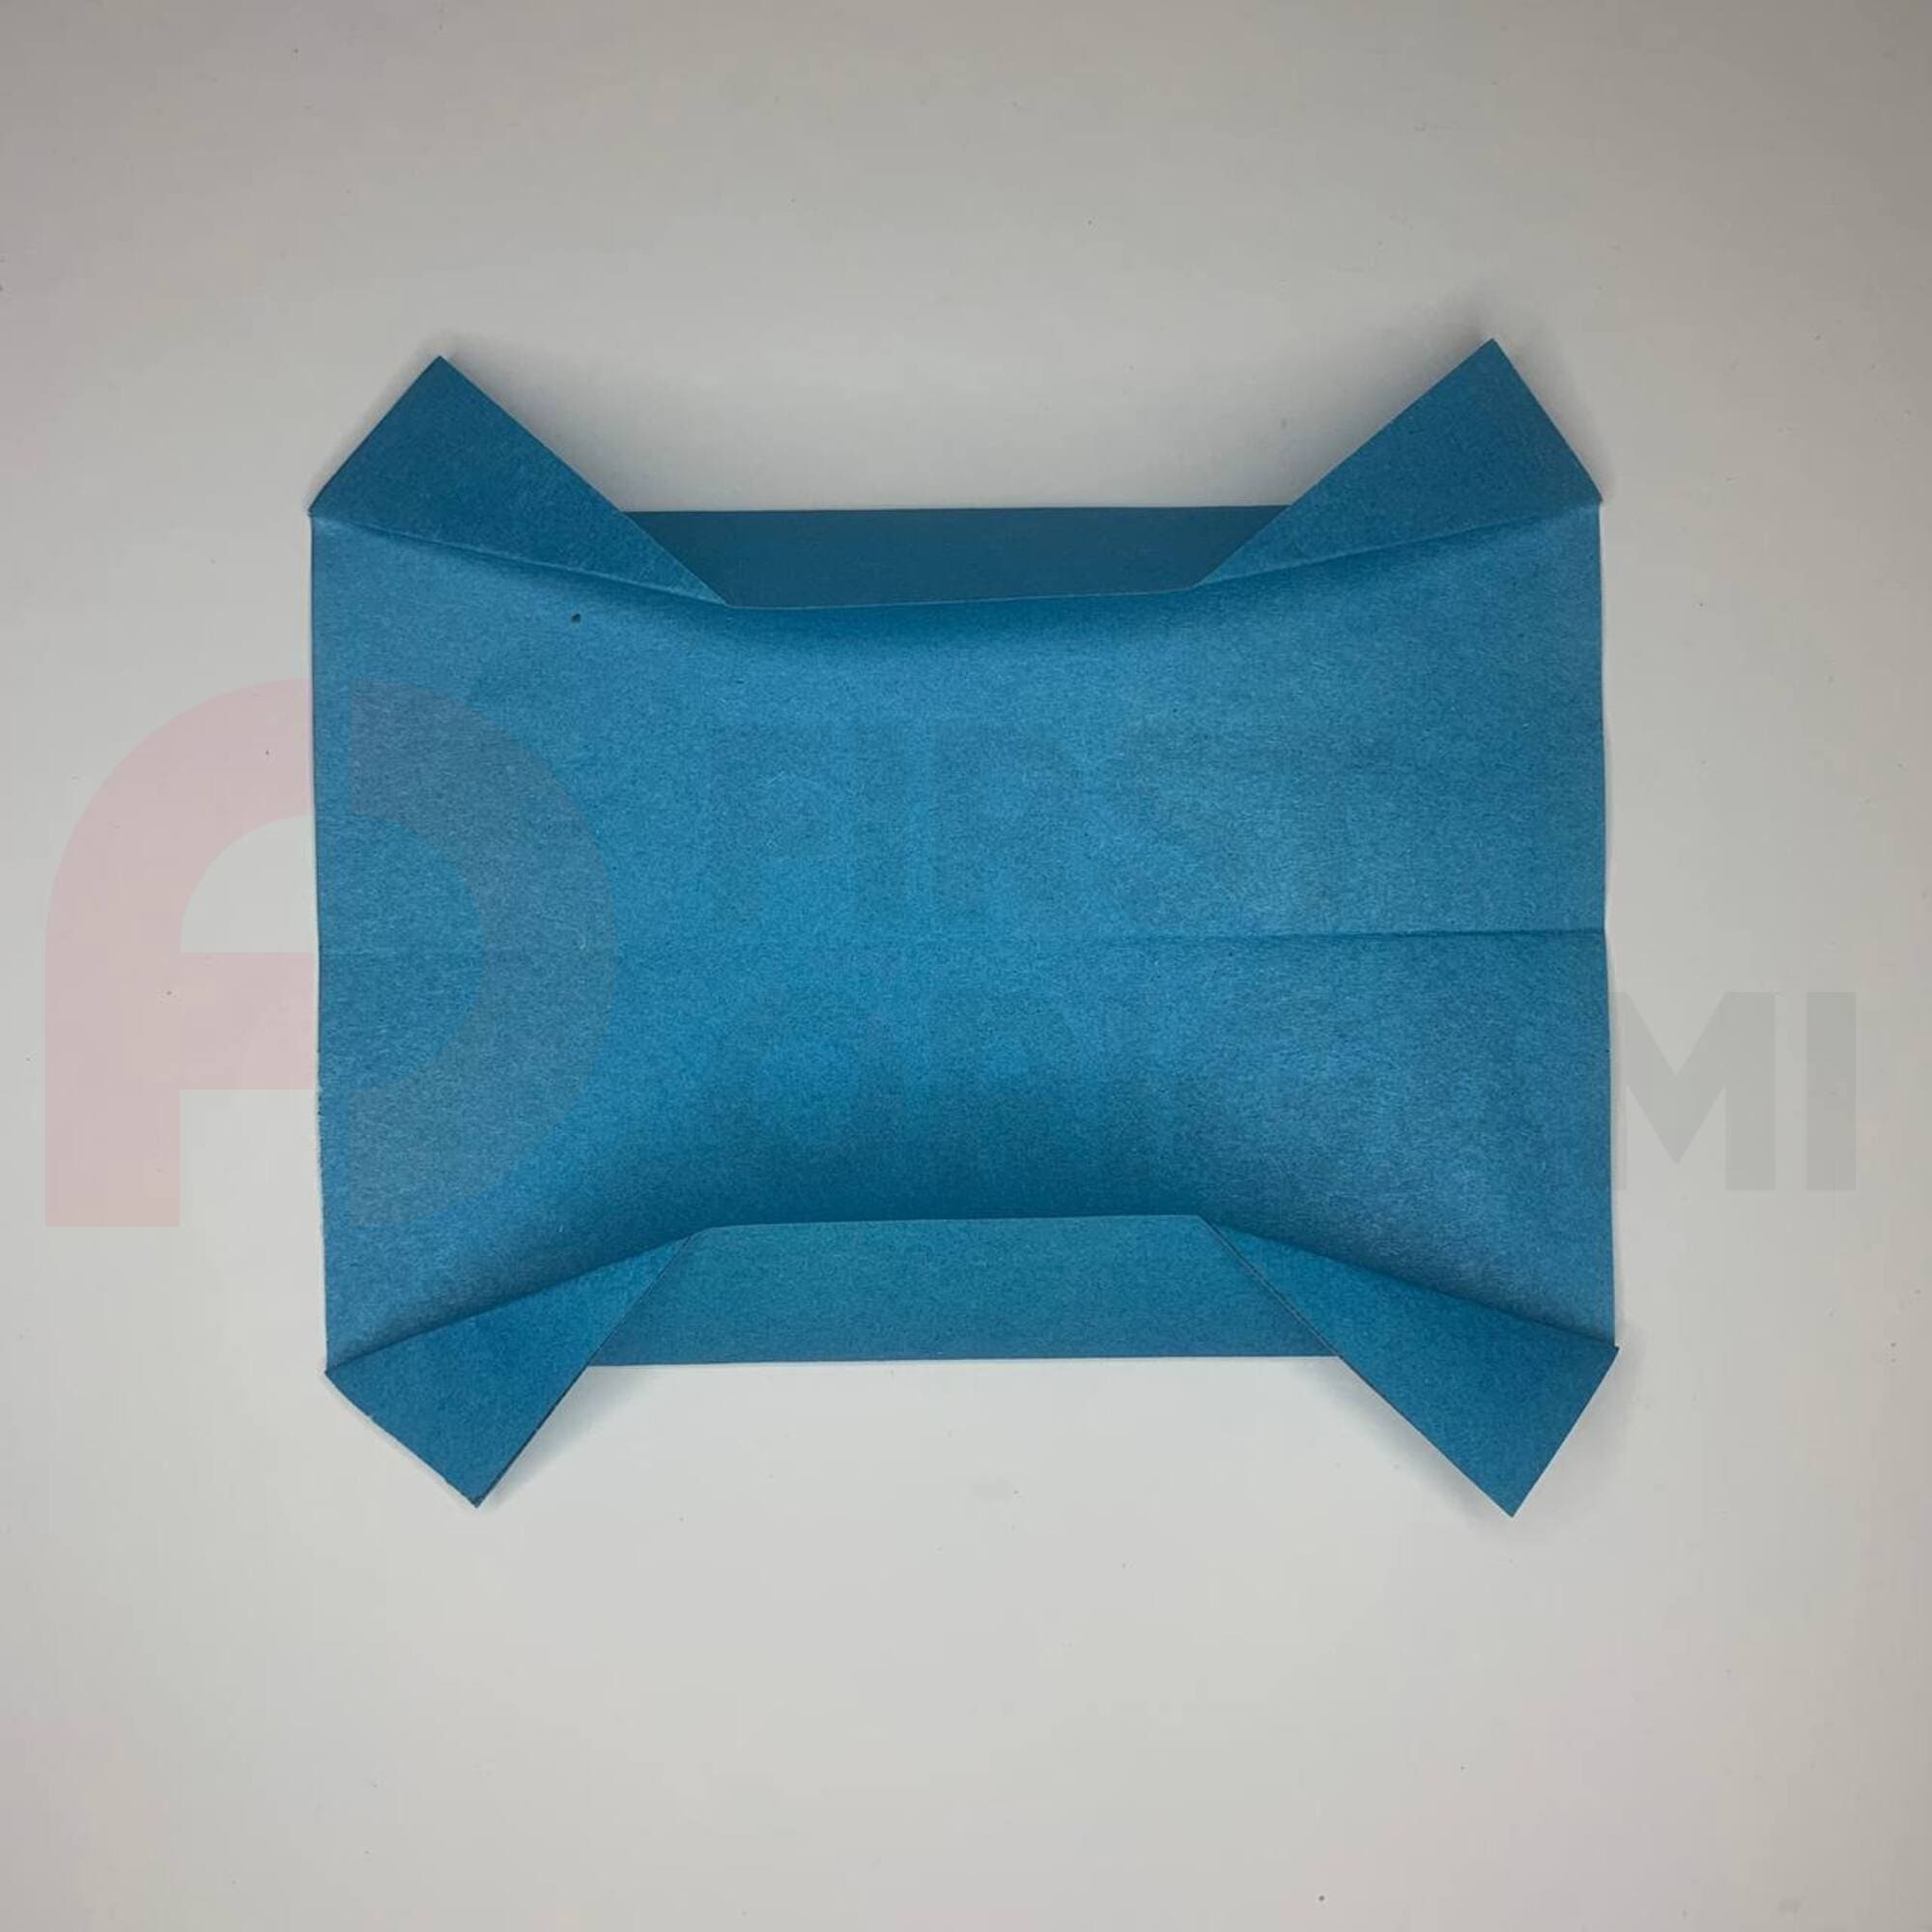
Repeat the same fold for the other three corners. You already have four wheels!
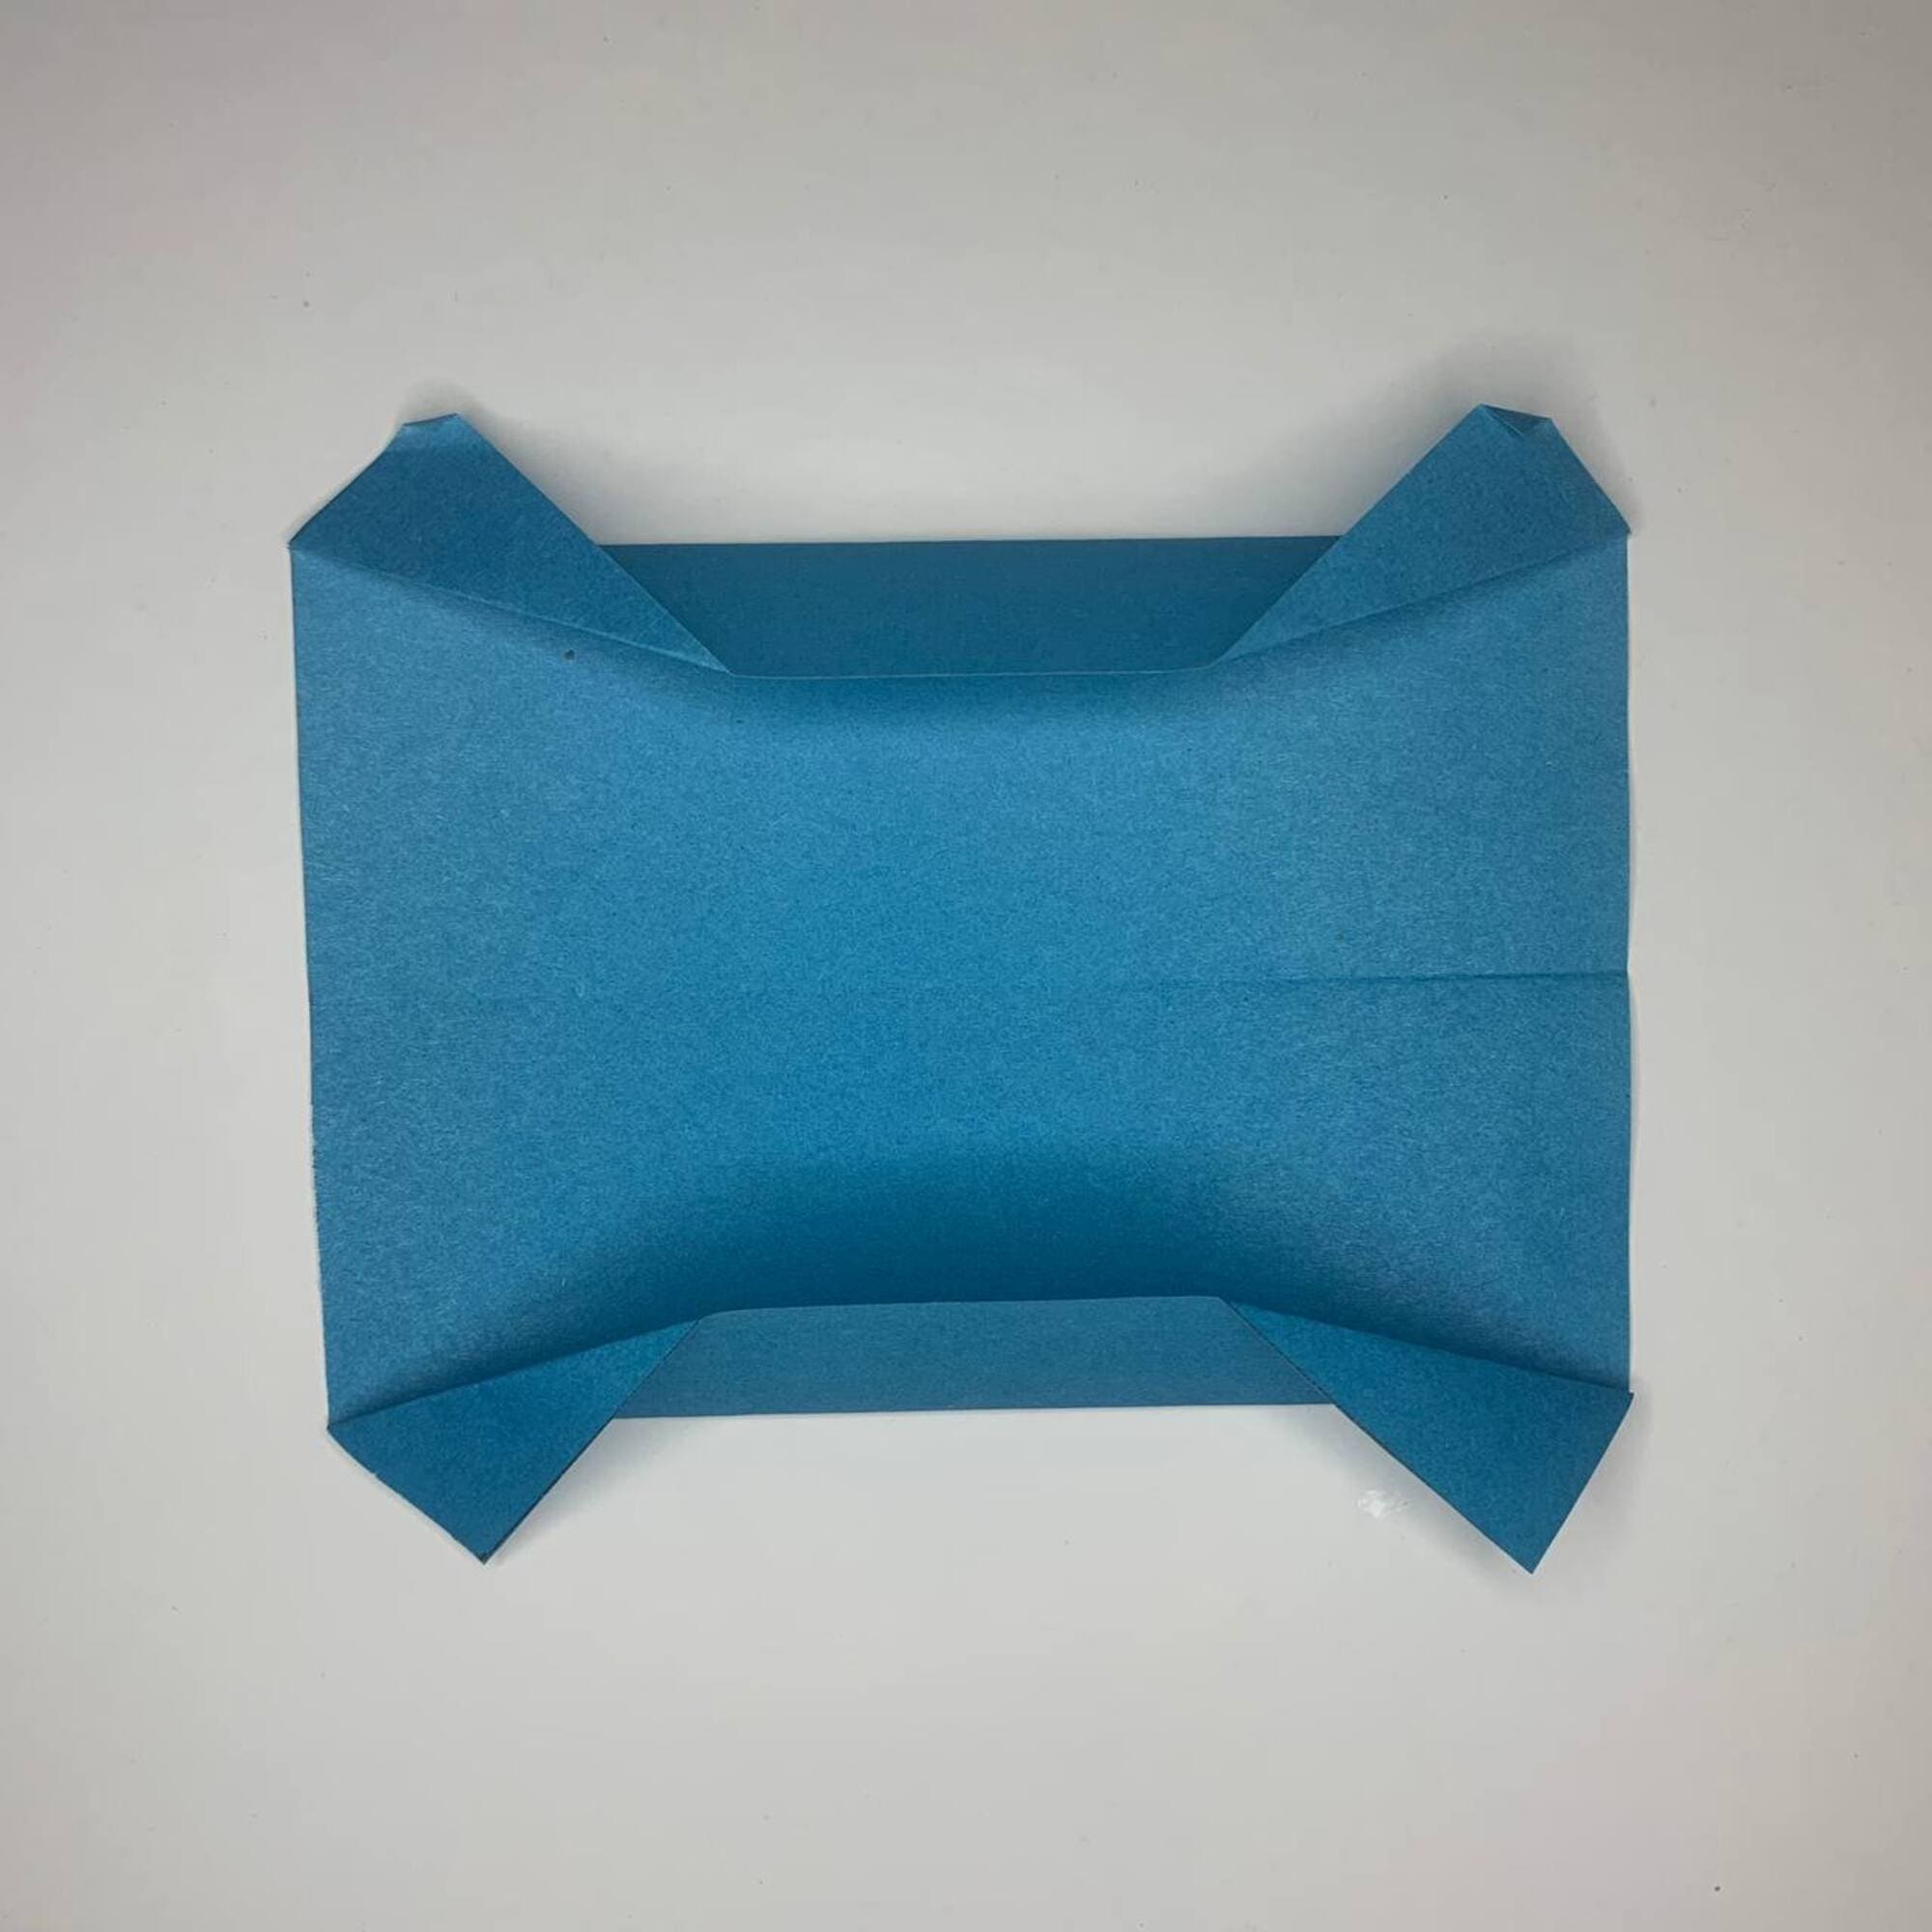
Now fold the tips of the corners down as shown in the photo.
Then fold the origami in half, and repeat folding the tips.
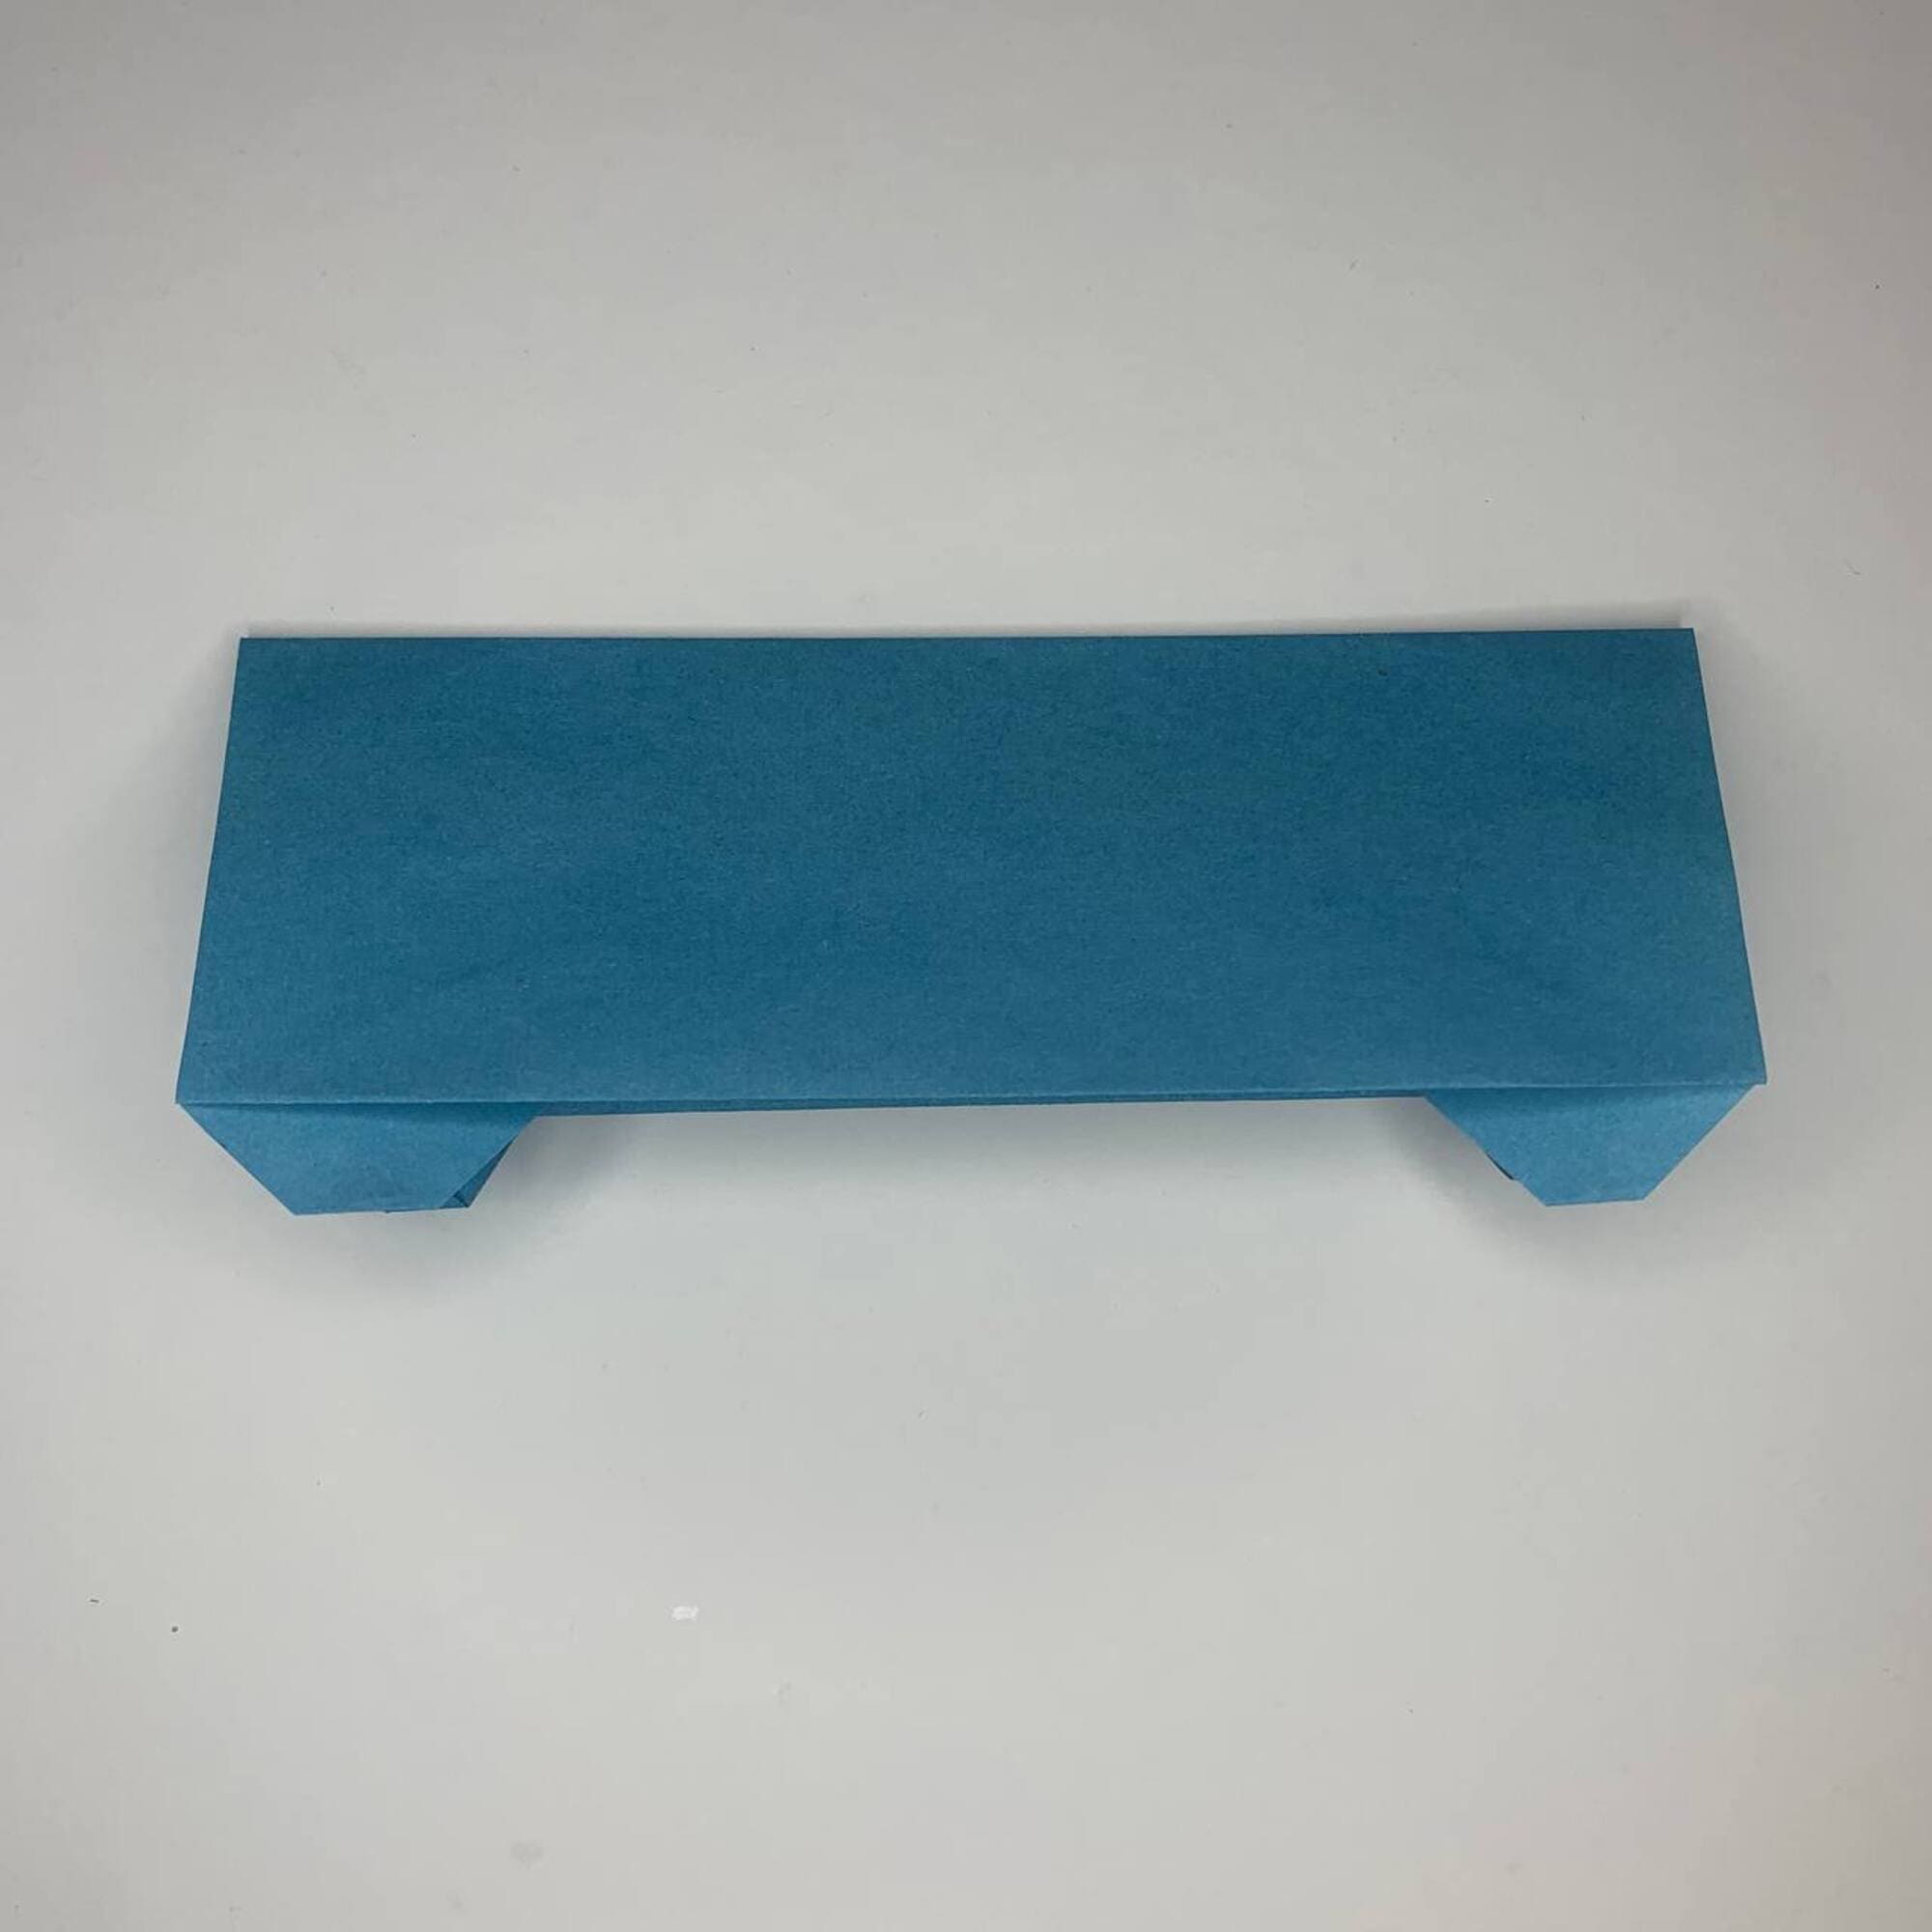
Doing the origami in this order helps the car to “stand” neatly on the wheels, so be attentive.
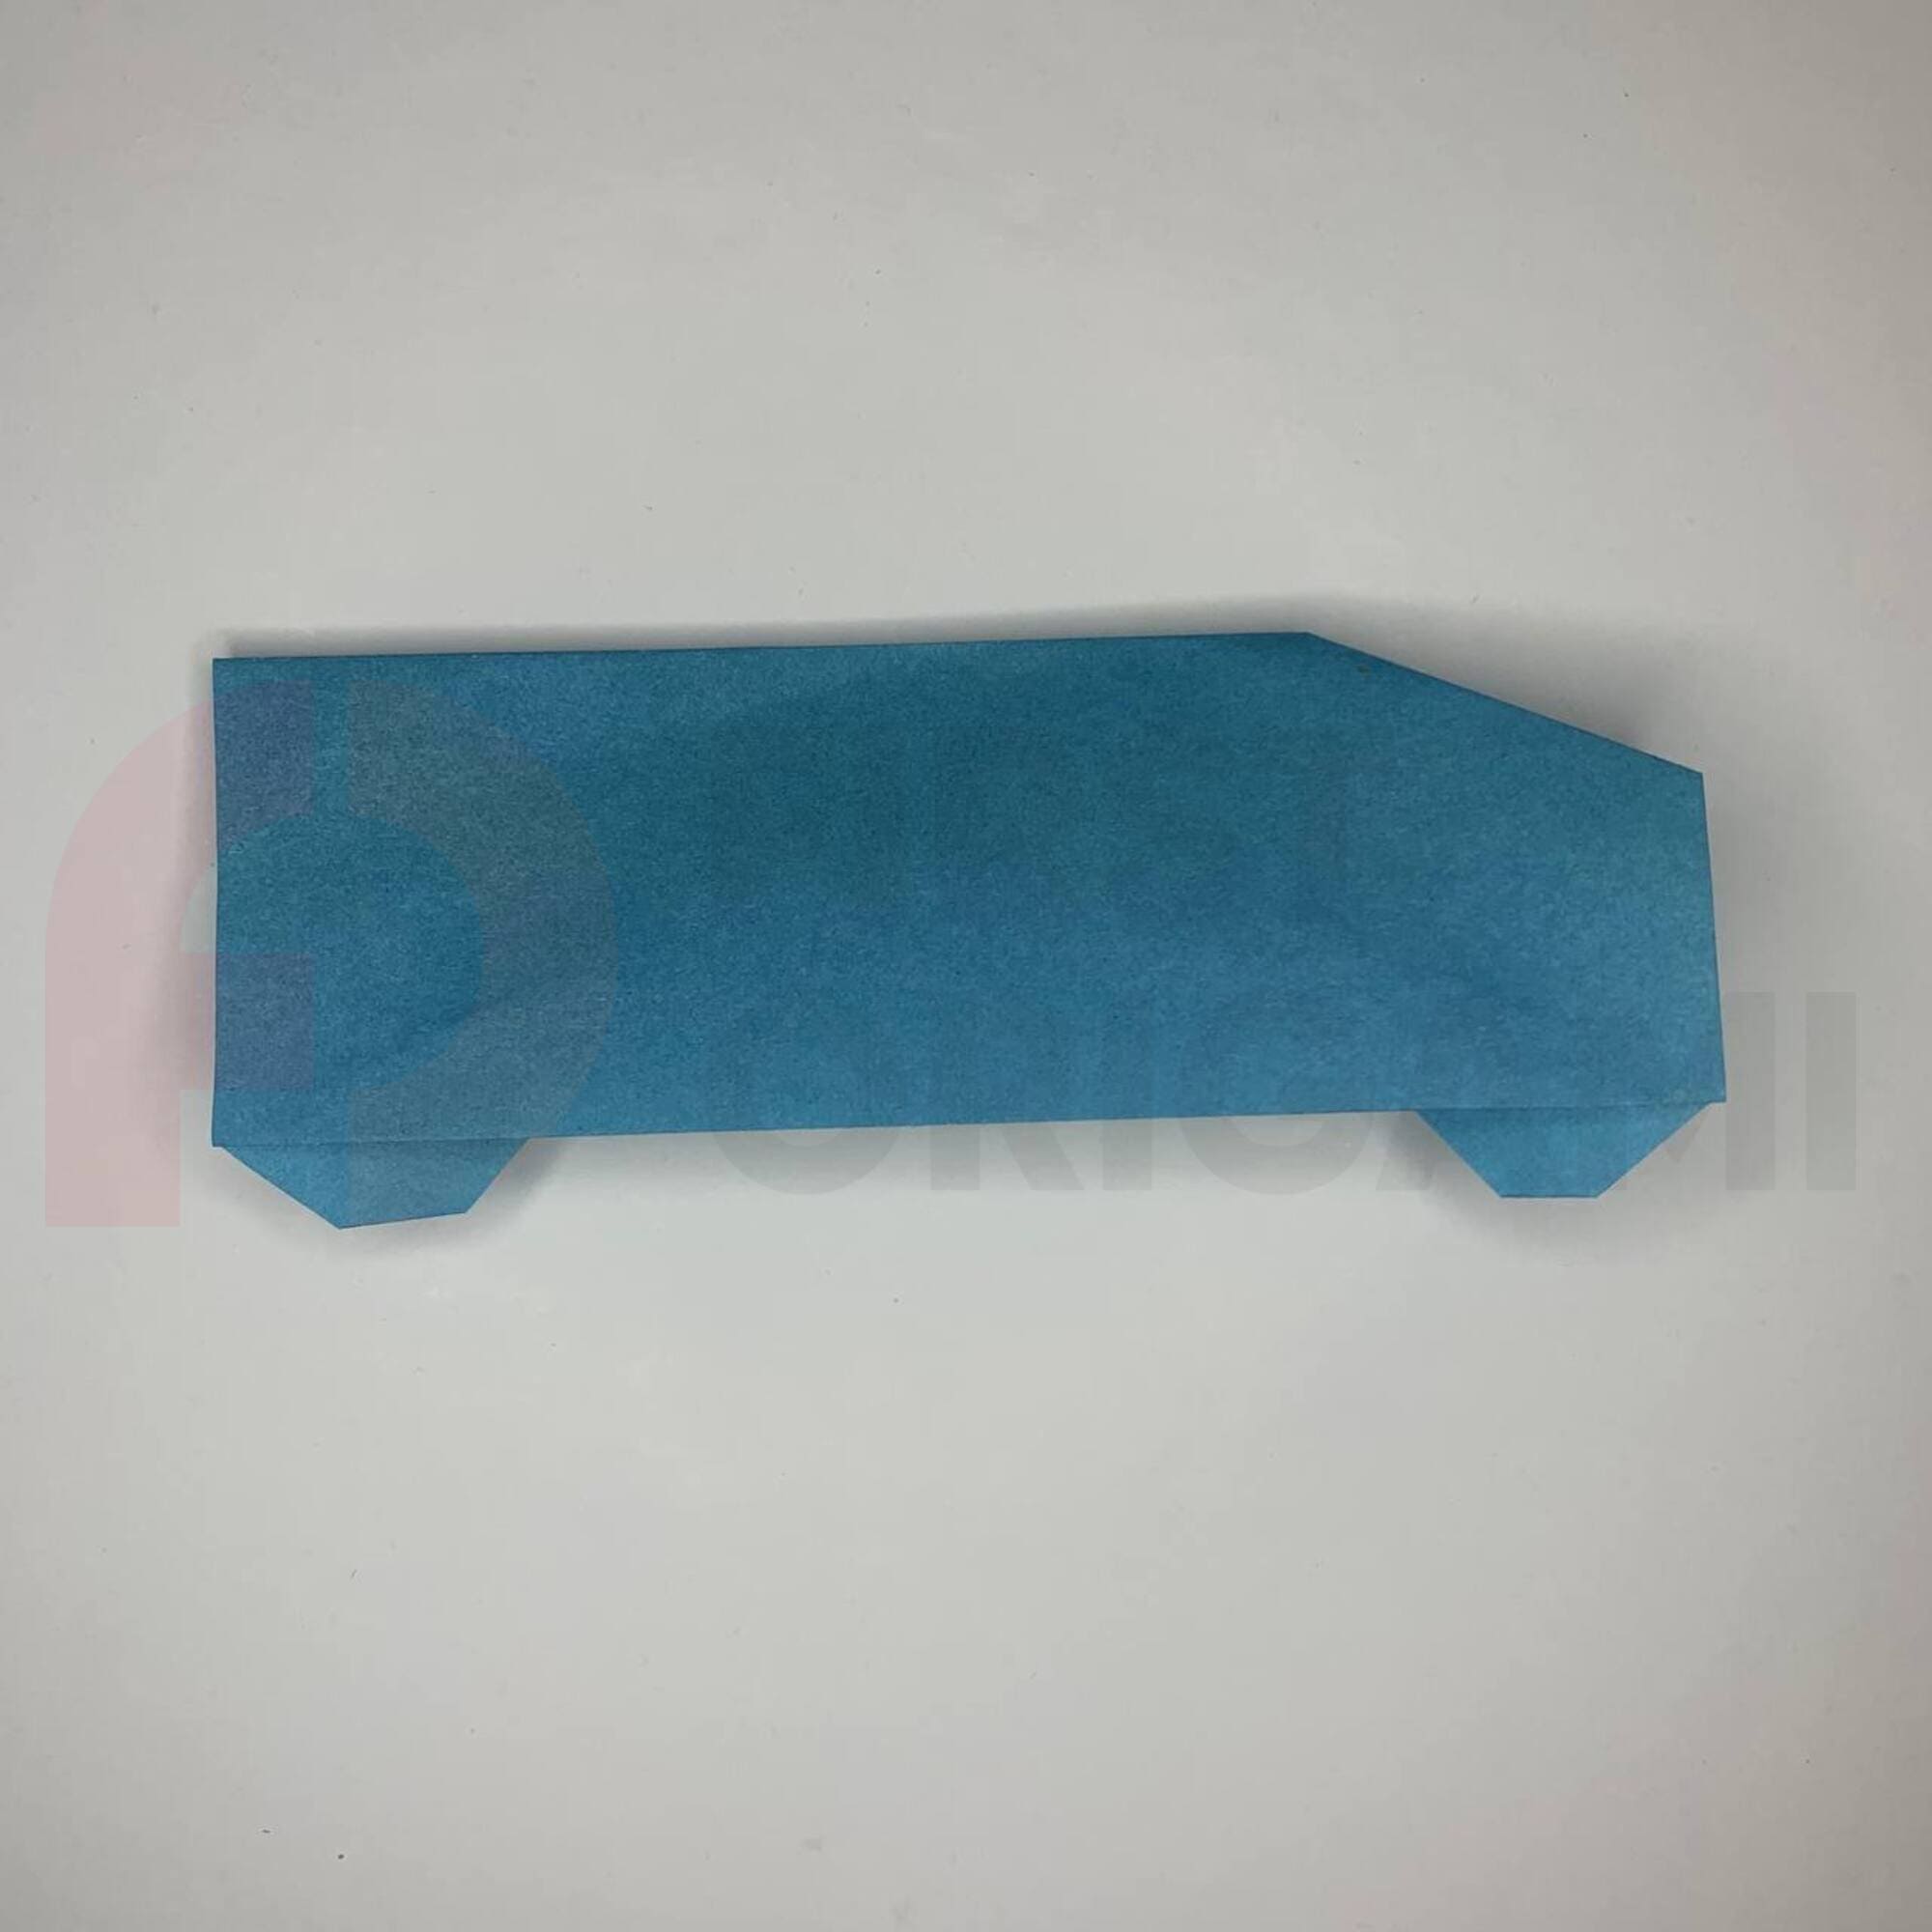
Now make the inner folds to form the front windshield and rear window of the car.
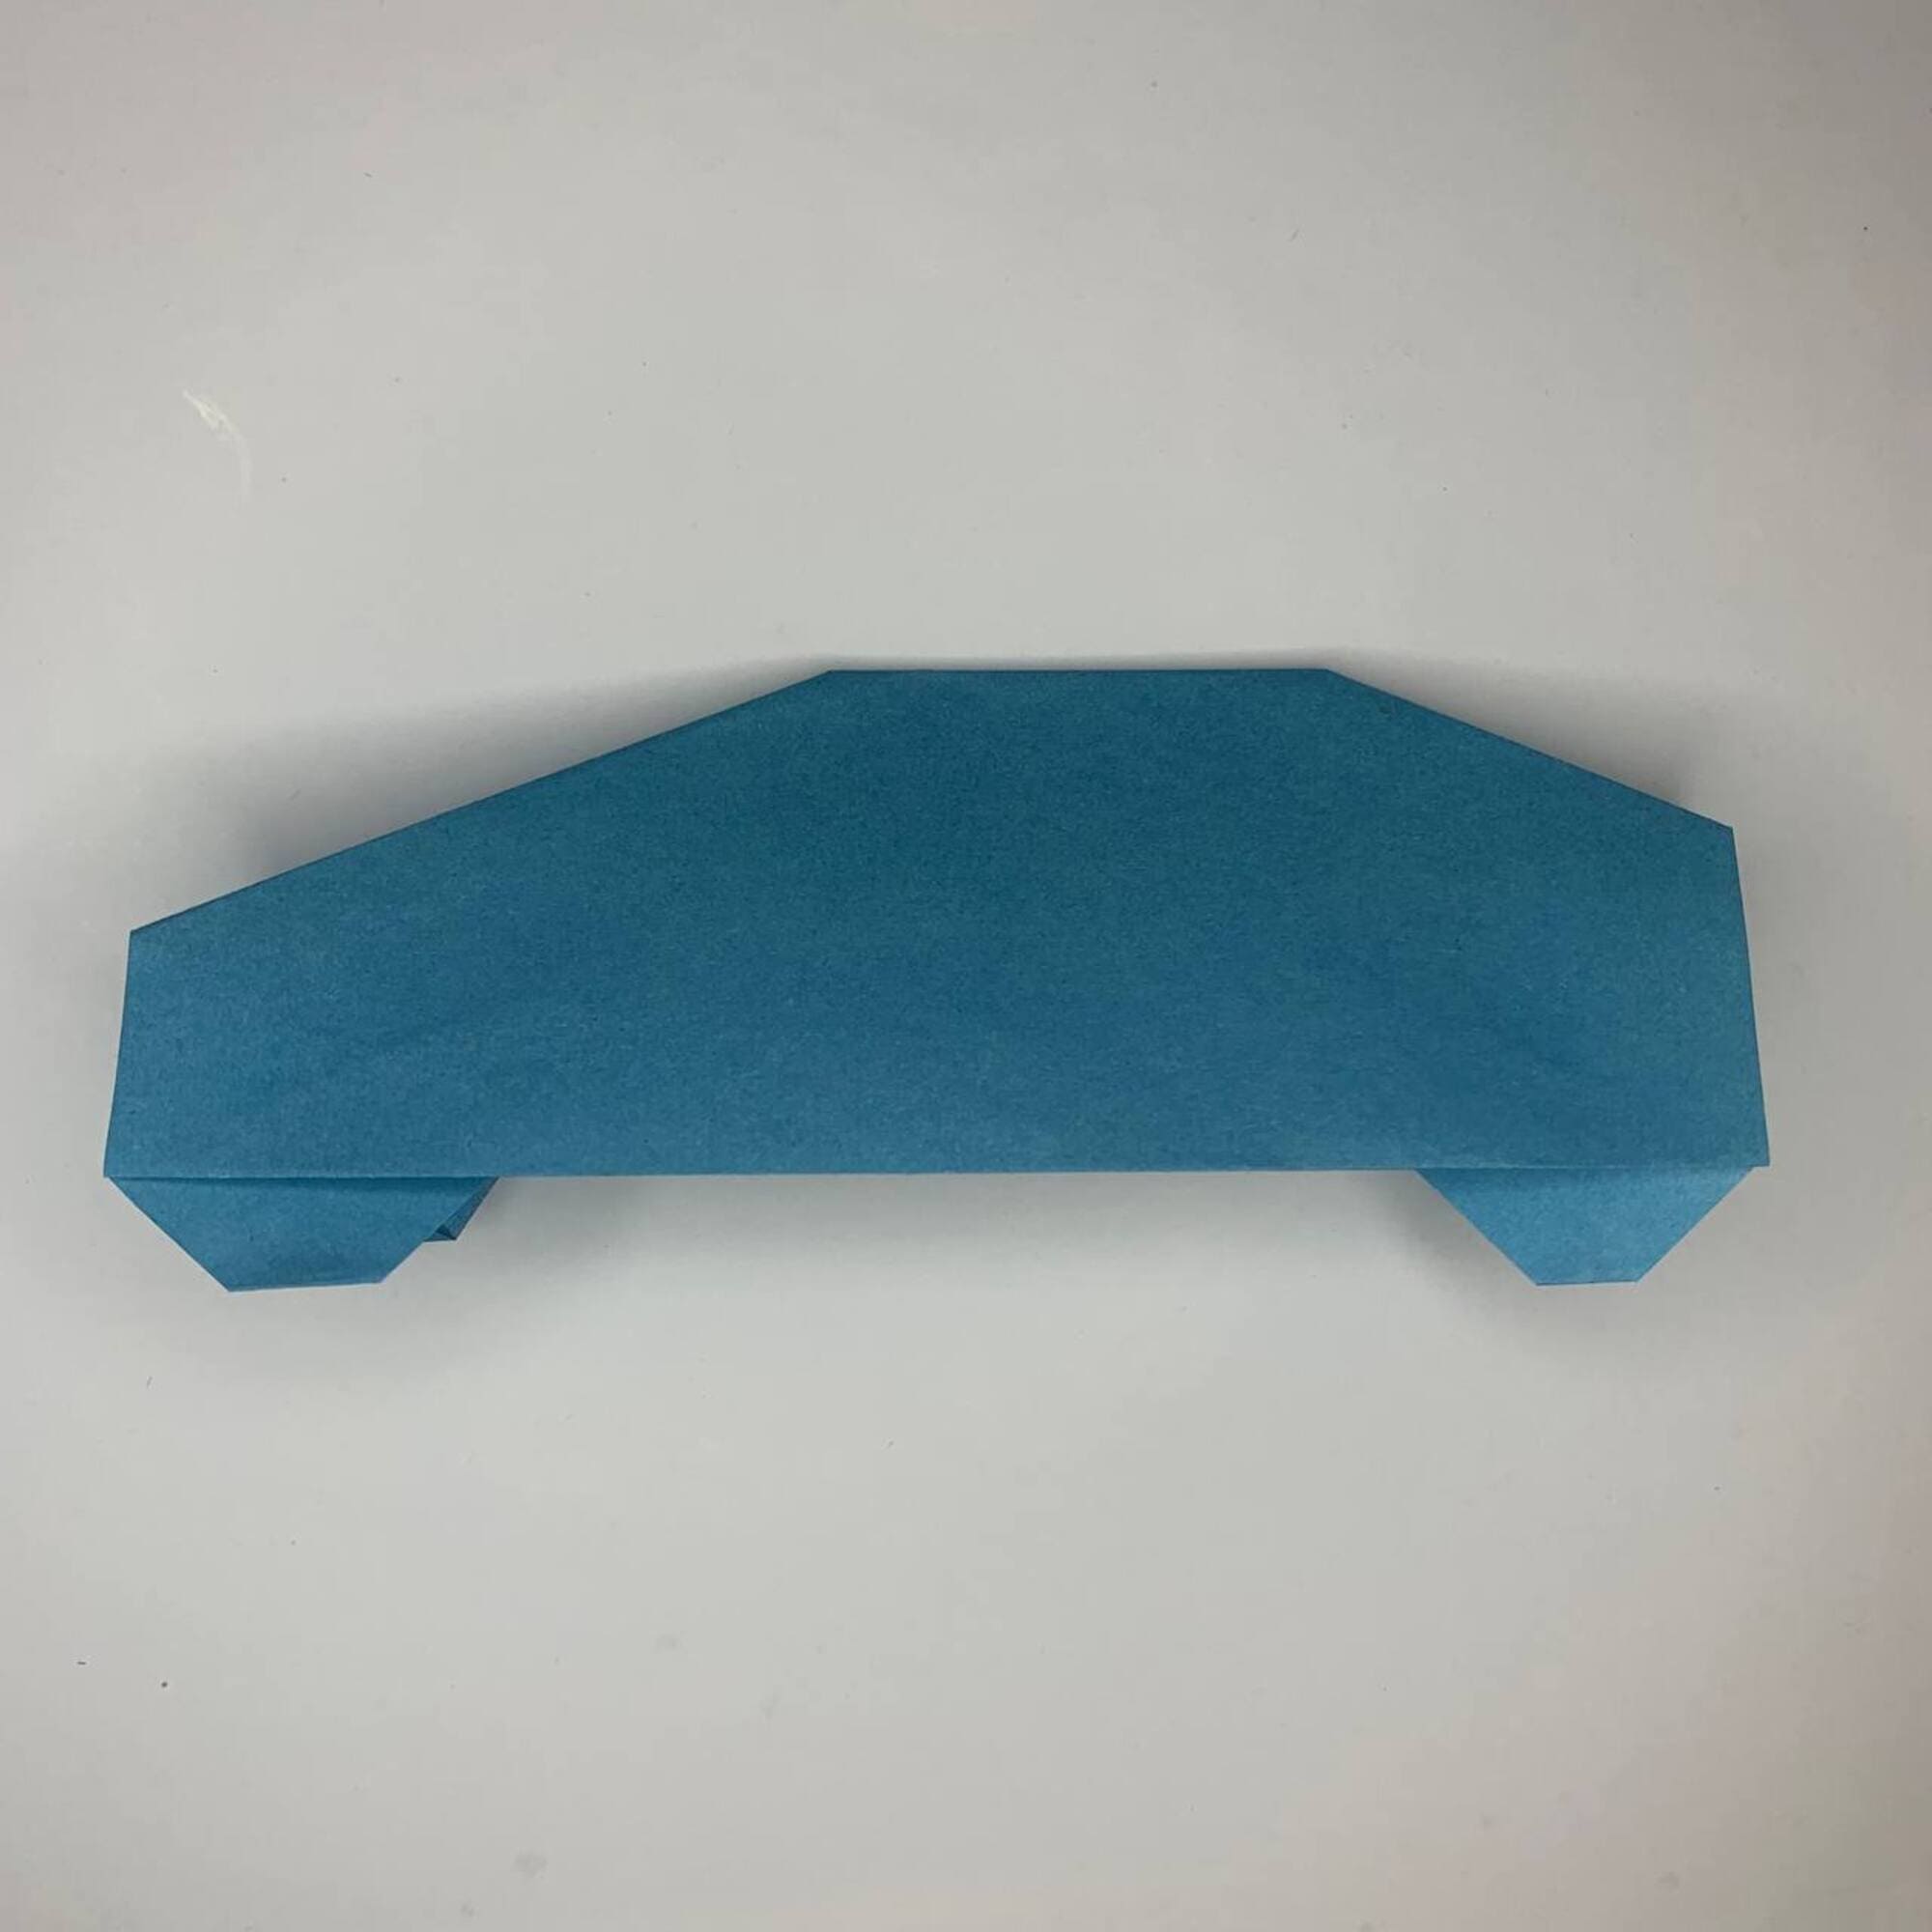
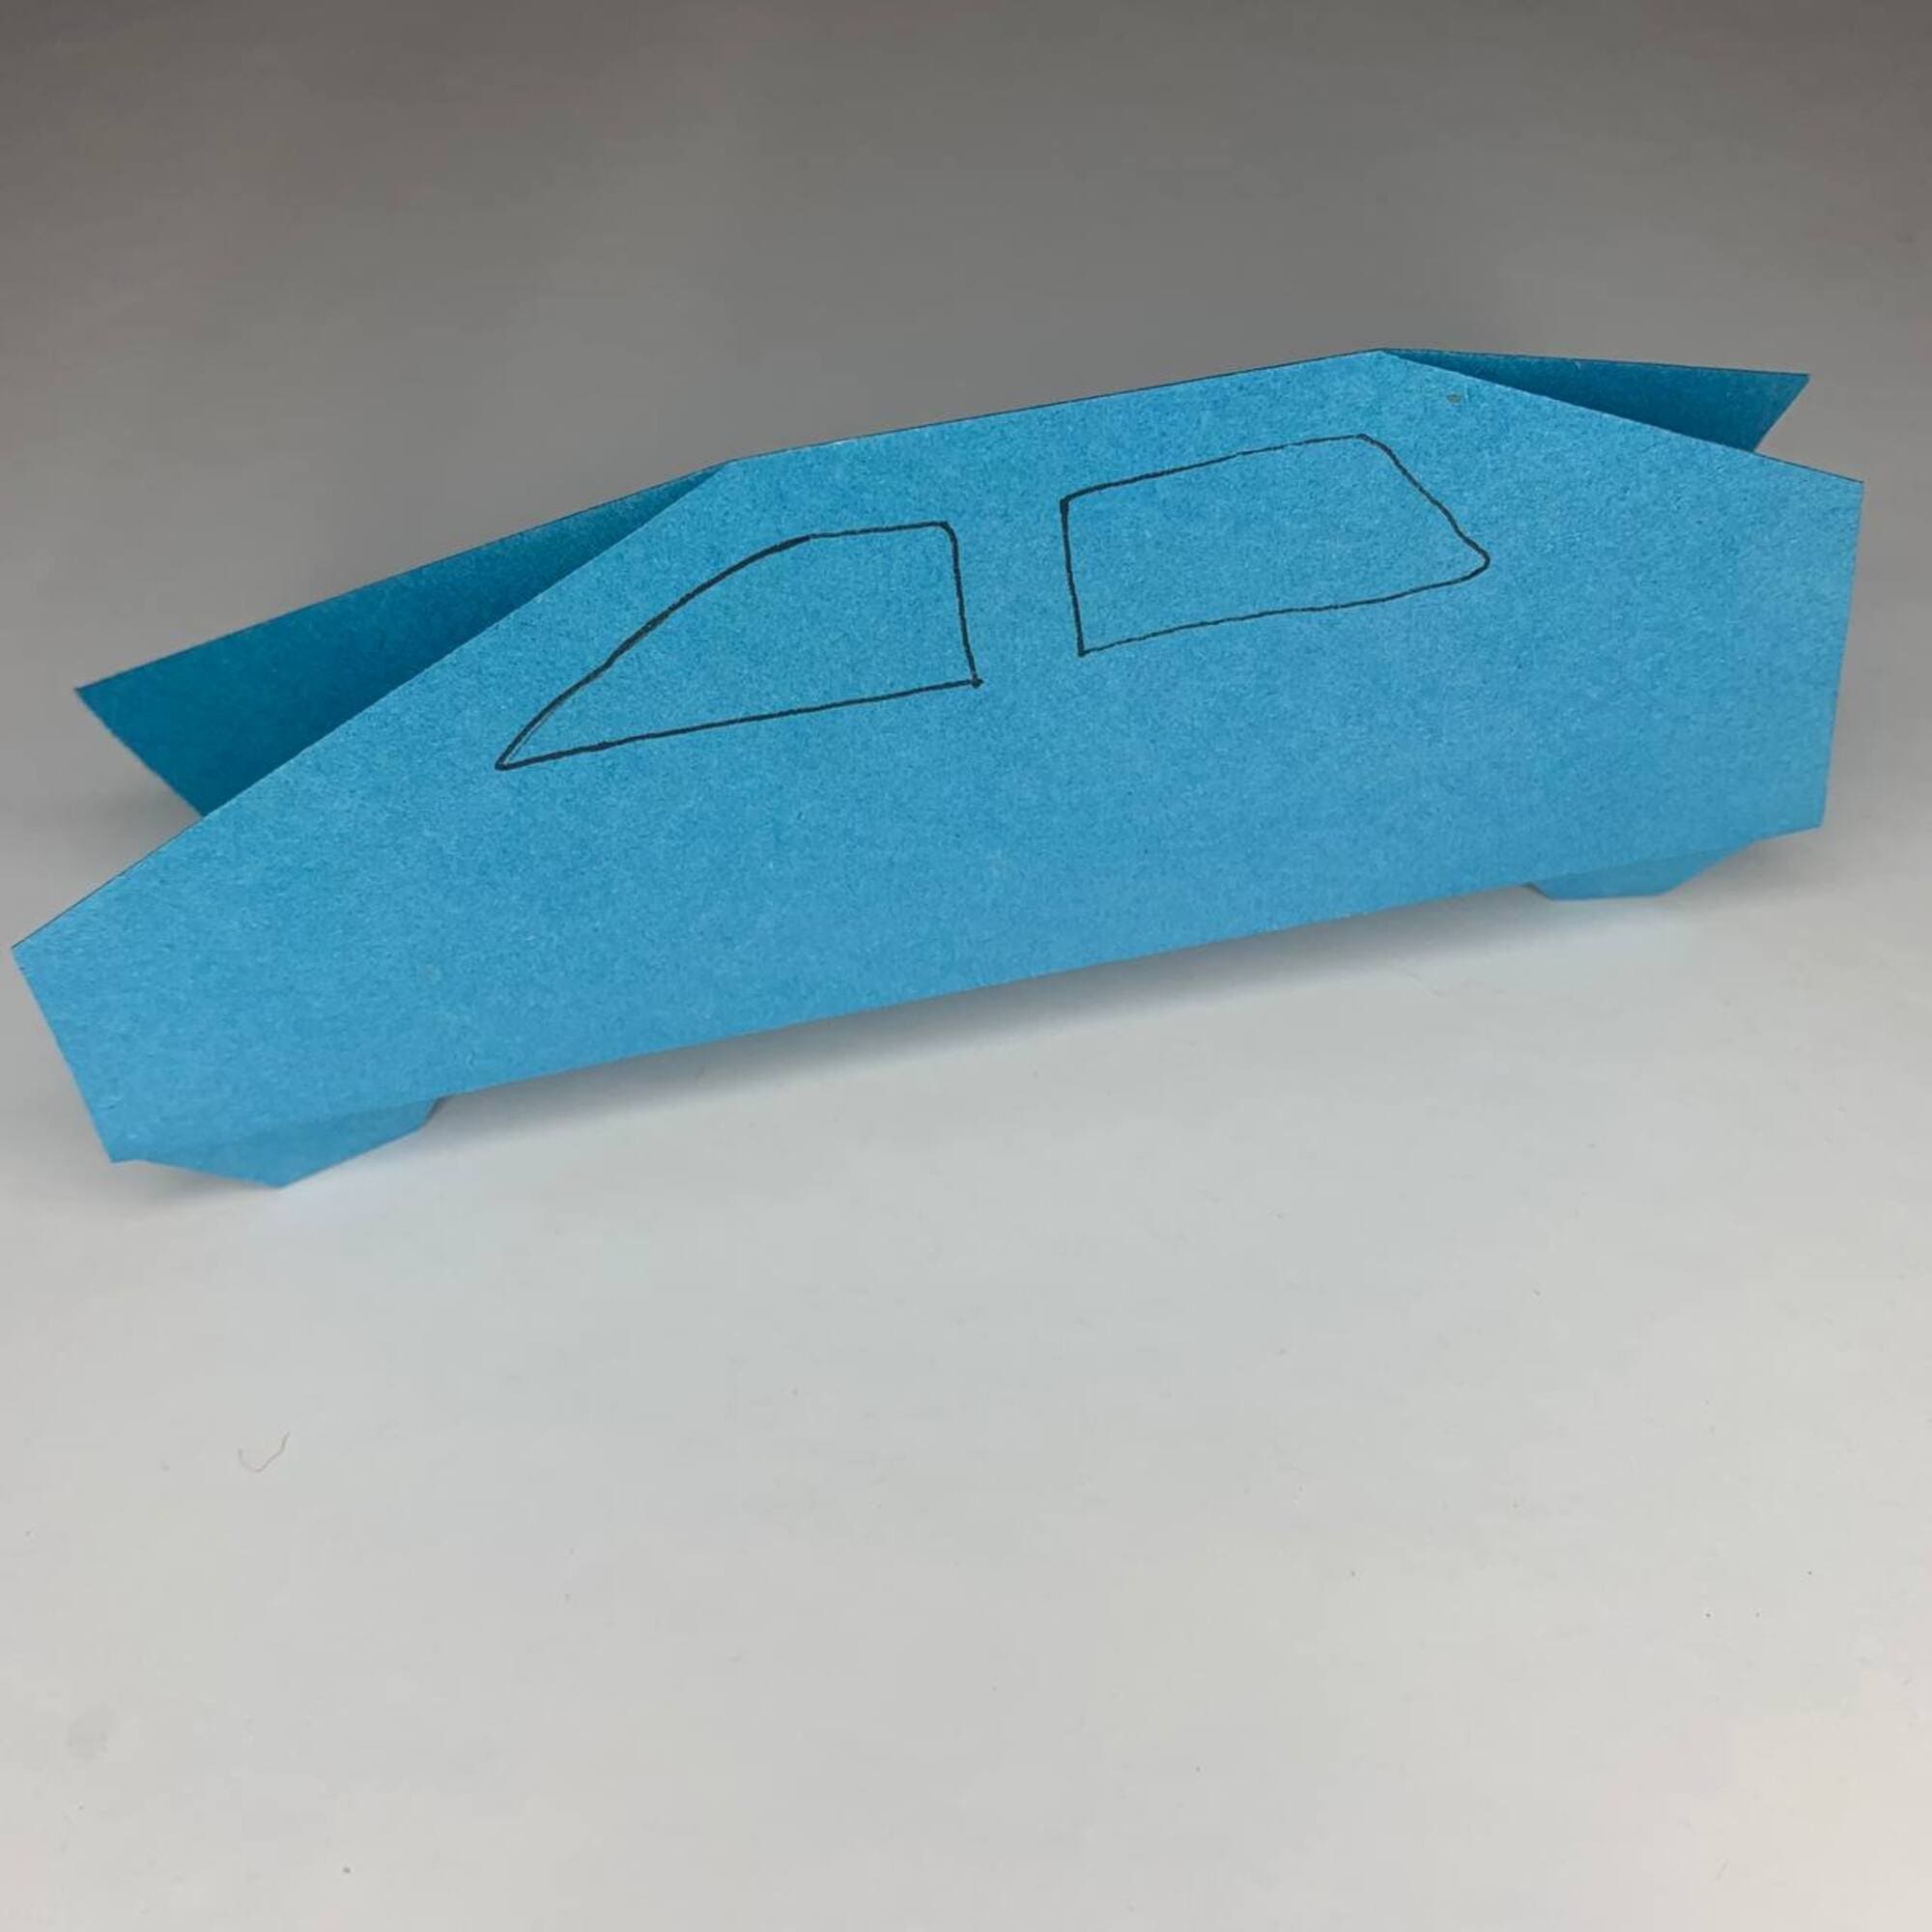
Origami Car is ready!
Draw the side windows as you like and play.


