Origami Cherry Blossom Flower

Surprisingly beautiful cherry blossoms can be created with the technique of origami. Follow the master class according to the proposed scheme. Each step is described in detail, and the flower will turn great to all who try their hand at origami. To make this handicraft, it is better to take paper of the proper color — choose shades of pink and white. Decorate a tree branch with such flowers, and a marvelous sakura will bloom in your house! Step-by-step instructions, with which everything will turn out easily and simply are below.
Prepare a sheet of paper square shaped 15 by 15 cm. Let’s make an origami base for the bird.
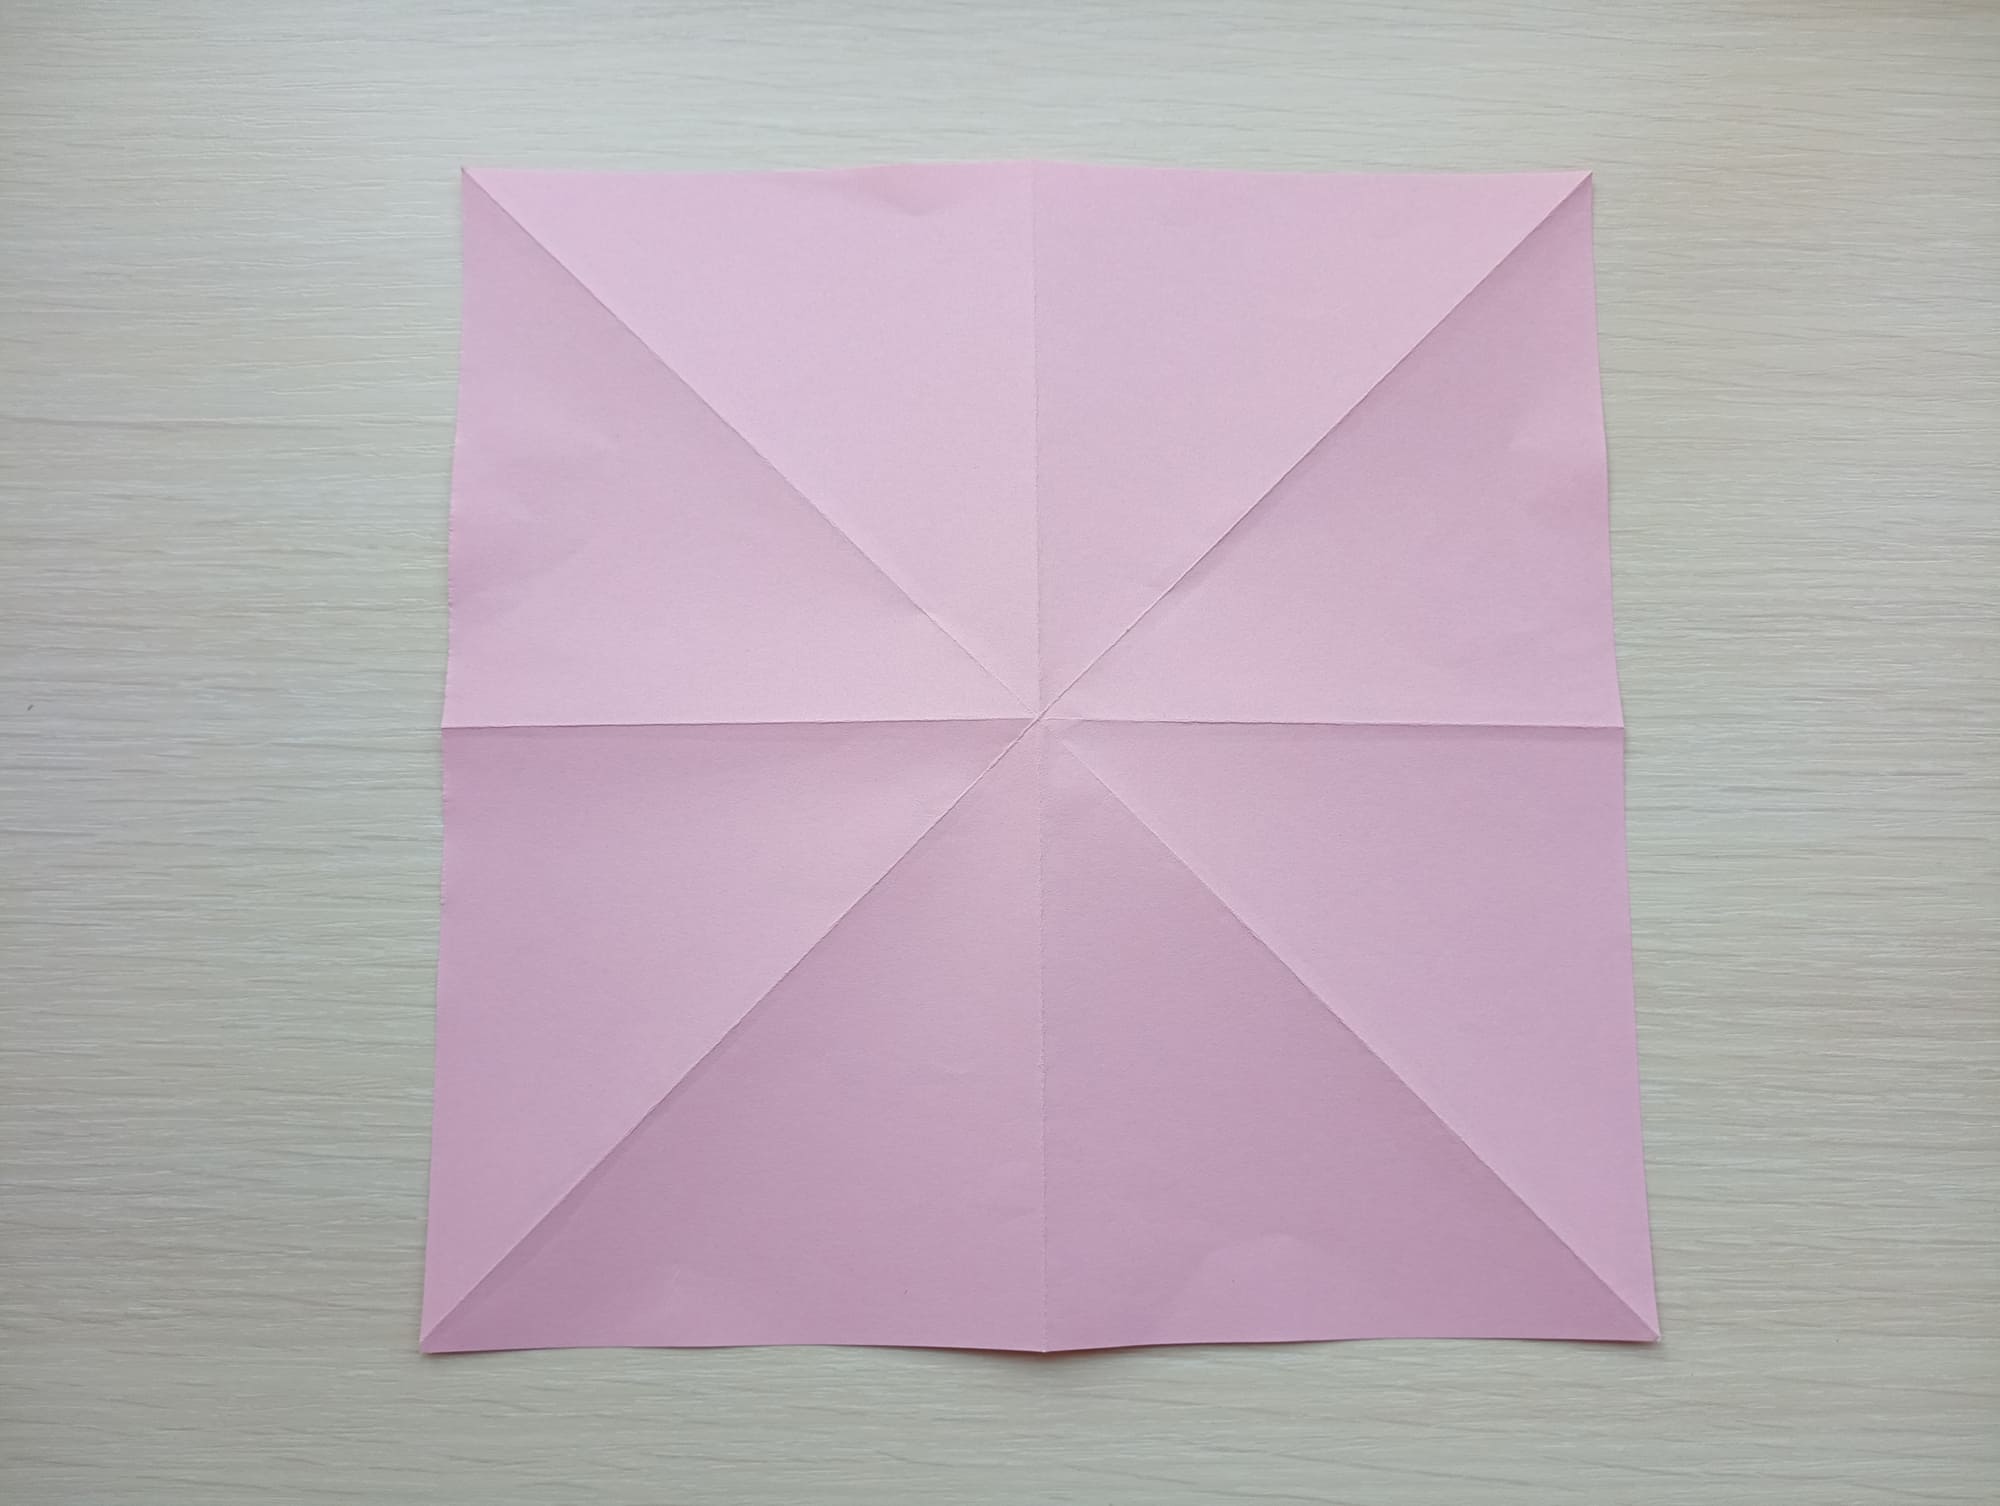
Fold the sheet of paper in all directions – two diagonals, one vertical and one horizontal. Characteristic folds will appear on the paper.
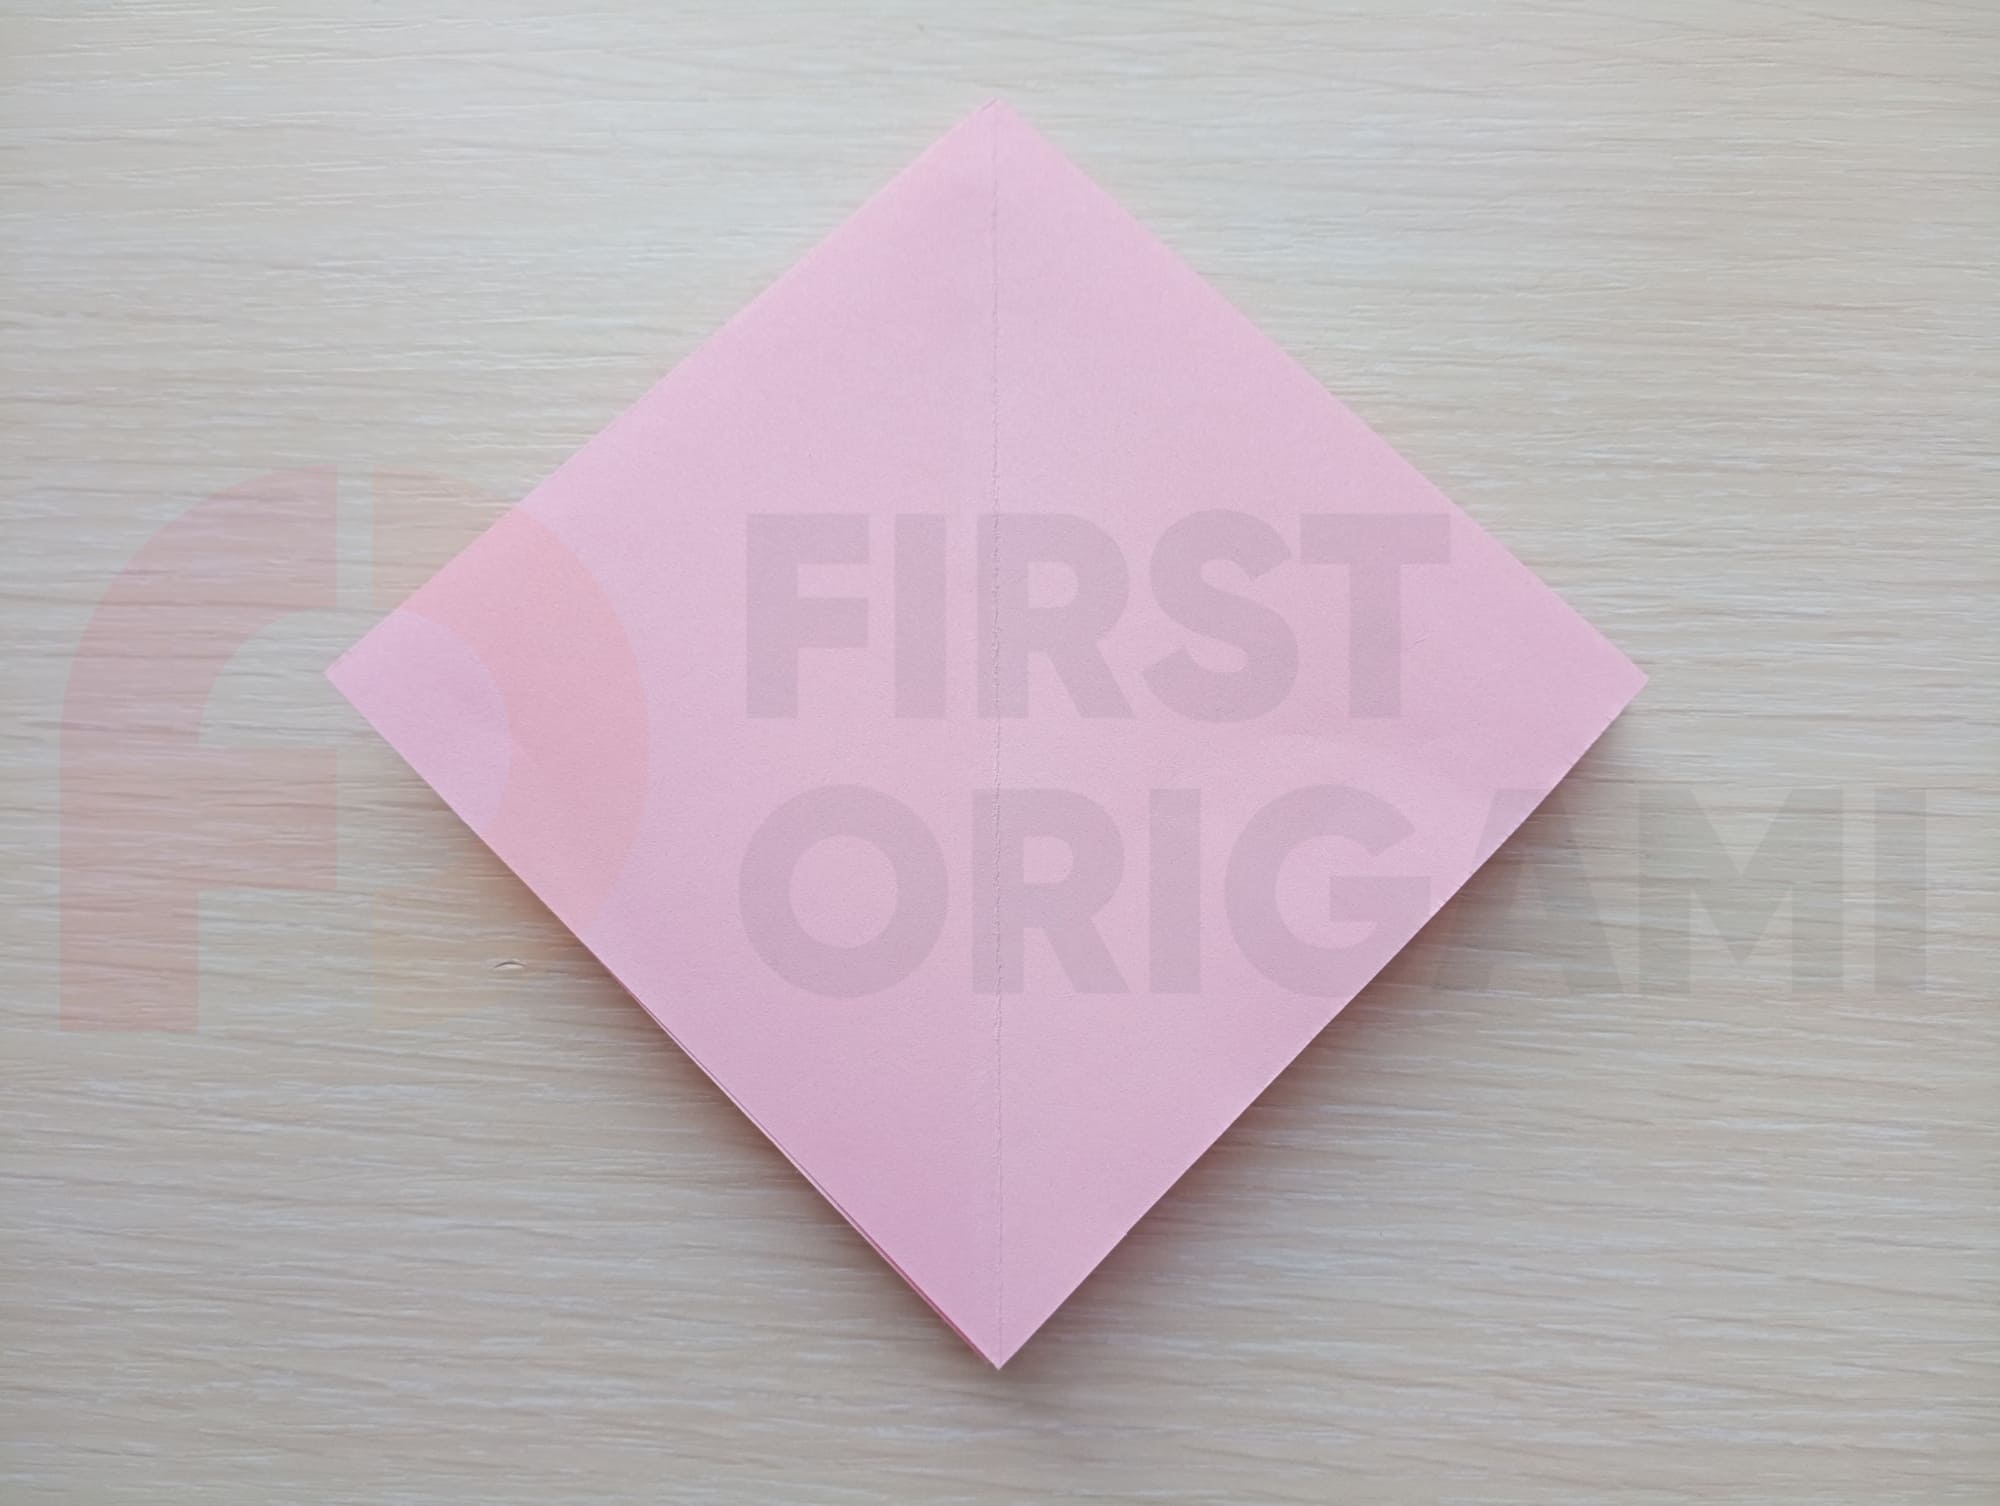
Assemble a square origami base (see photo).
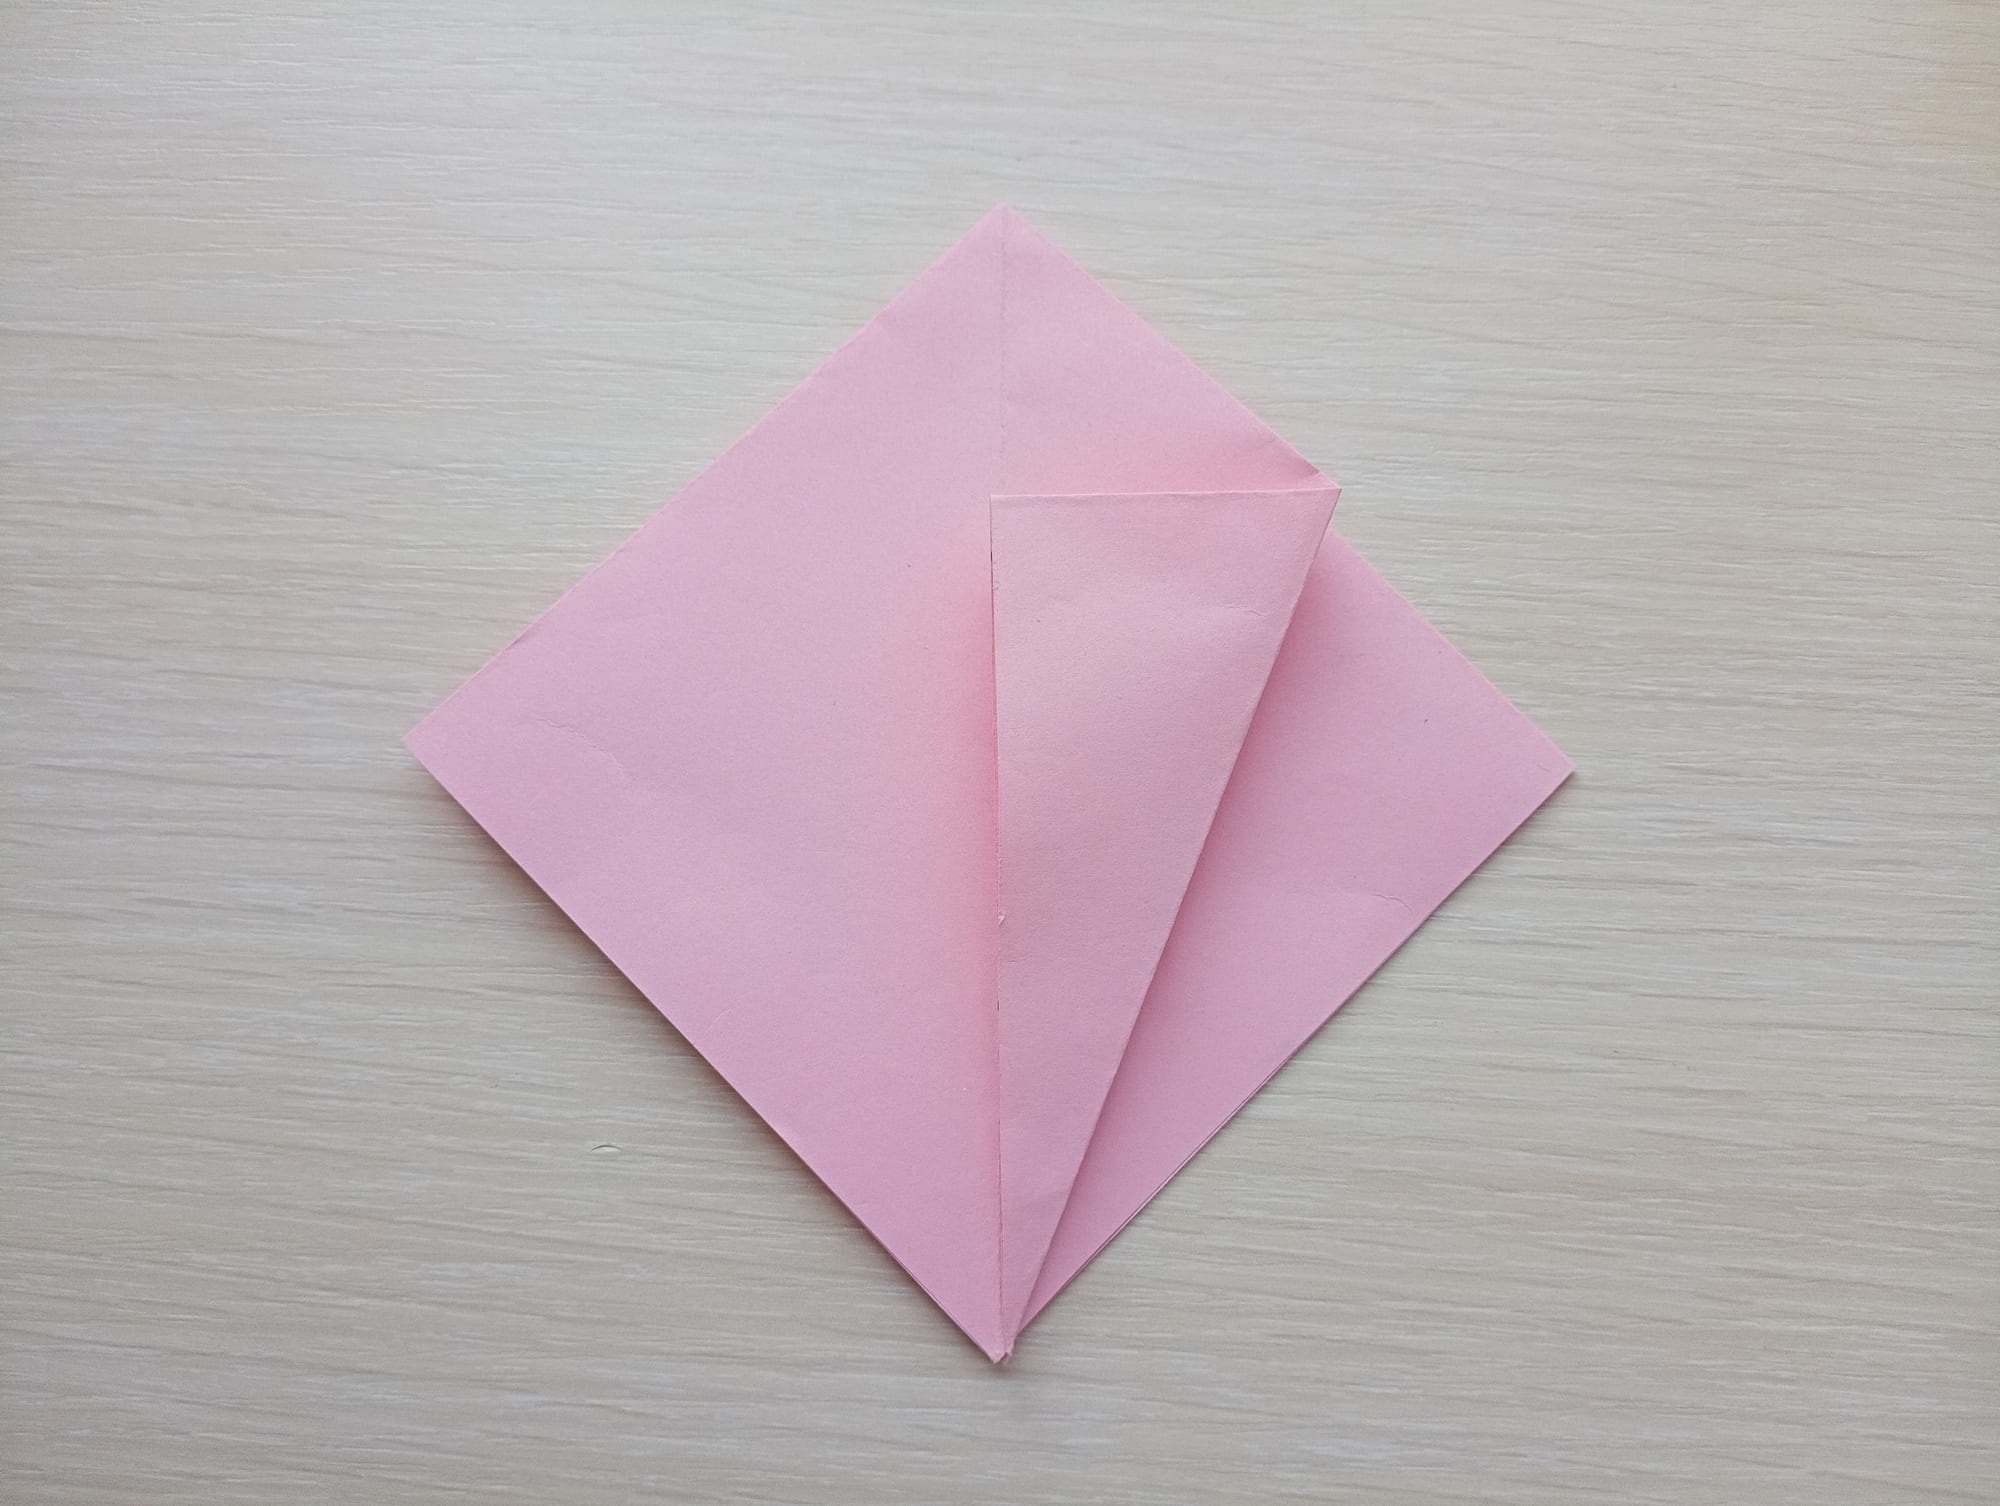
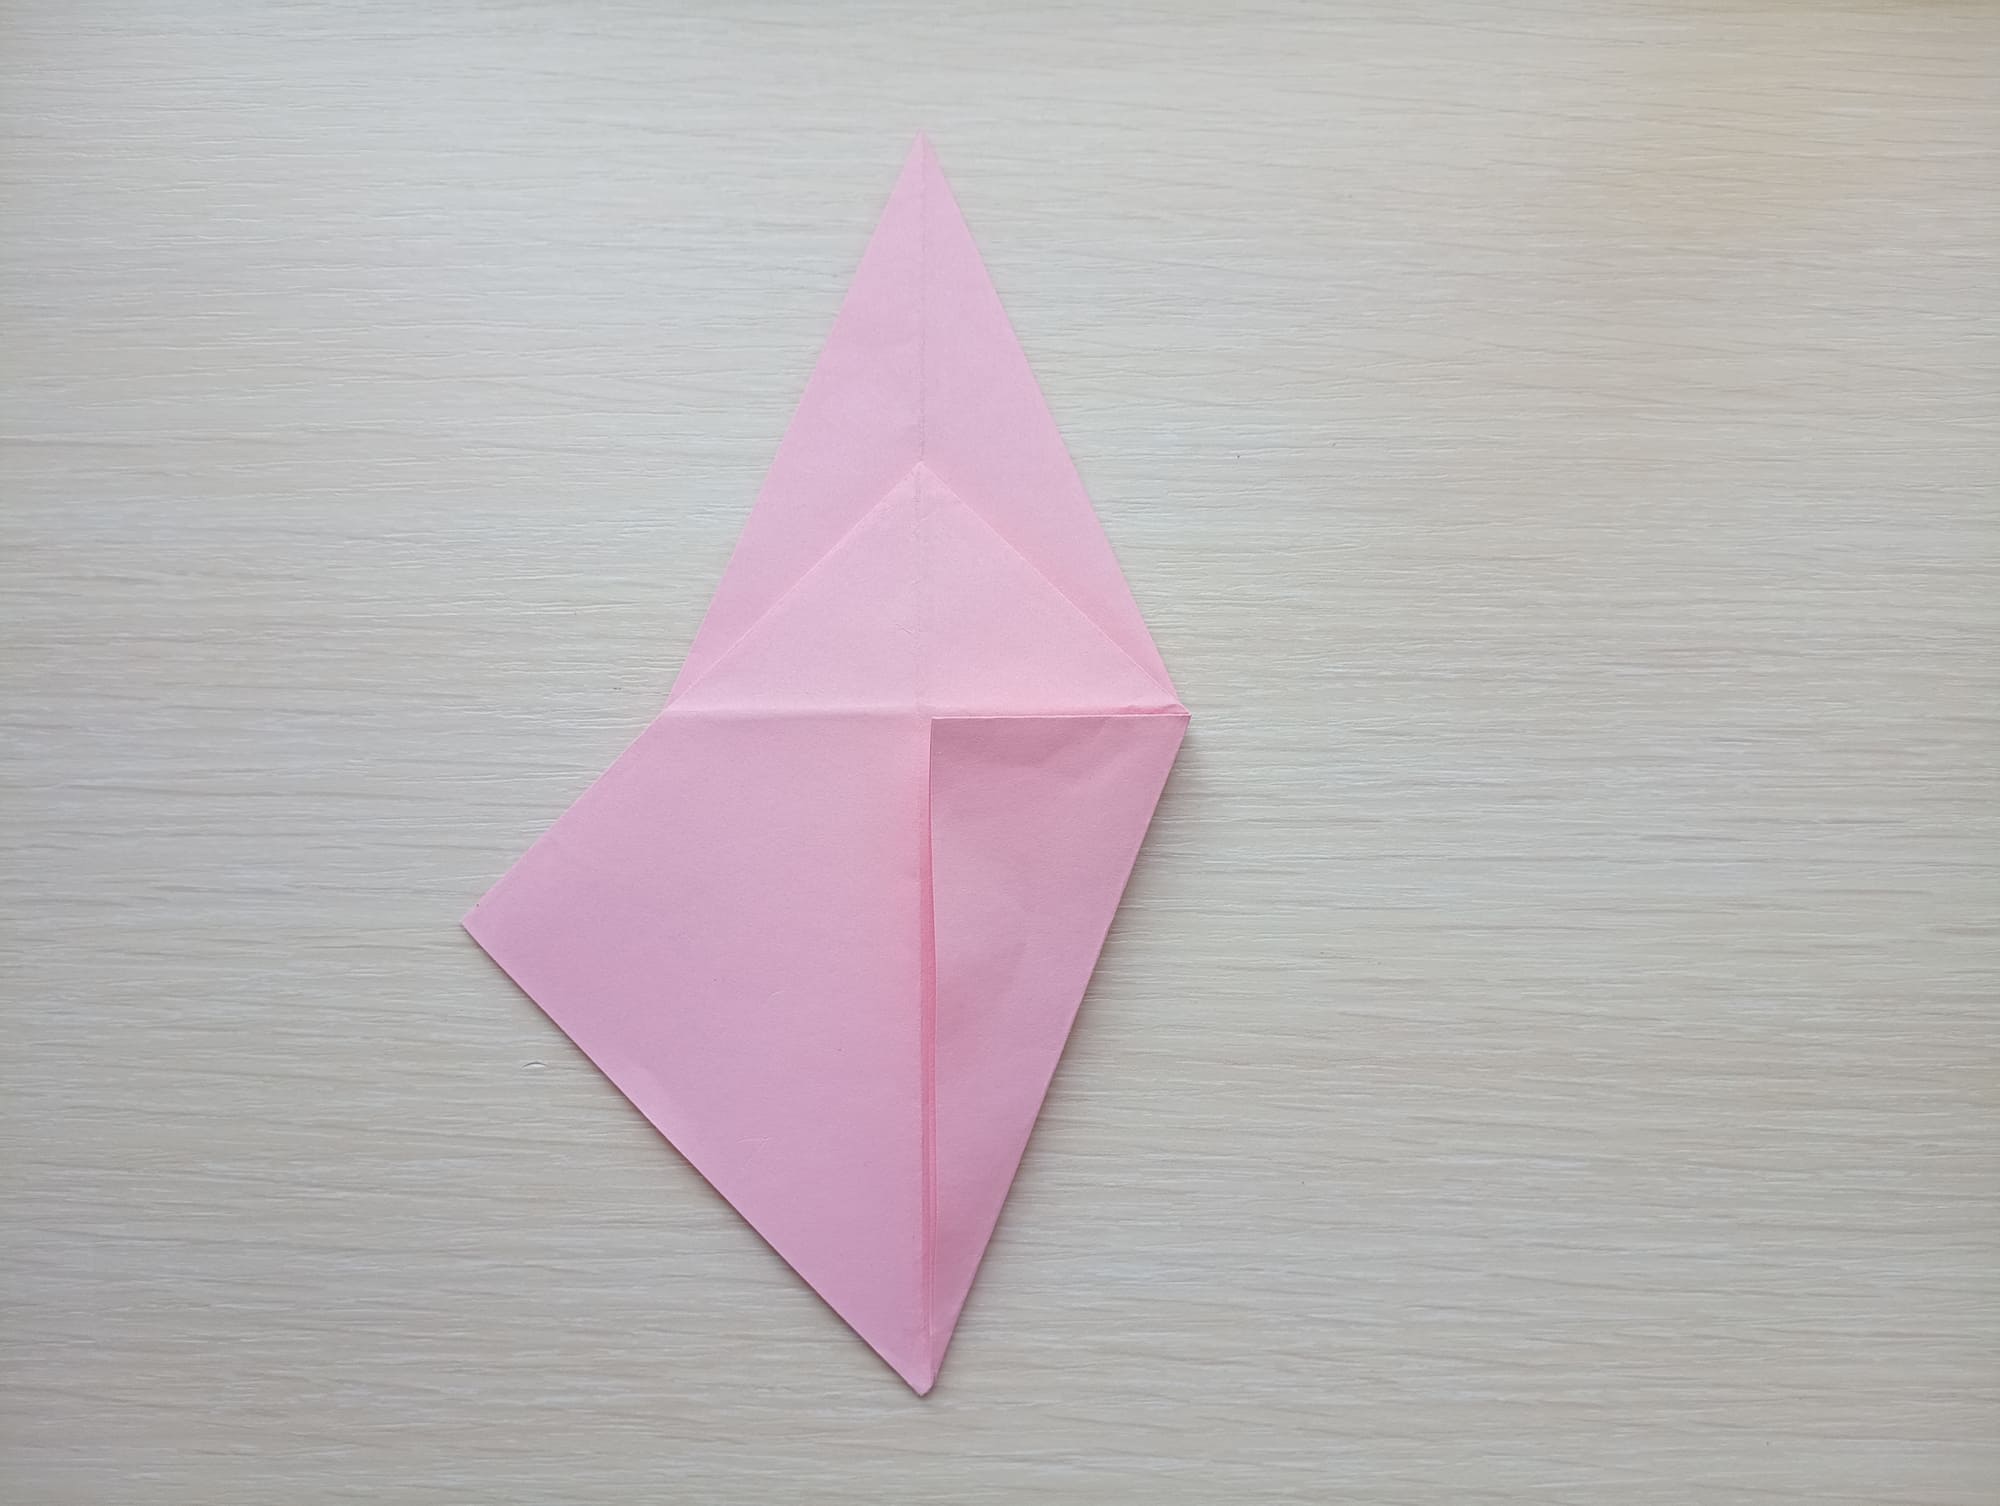
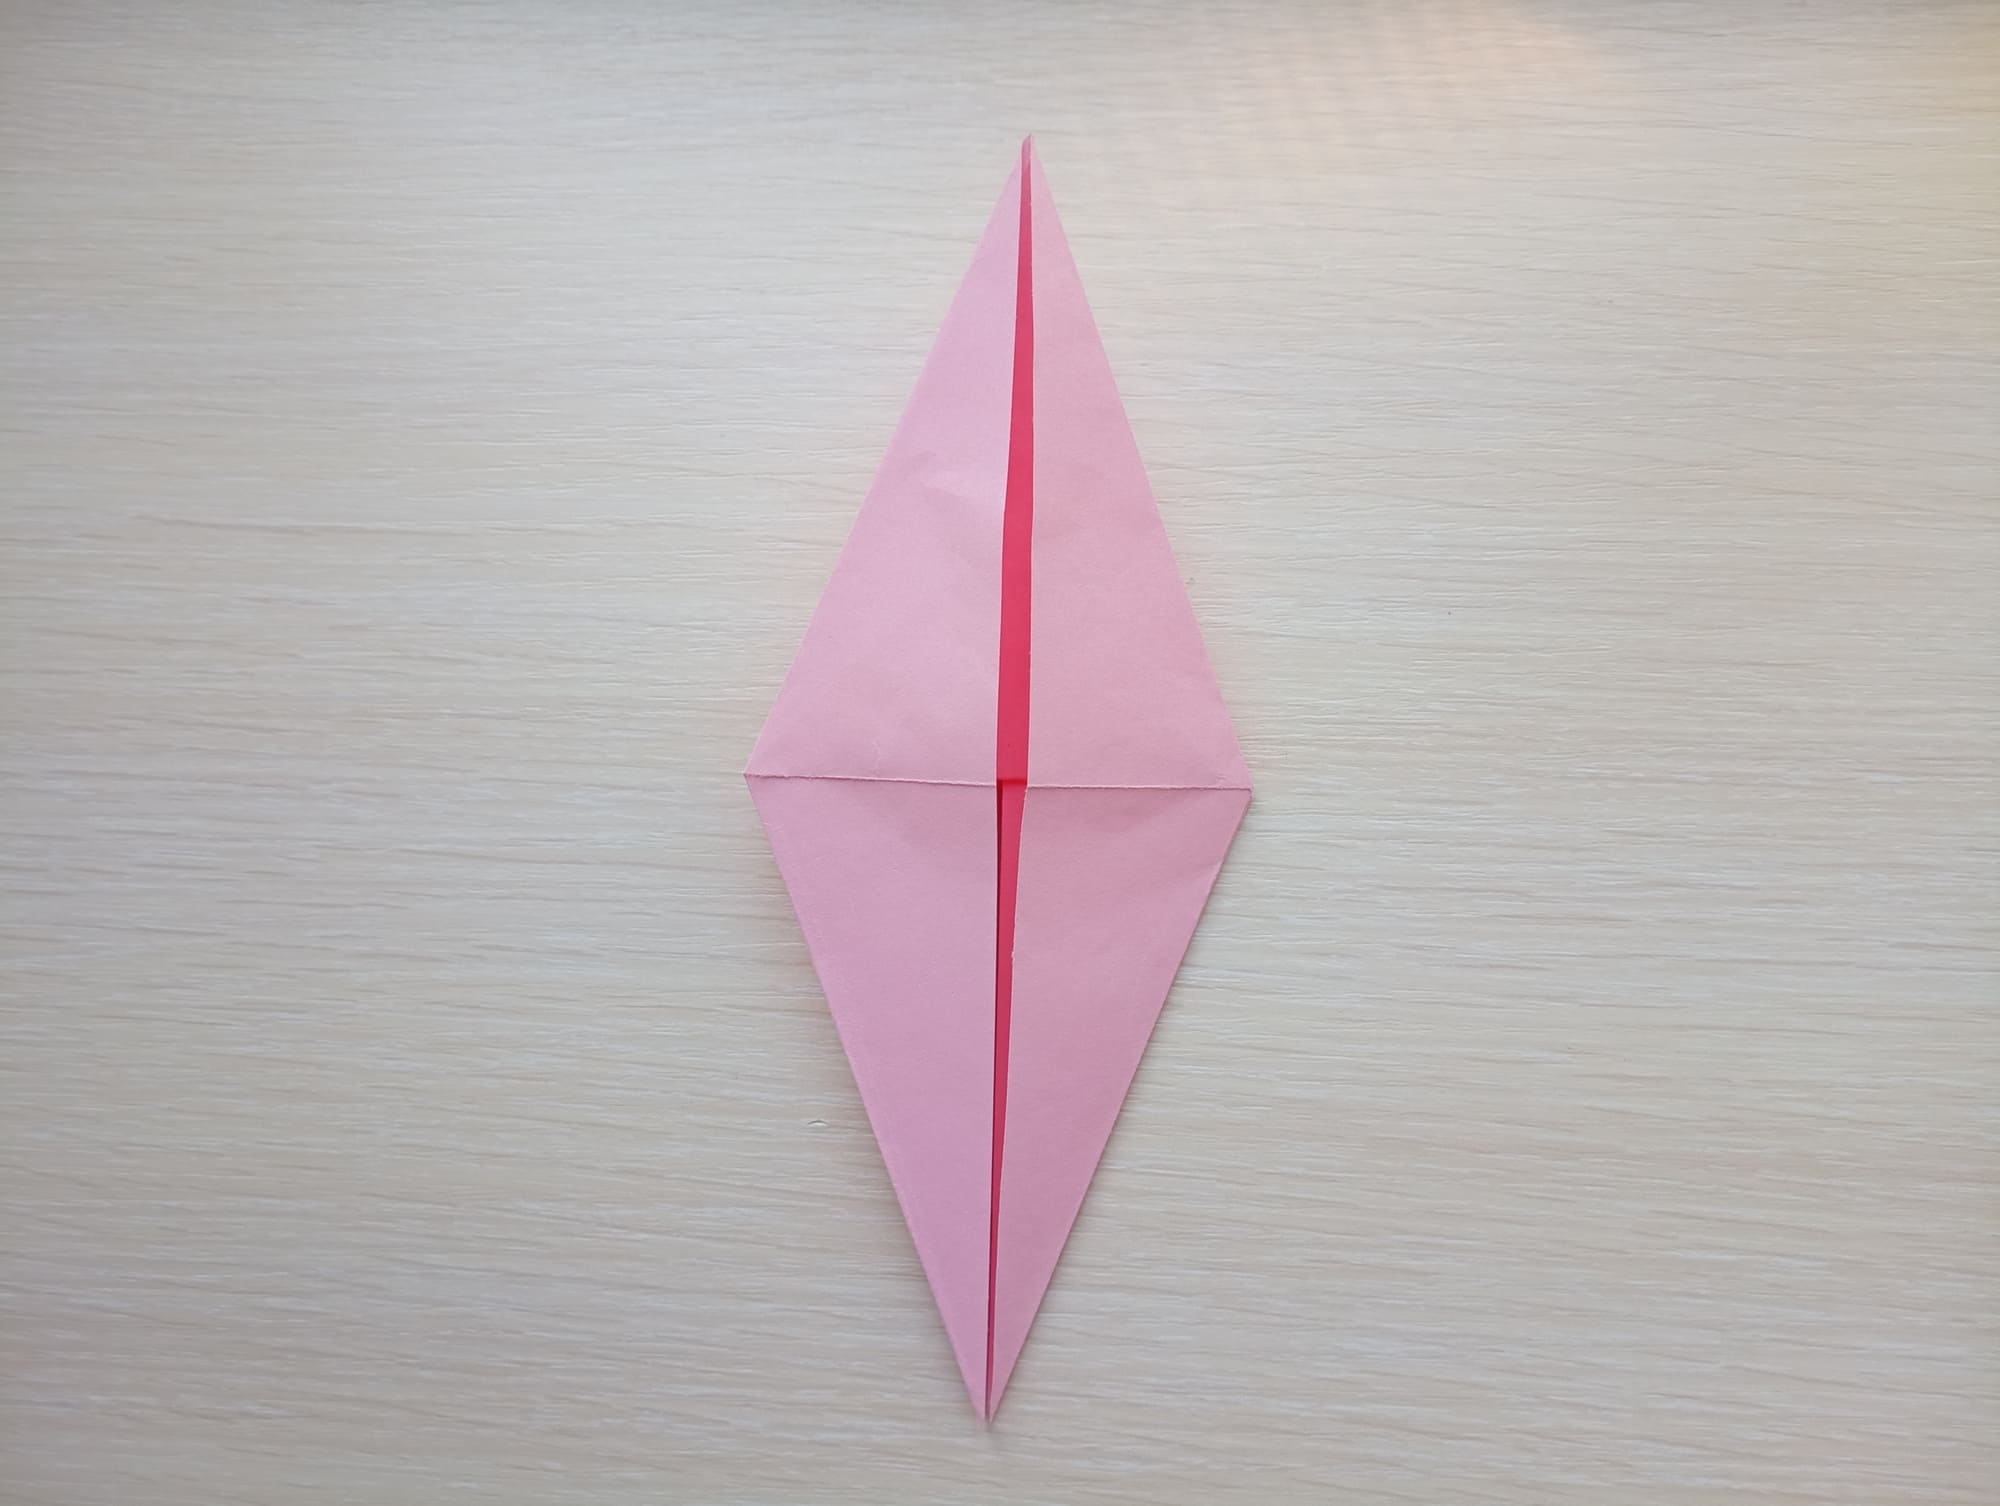
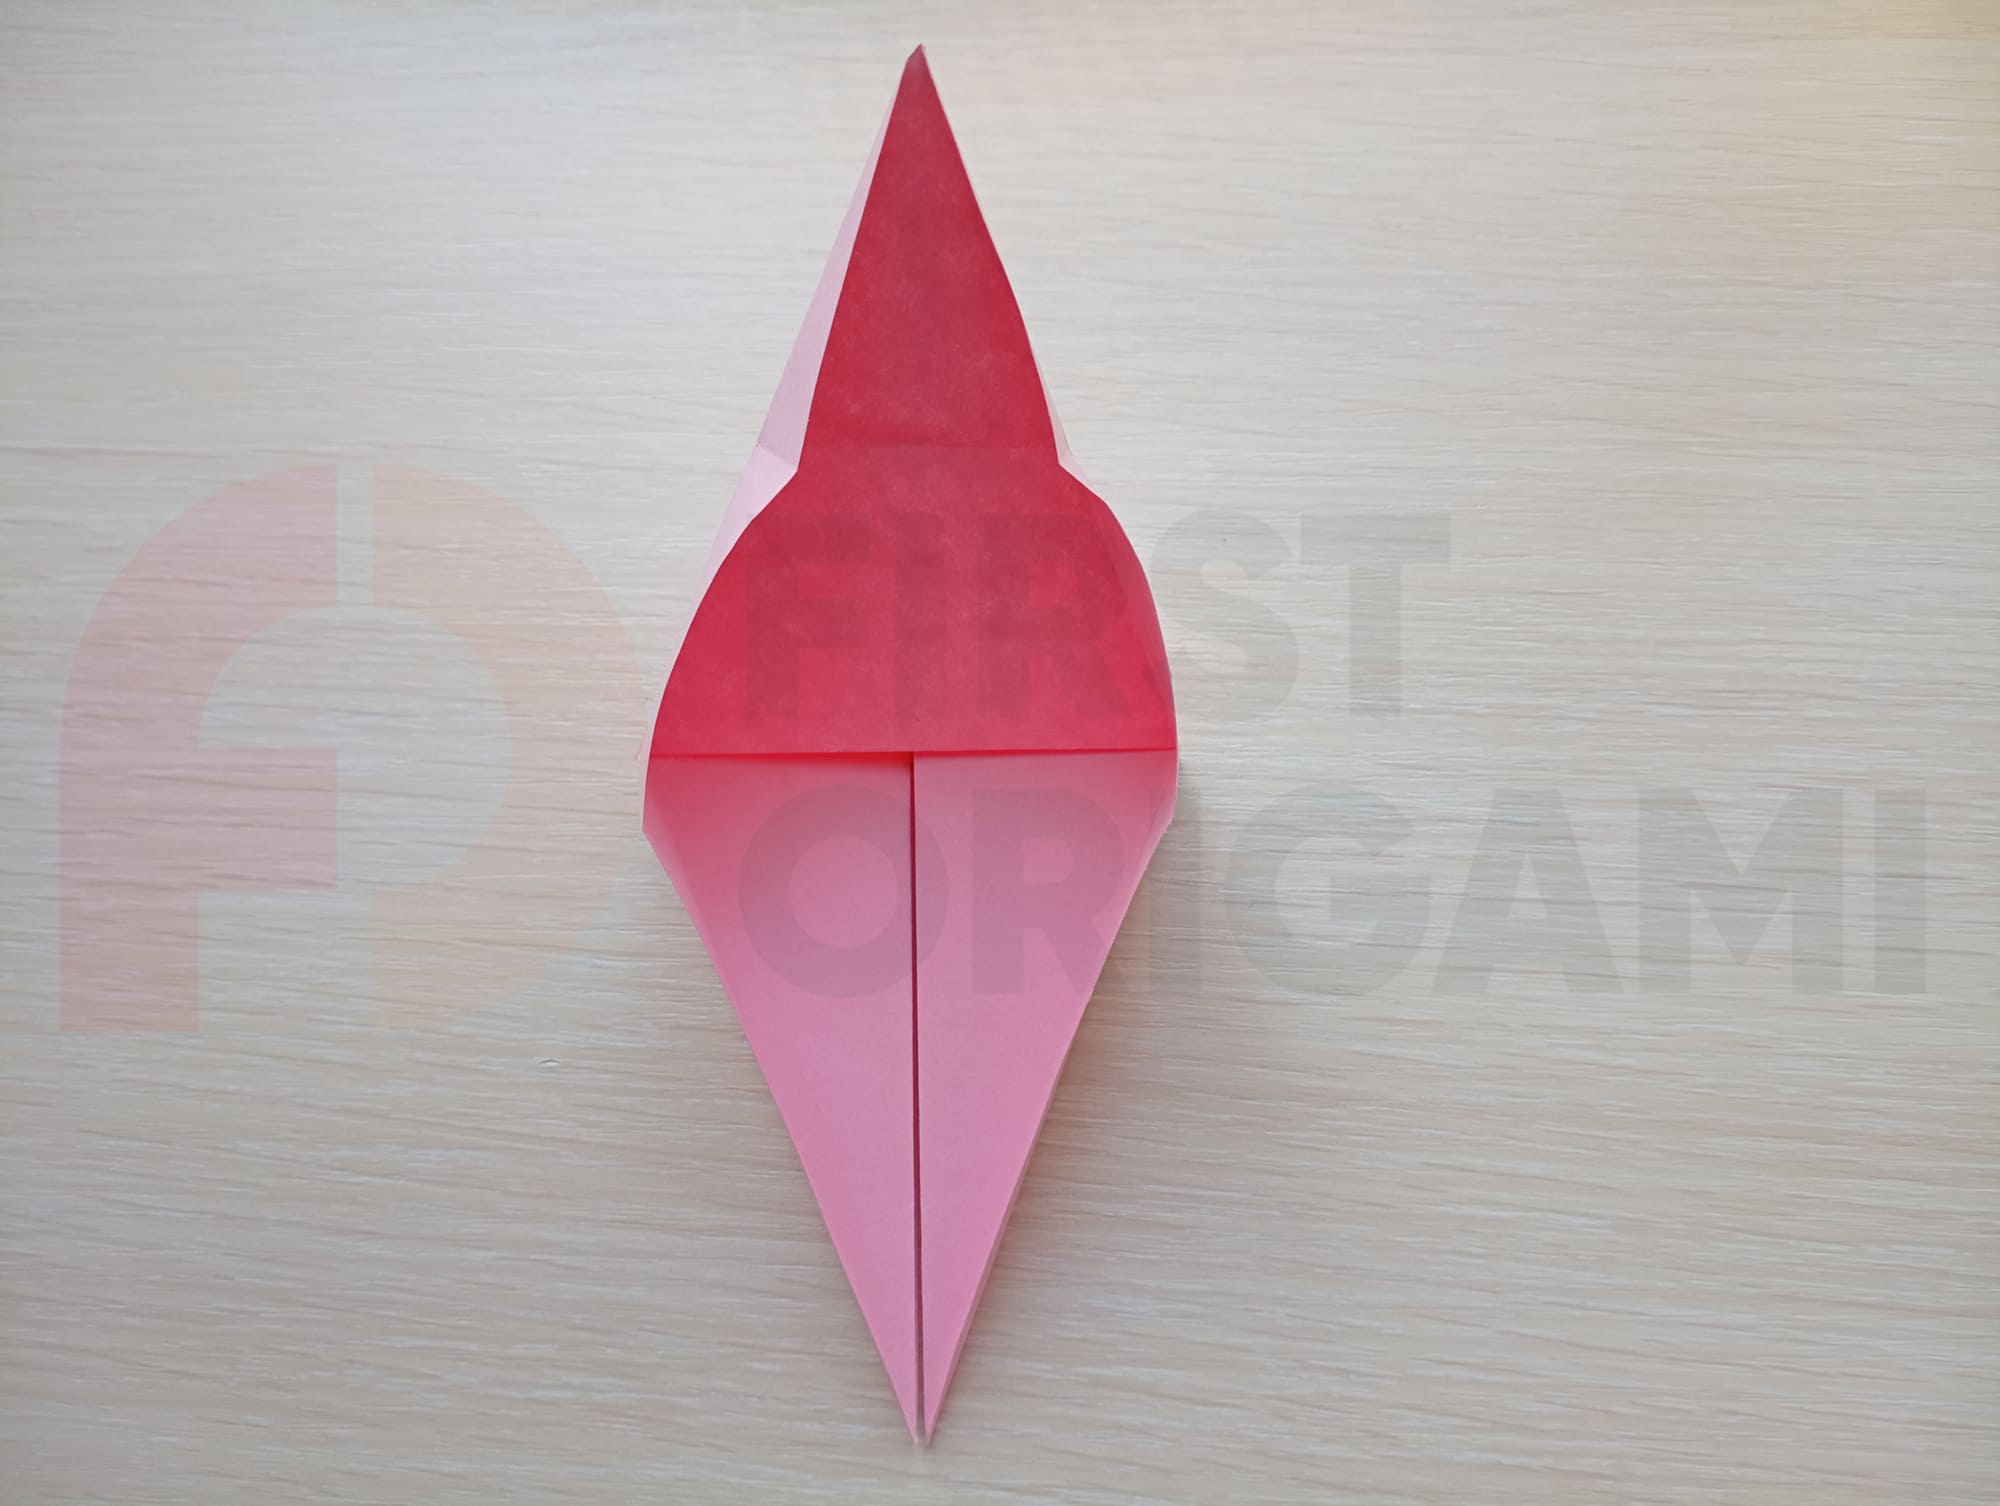
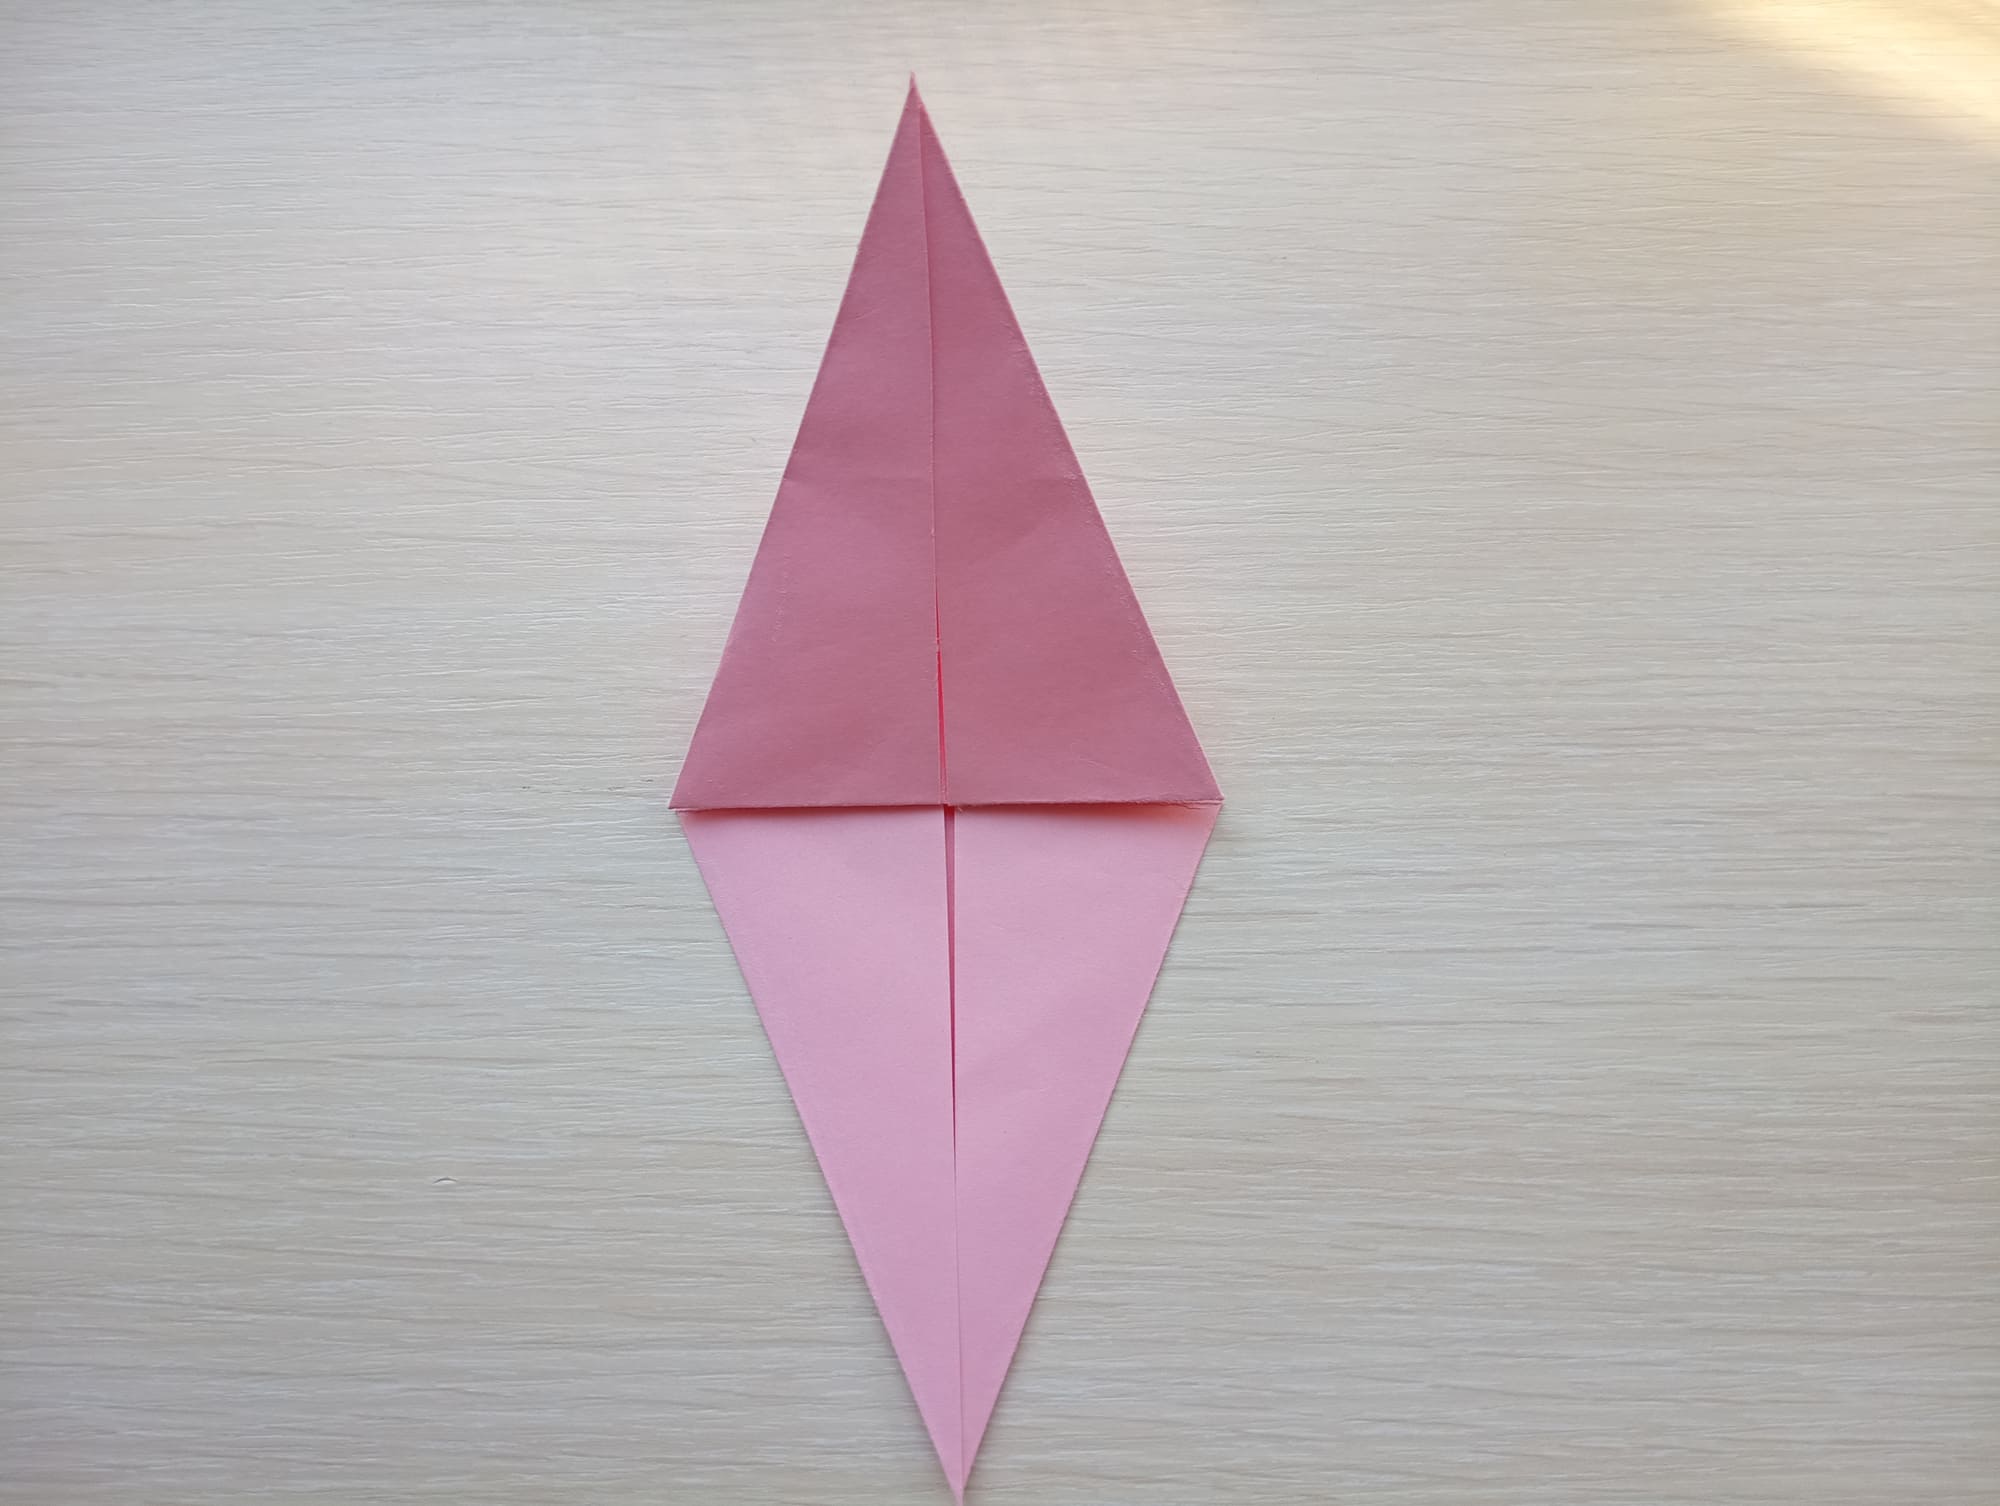
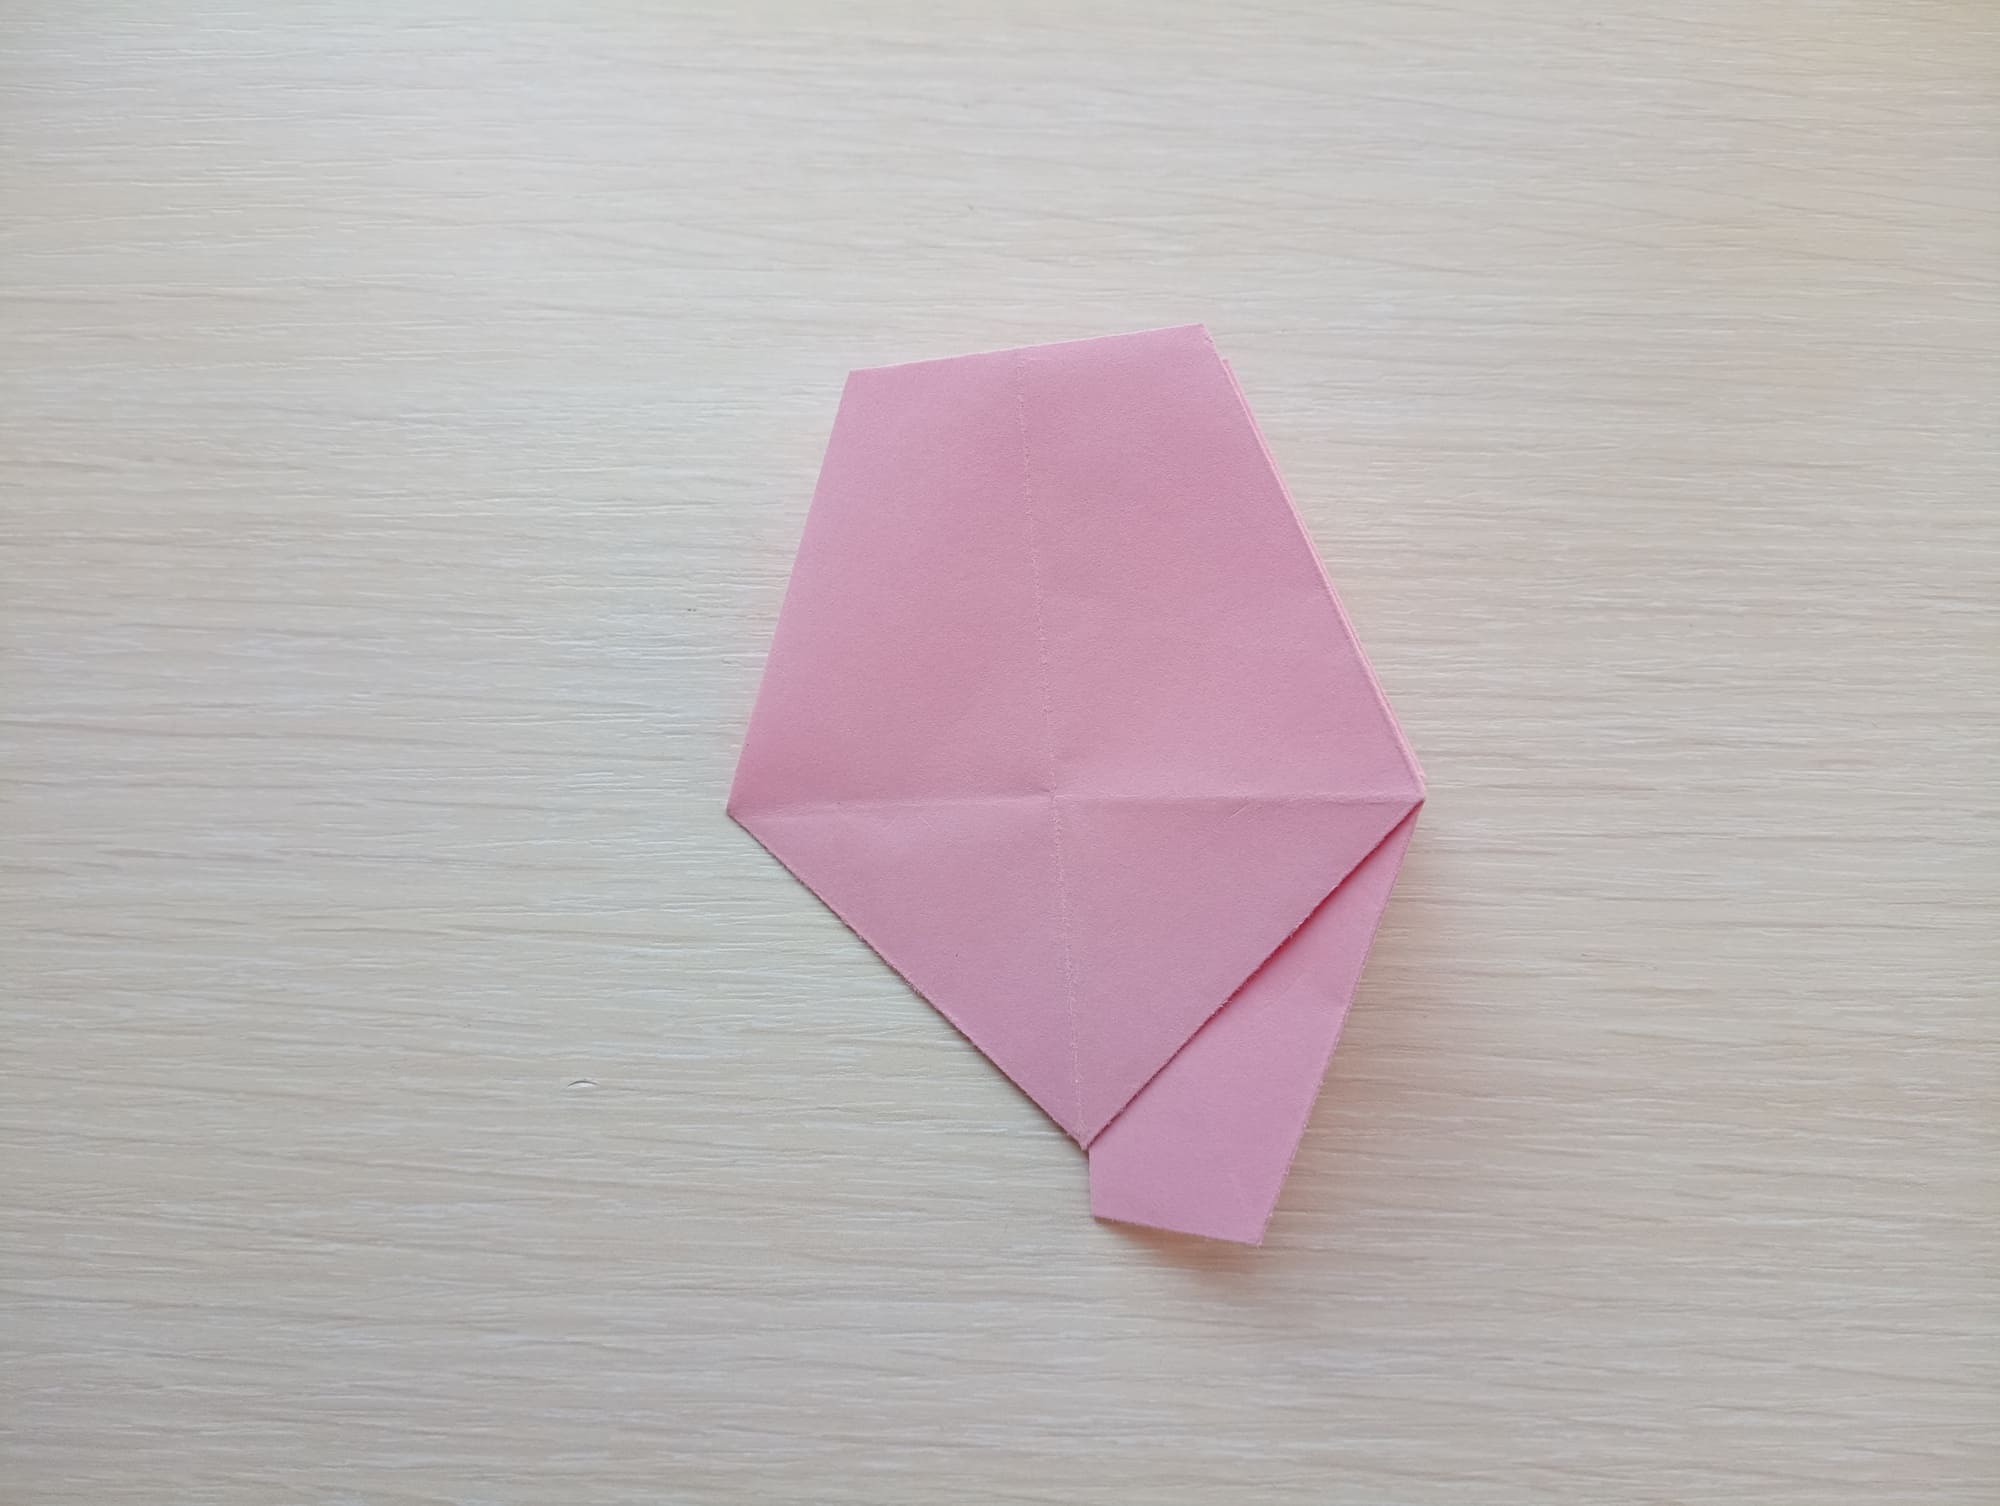
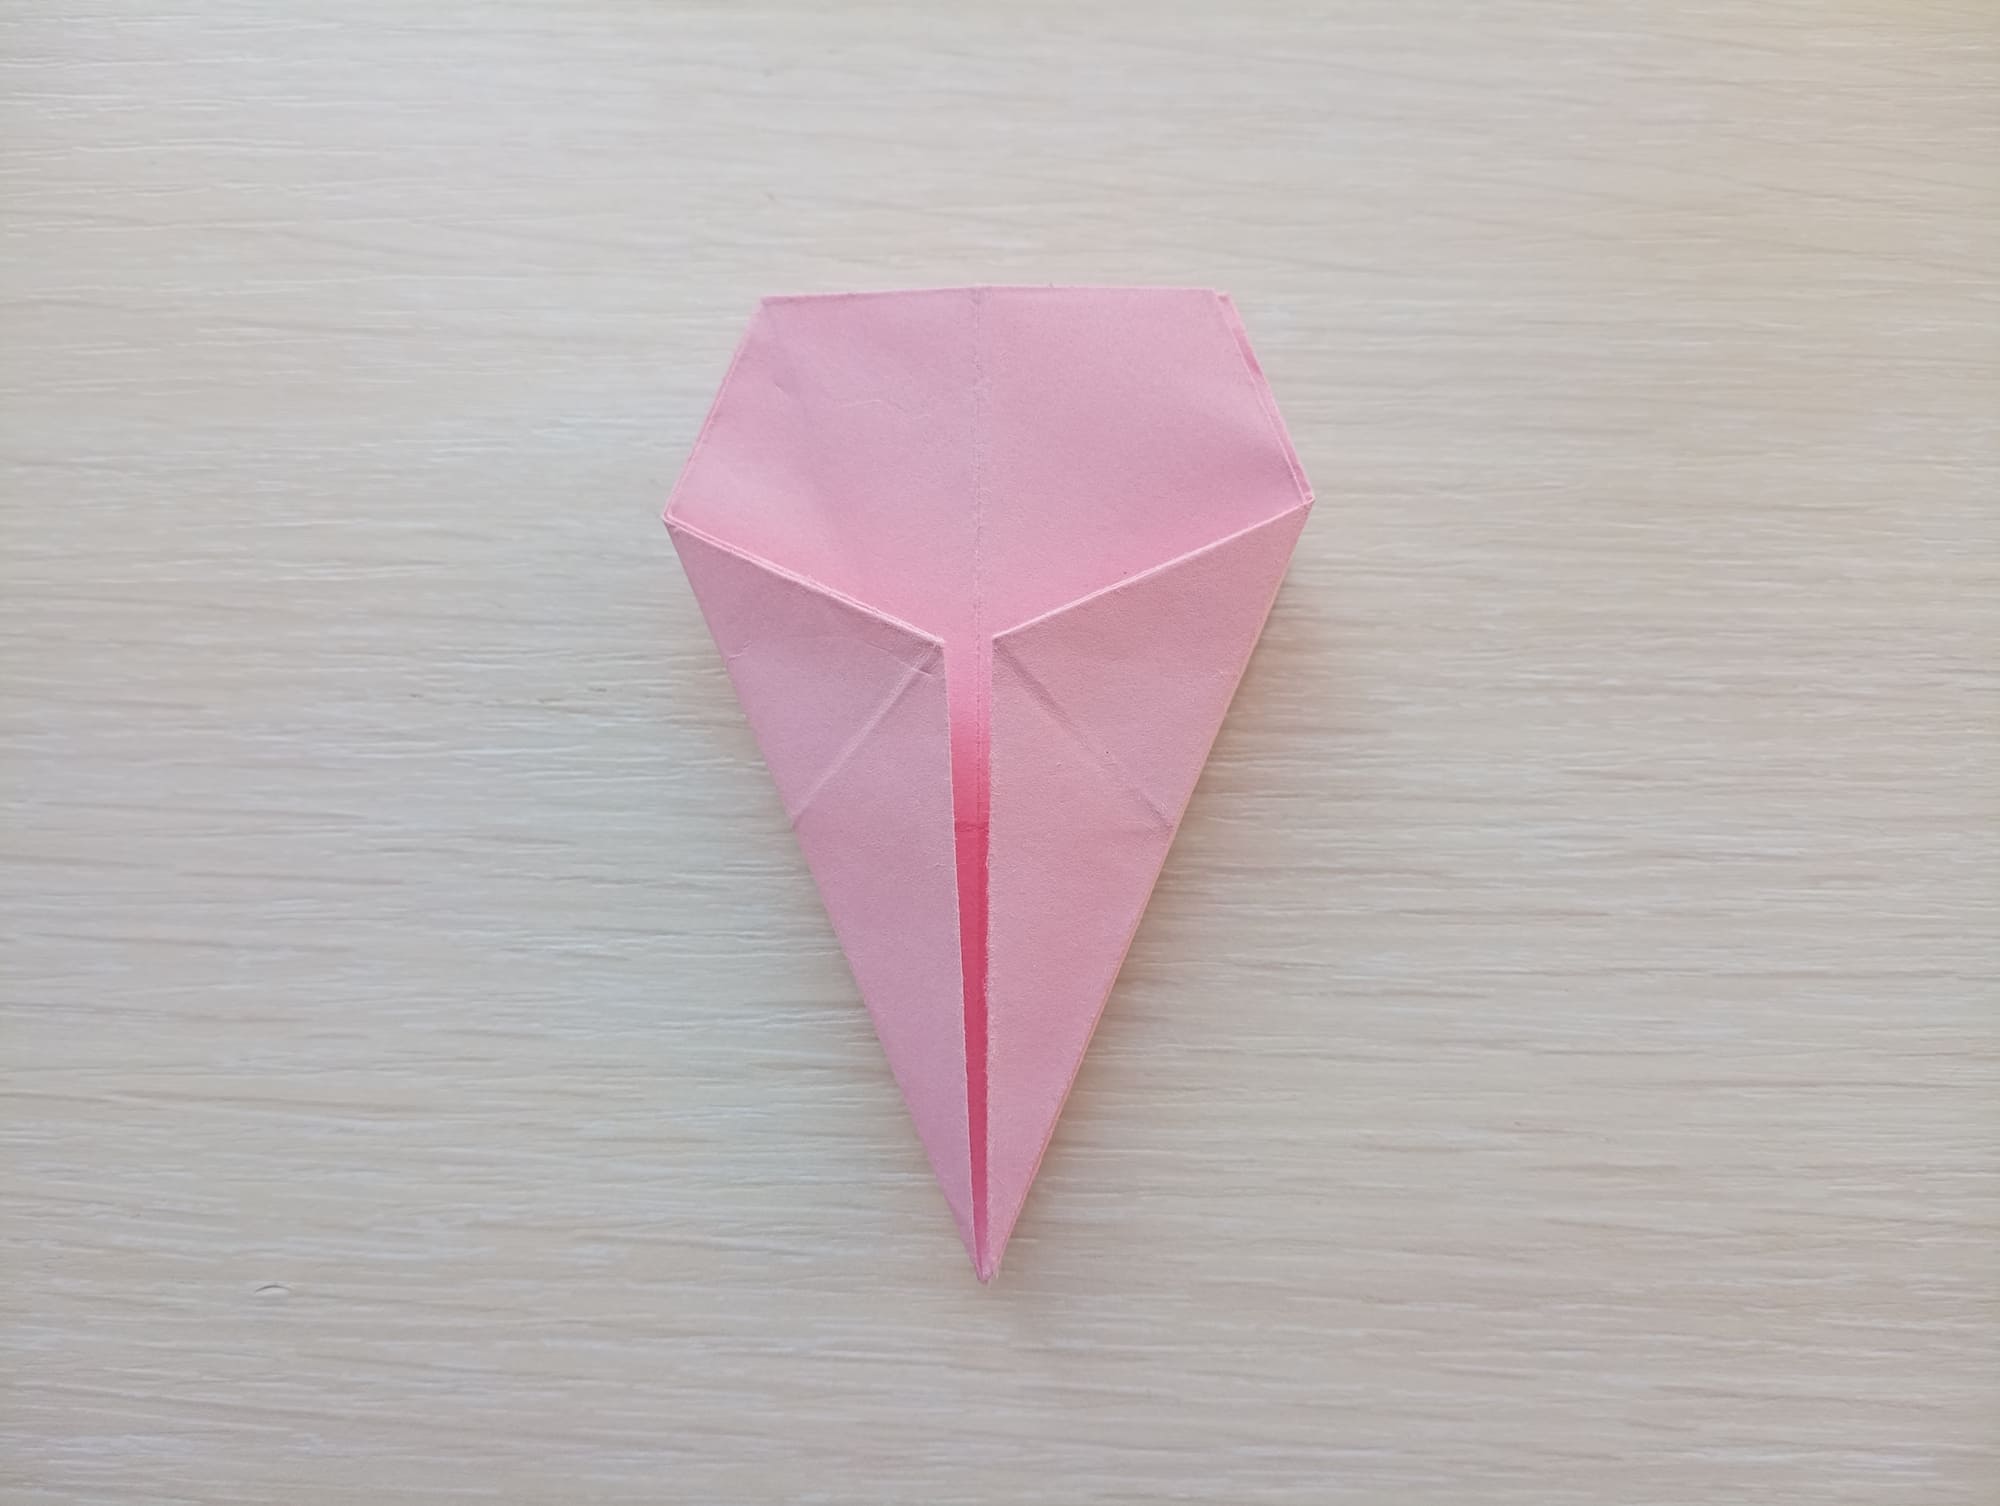
Bend the right edge of the rhombus to the middle.
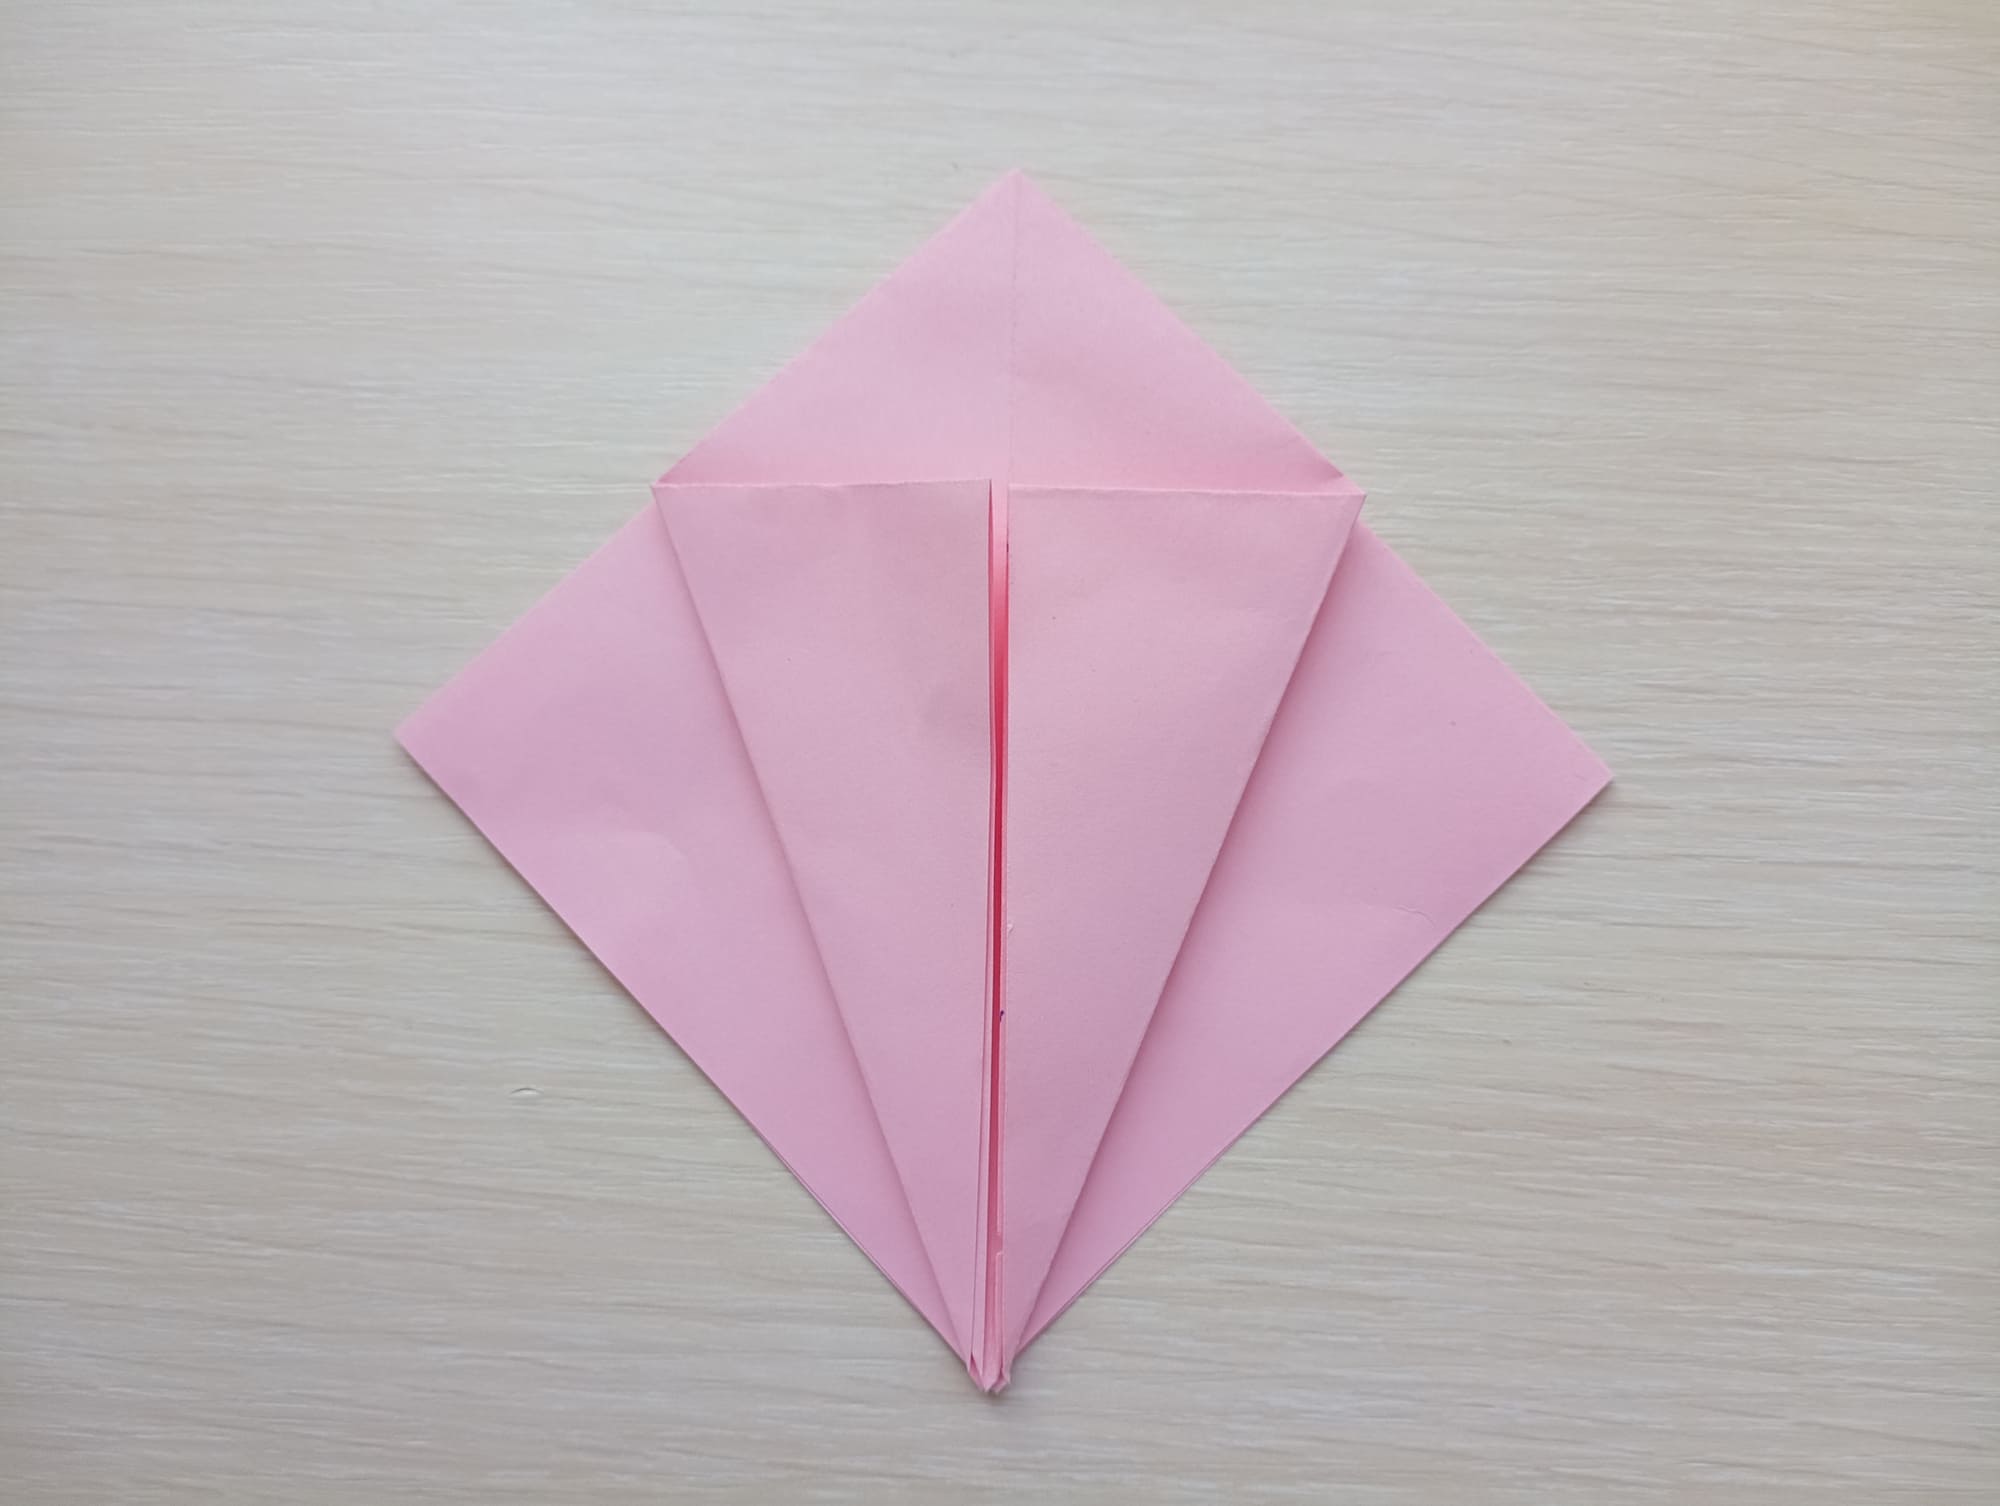
Repeat the action with the left edge.
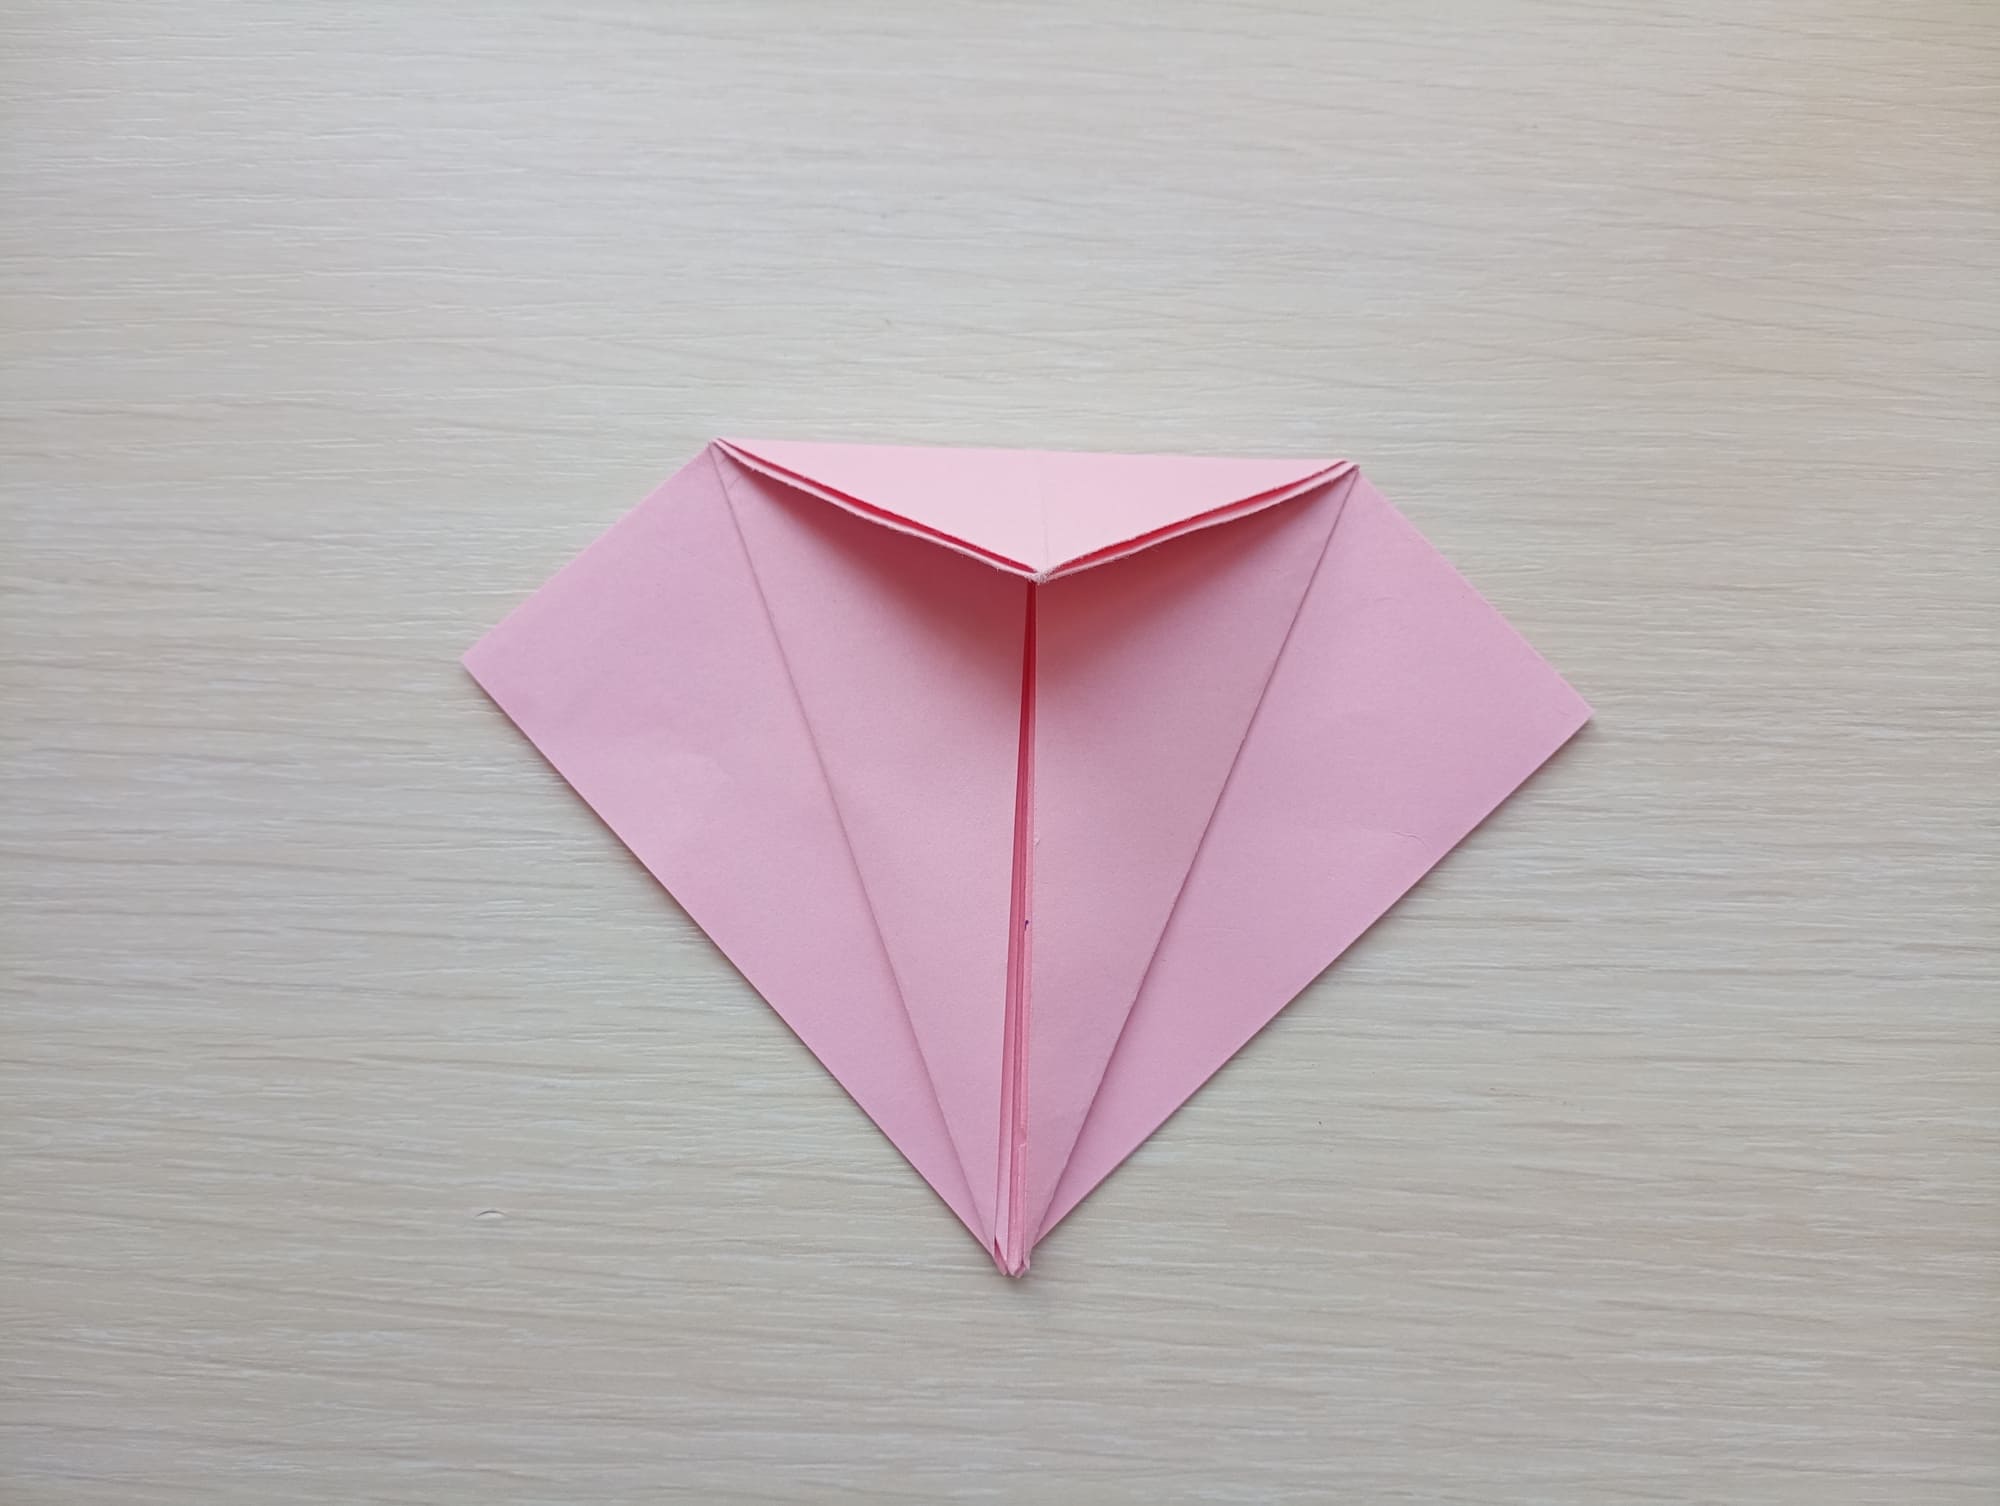
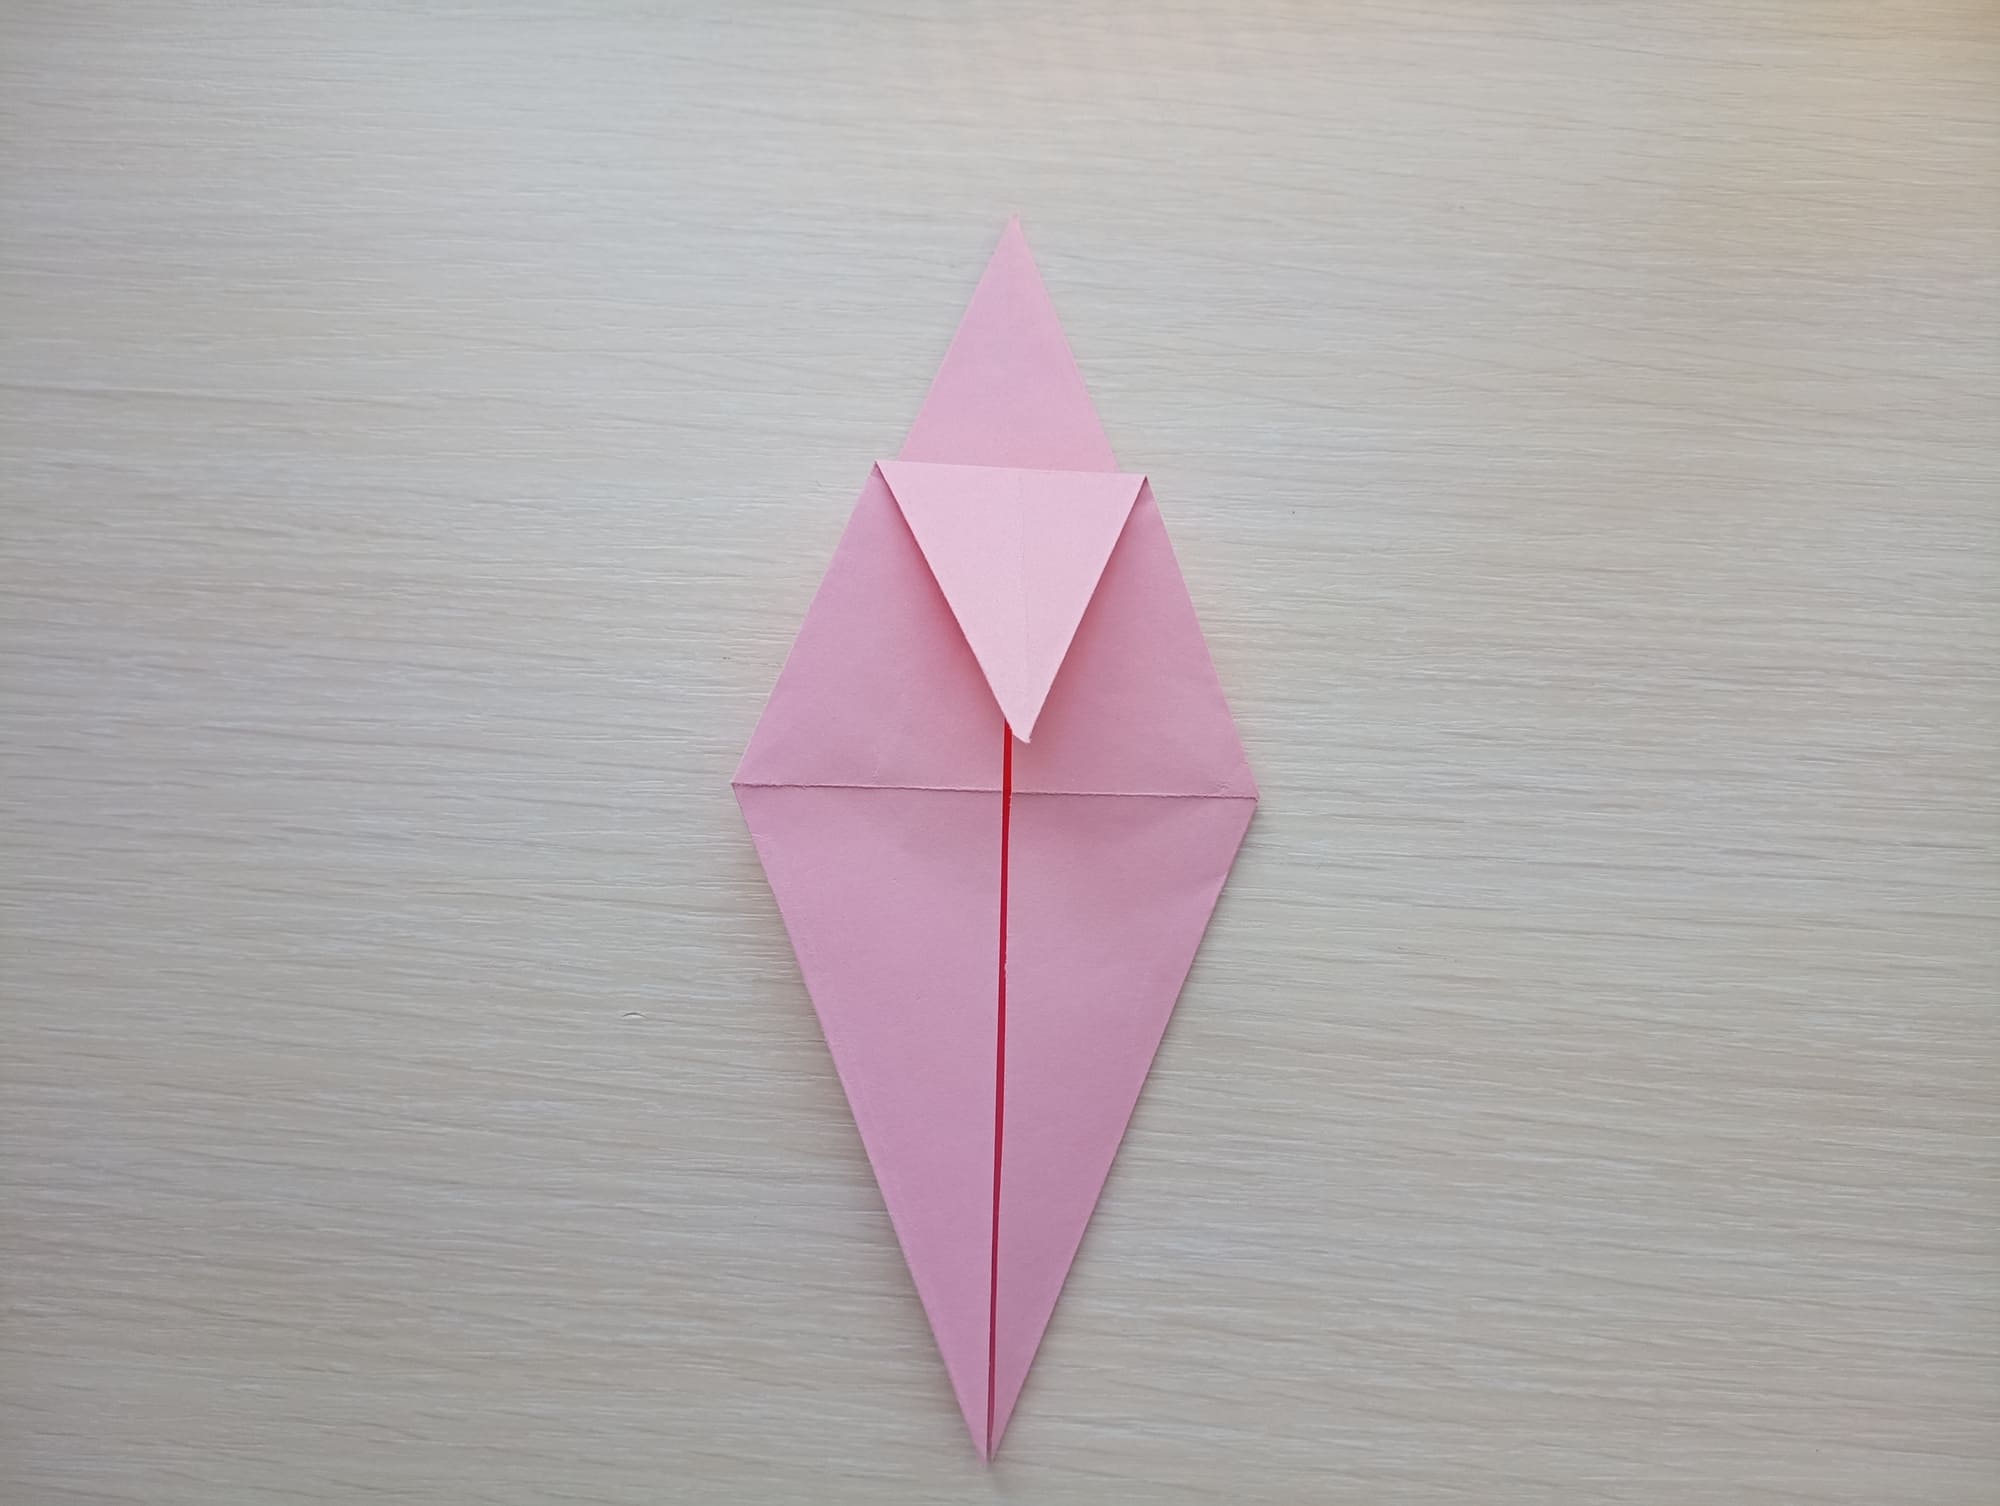
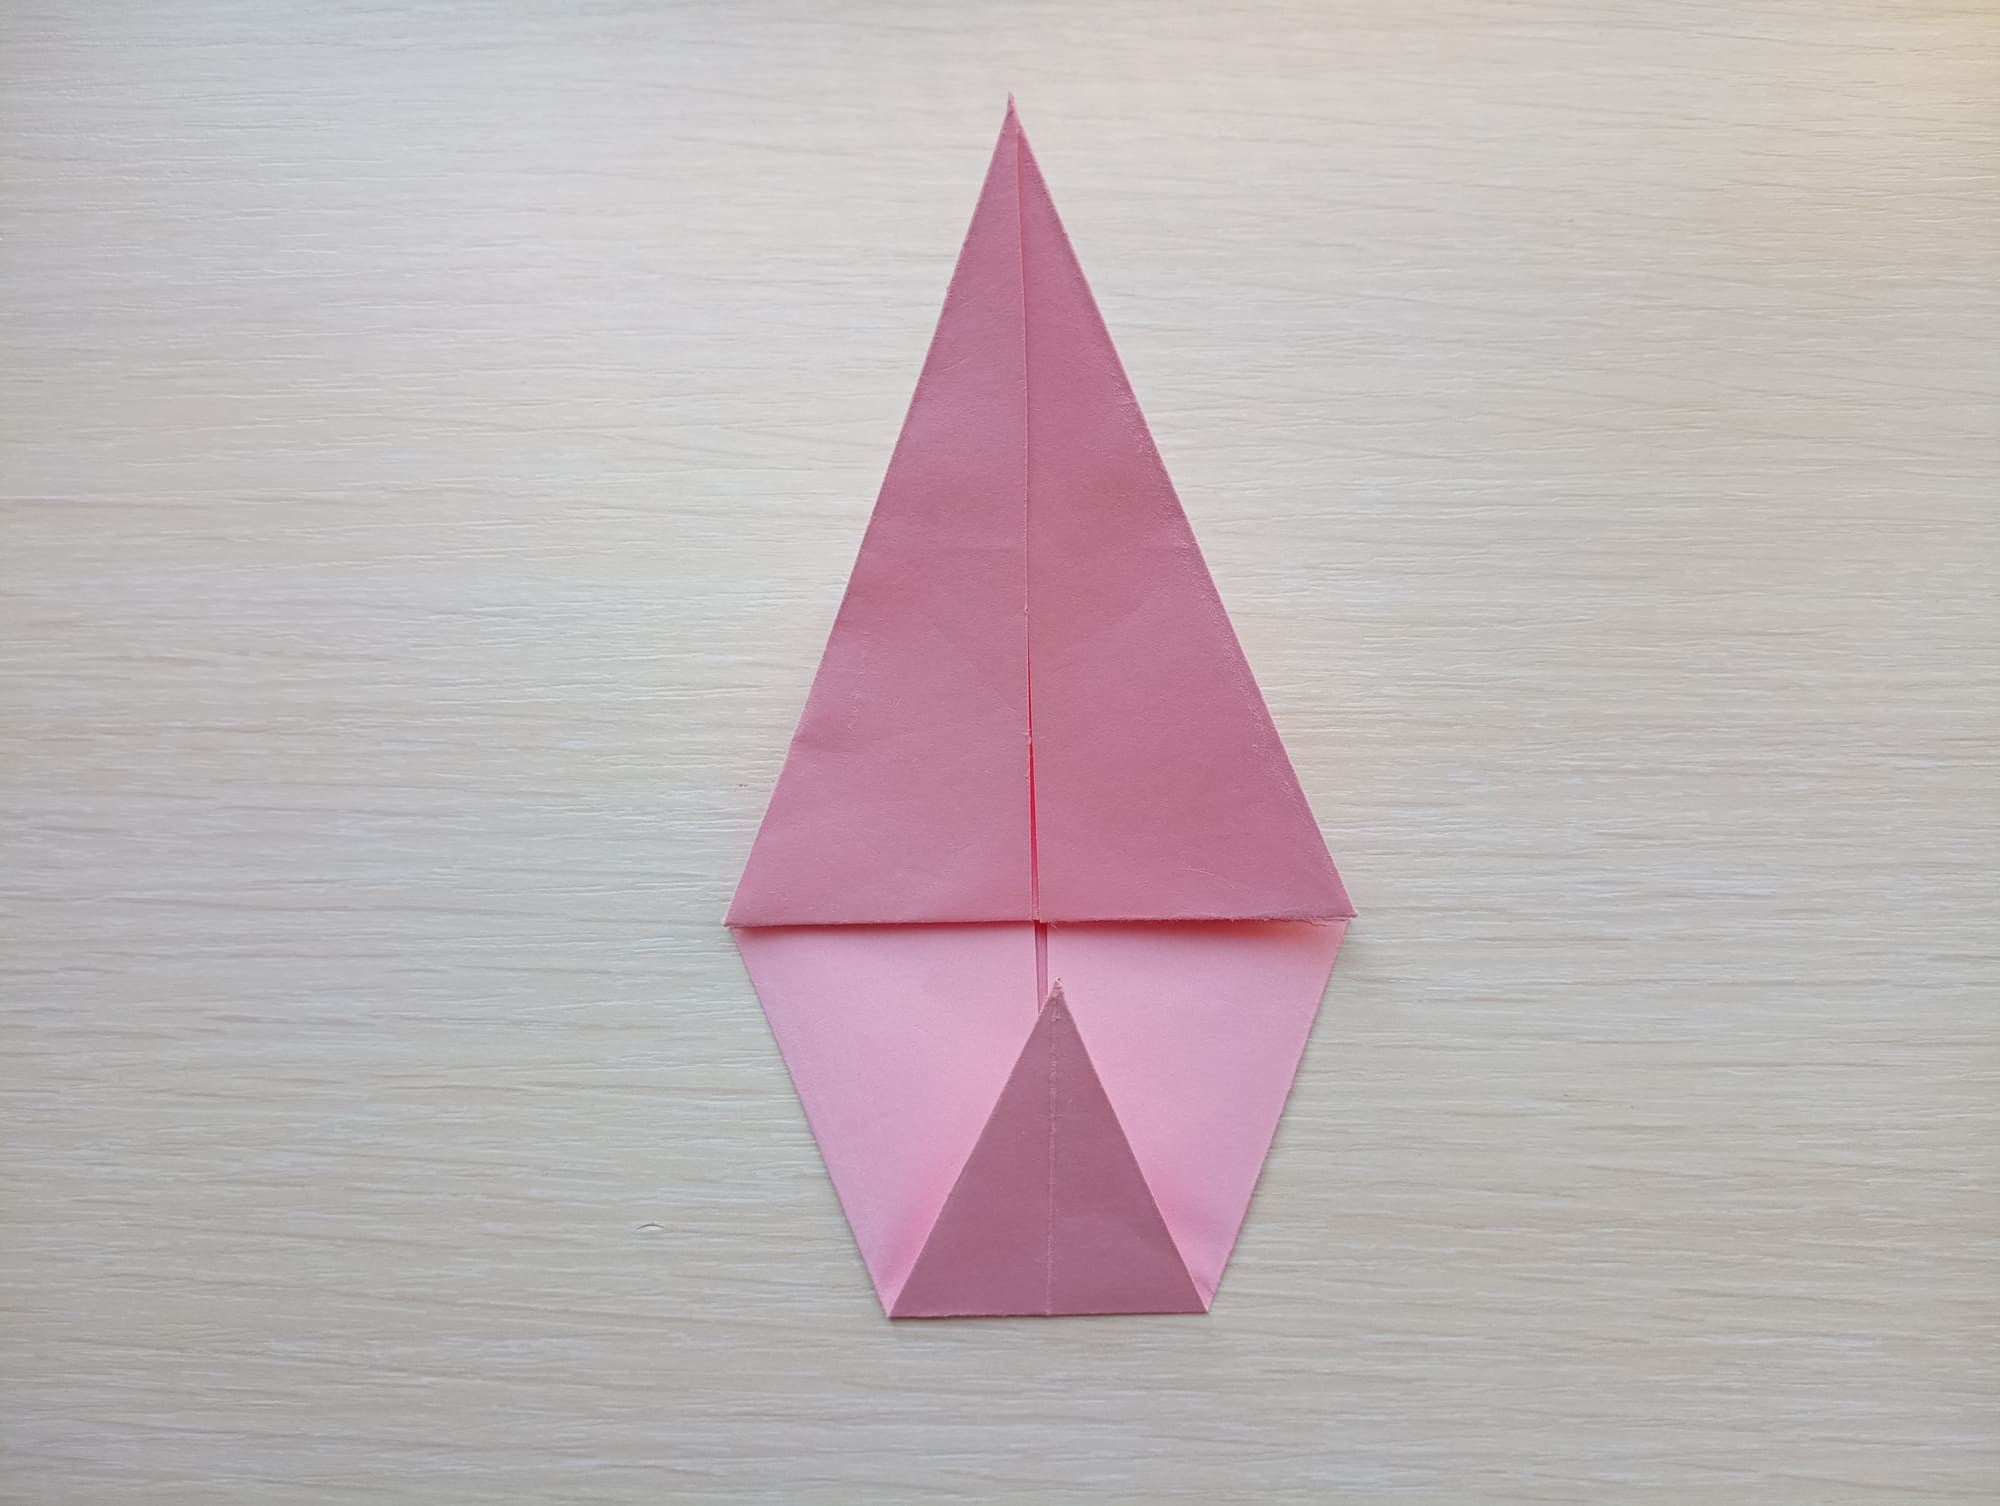
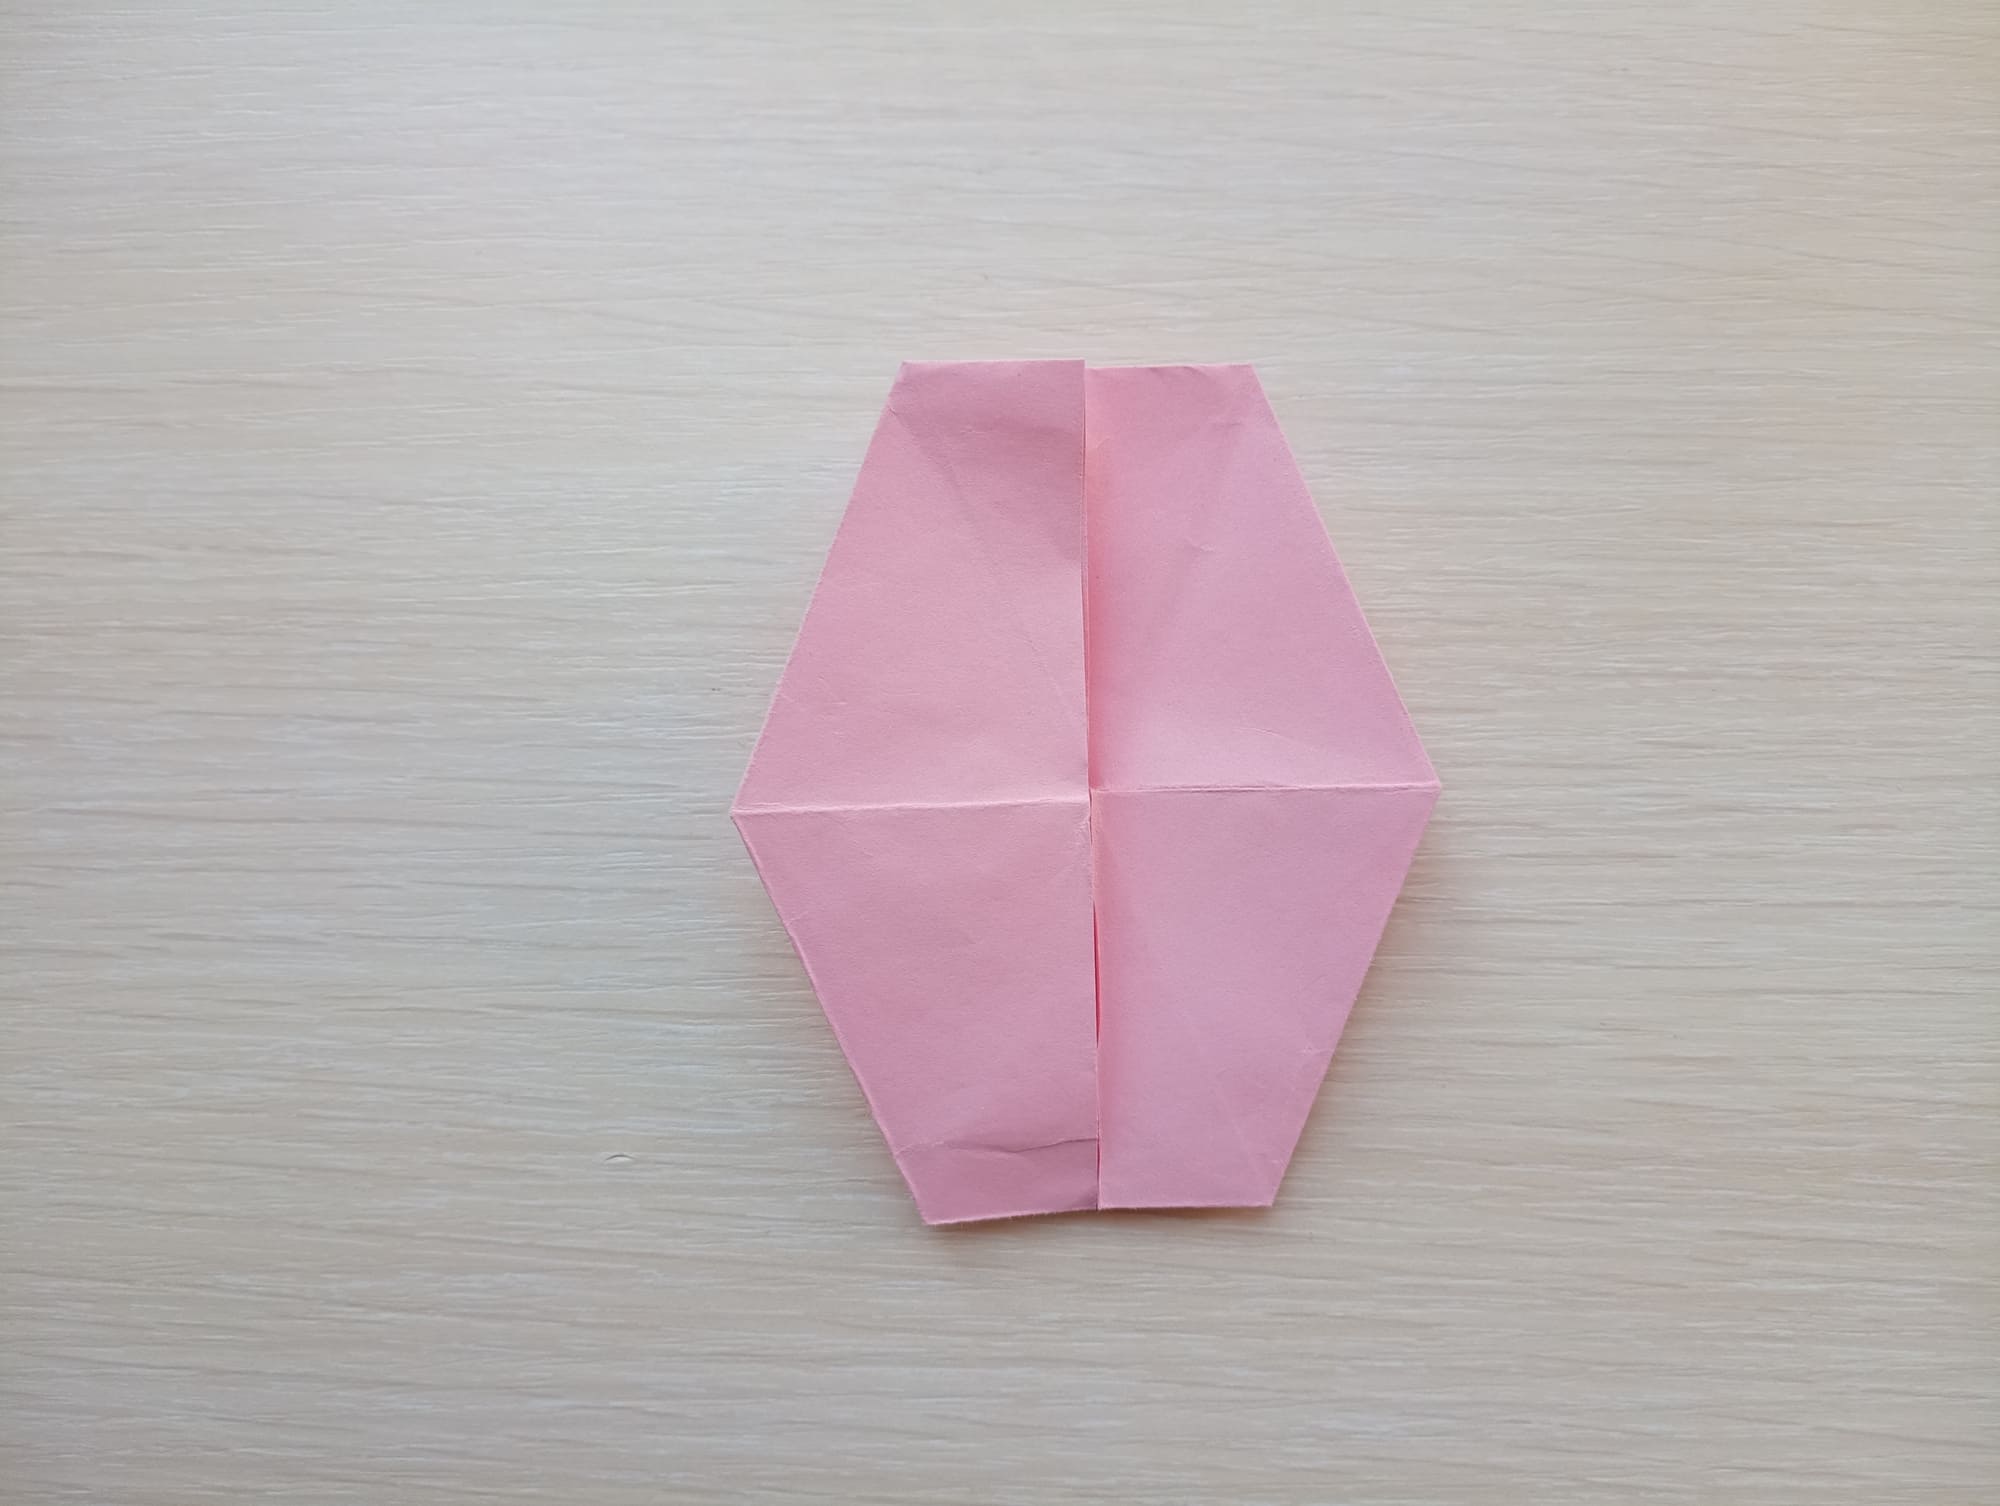
Bend the top triangle downwards.

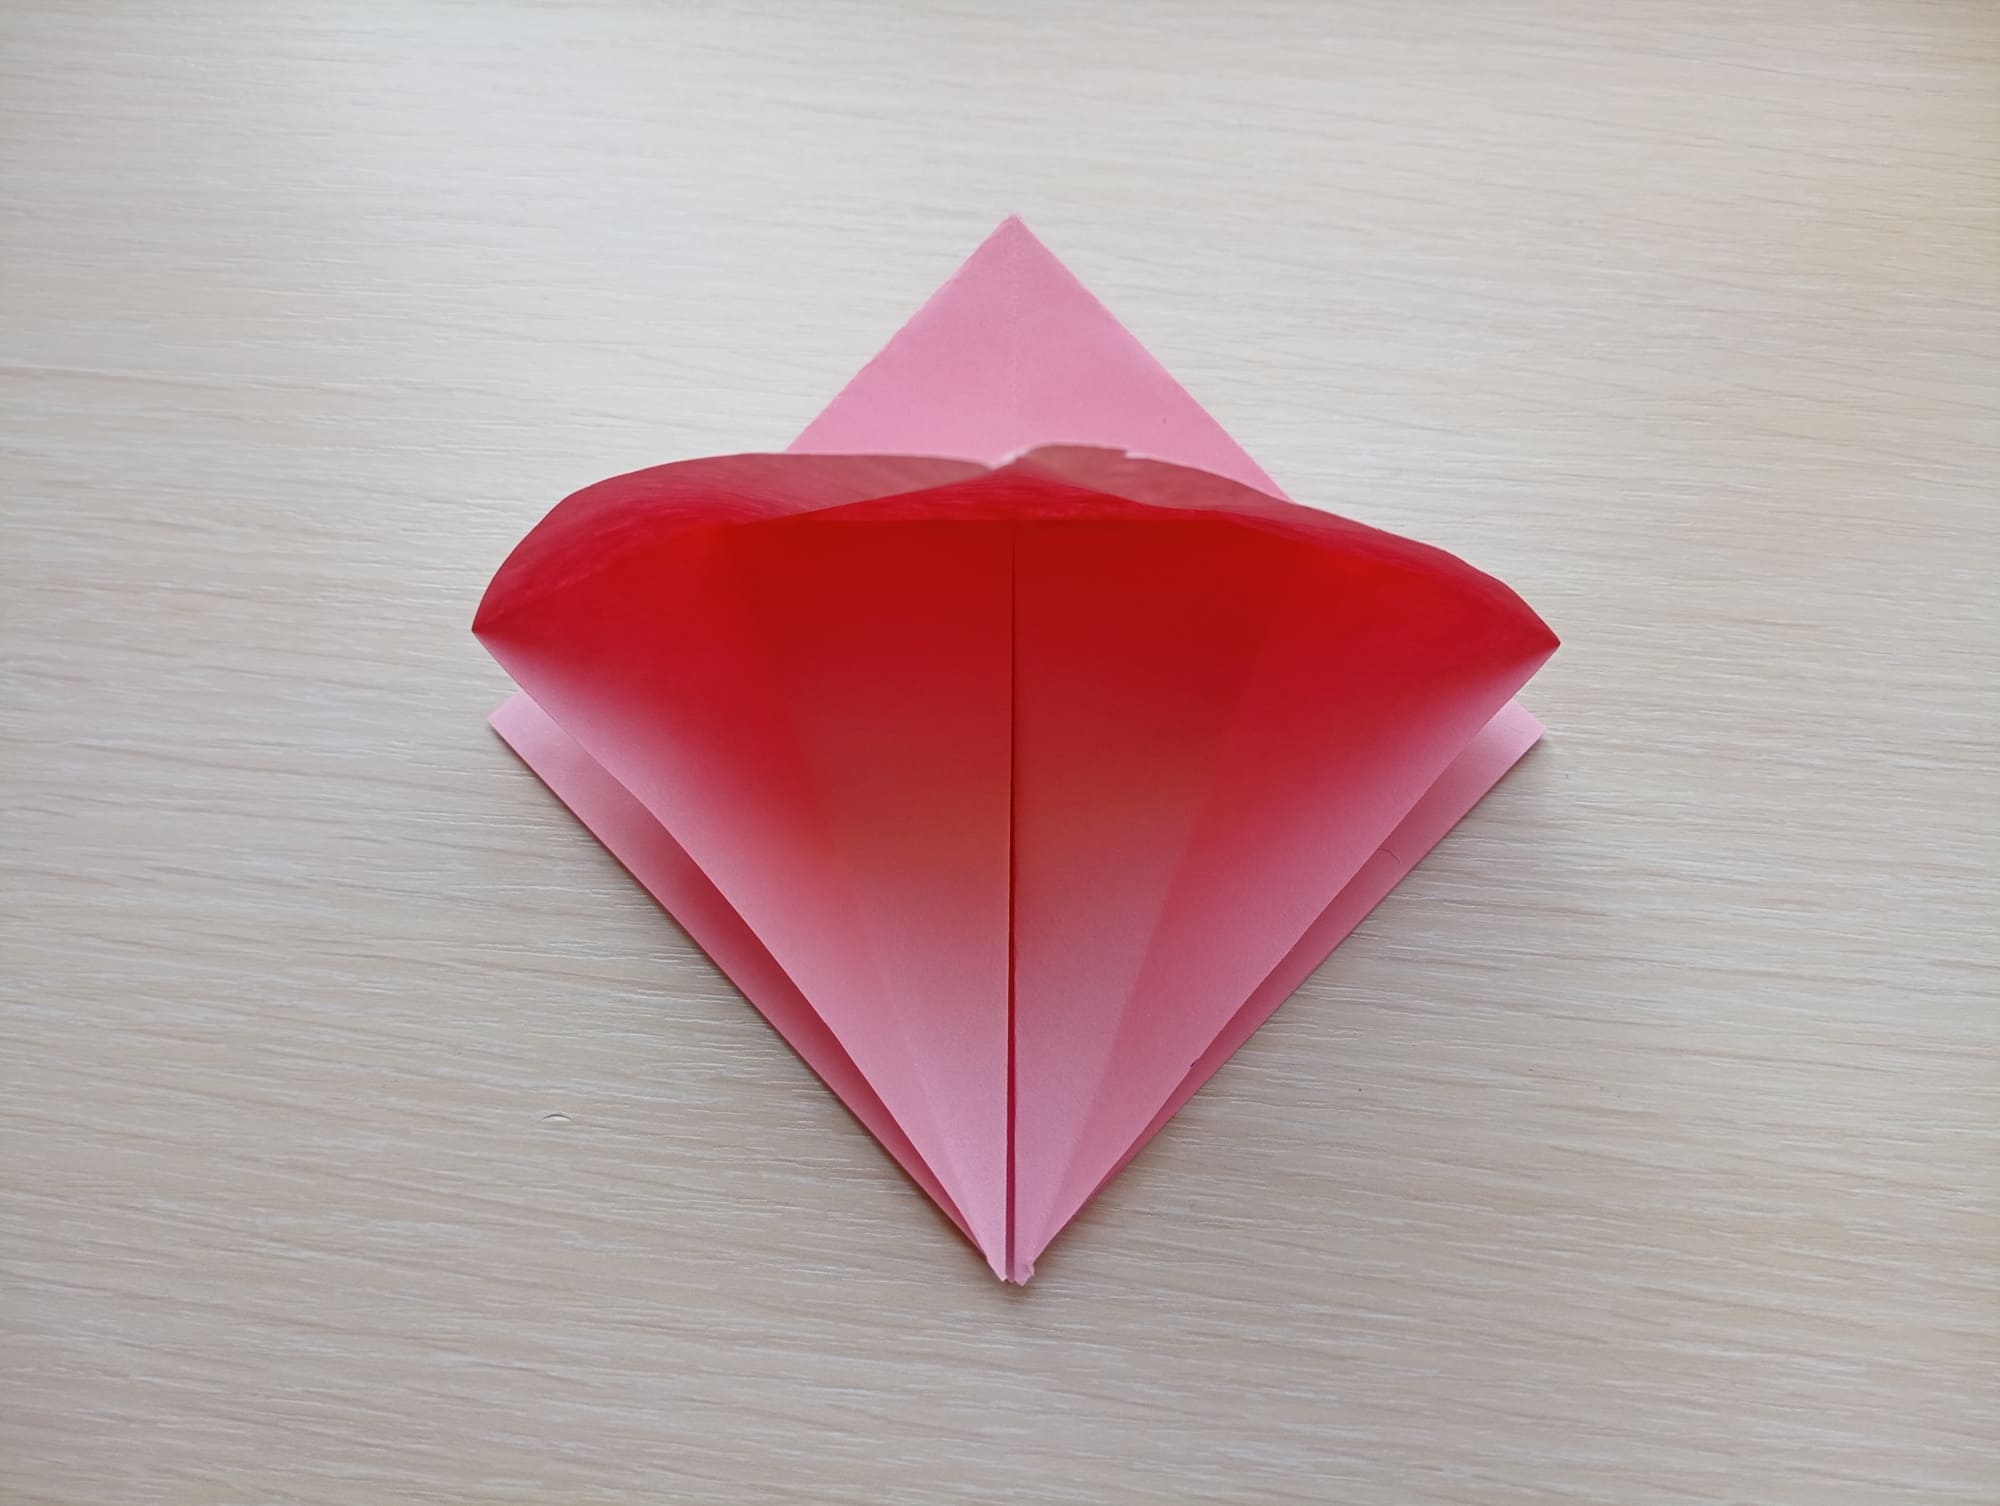
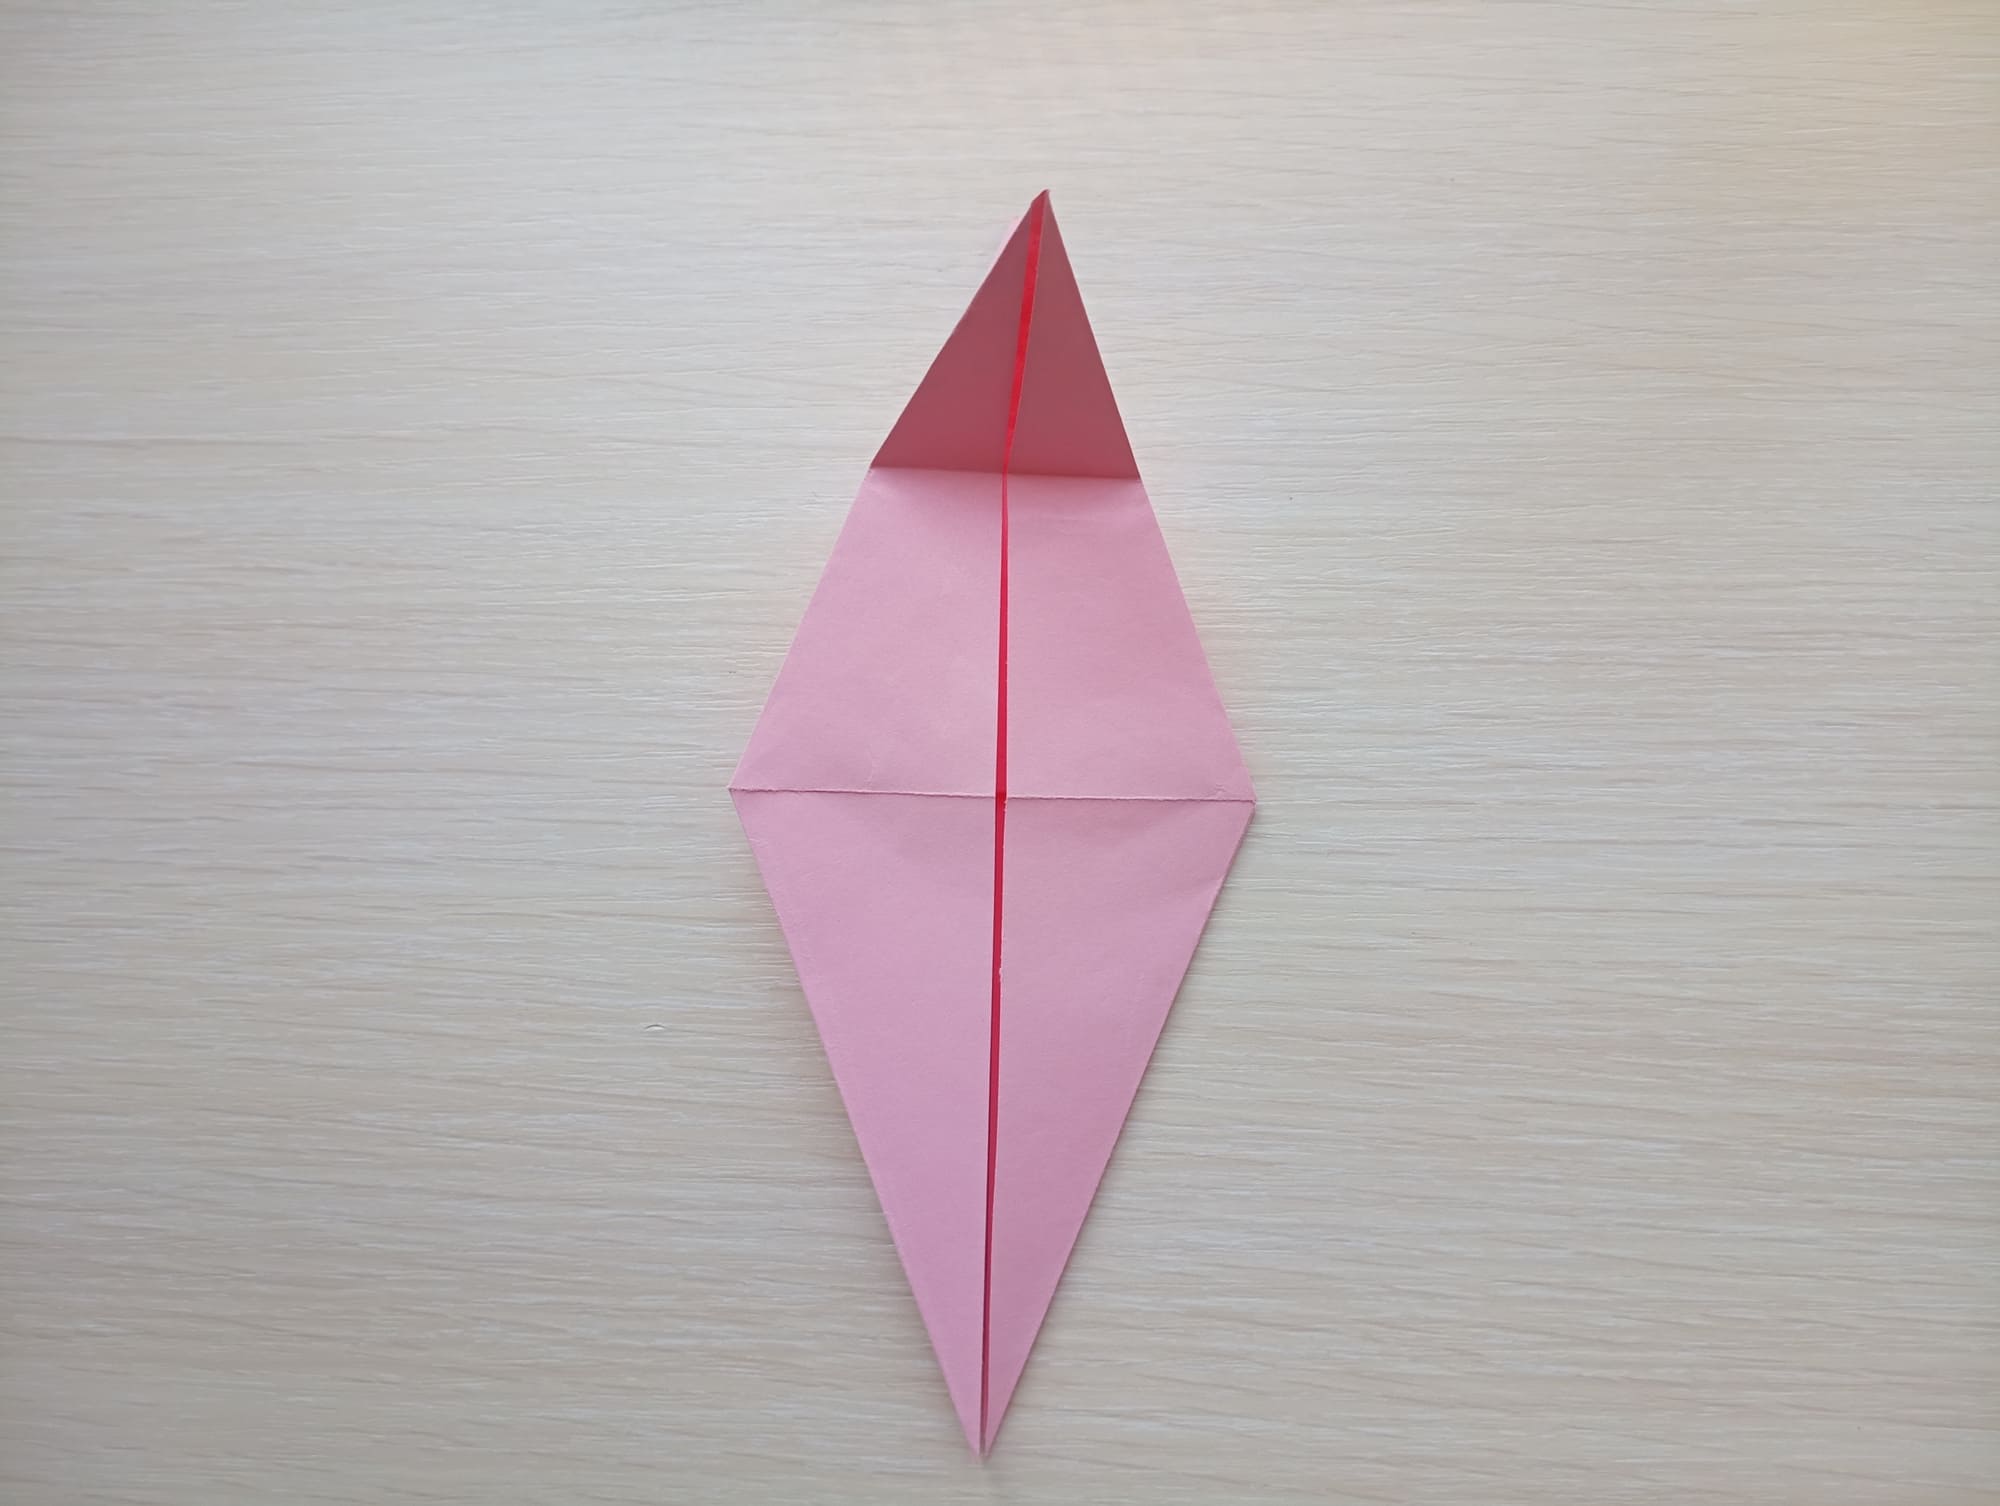
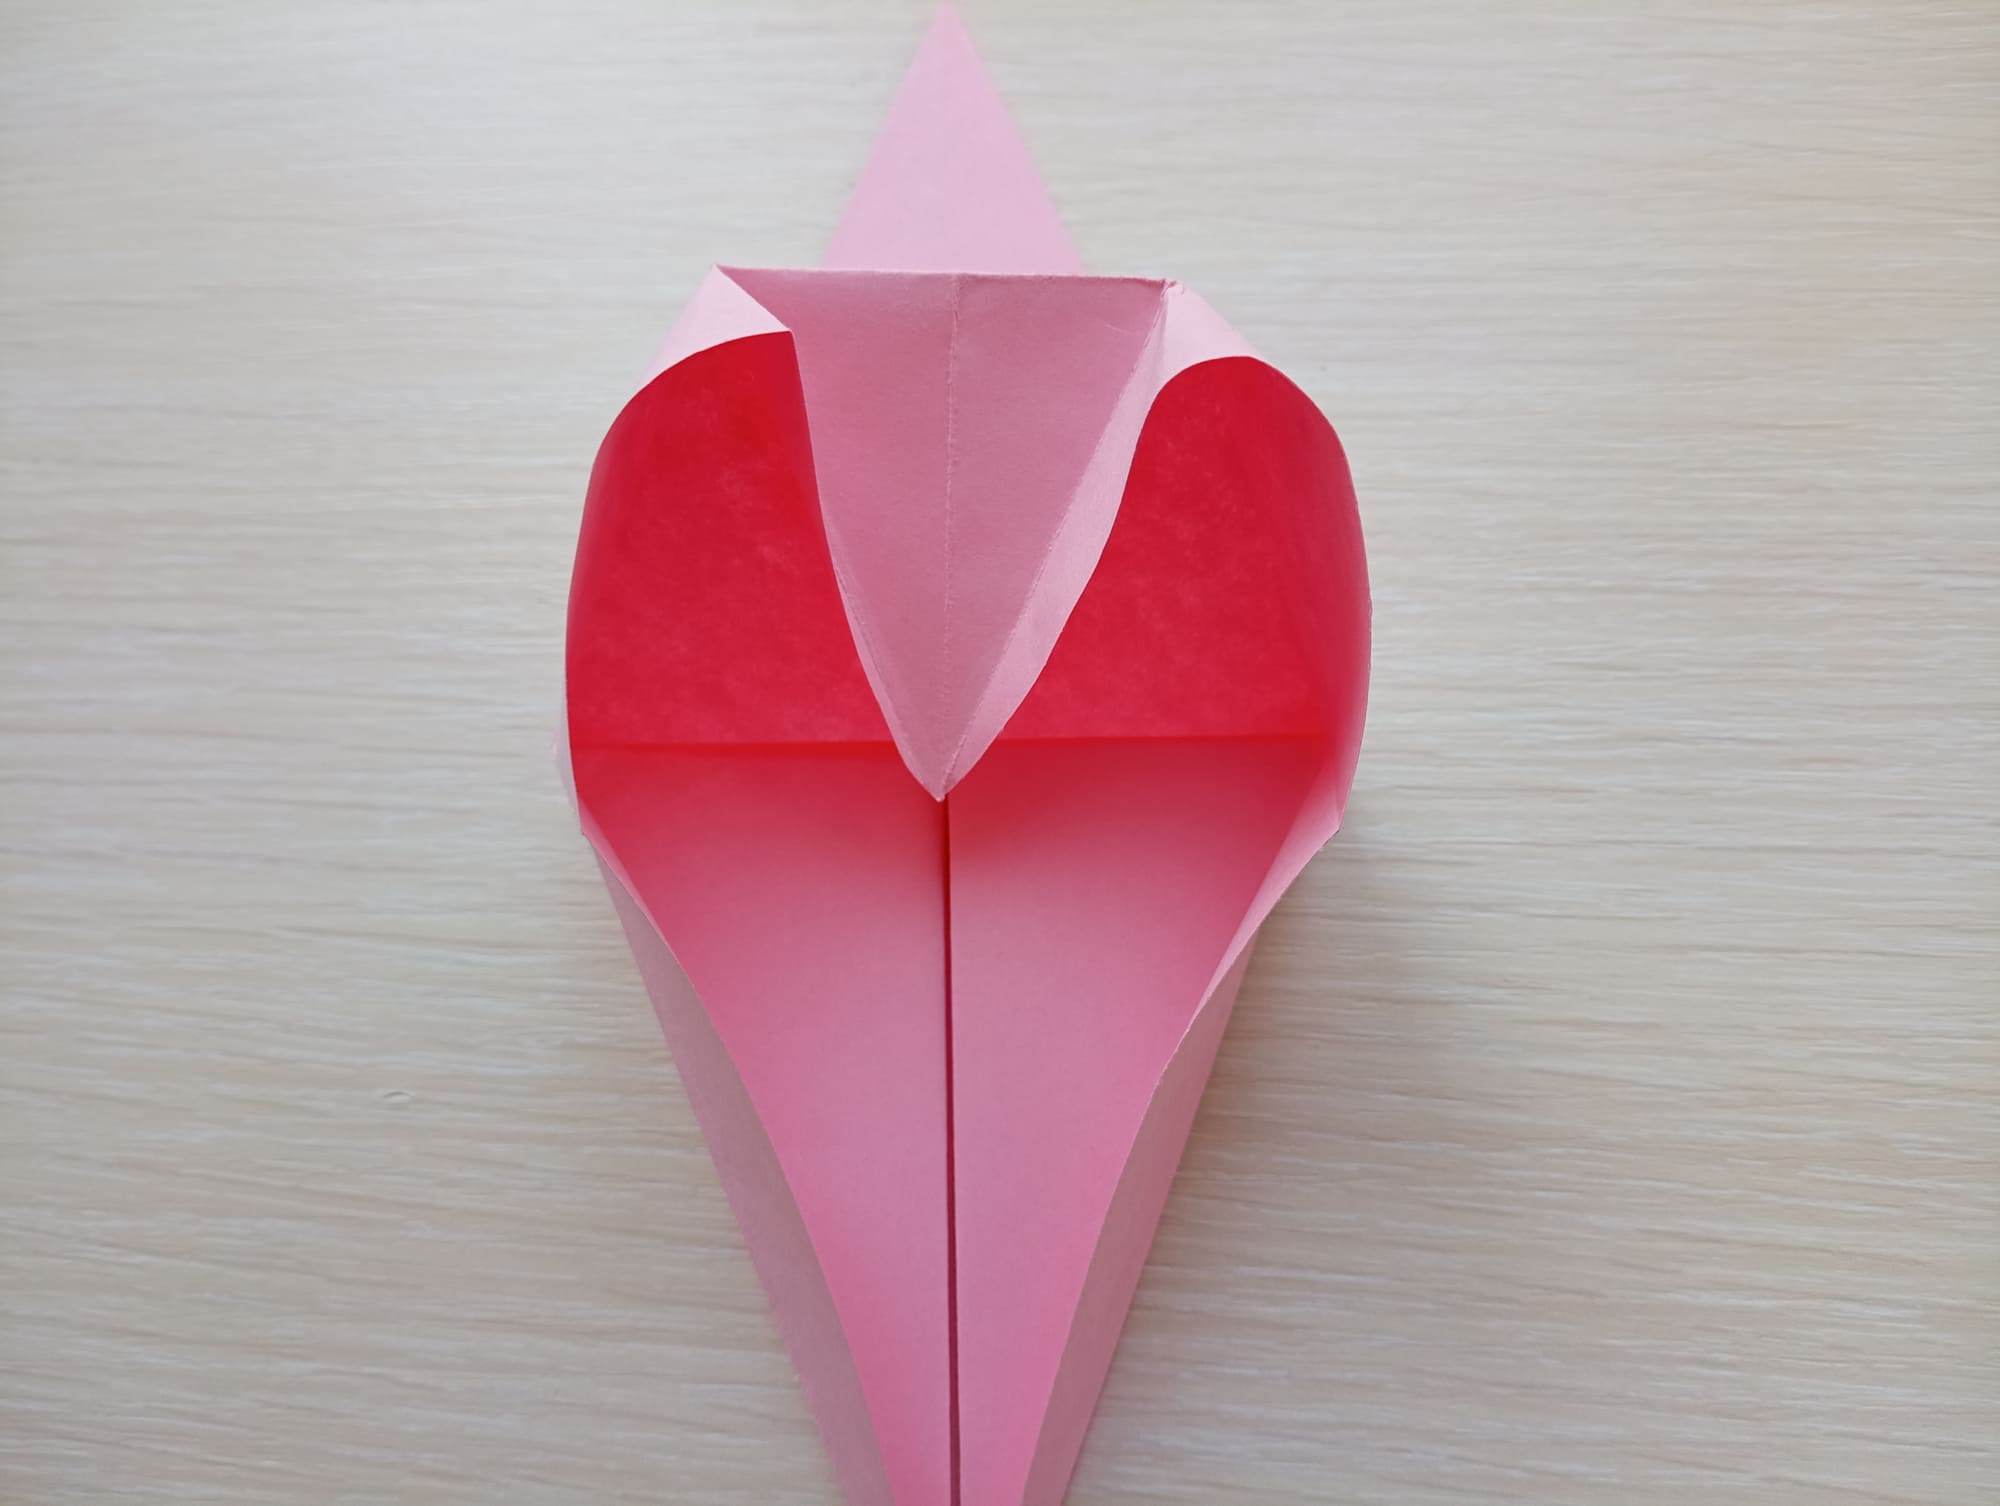
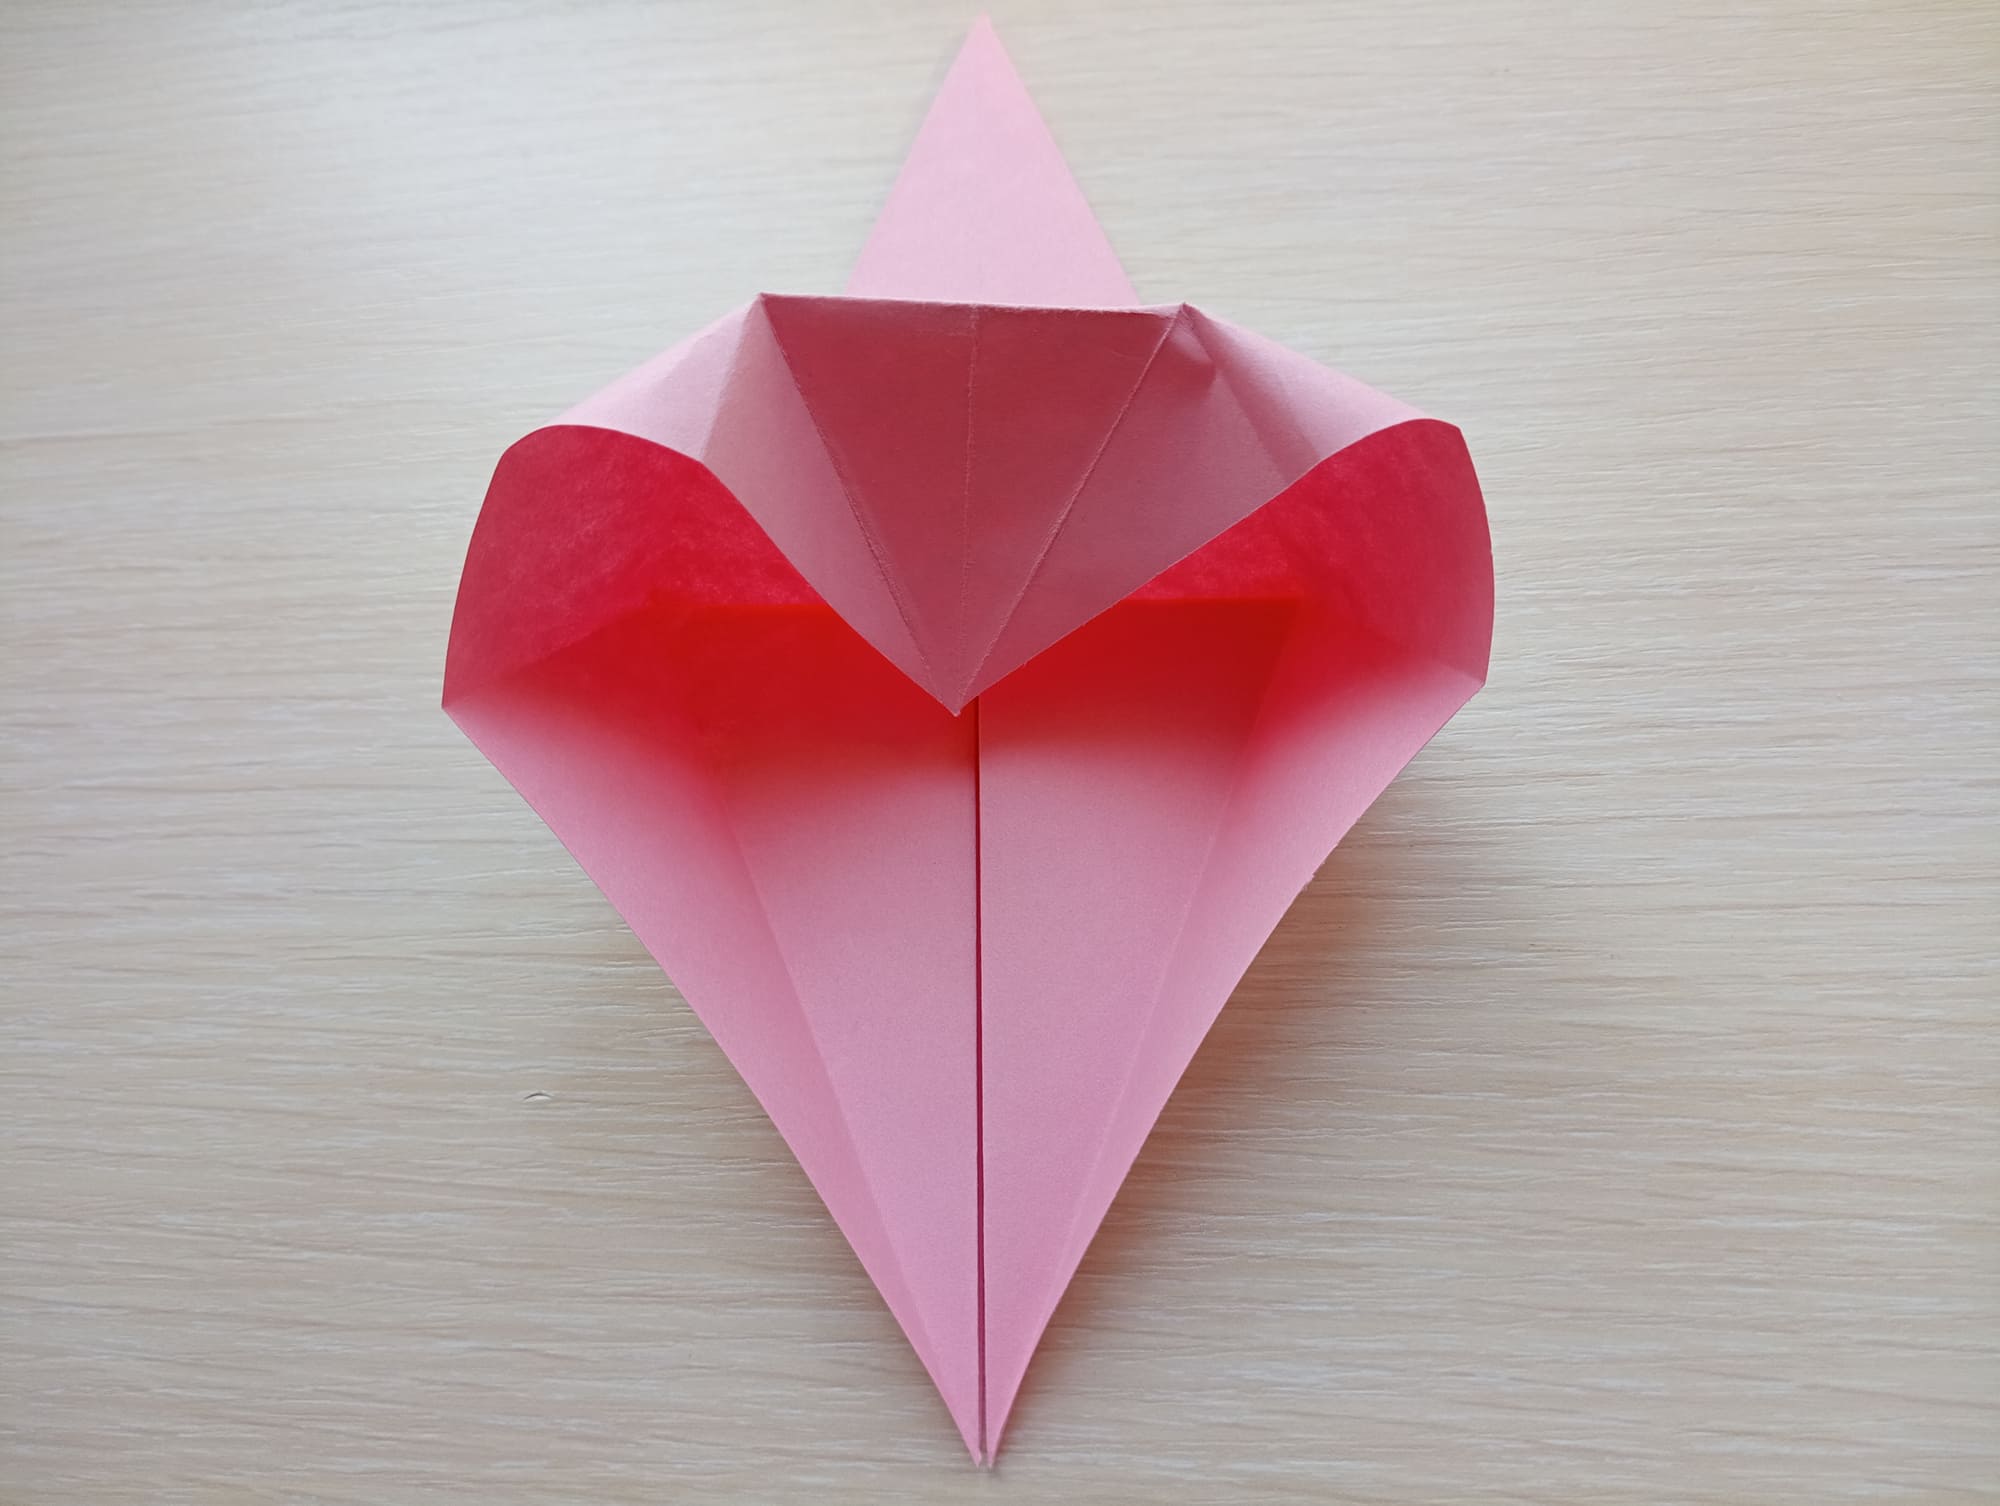
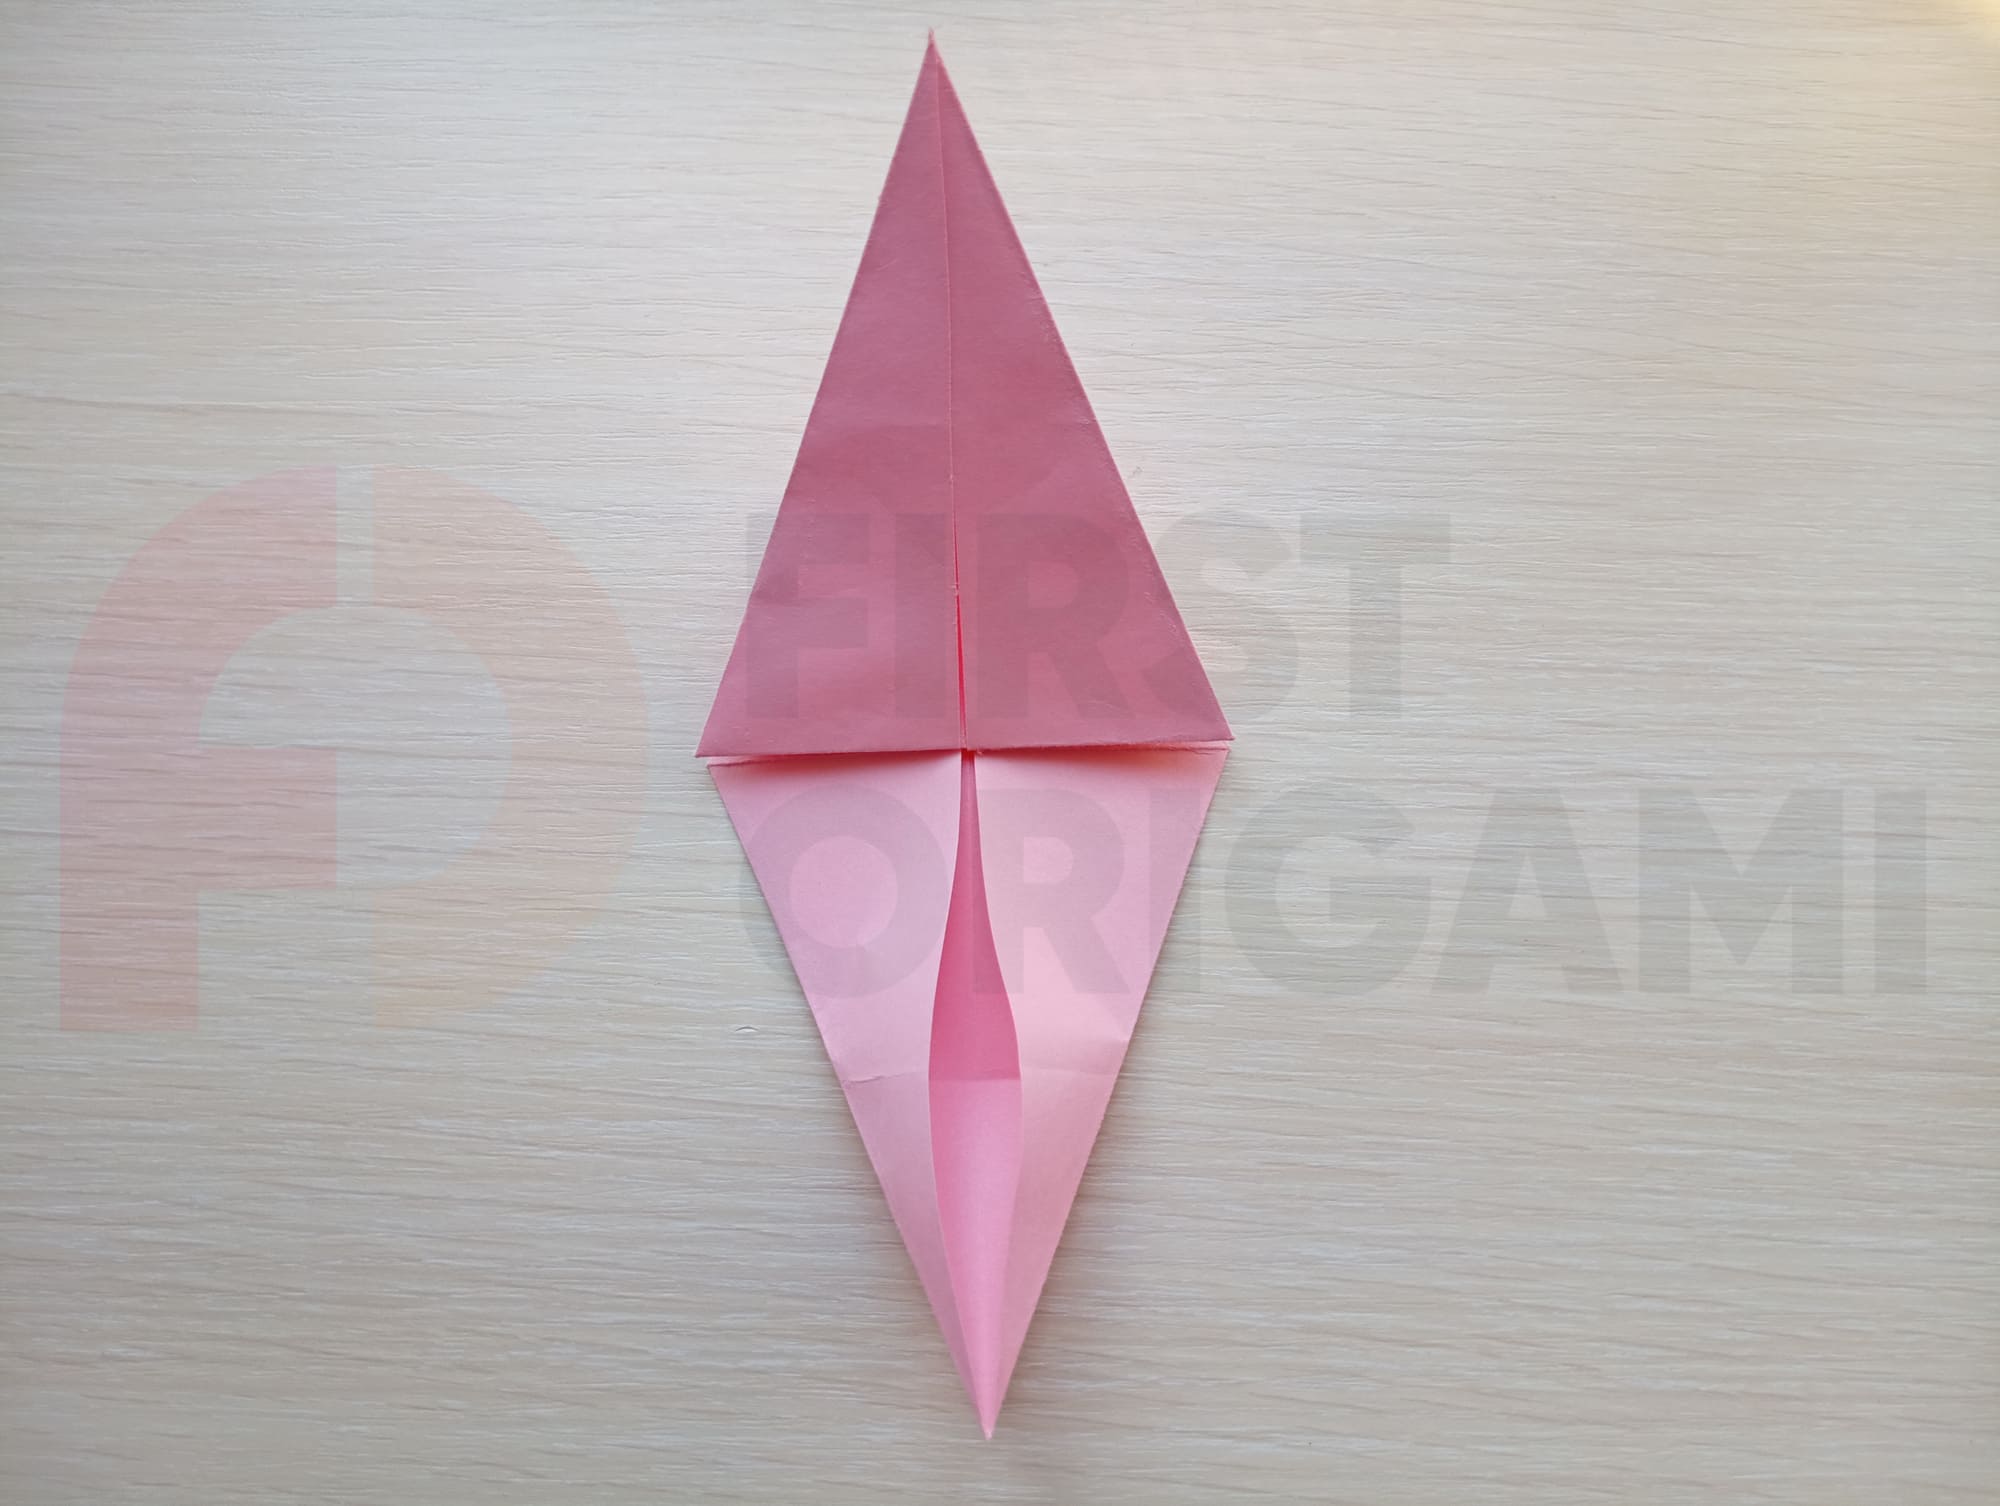
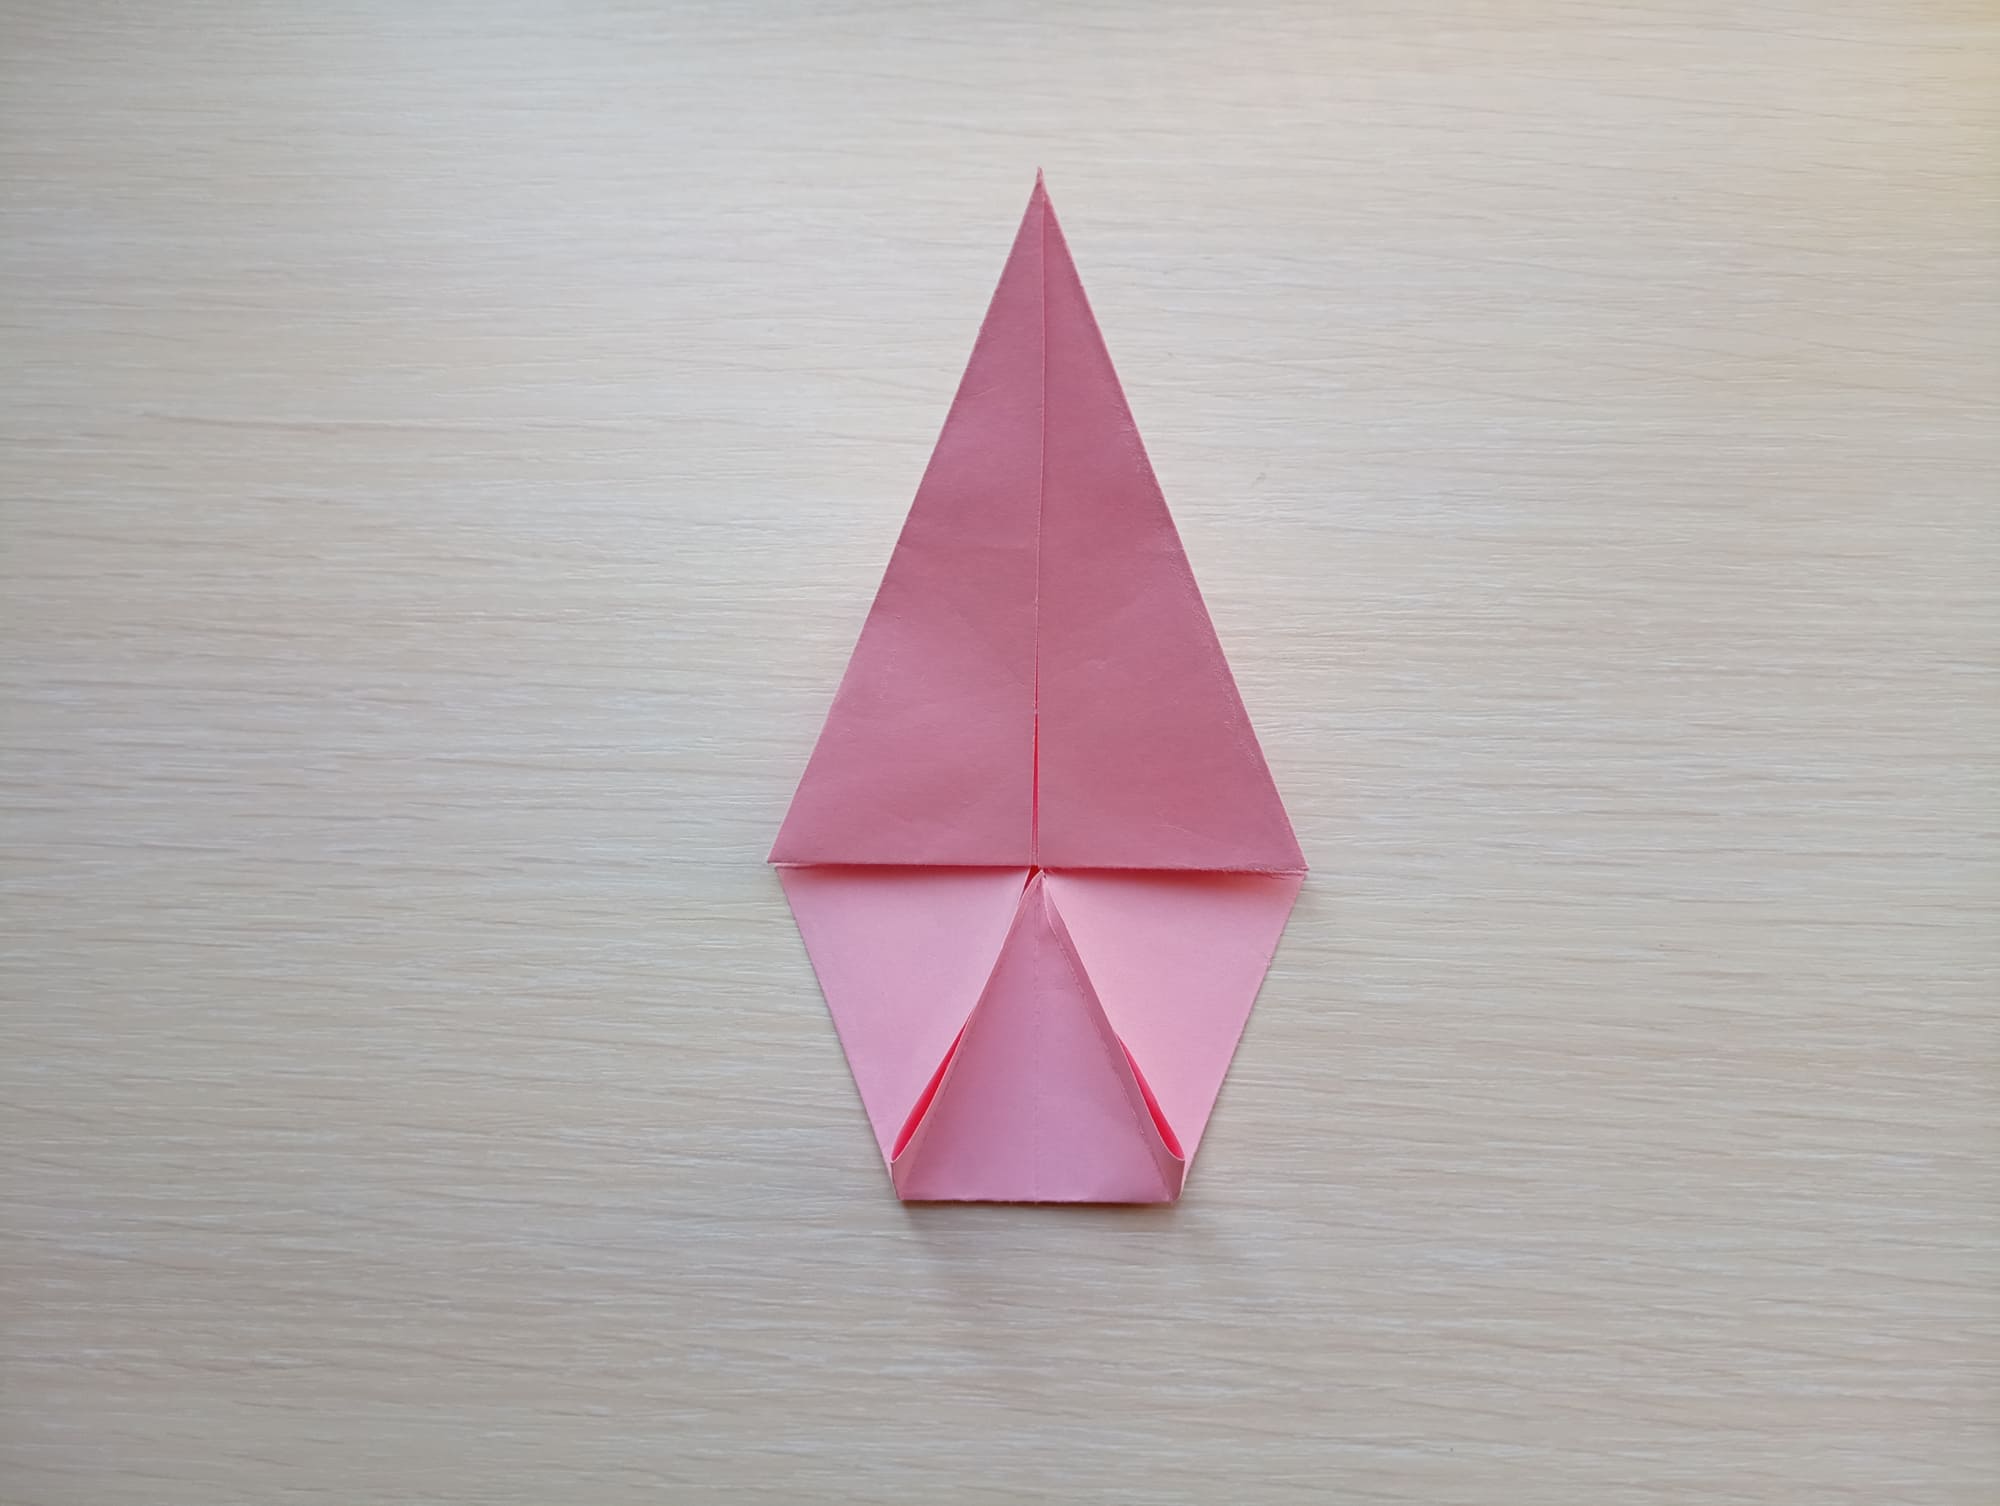
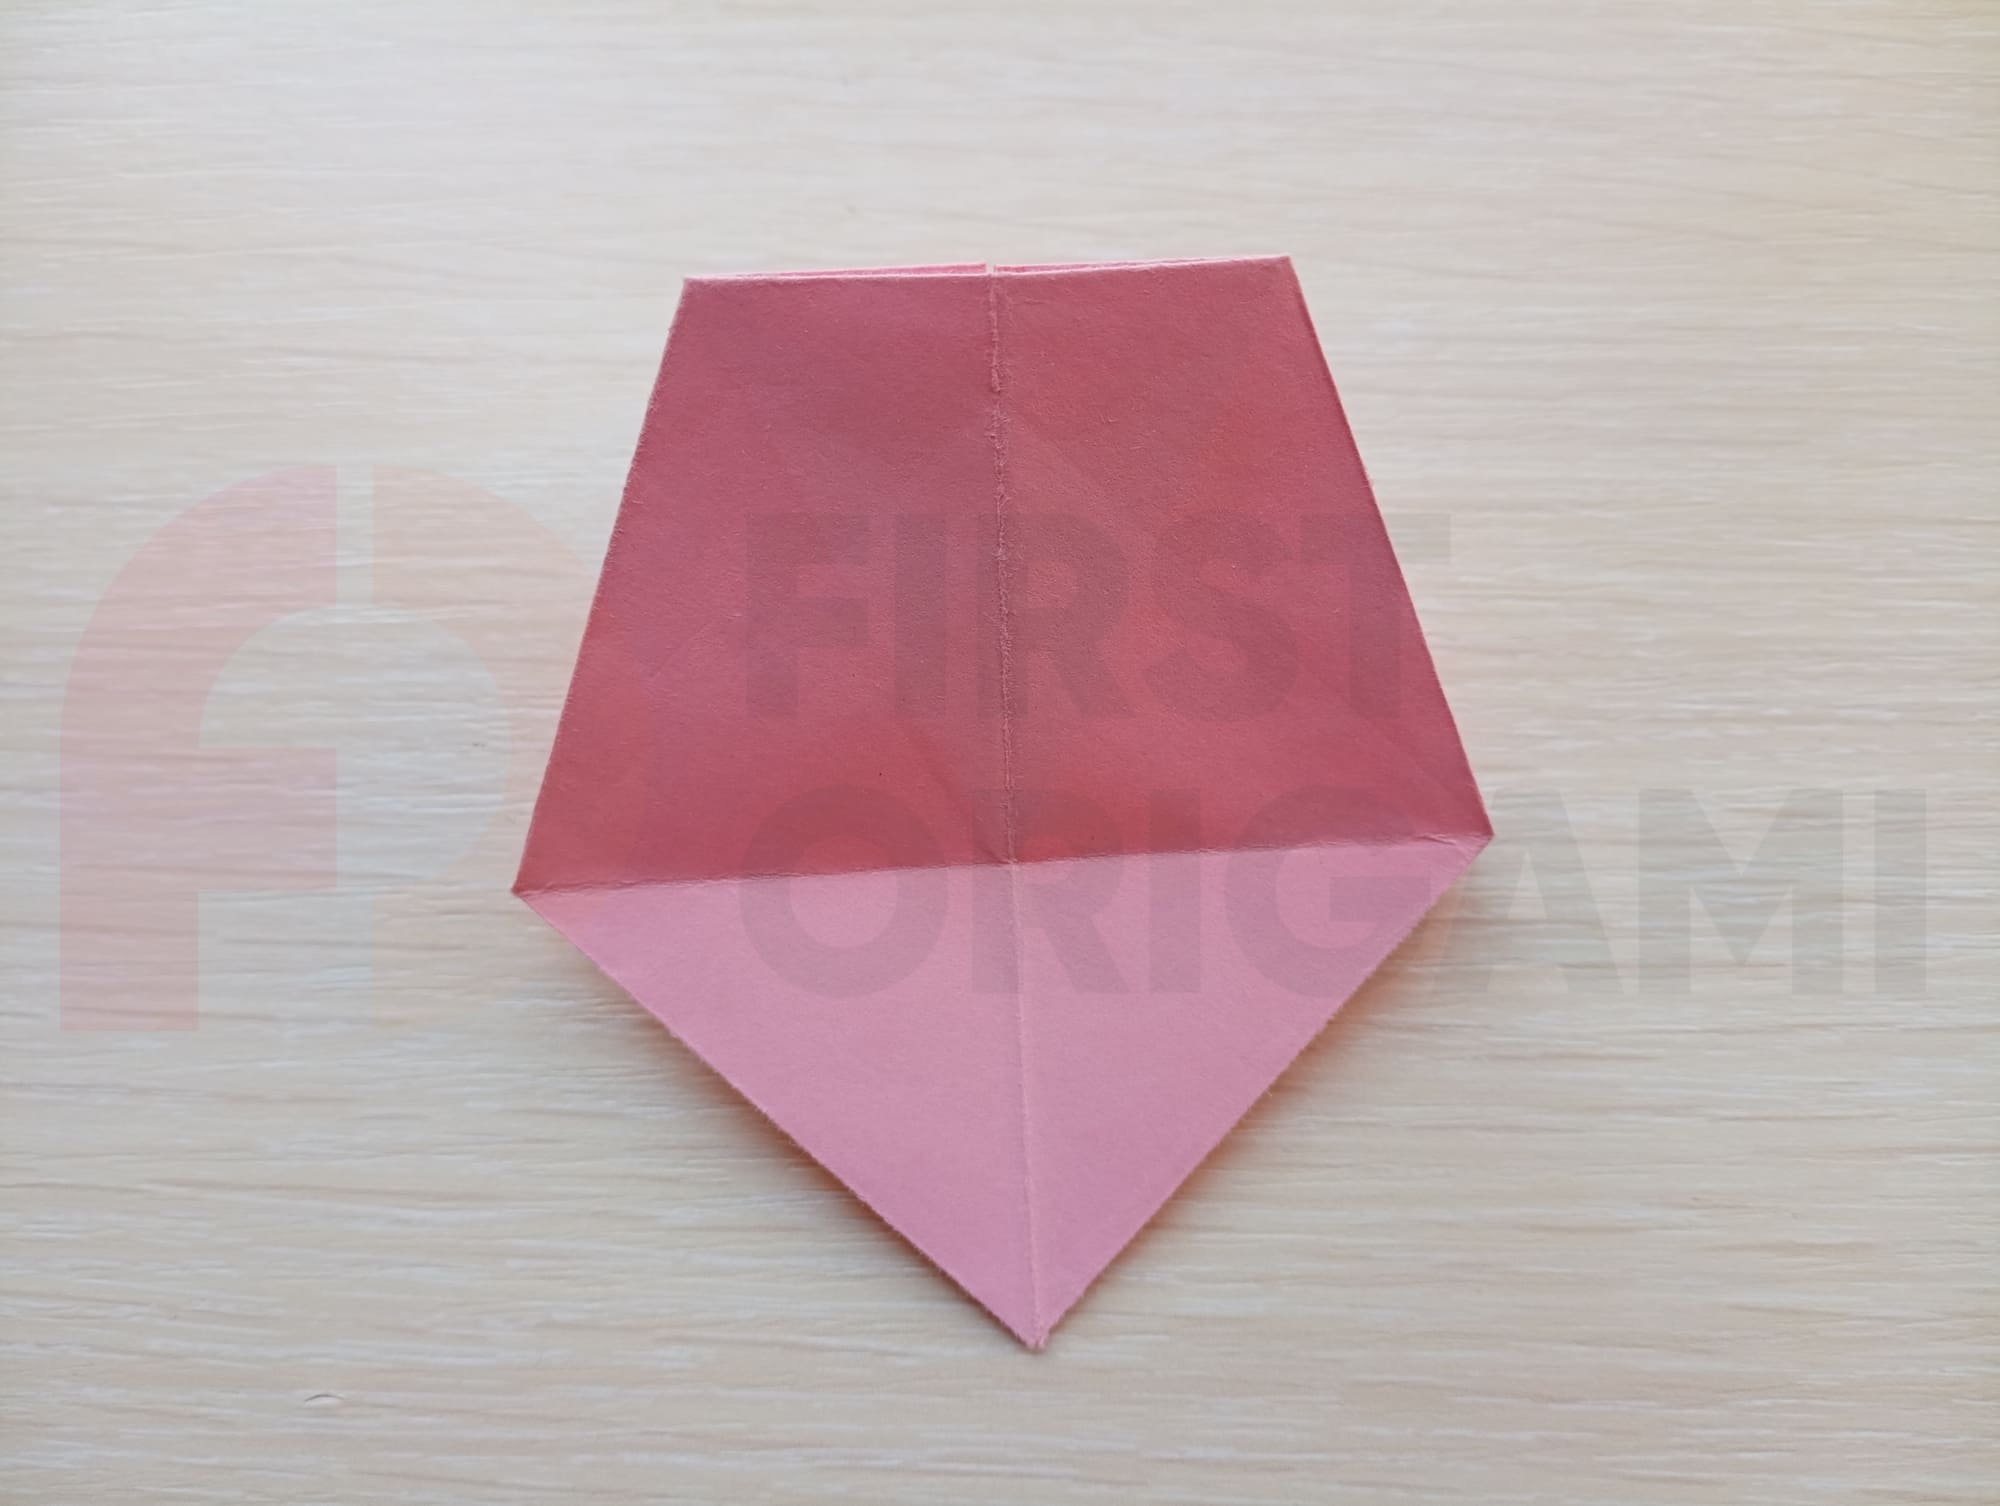
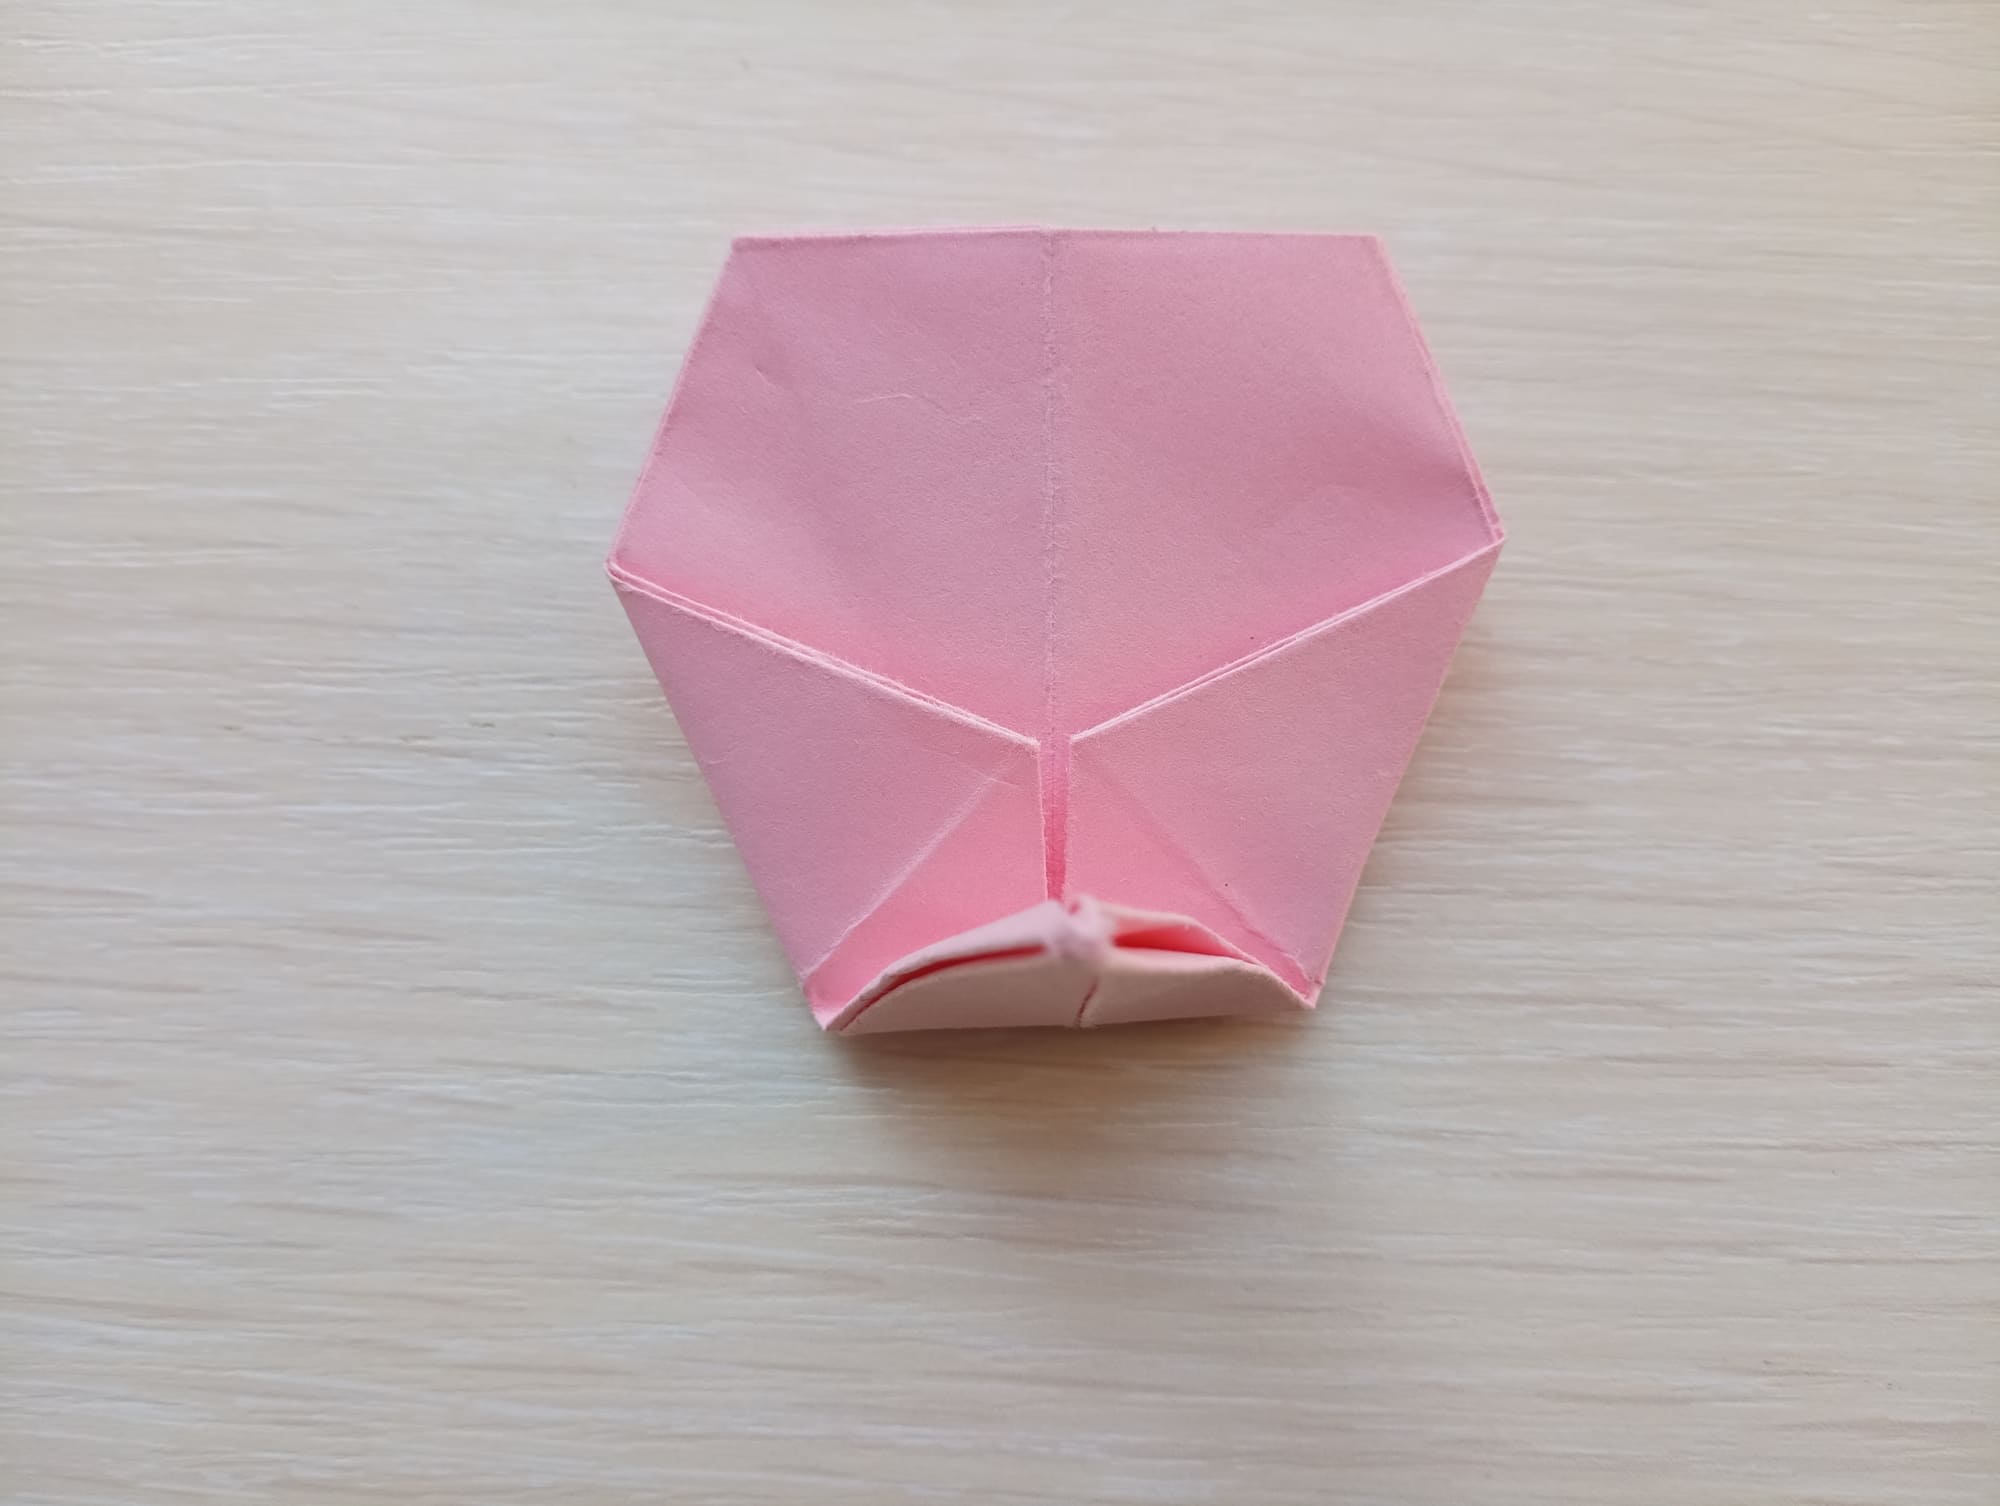
Open all folds and make a traditional origami “petal” fold.
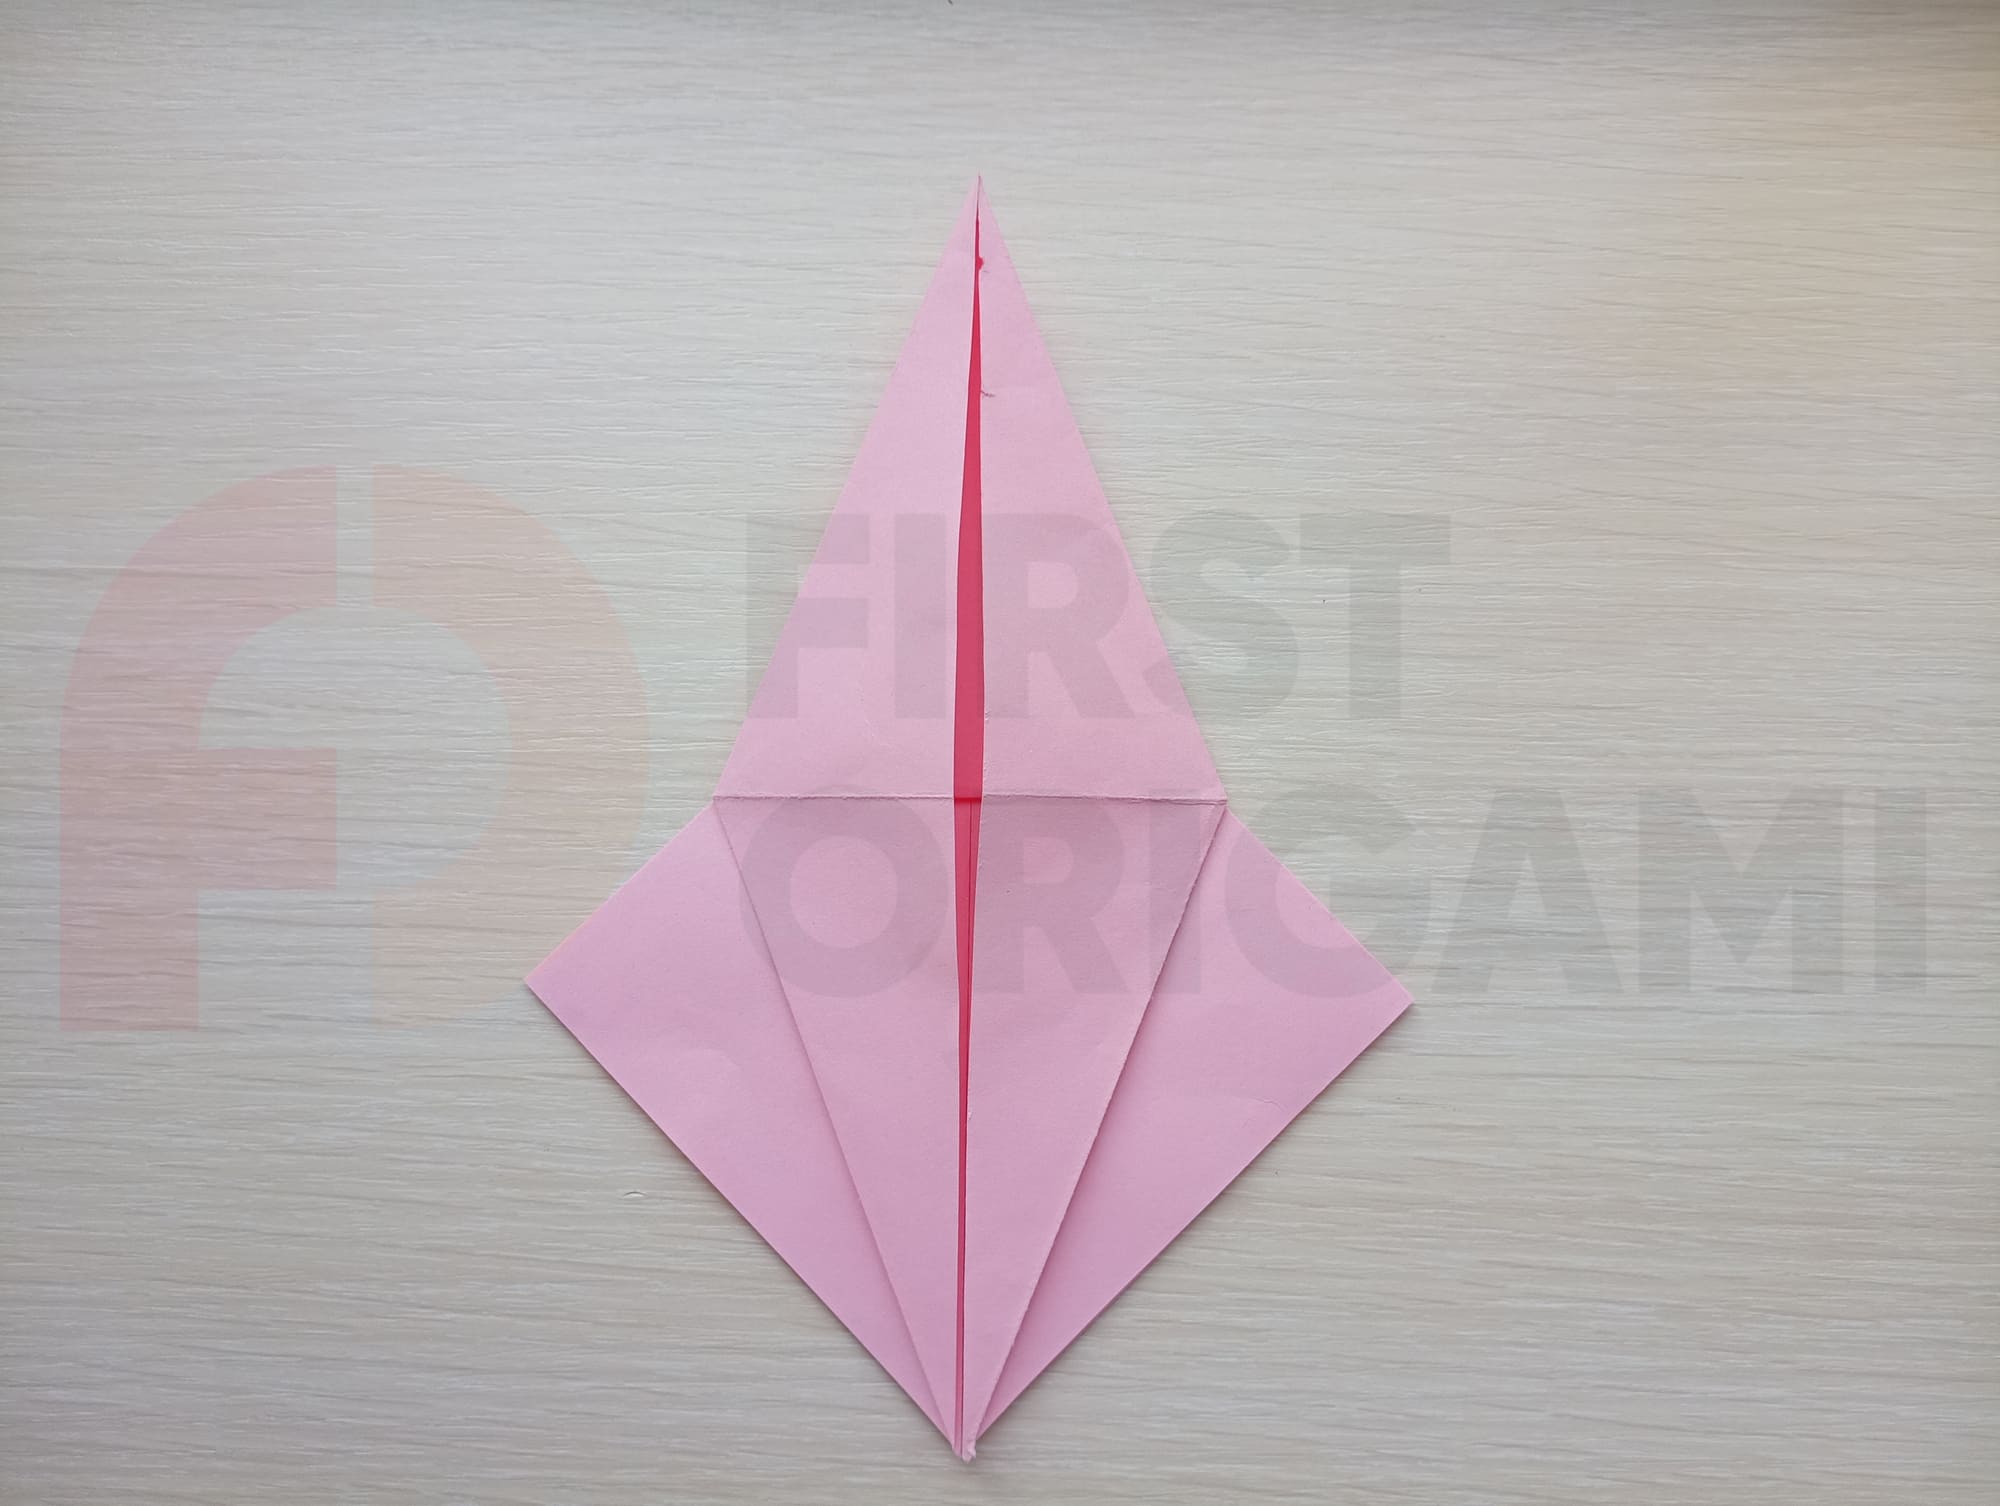
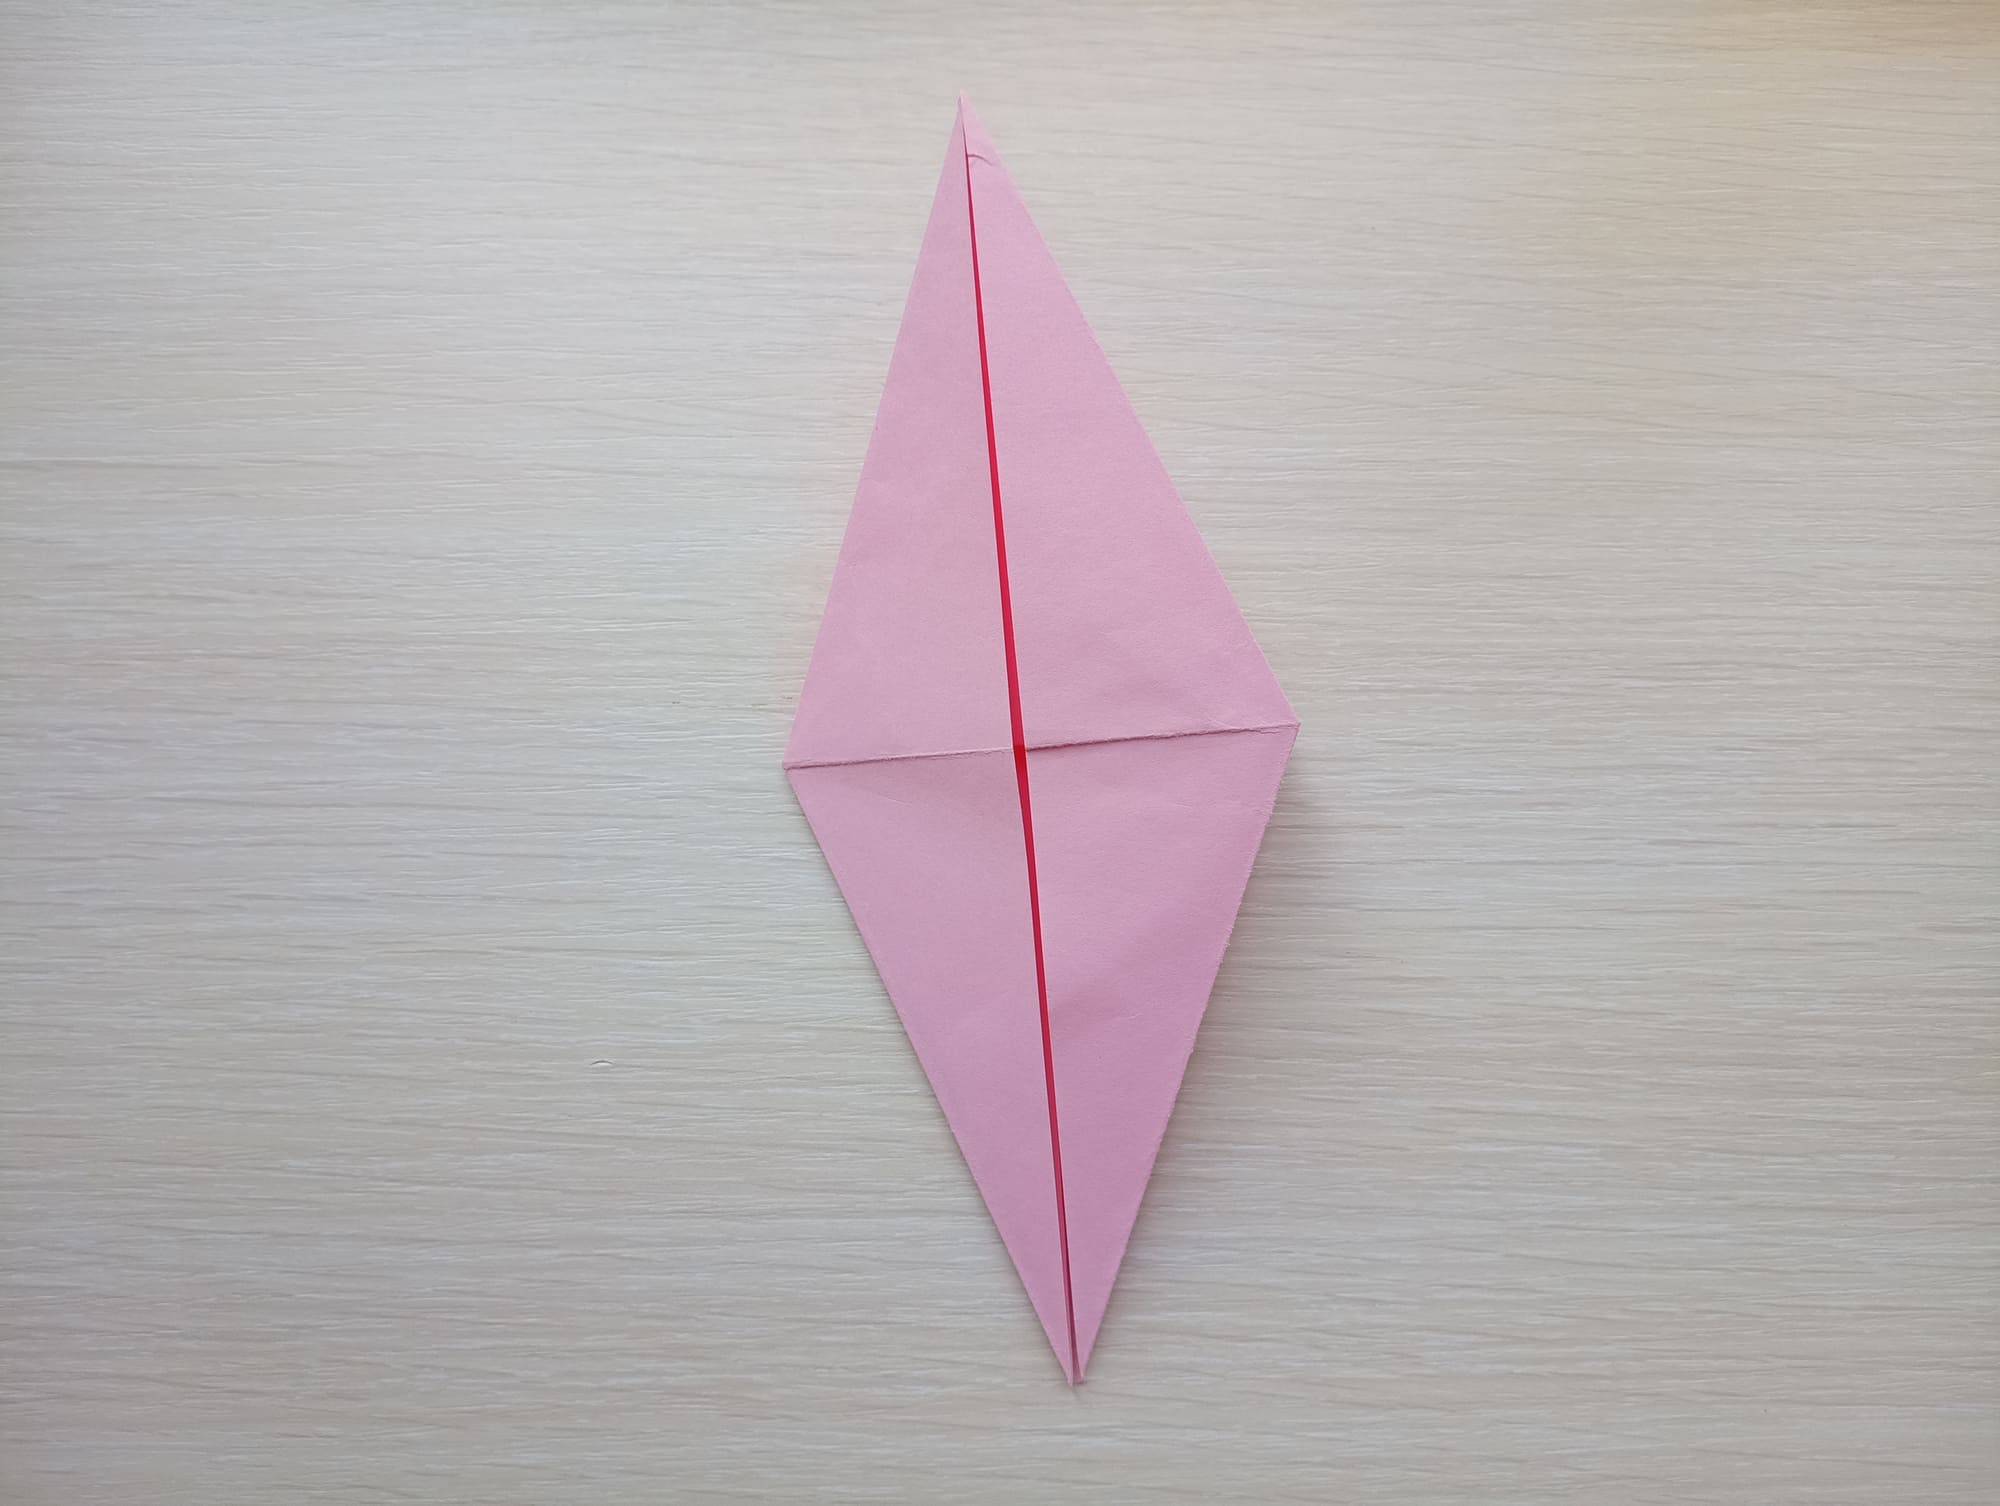
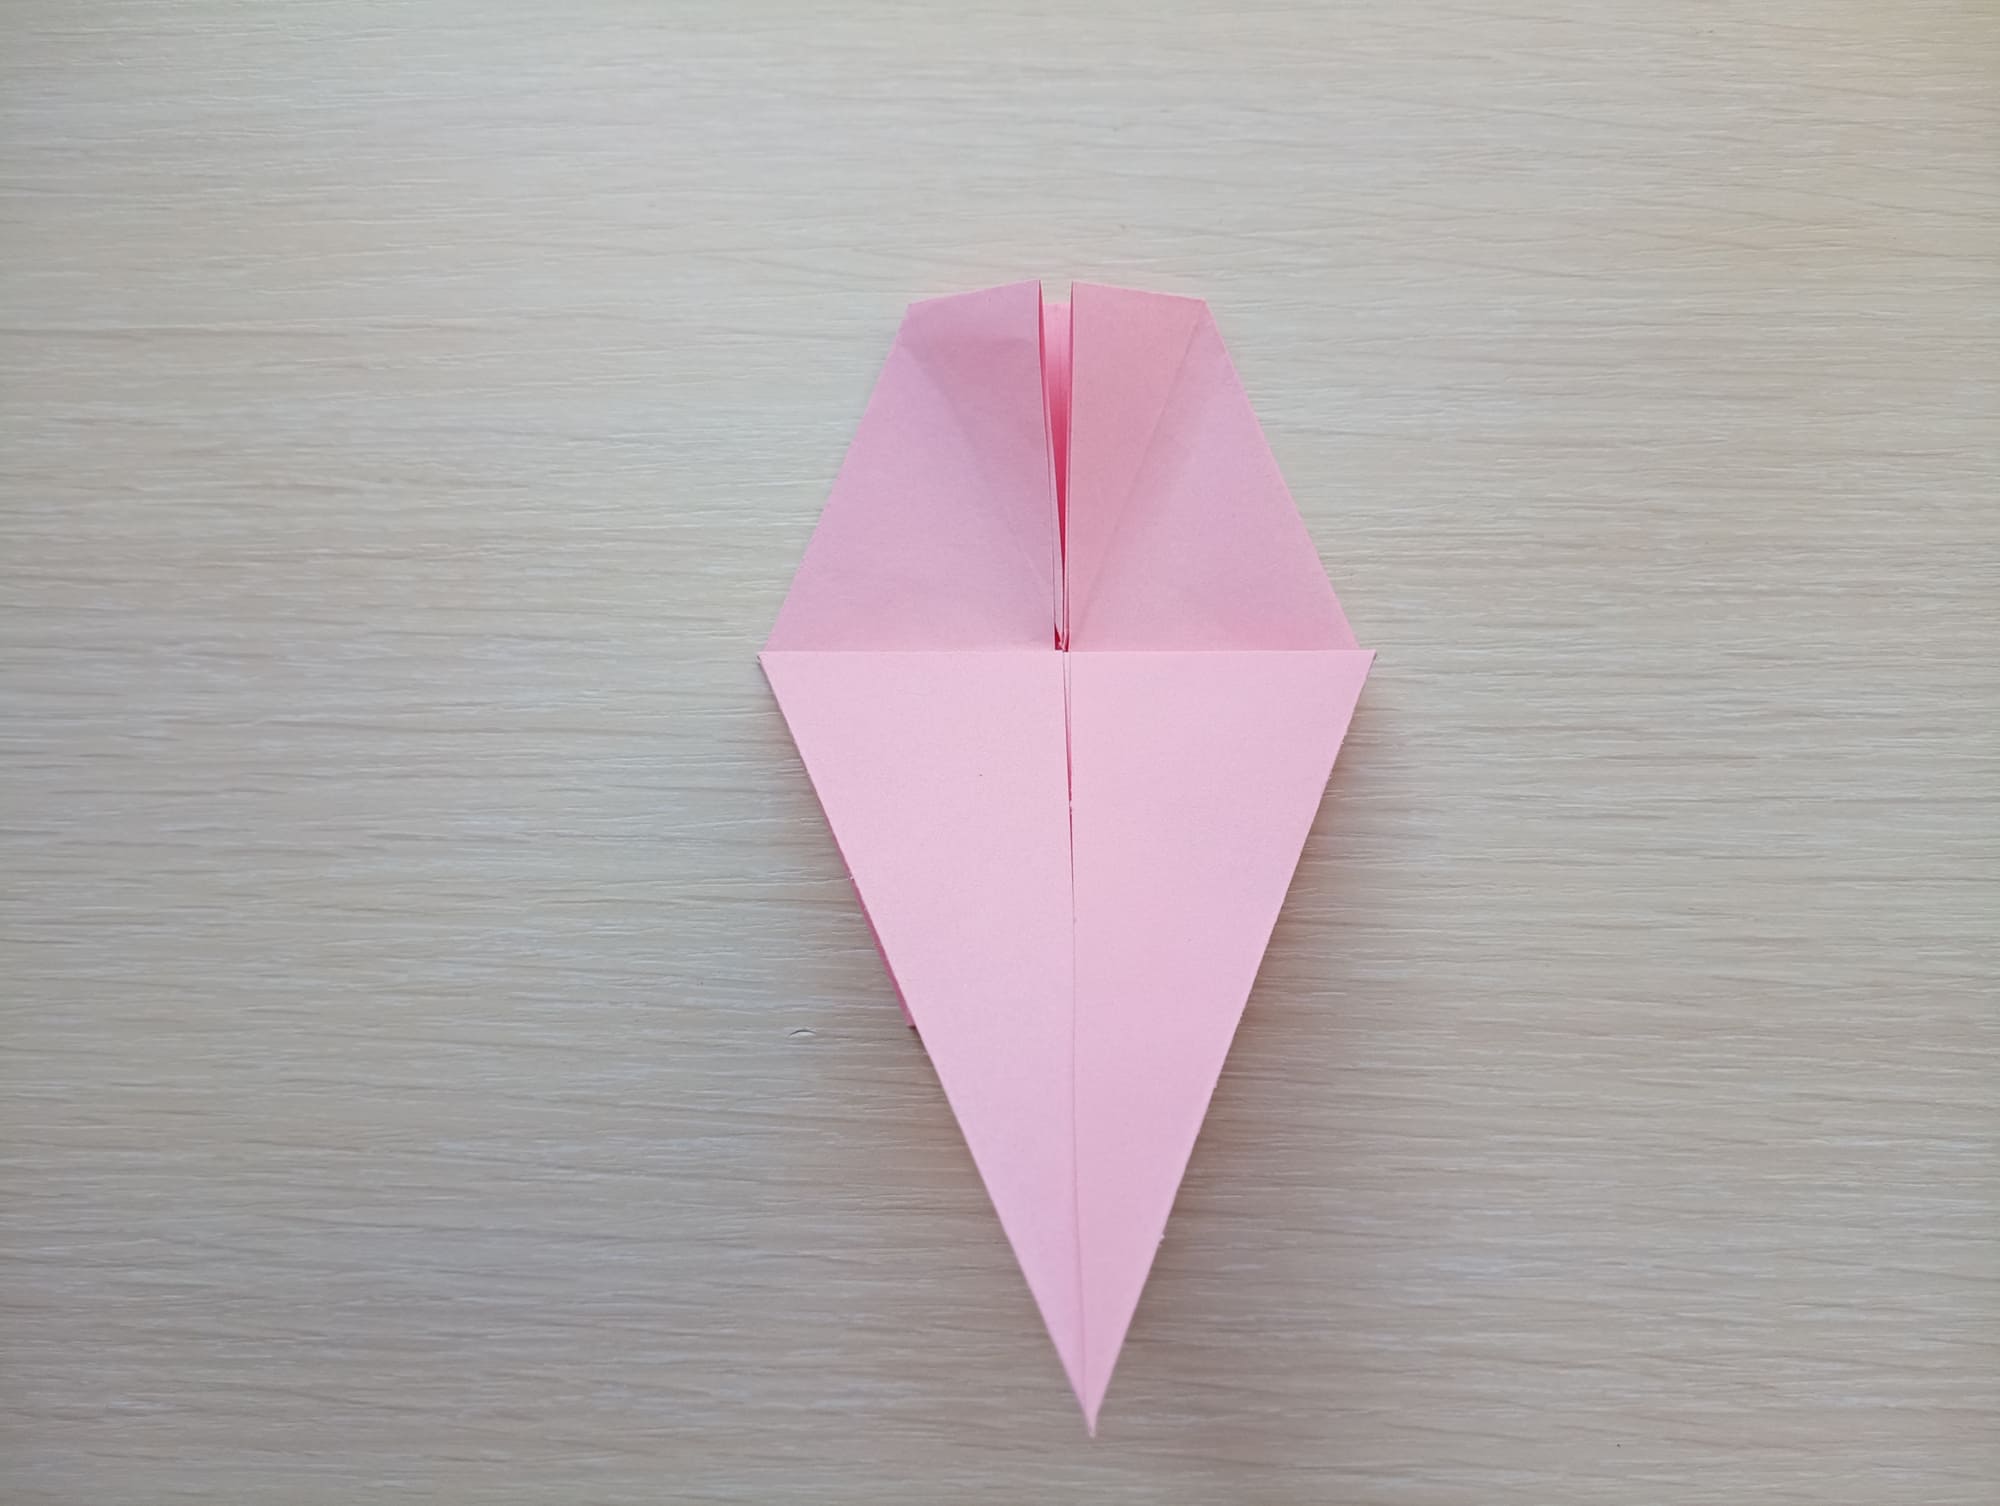
Turn the figure over.
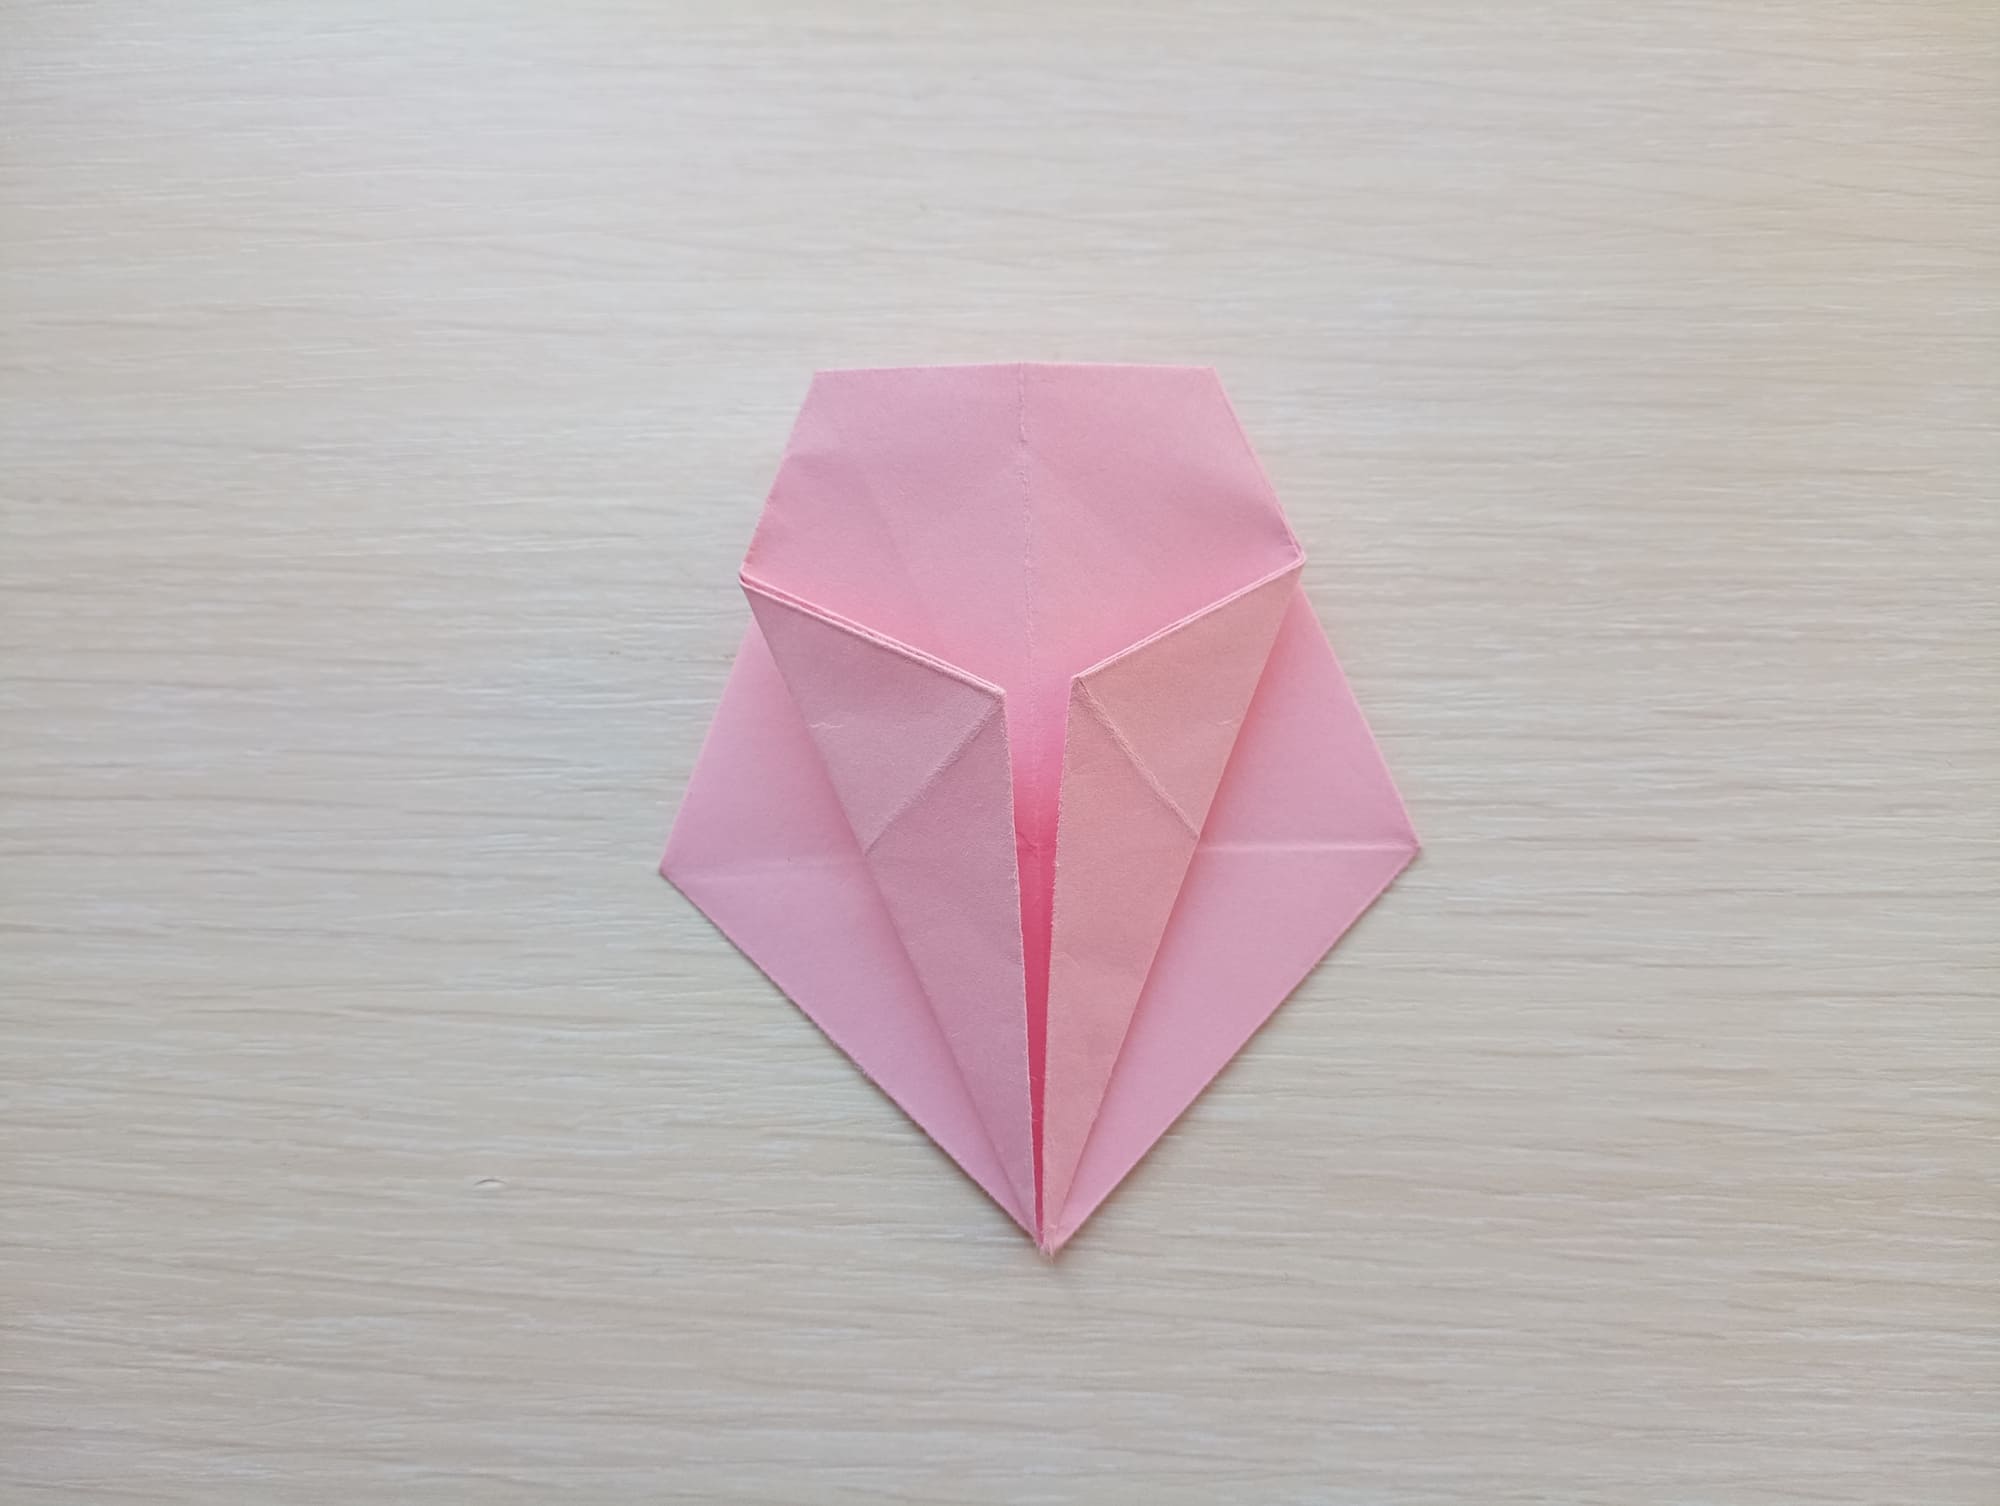
Repeat the steps in Steps 4-7 on the reverse side.

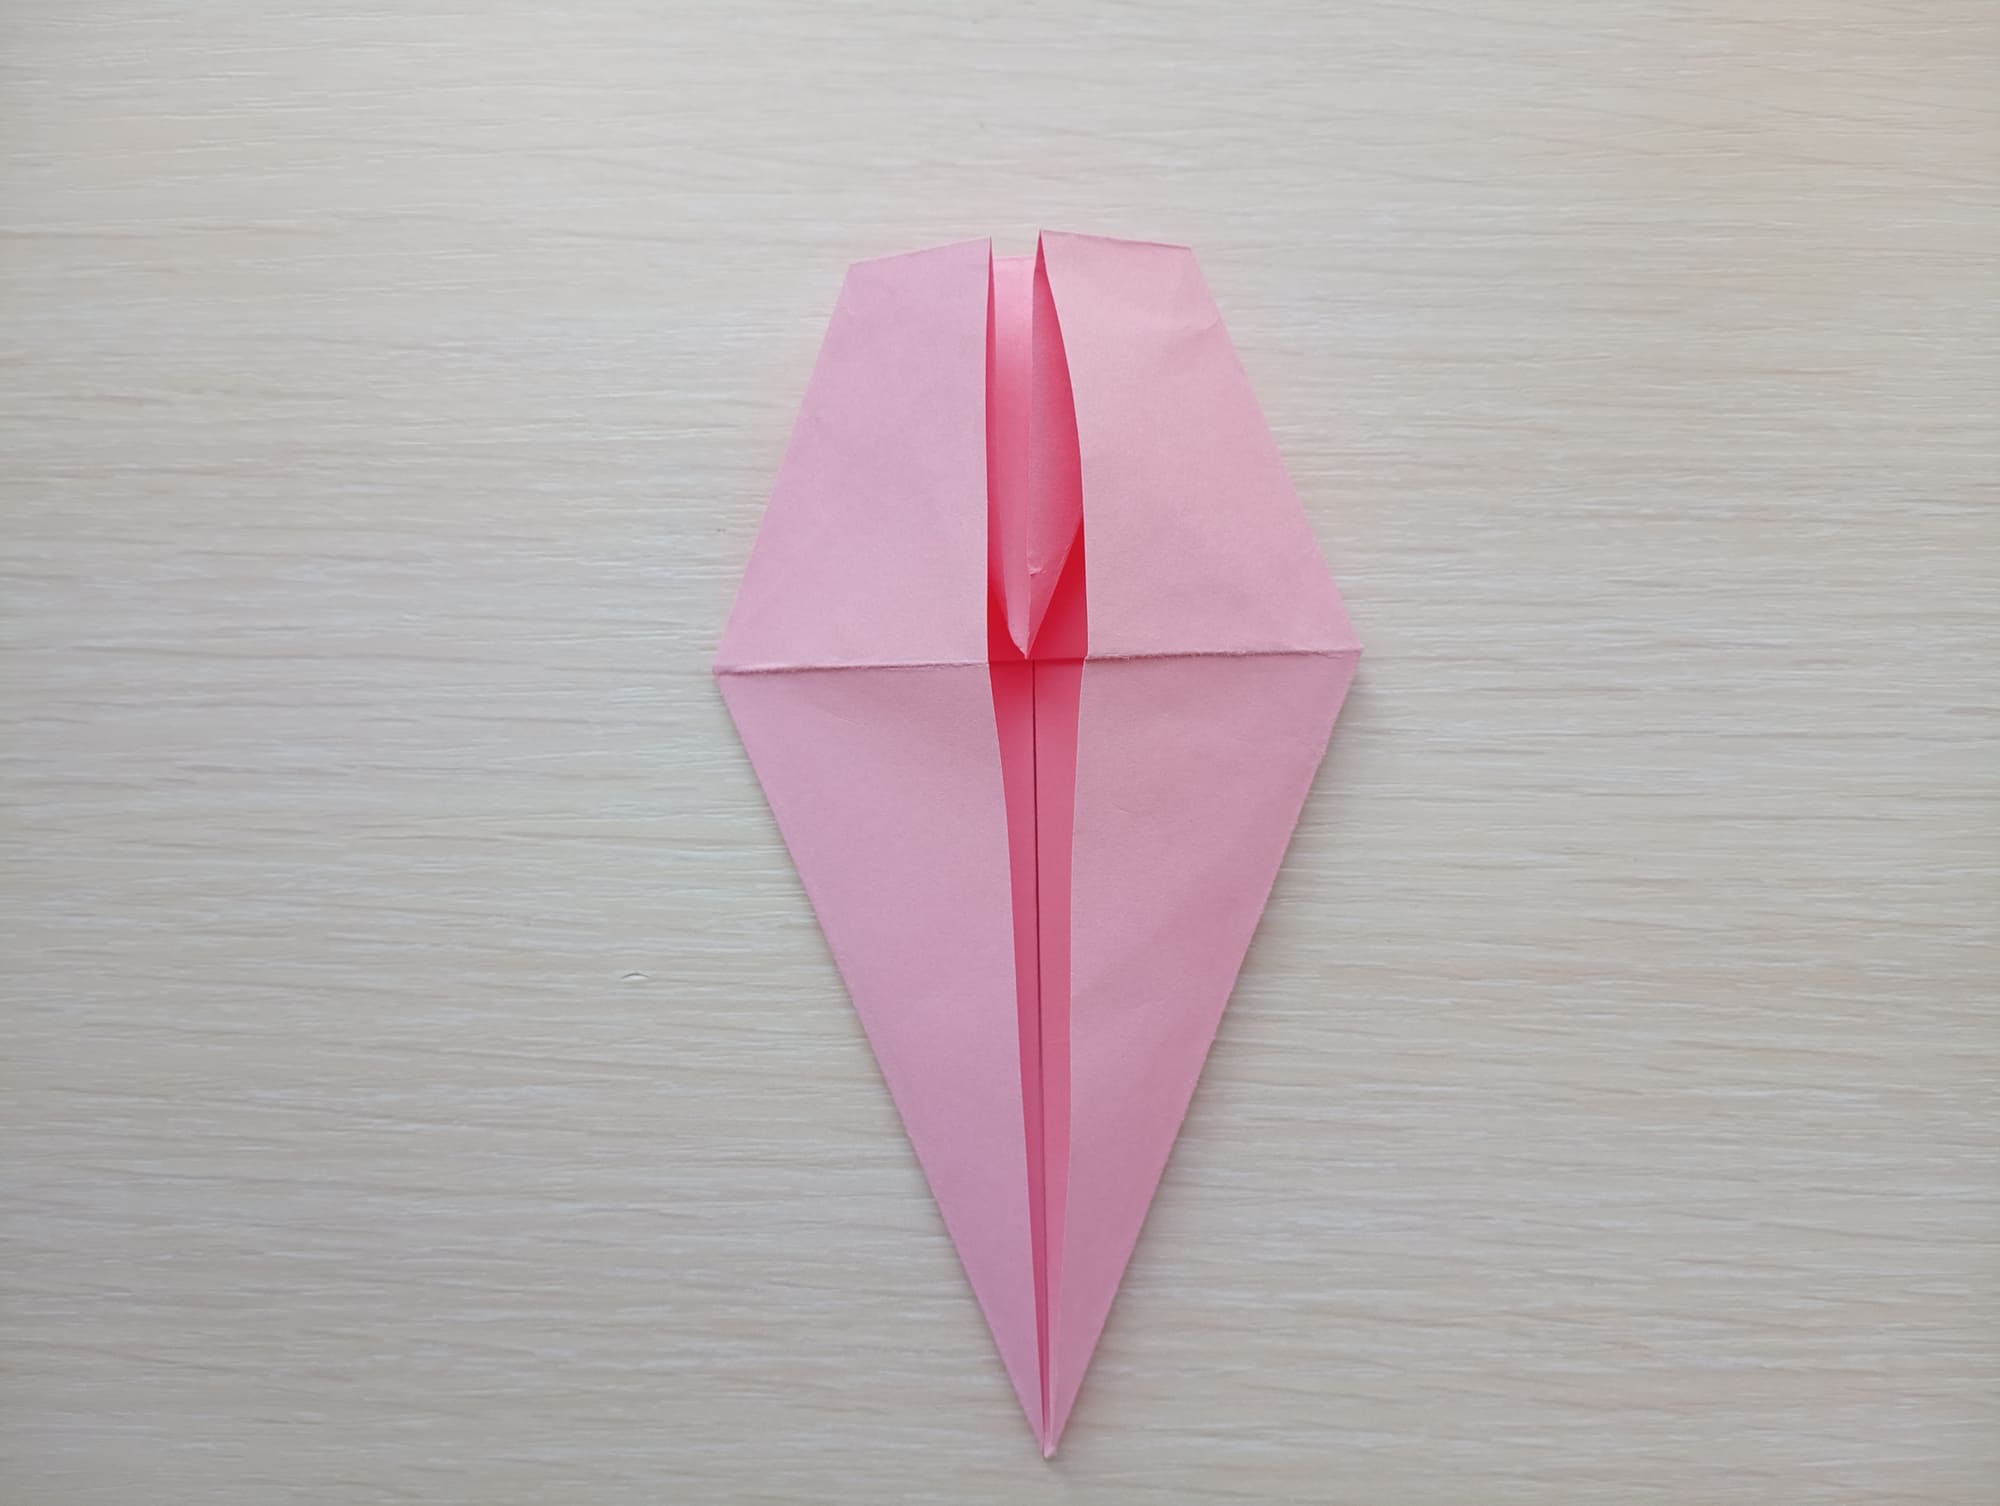
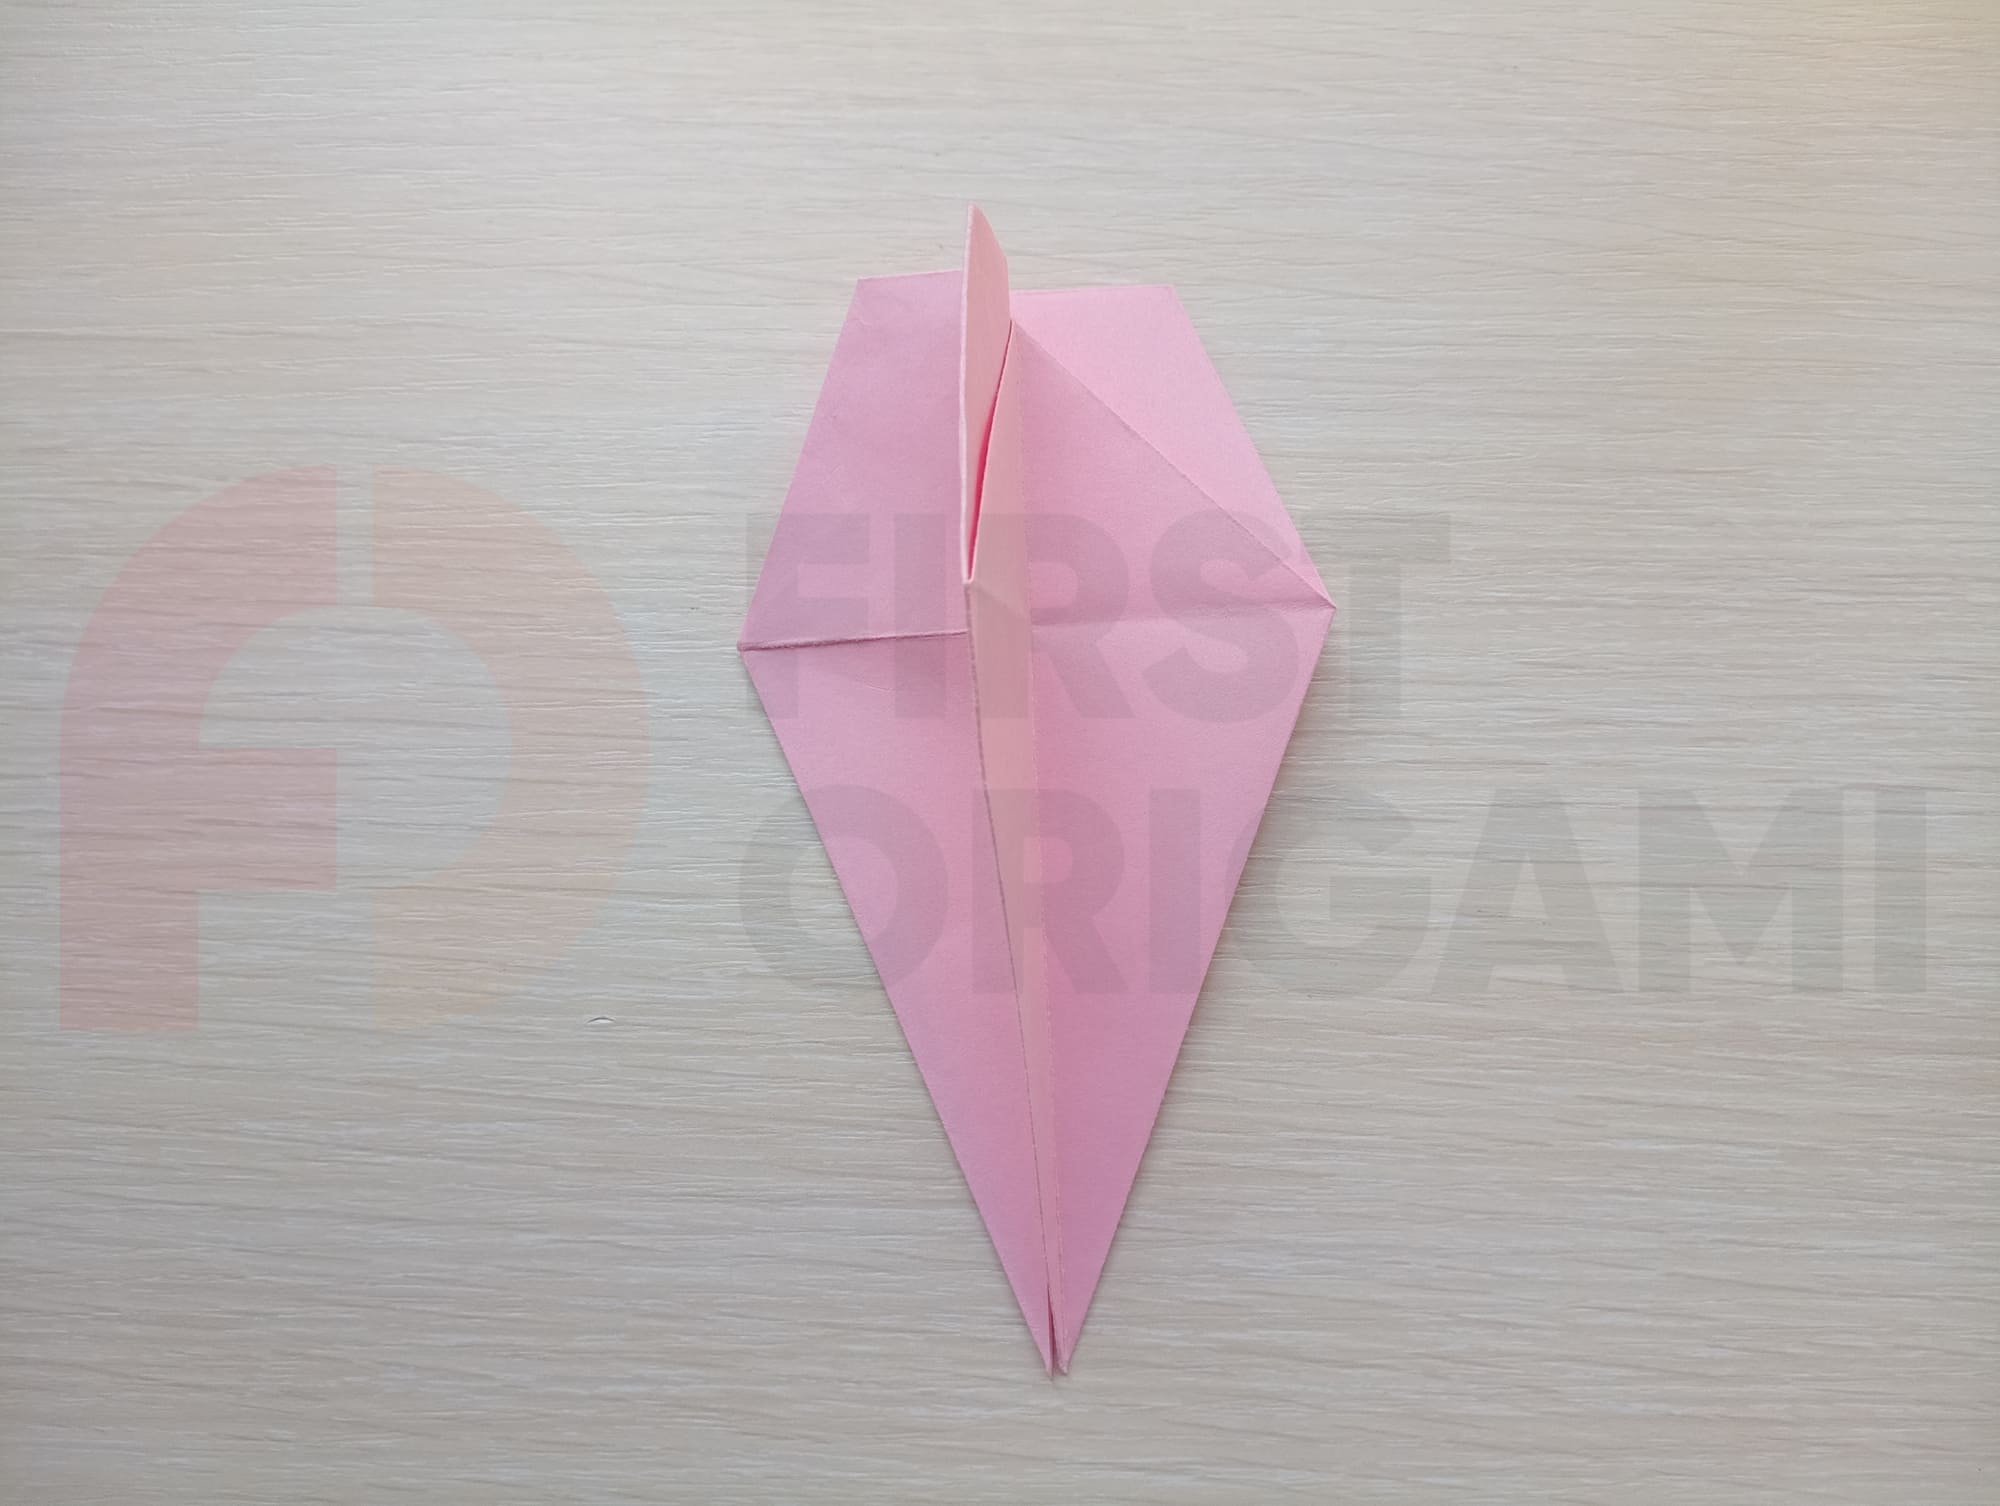
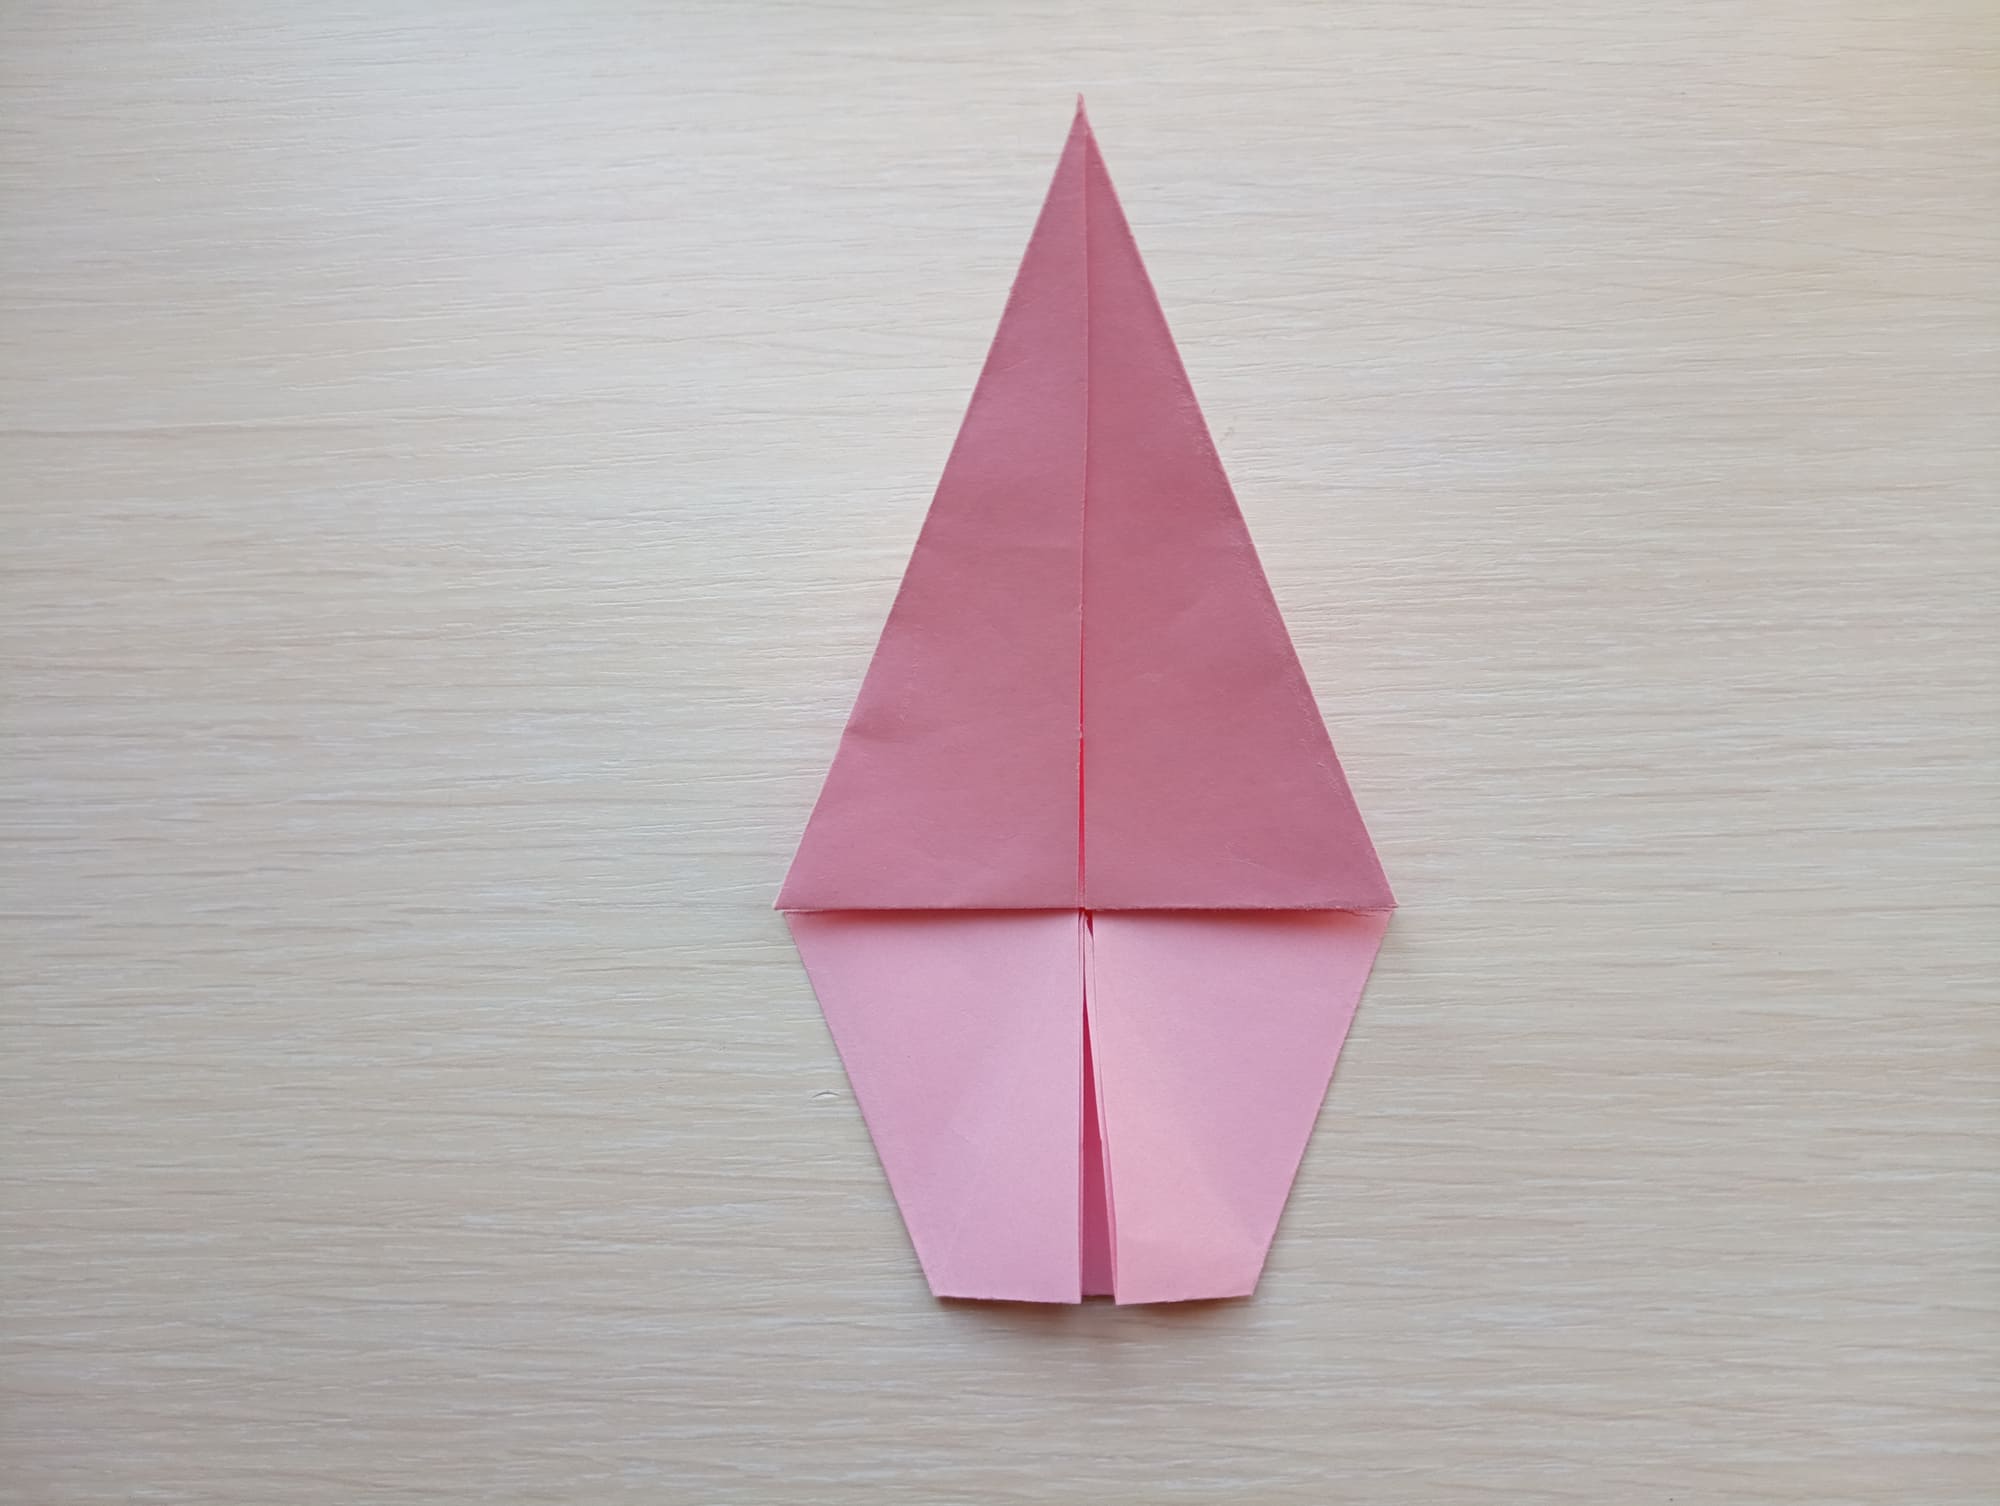
Fold one layer of the top flap toward the middle.
Fold the edge back.
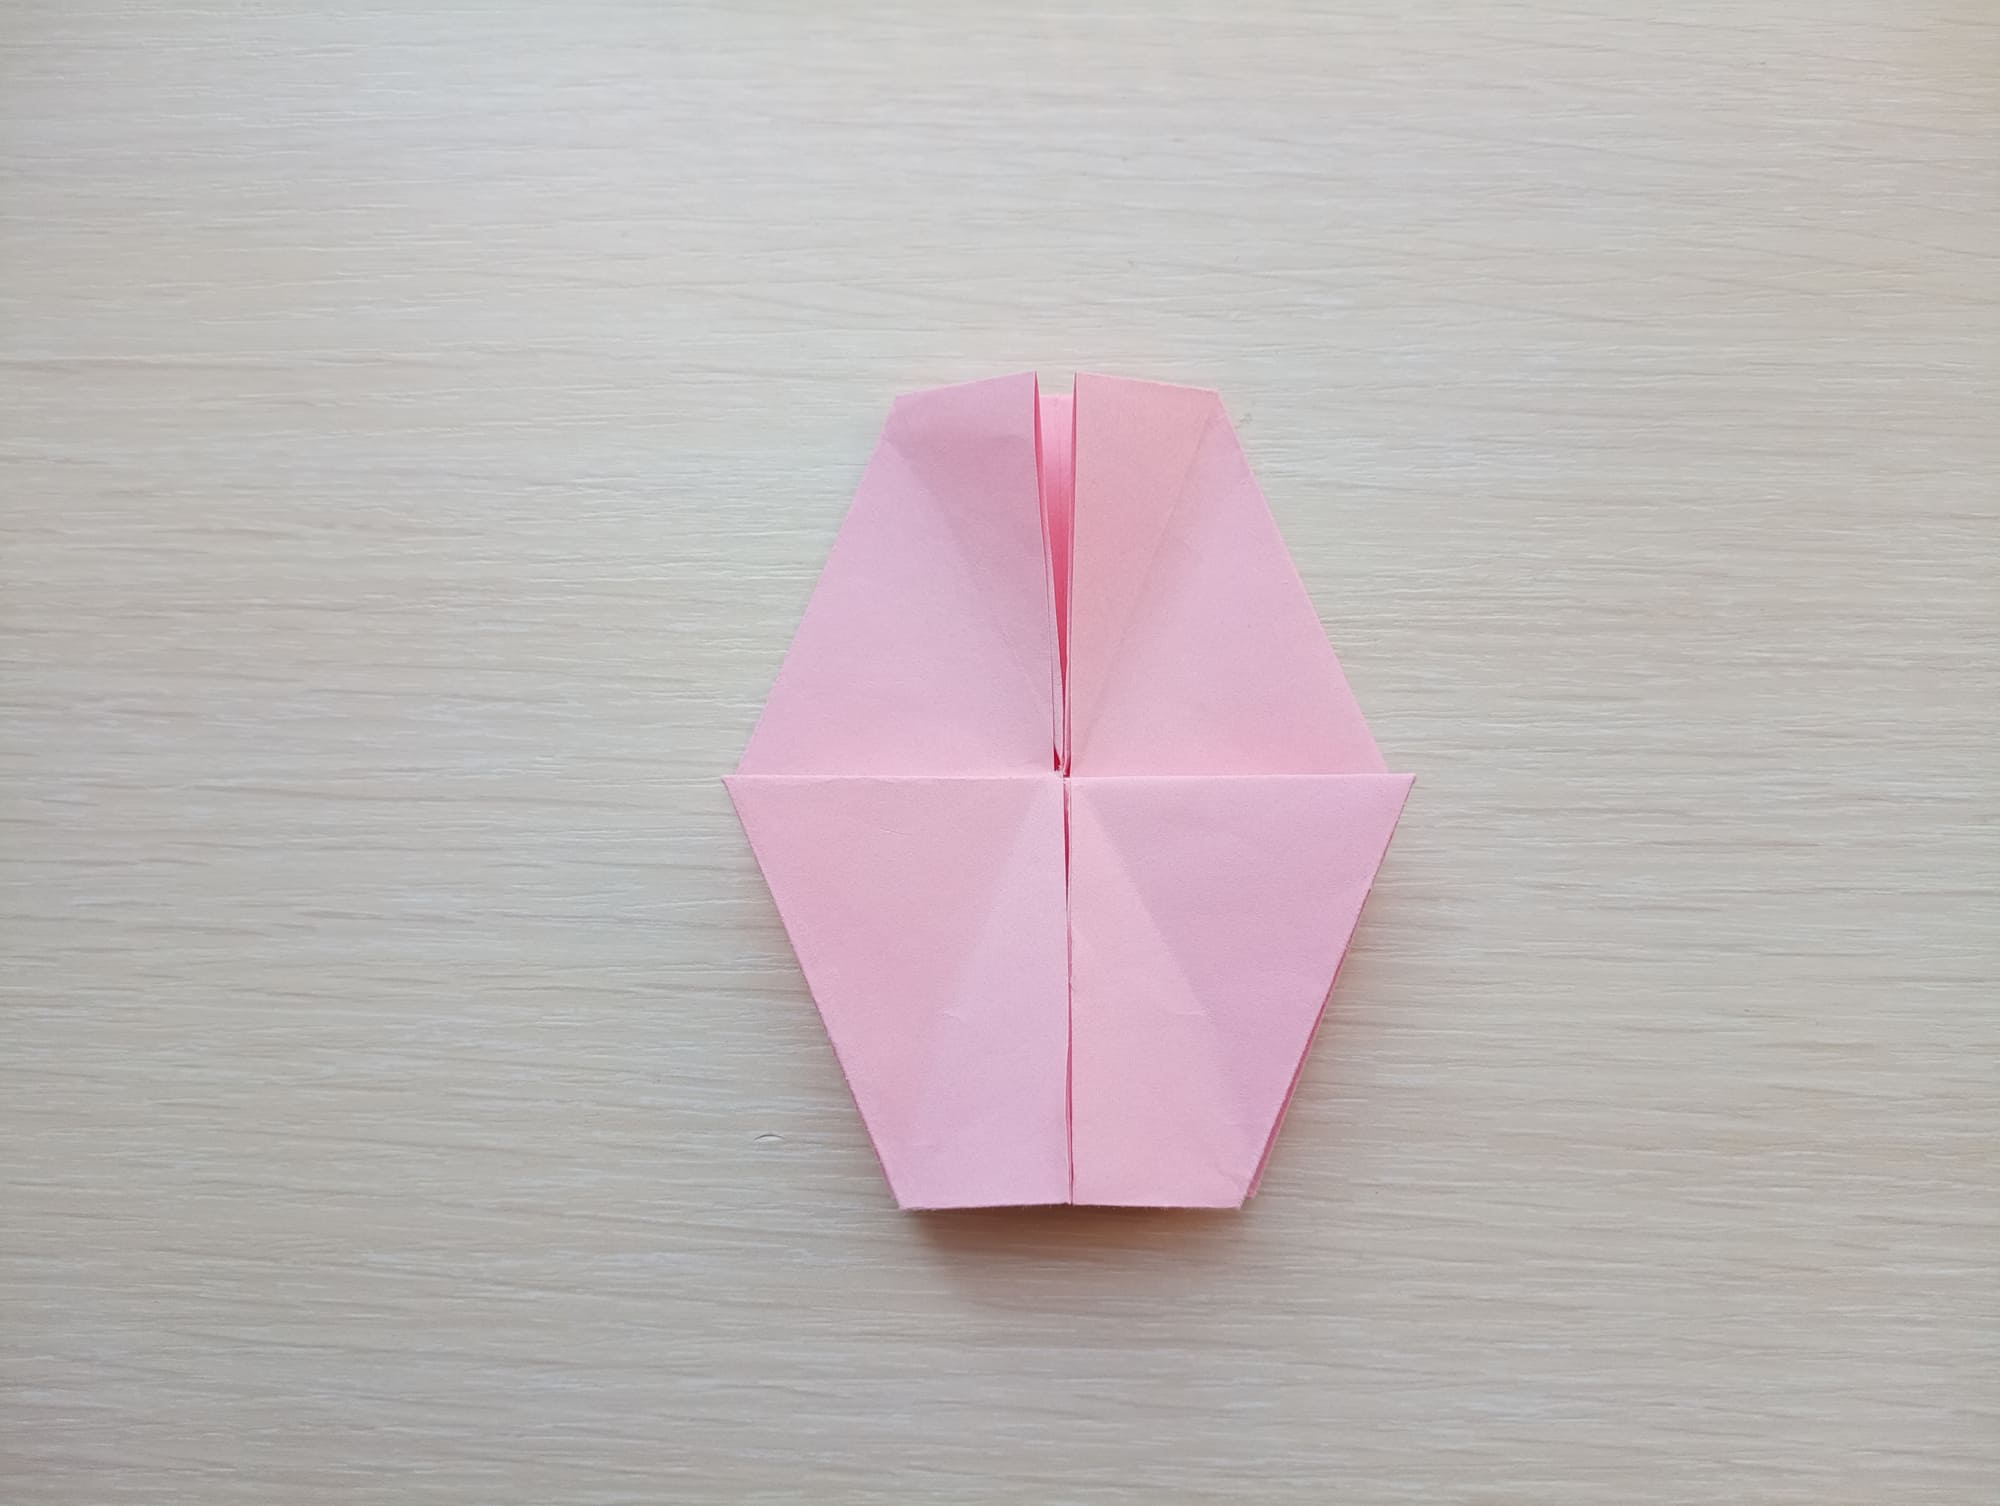
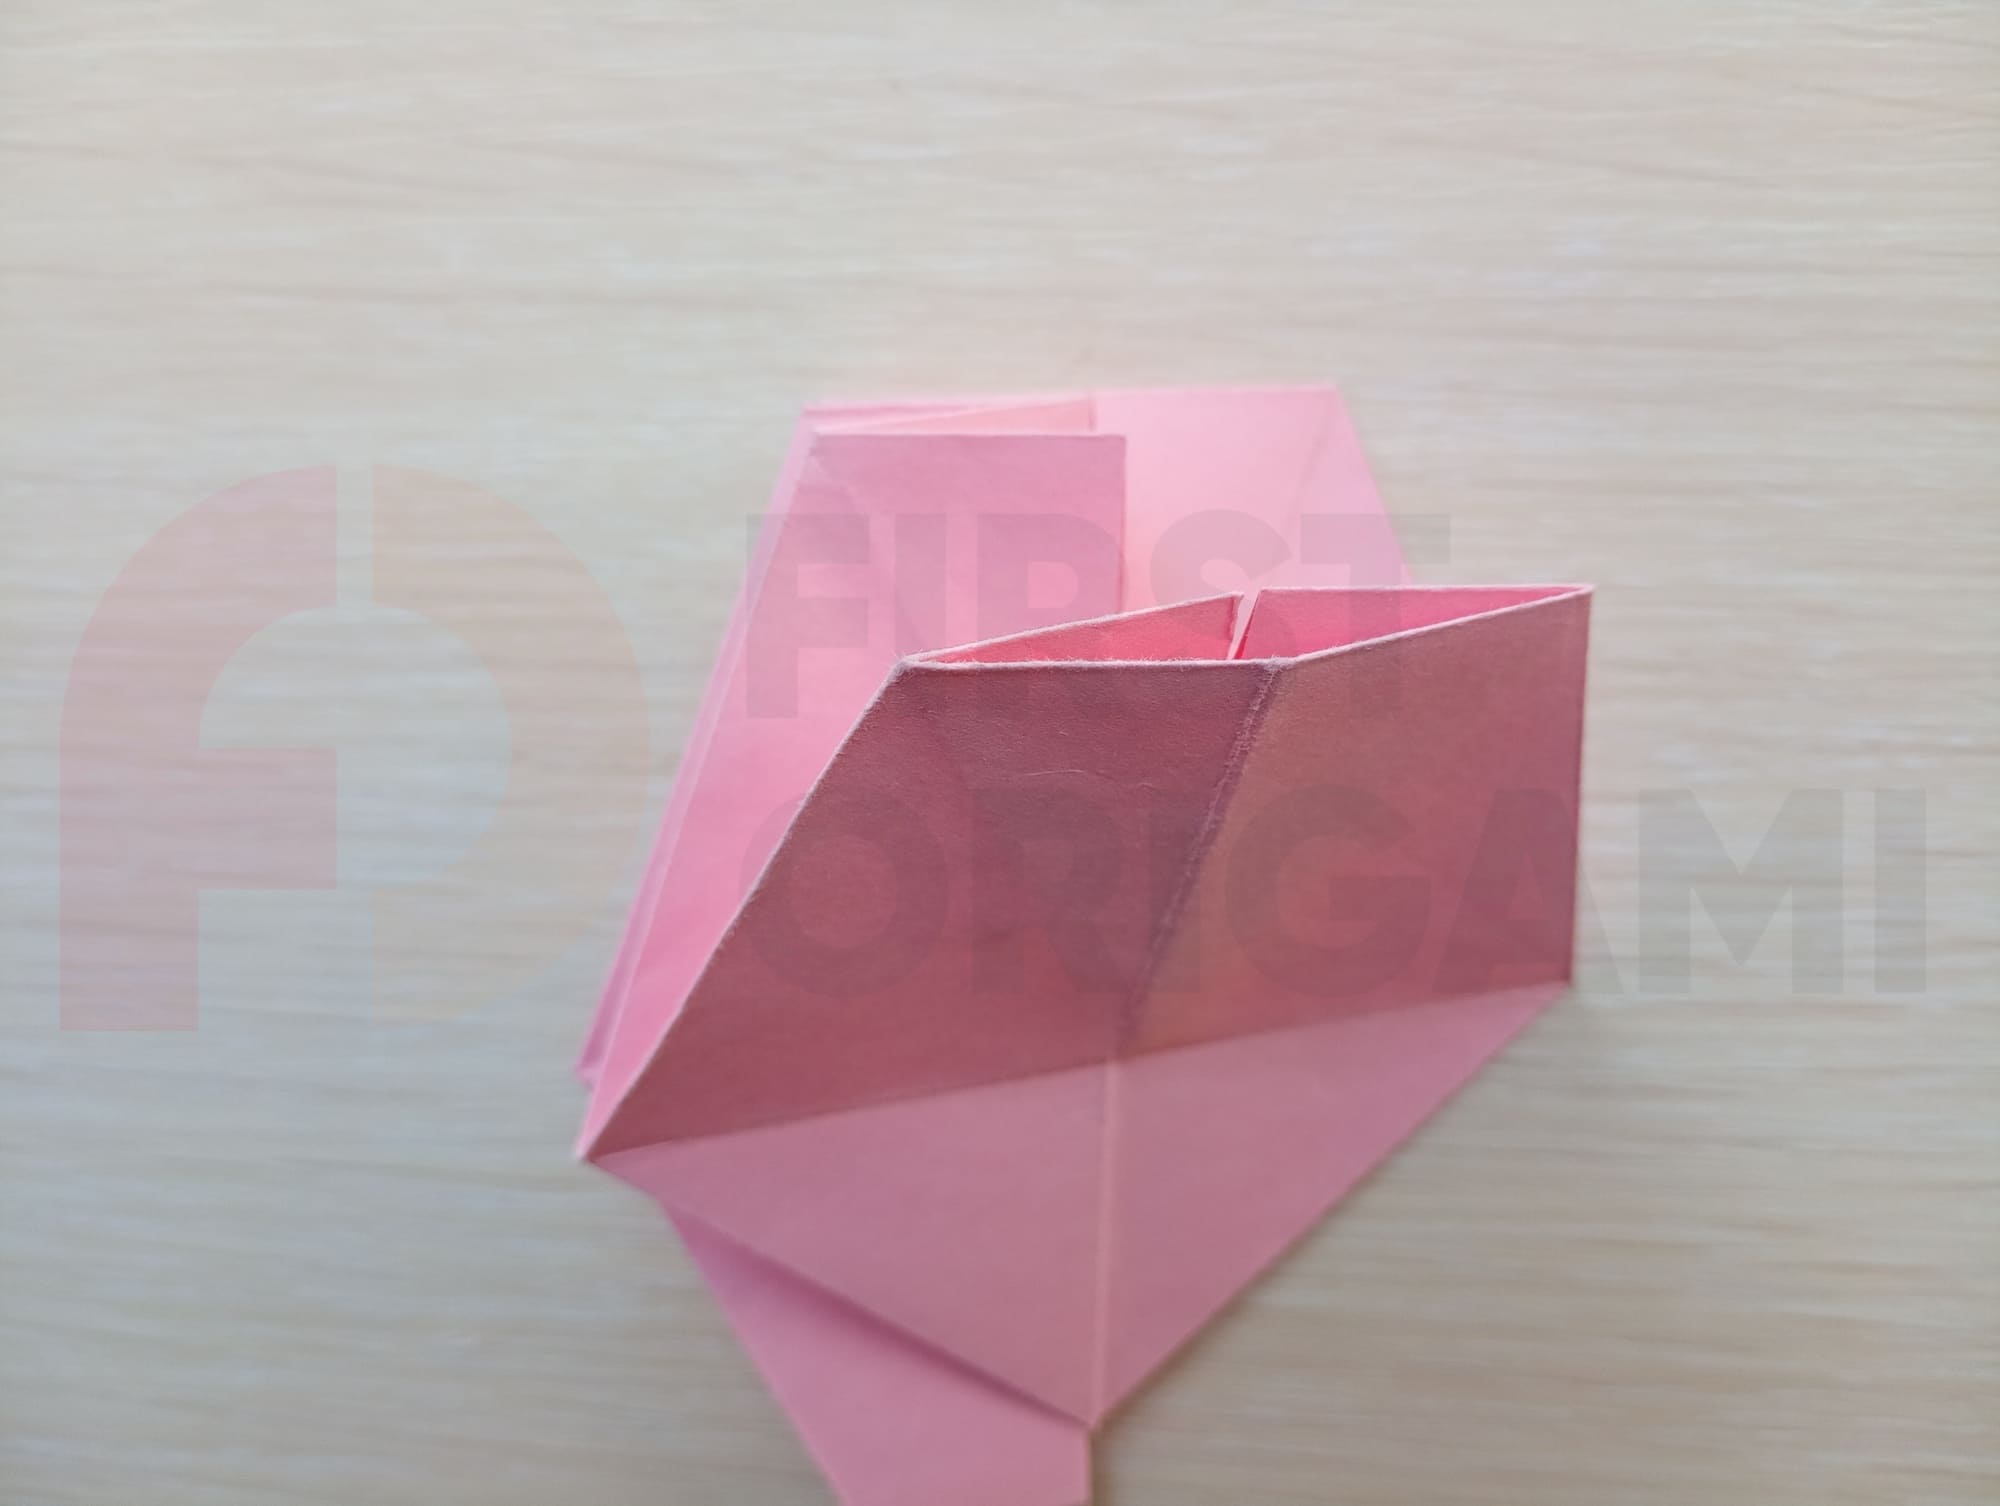
Open this edge even wider and start folding toward the middle already with the floral folds (see photo).

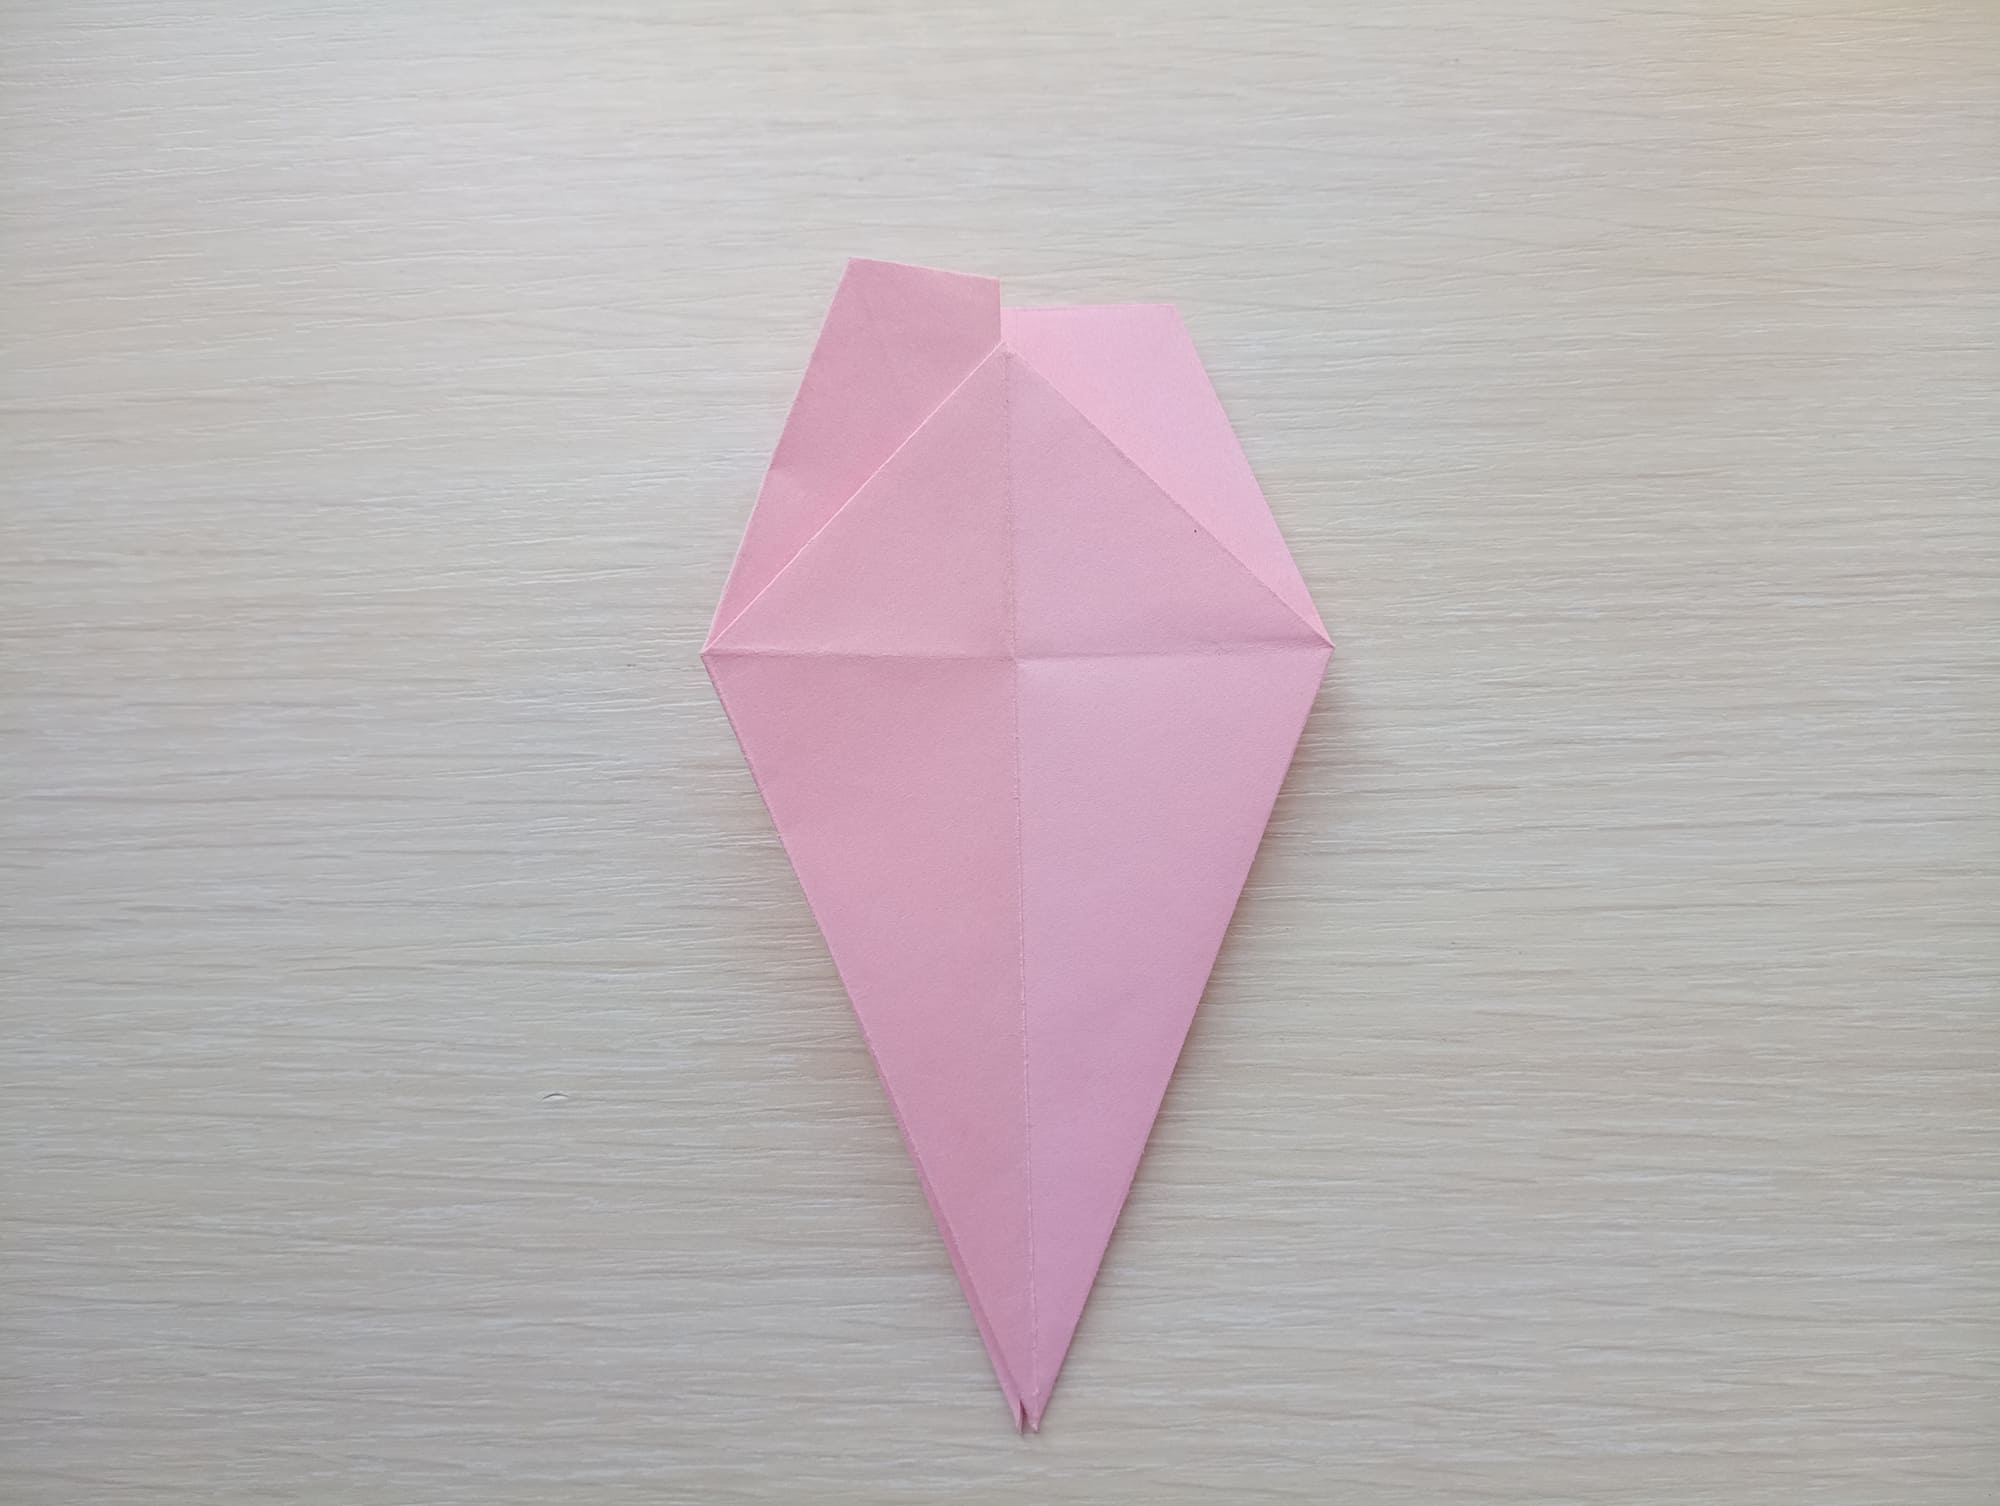
Turn the part over and repeat the steps from the previous seven steps.
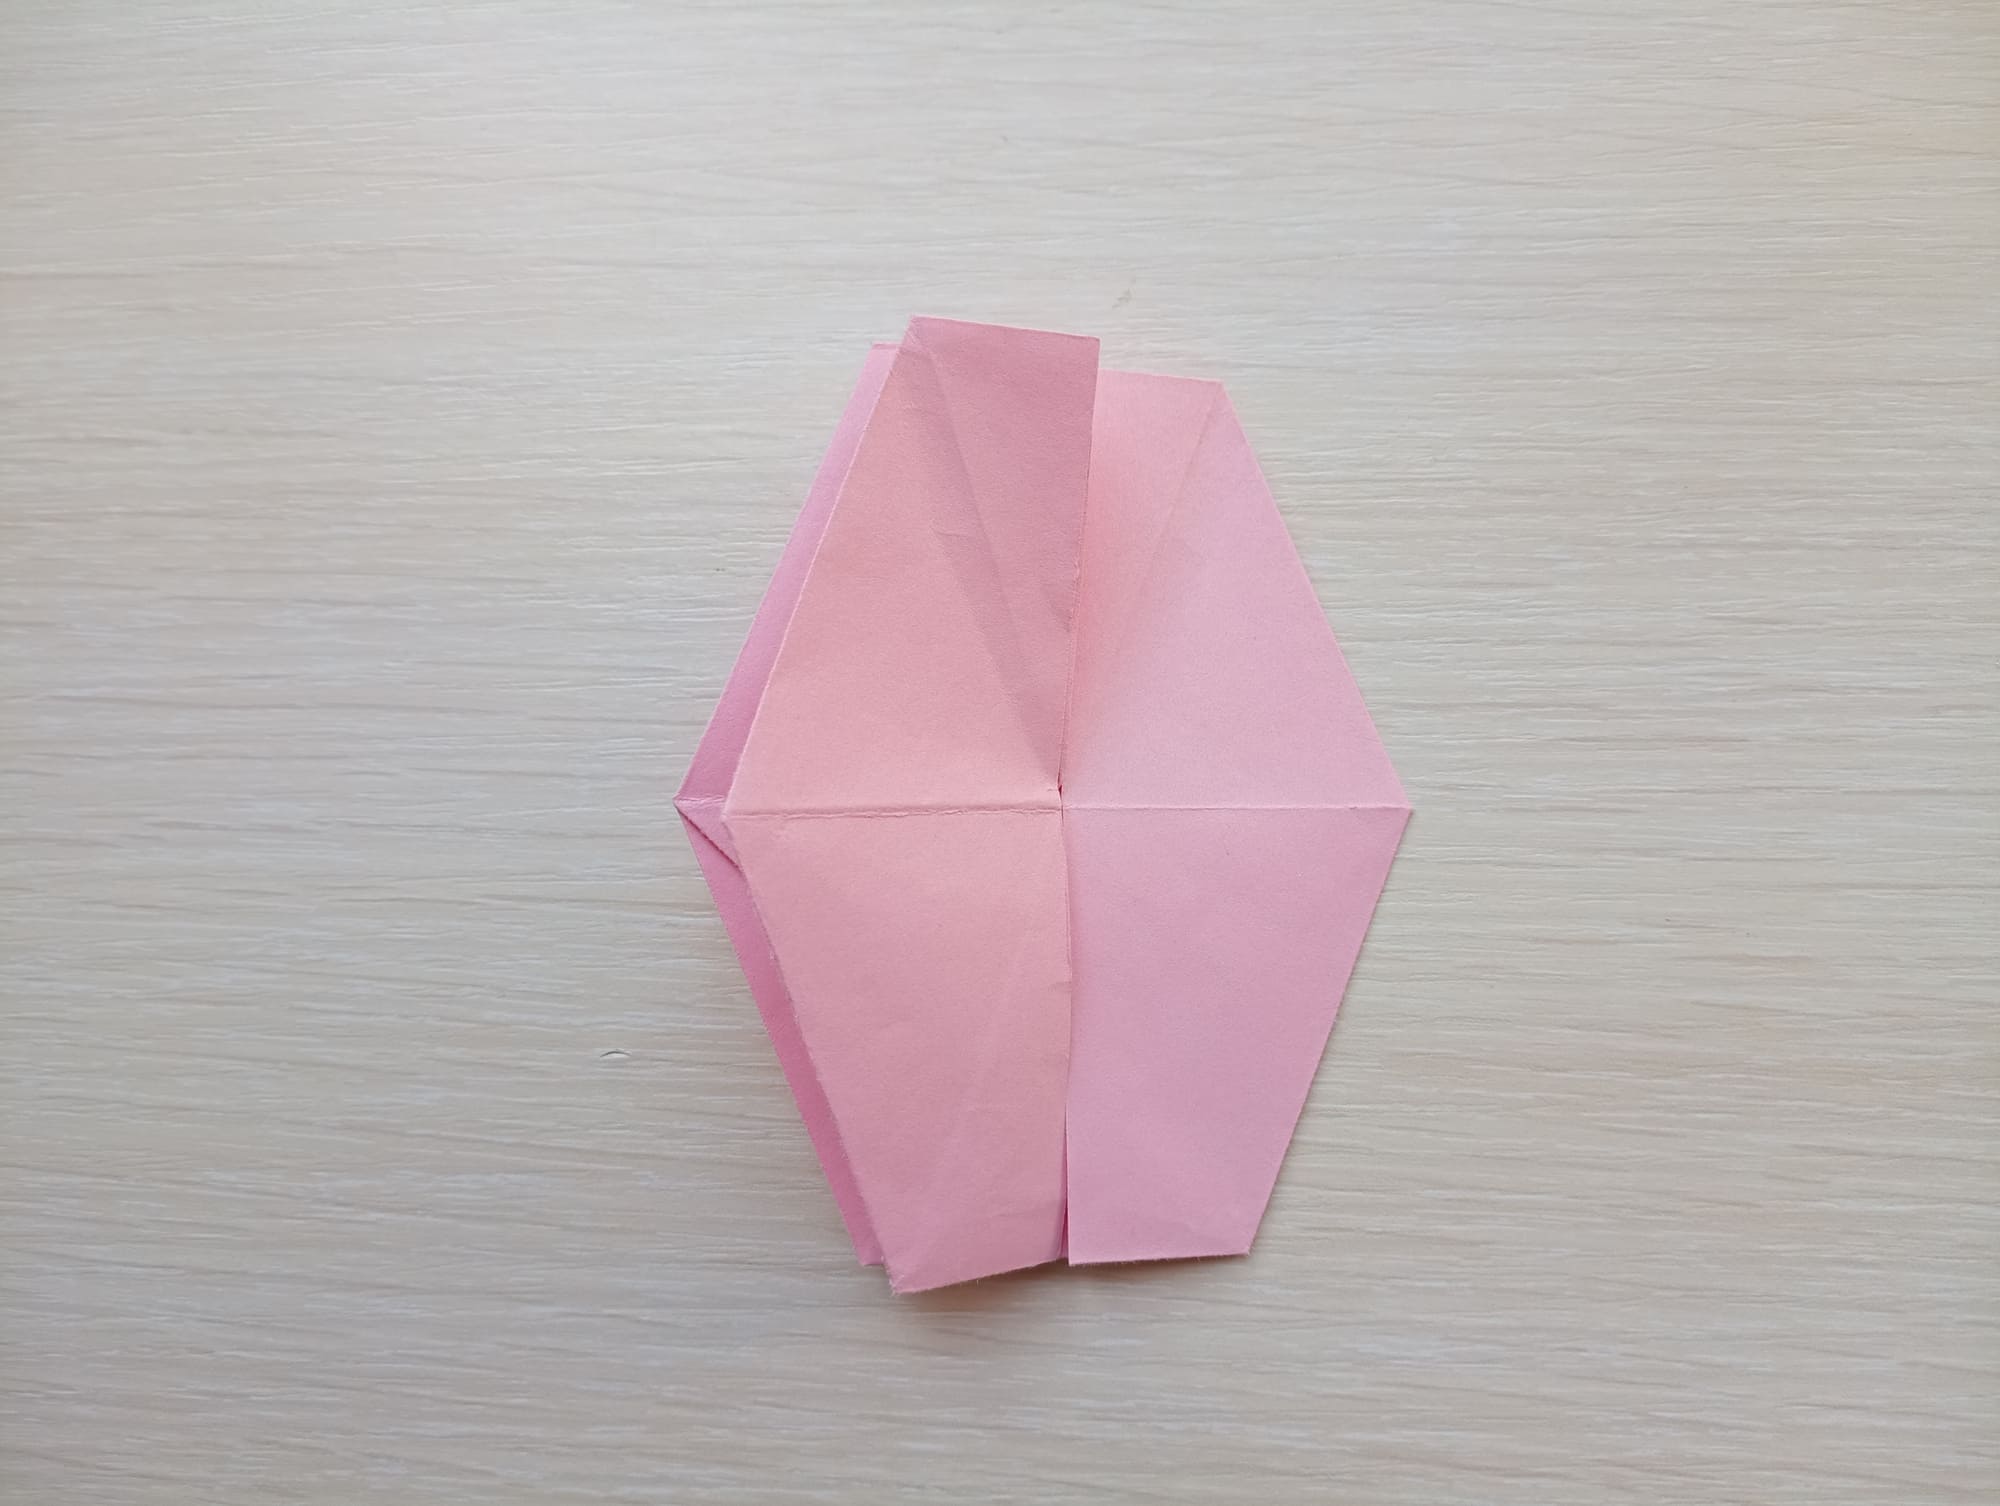
Fold the figure from right to left once.
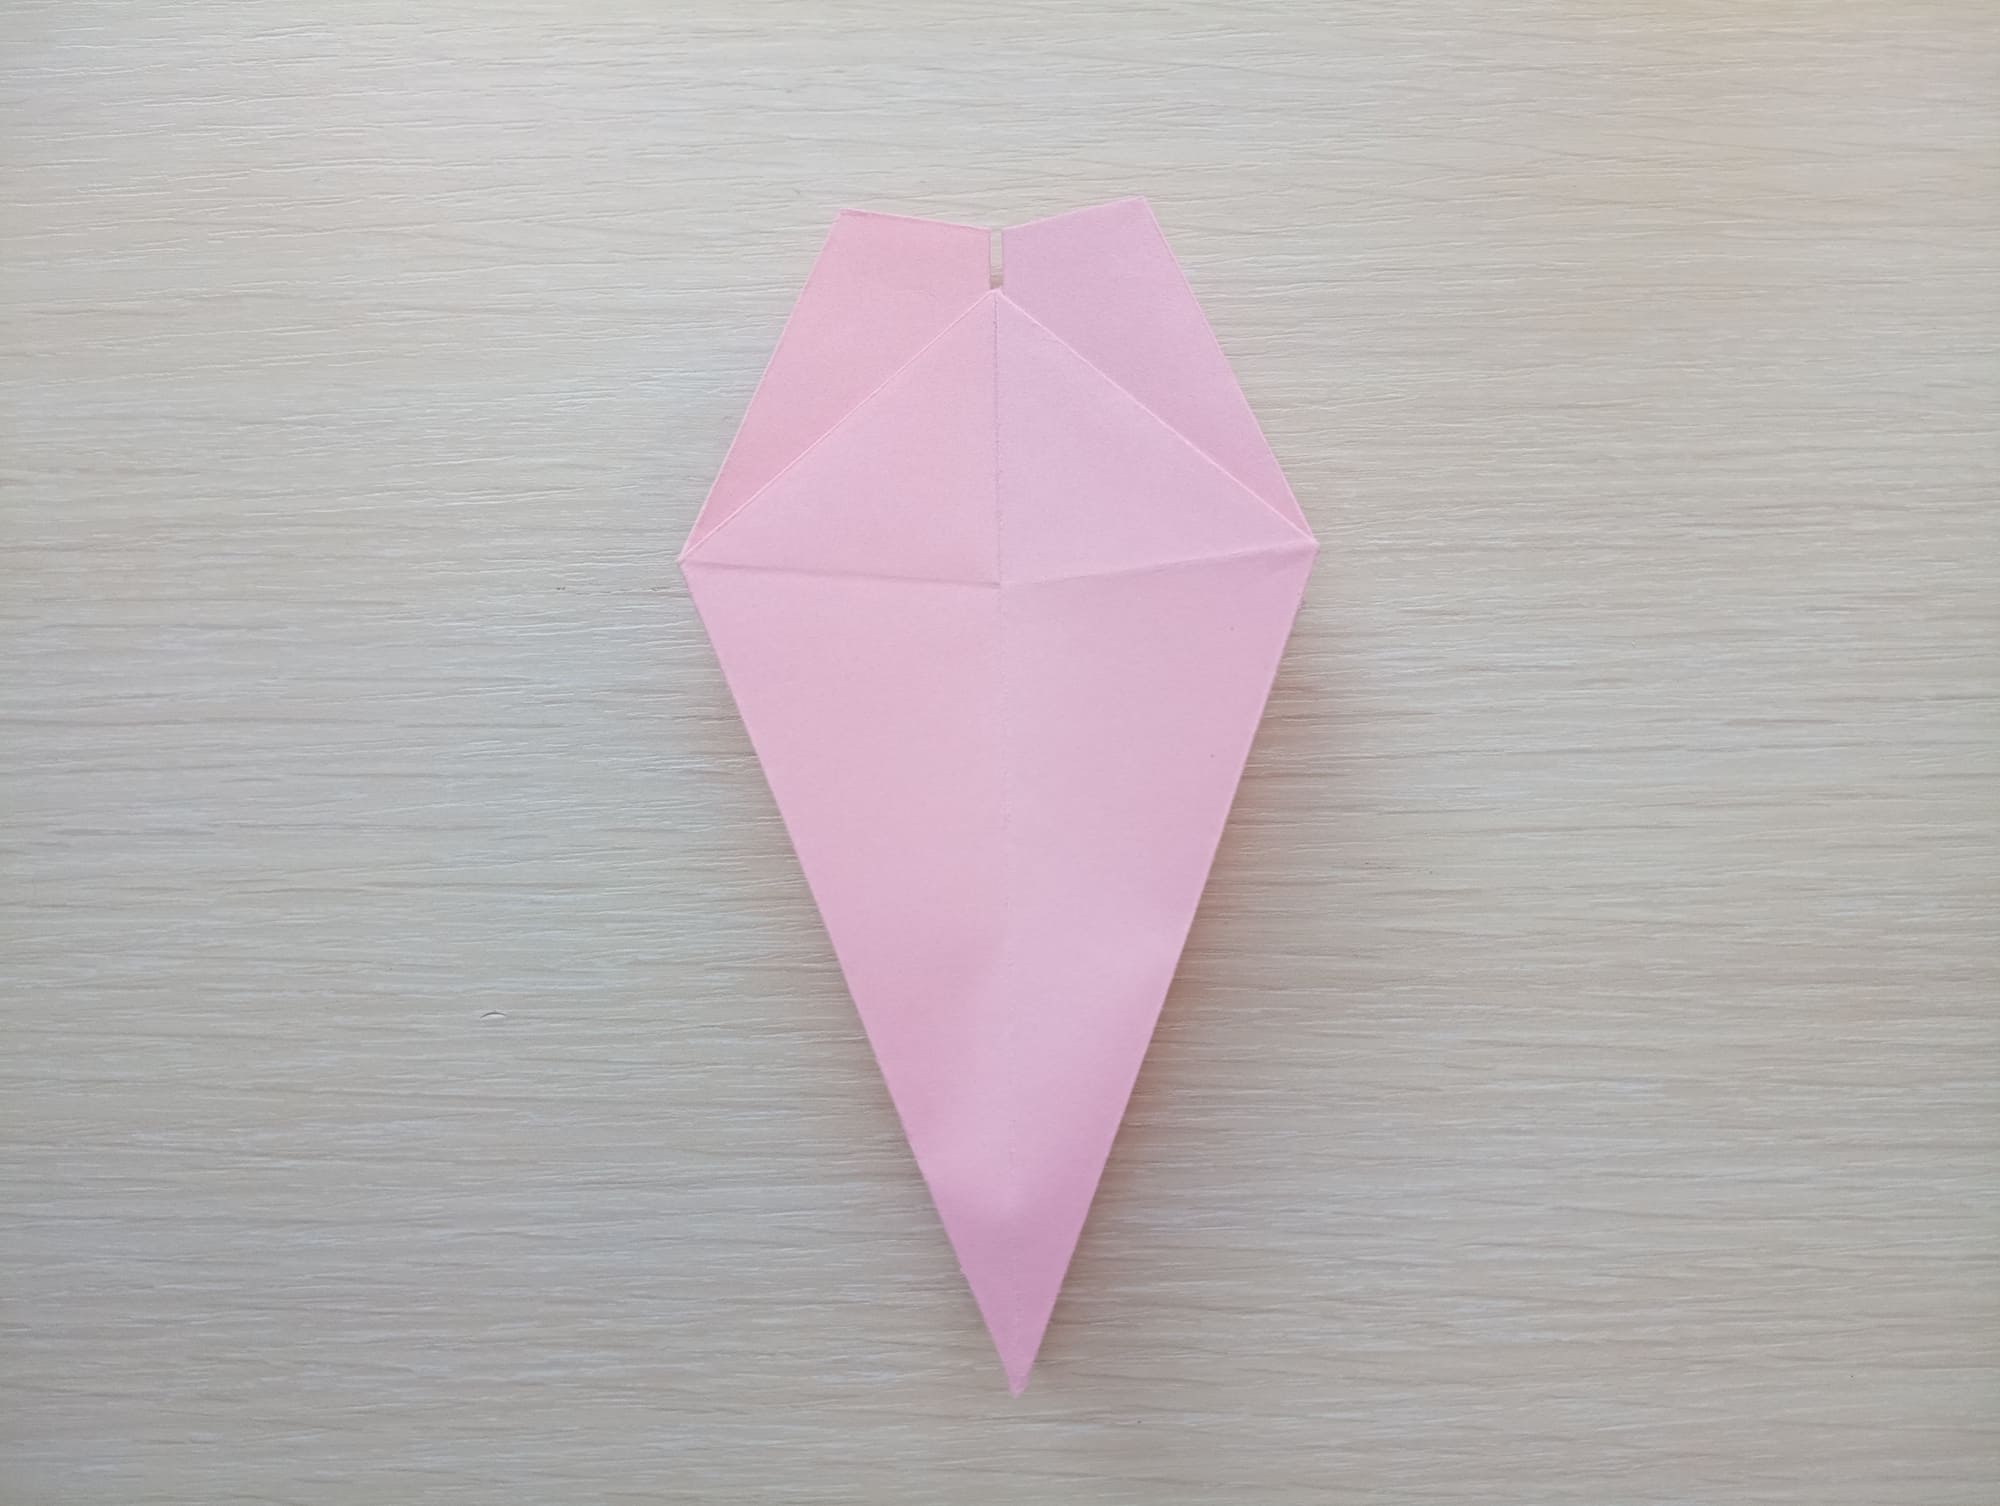
Flip the paper over and fold the right side over the left side one more time.
Bring the bottom corner to the top, press the fold line well, and open it.
Open the paper and hide the tips of the corners as in the photo.
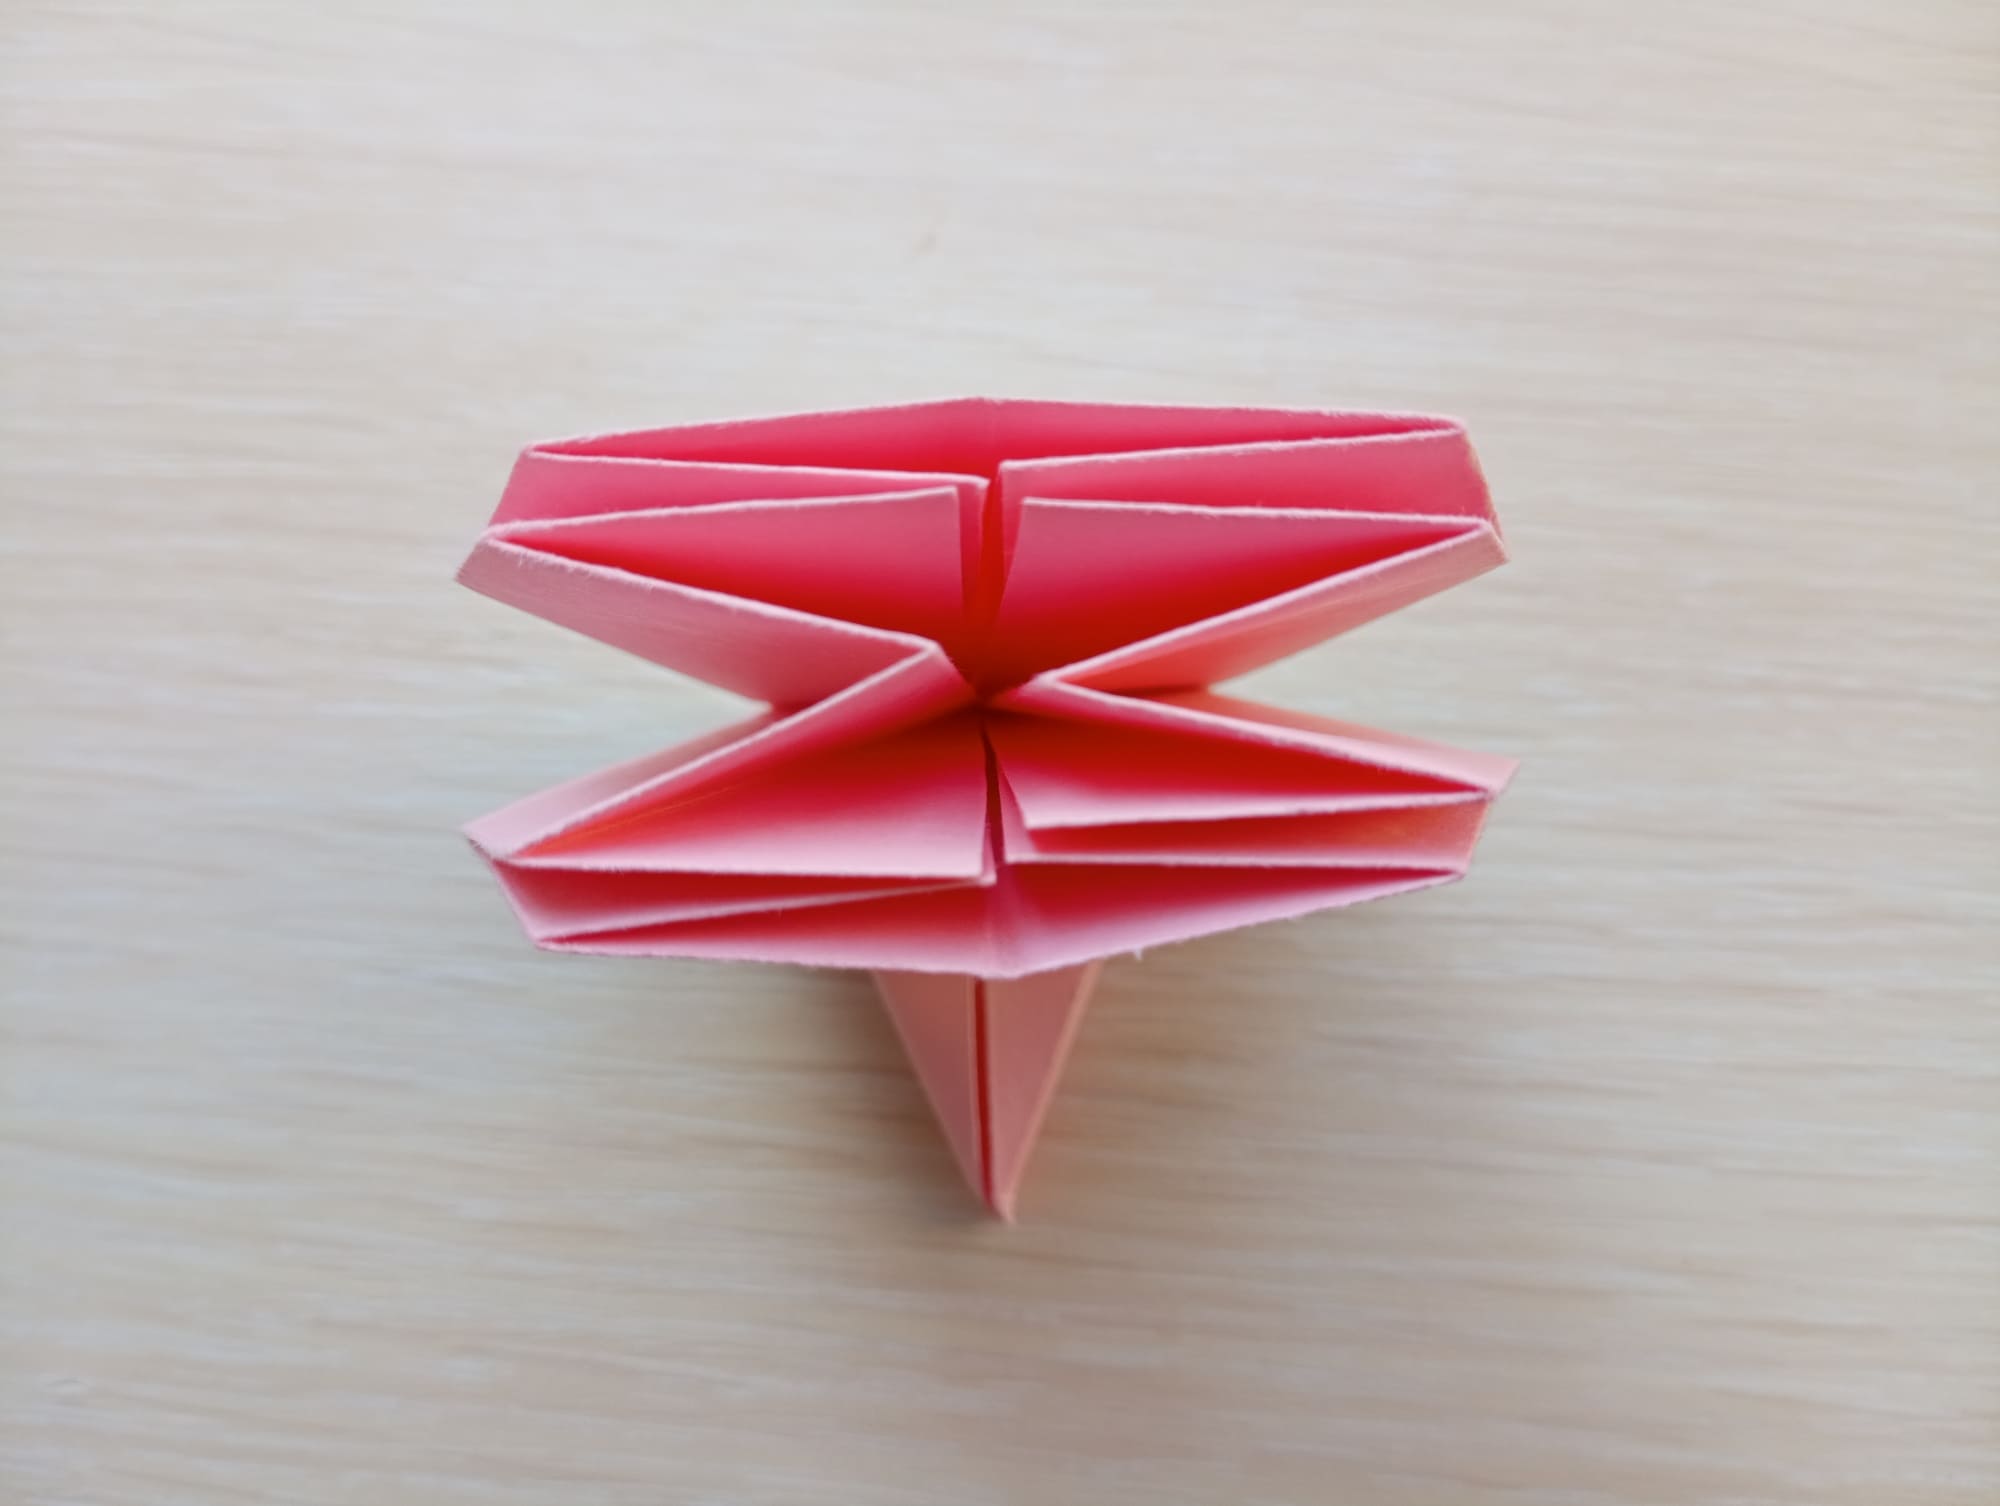
Flip the shape 180 degrees. On the bottom ends, repeat the previous two steps. Take a look to see how the shape turned out.

Bring the bottom corner up to the top corner.
Once again make a longitudinal fold – wrap the shape from right to left.

Fold the bottom edge to the top edge. After that turn the figure over.
Again make the fold from right to left.
Lift the bottom layer to the top layer.
Fold both sides diagonally.
Turn the figure over and repeat the previous step on the other side.
Make a horizontal fold on the stem of the flower.
Folding the fold back, start opening the sakura flower carefully.
It seems that a beautiful Japanese Sakura is going to blossom somewhere very close!
And these flowers are not difficult to make yourself. It does not matter what purpose you pursue – the study of natural properties, decor, teaching letters by the example of words – sakura in the technique of origami will appeal to absolutely everyone. Develop diligence and try further!


