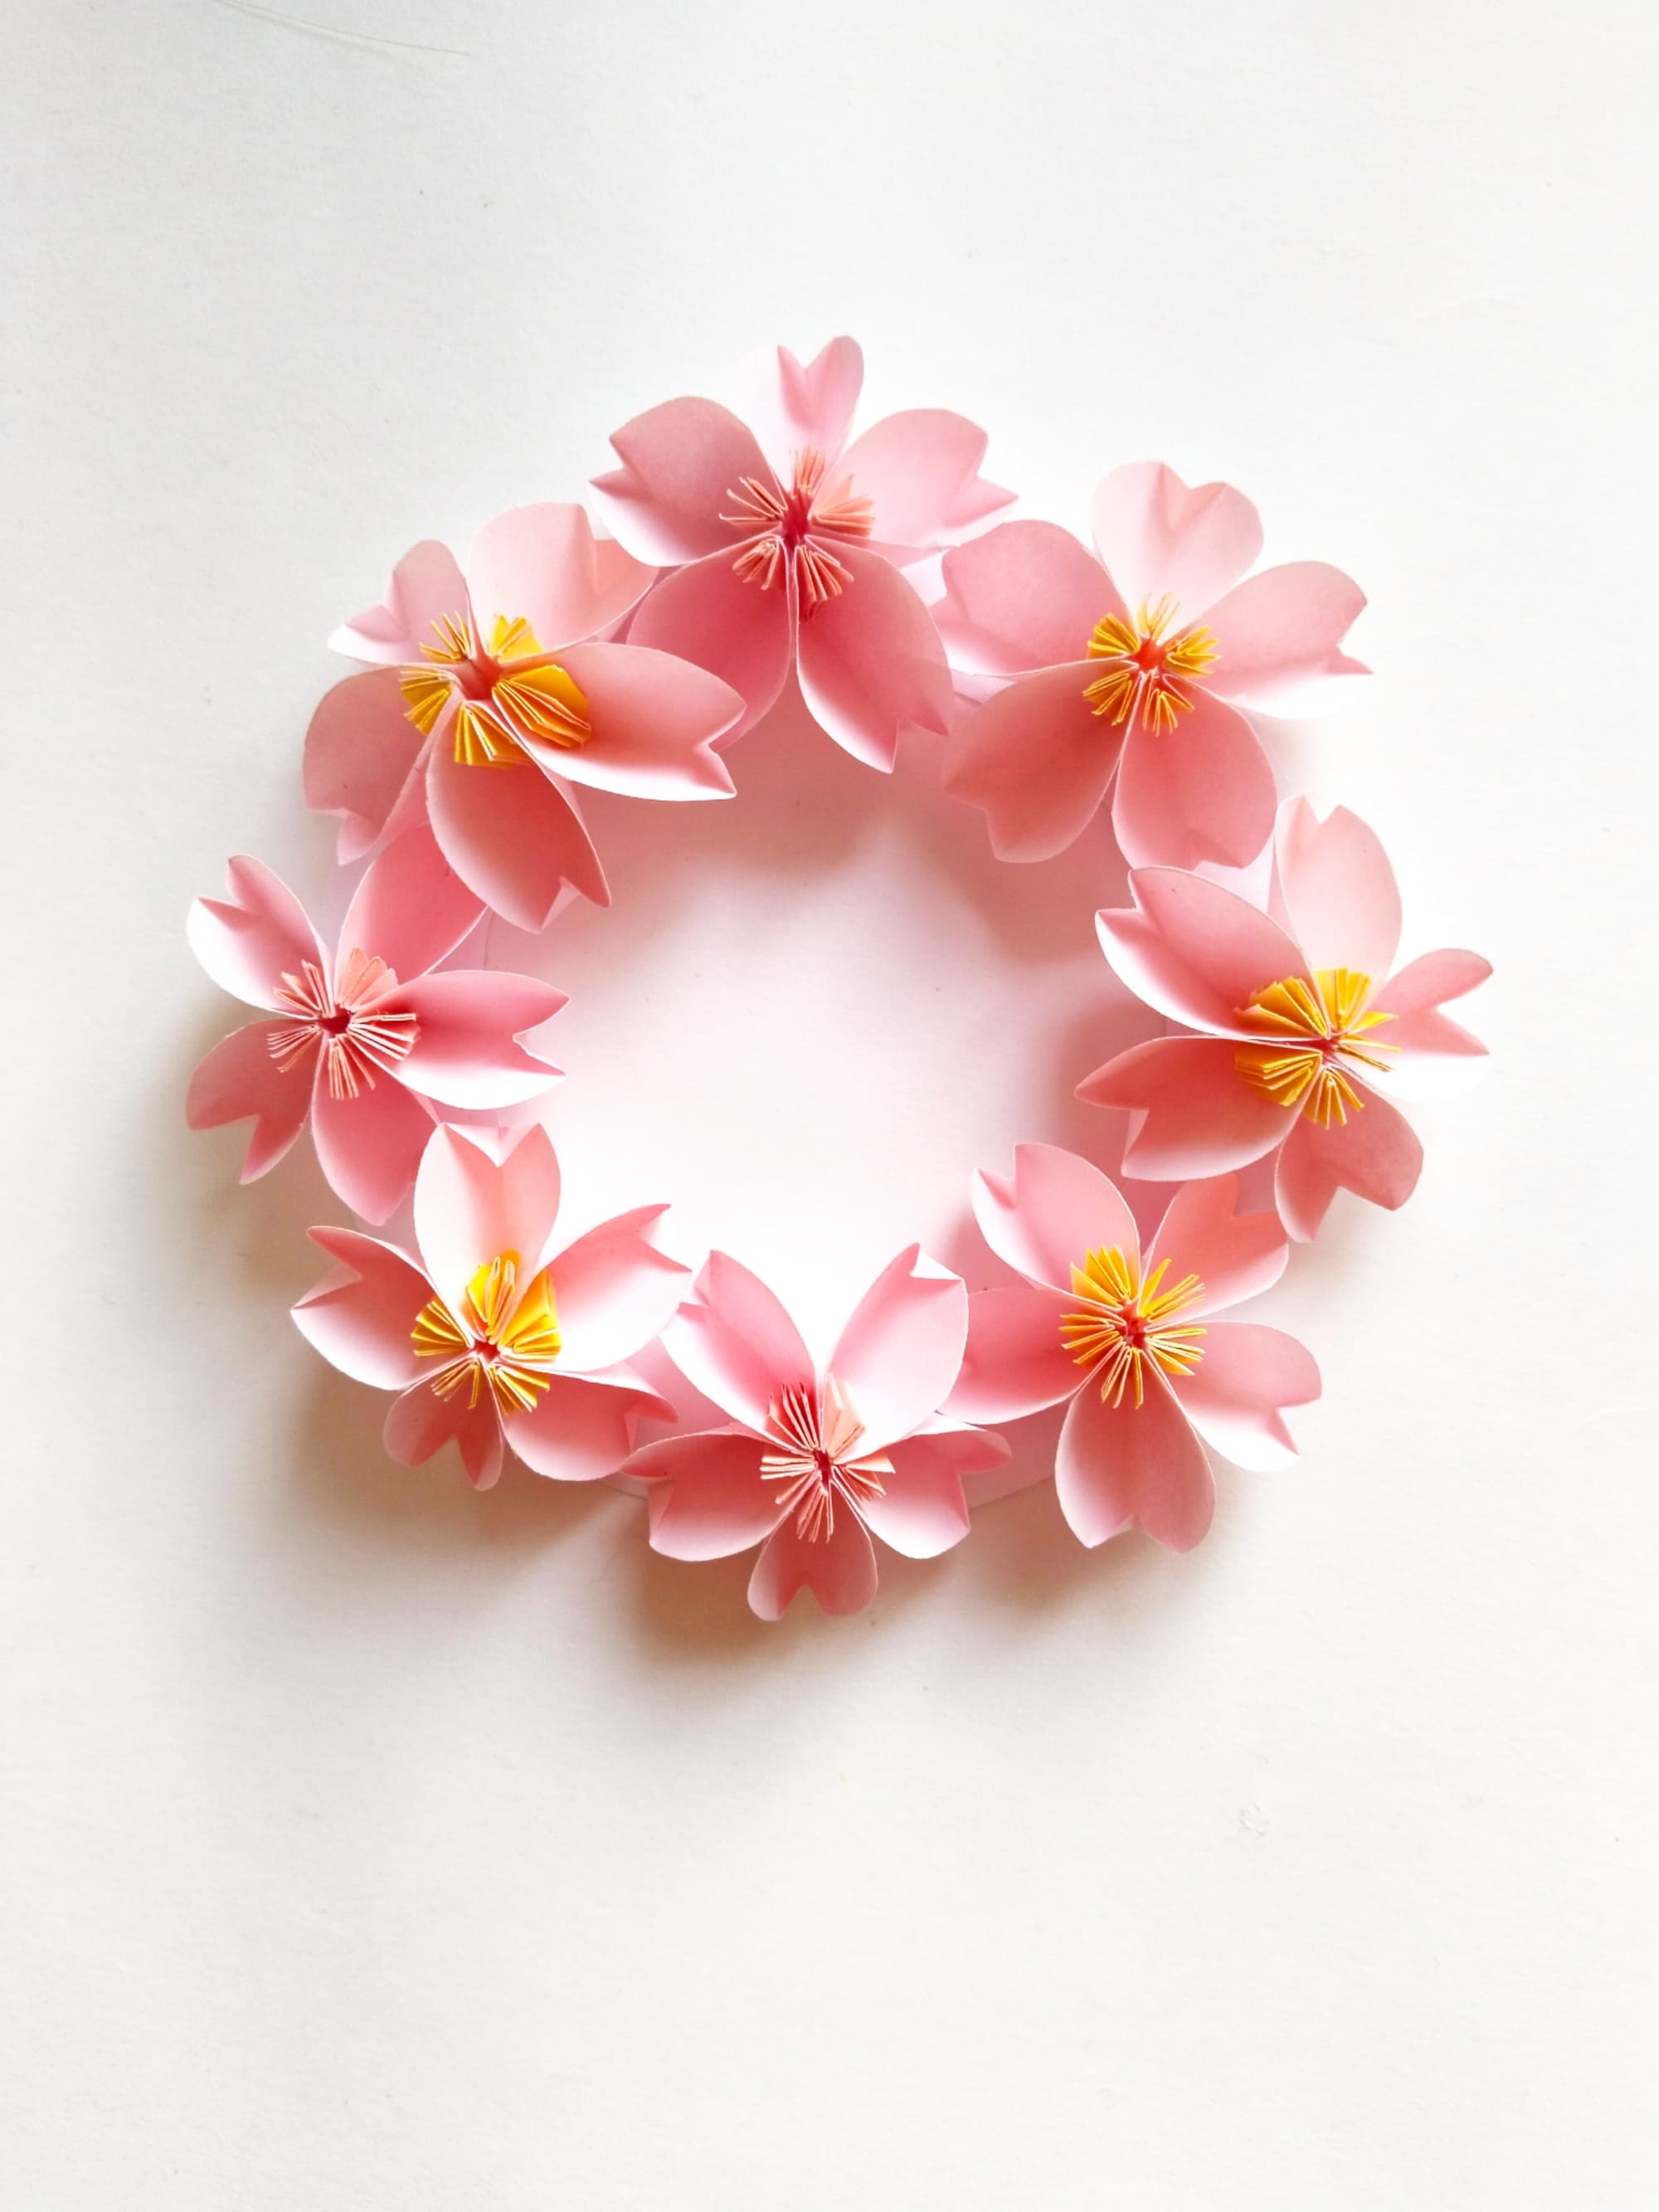
Origami Cherry Wreath
There are almost as many legends telling about the origins of the tradition of decorating a house with a Christmas wreath on Christmas Eve as there are people who adhere to it. Some call the ancestor of the festive decoration the crown of thorns that was placed on the head of the Lord, others recall Johann Wichern and his non-standard “calendar until Christmas,” which was a wooden ring with candles arranged in a row along it. No matter what history the Christmas wreath holds in its appearance, today many boldly elevate it to the list of integral attributes of celebrating not only Christmas but also the New Year.
In winter, we often remember with a bit of sentimentality the colorful springtime, bursting with the energy of revival, when the crowns of fruit trees are dressed in a dazzling floral cover. So, from the end of April until the beginning of May, the flowering period of the Japanese cherry tree, best known as Sakura, officially begins.
If you want to bring a little spring breath into your home and add something new to the usual holiday attributes, a Sakura flowers wreath made using the origami technique is perfect. For the base of the wreath, prepare thick white cardboard. Please note that for large wreaths it is preferable to use cardboard with a thickness of at least 2 mm or glue two identical blanks from ordinary paper. Making flower buds will require pink paper, a ruler, a compass, scissors, glue or tape, and a yellow, orange, or dark pink marker.
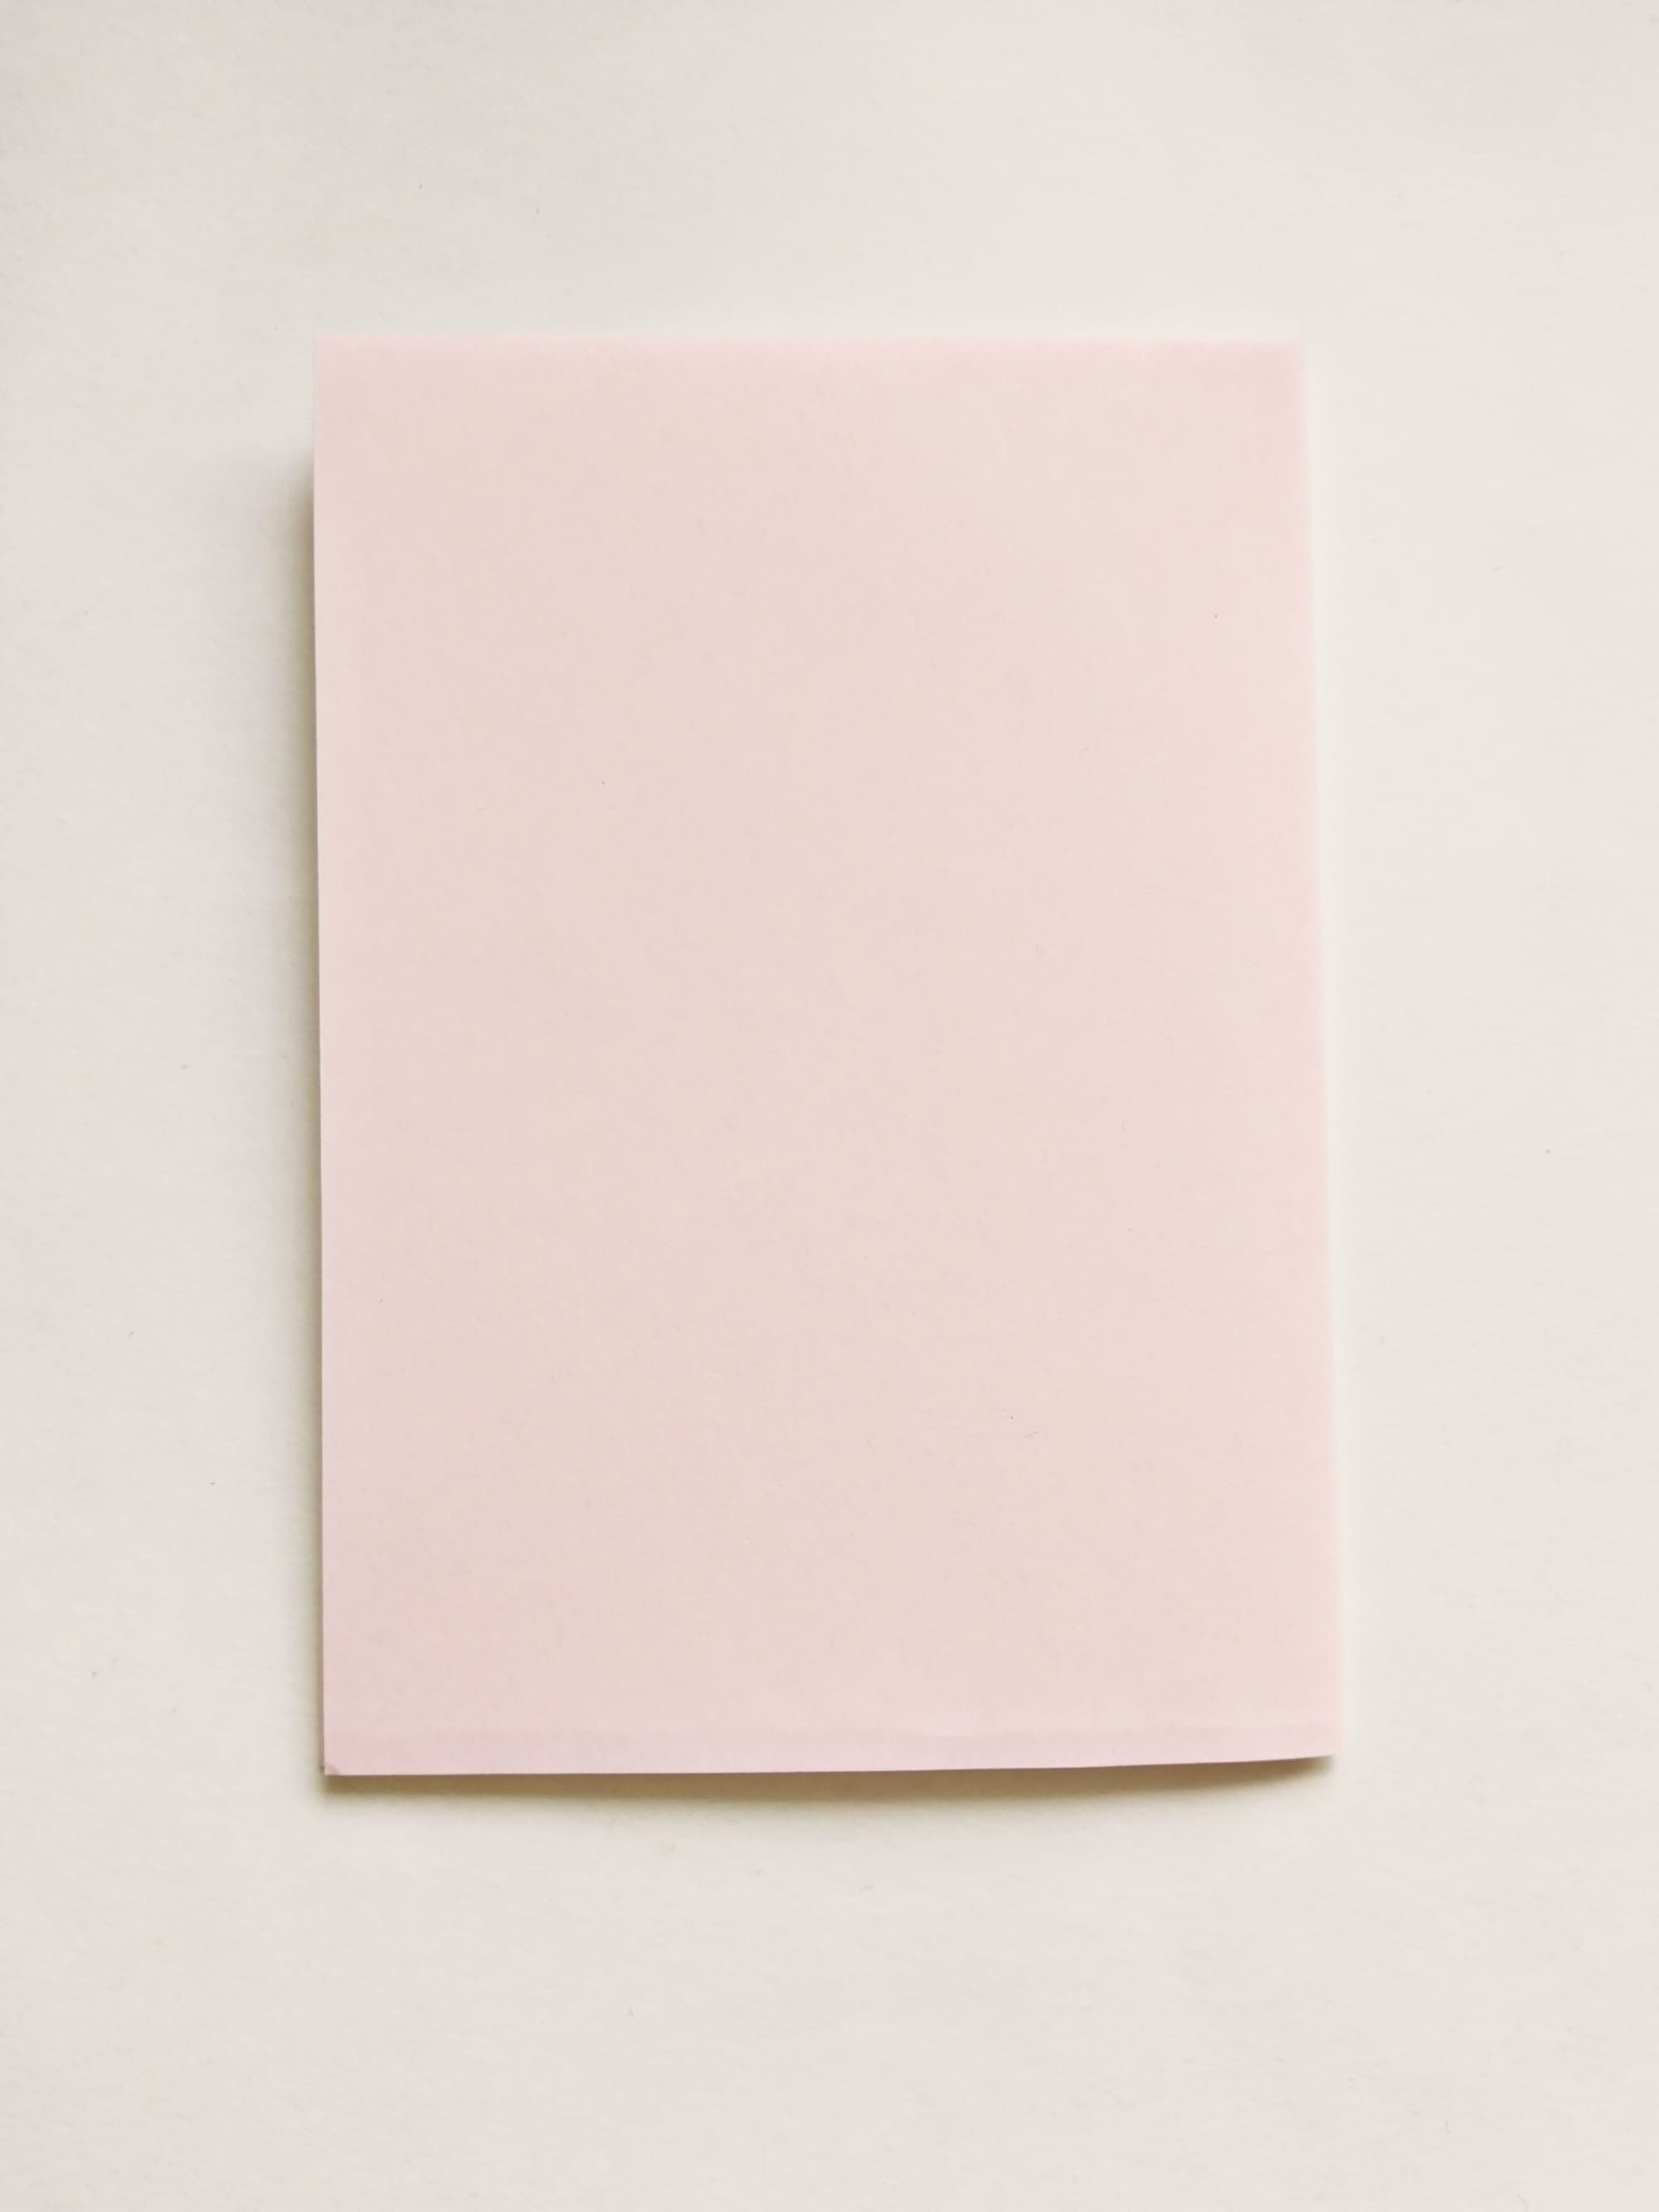
Fold the sheet of paper in half twice.
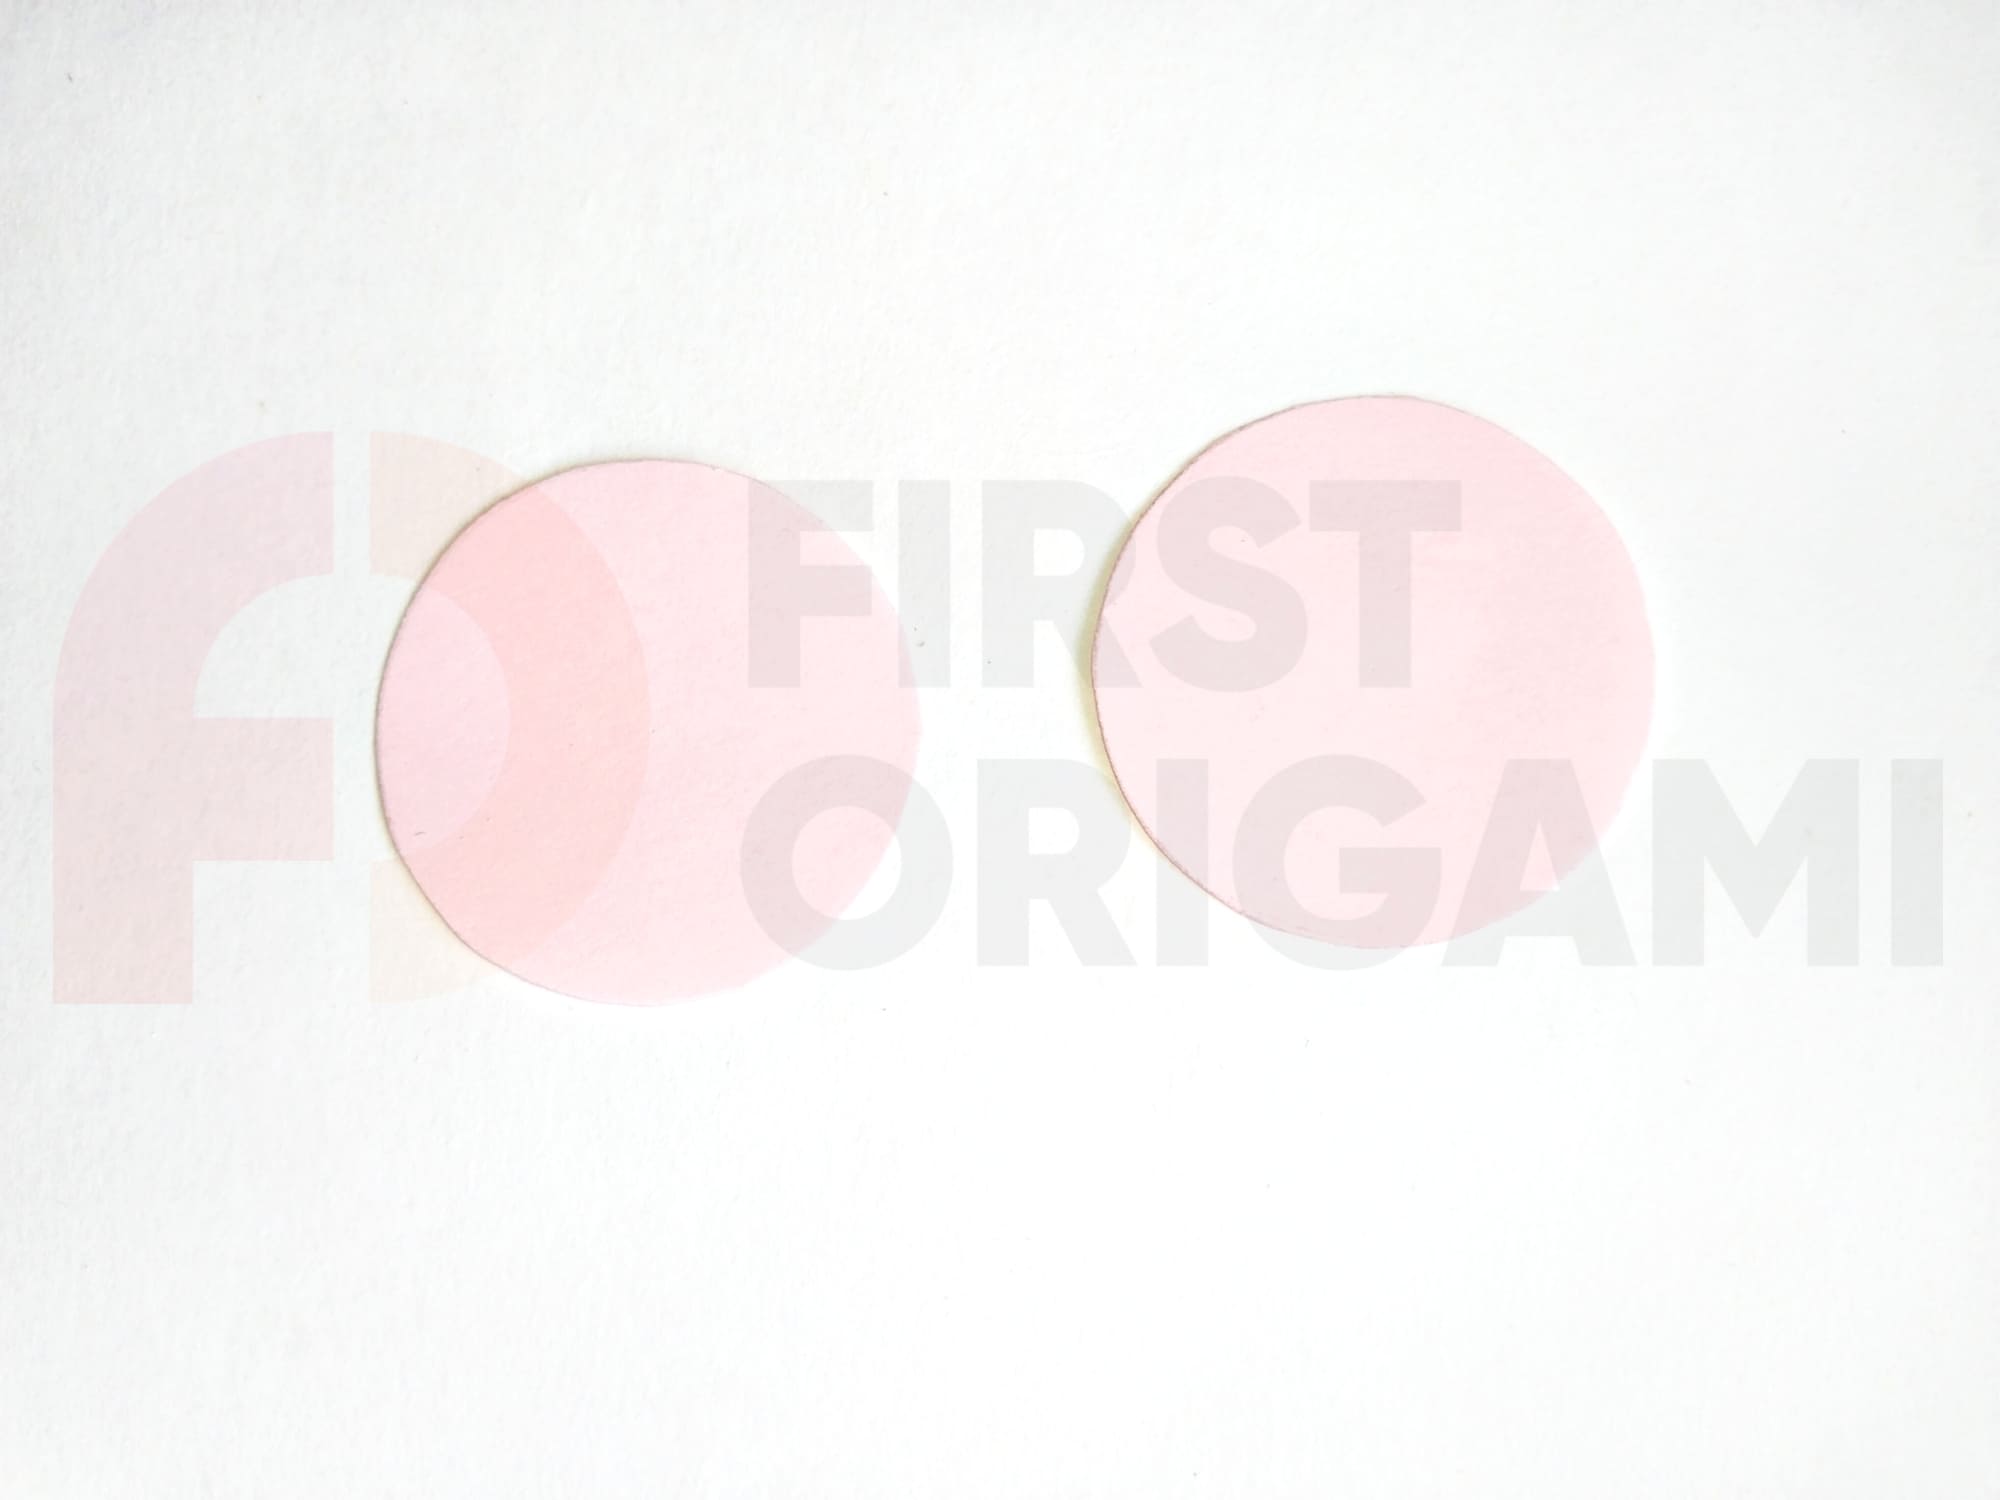
On the resulting rectangle, which is a quarter of the original one, mark the maximum number of non-intersecting circles with a radius of 2 cm using a compass.
Use scissors to cut out all the circles.
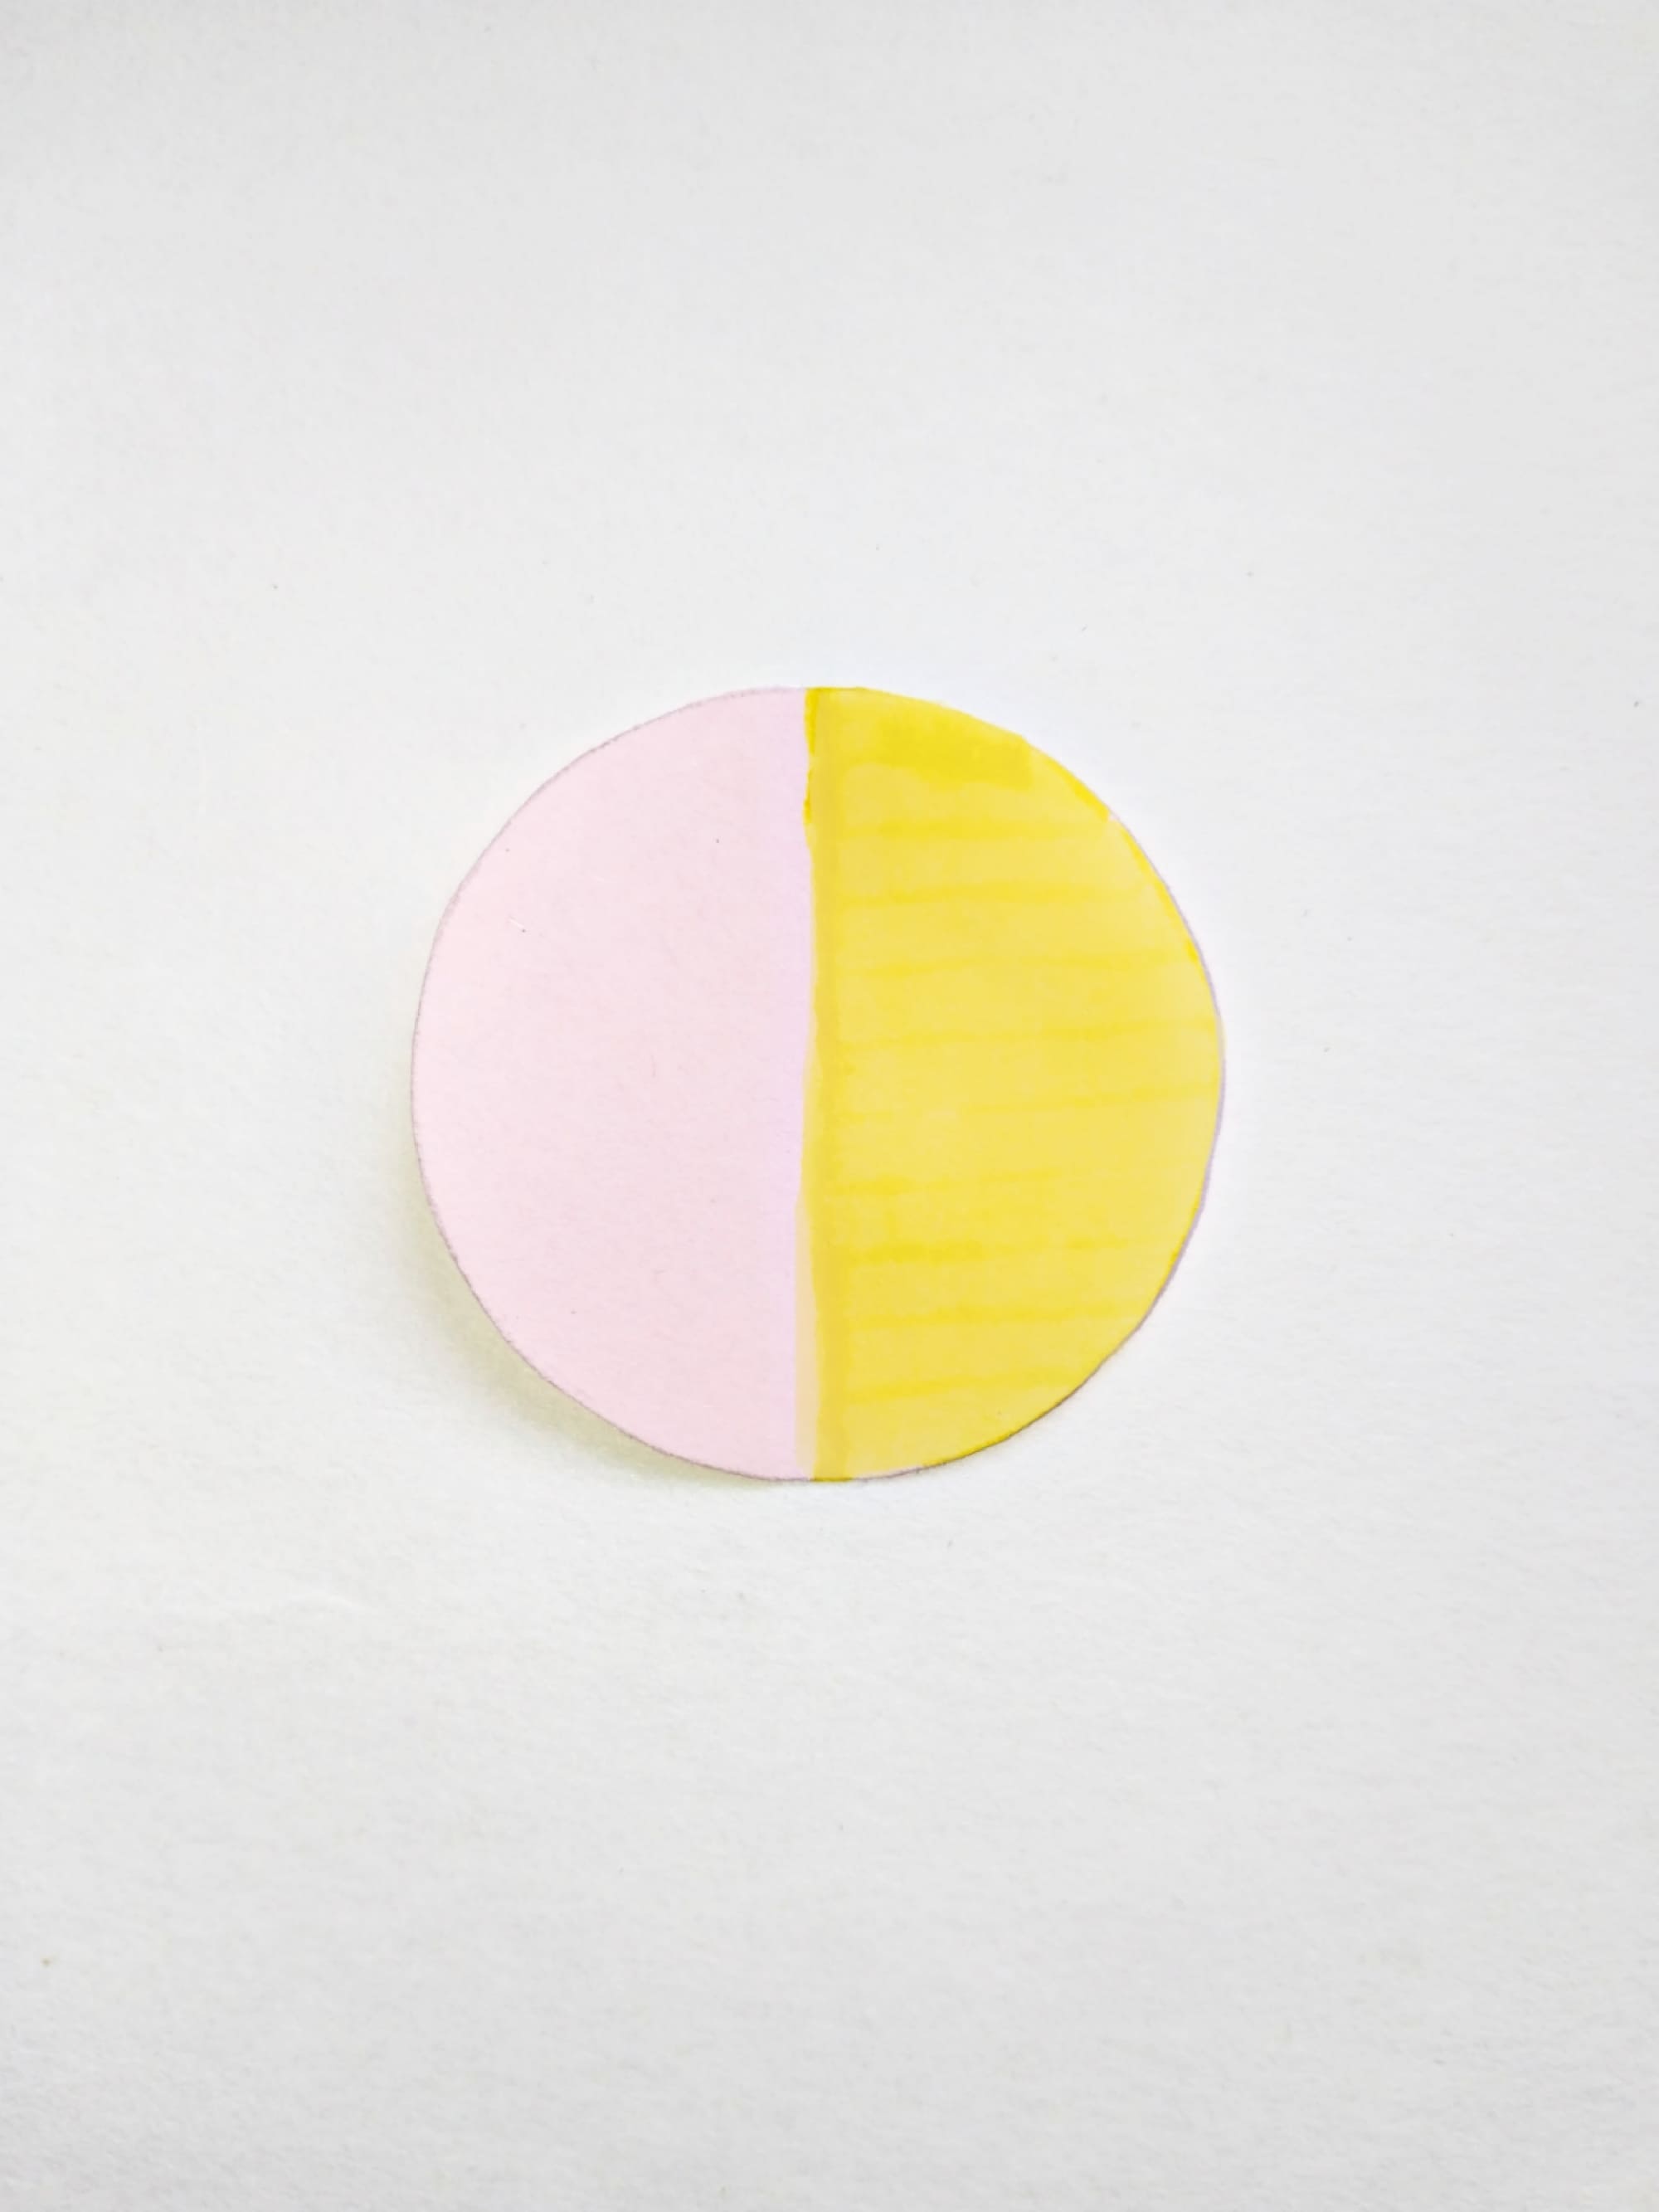
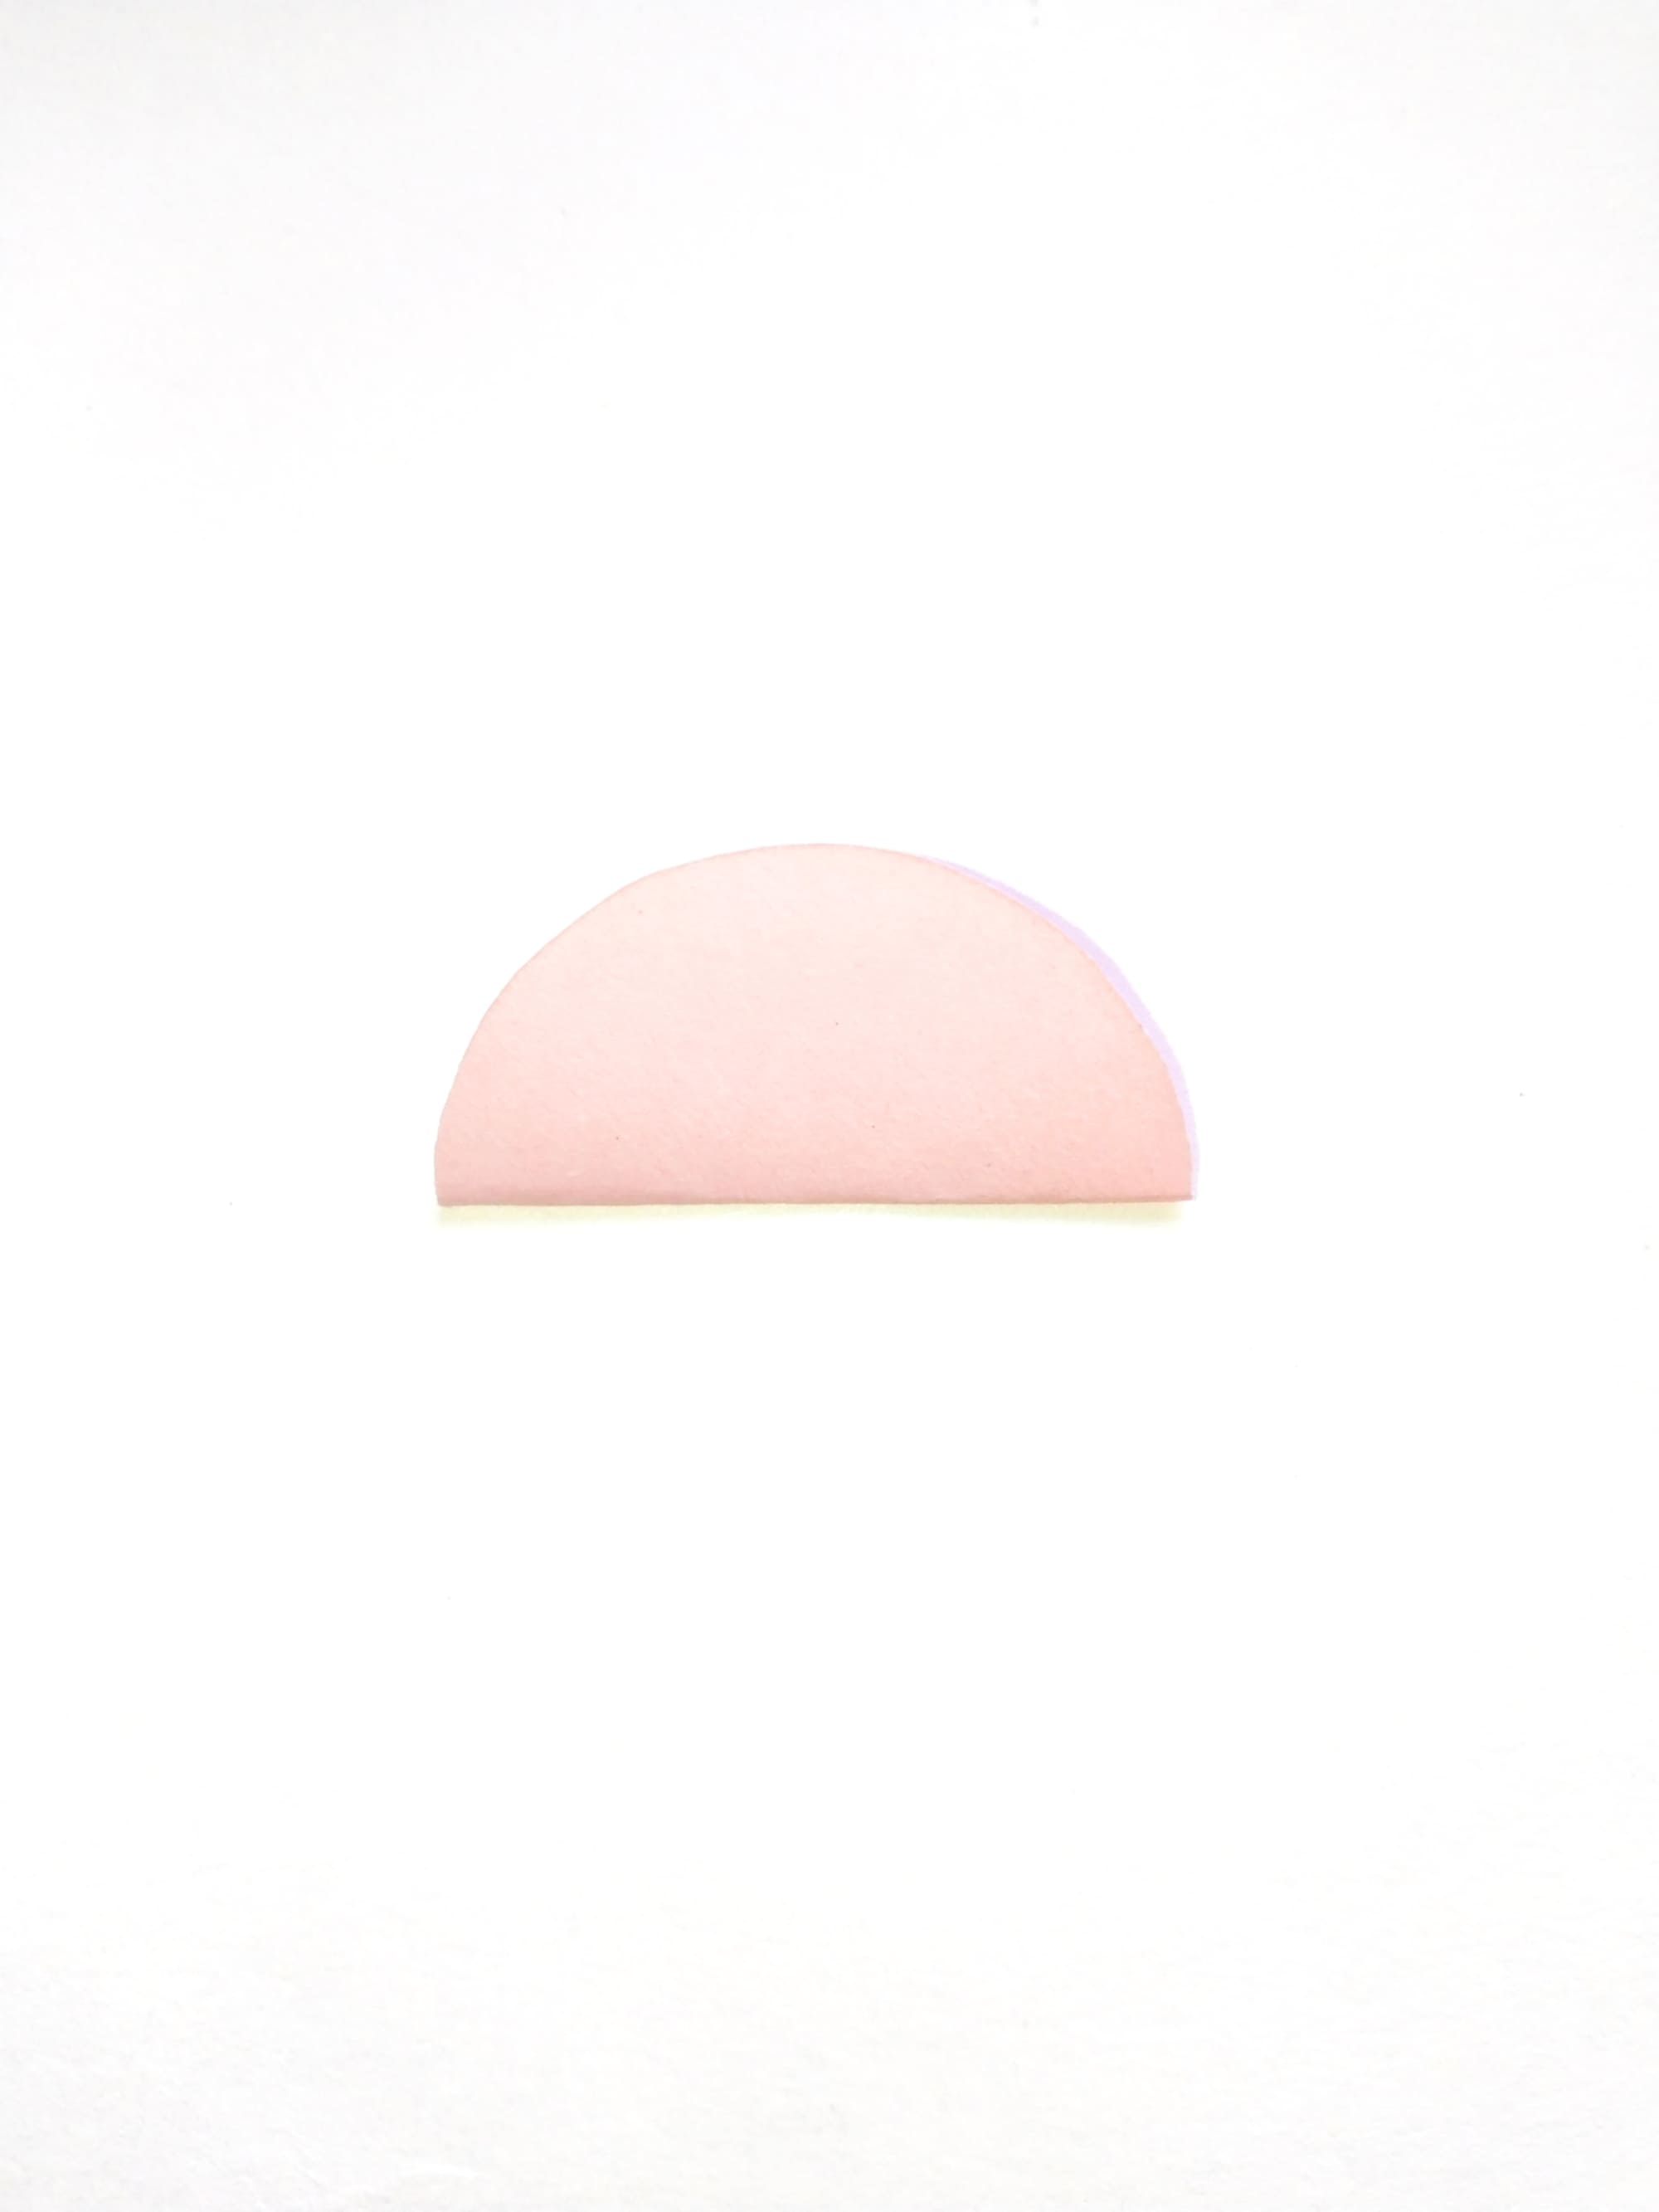
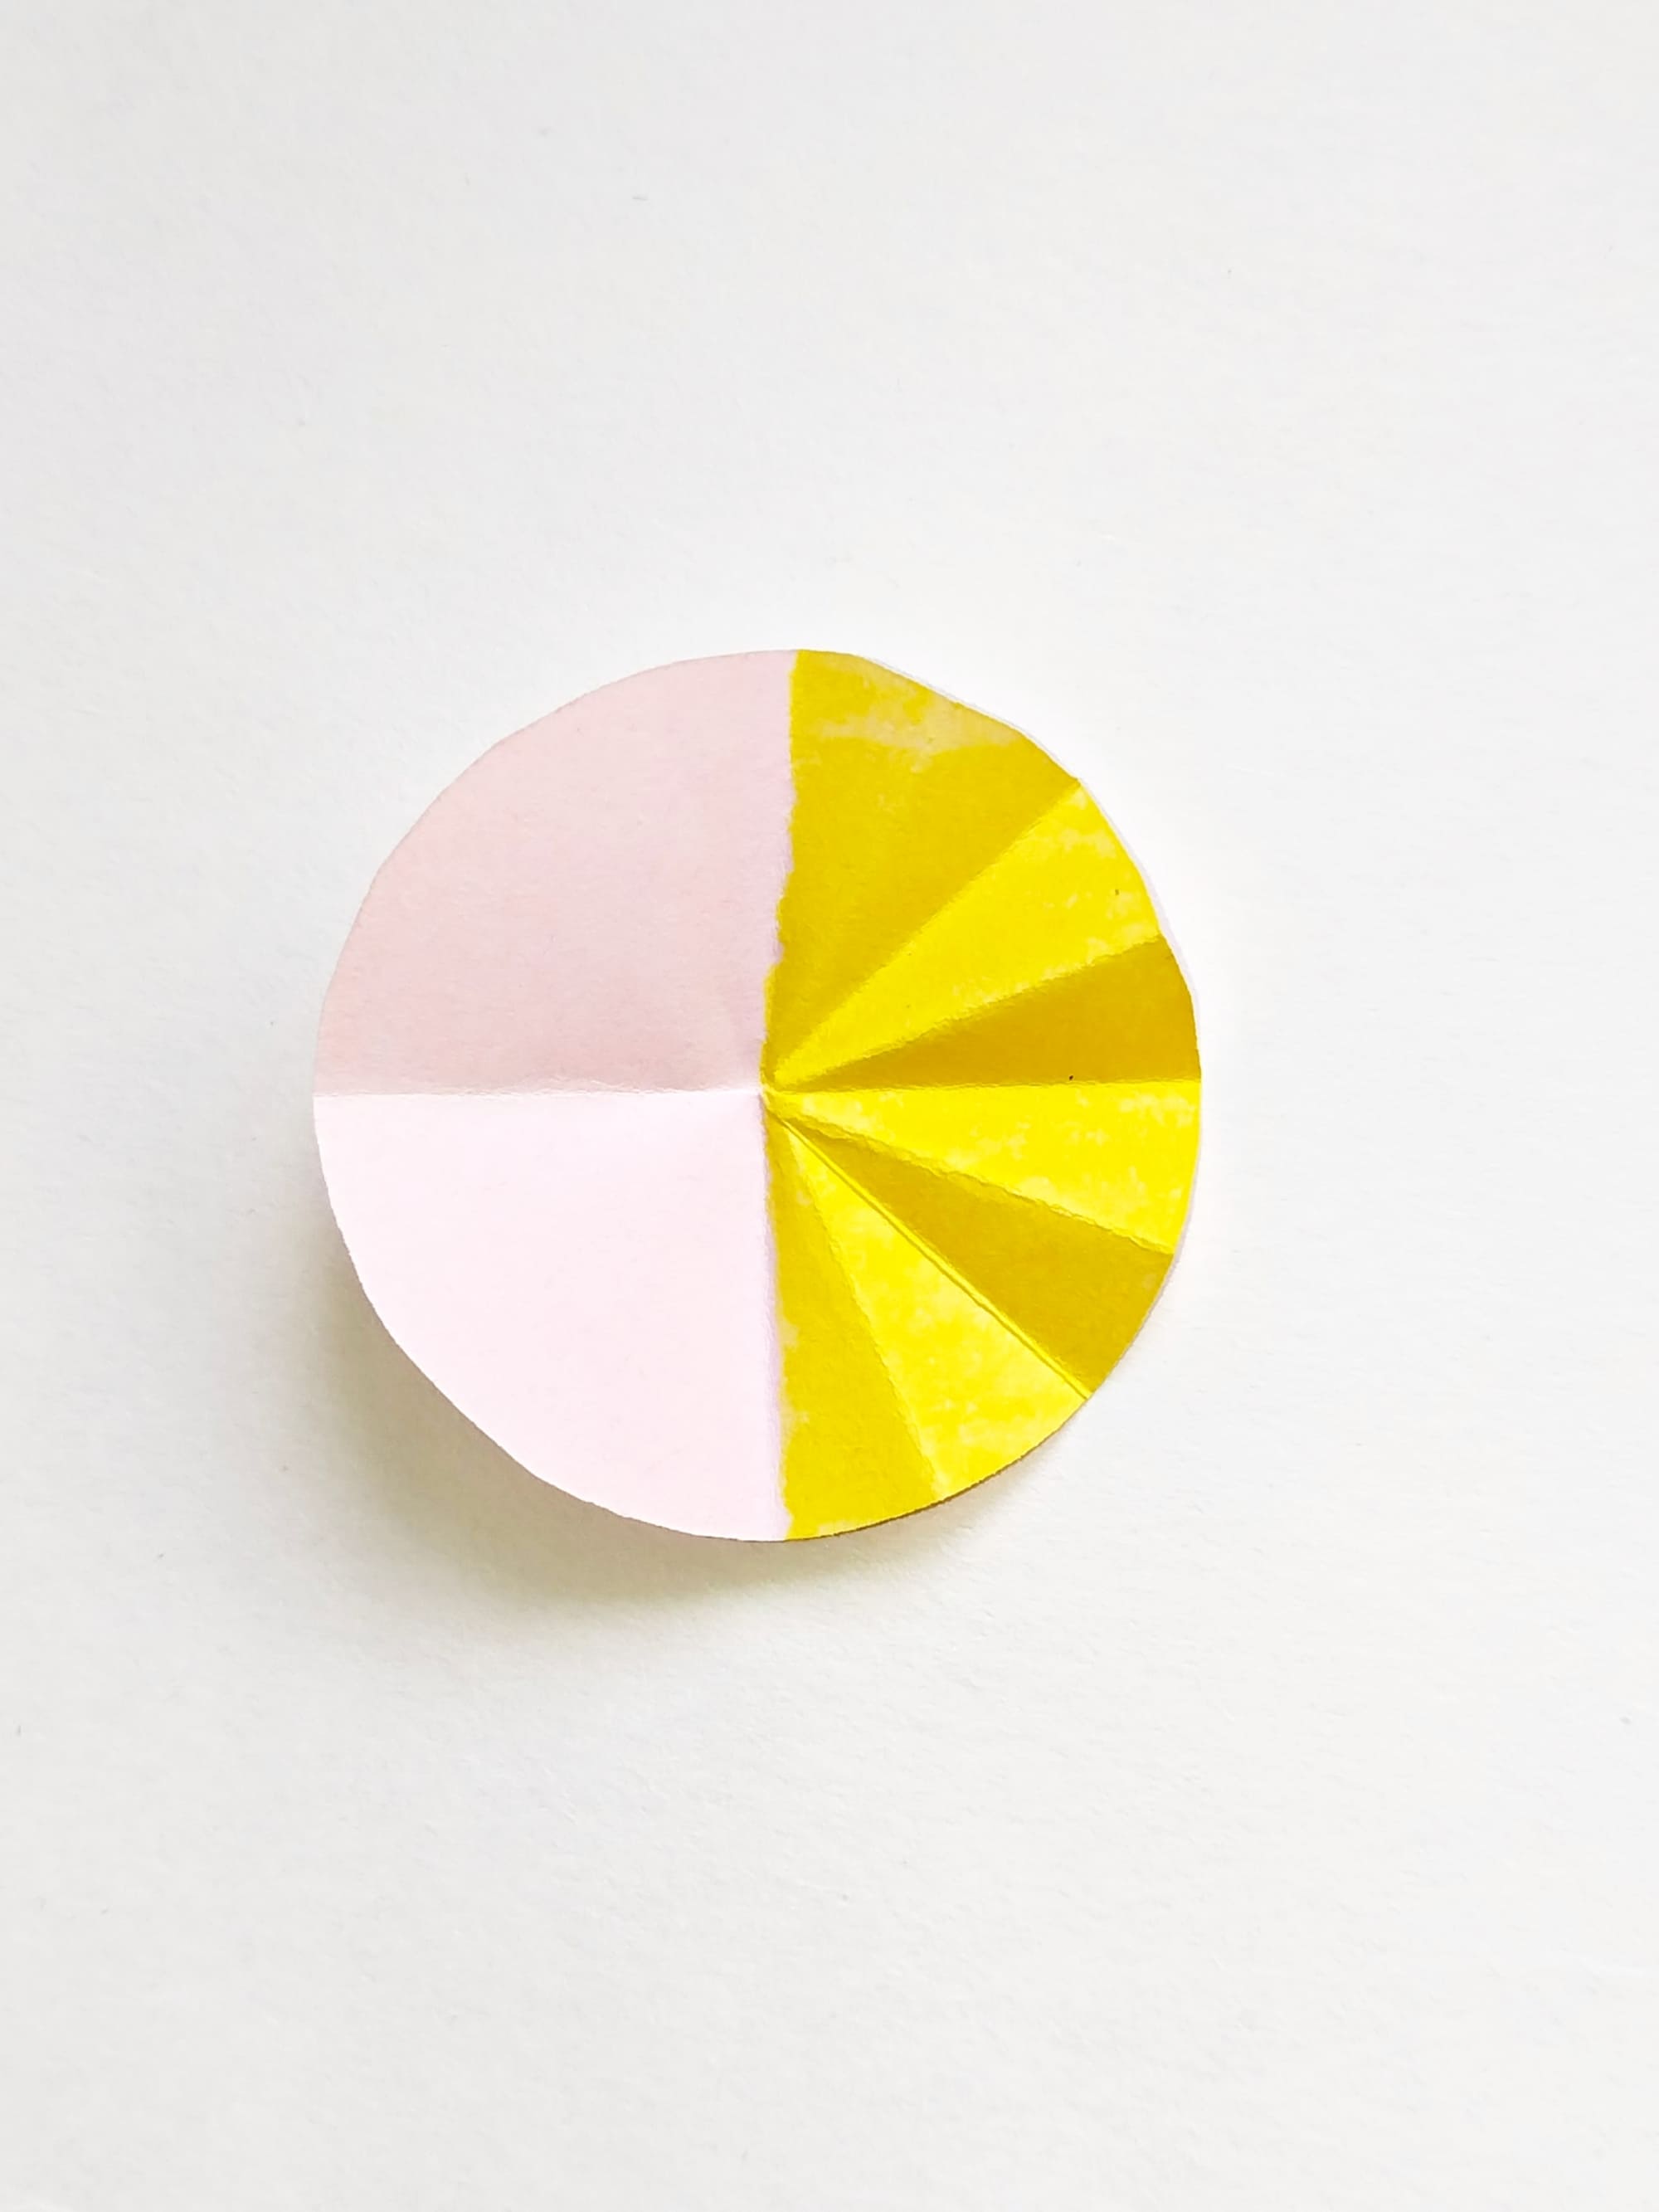
Take one piece and fold it in half.
Open the future petal and paint one of the halves with yellow, orange, or a deeper pink color, indicating the stamens.
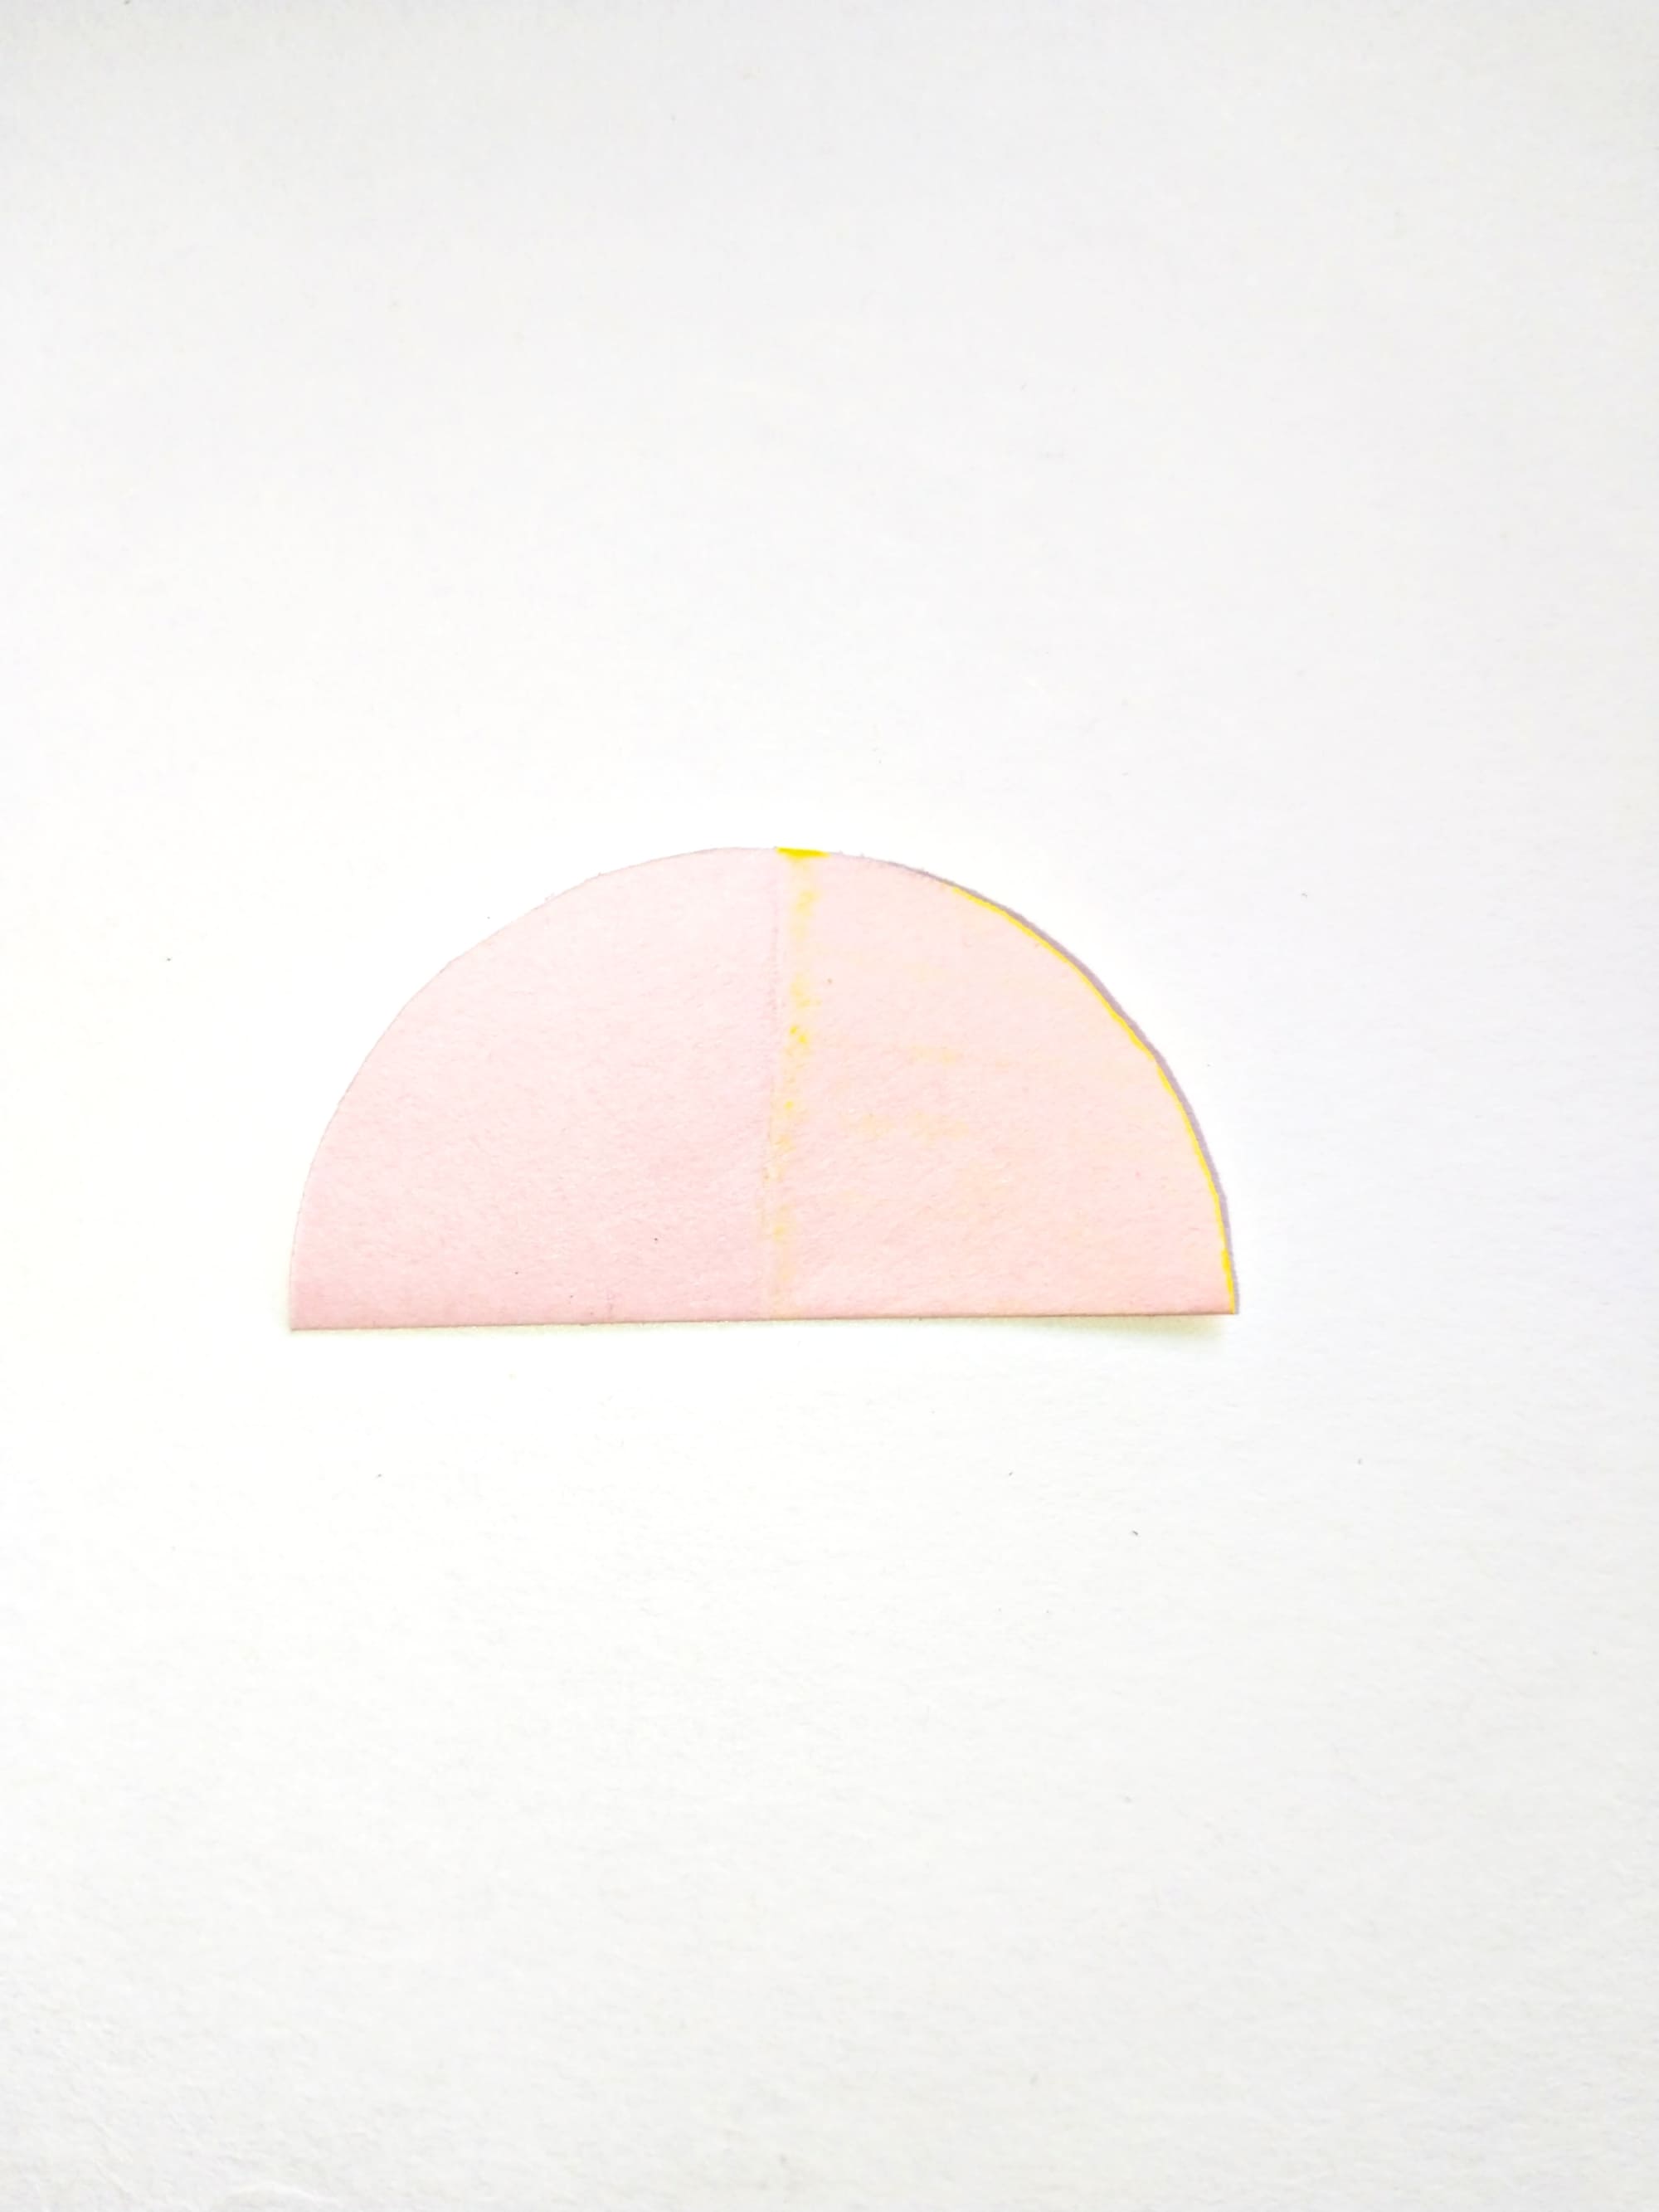
Fold the two-color circle in half perpendicular to the previous fold.
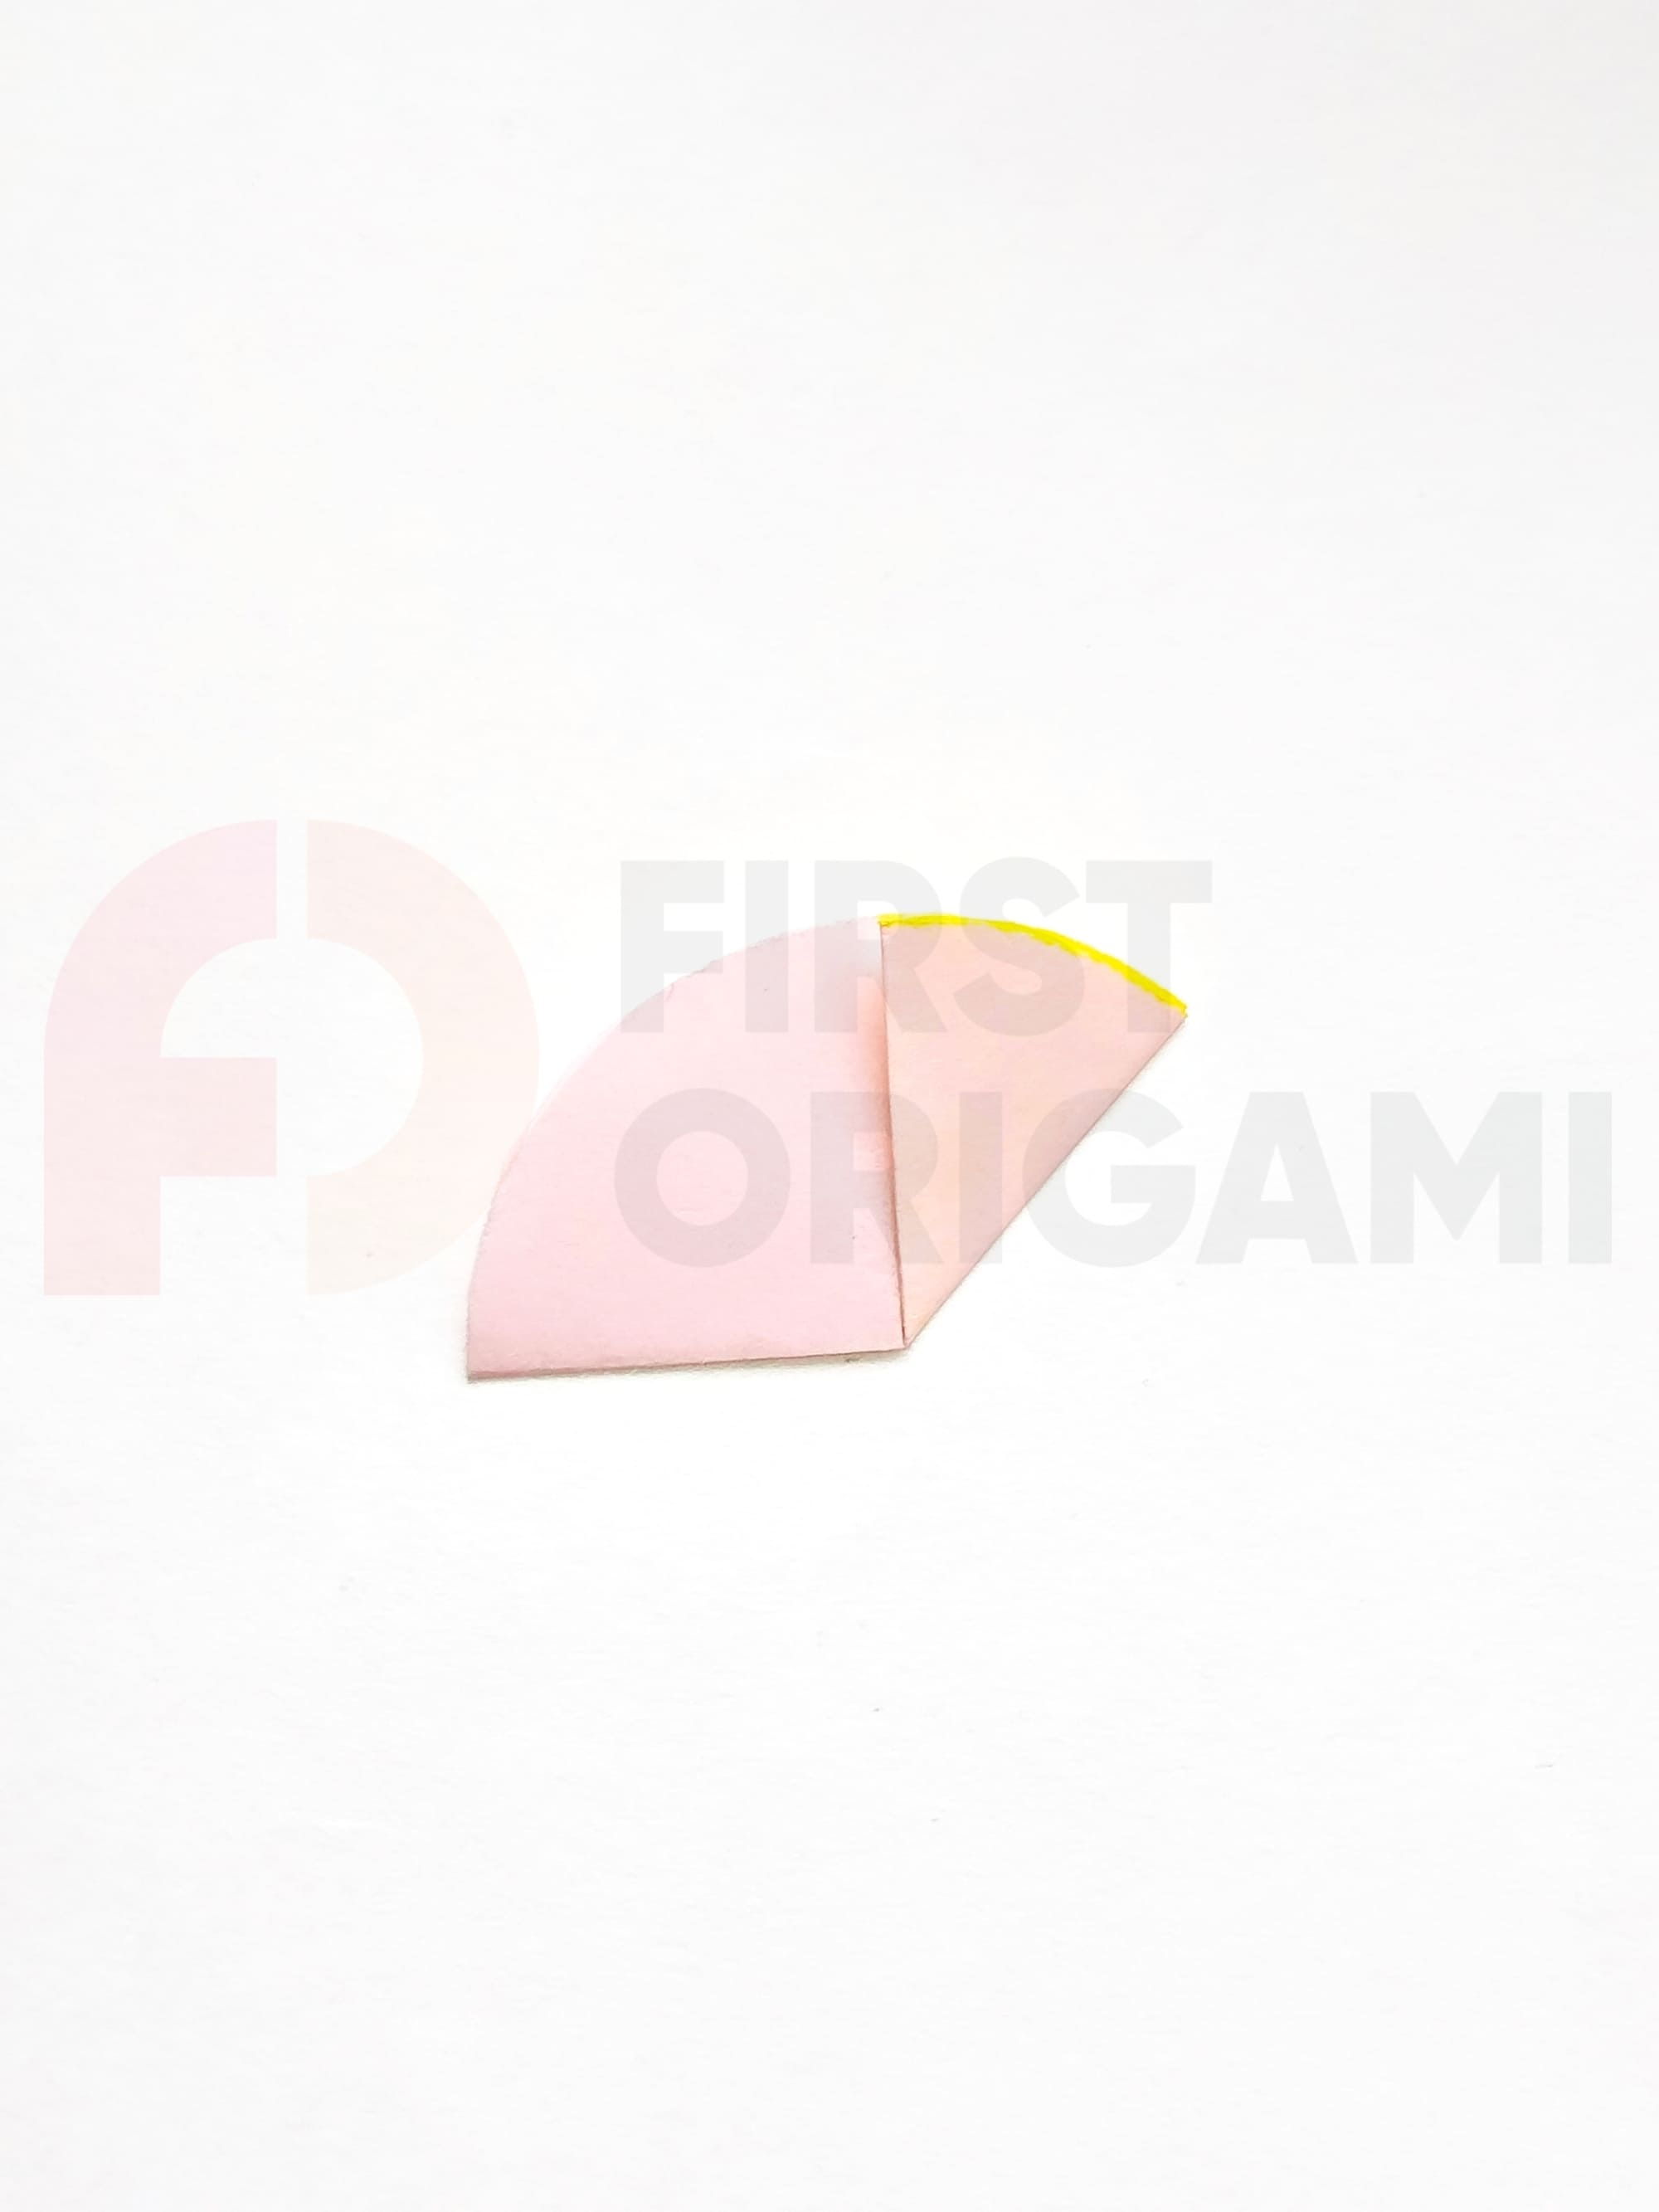
Fold the corner painted on the inside to the center line of the semicircle.
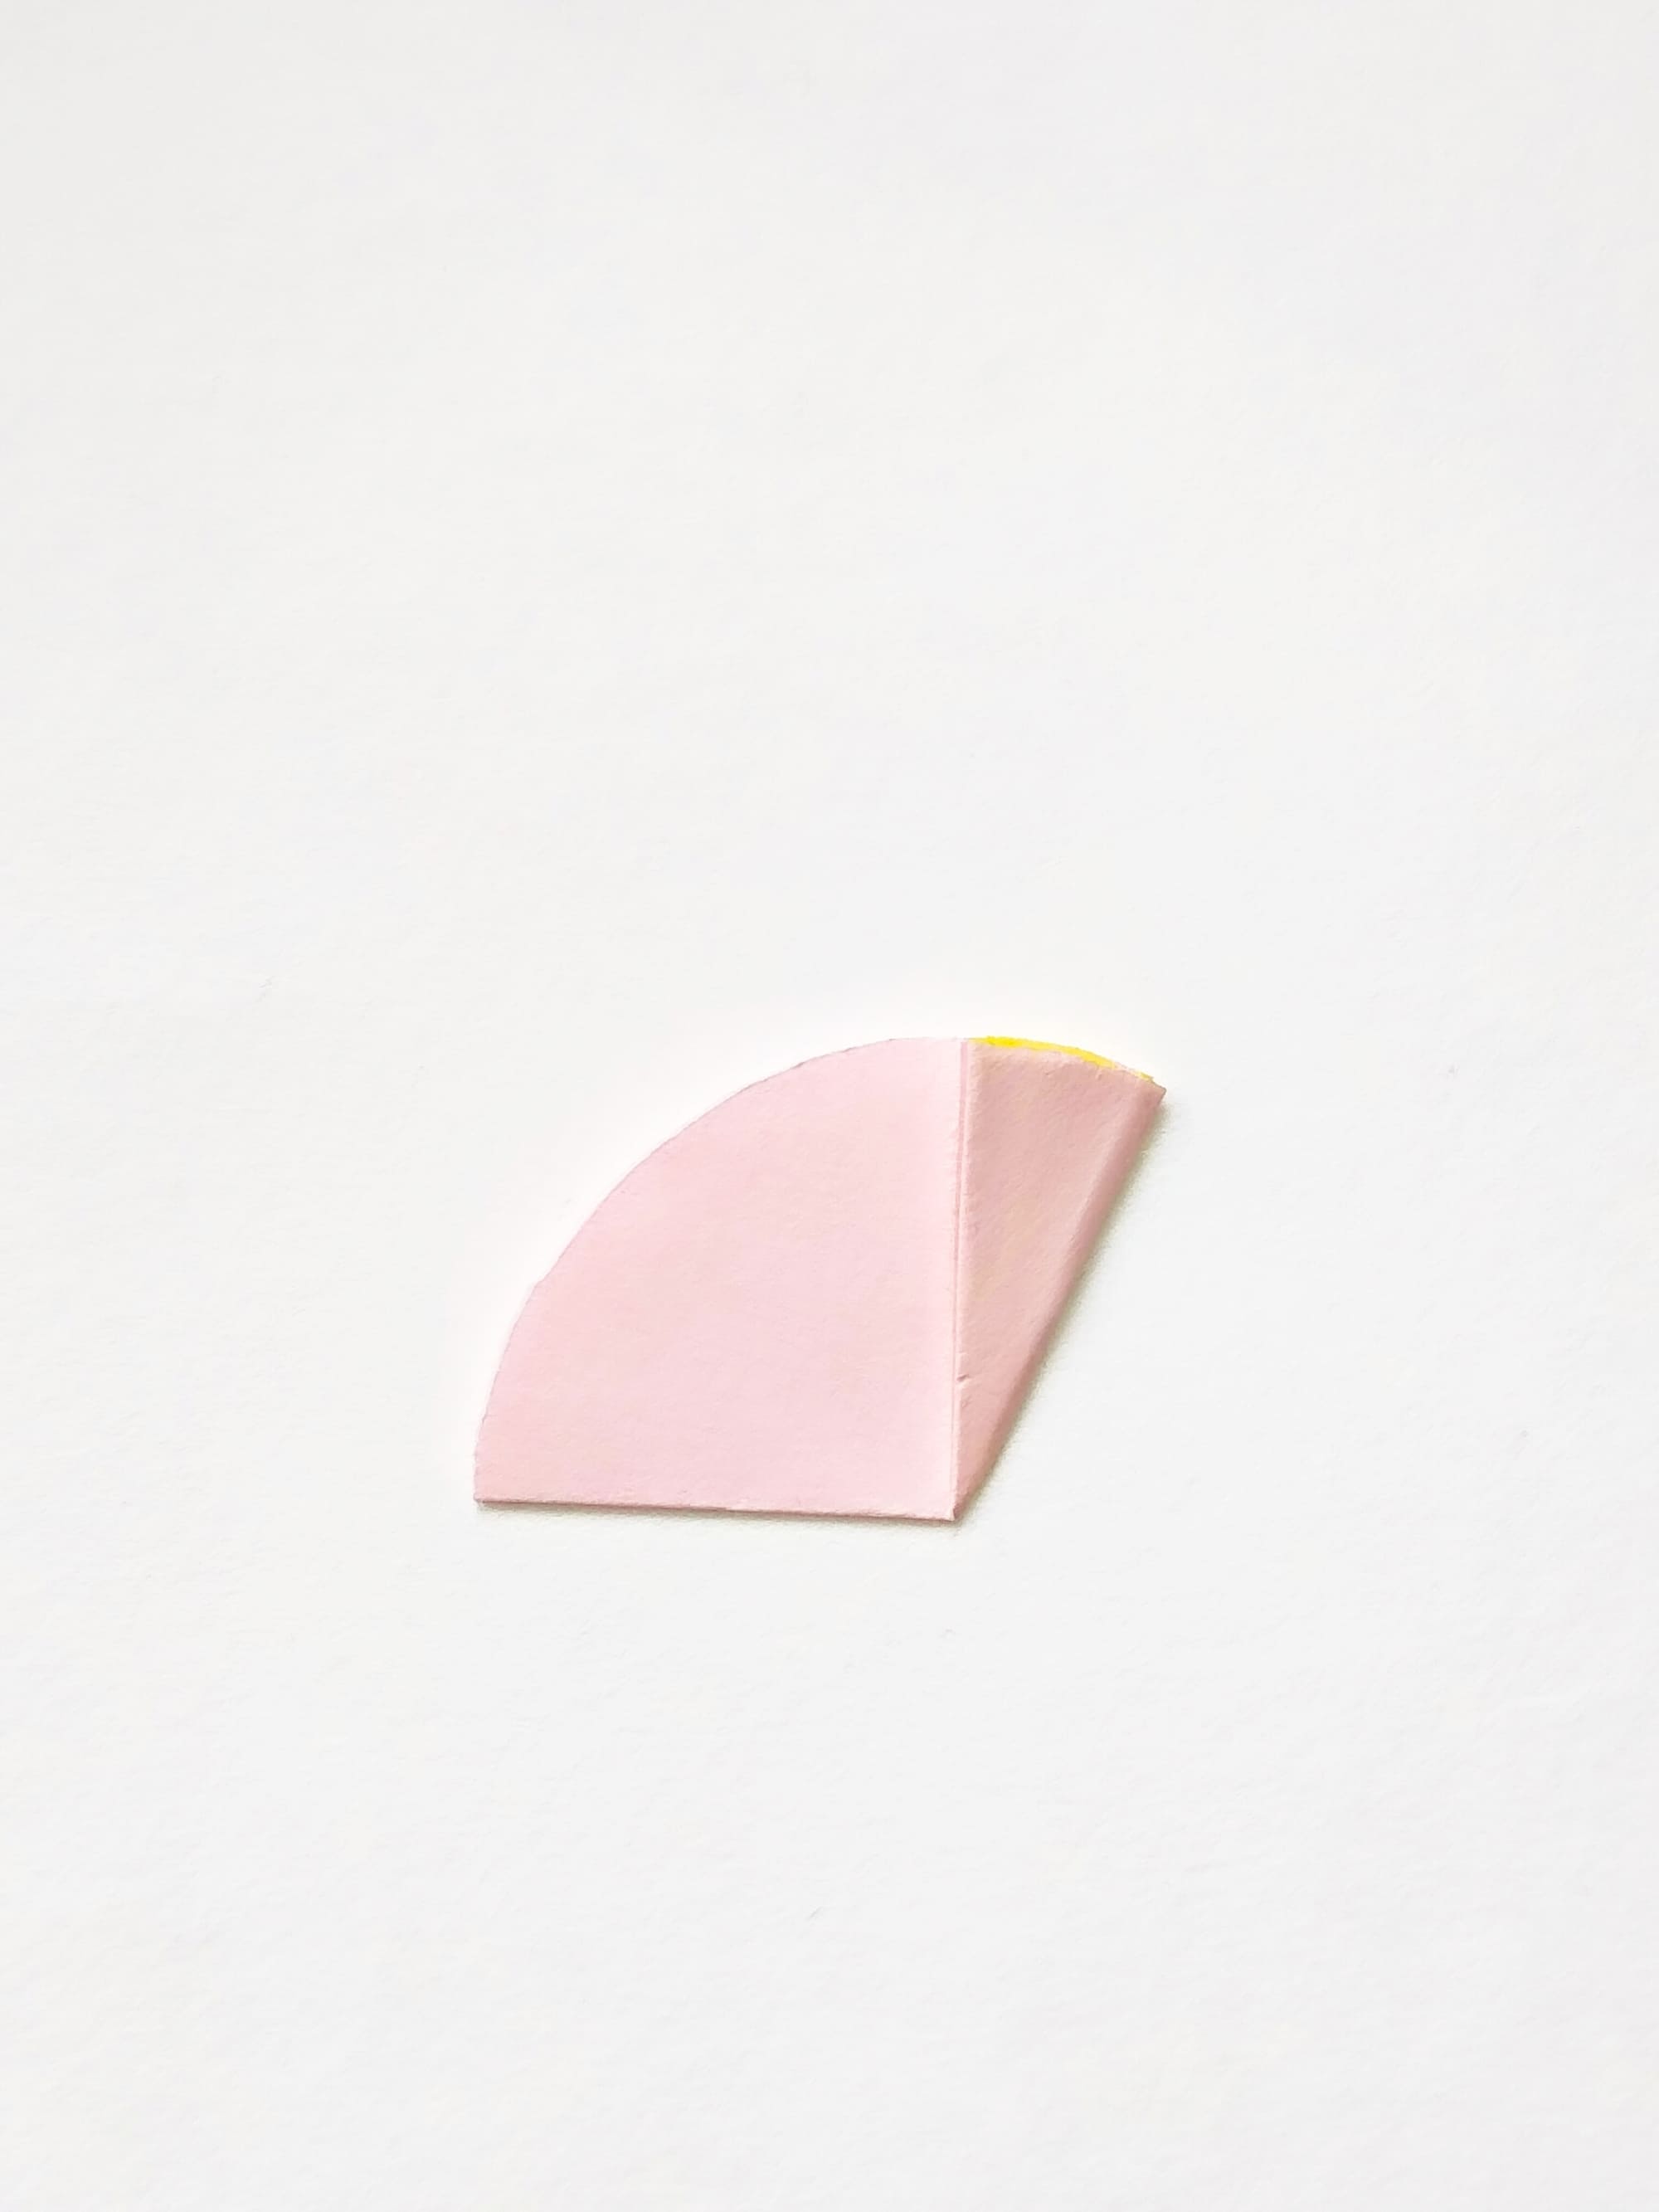
Align the fold created with the paper overlay line.
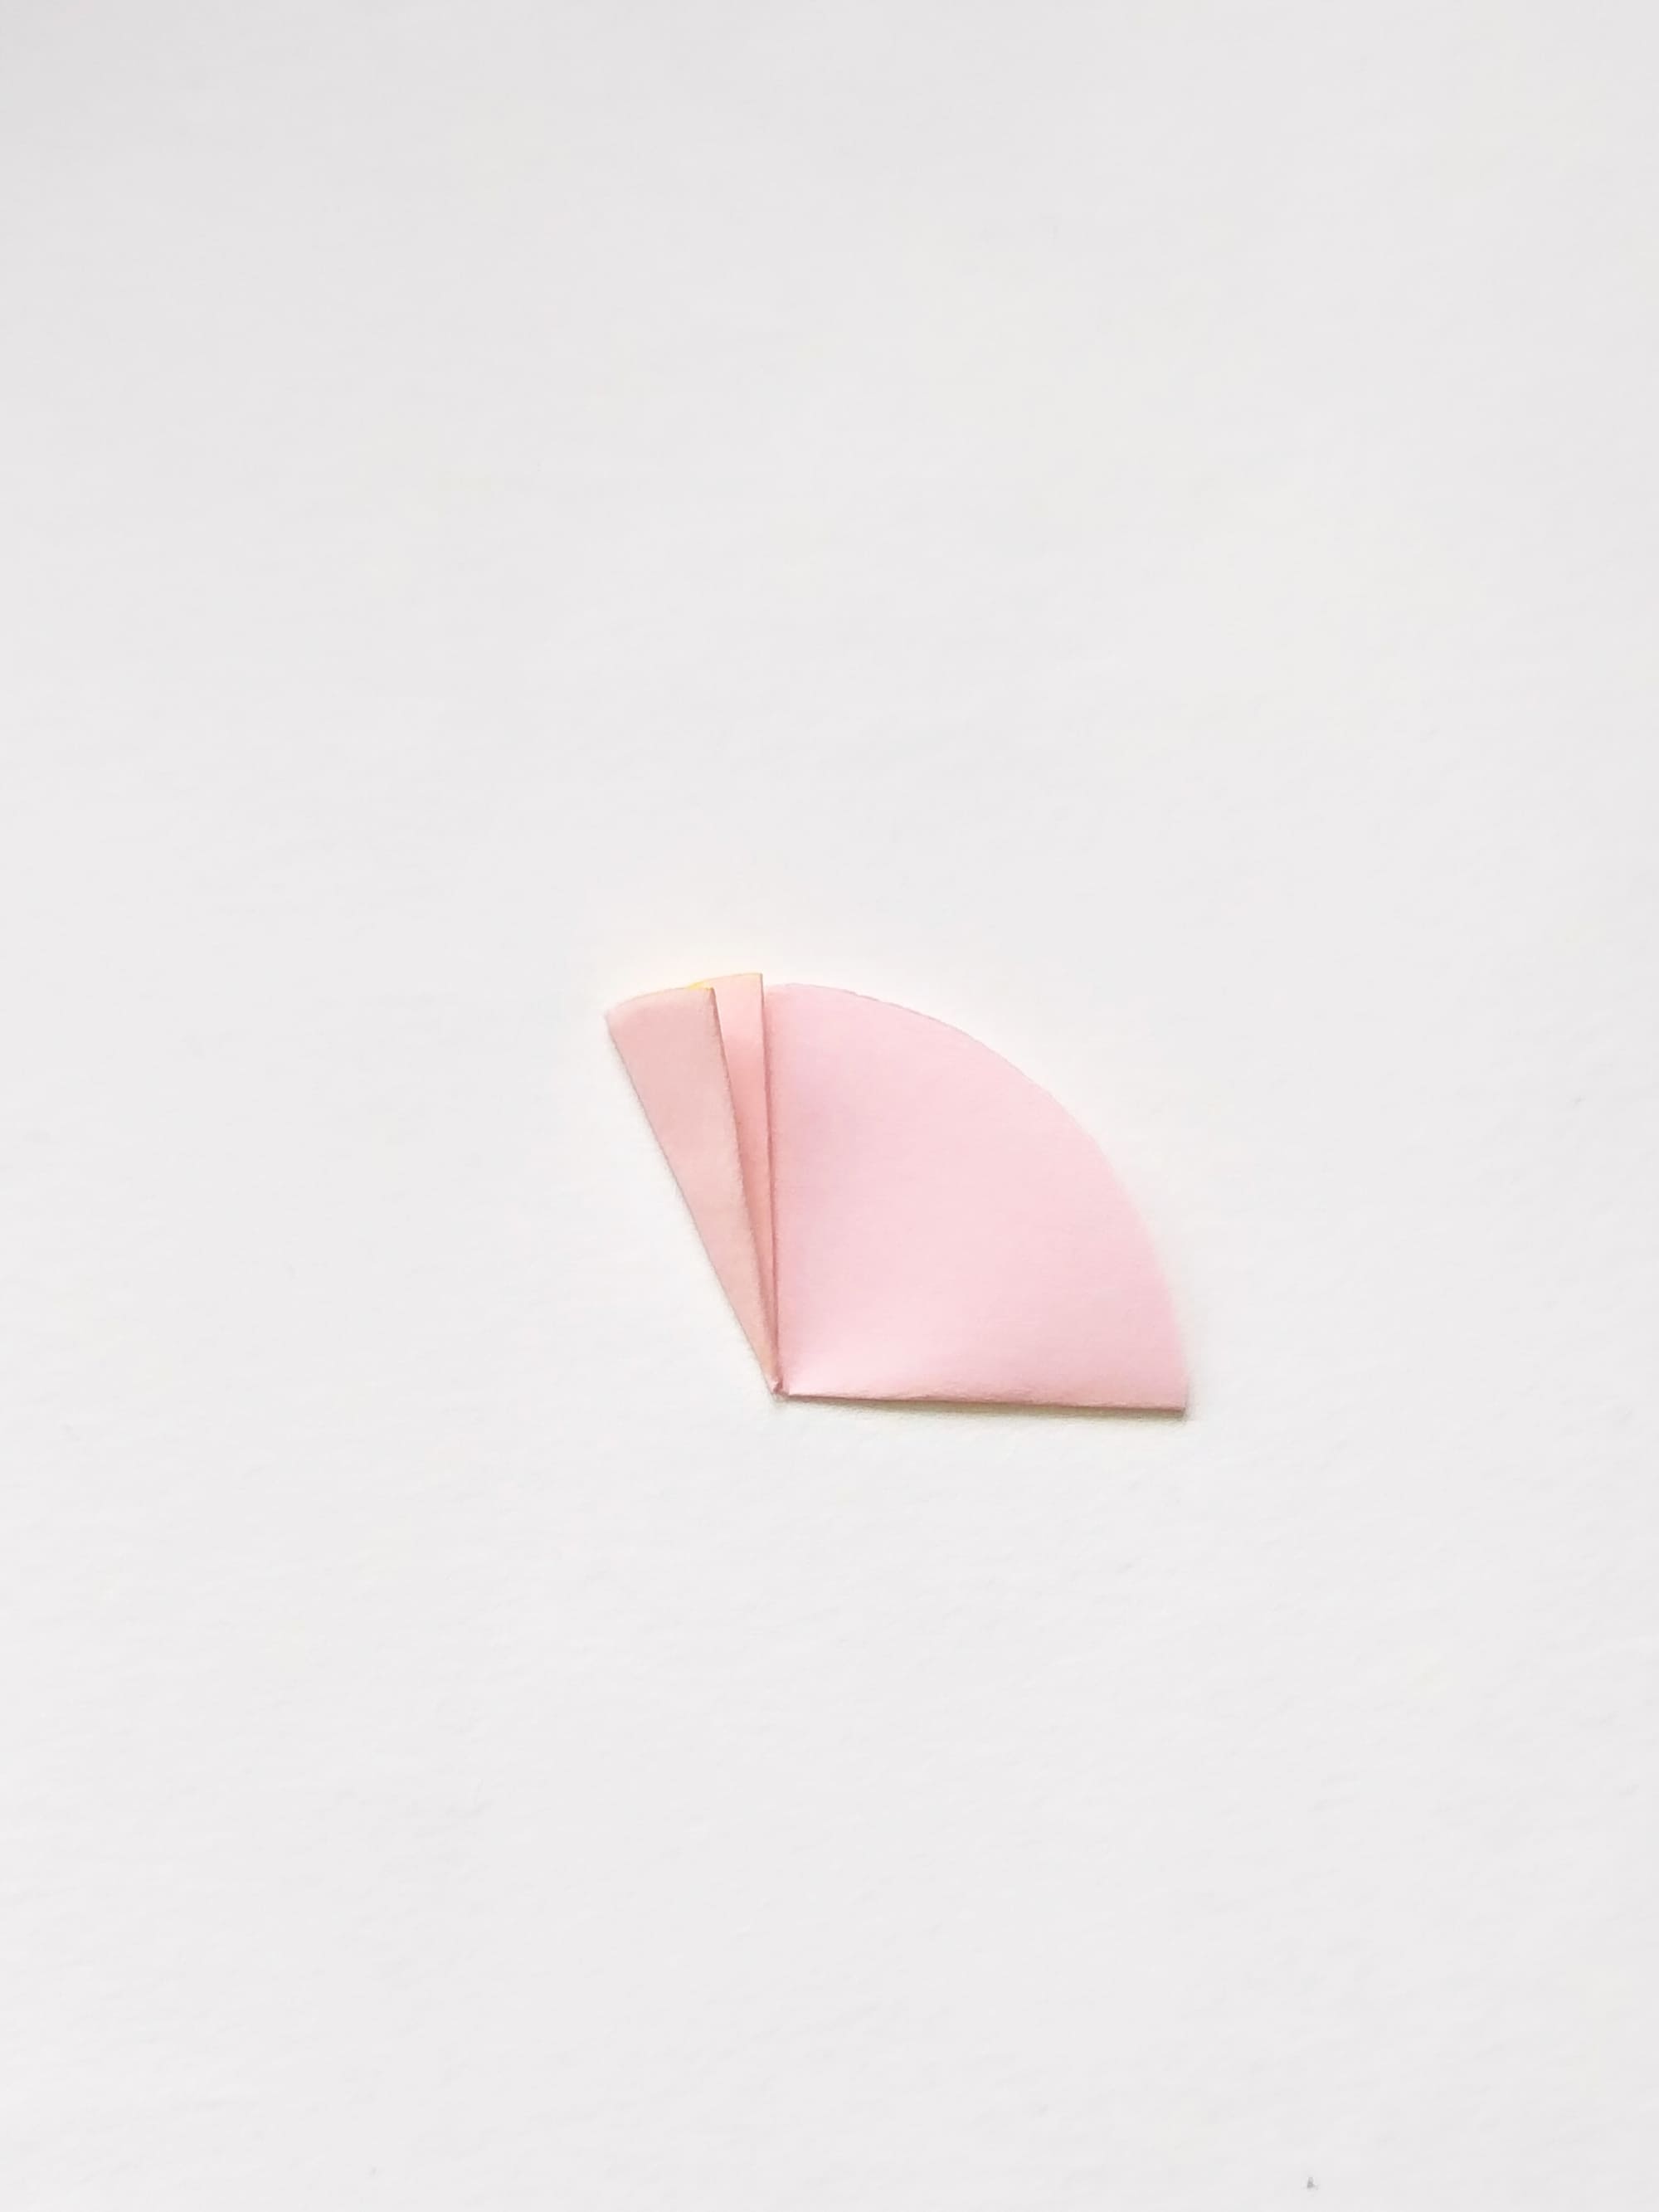
Turn the figure over and, having previously opened and straightened the paper up to step 7, bend it along the formed fold line in the opposite direction.
Unfold the circle completely, placing it with the colored side facing up.
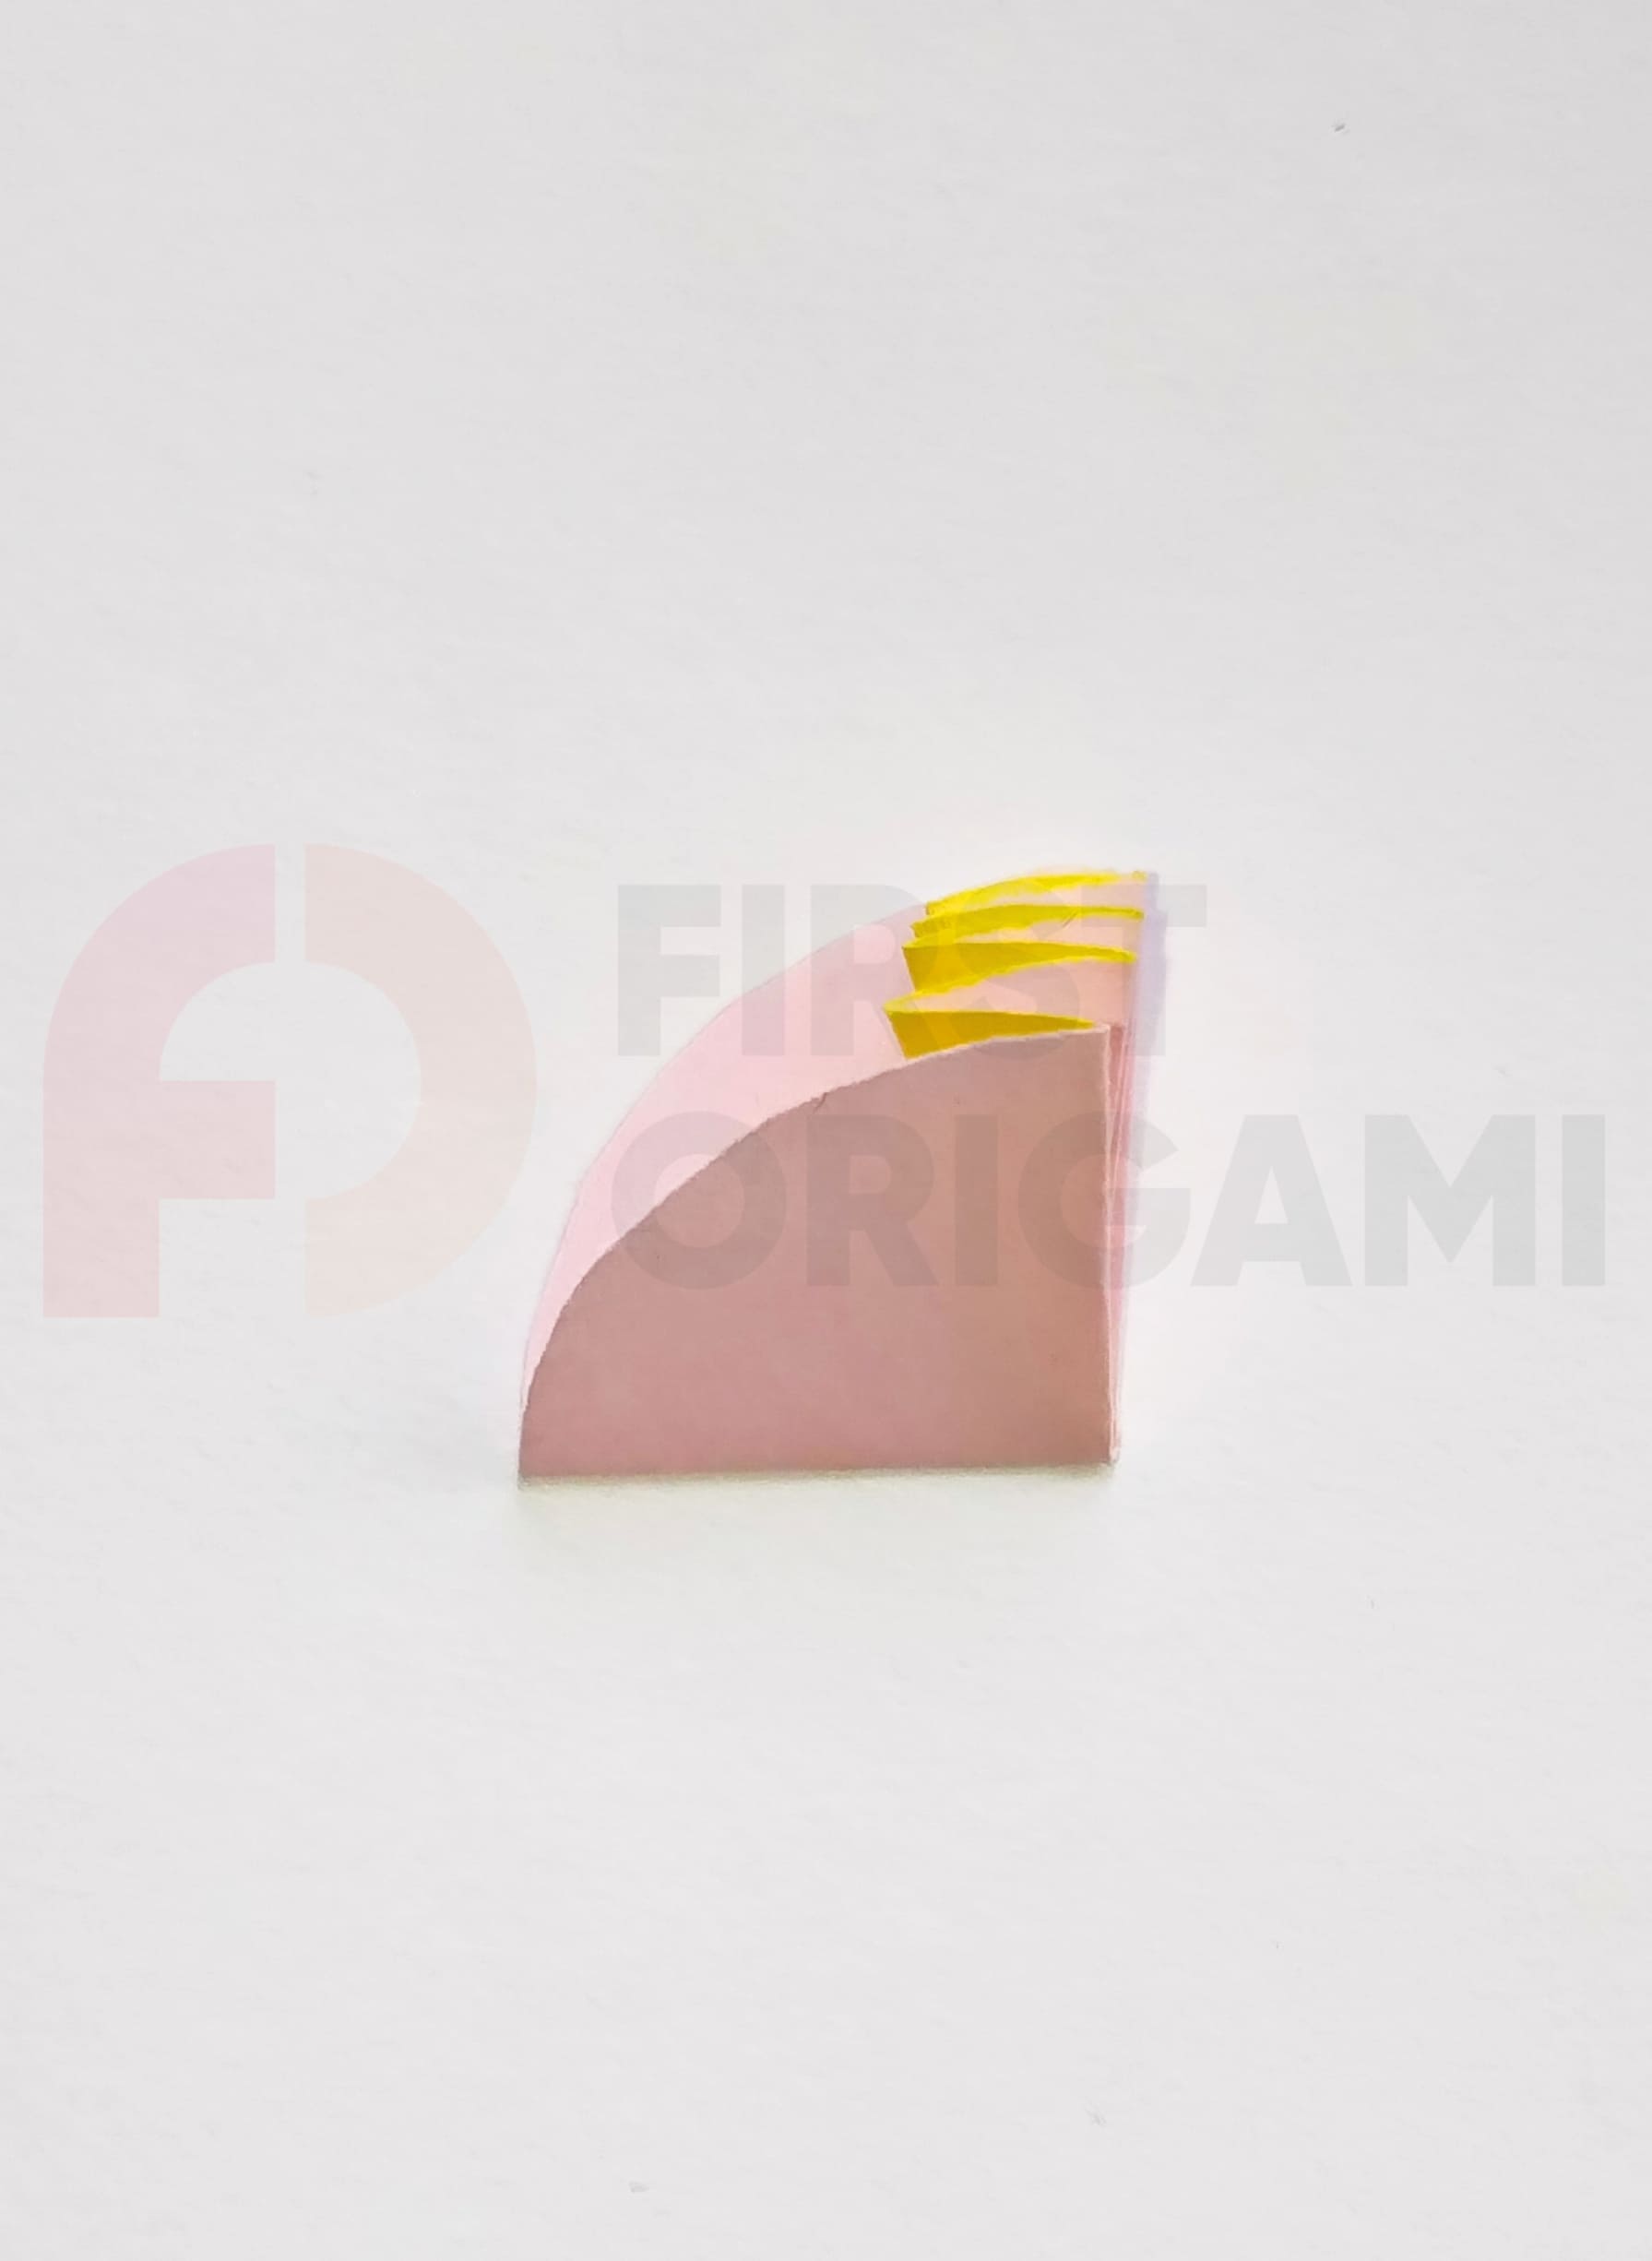
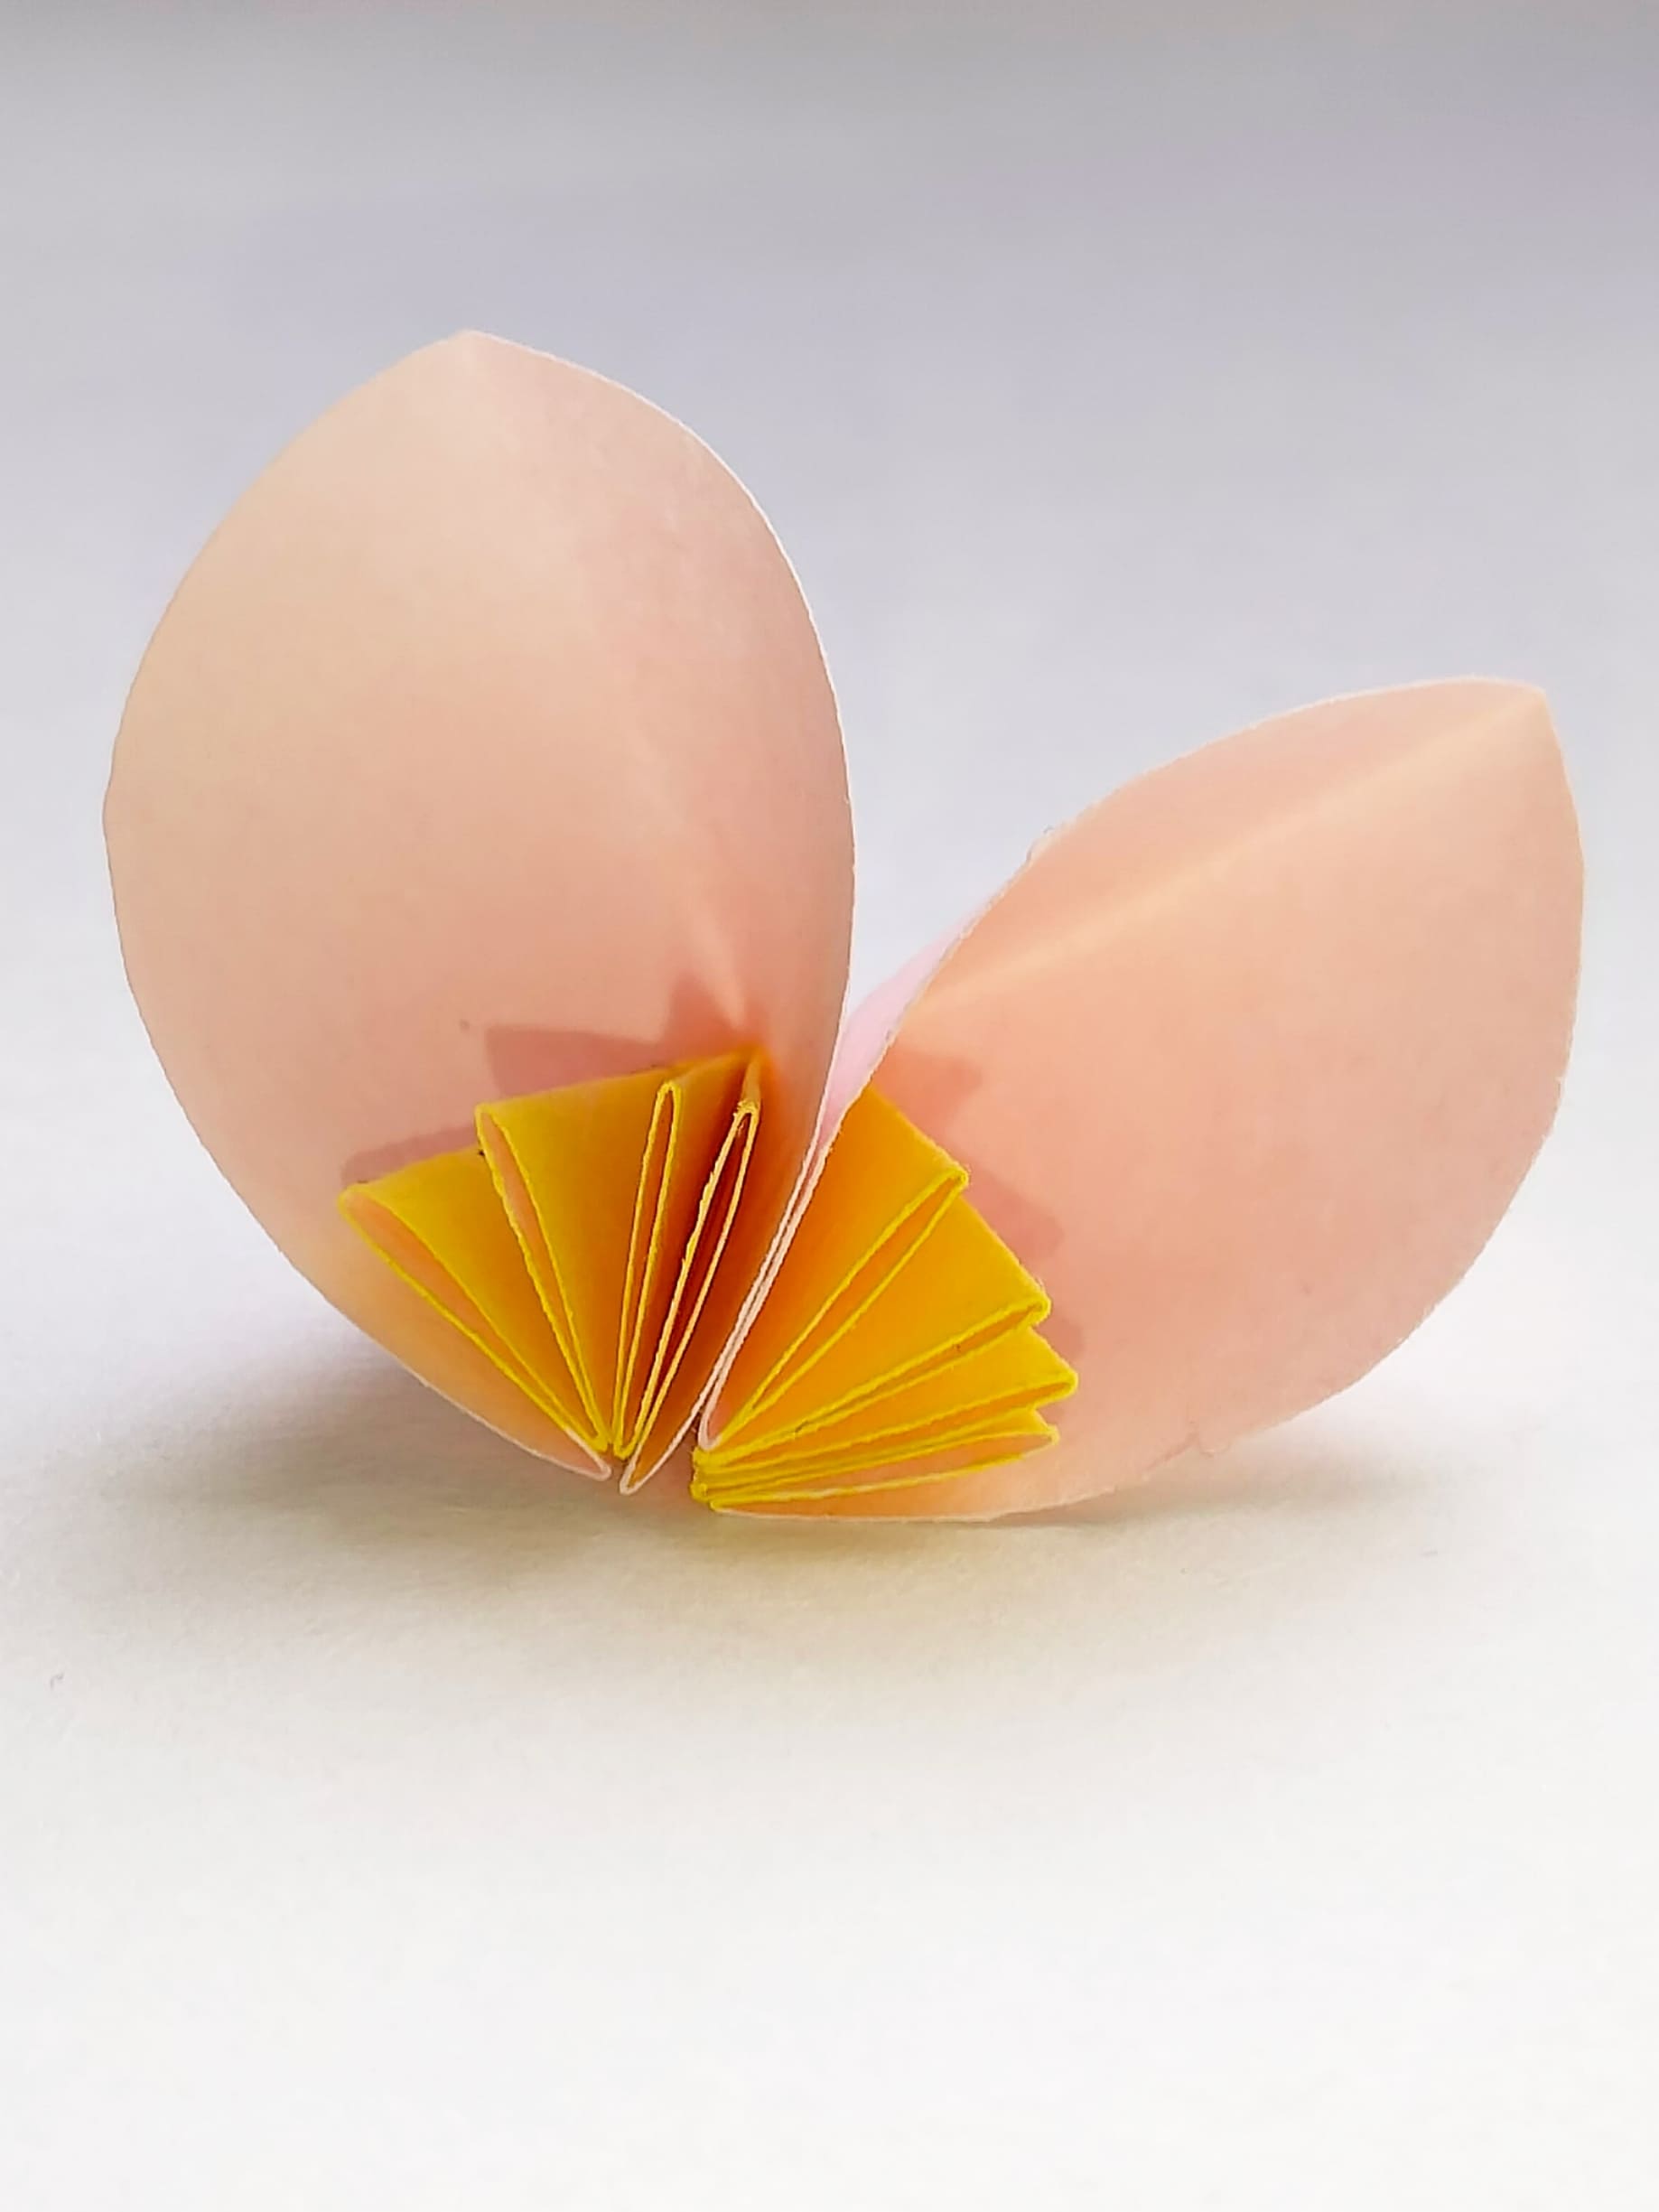
Align the center lines of the two halves of the circle, placing a folded accordion between them.
Use glue or a small piece of tape to secure the position of the paper.
Fold four more petals in the same way.
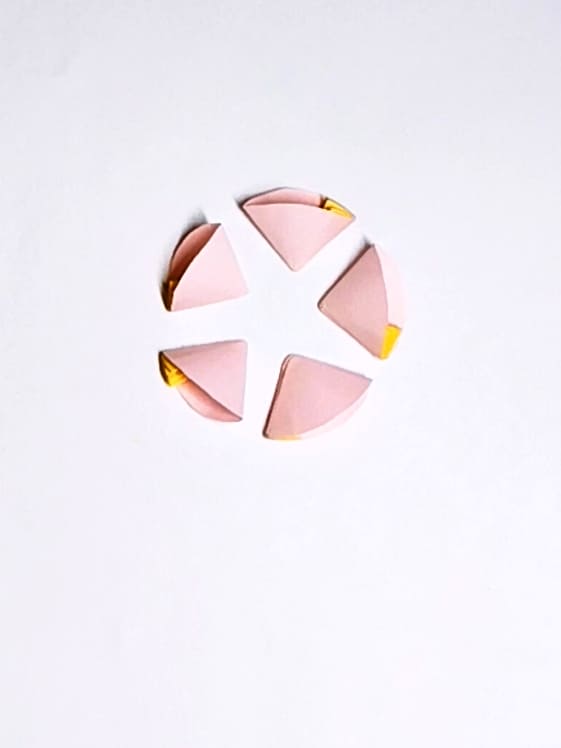
Using glue or thin double-sided tape, attach the sides of the five petals together to form a cherry blossom.
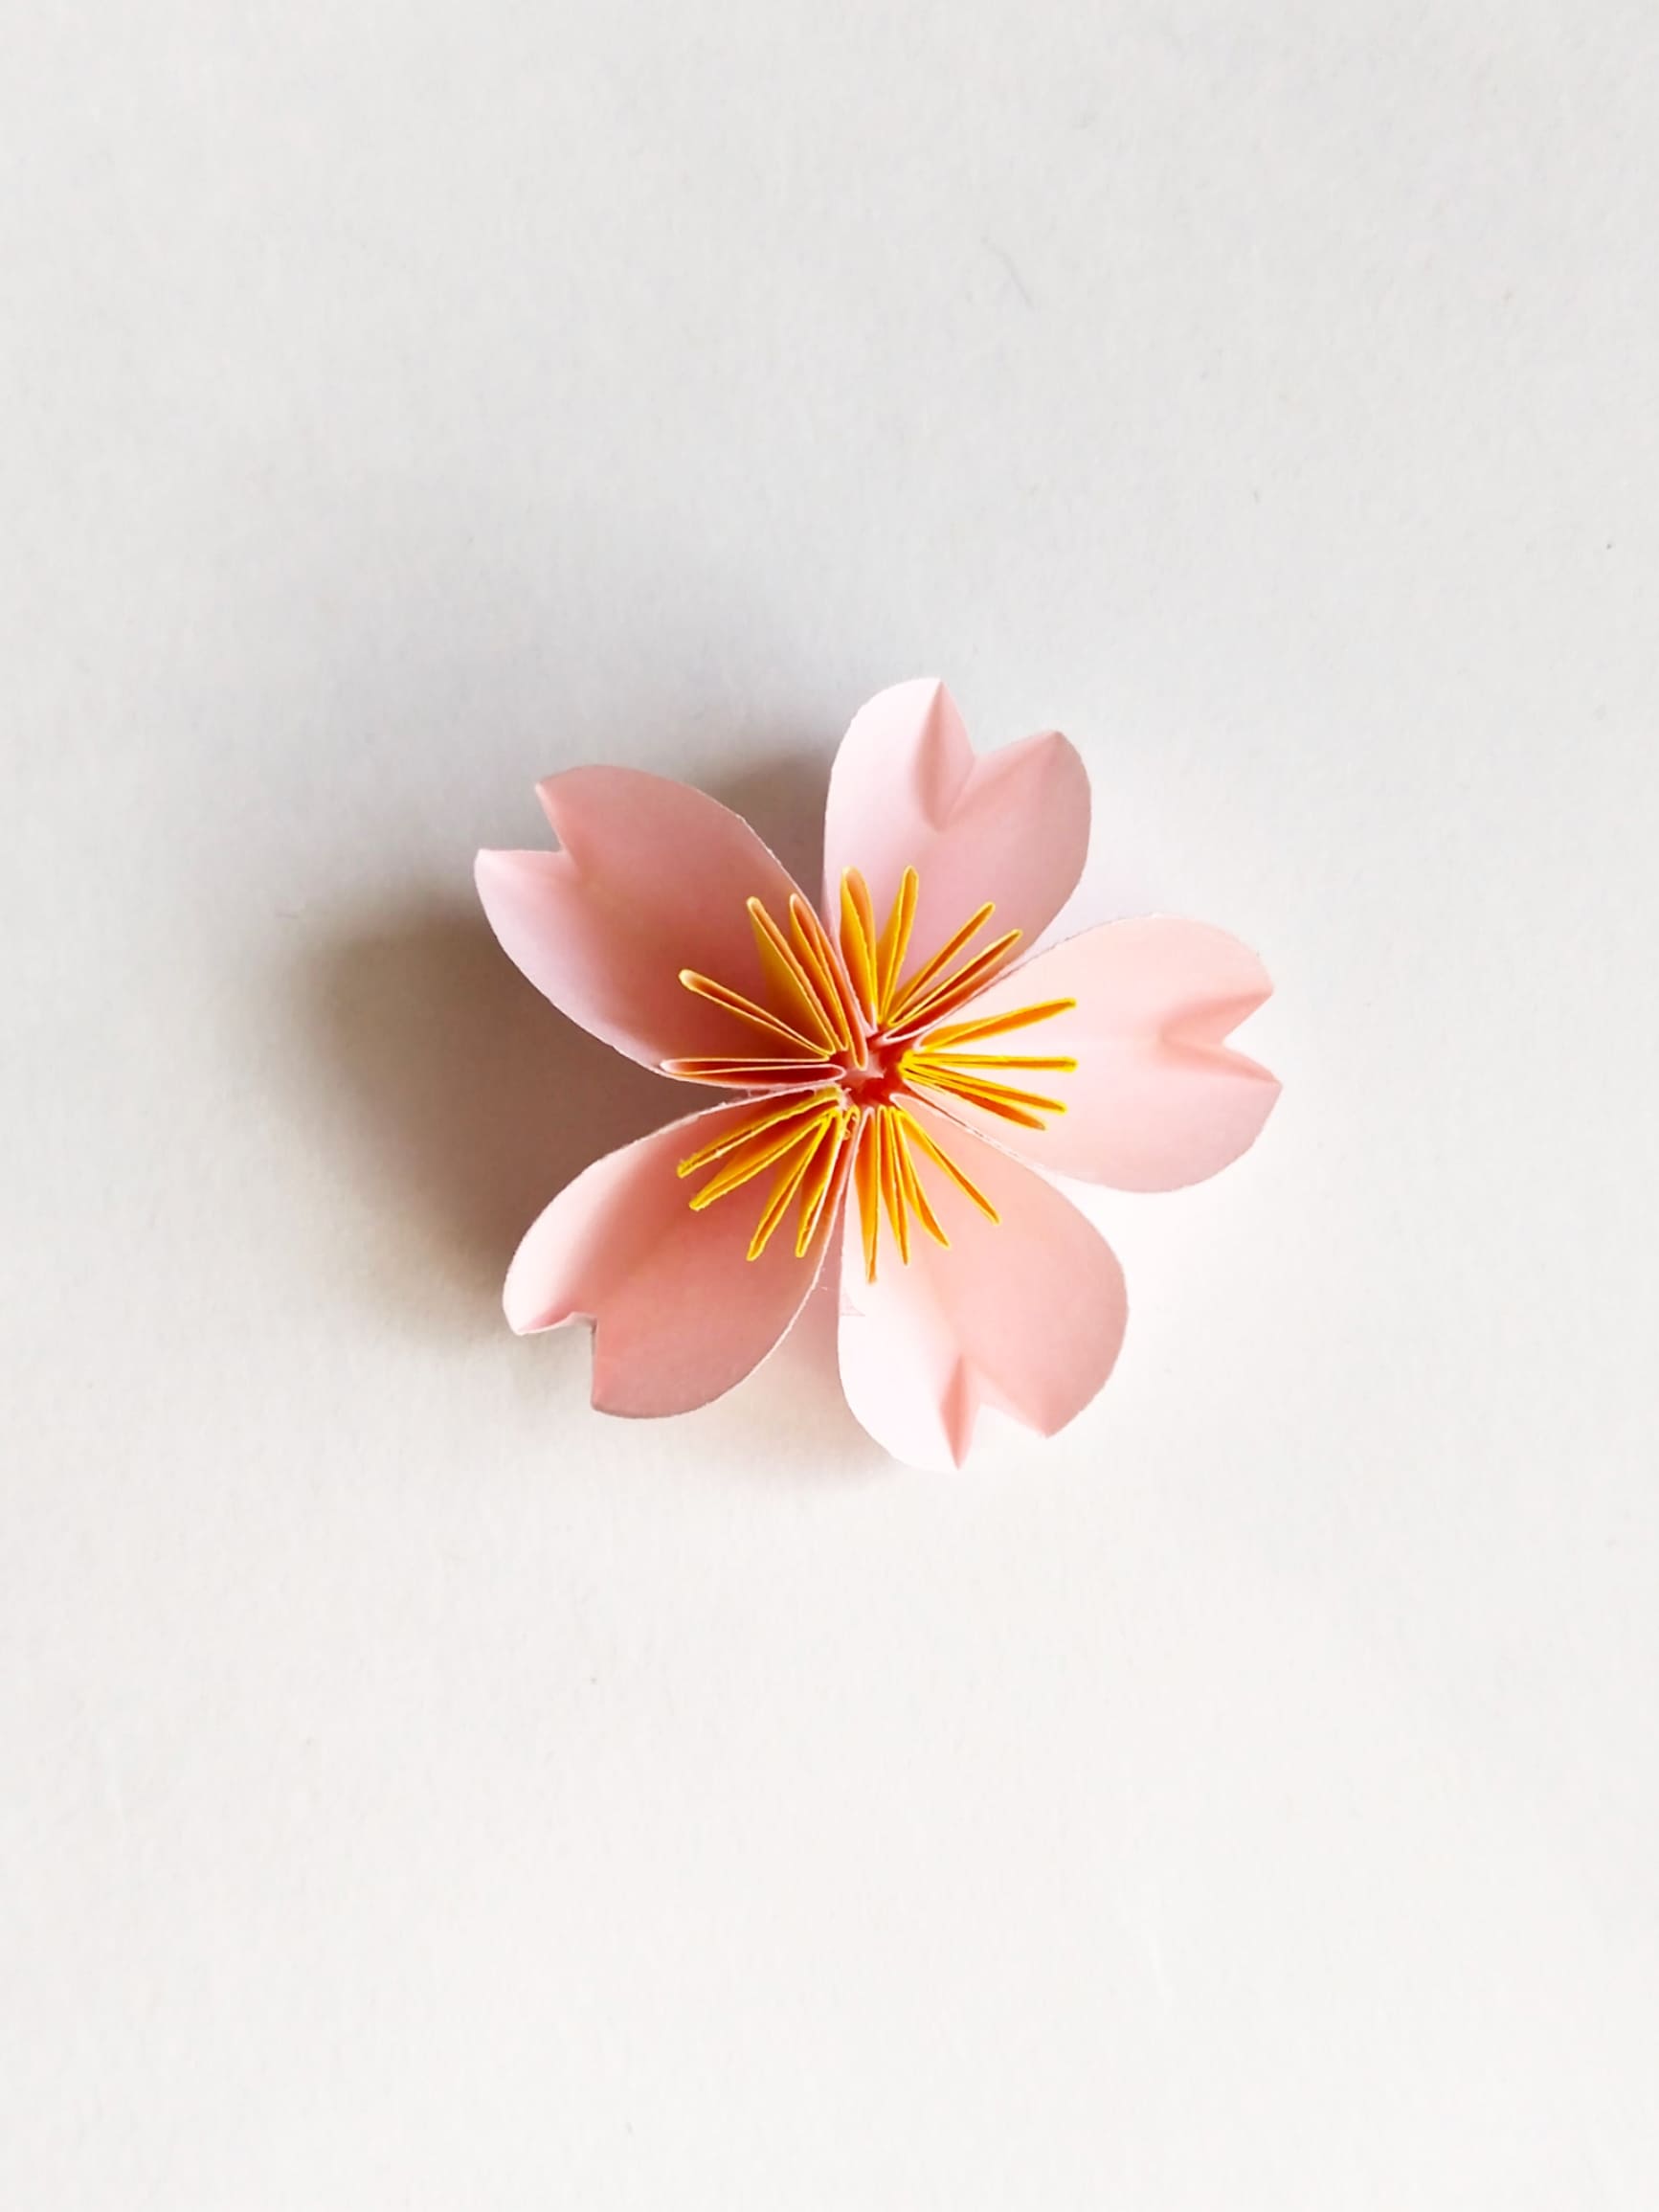
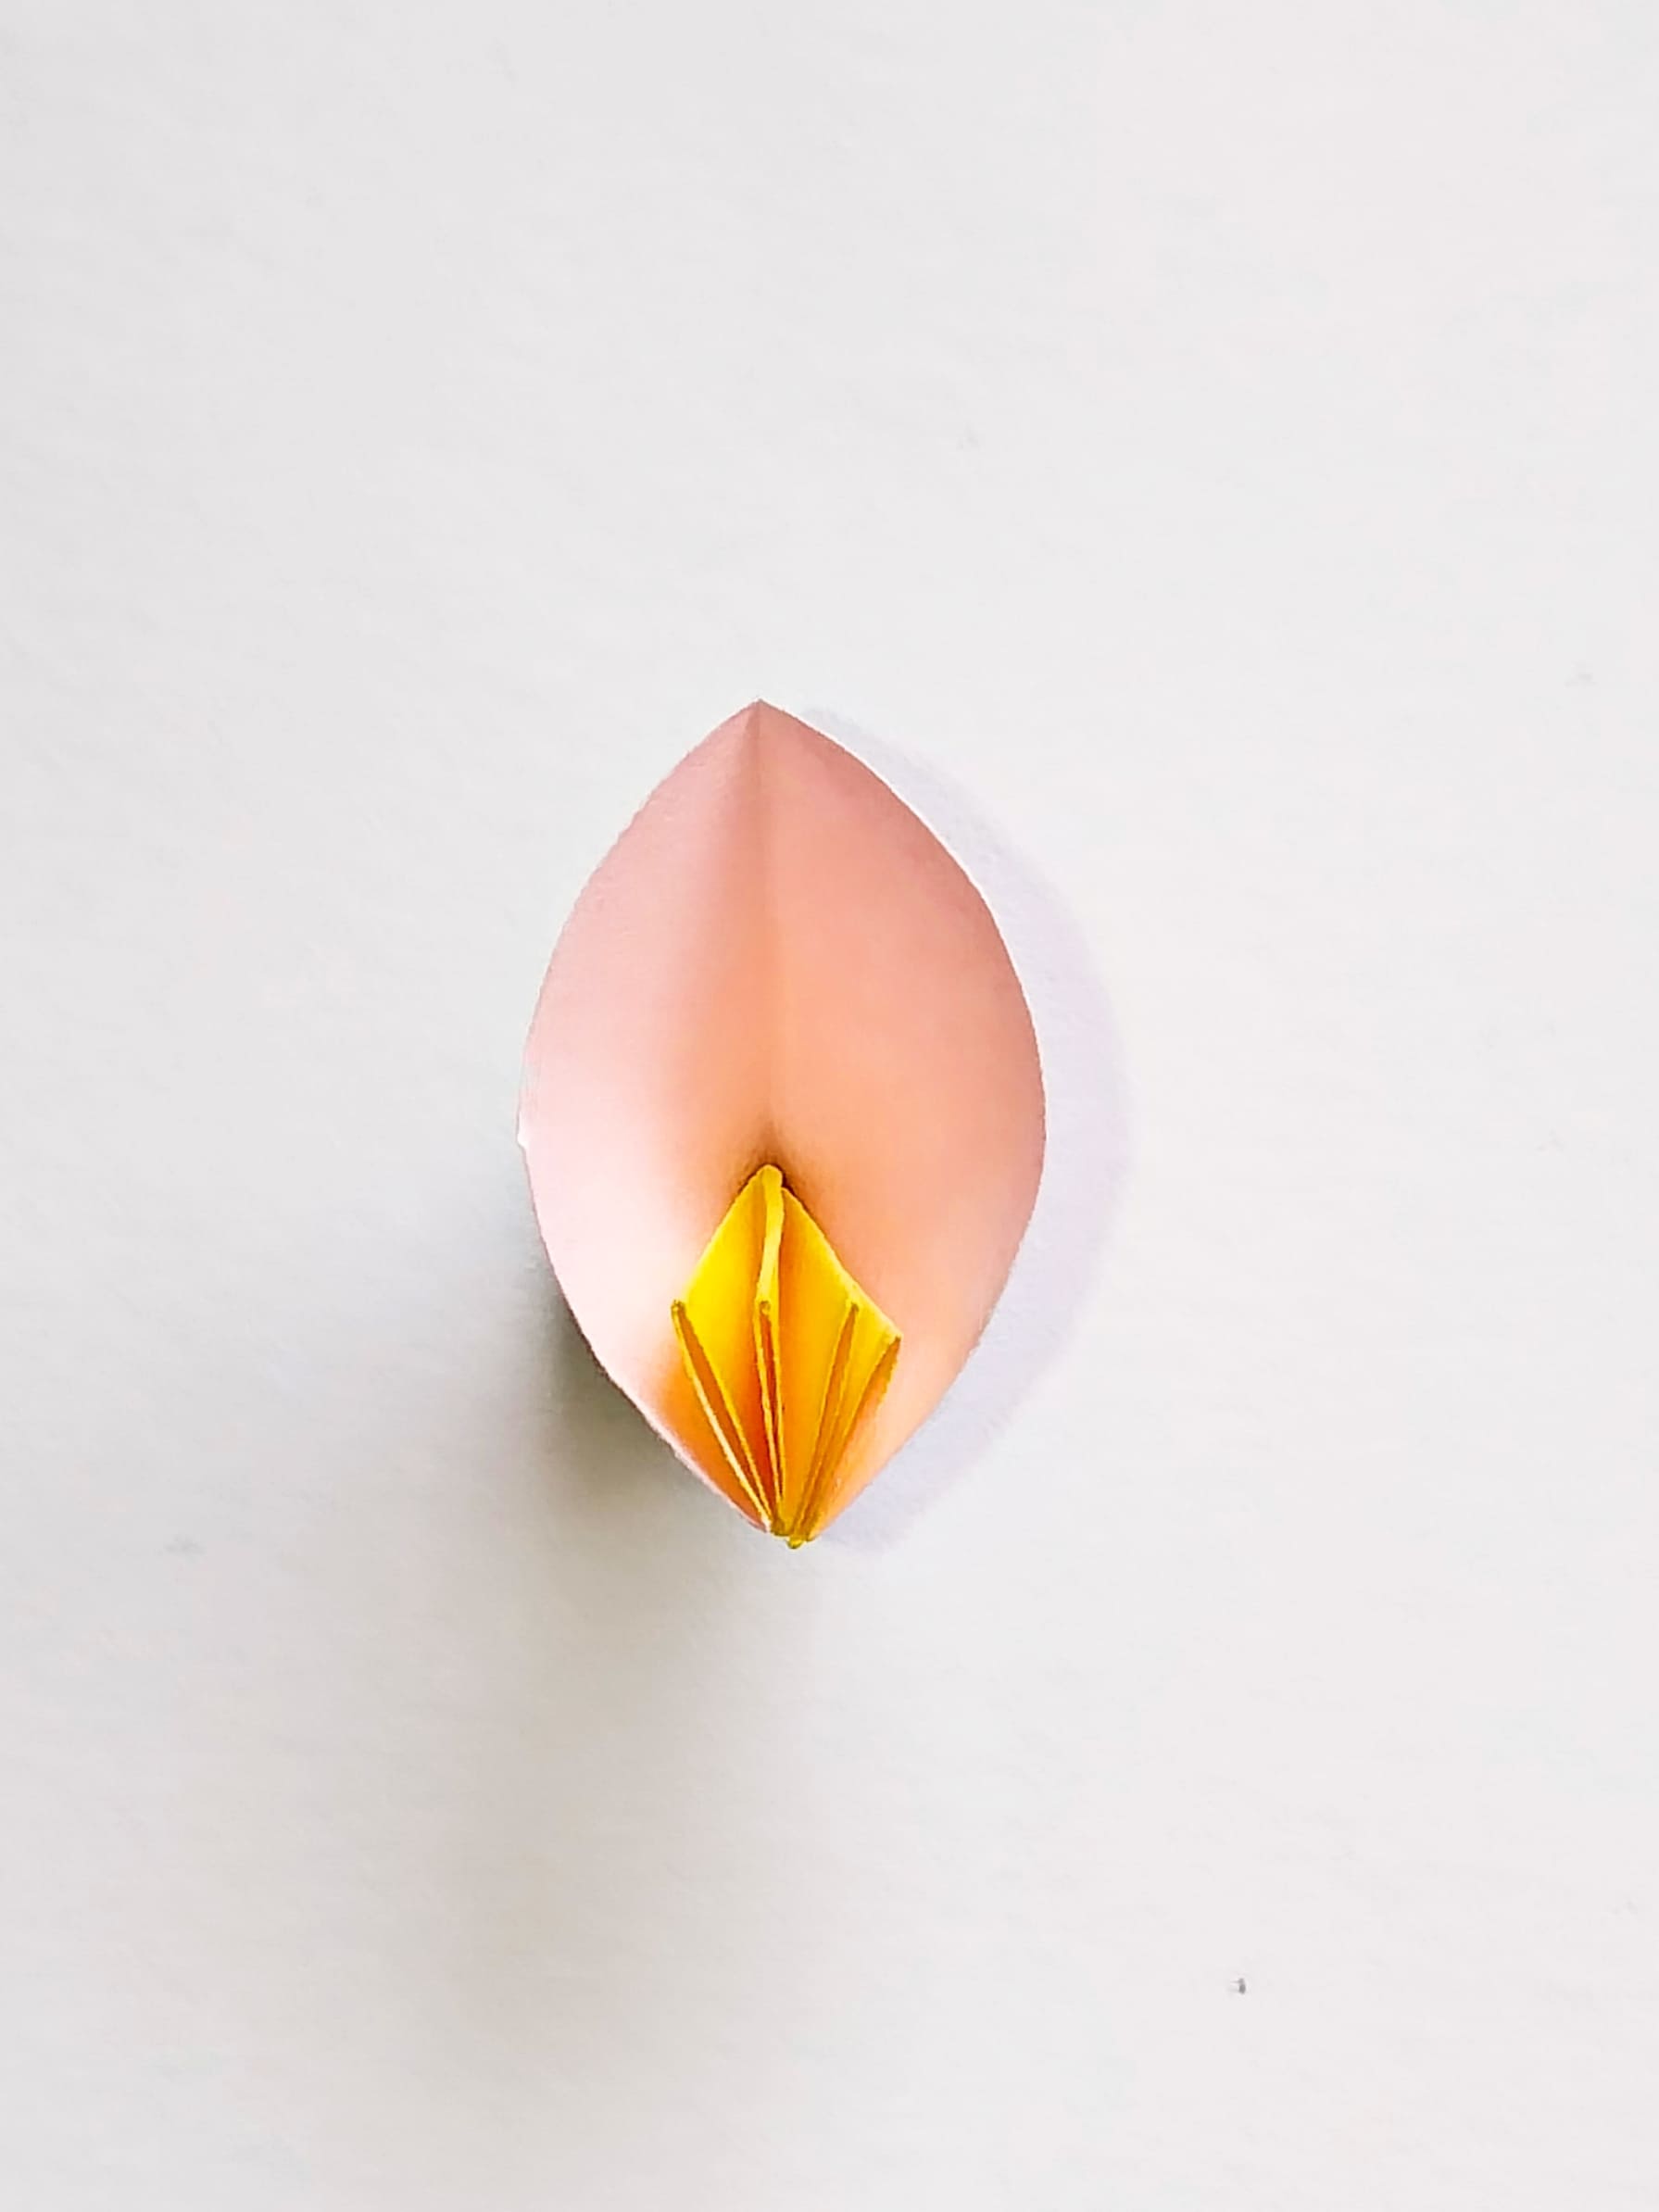
Next, we make triangular notches characteristic of Japanese cherry. Press the fold line from the edge of the flower opposite the stamens, tucking the tip inward, and pinch the edges of the flower to form the folds. Do a similar procedure with the remaining petals.
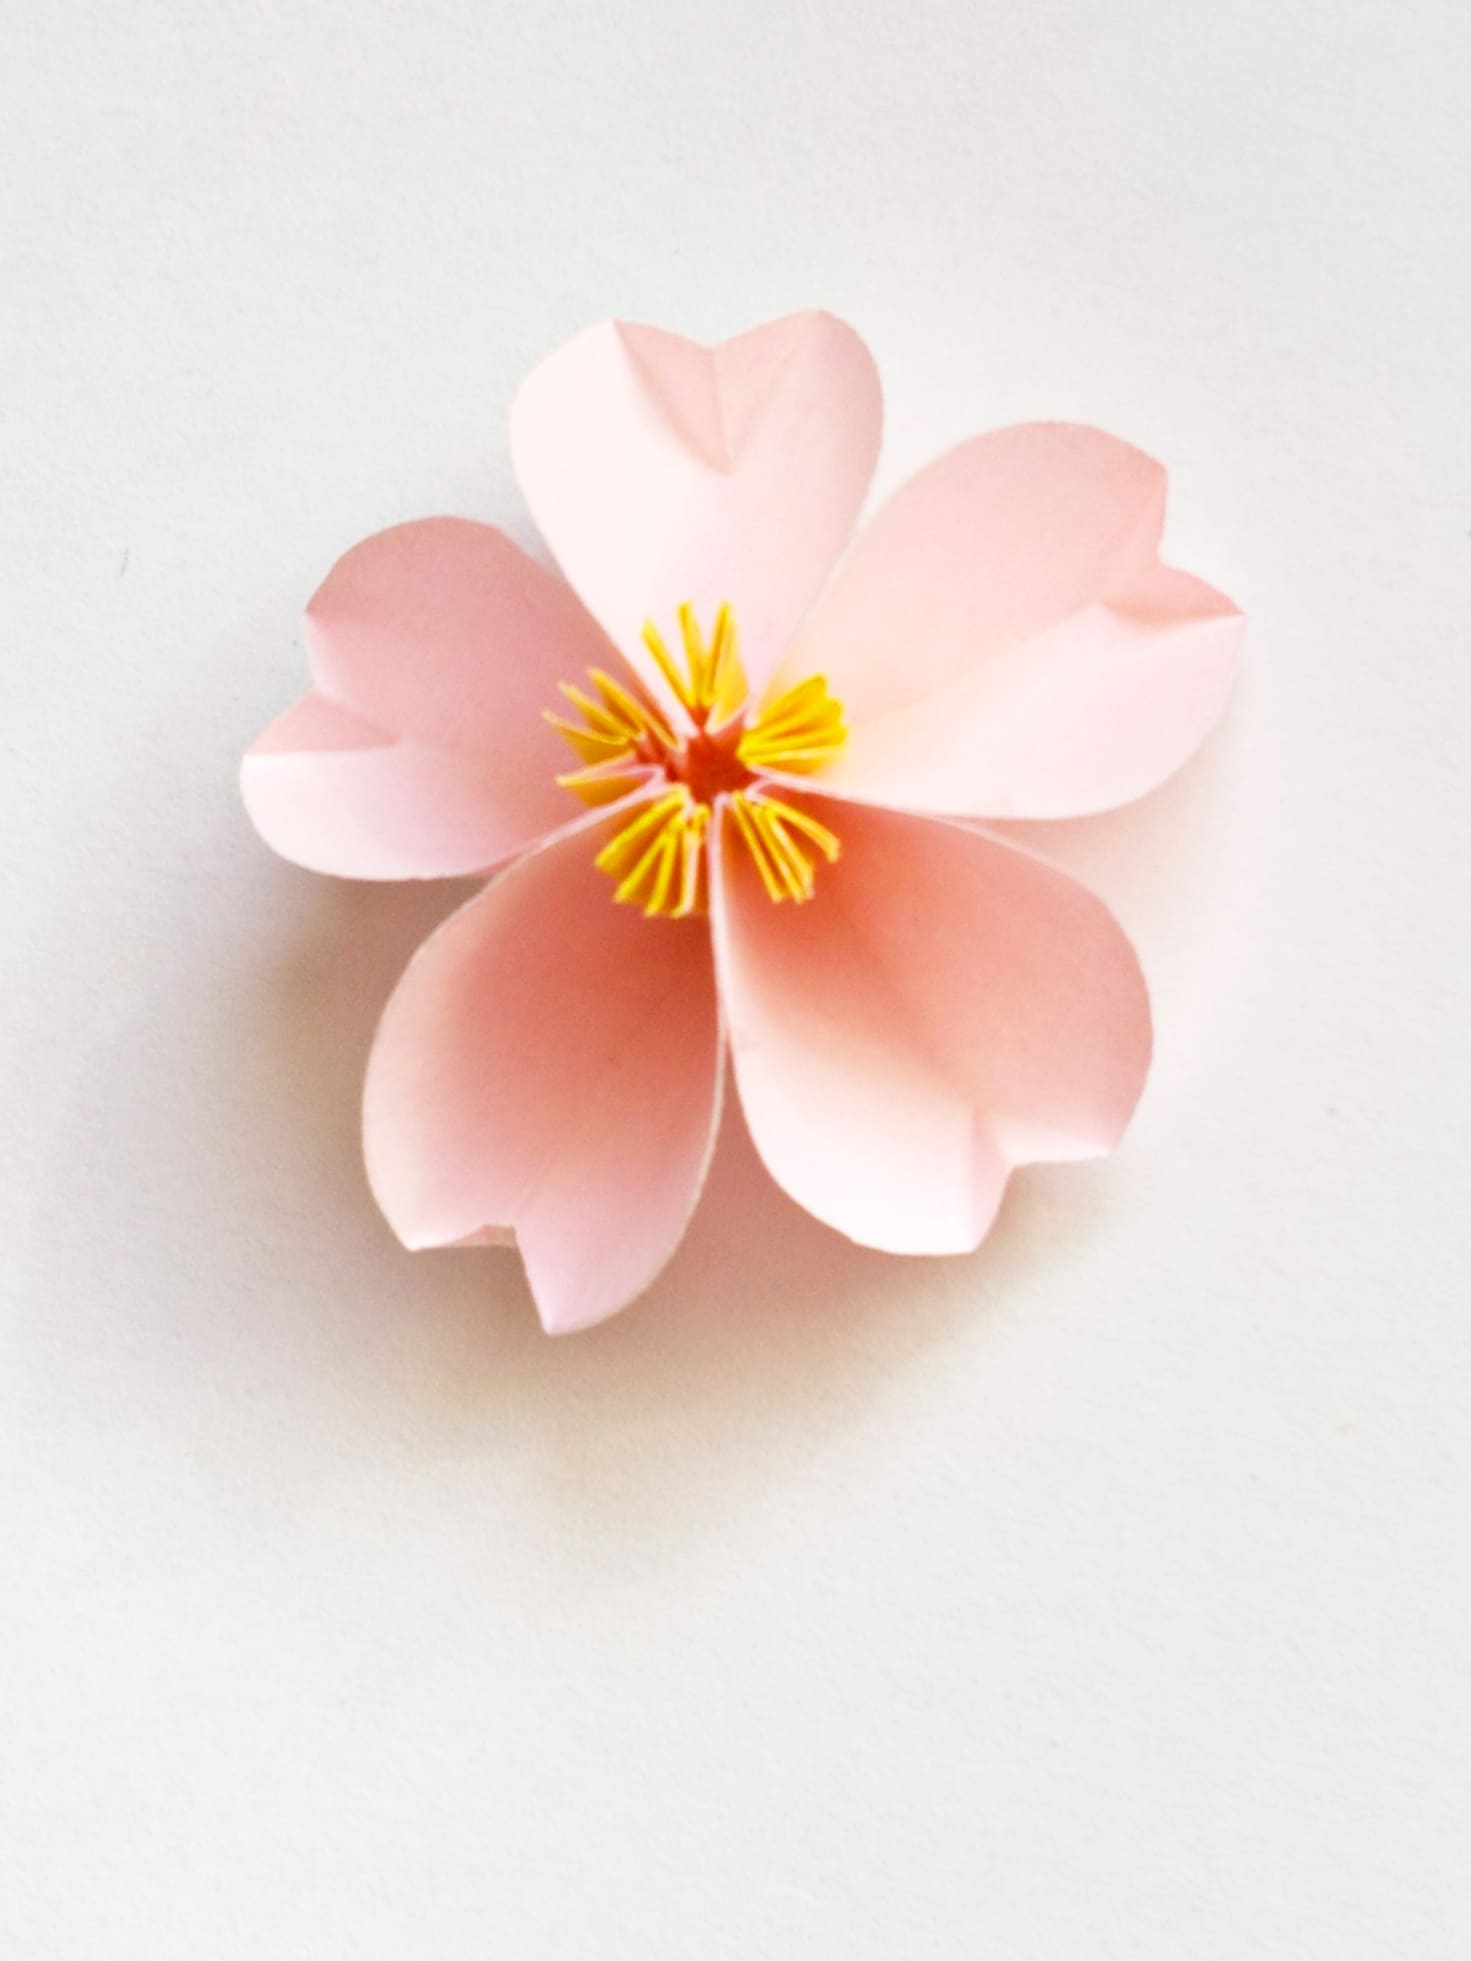
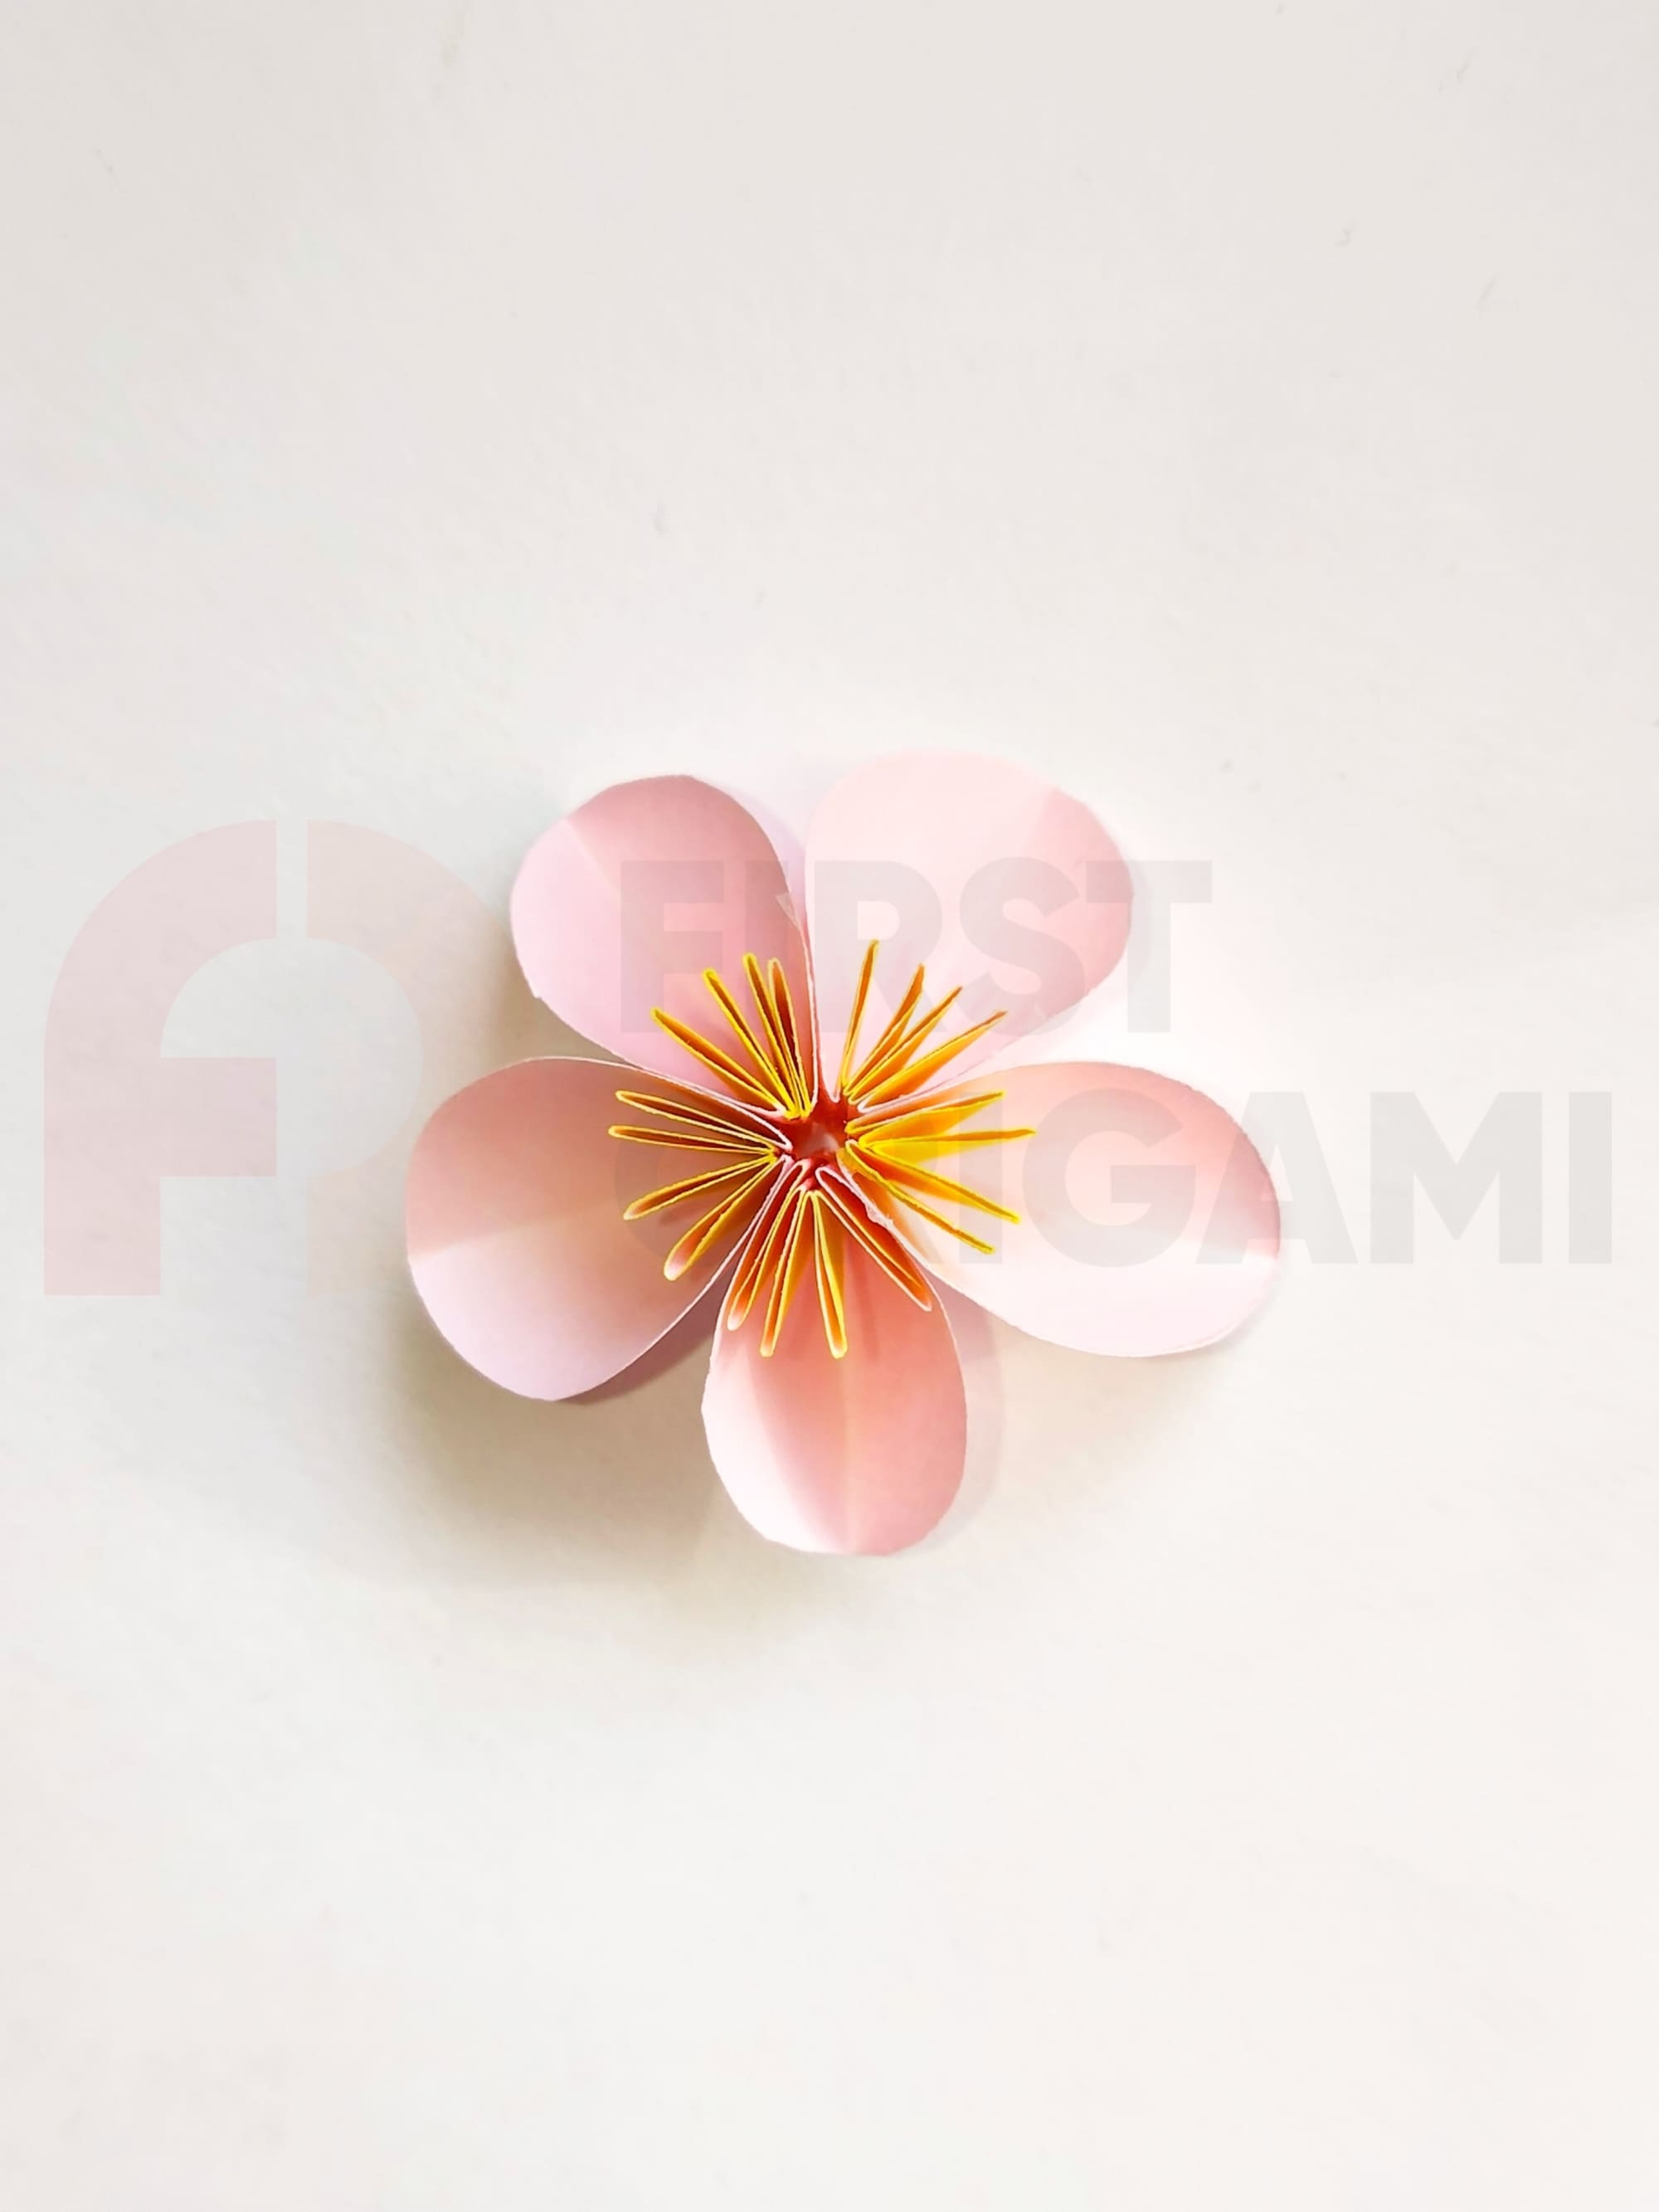
Using scissors, shorten the stamens, leaving about 3-4 mm long.
Take a sheet of white cardstock for the base of the Sakura wreath. Using a compass, mark two circles with a radius of 3.5 cm and 5 cm with a center at a single point.

Use scissors to cut out a 1.5cm thick ring formed by the circles.
Use glue to secure the flowers to the surface of the wreath.
Your Christmas symbol is ready to take its place on the door or a fragrant fir branch. If desired, you can attach a small loop made from ribbon, paper, or any other material to the back of the wreath.


