Origami Chick
The chicken is a symbol of fertility and new life in Christian traditions. People often use it as decoration for Easter baskets. Small squeaky balls are depicted on spring greeting cards.
In this tutorial, we will make a very simple paper chicken.

Take a square of yellow paper. If the paper is not two-colored, it must be placed with the colored side down so that there is a diamond in front of you.
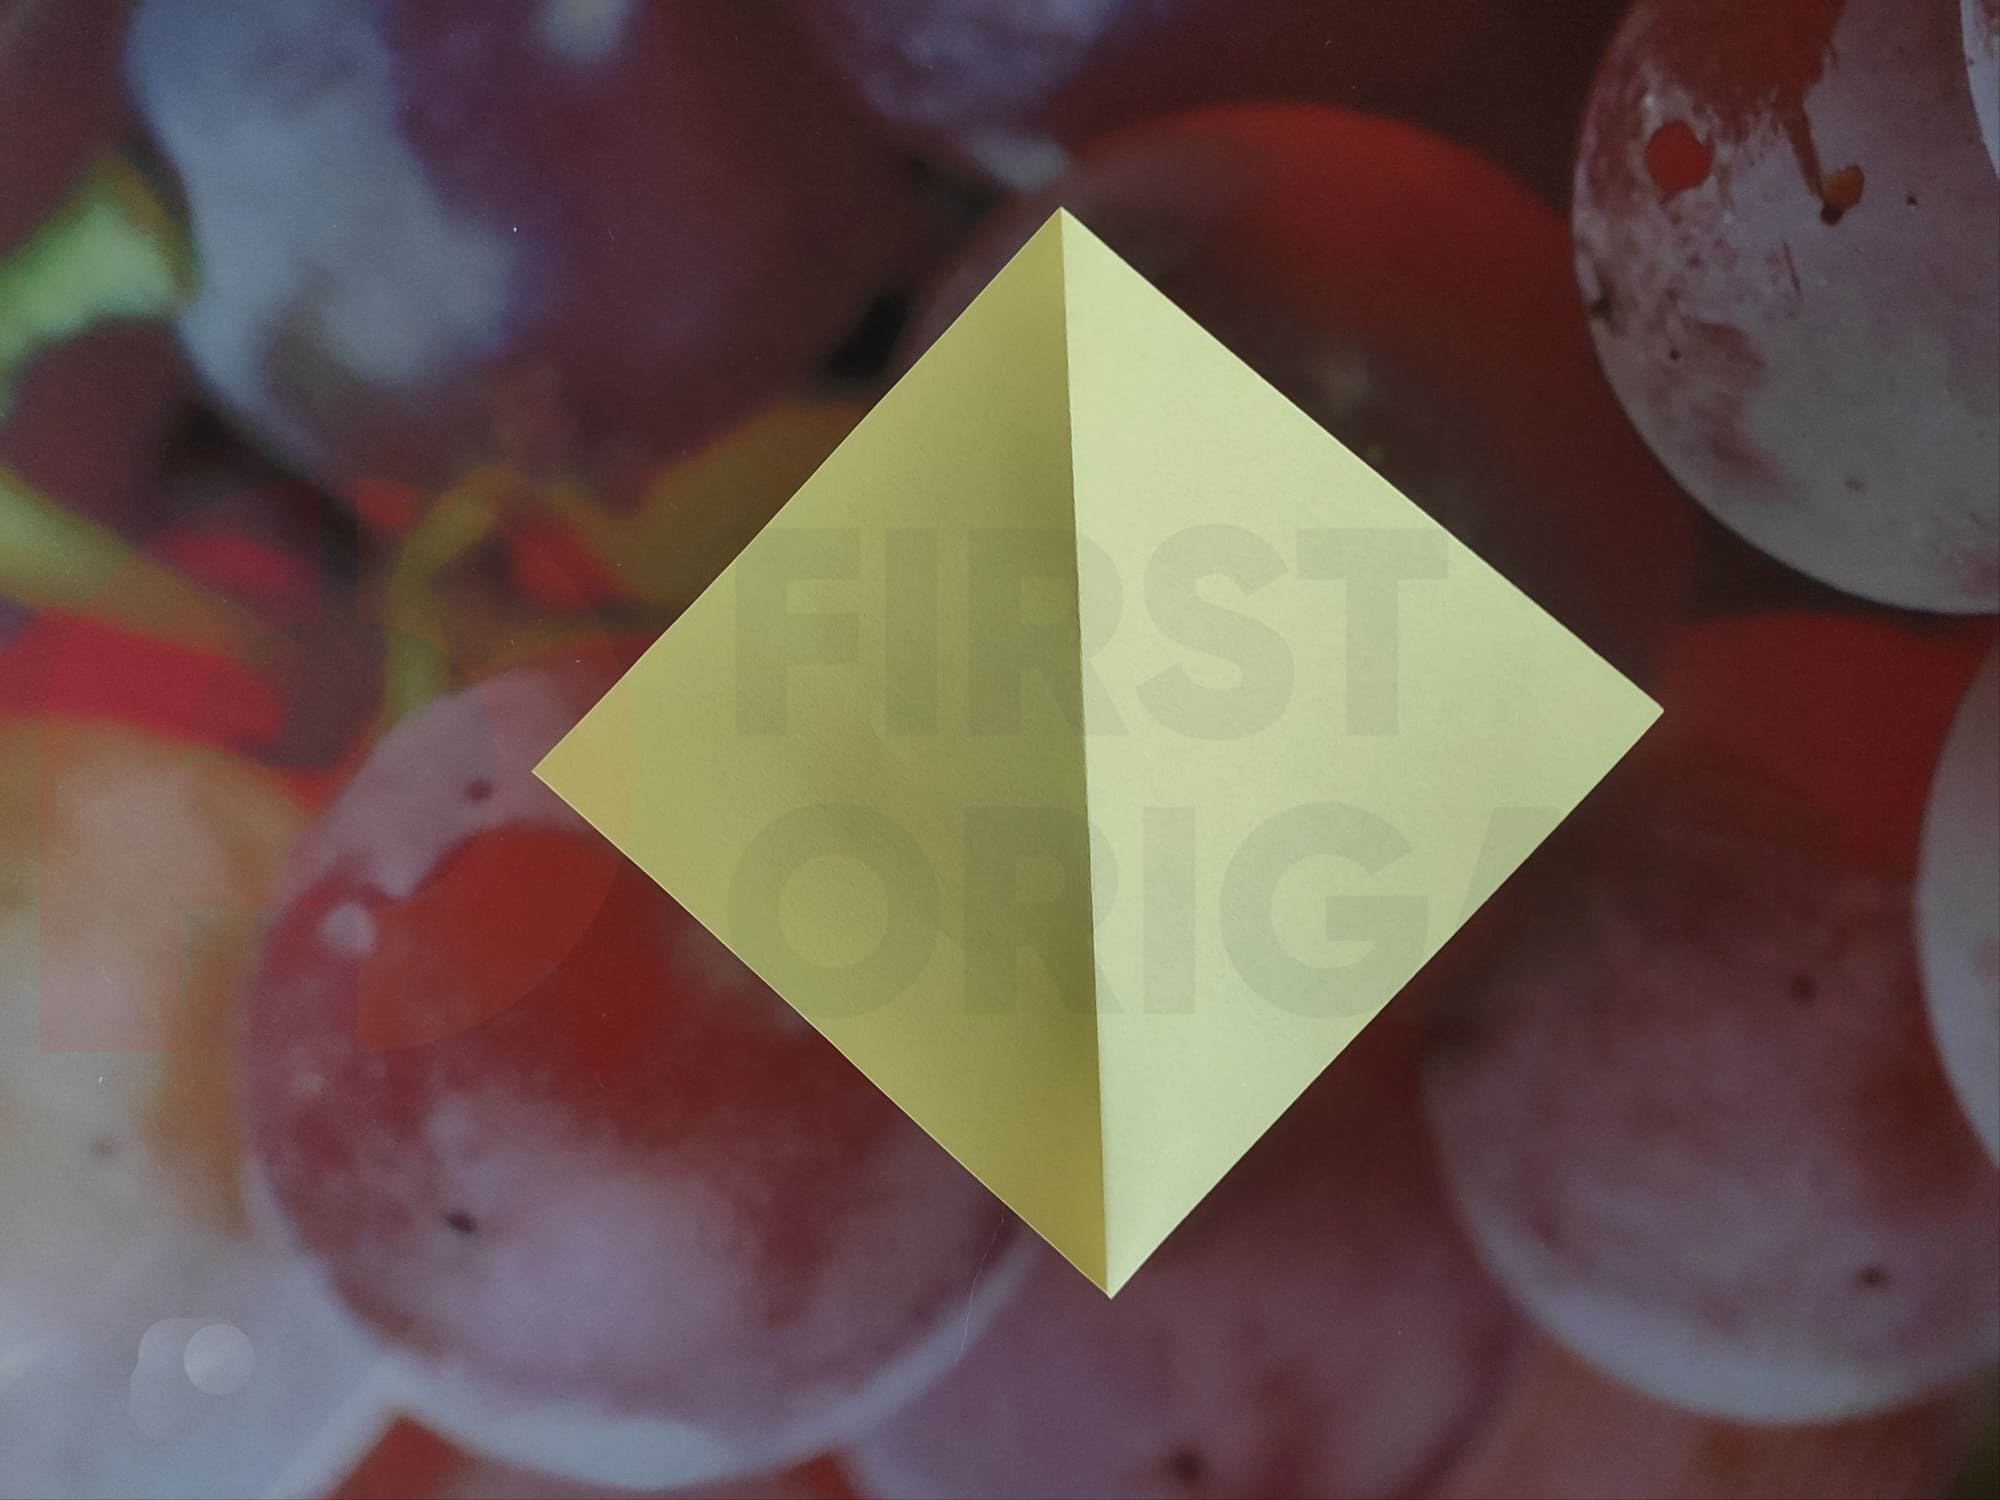
Fold the paper in half, connecting the opposite corners, and then straighten it back.
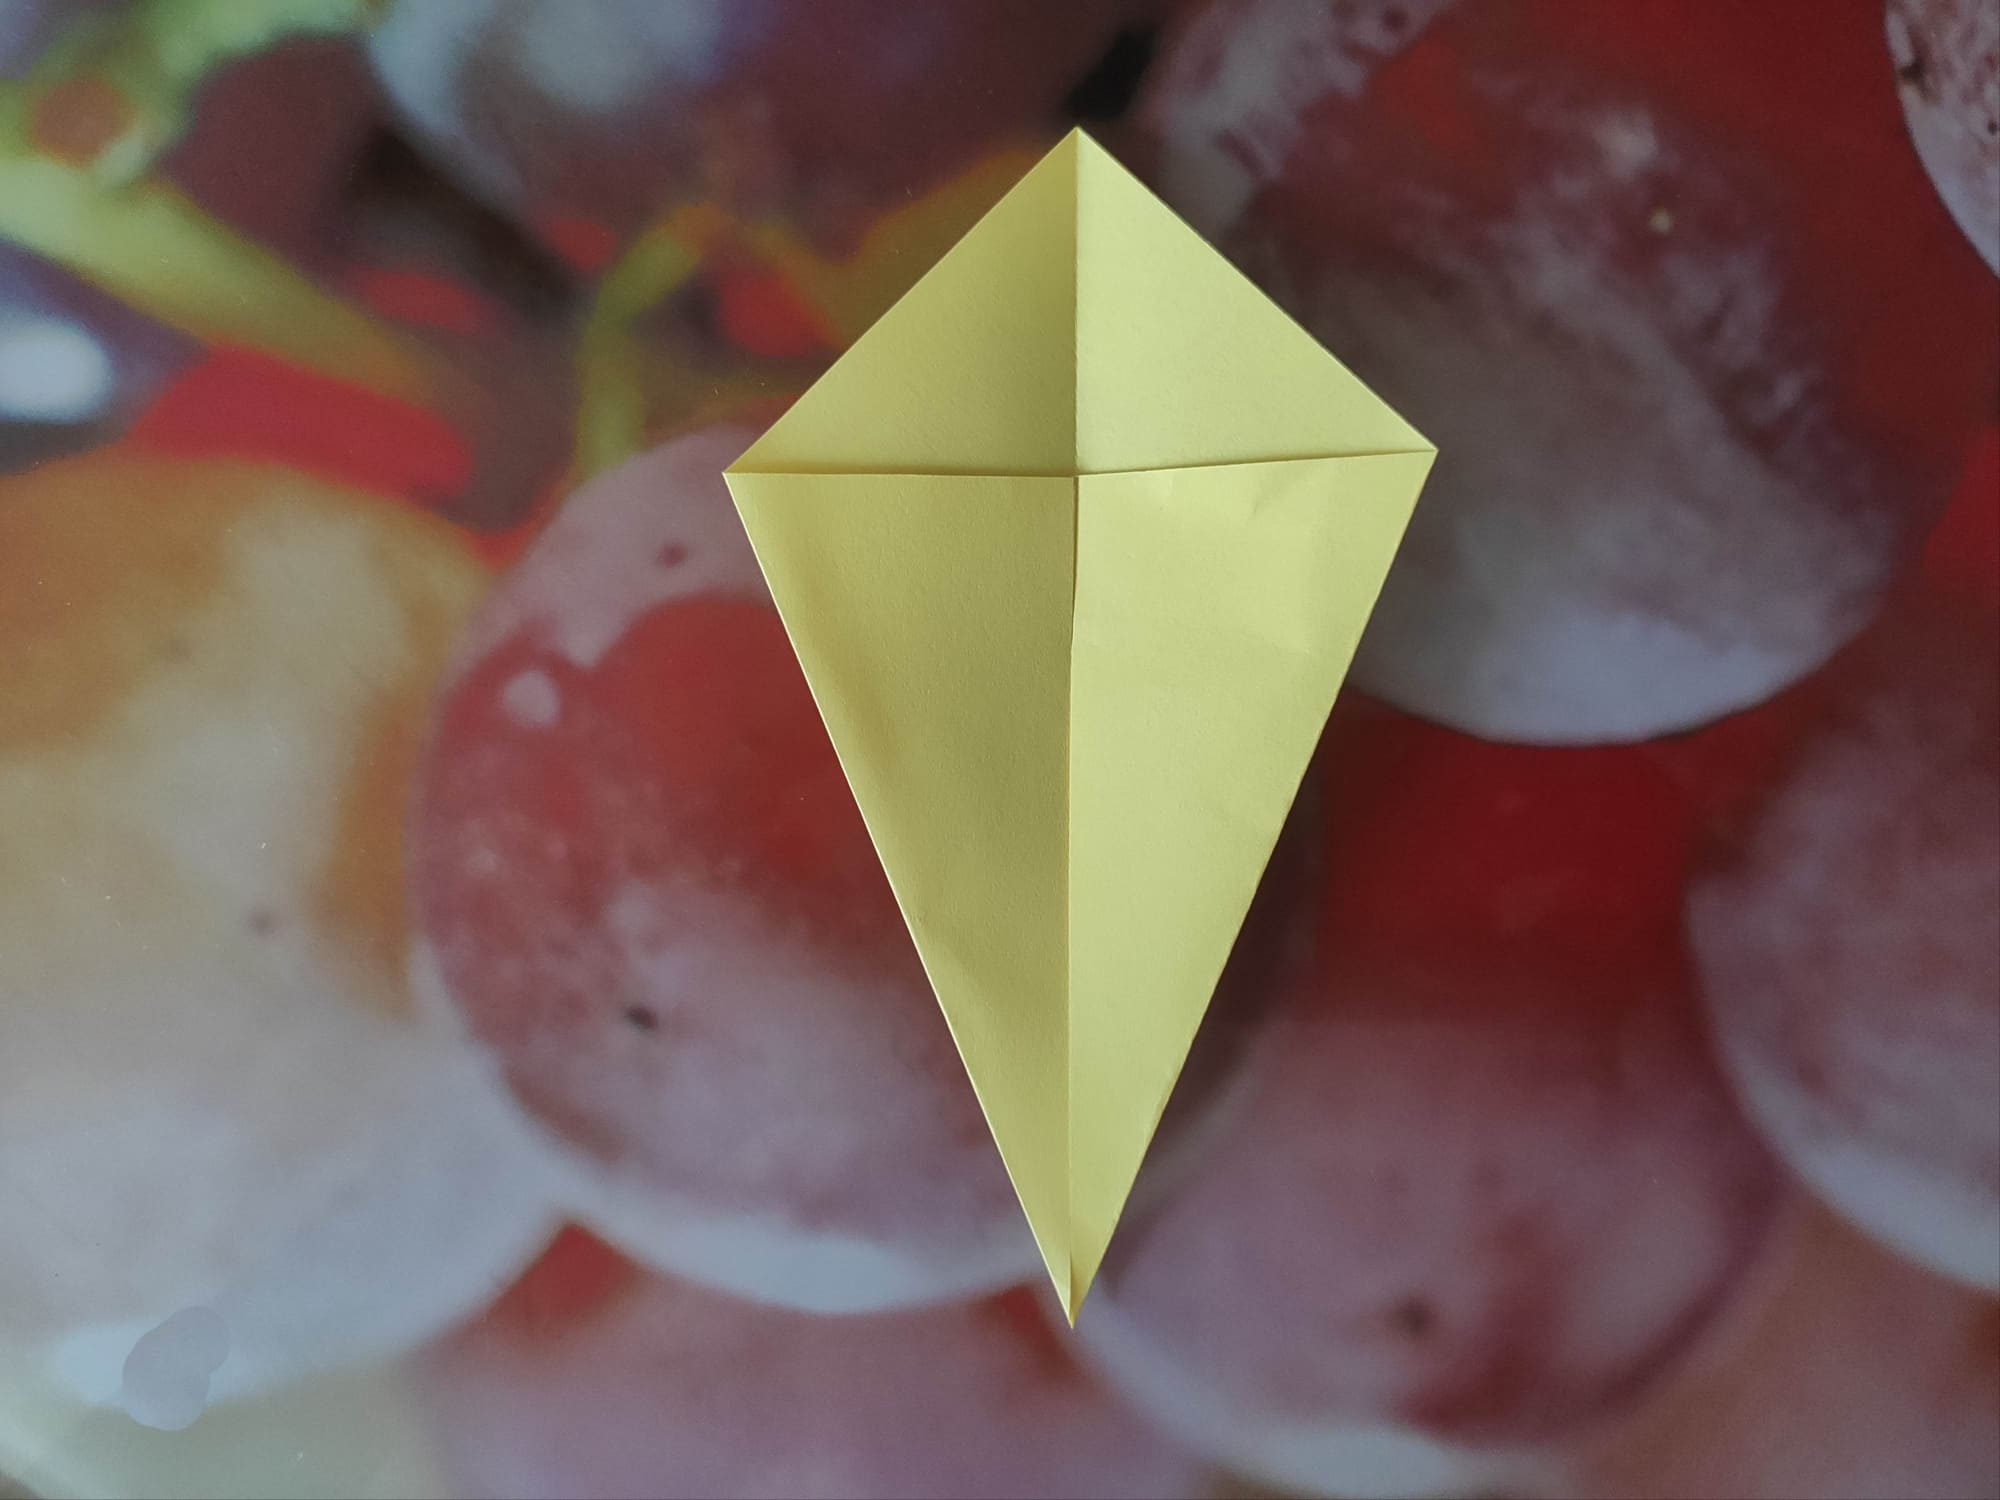
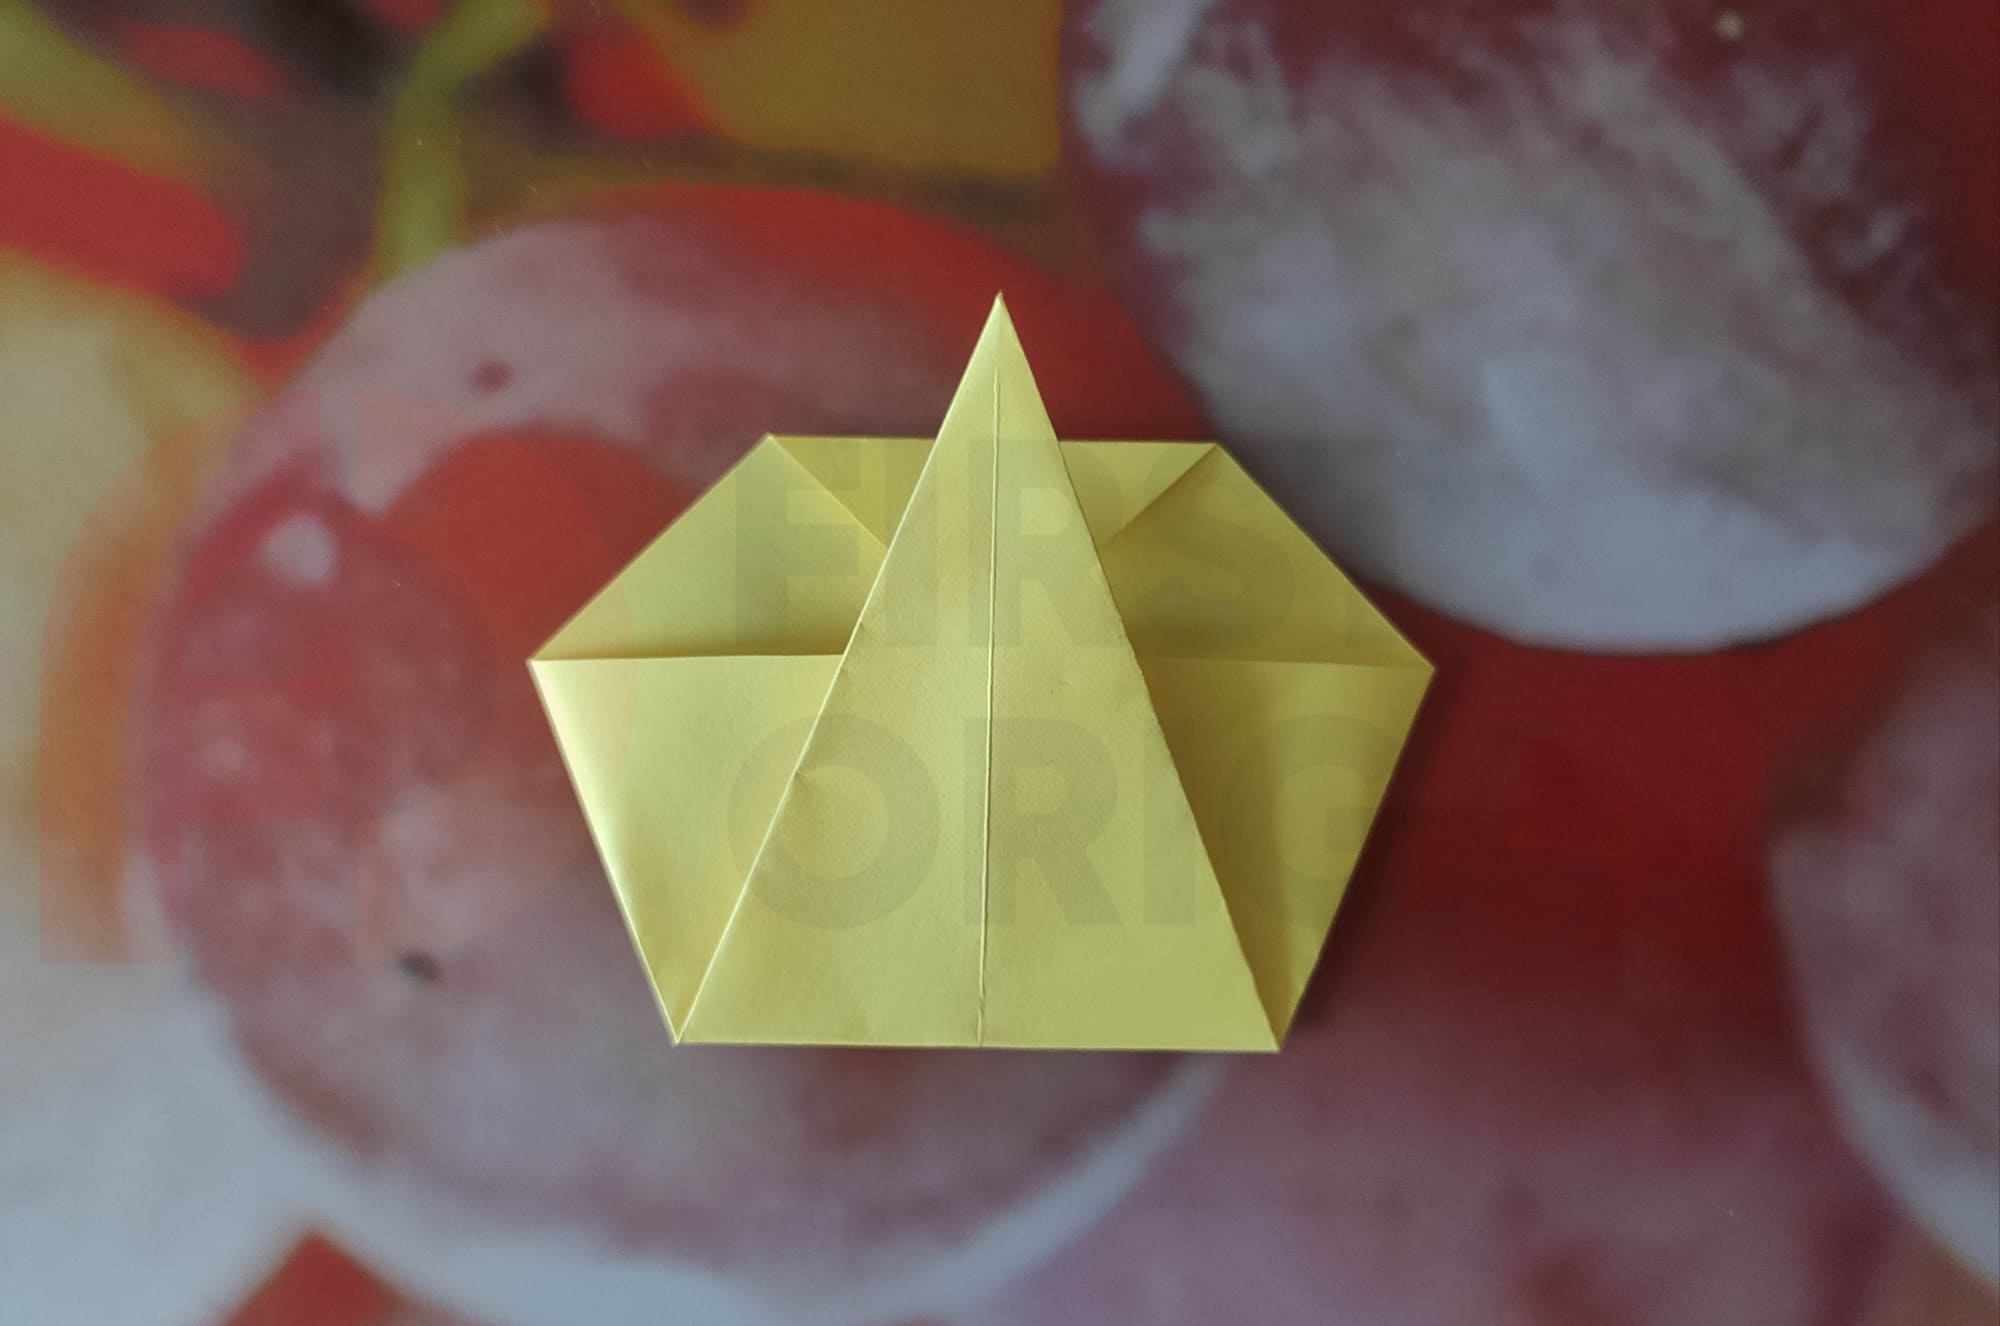
Bend the right and left corners towards the center, so that the sides of the triangles meet at the center fold line.
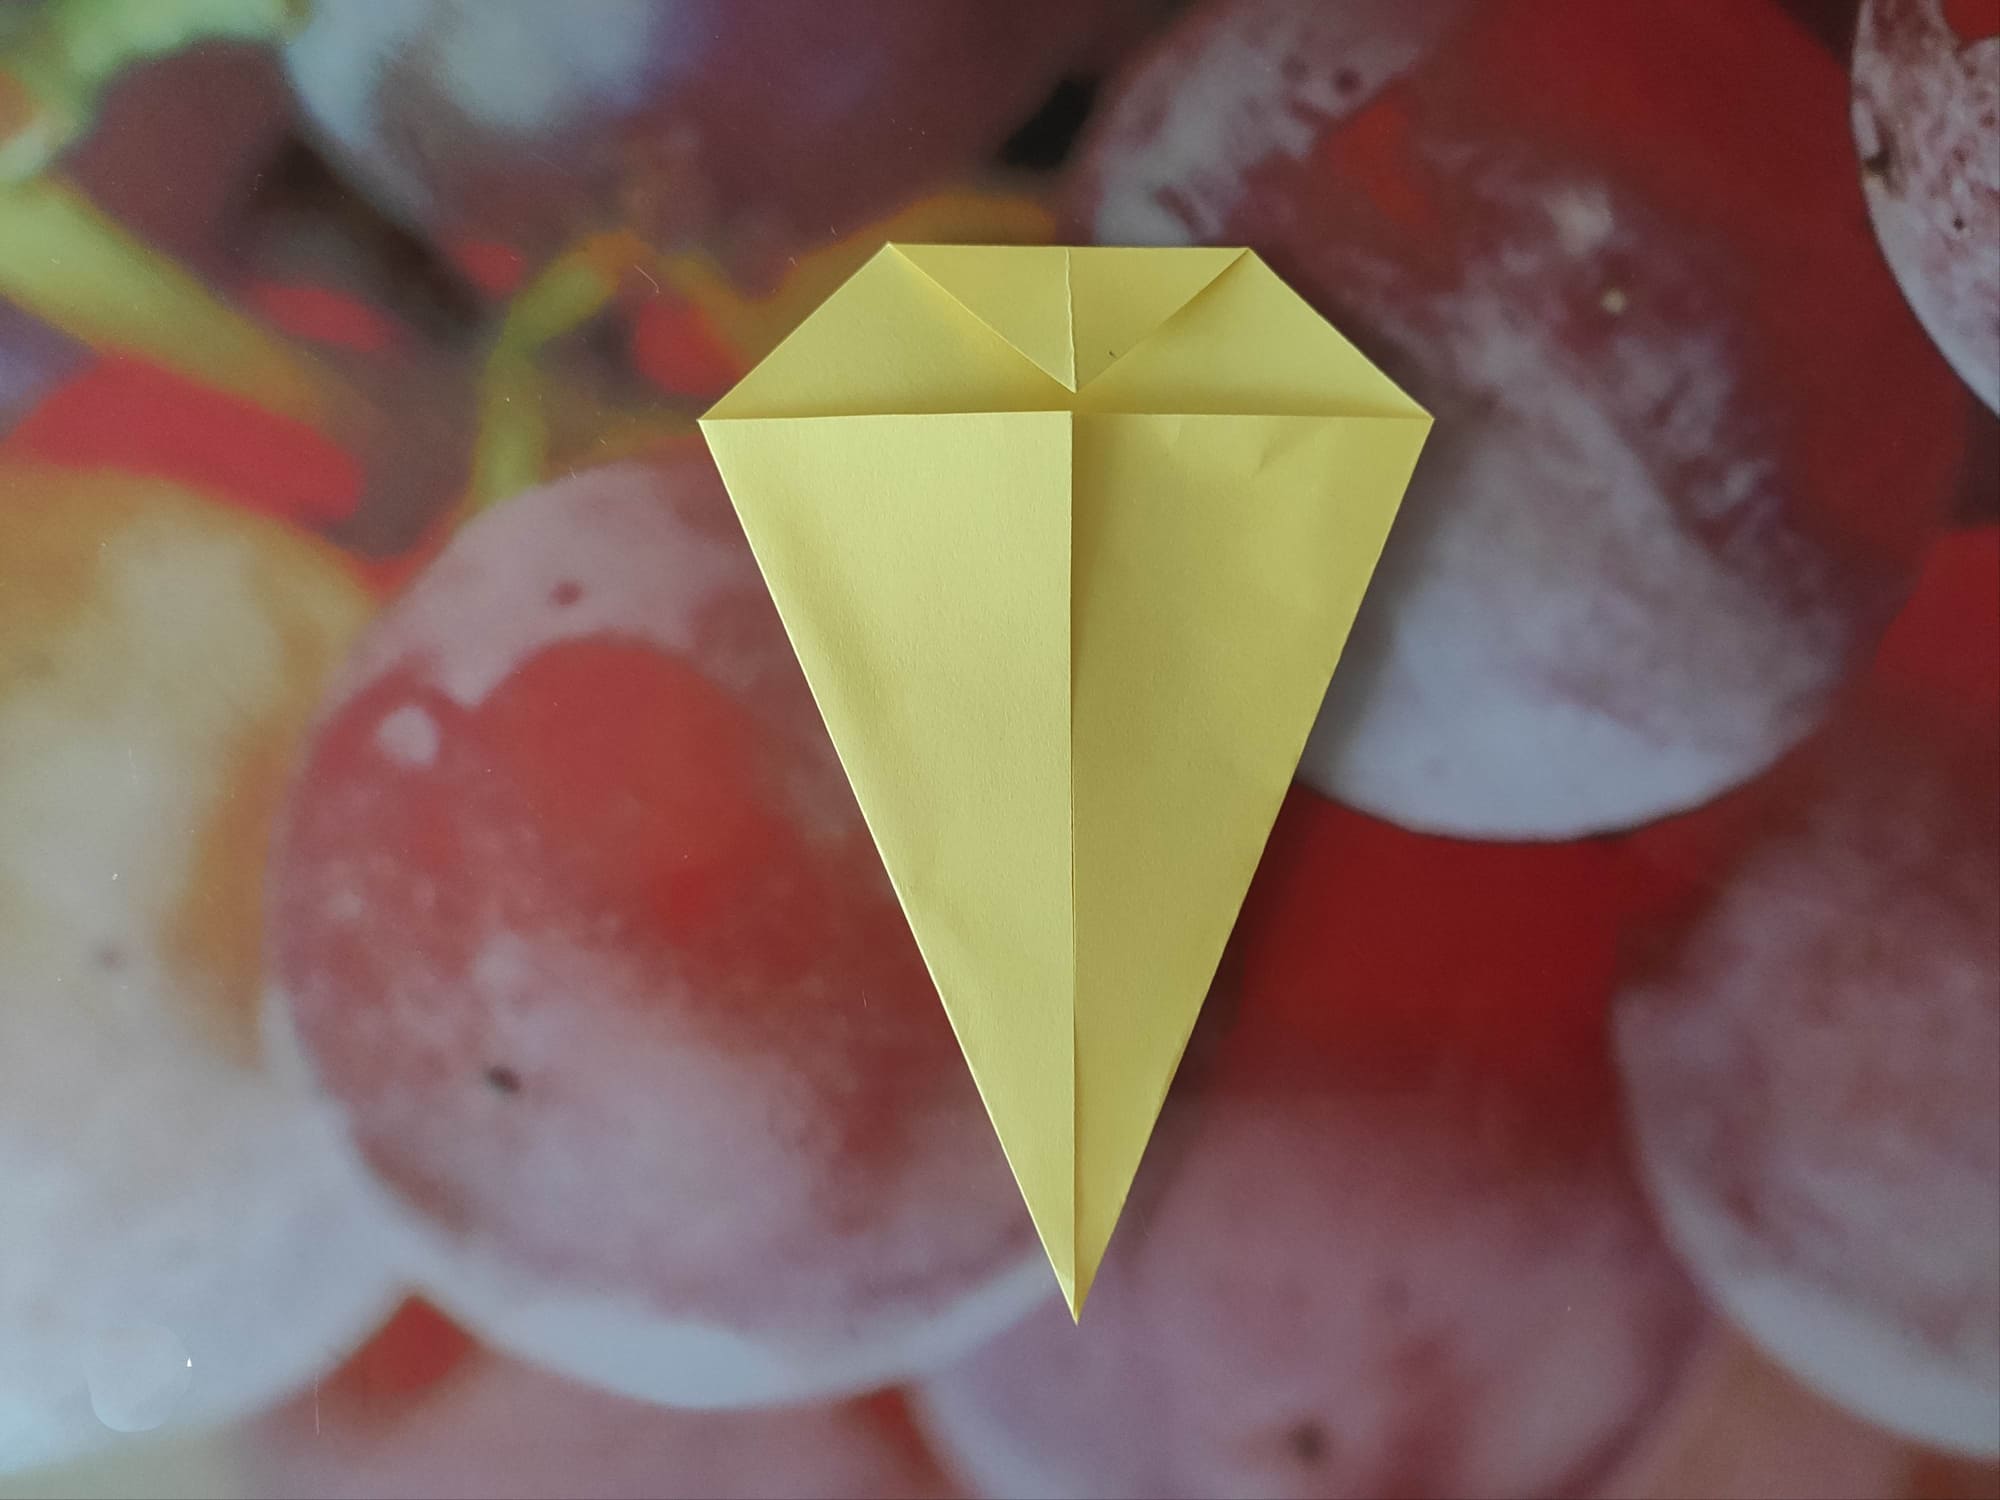
Bend the top corner of the figure to the point where it meets the other two corners. Crease all folds.
Now, fold the lower part upwards, so that the tip of the corner protrudes about 1 cm beyond the figure. This is the beak of the future chicken.
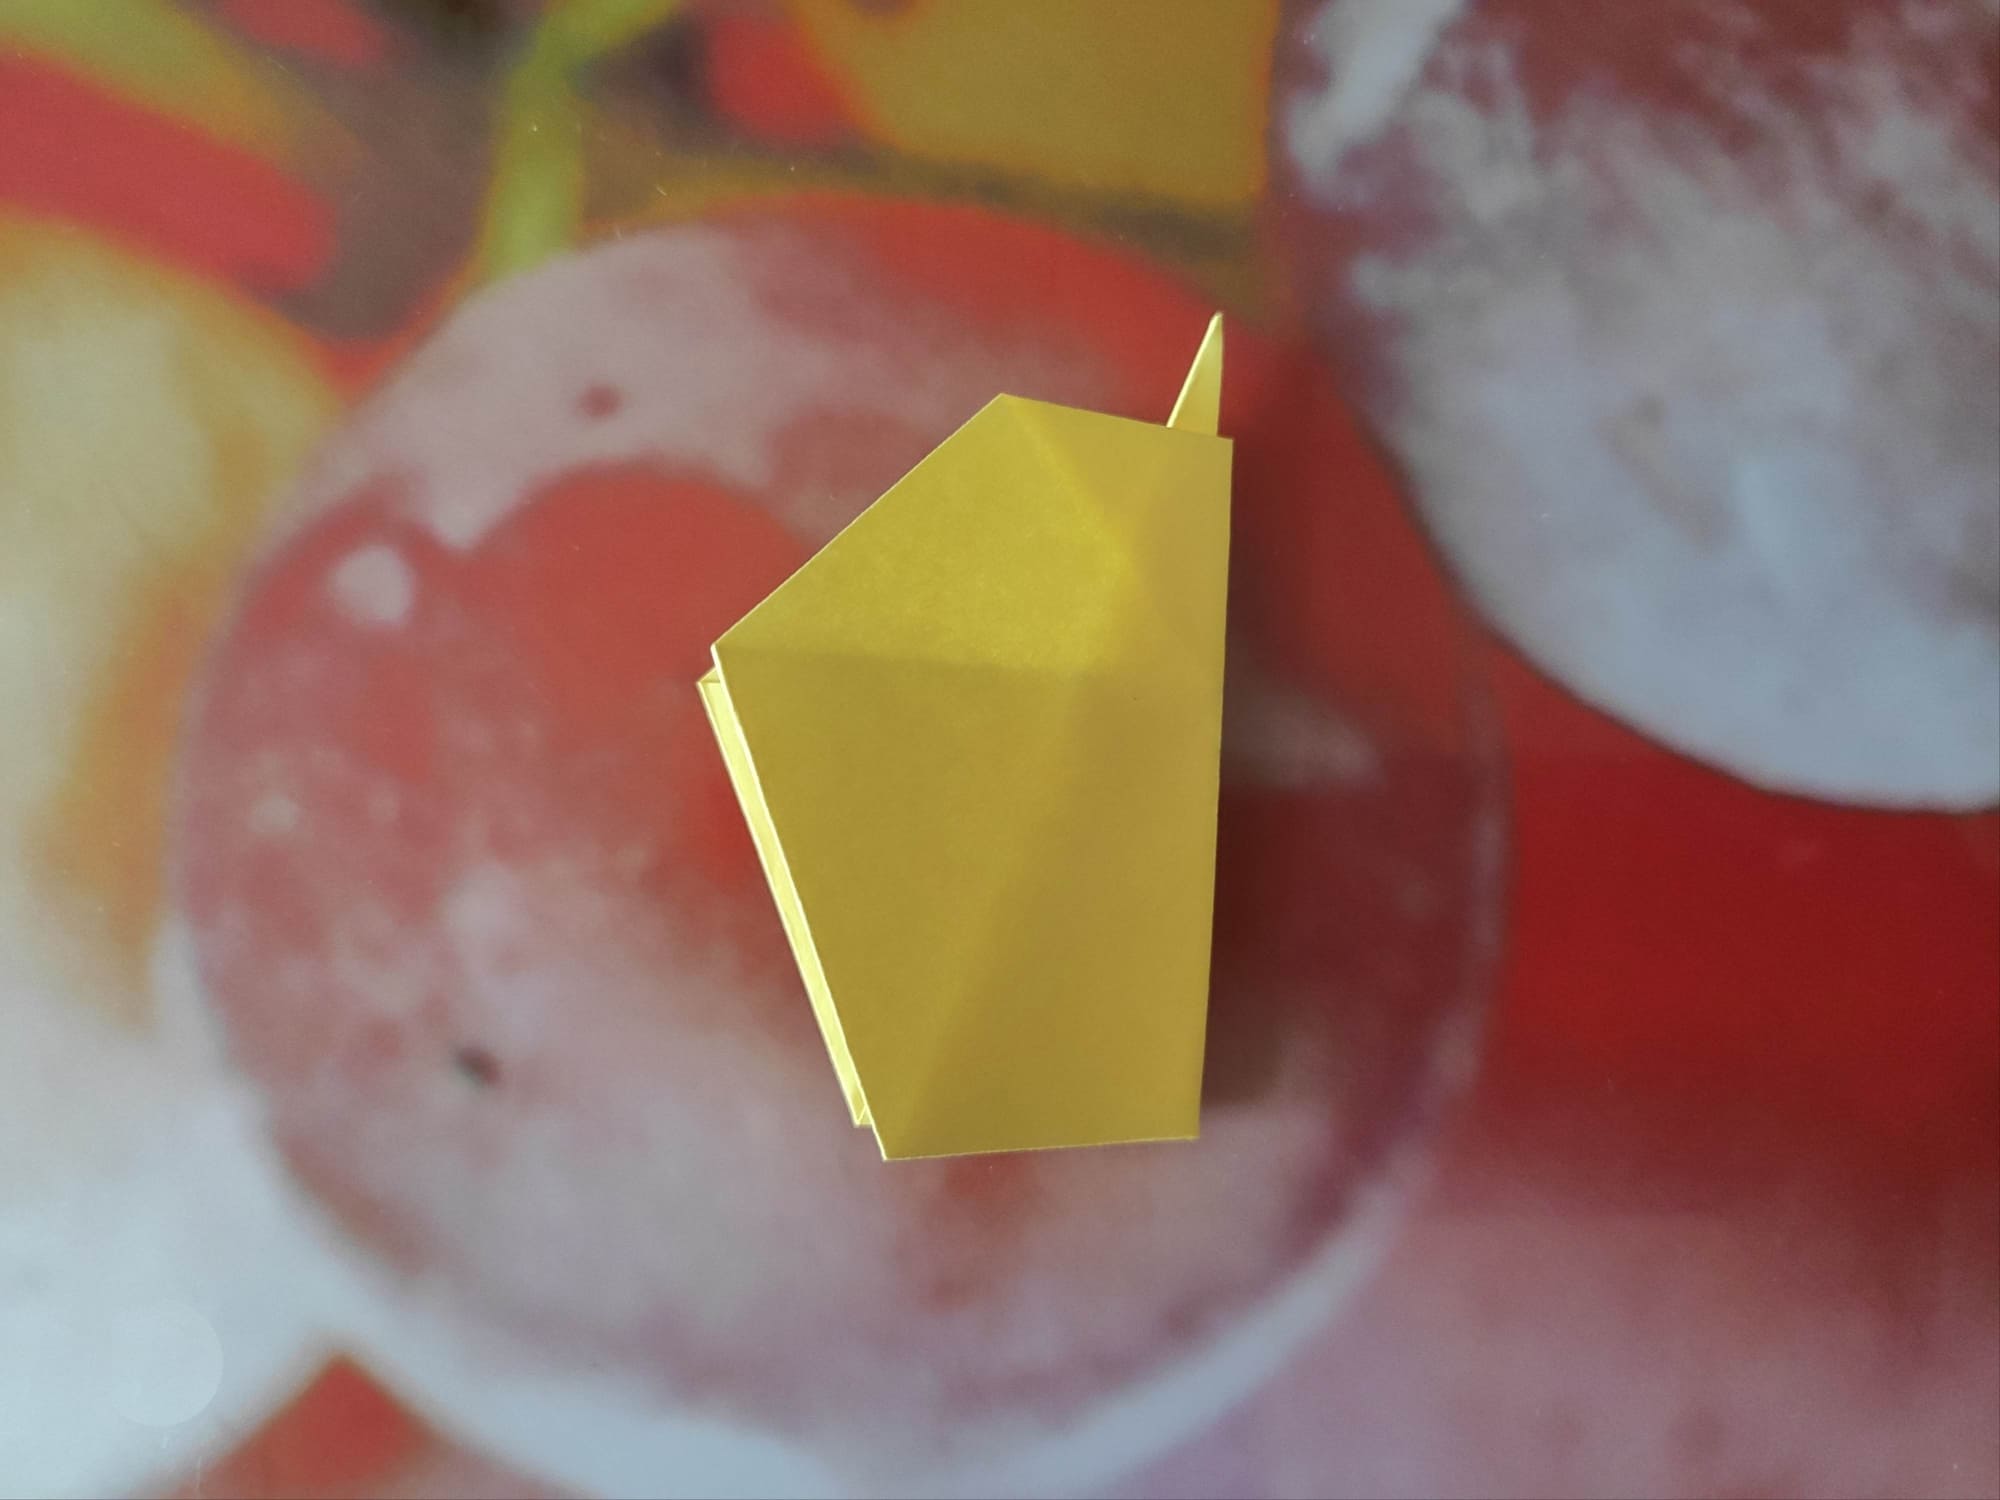
Fold the shape in half from right to left, as if turning the page of a book.
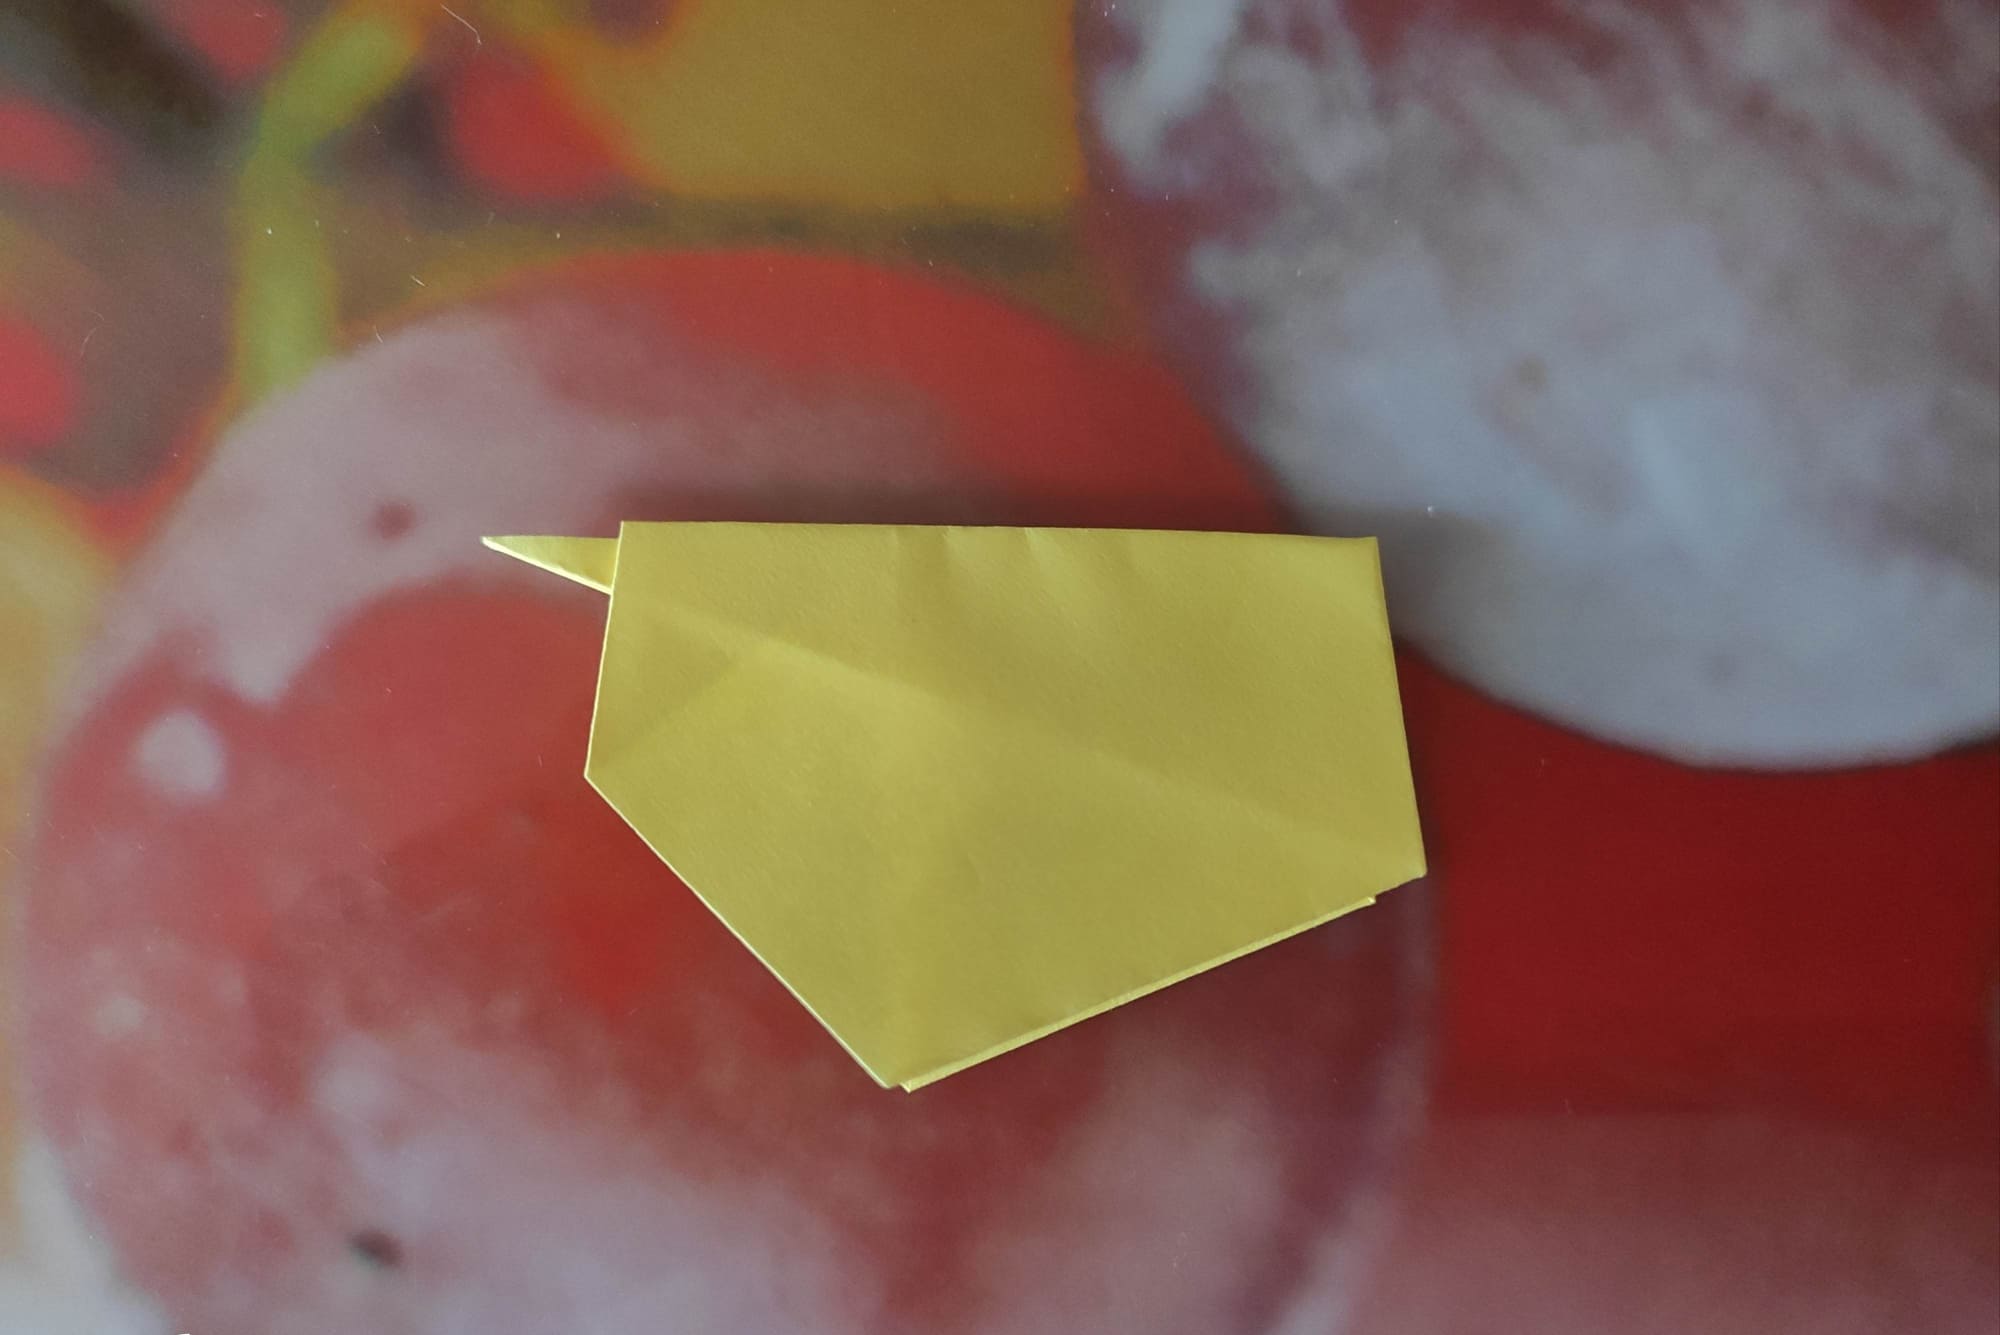
Rotate the figurine 90°, so that the beak points to the left.
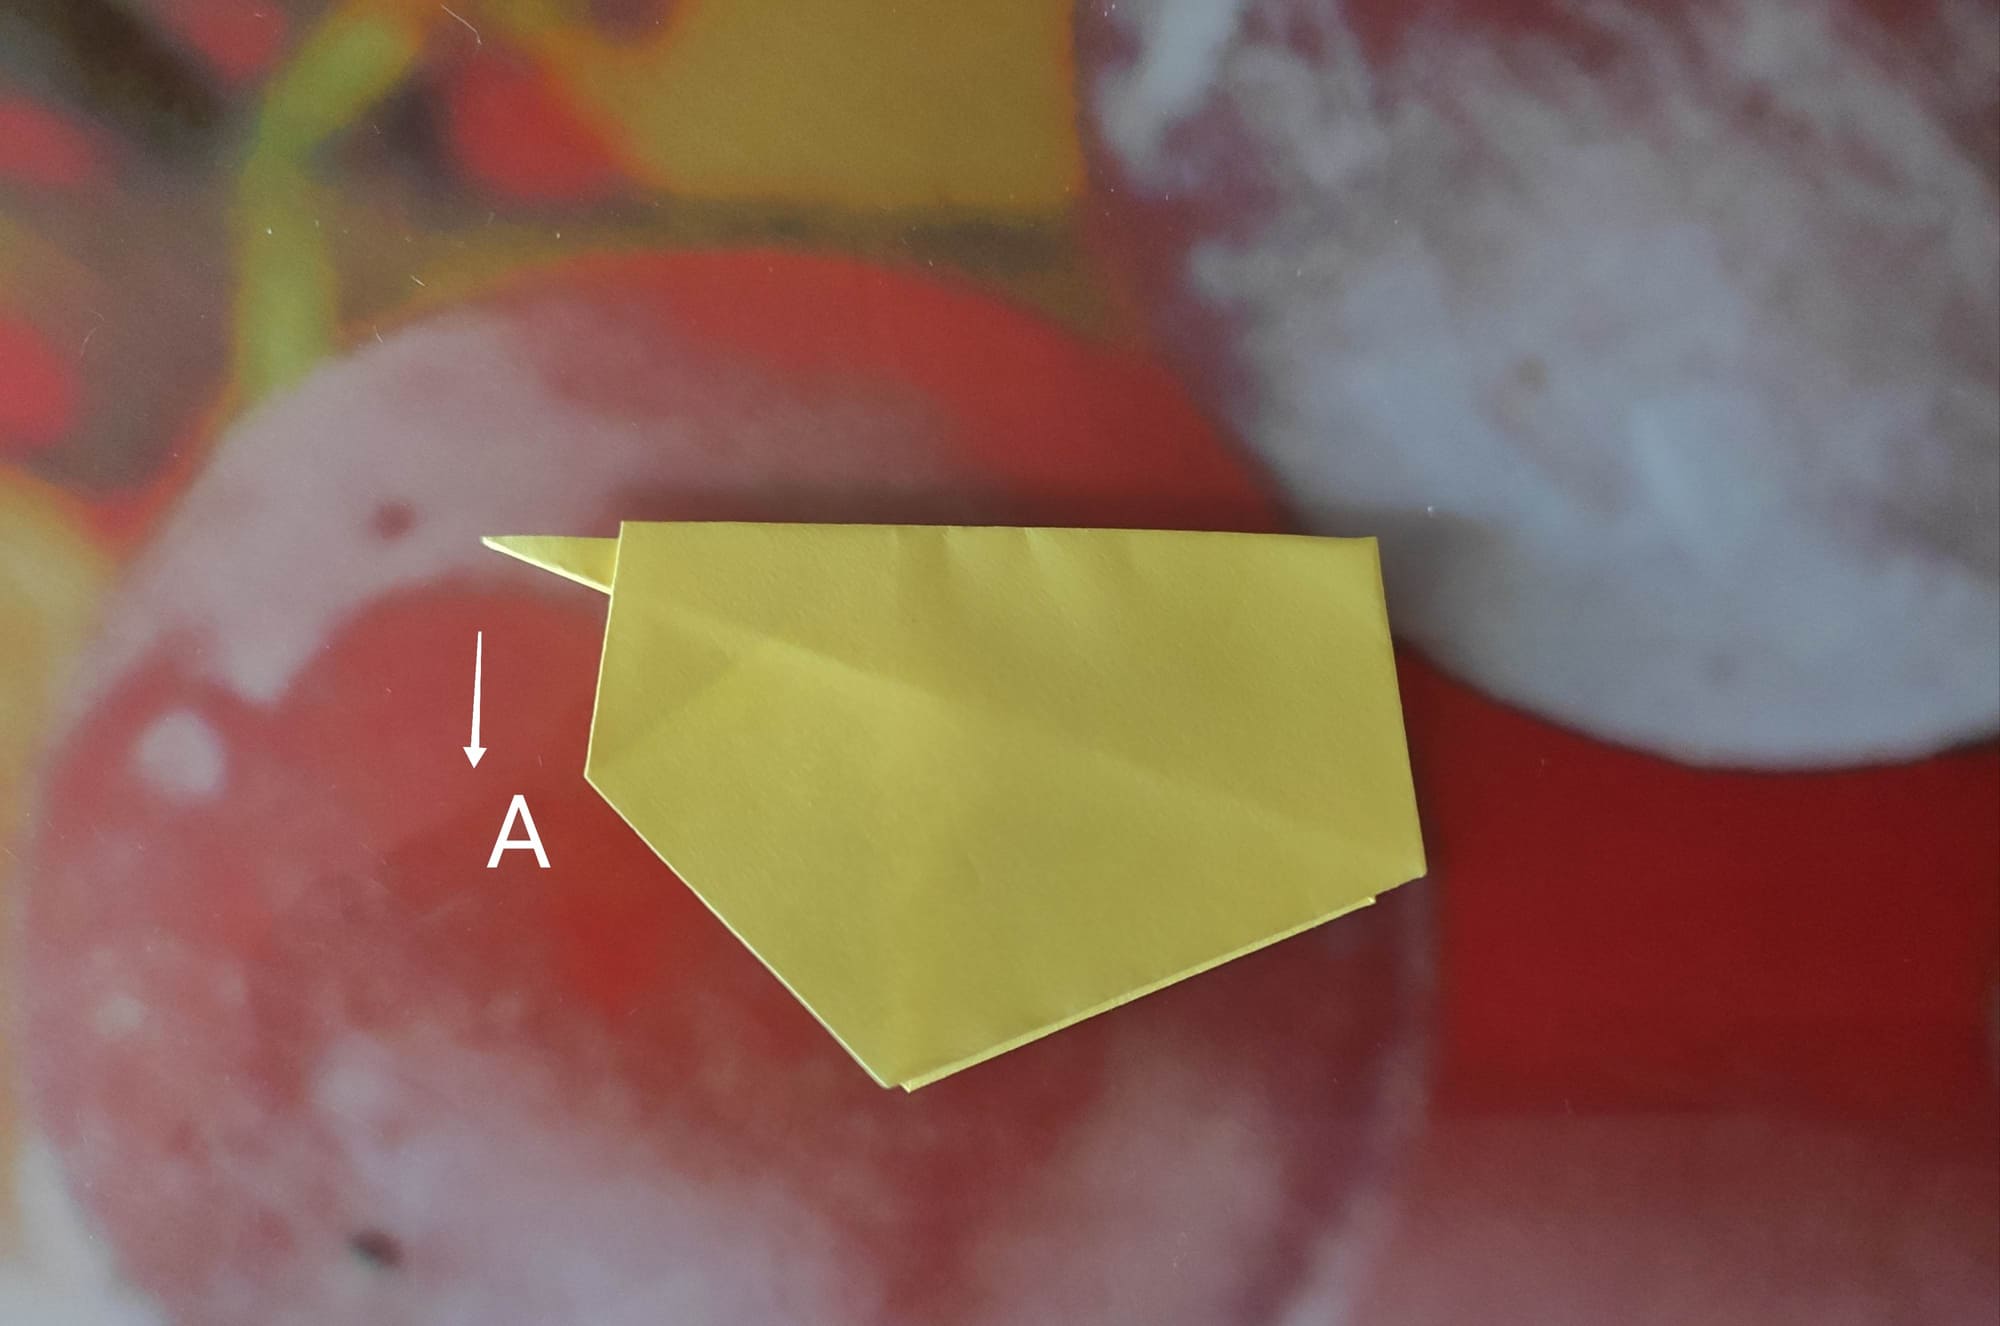
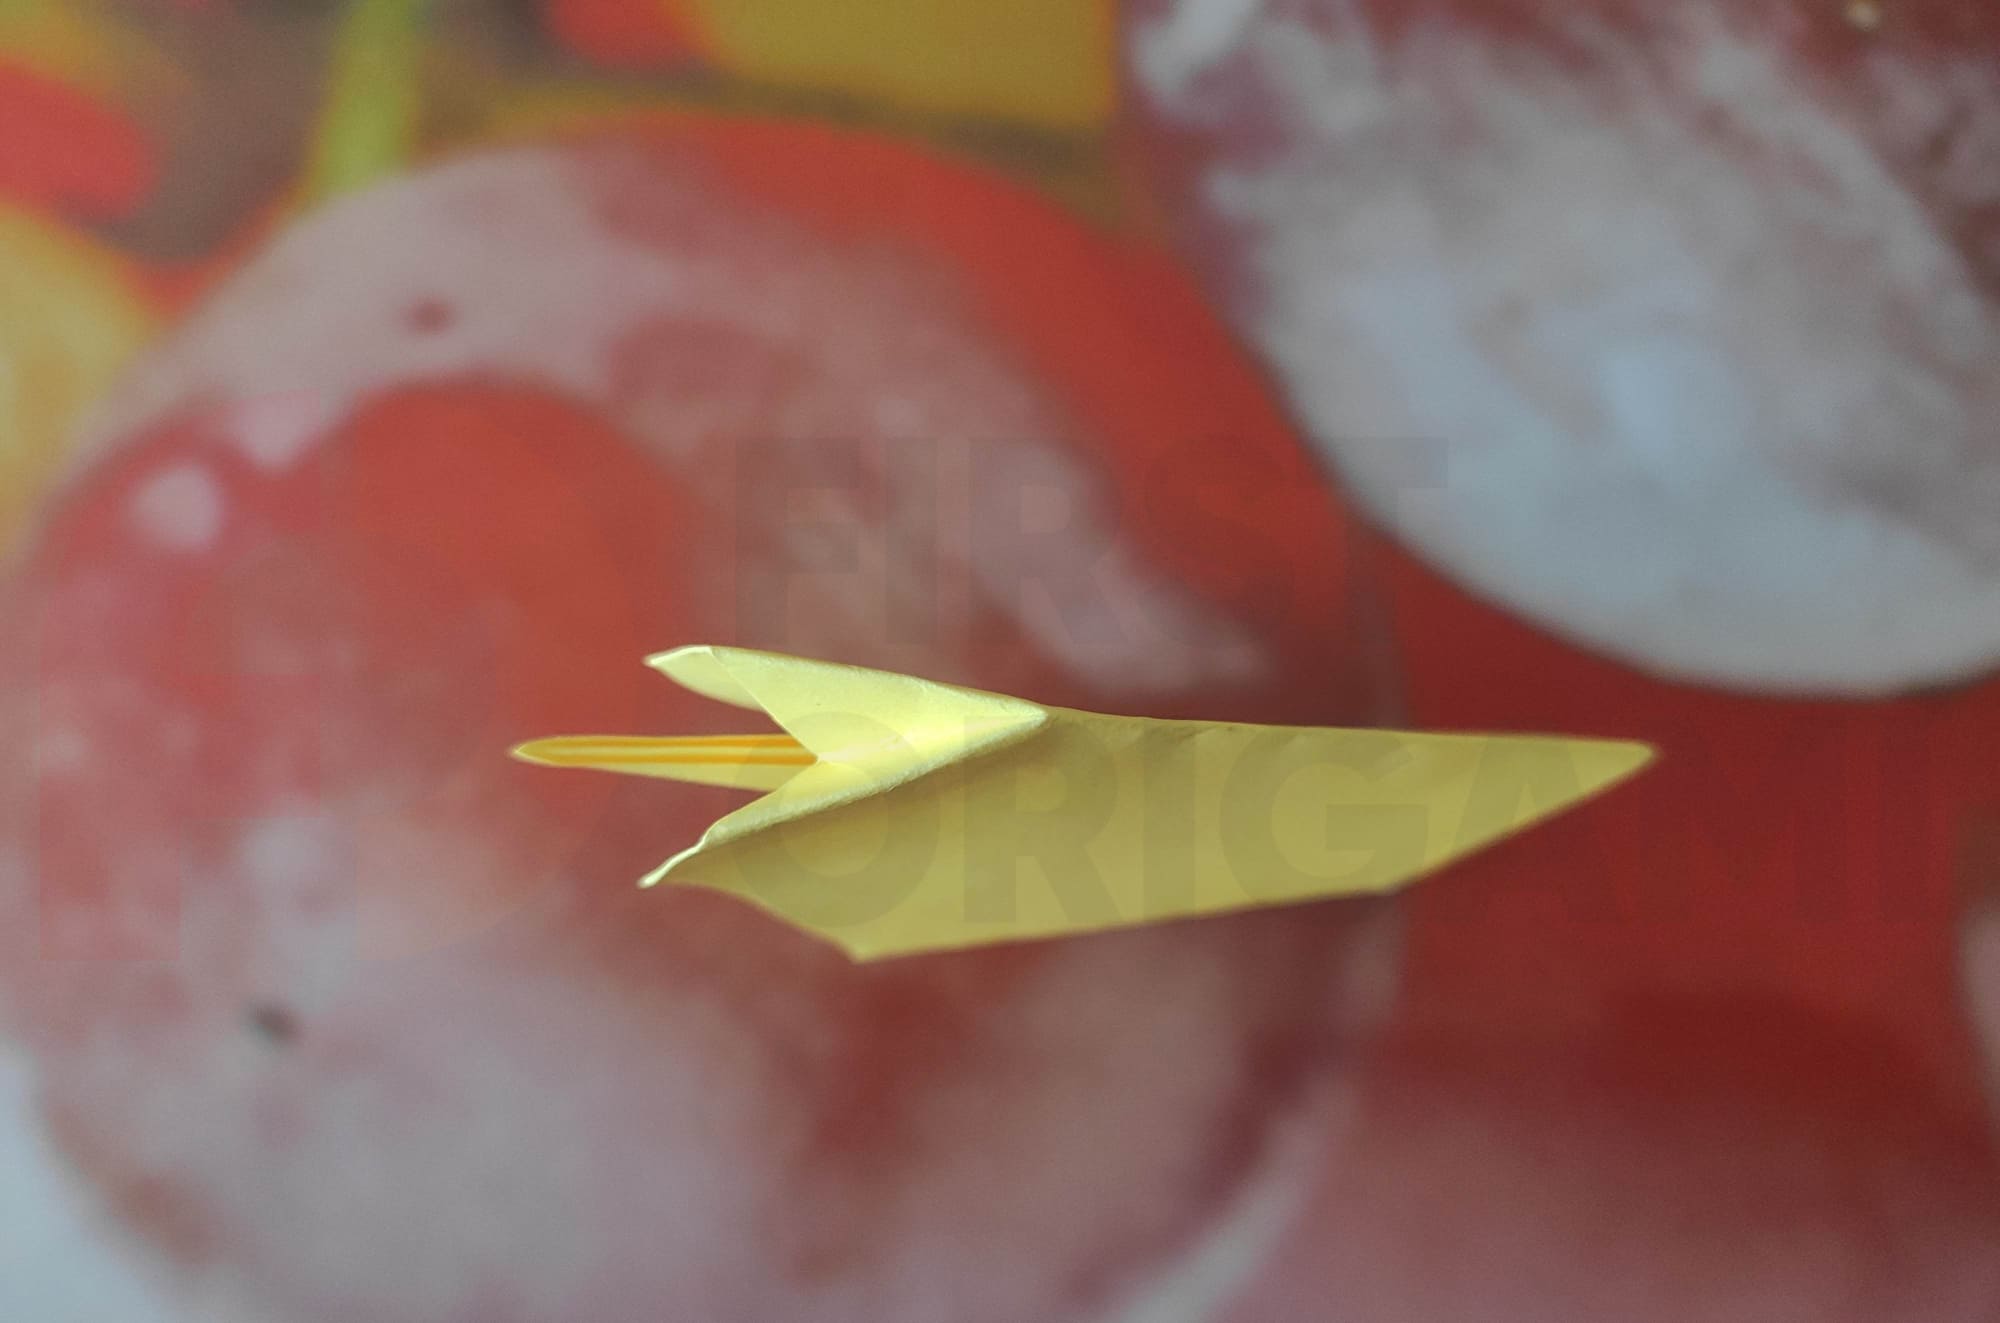
Now, slowly lower the beak to point A. At the same time, the right edge of the paper would rise and open.

Press the left edge of the figure in the beak area and crease the right edge.
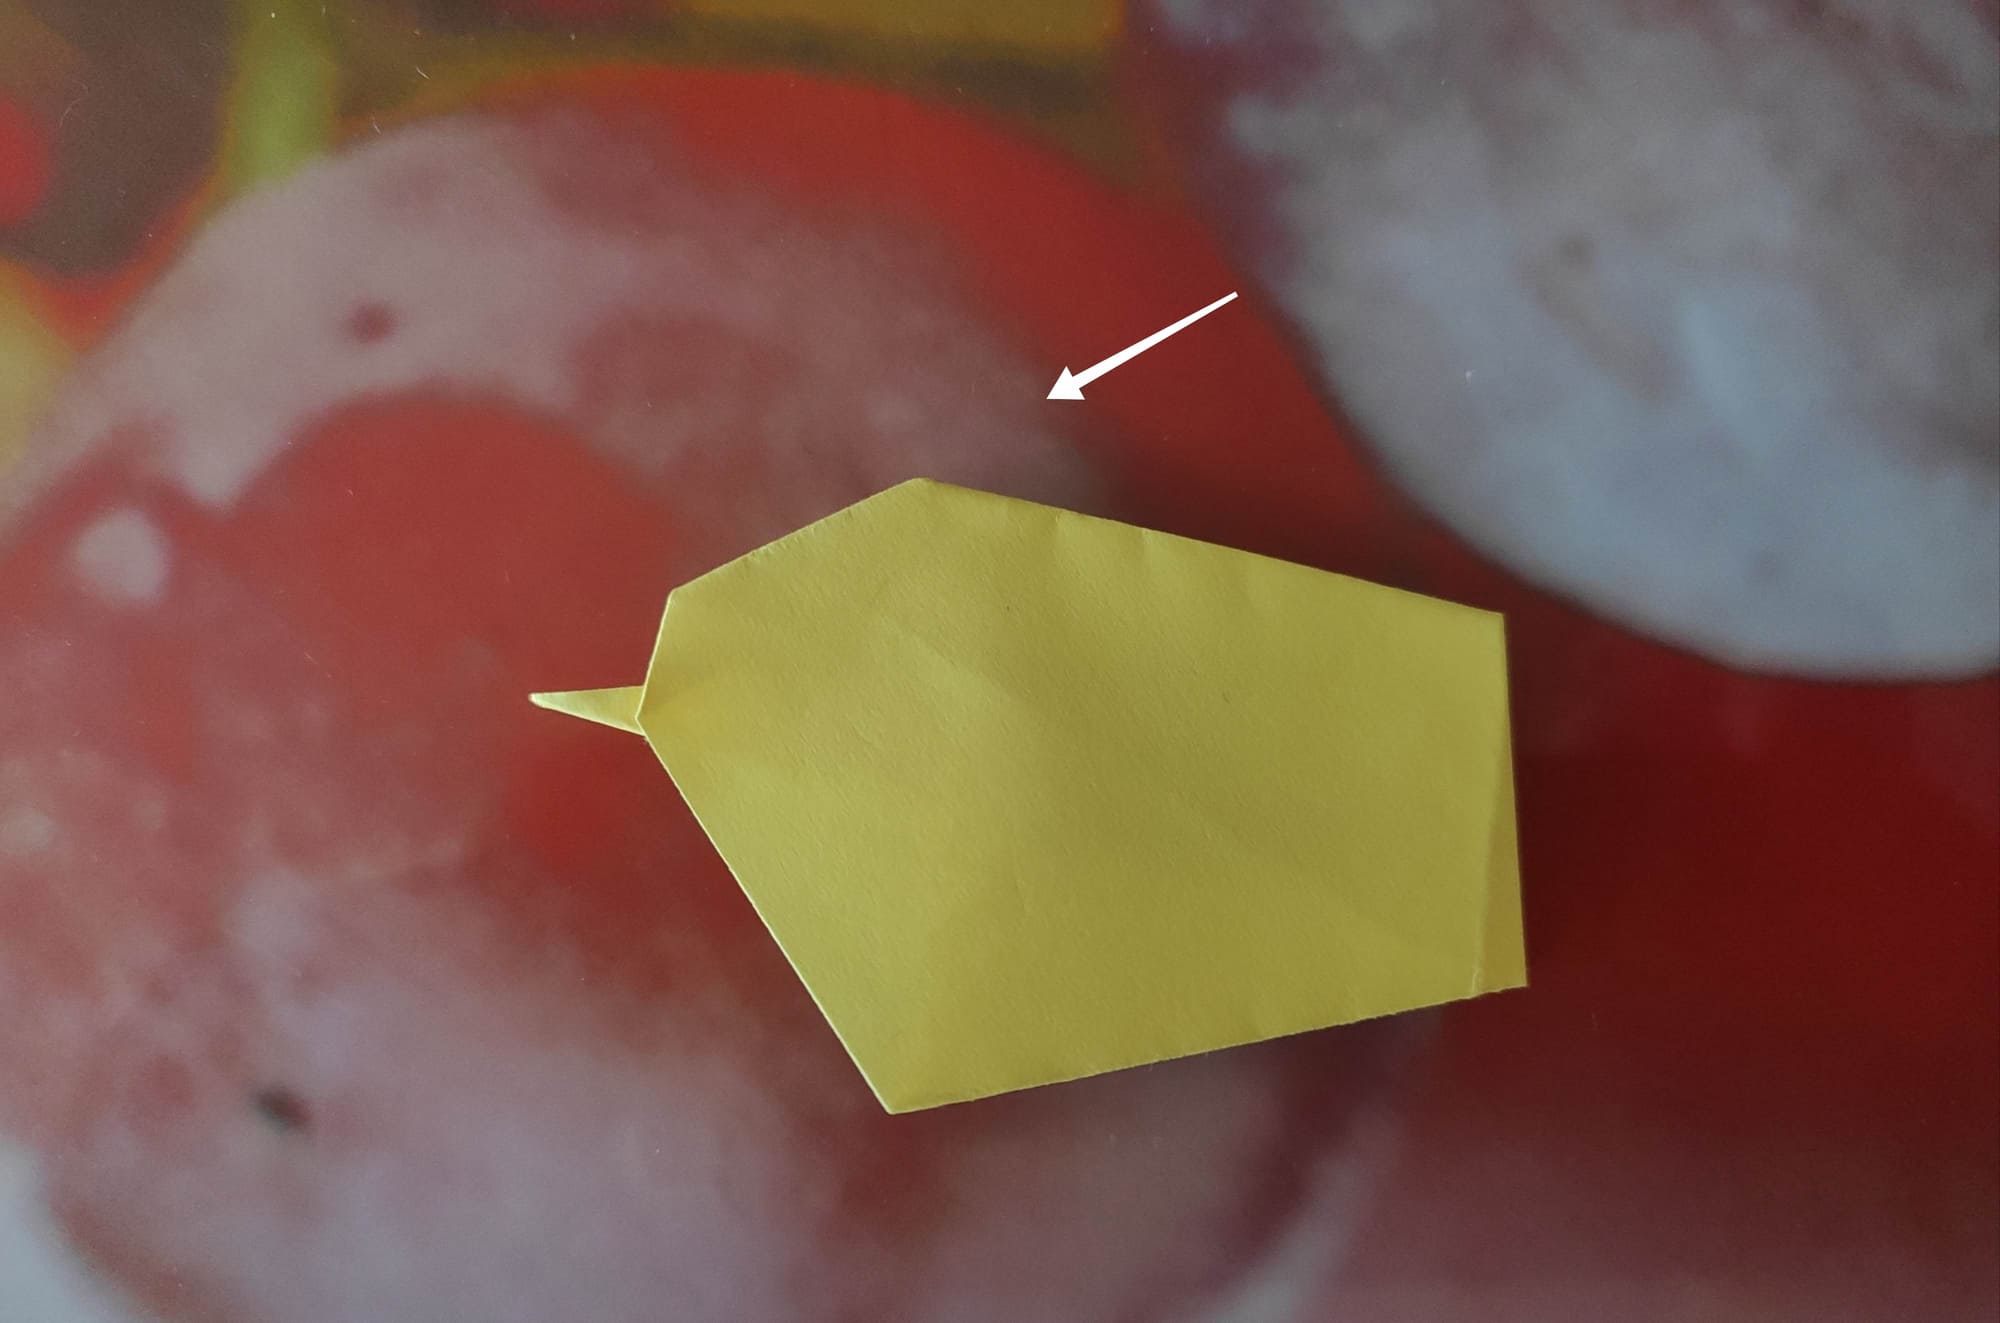
Make a fold in the upper left corner of the shape, crease, and straighten it back.
You are shaping the head of a chicken.
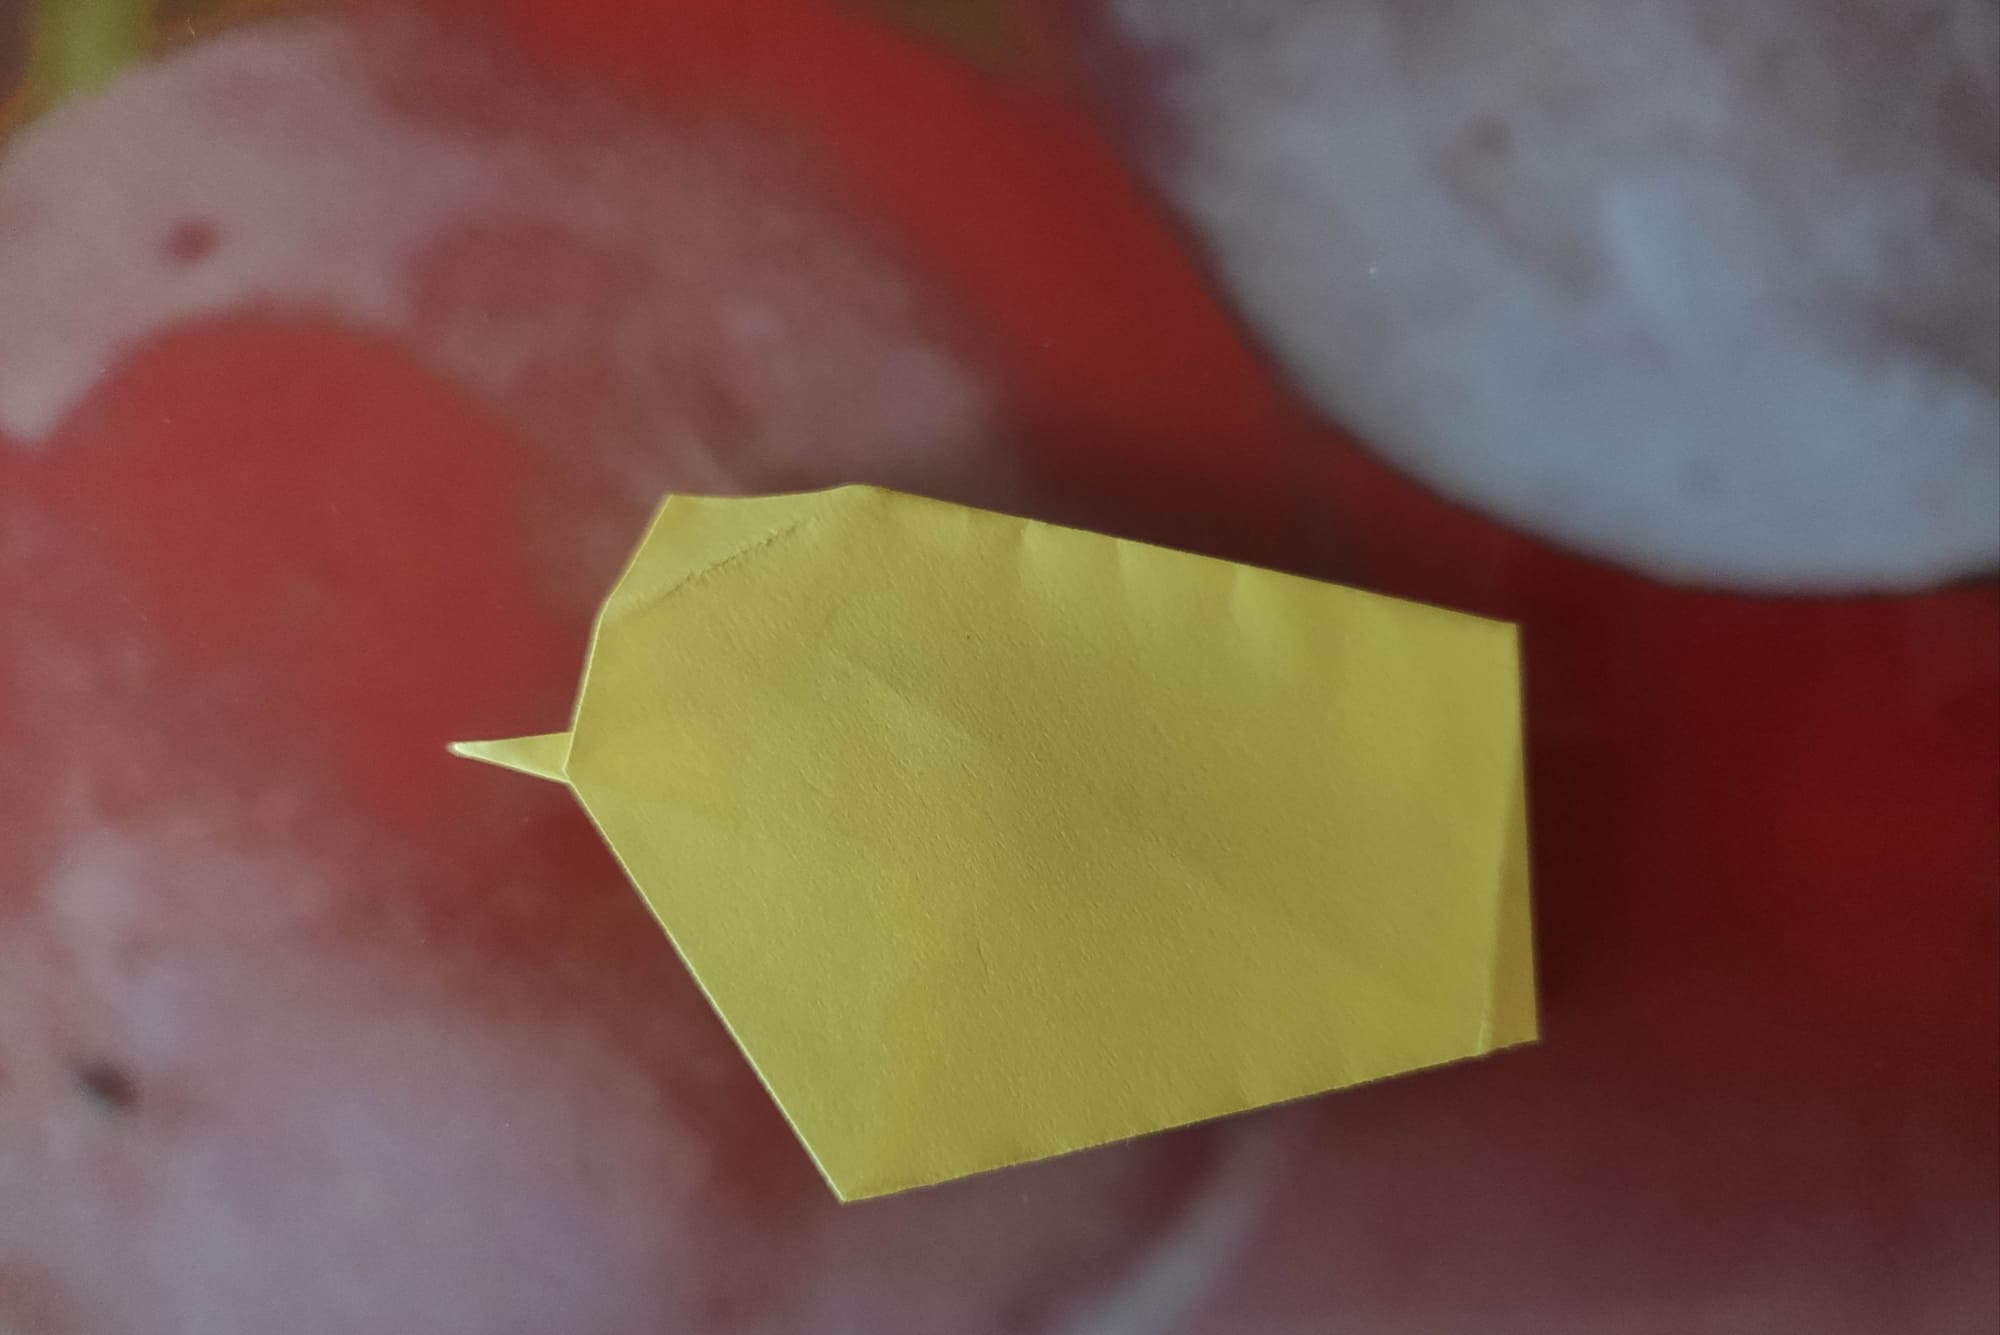
Now, you need to make an internal reverse fold in the head area.
To do this, tuck the unfolded corner inside the figure, turning the fold inside out in the opposite direction.
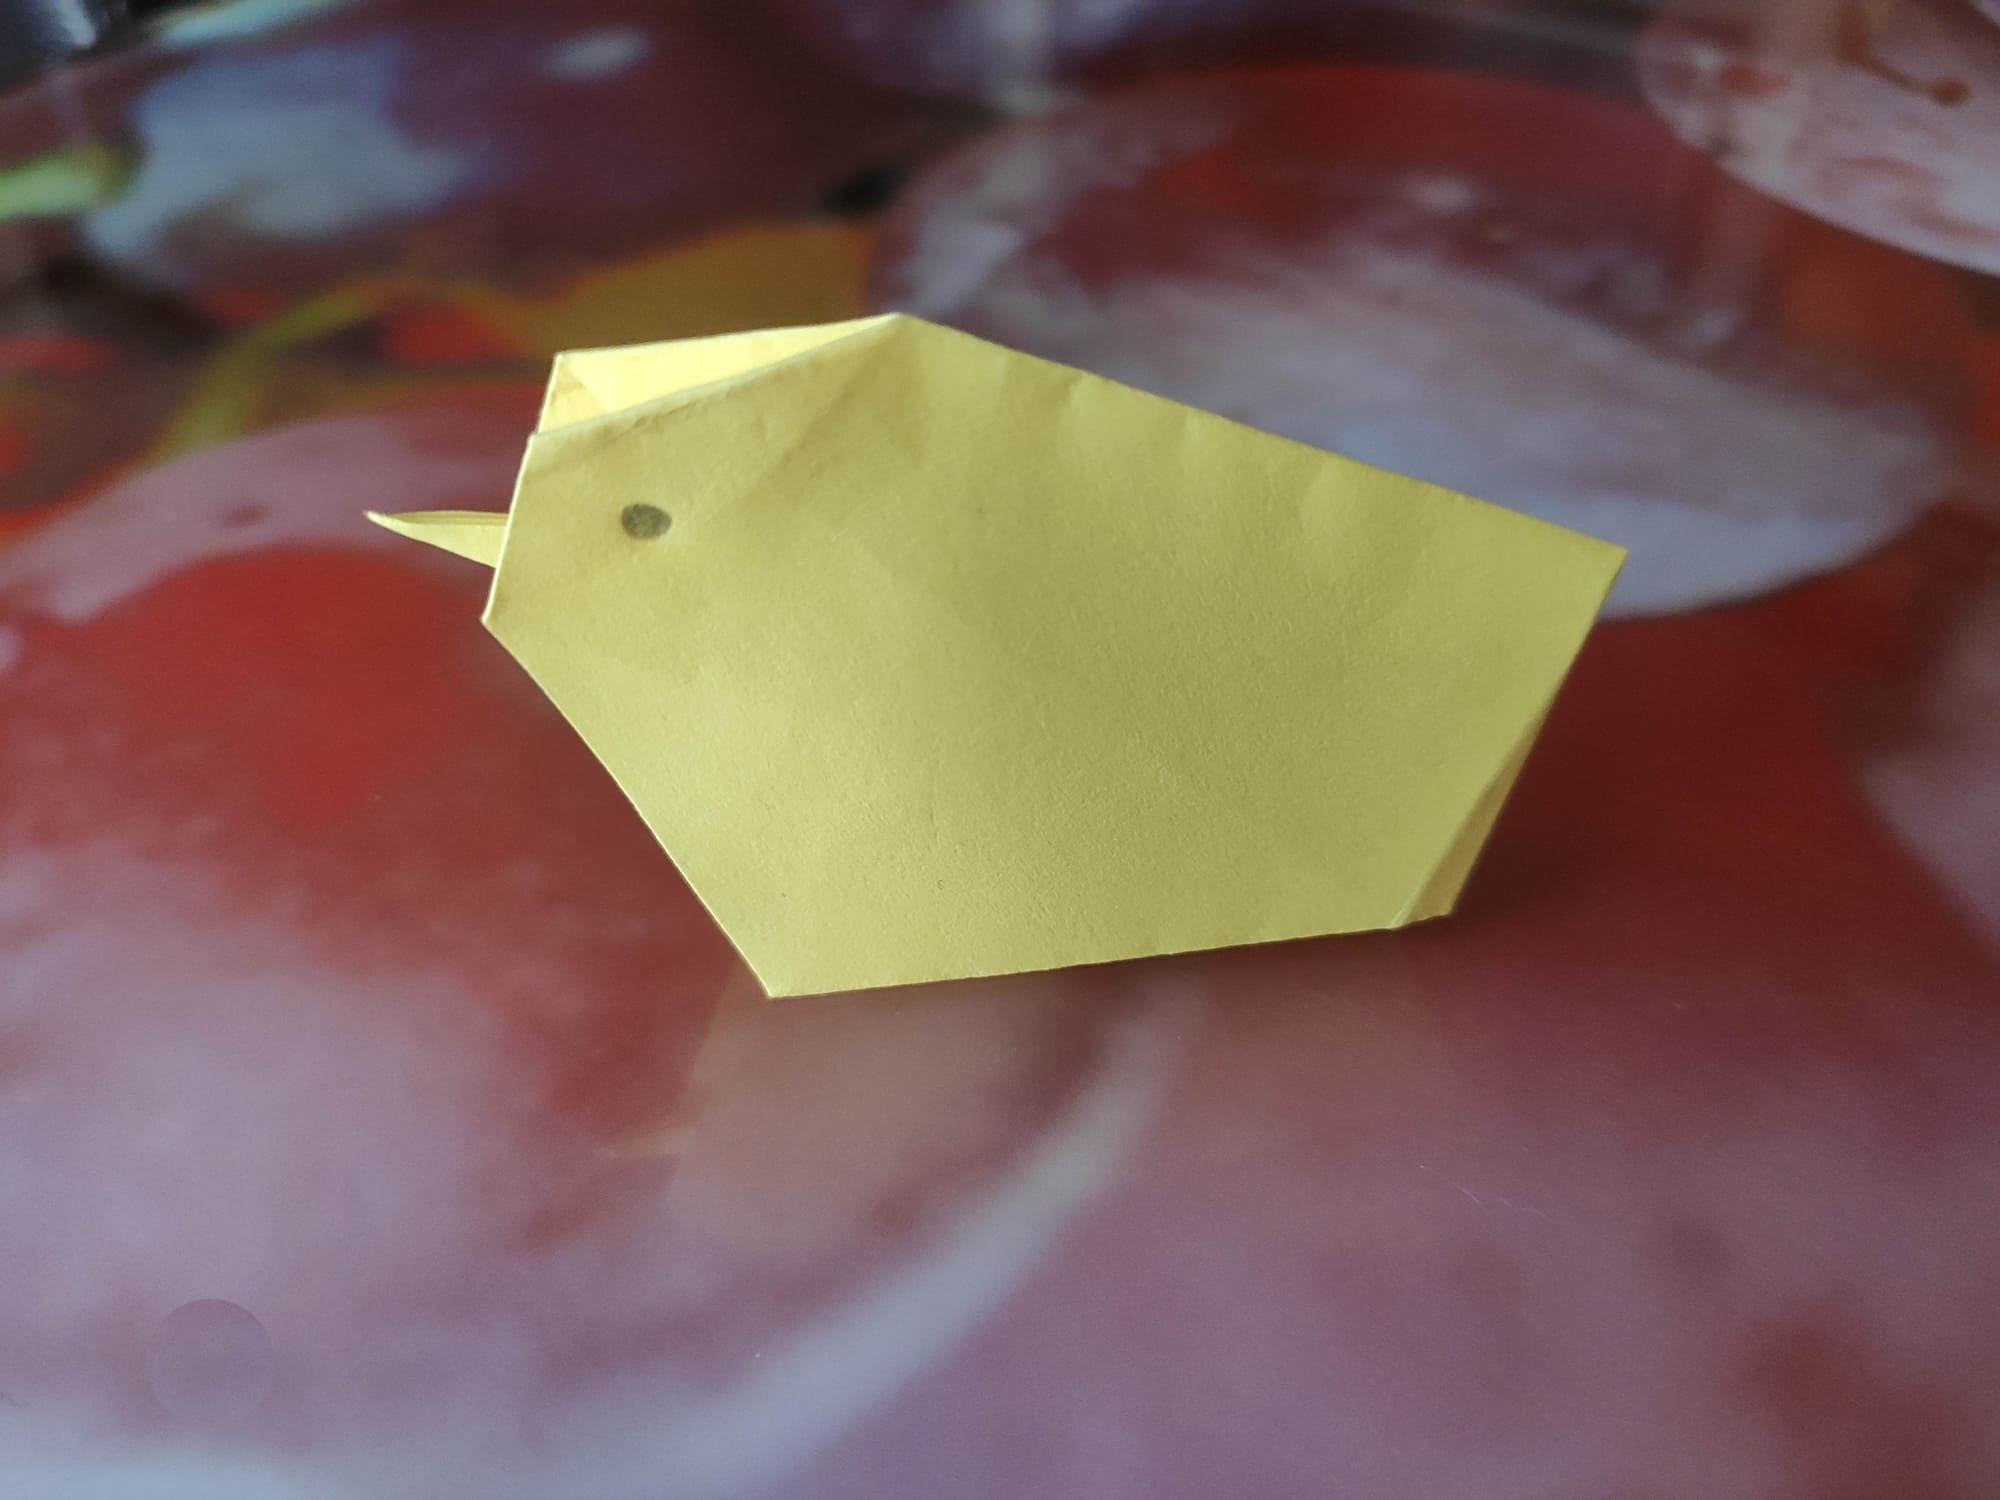
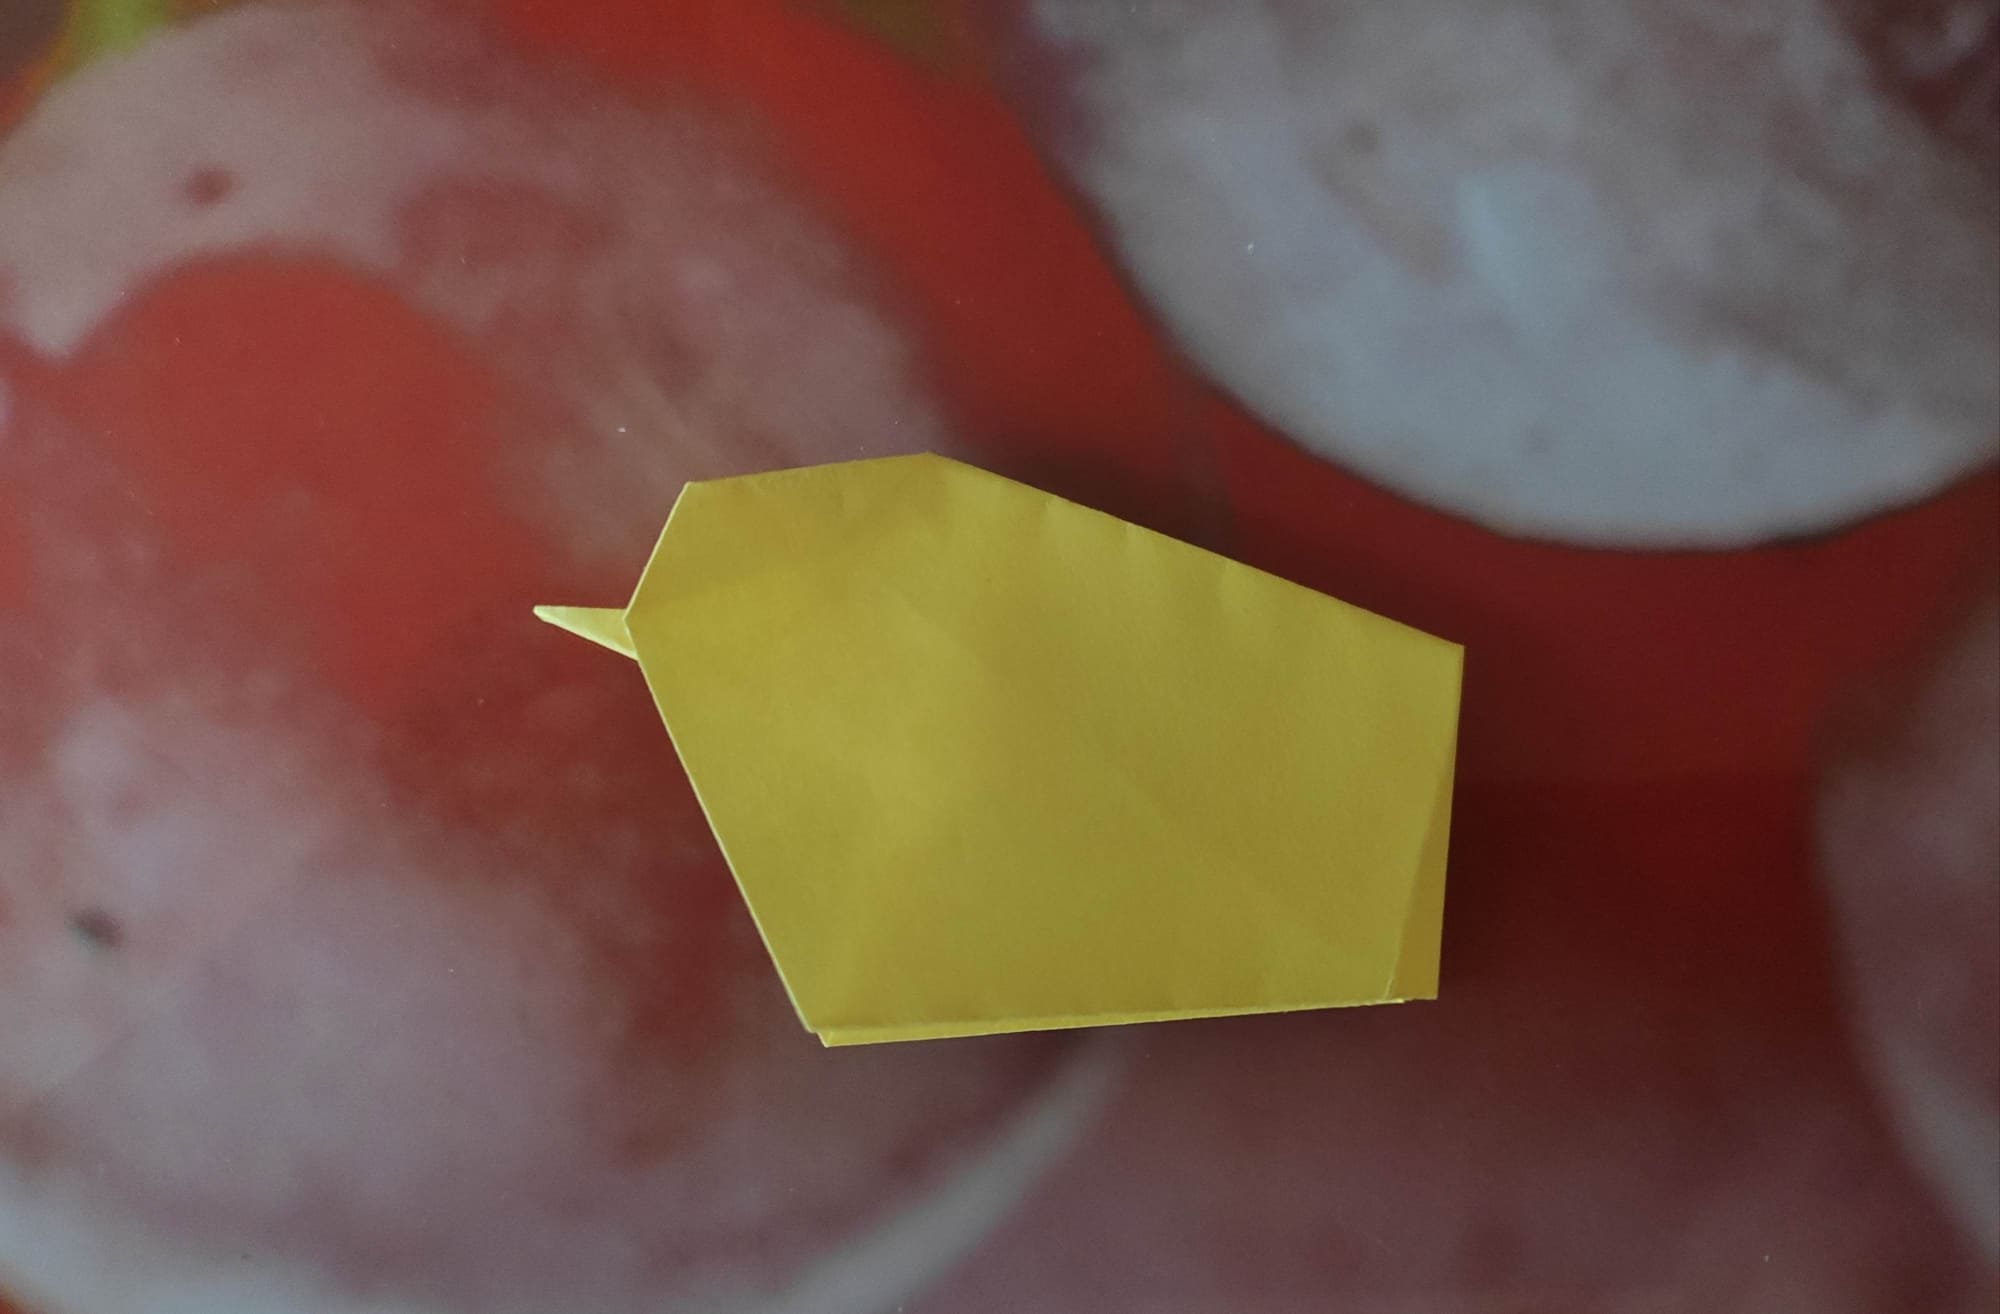
The last step: draw eyes and put the chicken on the surface of the table!
A little chicken is not only a sign of rebirth, but also a symbol of spring because chicks are typically born in spring. You can give it to loved ones or decorate an Easter basket with them. It is very cute!


