Origami Cicada
Have you ever heard loud chirping sounds in the garden on a summer evening? It’s the cicadas singing. There are more than two thousand species of these vocal insects in the world. They live on trees and shrubs and fly quite well. If you miss summer evenings with their wonderful chirping, we have something for you!
Below you will find step-by-step instructions on how to make a paper cicada in the origami technique. Just give it a try, and you will see how easy it is. Choose a square of origami paper in any desired color. Here we have dark grey for a more realistic look, but you can fantasize!
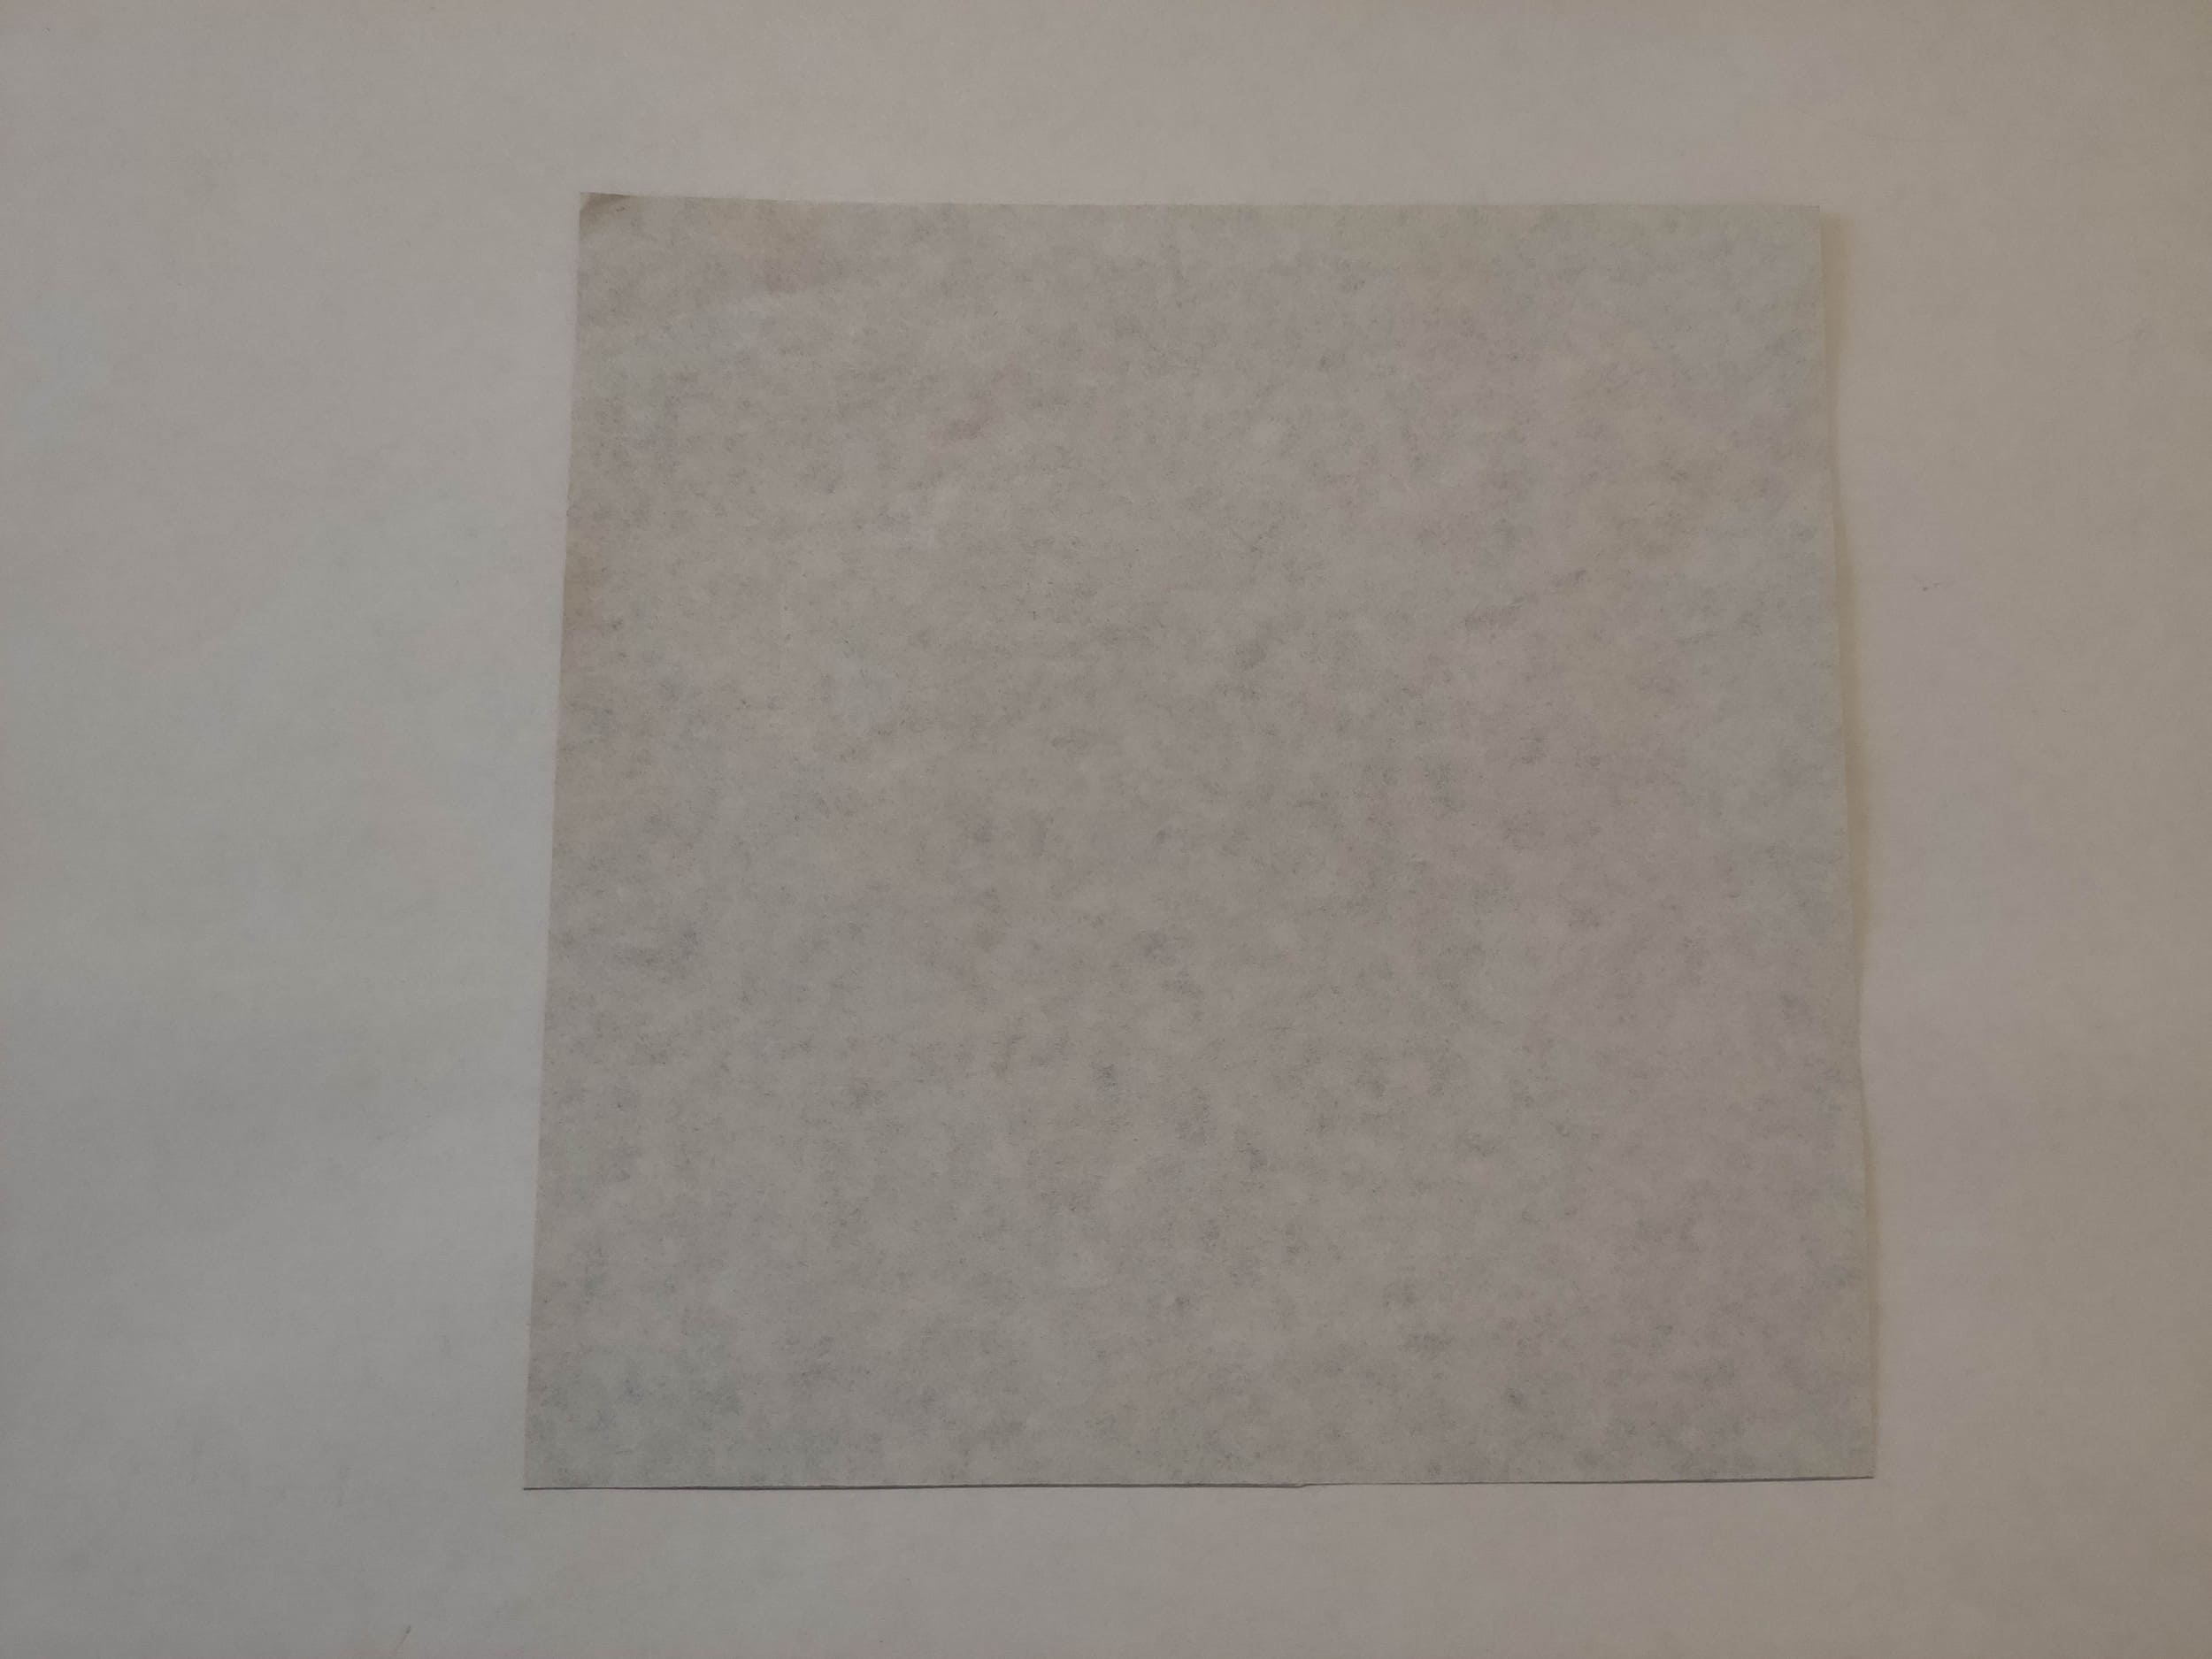
Take a square of origami paper or ordinary one-sided colored paper. Choose the ones with green or black shades for a more realistic effect. Lay the paper with the colored side facing down.
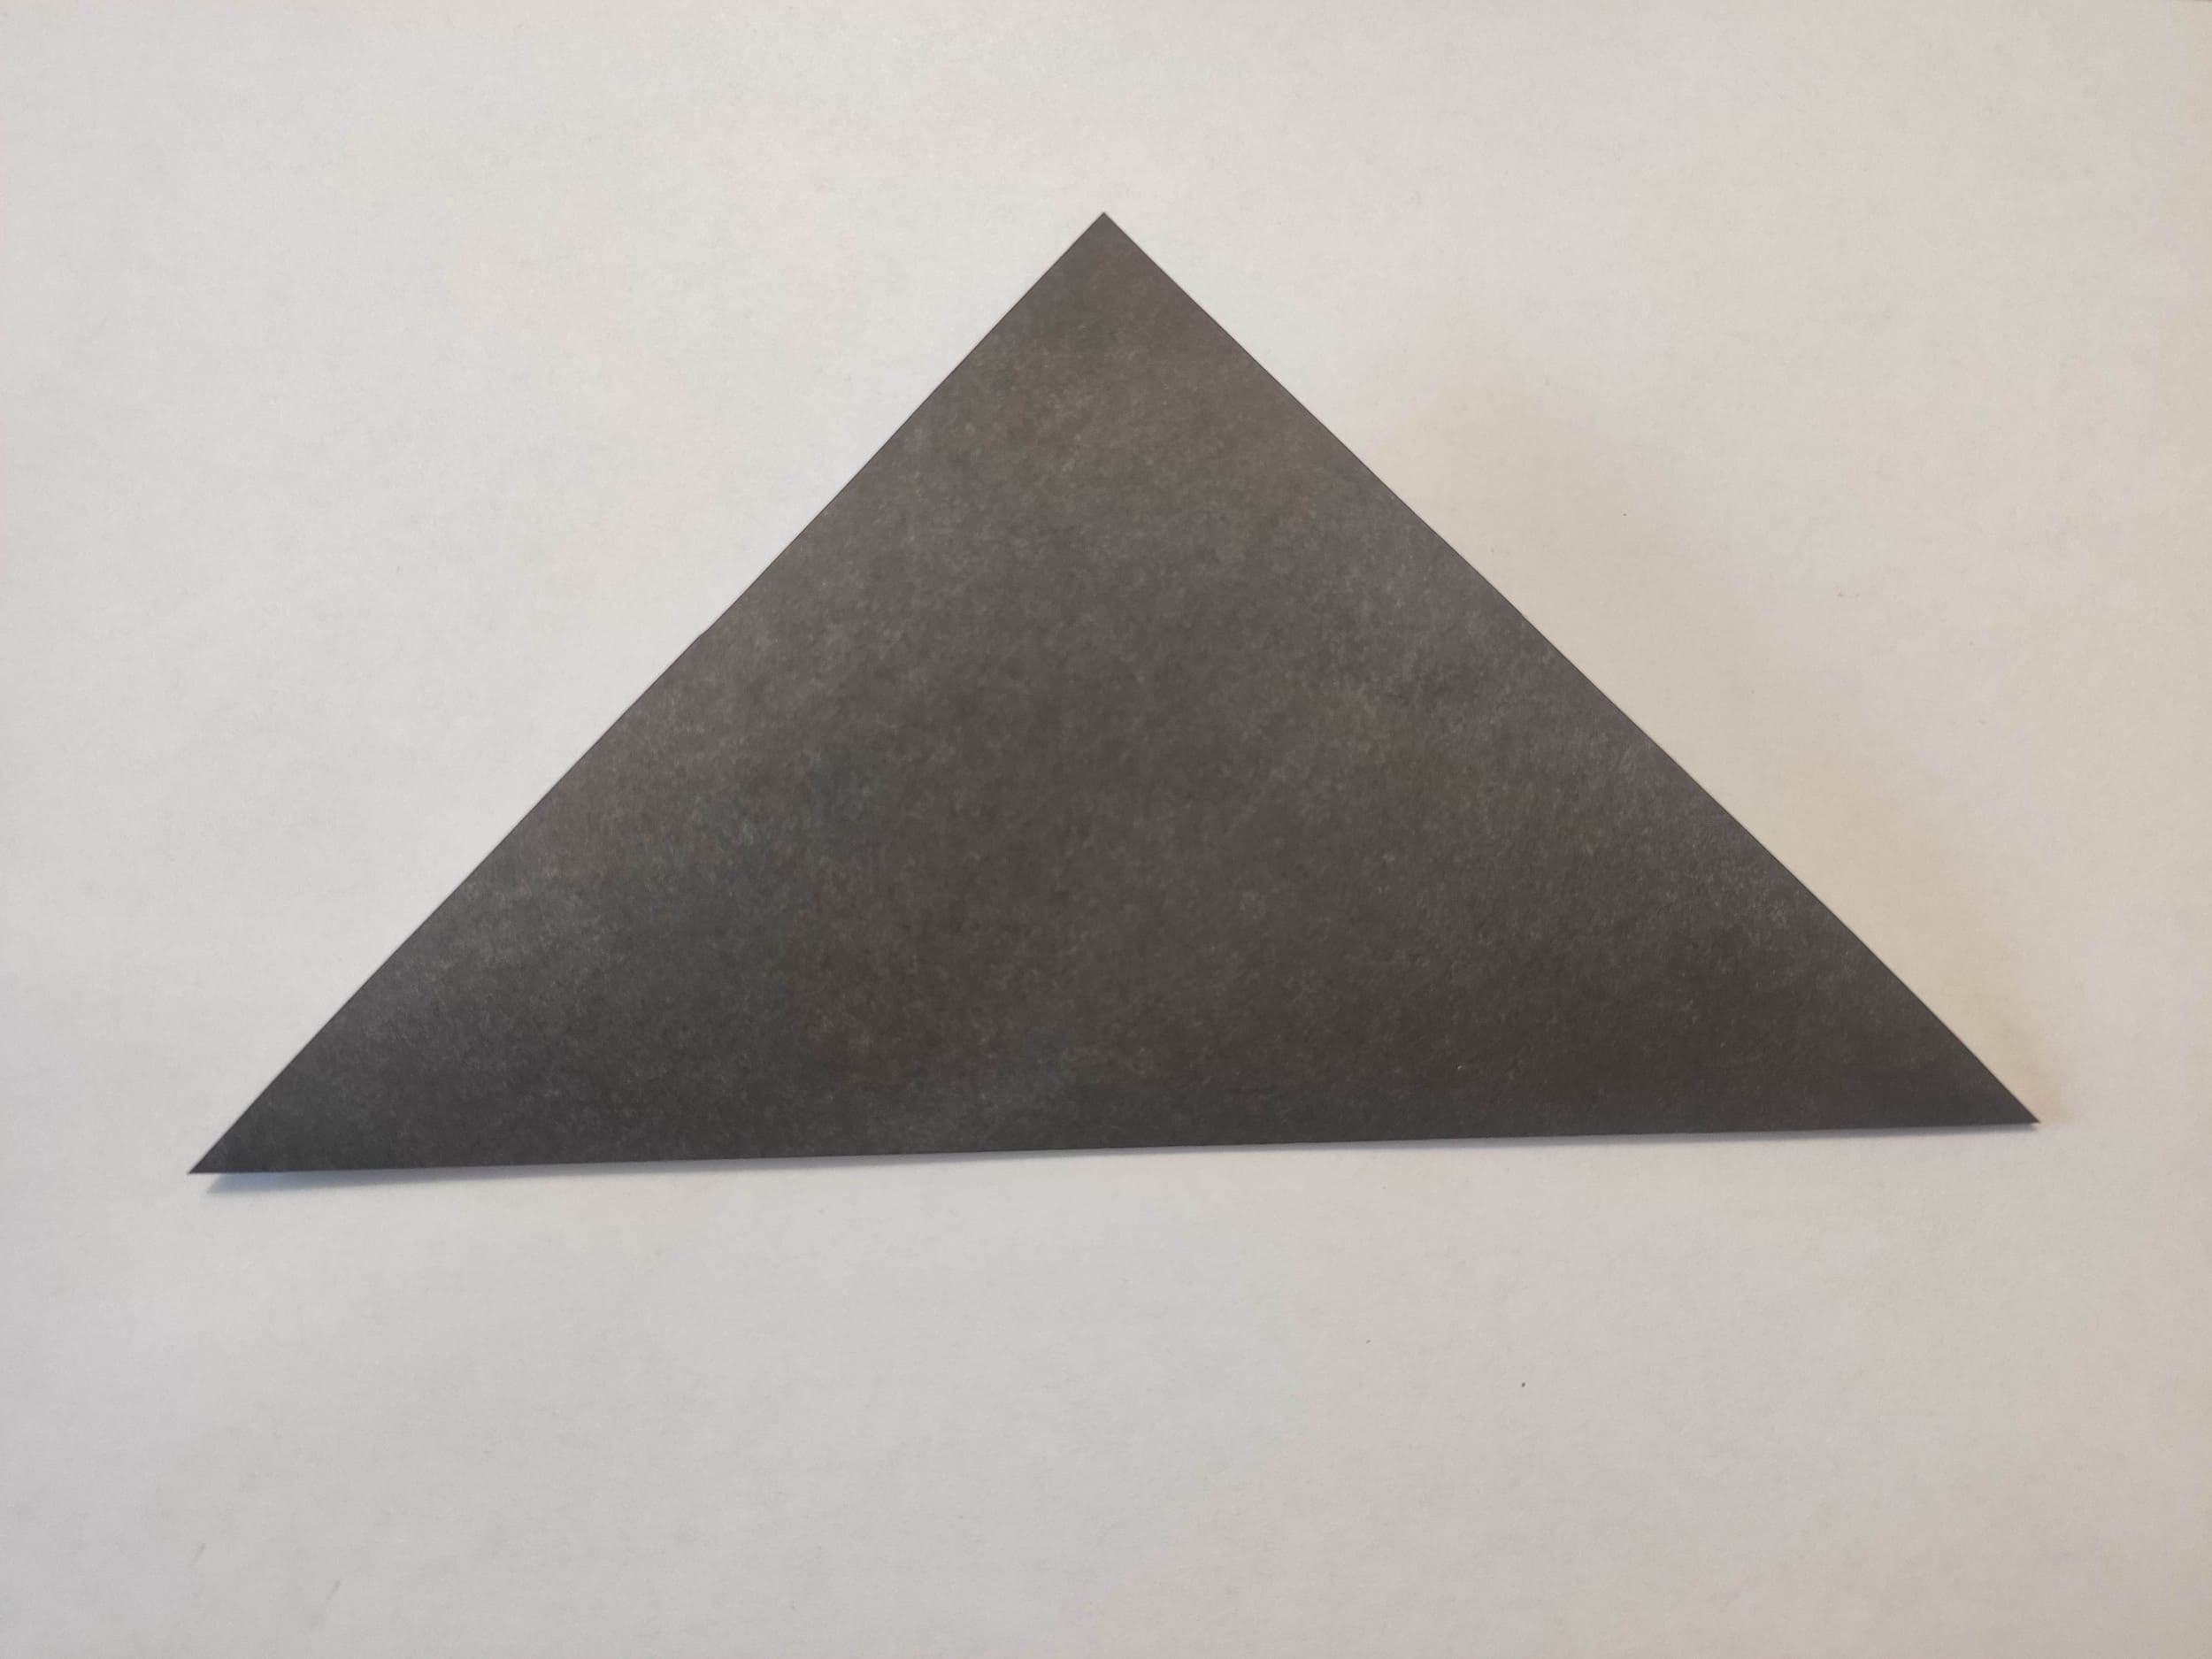
Fold the paper in half diagonally away from you. This should make an equilateral triangle. Place it with the double-layer vertex facing up.
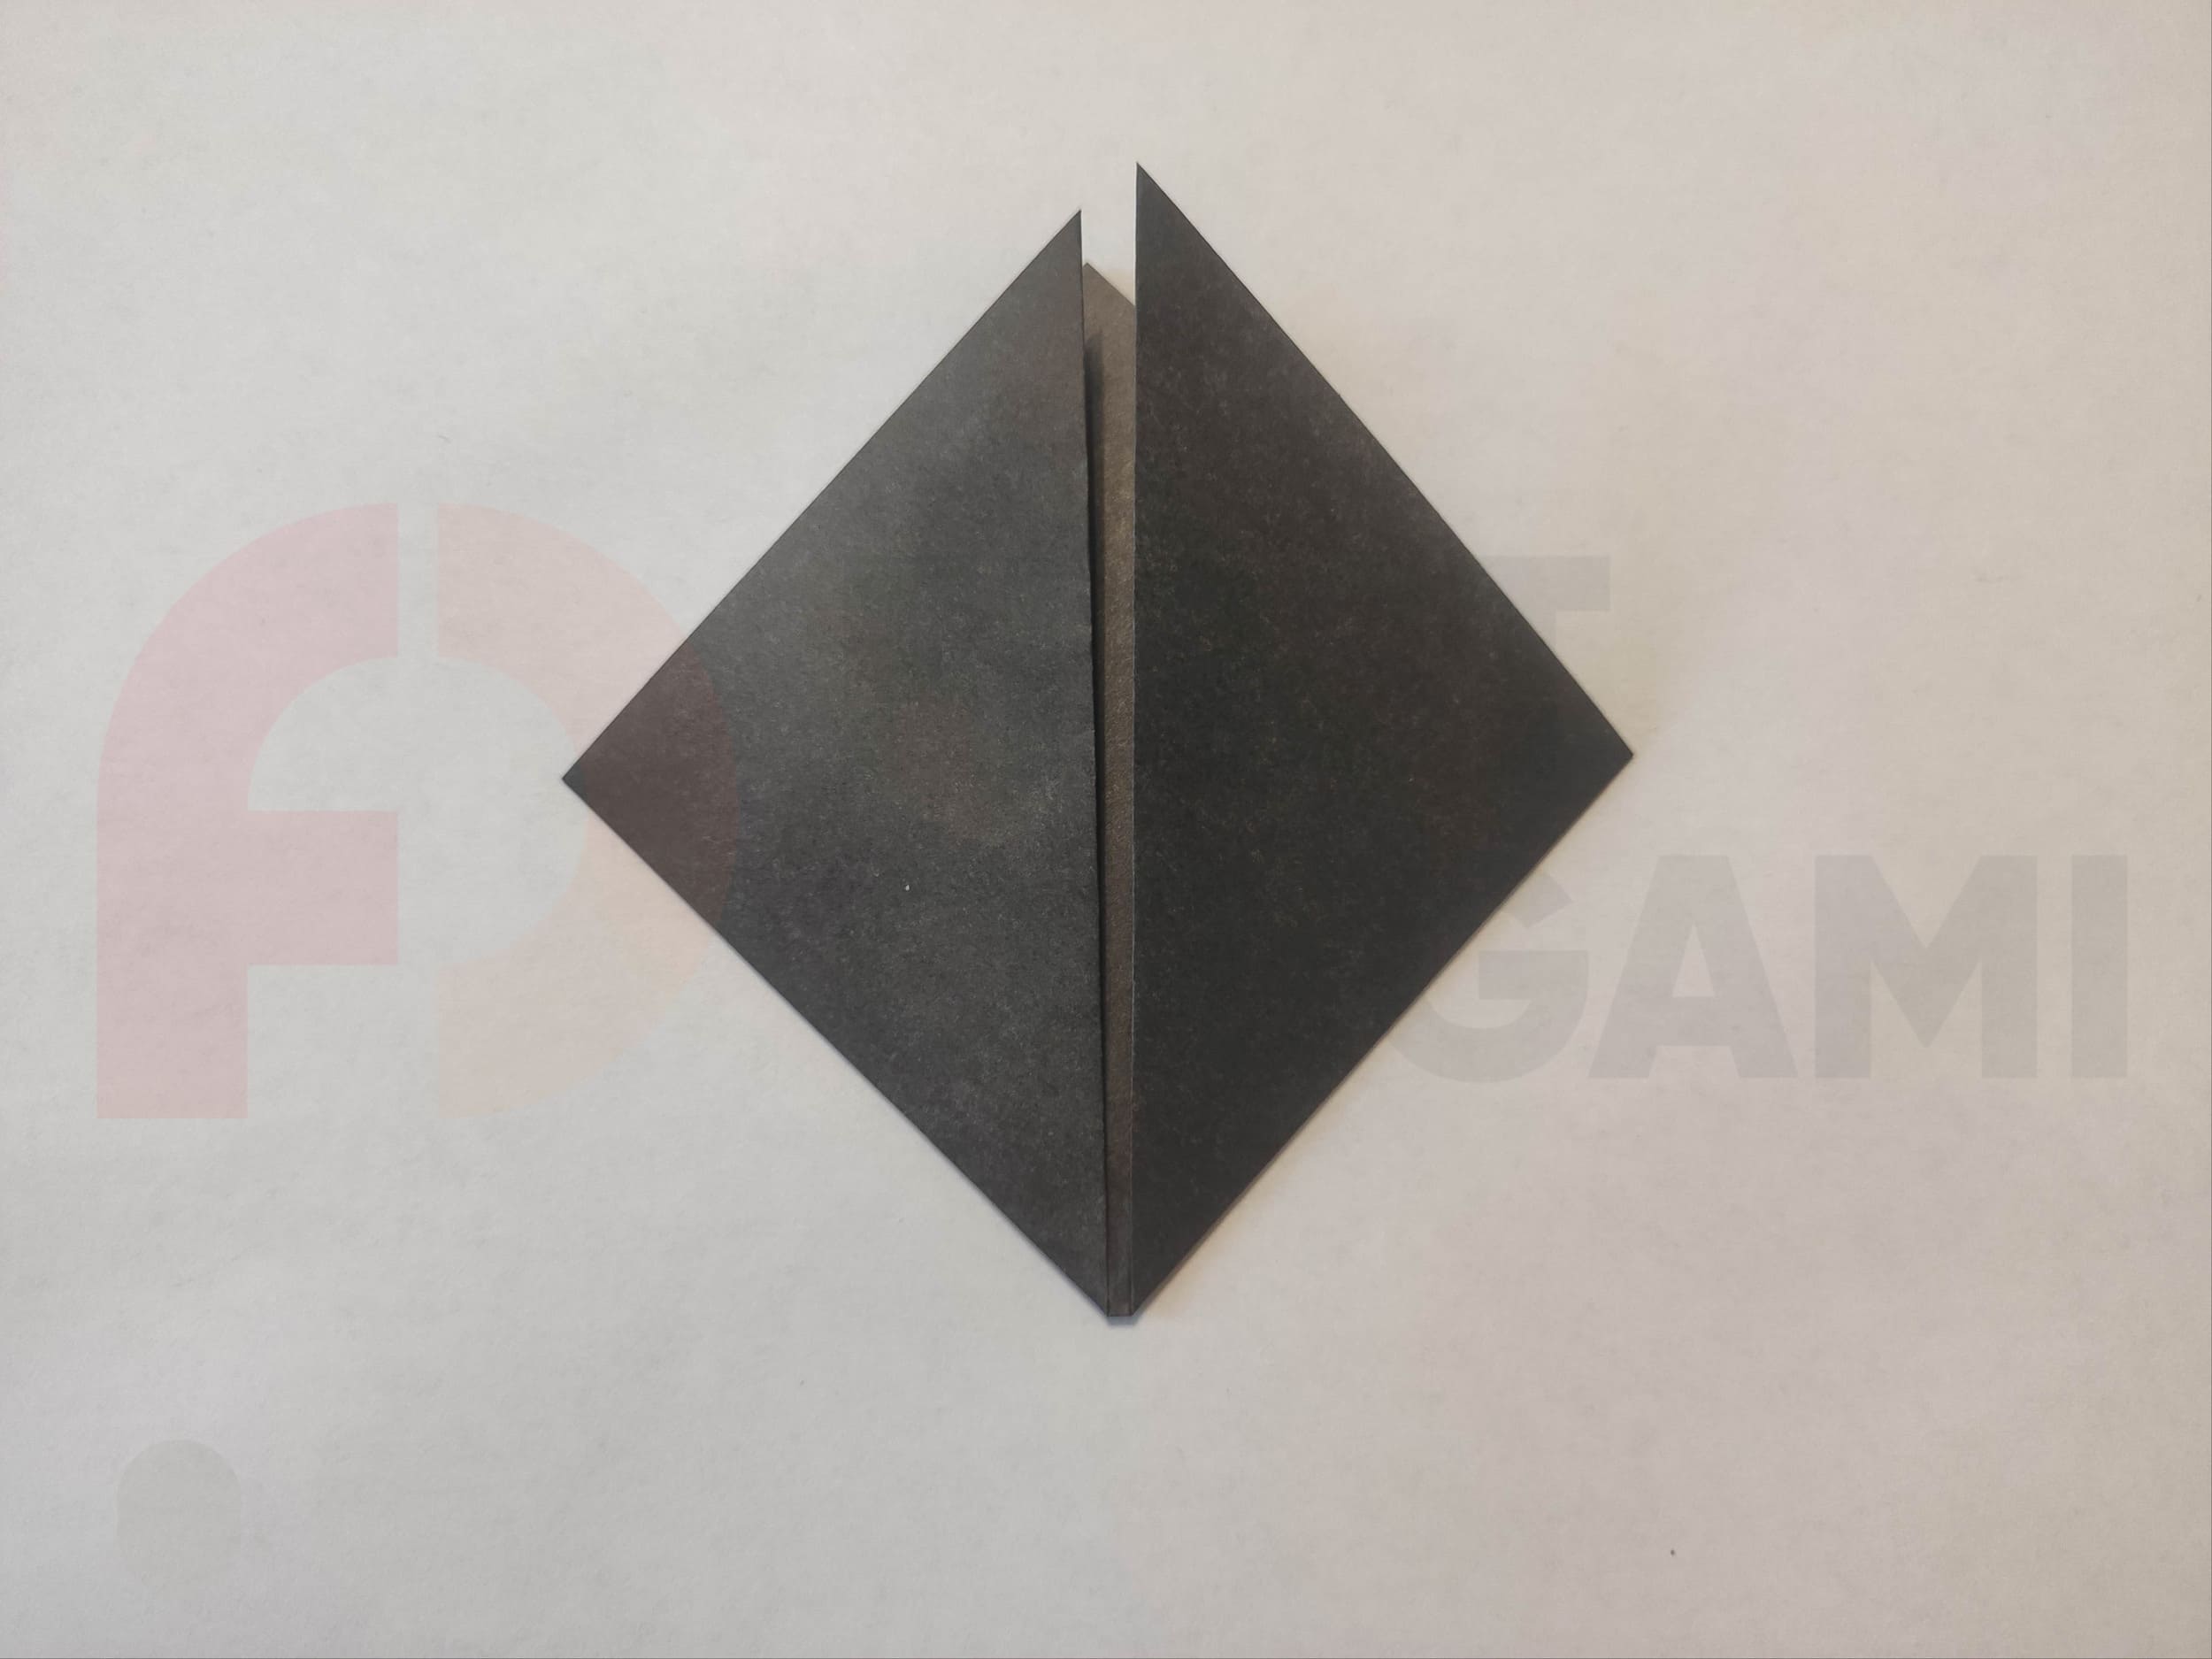
Fold the sharp corners of the triangle so that they meet the third vertex.
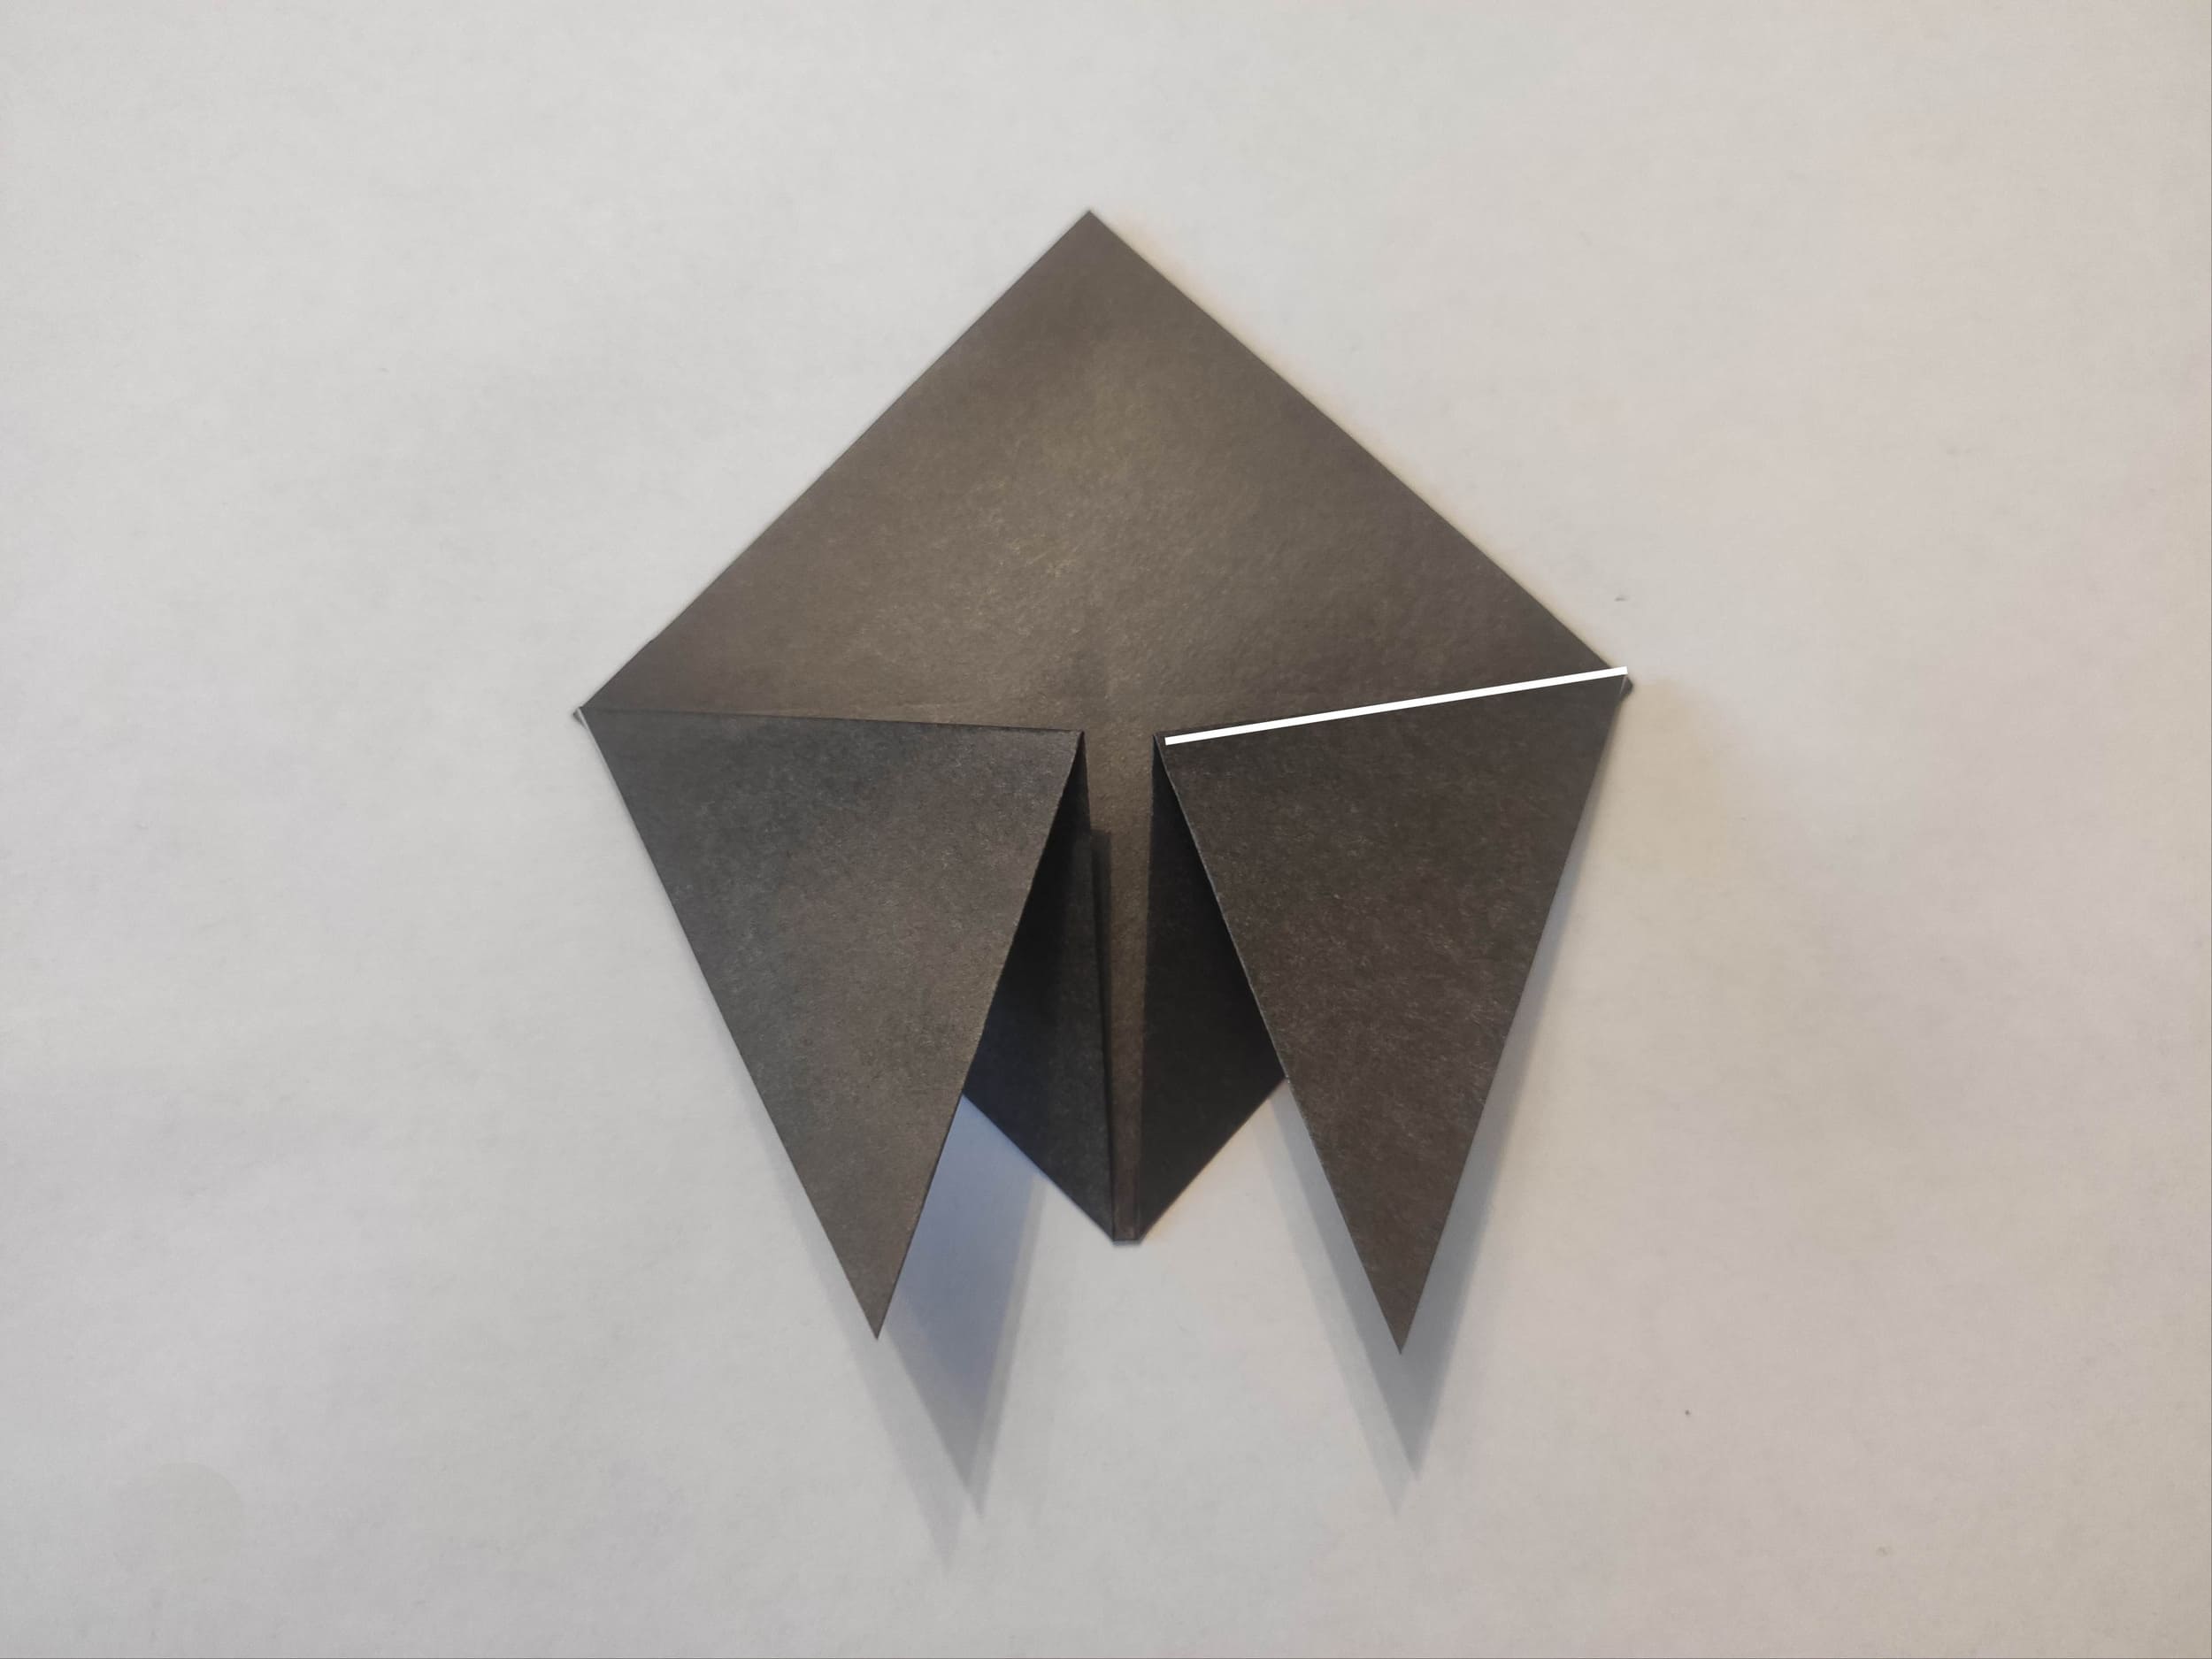
Draw a diagonal line and bend the sharp corners toward you.
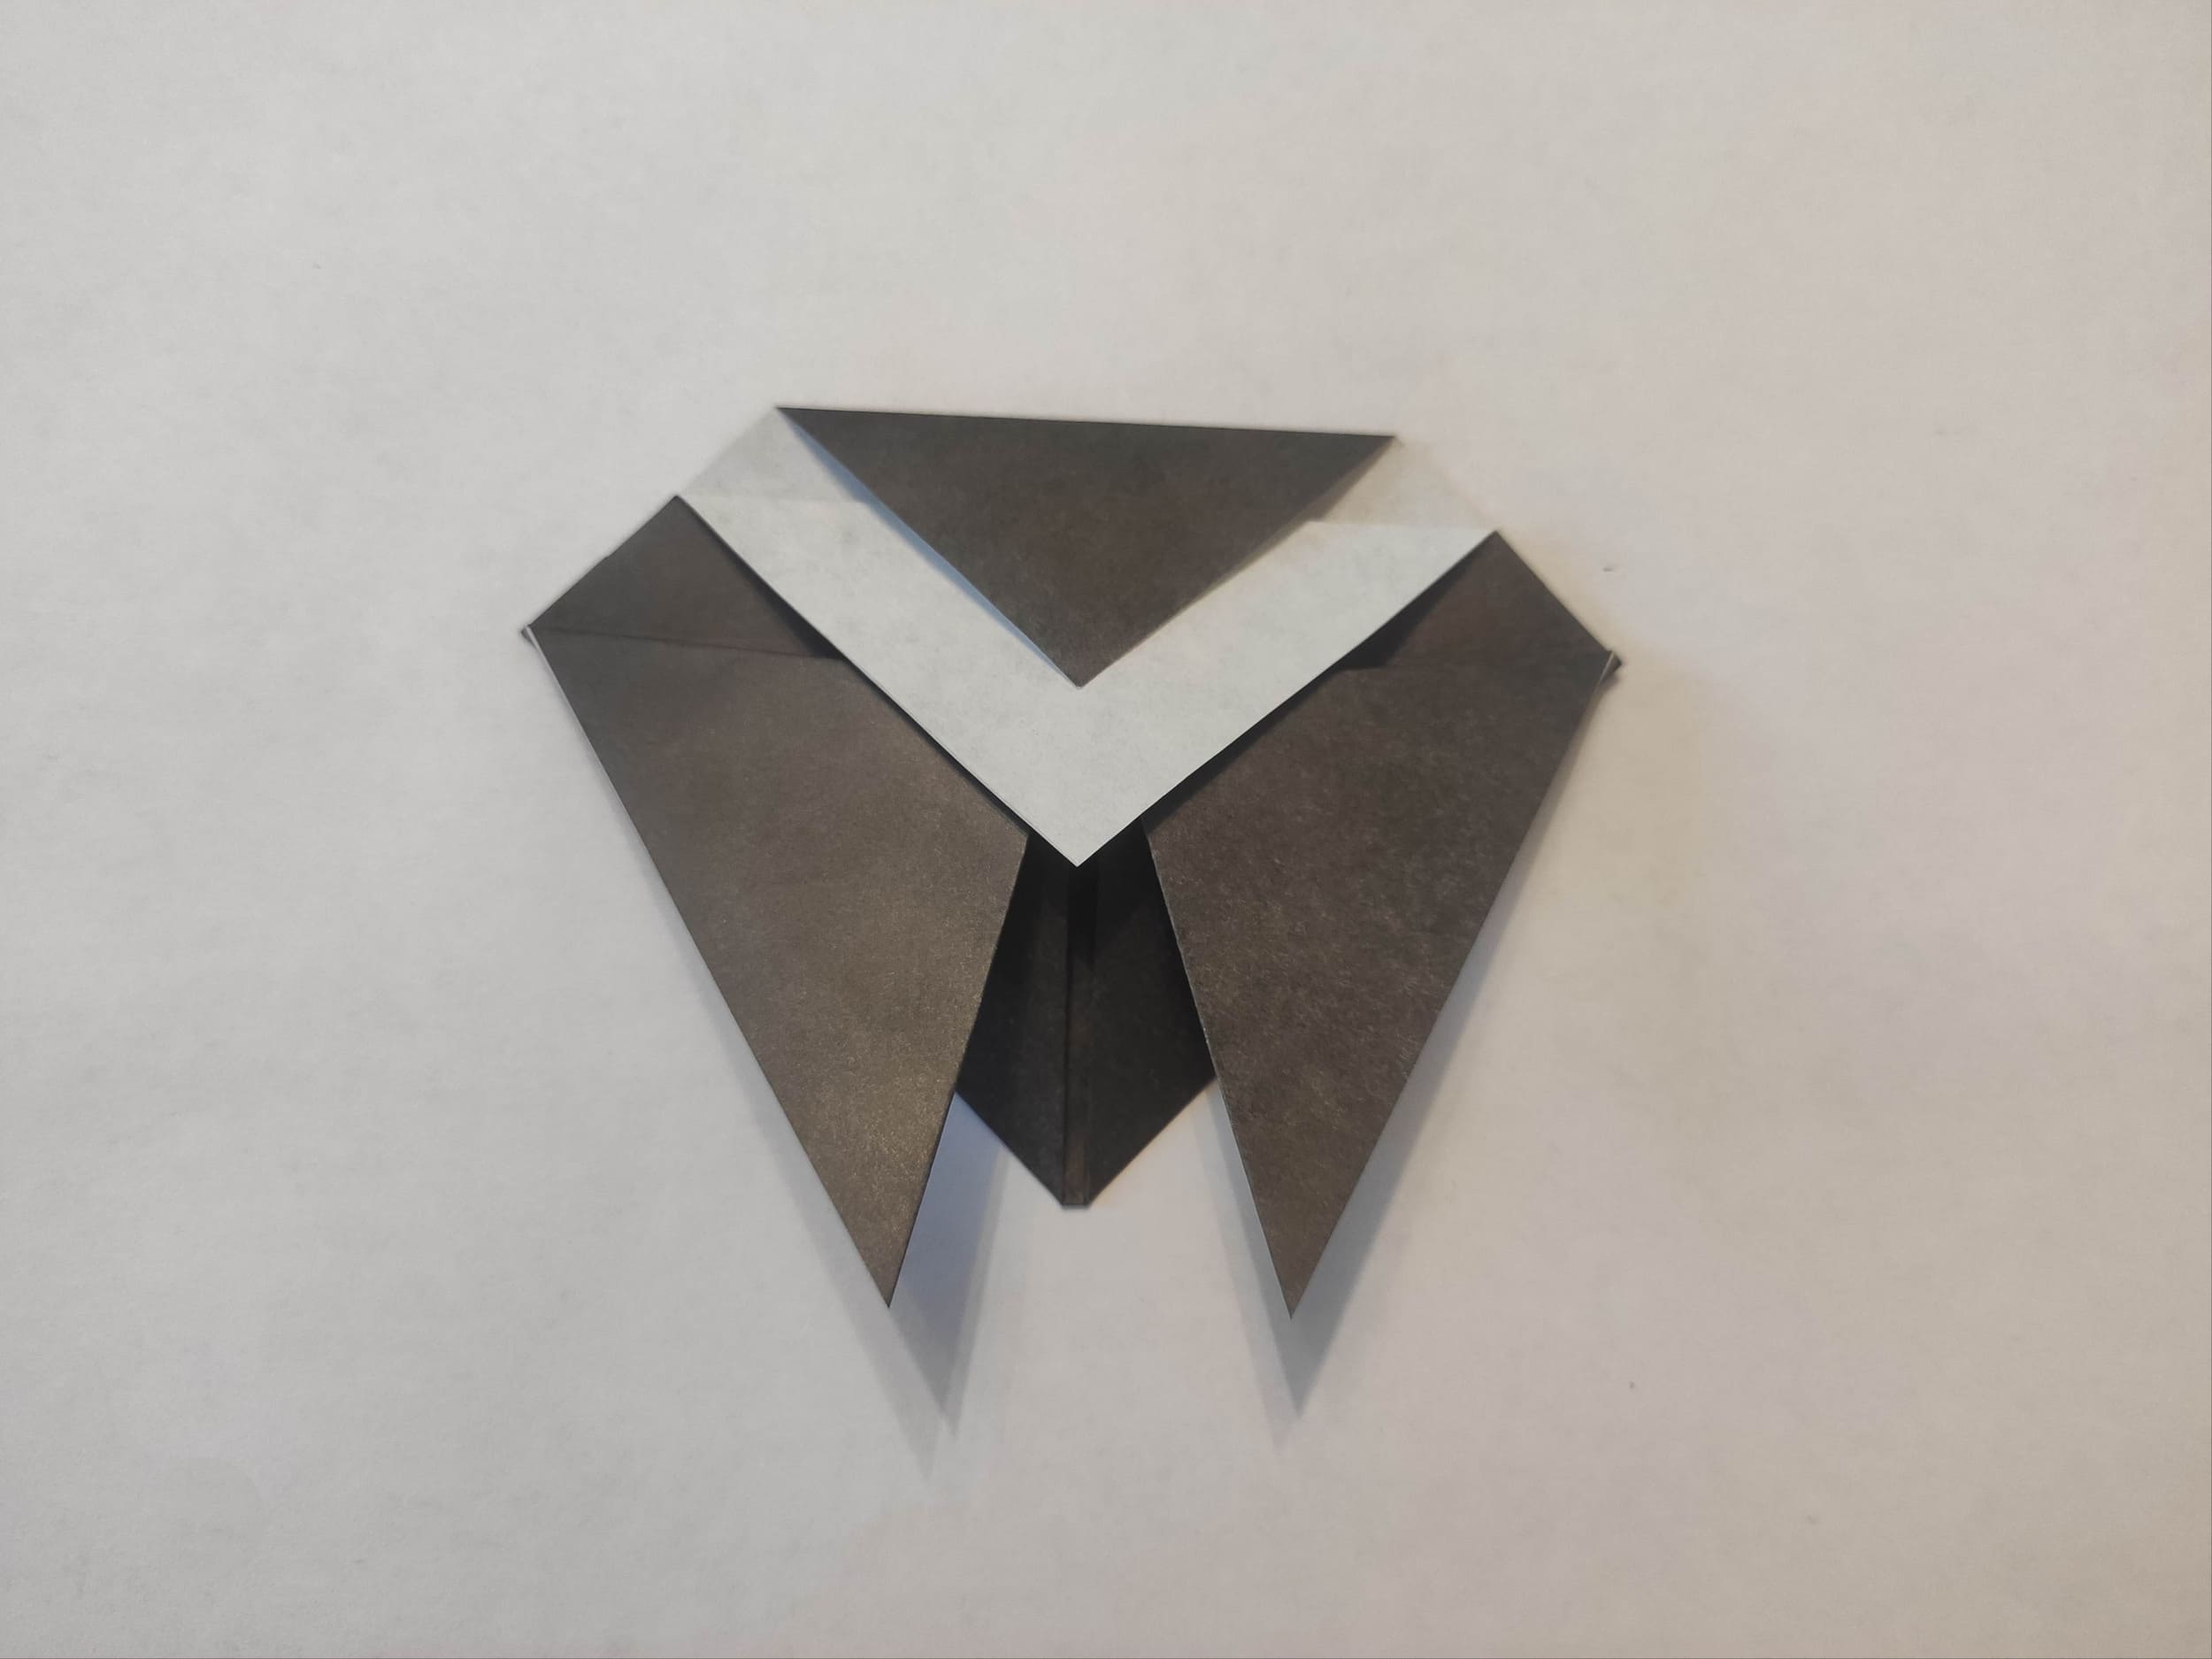
Divide the new triangle into three parts. Bend the top layer of the triangle toward yourself first, and then the bottom layer. The figure already looks like an insect!
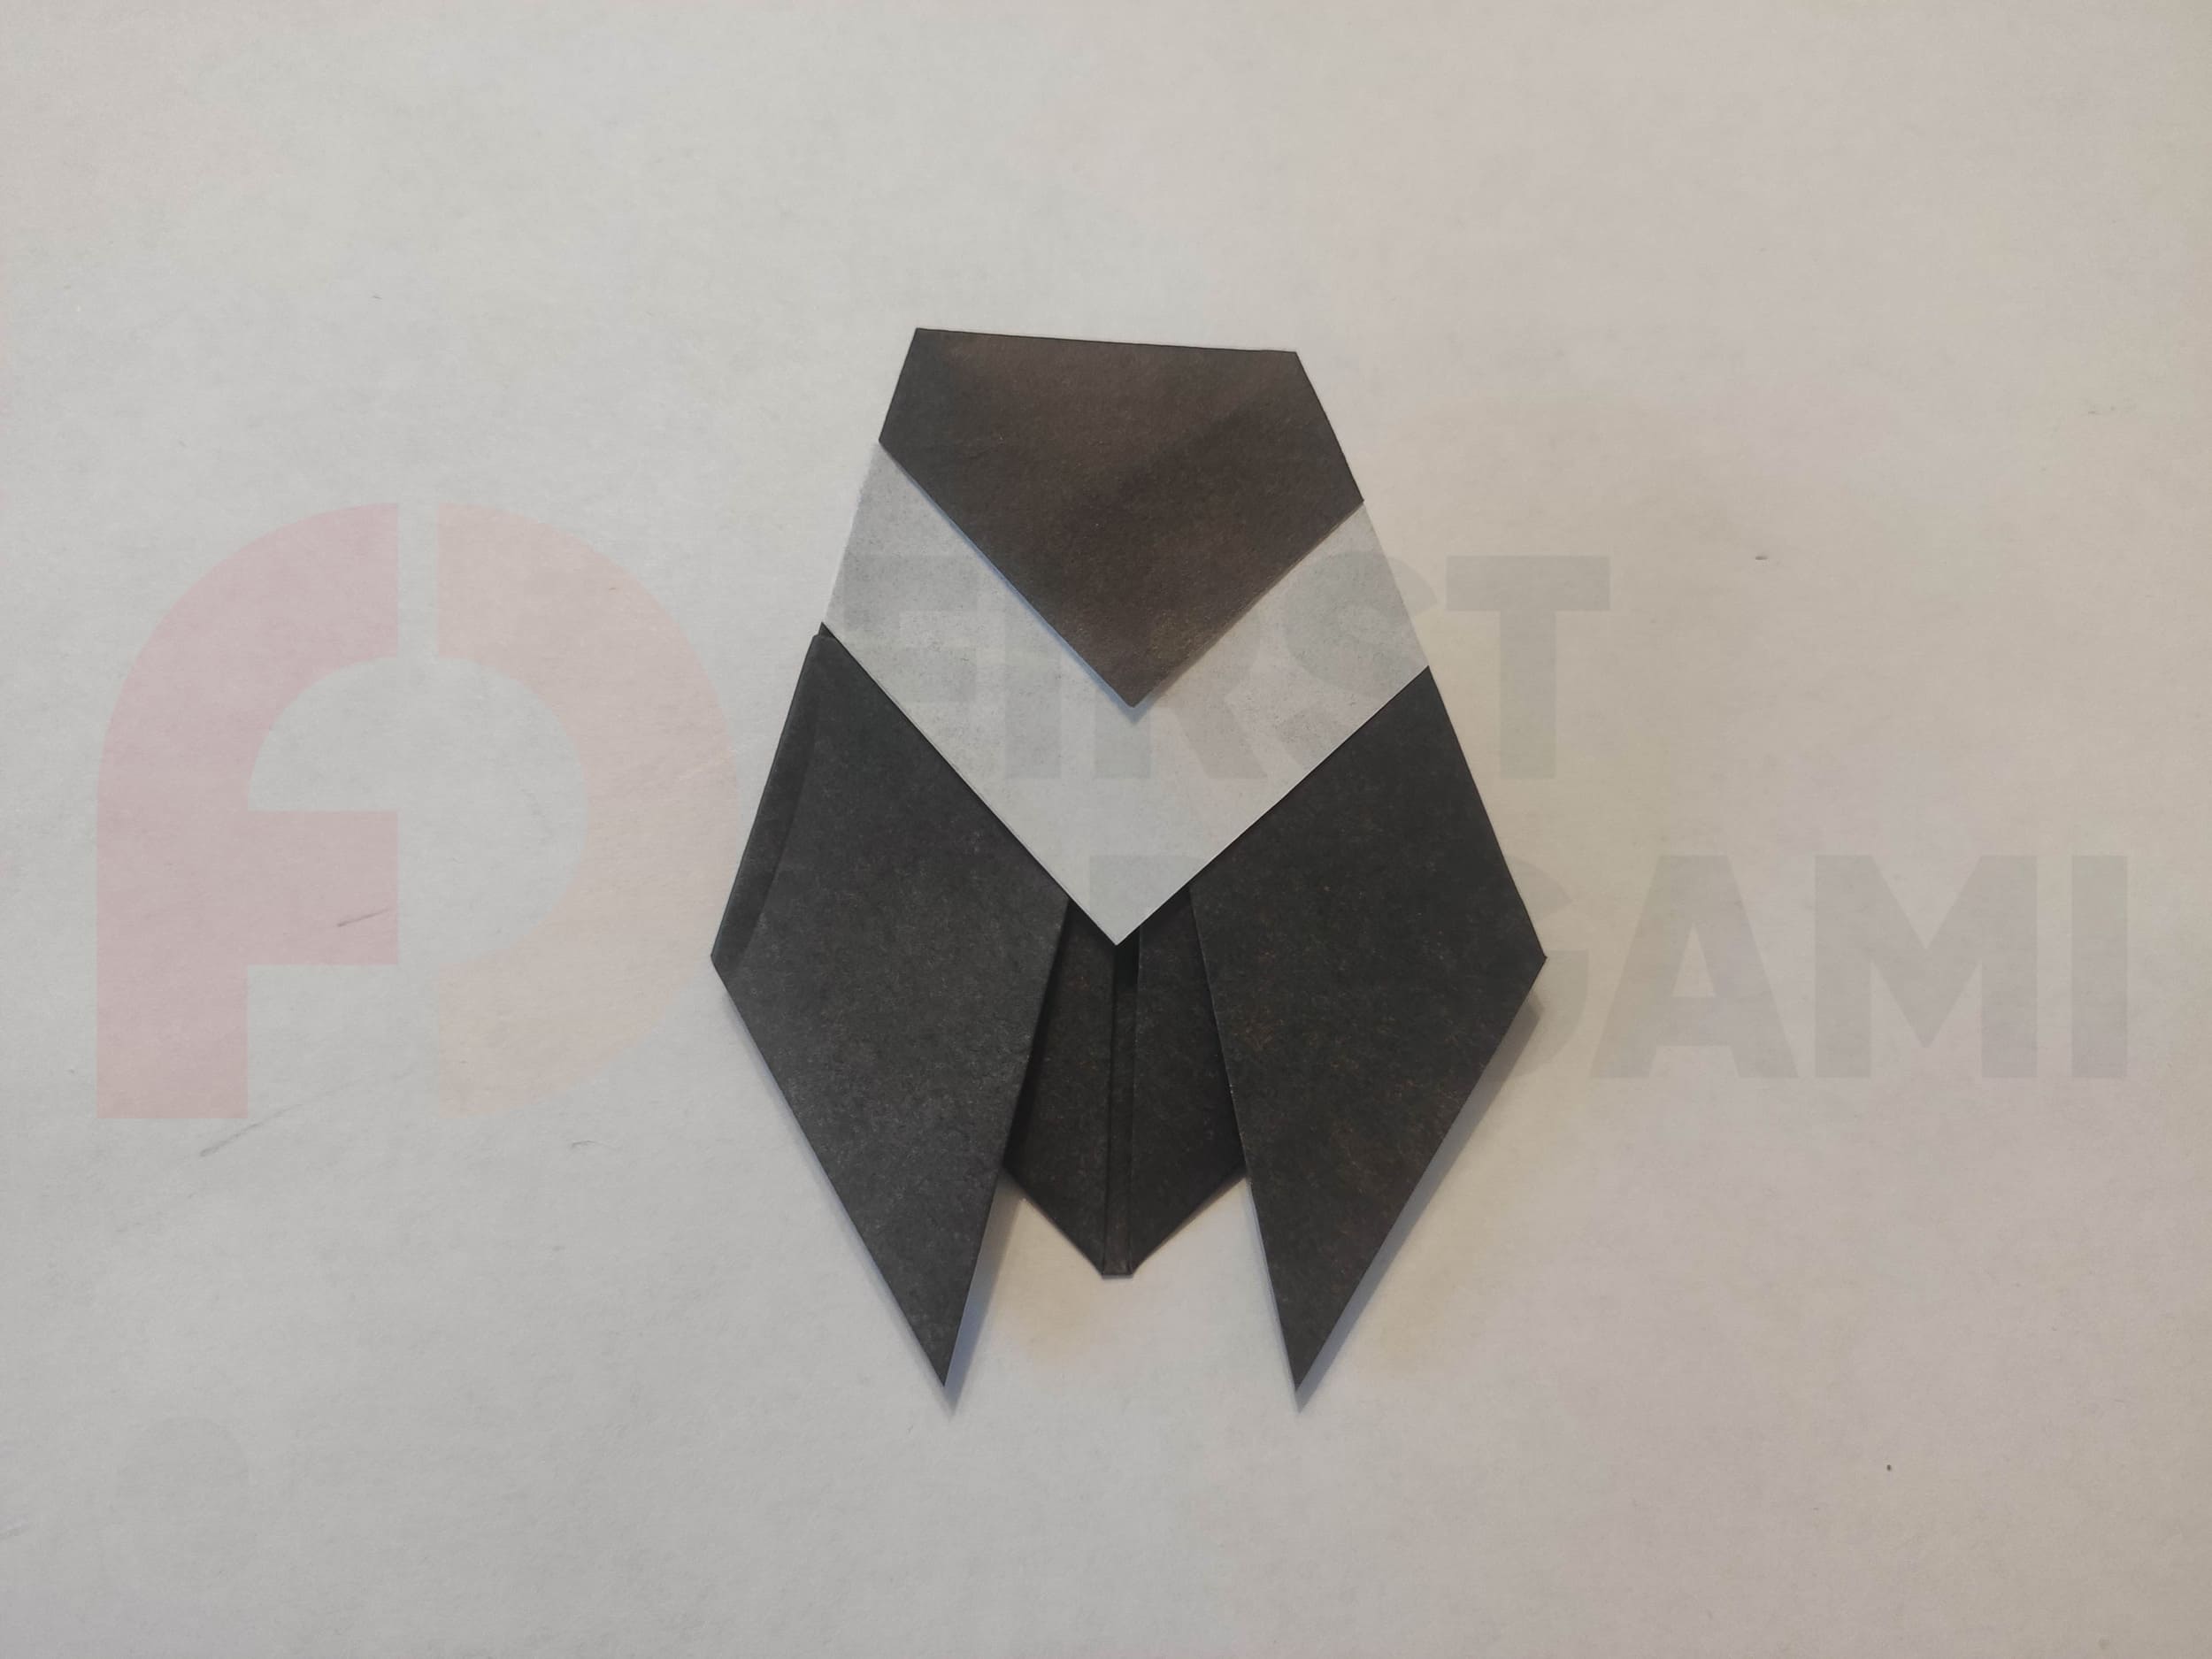
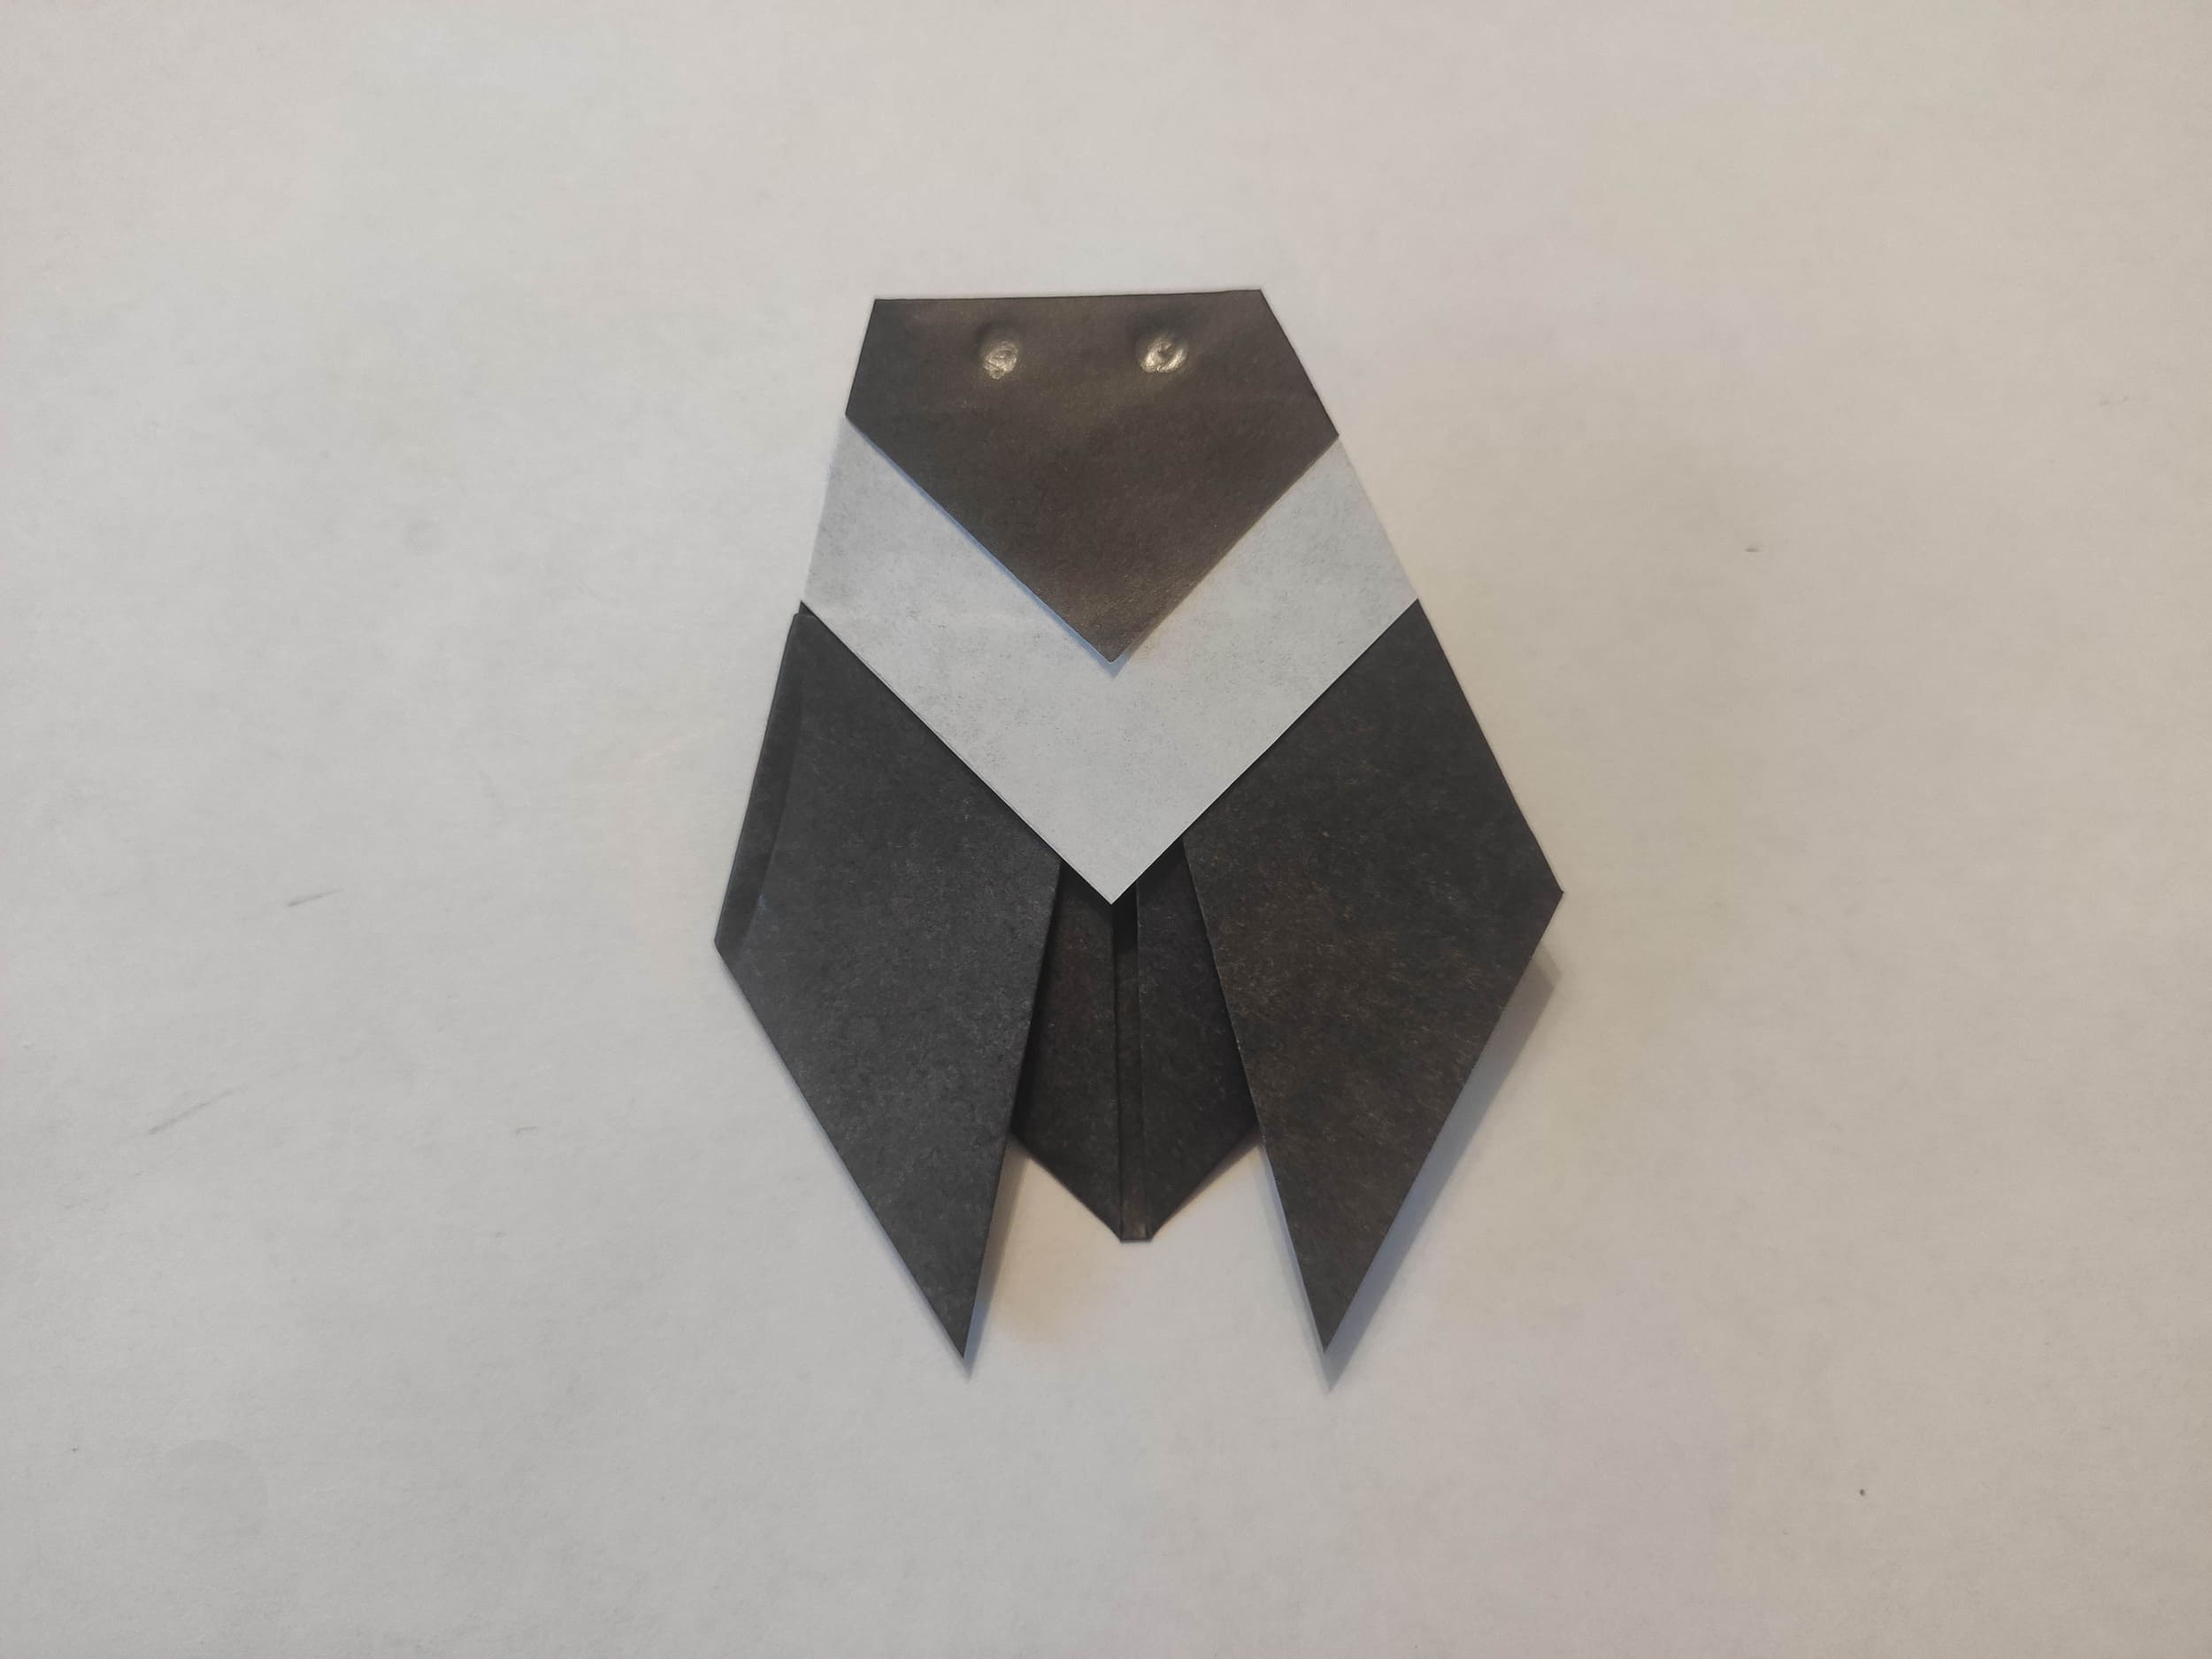
Now form the body of the cicada by bending the right and left parts downwards, as shown in the photo. The fold lines need to be smoothed well.
The cicada is ready! You can make it more realistic by drawing or gluing on the eyes.
Now you have another copy from the collection of origami birds. Do not stop there, here you will find many more interesting origami.


