Origami Circular Gilder
A round glider made in origami technique is interesting and fun for boys, girls, and their parents. Such a simple prop can be used both in everyday games and include in competitive moments or various contests. Interestingly, every child can make such a glider, and very quickly. This means that competitions can be started from the point of assembly. And then each of the children will be able to launch a glider created with their own hands.
Ready to start making a simple round airplane in the origami technique? Then follow the step-by-step instructions described below.
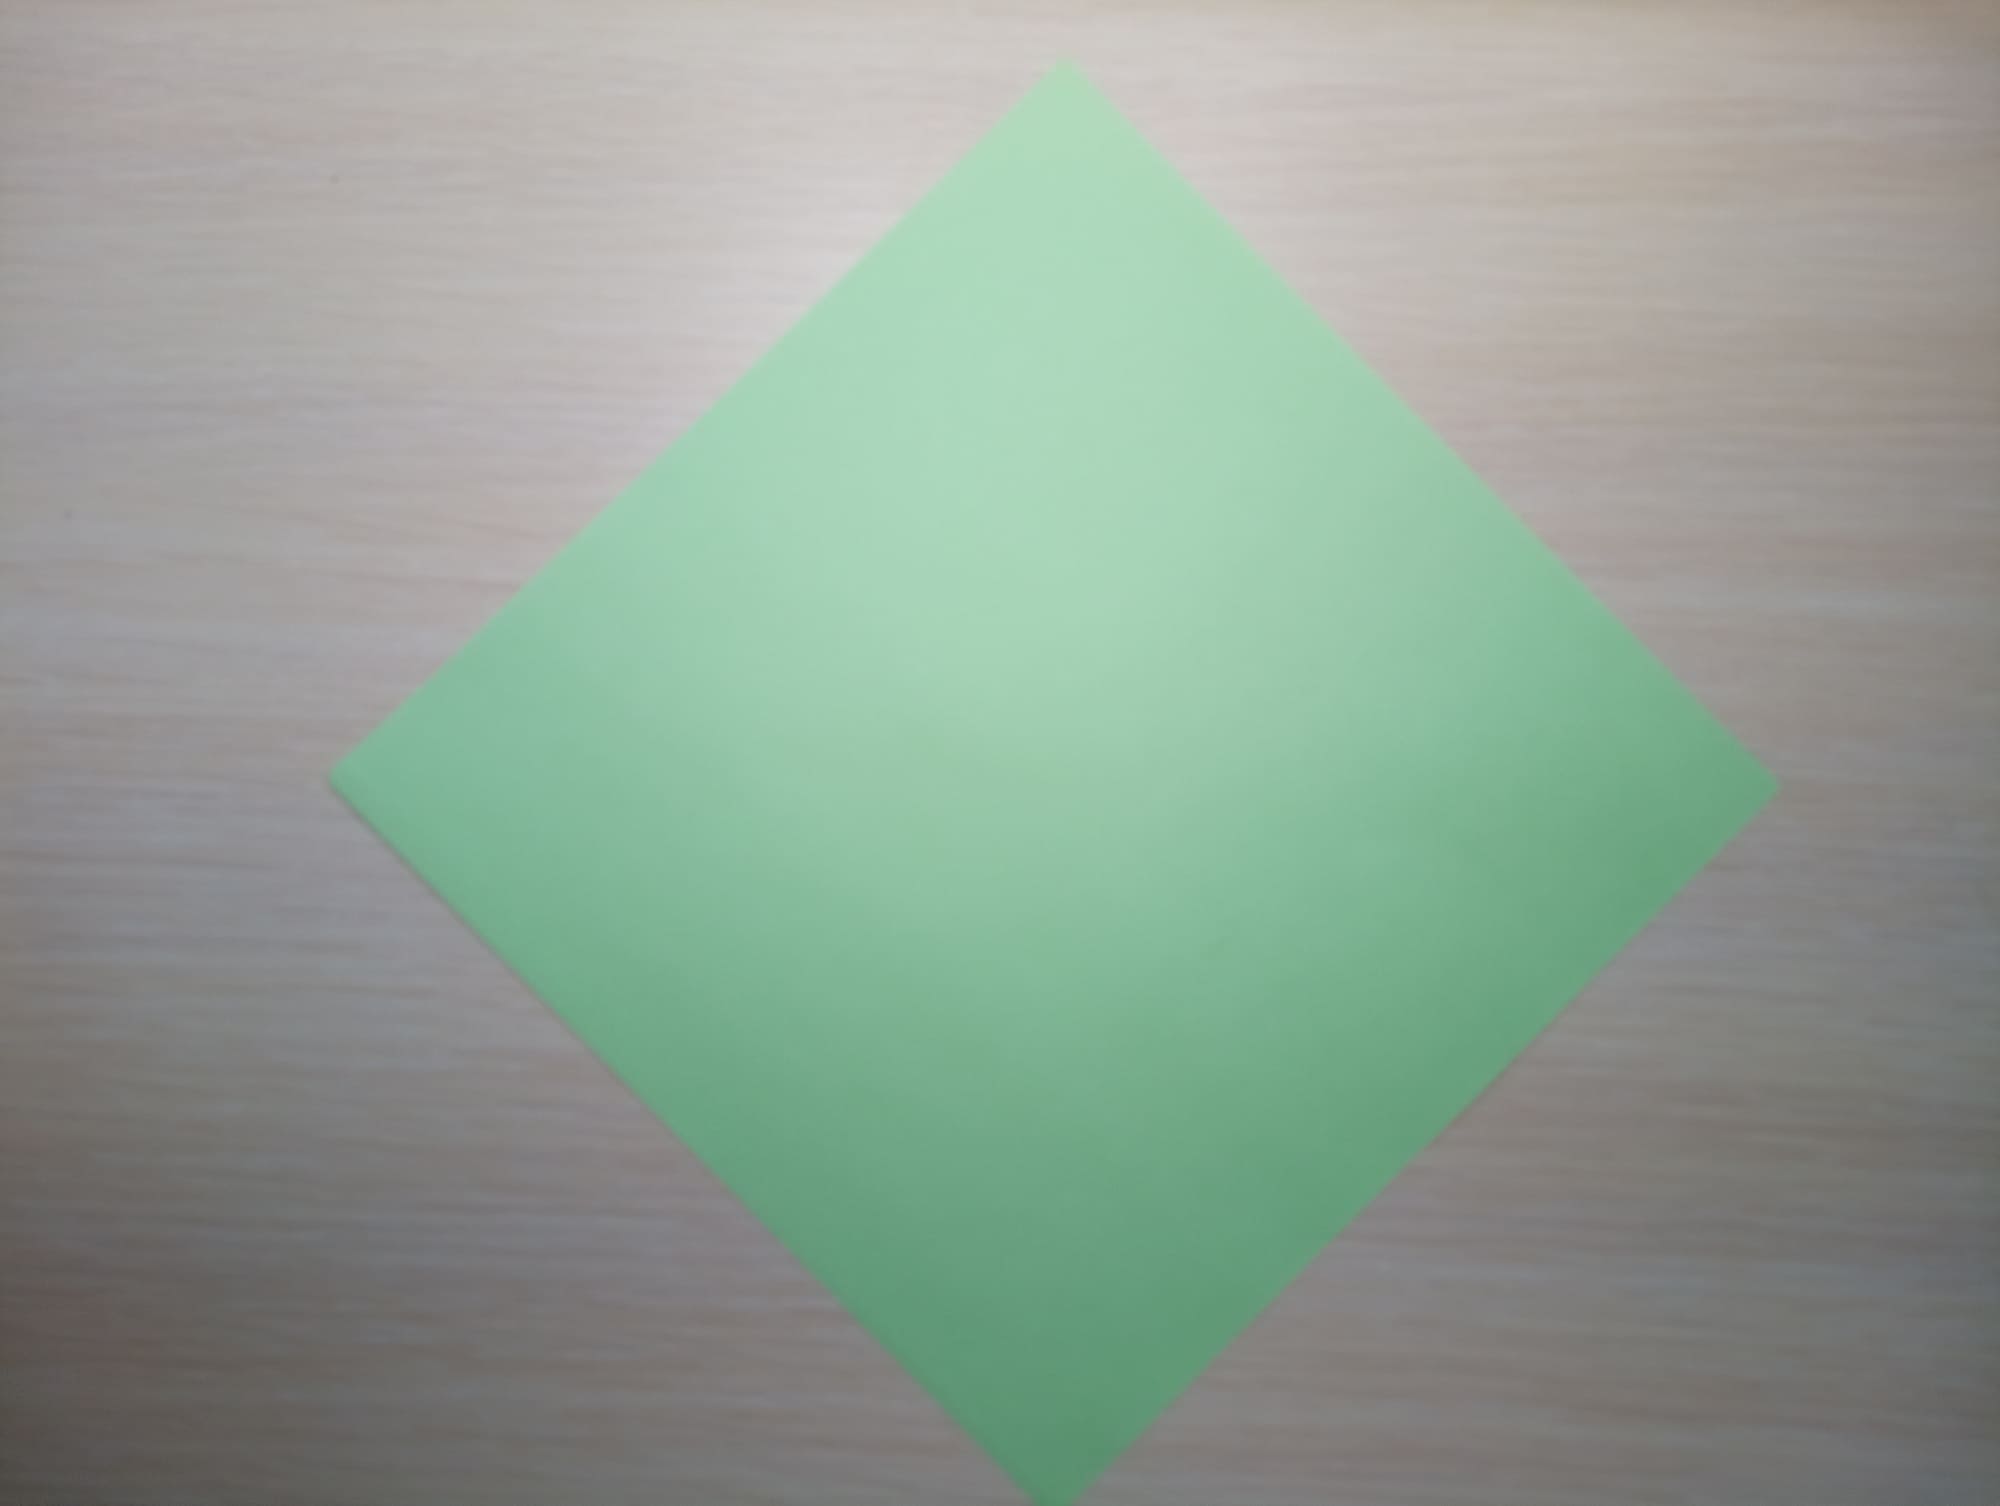
A square sheet of paper (square origami paper of any size and color will do). The bigger the sheet of paper, the bigger the glider will be. But remember that its weight also increases due to the large amount of paper, and the heavier the glider — the more difficult for it to fly.
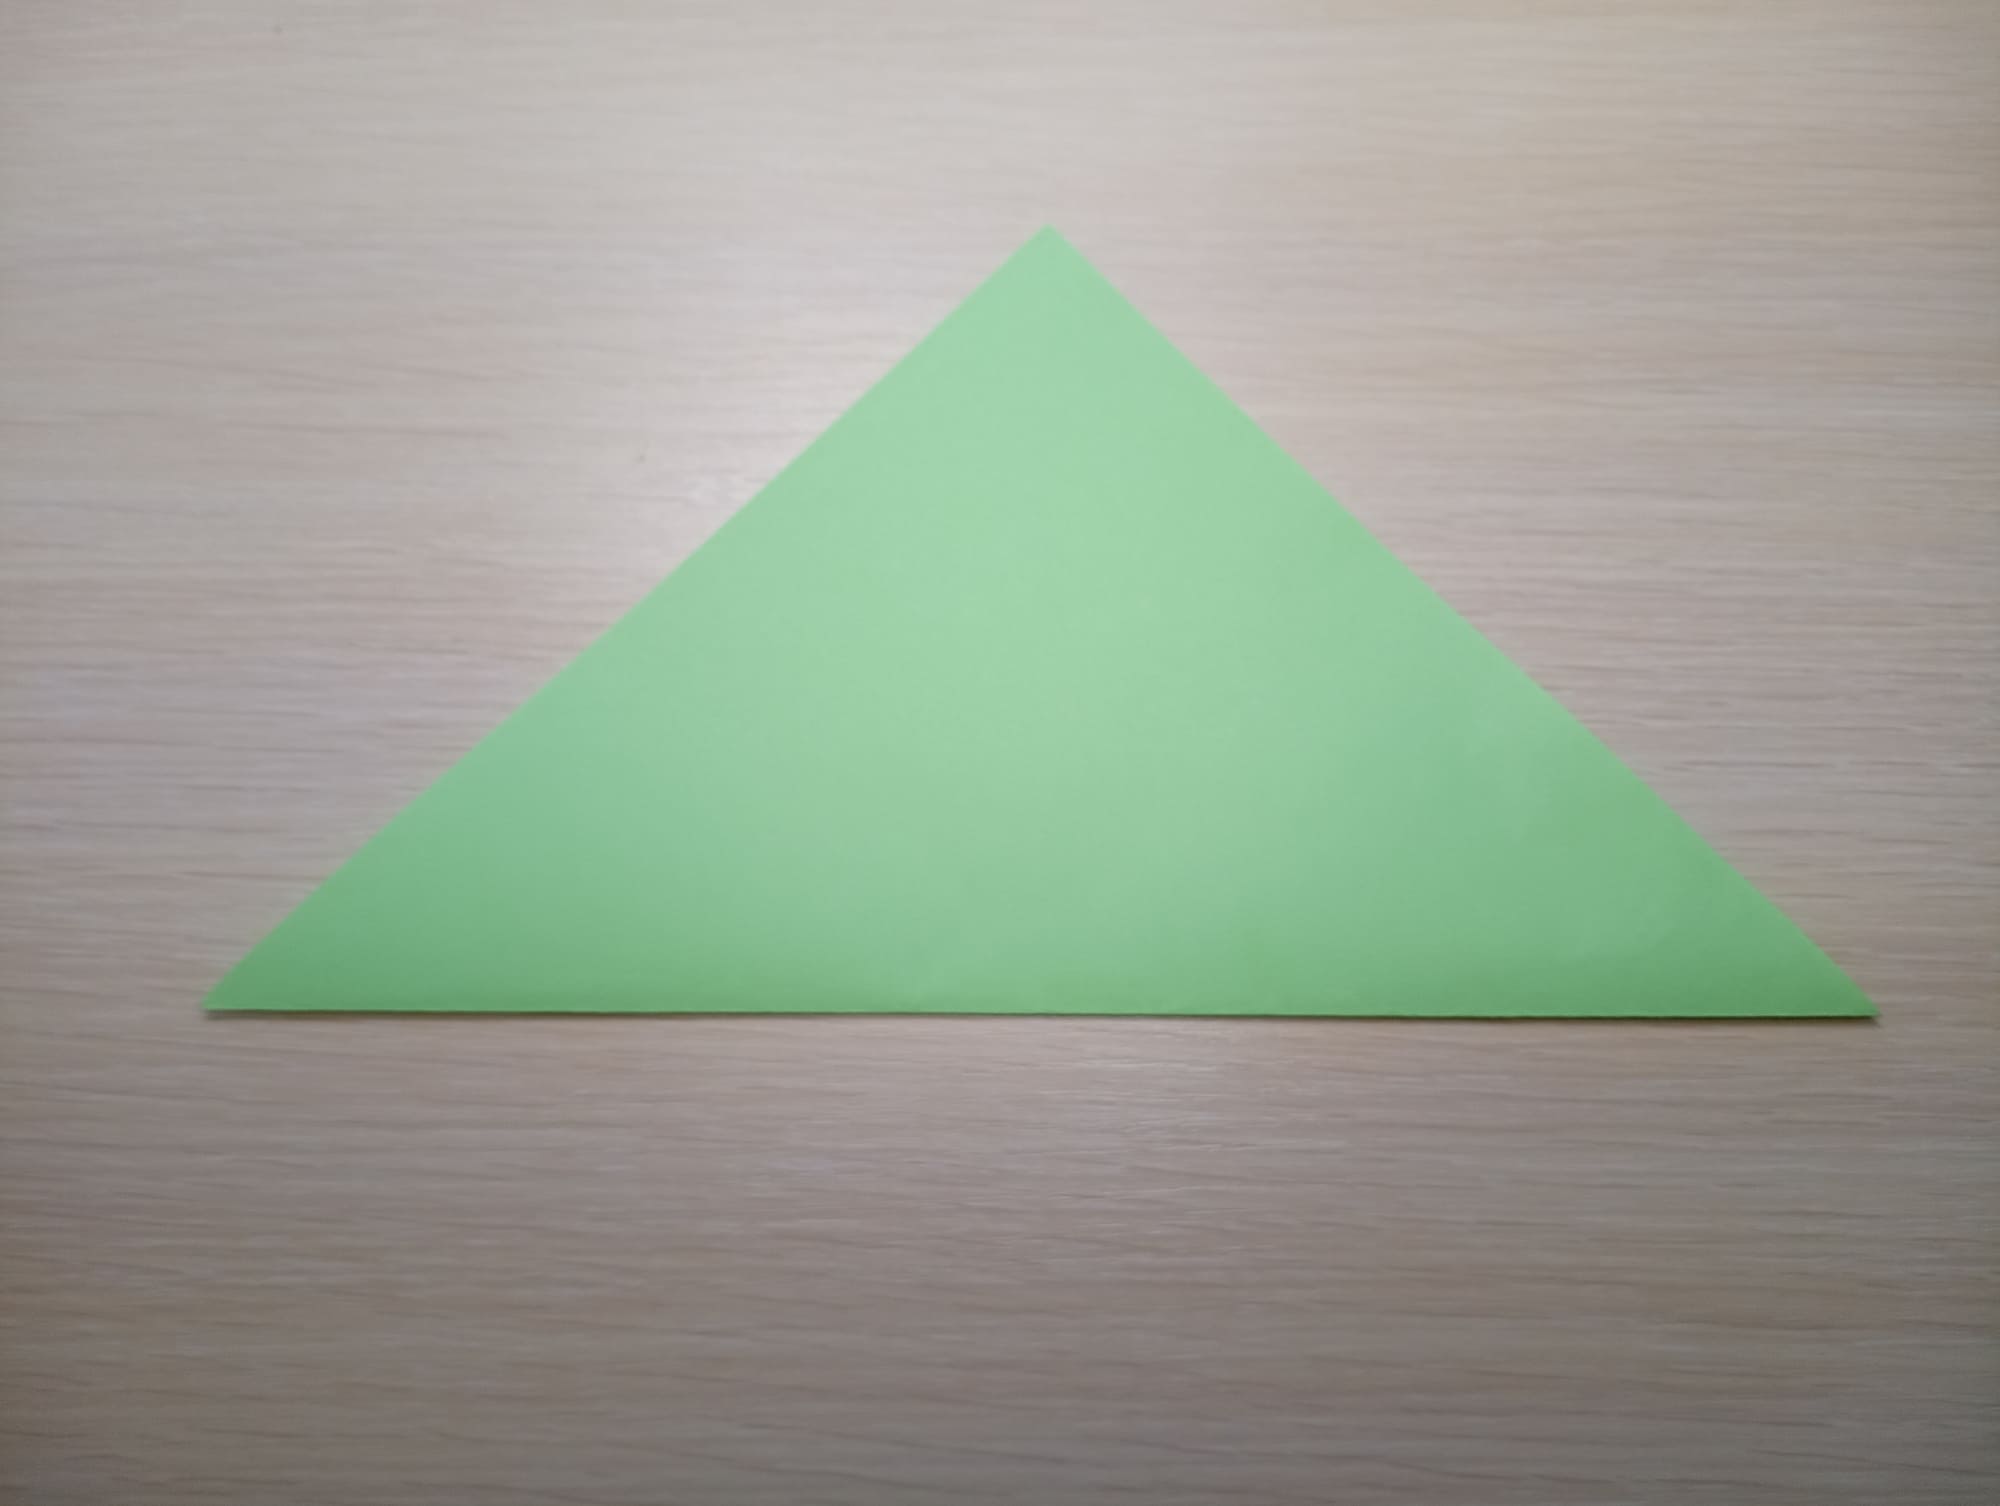
Fold the sheet of paper in half diagonally.
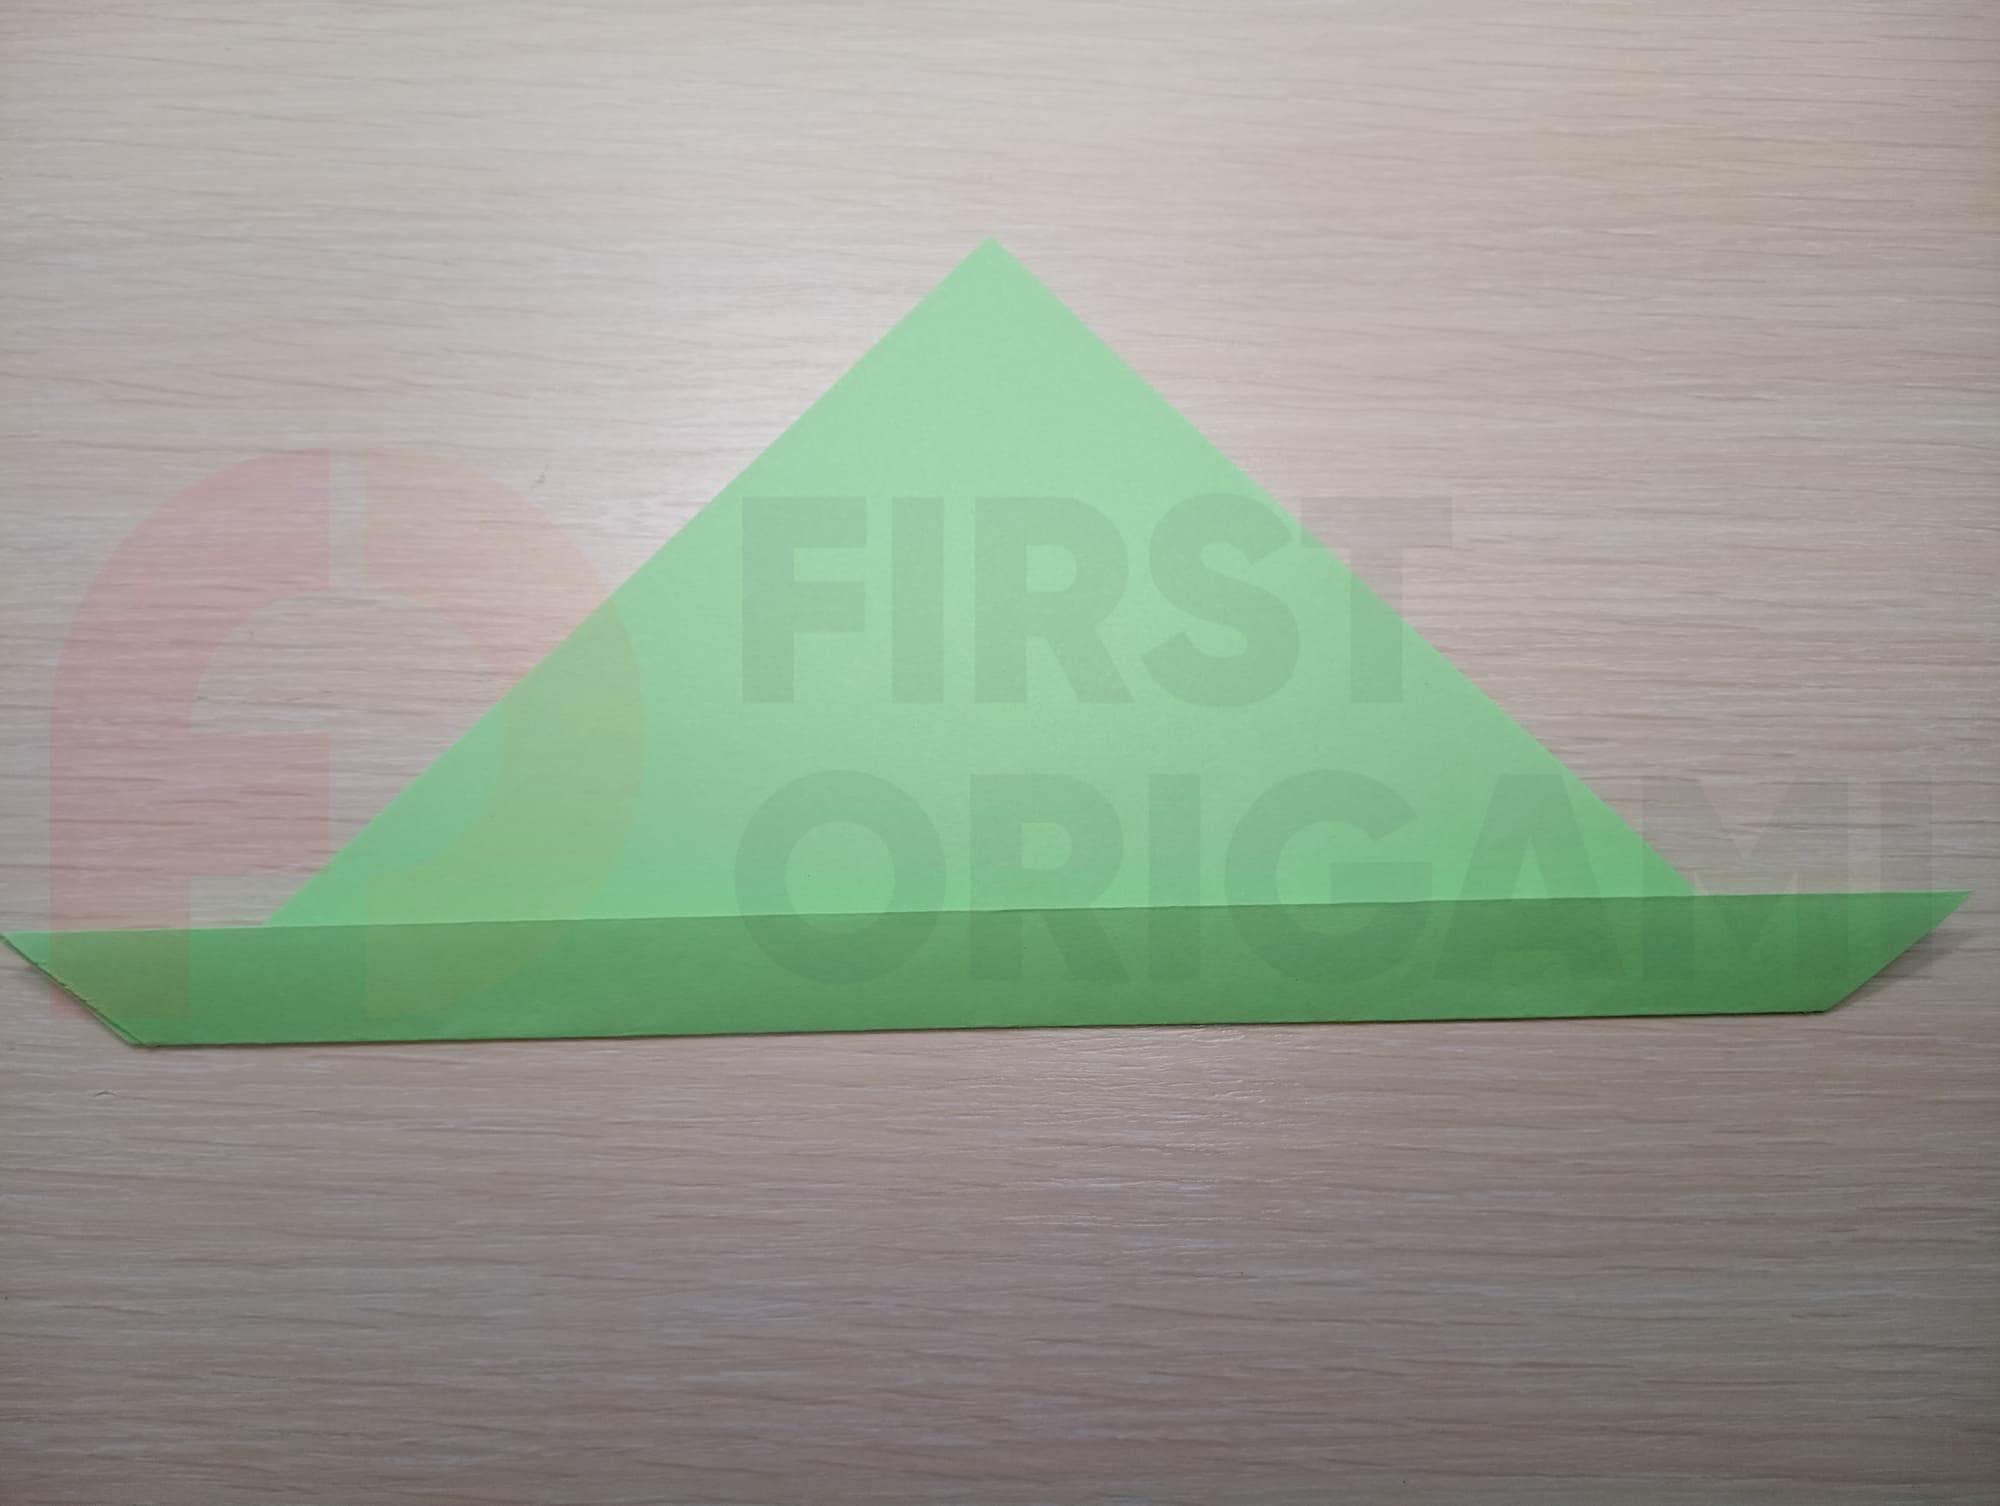
Wrap the bottom edge of the triangle by about 1 cm. Look at the photo to see how it should turn out.

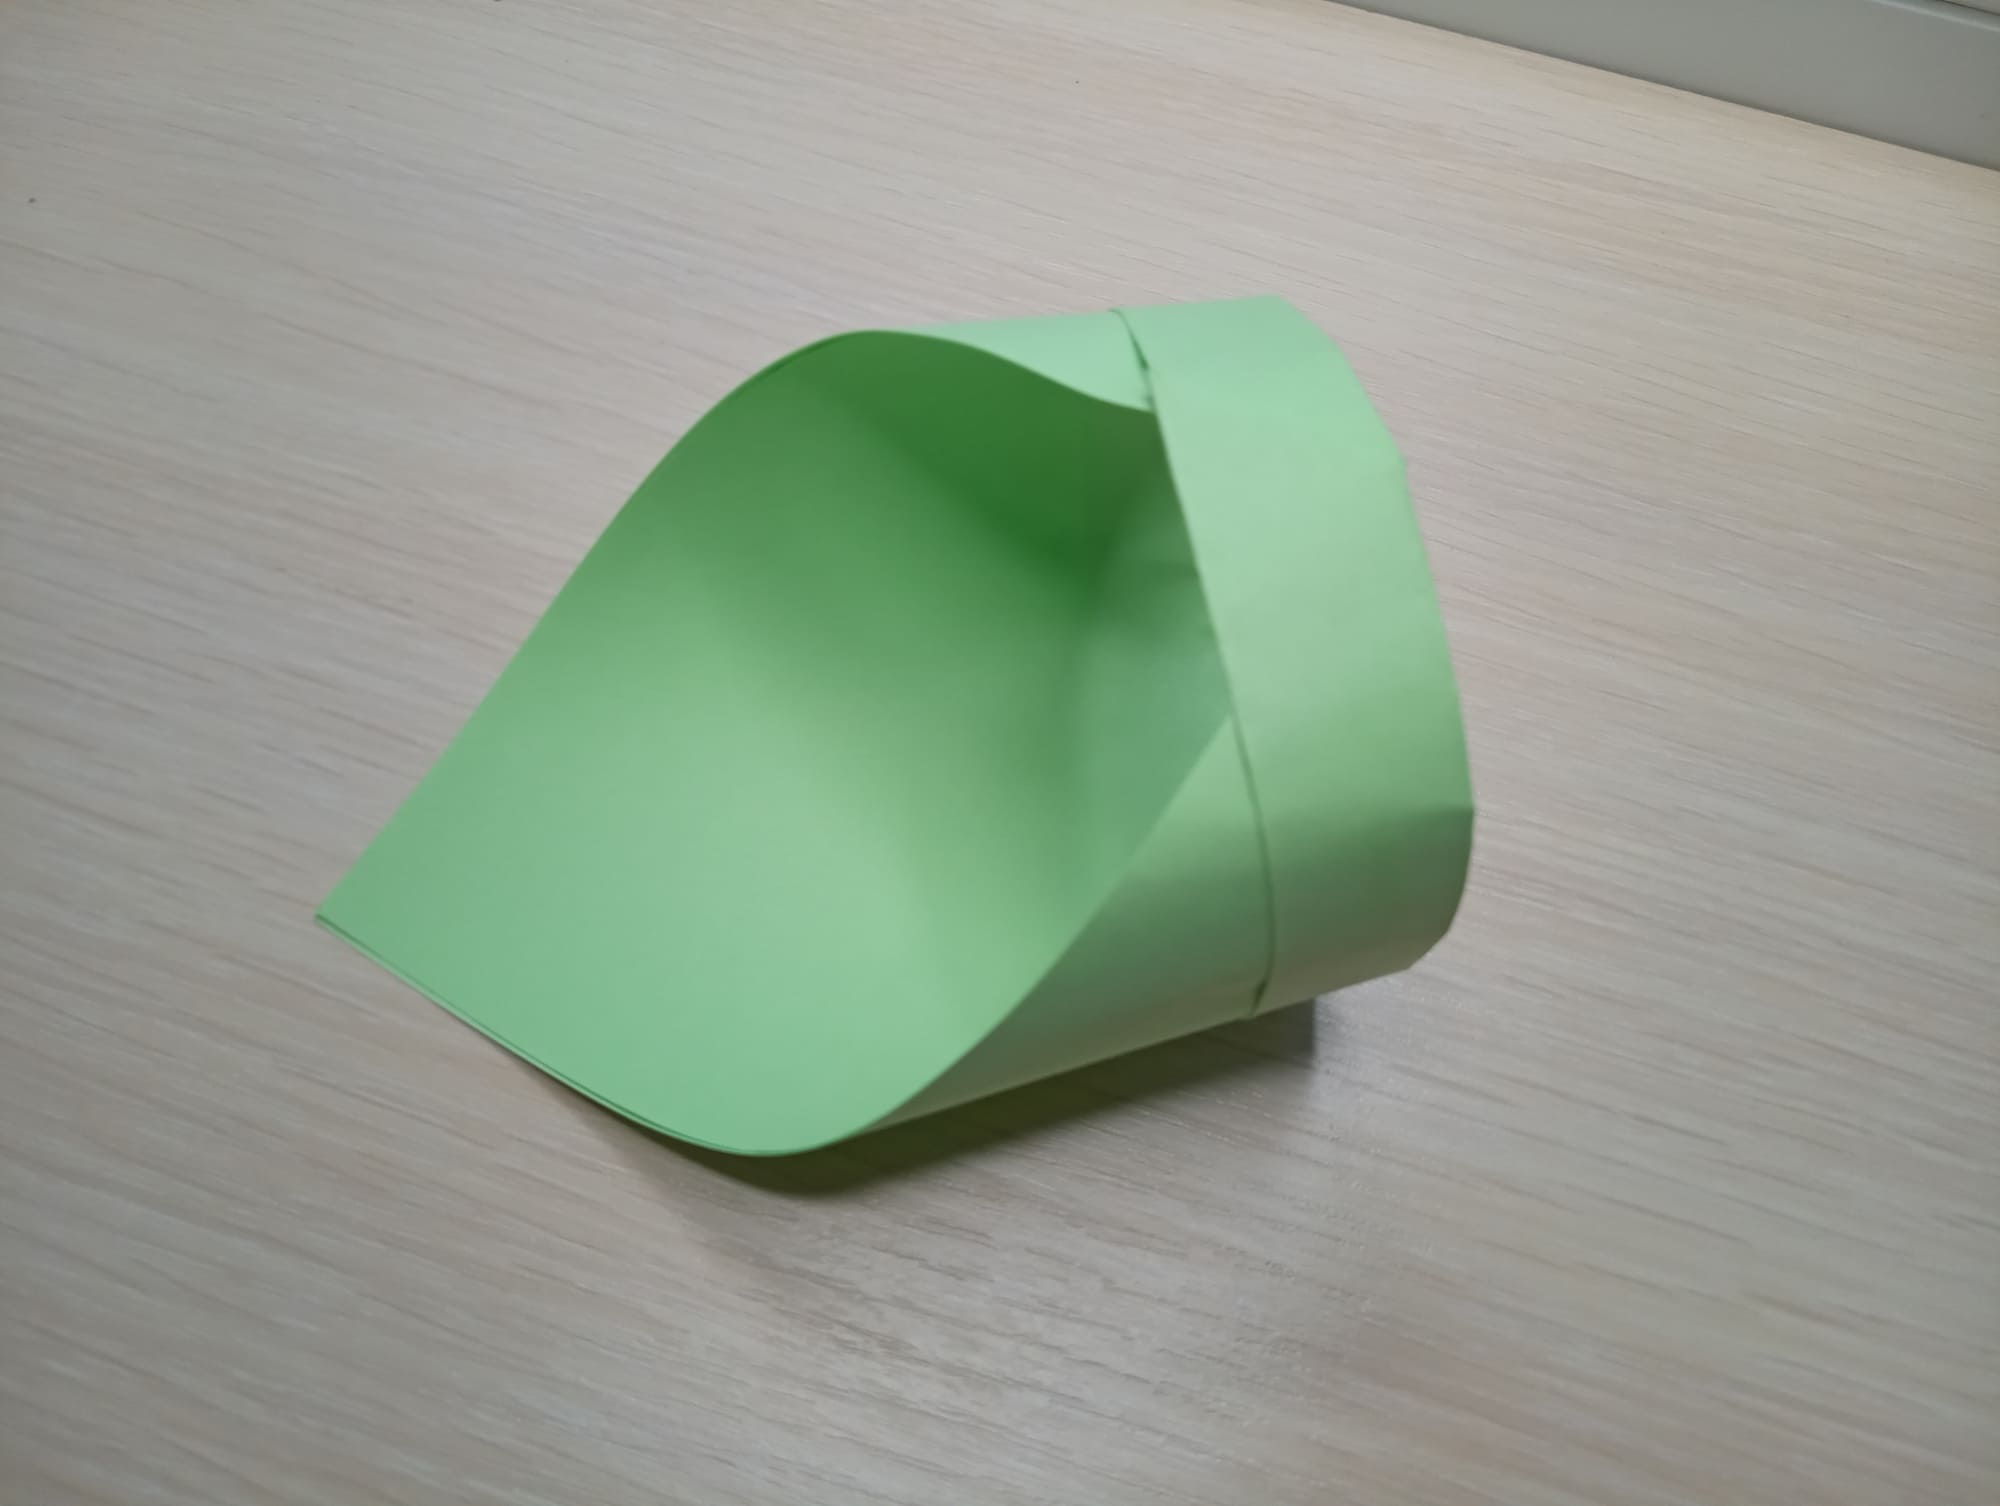
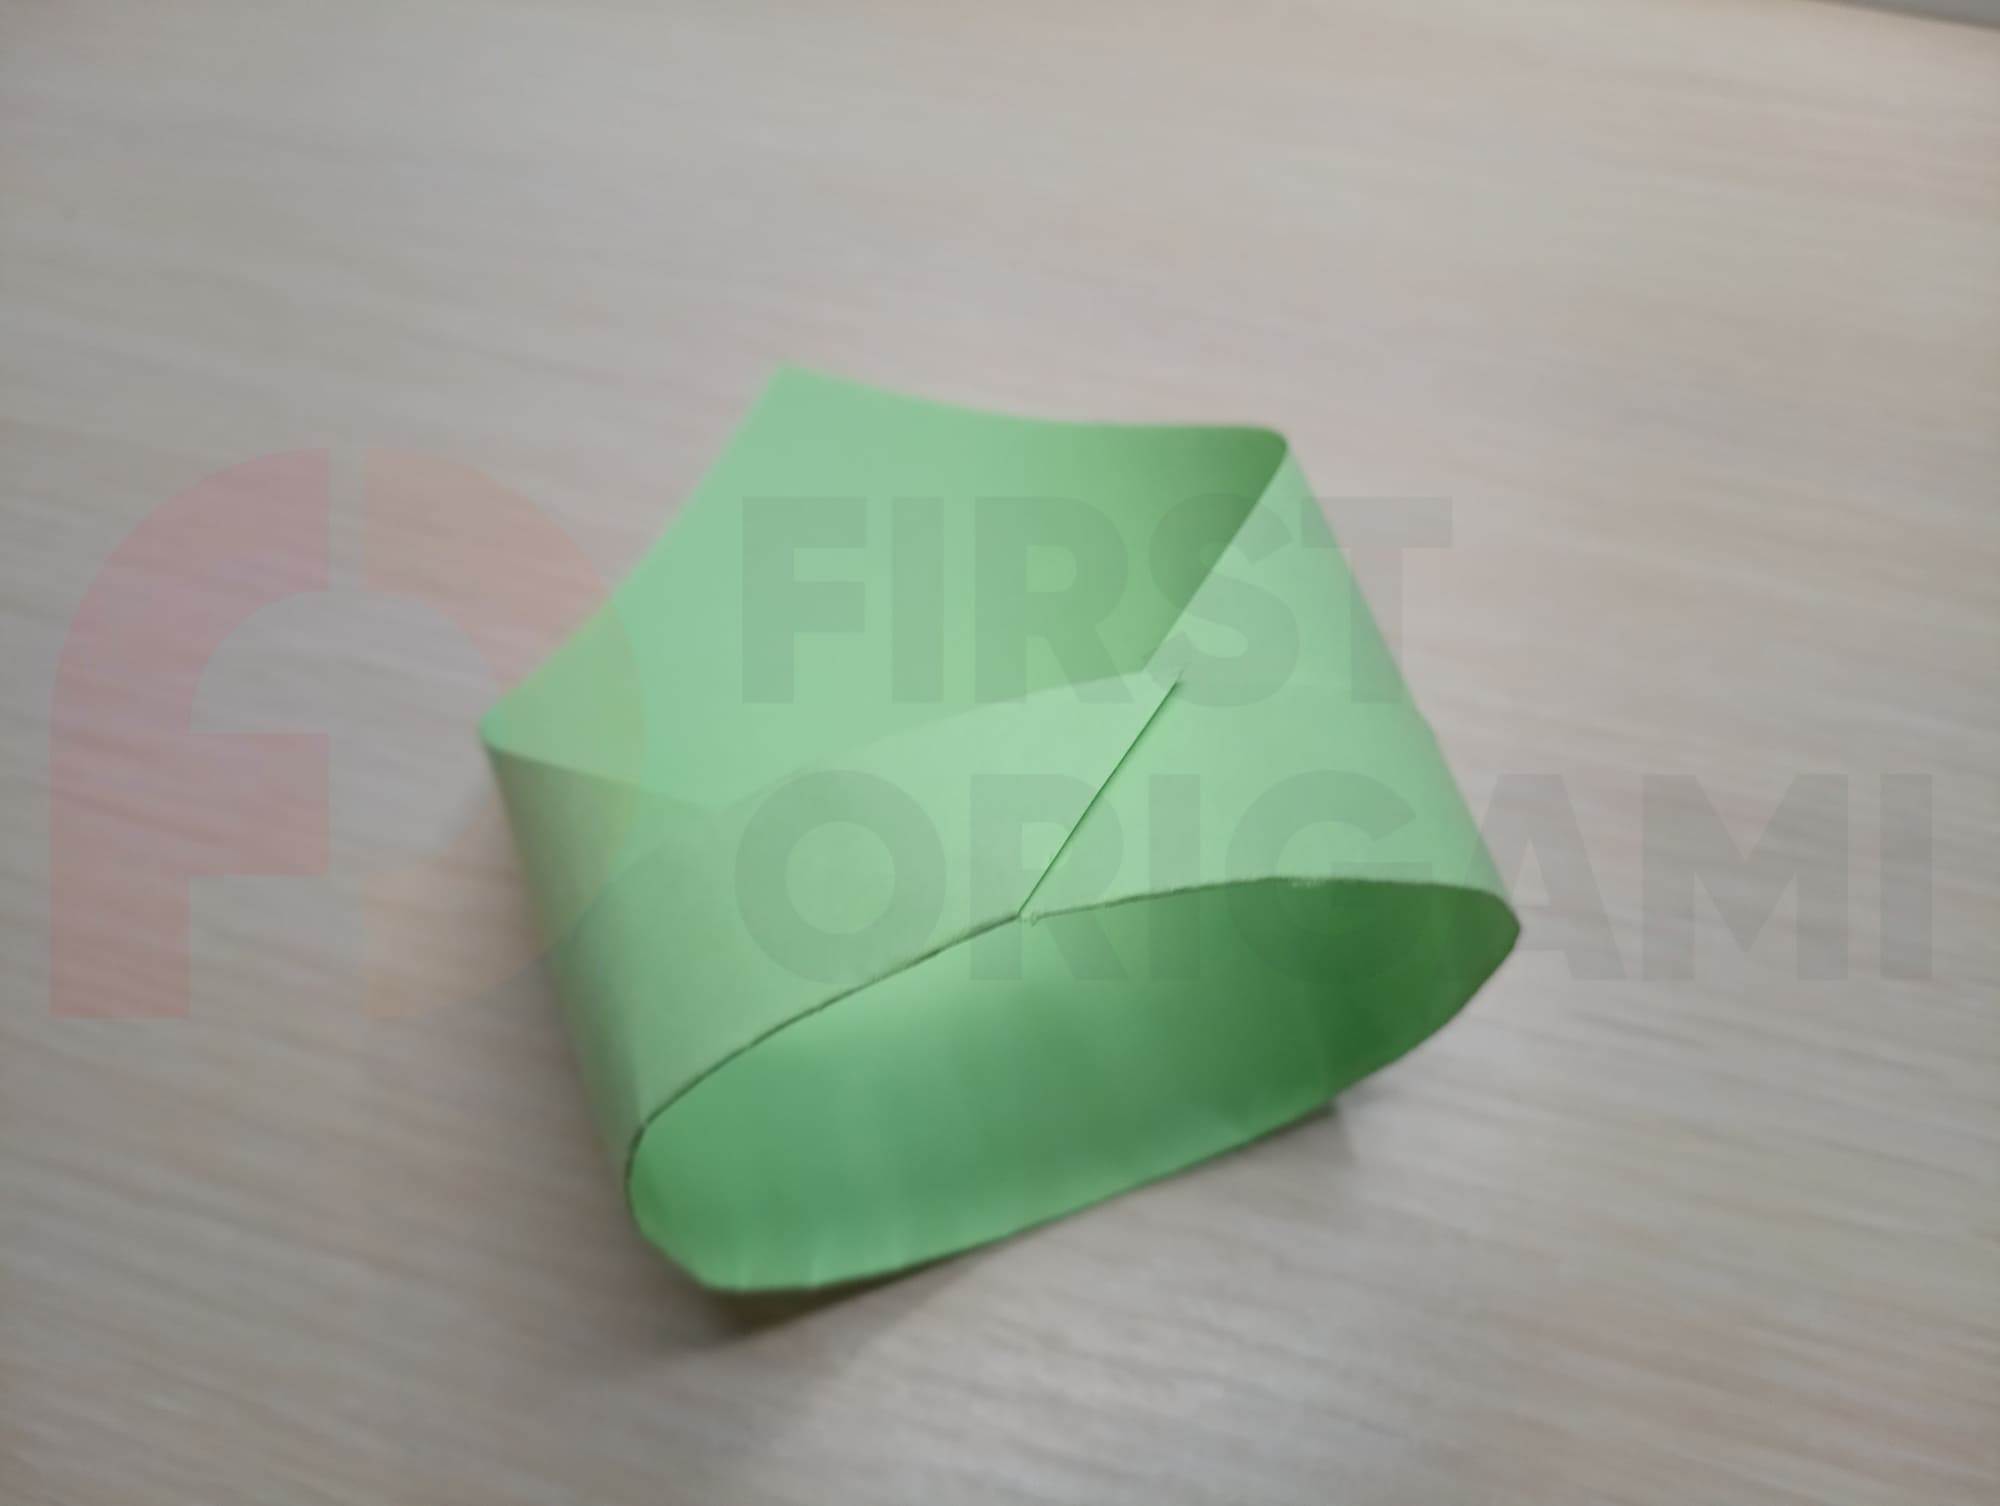
Bring the edges of the triangle to each other. One end should be placed in the hole of the other end. Look at the photo. It is important to slide the end into the hole all the way through so that the piece holds its round shape.
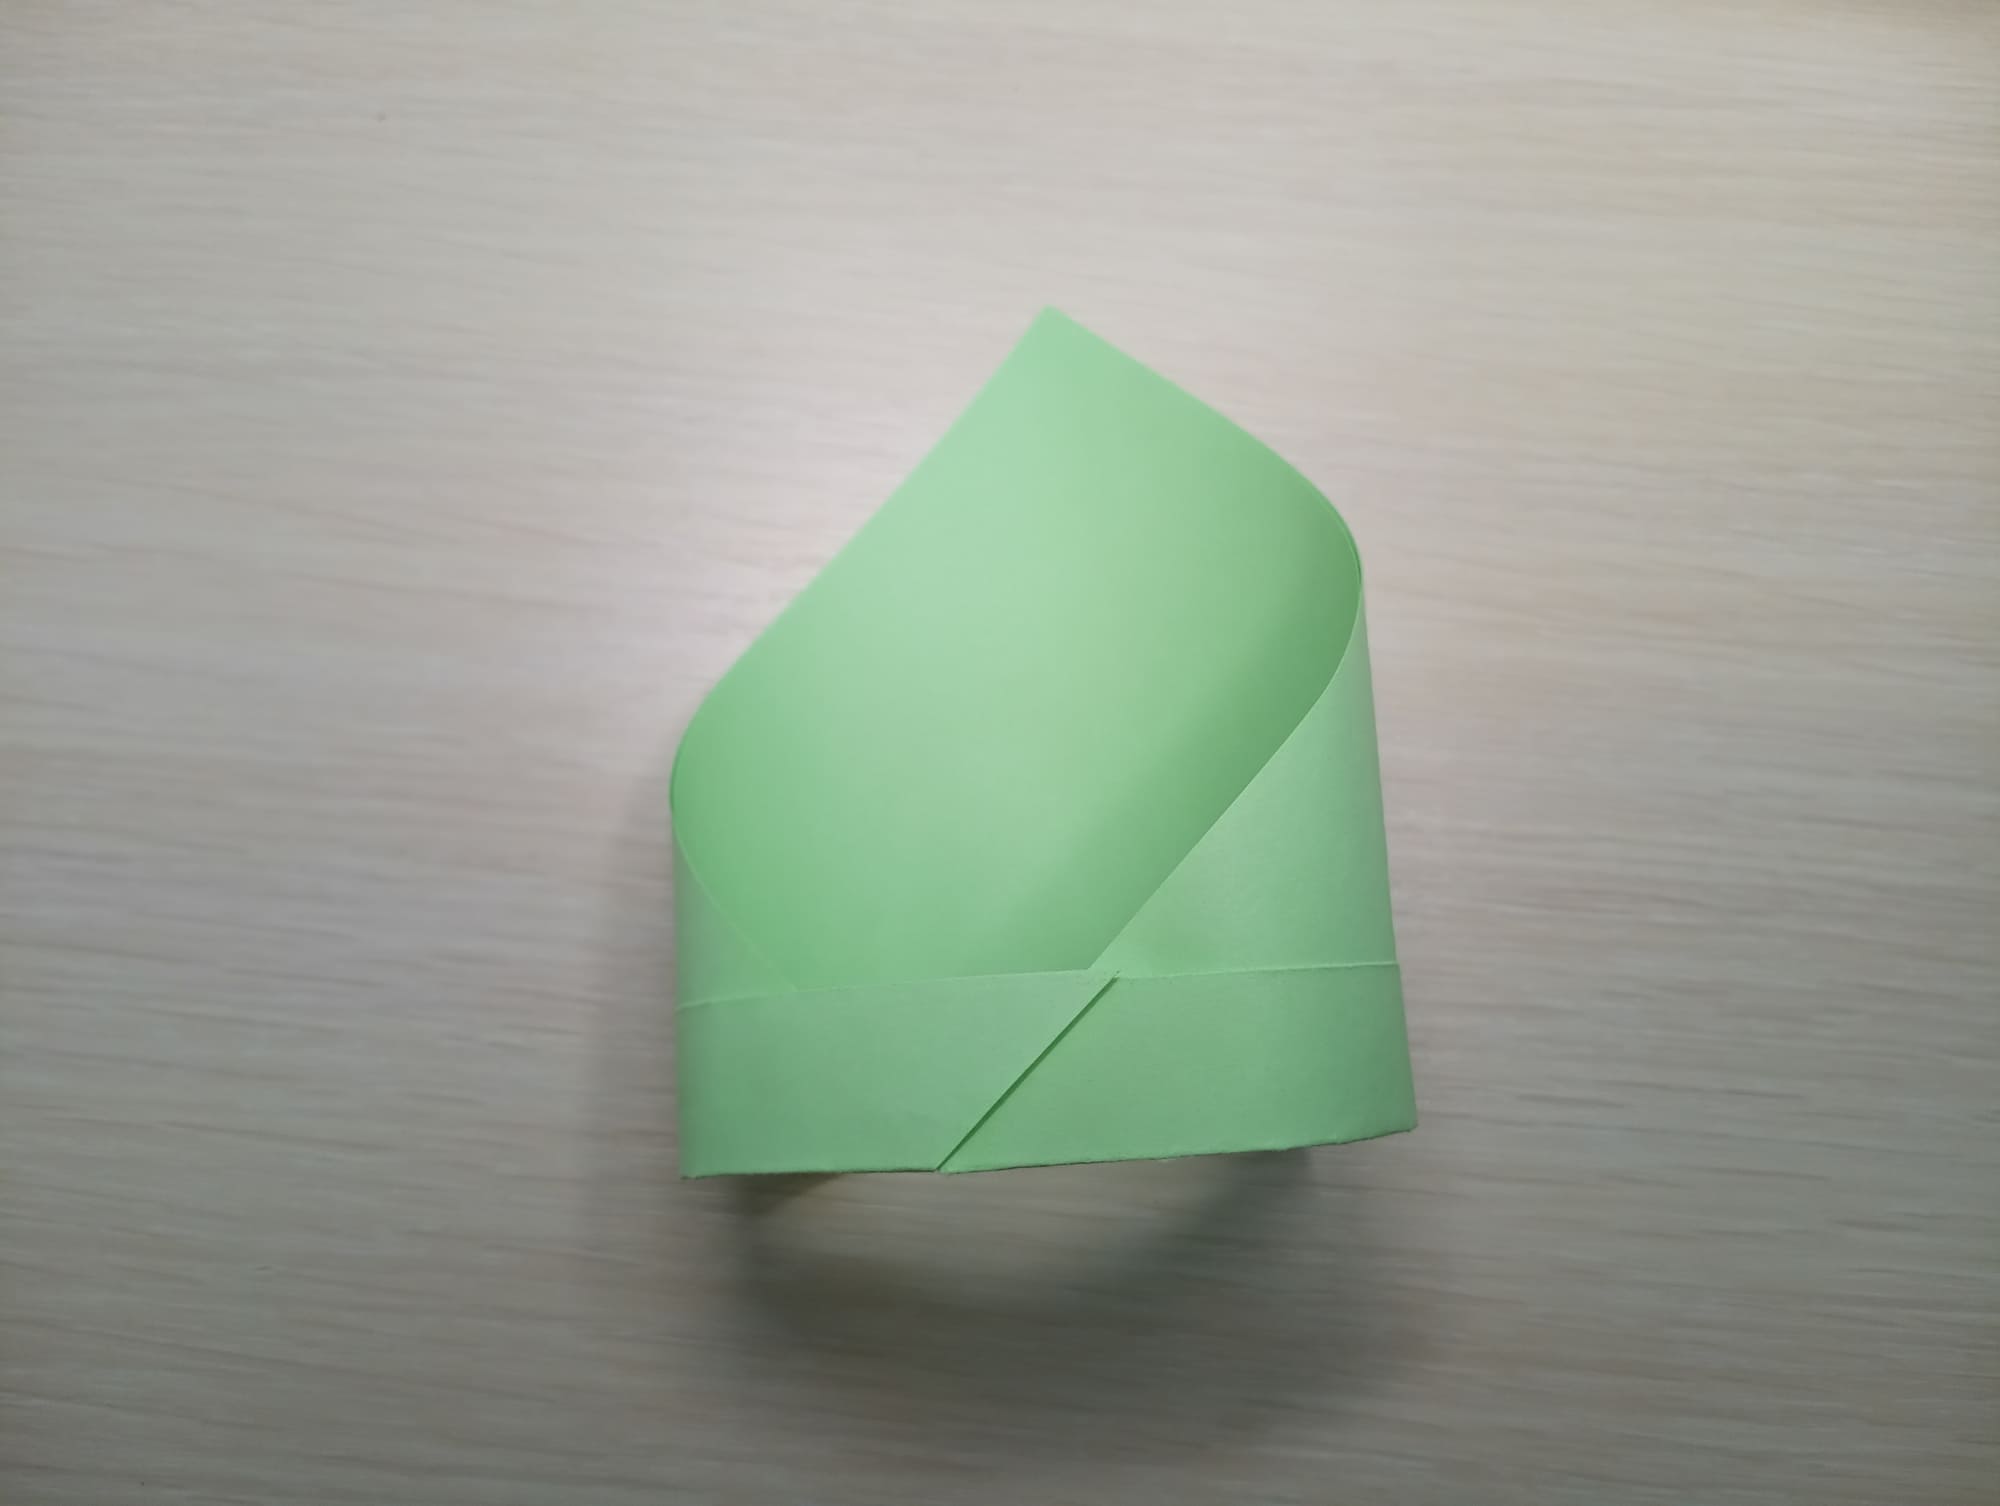
With your fingers, run your fingers along the circle, pushing through each step. It is necessary to give stability to the figure.
The finished glider can be immediately launched into the sky.
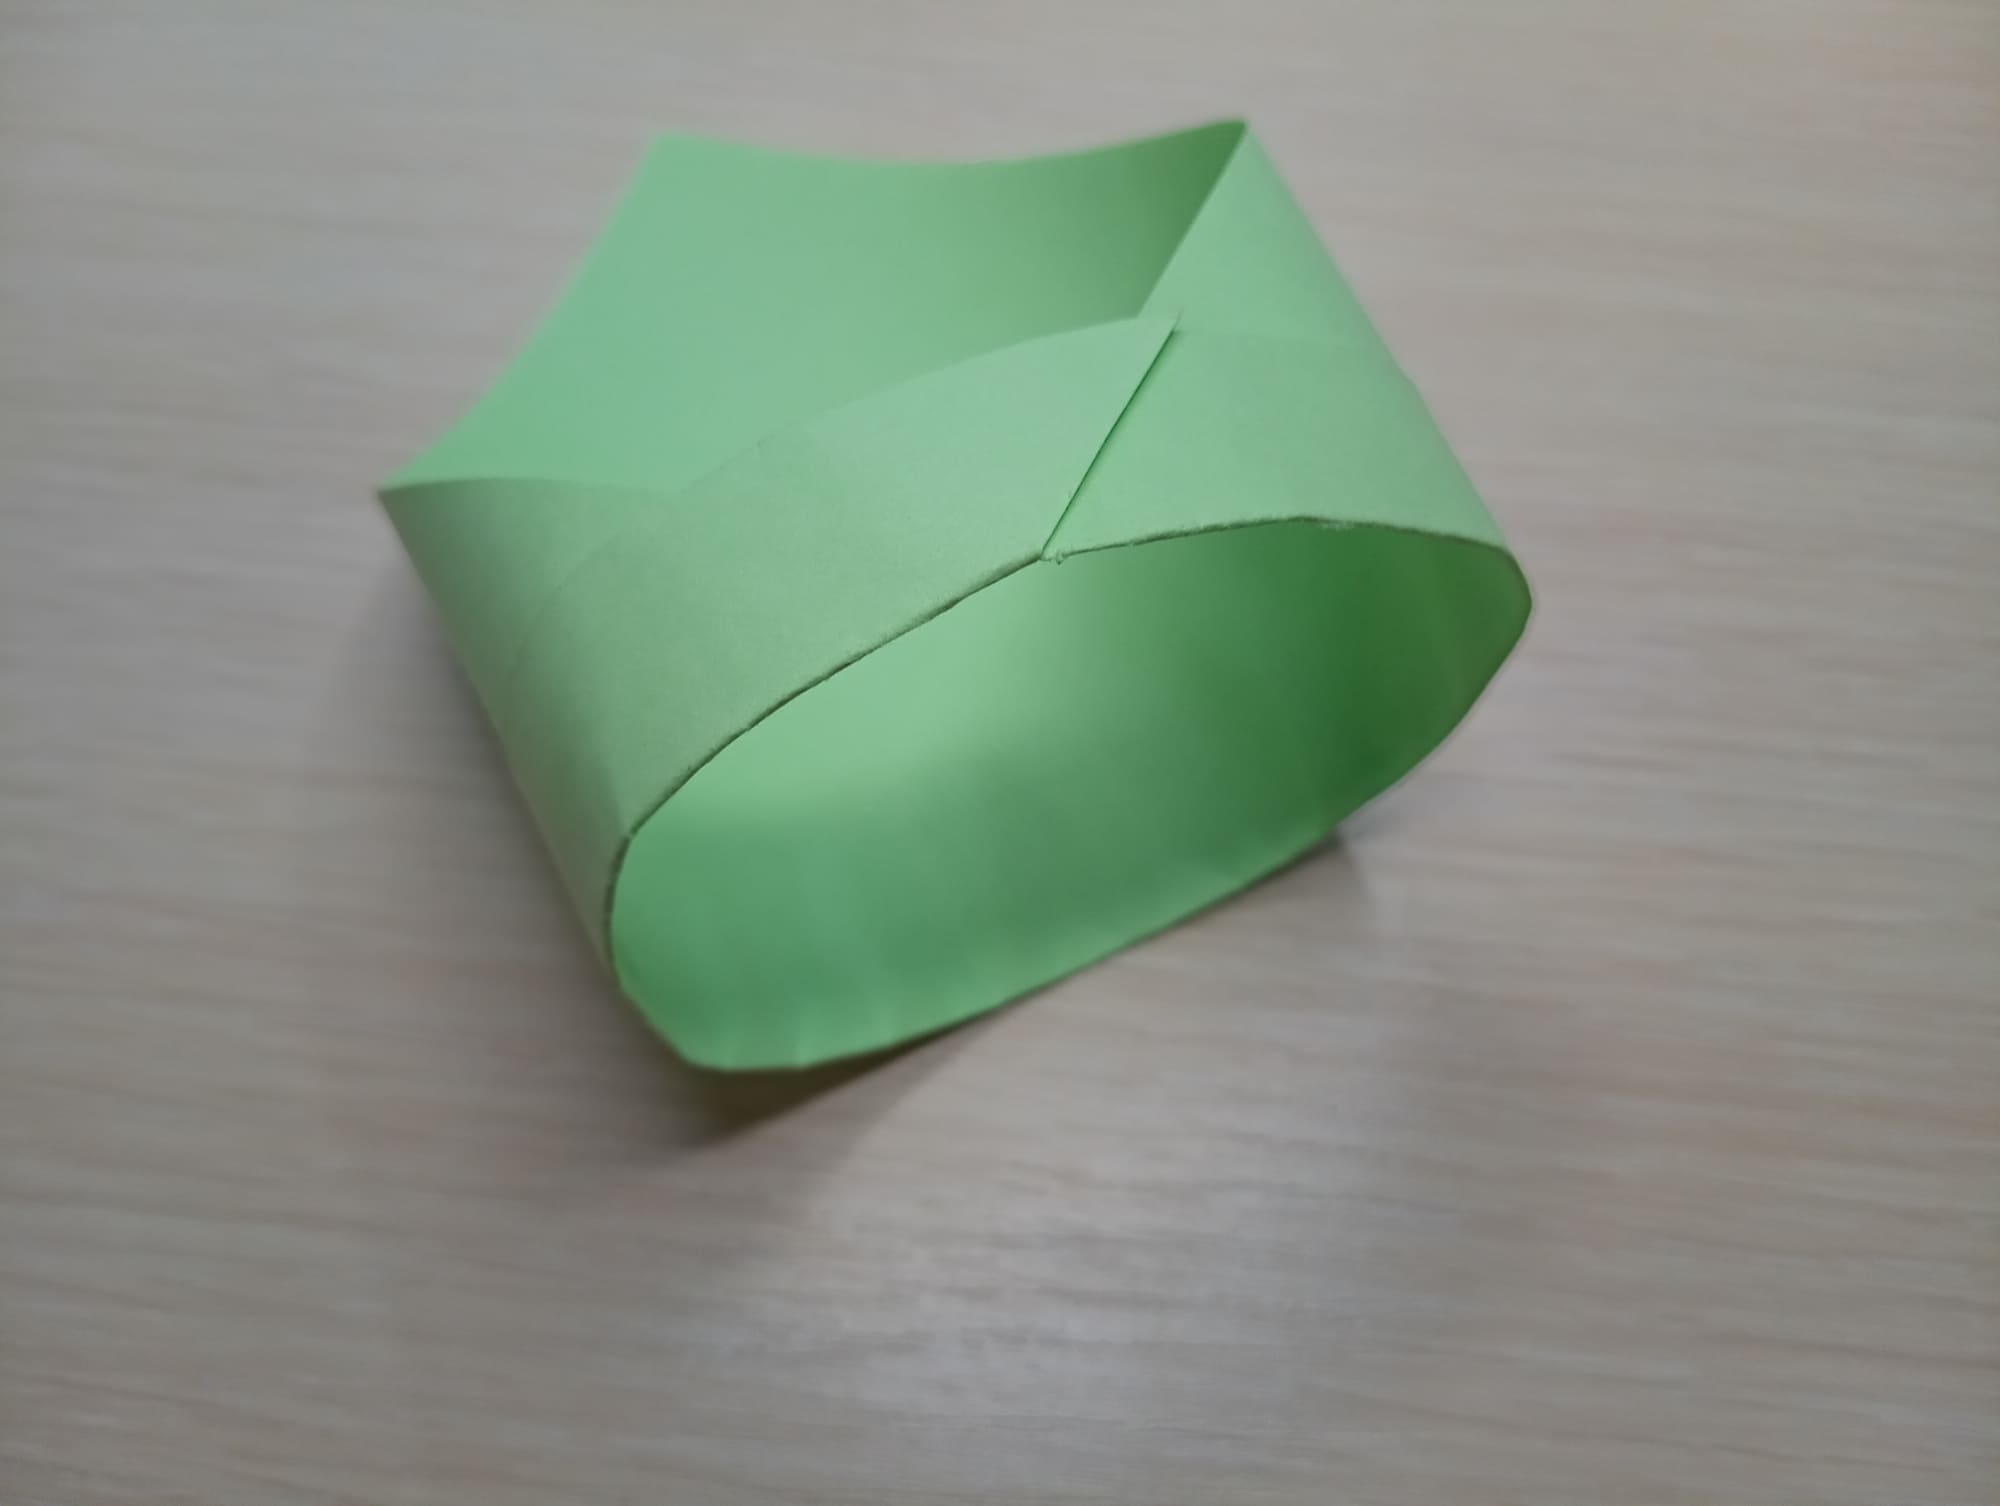
Look from different sides what a beautiful toy you have just created! To launch this aircraft, you need to clamp the triangular tail between your index finger and thumb. Now all you have to do is raise your hand above your head and launch the glider into its first flight.


