Origami Cow
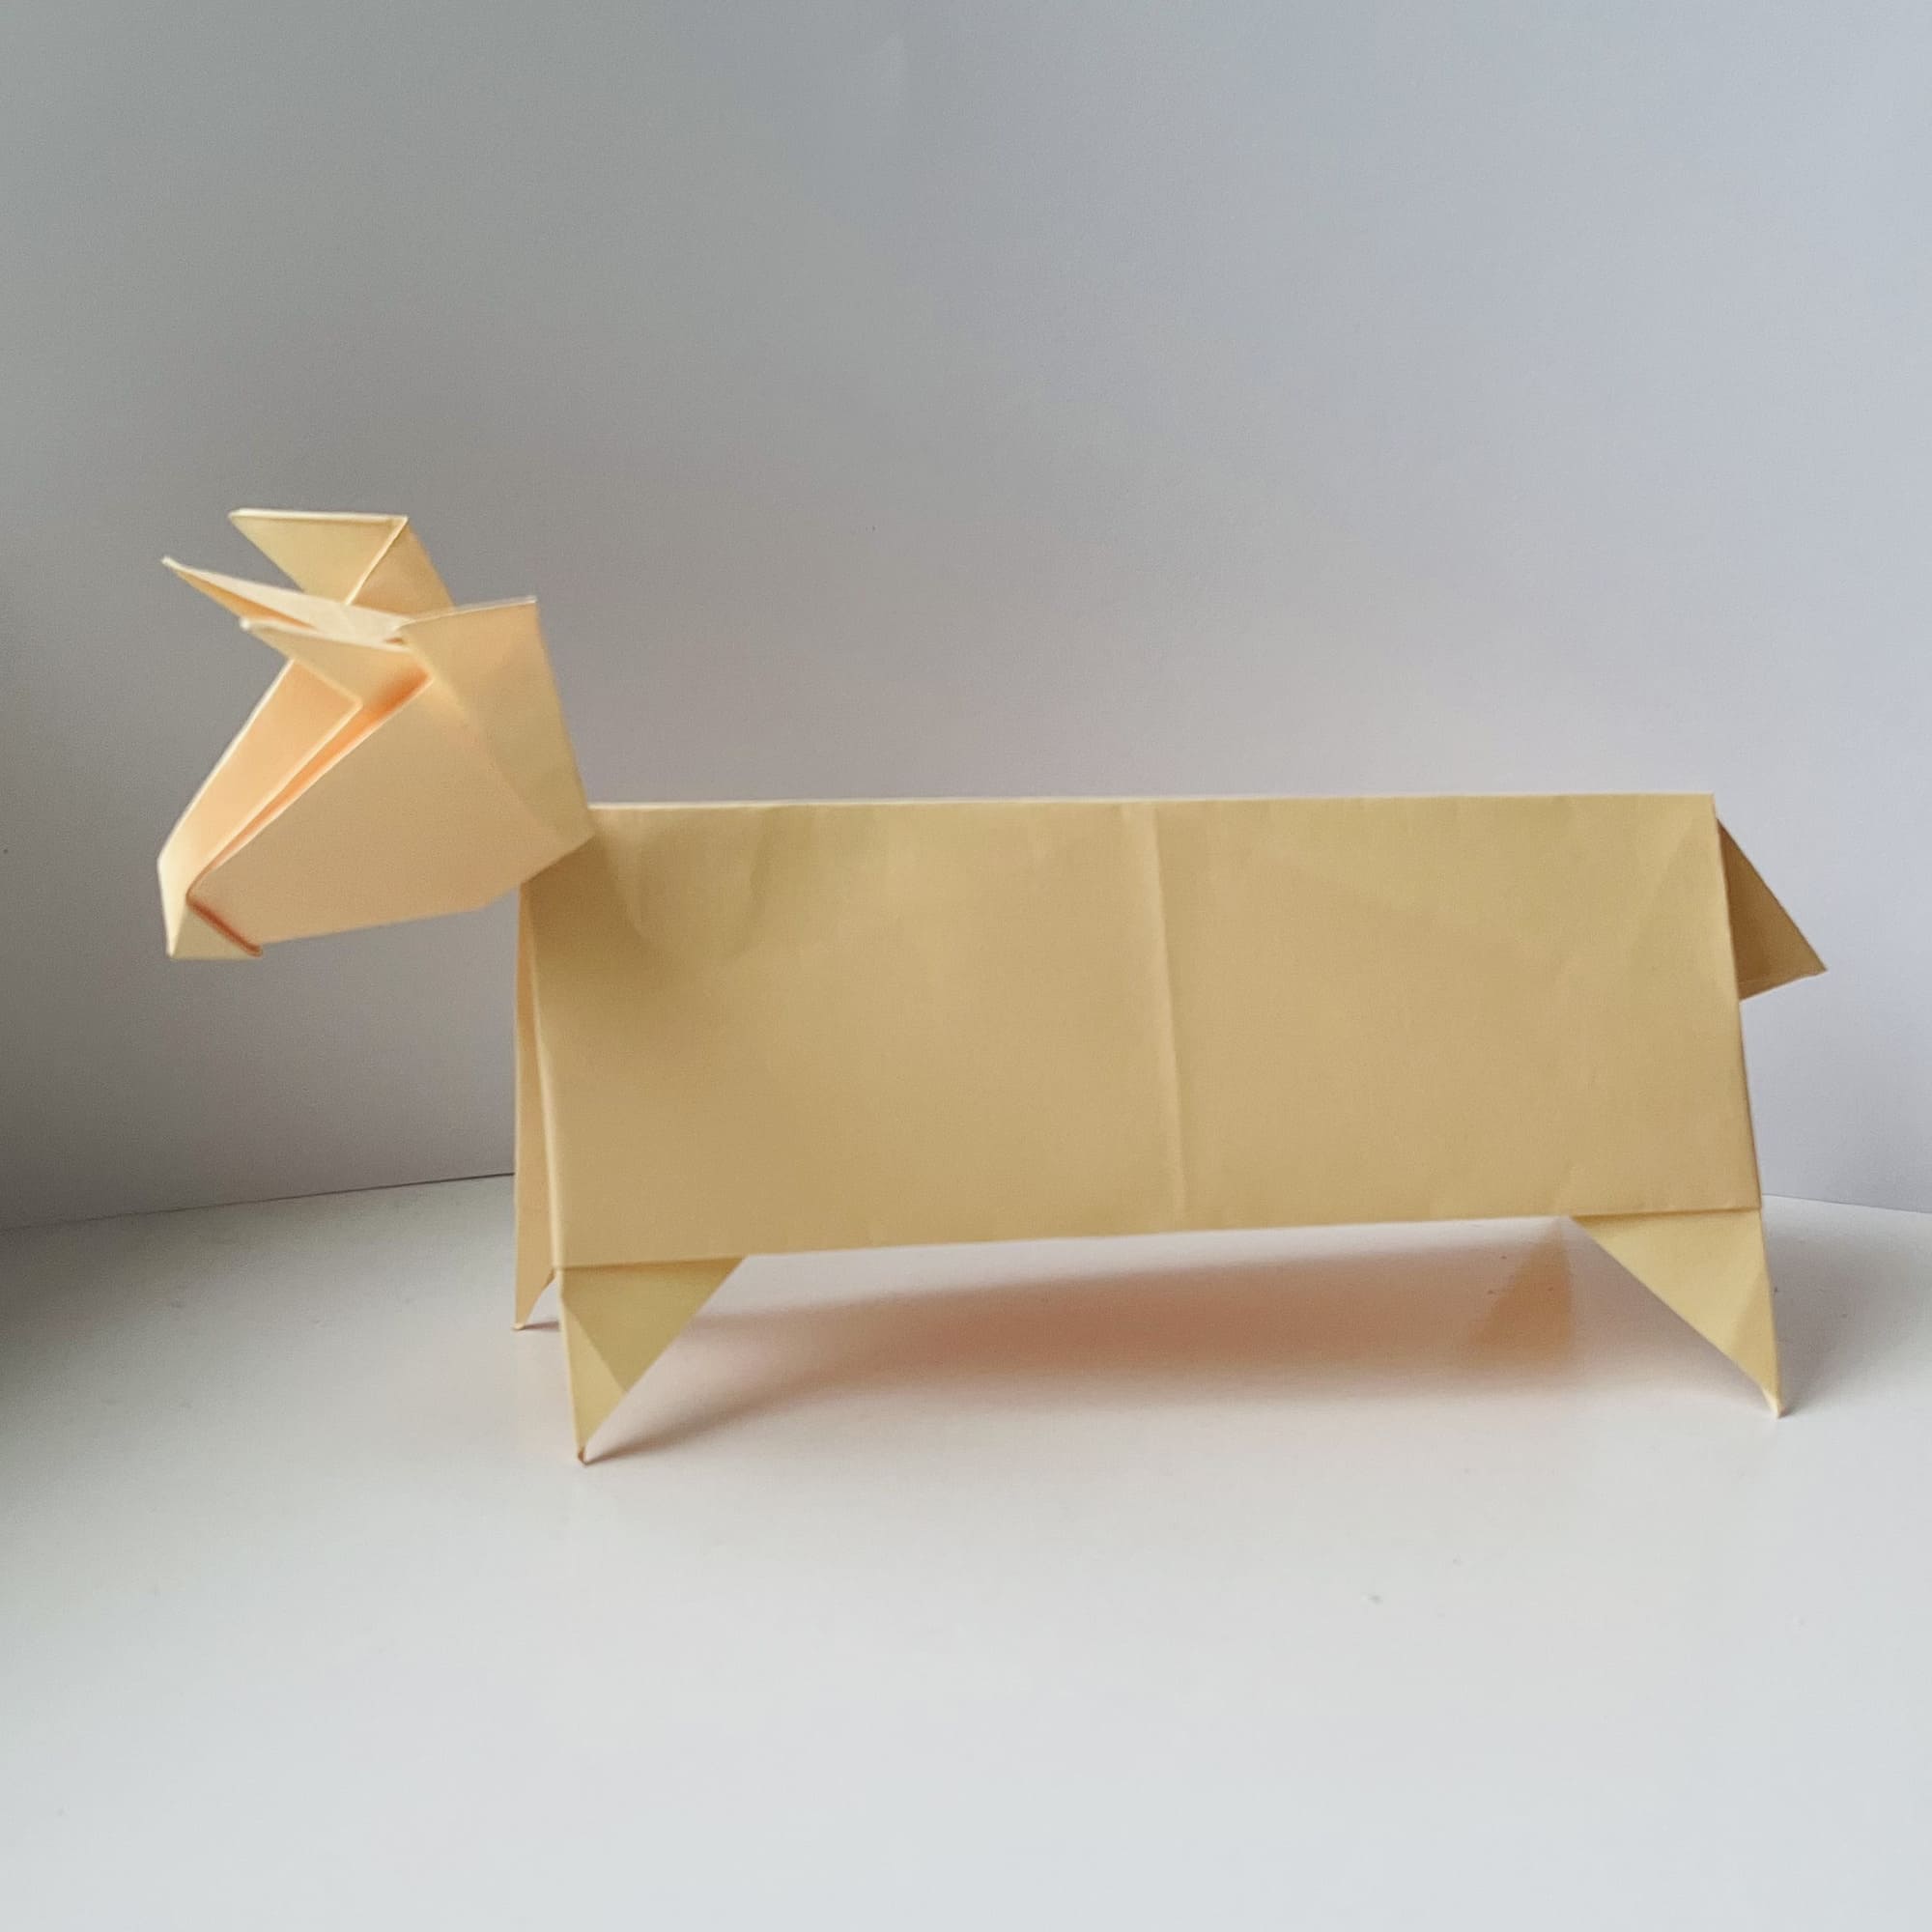
This is one of the cutest origami imaginable! In addition, it consists of two parts, which is quite rare. However, this does not affect the complexity of the figure.
We prefer to take light paper and add black spots to the cow after completing the origami. It turns out very nice and resembles illustrations from children’s books.

Take a sheet of paper 20×20 cm, if it is one-sided, then the colored side down.
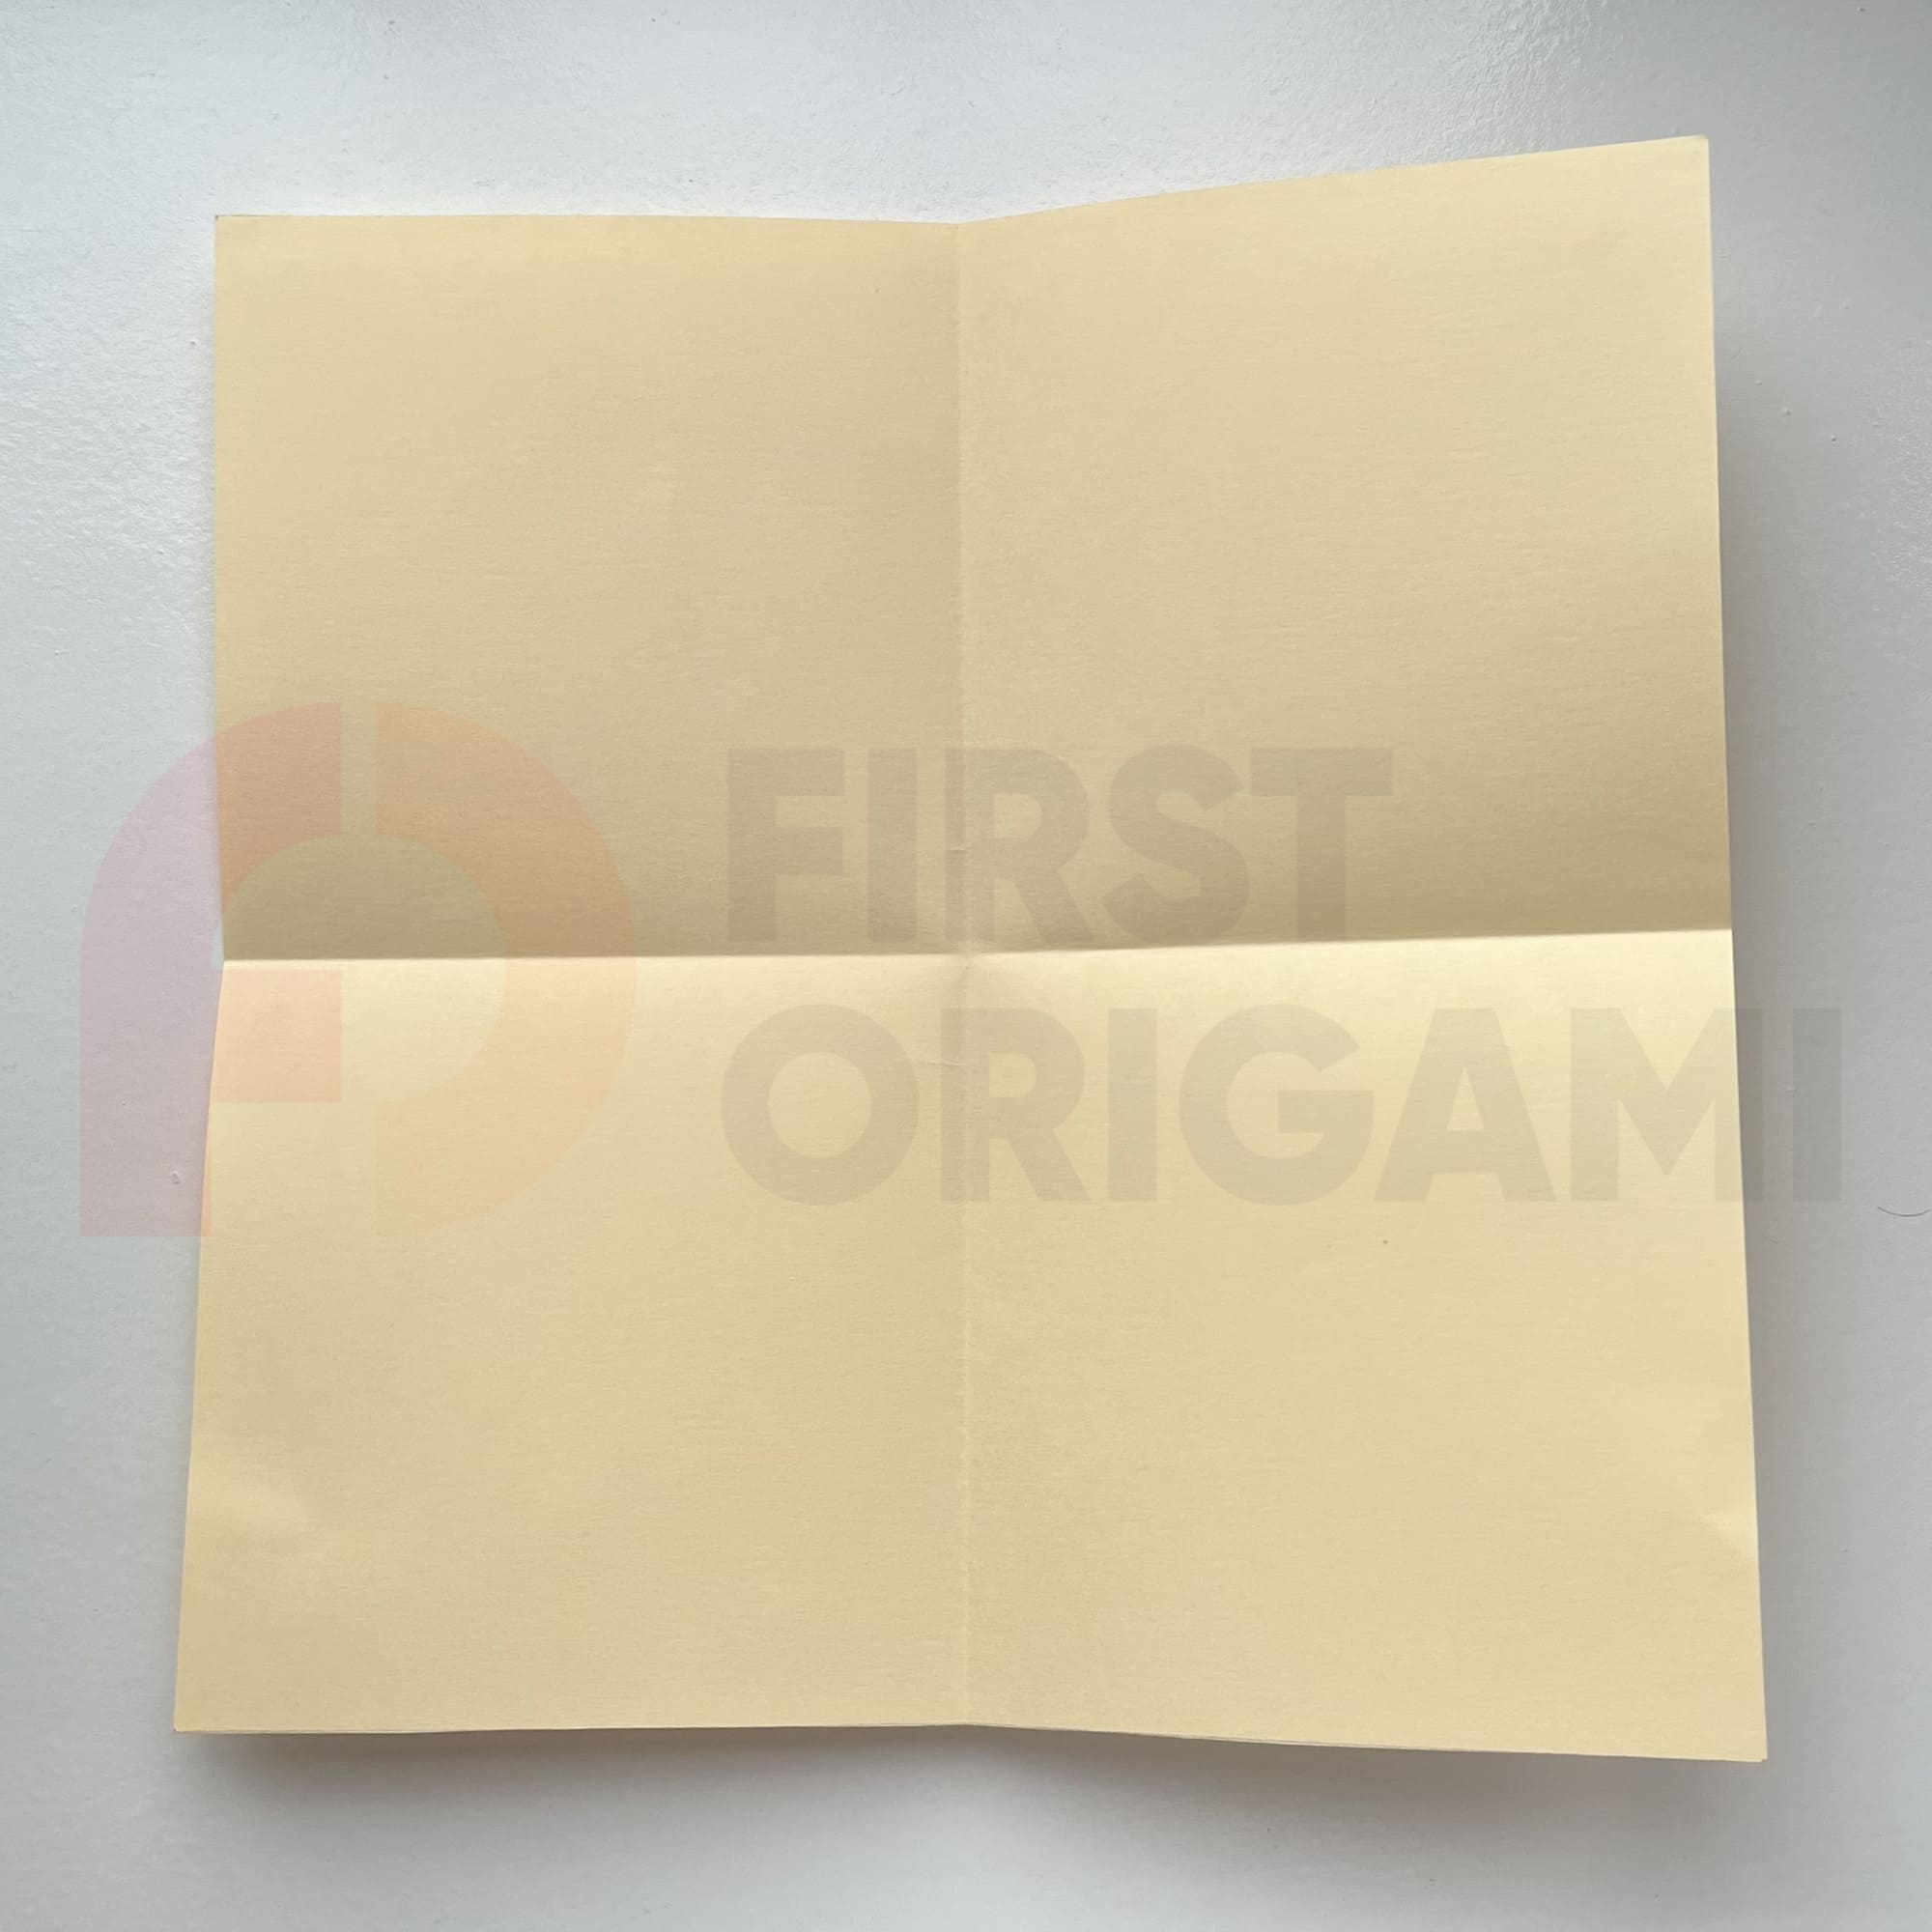
Bend alternately along the horizontal and vertical axes, crease the folds, and unfold.
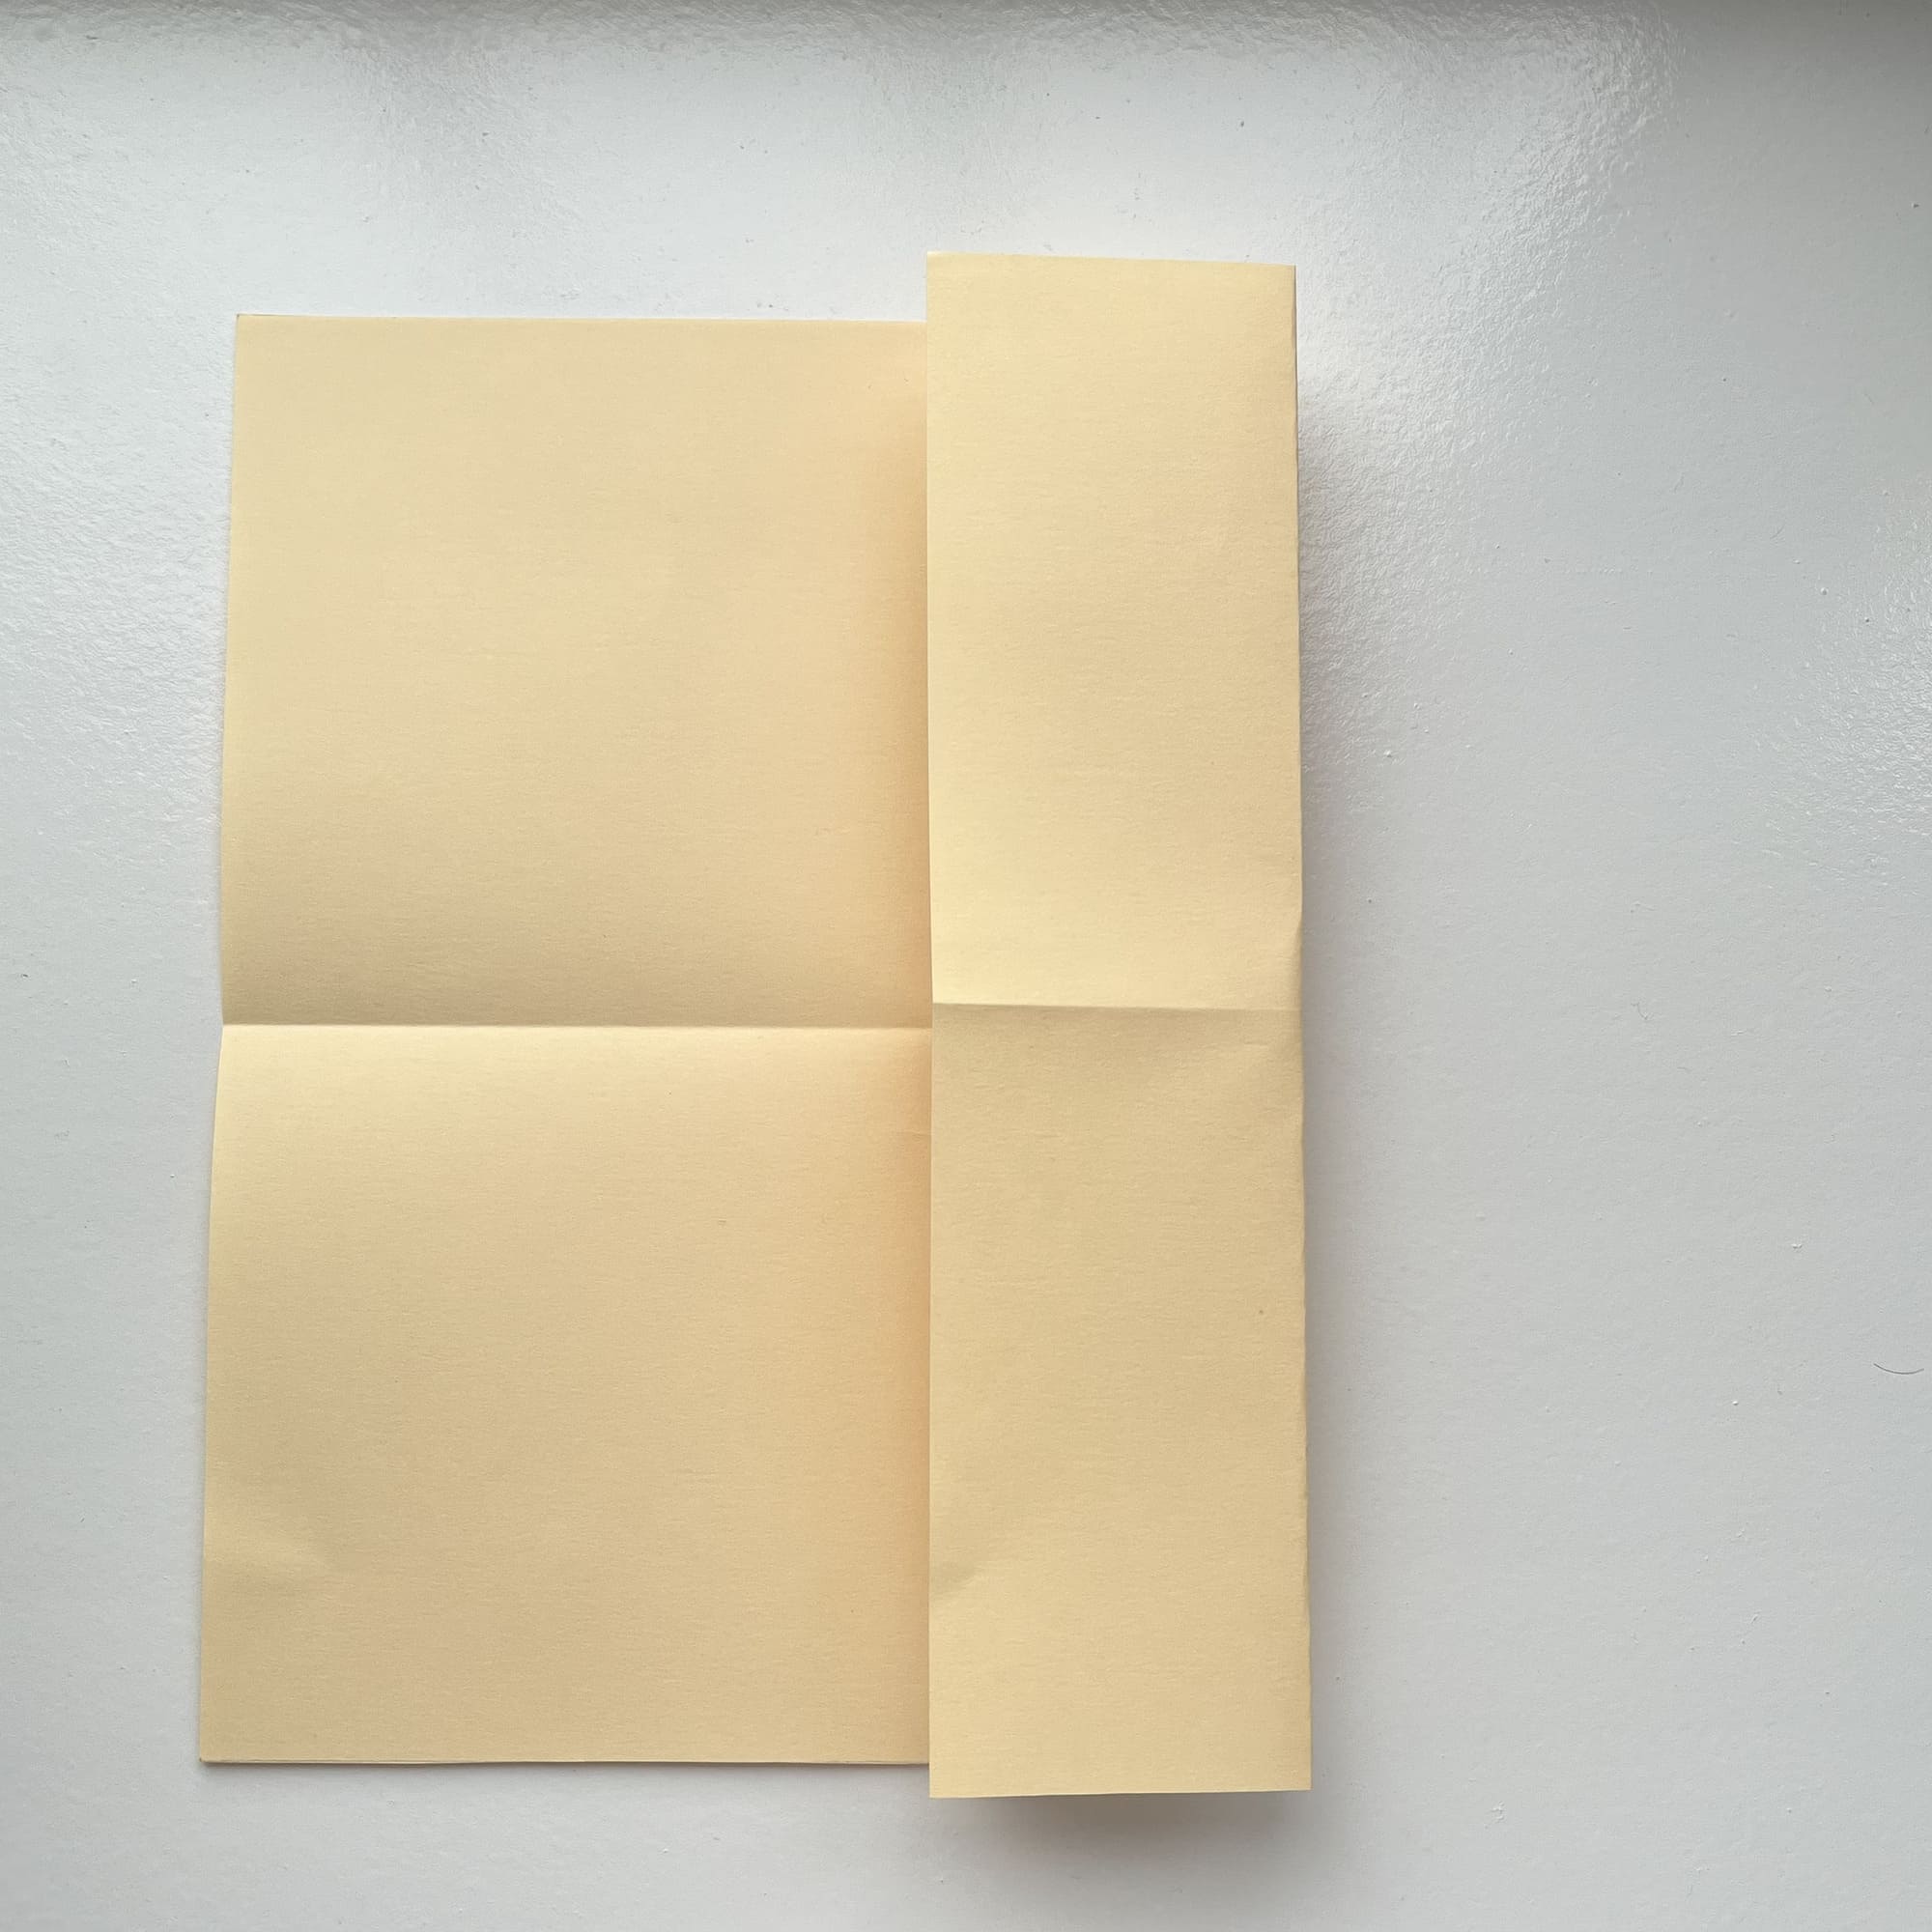
Fold the sides of the square to the center line.
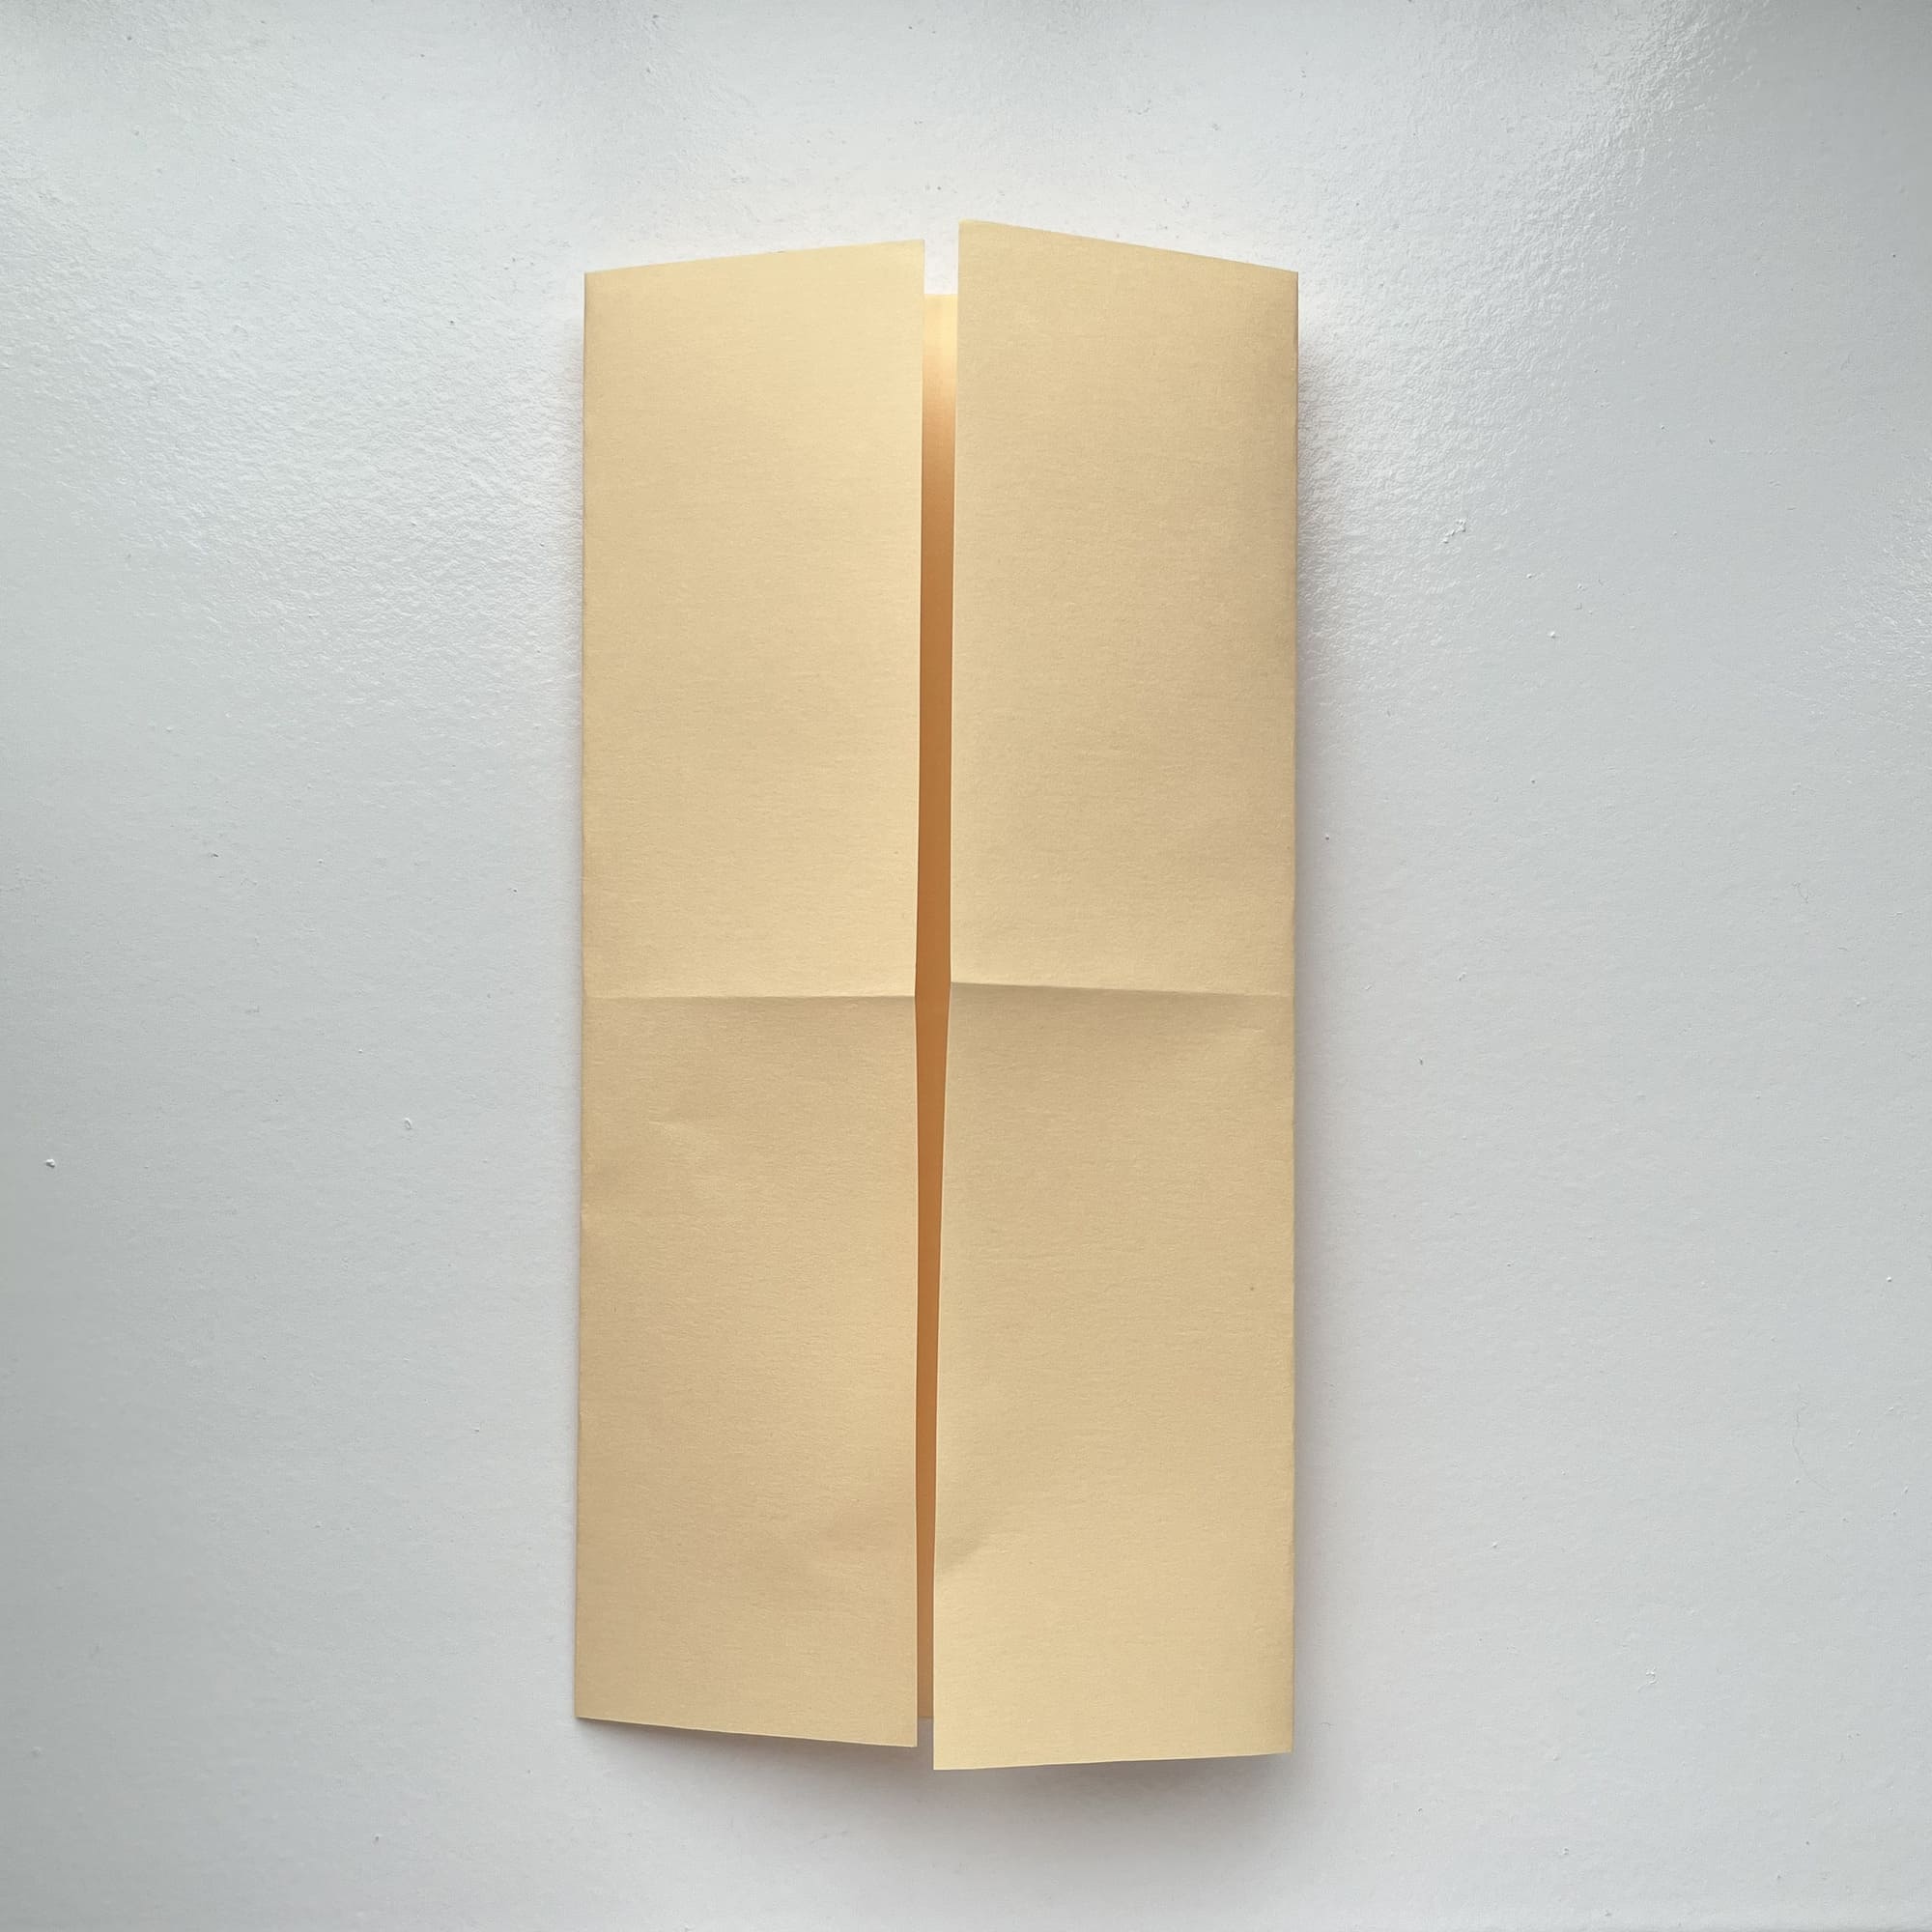
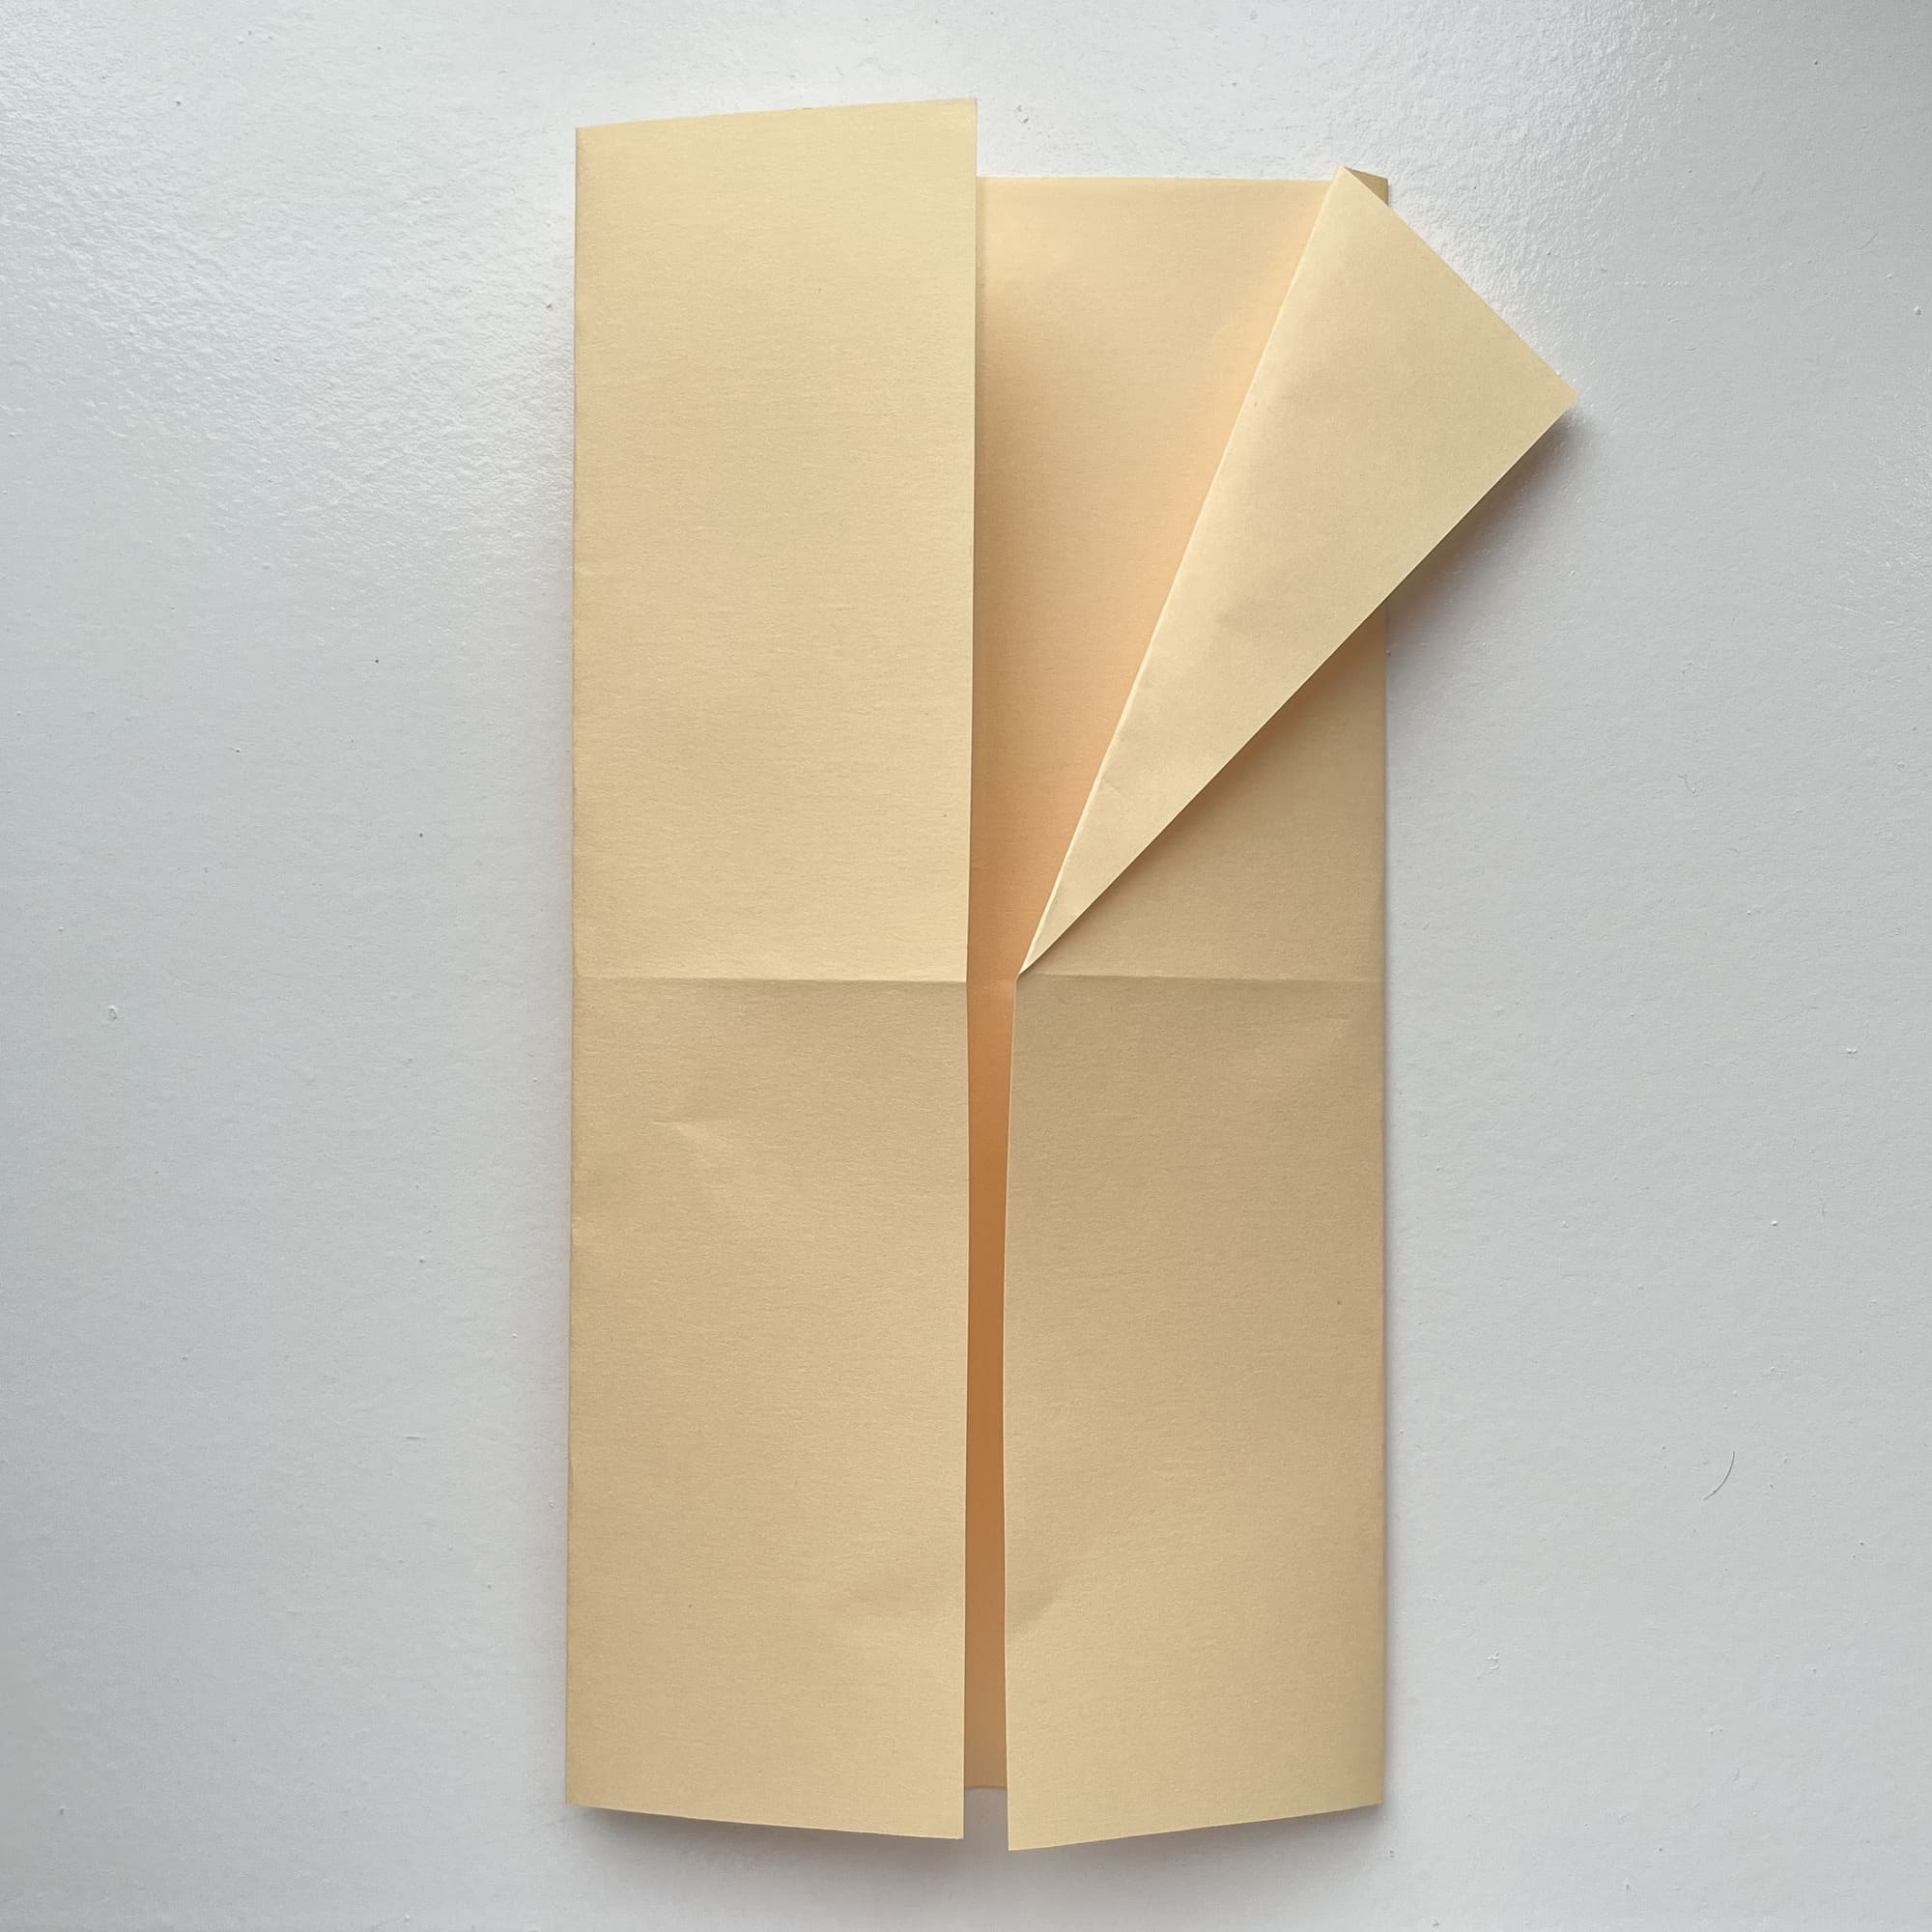
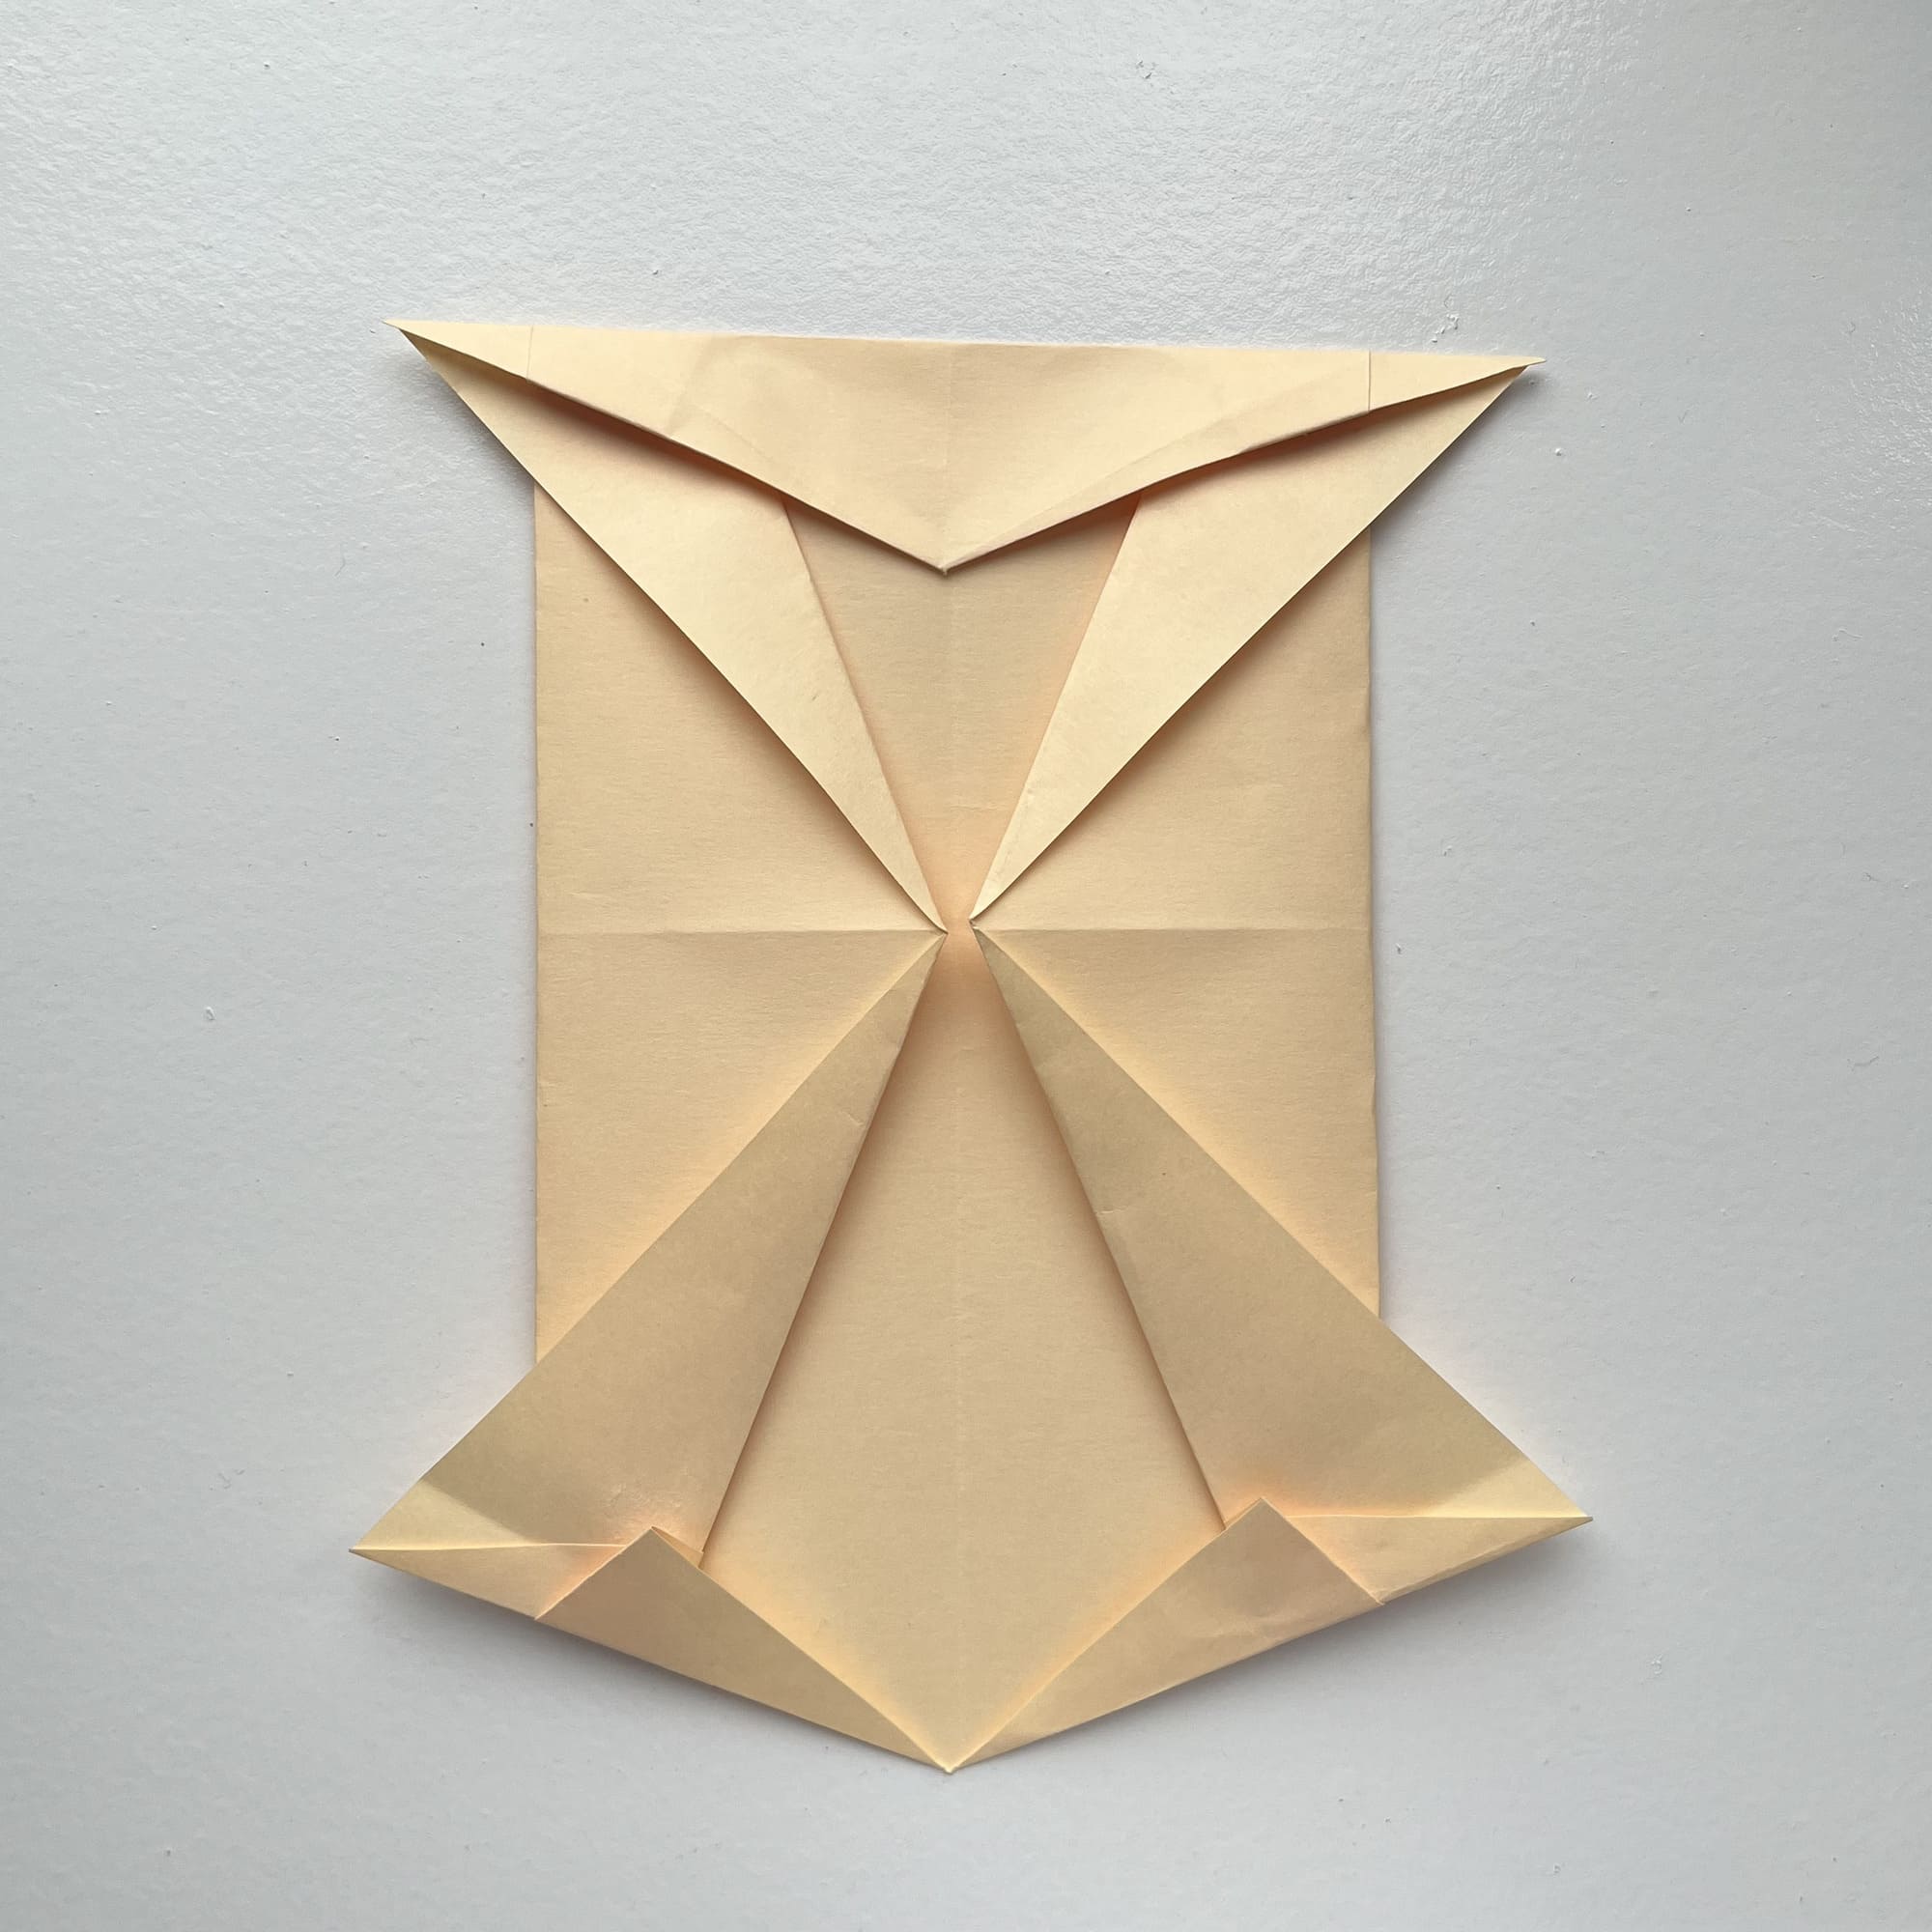
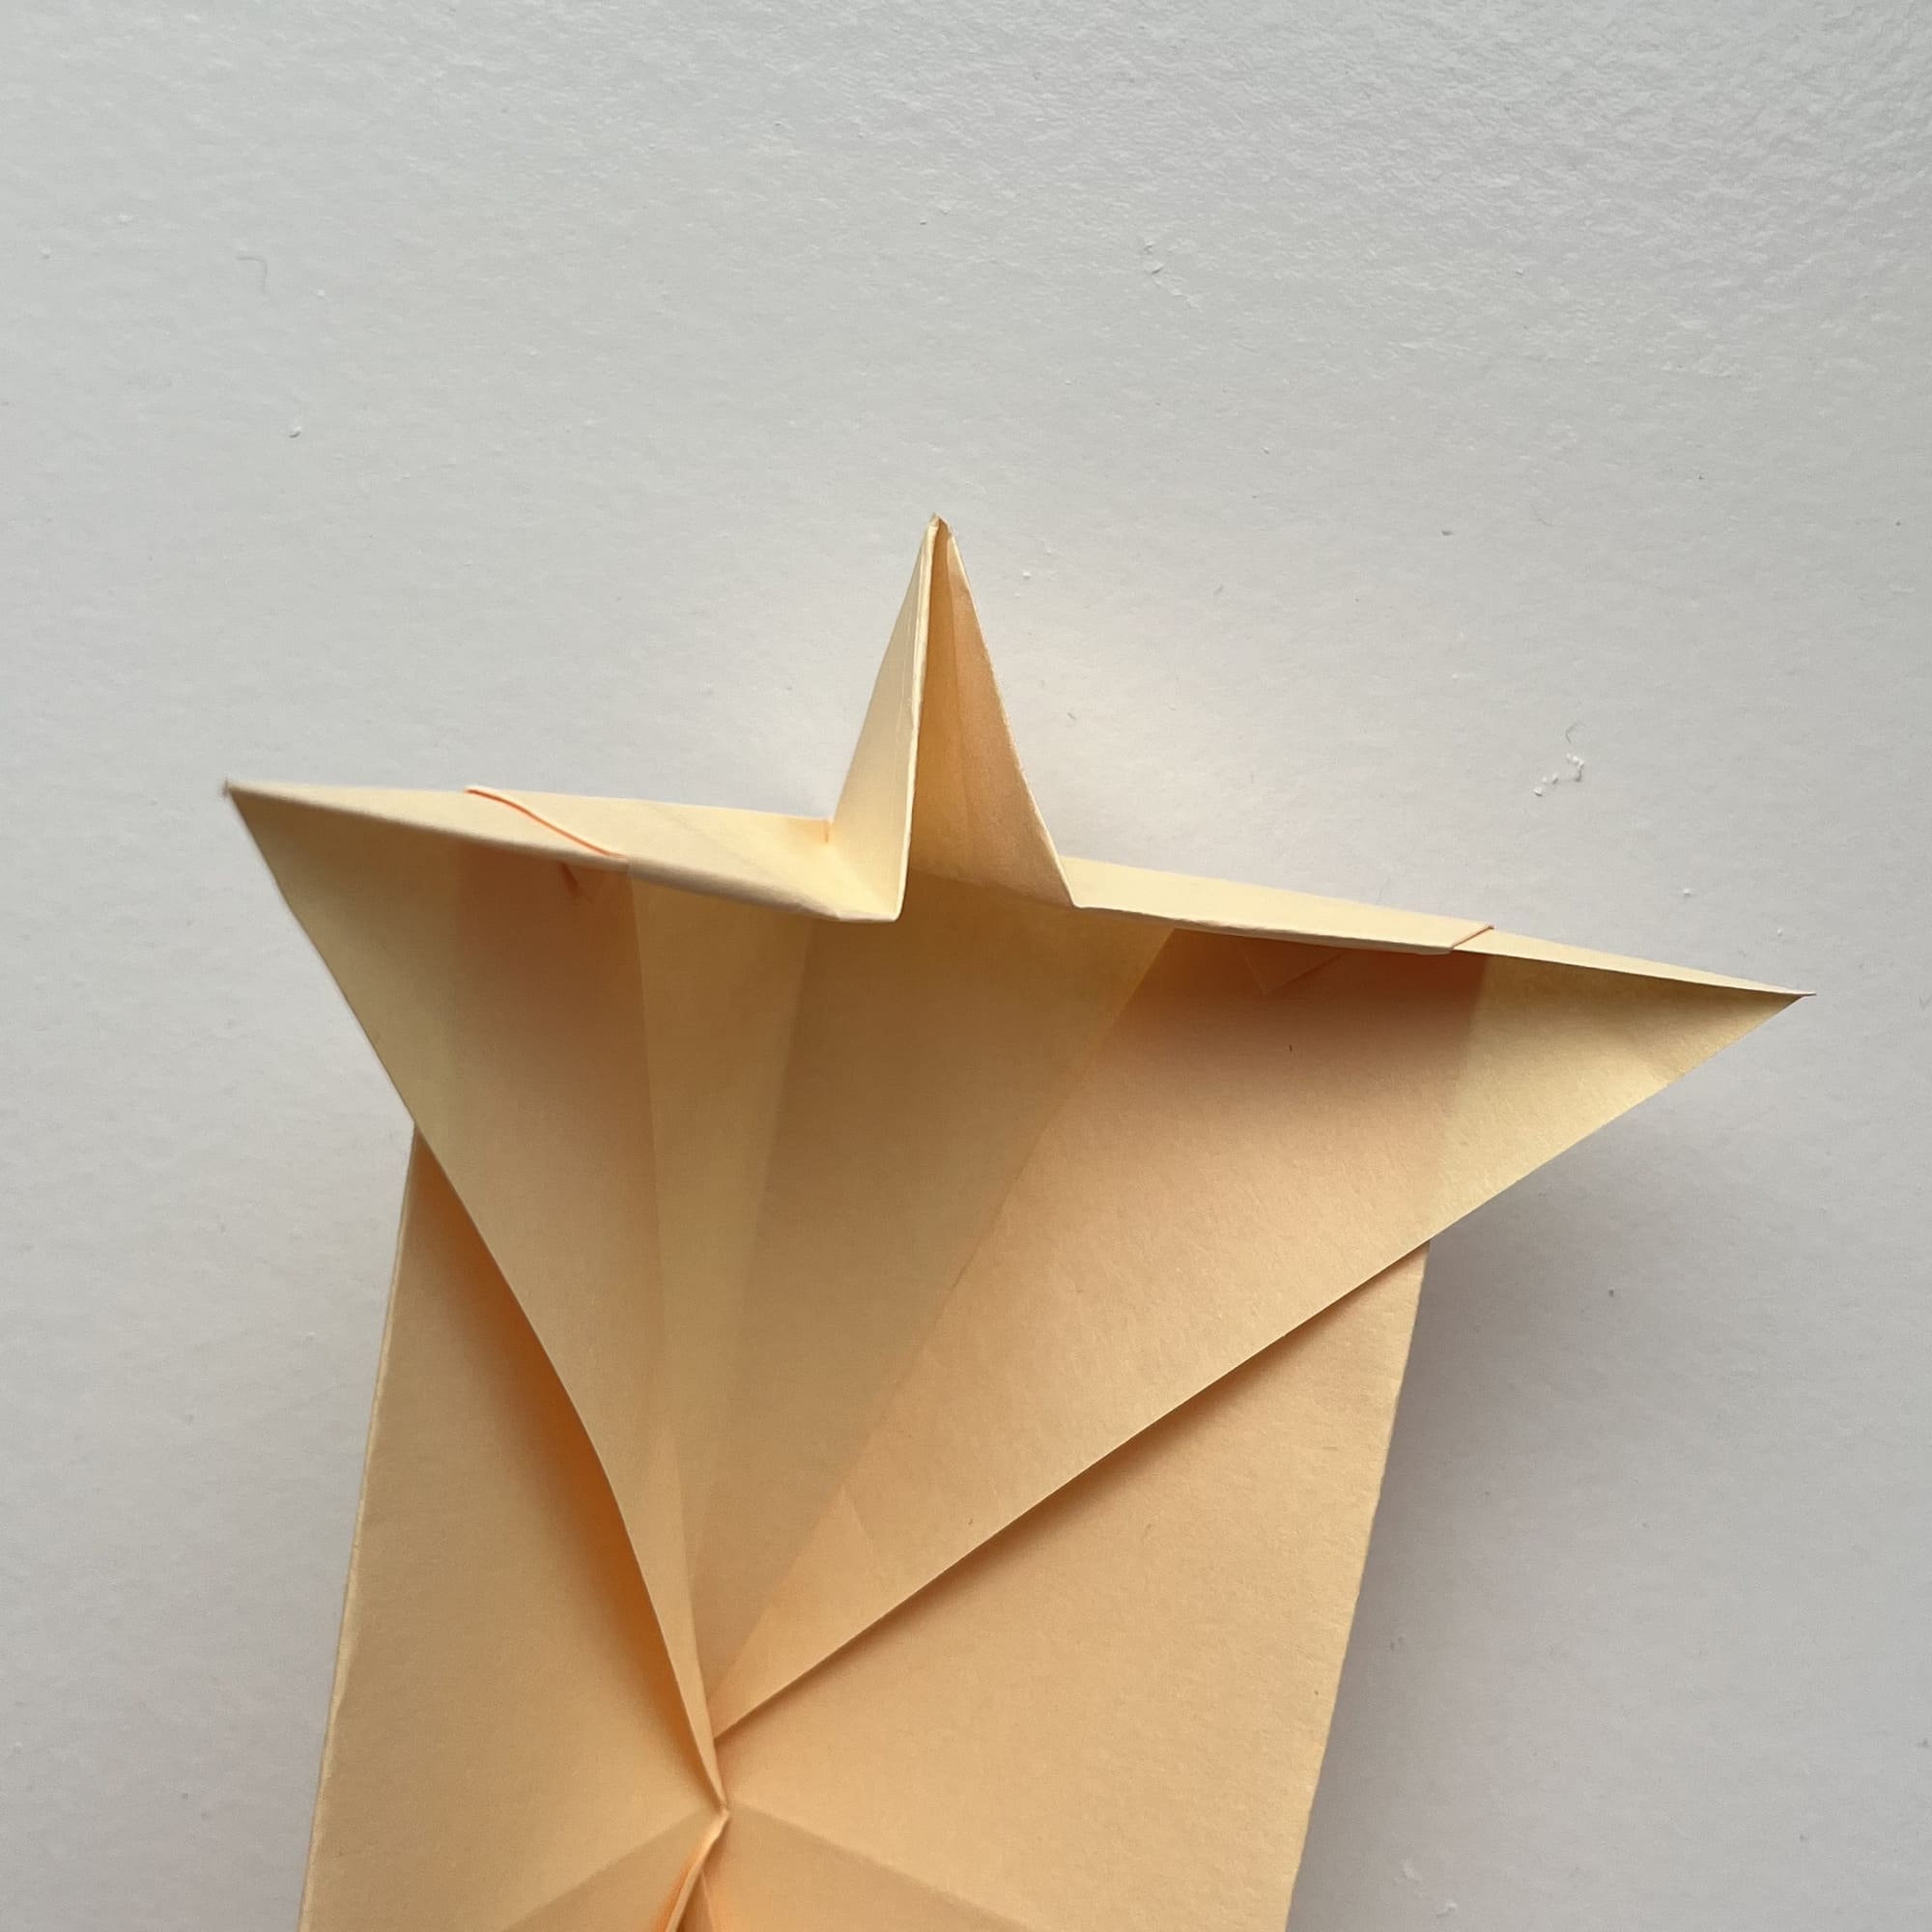
Bend the four inner corners outward.
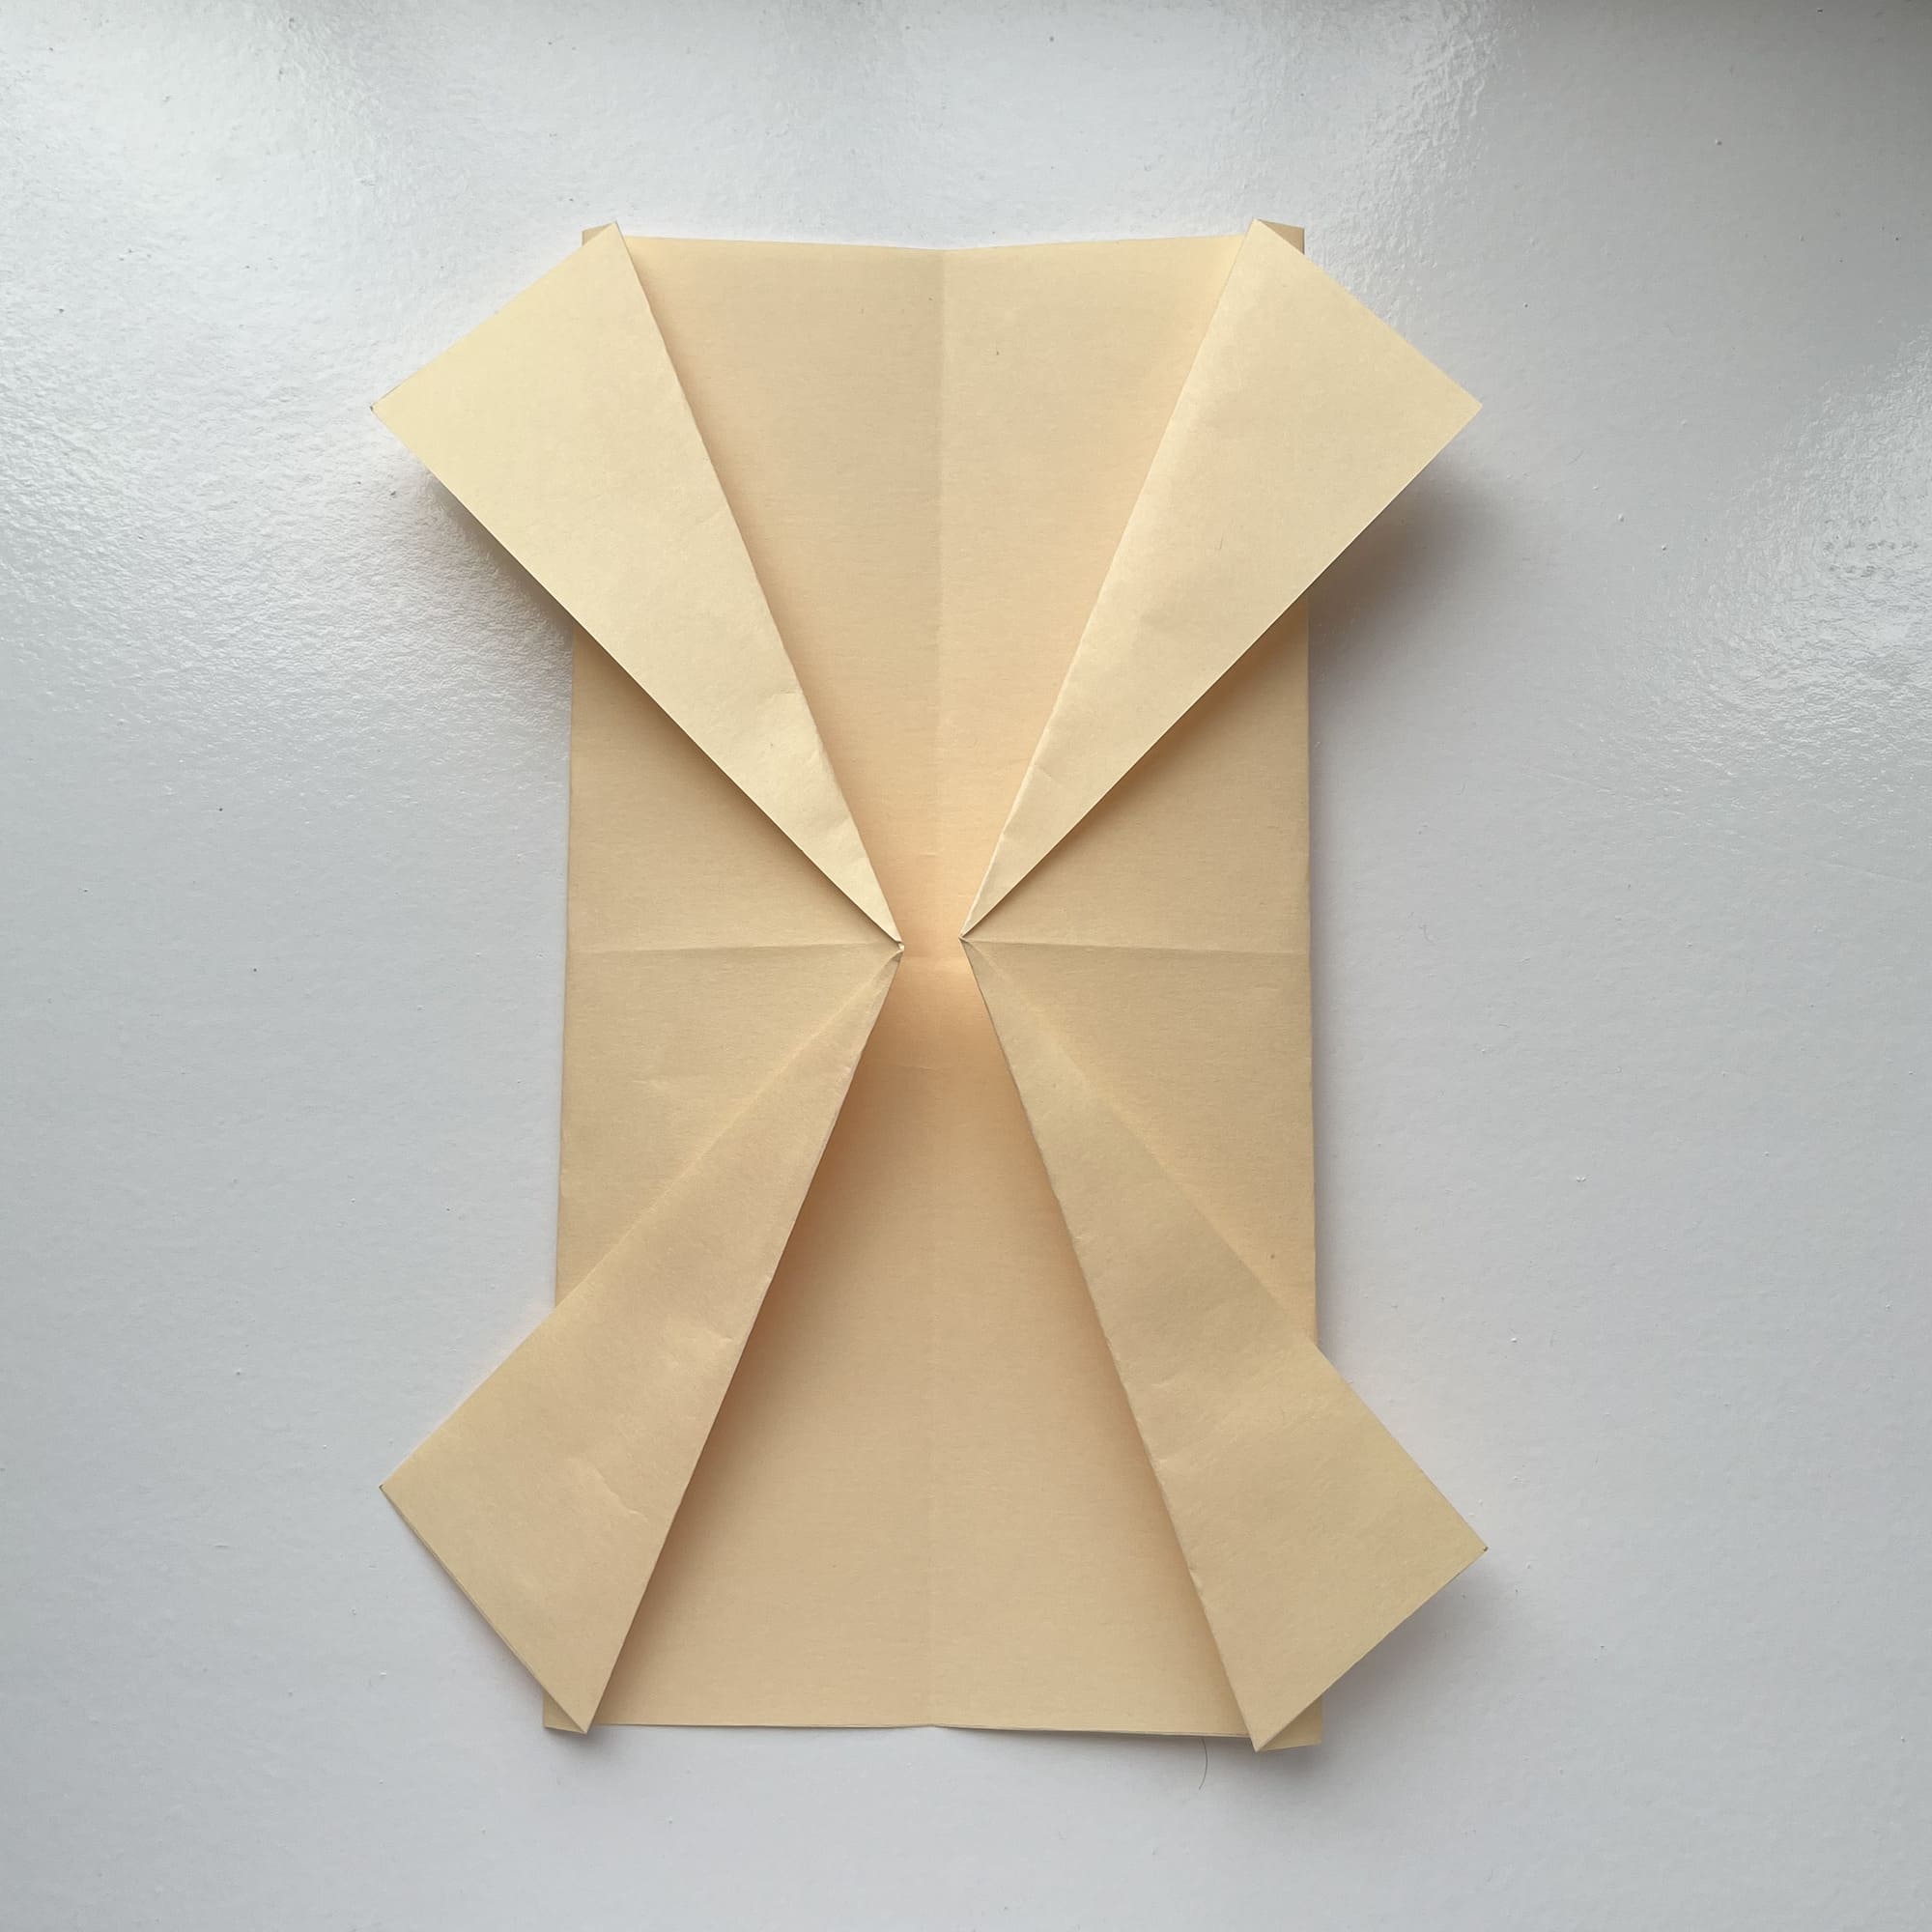
Bend the top and bottom side corners inward as shown in the photo.

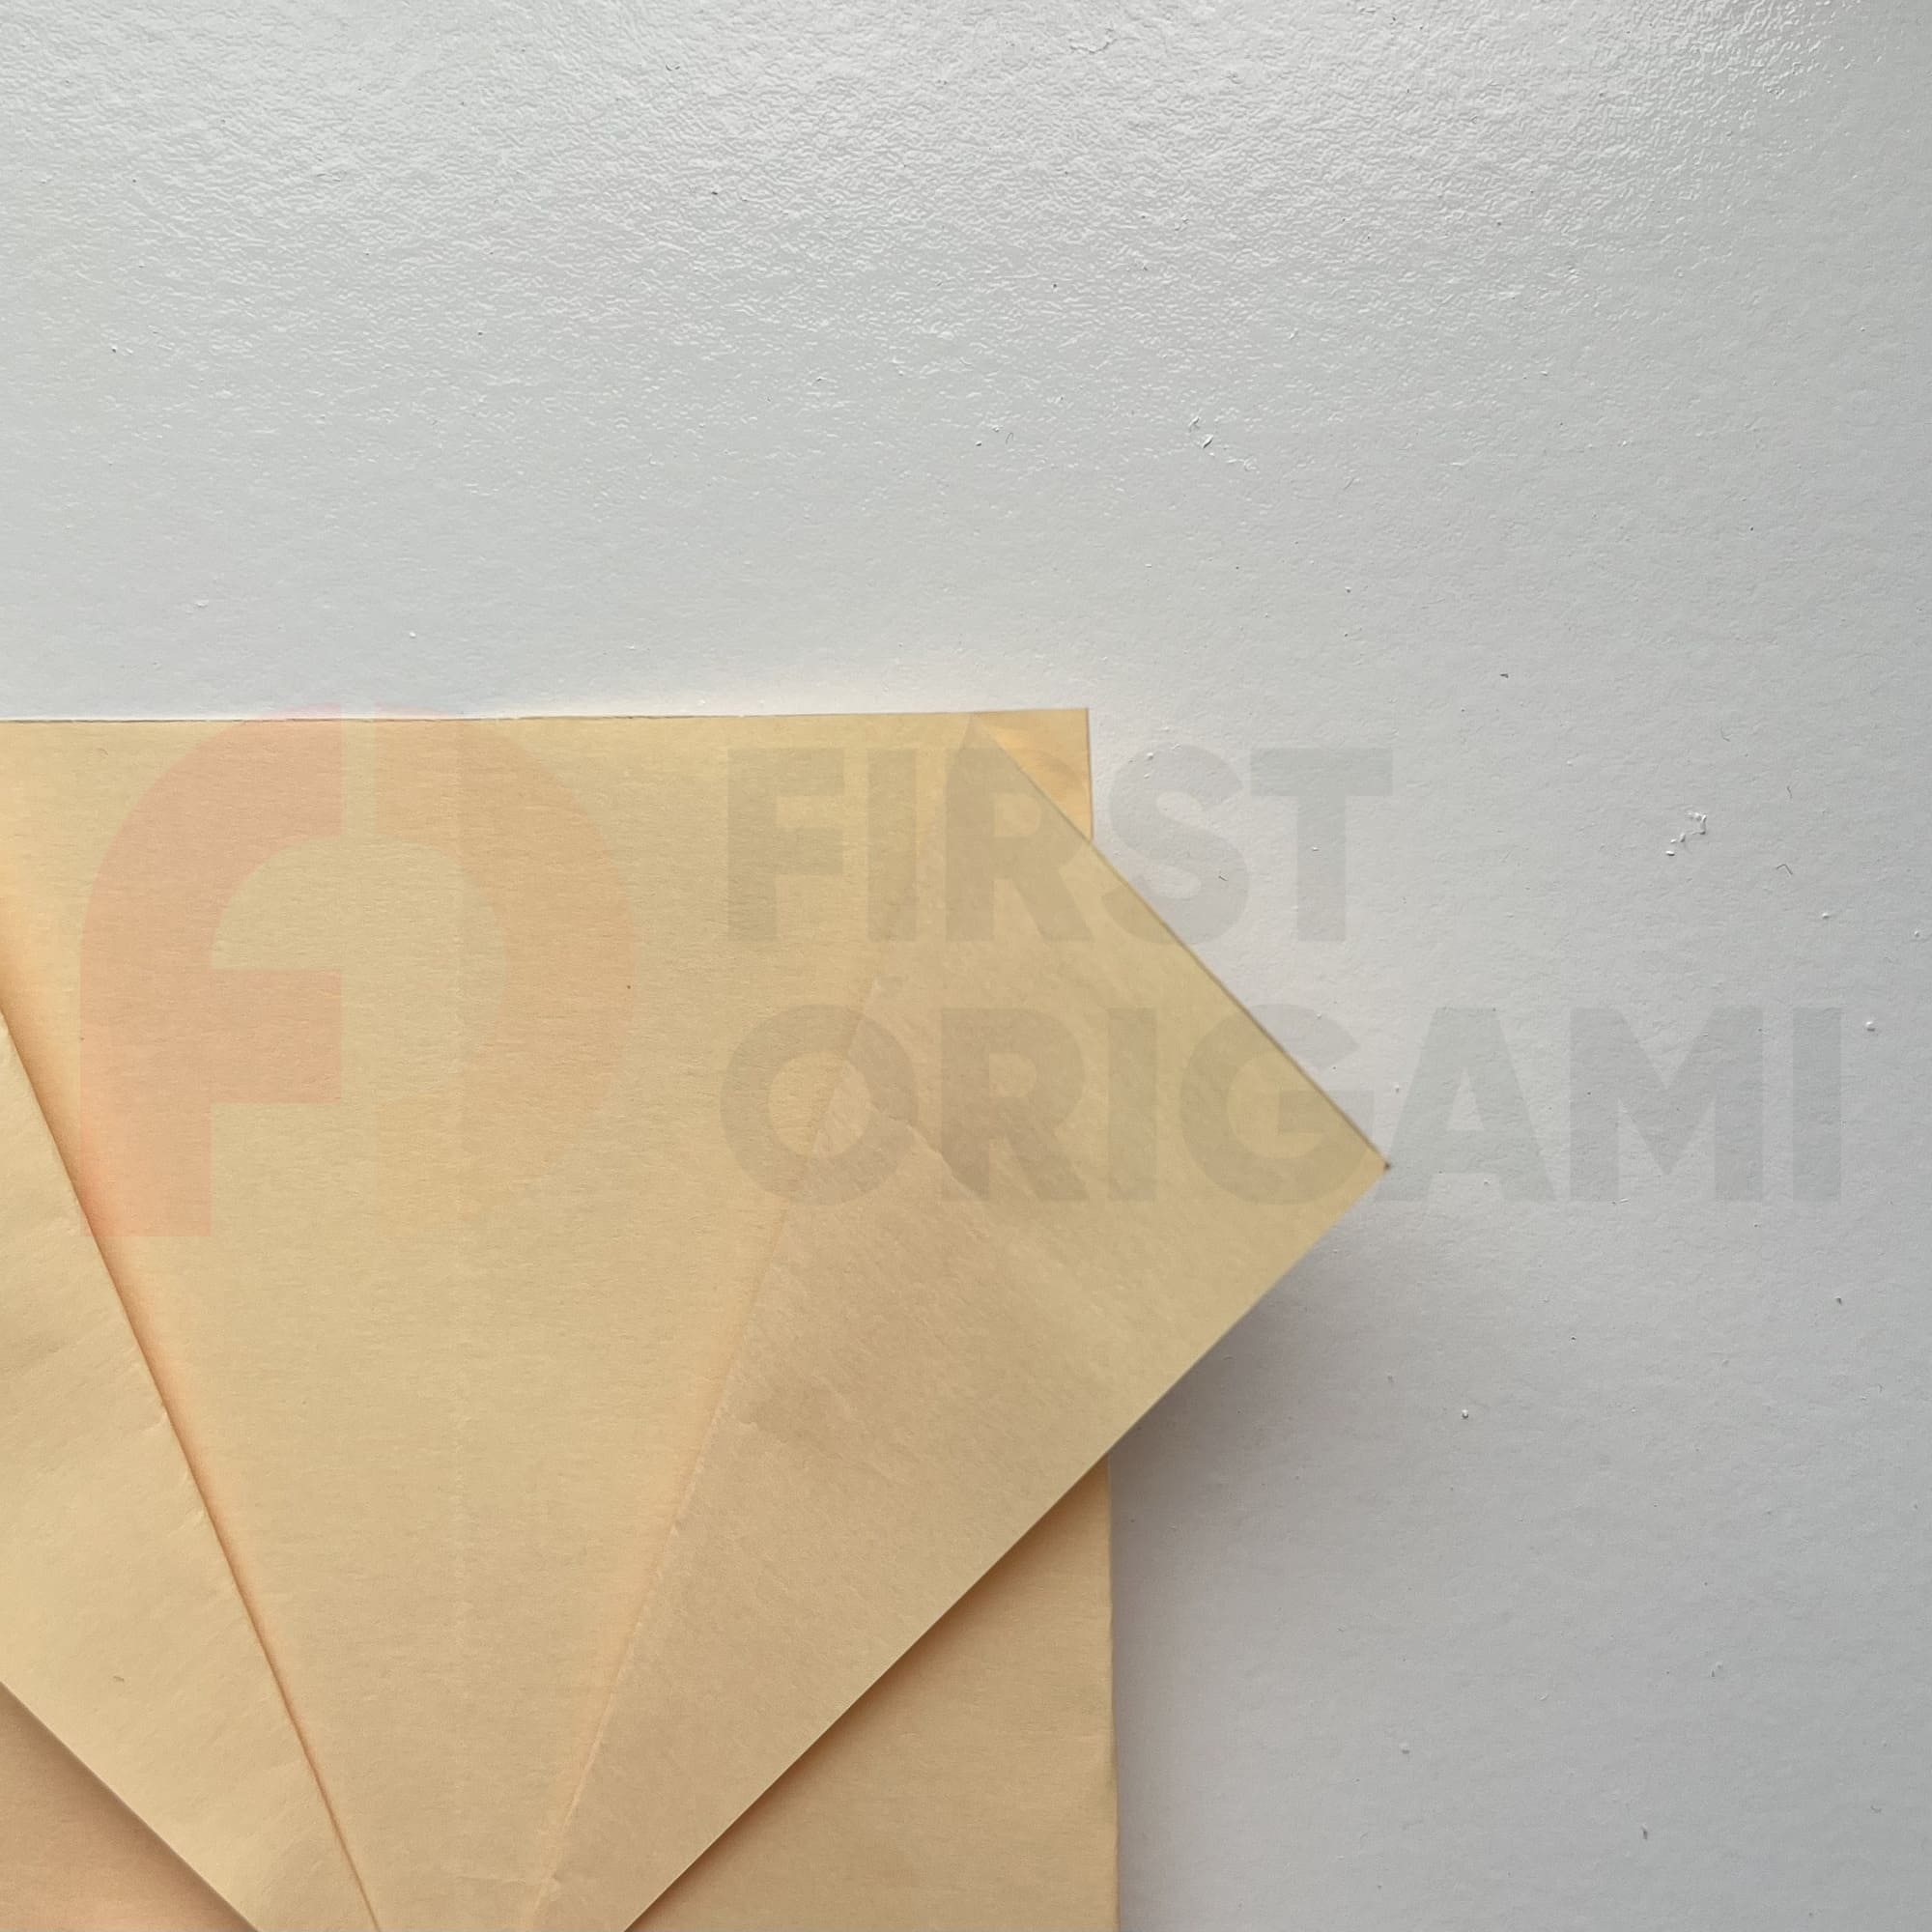
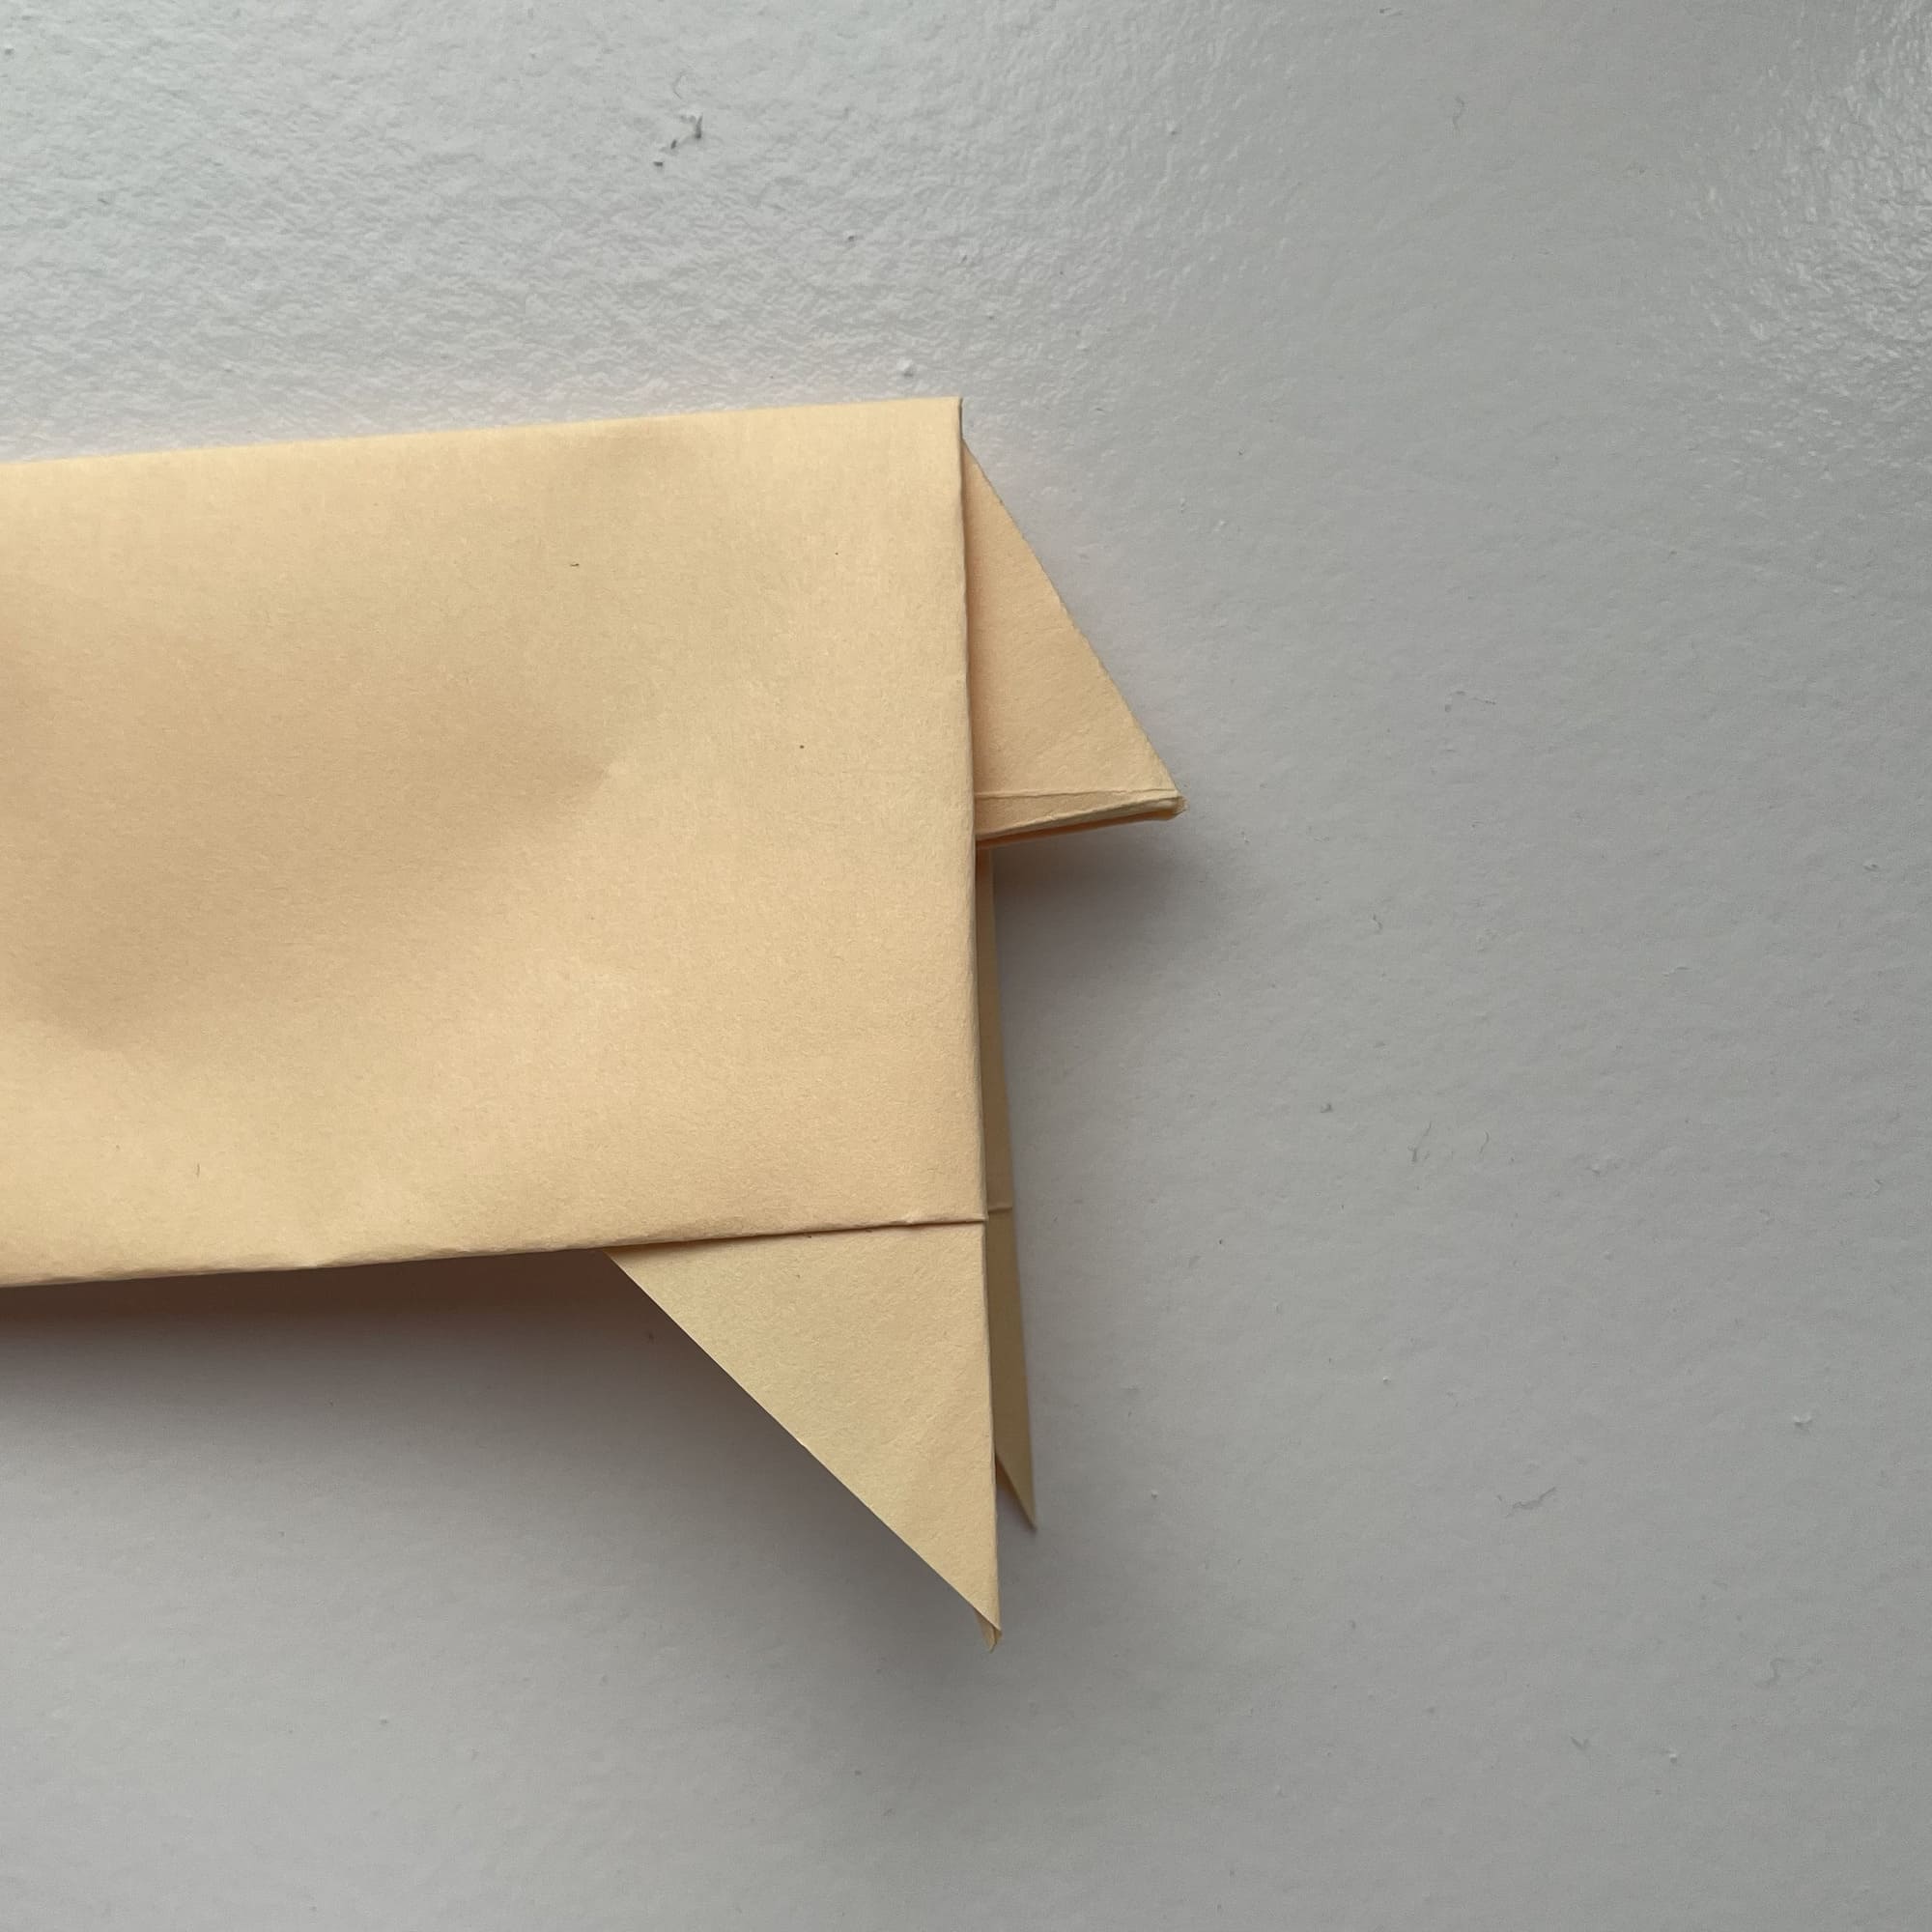
Bend the top and bottom corners towards the center, but not reaching it a little.
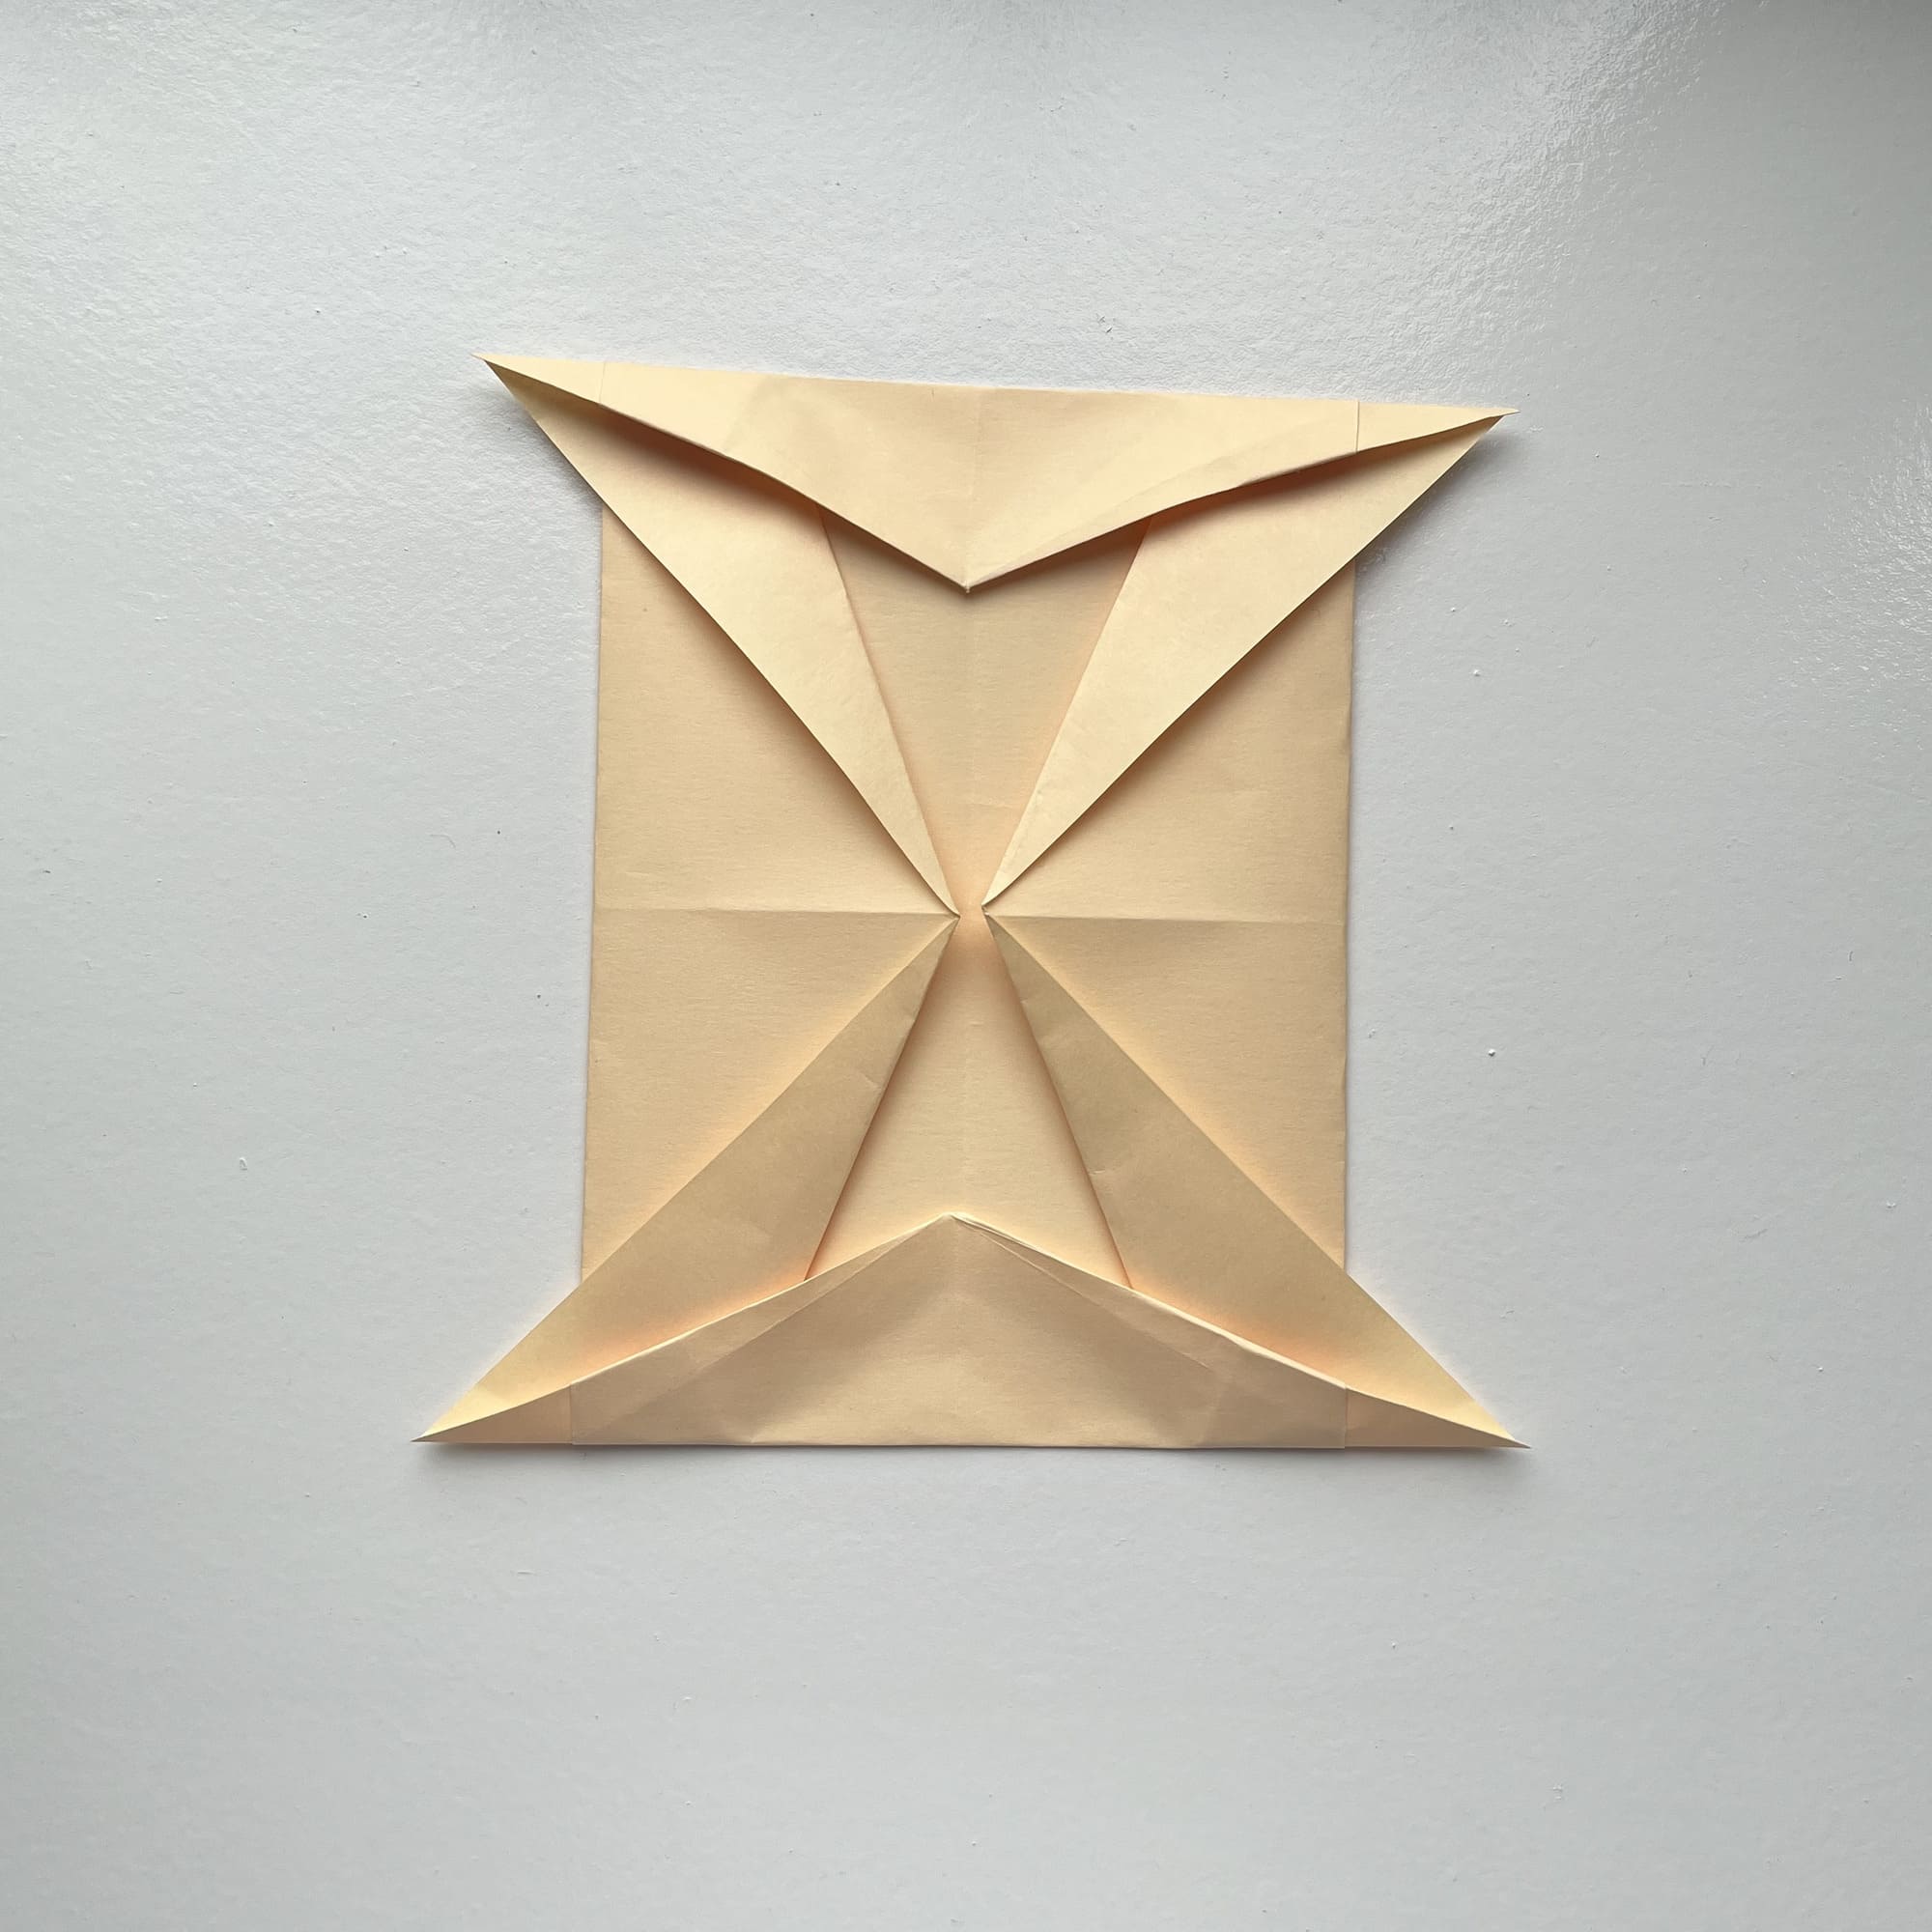
The side paper should serve as a guide for you: the folds will pass through the centers of the corners.
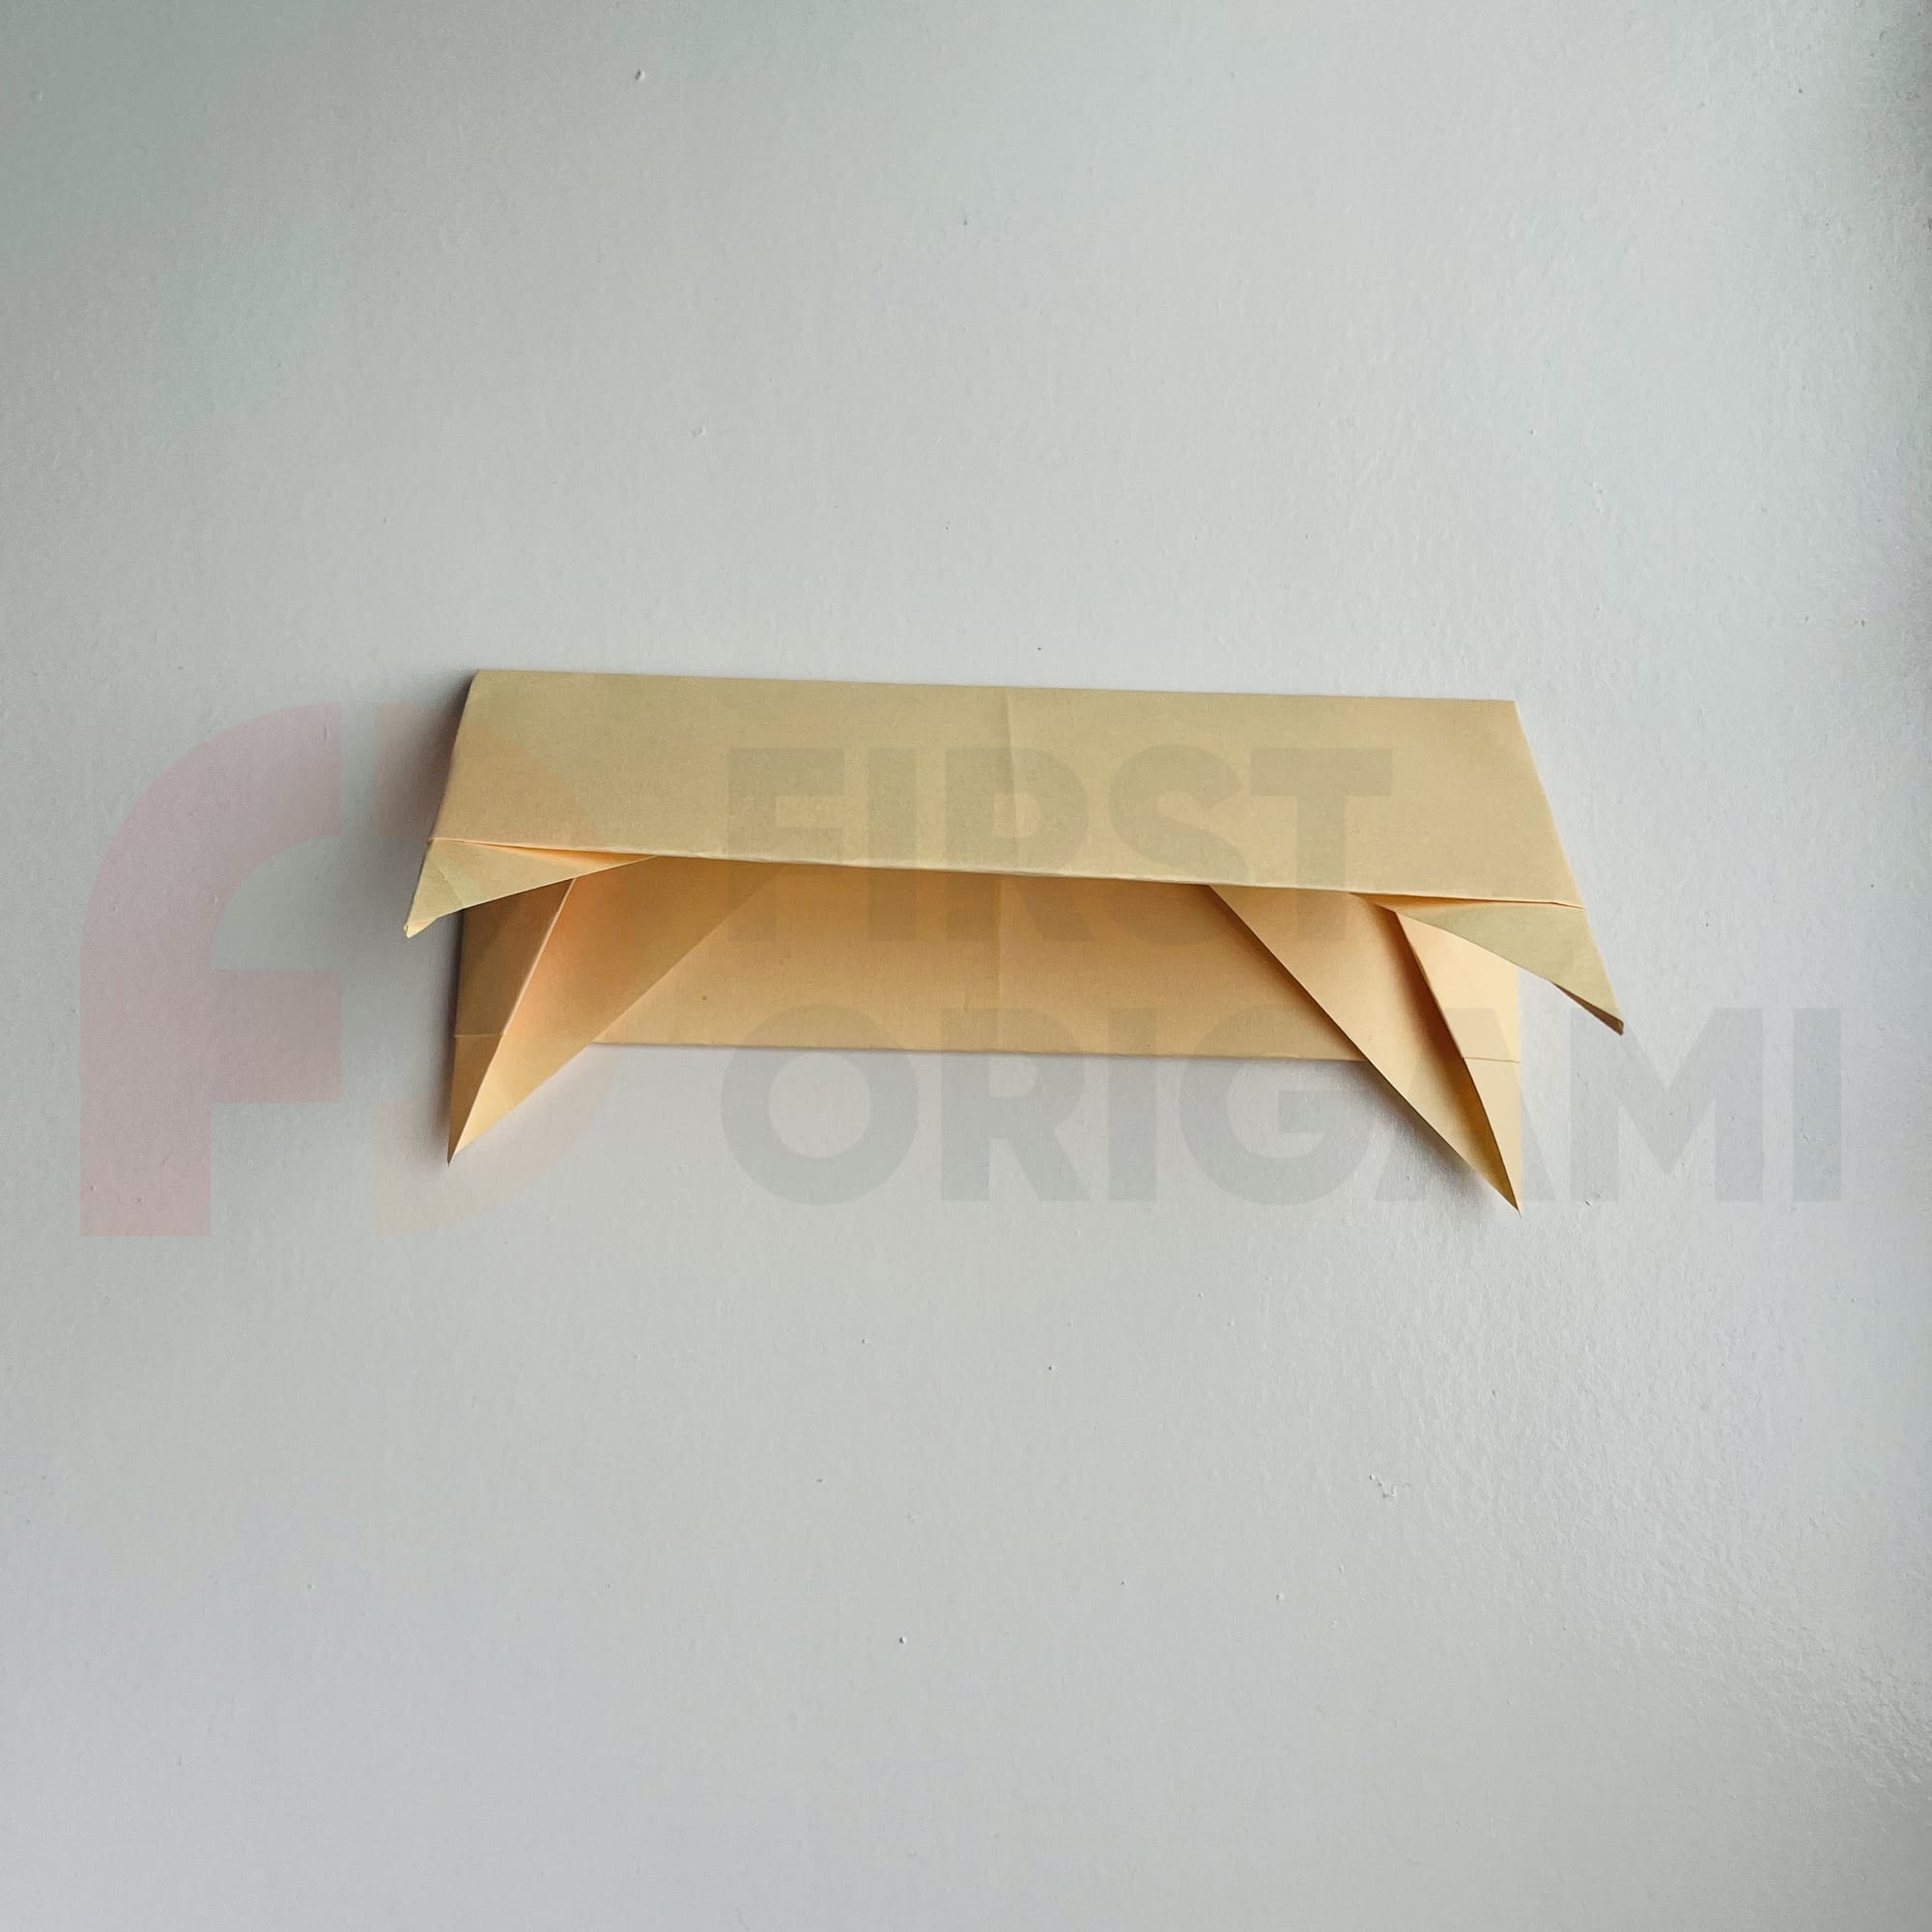
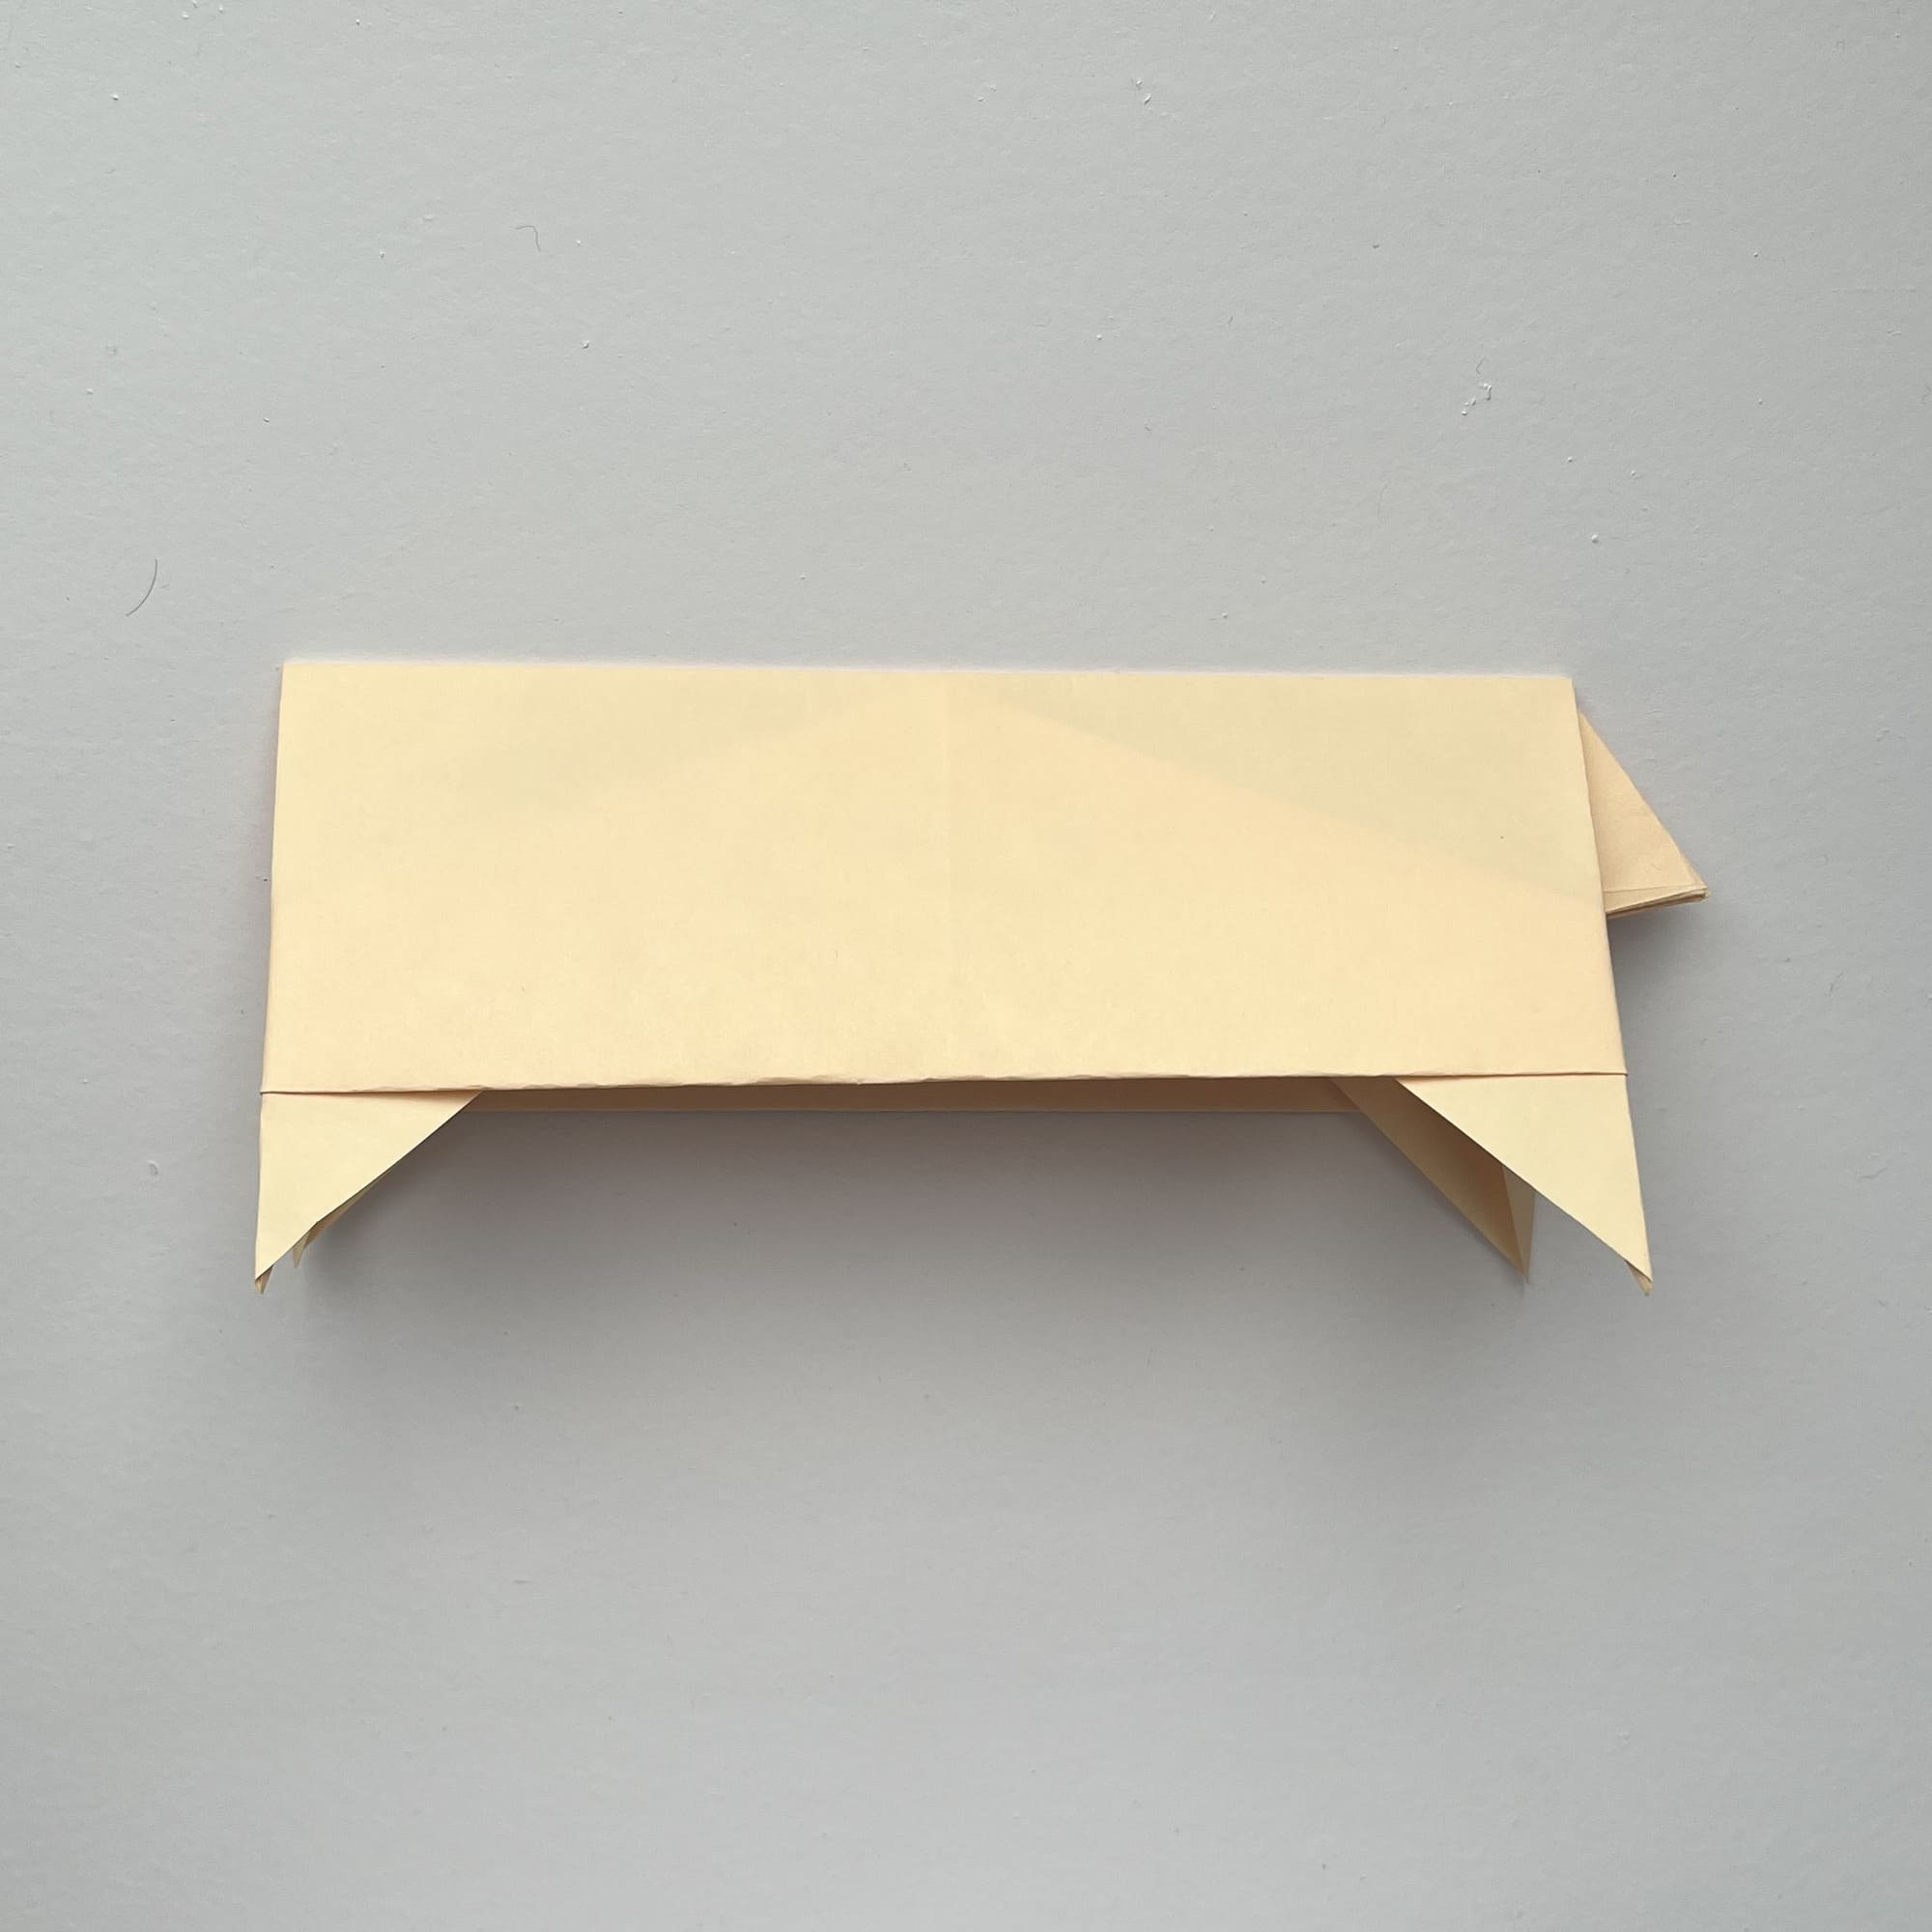
Fold the figure in half lengthwise. Crease the fold well.
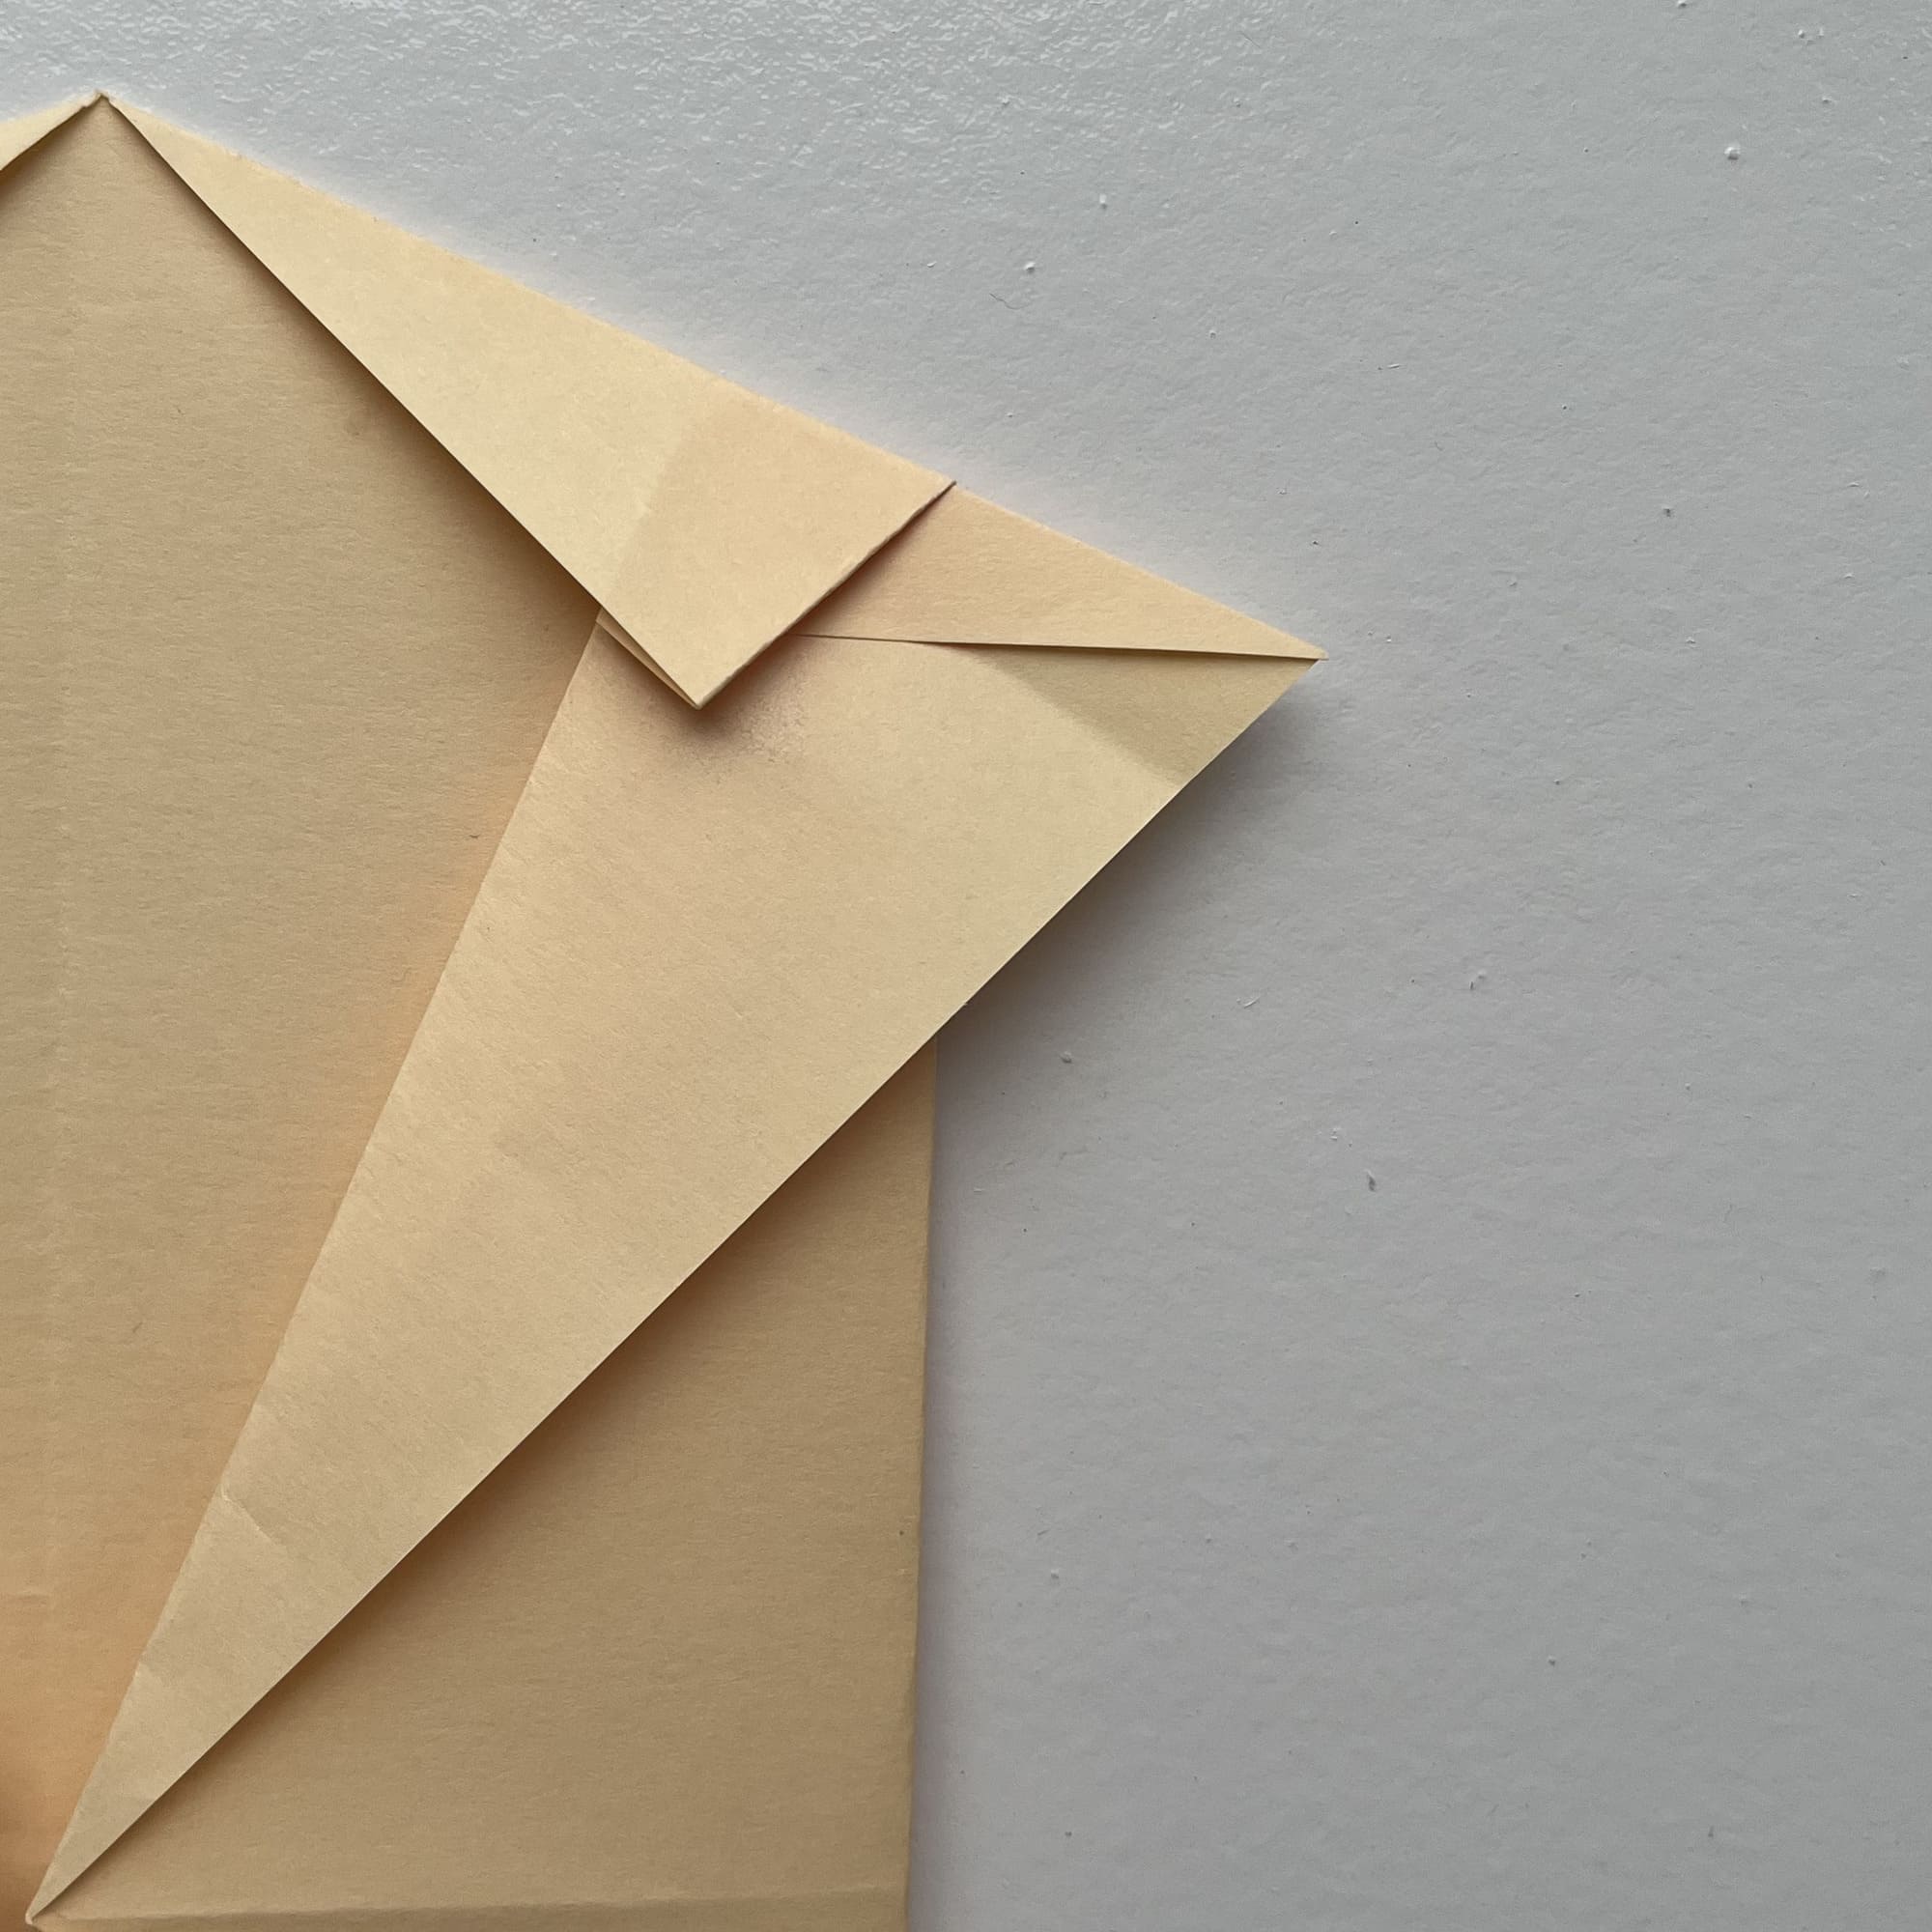
Slightly unfold the paper on one side, bend back the inner corner, and make a double bend to make a ponytail.
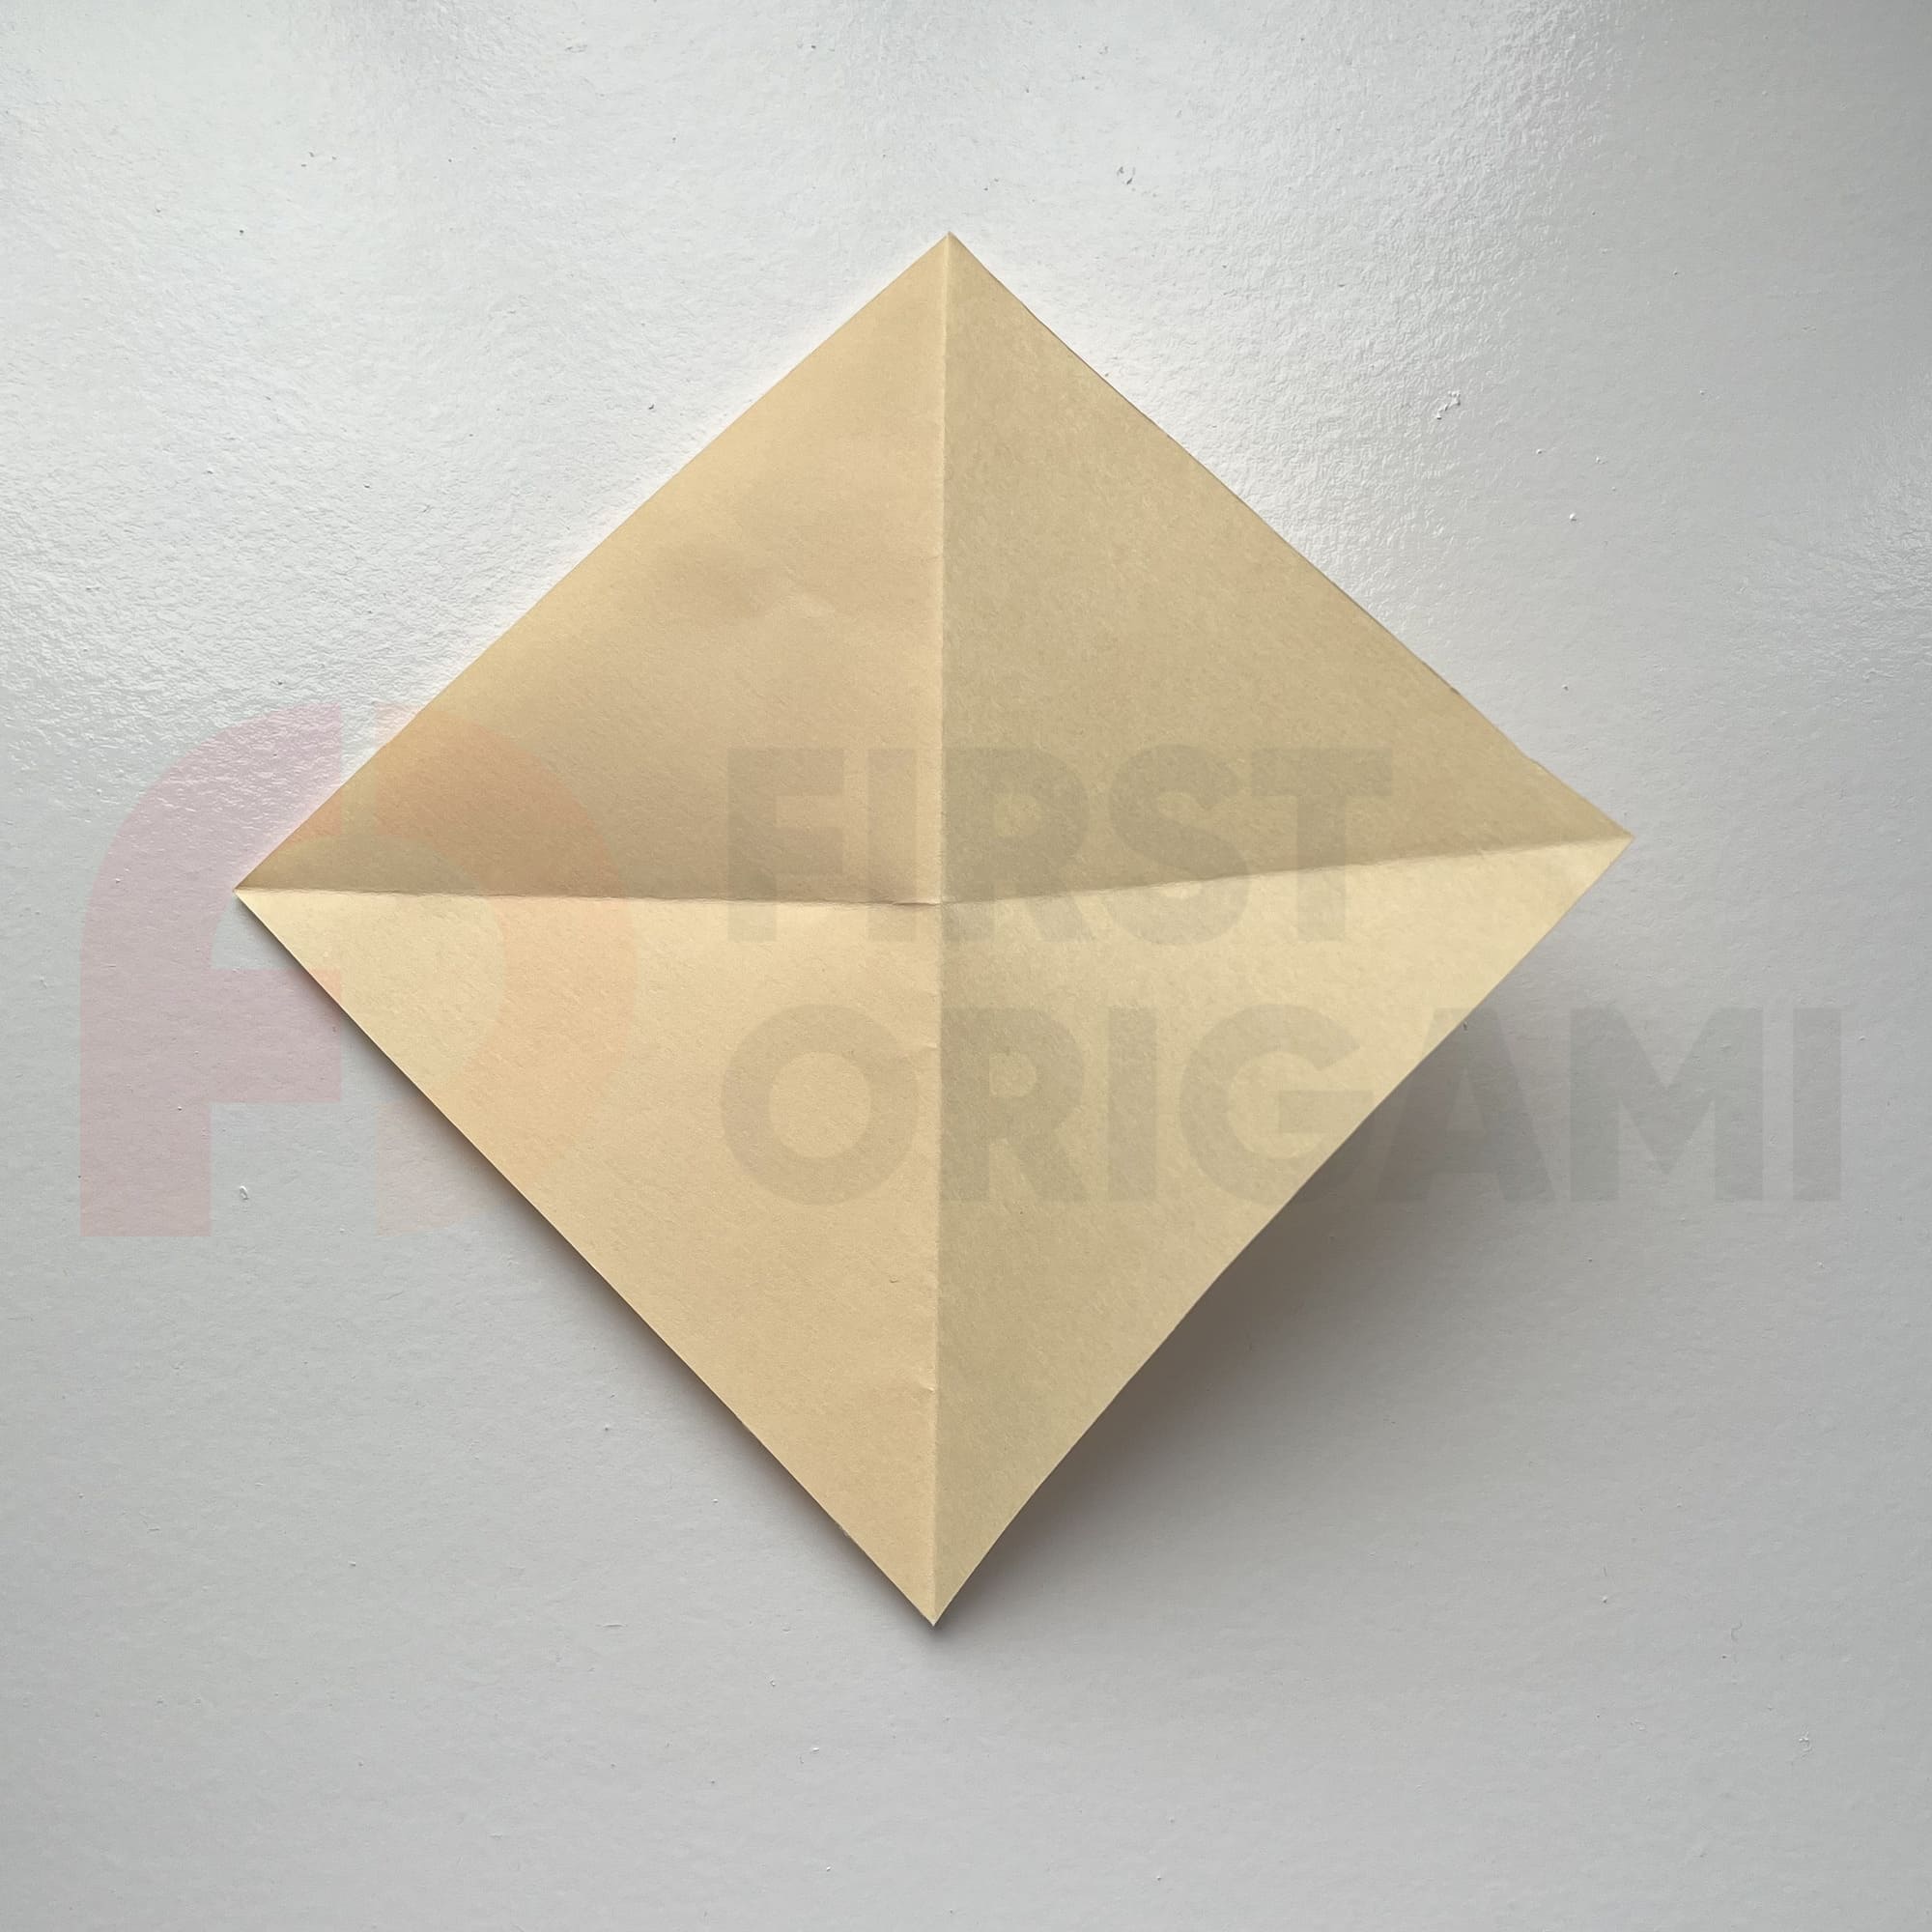
Now, we will make a cow’s head from a separate piece of paper – a 10×10 cm square.
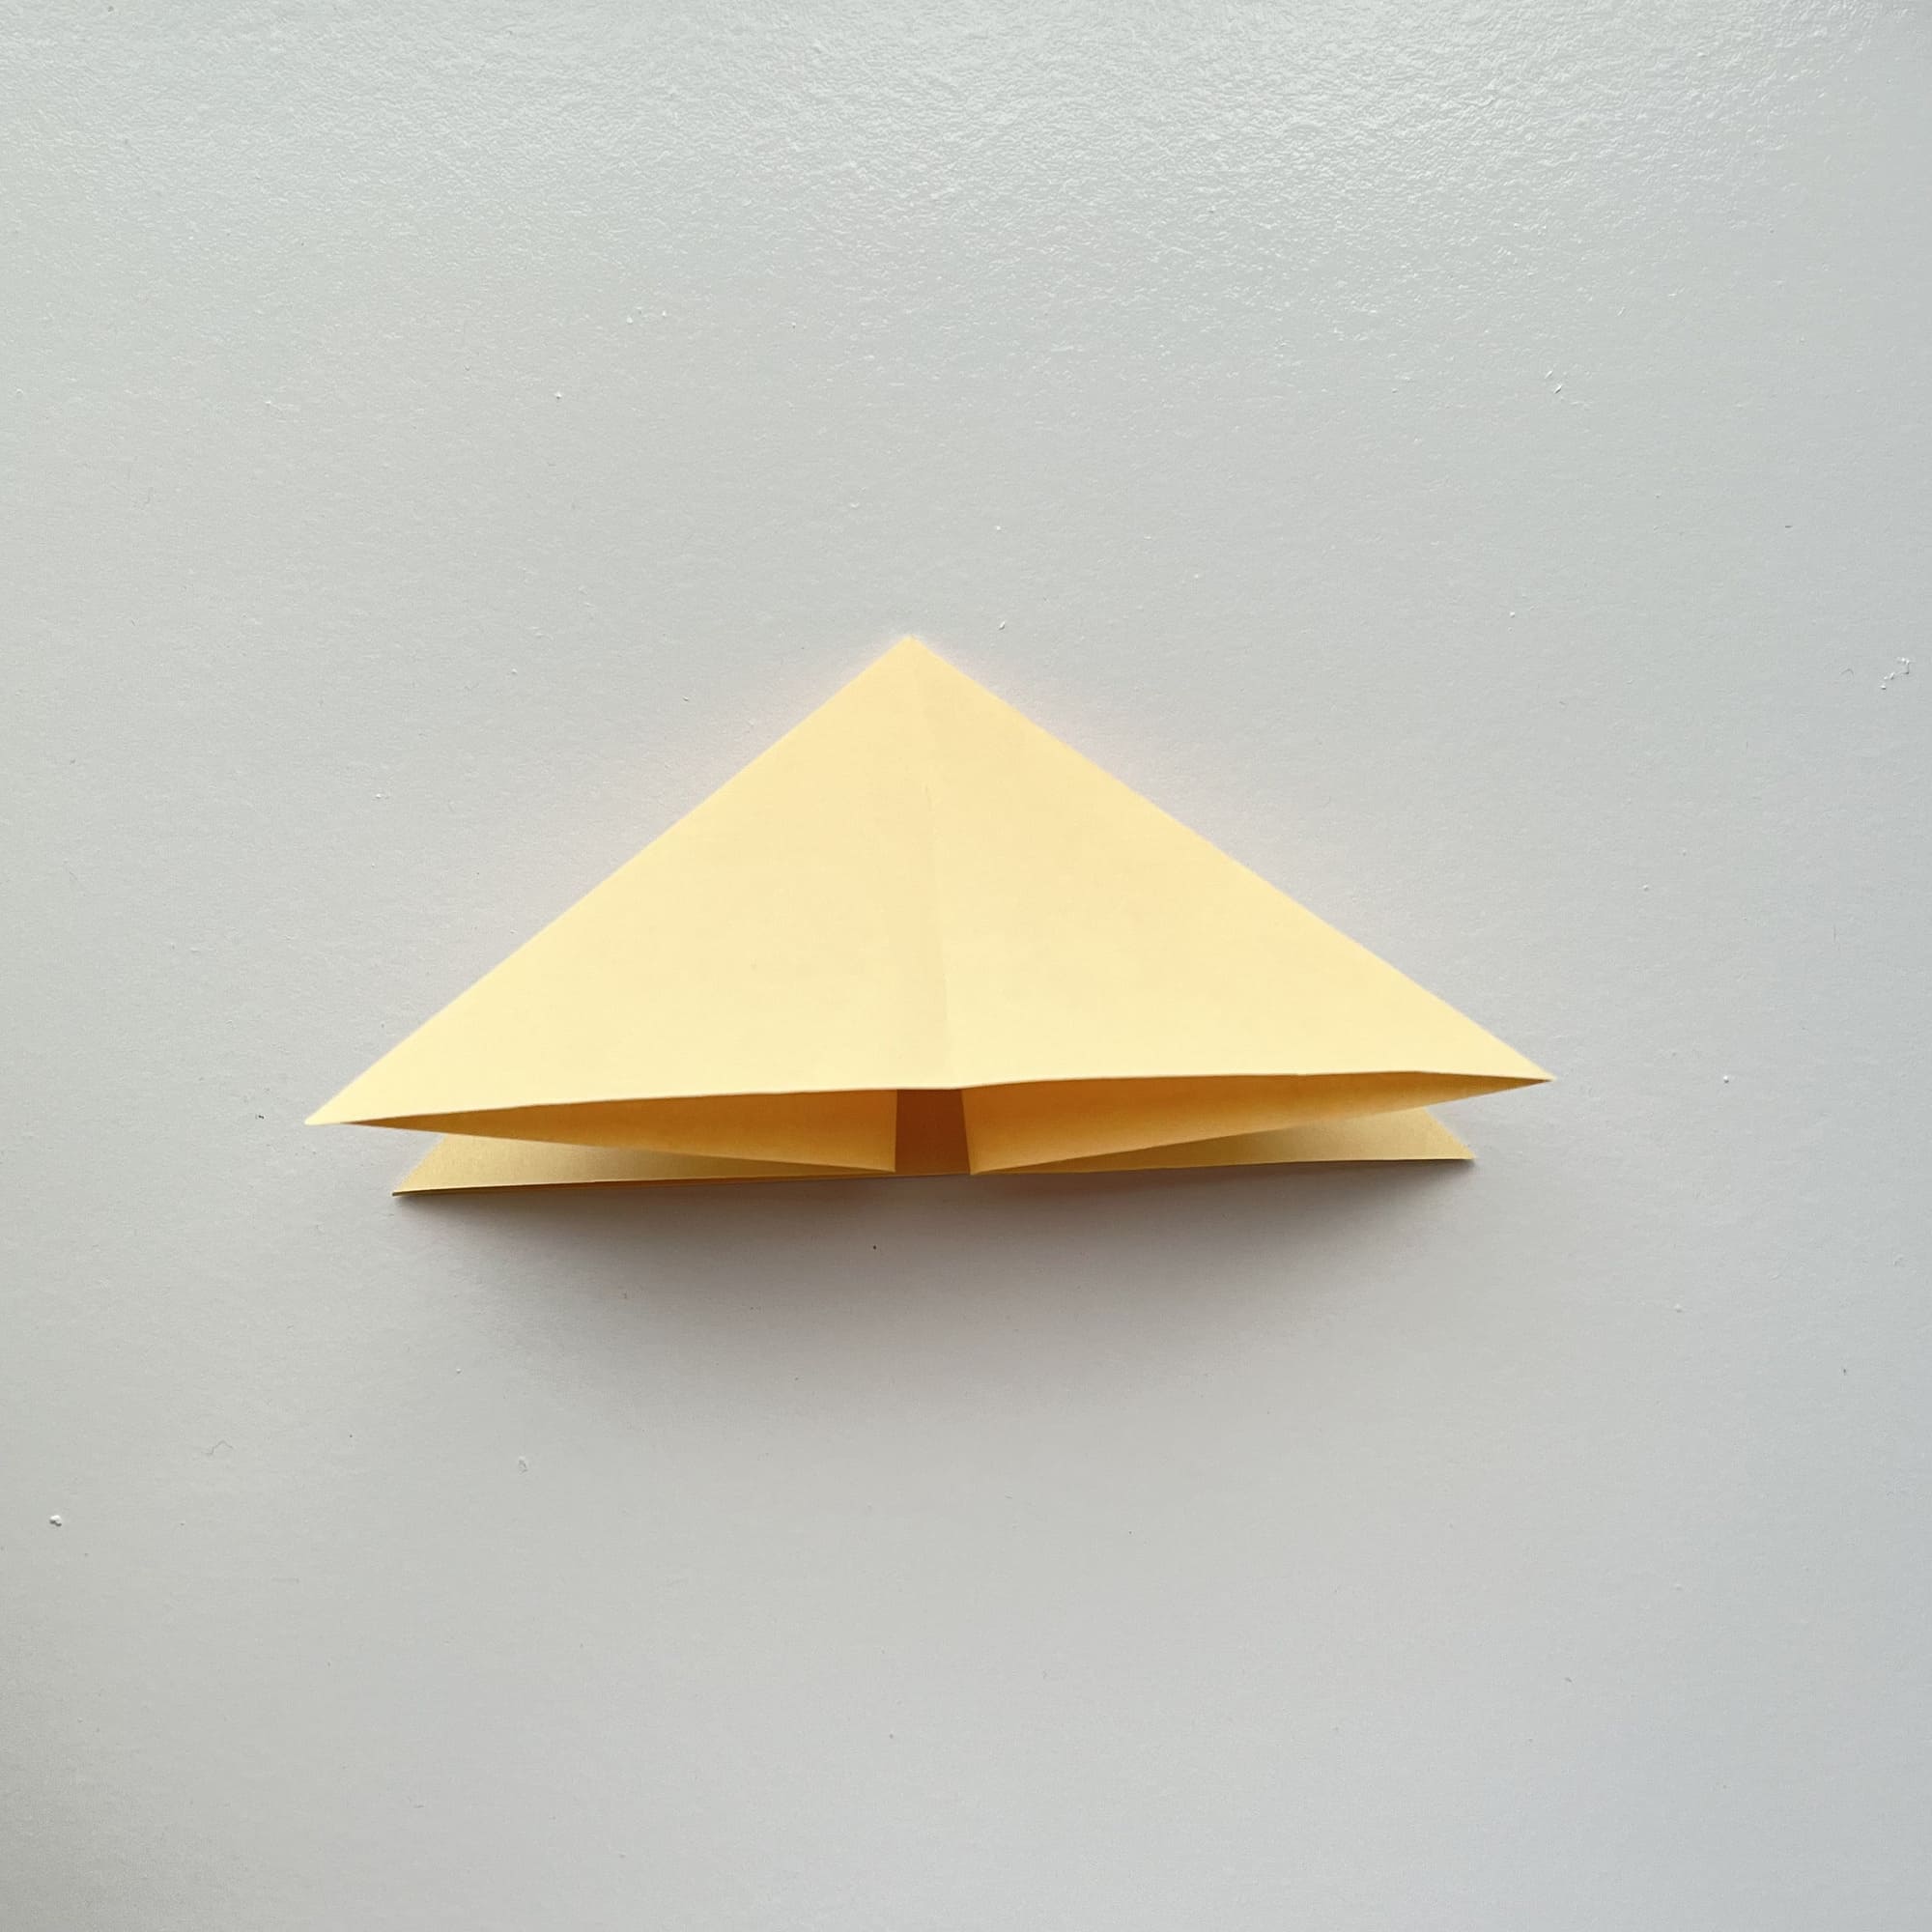
Make a water bomb base.
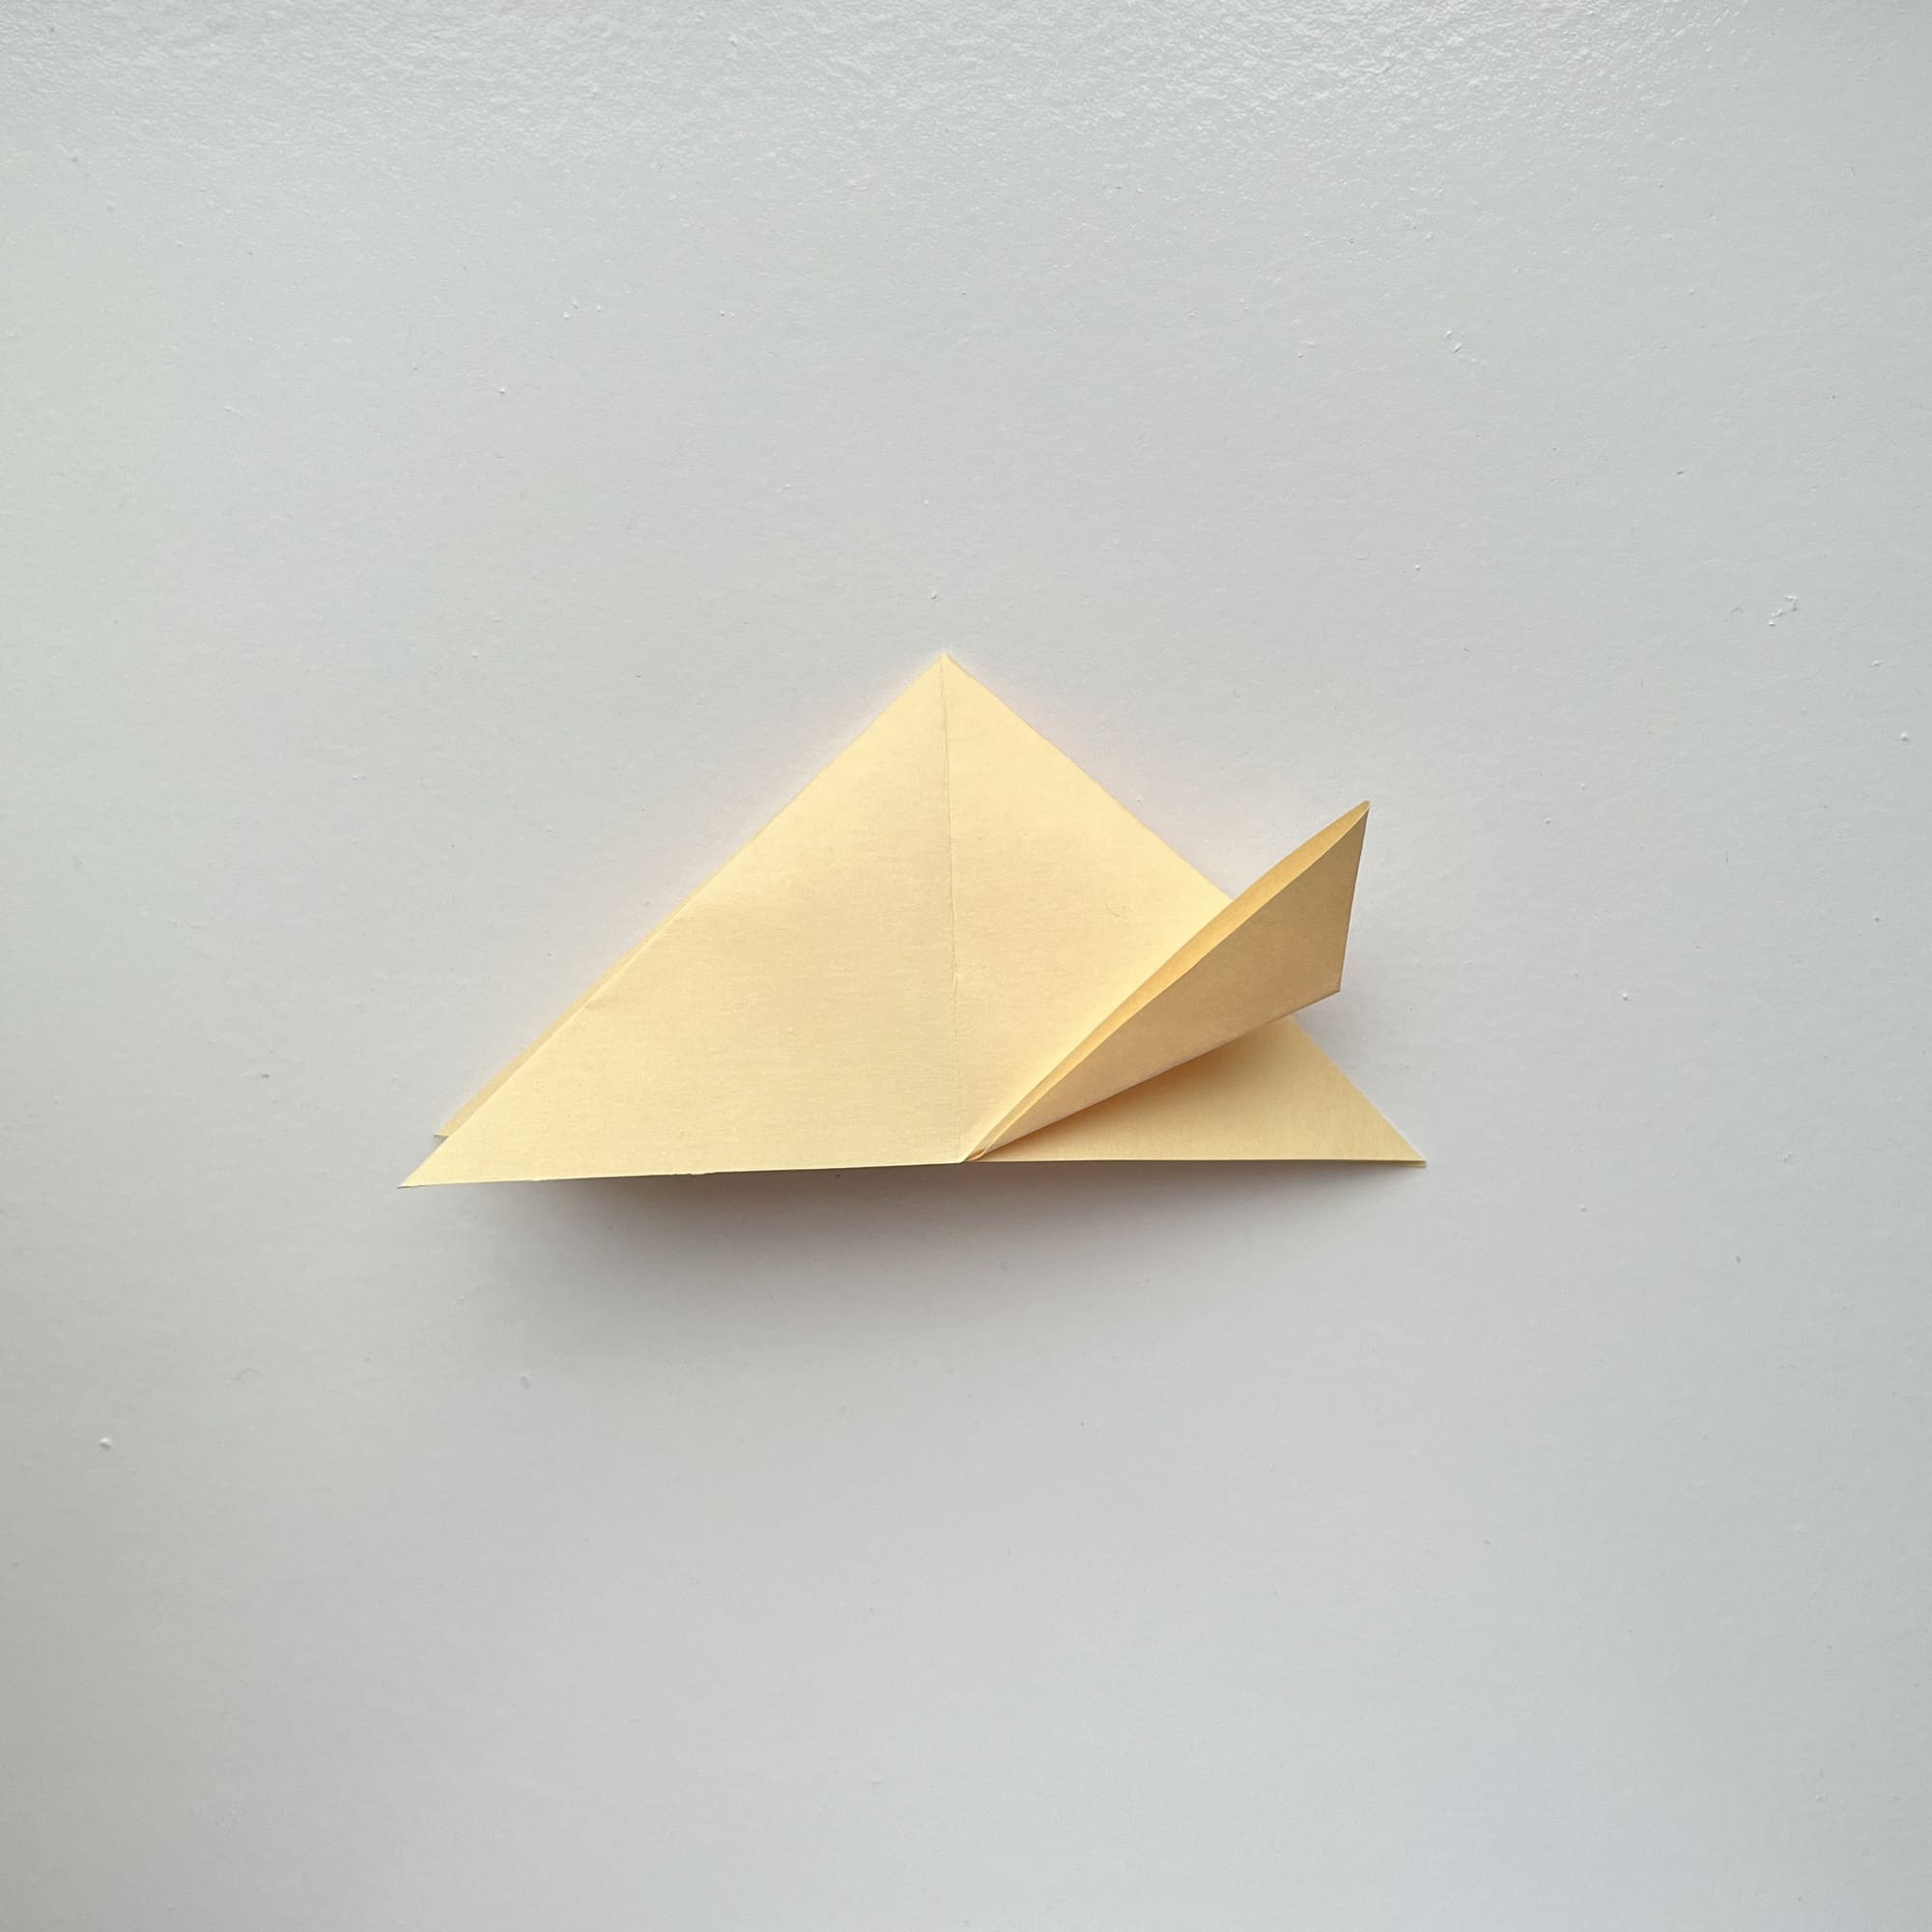
Bend the bottom corners up, working only with the top layers.
Crease the folds, and unfold.
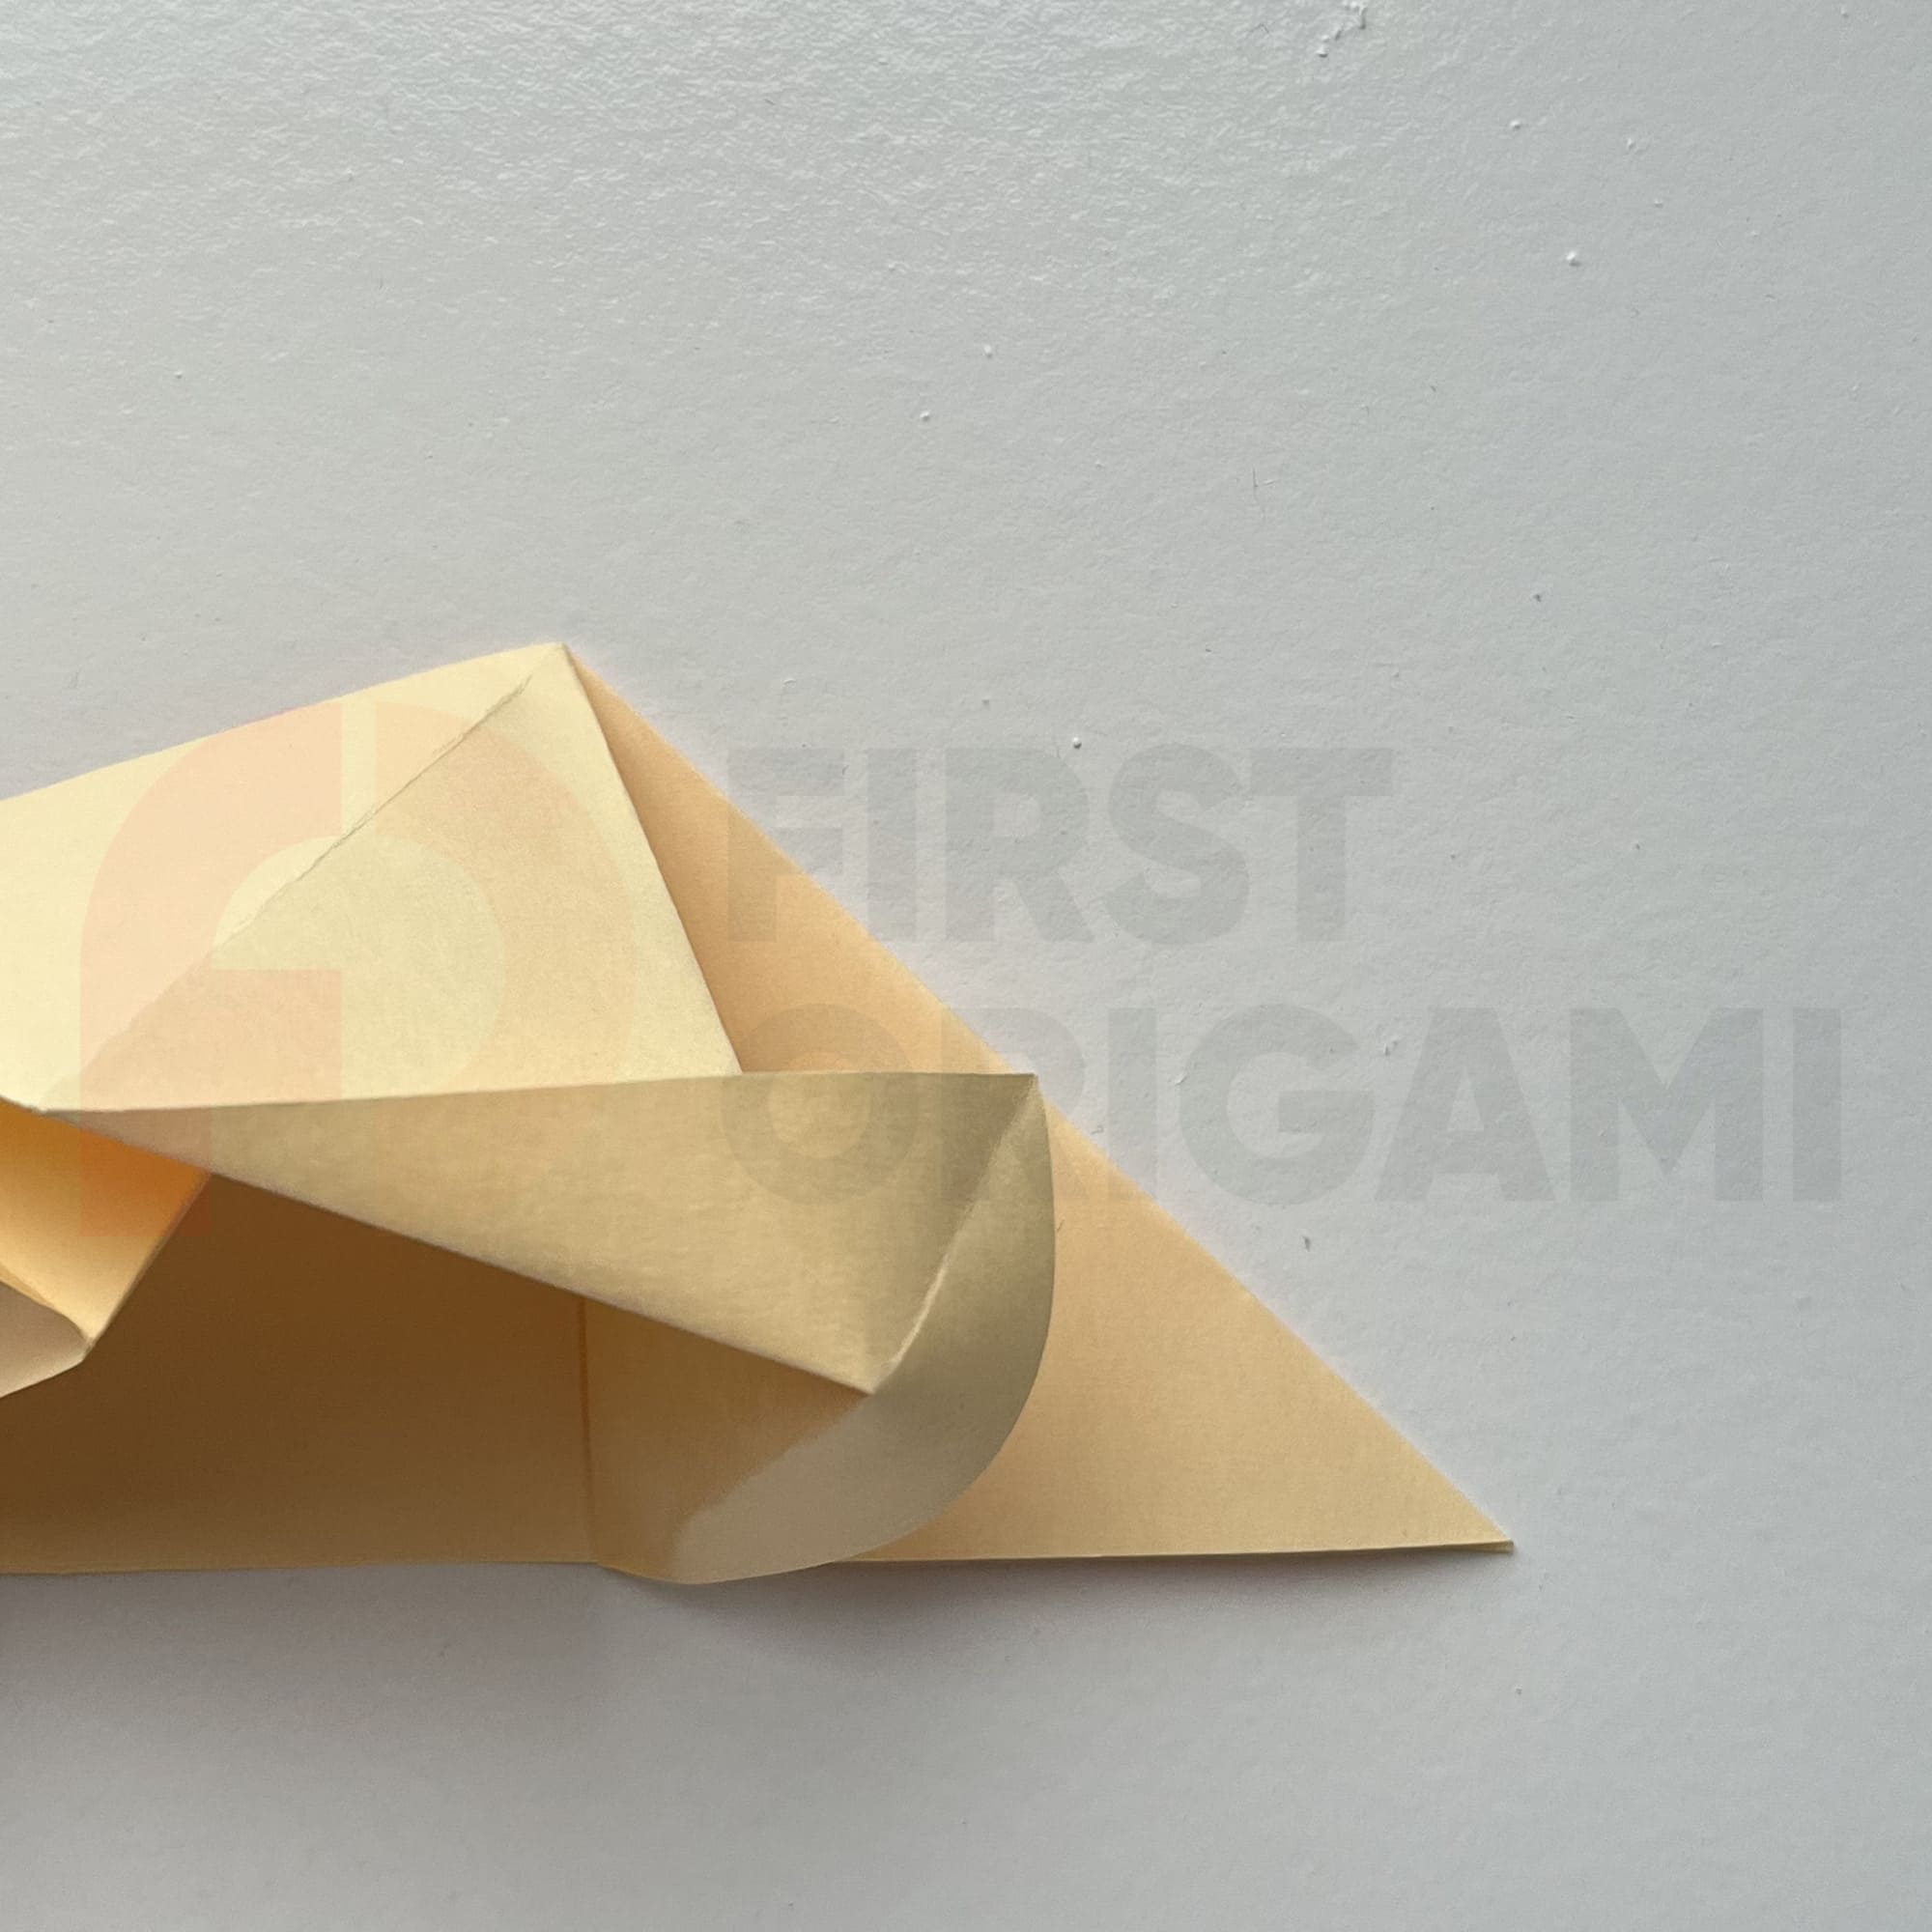
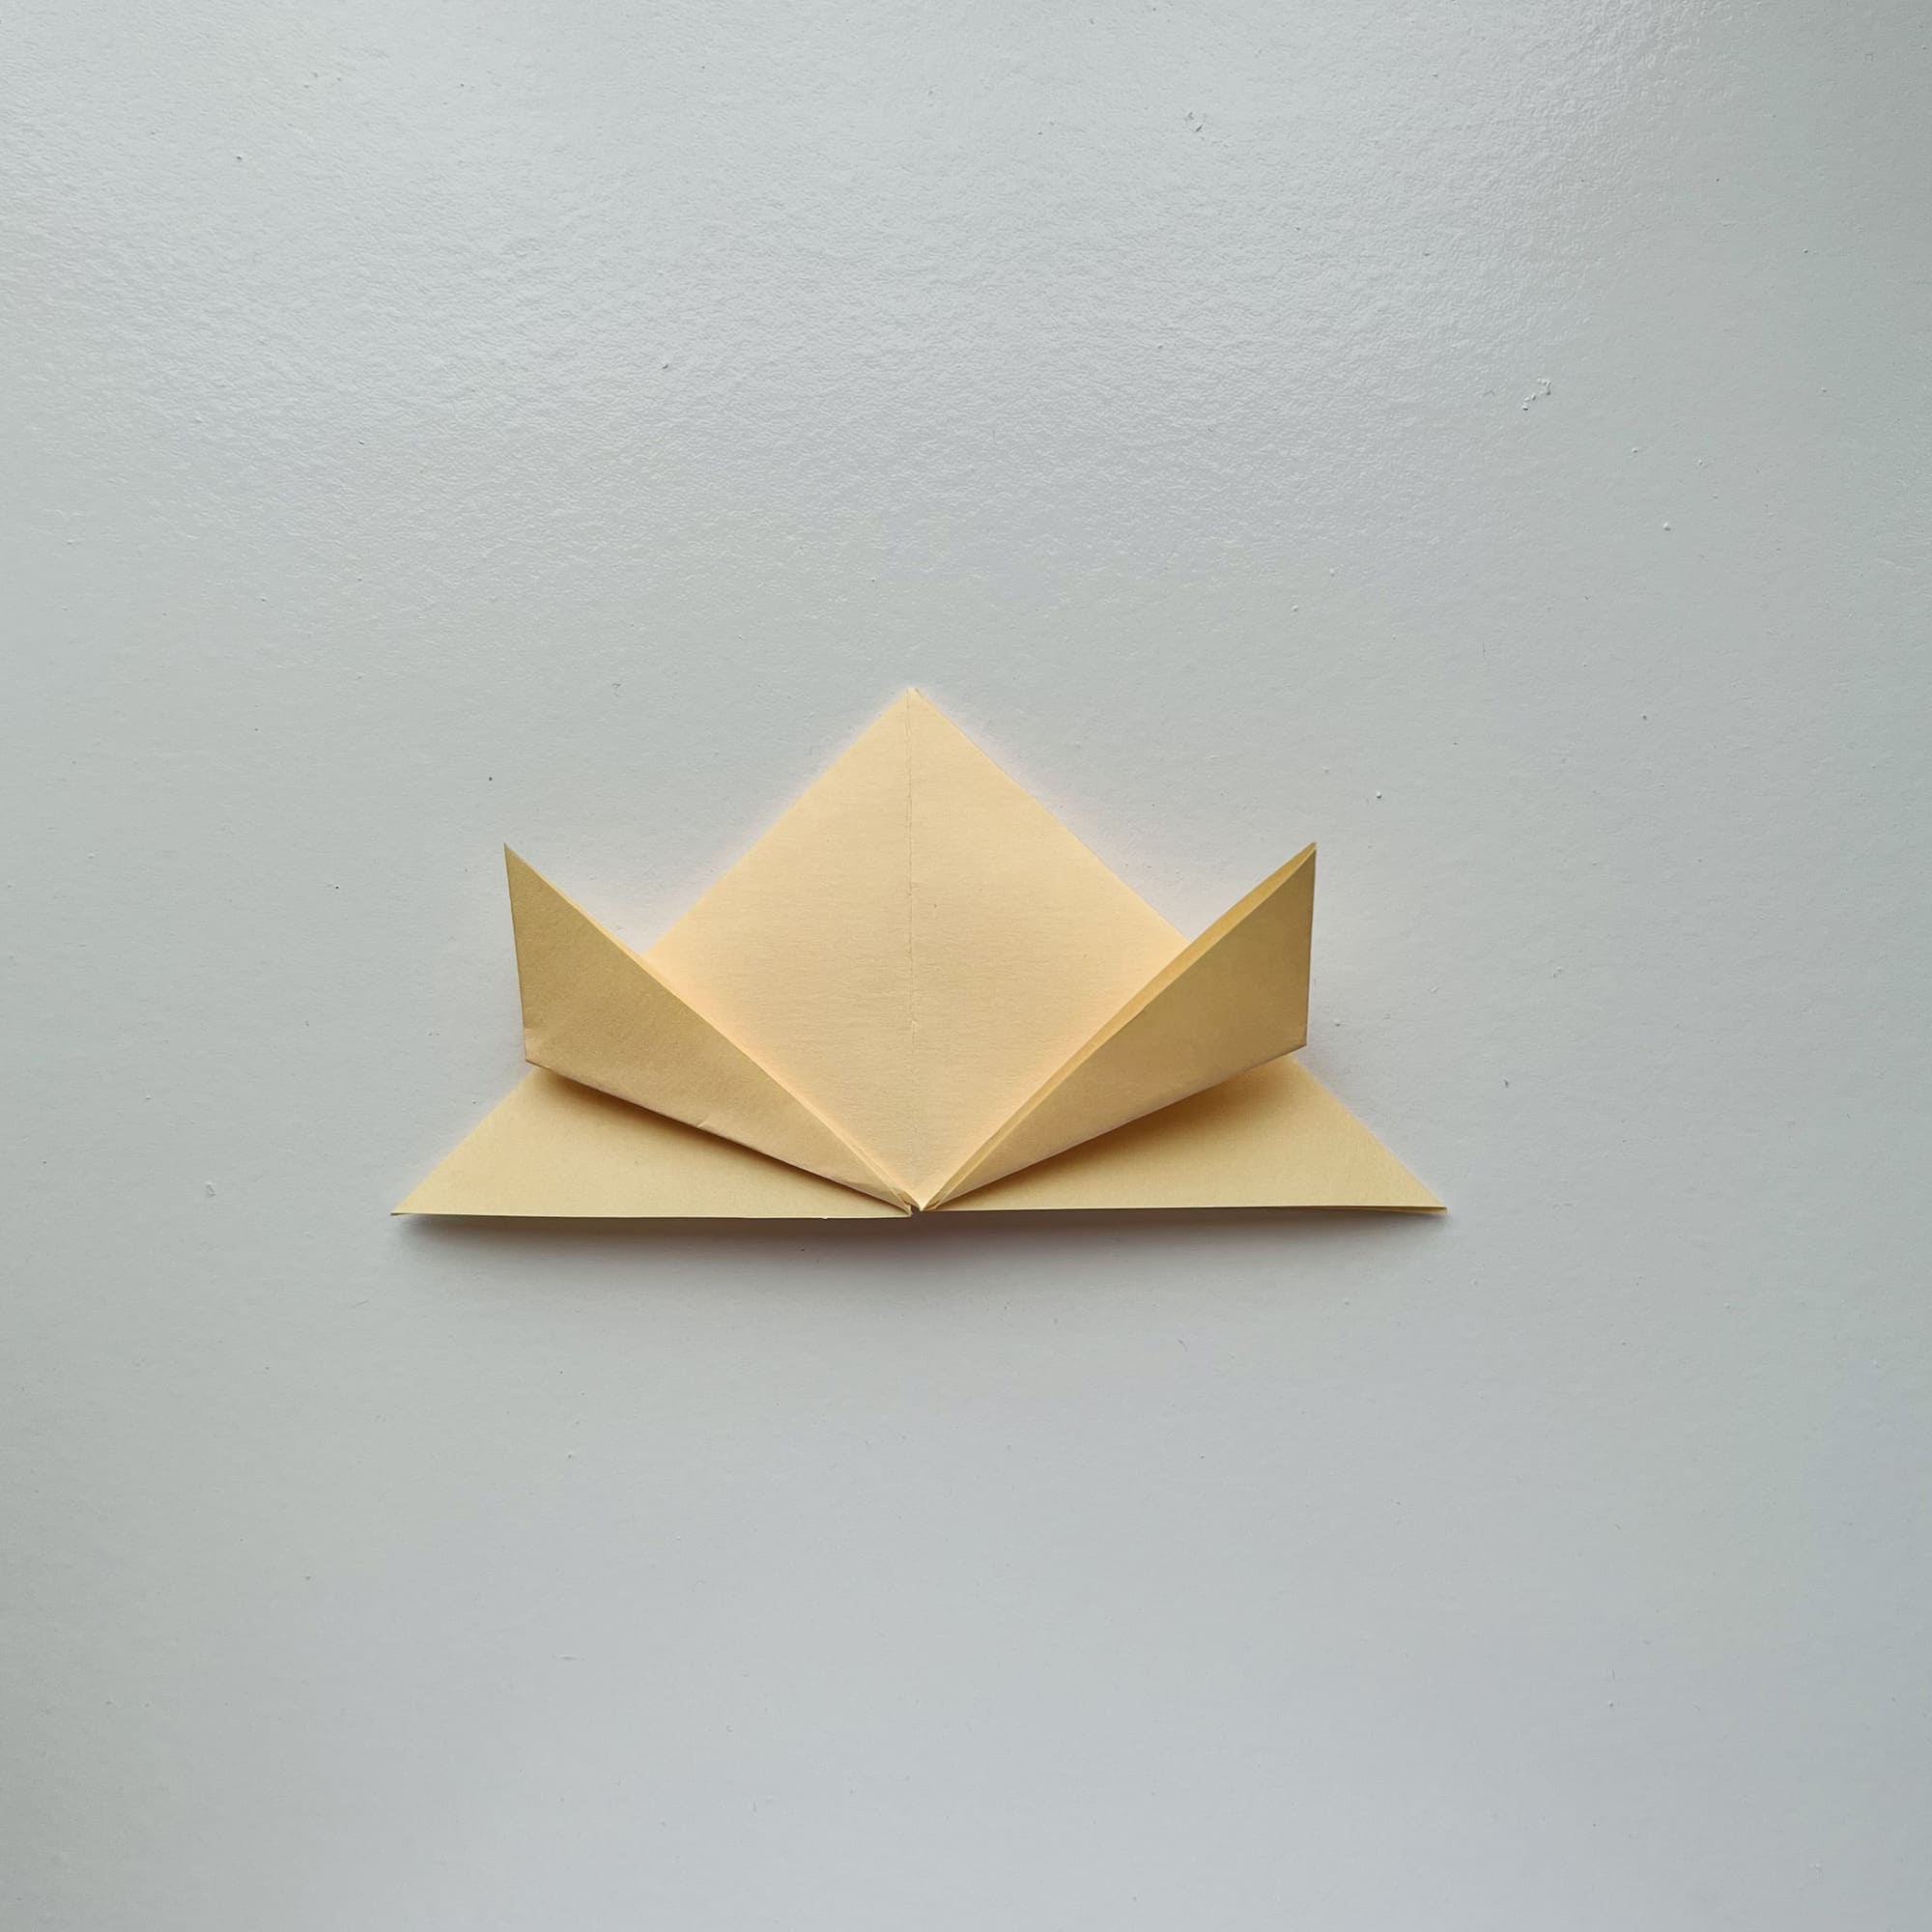
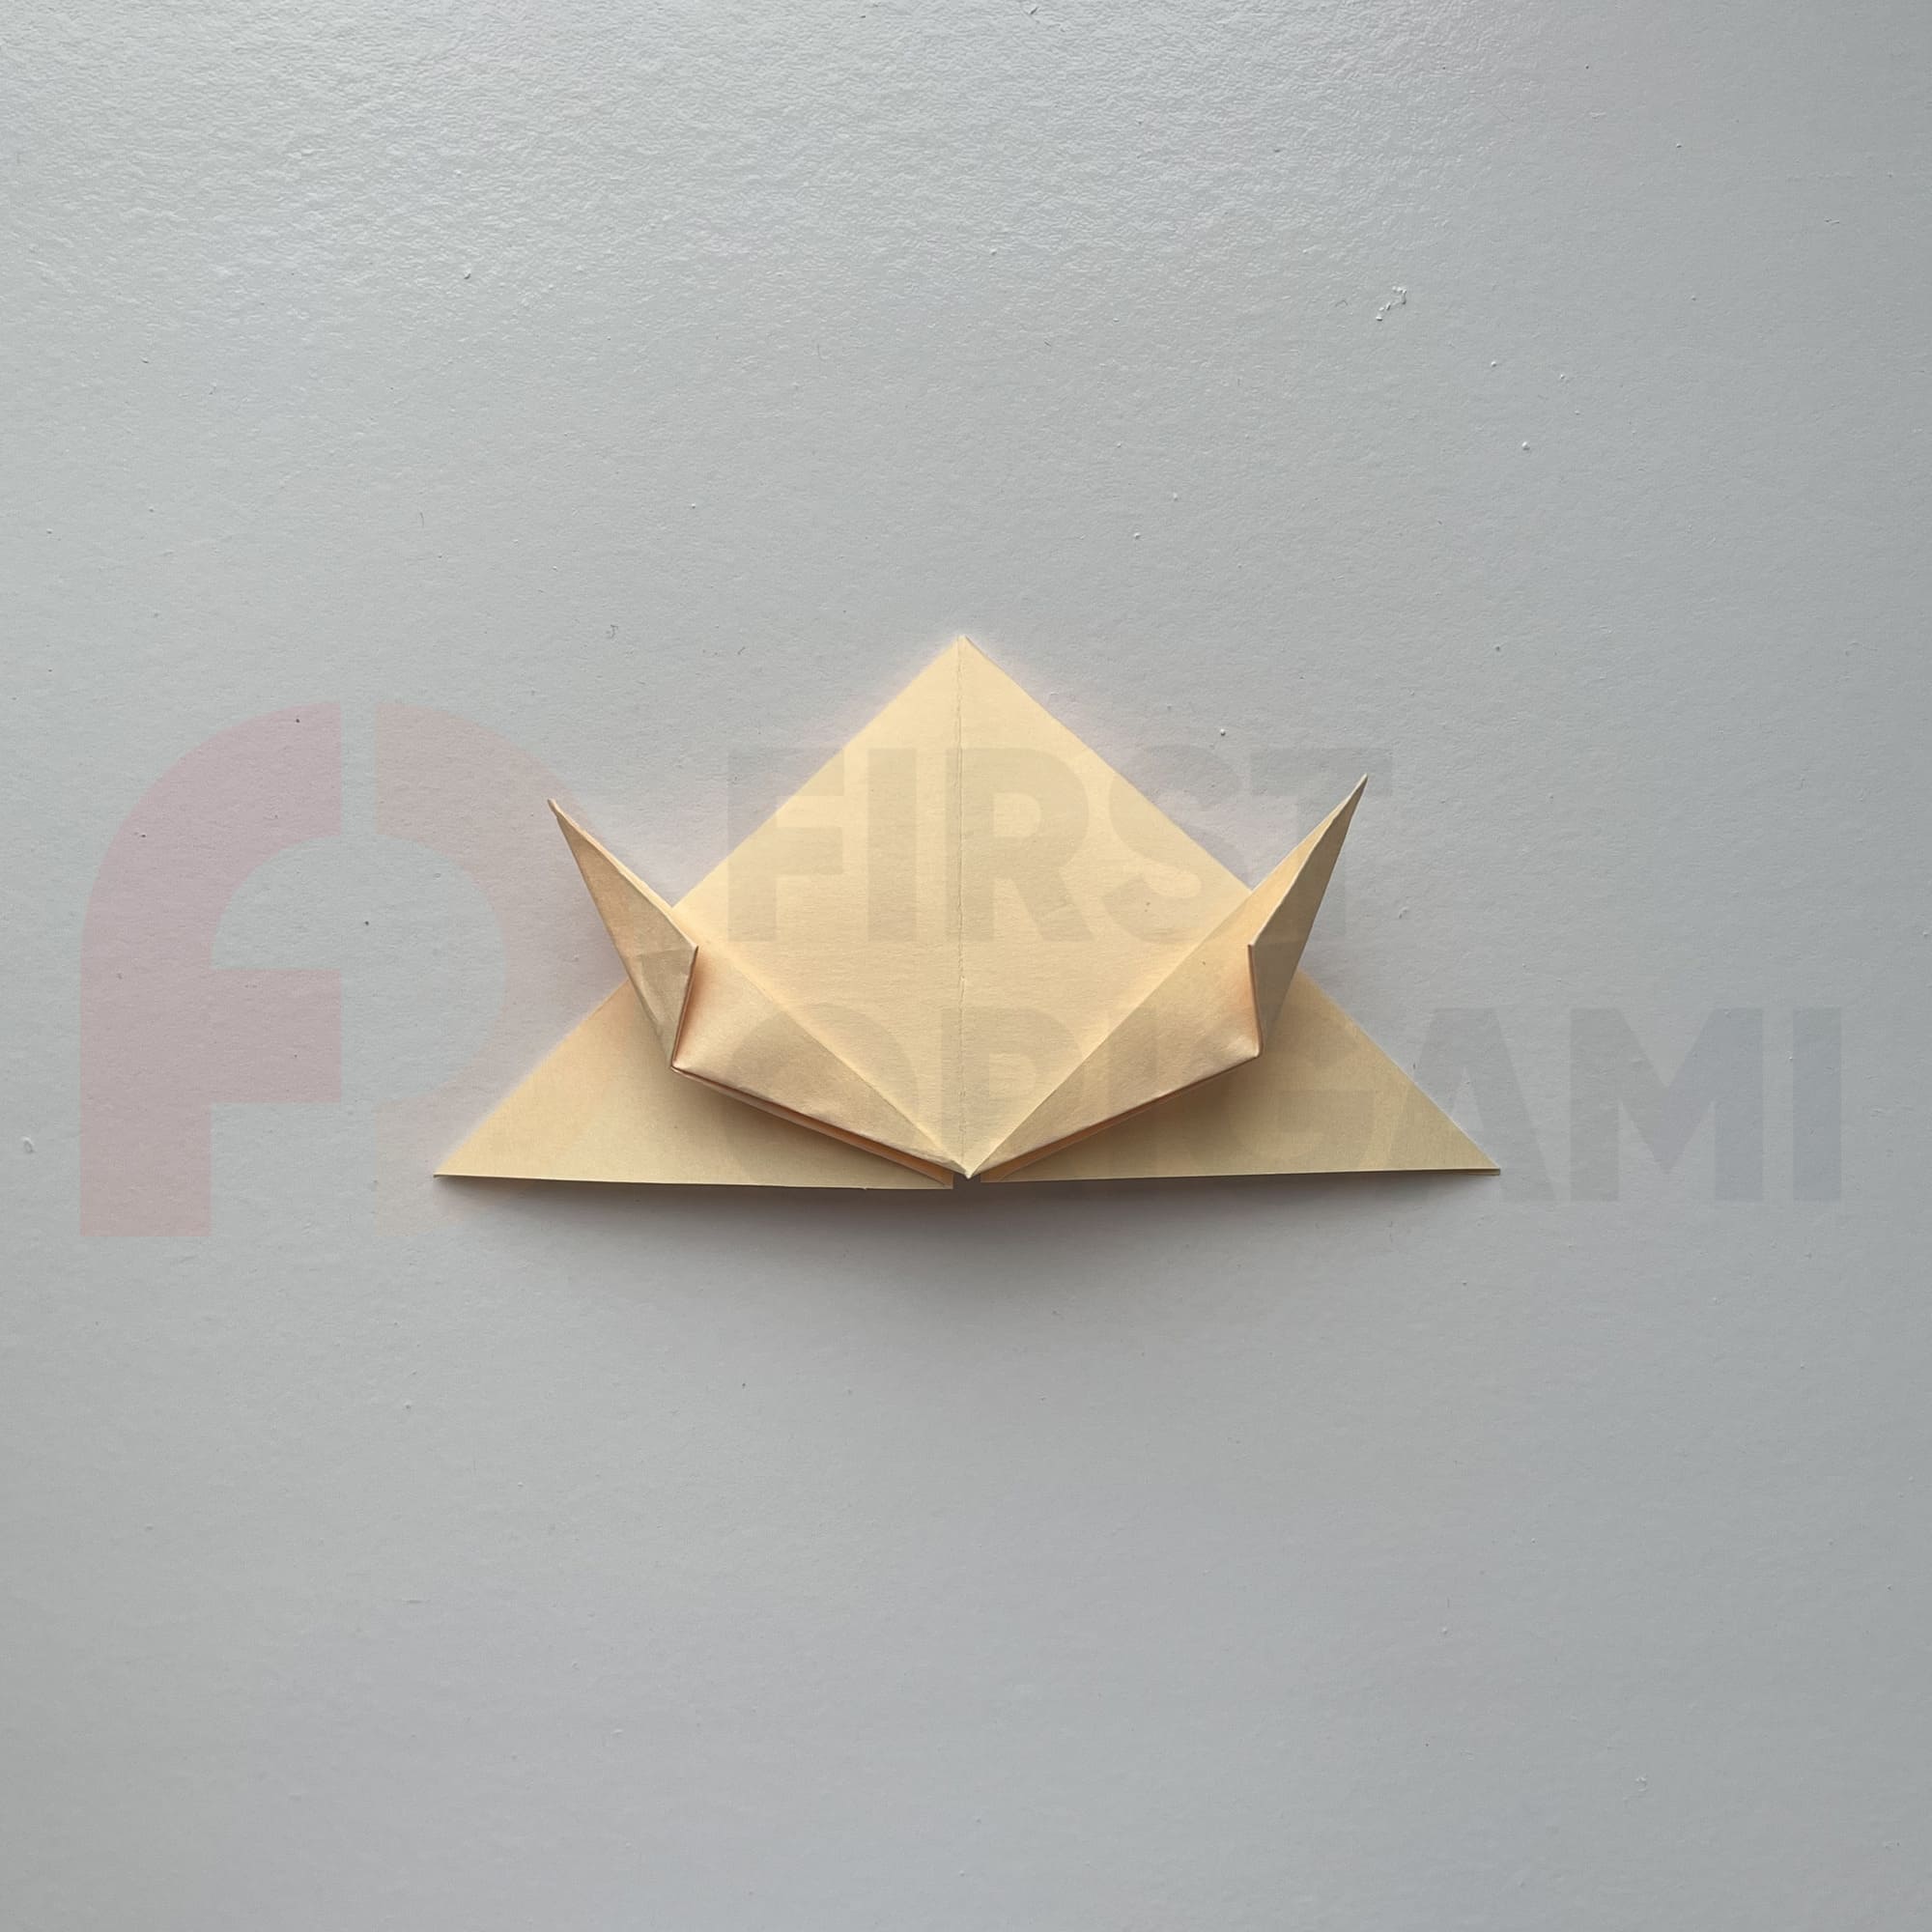
Slightly opening the paper, turn these corners inside out, using the folds as your guide.
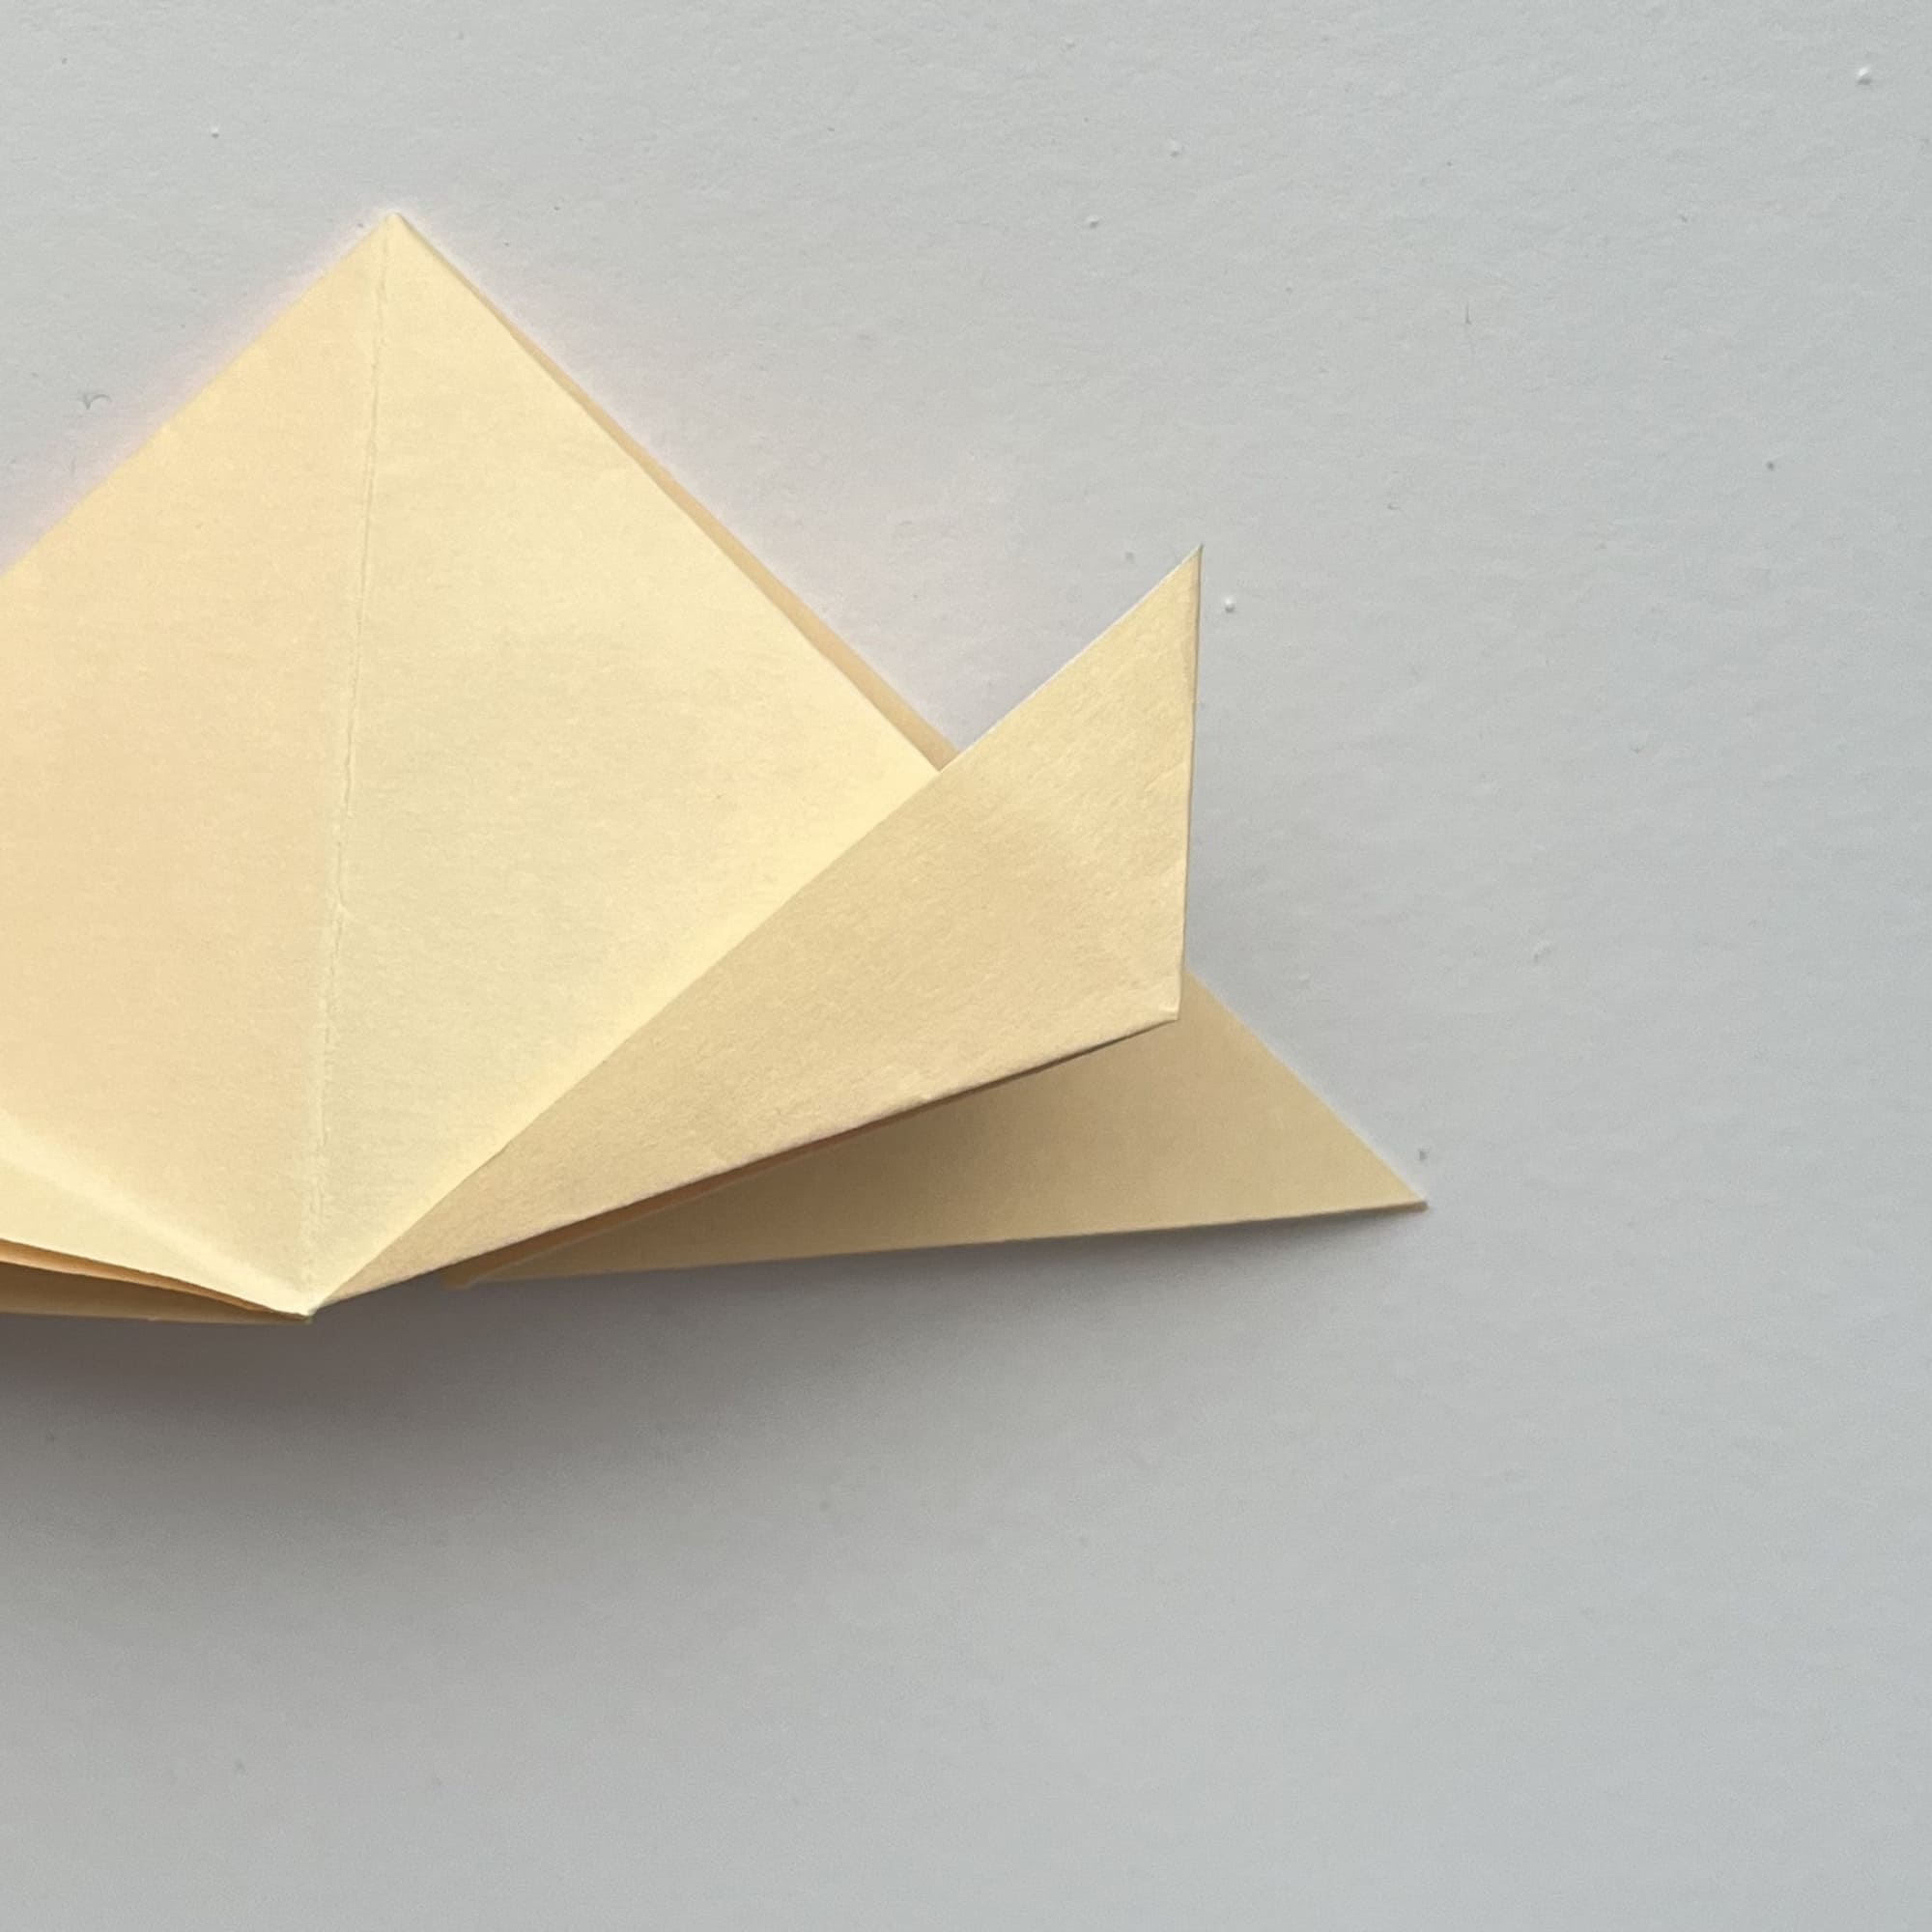
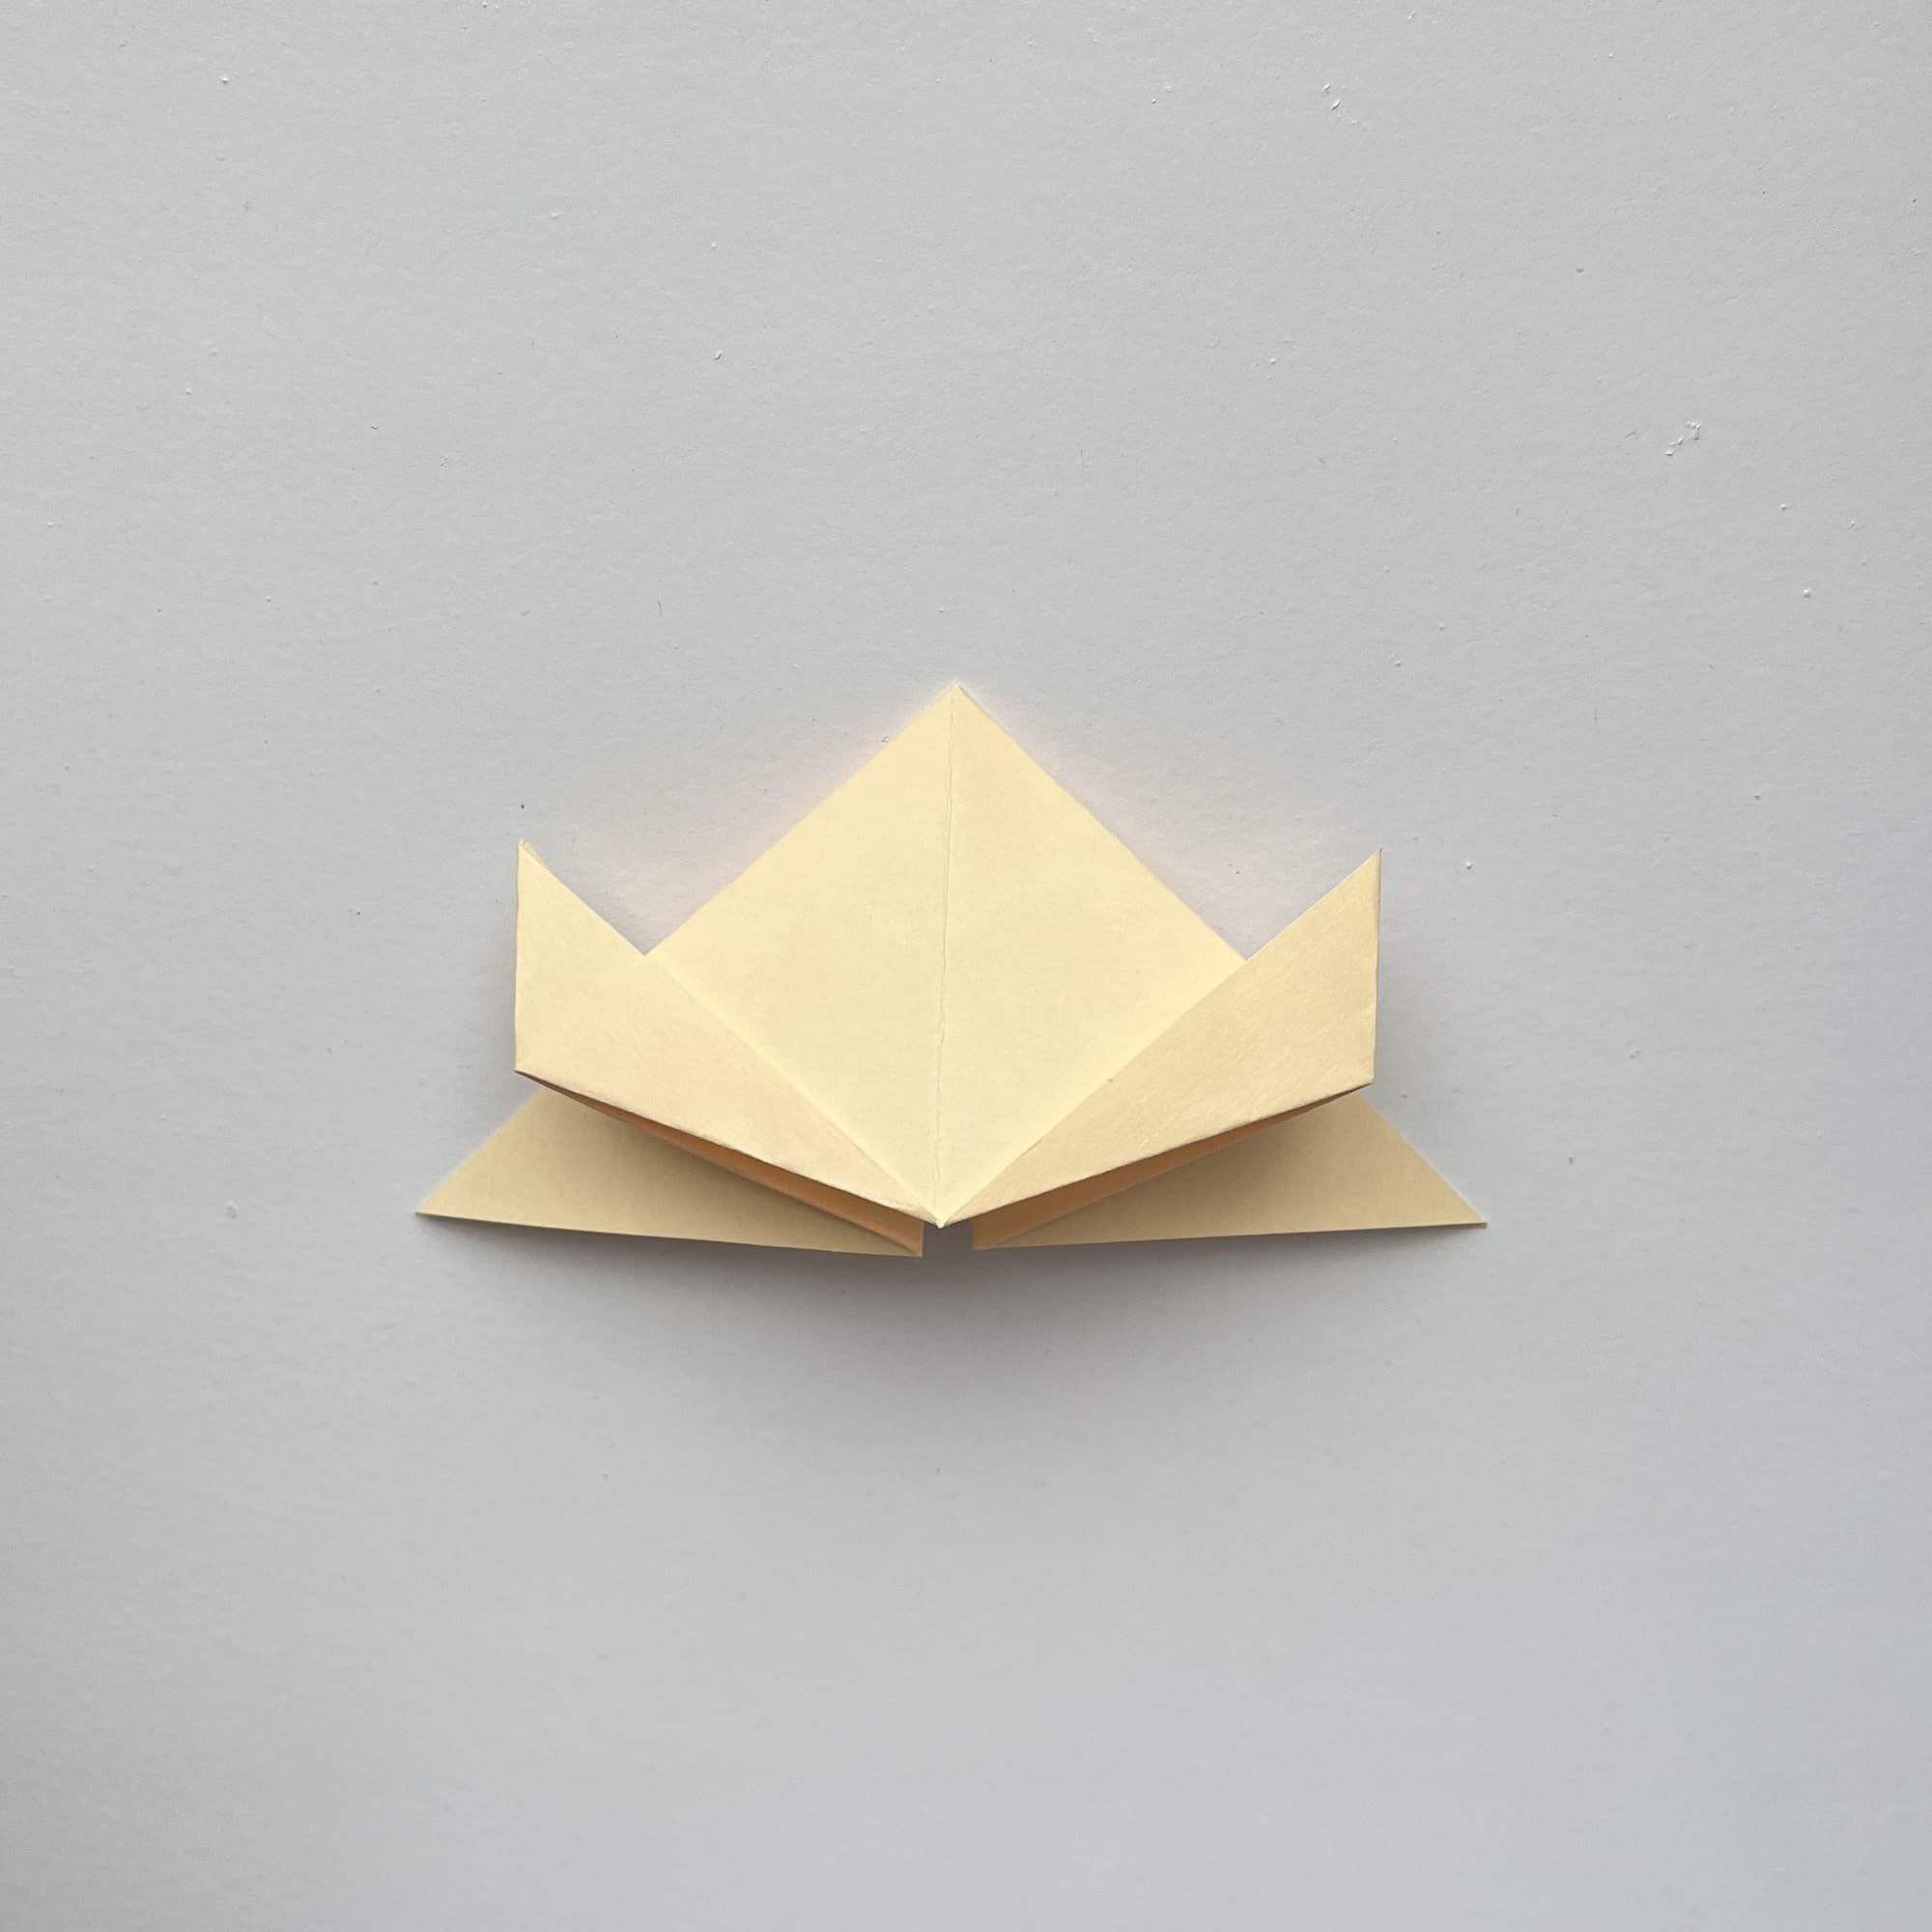

You have two elongated triangles on the sides.
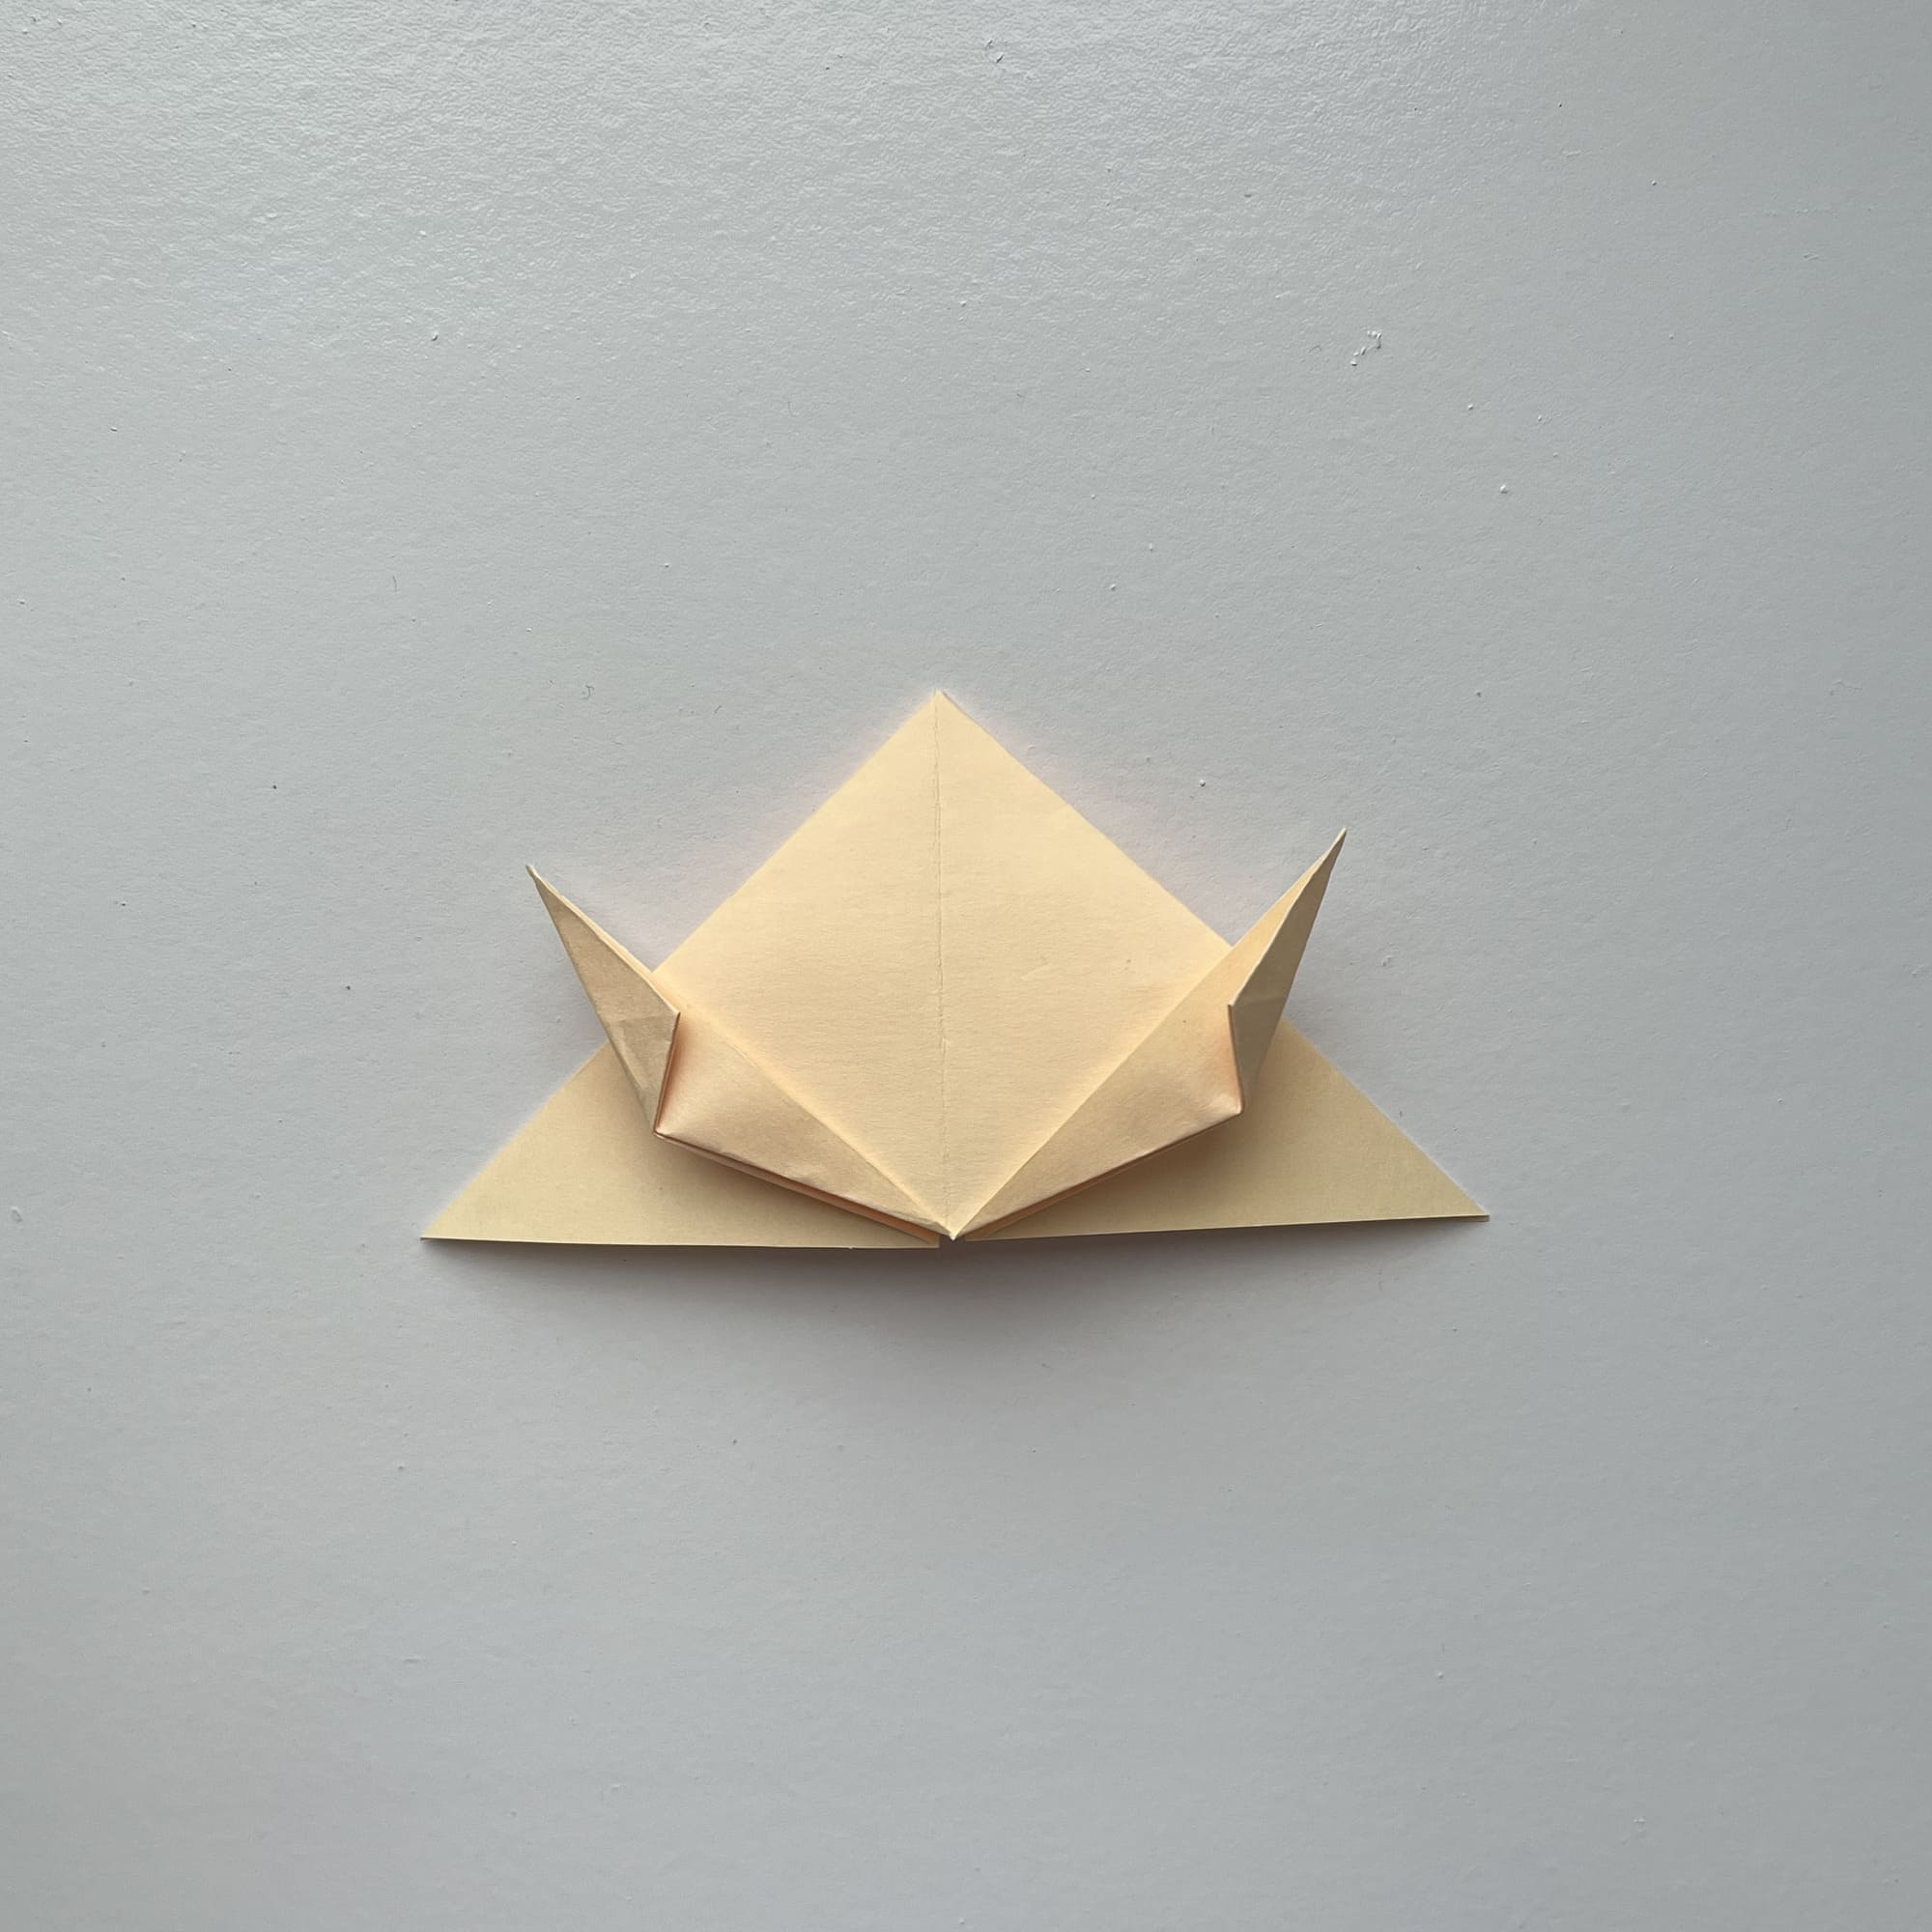
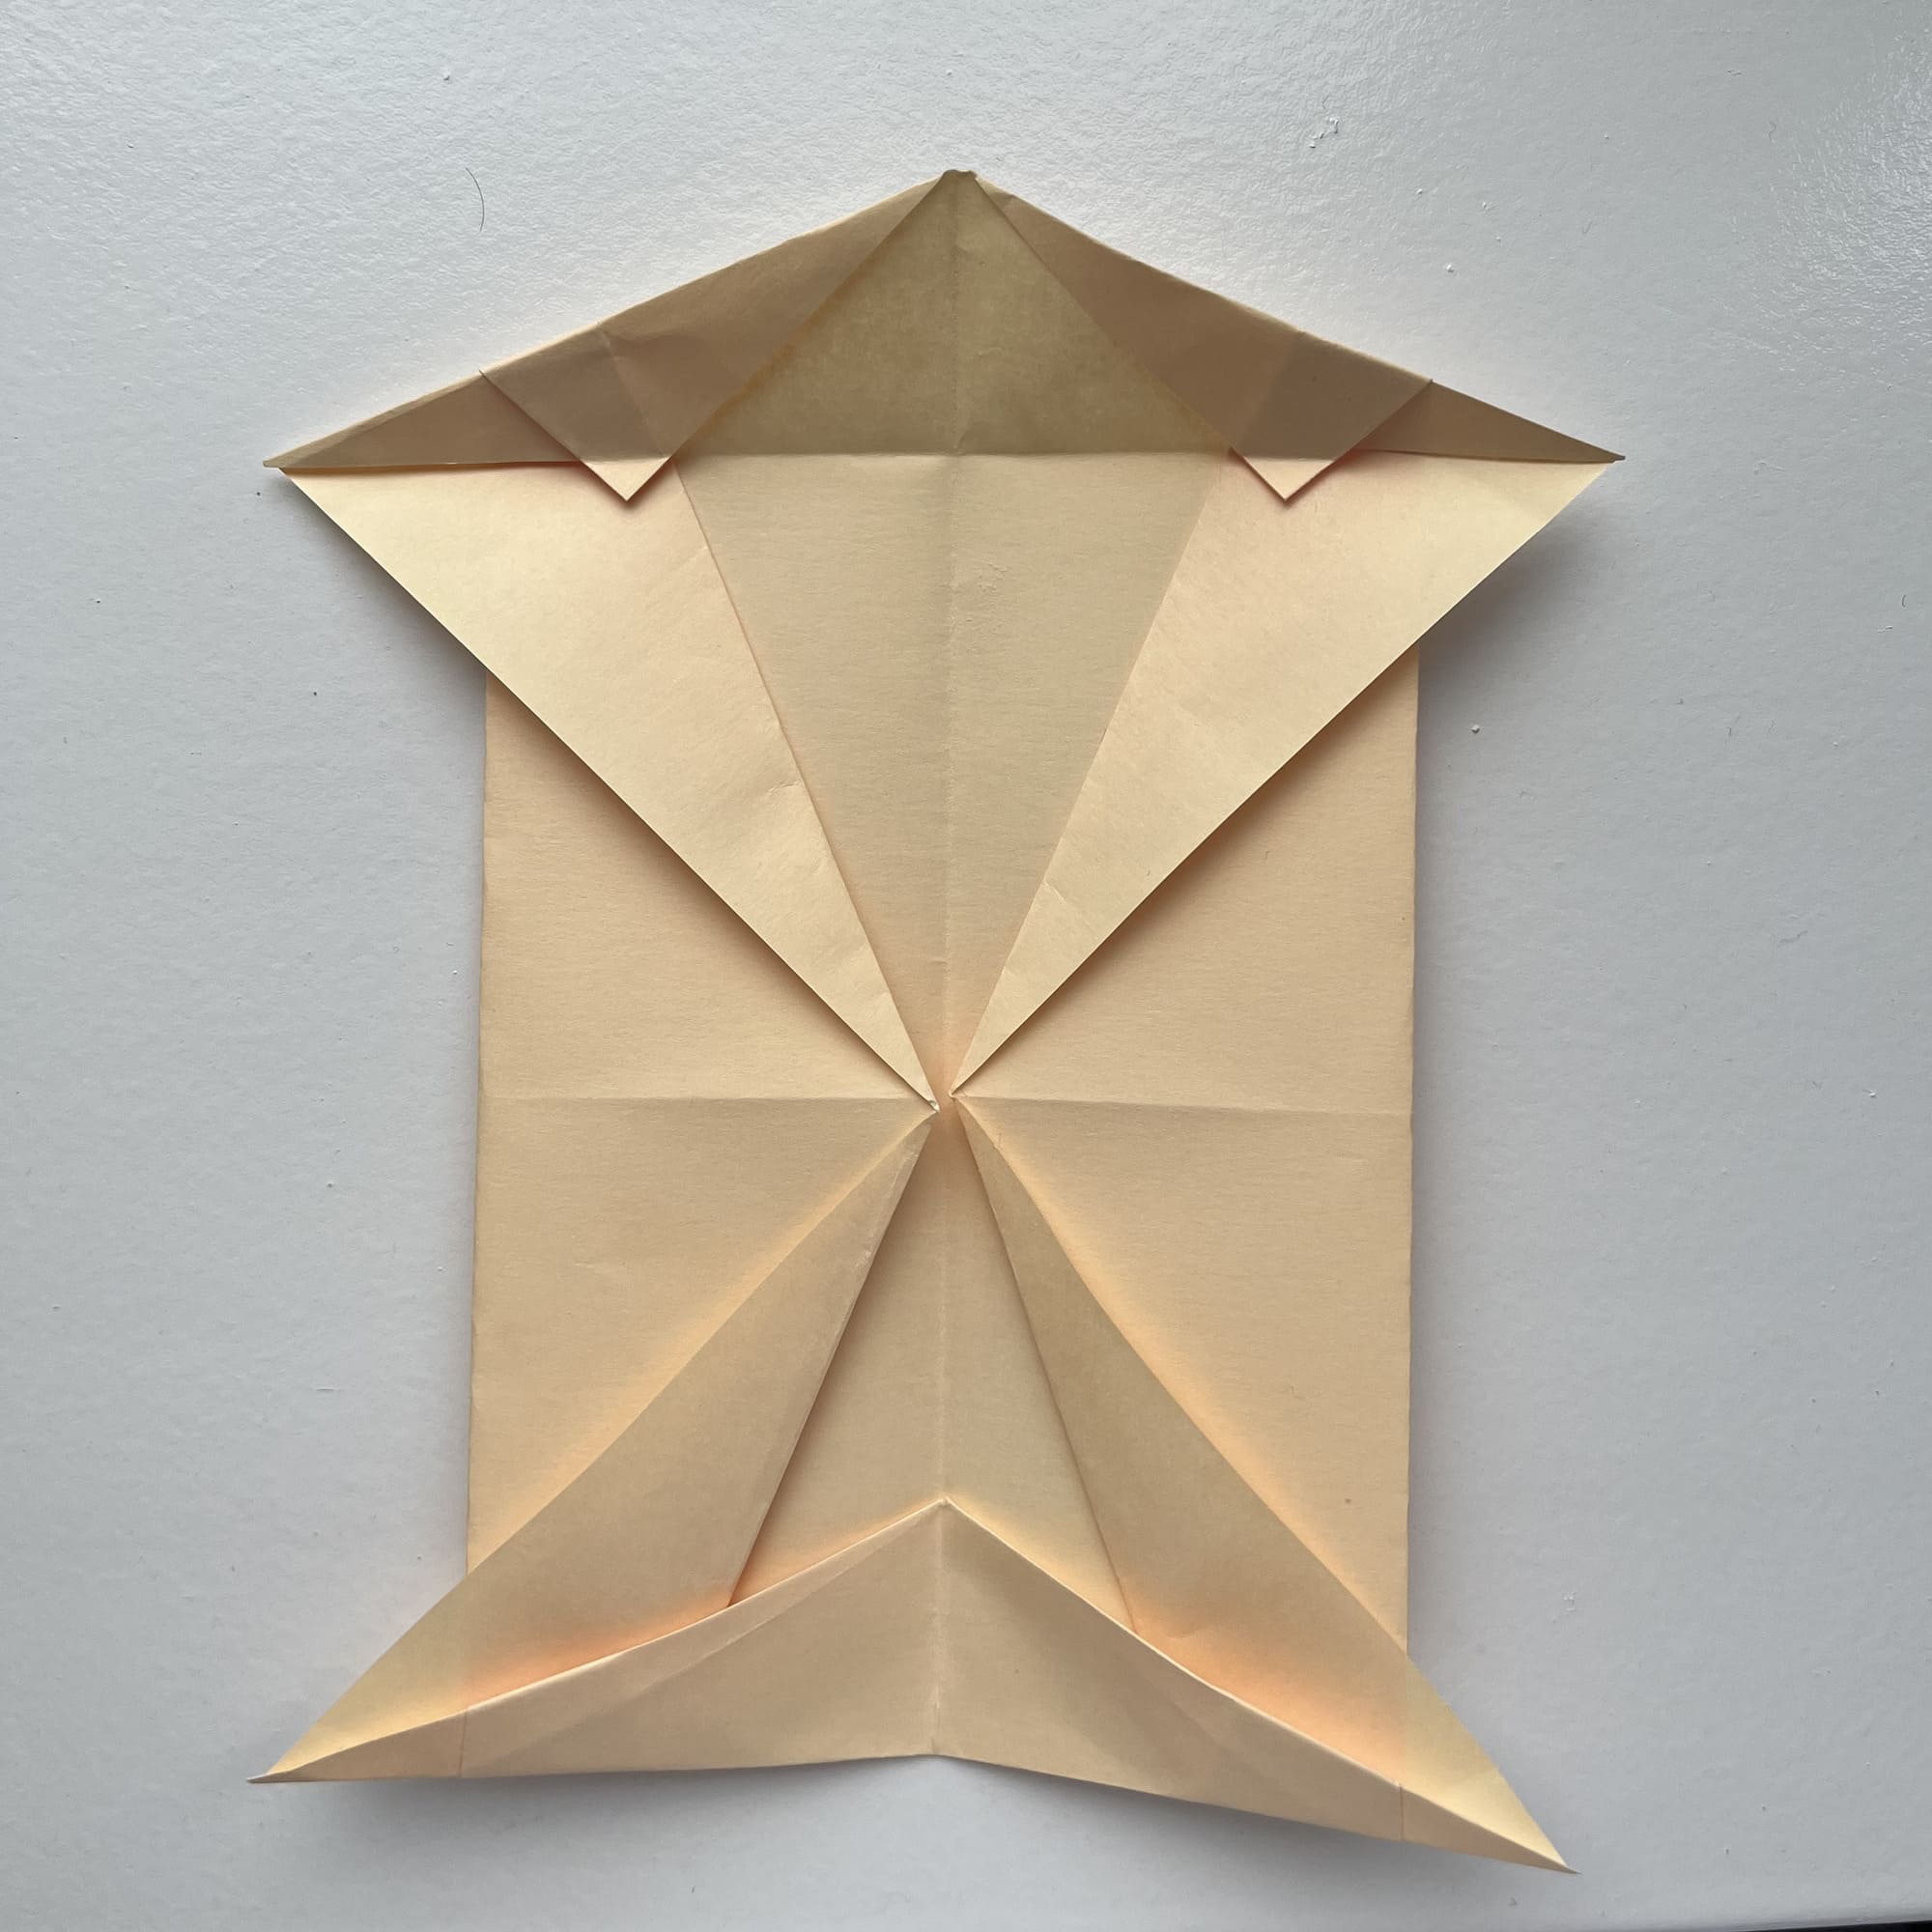
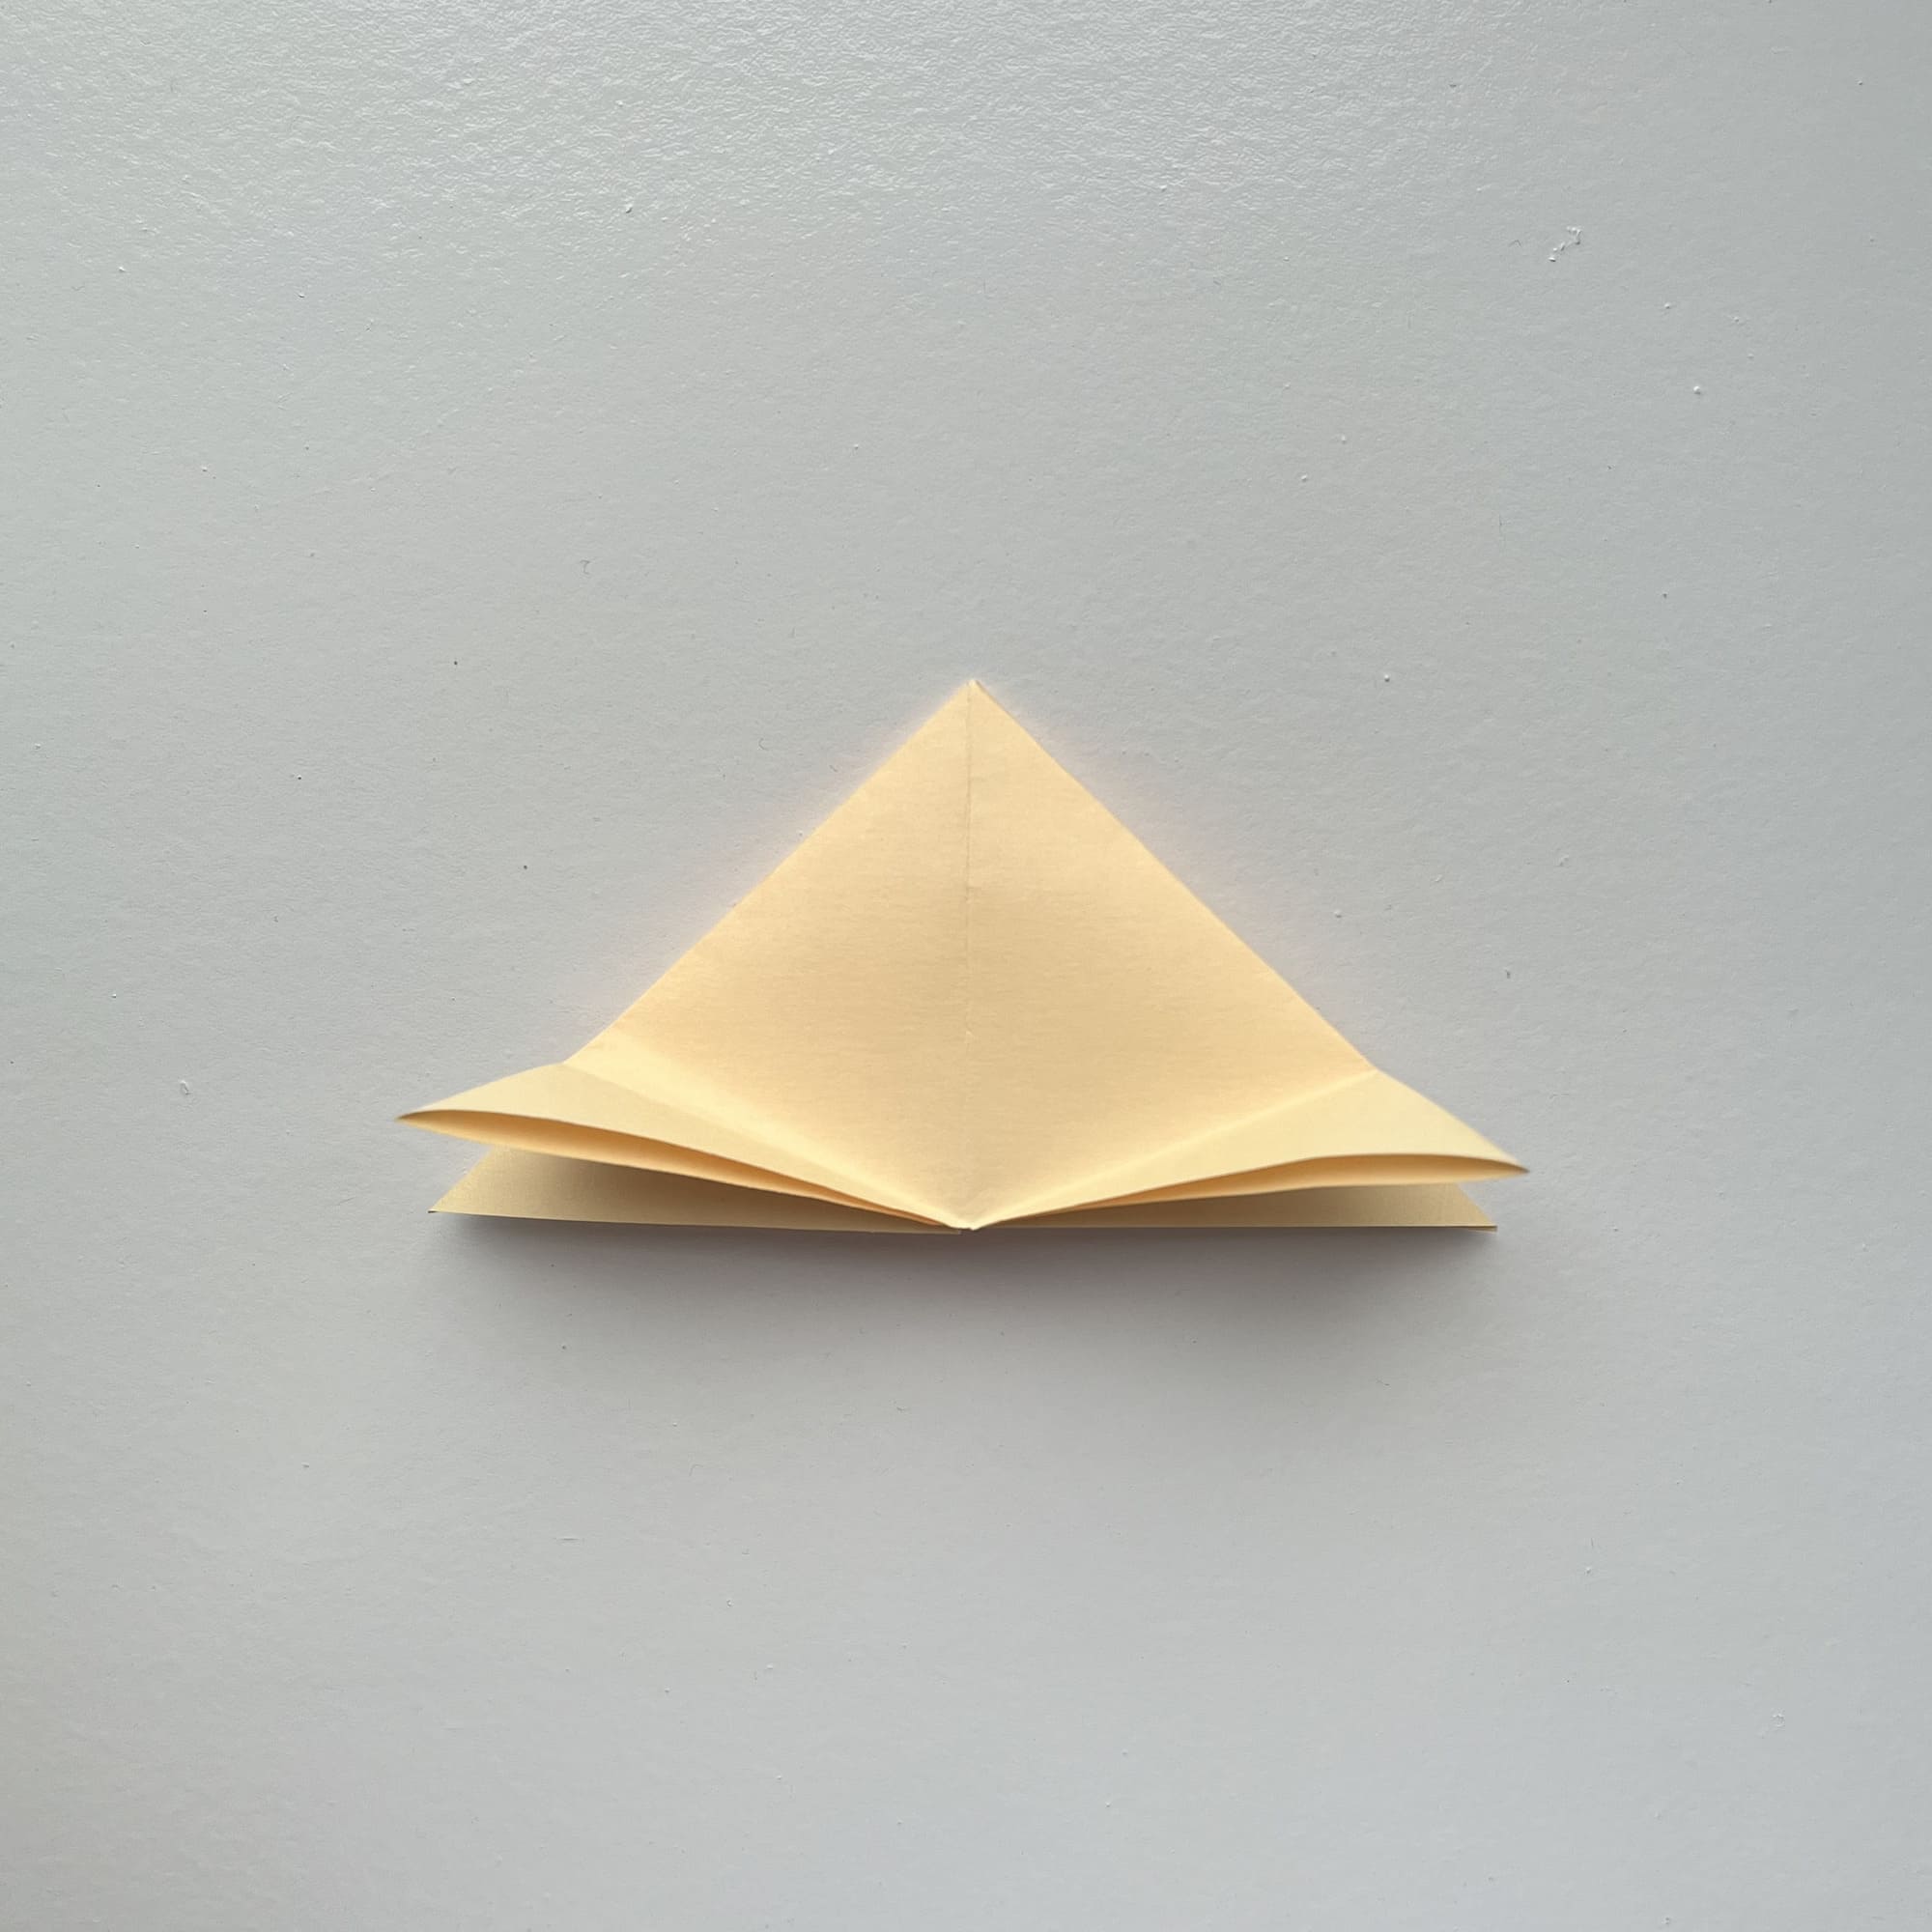
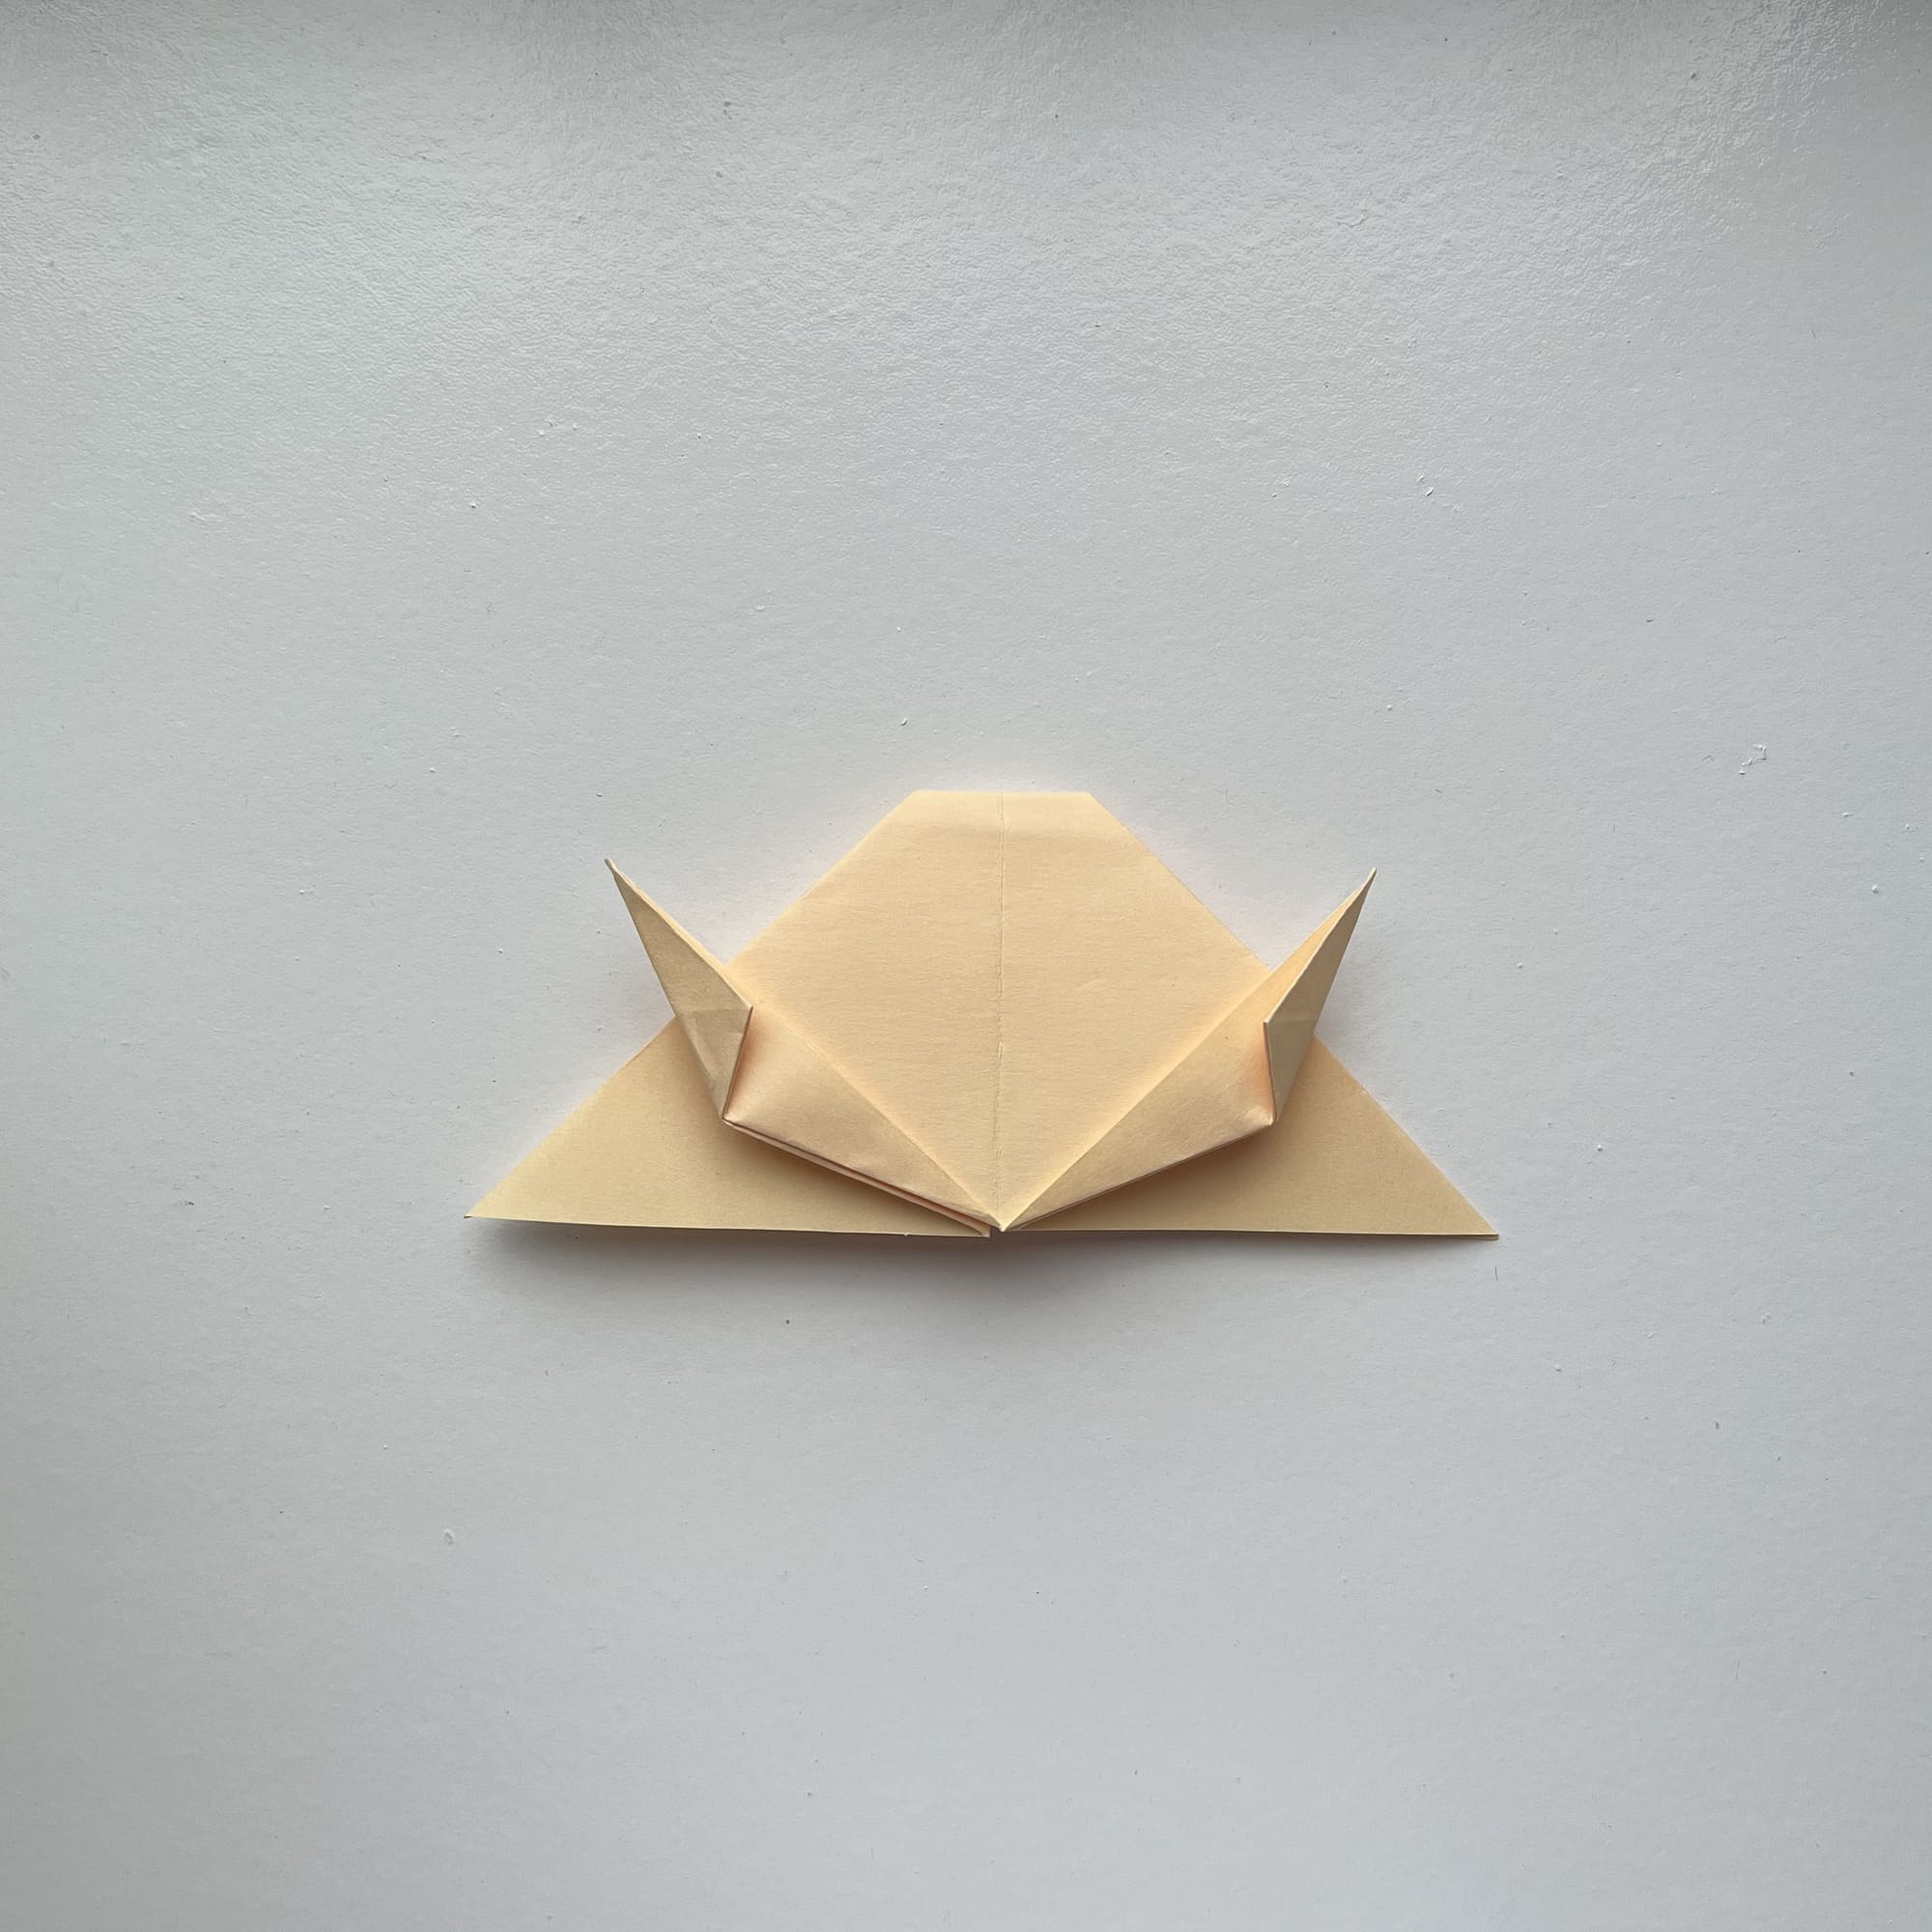
Bend the middle corners up so that the fold passes through the center of the outer corner.
Bend the top corner of the figure back.
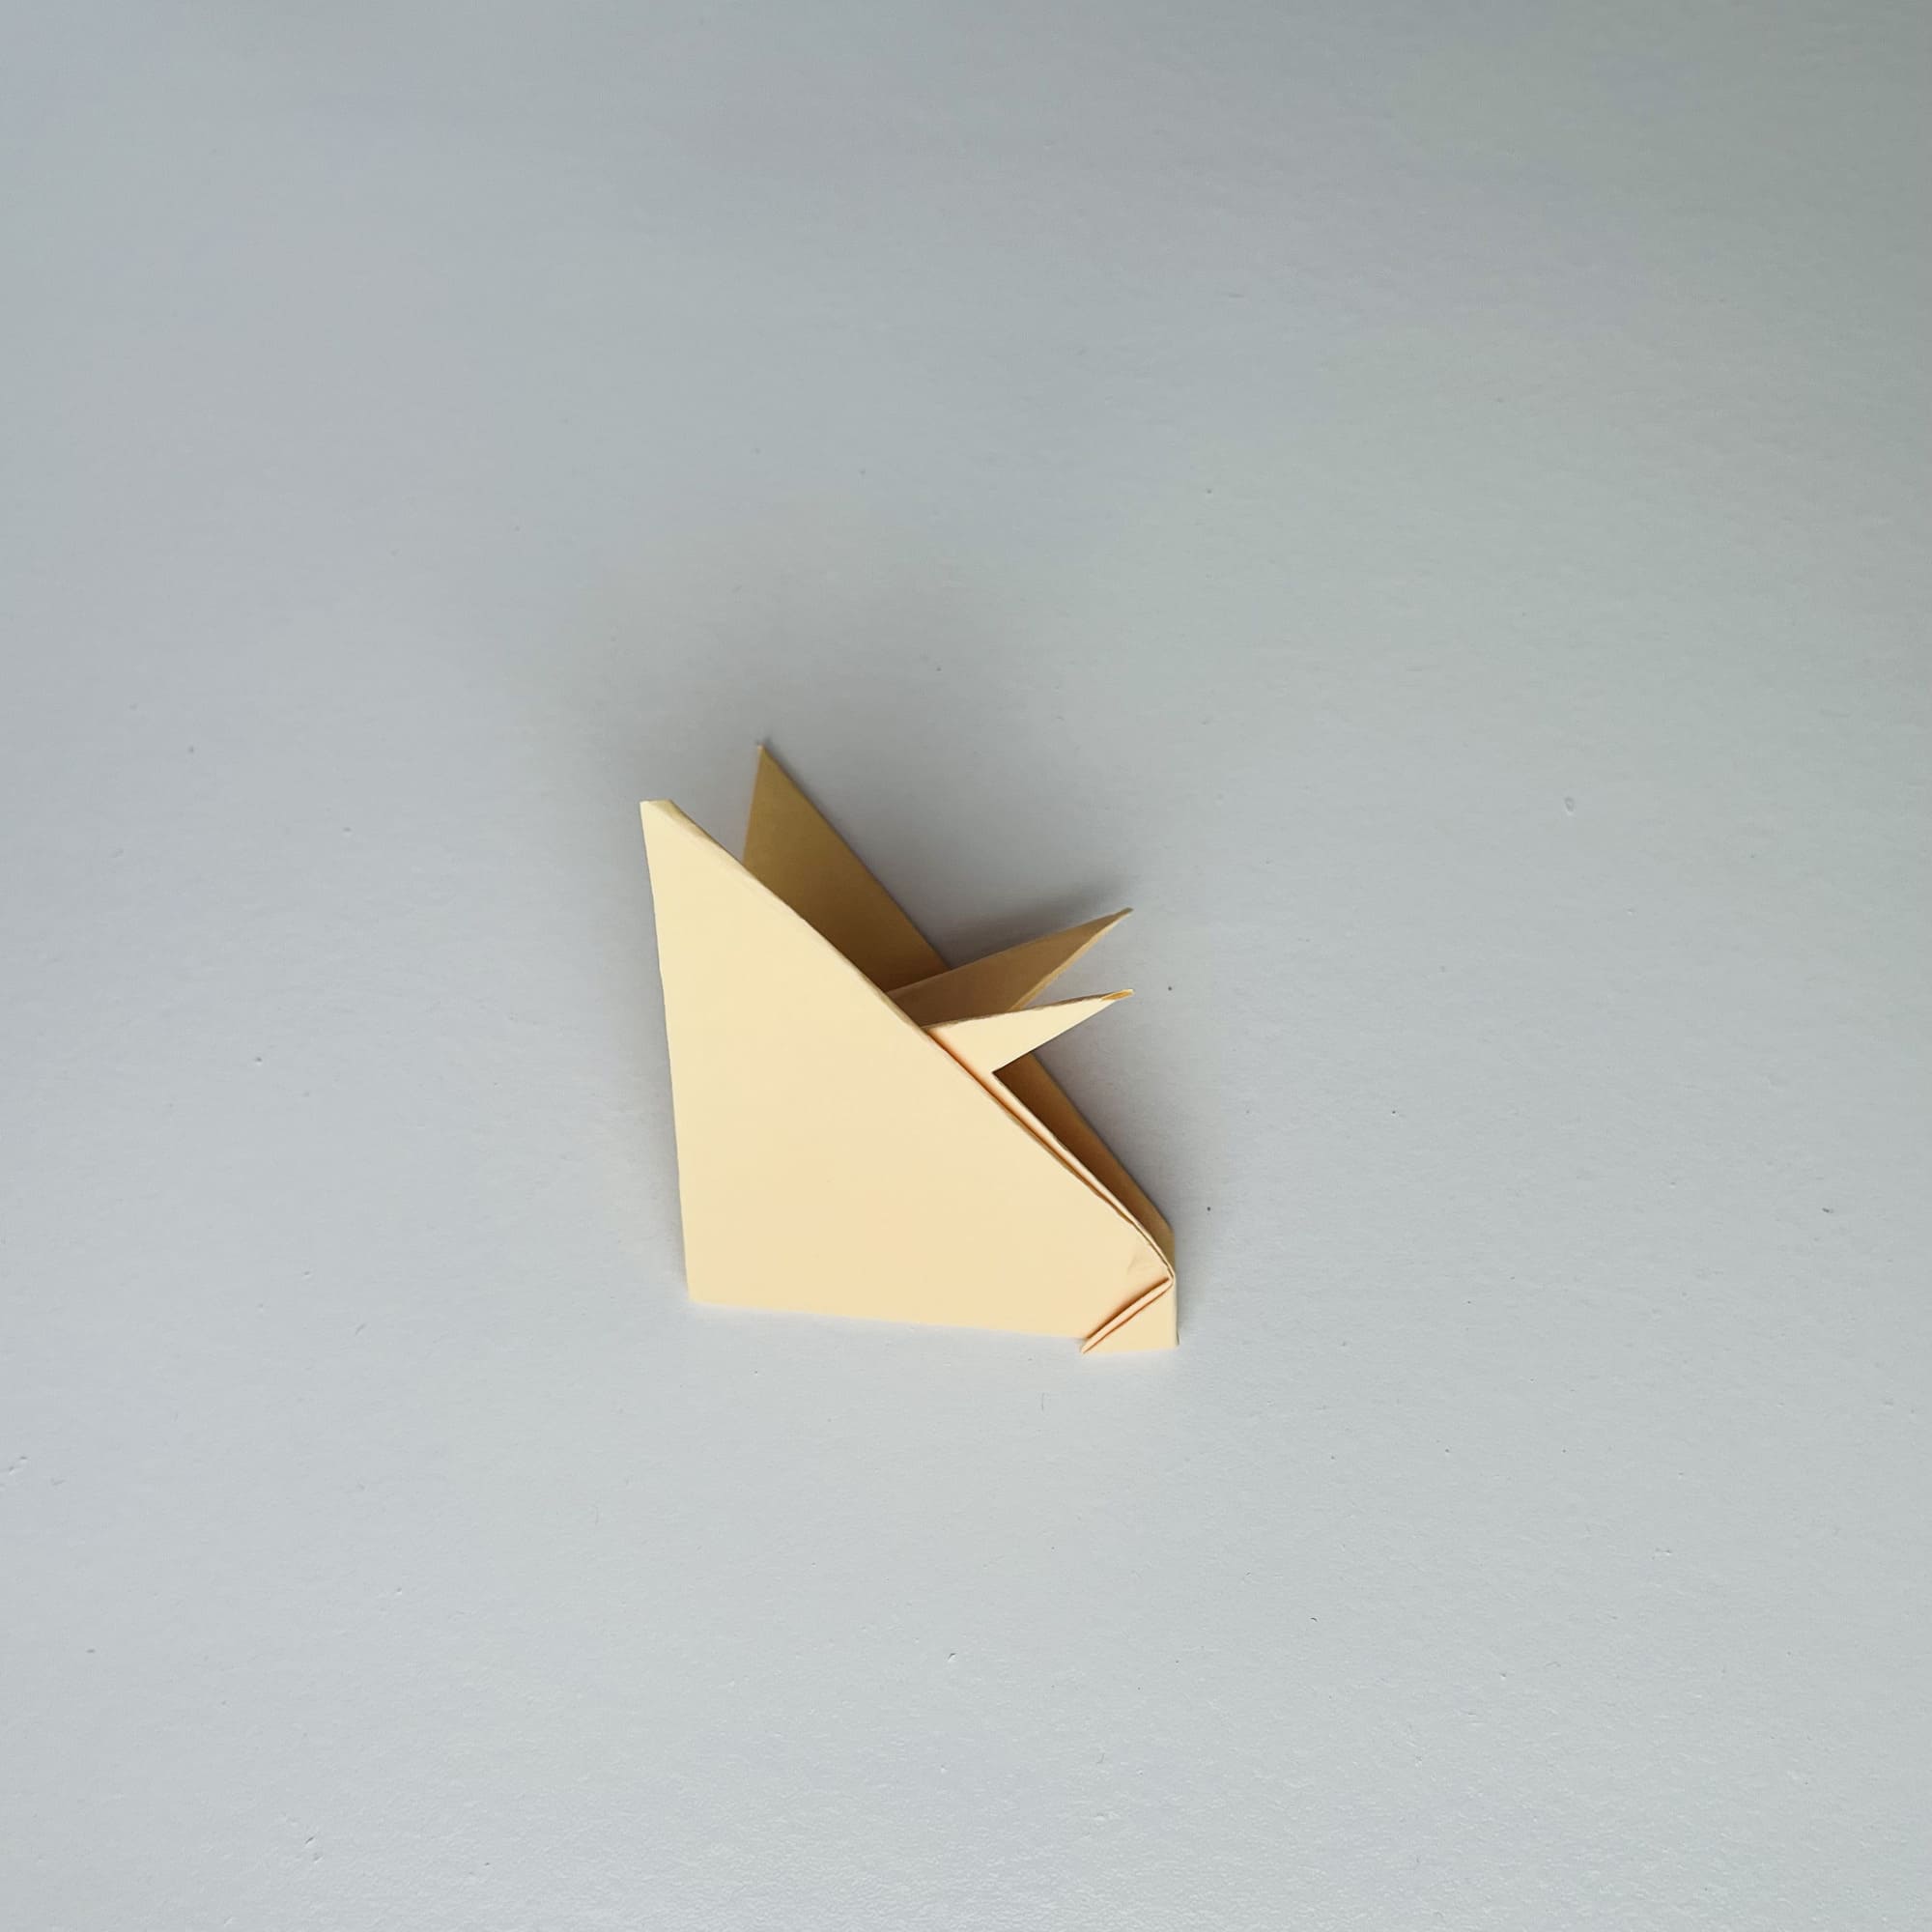
Fold the figure in half along the vertical axis, so that the small triangles are inside.
Next, you will make the cow’s ears.
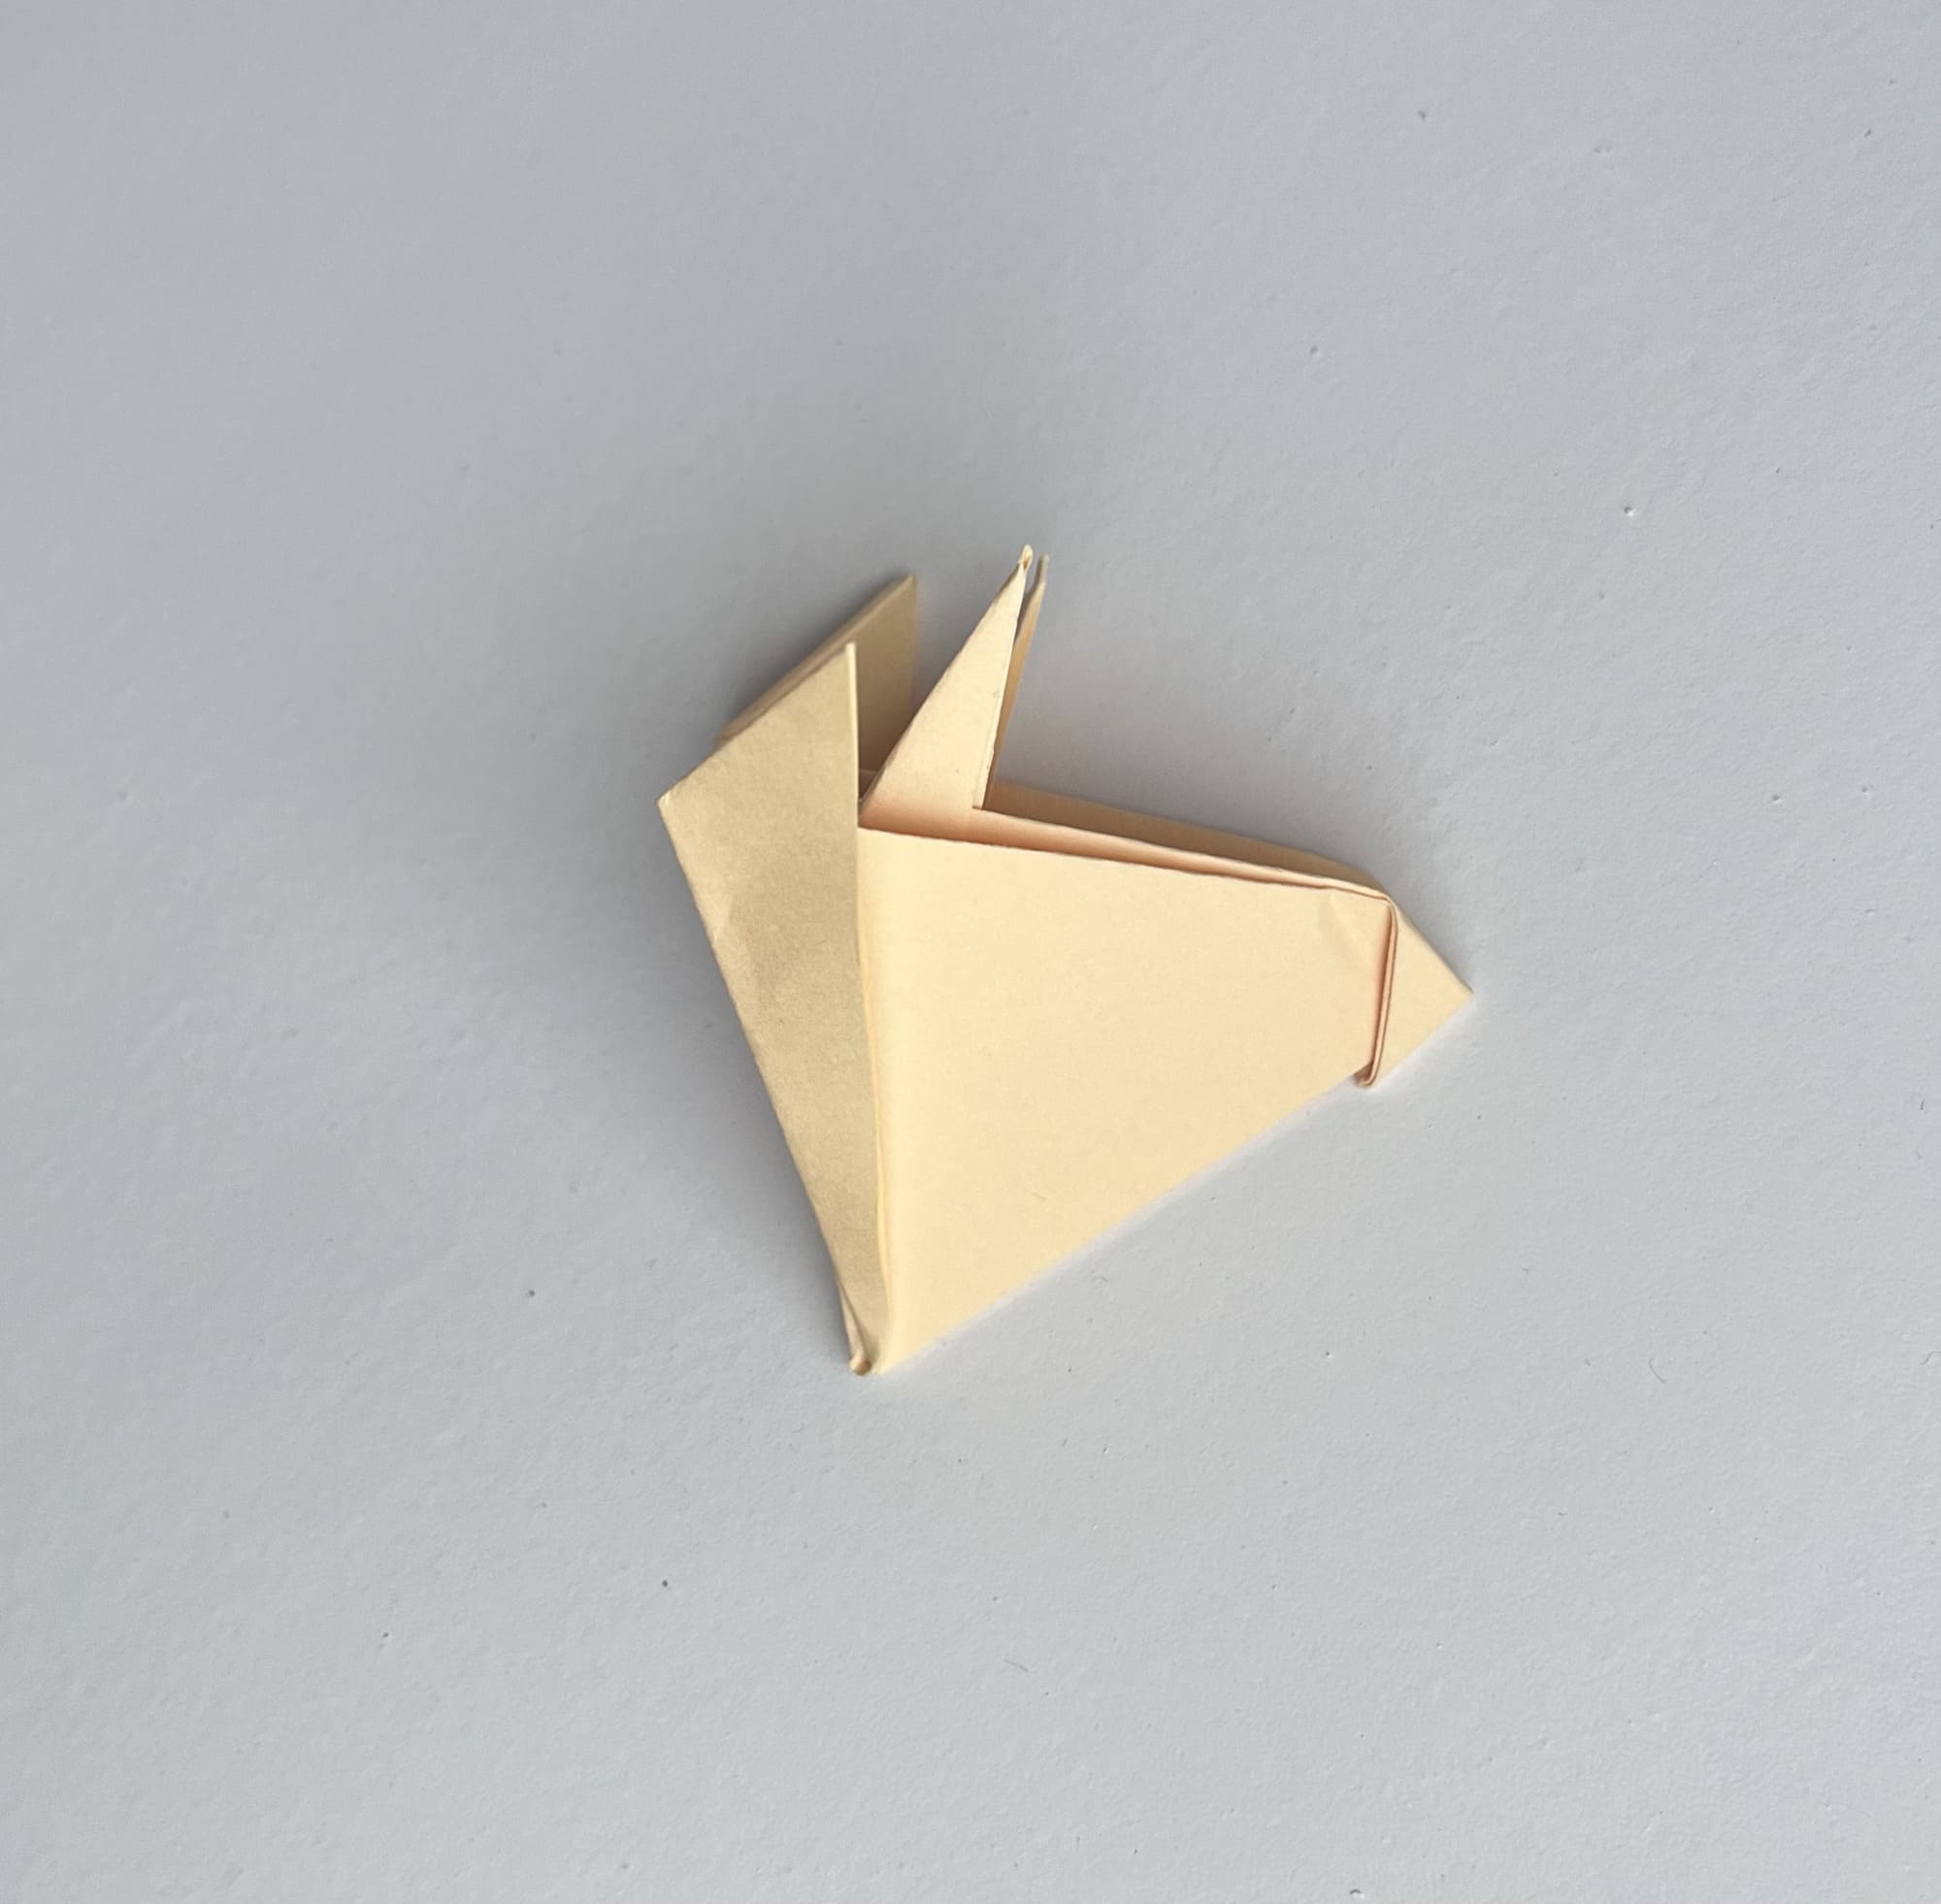
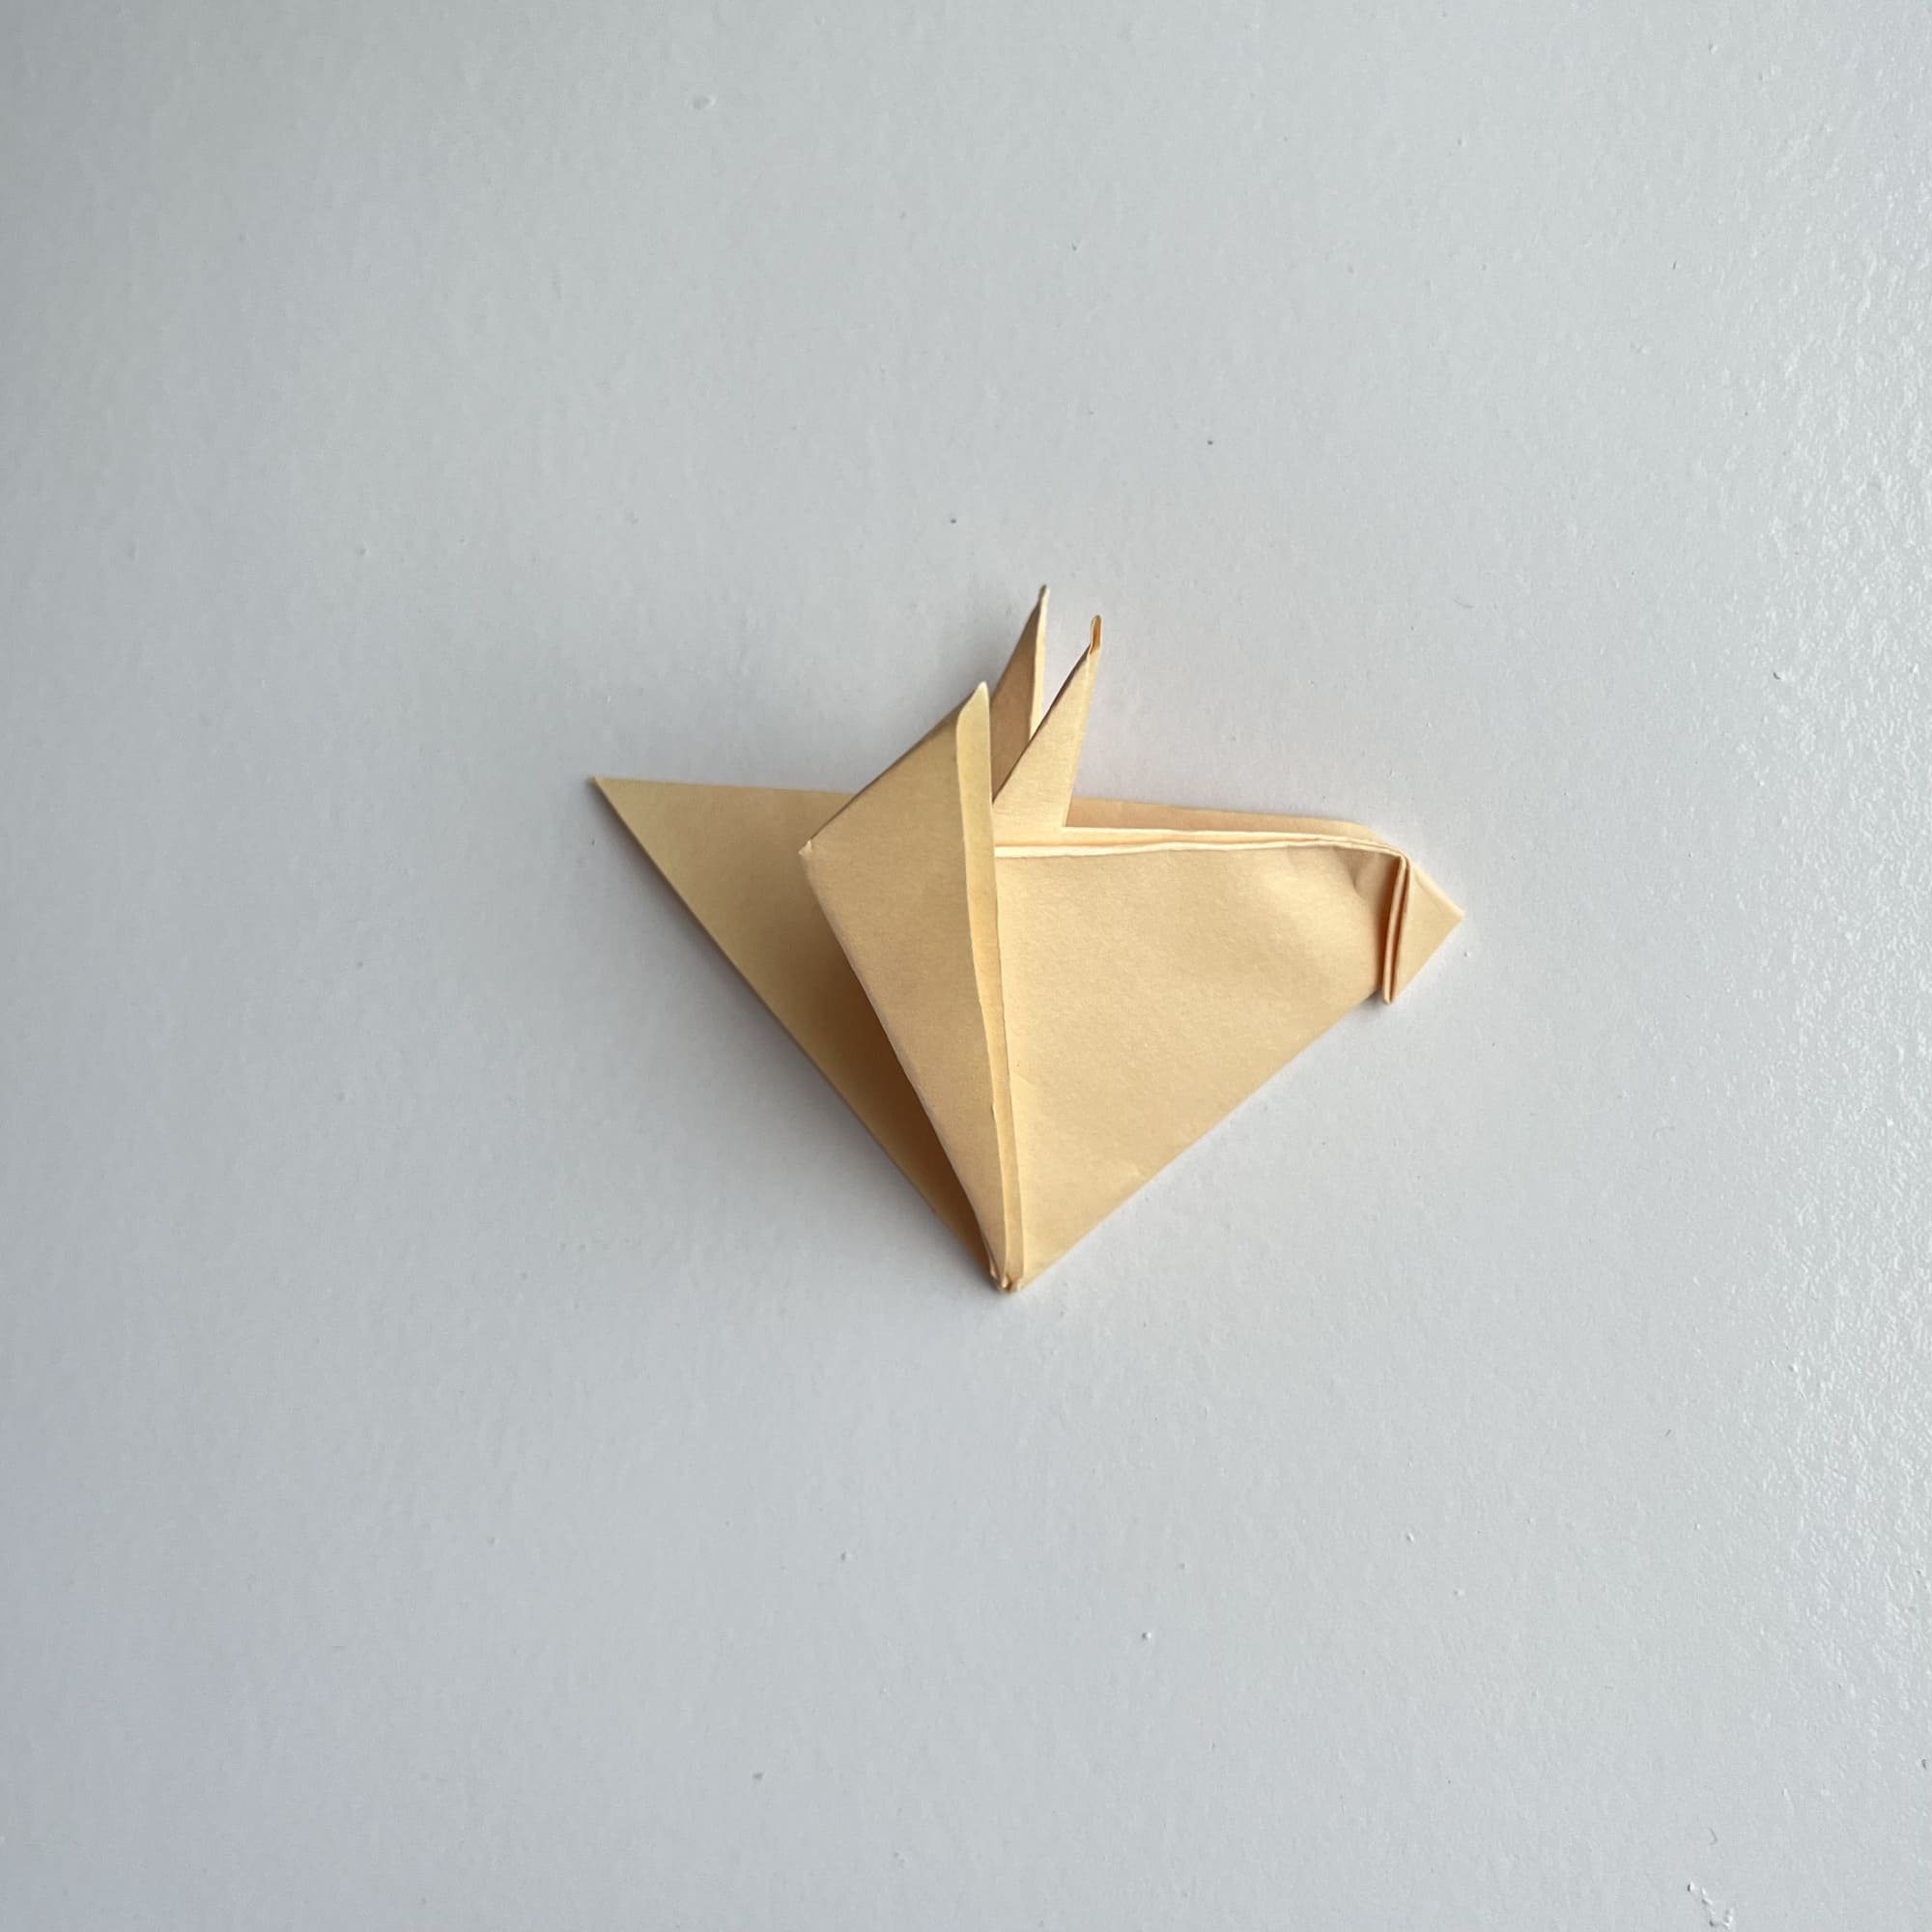
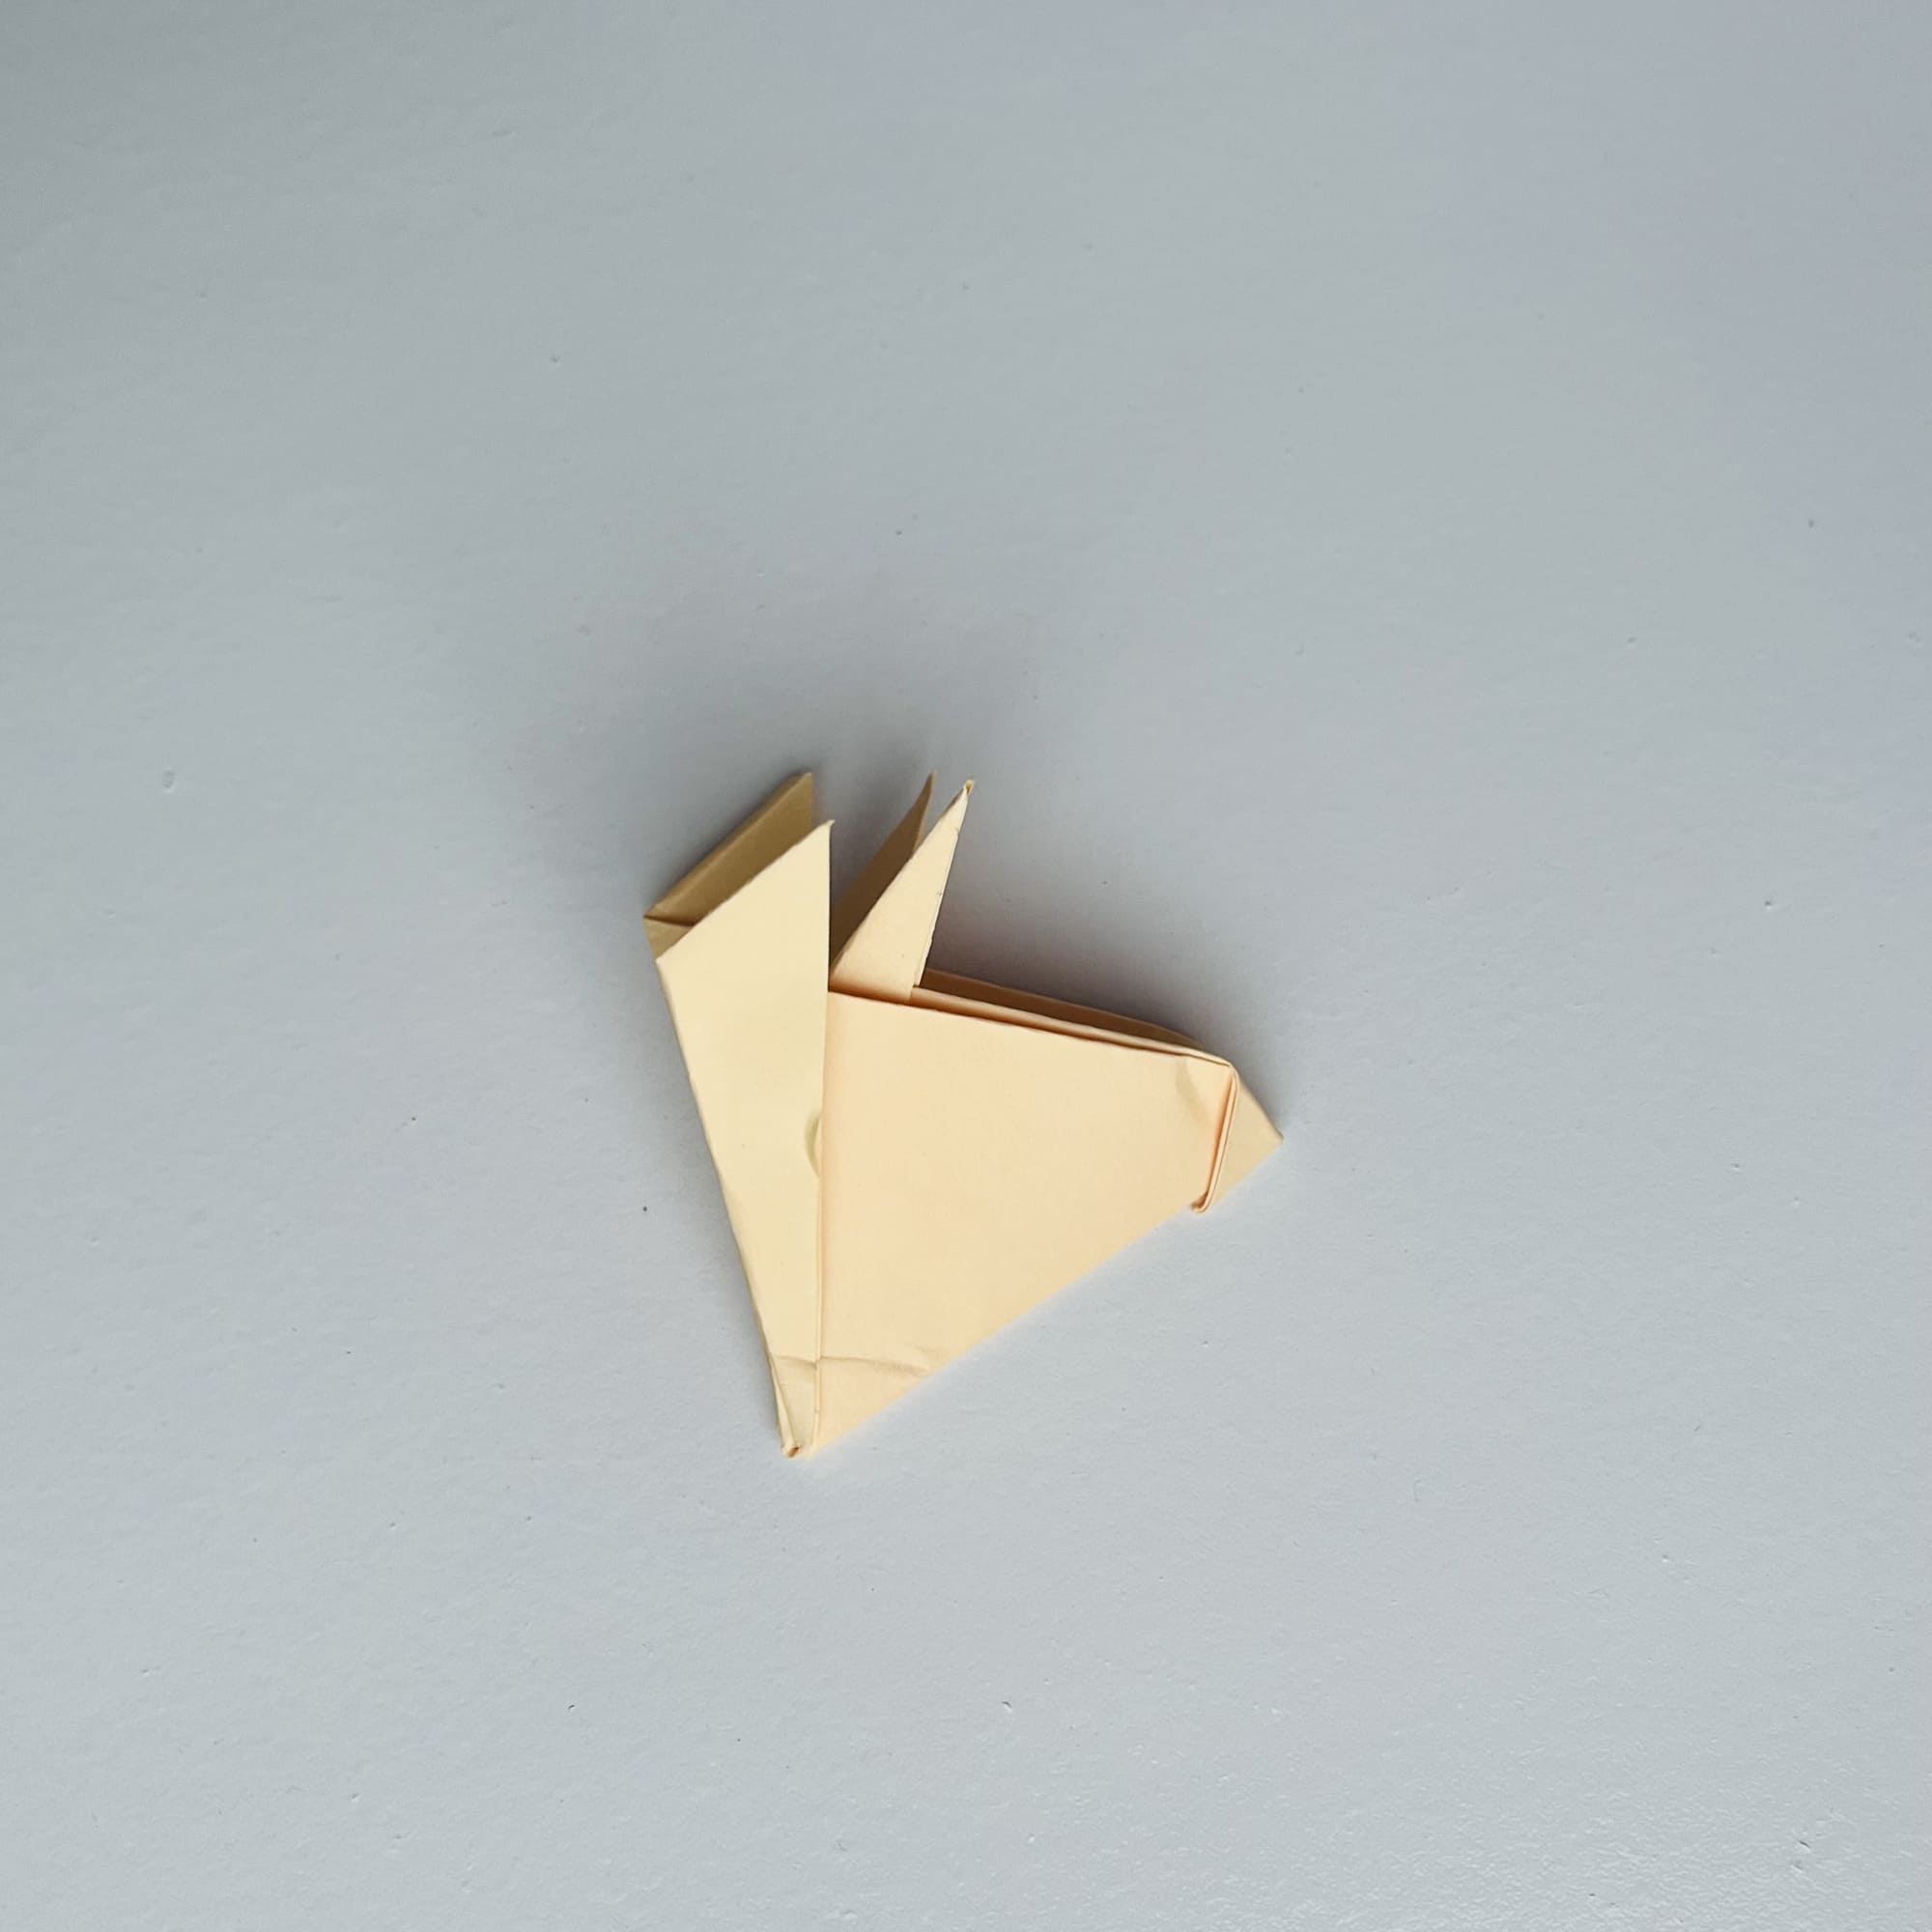
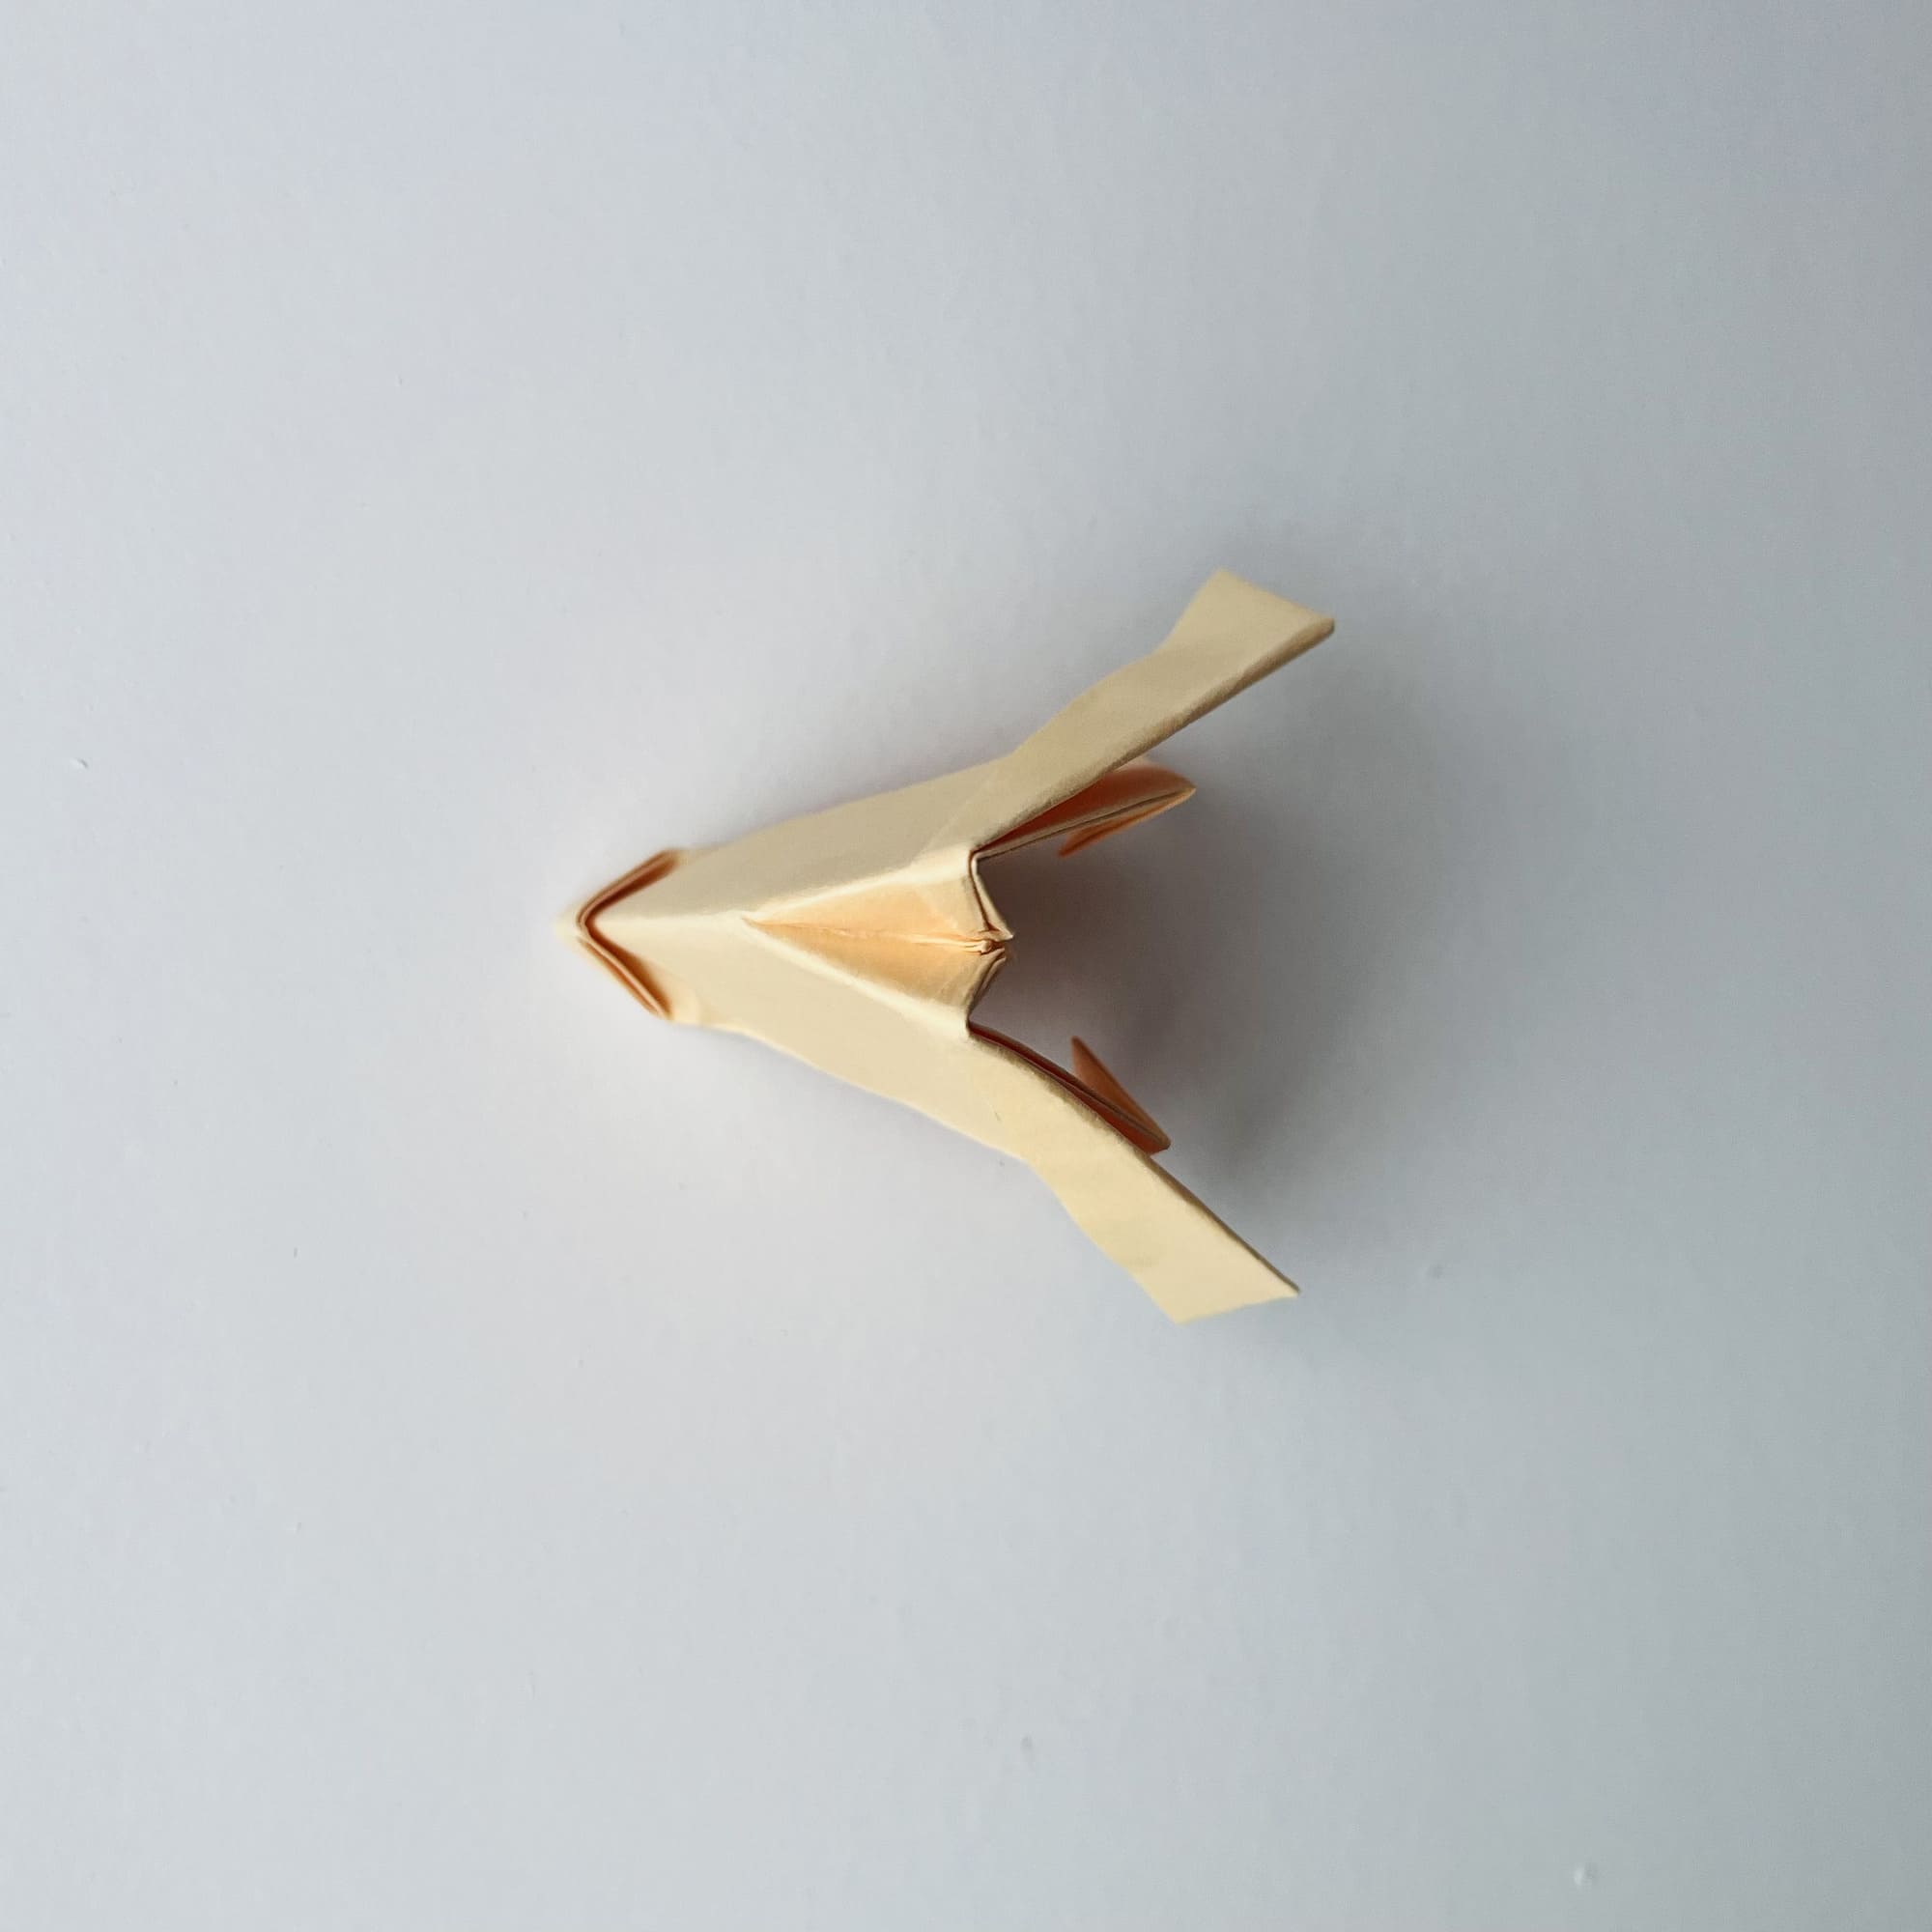
Bend the outer corner up, so that the ears stick out a little behind the horns.
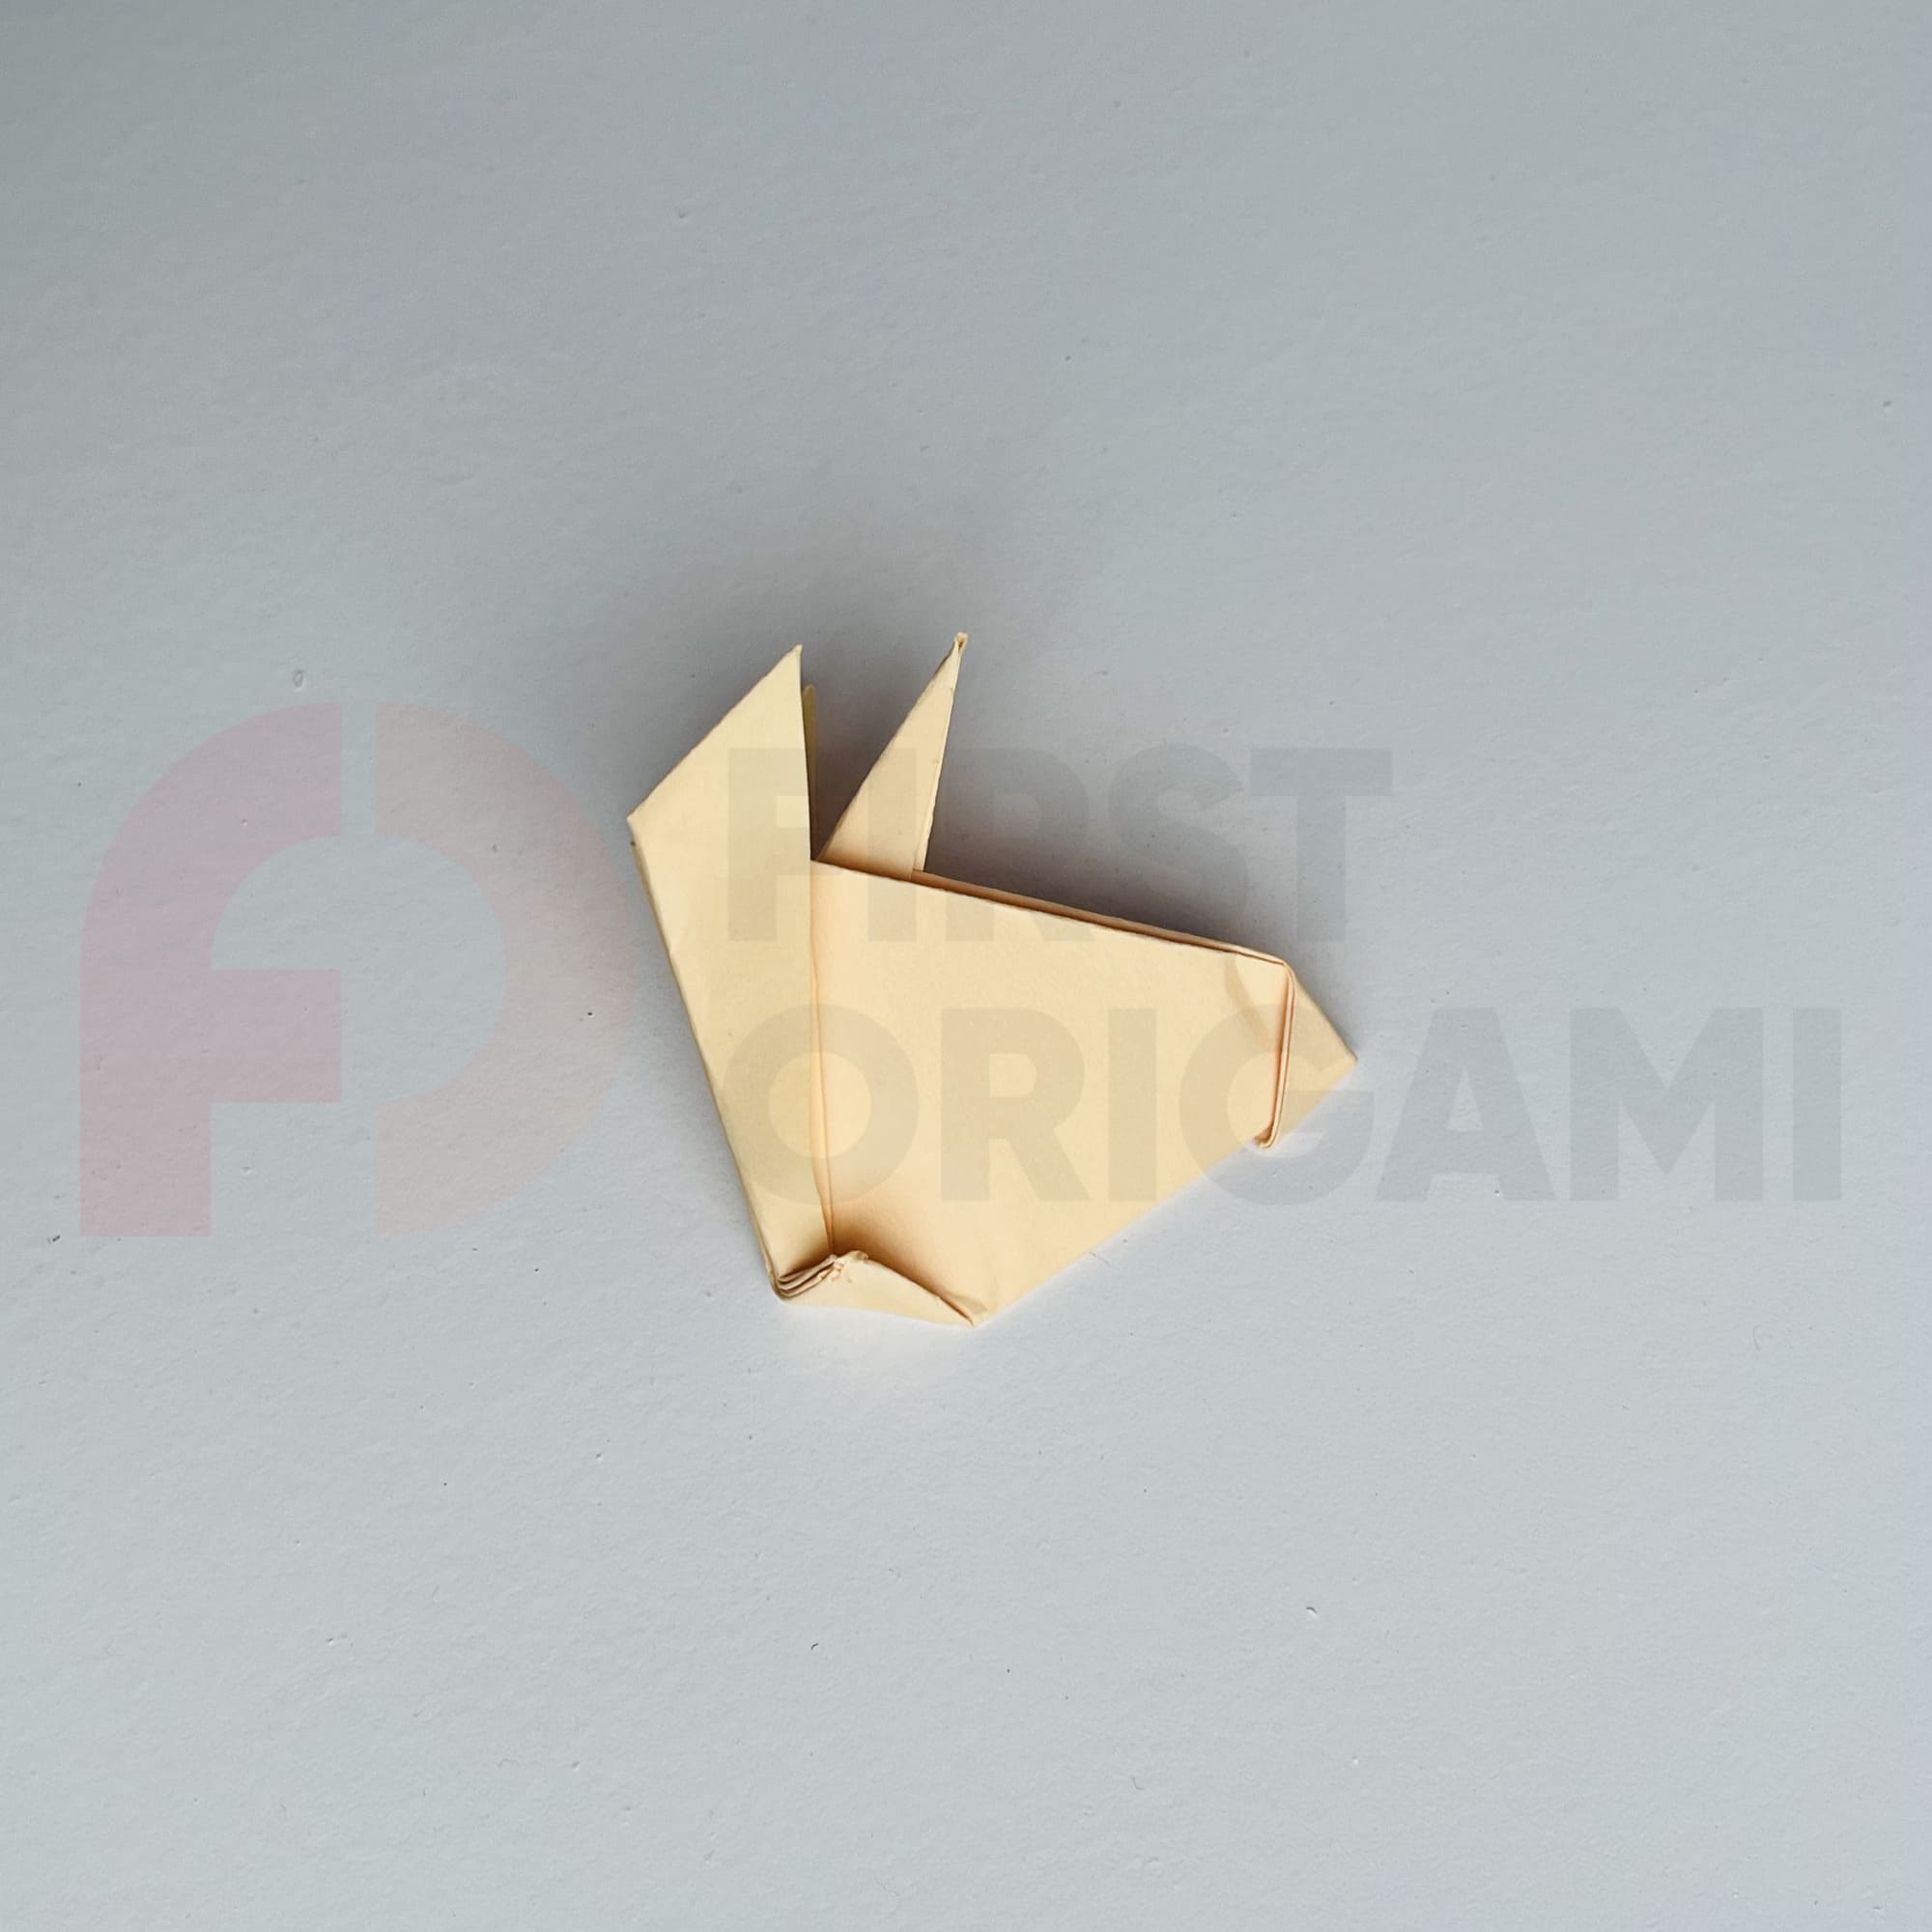
Finish line! Bend the remaining corner well, then unbend and push inward.
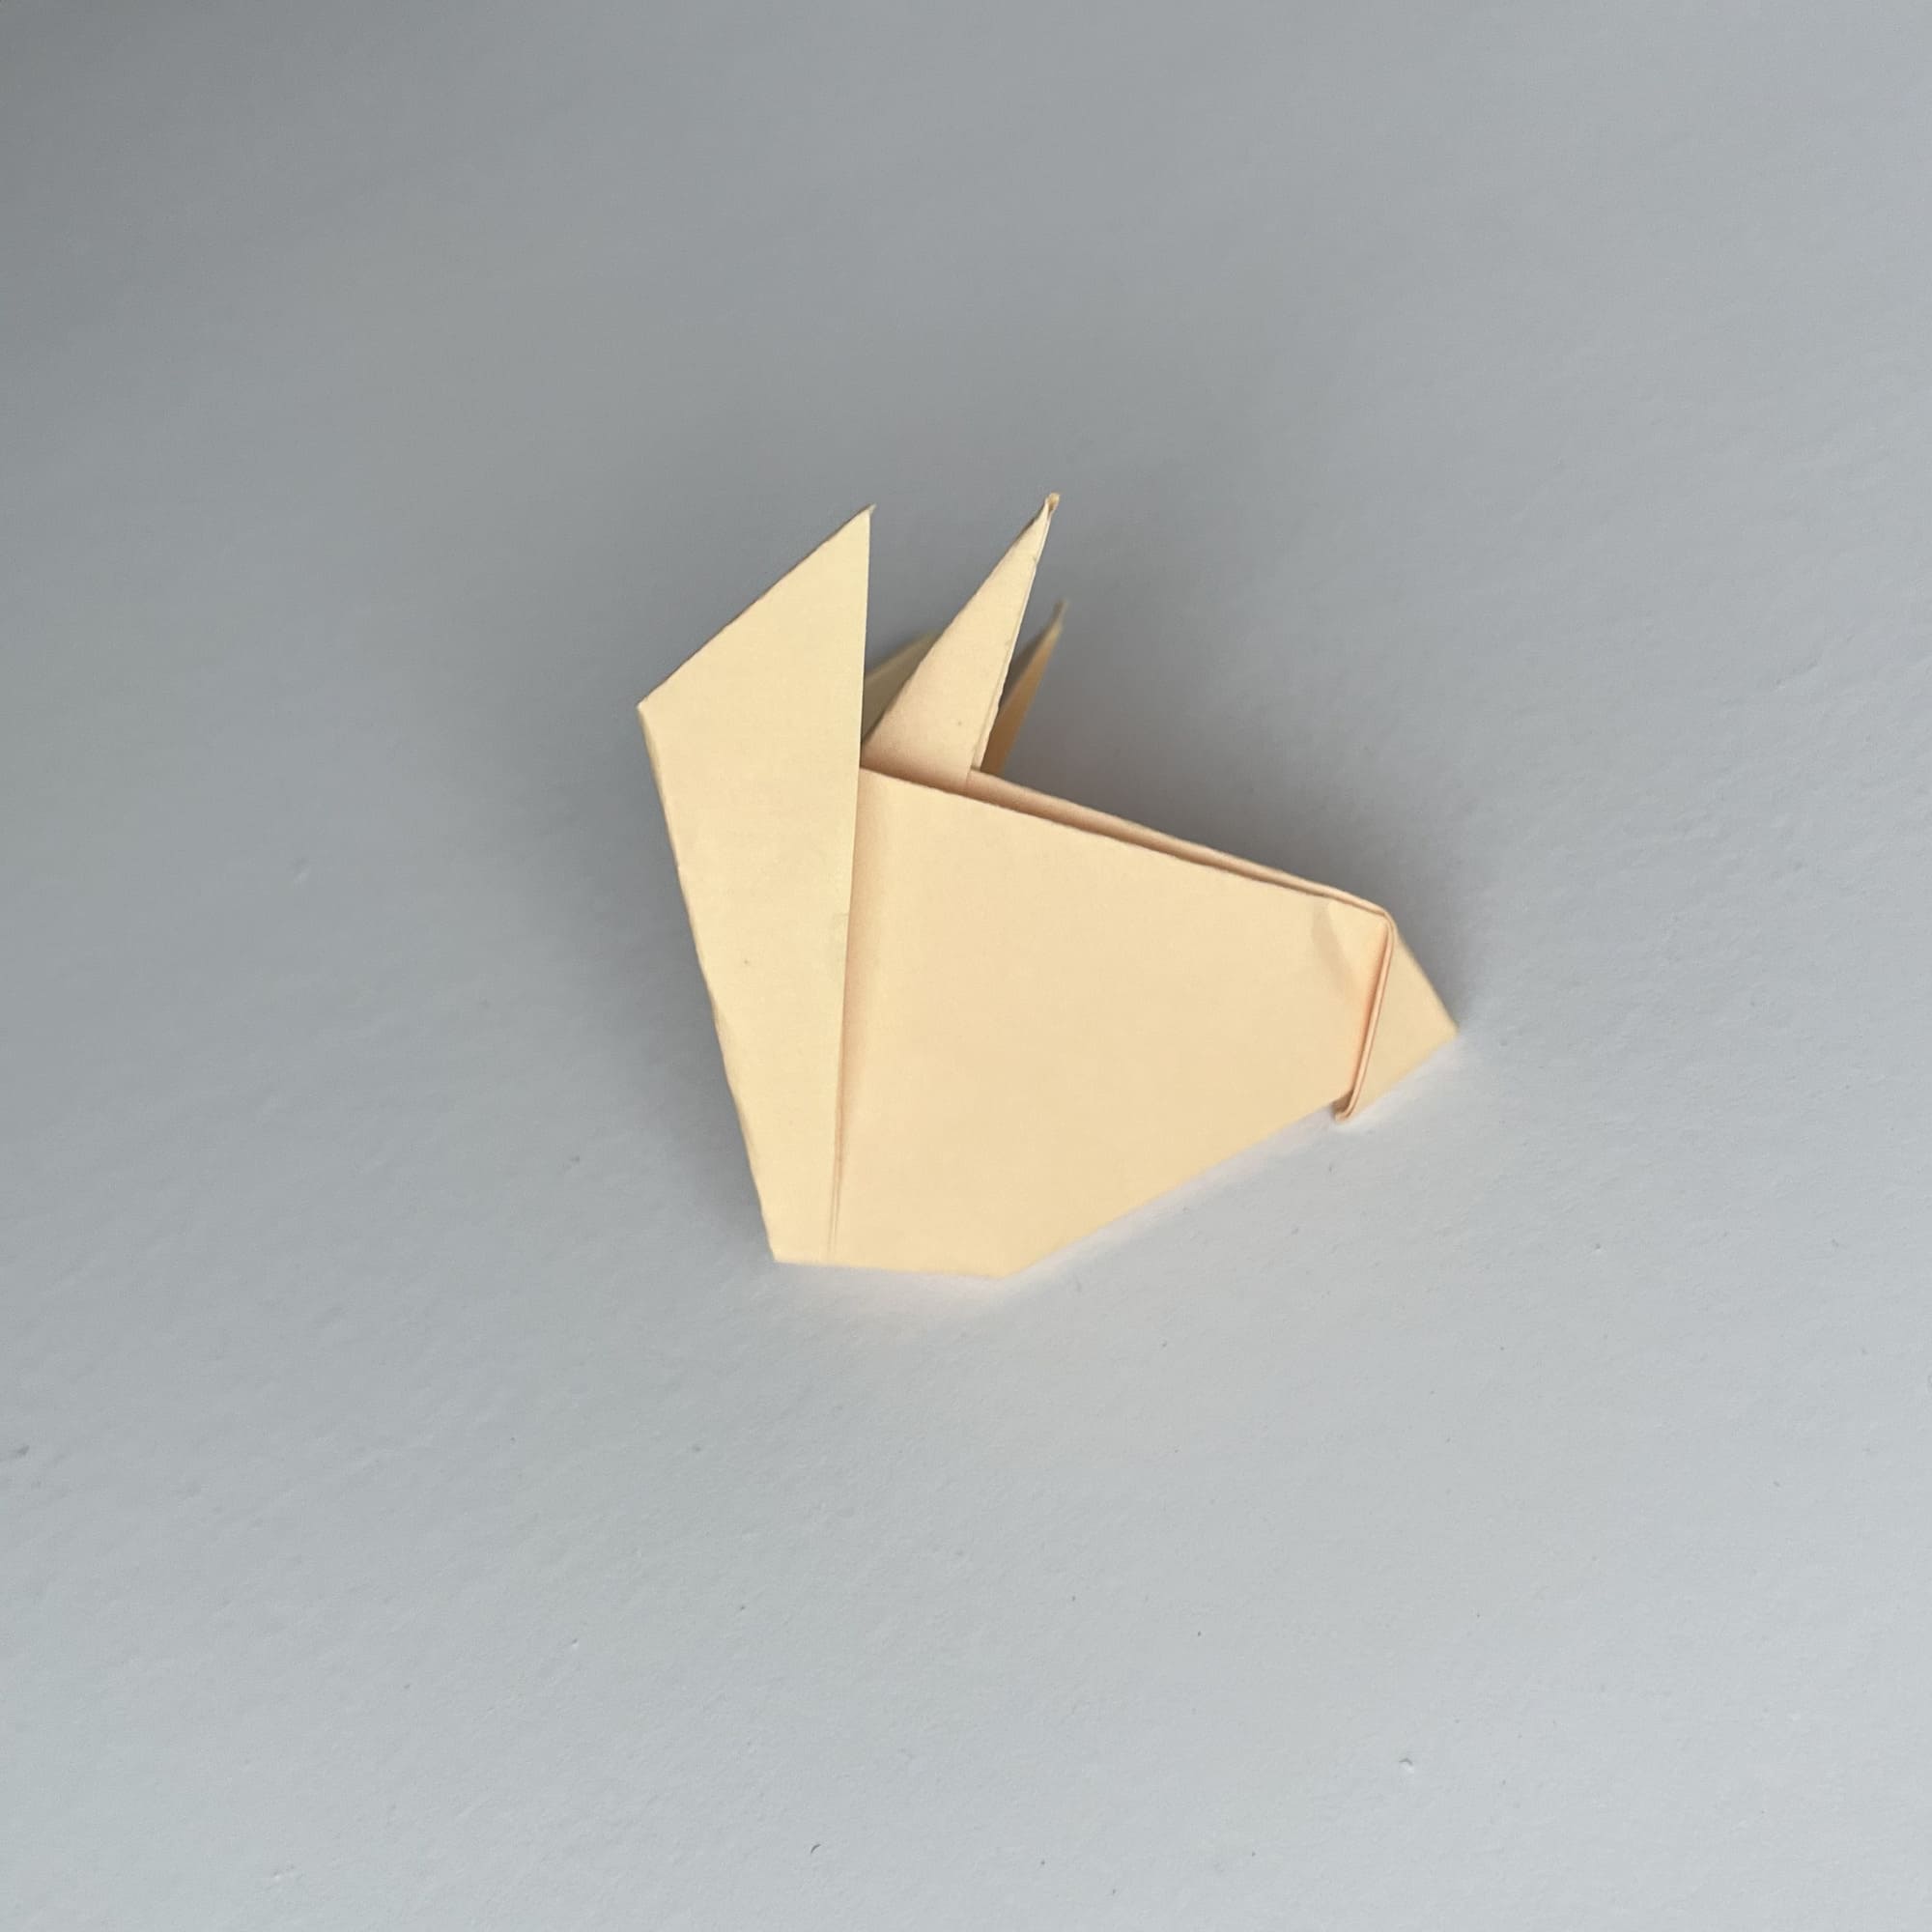
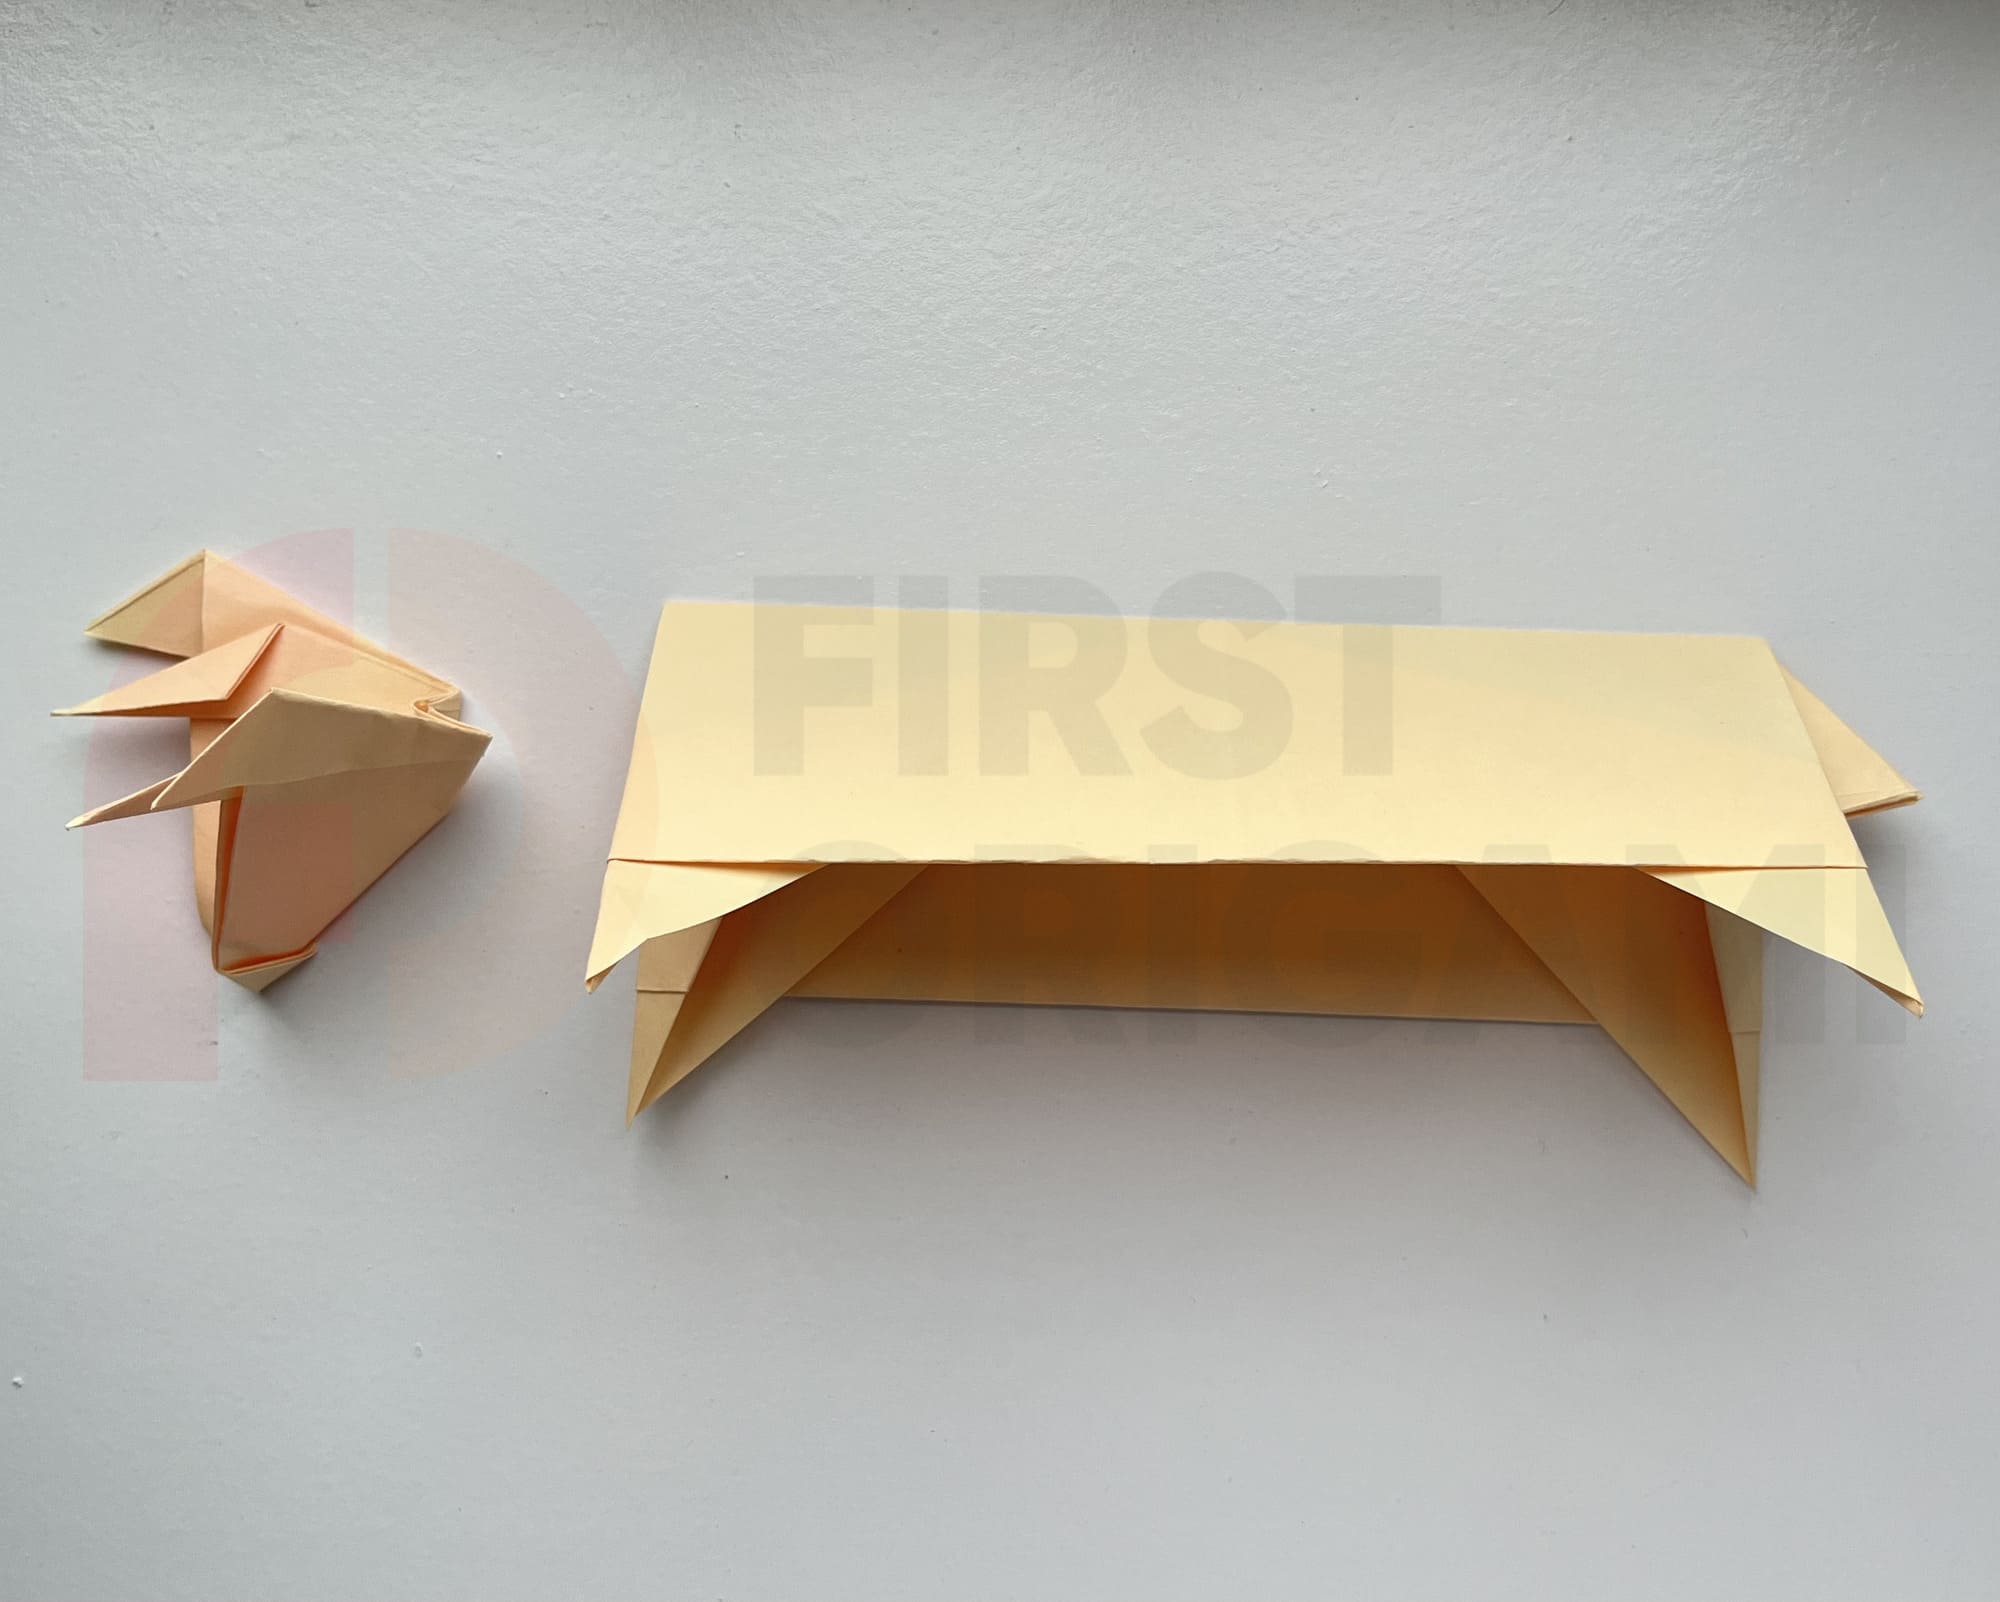
Connect the two parts.
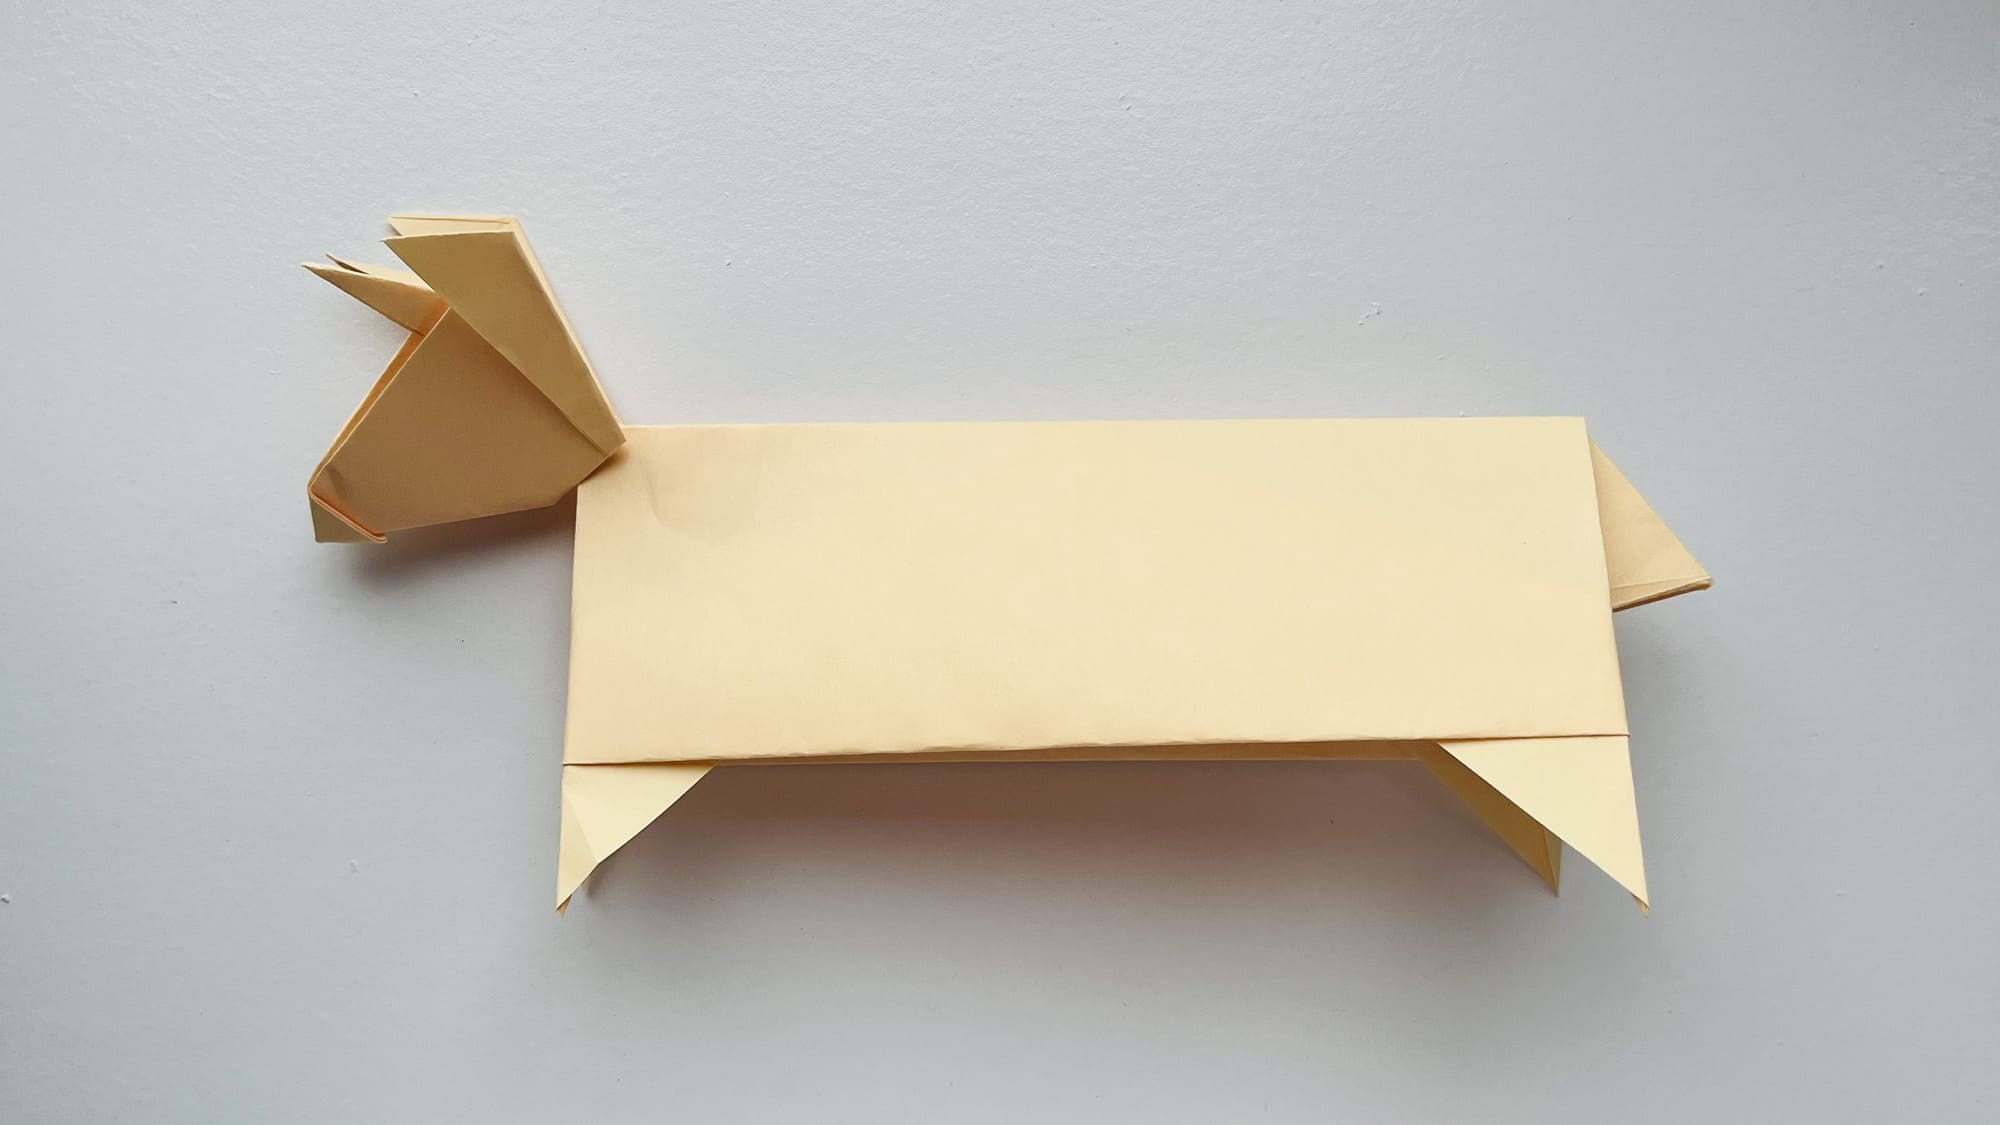
Use glue or double-sided tape to keep them in place.
Ready! It remains to color the figure and you can admire the result.


