Origami Cowboy Hat
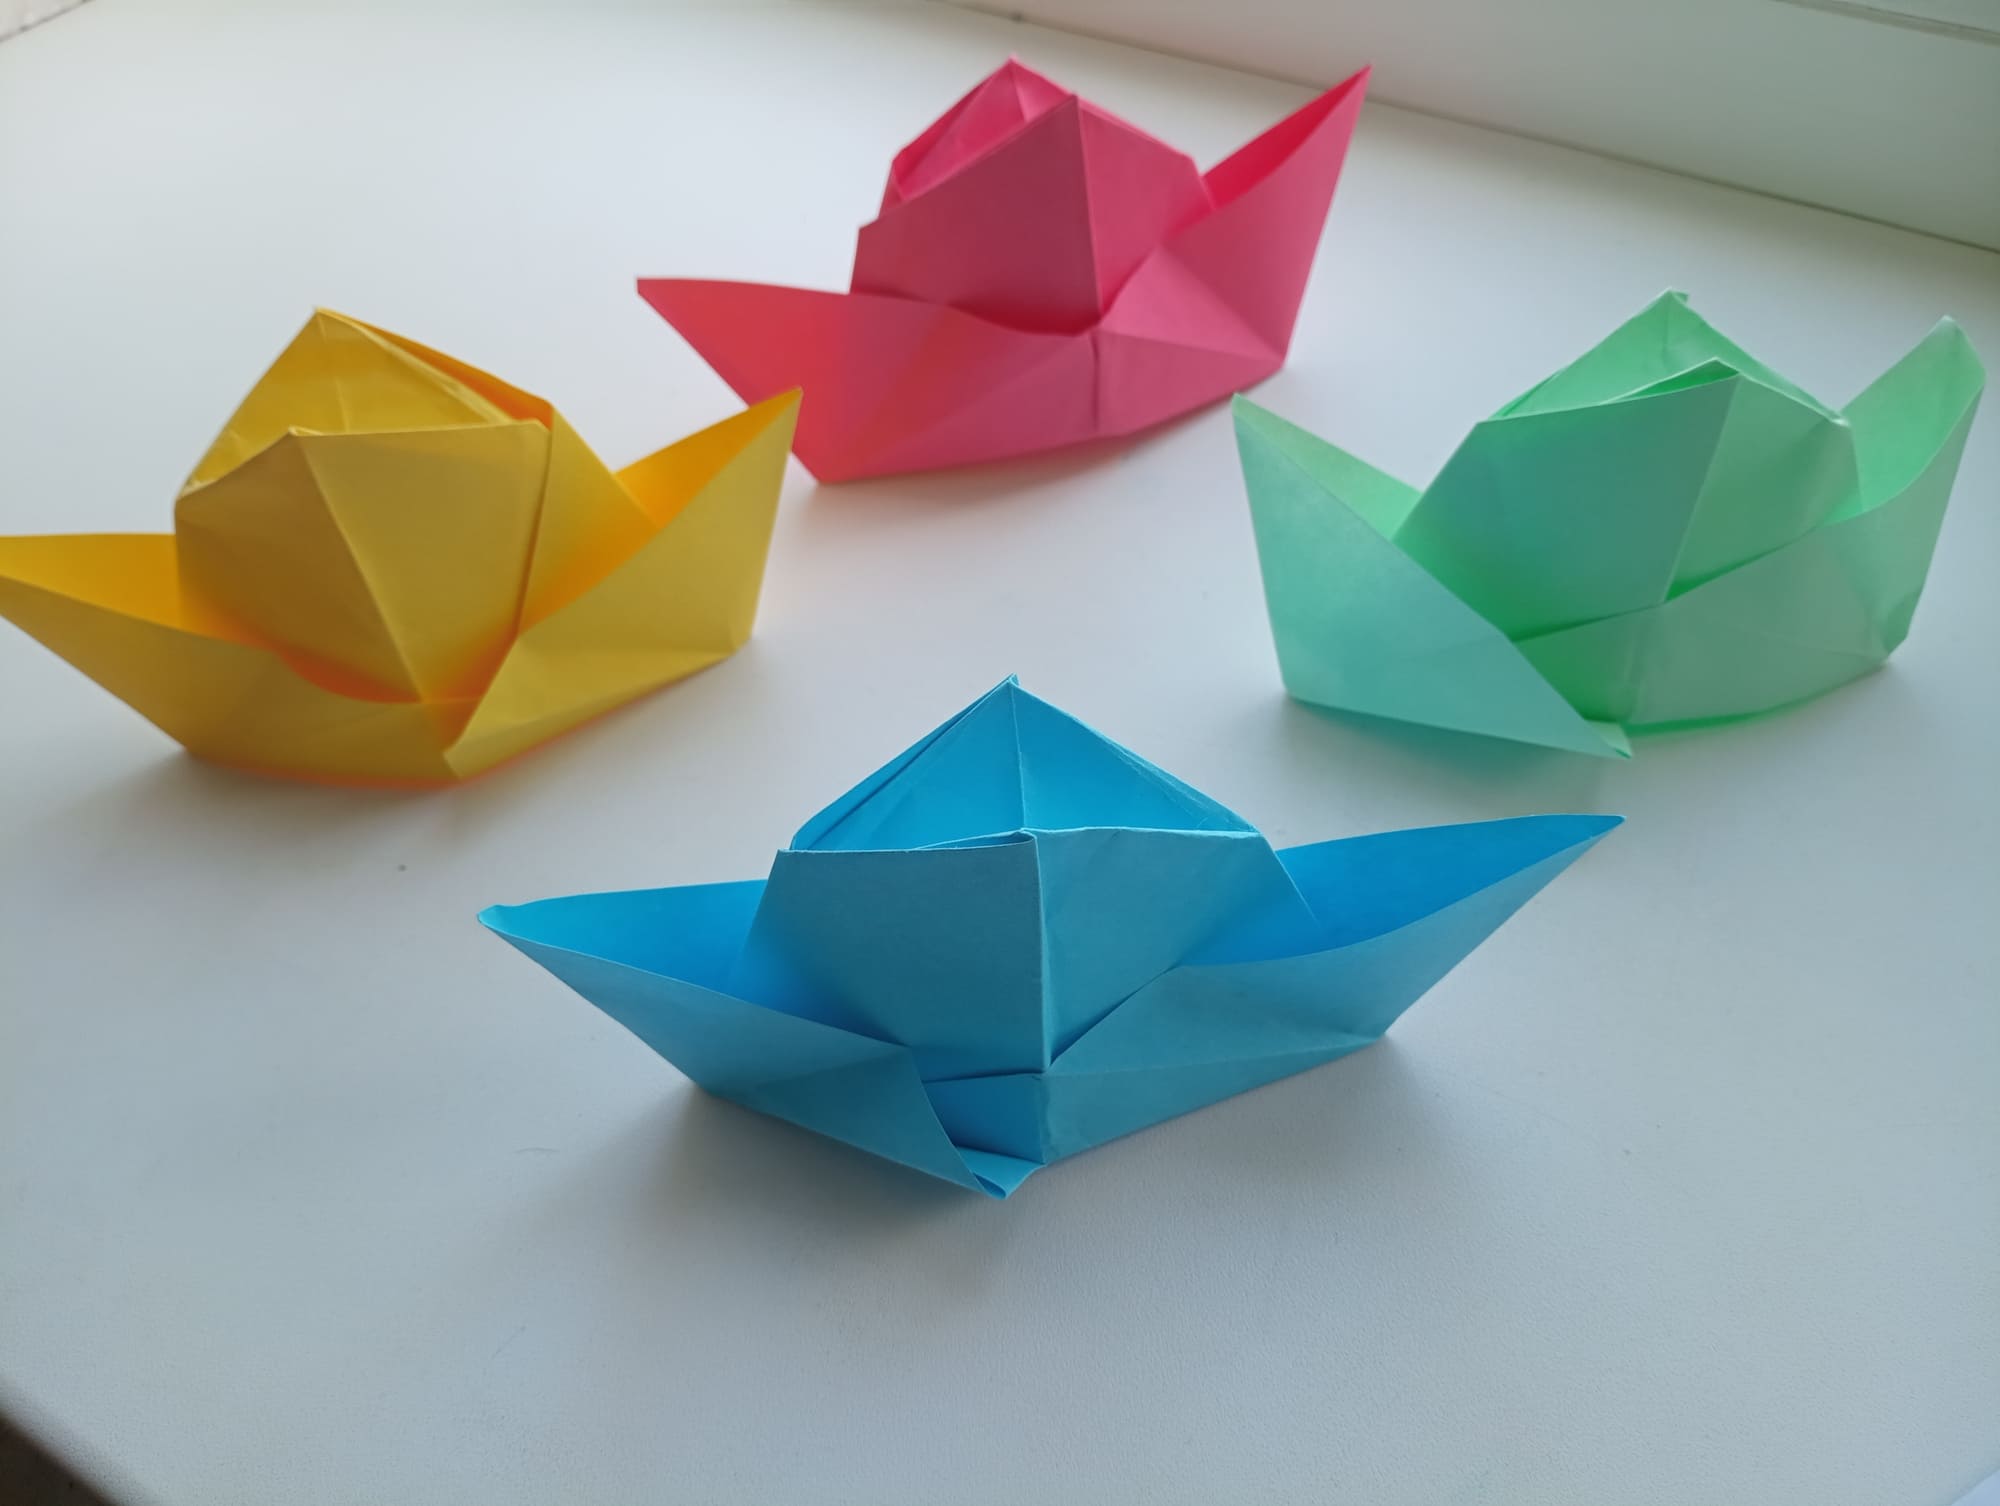
The origami cowboy hat is a very simple fold, which in the finished product looks interesting and cool. According to the same scheme, you can fold a large hat, for which you will need a larger size of paper. The product is relevant for the game and for stage performances in schools and kindergartens. A small hat will successfully complement the image of a toy hero. Ready to test your abilities and start making a cowboy hat in origami technique? Then let’s go!
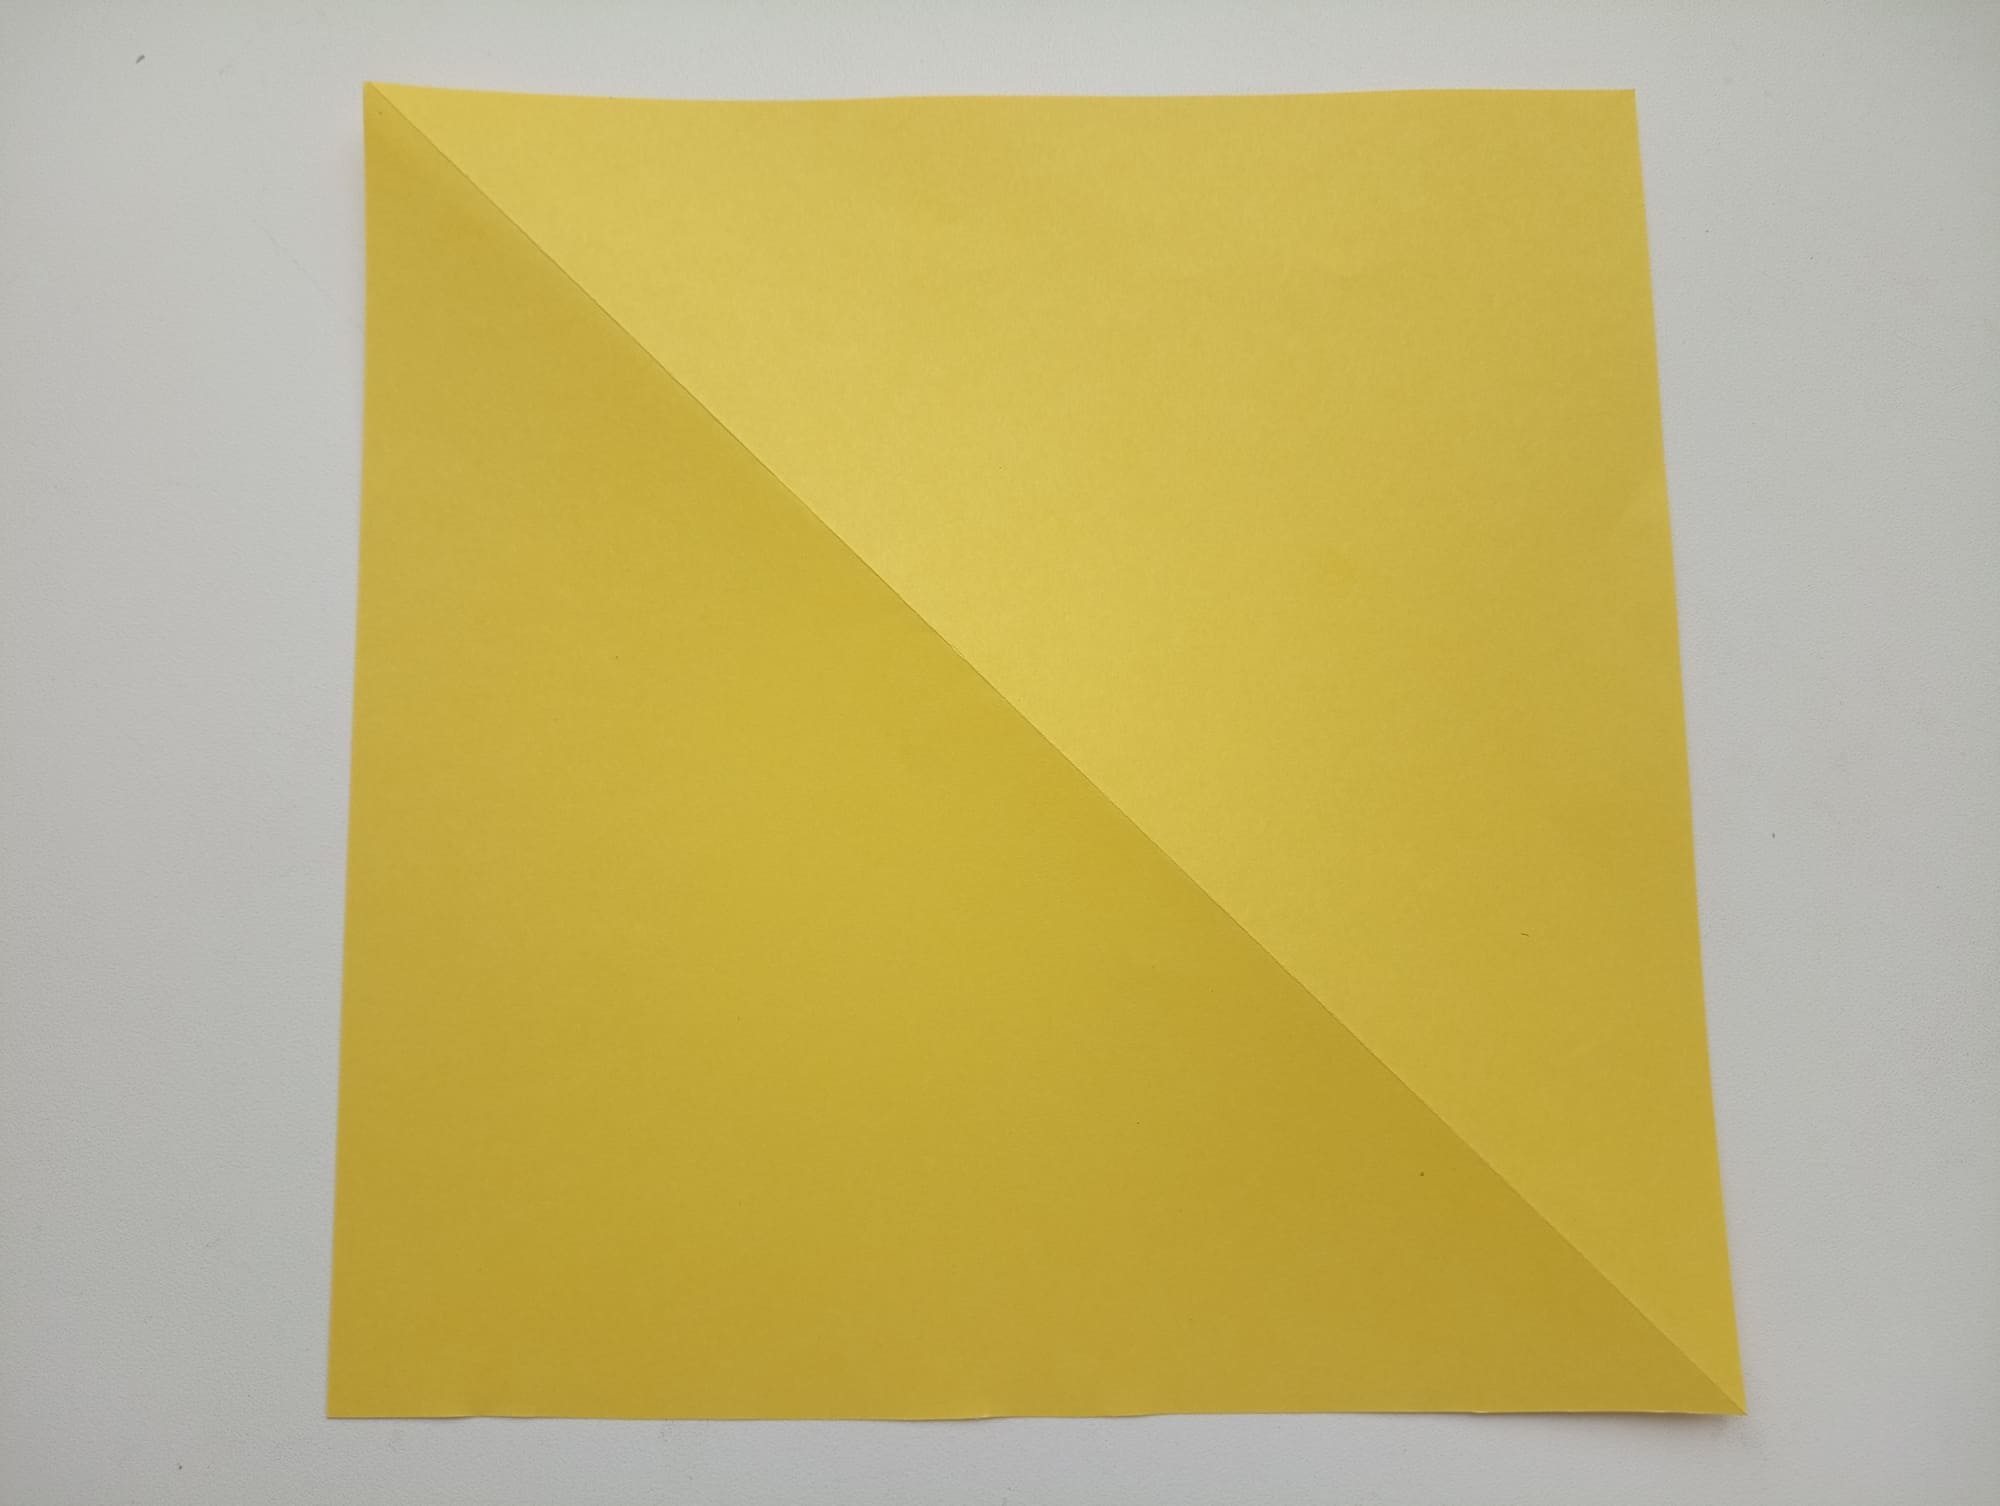
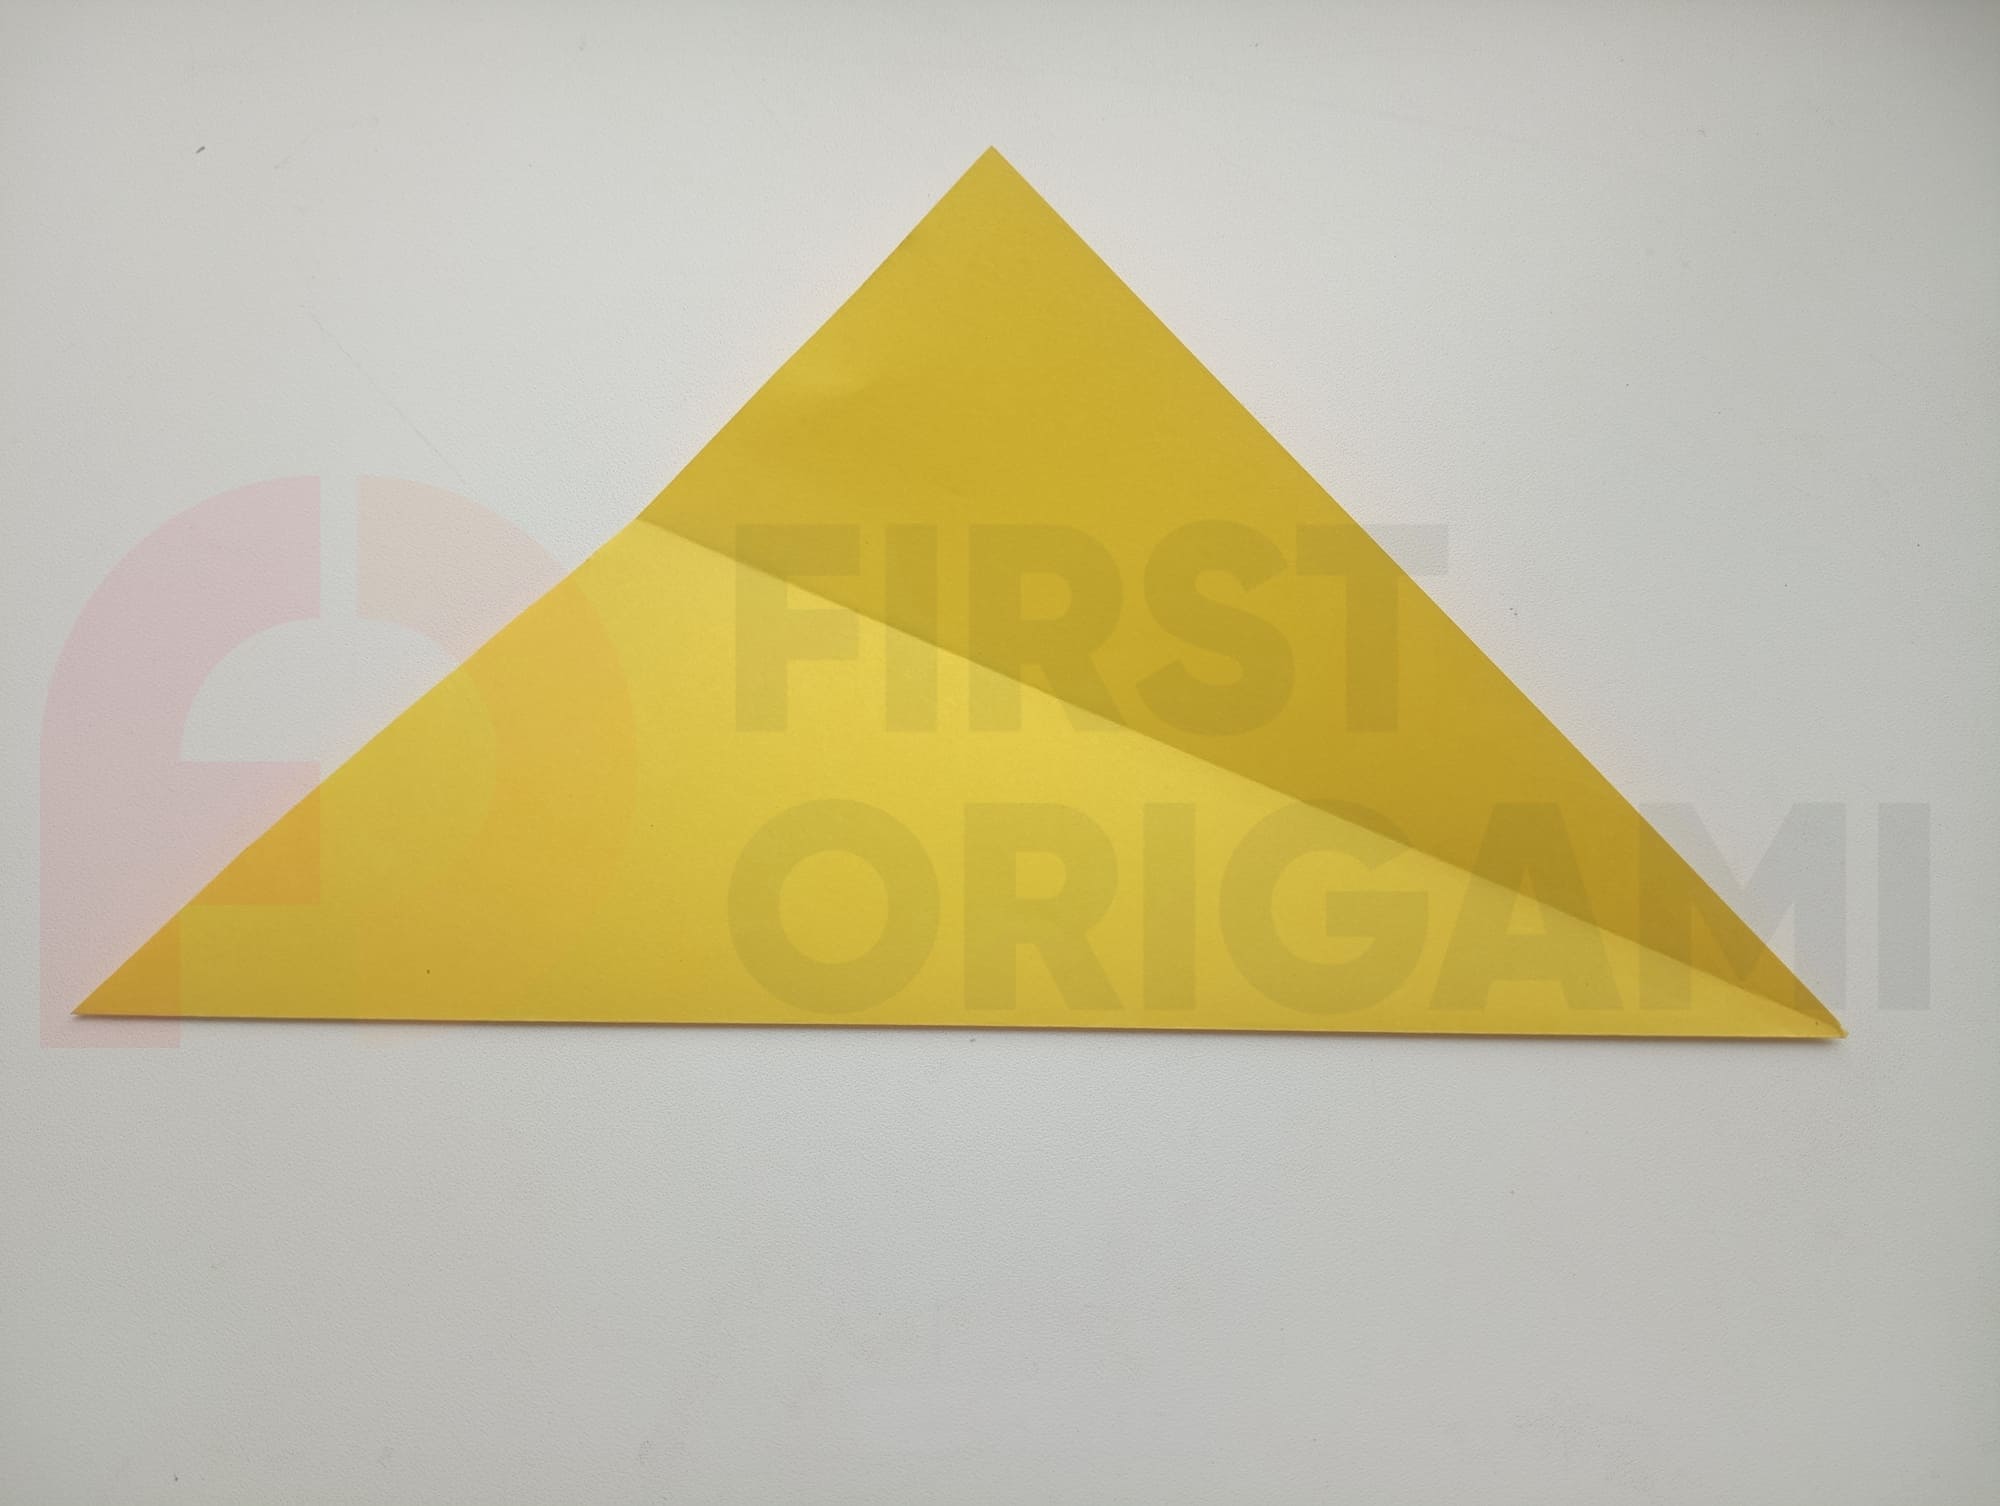
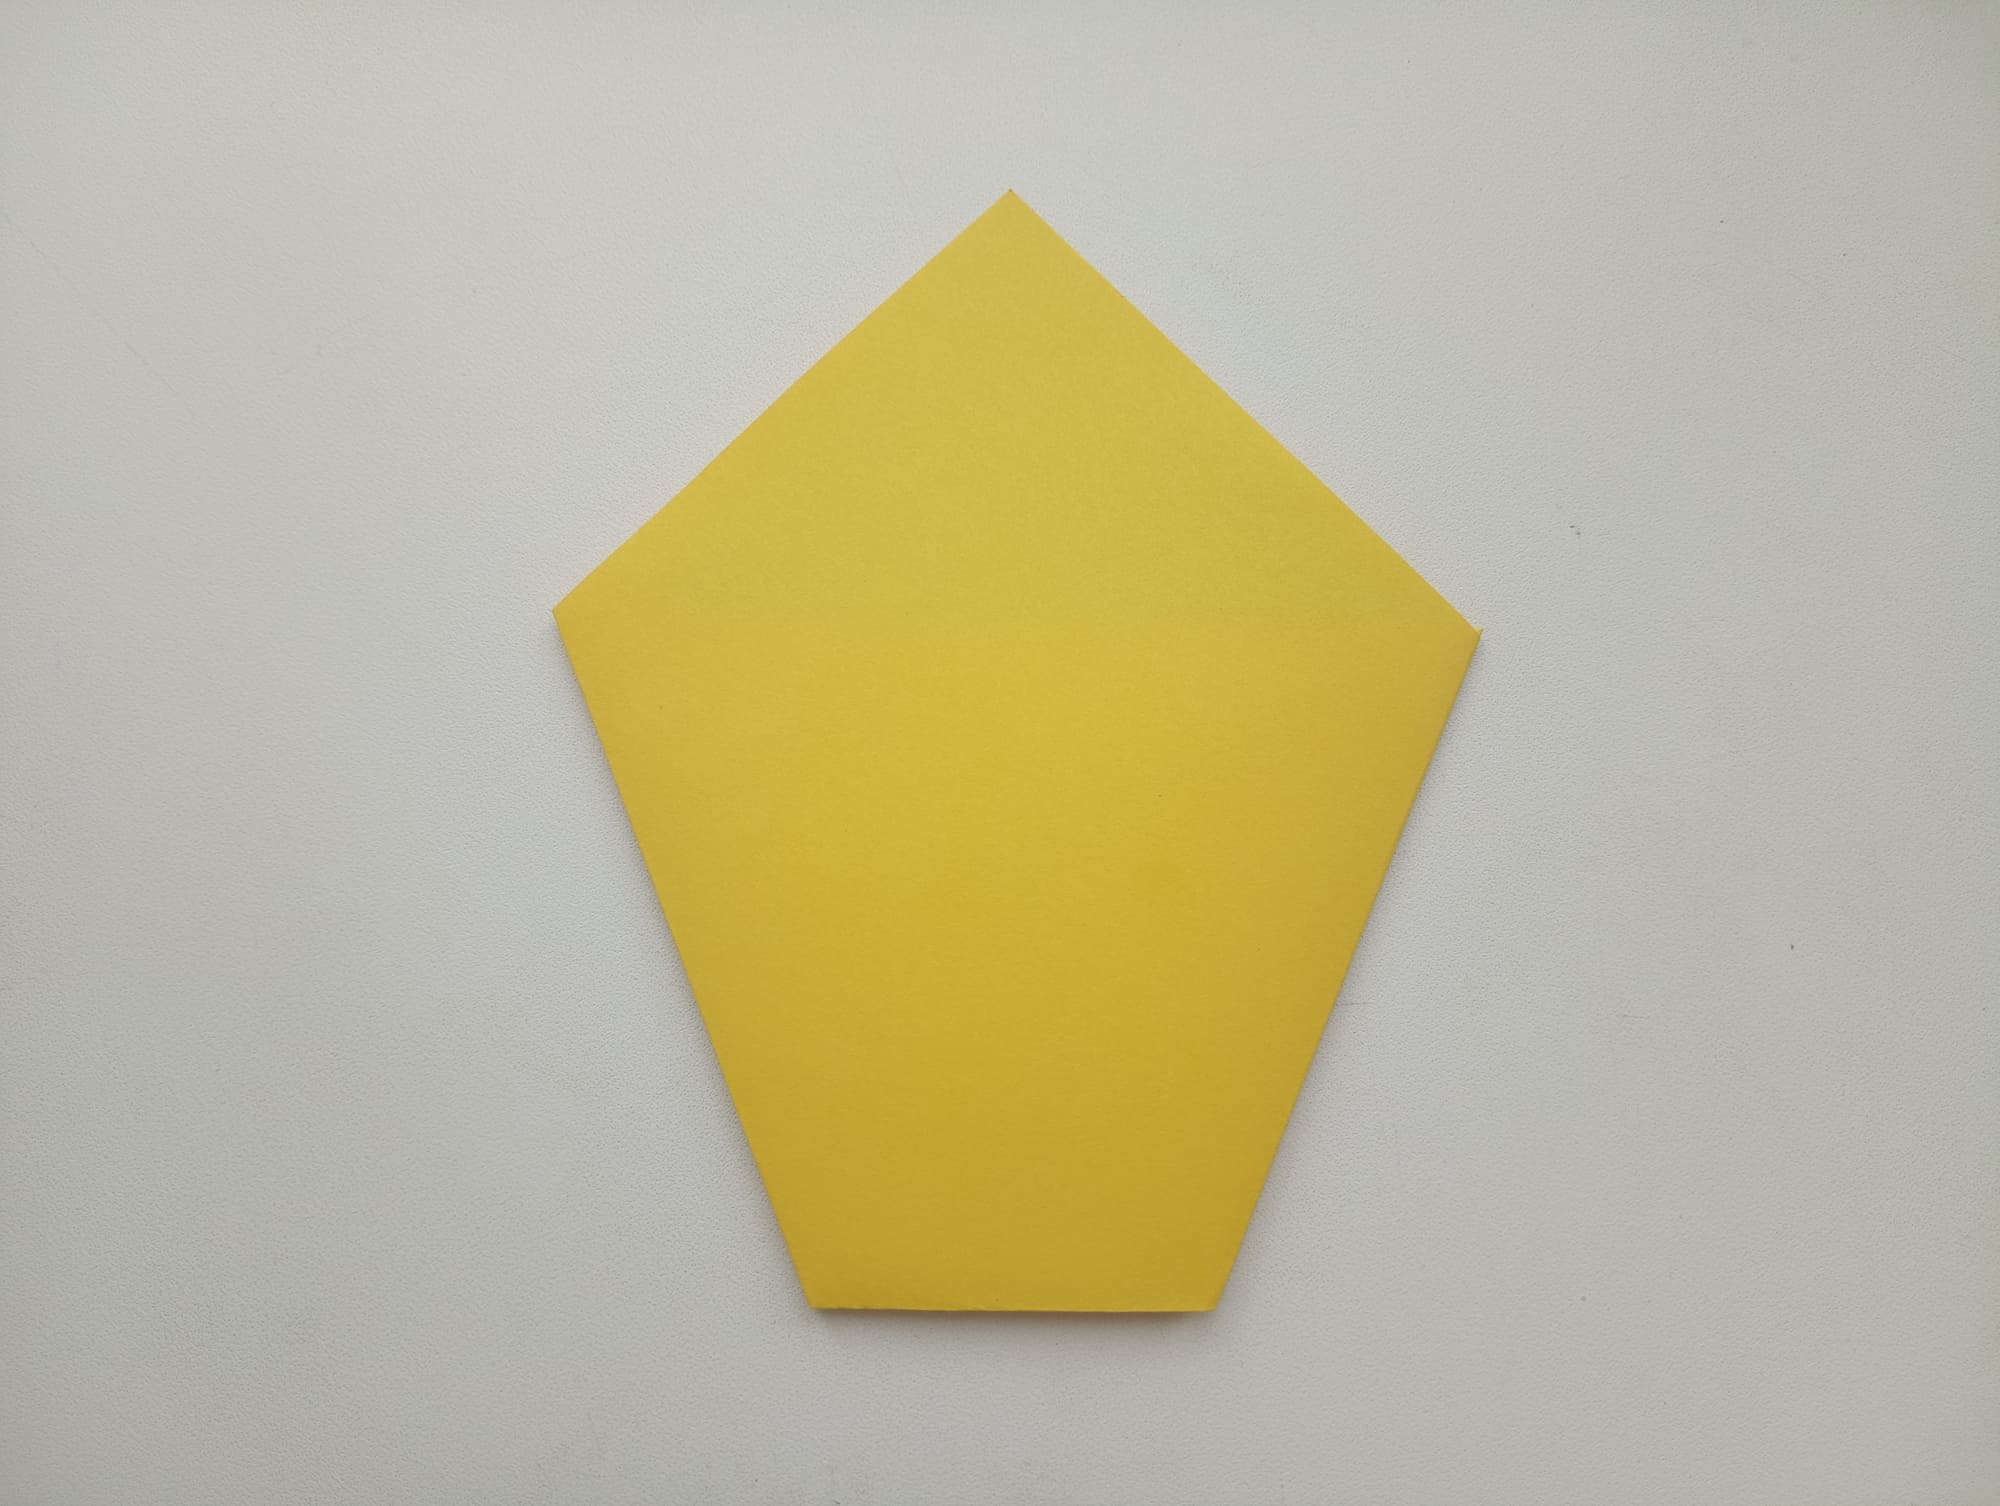
Take a square piece of paper (size 15×15 cm).
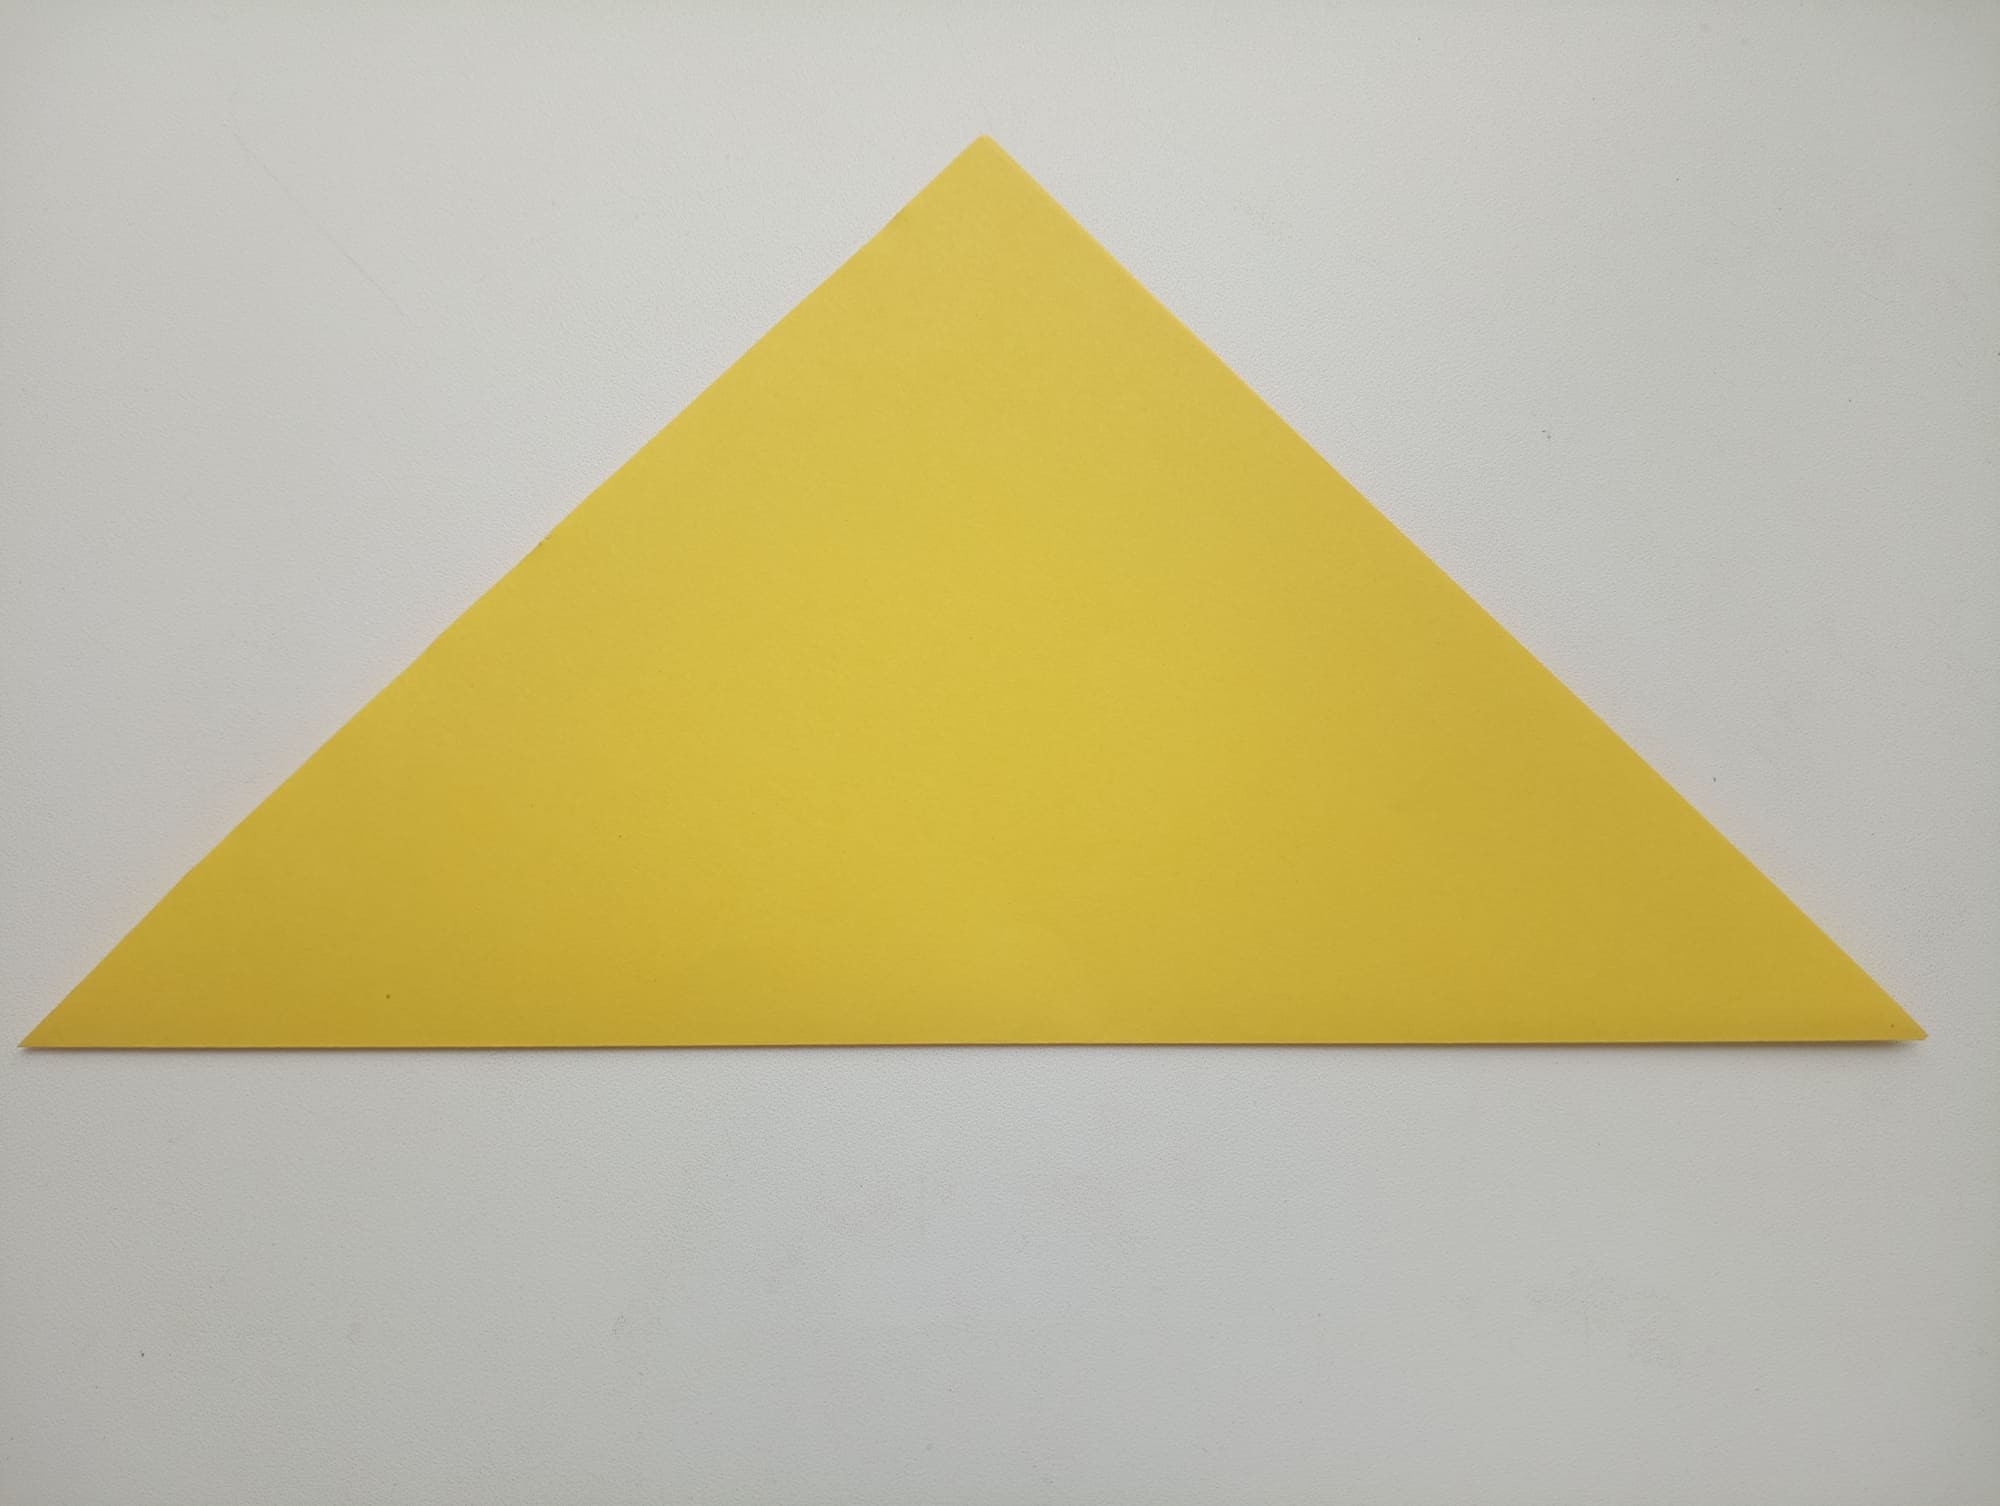
Fold the paper lengthwise on the diagonal, and iron the fold line well.
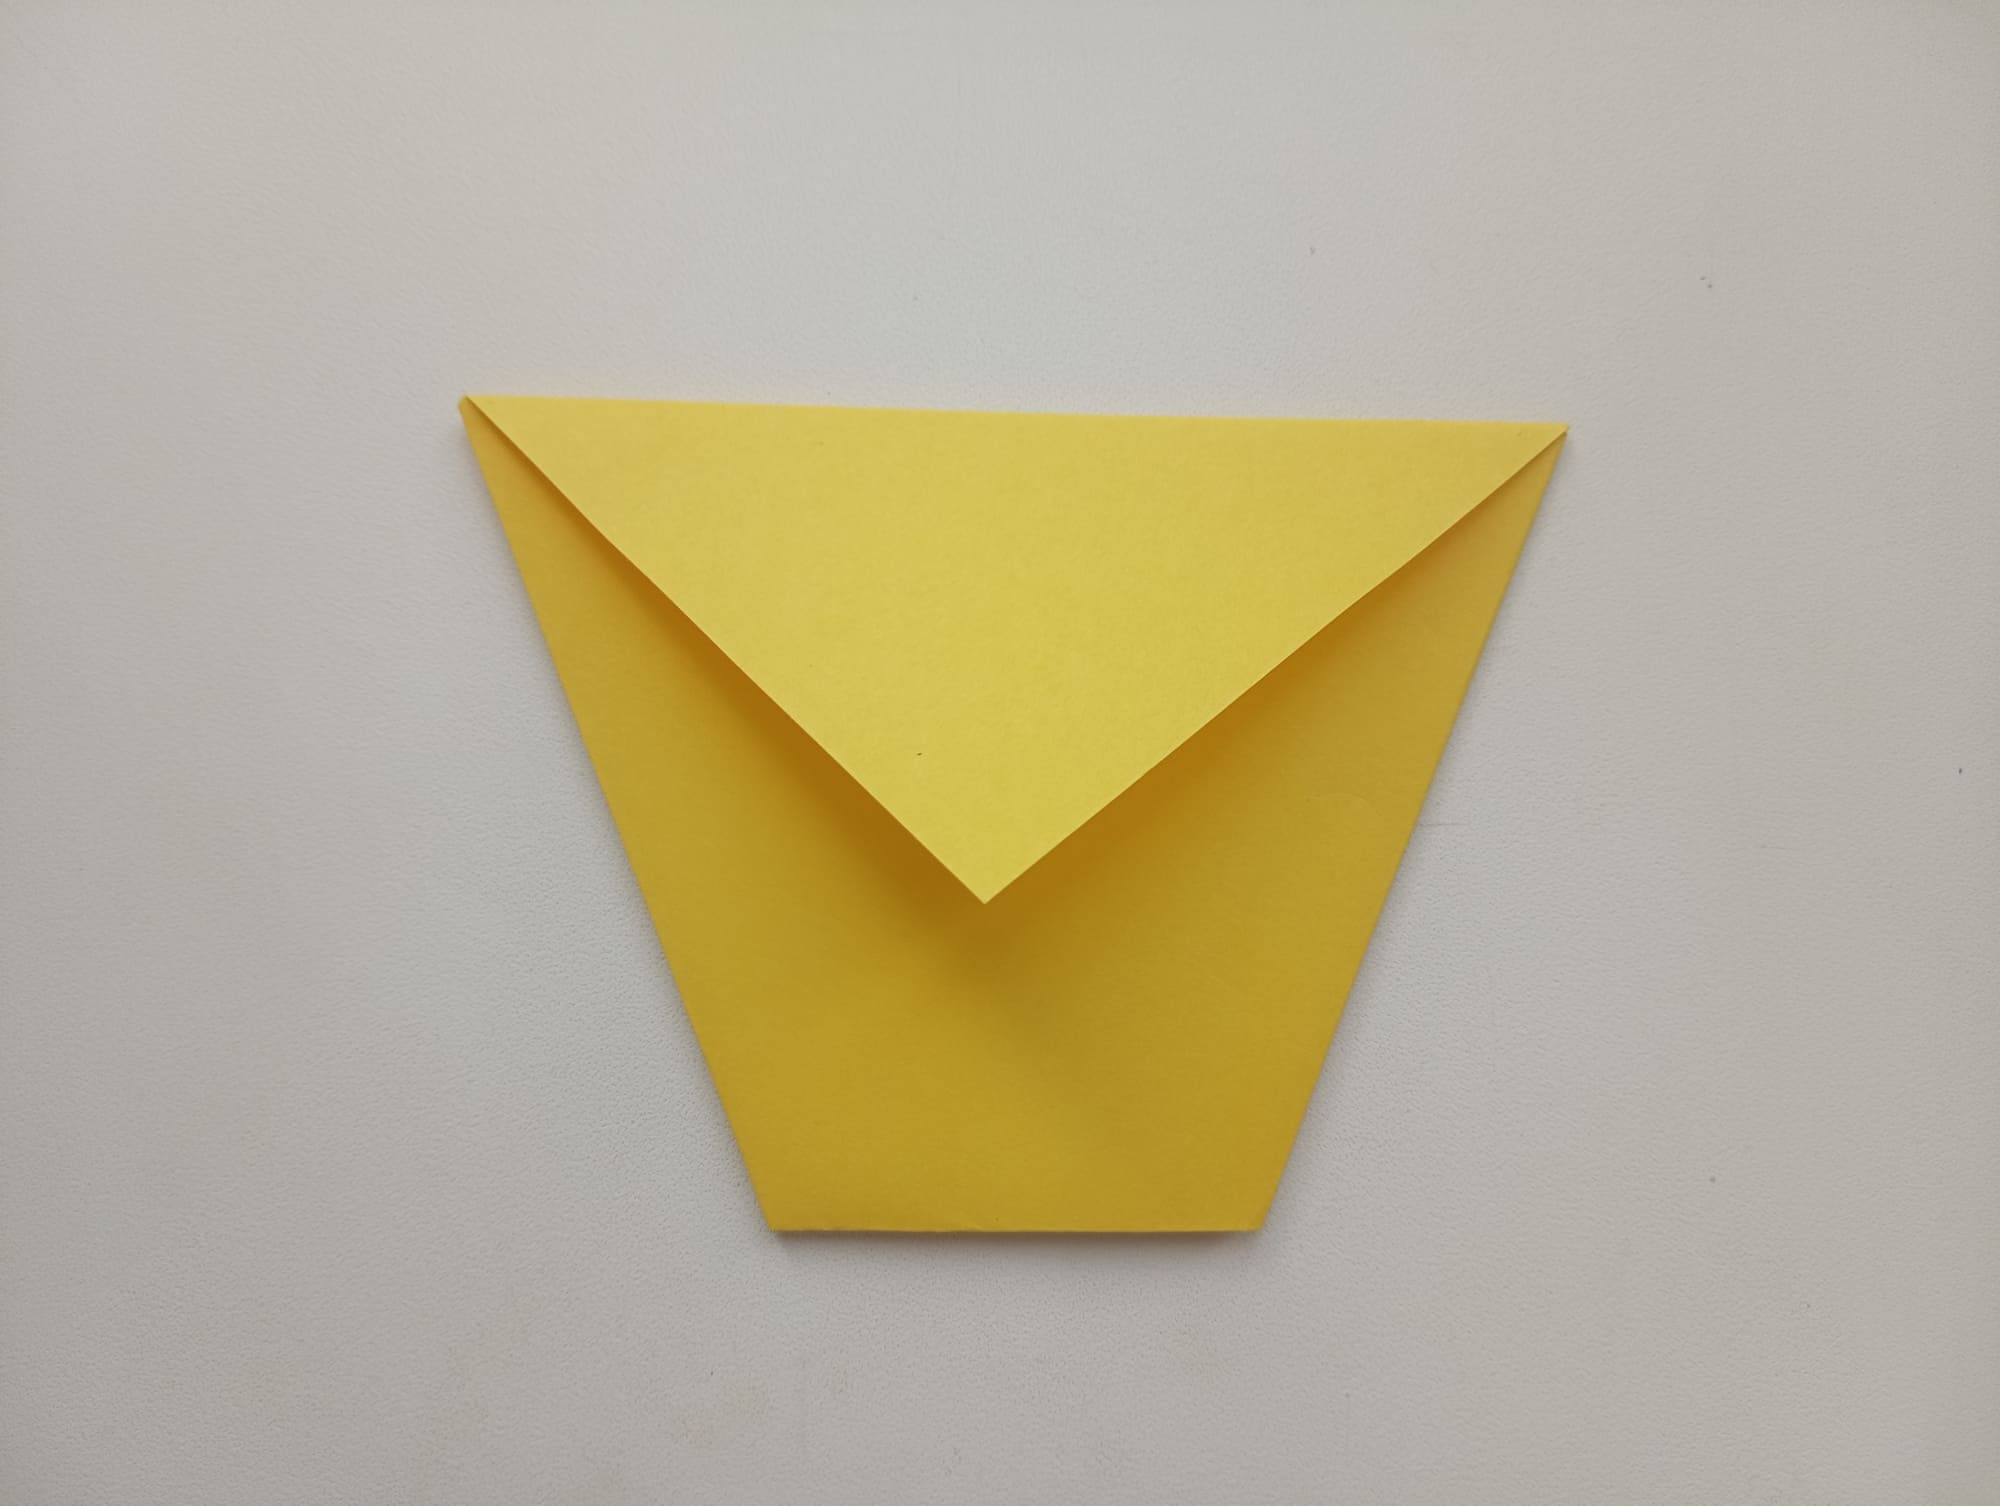
Position the folded piece of paper as shown in the photo.
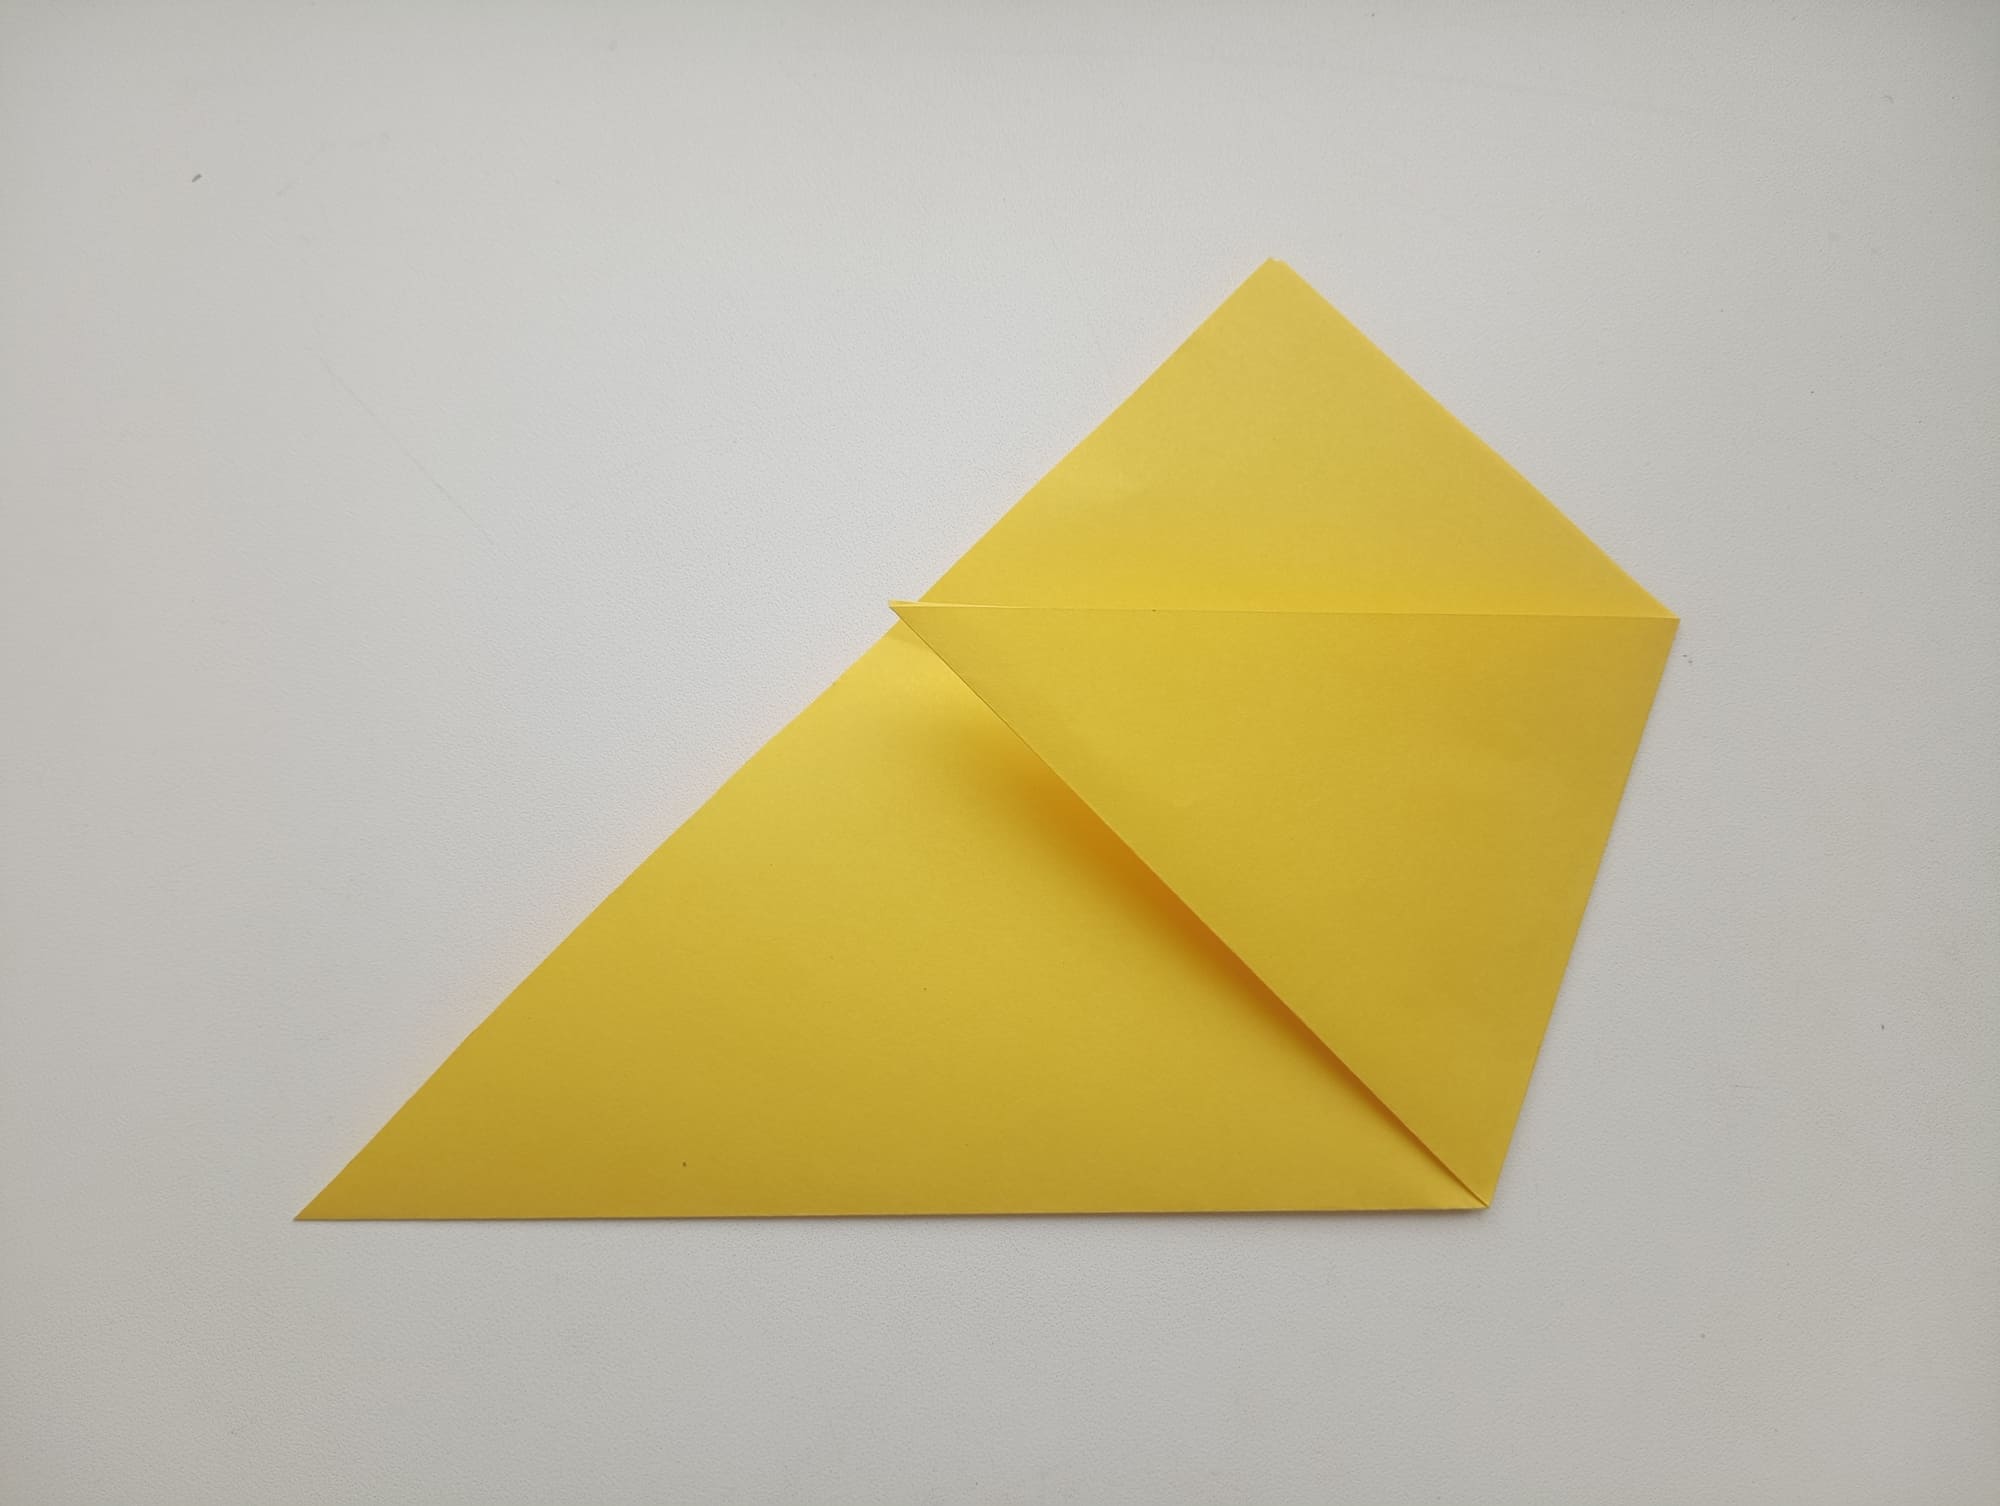
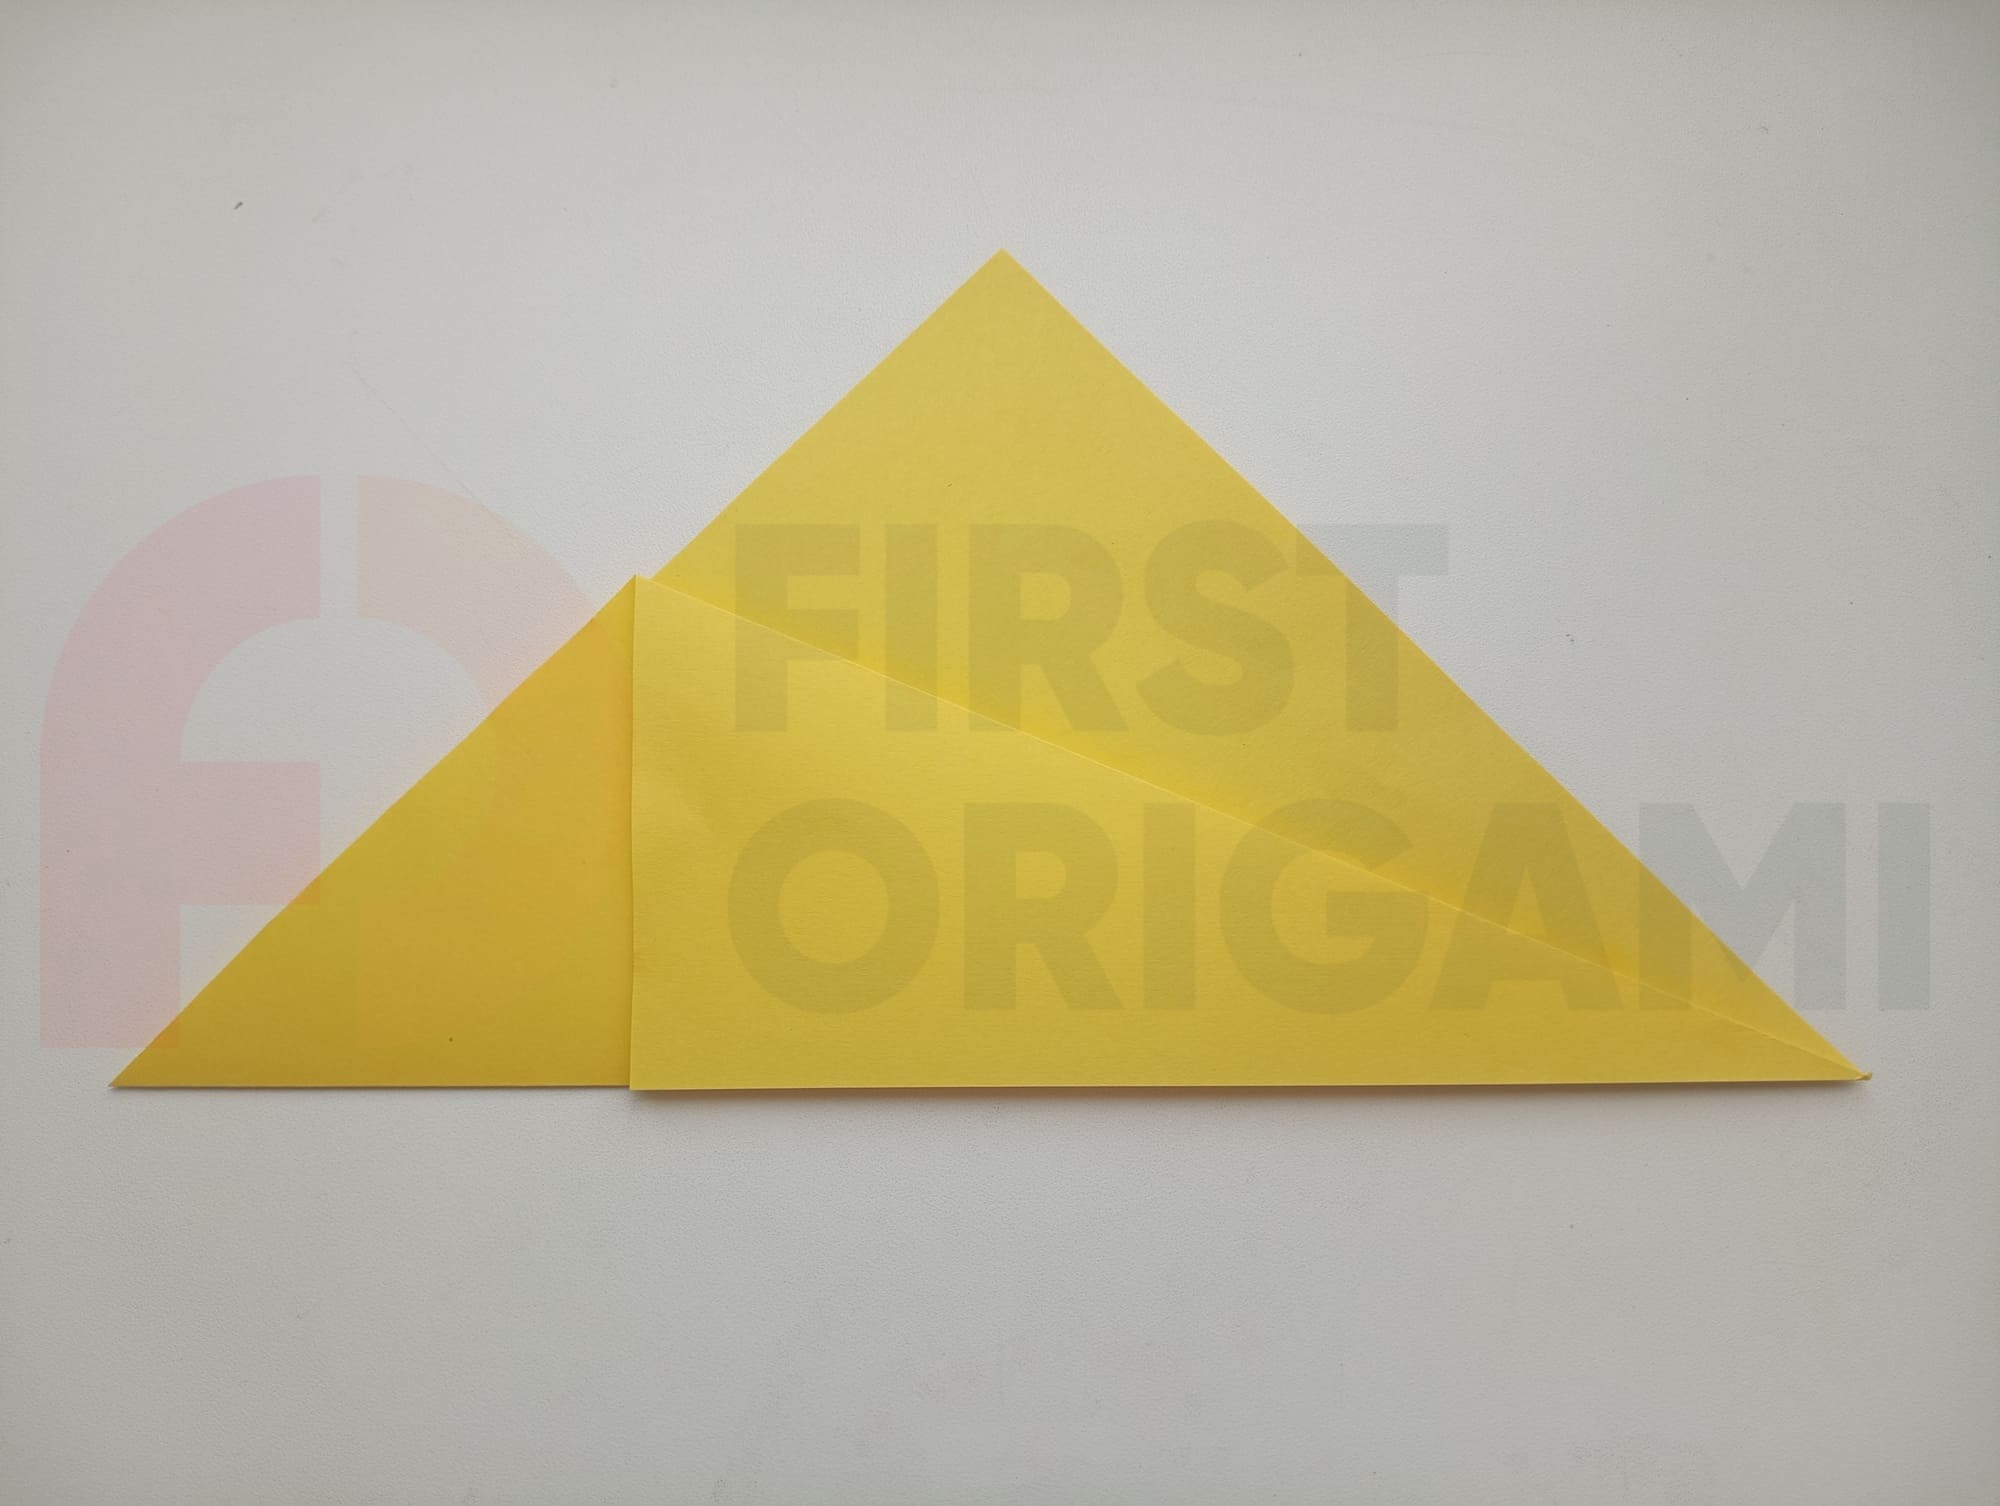
Wrap the top corner of the piece to the bottom edge. Iron the fold well with your fingers and unfold. You will see a clear fold line.
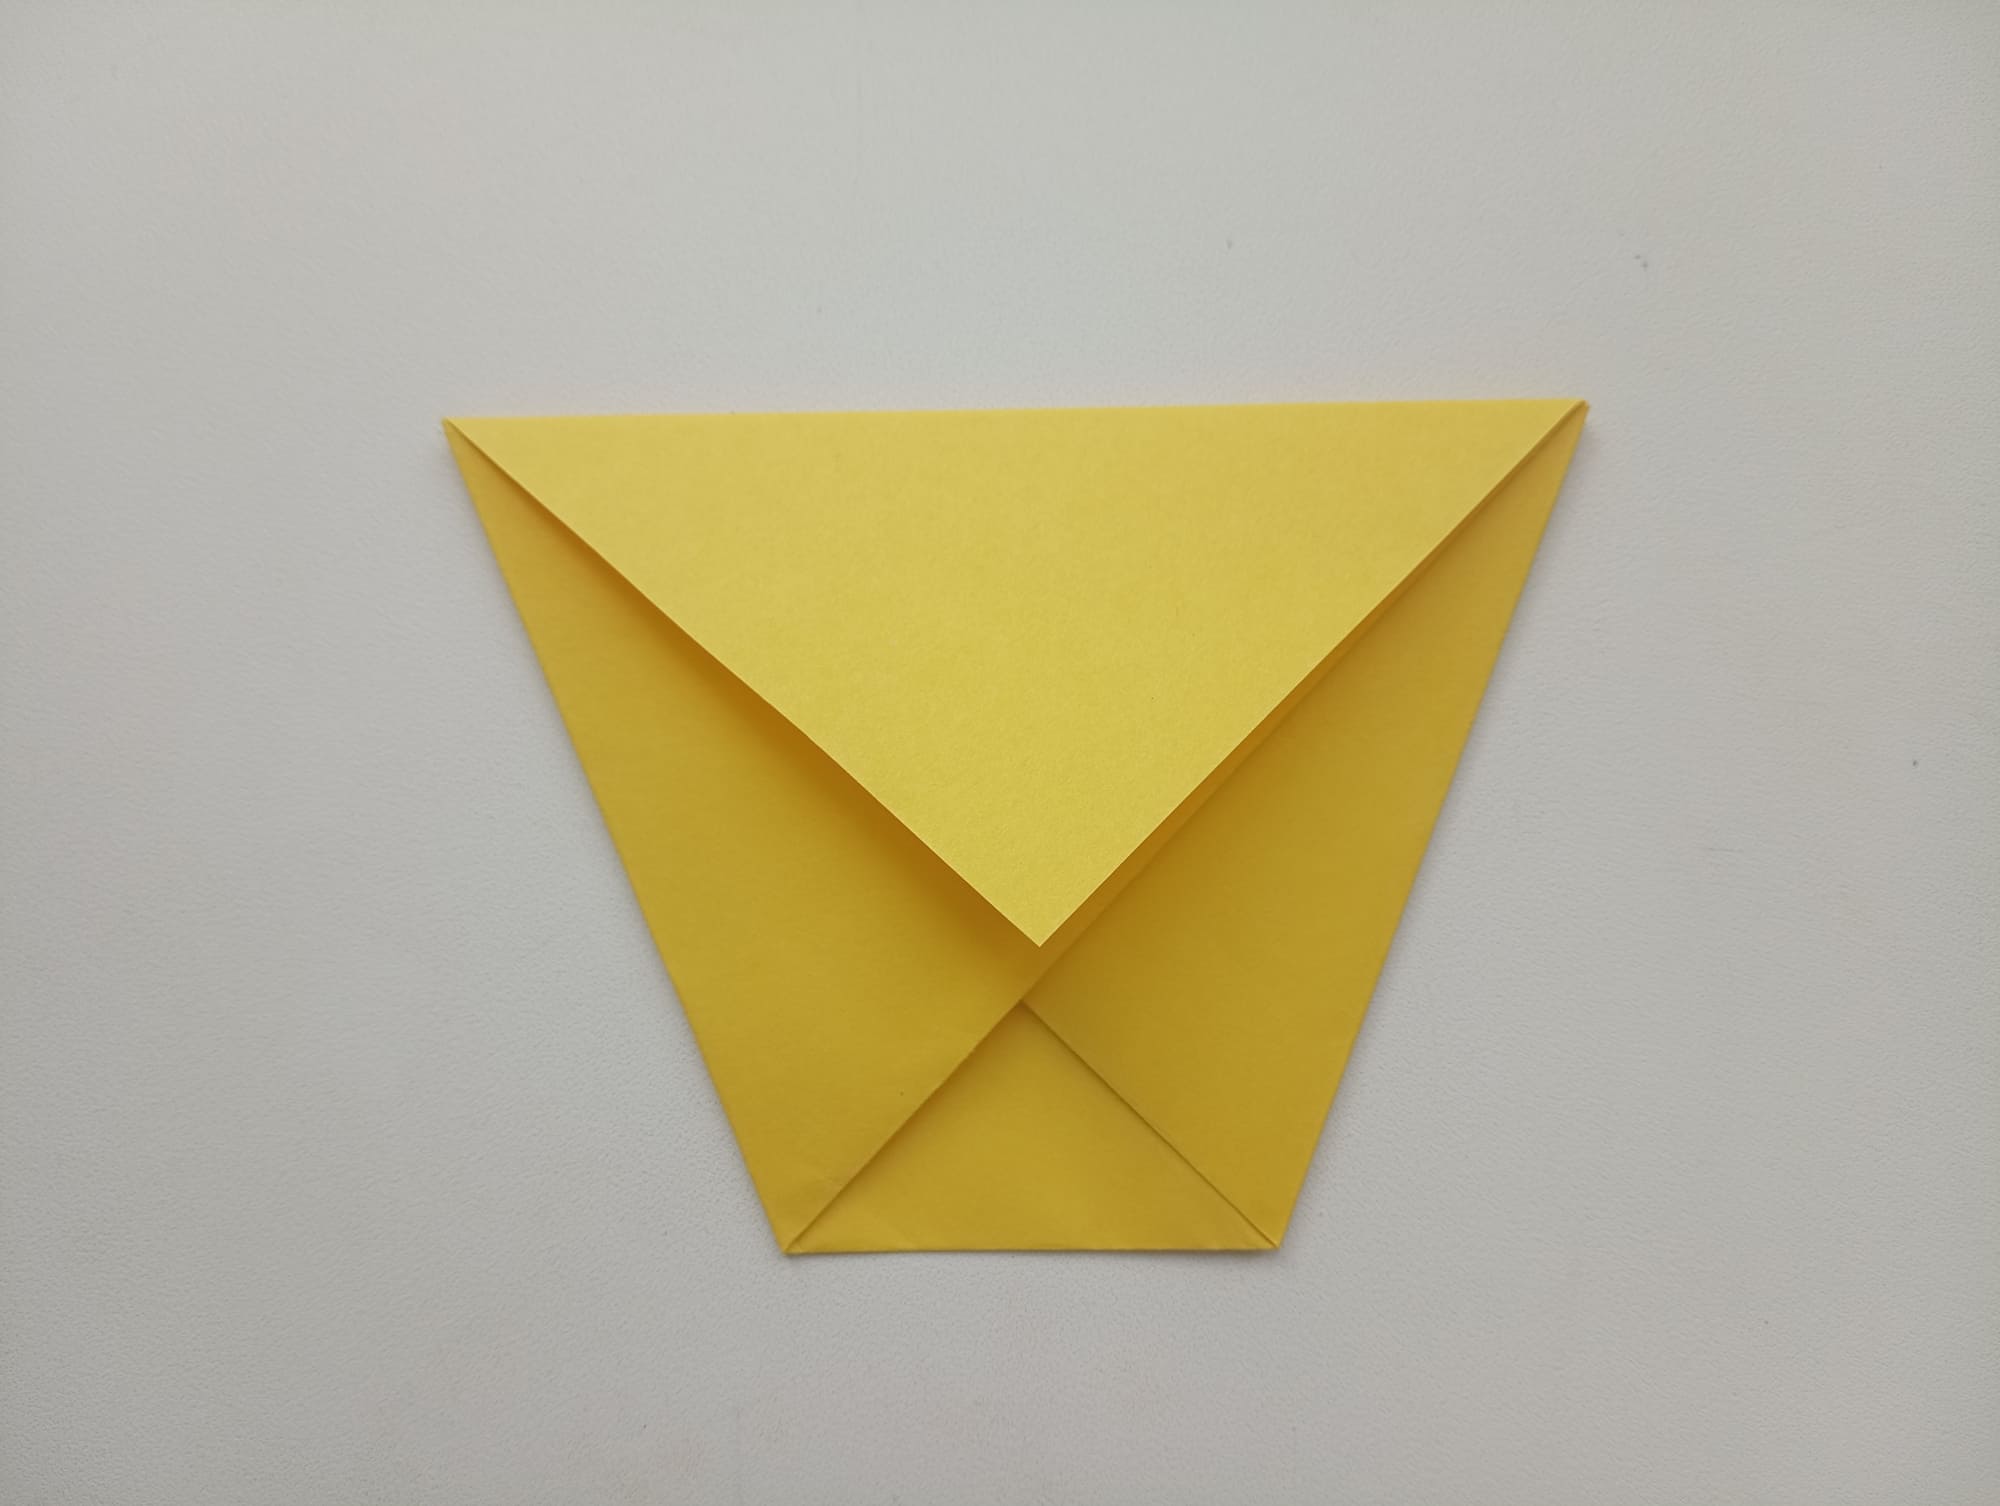
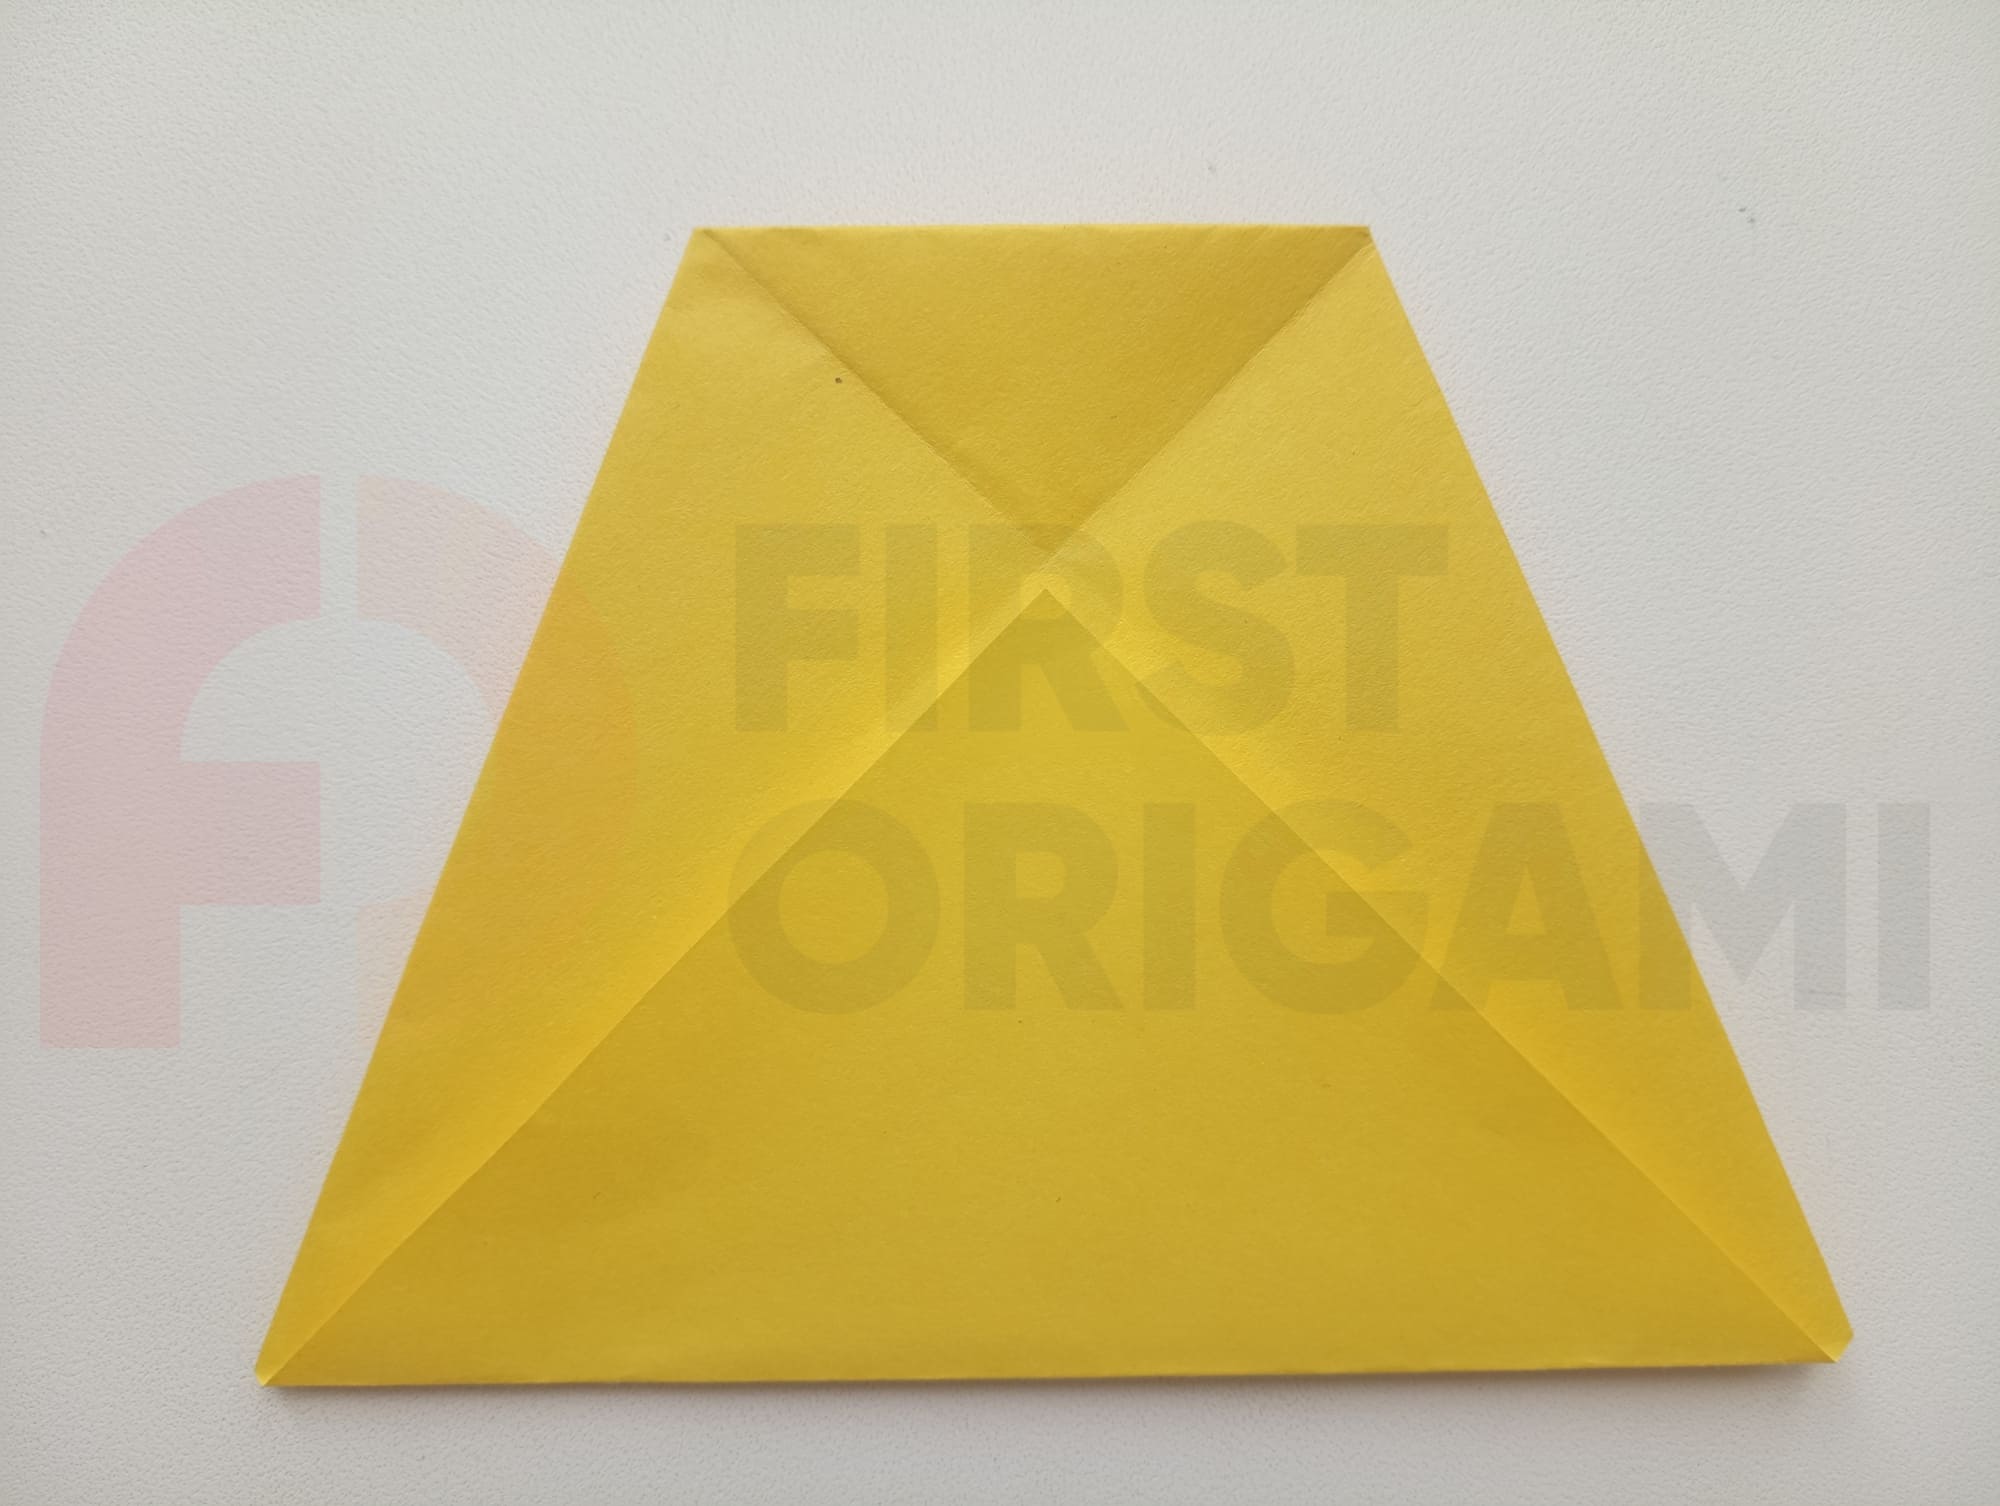
Bend the bottom right corner of the triangle to the top opposite point of the fold (as in the photo). Press well with your fingers, ironing all the fold lines.
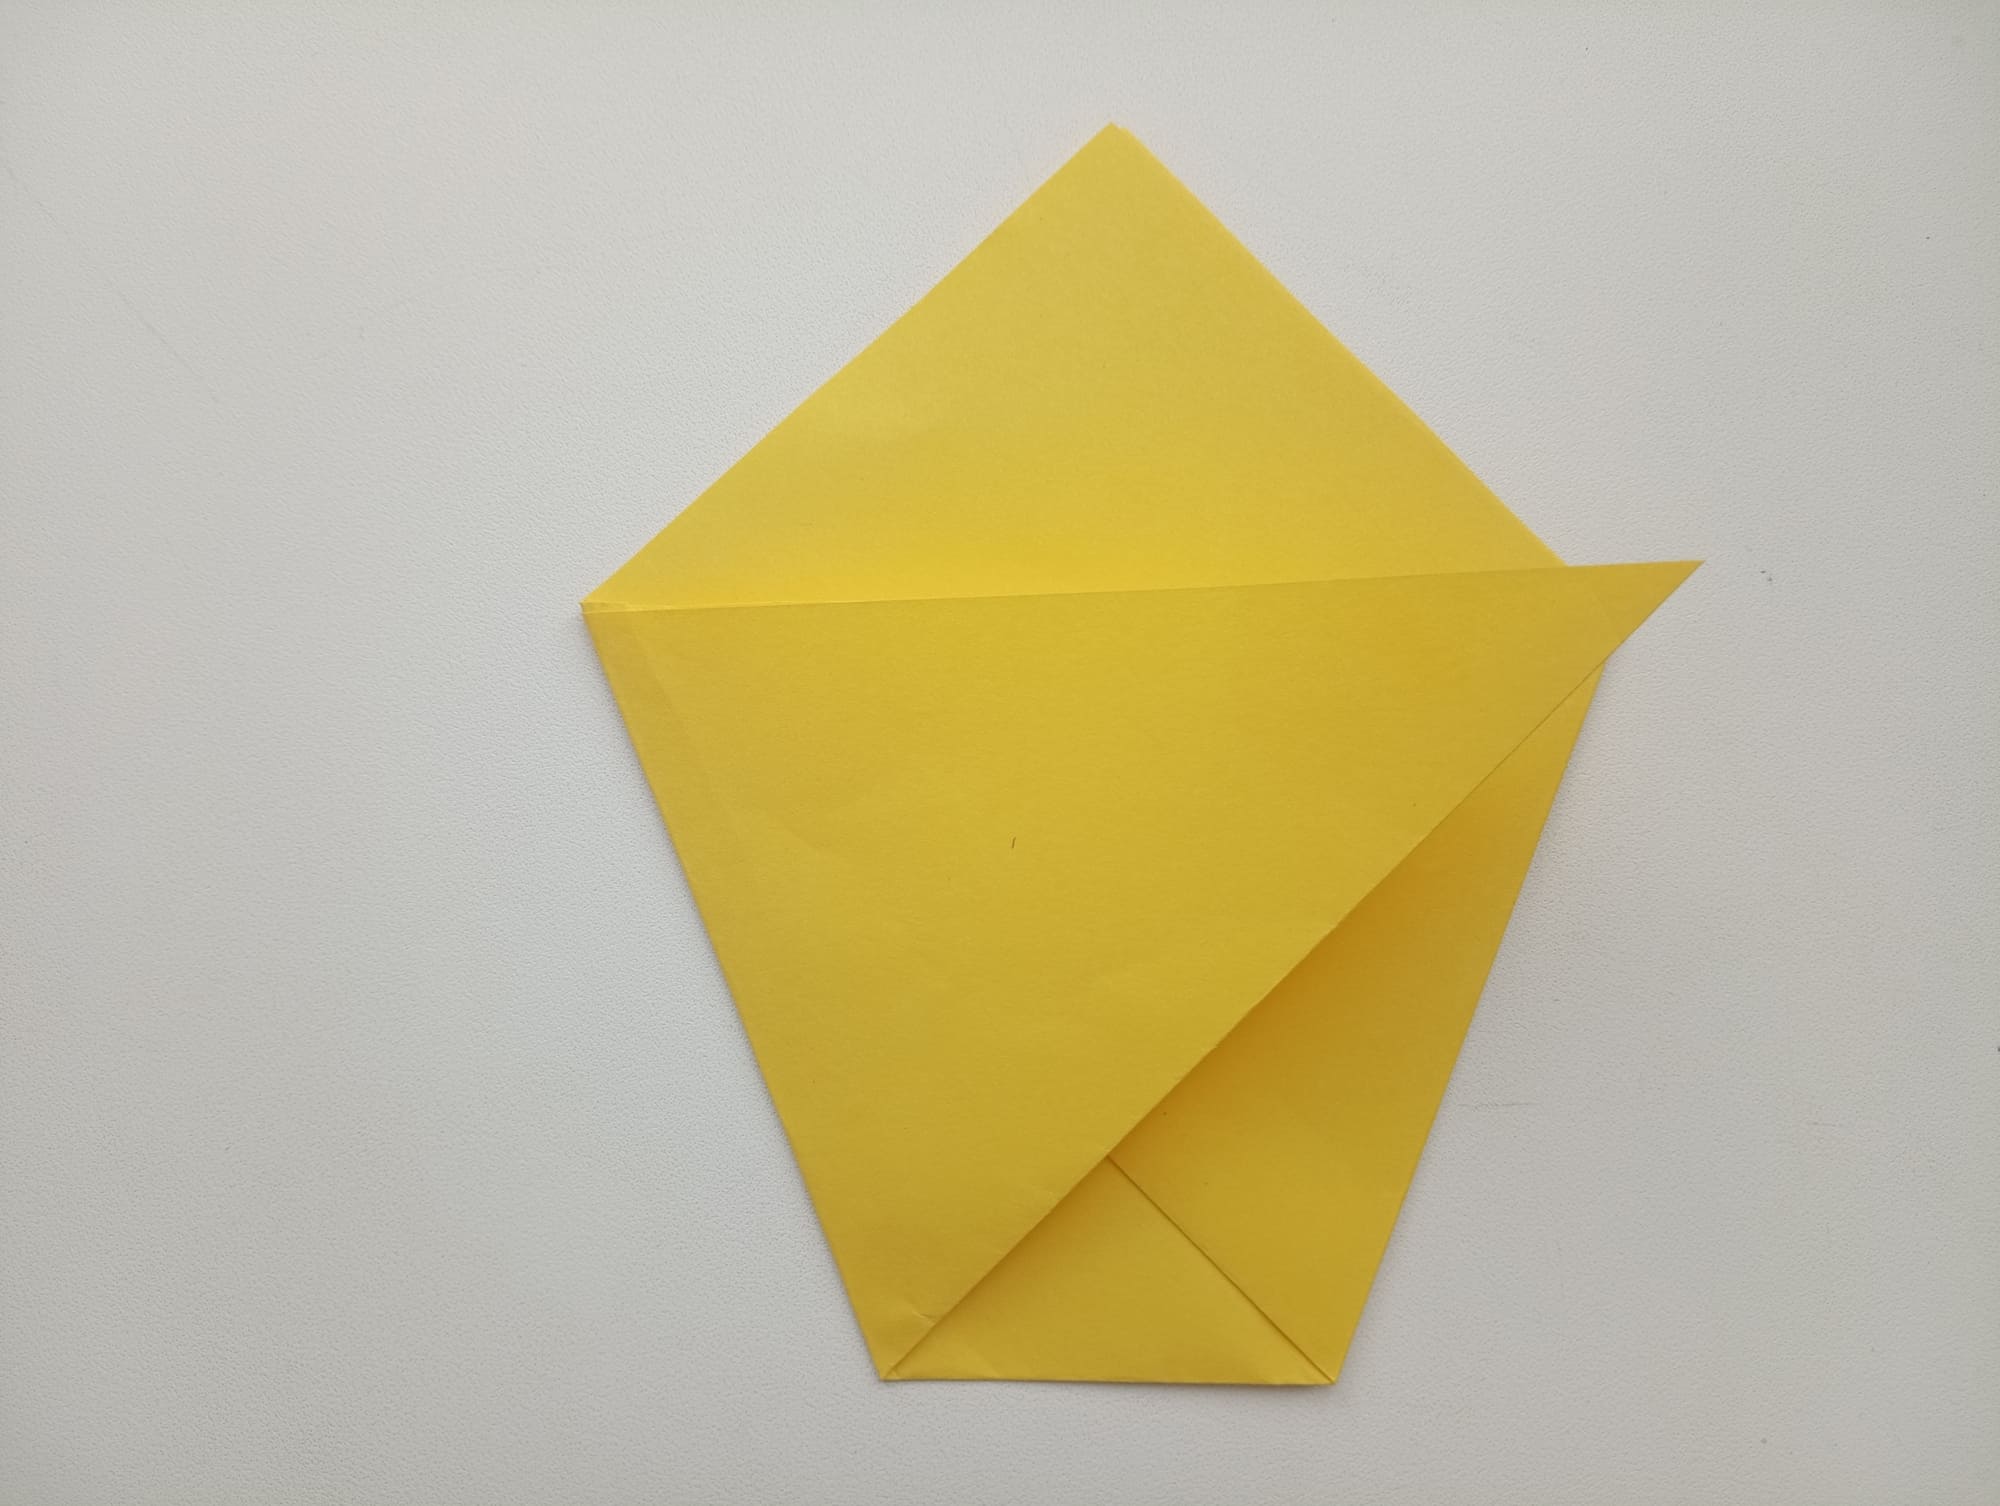
Repeat the actions in the left bottom corner. Also, bend to make a shape as in the photo.
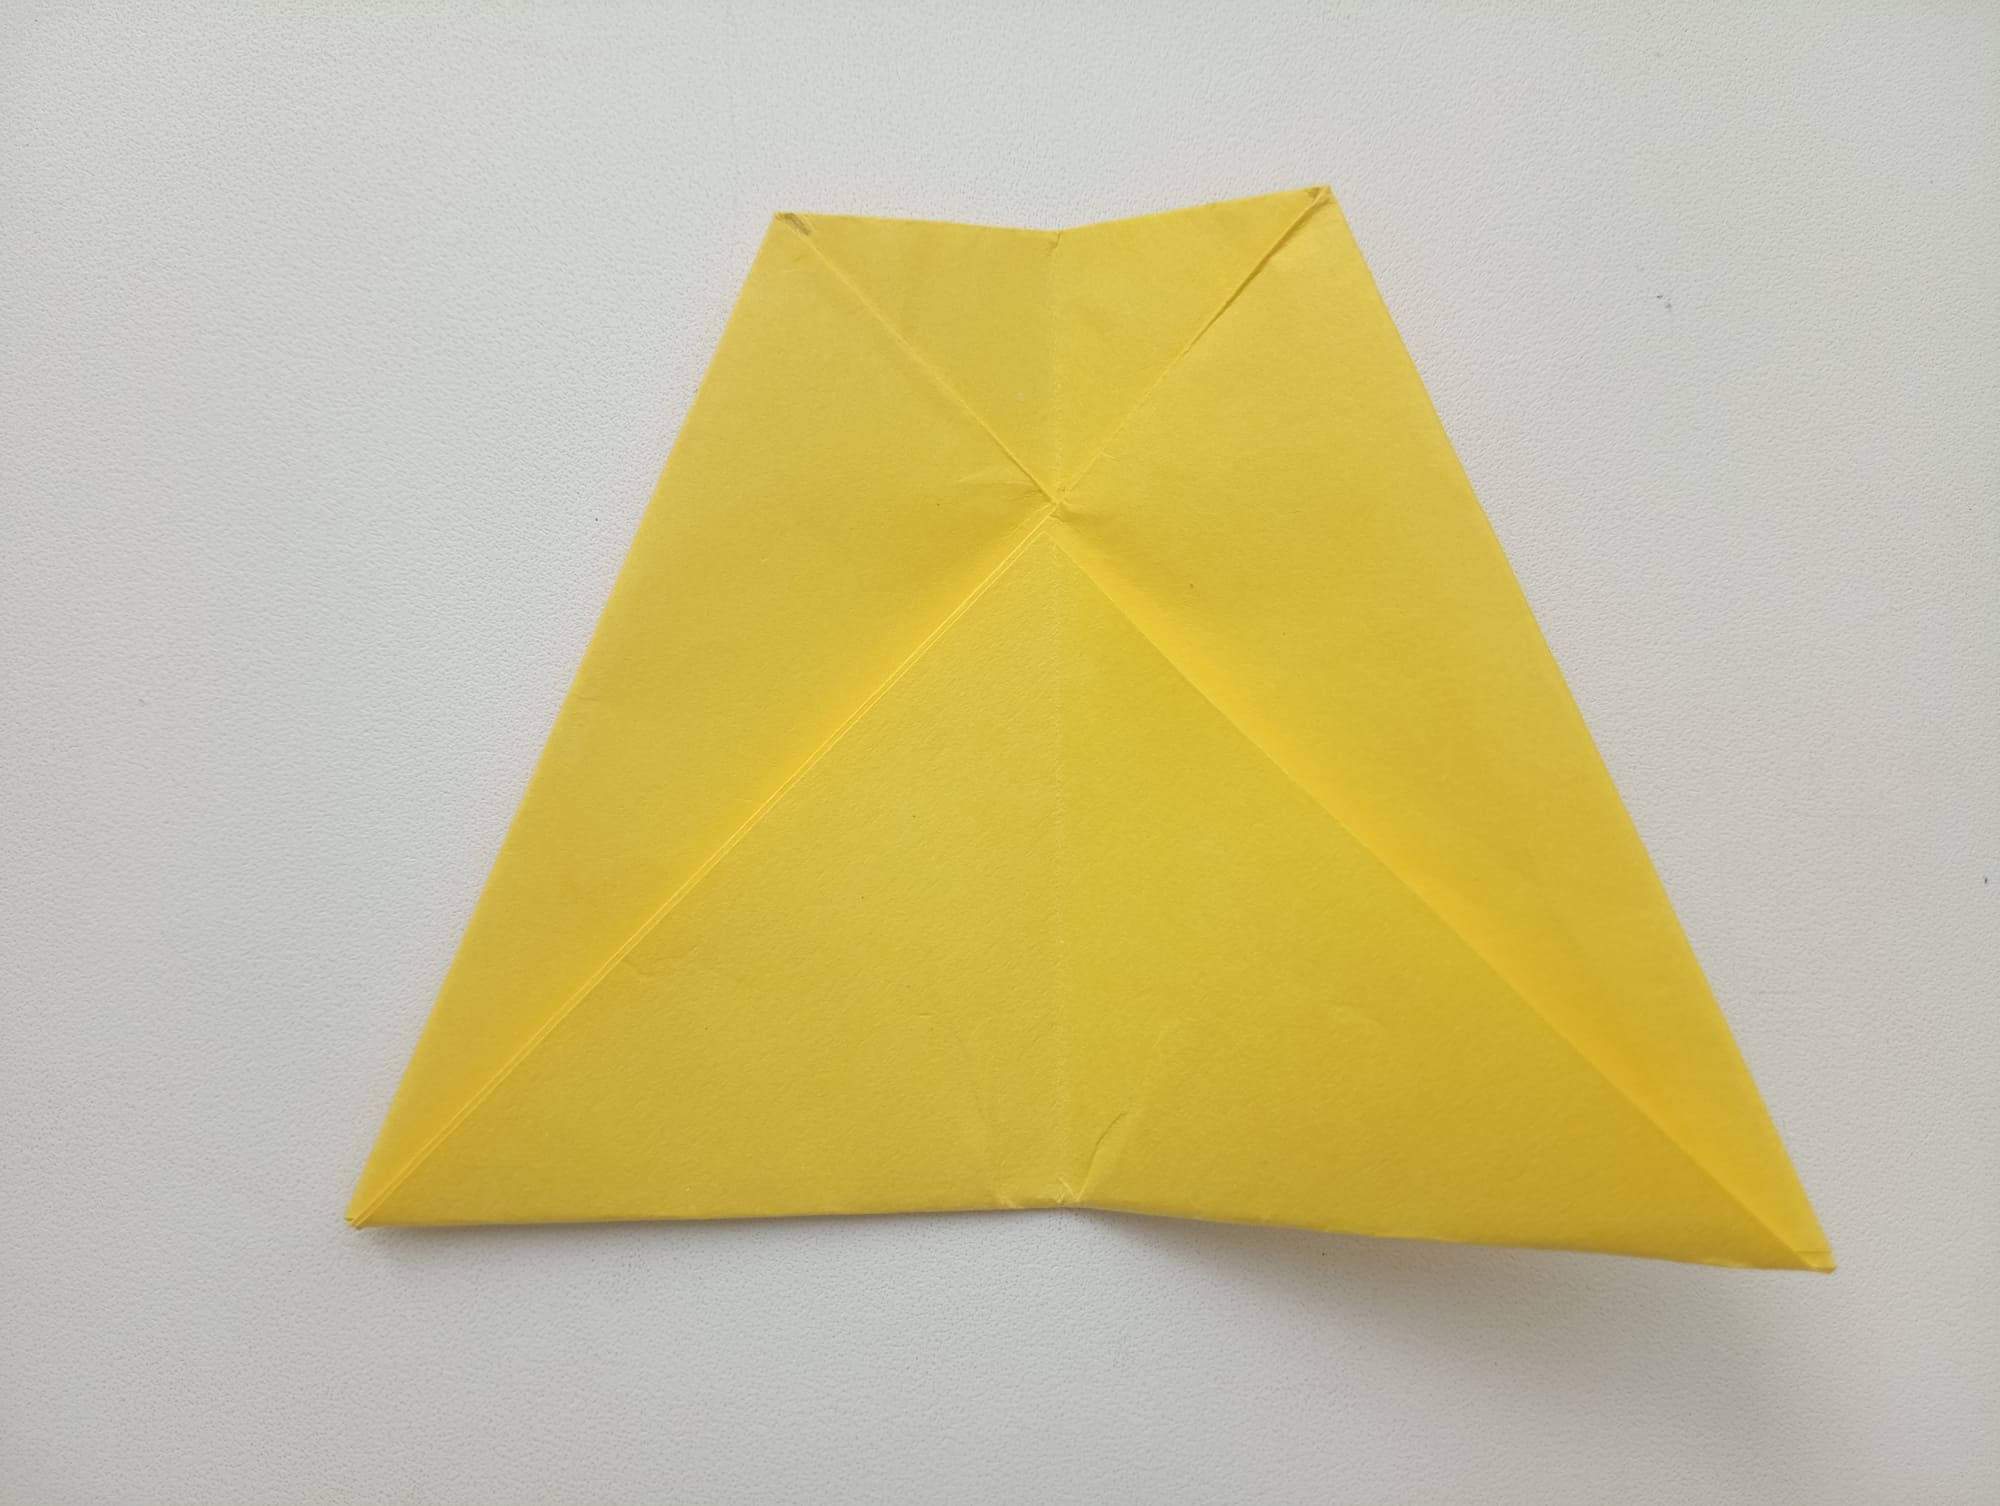
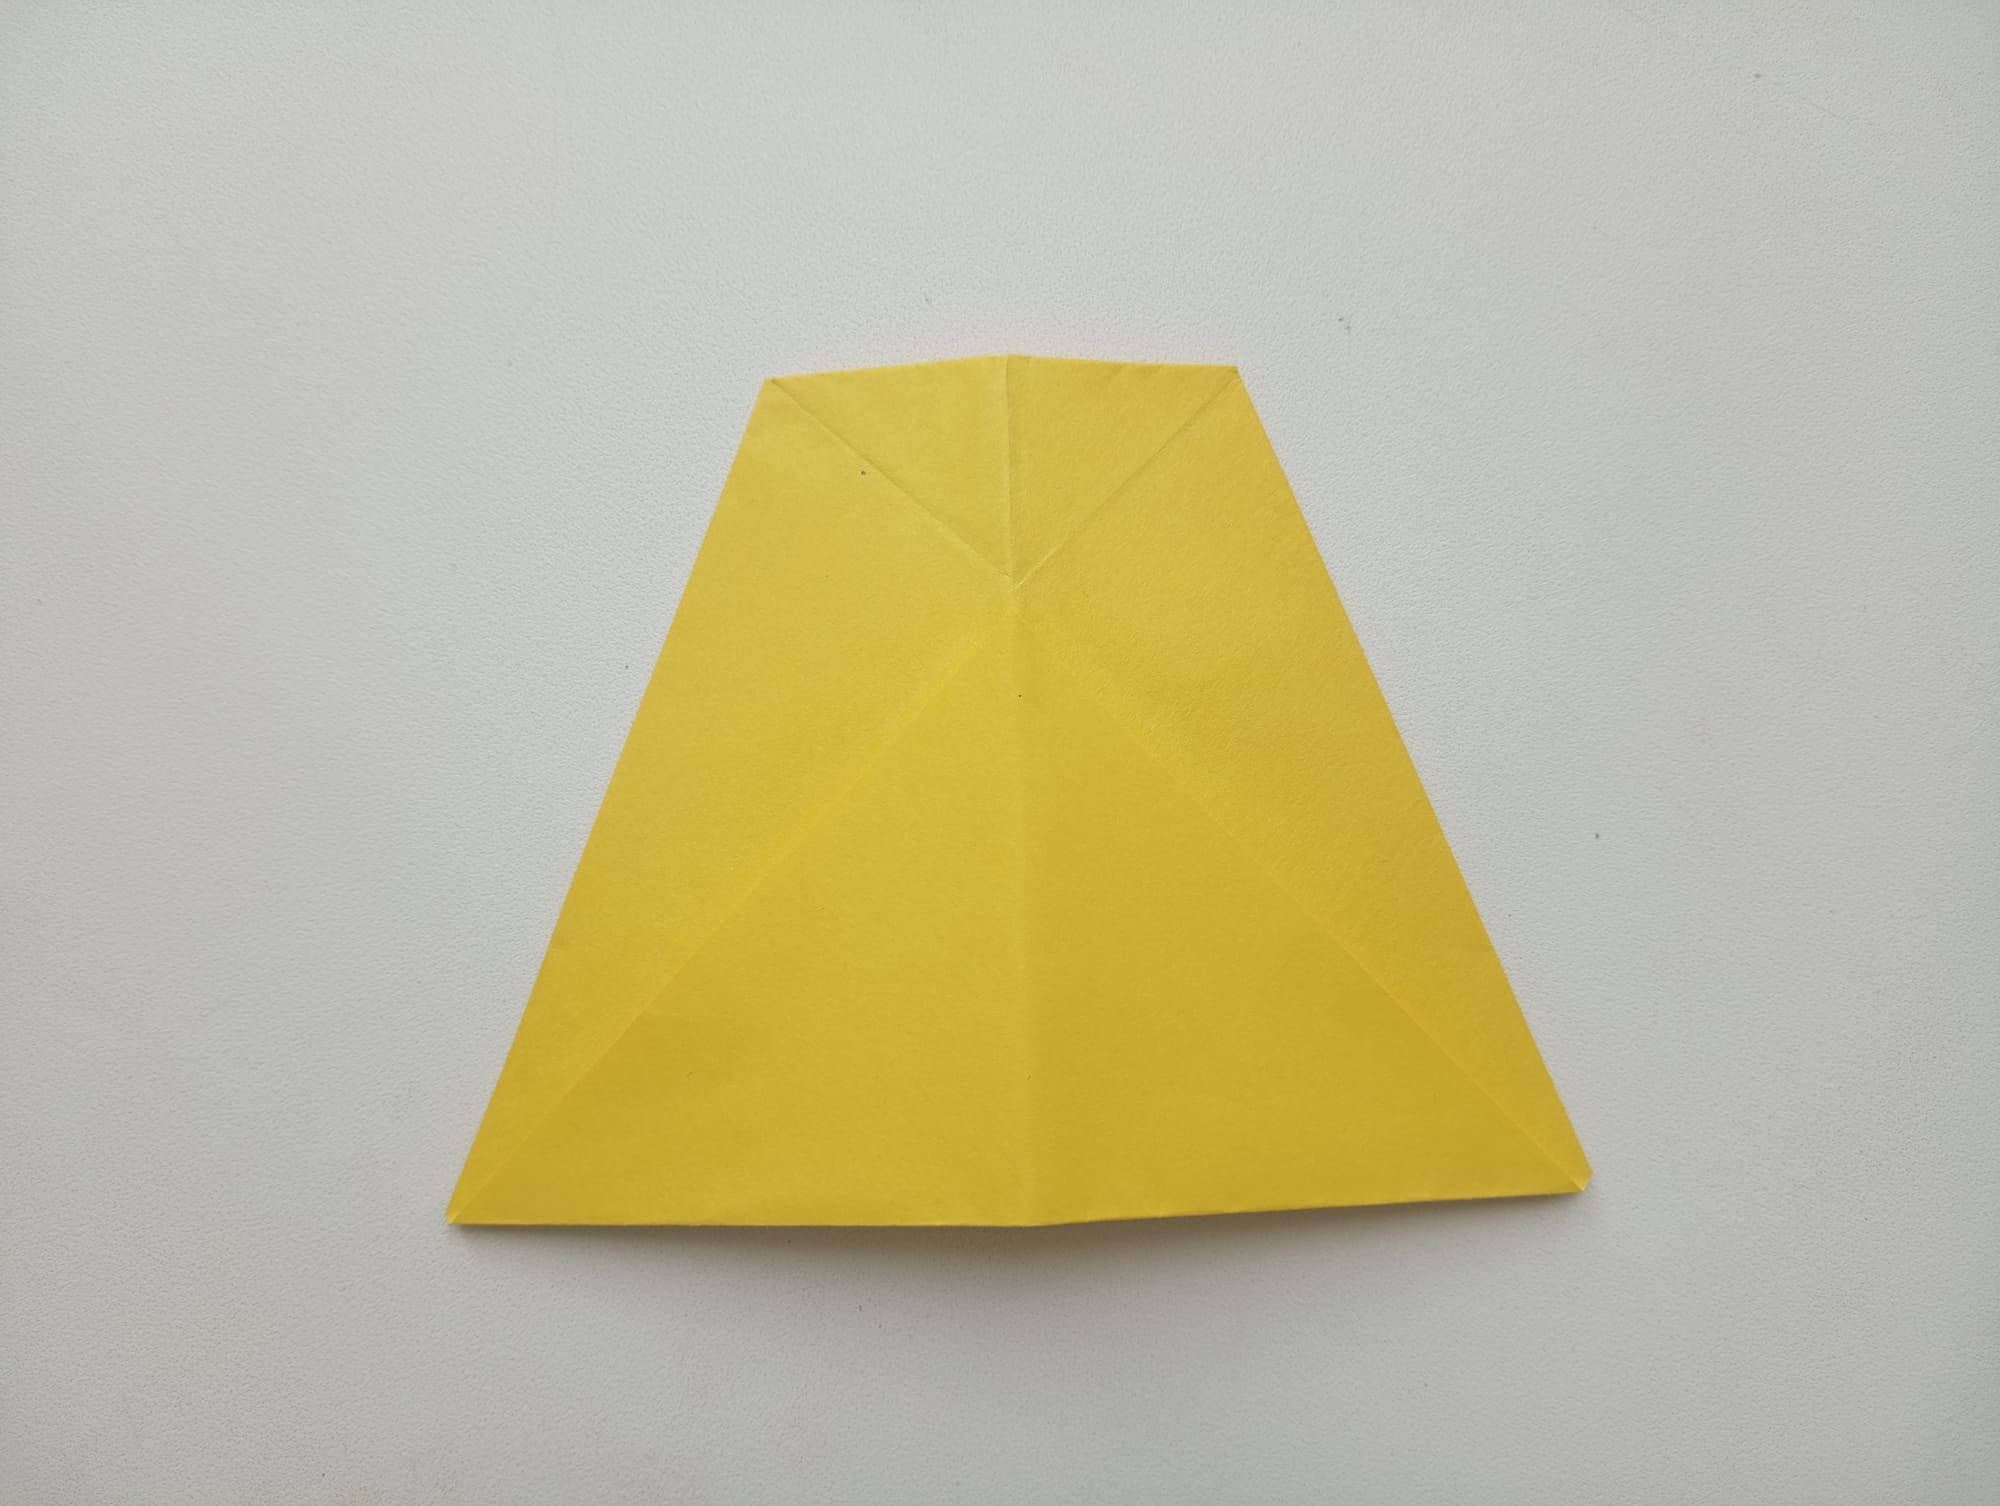
Now wrap the top edge down (see photo).

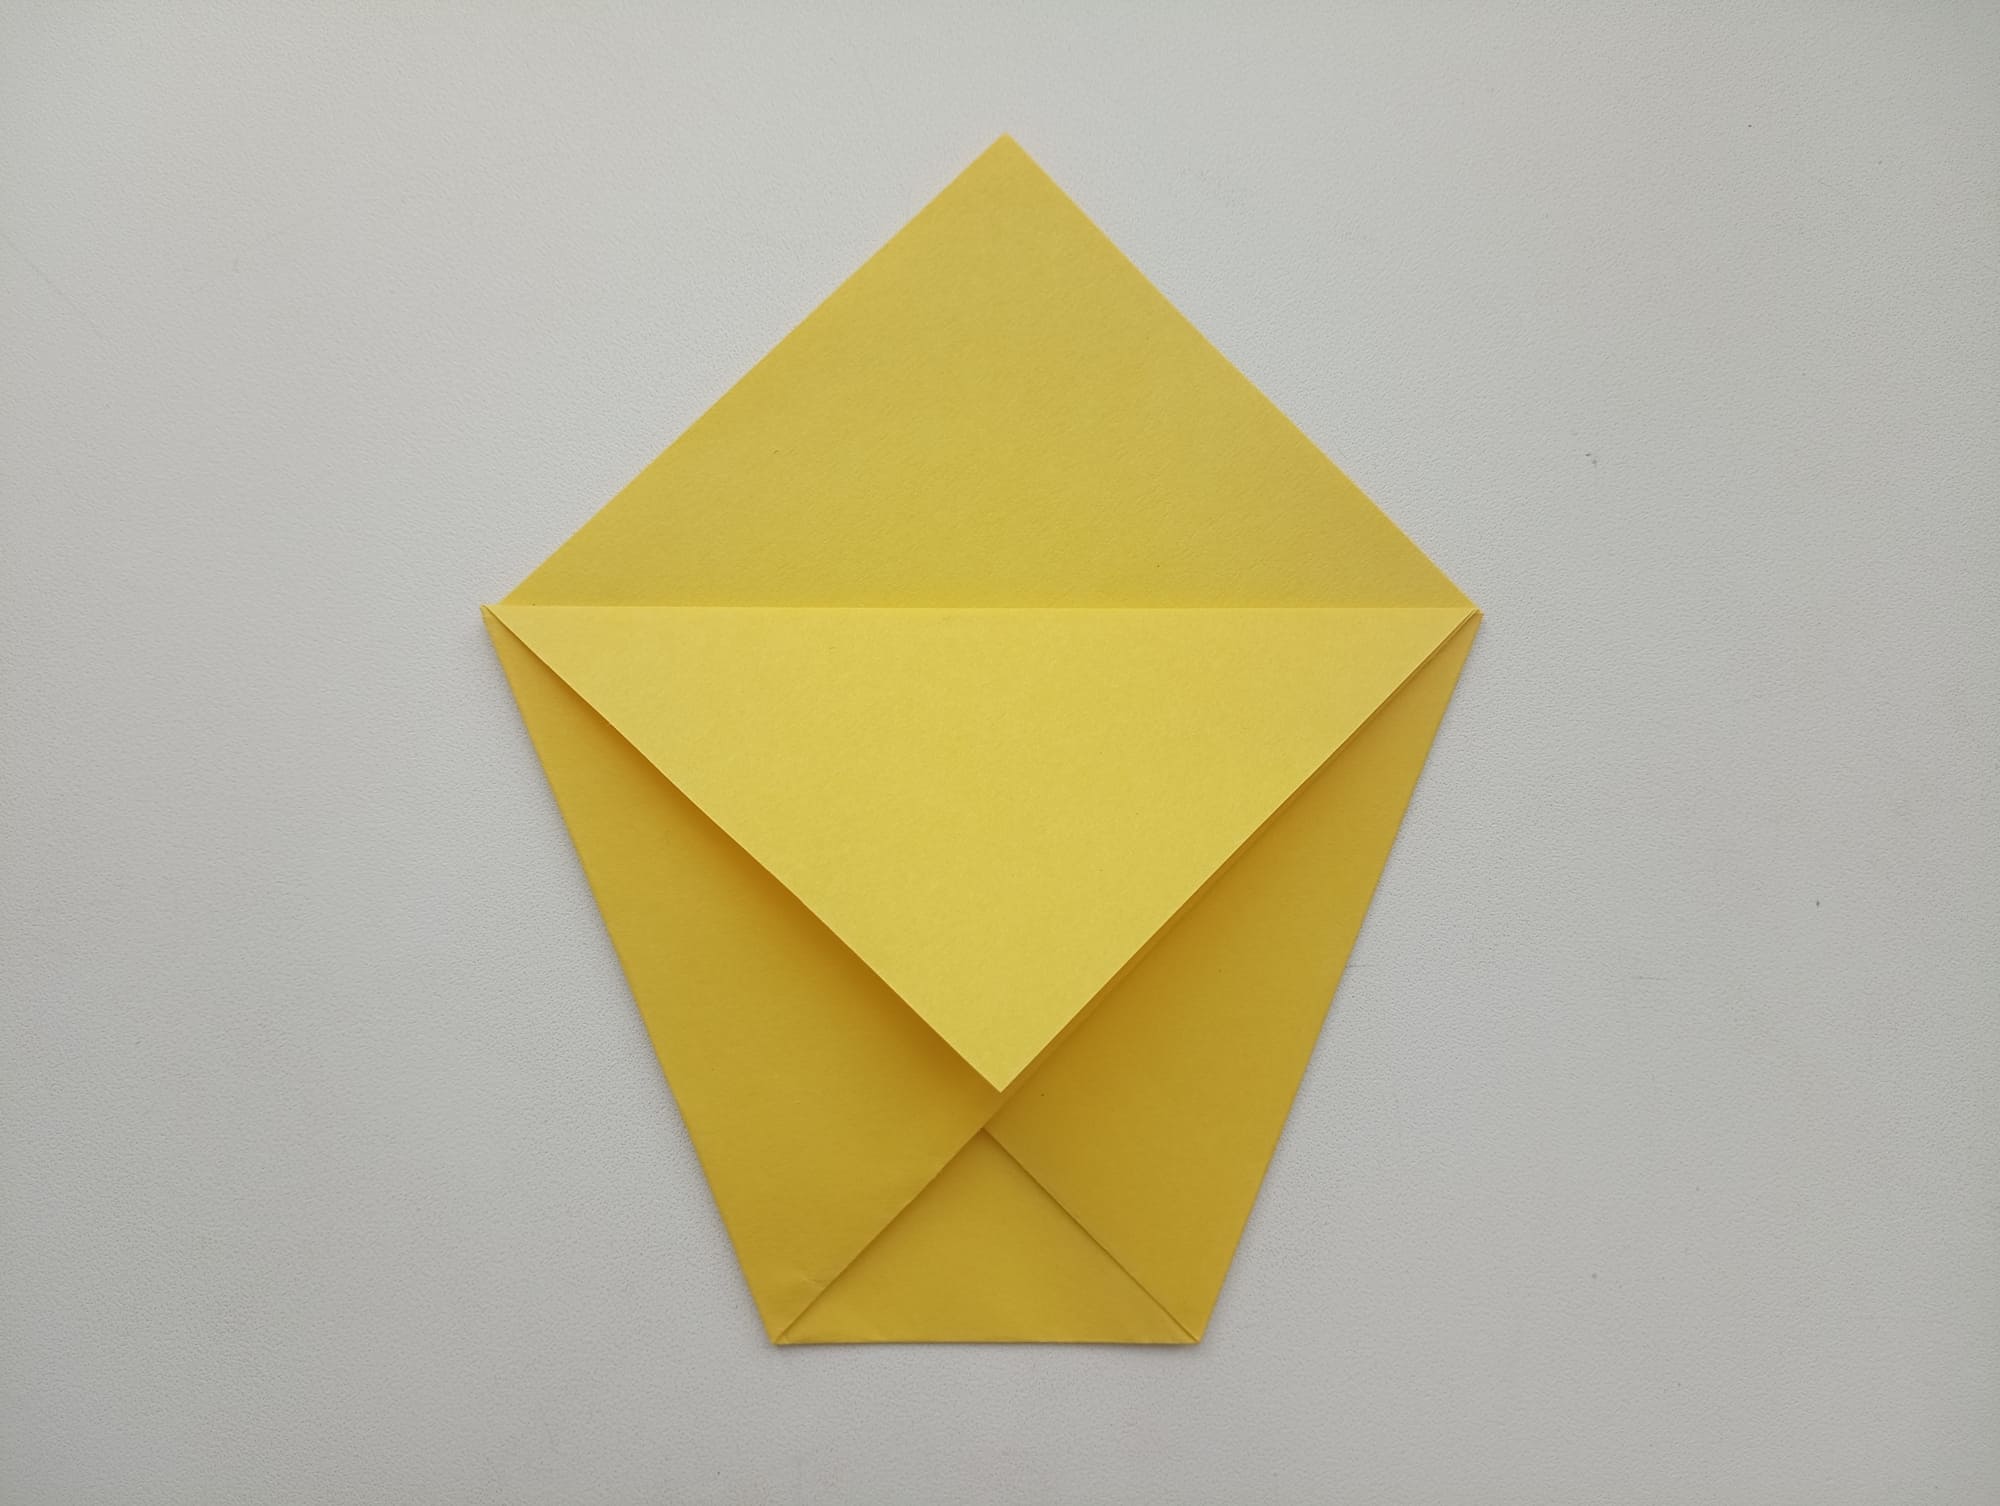
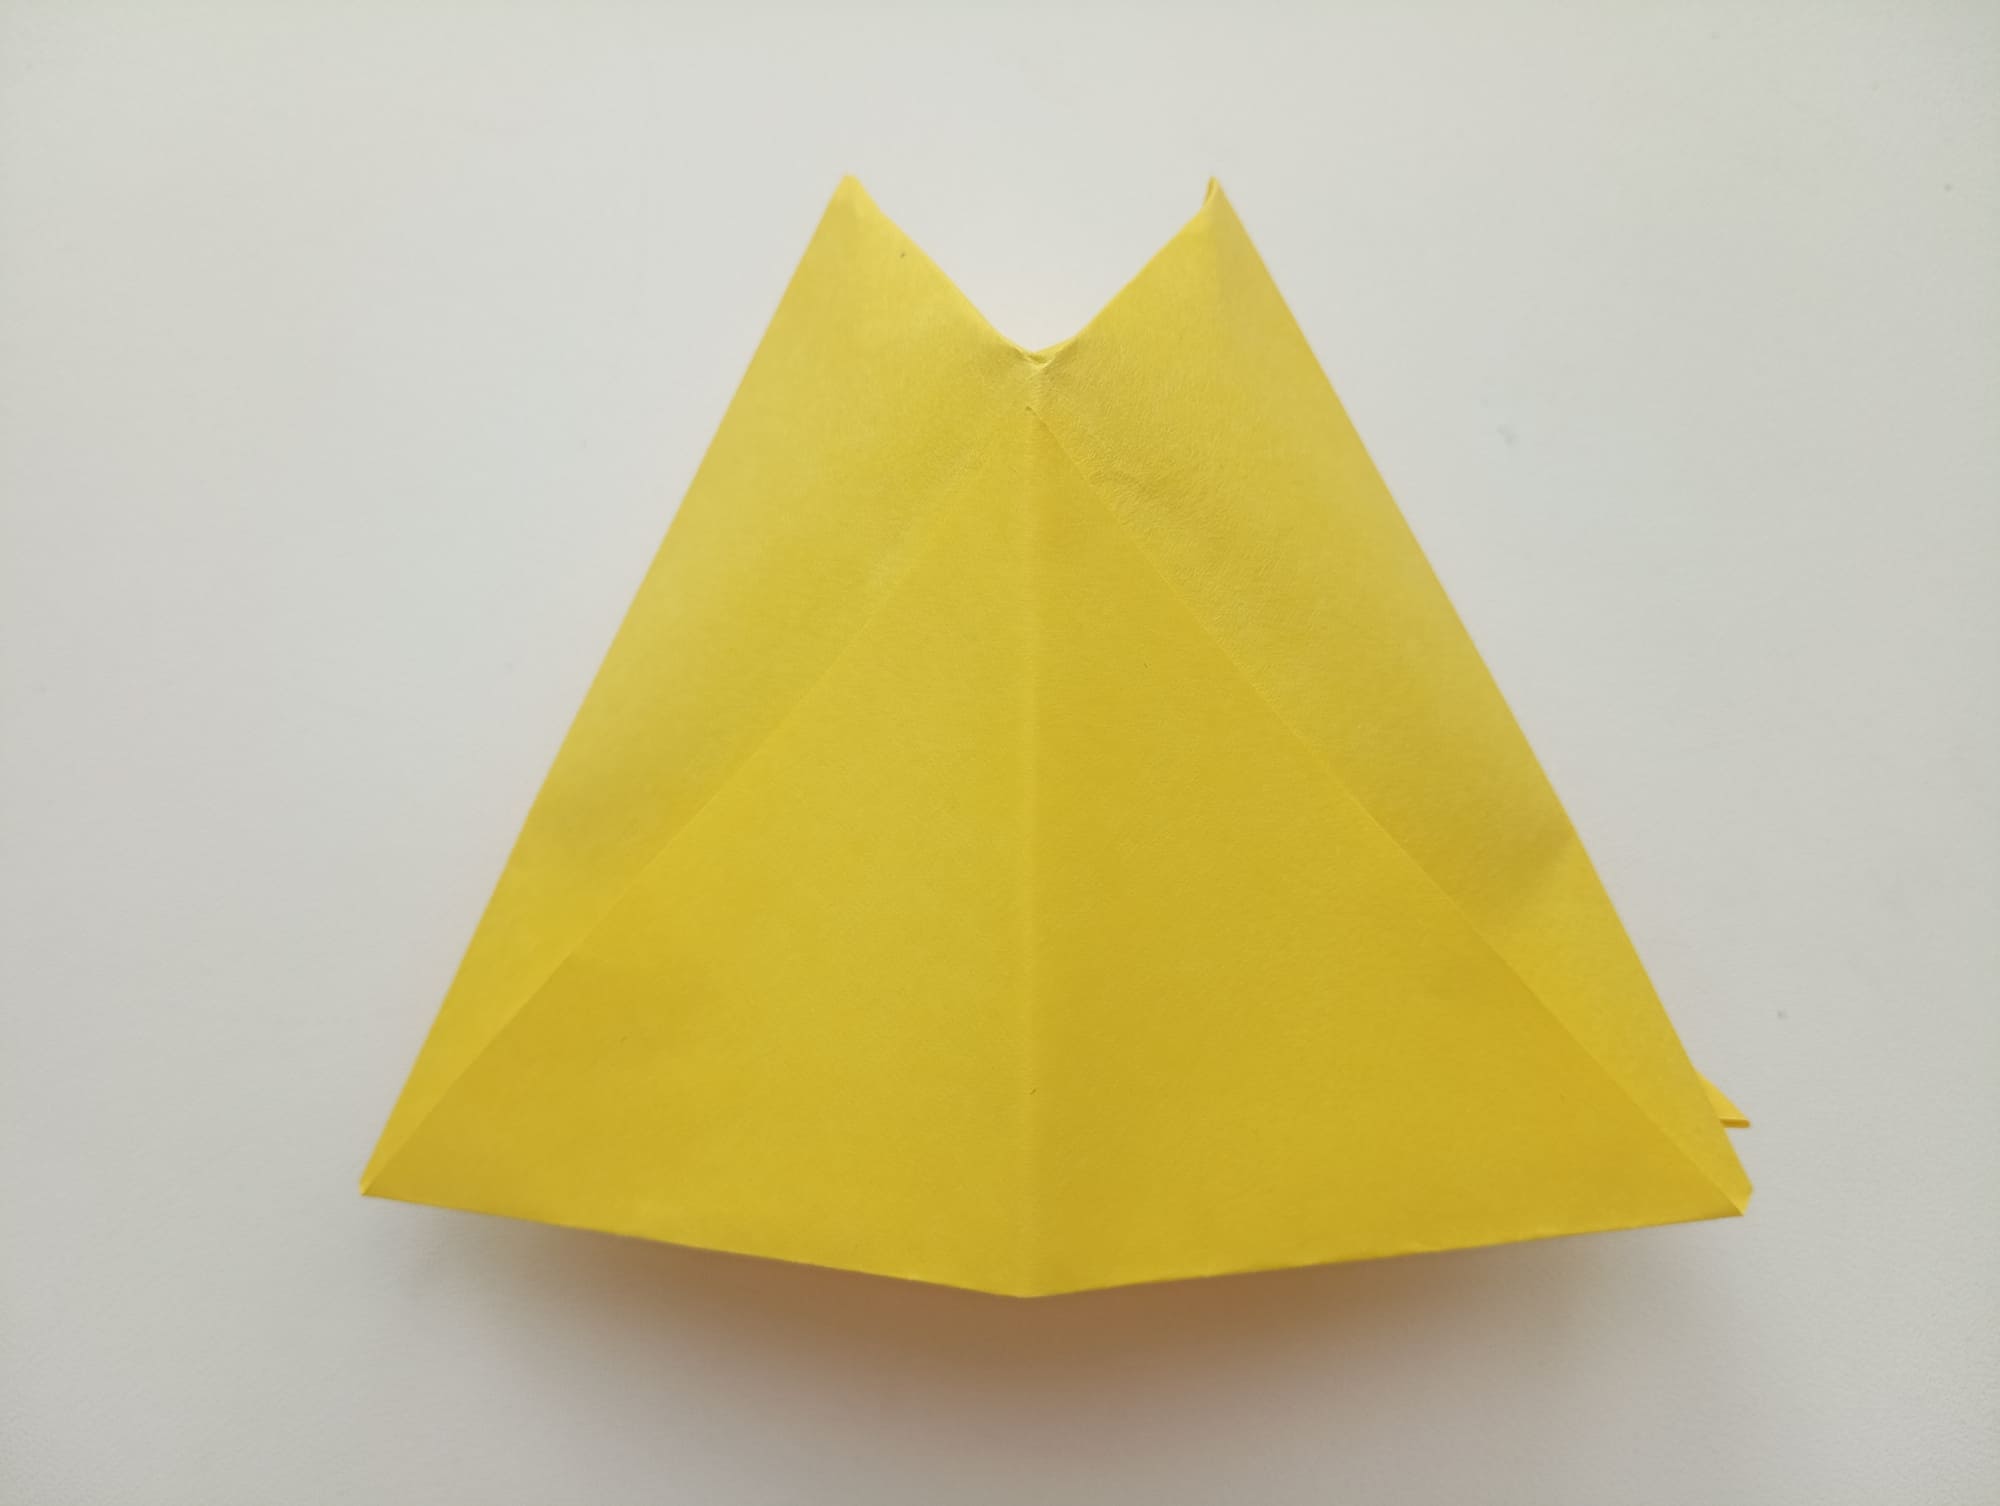
Turn the shape over. Look, you should get a pattern like this. Bend the top edge in the same way as on the backside. You have an origami cup.
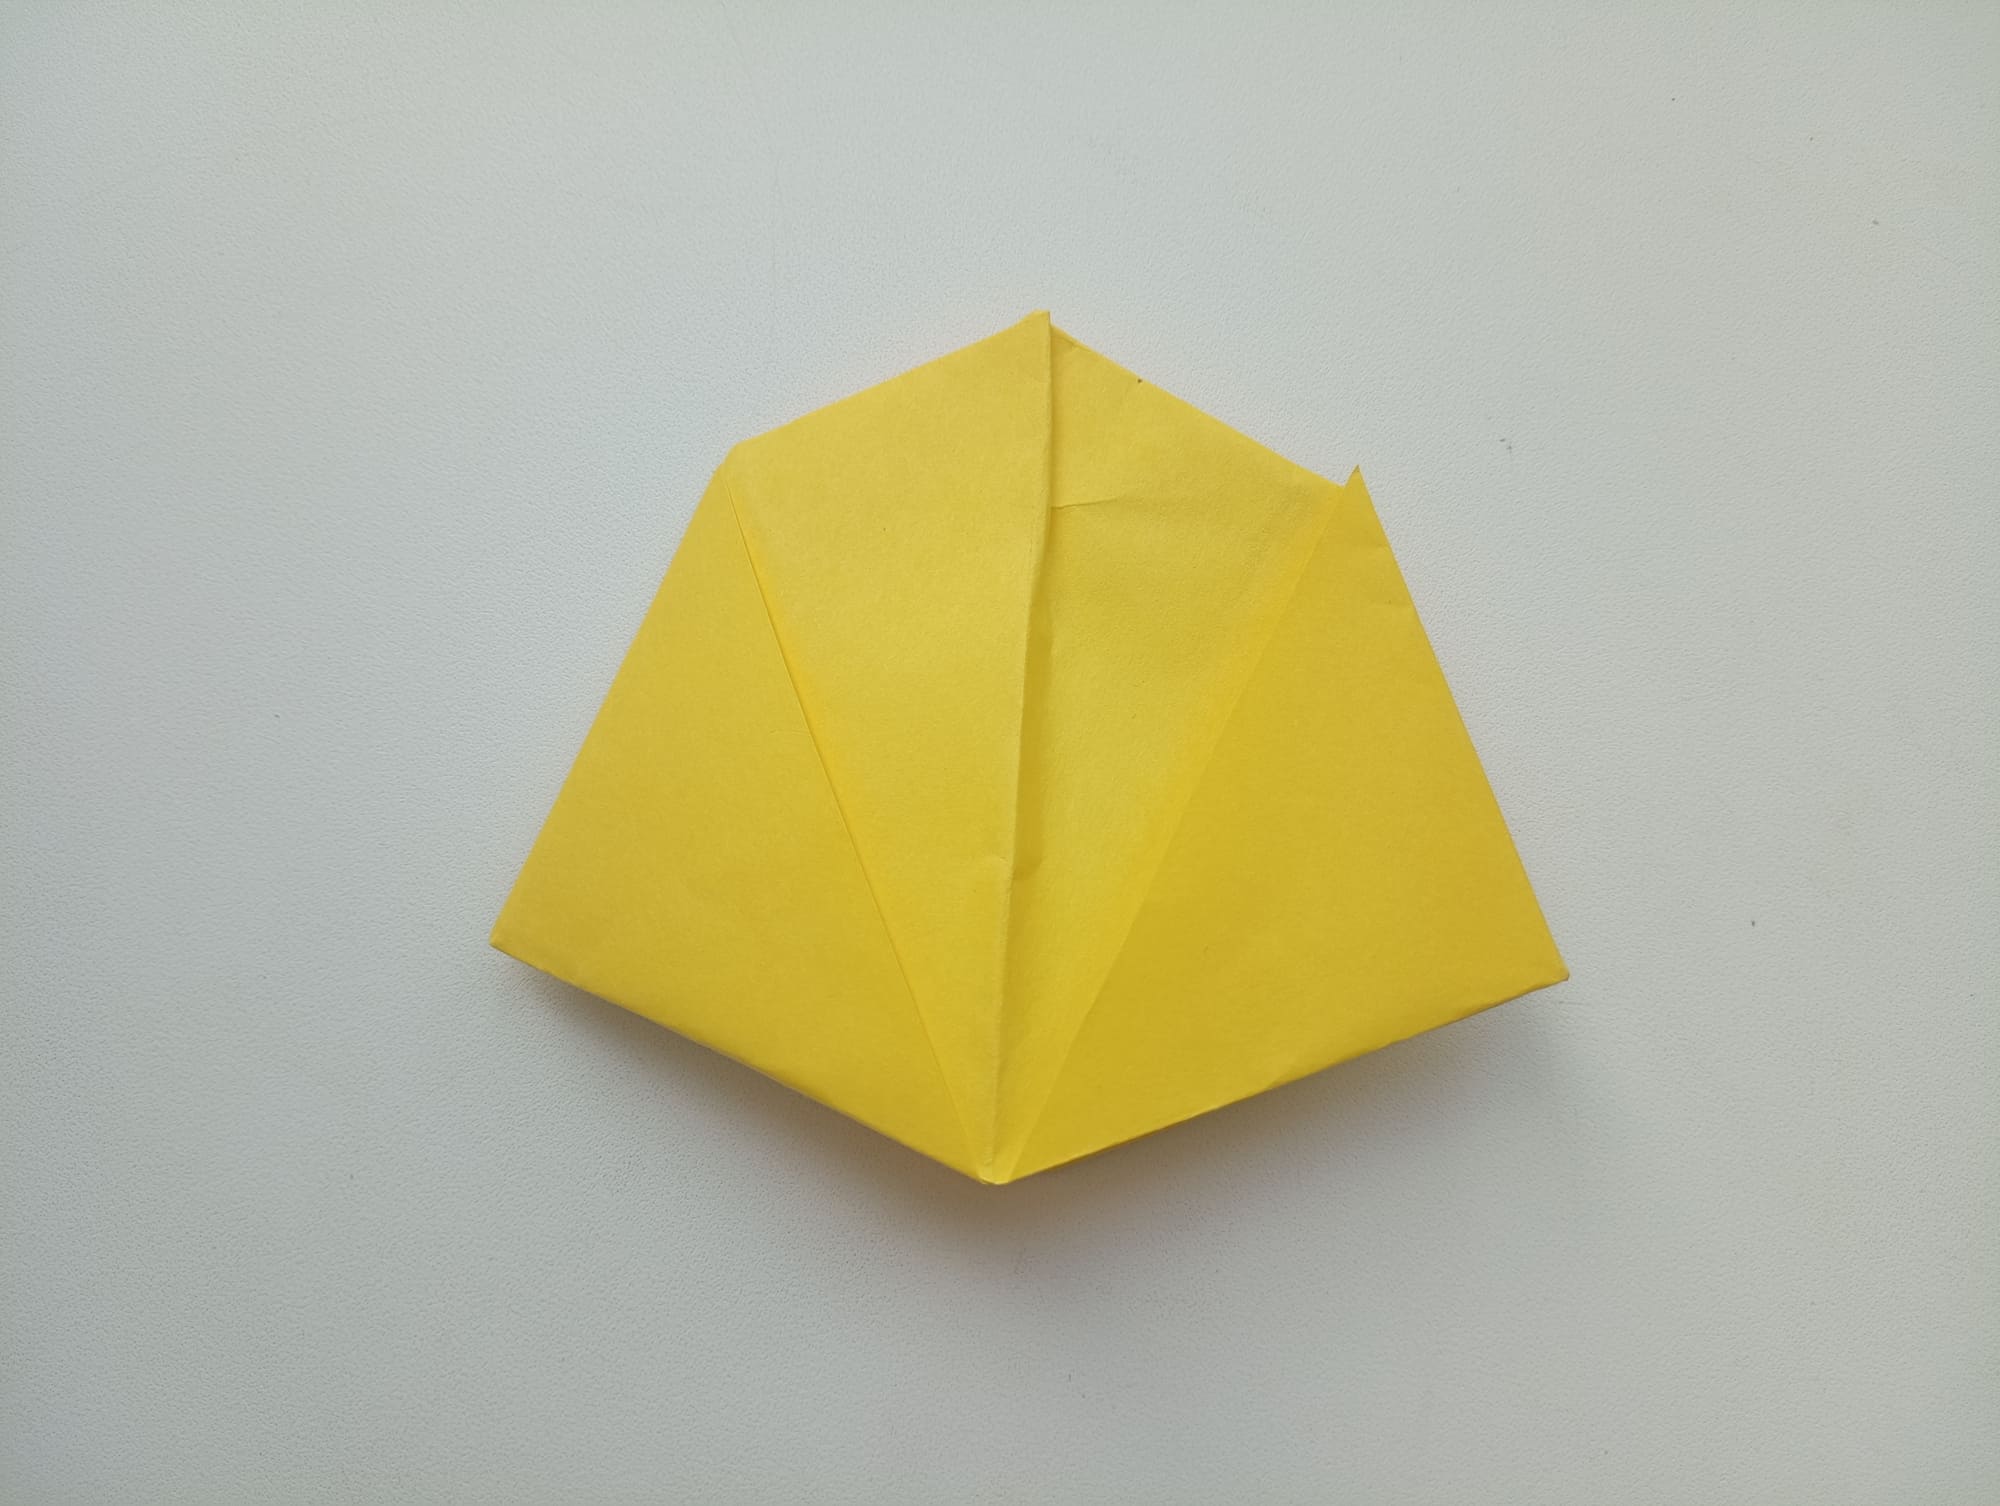
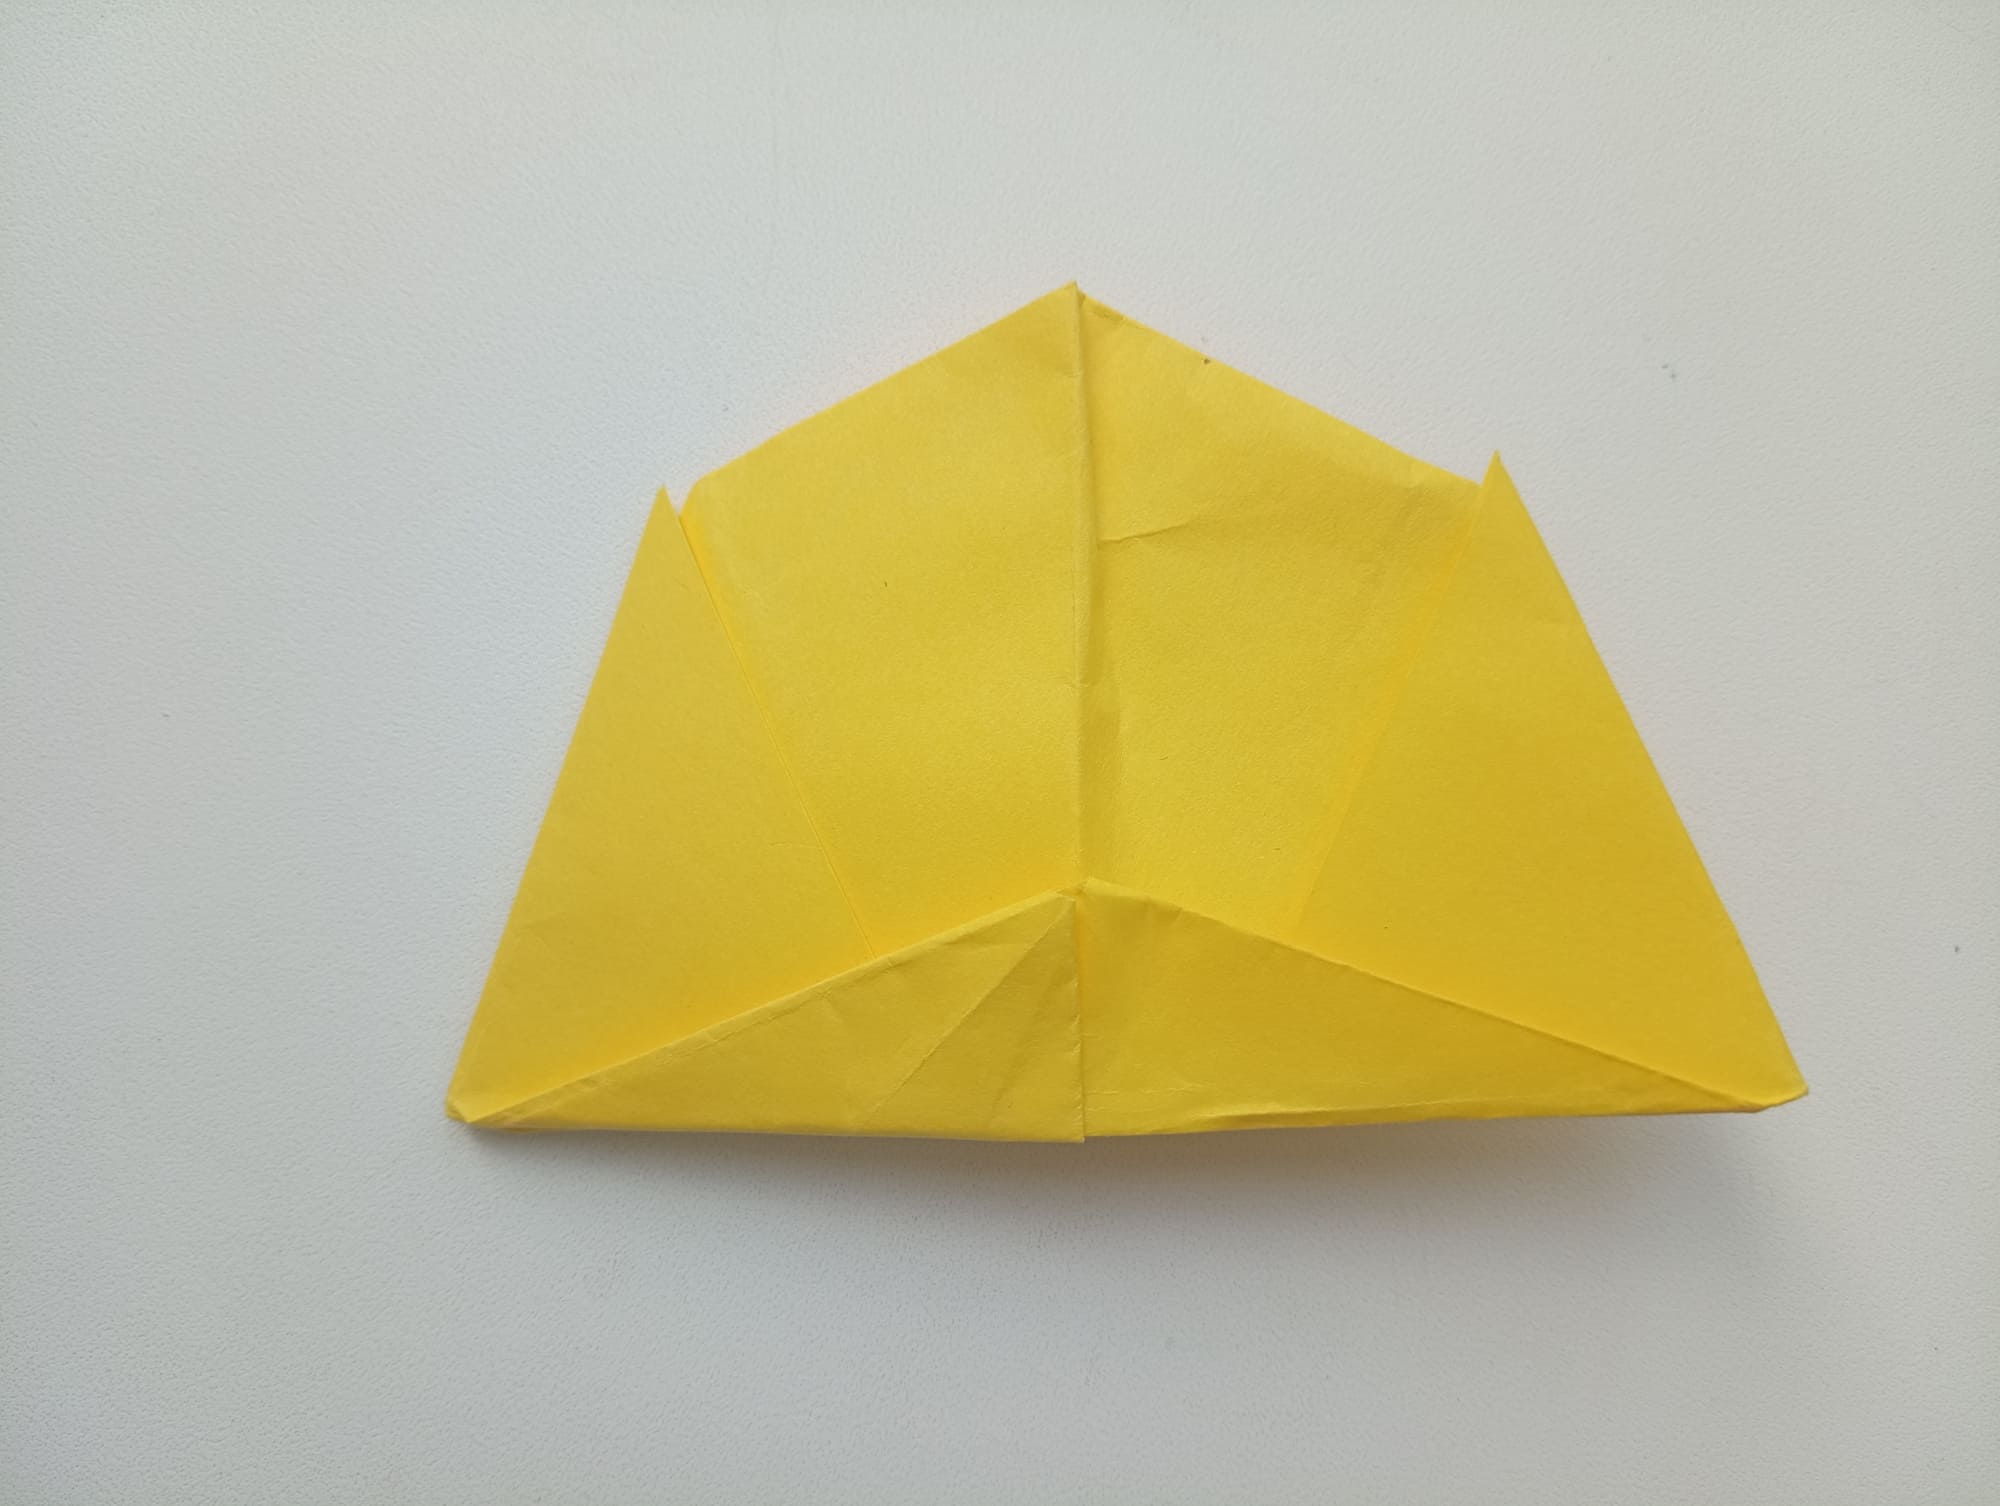
Turn the paper by 180° and make mountain folds in the upper part of the figure. The order of actions is shown in the photo.

Now unfold the bottom part of our hat, at the same time pressing the top part.
Press the paper and unfold it to the side. You get such a shape.
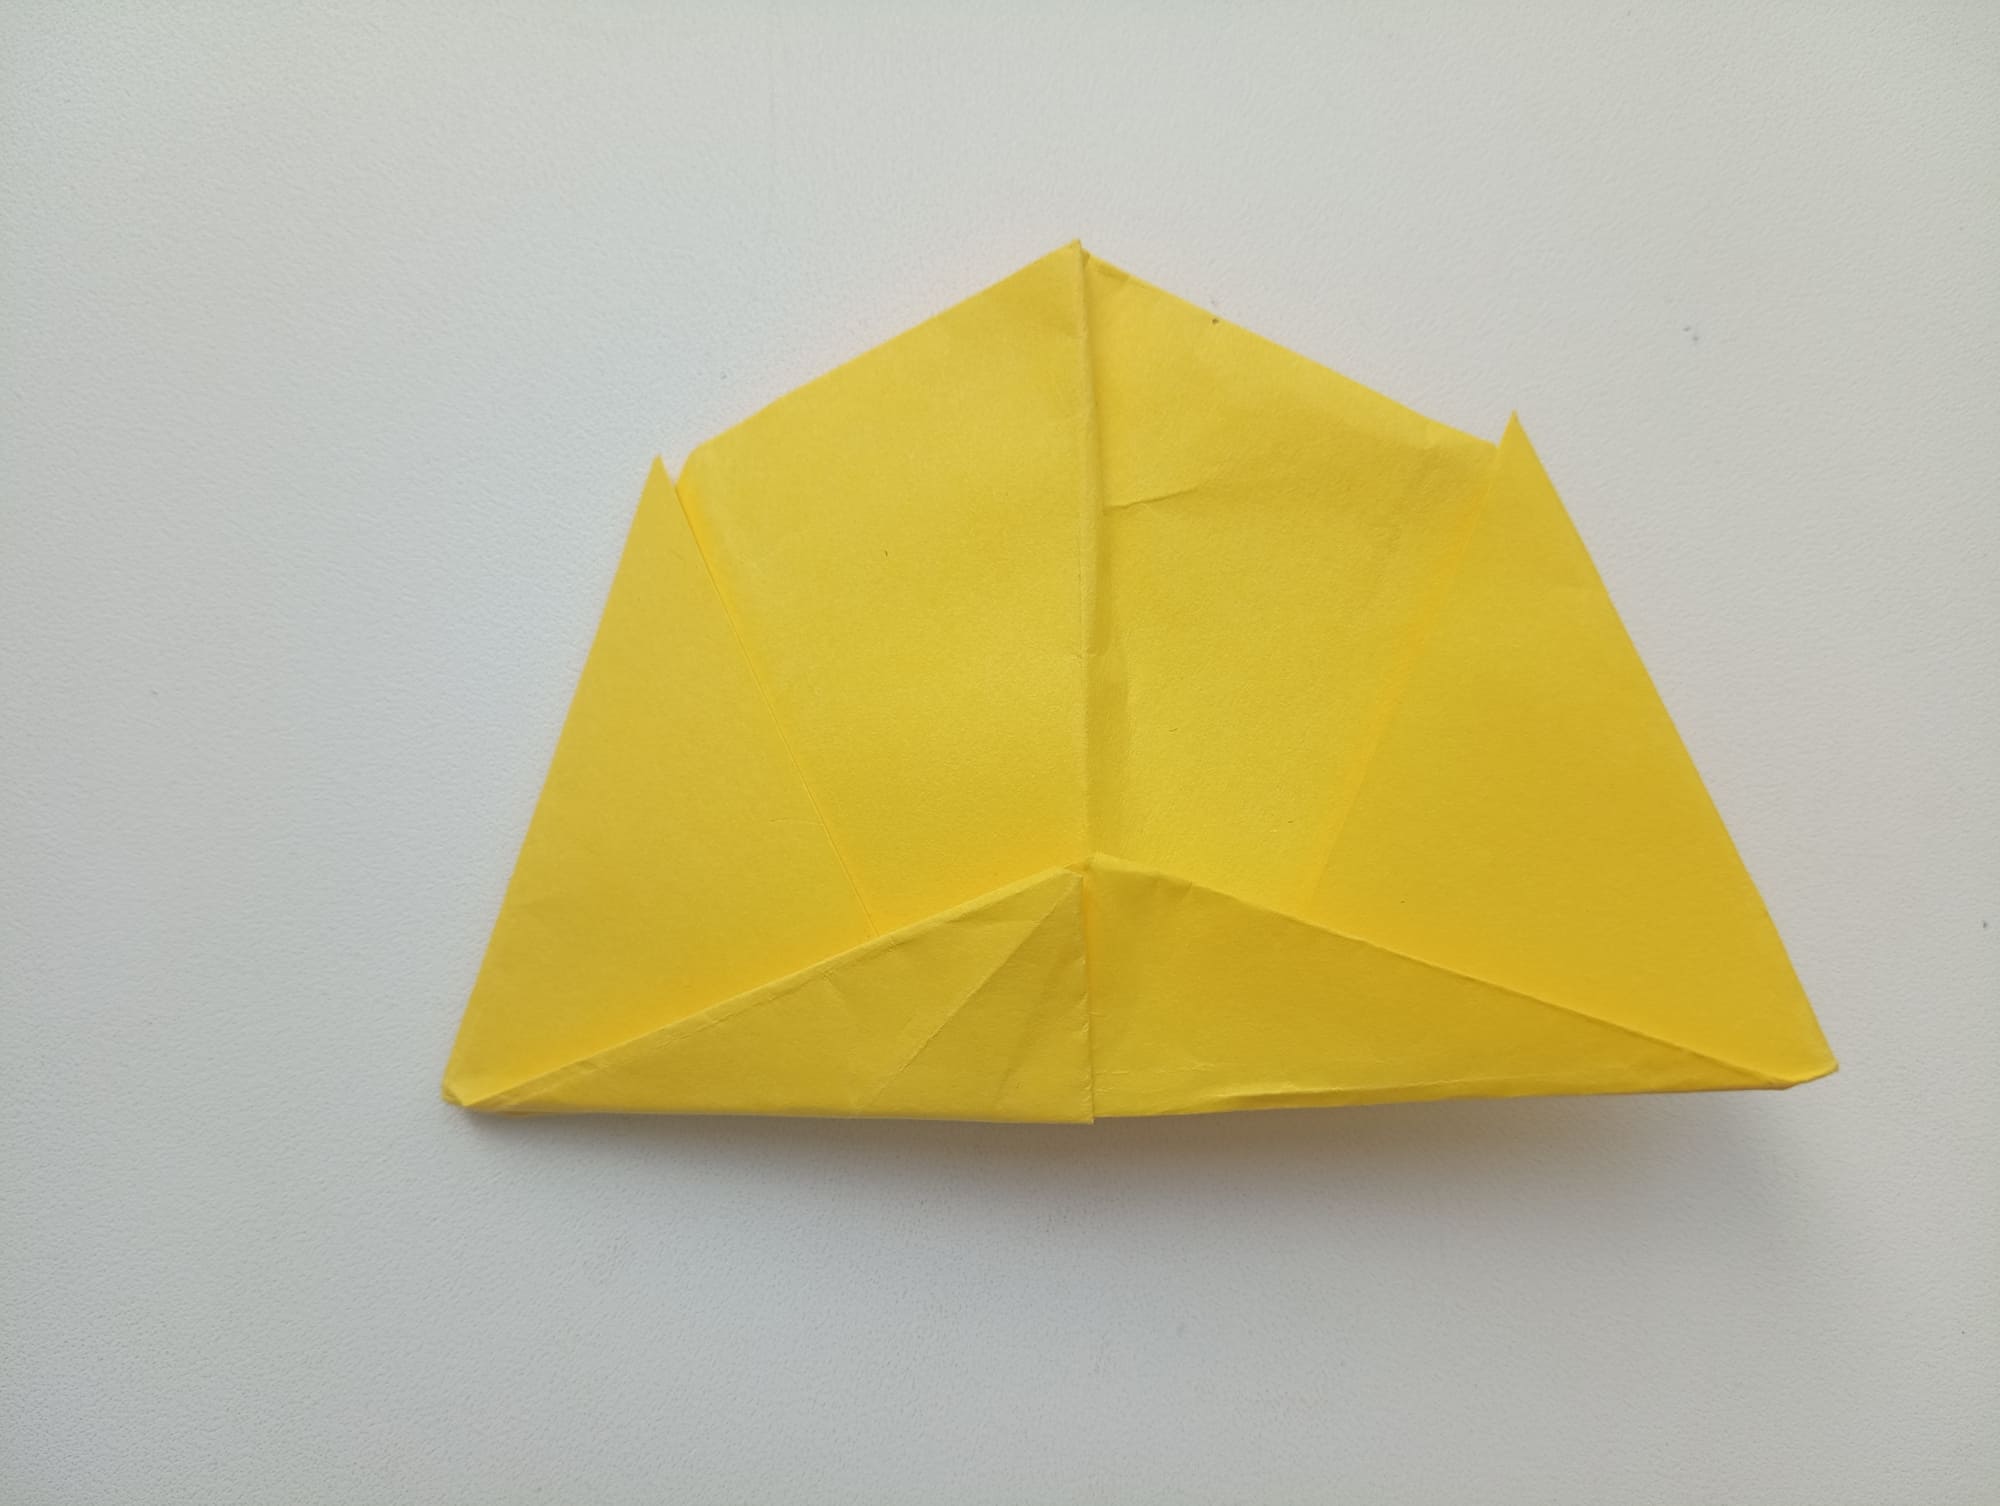
Make a horizontal fold for the hat as in the photo. Repeat the same on the other side, flipping the hat over.
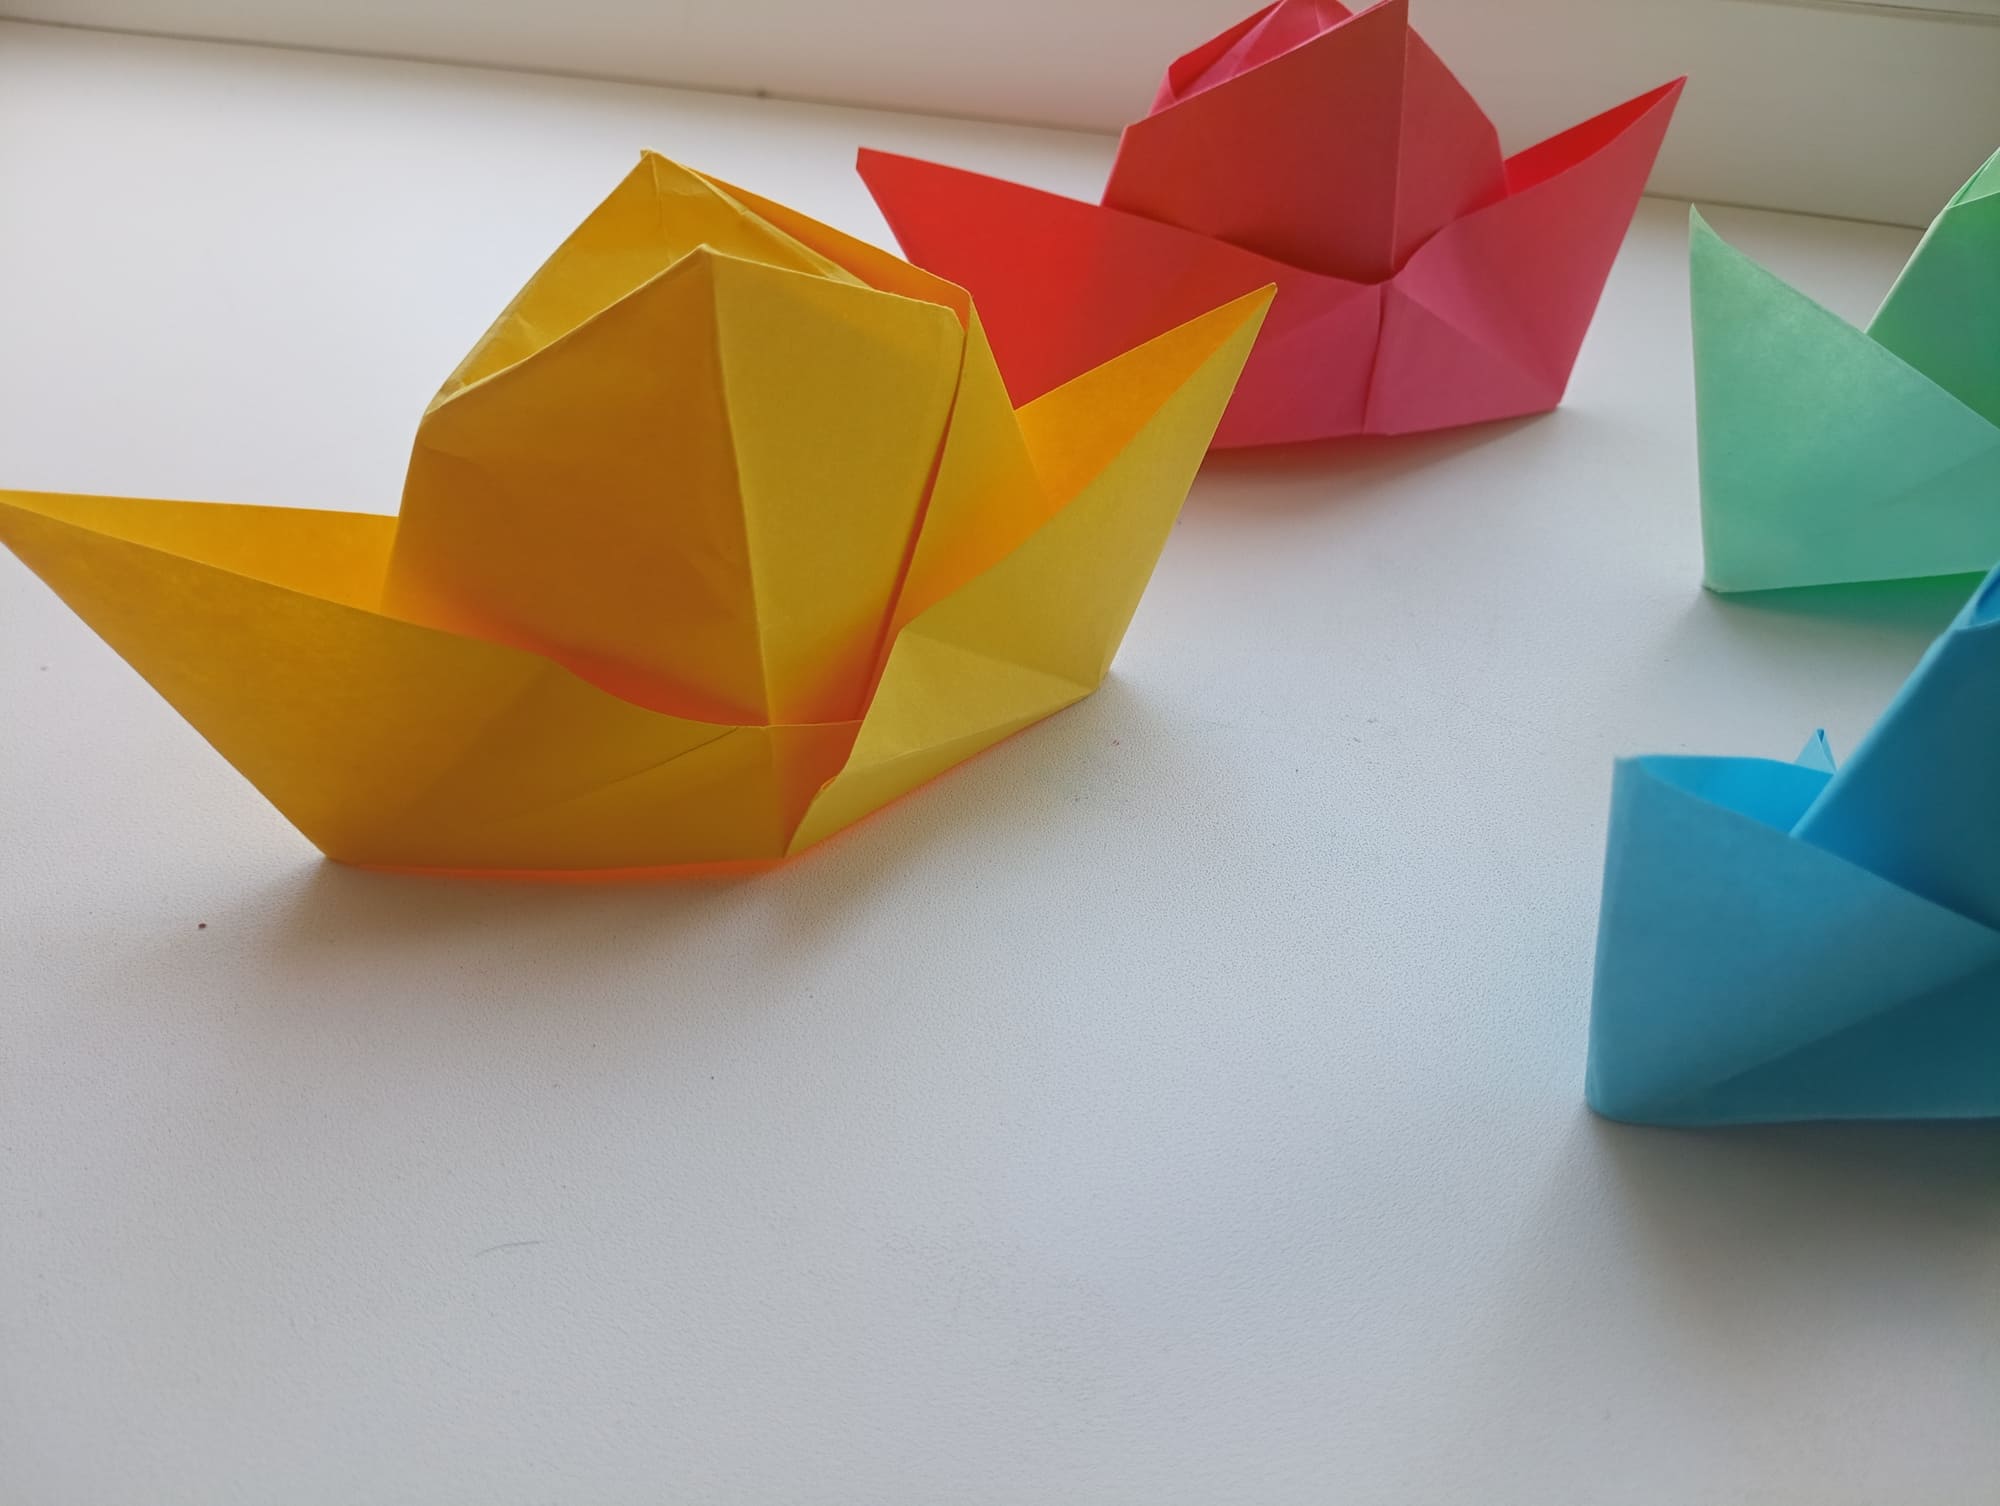
Now gently pull down the side edges. Once unfolded, you have a cowboy hat with real brim.
Try it and you will definitely succeed!


