Origami Cross Wing Airplane
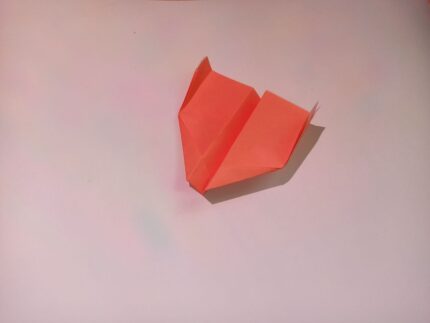
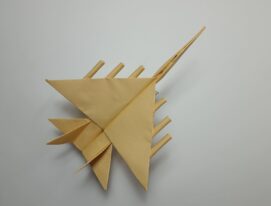
The X-wing paper airplane is not only a beautiful model but also an excellent aircraft. Its small size and lightweight design allow it to maneuver in the air and fly over considerable distances. This airplane is ideal for those who want to try their hand at folding paper models and test them out in action.
This plane is small and fast, allowing it to fly wherever you want. Its size and heavy nose make it one of the best paper planes. You can fold two wing tips up and the other two down for an impressive look.
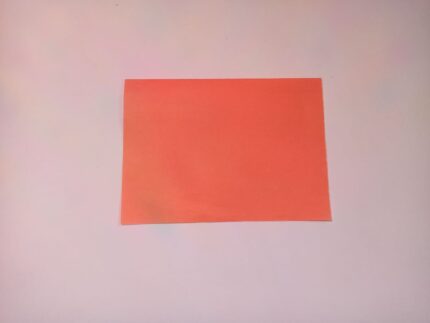
Fold the paper in half widthwise. Then, fold it the other way and unfold it to create a fold line.
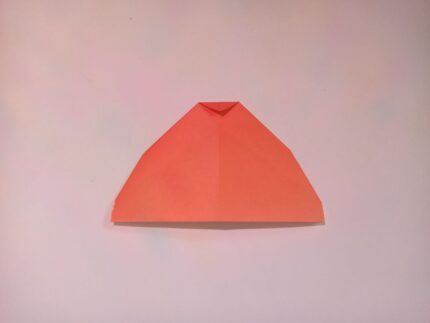
Fold the top corners towards the center line, forming a sharp nose of the plane. Make sure the folds go straight to the bottom corners.
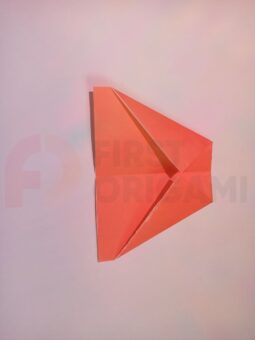
Unfold the paper and fold the top corners inward, creating an accordion shape. This will ensure the stability of the wings. Make sure both folds are equal and precise. If you do everything correctly at this step, then the subsequent steps will not seem difficult to complete. It’s important to do everything right.
Fold the top corners toward the center line, creating additional layers to strengthen the wings.
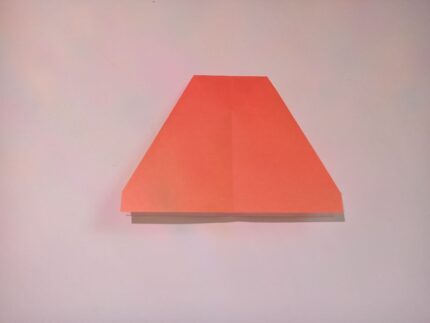
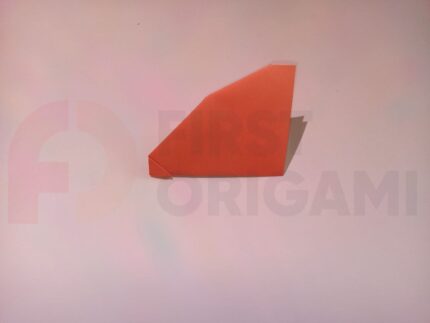
Turn the sheet of paper over. Set the top edge of the paper back about 2cm and fold the entire paper along this new line. This will create the rear of the aircraft, strengthen its structure, and help balance the aircraft in flight.
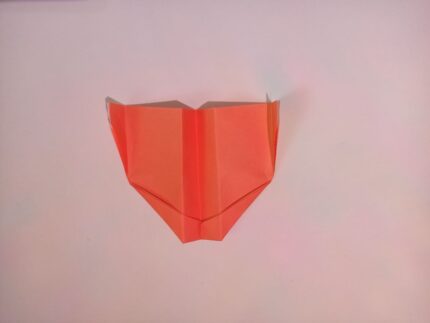
Count approximately 1/3 of the length of the paper from the bottom and fold the wings down. Then, fold the wing tips up to reinforce the stabilizers. Make sure the wings and stabilizers are symmetrical.
The wing tips in the last step can be folded either up or down, depending on your preference. Try both options! Fold two up and two down for an impressive look and improved flight performance. In our version, the tips of the wings were folded up.
Enjoy creating and experimenting with different colors and sizes of paper to create your own original origami airplane.
