Origami Cube
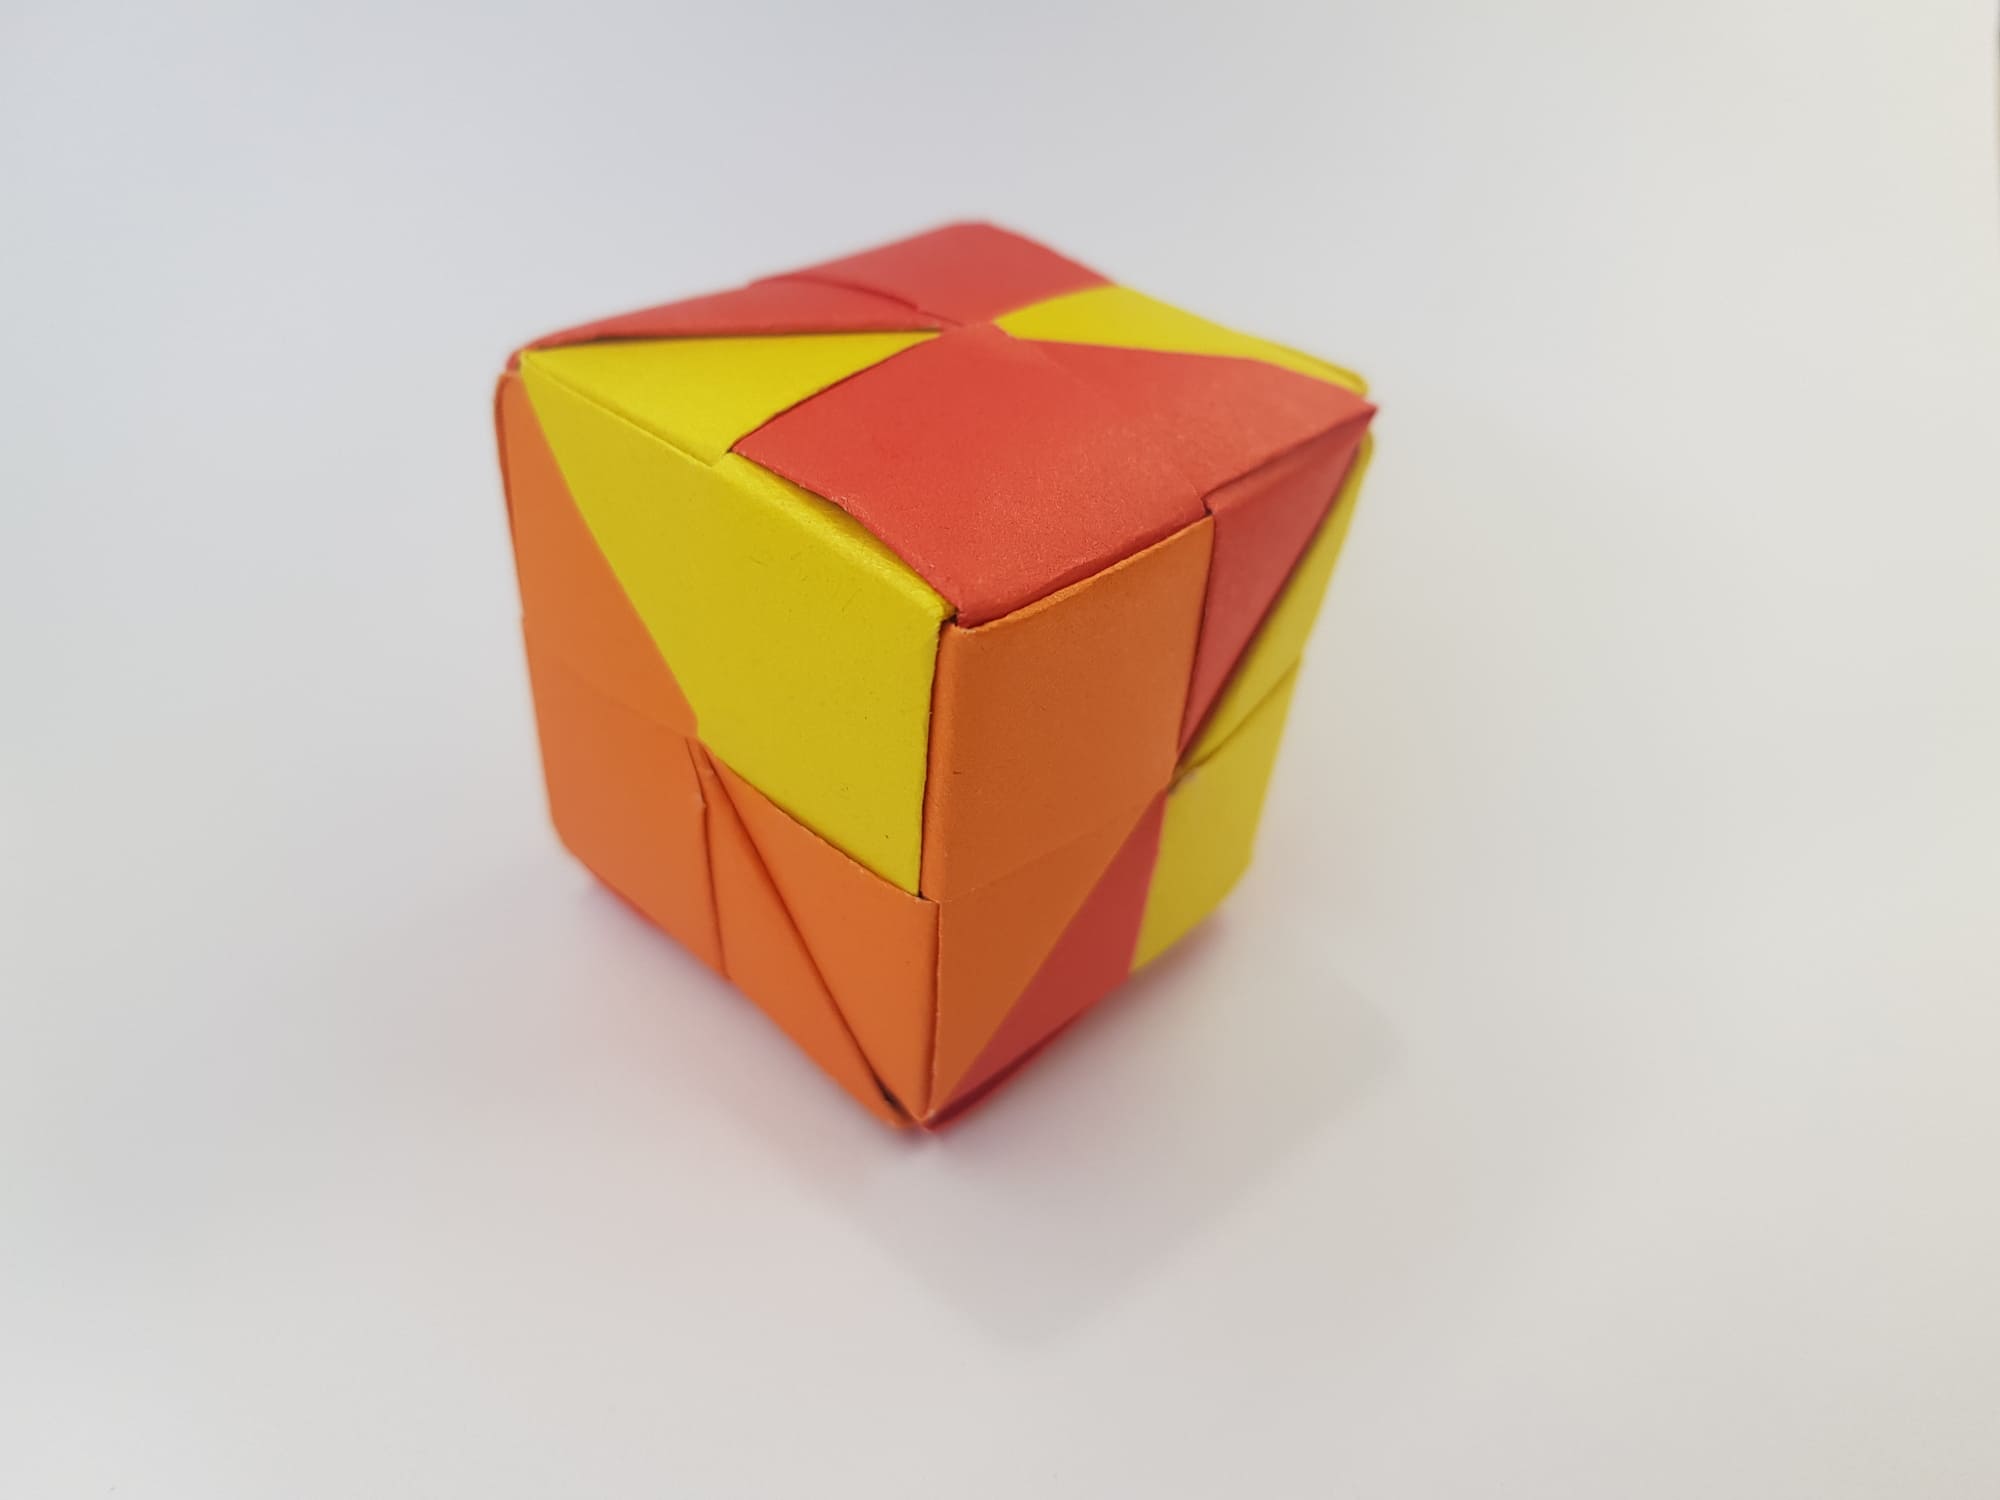
It may seem that making a paper cube is difficult. However, this is only at first glance. Follow our instructions and you will succeed. You can use 1, 2, or 3 colors or maybe each of the 6 parts will be of different color. This is even more interesting! So, let’s begin.

Cut out 6 squares of paper measuring 12×12 cm. You can make them 15×15 cm or larger, depending on what kind of cube you want to make.
Let’s make the first part.
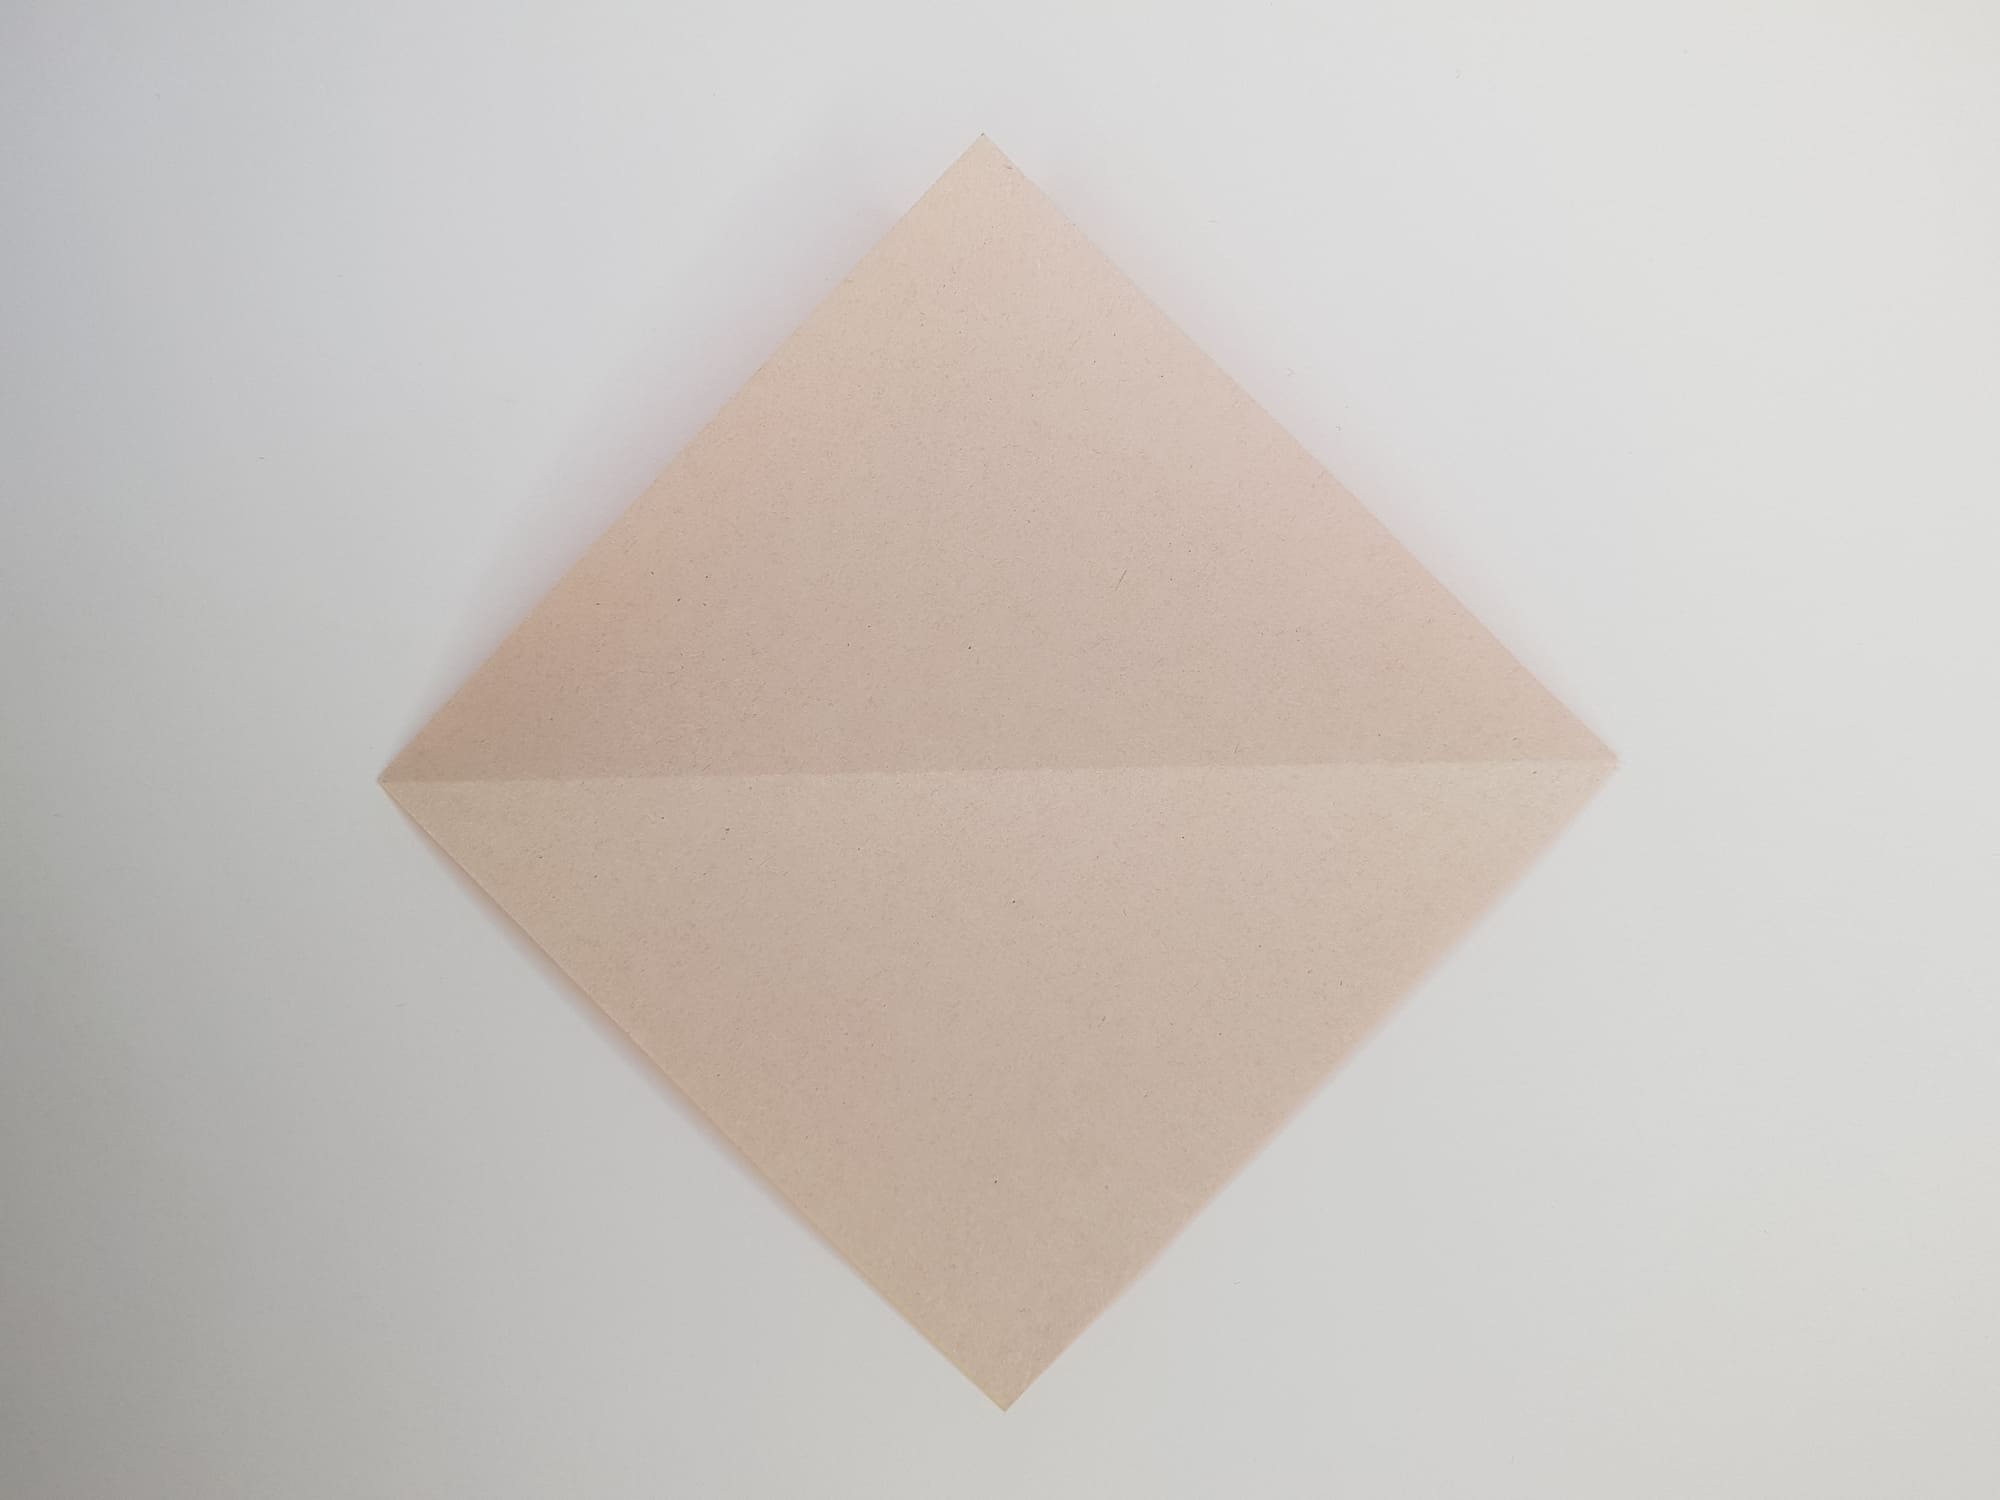
Place the paper face down and fold it in half to form a horizontal fold.
Fold together the right and left corners and pinch in the center of the shape.
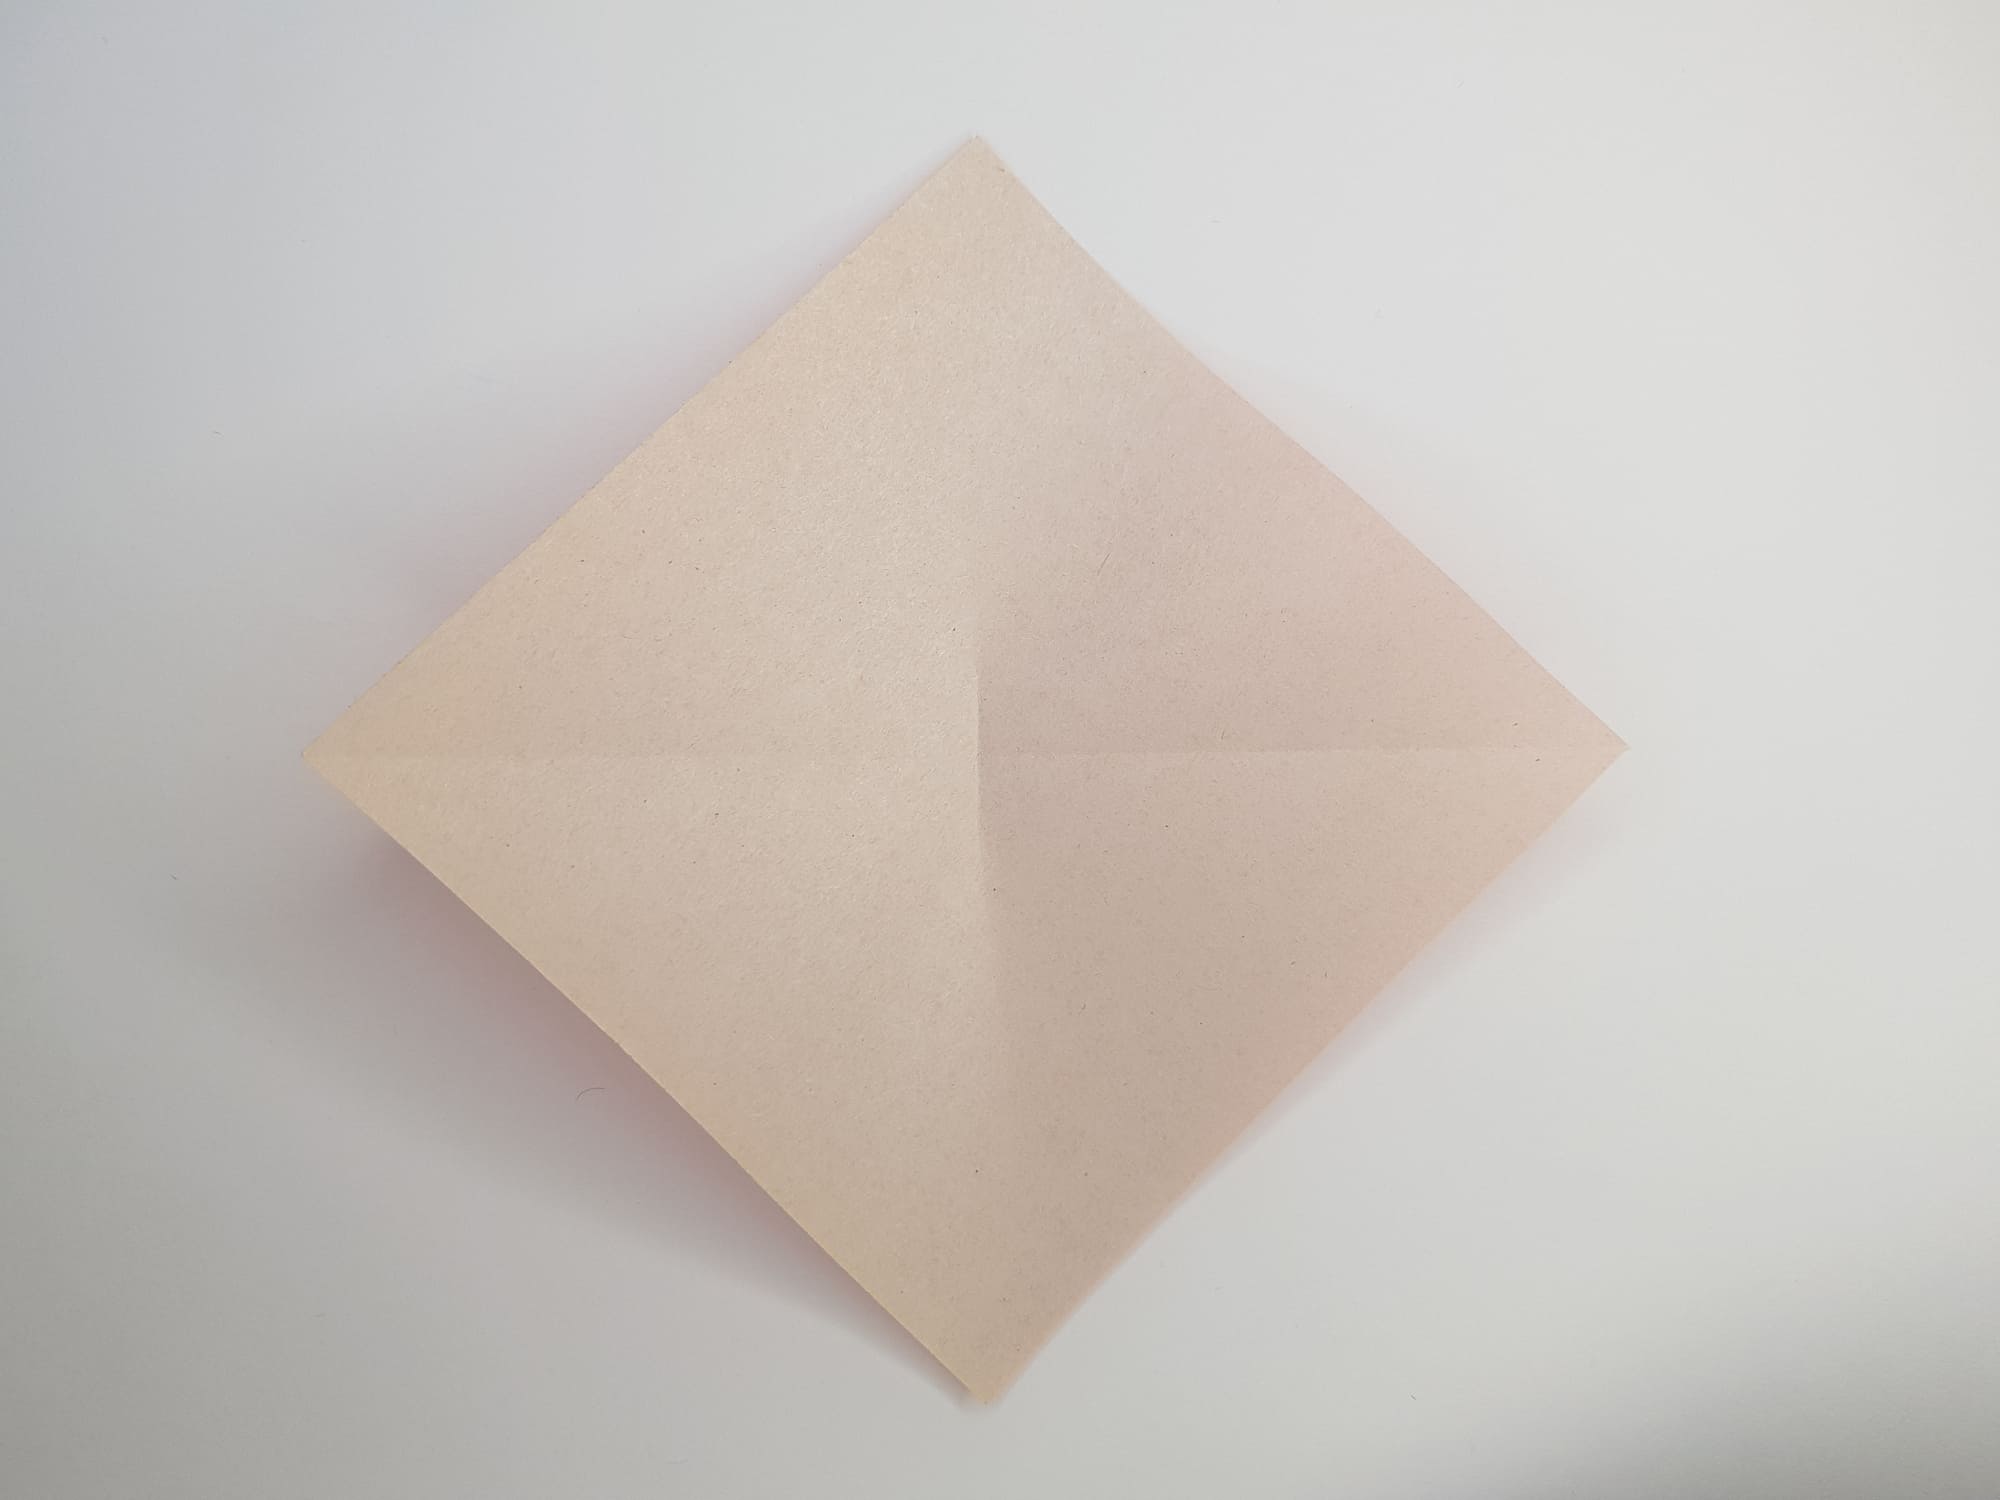
You should get a small fold.
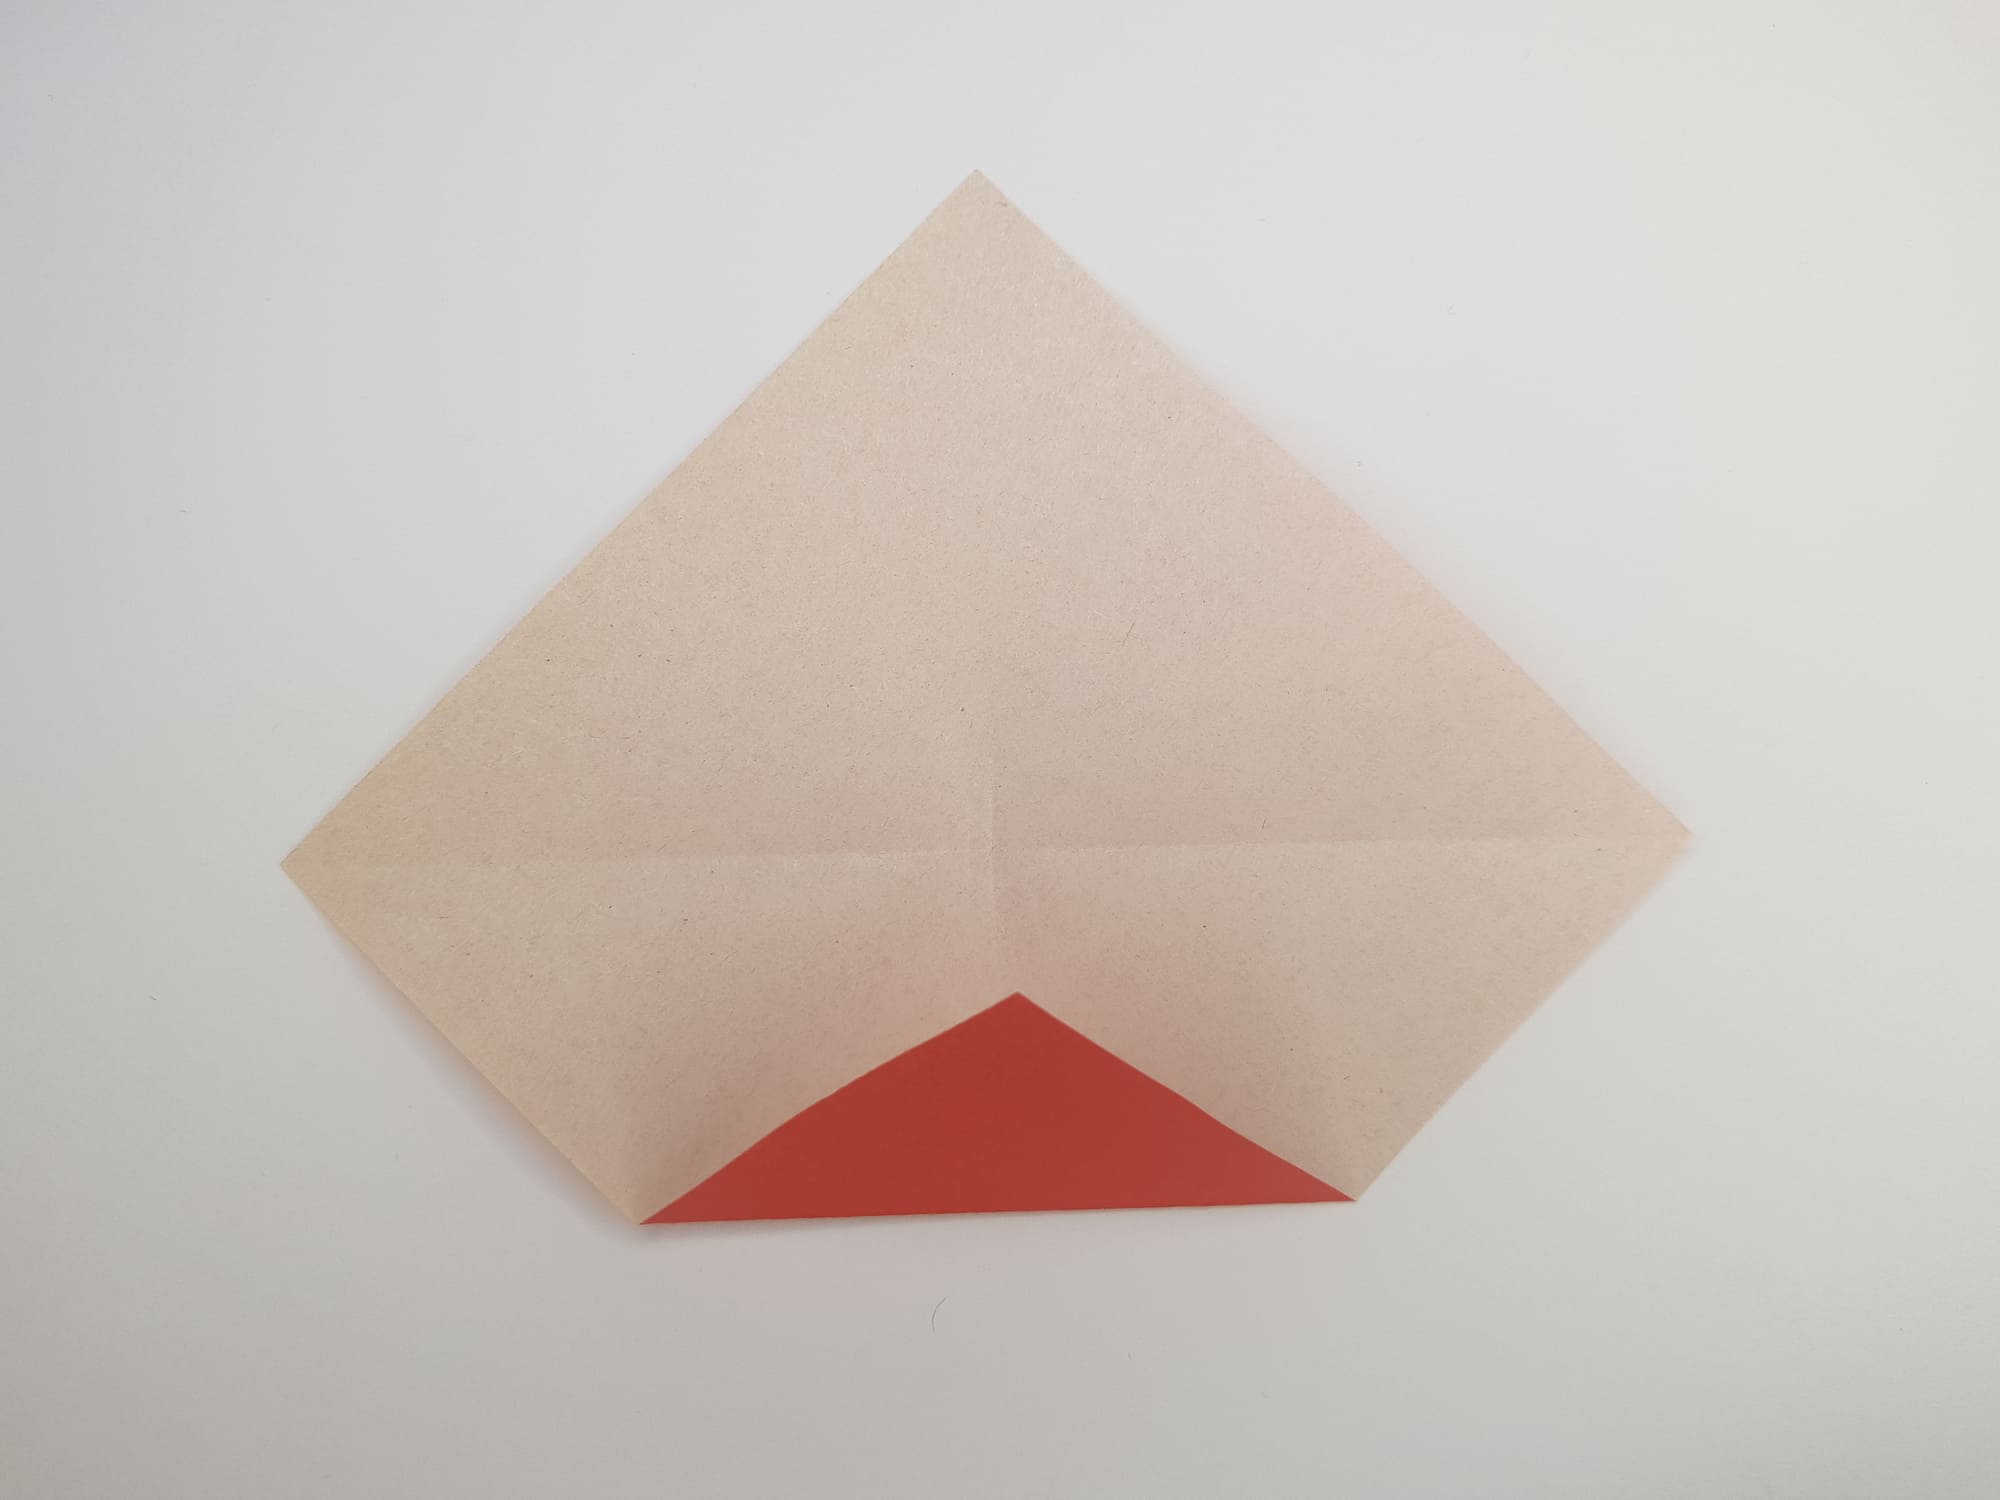
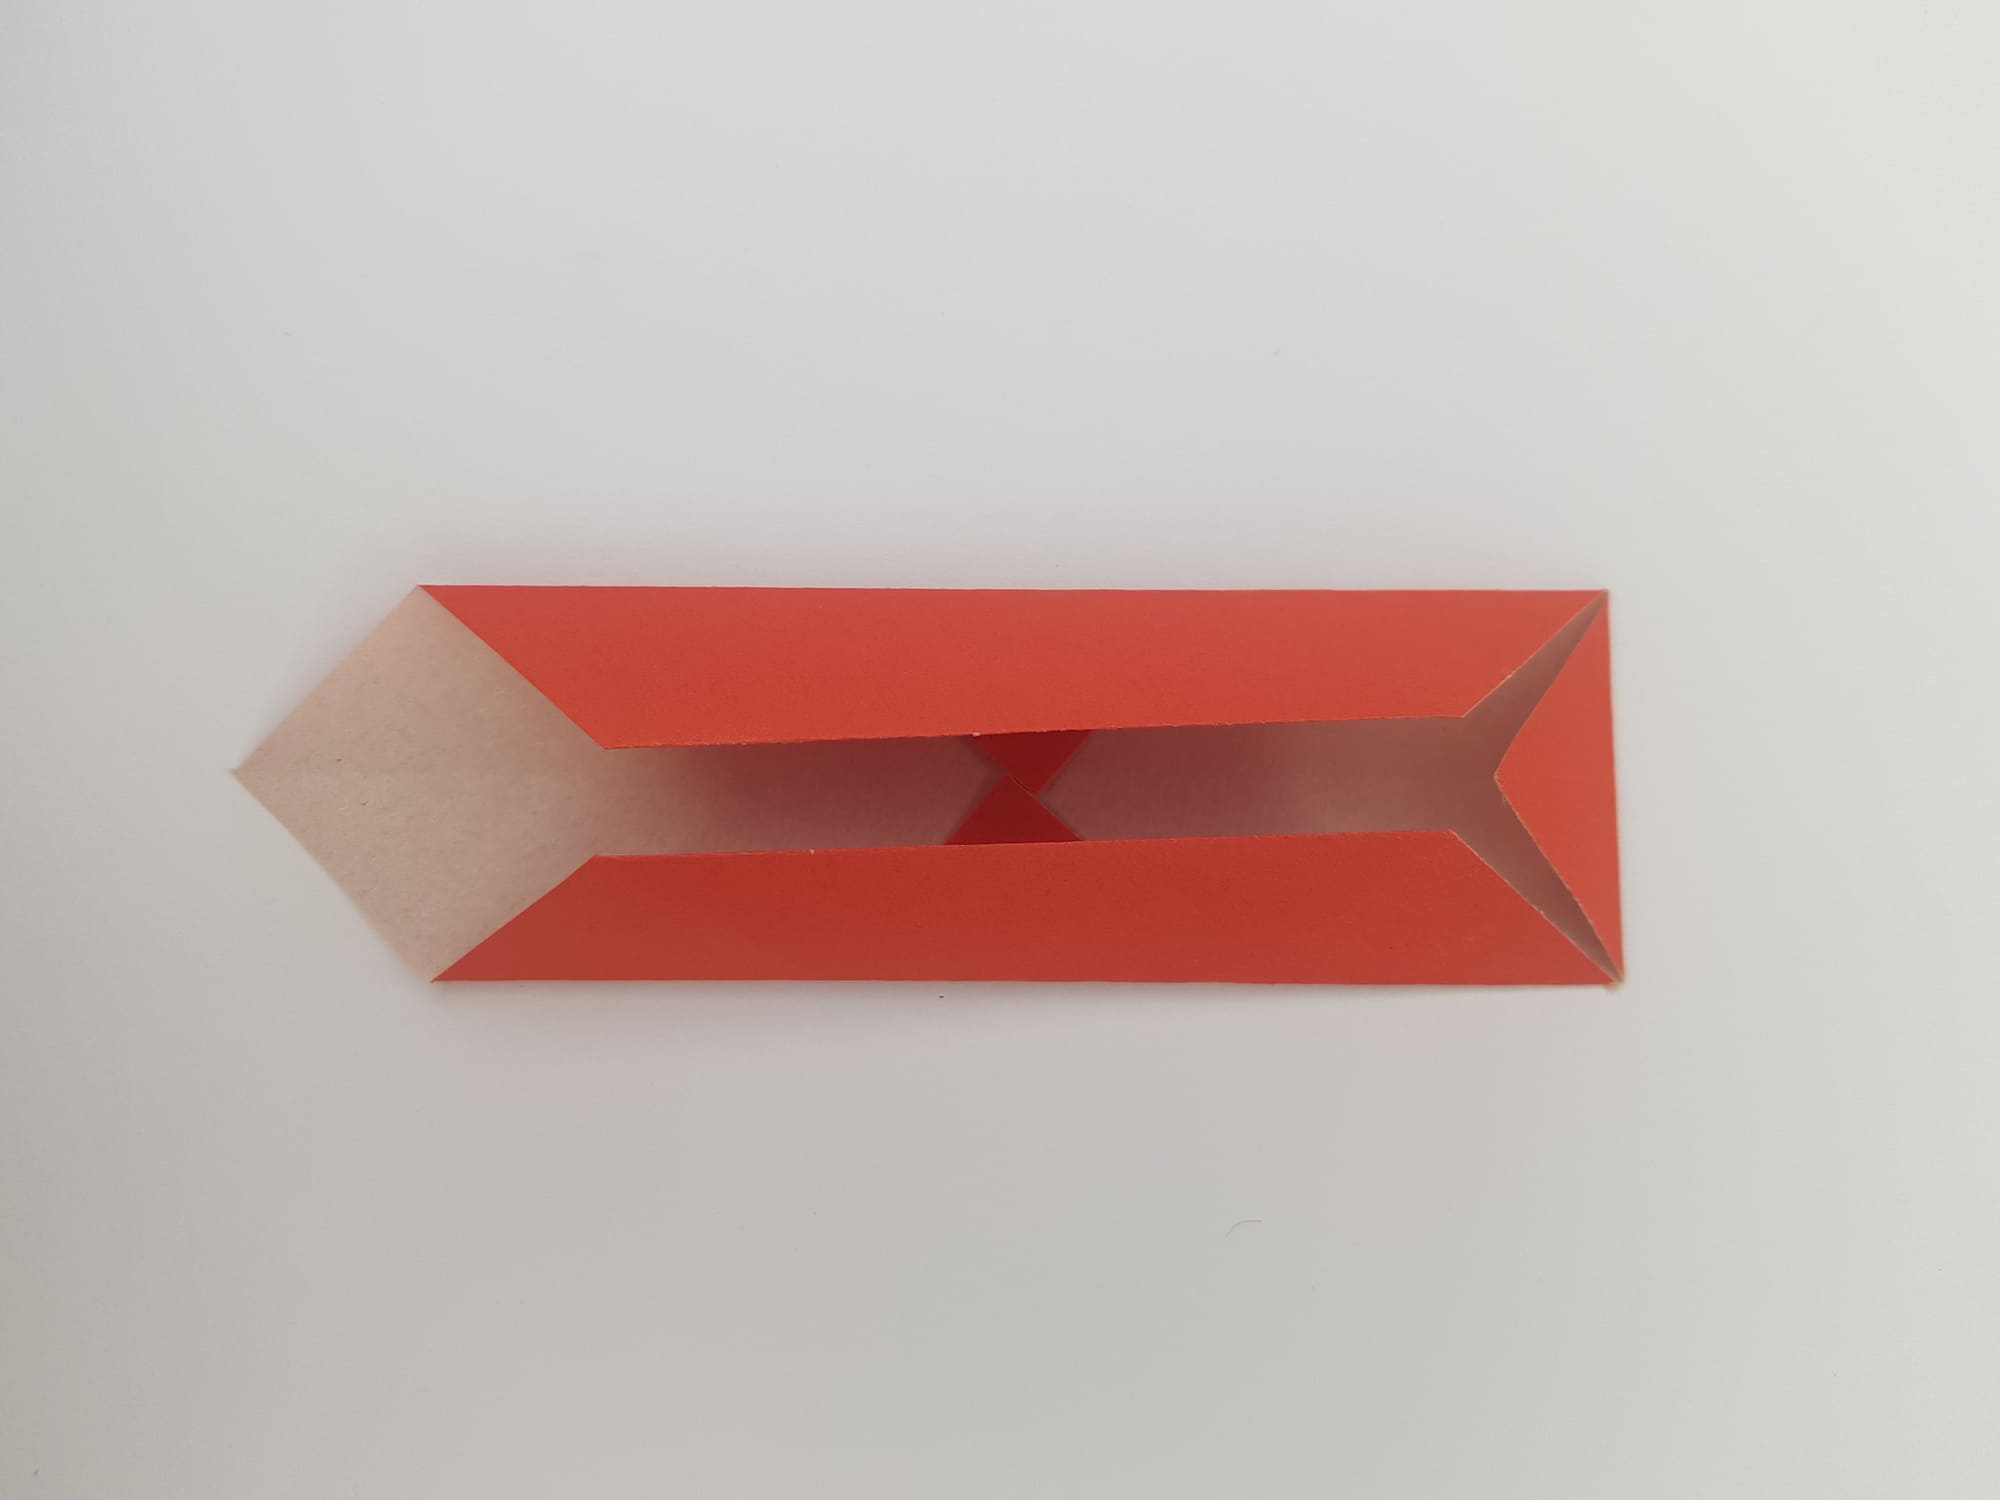
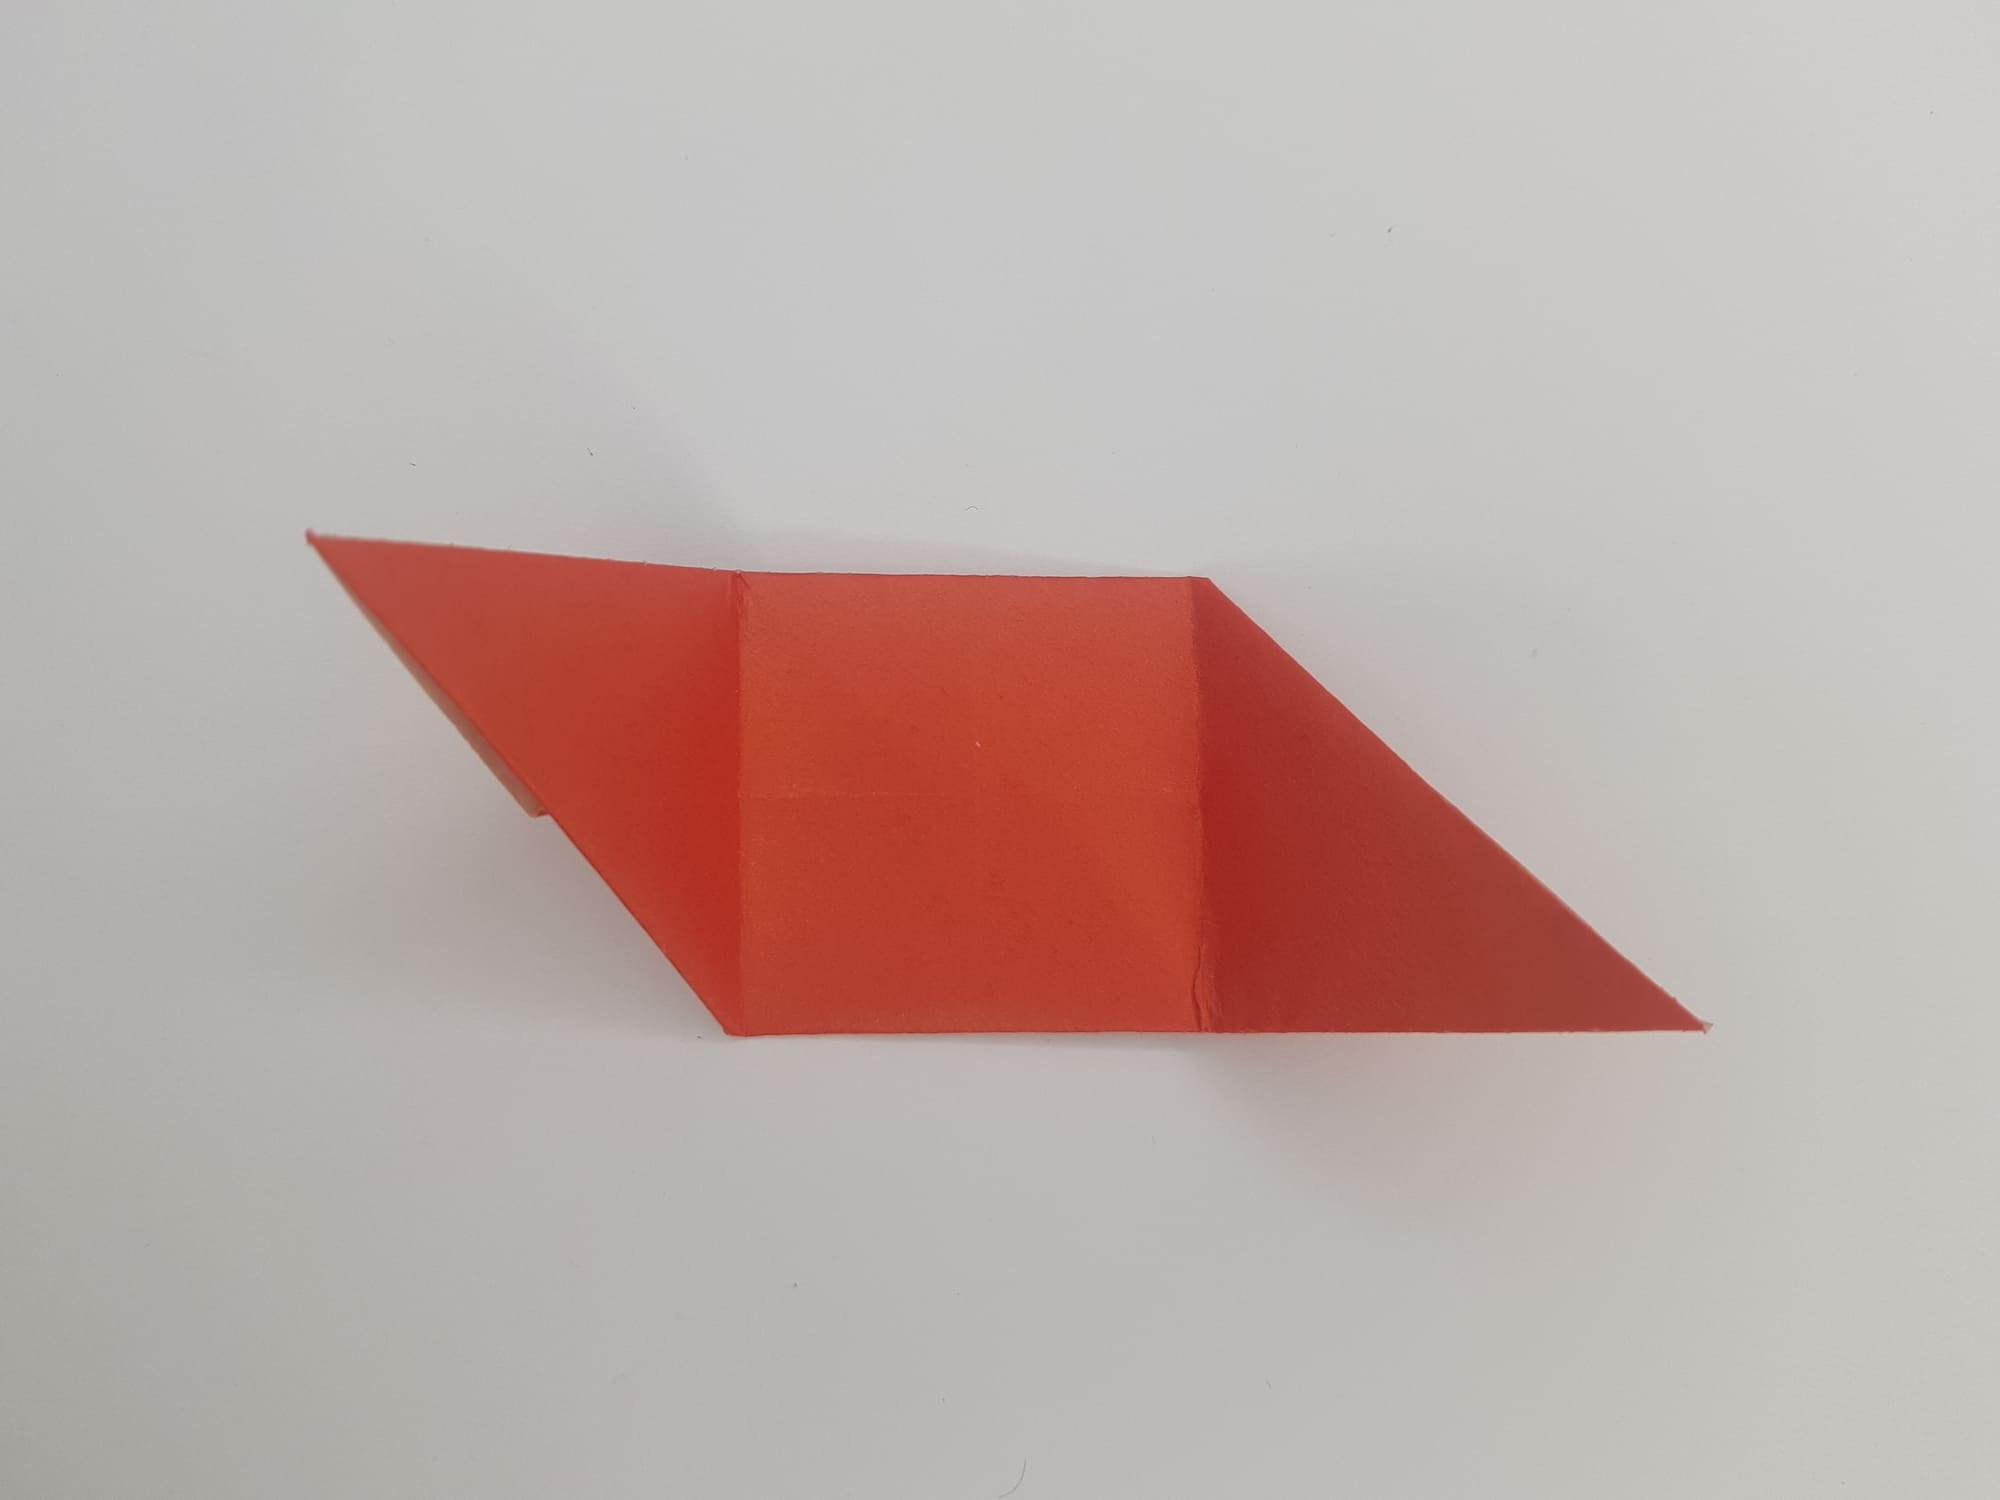
Bend the bottom and then the top corners, so that their edges meet exactly in the center.
The shape is visually divided into two parts – upper and lower. Fold in half towards the center, first one, then the other.
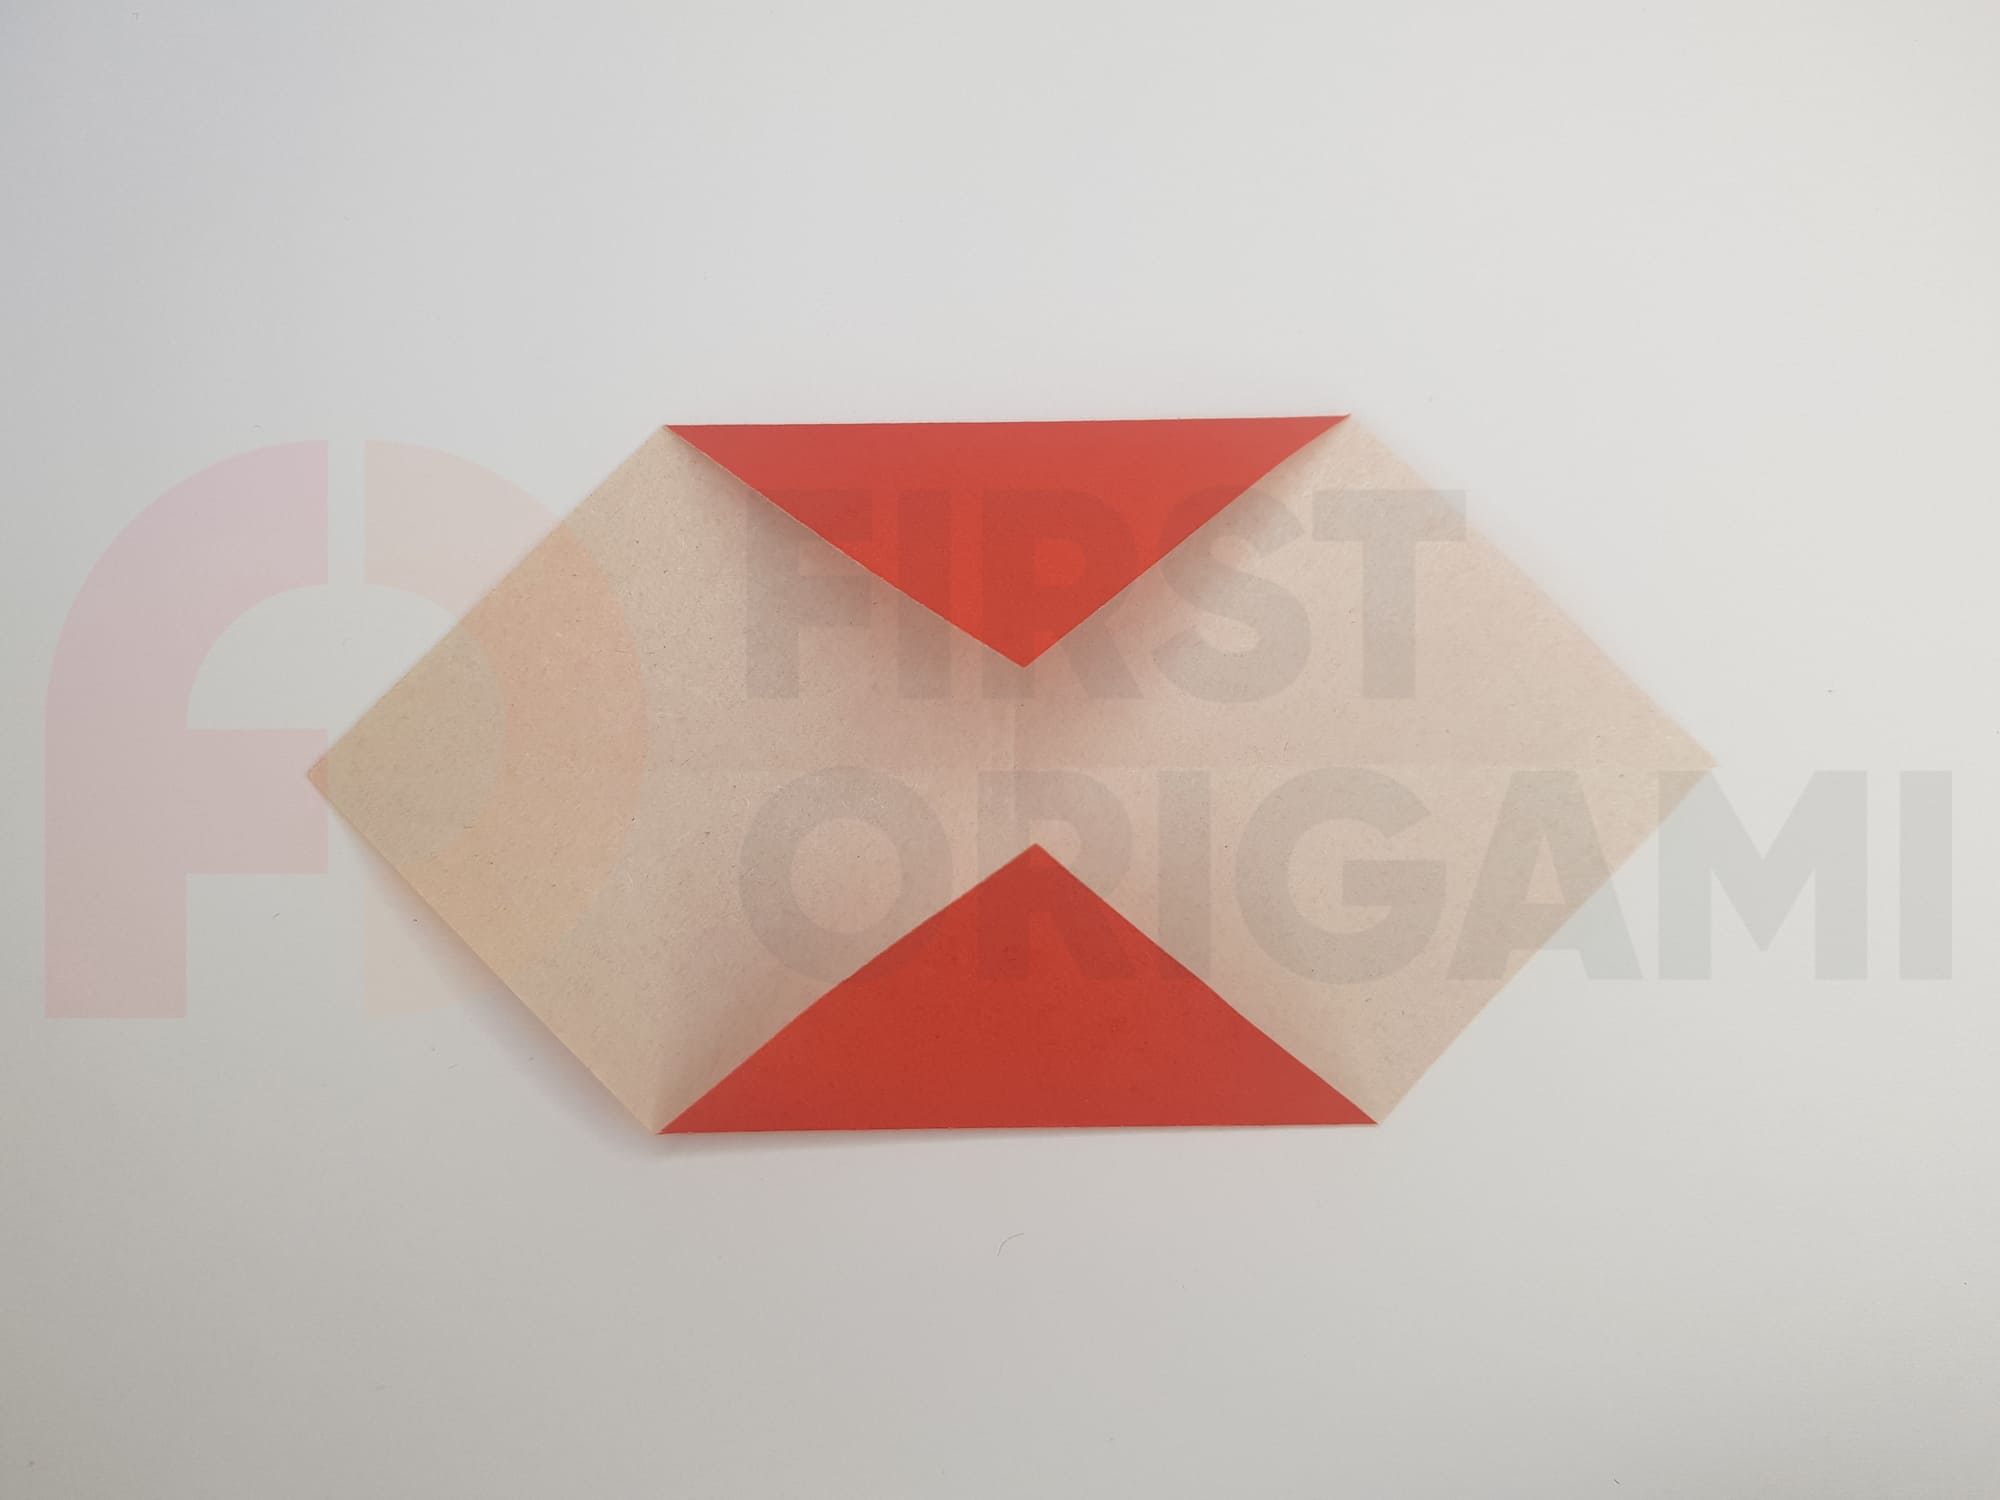
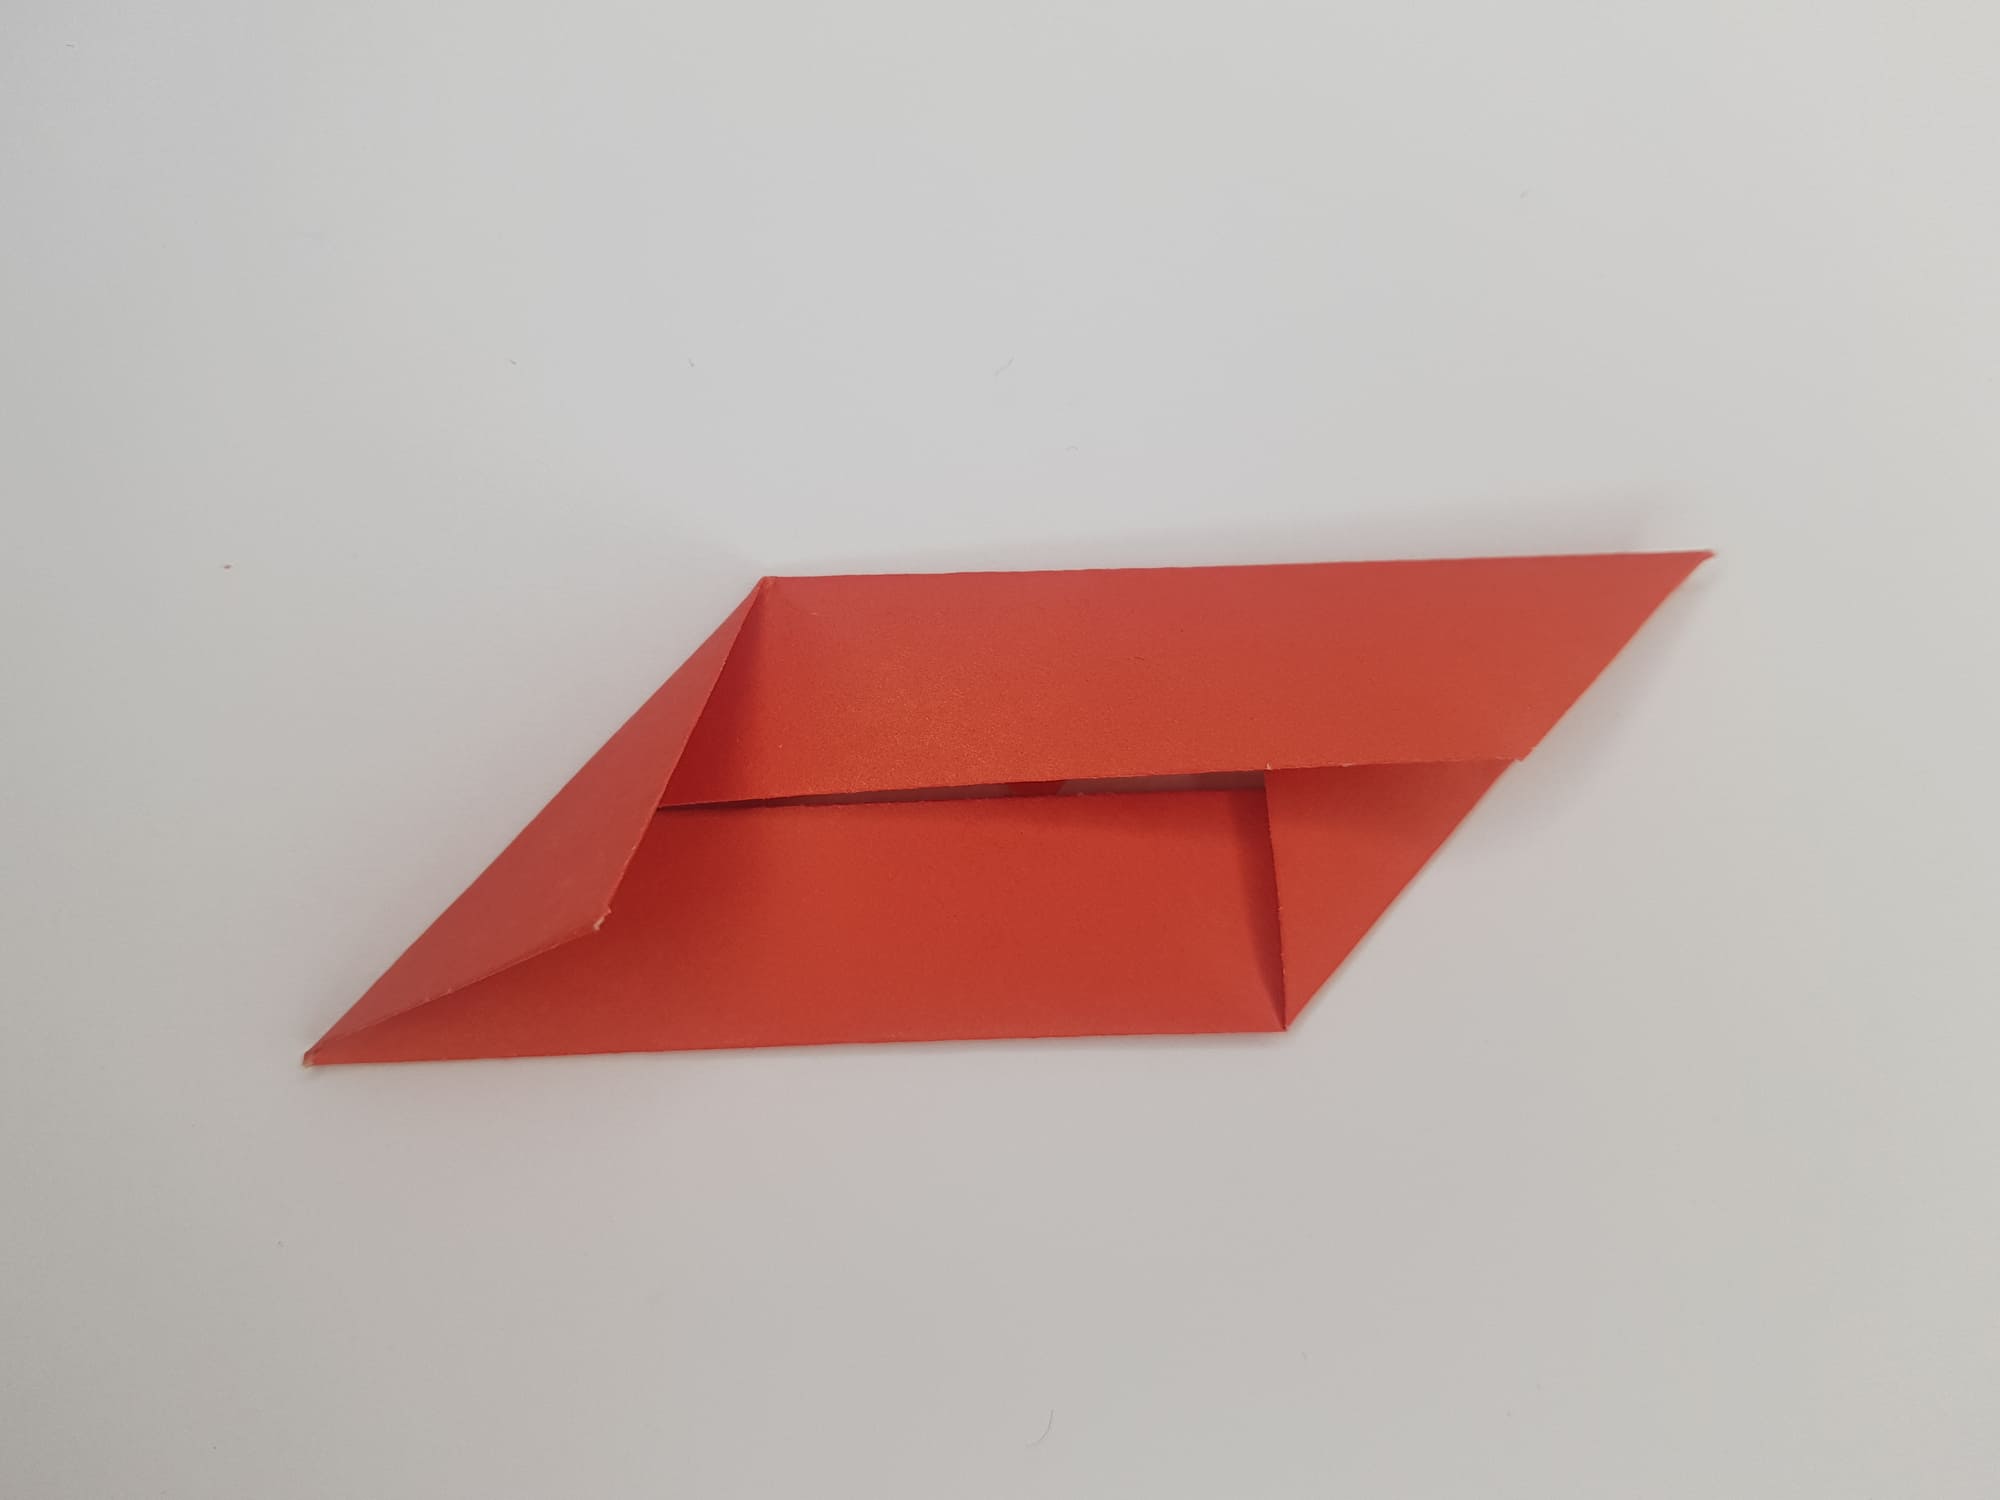
Bend the side corners towards the center.
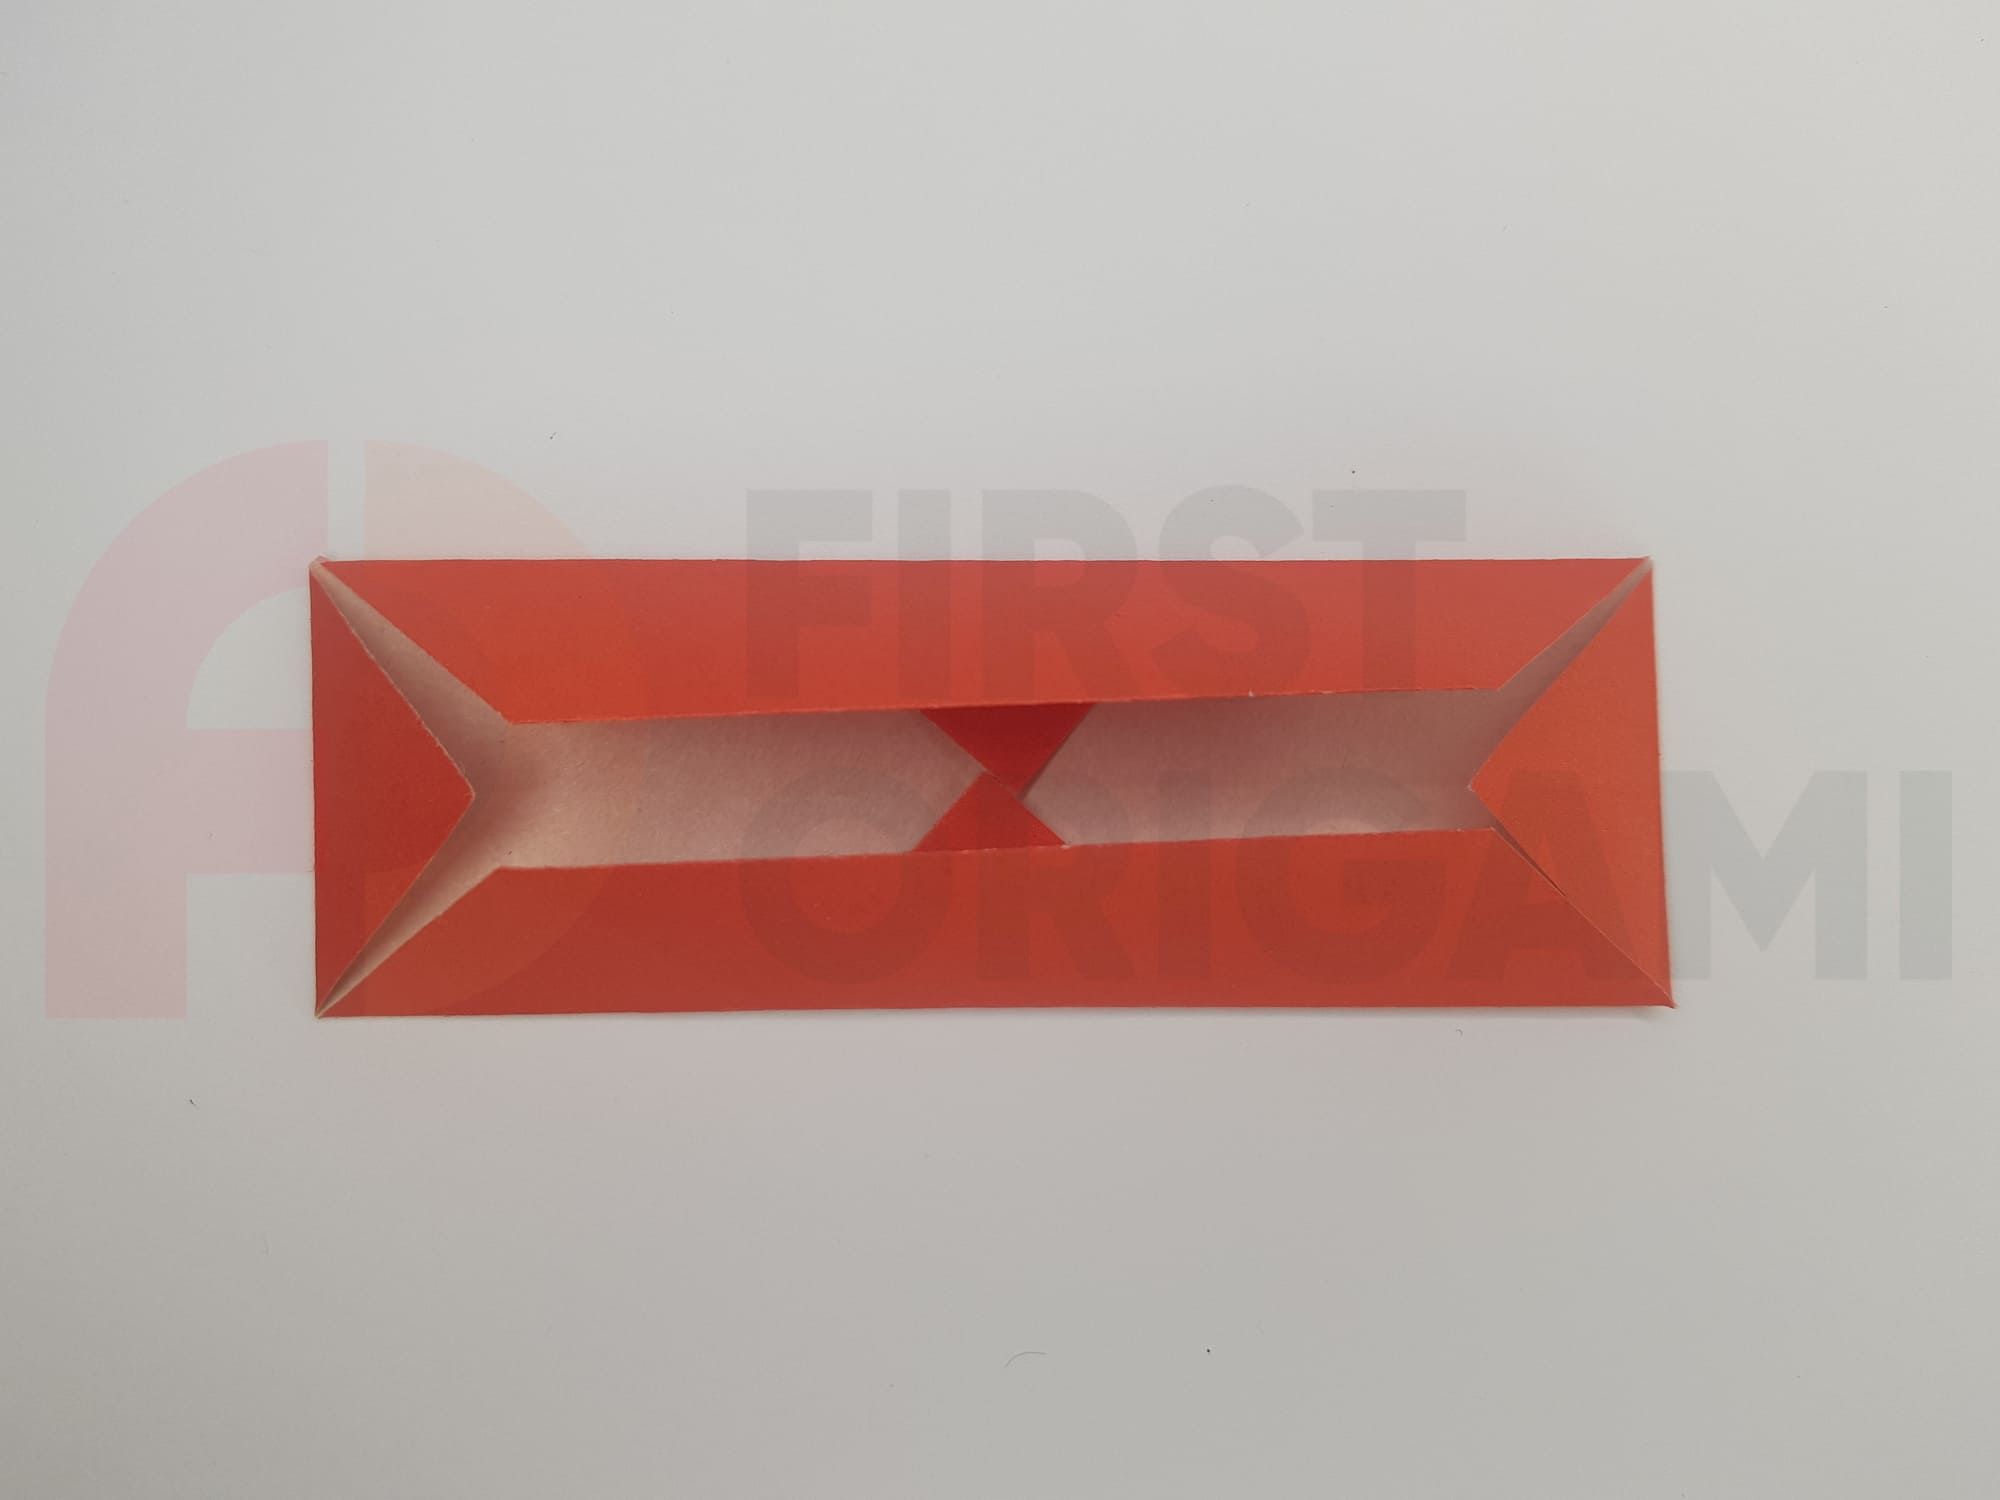
Bend the corners as shown in the photo: first the bottom right, then the top left.

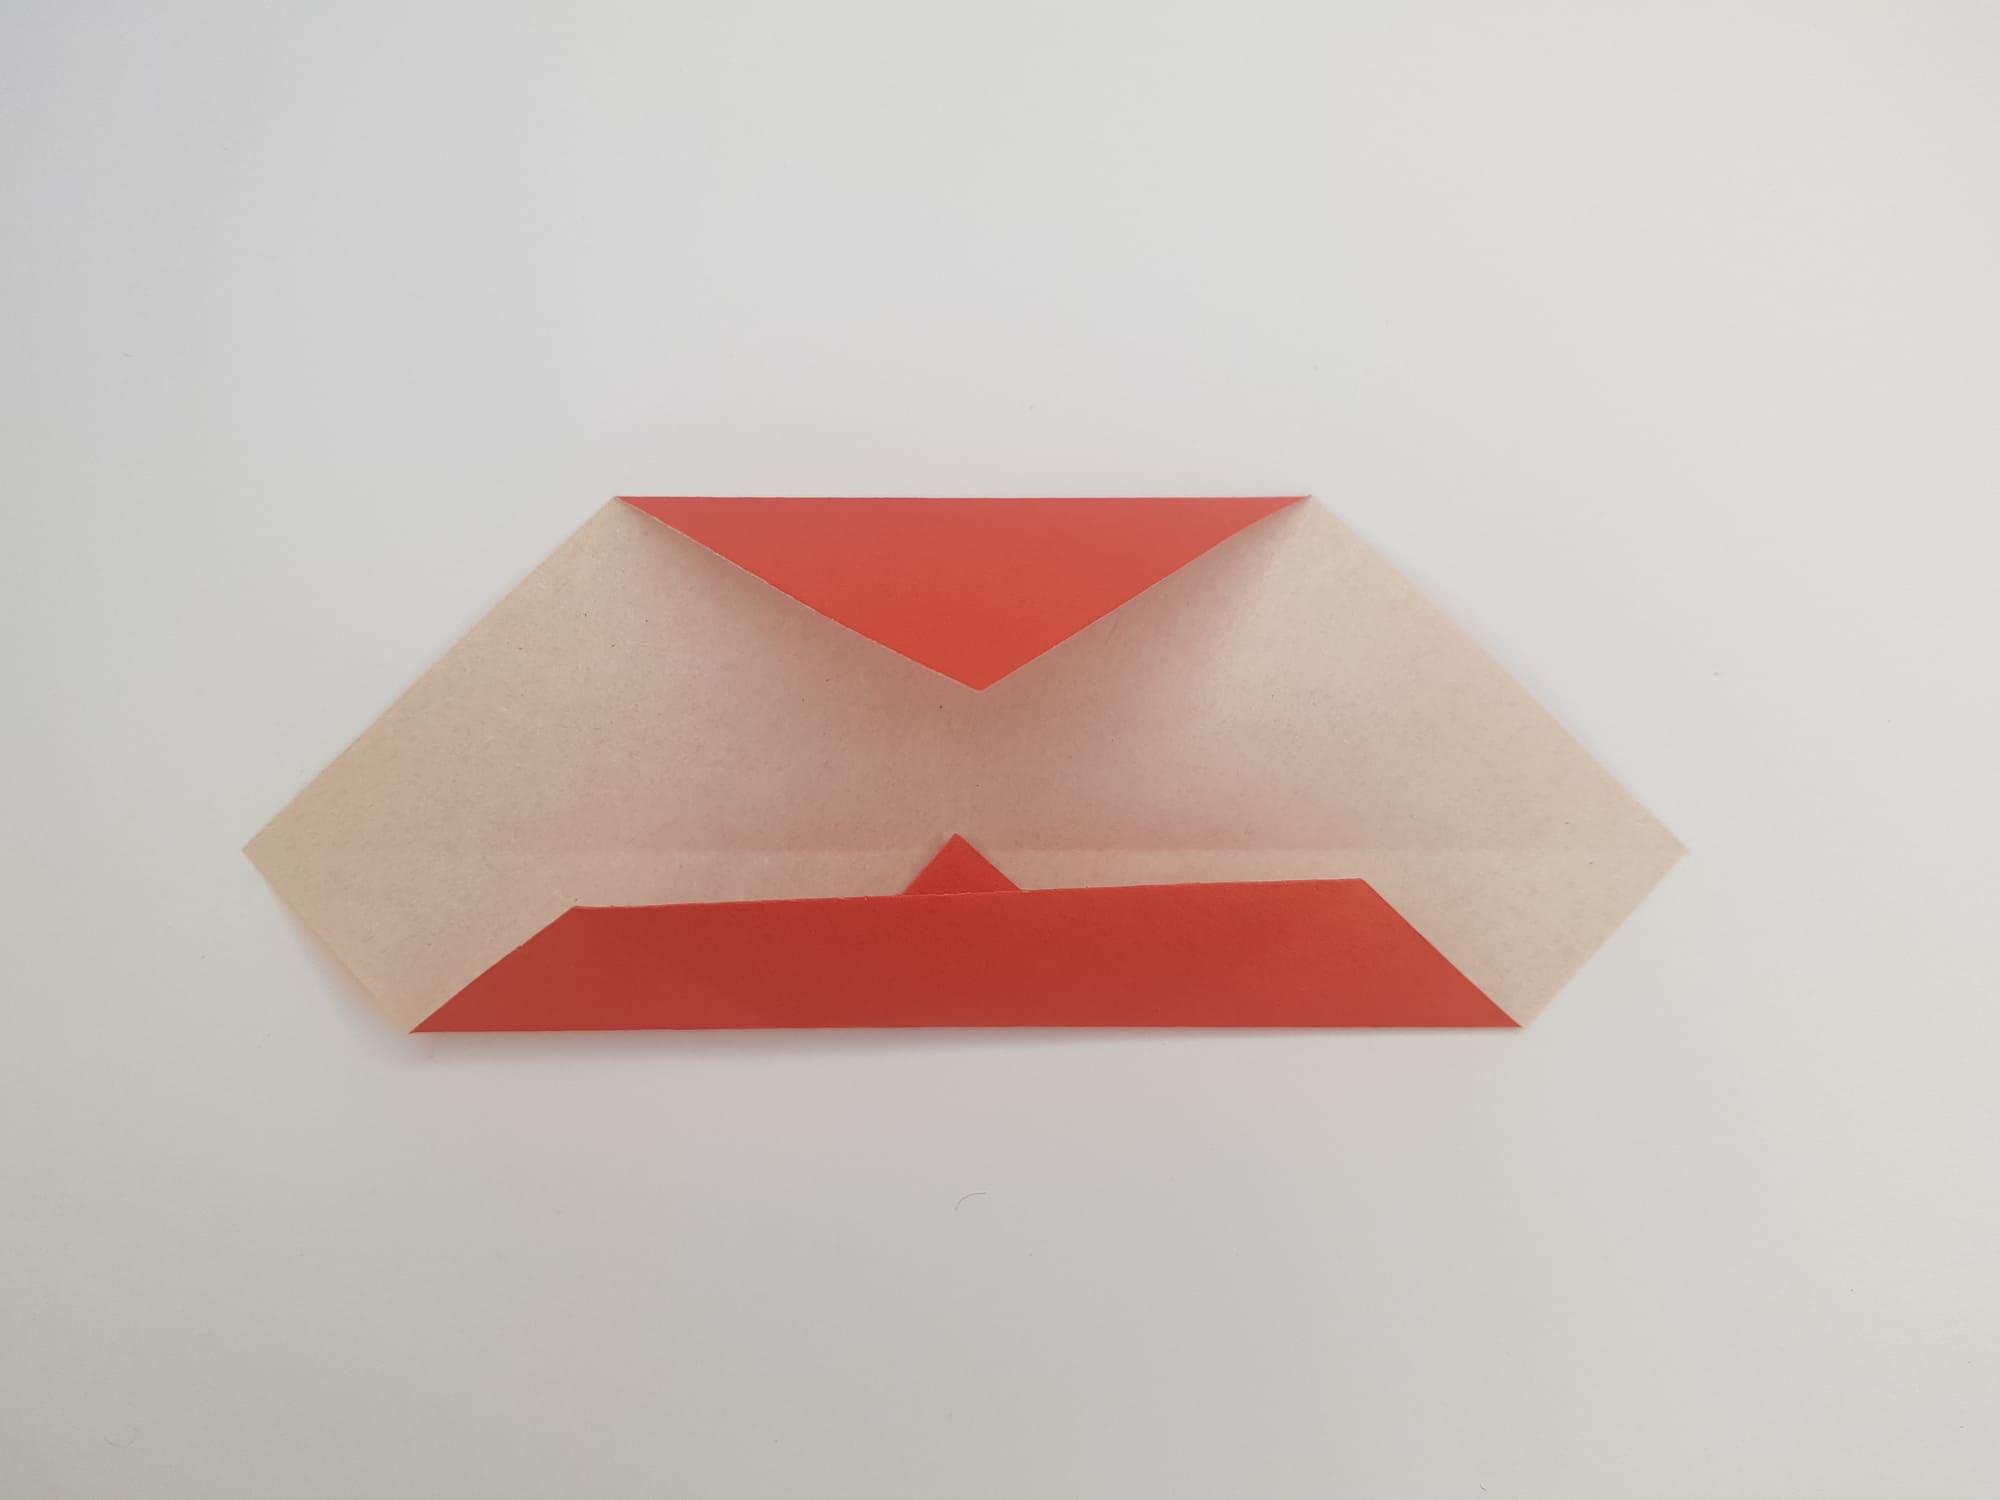
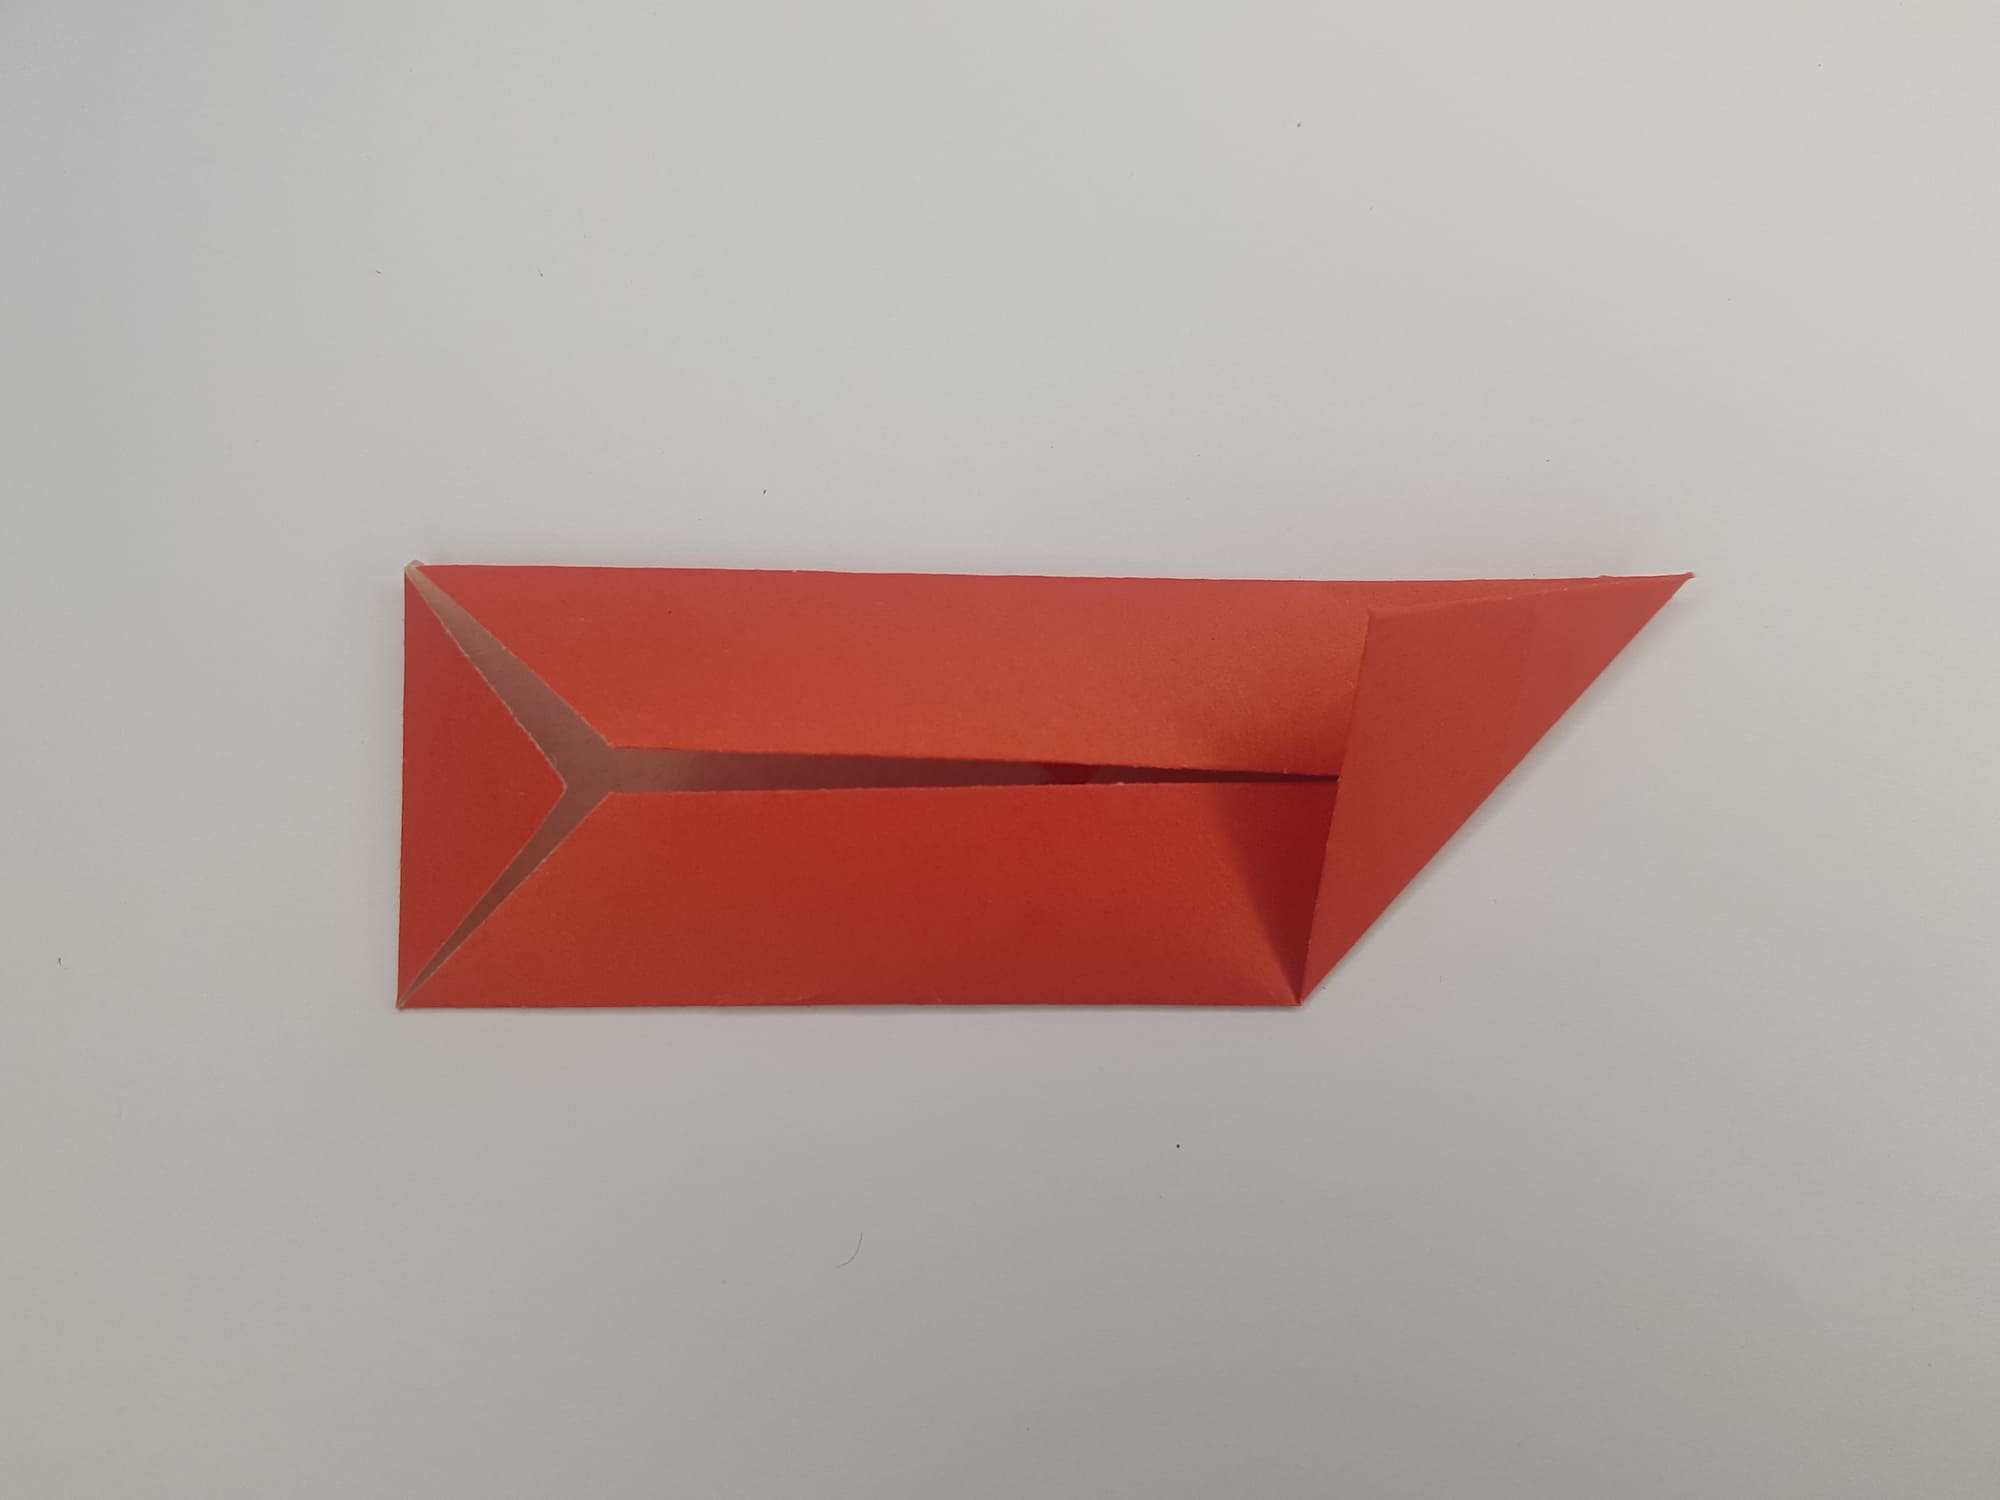
Hide the bent right corner into the “pocket”.
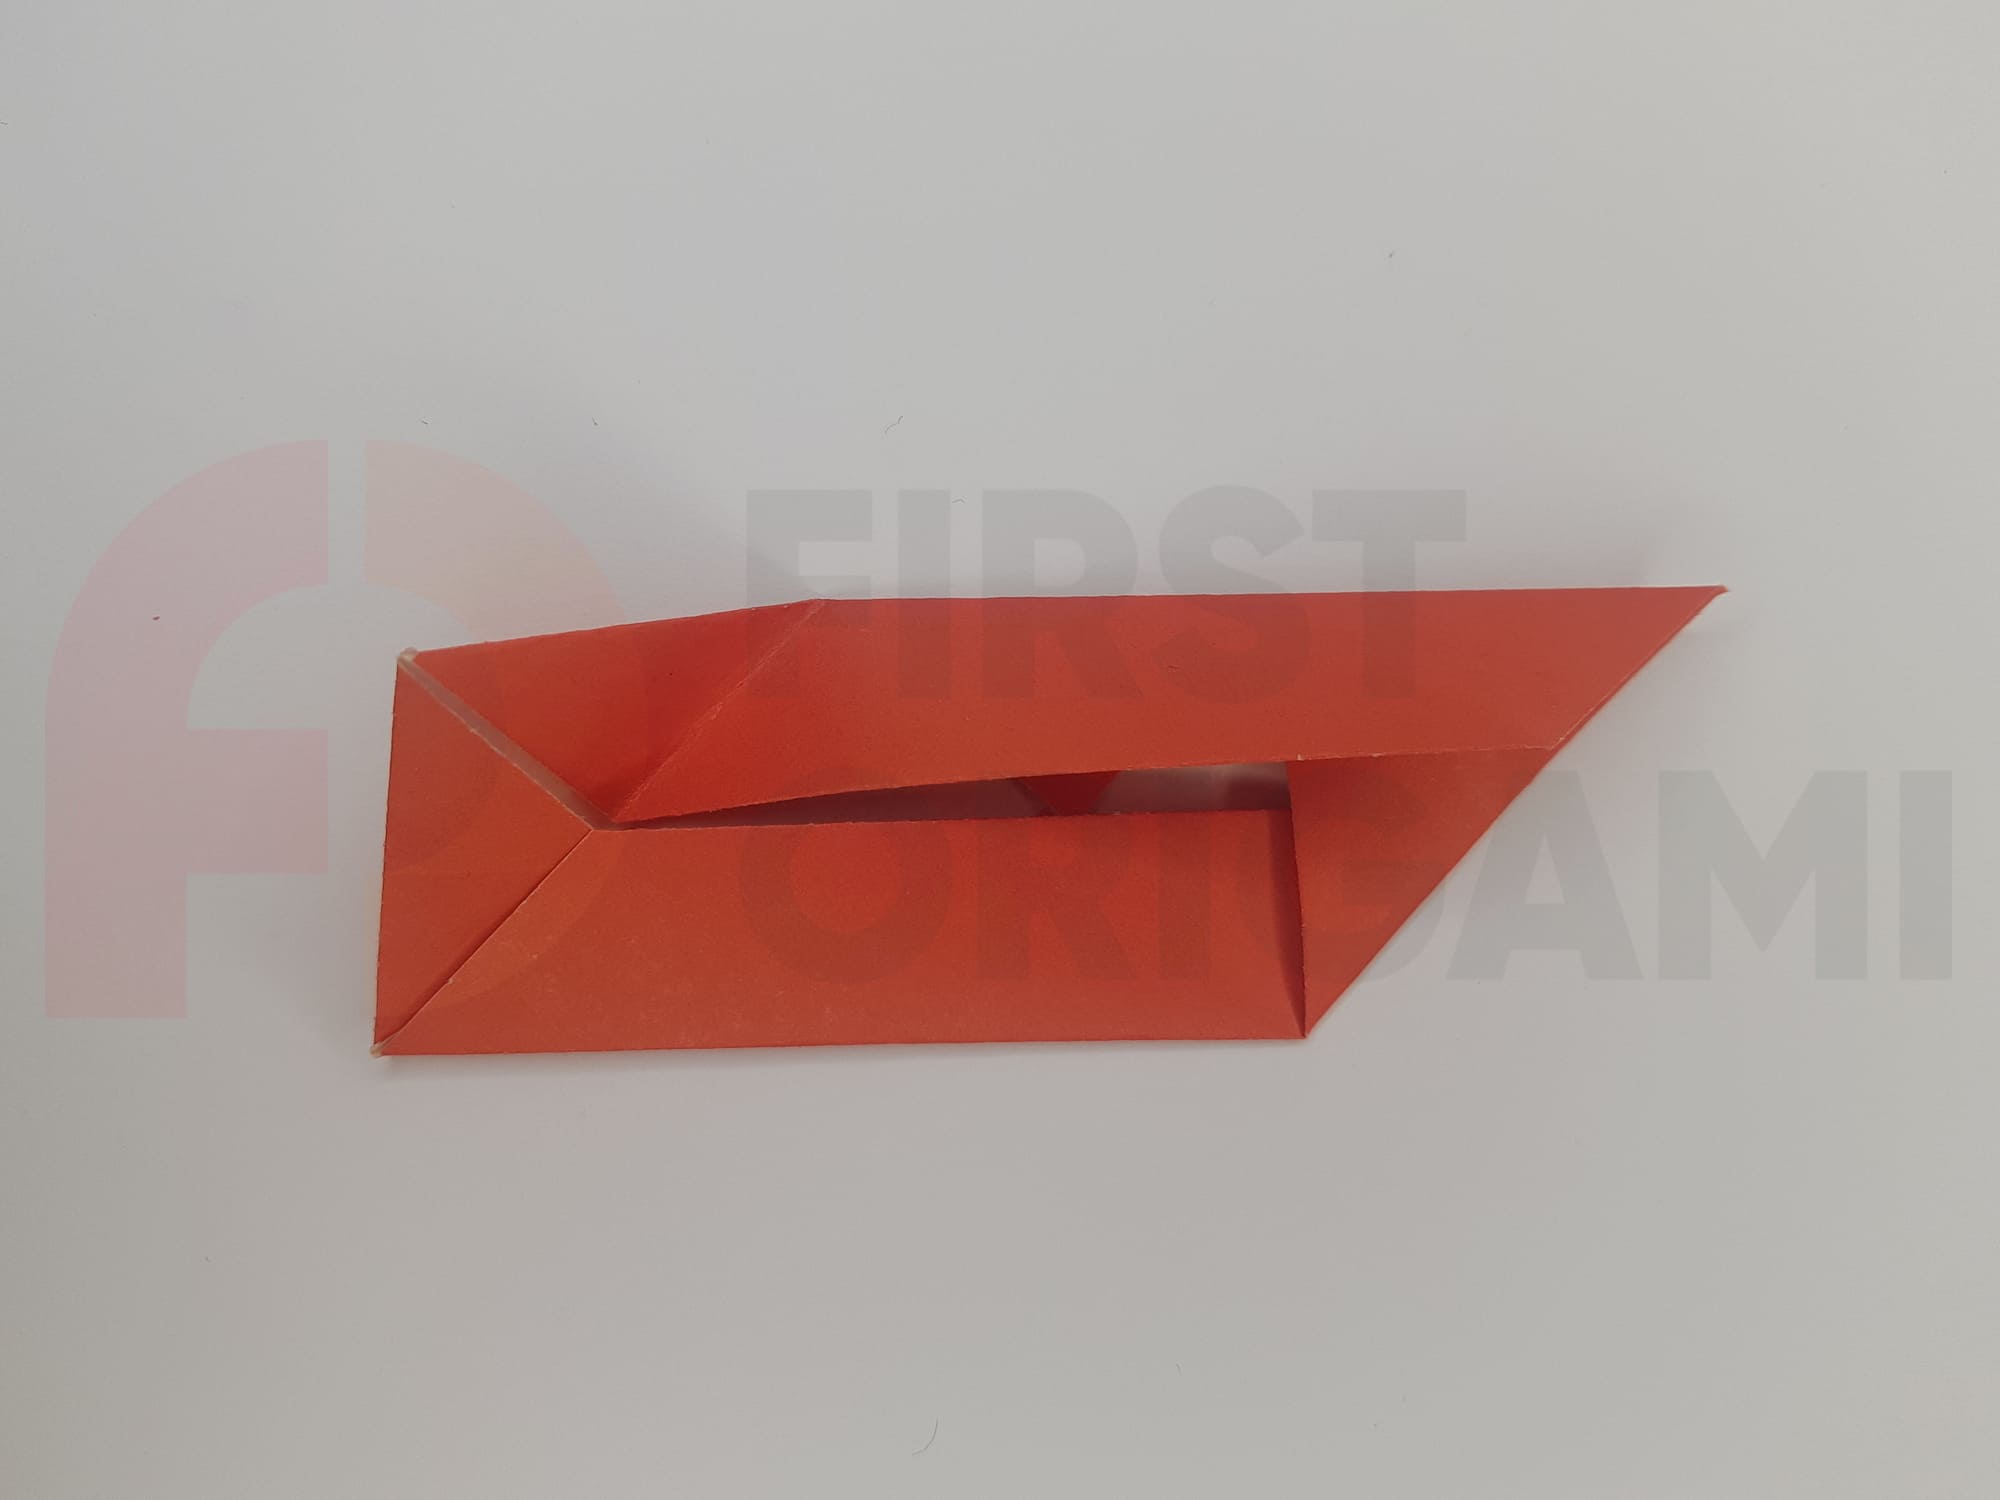
Do the same with the left corner.
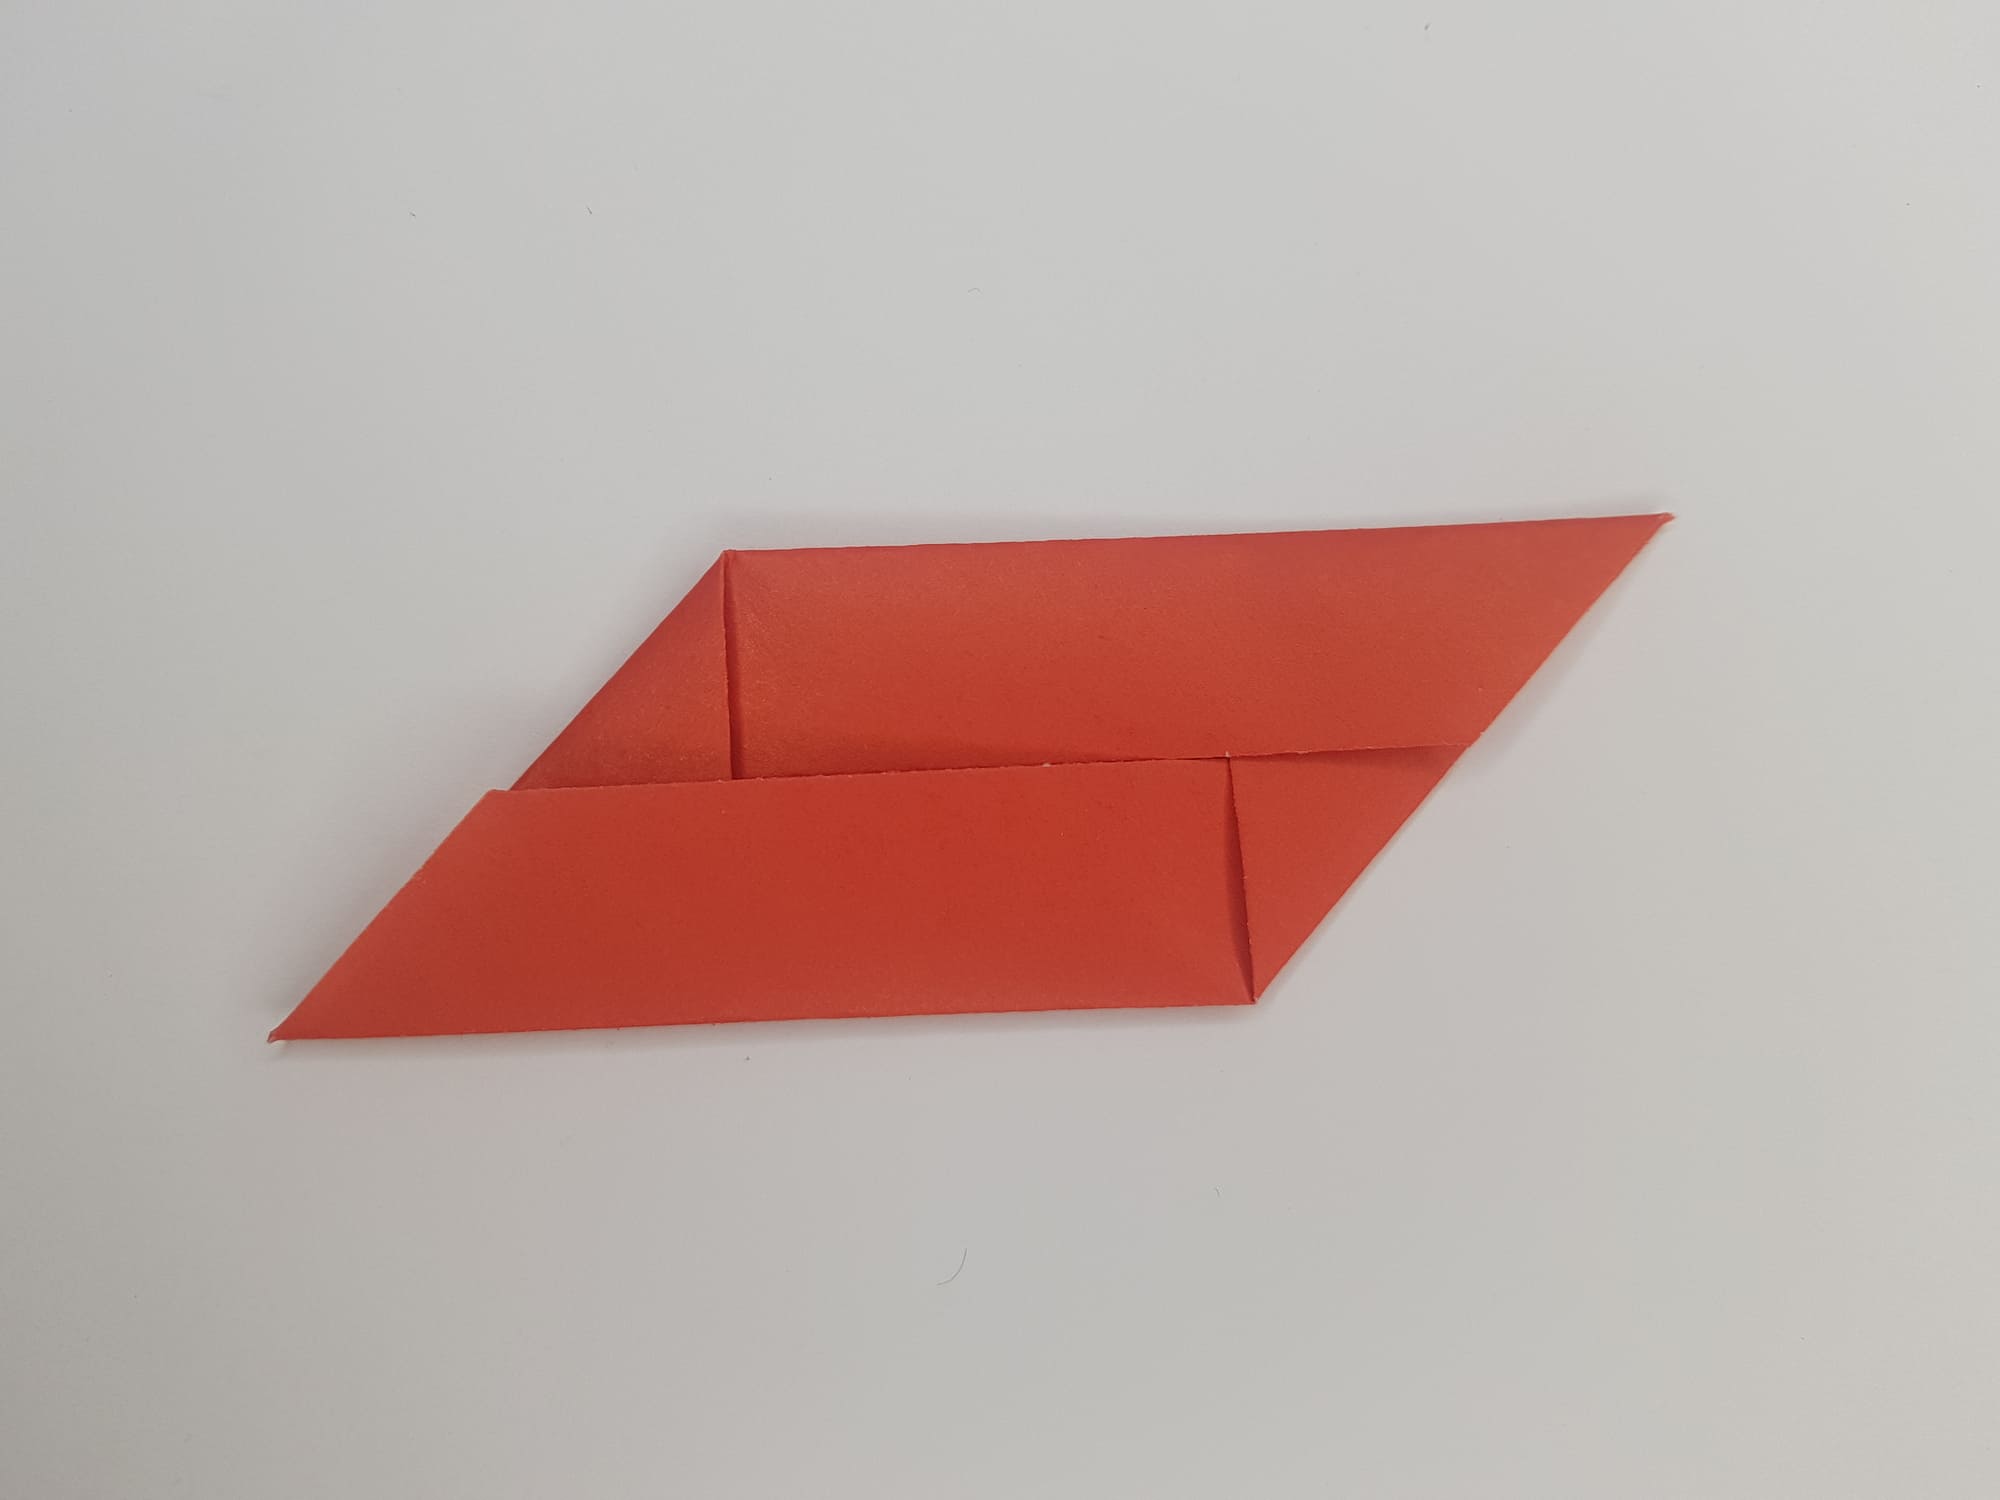
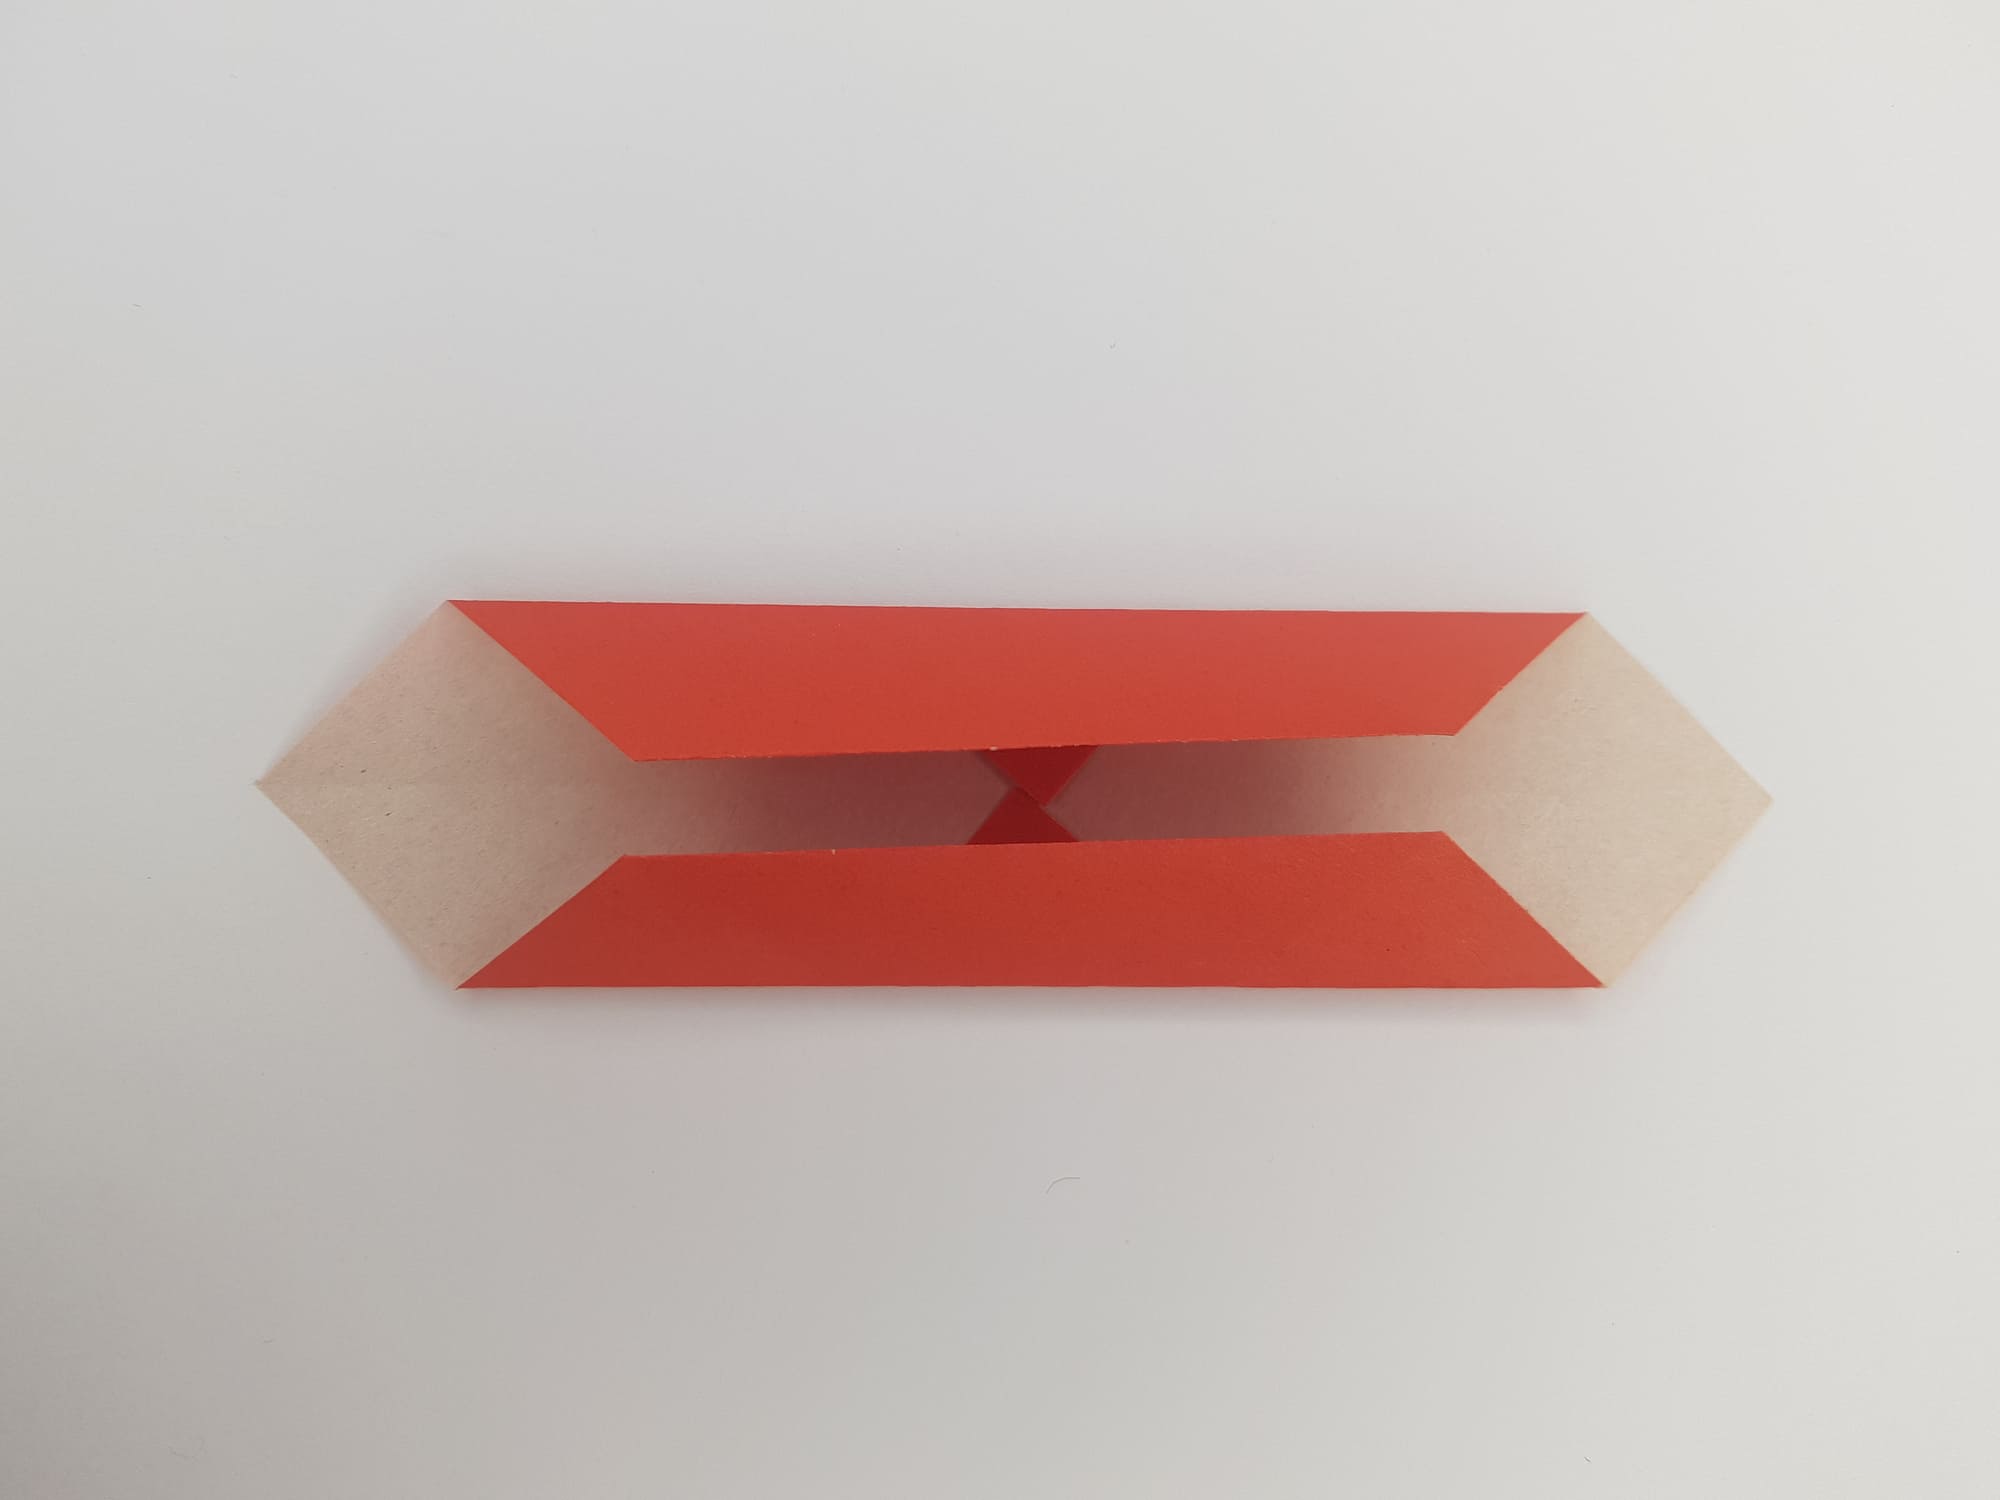
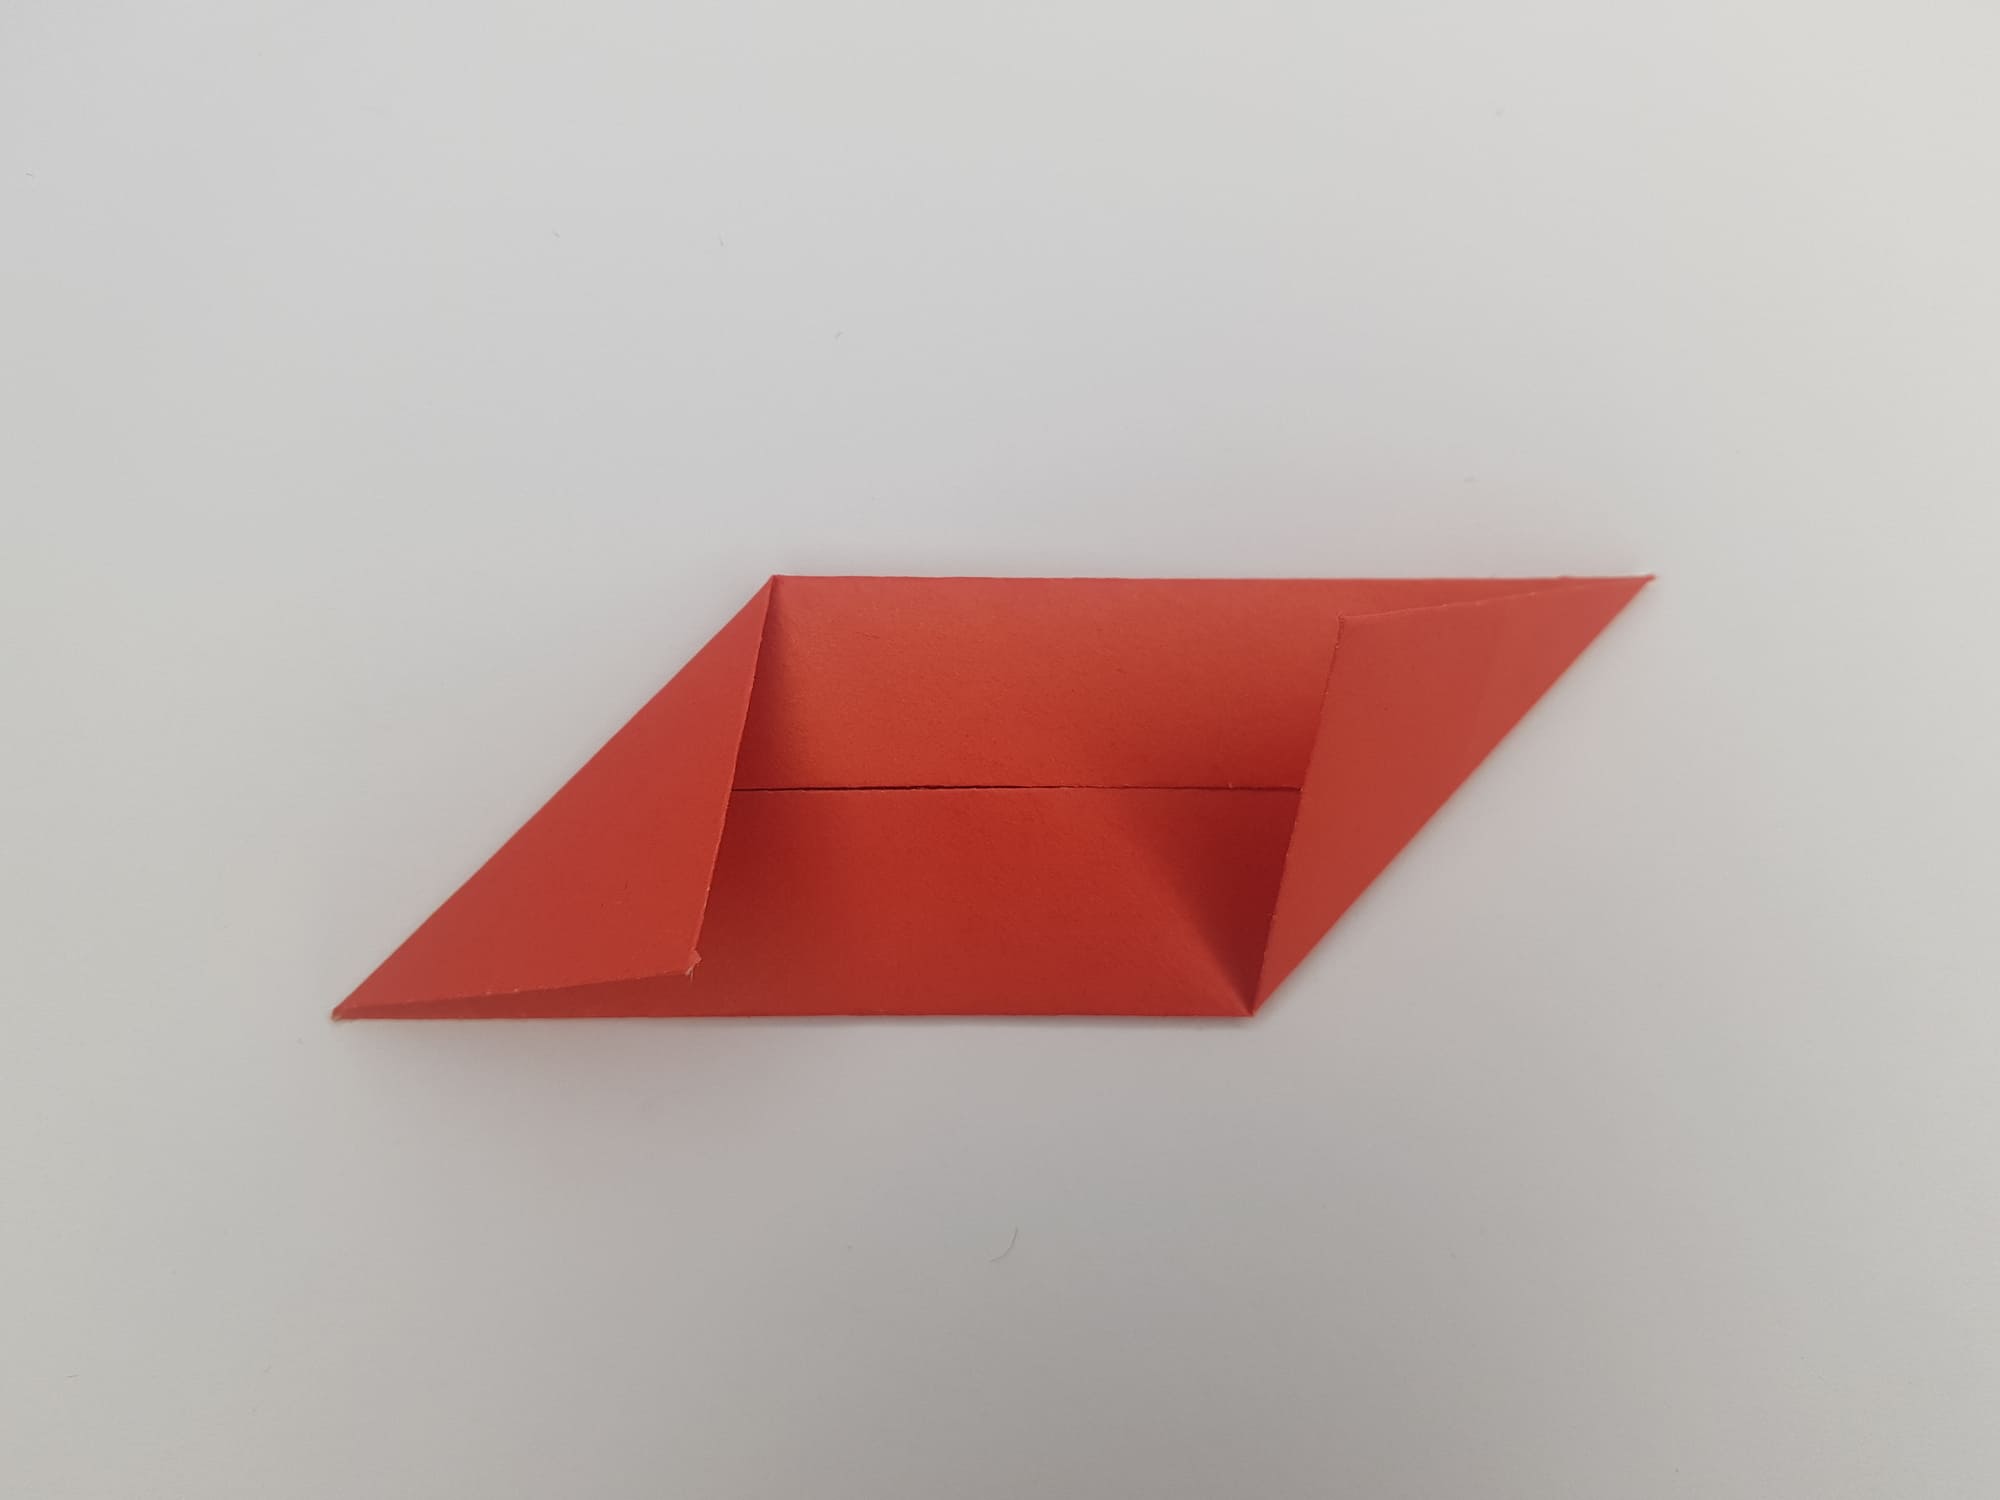
Turn the shape over and fold the corners.

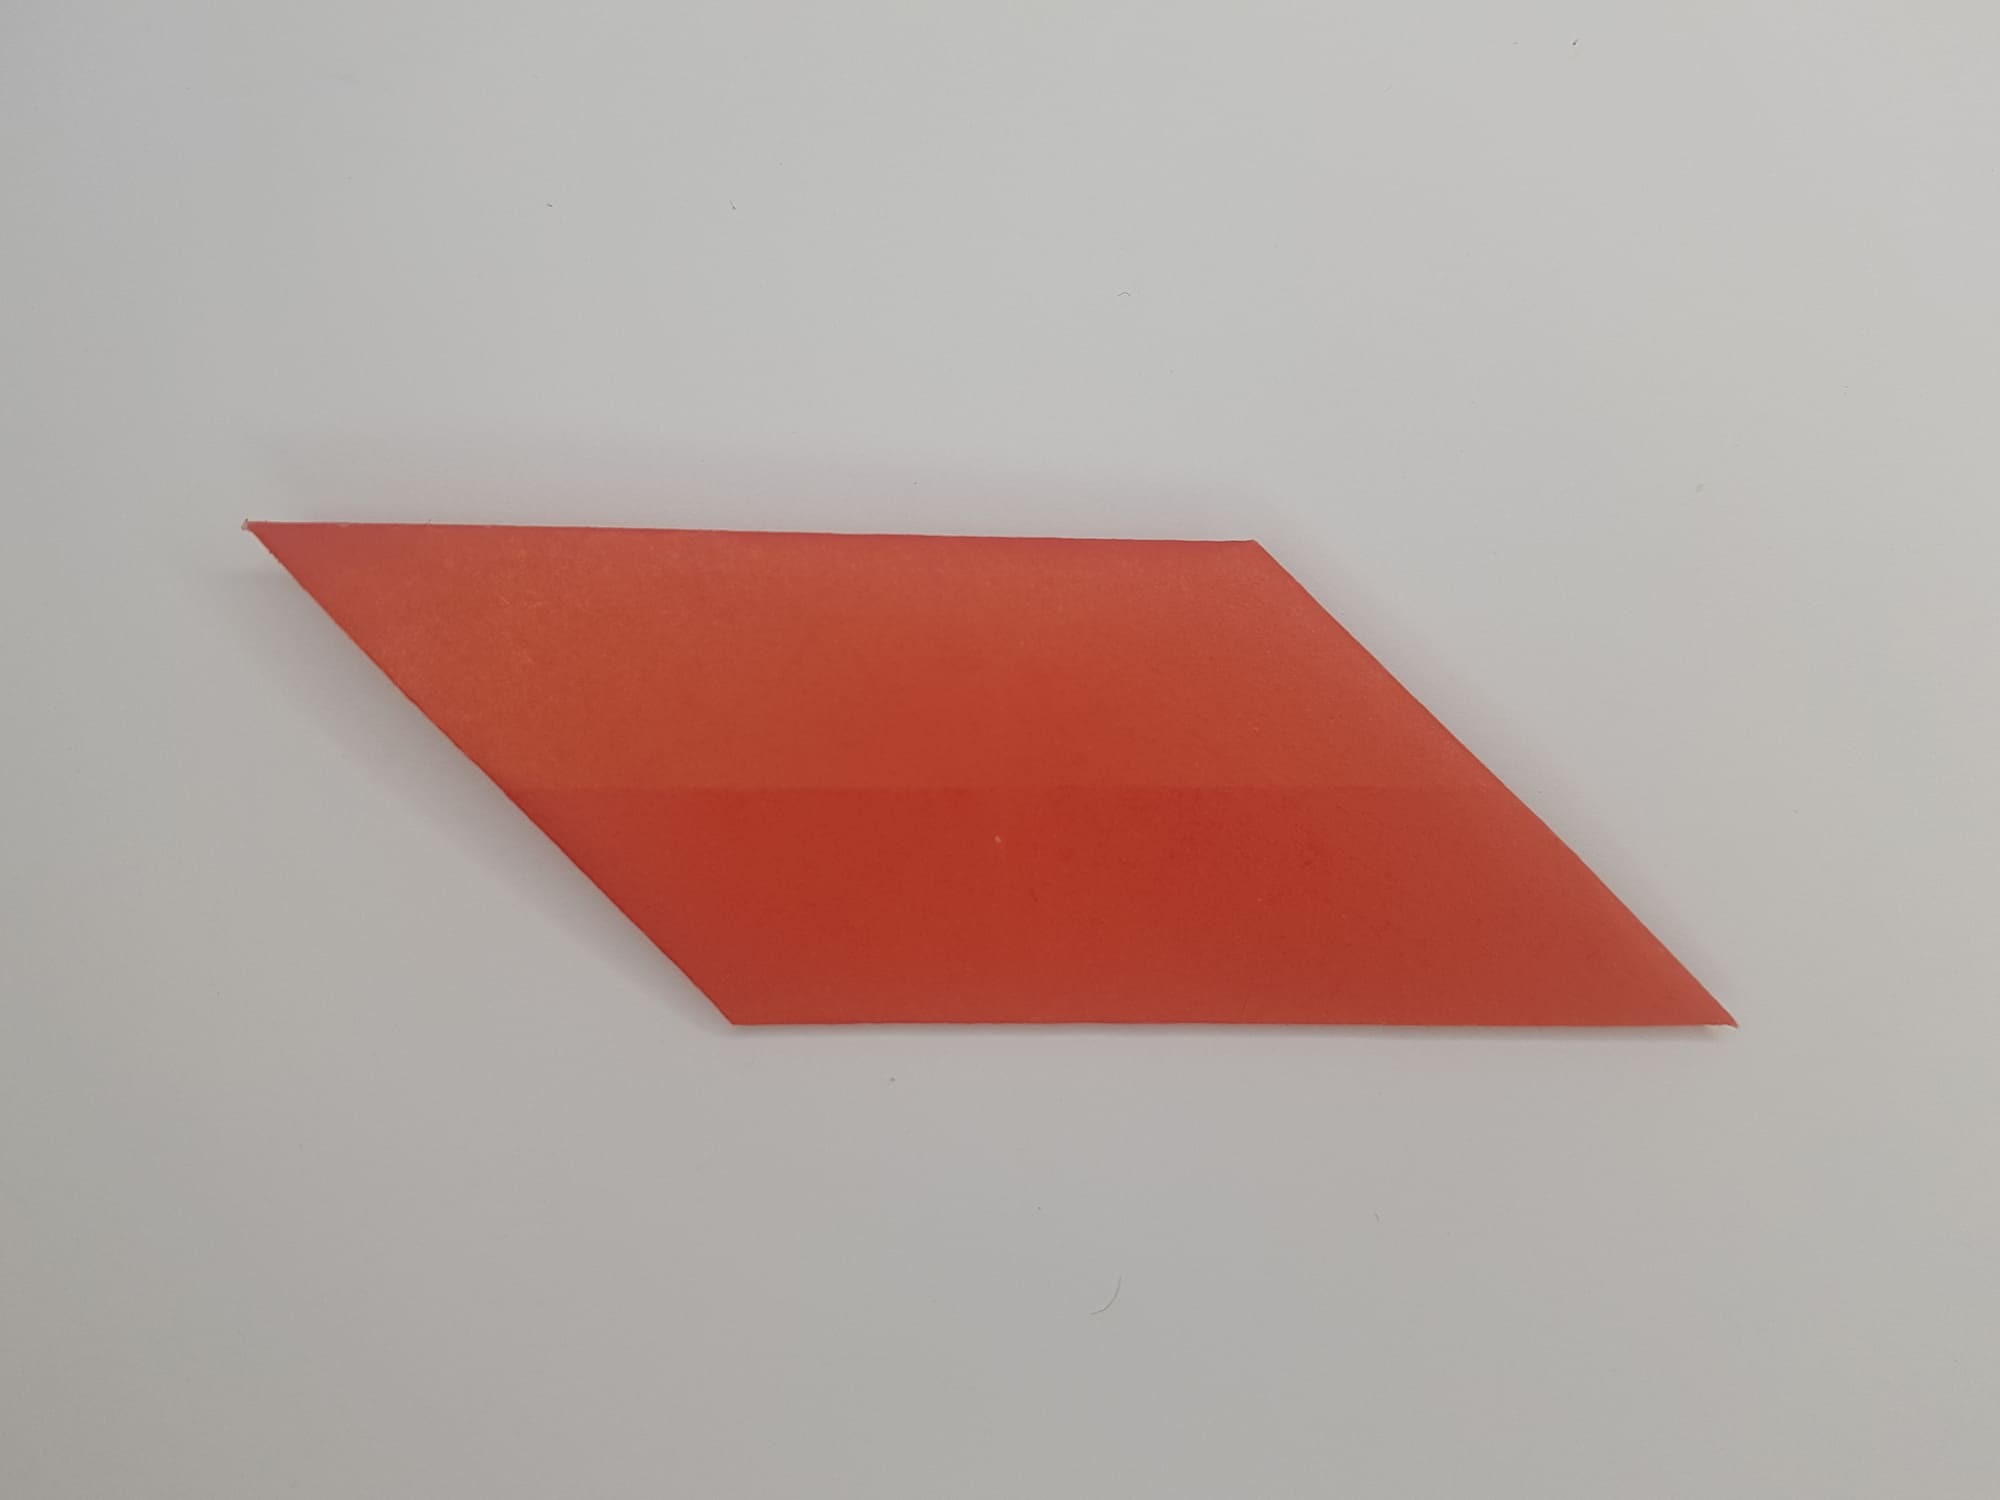
Repeat the steps to make five more parts of the future cube.
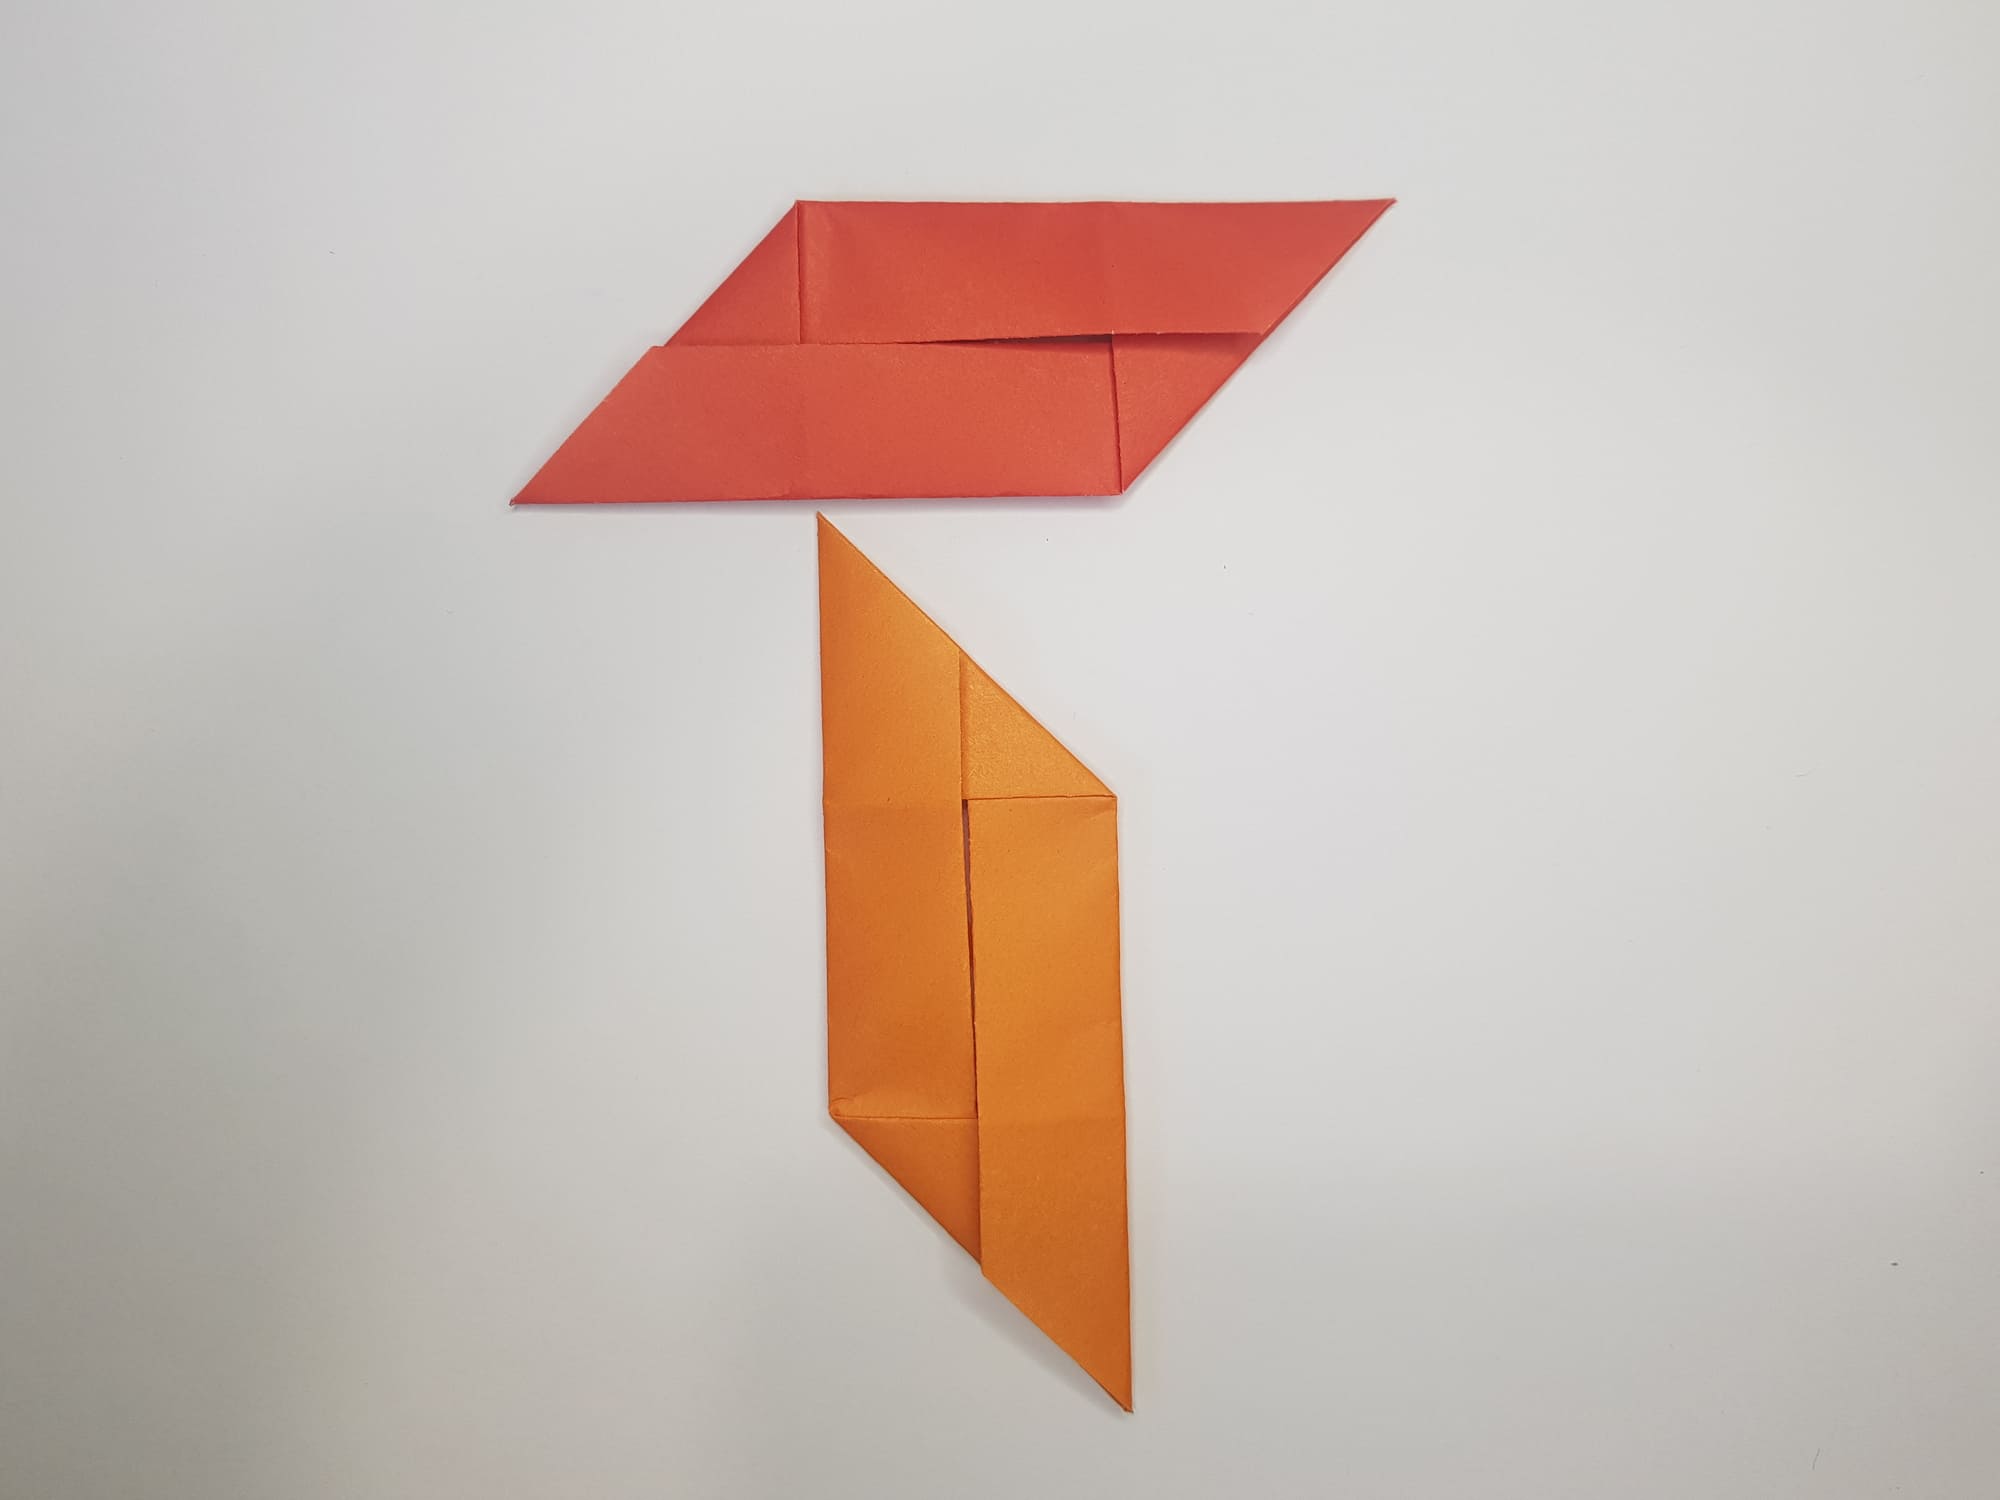
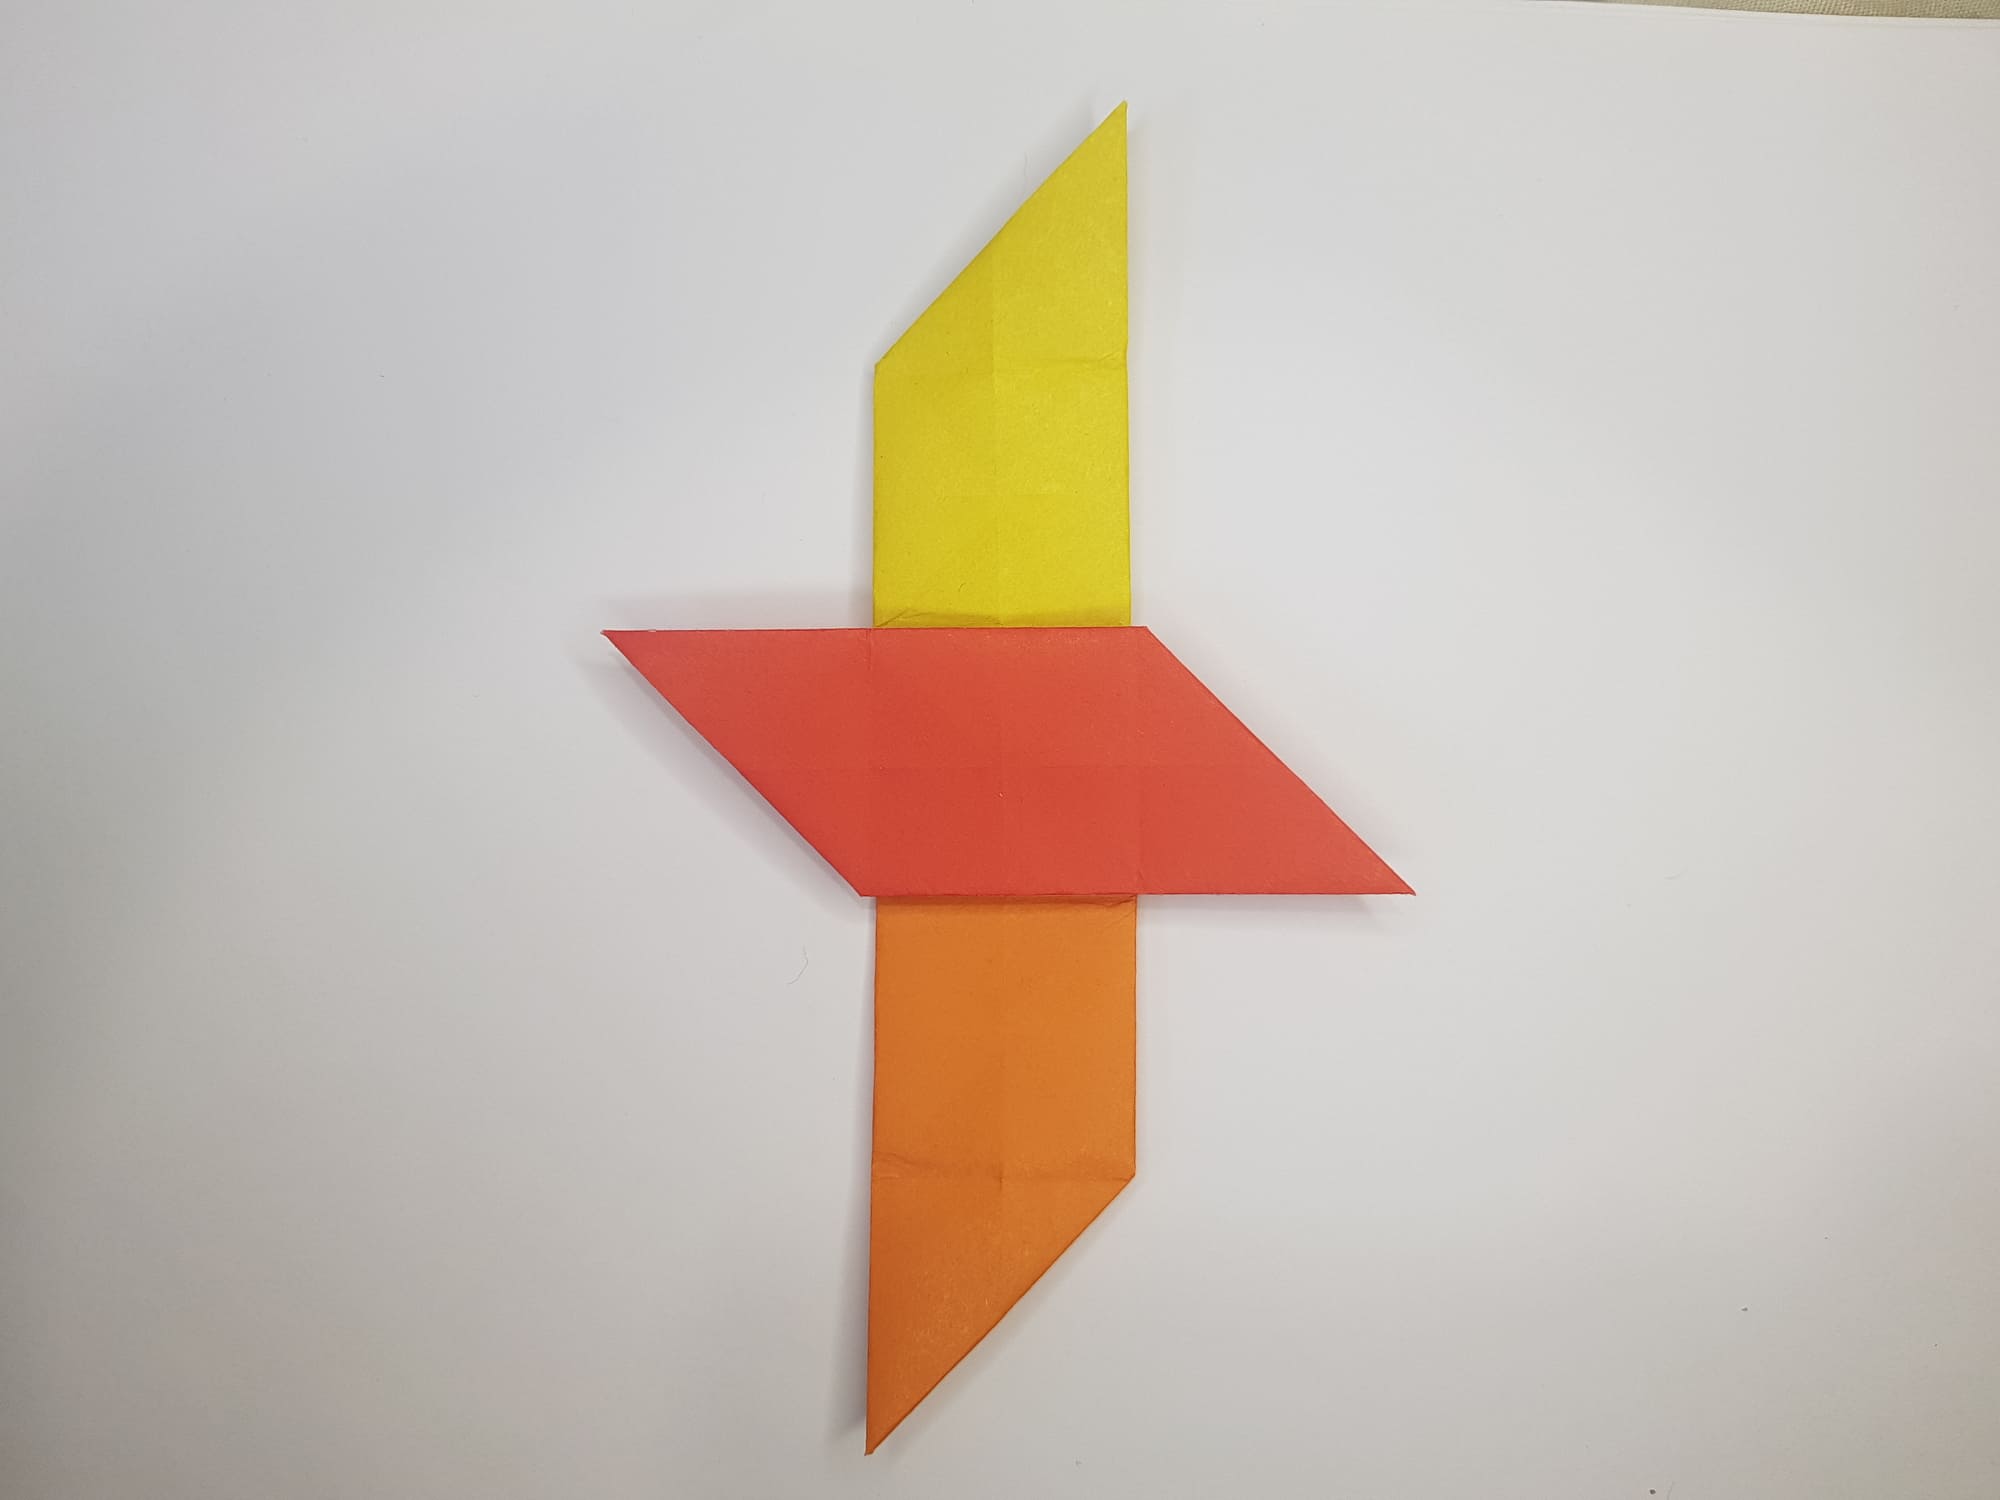
Now, you can begin to connect the parts.
Take two of them and fold them as shown in the photo.
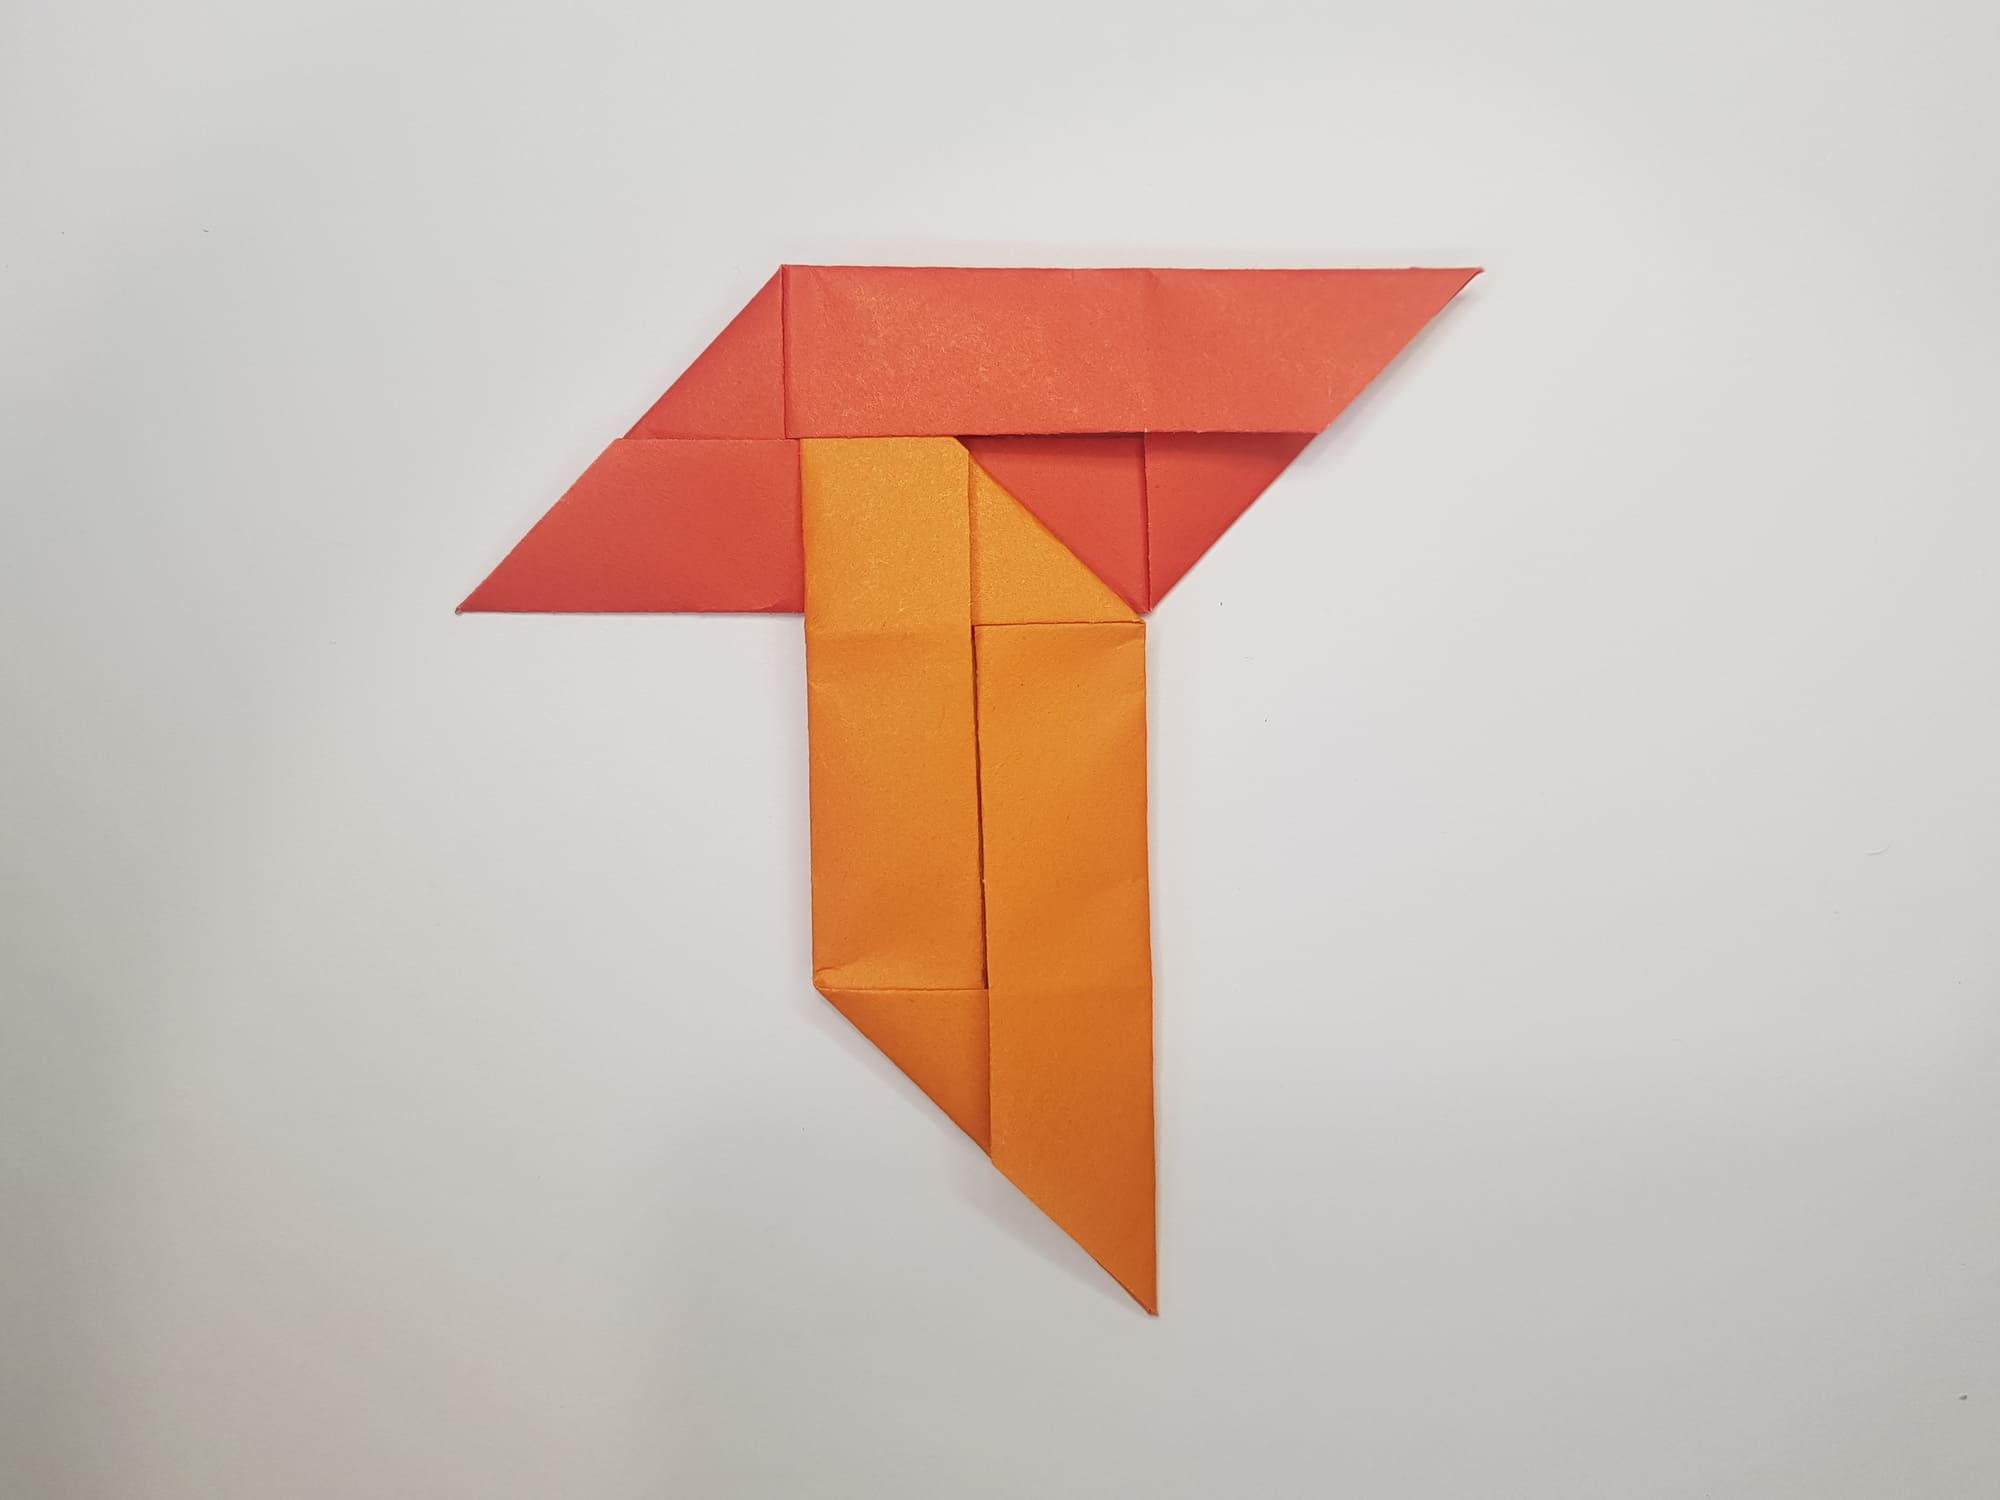
Add the third part.
Carefully turn the shape over and make assisting folds.
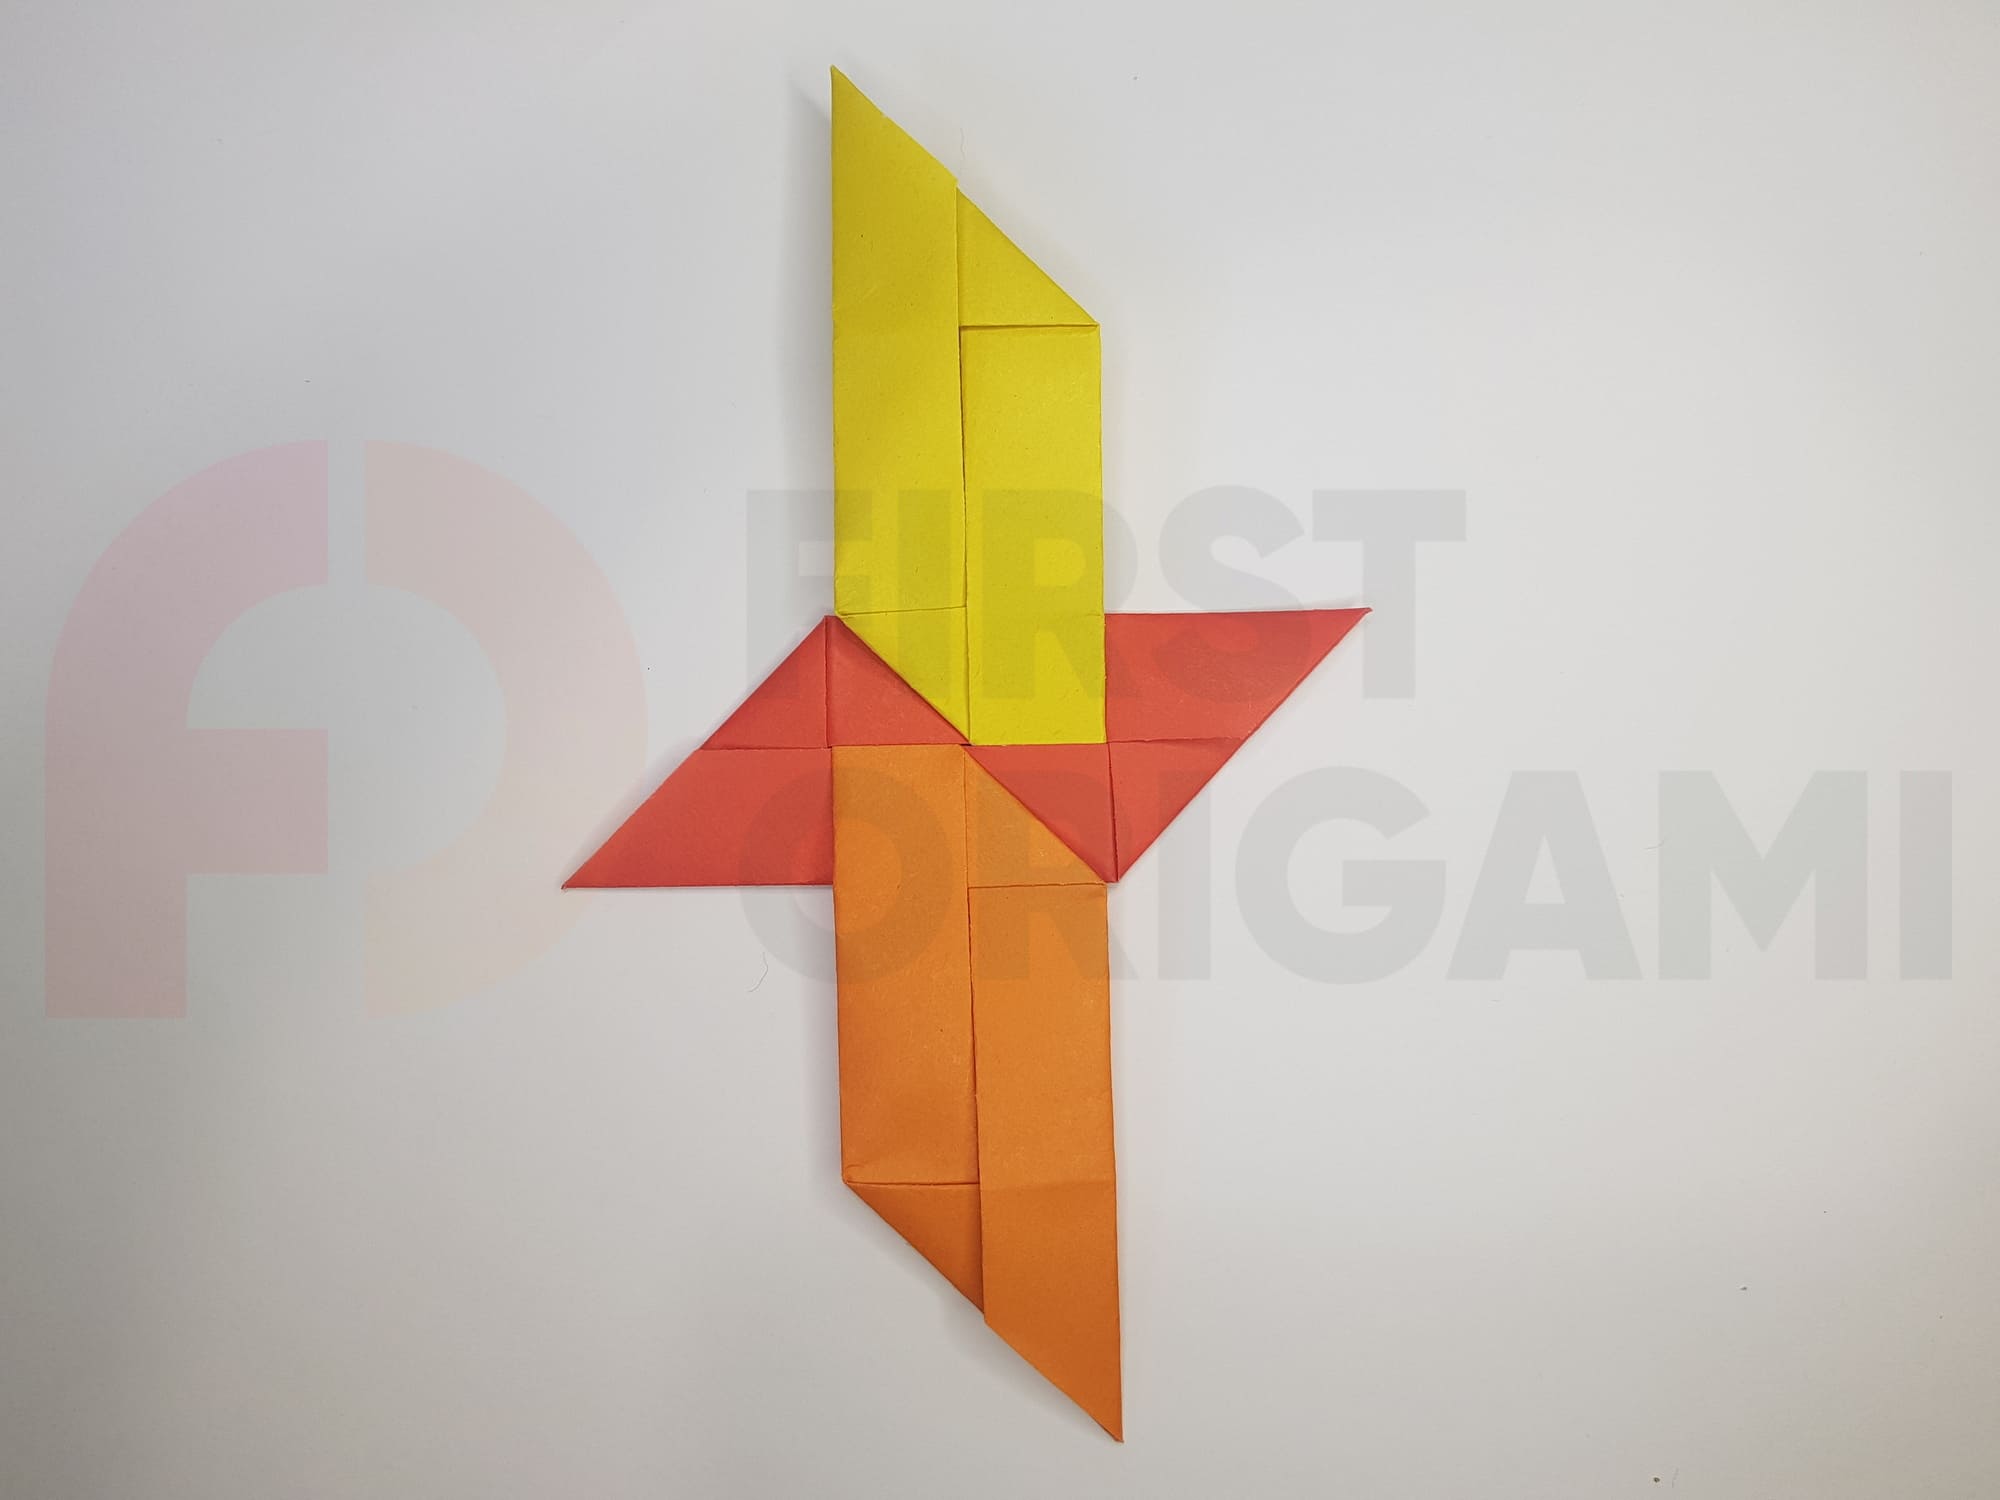
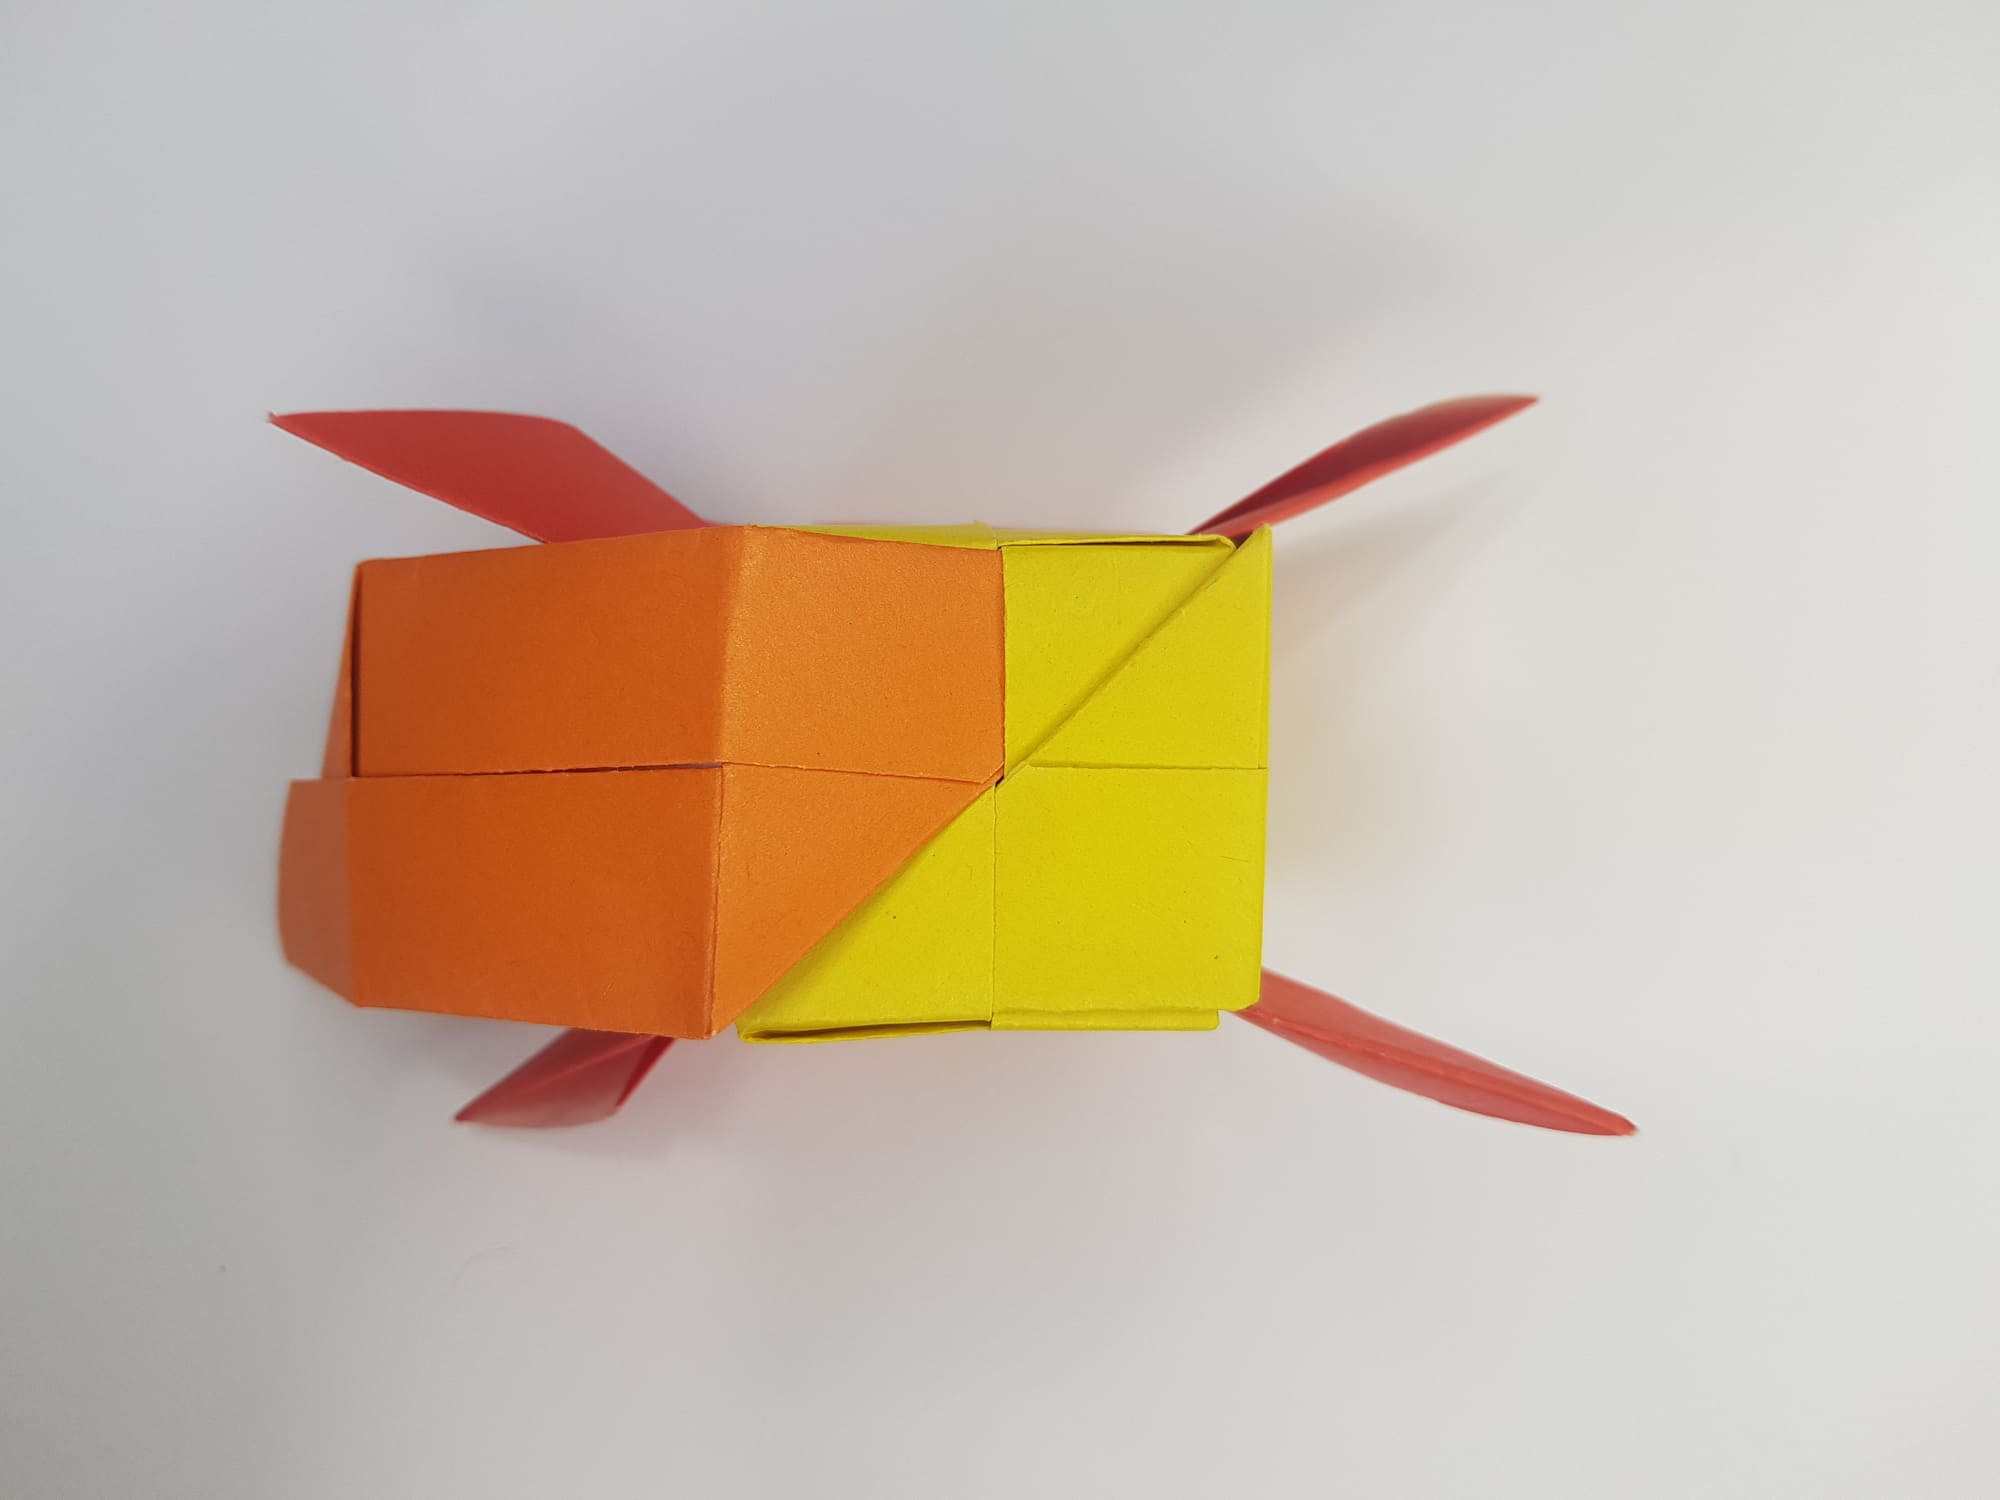
It’s time to add the fourth detail – the top one. You would connect it with the orange part, and then with the yellow one.
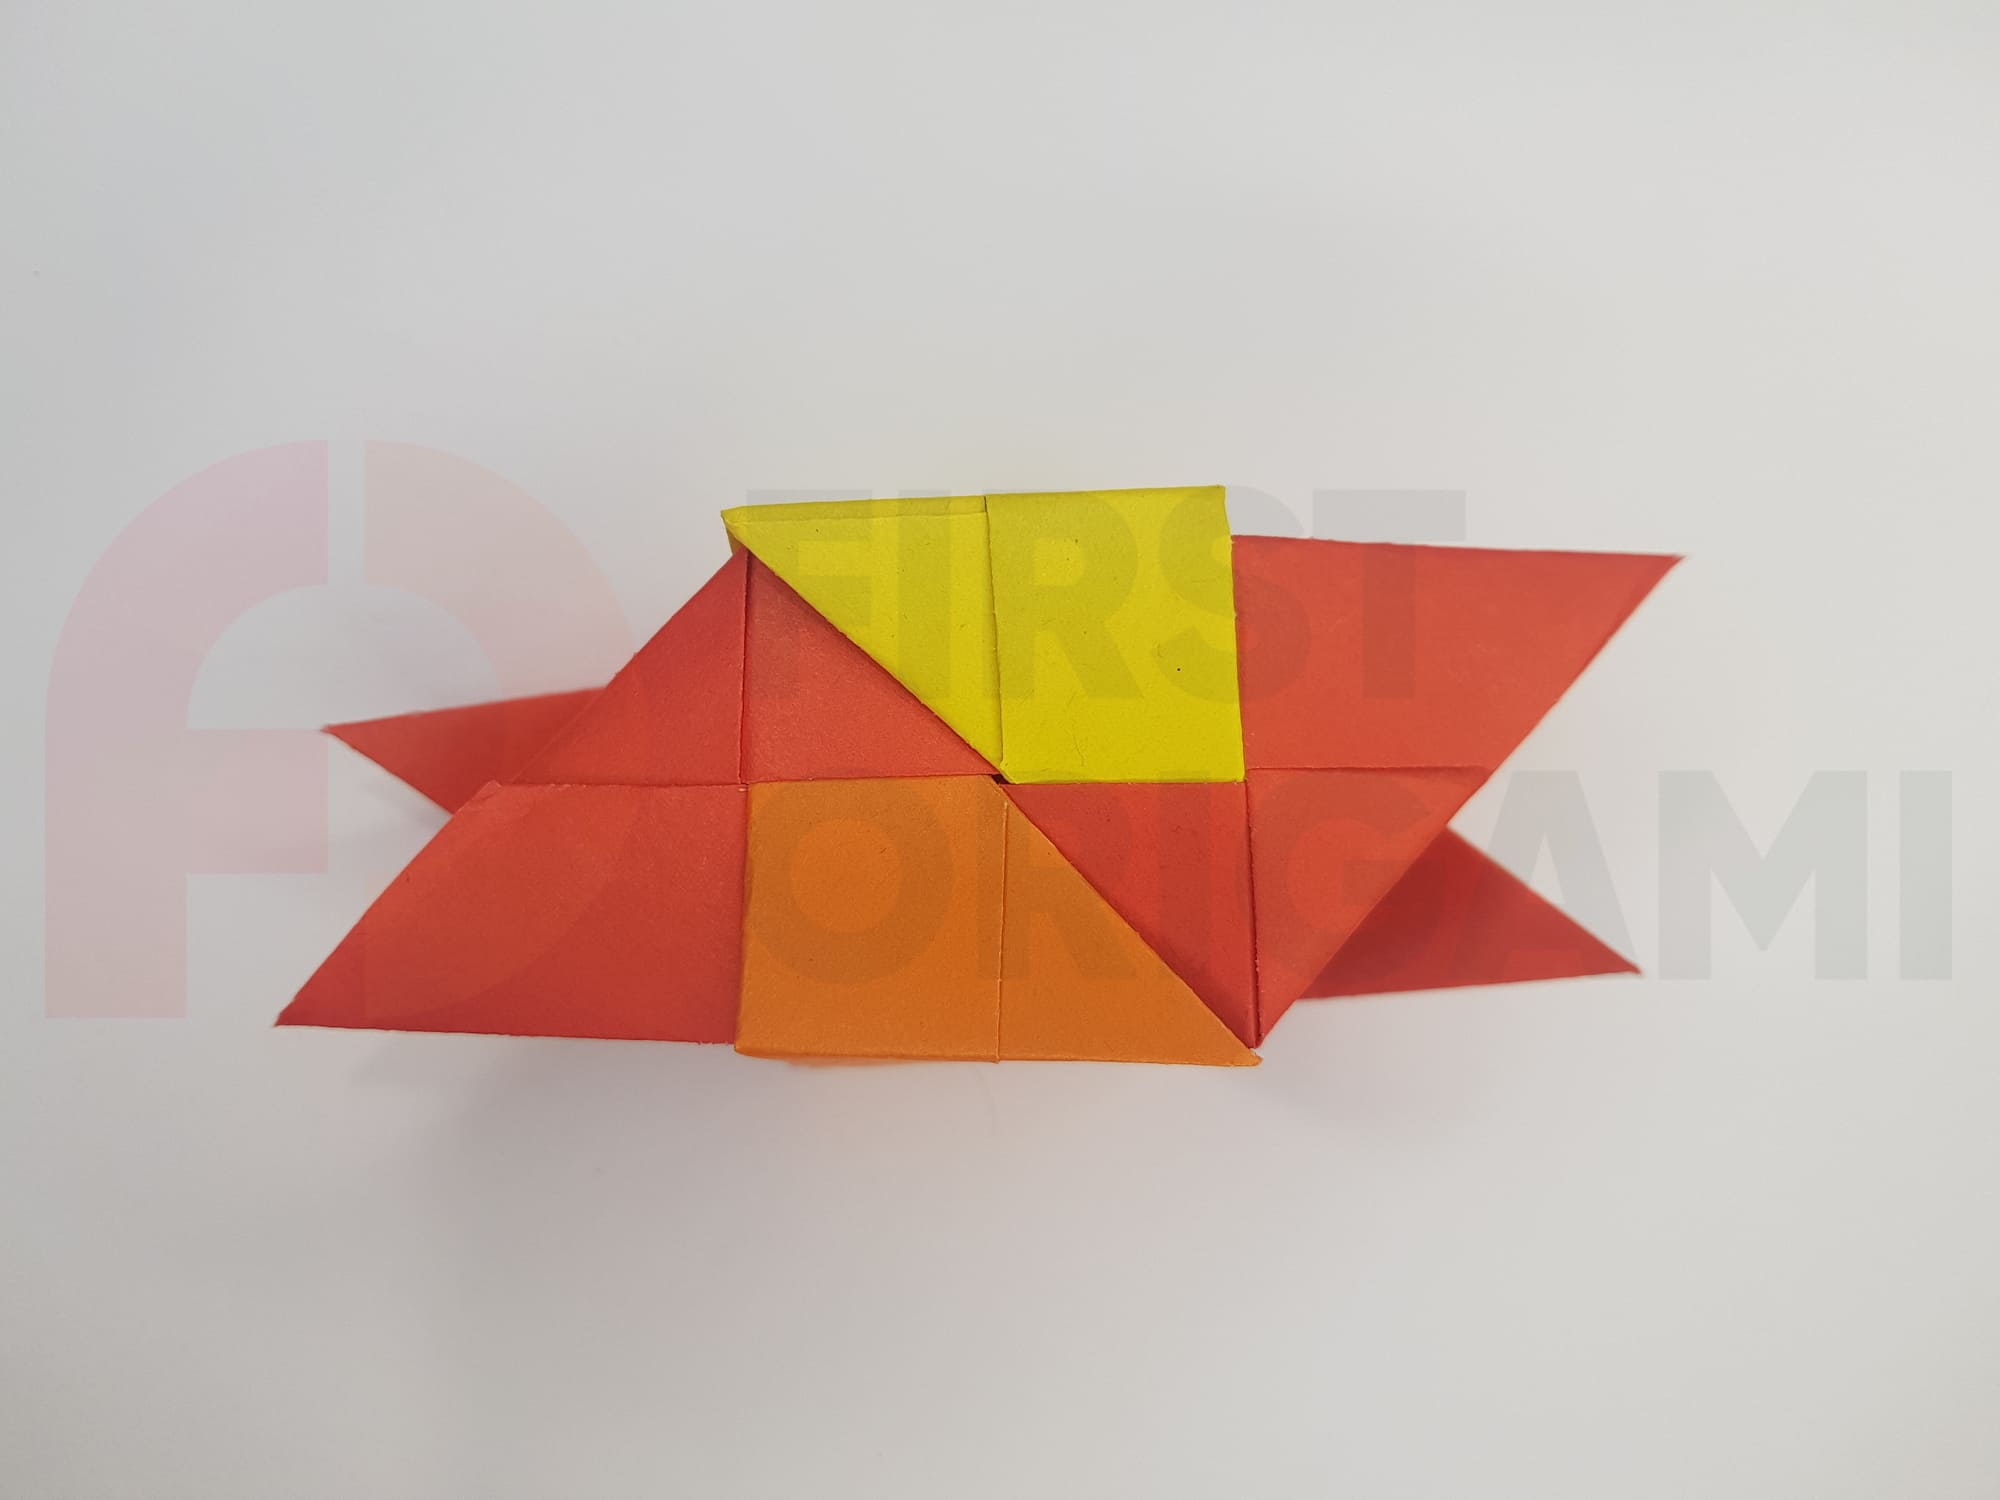
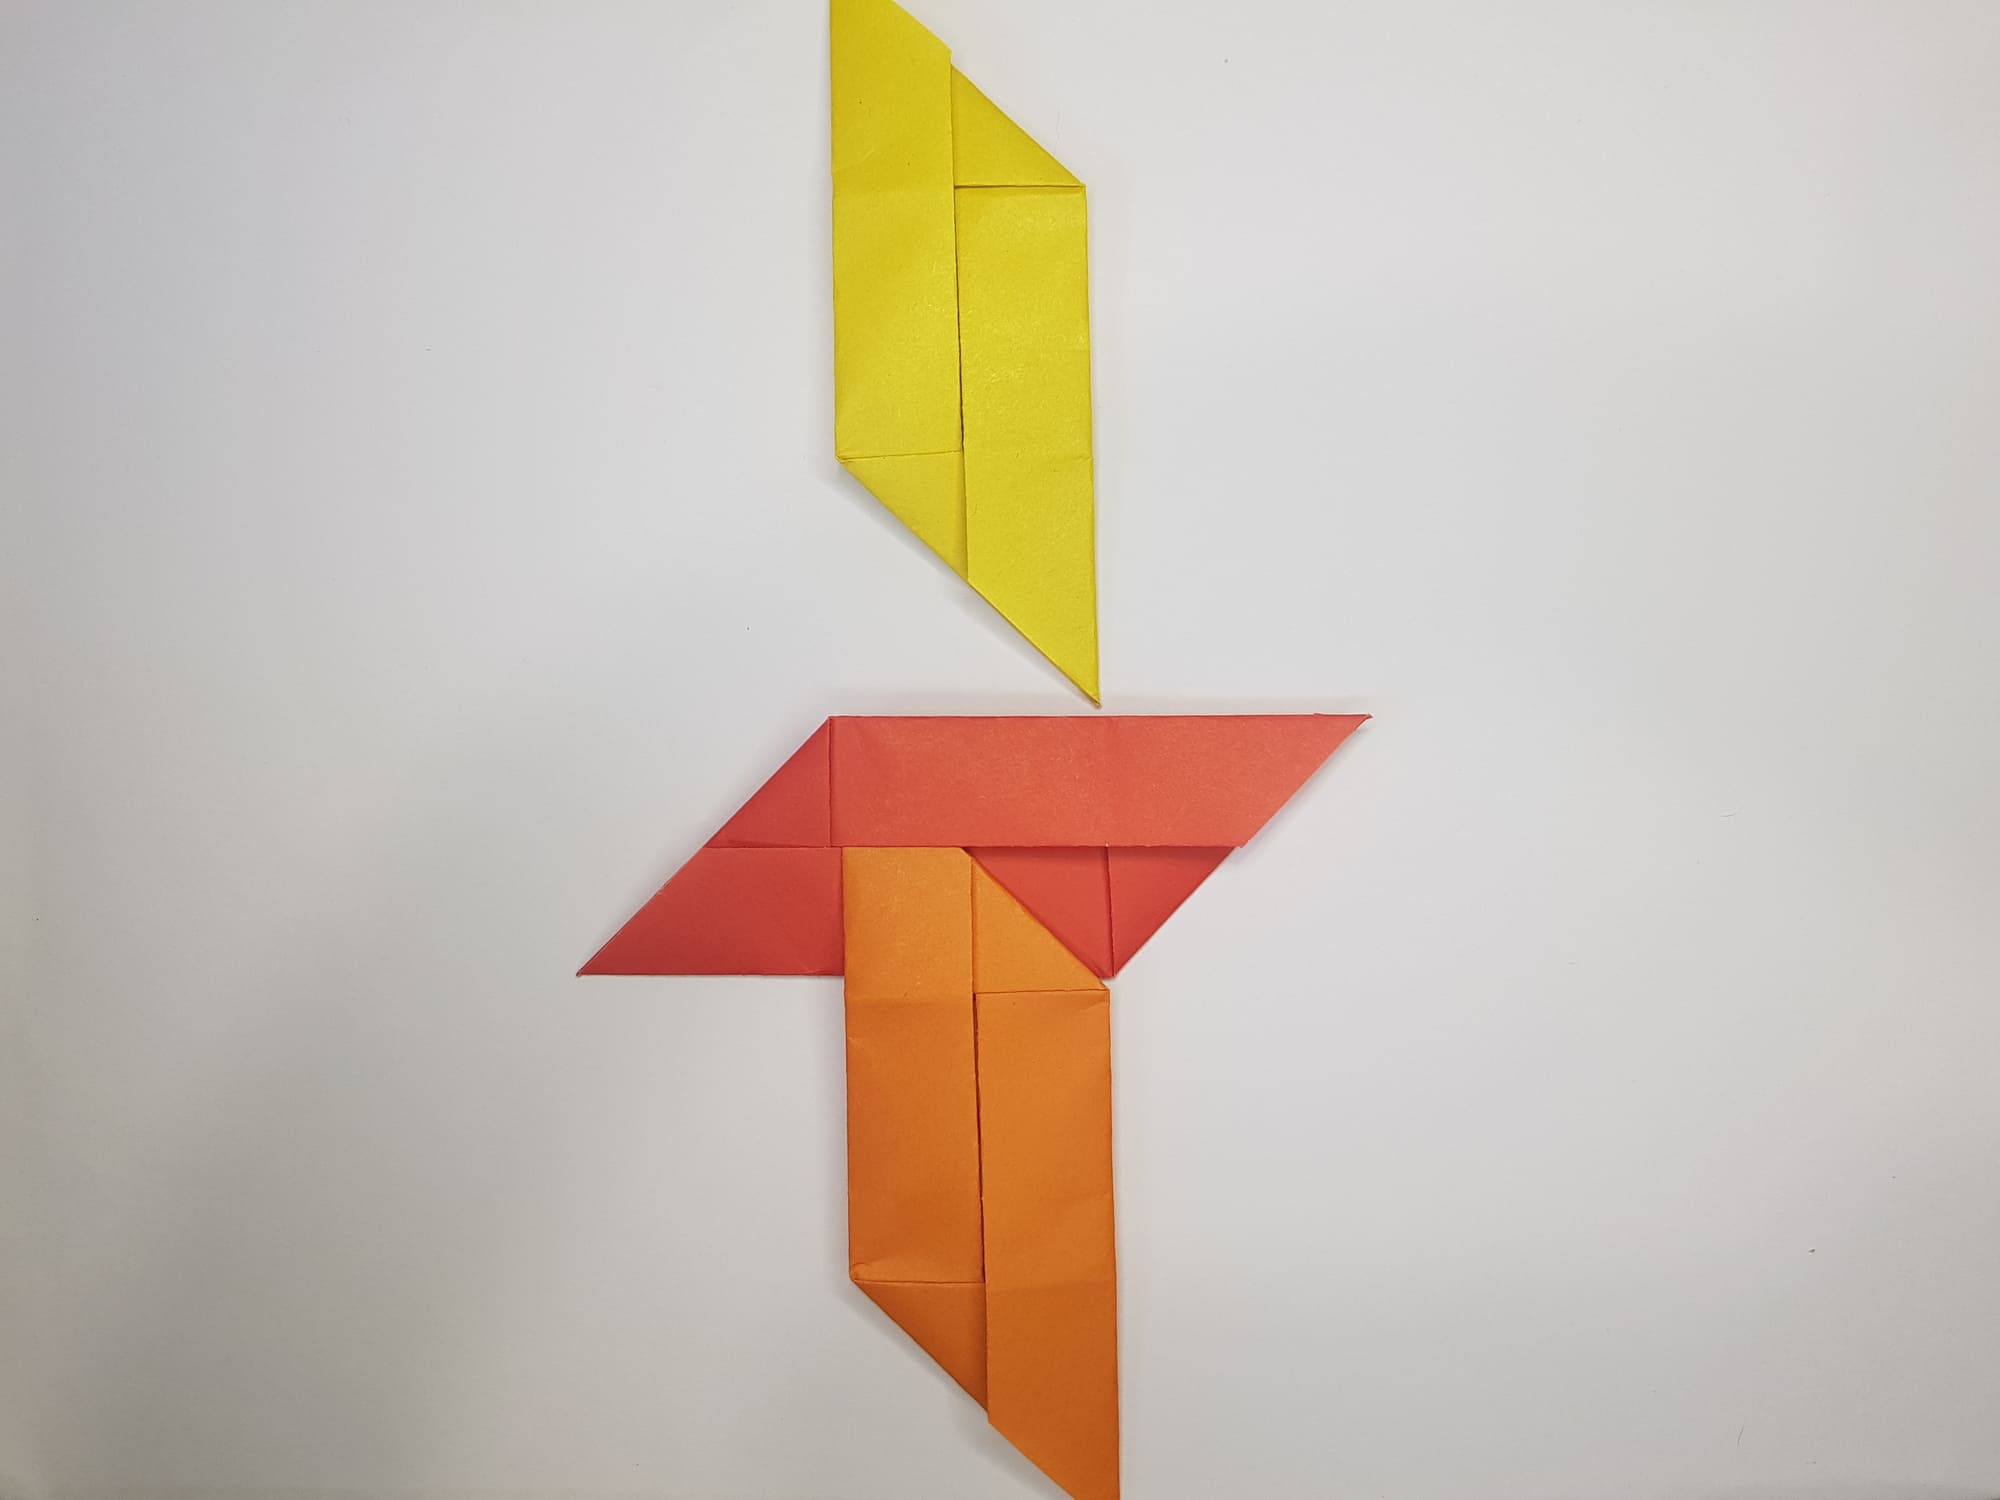
The first four sides of the cube are ready.

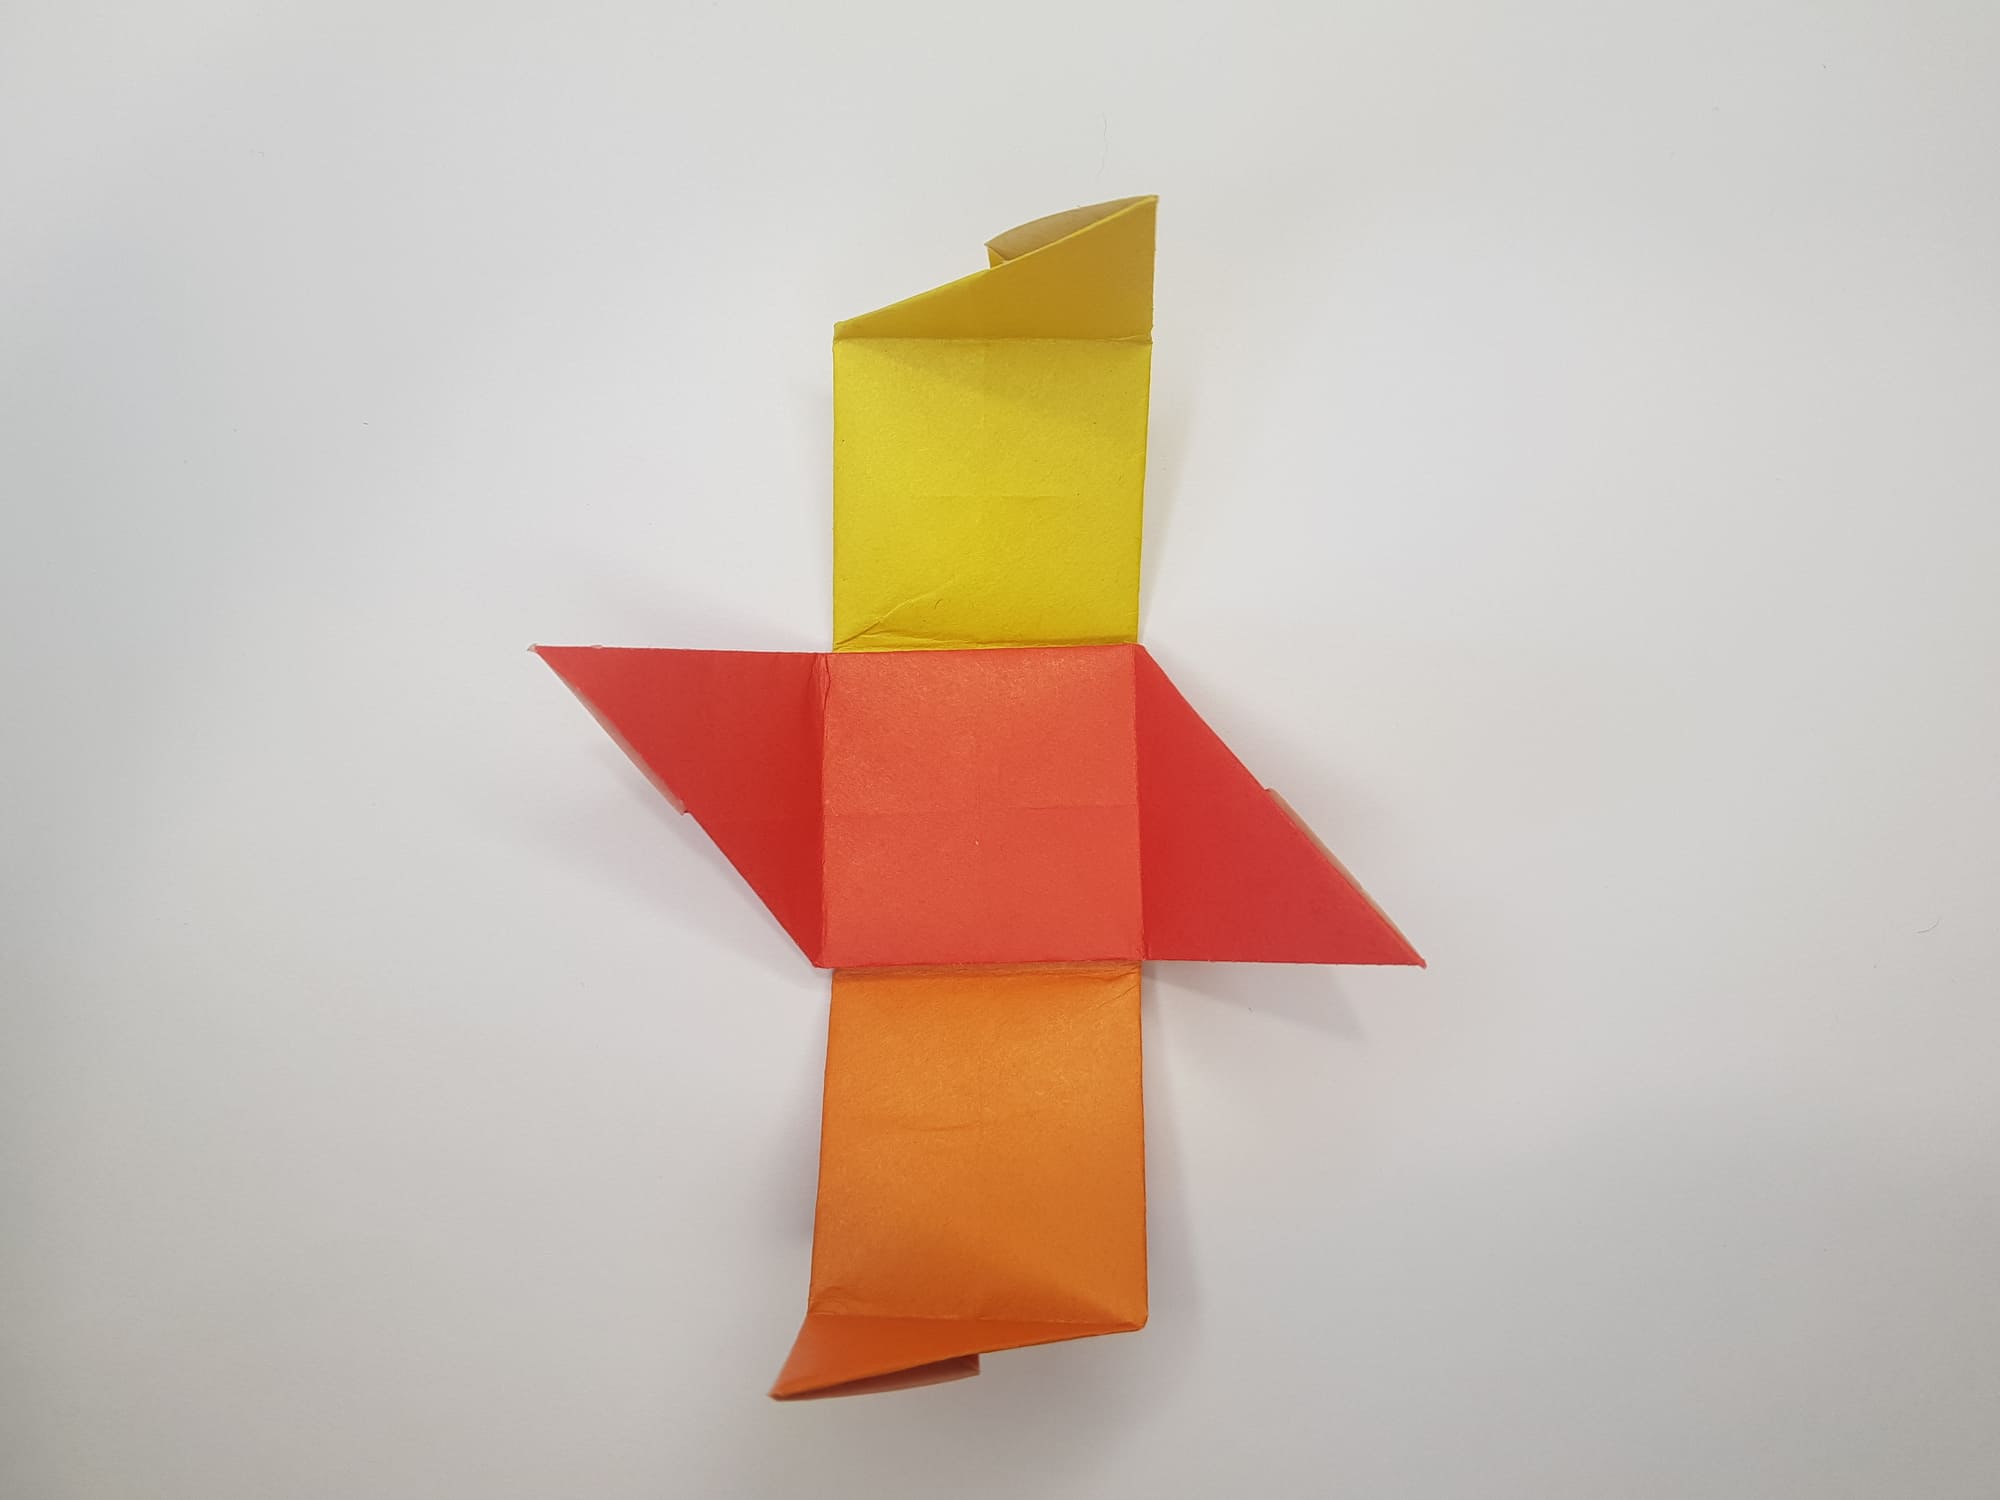
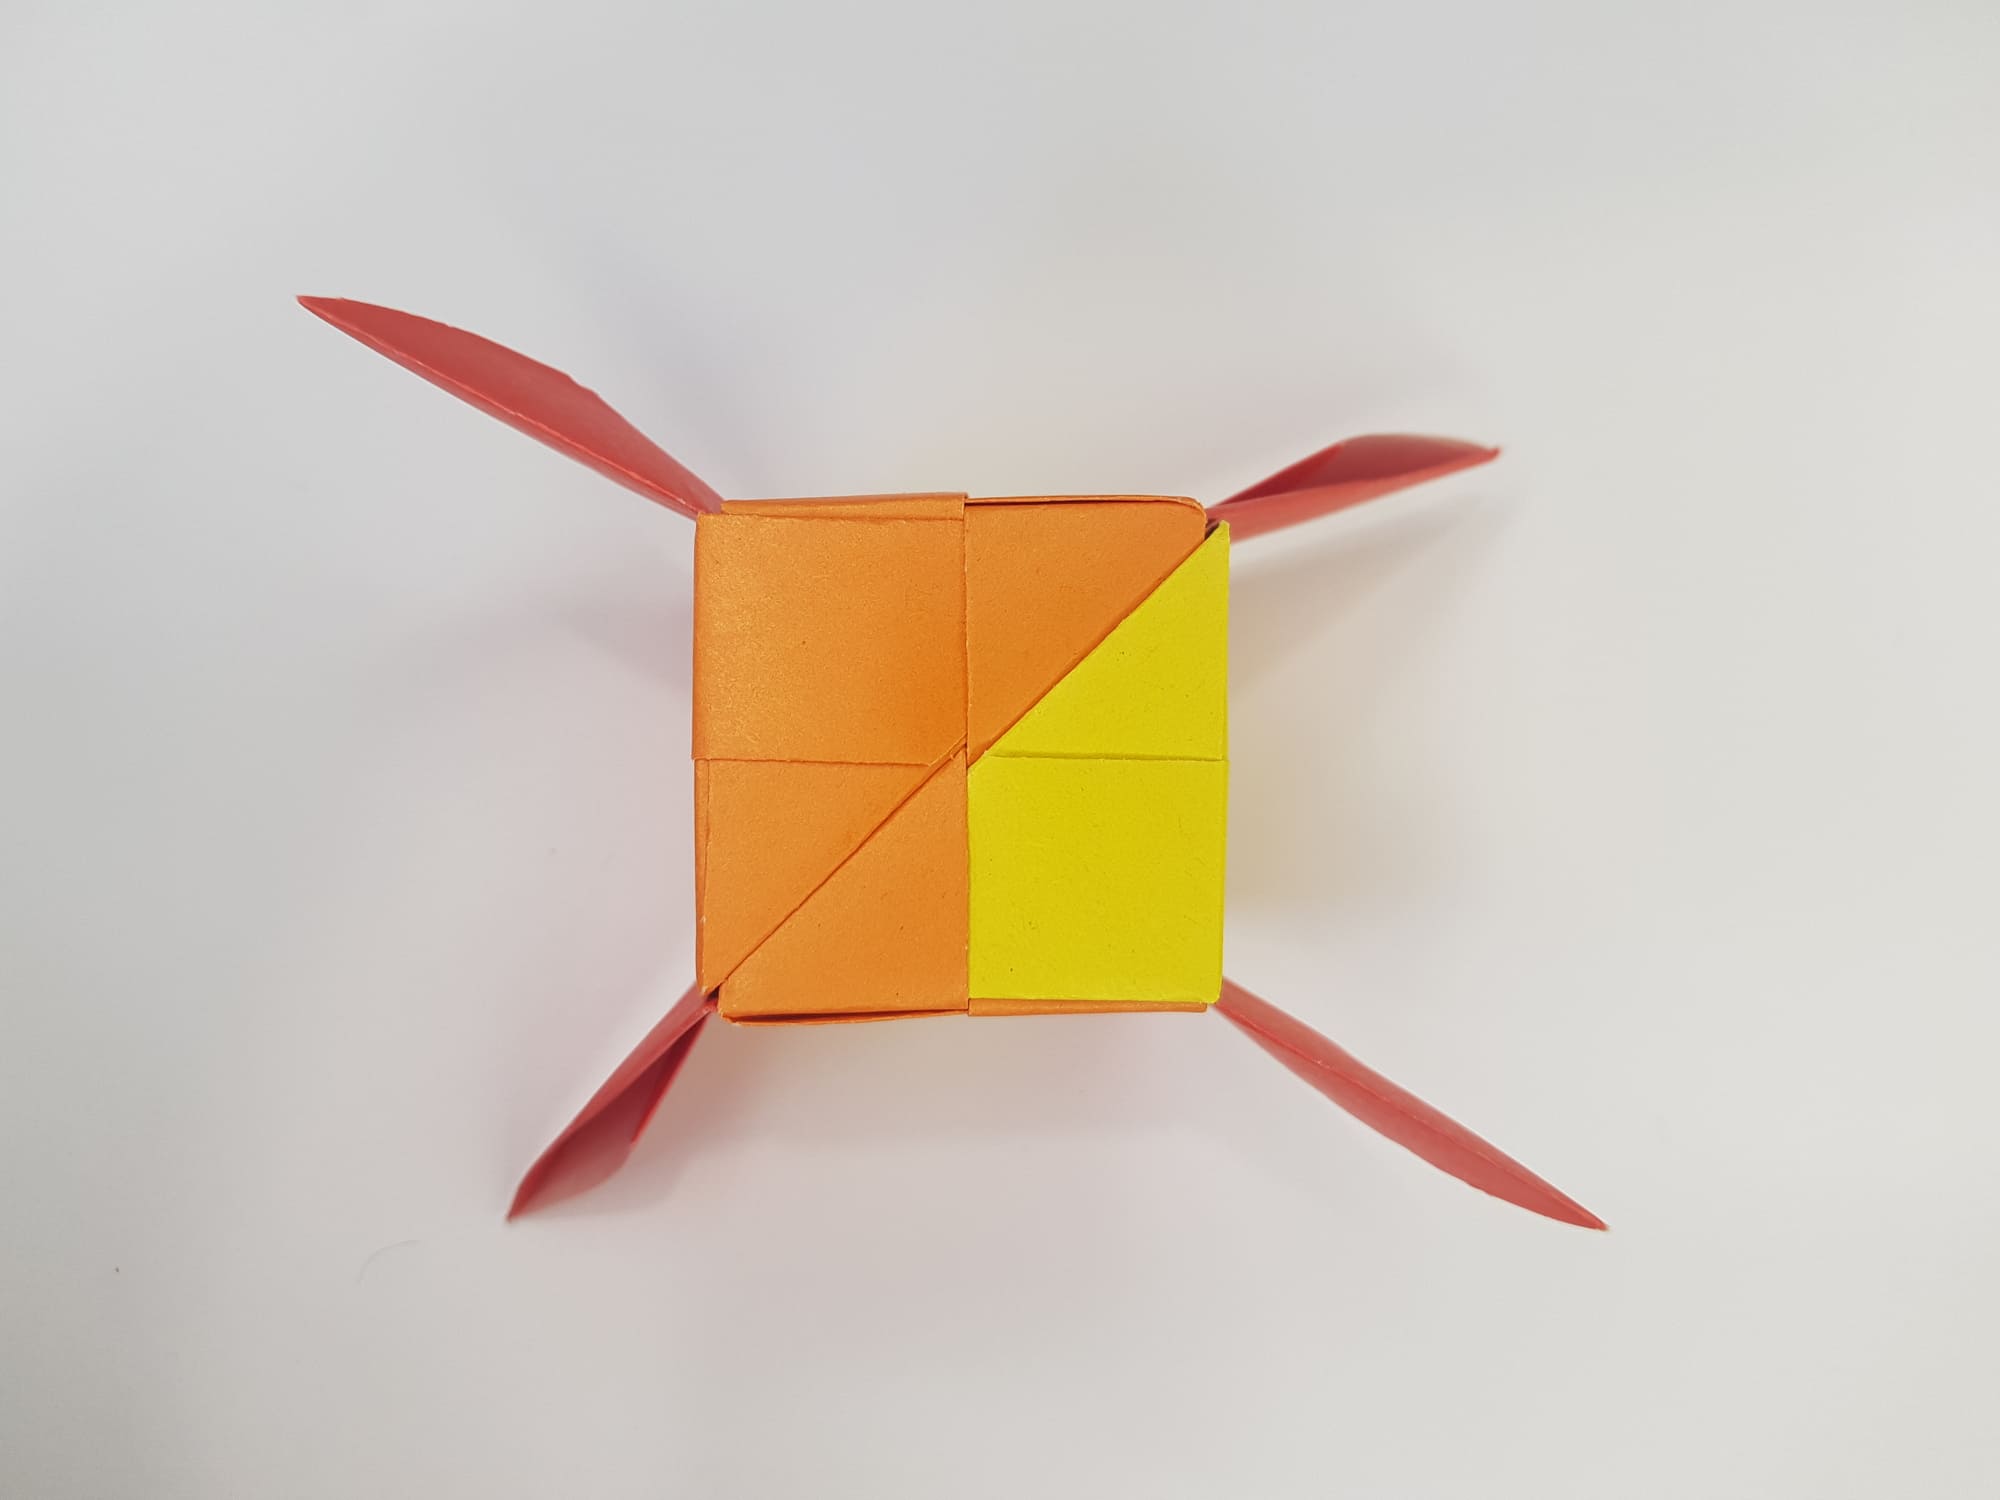
Turn the figure once away from you.
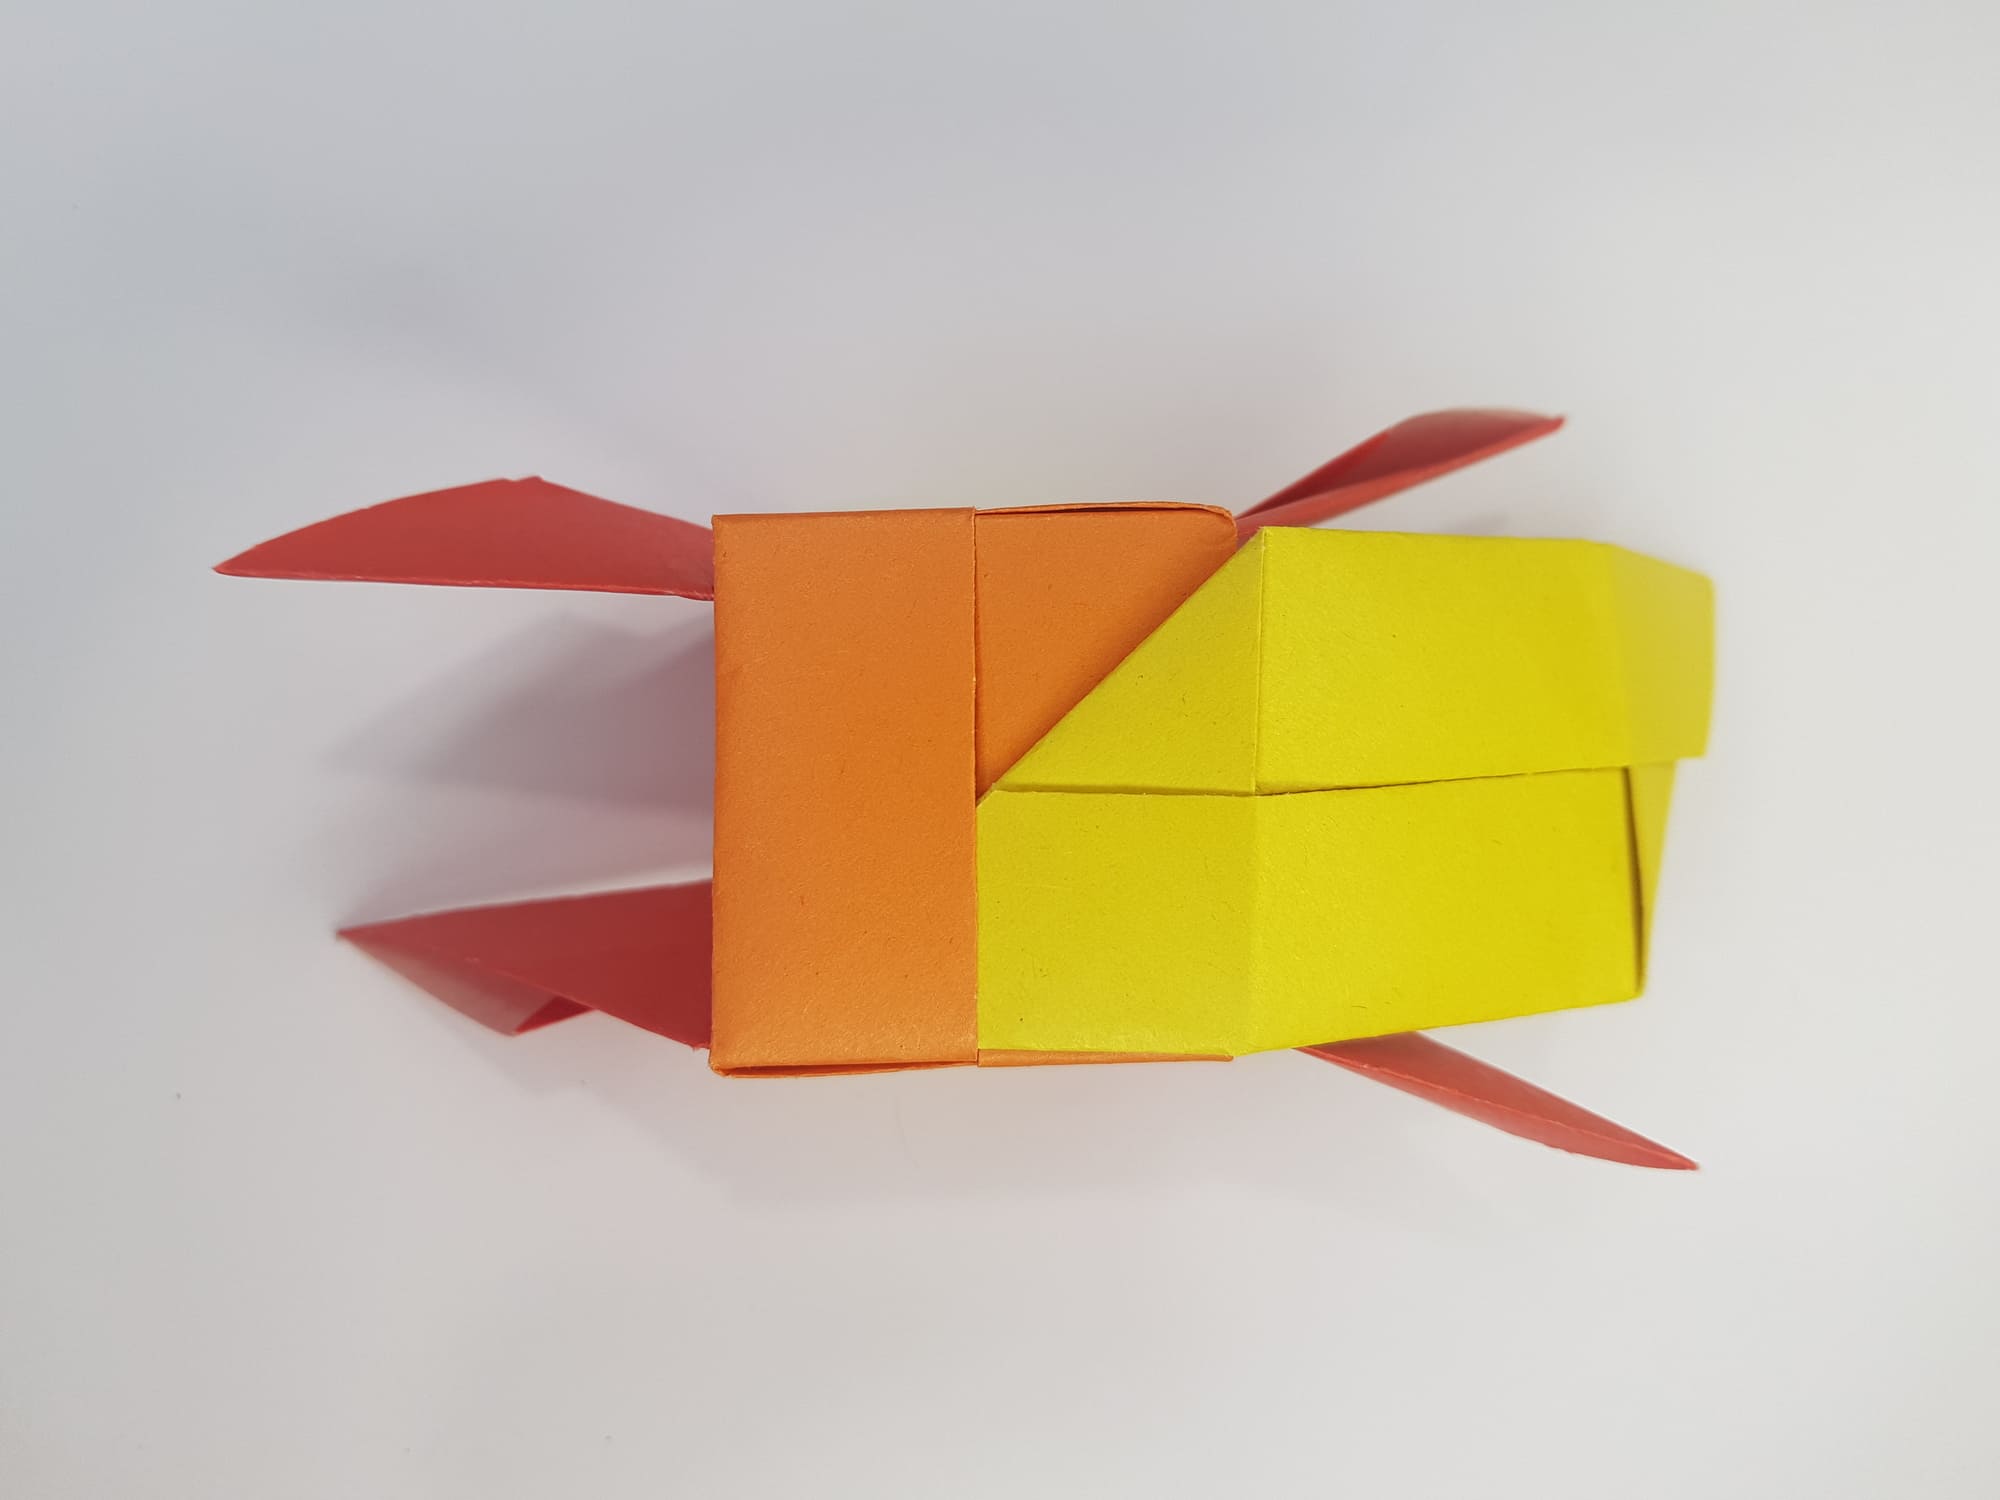
Add another part (yellow on the photo).
Turn the cube over to the opposite side and complete the right side.
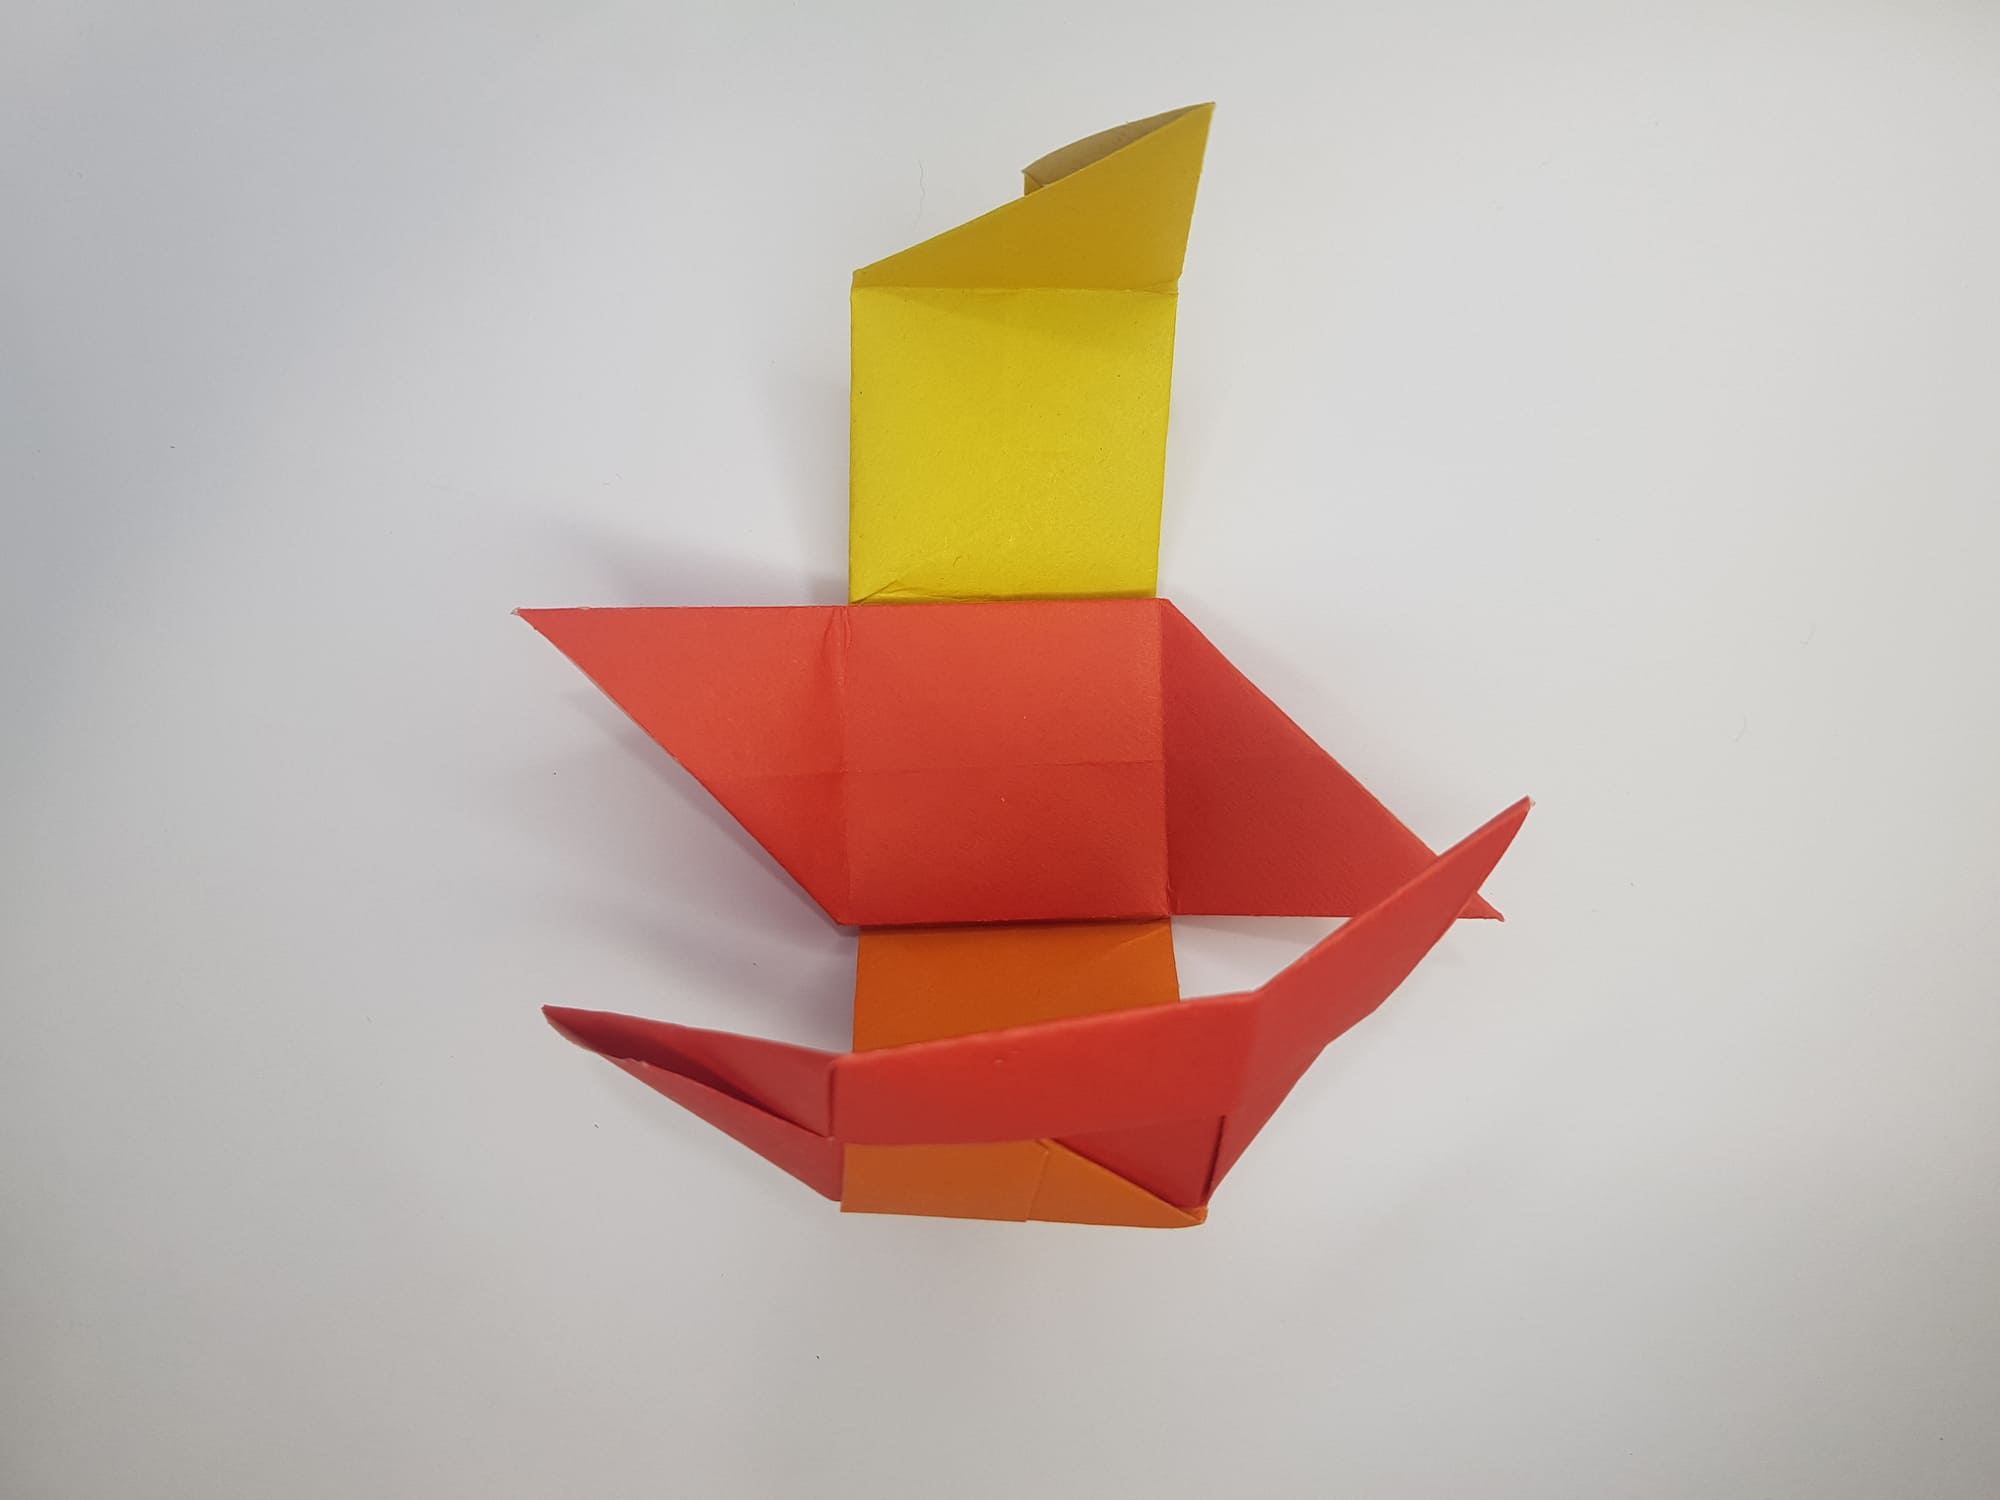
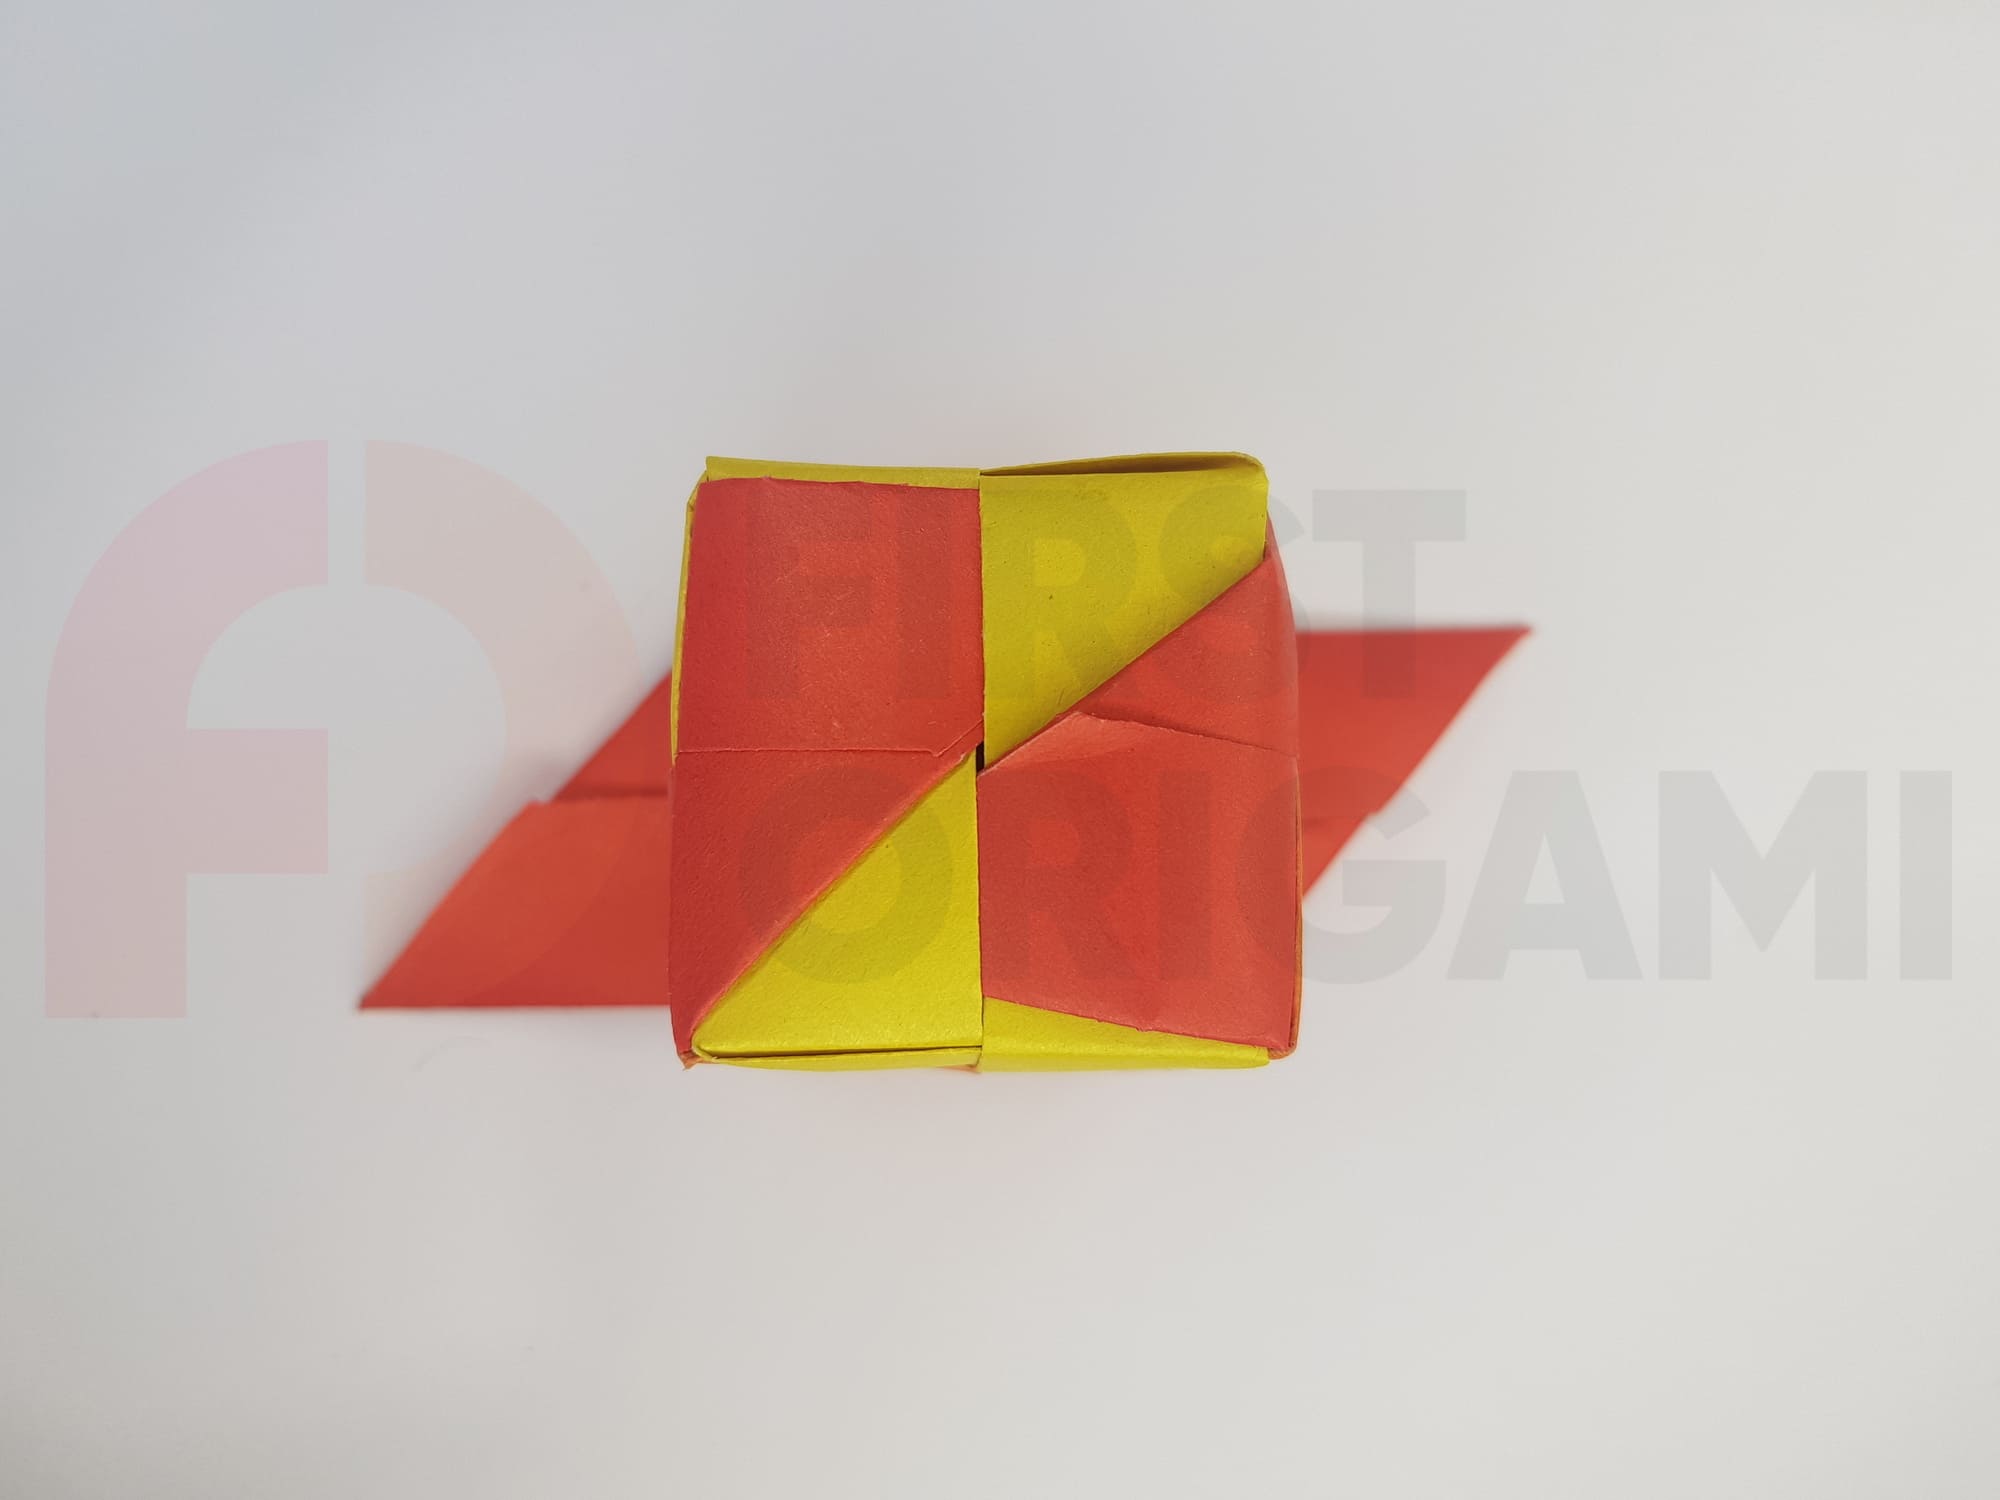
In the photo, the corner of the yellow part is inserted into the “pocket”.
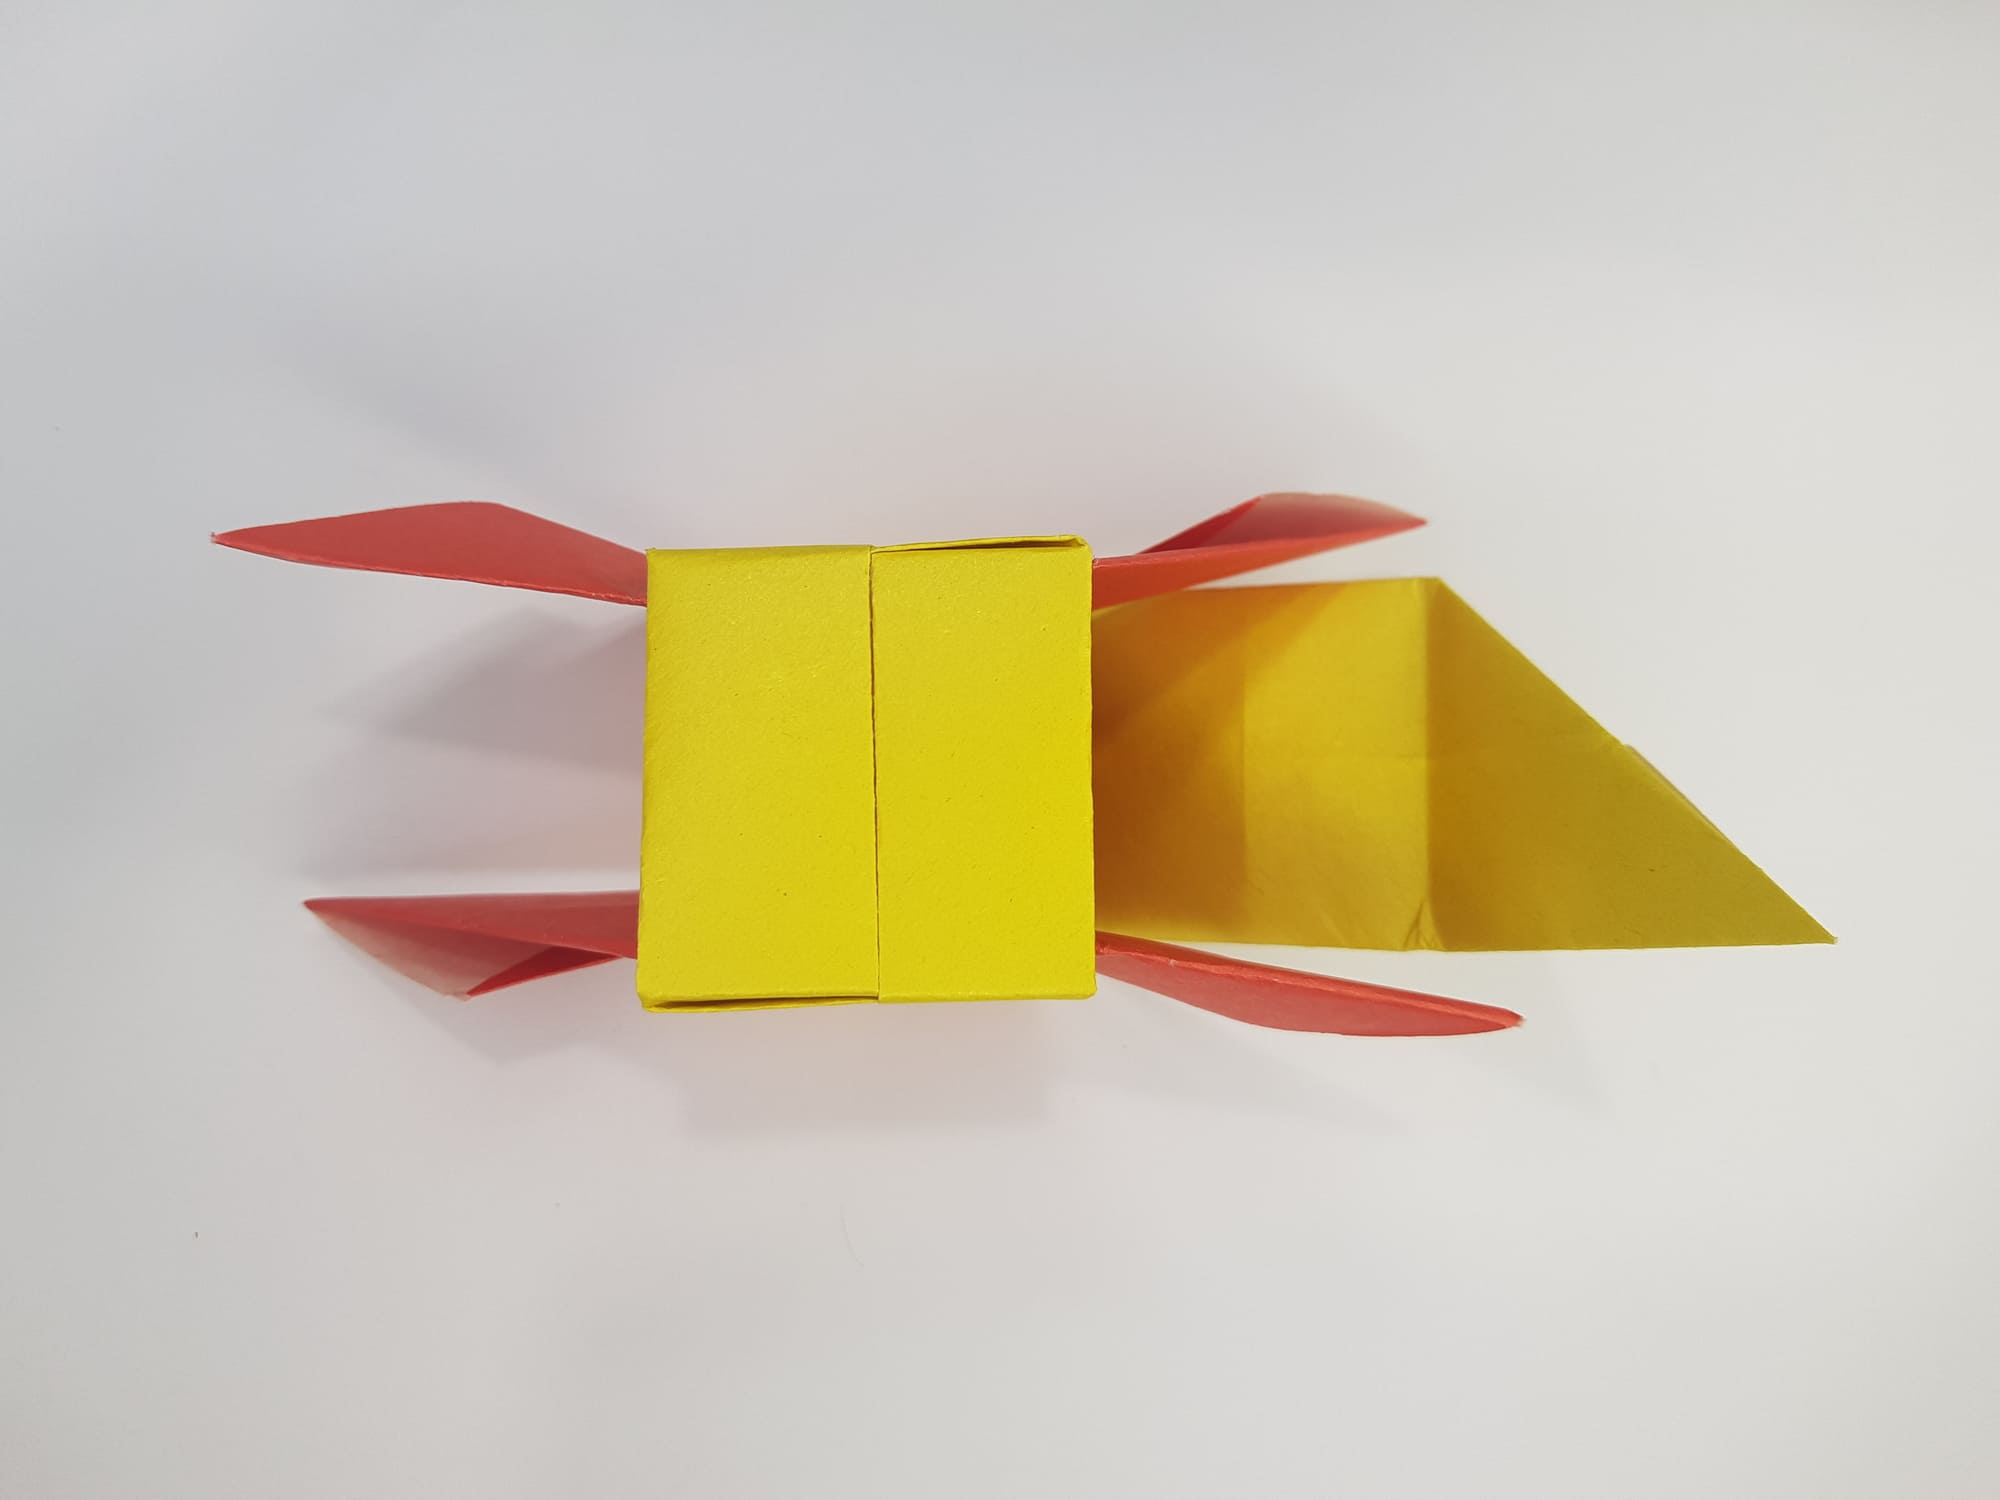
Add the last left side. In the photo, the corner of the orange part is placed into the “pocket”.
Flip the cube over to the opposite side and complete the left side.
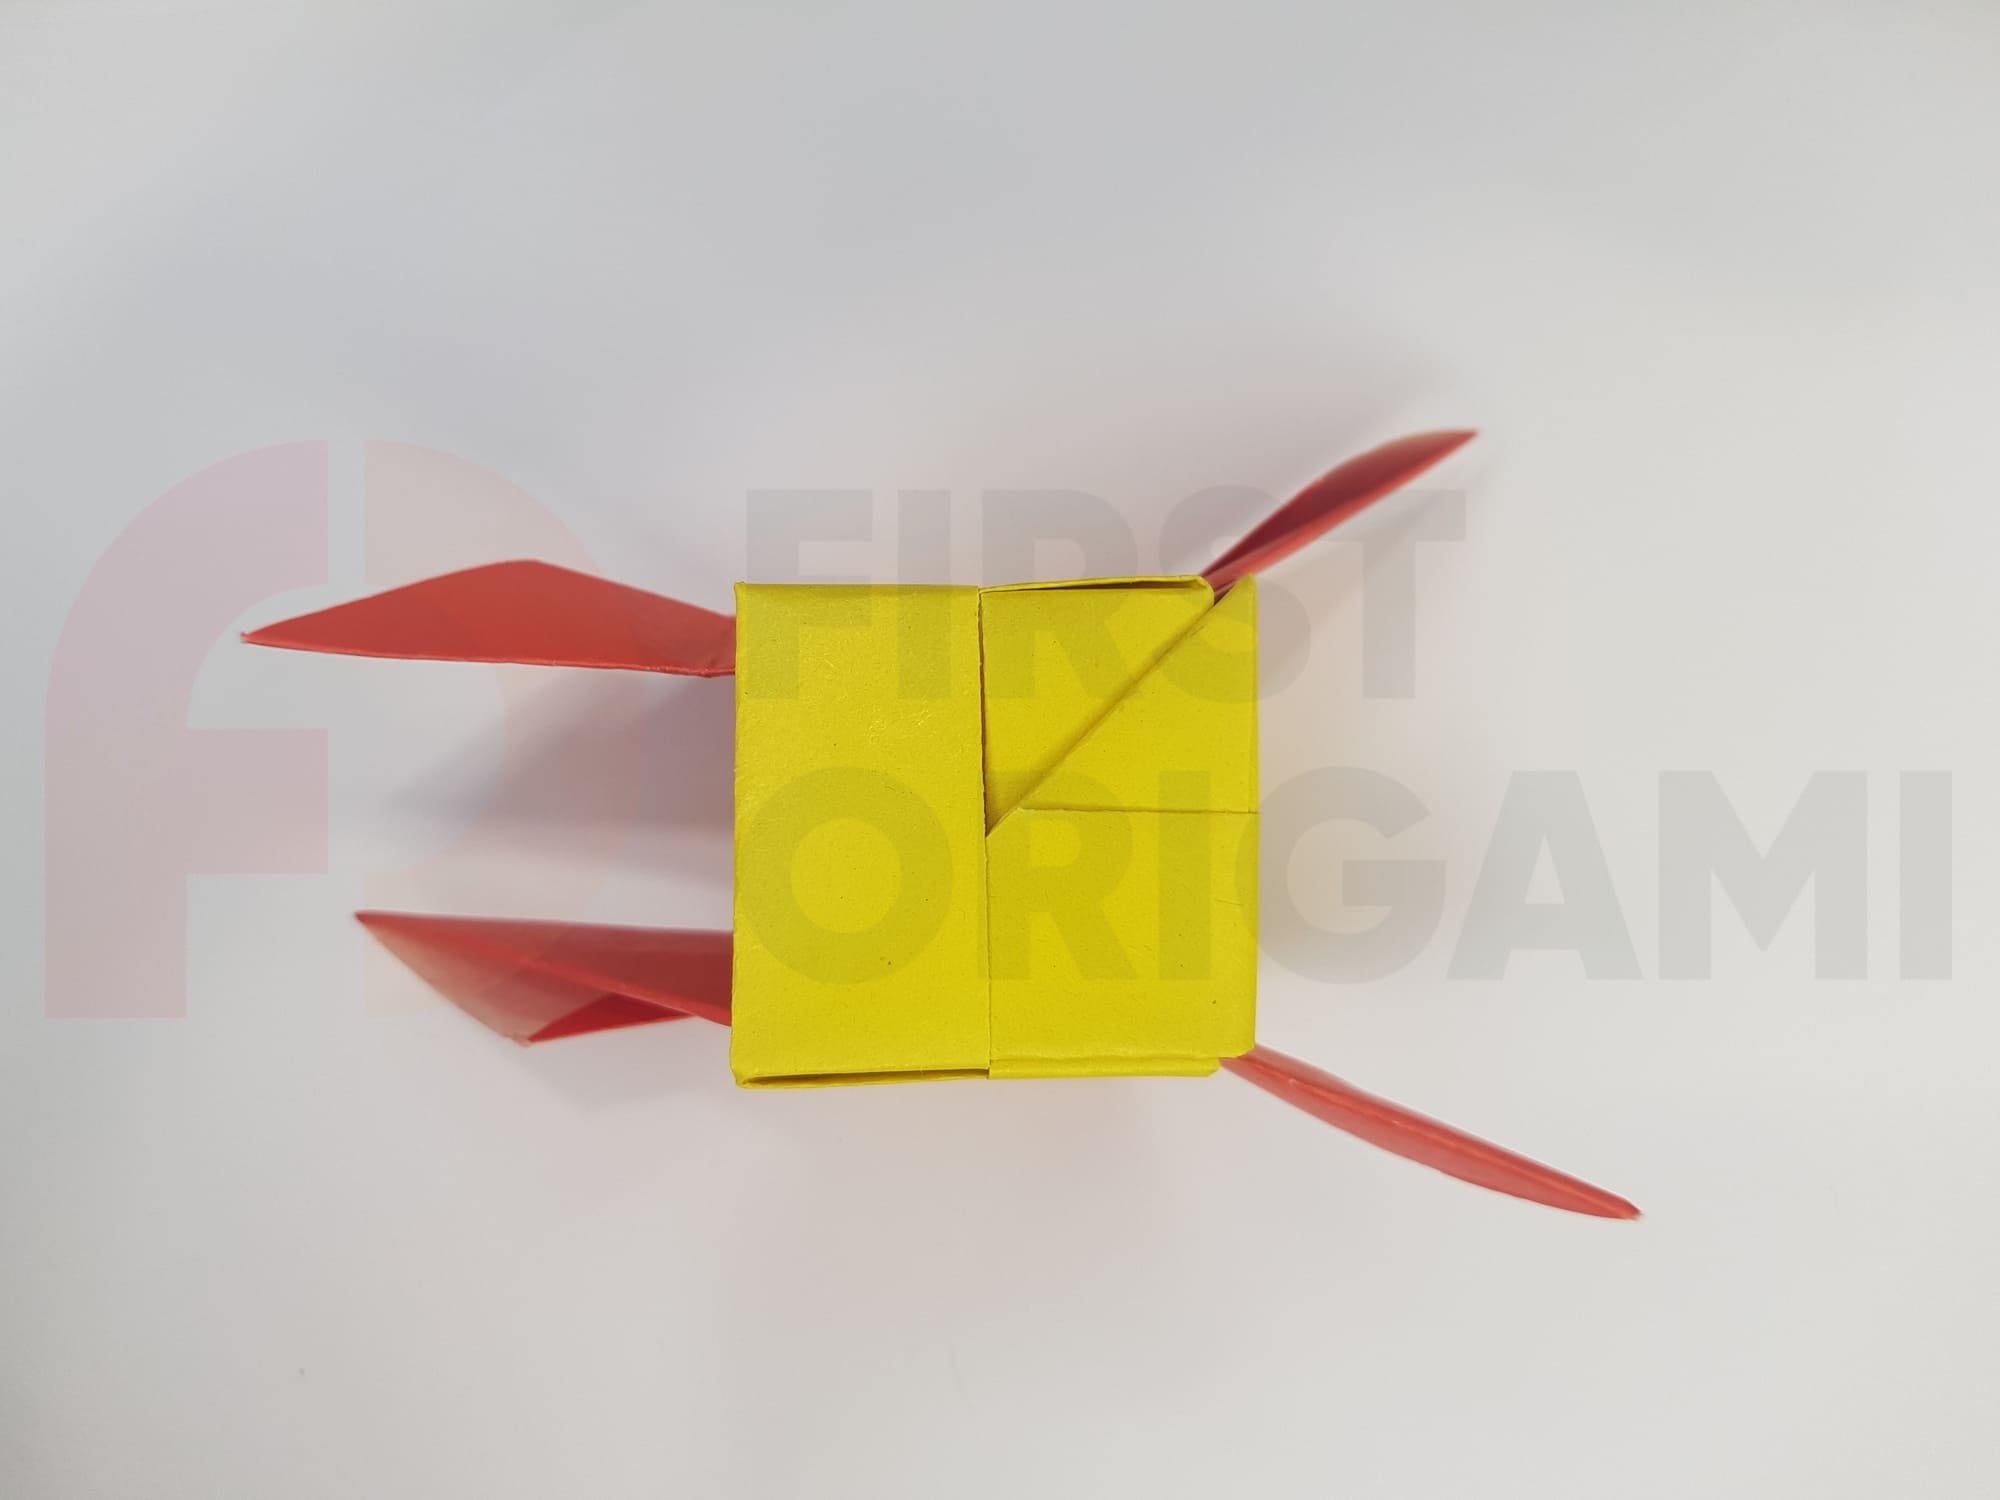
All you have left to do is put the remaining corners into the “pockets”.
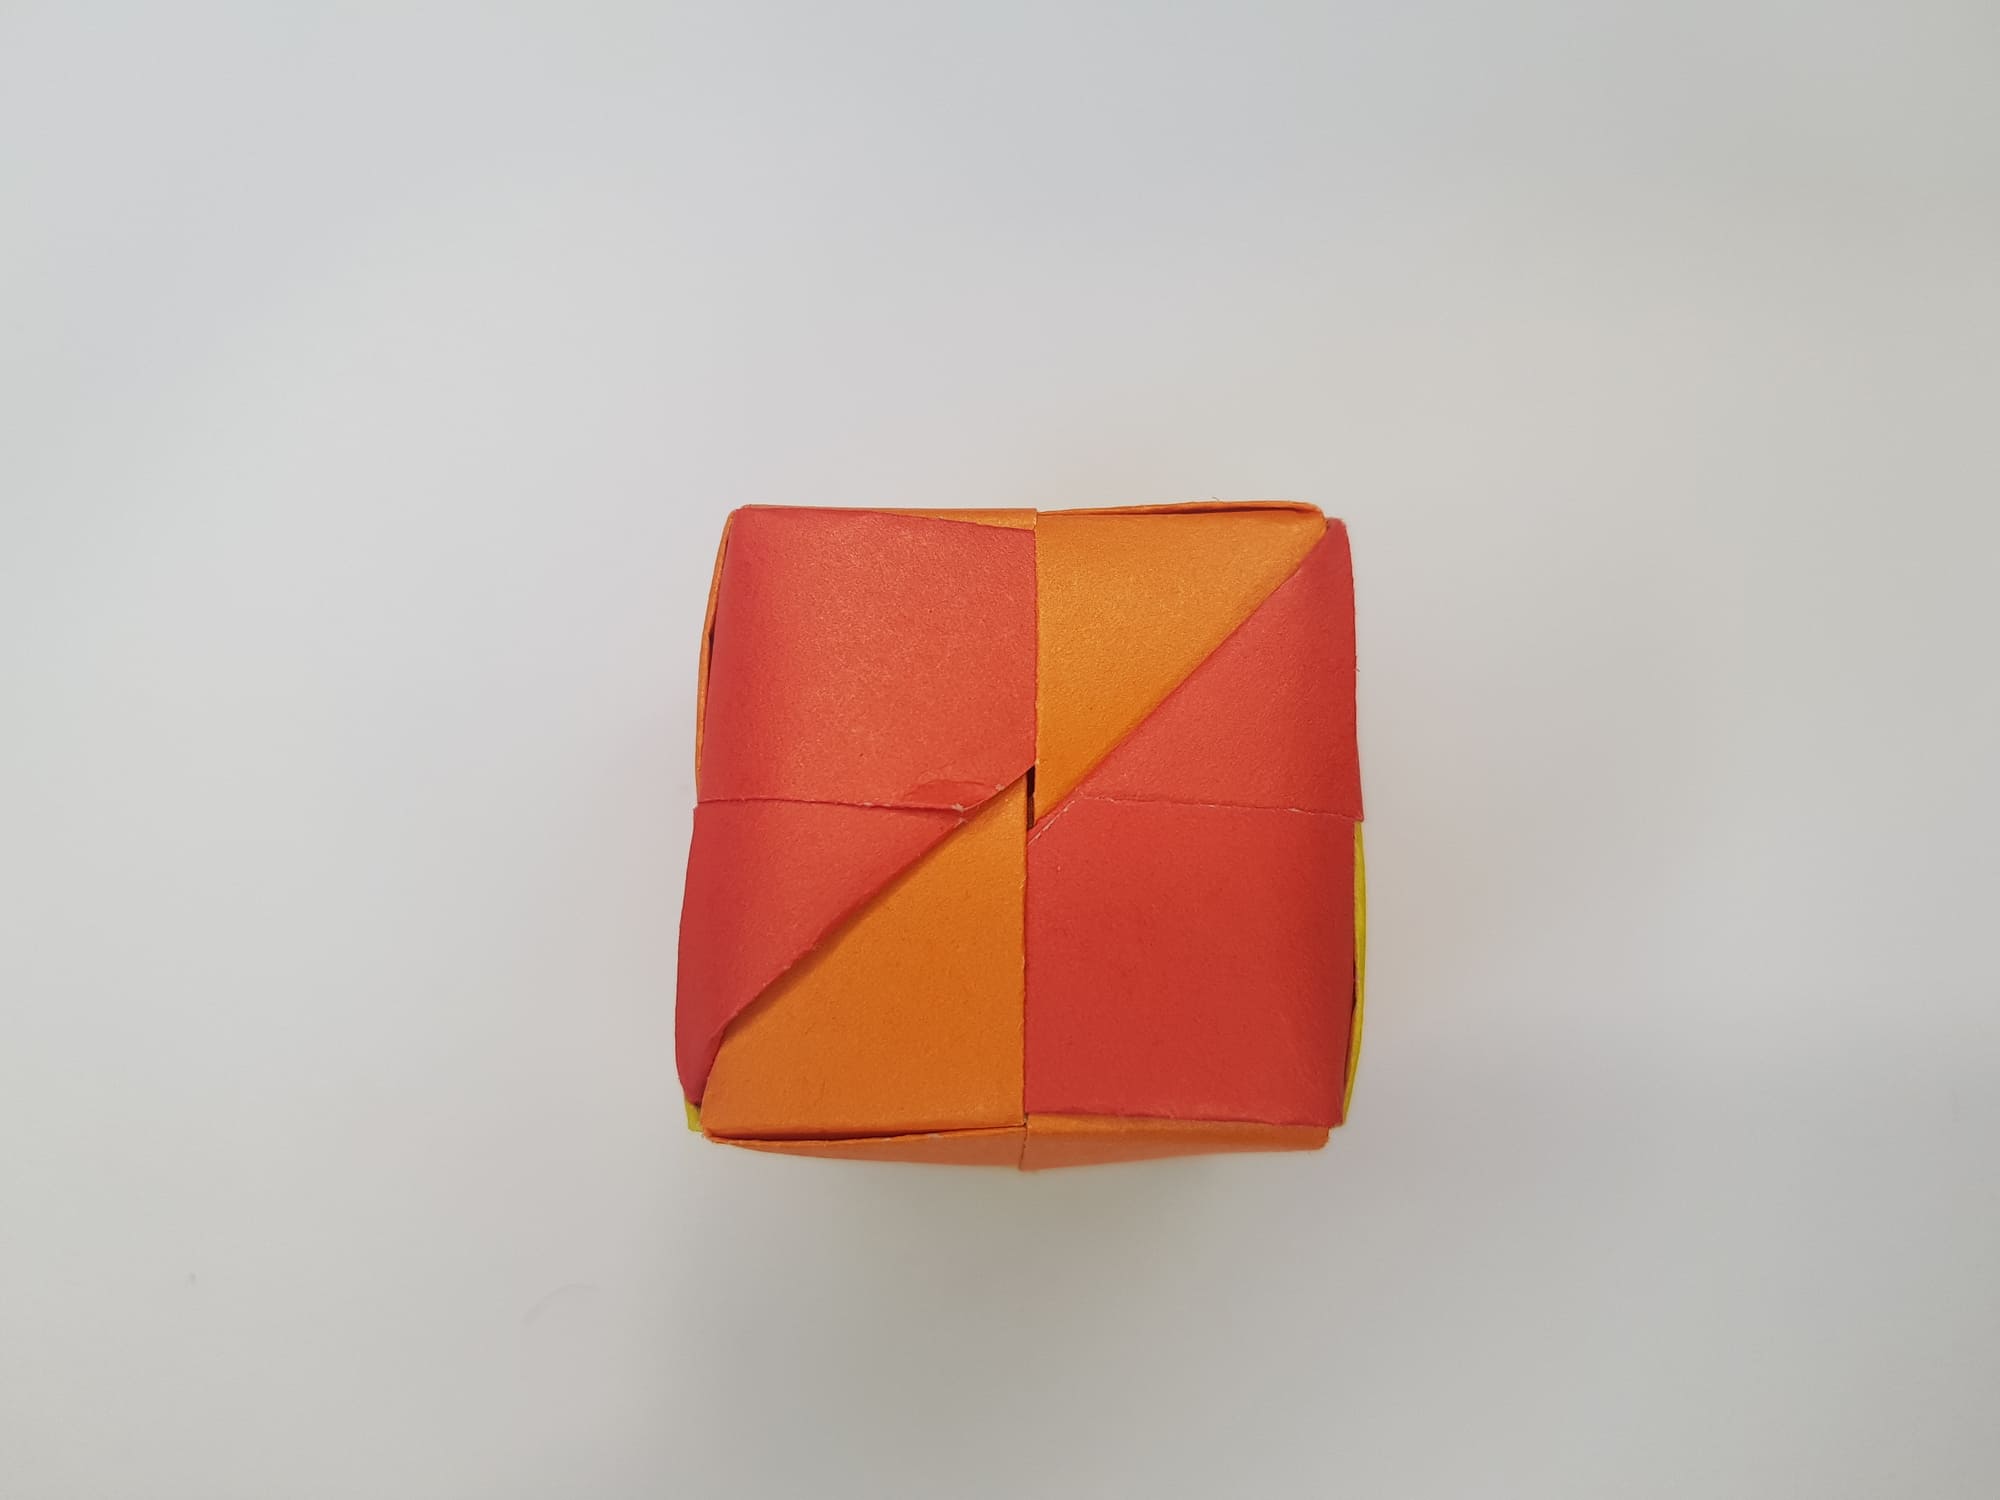
In the photo, they are red.
The cube is ready.
We are sure that you will want to repeat this origami in a different color and size. Such a beautiful result! You can also hide a note with a wish for the future in a paper cube or make a kind of piggy bank – no one will guess about its function, and besides, it will not need to be broken.