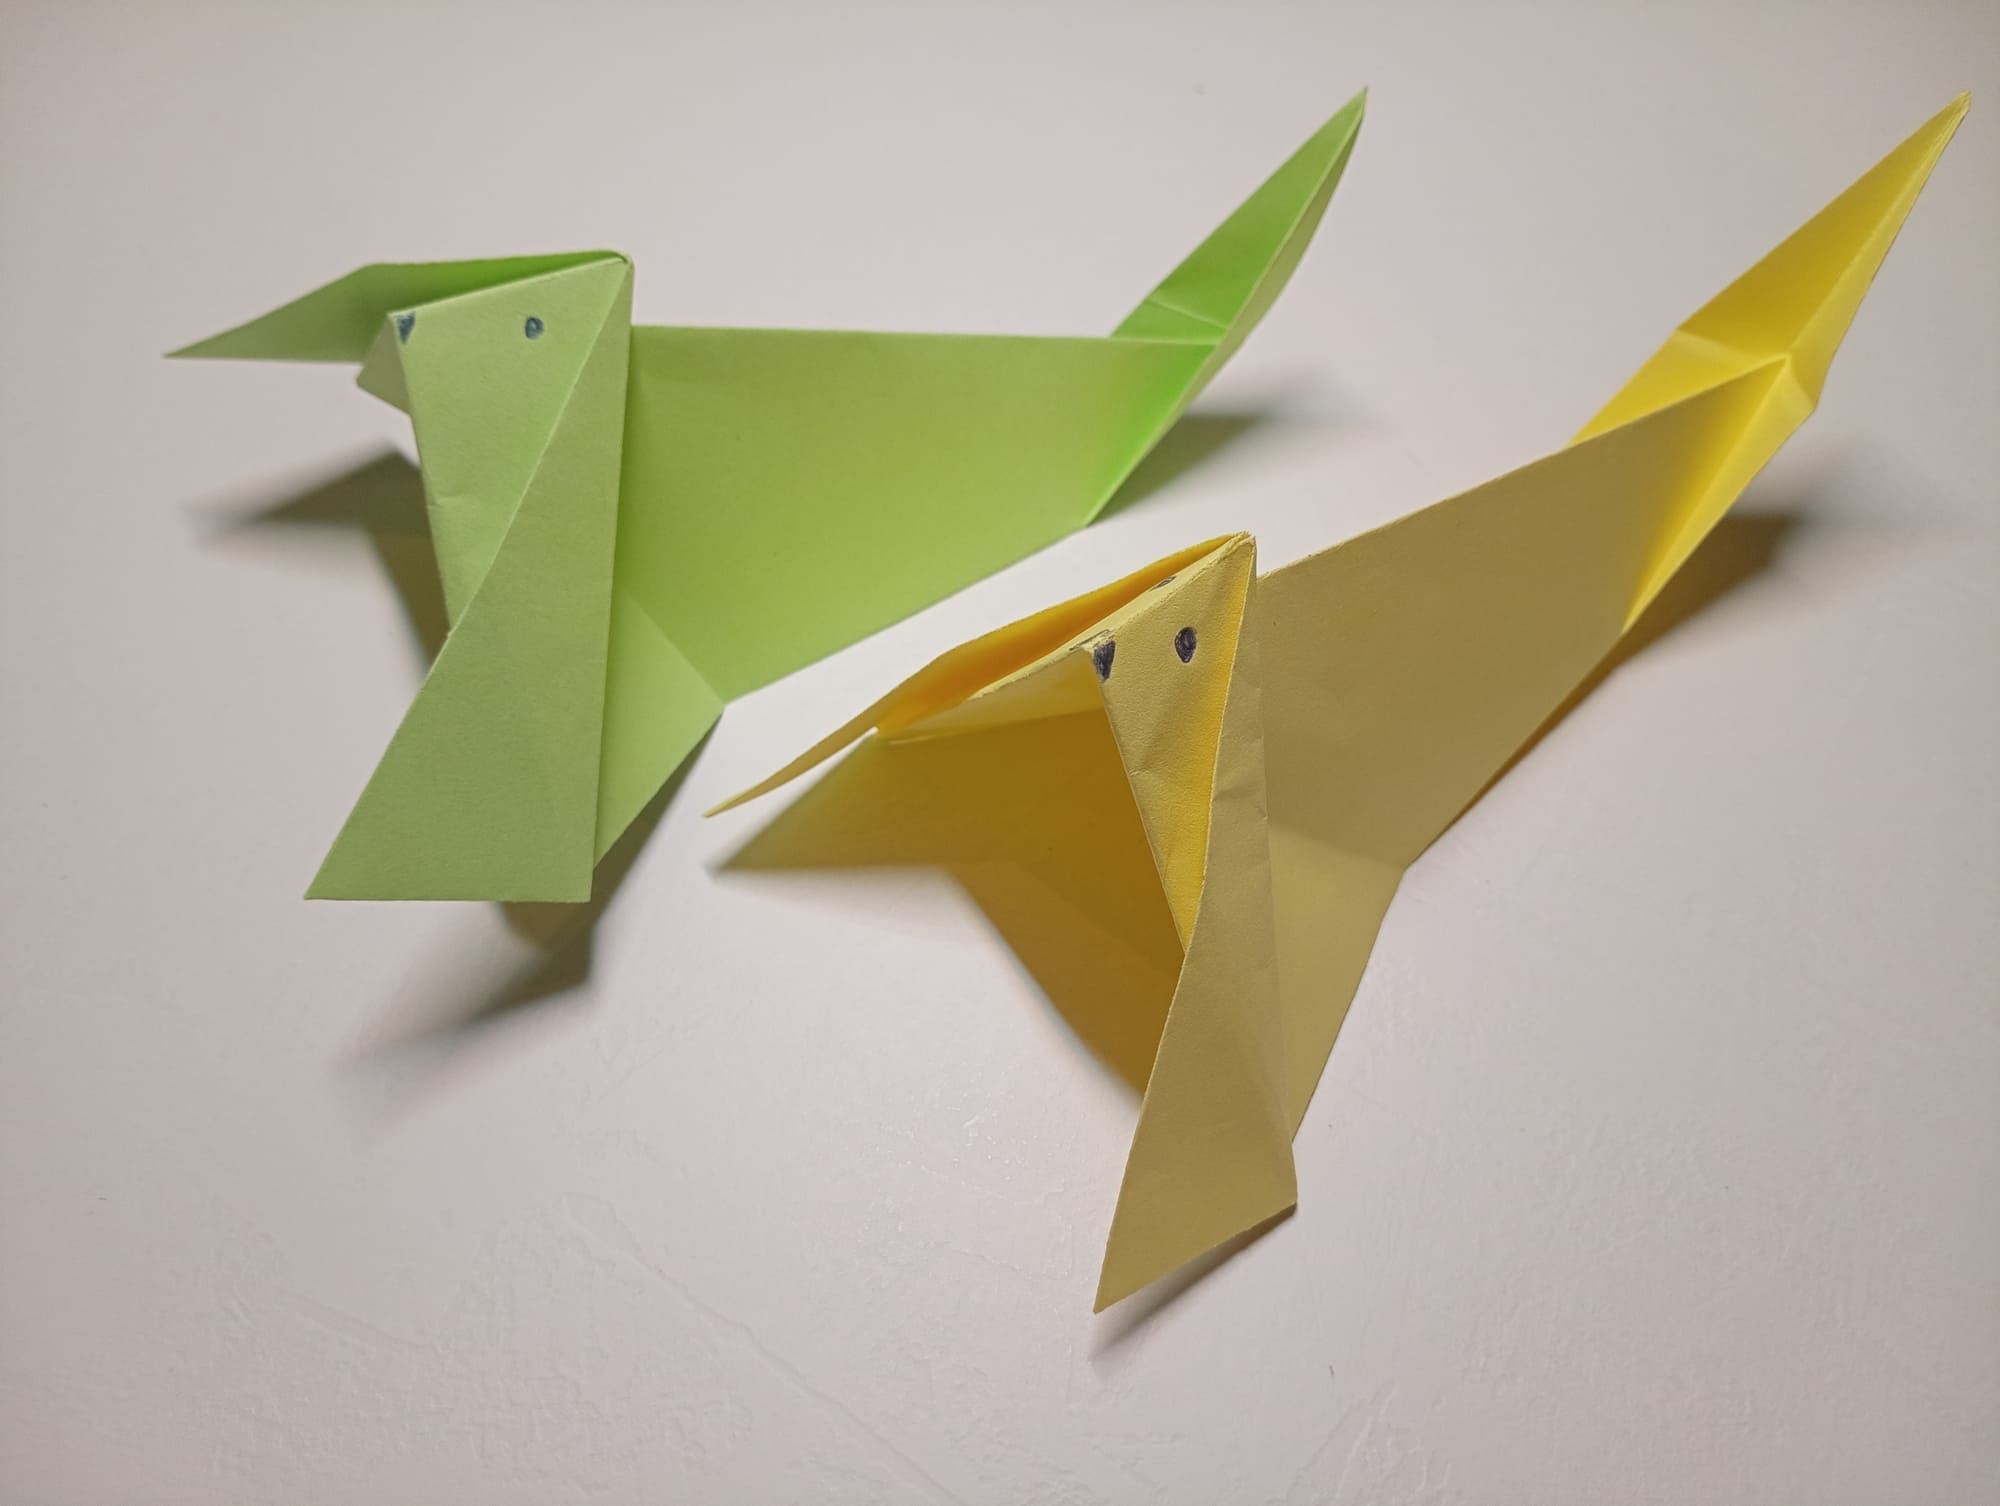
Origami Dachshund
The original origami dachshund looks very cute. The provided master class will be an ideal leisure for any dog lovers. To create the figure, you will need one sheet of paper. You can use special paper for a printer or origami. If you choose the second option, it is recommended to place a sheet of paper with the colored side down. If you’re ready to get started, sit back, and let’s get started.
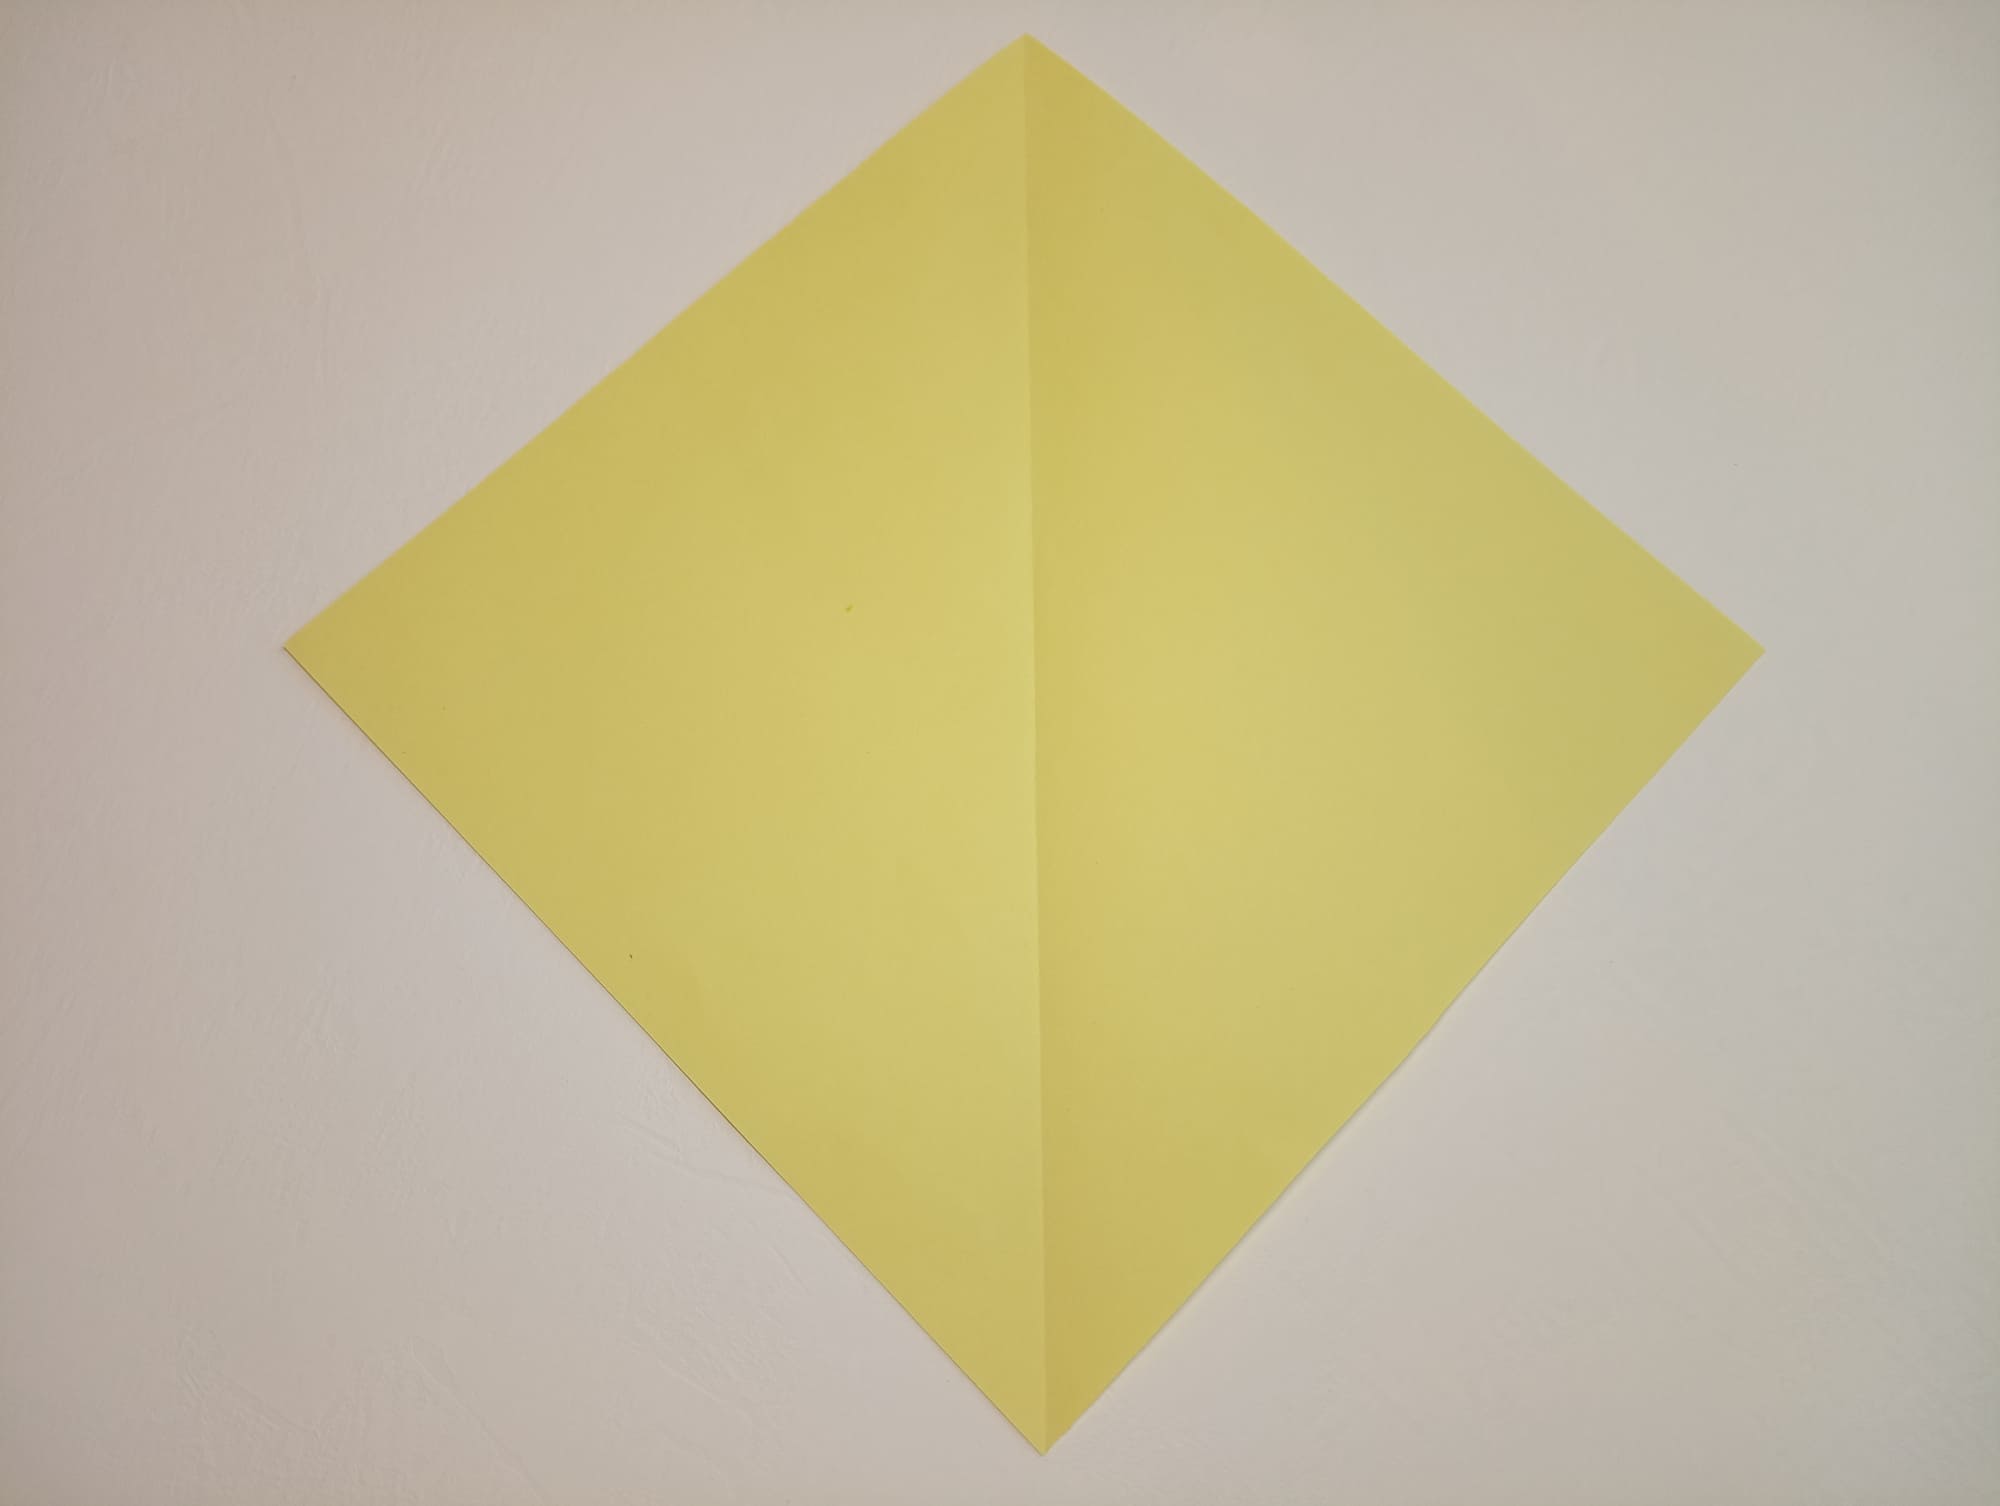
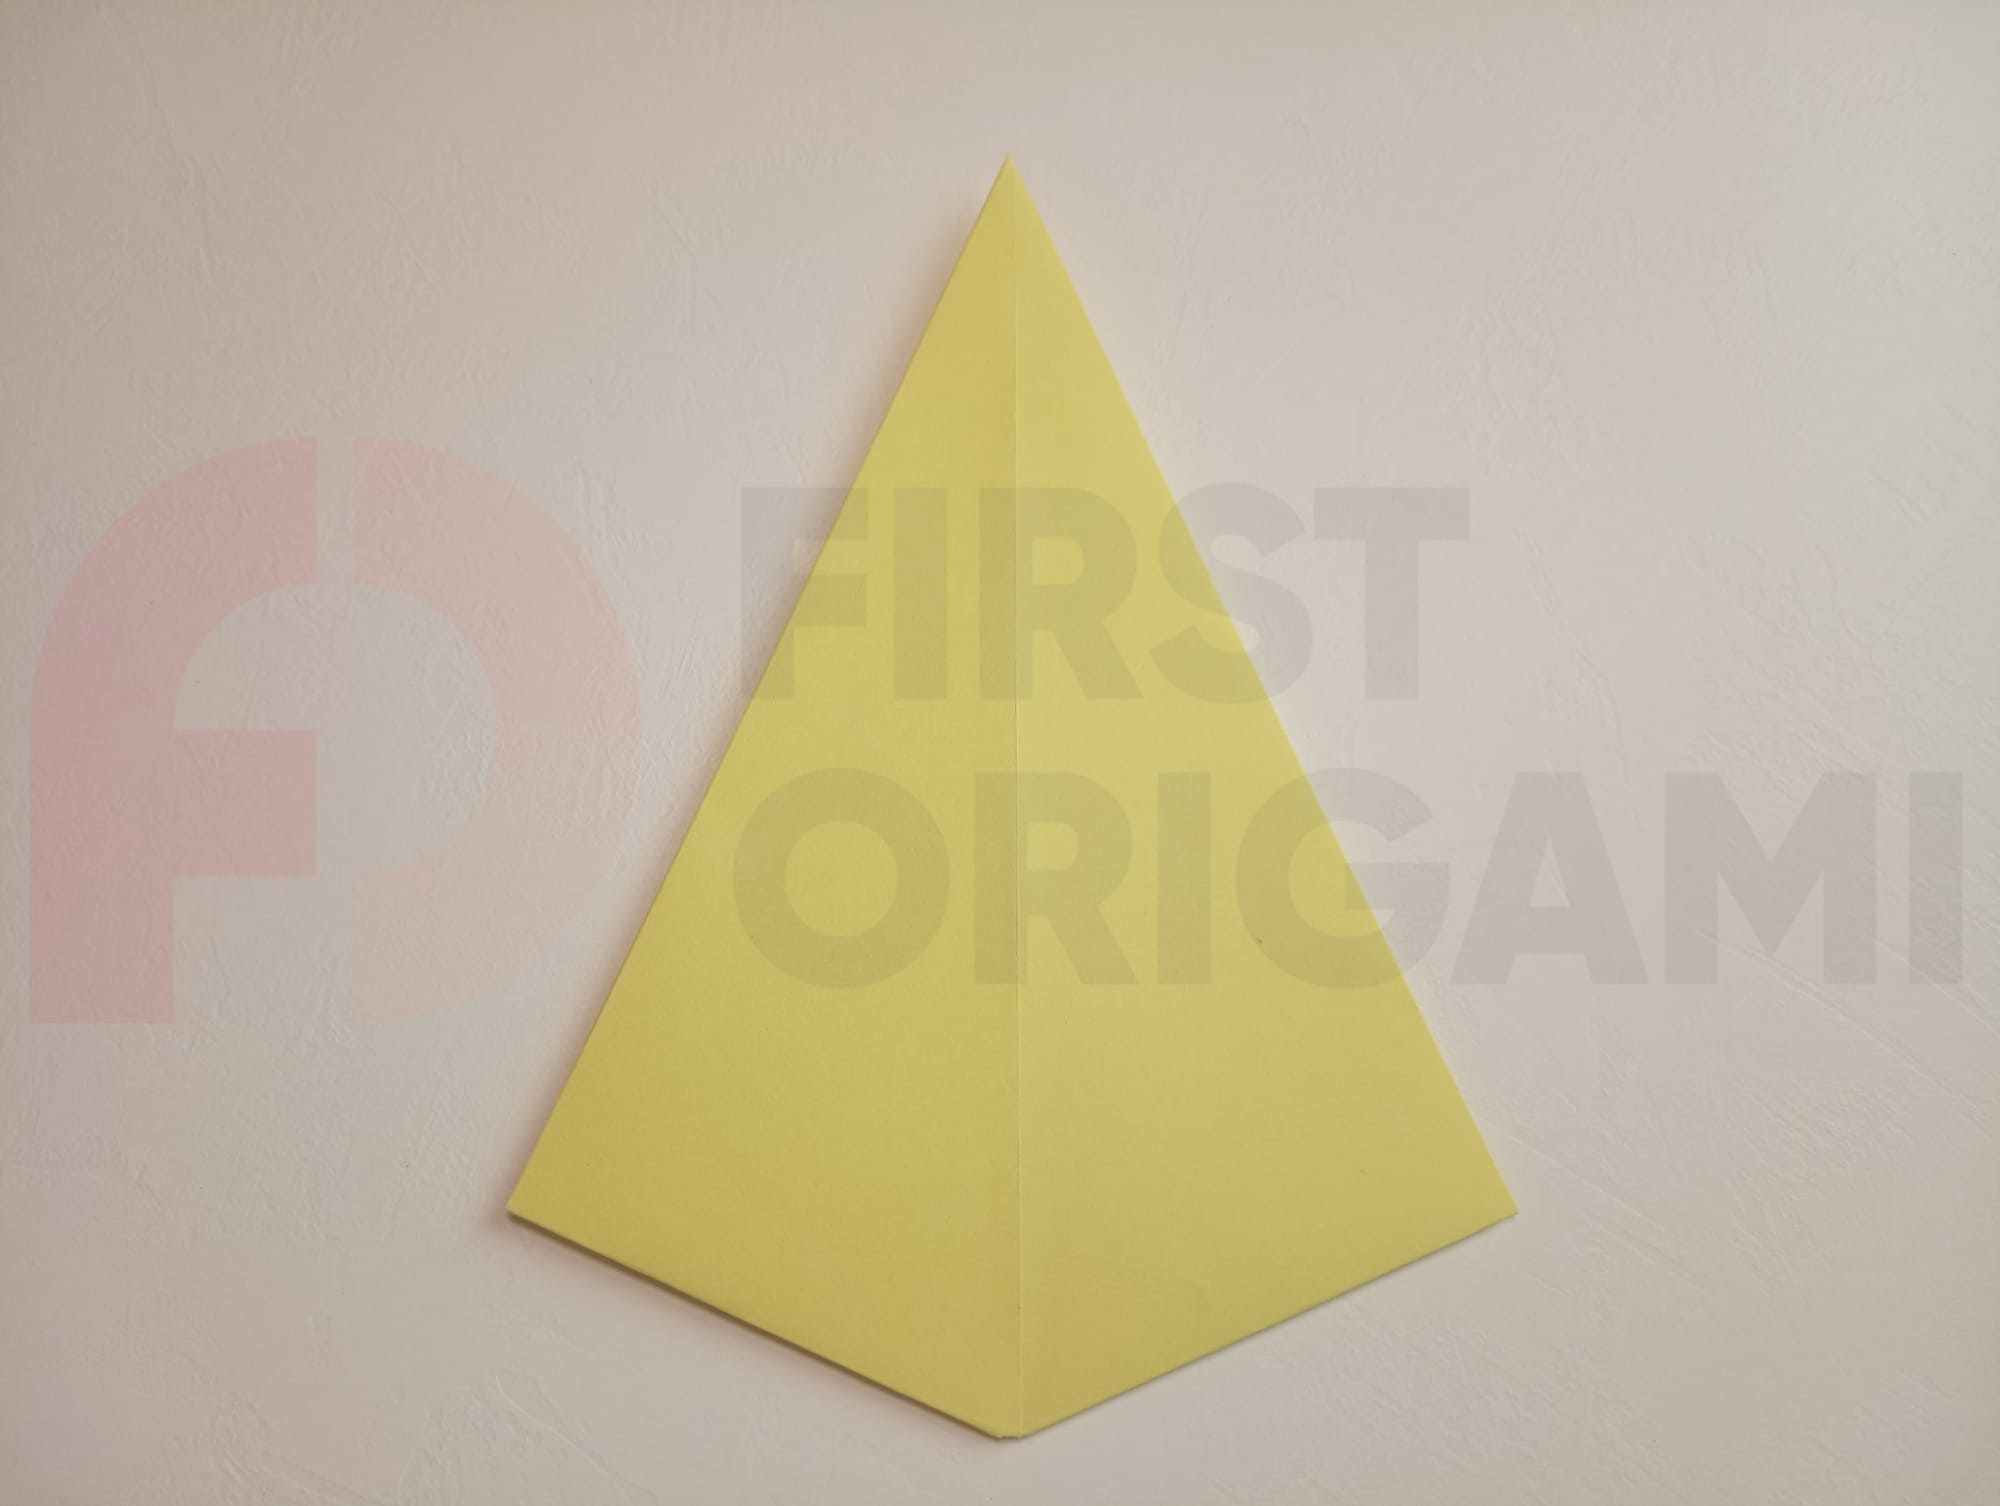
Fold the prepared sheet of square paper (15 by 15 cm) in half along the vertical axis and open it.
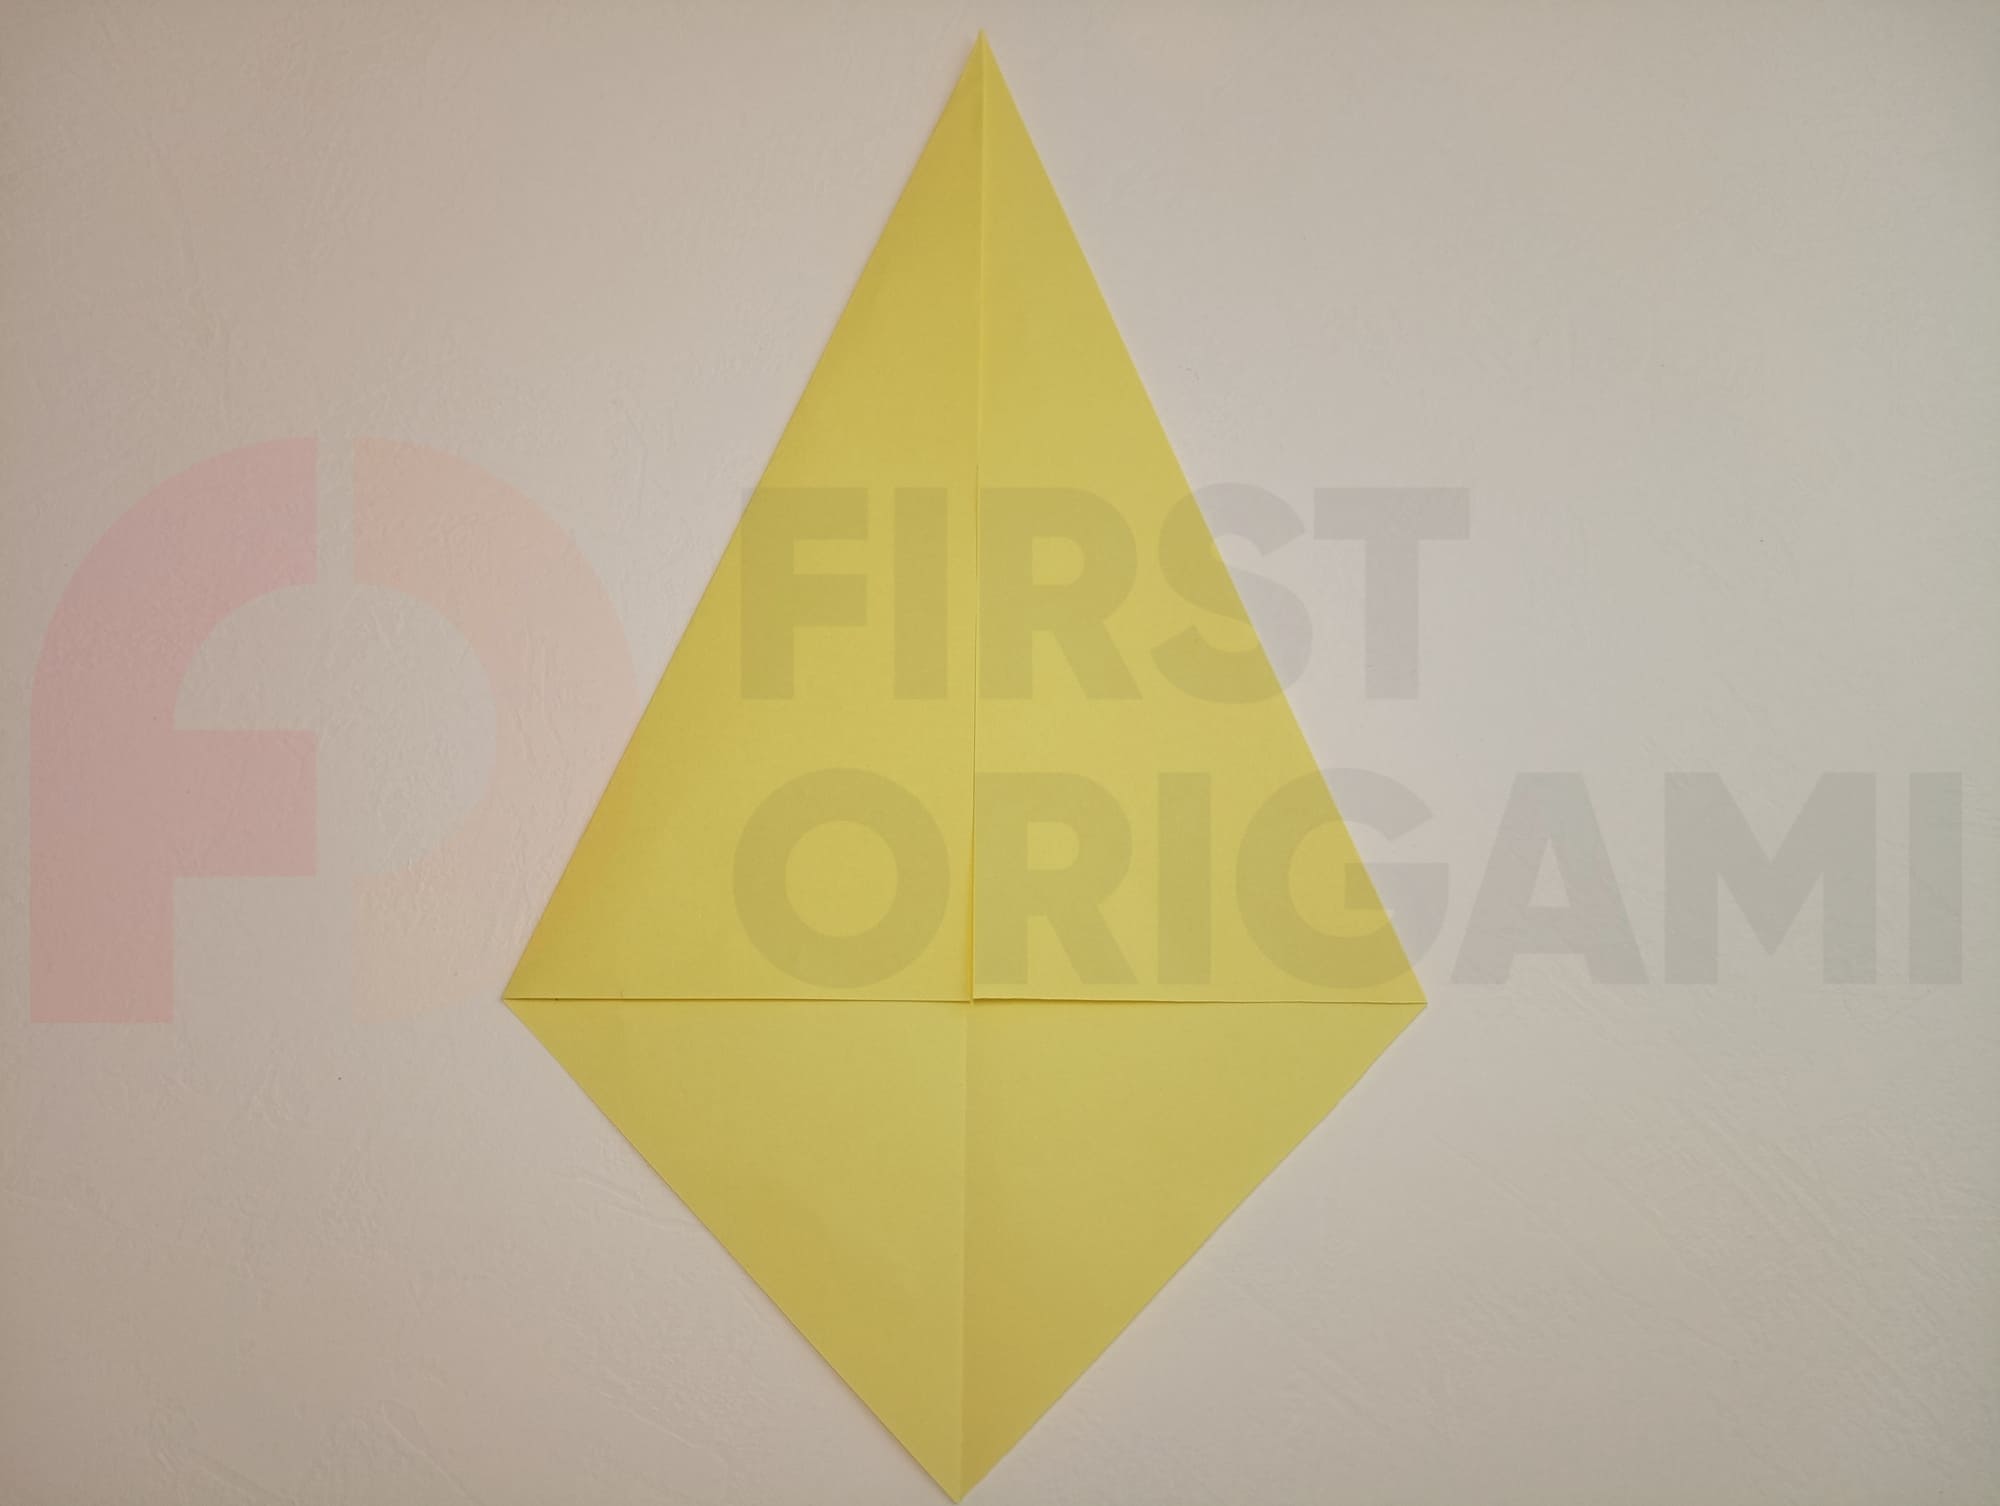
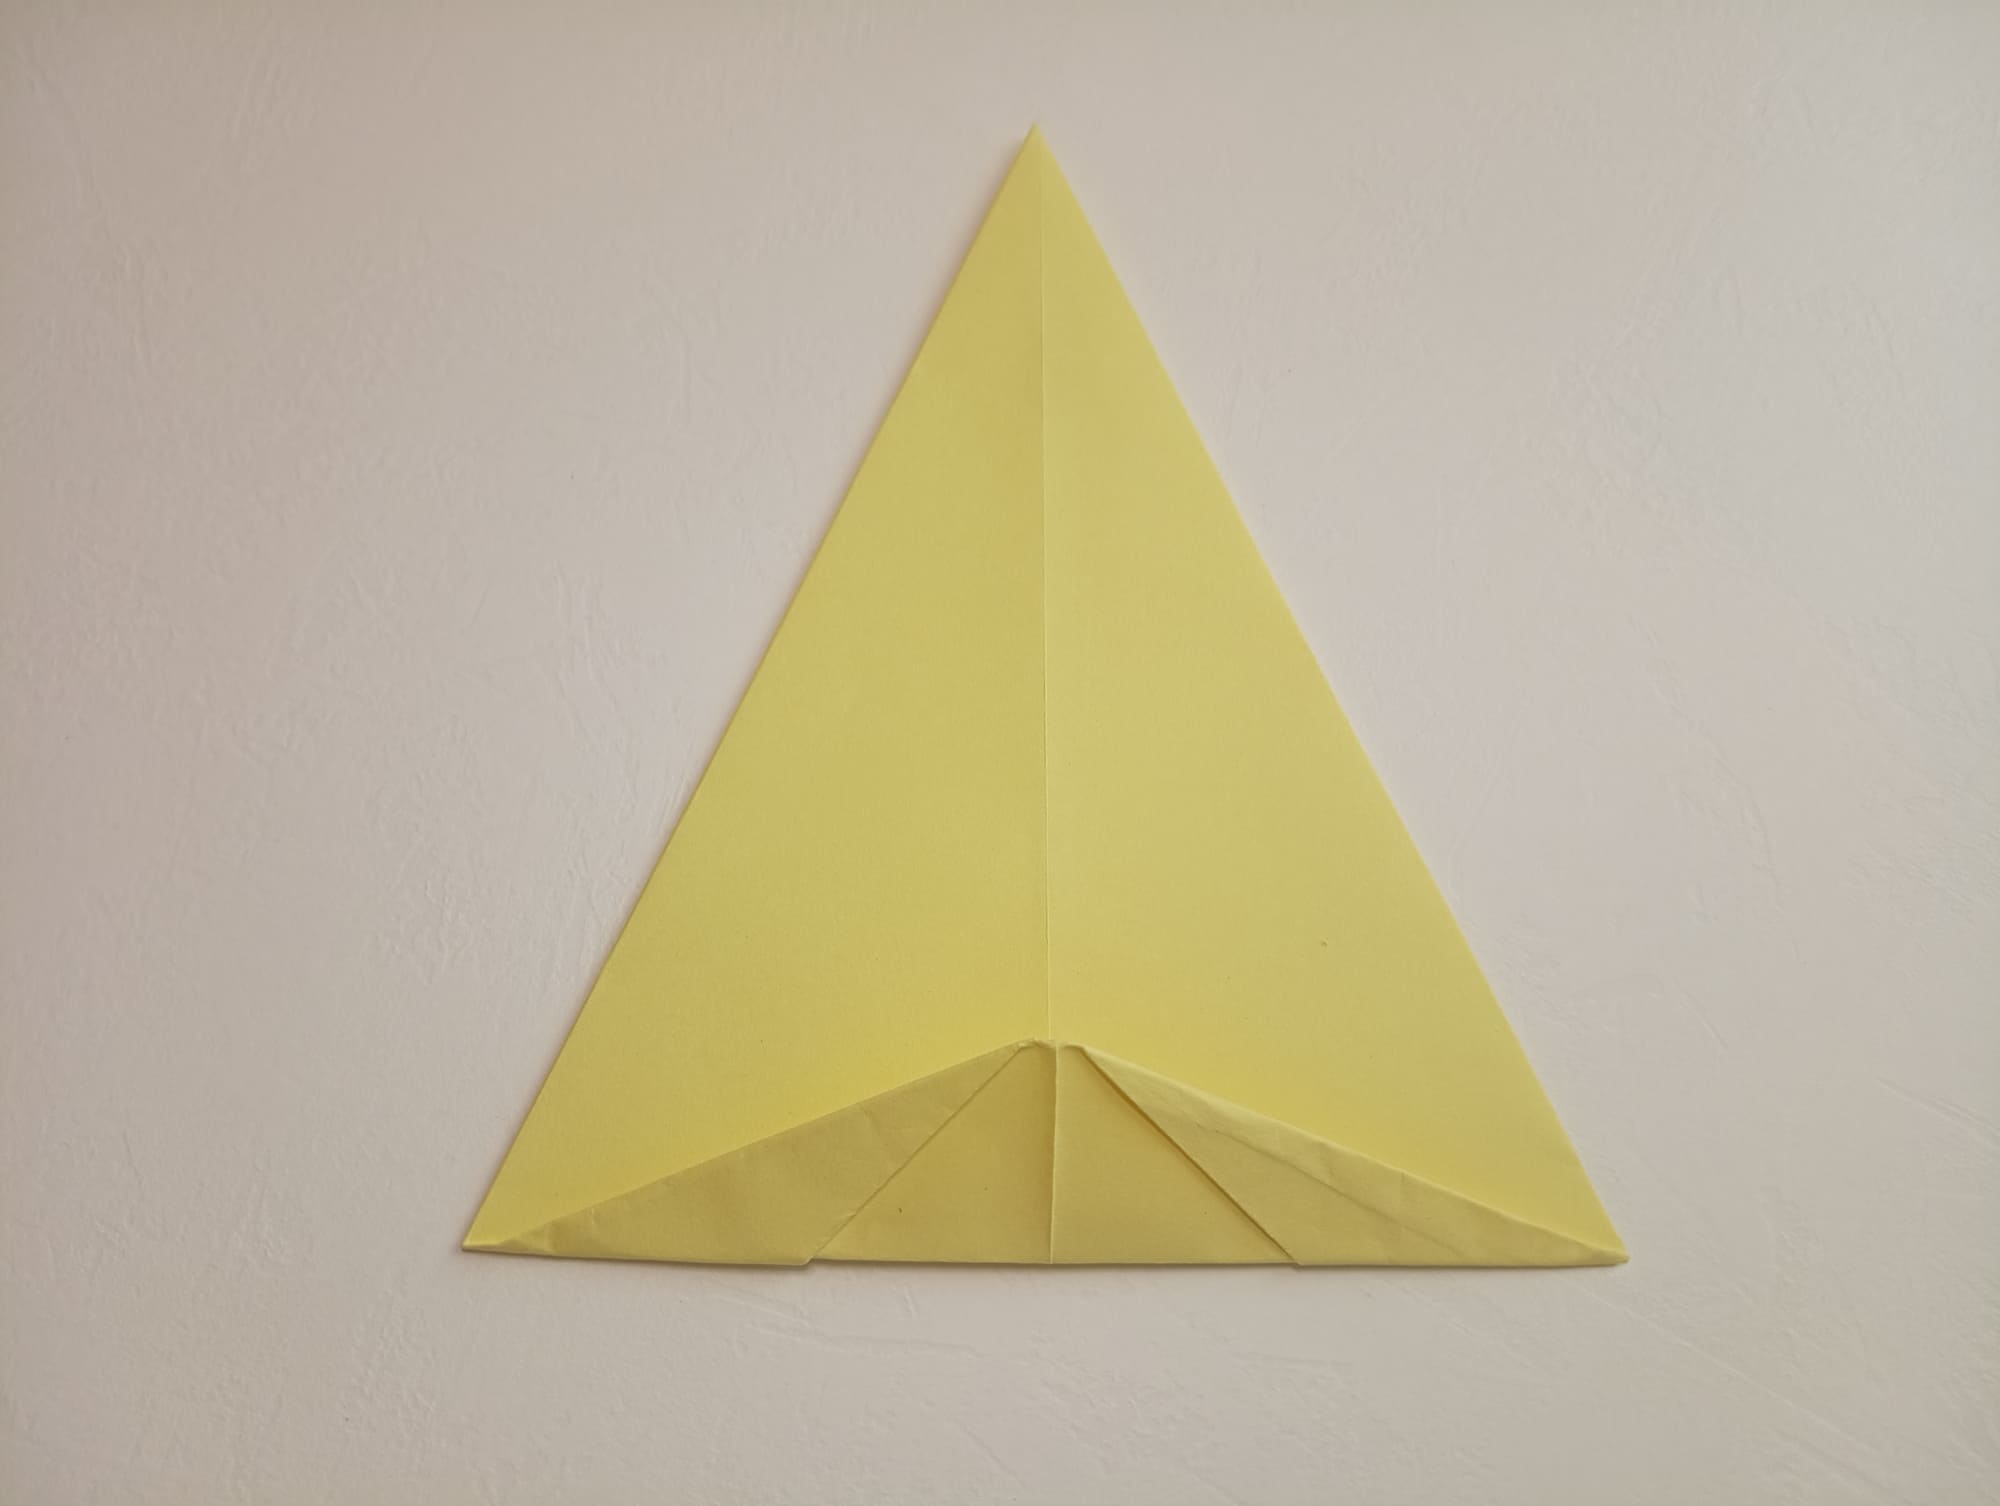
Fold both sides up to the center fold lines.

Bring the bottom corner to the center line.
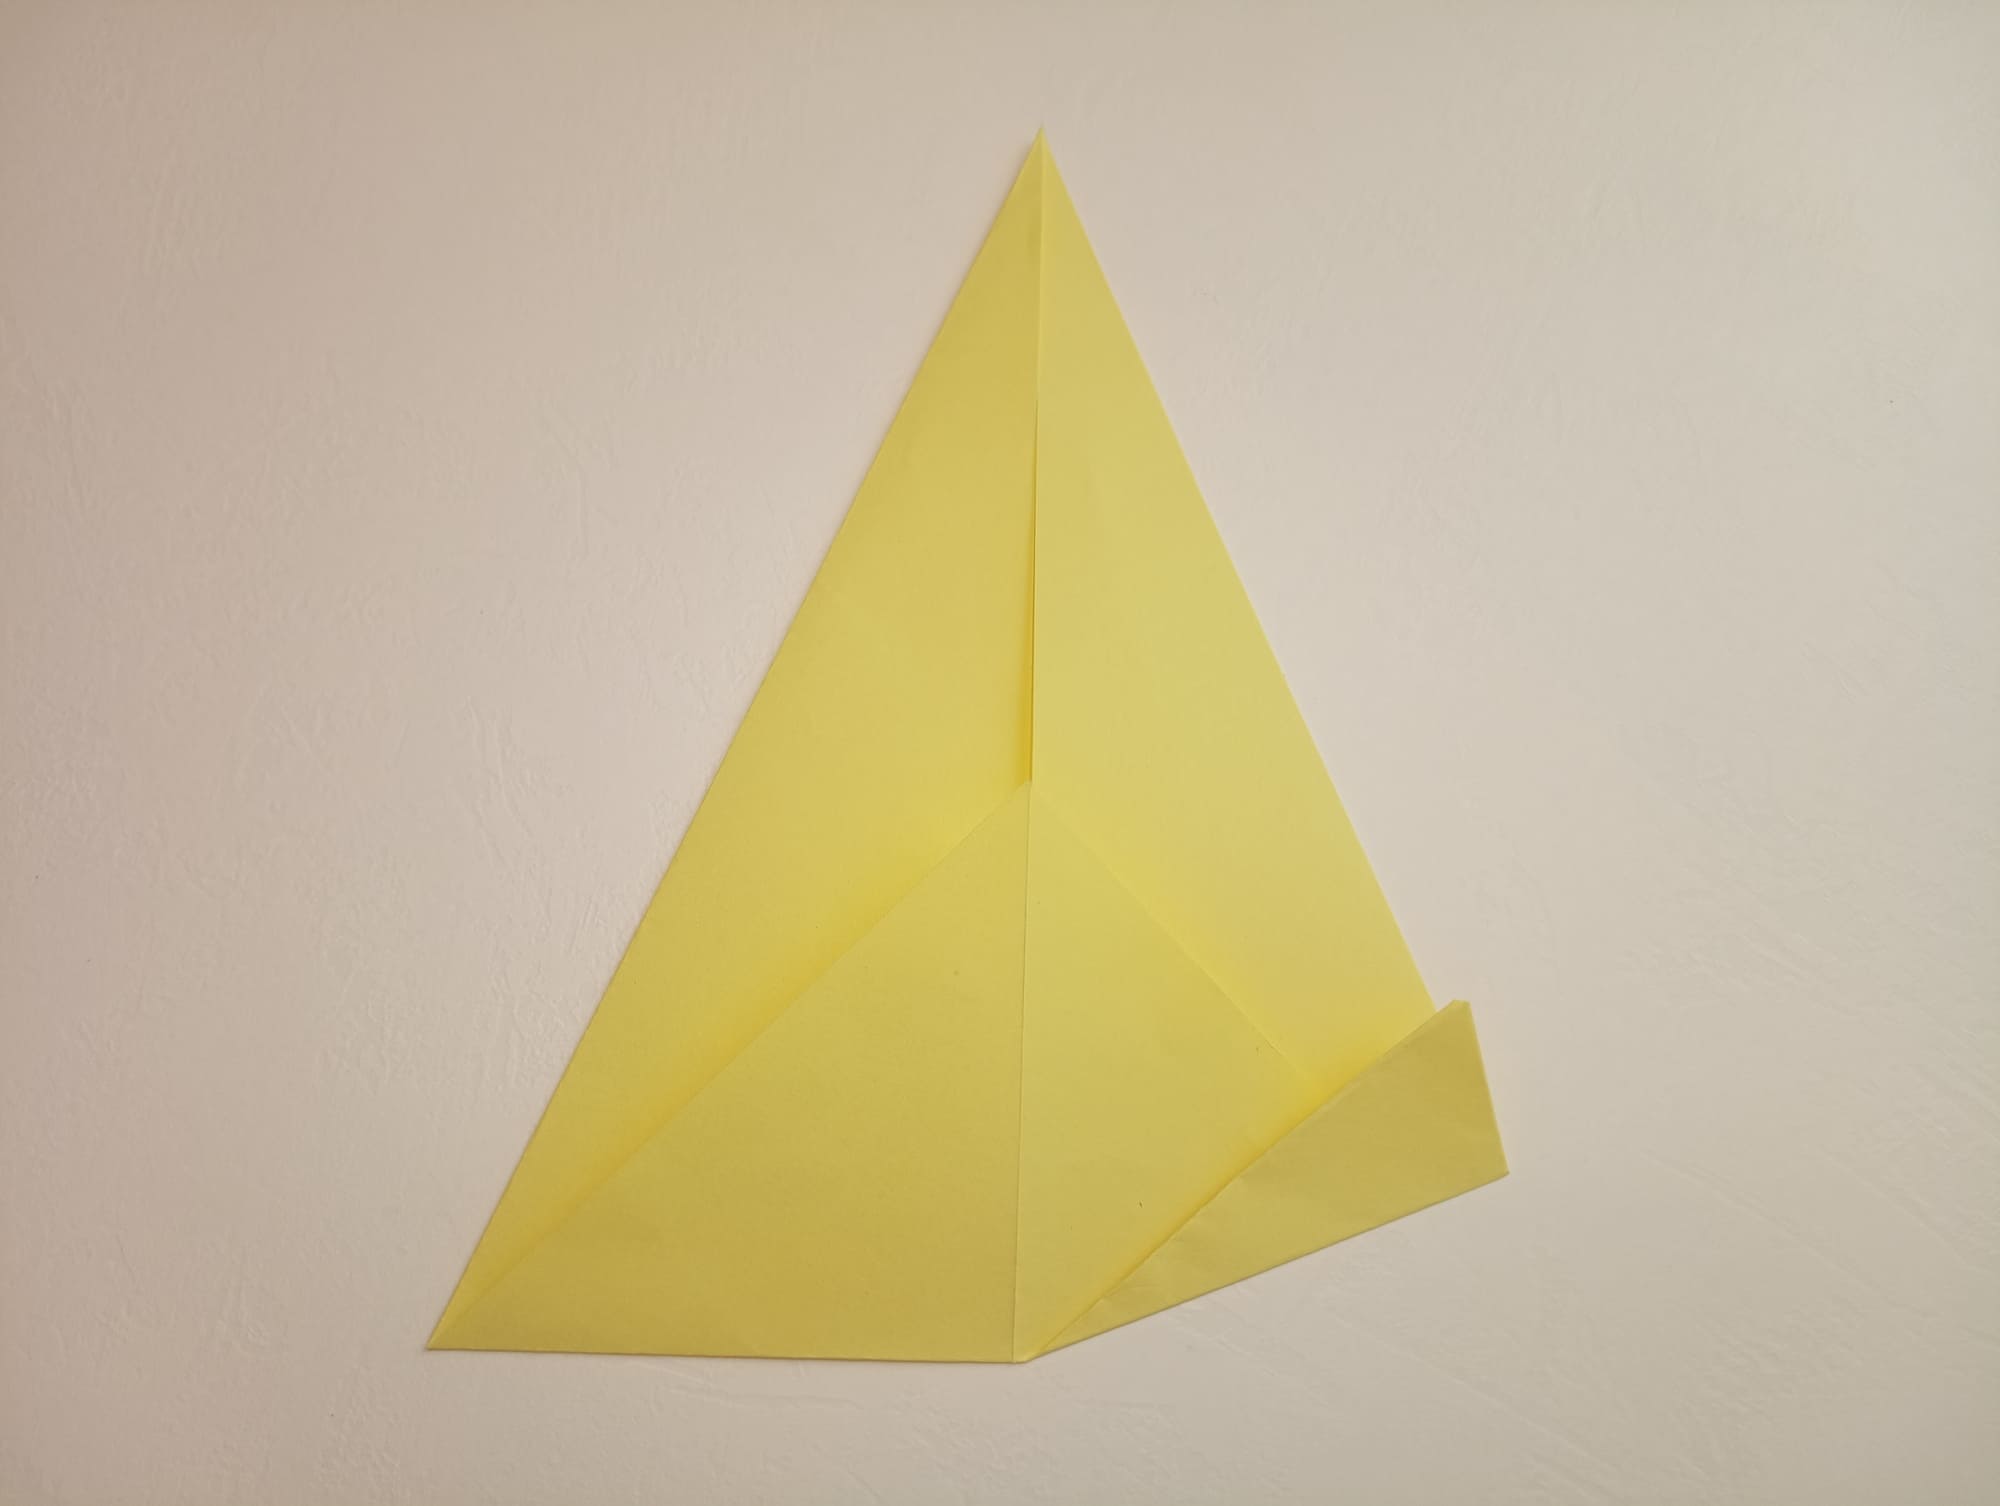
Fold both lower side edges, as in the photo.
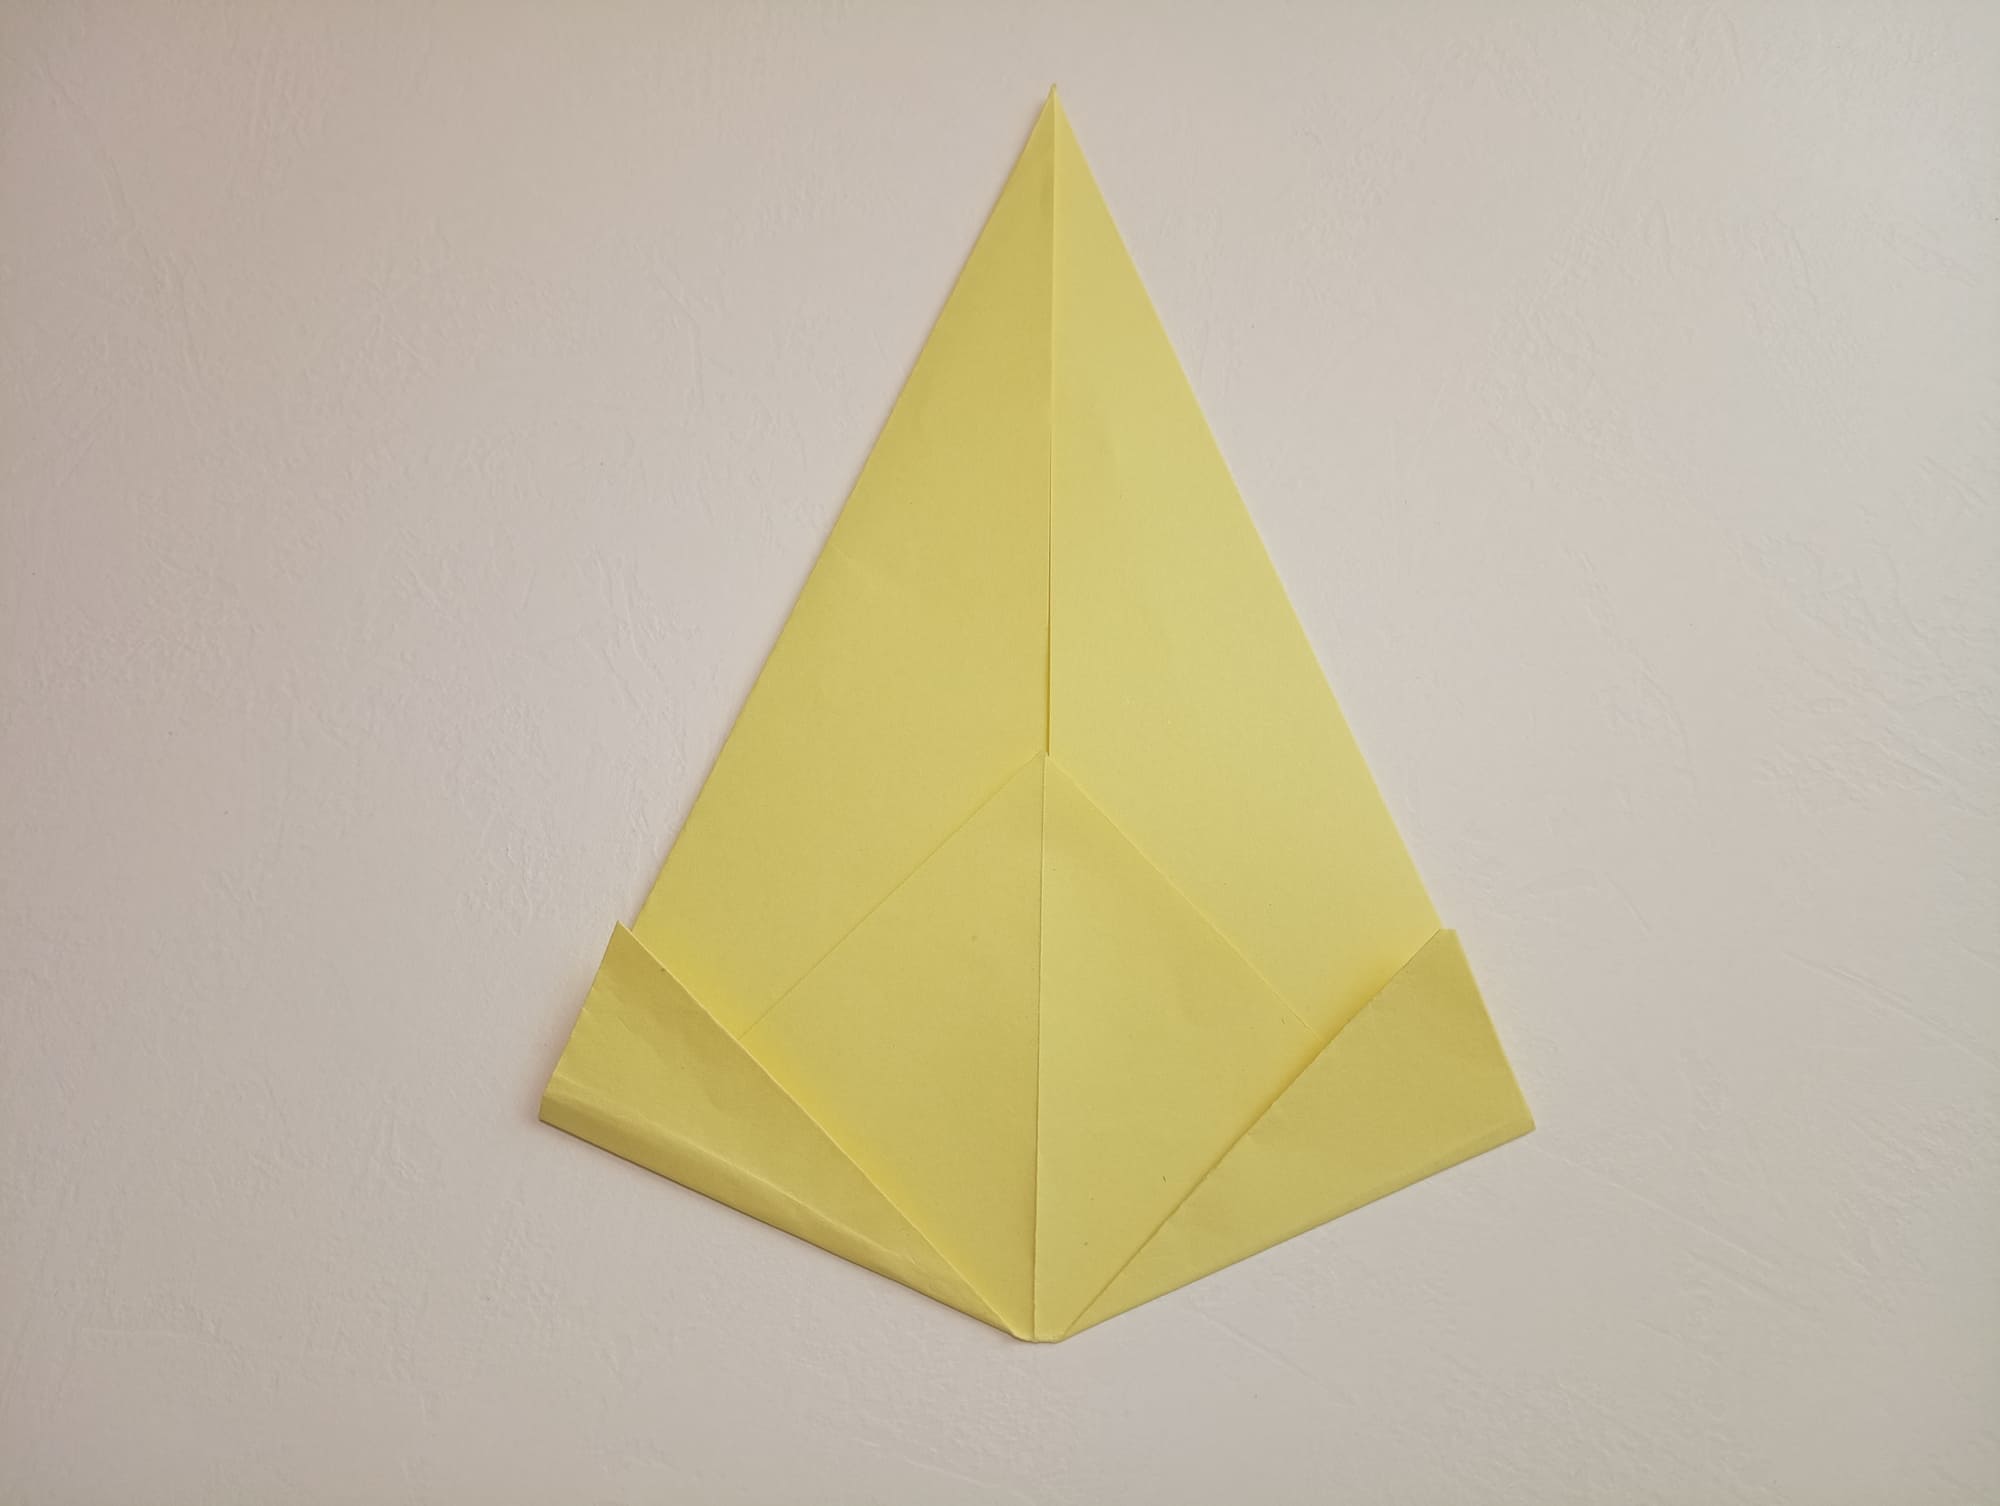
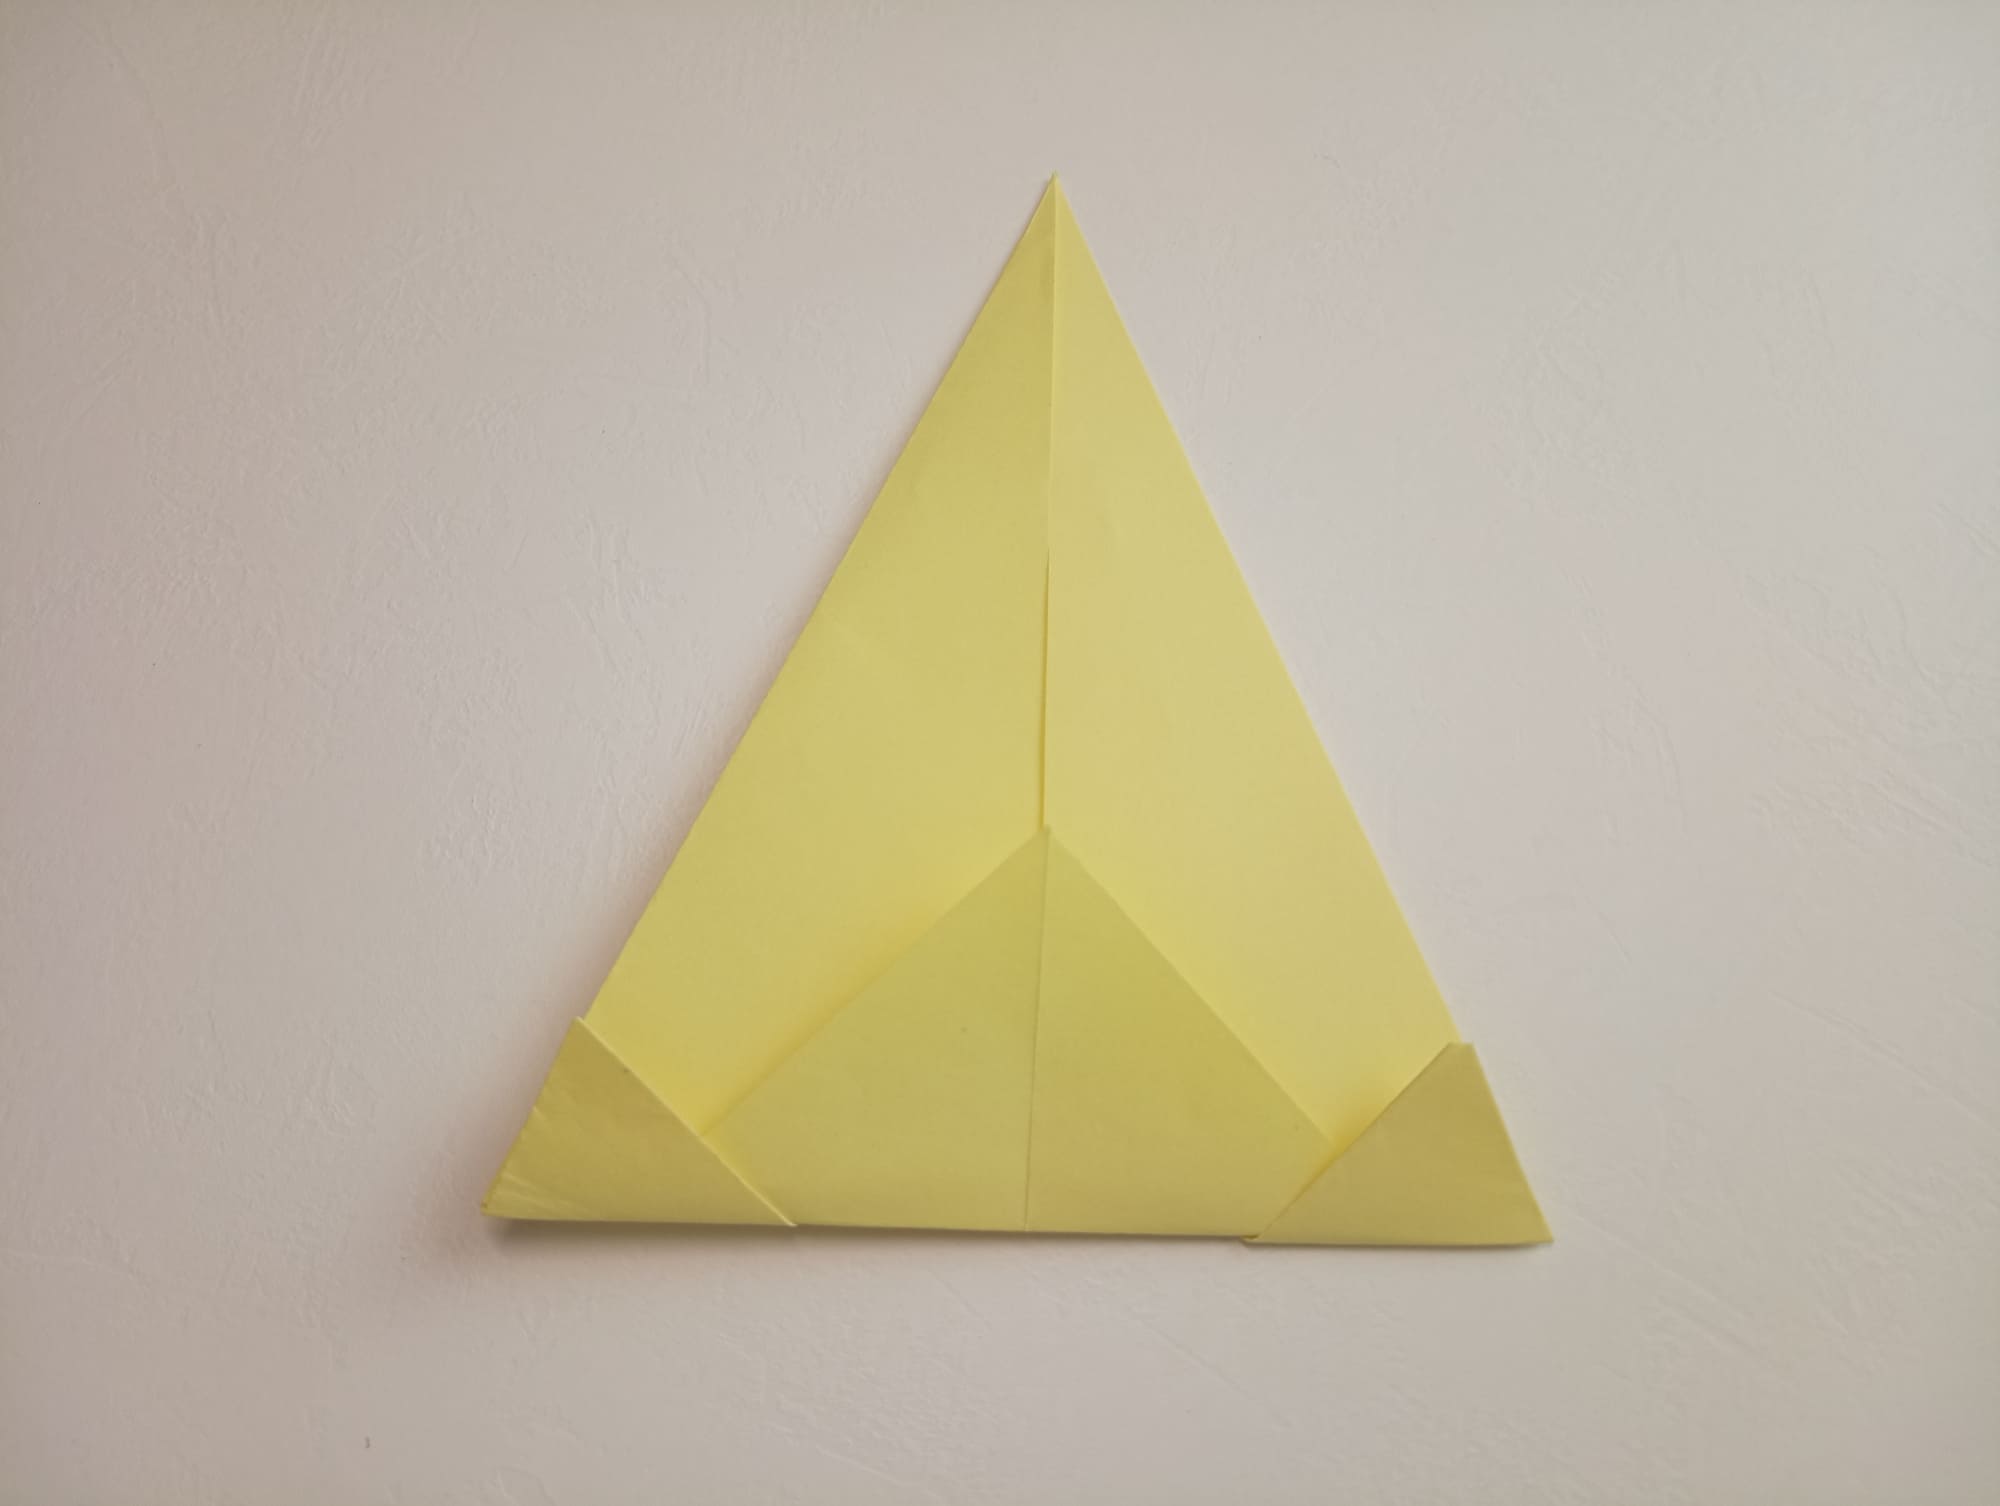
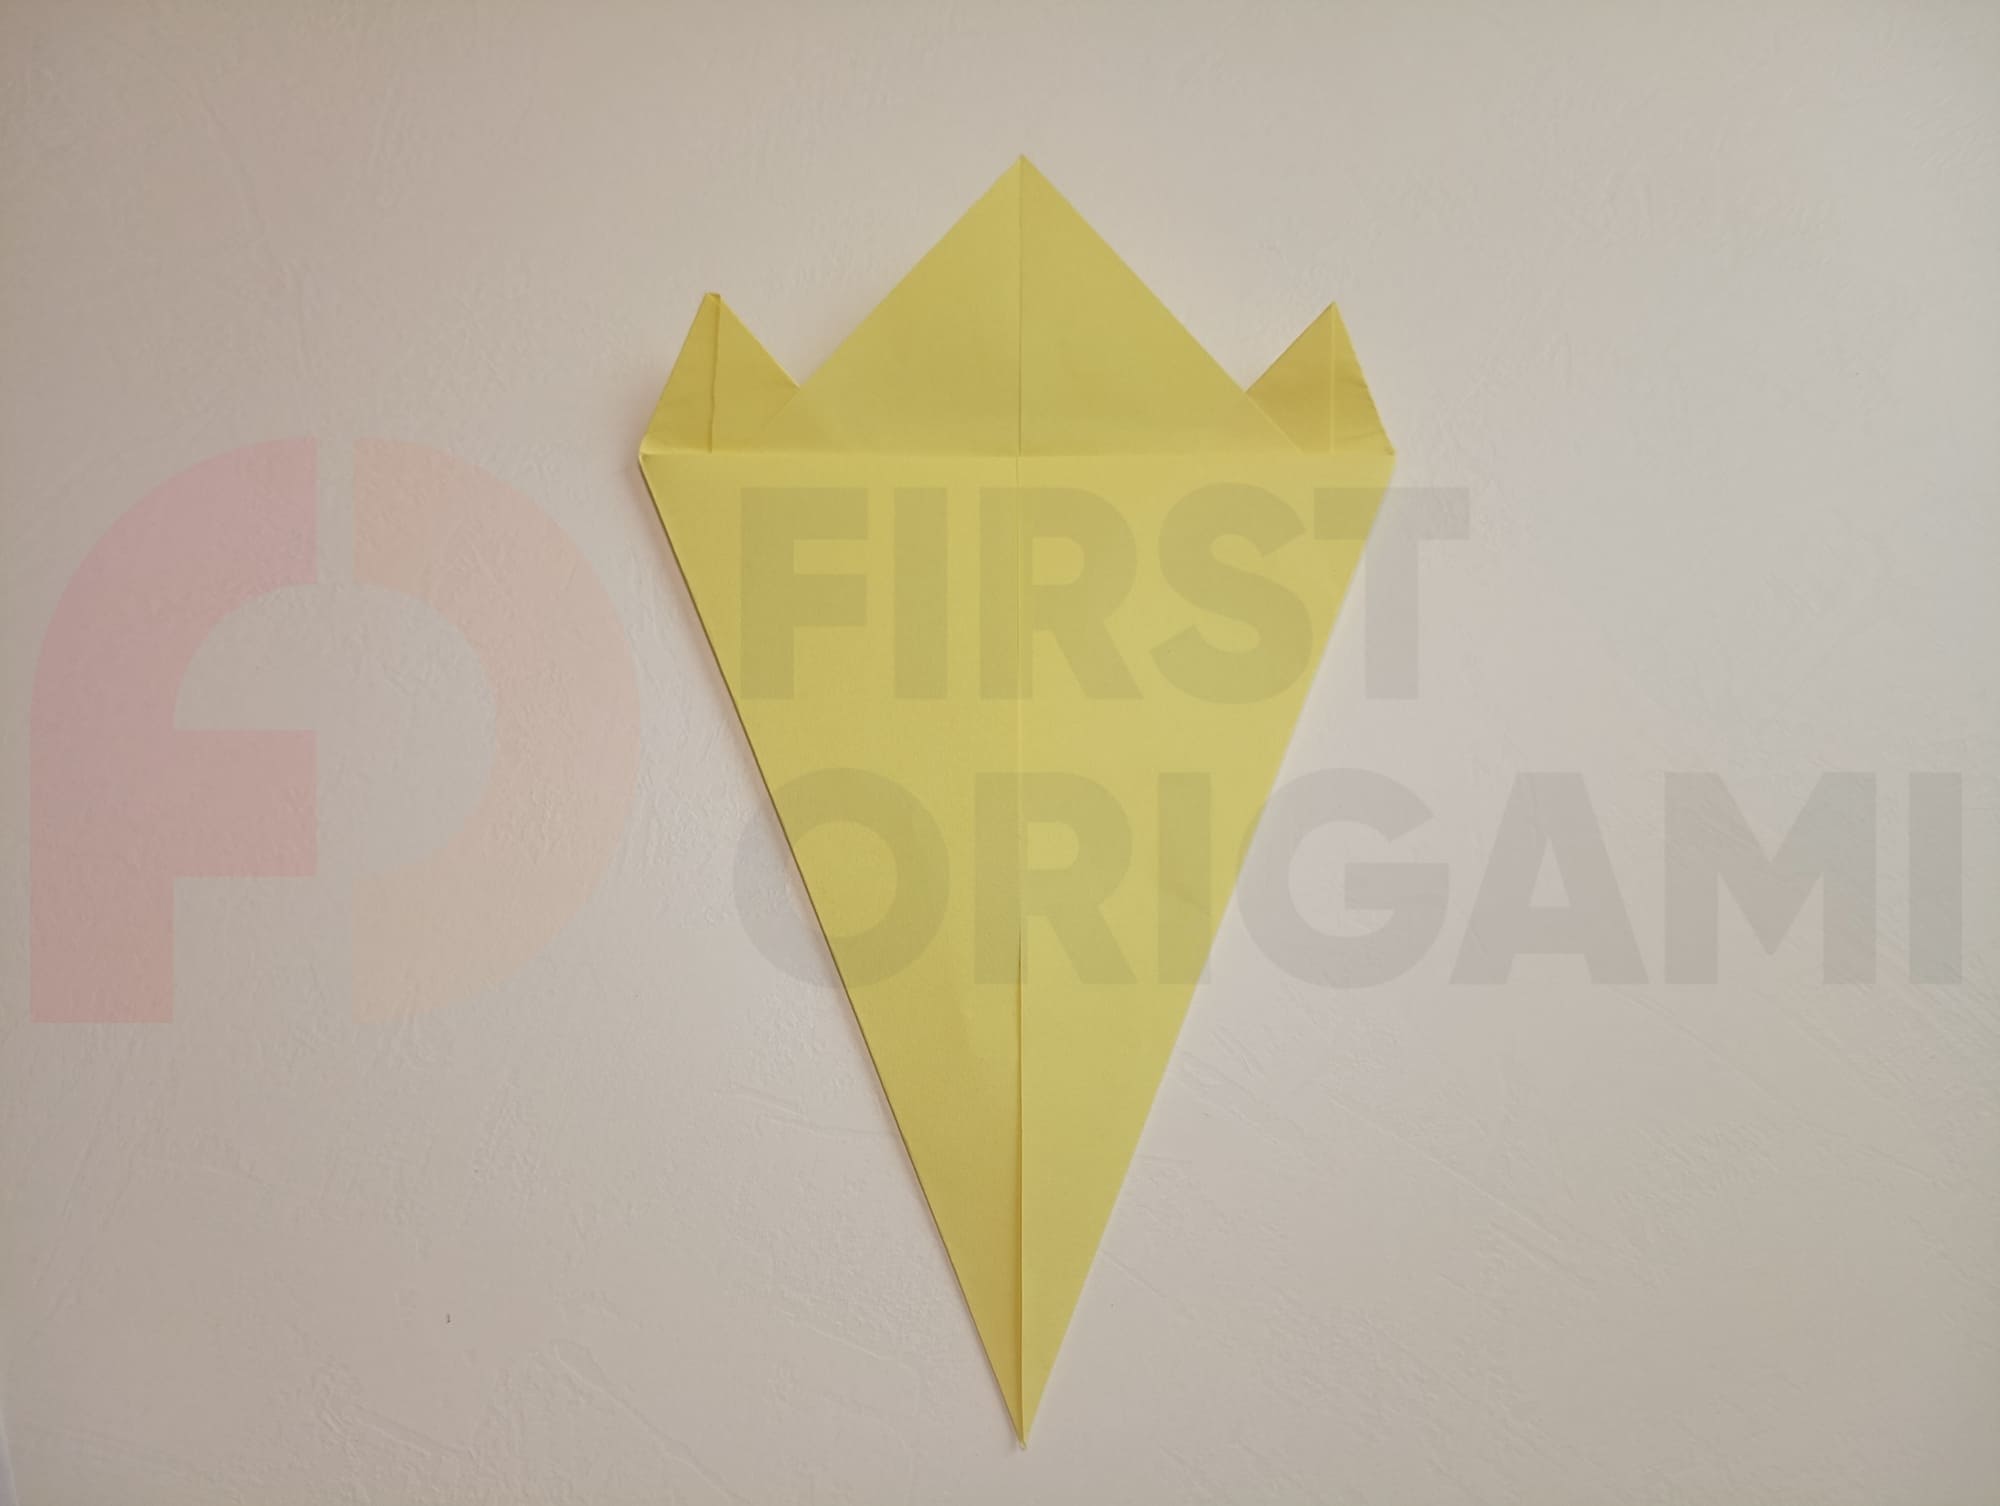
Flip the shape to see the following result (see photo).
Make a horizontal fold from one corner to the other at the top of the figure.
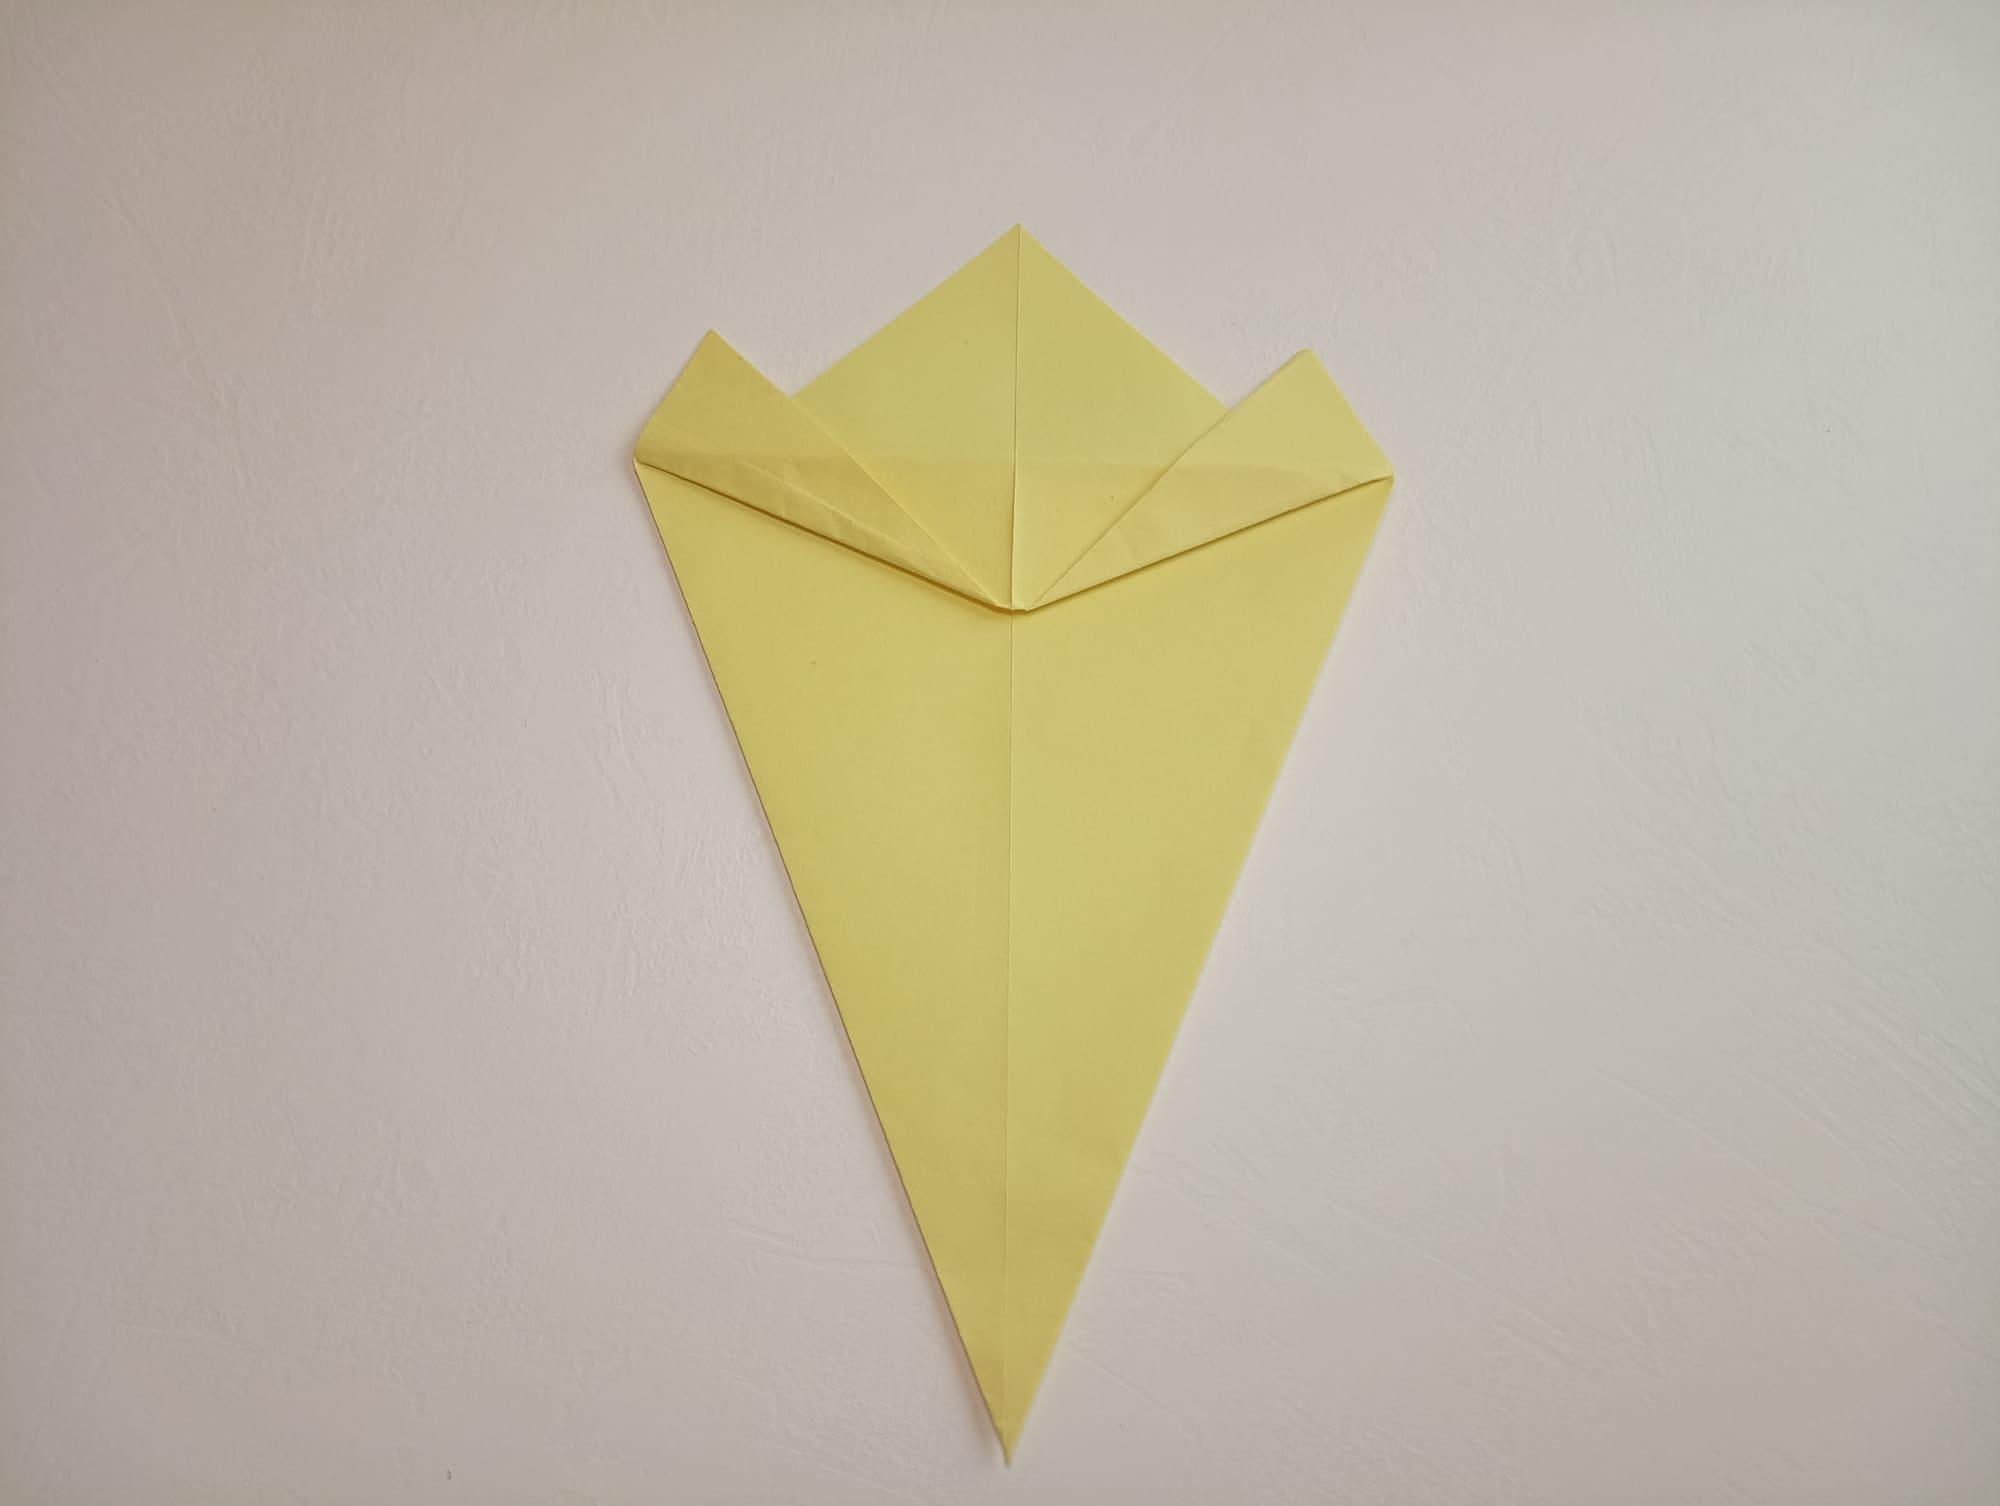
Turn the figure over and lower the folded end down (see photo).
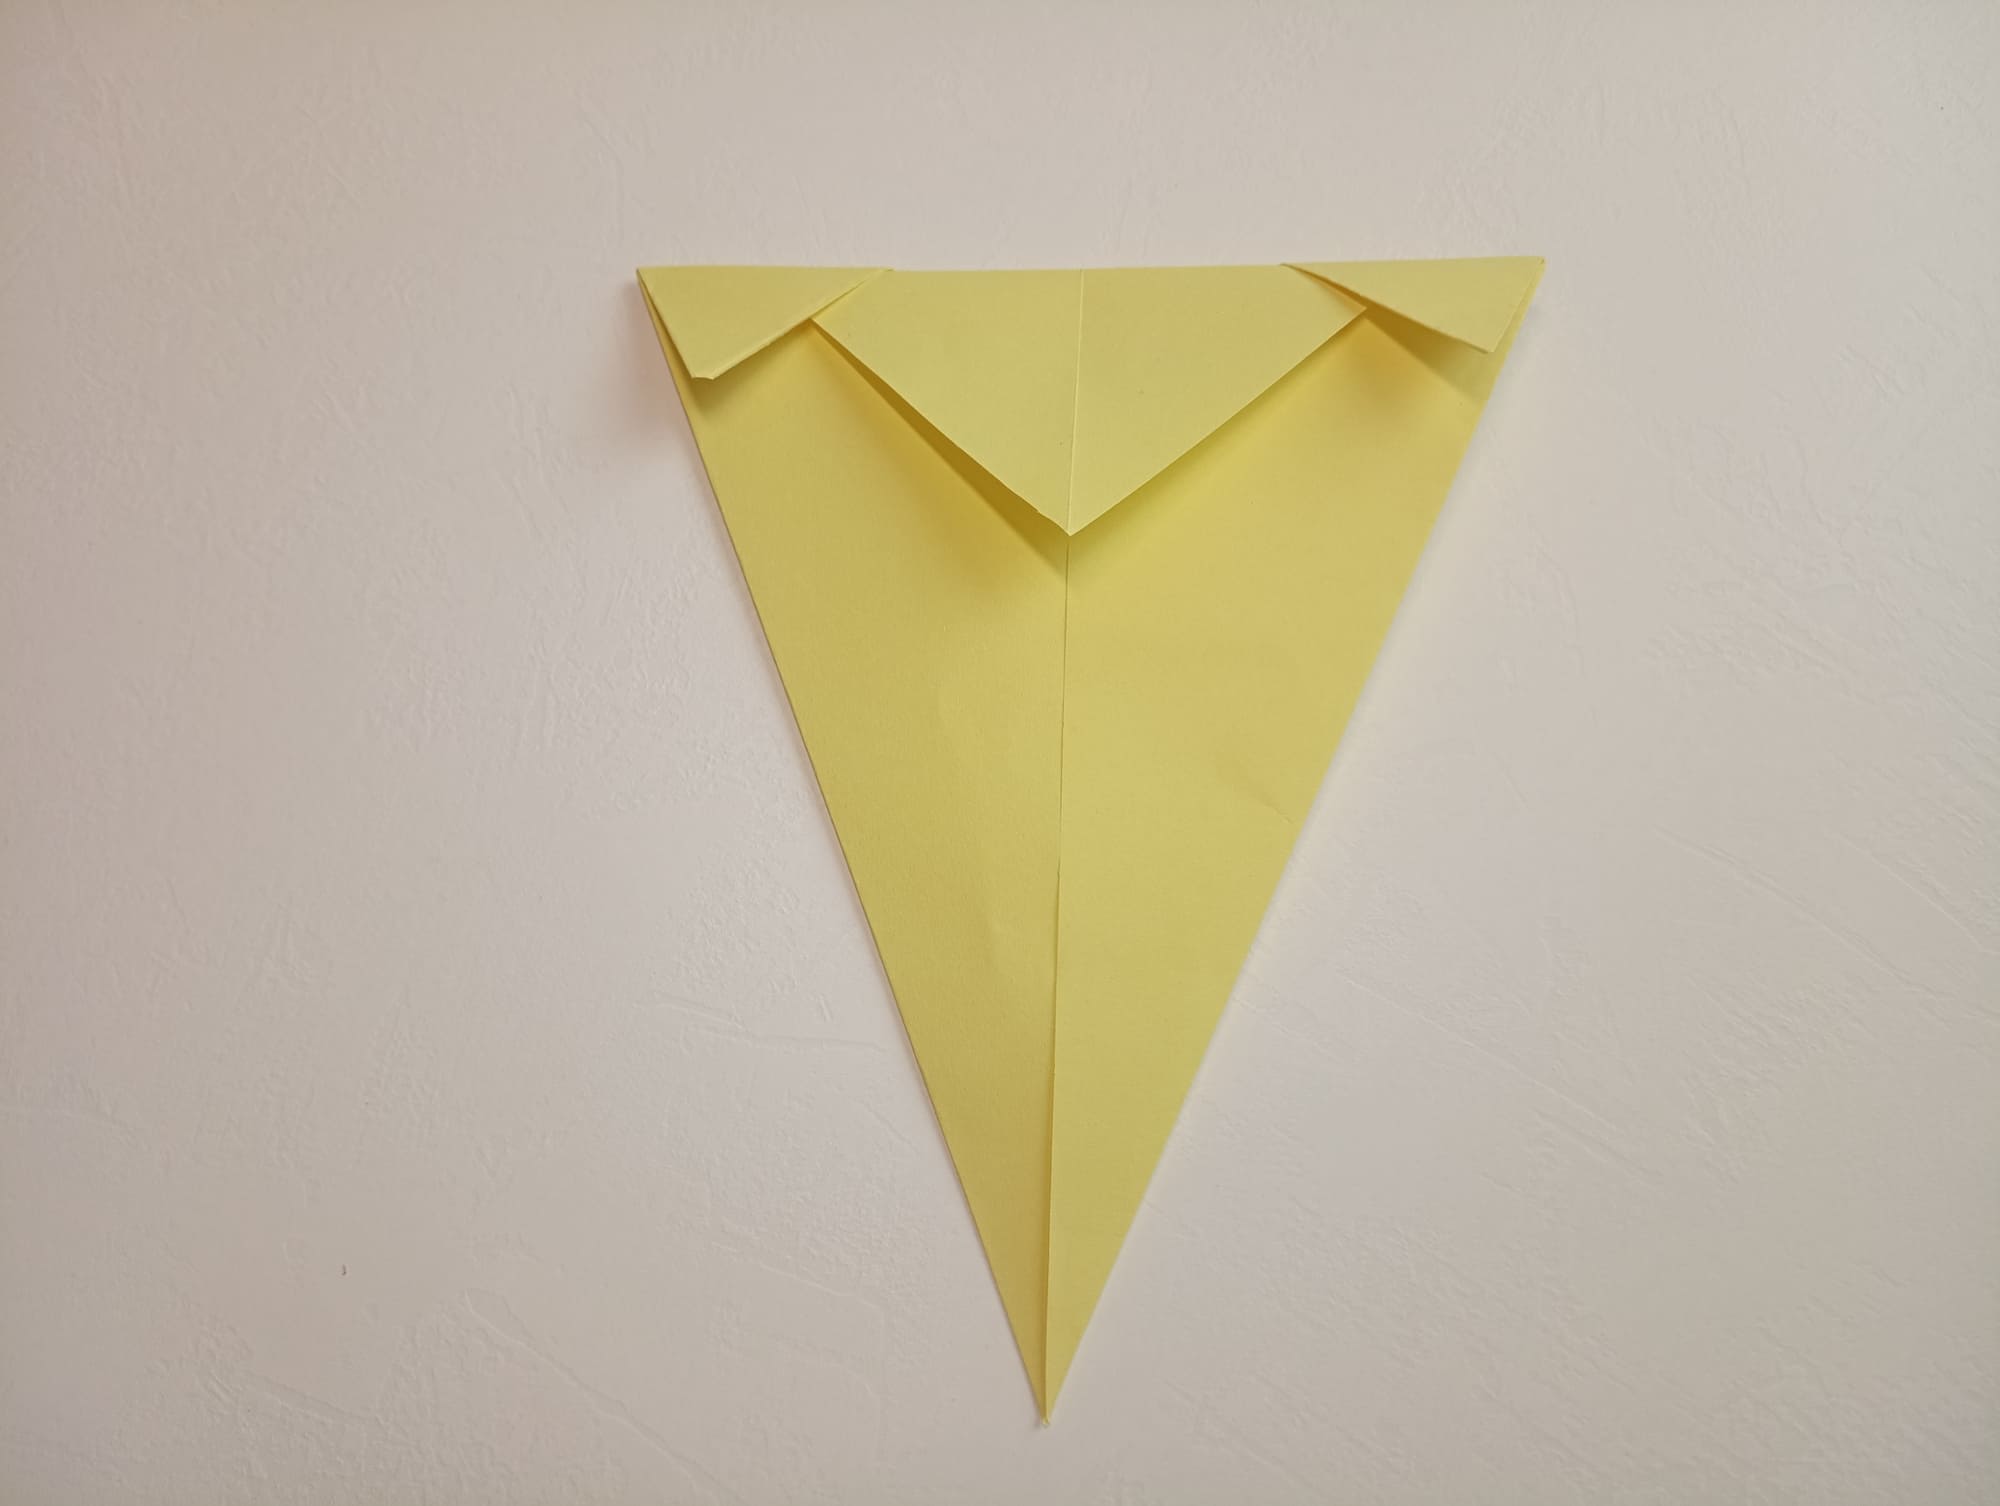
Turn the model over again, and tuck the opposite end up about 3 cm.
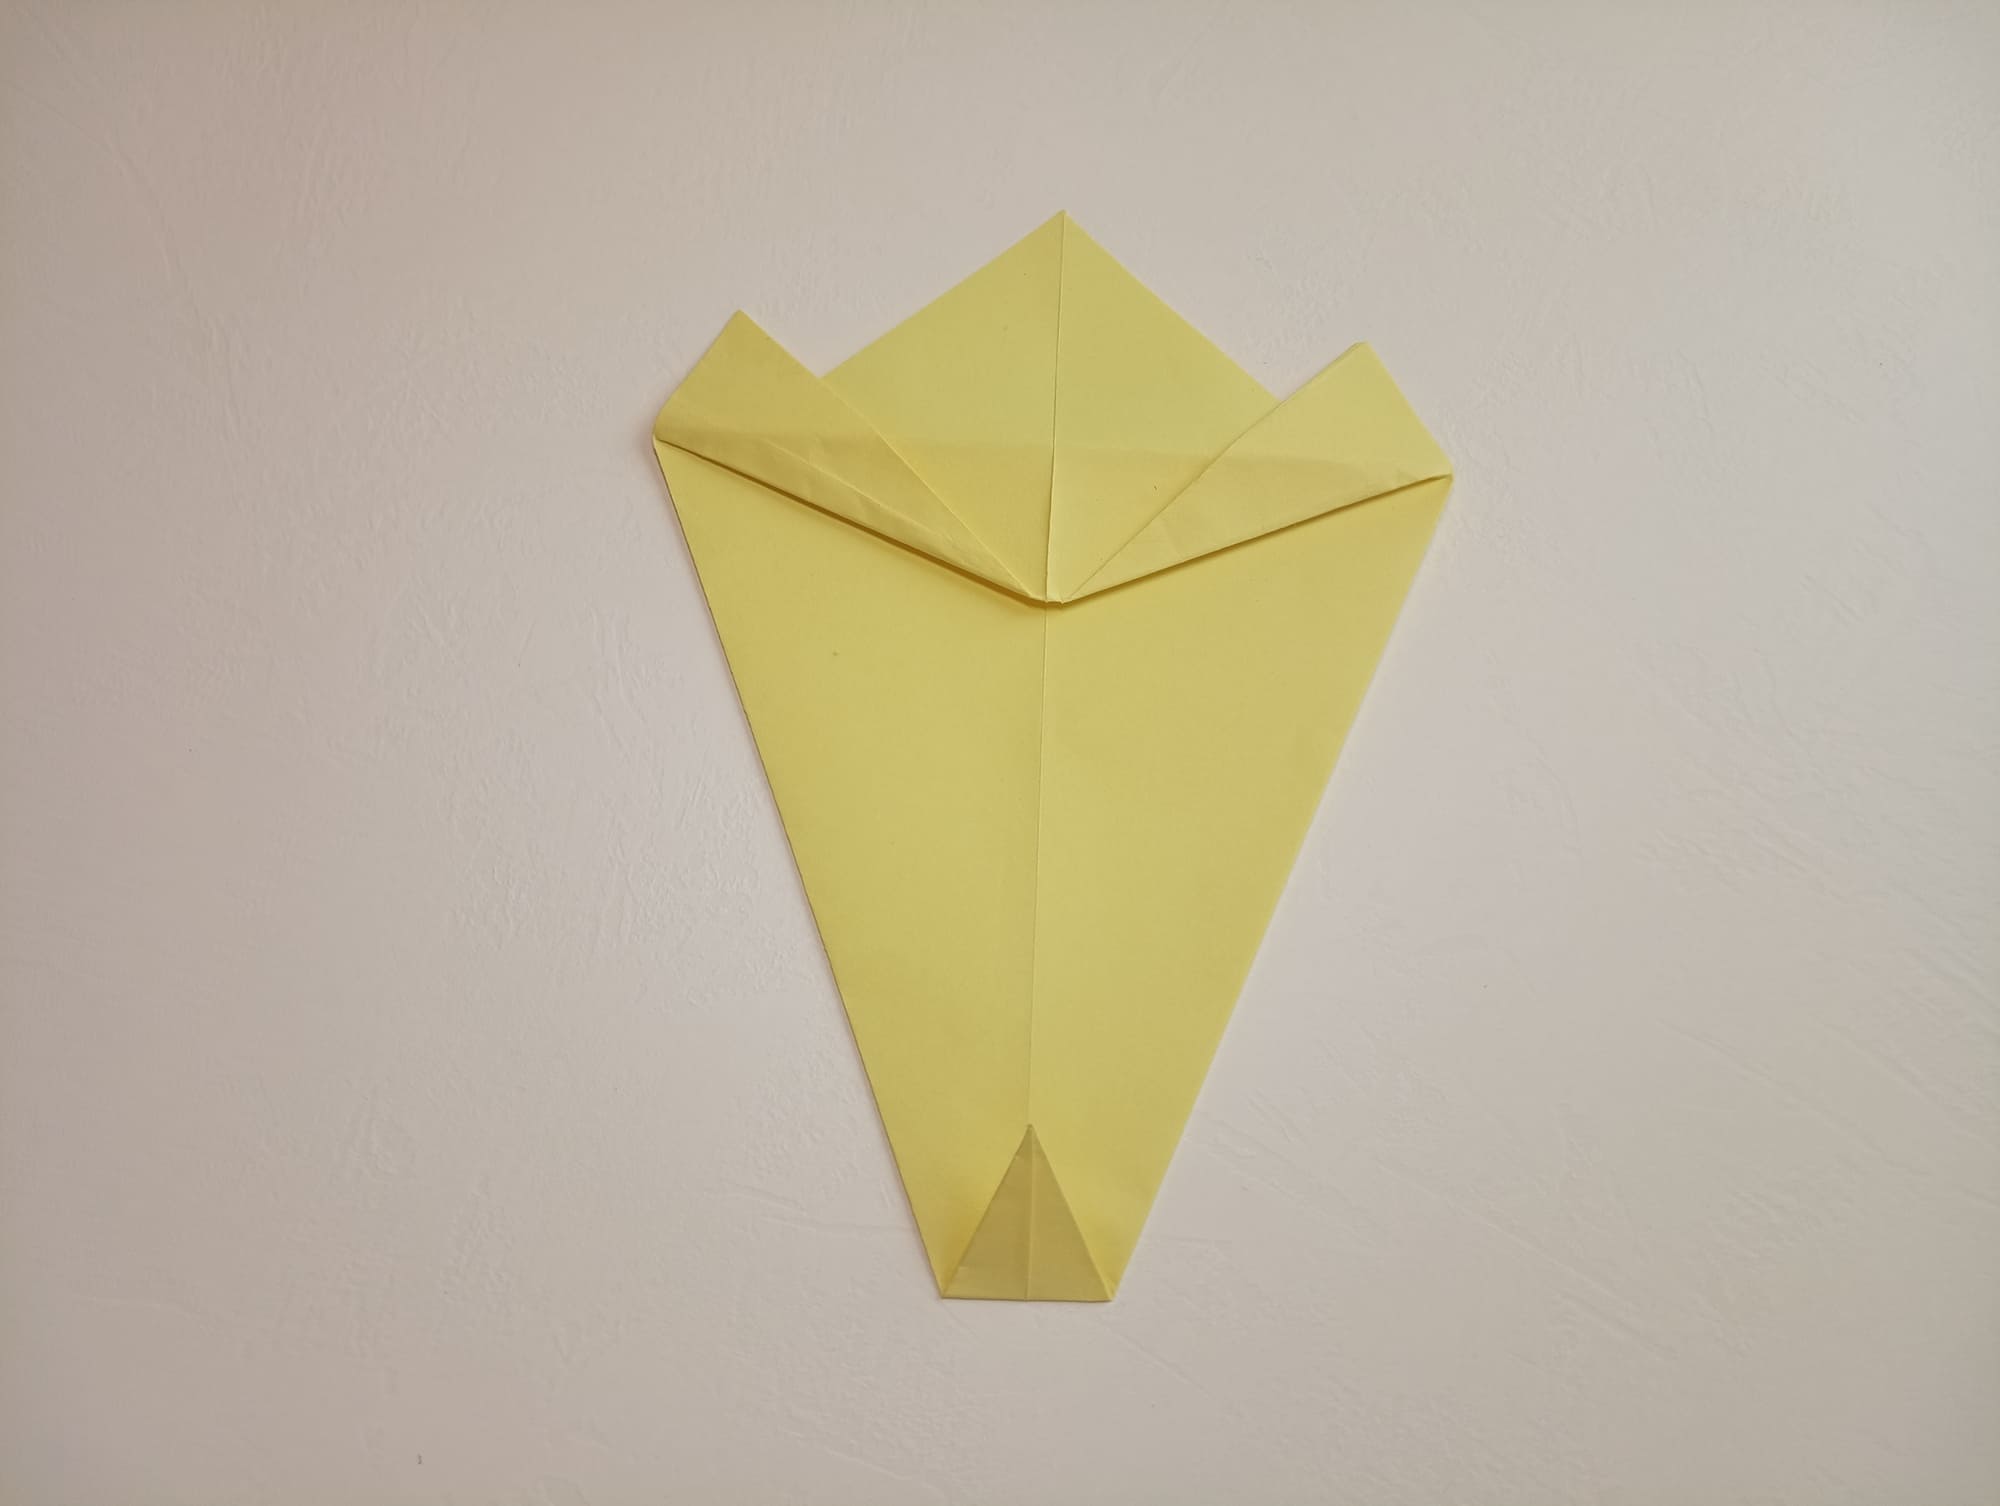

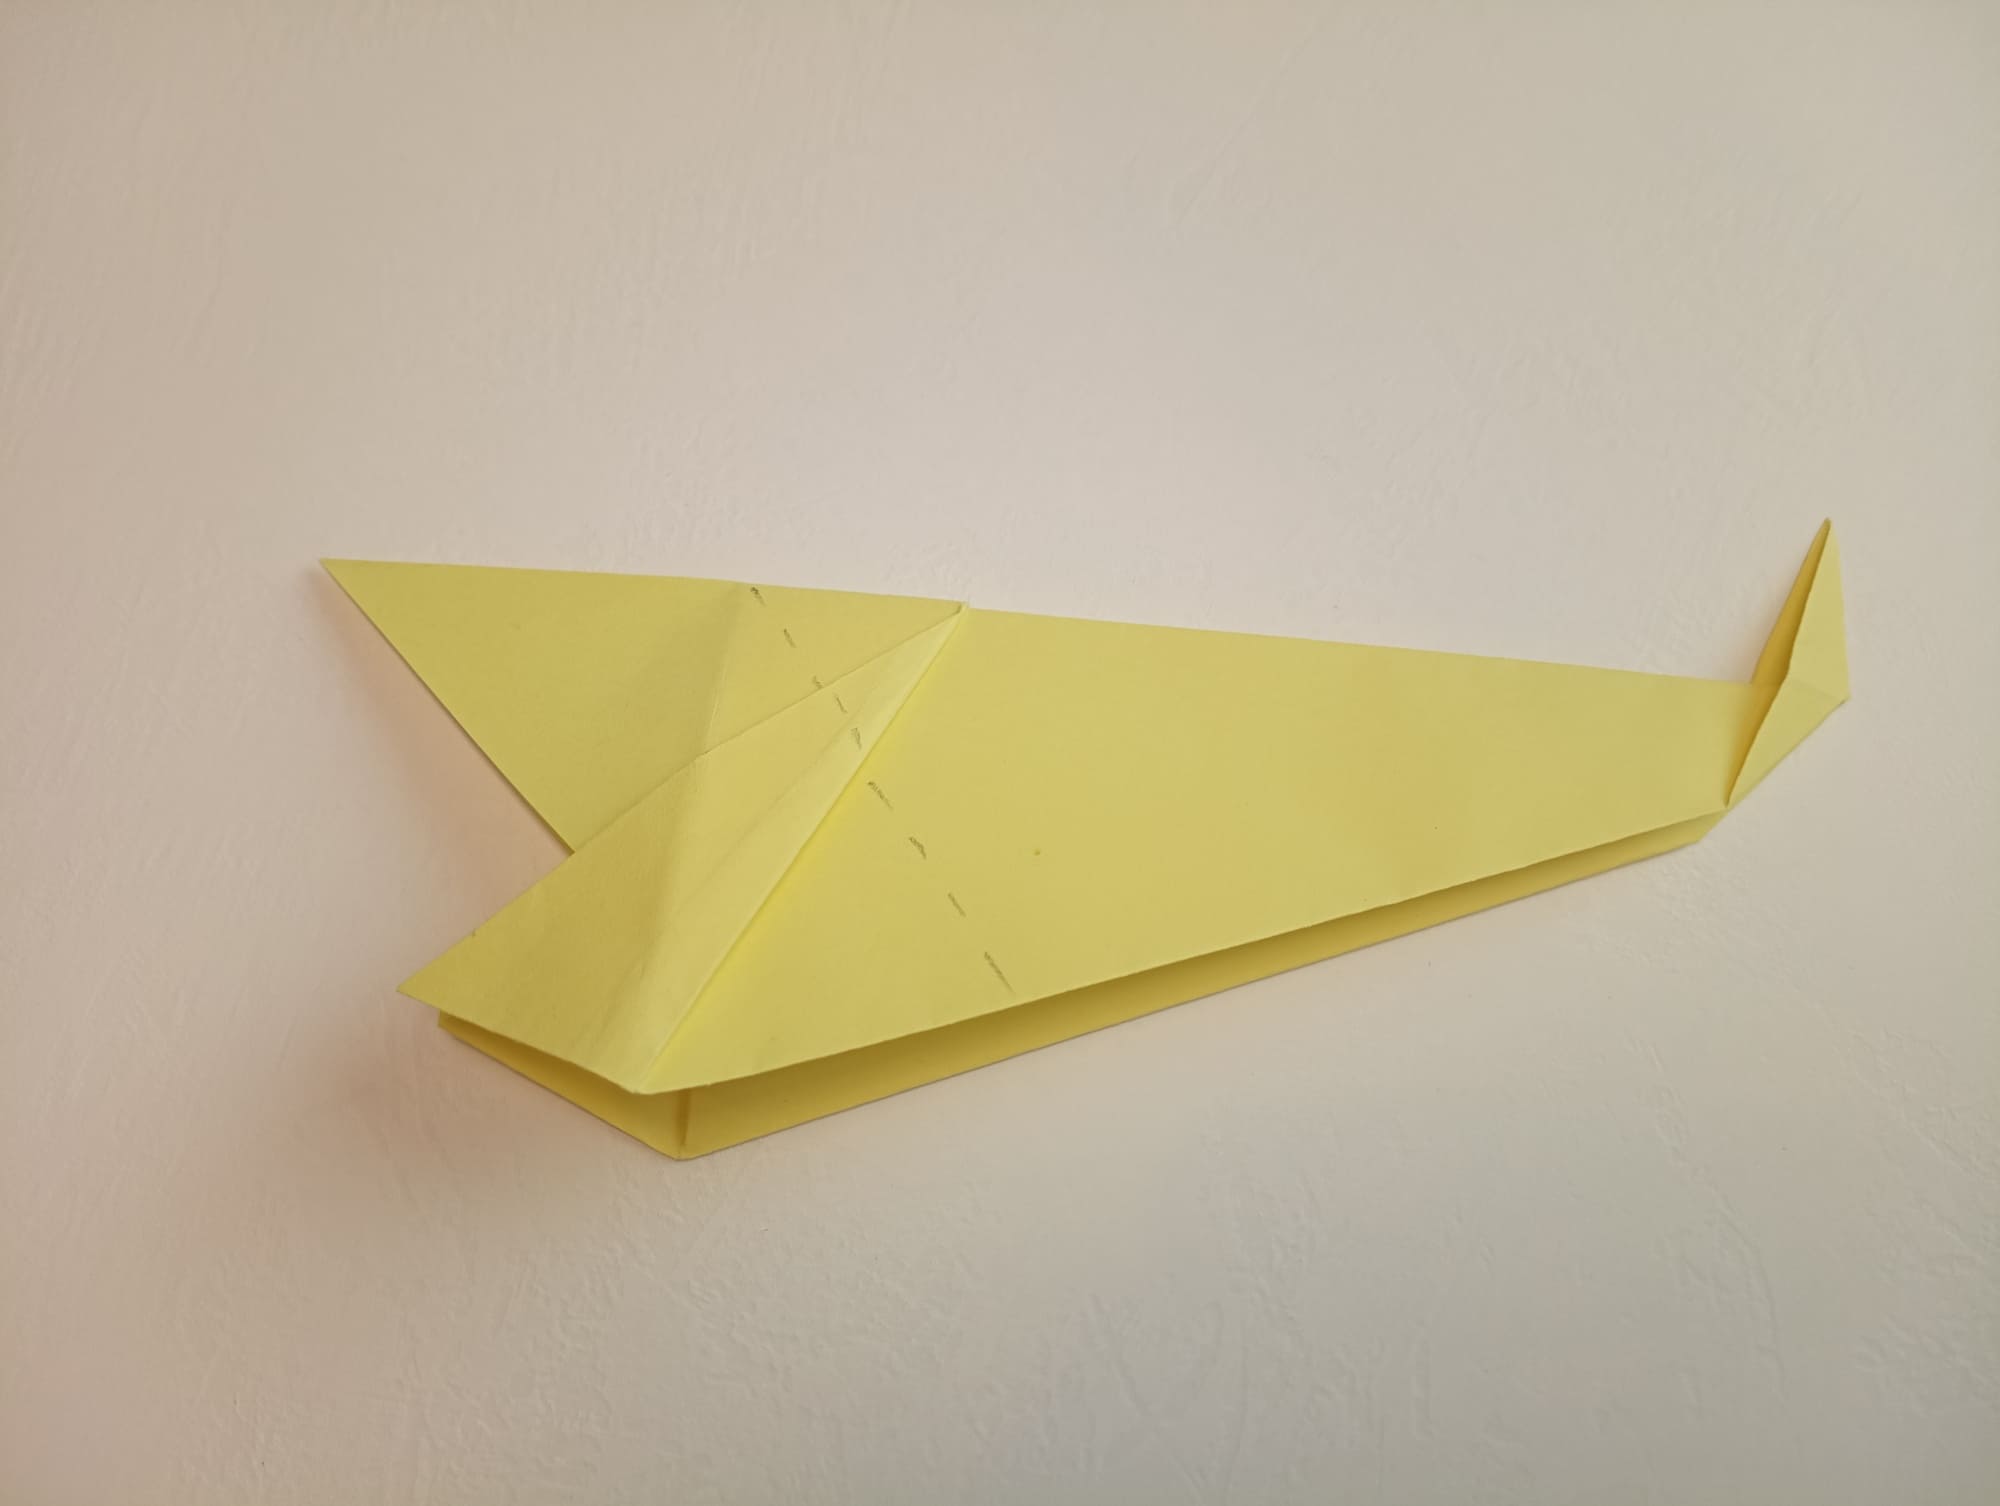
Fold the shape in half lengthwise.
Turn the figure into a vertical plane.

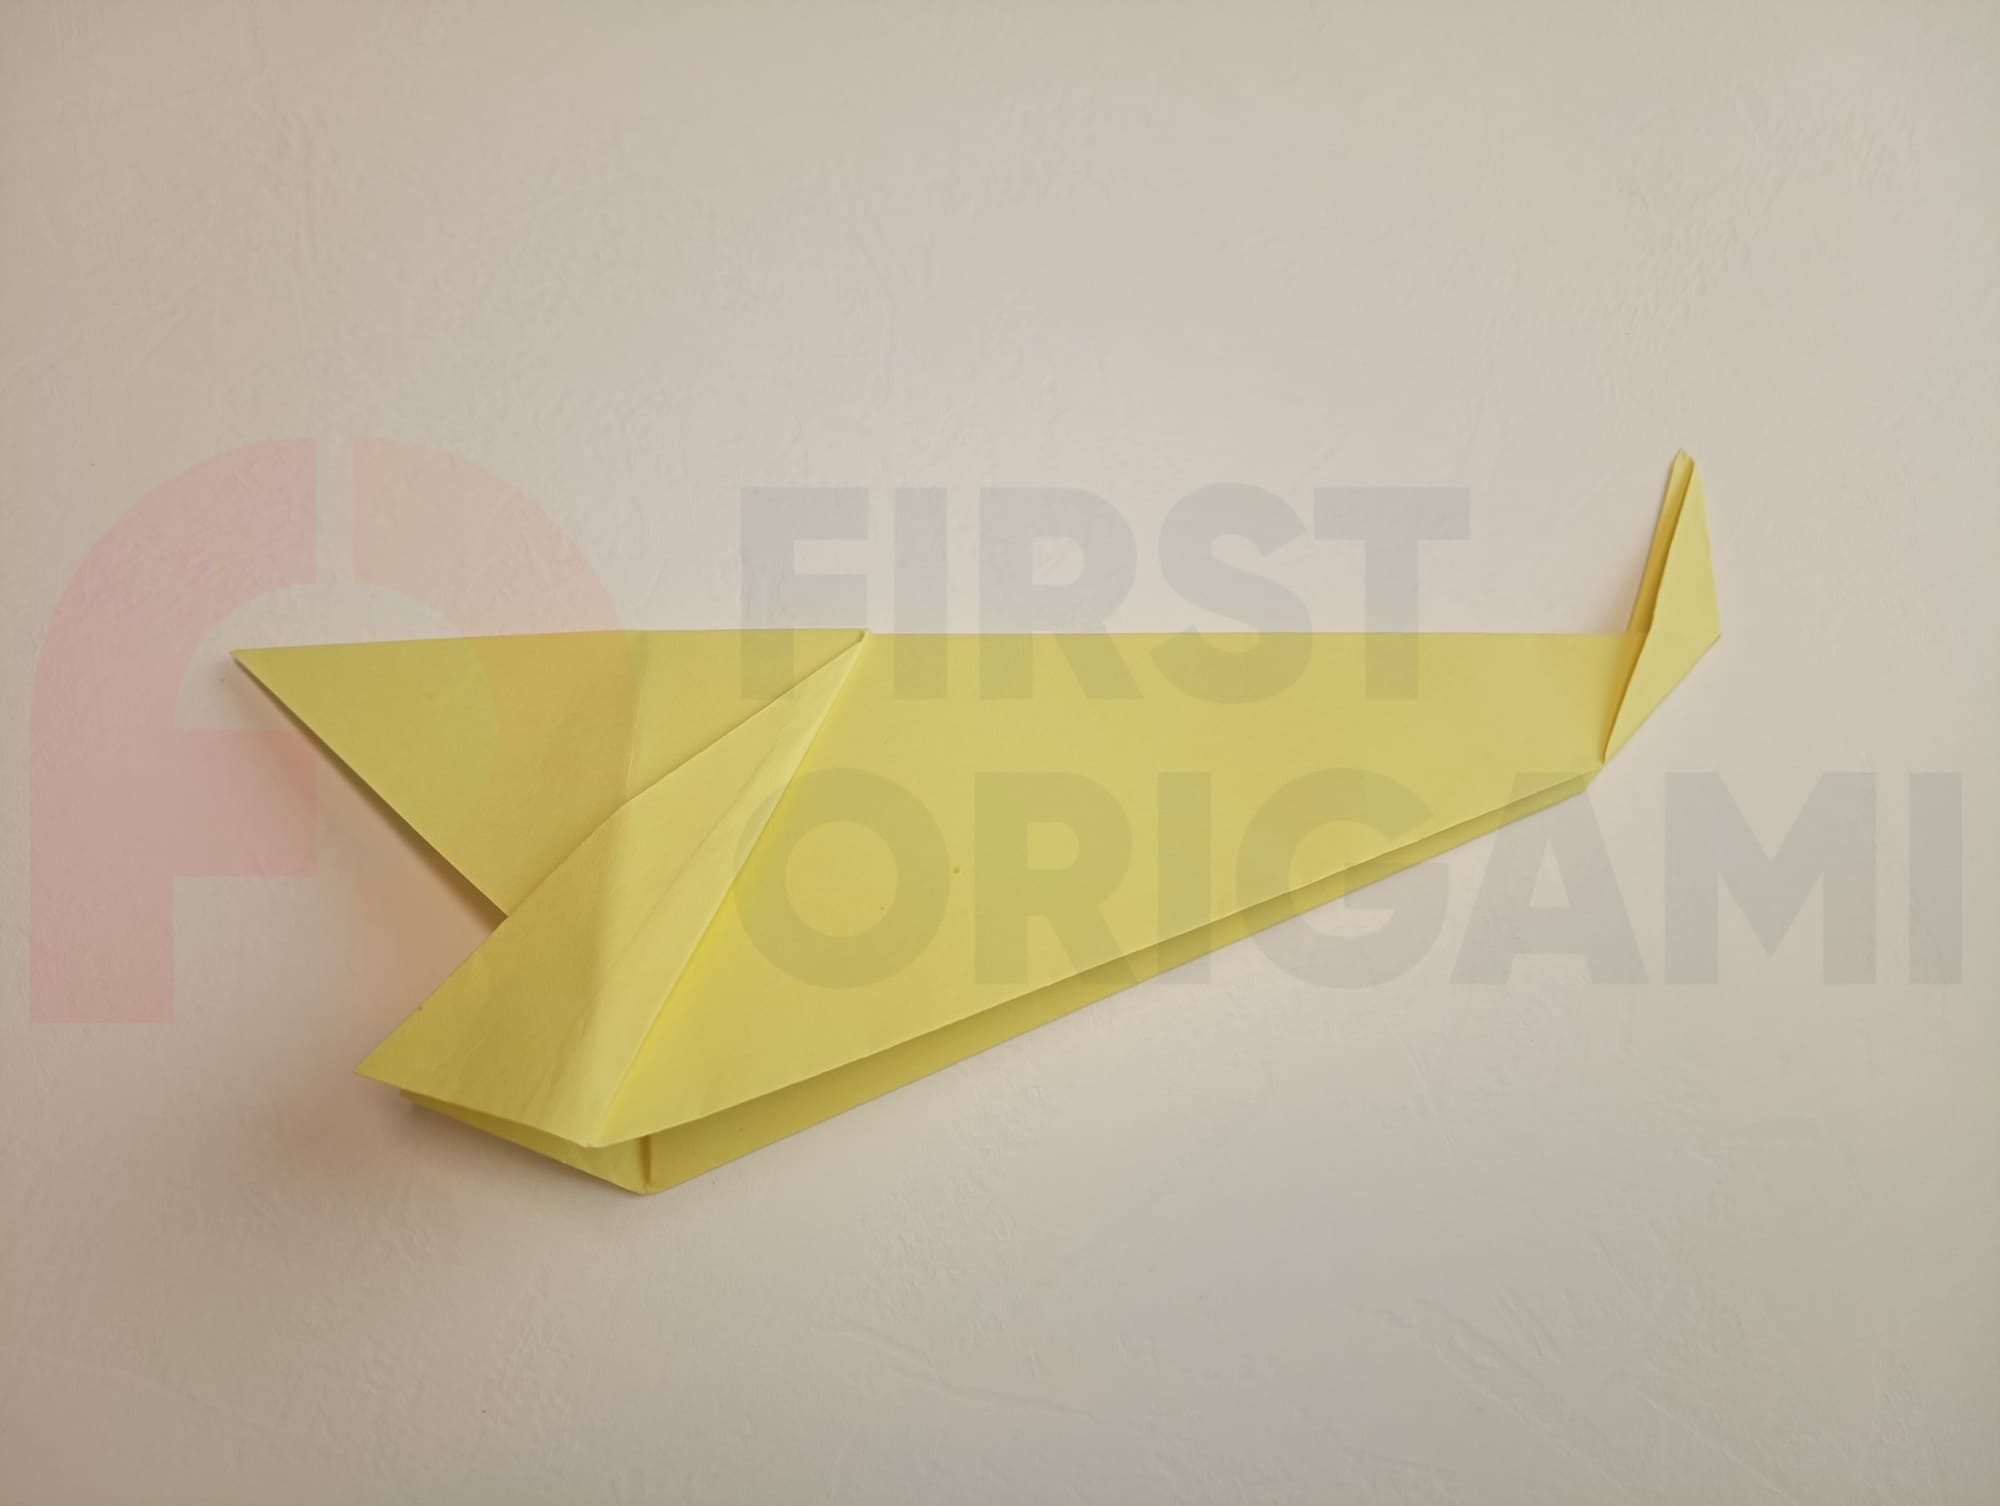
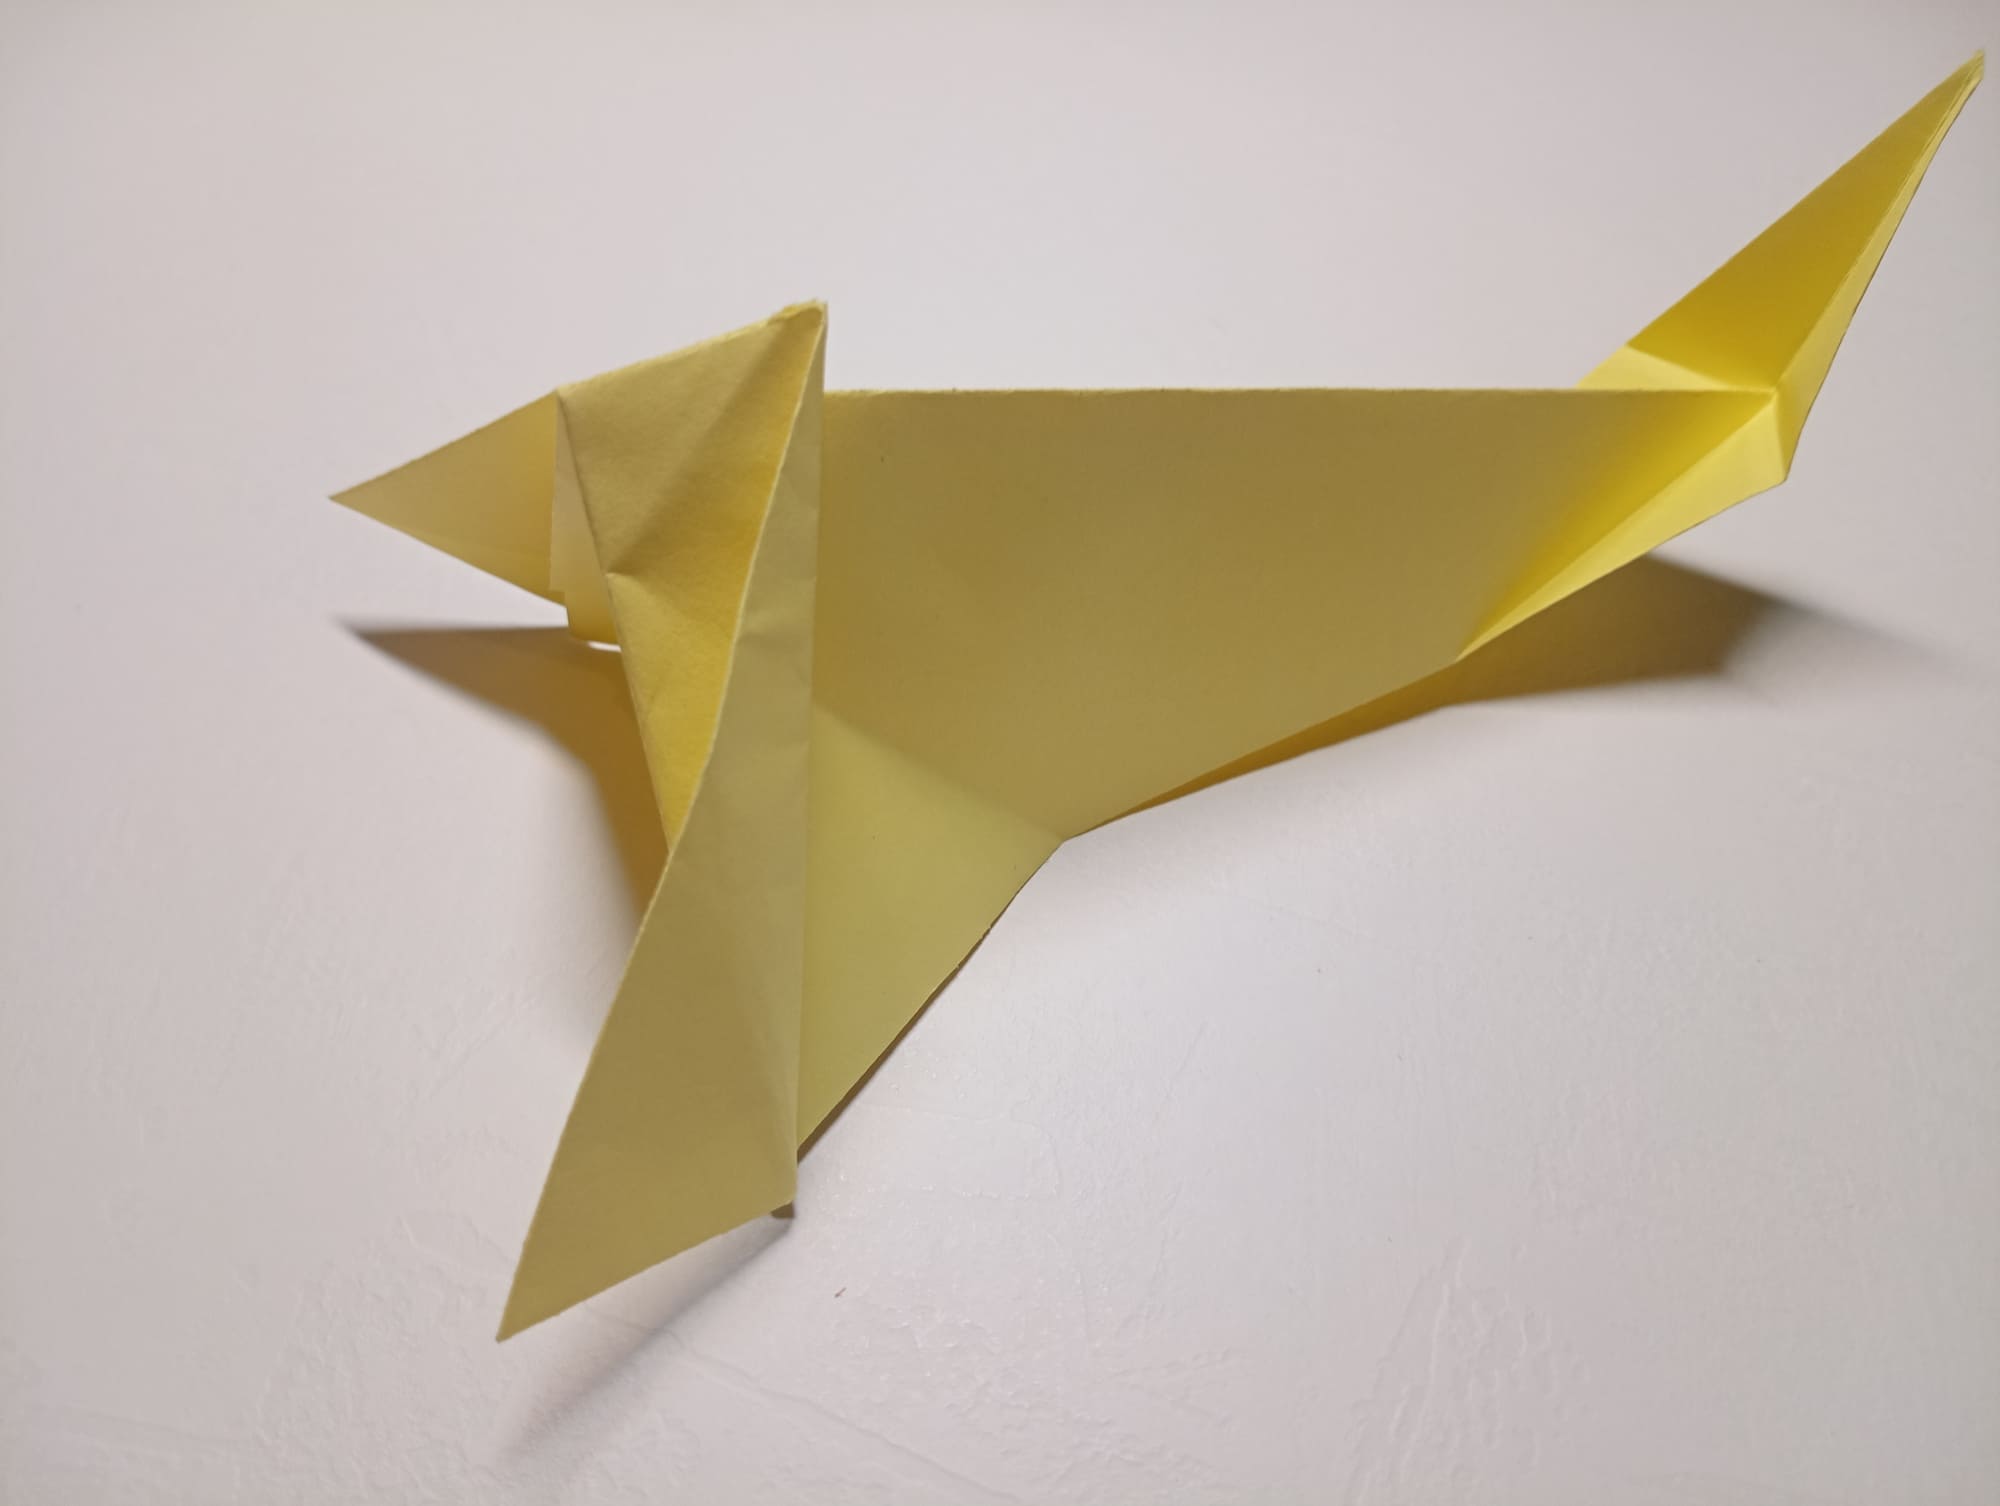
To enlarge the tail of the dachshund, you need to bend the right edge by making an additional fold.
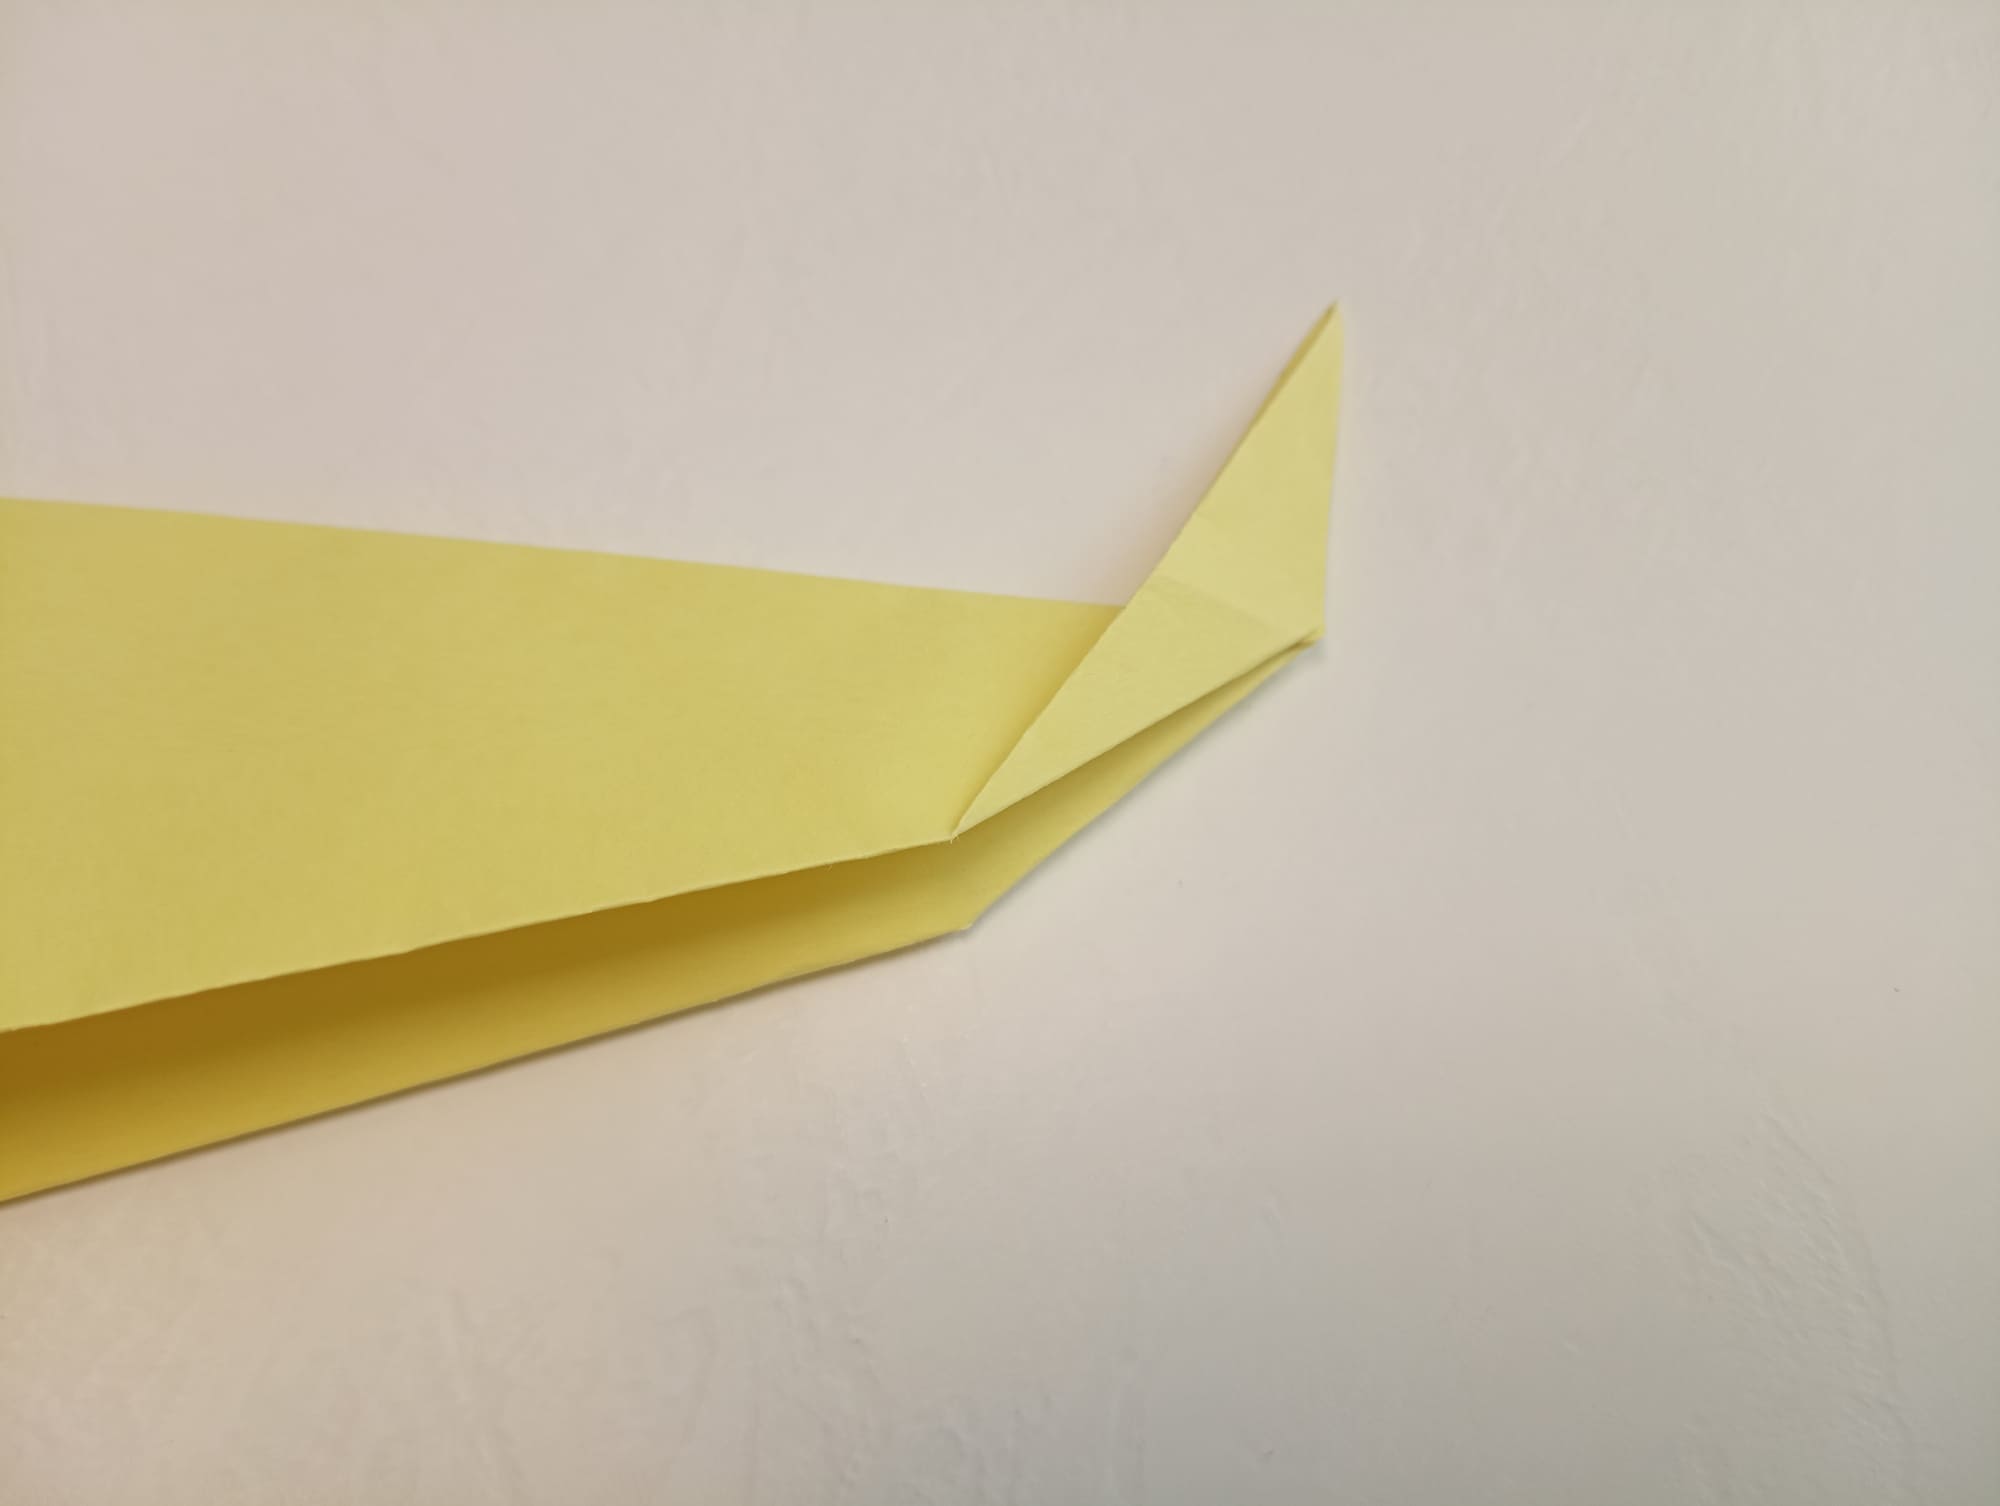
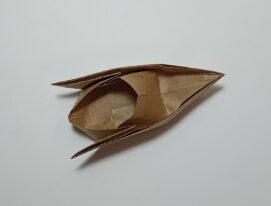
See the result in the photo.
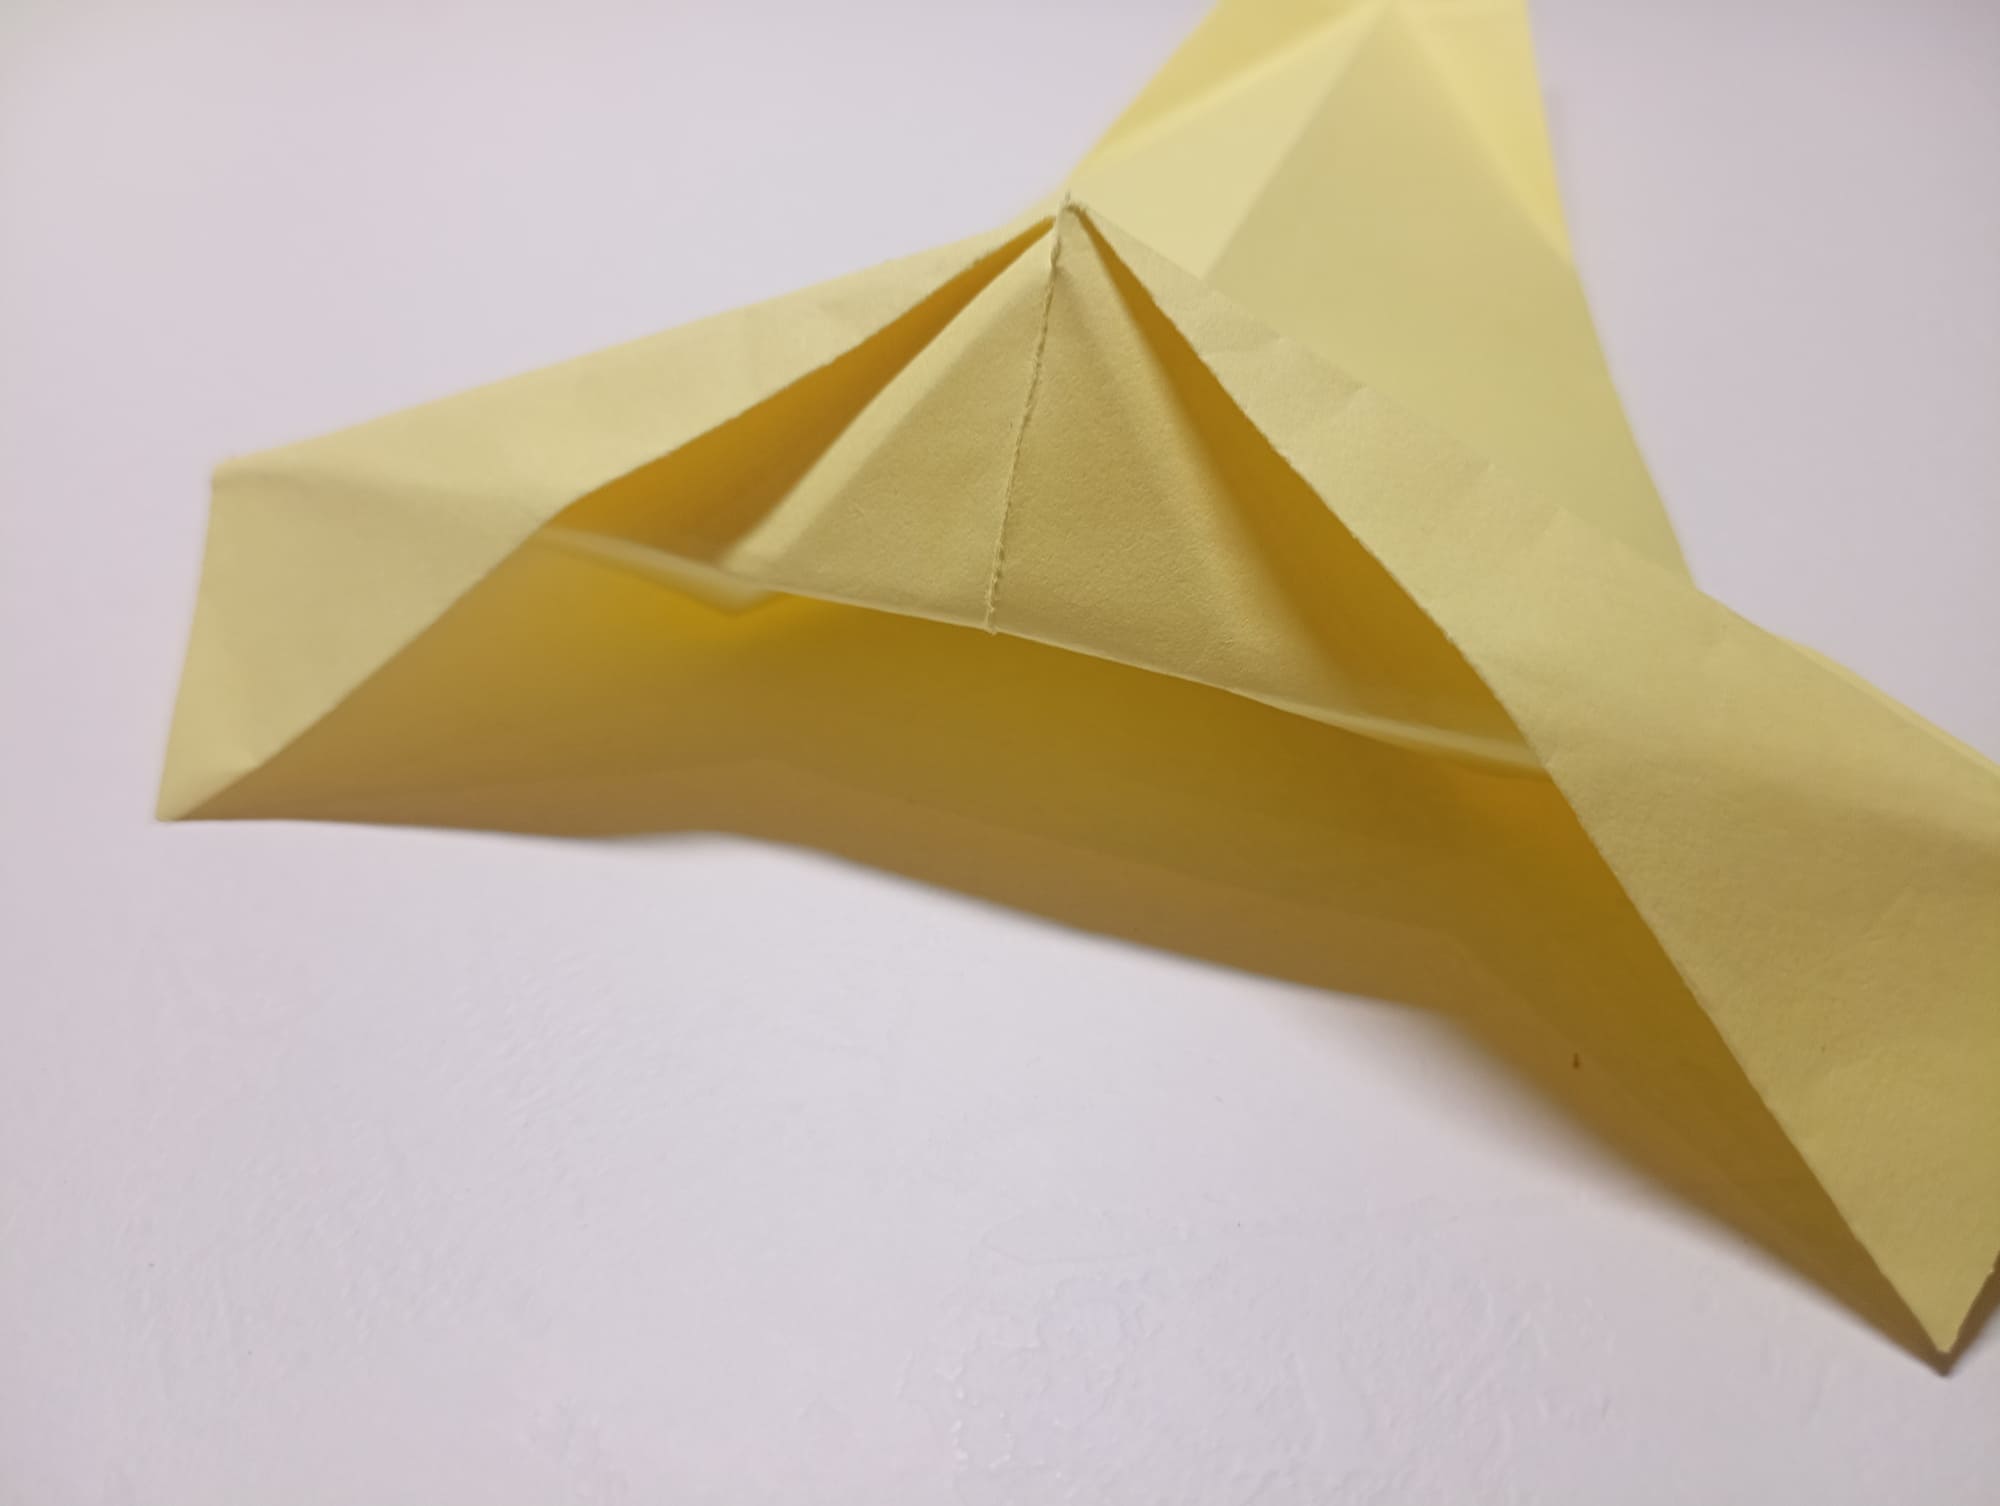
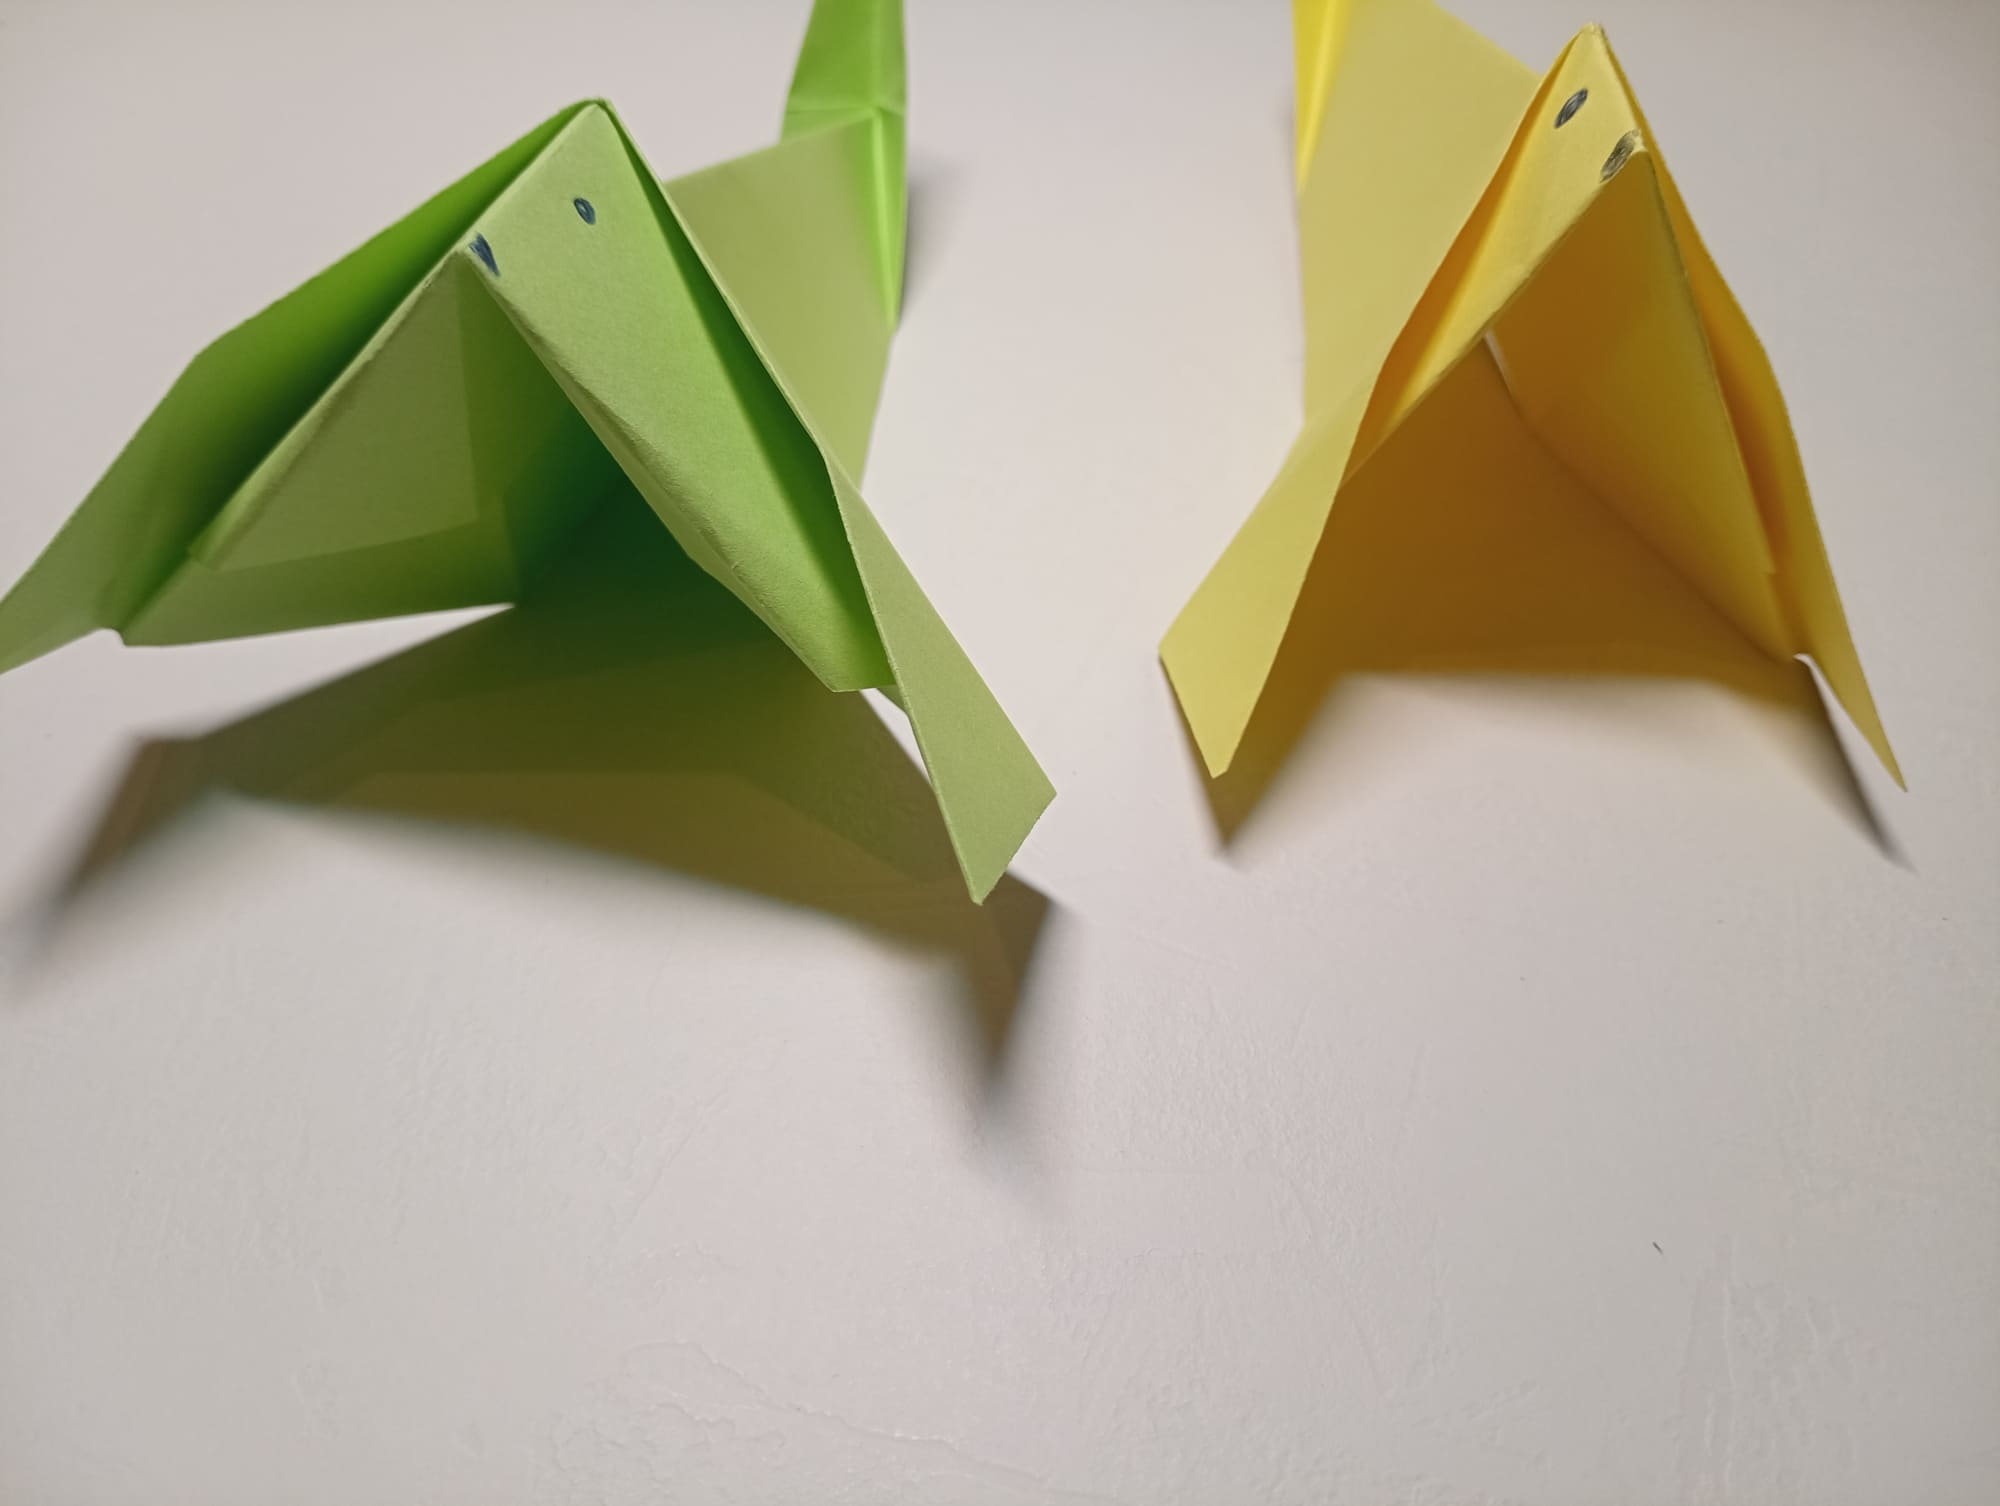
Now, you will be working with the head part. It is necessary to fold along the dotted line shown in the photo.
To do this, slightly open the figure and pull the end to the left, making the necessary folds.
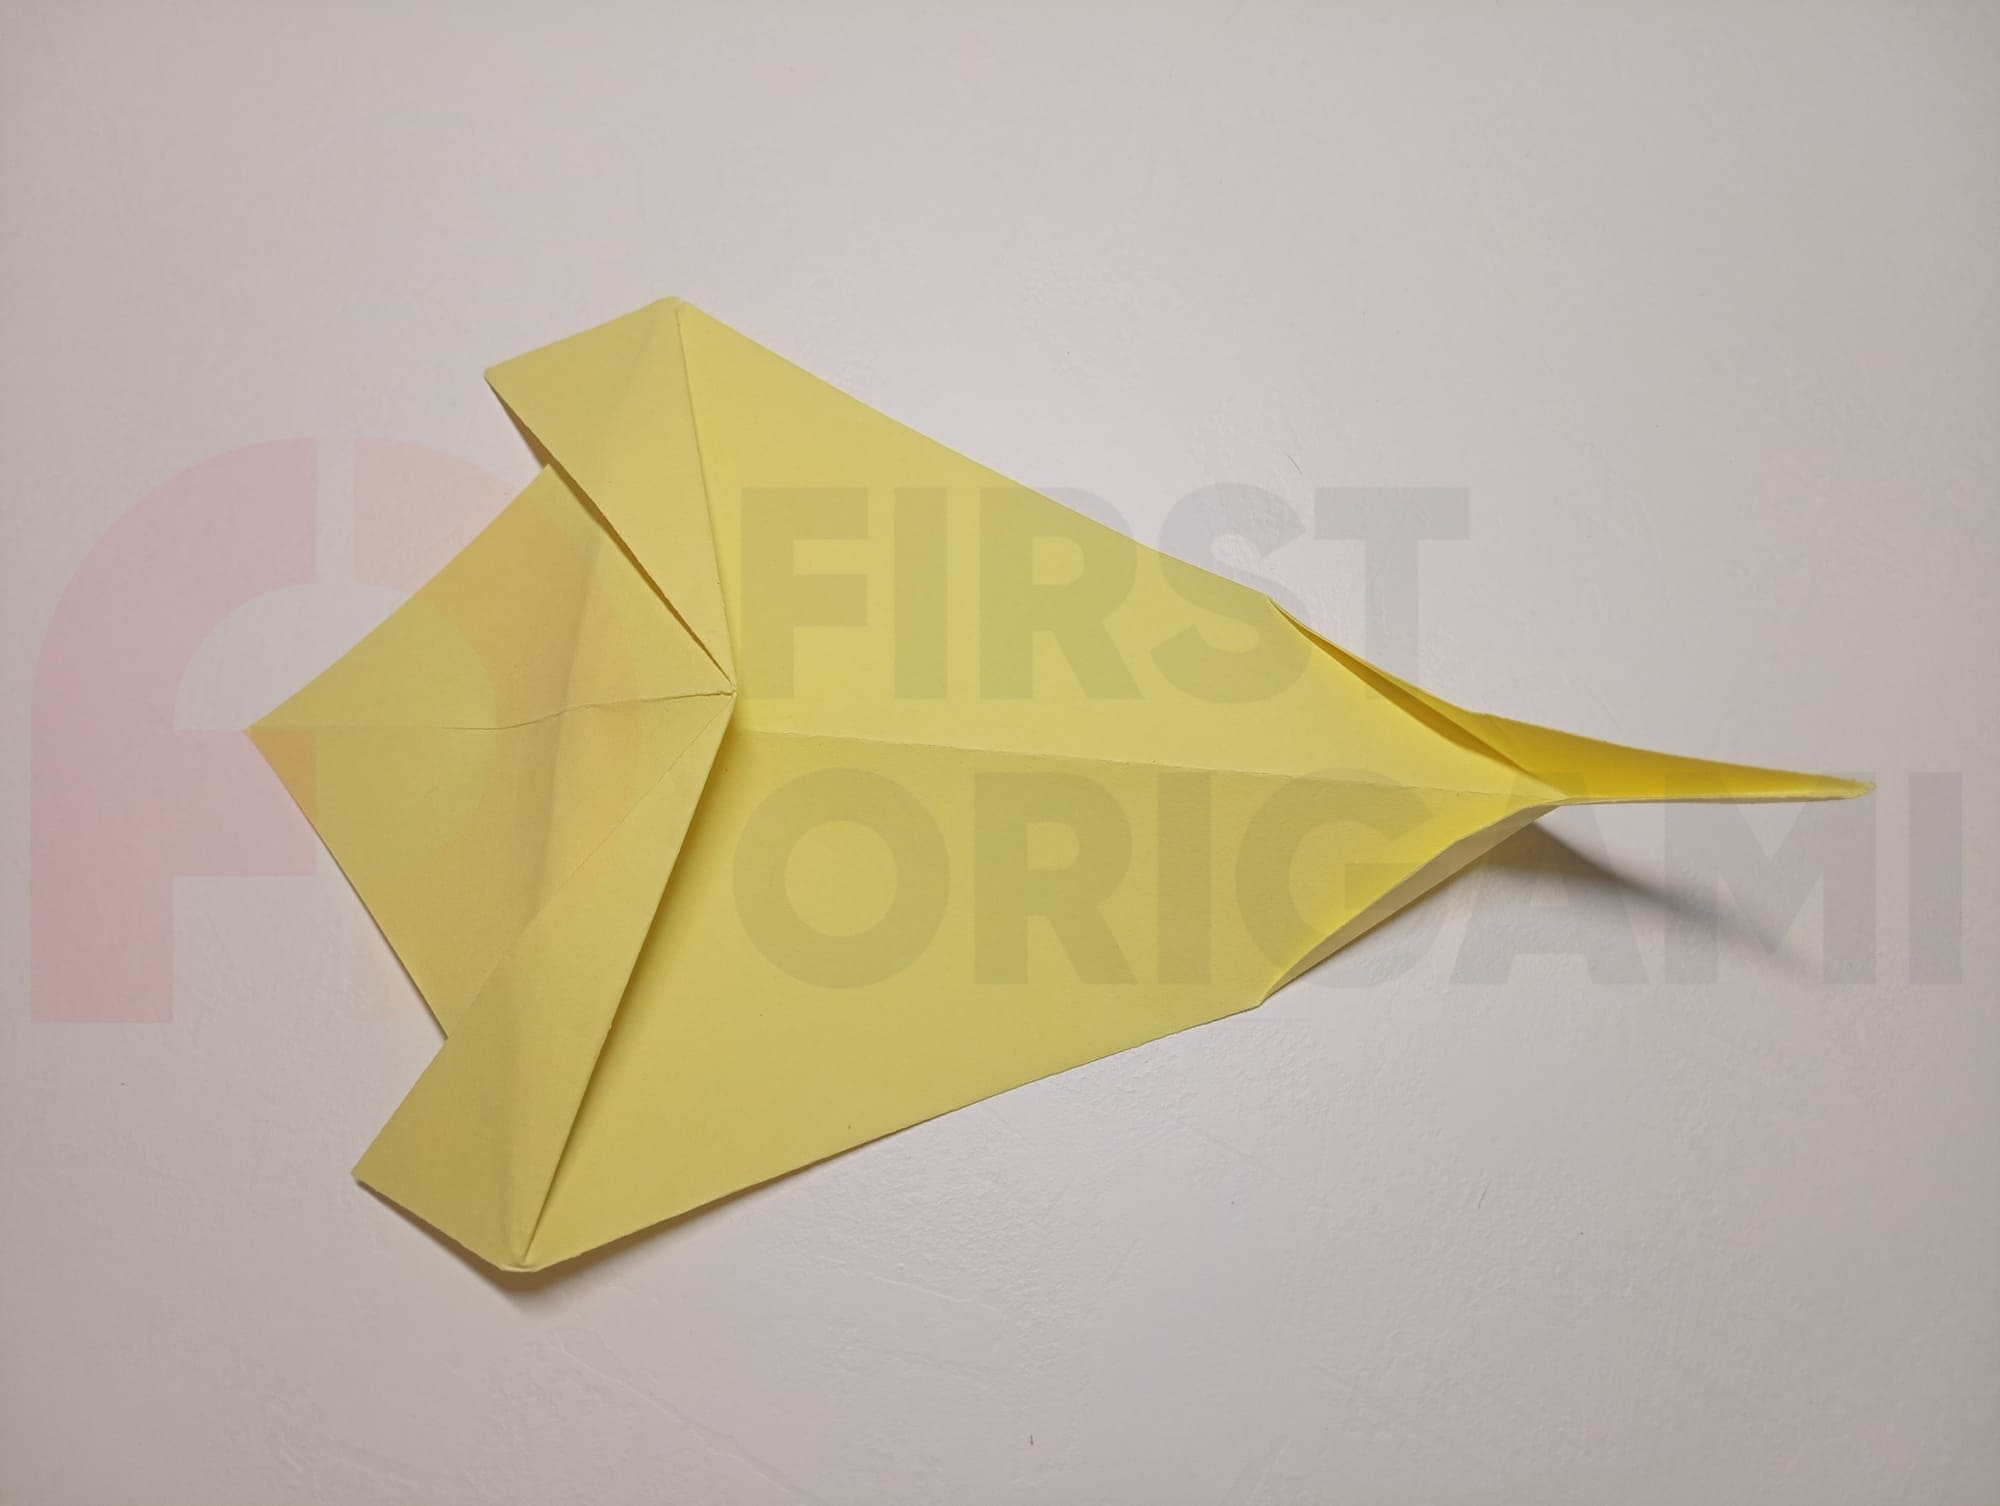
Upon completion of steps 17-19, the dachshund will be ready.
For a realistic appearance, you can draw a nose and eyes.
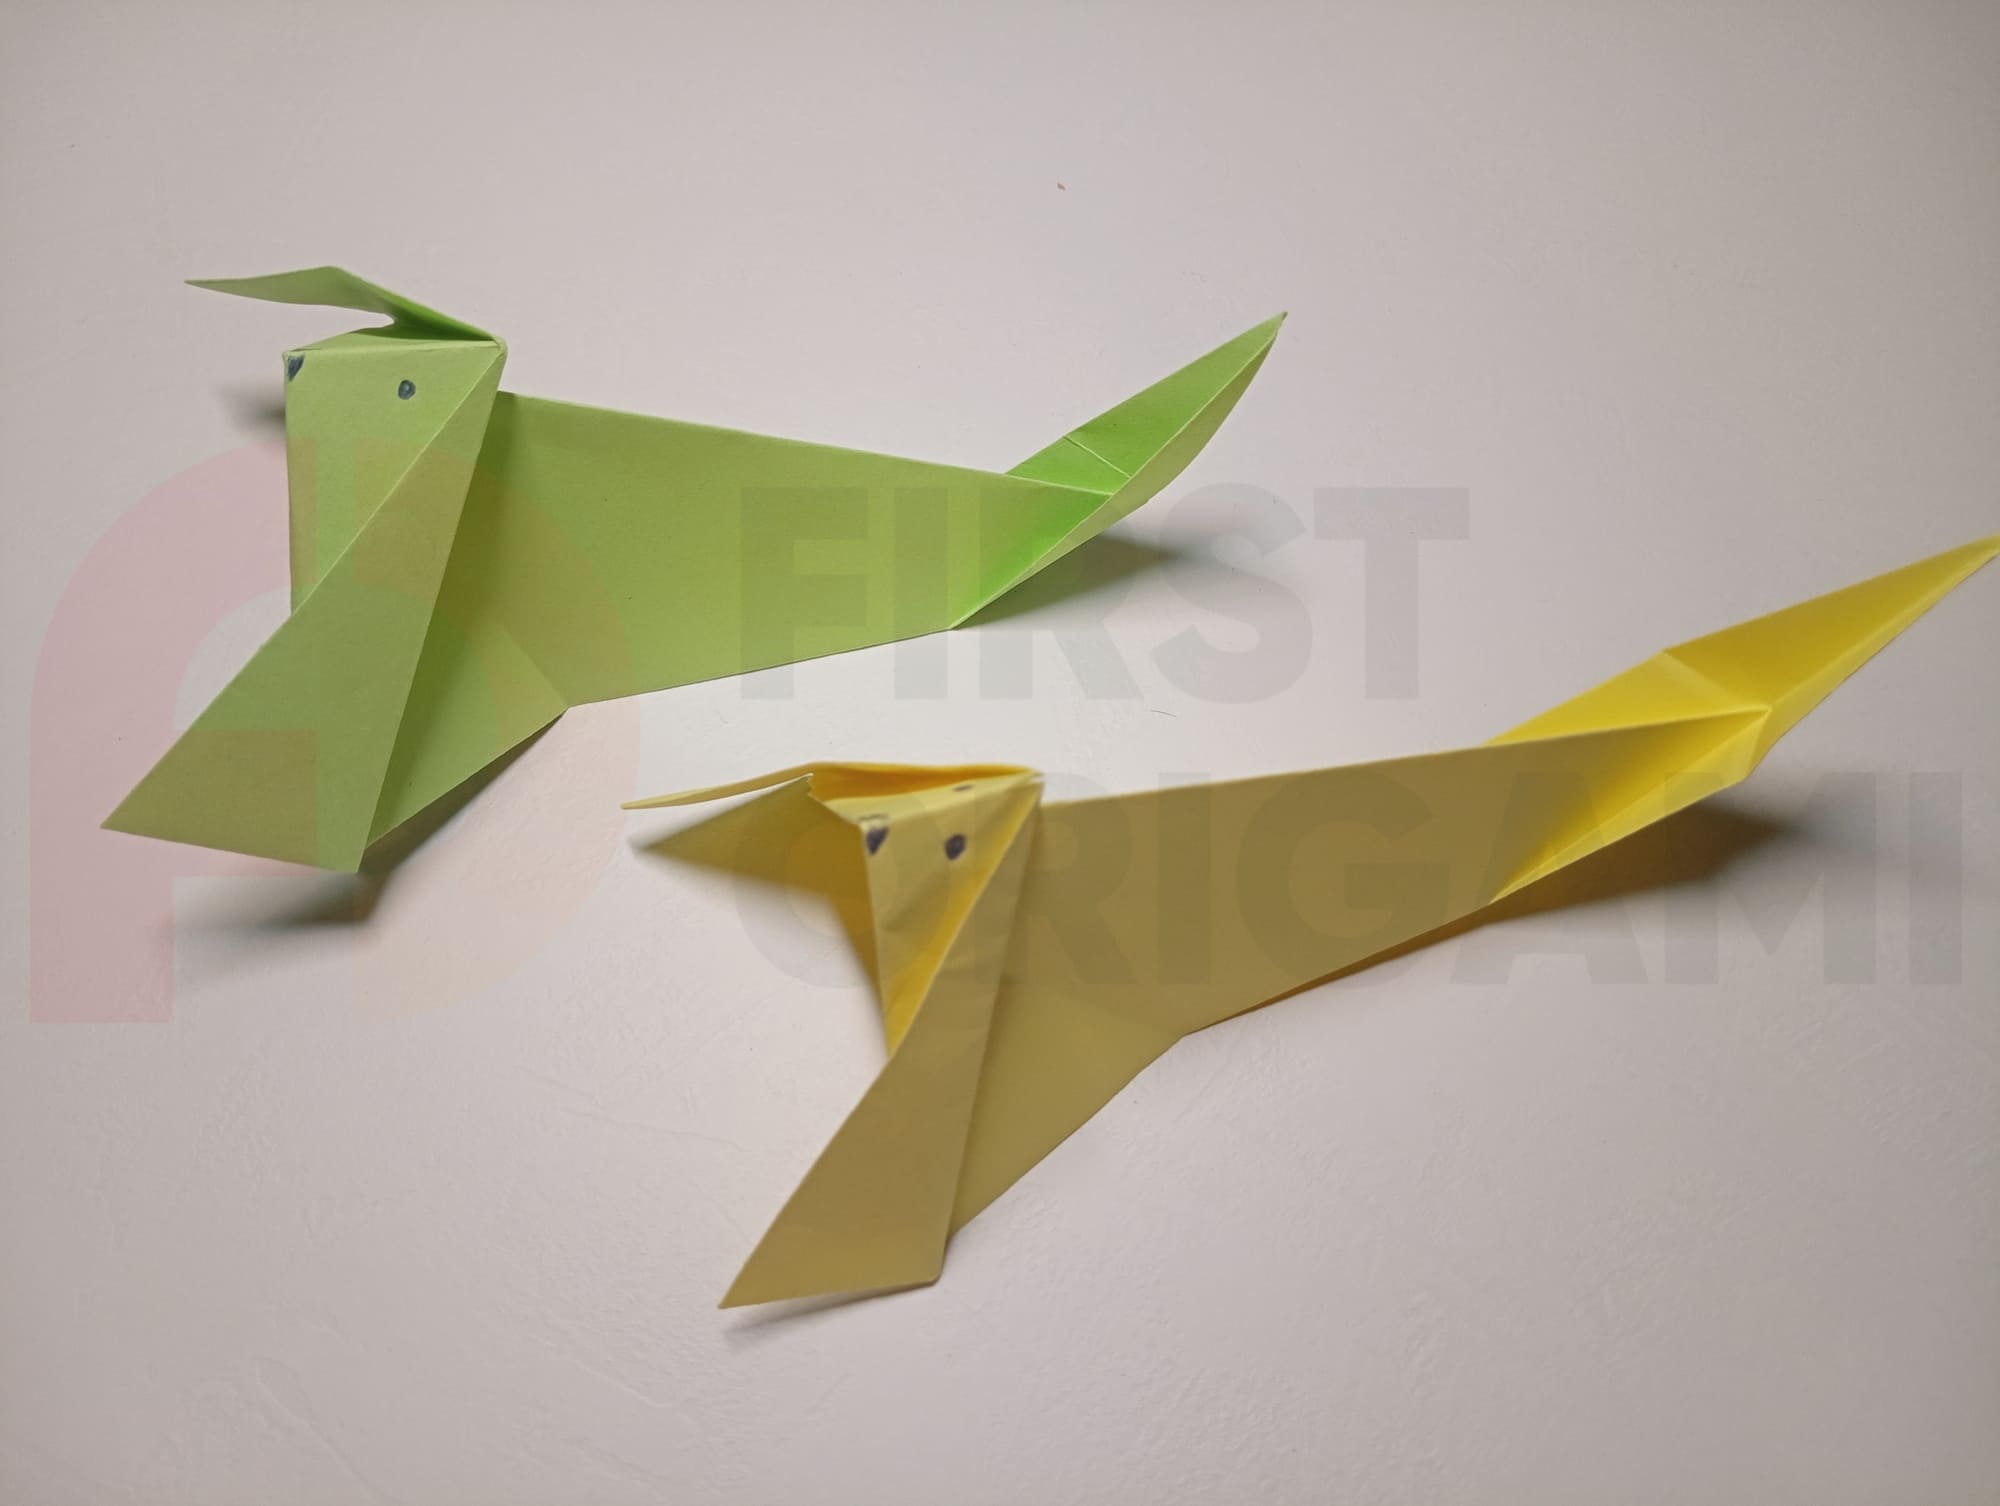
You can also make friends for a dachshund. The figures turn out funny, cute, and realistic. This origami is suitable for adults and children. The main thing is to follow the steps provided and help your children if they also started making the cute dachshund.