Origami Dolphin
A dolphin figure made in origami technique is good for playing, for decorating themed parties and rooms. The size of the dolphin depends on the dimensions of the original sheet of paper. Try to make this cute and very smart animal with your own hands. Just follow our instructions step by step.

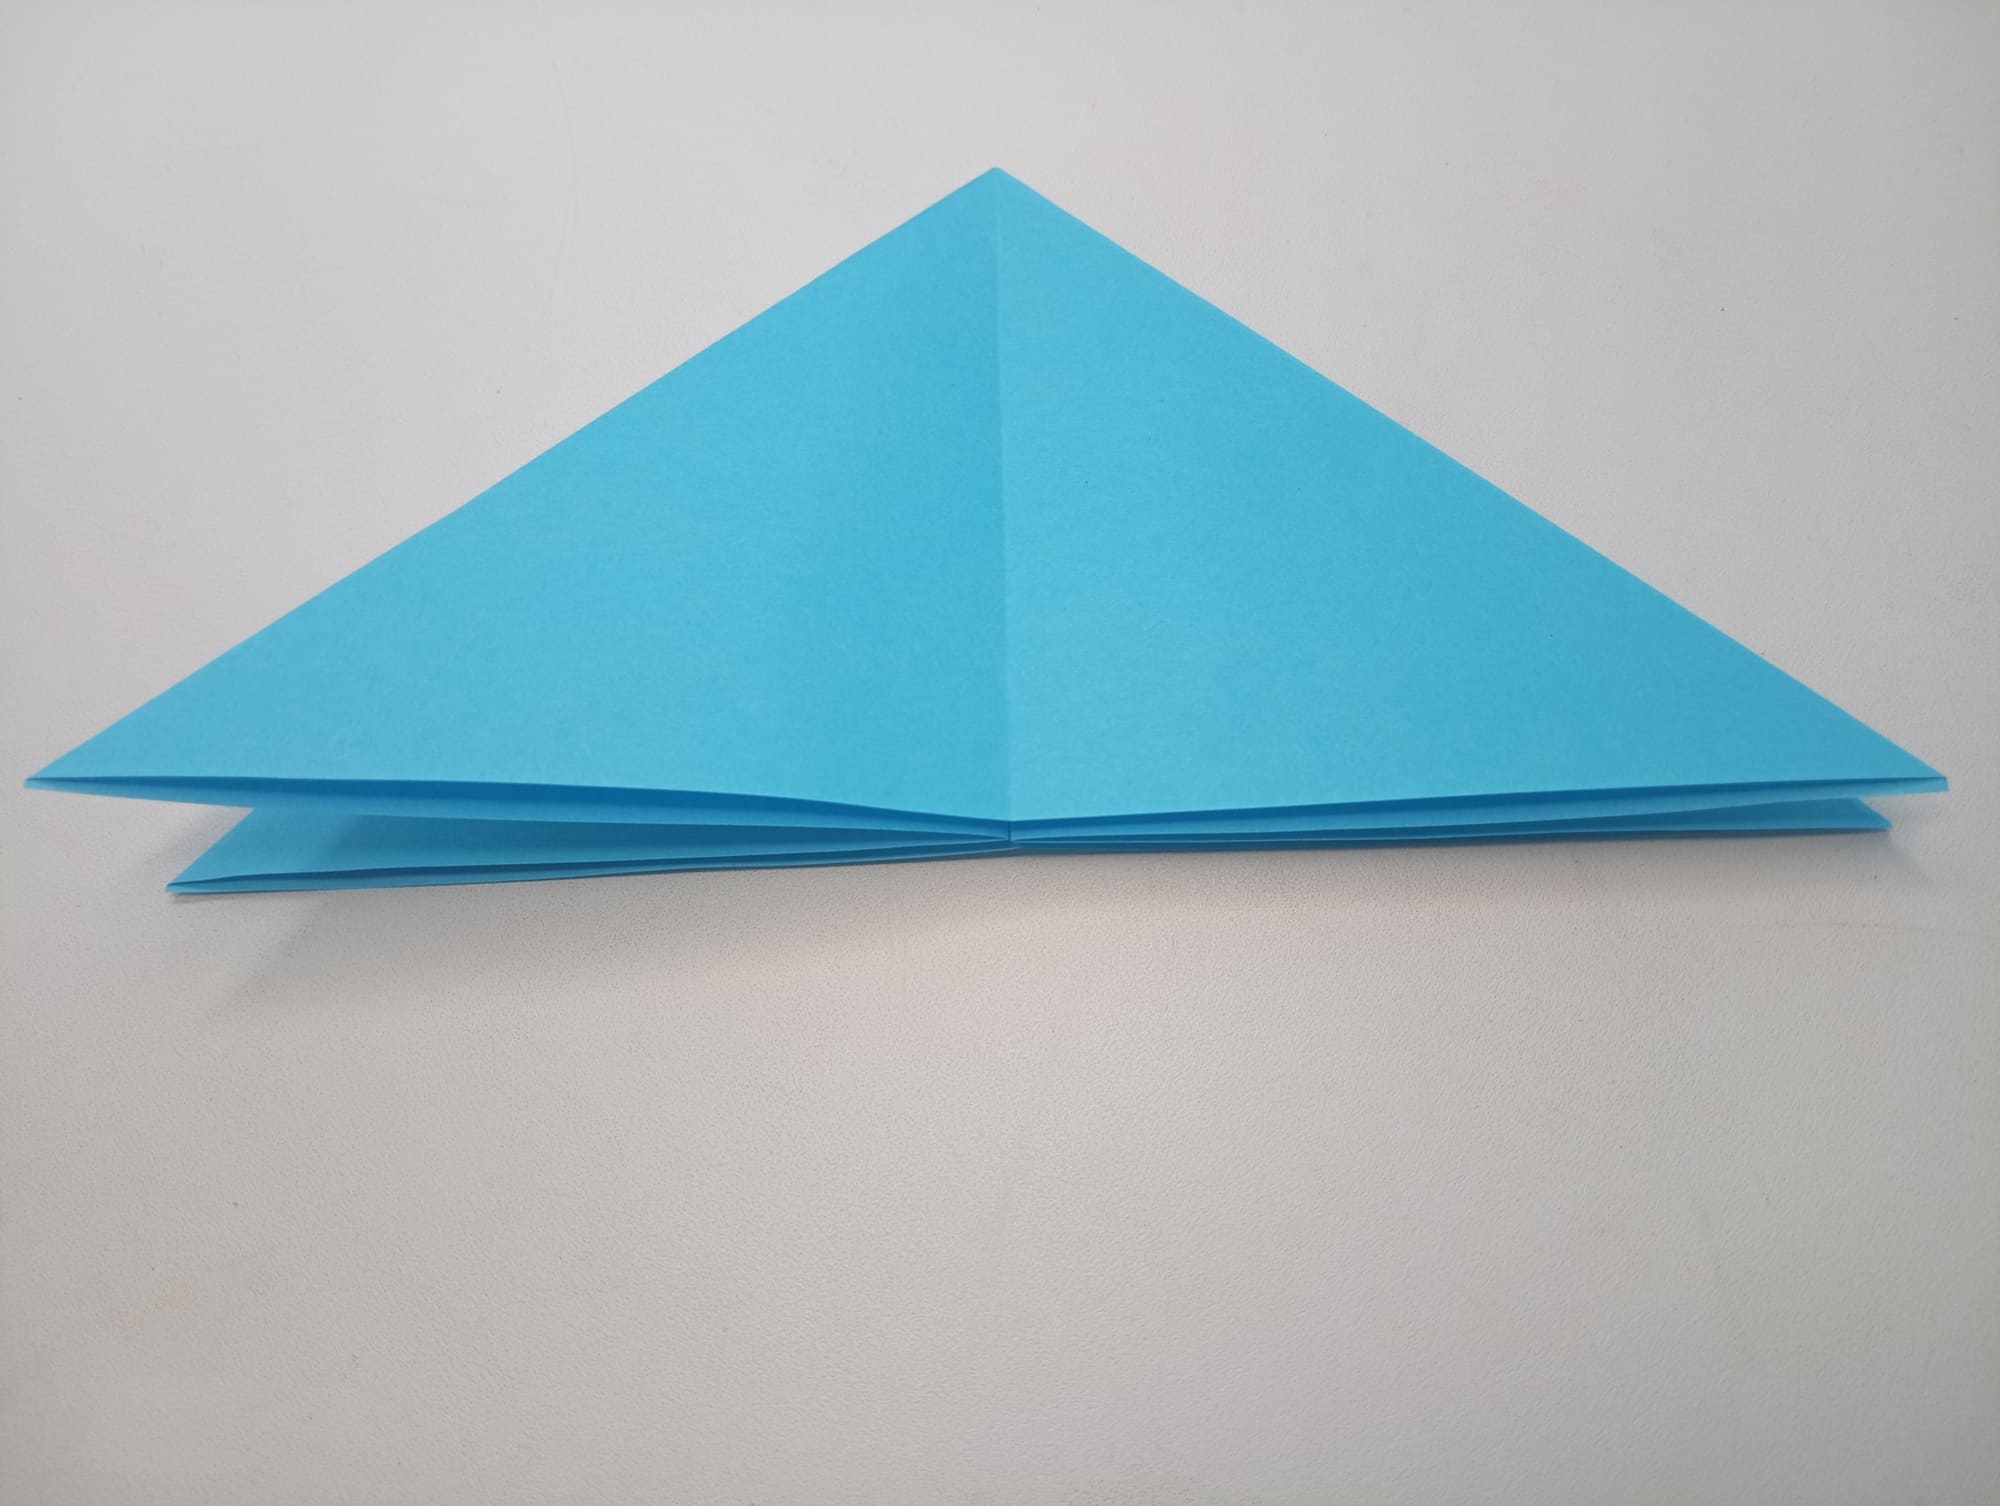
Take a sheet of paper with the size of 15 x 15 cm. Fold it along all the axes – diagonal, vertical, and horizontal. This is the result you should get.

Fold the sheet of paper along the resulting folds as follows.
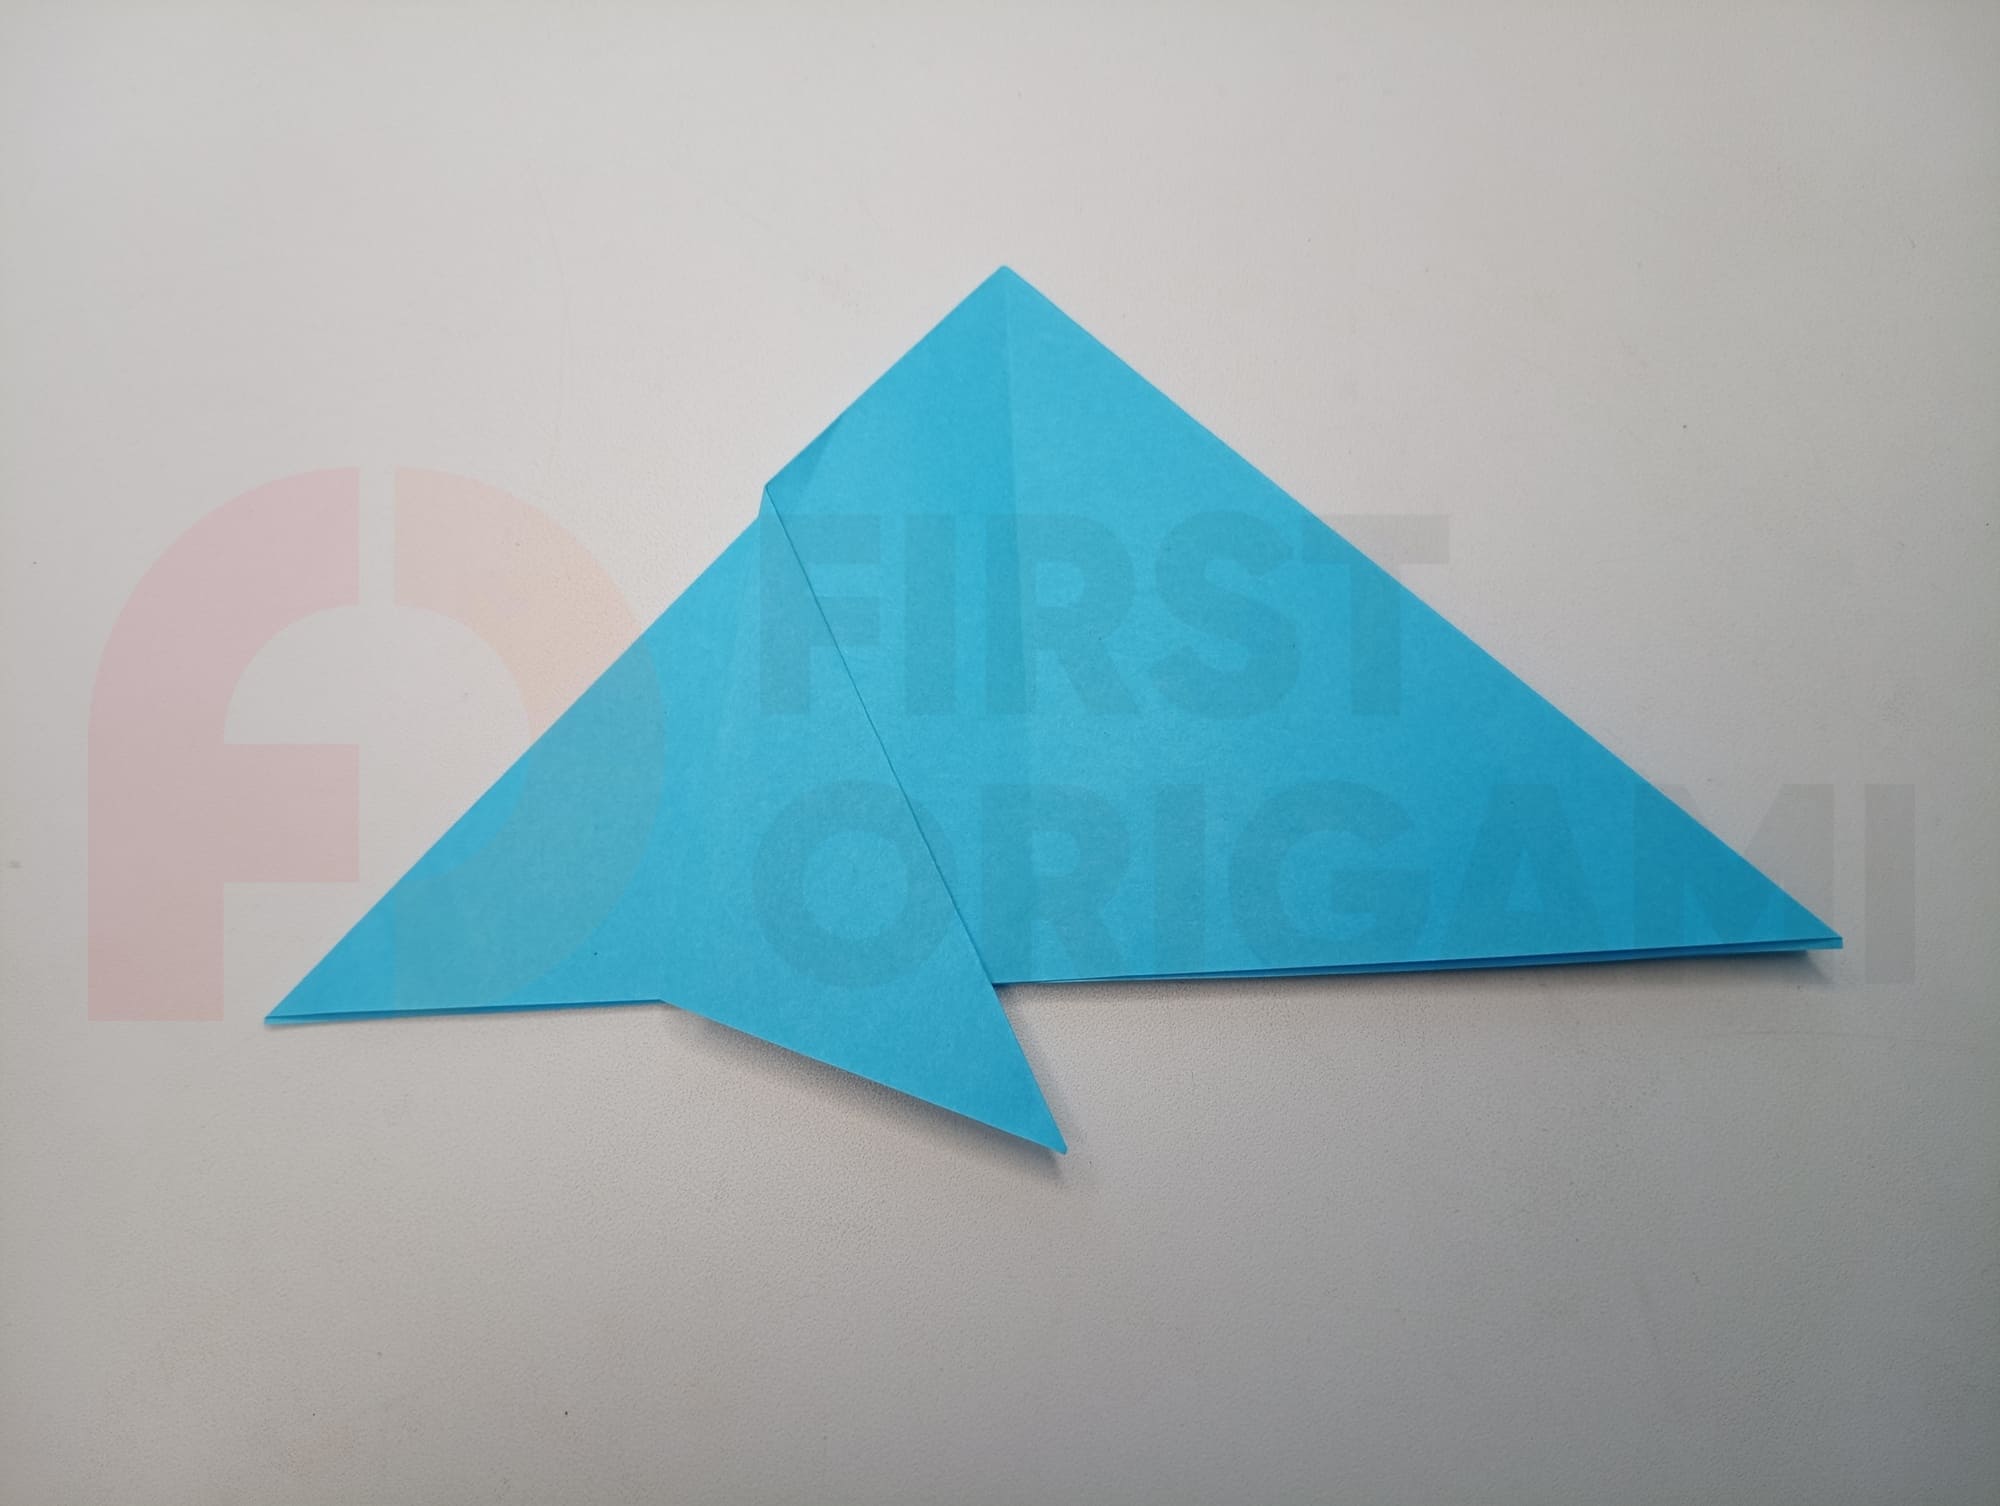
Raise the left corner of the figure and bend it as in the photo.
Bend the right side to the center fold line and iron the side with your fingers (as in the photo).
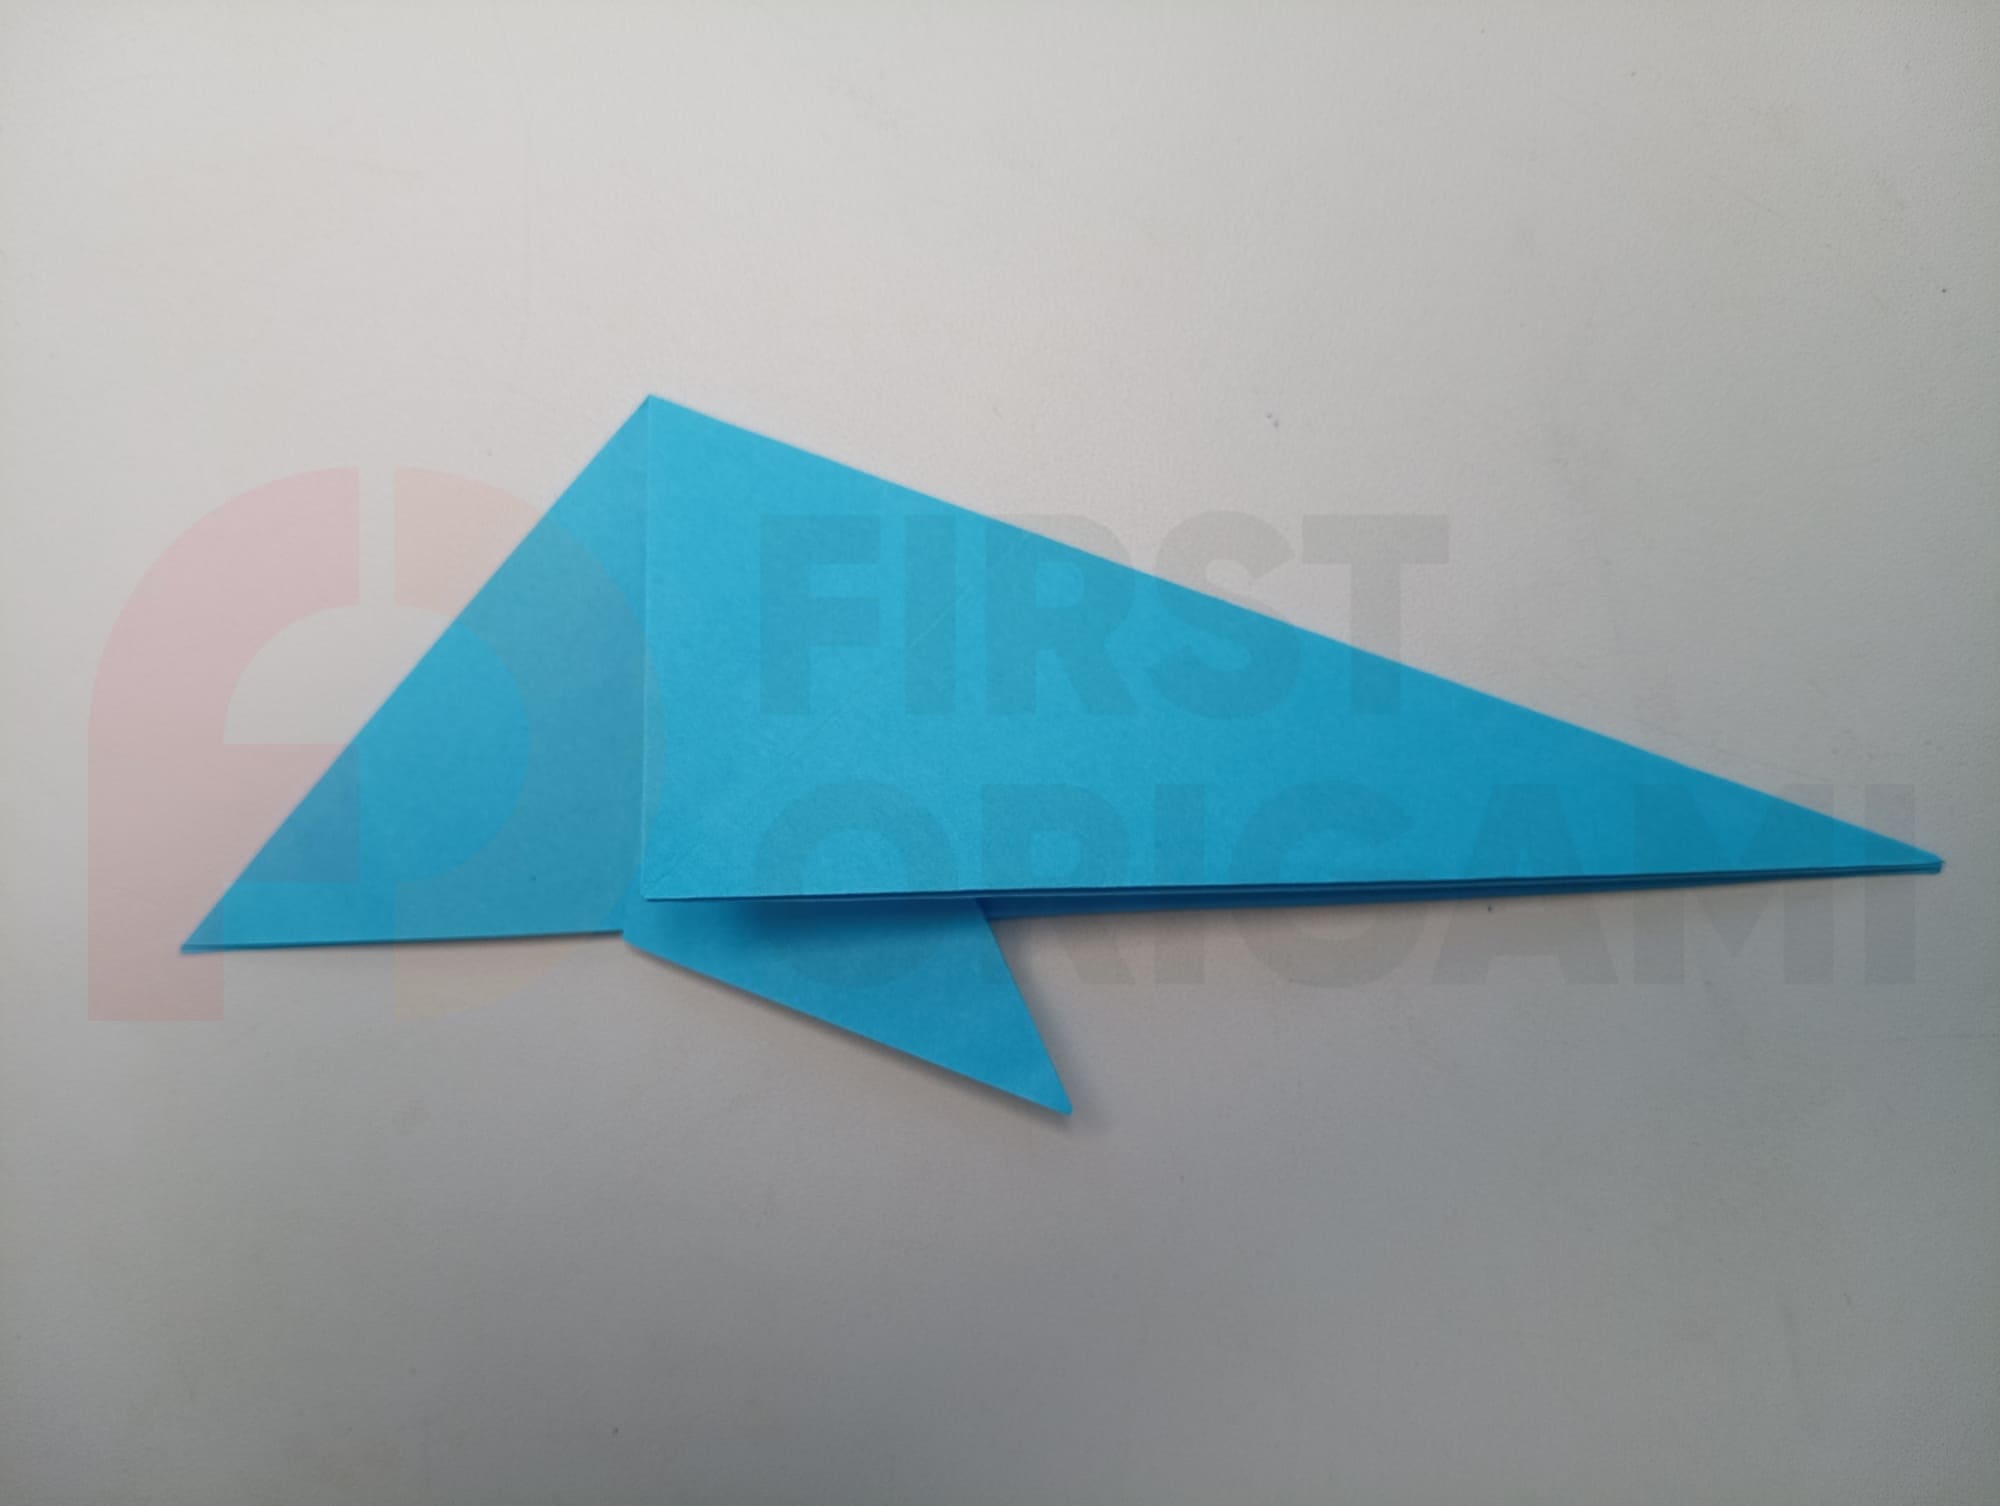
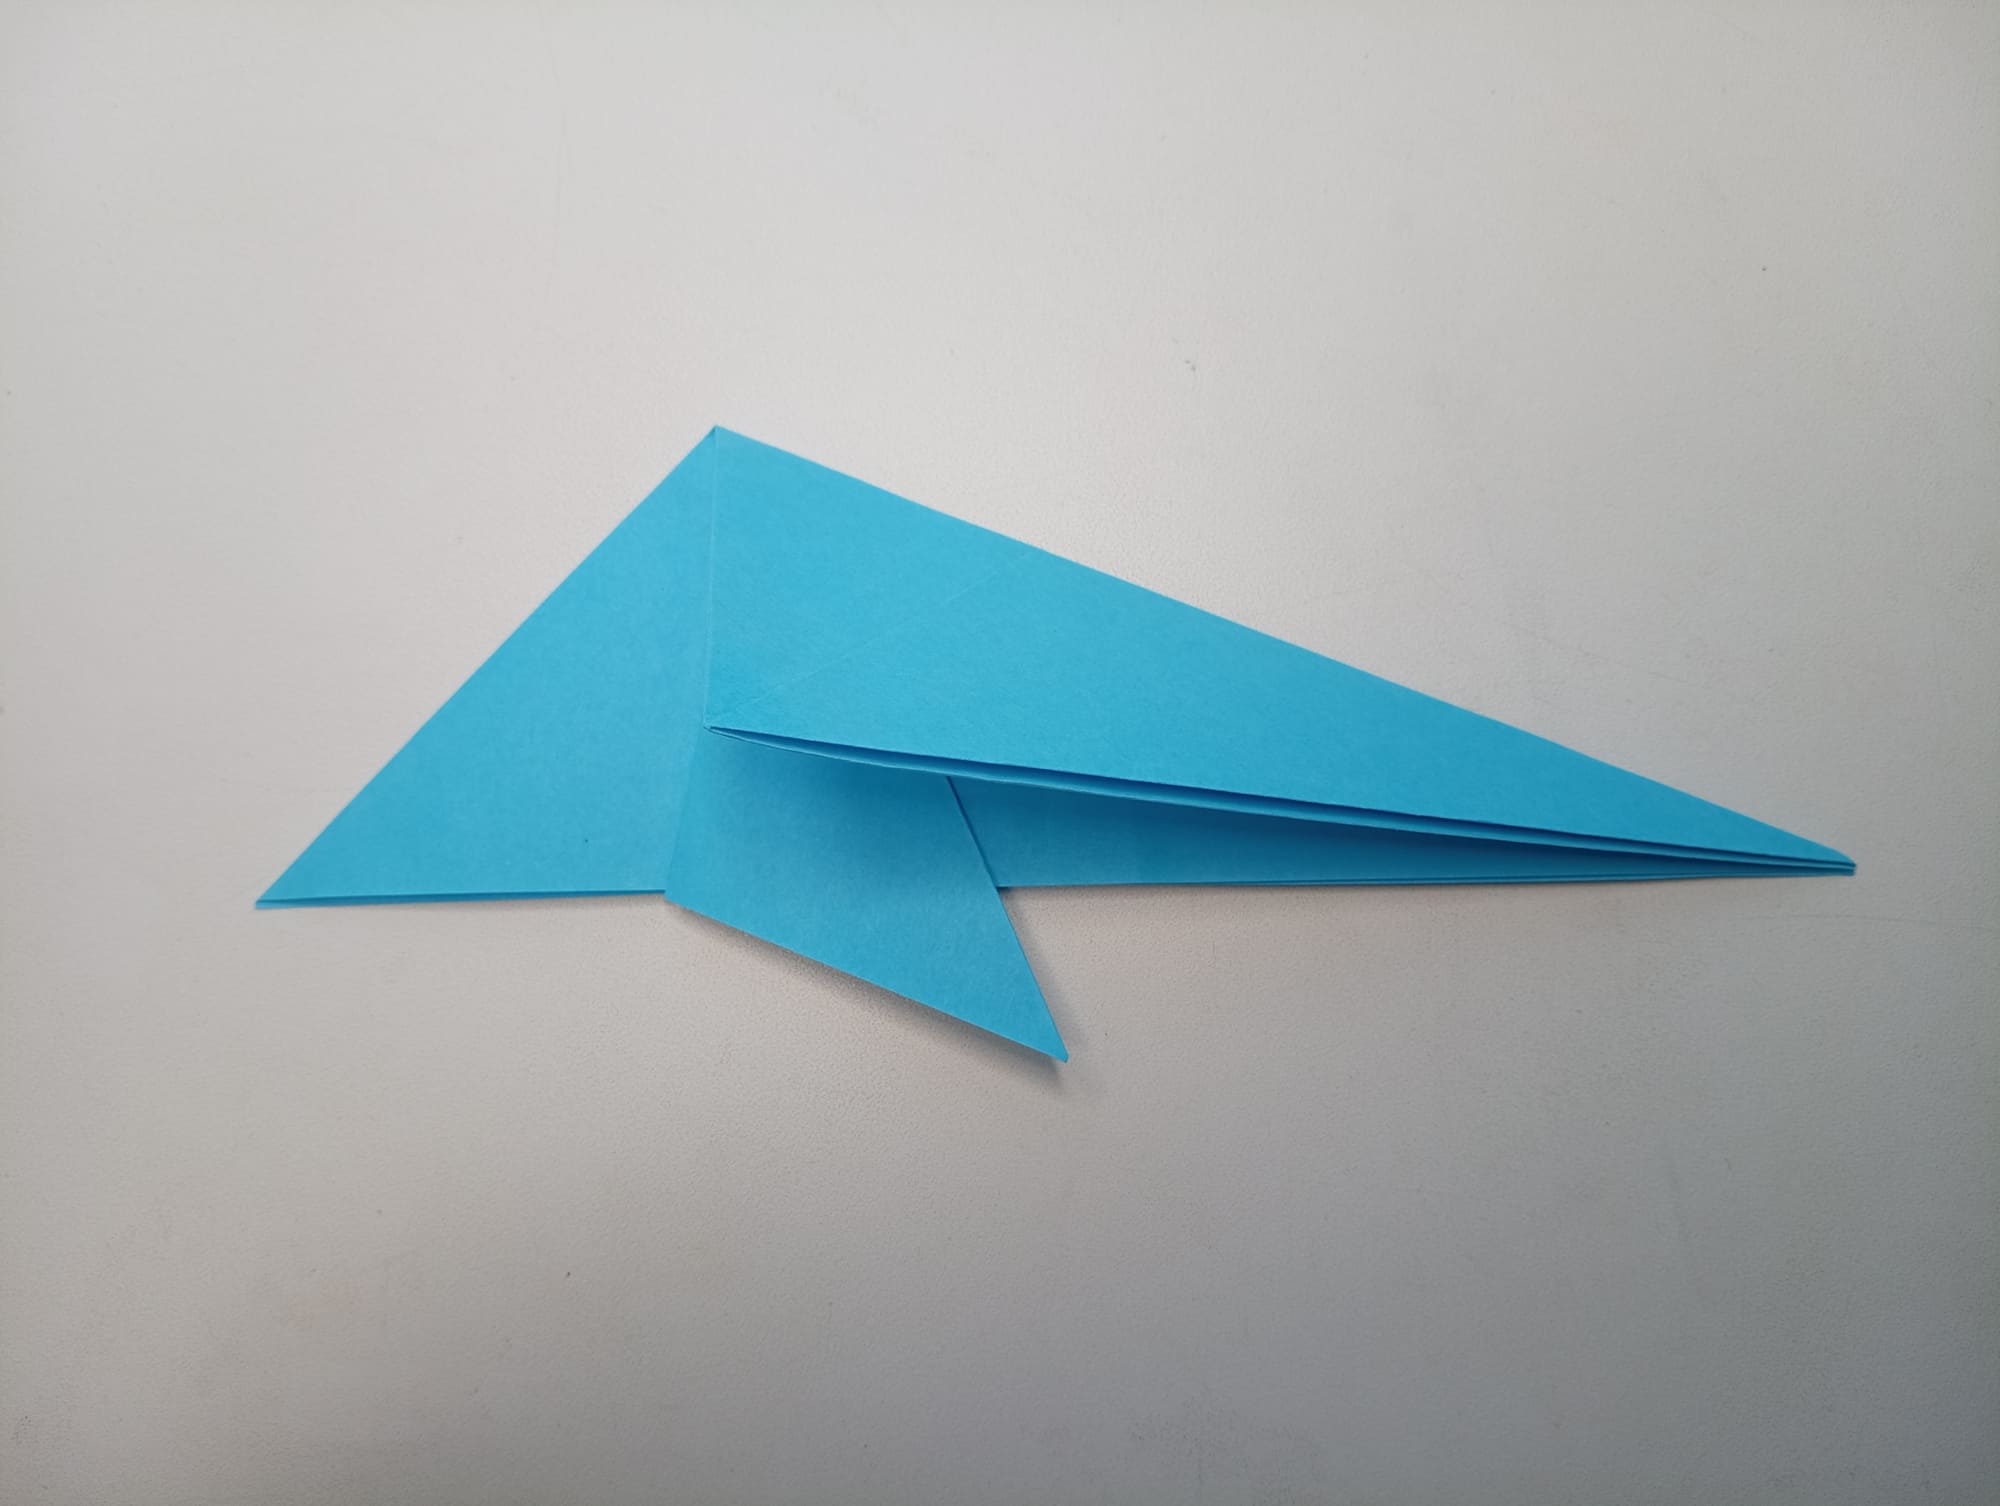
From the last fold, make another fold to the top (look at the photo).
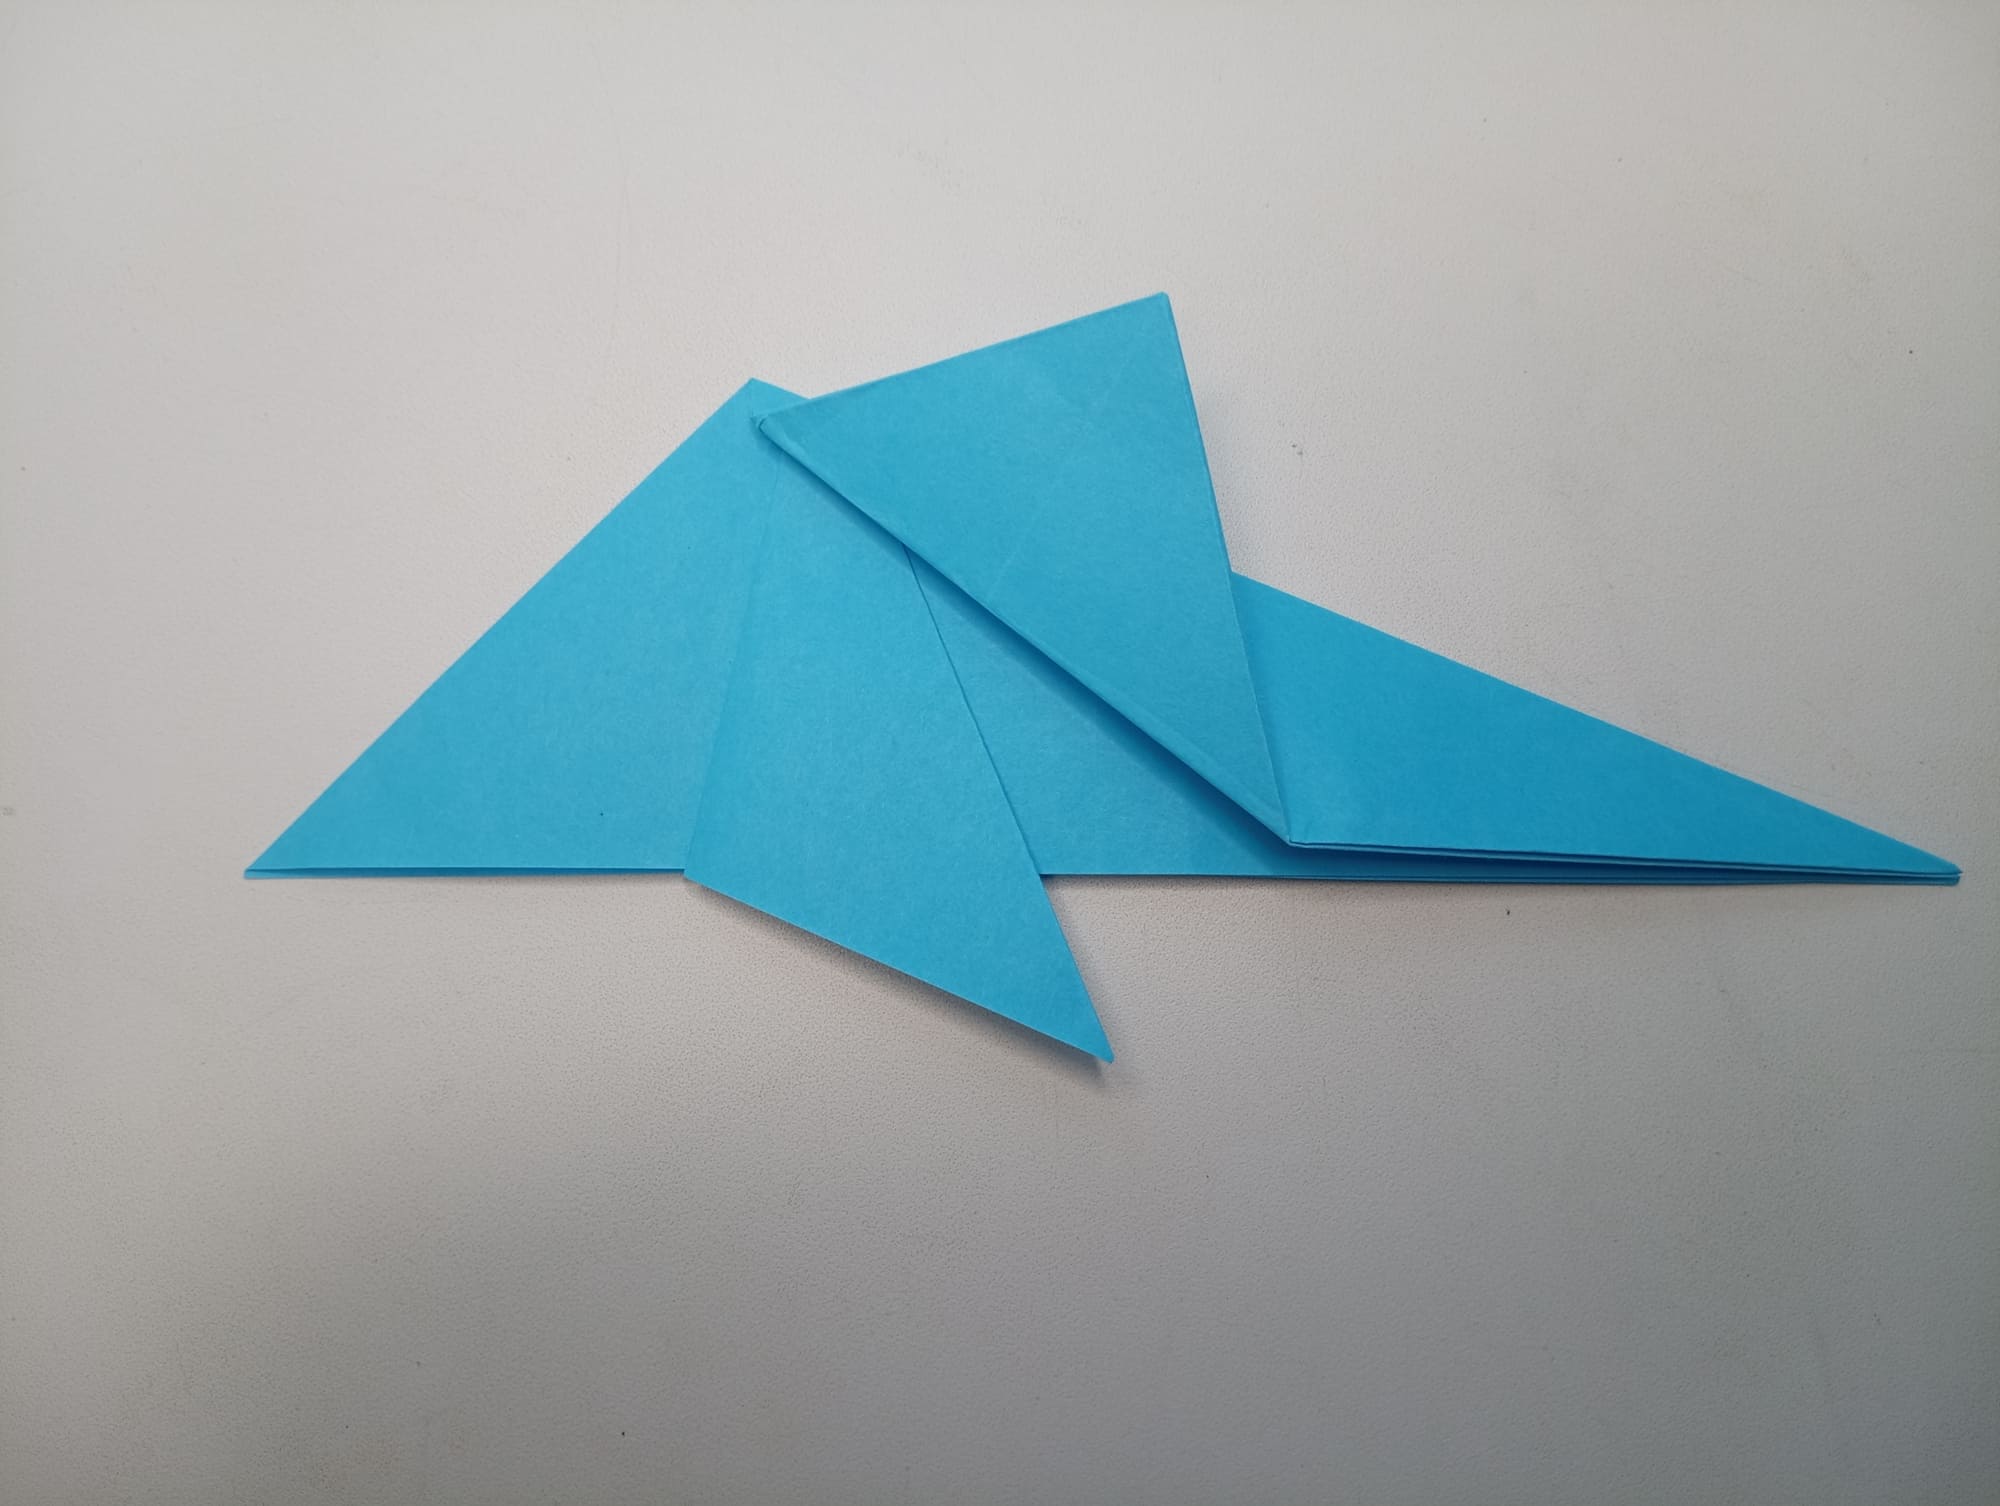
Look, the dolphin silhouette is already starting to form. Bend the top front part as in the photo.
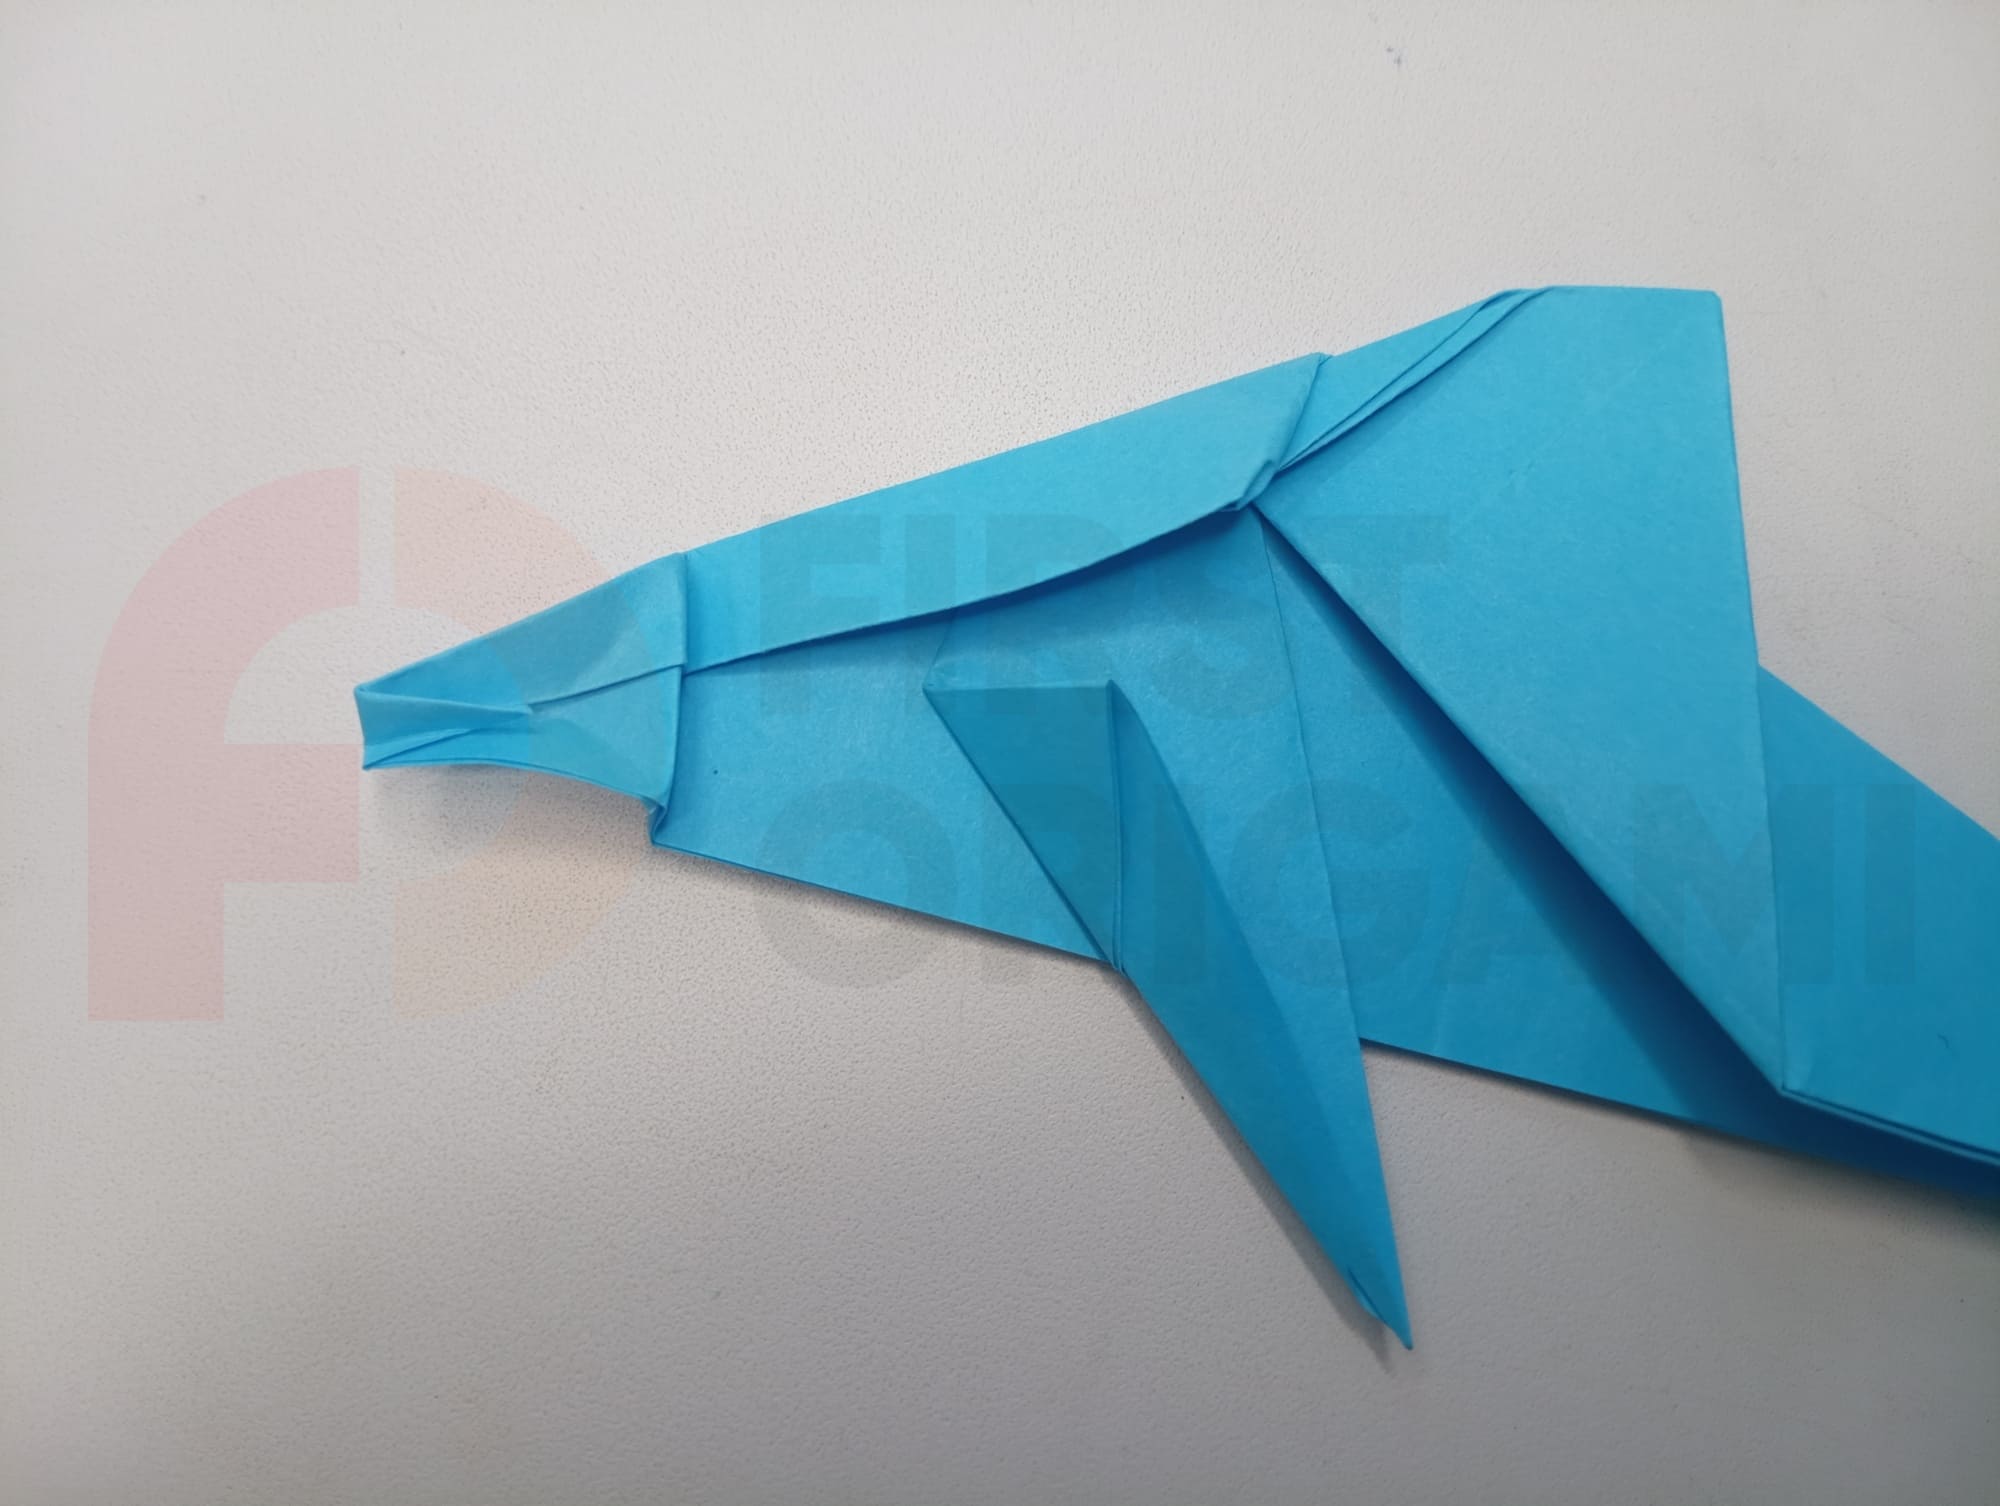
Make a fold in the nose part for the dolphin’s face.

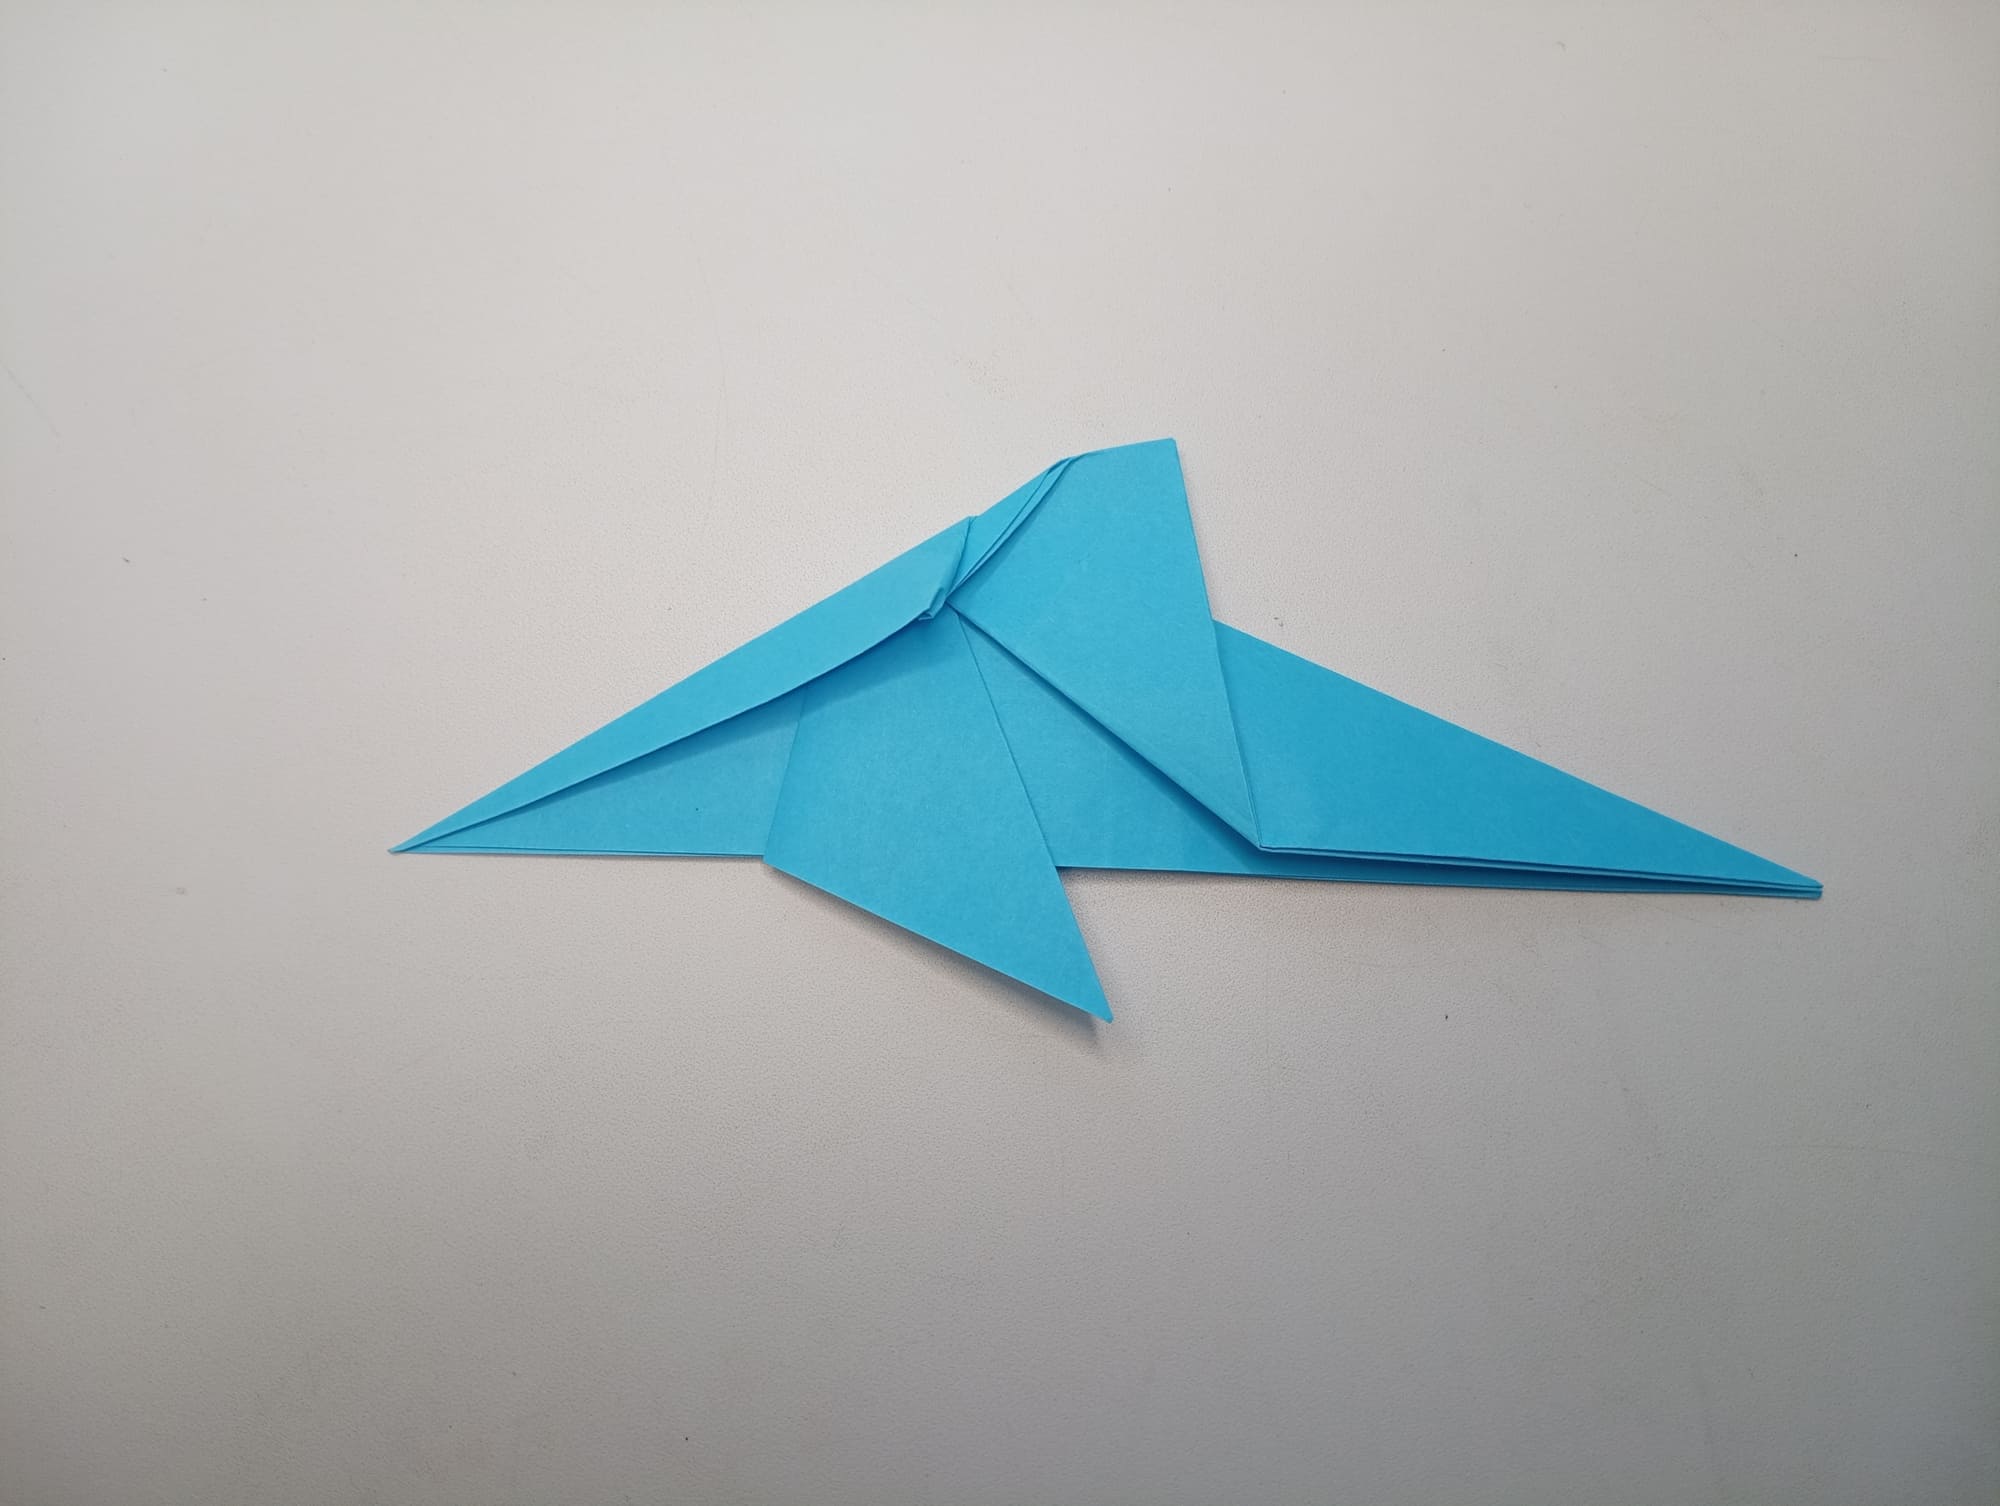
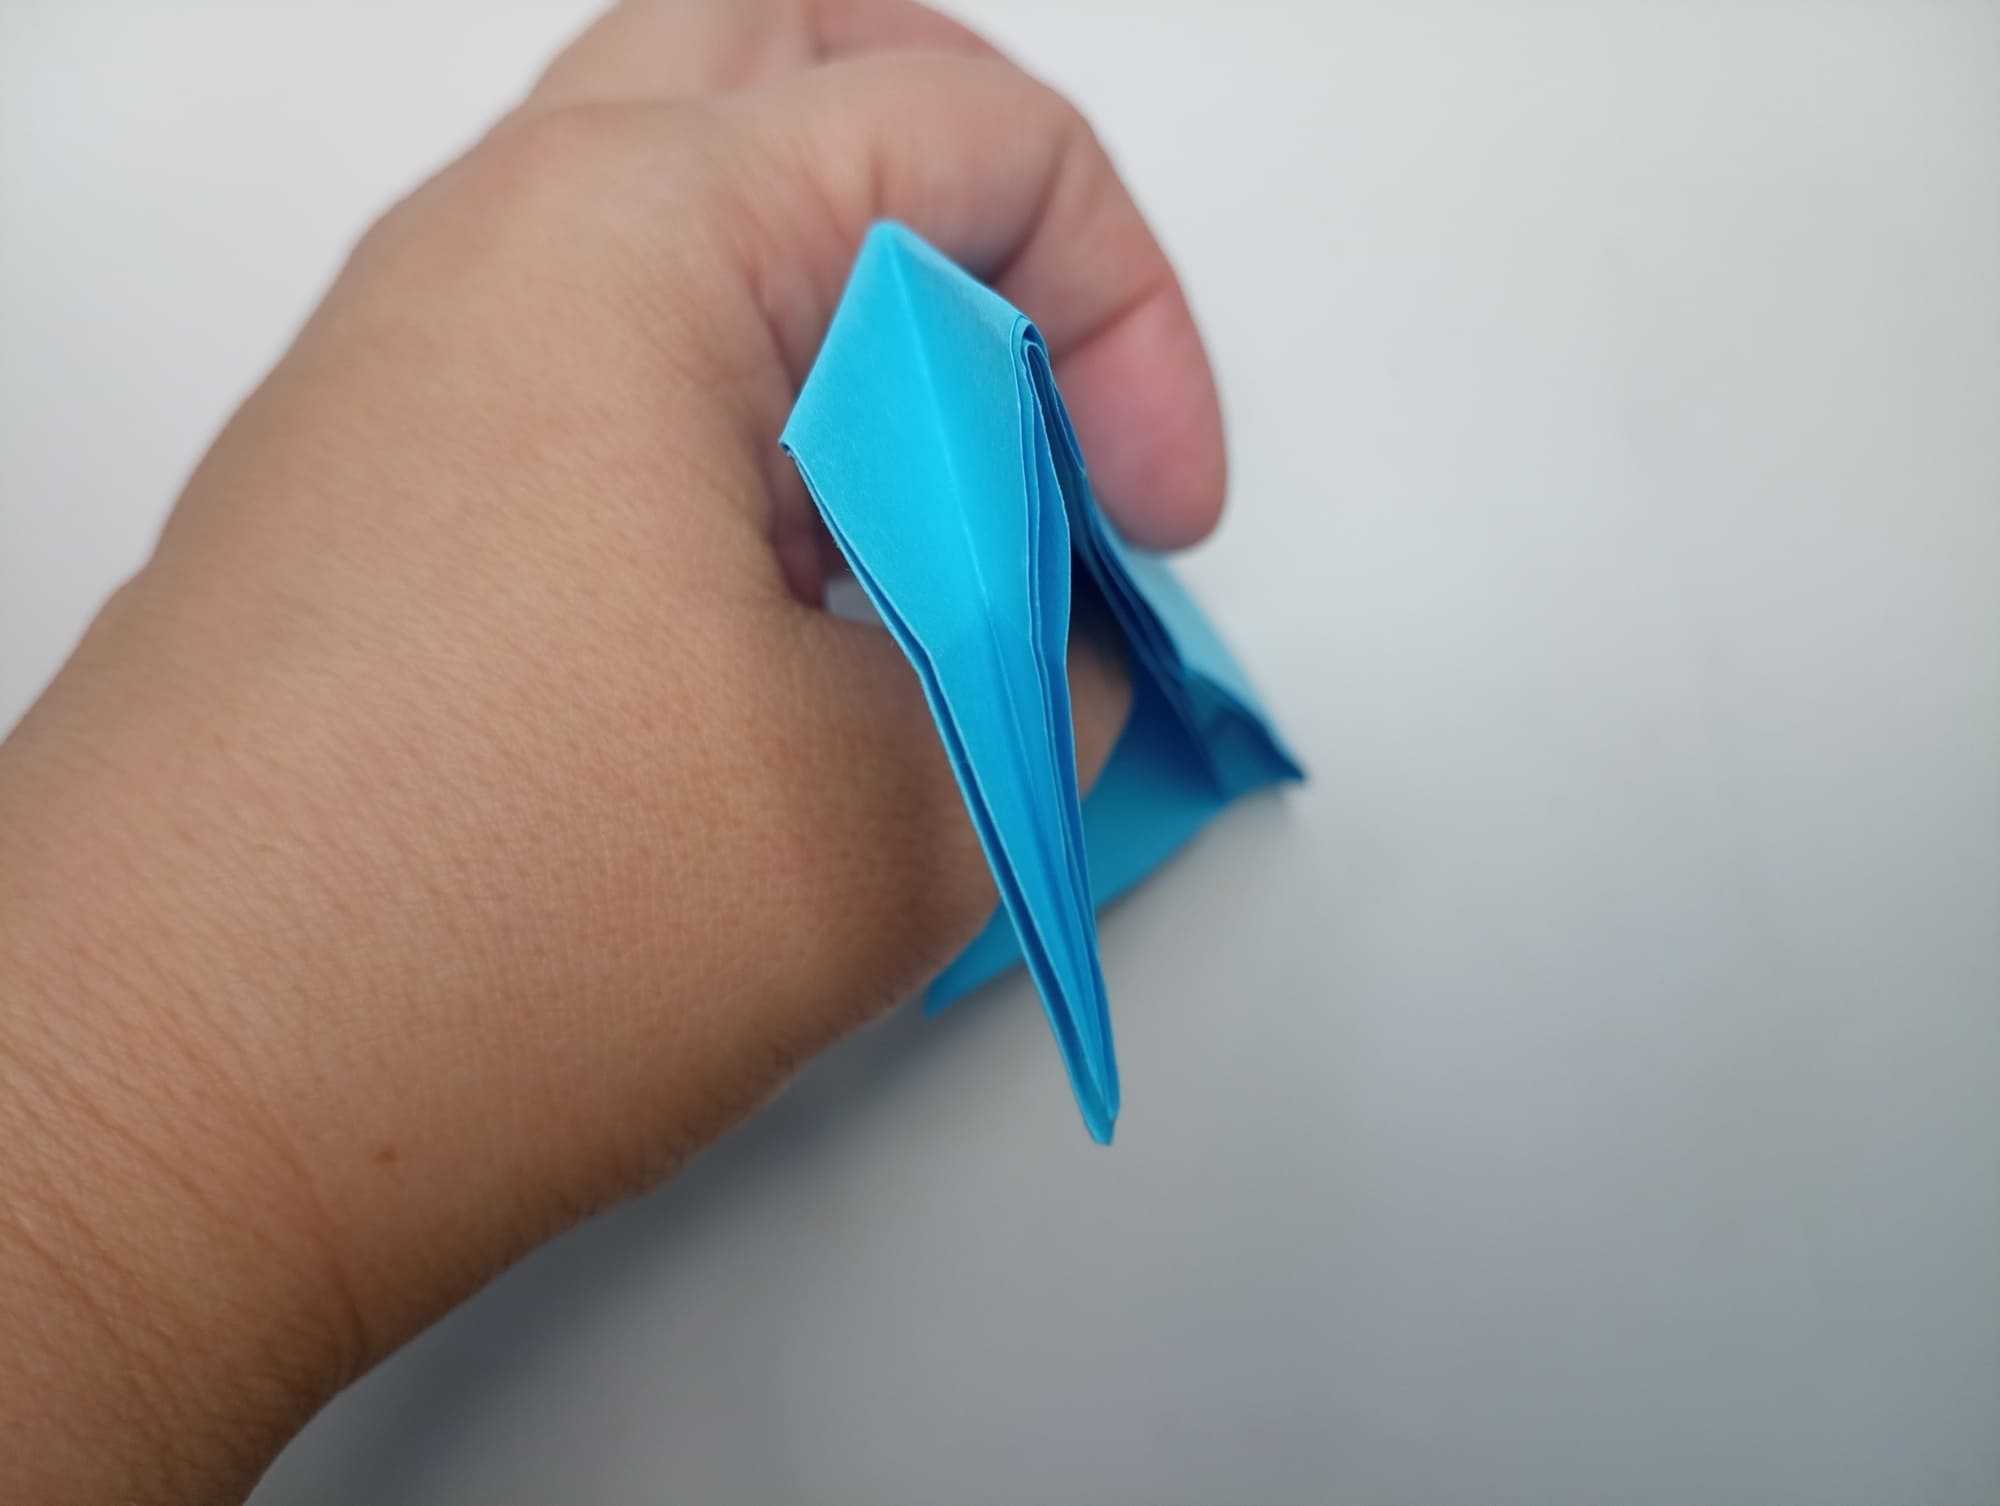
Now let’s make the dolphin’s tail. To do this, bend the tail part with a reverse origami fold.

Bend the top layer of the tail from the reverse fold back to the initial state and bend the cut upwards (the result is in the photo).
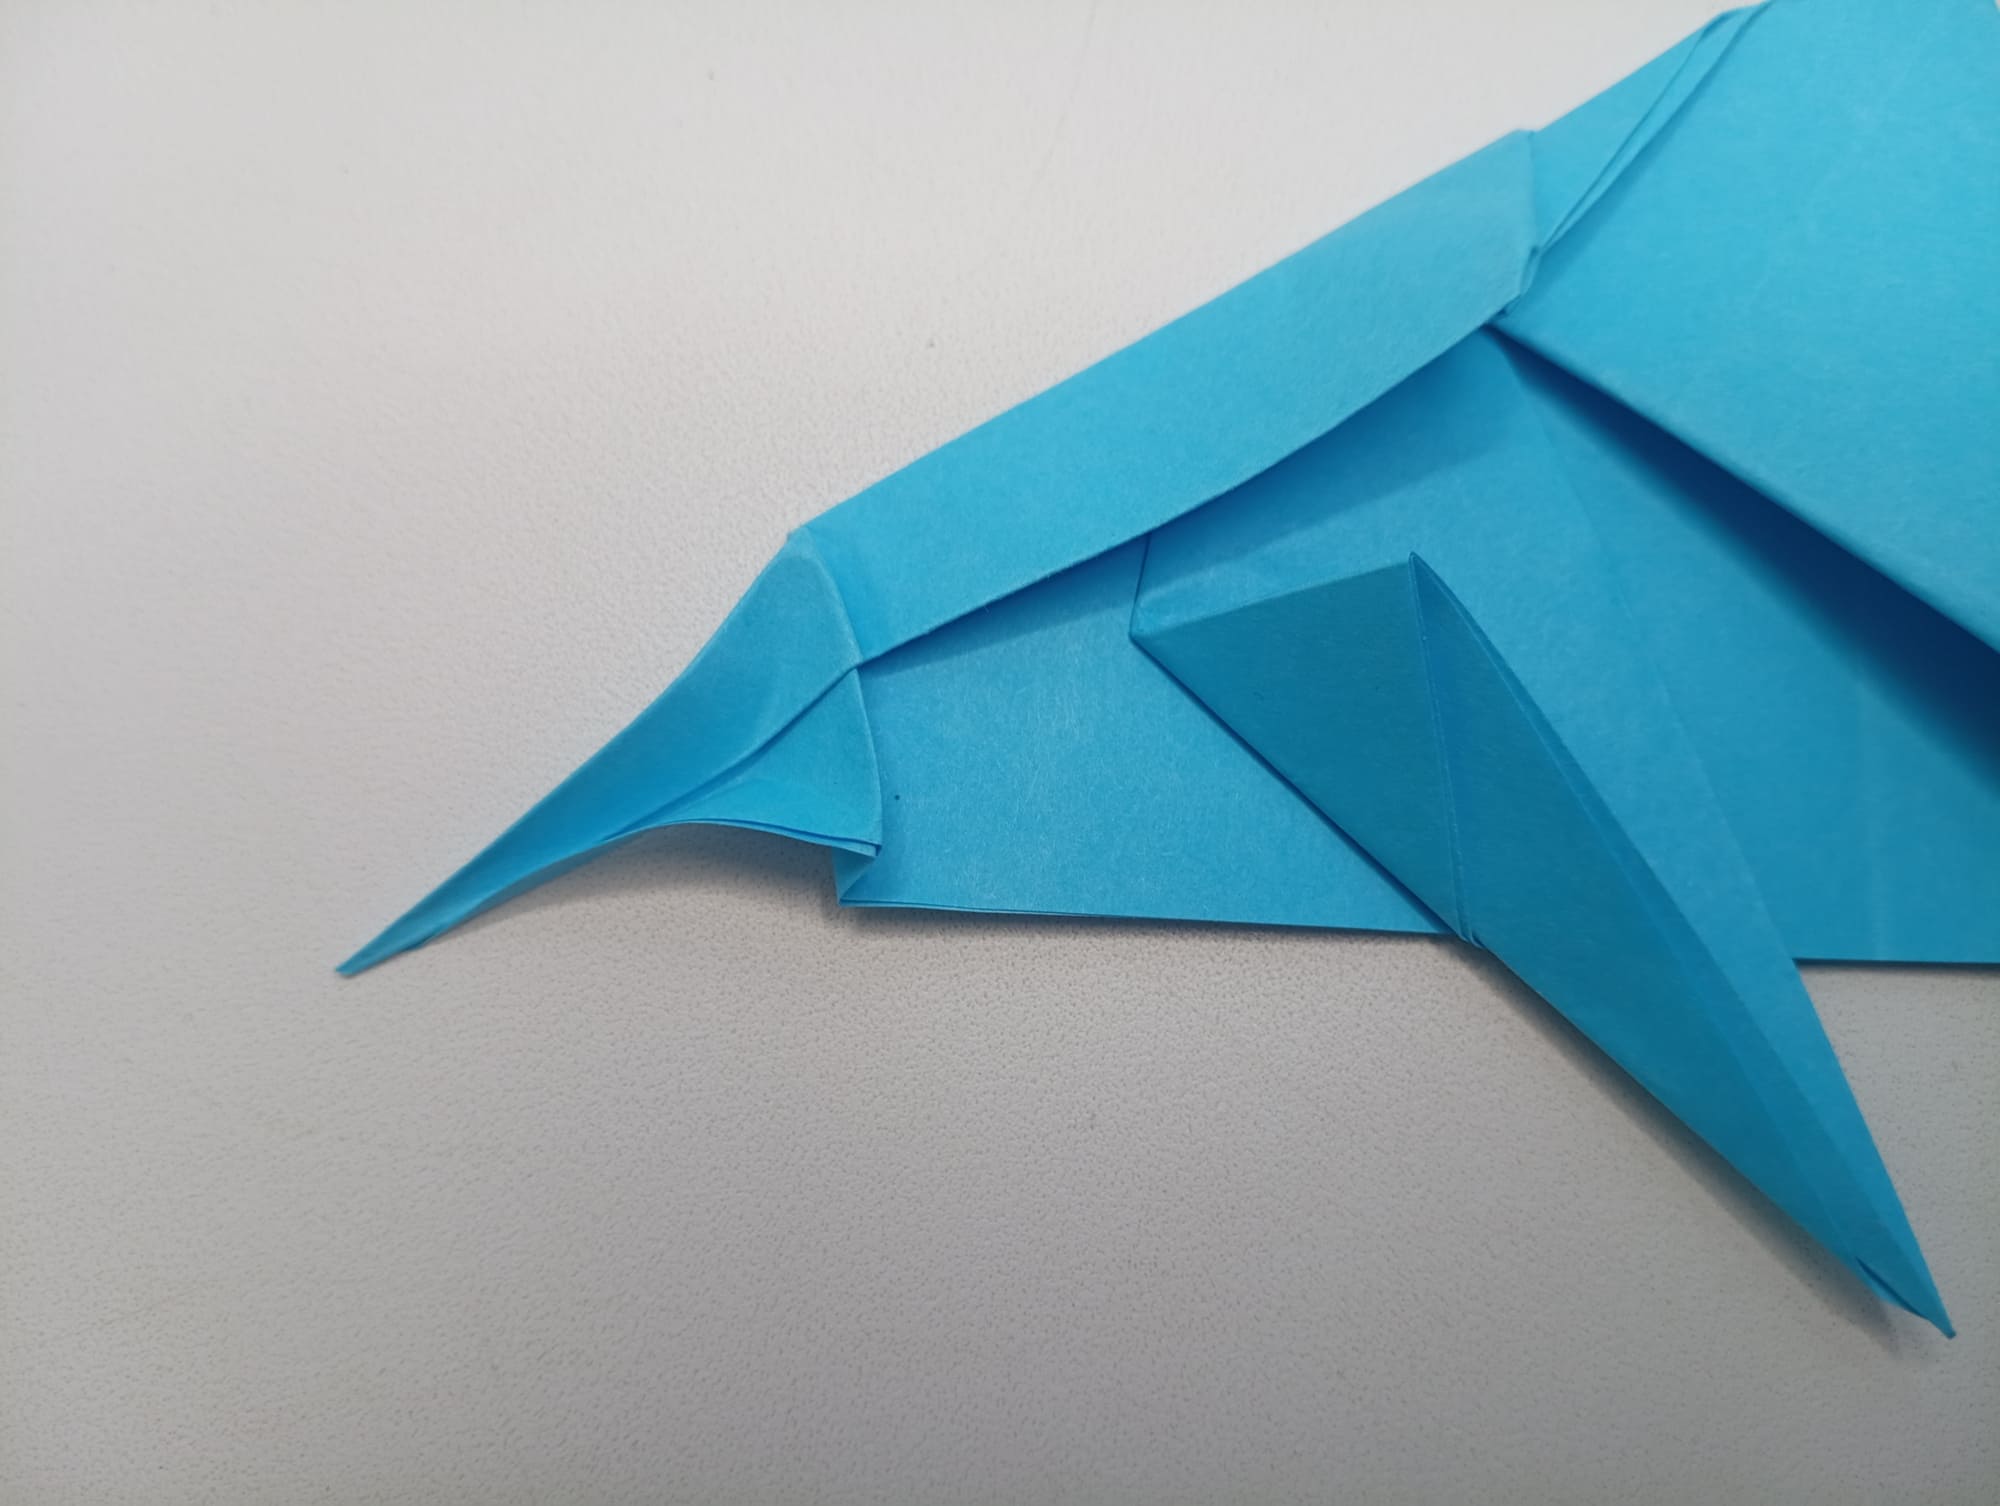
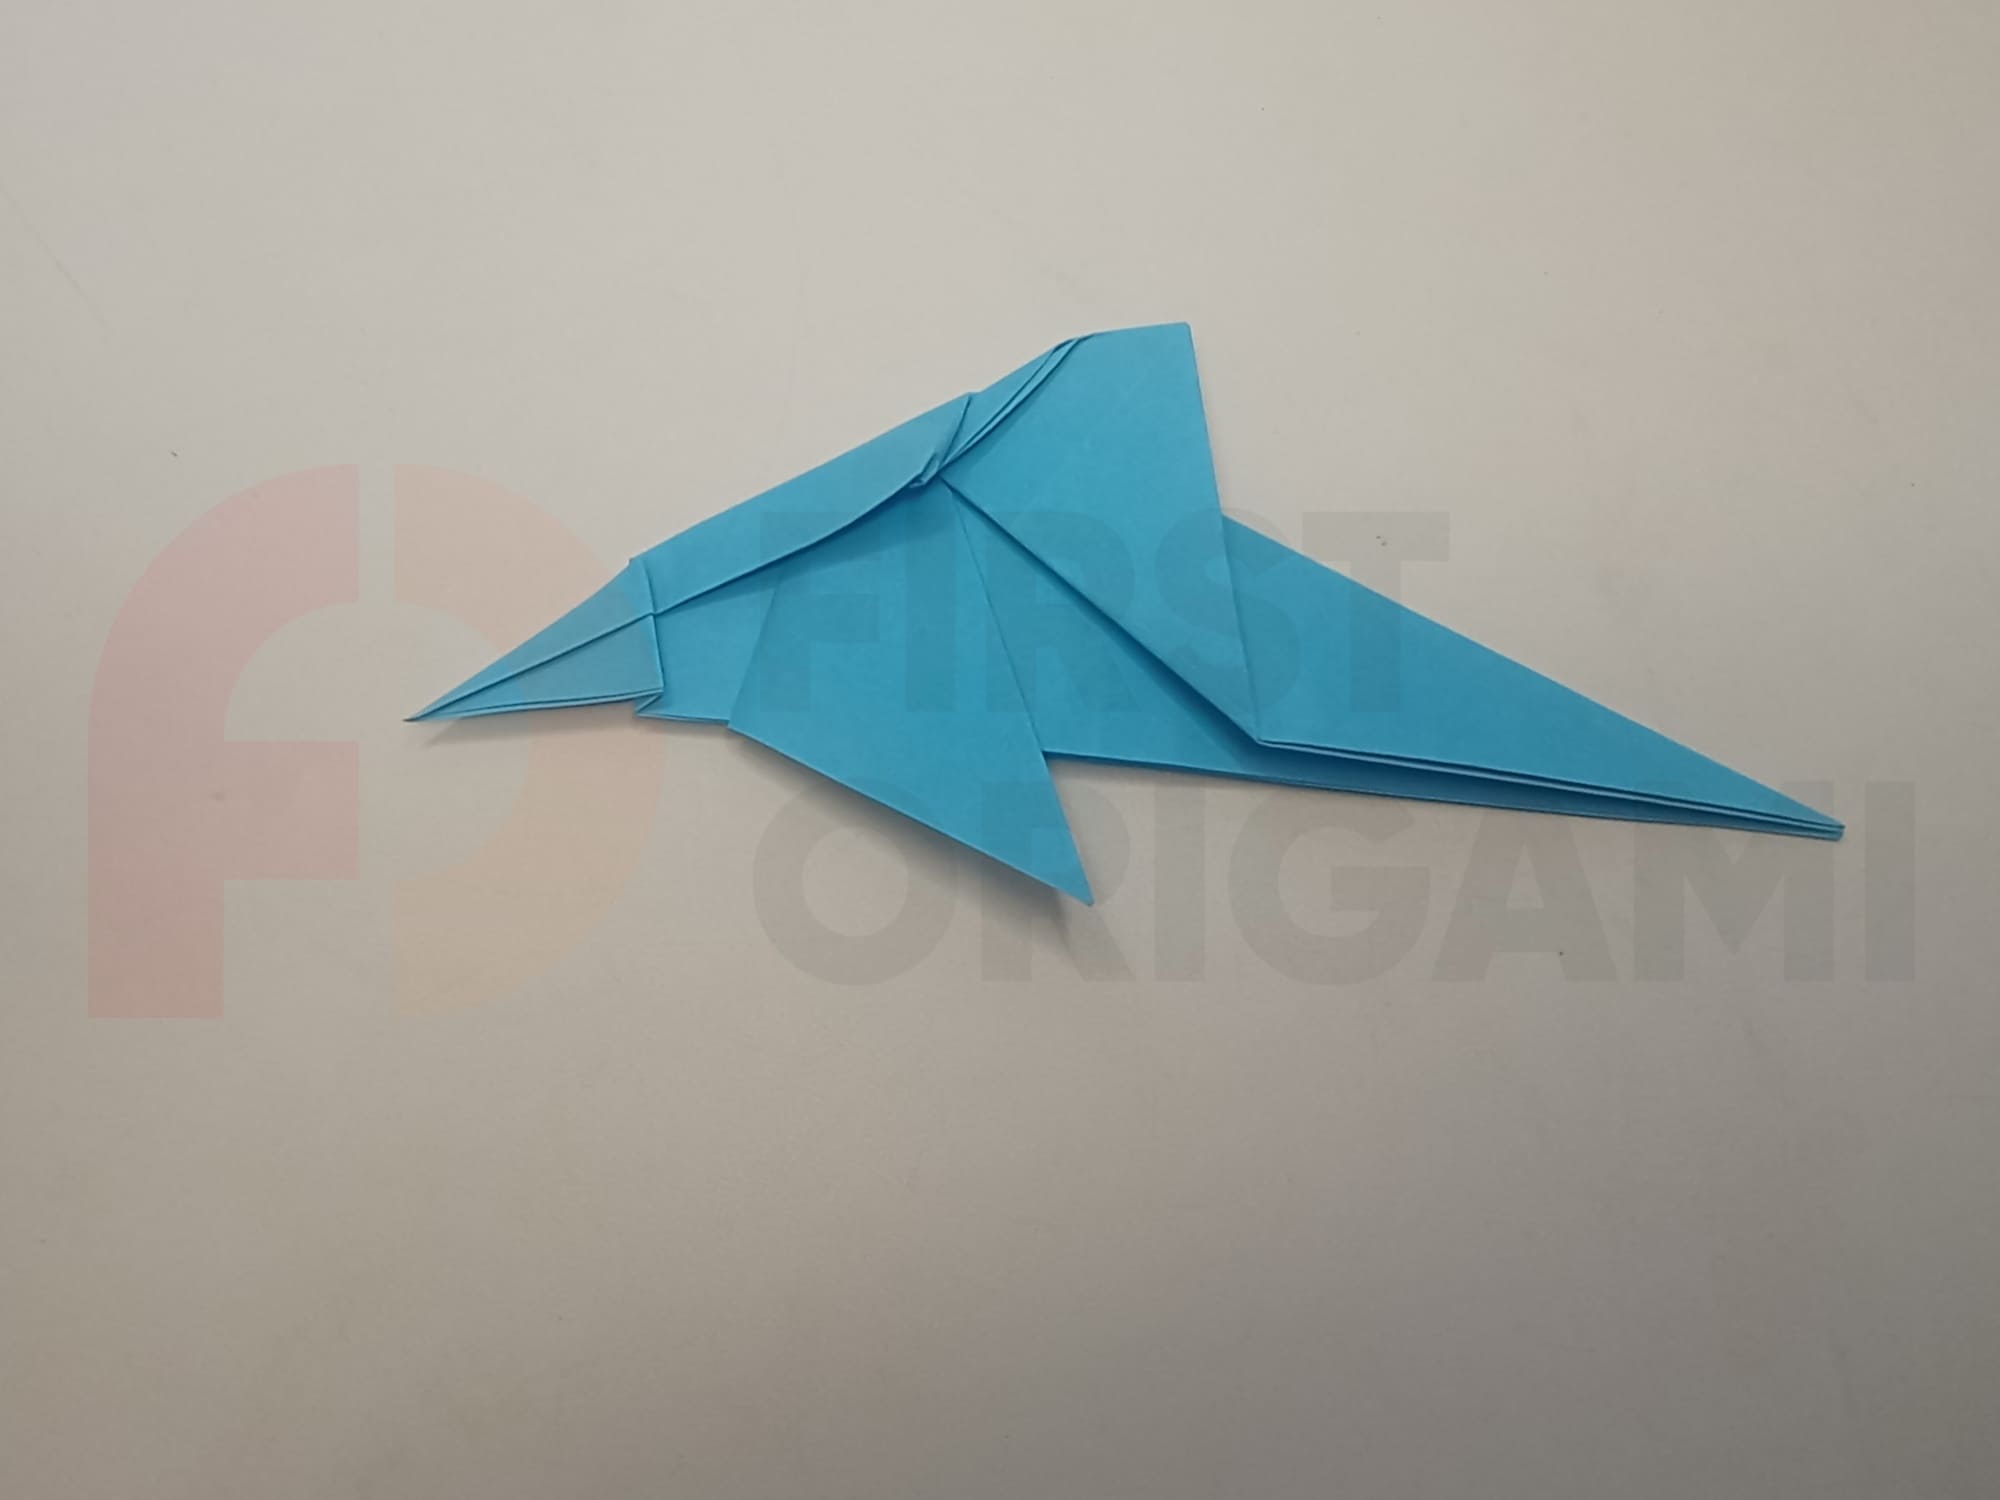
The dolphin’s beak should be folded into the fold as in the photo.
Fold the spout with a cross fold, as in the photo.
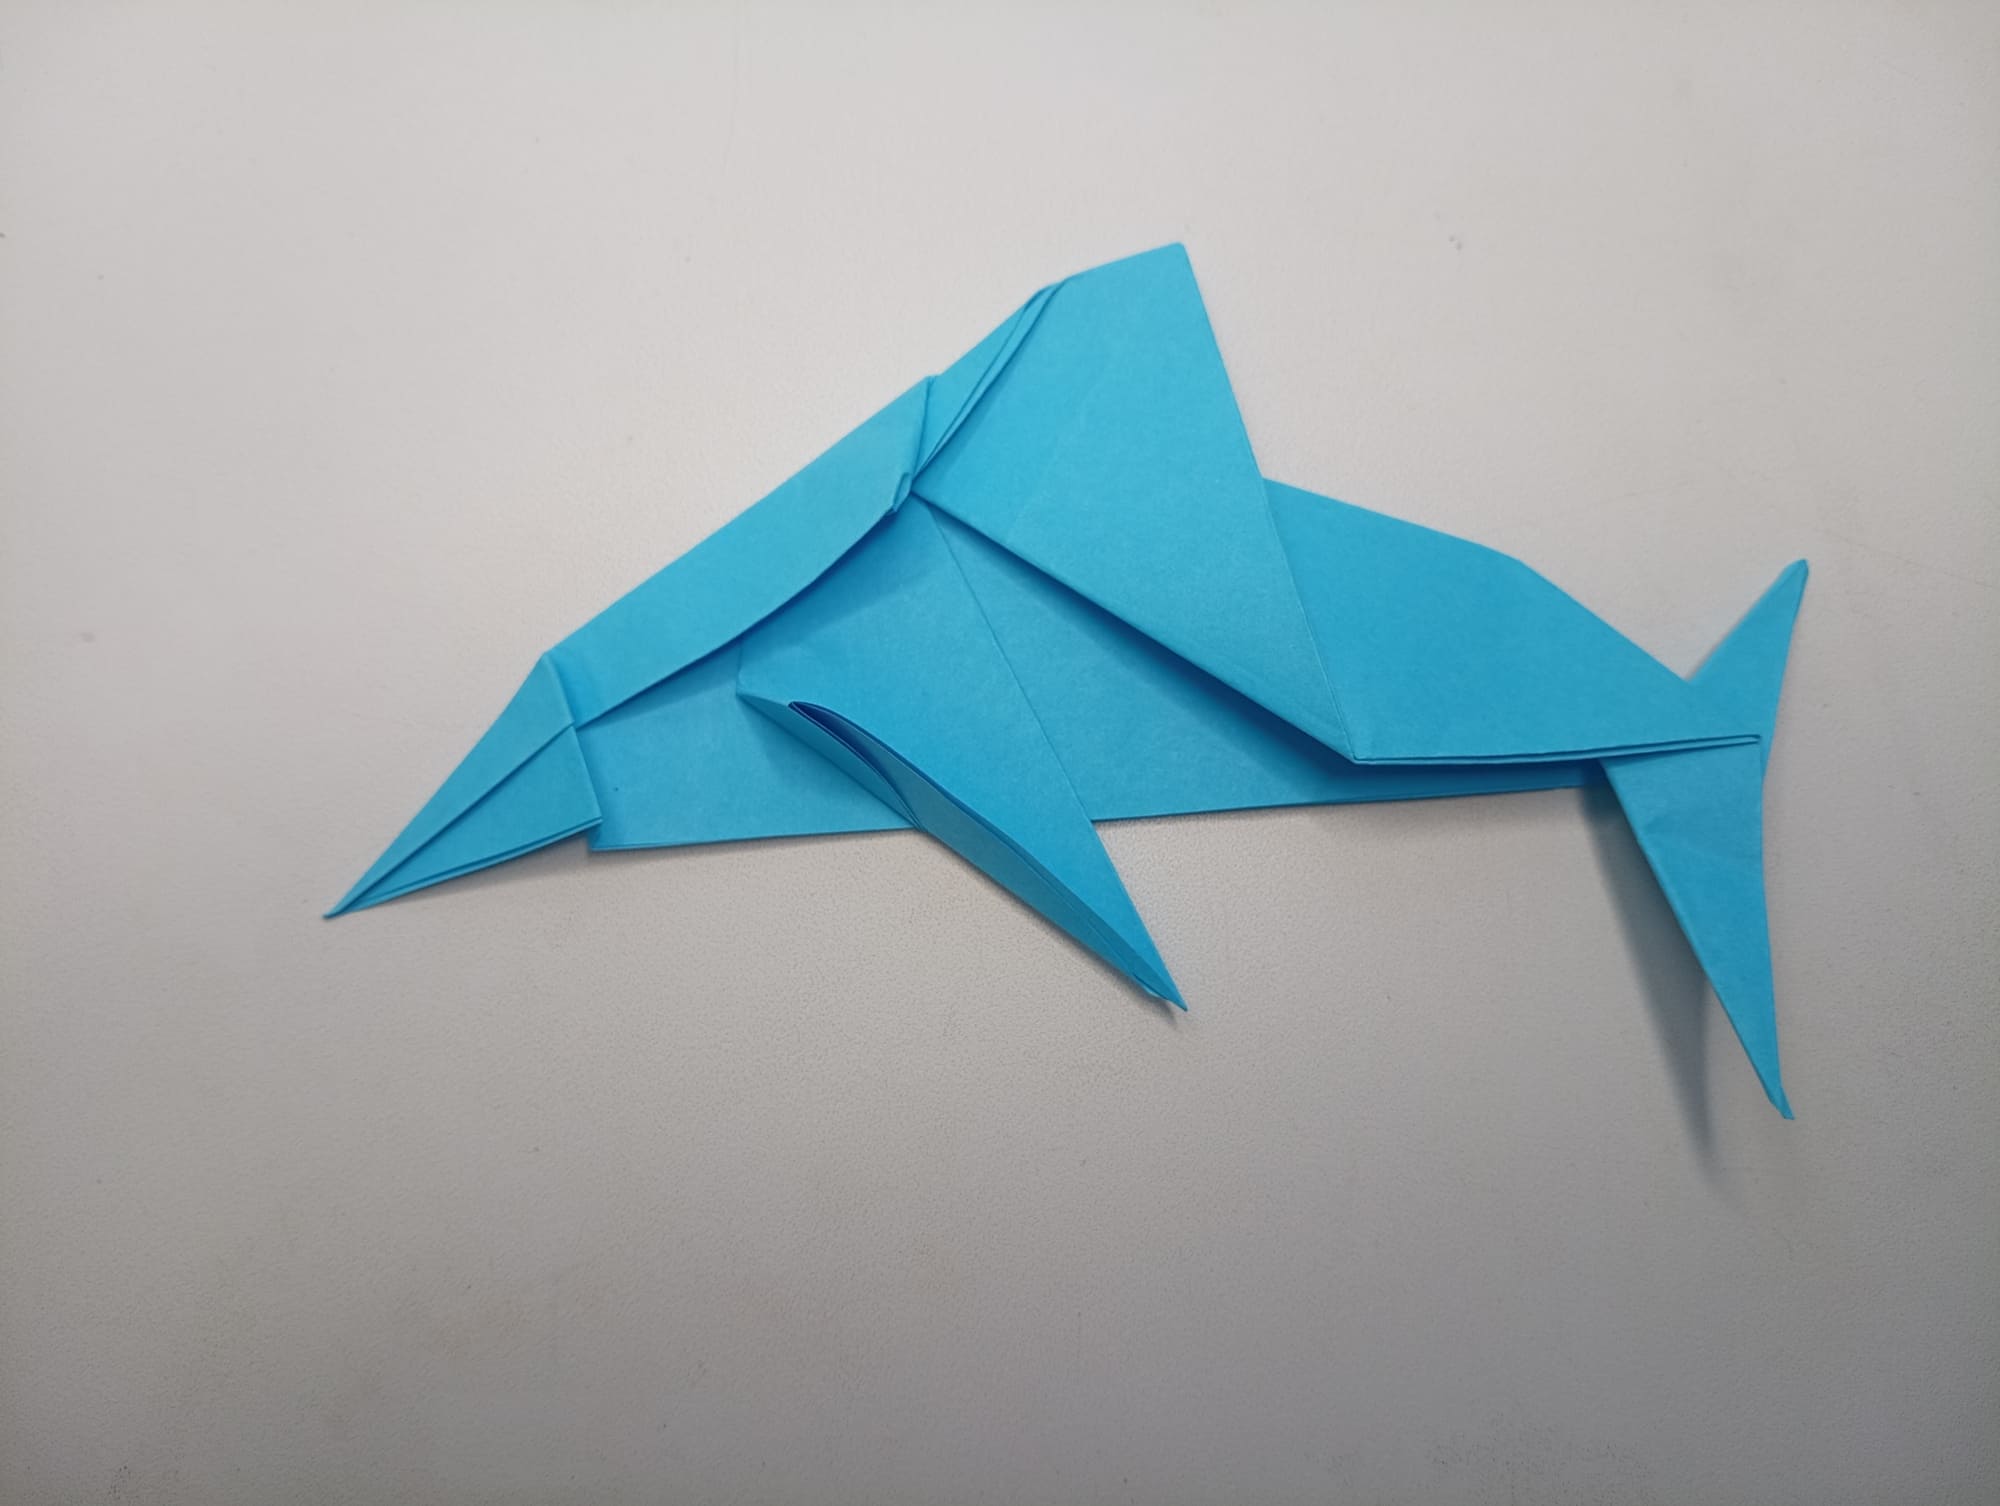
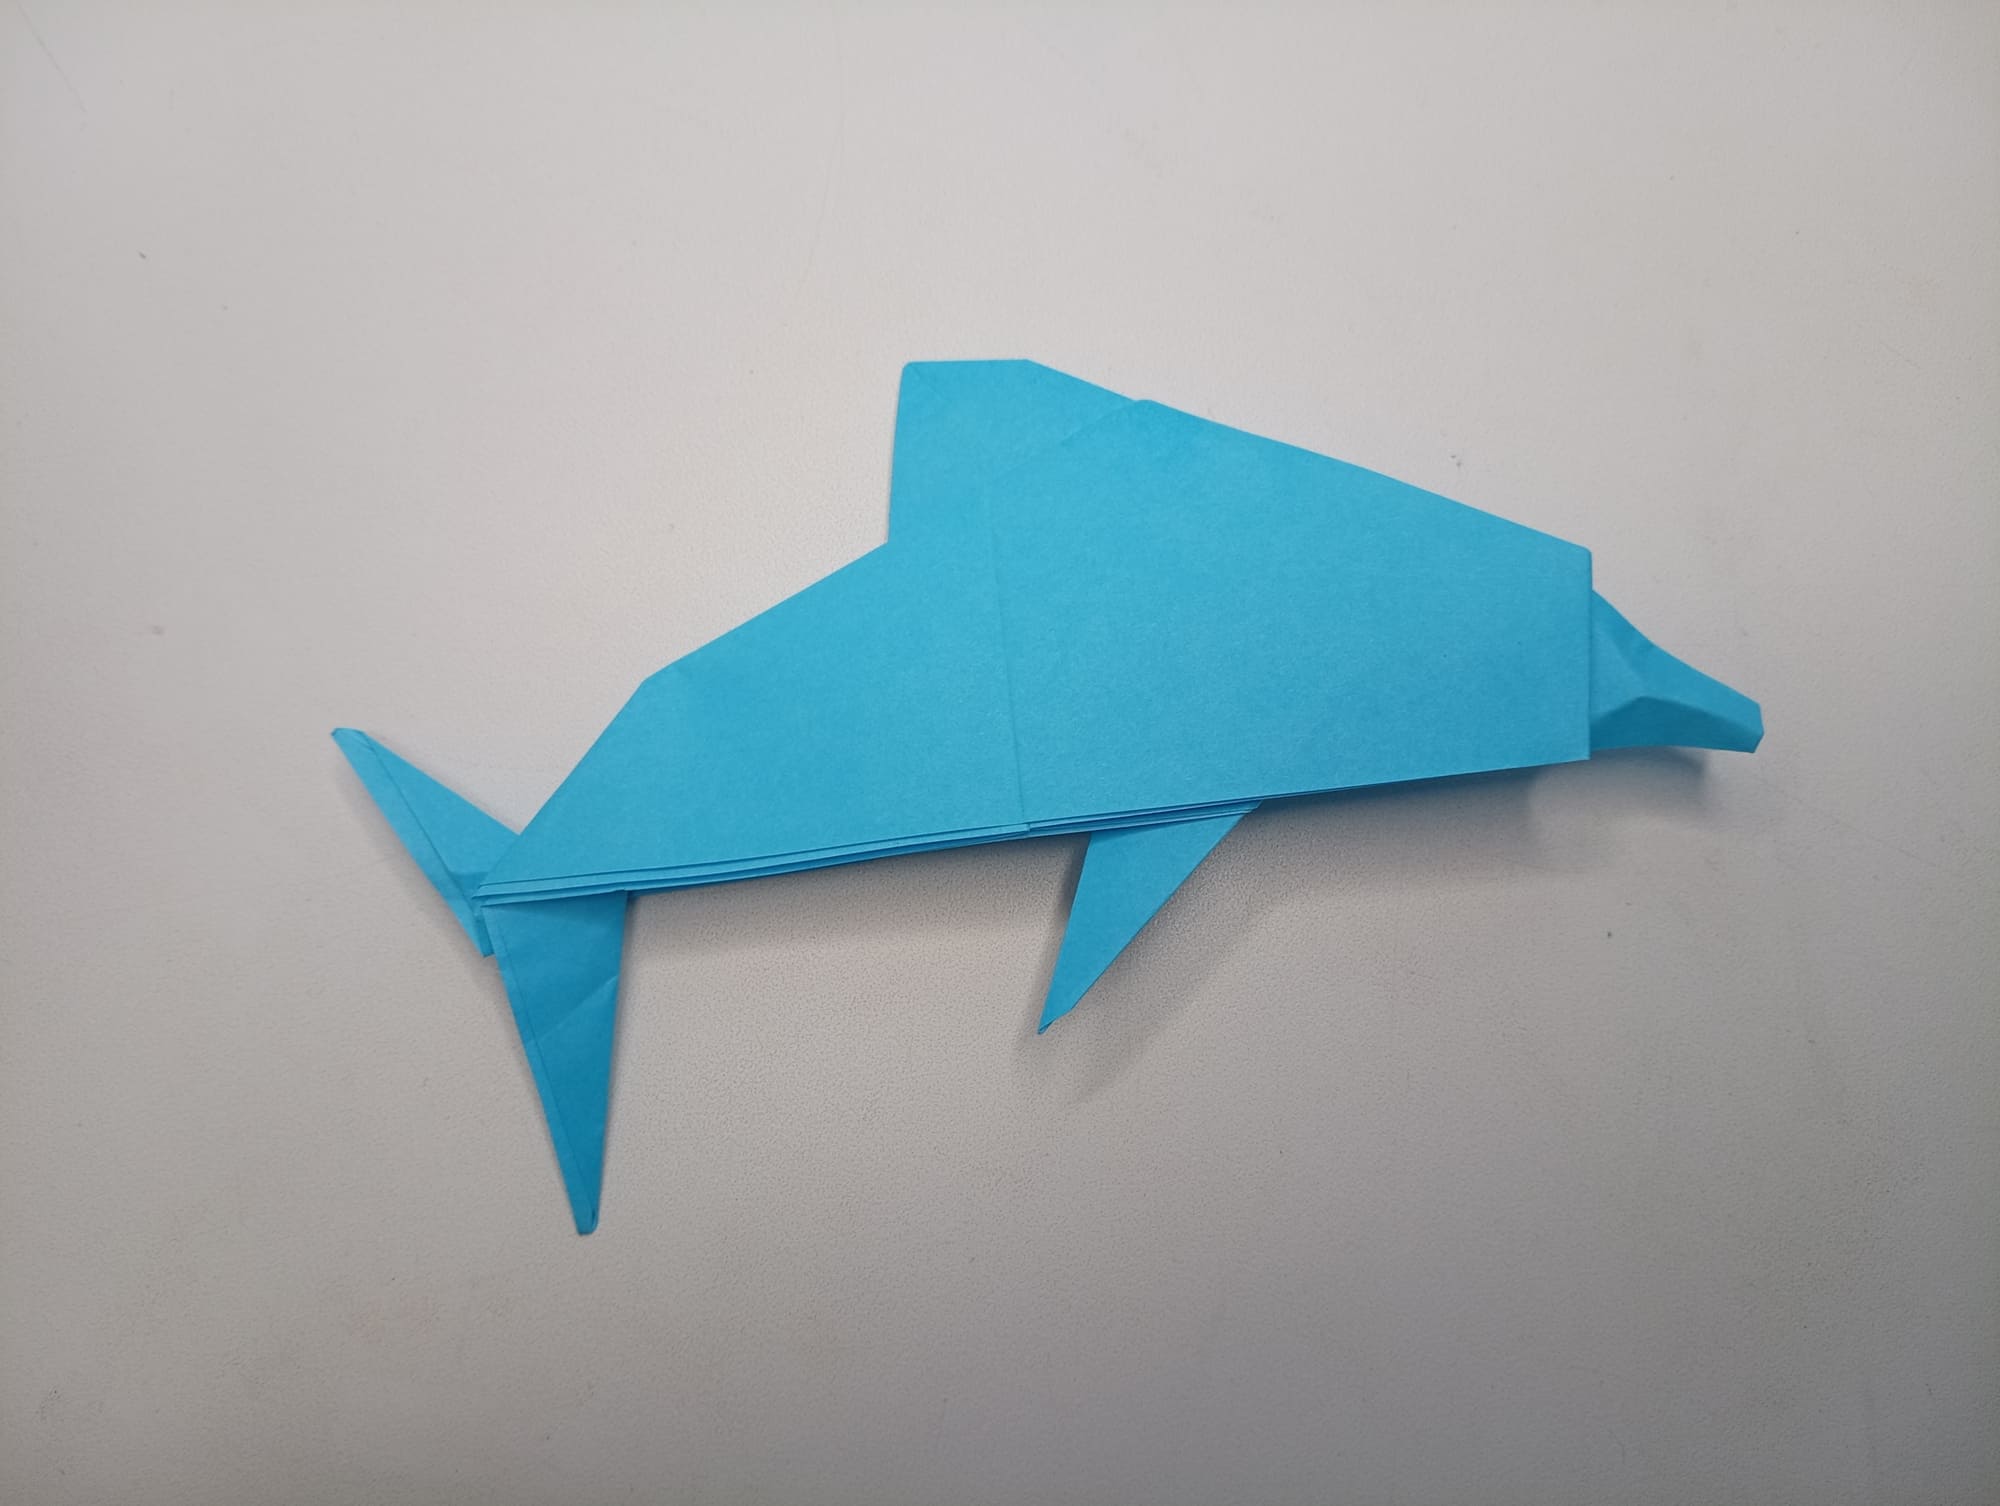
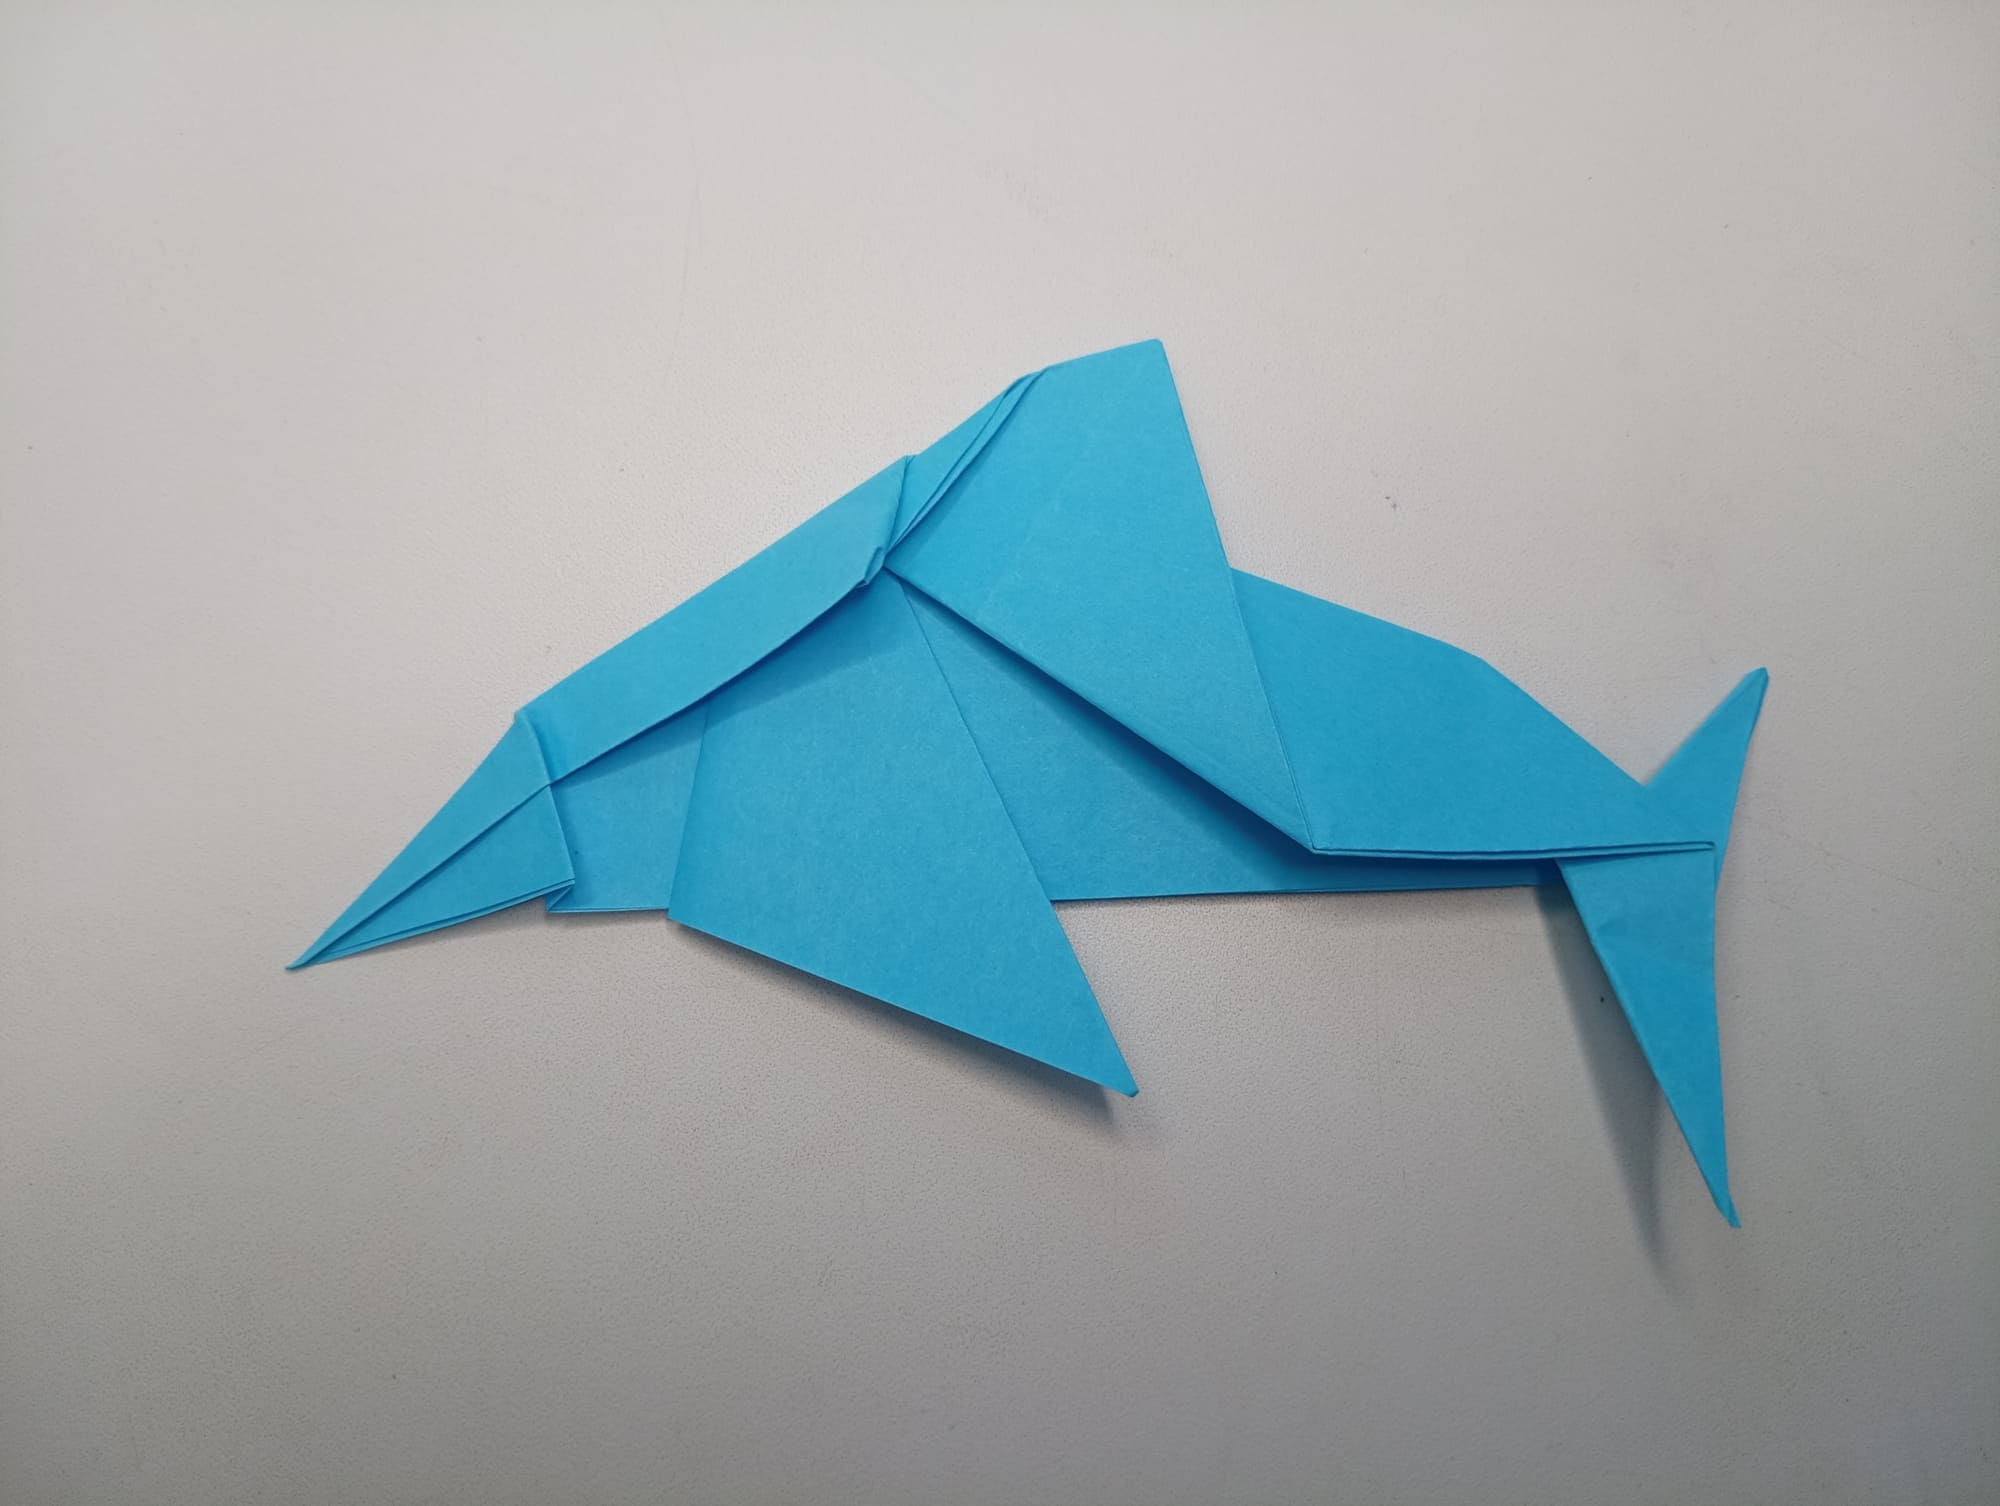
Turn the figure over and see the charming dolphin!
The figure is ready! Quickly and easily a simple sheet of paper turned into a cute and playful dolphin!


