Origami Dragon
The image of a dragon is firmly entrenched in the human mind, despite the fact that no one has seen a living representative. It is a huge flying lizard-like creature that breathes fire. Heroes of science fiction films and fairy tales often go on long journeys to reach the dragon’s lair and fight it. From legends, we know that these fabulous creatures live in rocky caves or abandoned castles, and sometimes in impenetrable forests.
Dragons have common features that combine body parts from different animals. It has powerful hind legs with claws, a long scaly tail, and a small head, powerful membranous wings capable of lifting a large creature high into the sky. We invite origami lovers to practice their skills and craftsmanship by embodying the image of a beautiful dragon in paper. A realistic character figurine will be the decoration and pride of any collection.
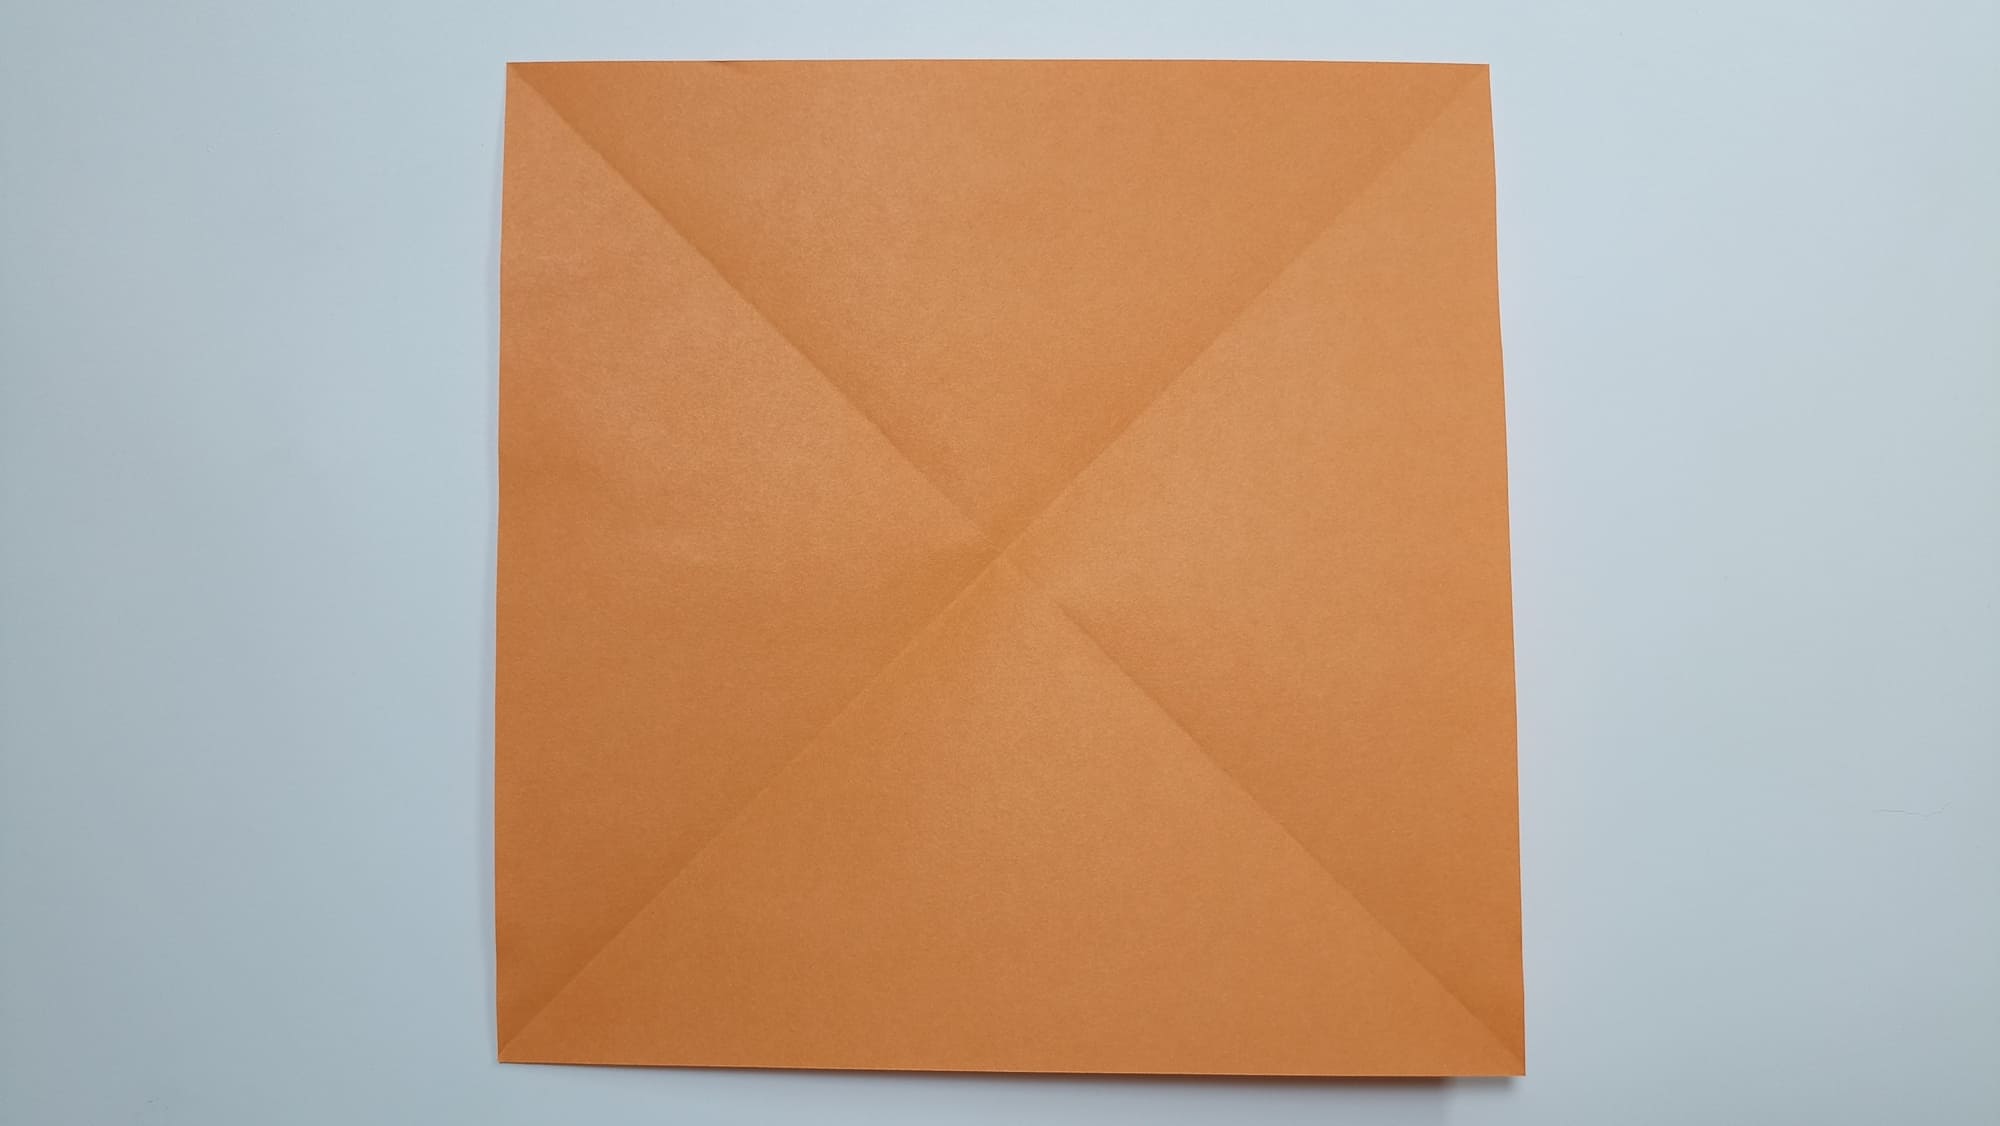
Draw the diagonal lines of the square. Turn the sheet over.
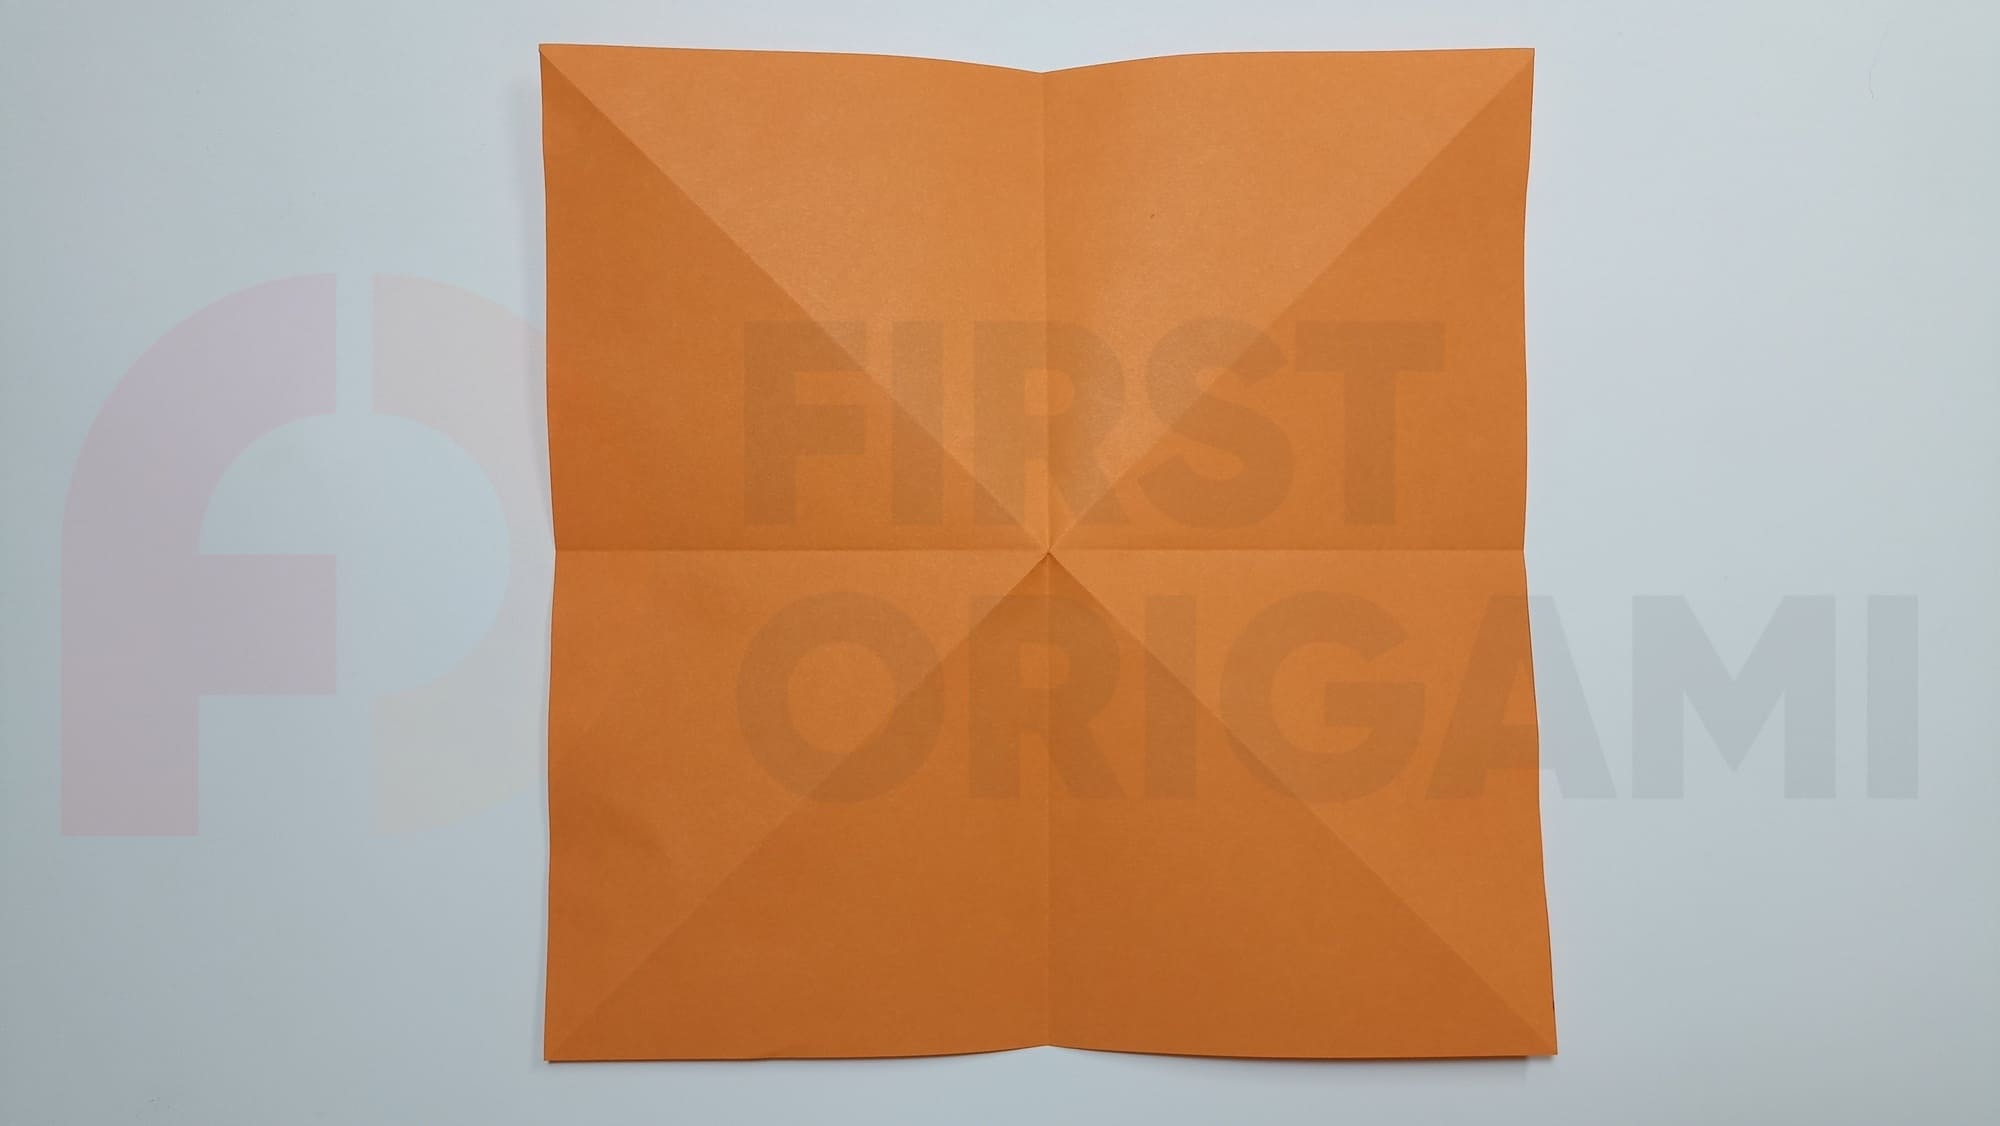
Mark the middle lines, combining opposite edges.
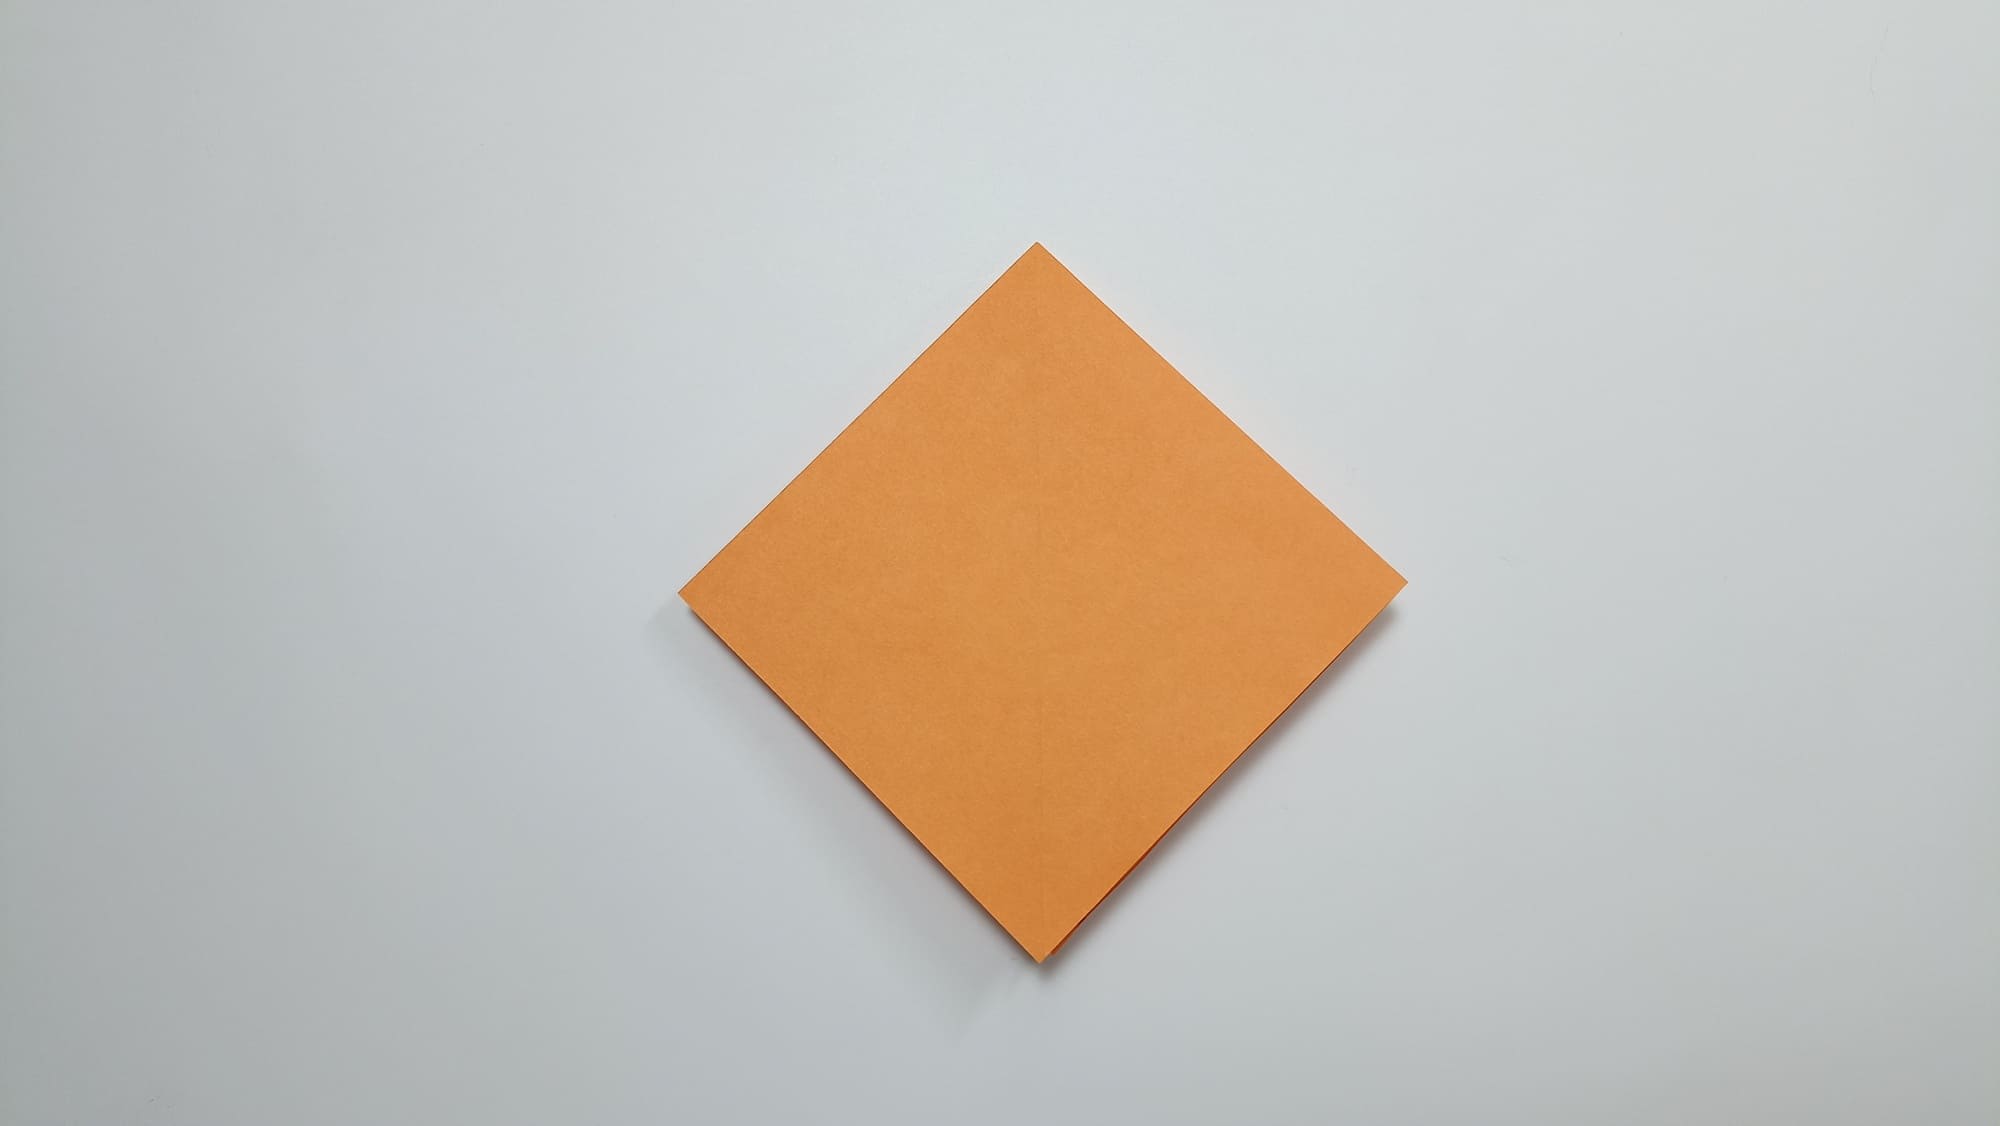
Turn the square at an angle towards you. Fold a double rhombus, aligning all the diagonal lines.

Join the bottom sides of the diamond in the center. Open back.
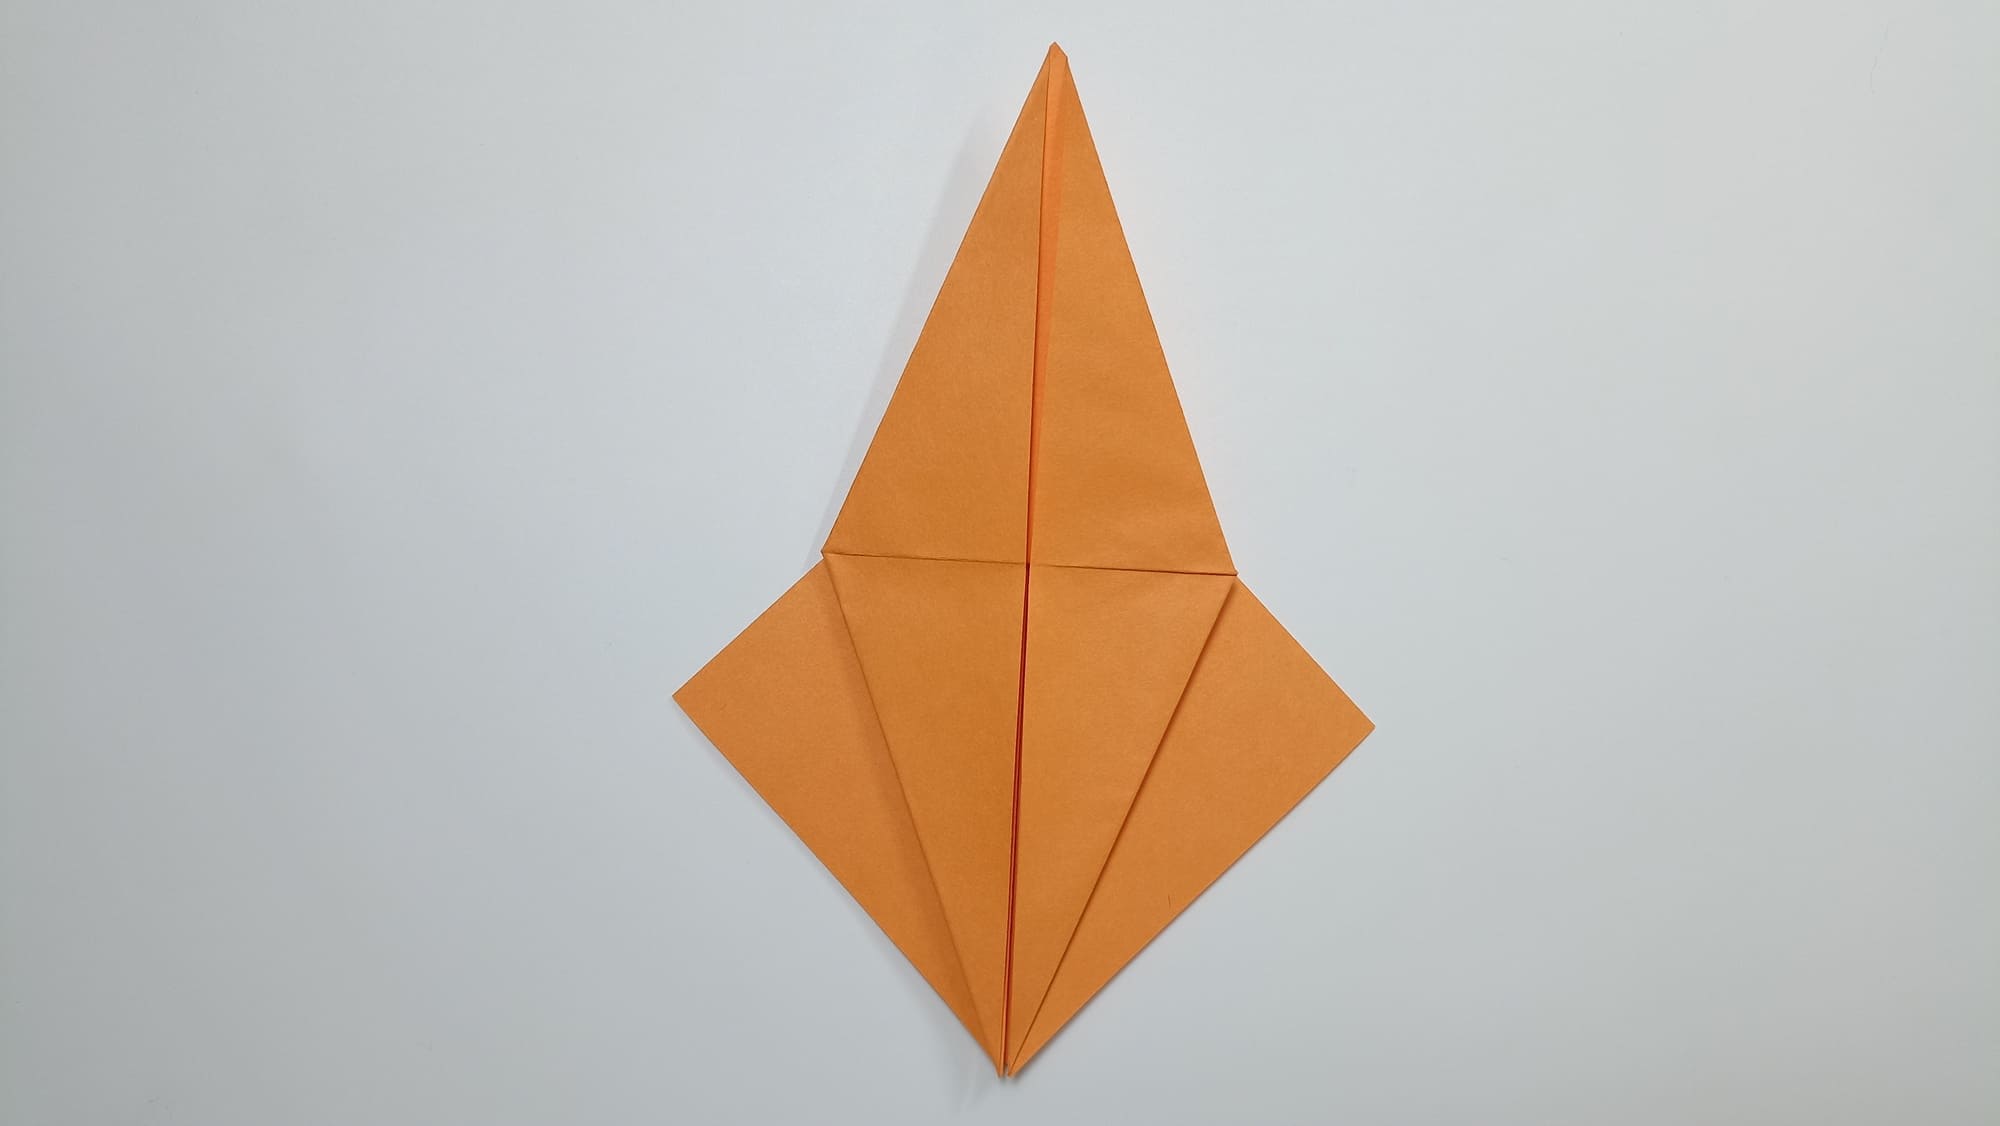
Bend the sides inward along the assisting lines. Open the fold to create a narrow diamond shape. Turn the shape over.
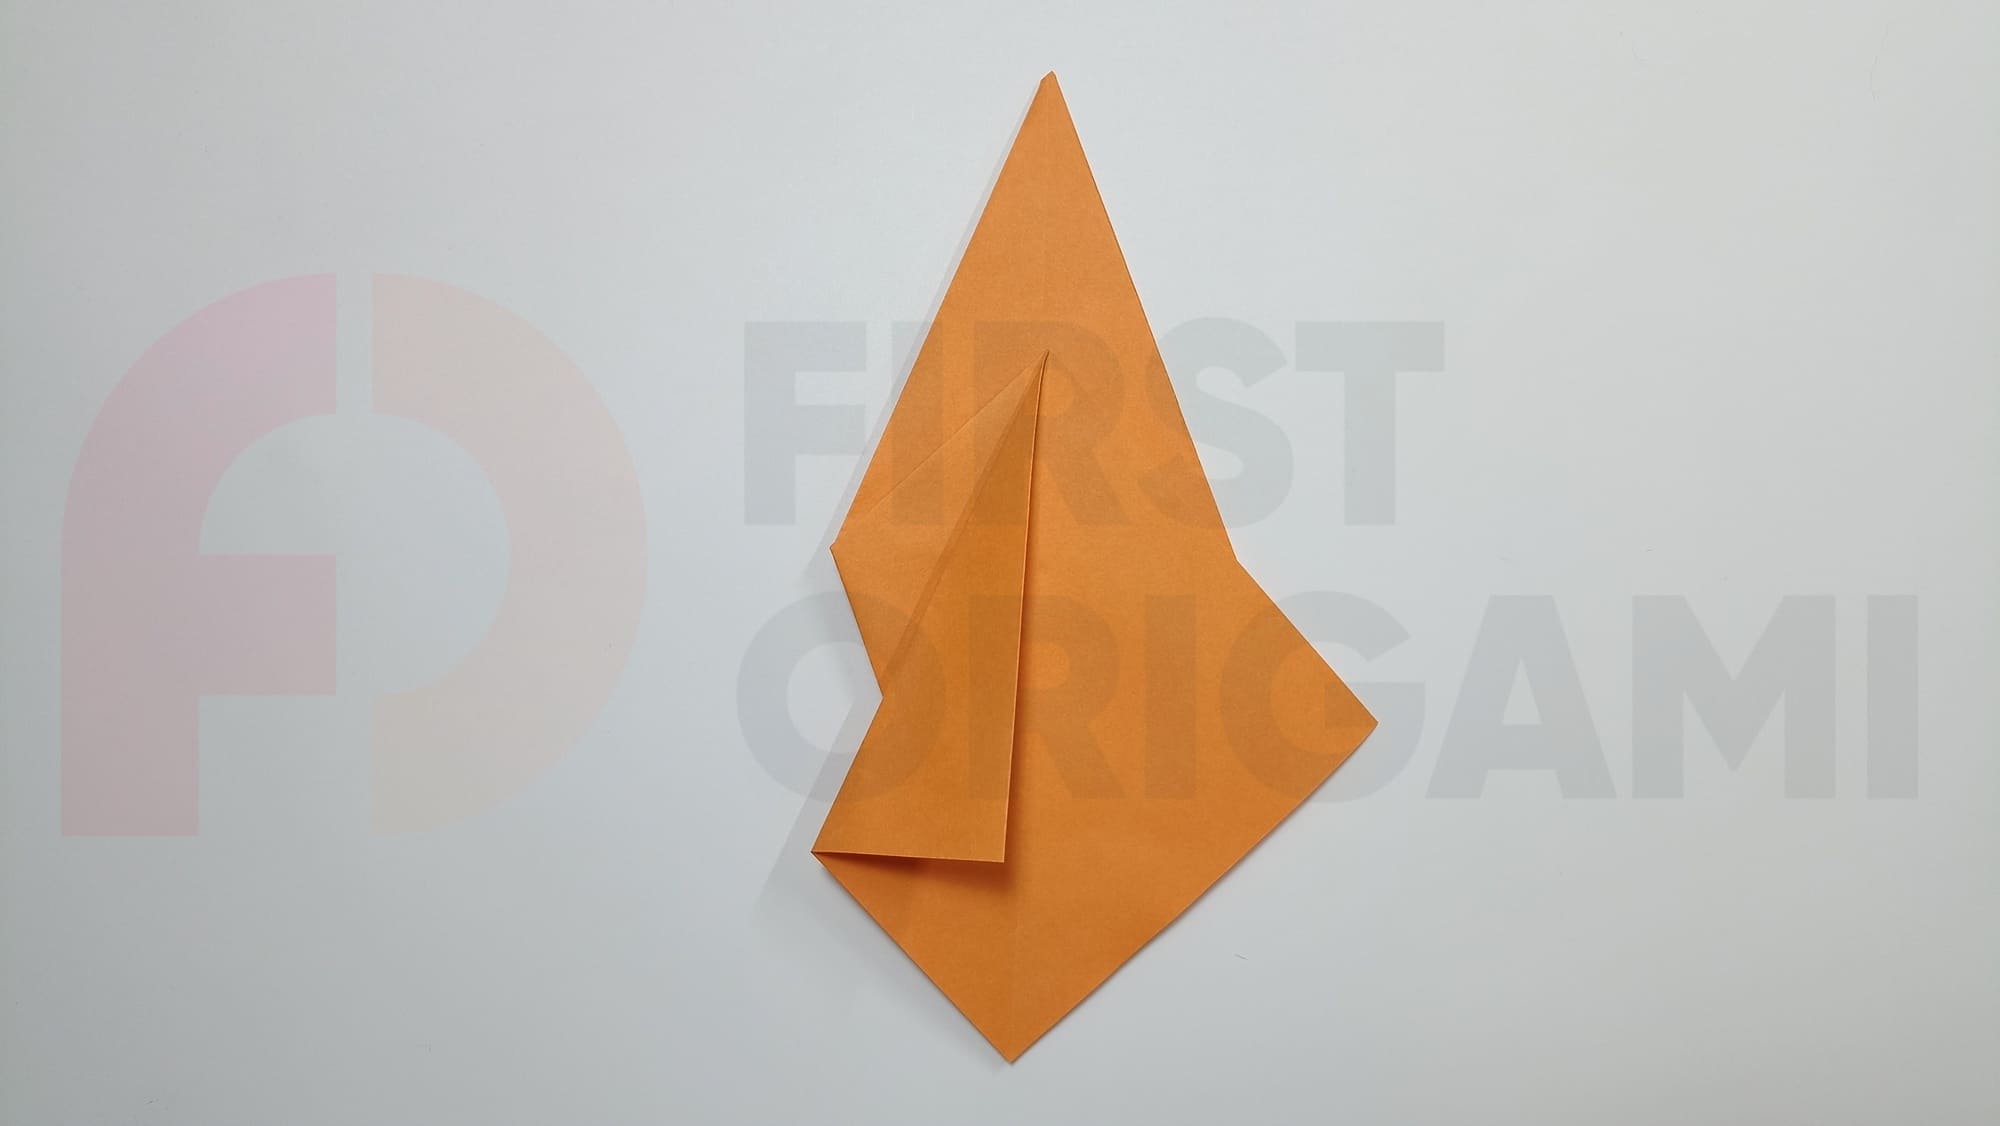
Bend the upper left side of the diamond towards the middle.
Straighten the resulting fold in the opposite direction. Press the fold to form a triangle.
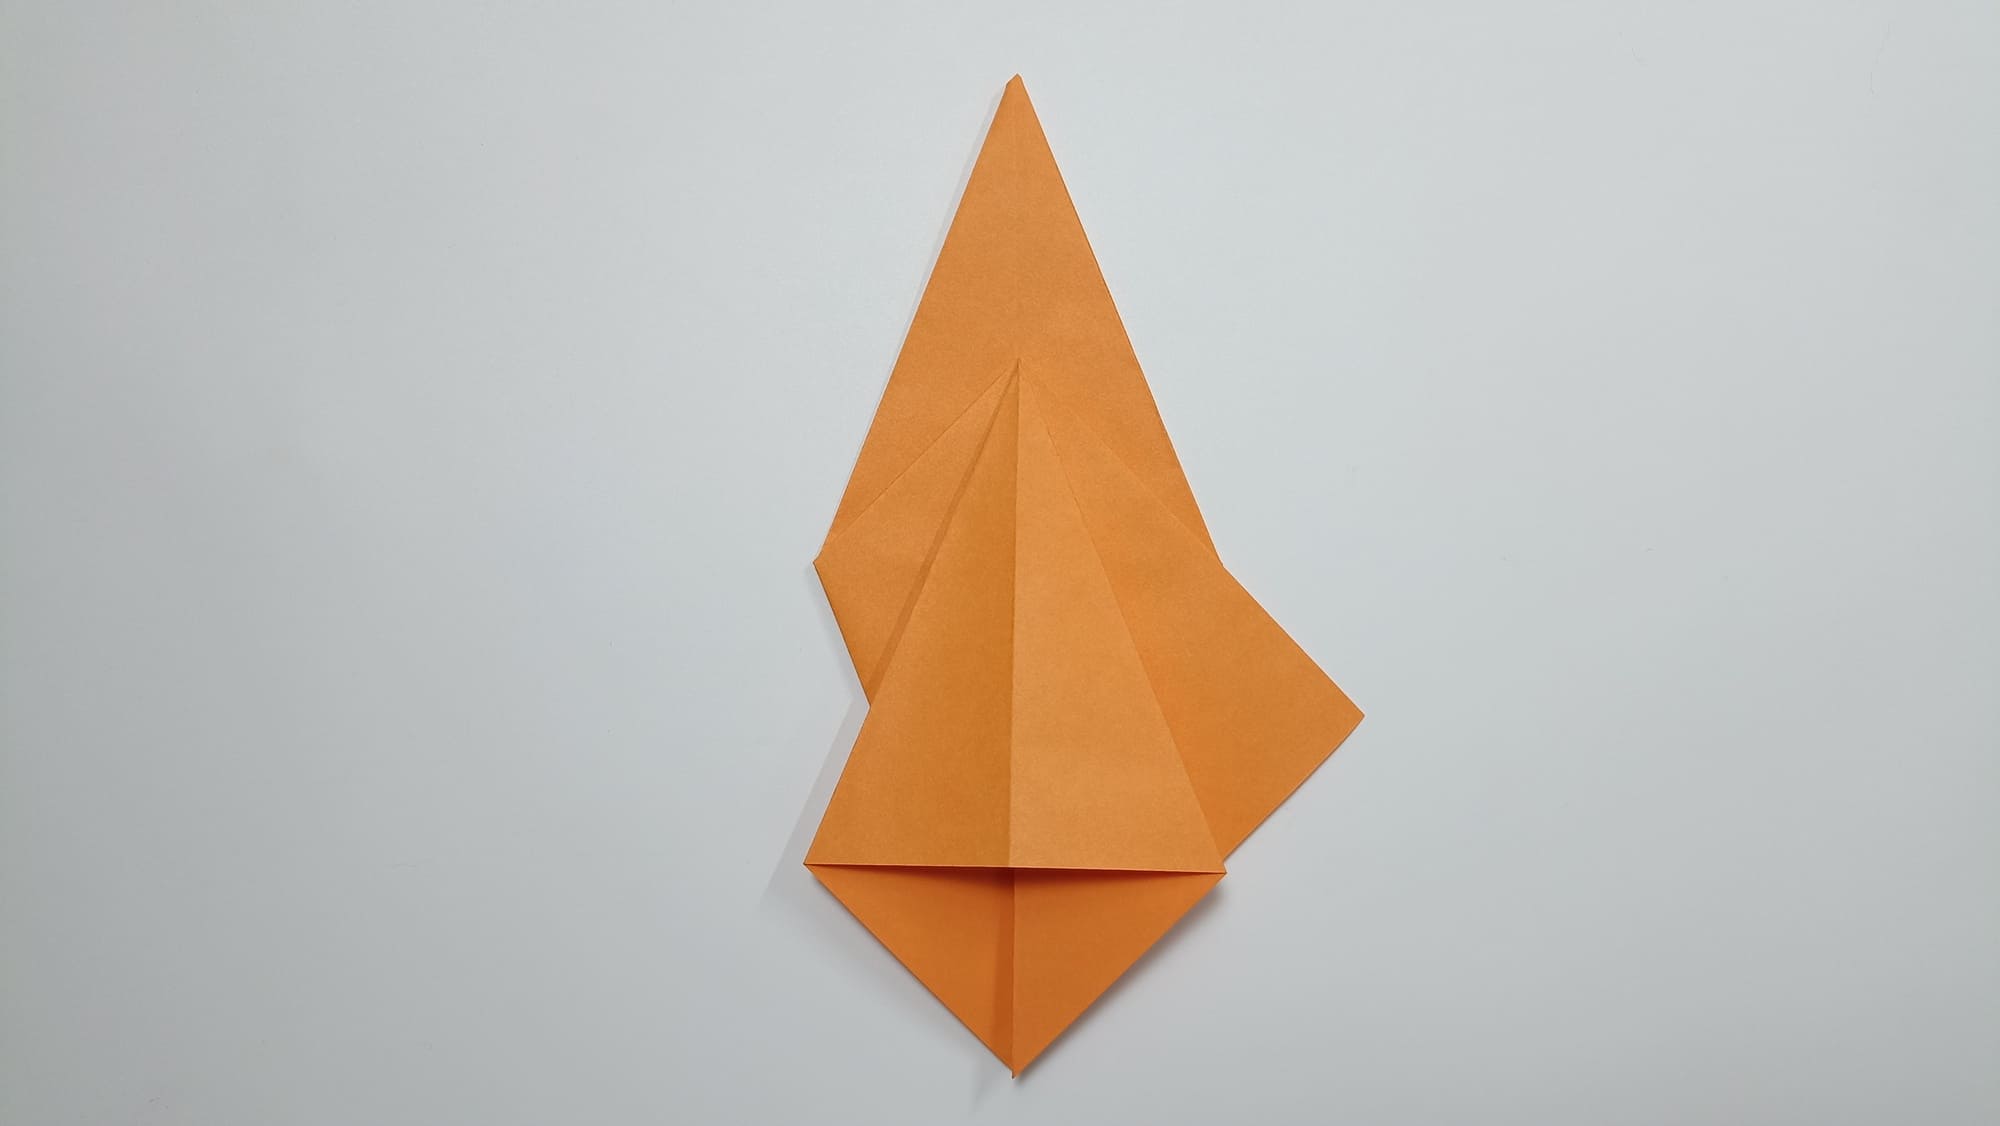
Fold the bottom sides towards the middle. Open back.
Pull the base of the triangle up to form a diamond. Point the top of the diamond down.
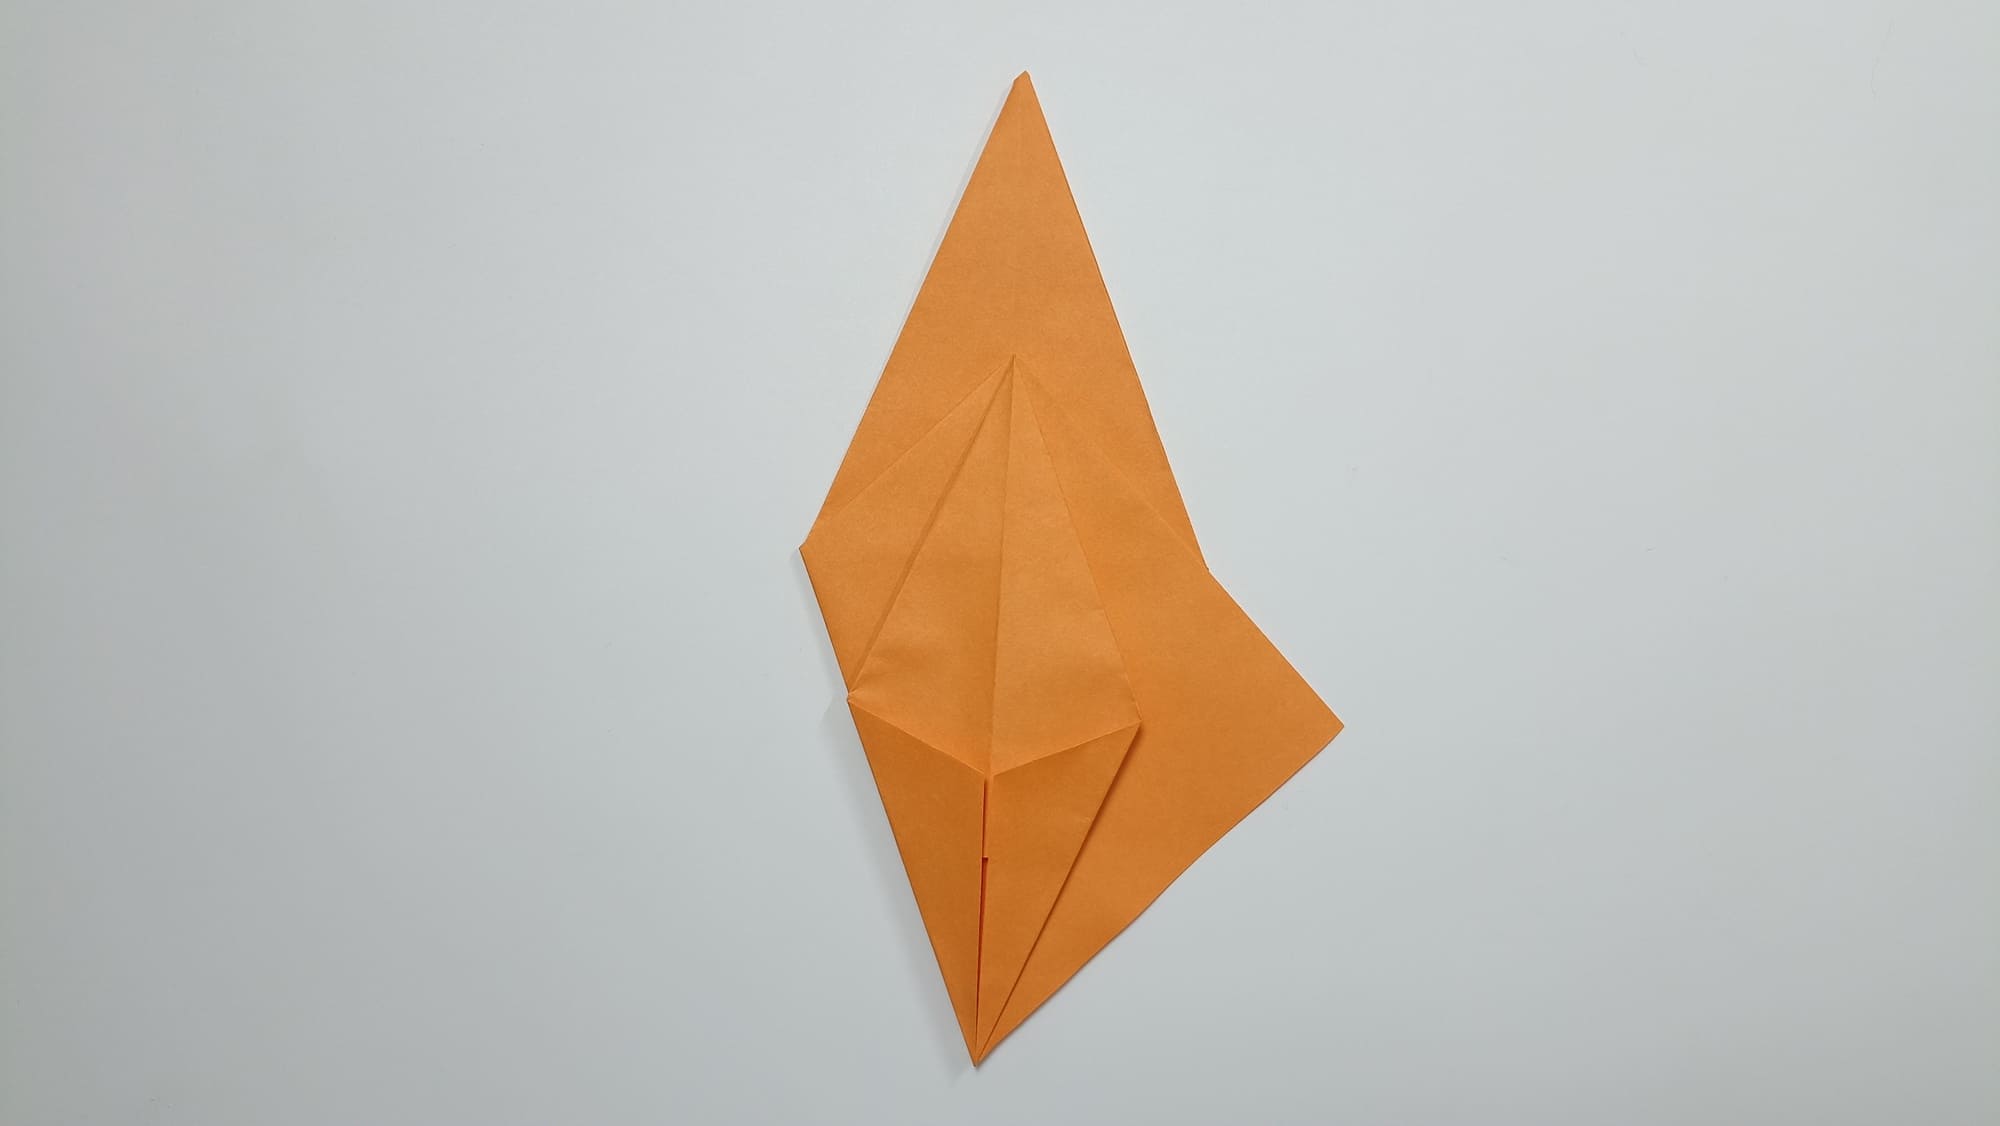
Bend the resulting folds to the left.
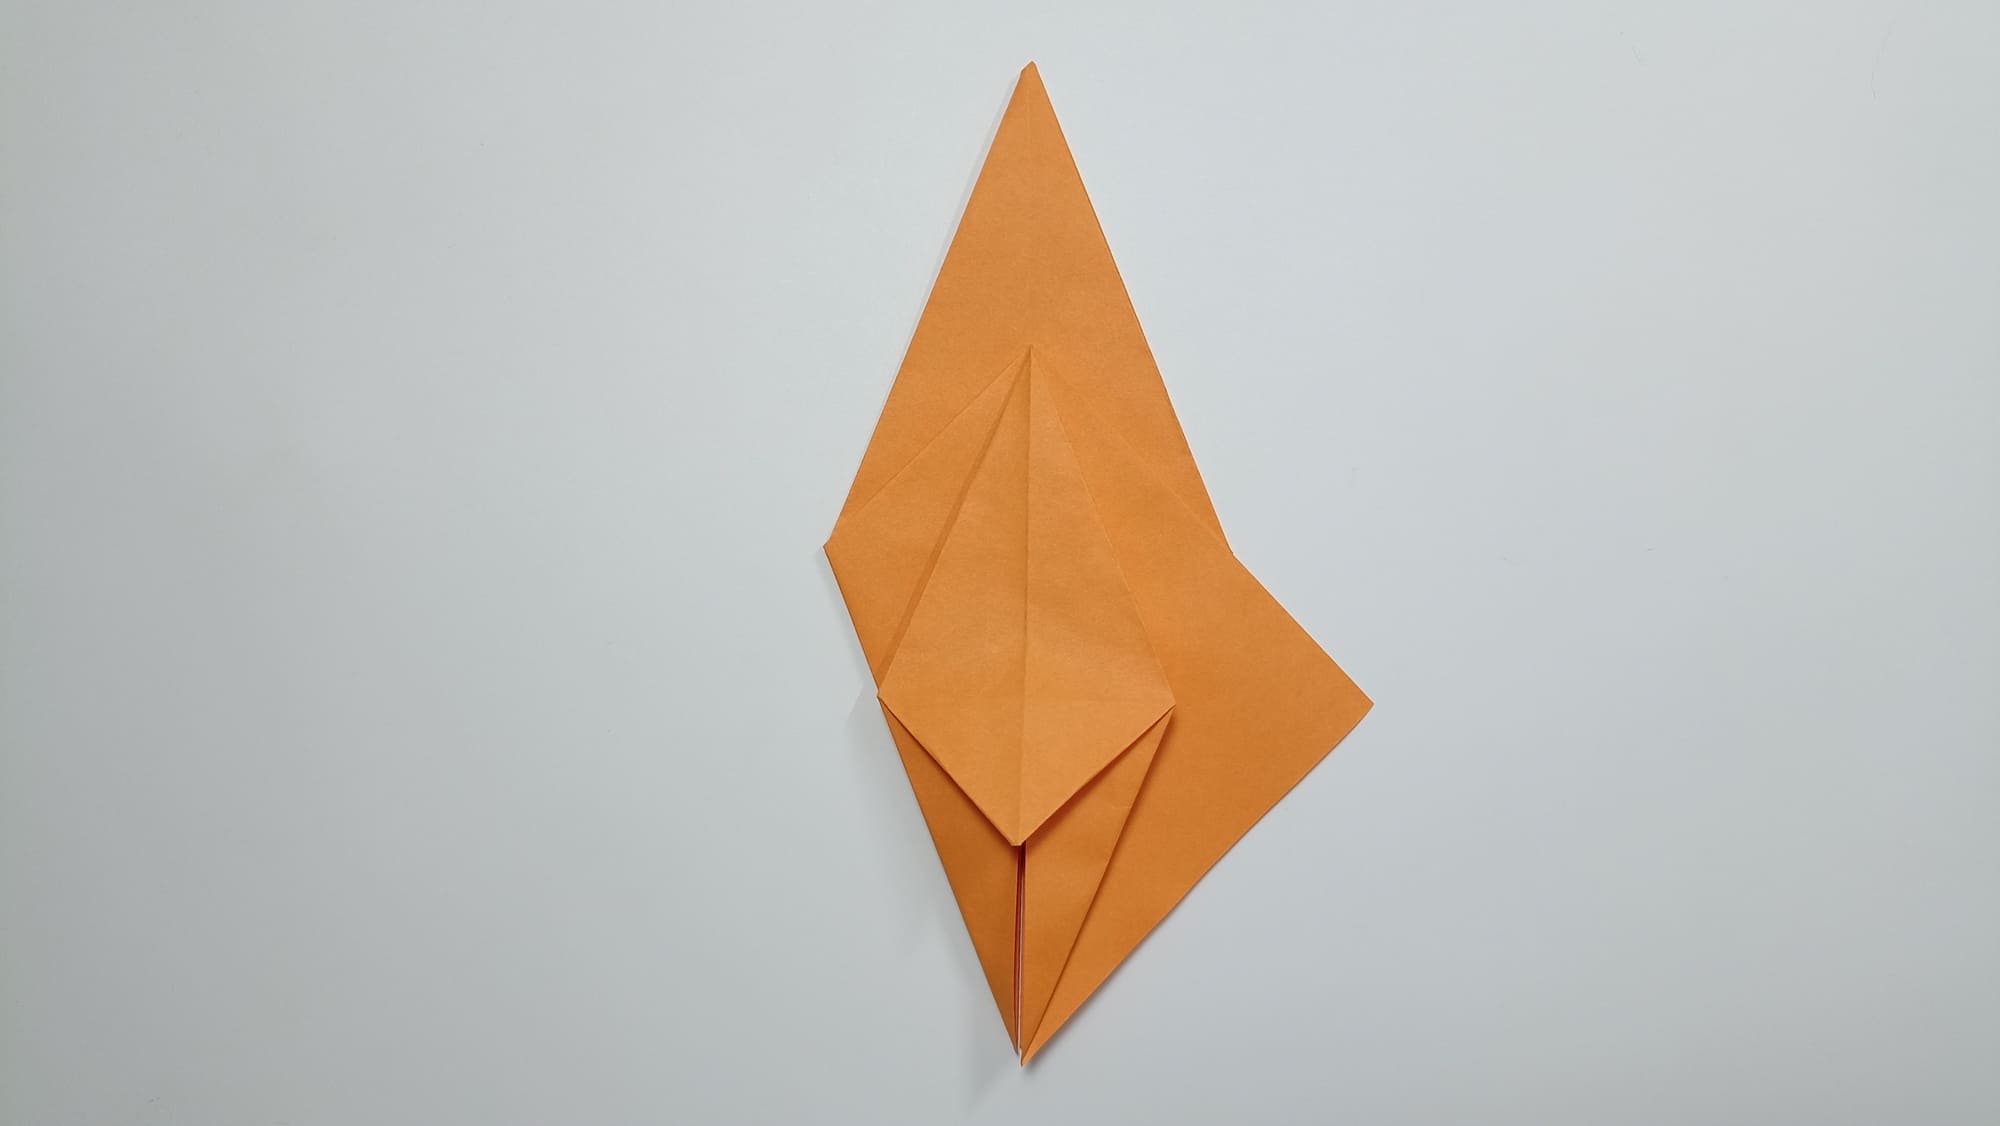
Repeat the three previous steps on the right side of the shape to obtain a figure as in the example.
Bend the folds to the side.

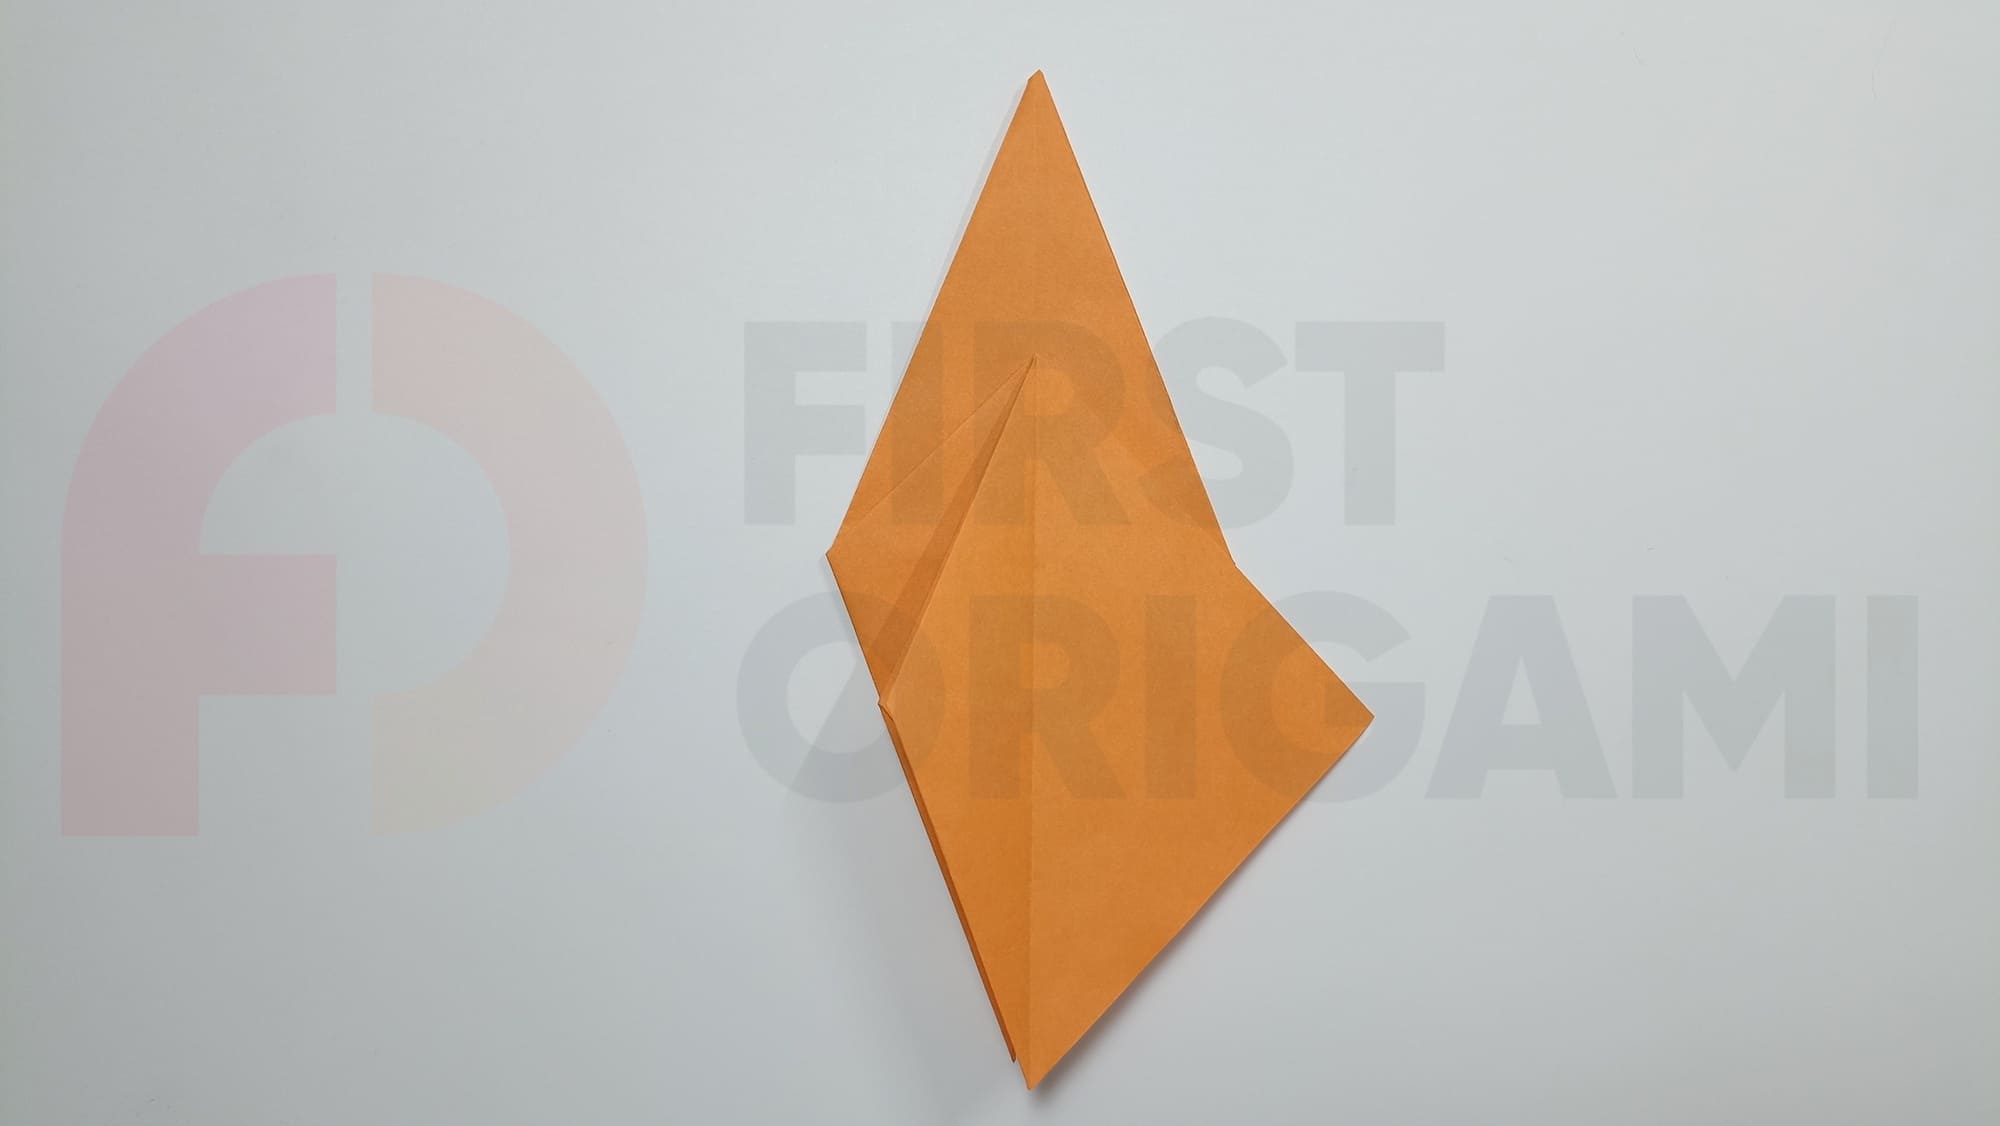
Fold the top of the smaller diamond towards yourself.
Fold the bottom corner up. Open the fold back.
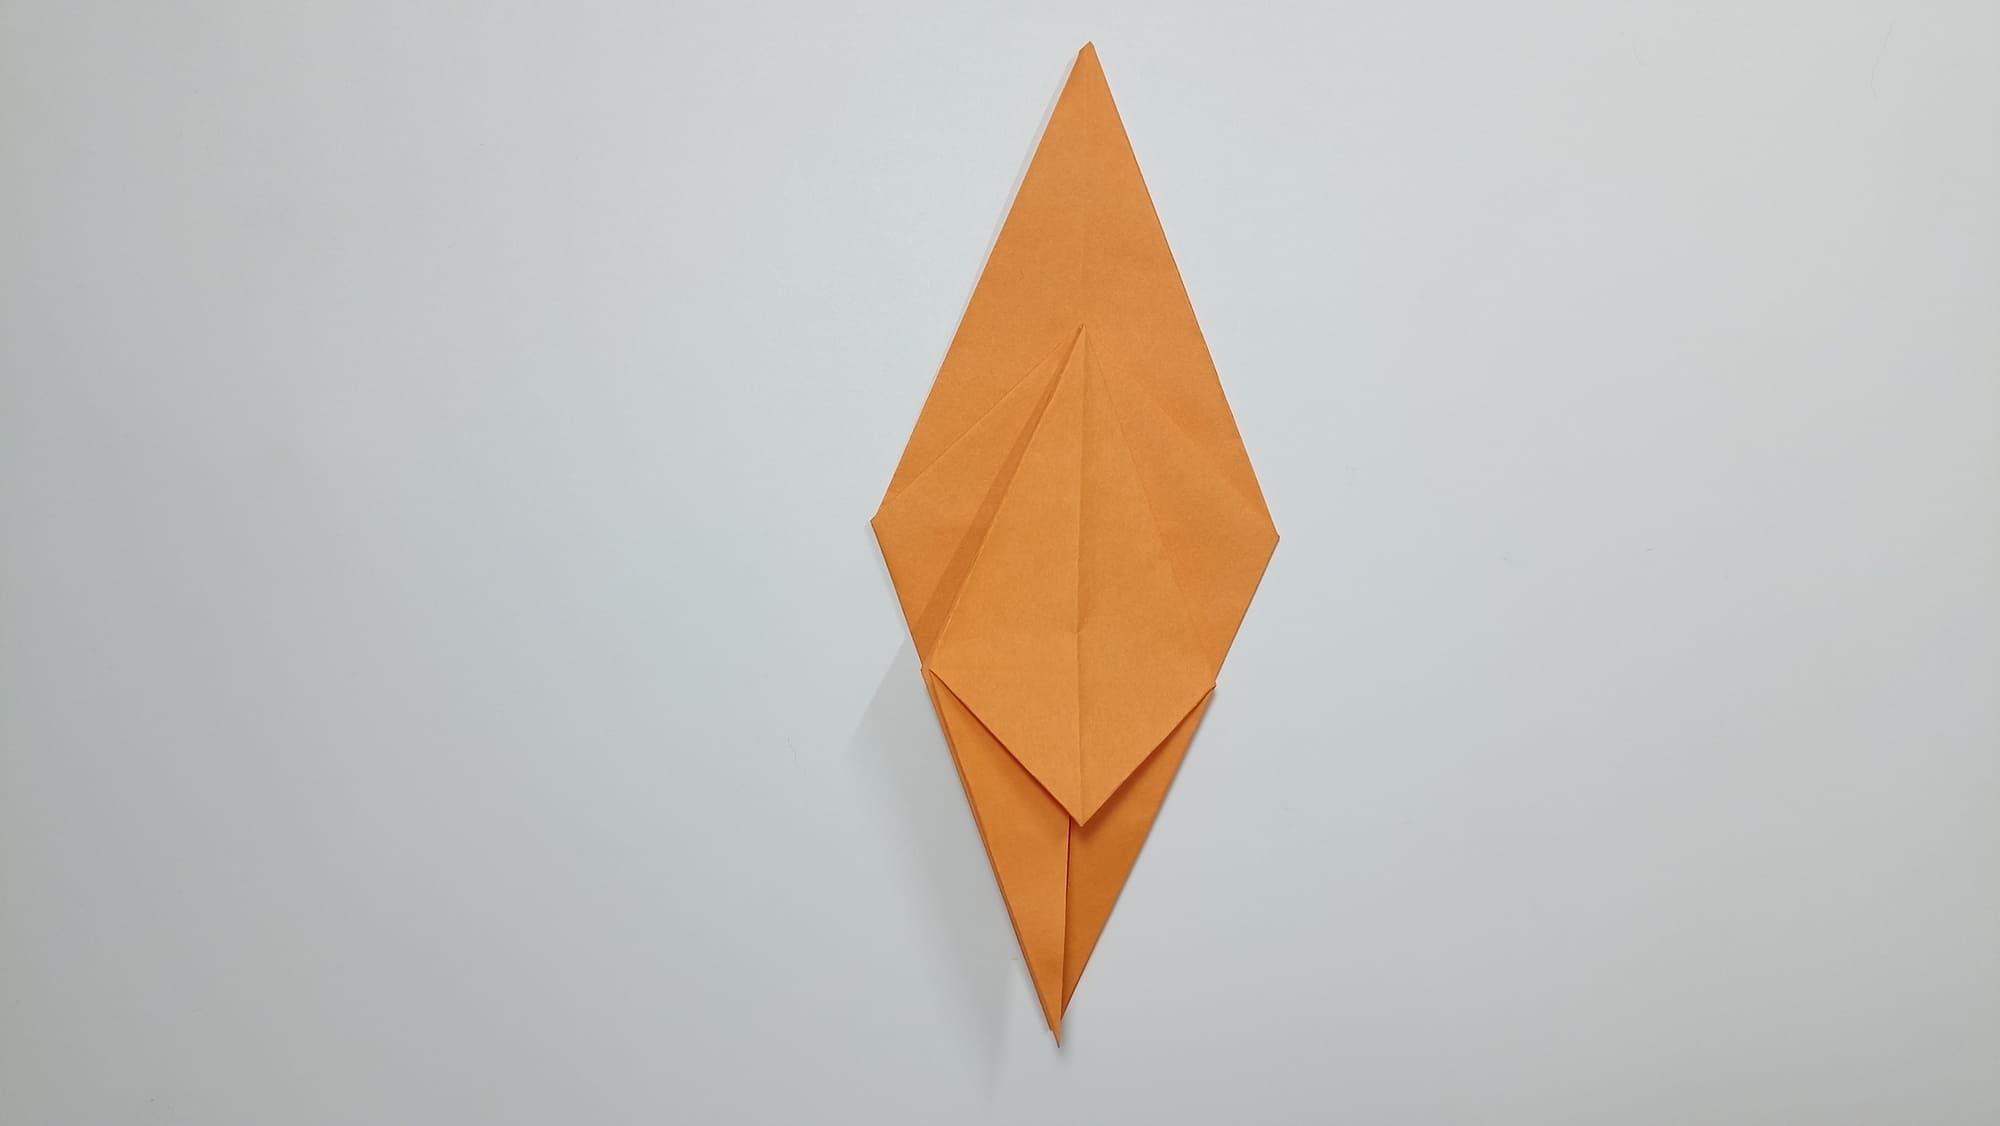
Mark an assisting fold, aligning the side of the triangle with the base. Unfold.
Align the other side with the base and unfold.
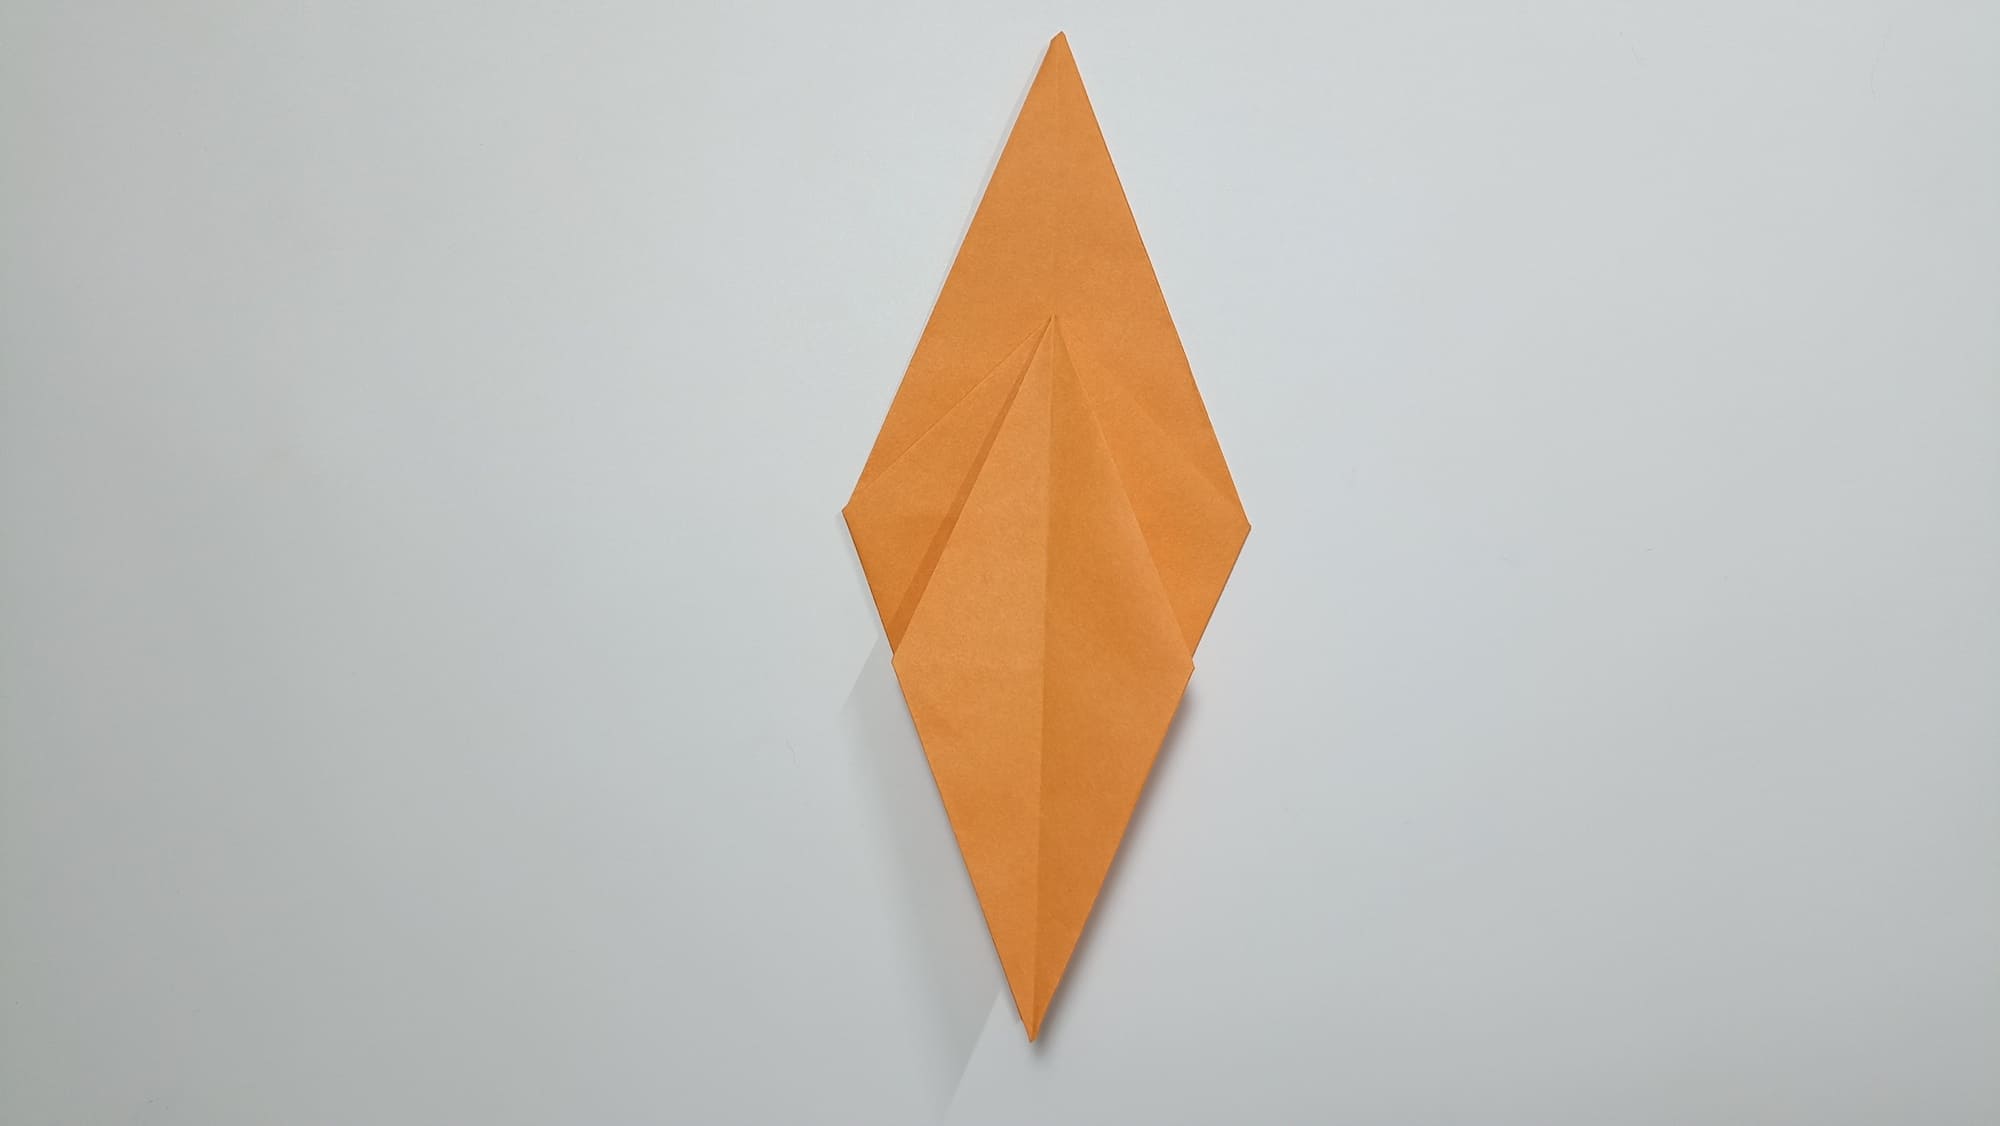
Squeeze the sides of the triangle. Direct the fold to the side.
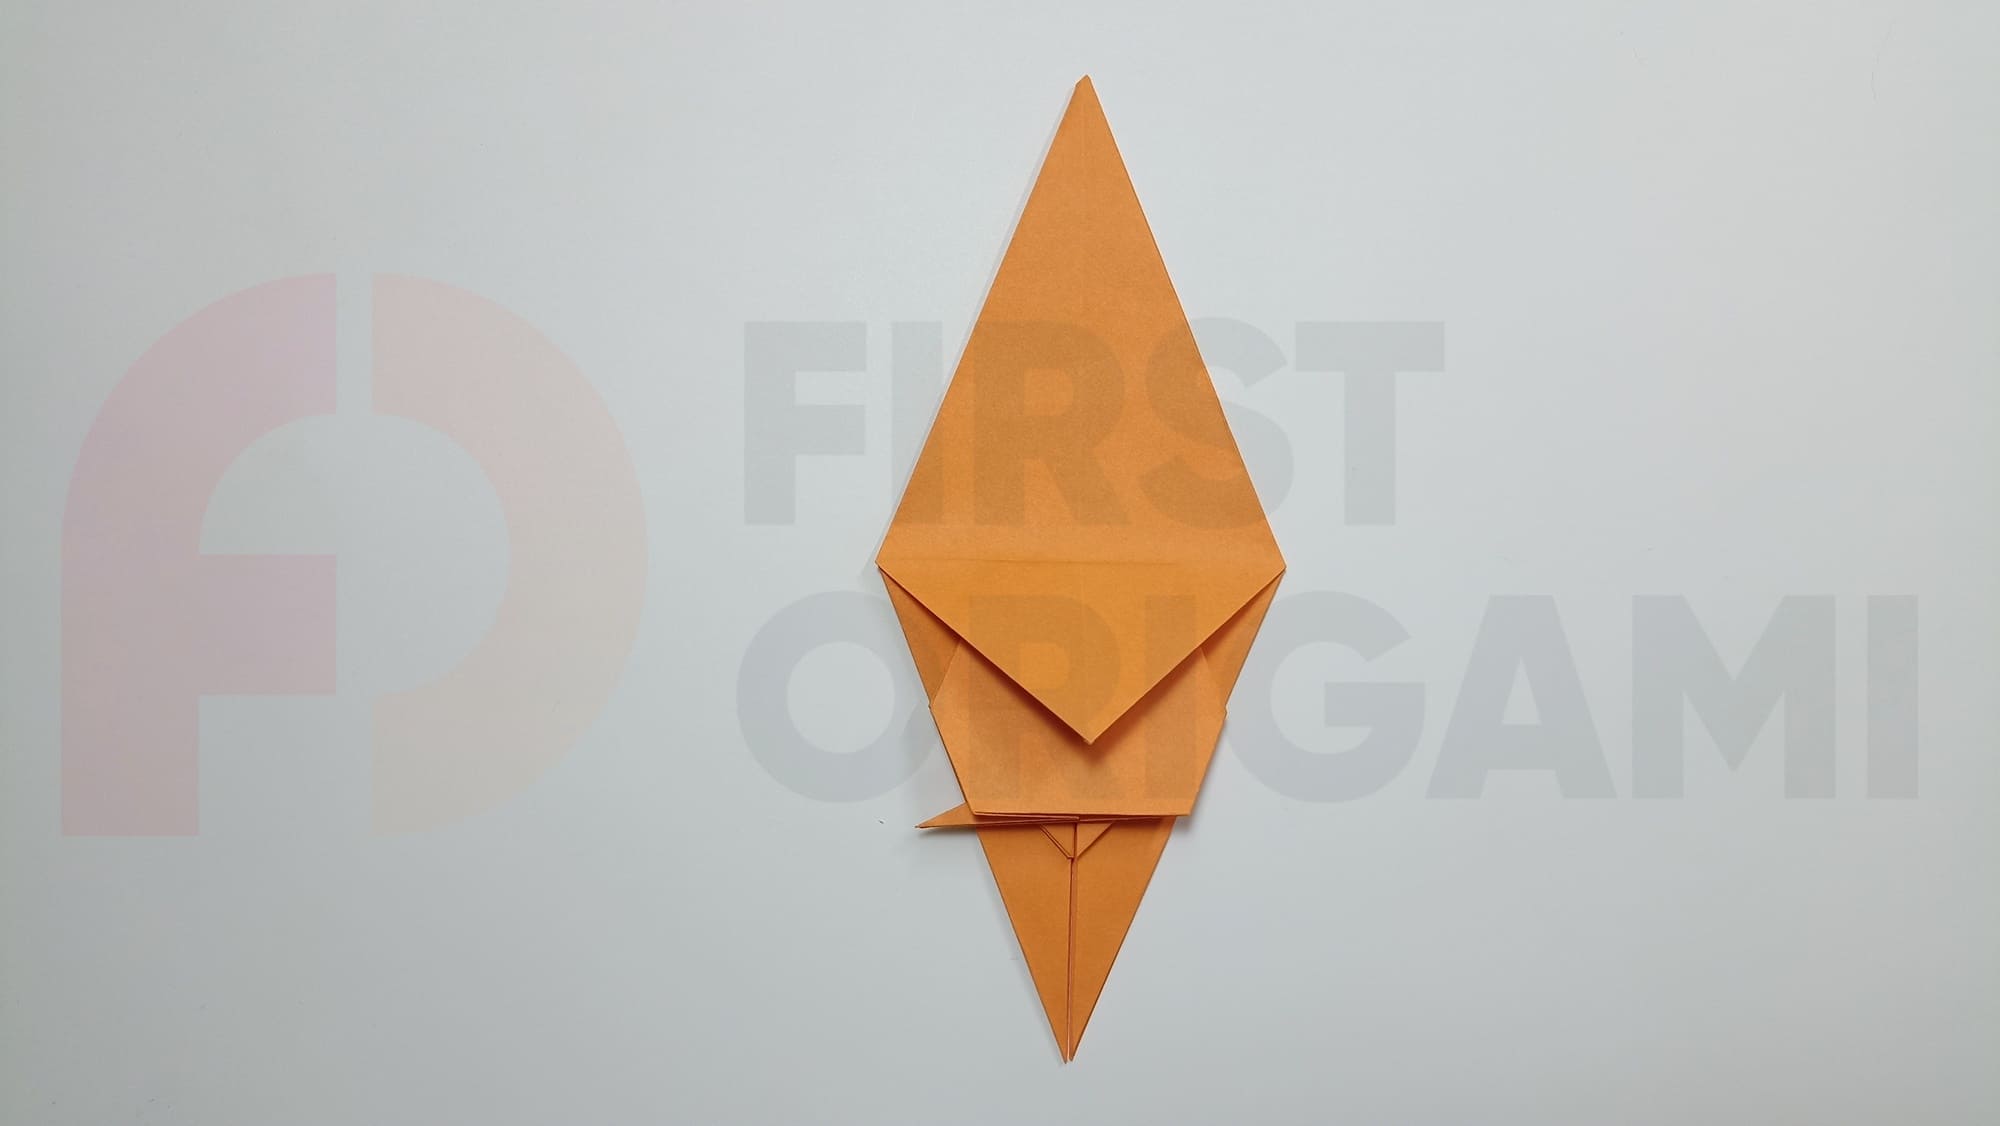
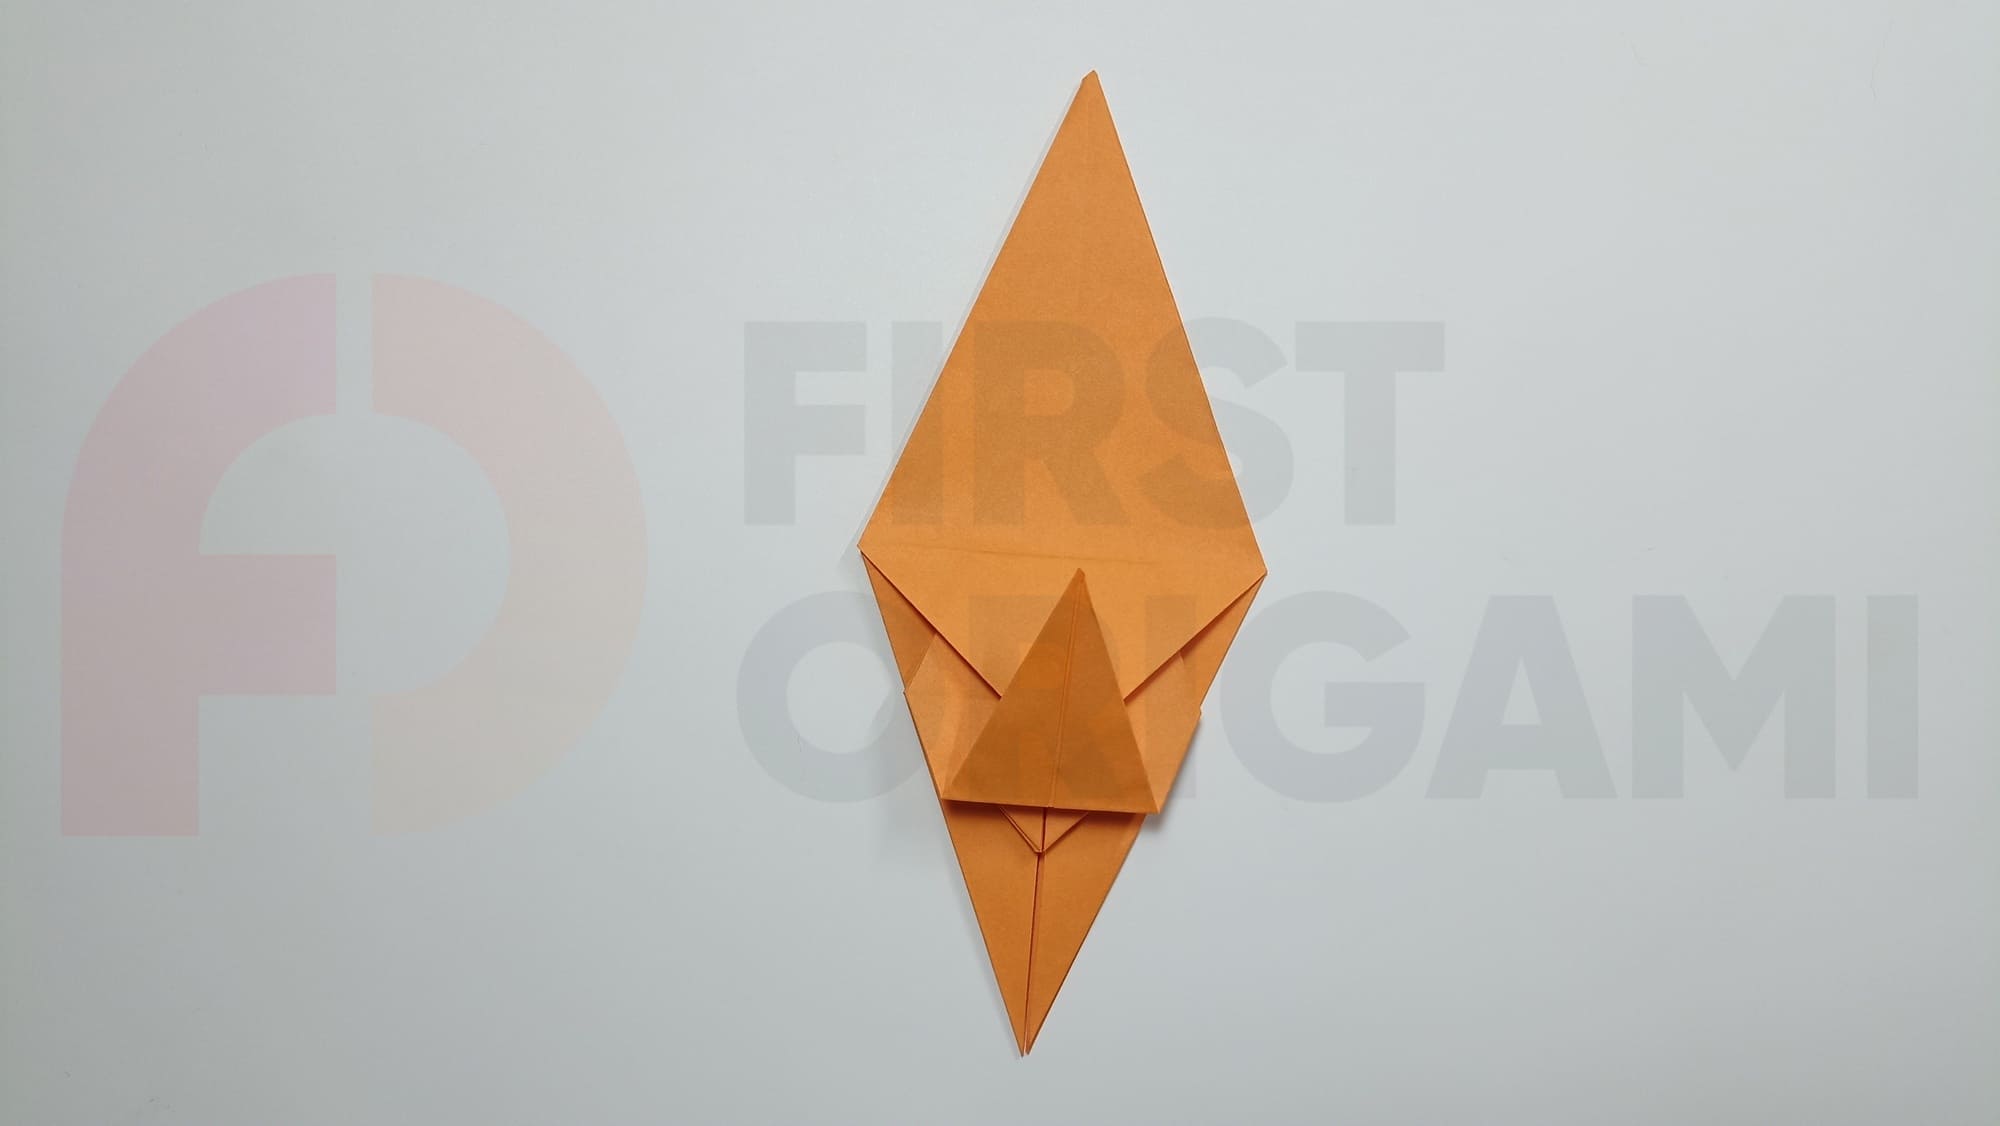
Bend the fold inward. Position the triangle’s top of the resulting fold to the other side between the parts of the shape.
Fold the bottom corner of the small diamond.
Fold the bottom sides of the diamond symmetrically.
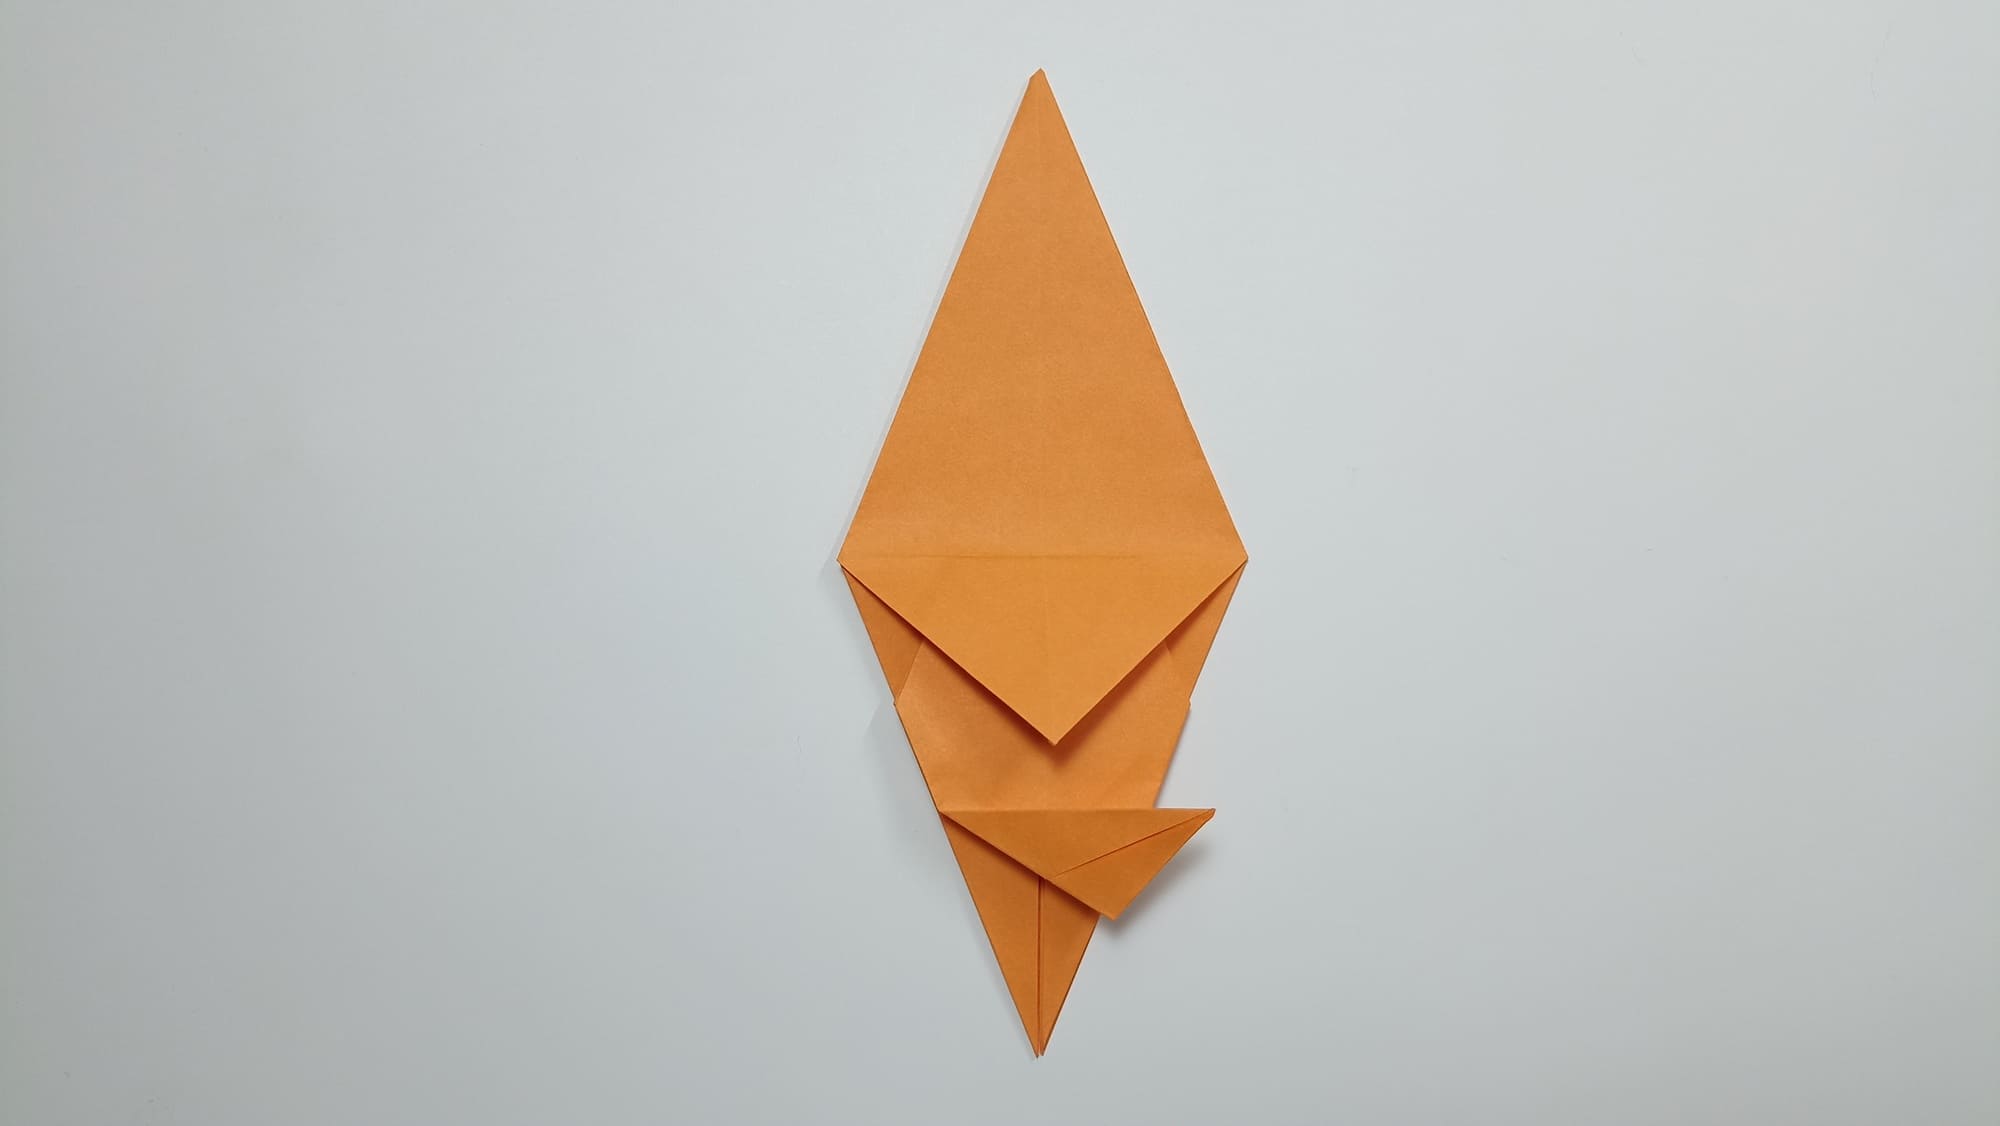
Close the entire figure along the vertical middle line. Place the fold line horizontally at the top.
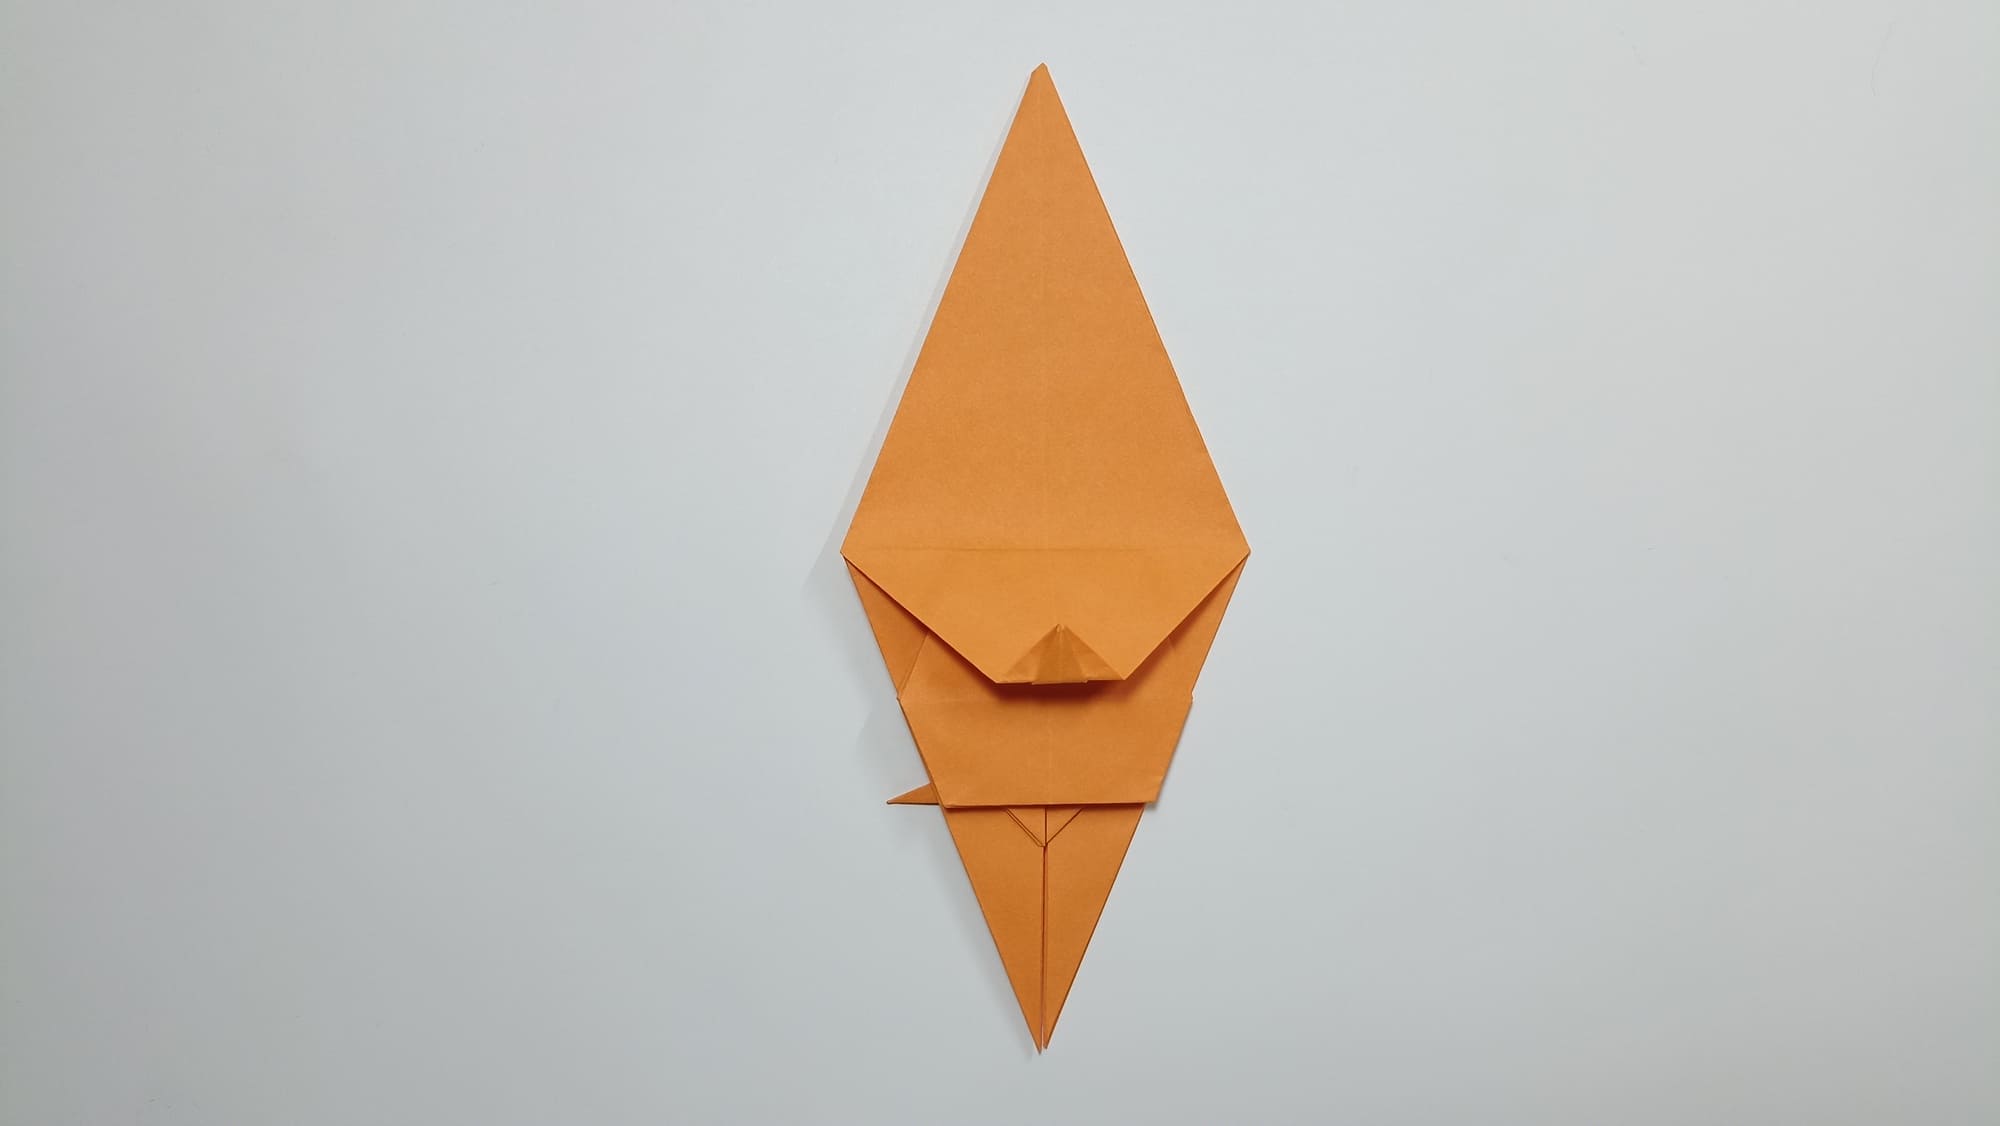
Bend the left corner, aligning the bottom edge with the vertical fold in the middle.
Press the opened part of the shape, while simultaneously making a fold, as in the example.
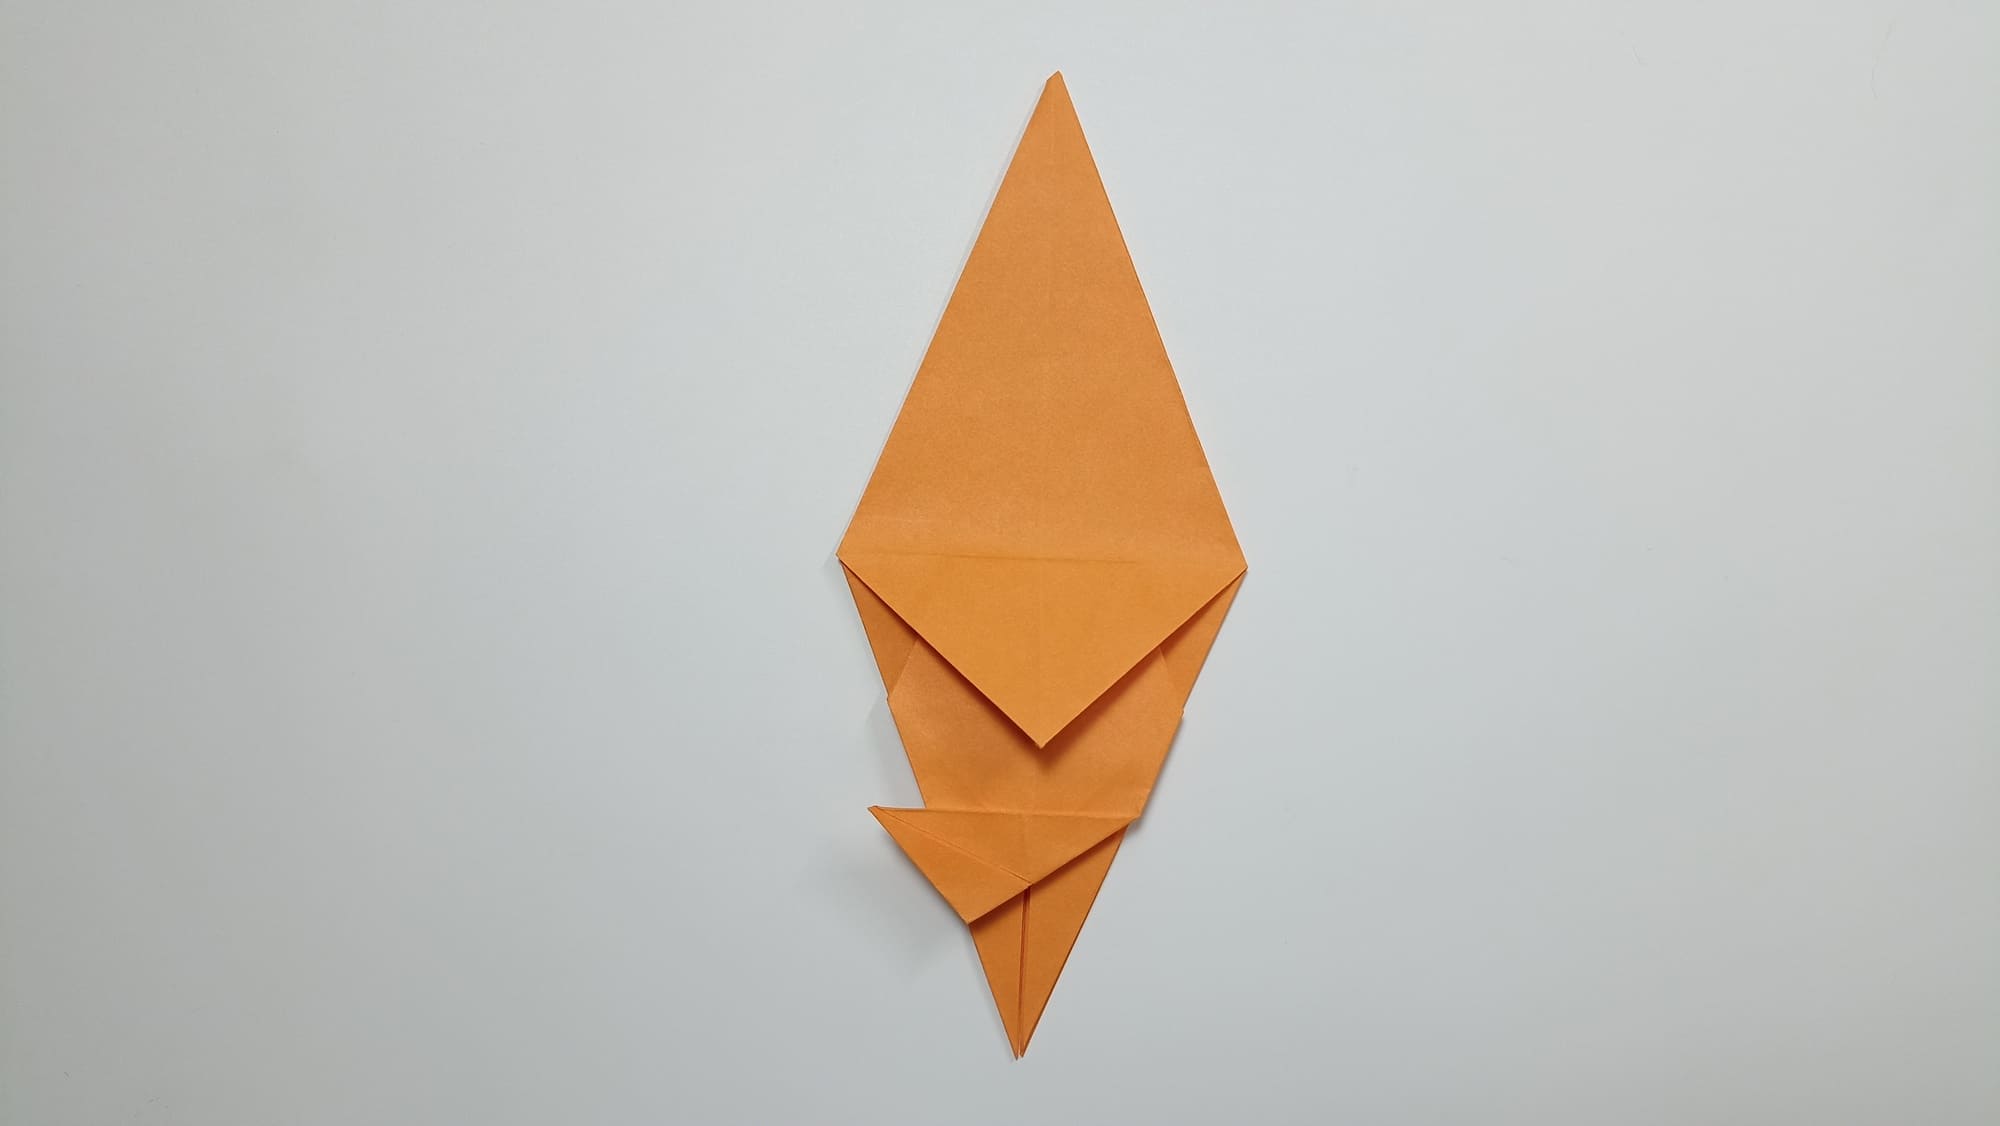
Make the previous two folds on the other side of the shape symmetrically.
Lower the top of the corner, straightening the fold along the assisting line. Do it on both sides.
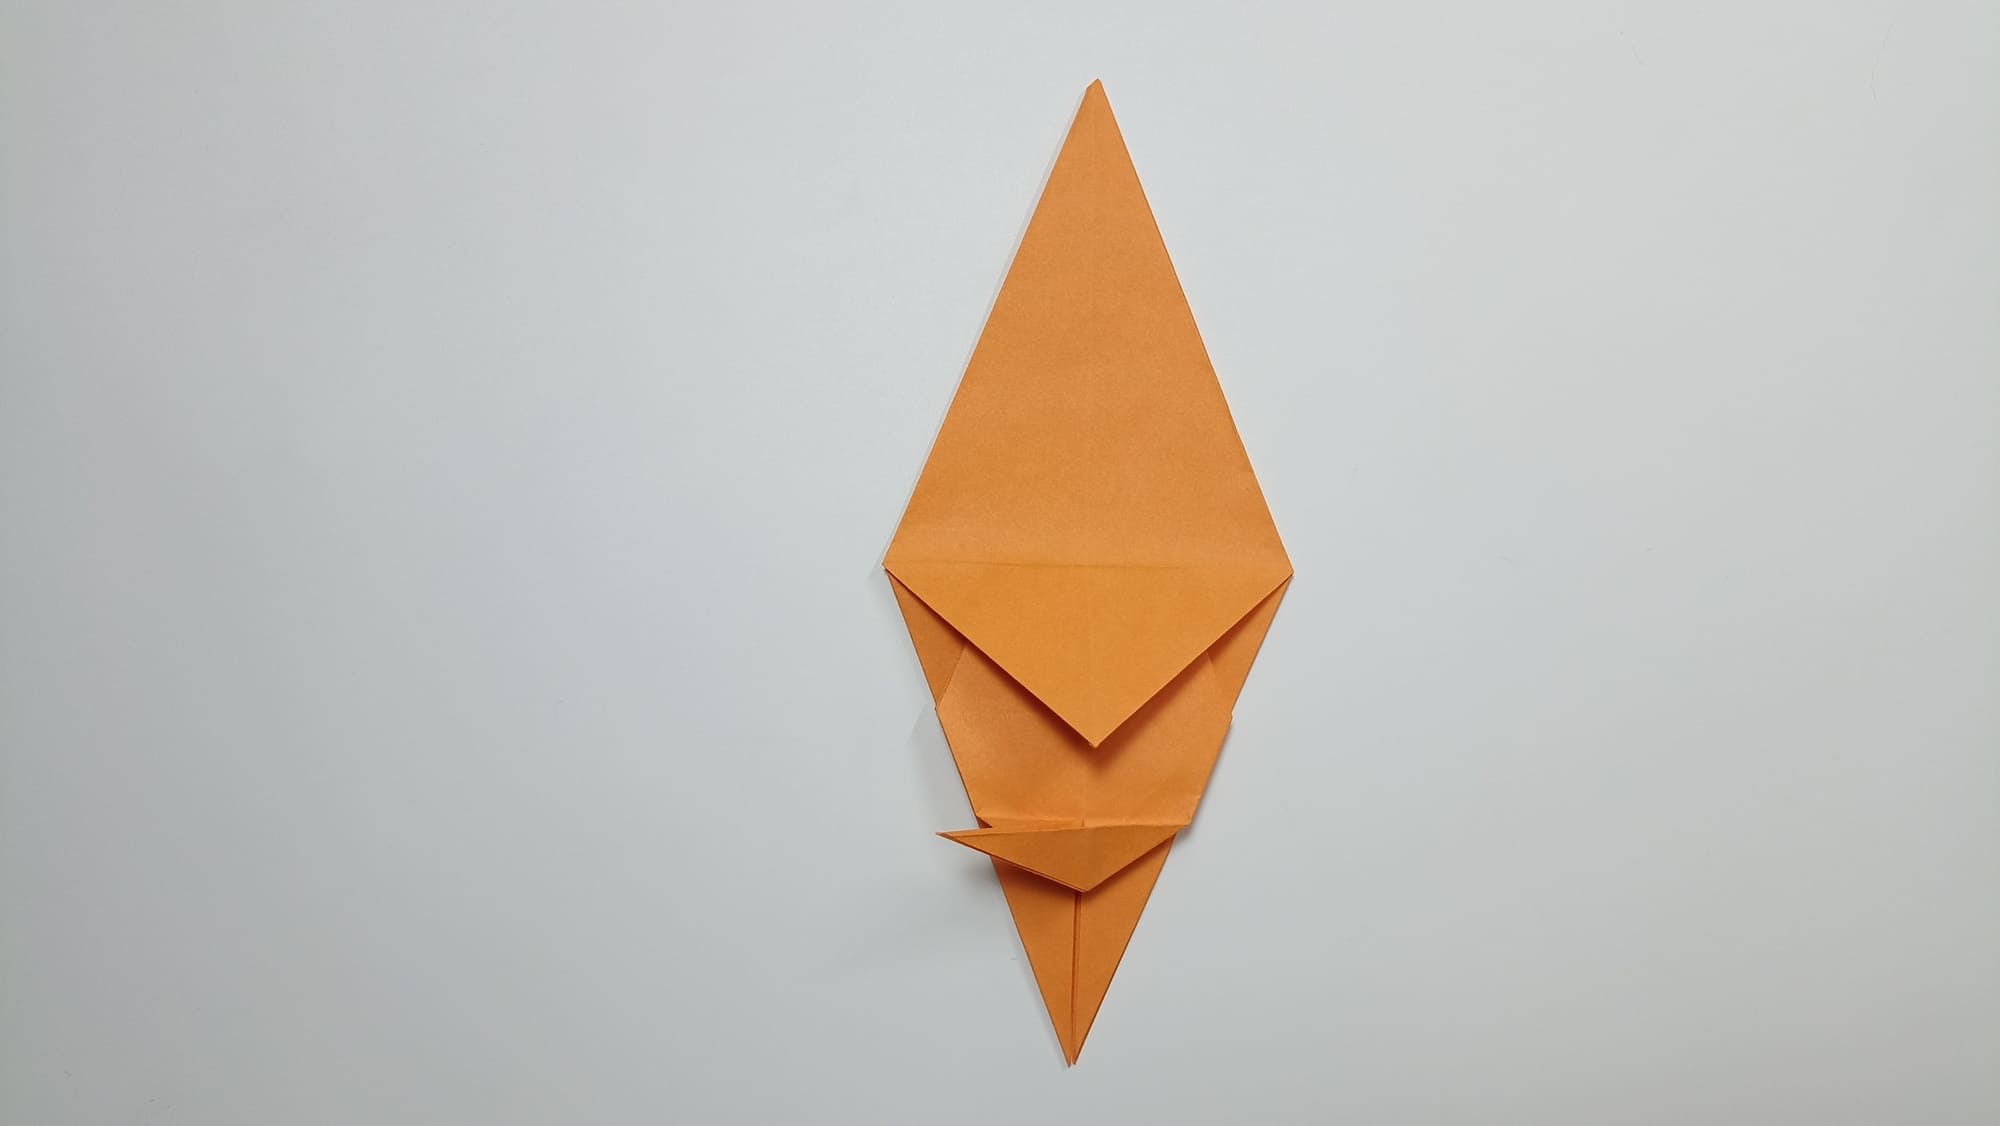
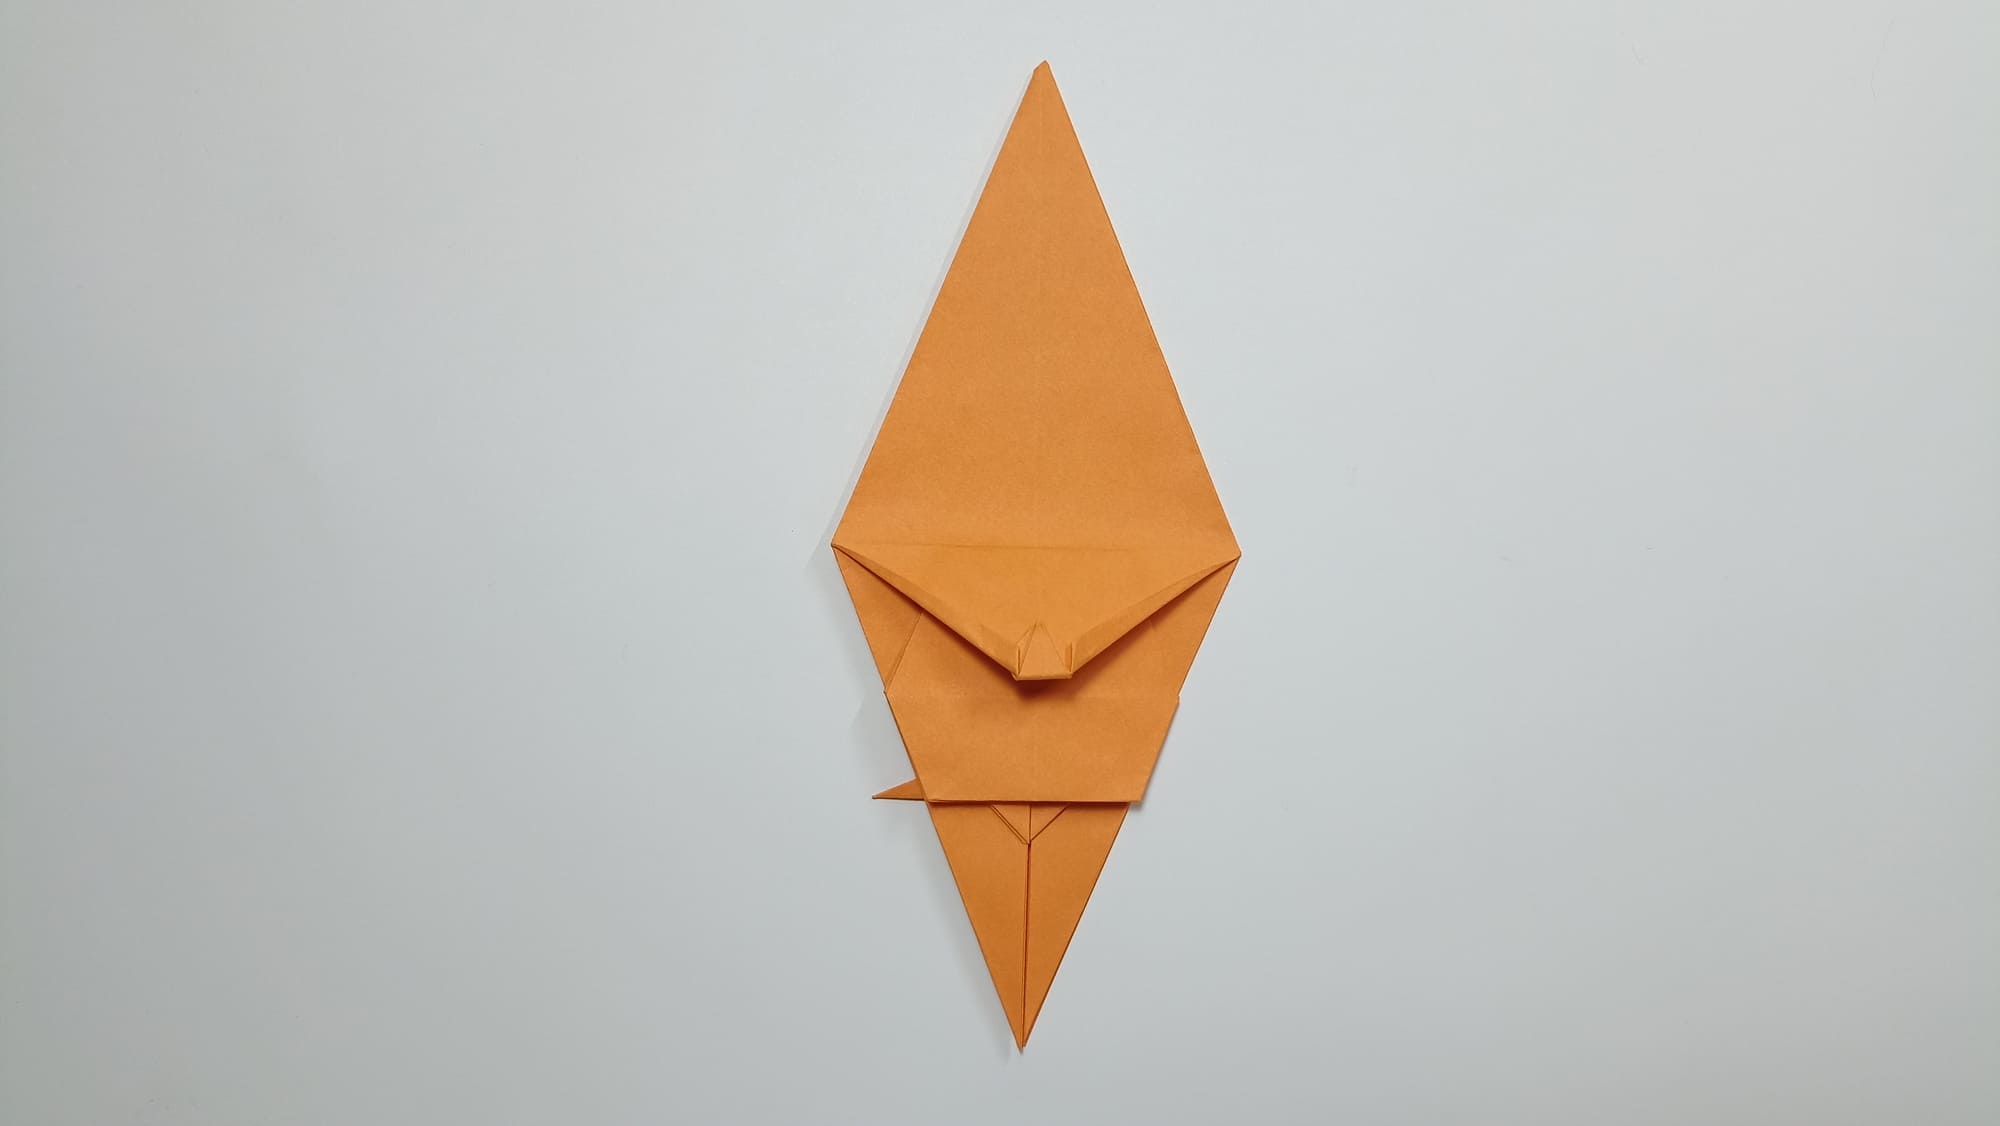
Raise the corner tops up on both sides to form assisting fold lines. Return it back. Press the top corner inward.
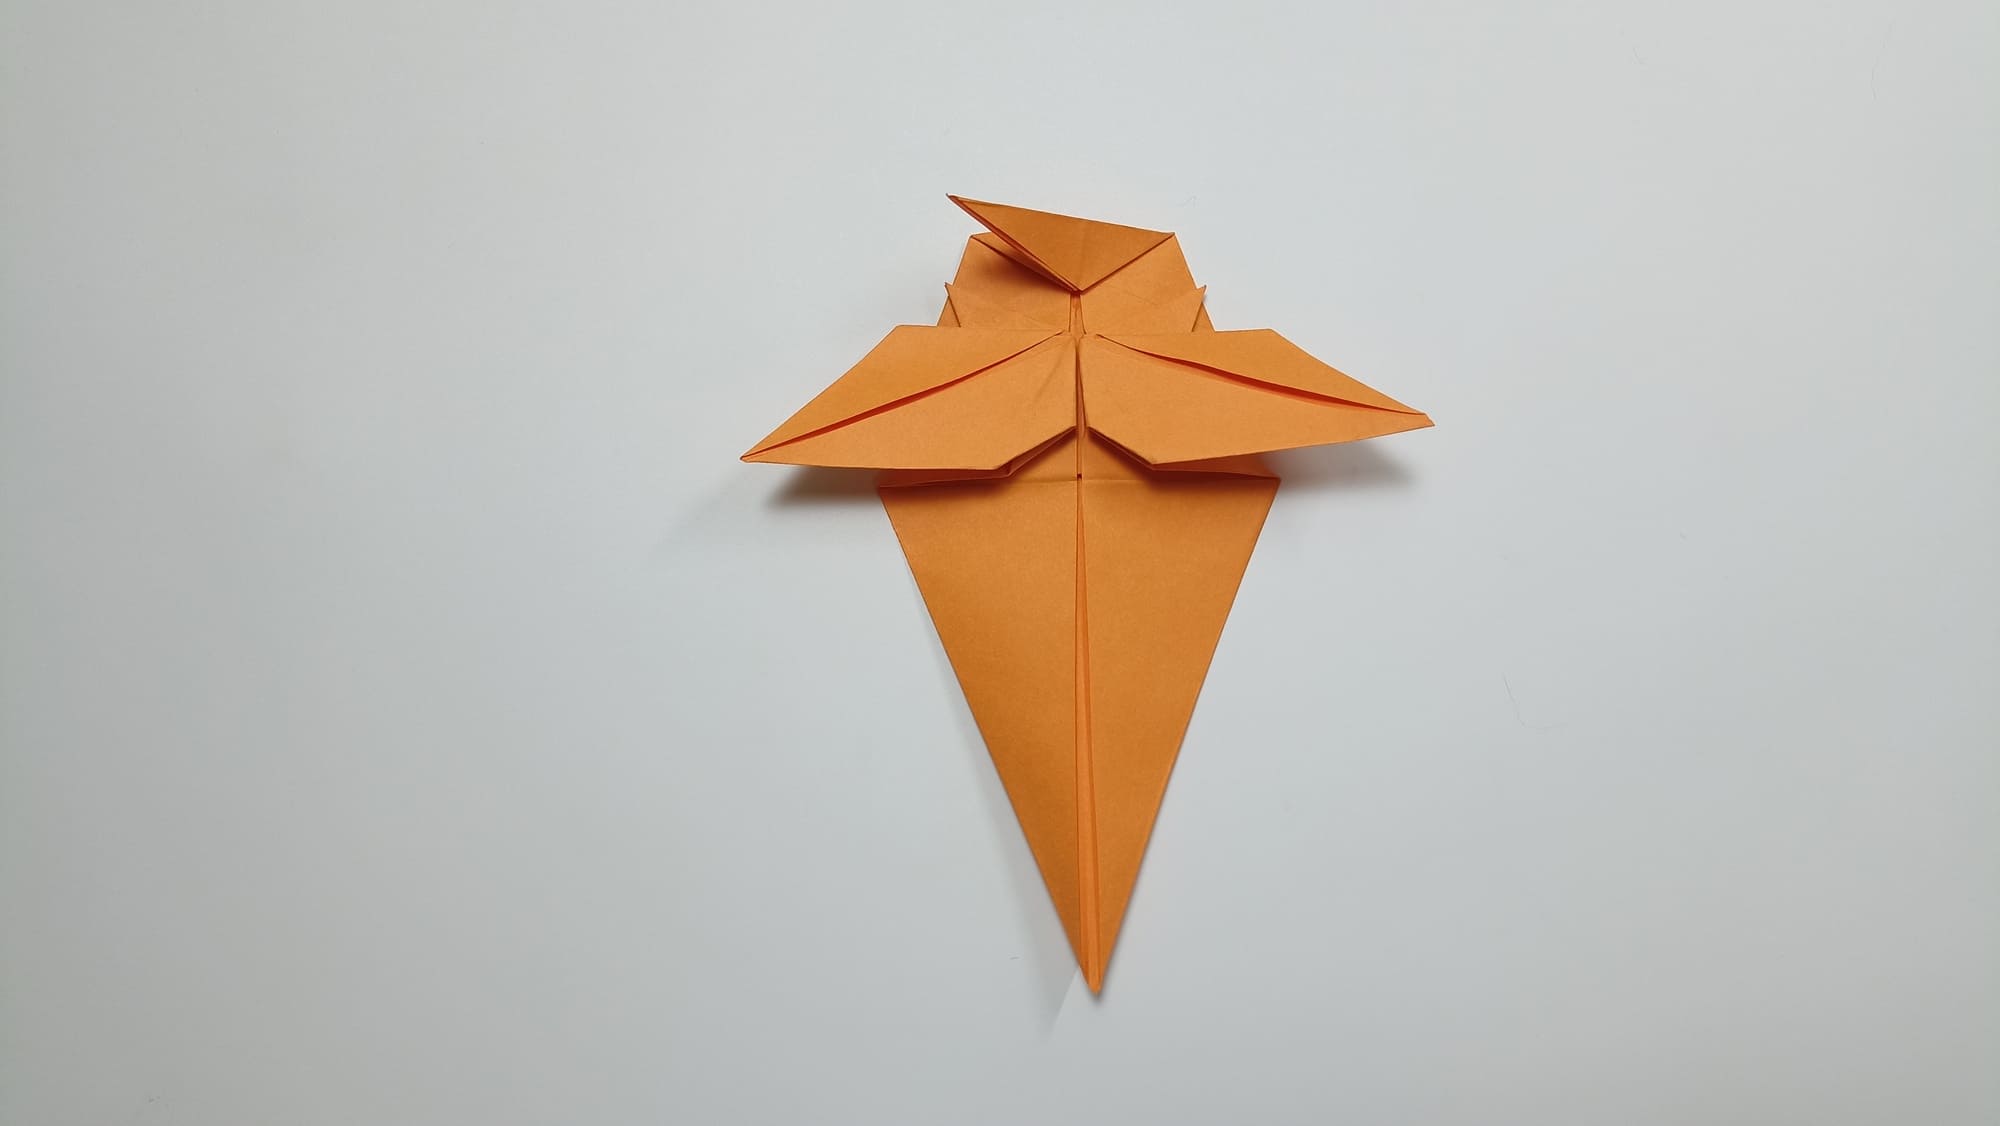
Open the figure along a vertical line.
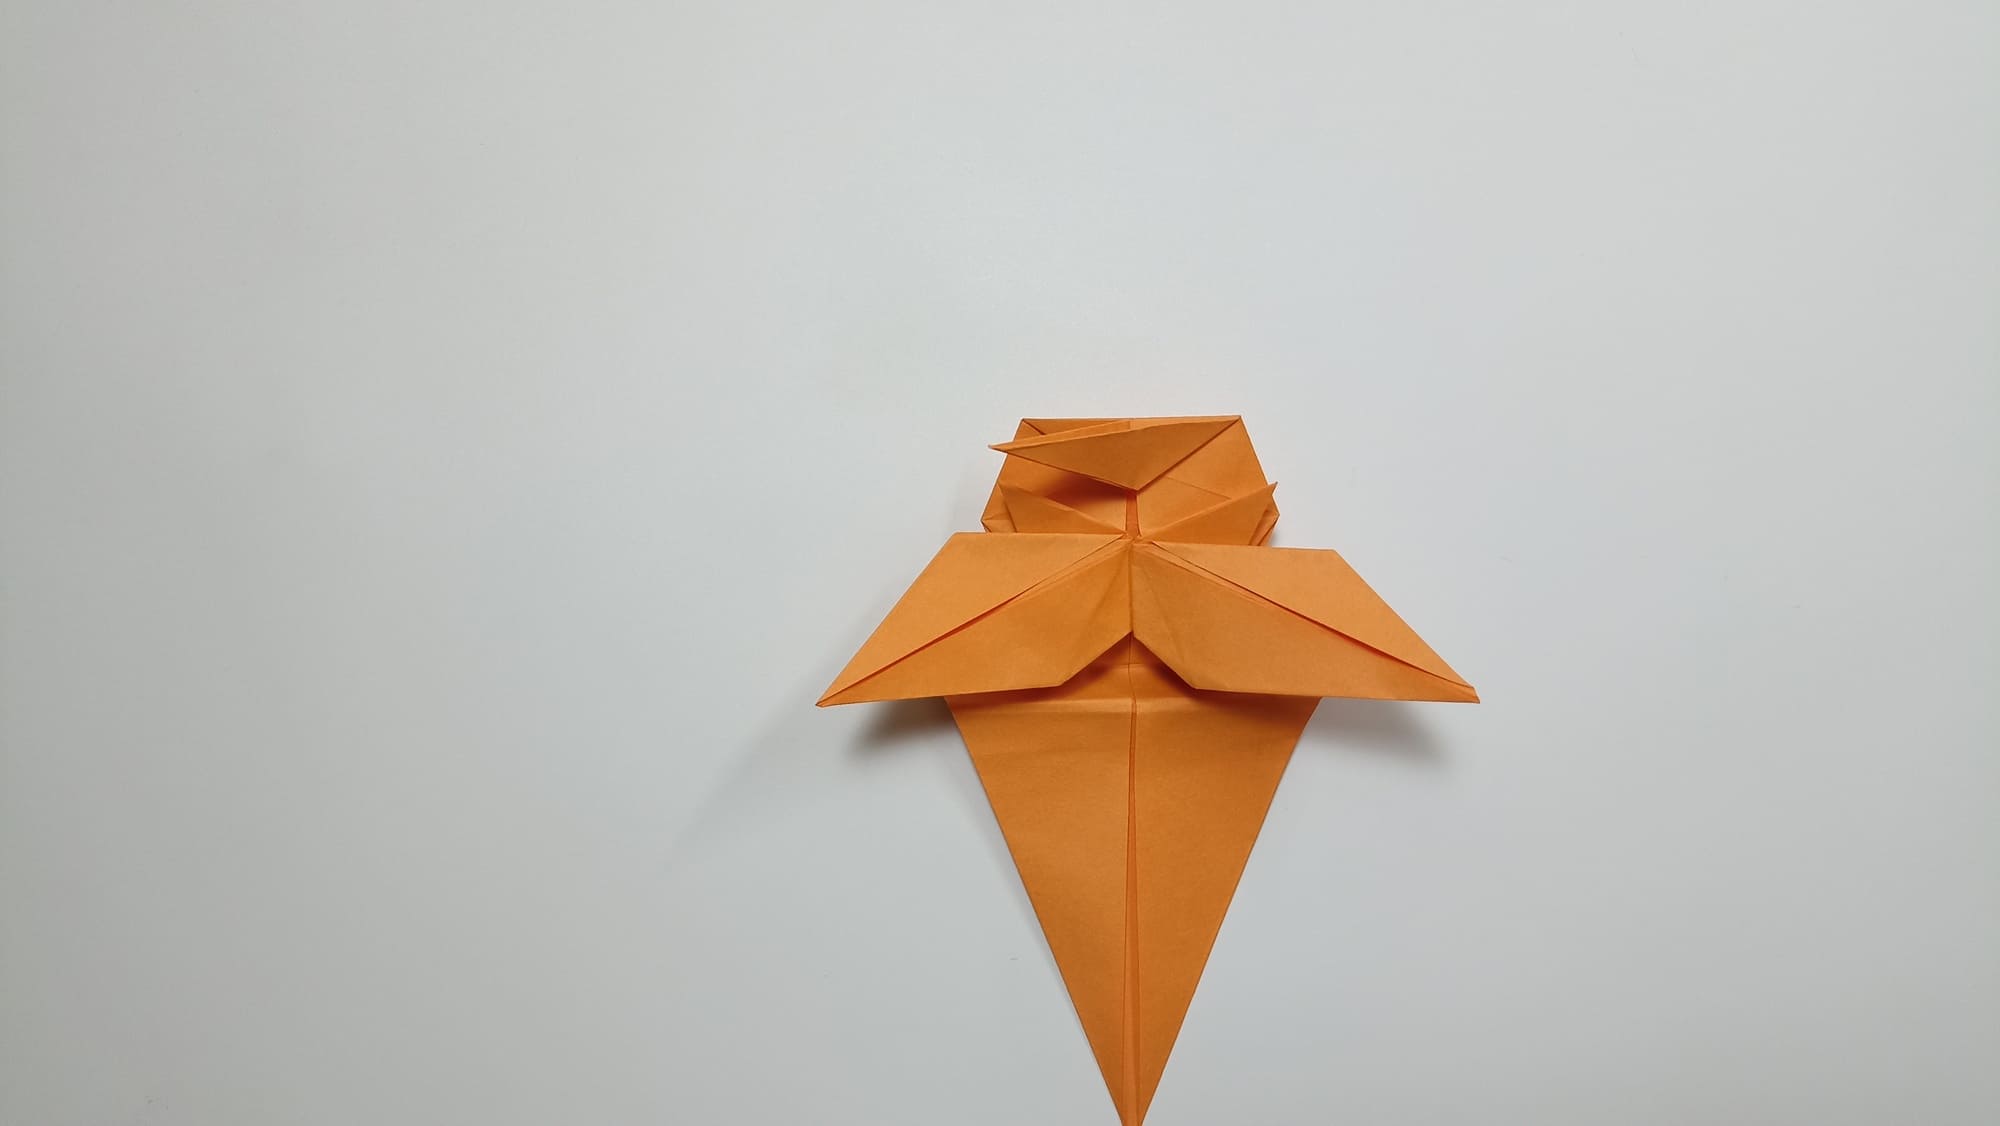
Make accordion folds. Secure under the folds.
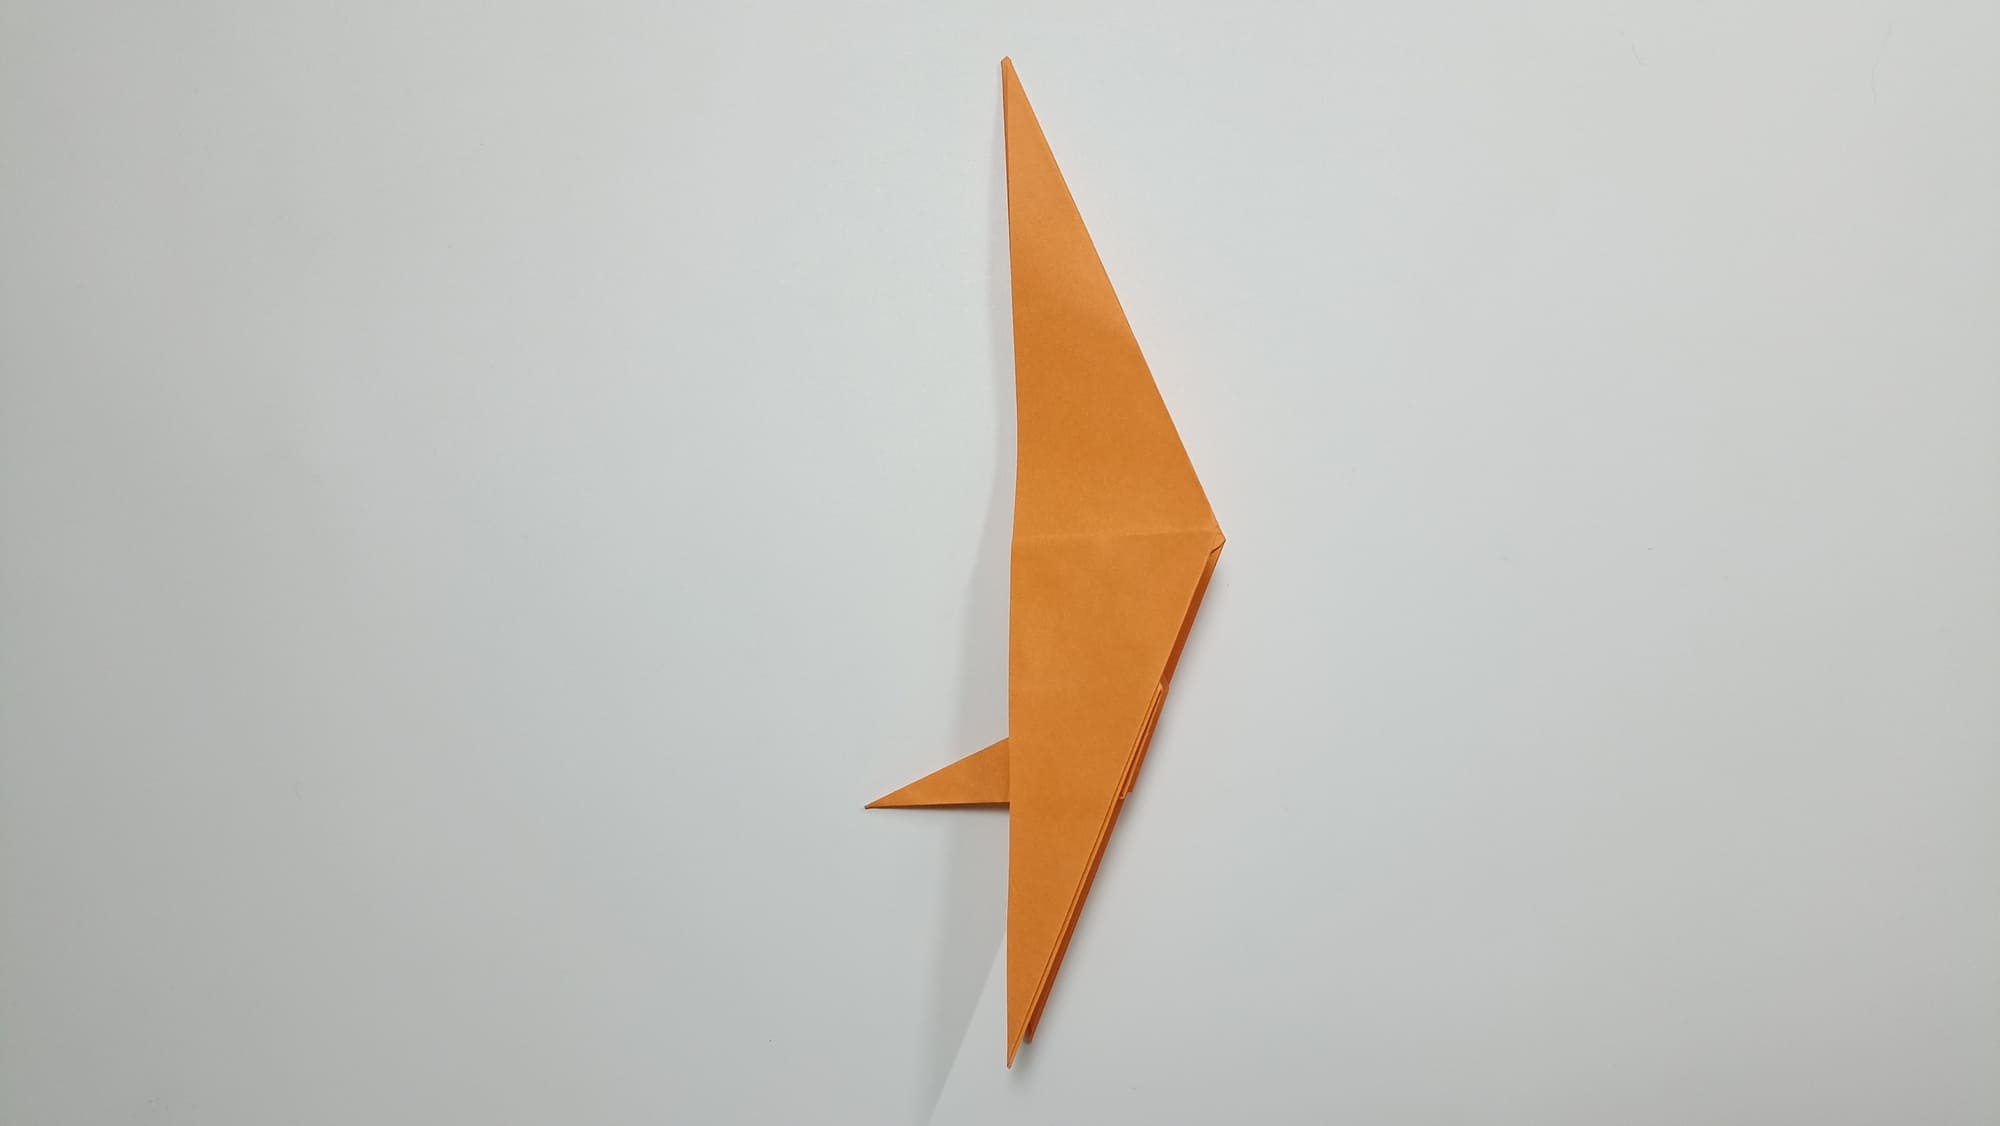
Bend the figure along a vertical line.
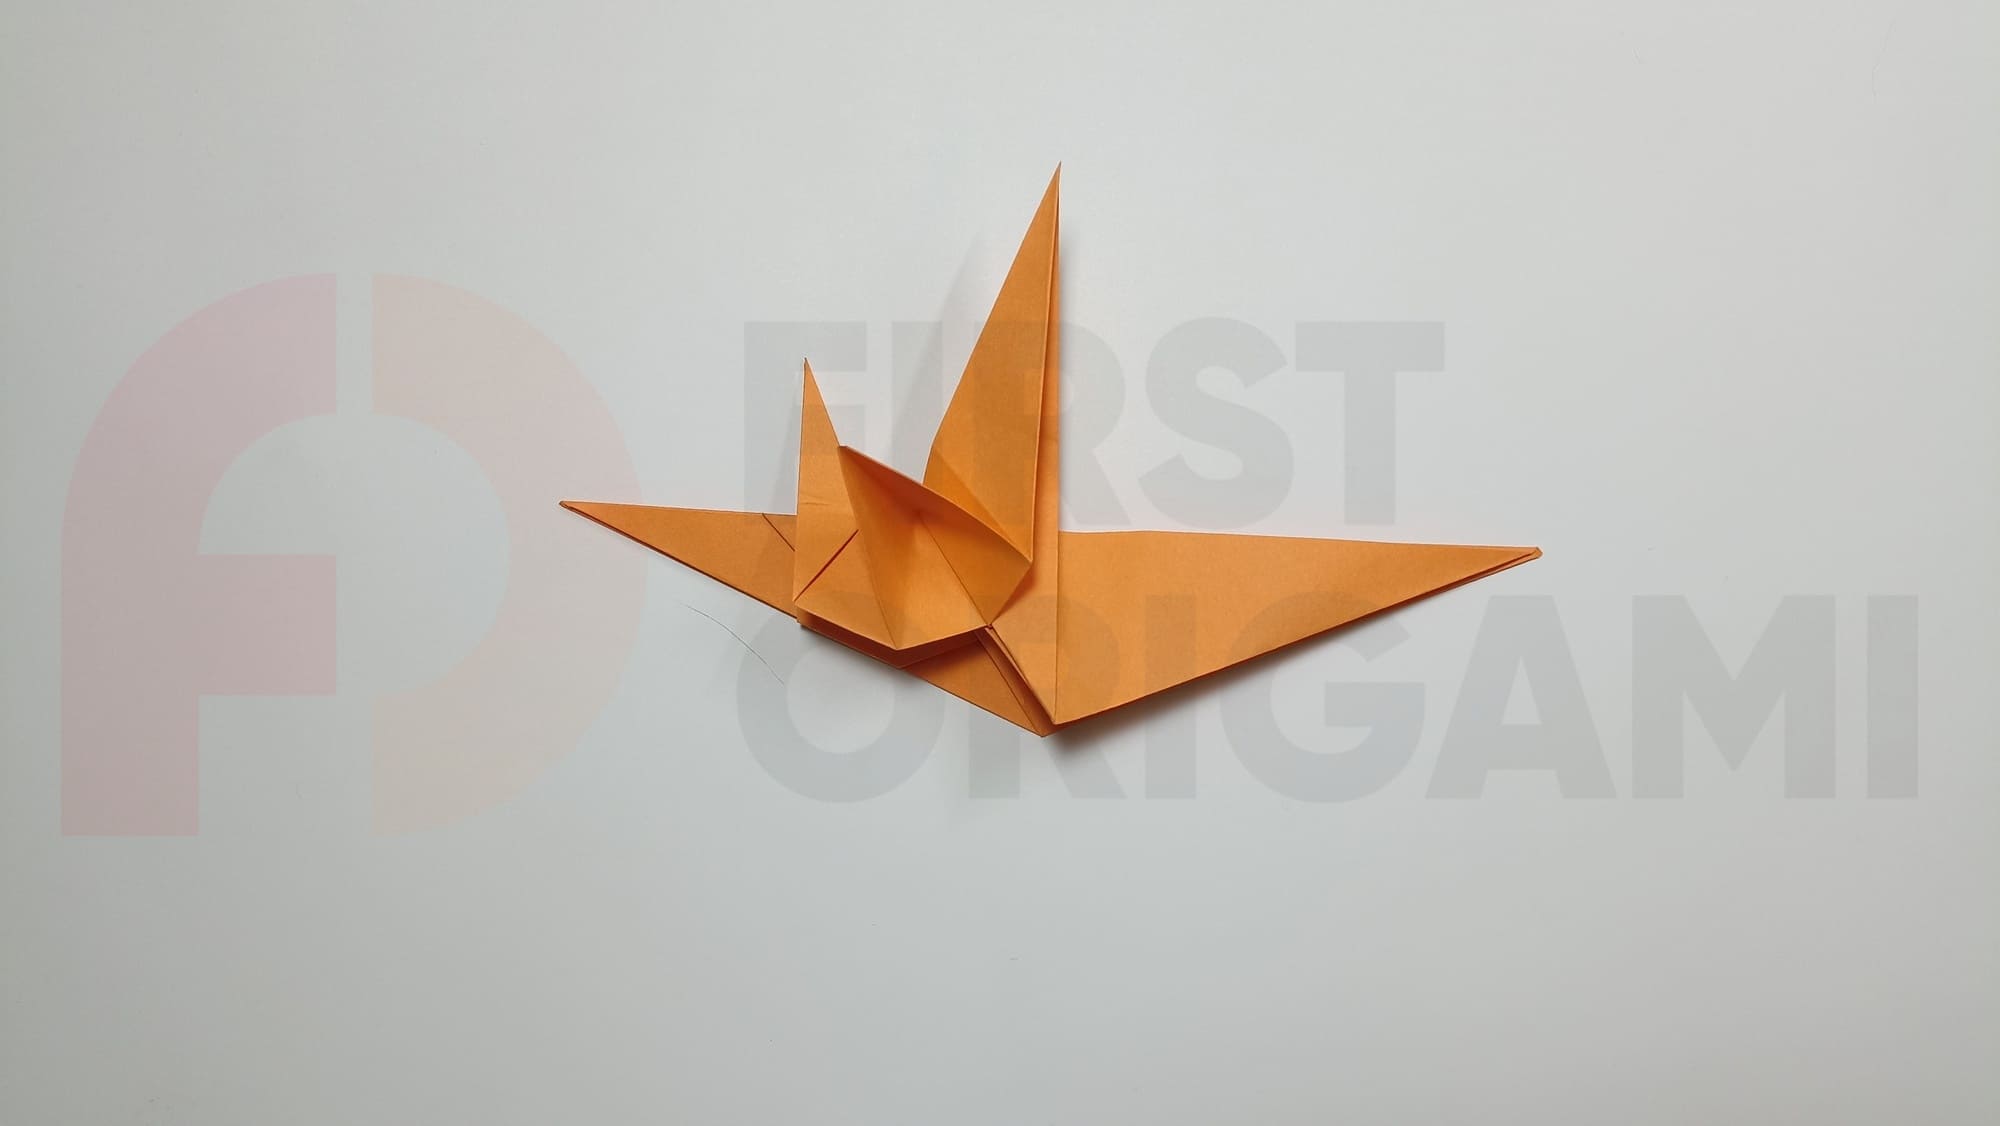
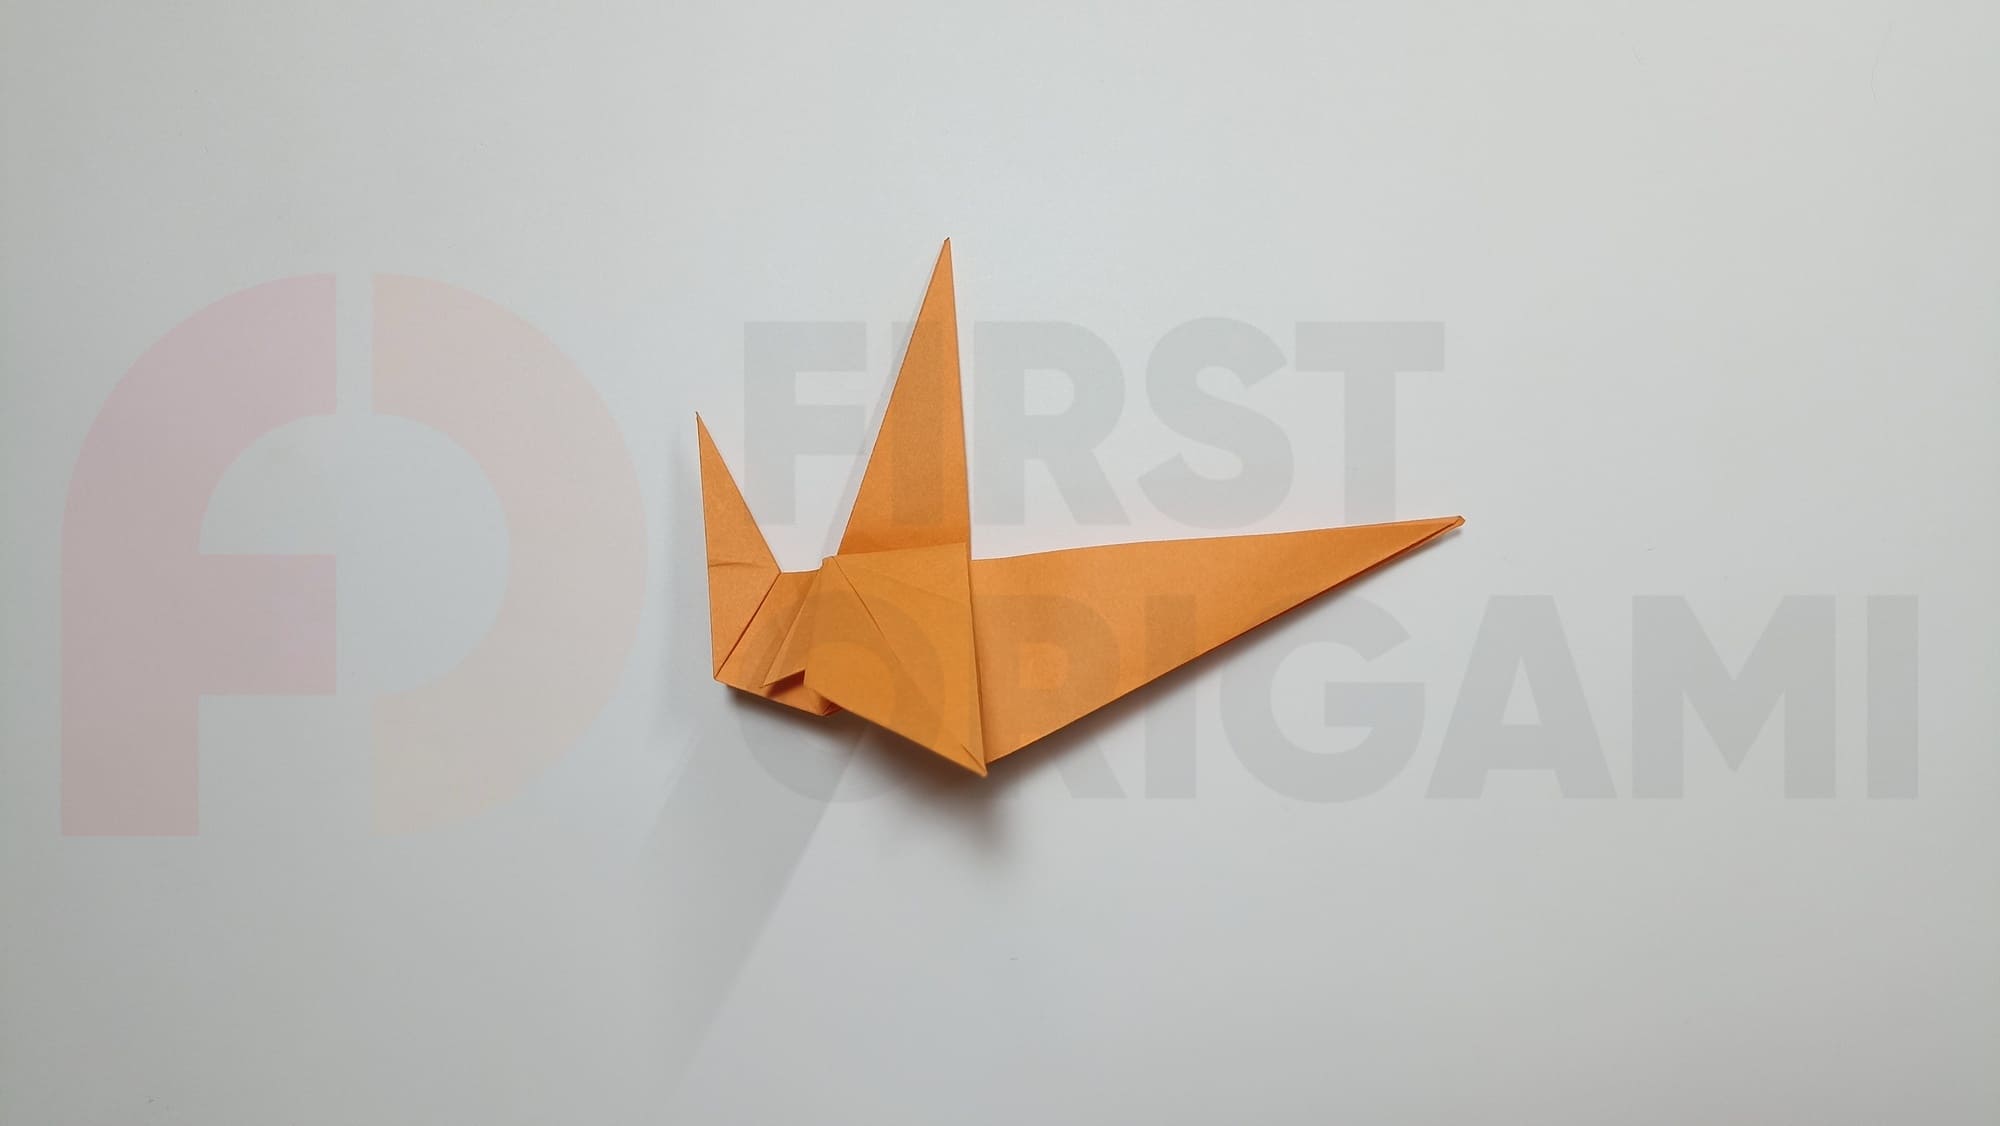
Raise the figure’s wings up. On both sides, make an assisting fold on the tail part, as in the example.

Bend the fold in the other direction.
Straighten the fold of the head outward symmetrically on both sides.
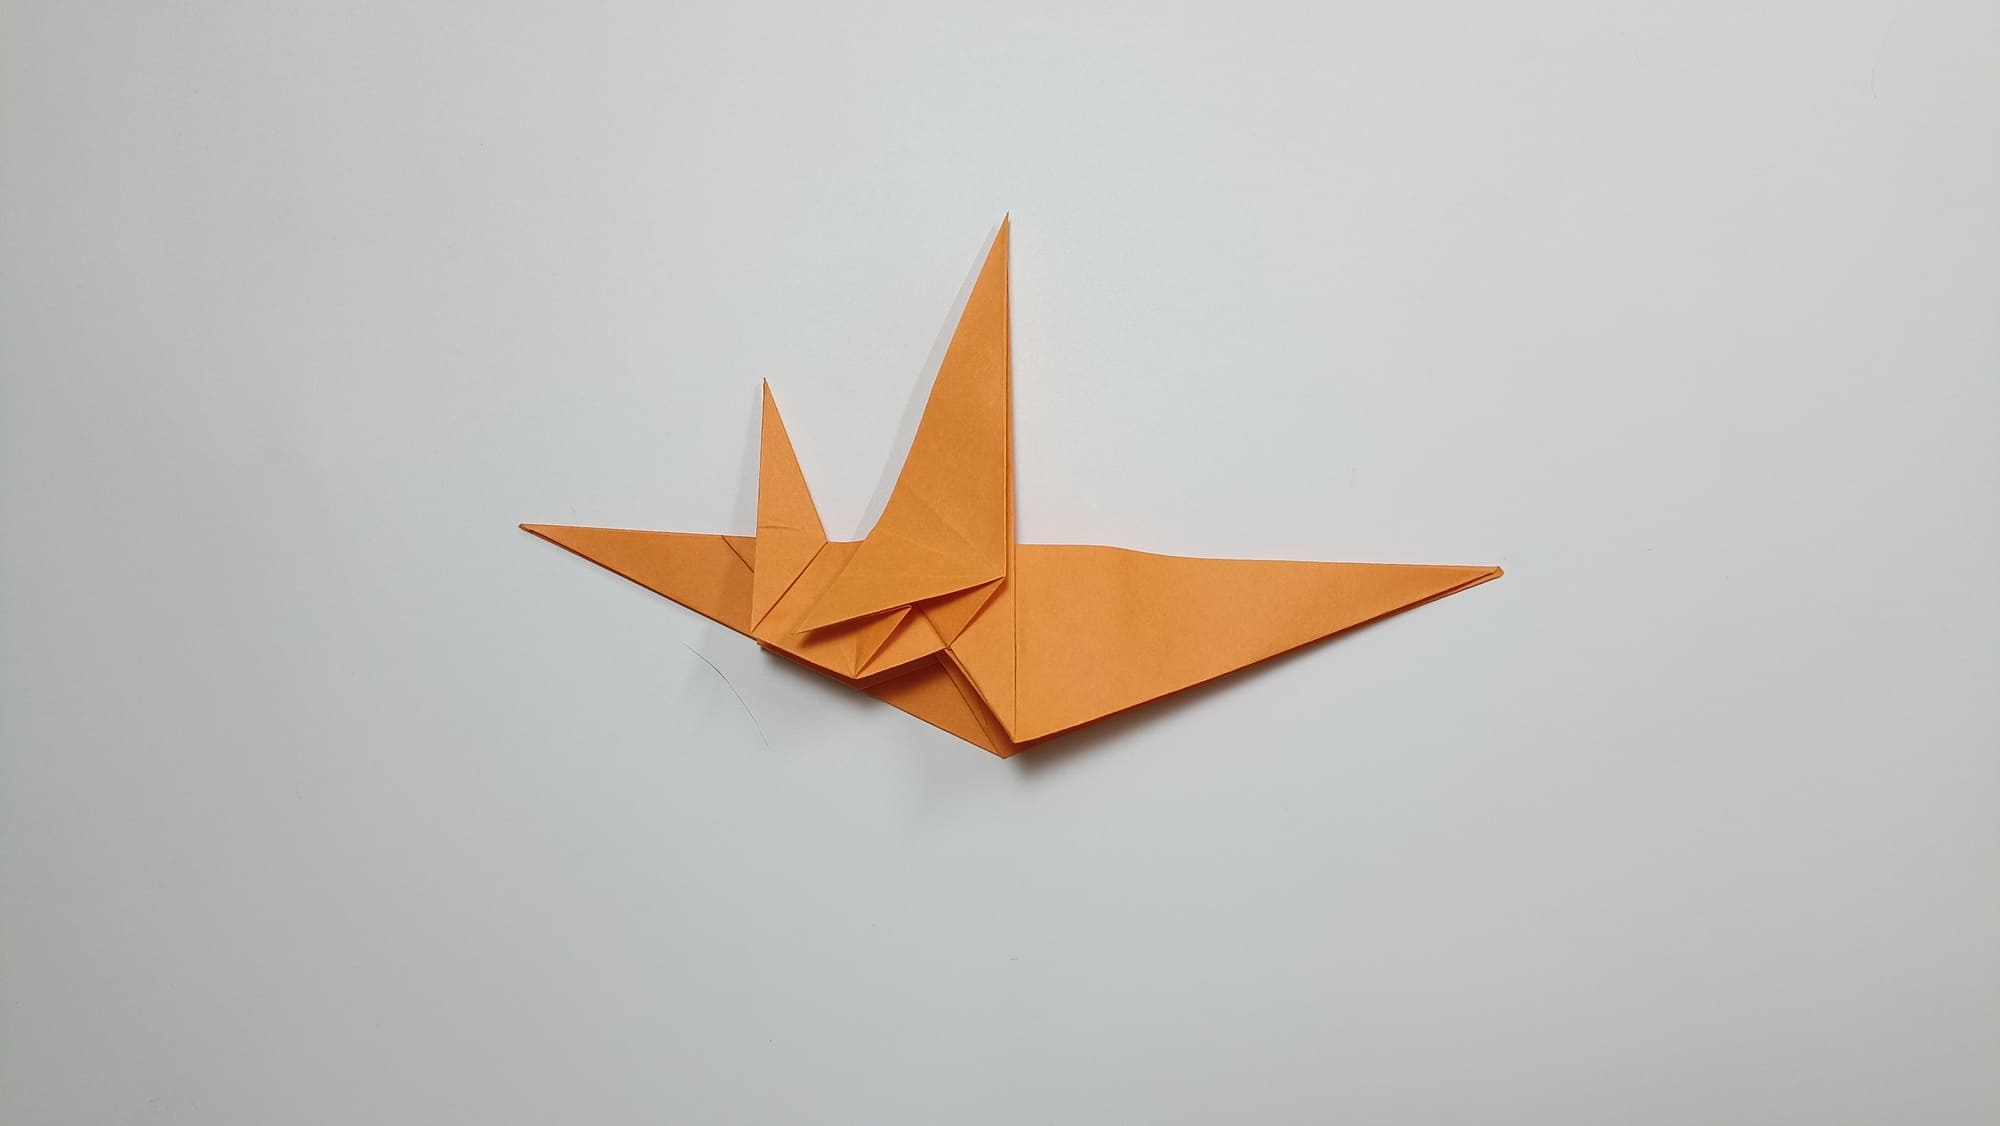
Bend the height of the small triangle.

Straighten the fold back.
Using the assisting folds of the two previous steps, make an internal fold.
Bend the top fold to the side, straightening the inner layer of paper. Do it on both sides.
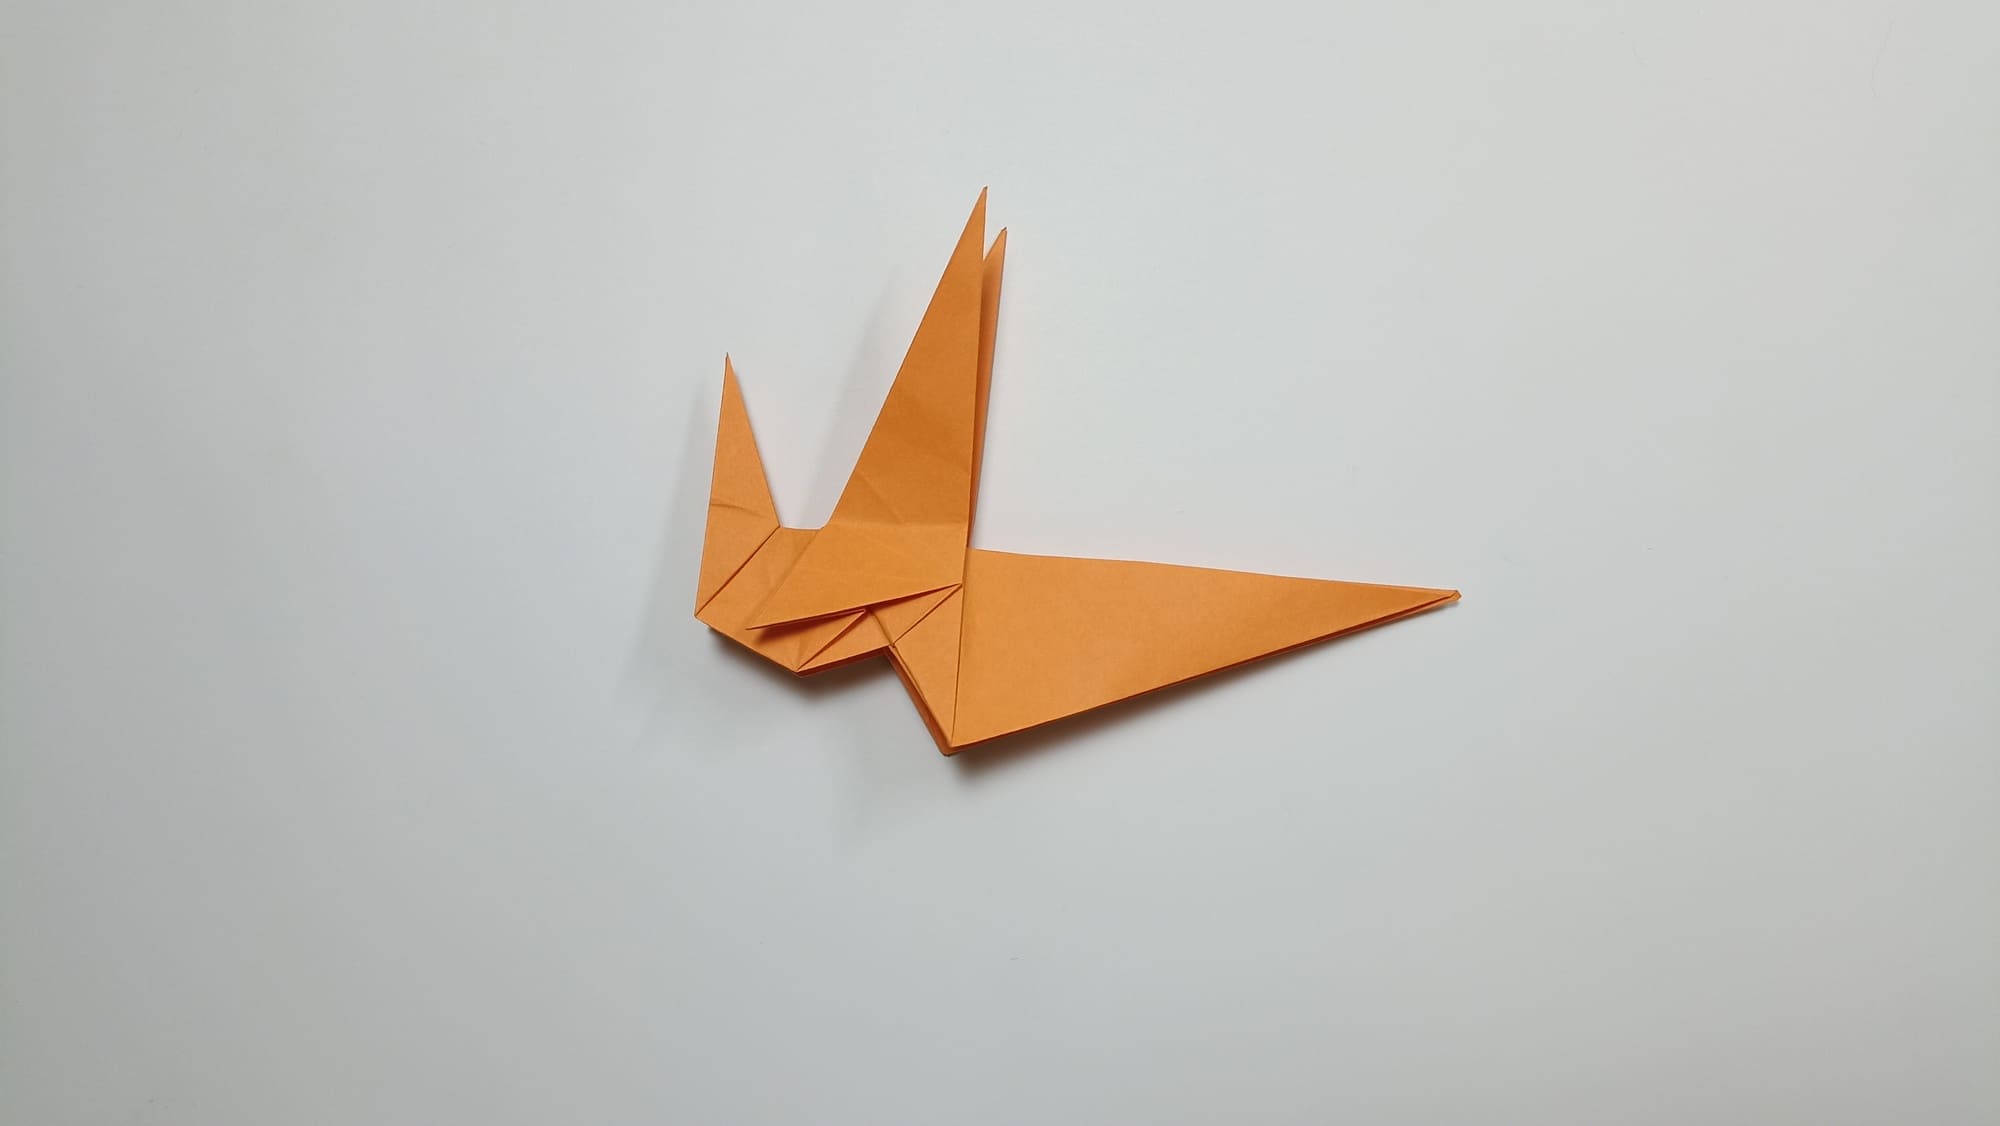
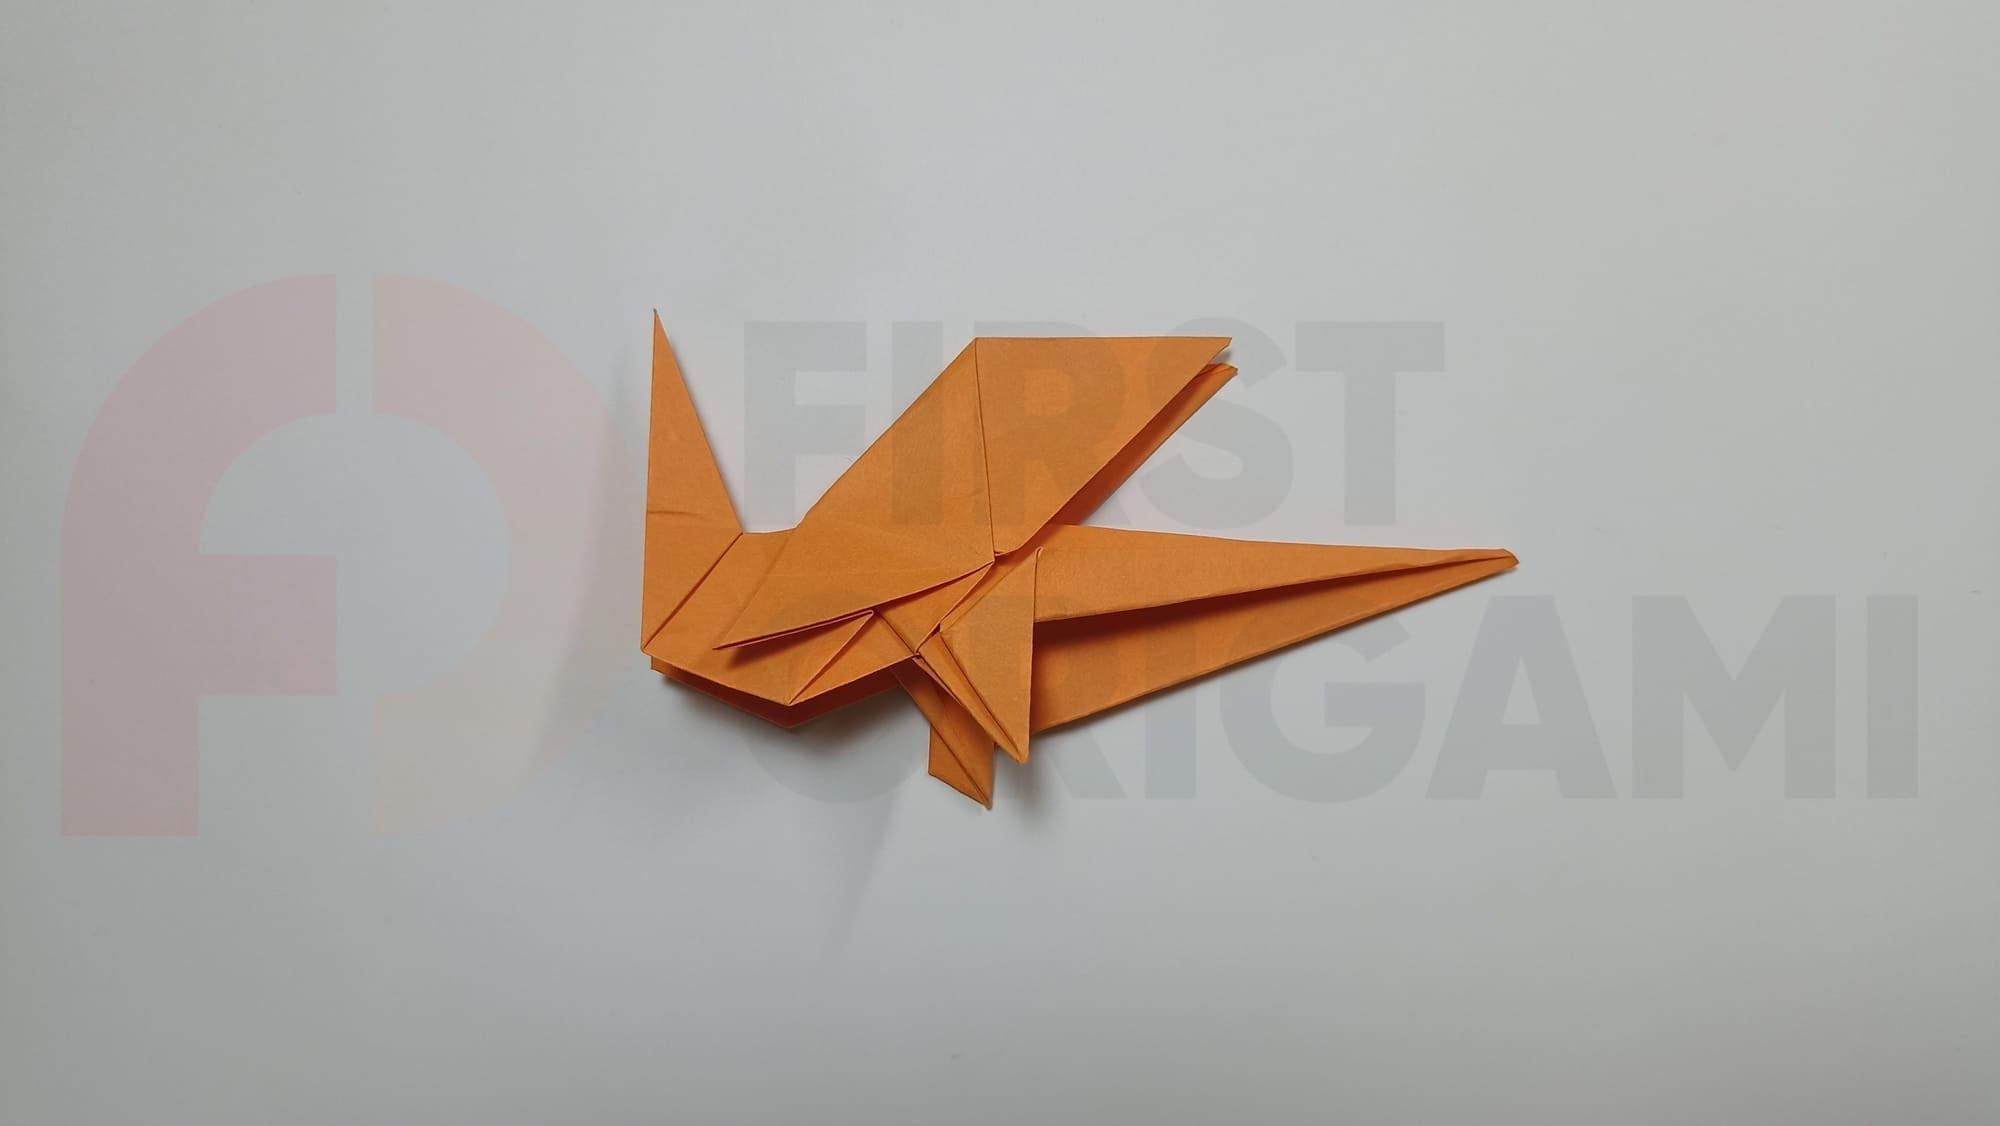
Open the folds of the head, aligning the side edge along the assisting fold on the neck.
Design the face of the animal. Perform a reverse fold.
Form a neck line by bending the corner inward.
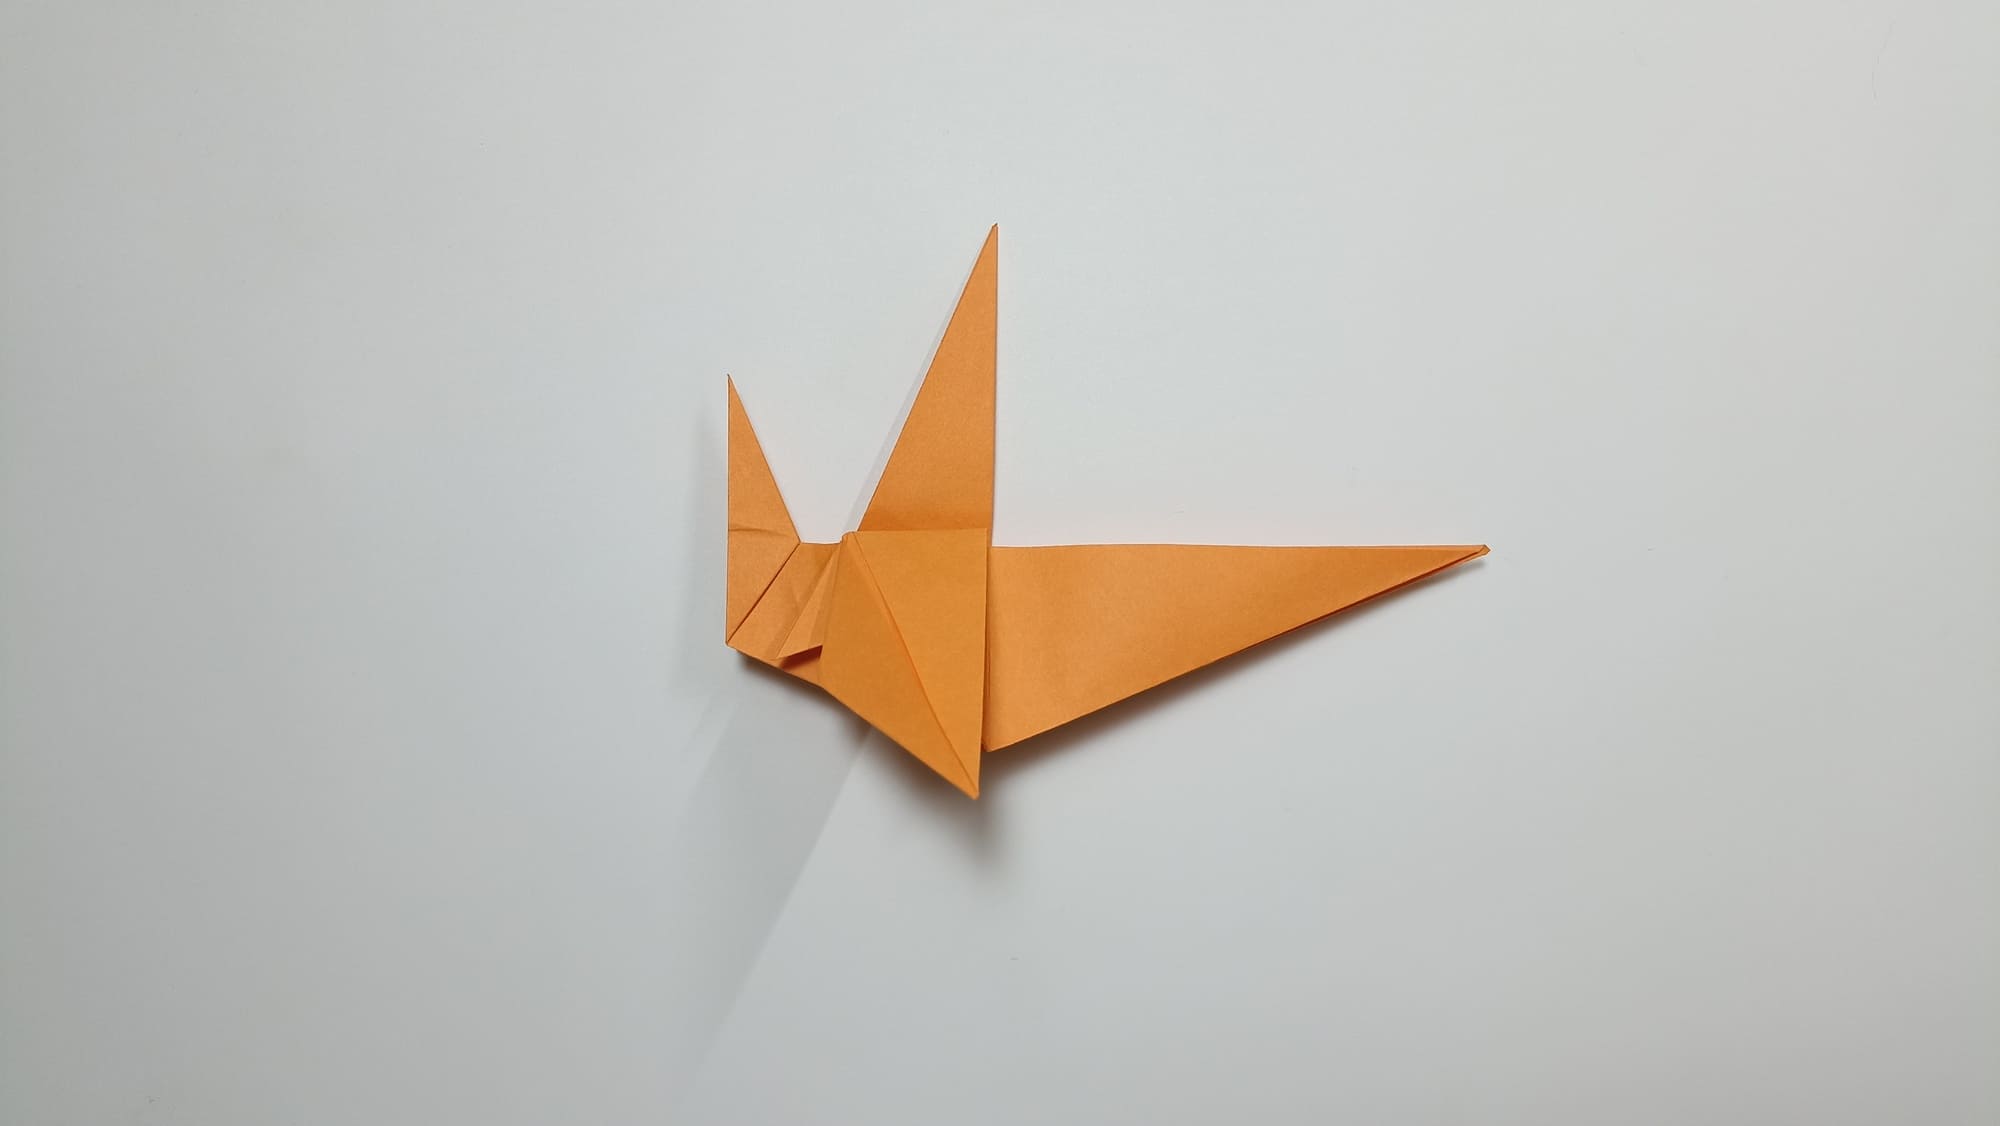
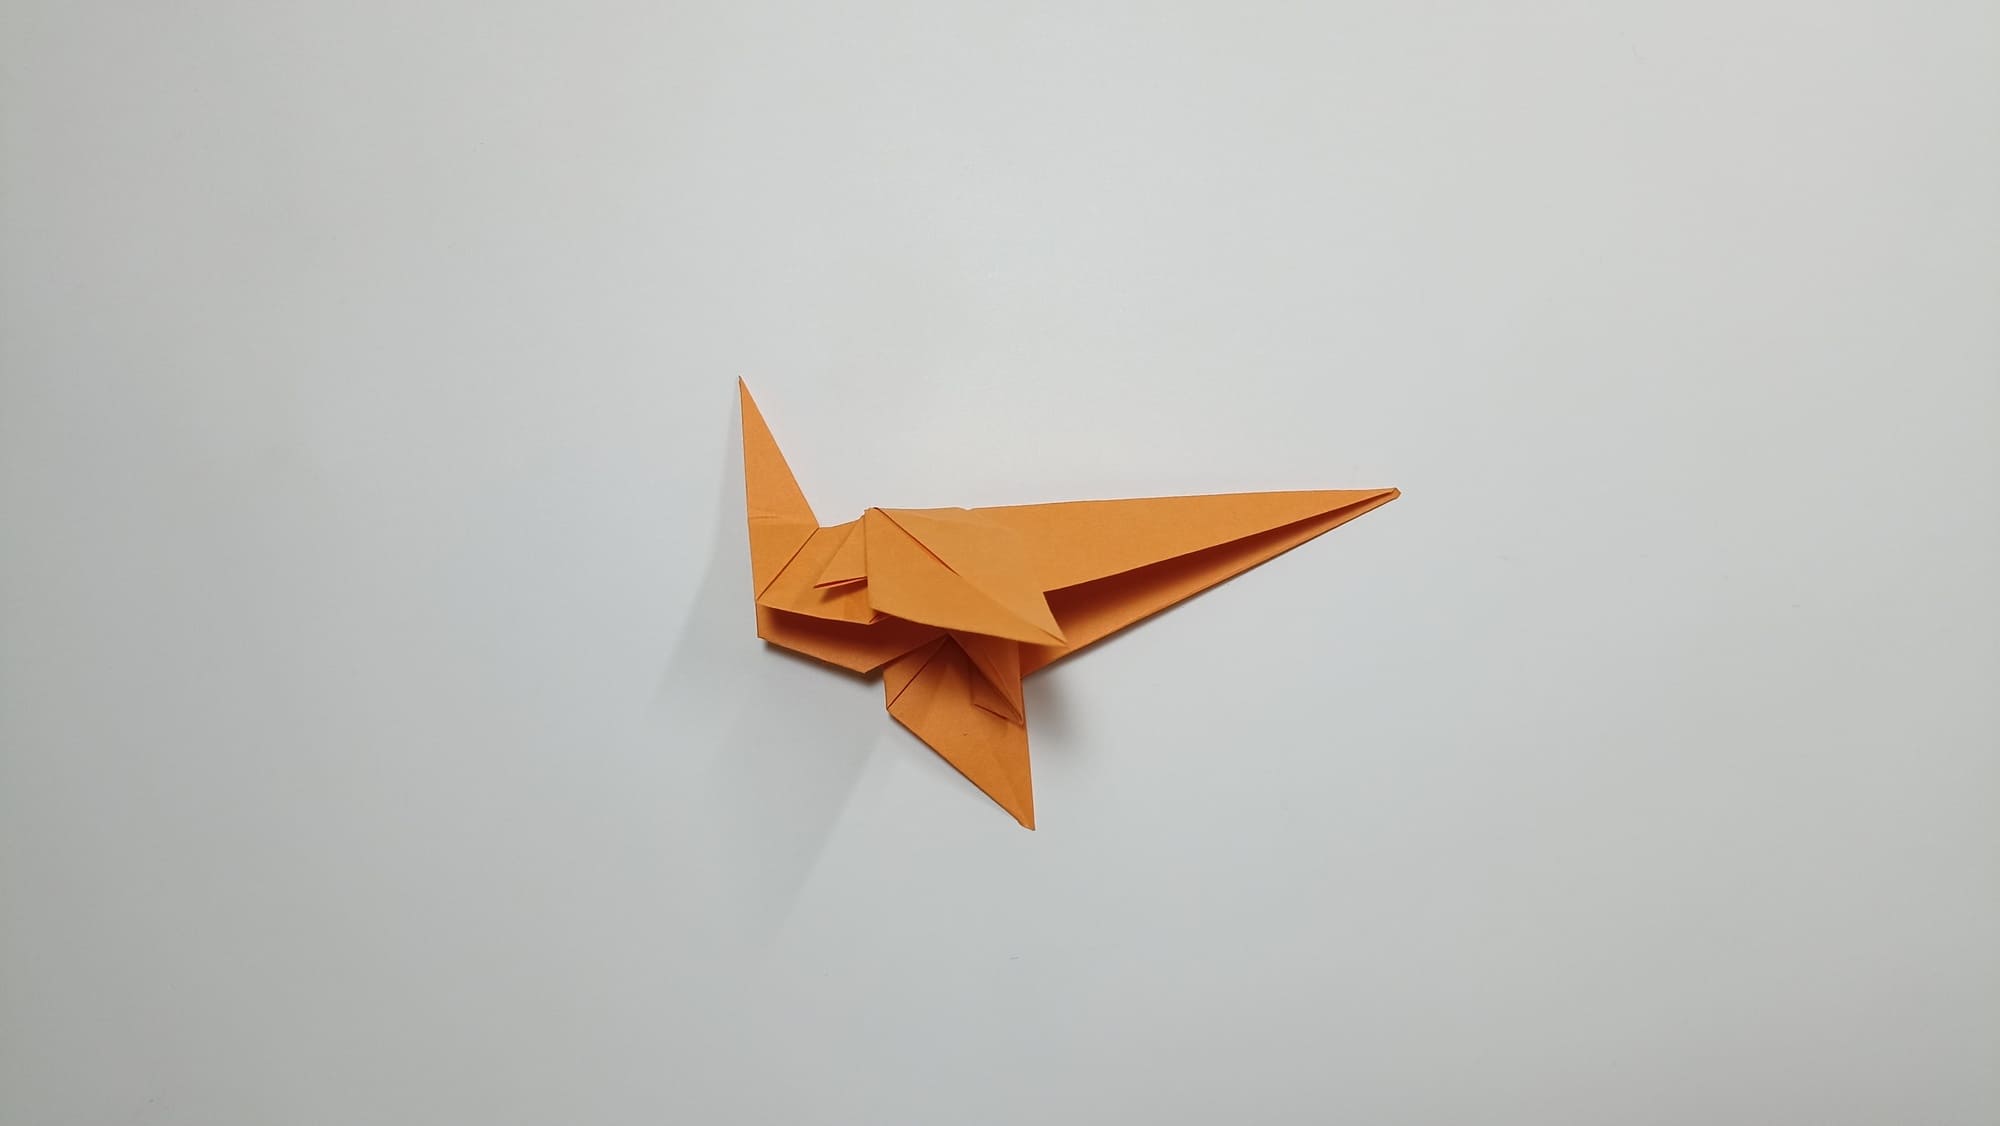
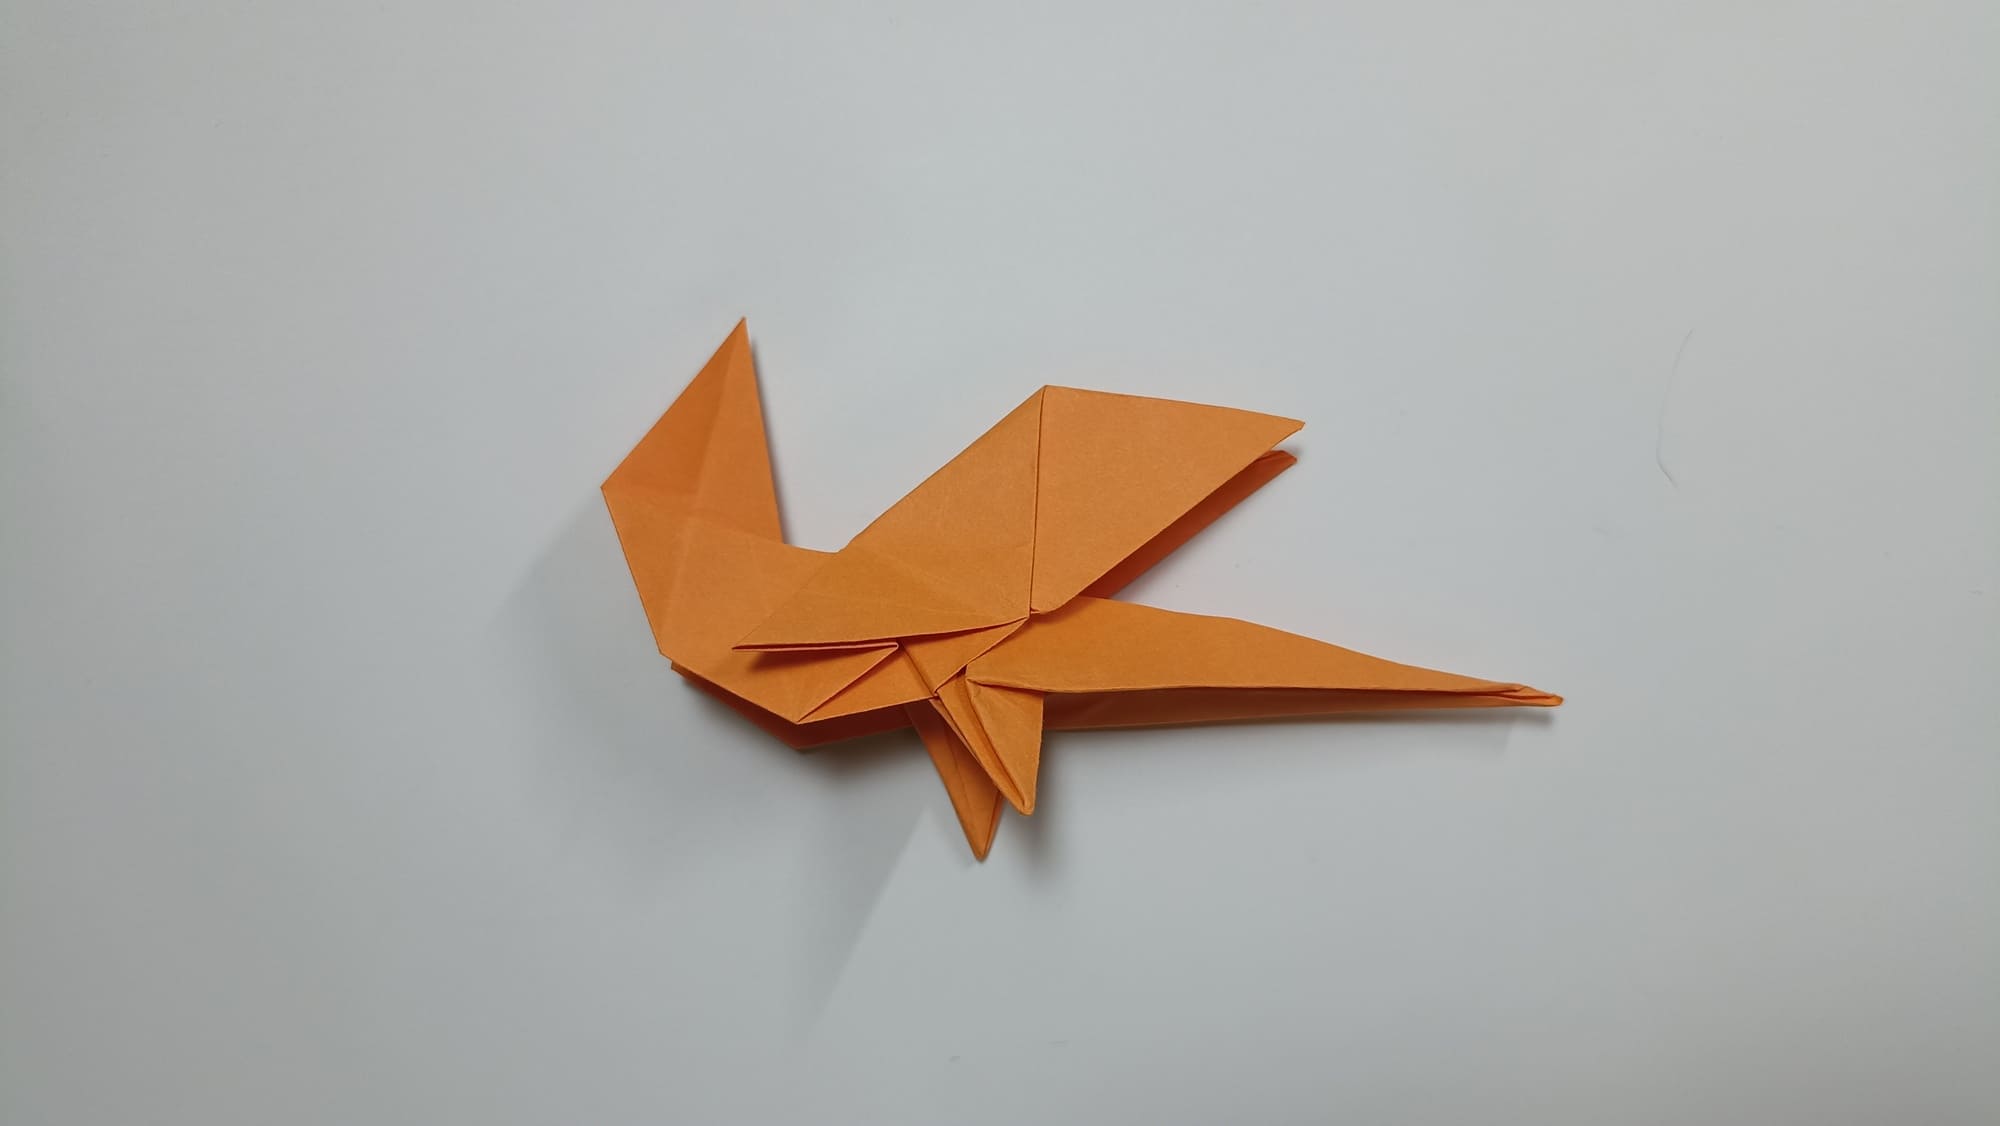
Make two accordion folds on the tail of the figure. Point the end of the tail upward.
Bend the elements of the front legs forward with a slight indentation from the base.
Bend the lower edge of the paws inward.
Form the feet of the lower limbs.
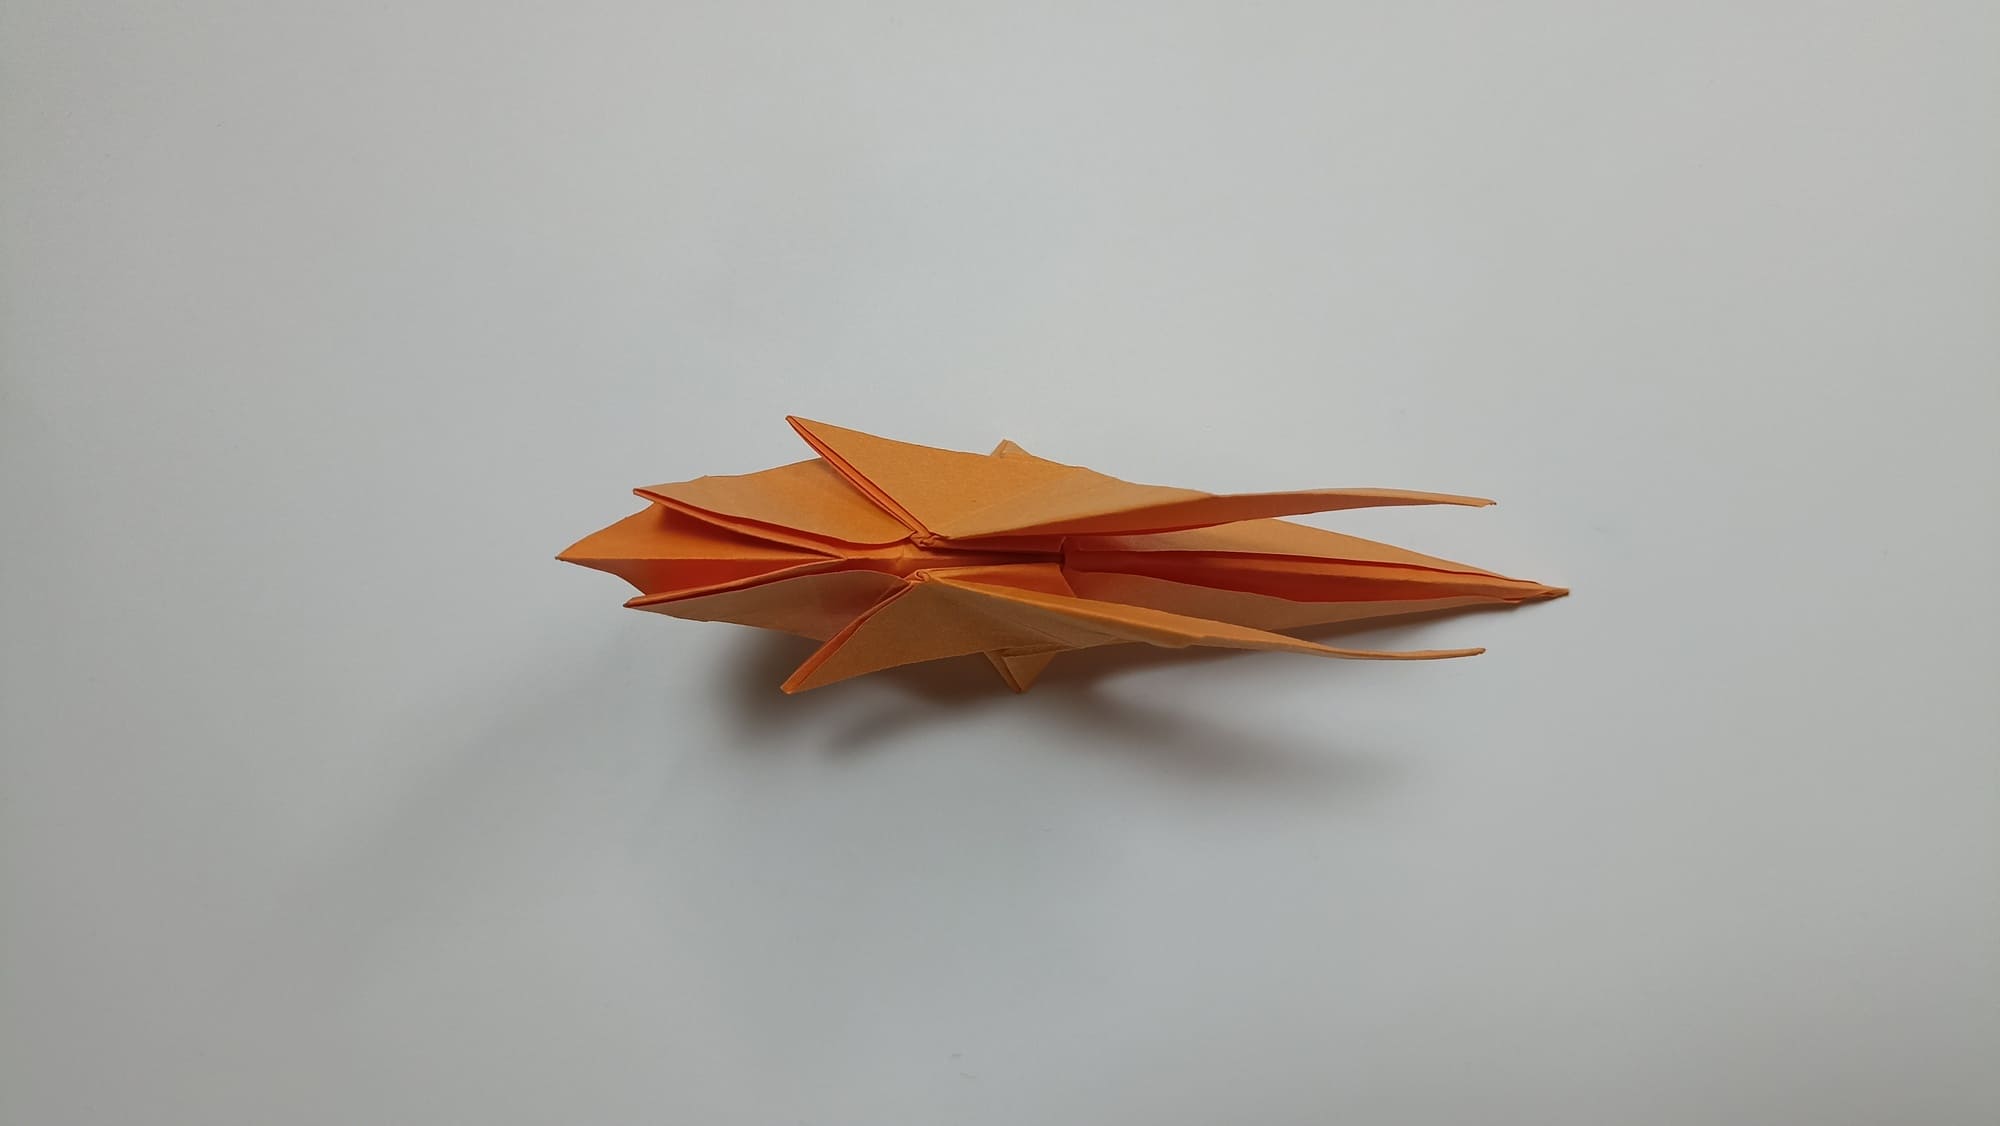
Bend the corner of the wing’s lower part in a straight line. Fold inward. On both sides.
Fold the wing up along the top fold’s bottom line.
Fold down along the top line. Bend it up again.
Fold the top side towards the previous fold. Open again.
Make a fold in the other direction.
Divide the small triangle in half.
Fold all the resulting parts of the folds like an accordion.
Make a tuck at the top of the wings. Straighten the bottom edge.
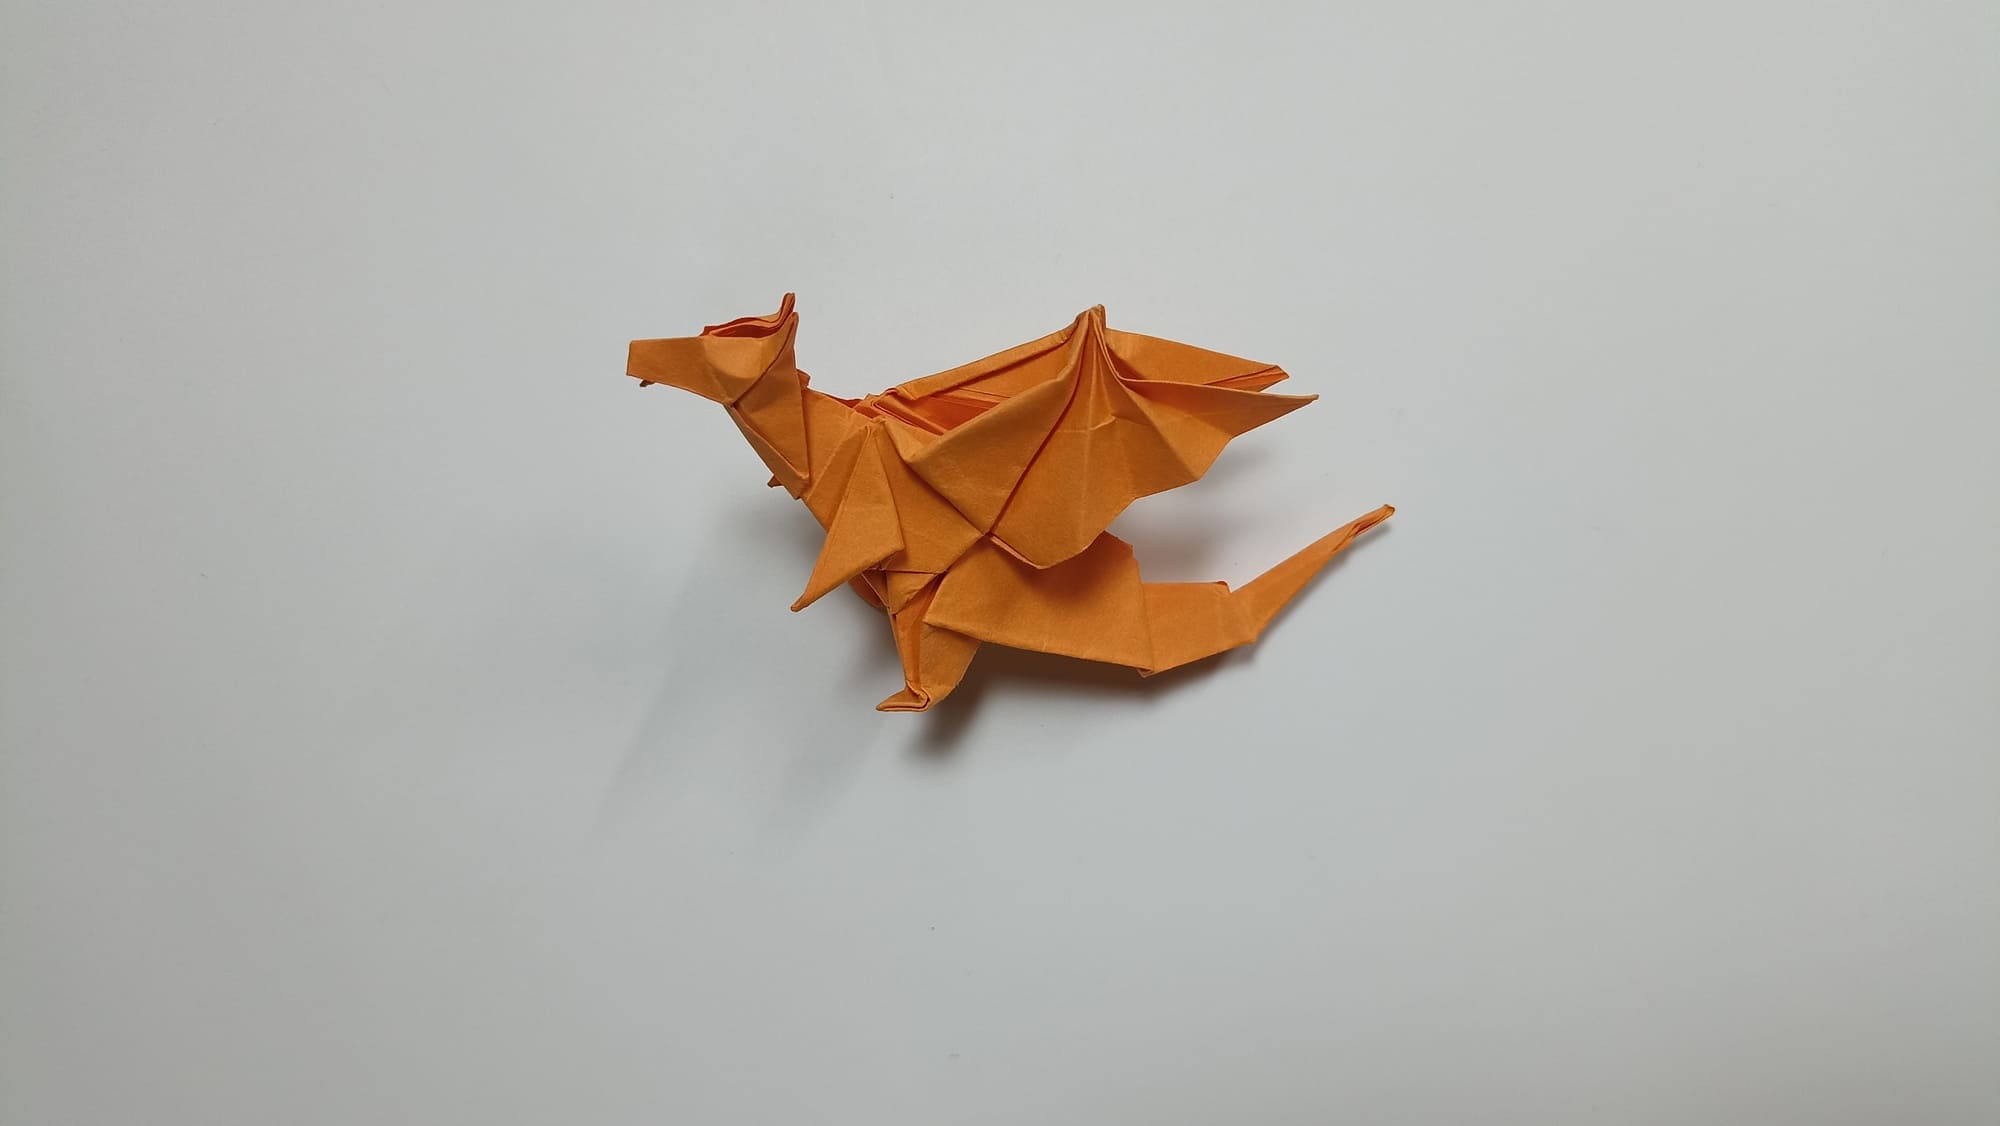
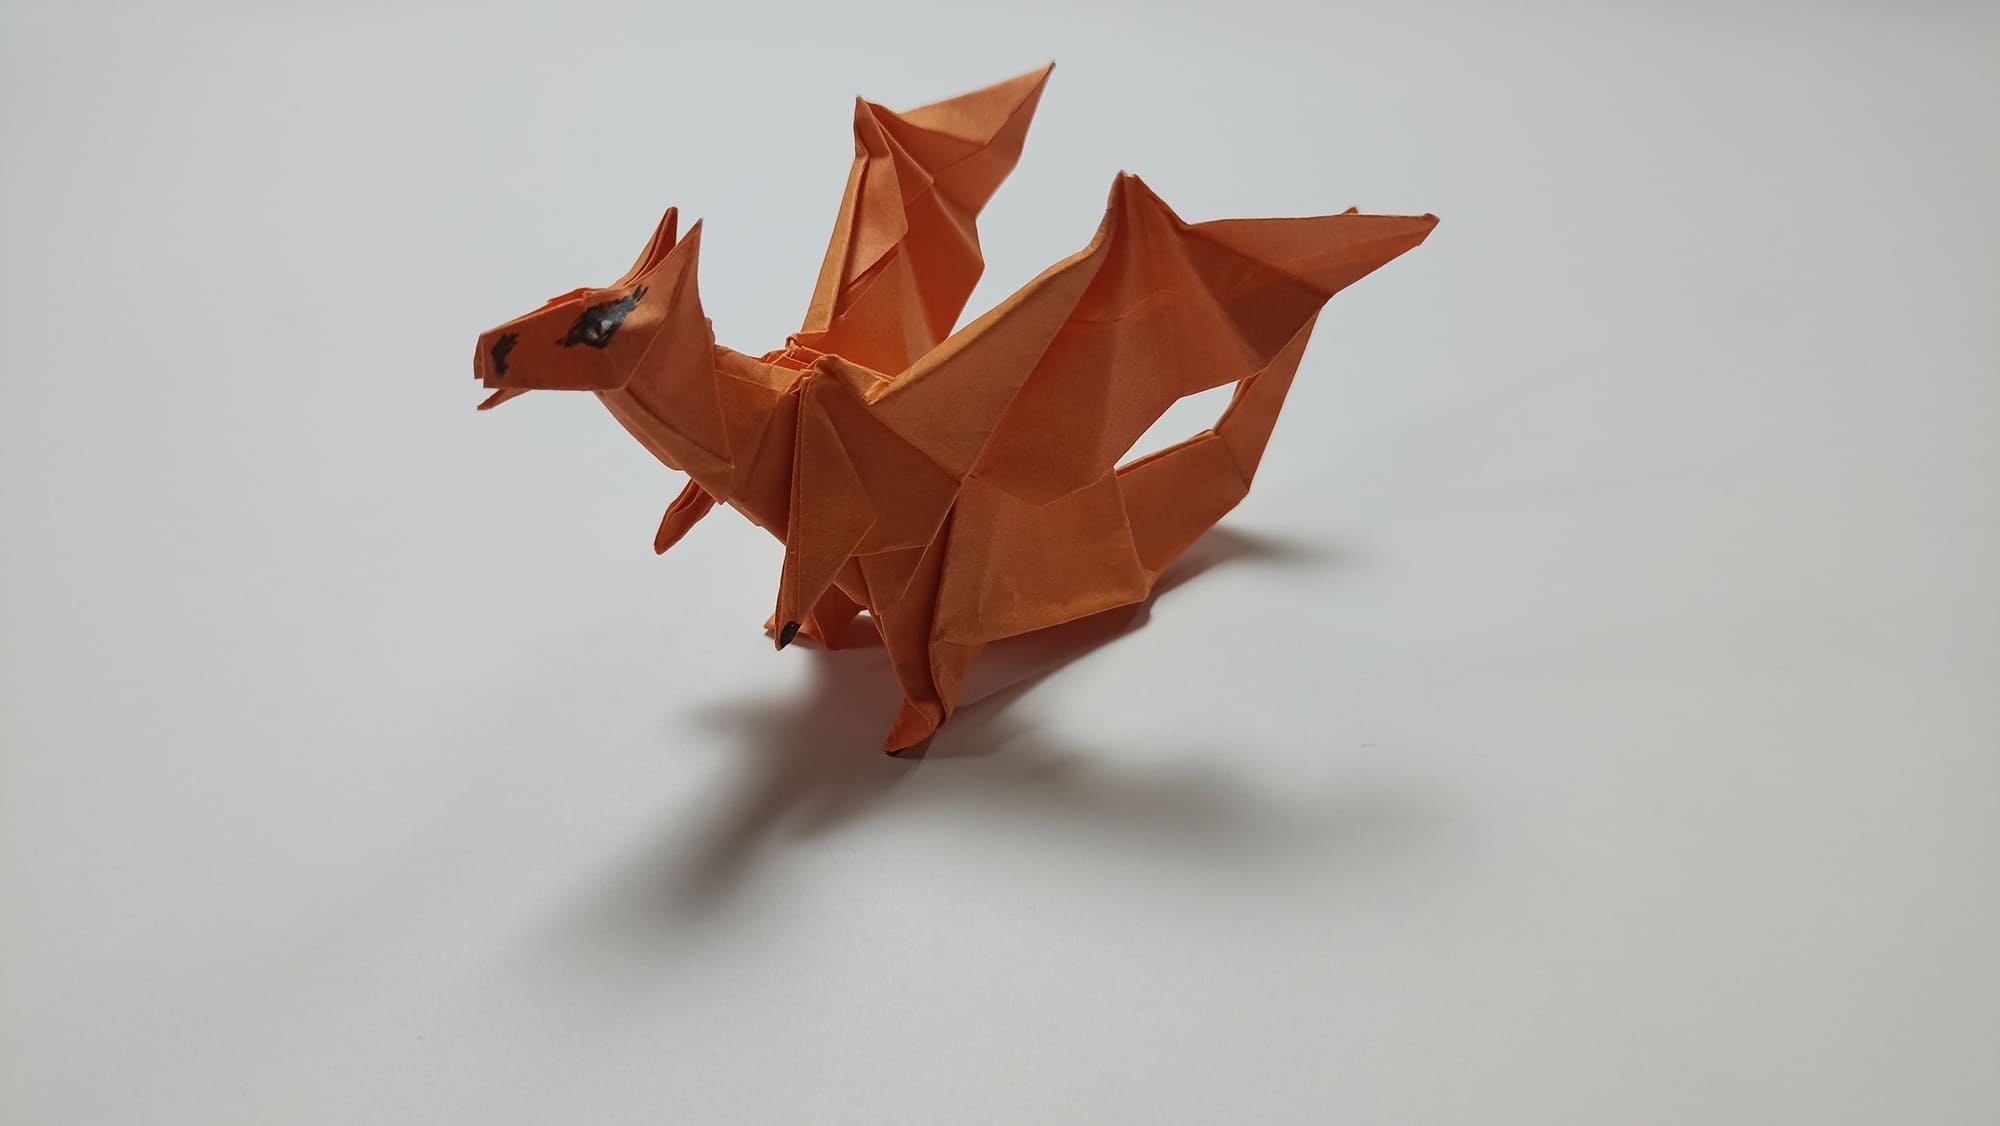
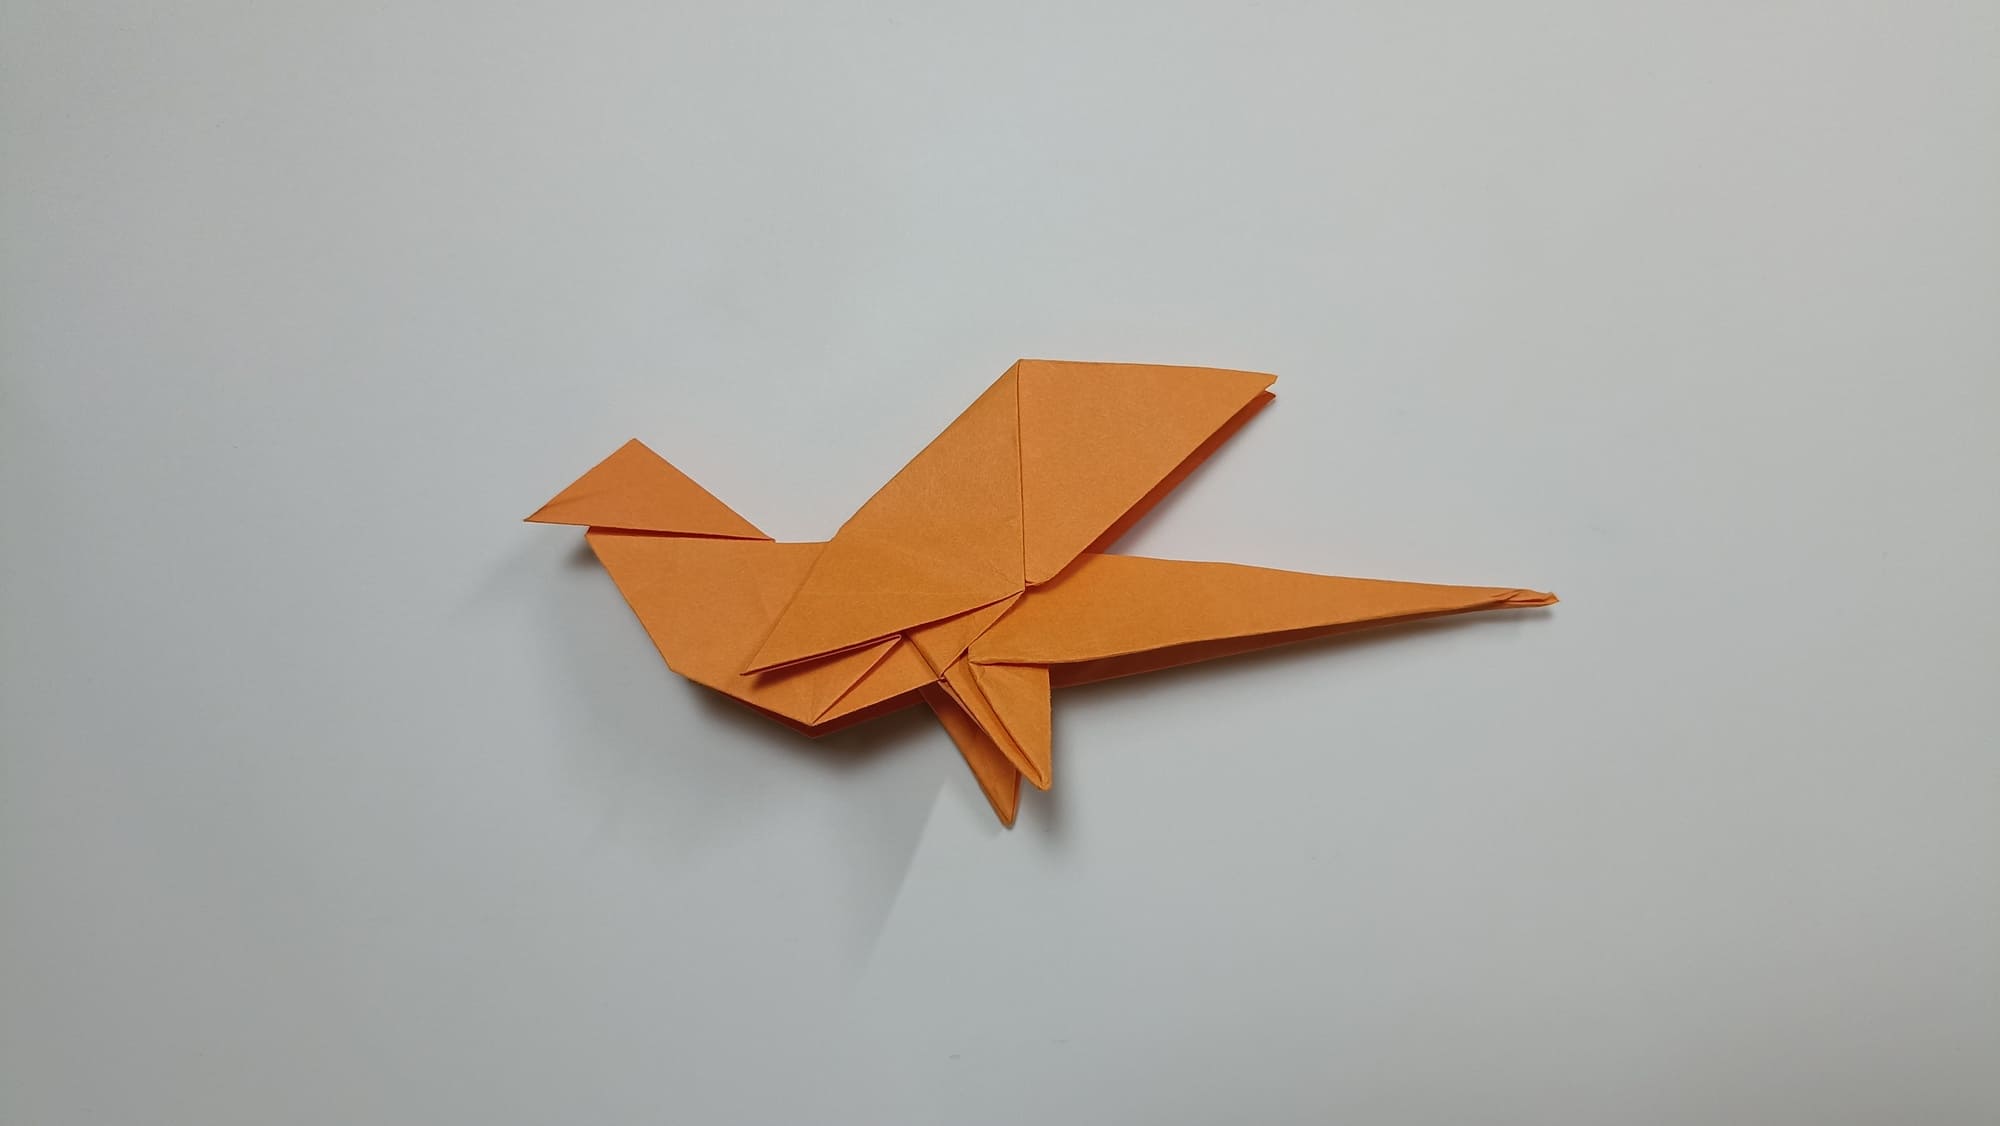
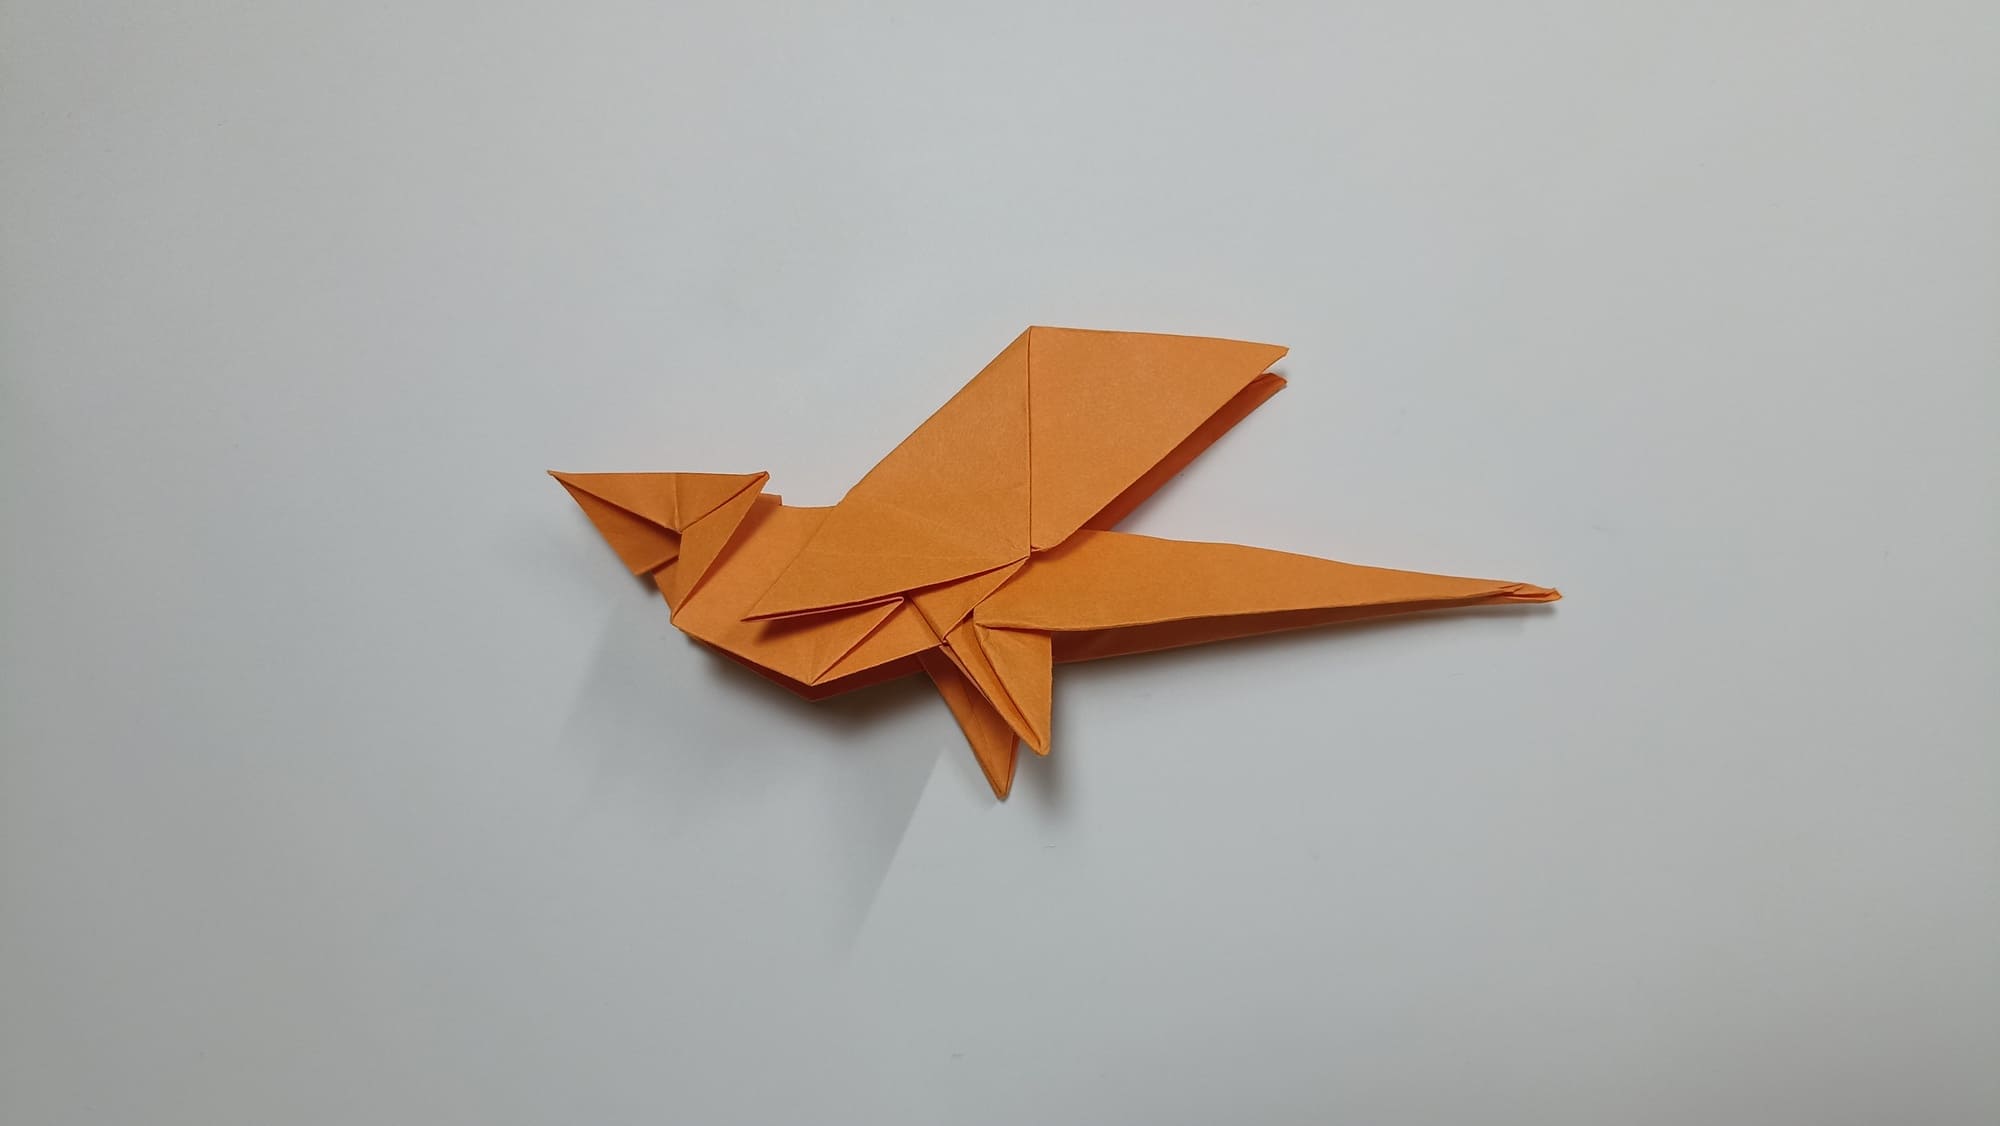
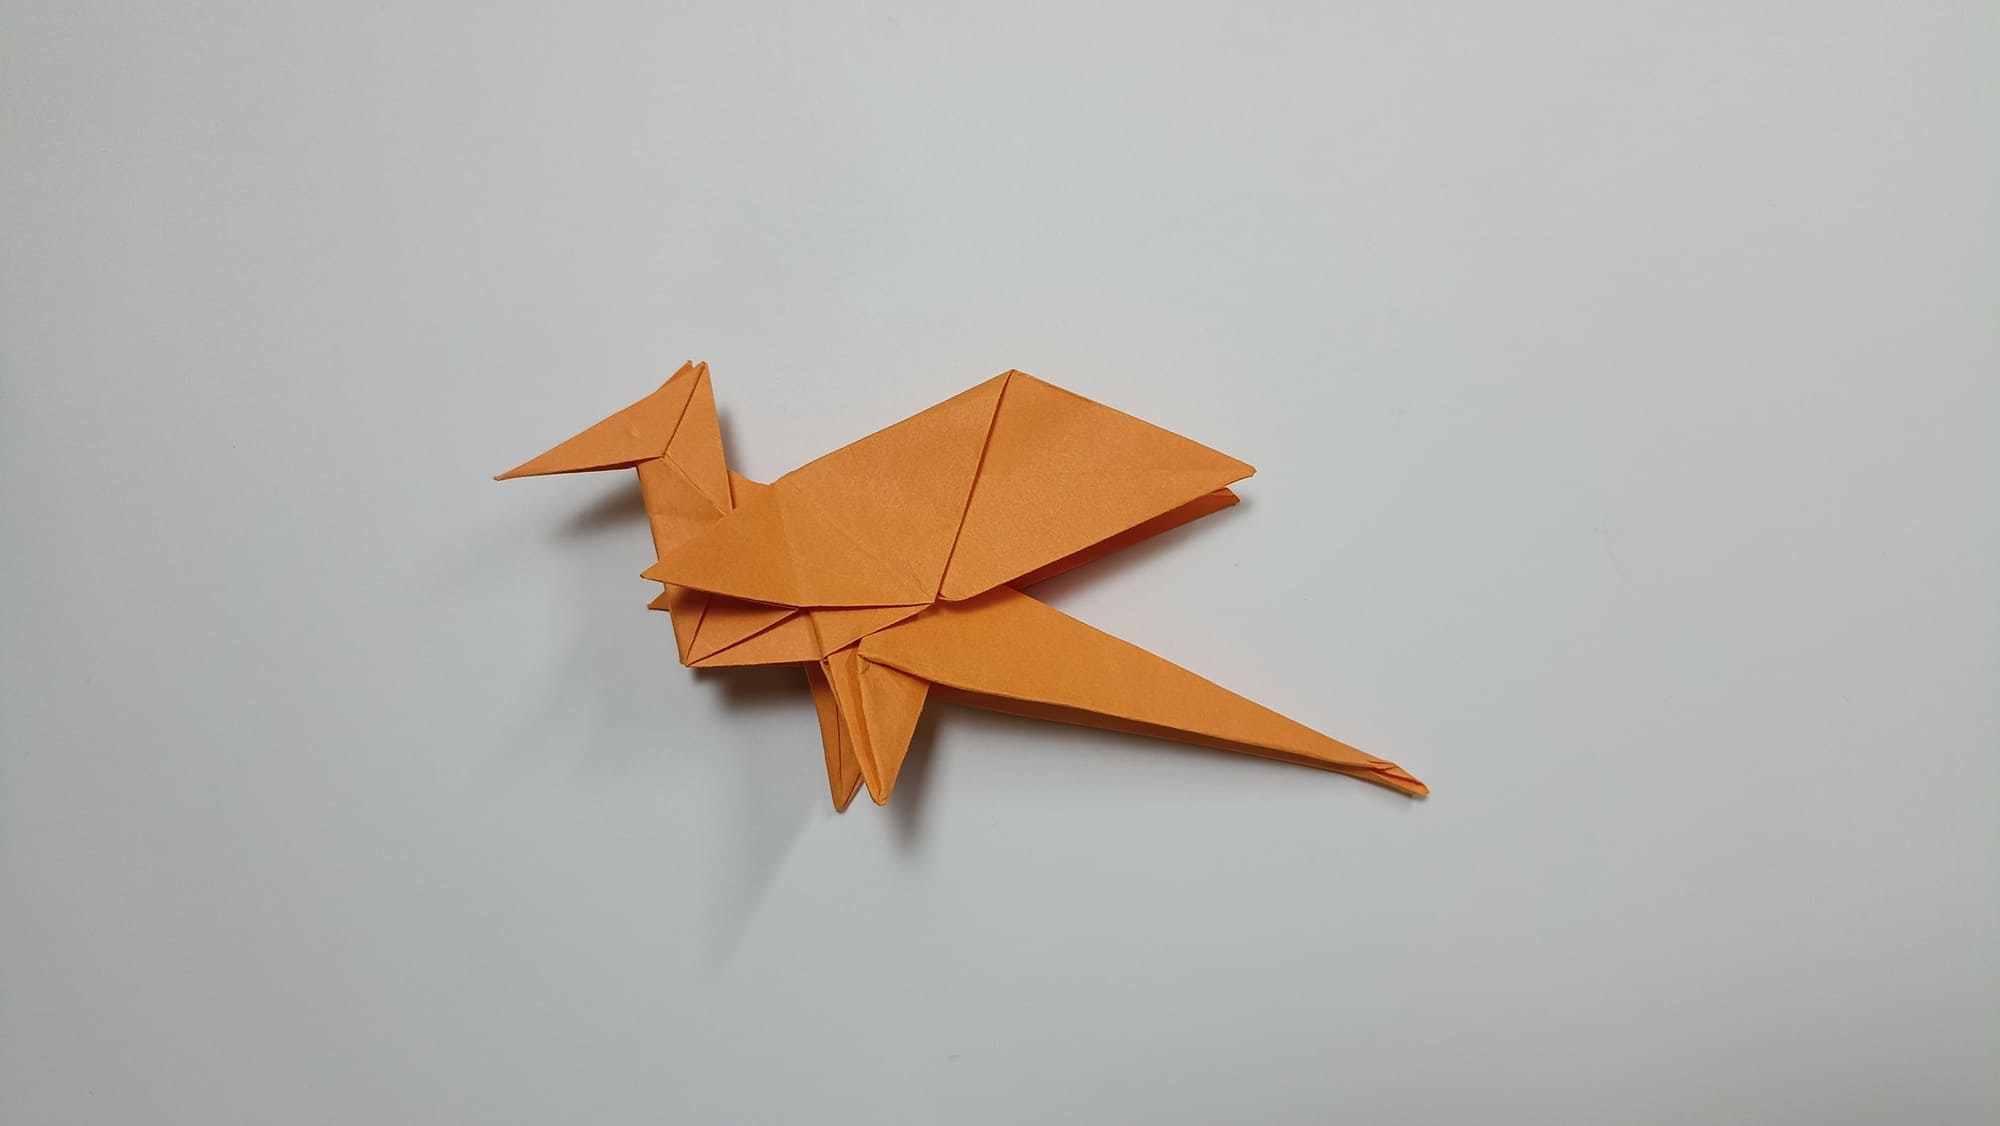
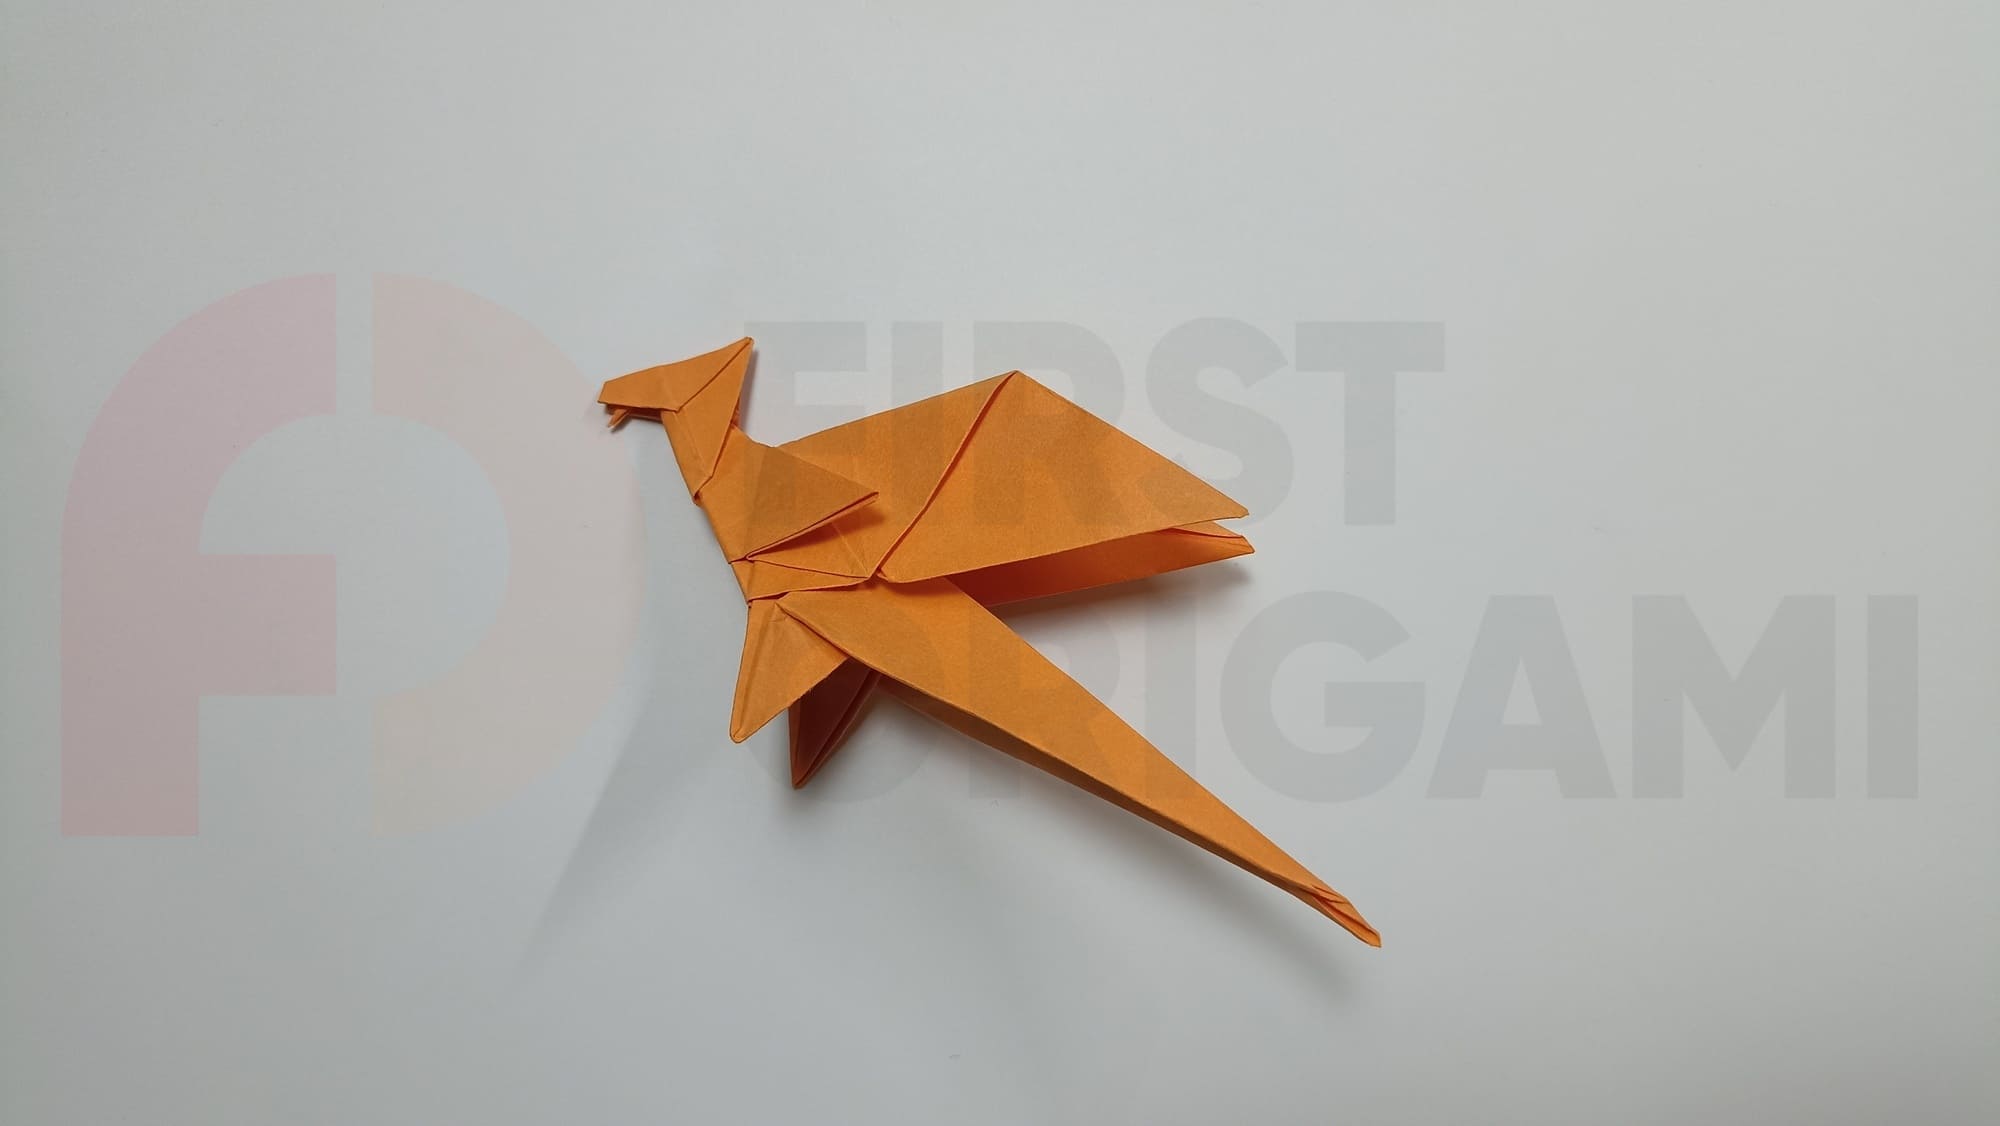
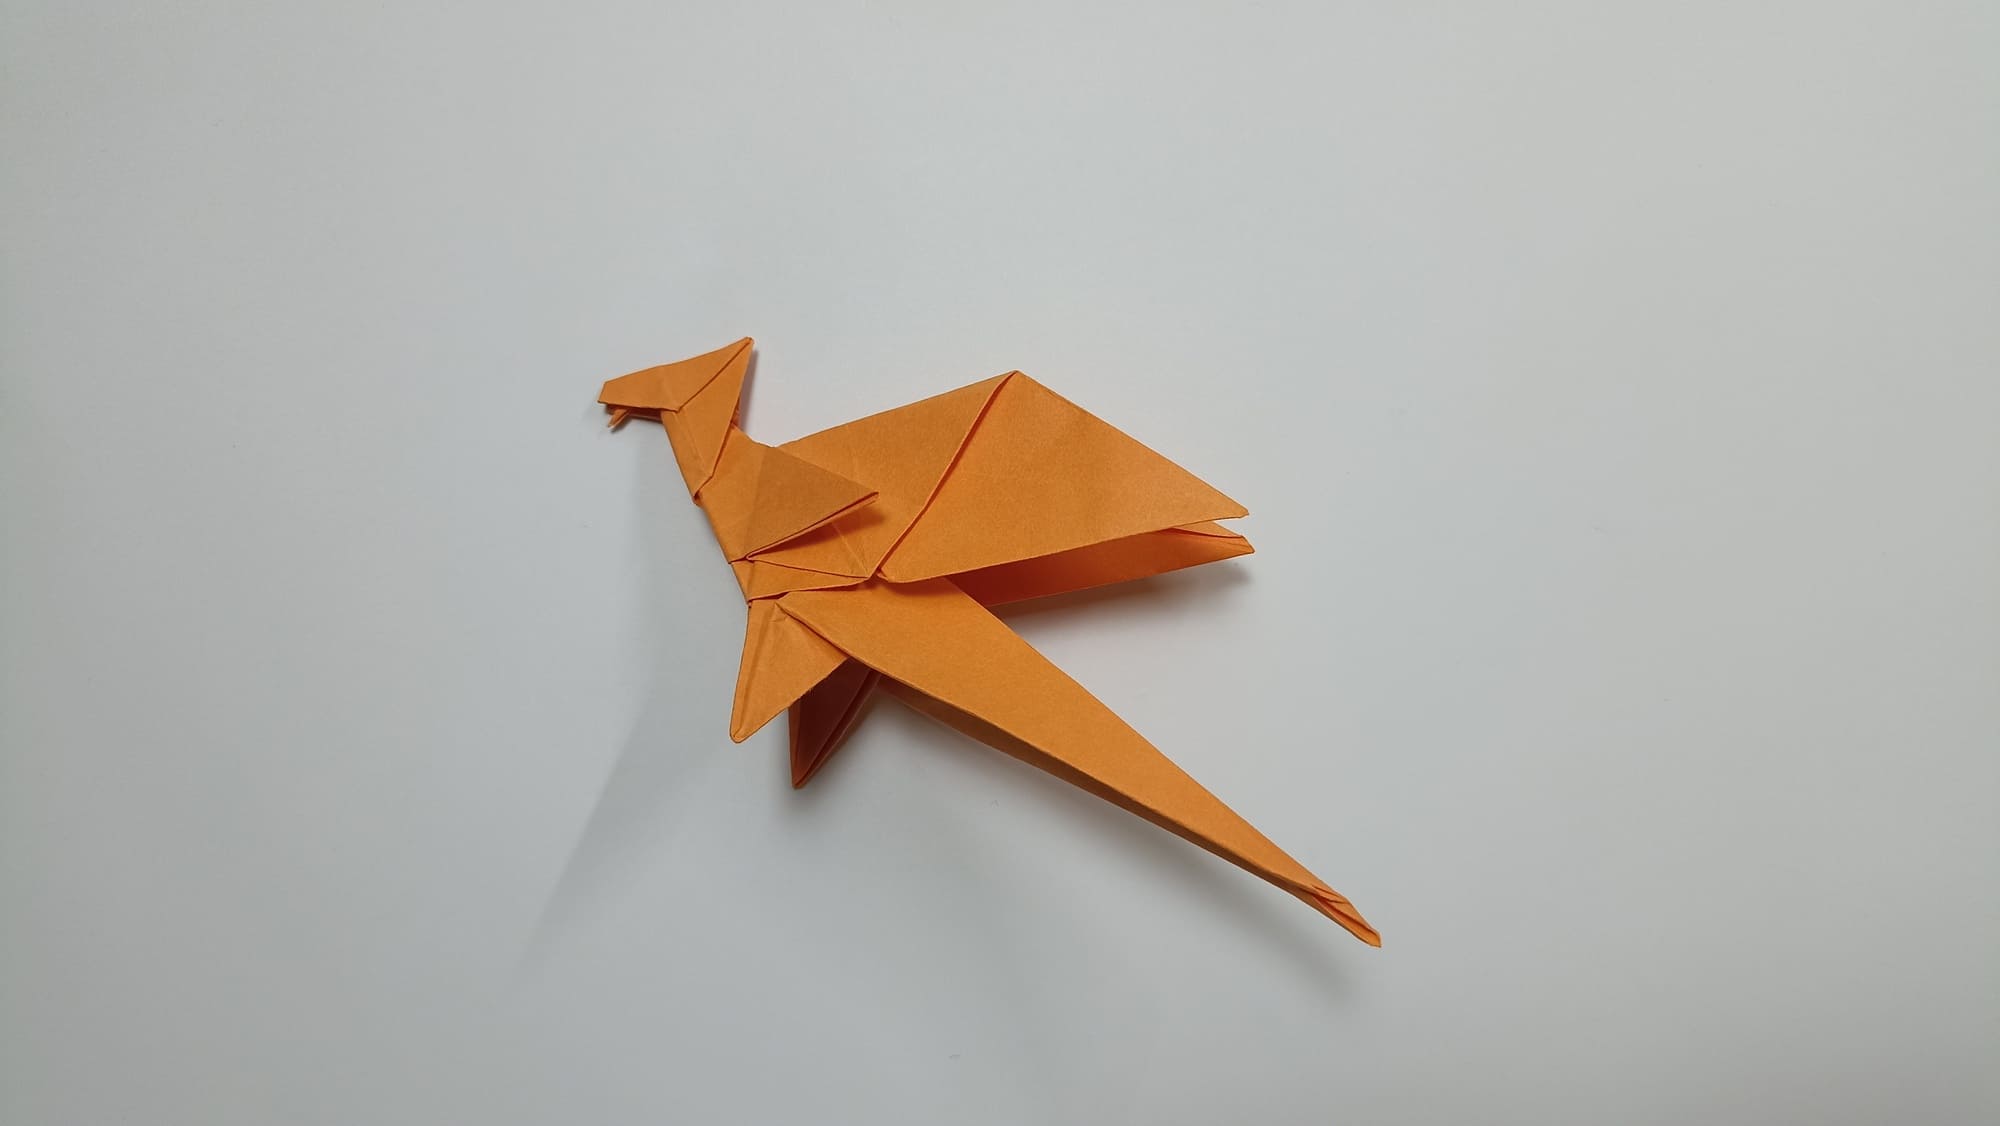
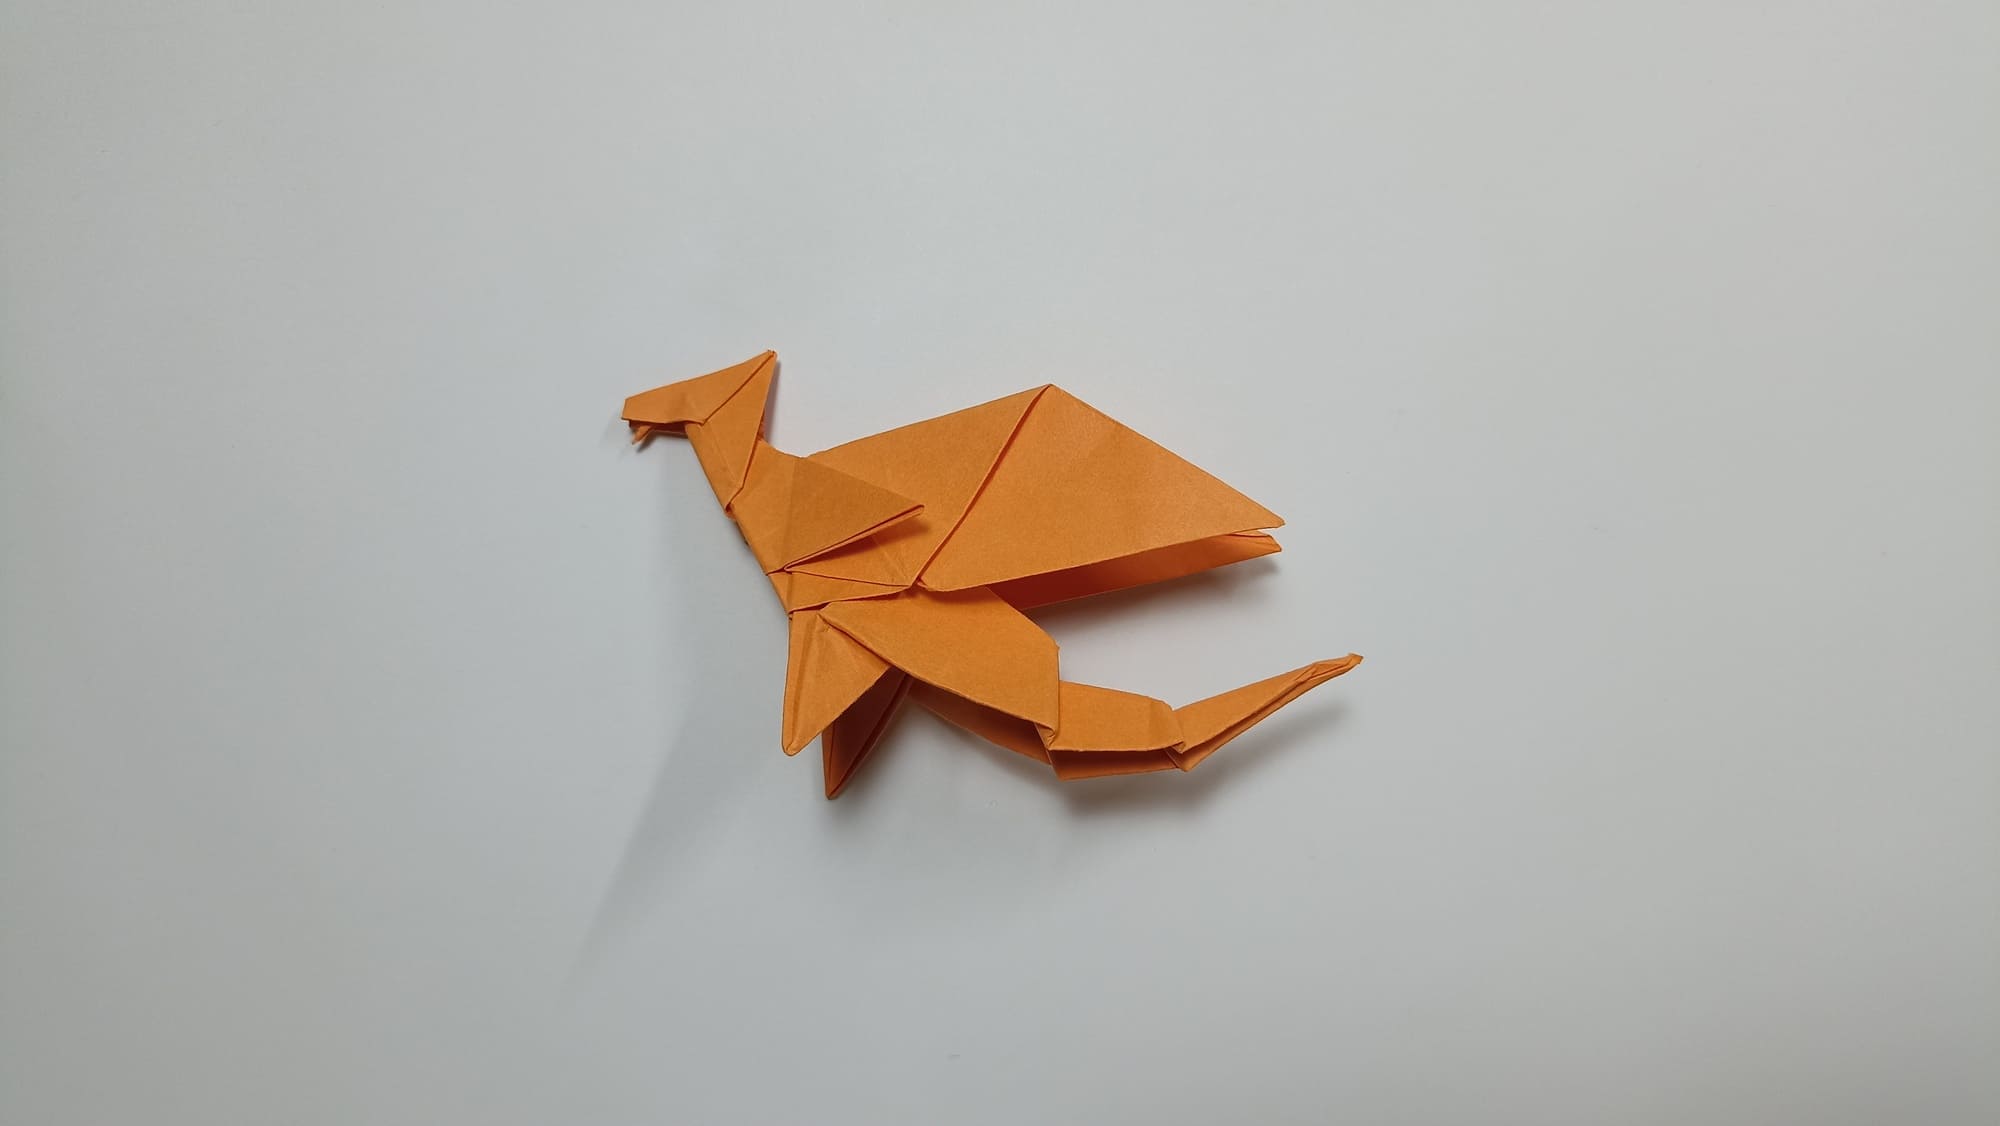
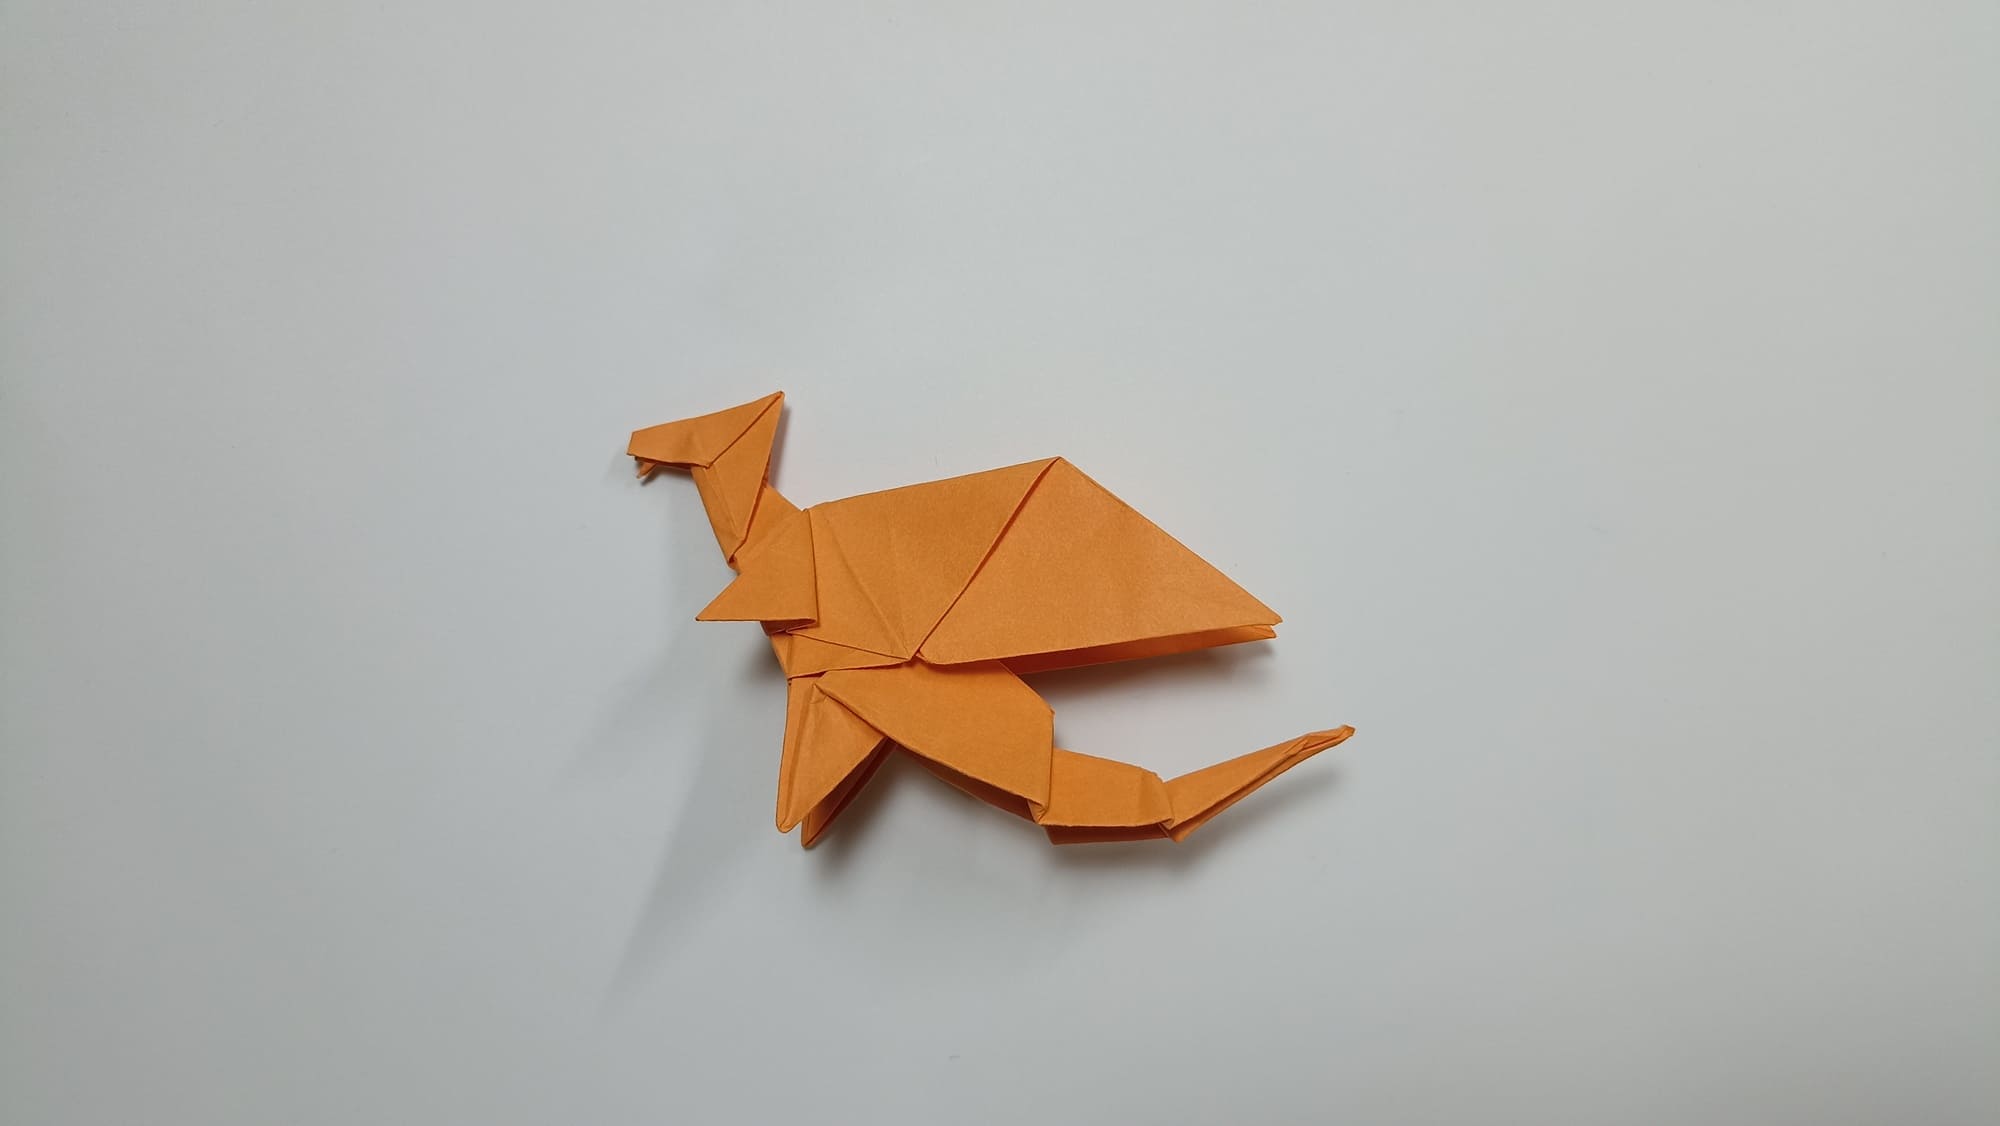
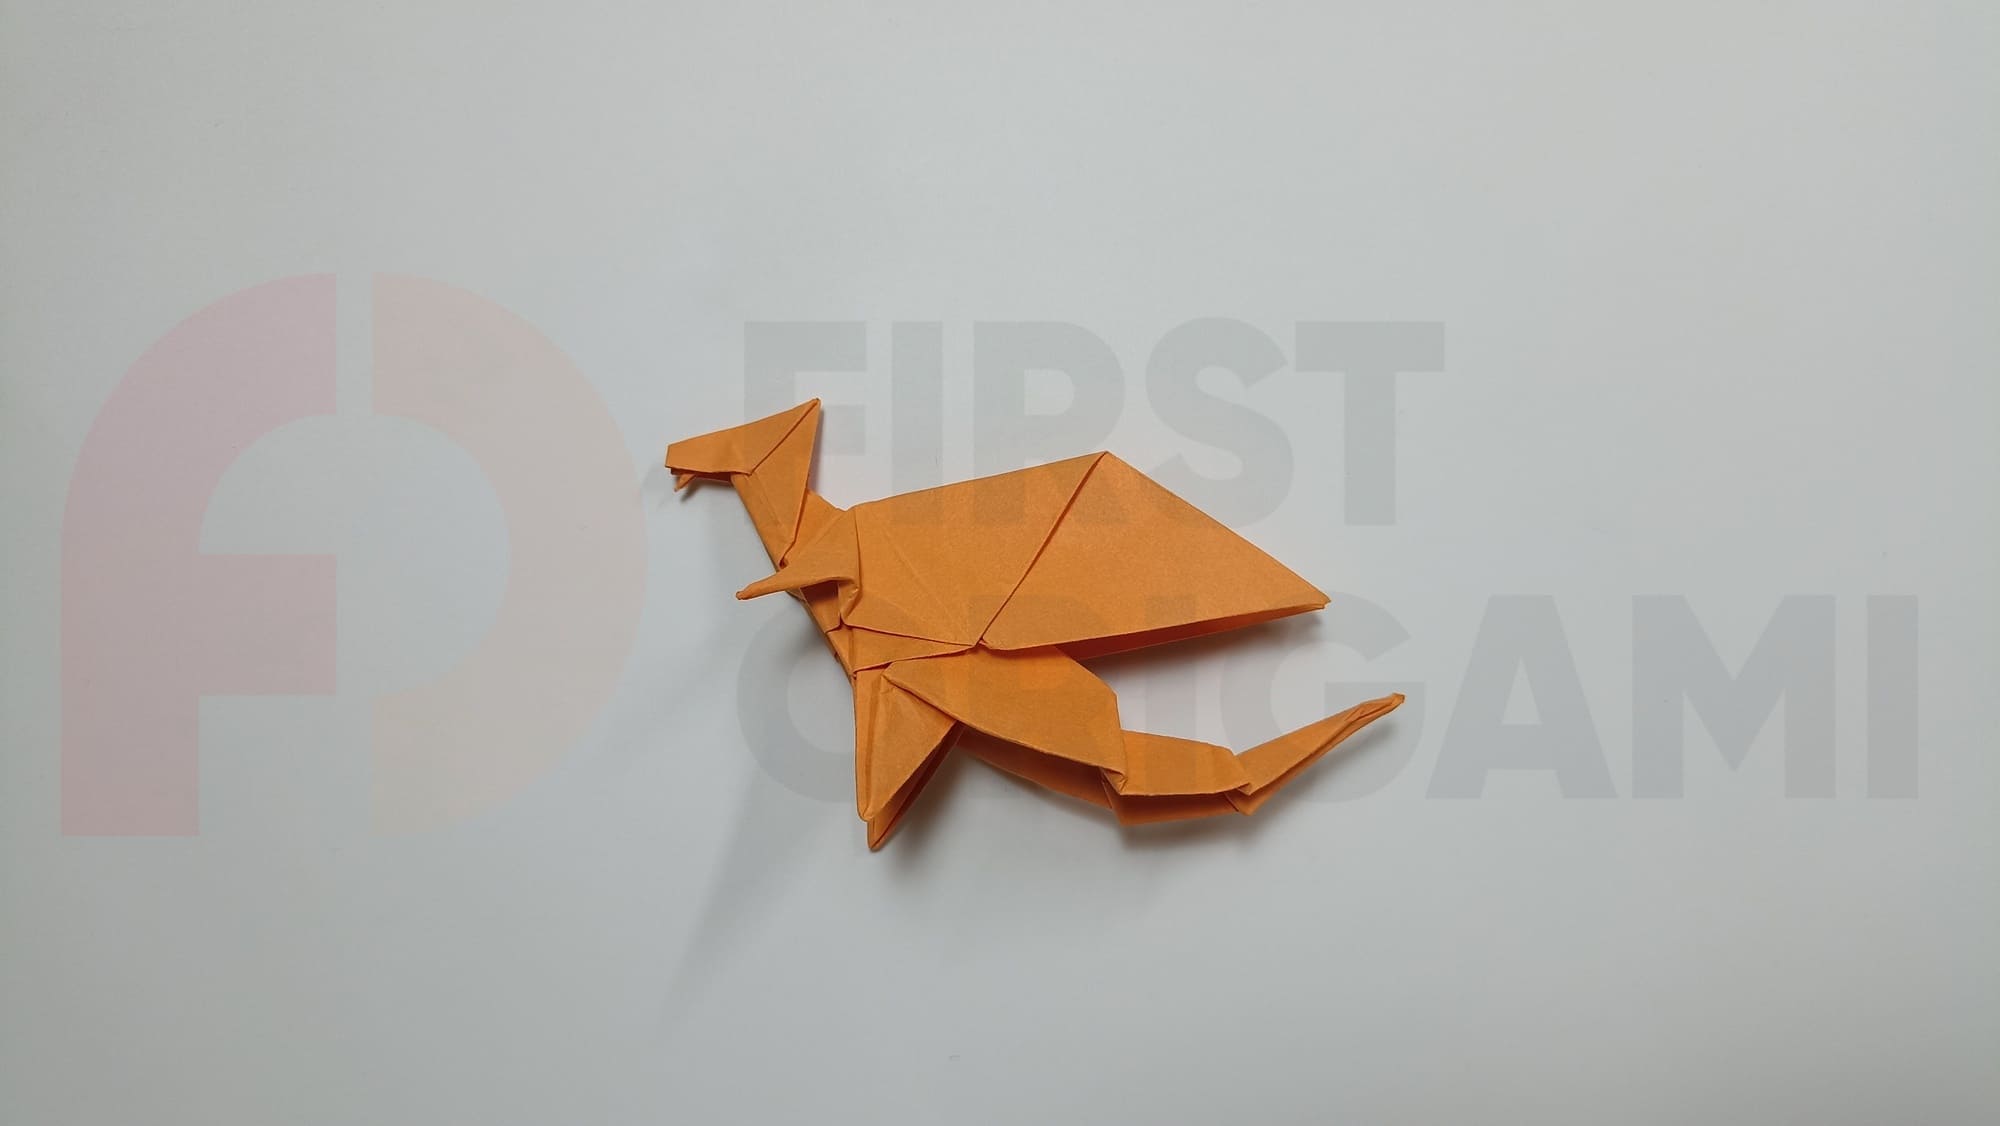
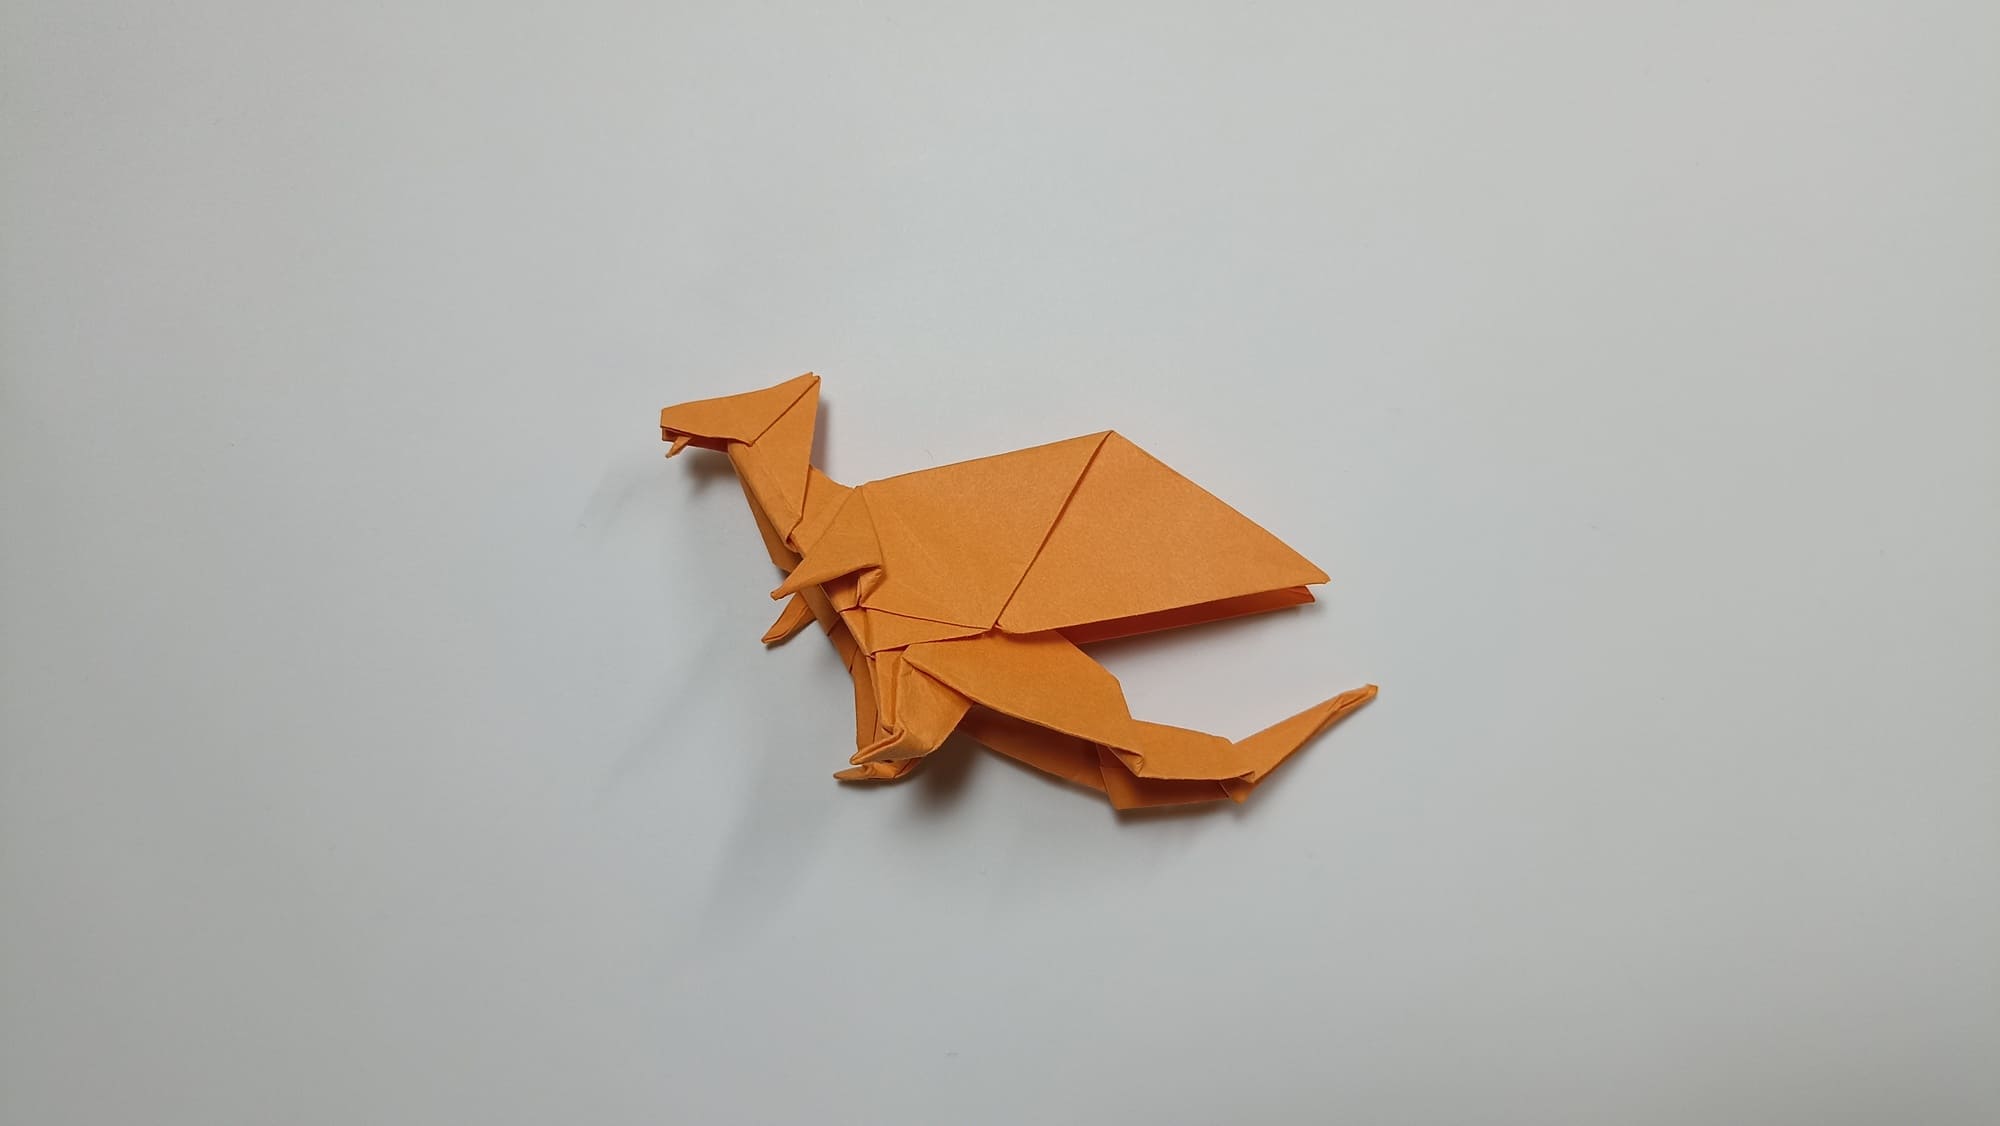
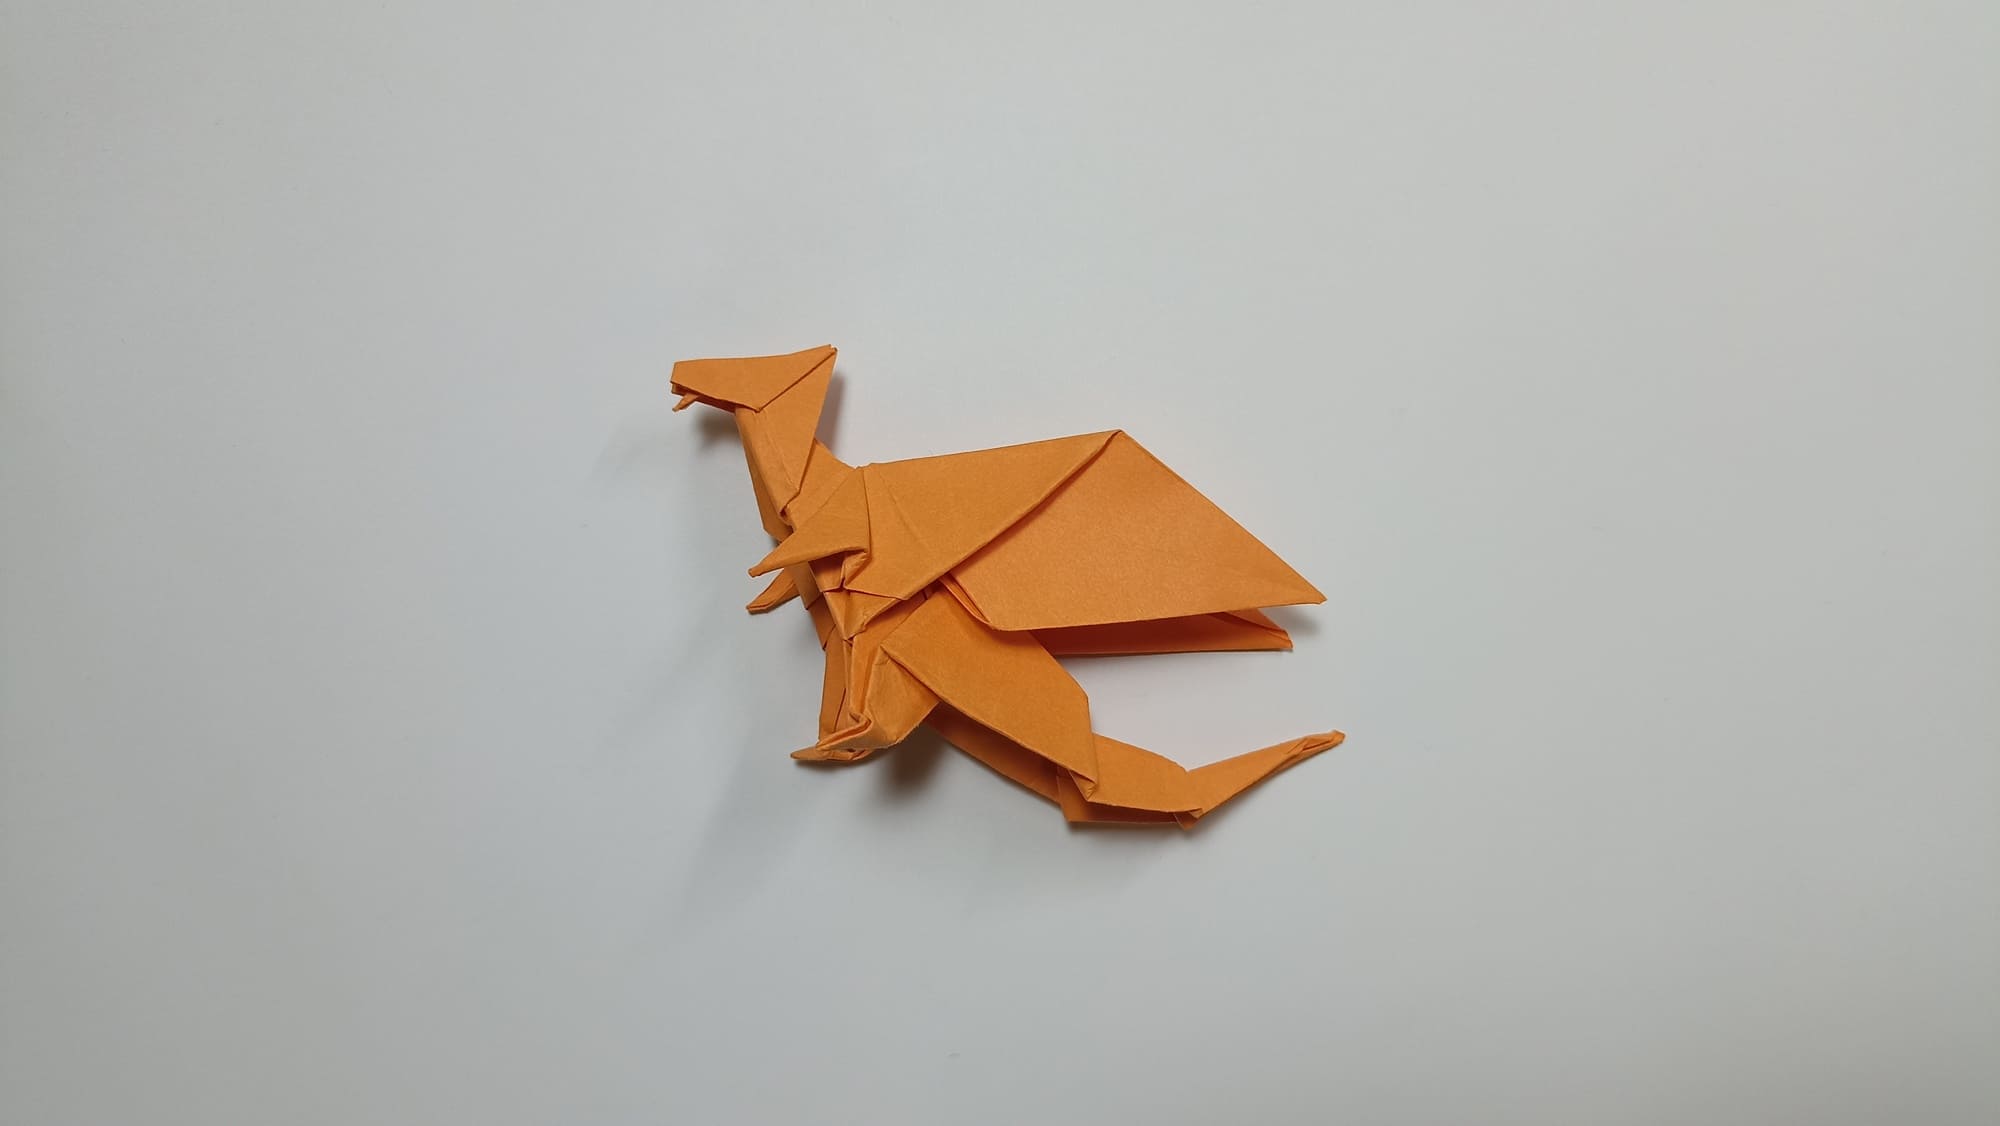
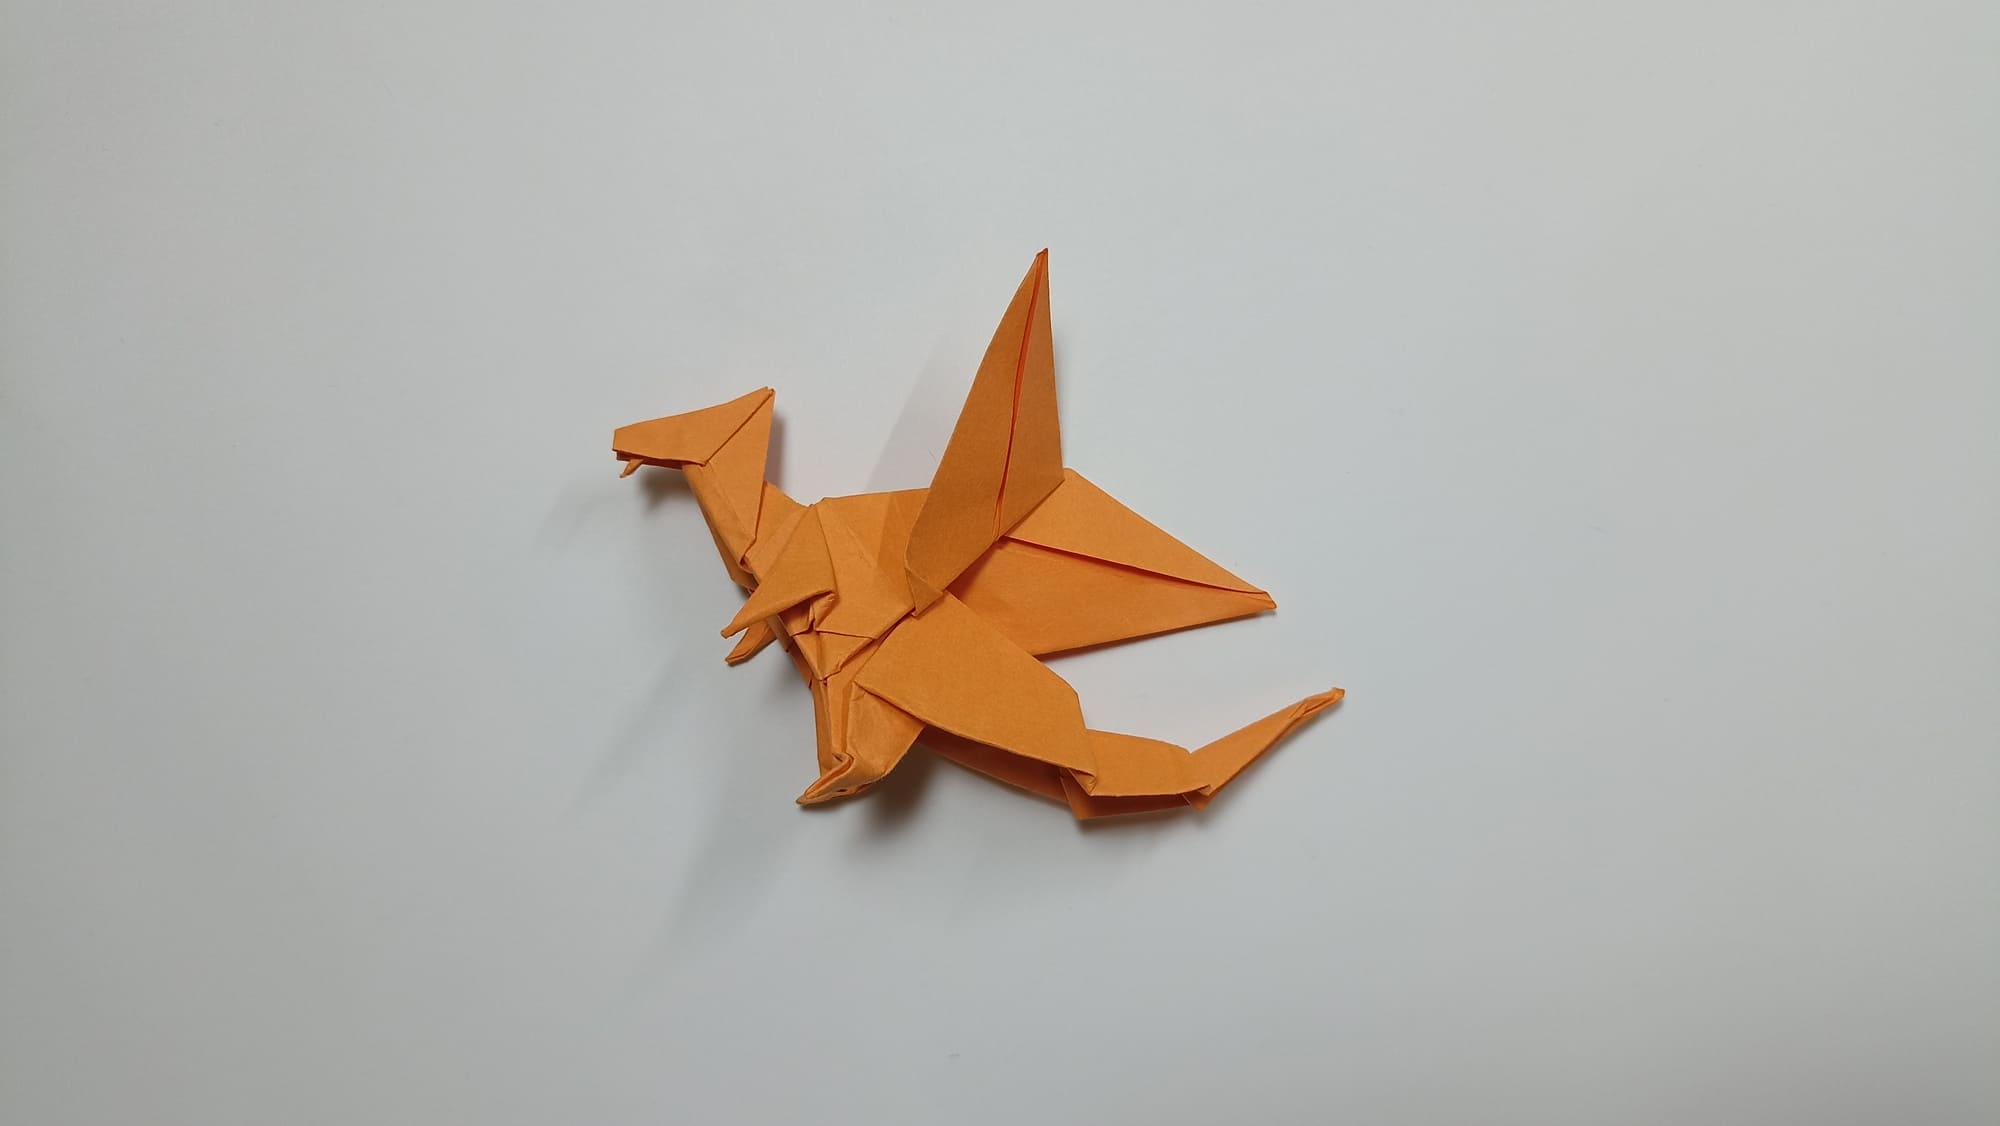
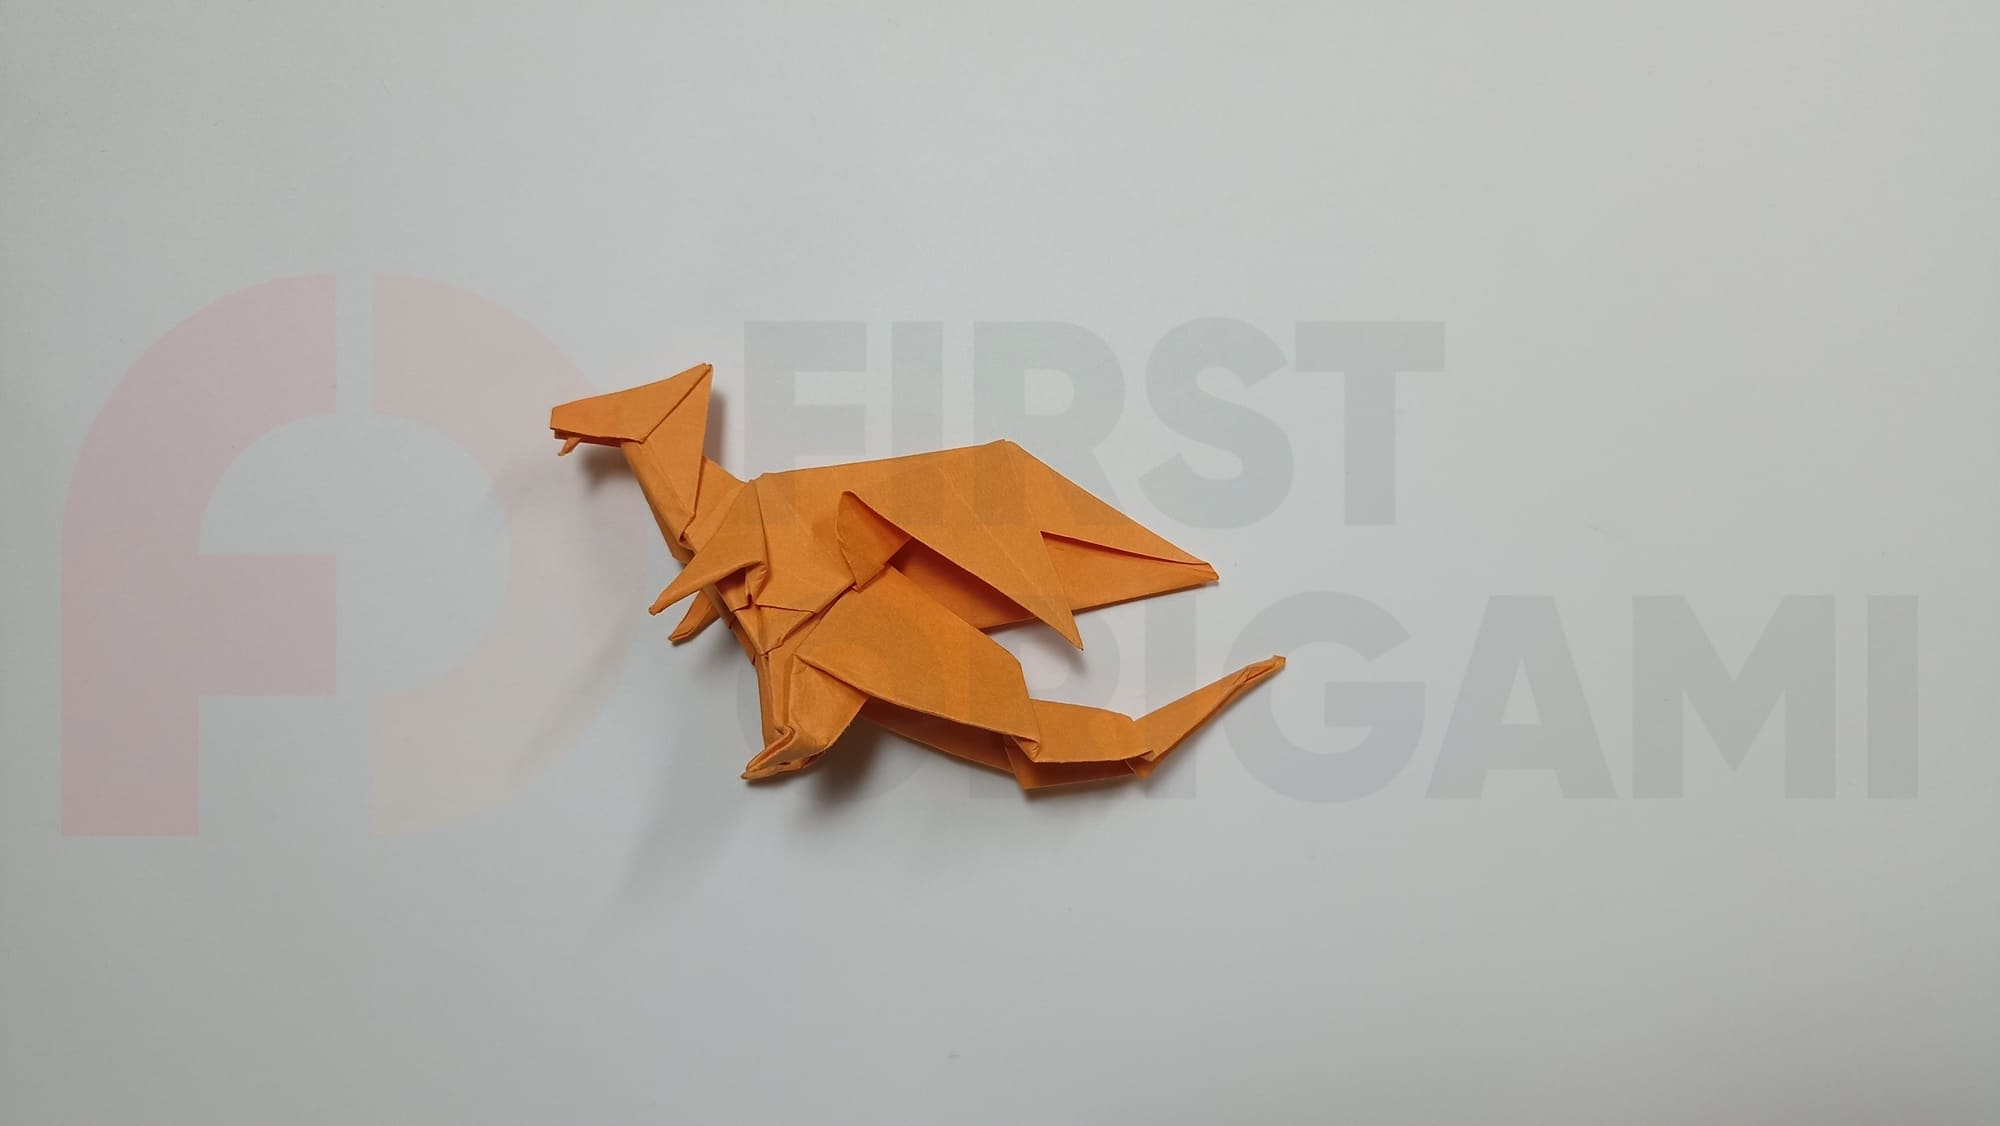
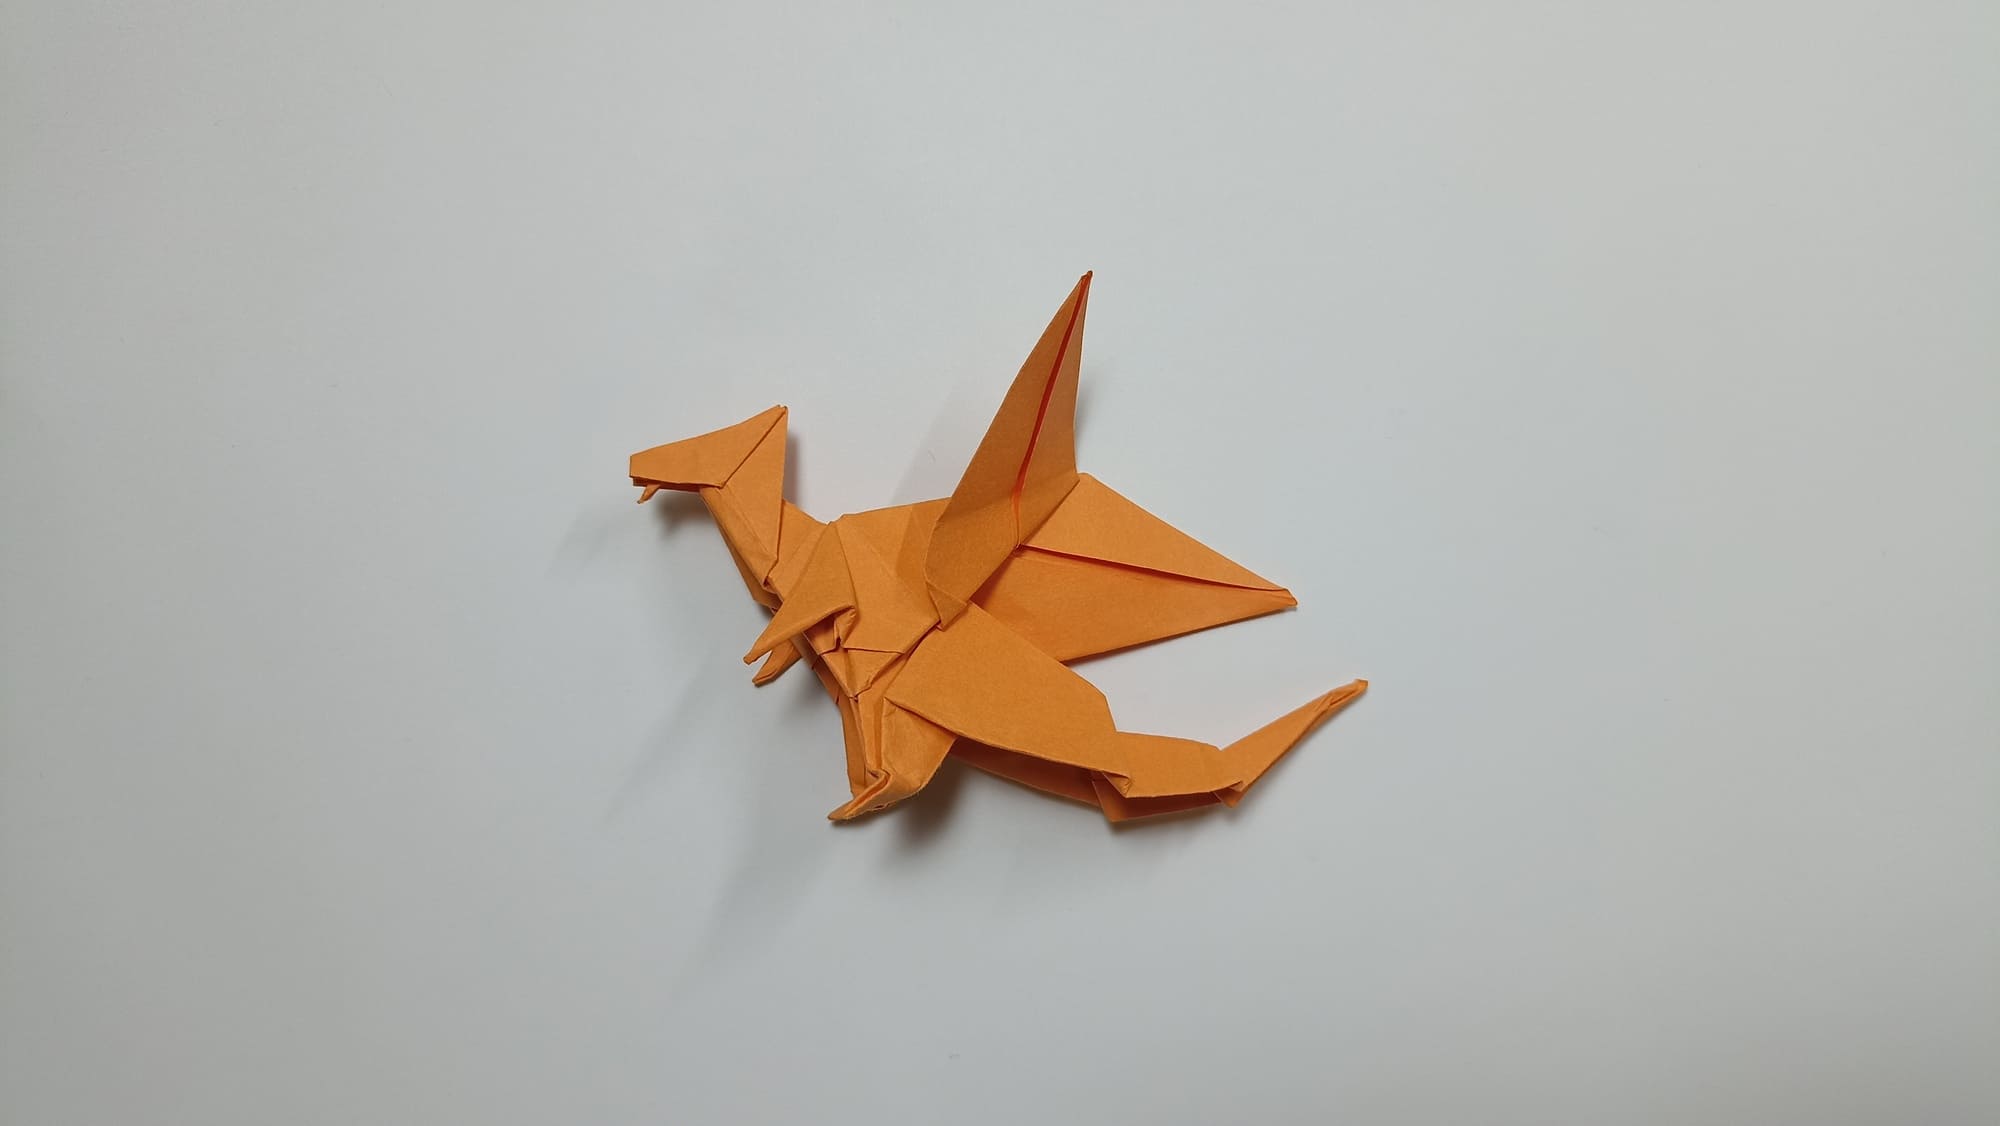
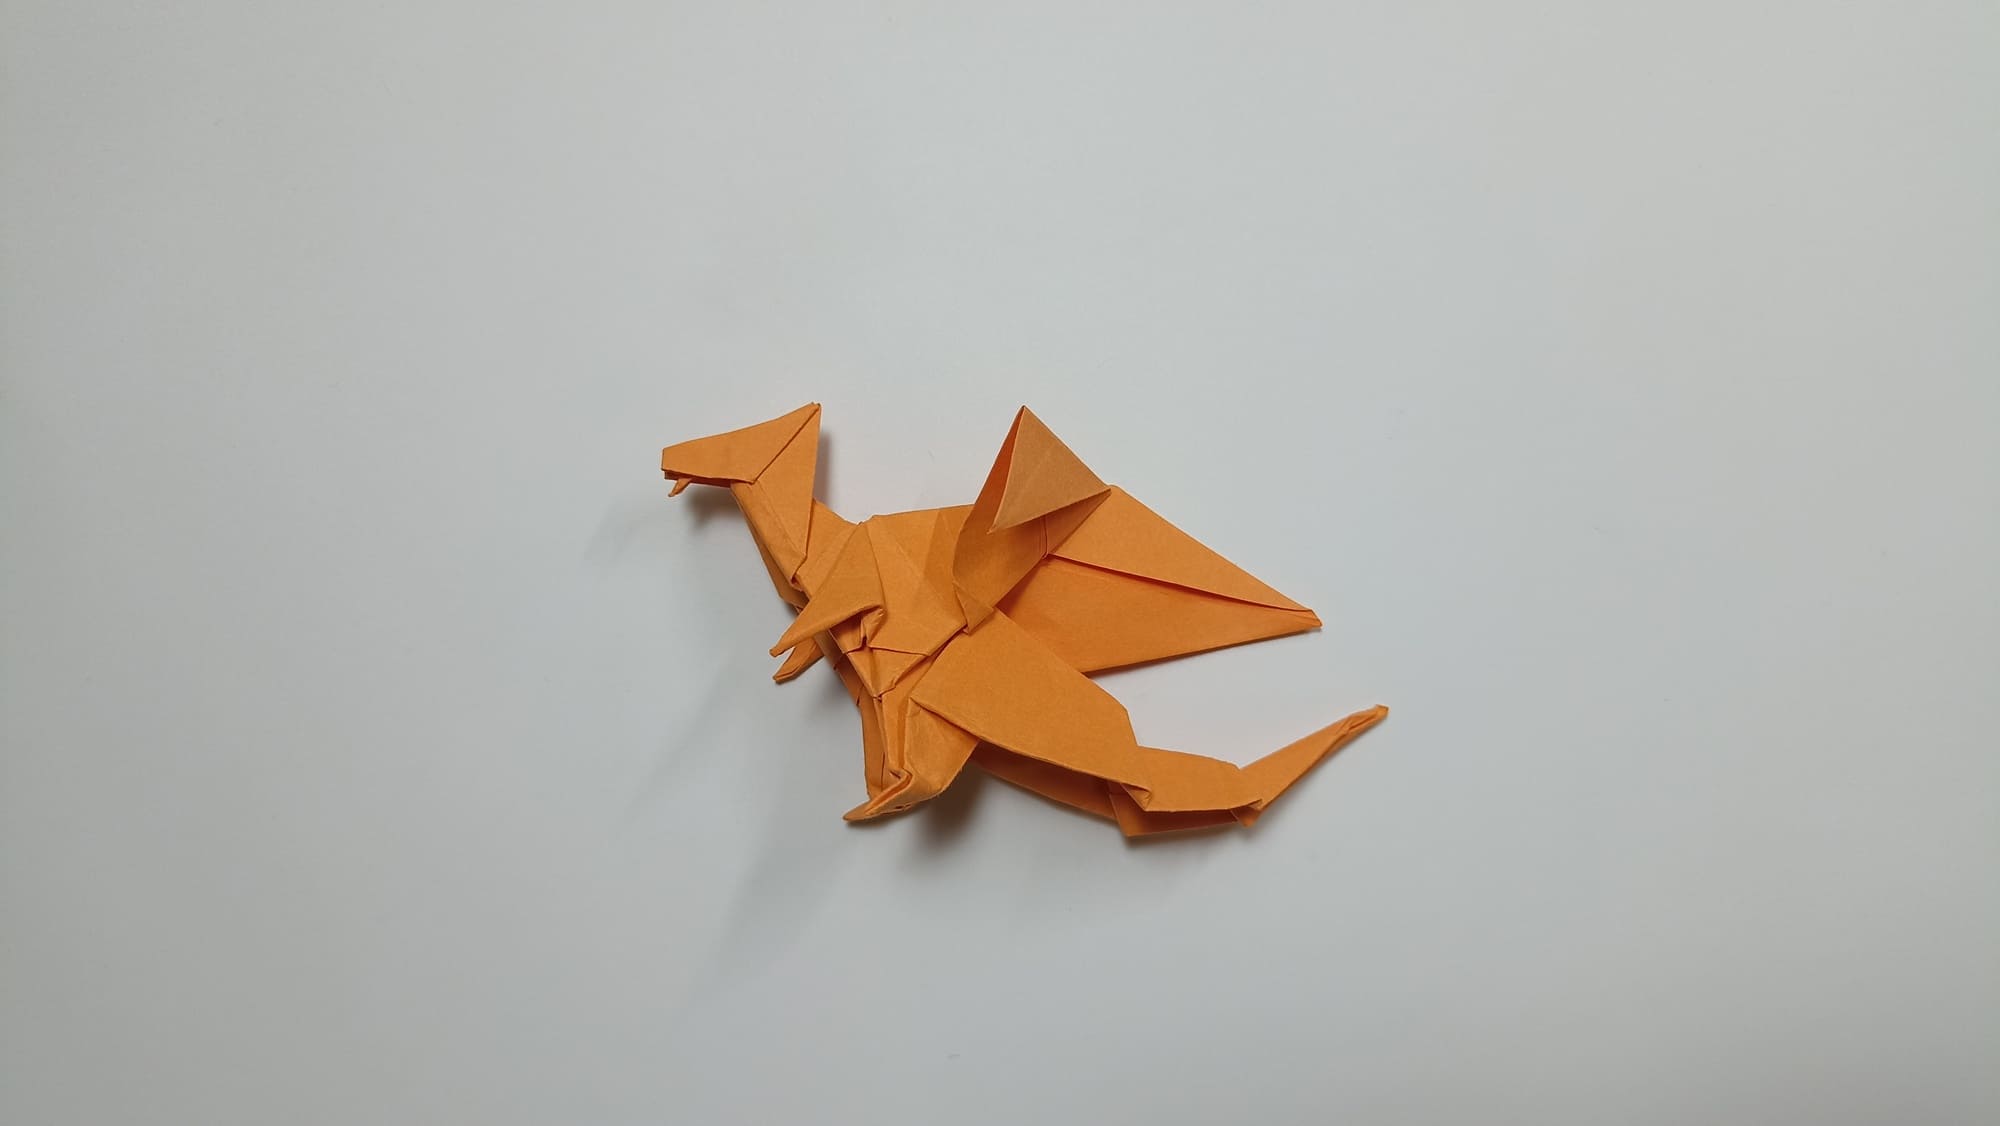
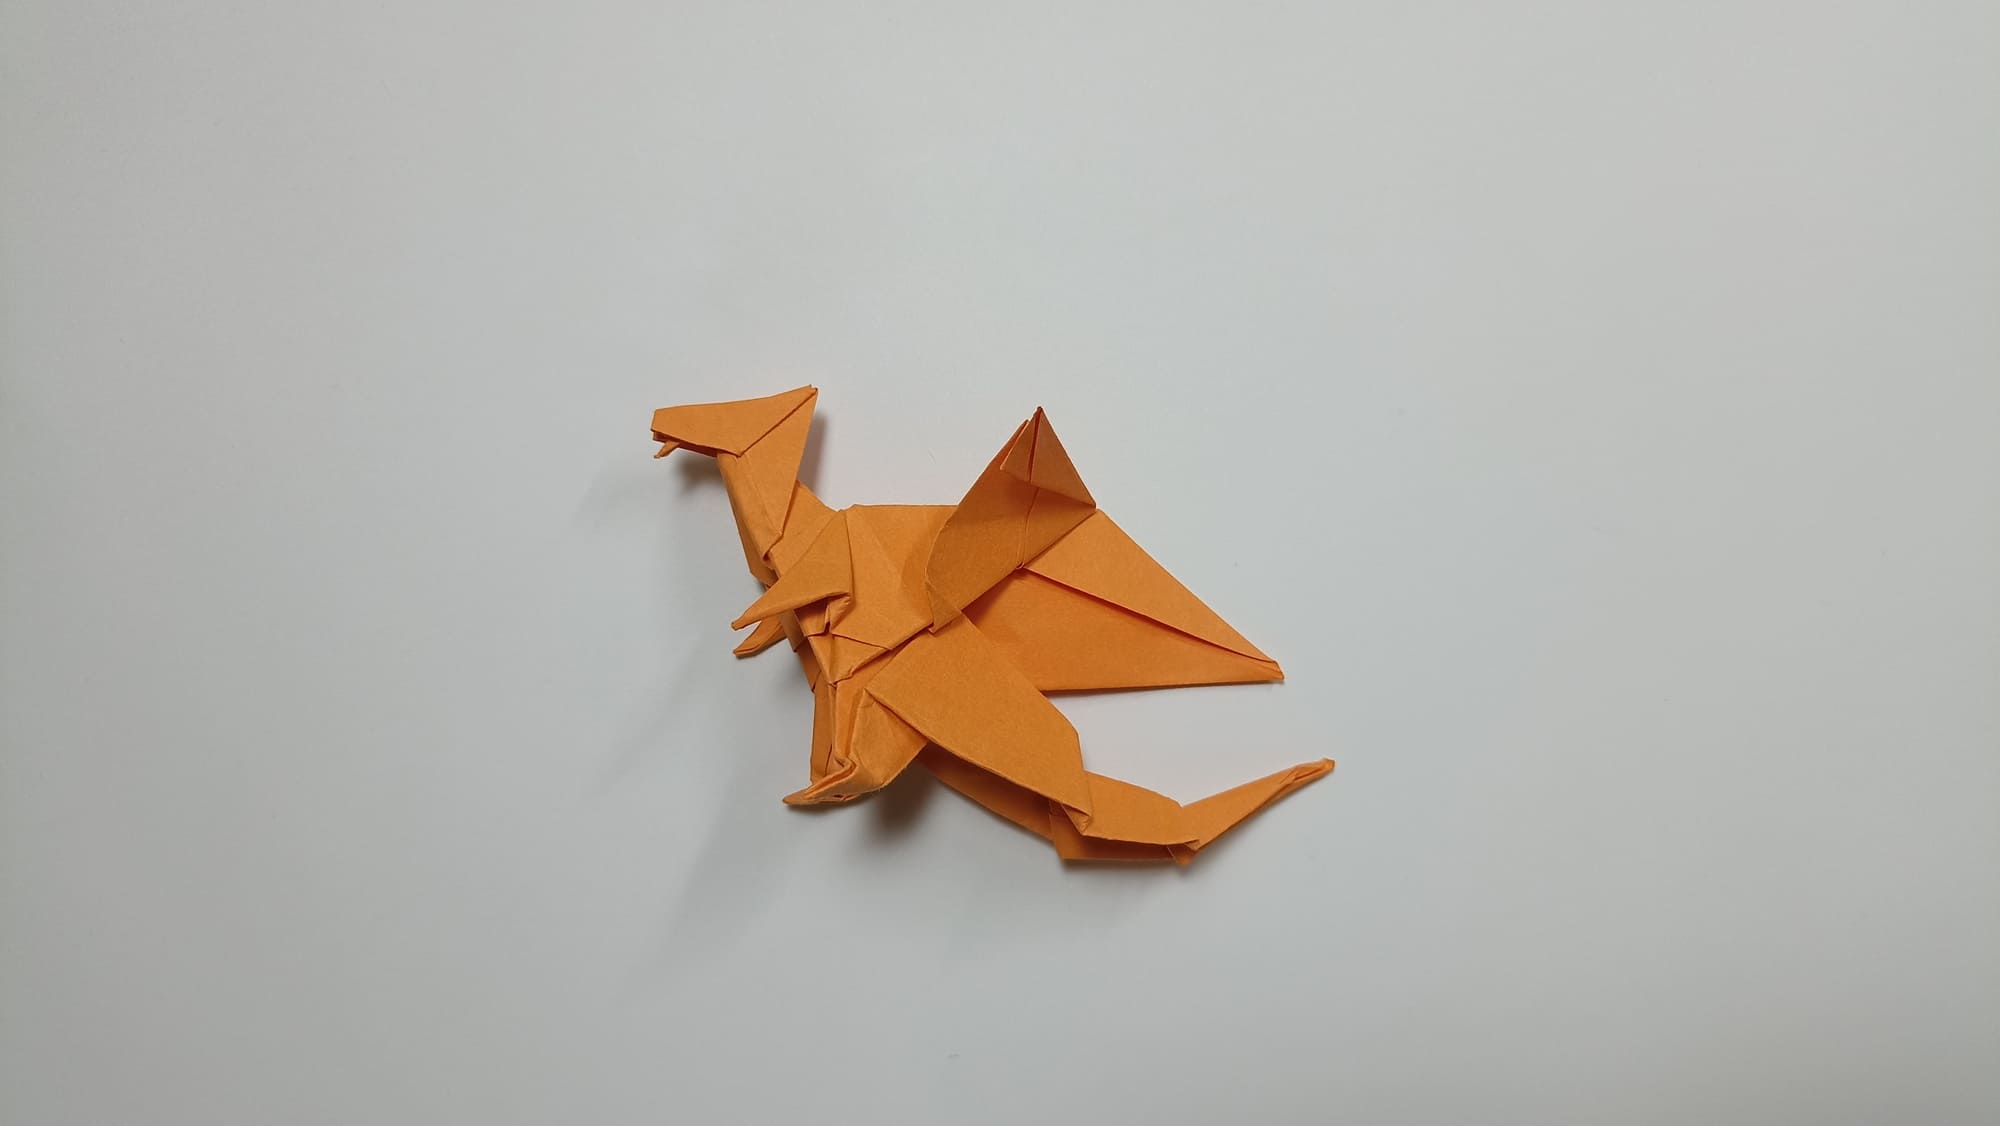
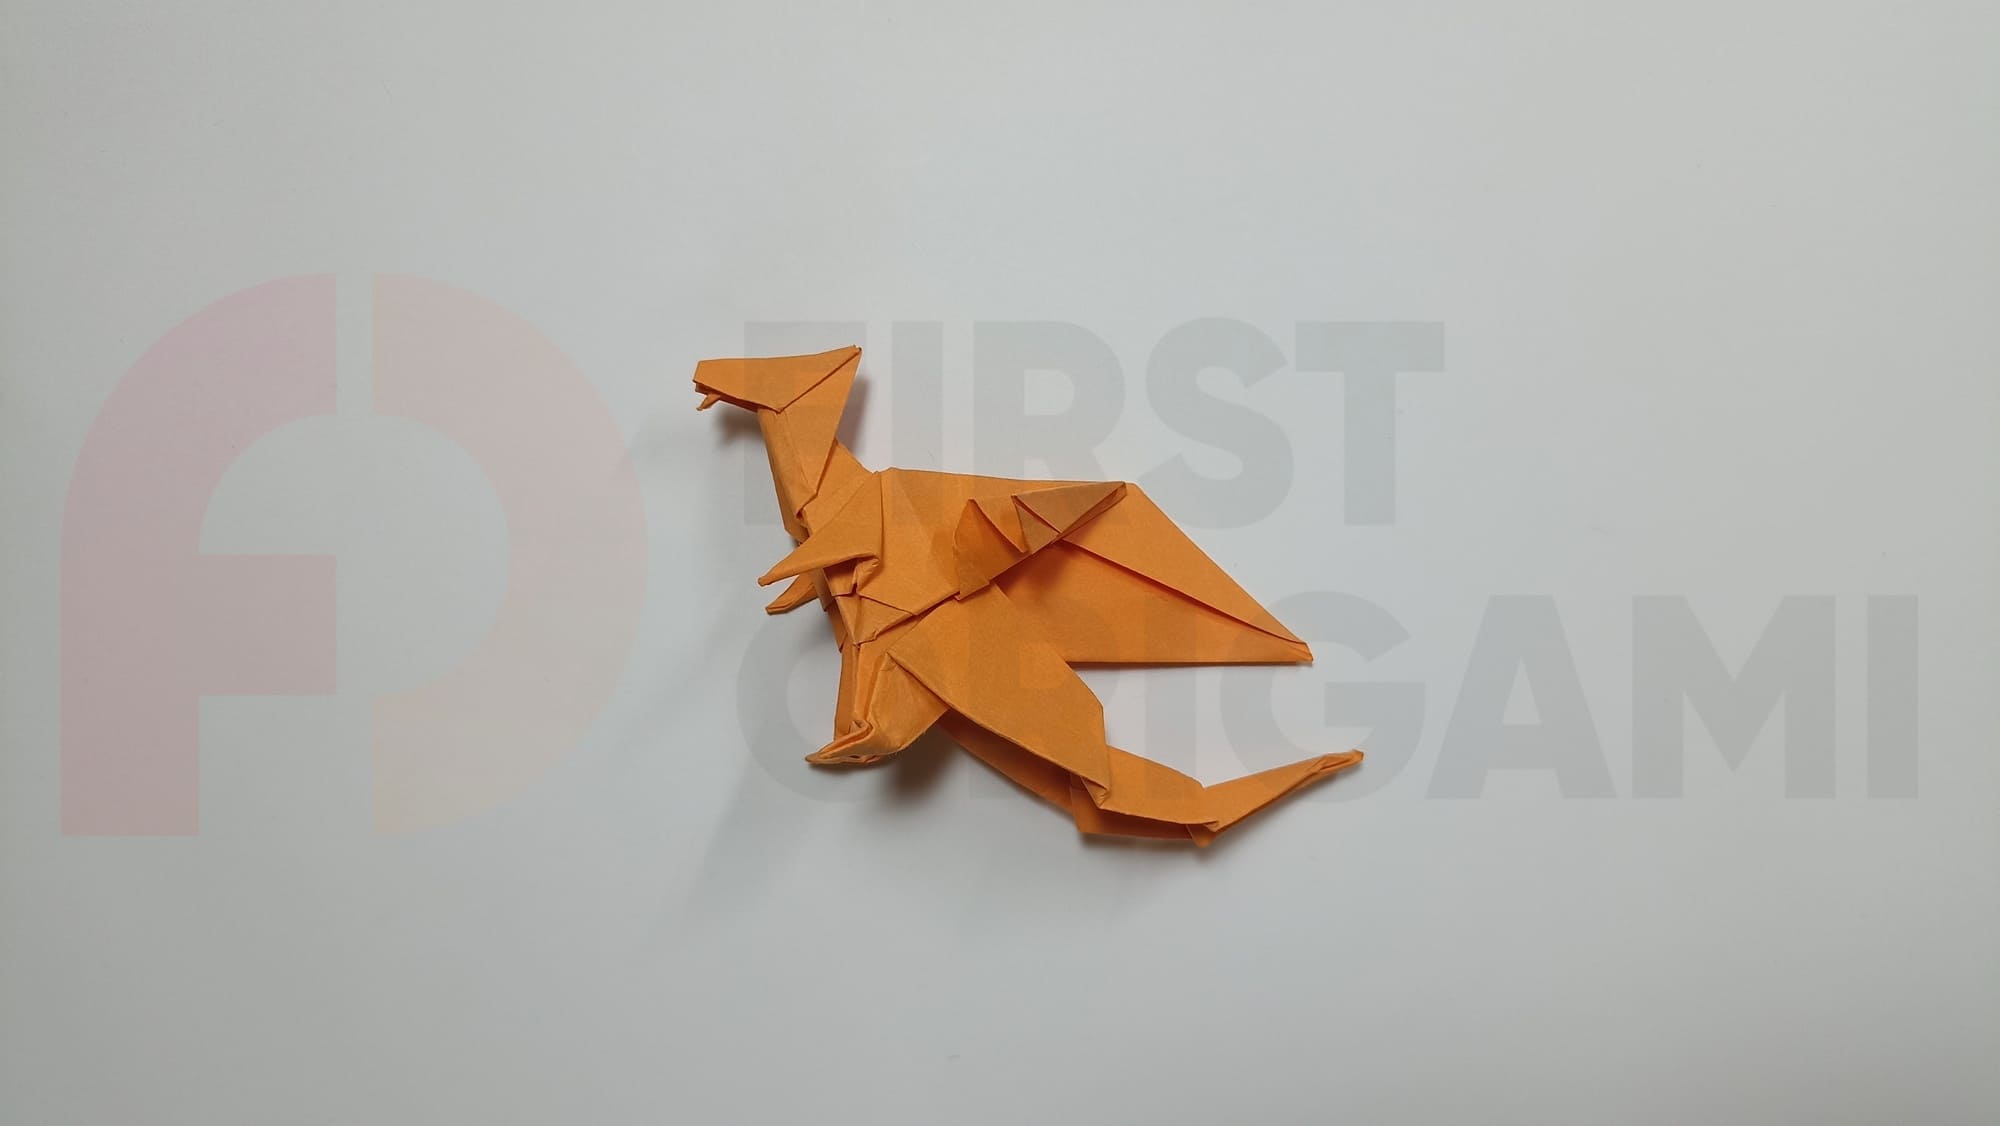
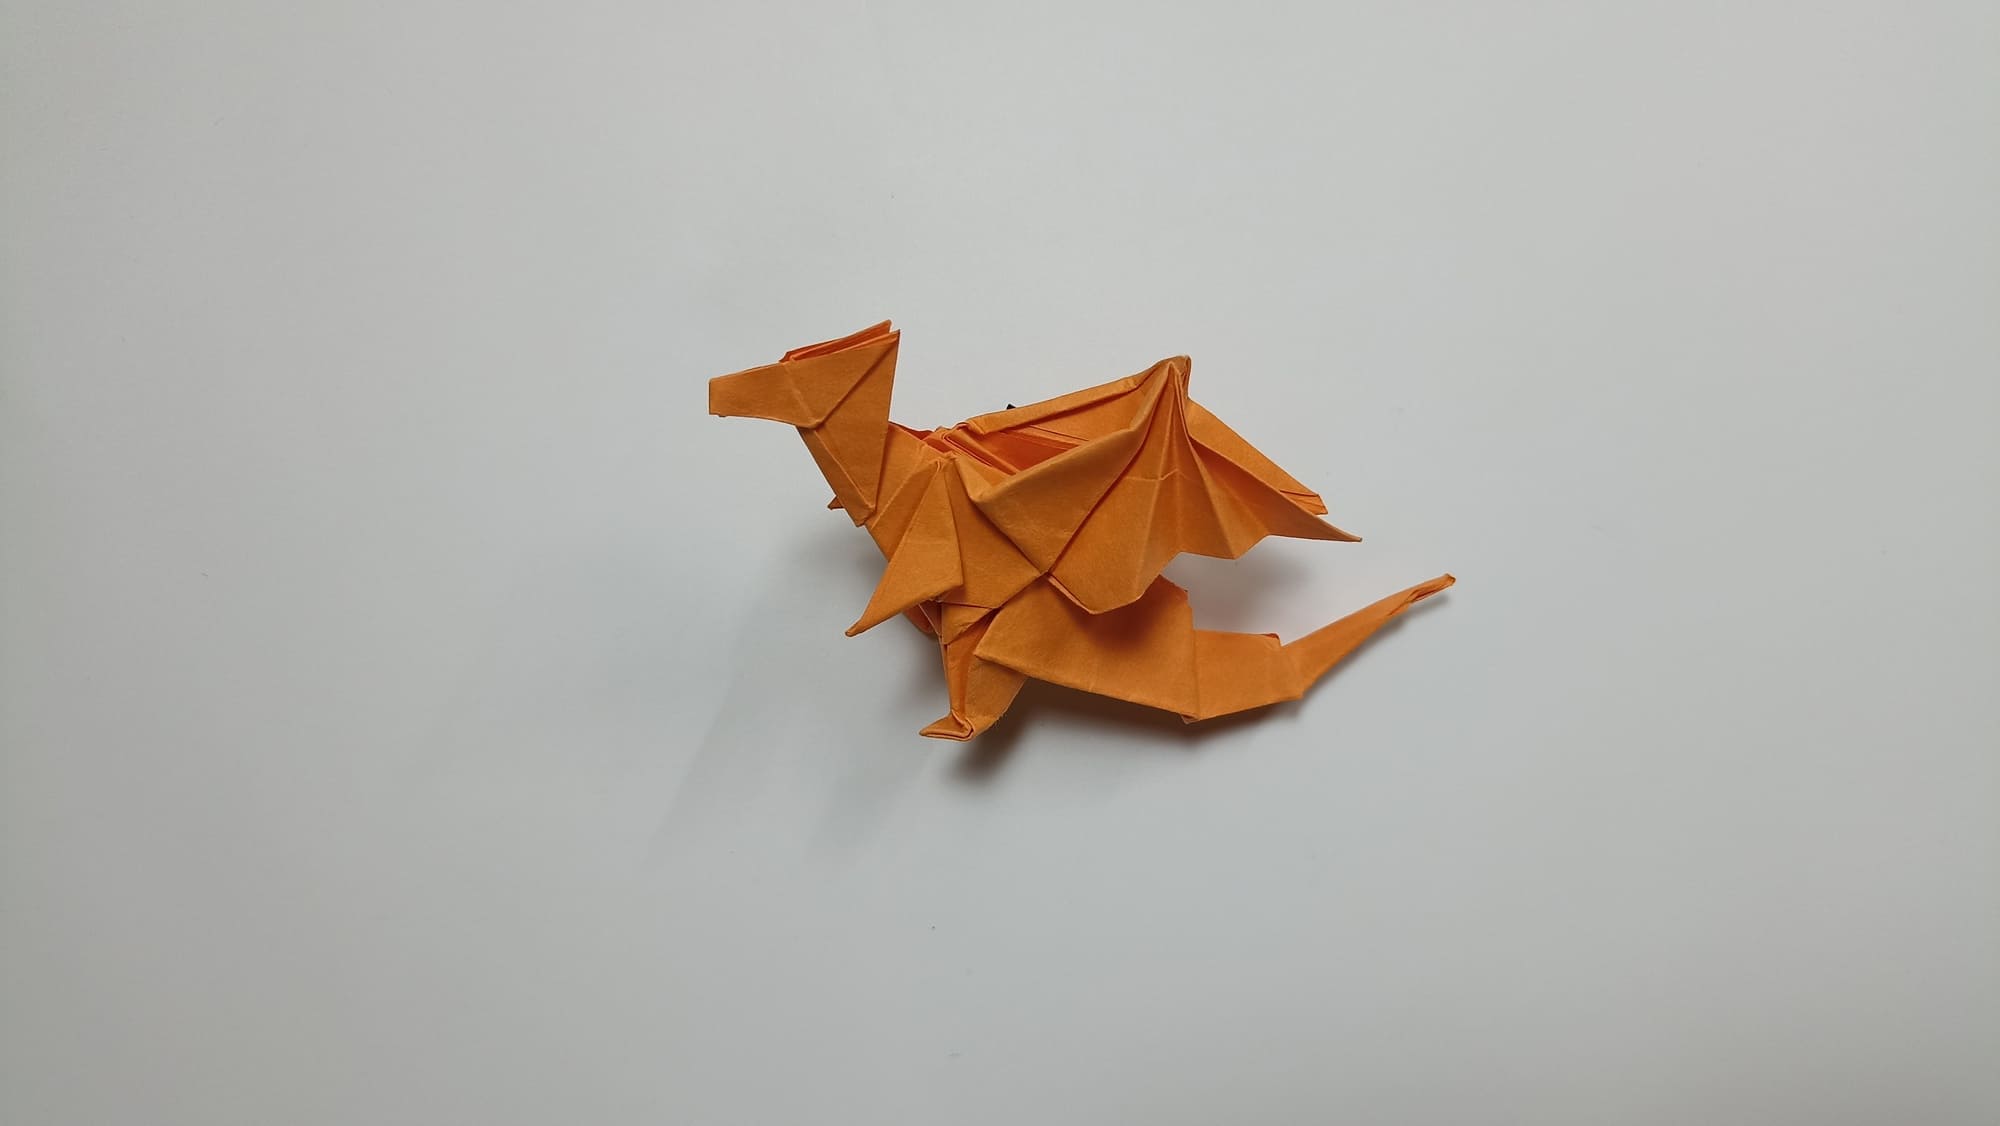
Form the ears. The dragon figurine is ready.
A video tutorial and photographs of the assembly steps will help you overcome the difficulties of creating a dragon figurine. Attention to detail, perseverance, and accuracy are the main helpers in working with complex patterns.


