Origami Duck Face
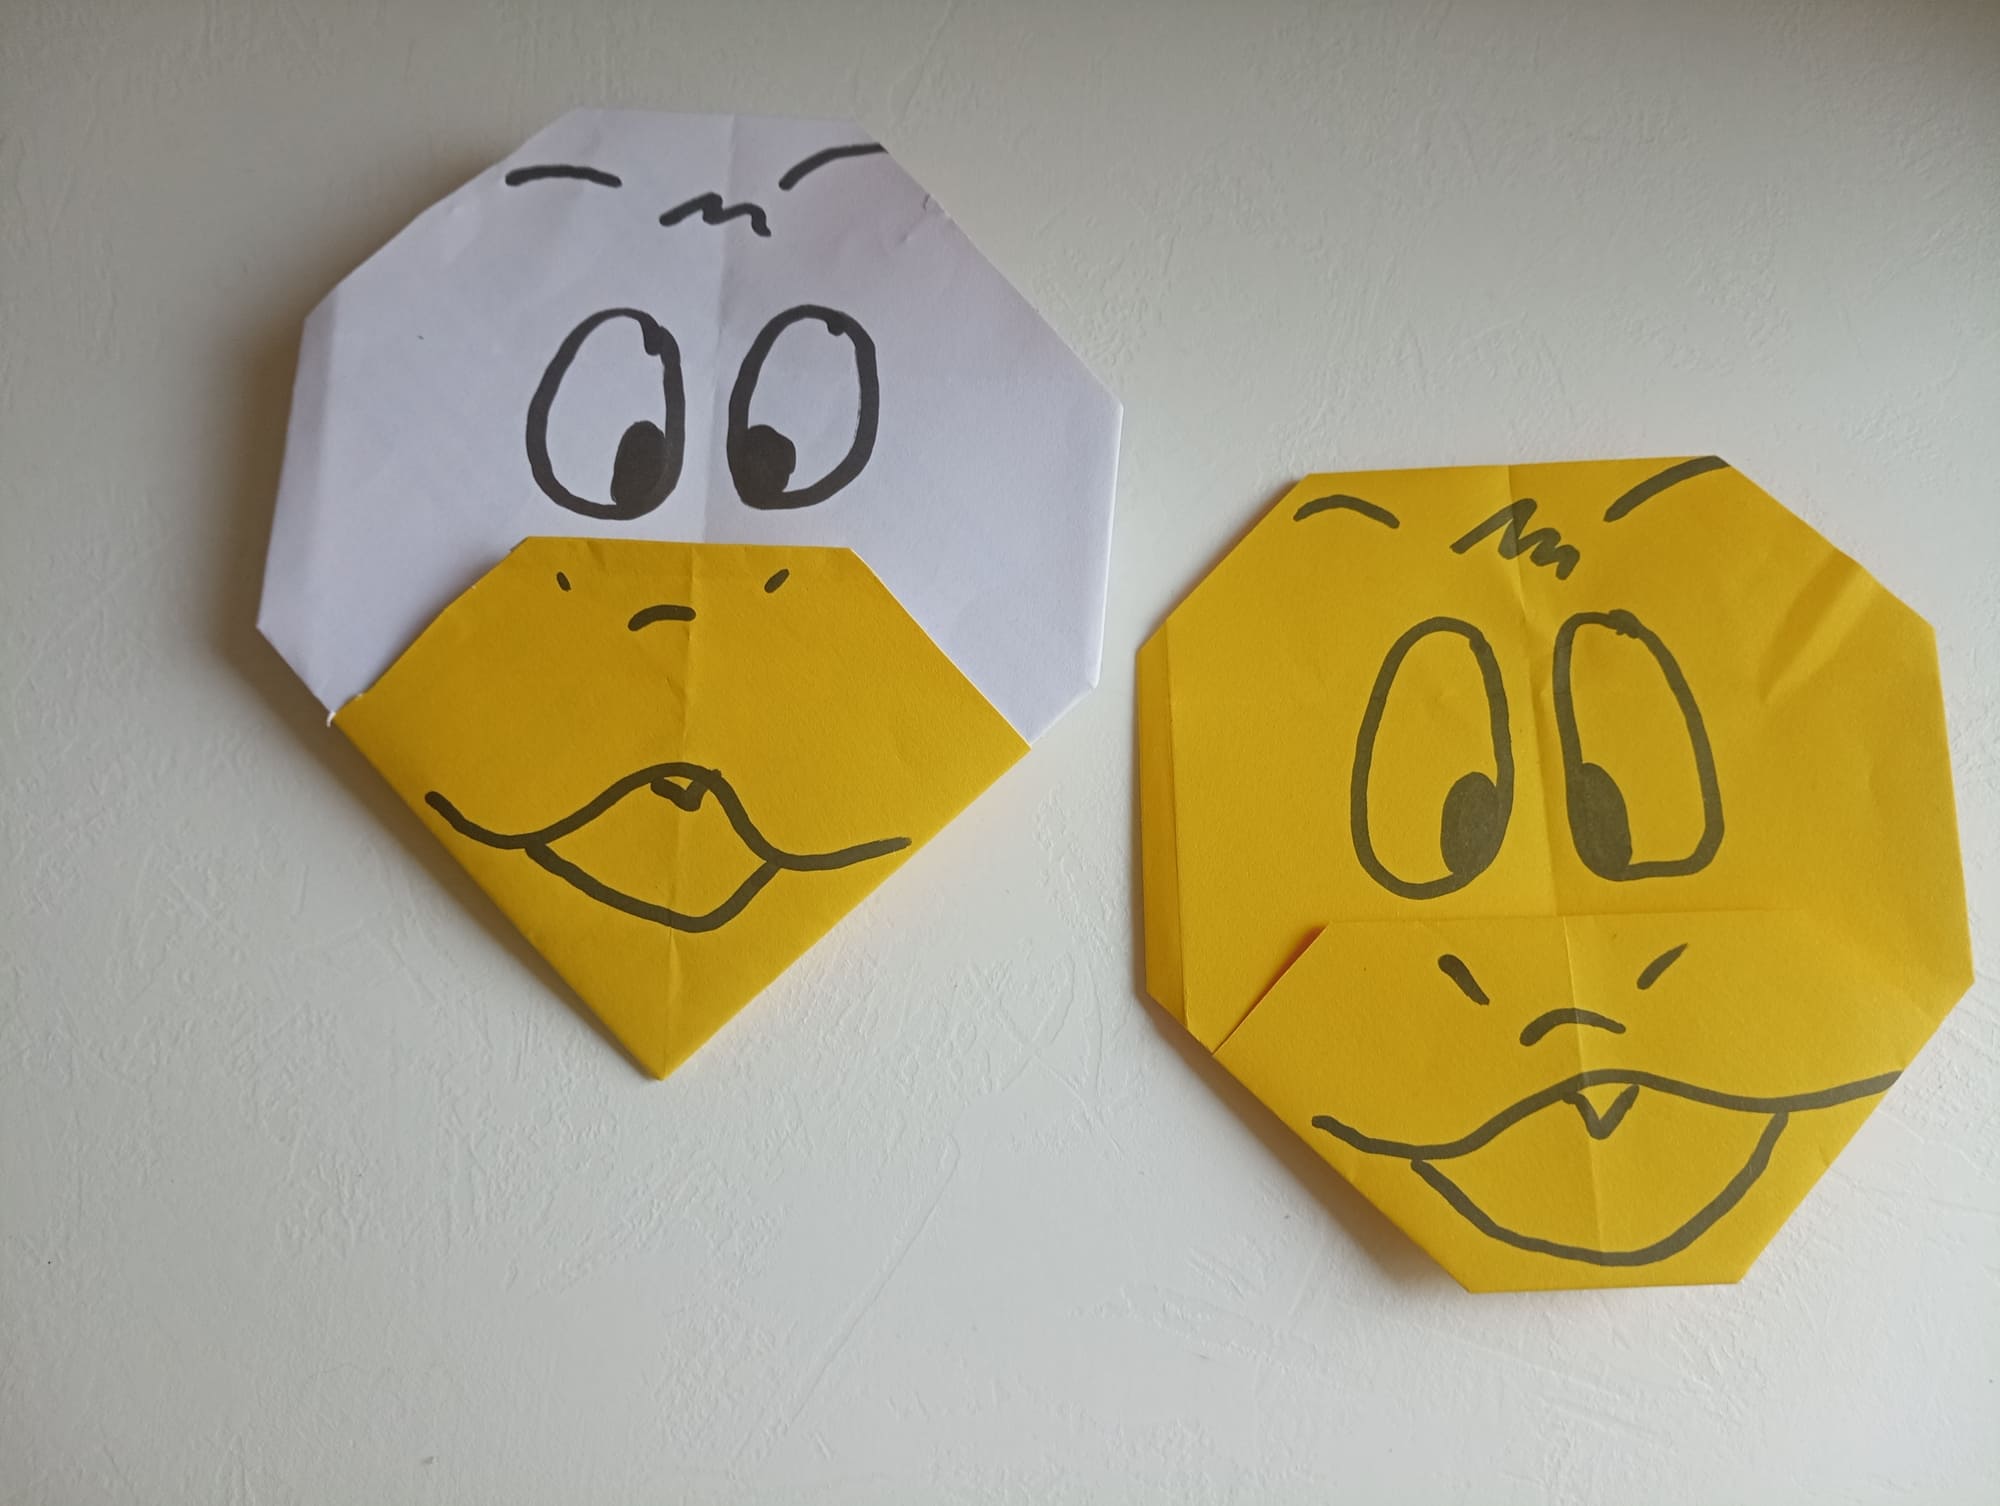
The duck face mask is very reminiscent of the famous Donald Duck. In fact, it is him! And such a mask can be in the hands of everyone! This master class will help you to make the mask correctly and play with it as much as you want. Great for working with children, as the folding is quick and easy to understand even for small kids. Ready to give it a try? Get started and follow the suggested steps carefully!
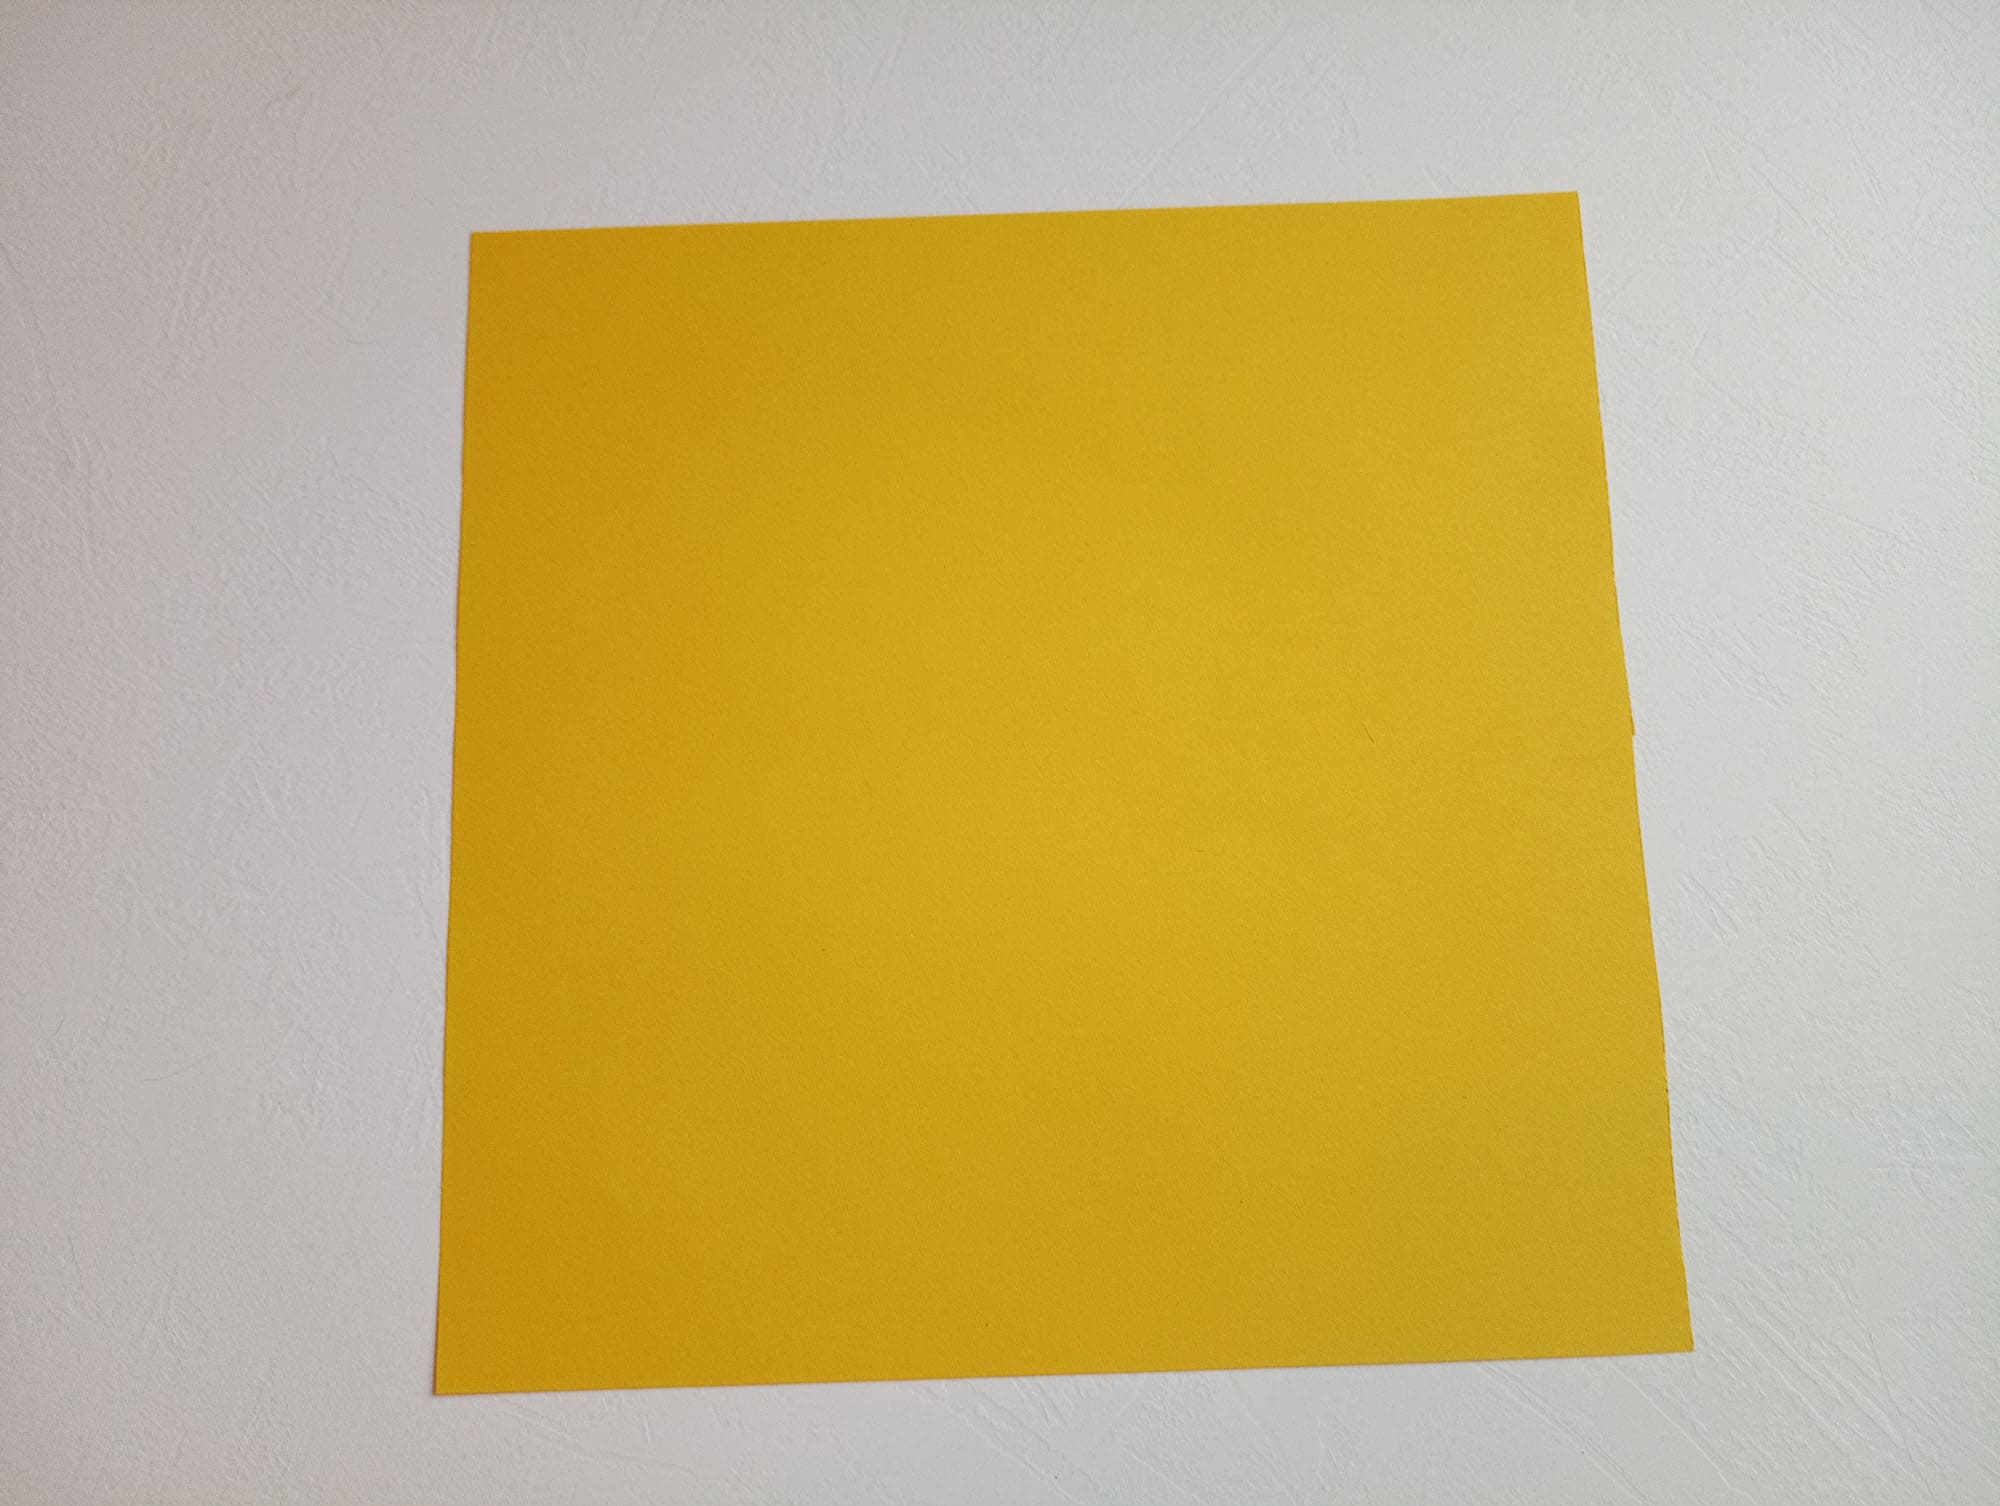
Take a 15 x 15 cm piece of paper (double-sided white and yellow paper is best).
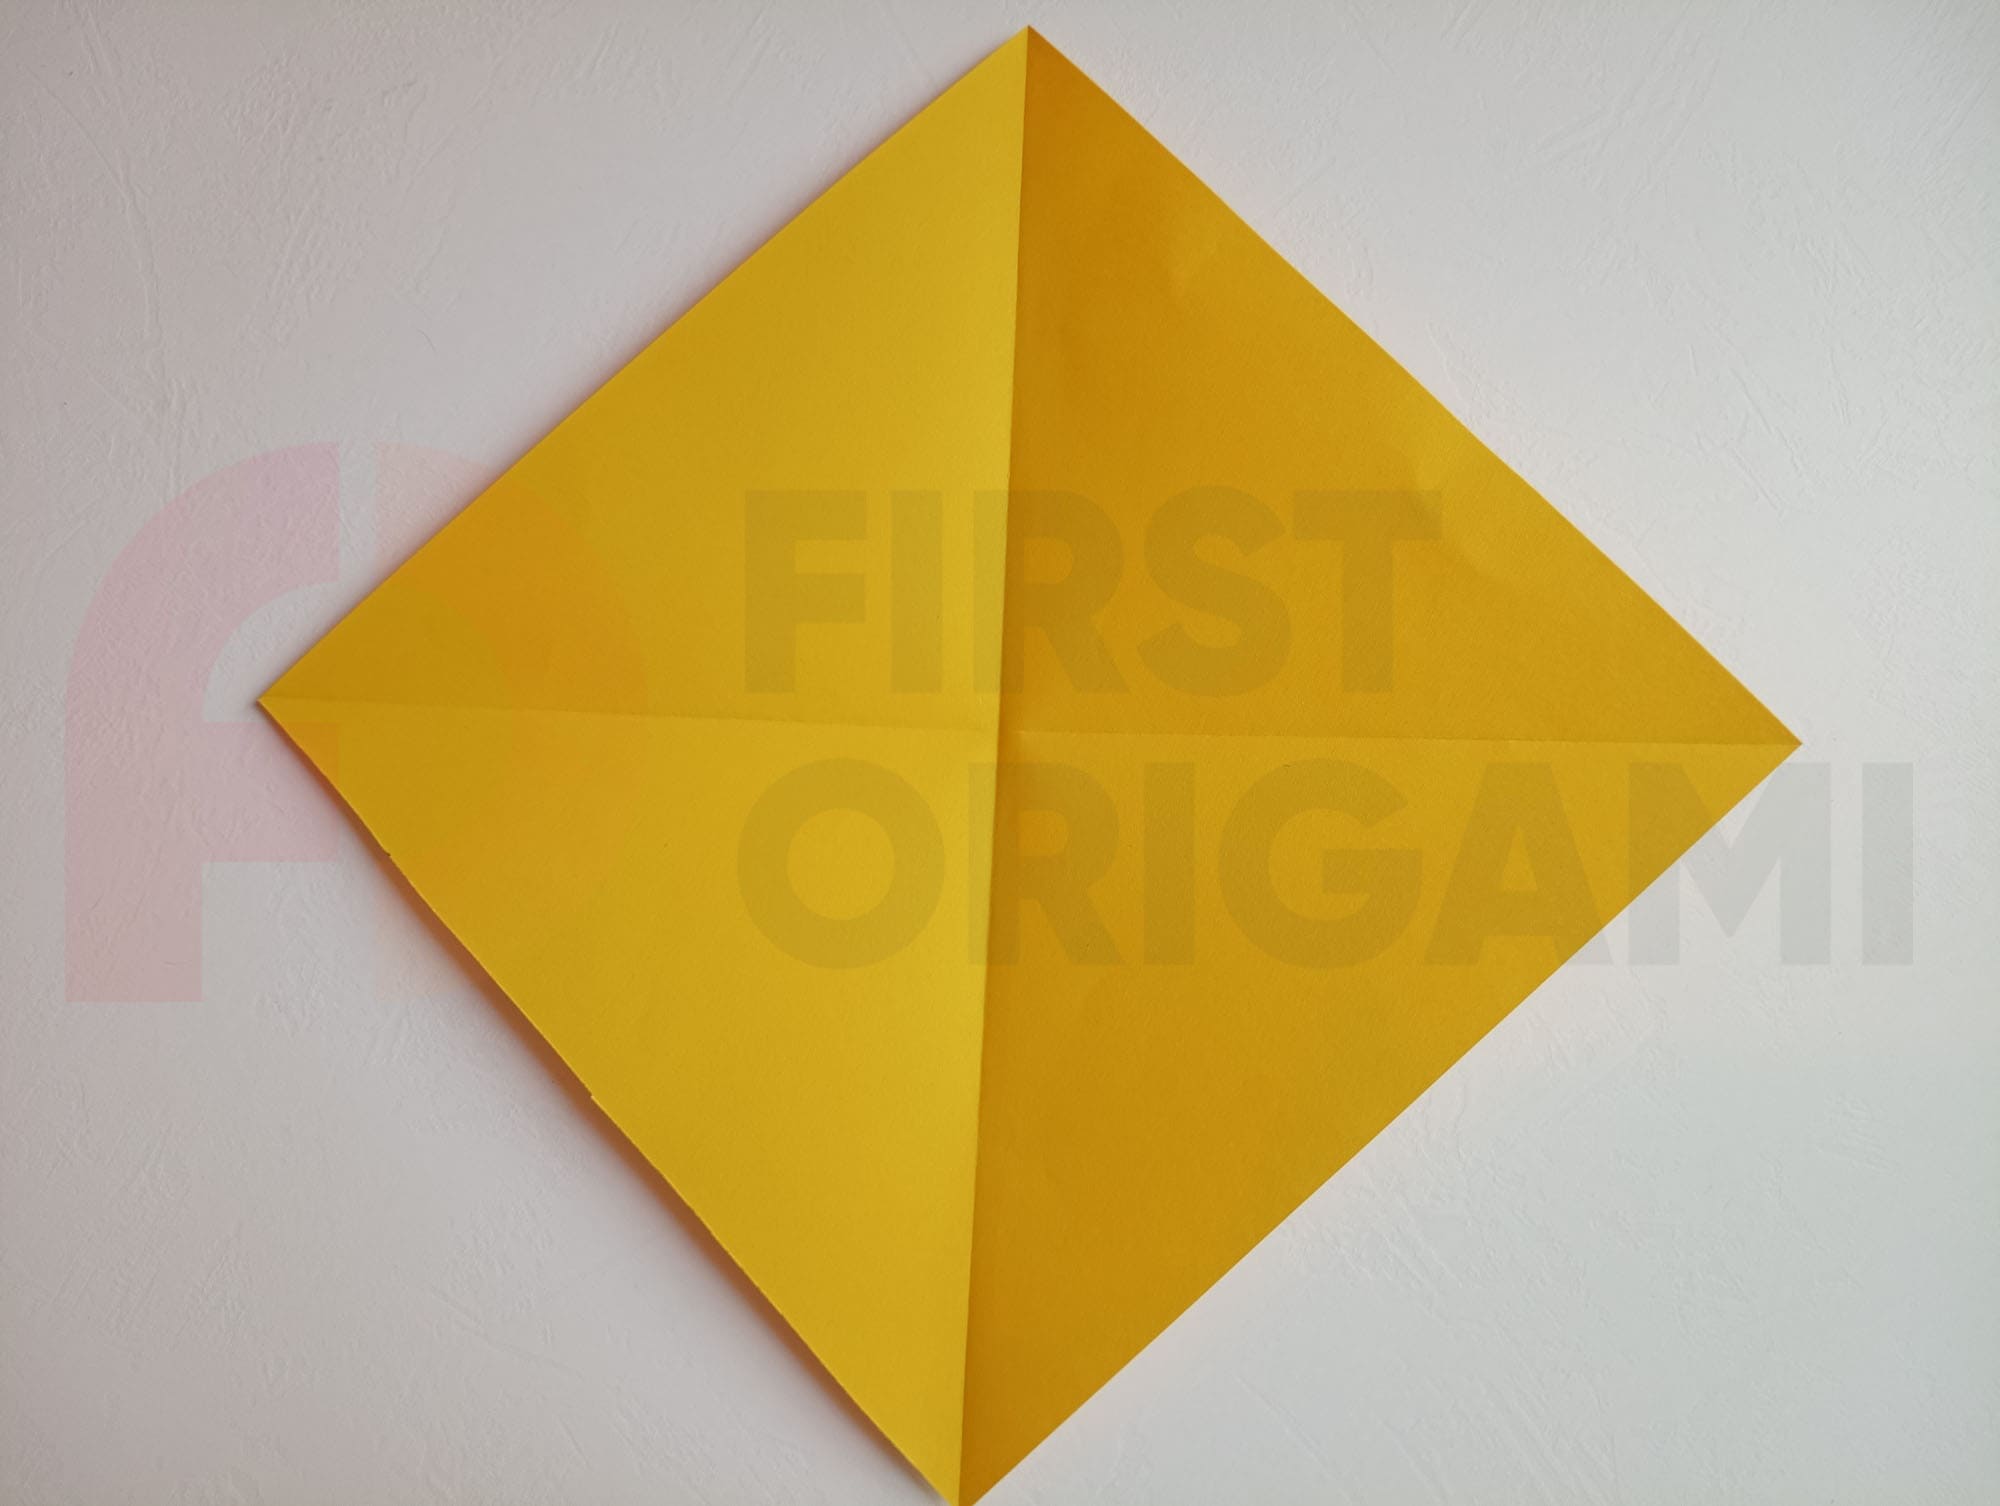
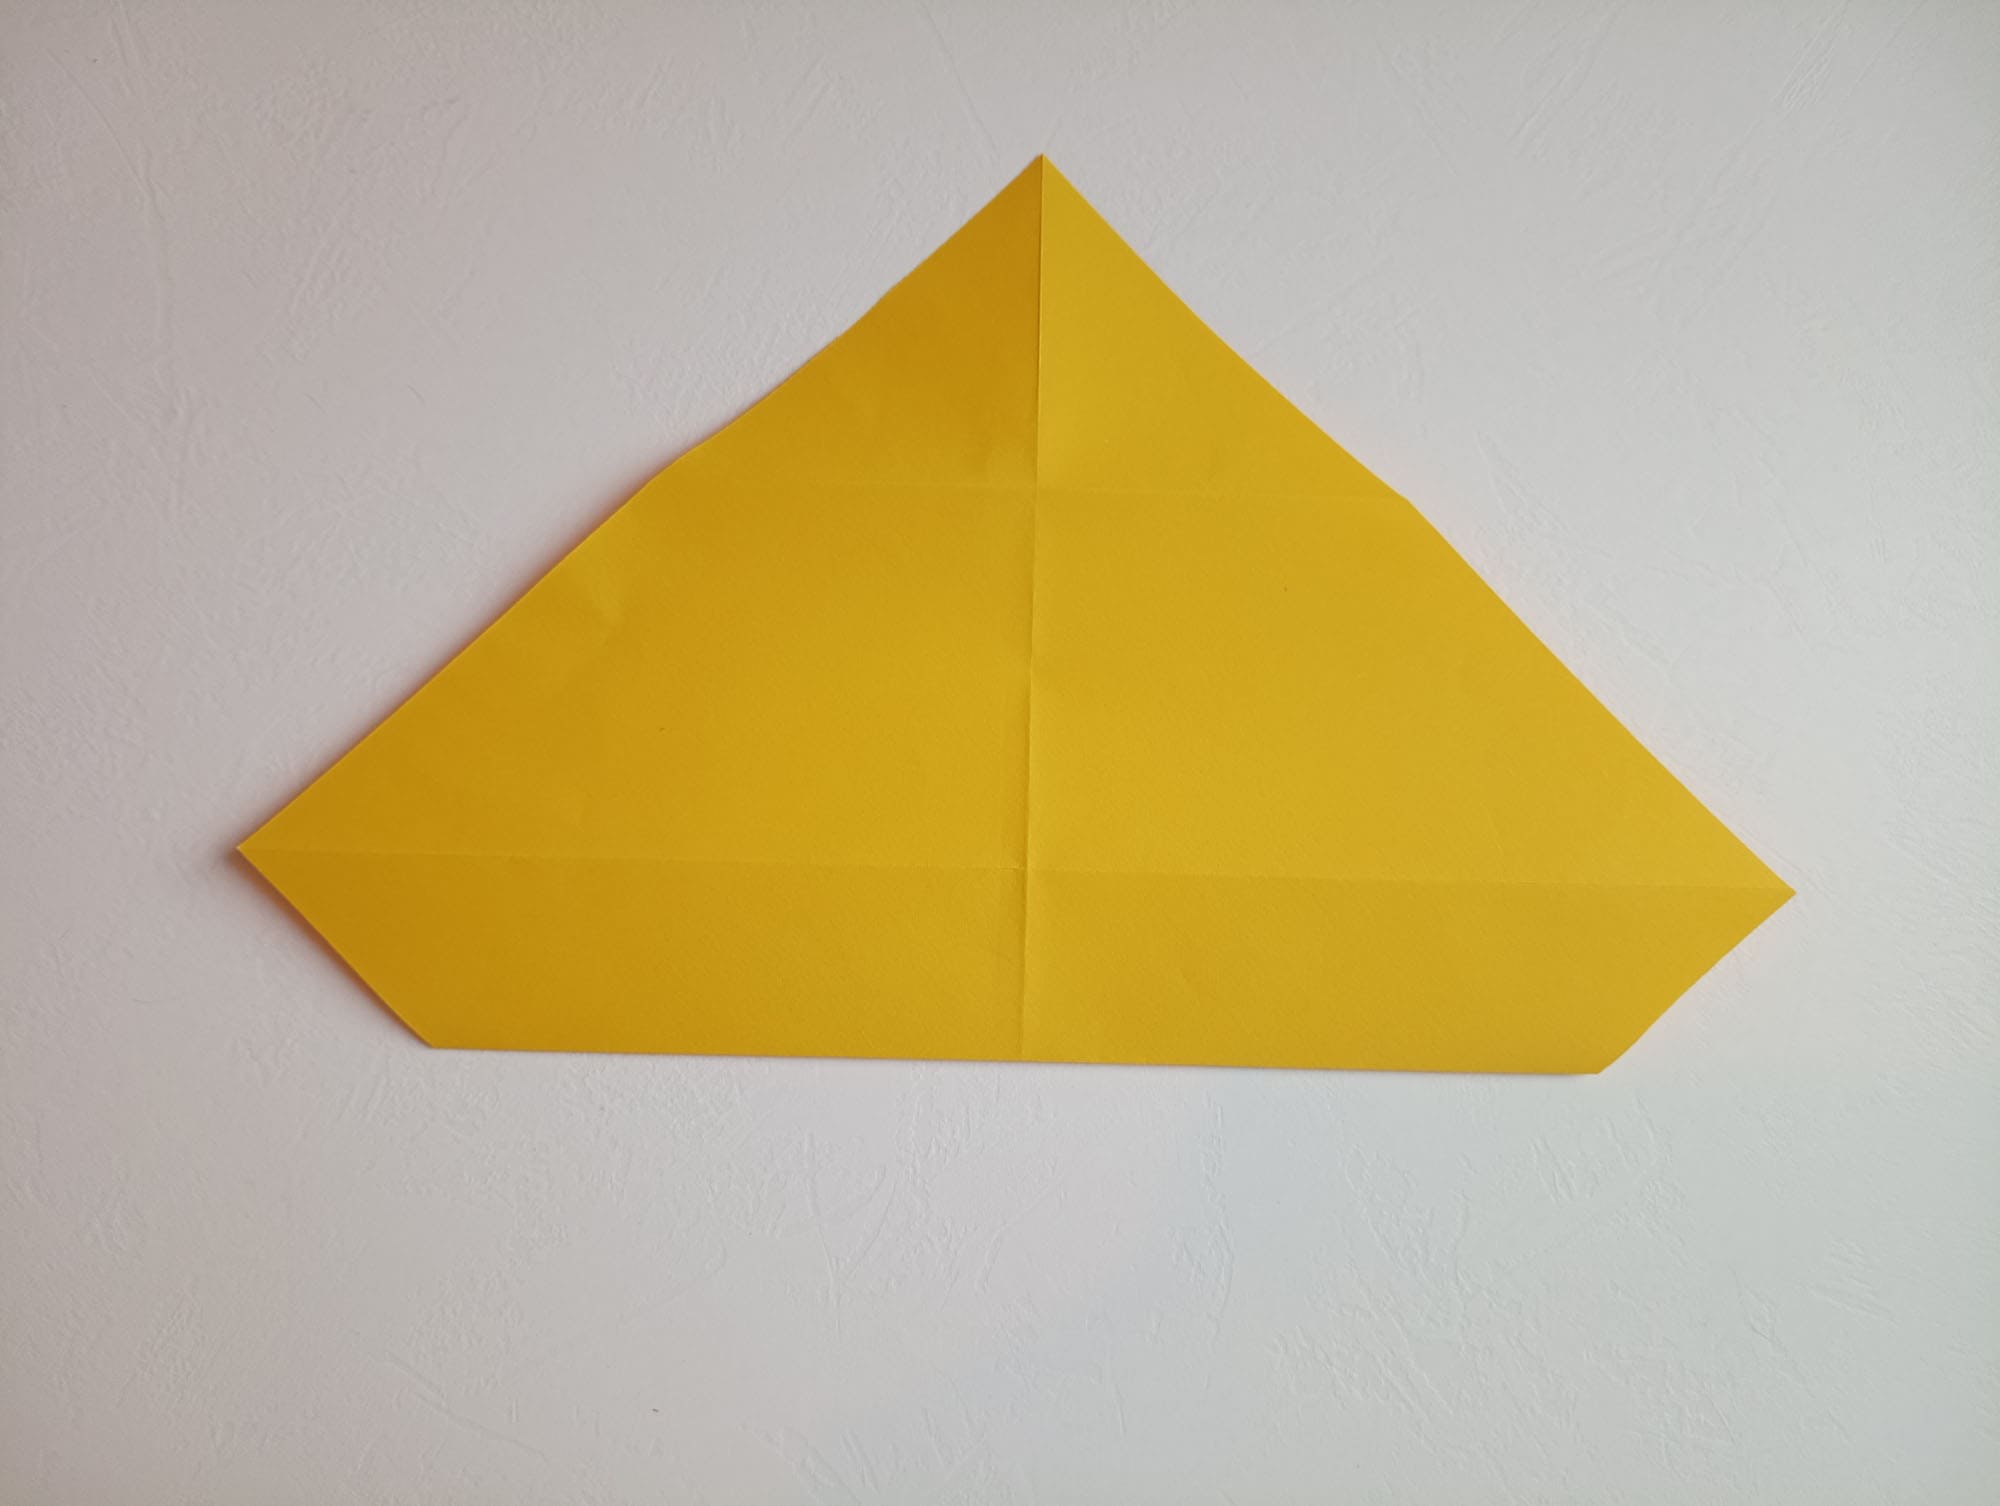
Make folds on both diagonals and unfold the sheet. You should get two folds as shown in the photo.
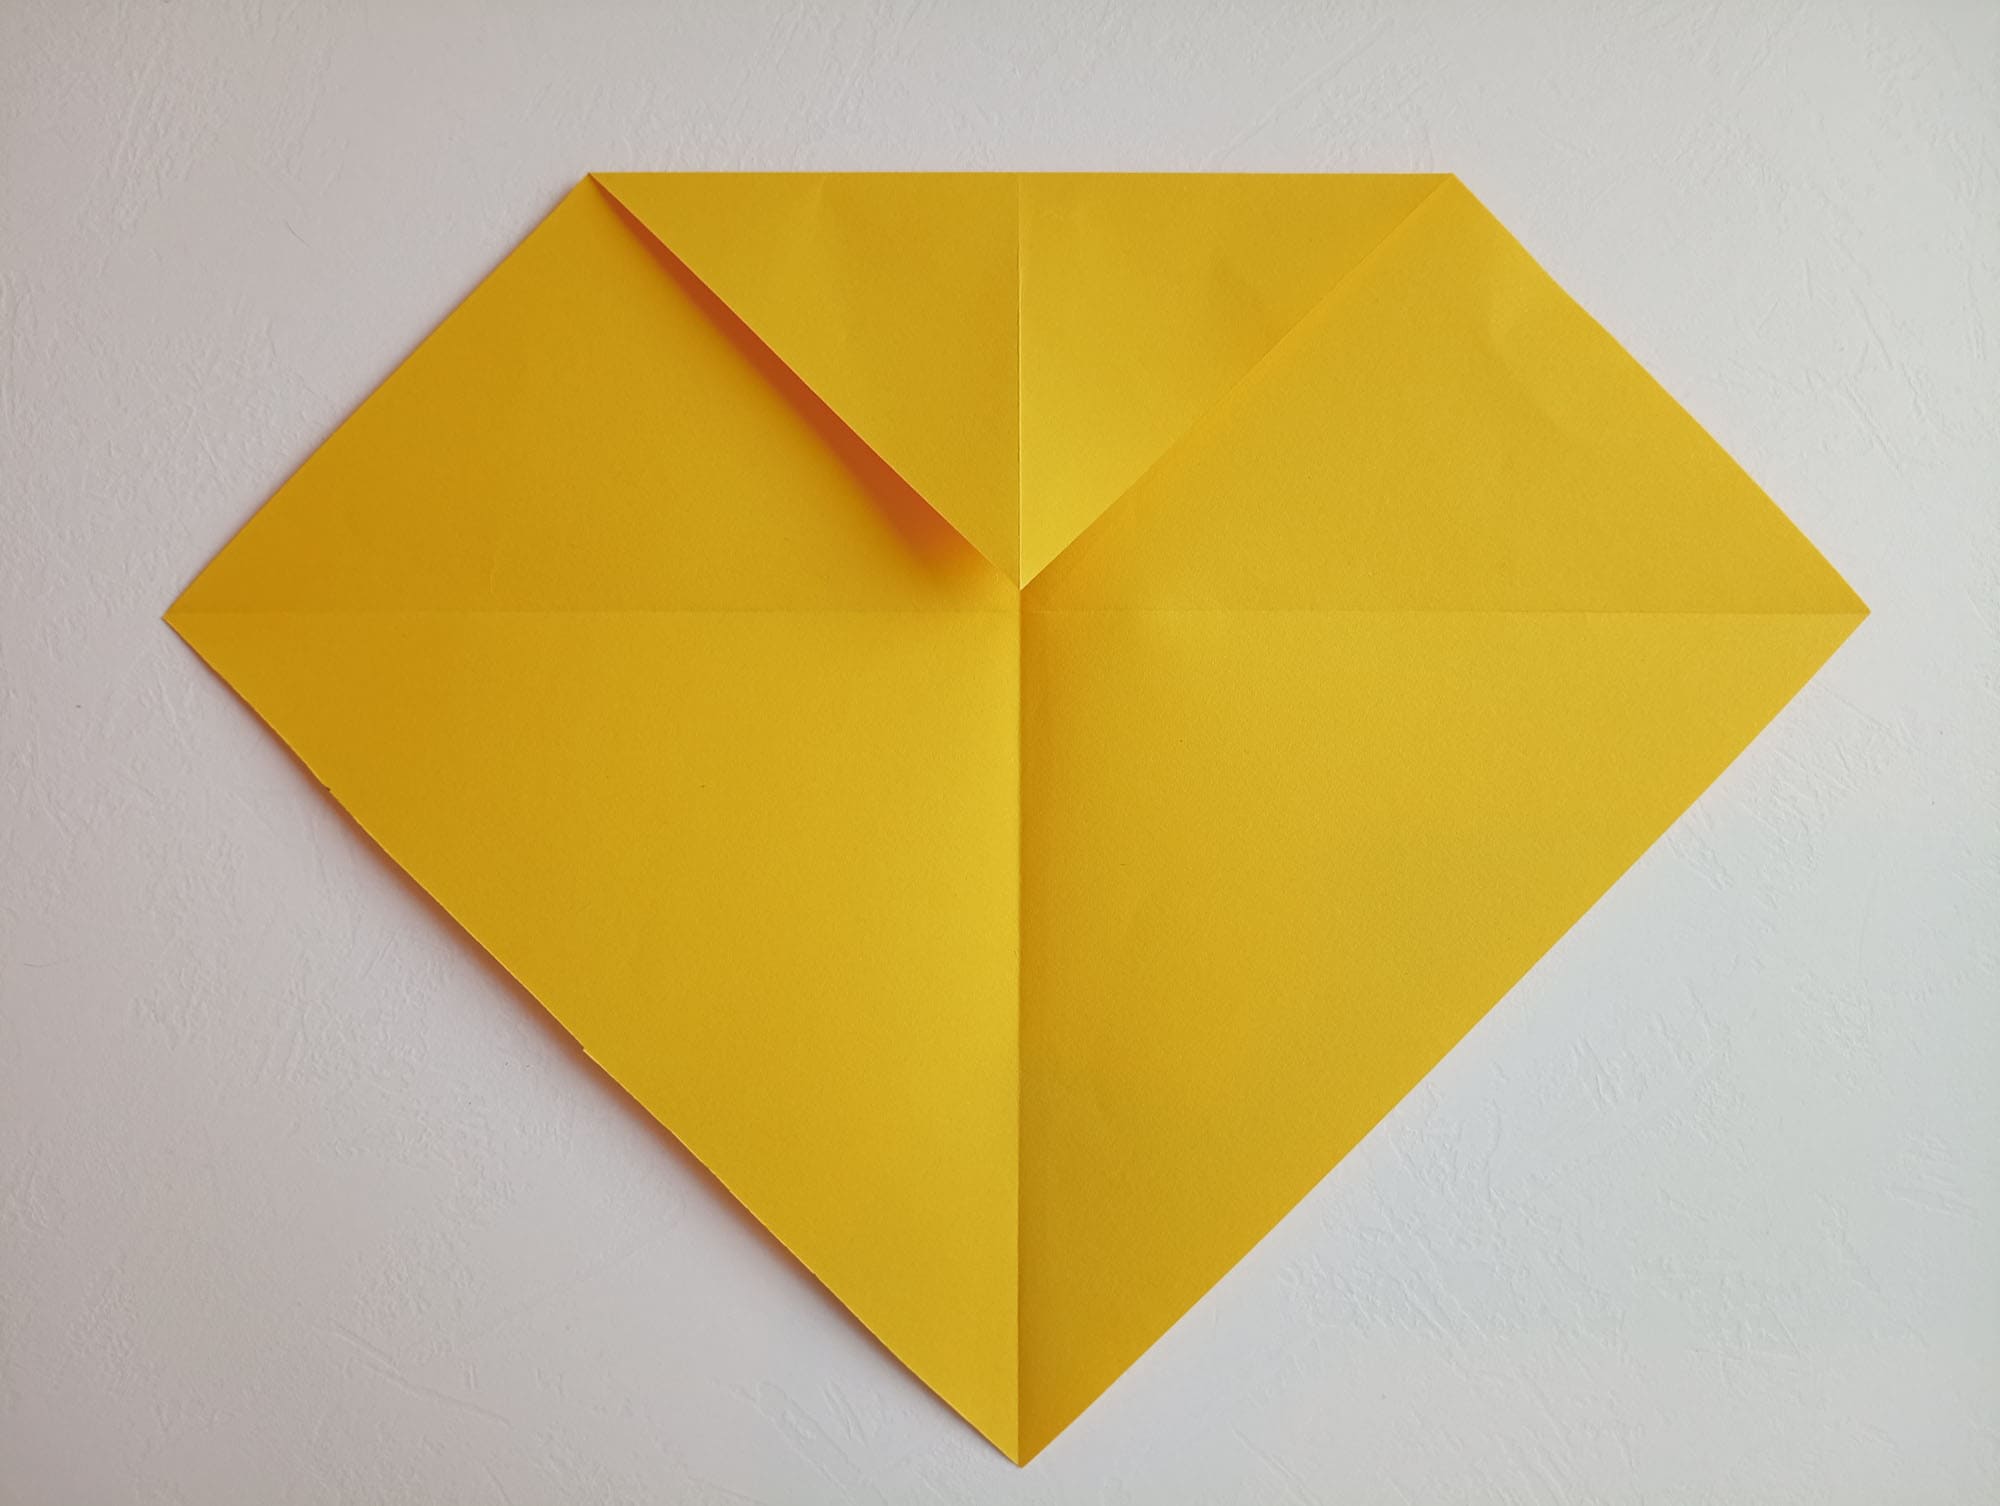
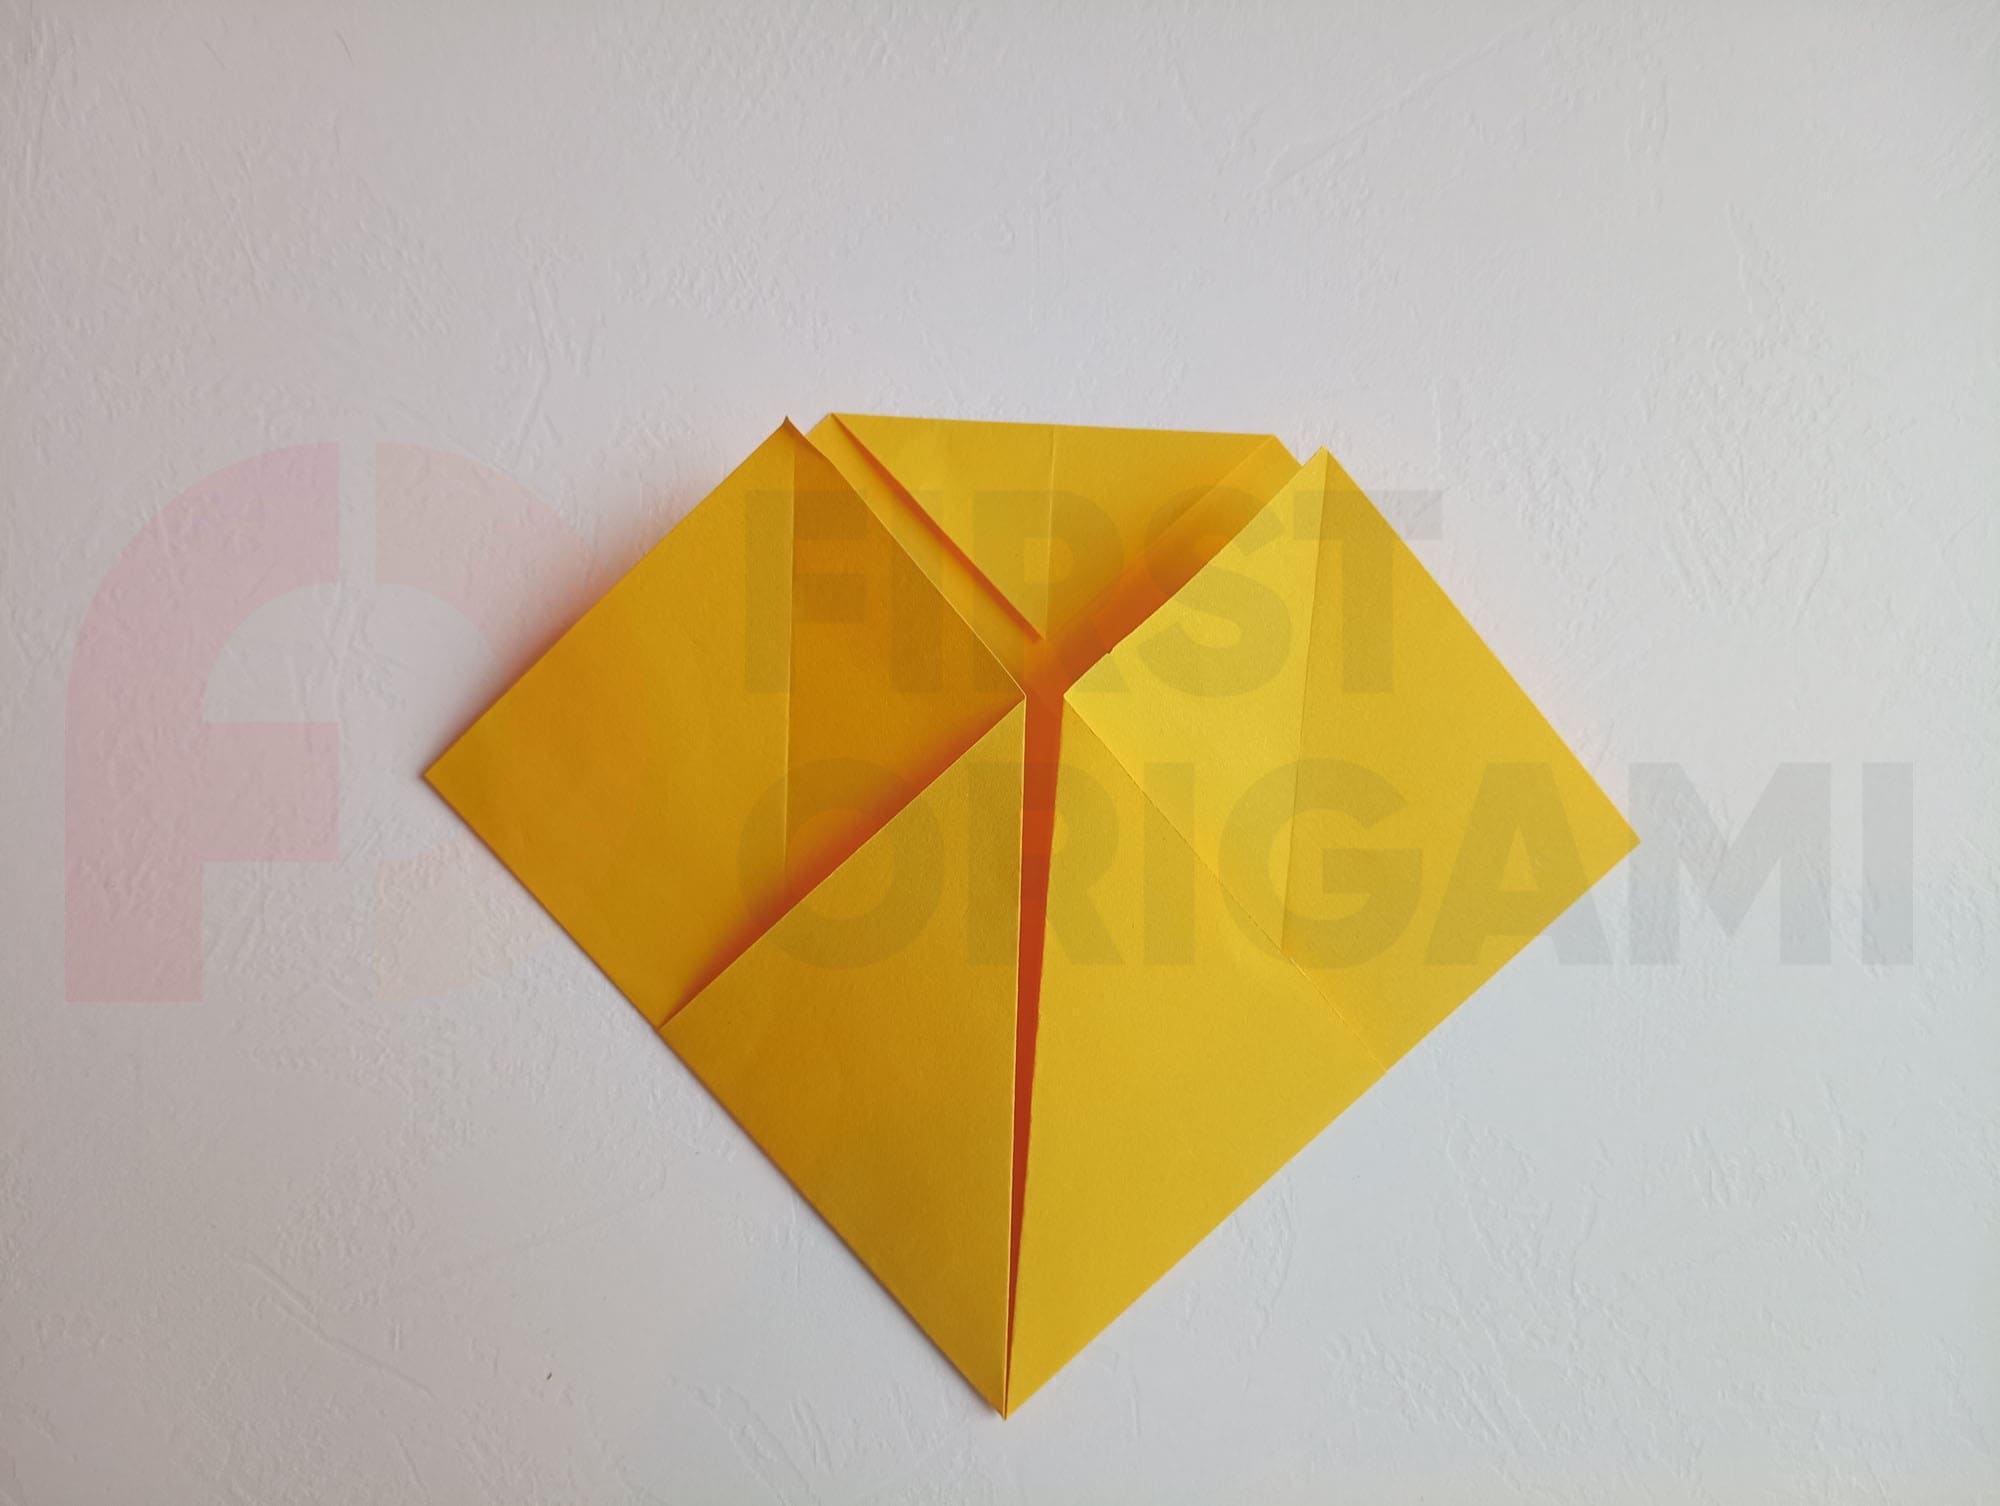
Fold the right-side corner to the center intersection point on the sheet.
Fold back the corner to create another vertical line.
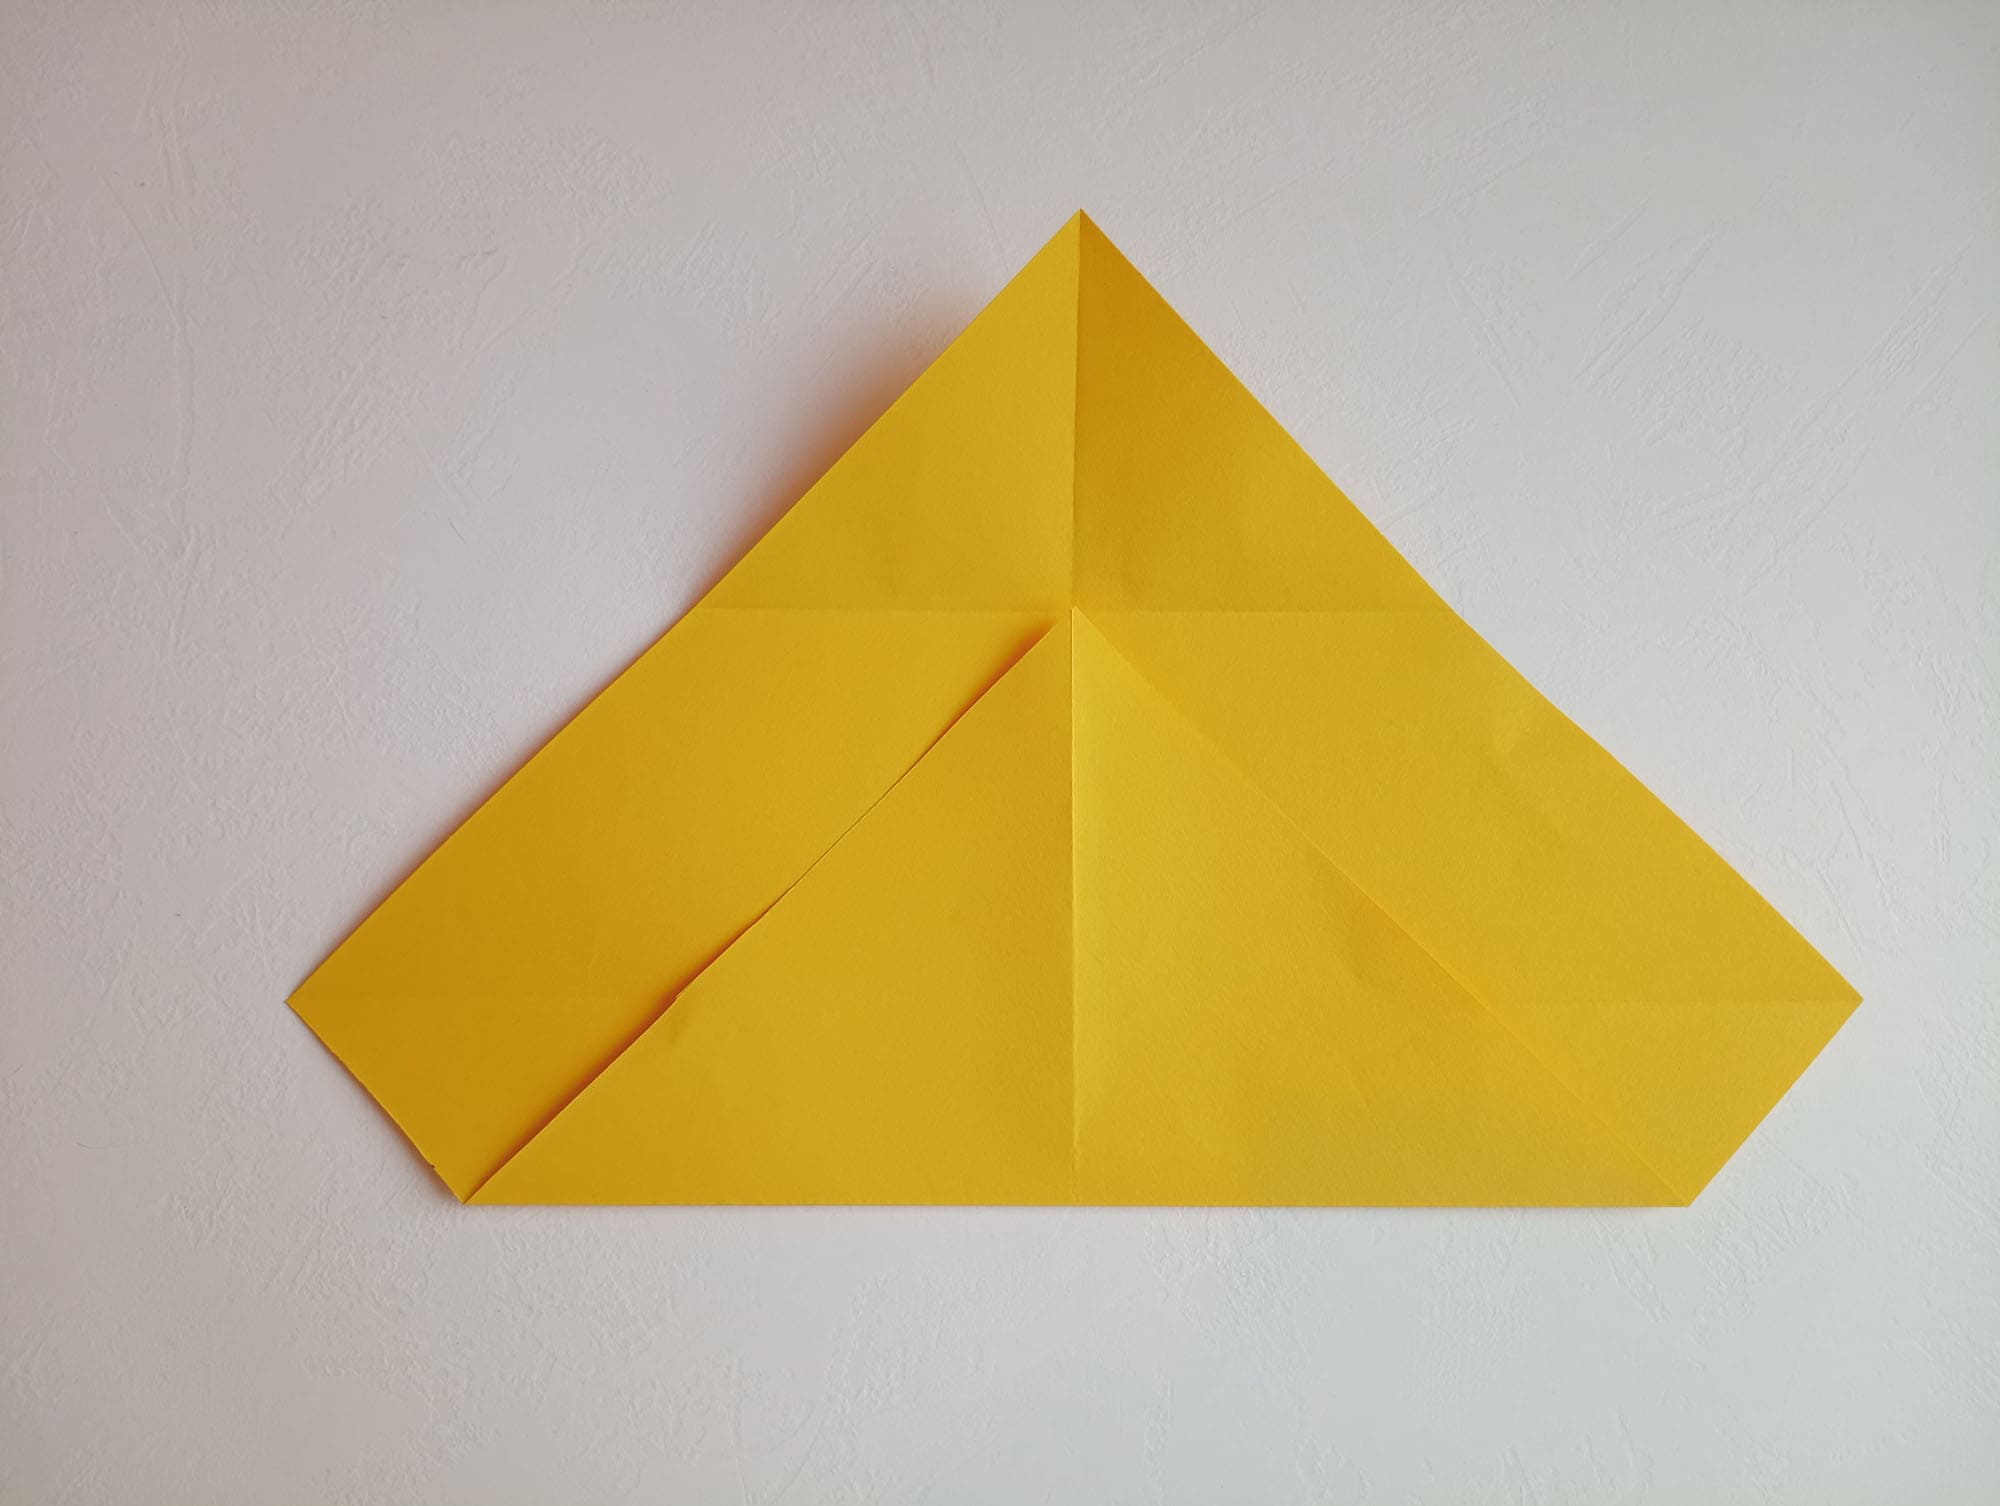
Bend the opposite corner to the valley intersection point from the previous step.
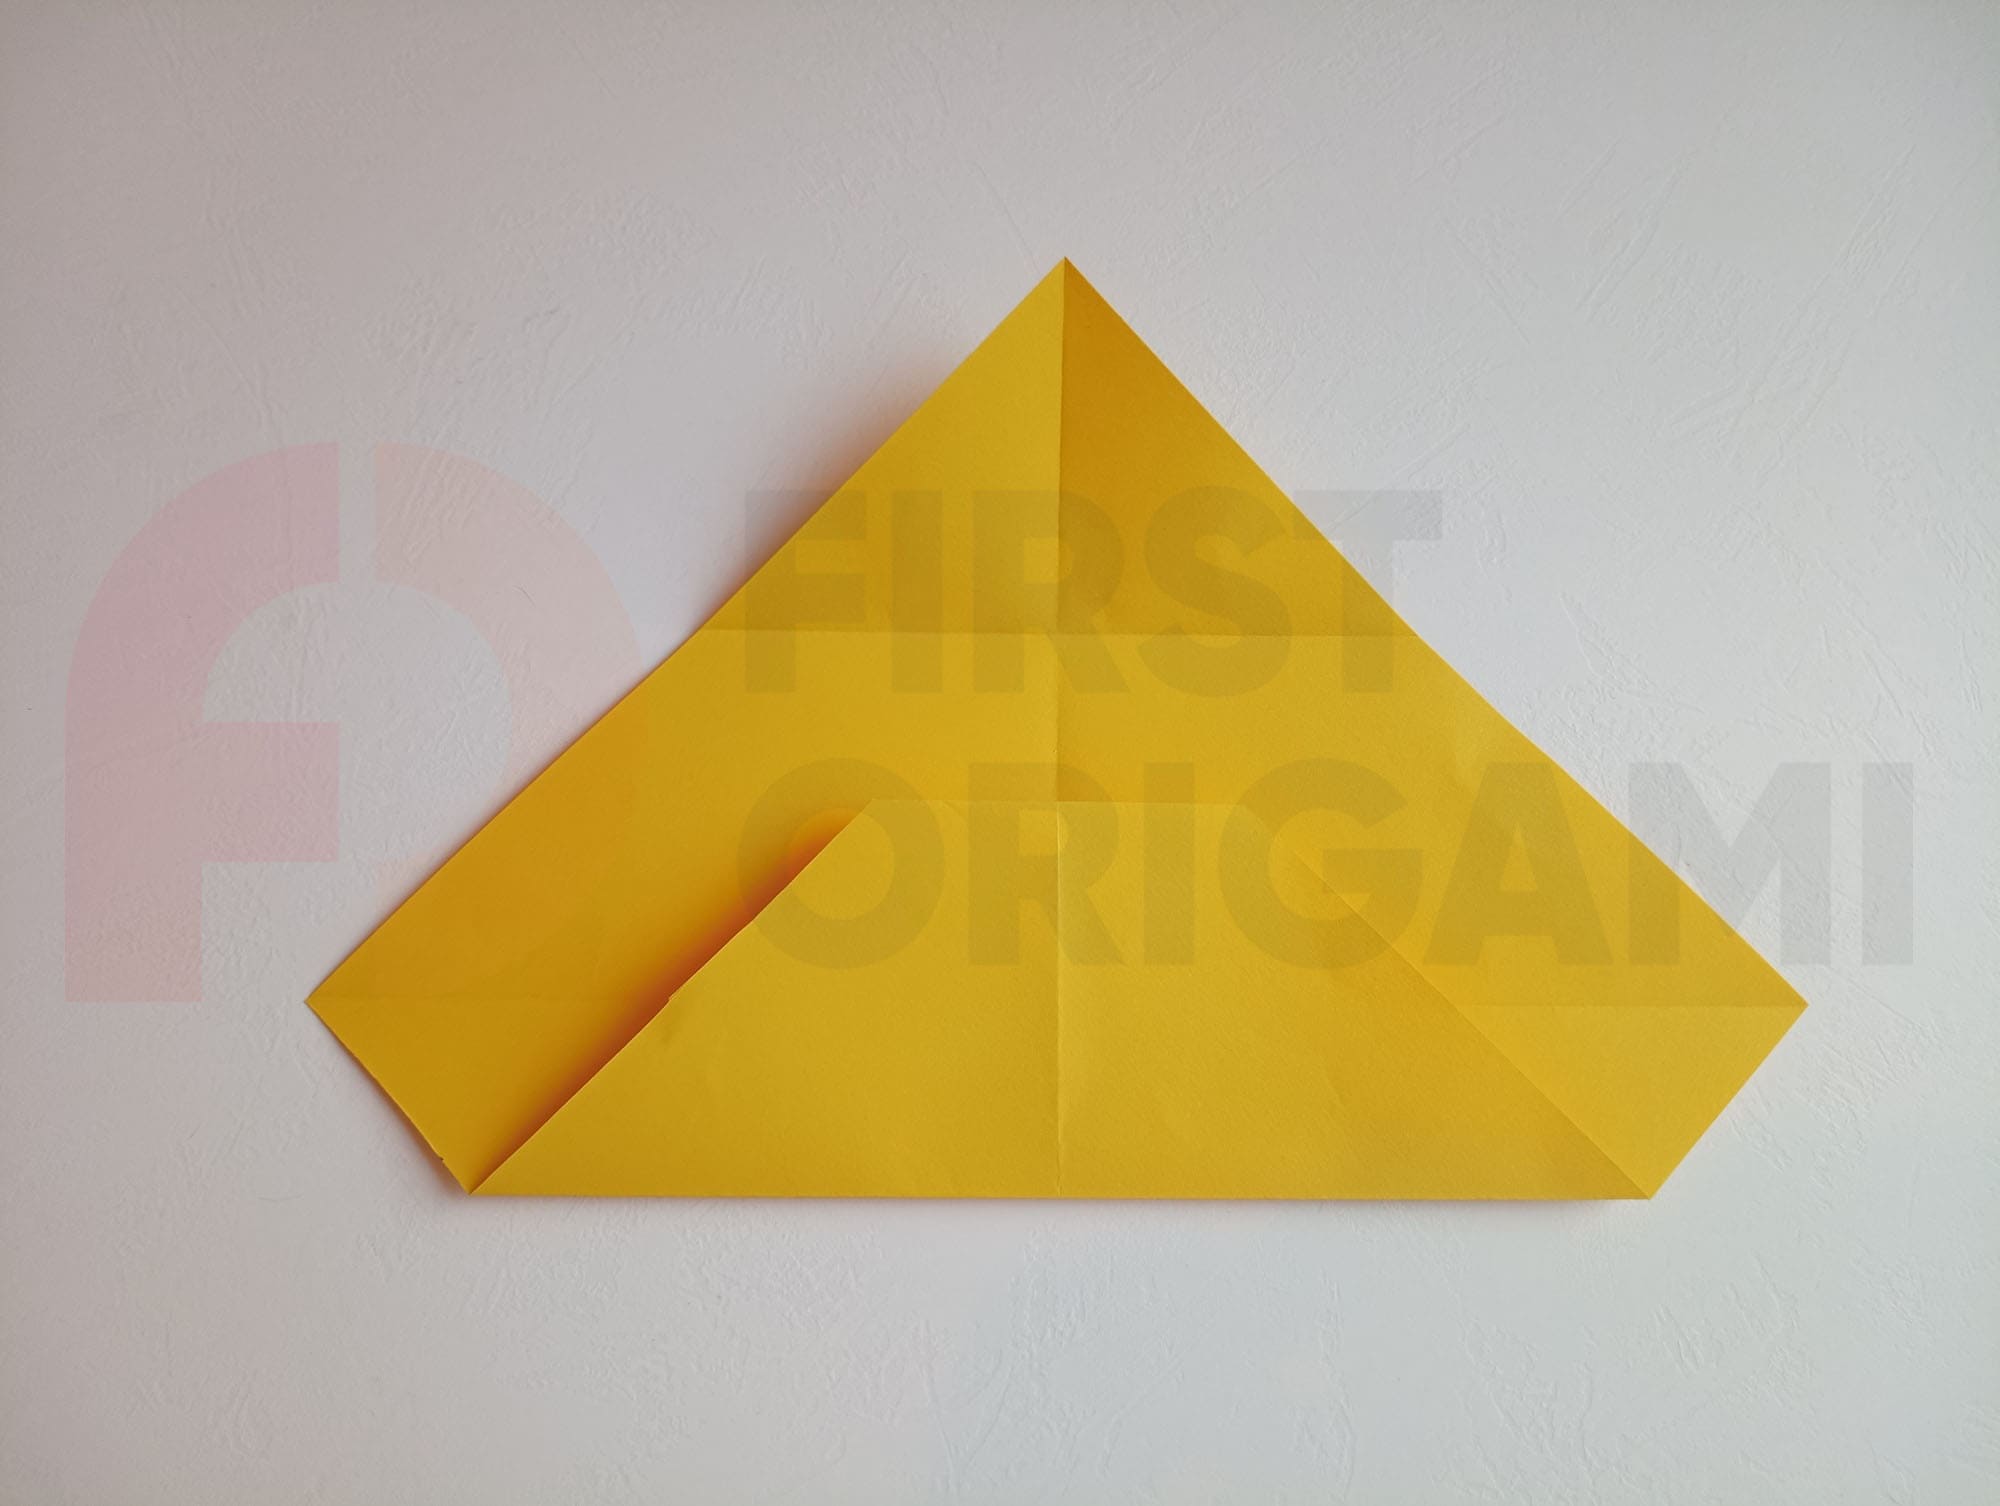
Bend inward the corner in the center part of the figure (see photo).
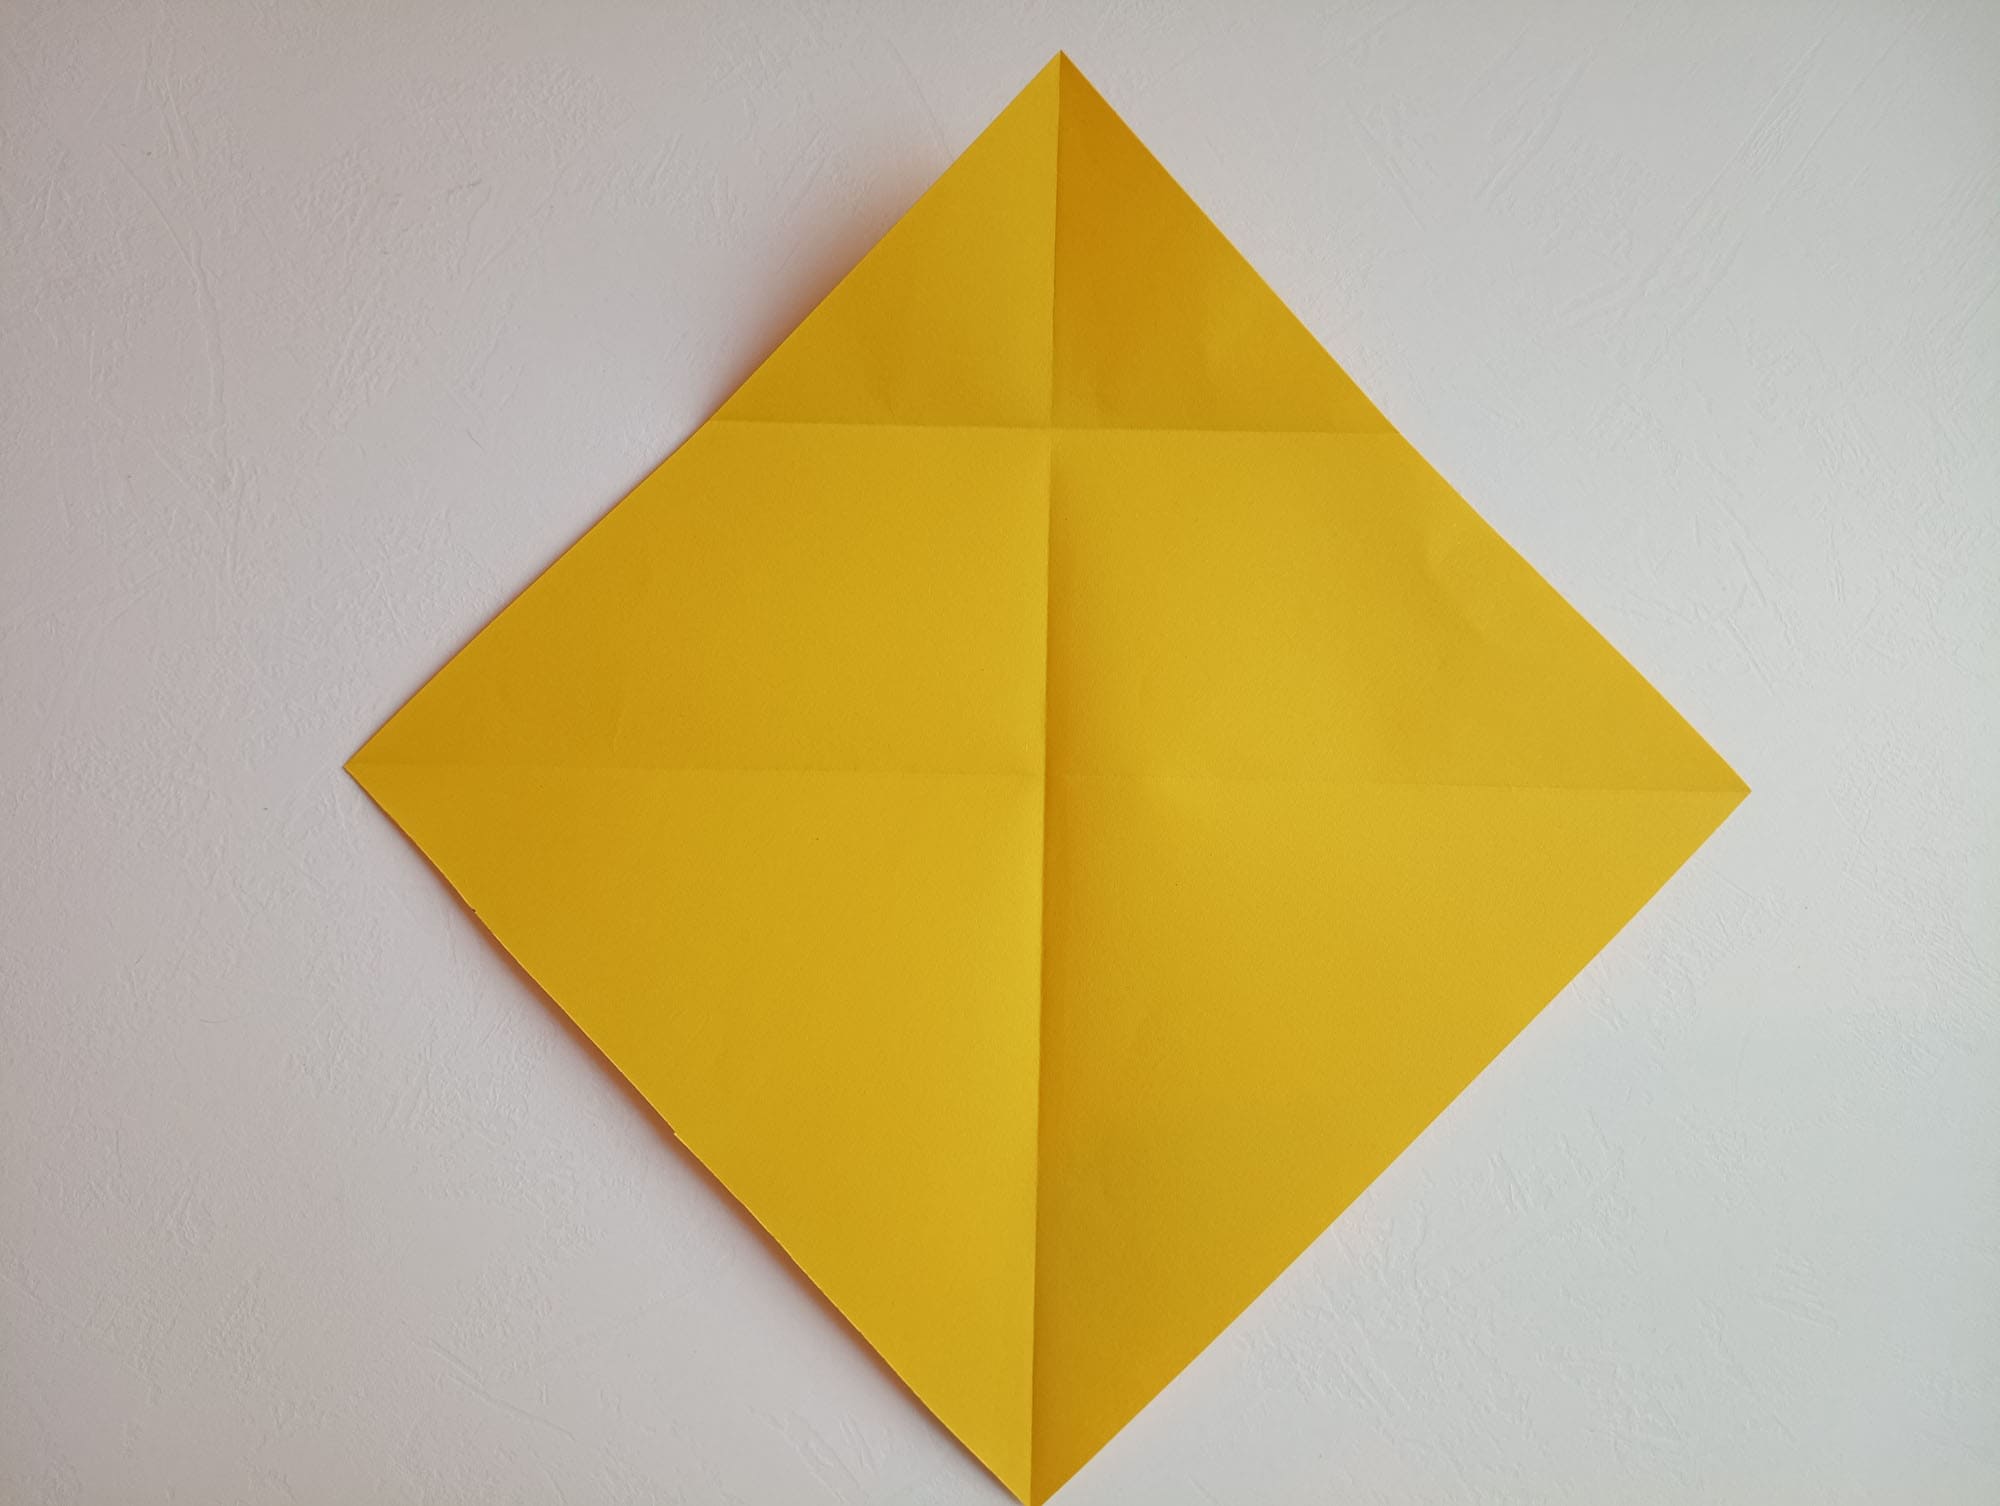
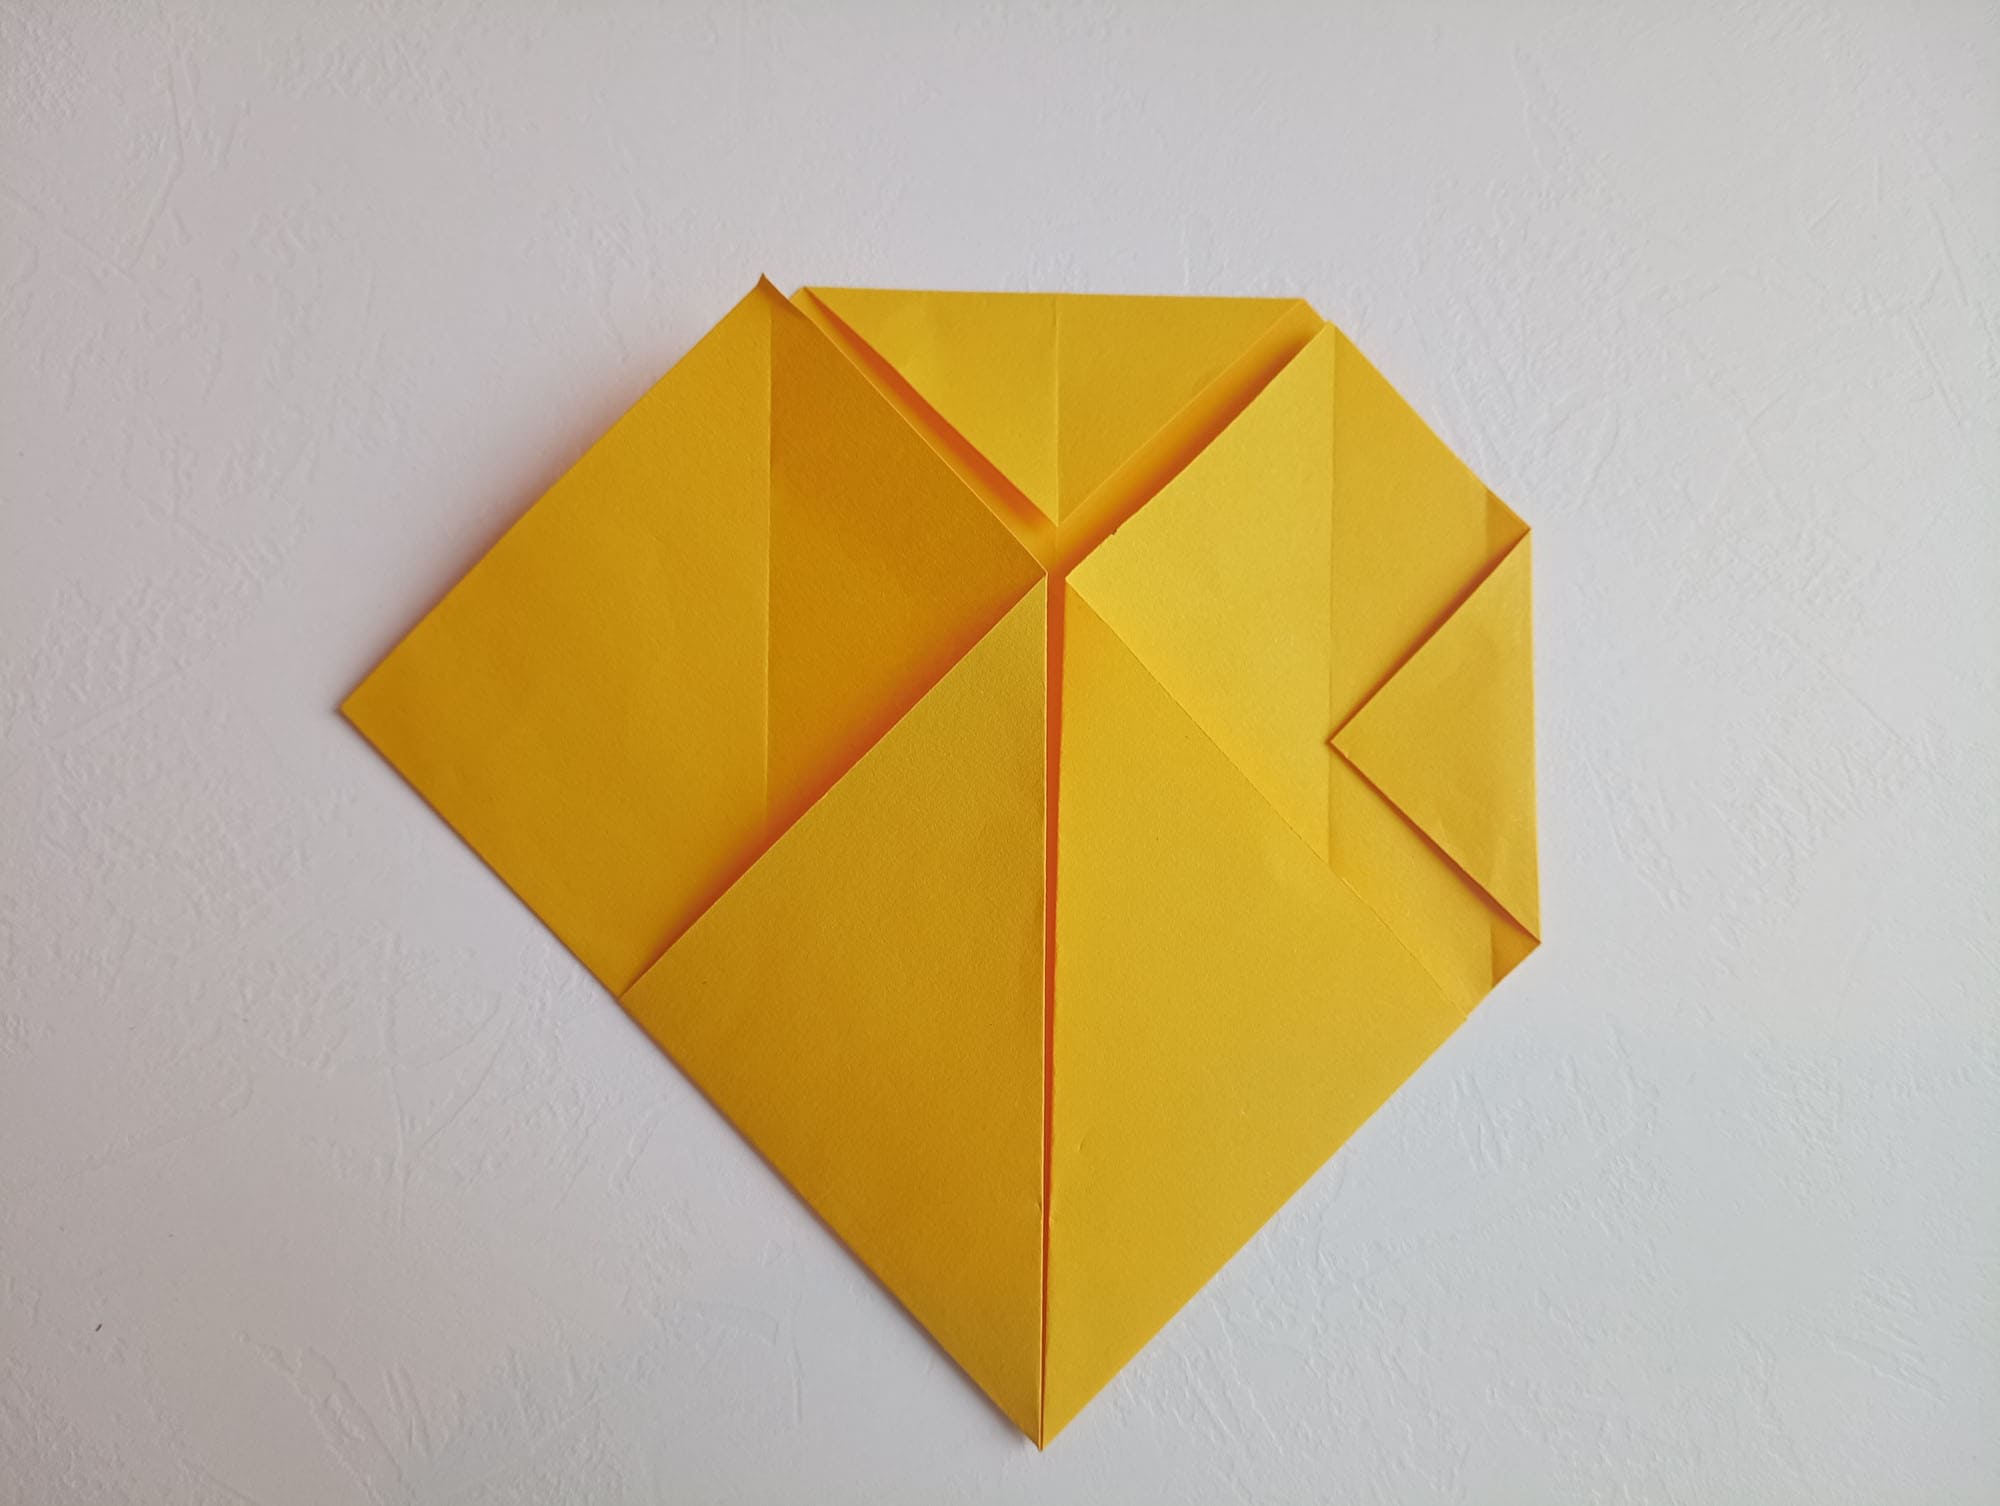
Turn the figure over.
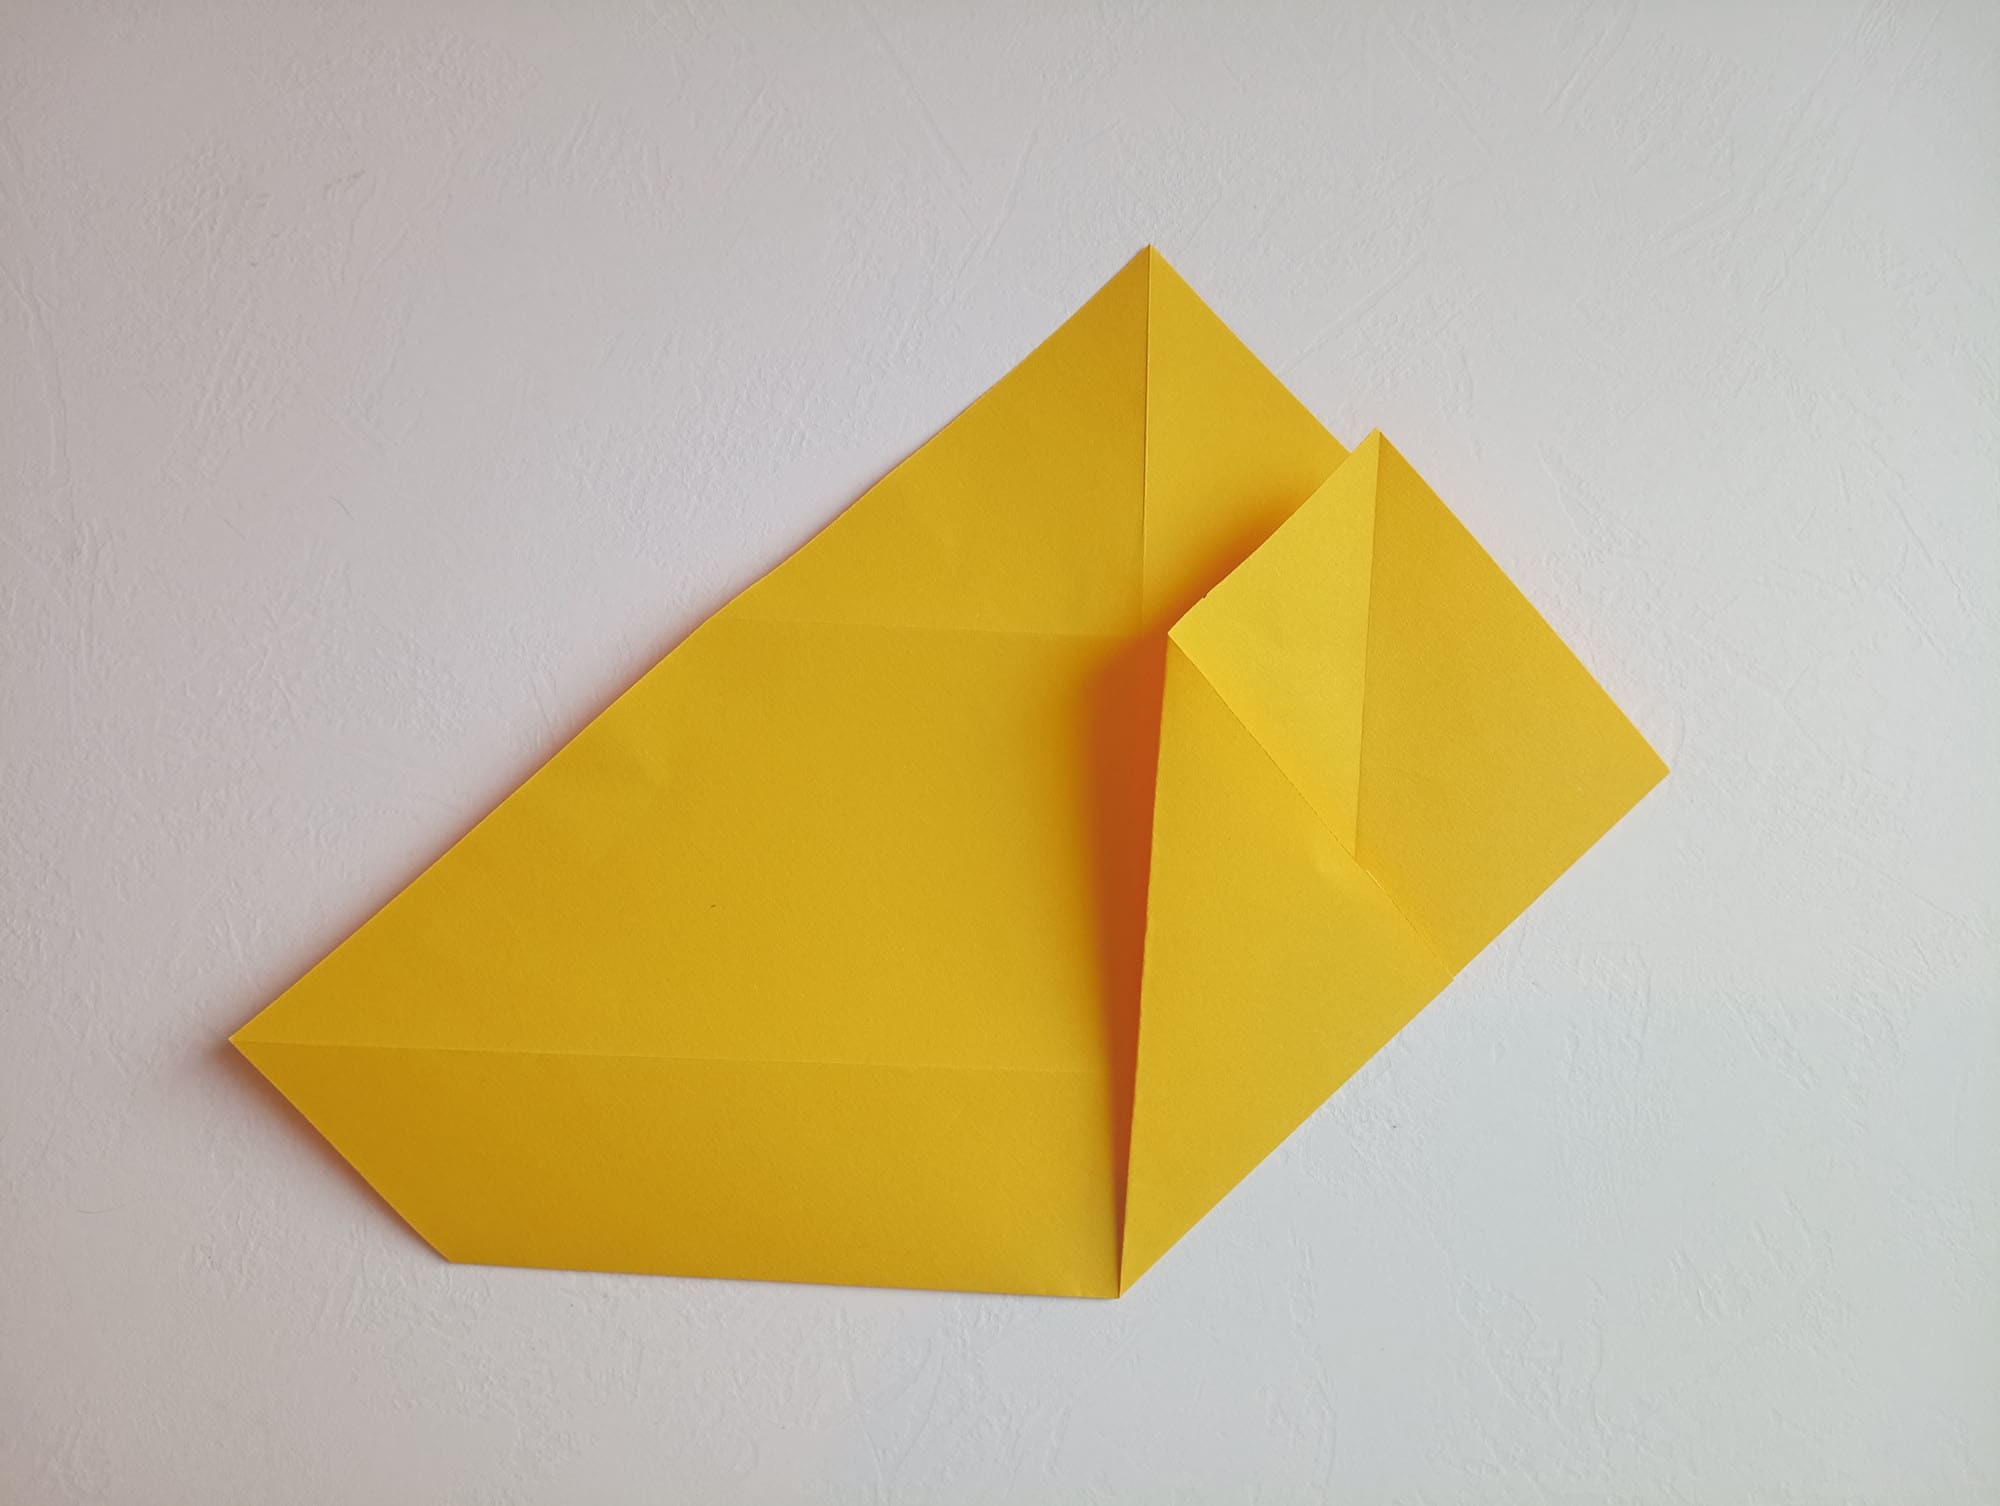
The next step is to wrap the right edge to the center.

Then wrap the left edge to the center.
Bend the top corner, but not completely, so that there is still a distance between the contact lines.
Wrap the side edges to the nearest valley.

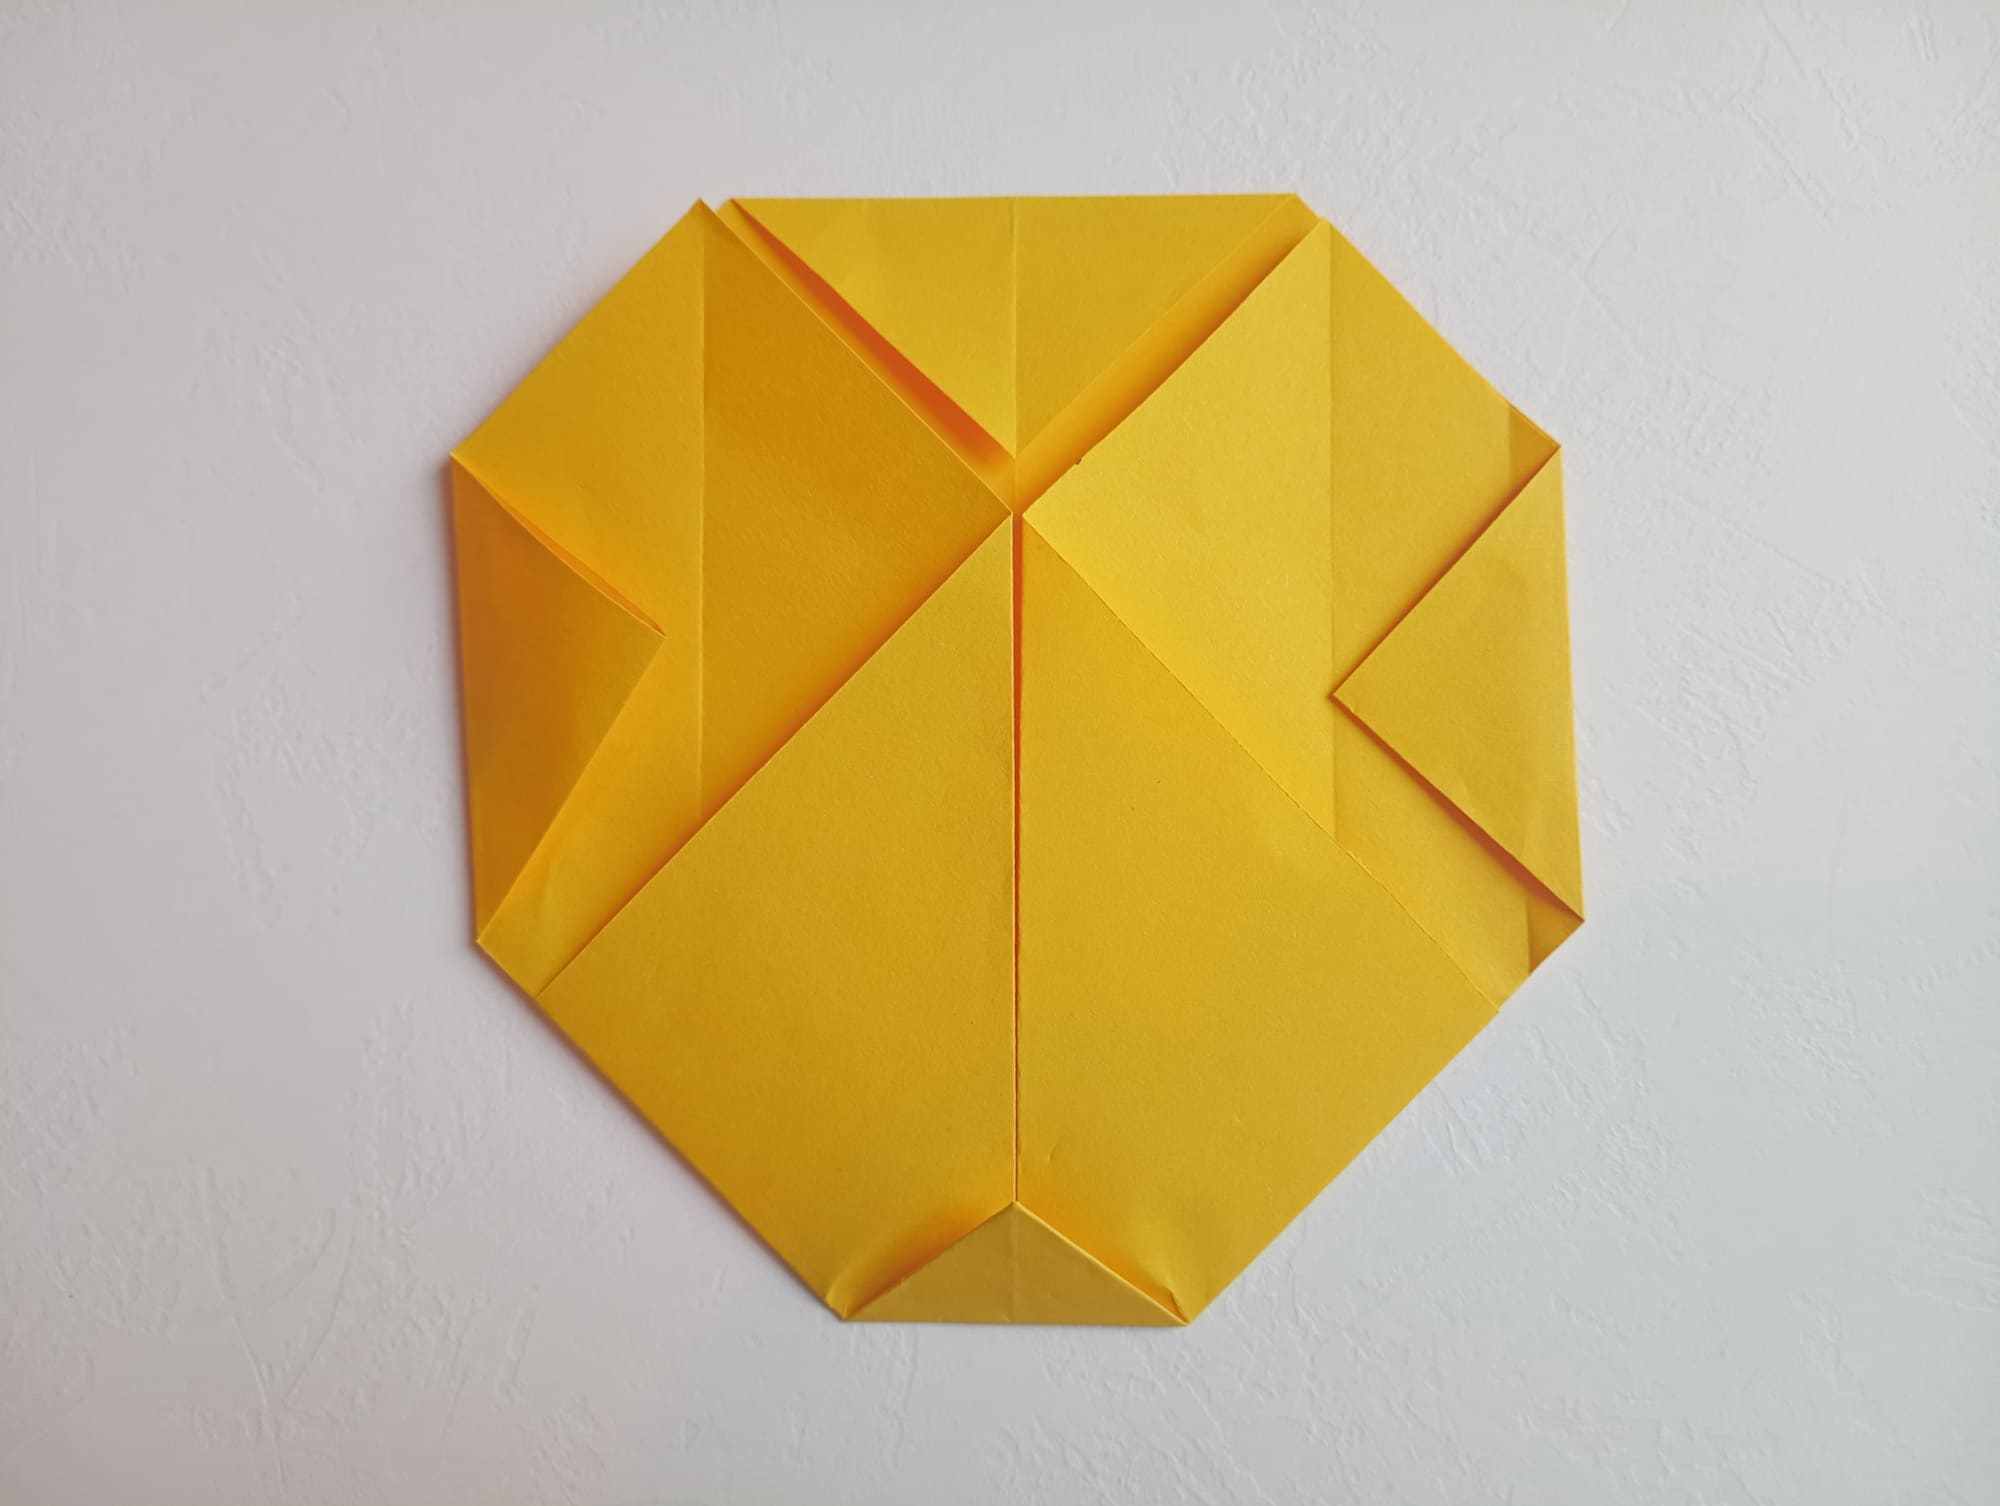
Fold the remaining bottom corner to the center as well.
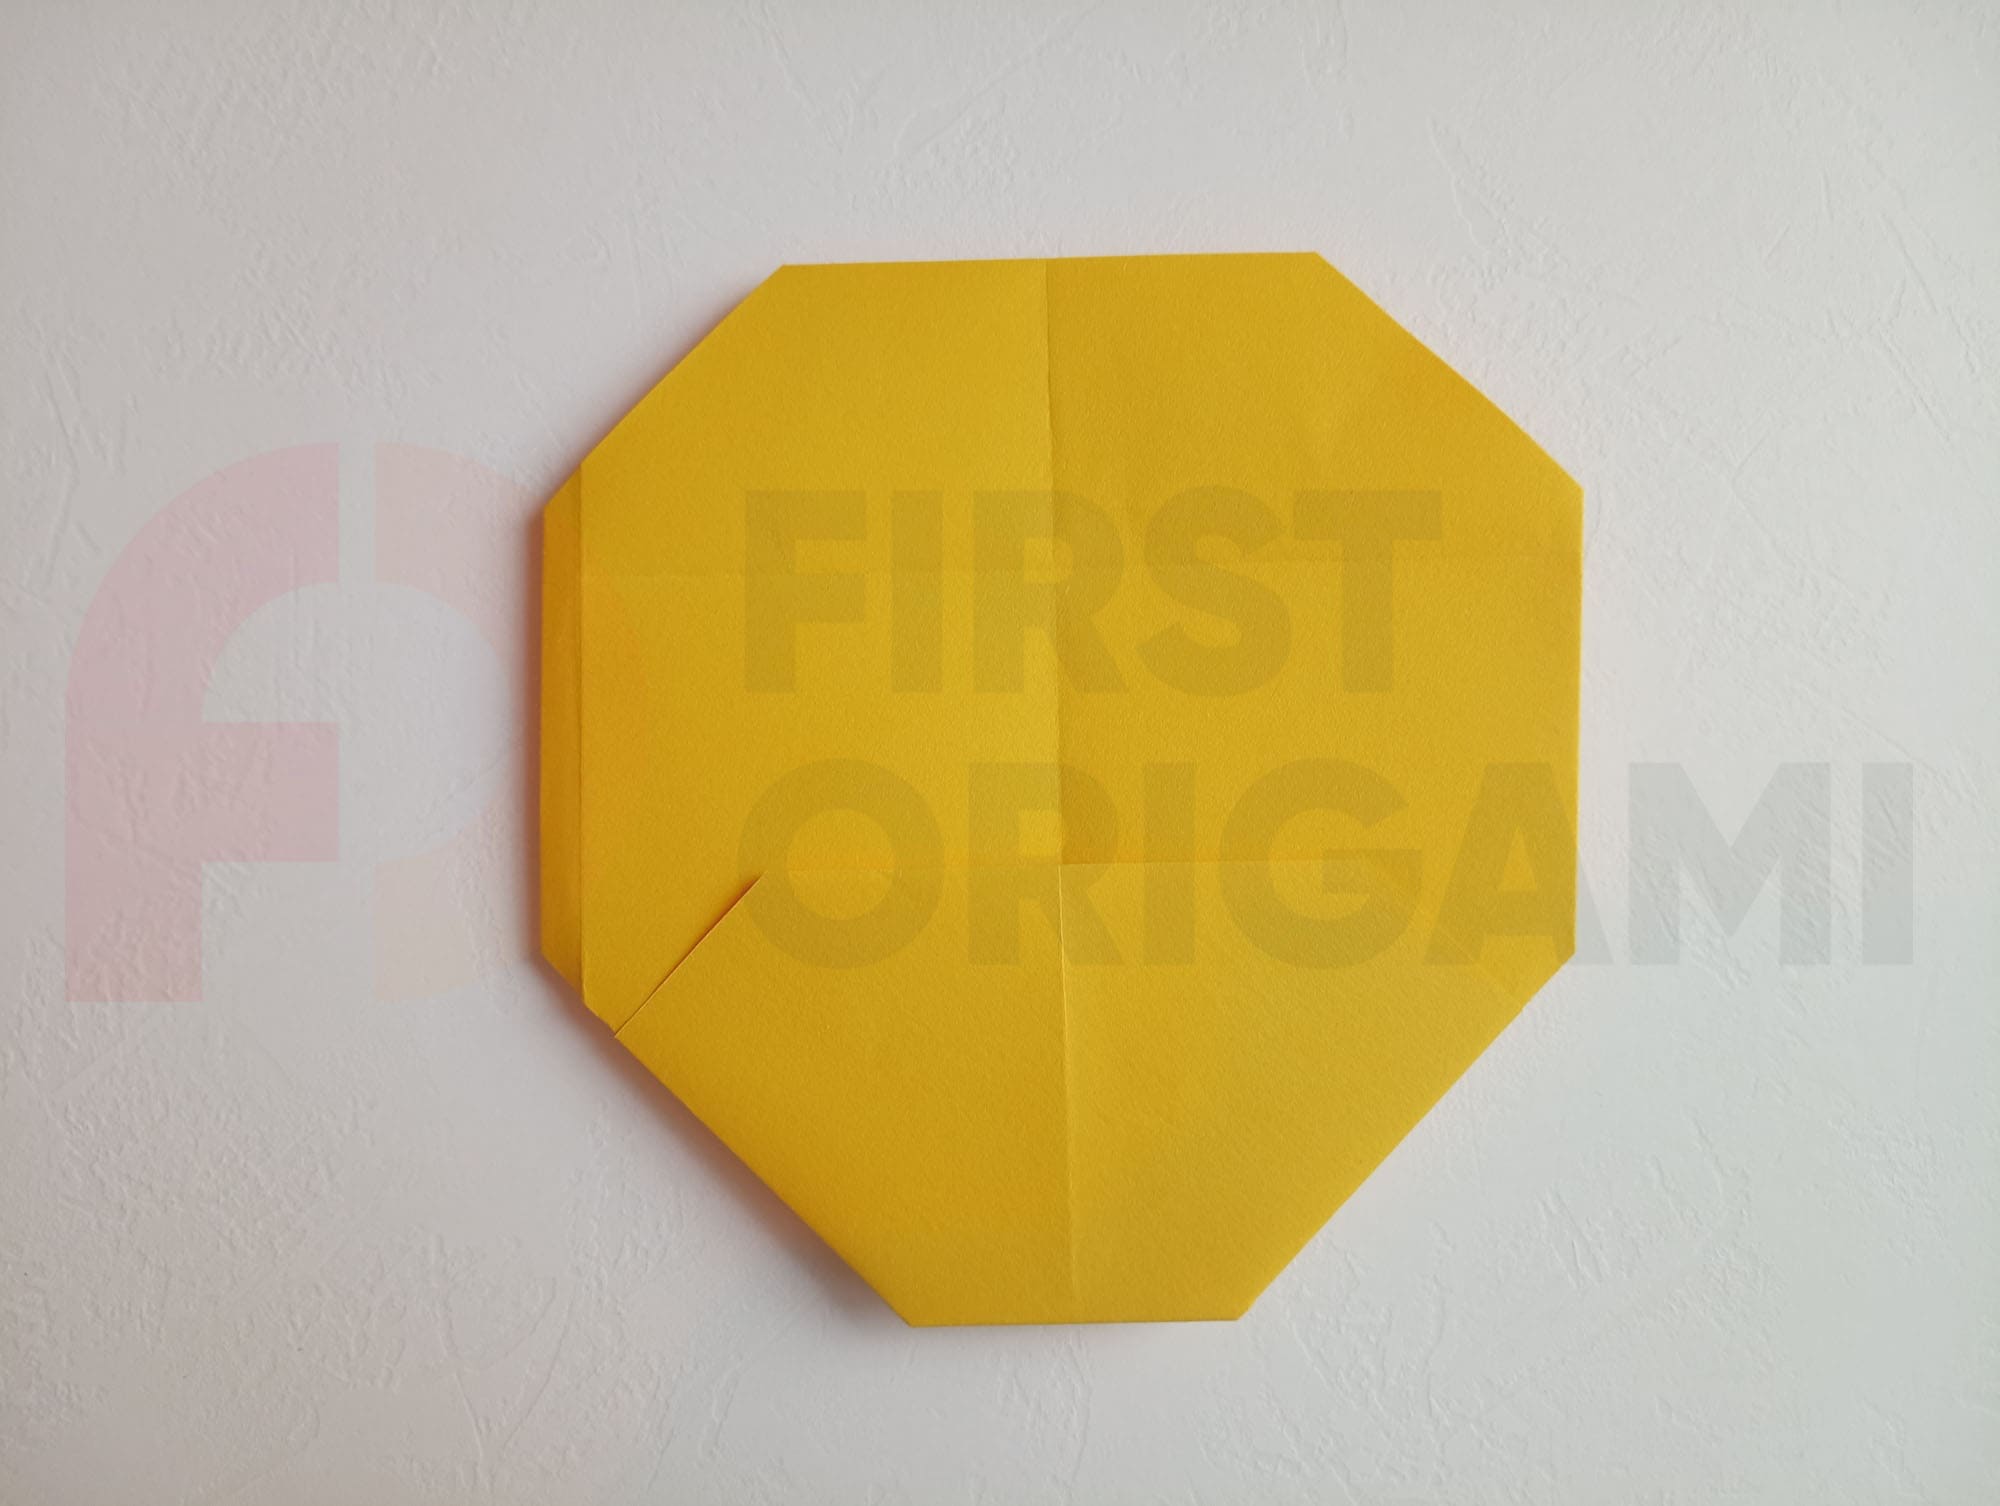
Flip the shape over. The base for the mask is ready.
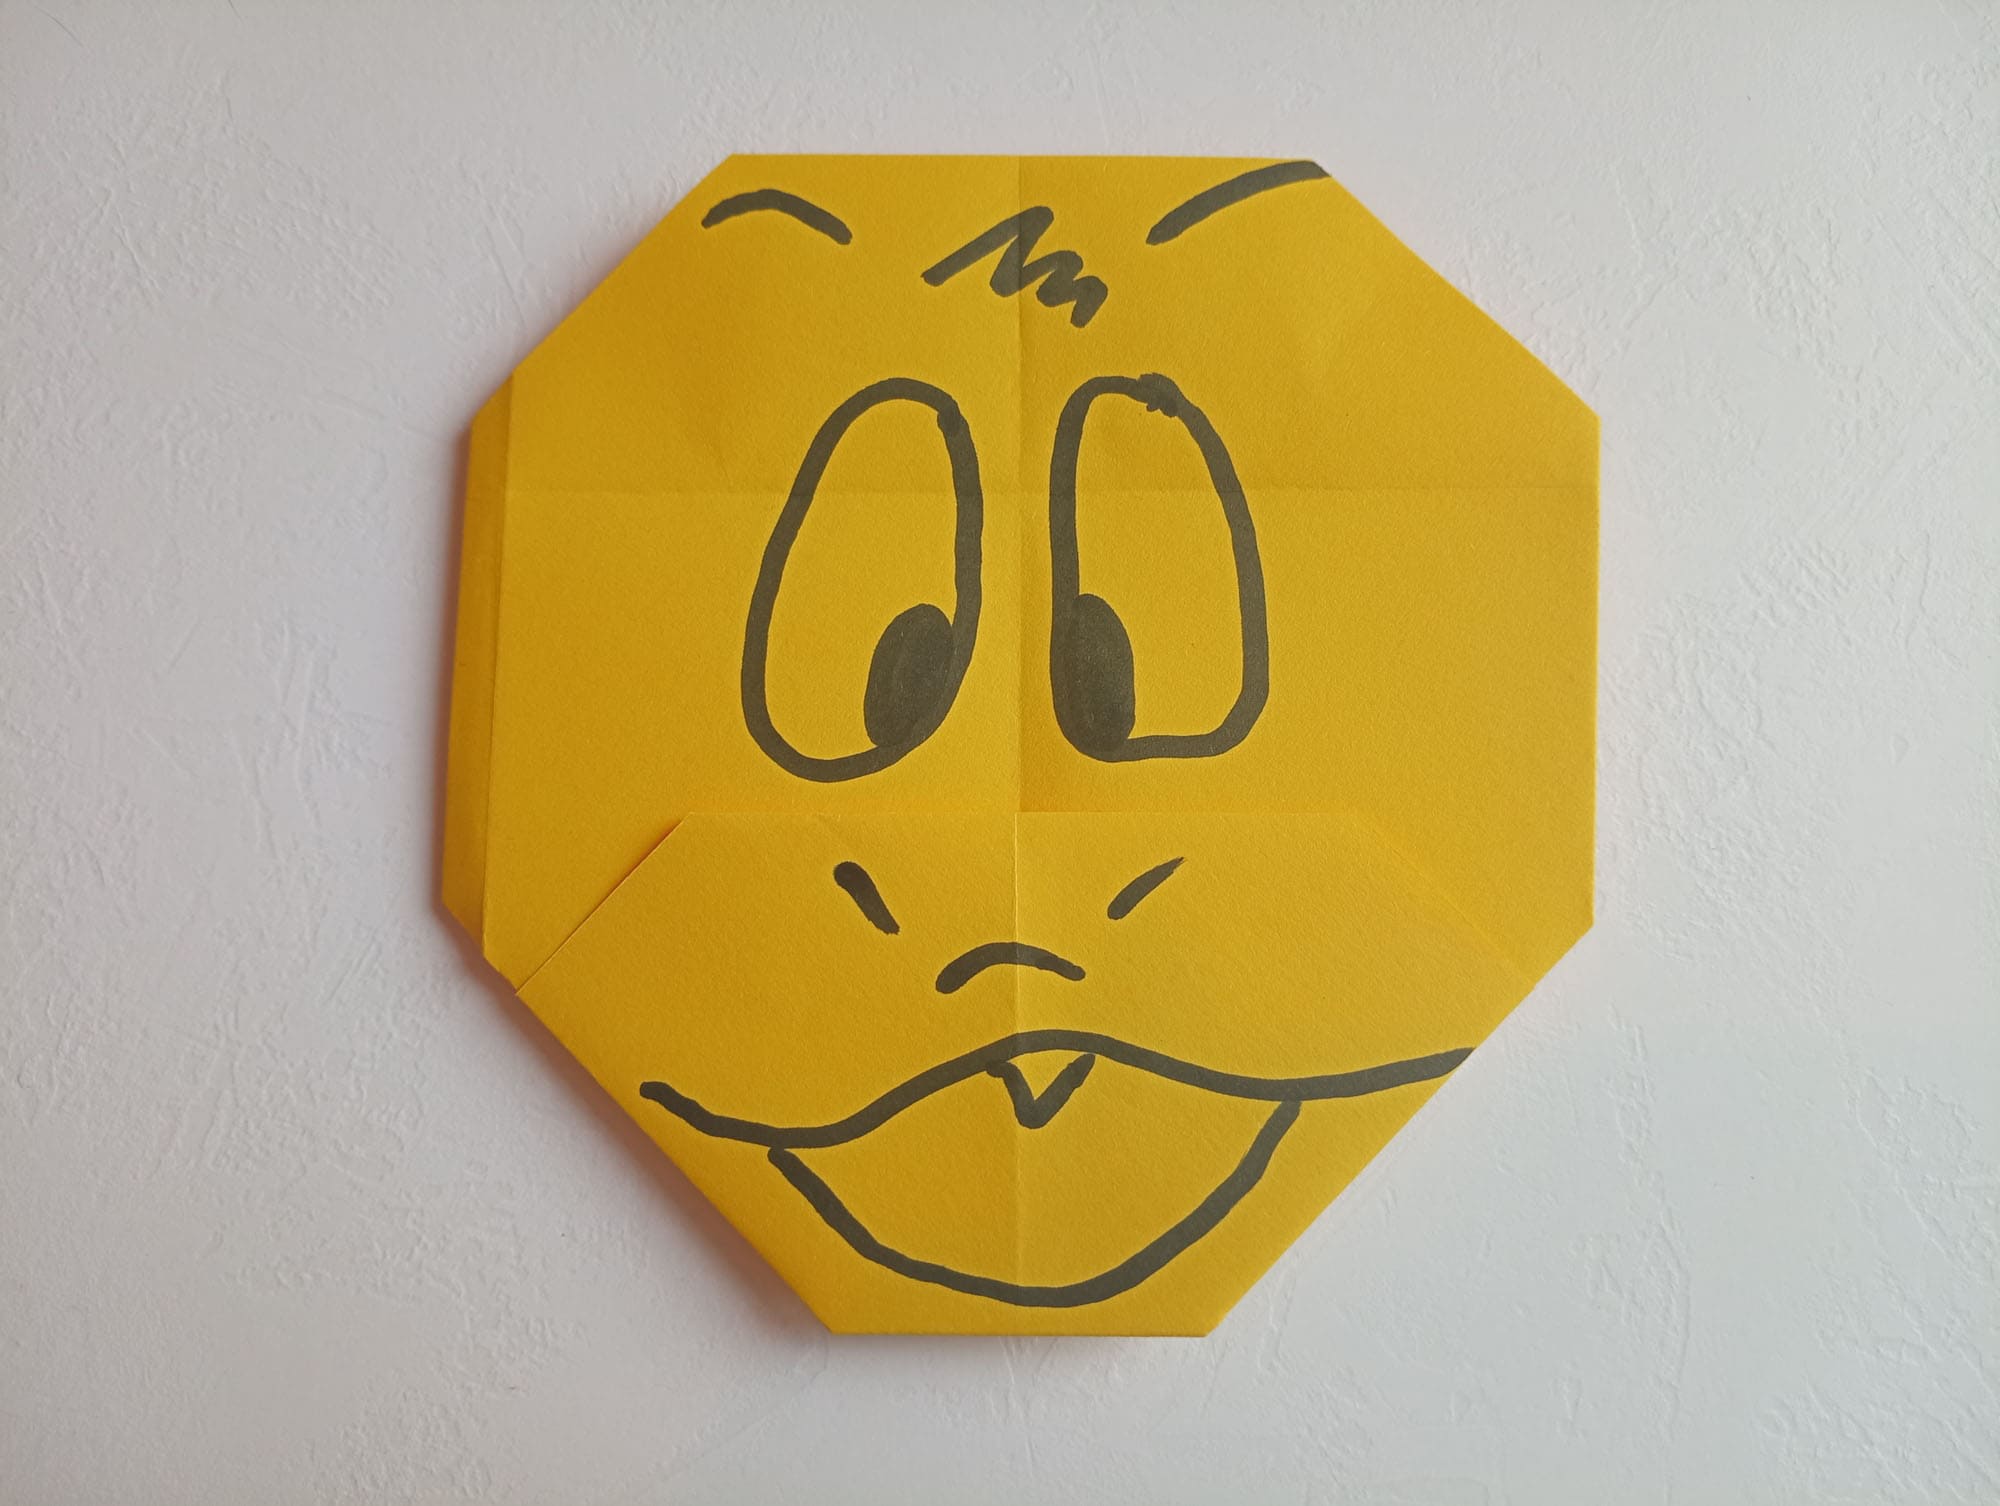
All that remains is to color it by drawing Donald Duck’s face.
To fix the mask on your face, you will need a special transparent or nude-colored rubber band. To attach it to the mask, you need to make two inconspicuous side holes and fix the rubber band in them. That’s it! The mask can be used both in a masquerade or holiday, and in everyday games. Try it and you will succeed!