Origami Duck
Animals and bird toys can be too much! So in this article, we offer you instructions for making origami ducklings. This figure will really appeal to children. It is easy to fold and looks very similar to a real duck. And if you use squares of paper of different sizes, you can make a whole duck family. For birds, it is better to use yellow paper, but if you want brighter colors — you are free to choose any!
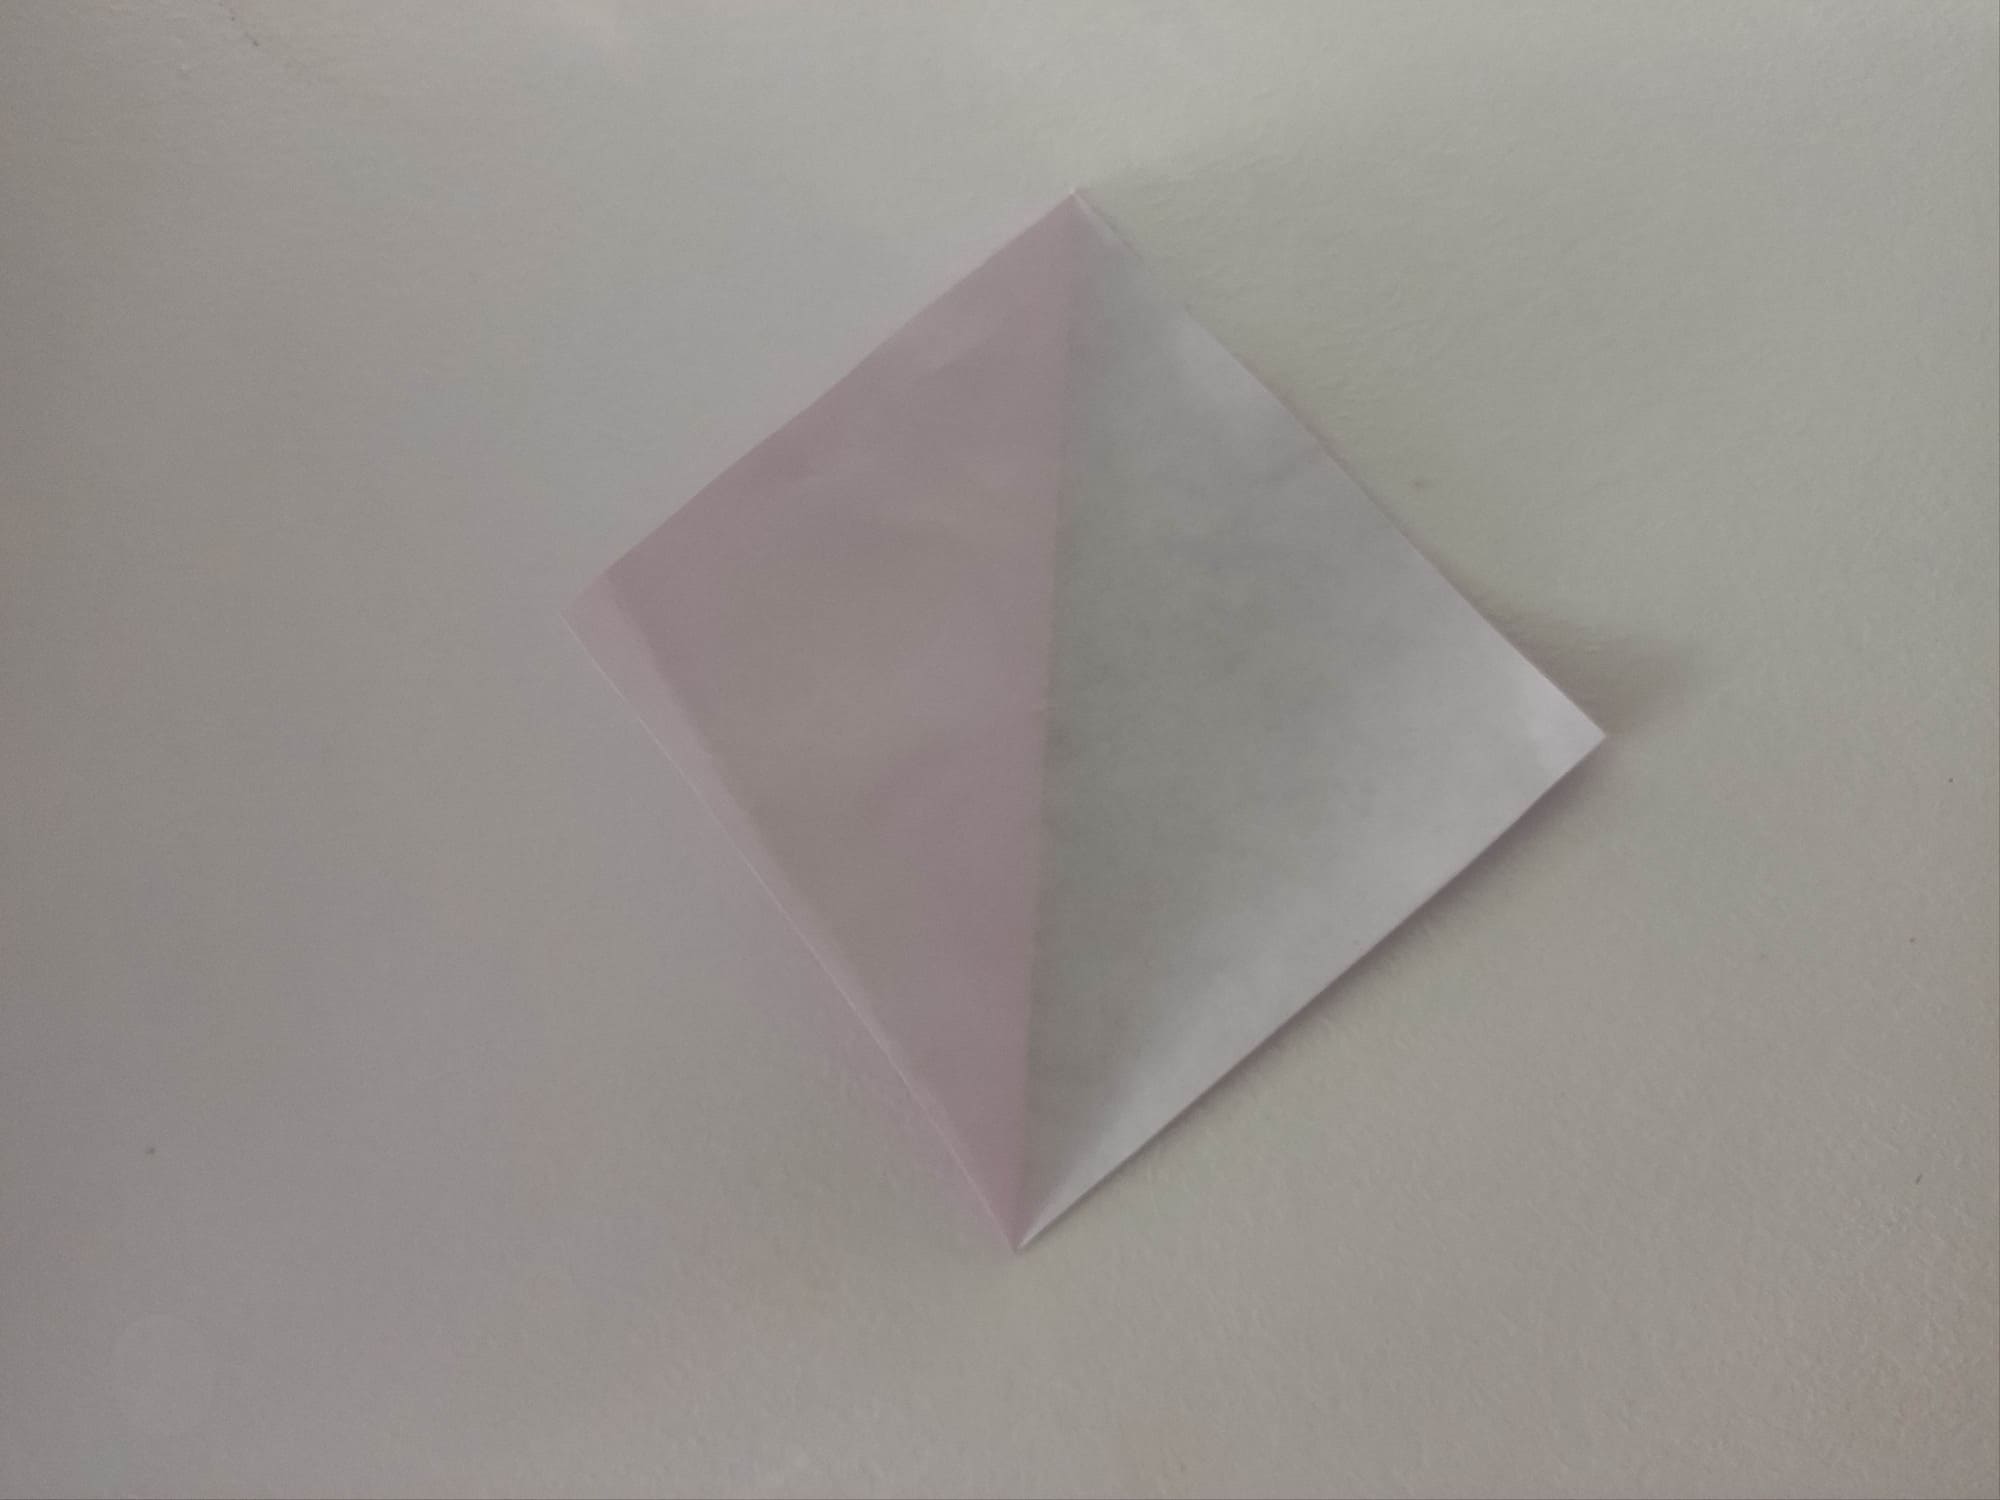
Take a standard sheet of origami paper of 15×15 cm. Lay it in front of you with the colored side facing down. Fold the square diagonally and immediately unfold it back.
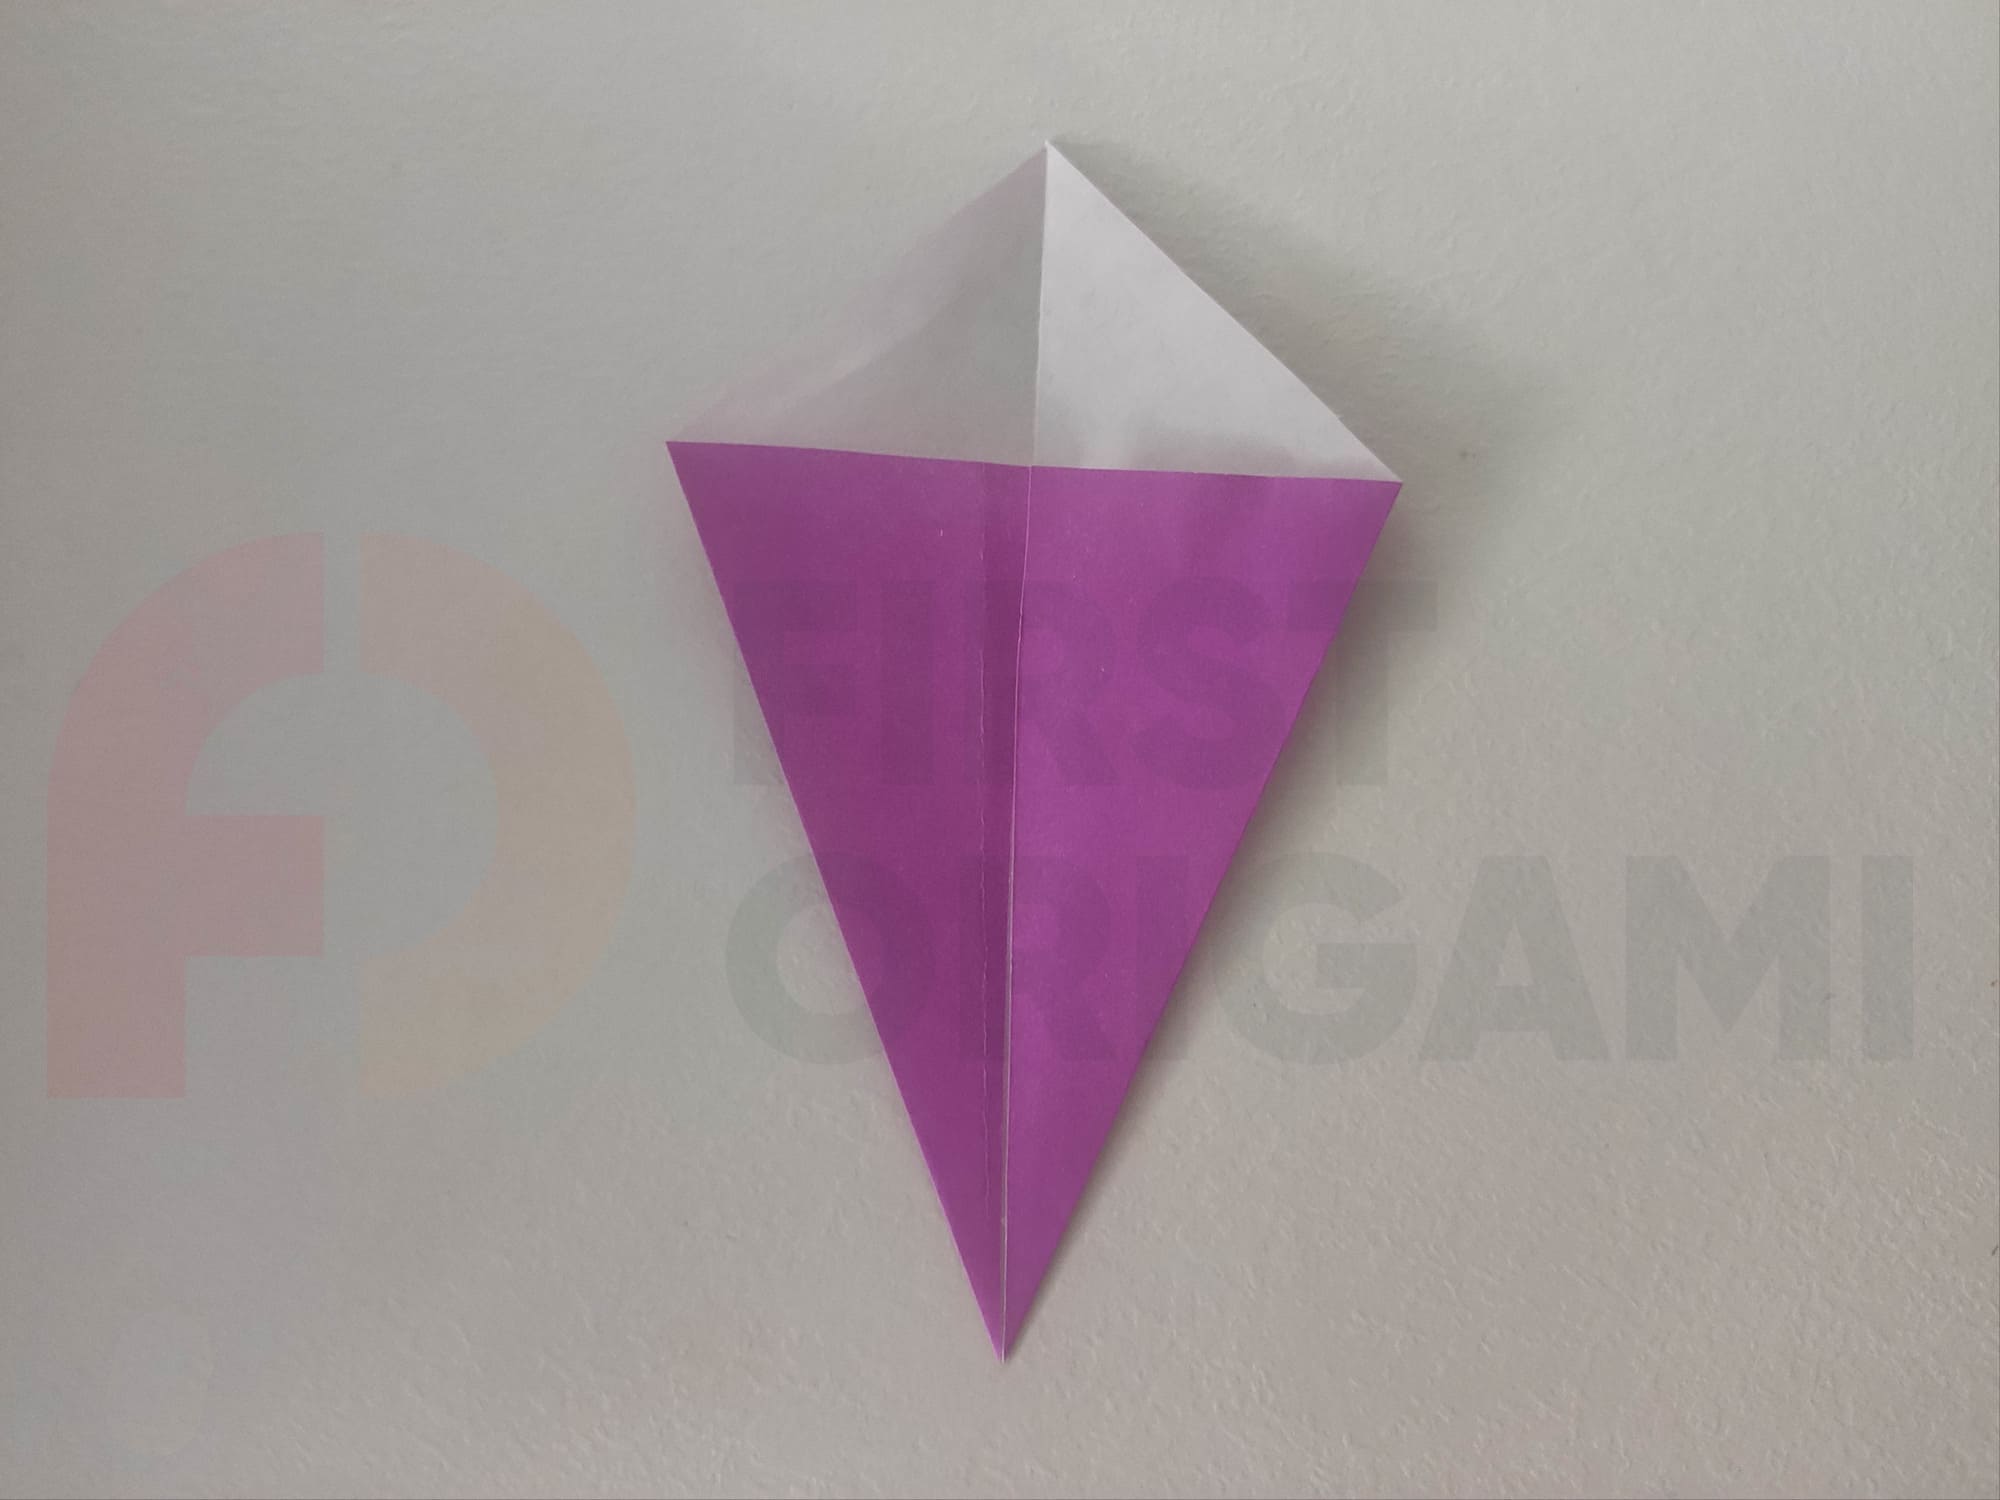
Fold the right and left corners of the square to the center so that the sides meet at the center fold line.

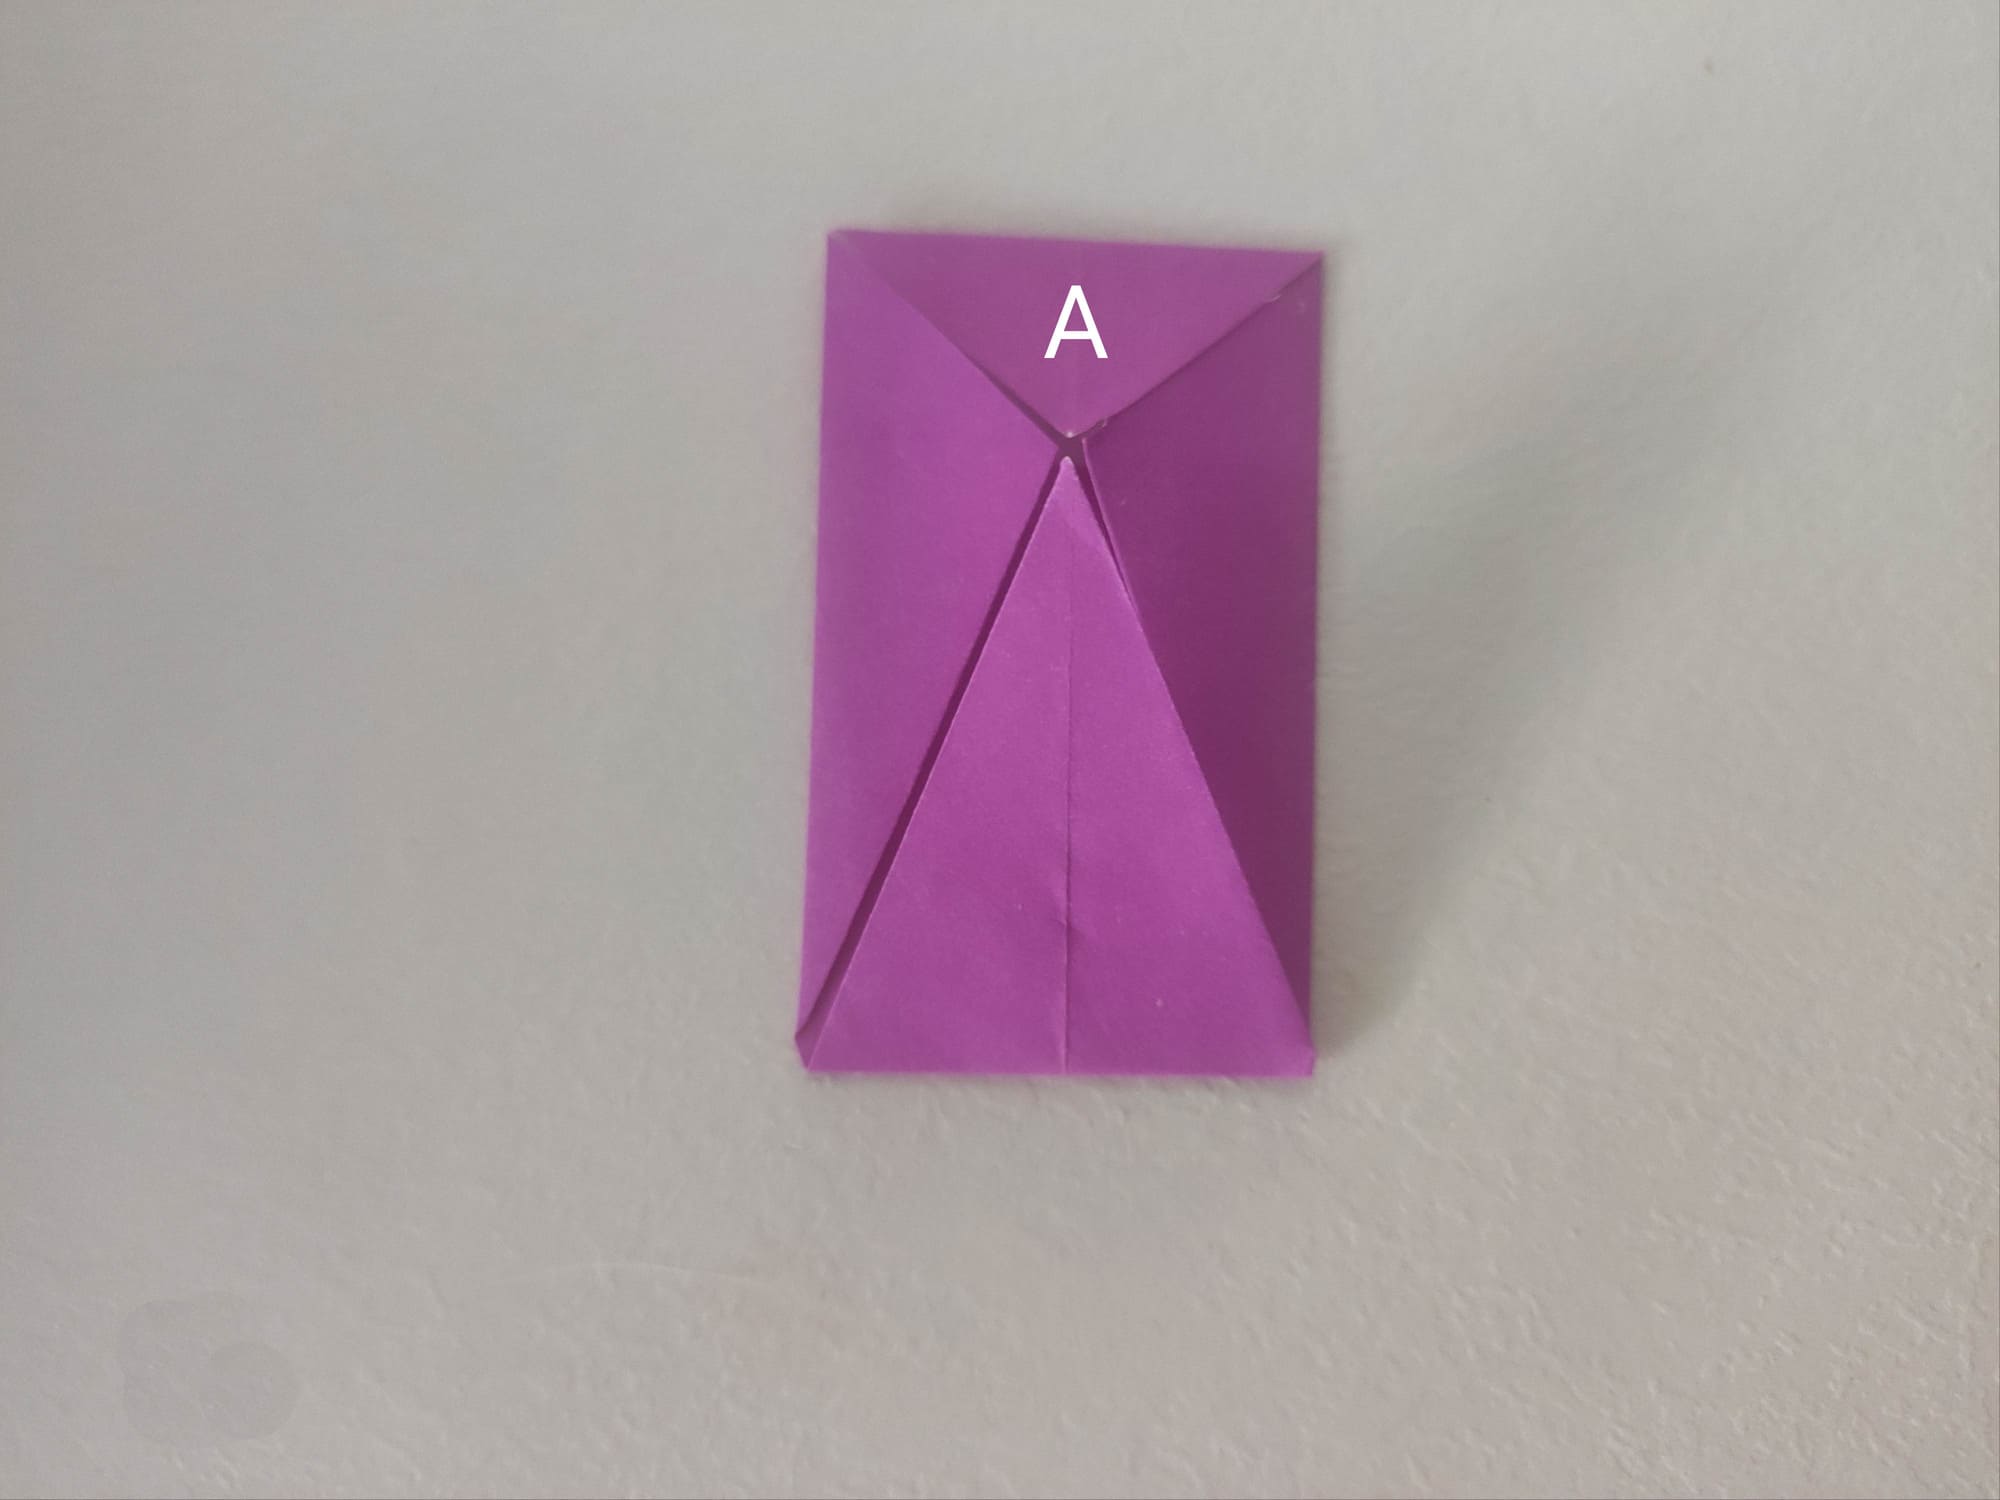
Fold all the corners of the resulting rhombus so that they meet at point A.
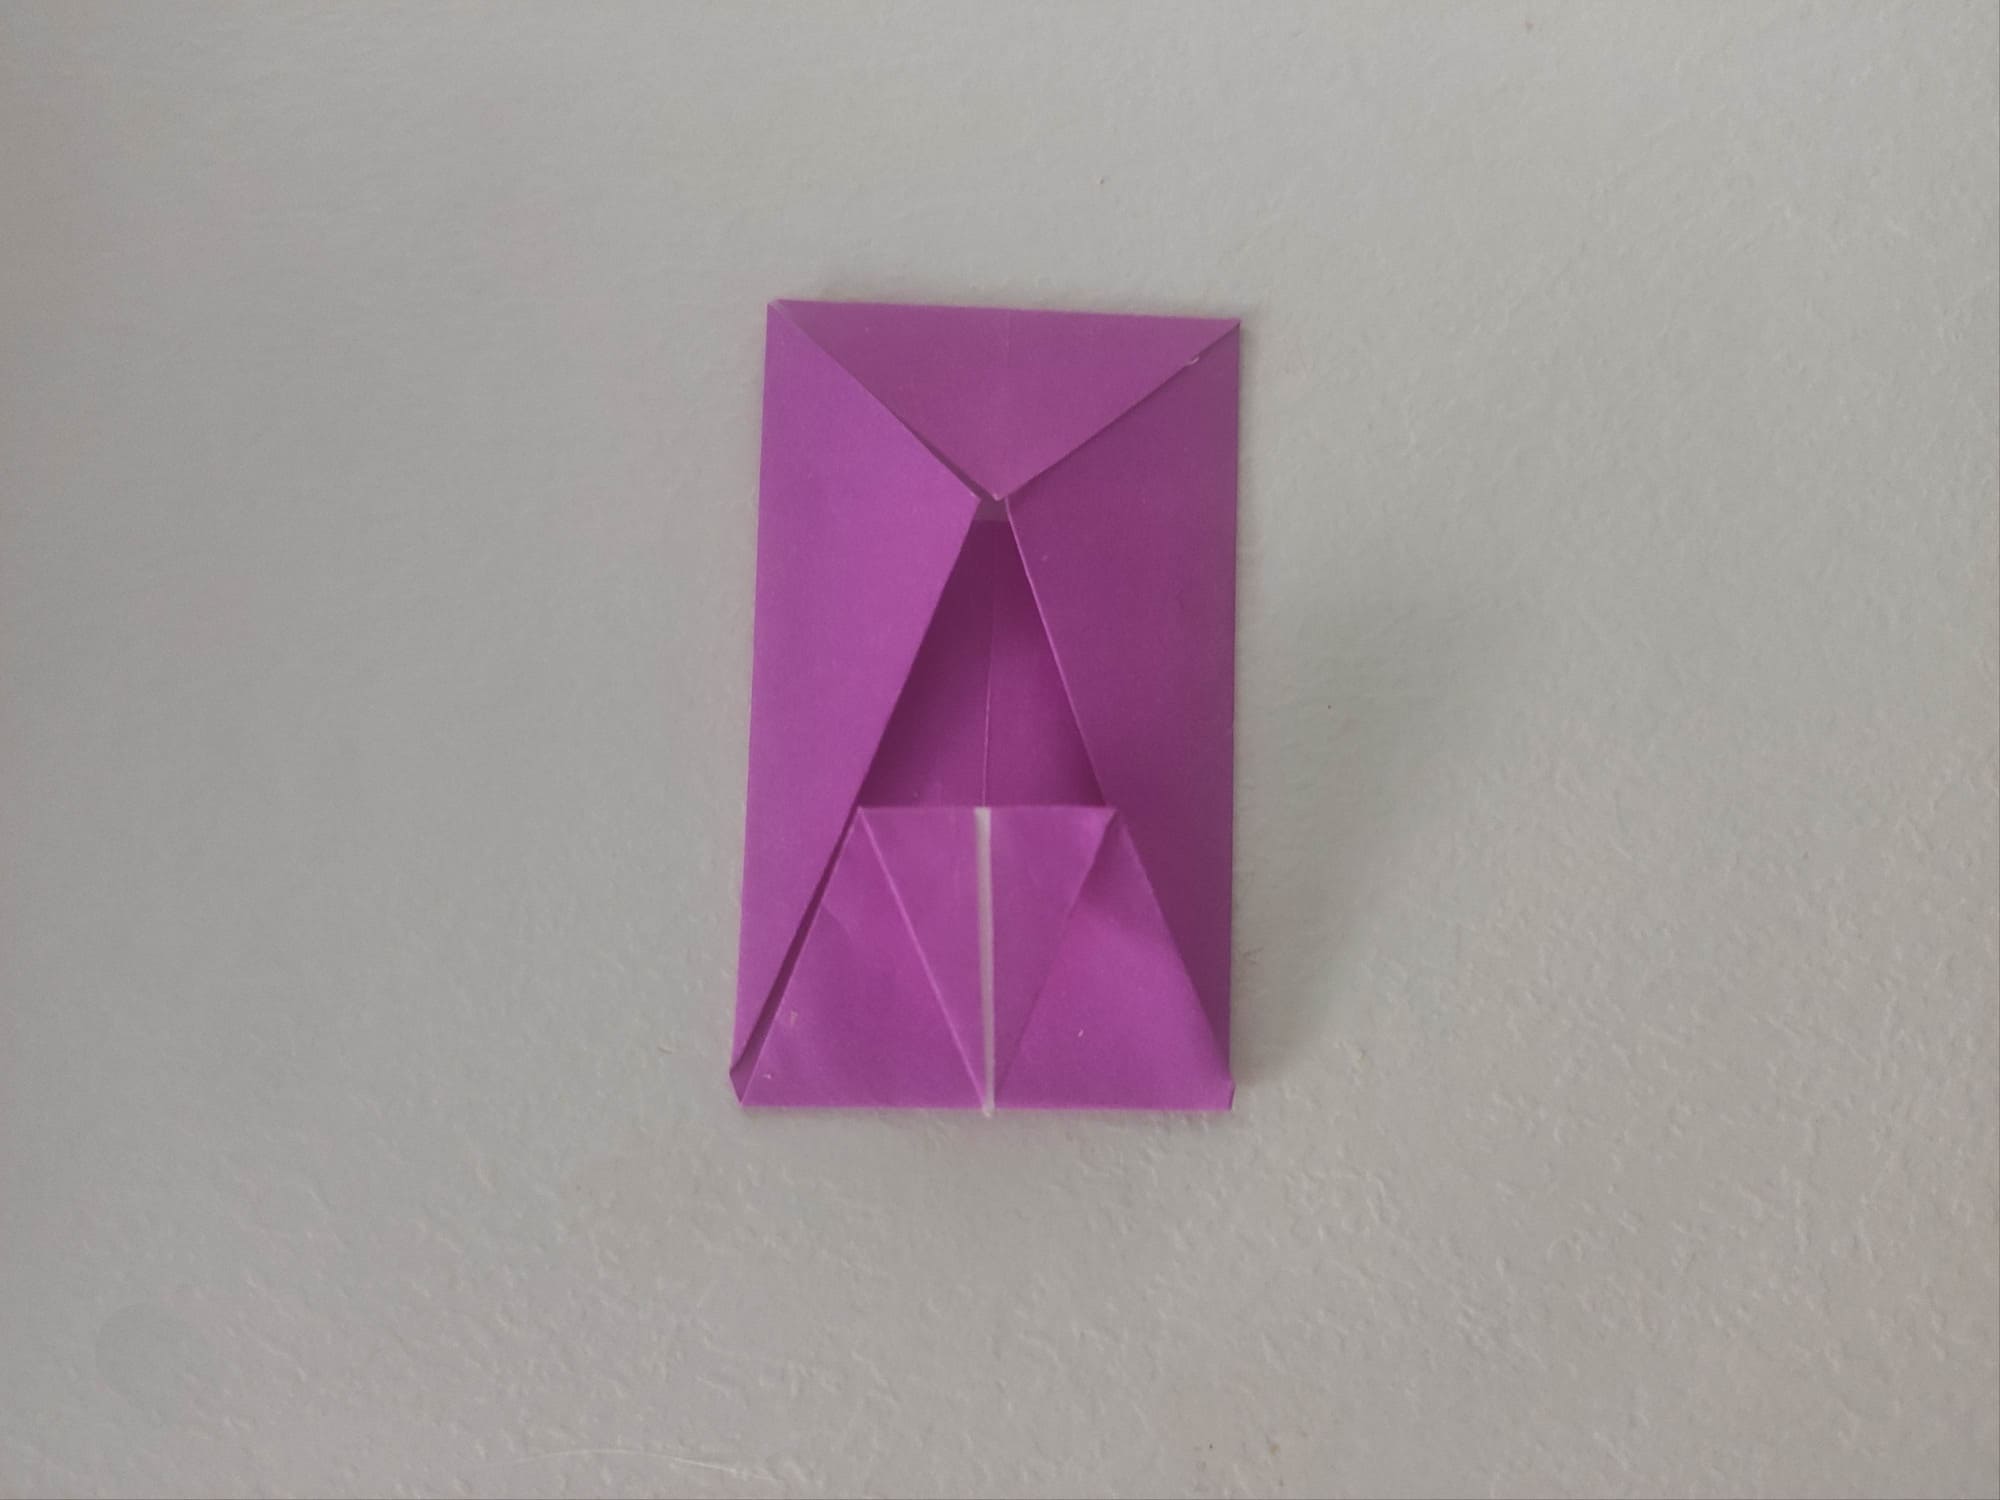
Bend the tip of the bottom triangle down to the opposite side. This is the future duck’s beak.
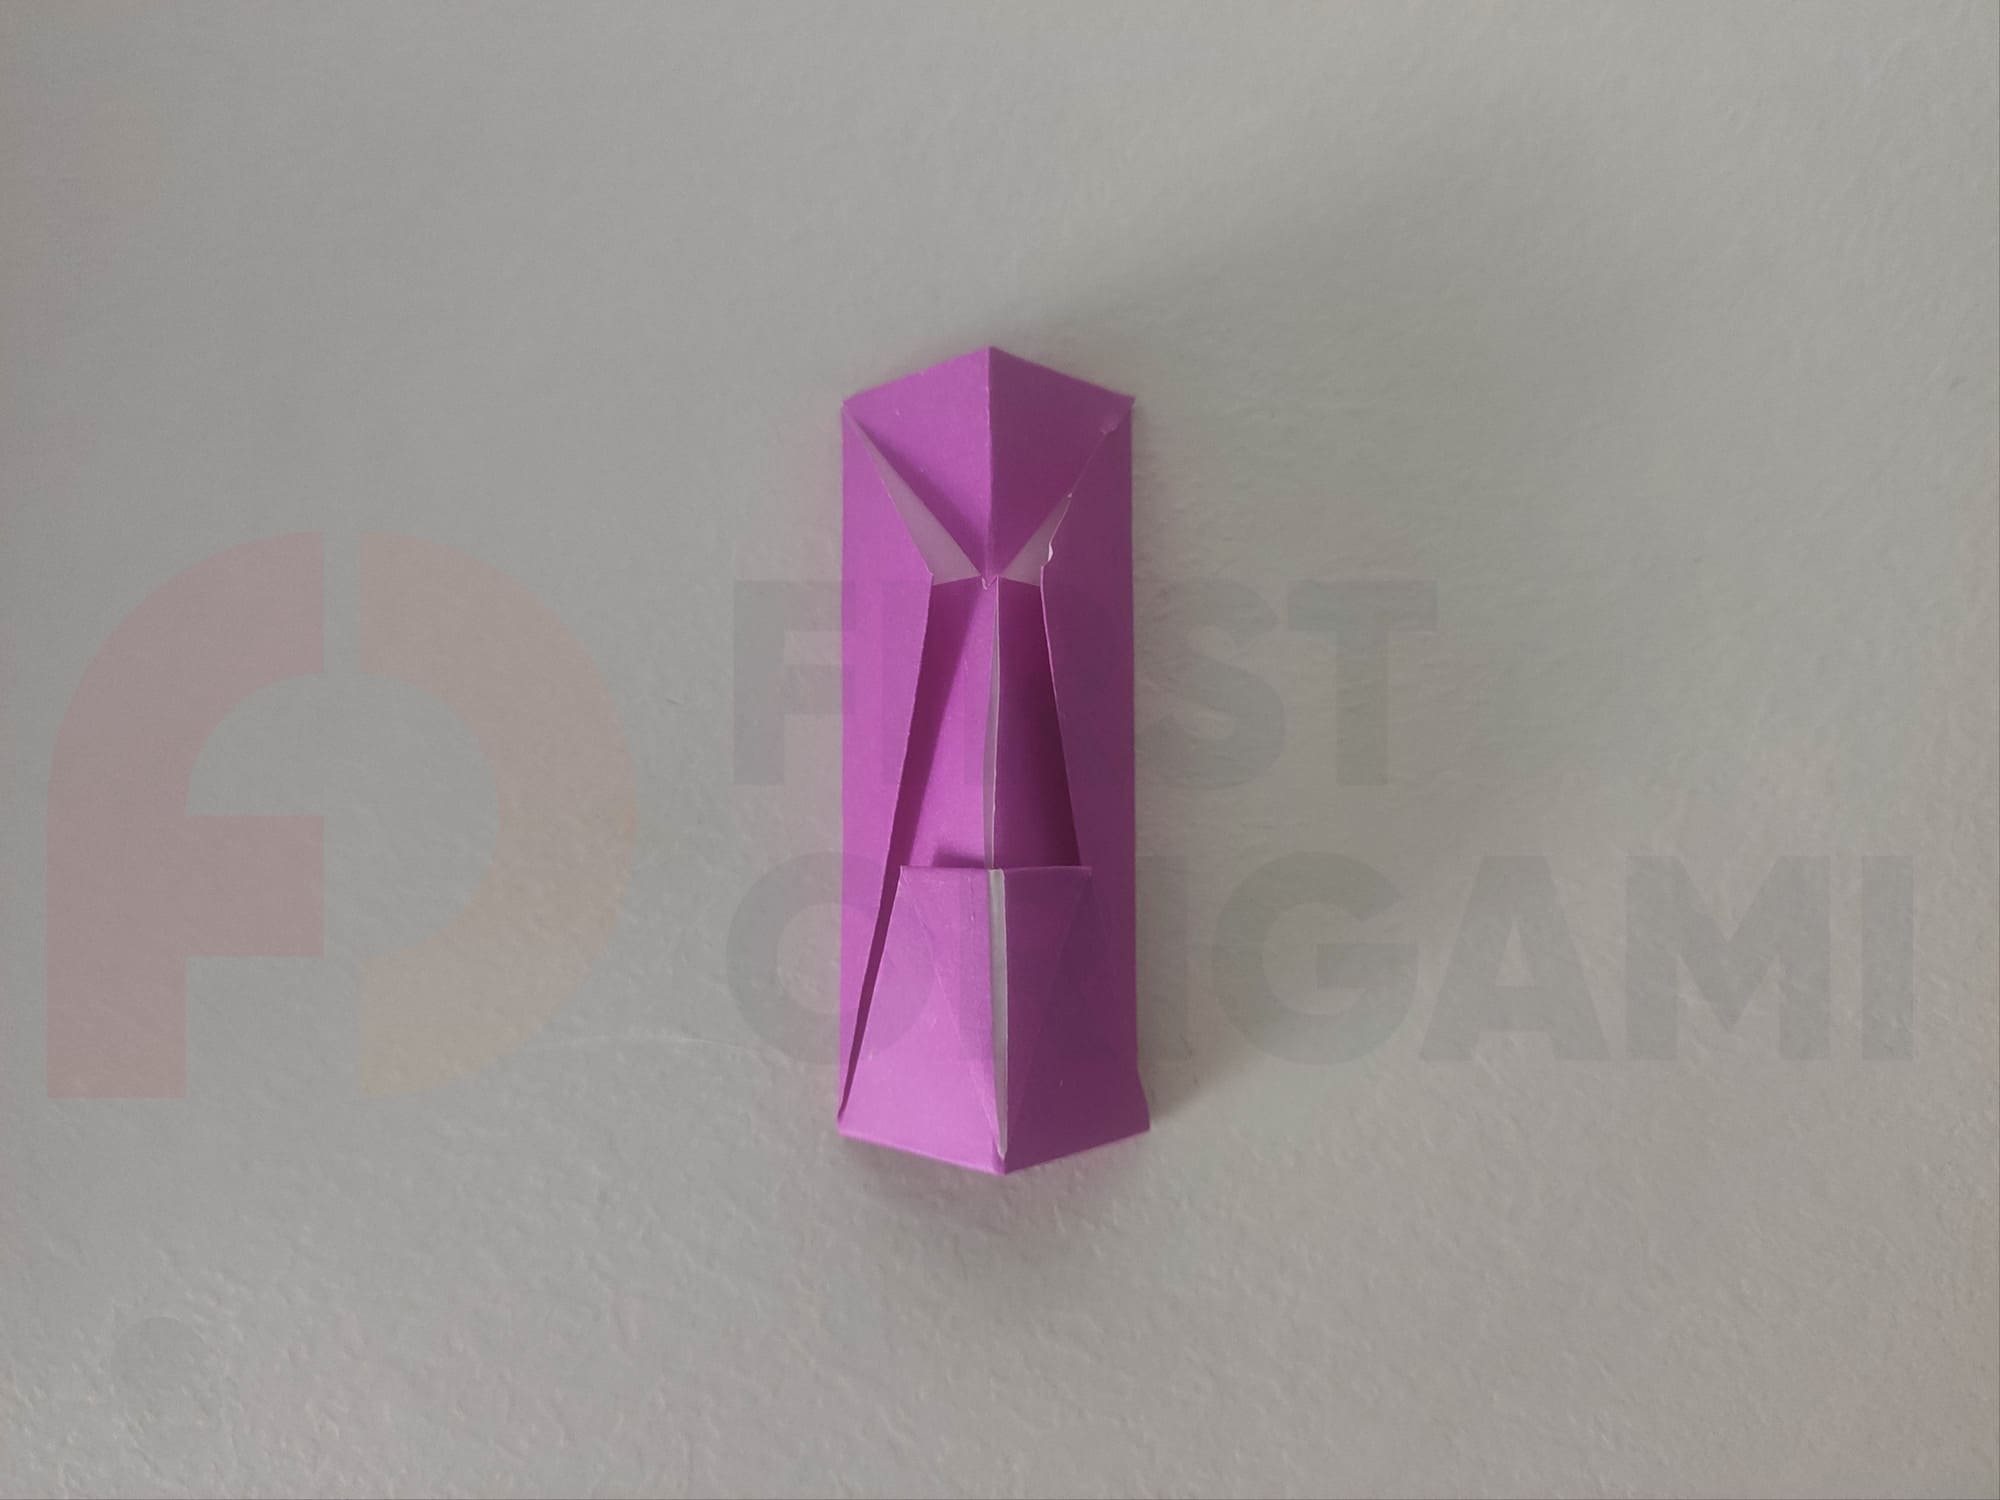
Make a mountain fold along the center axis of the figure.
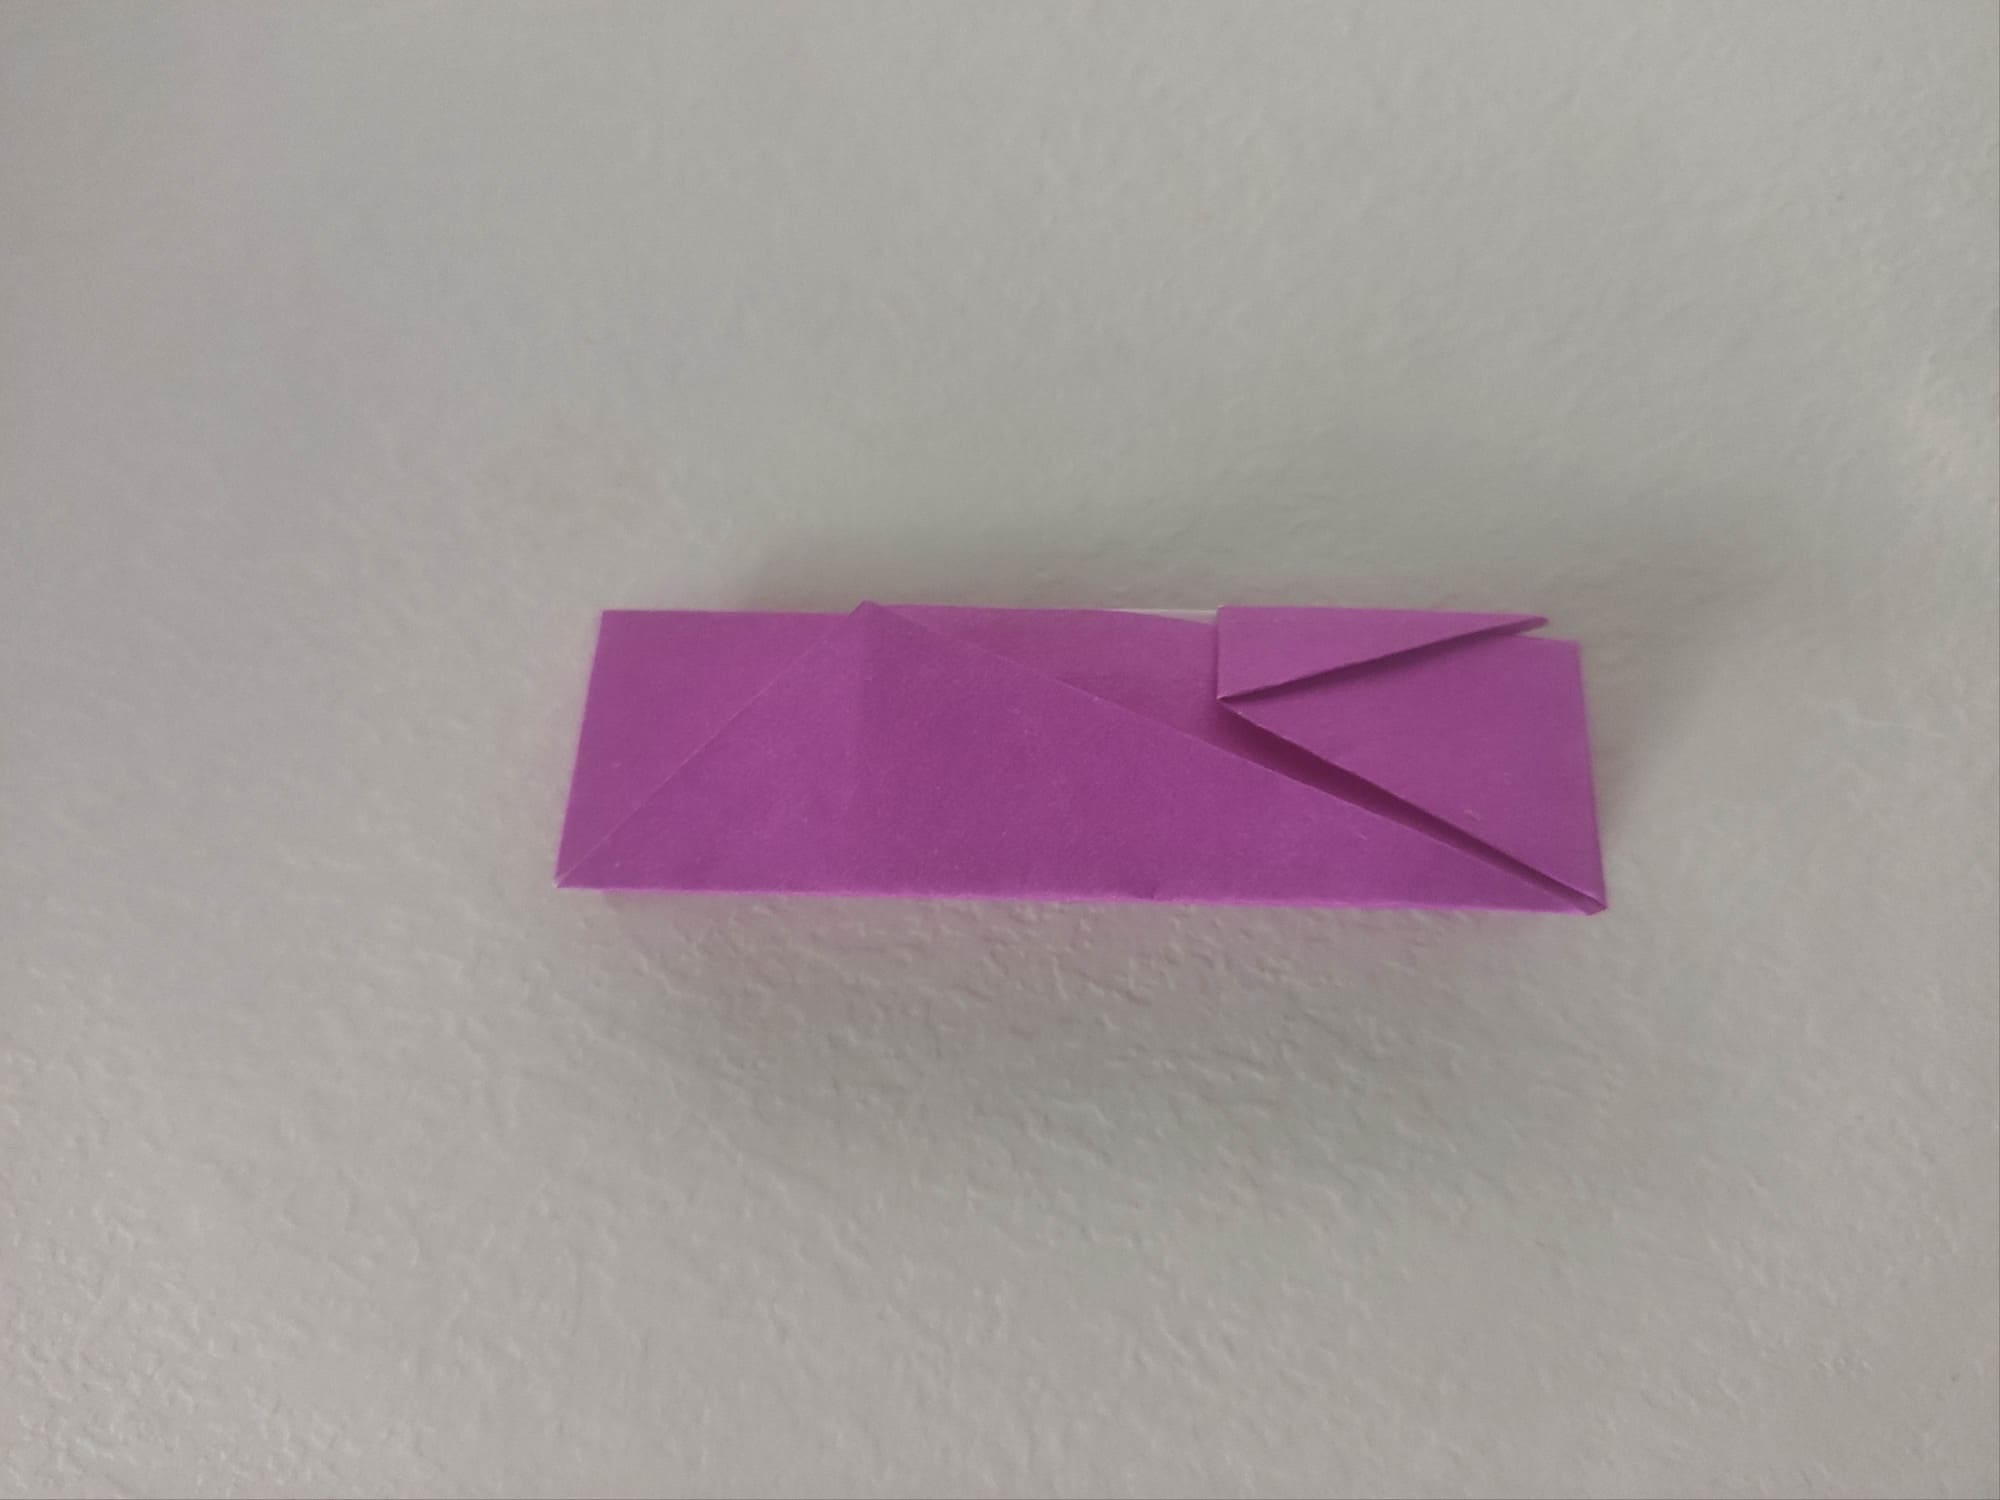
Turn the figure counterclockwise. And now you can already see the silhouette of your future duck!
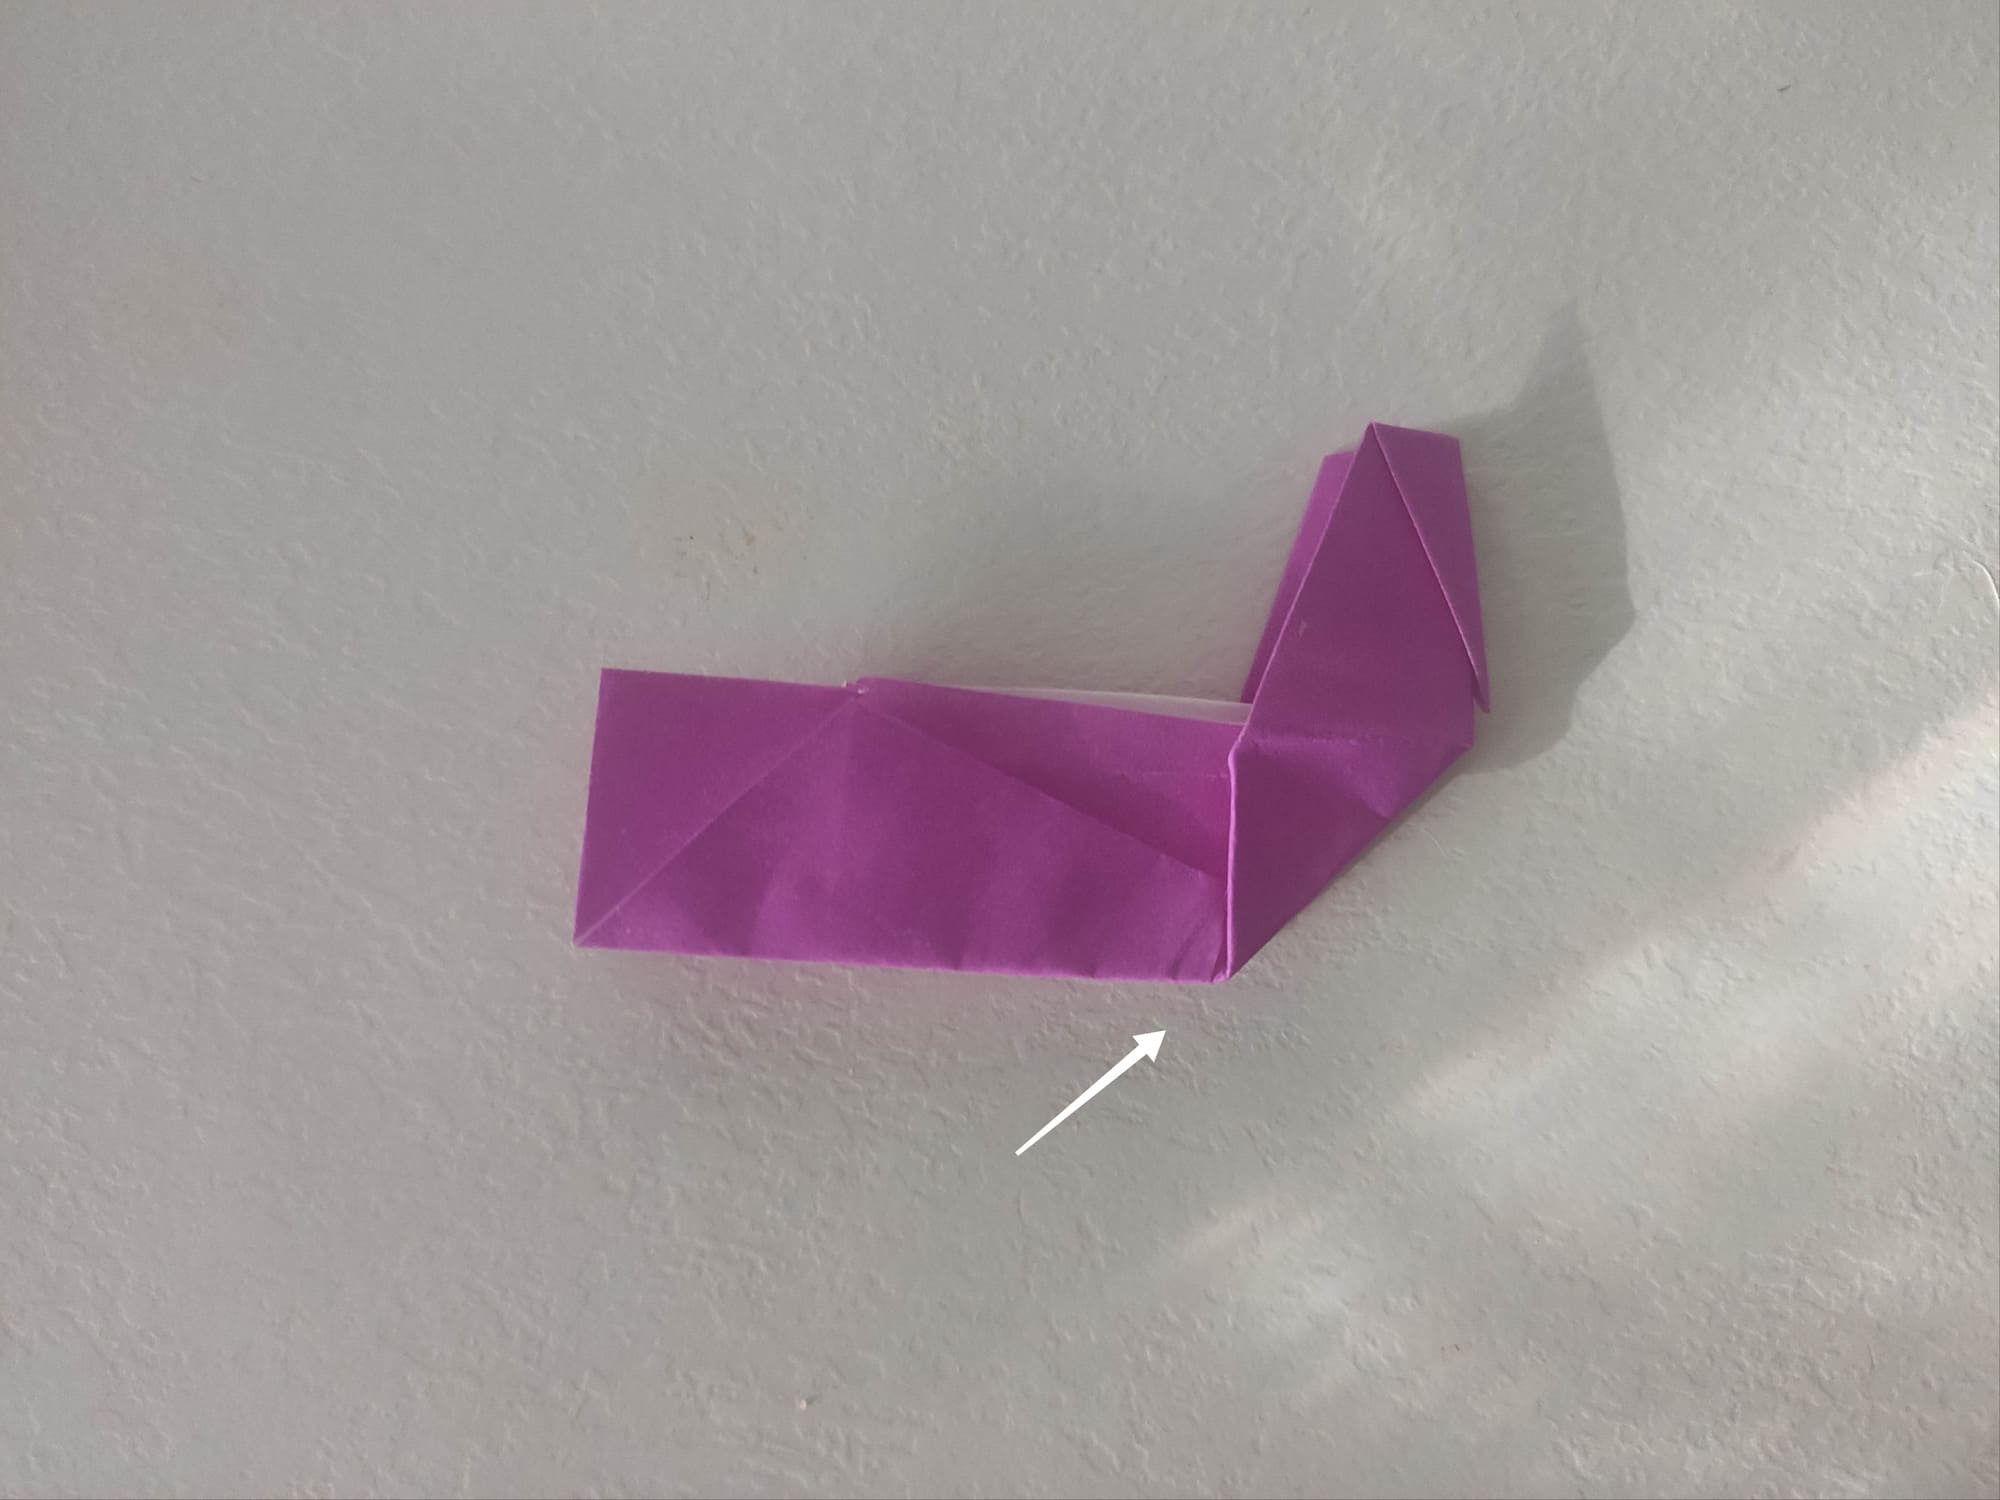
Now you need to form the neck of the bird. To do this, gently pull the beak to the right and shape the fold at the bottom.
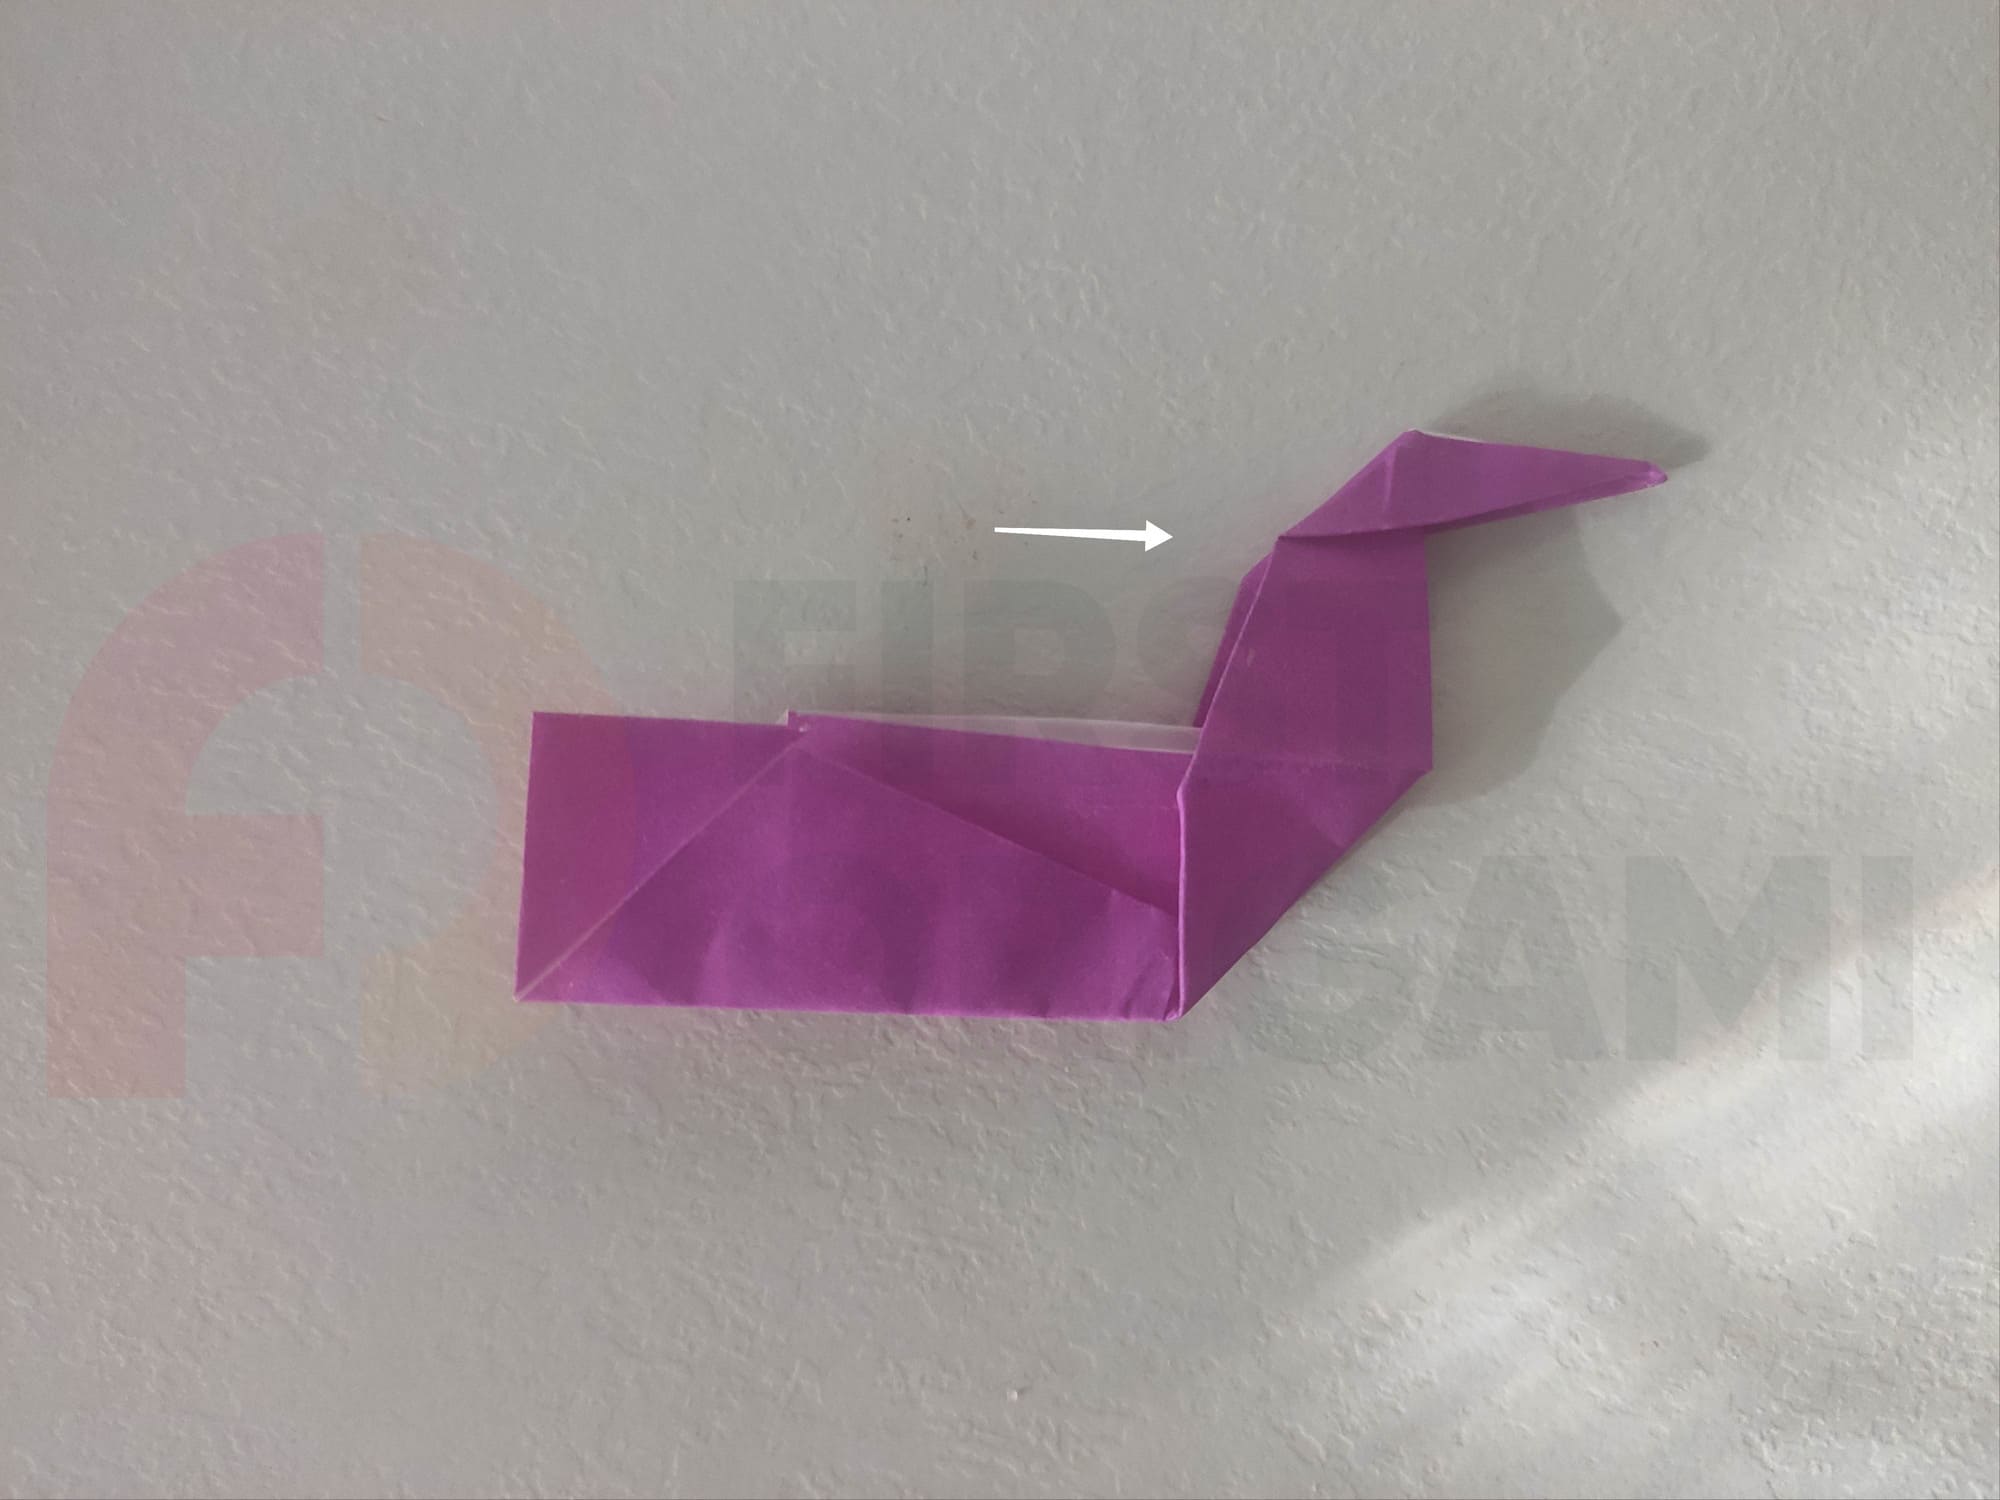
Shape the beak in the same way by pulling the tip of the beak.
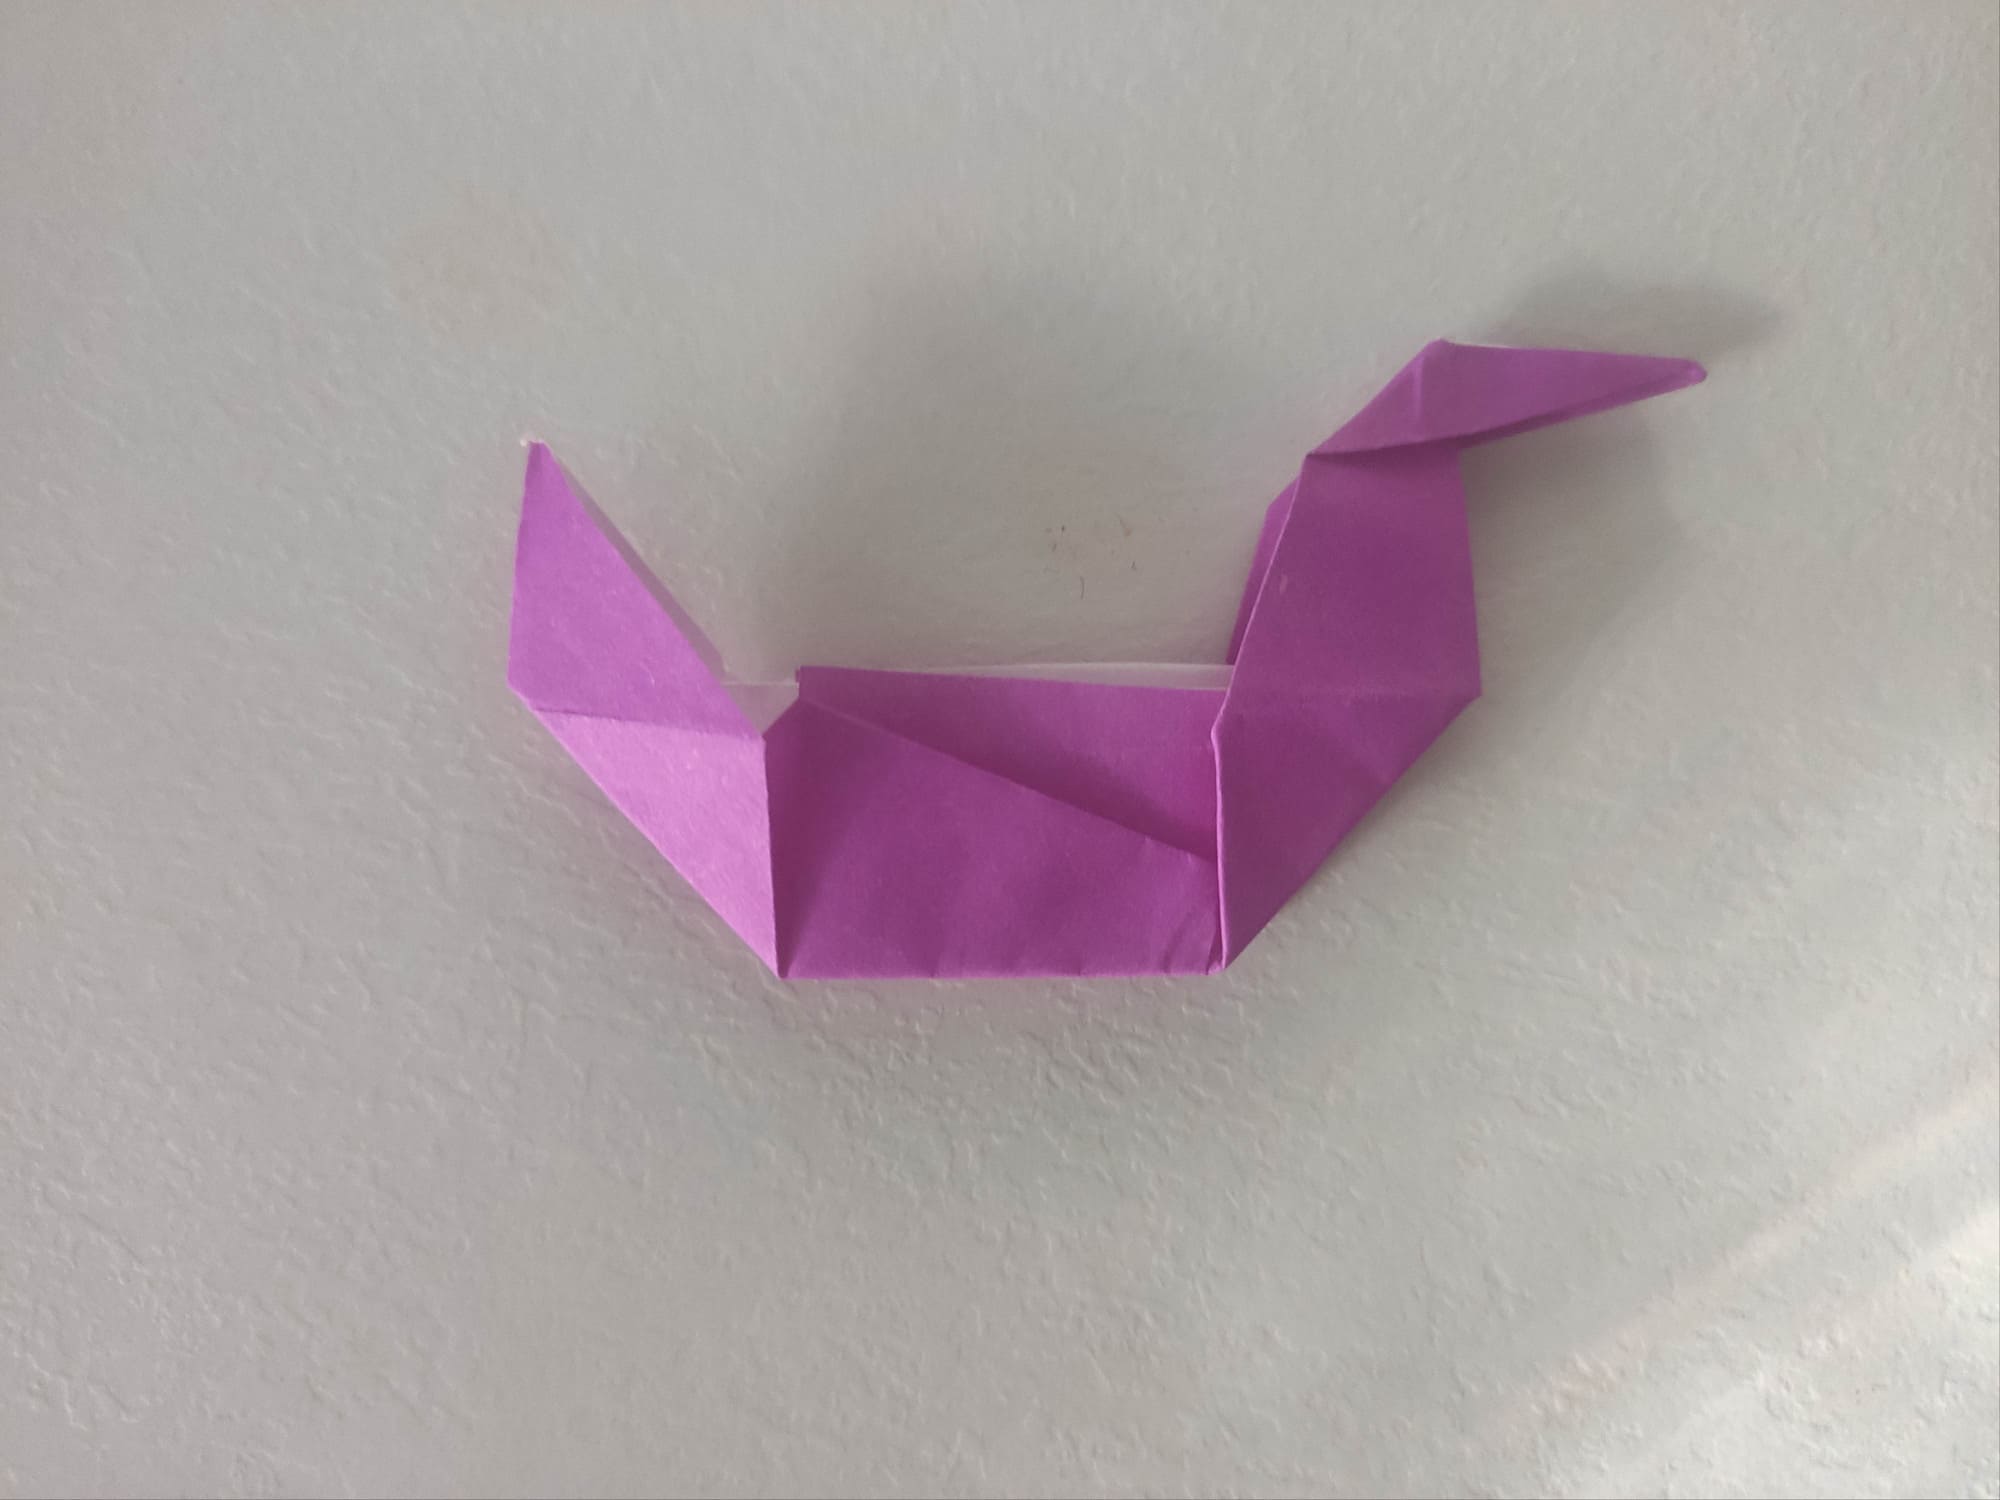
Now it only remains to make a tail. To do this, gently pull the tail fold upwards to the left.
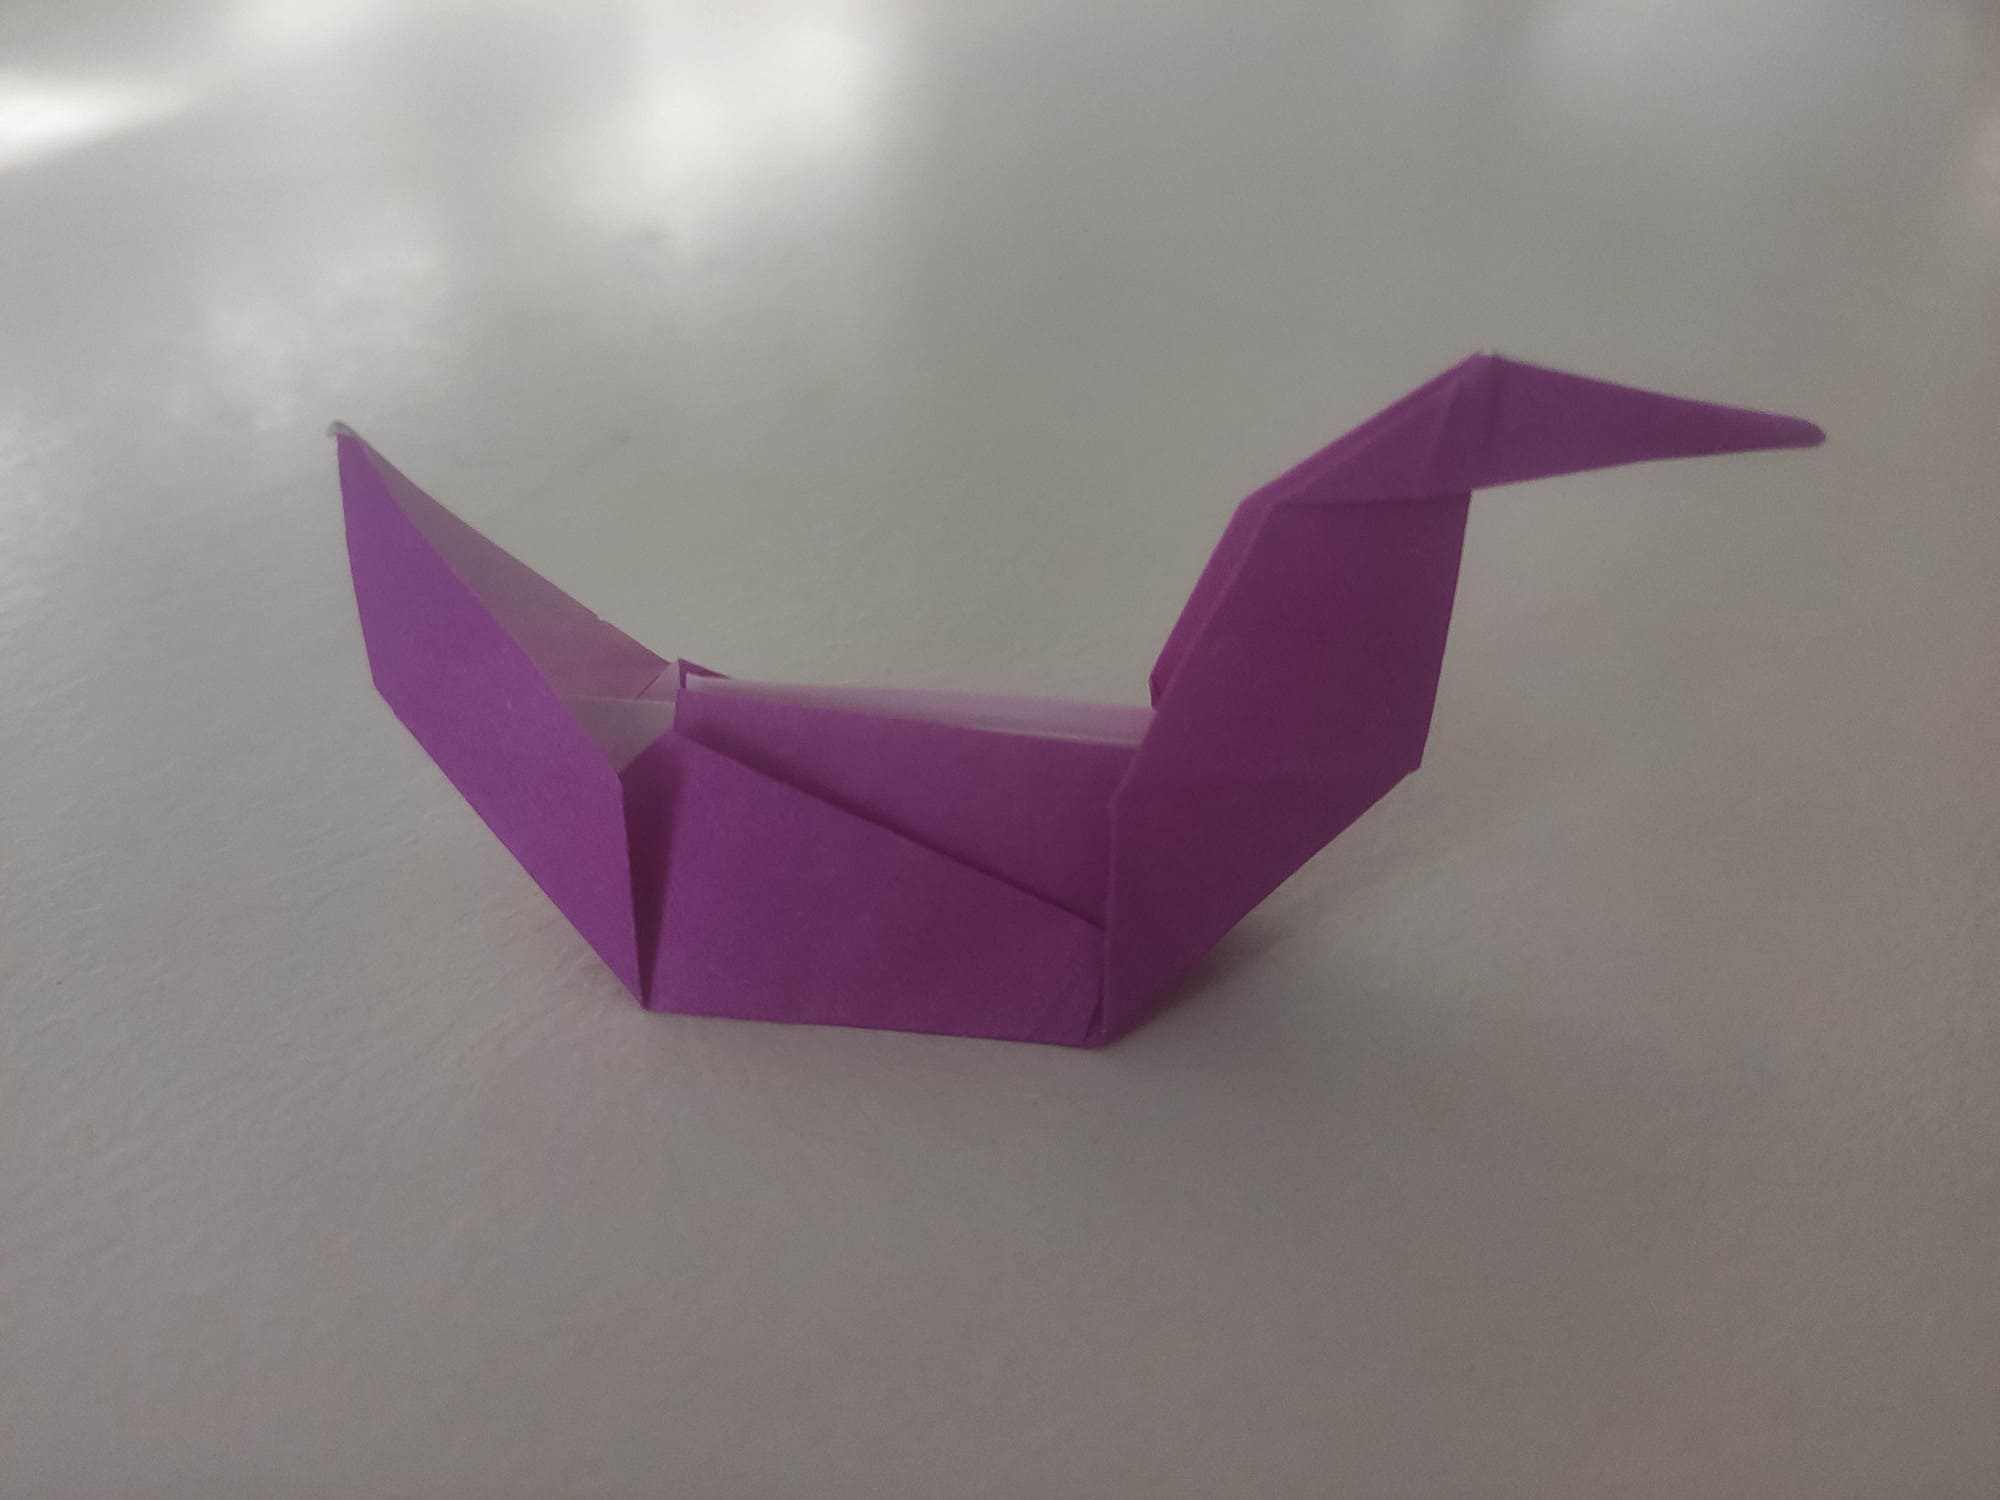
Spread the figure a little so that it can stand. Origami Duck is ready!
This cute bird will be a great character for your games. If you put this bird in water, it will of course get wet. To make it float longer, use glossy paper. But it will still float for a while and make you happy!


