Origami Easy Box
In the technique of origami, you can make not only figures and toys but also more useful things. This origami box is not only easy to make but also very practical. You can use the resulting box to store office supplies: paper clips, erasers, or staples. And if you take a larger square sheet of paper, you will get a larger box, which means that it will have even more options for use!
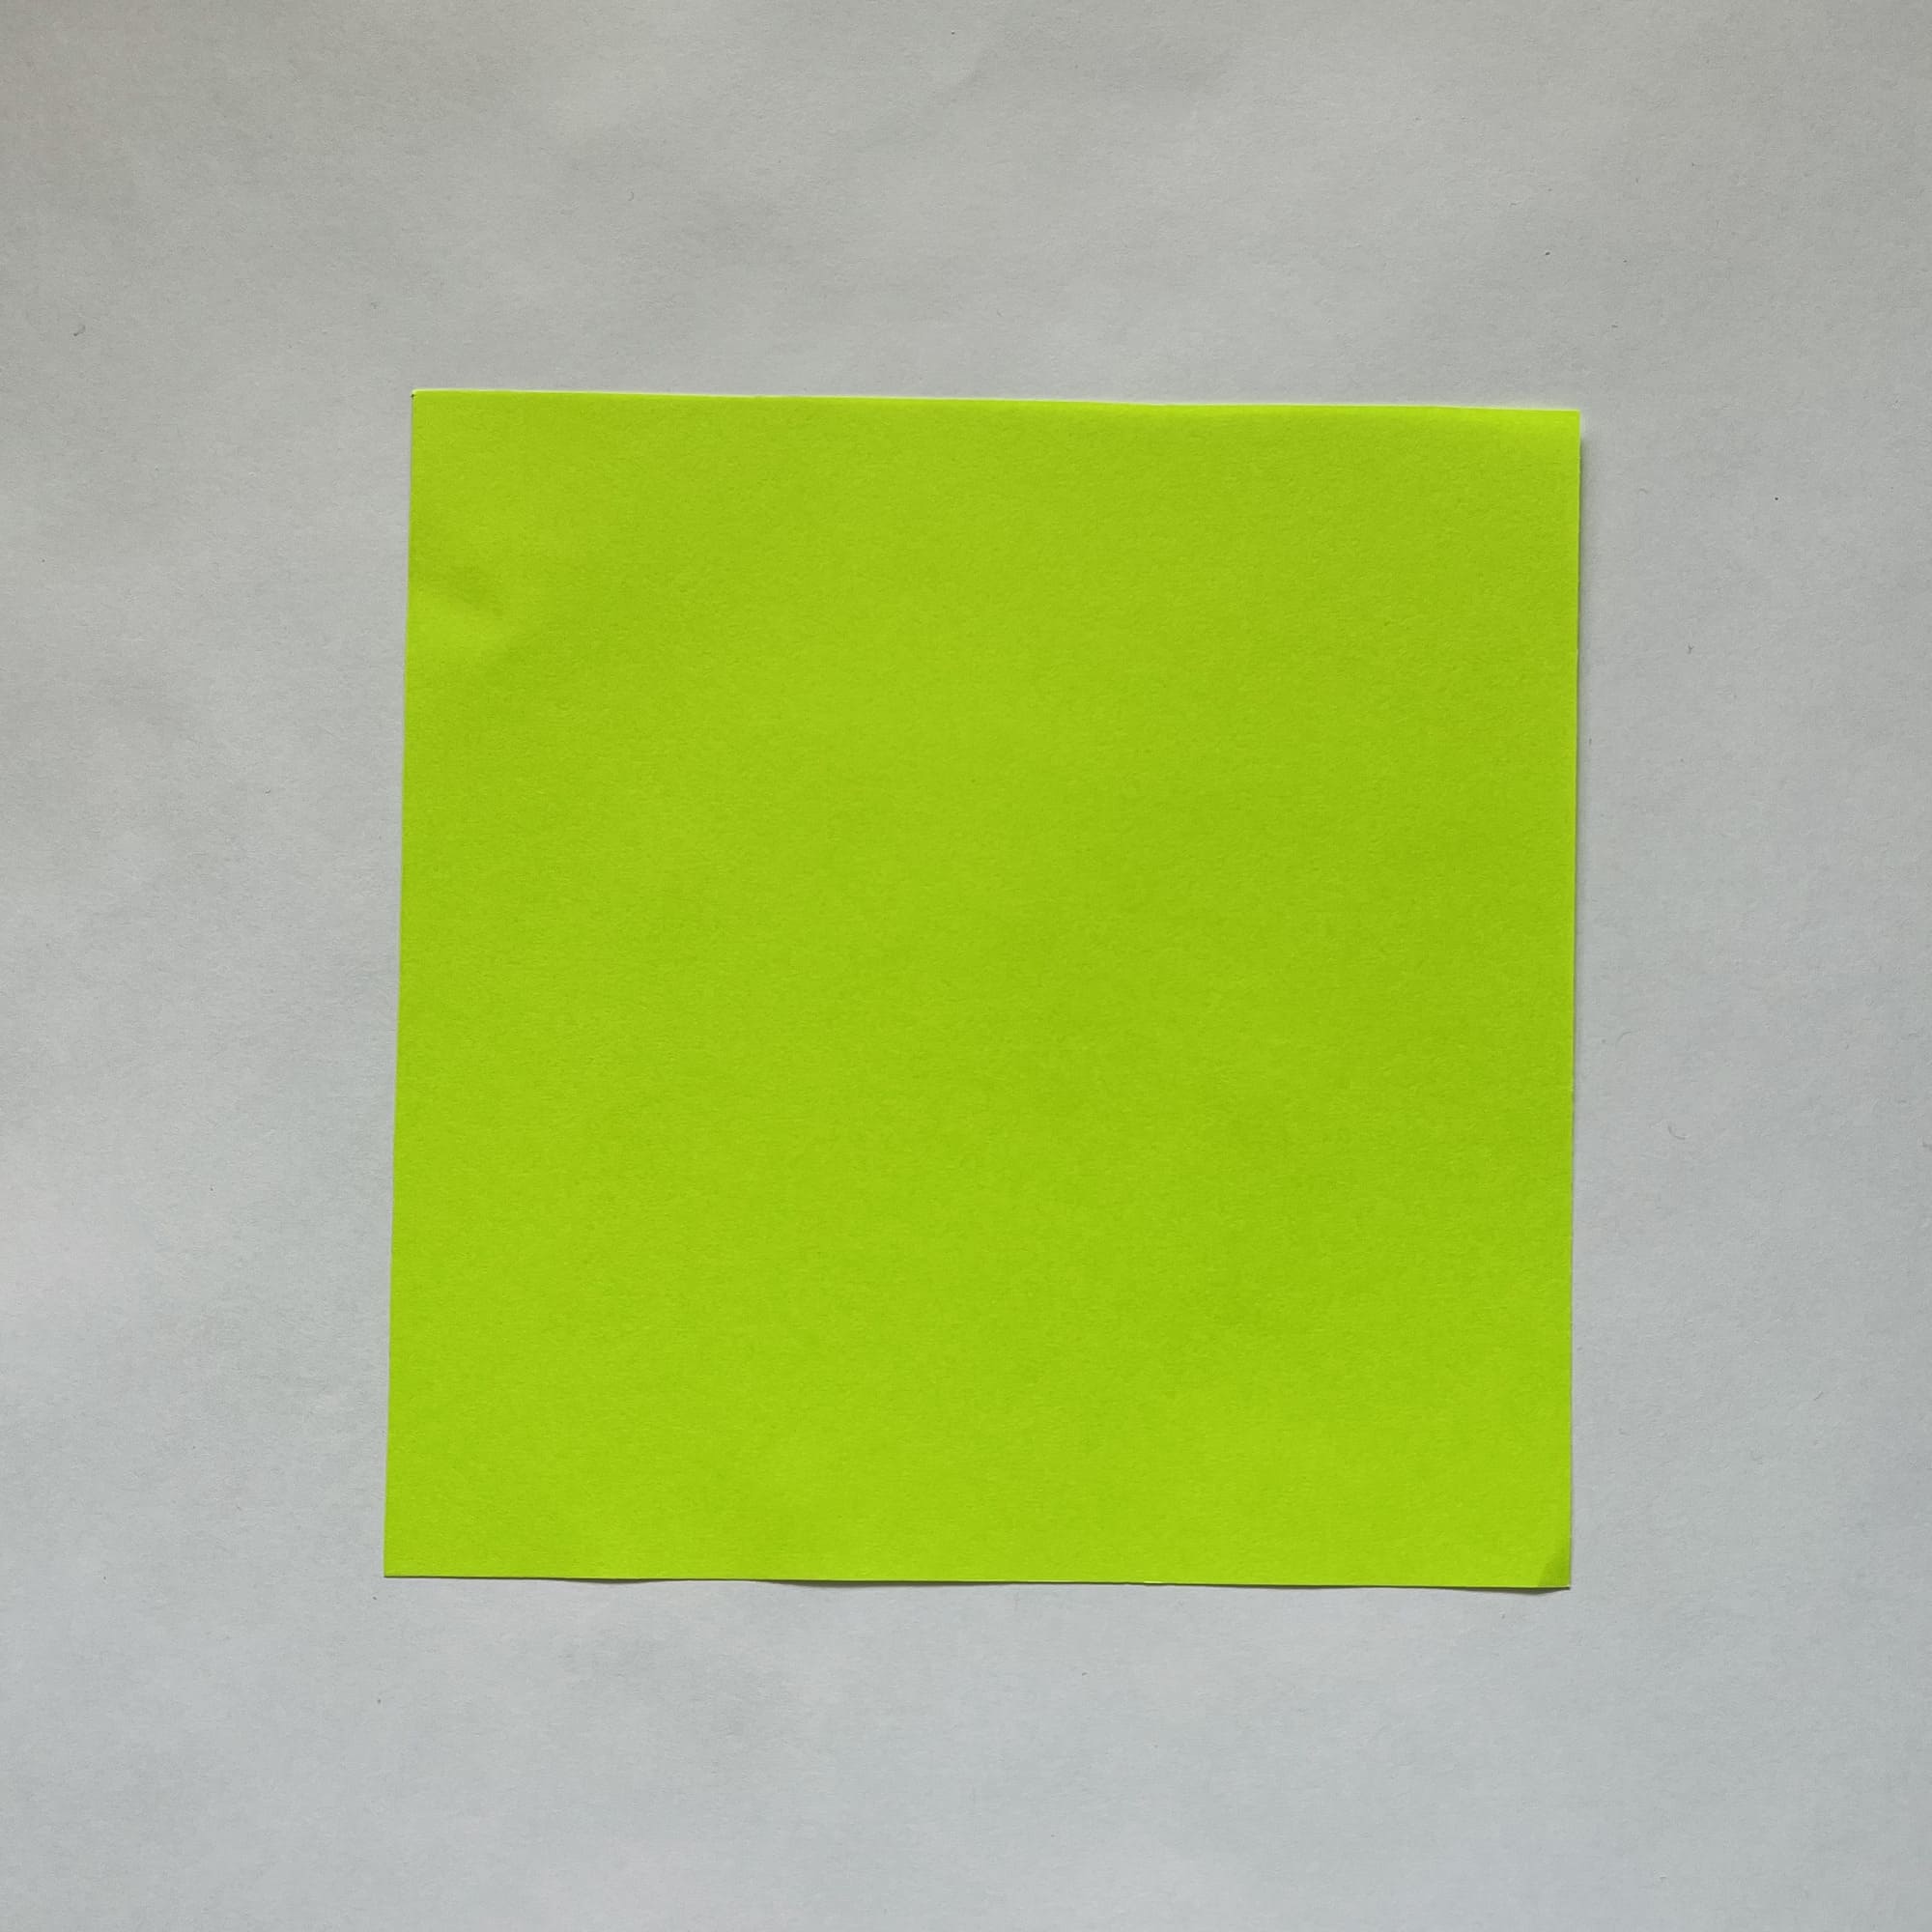
You will need a 15×15 cm square piece of paper. If you have one-sided colored paper, place it with the colored side down.

Make two folds by alternately folding the paper in half.
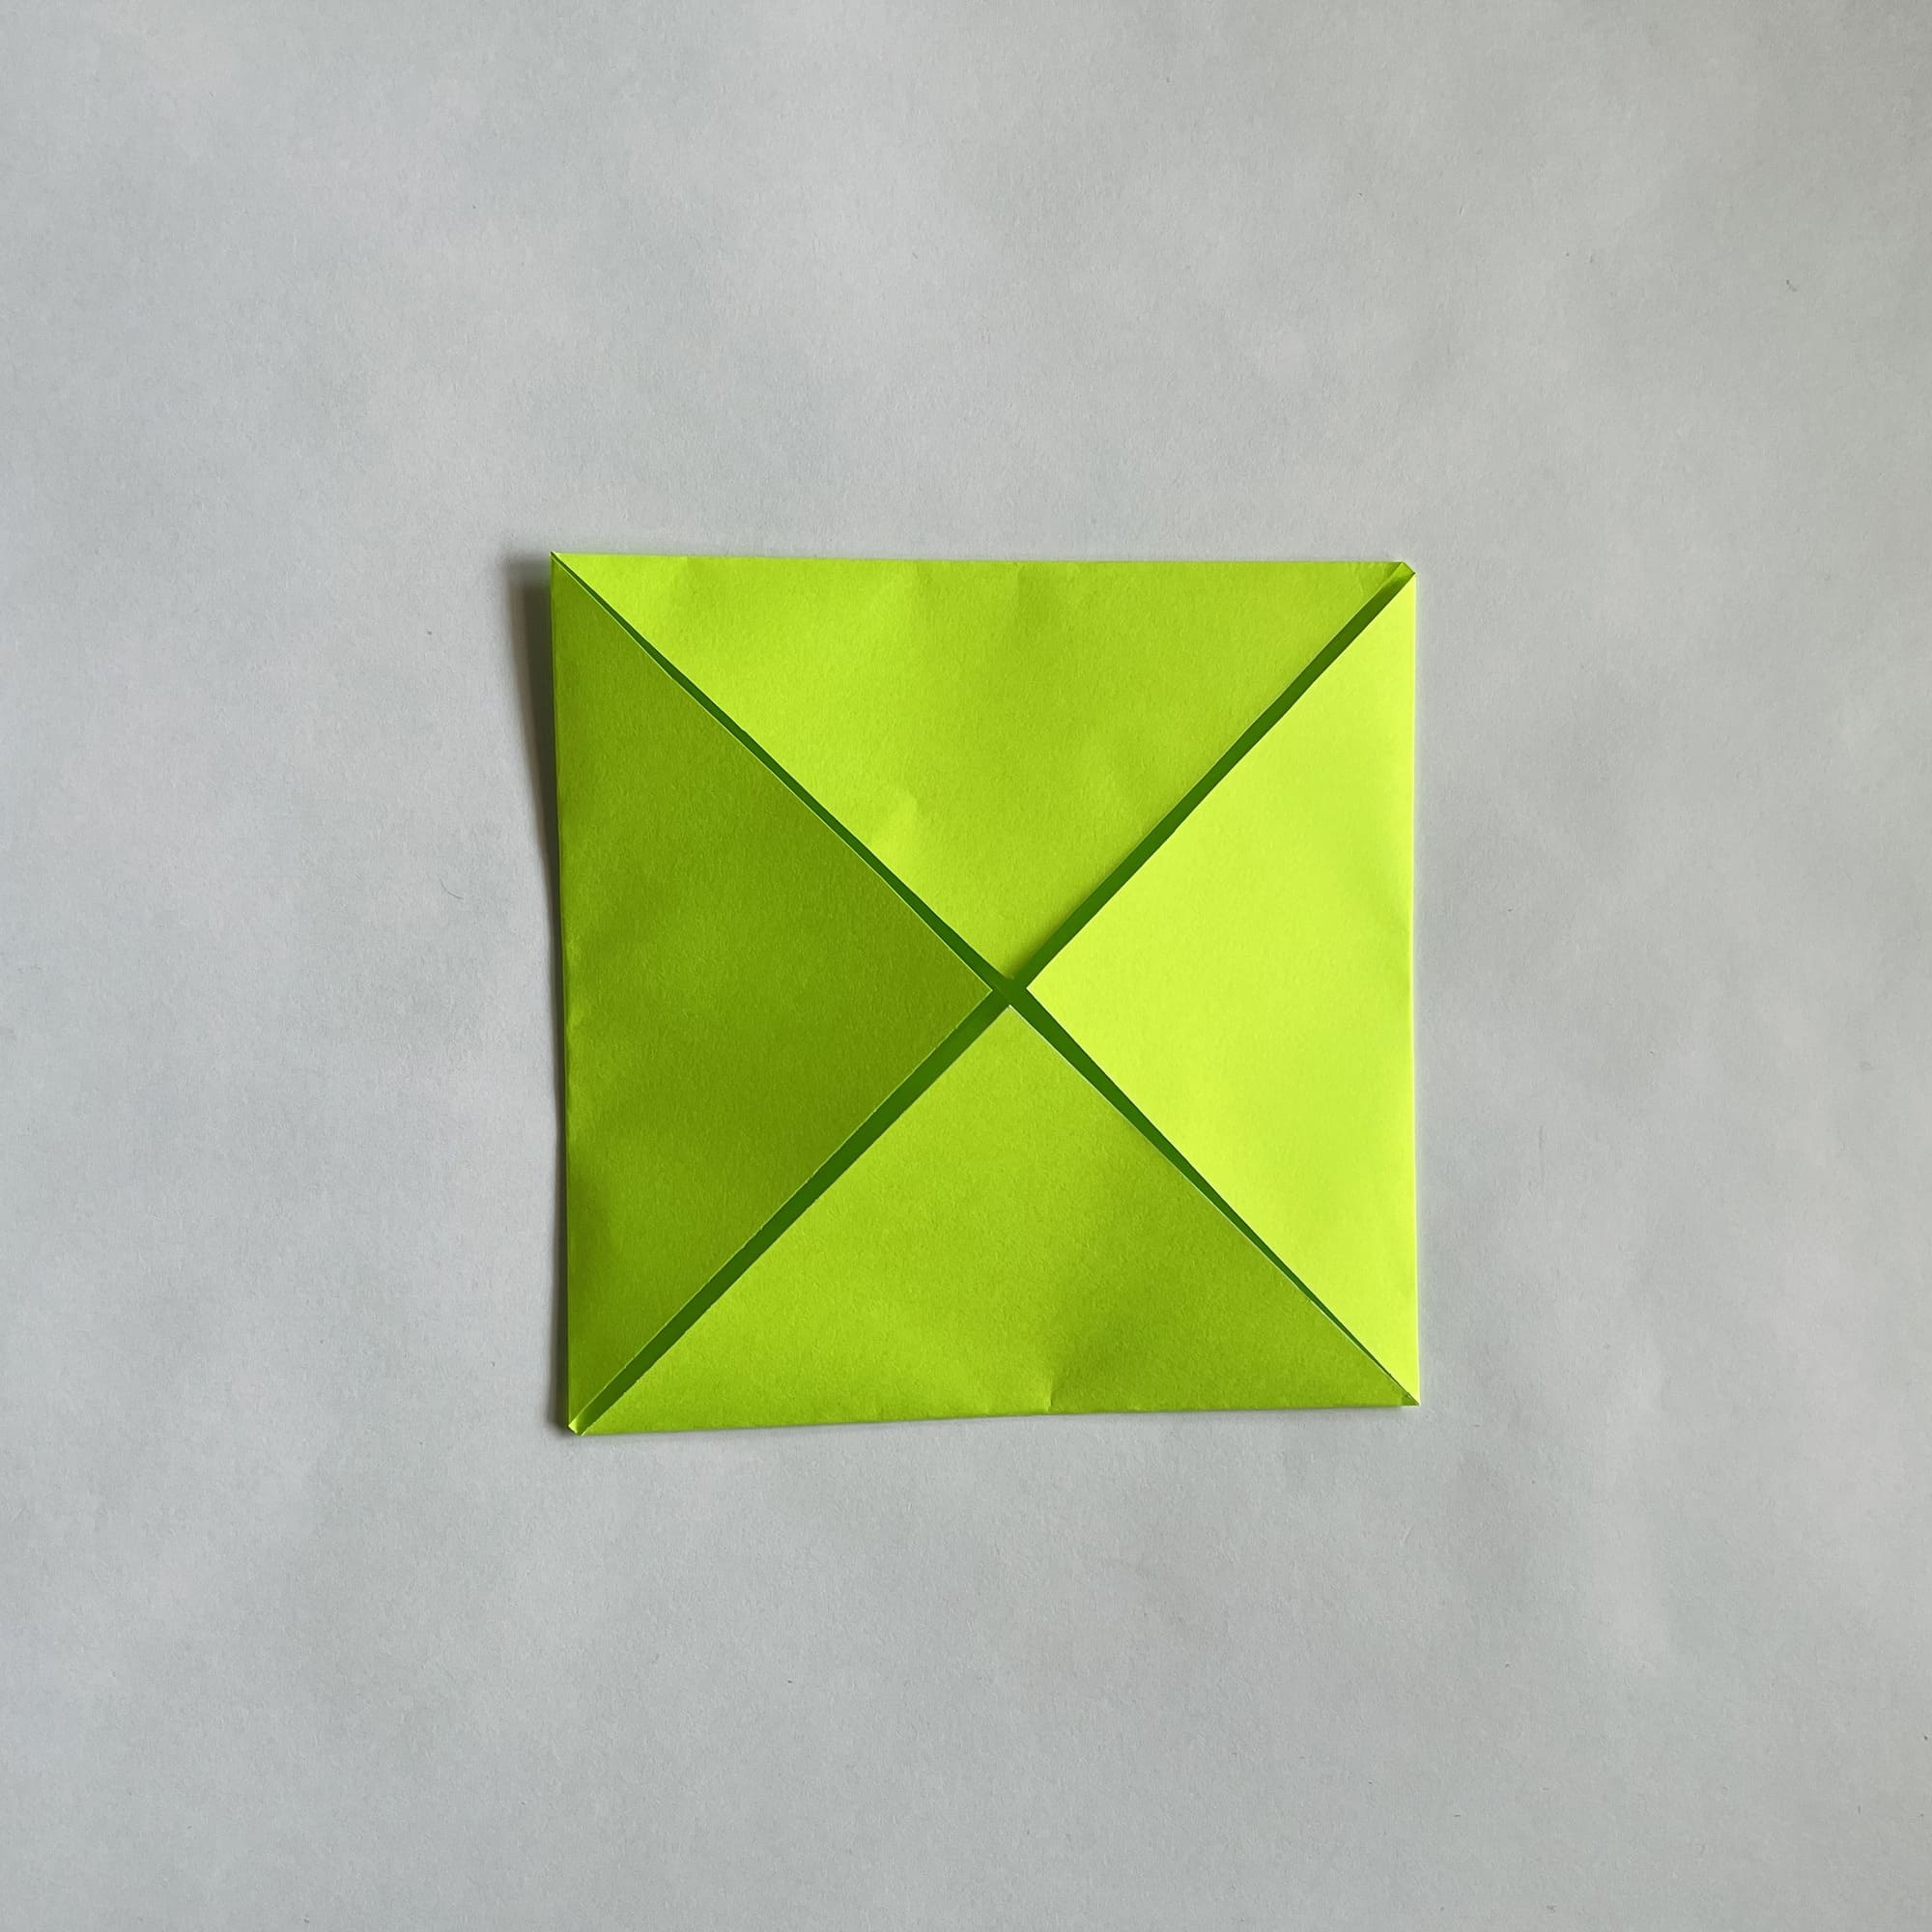
Fold the four corners into the center point.
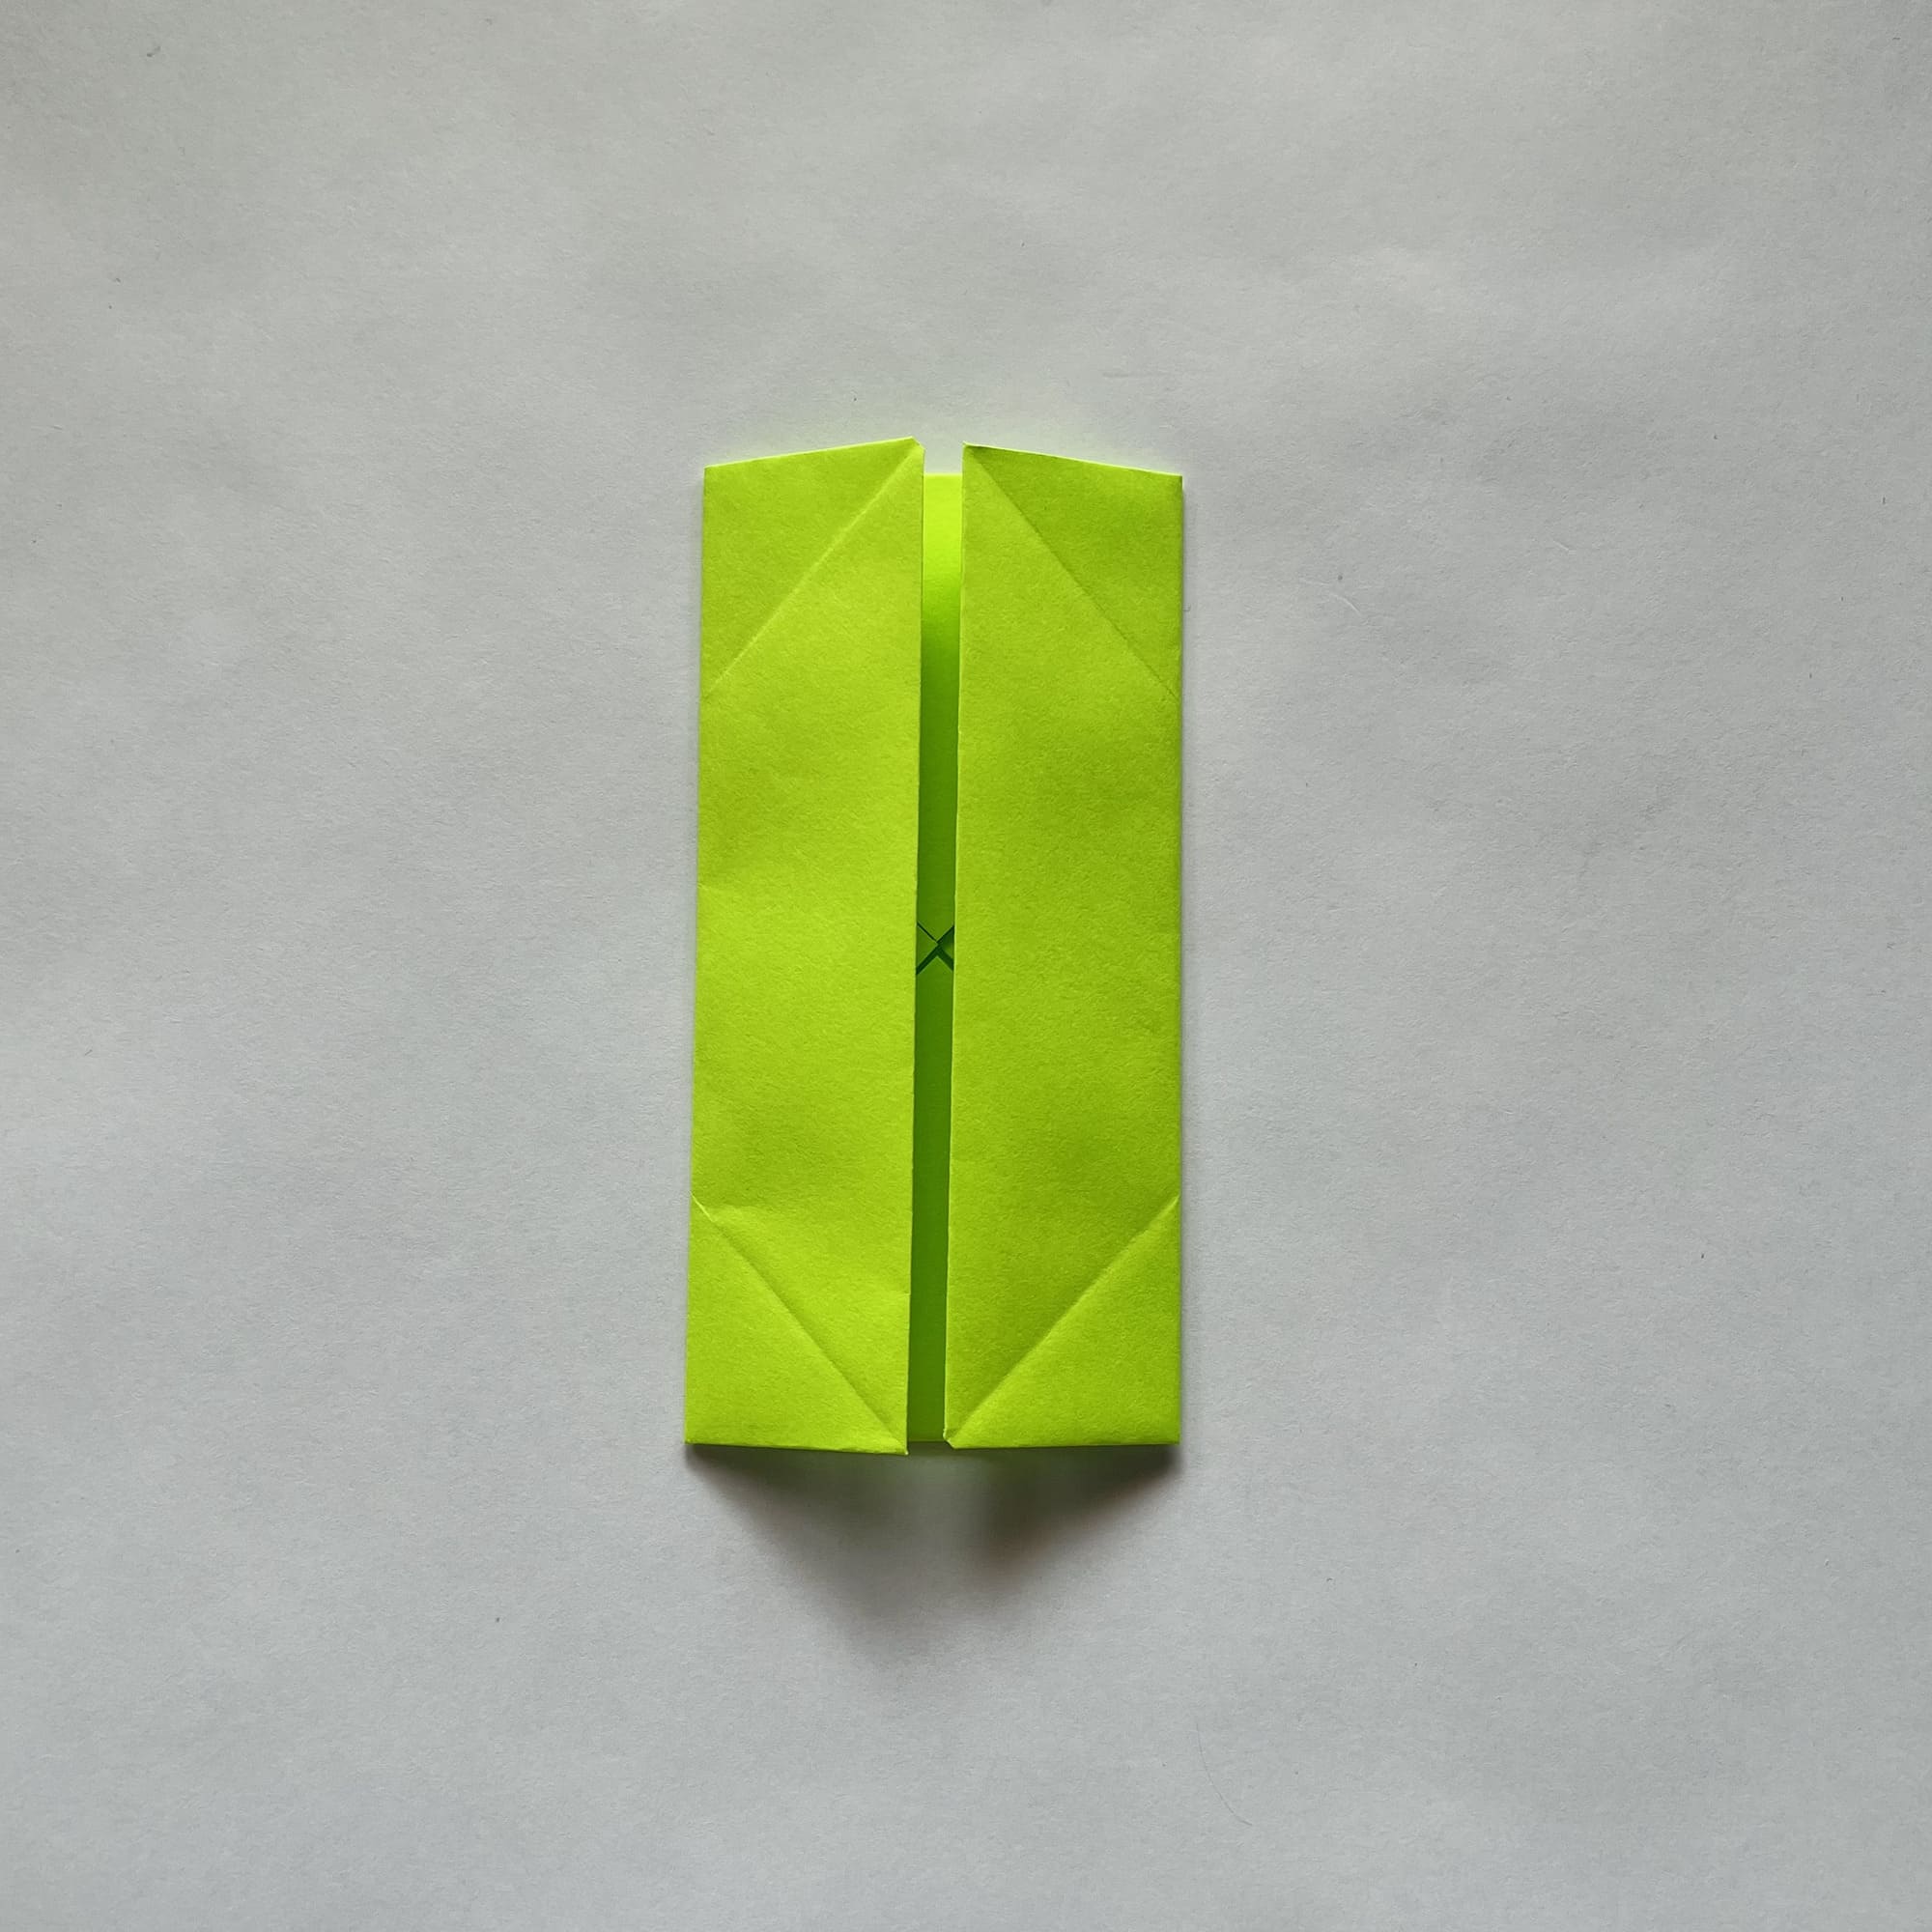
Then fold the right and left sides so that they meet in the center.
Fold the top and bottom pieces to the center. It is important to work all the folds well several times.
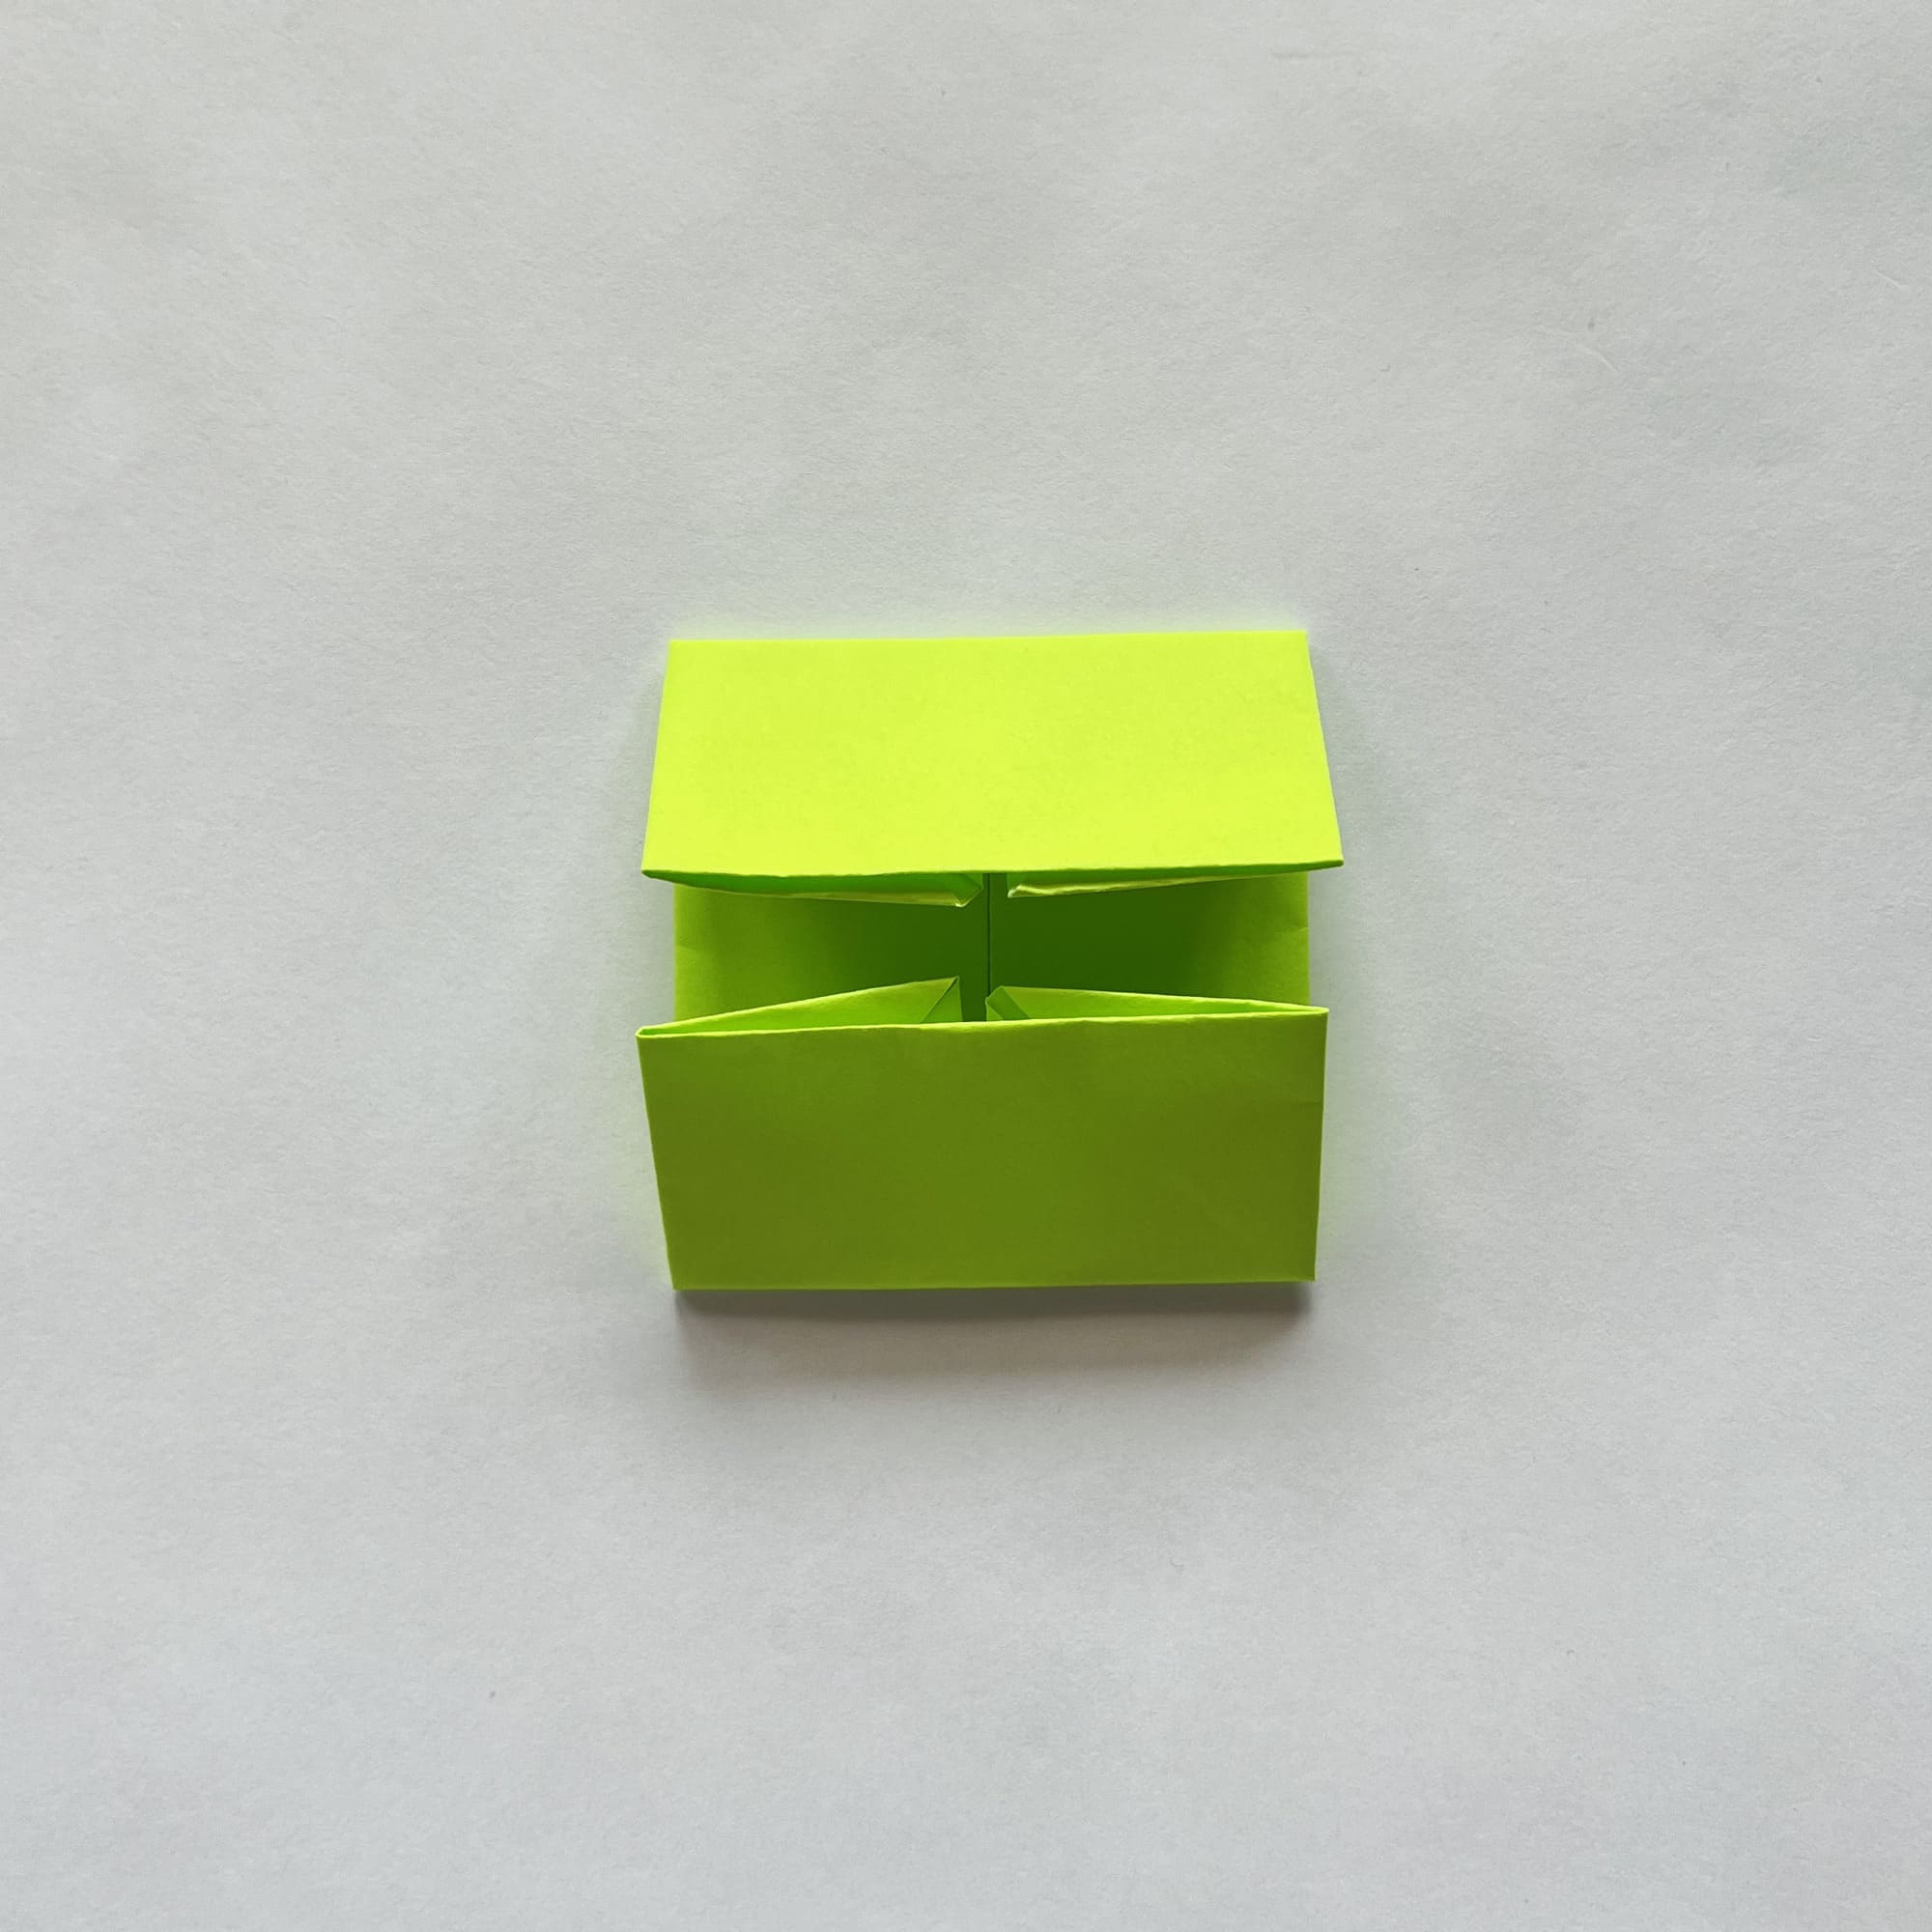
Unfold the paper almost to its original state: leave only the side corners folded to the center of the sheet.

Now at the top, make one fold on each side, turning corners A and B inwards as shown in the photo.

The paper should fold over the folds you made earlier.
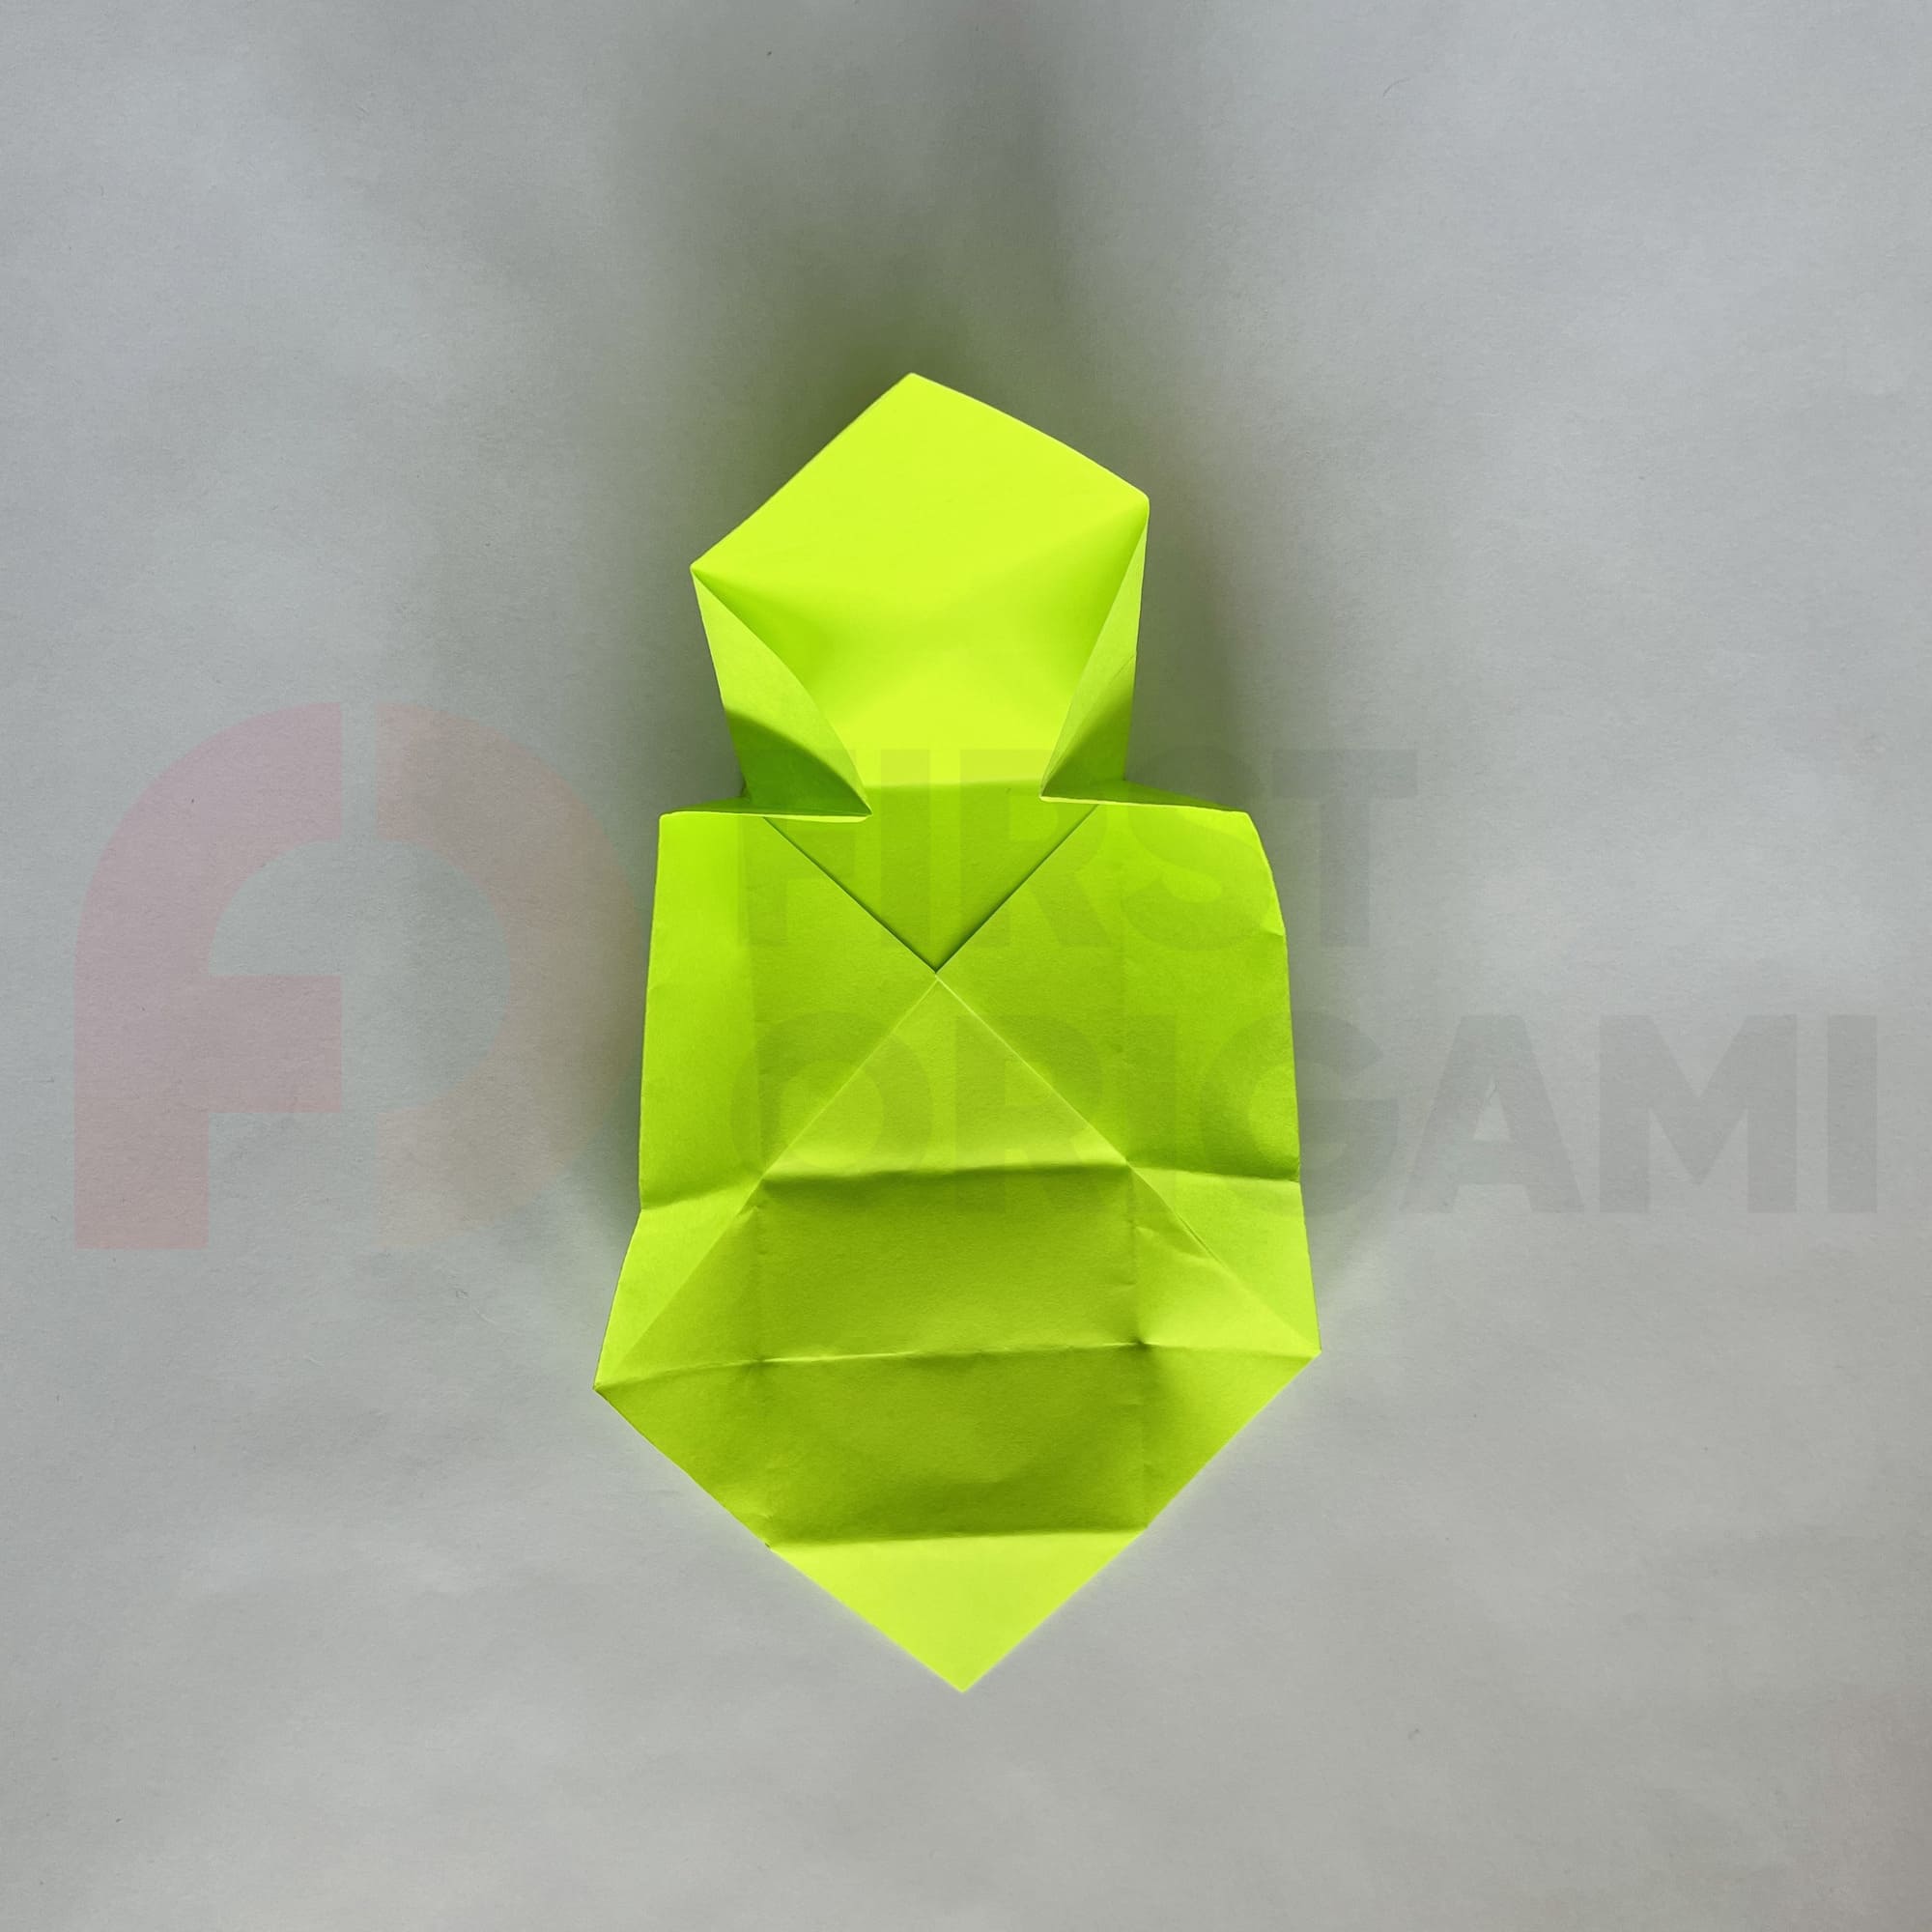

The top corner of the figure is now vertical.

Fold it inward to make a complete box wall.
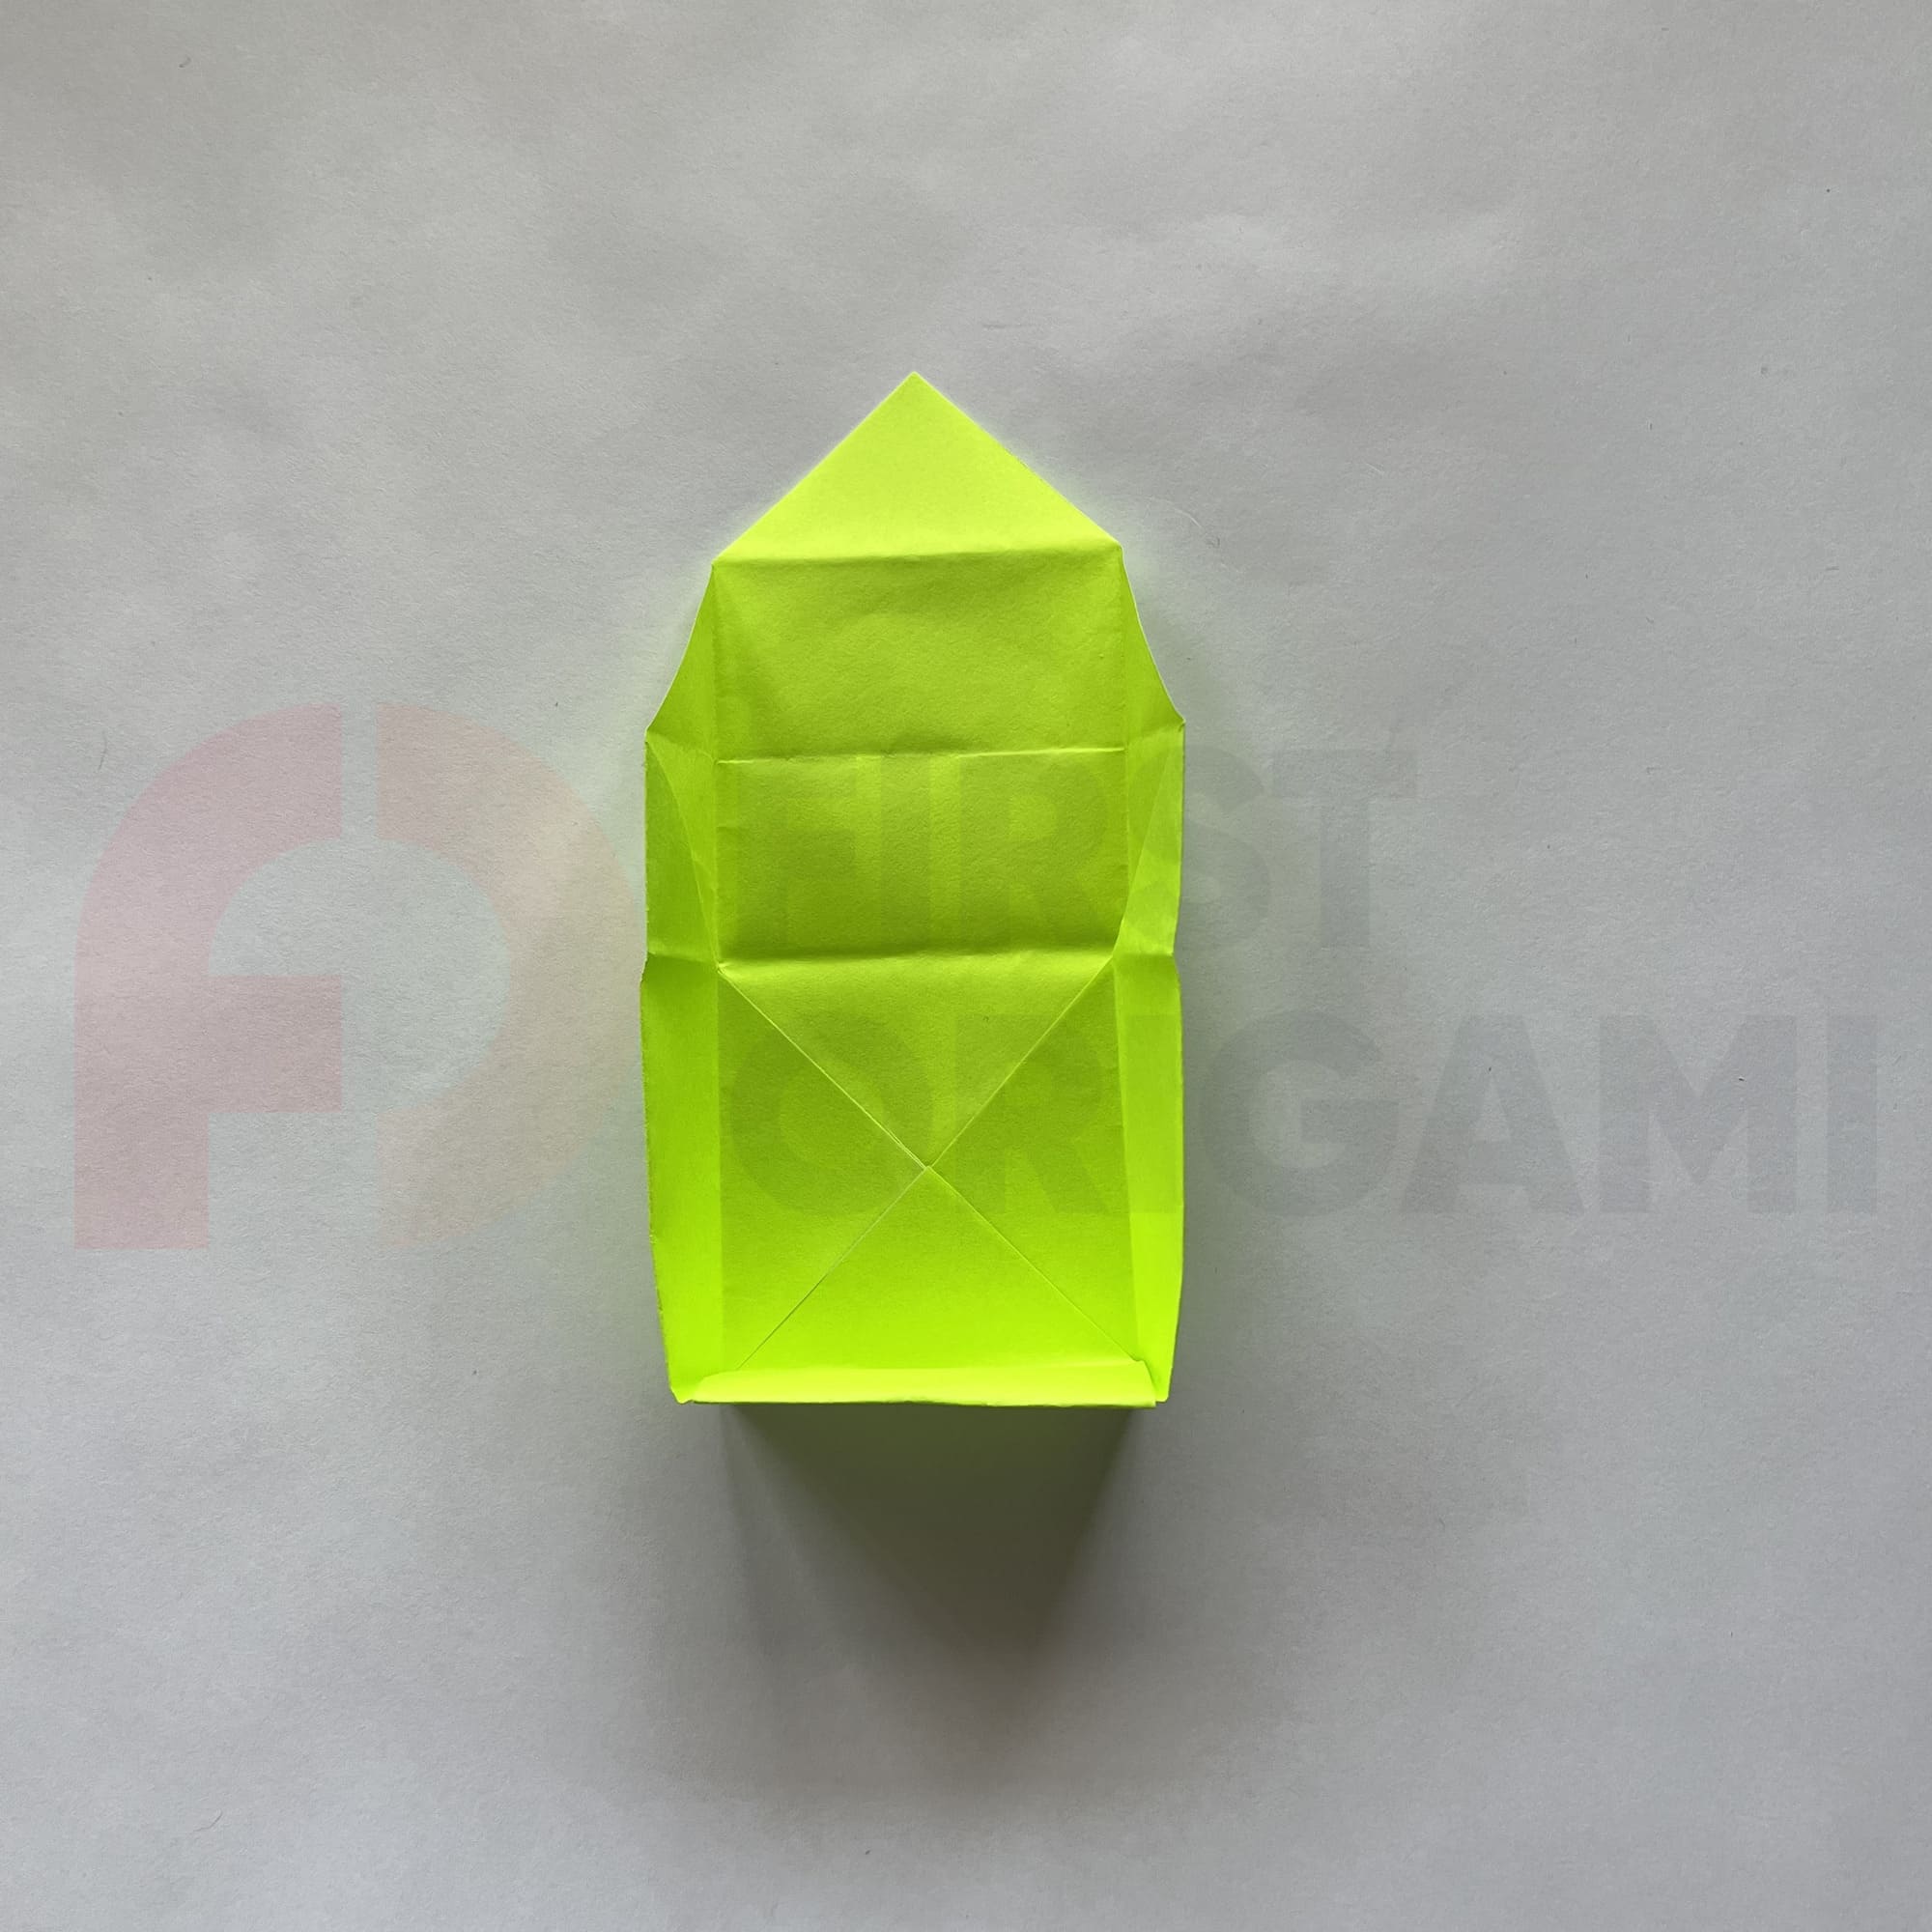
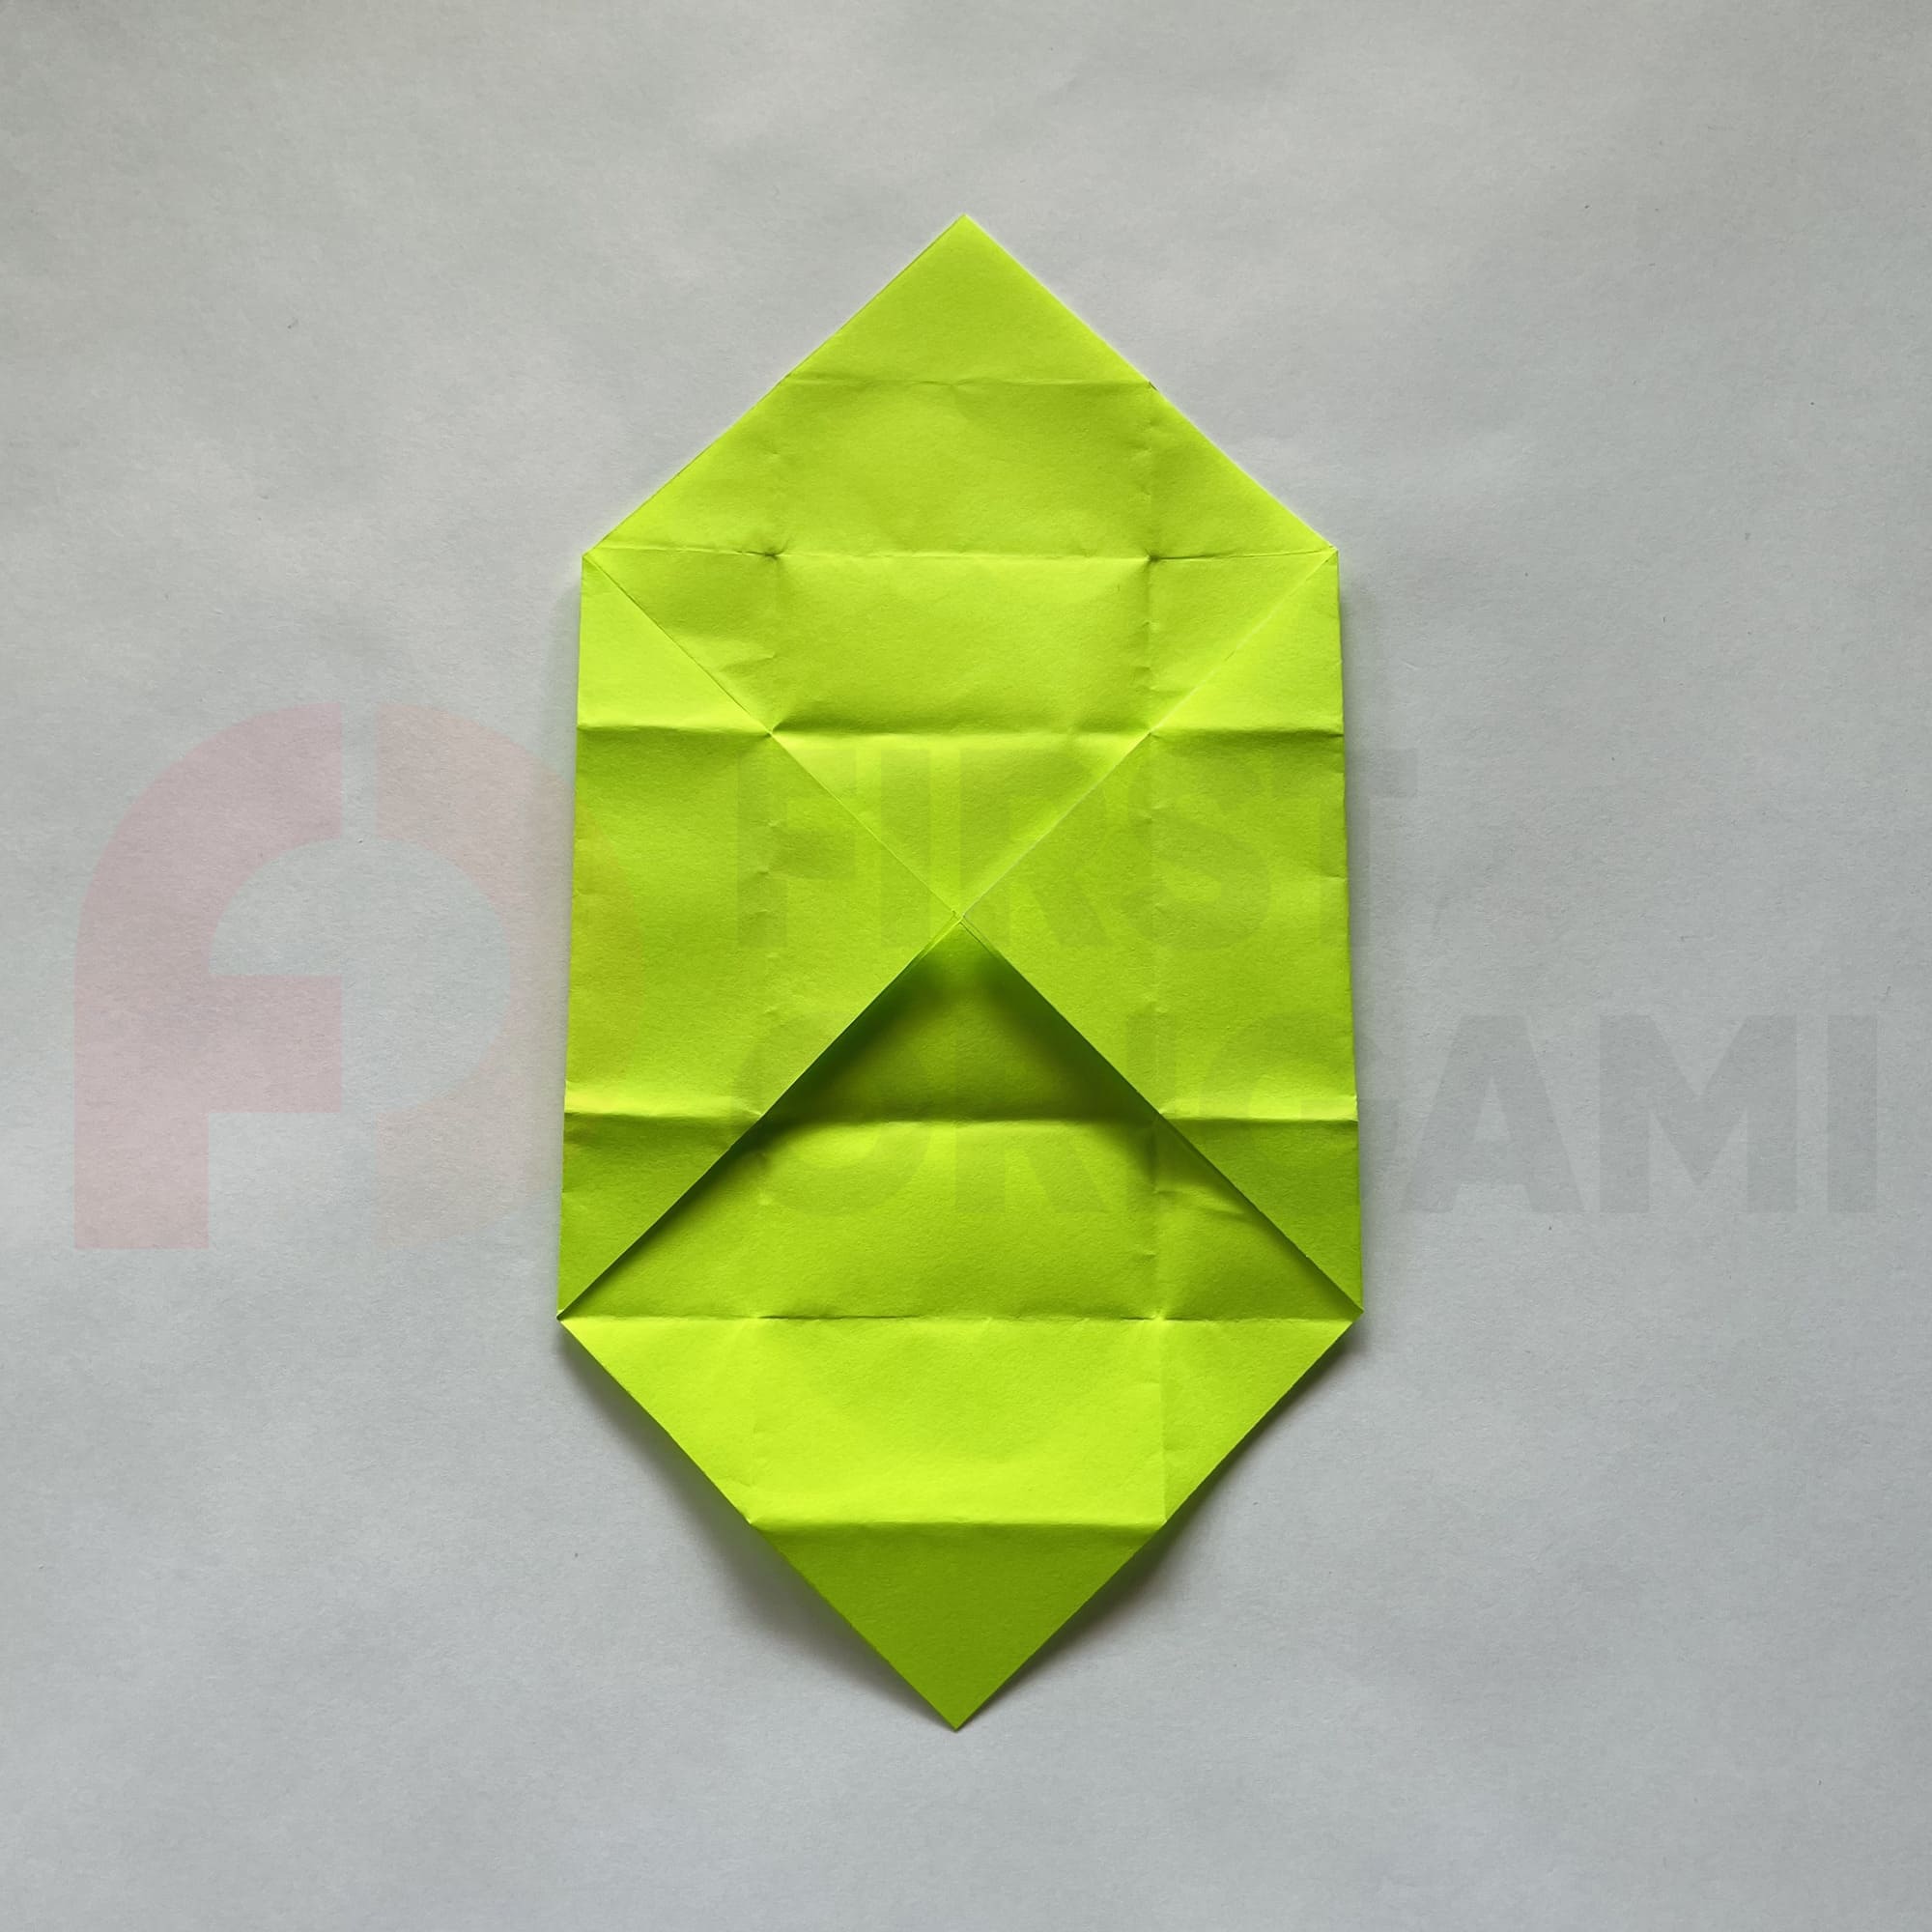
Flip the shape 180 degrees and repeat steps 7-11.
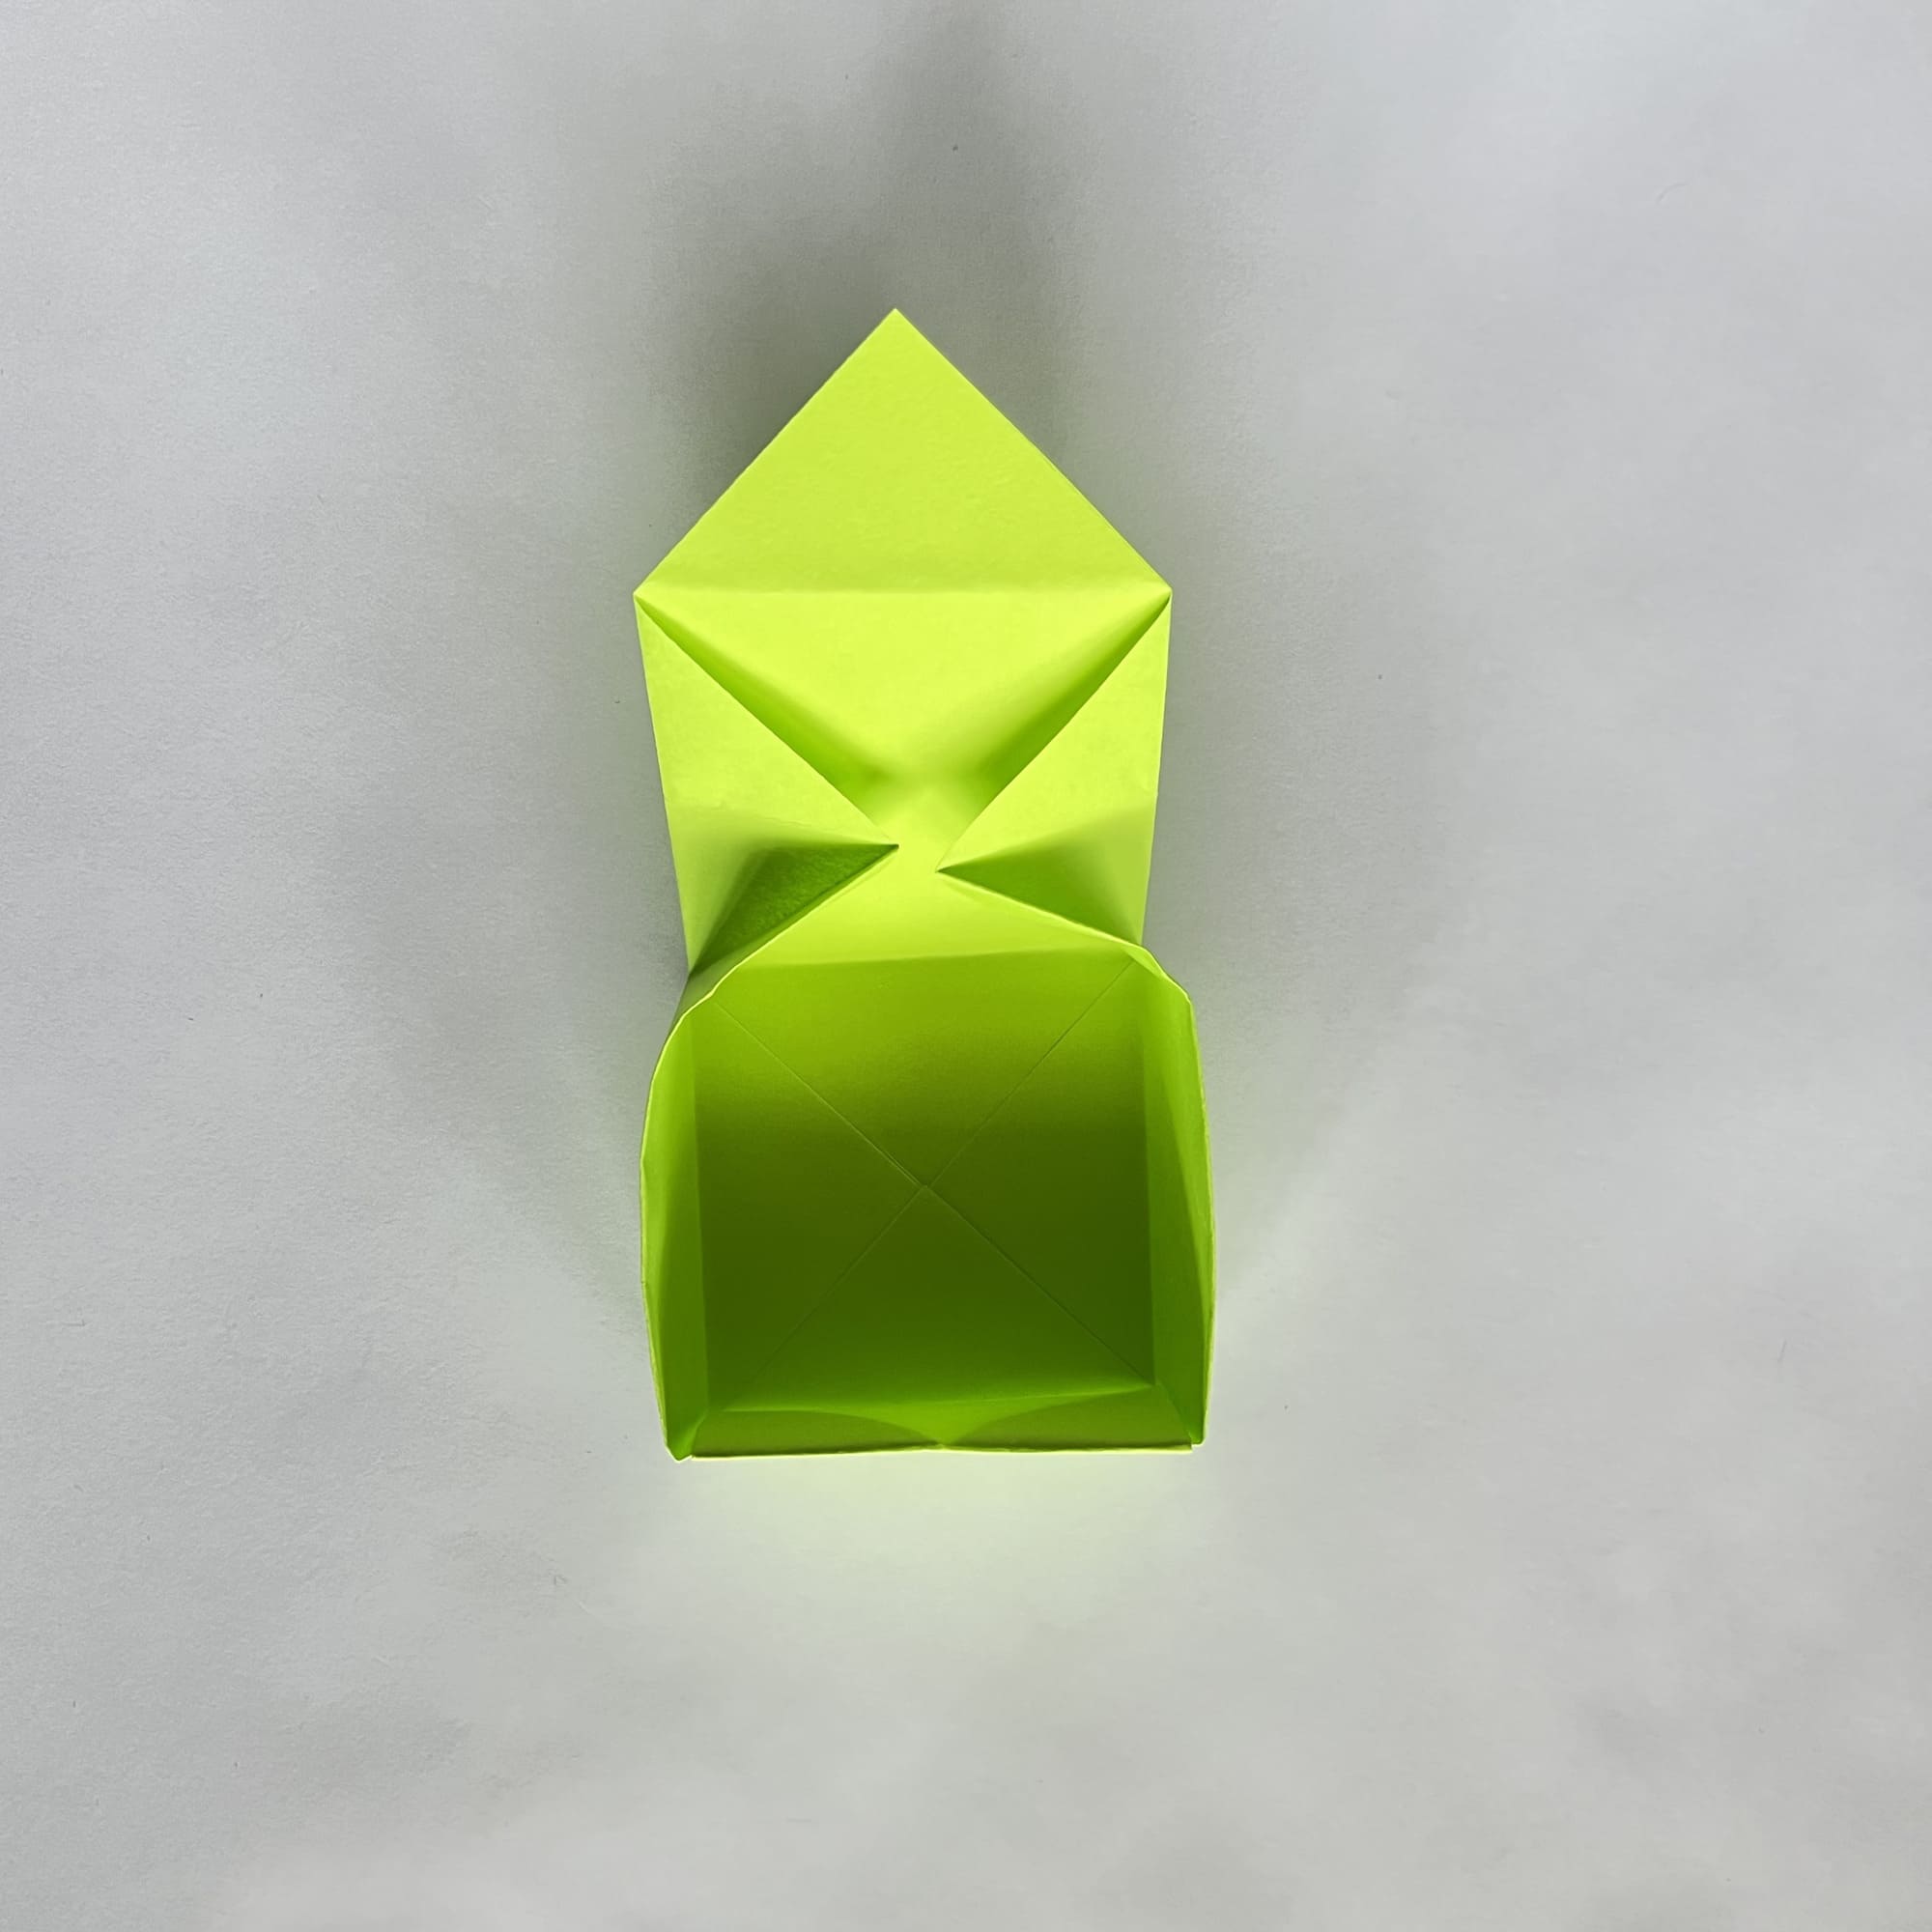
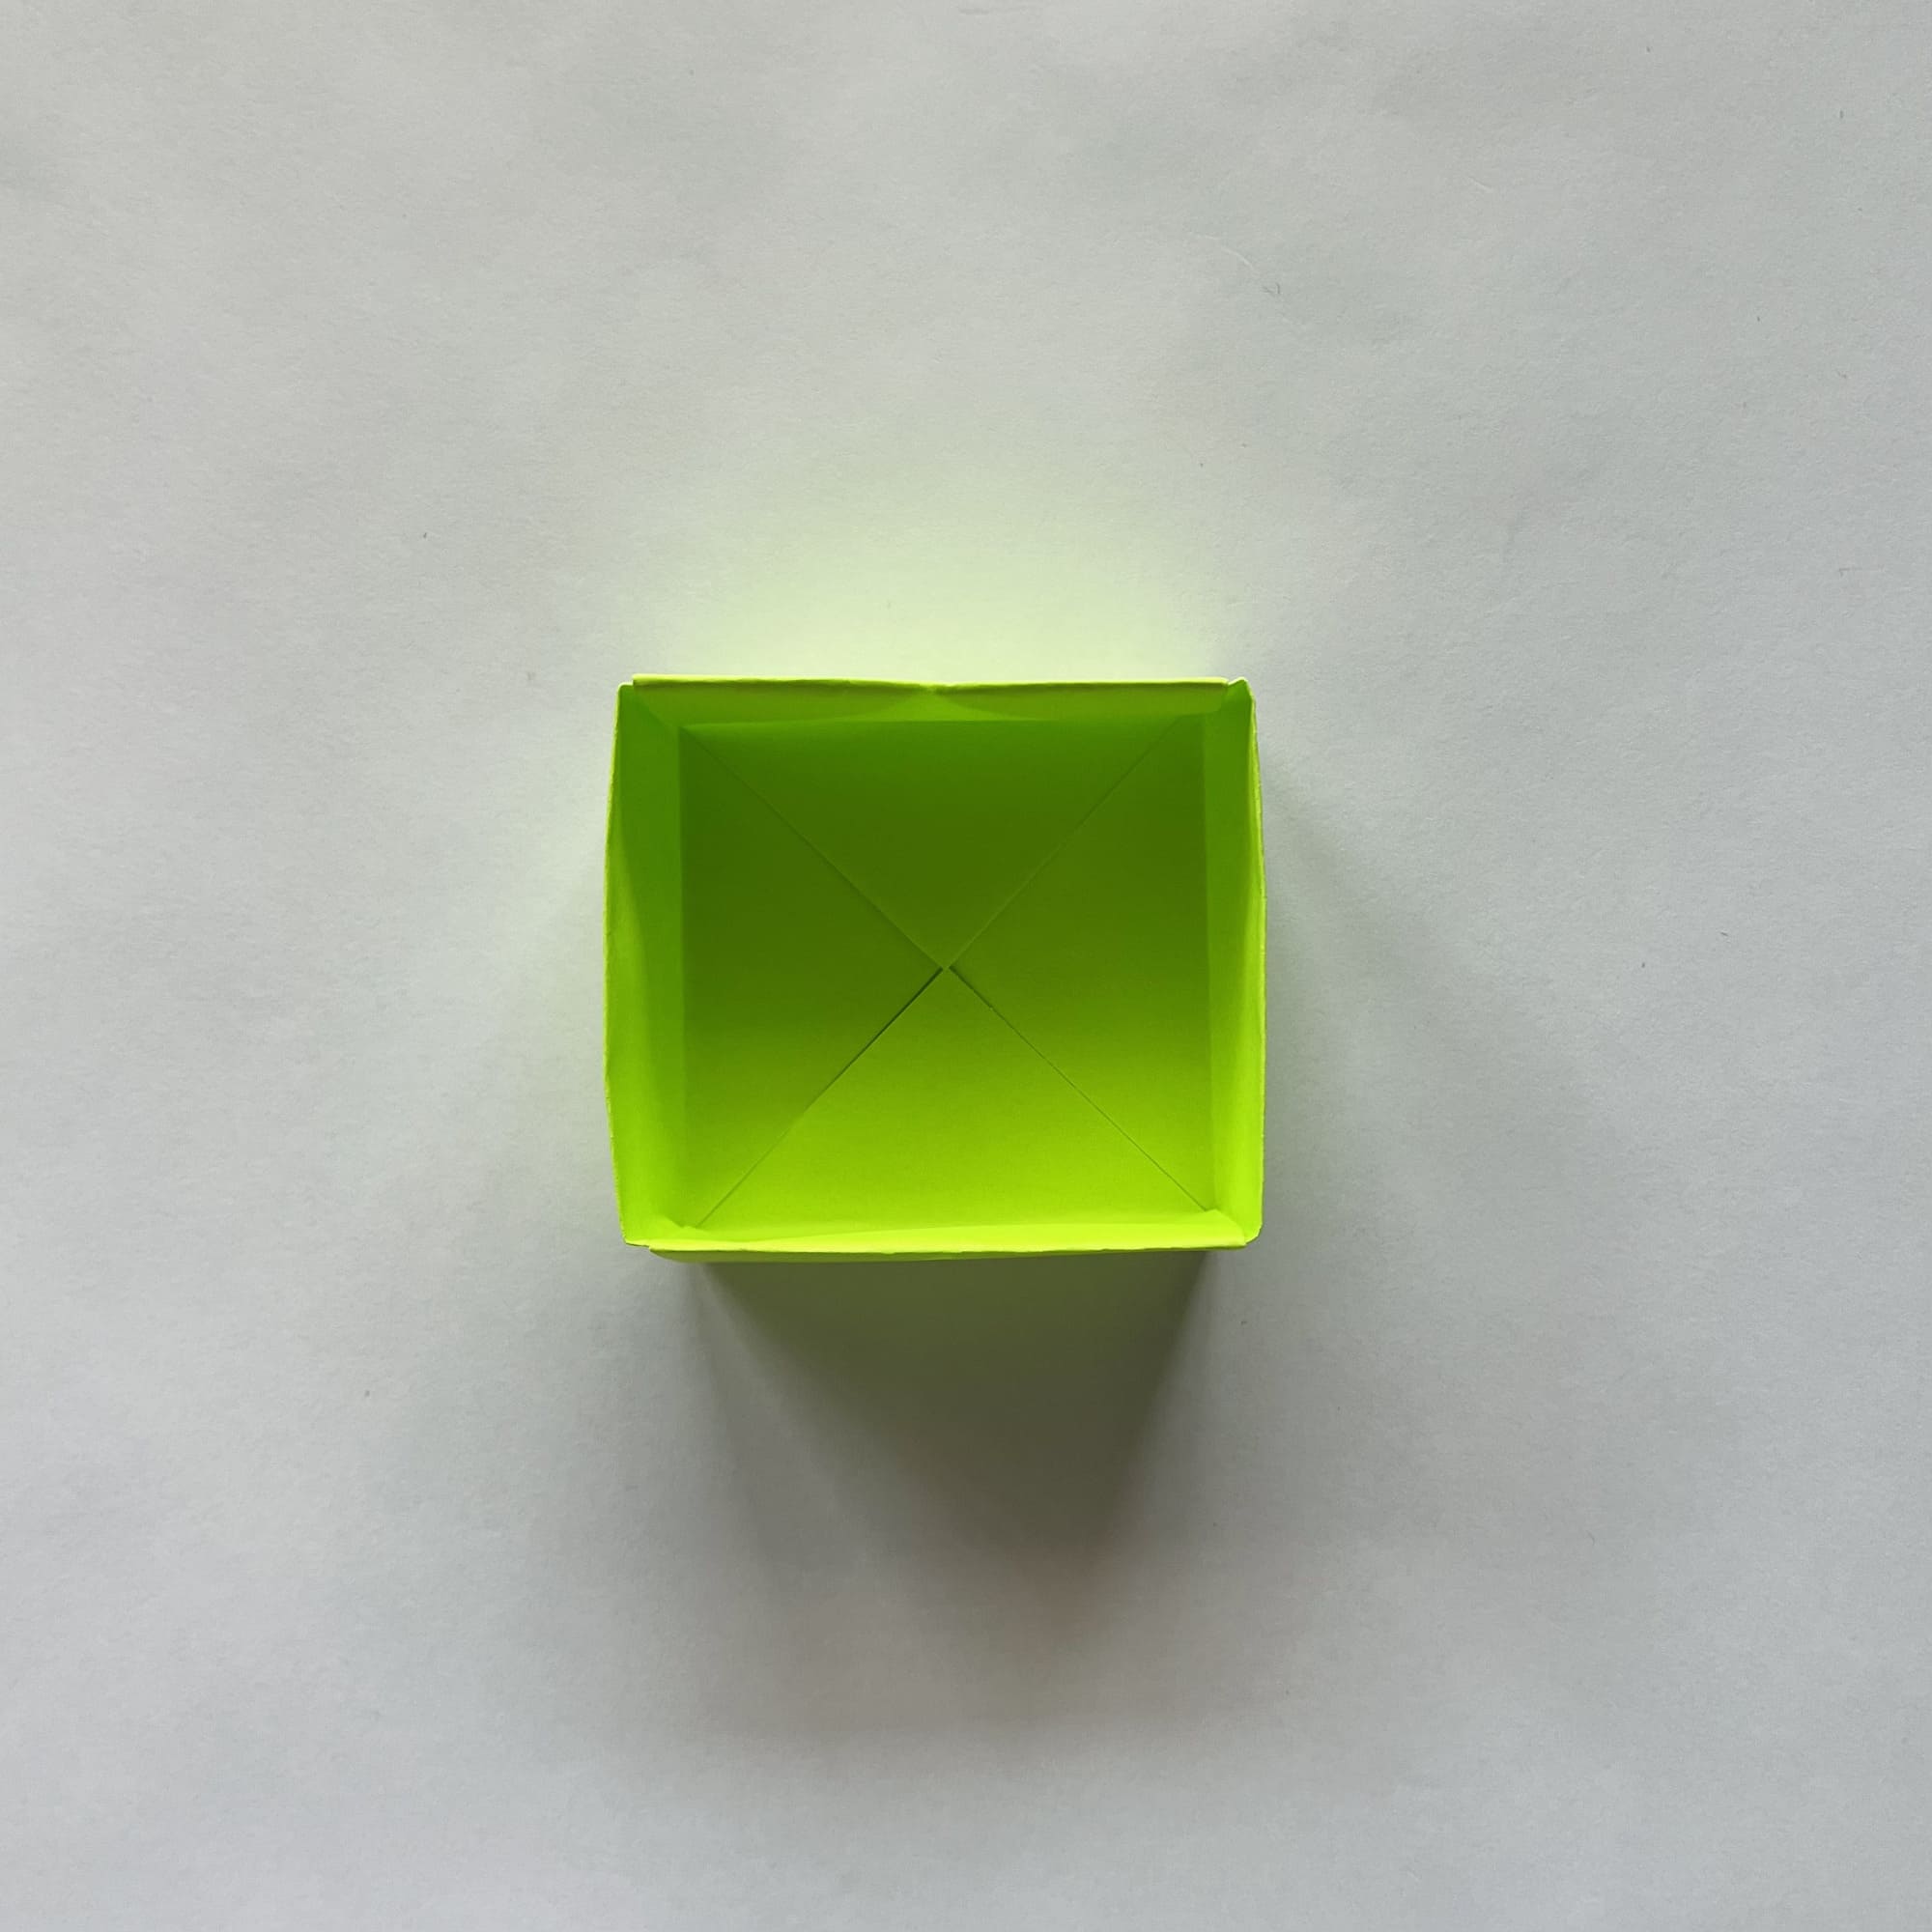
Well done! The box is ready for use.
Now you just need to think of what you will store in it.