Origami Elephant
Your collection of origami animals is not complete without this cute elephant. Many people collect elephant figurines made of bone or porcelain. Some people like images of these majestic animals on canvas. We suggest creating a cute paper elephant.
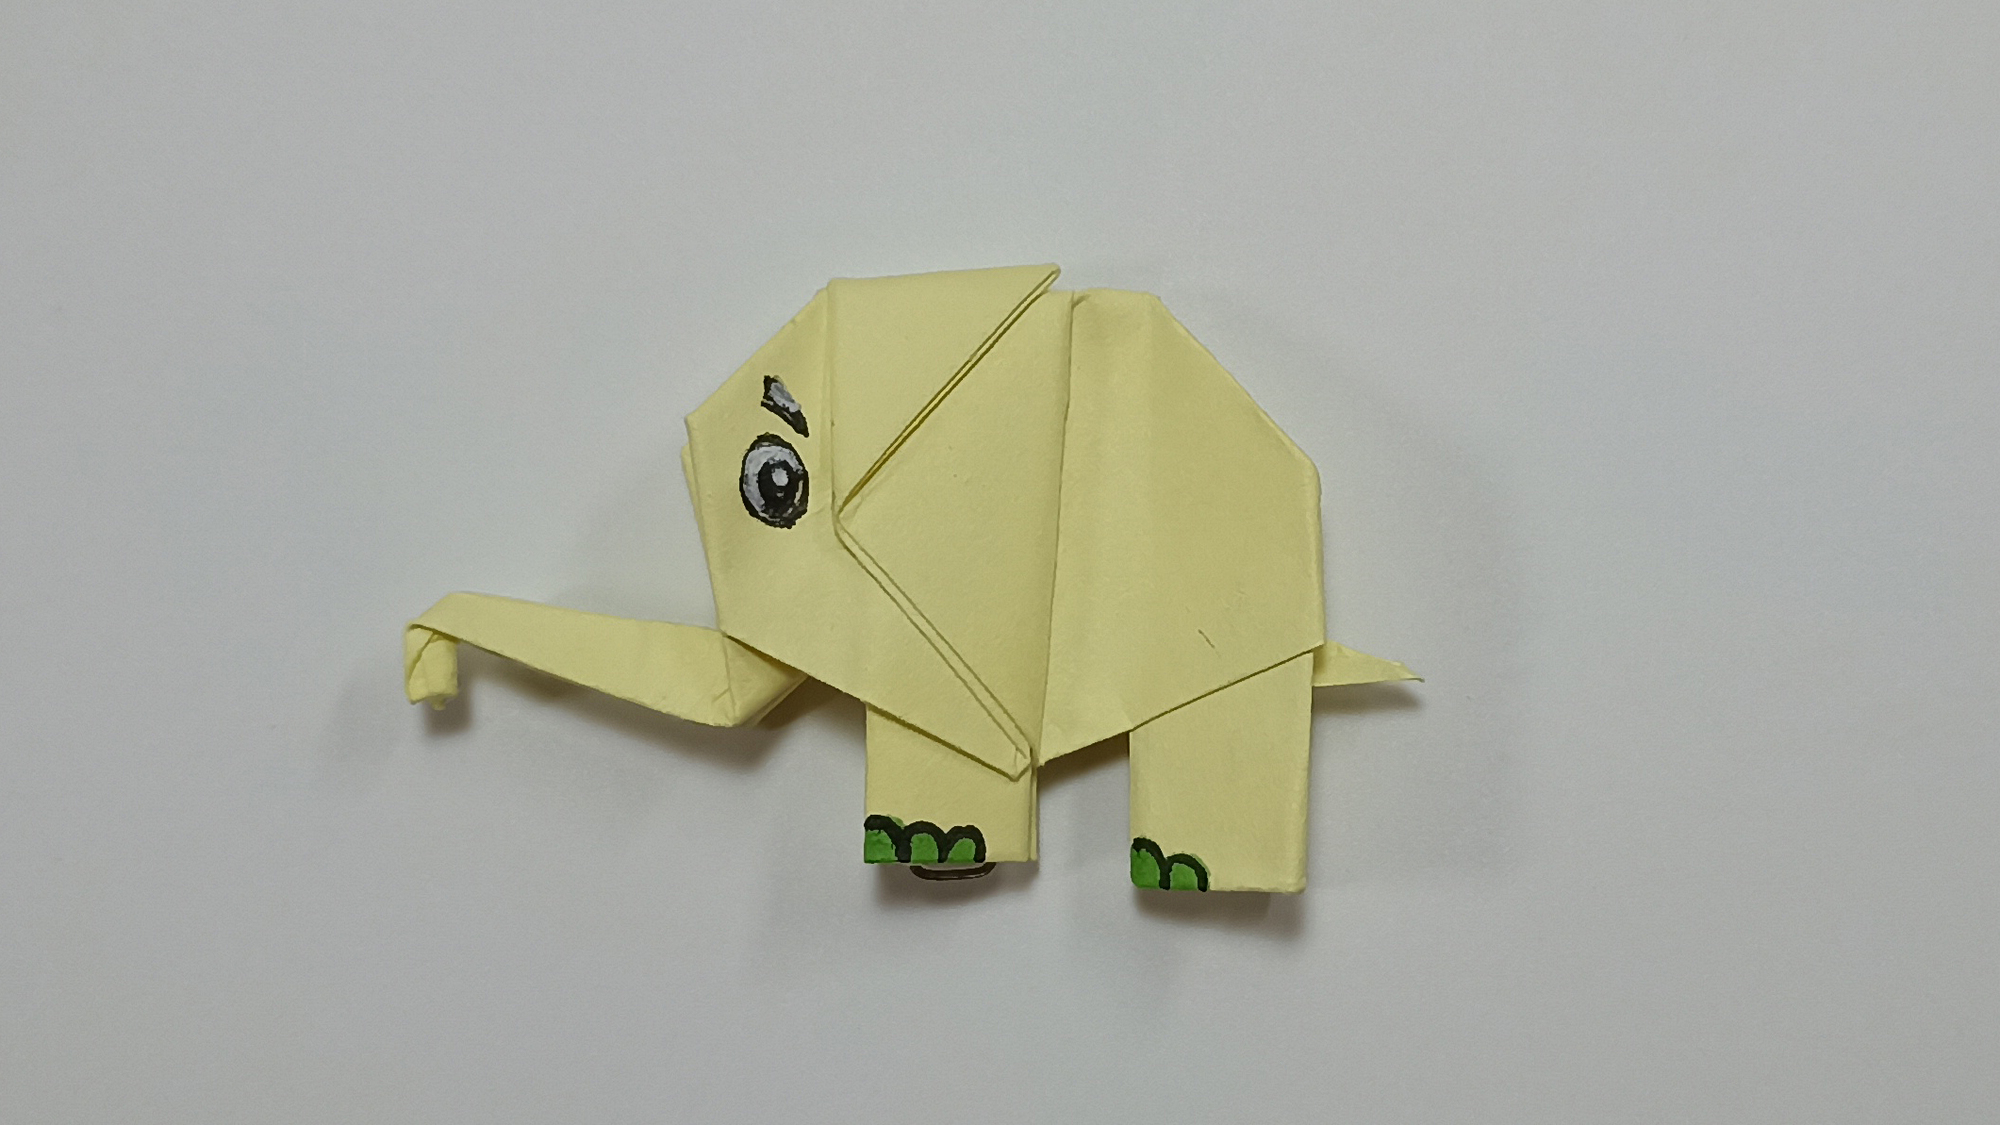
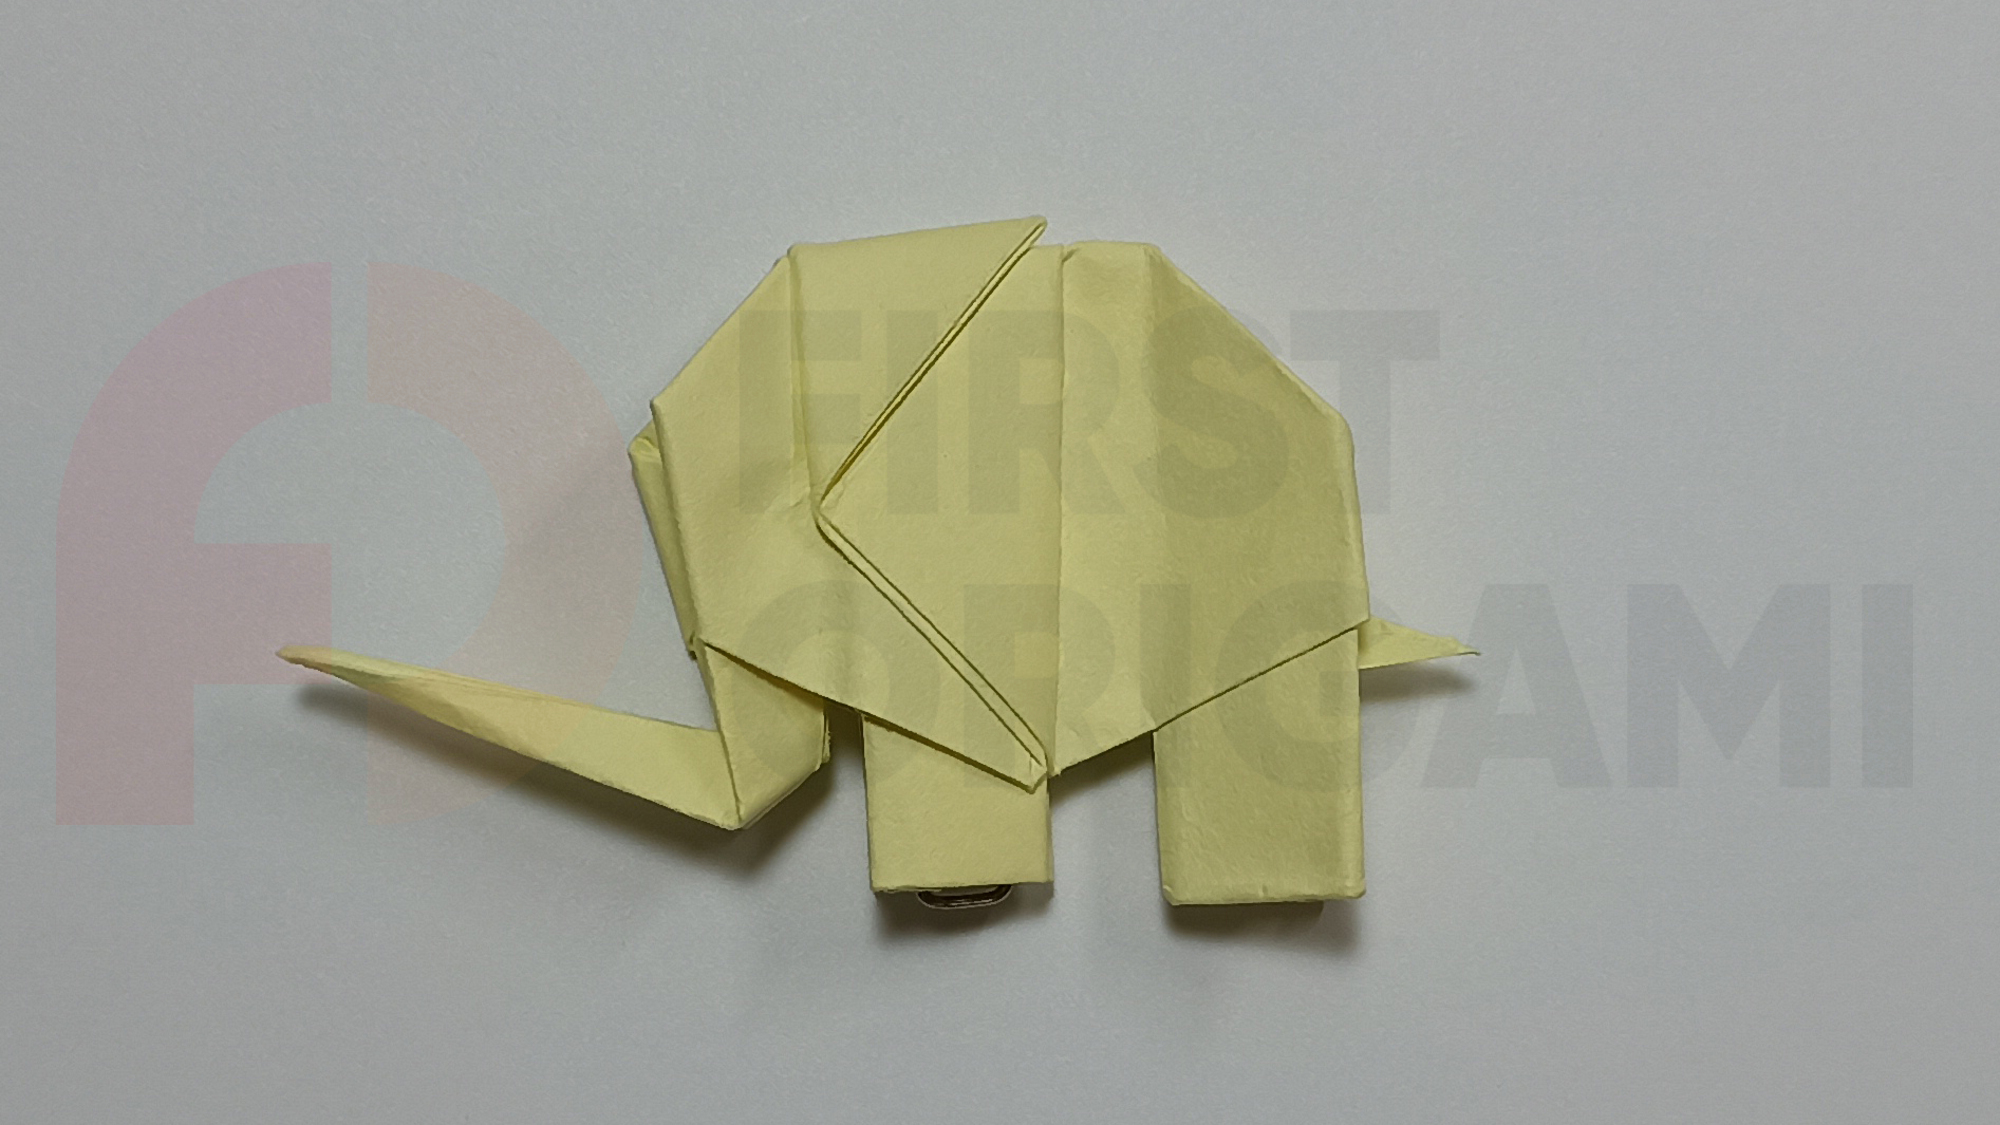
Surprisingly, the combination of folds with just one sheet of paper can convey all the distinctive features of its appearance. A rounded body, large ears pressed to the head, and a small tail are all there. Most importantly, there is a trunk that can be raised or lowered. After all, elephants can move objects with their trunks, pick fruits from trees, and pour water on themselves, as if from a watering can.
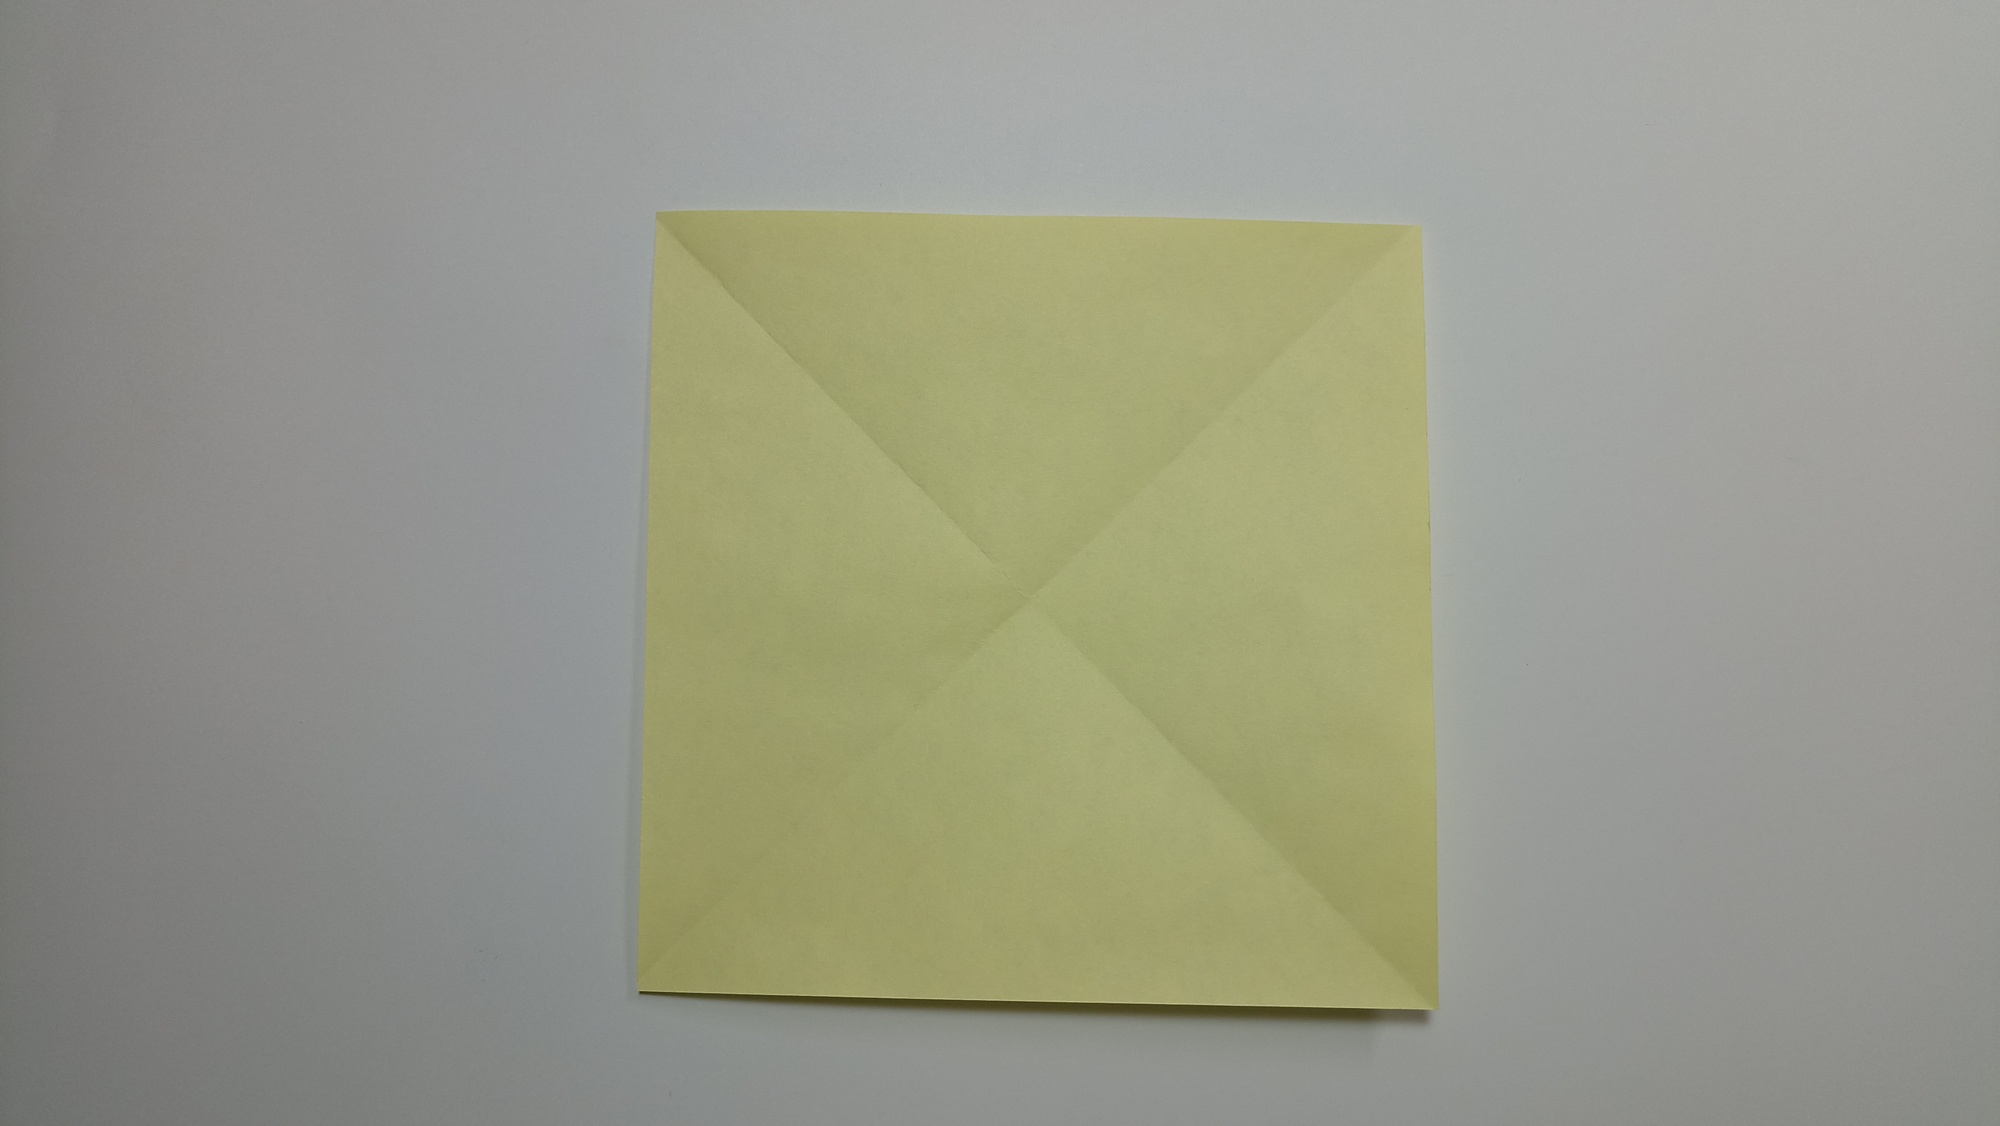
Draw the diagonal lines of the square. Turn the sheet of paper over.
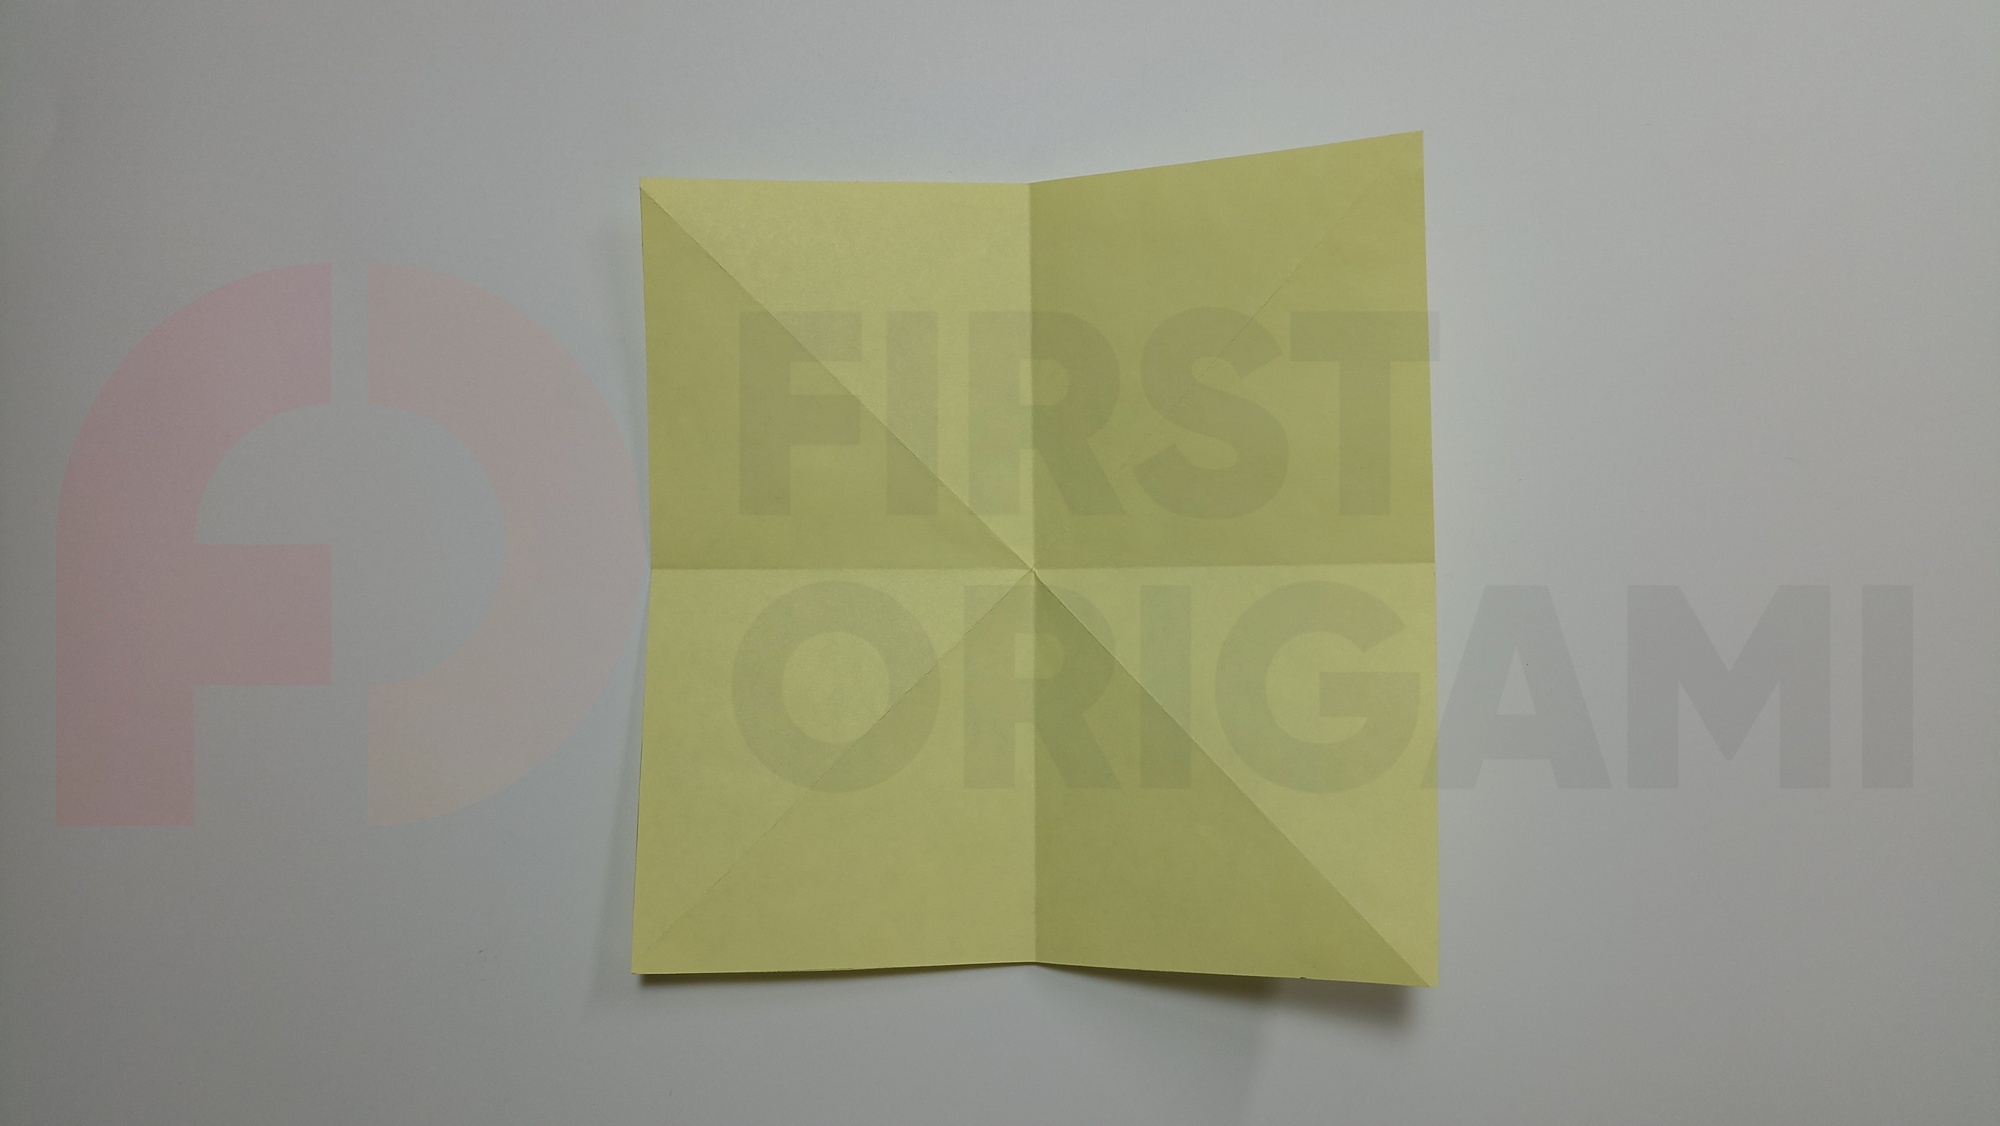
Mark the middle lines, aligning the sides.
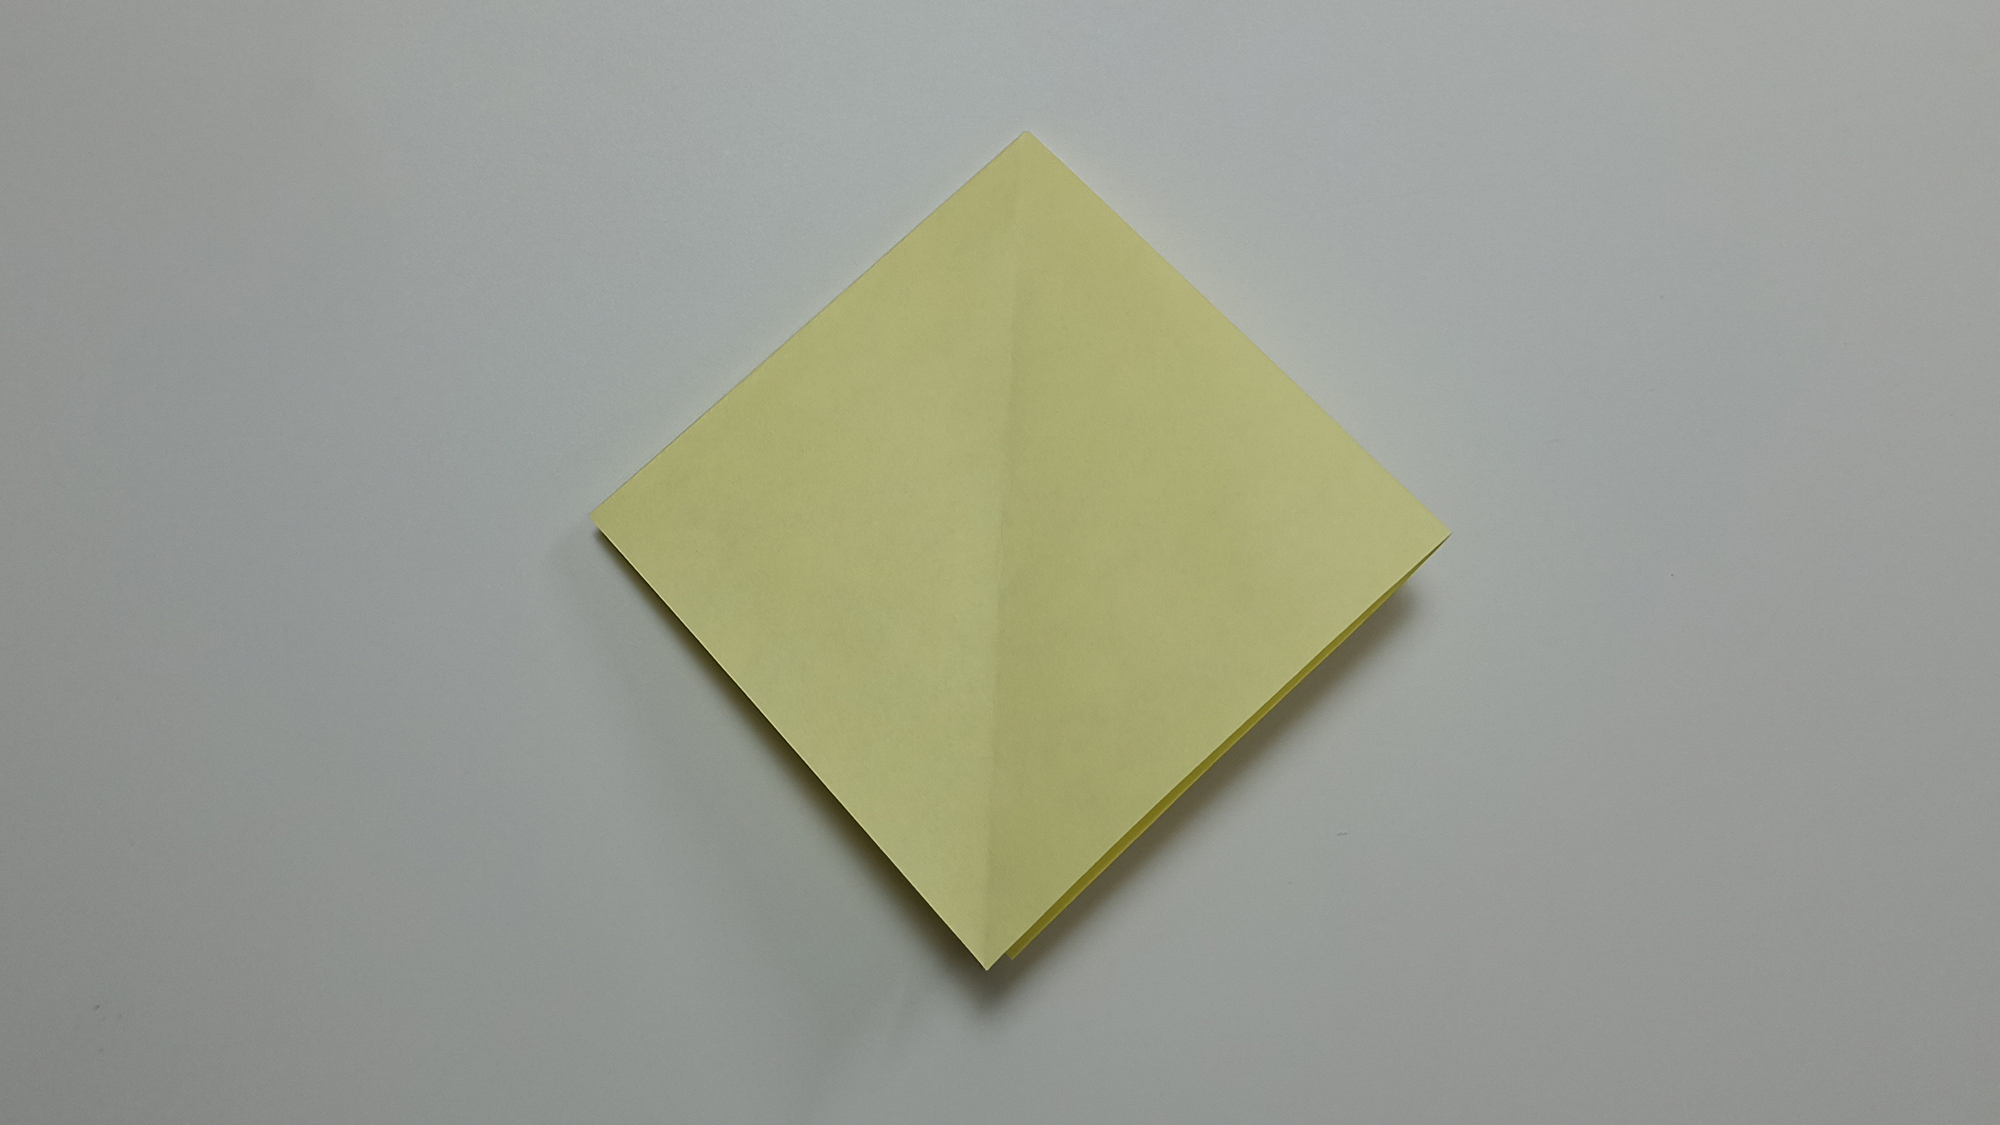
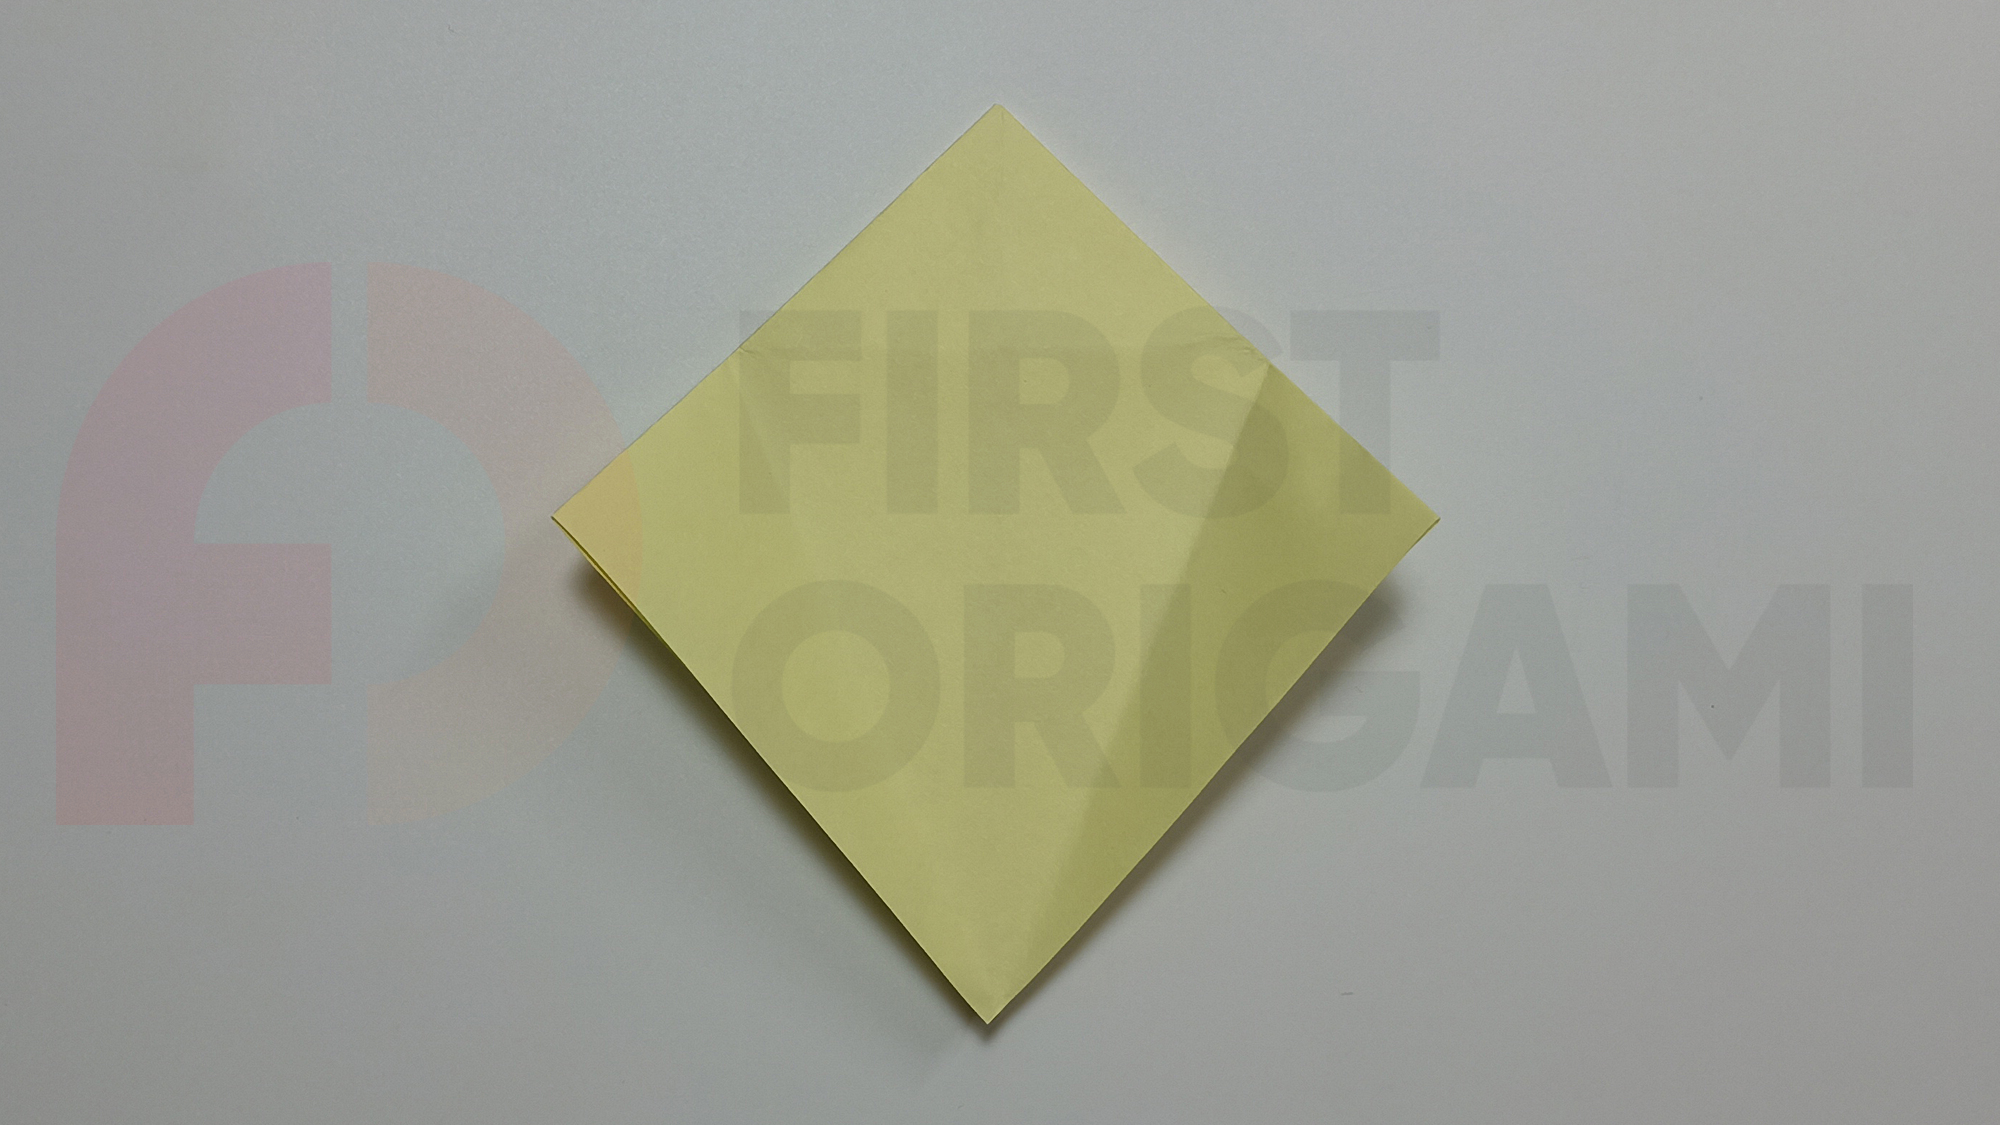
Fold a double square.
Mark assisting folds. Fold the bottom sides towards the center line.
Raise the corner. Fold the sides inward. Bend the corner down. Turn the shape over.
Mark the assisting folds again, folding the bottom sides towards the middle.
Raise the corner. Bend the sides towards the middle.
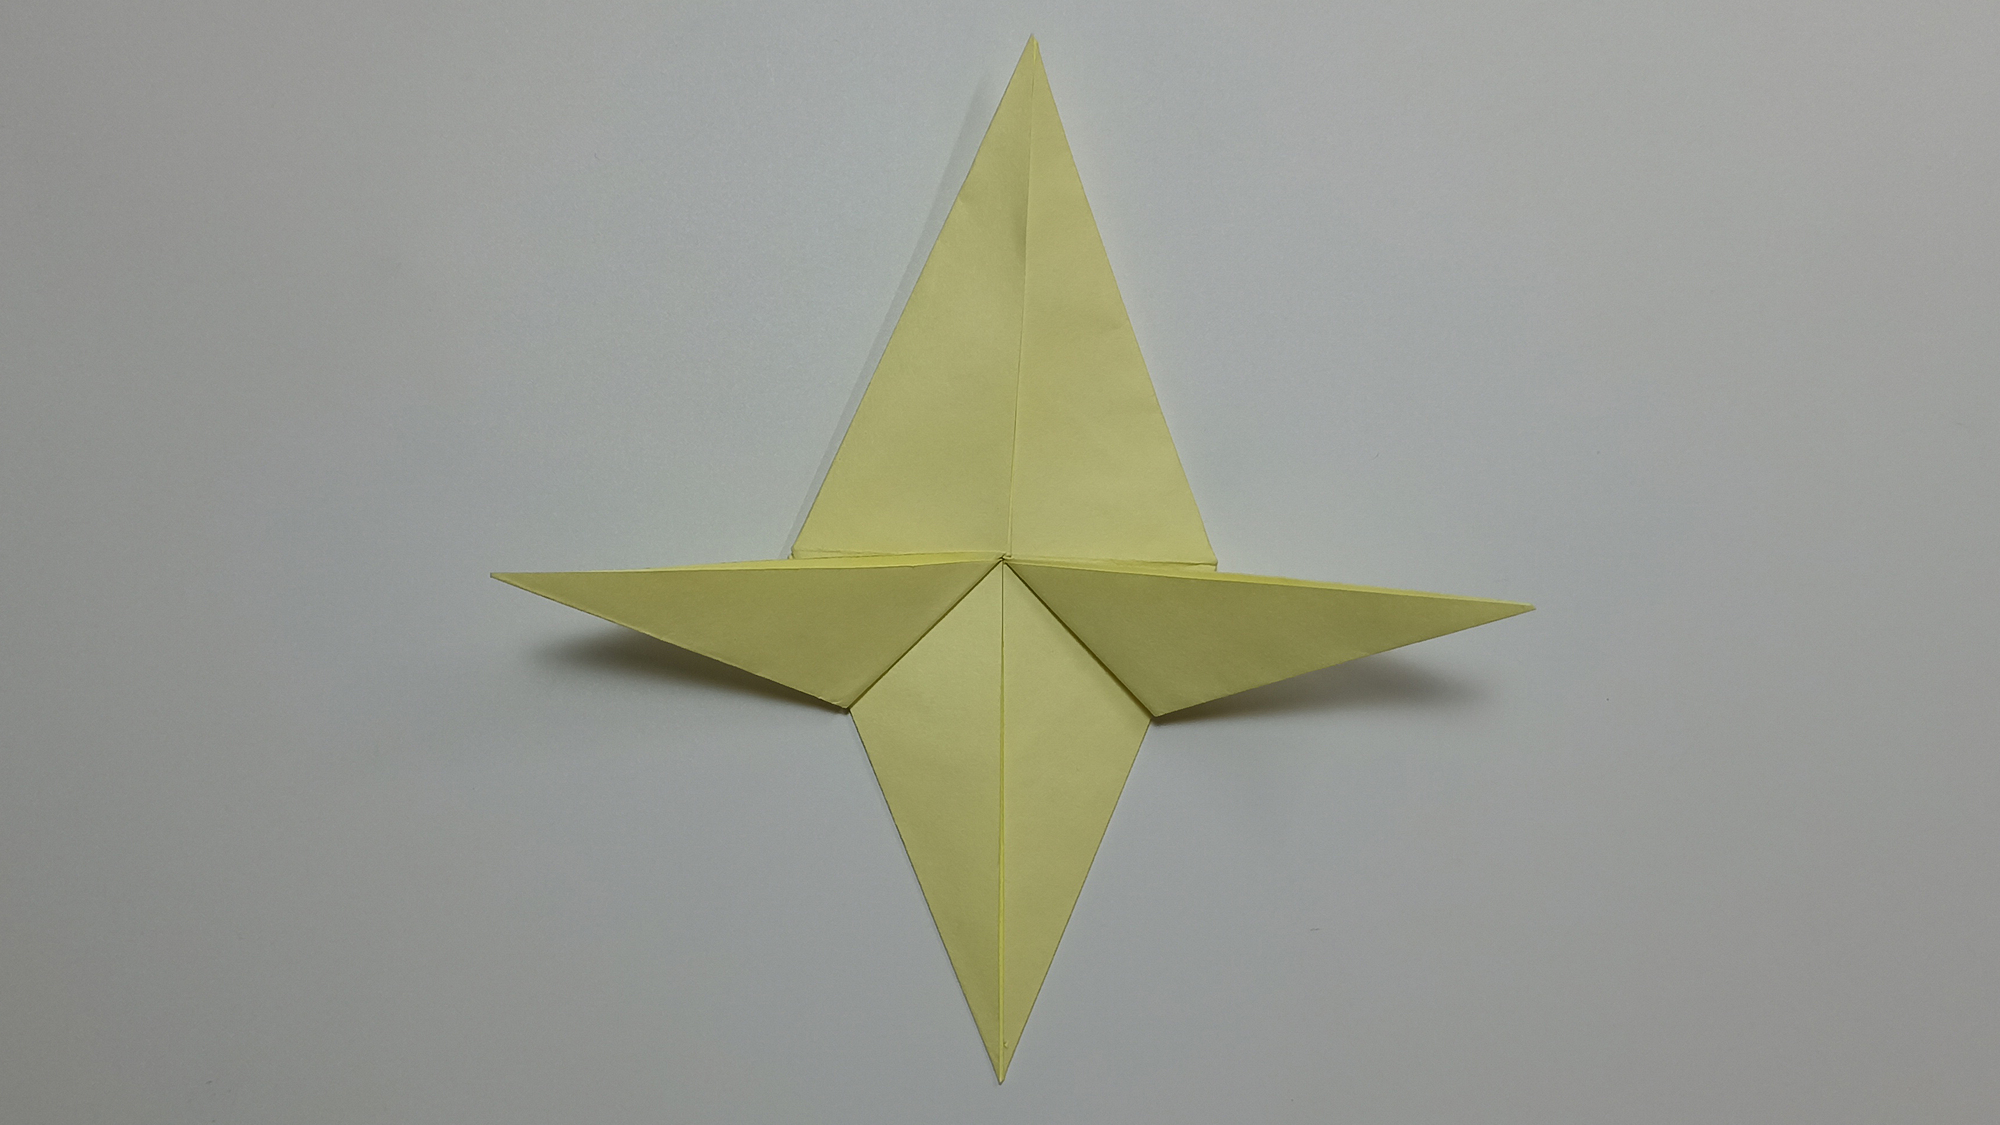
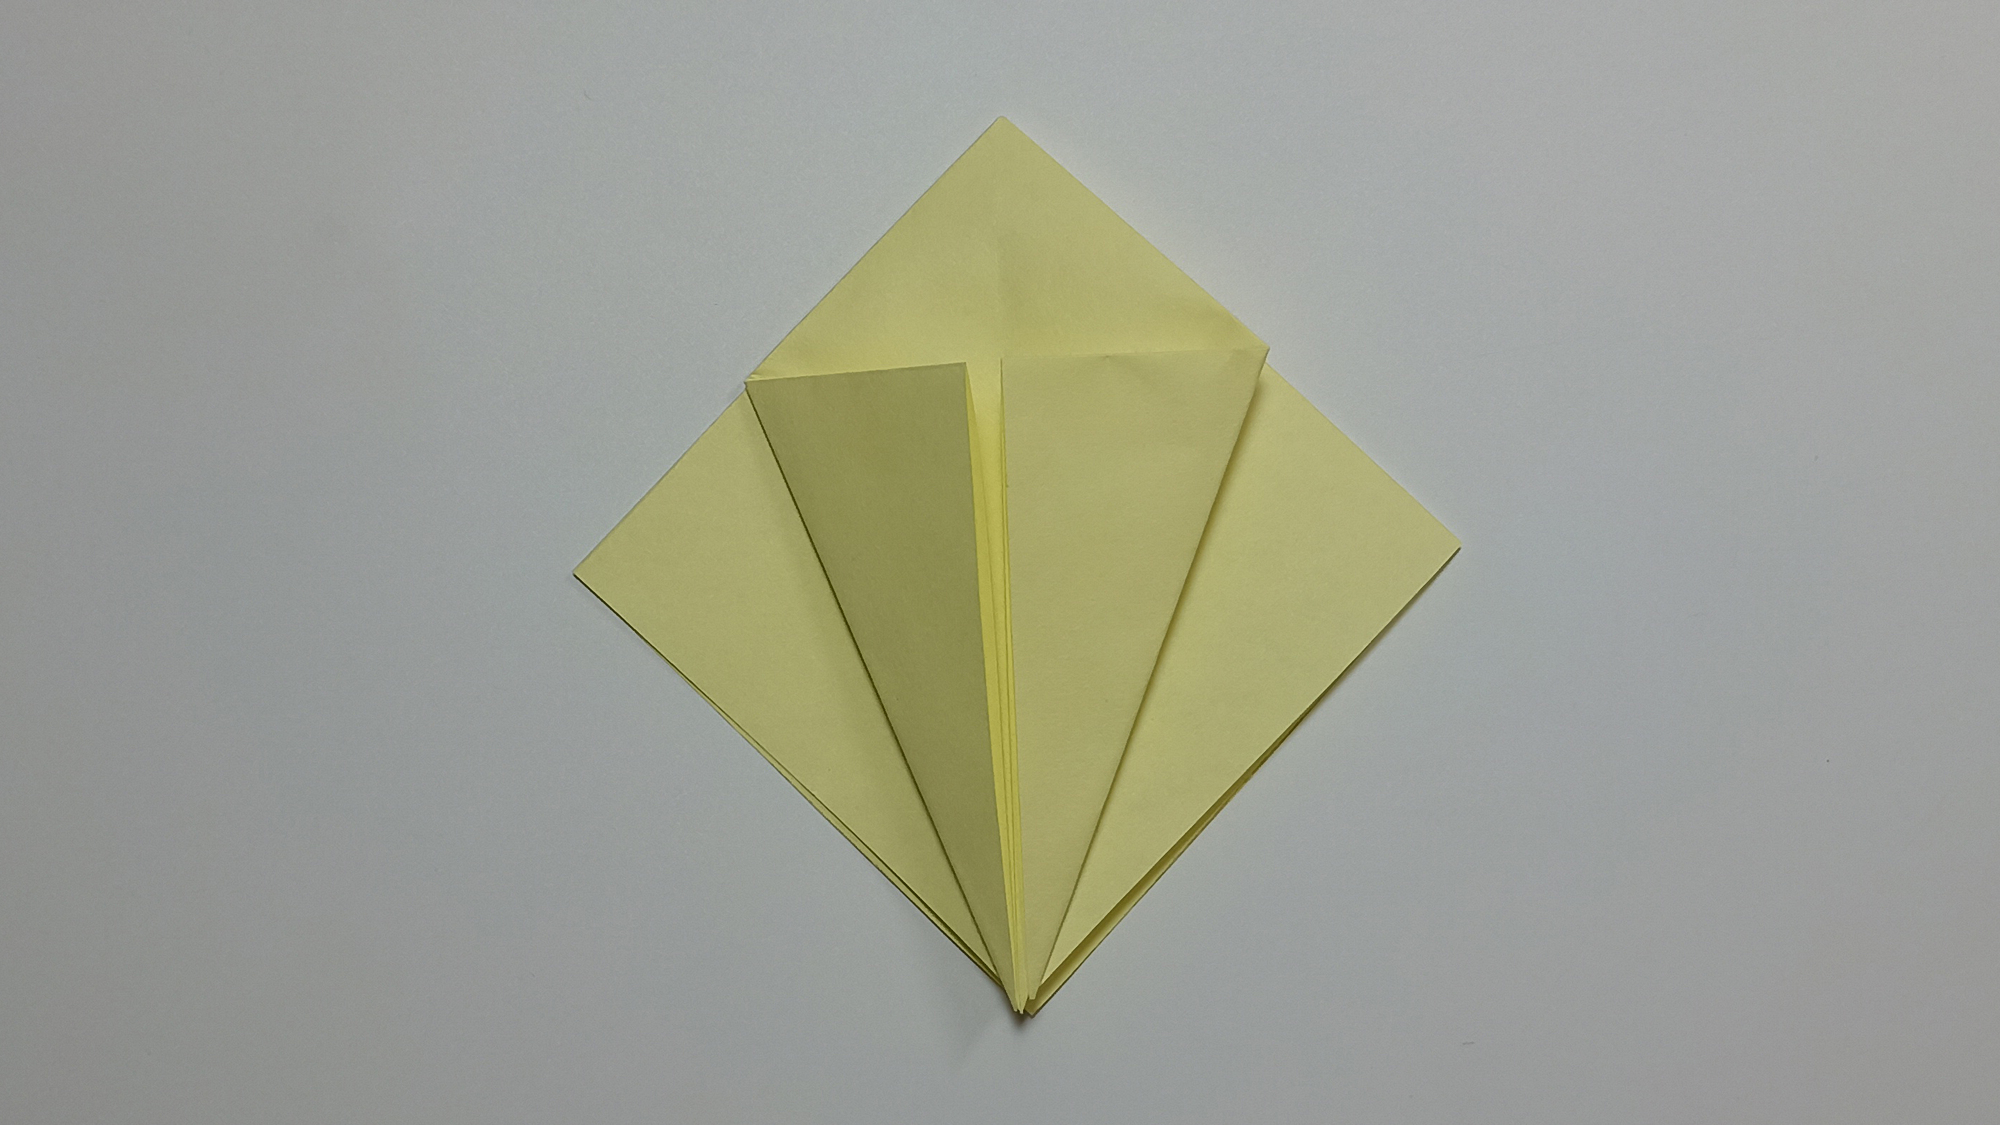
Bend the lower part of the shape to the side, and align it along a horizontal line. Repeat on the other side.
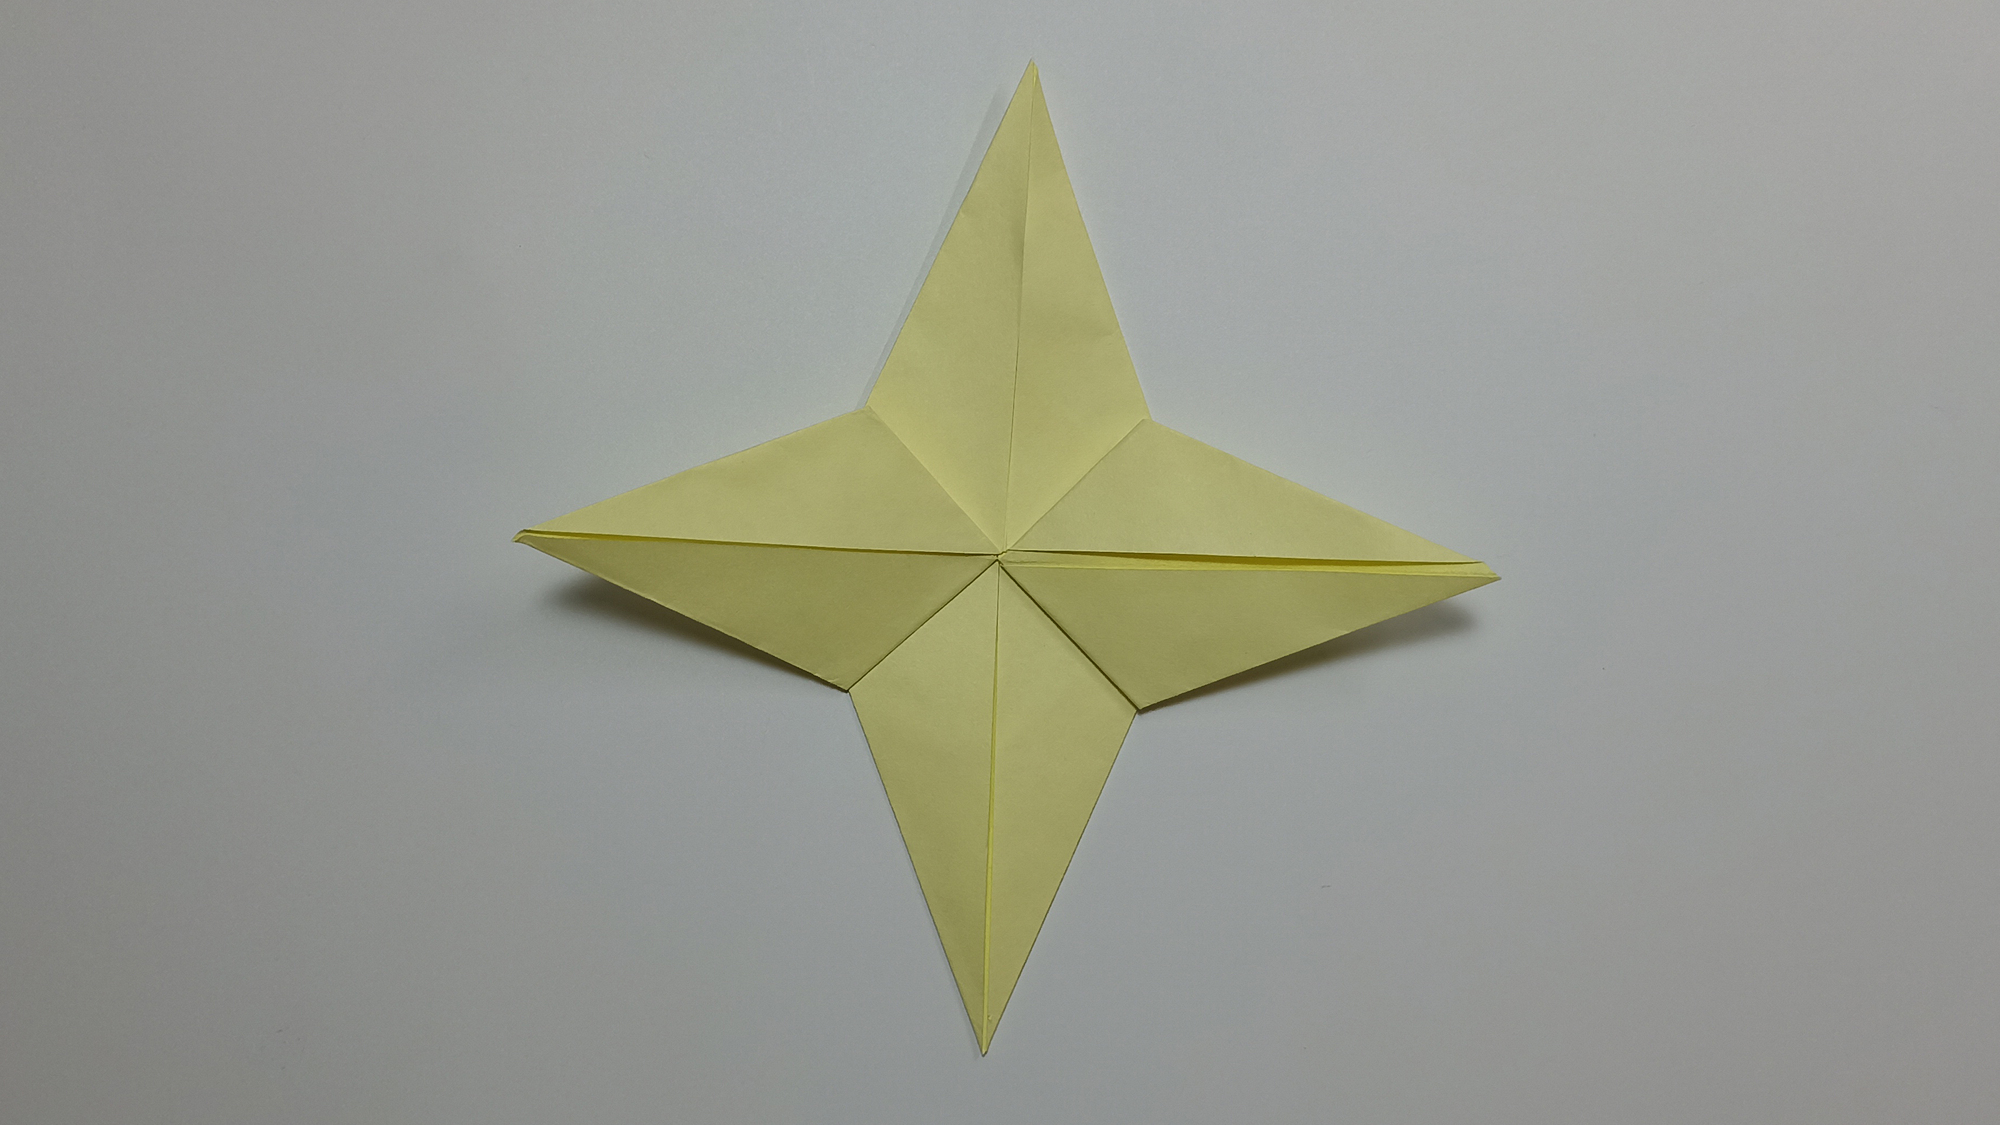
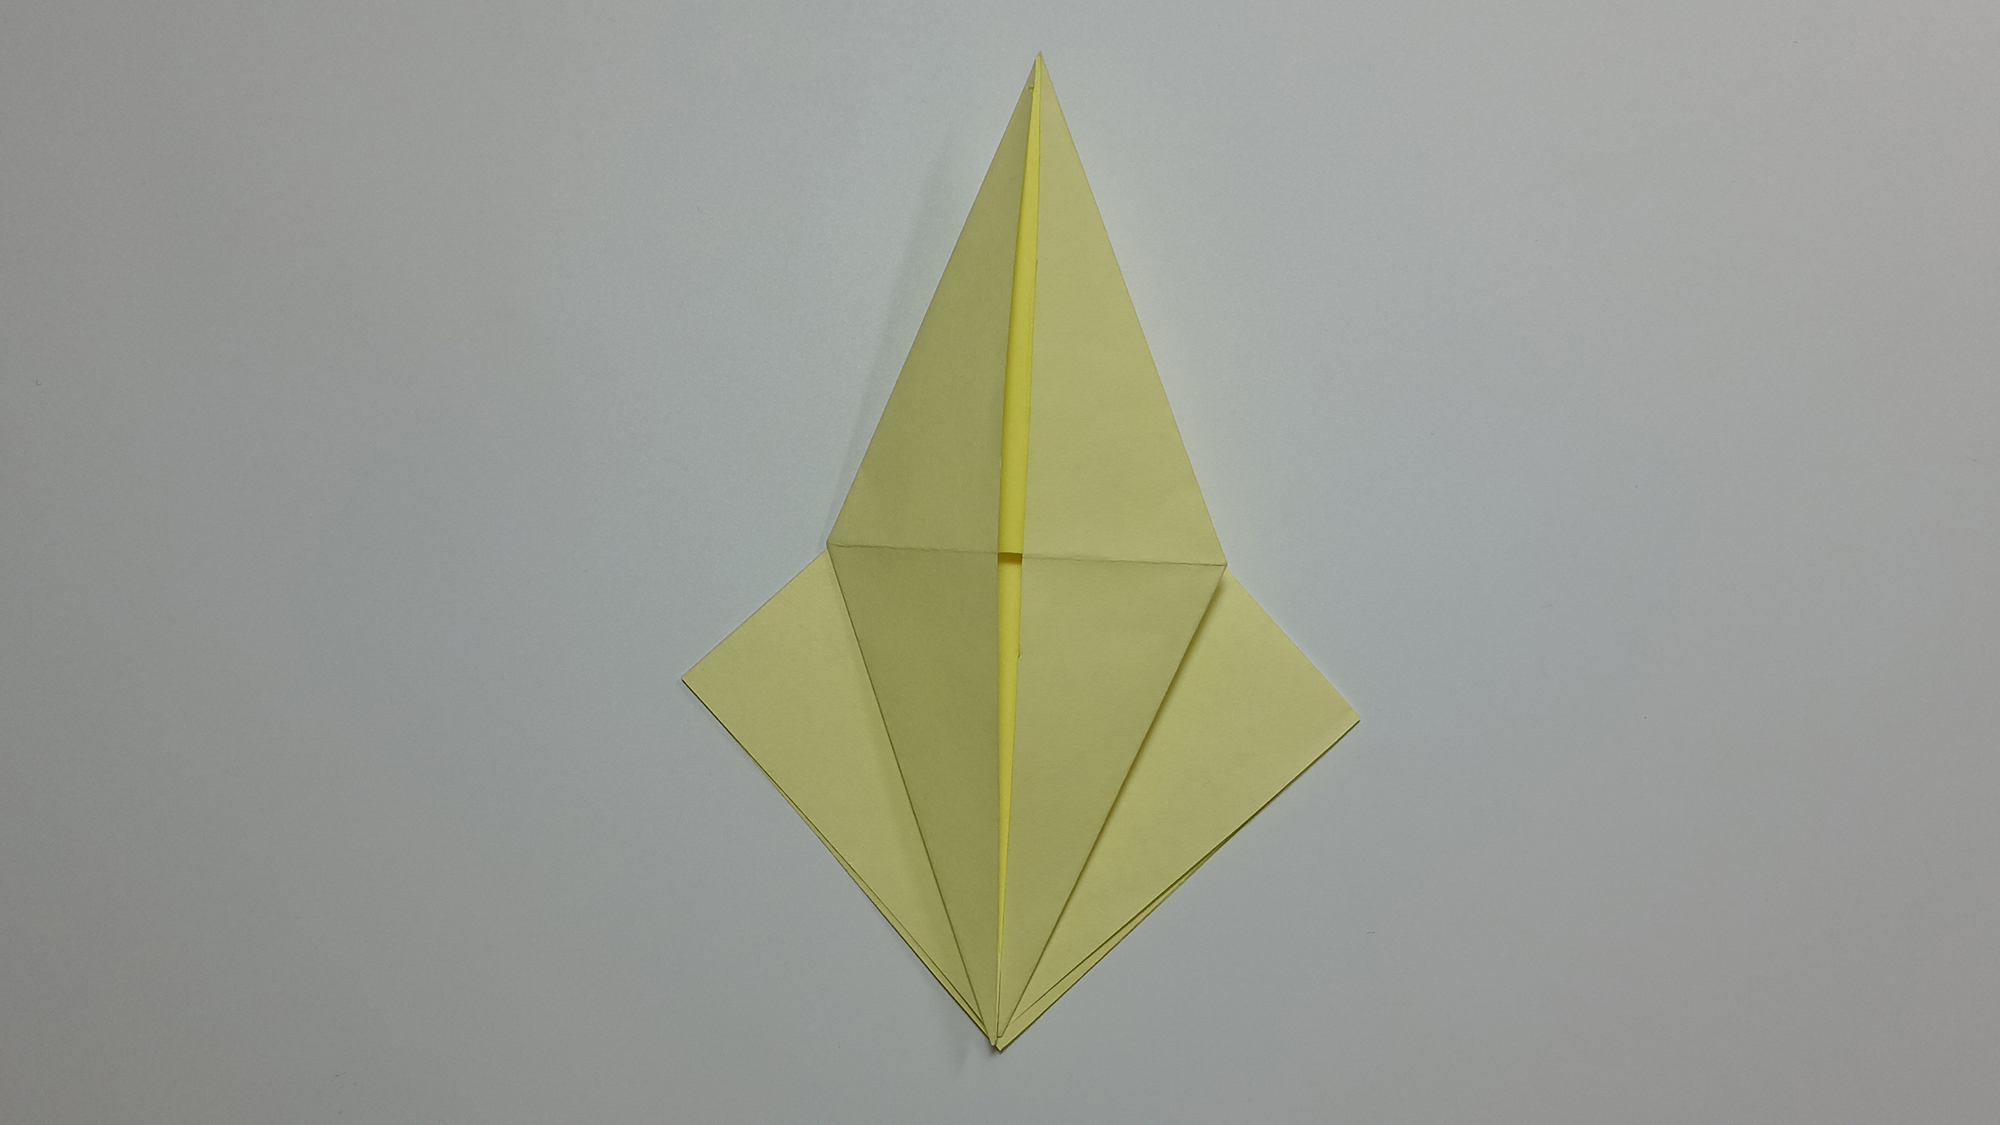
Straighten the inside of the triangle to form a diamond. Repeat on the other side.
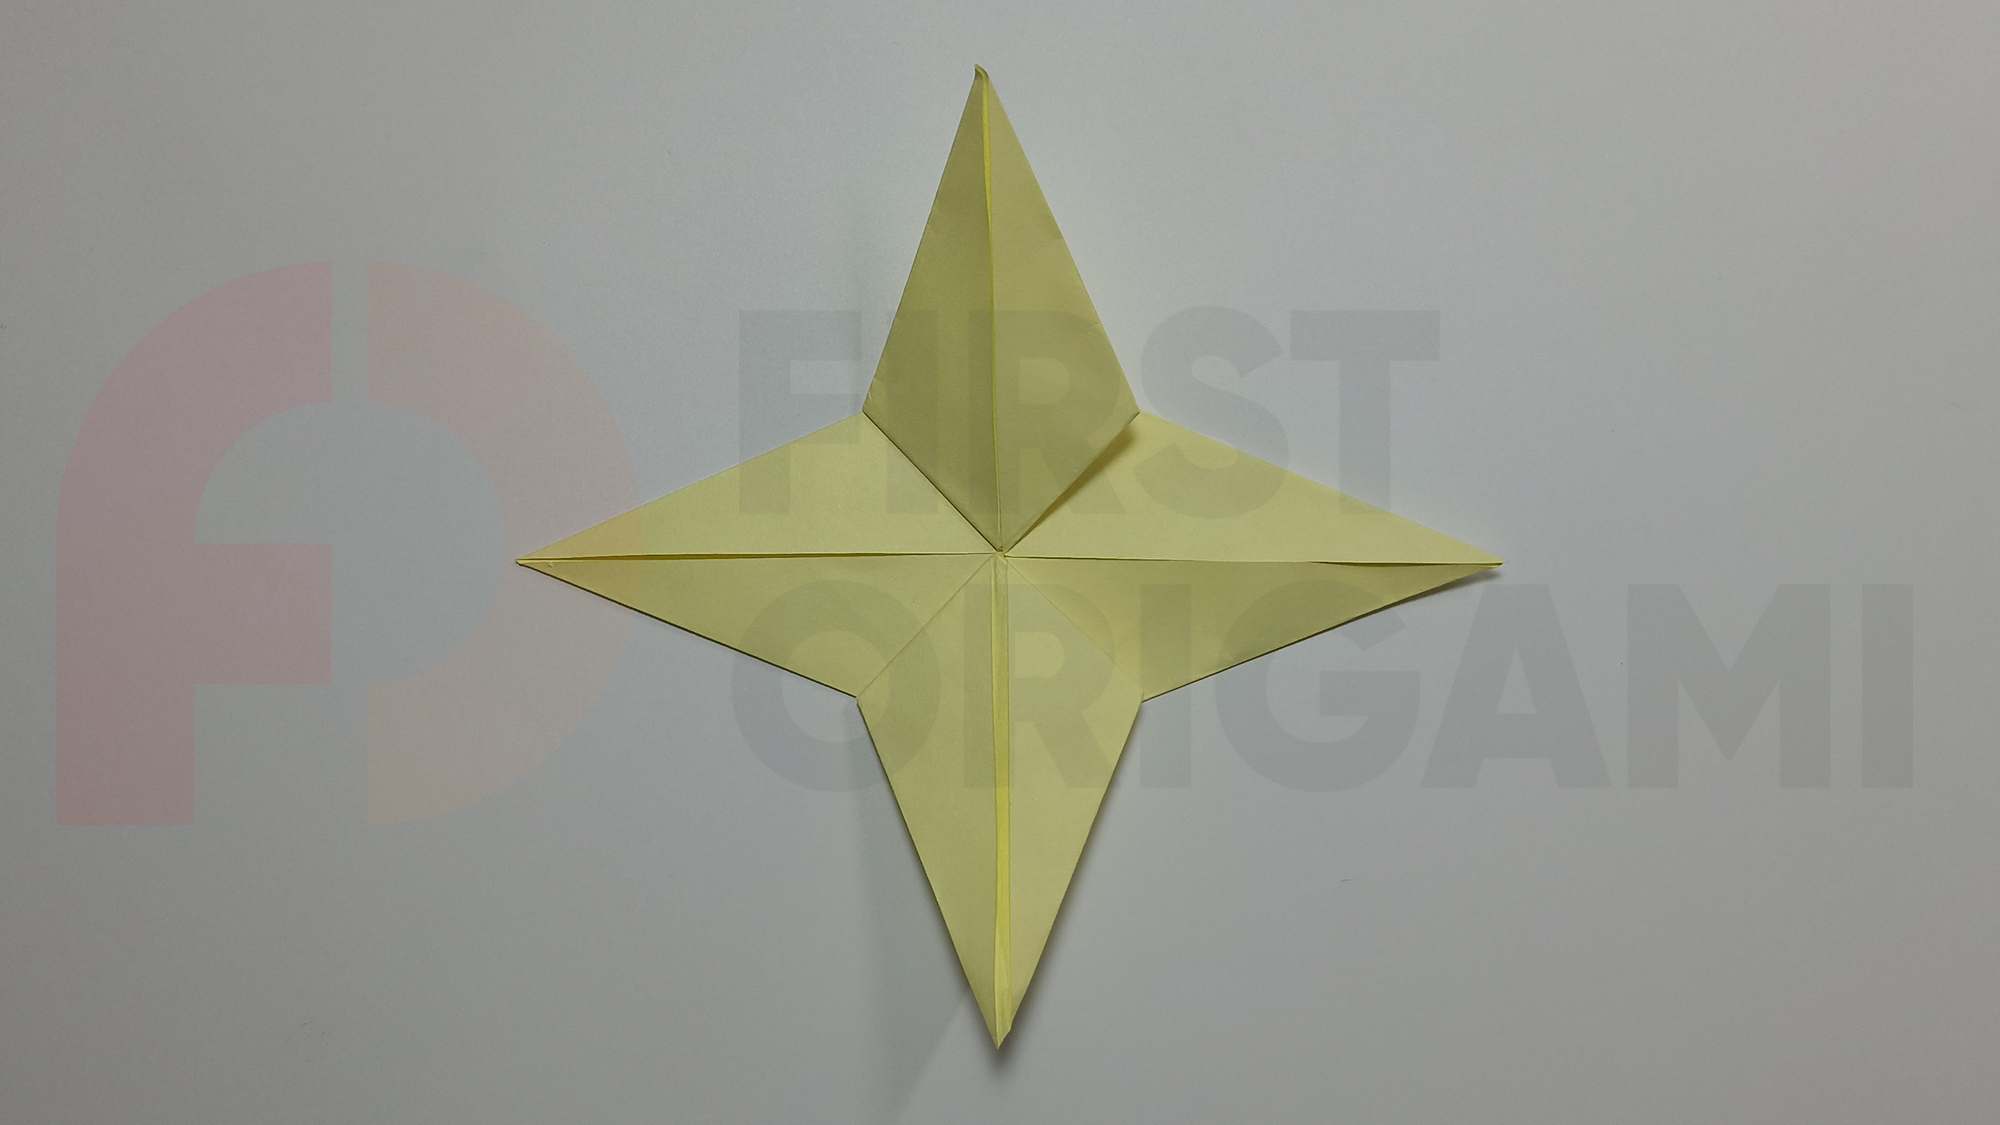
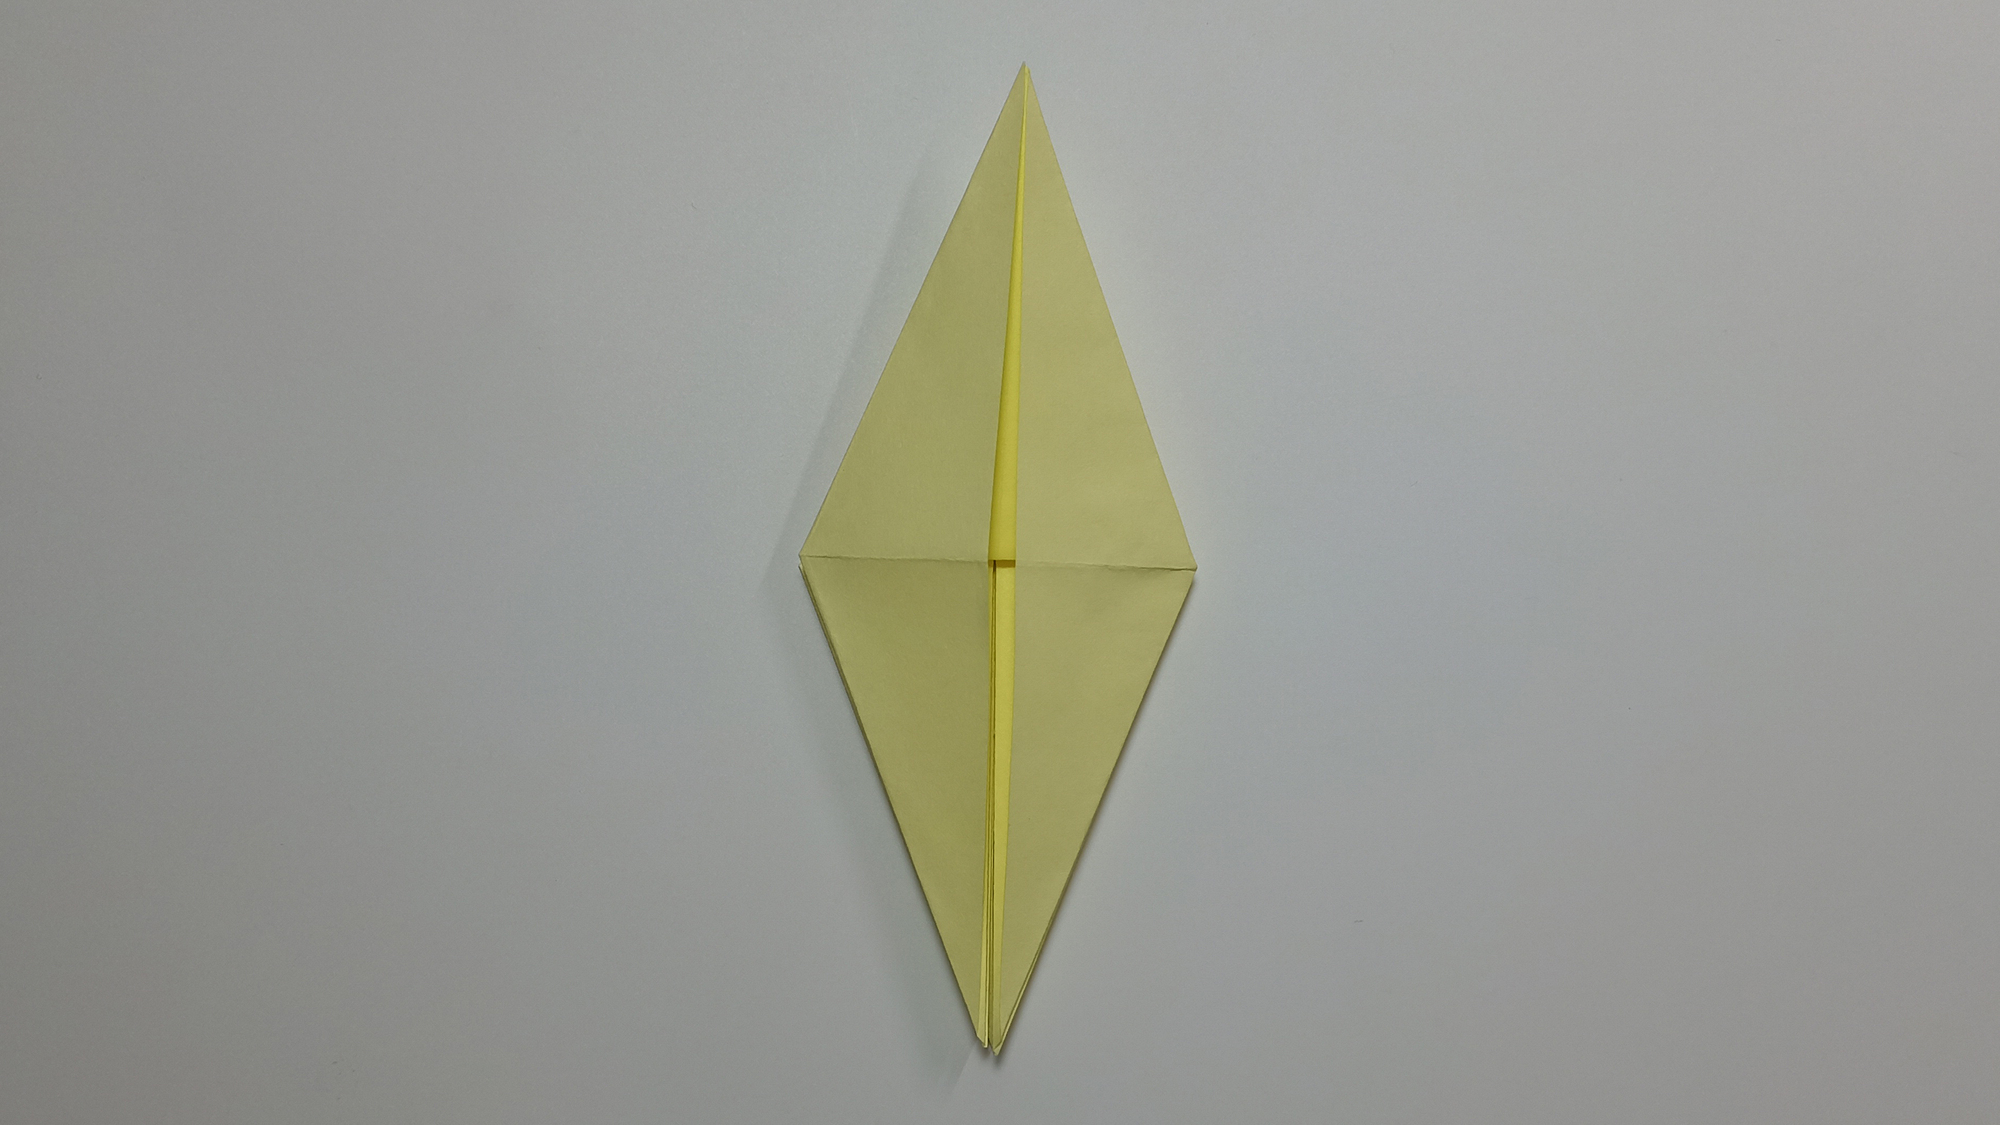
Turn the shape so that the top on the side faces down.
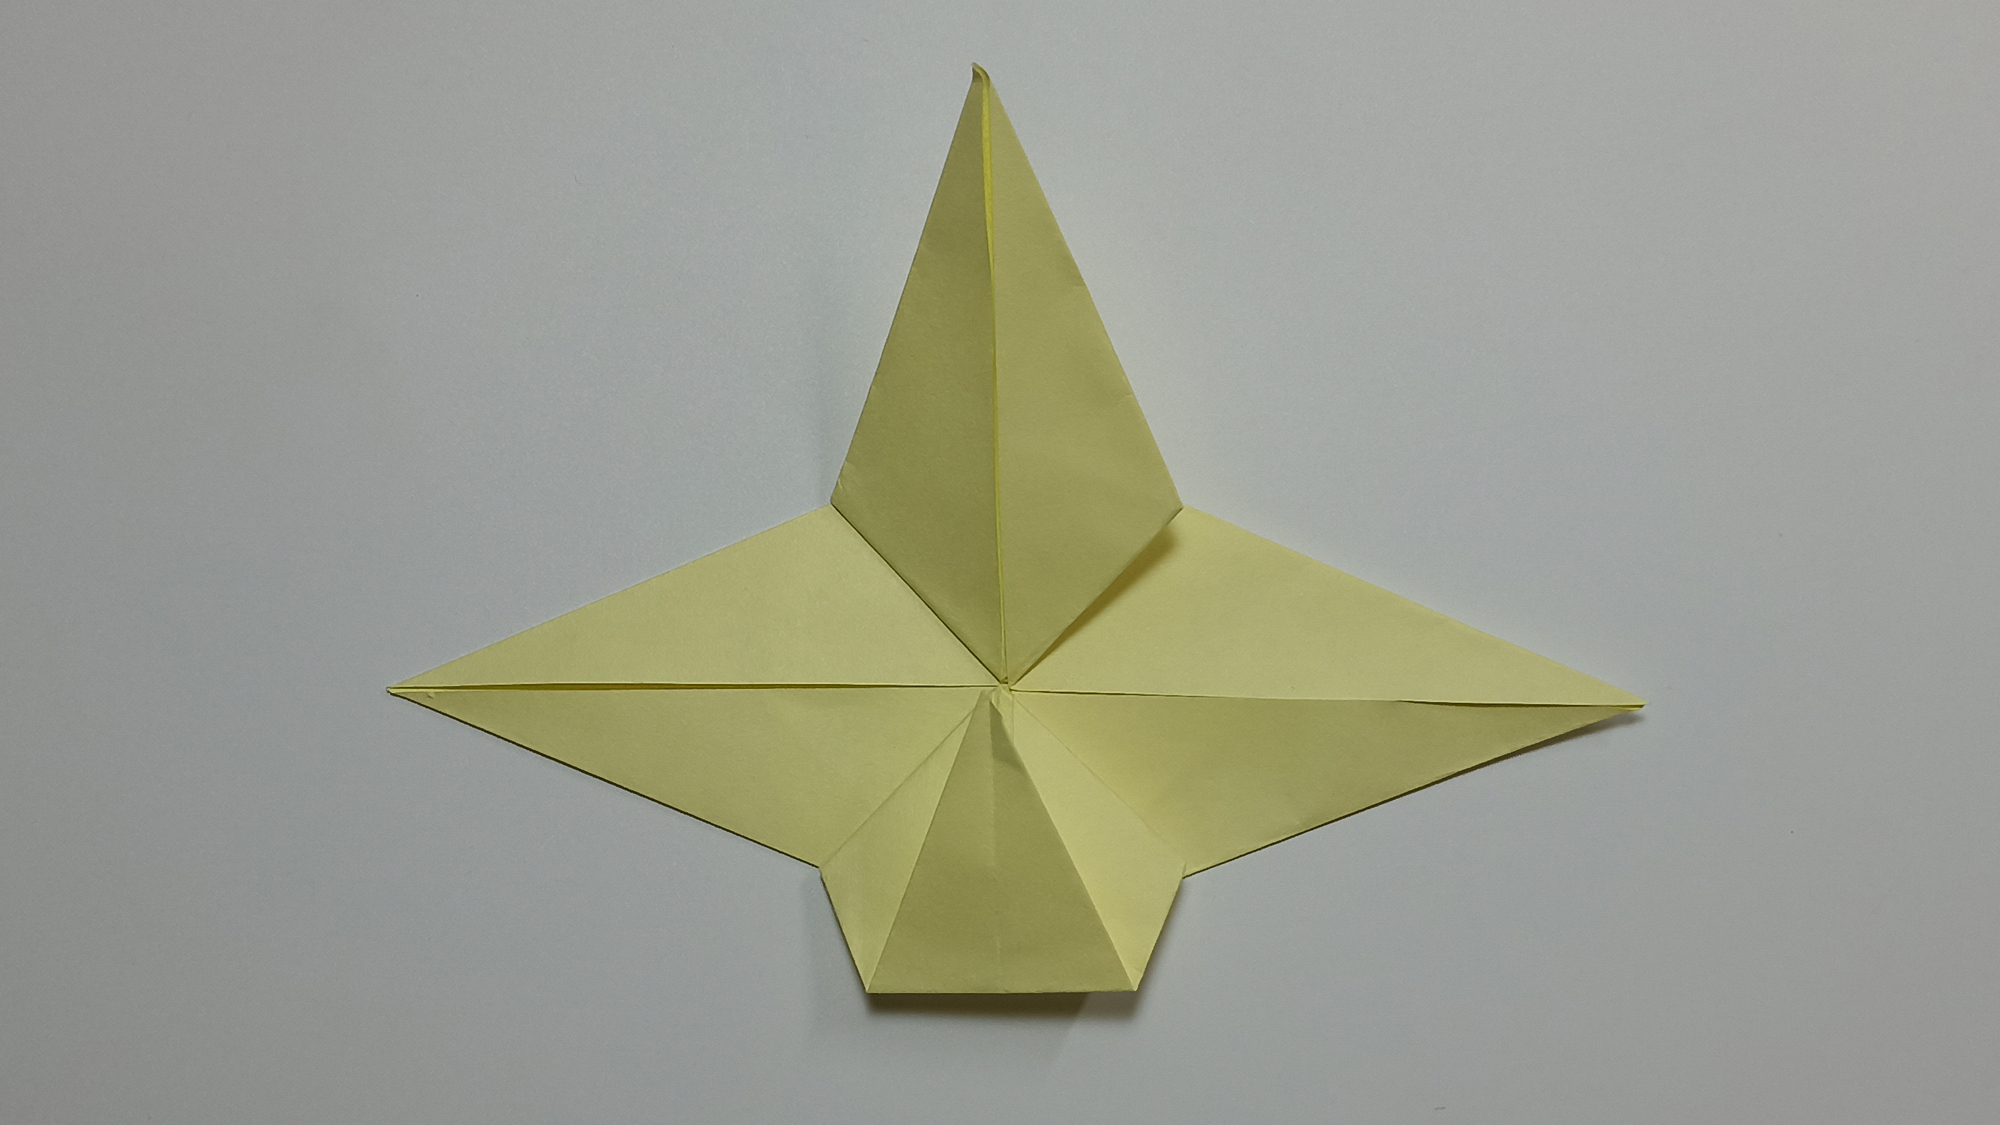
Fold the bottom corner to the center point.
Make symmetrical folds on both sides.
Make the same folds on the opposite side of the figure.
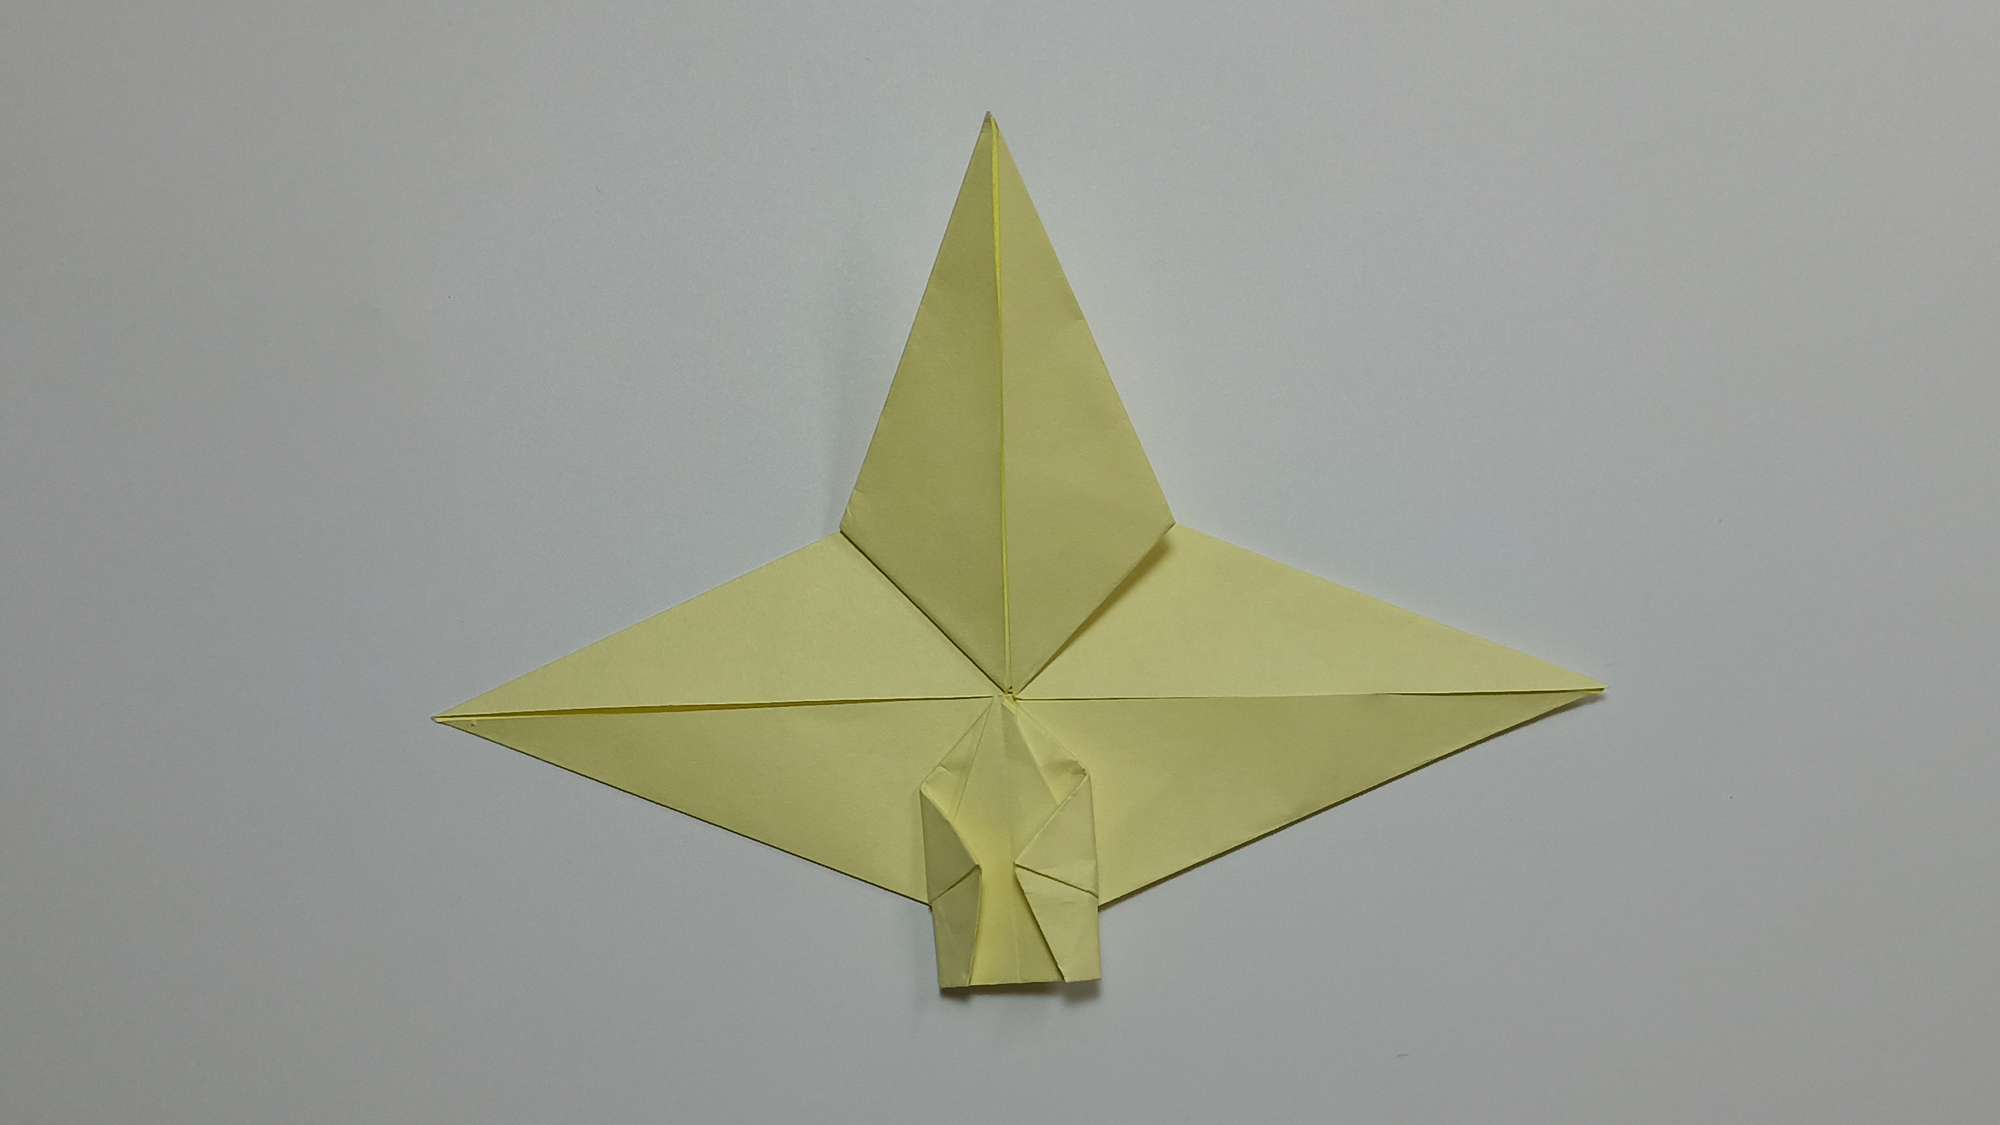
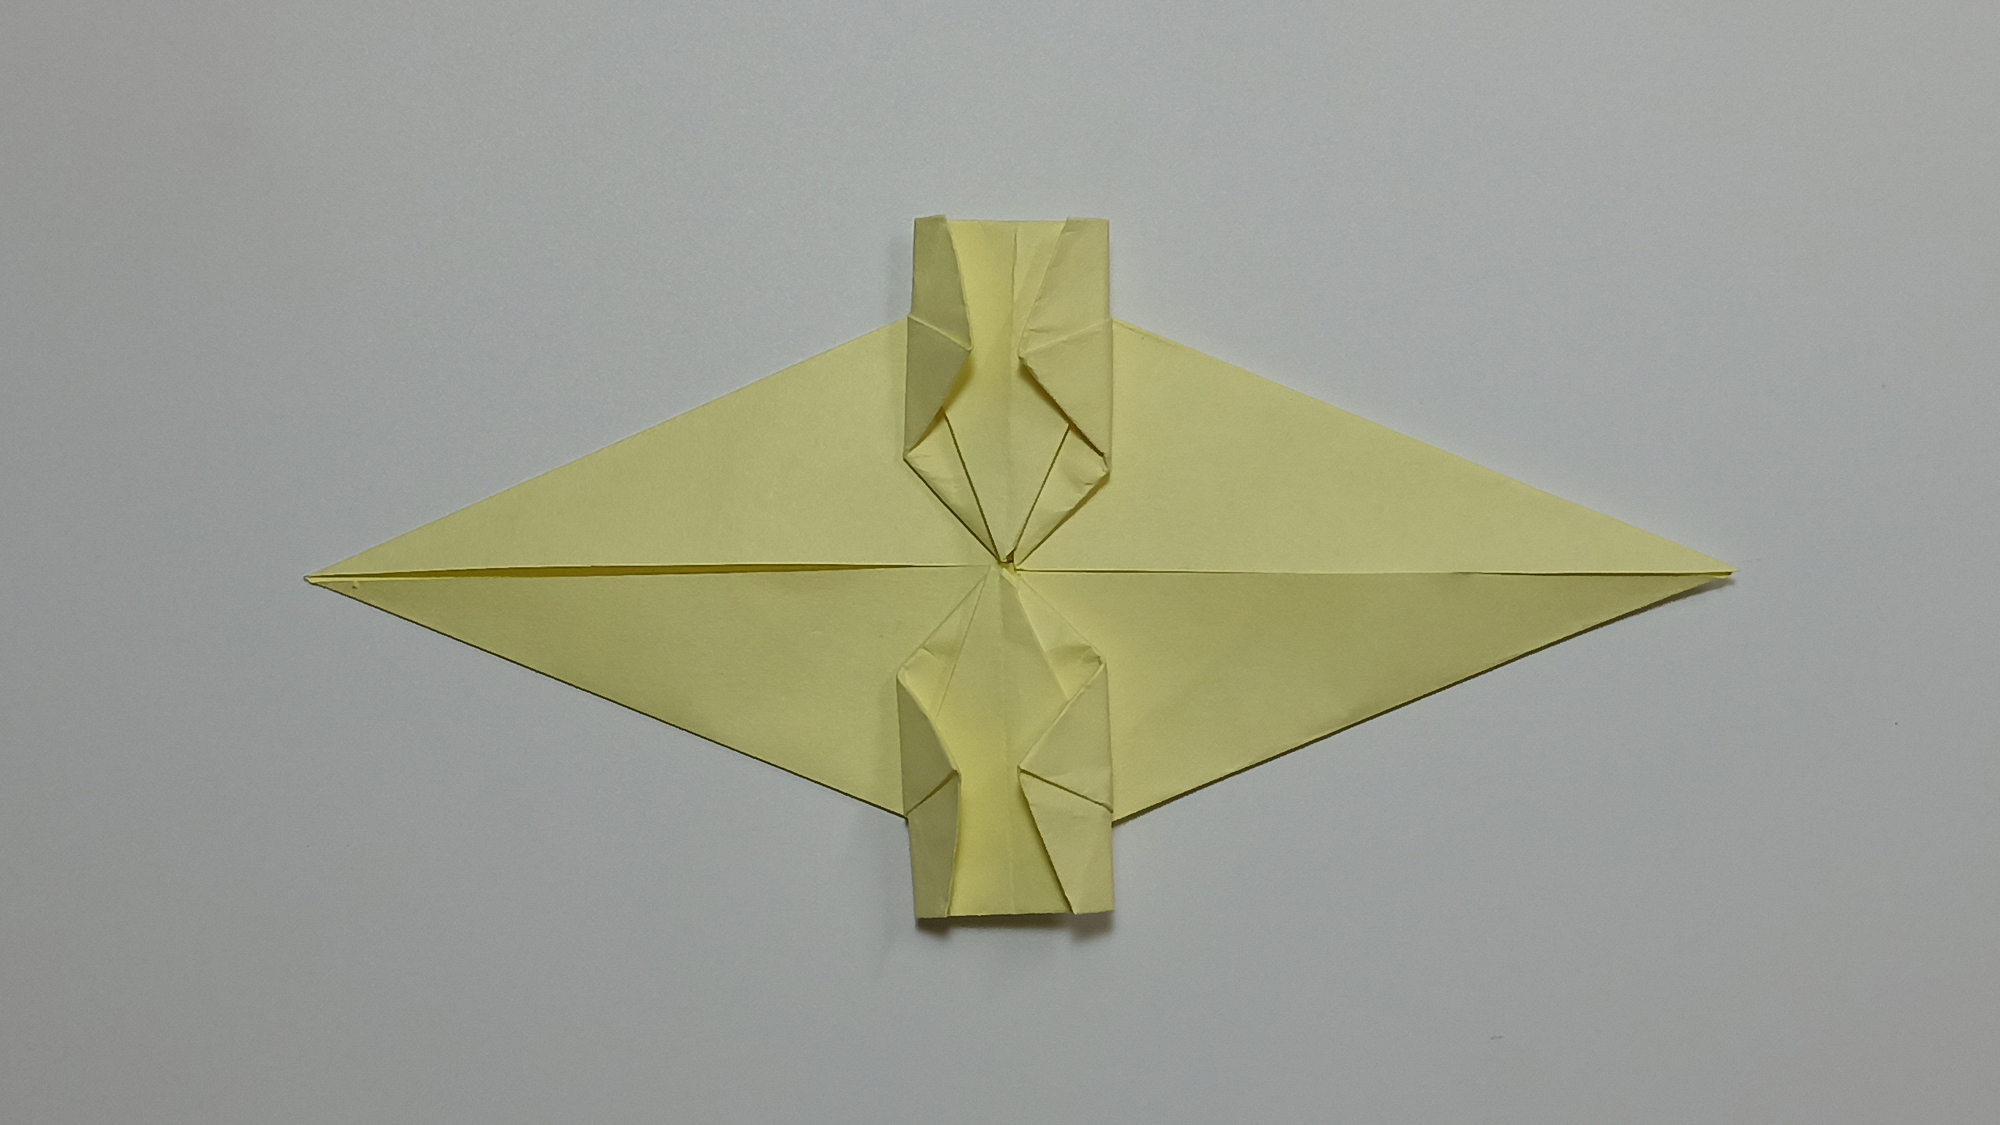
Close the resulting combination of folds to the side at the bottom and at the top. Turn the shape over.
Bend the top layer of folds in the form of a triangle to the side. Bend the top towards the base. Turn the shape over.
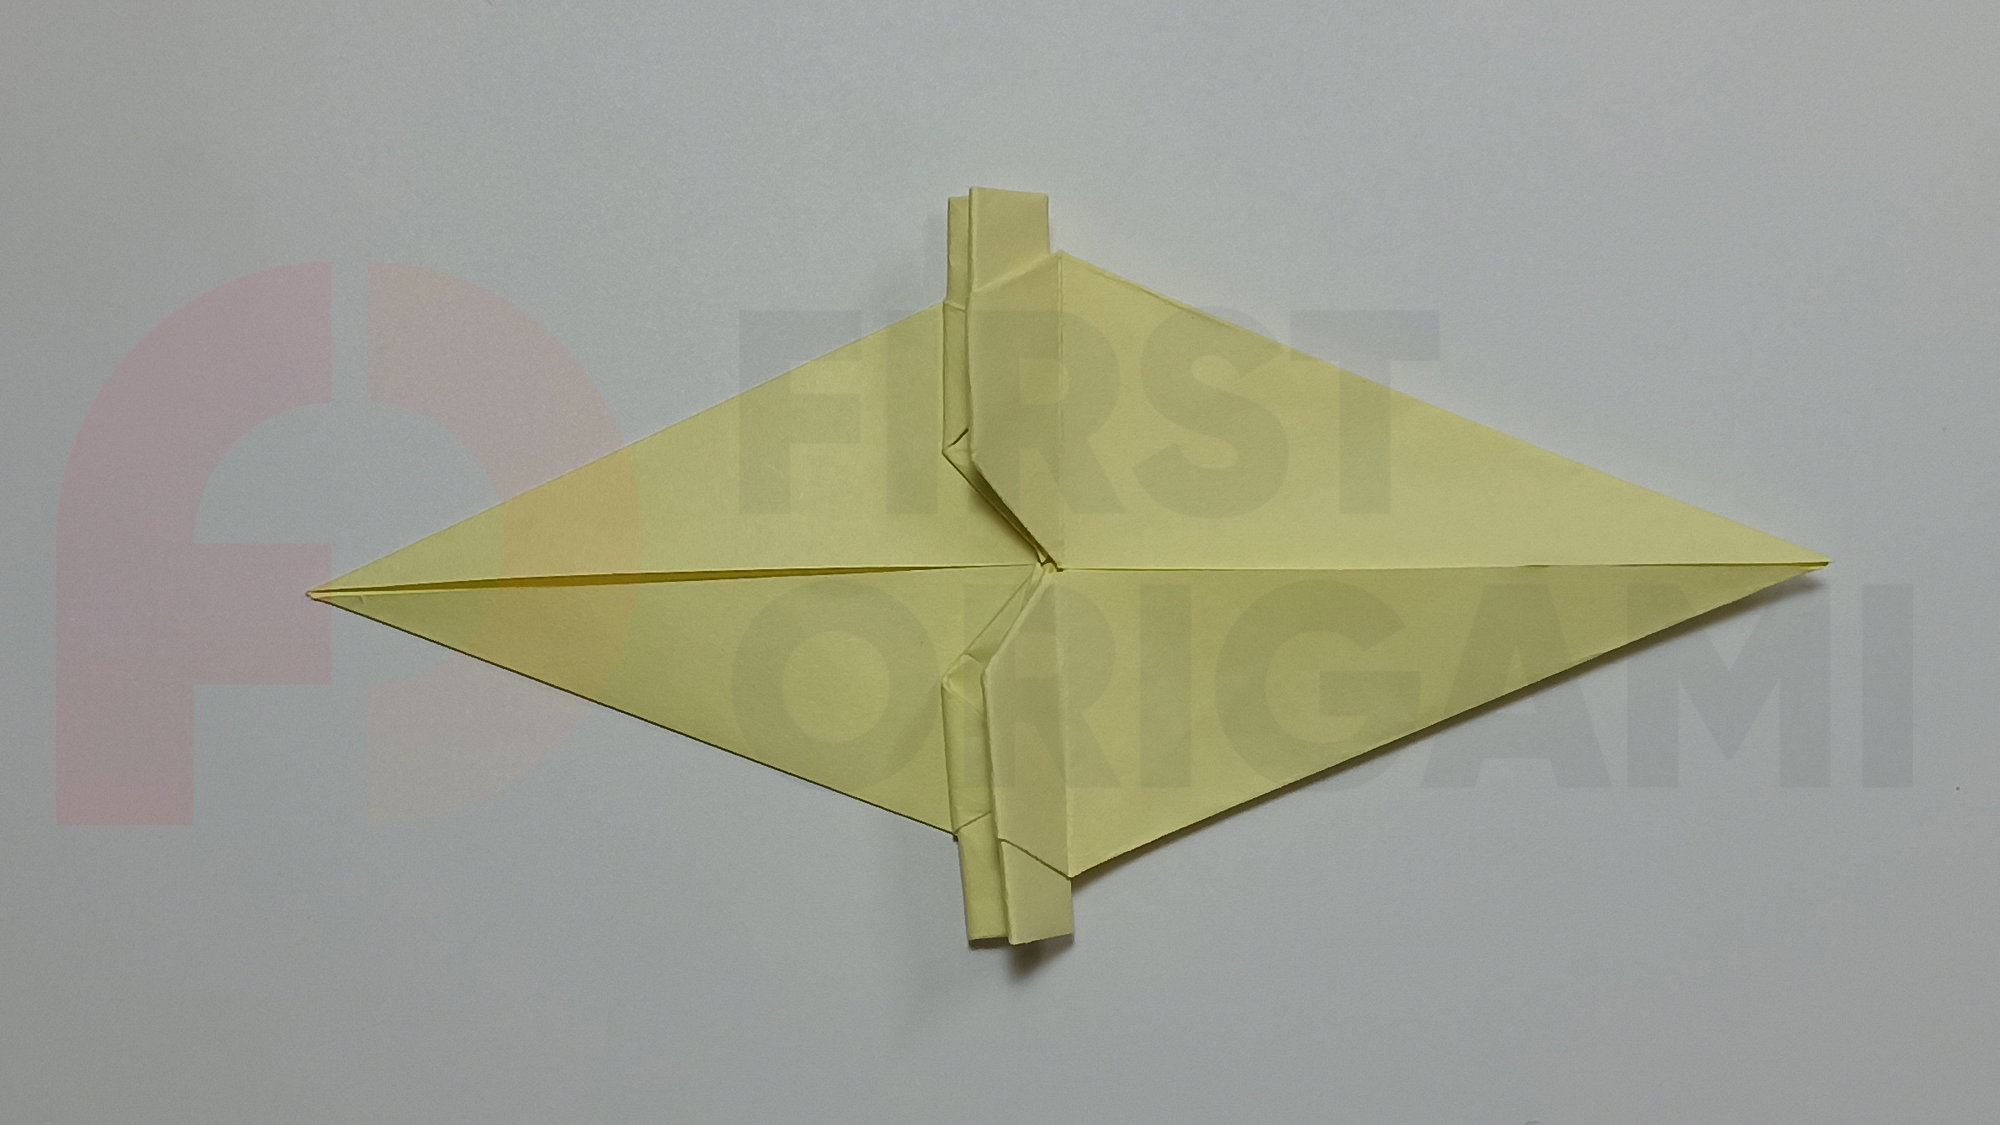
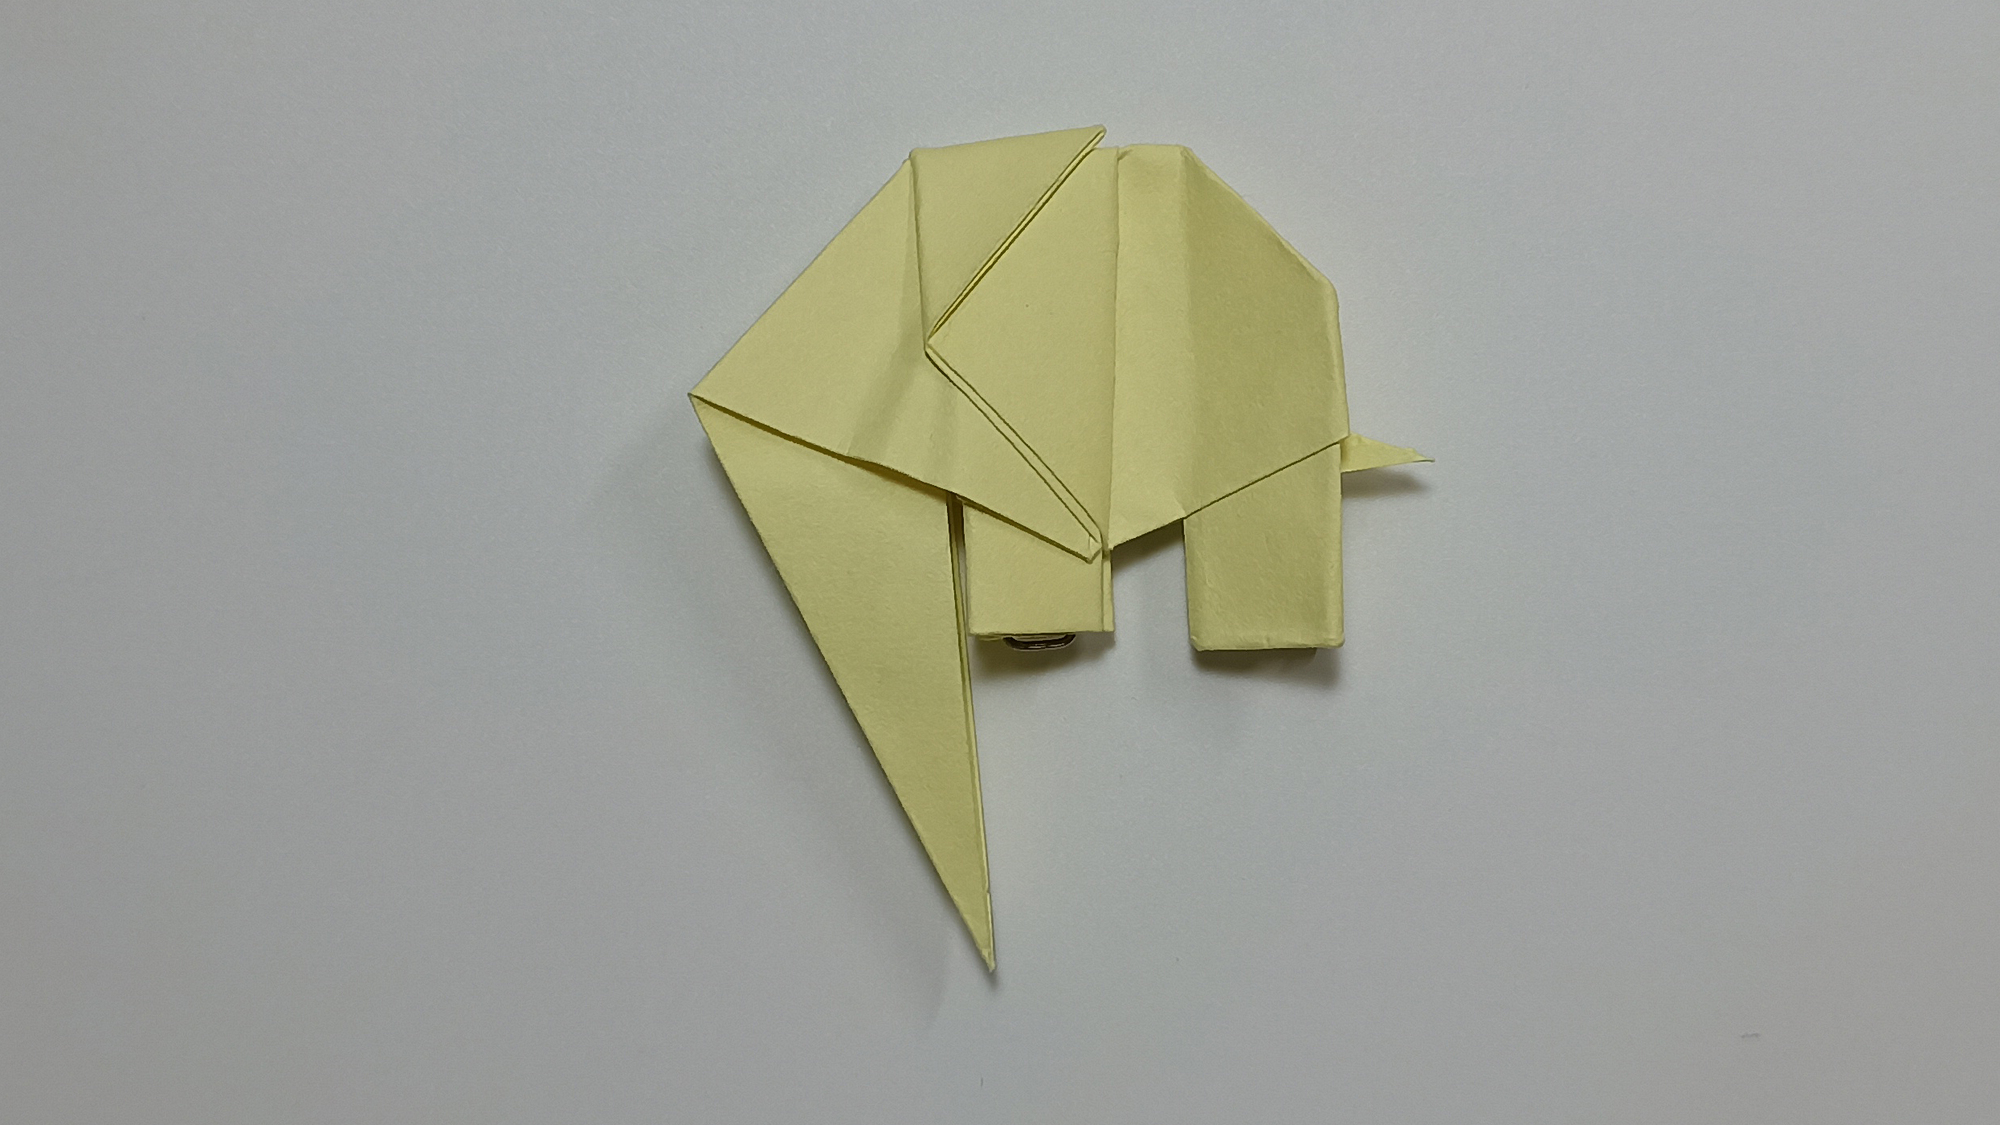
Bend the figure towards you along the horizontal middle line.
Draw an assisting line on the right side of the figure.
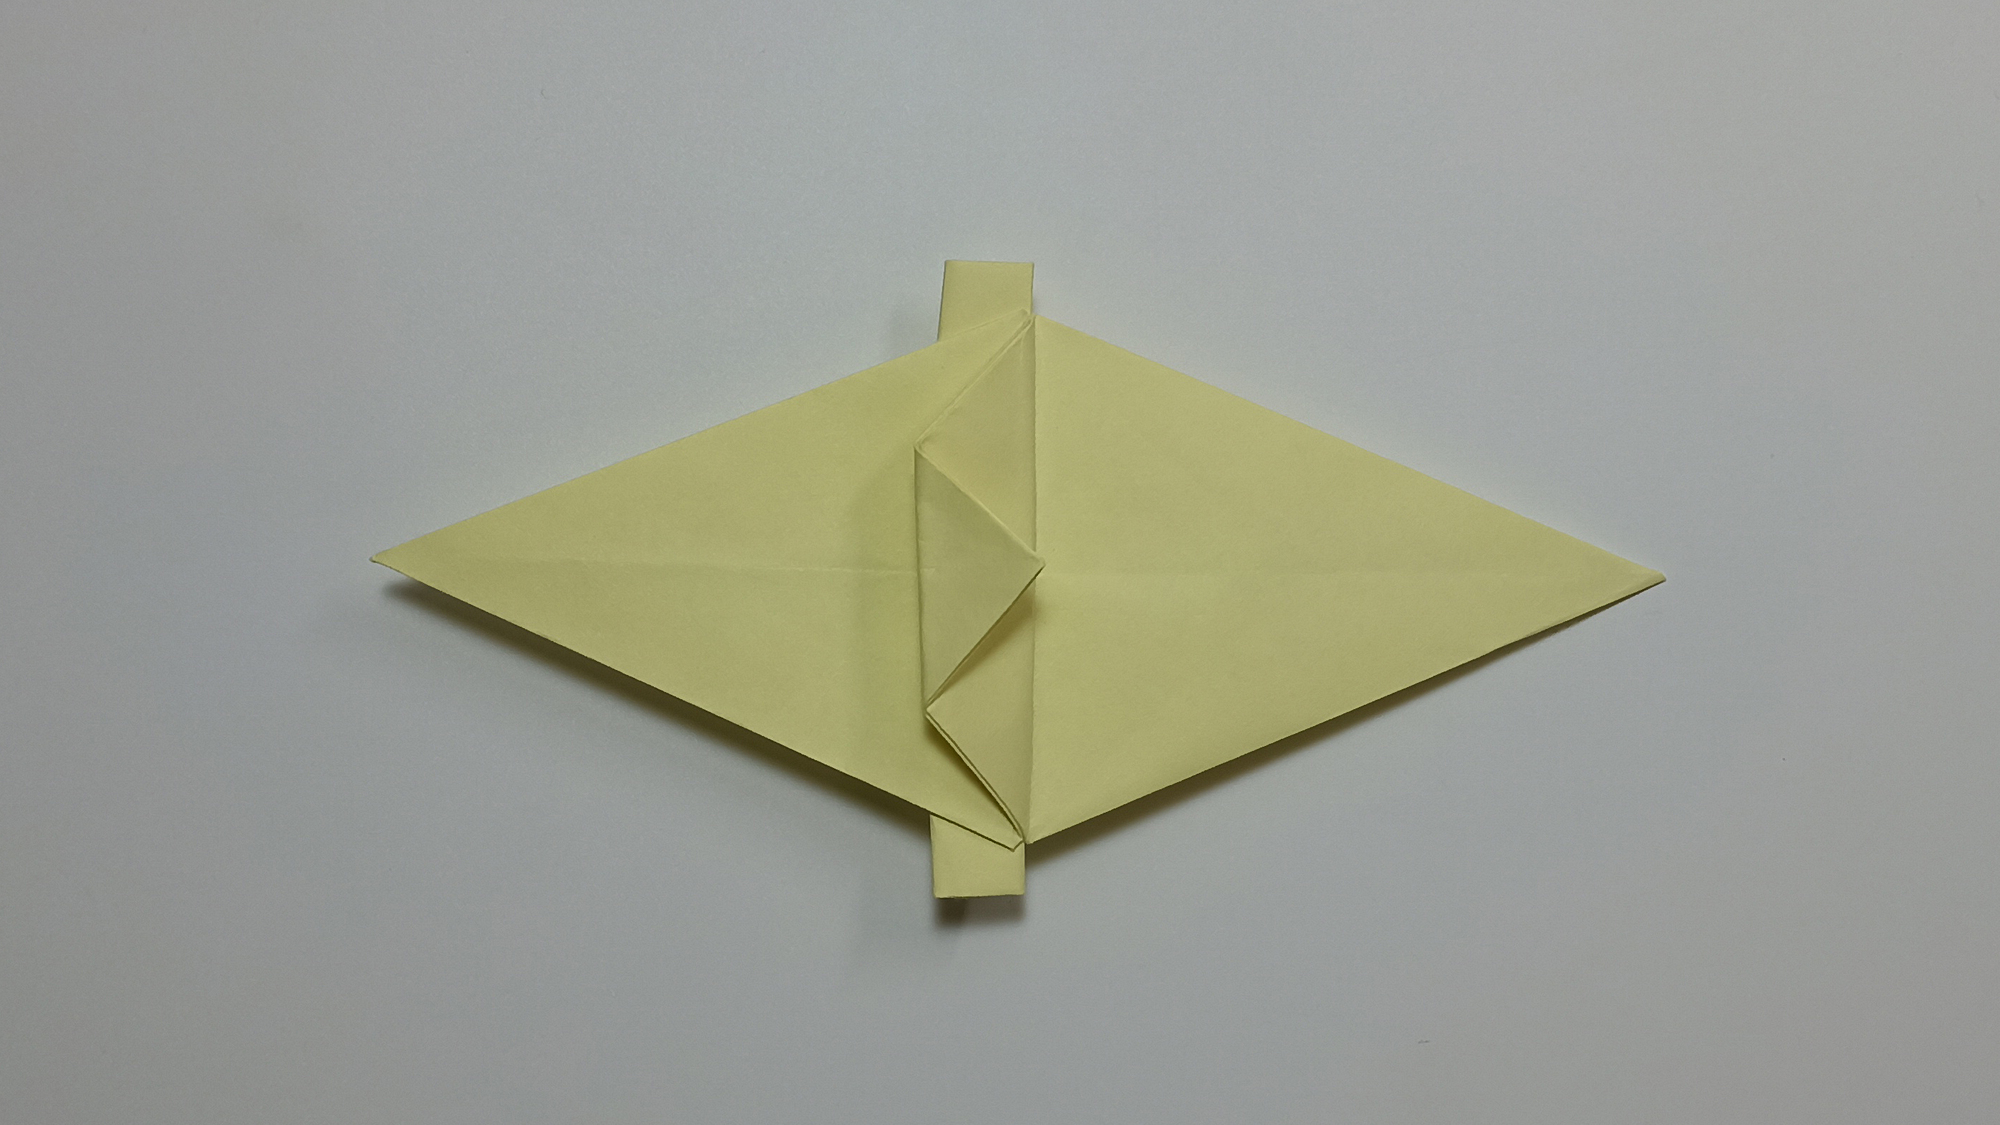
Bend the top fold in the other direction, and tuck it inward along the assisting line.
Open the side fold. Bend the bottom top of the diamond up.
Make side folds.
Bend the top corner of the diamond down. Close the fold. Straighten part of the diamond top outward from the inner folds, after squeezing it on the sides.

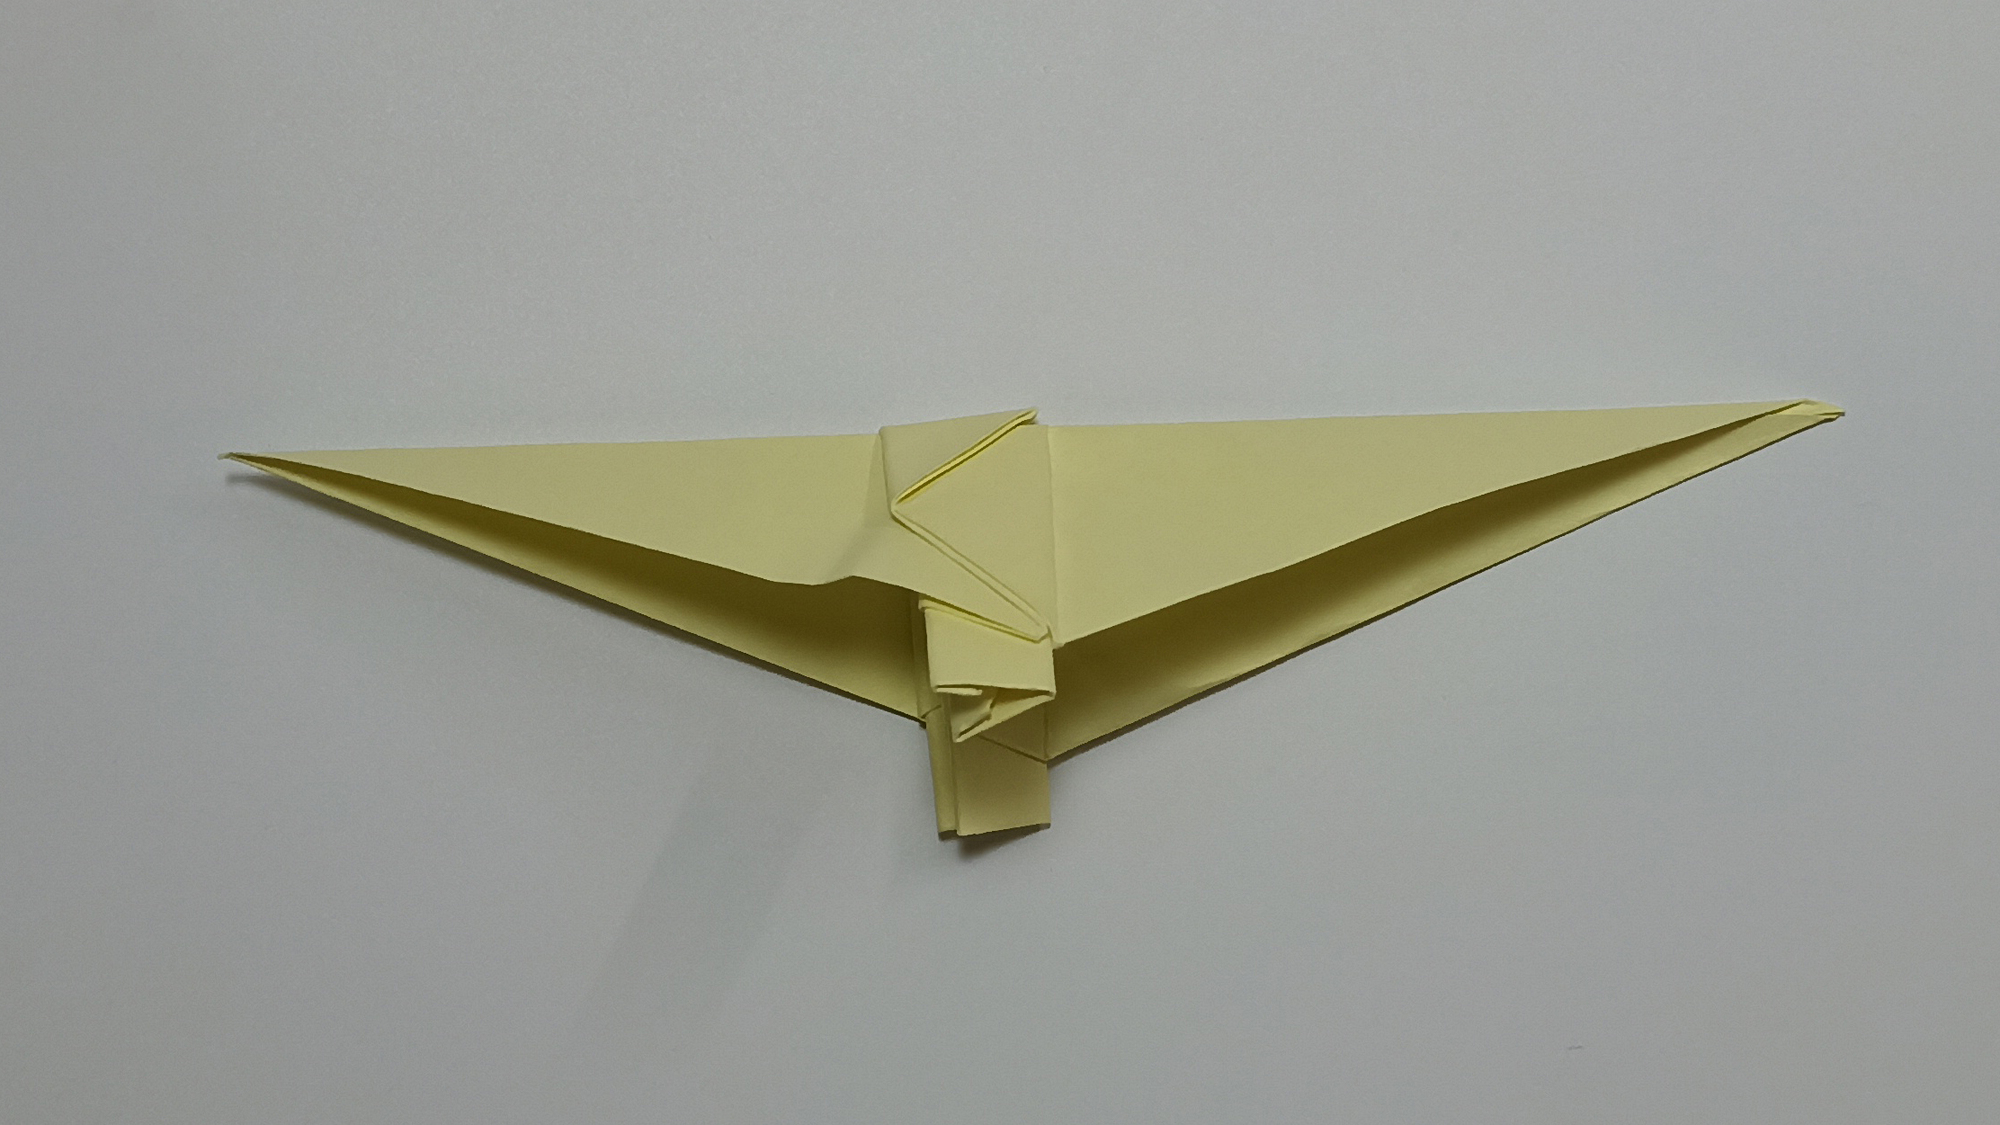
Make an assisting fold on the other side of the figure, aligning the top fold along the central vertical line.
Straighten the top fold to the other side, and tuck inside.
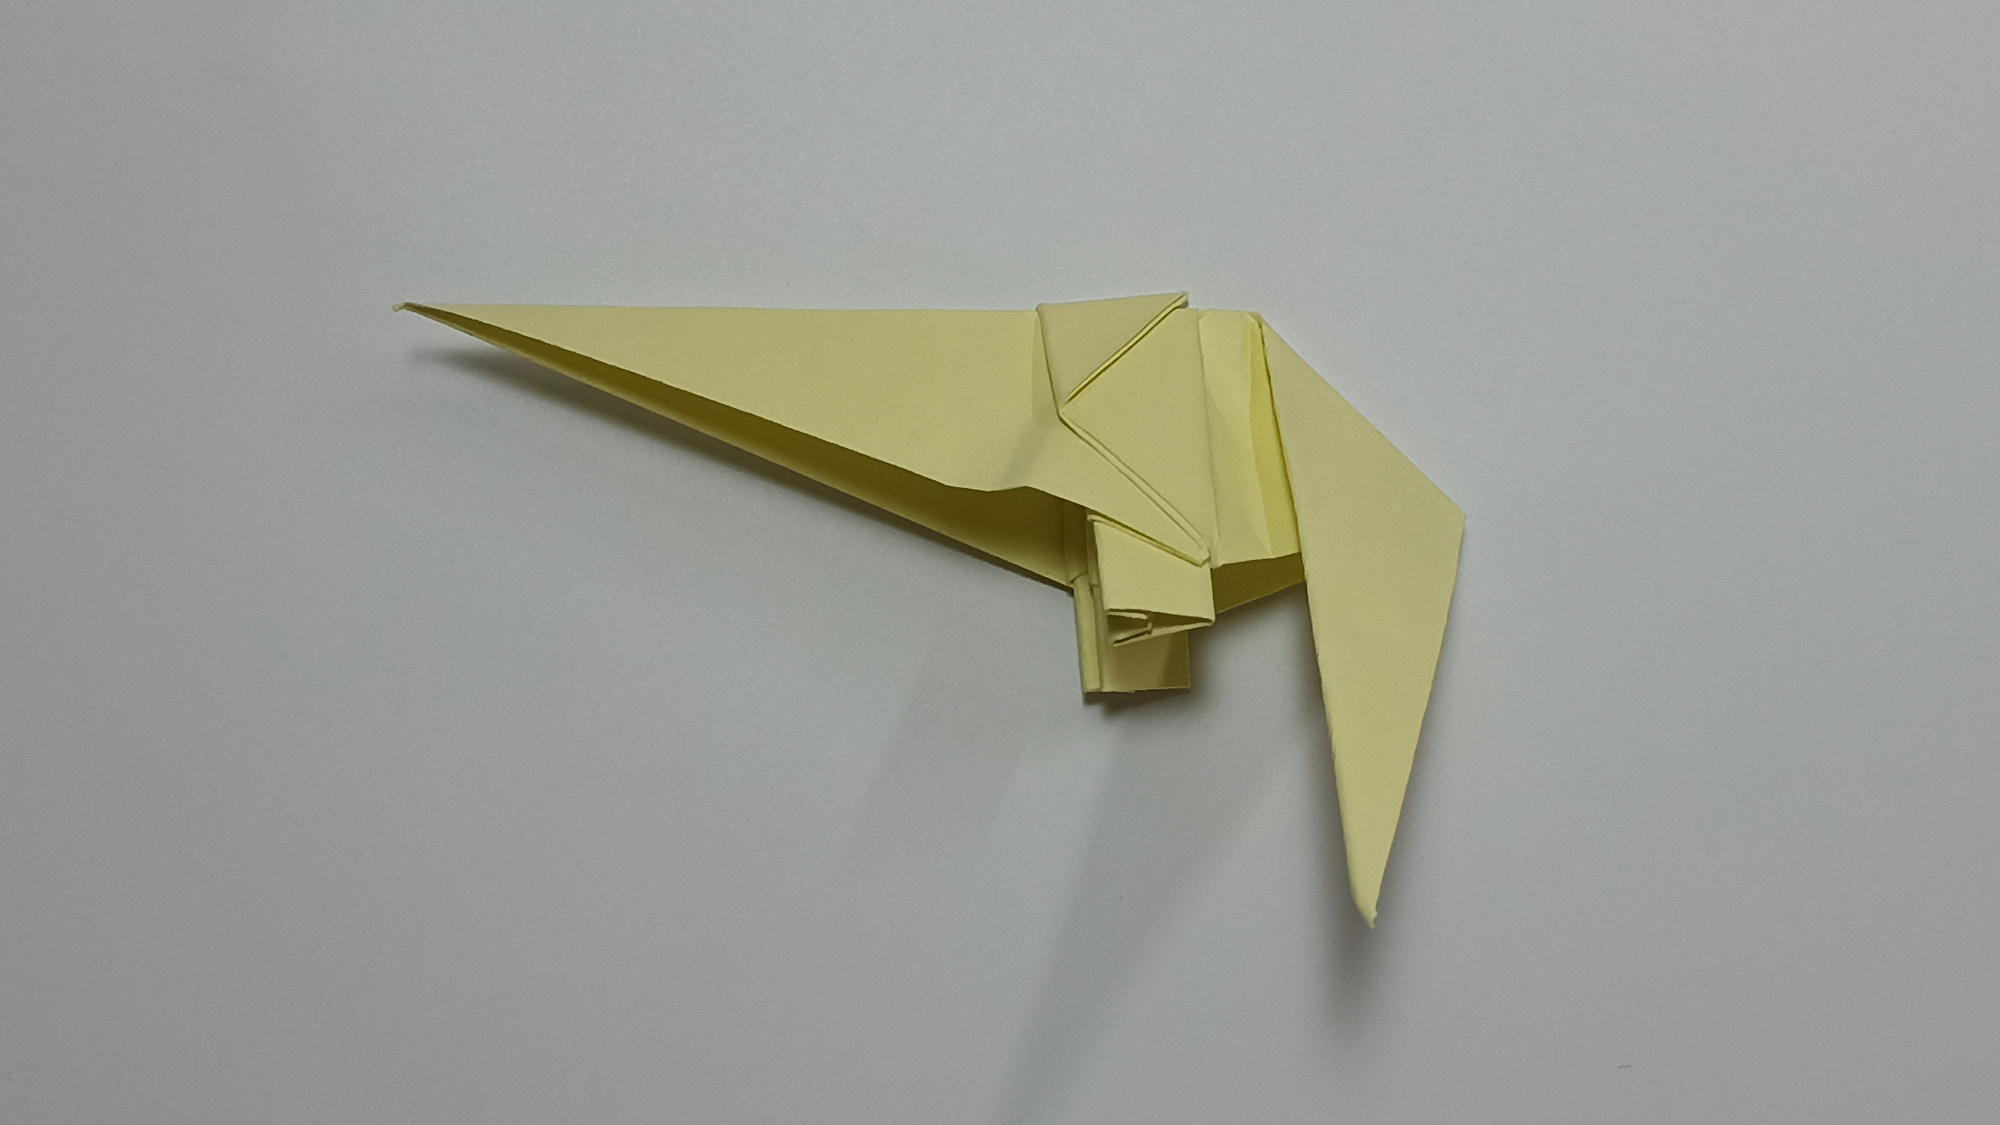
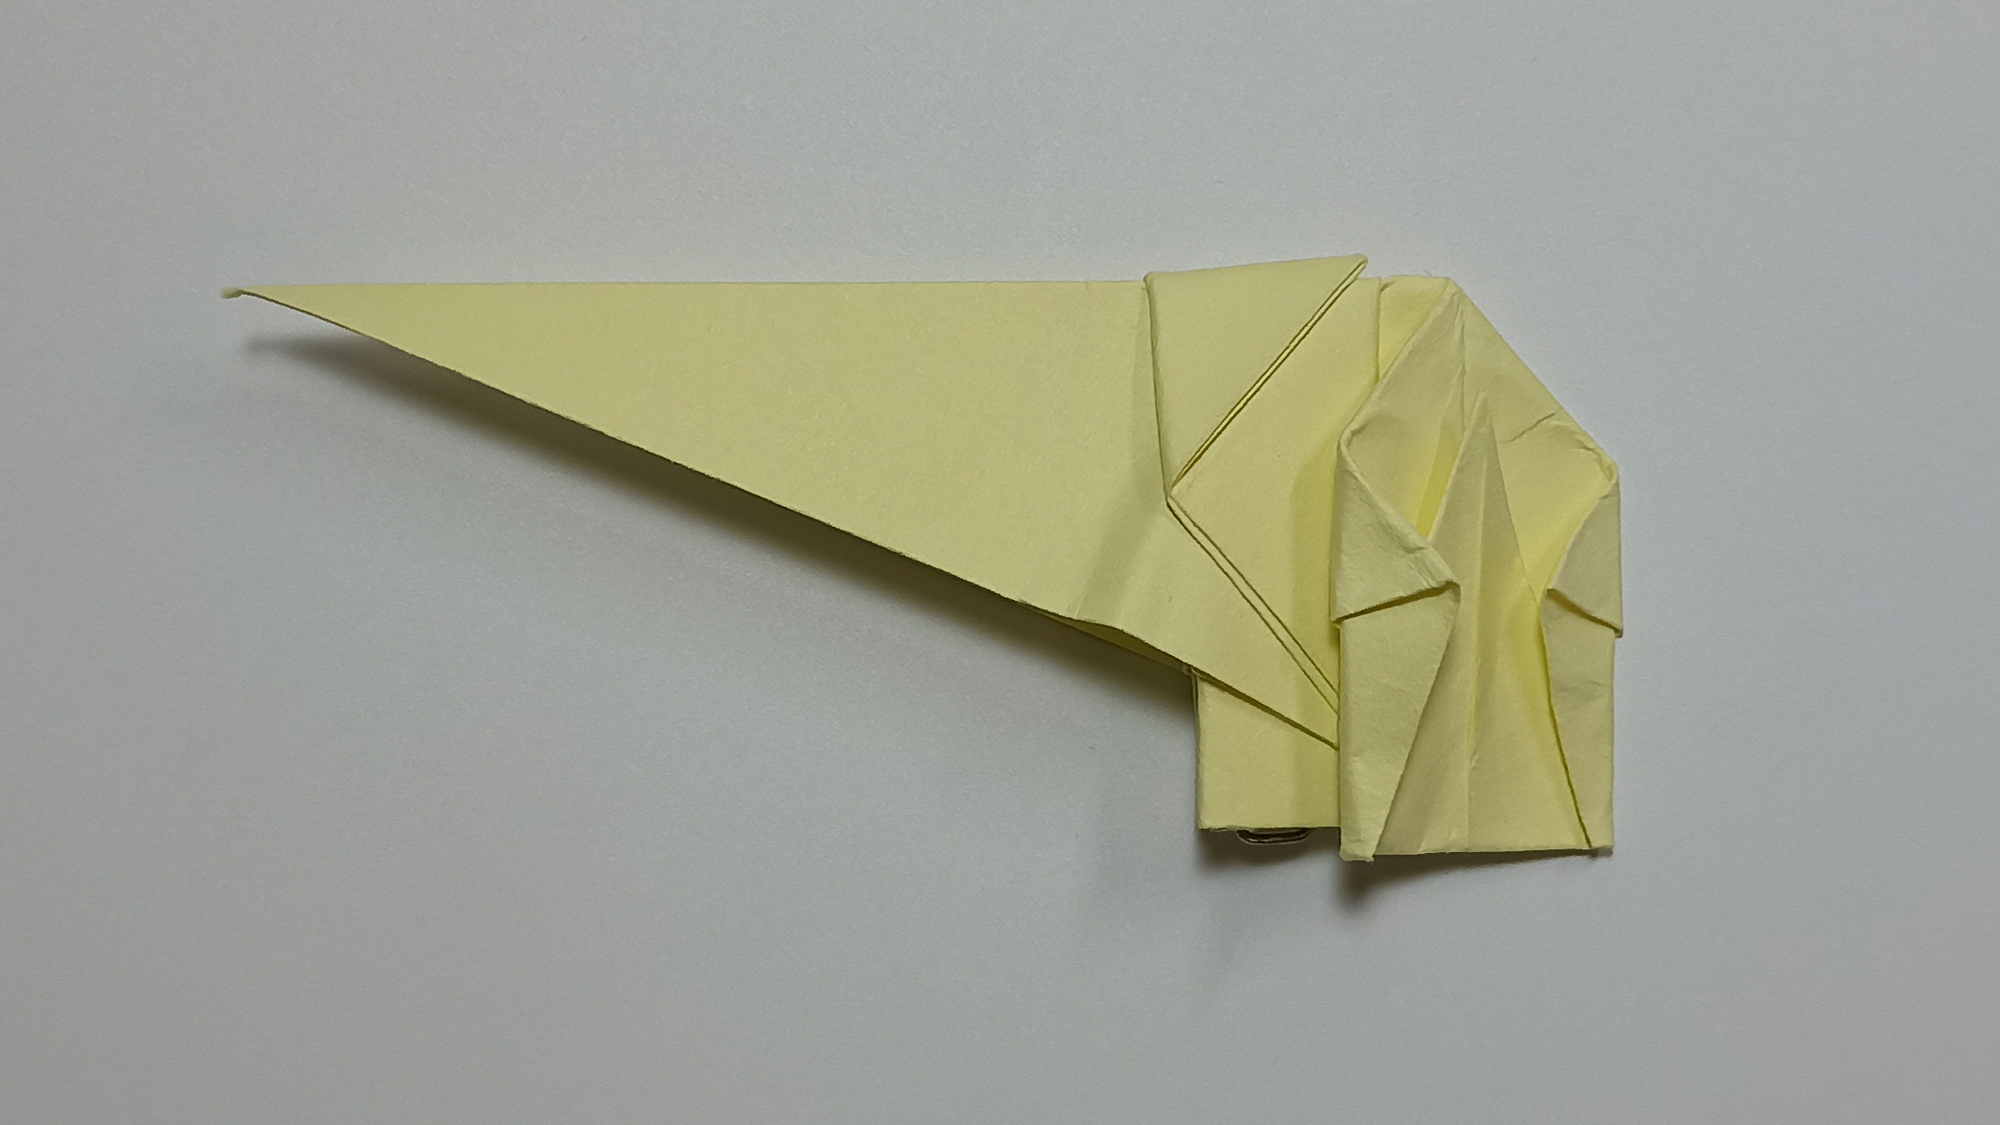
Open the side fold. Fold the bottom diamond sides towards the middle. Close the fold.
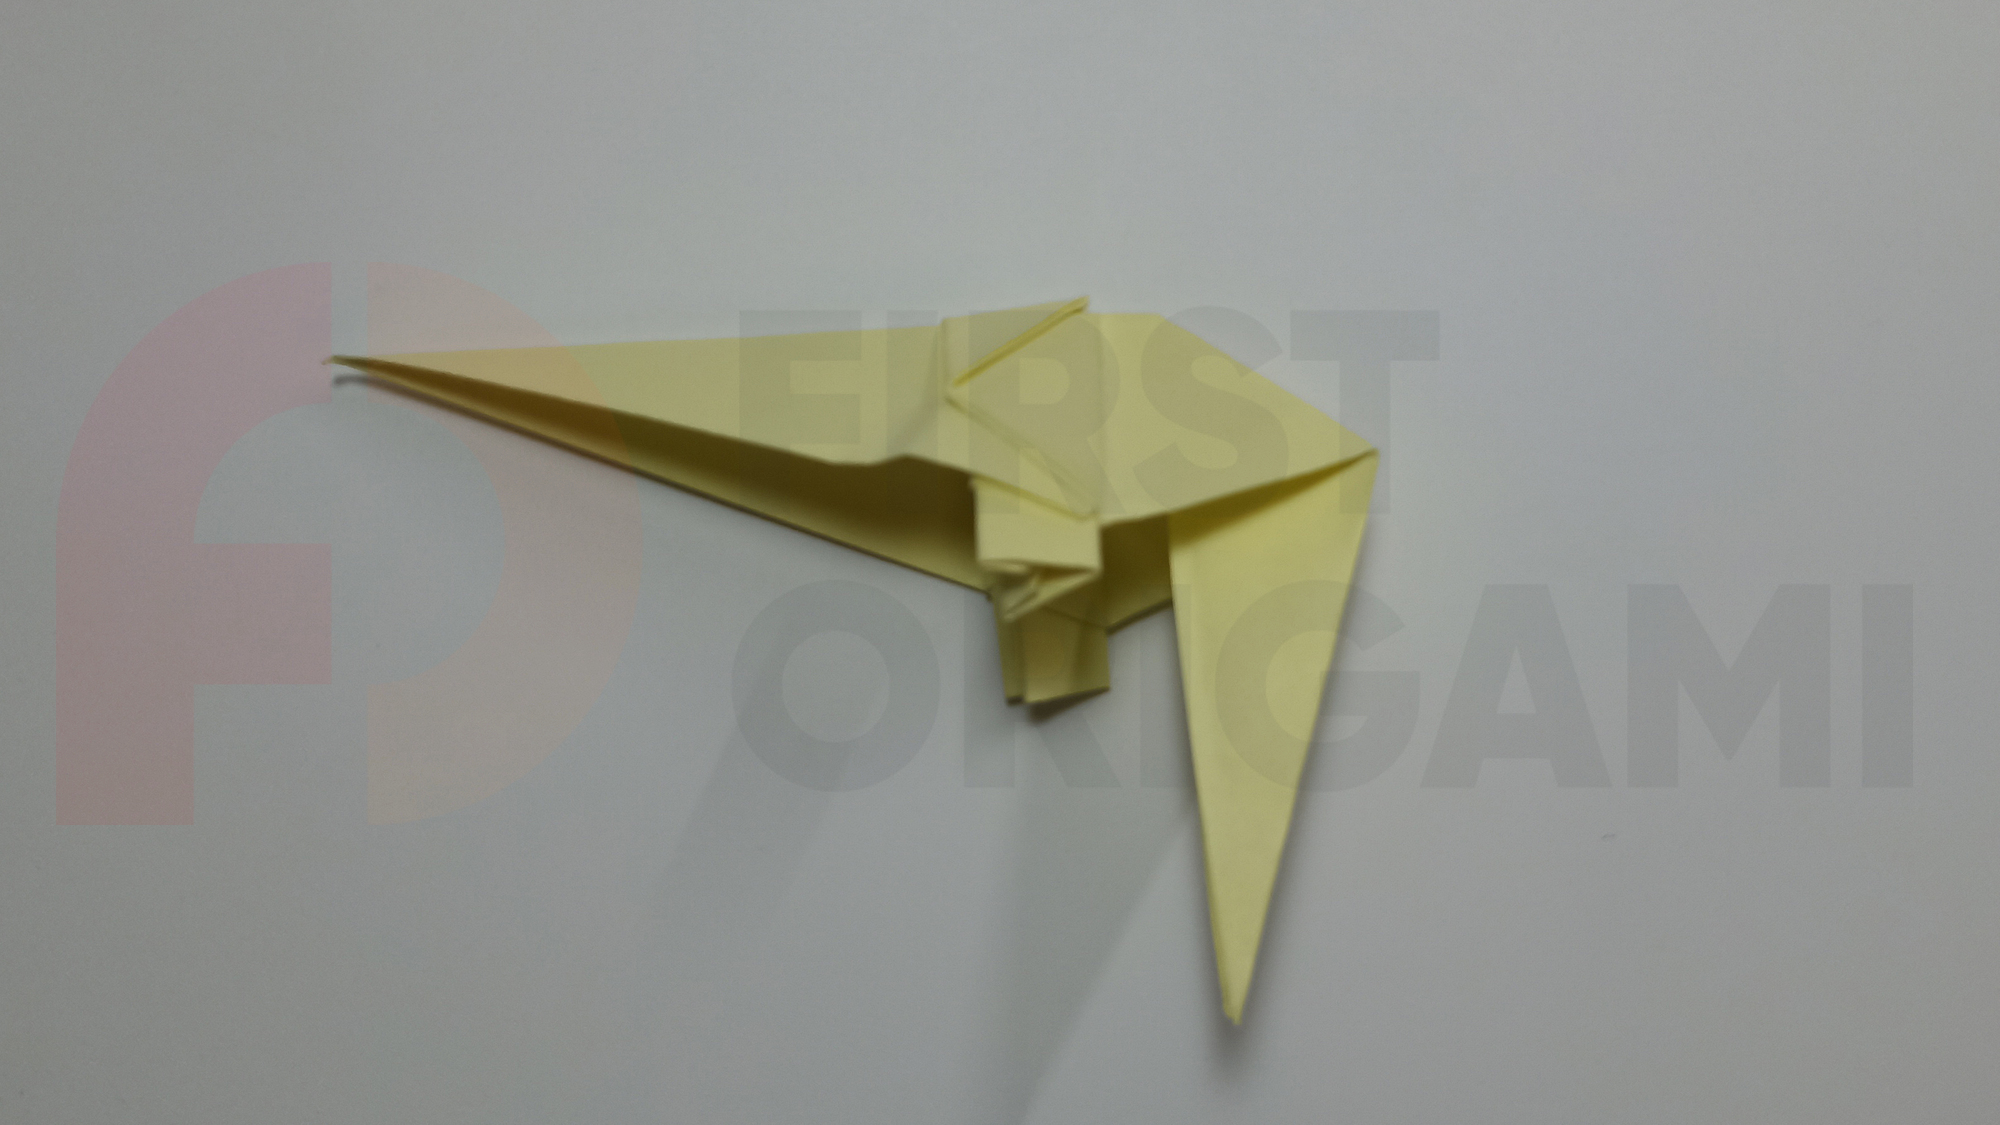
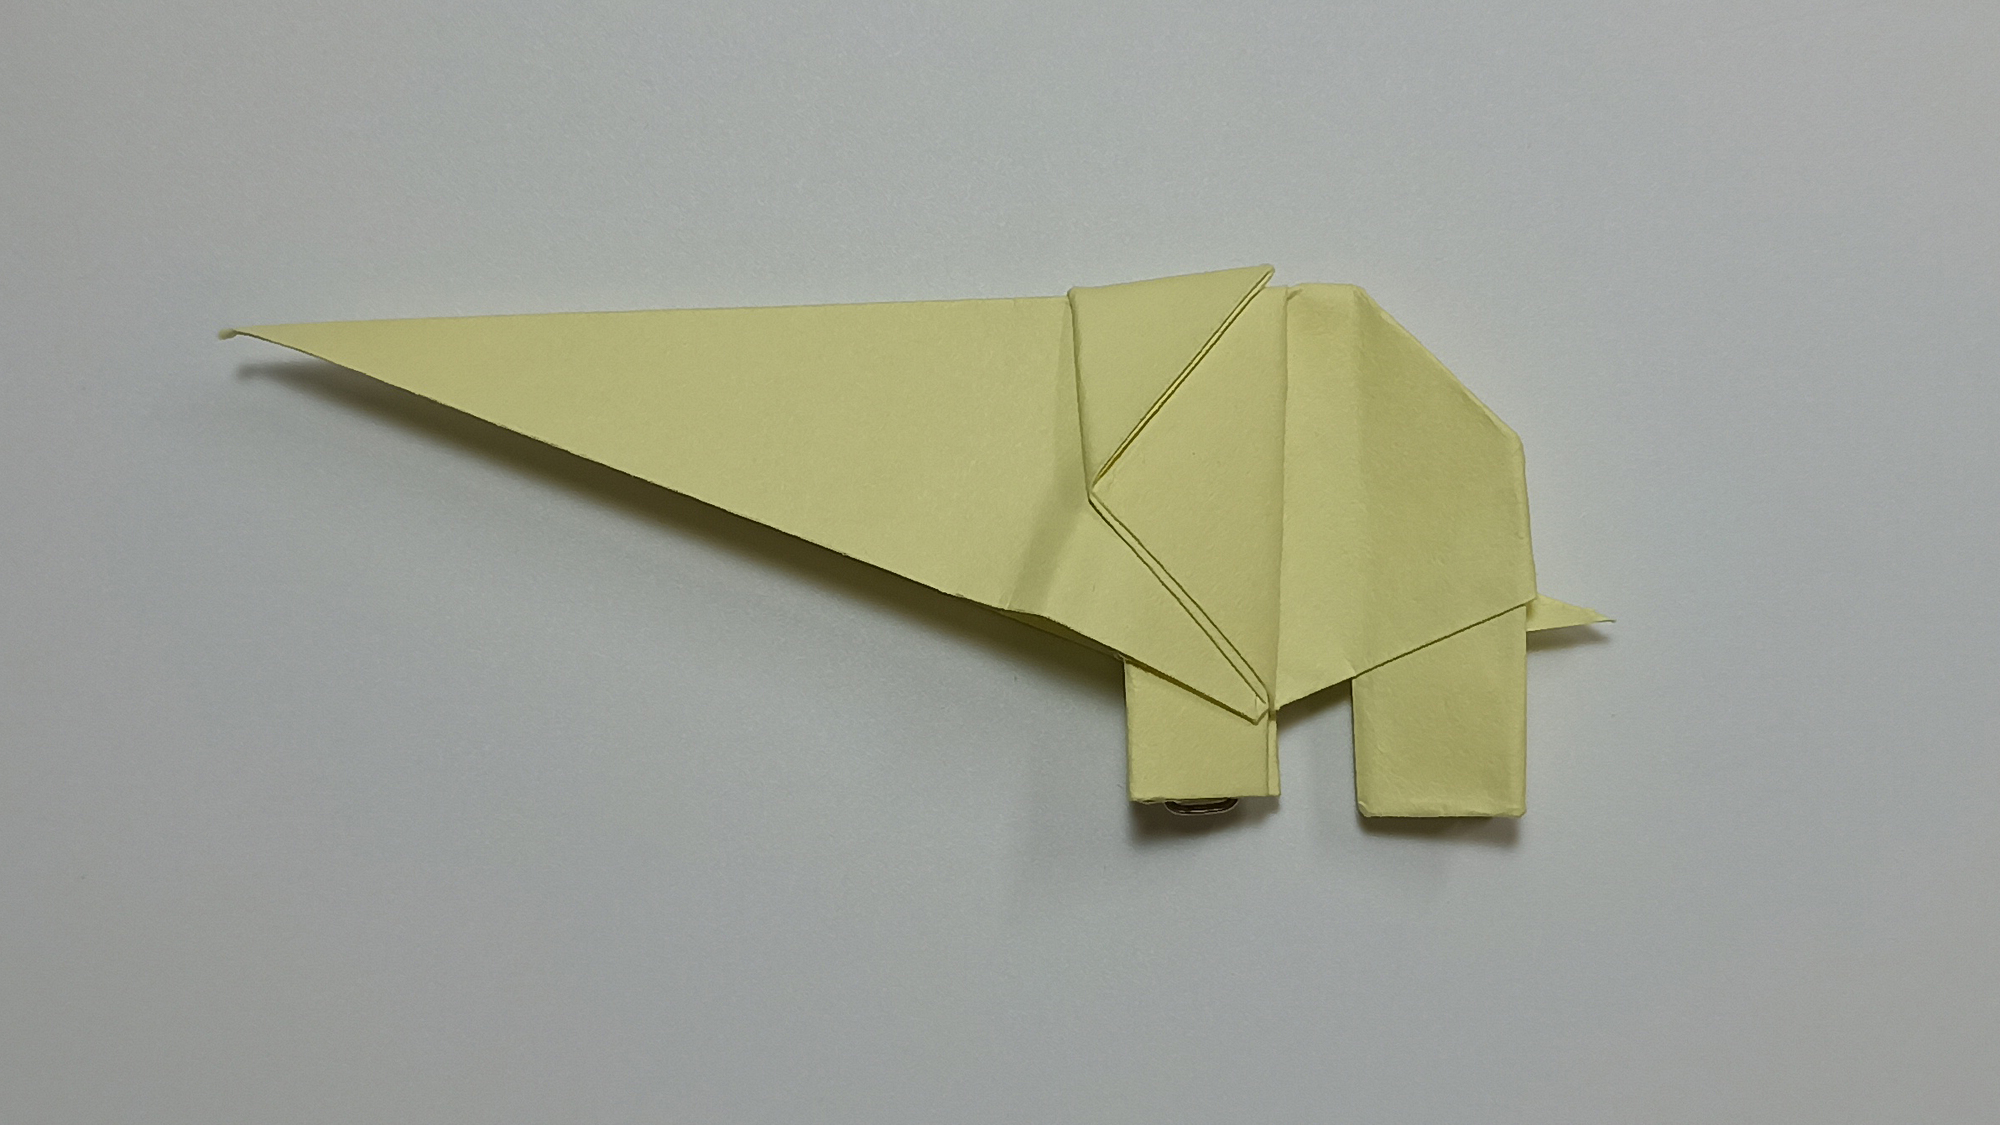
Bend part of the shape upward, changing the direction of the outer fold. Bend the end of the figure down, and tuck the very end inward.
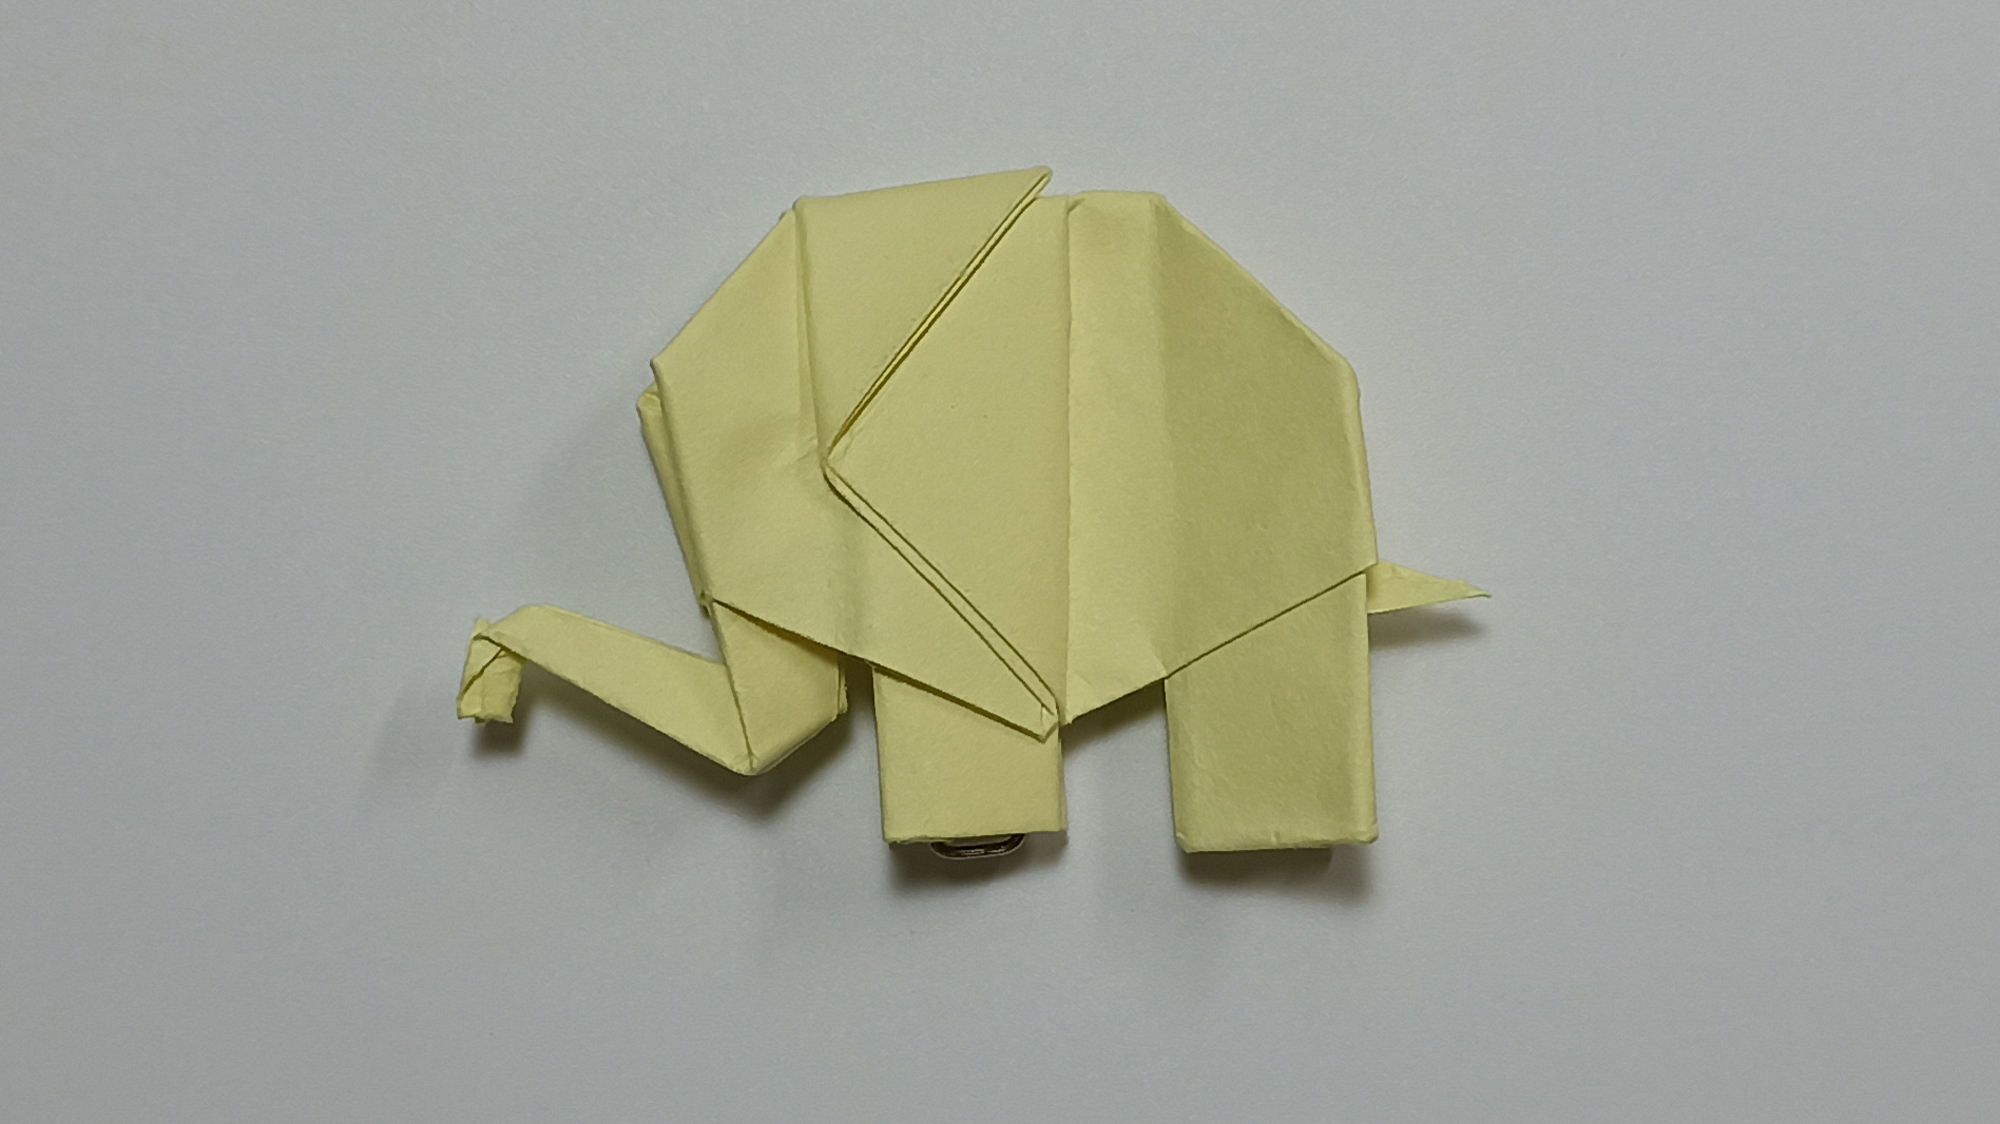
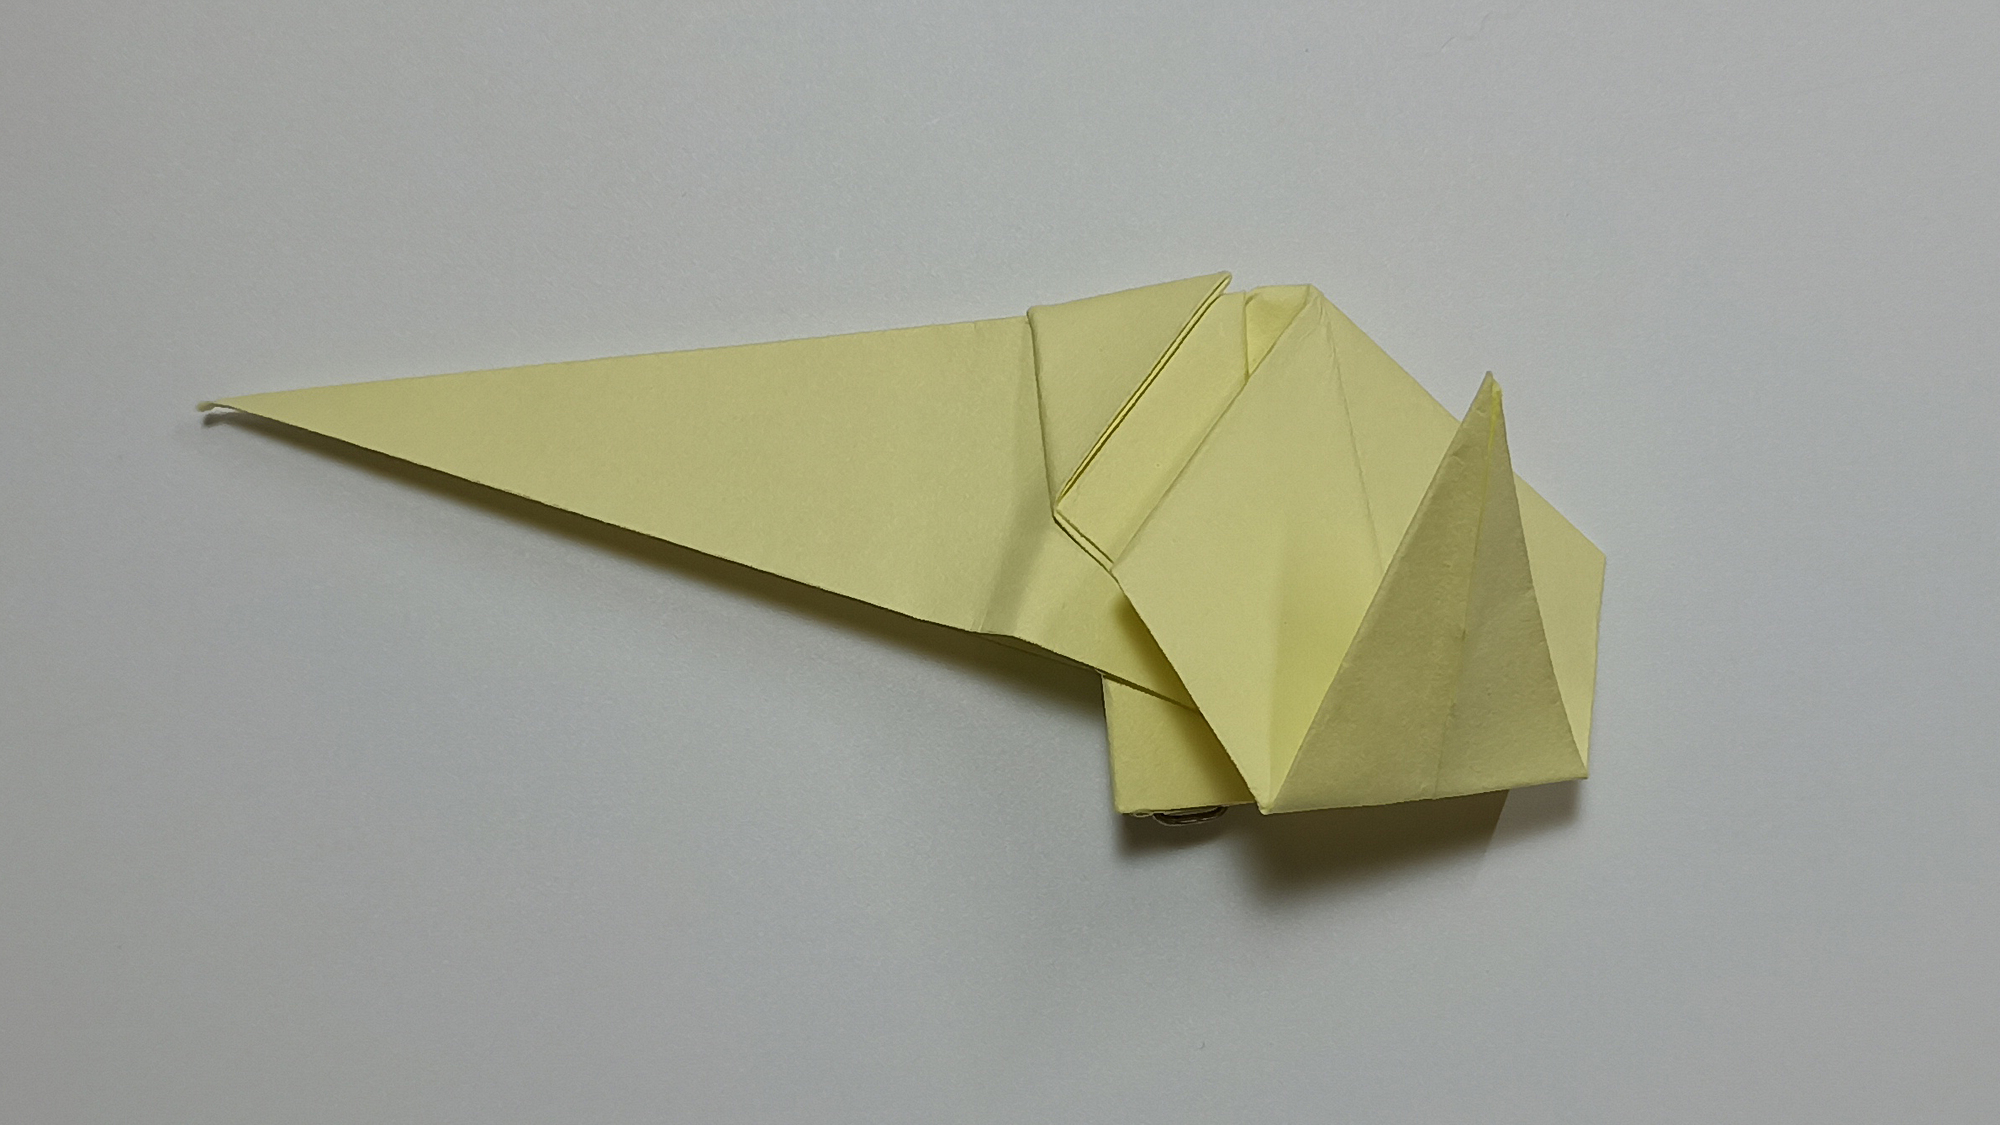
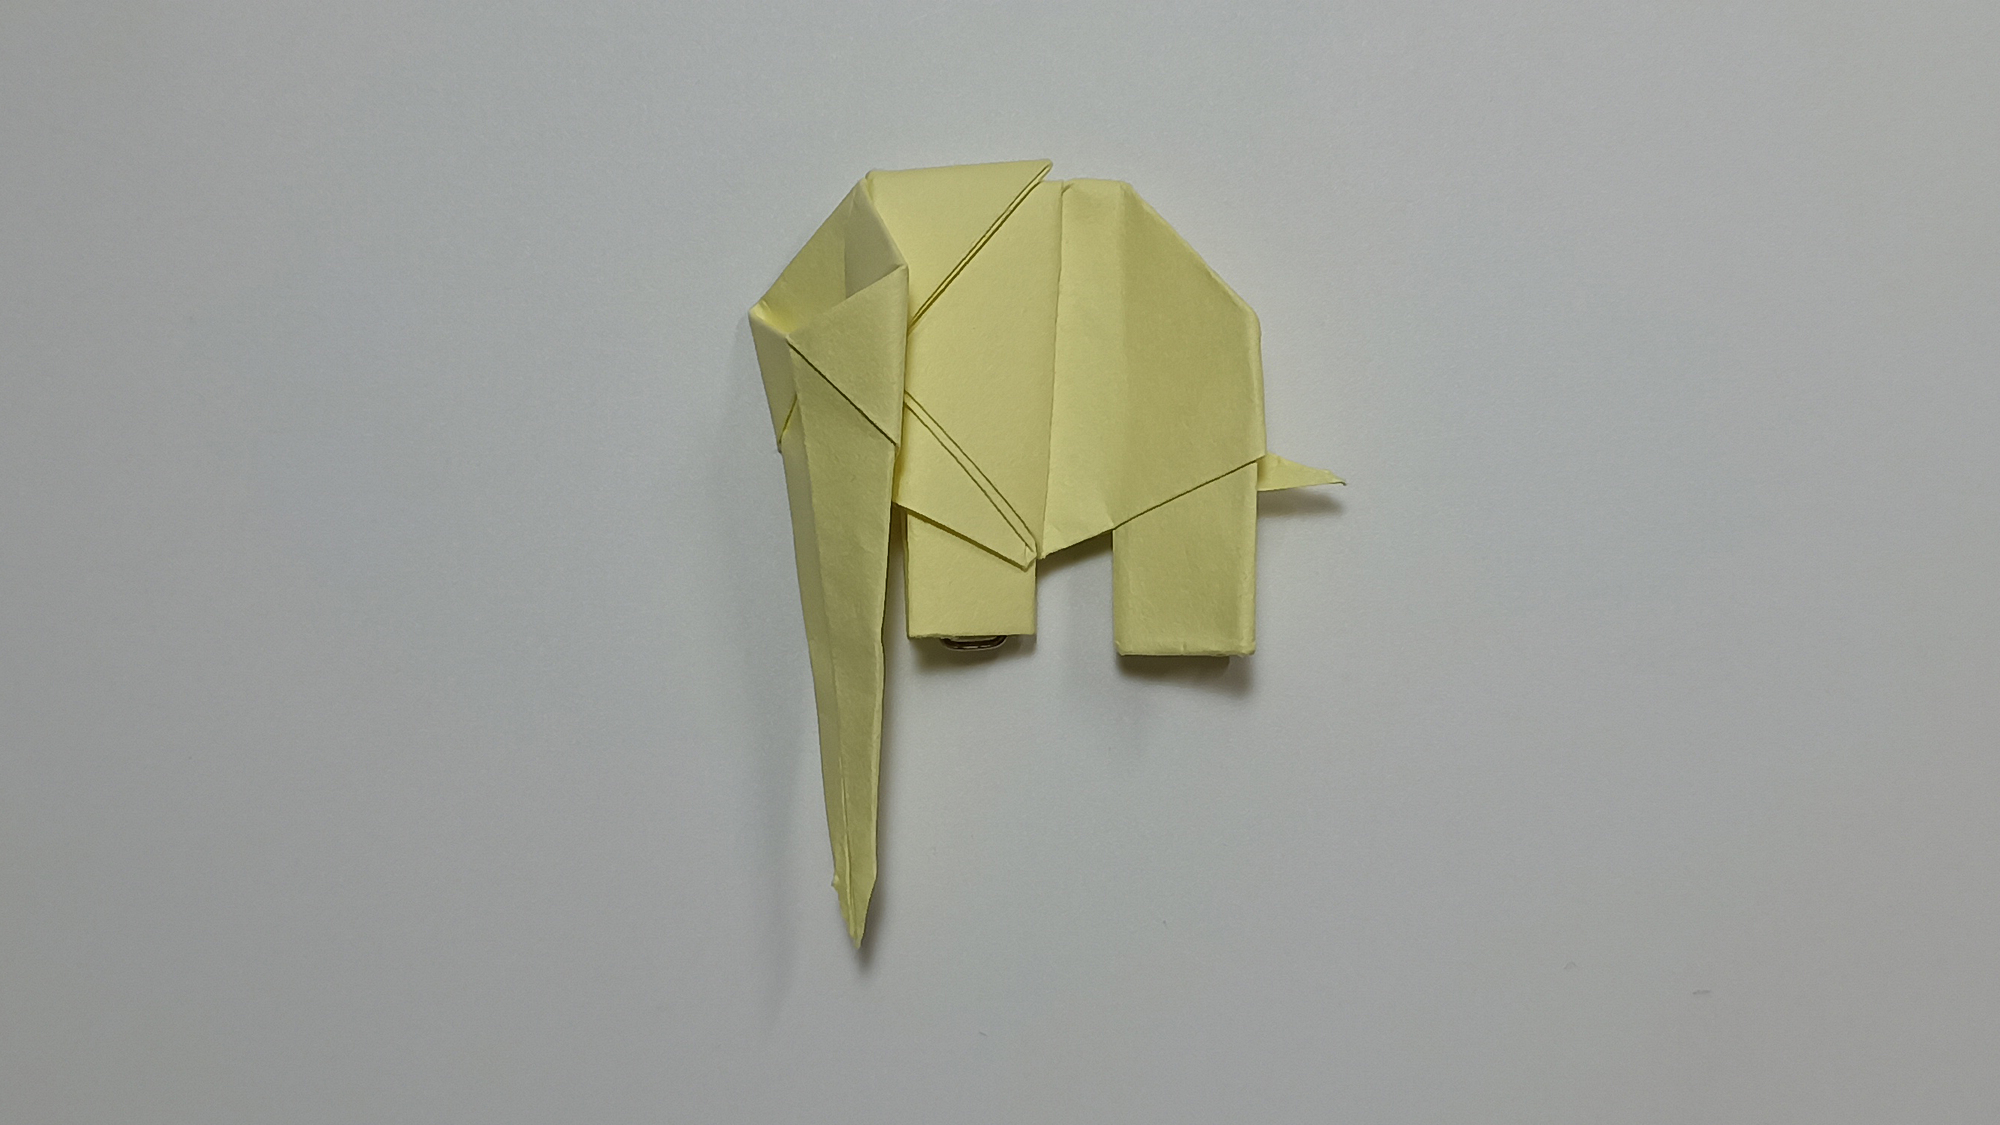
The figure is ready.
An exciting joint game between children and adults to create an origami elephant will bring a lot of joy and fun. You can add character and personality to your figure by adding eyes and a smile. It depends on the author what the character will be like mischievous or shy, or maybe cunning, angry or simple-minded.


