Origami Fan
A fan is an indispensable tool that saves you in the hot season. And everyone can make it. For this, you will only need a sheet of paper and a little time. We offer a master class, with the help of which both children and adults will be able to make a fan in origami technique. Just follow each step according to the proposed scheme! Let’s go!
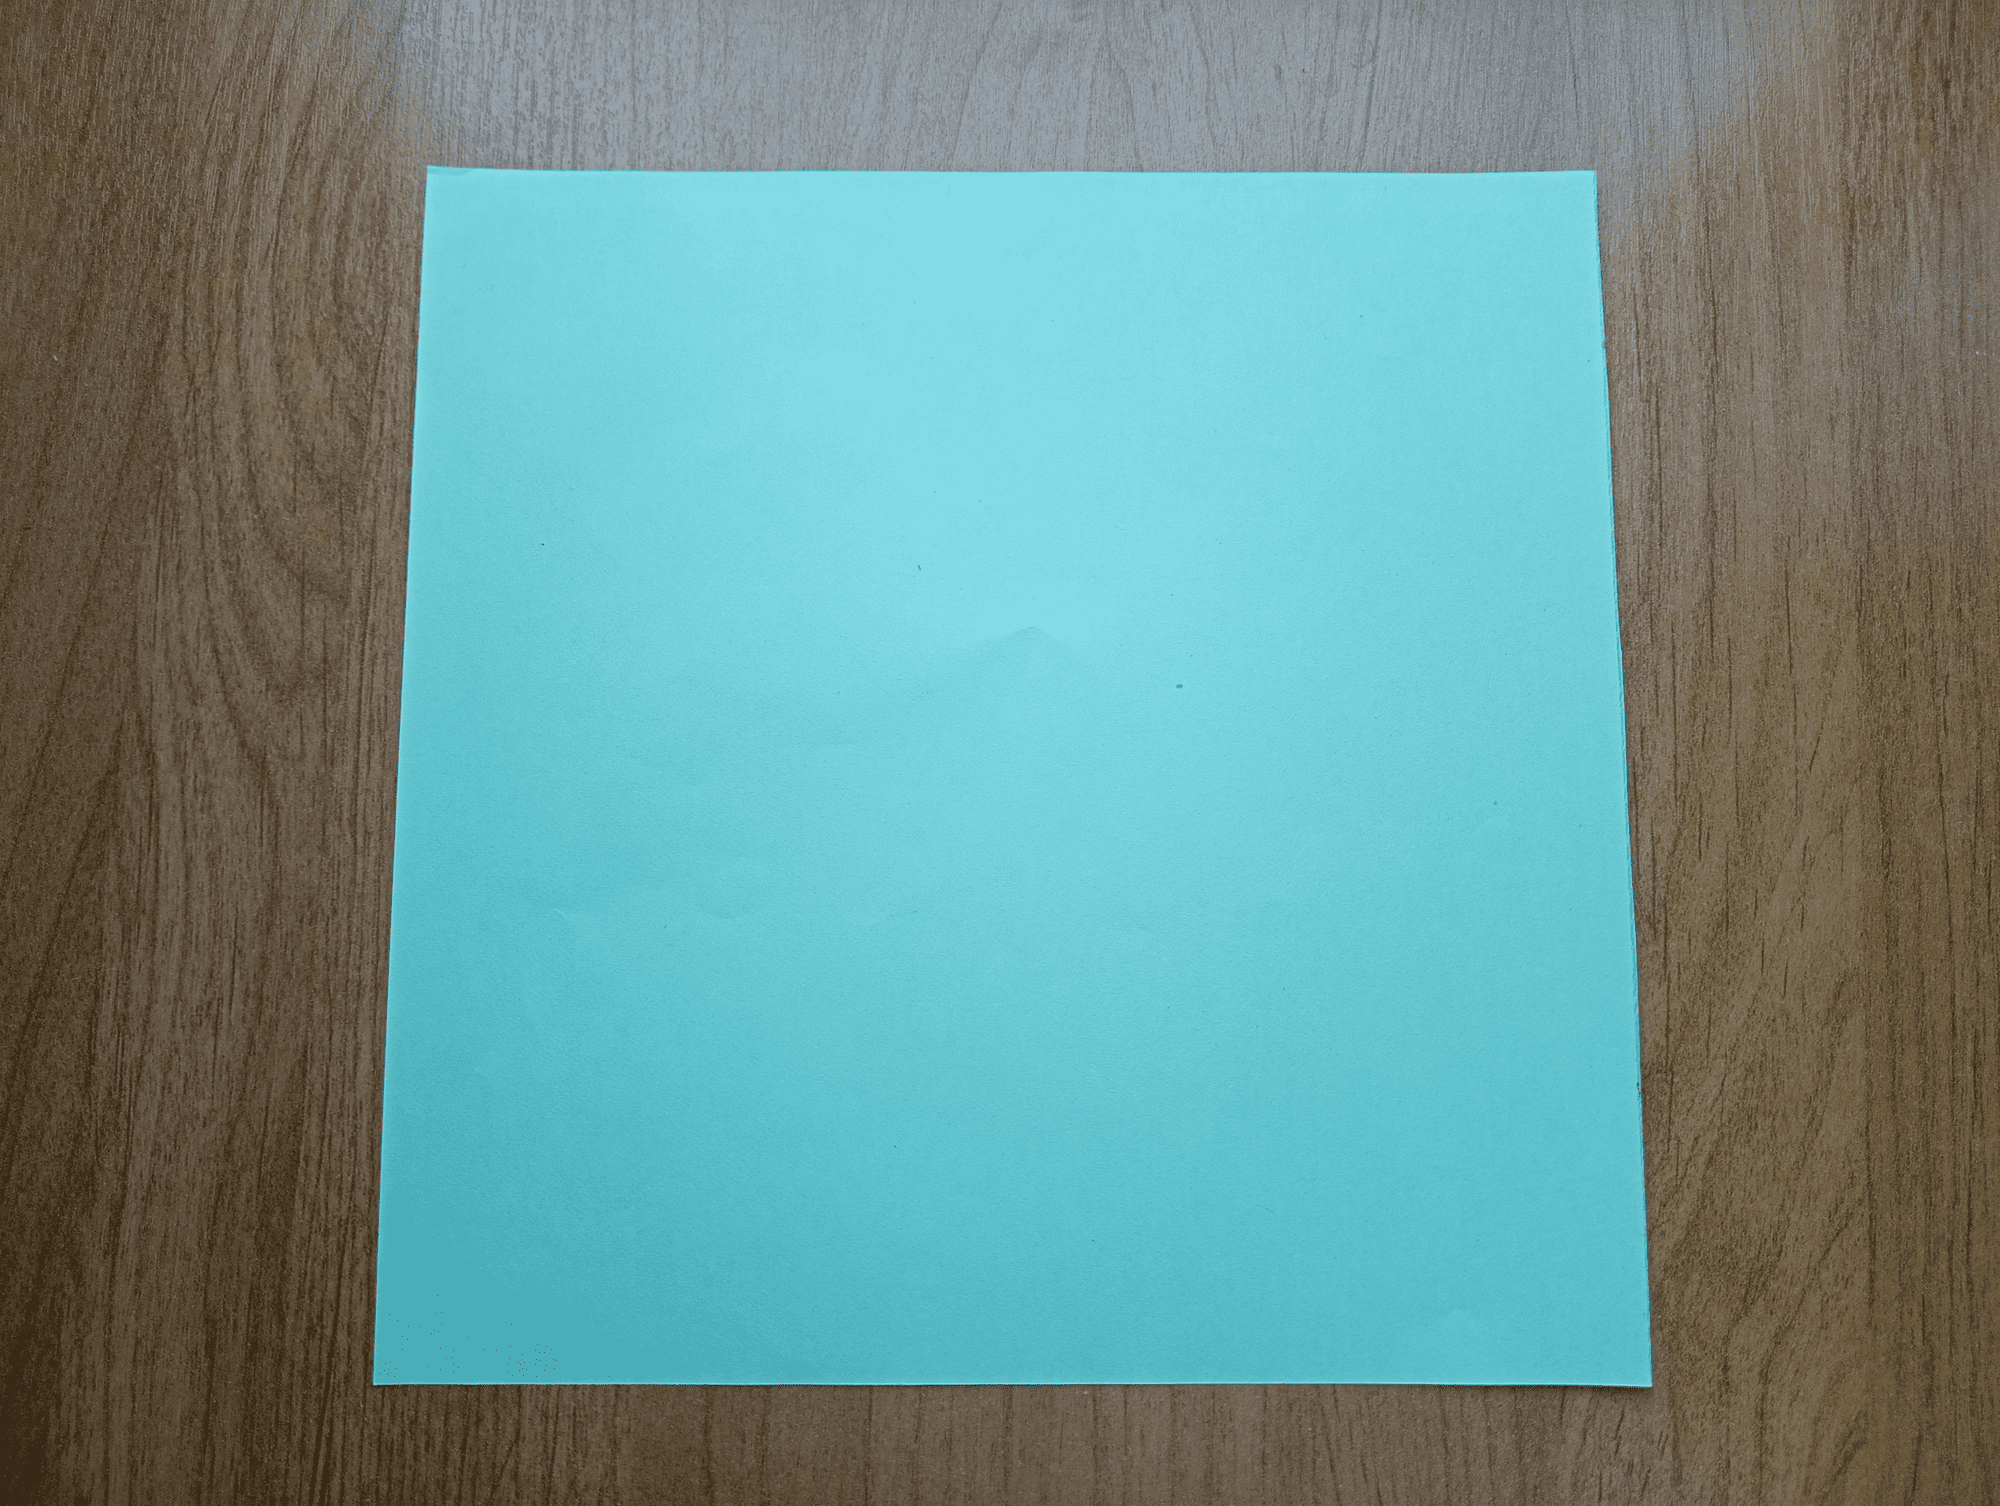
Take a sheet of paper 15 by 15 cm. The fan can be colored (double-sided paper with different shades is good) or monochrome. You can take loose cardboard. Then the force of the fan swing will be stronger, and with it, the wind flow will improve!
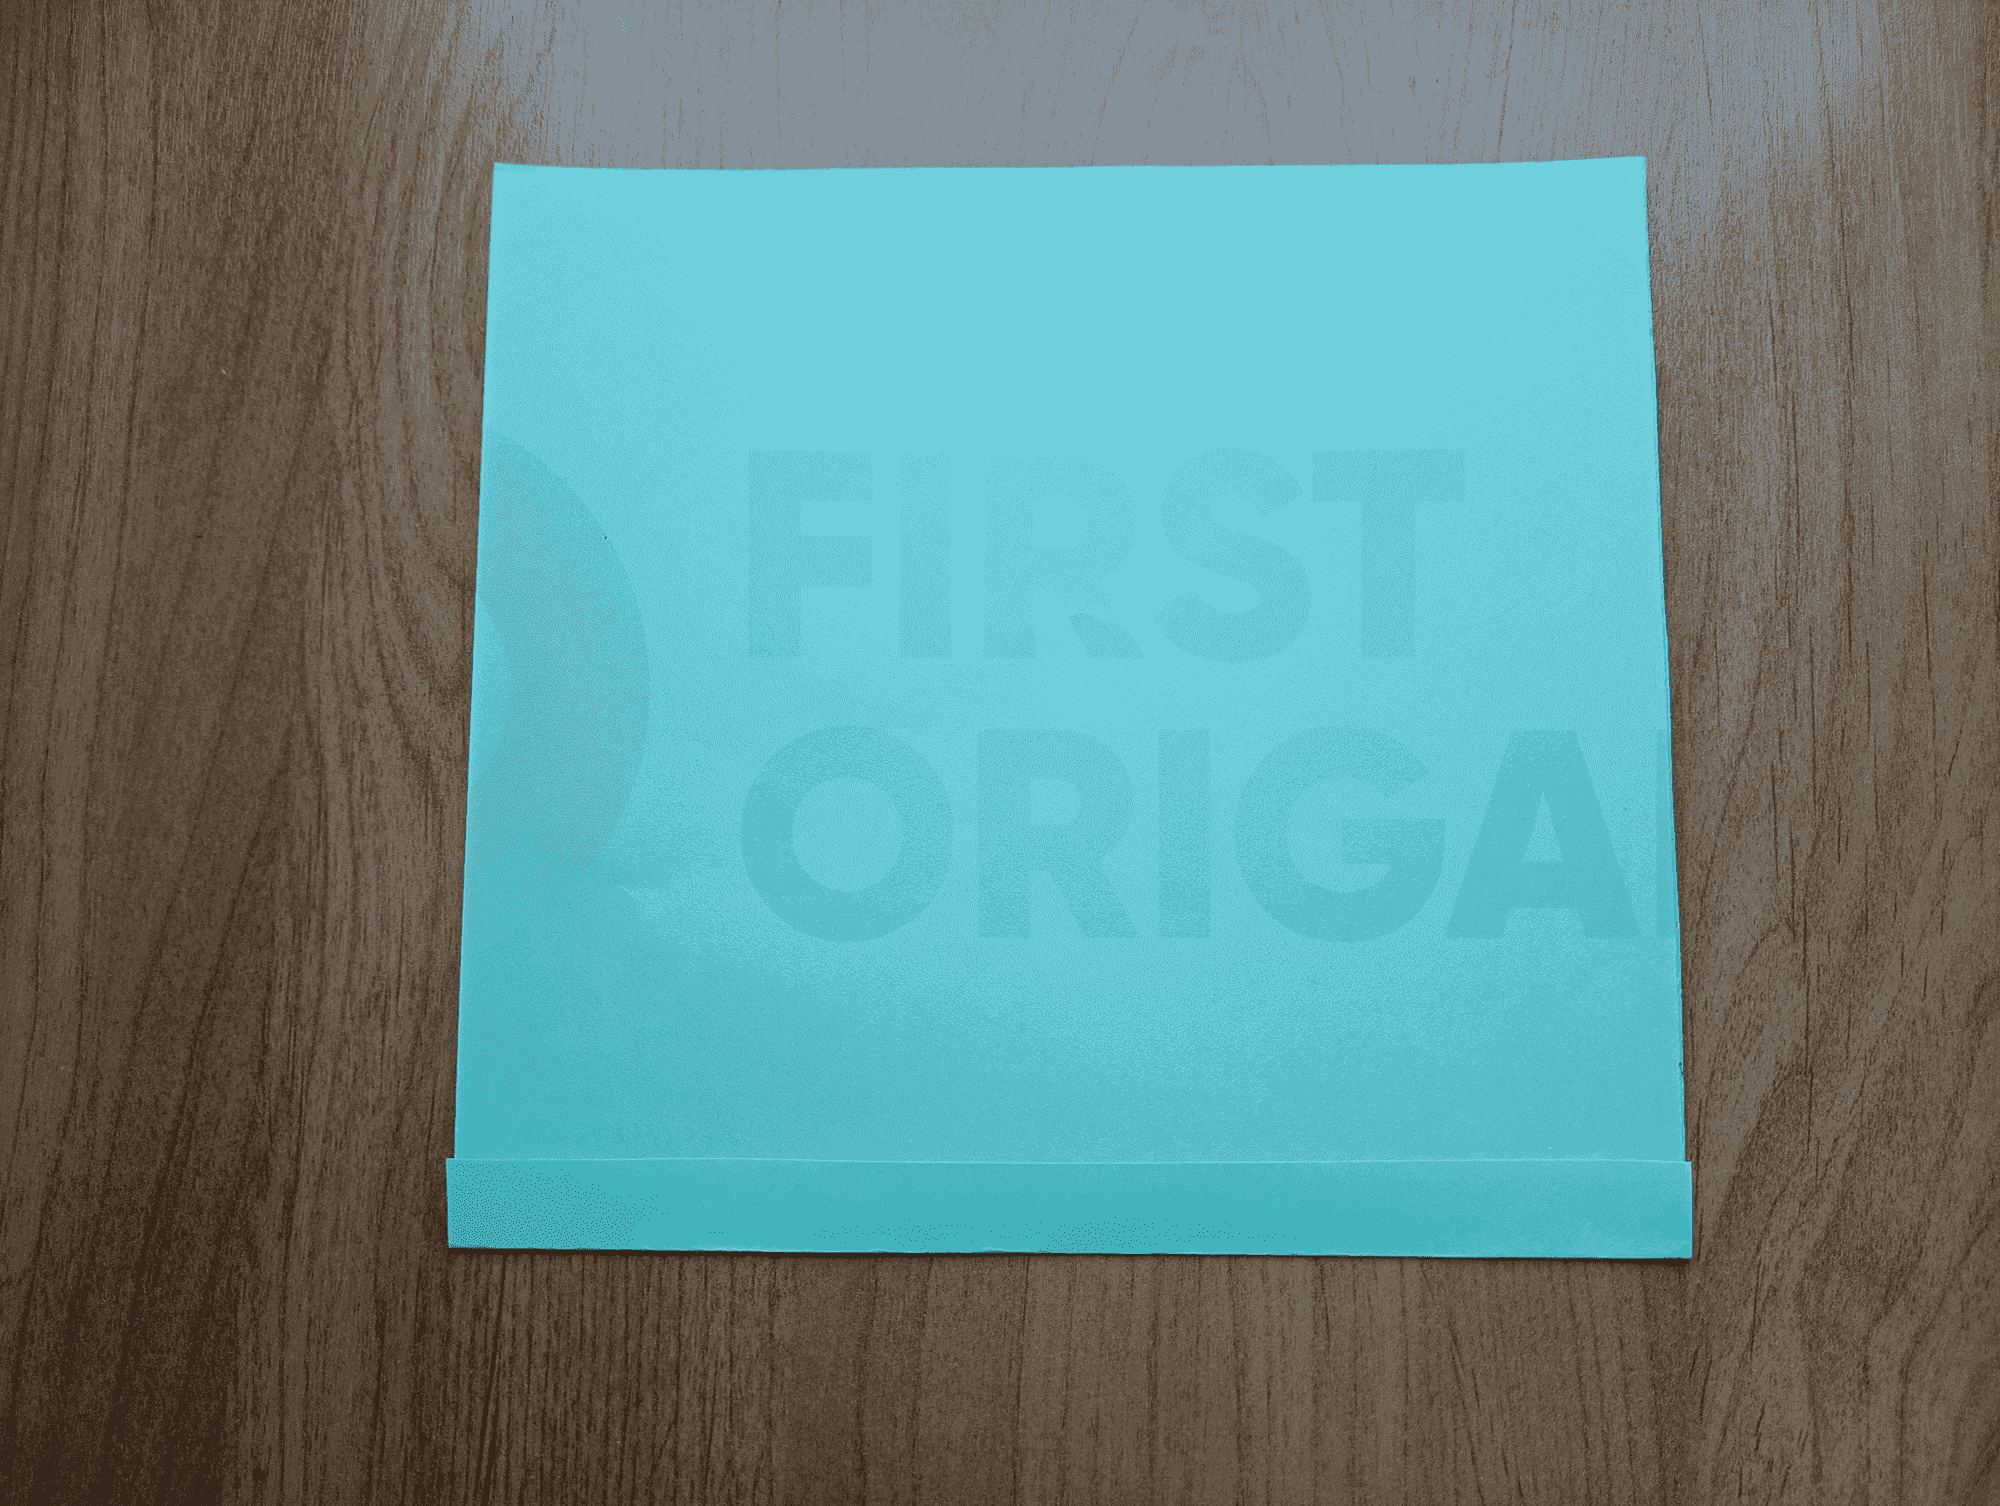
Fold the bottom edge of the sheet by 1 cm. Press the fold line well with your fingers.

Turn the sheet of paper over and fold it over again by 1 cm. Check that all edges and the fold line at the bottom match.
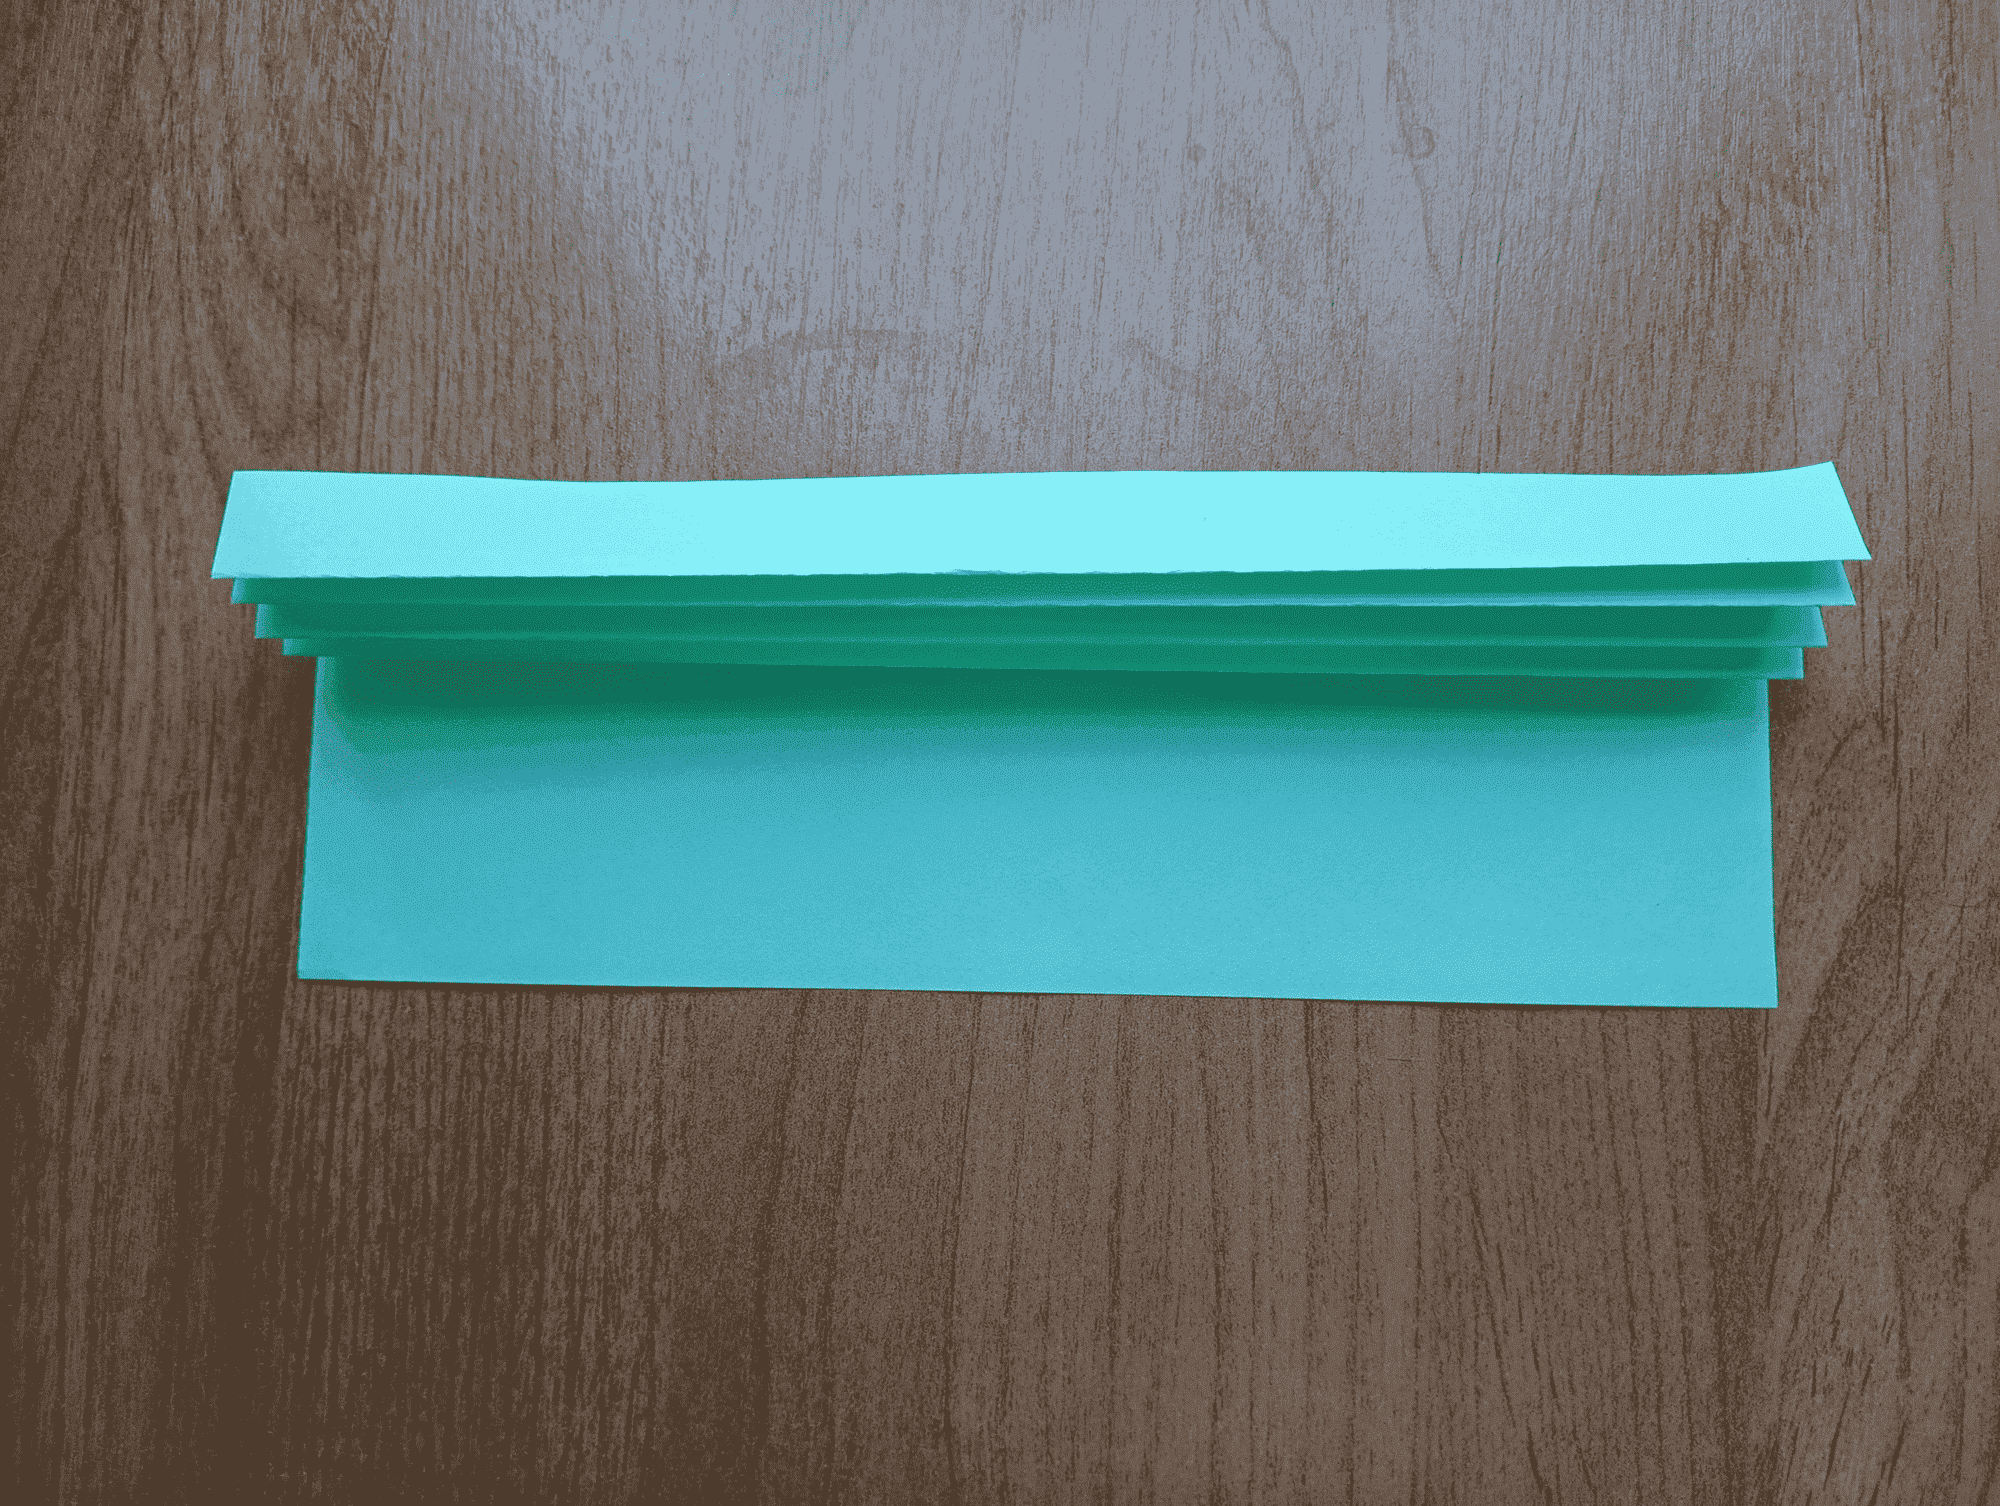
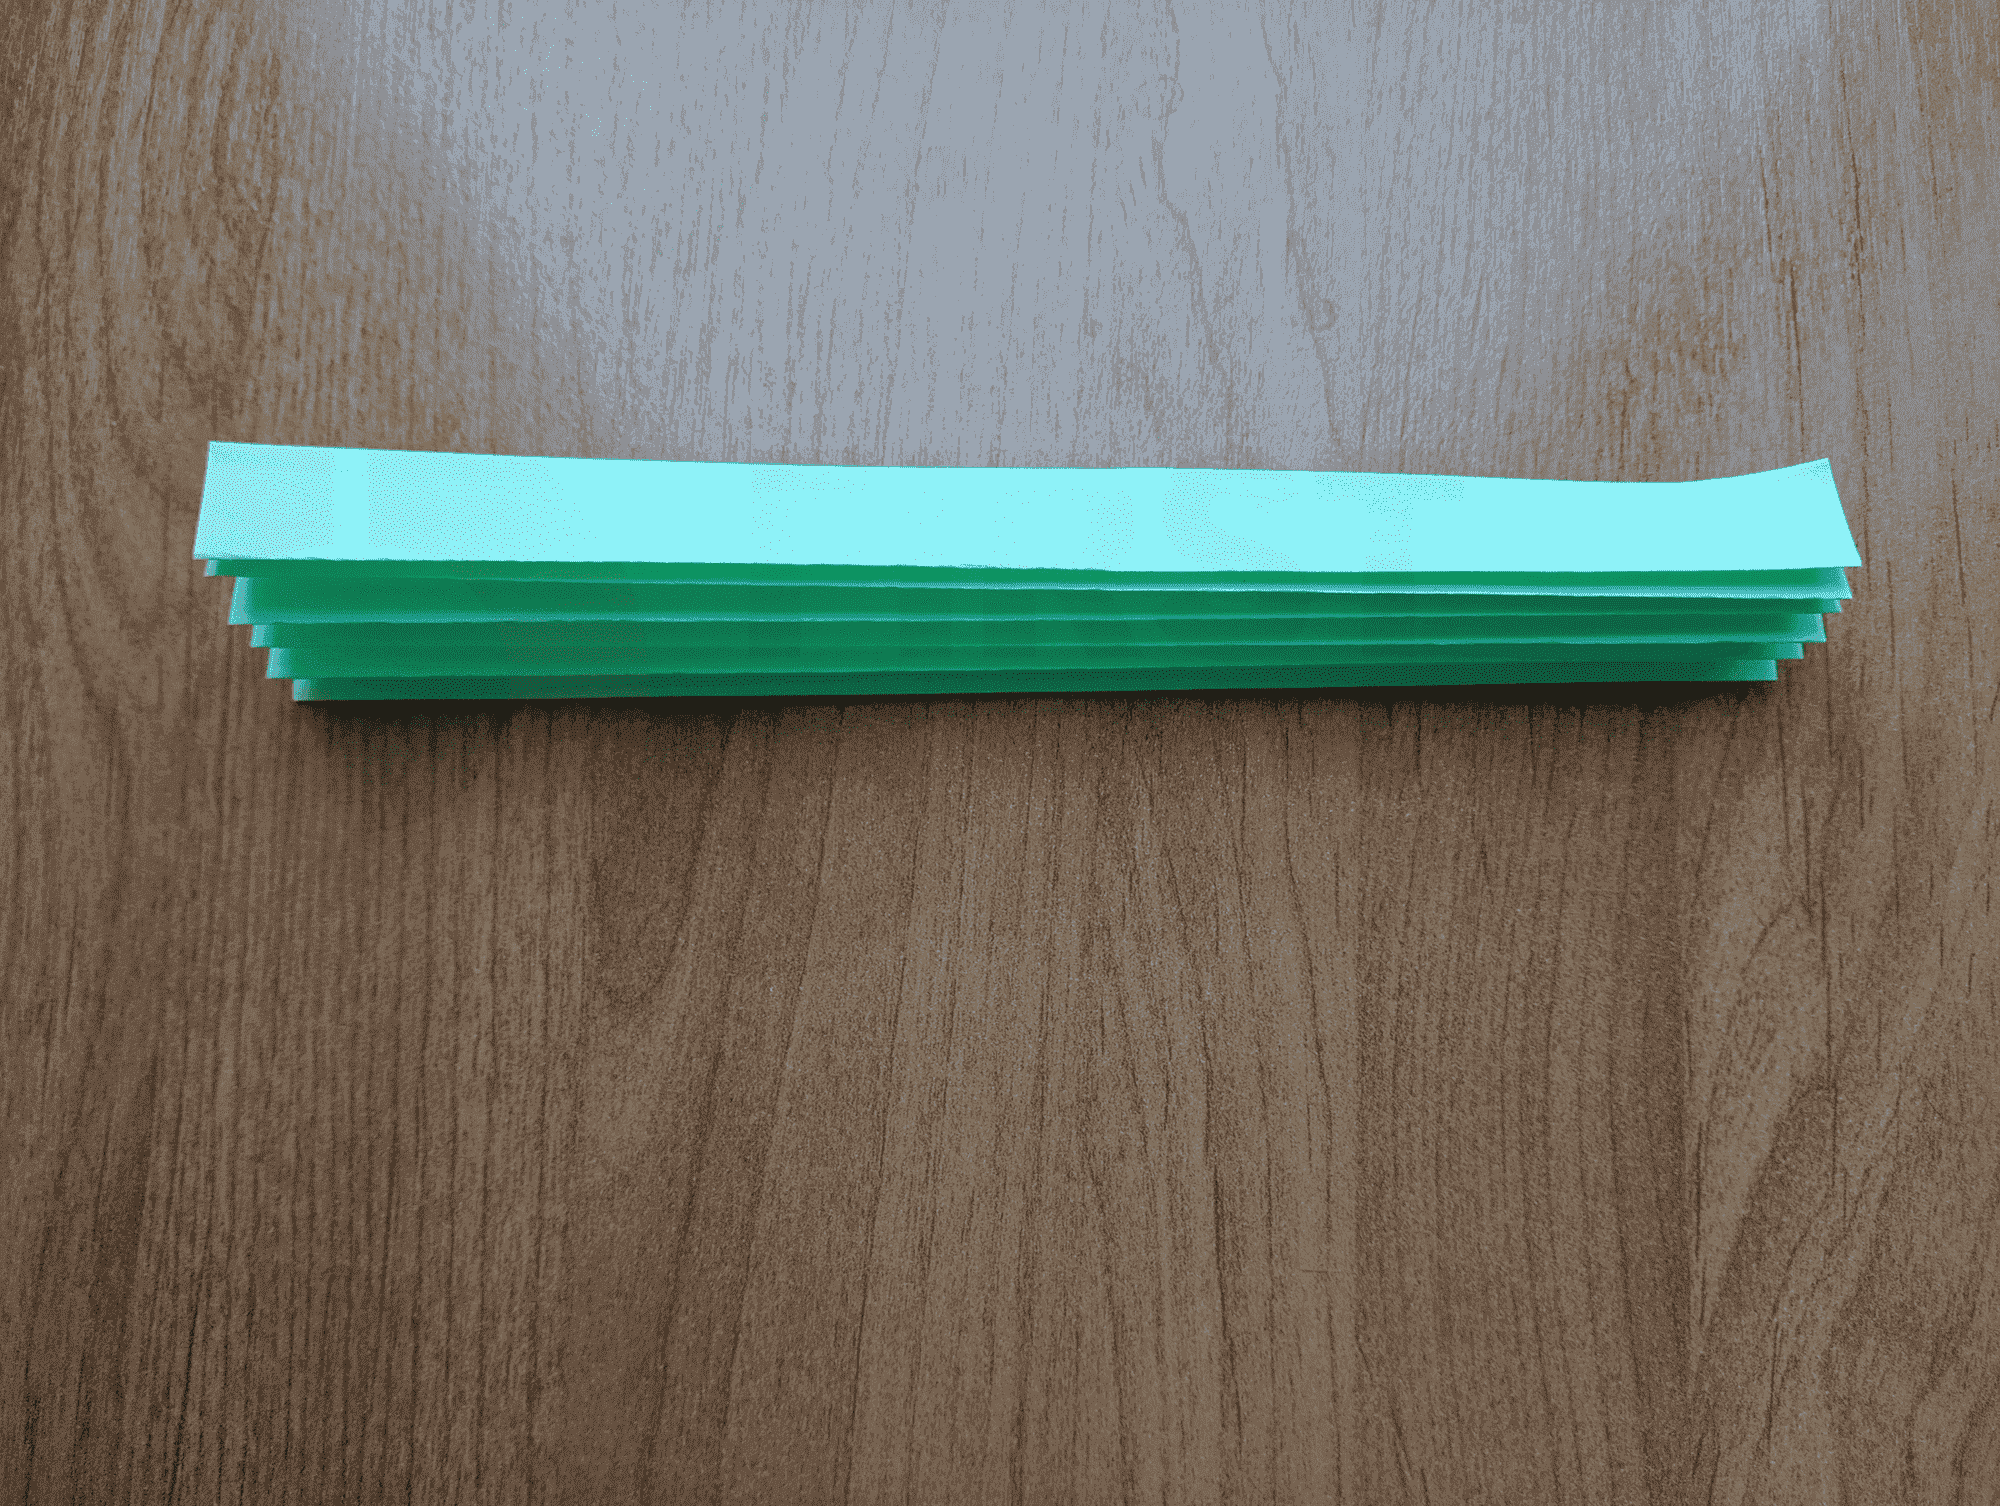
Next, repeat the first two steps until you run out of paper. Each tuck should be checked to make sure it matches the previous one.
The fan is almost ready. It is necessary to open it well.

Think beforehand whether you need a handle to hold it. If yes — just bend one edge to the desired size of the handle.
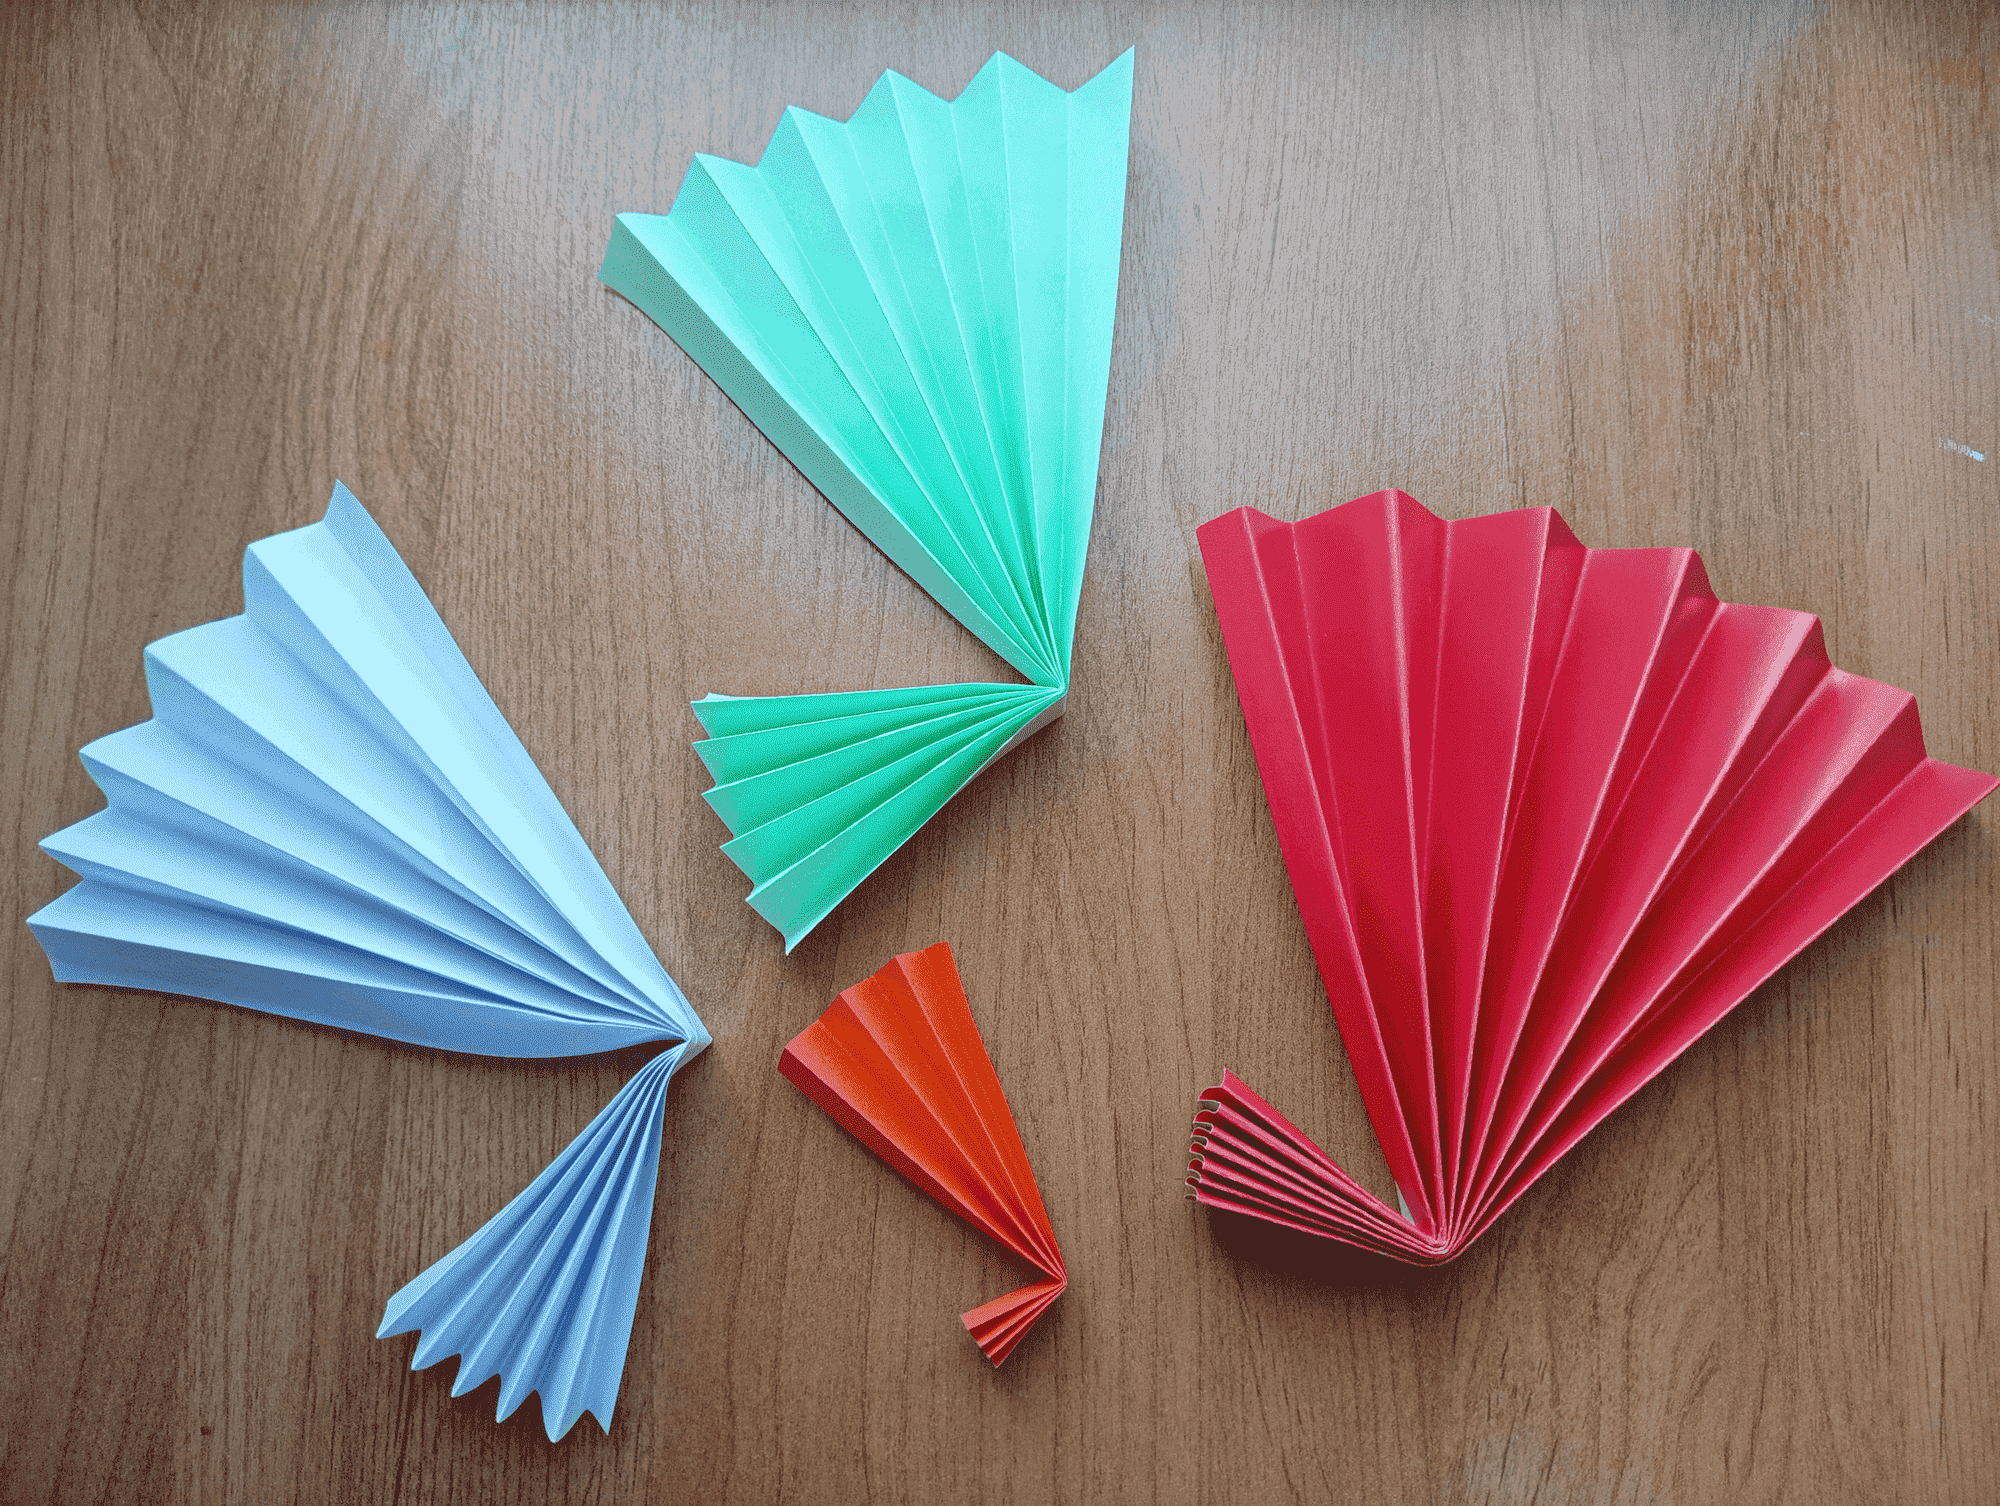
This is such a beauty we got! As you can see in the last photo, these fans can make a really stylish and unique decoration, so try folding an Origami Fan from paper of different sizes and colors, and you can connect them into a garland or make a bright voluminous appliqué on a wall. Just give it a try!