Origami Fast Glider Airplane
This is one of the most realistic paper airplane models. With its accentuated wings and tail, it bears a striking resemblance to the real-life high-speed models of its older brothers. In terms of speed characteristics, this plane is quite modest, but one can say that it is a real marathon runner: with a tailwind, it can fly up to 10 meters!
In terms of complexity, this origami can be classified as simple. To make it, you will traditionally need an A4 sheet of paper, as well as a pencil and scissors.
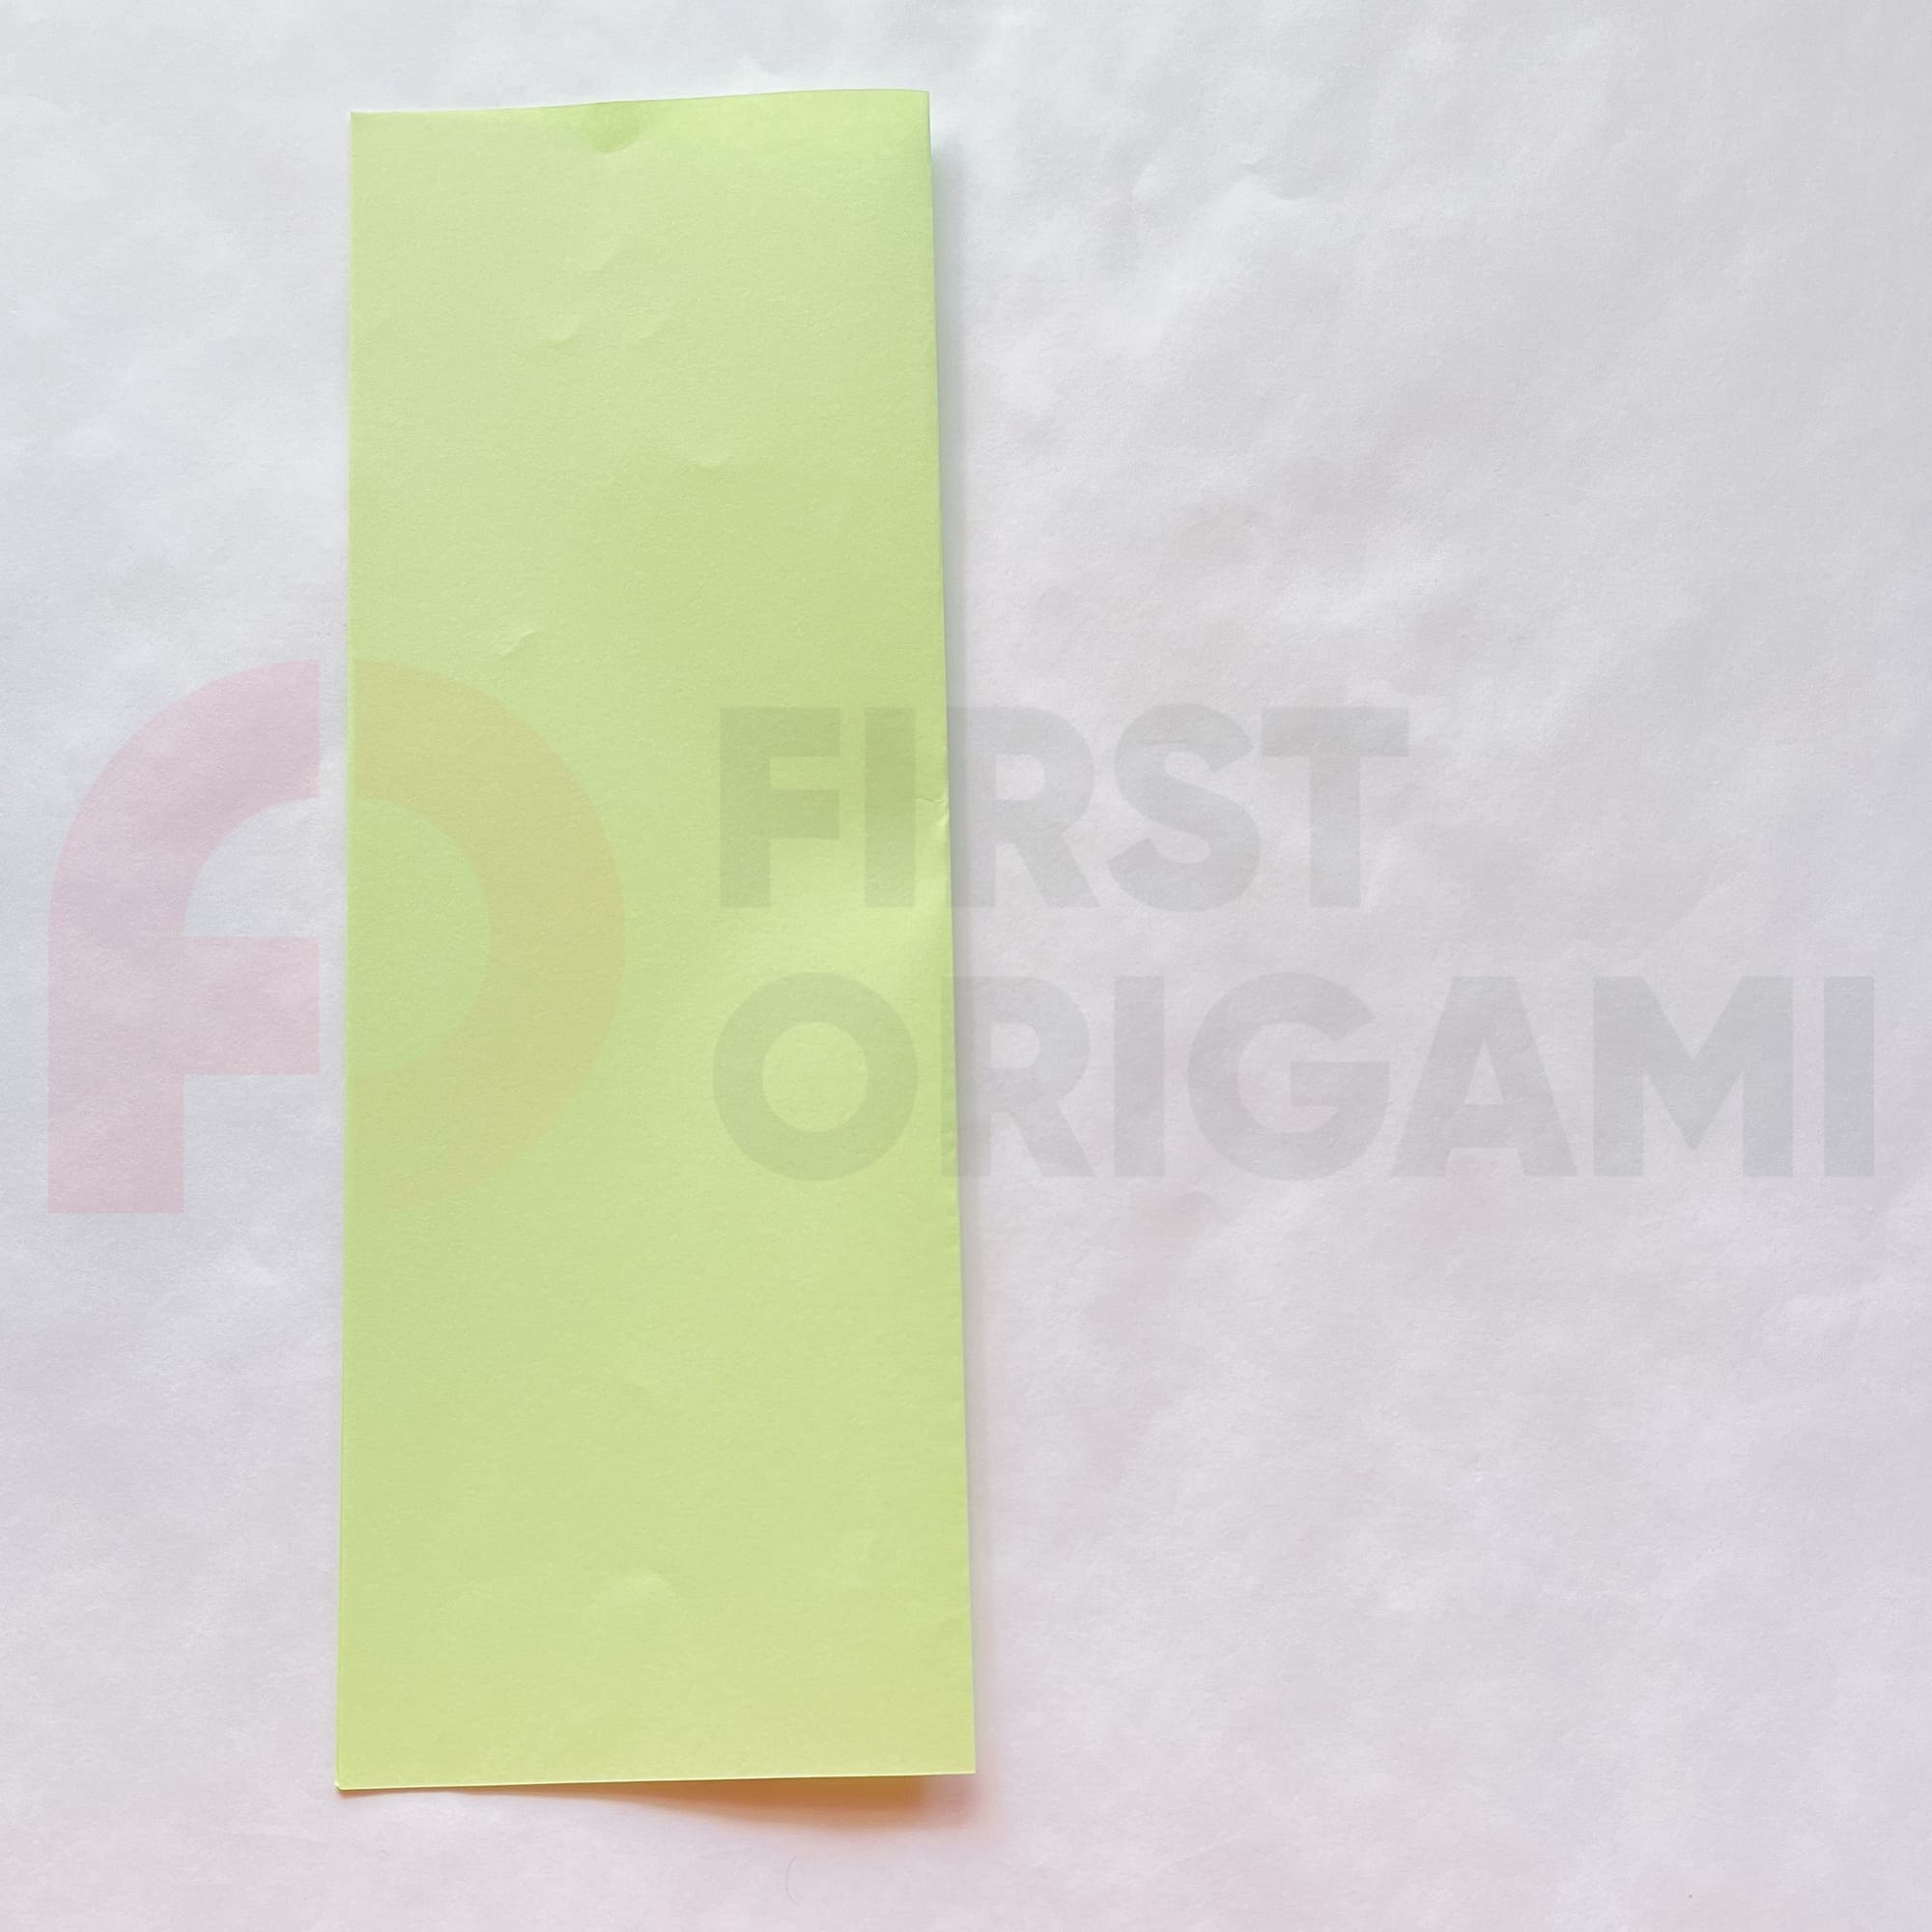
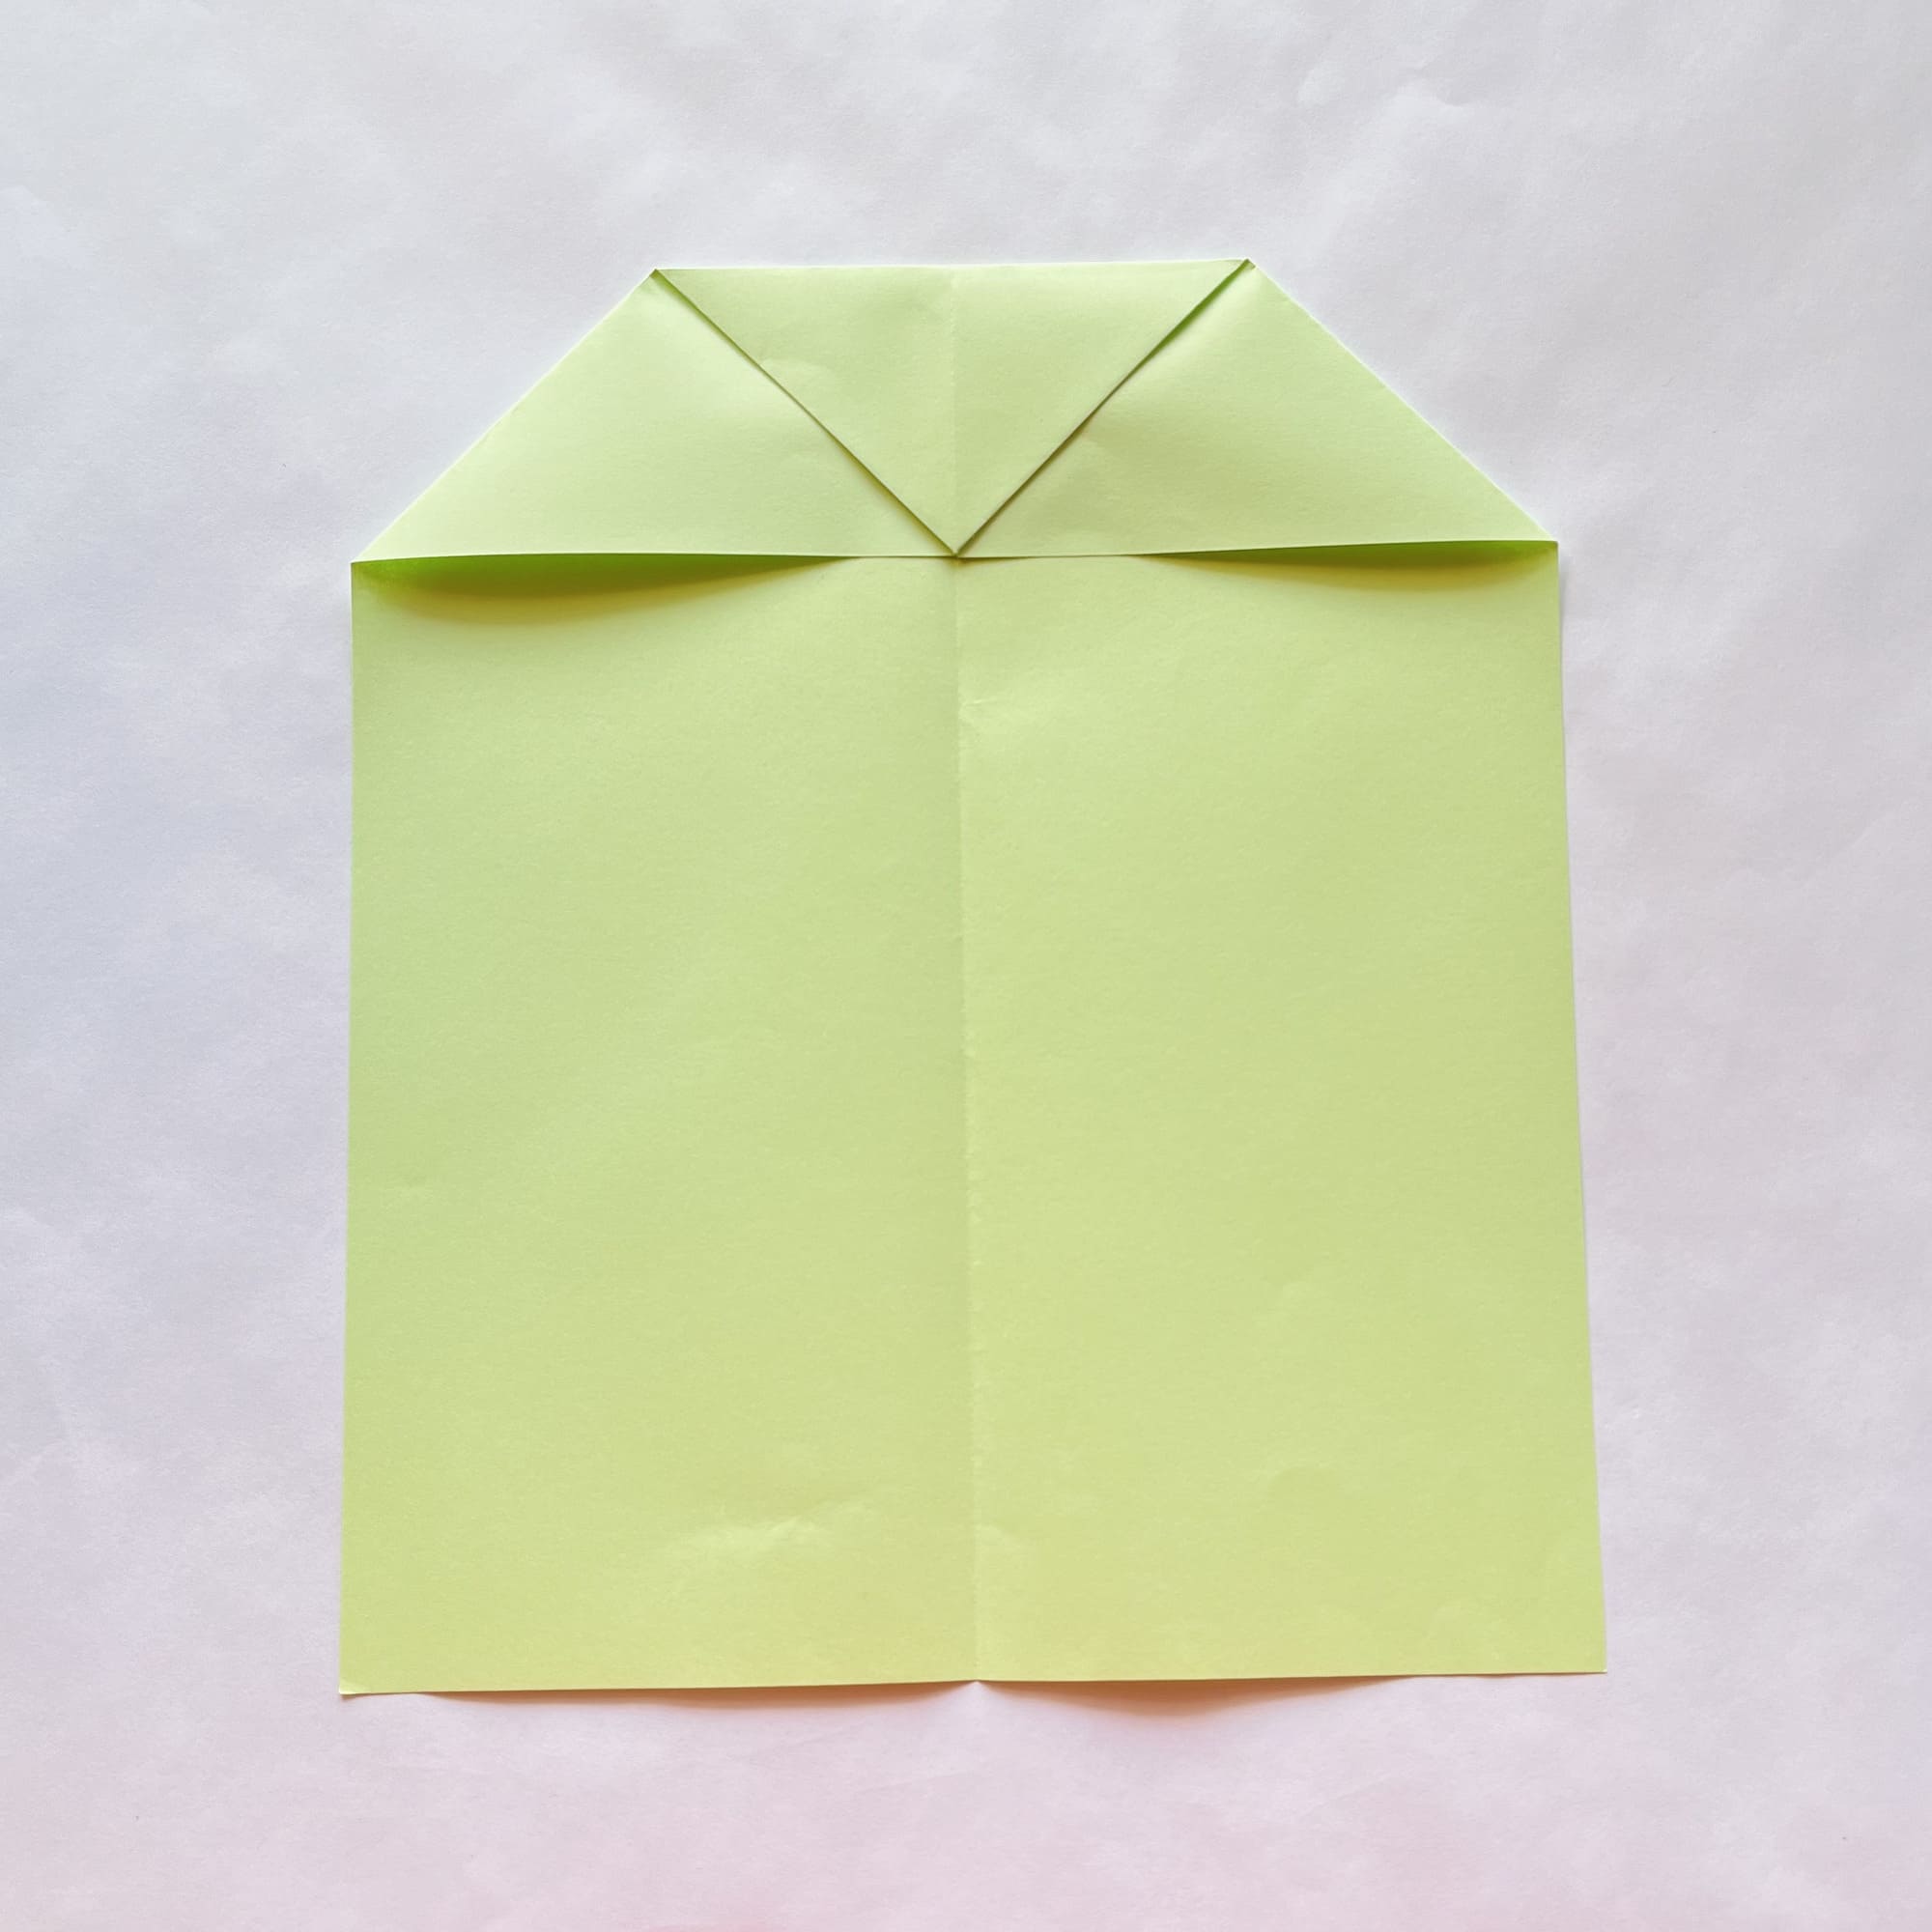
Fold the sheet of paper in half along the vertical axis, crease the fold, and then unfold the paper.

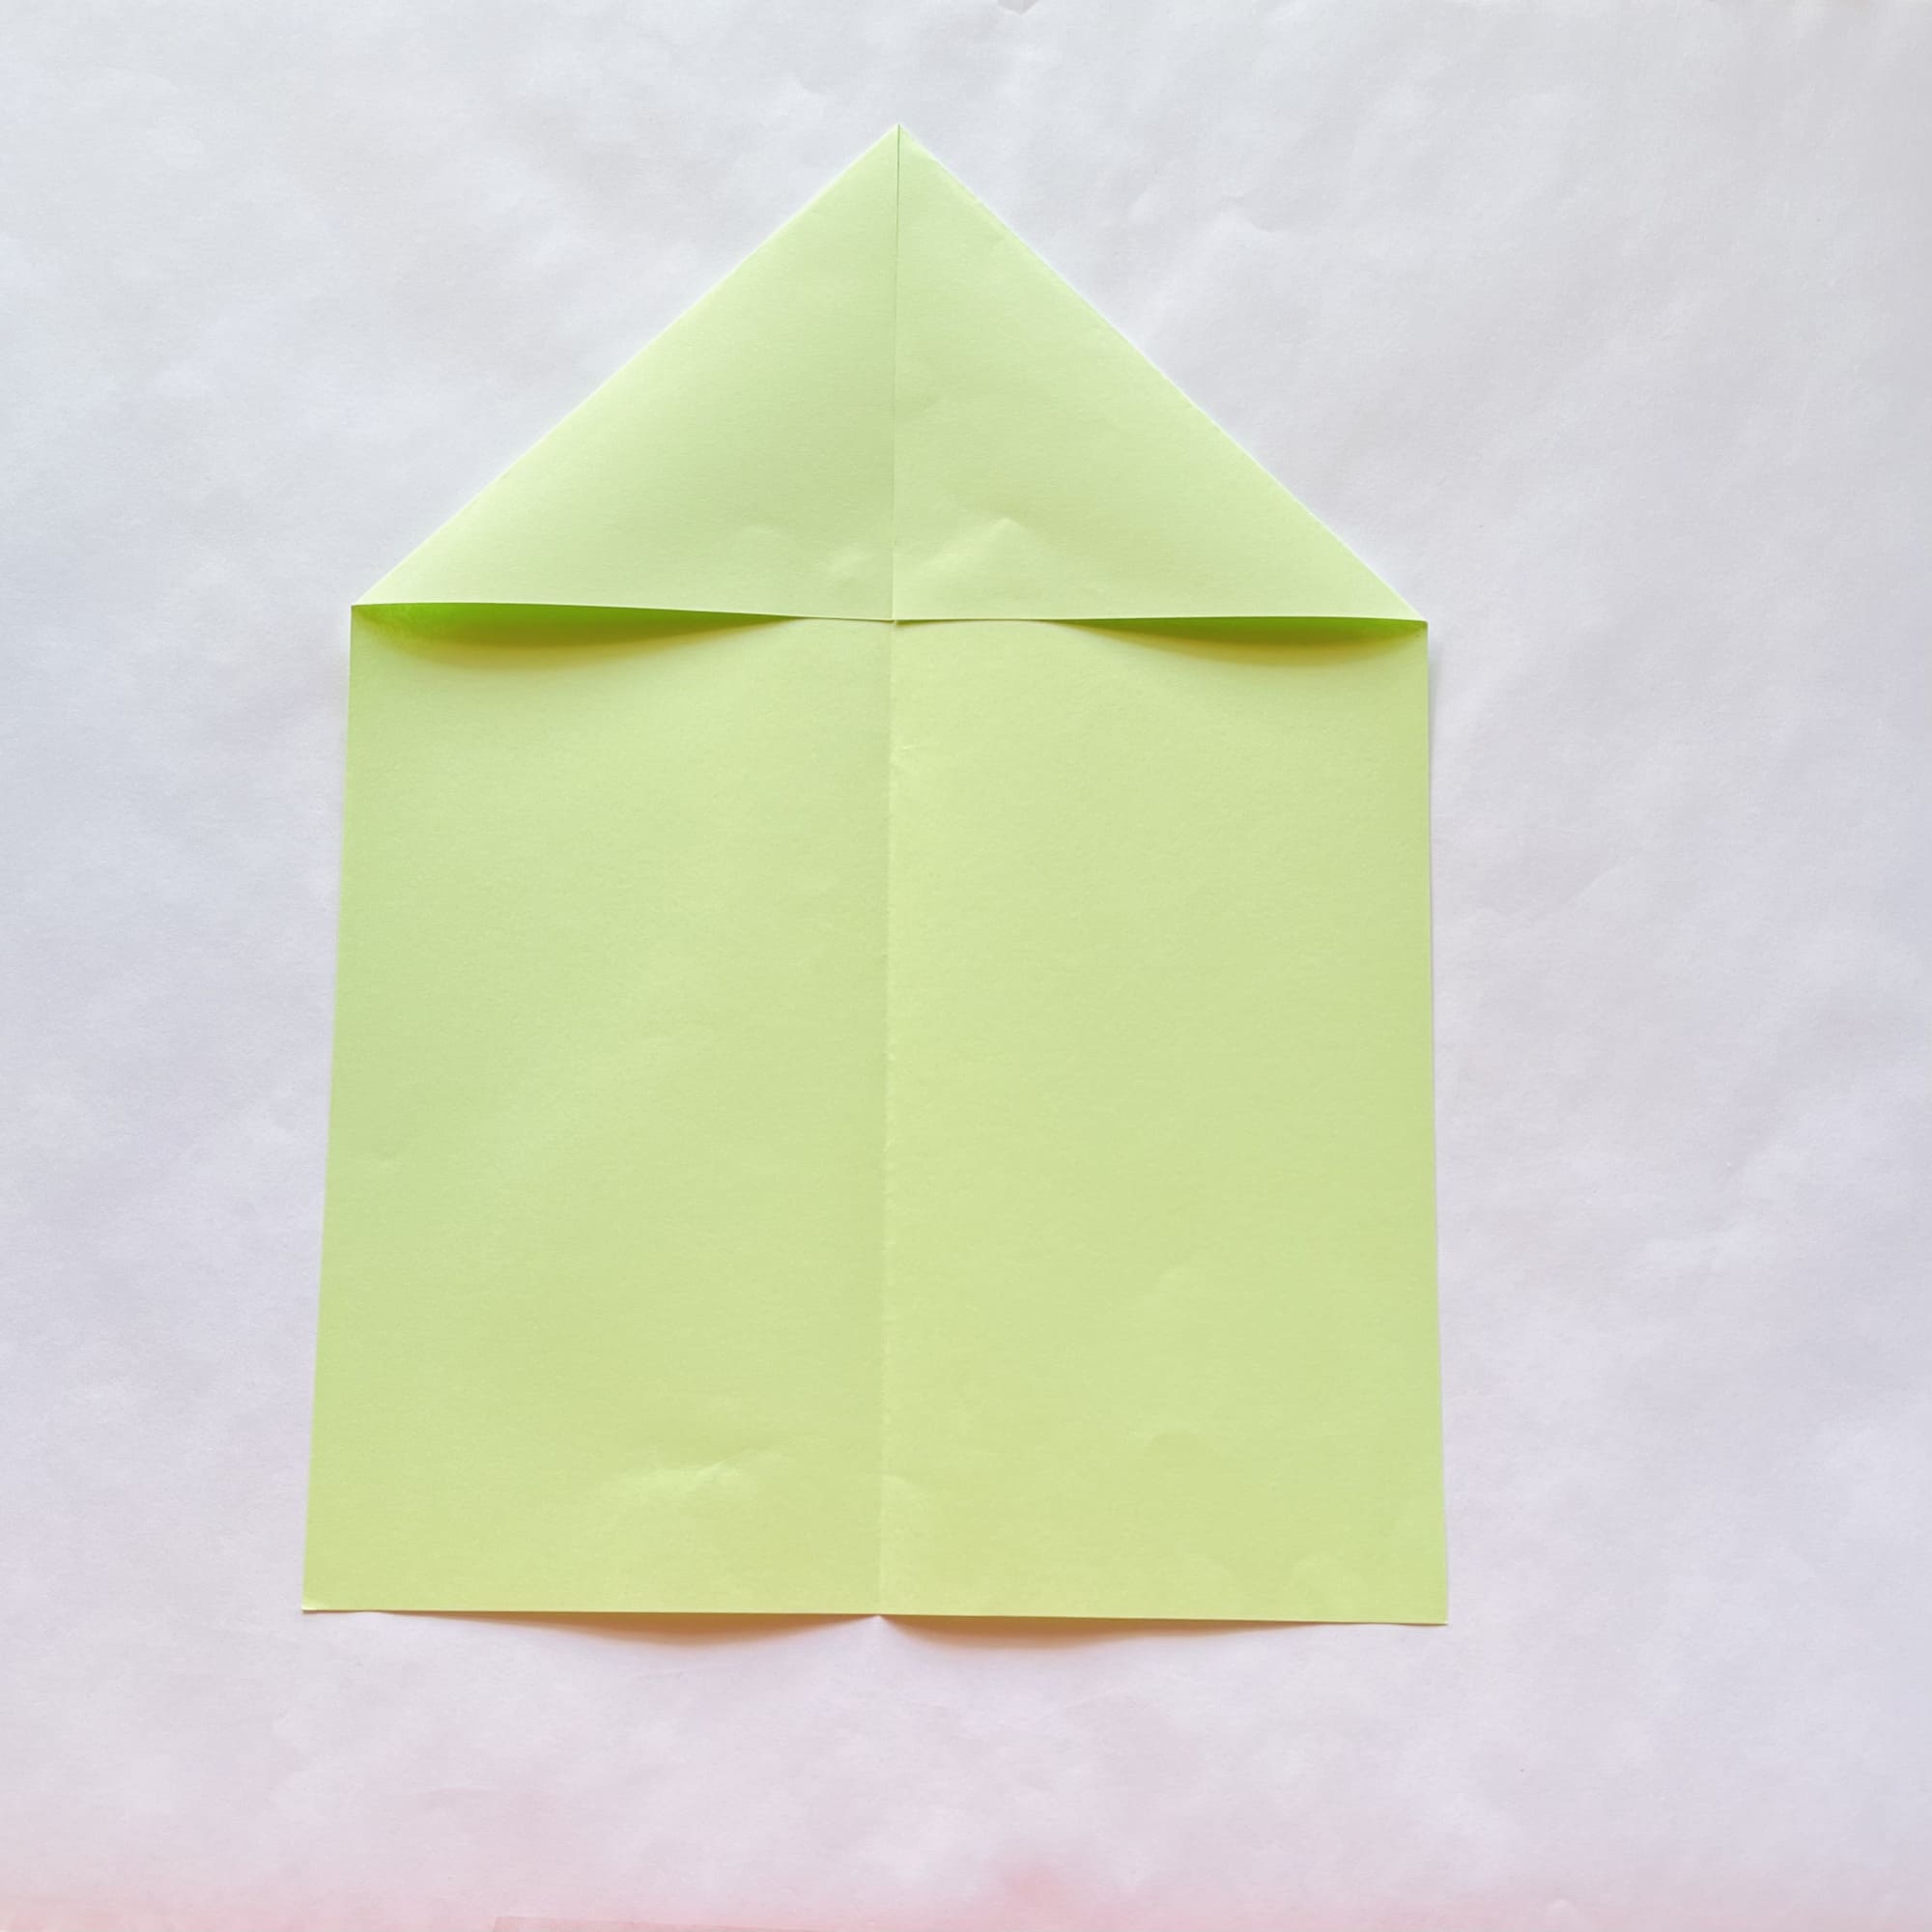
Fold the top right and left corners to the center line so that their edges coincide on it.
Next, fold the top corner inward to the edge of the top layer of paper, as shown in the photo instructions.
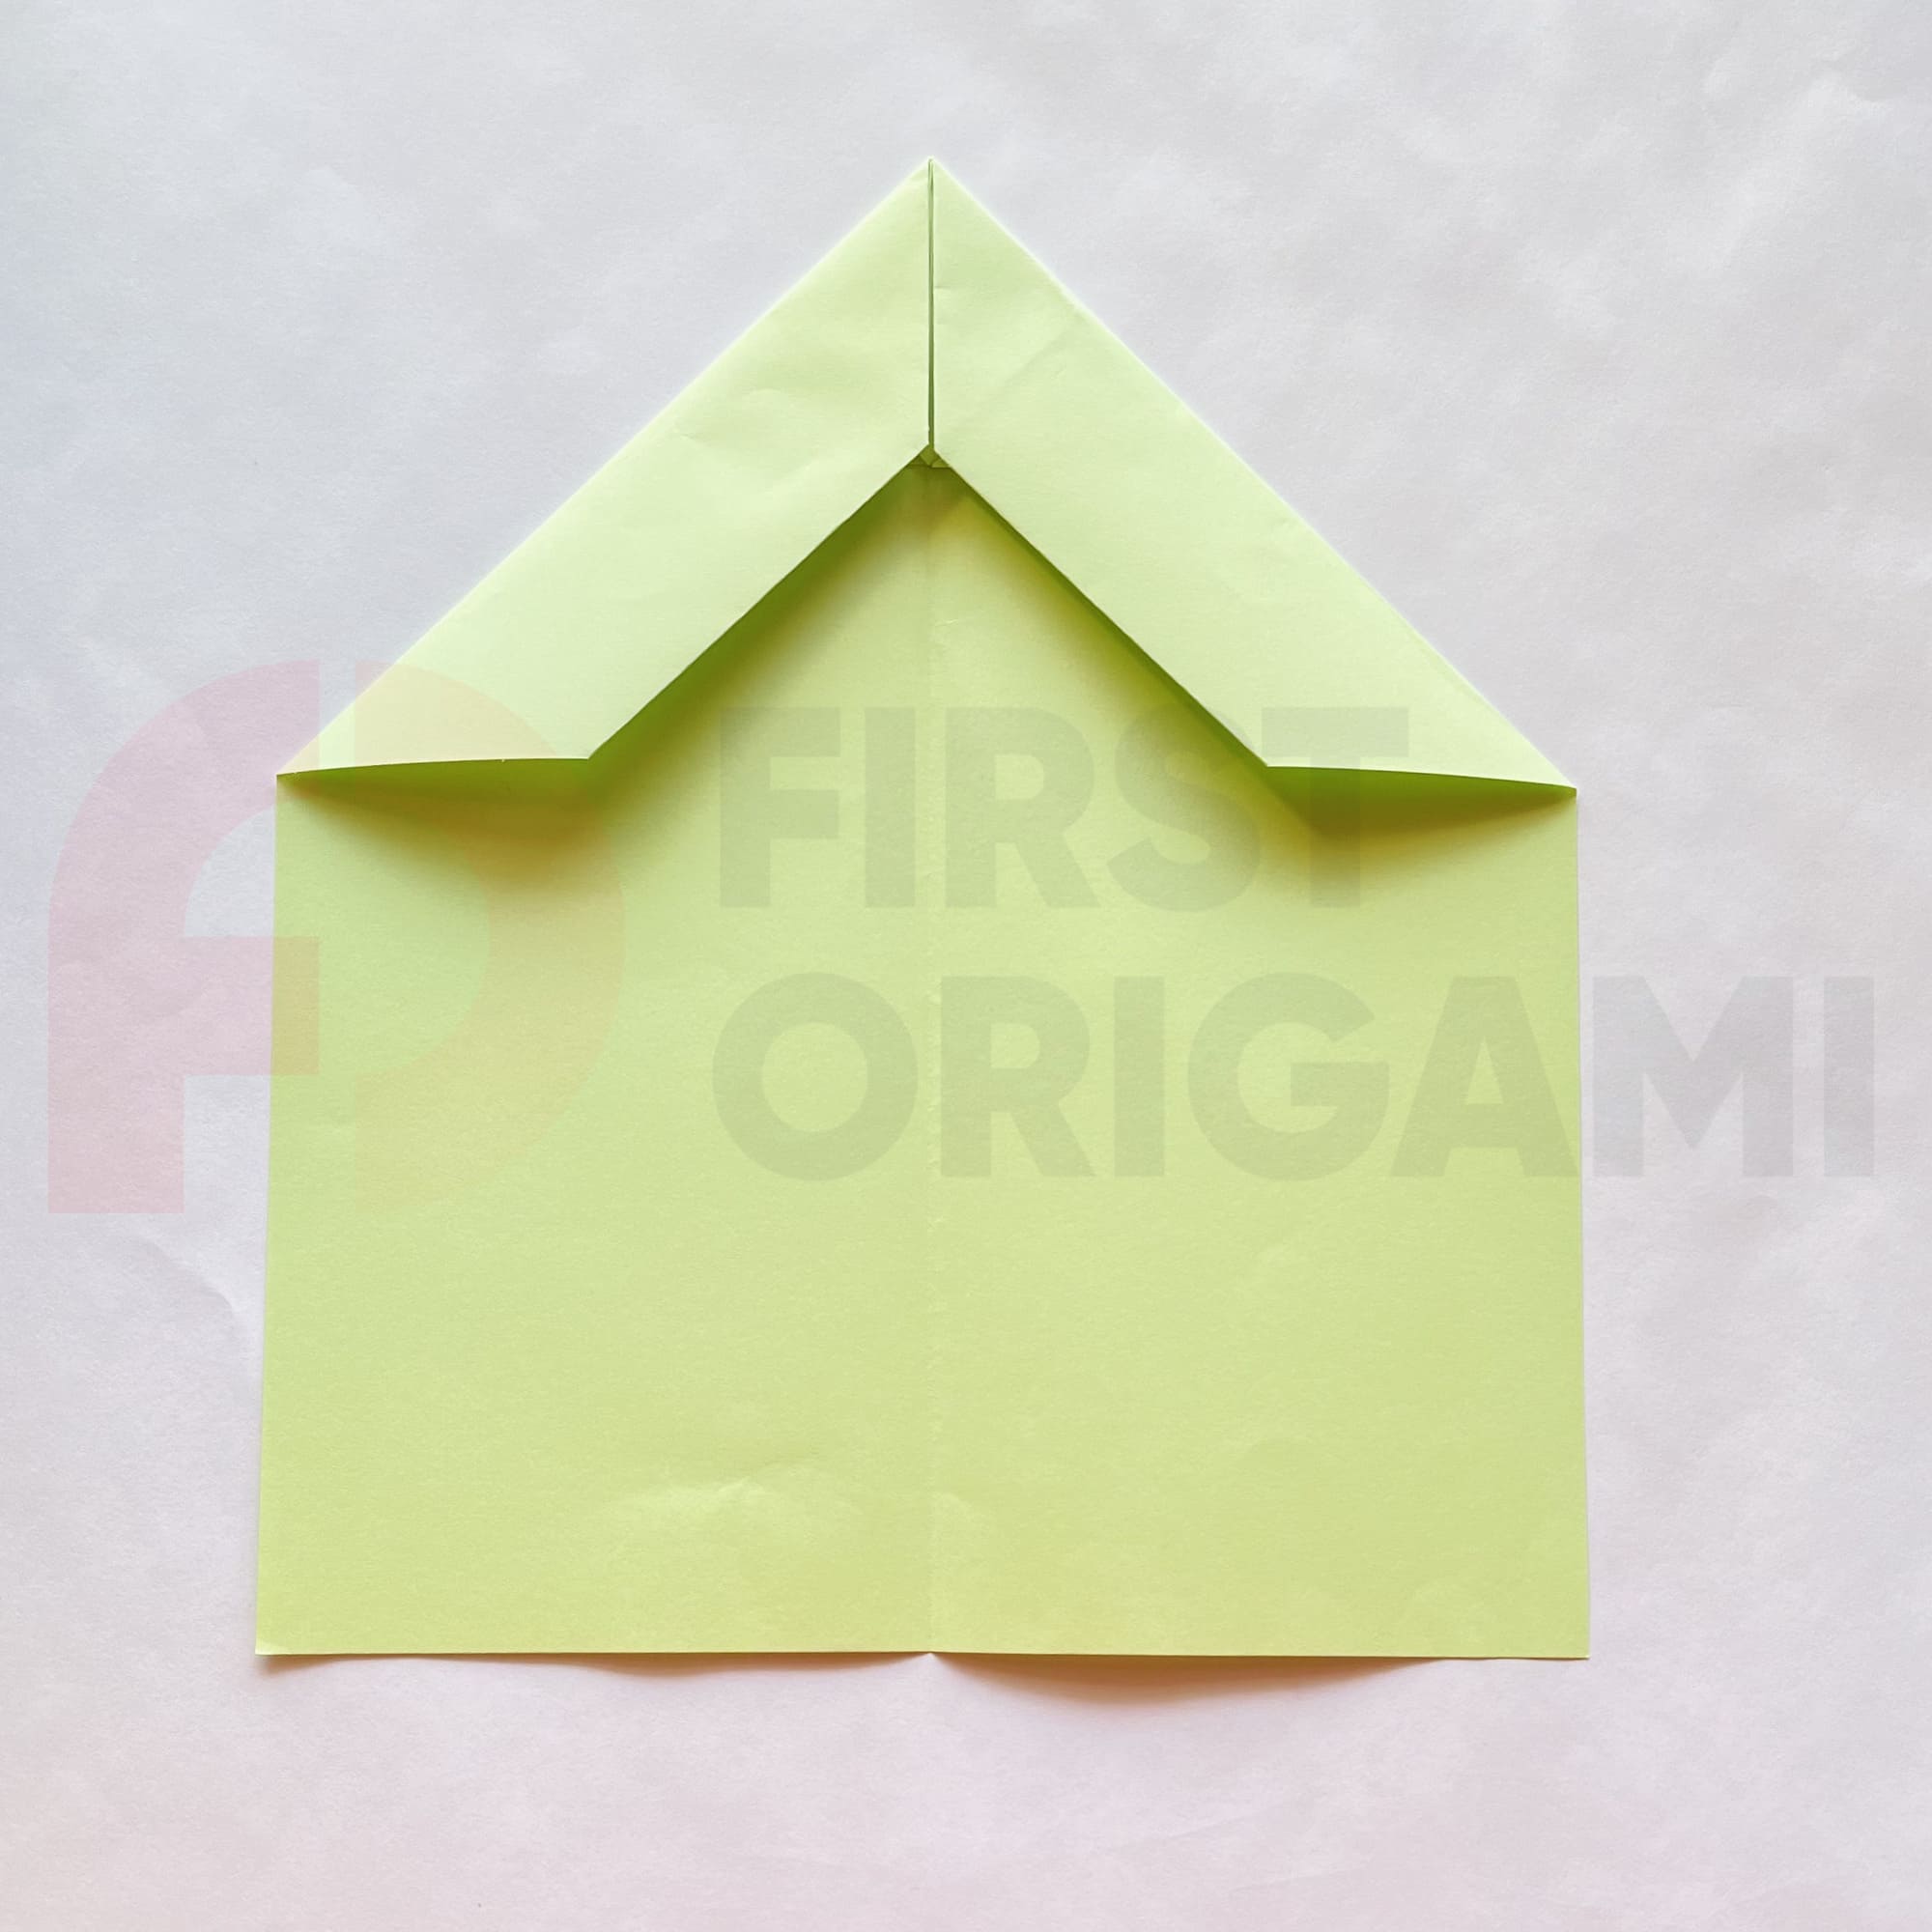
Now, fold the top right and left pieces inward so that their edges meet at the center line.

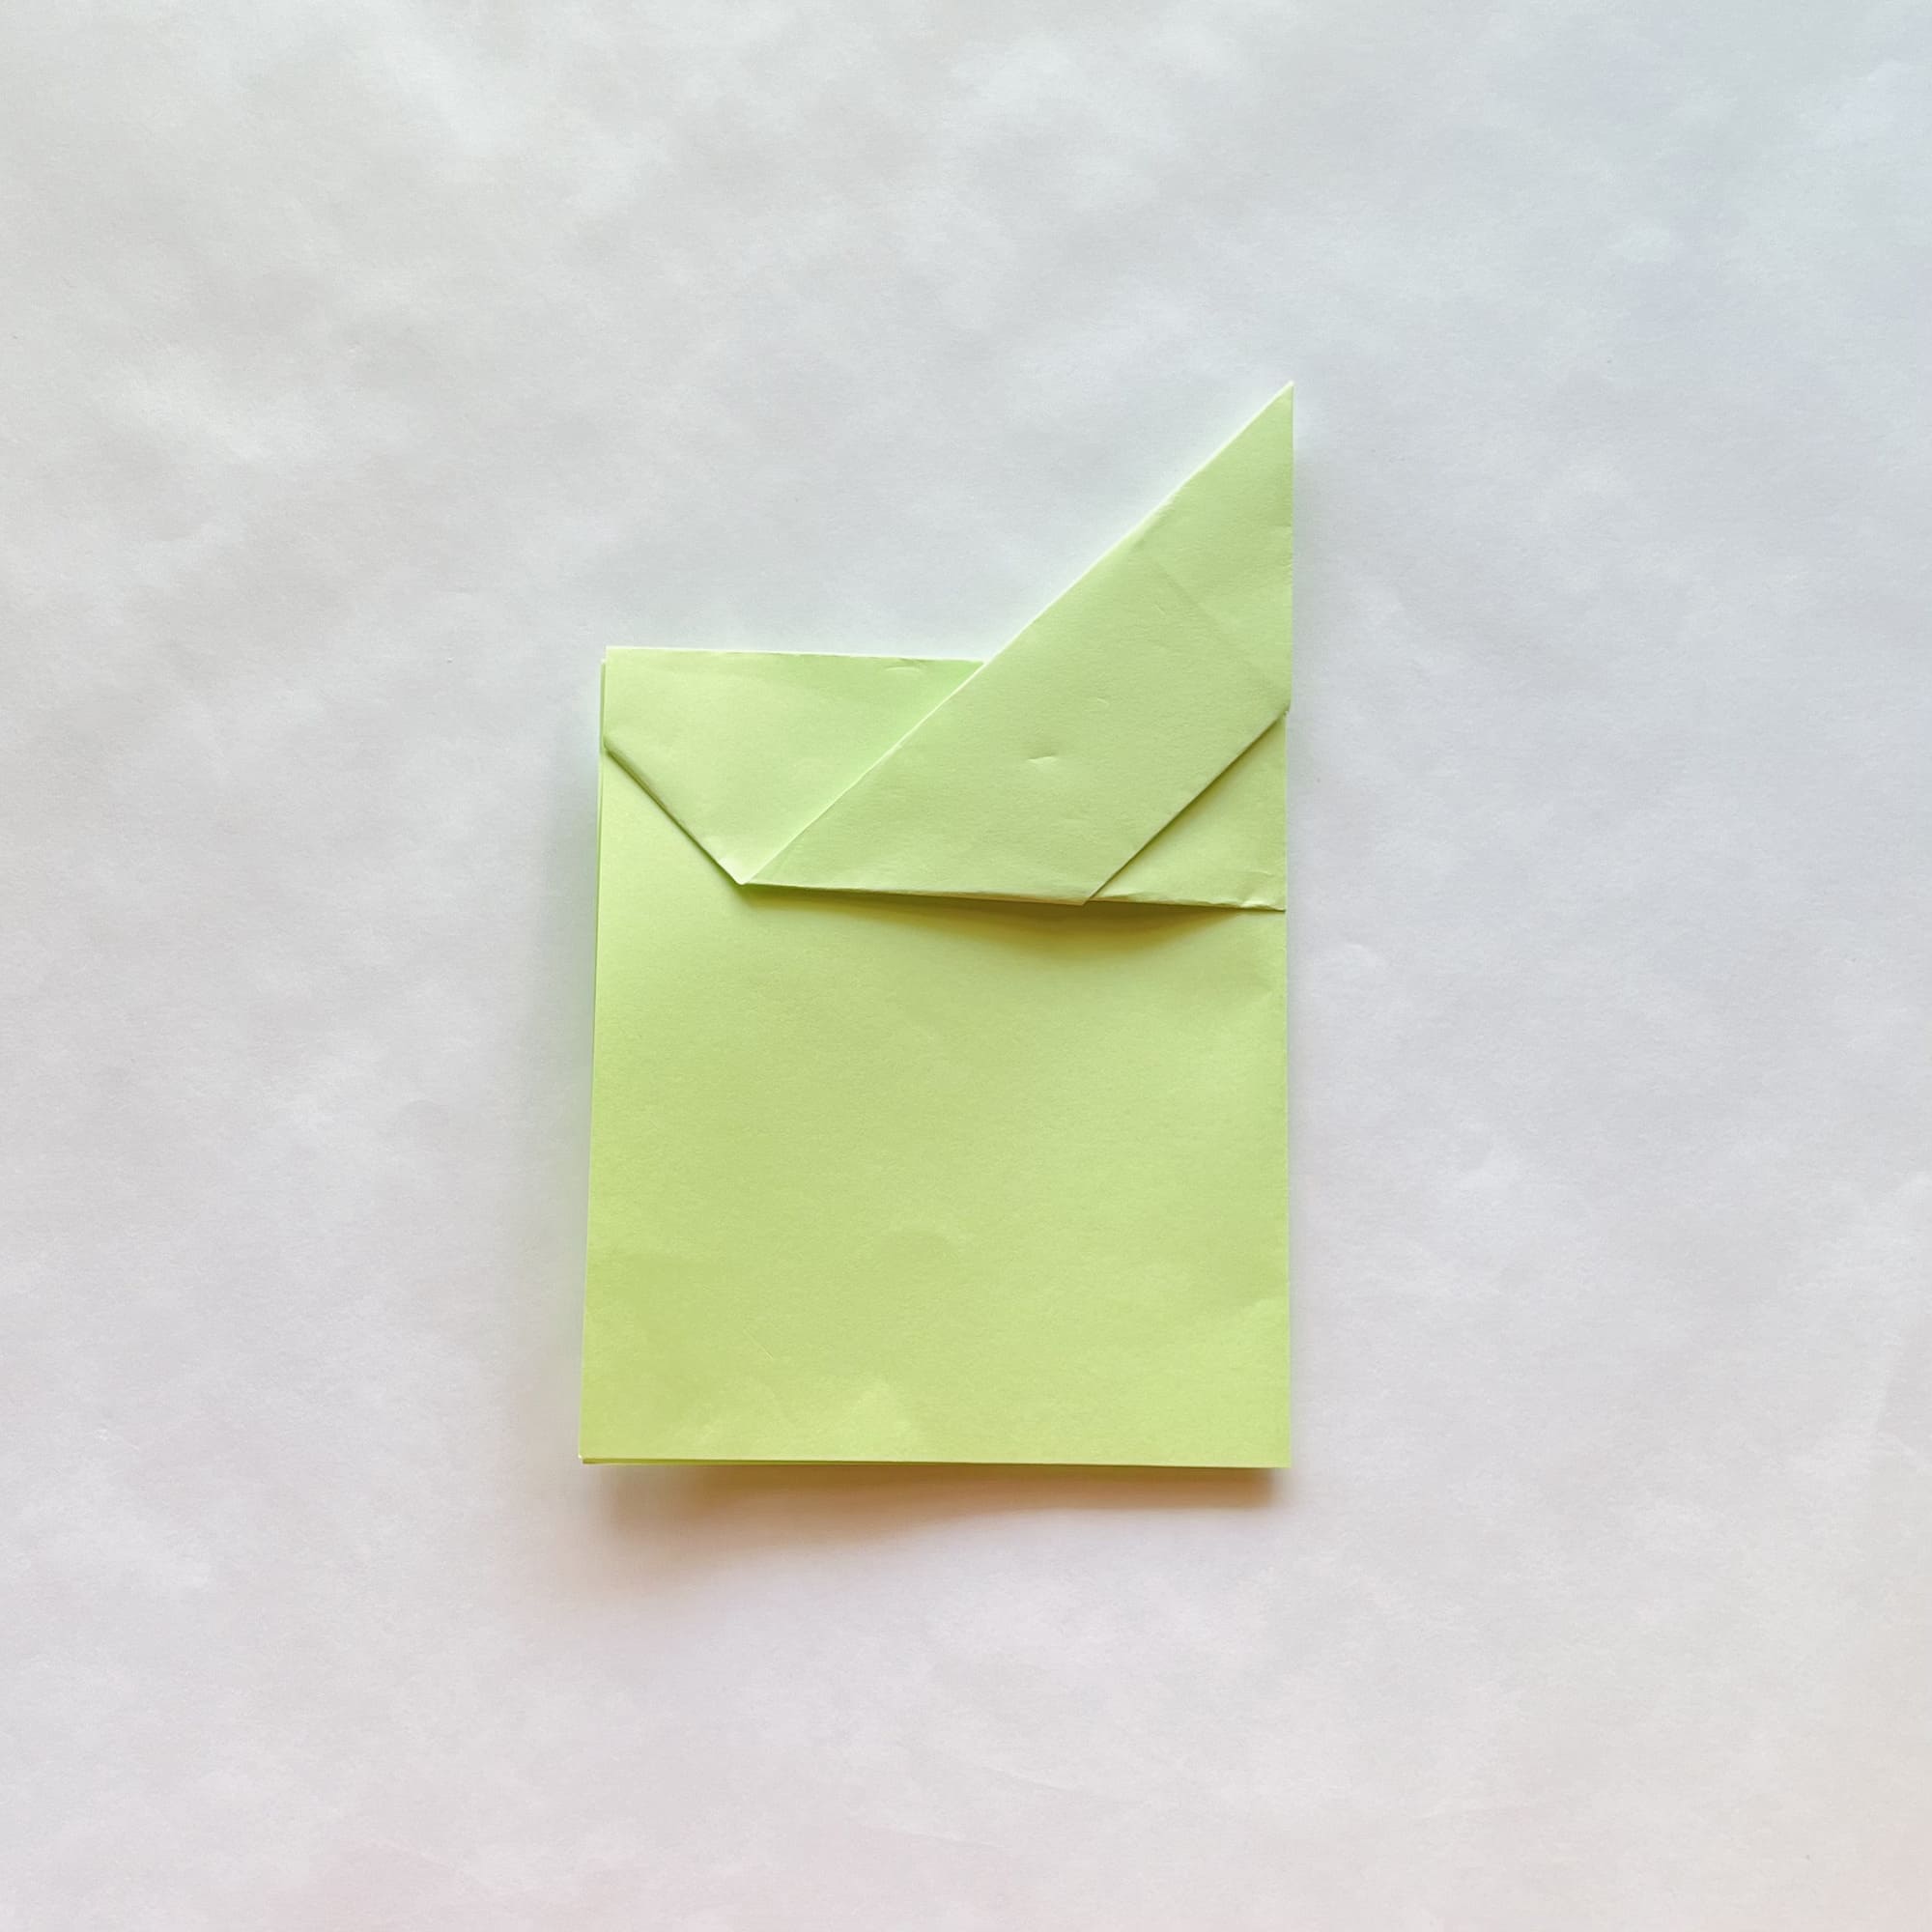
Fold the shape so that the tip of the top corner is centered on the bottom edge of the paper.

Next, fold this corner up so that it extends over the edge by about 3 cm.
Fold the shape in half so that the surface with the folds is on the outside.
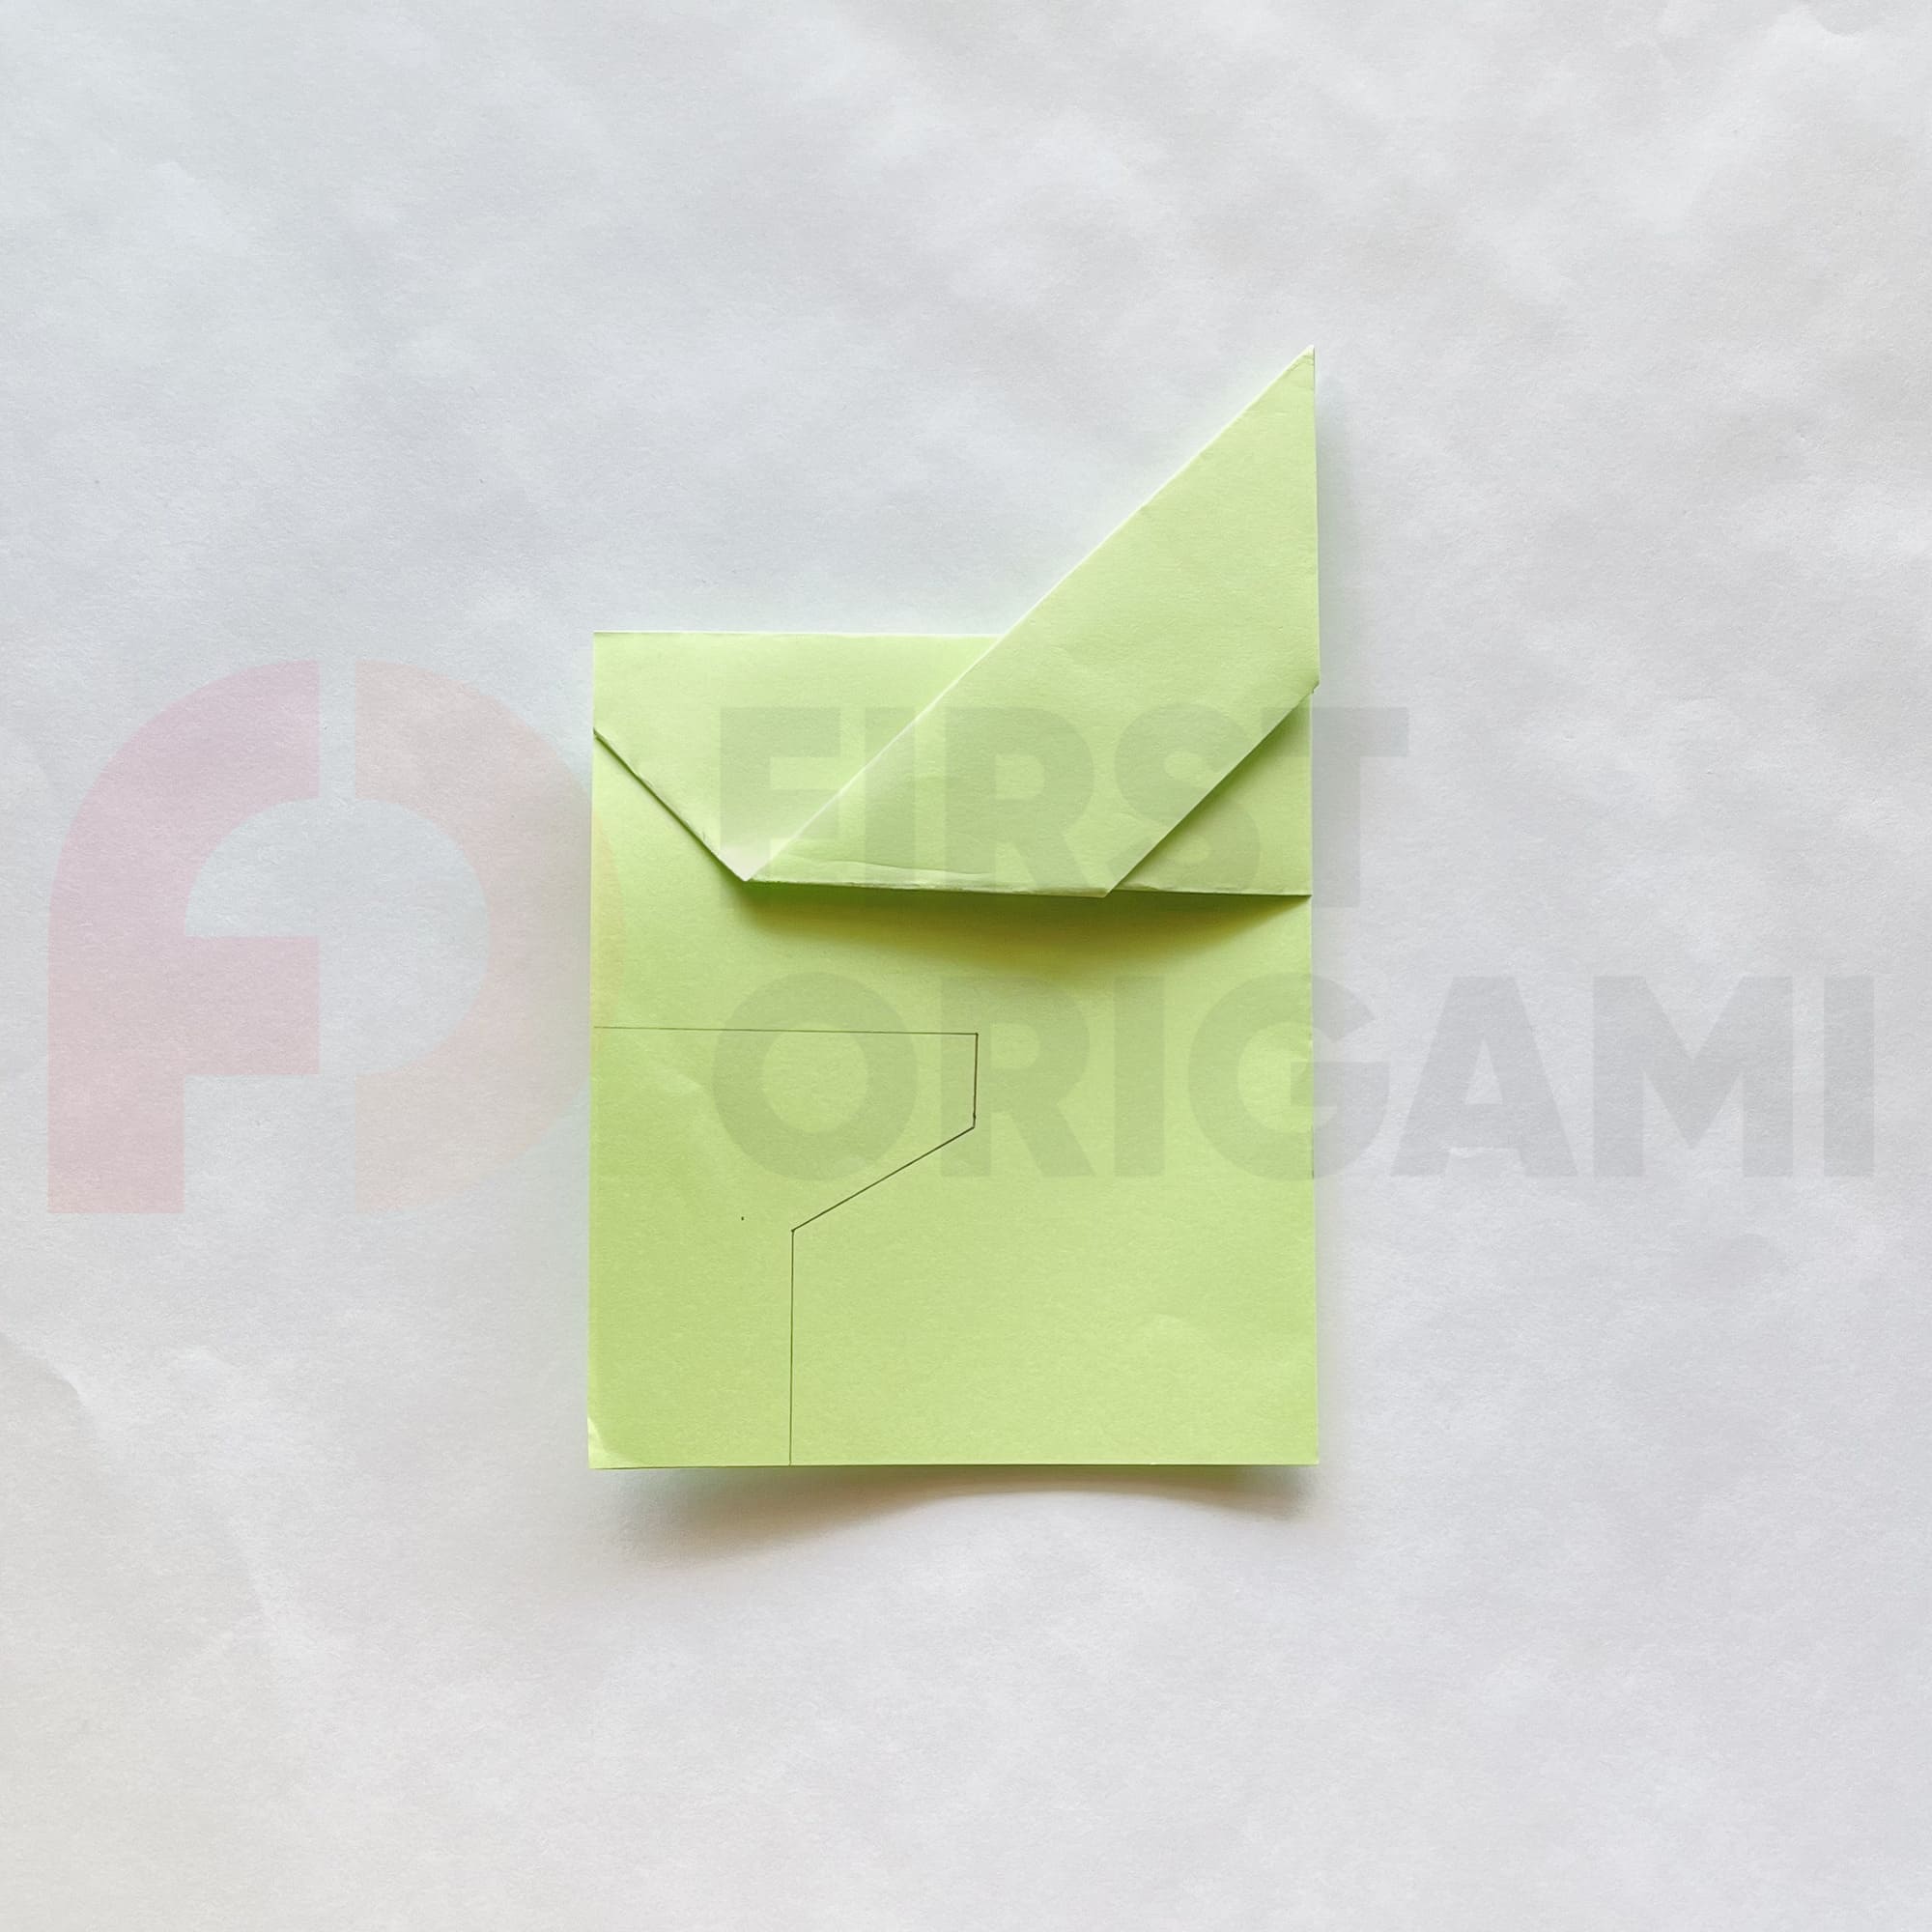
Draw lines with a pencil as shown in the photo.
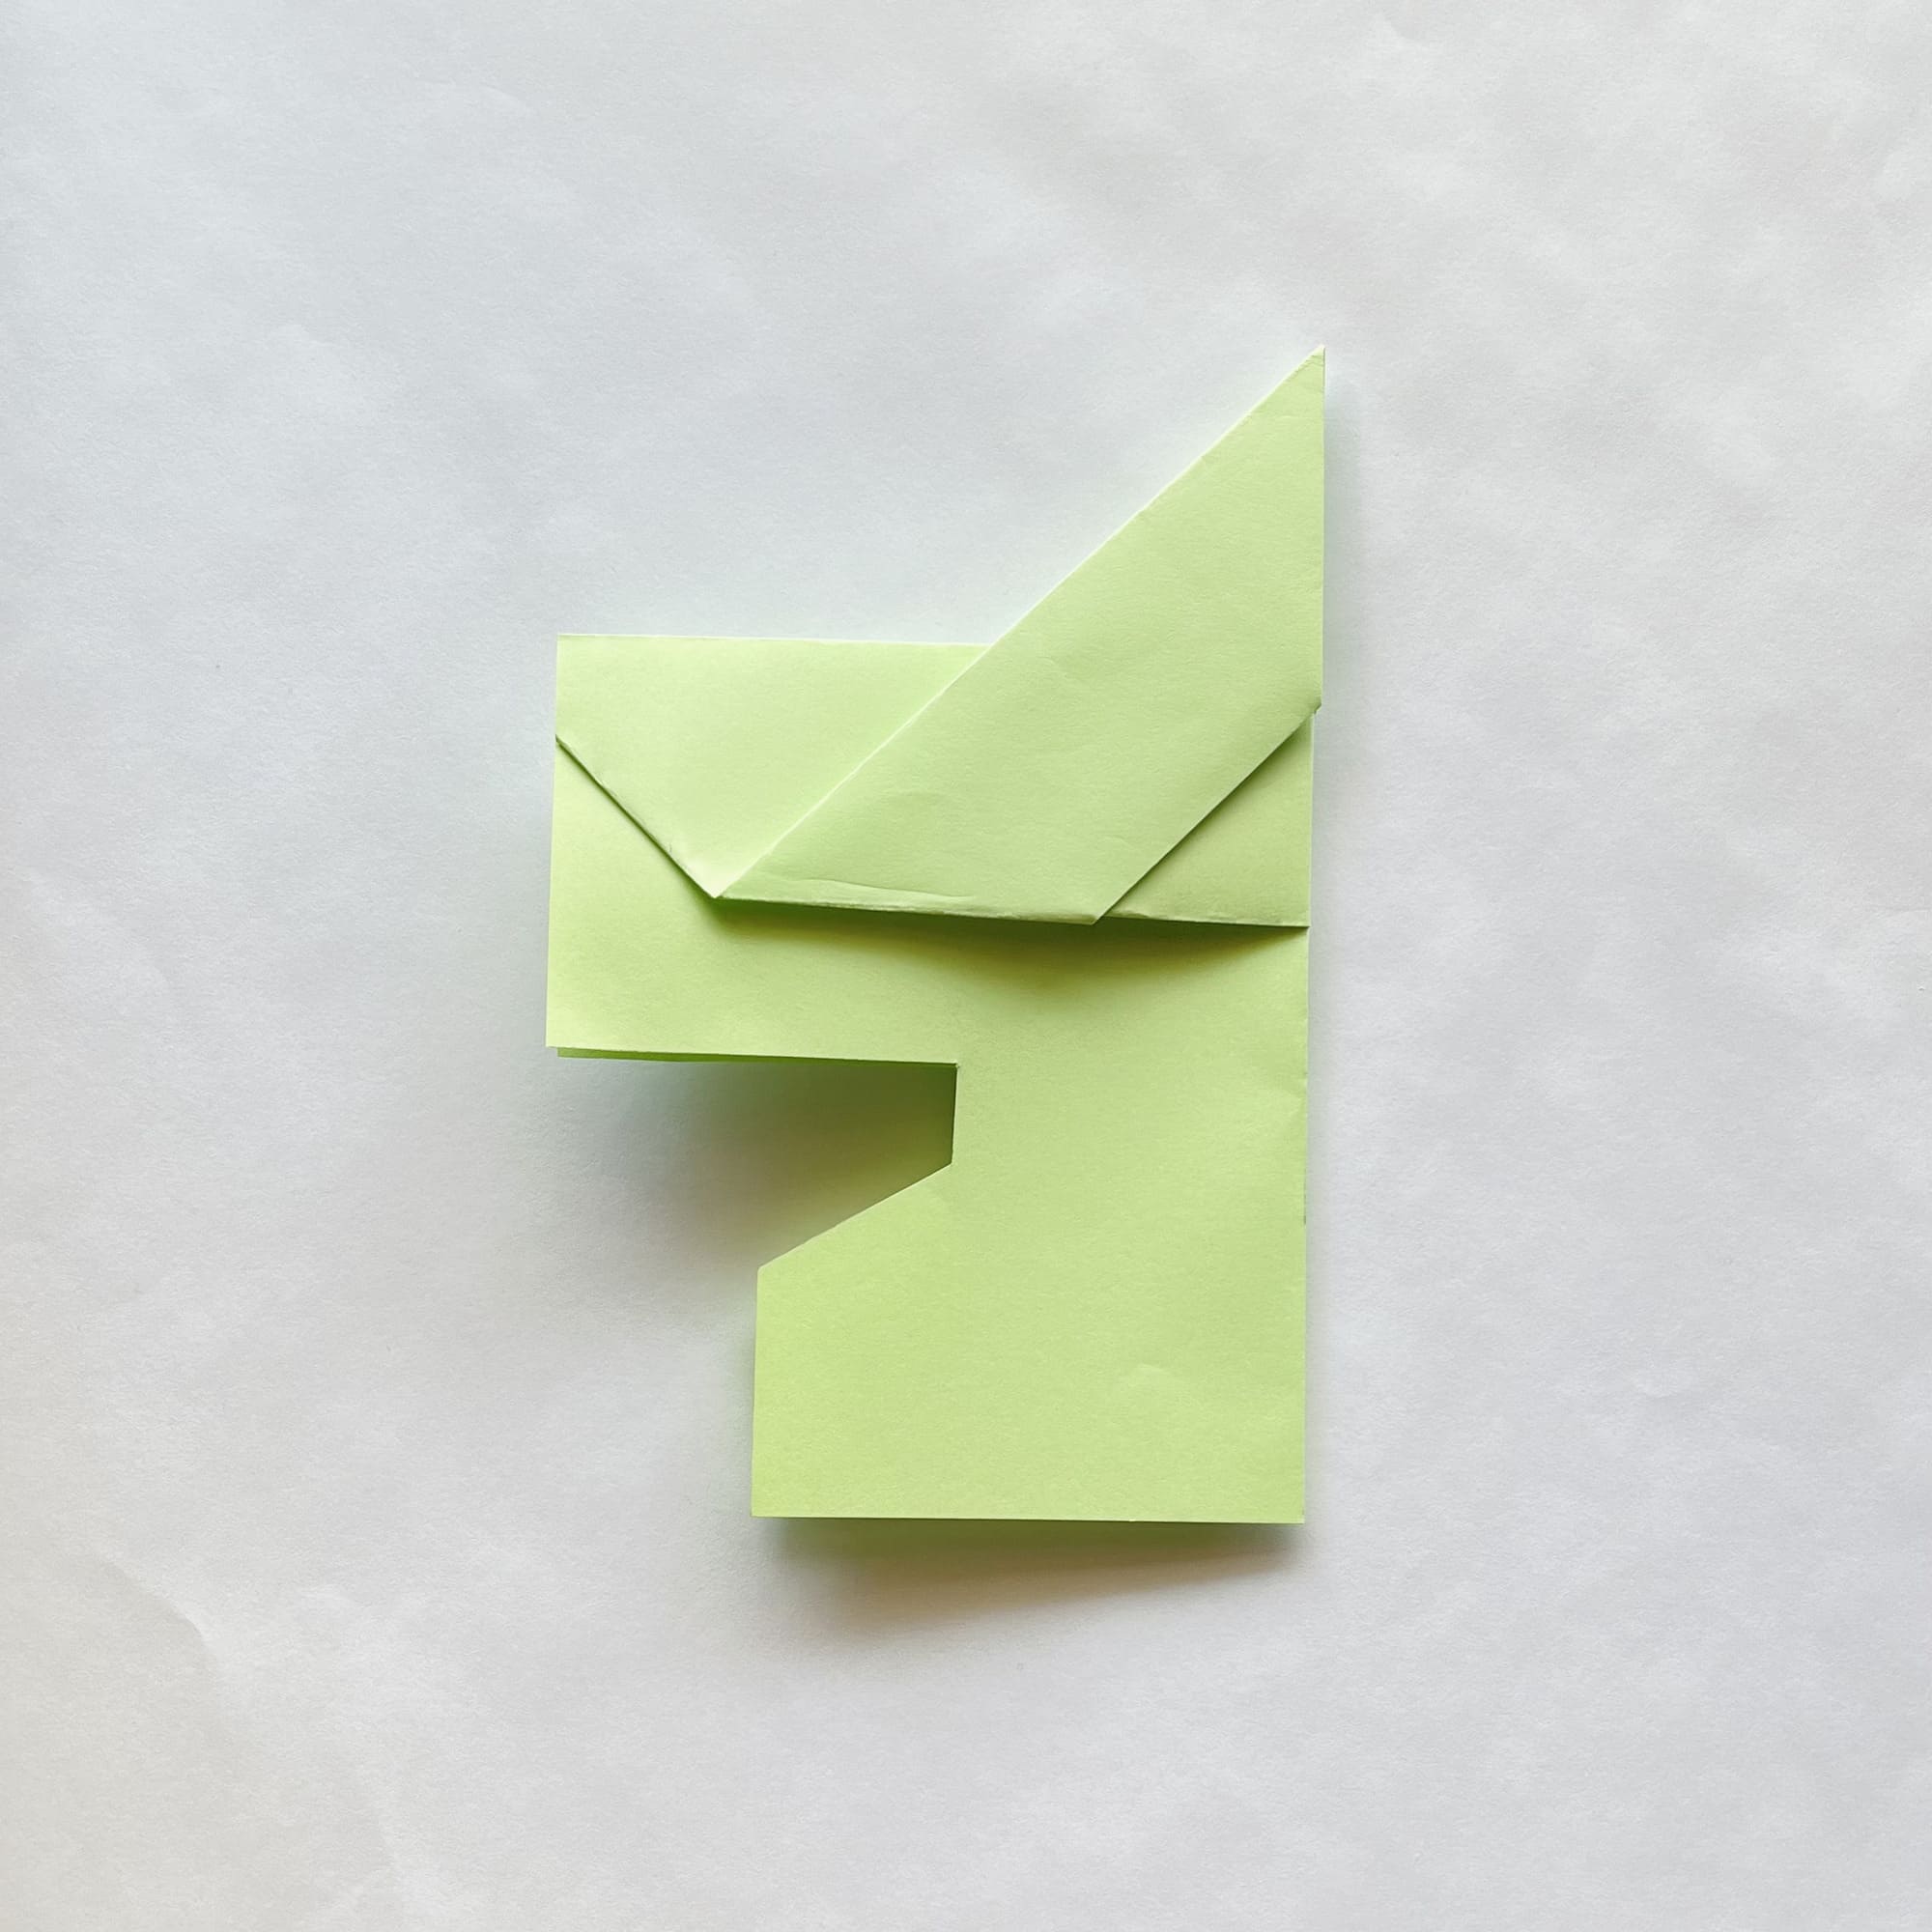
Now, take scissors and make cuts along the lines, cutting off the unnecessary part of the paper.
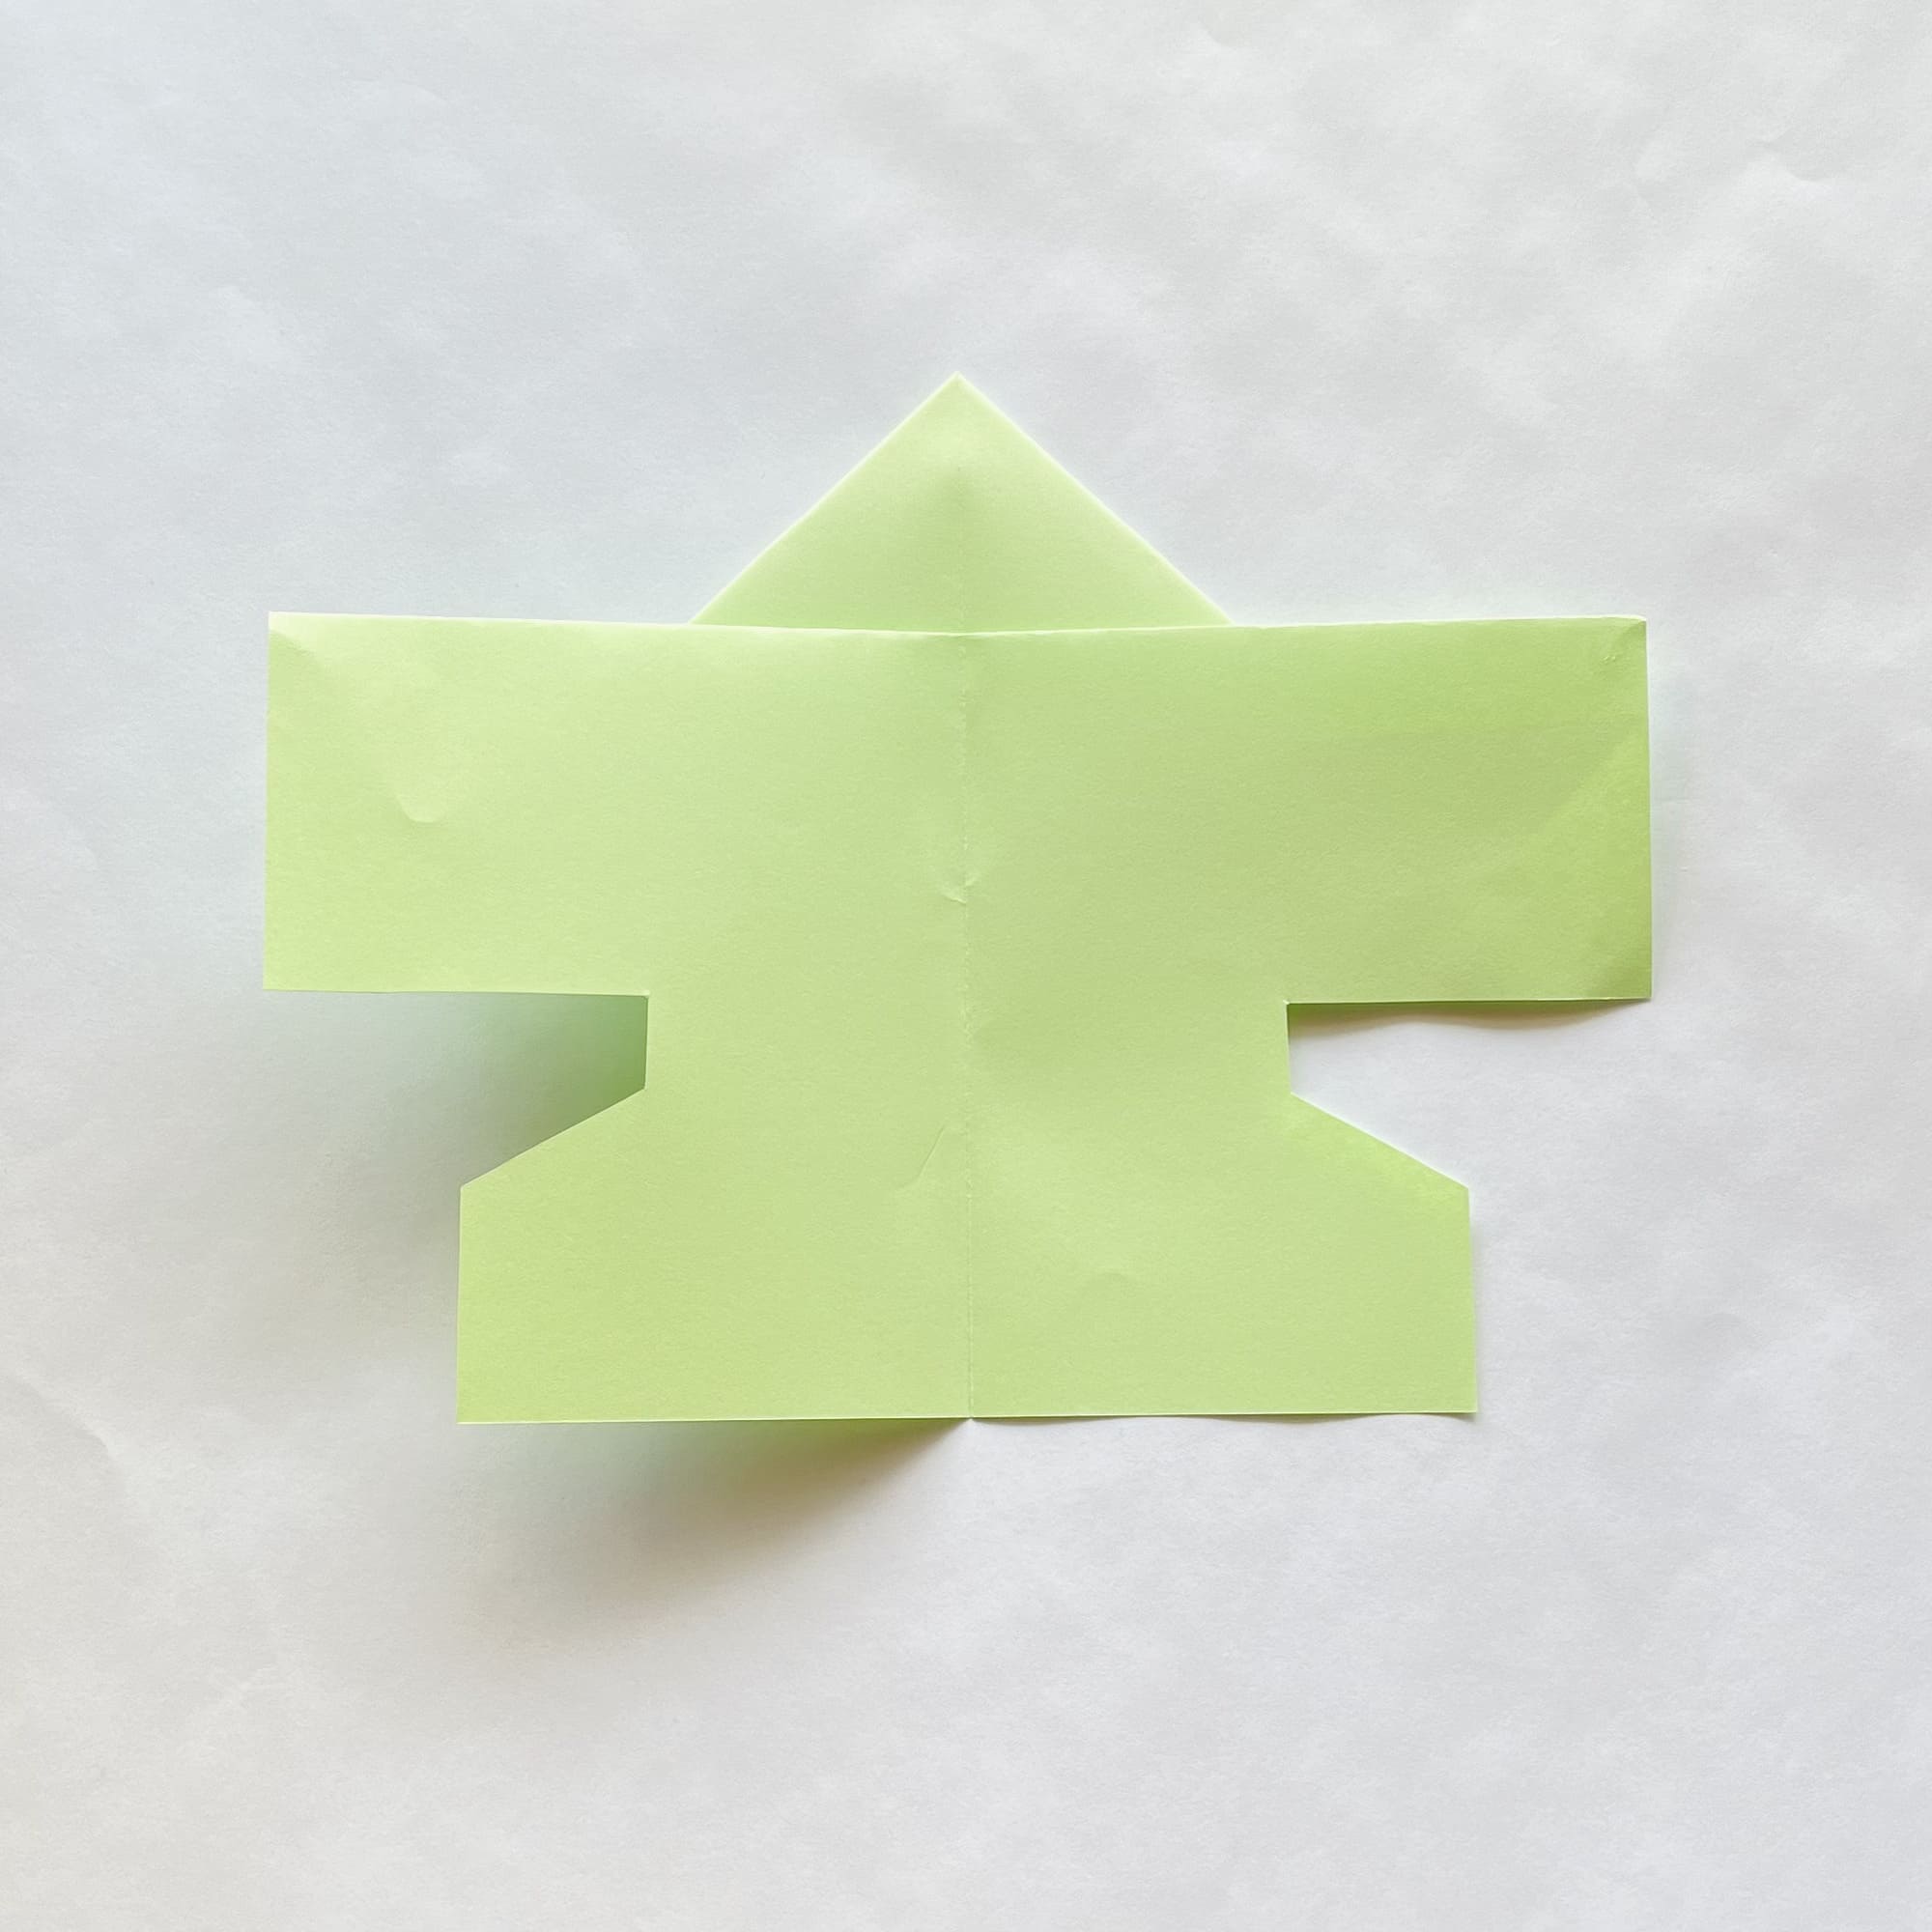
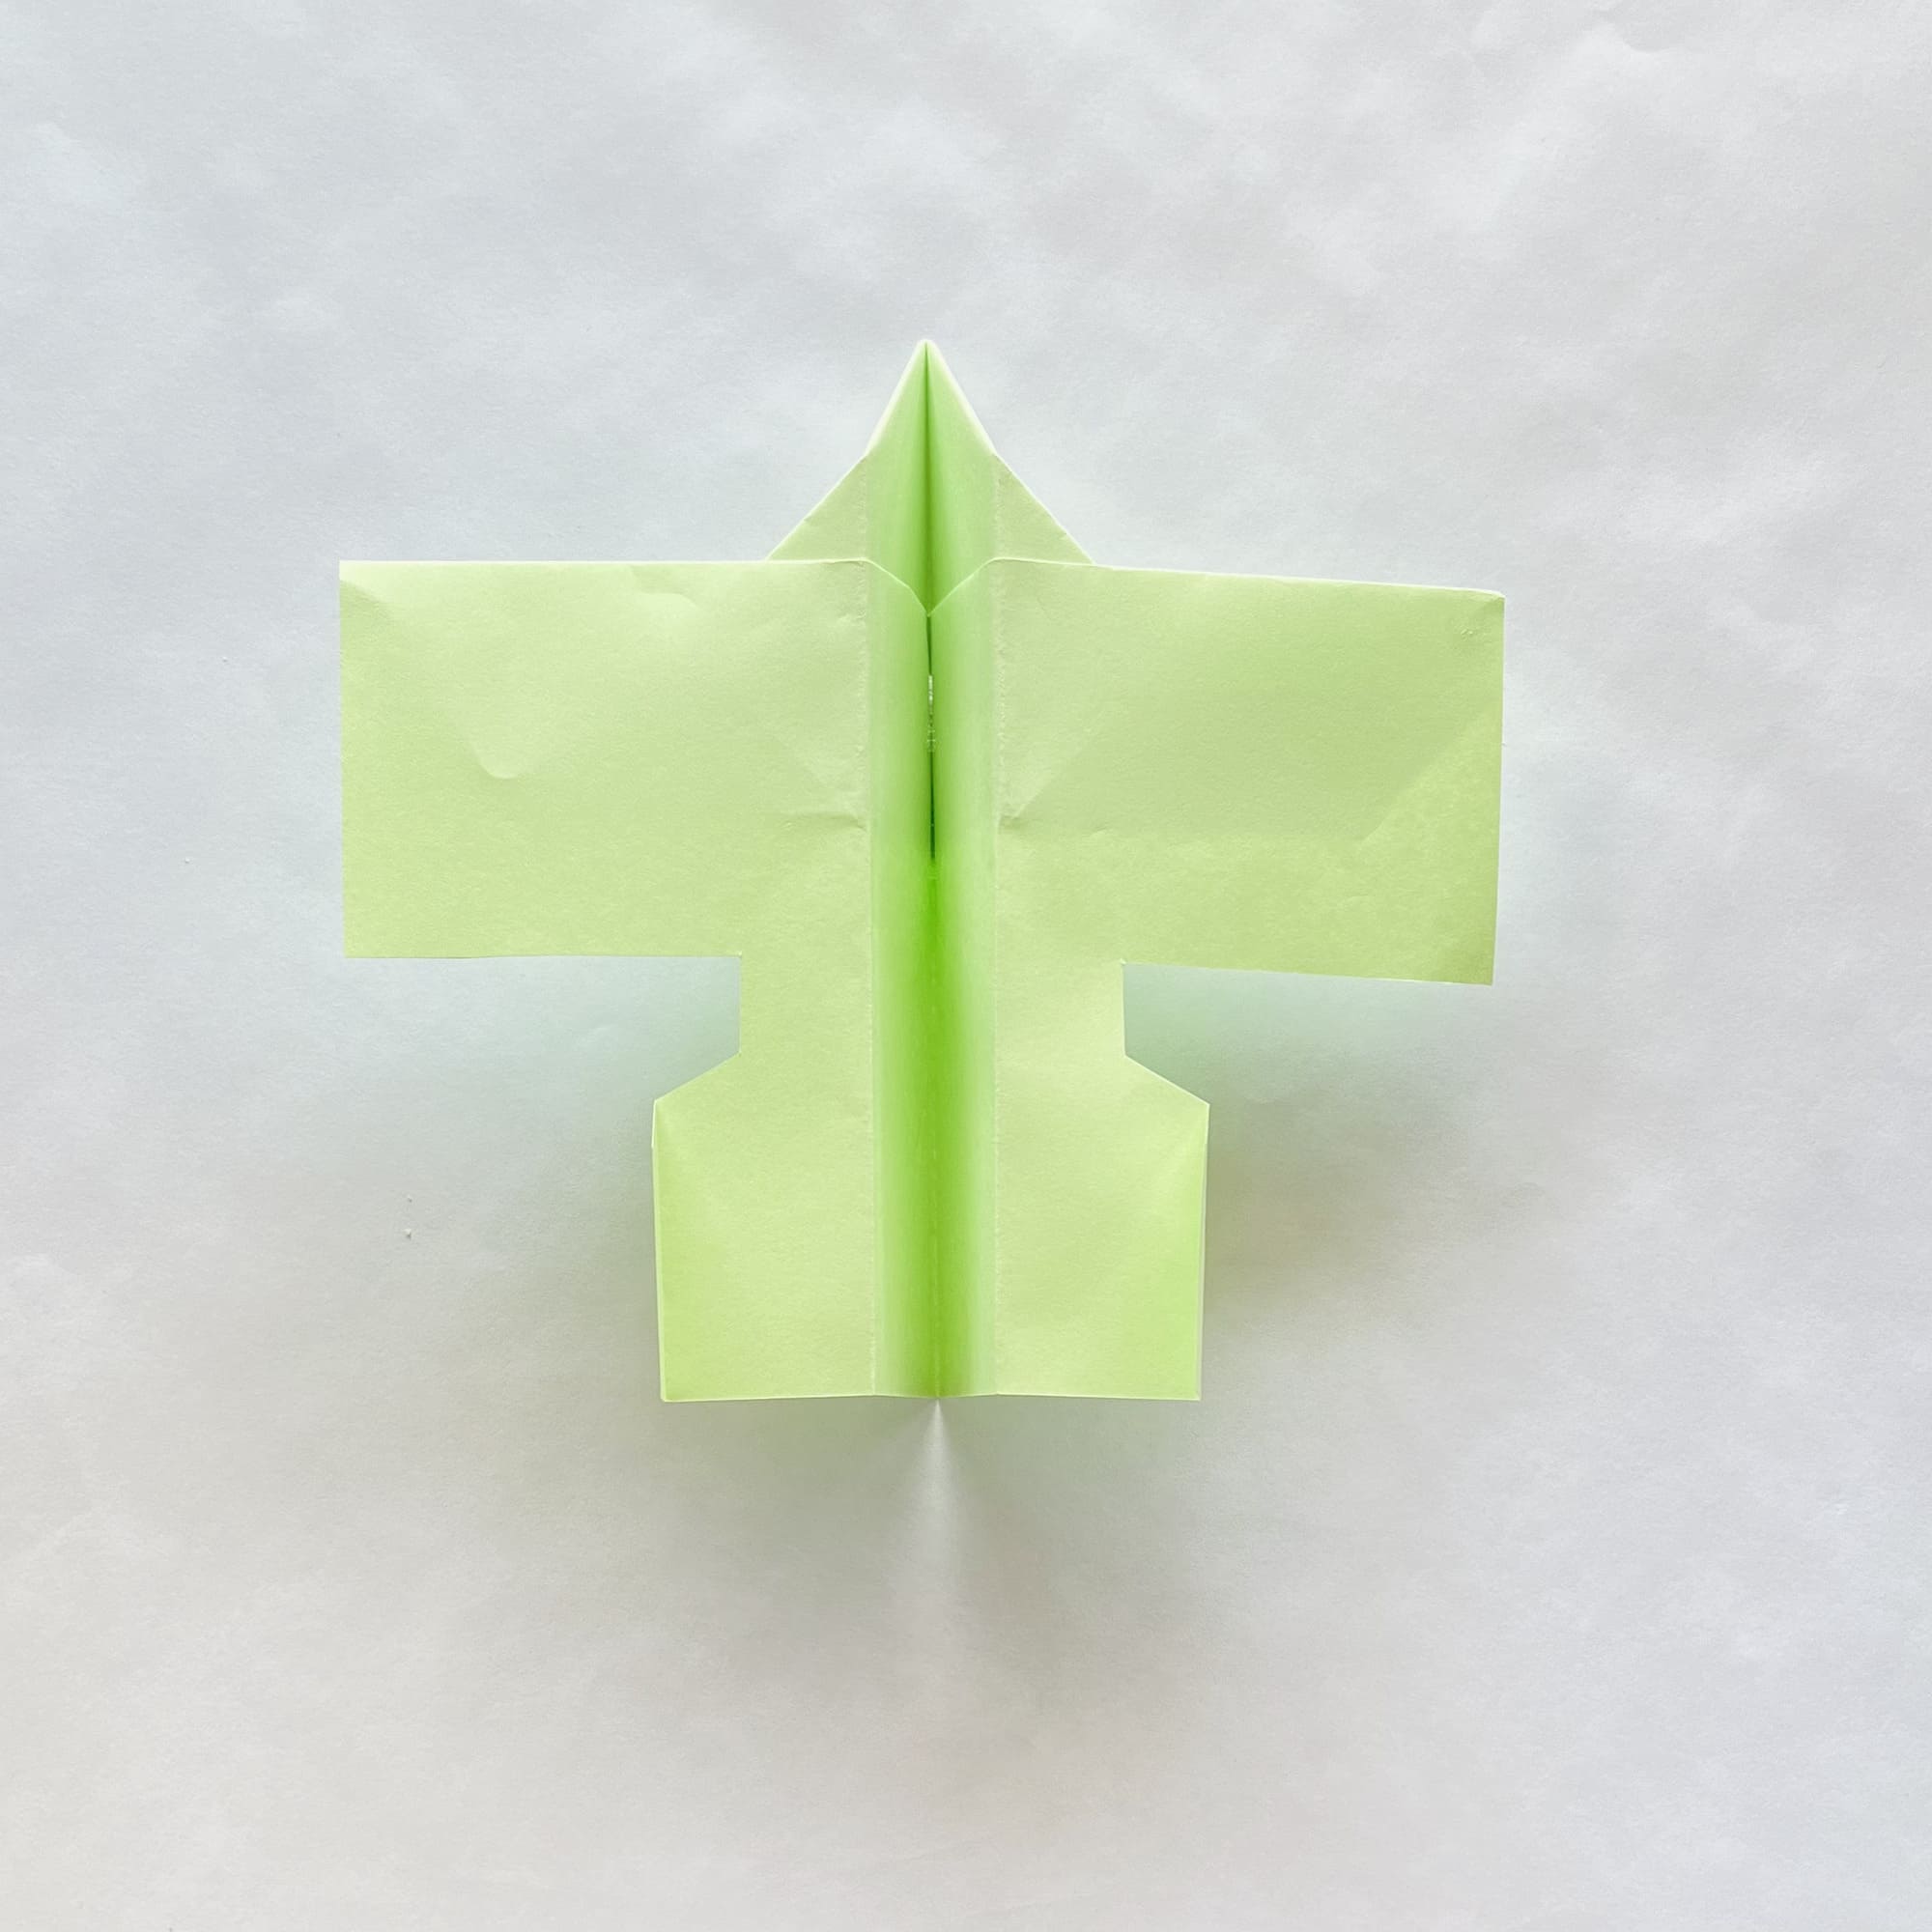
Open your future plane and make two folds, indicating its wings.
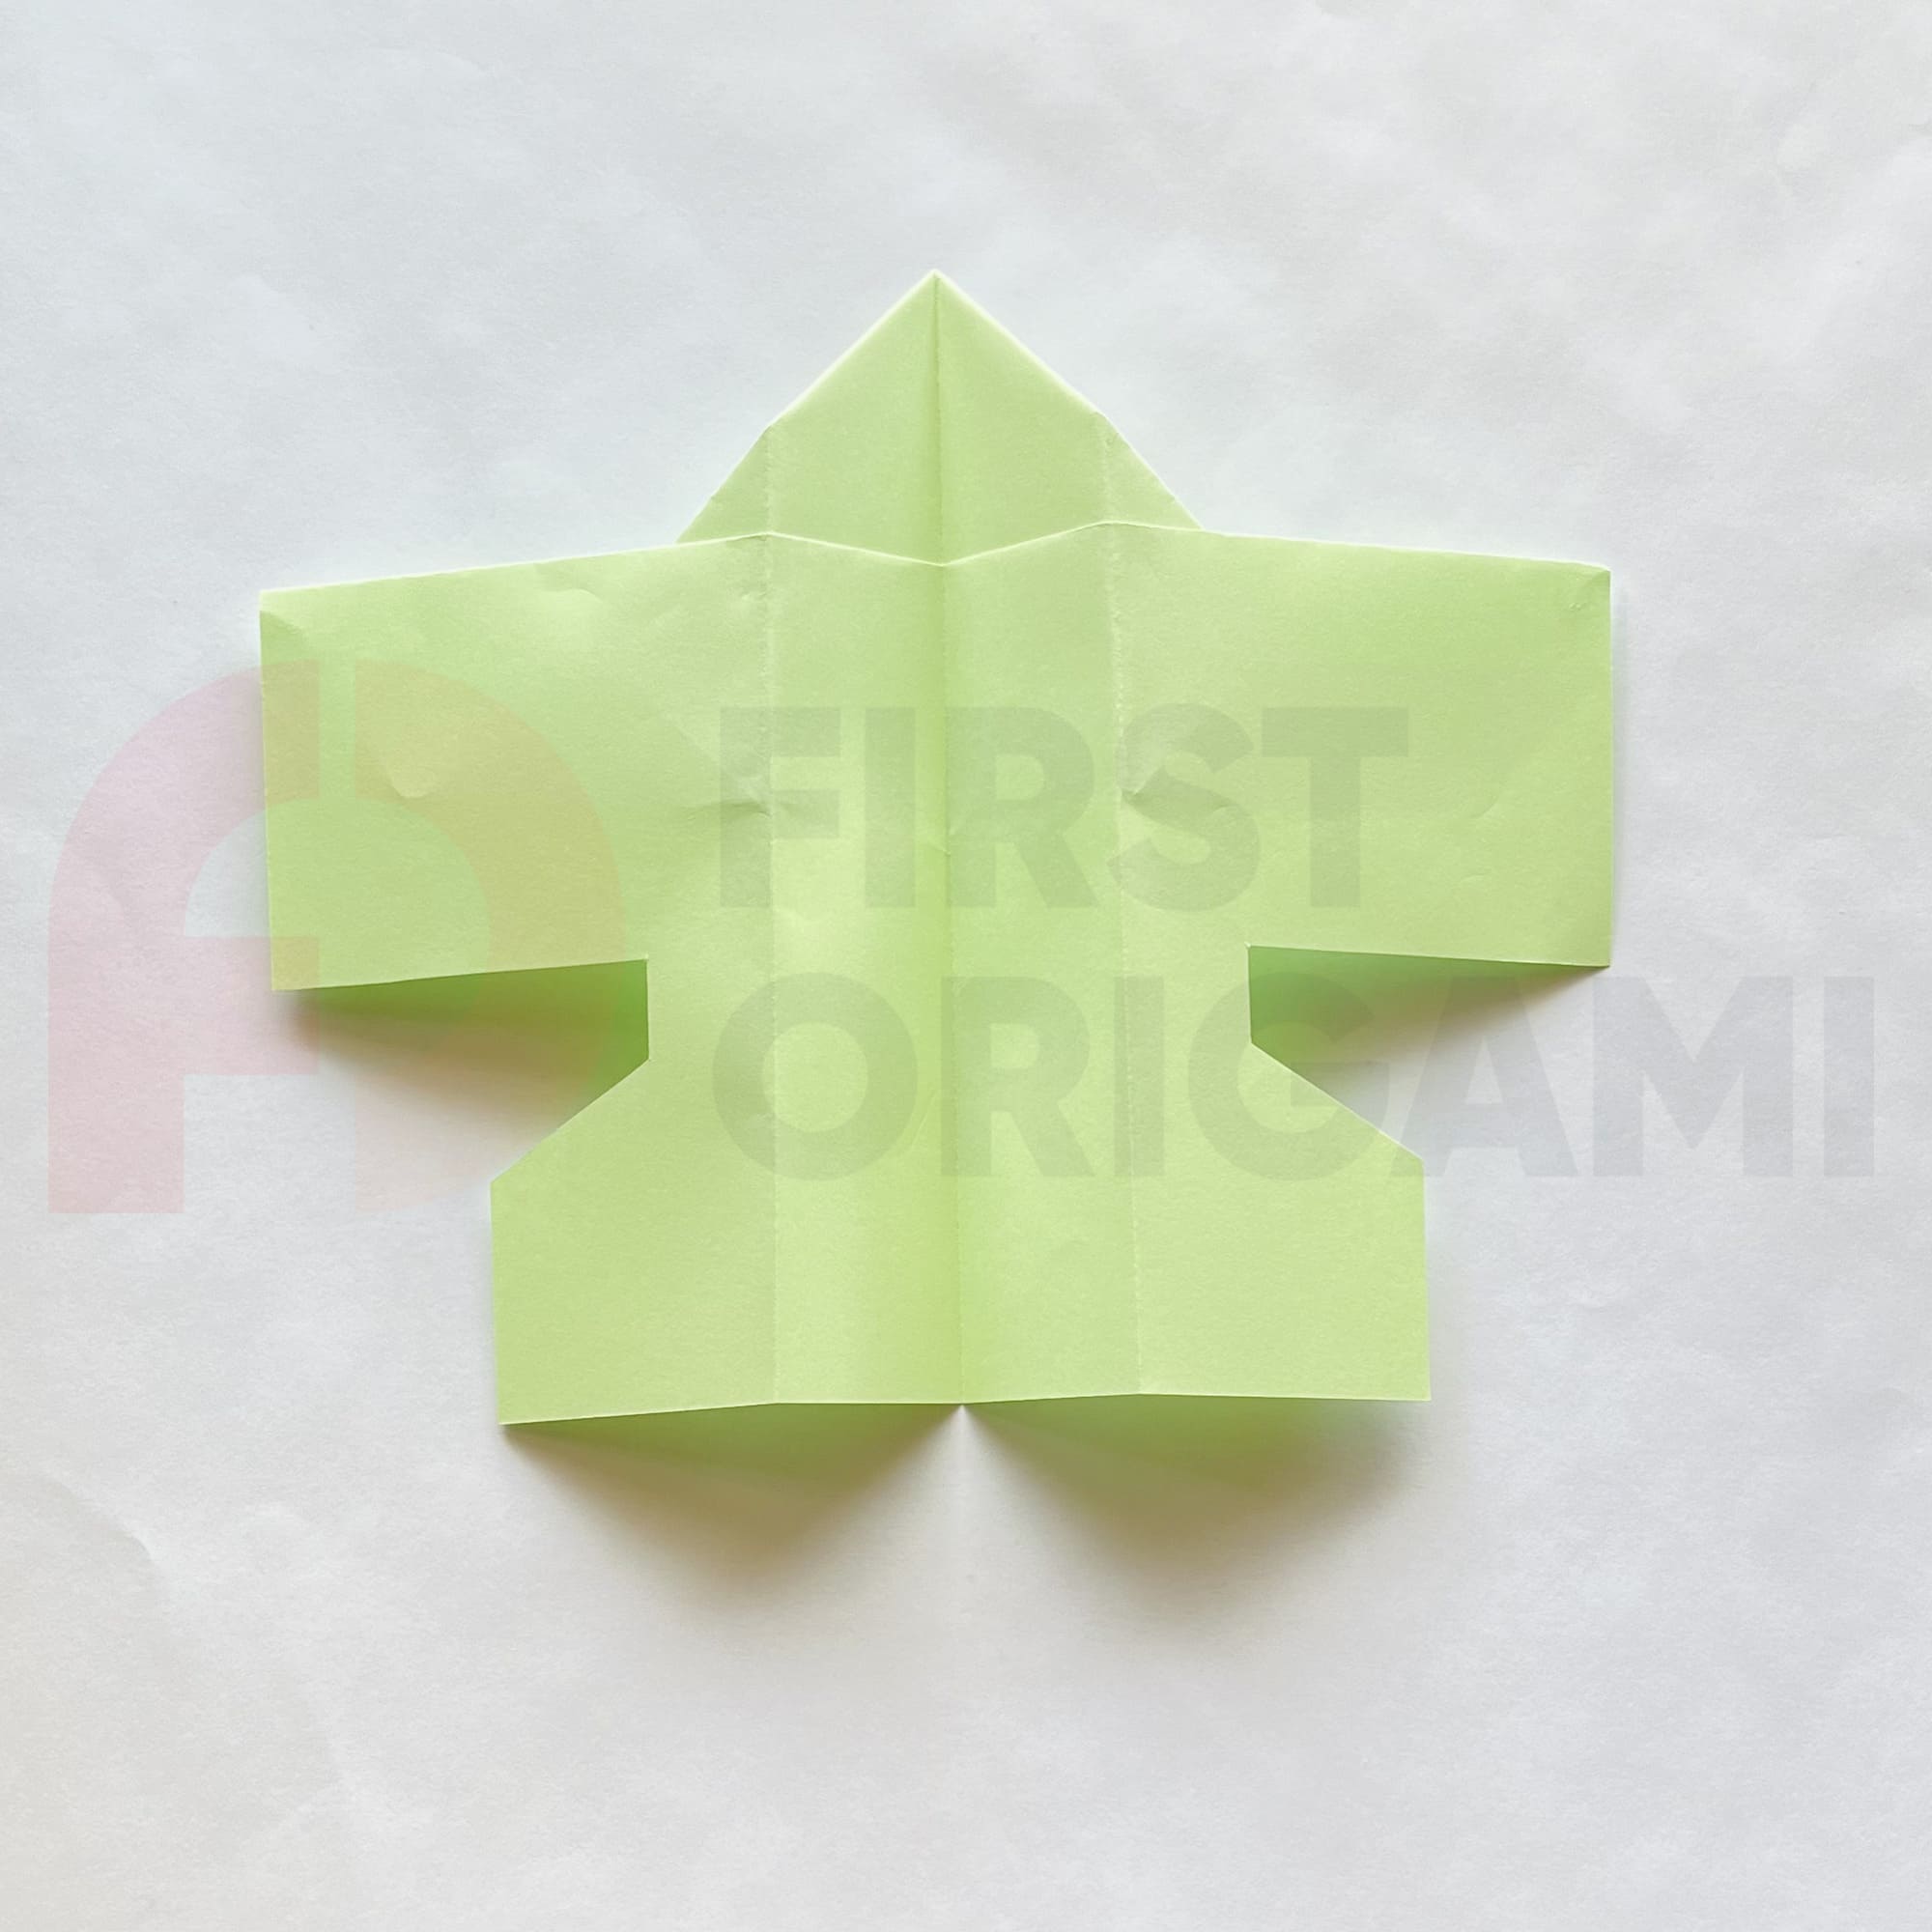
Final touch: fold the right and left edges of the tail upwards, as shown in the photo.
Your speed glider is ready, it’s time to try it out! If the weather outside is good, then it’s better to go outside and throw the plane into the wind. This way you can fully enjoy its flight range.
This model may need some additional adjustments if the wings spread out to the sides and it looks flat. In this case, take a small amount of glue and connect them at the base. Have a nice flight!