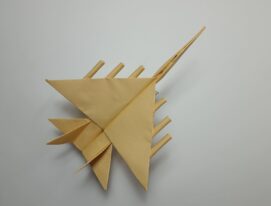
Origami Fast Hawk Airplane
Fast Hawk is a name that fully reflects the flight characteristics of this model, which are comparable only to a bird – the ruler of the sky, capable of soaring for hours at a dizzying height.
The special structure of the wings and the presence of air valves allow this prototype to fly up to one and a half kilometers in a straight line.
Follow our instructions and you will be able to see for yourself the abilities of a paper marathon runner. To do this, you only need a little patience, scissors, a ruler, and a sheet of colored paper.
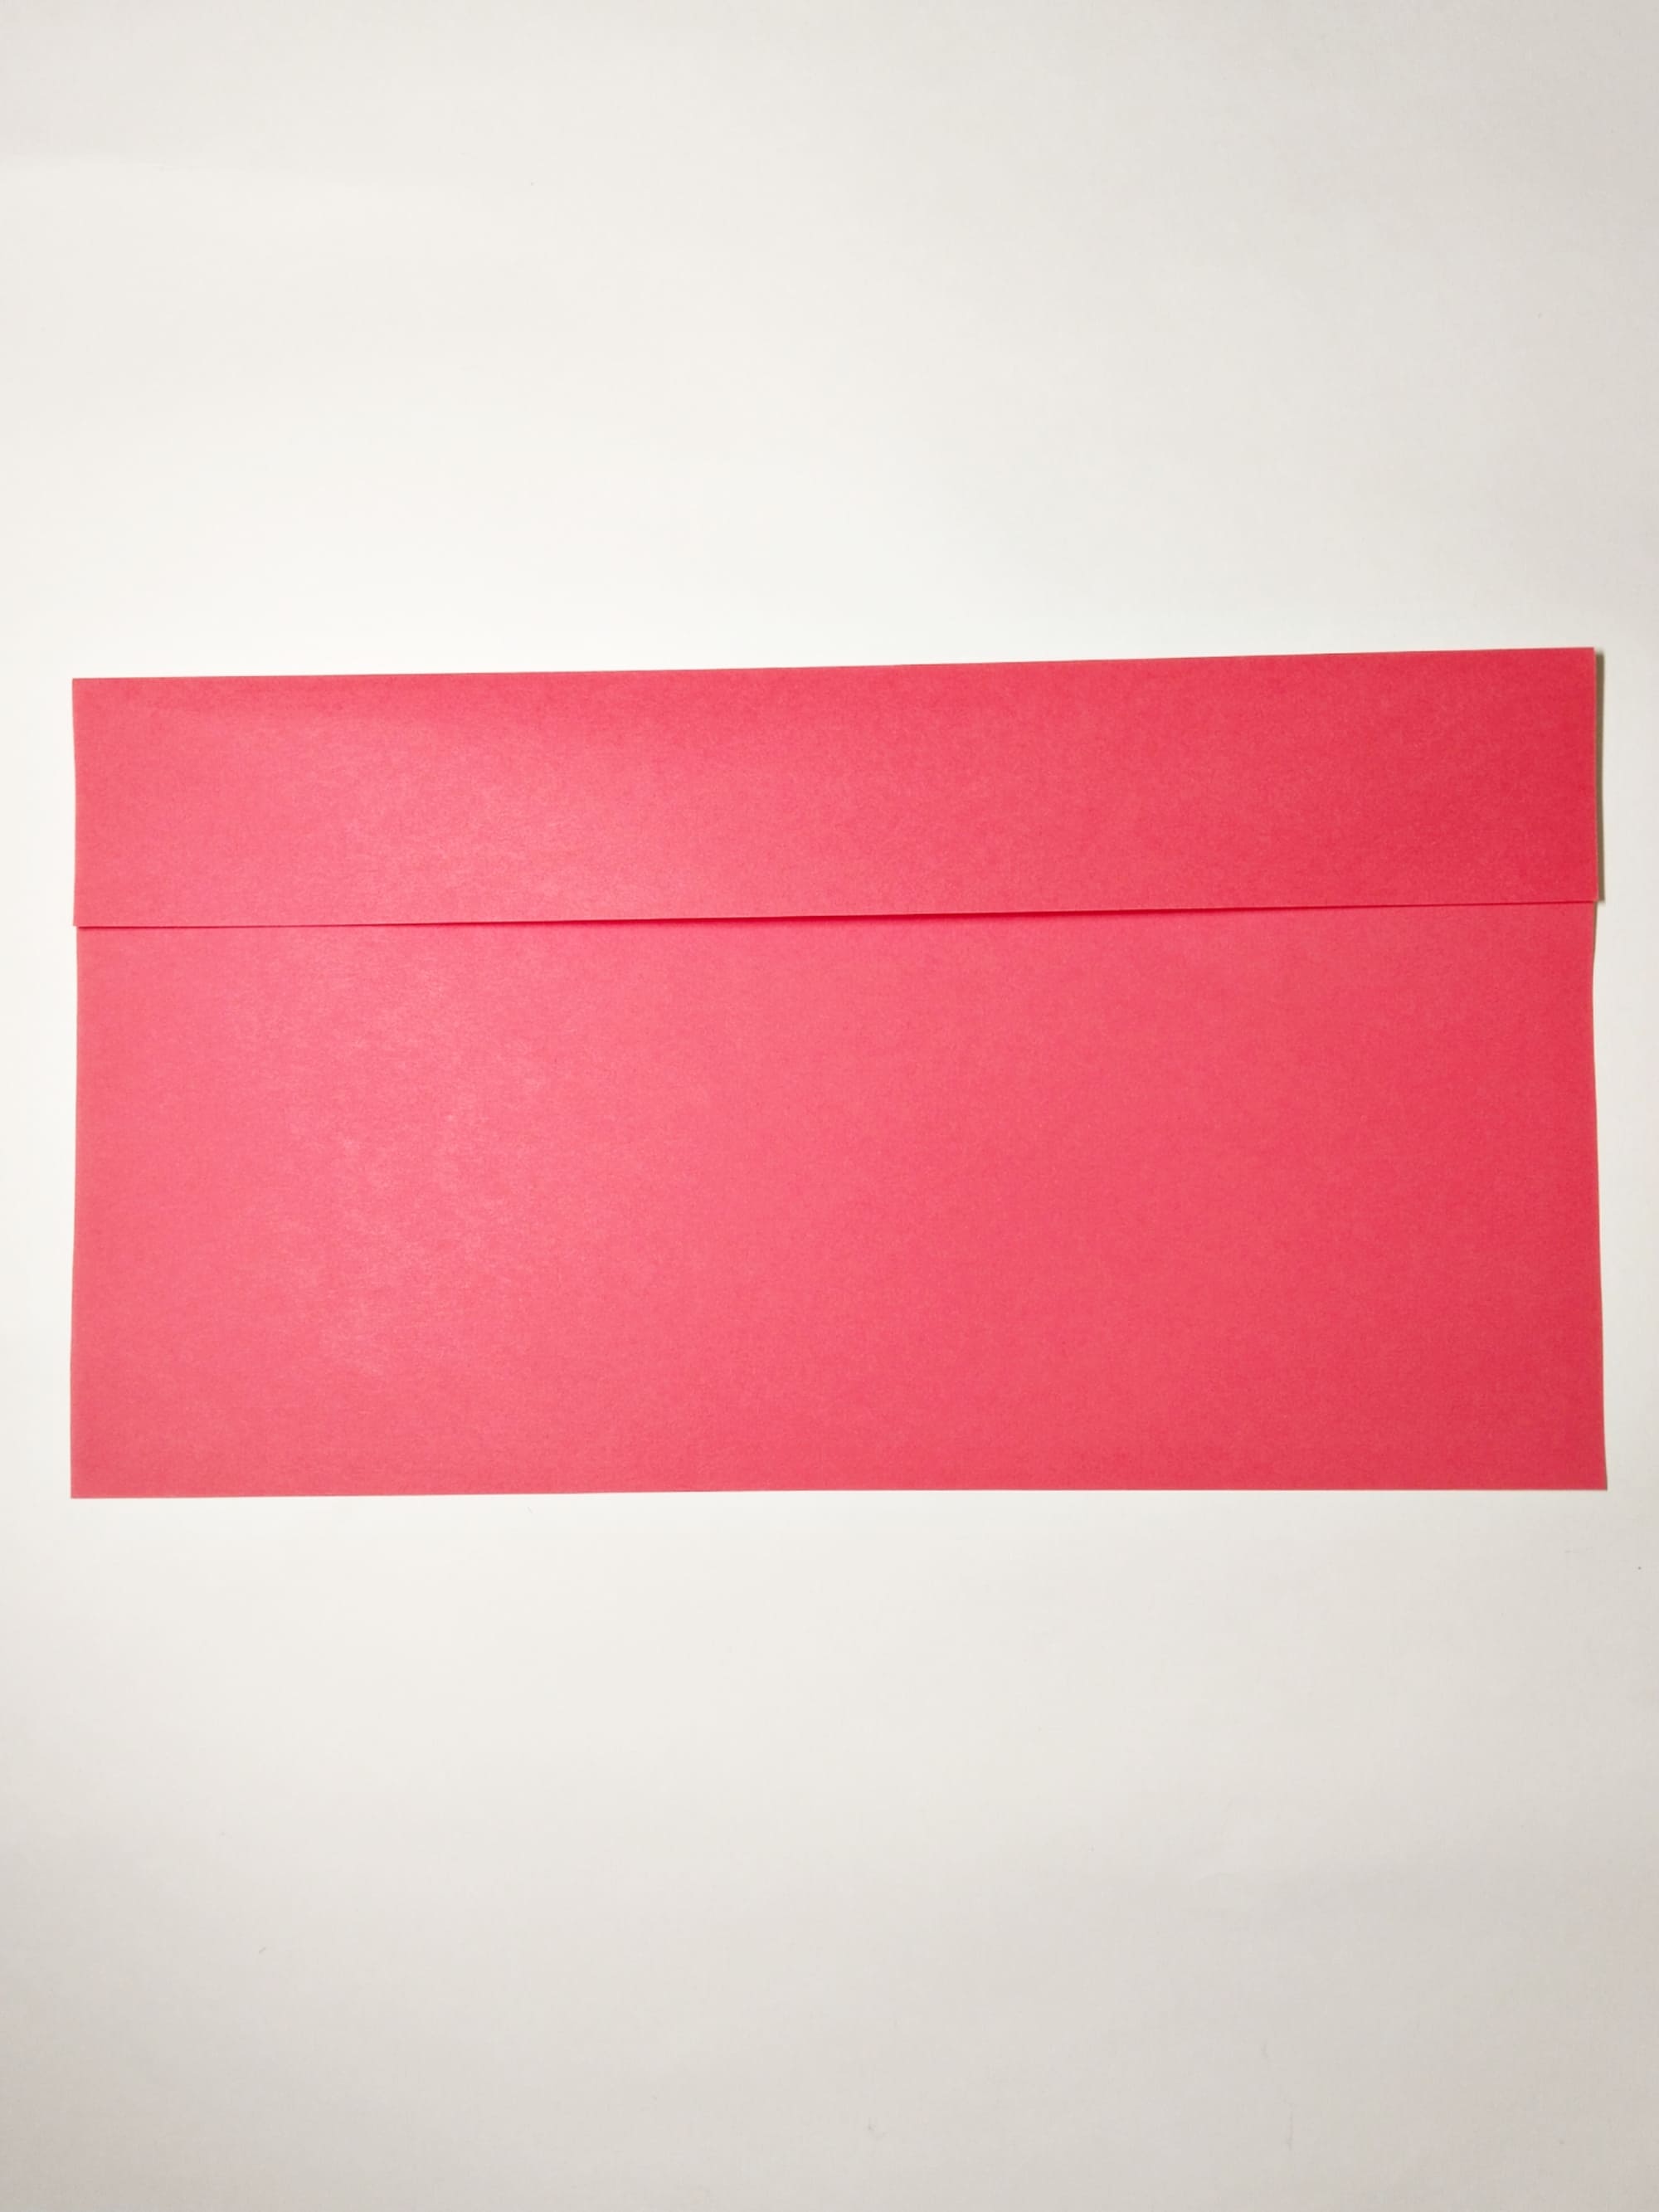
Place the sheet of paper horizontally. Fold a strip about five centimeters wide towards the center. If you wish, you can mark the fold location using a pencil and ruler.

Fold in half so that the five-centimeter line is inside.
Align the top edge of the resulting shape with the central fold.
Turn the future plane over and perform a similar procedure on the other side. The result should be a rectangular trapezoid.
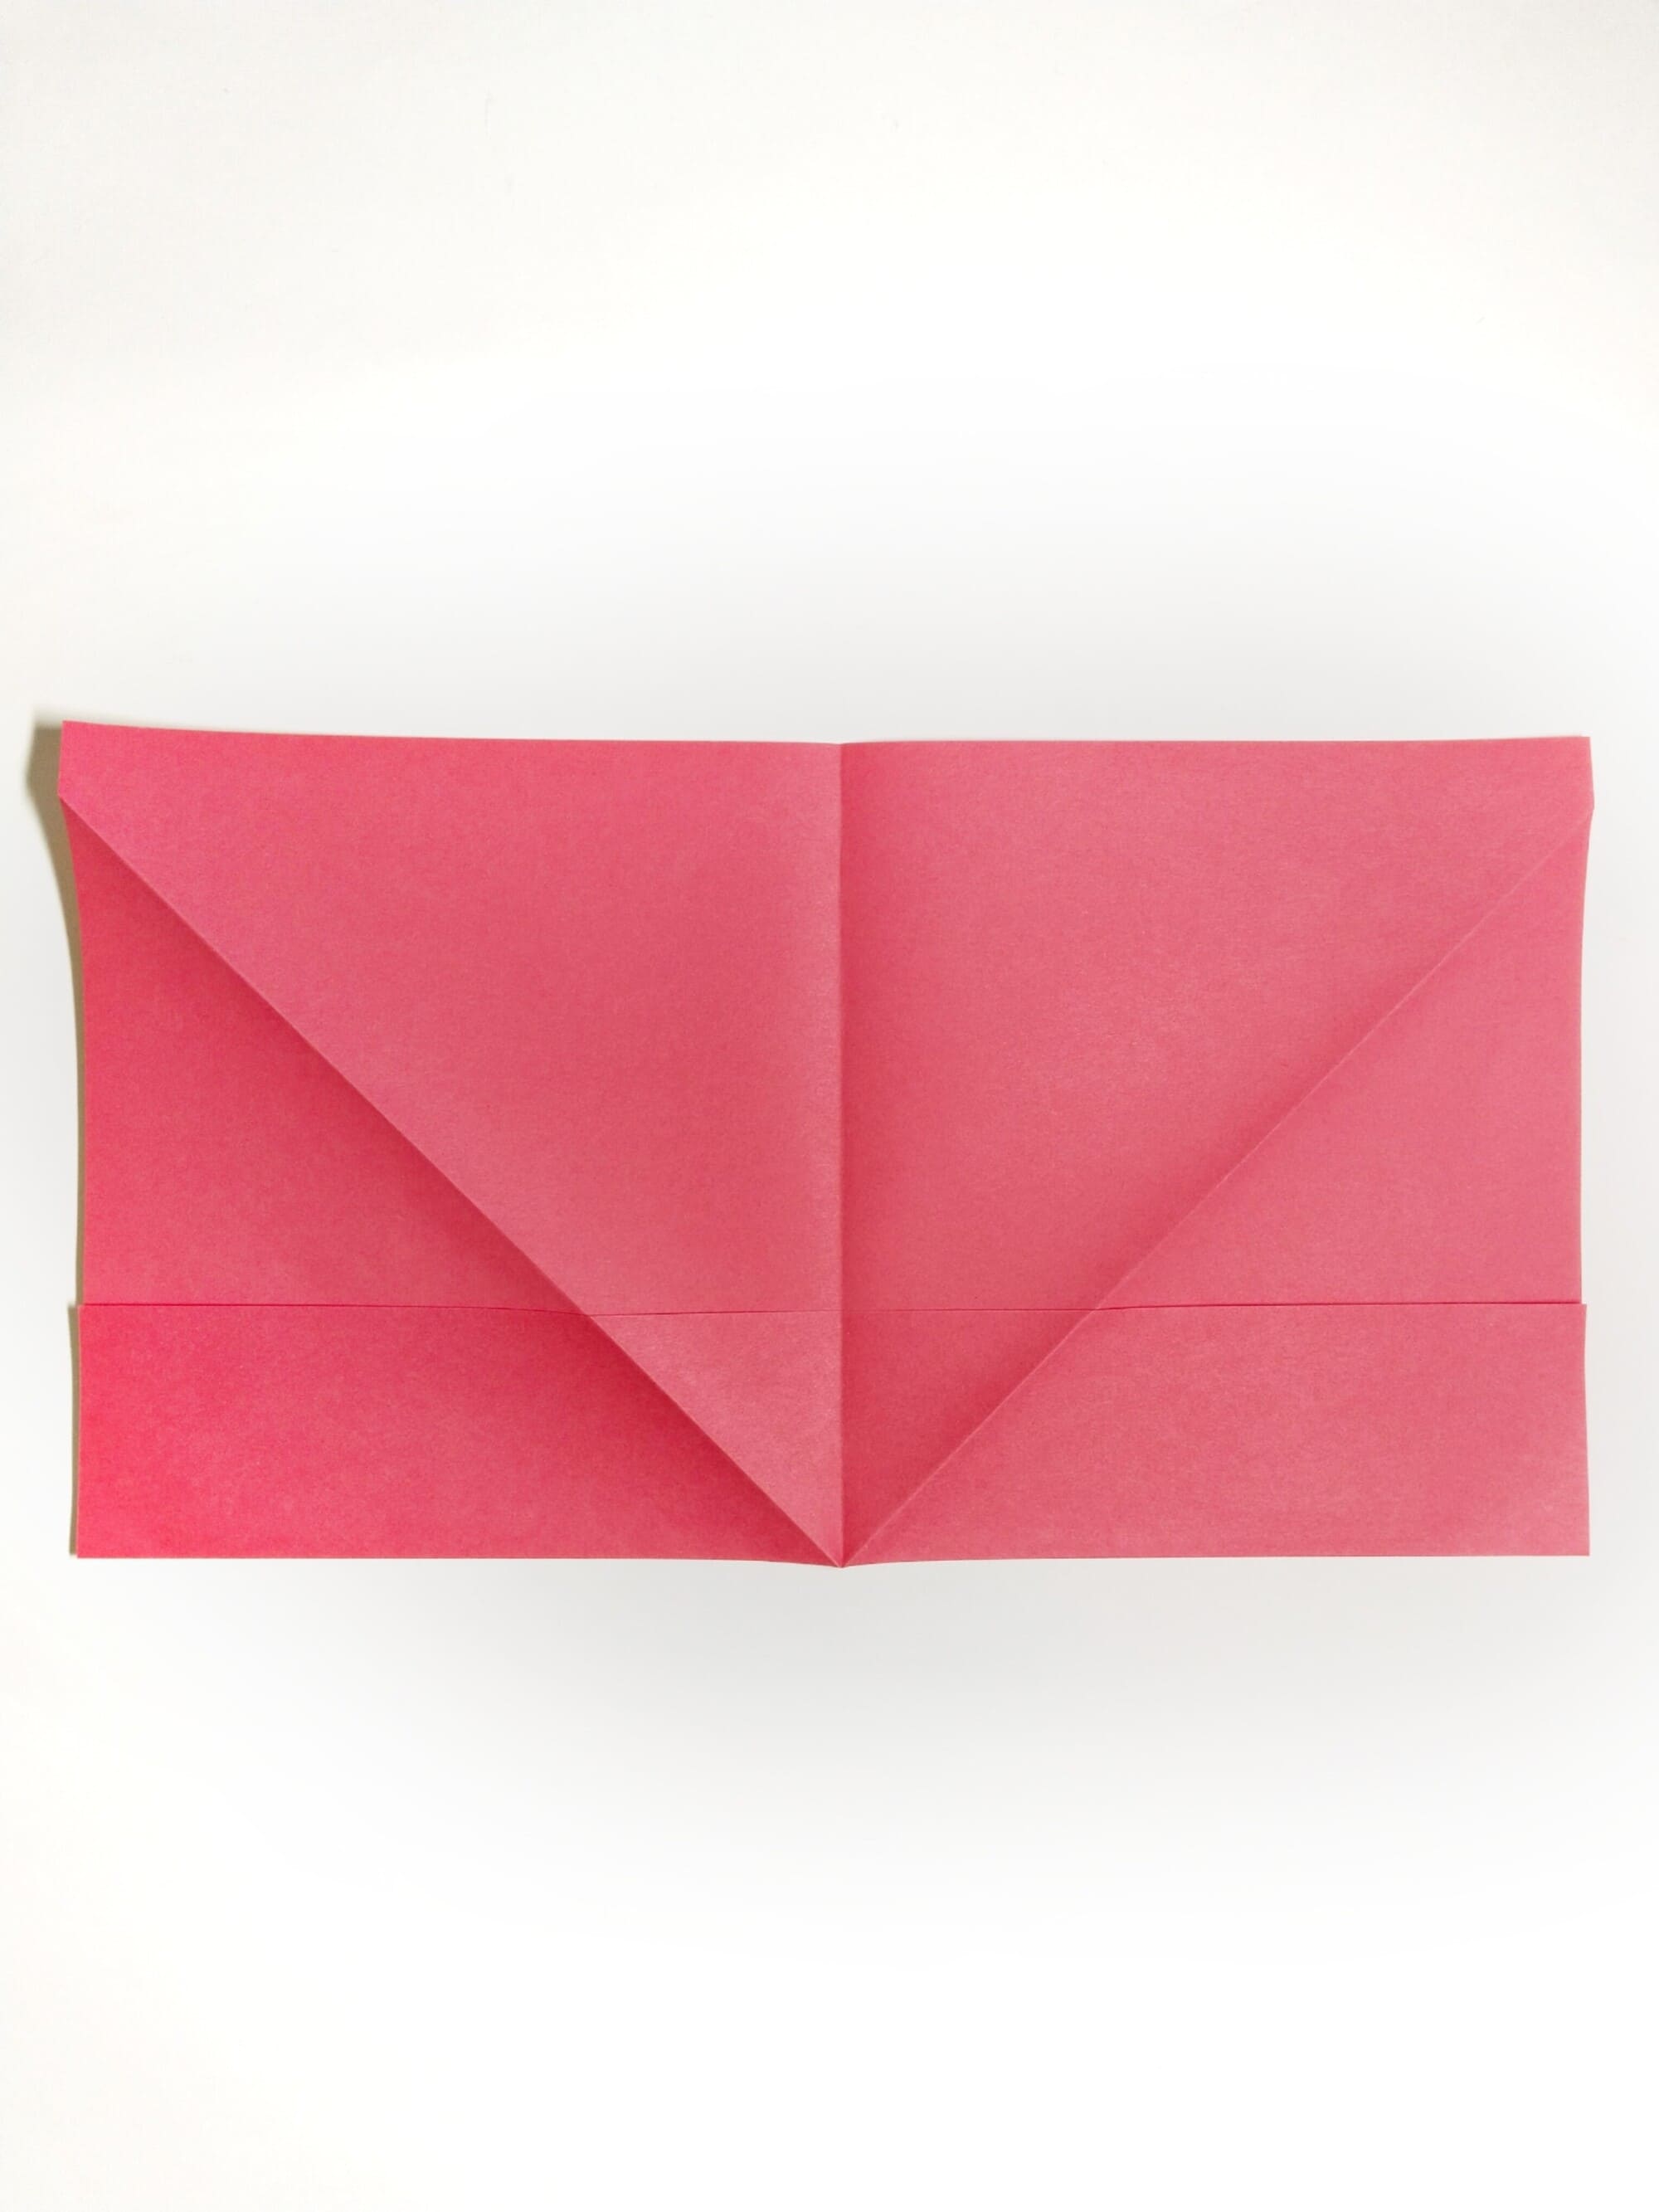
Expand the shape to the condition described in step 2.
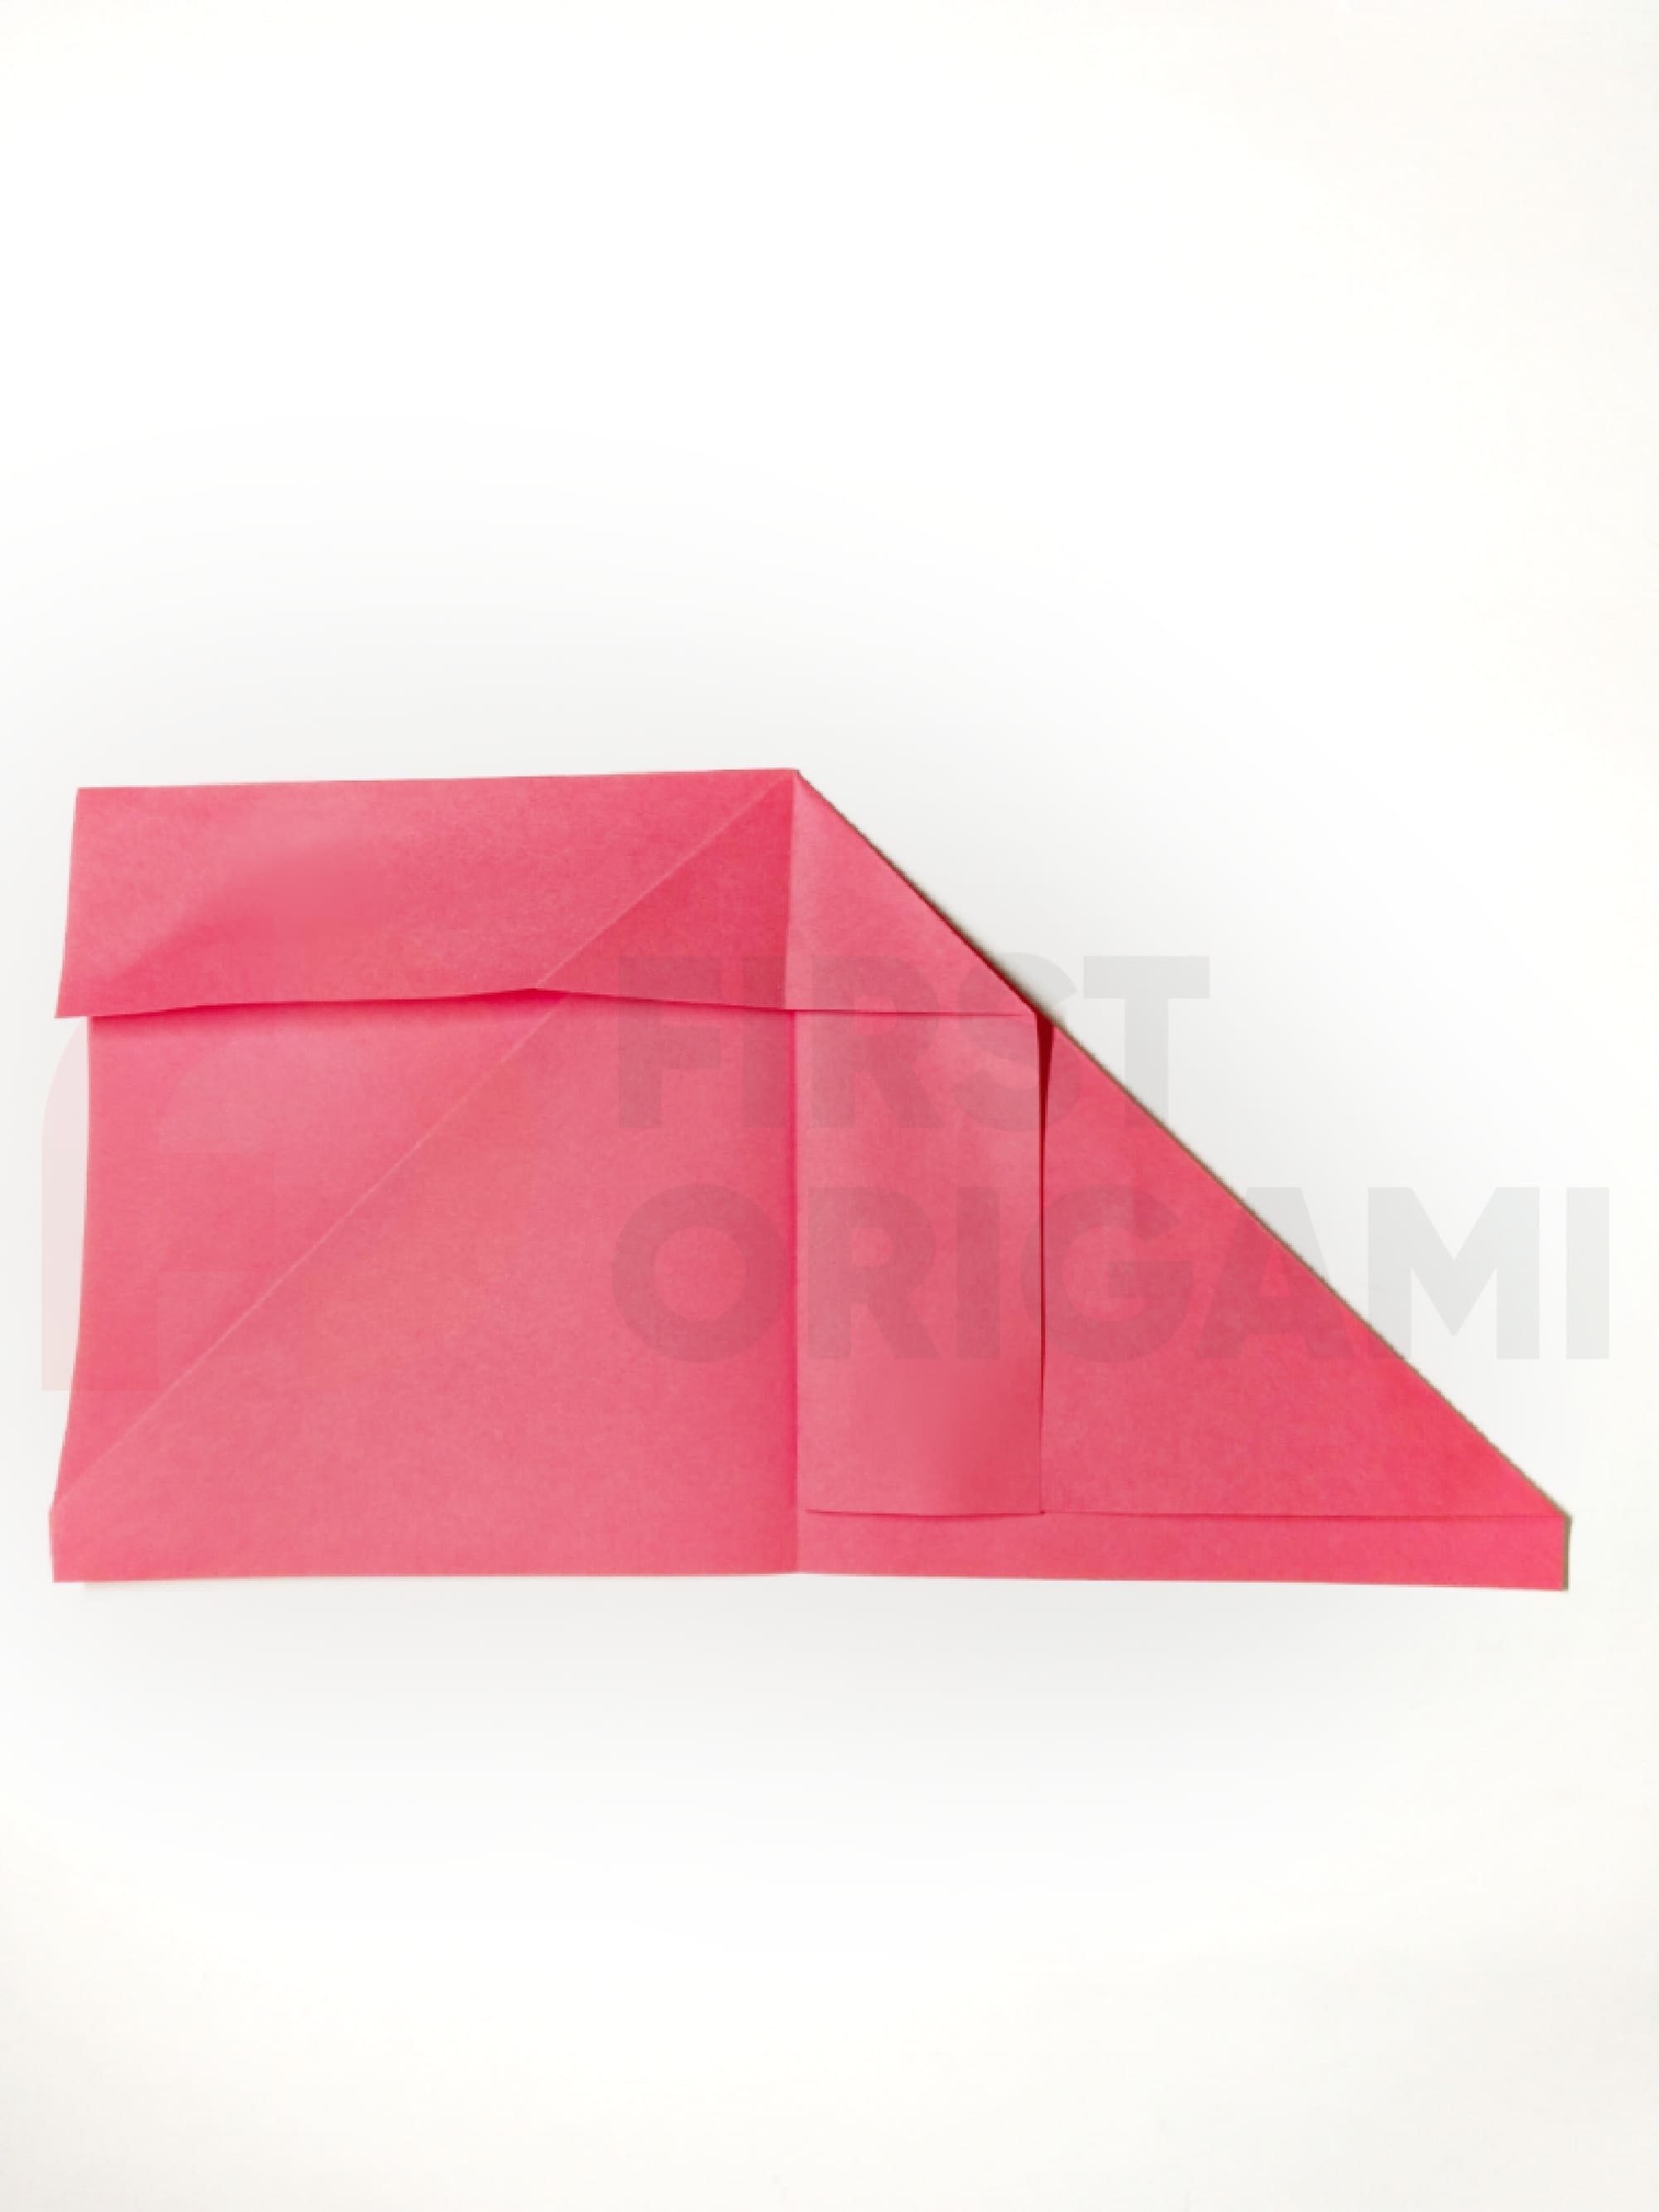
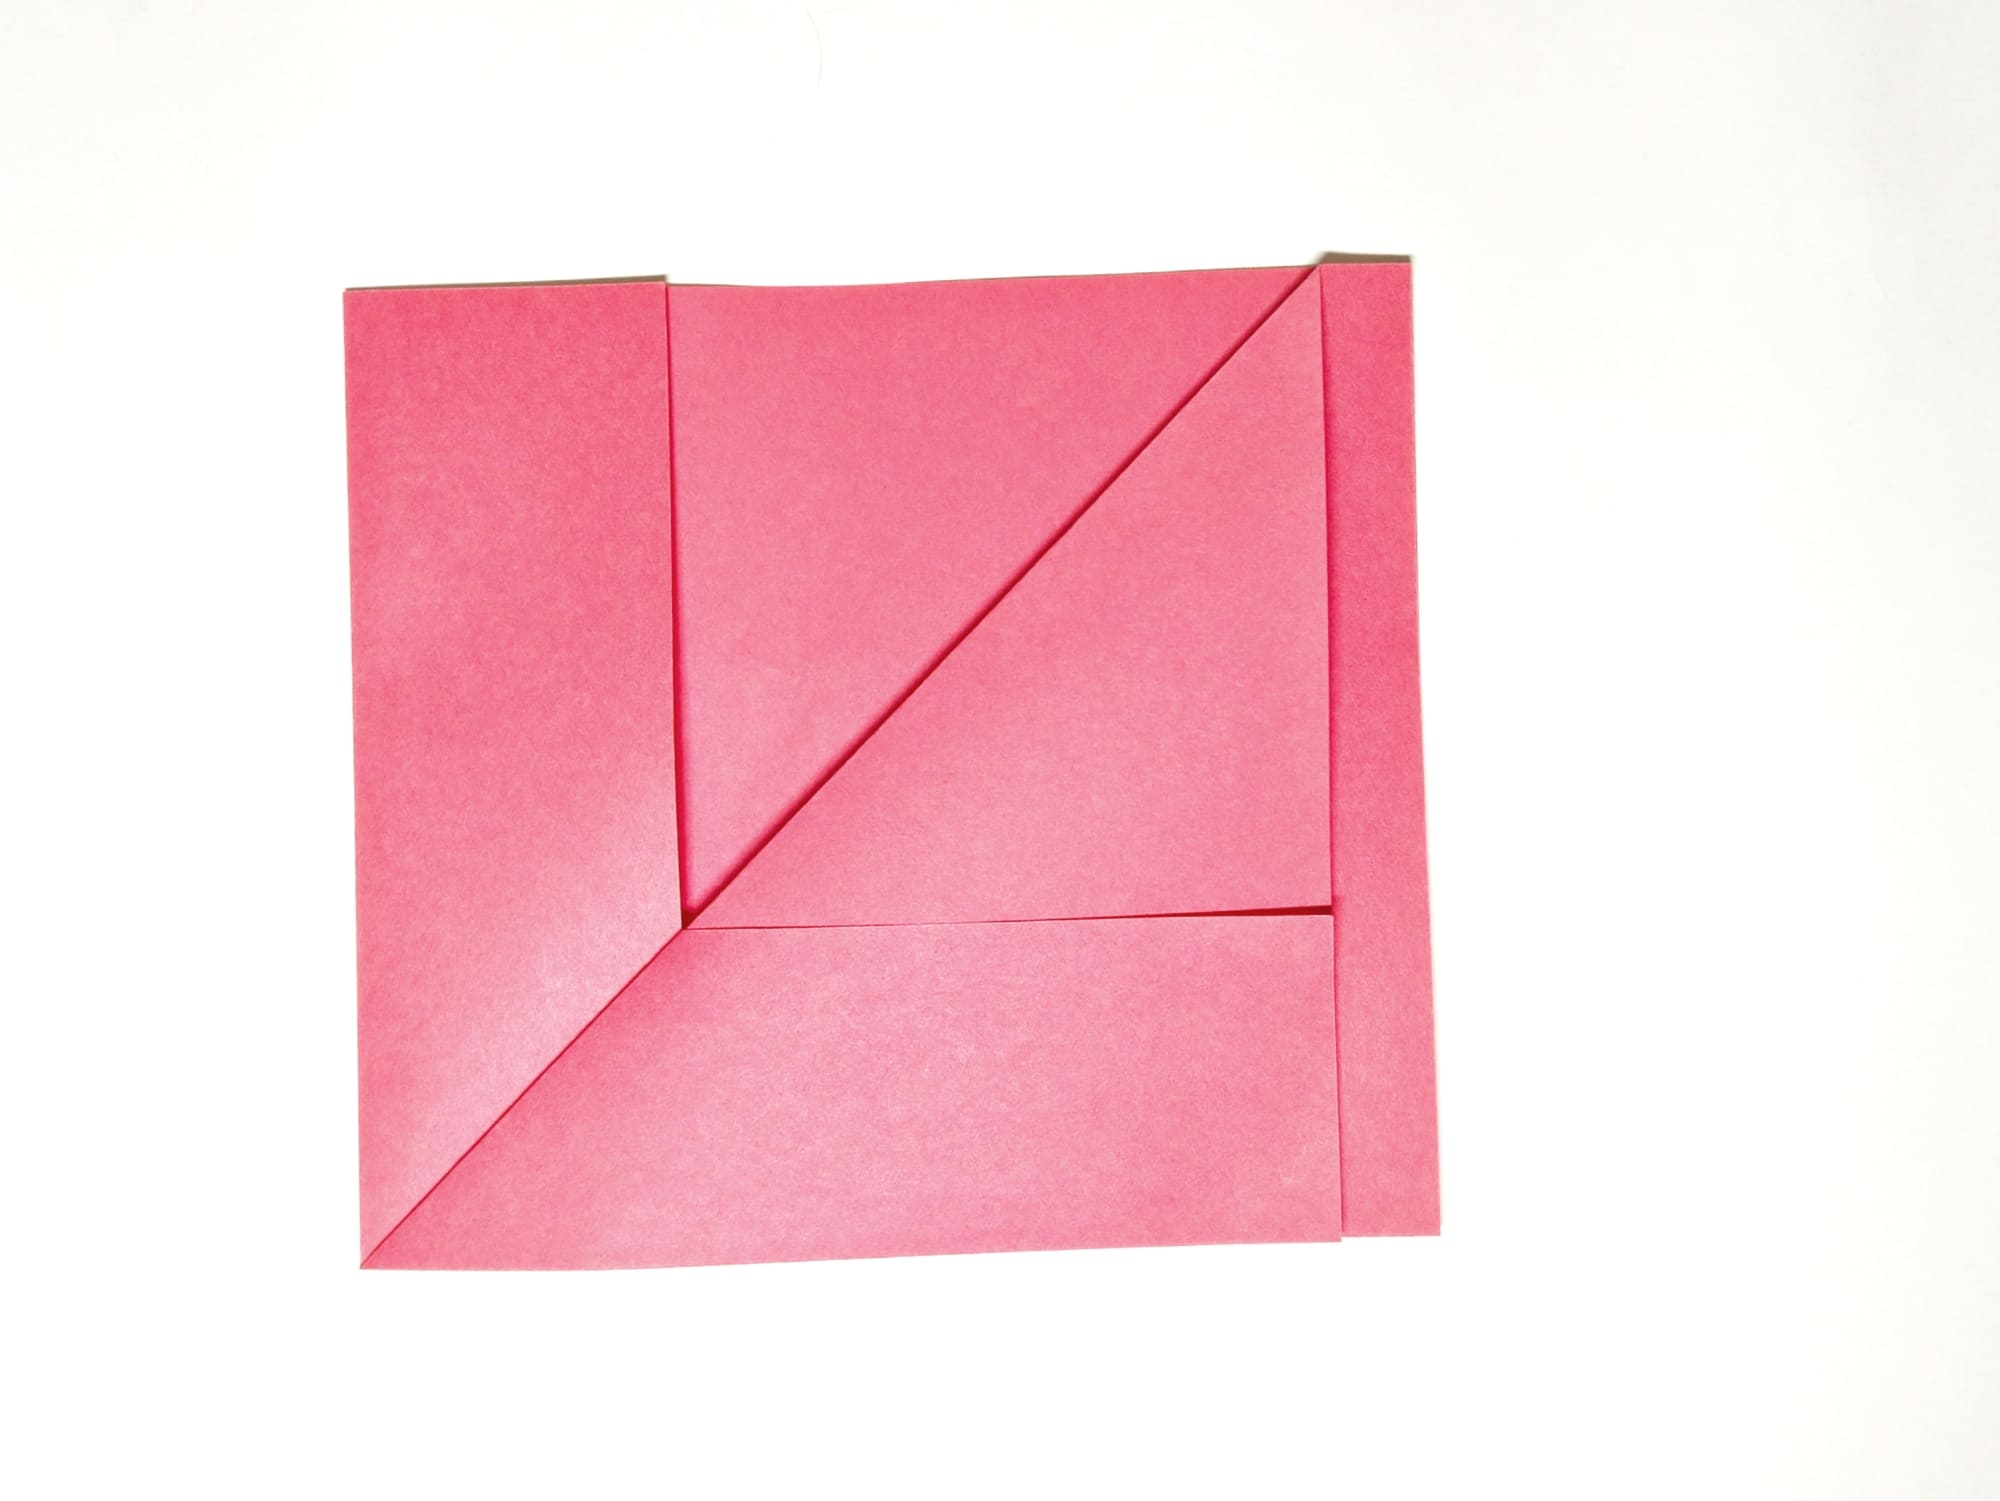
Fold the upper right corner to the center line so that the five-centimeter piece is on top.
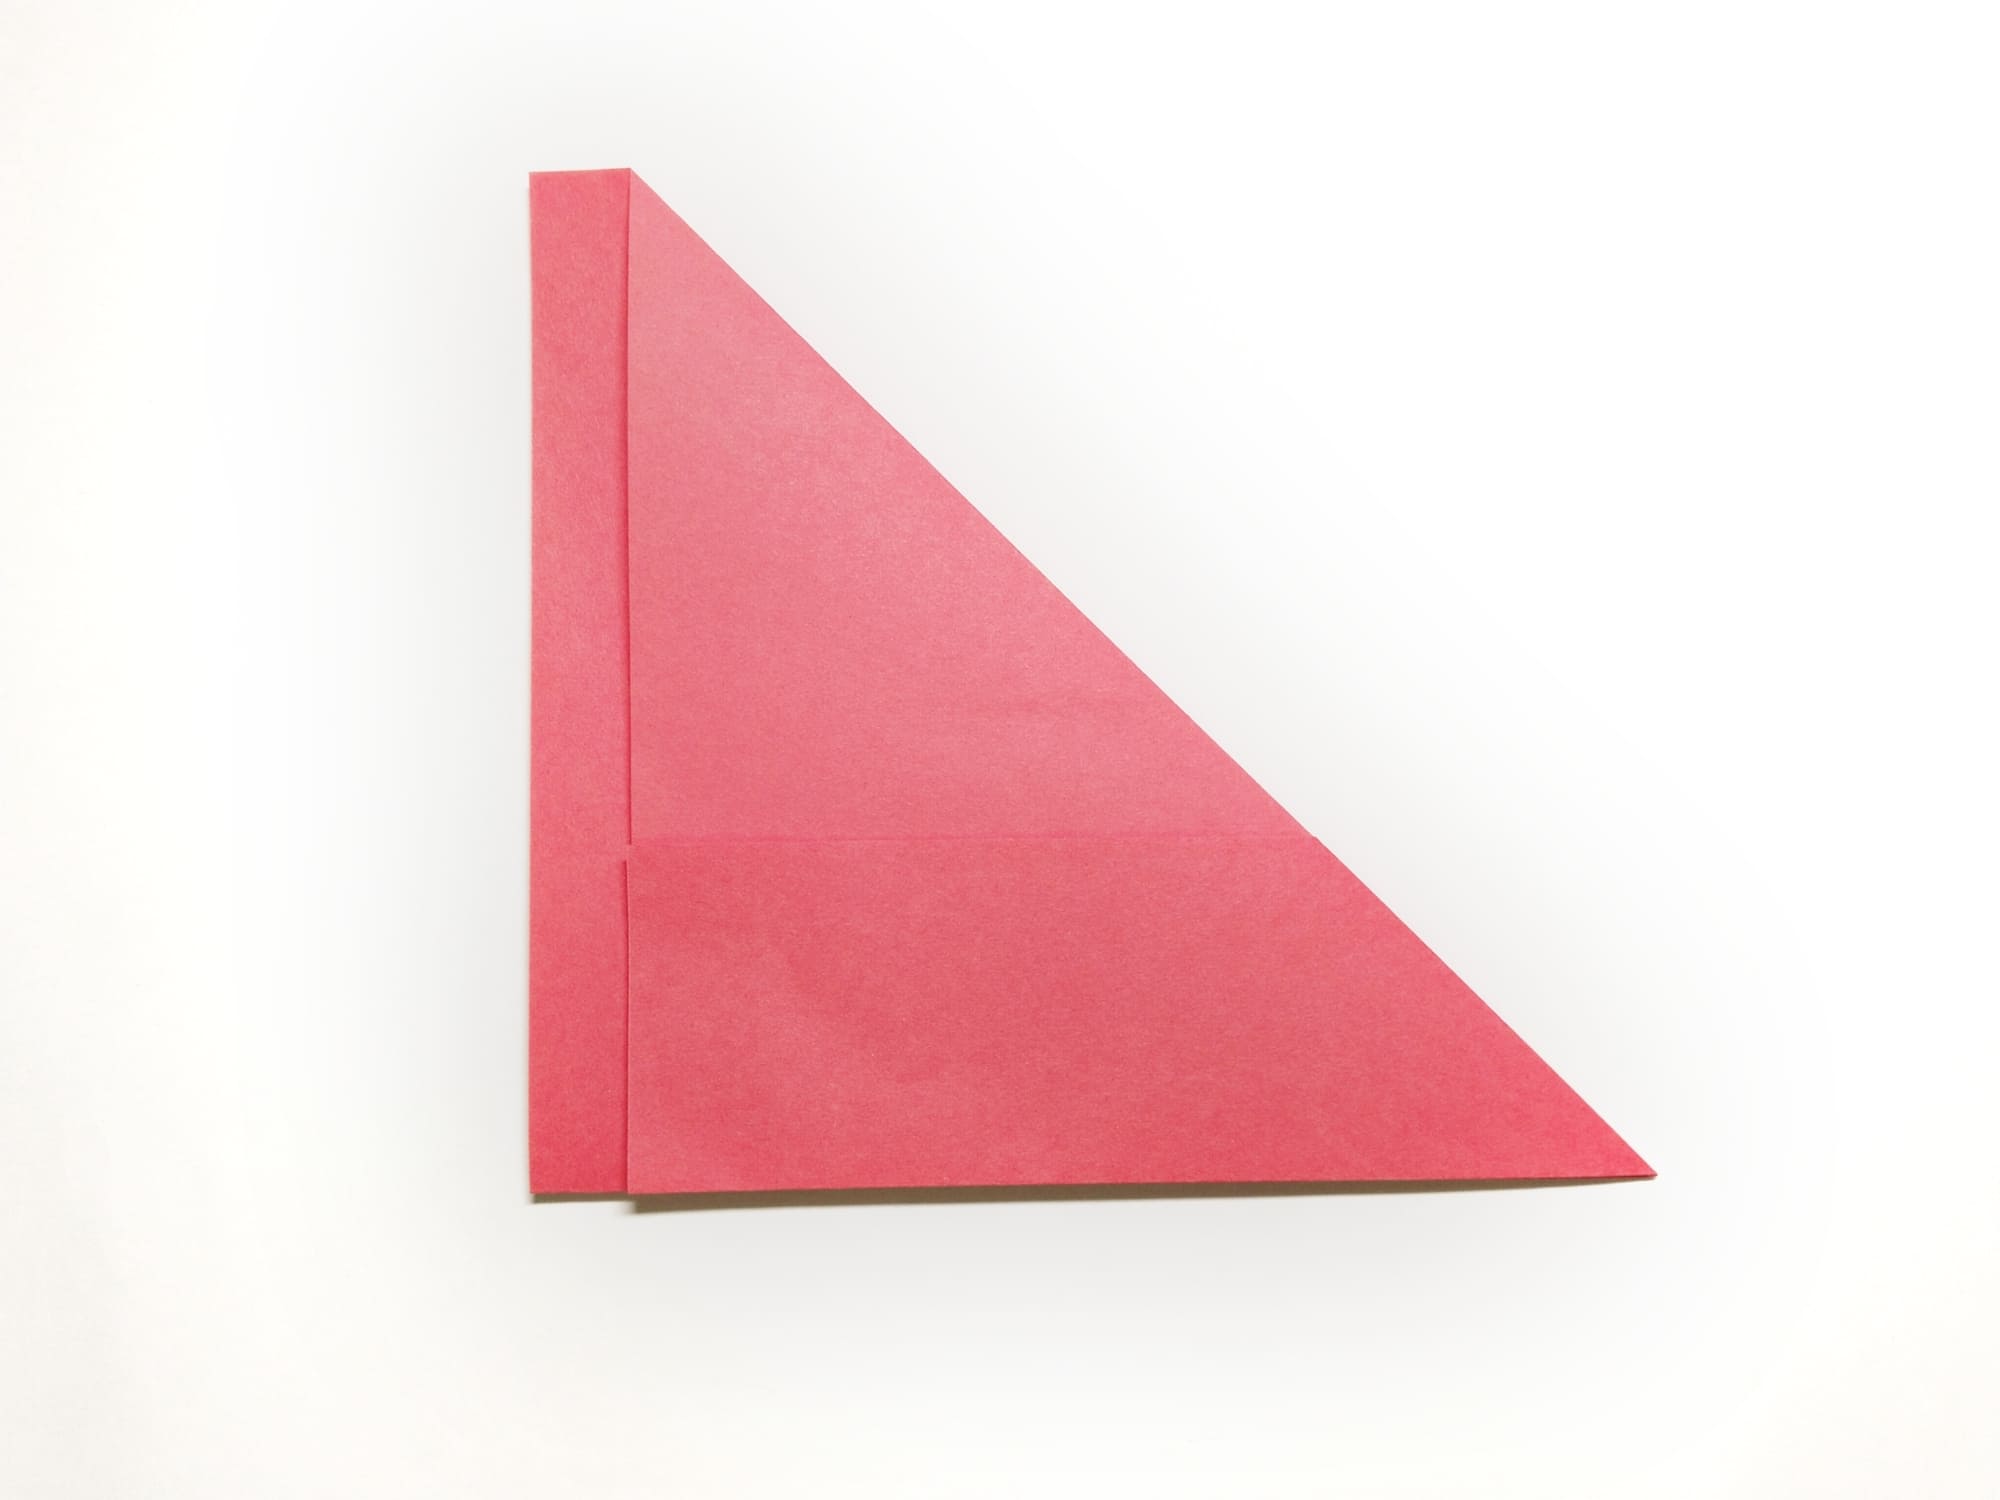
Repeat Step 6 on the left side. You will get a triangle, the figure on top of which resembles a house.
Fold the inside corners toward the outside, pushing the sharp ends under the triangular flap.
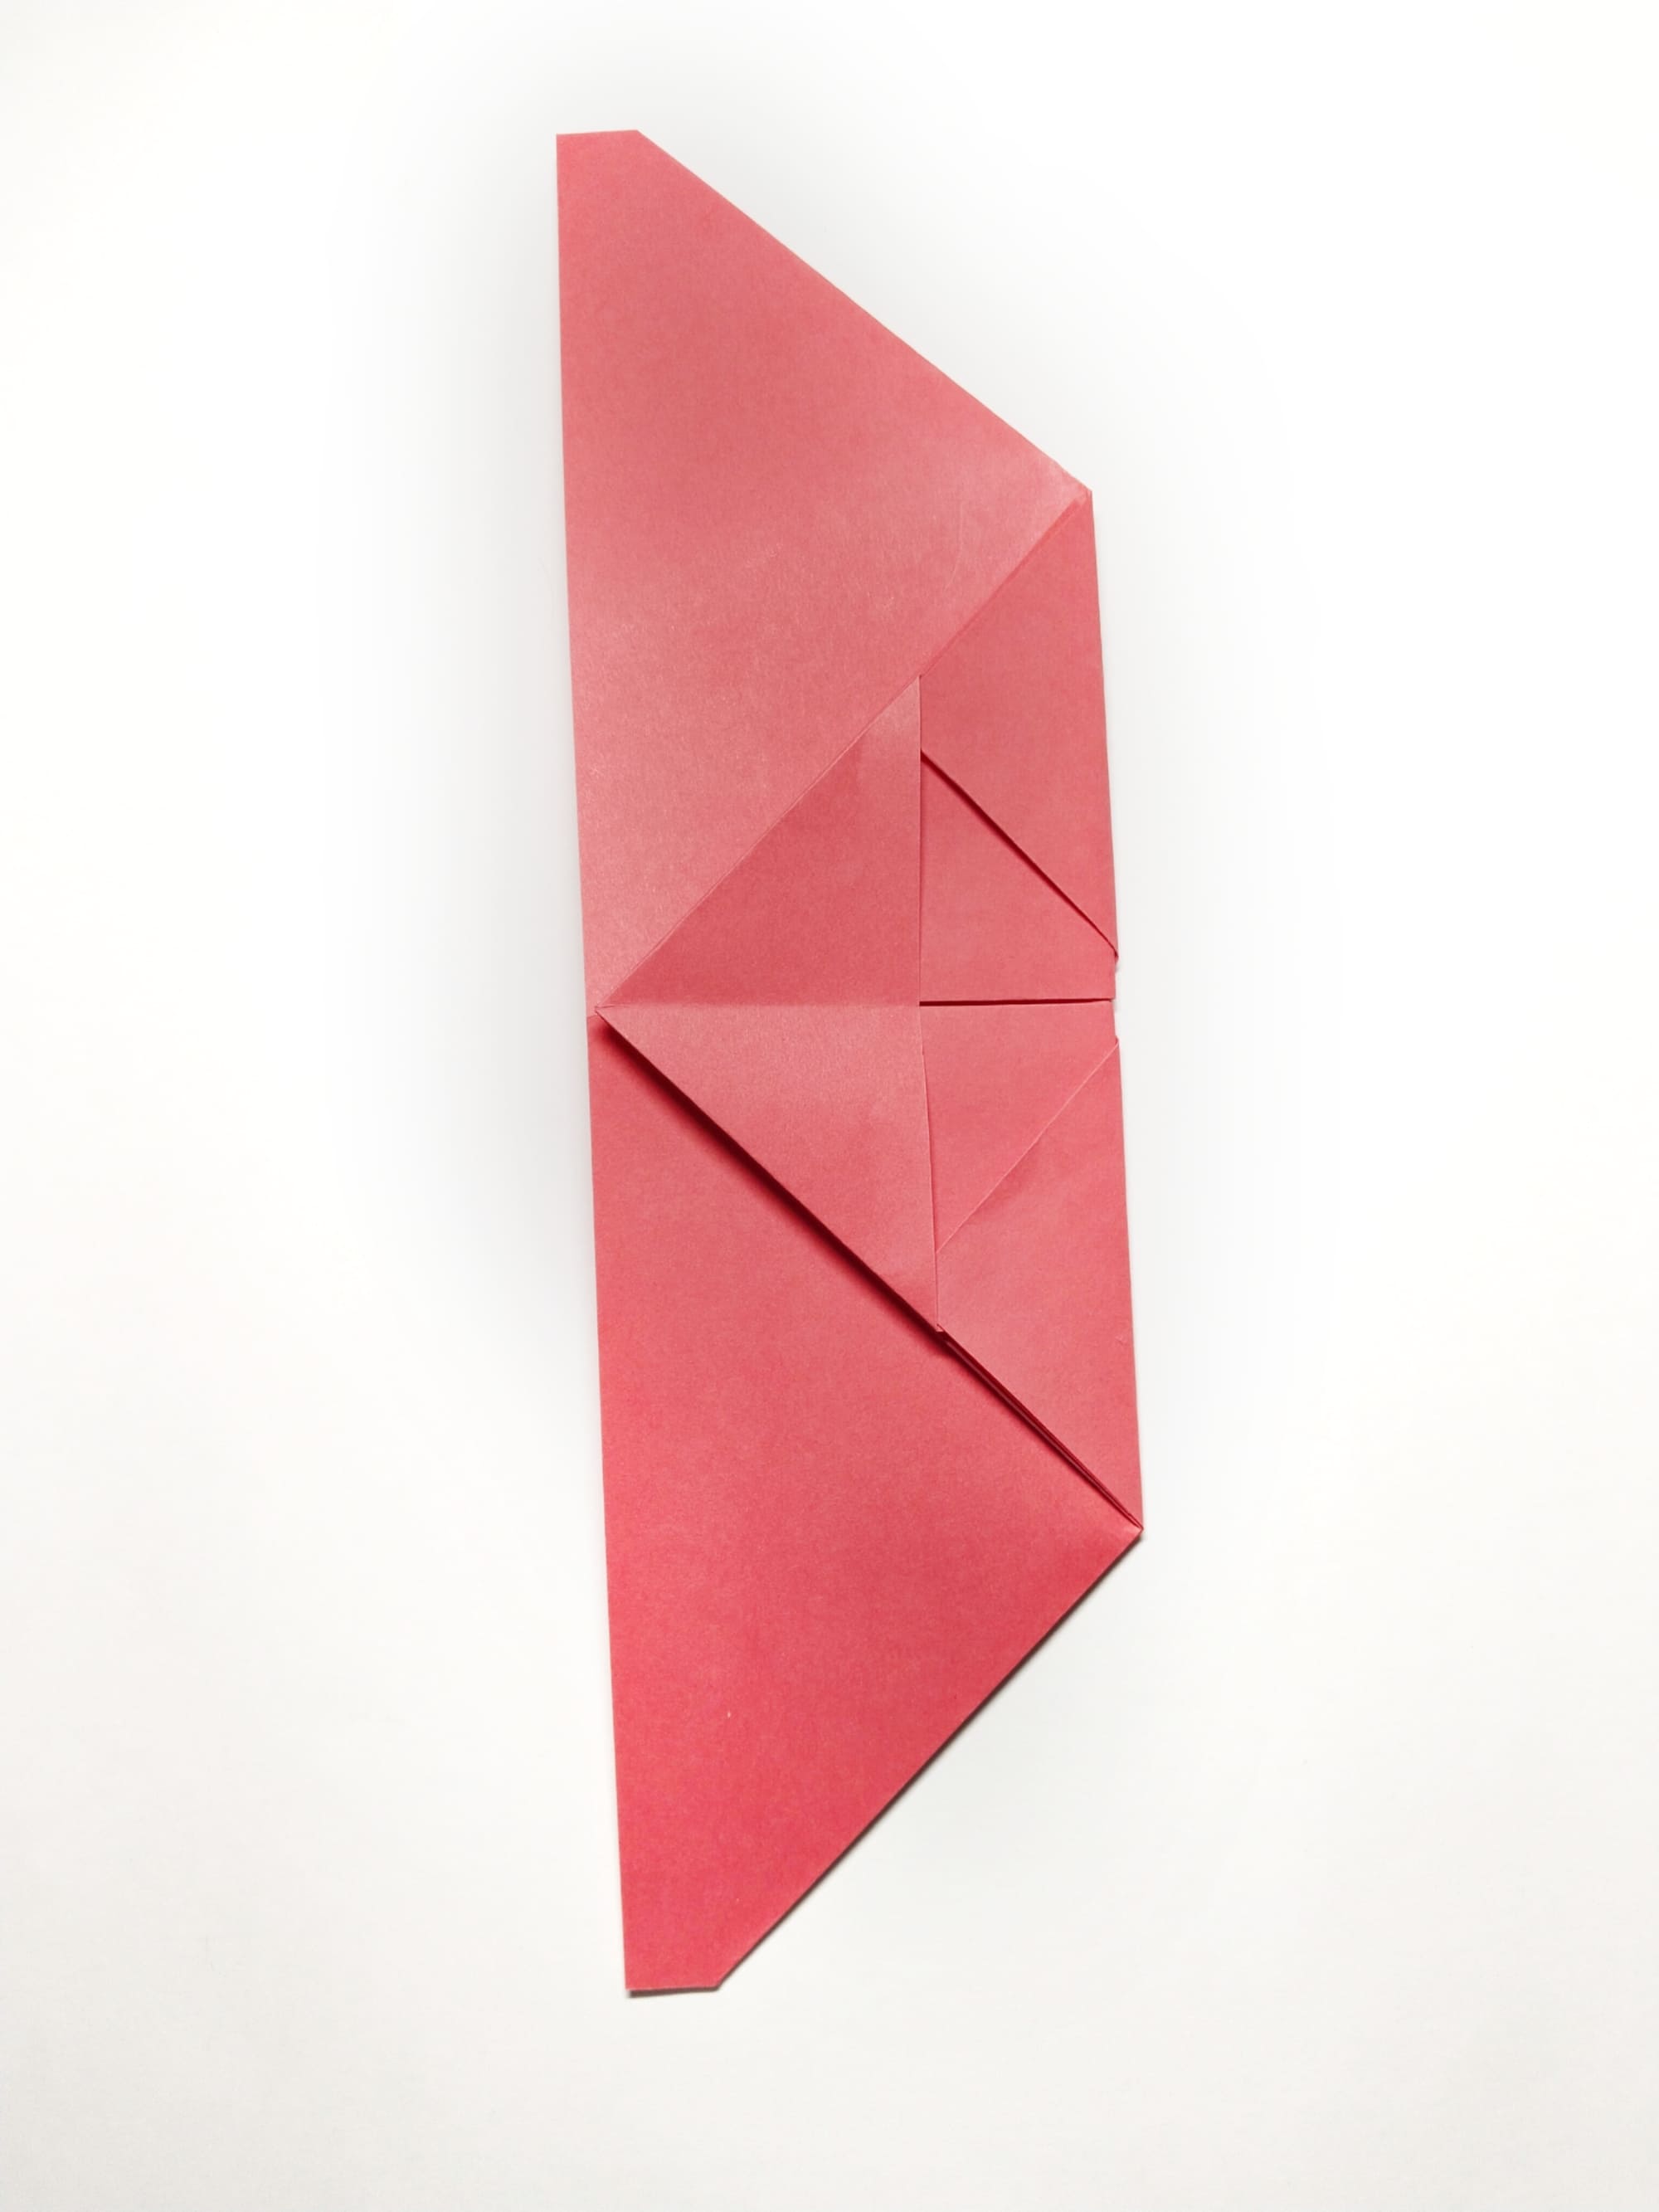
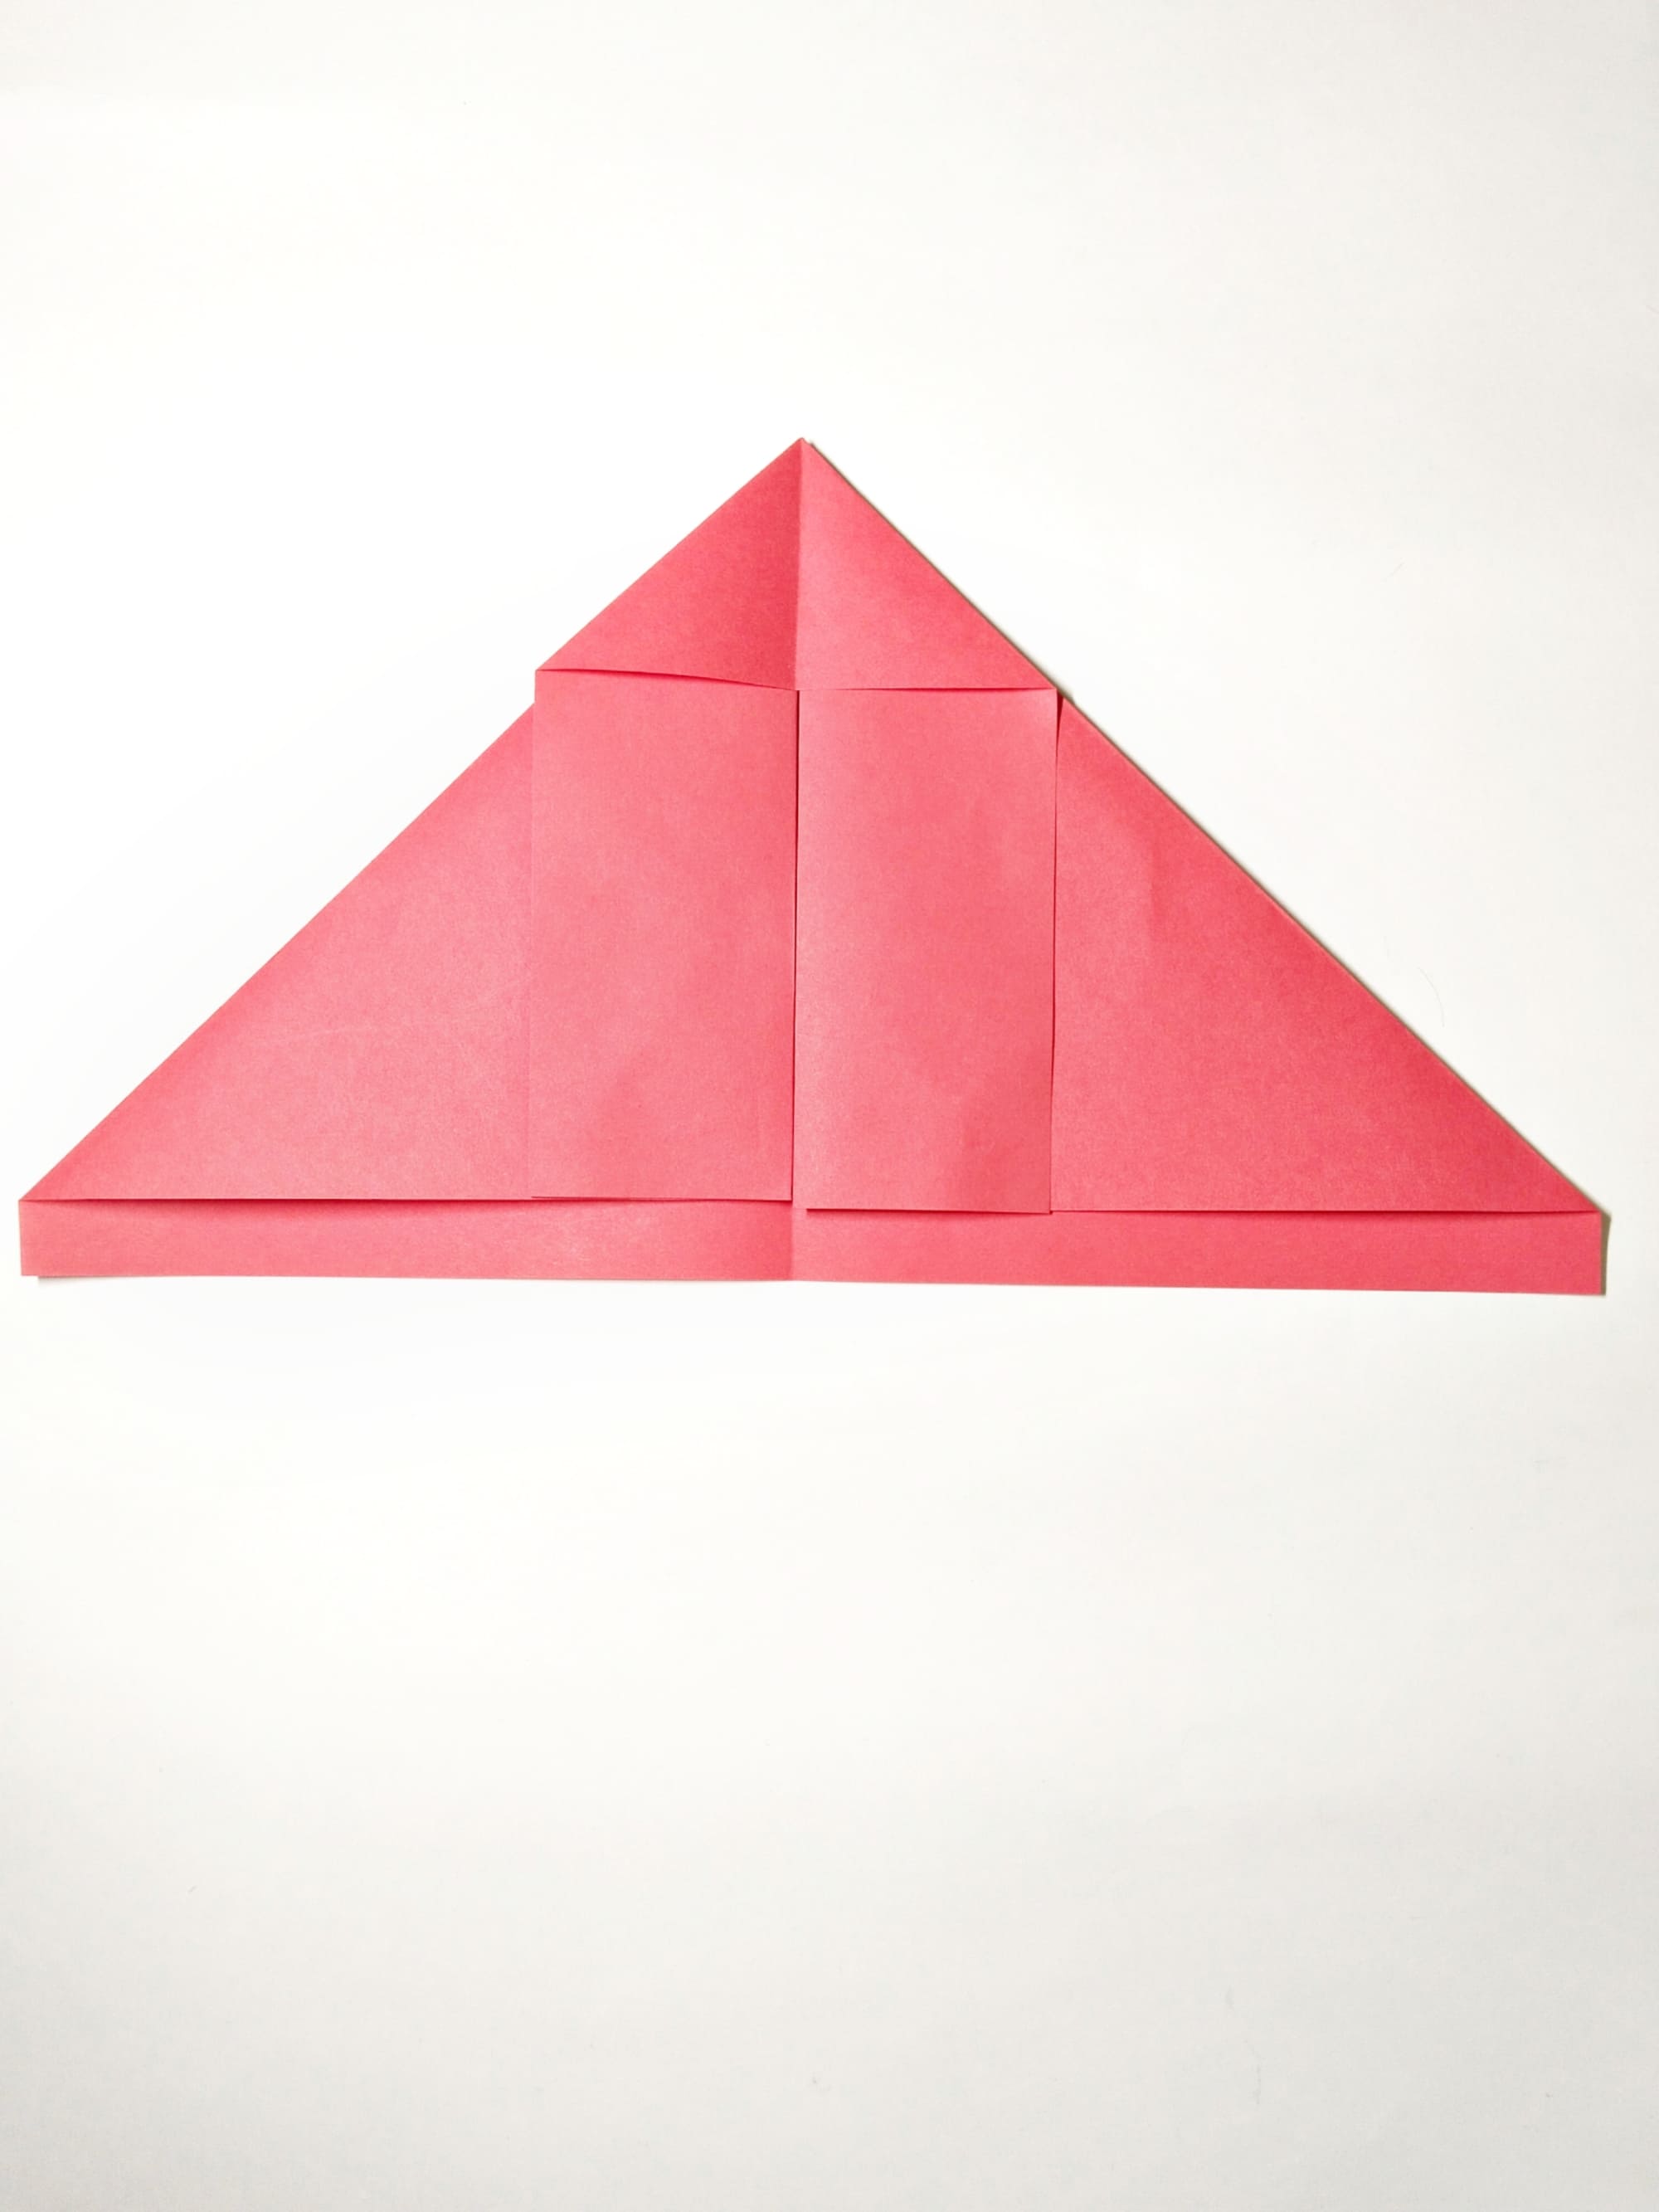
Turn the figure over and bend the top to the base of the future model.
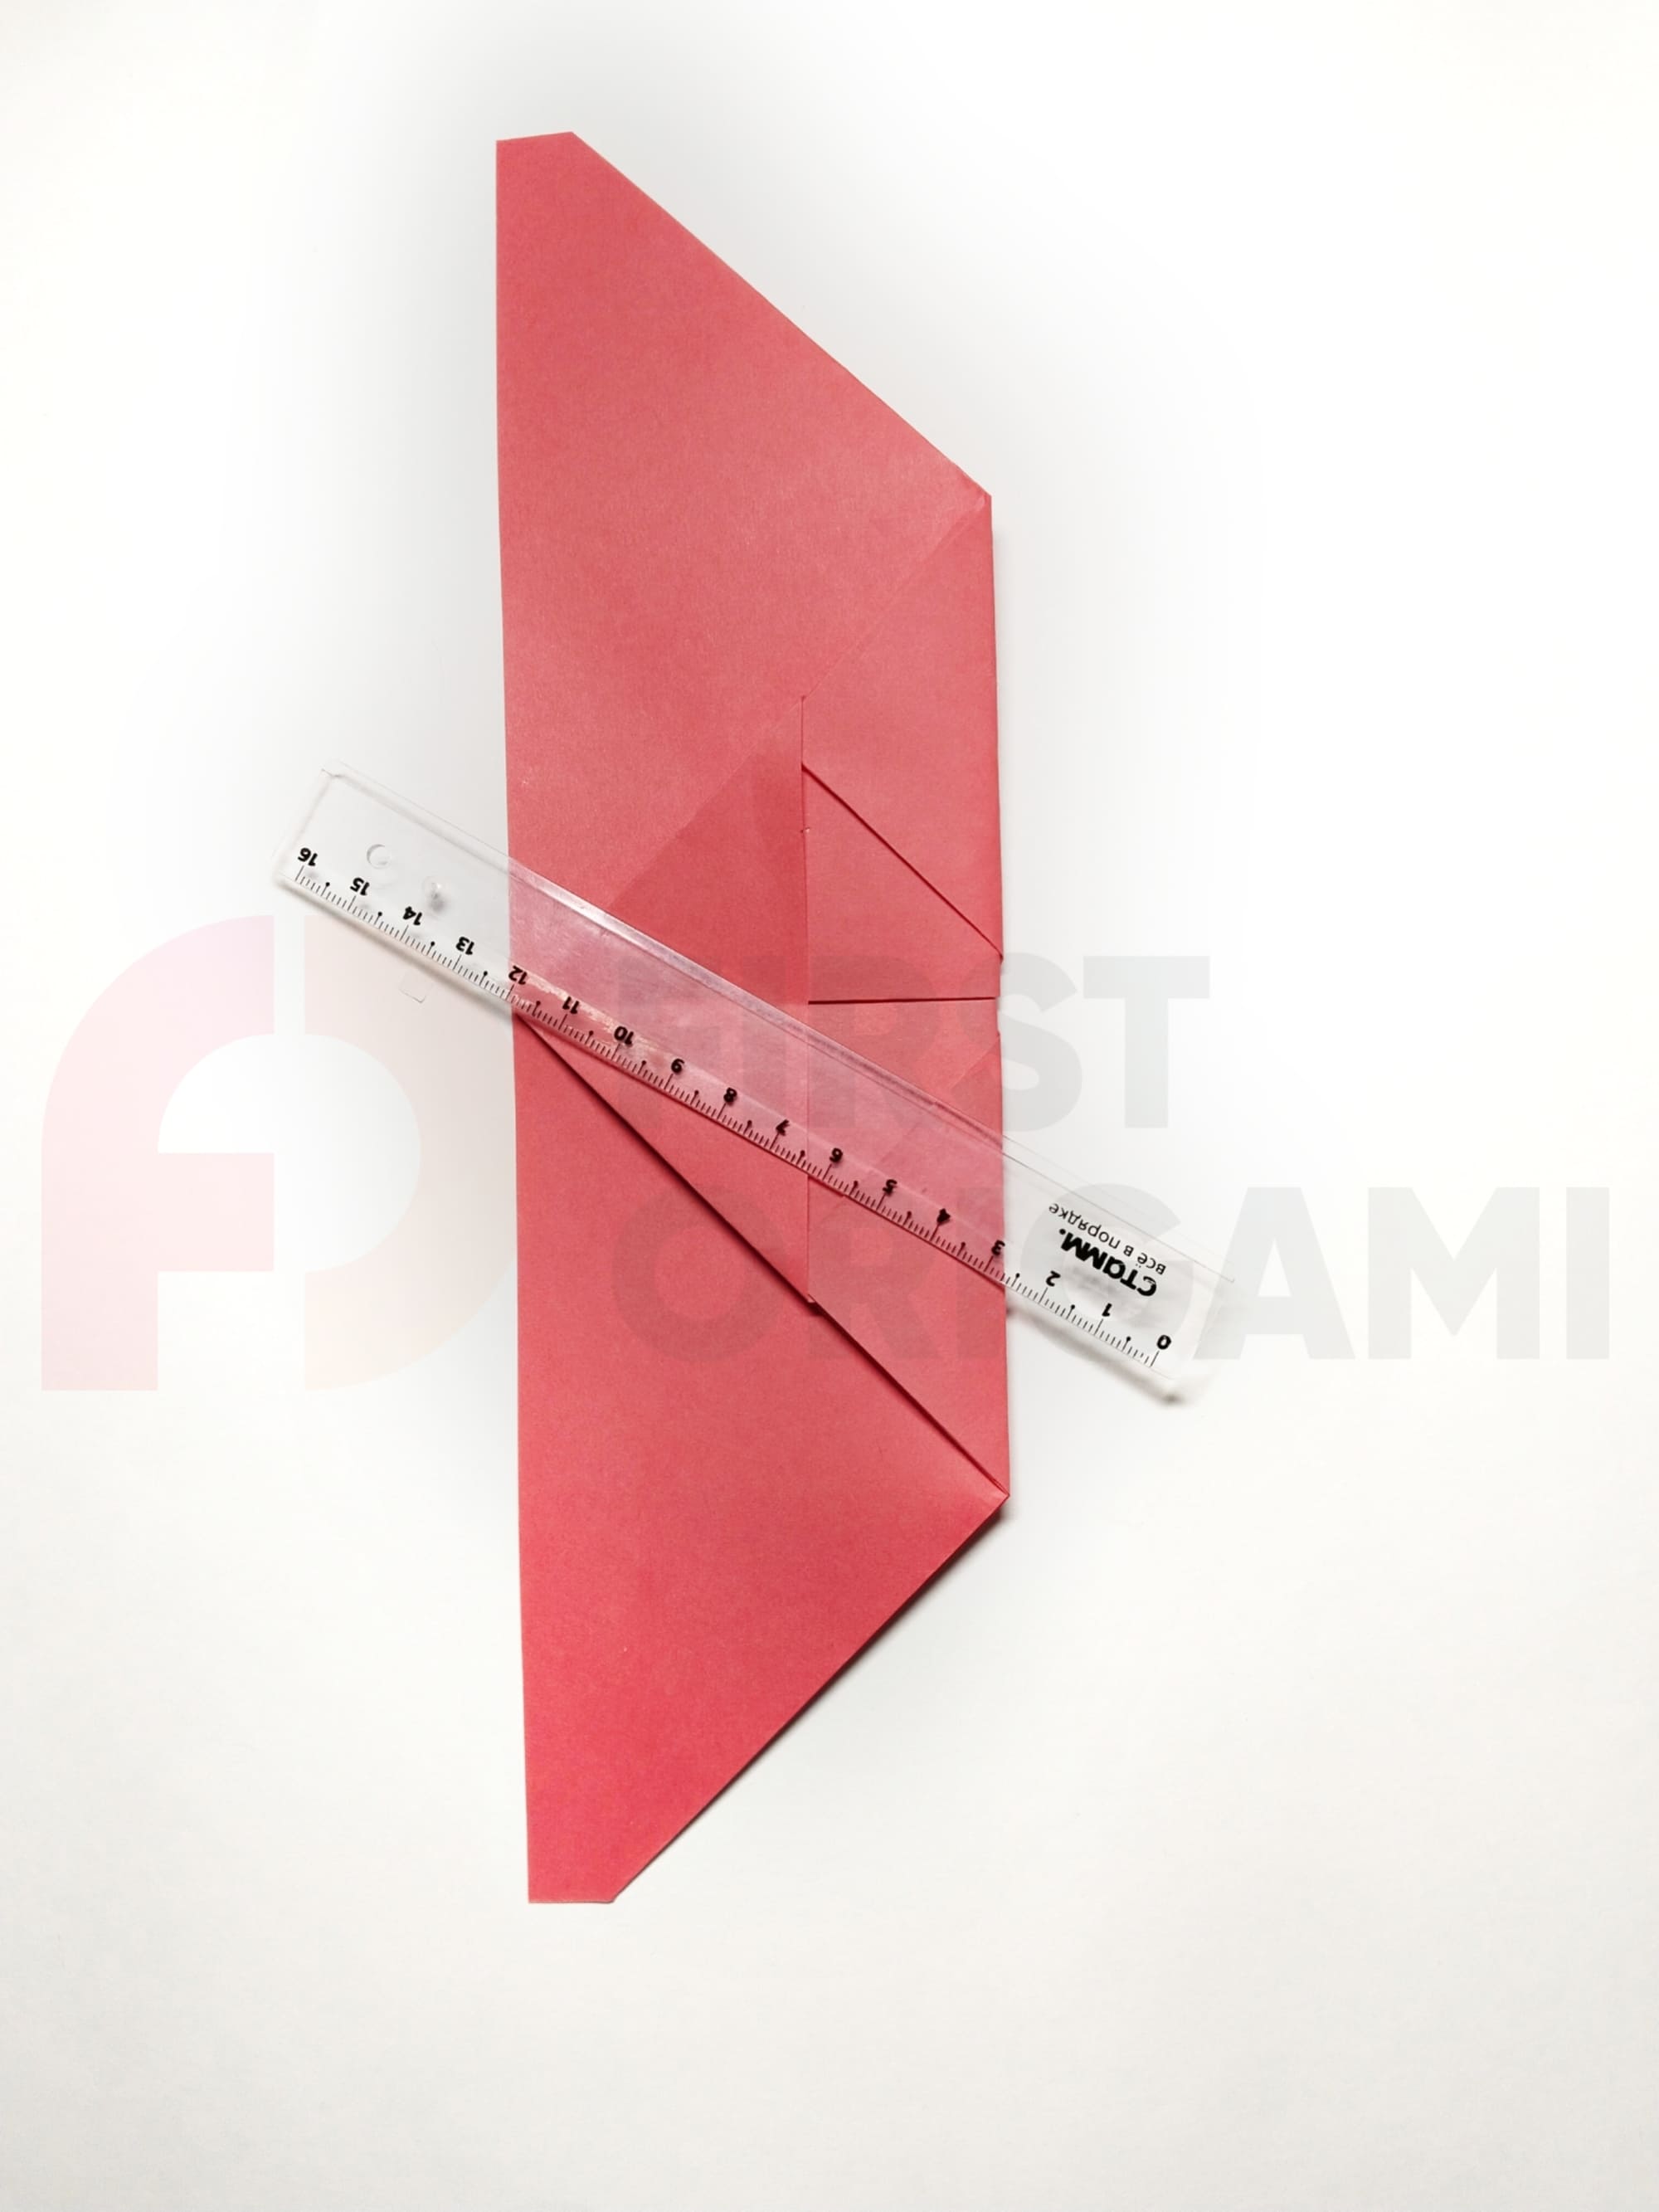
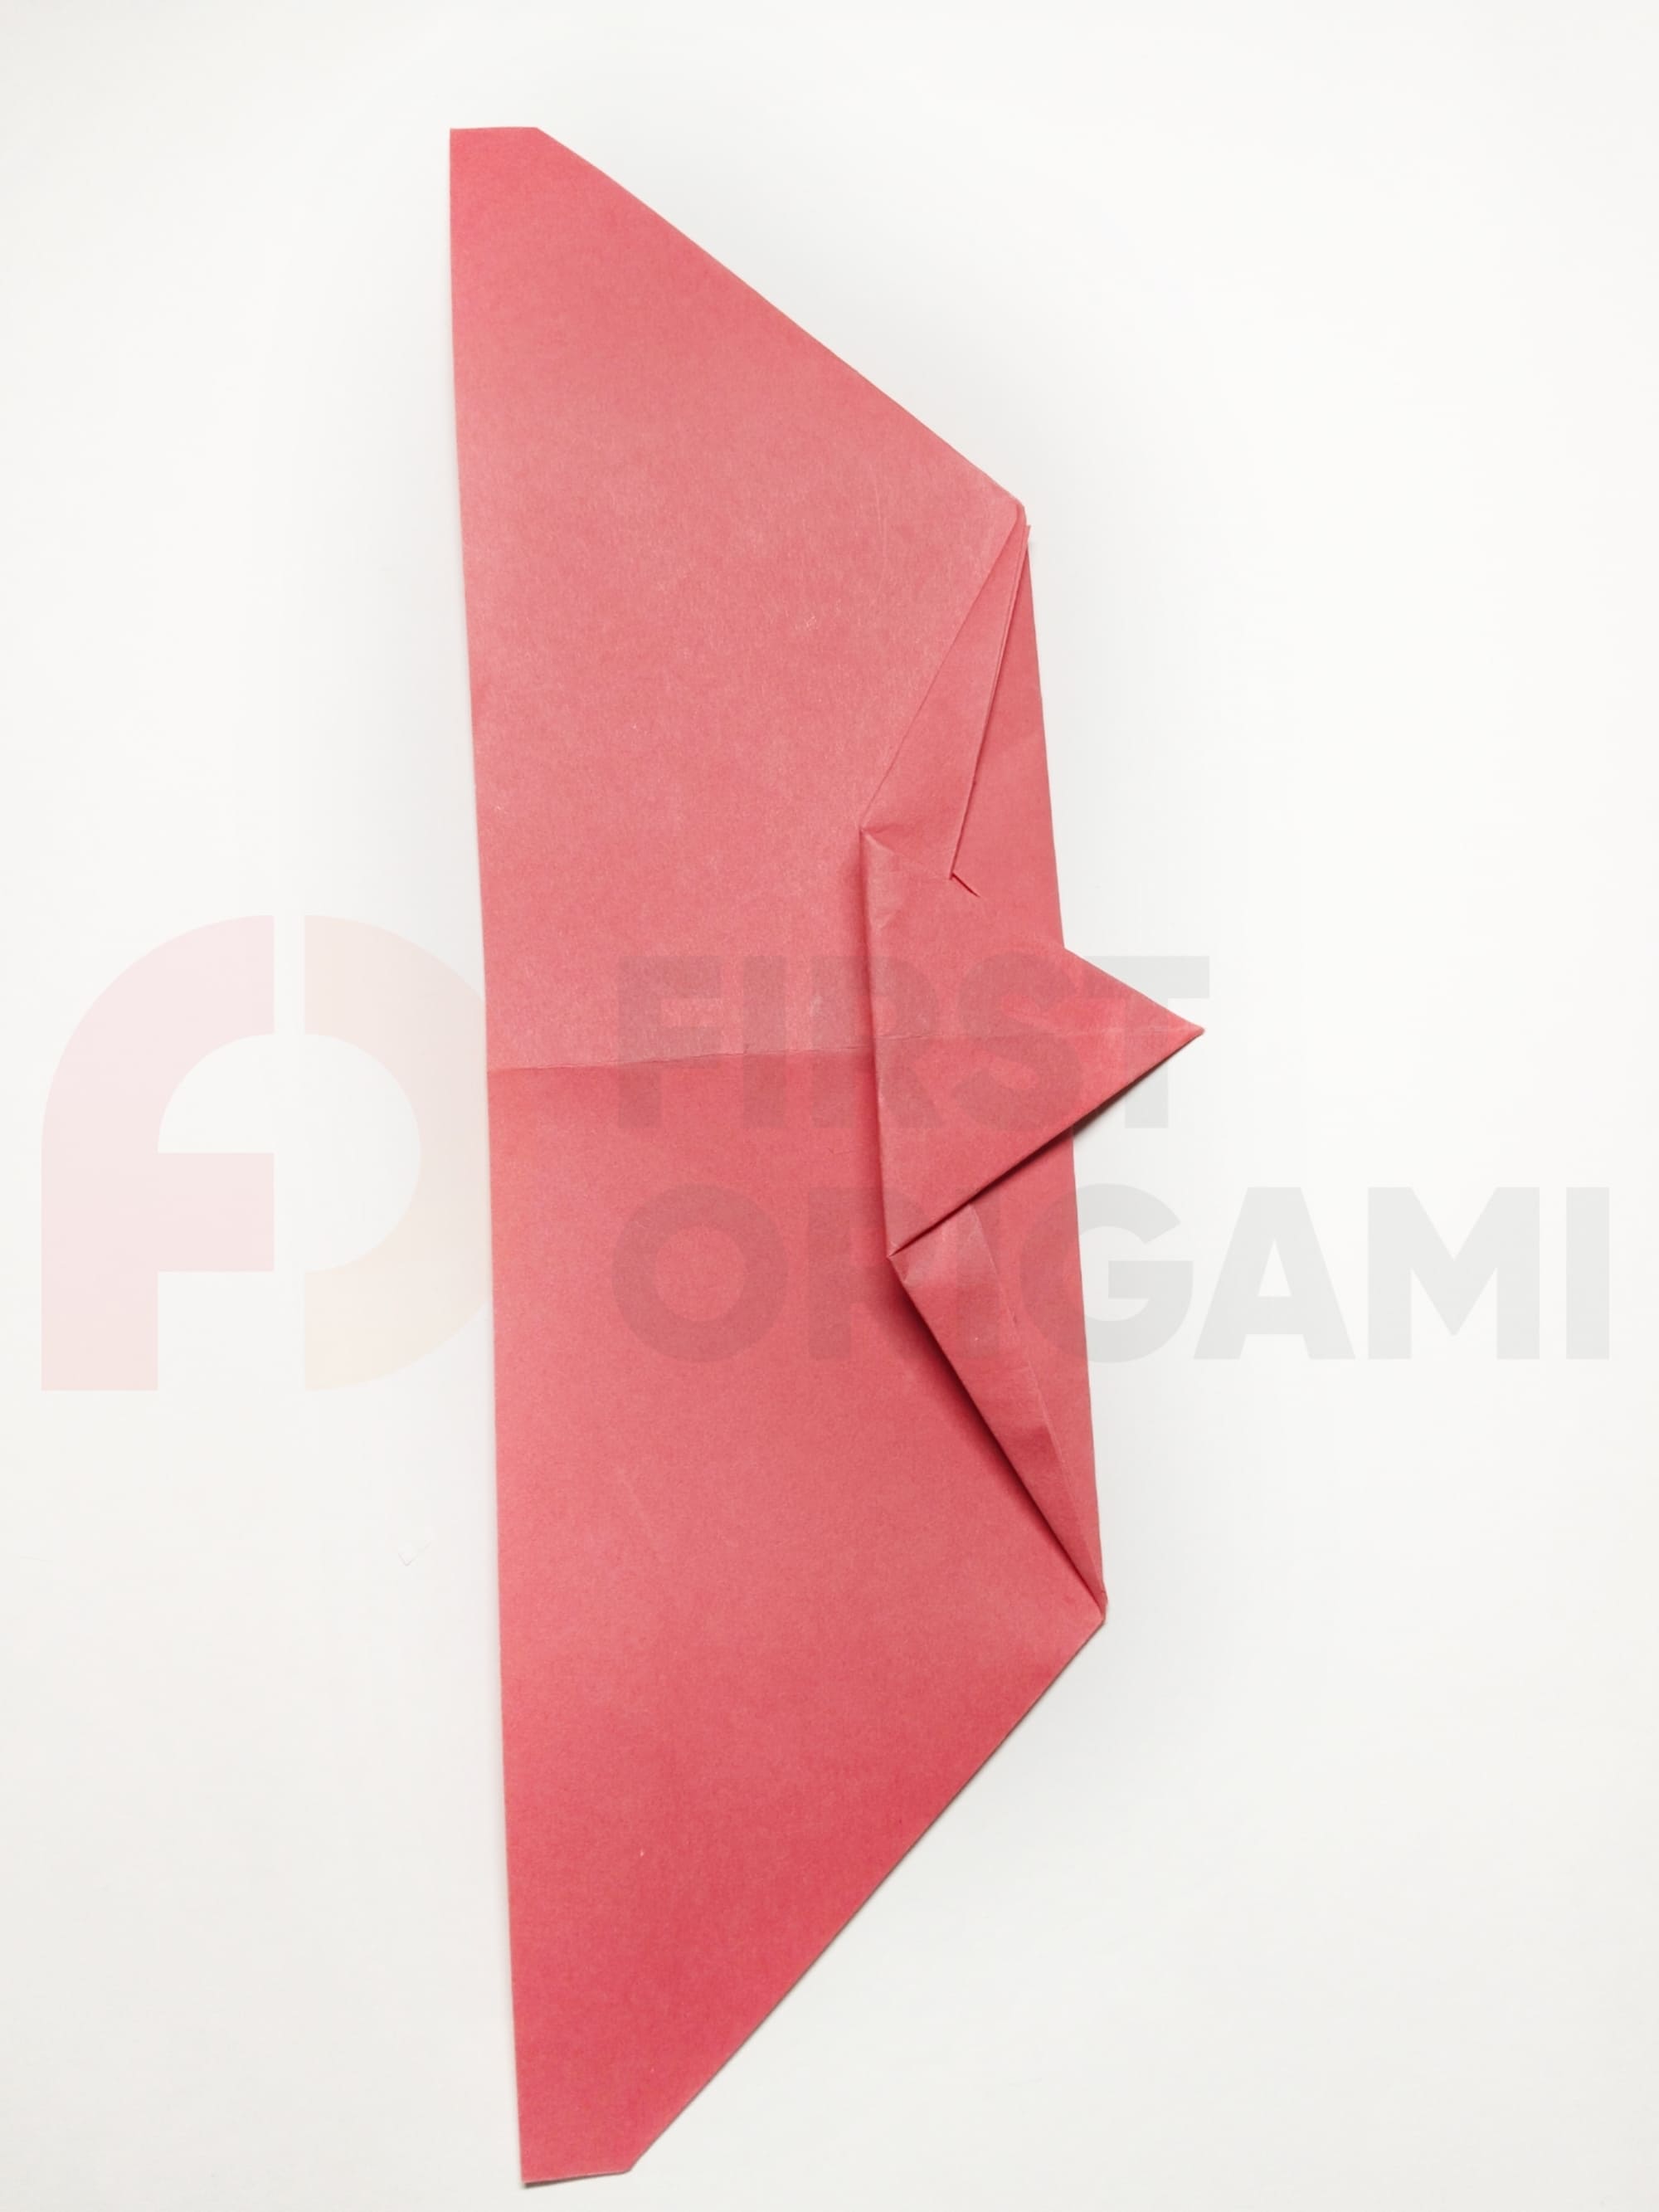
Mark one centimeter to the right along the base line of the inner triangle. Align the ruler with the top and one-centimeter mark. Lift the paper up, forming a fold at the junction with the measuring device.
Place the ruler on the upper right corner of the entire figure, aligning it with the one-centimeter mark. Fold the paper edge up. You should end up with a raised triangular flap.
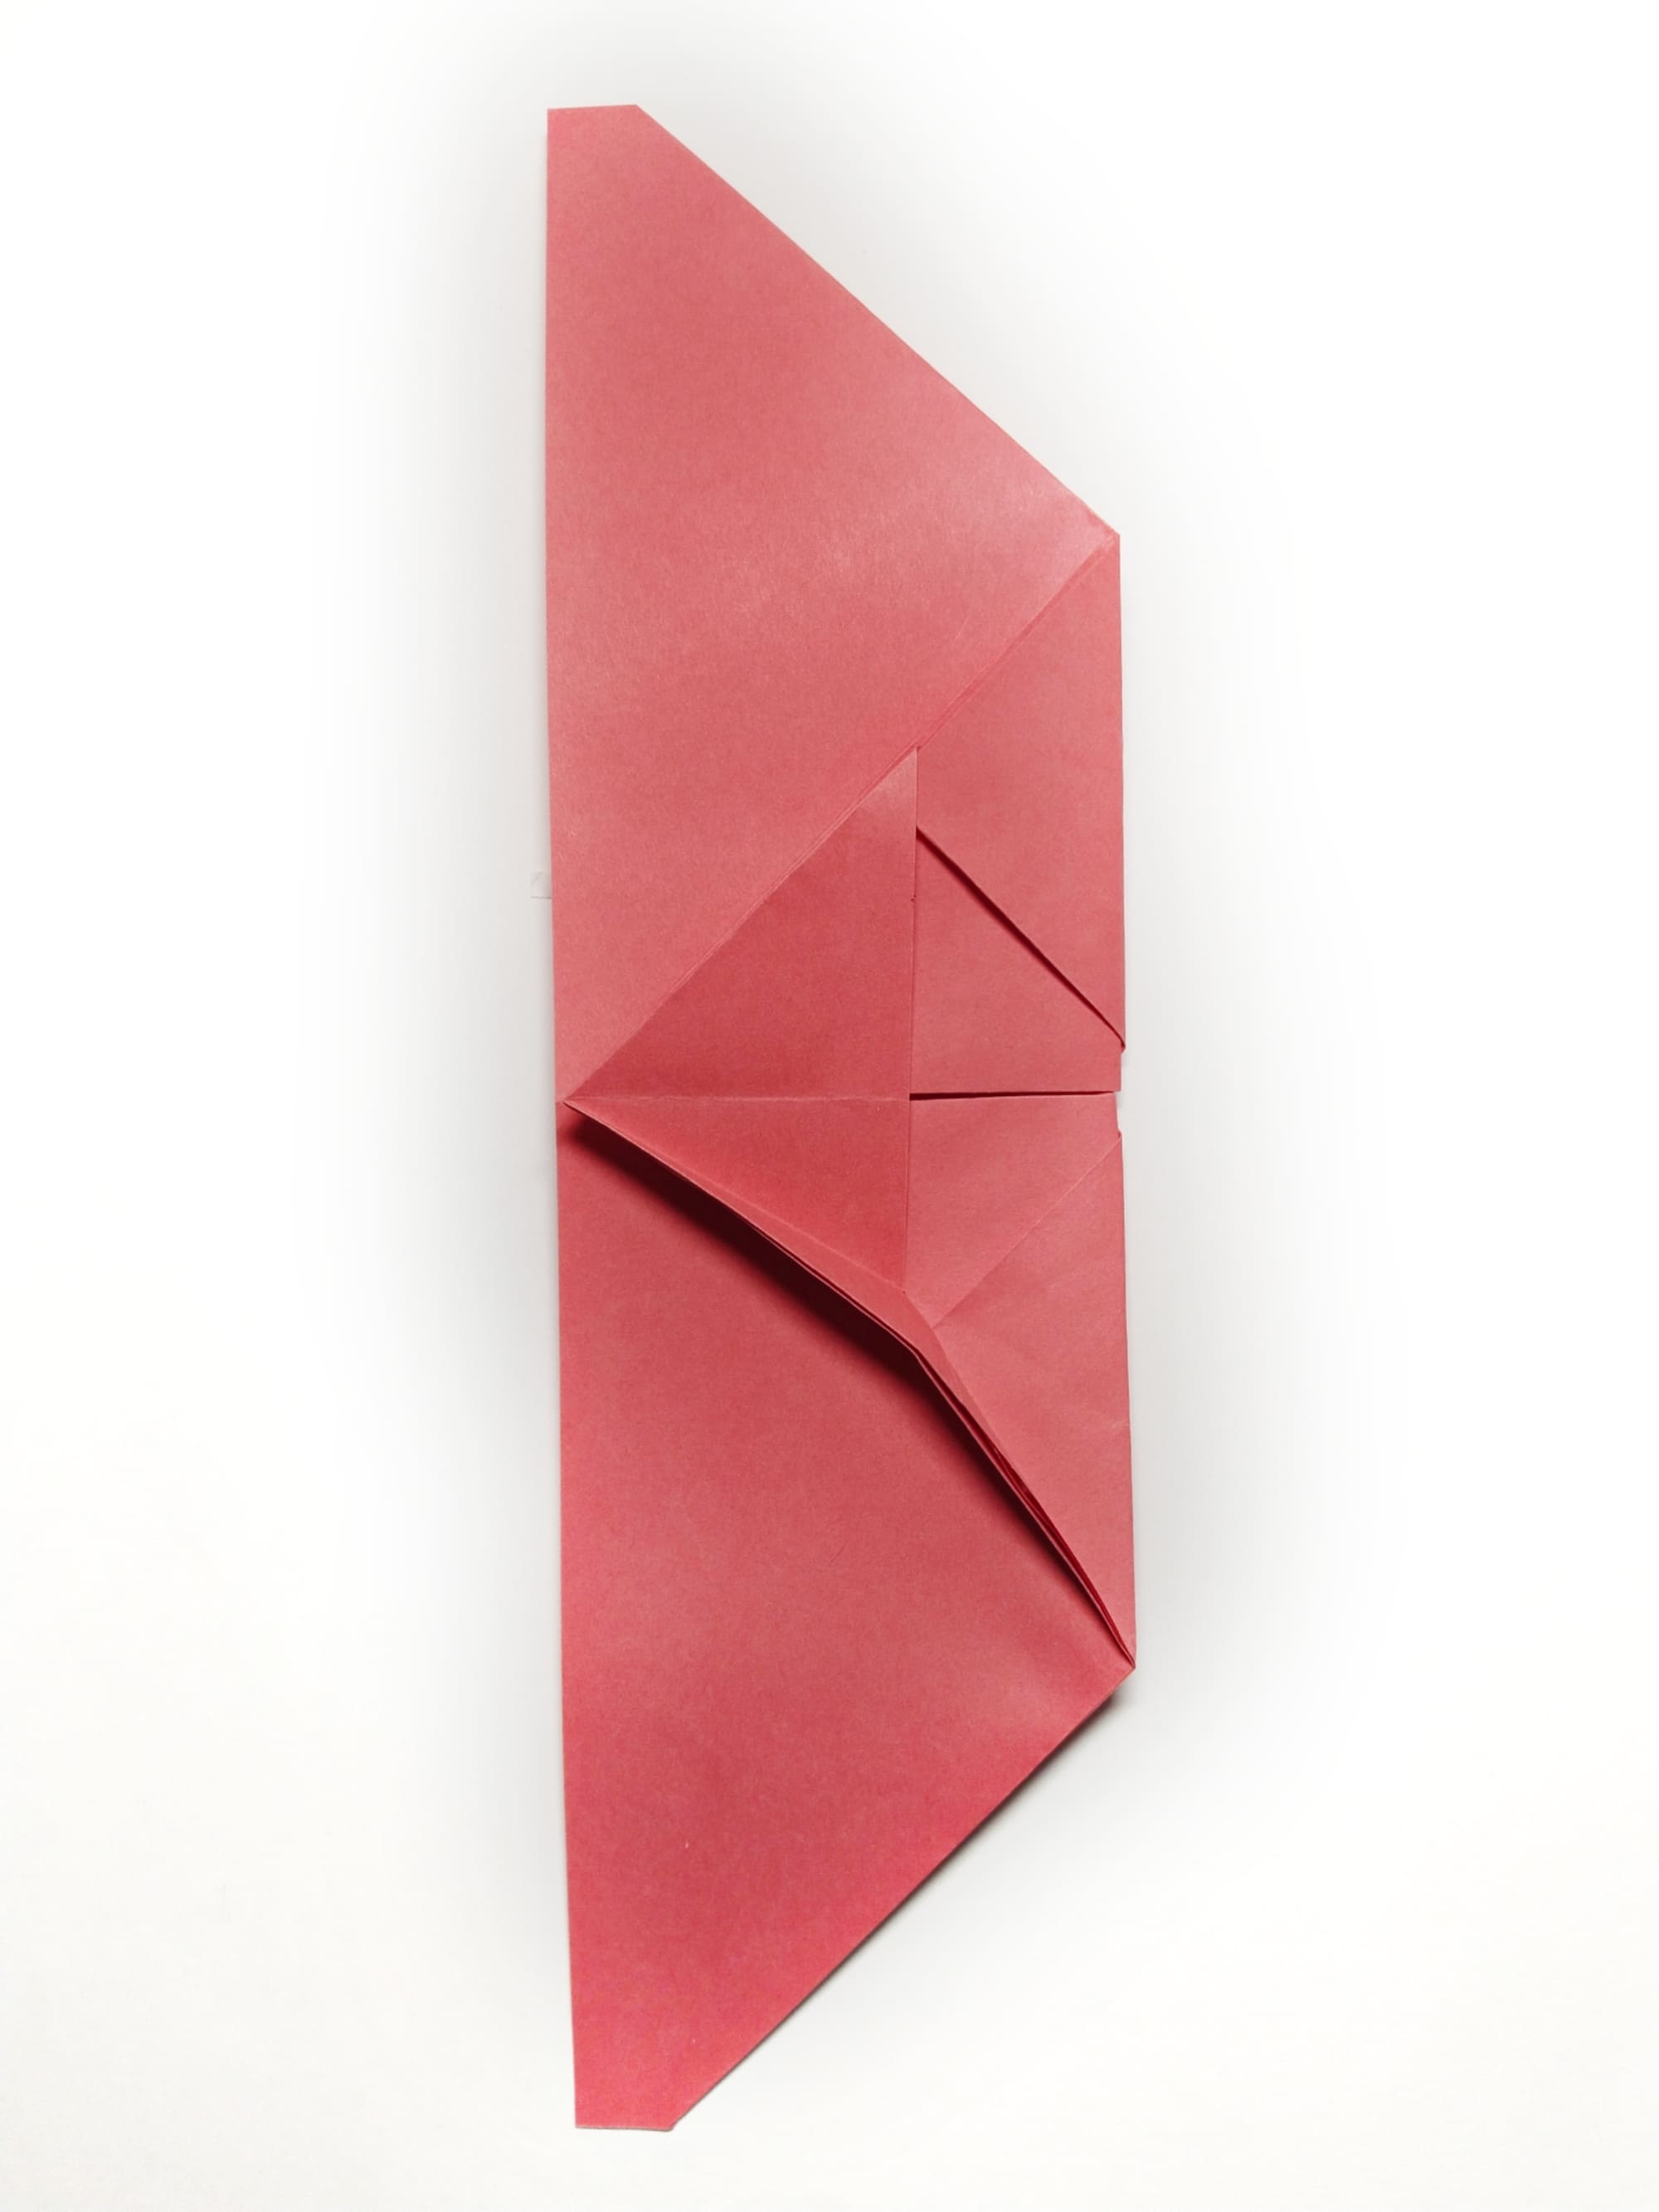
Mirror all the procedures from step 11 on the other side.
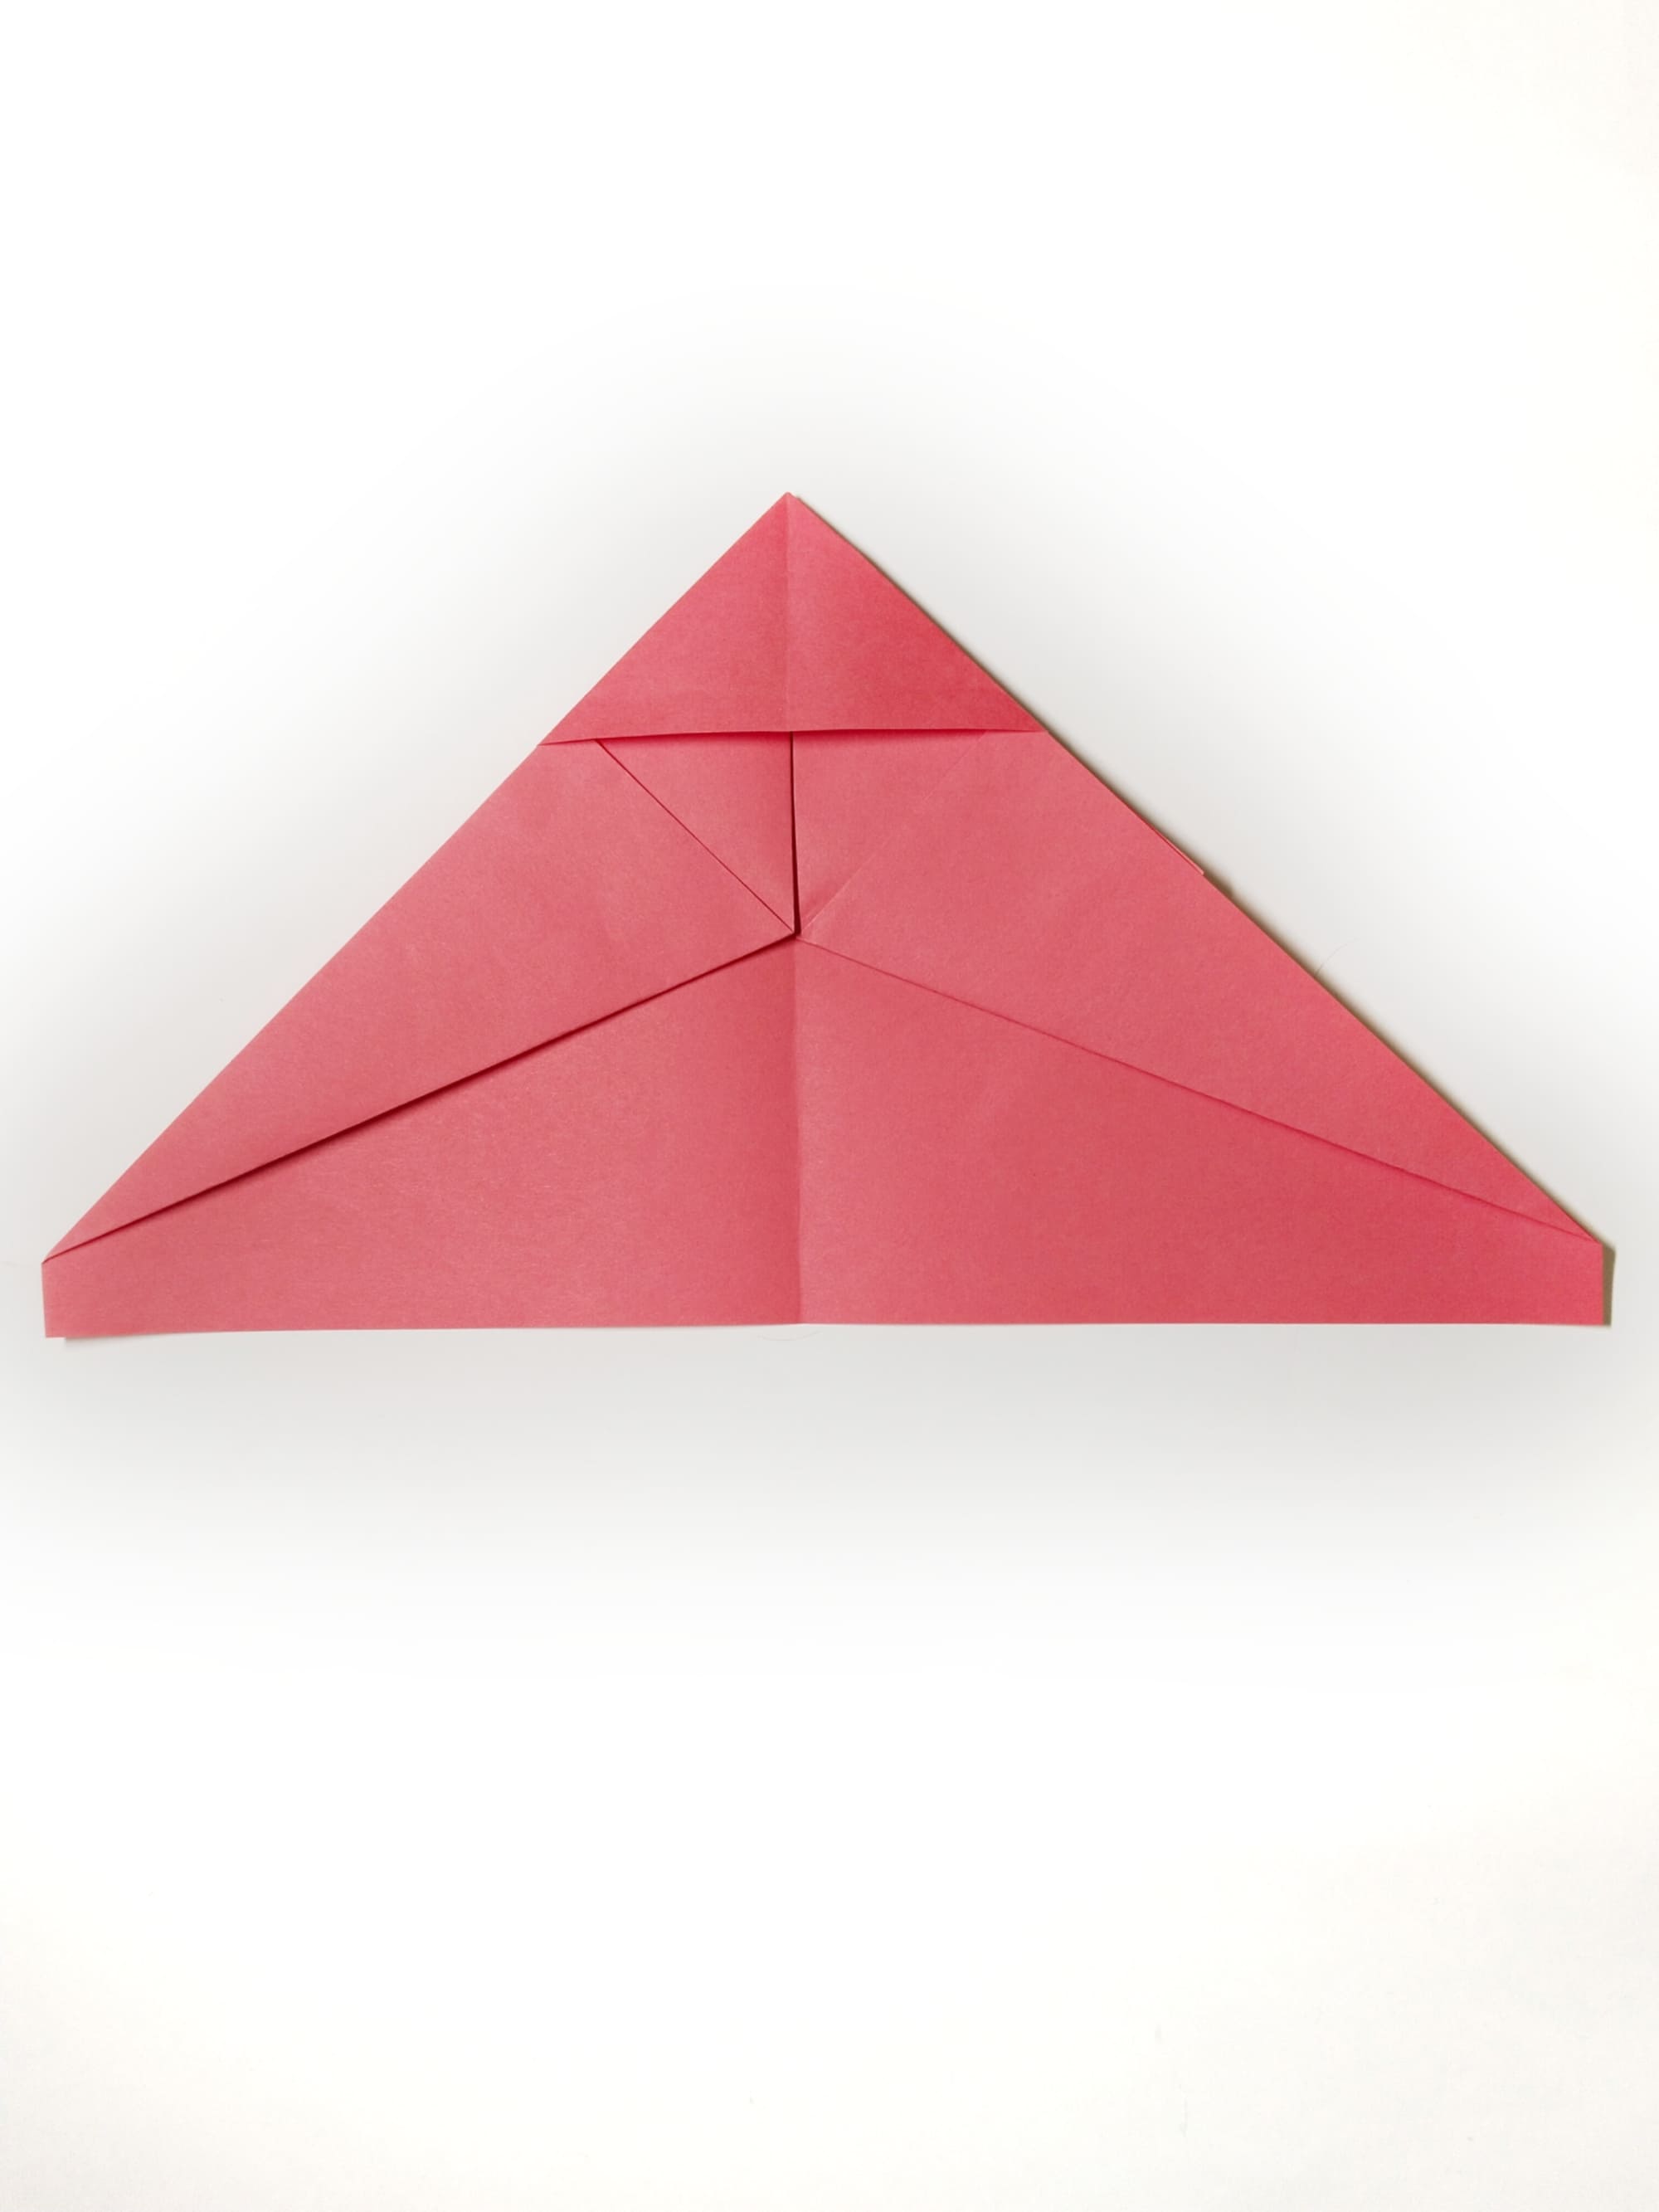
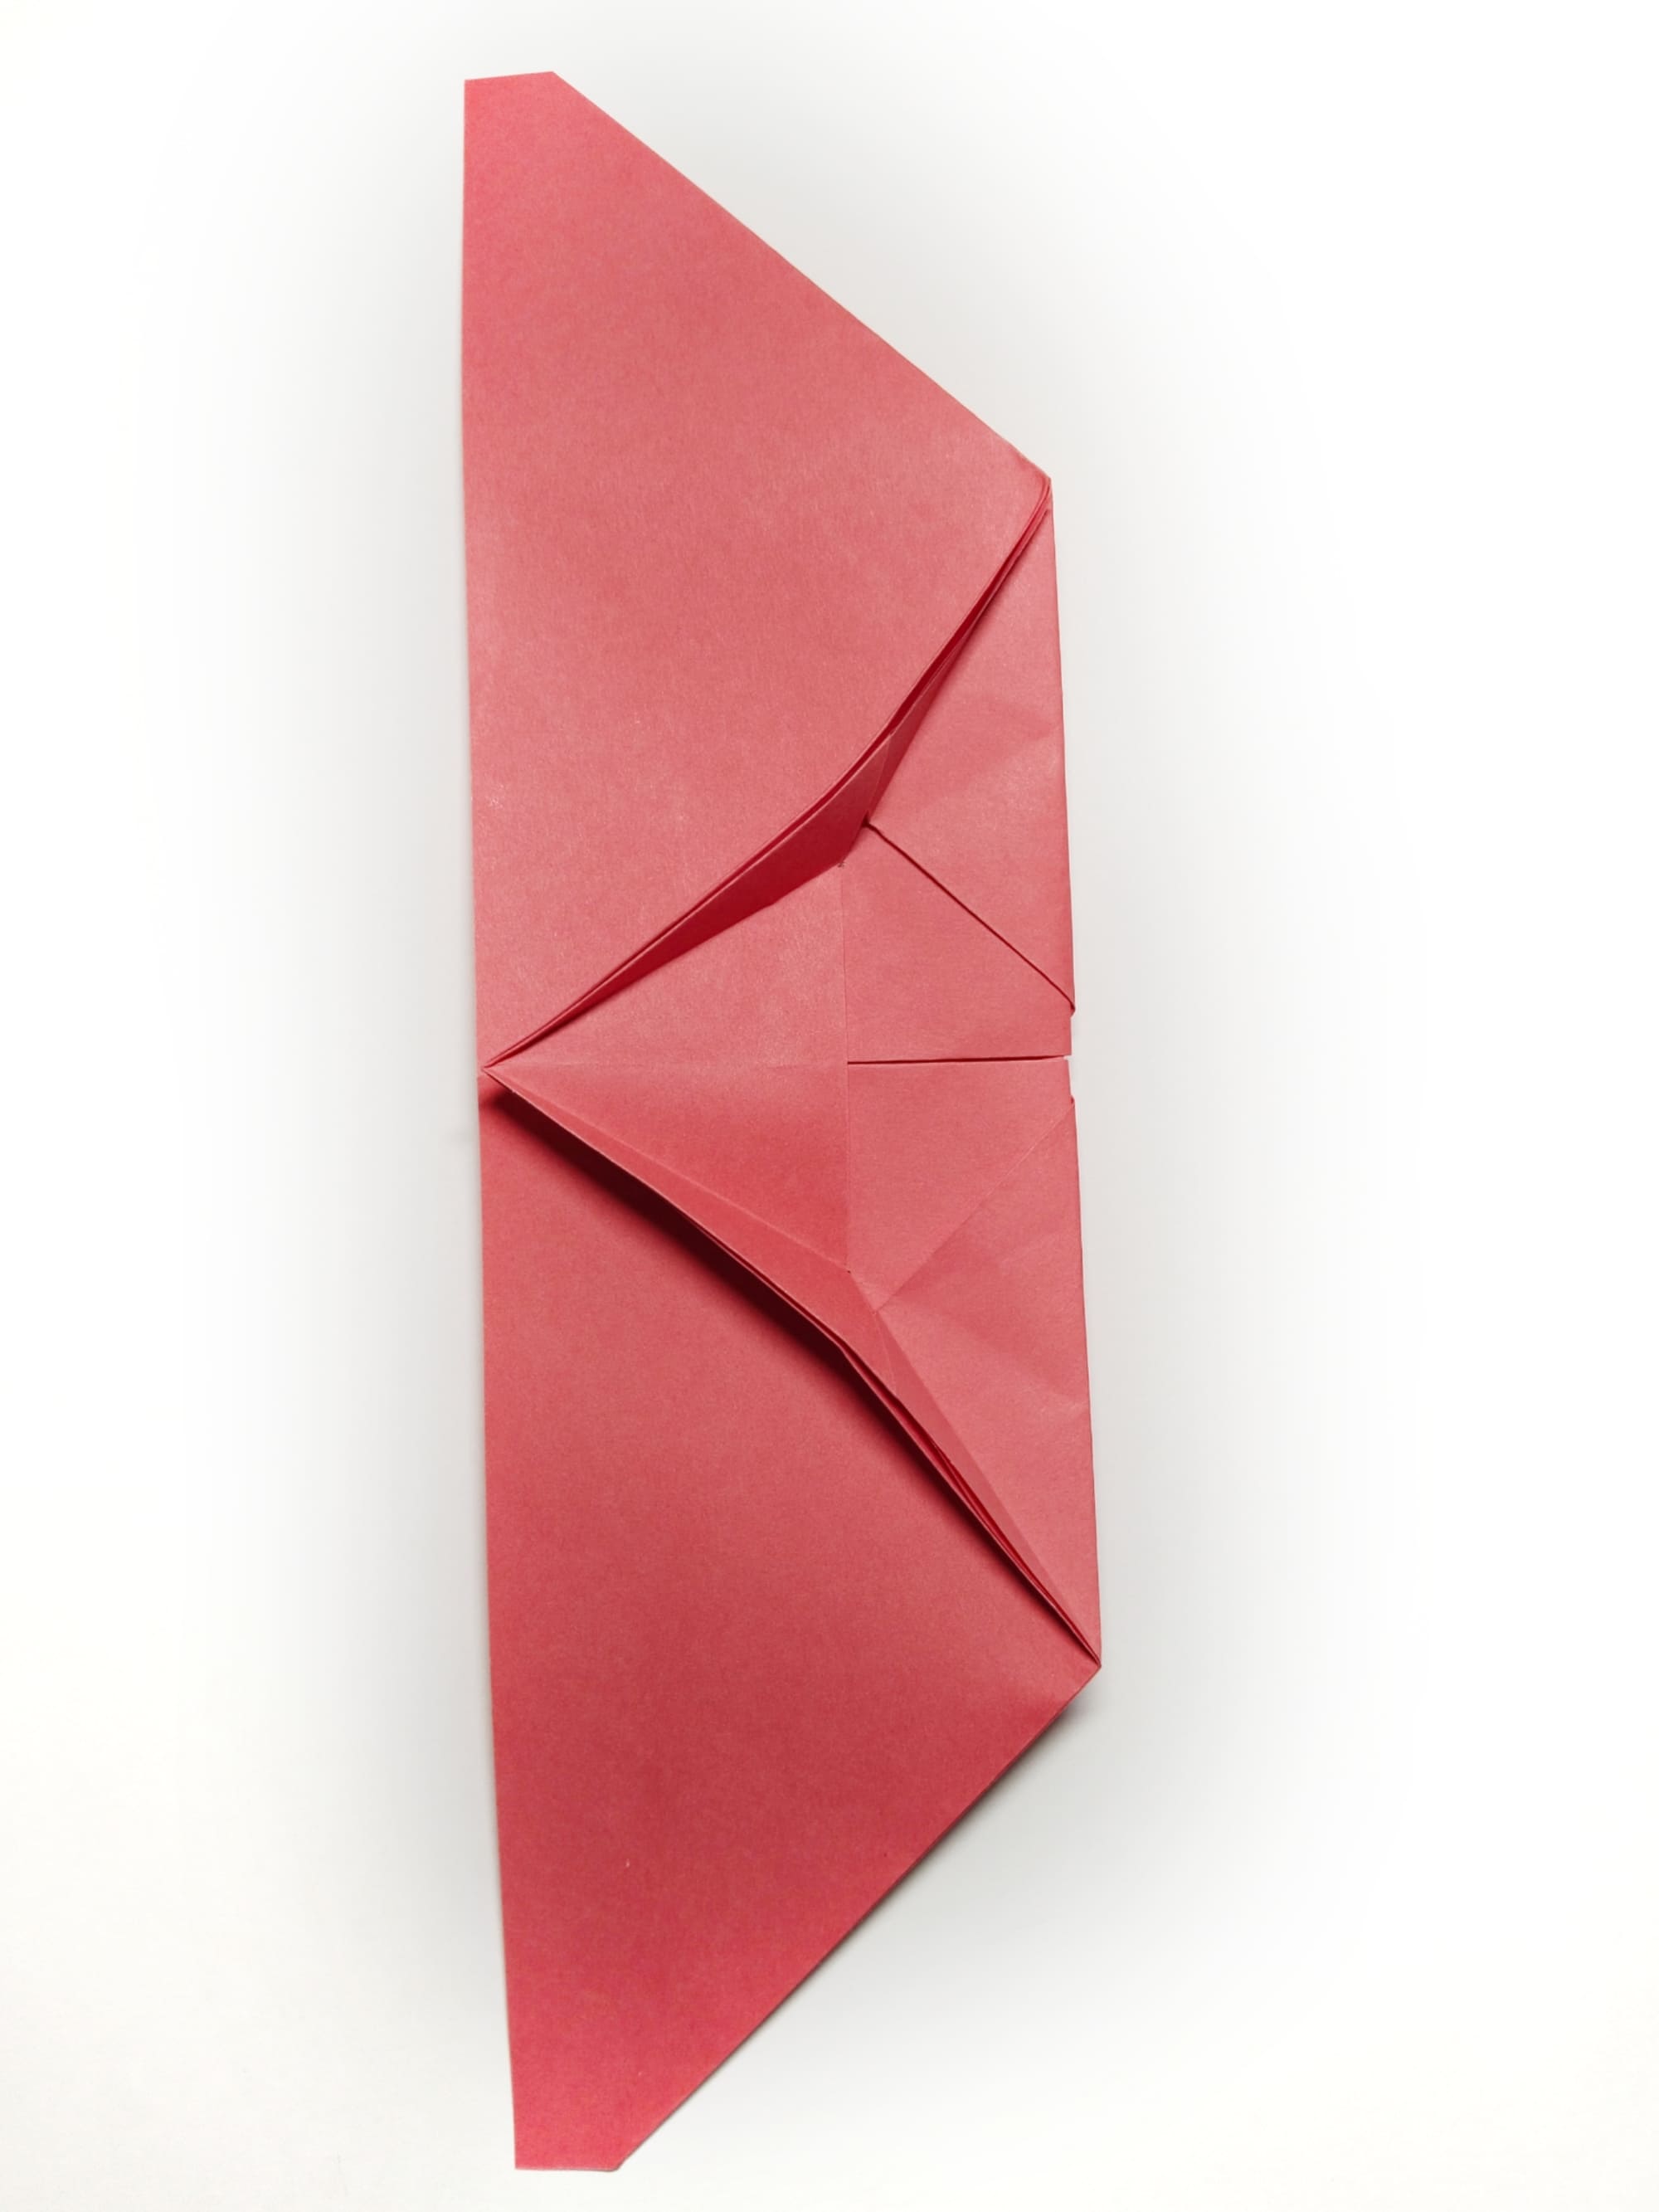
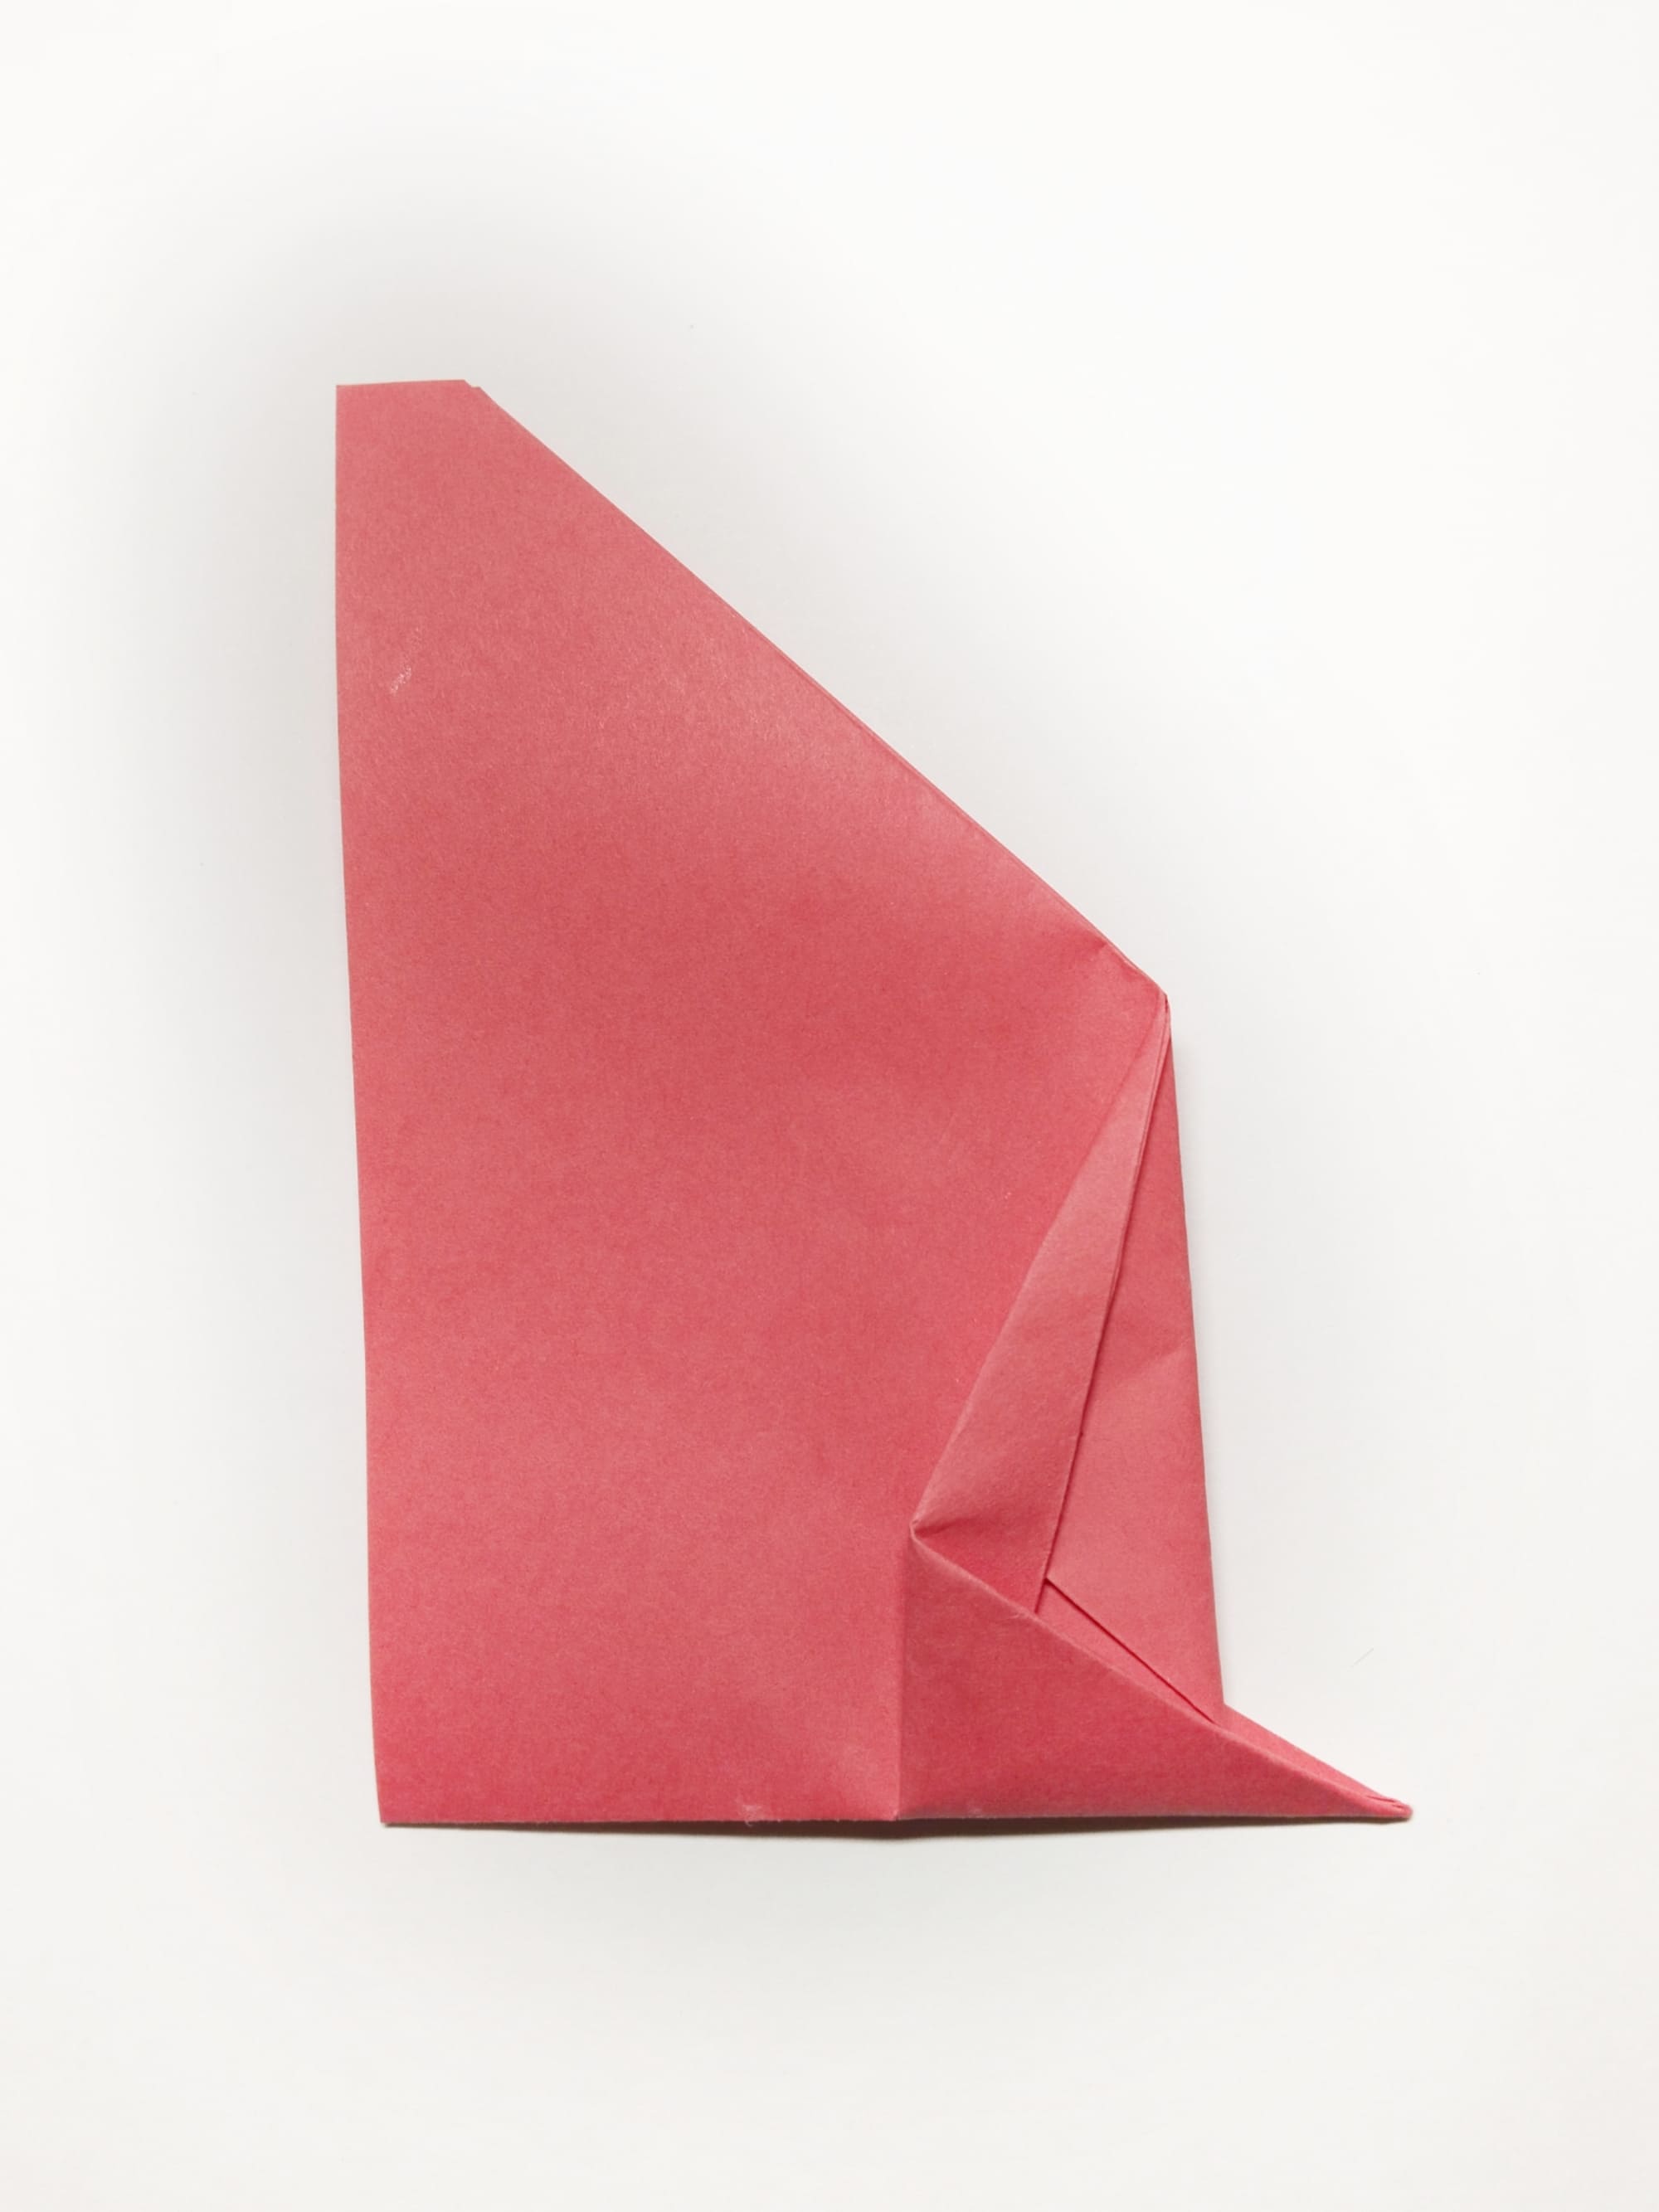
Form the airplane bow by folding the smaller triangle in half.
Bend the future hawk in half, precisely aligning all the edges.
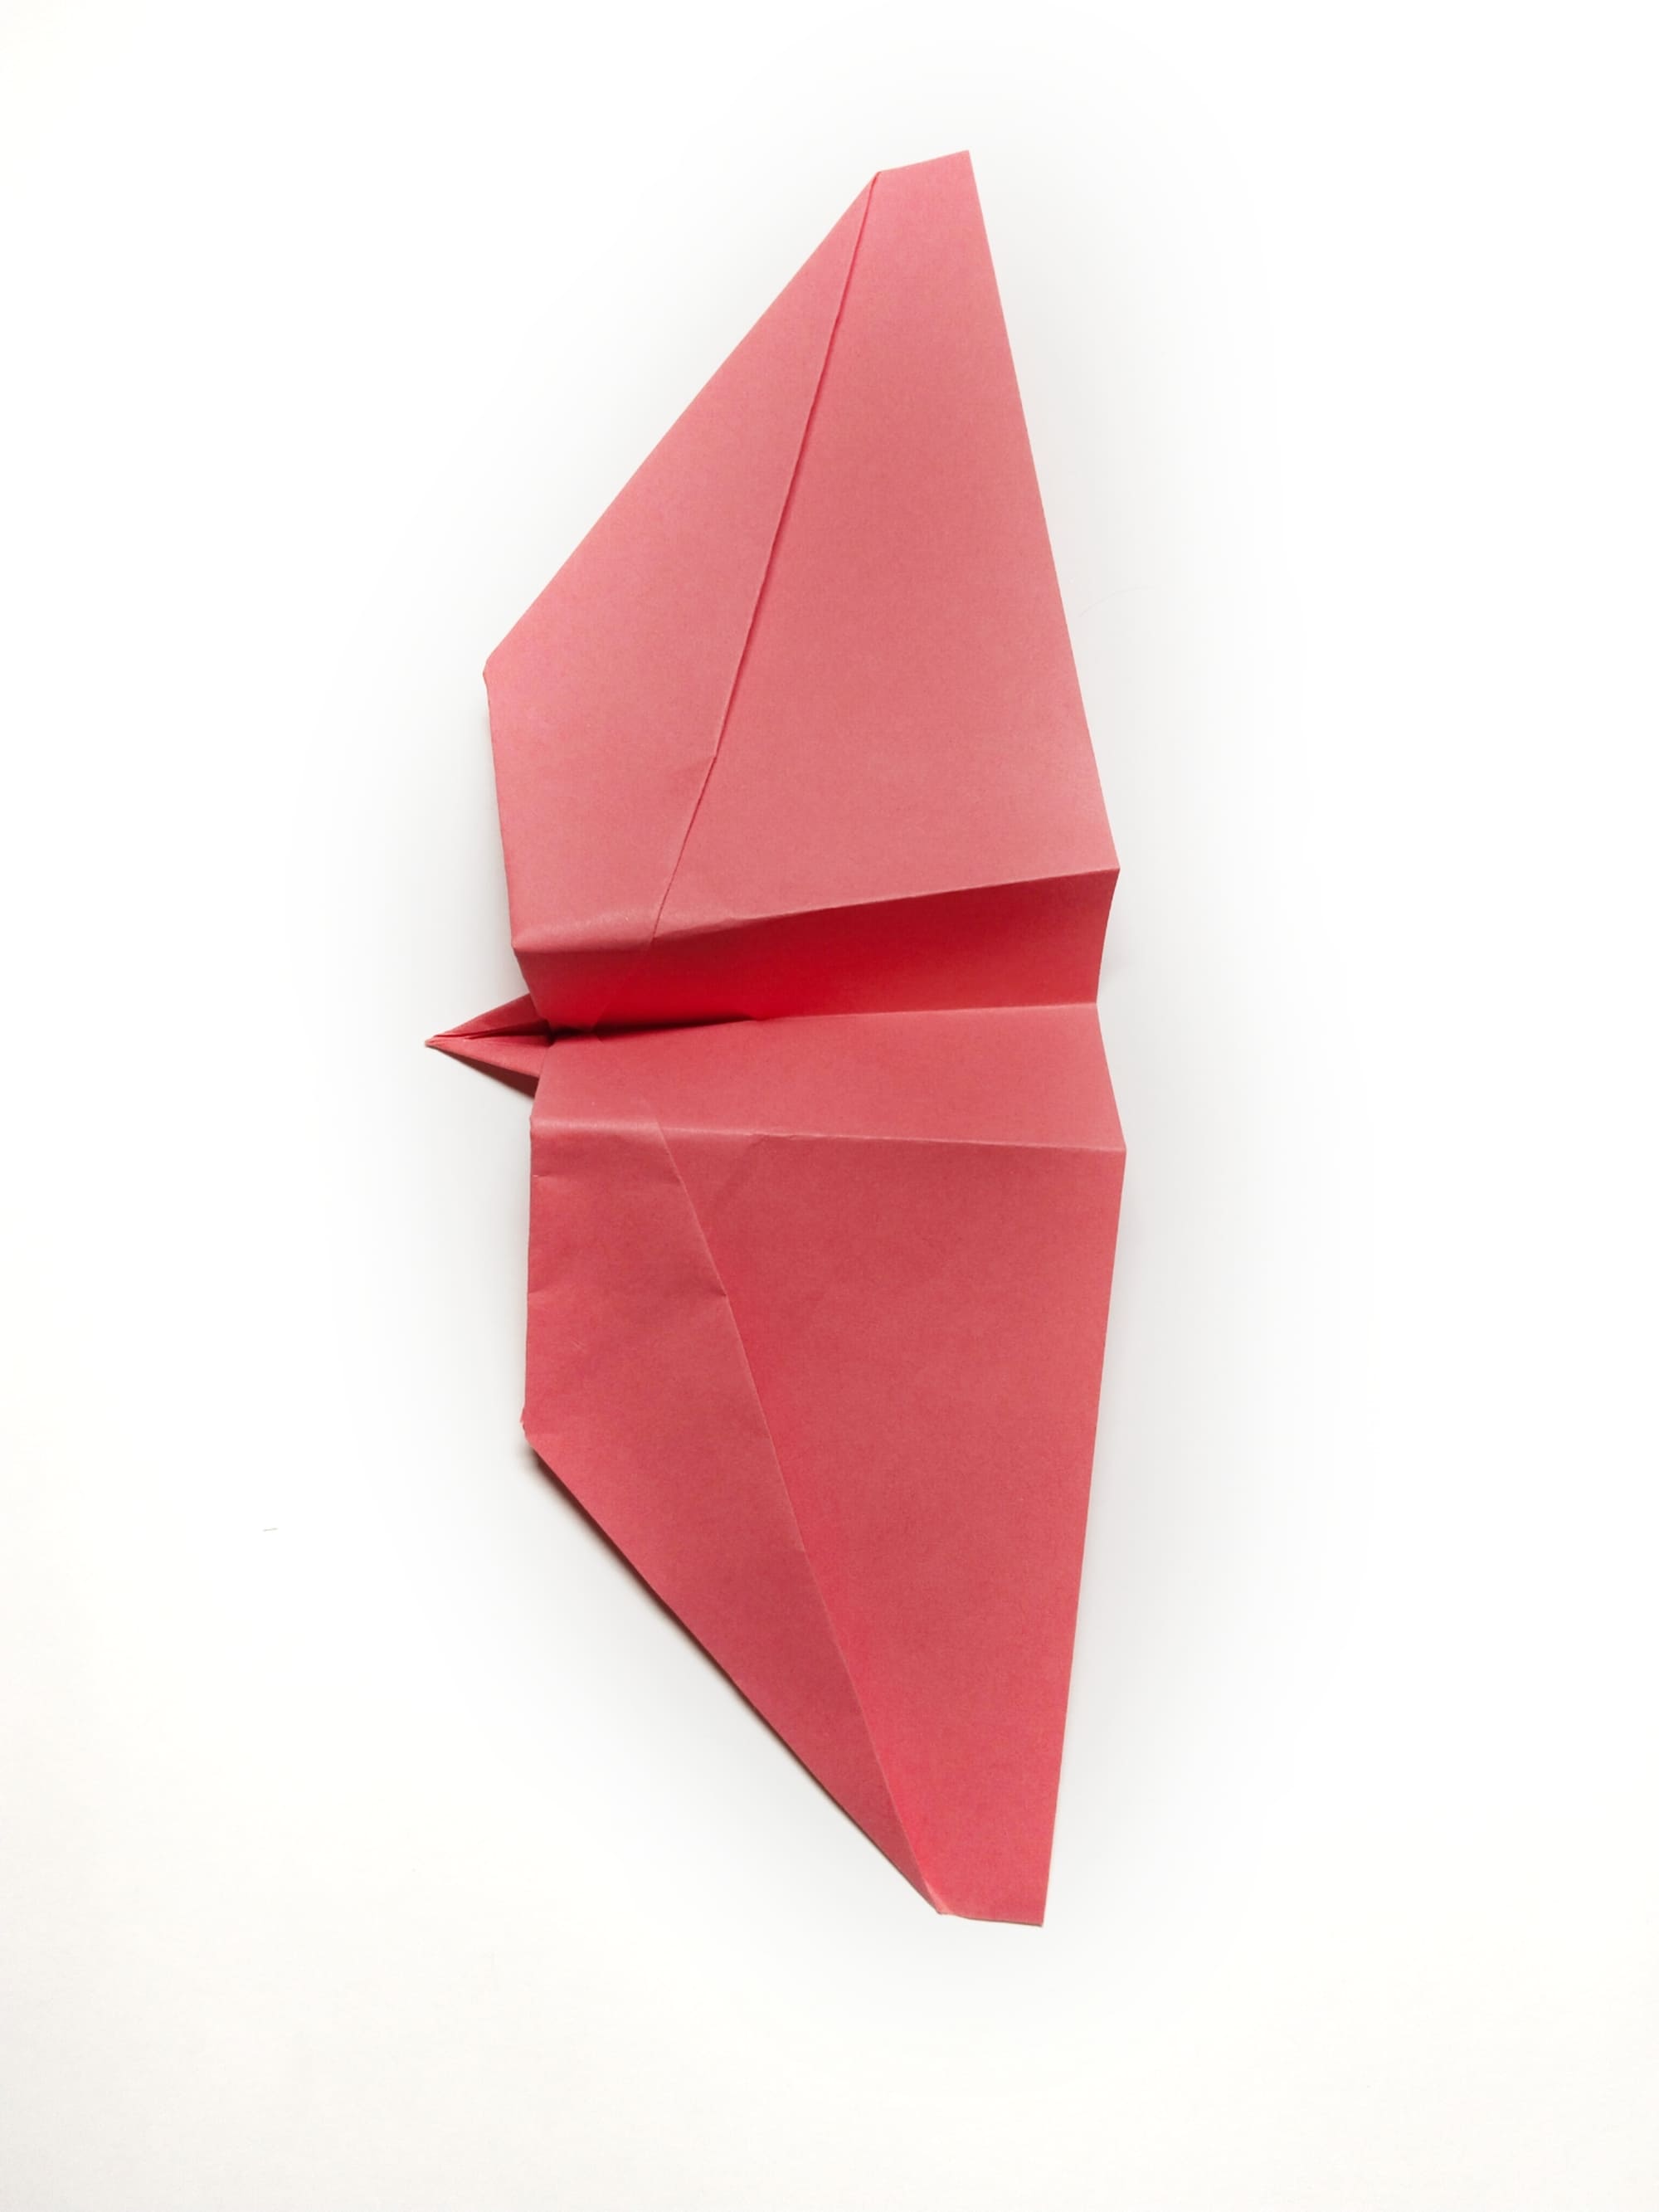
Bend the wing panels towards the base of the plane at a distance of 2.5 cm.
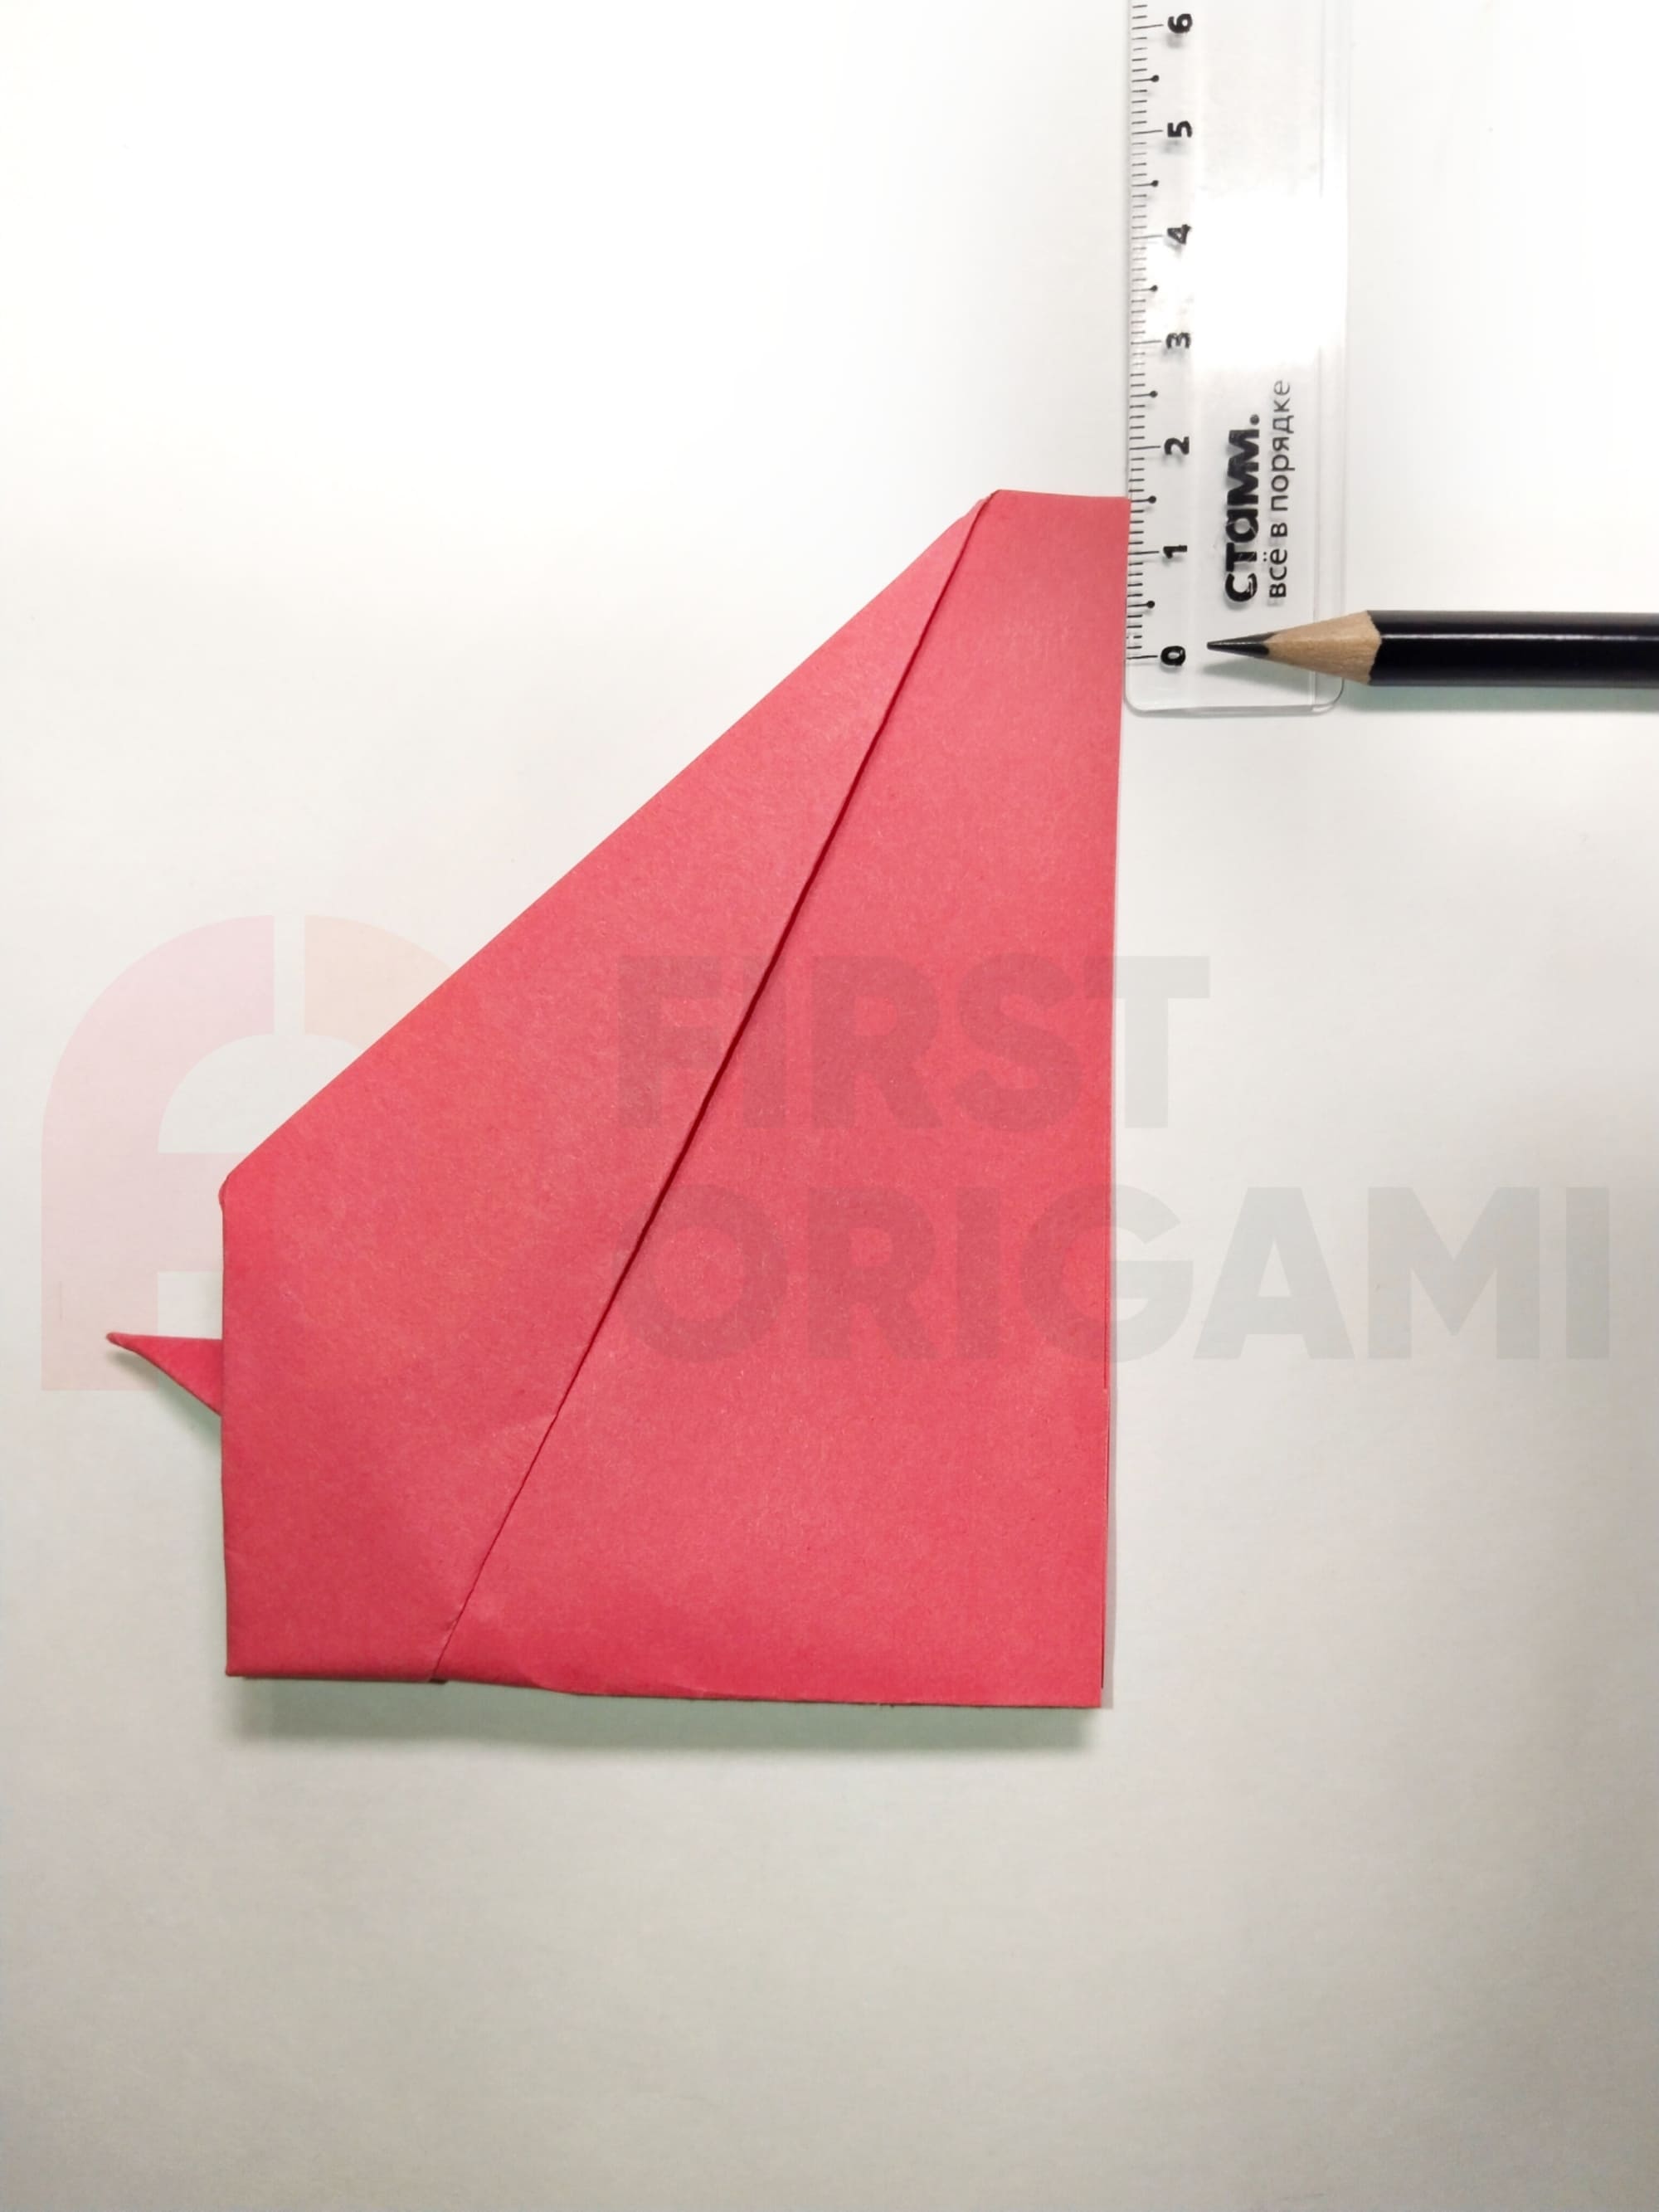
Measure 10-15mm on the left side of the back of the wing and make a vertical fold along this mark. Repeat on the right.
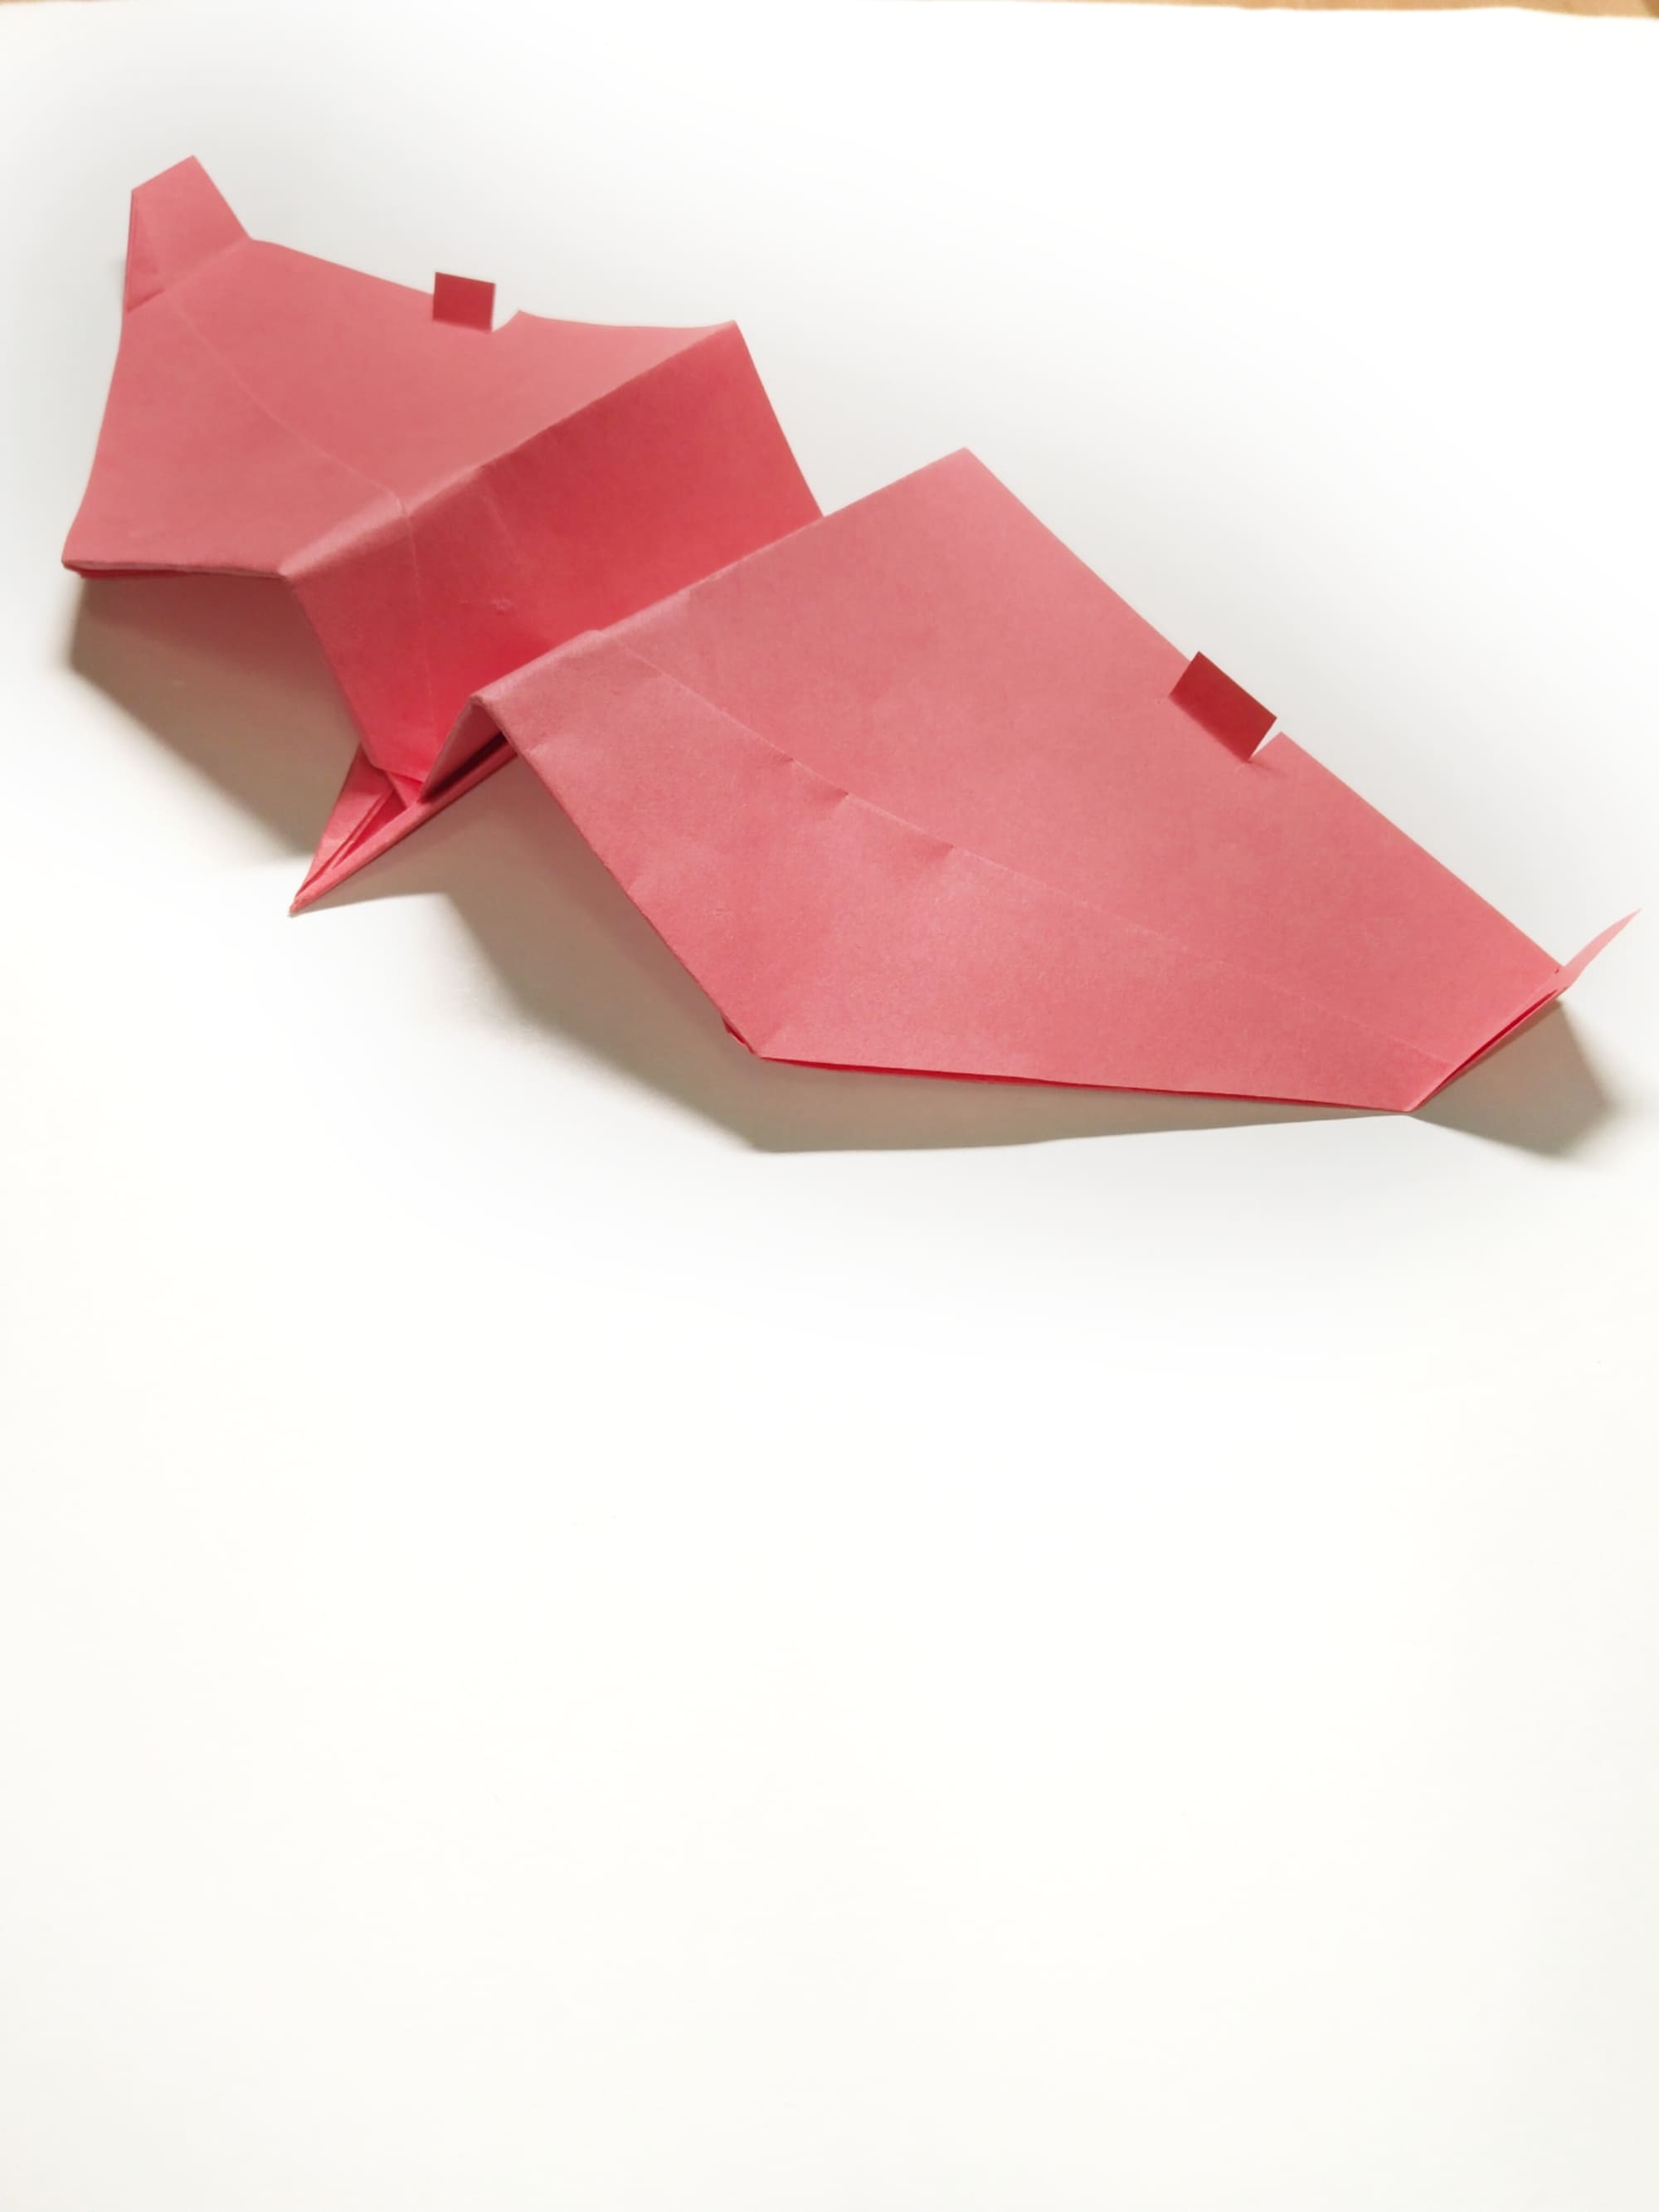
As a finishing touch, make two cuts in the center of the back of each wing in 1.5 cm increments. This seemingly insignificant improvement can significantly increase the flight length of your prototype.
The specialization of this aircraft is direct flight over long distances. By bending the flaps up or down you can add a good ten points to stability.