Origami Flapping Bat
An origami bat with flapping wings is a difficult toy to make and is definitely worth the time because it can flap its wings! This toy was invented by Thomas Hull, and we’ll tell you step by step what you need to do to replicate it. Follow the instructions below and you’ll have a great figurine for home plays, or Halloween decorations!
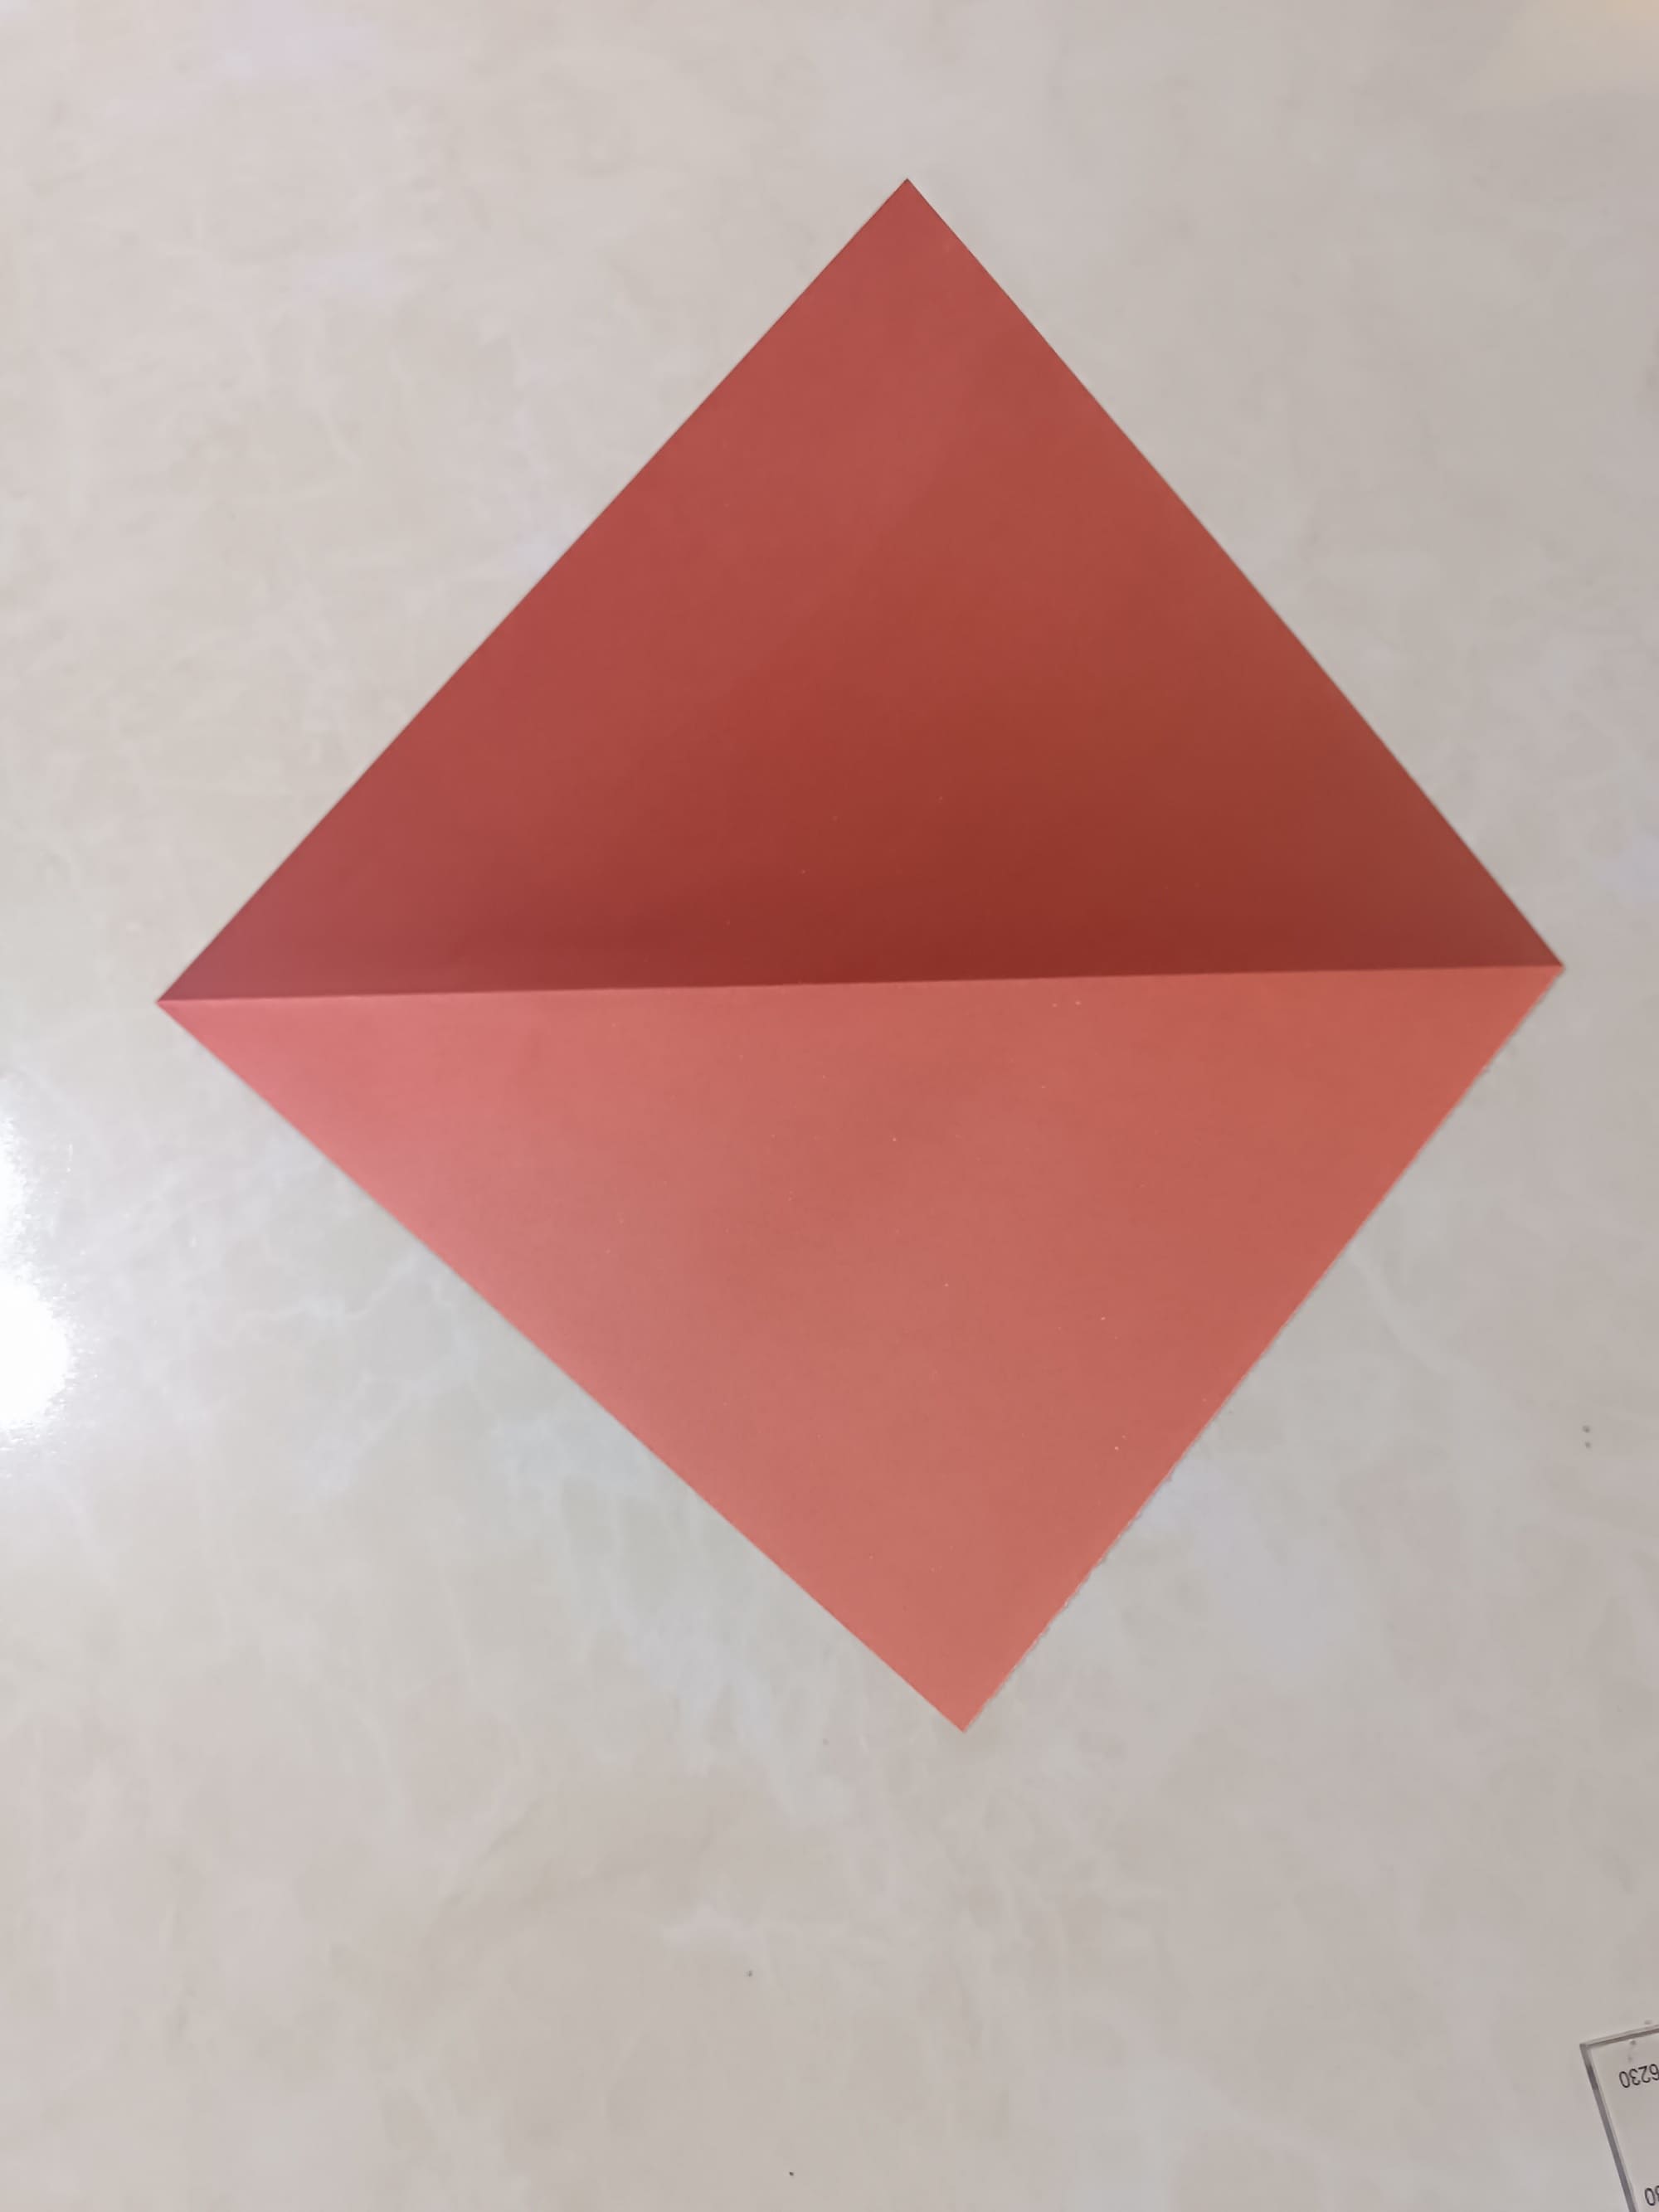
Take a sheet of 15 x 15 cm square origami paper. Choose dark shades of gray, brown, or black.

Fold the paper in half along the horizontal diagonal axis. Iron the edges well.
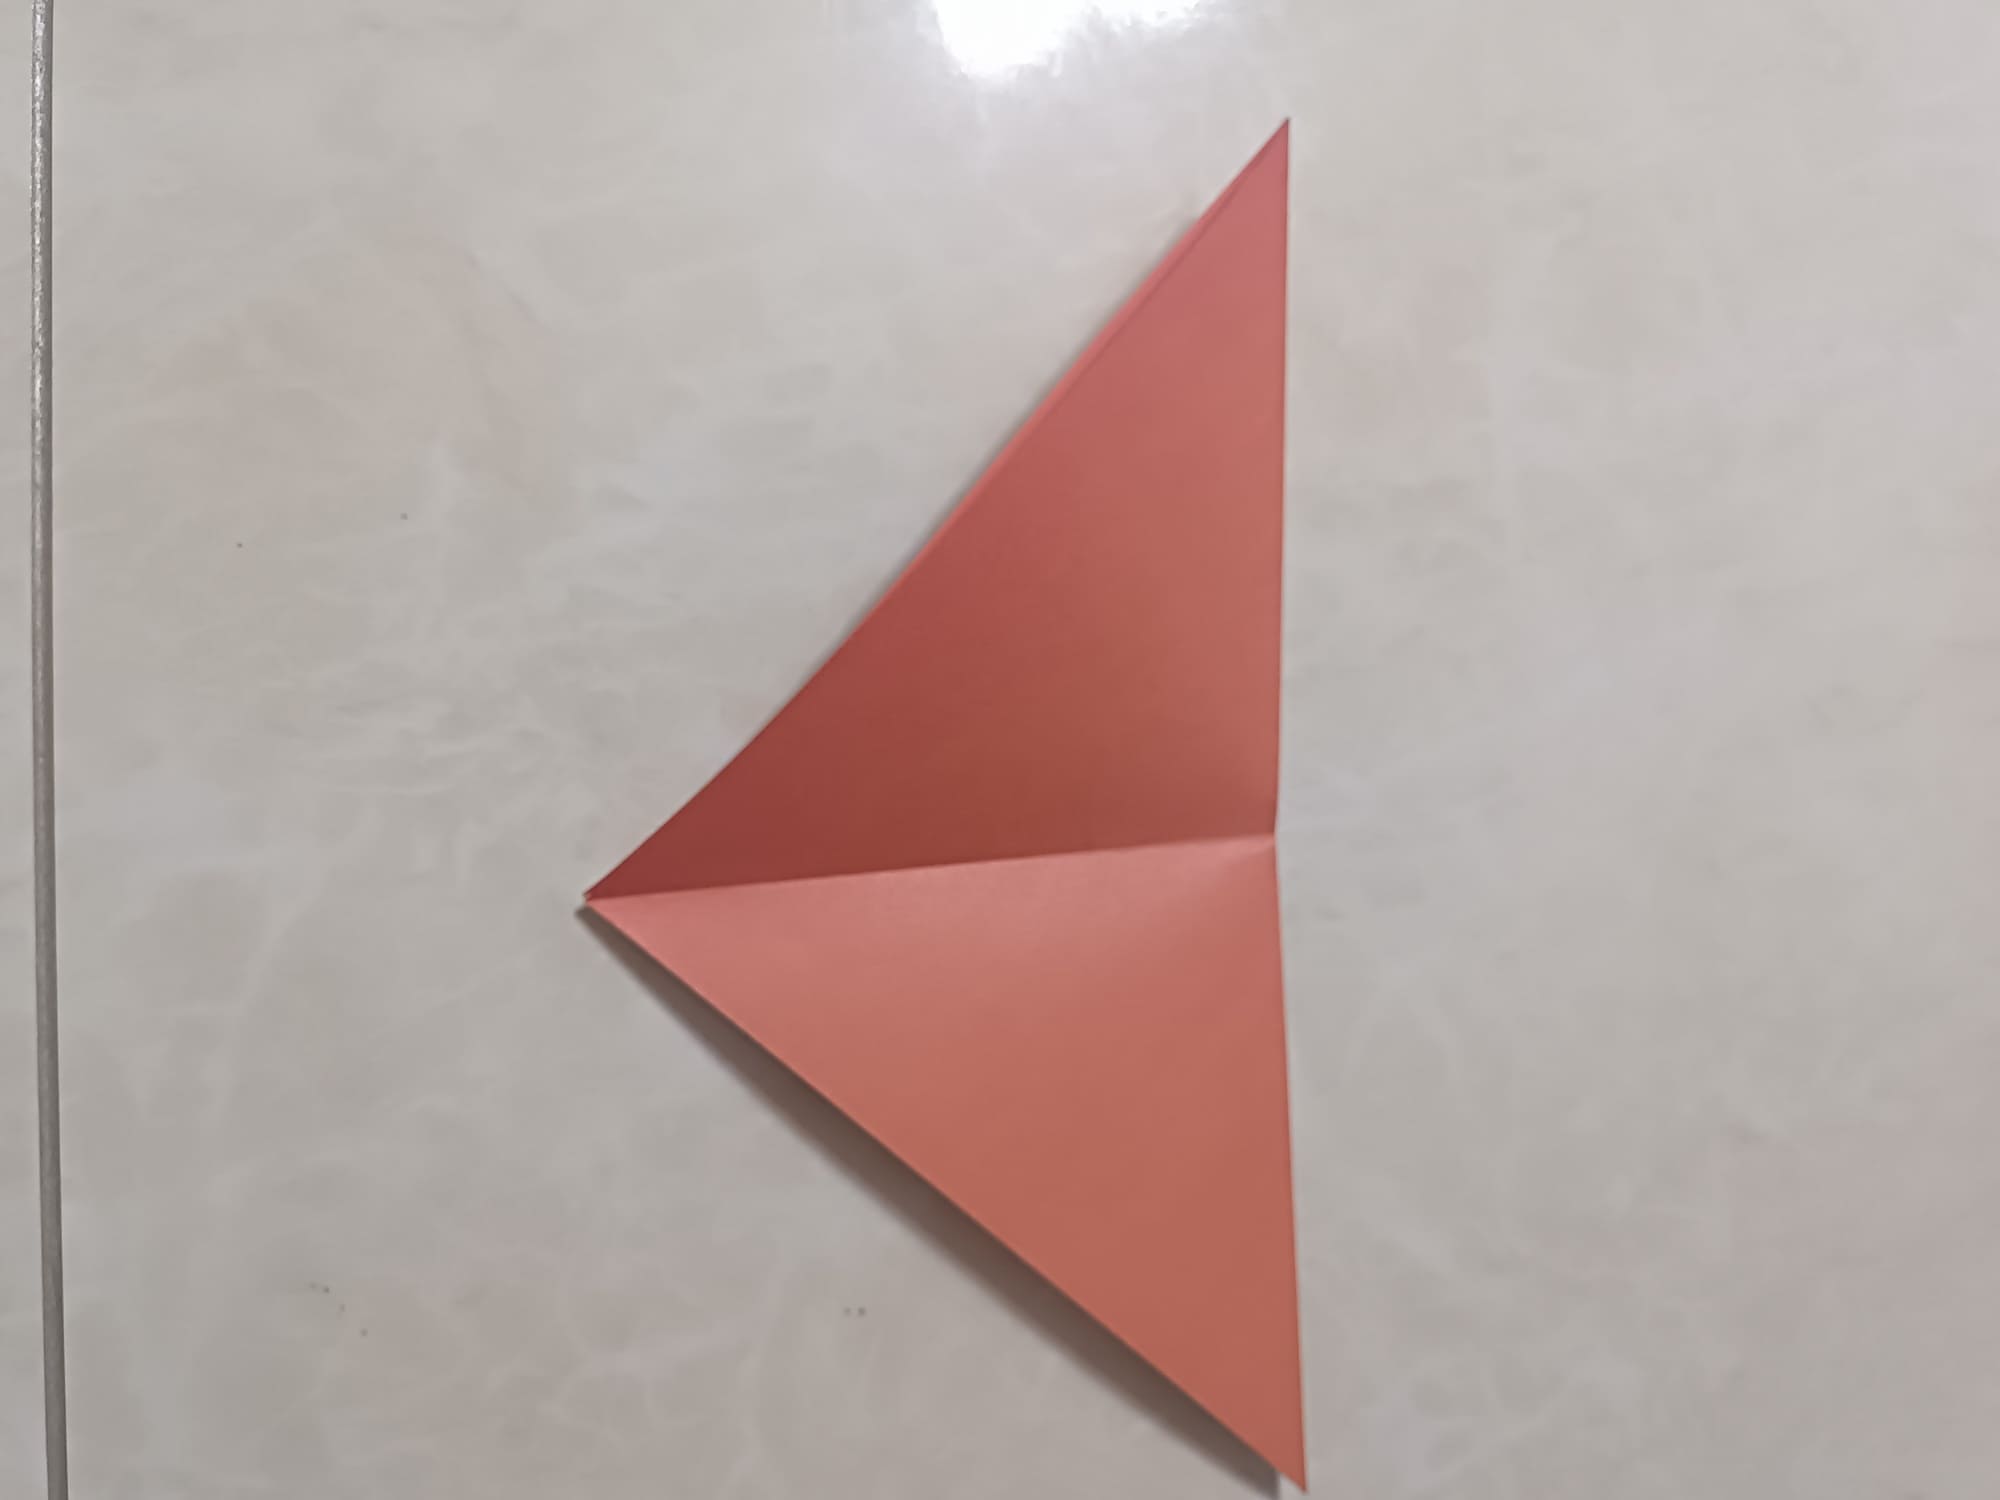
Fold the paper in half again. Work out the fold and unfold.
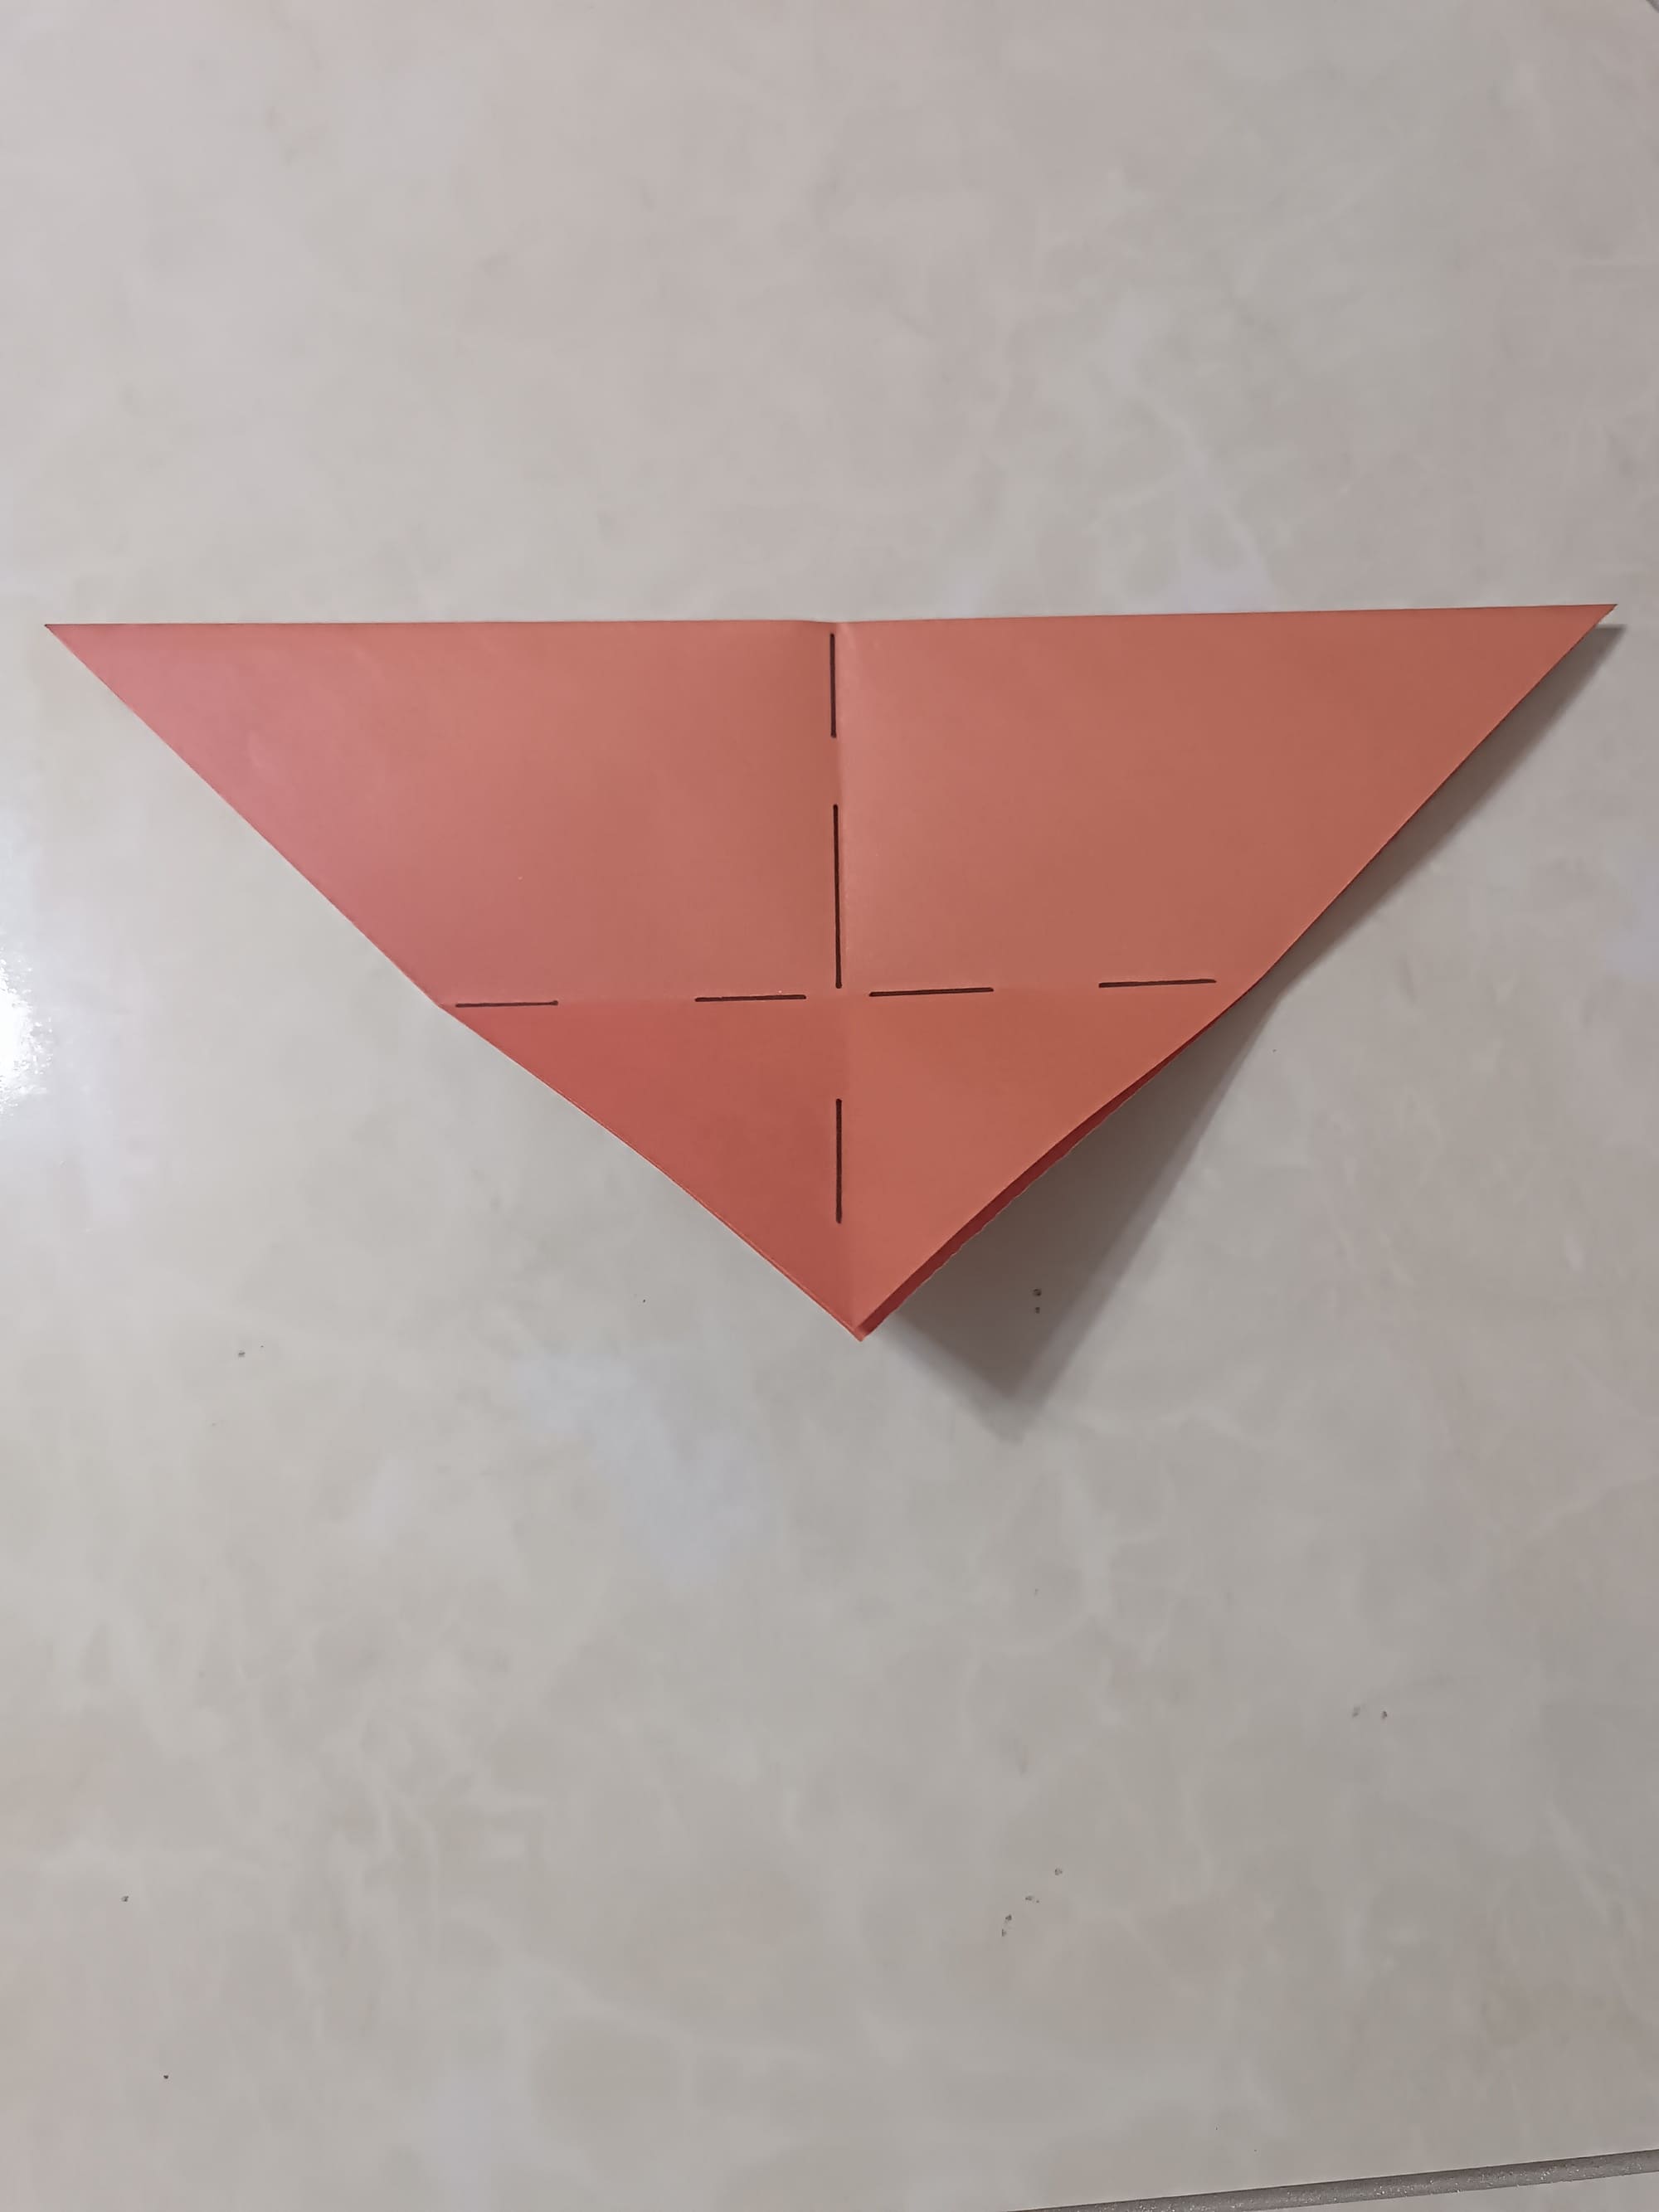
Now fold the bottom tip of the piece to the top tip.
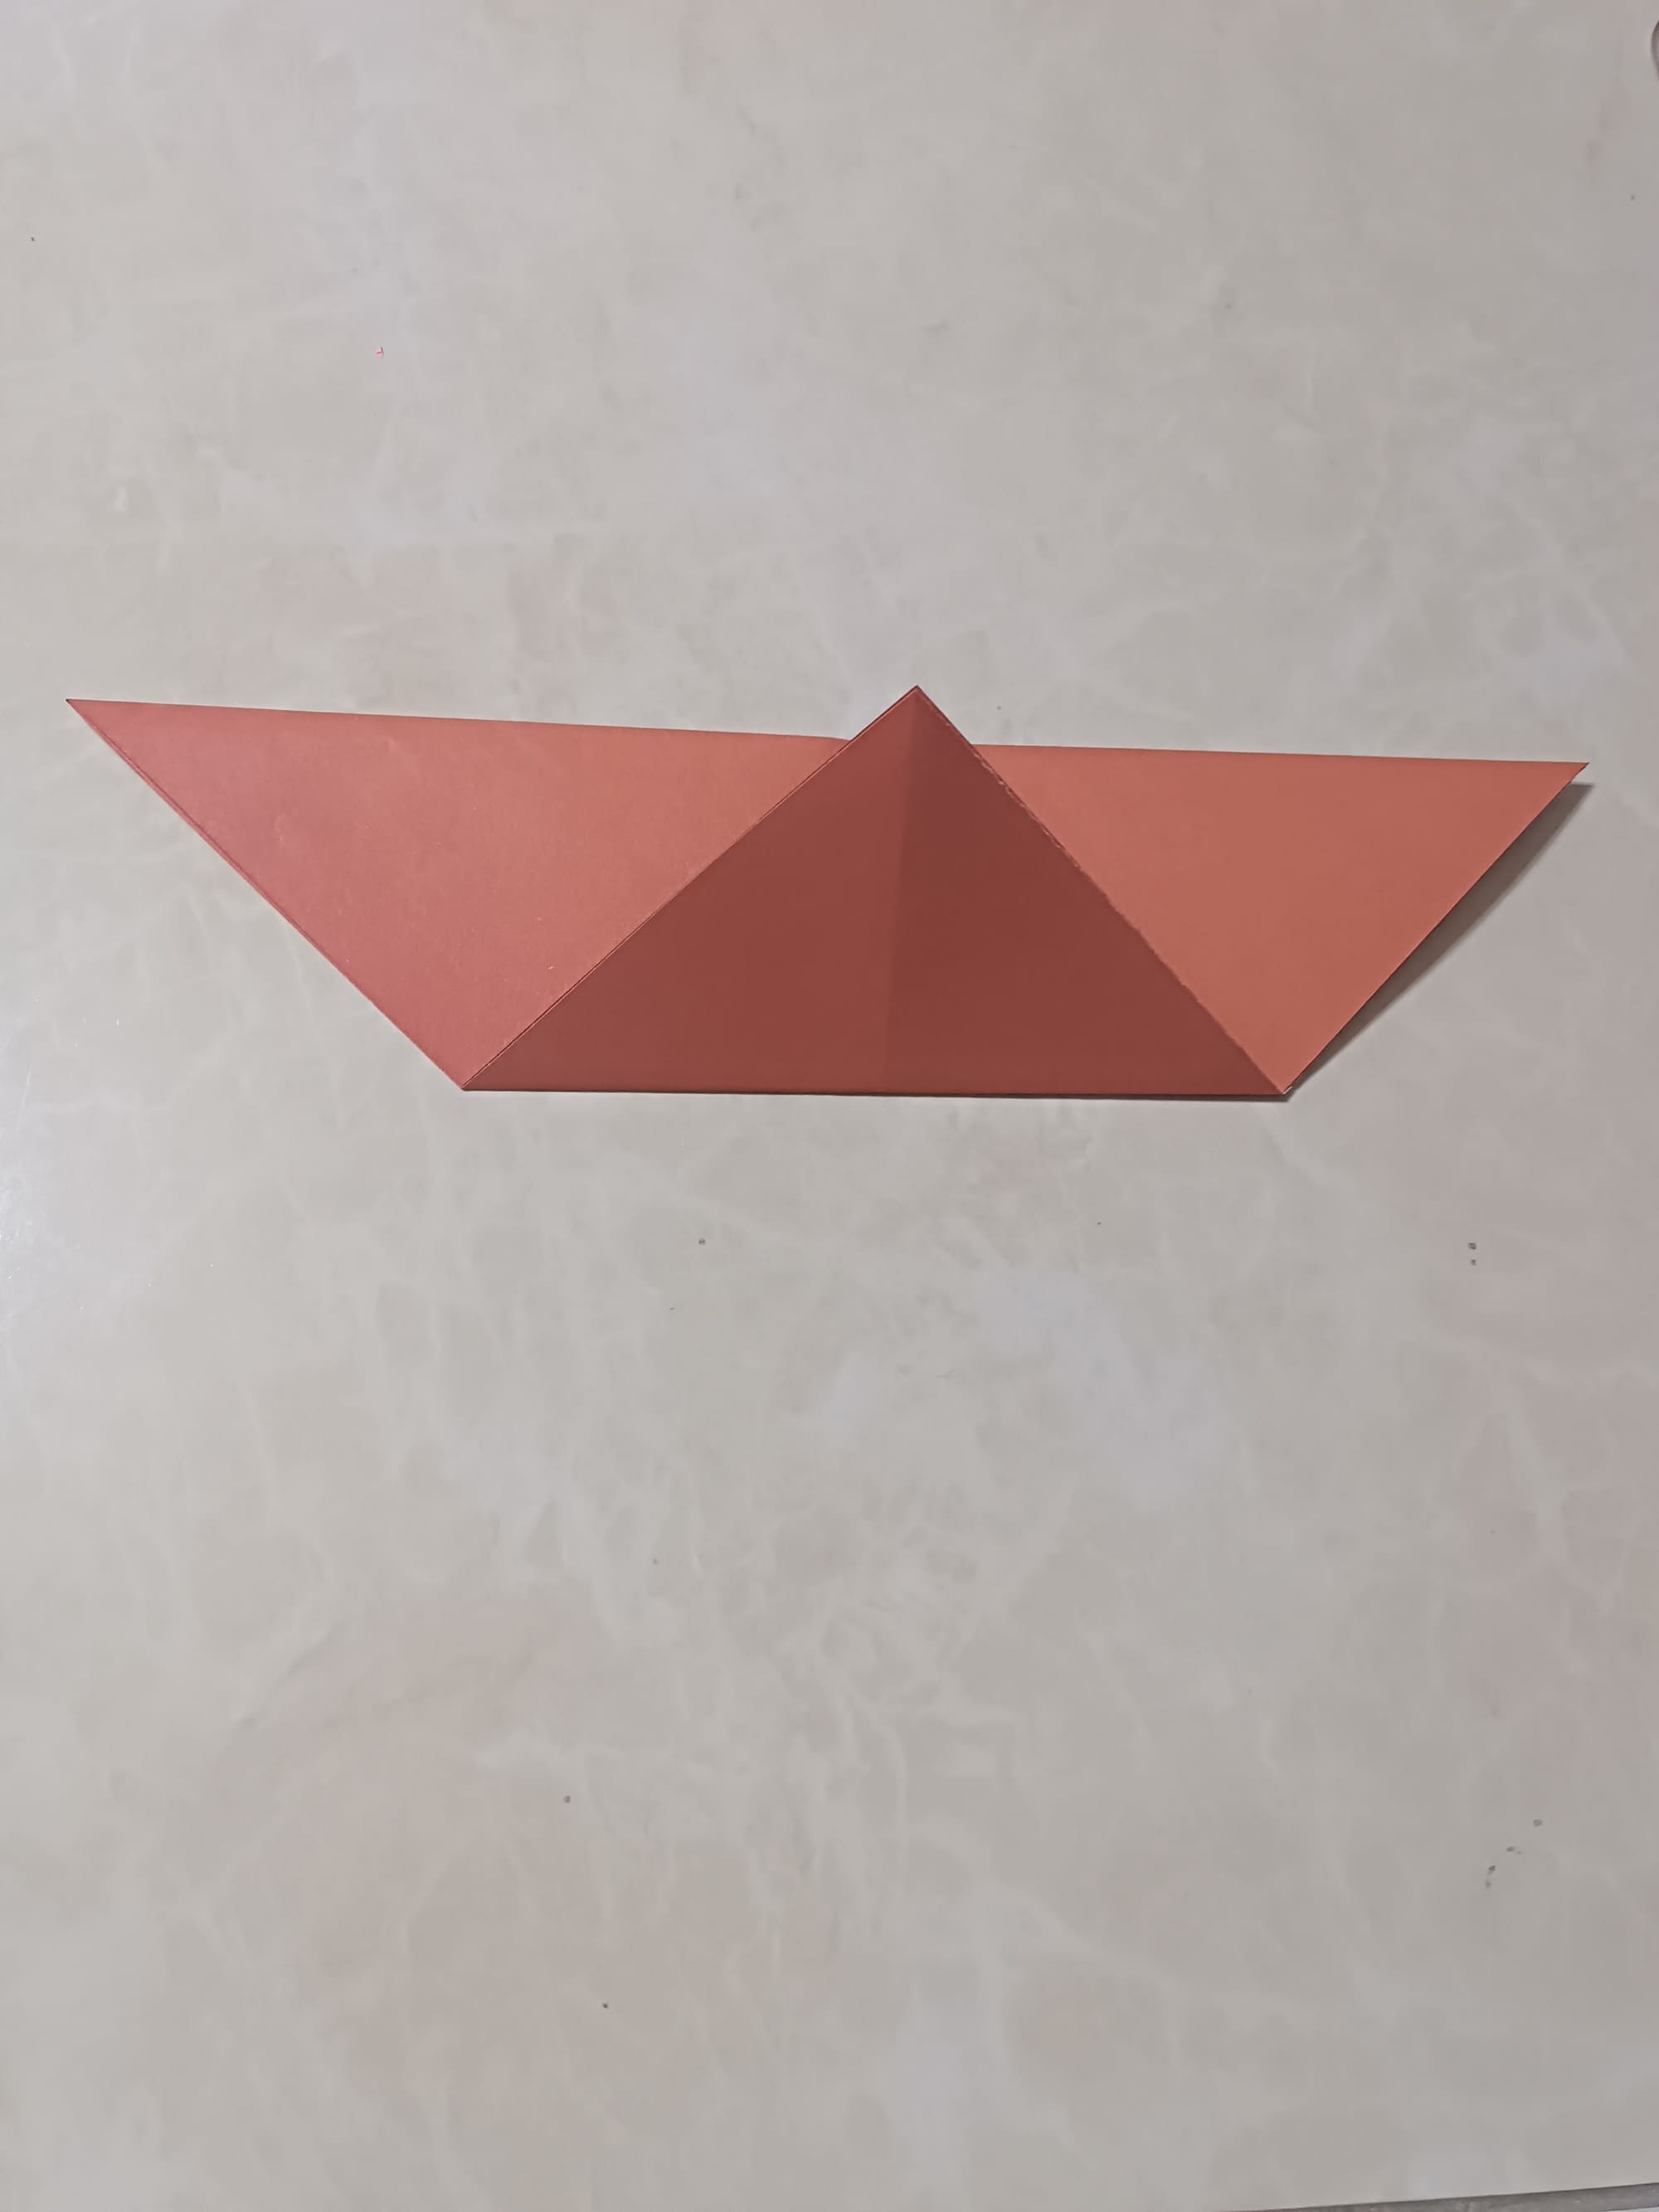
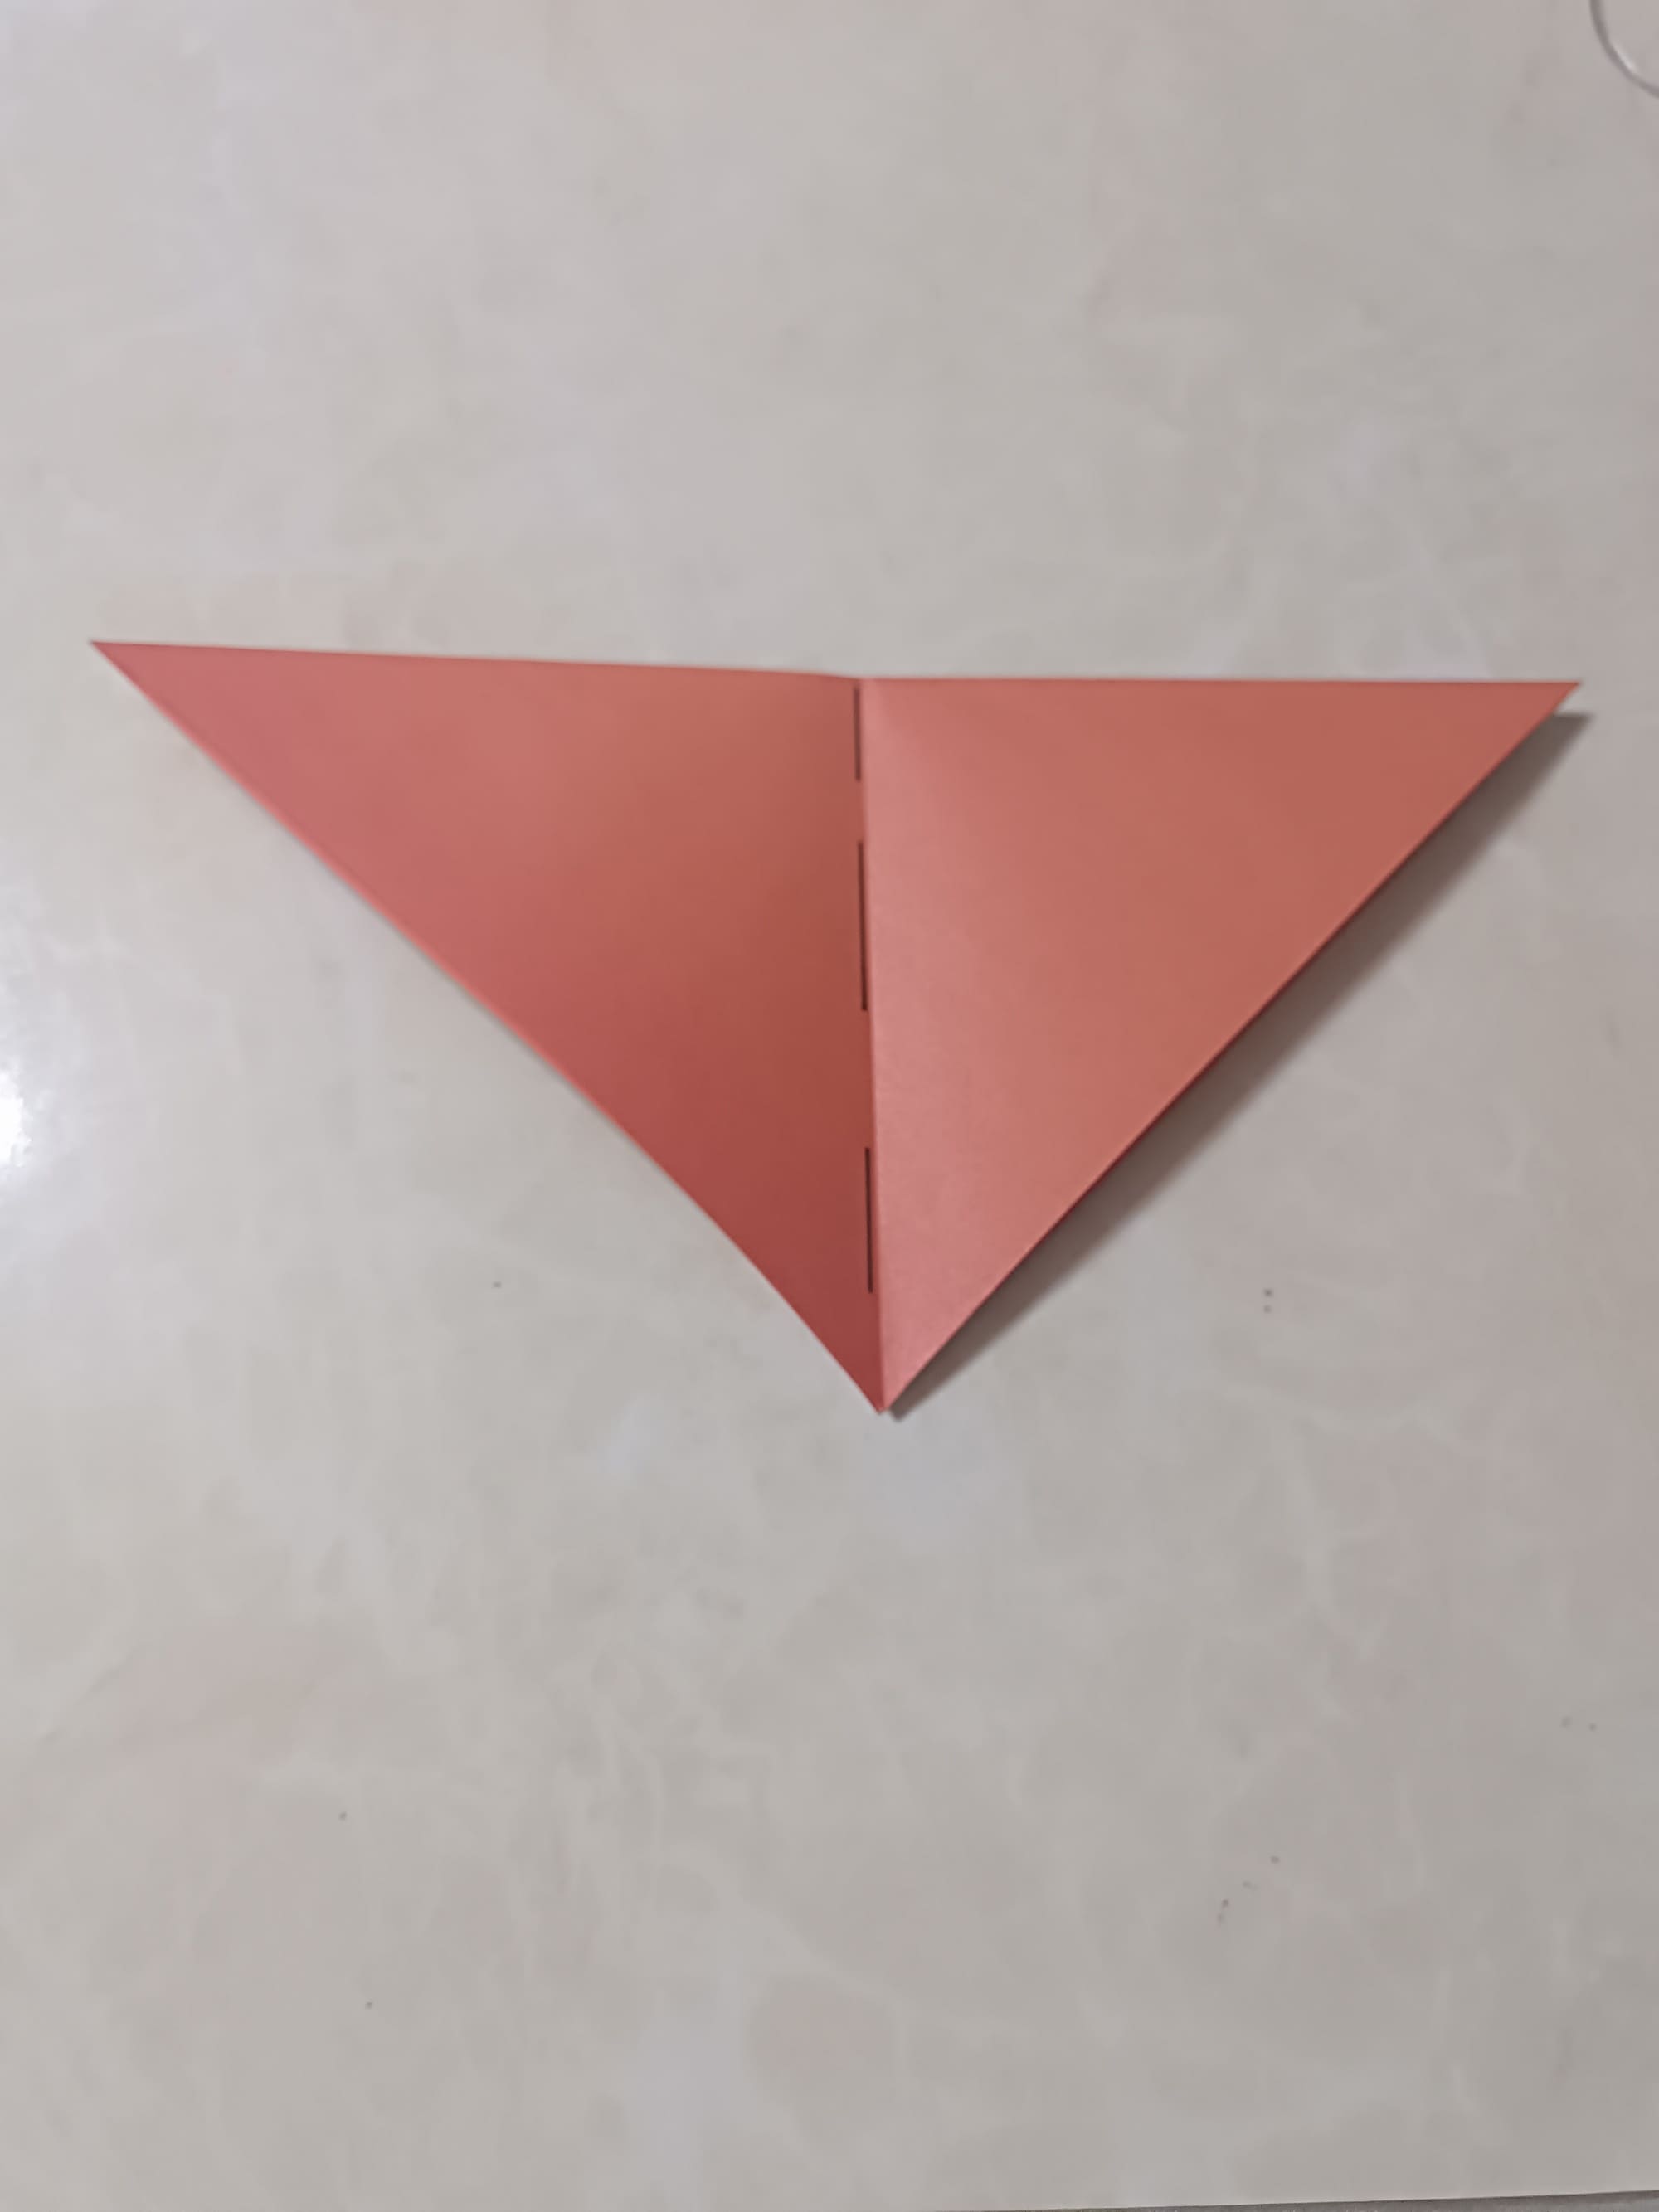
Fold the paper in half again.

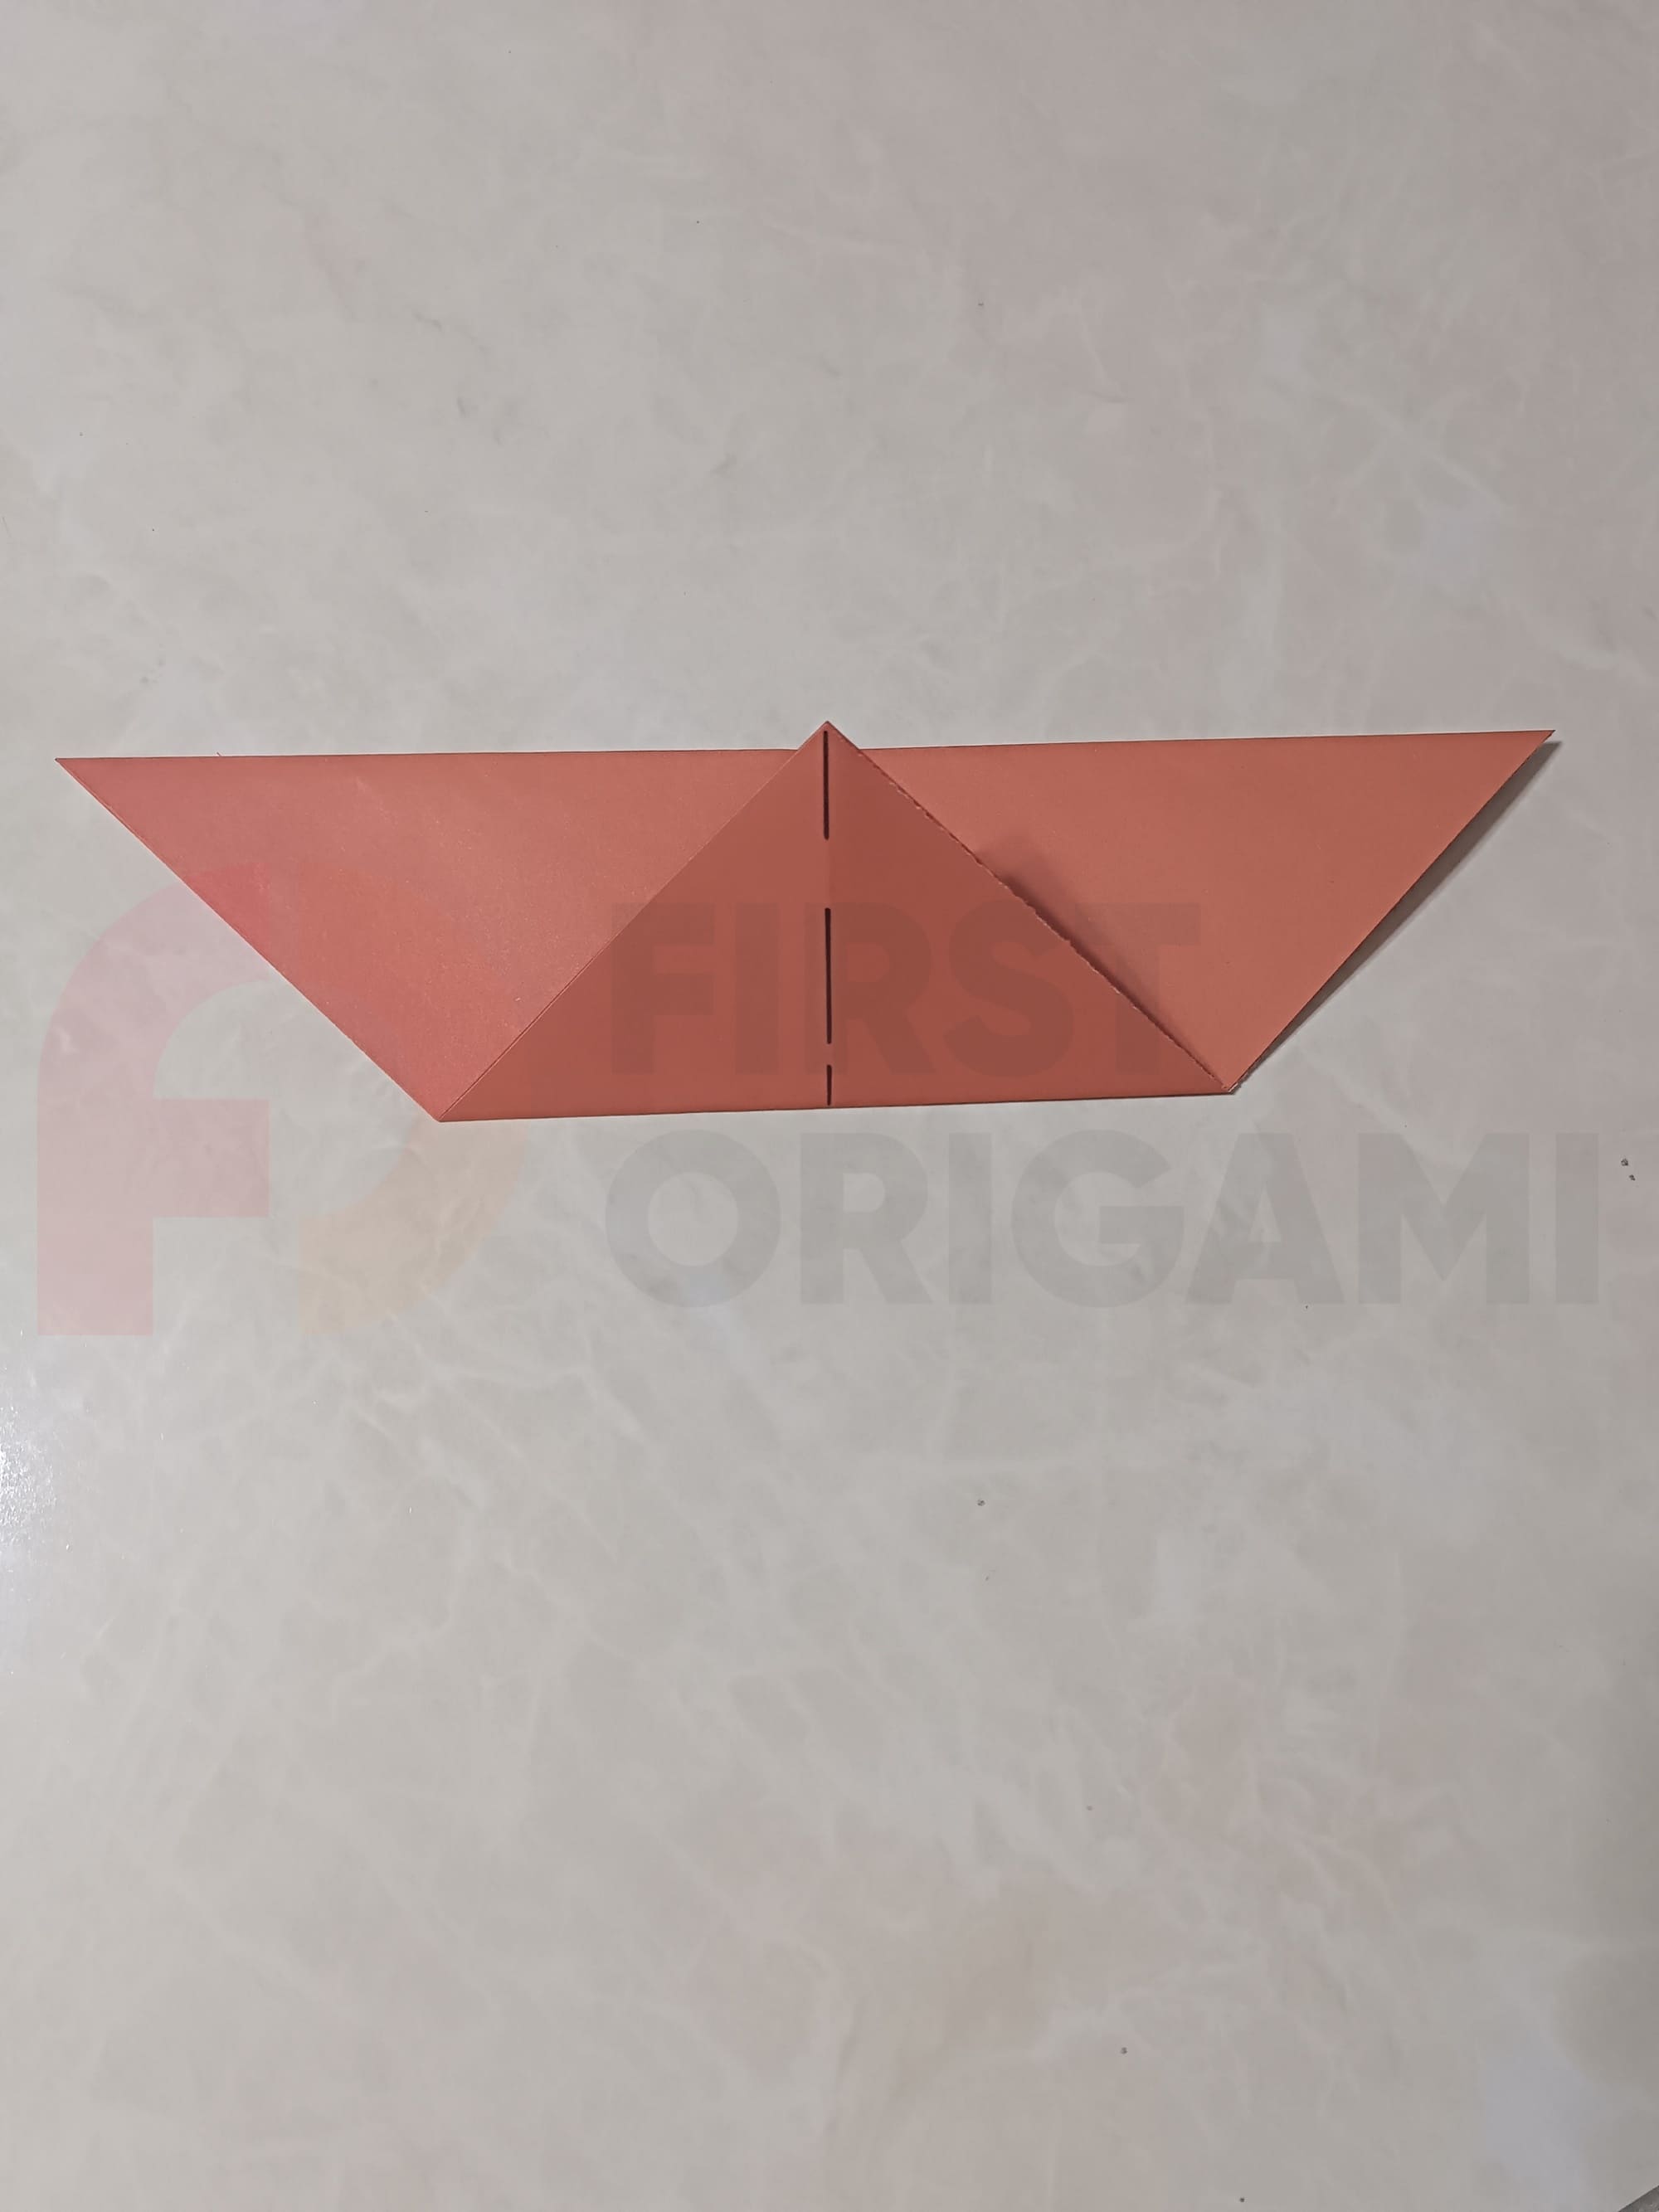
On the top layer of your paper, make a simple diagonal fold. Iron the fold line well.

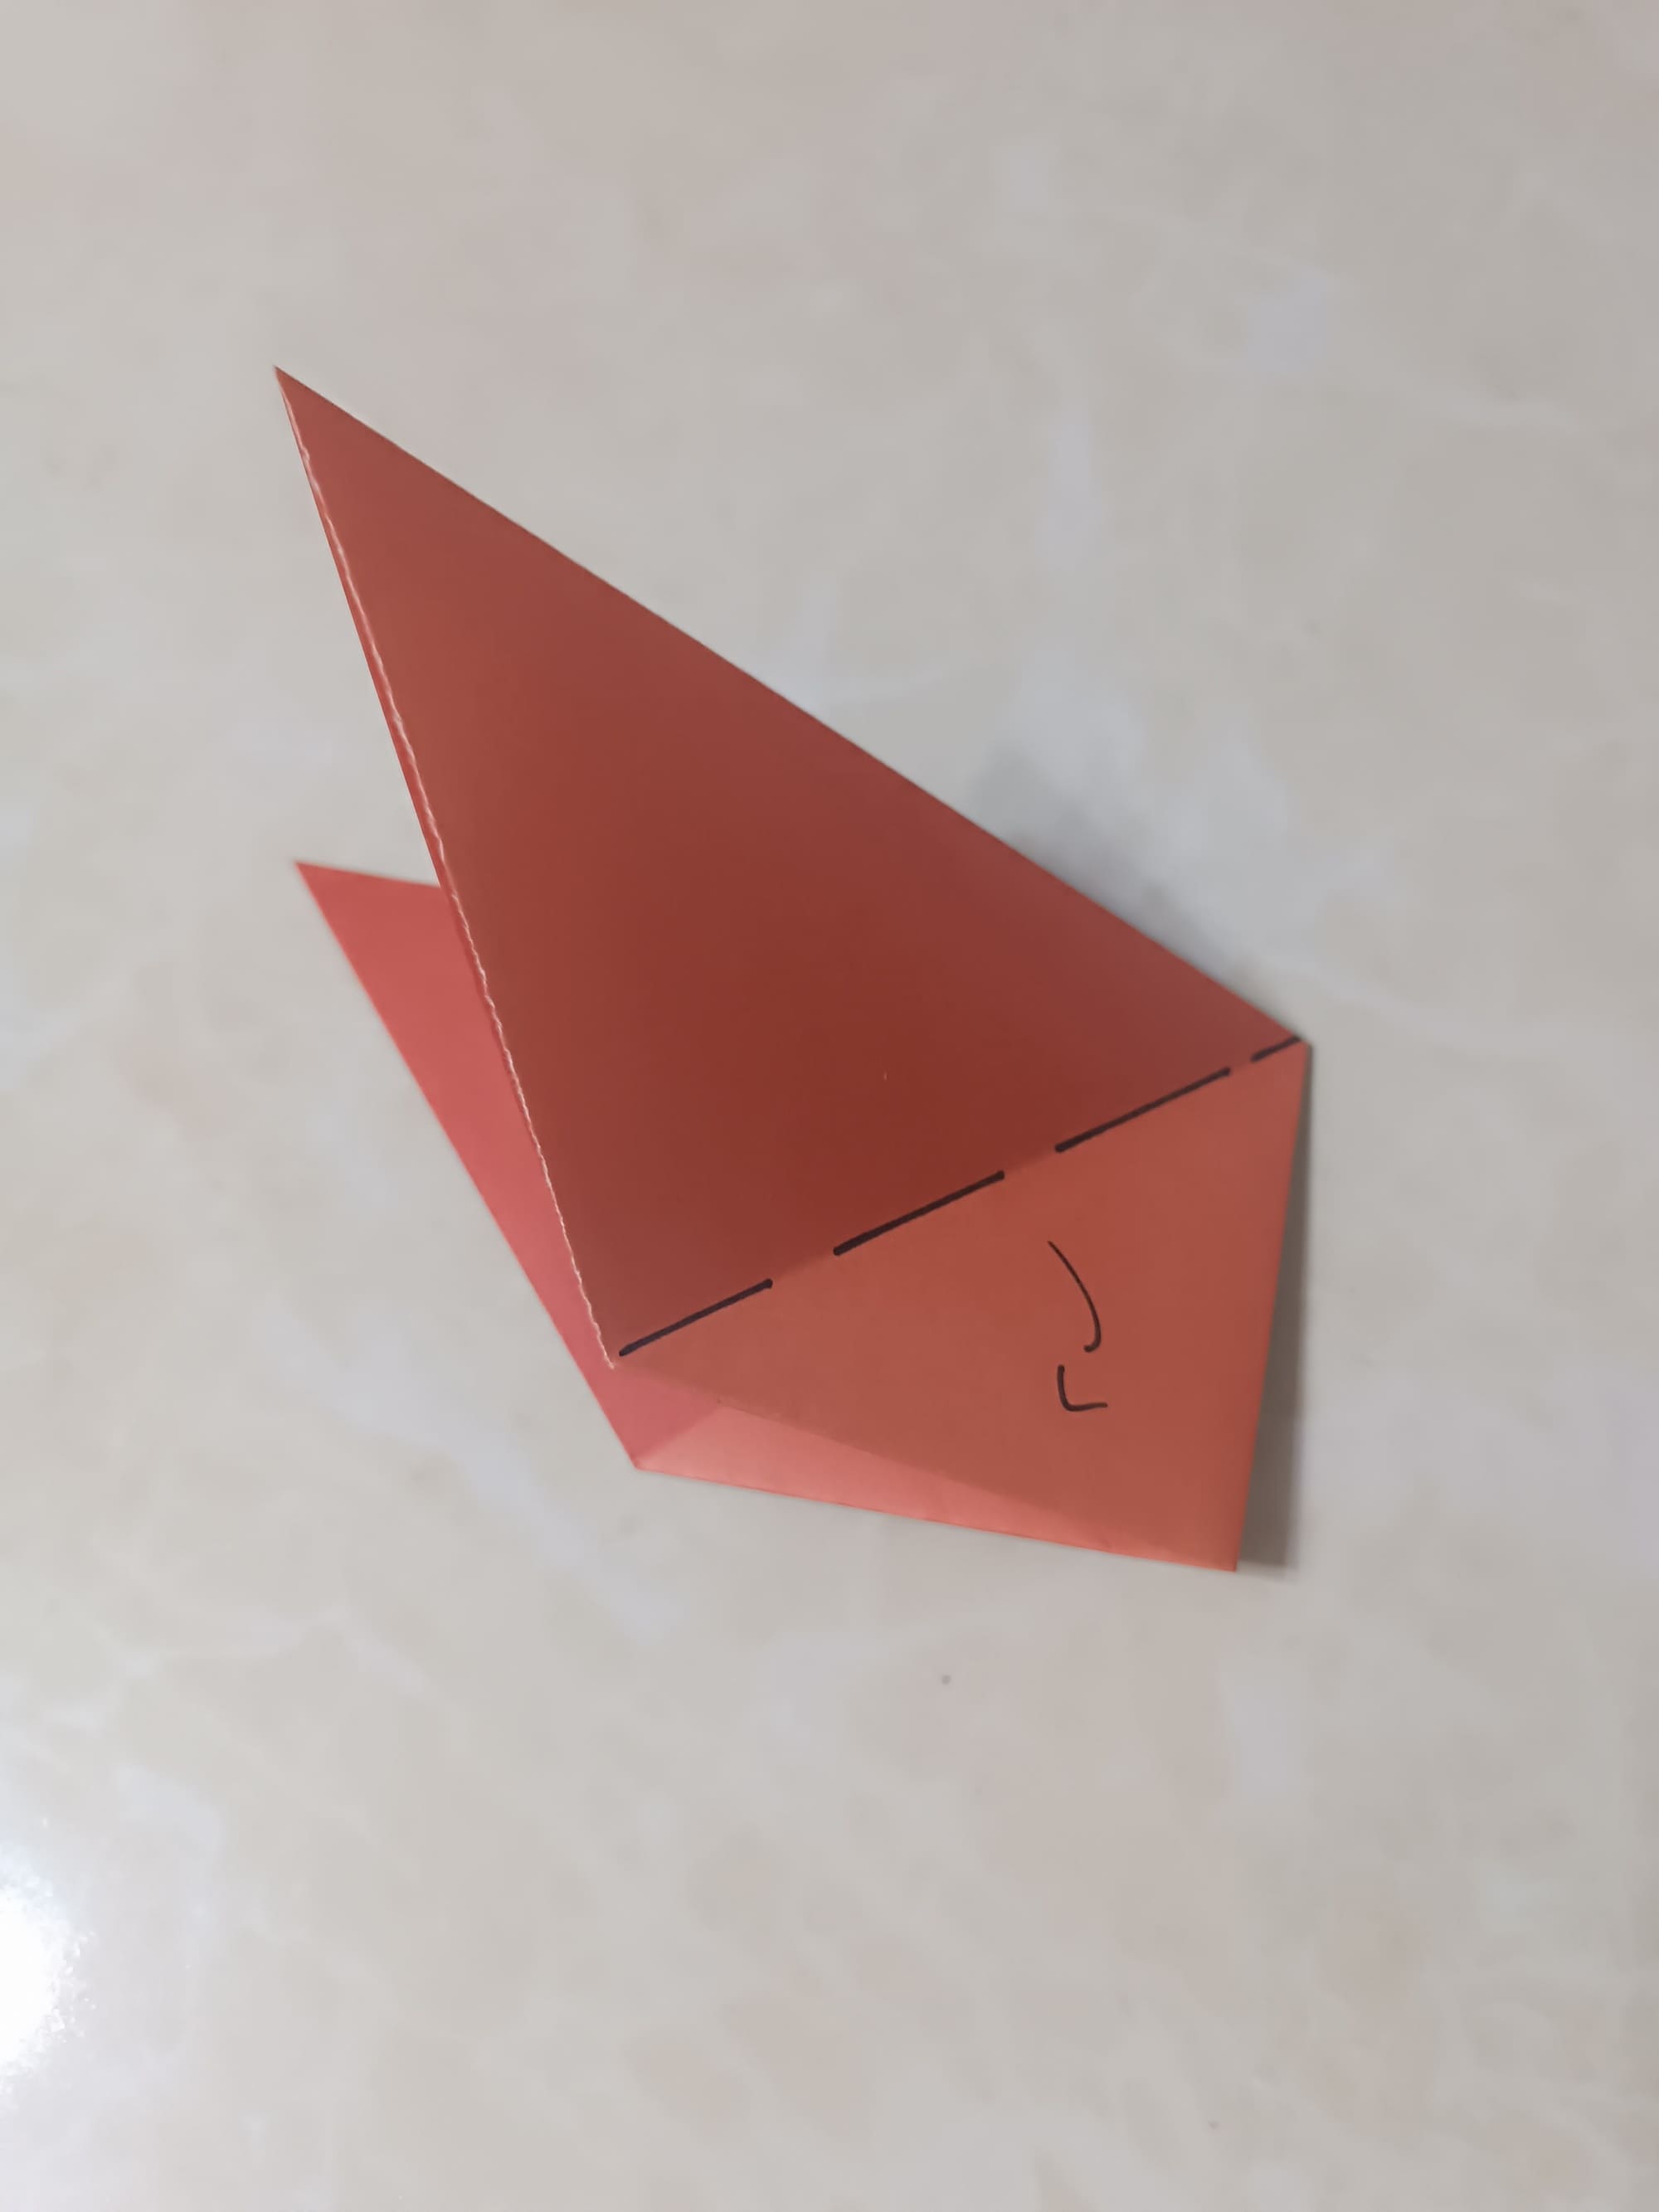
Flip the paper over.
Make a diagonal fold as shown in the photo below. So far, it’s pretty simple, isn’t it?
Now it’s time to make the same diagonal fold on the middle layer of your future bat.
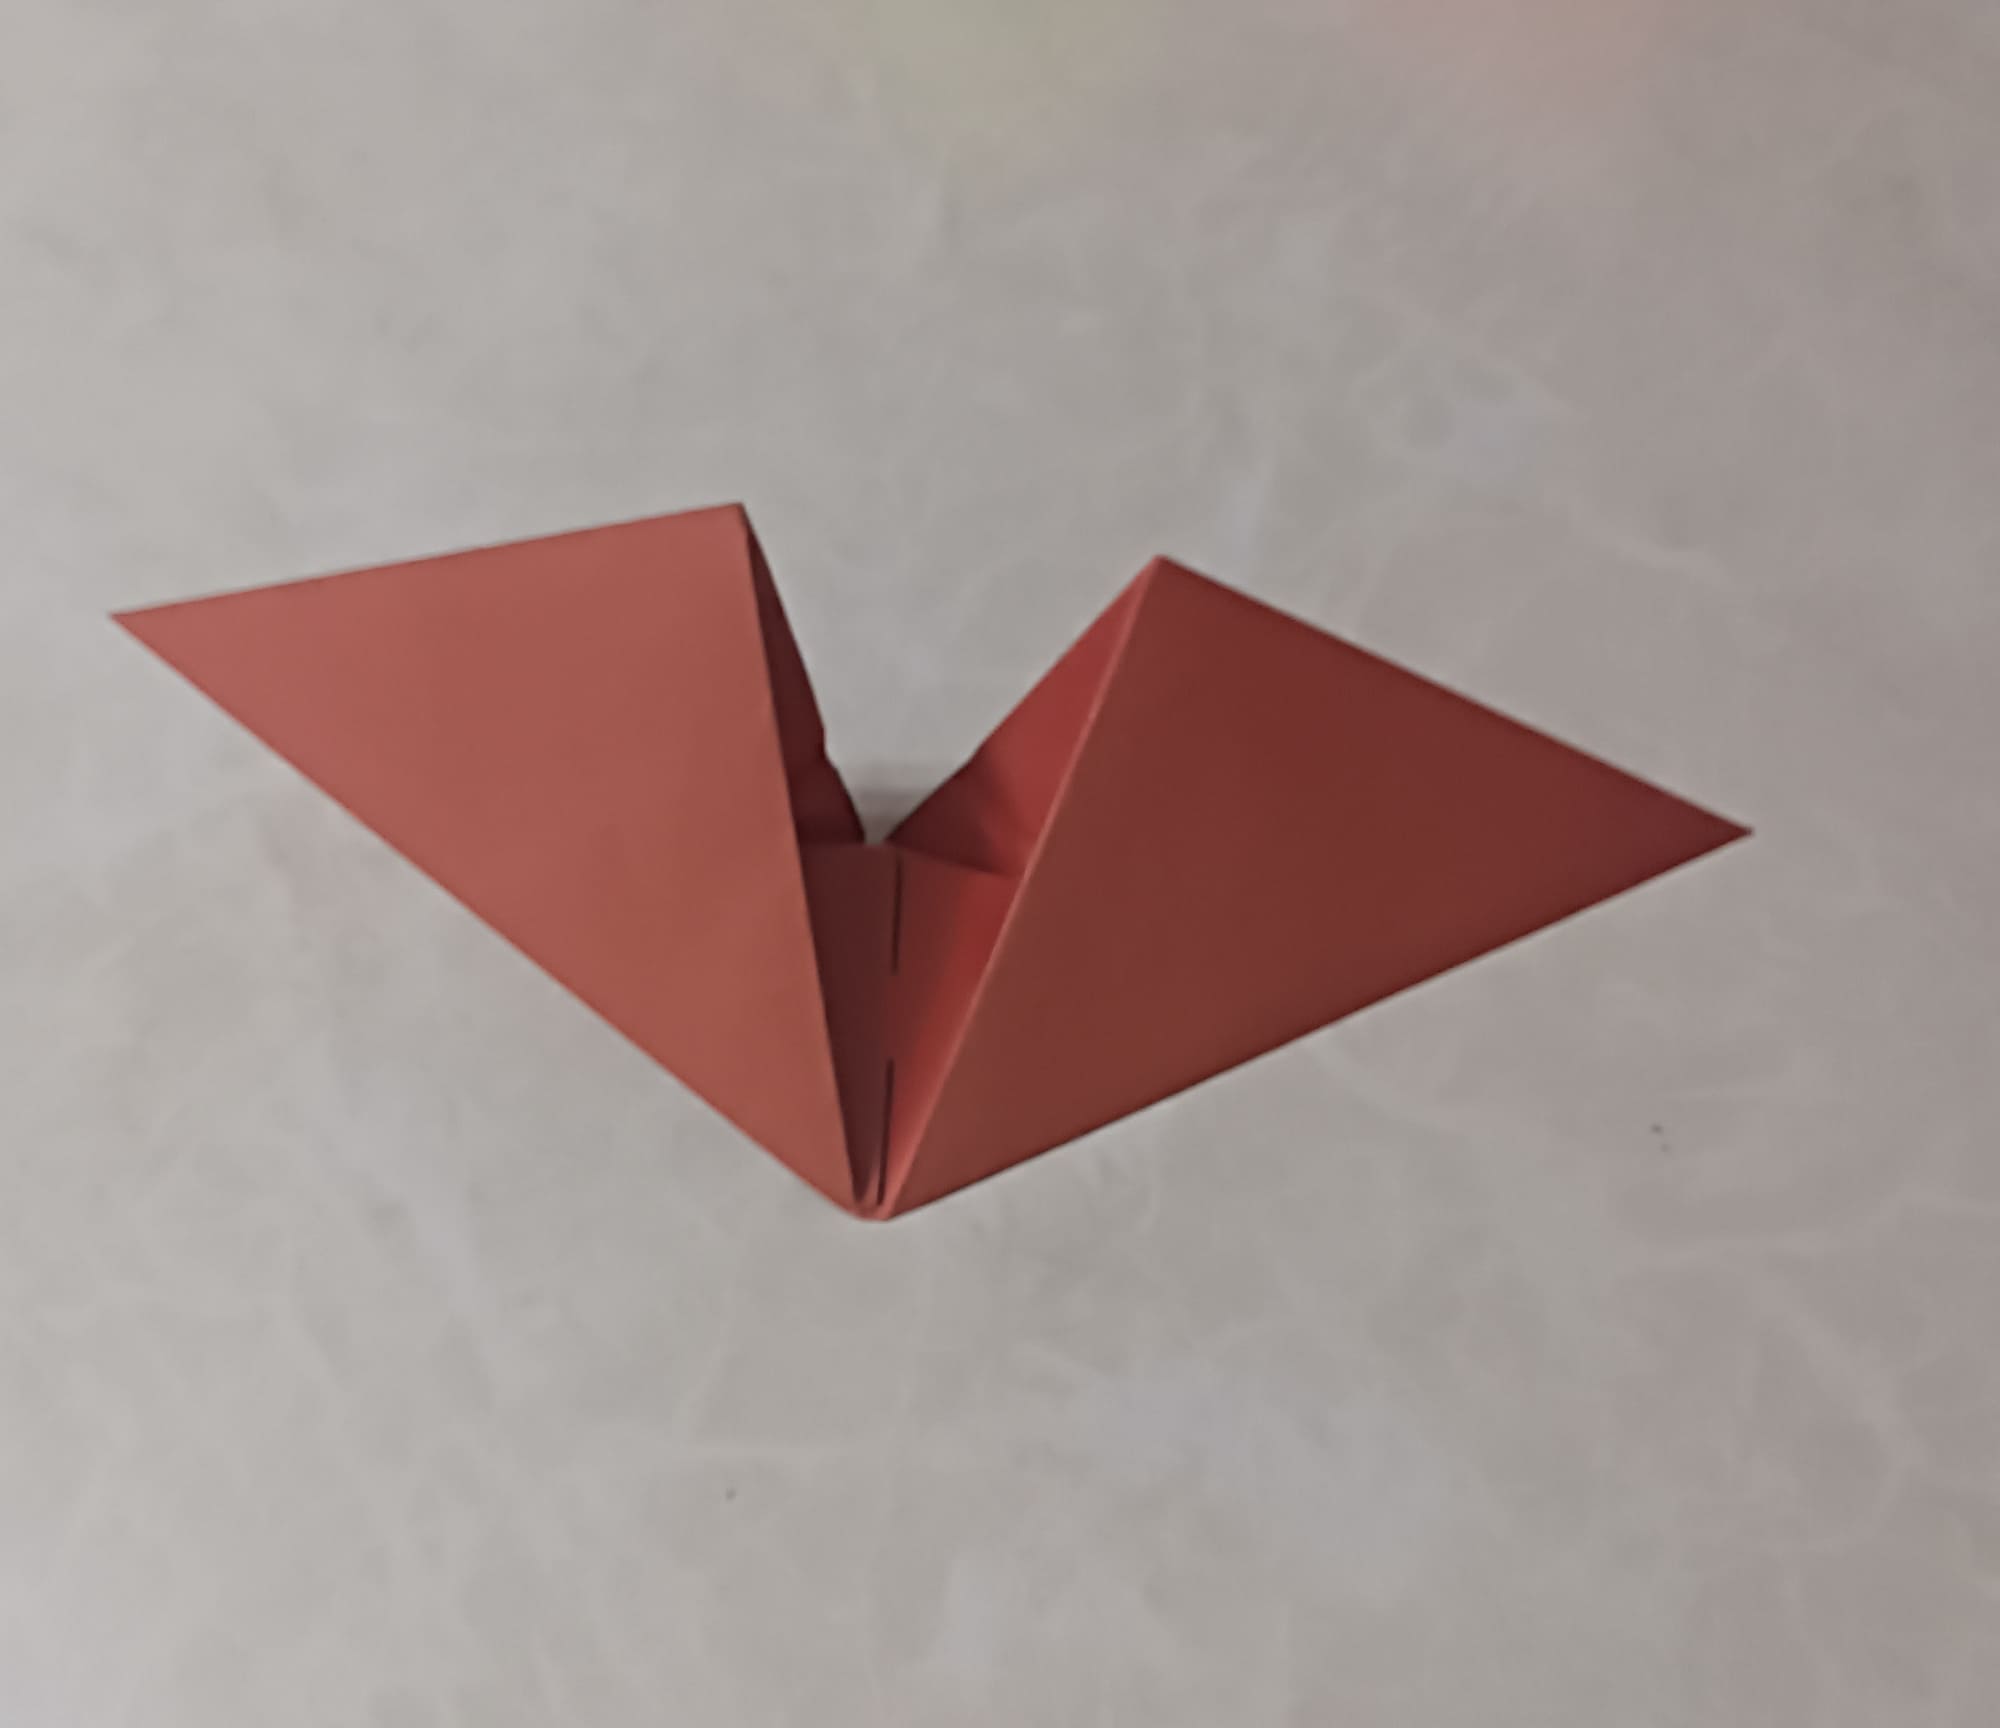
Turn your product 180 degrees as shown in the photo.
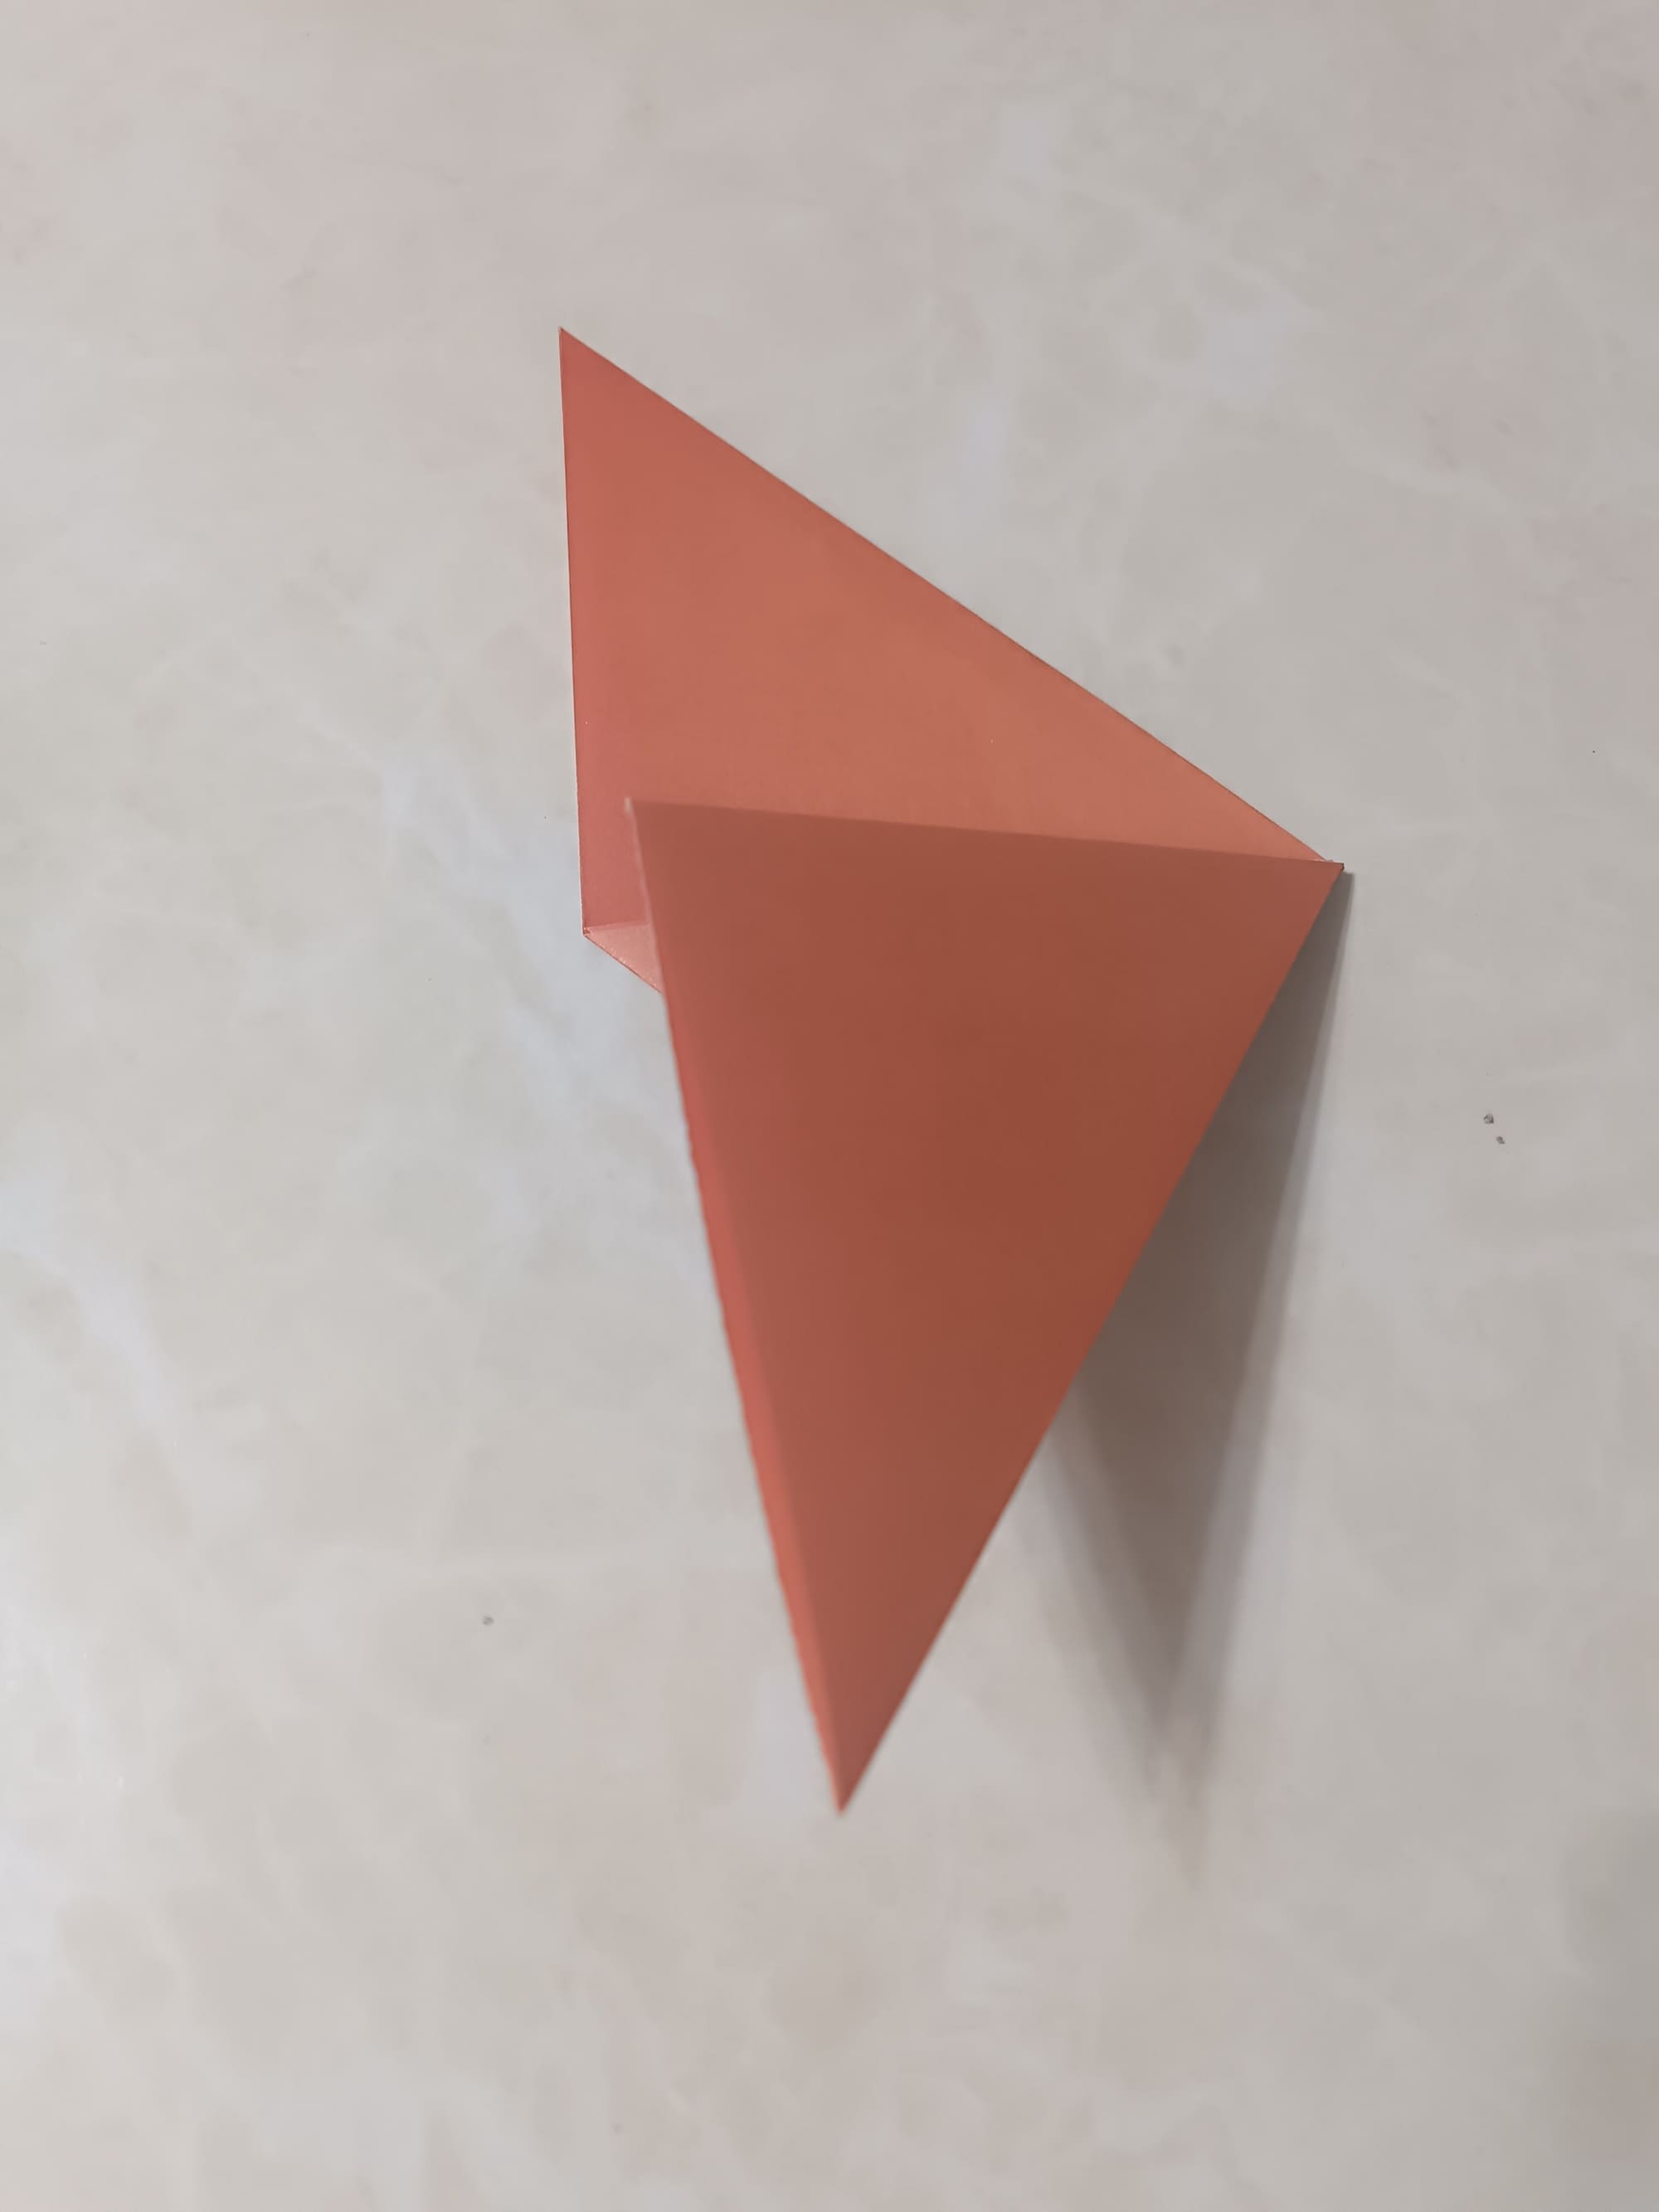
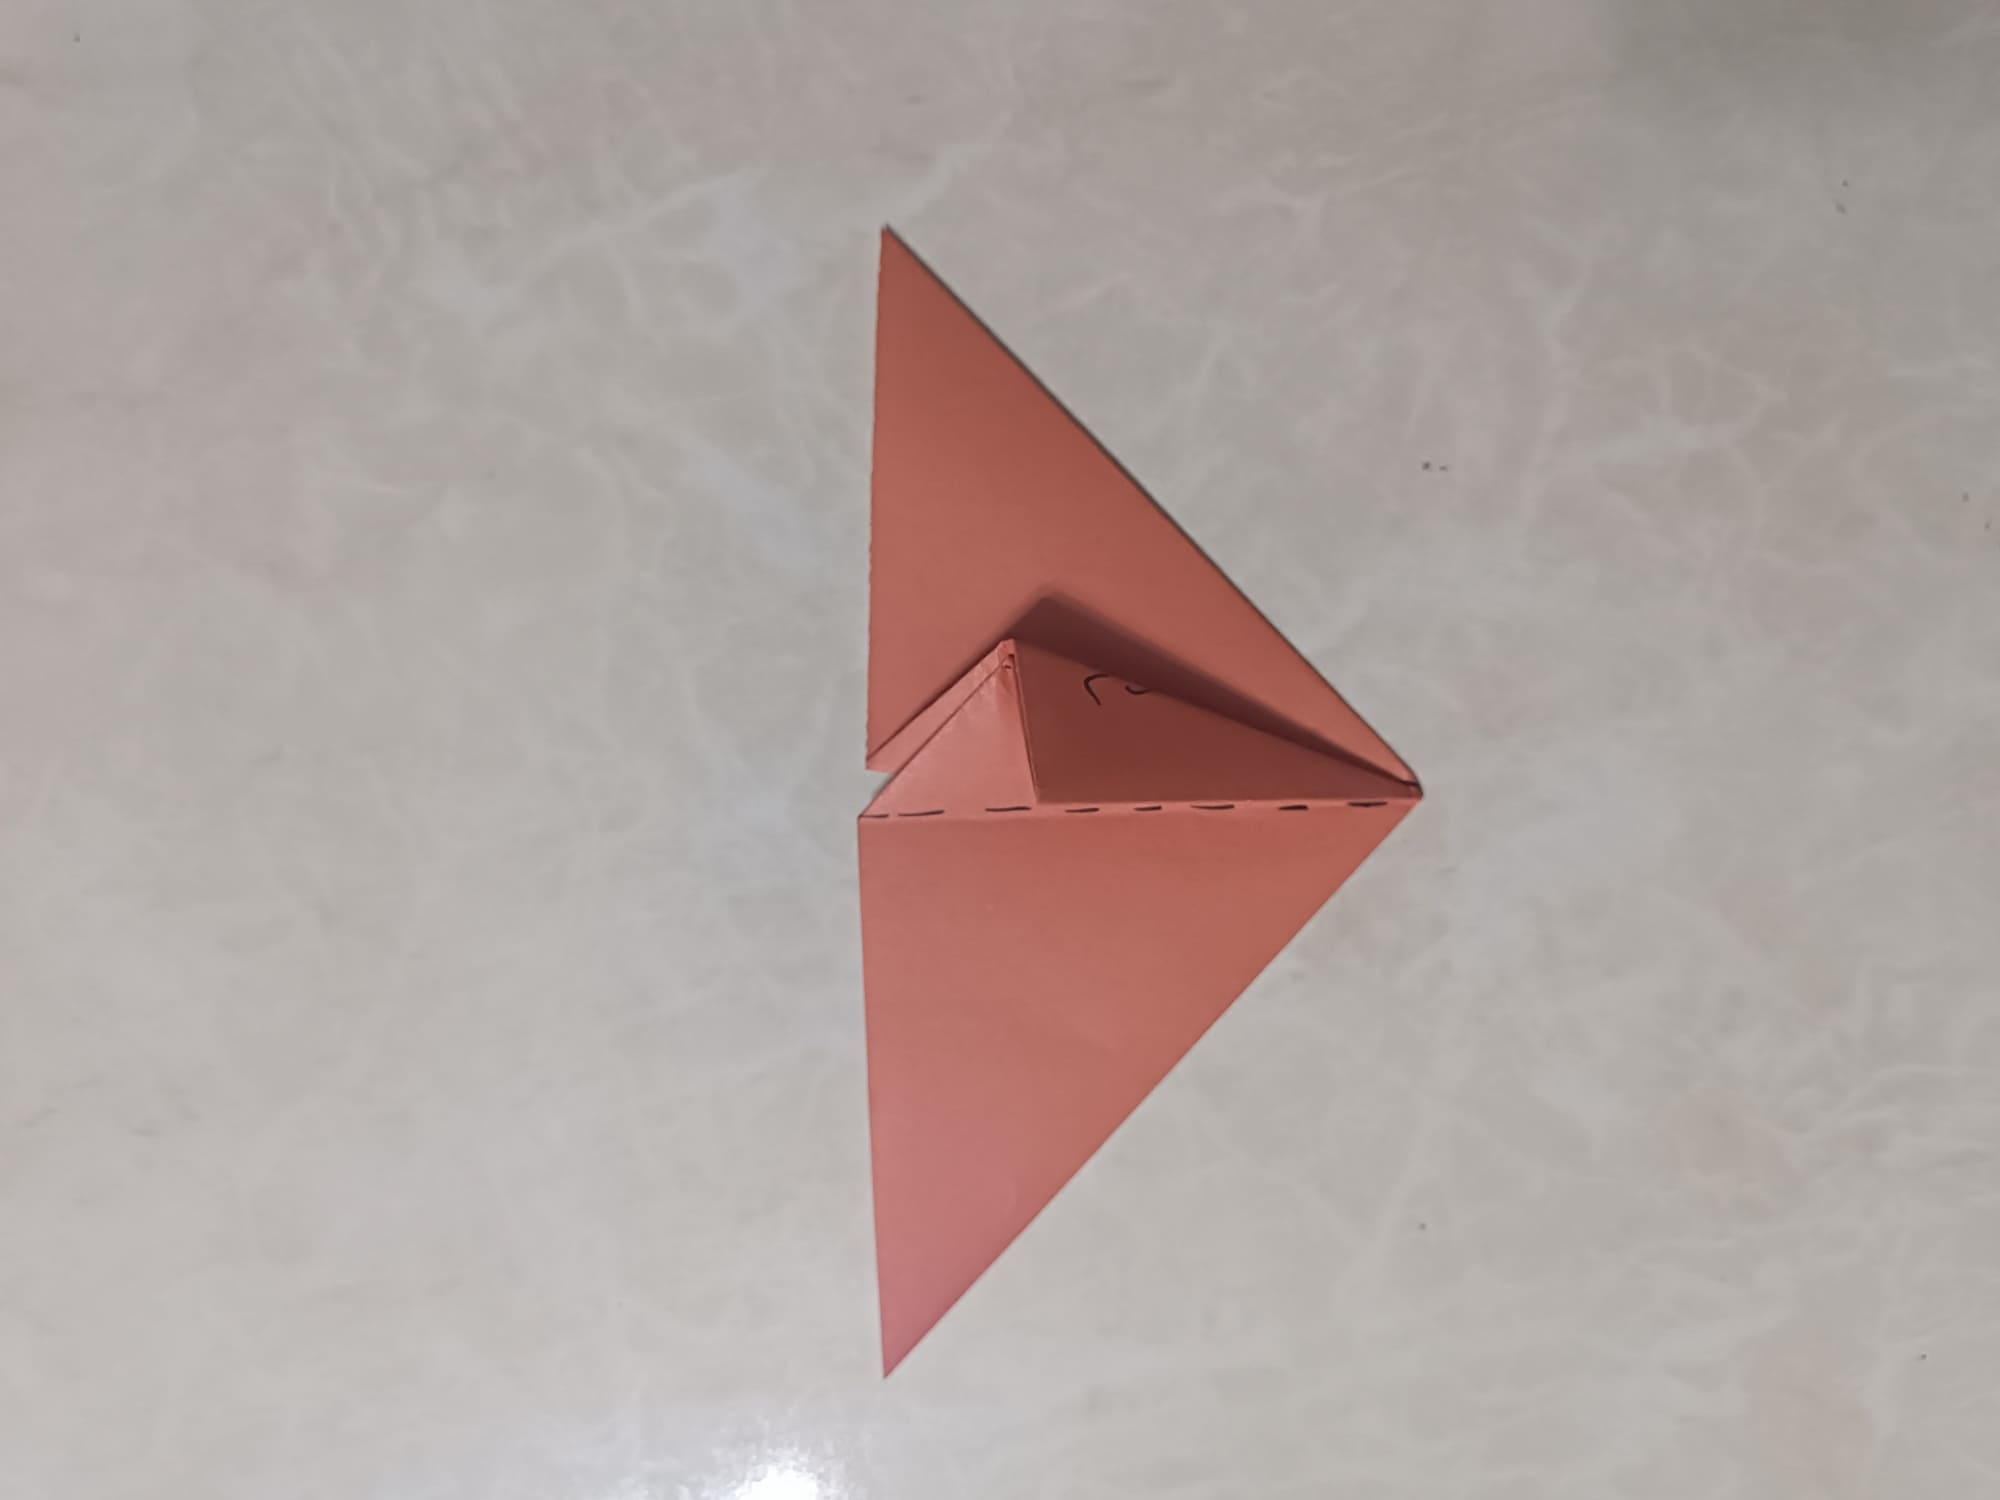
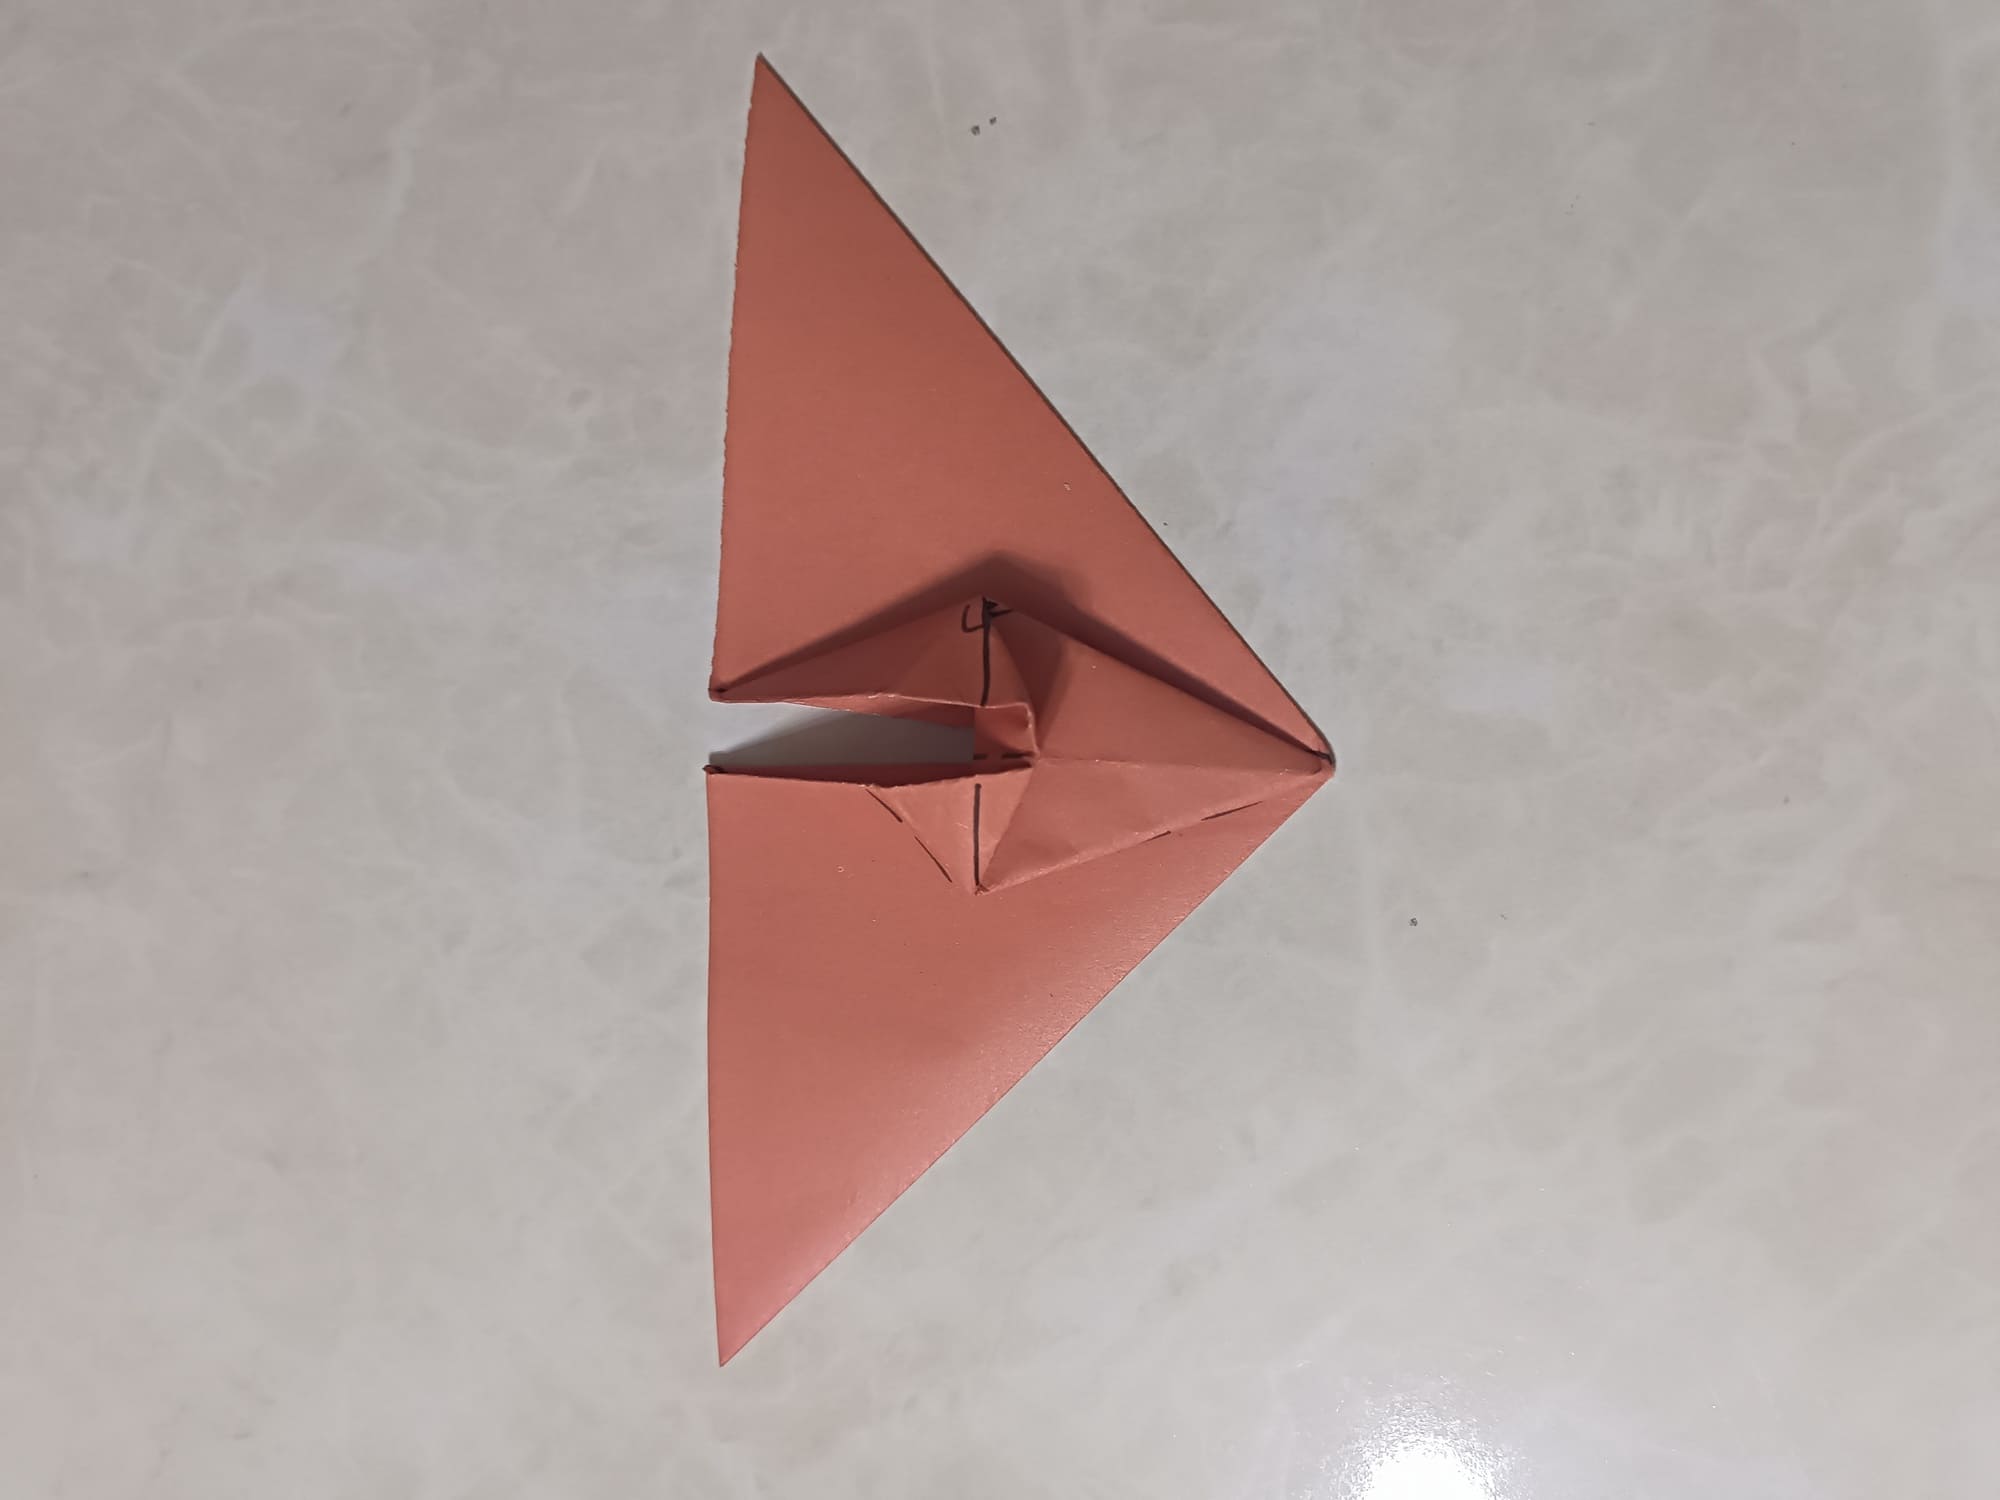
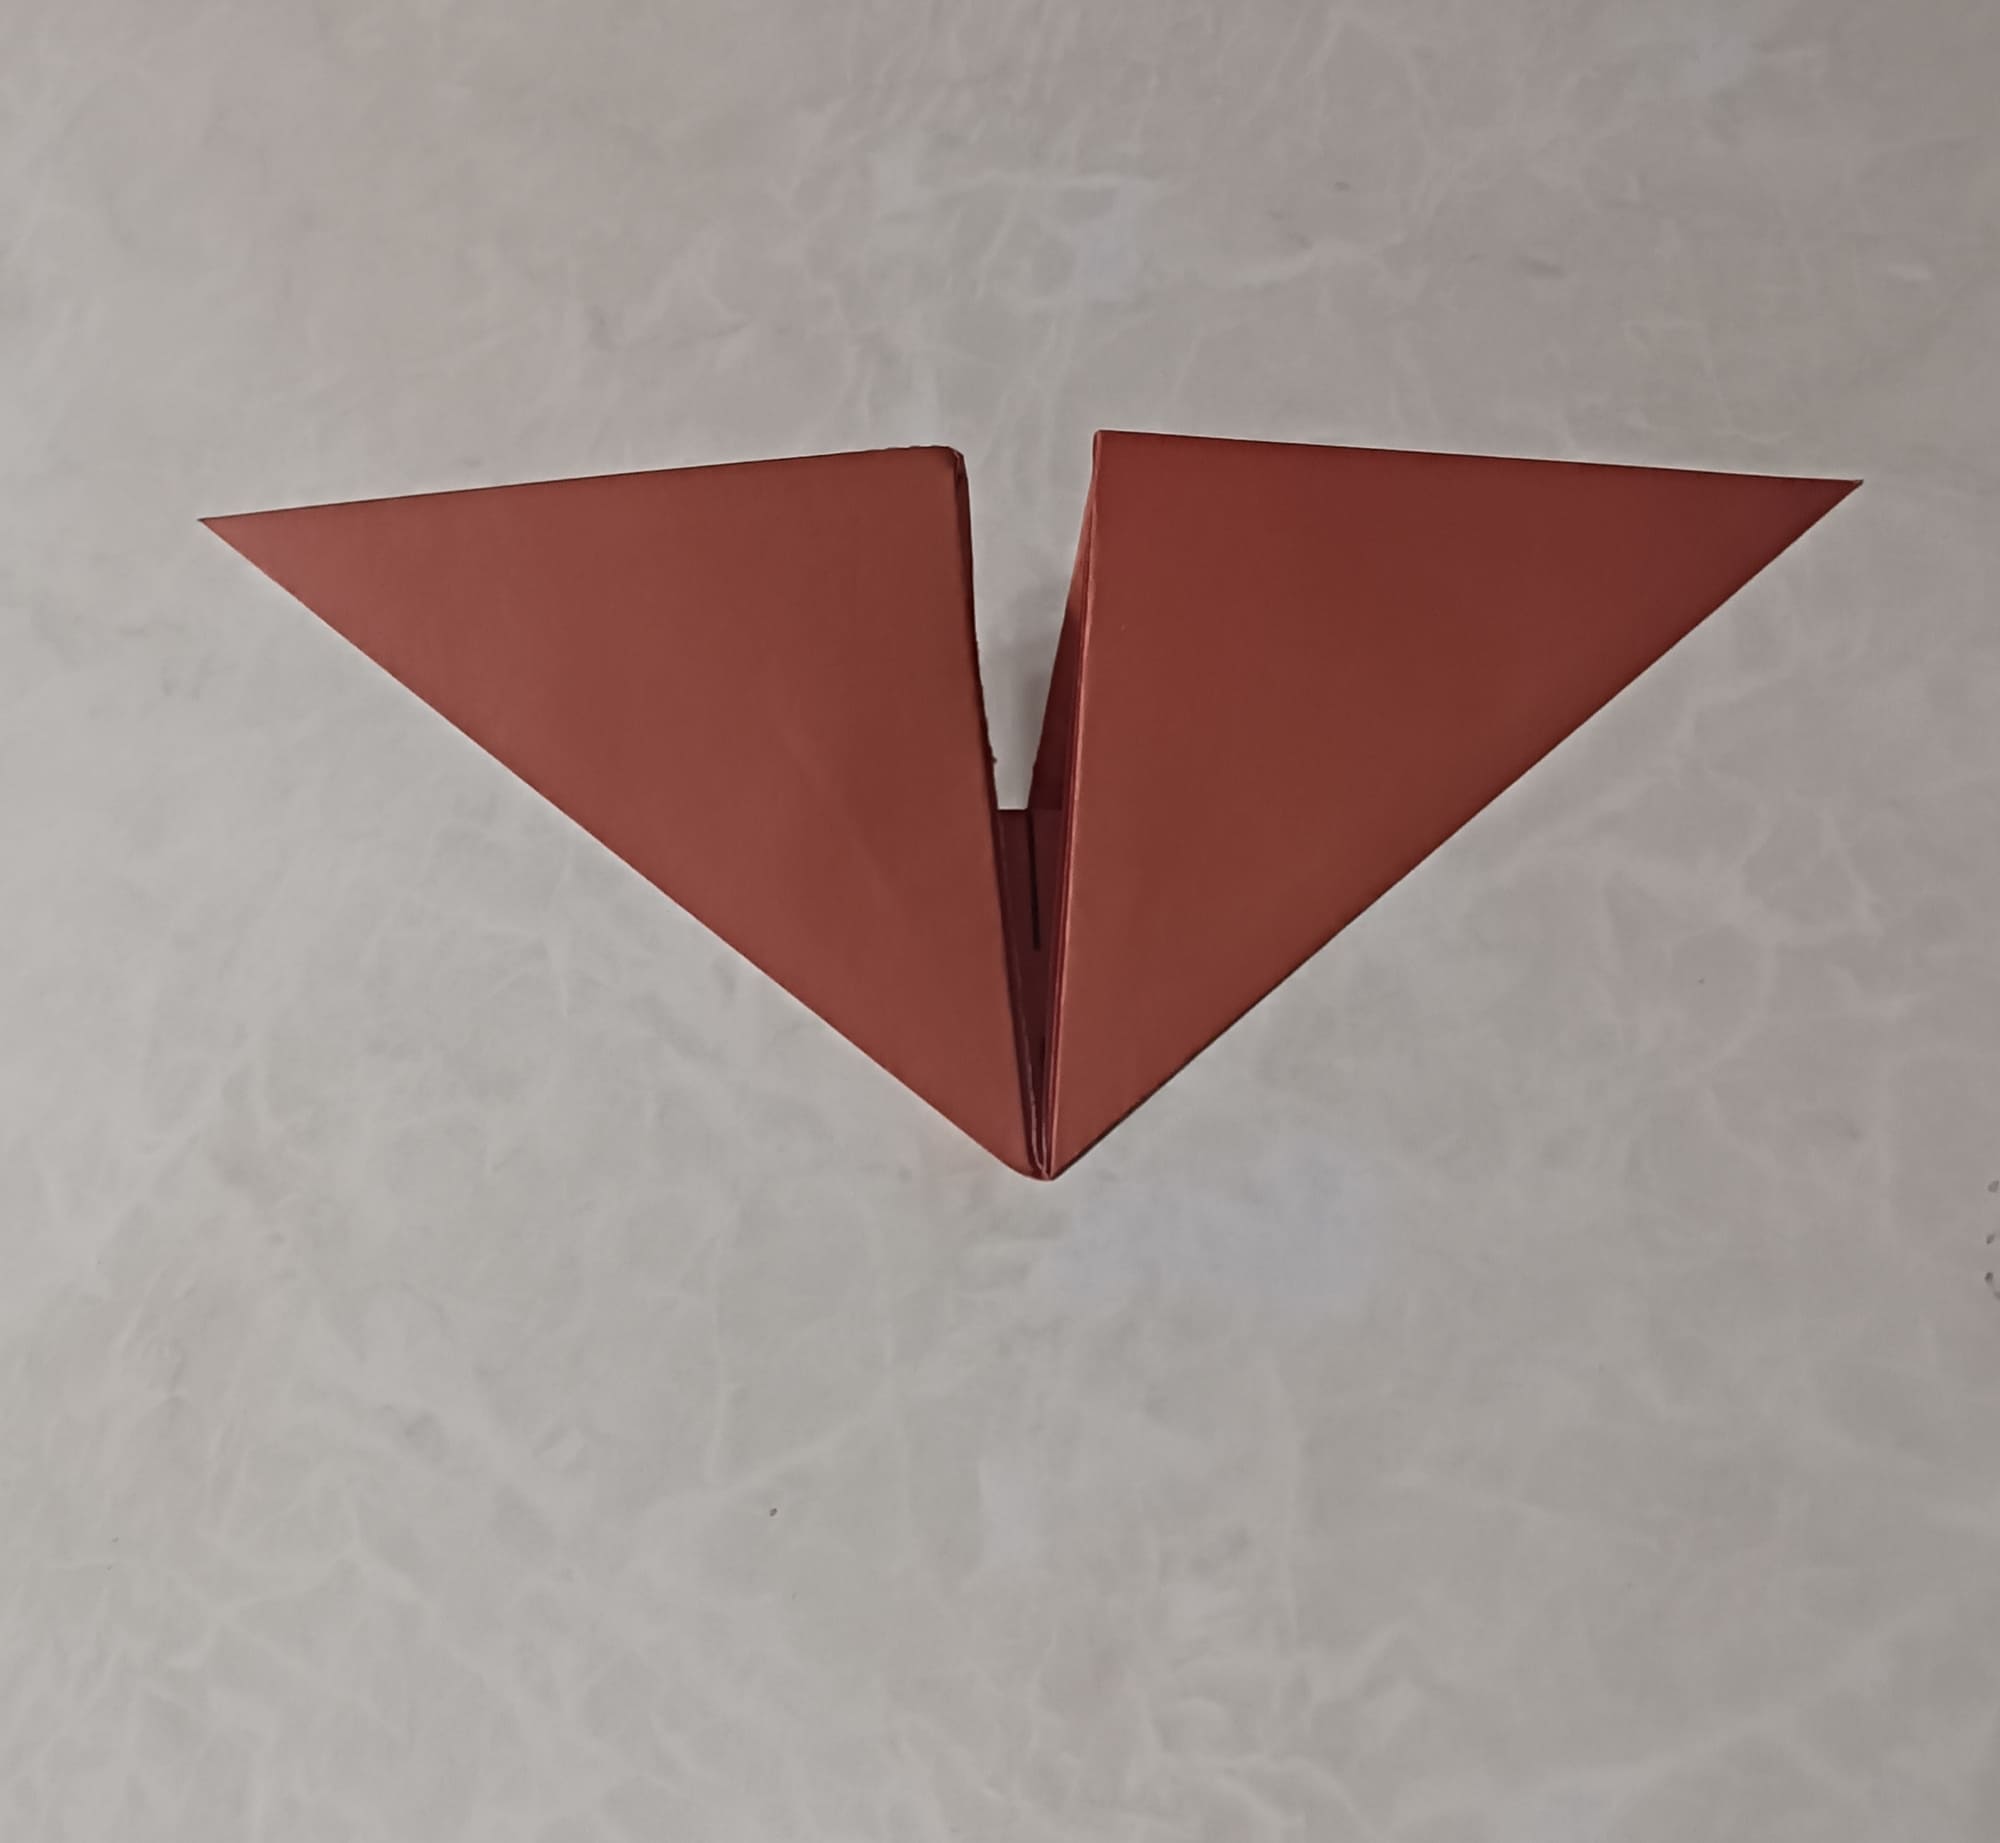
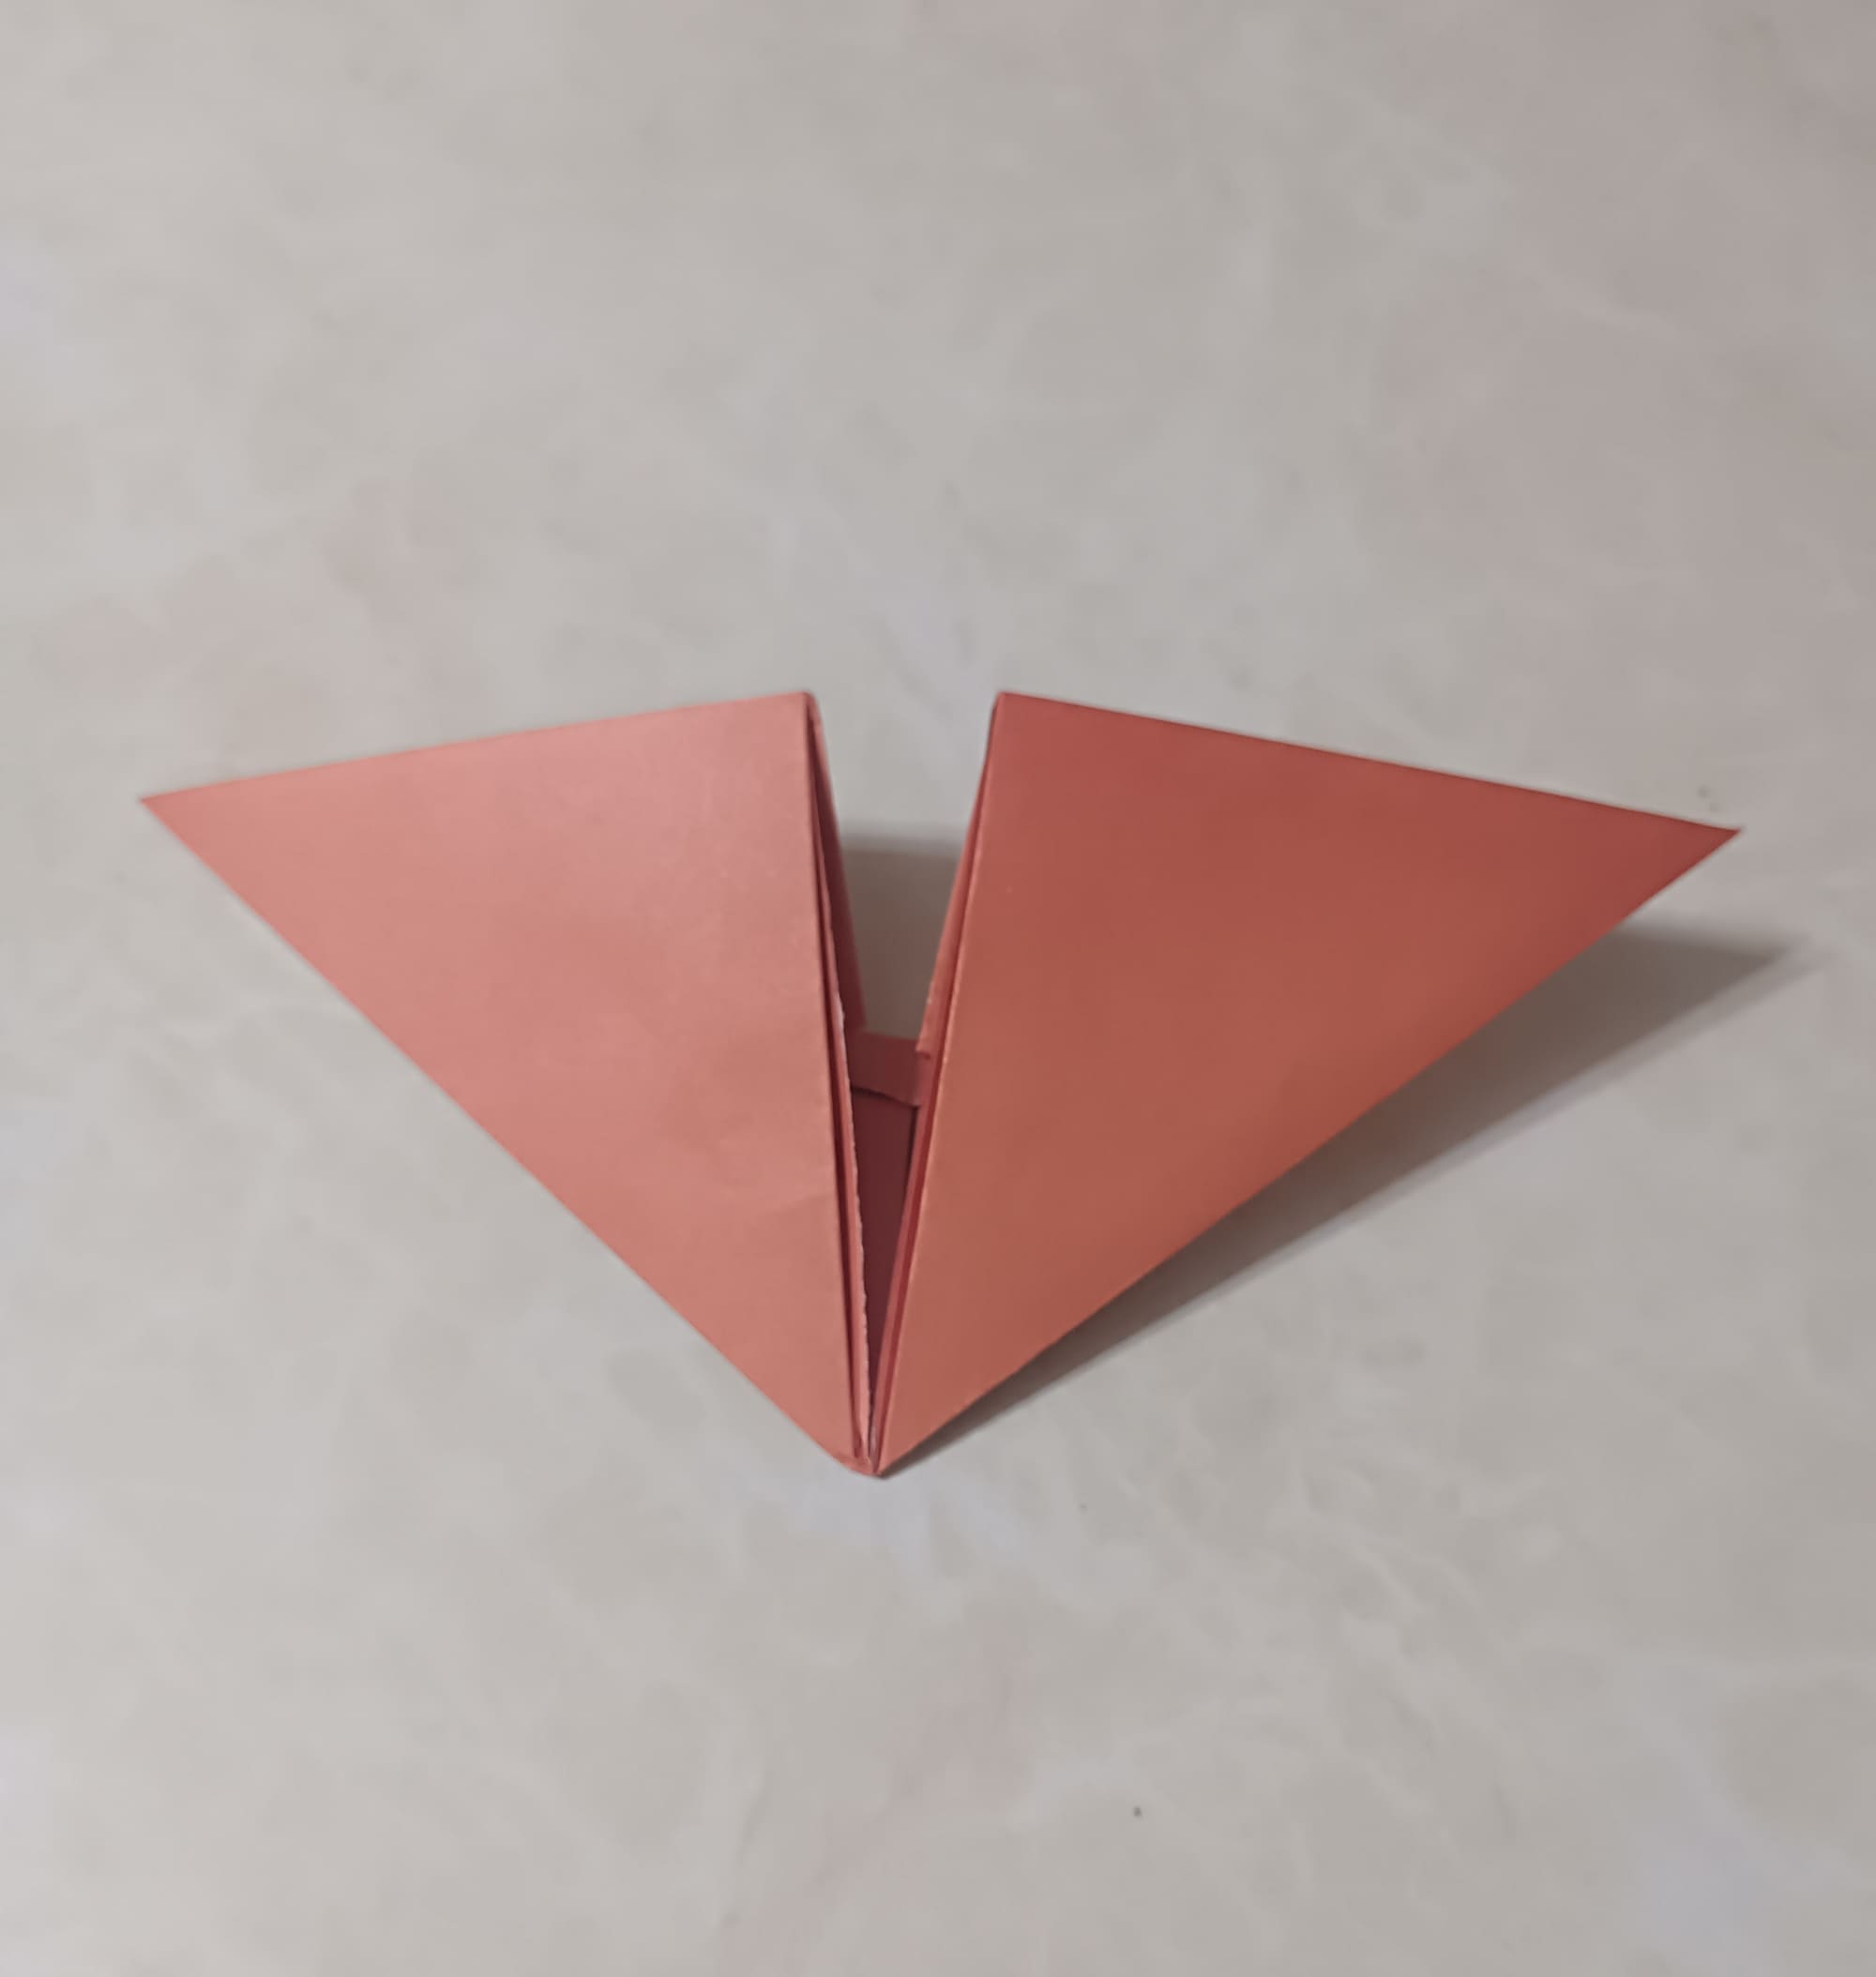
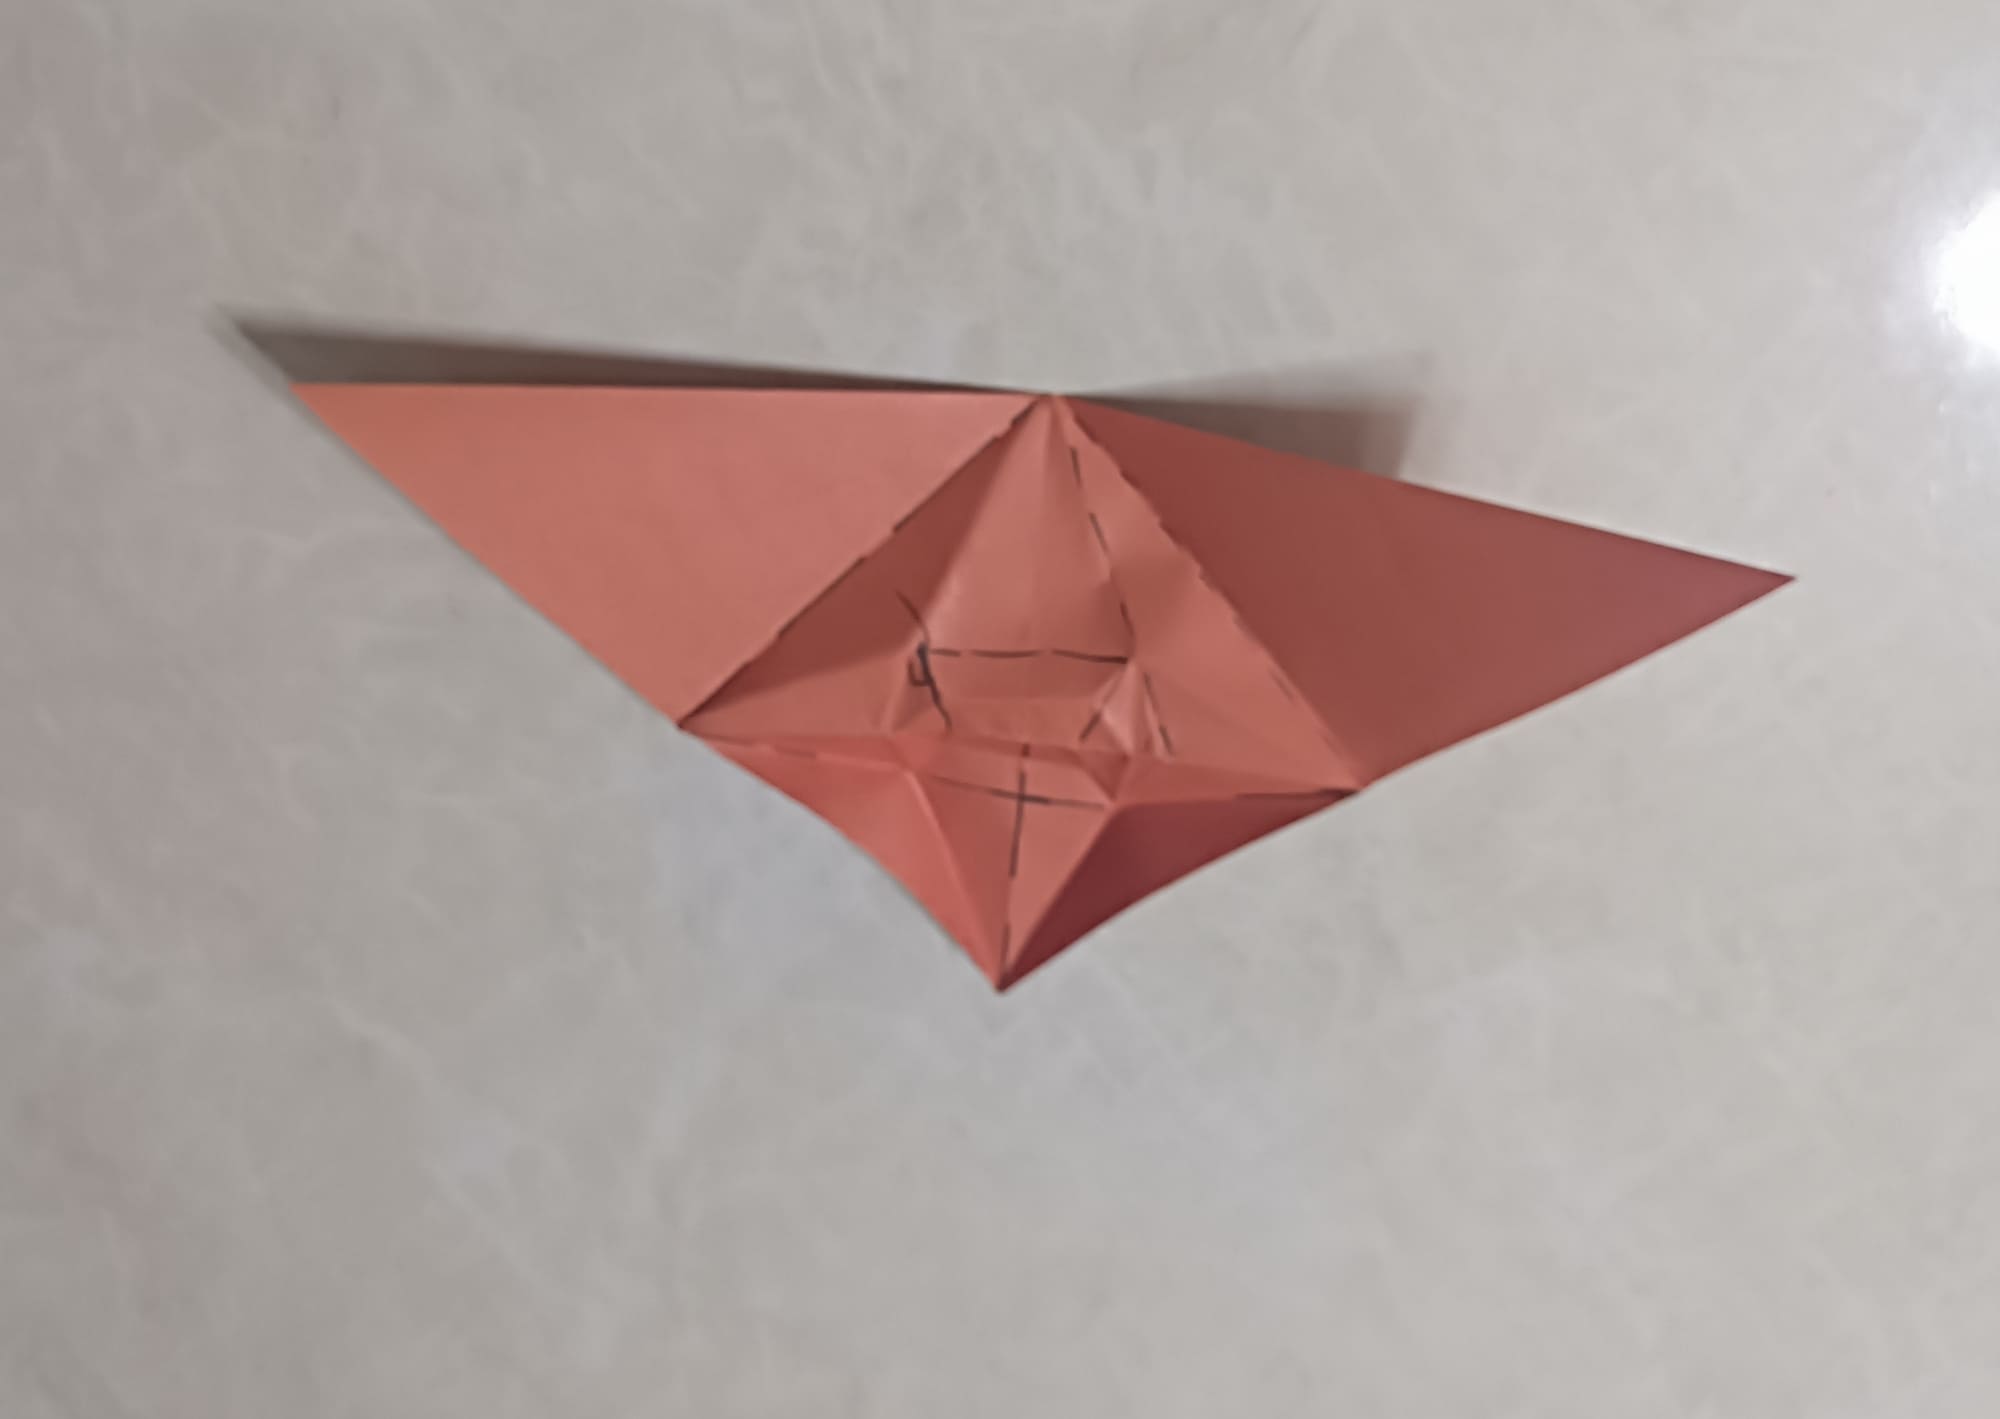
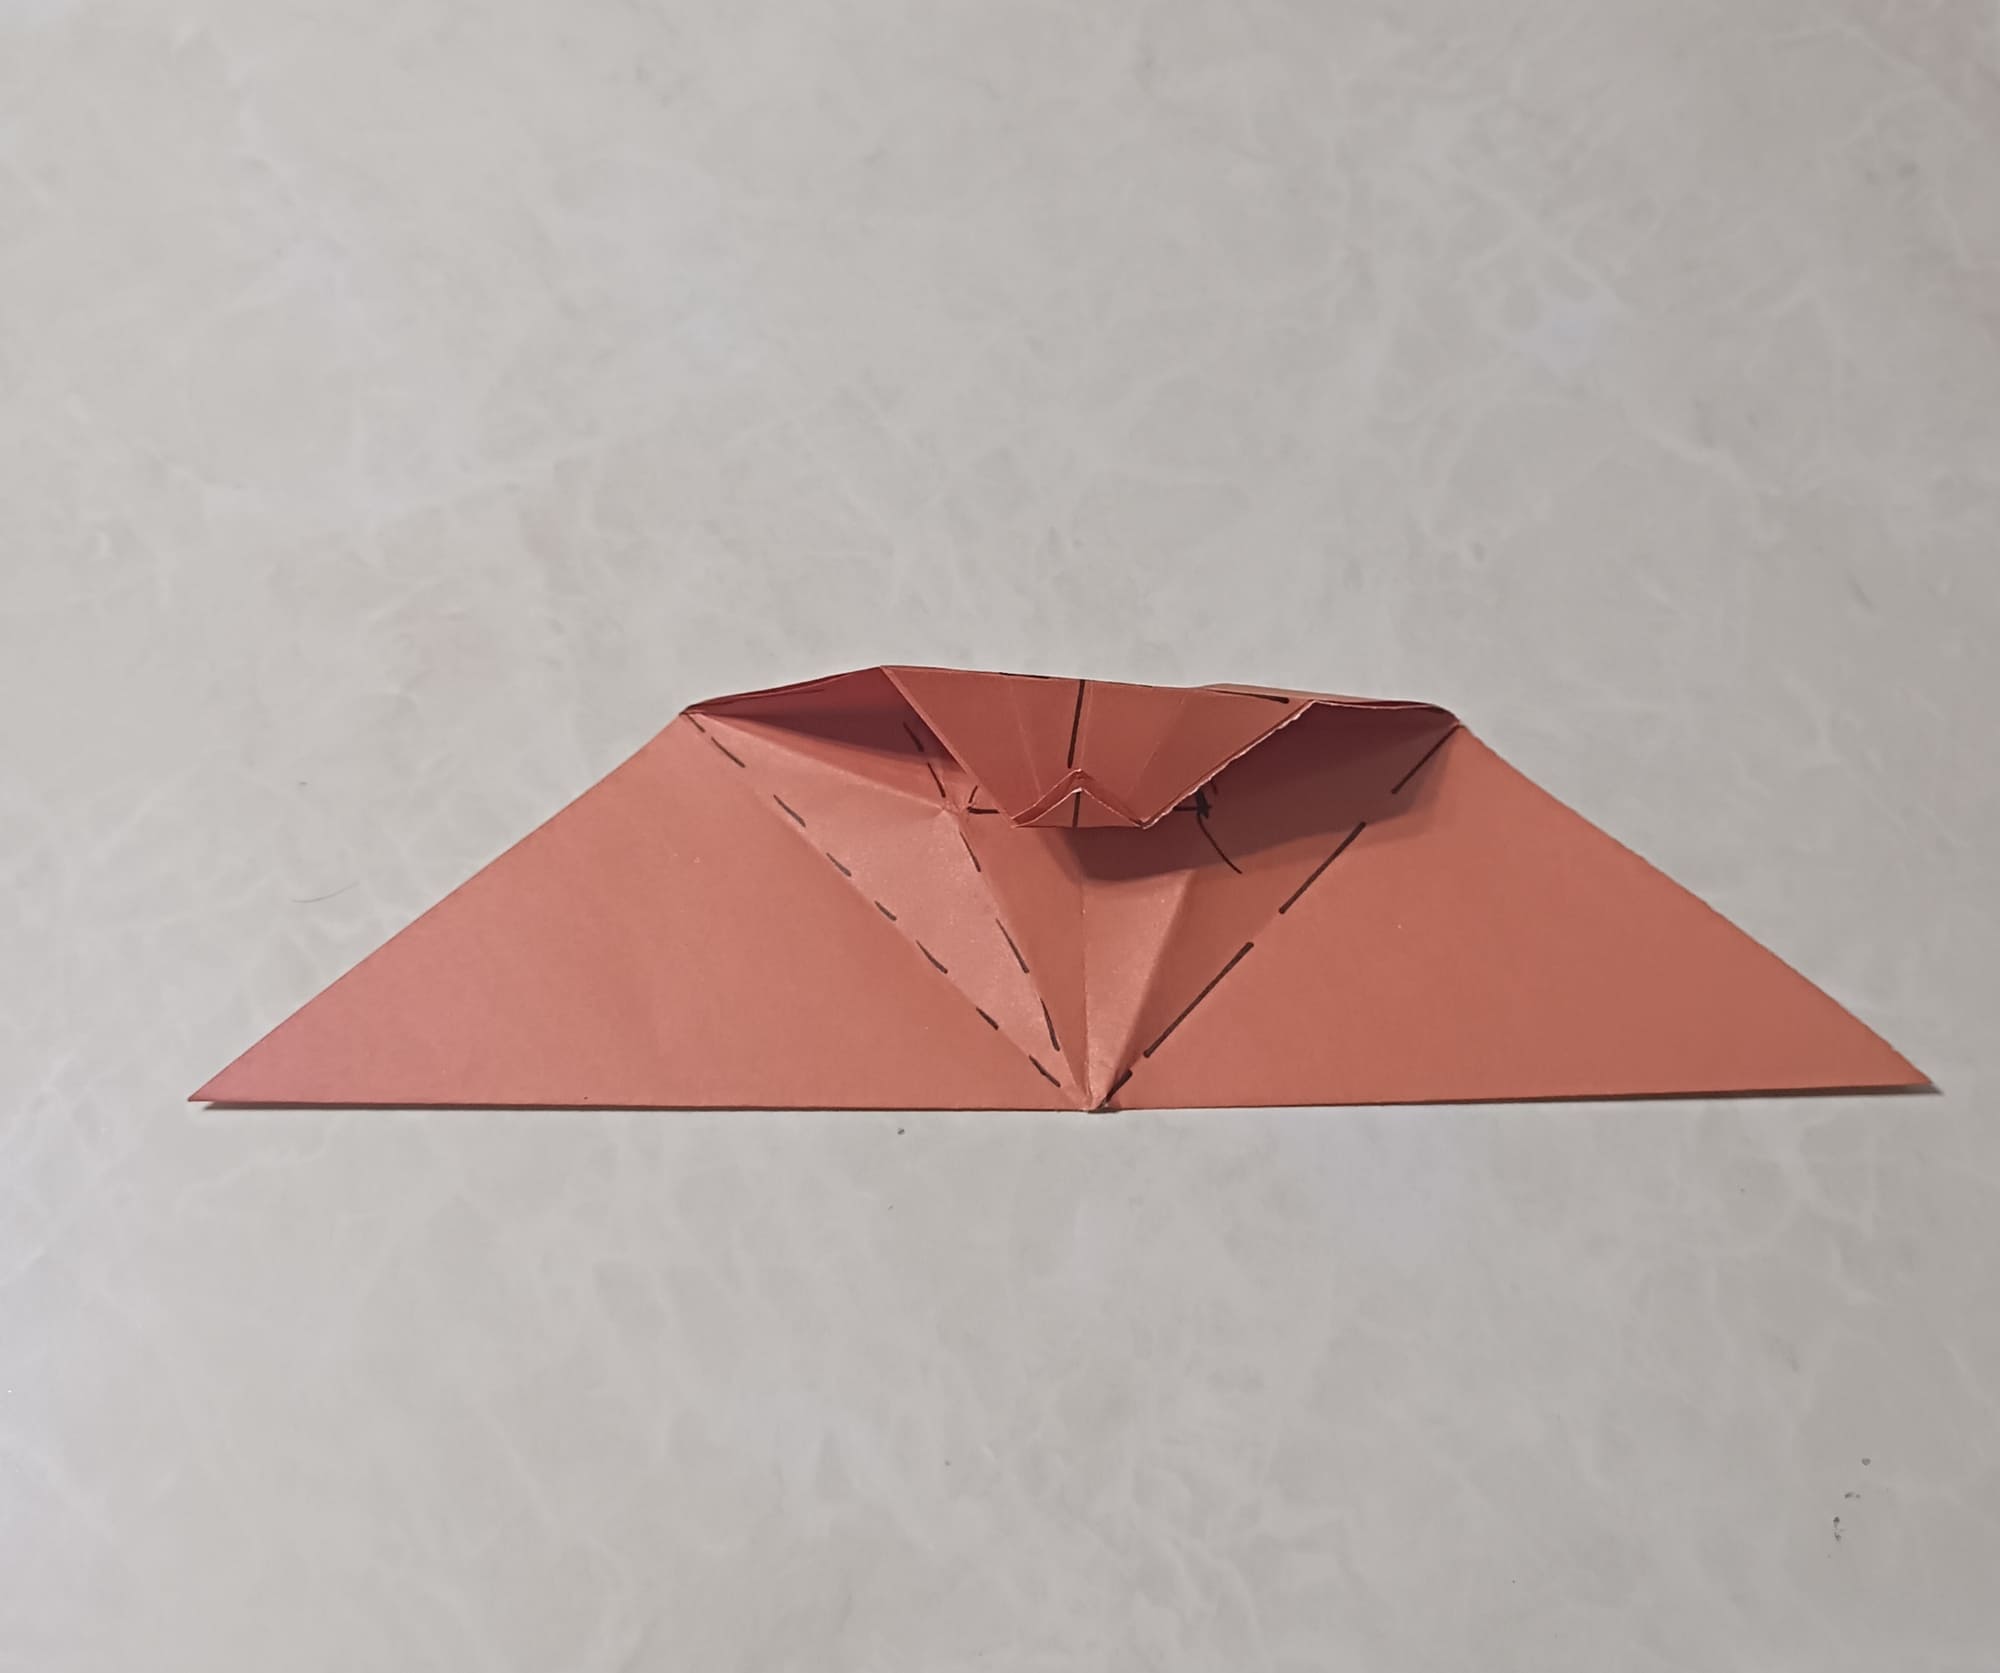
Now unfold the paper in the center and make a squash fold, carefully pressing the paper and smoothing the edges.
Next, make the petal fold. To do this, make two diagonal folds of the paper to the center, and iron well. You should get a figure, as in the photo.
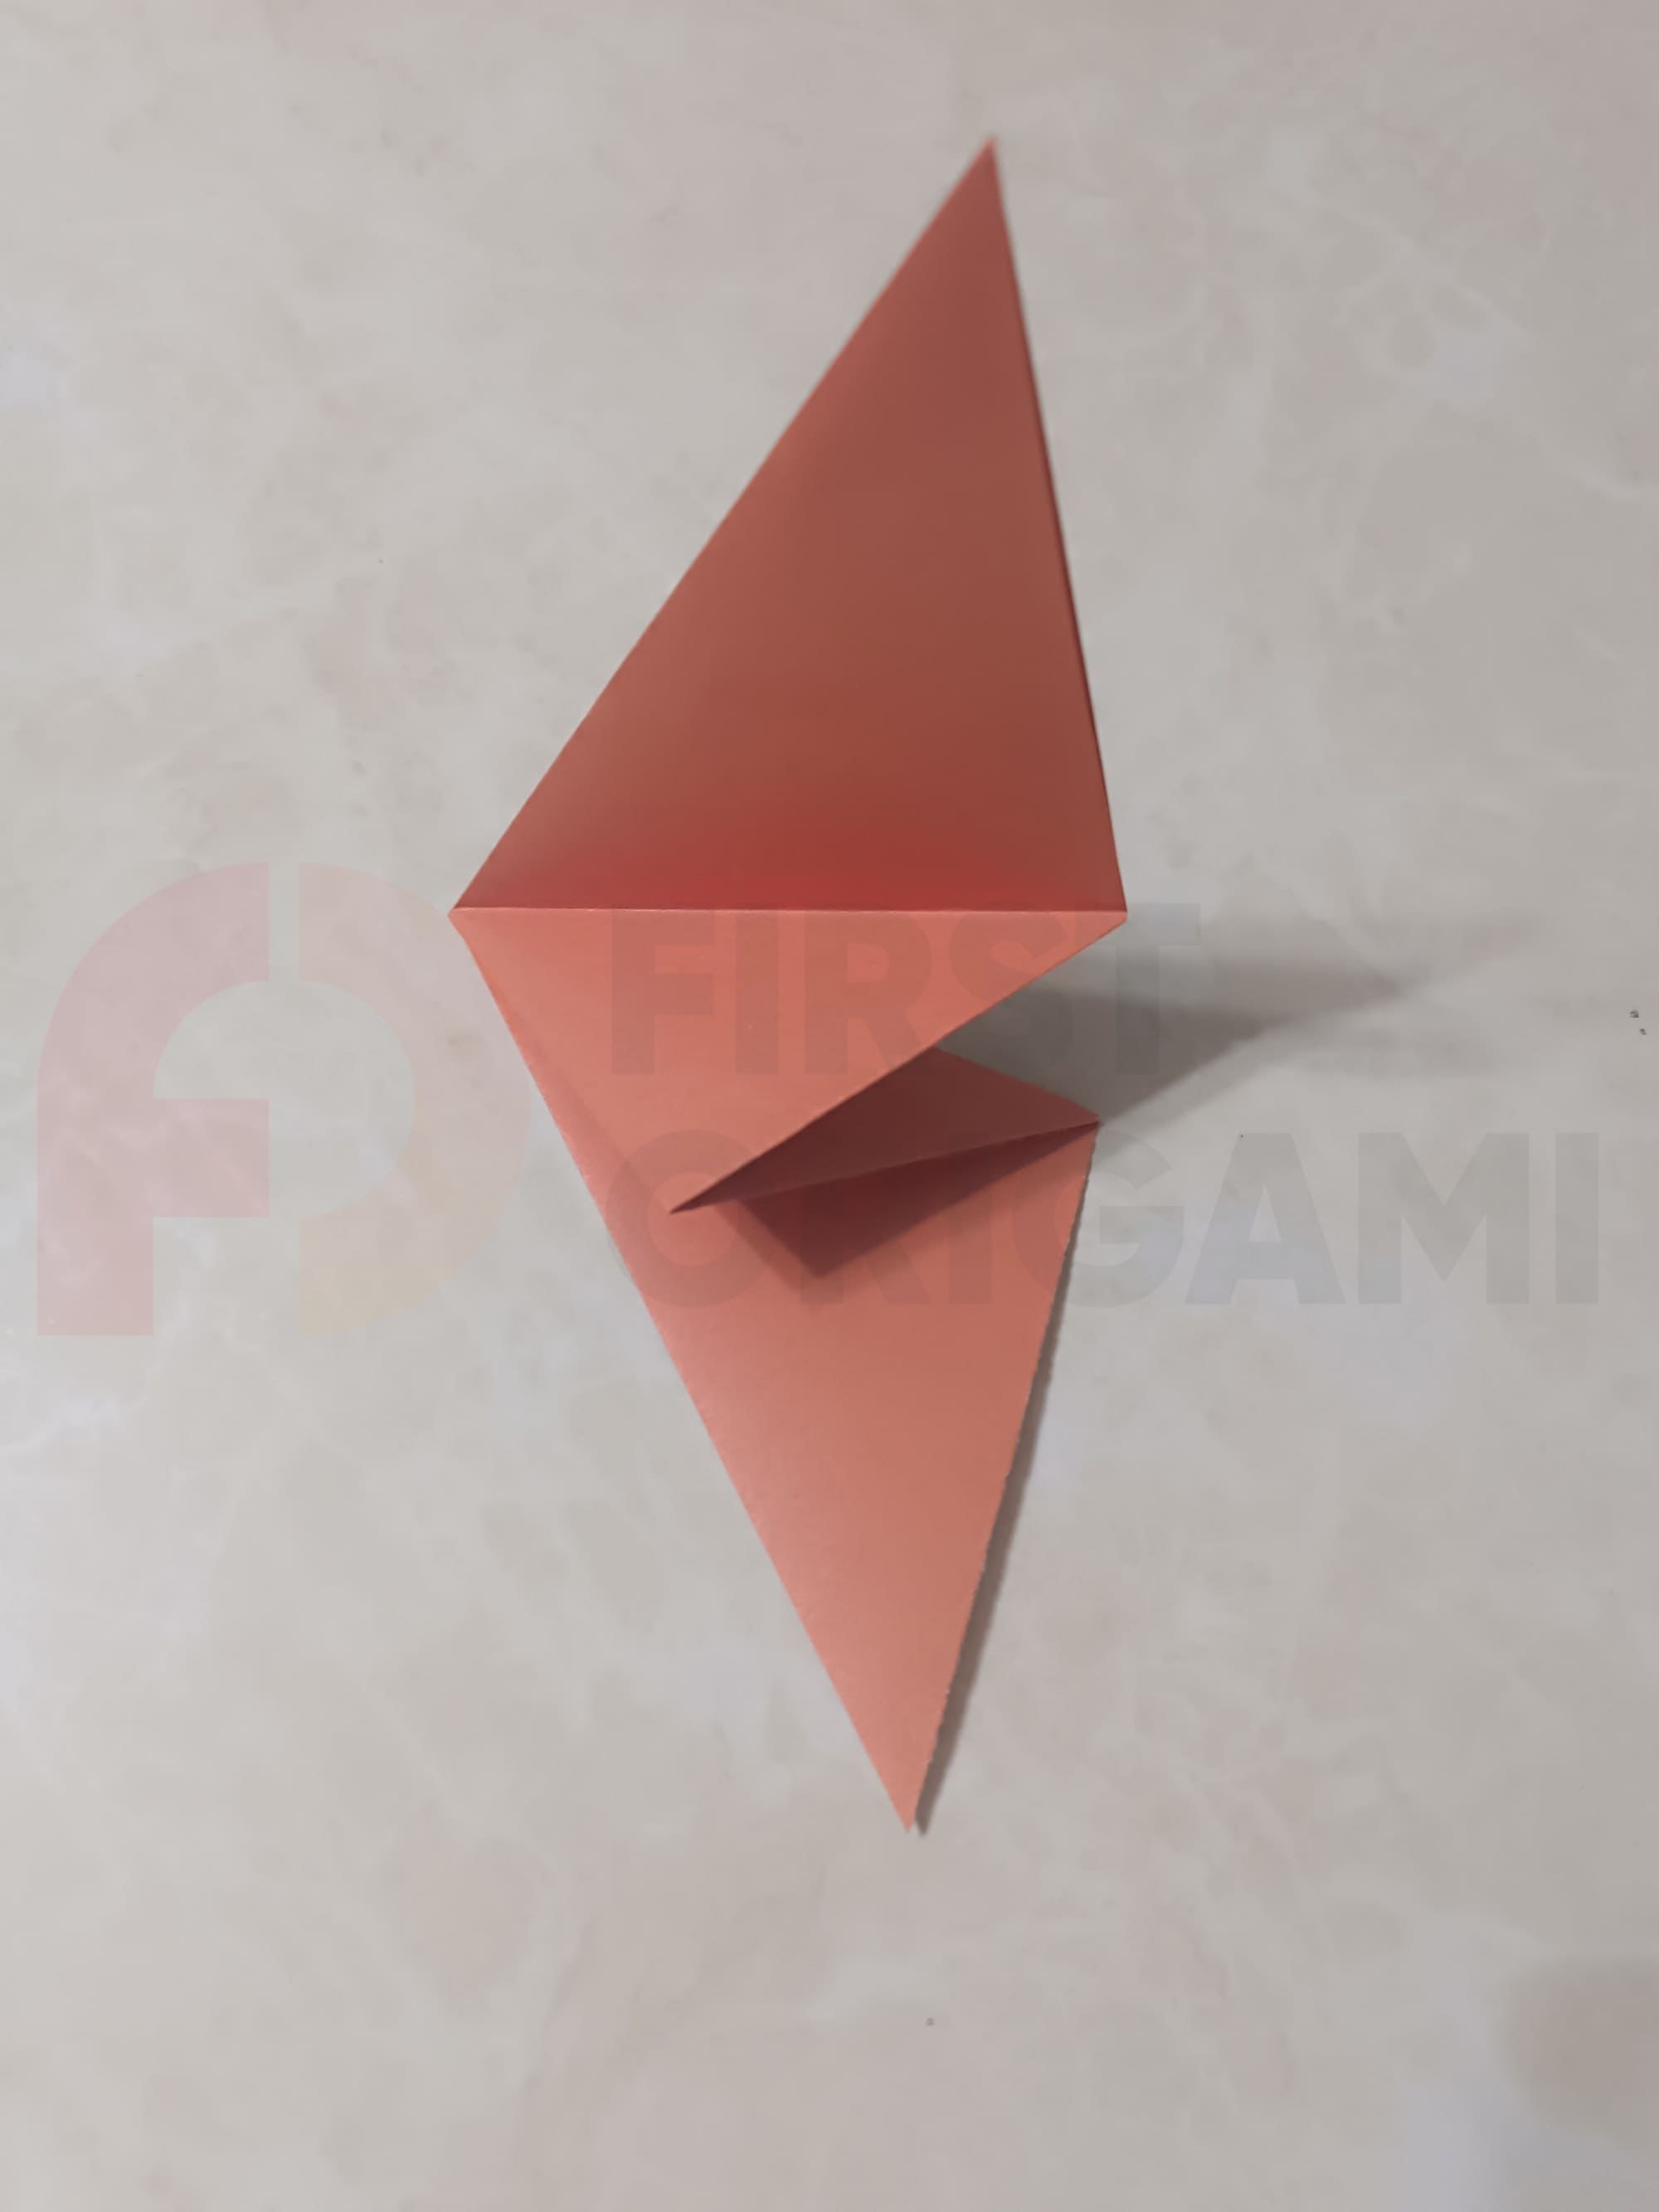
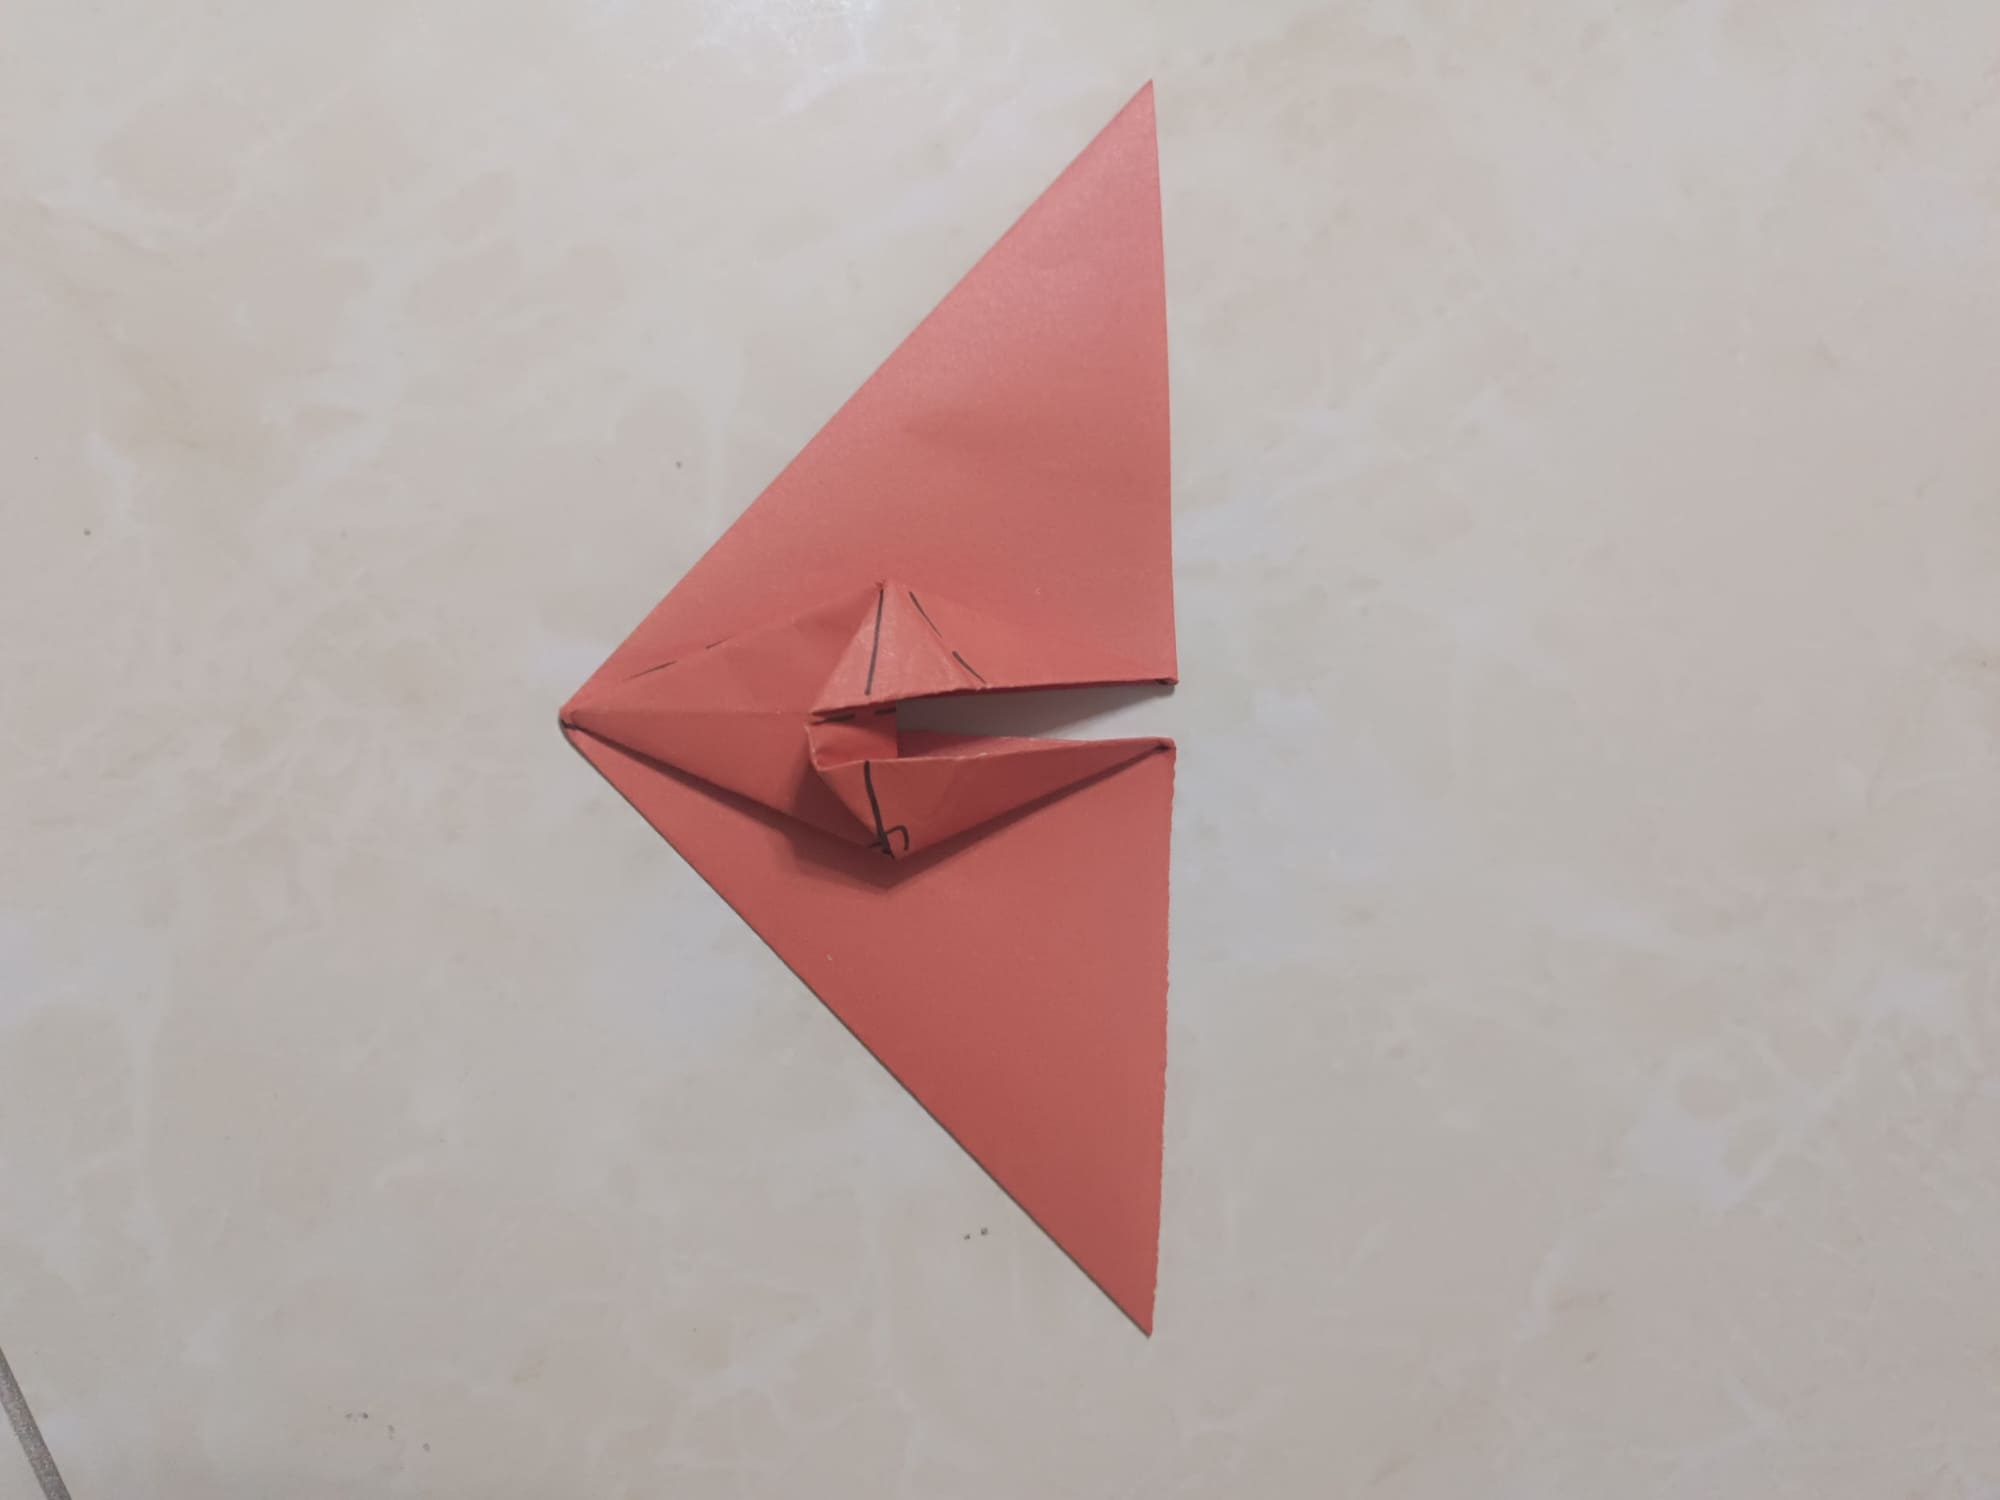
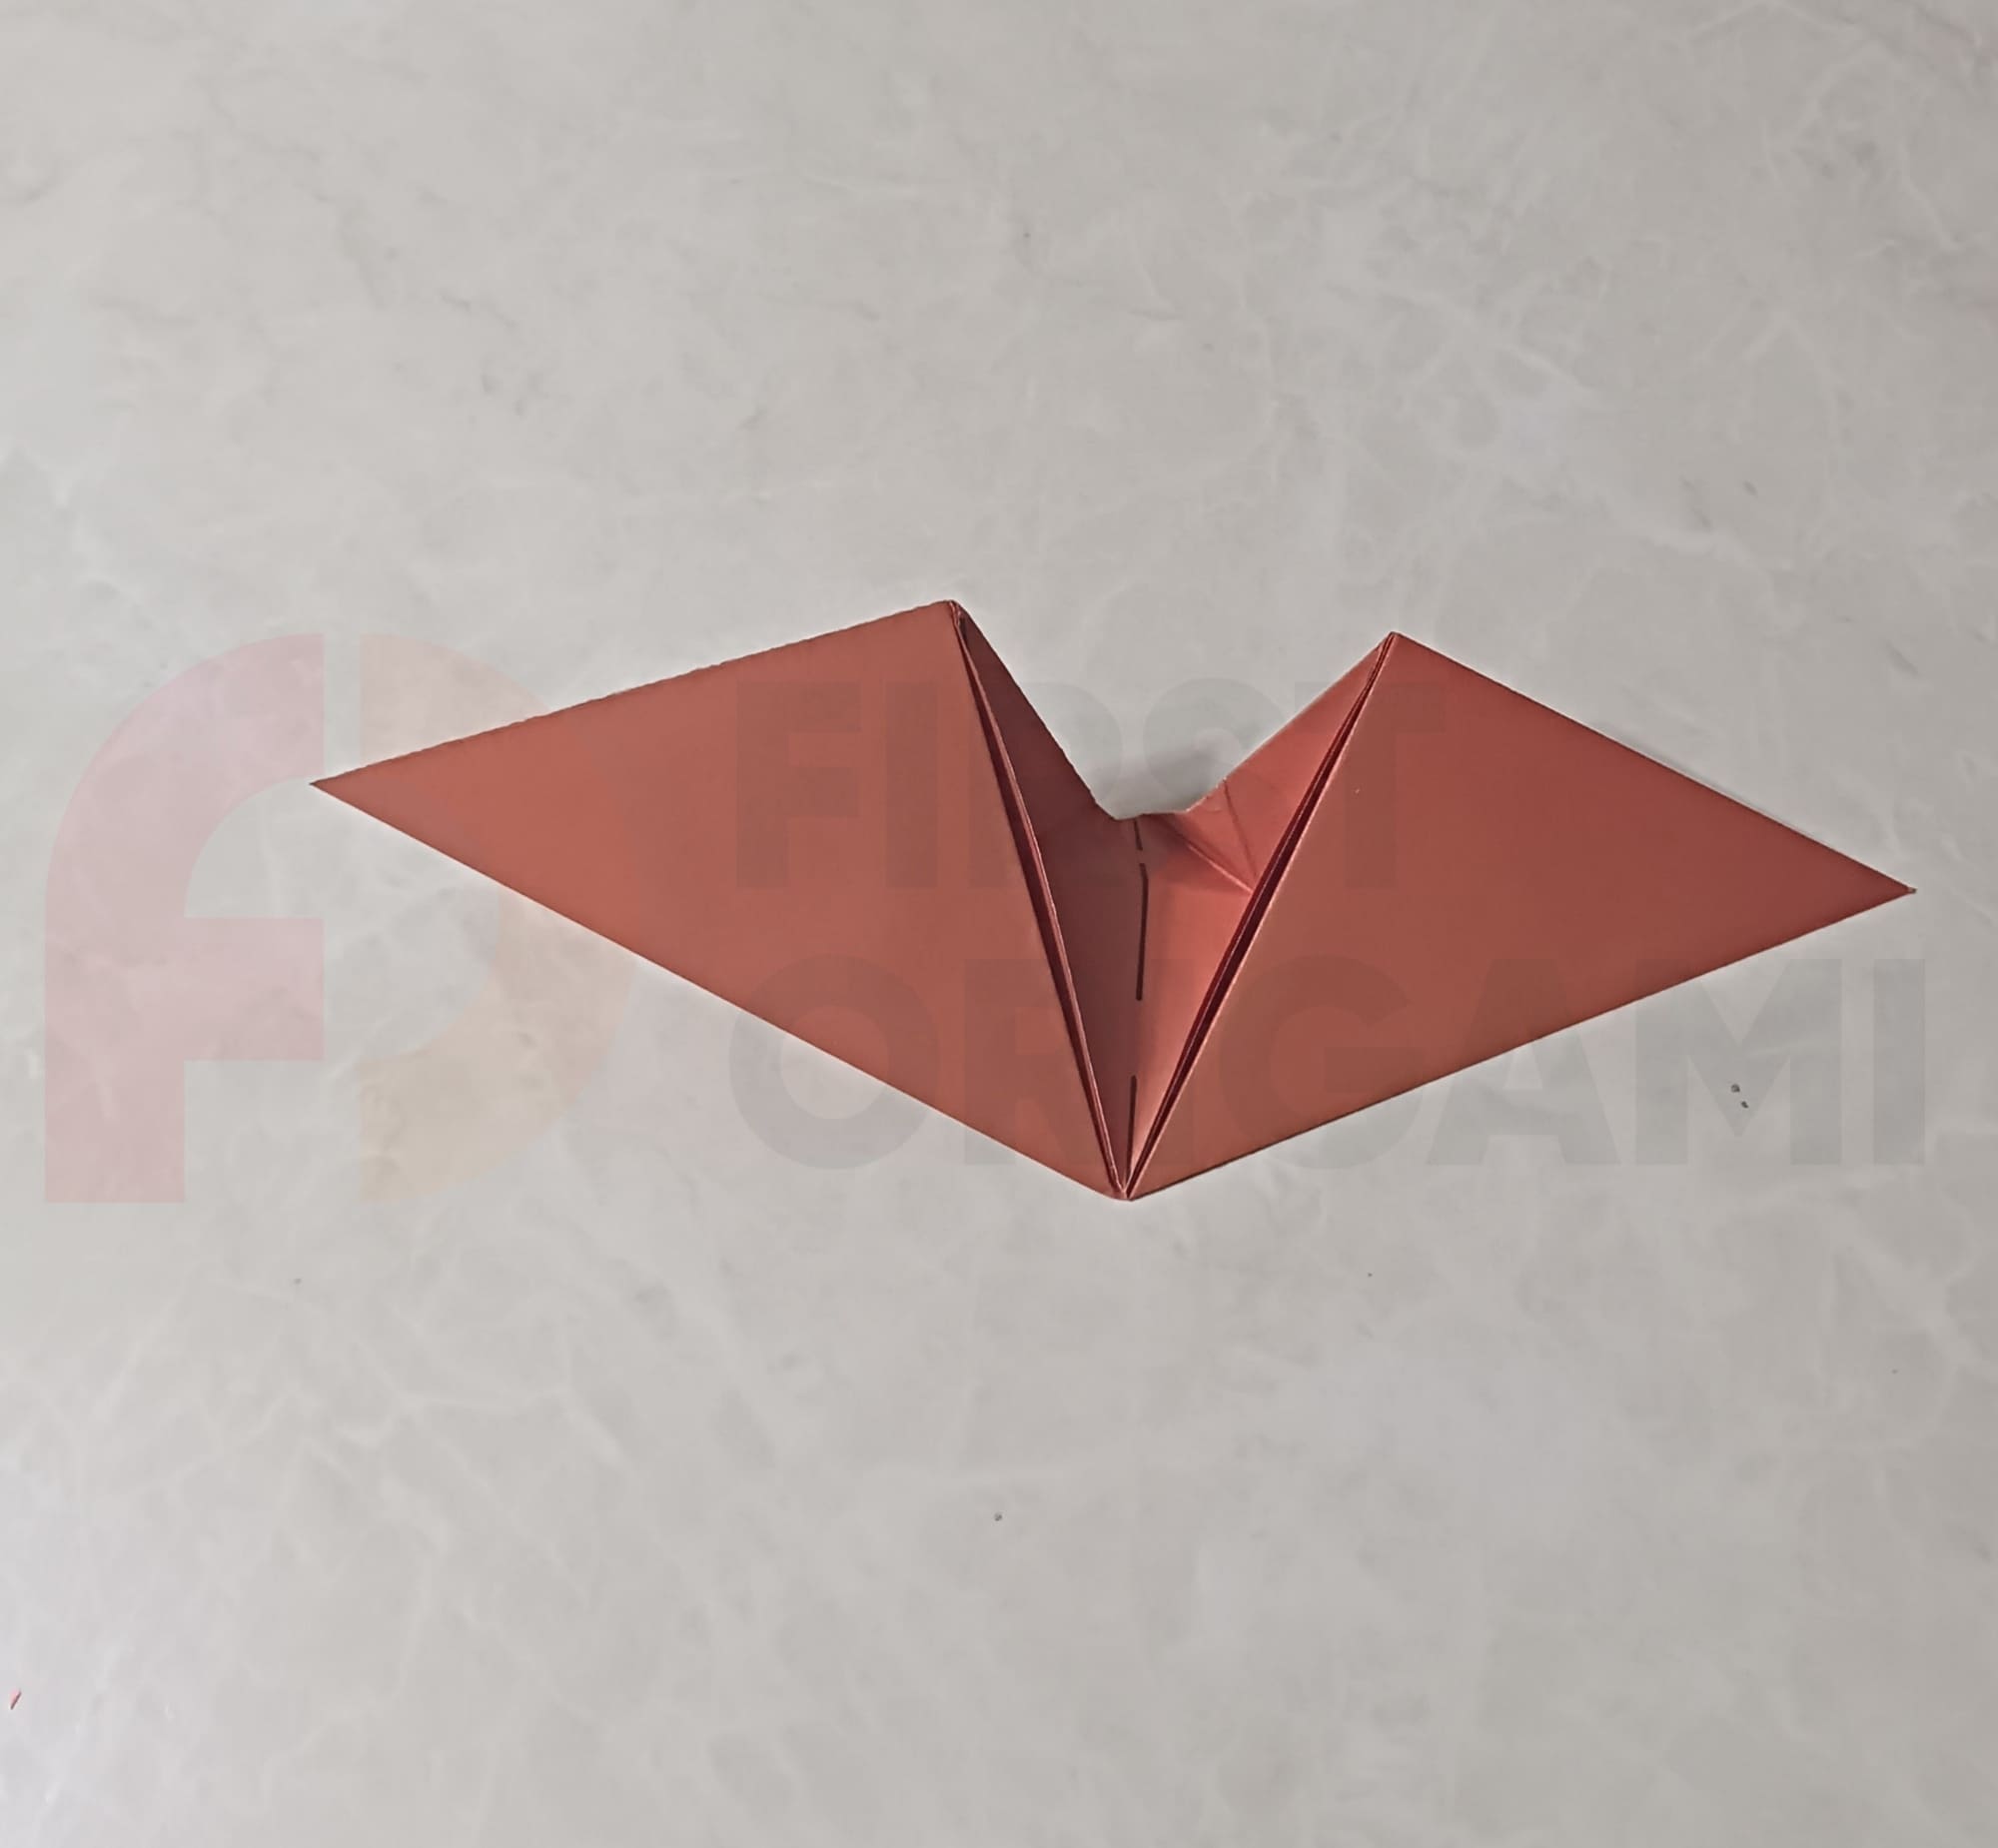
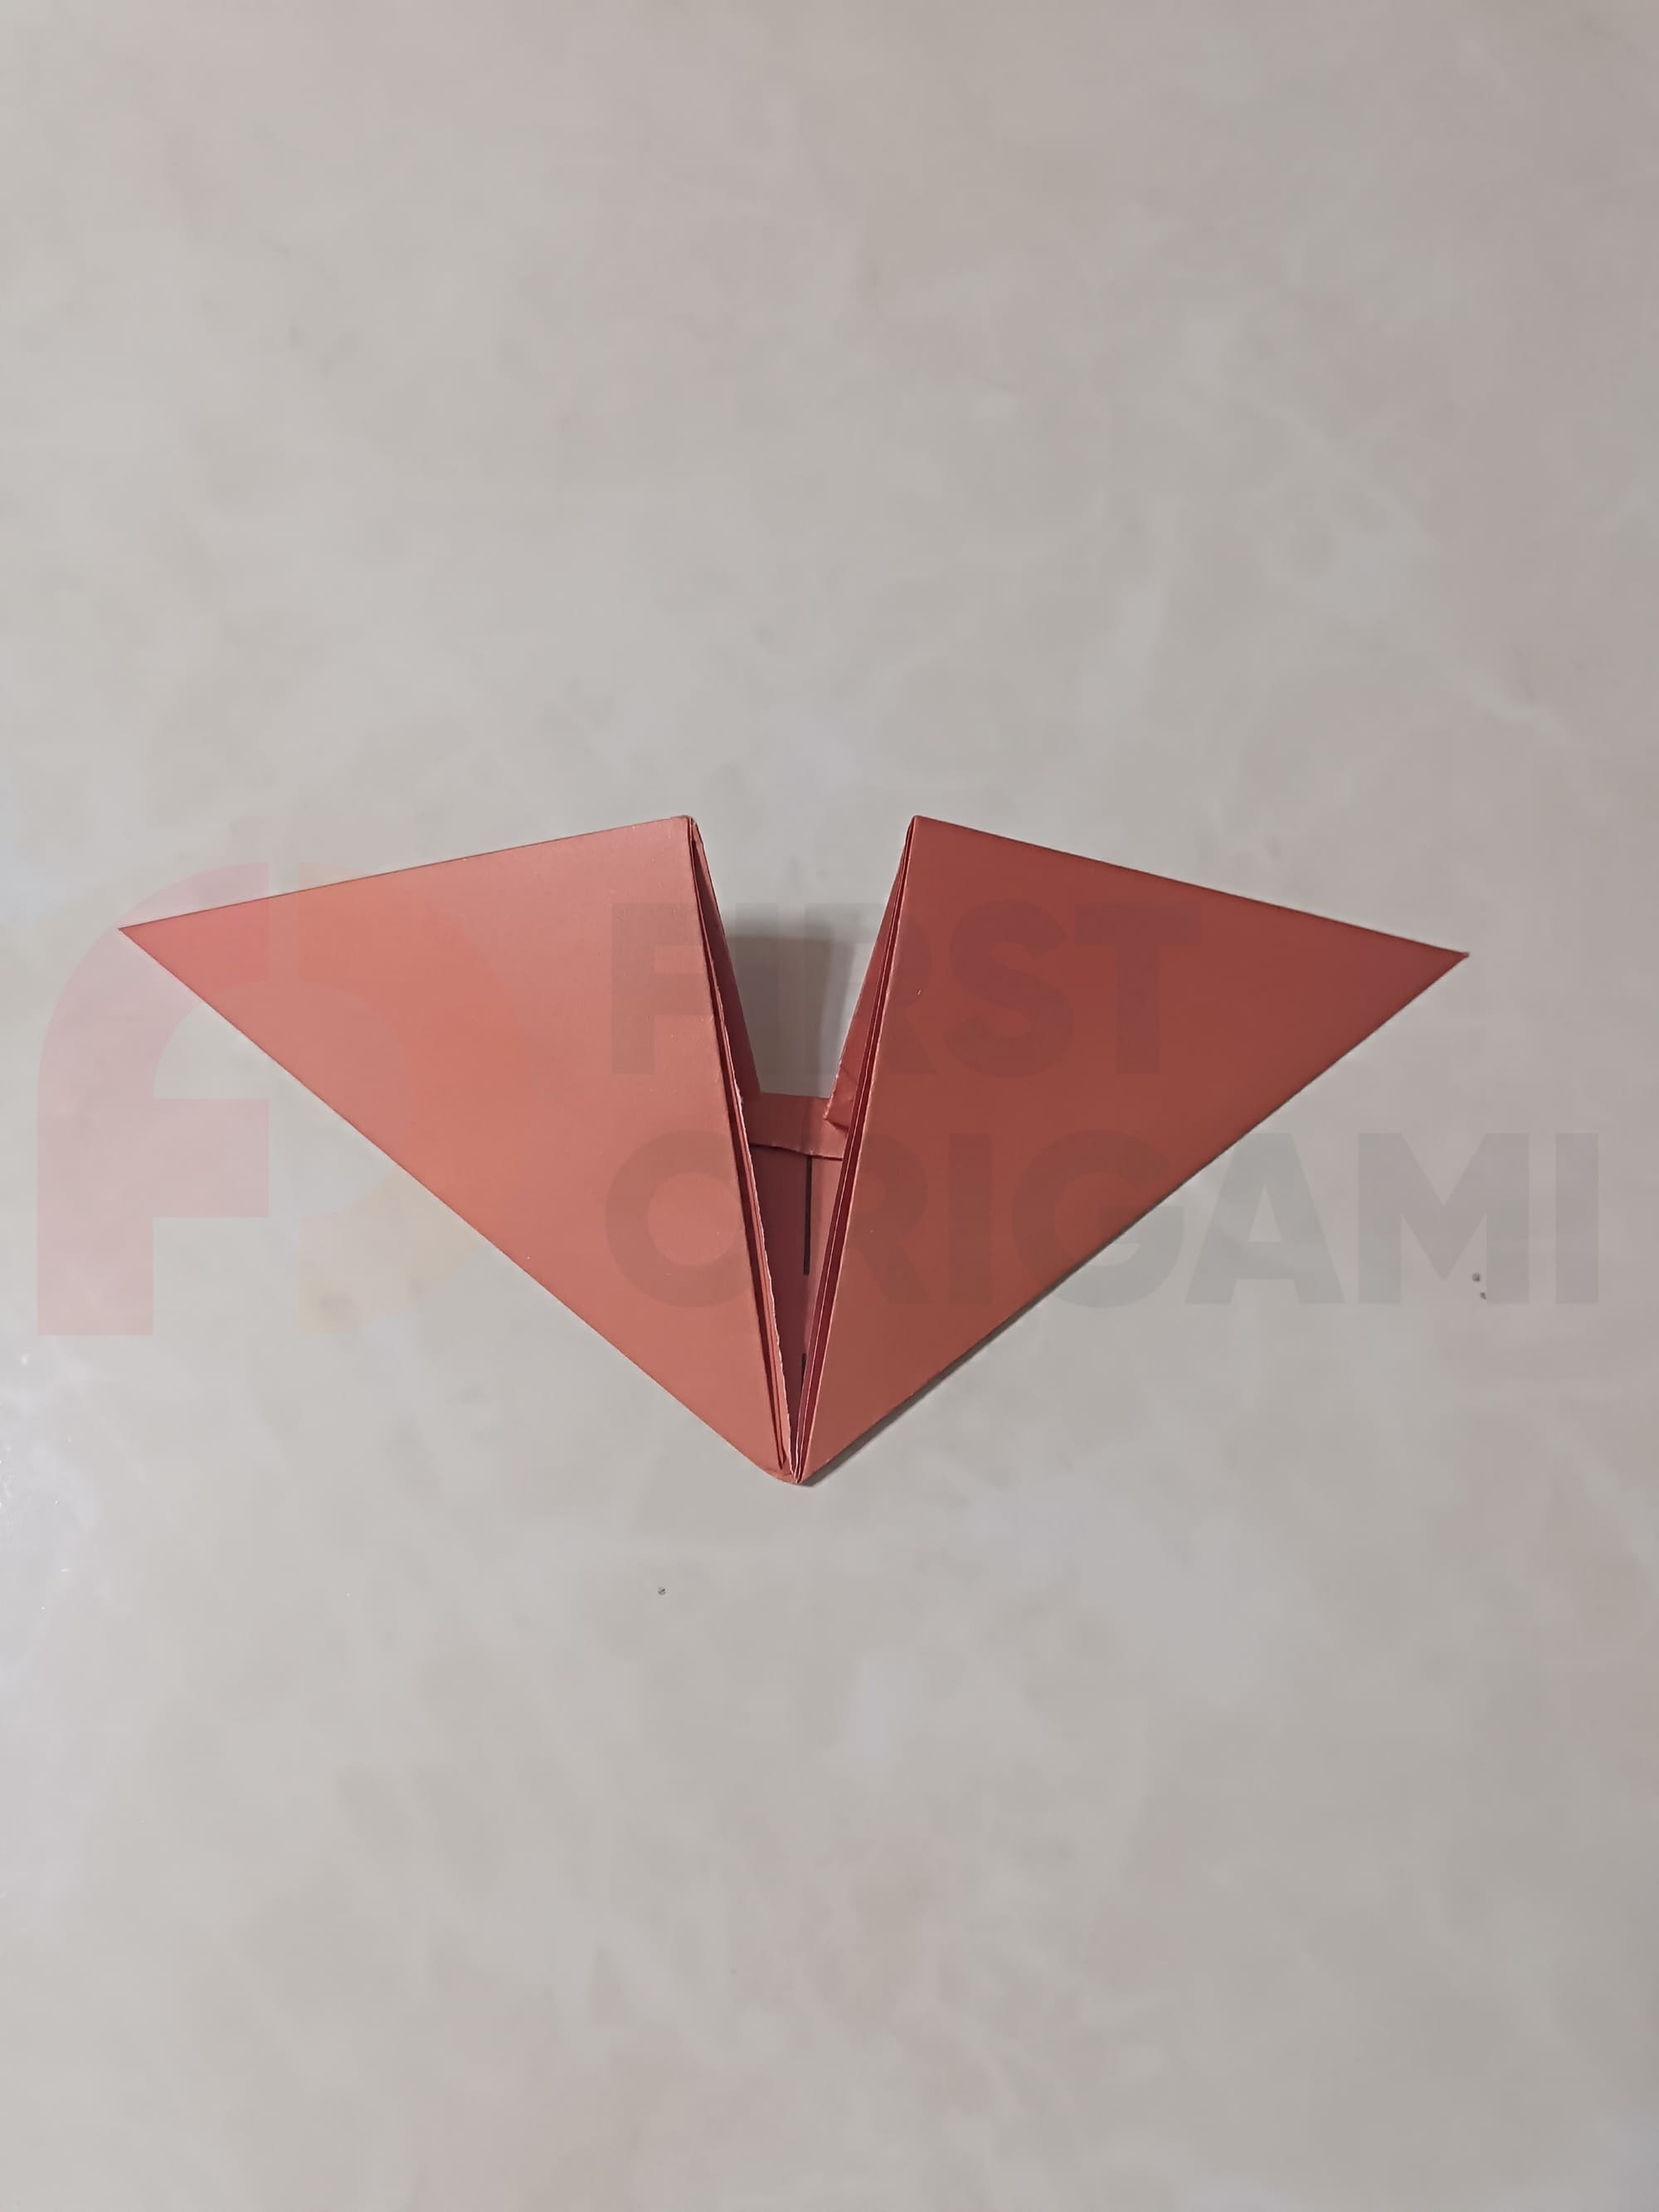
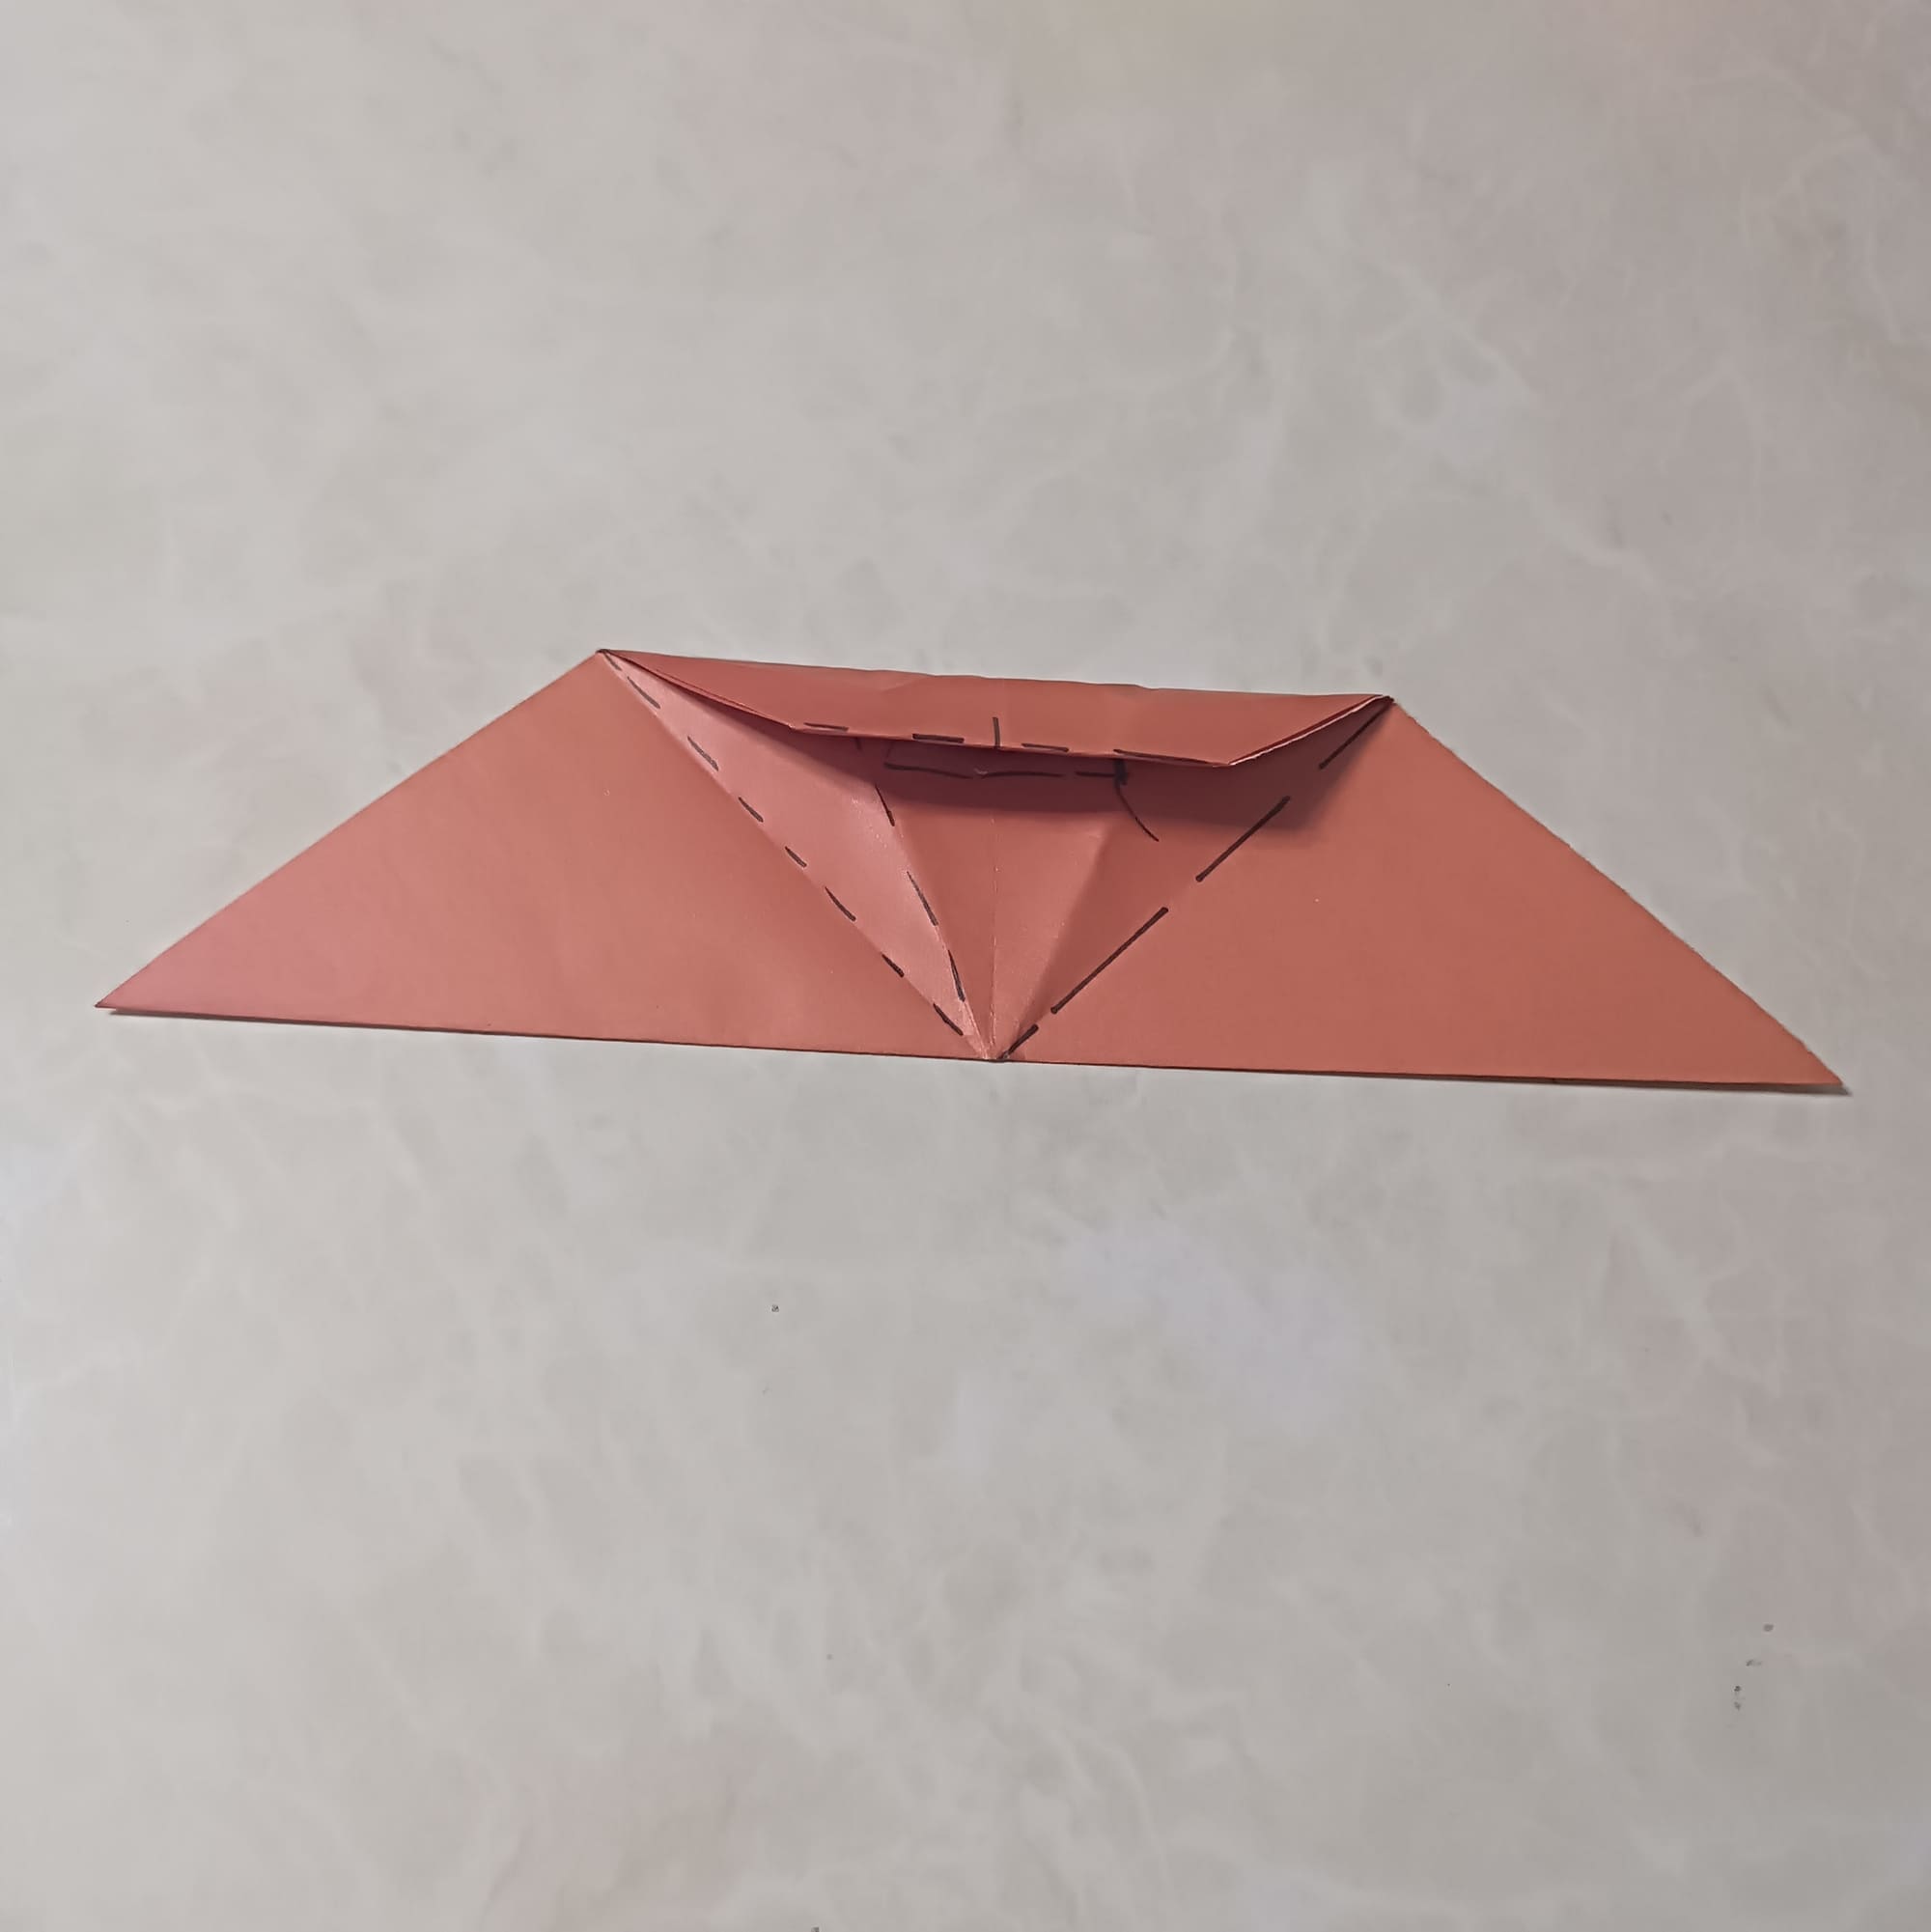
Make a horizontal fold “Valley” and complete the petal formation.
Now gently fold the center tongue of your composition.
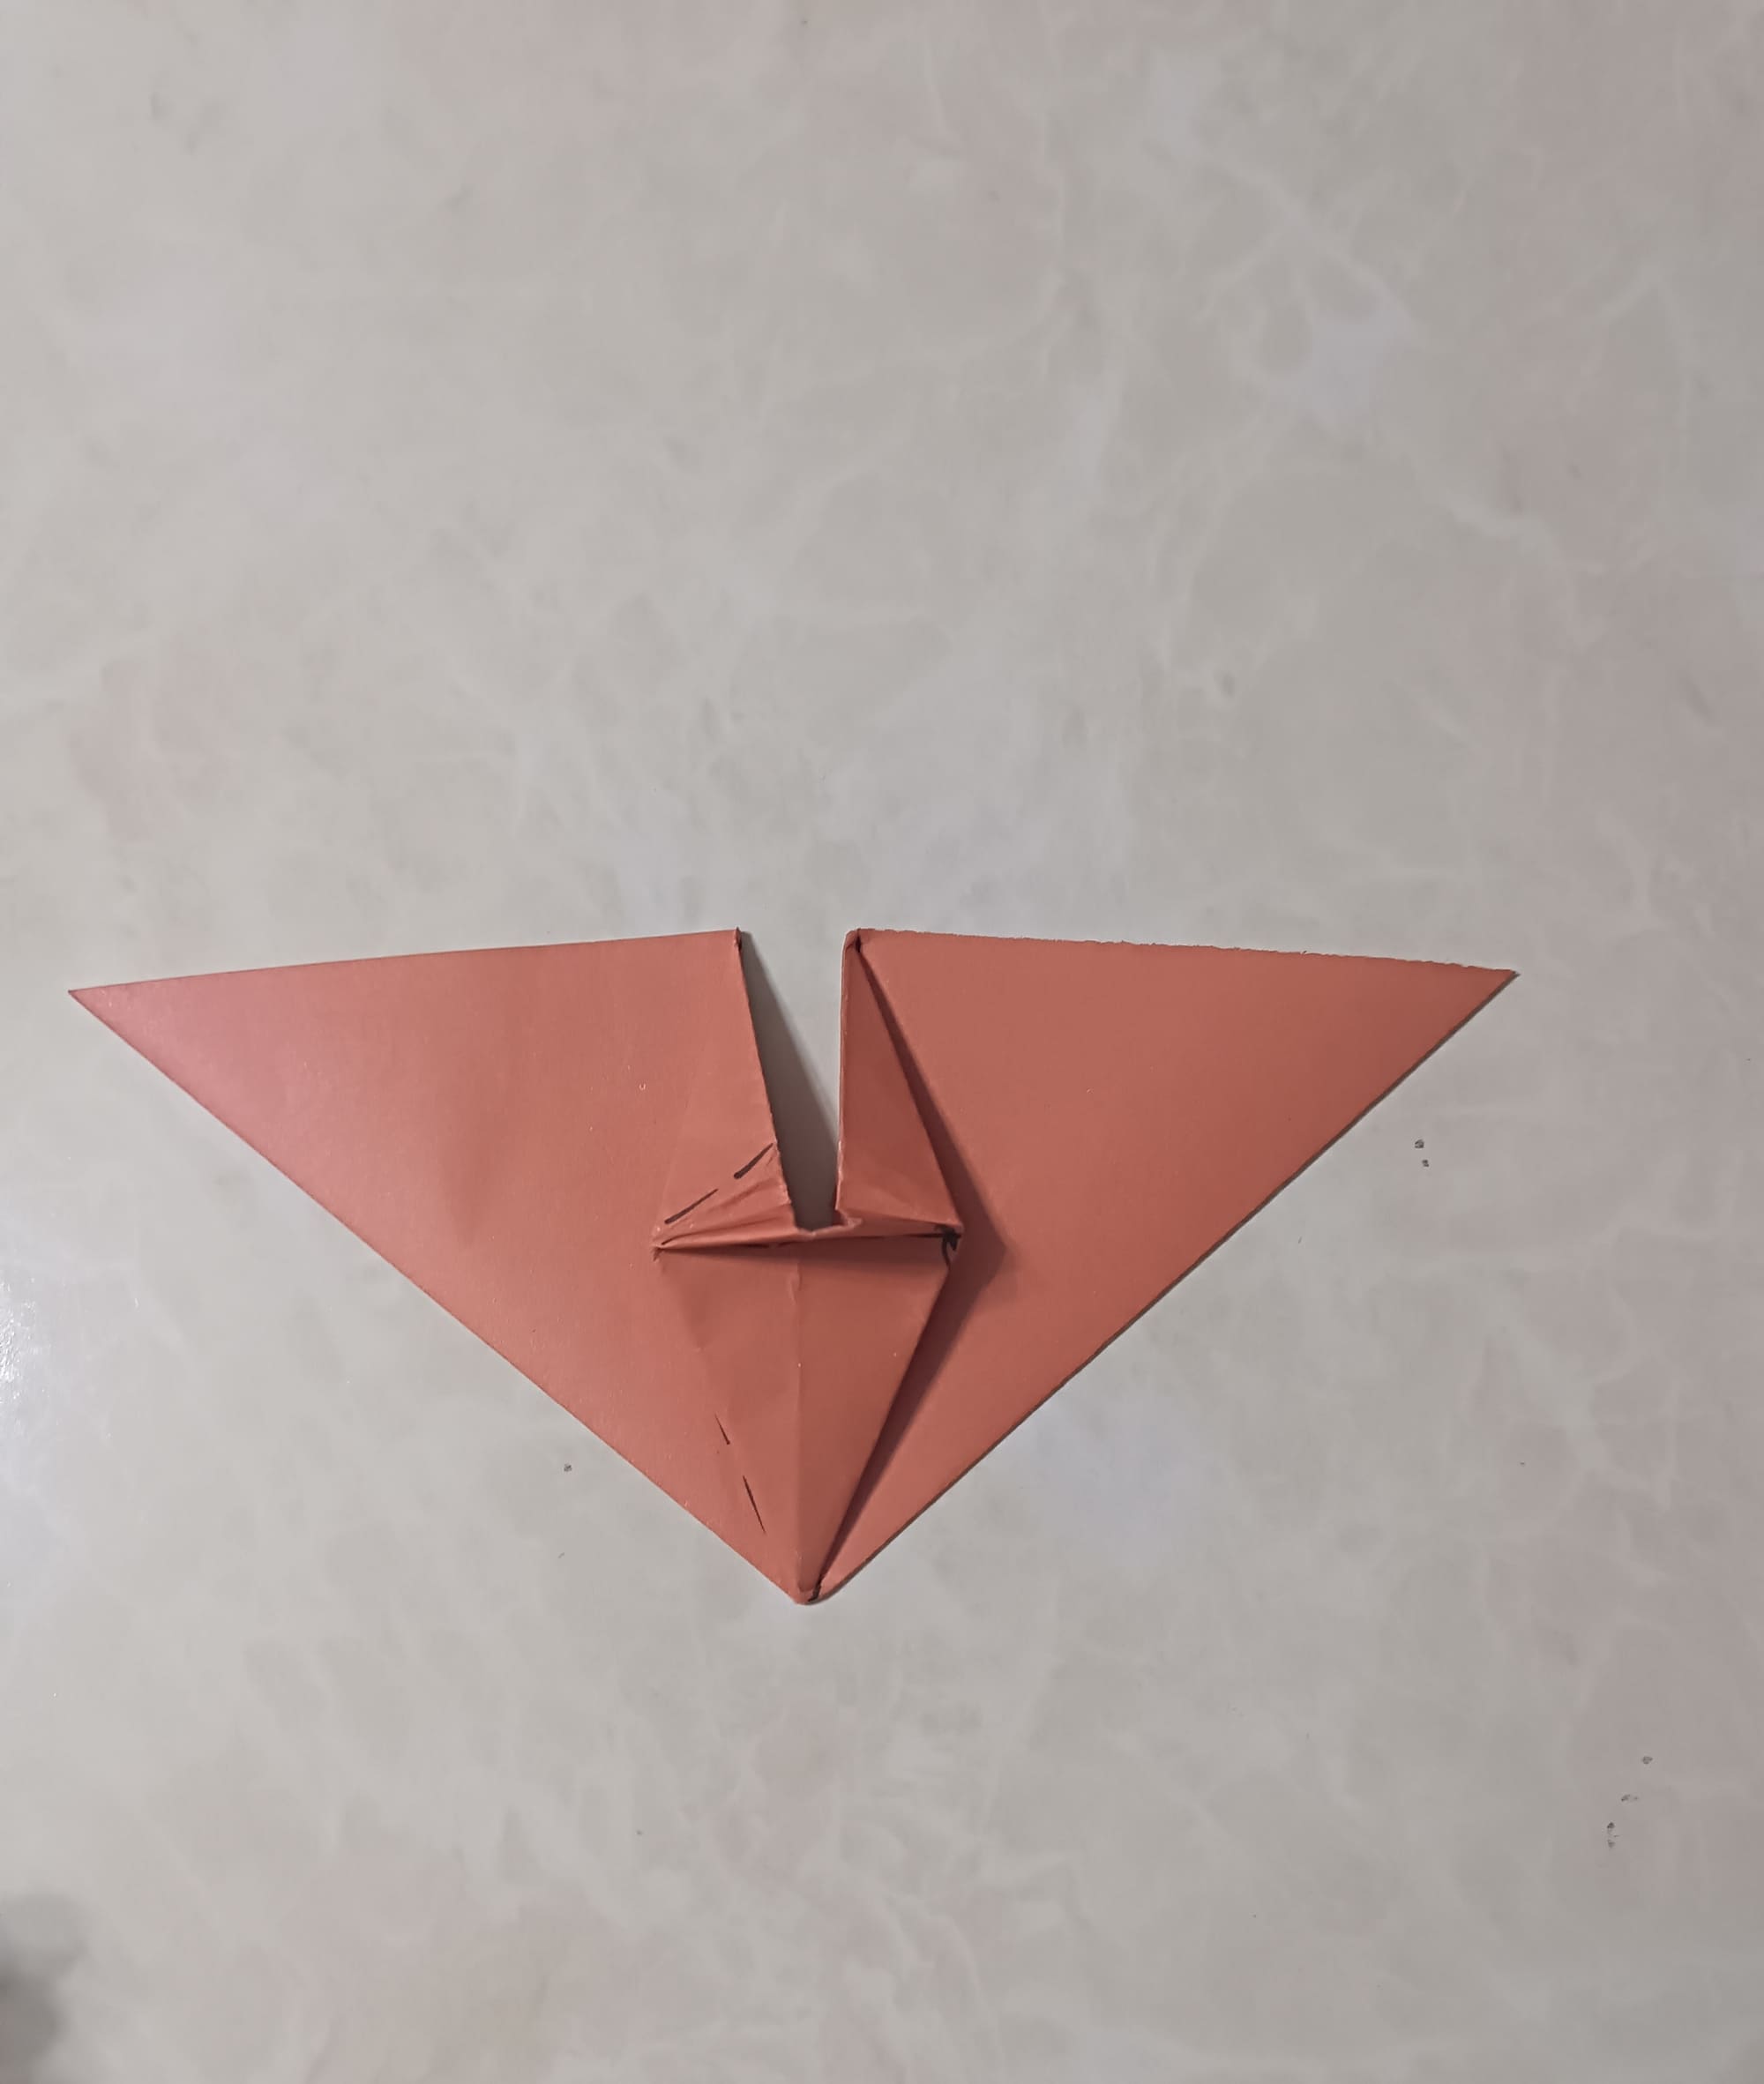
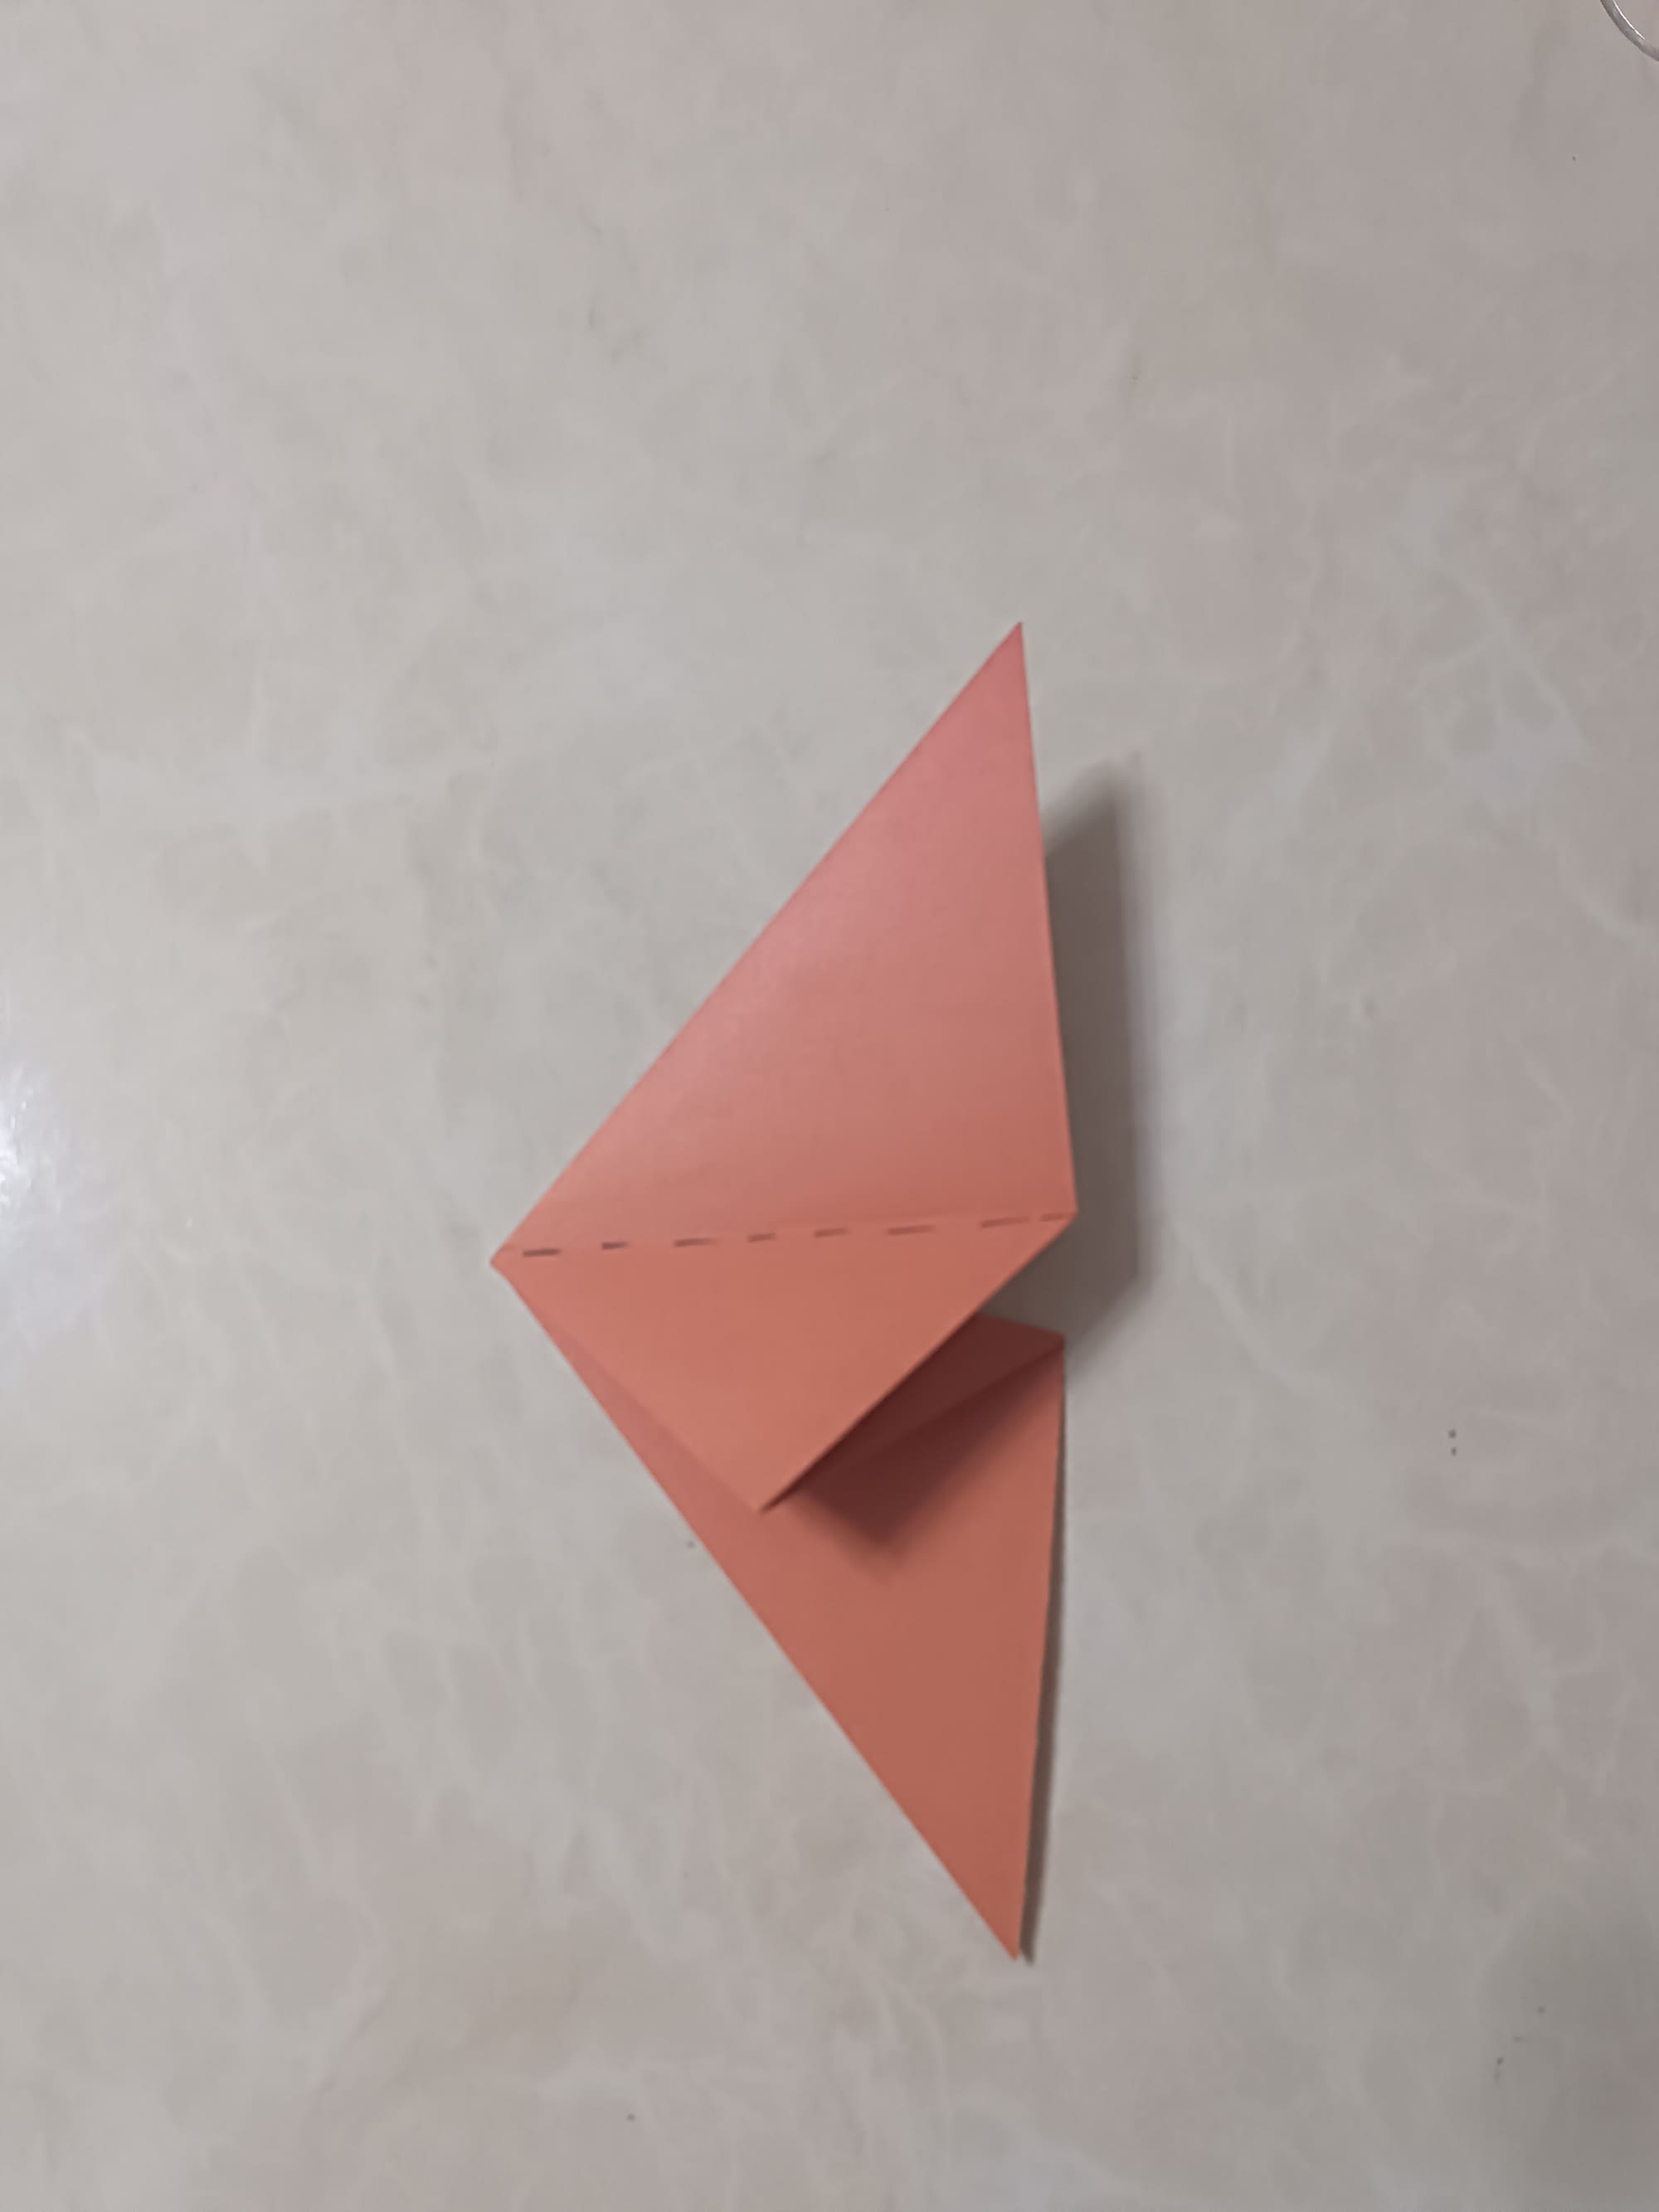
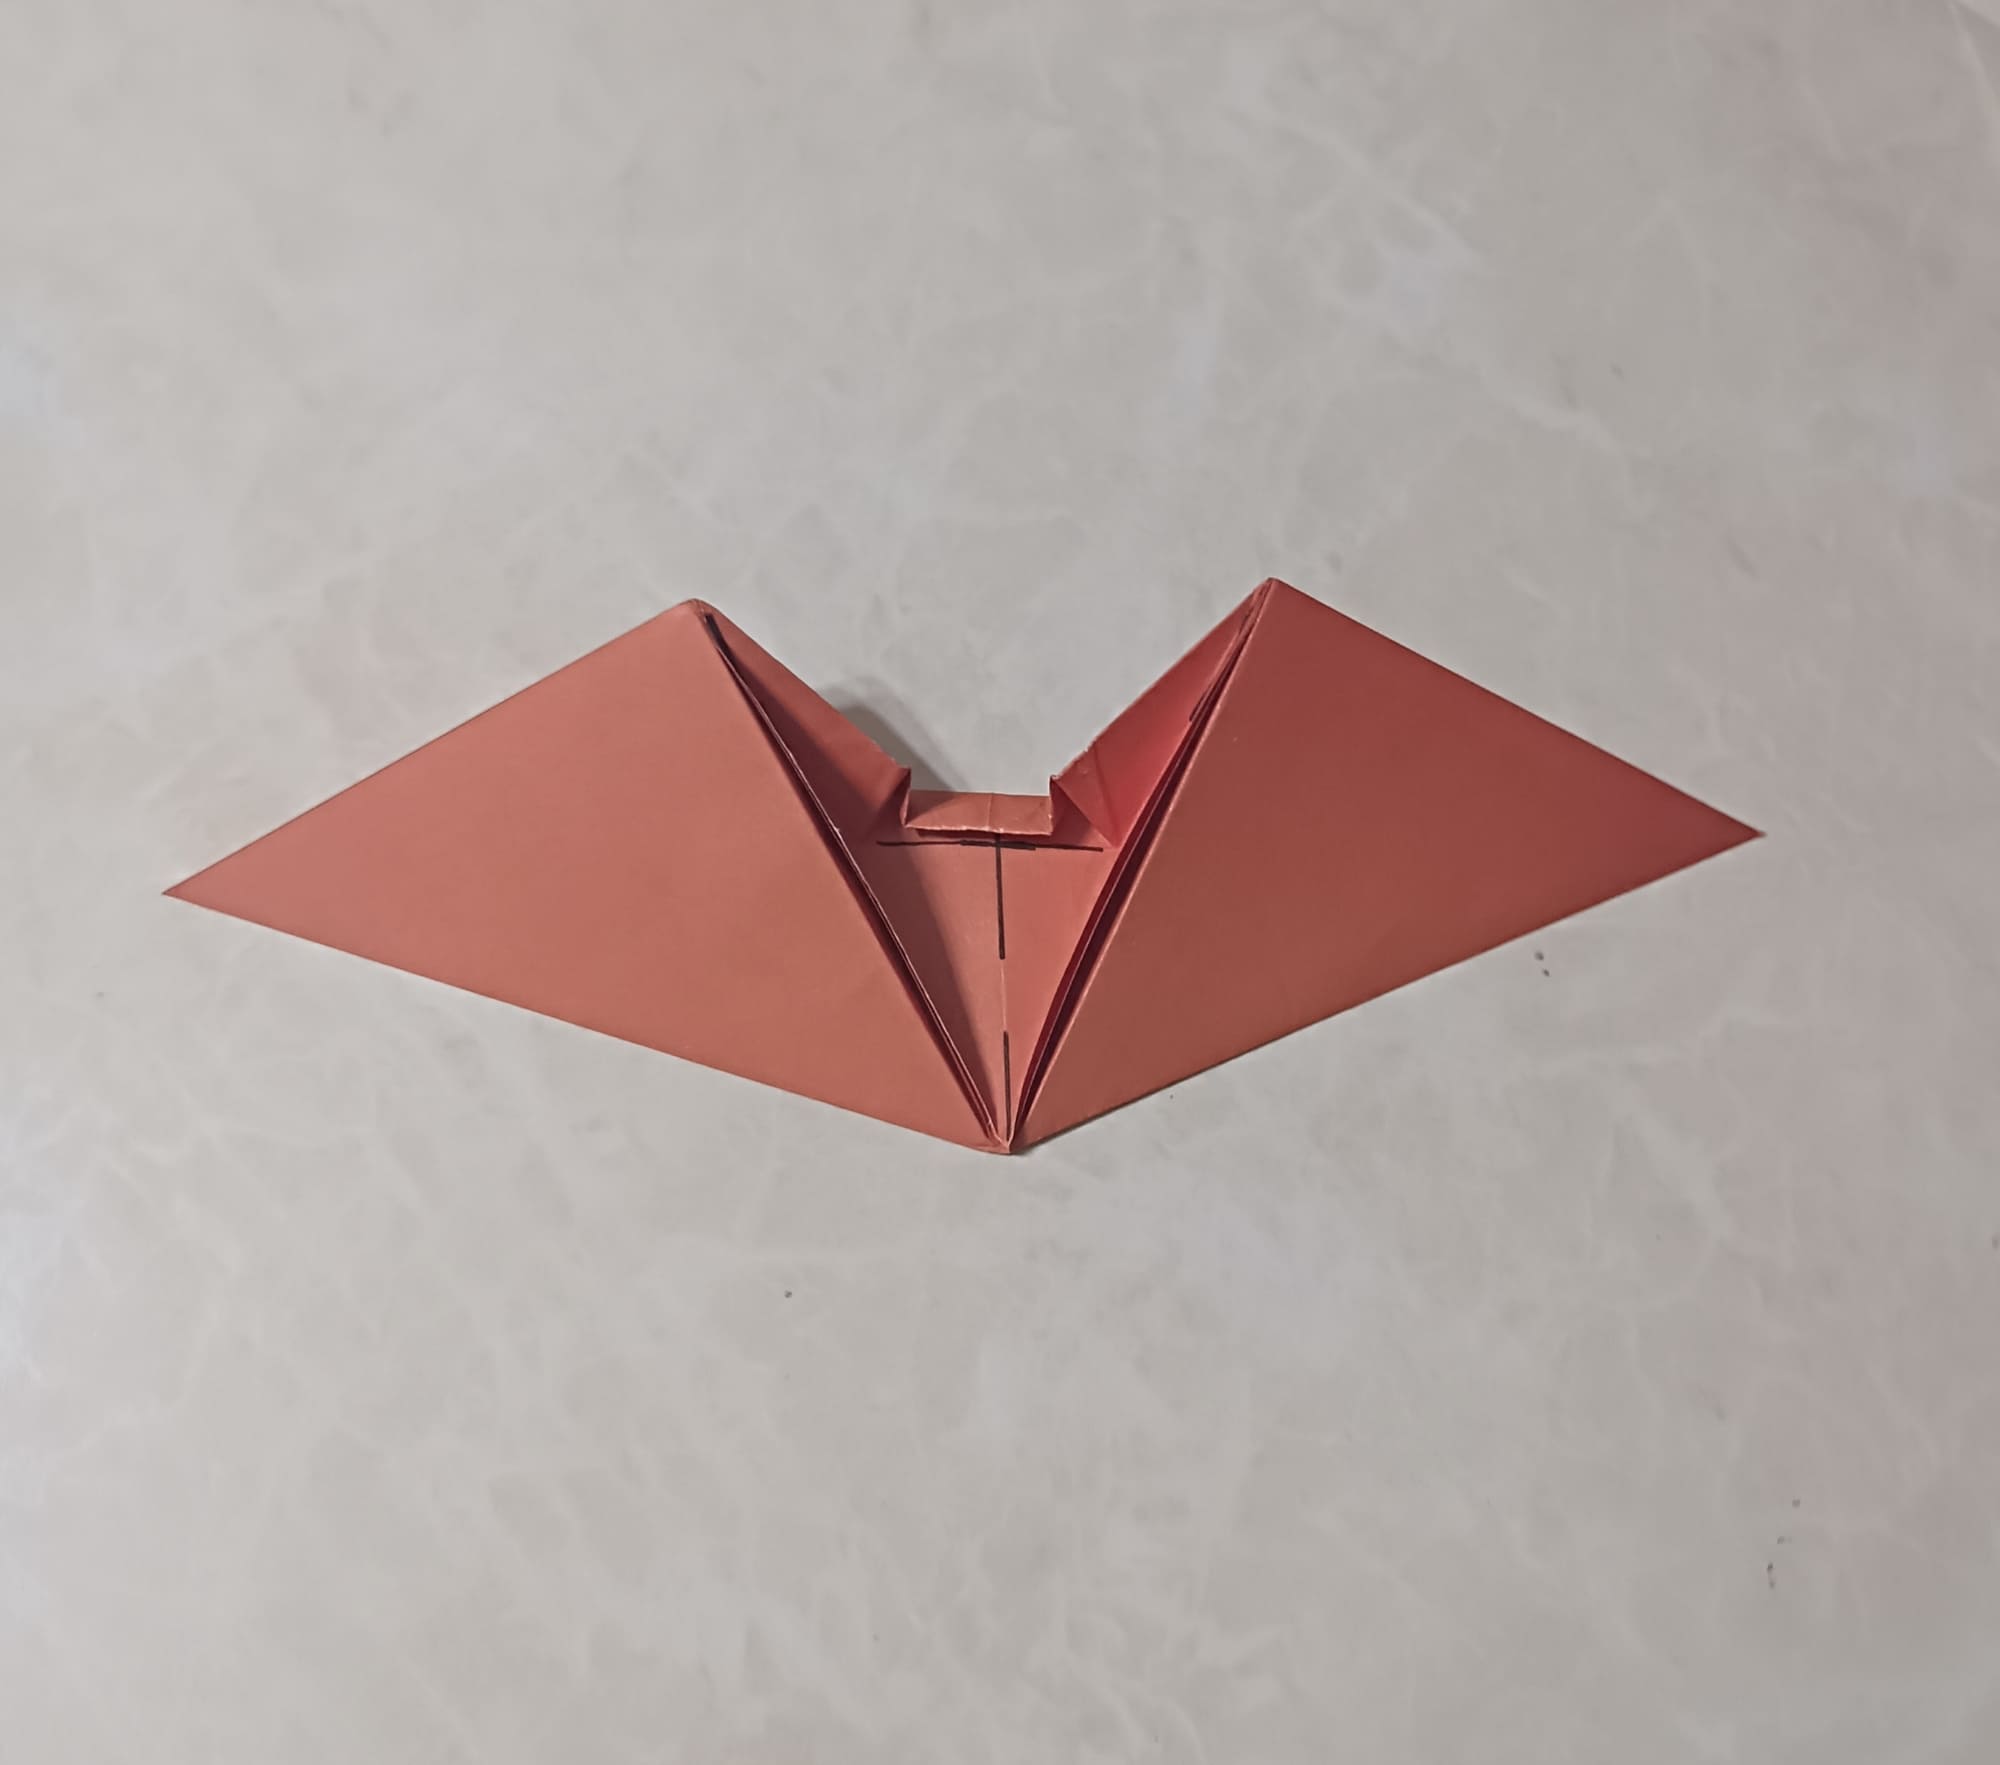
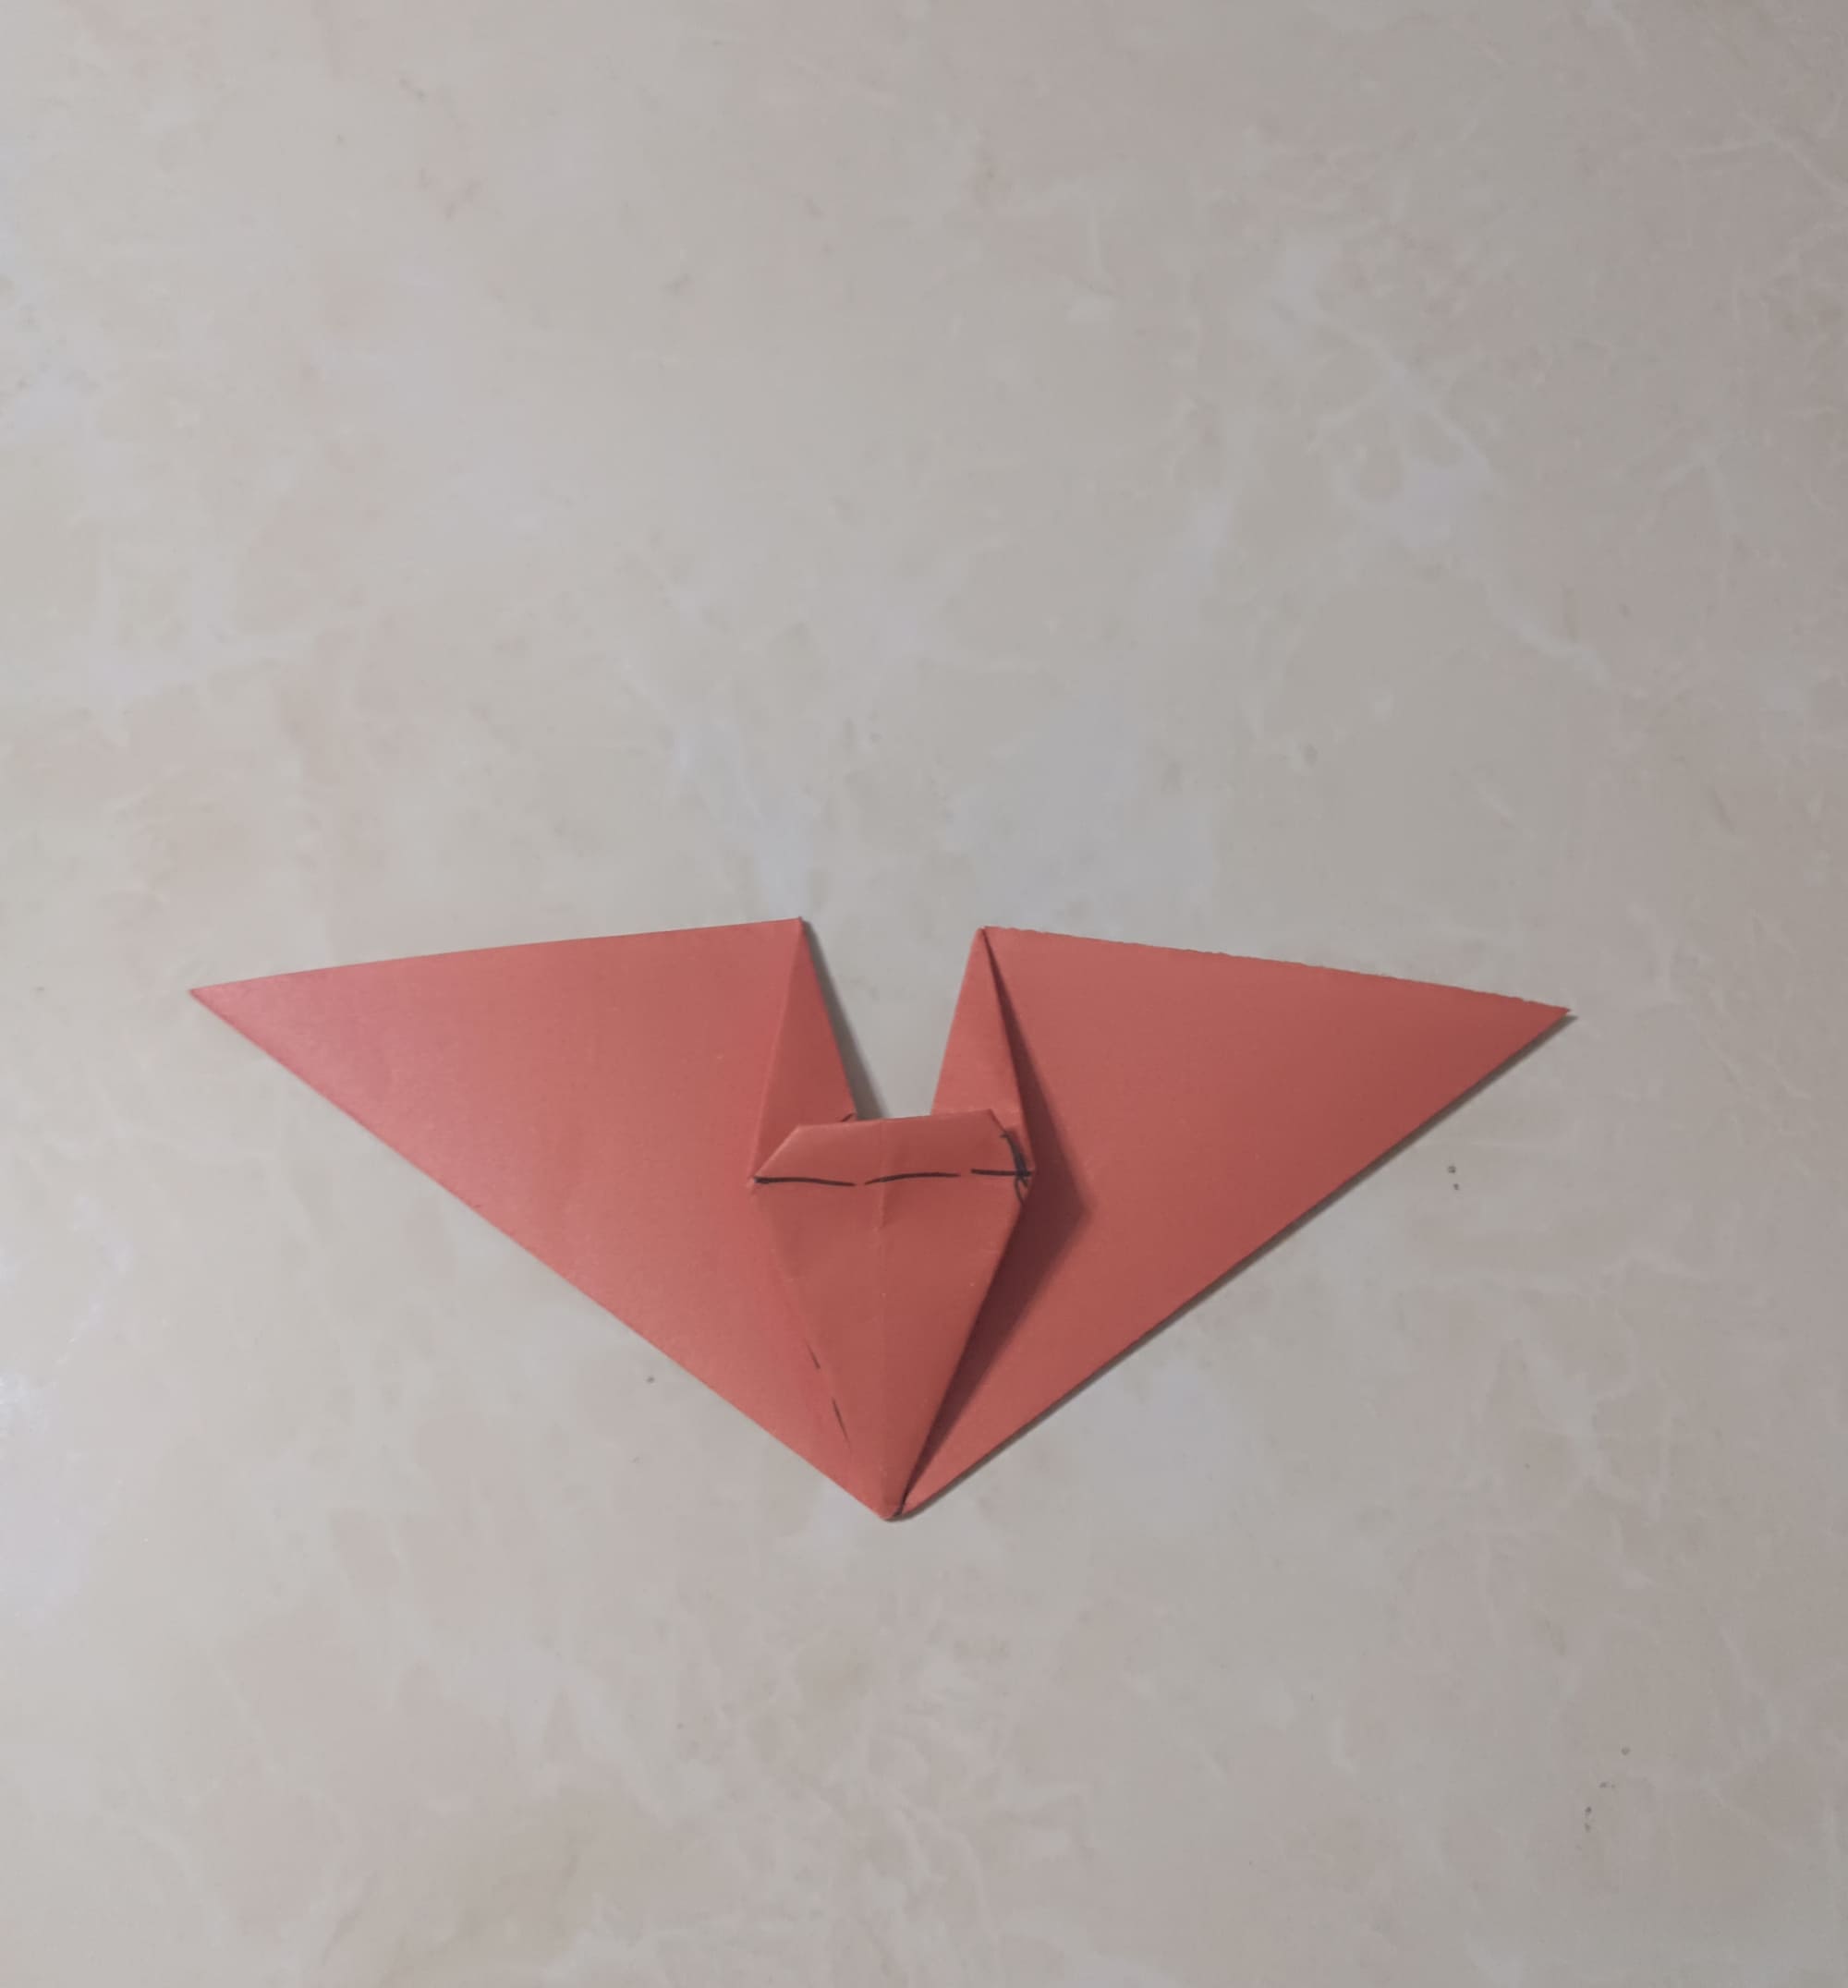
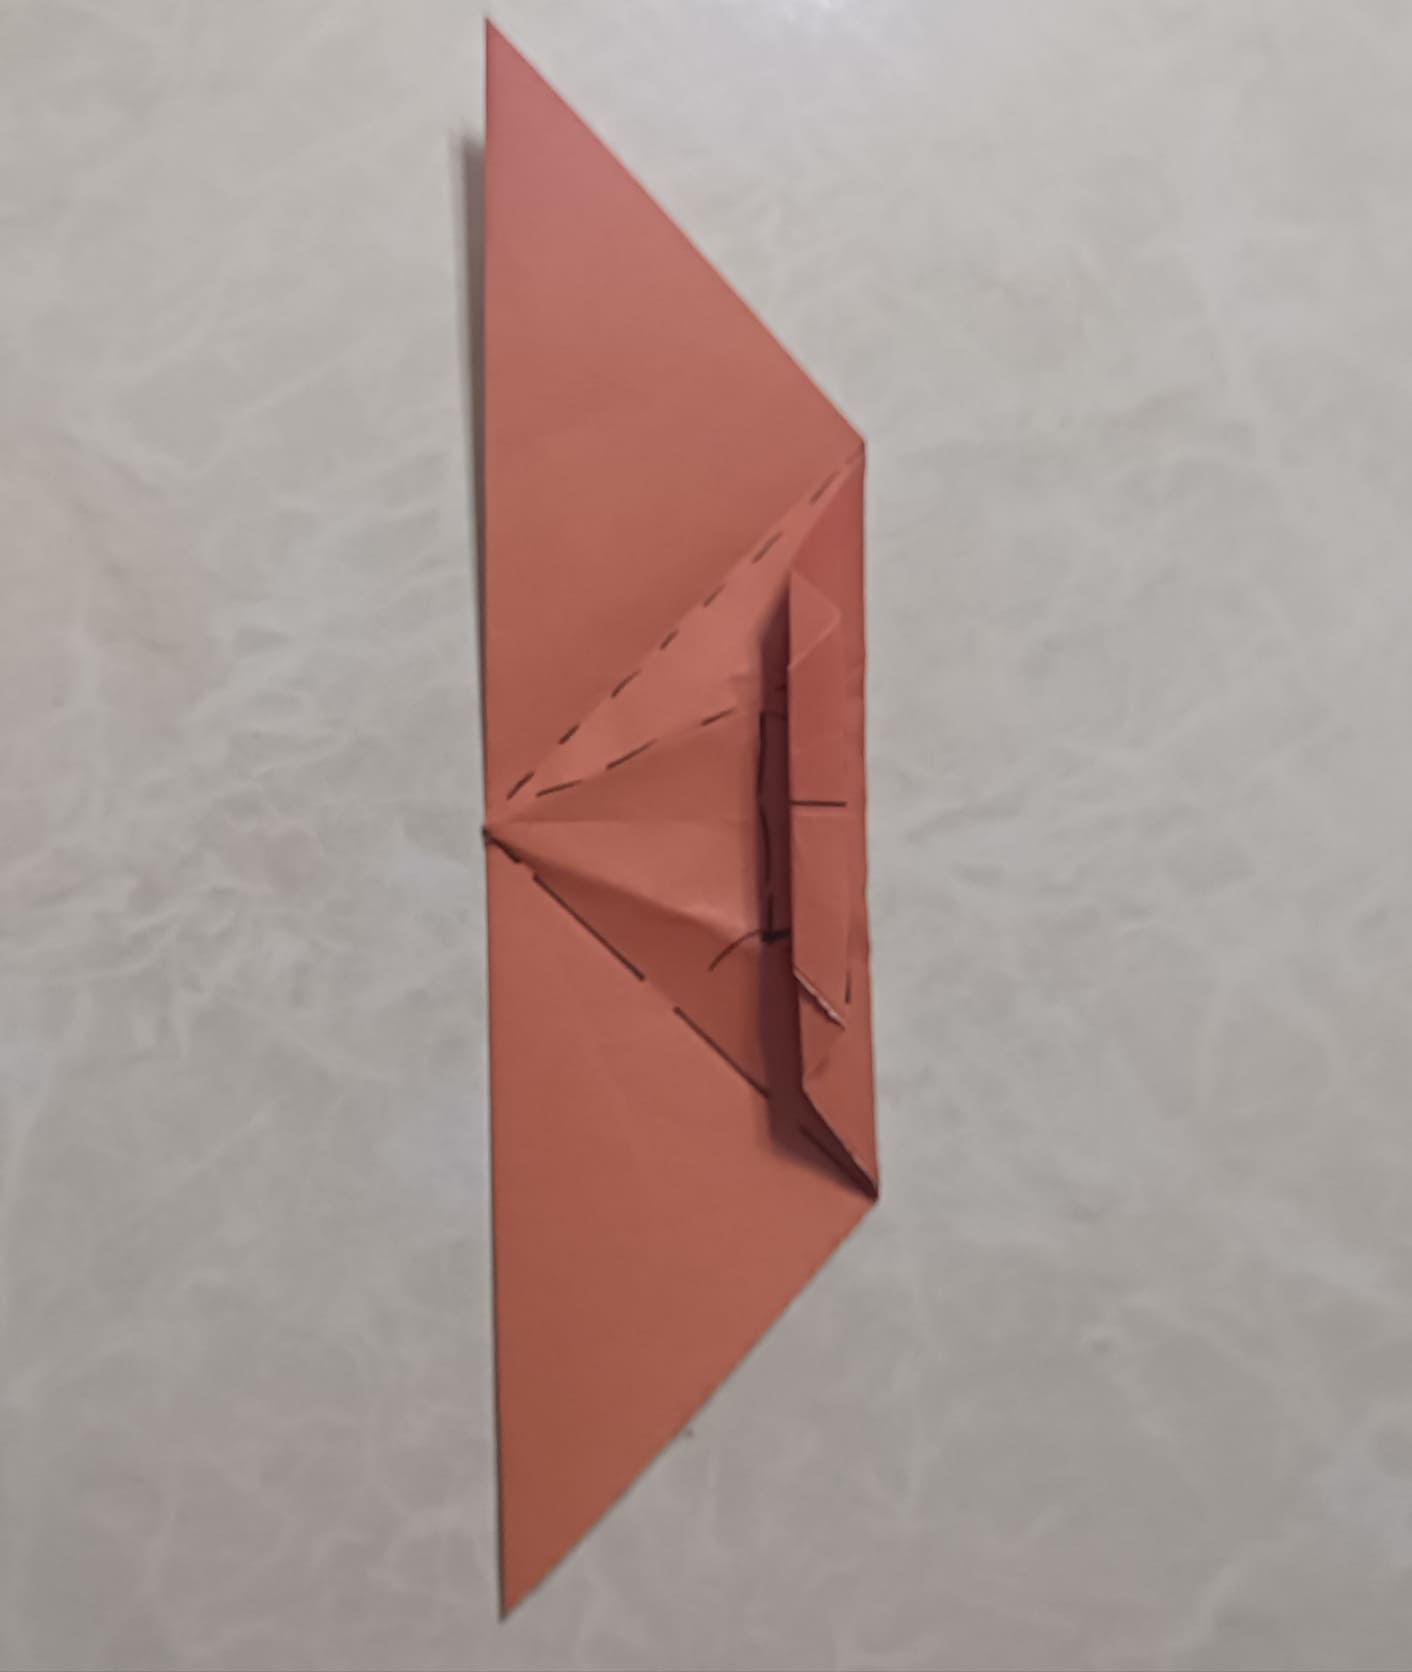
Turn the piece over.
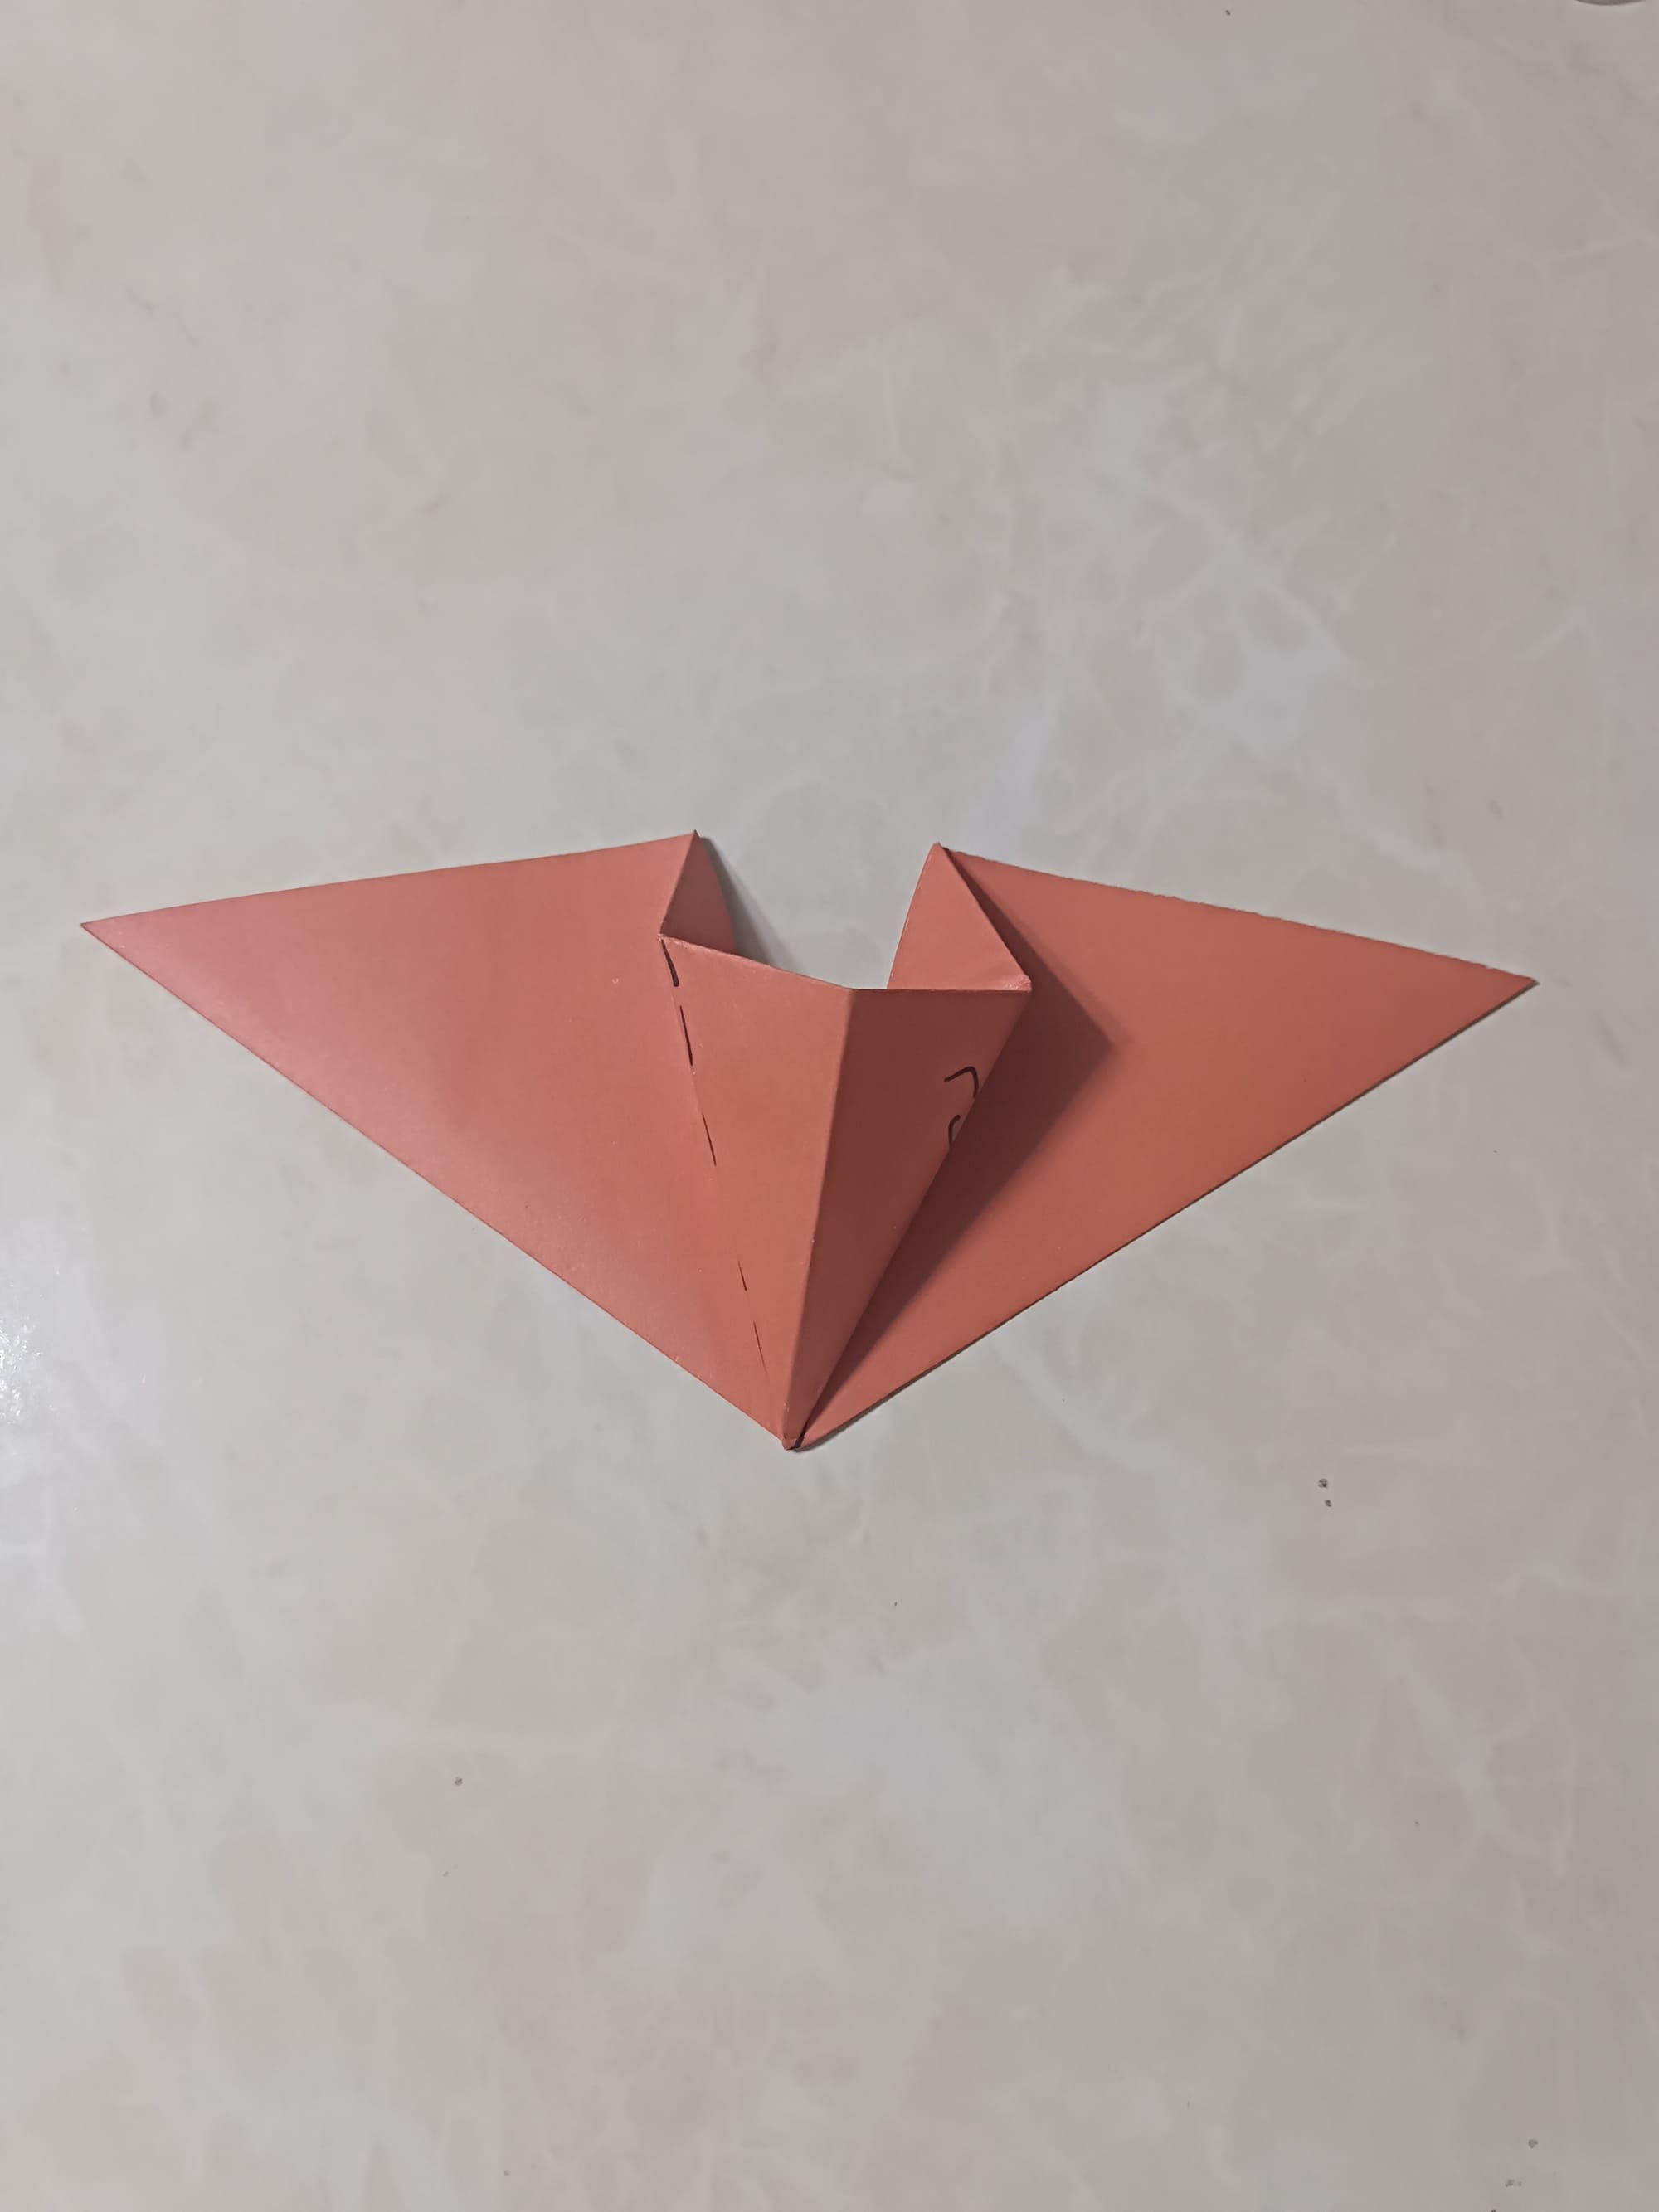
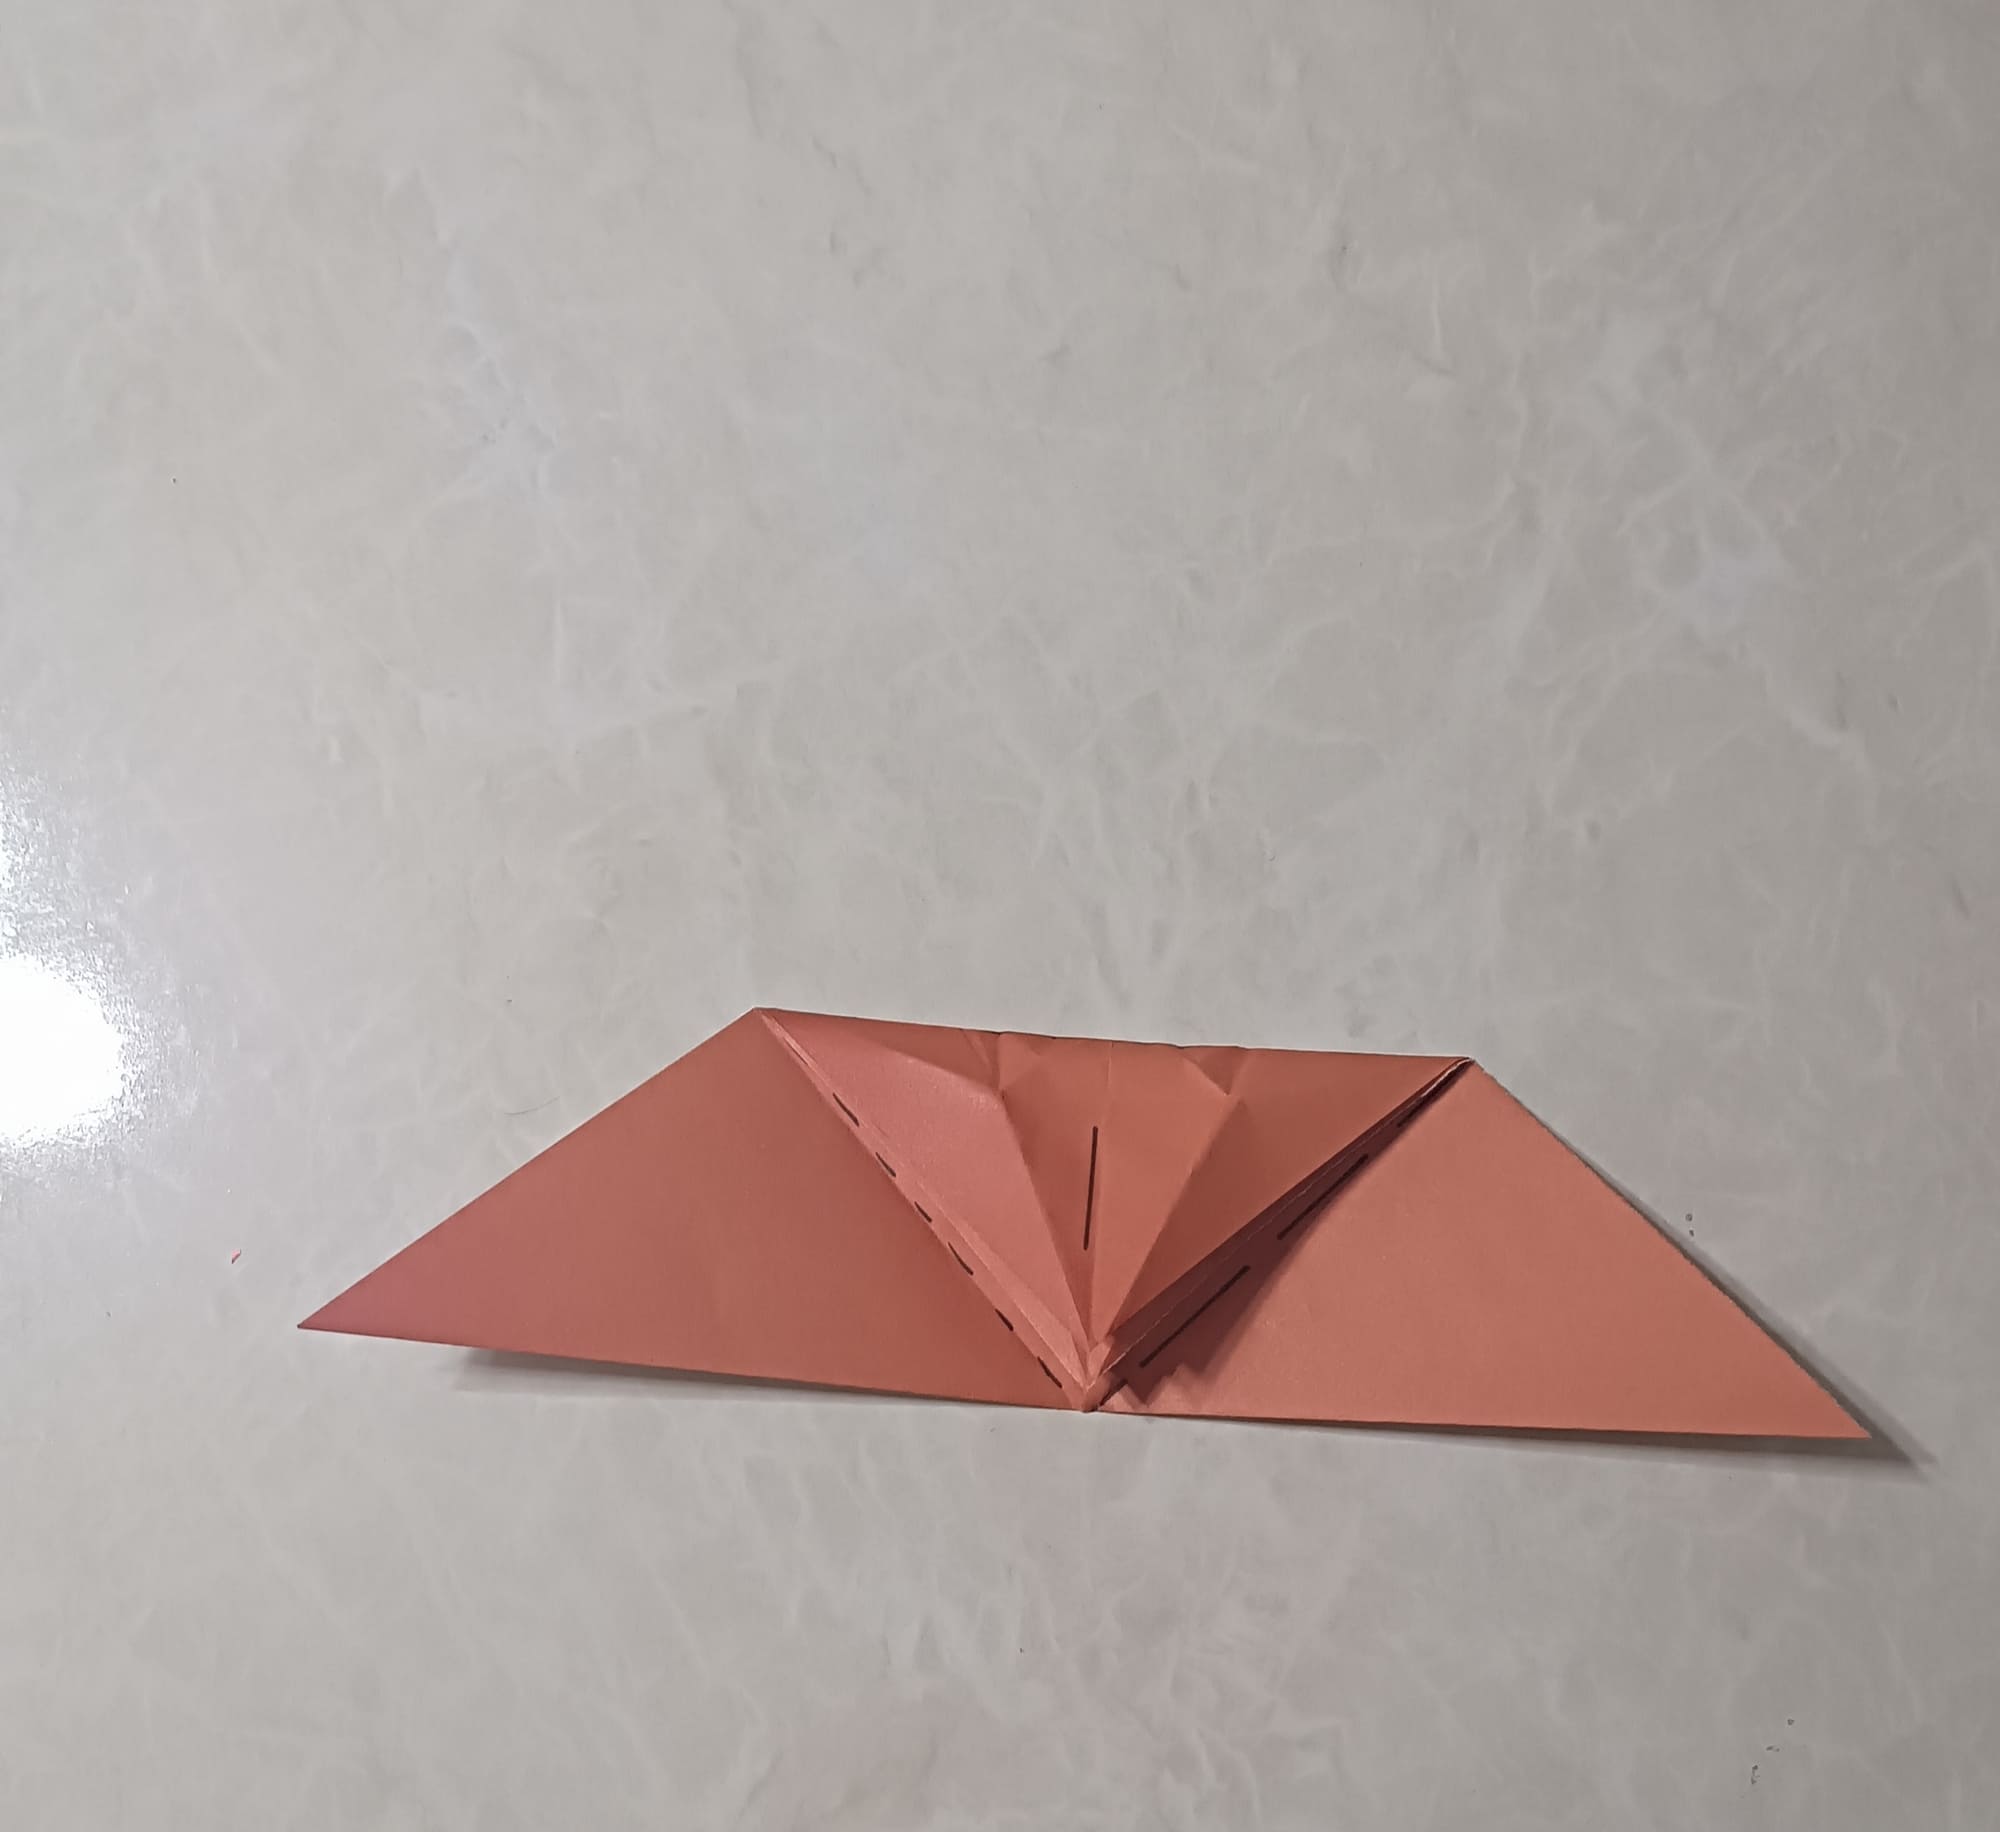
Pull the left and right ends apart to unfold the paper.

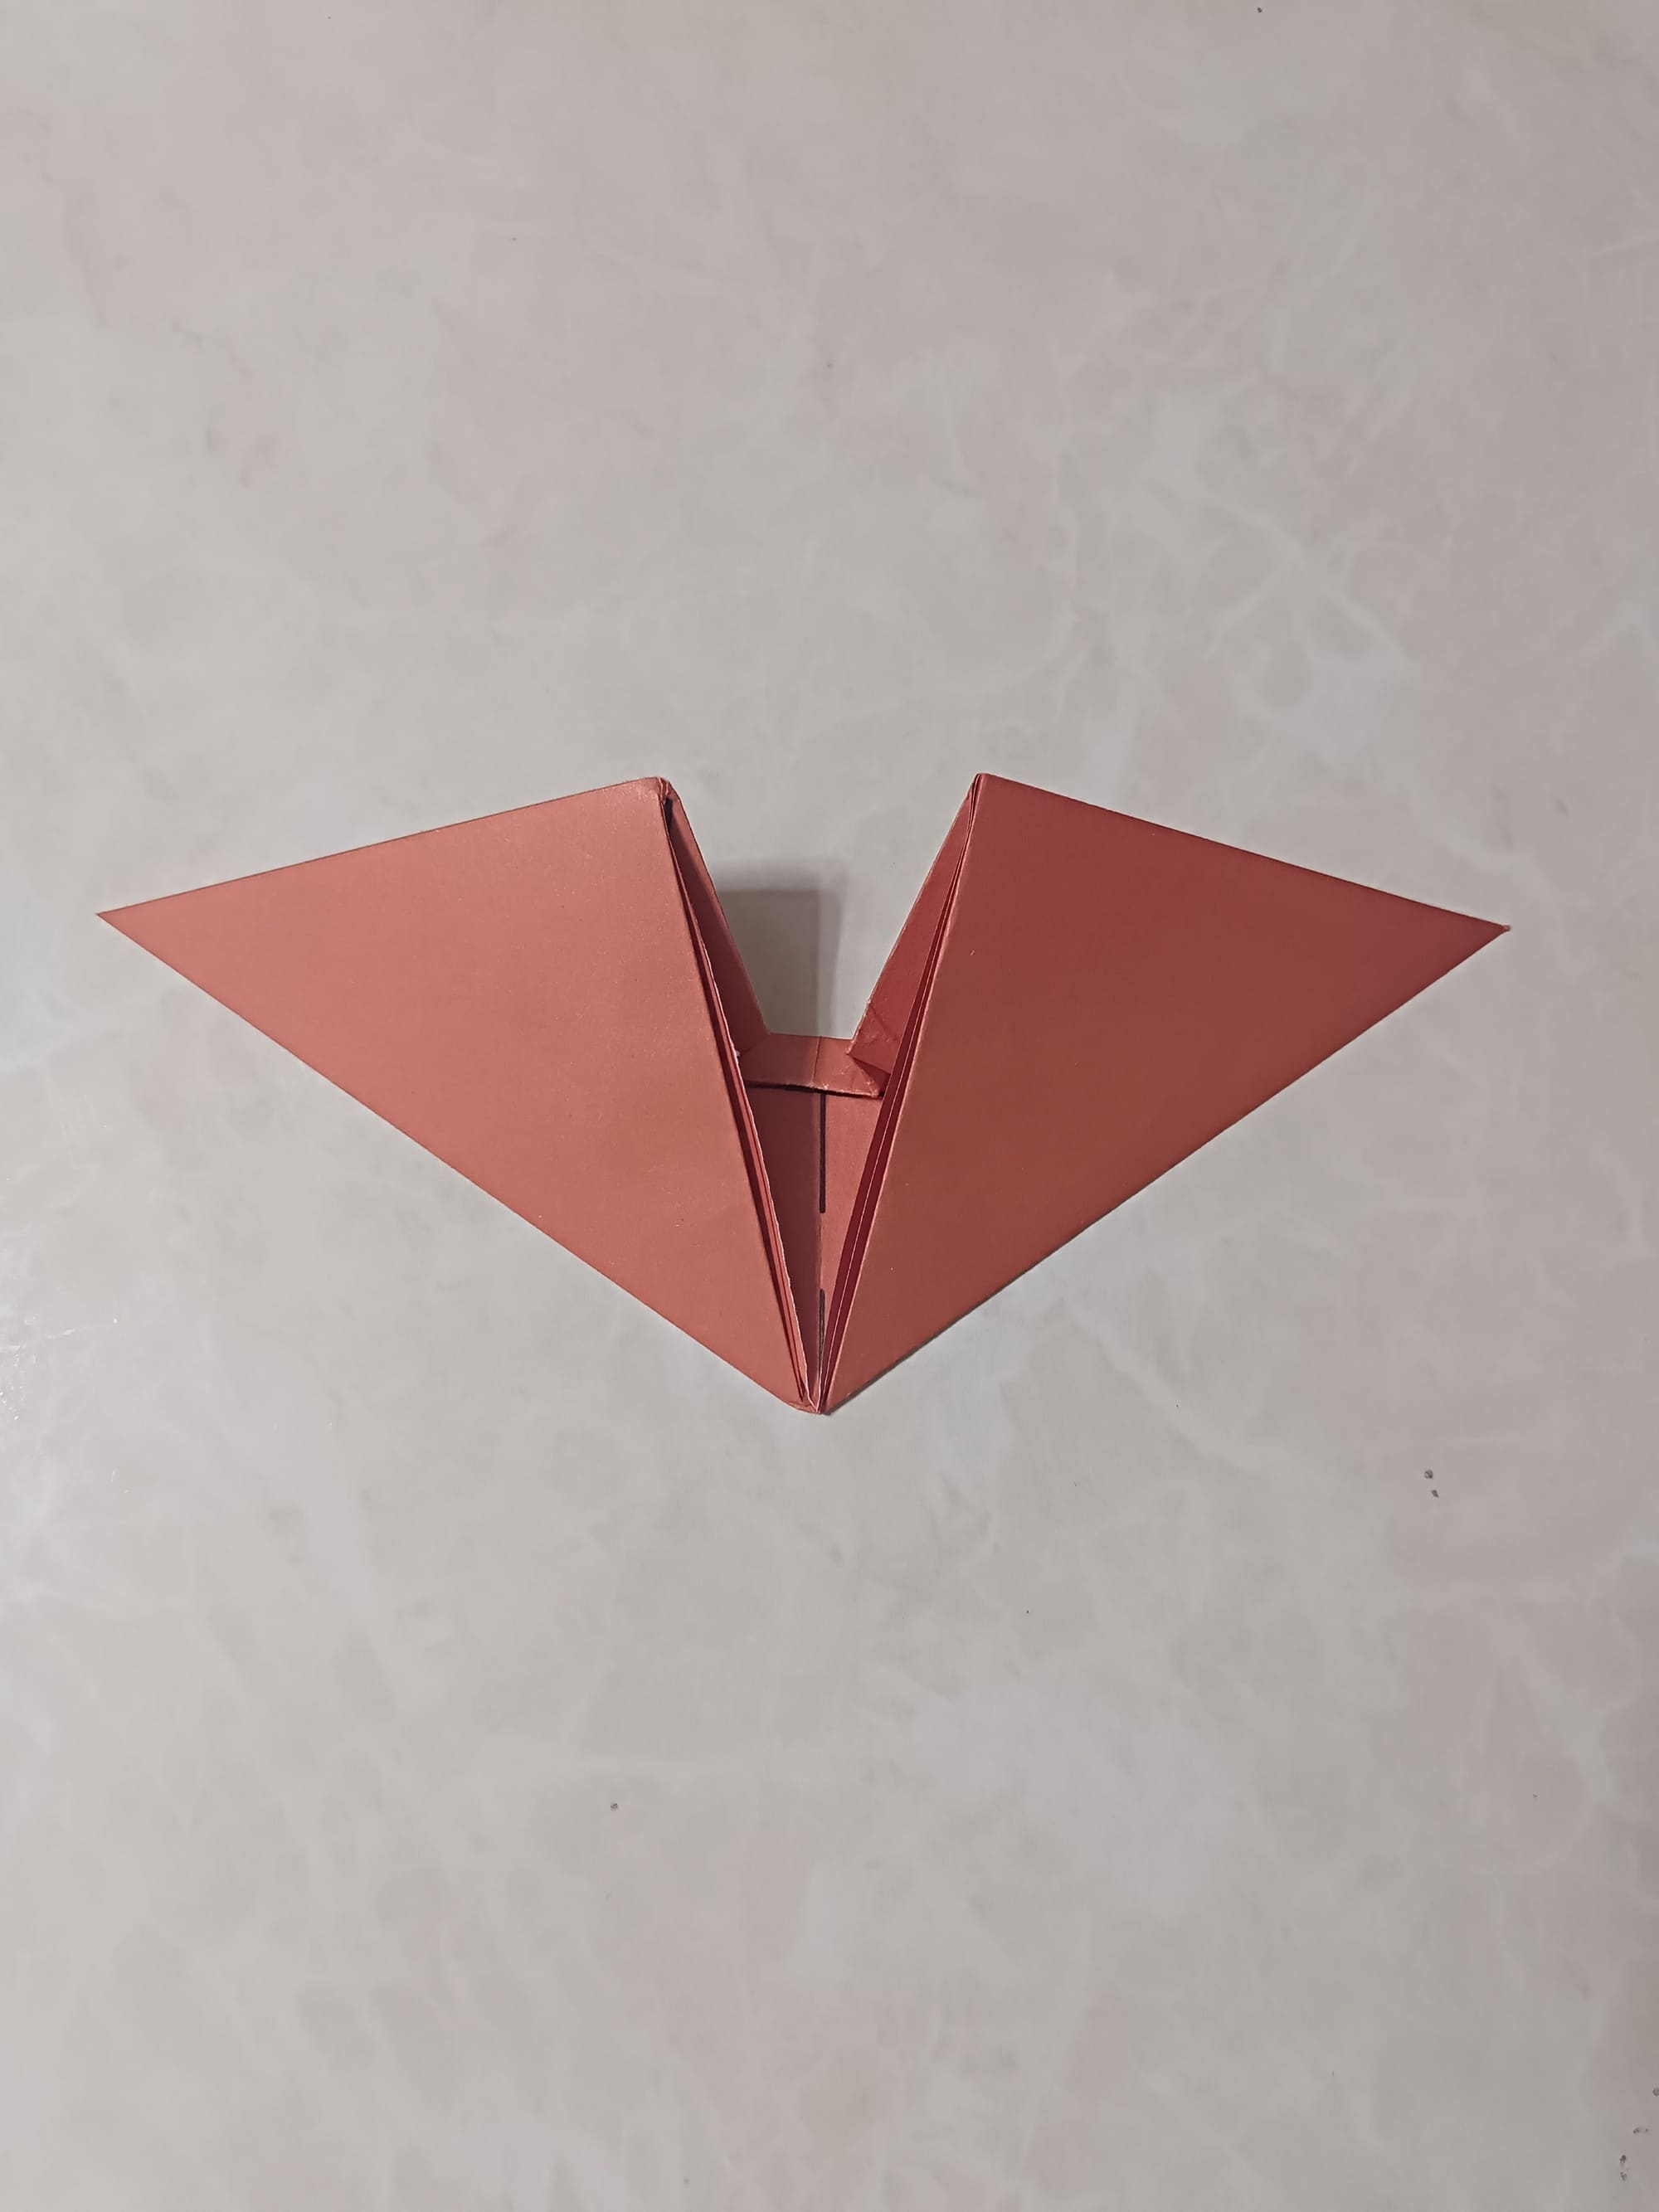
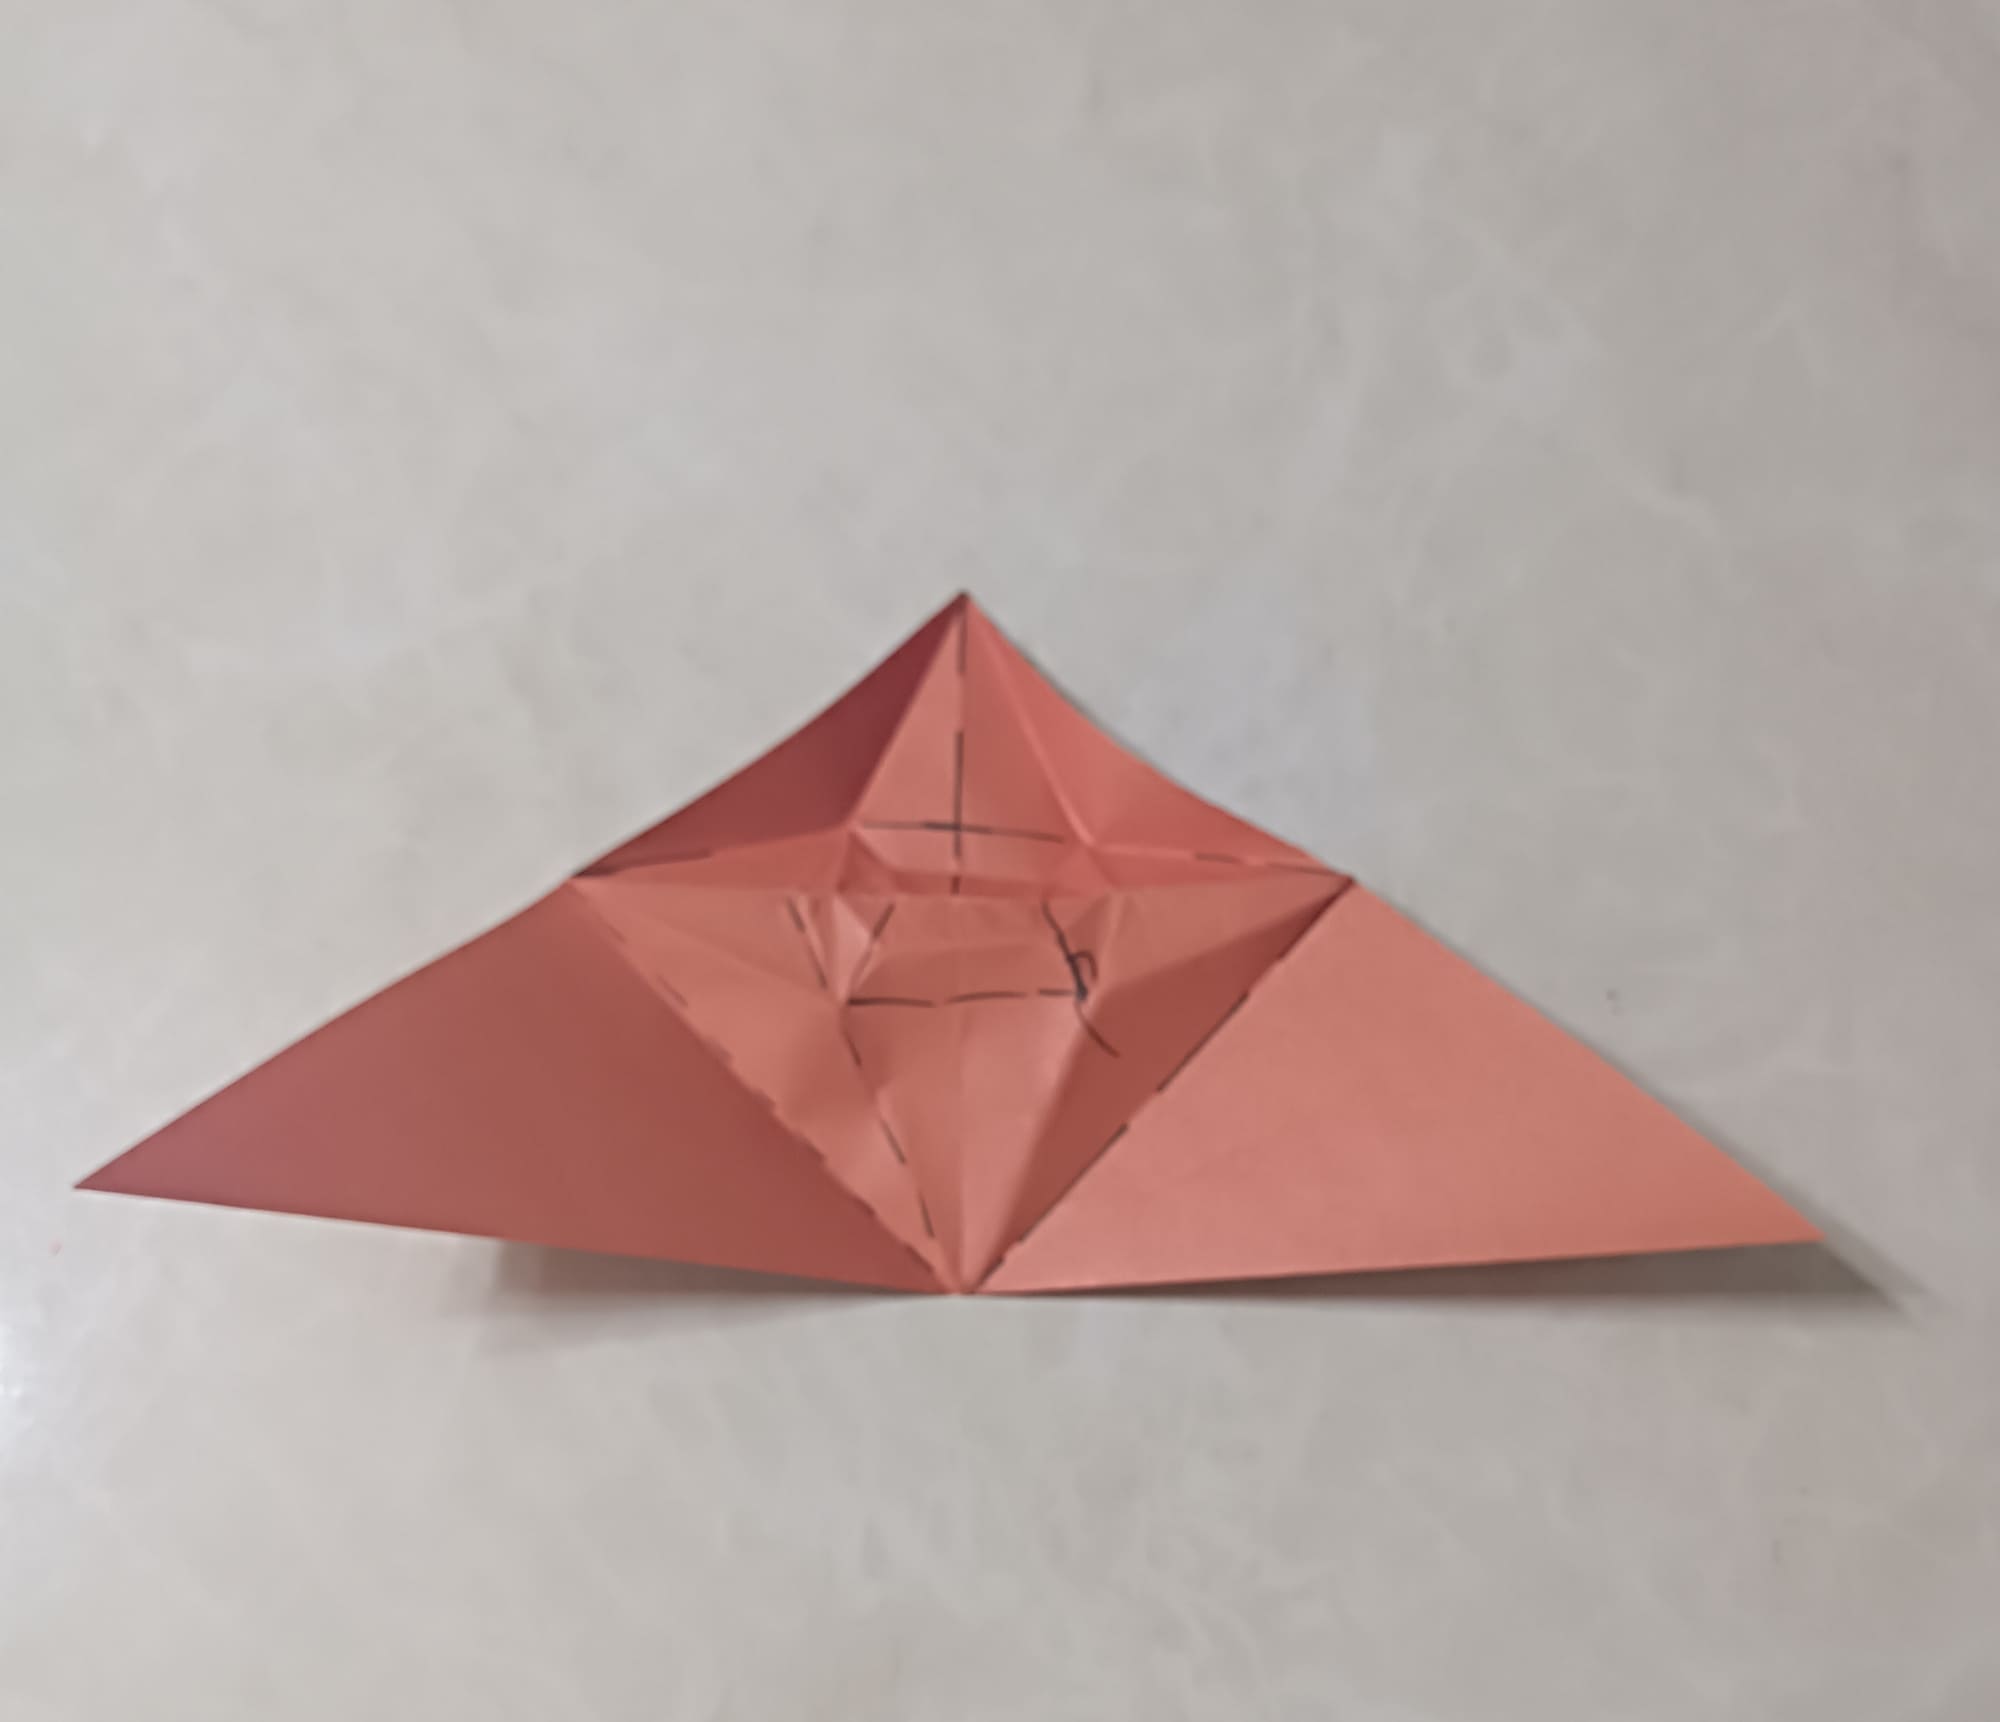
Make a horizontal fold in the center. Then bring the sides back to the center to “close” the paper.
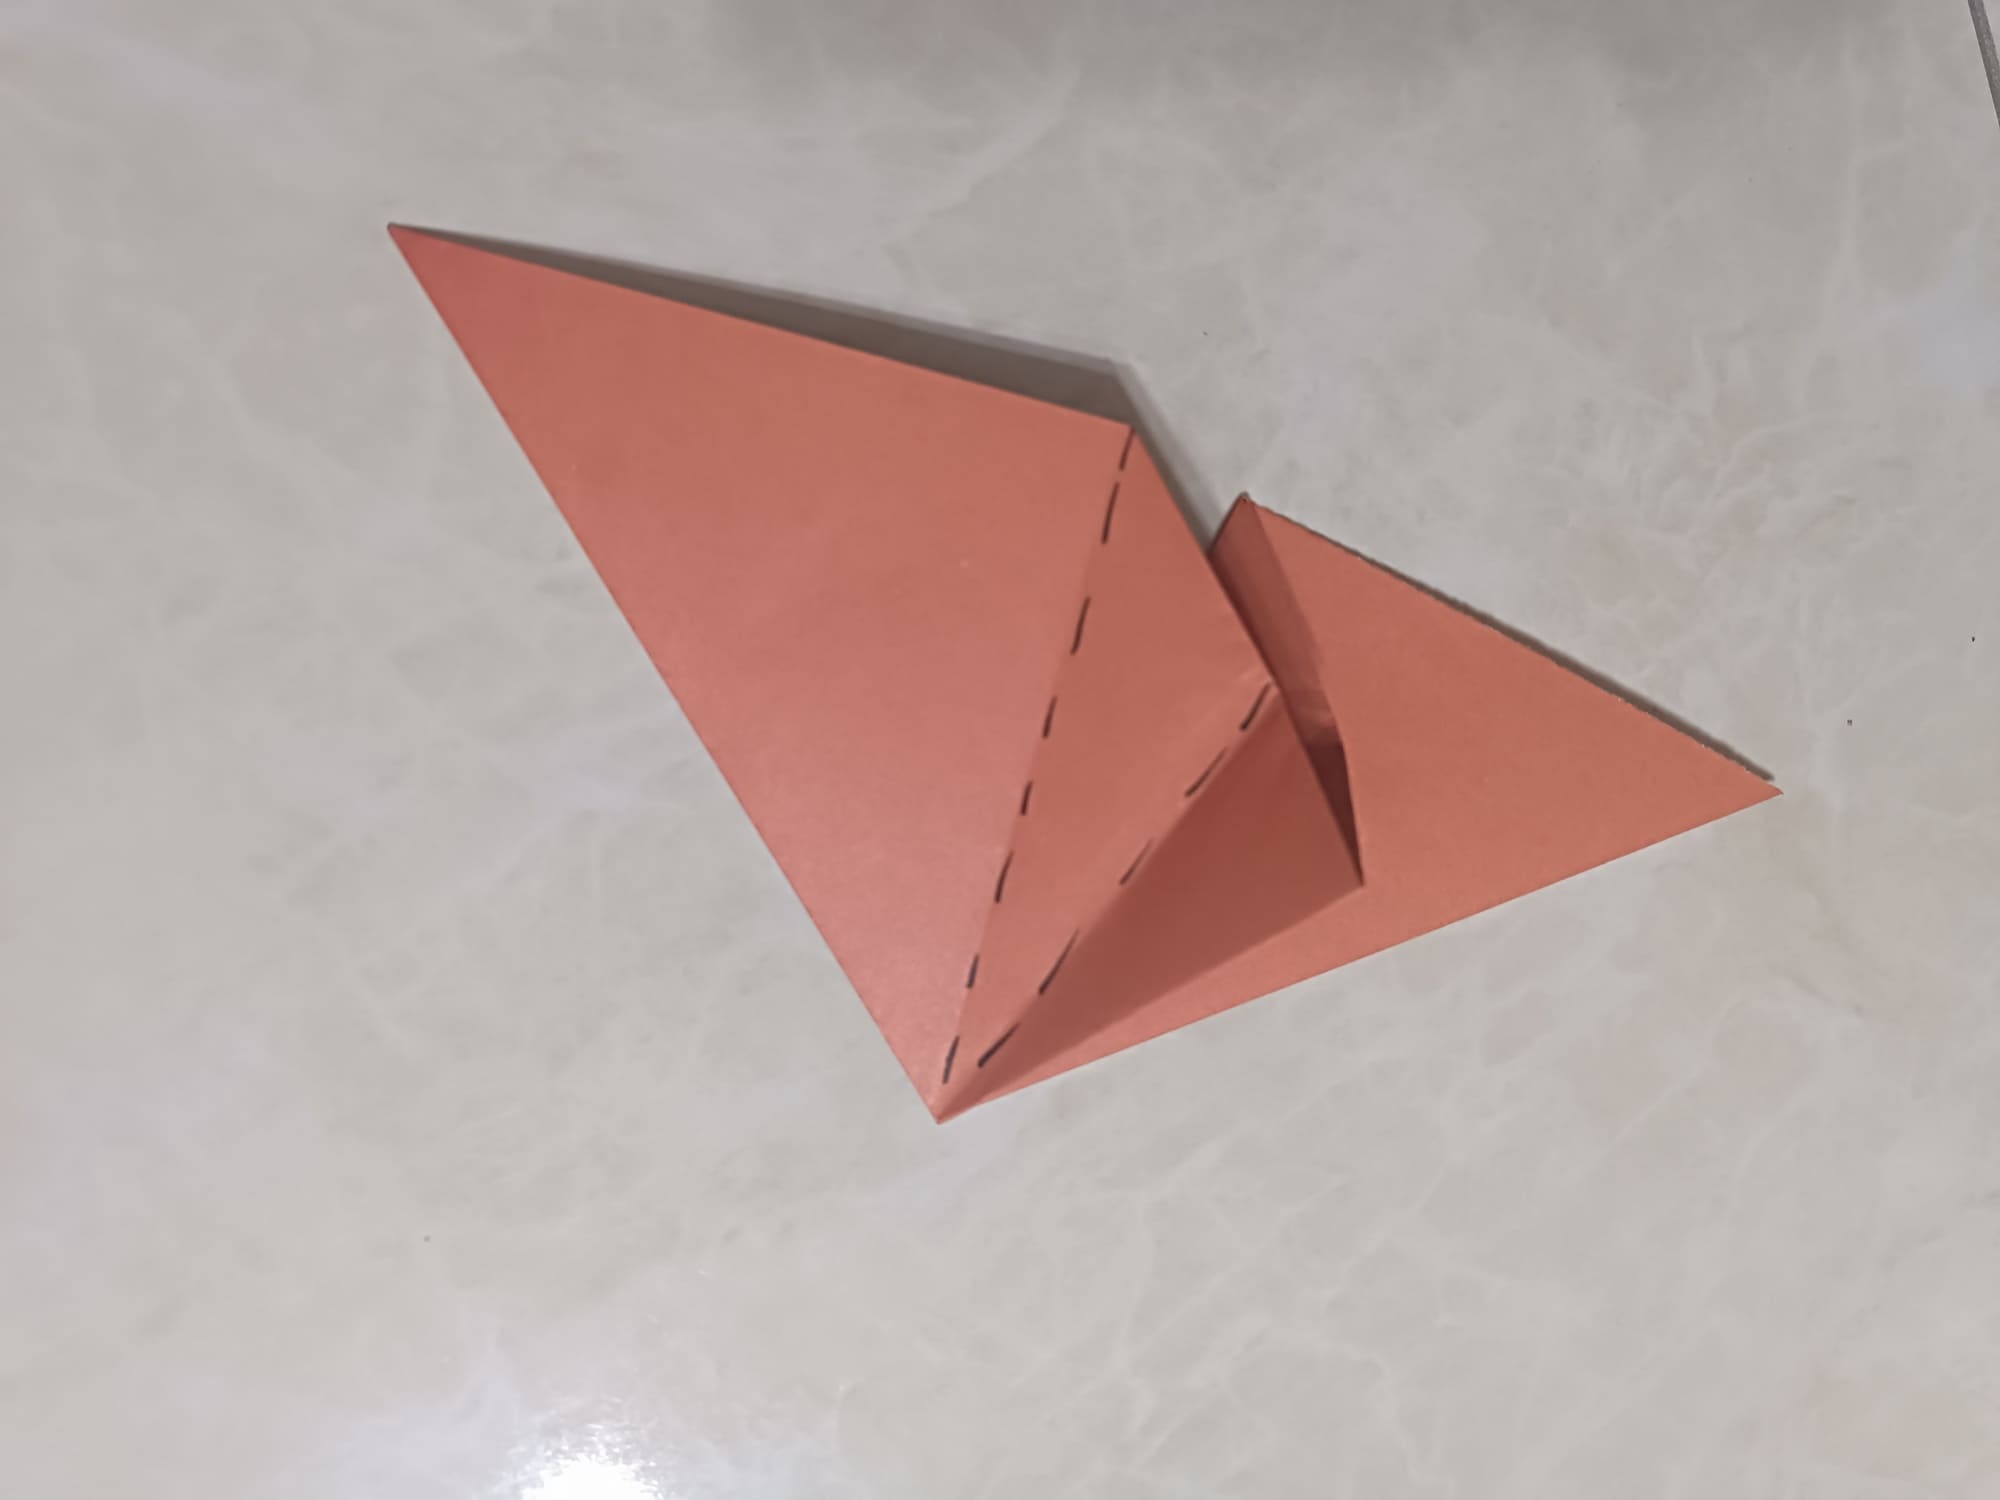
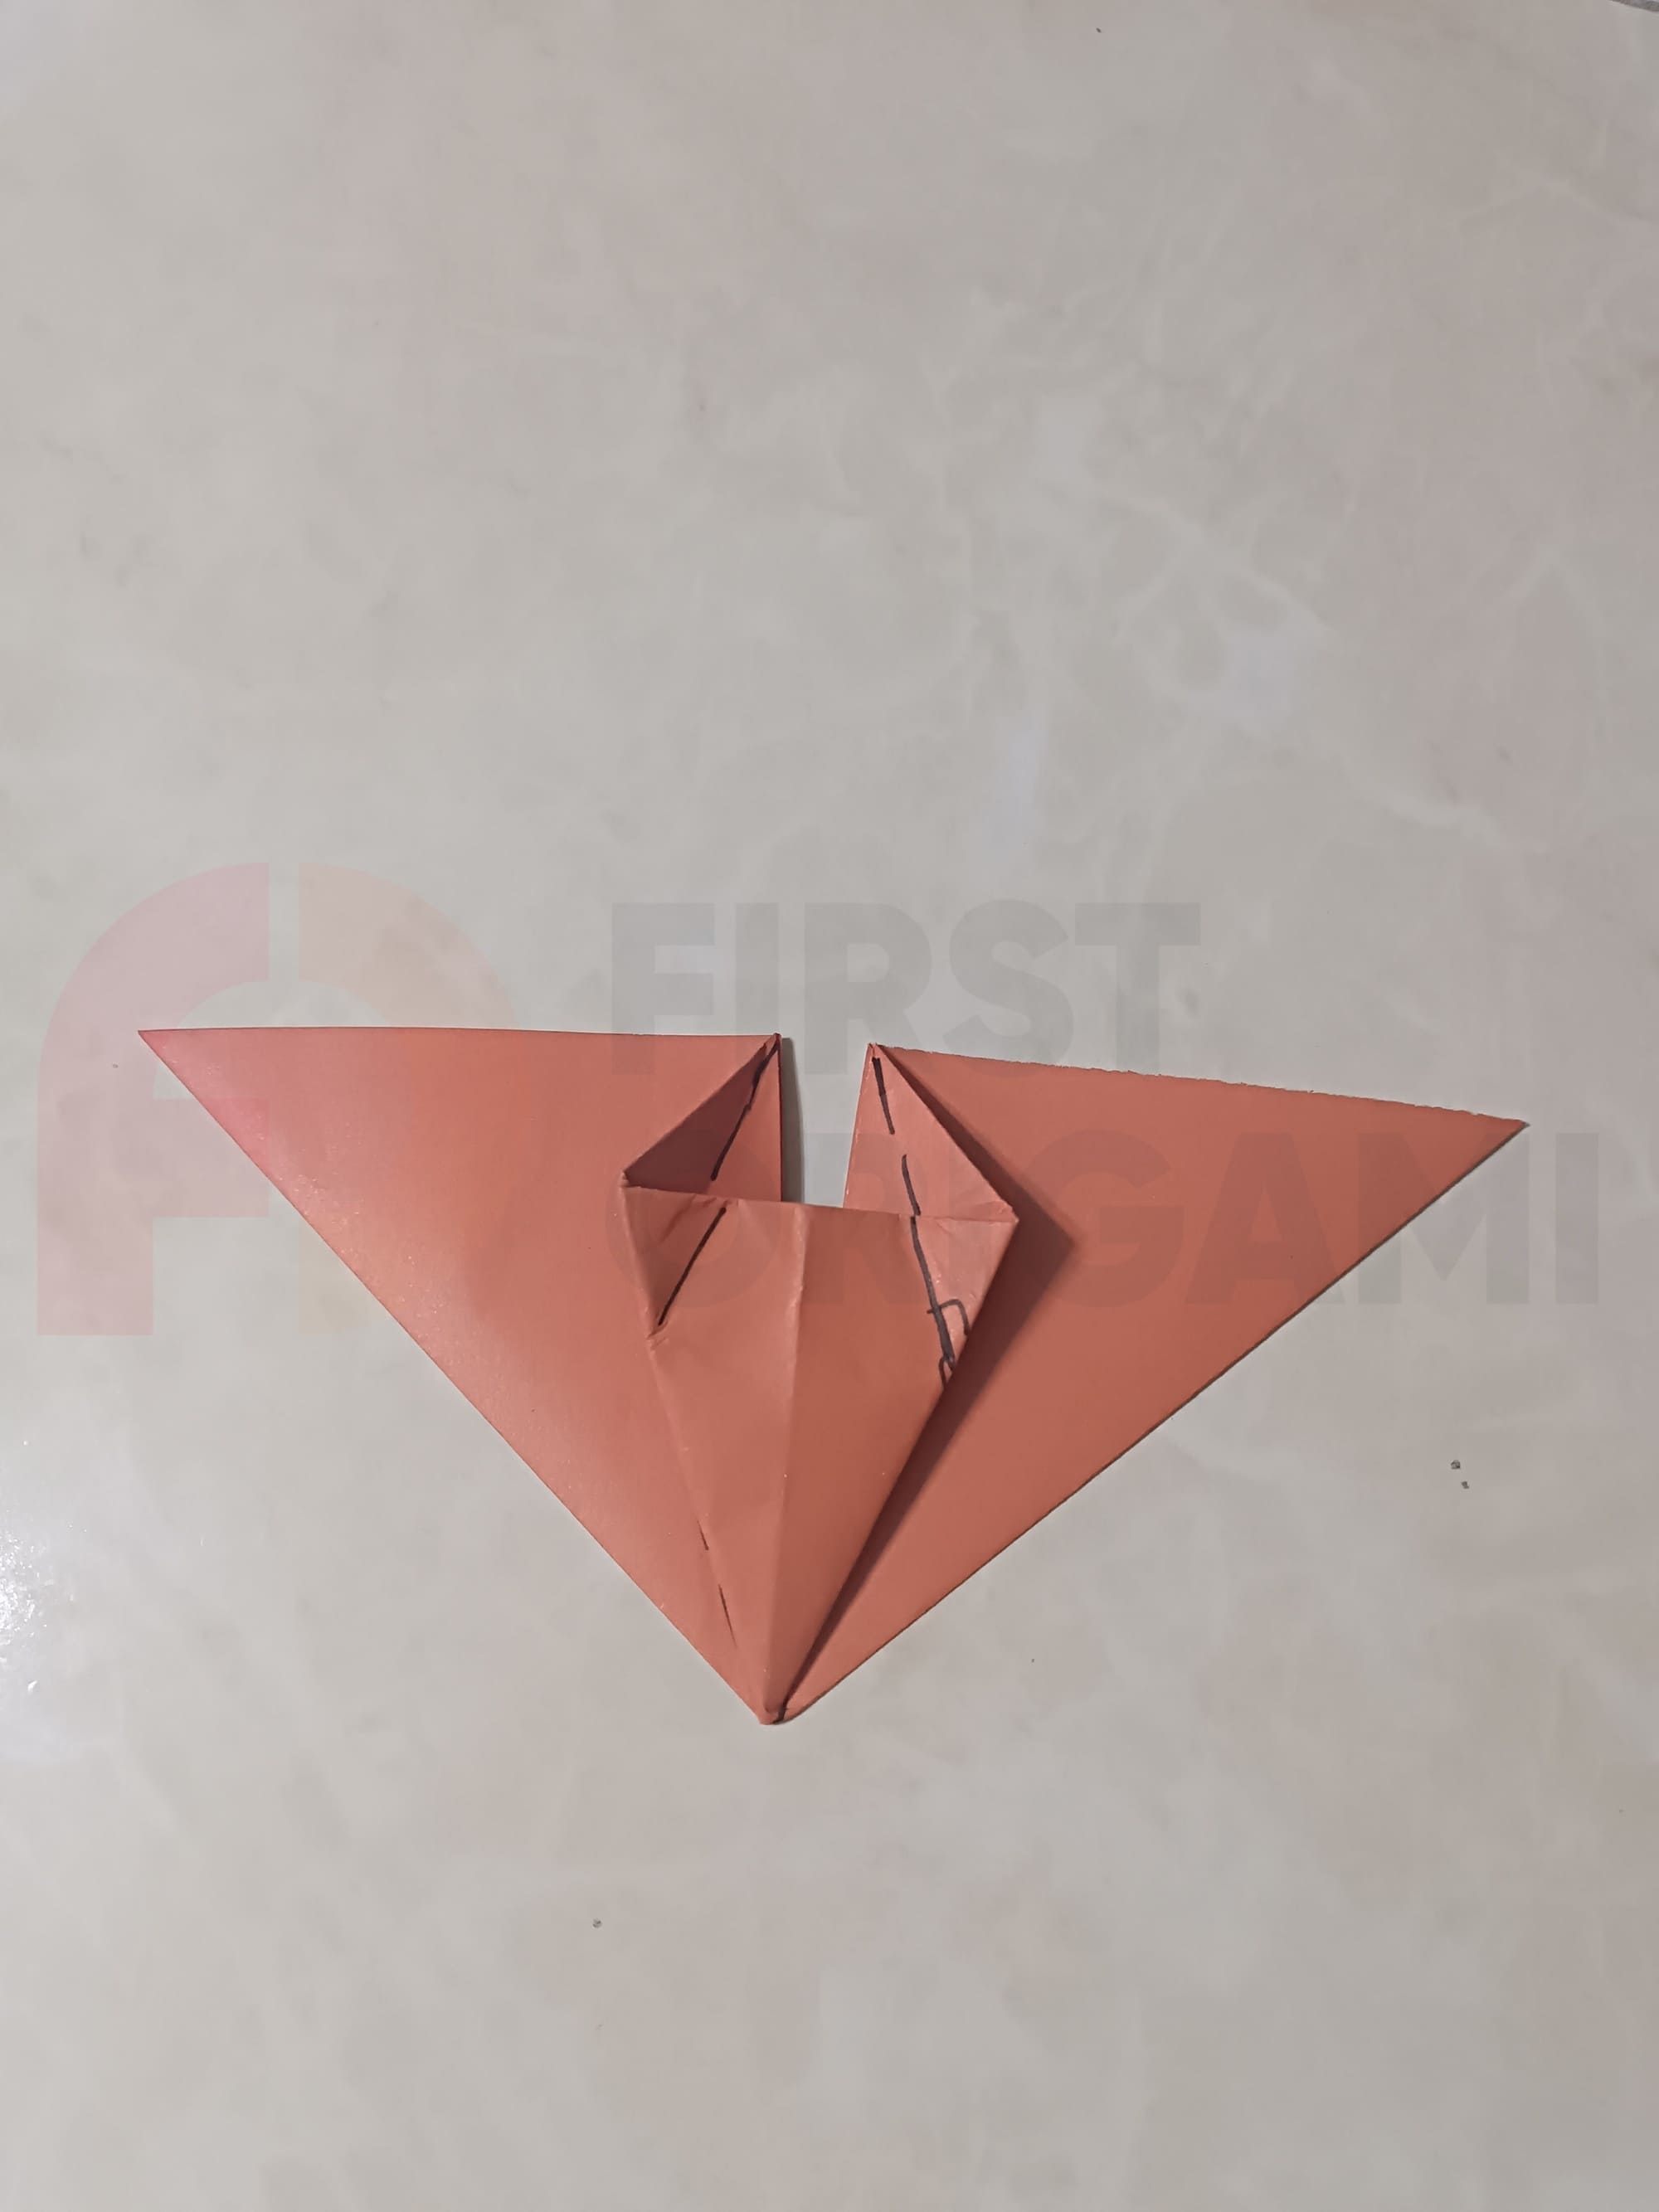
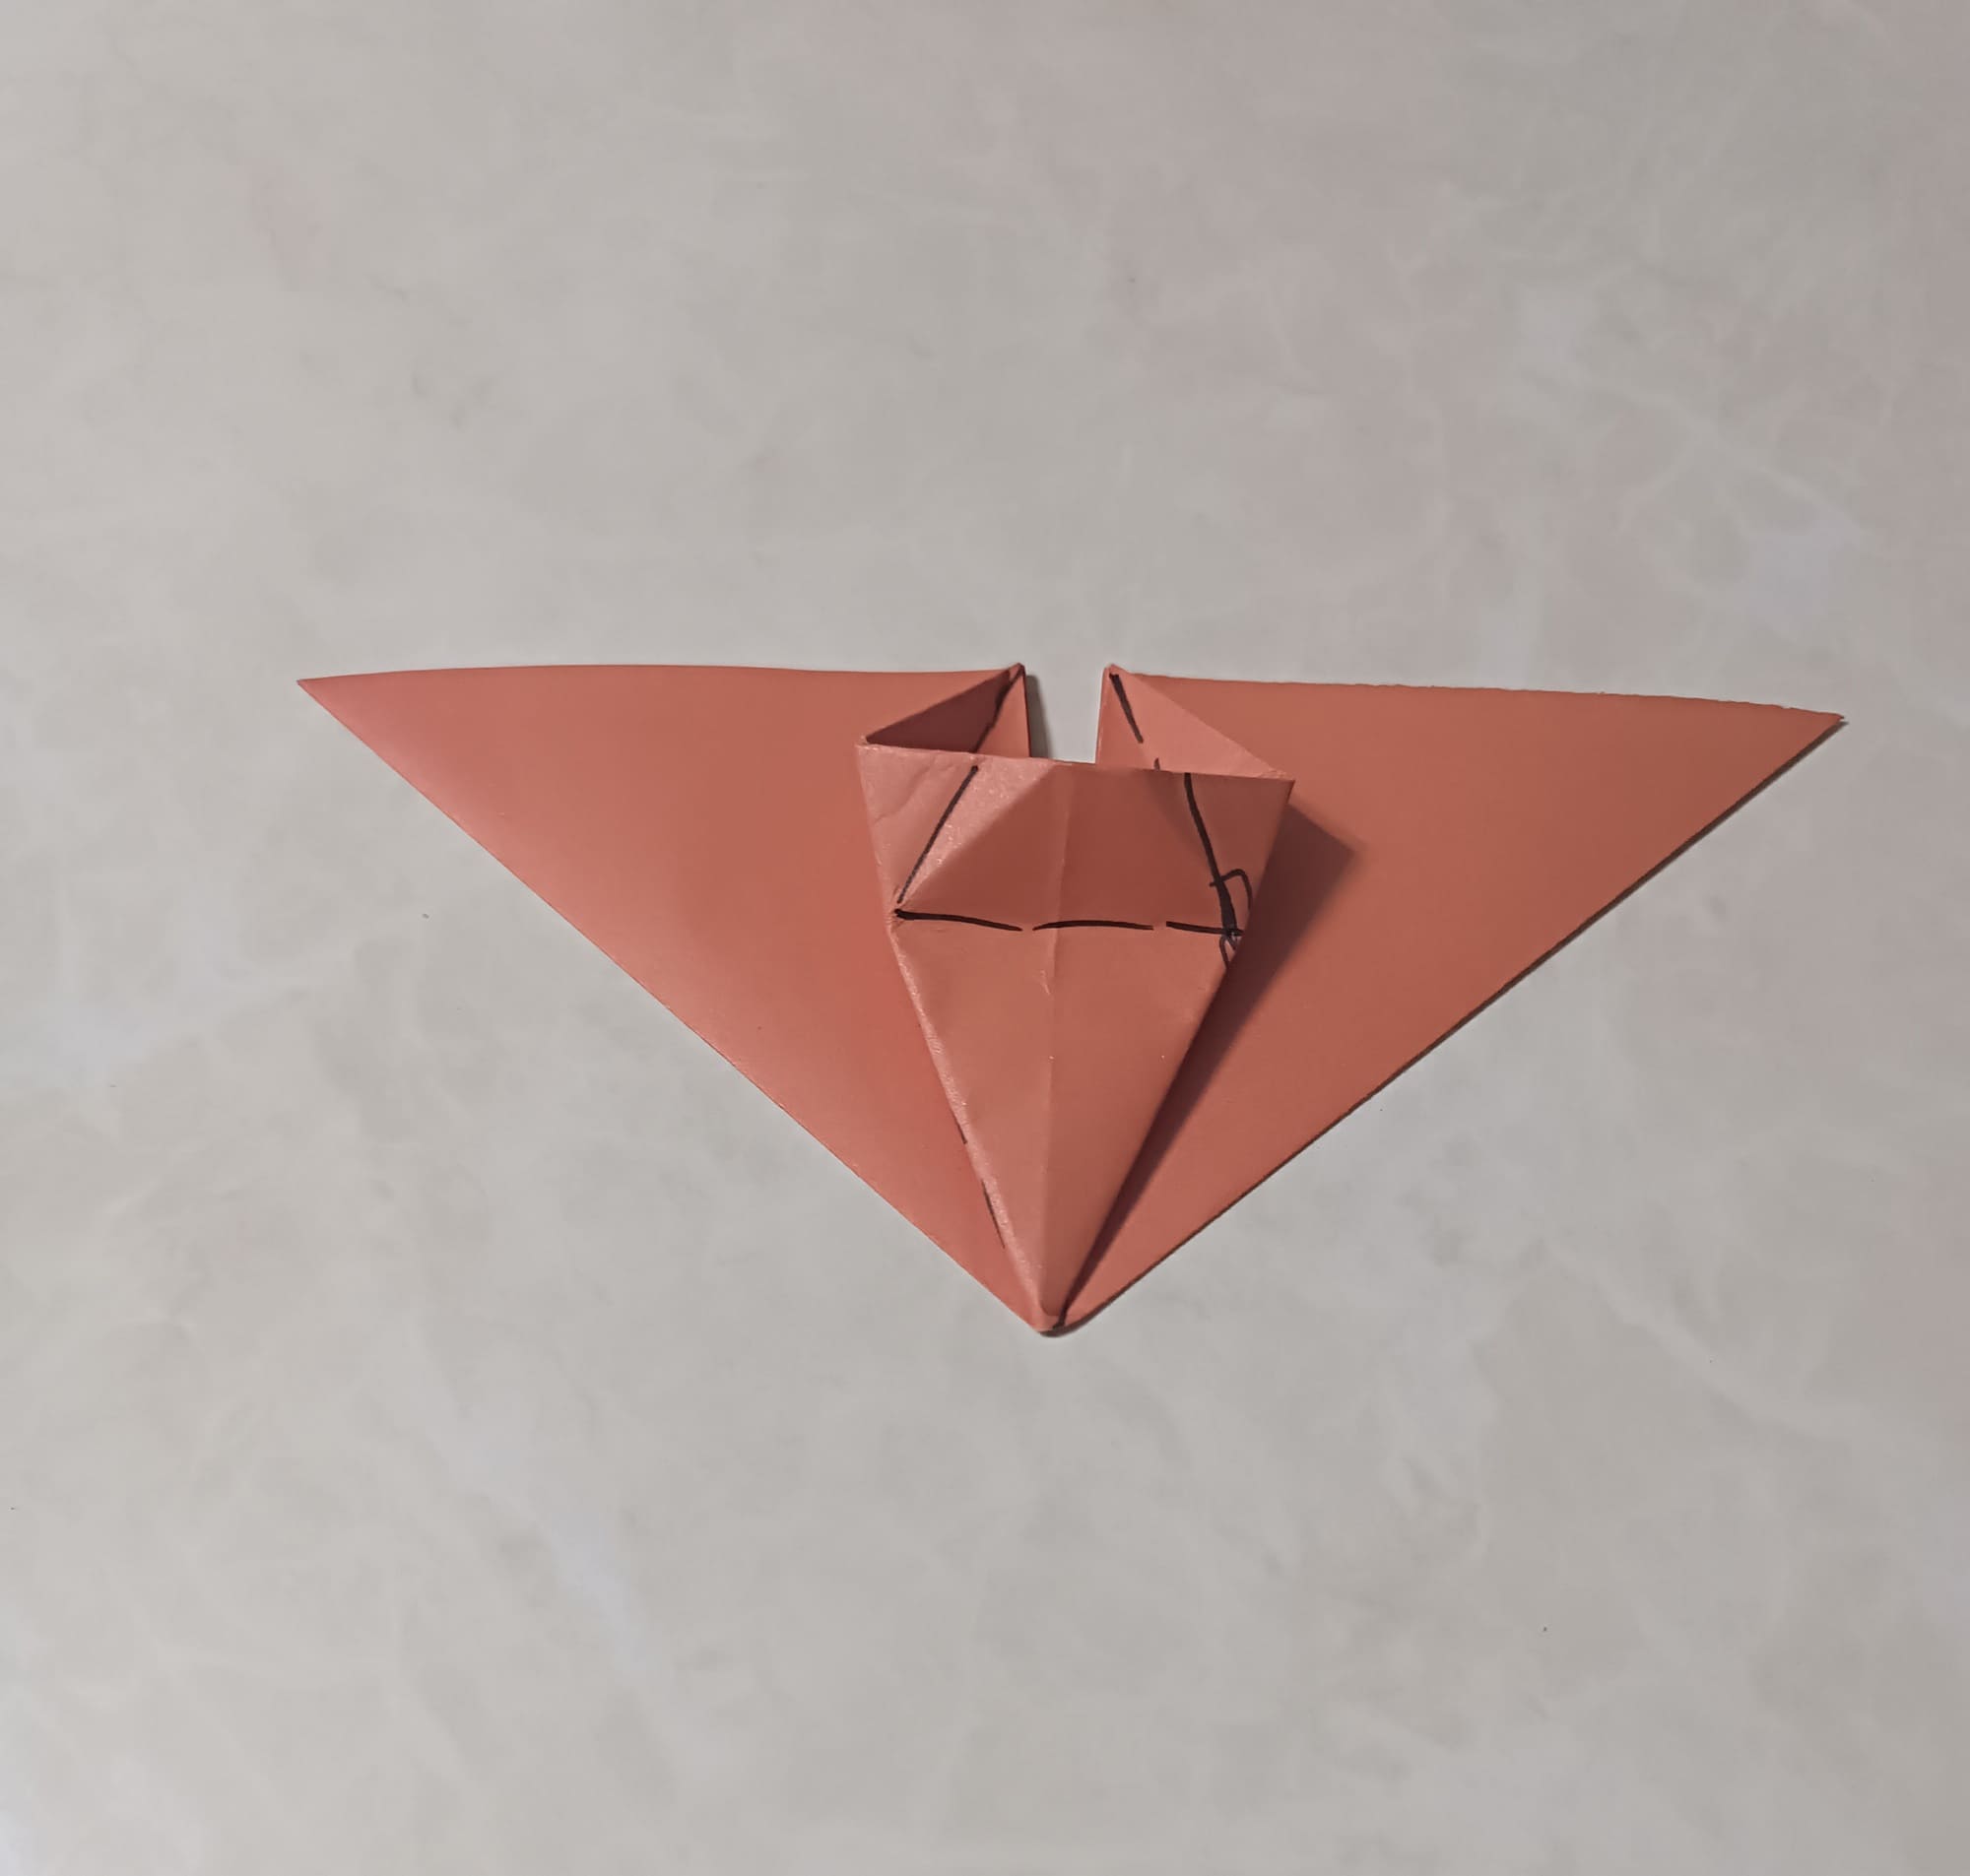
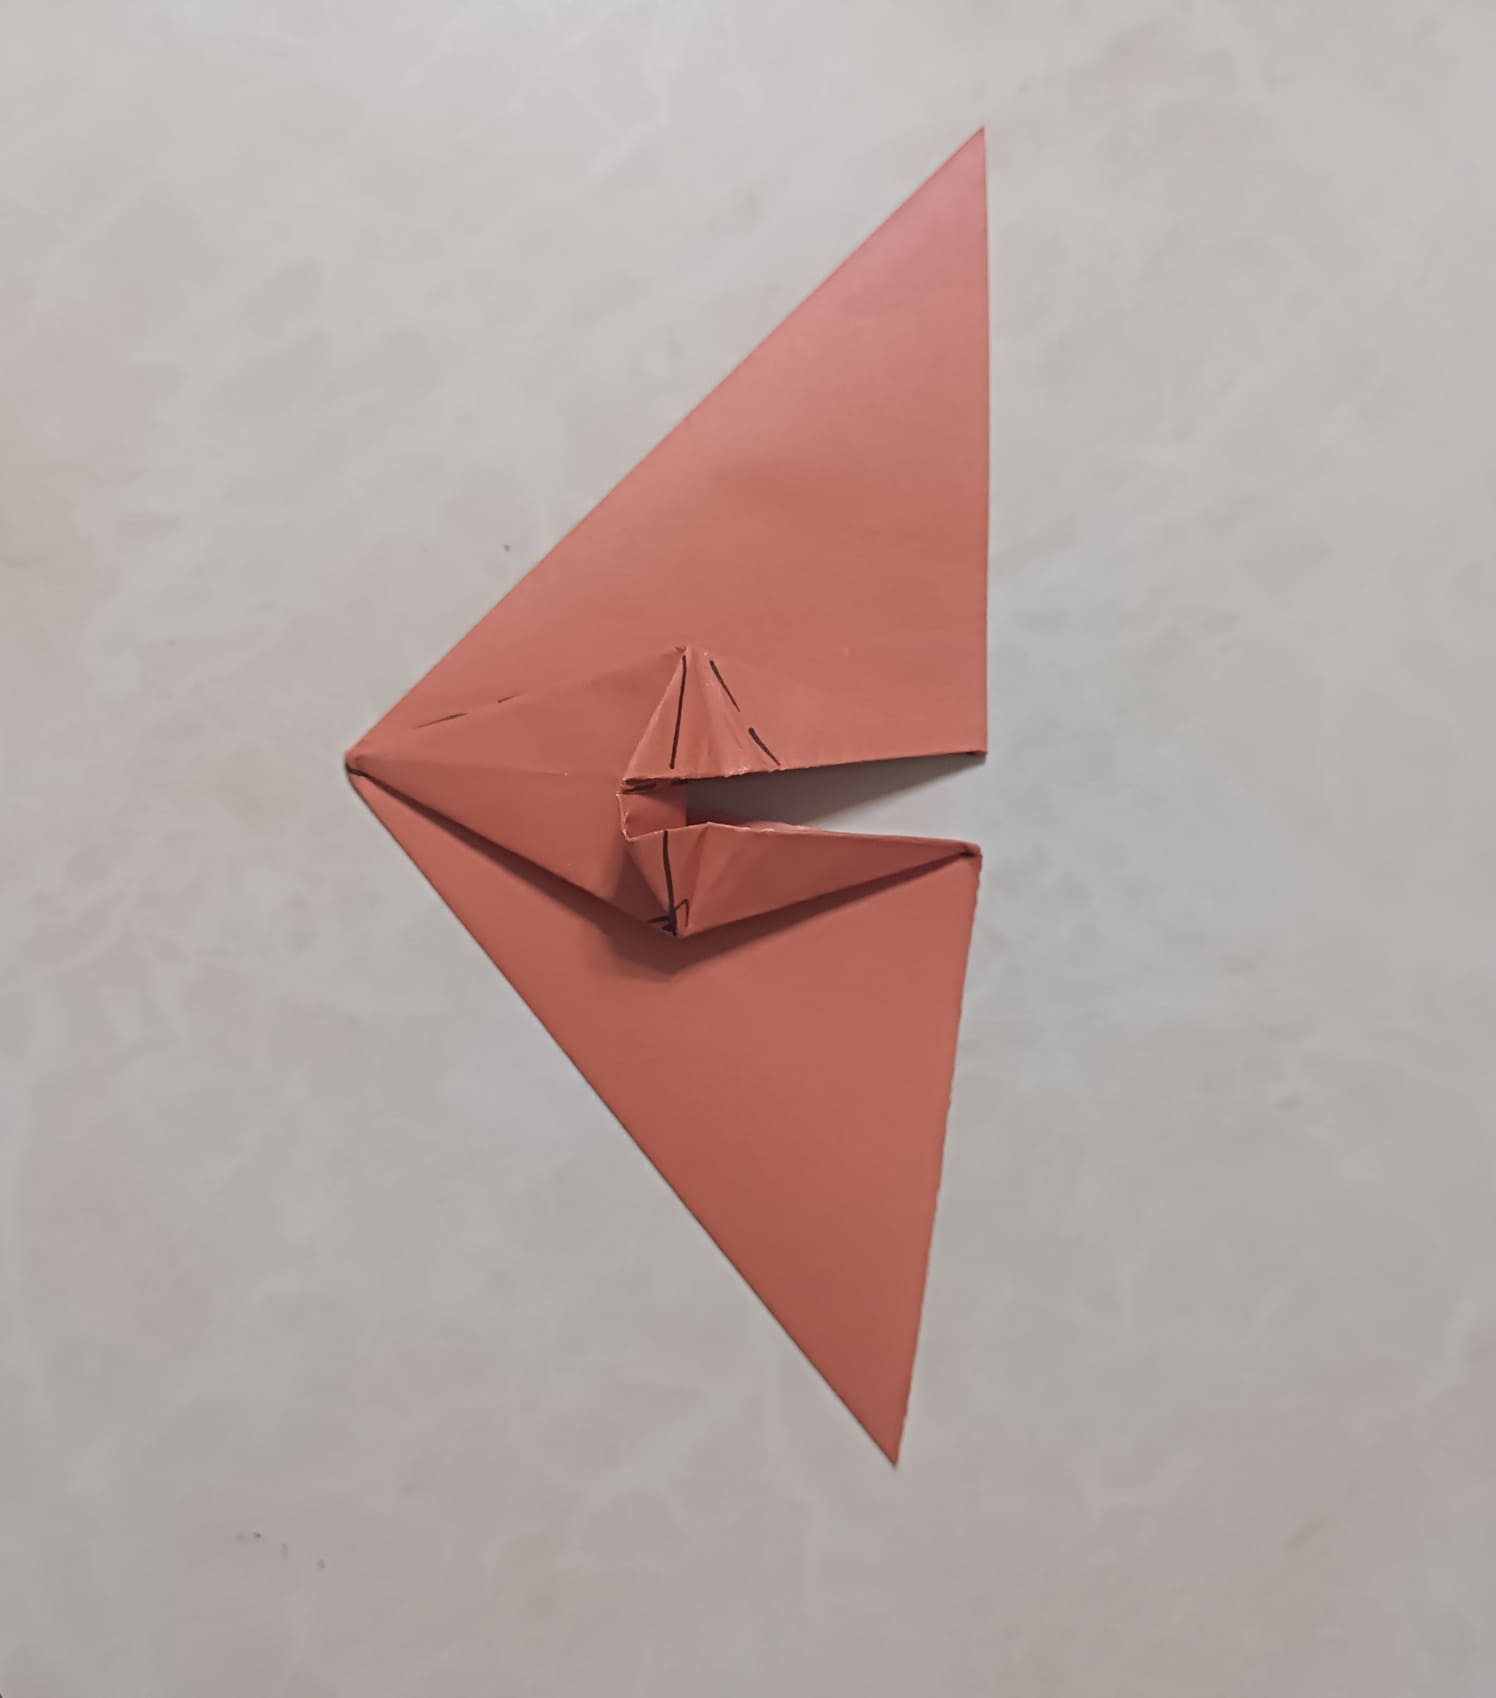
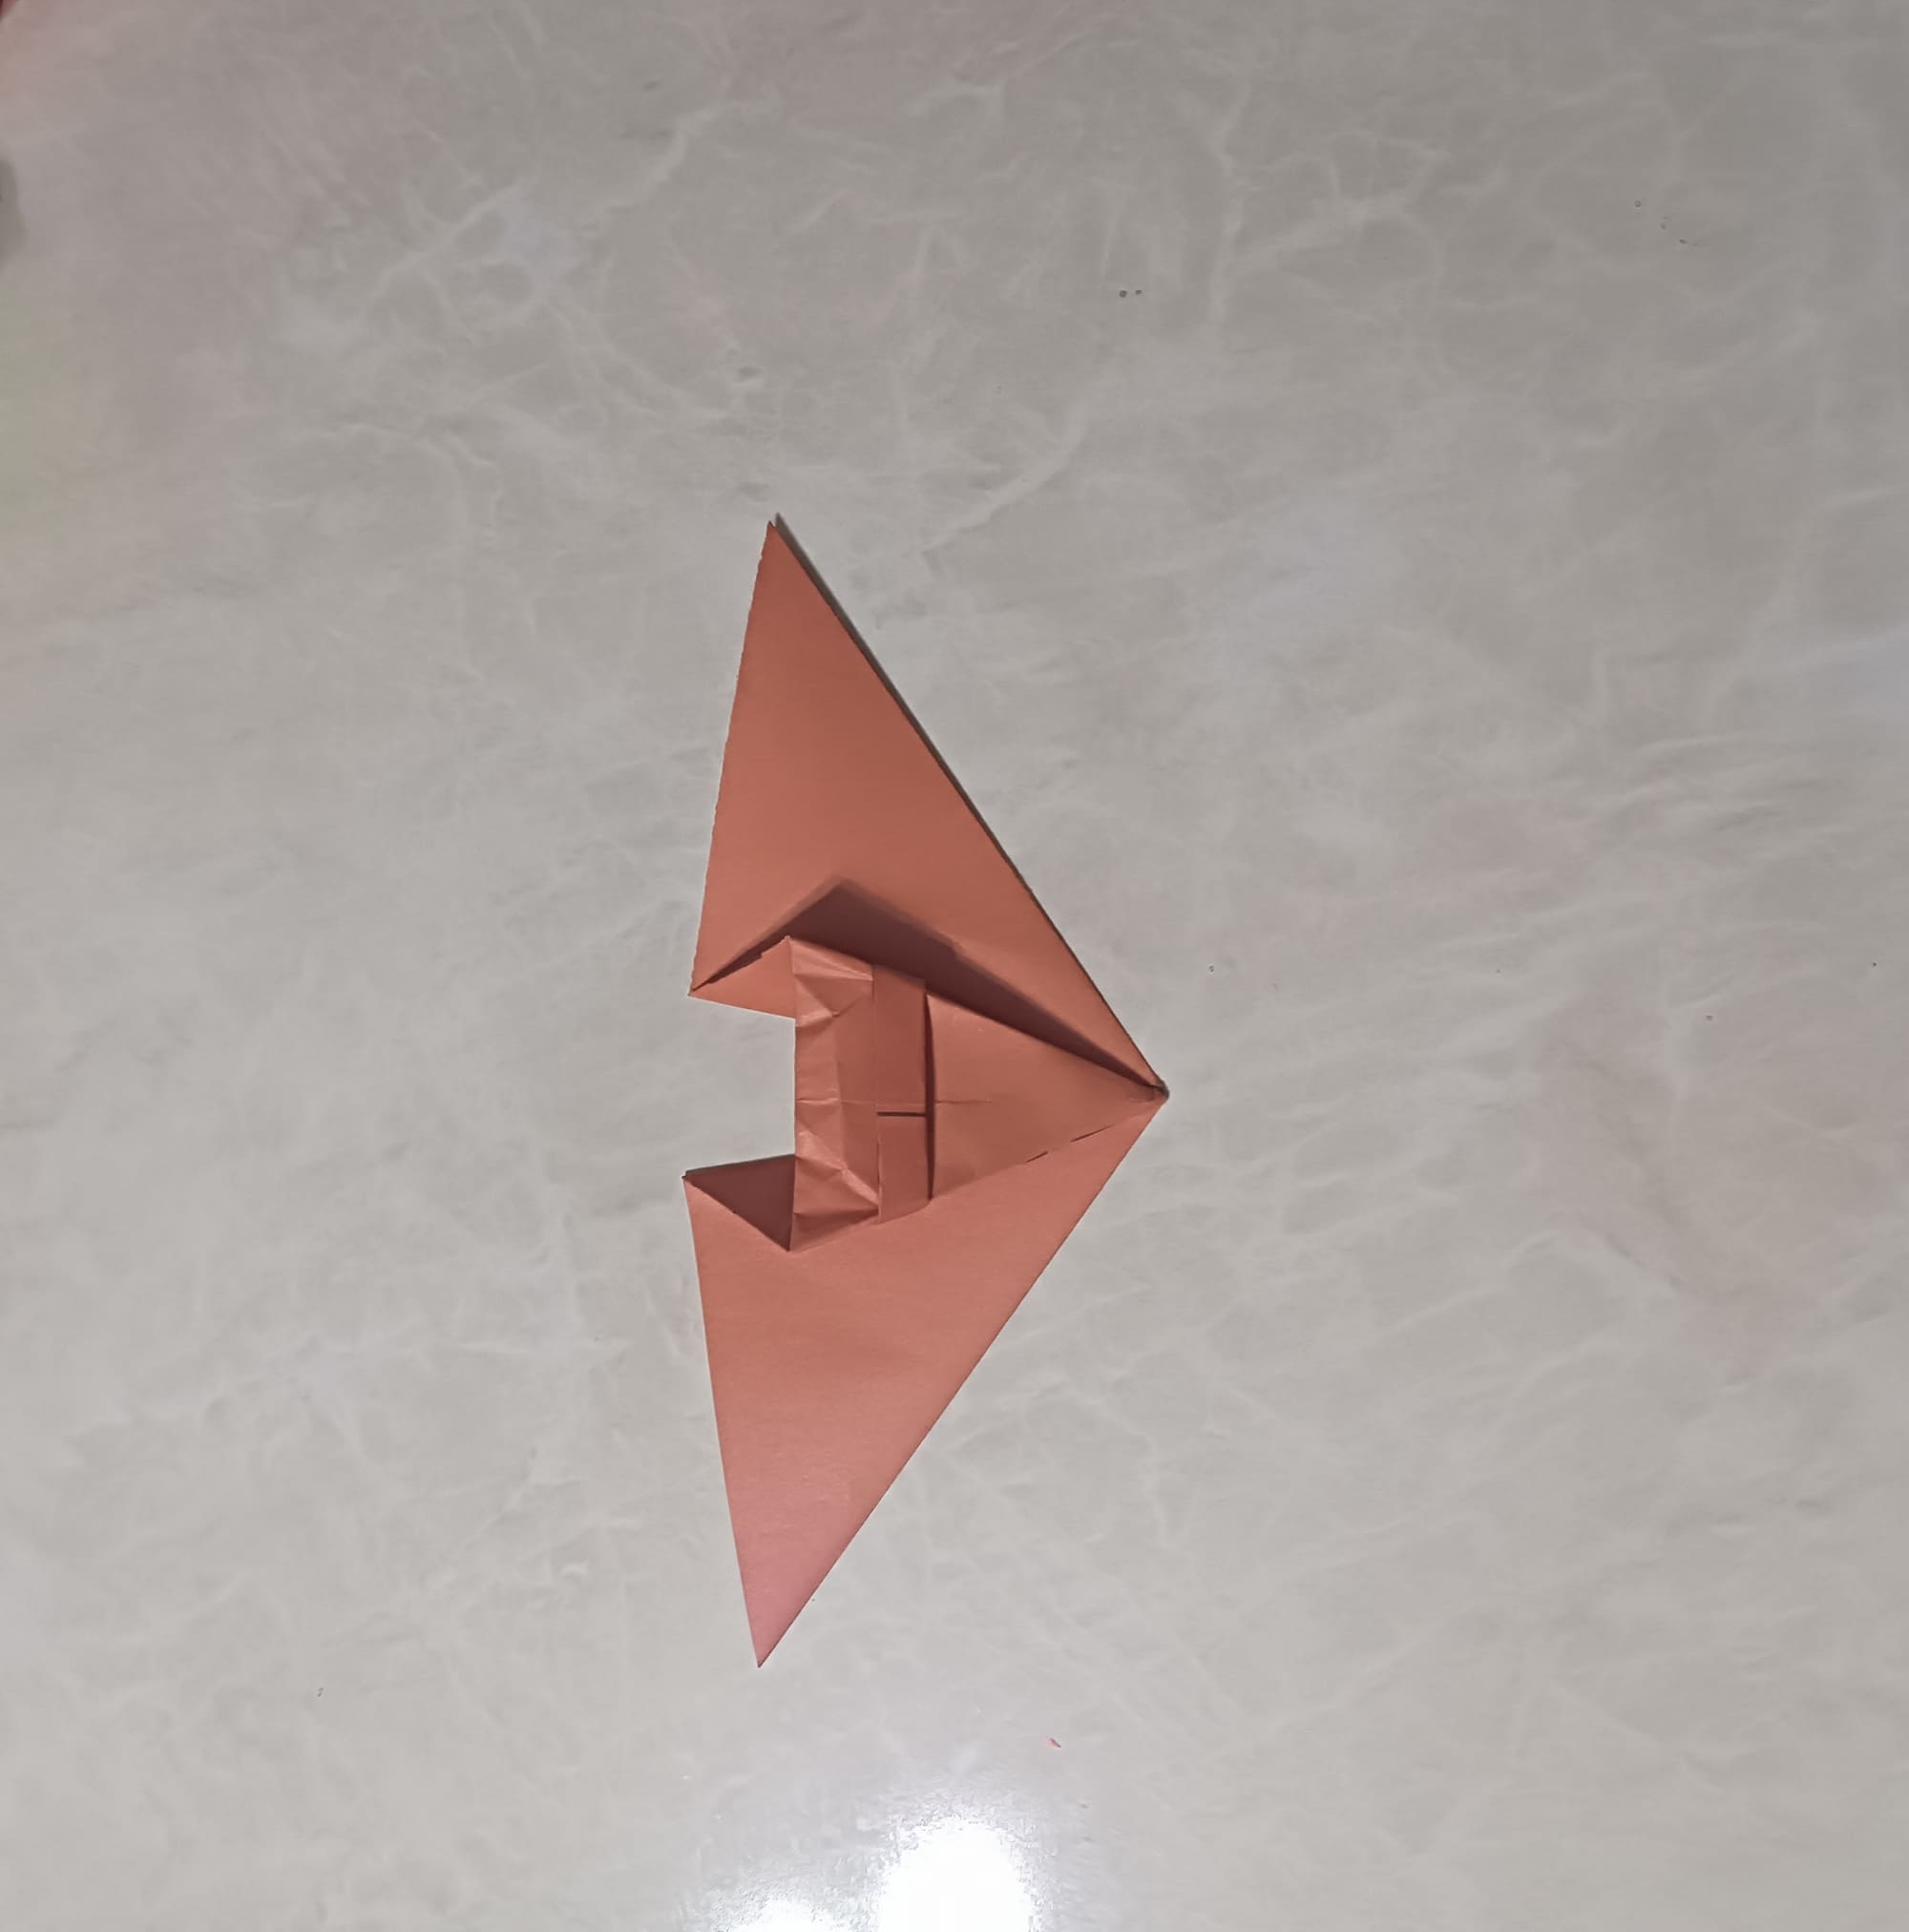
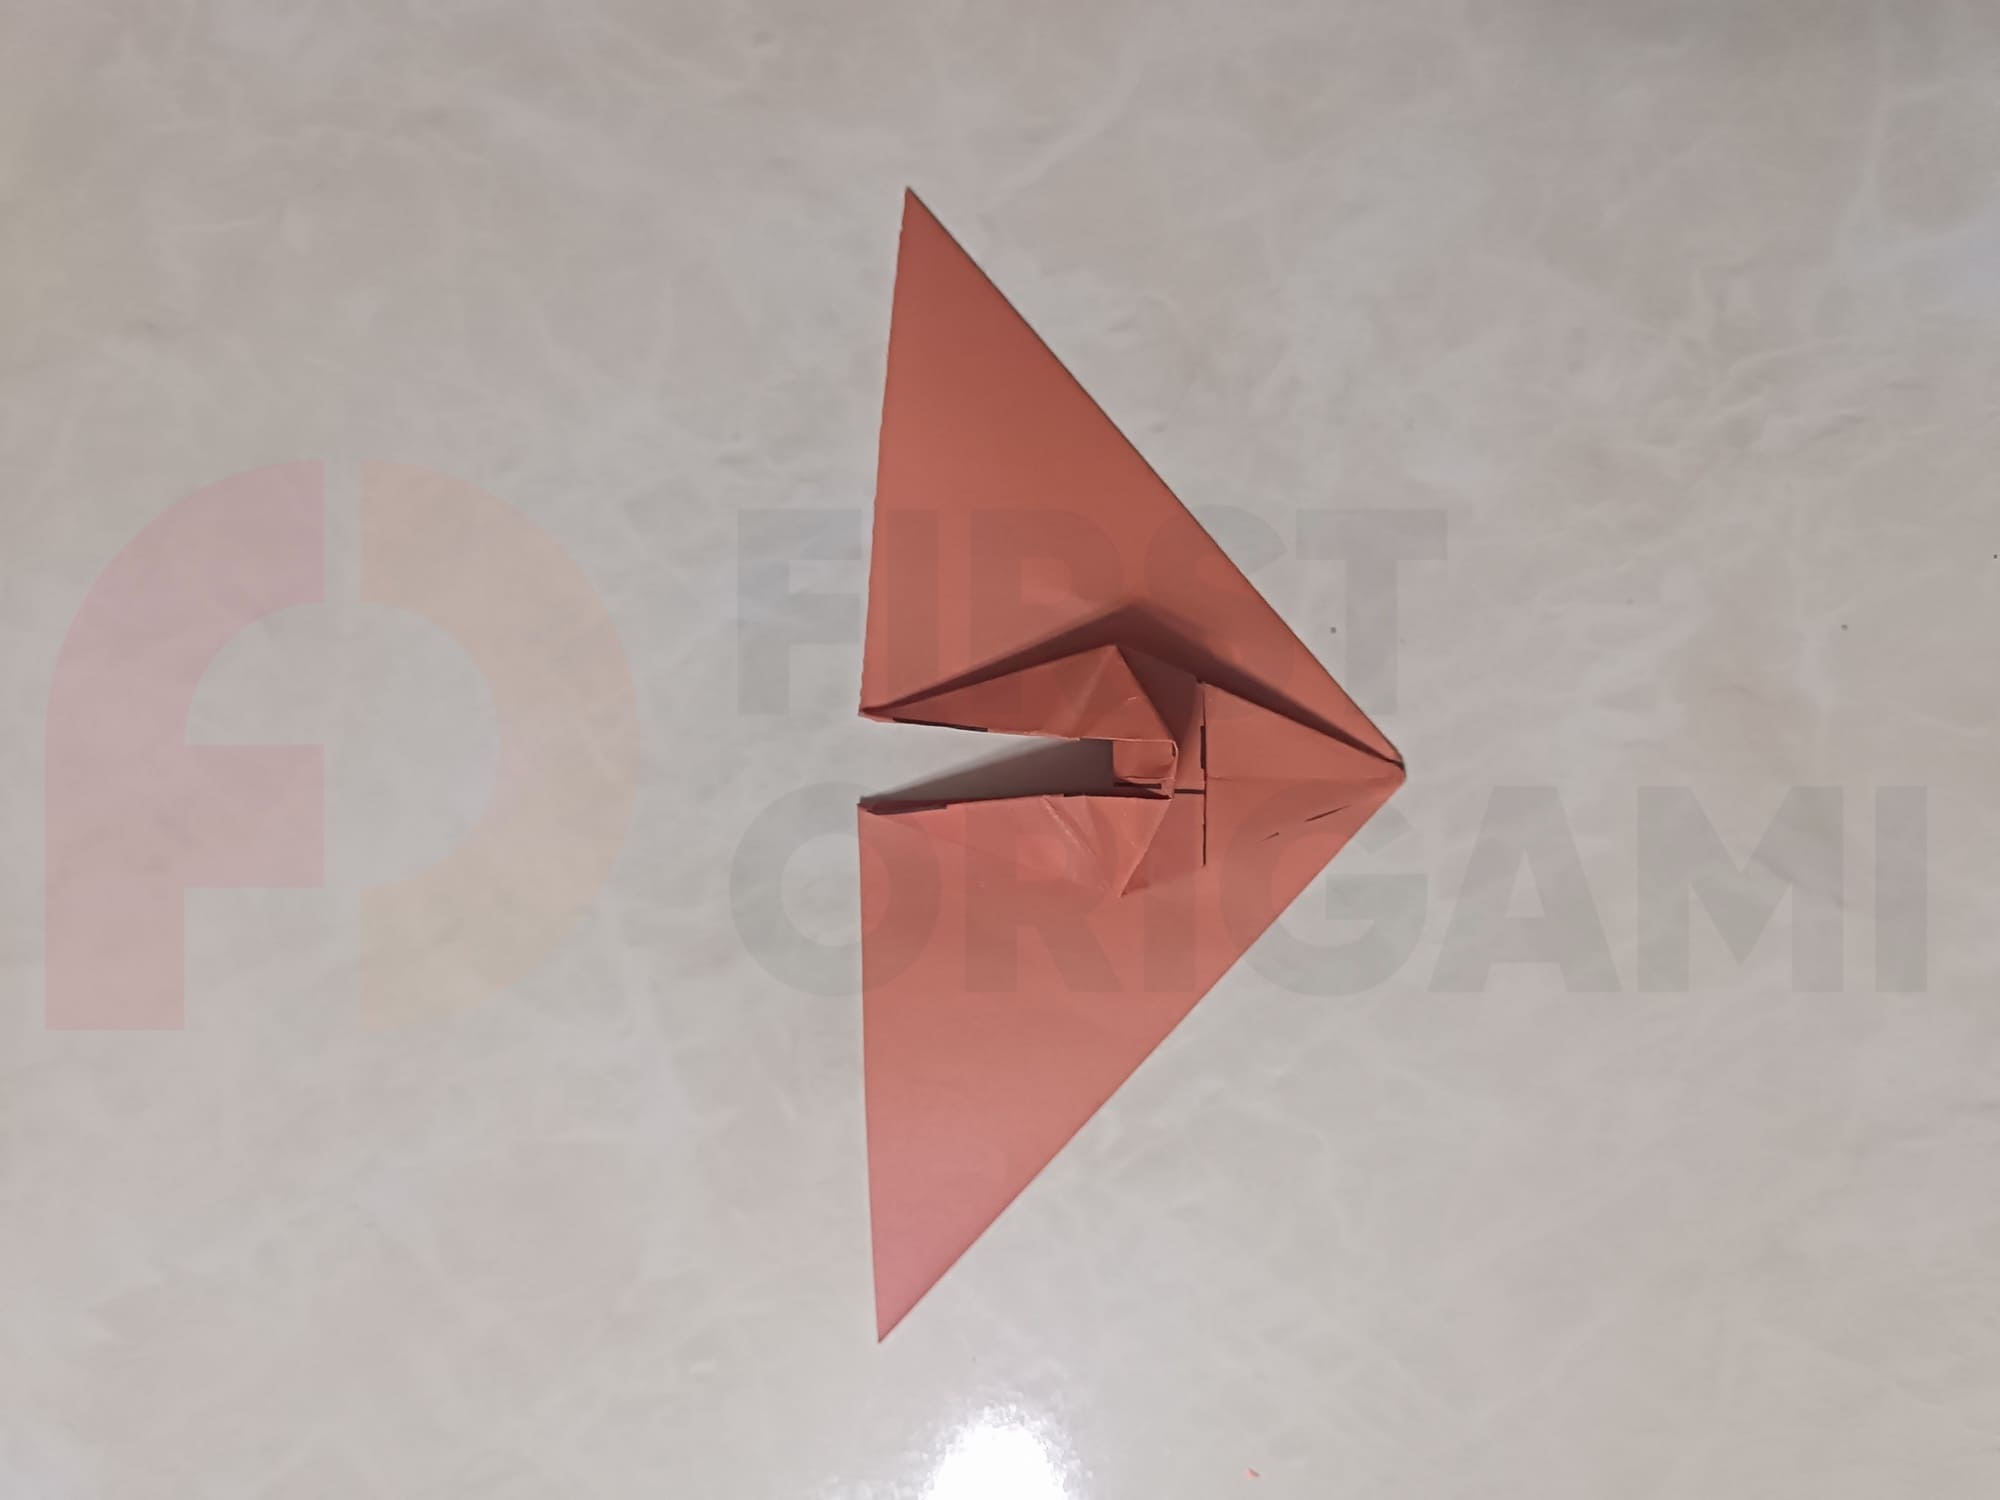
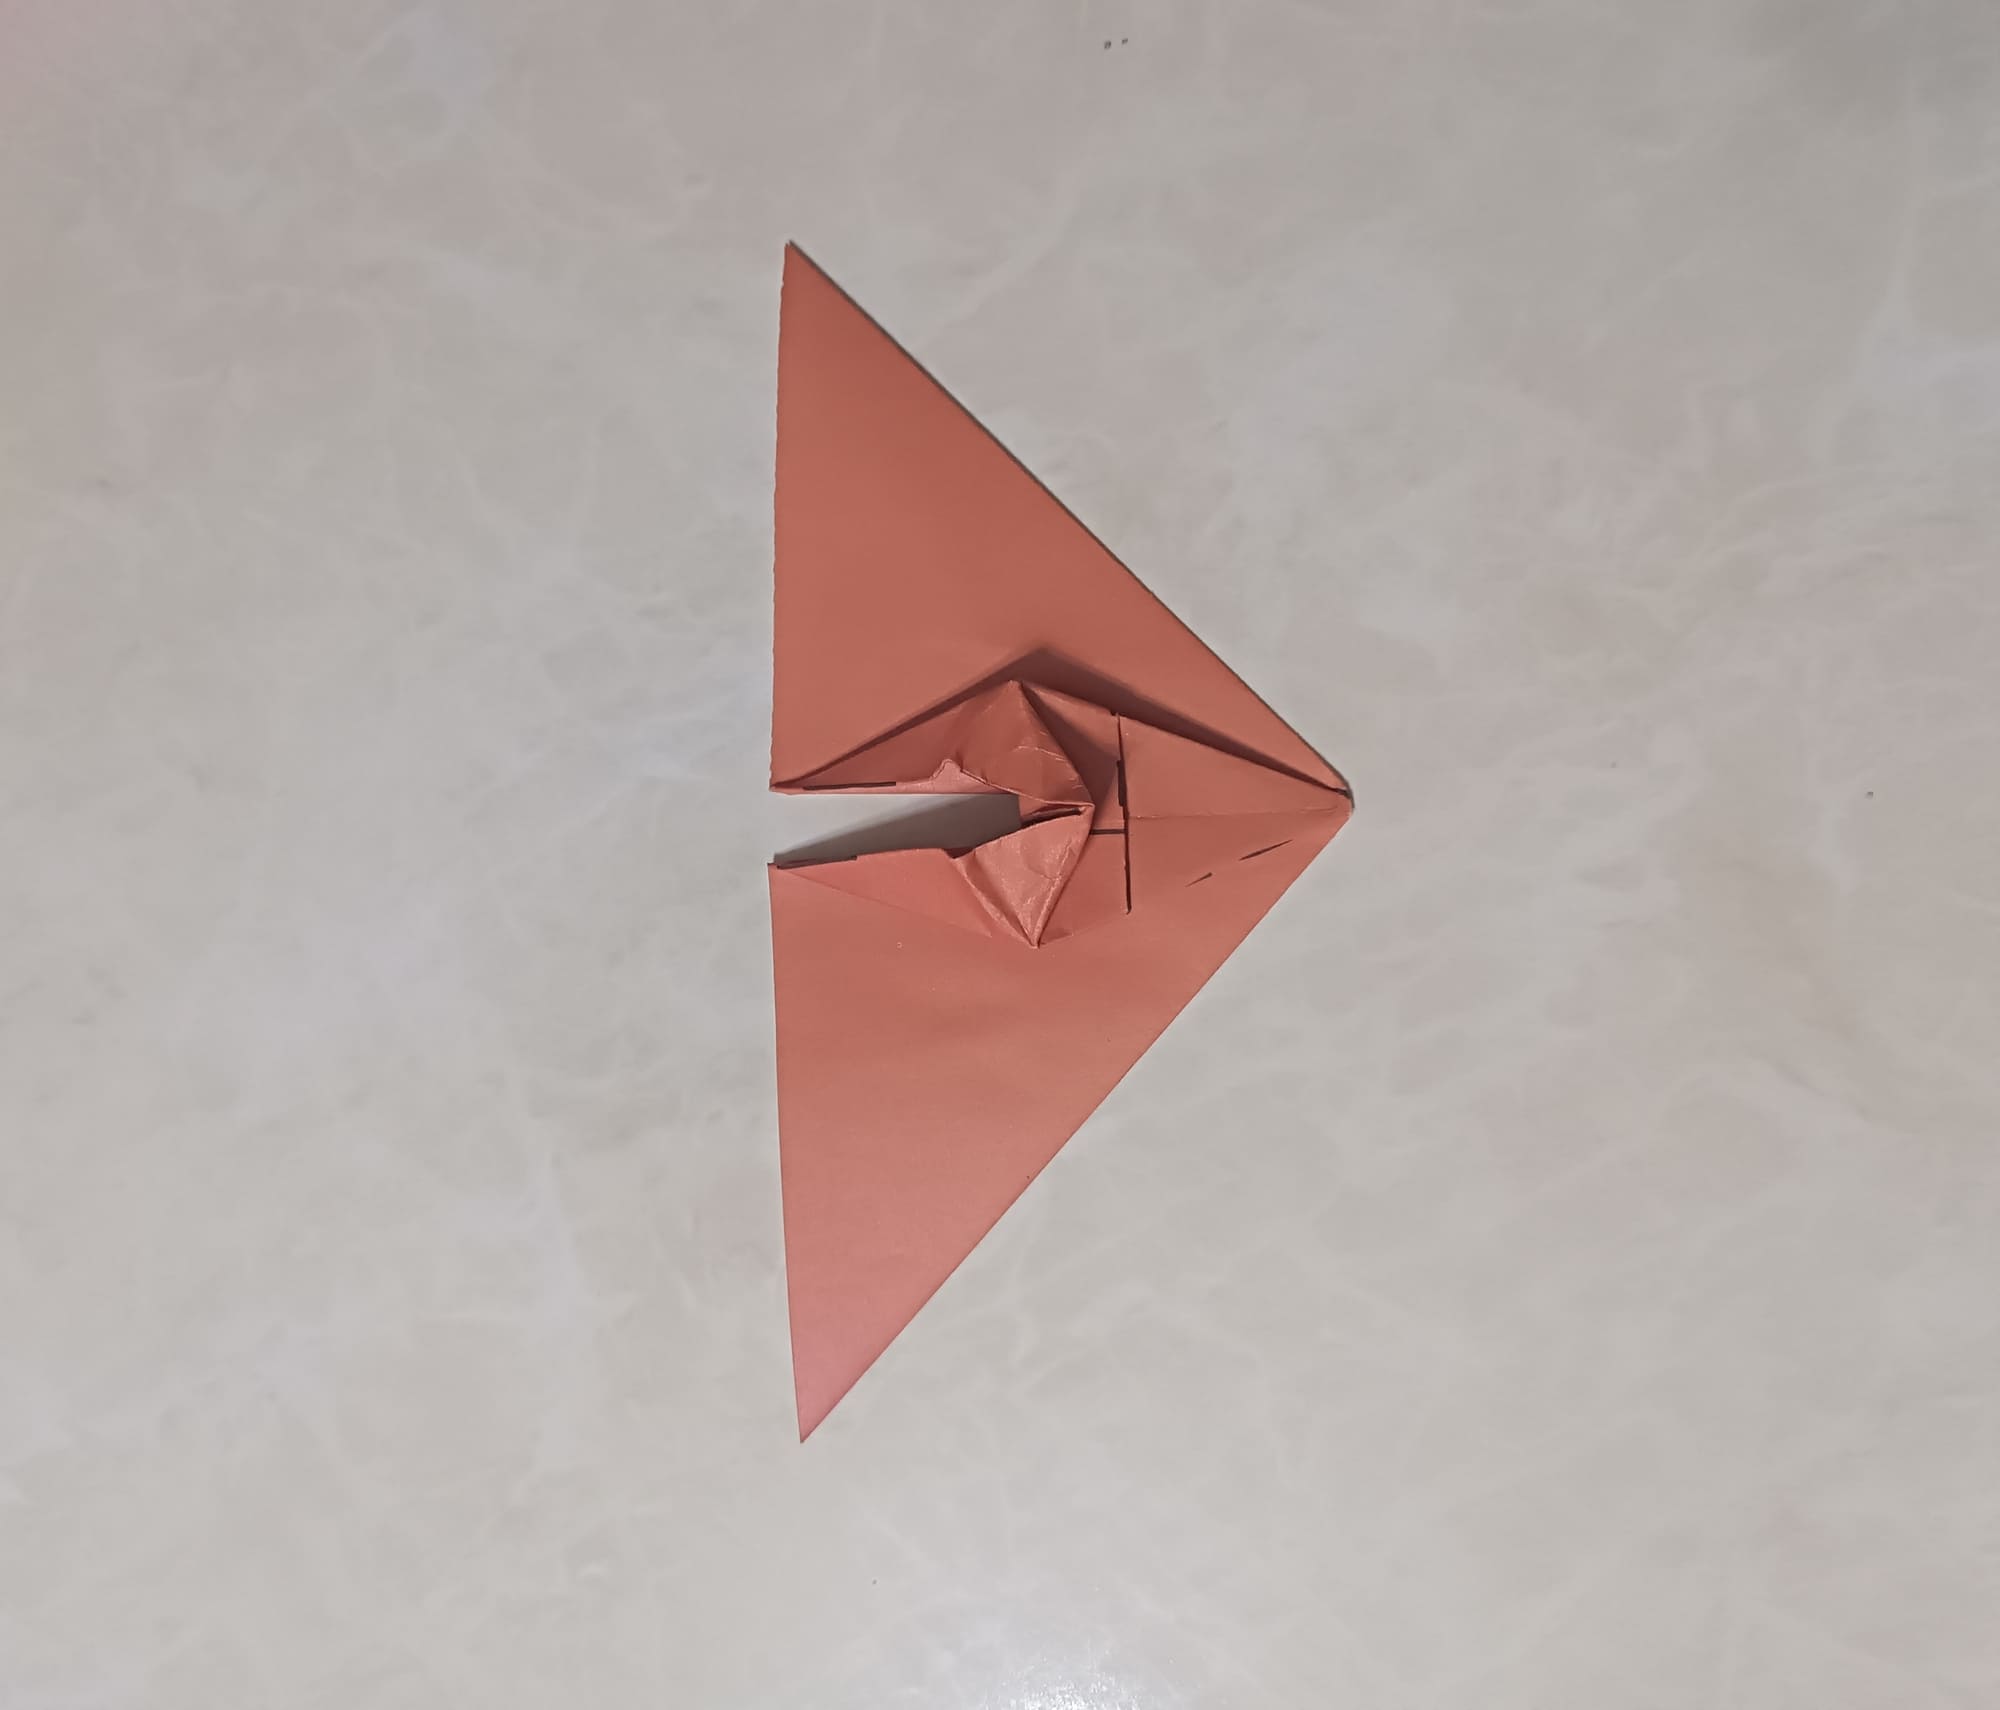
Re-fold your product.
Re-fold your product.
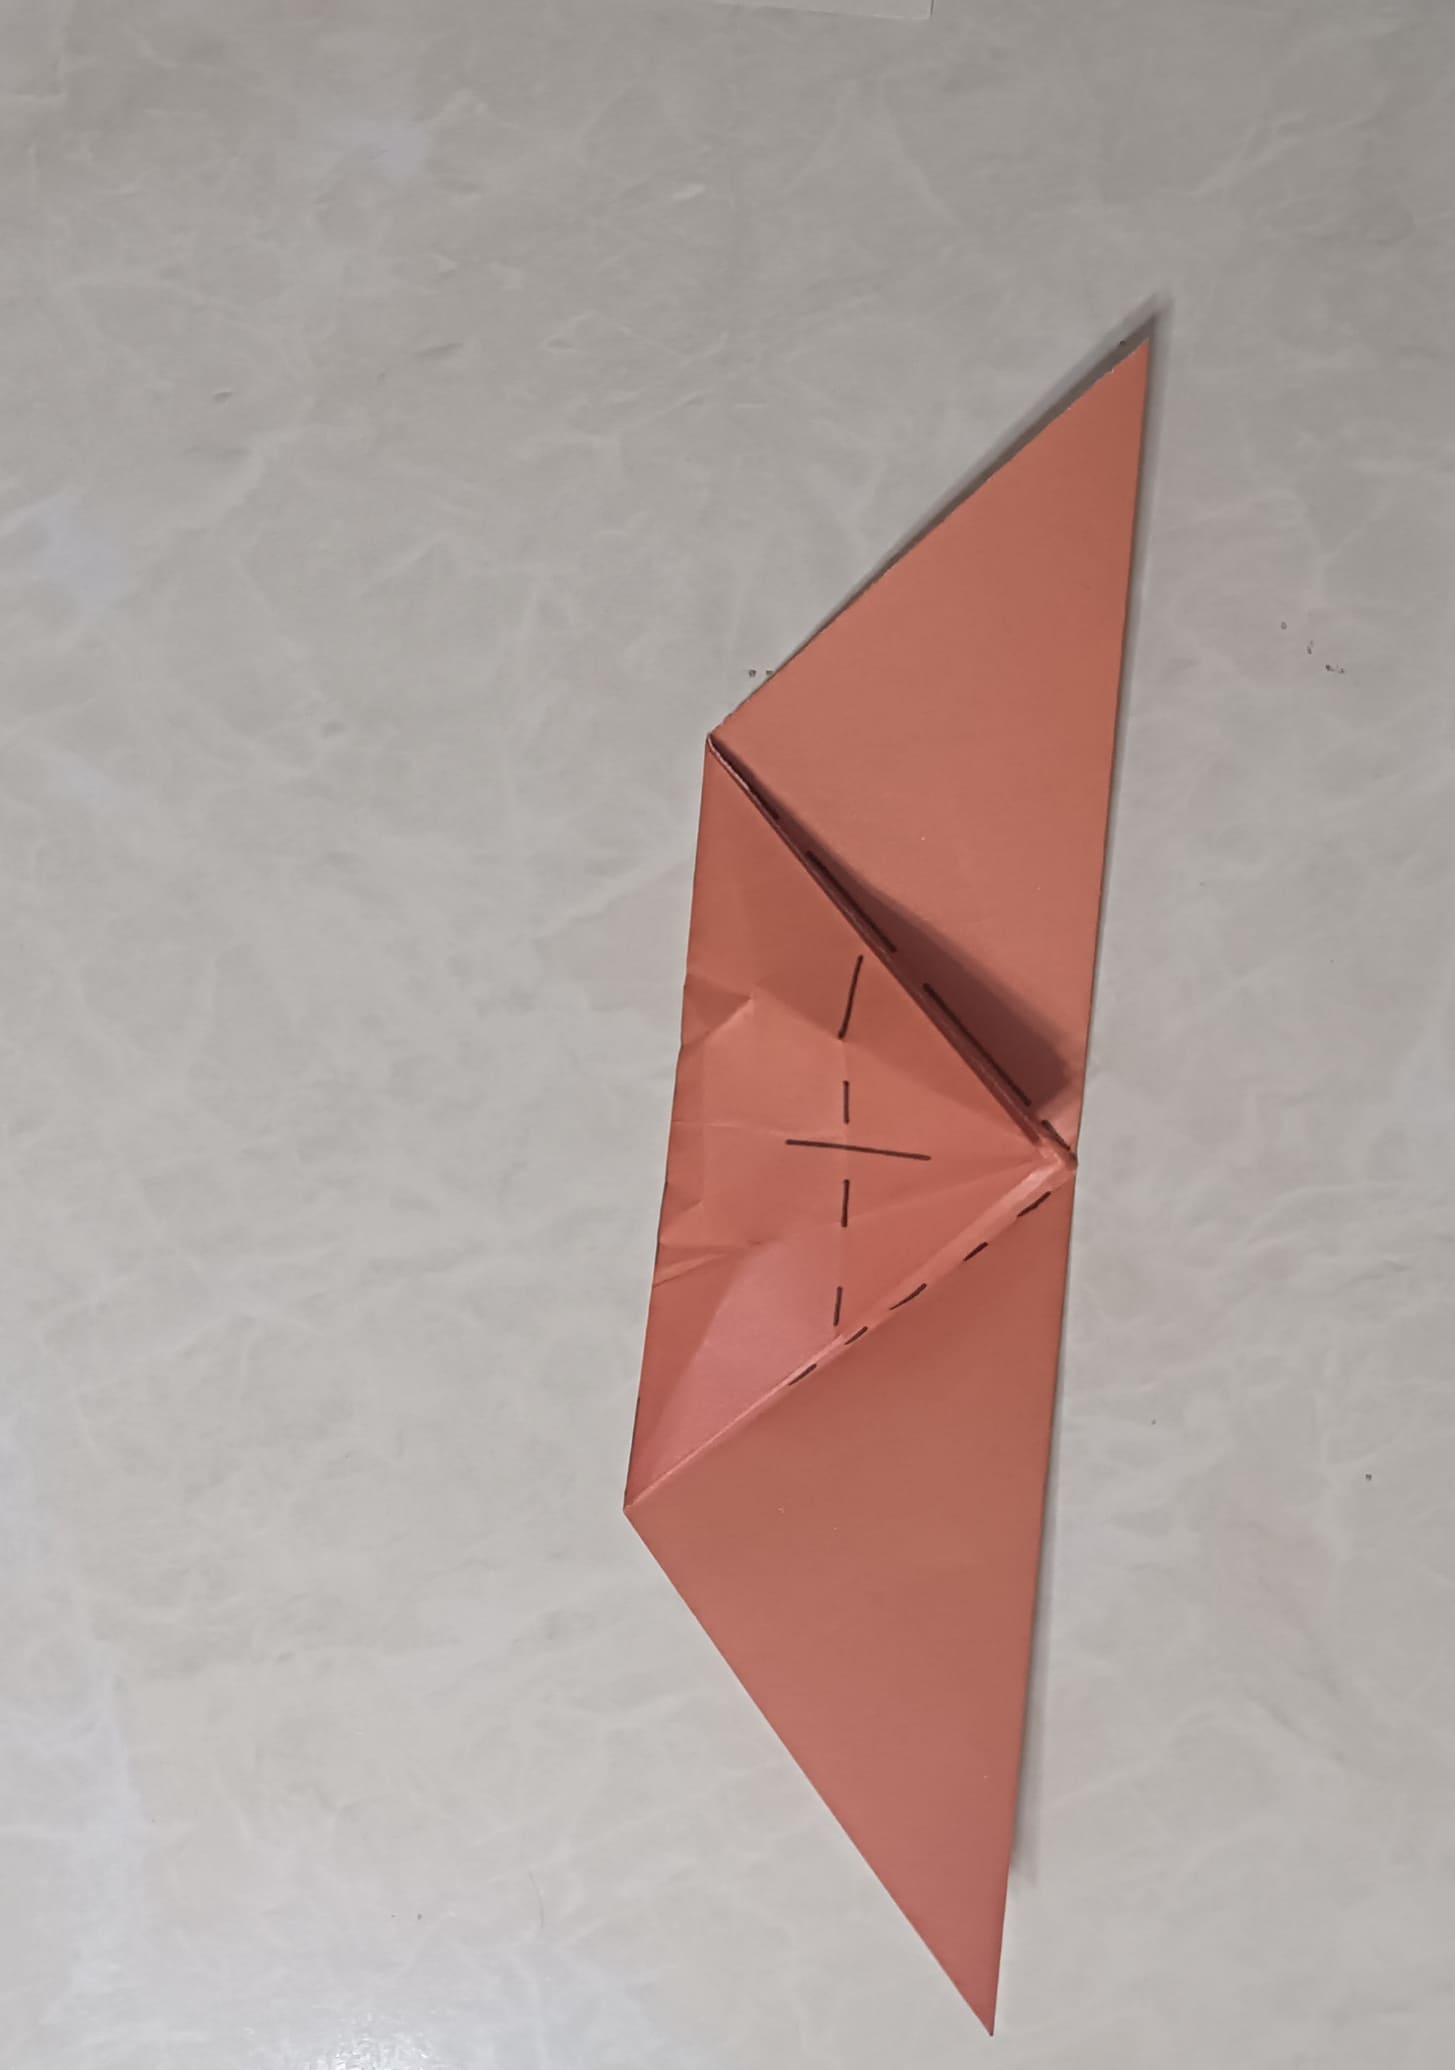
Now for the most unexpected part! Unfold your piece to the state at the beginning of Step 2. Don’t panic, everything is going according to plan.
Fold the tip of your leaf as shown in the photo.
Now fold the bottom tip of your paper almost to the top edge.
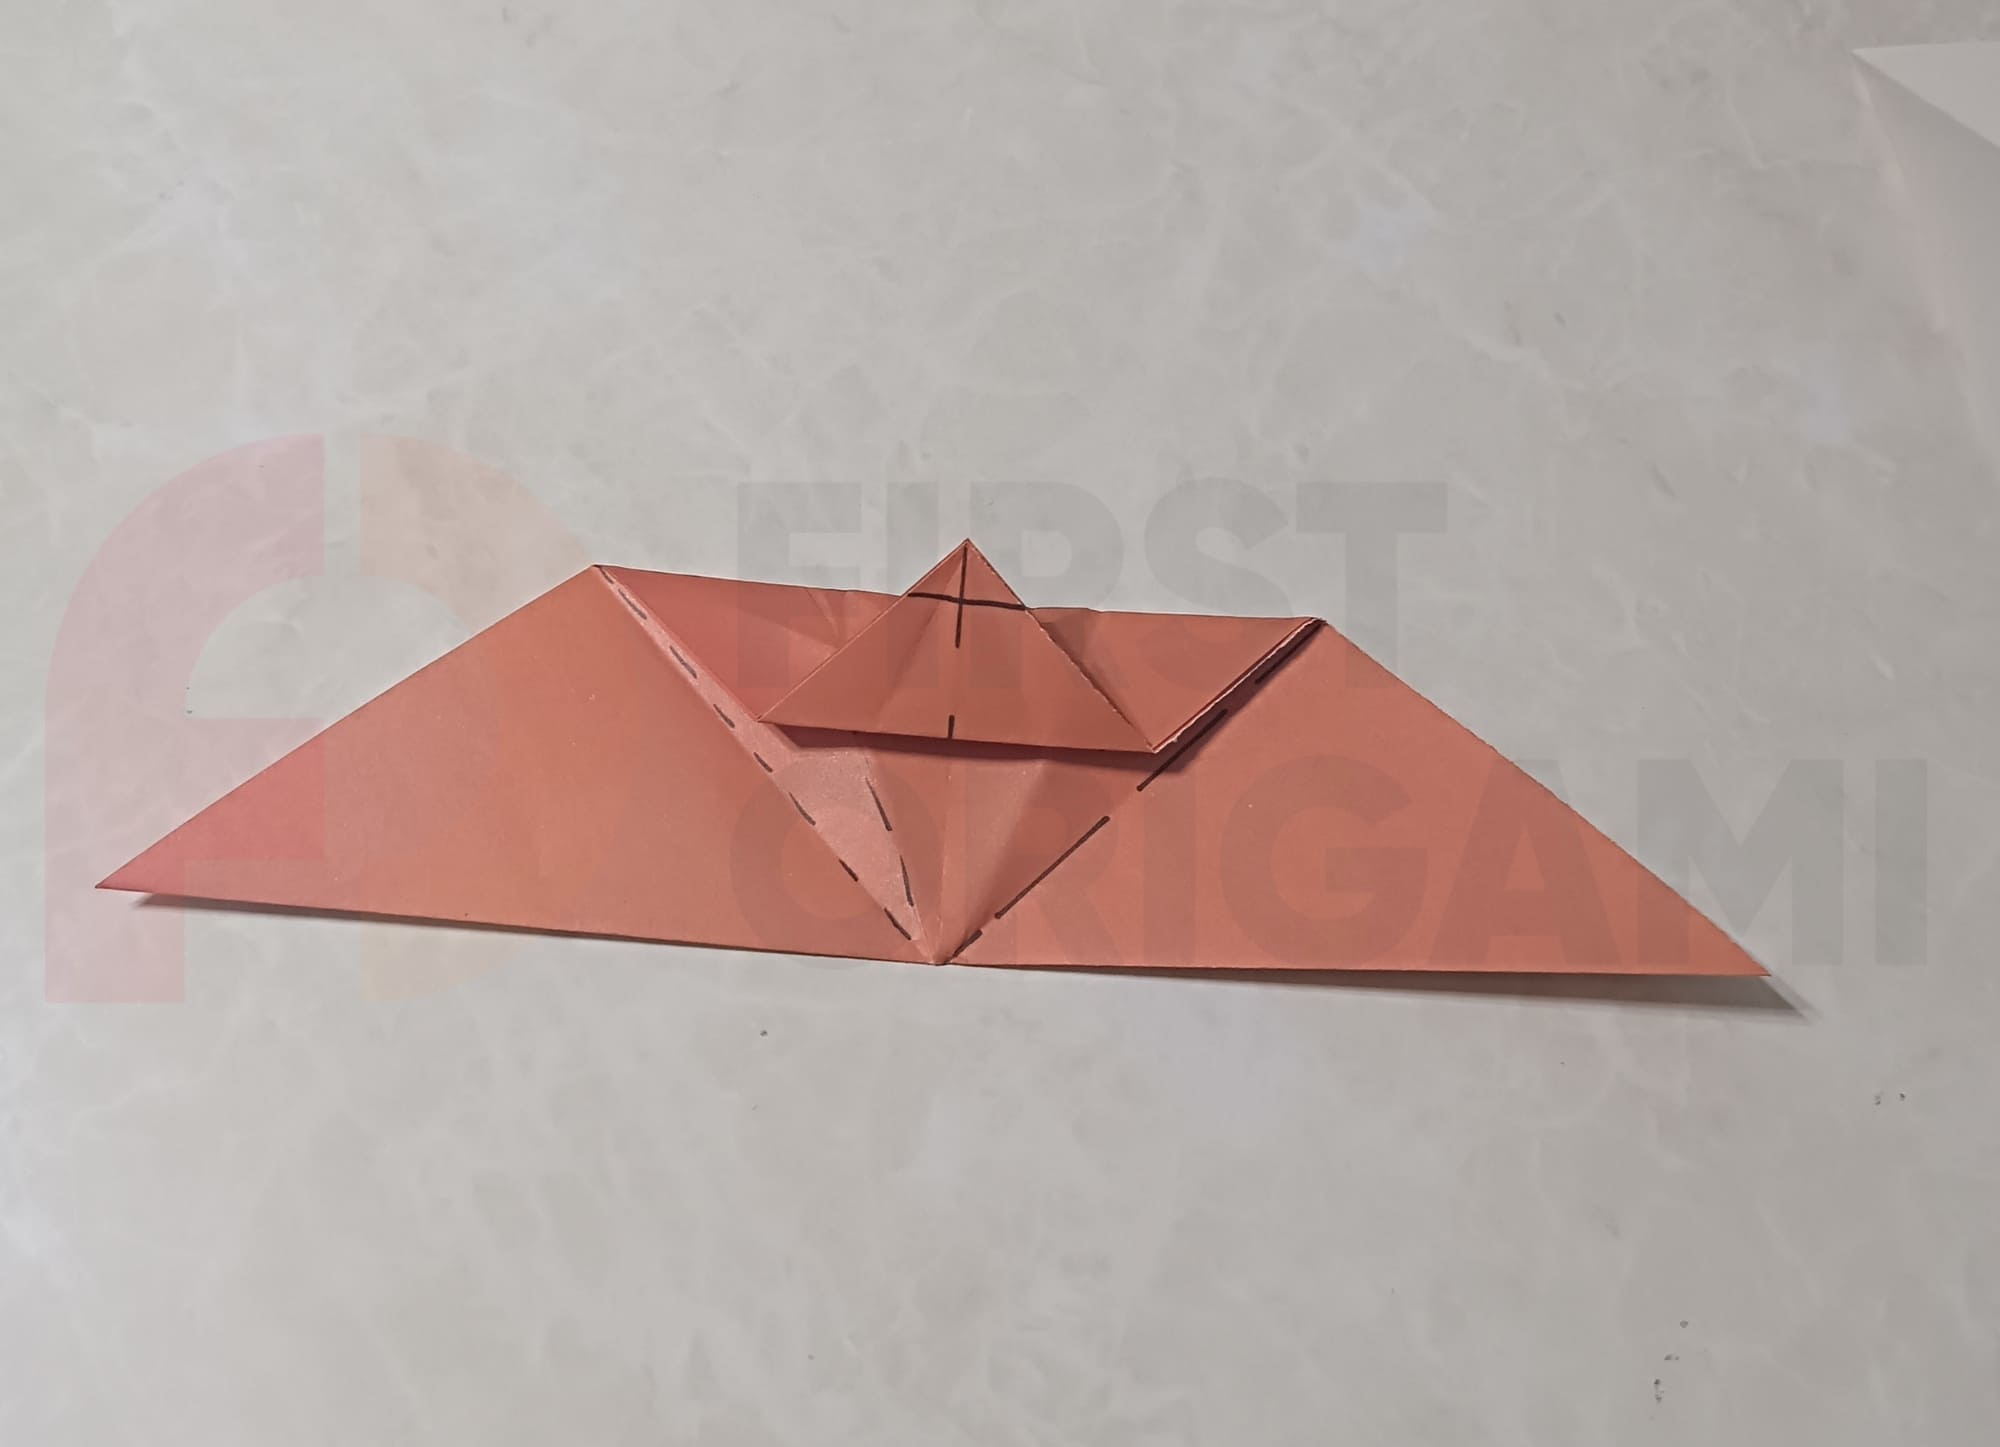
Now, look carefully at the photo below, and make a depression in the center of the top layer. After that, again bring both sides of the piece to the center.
Fold the piece along the center axis.
Now, make the “Petal” fold again, but this time, the paper will not be completely smooth in the center.

That’s it, your cool origami flapping bat is ready.
Yes, it wasn’t easy, but the result surely exceeded your expectations, didn’t it?


