Origami Four Leaf Clover
In Irish fairy tales it is often said that if you find a clover with four petals, it is good luck! We offer to make a clover with four leaves in the technique of origami so that good luck would always follow you. To do this, we will need to make two elements, absolutely identical in size and fold. The two parts are easily attached without any tape or glue.
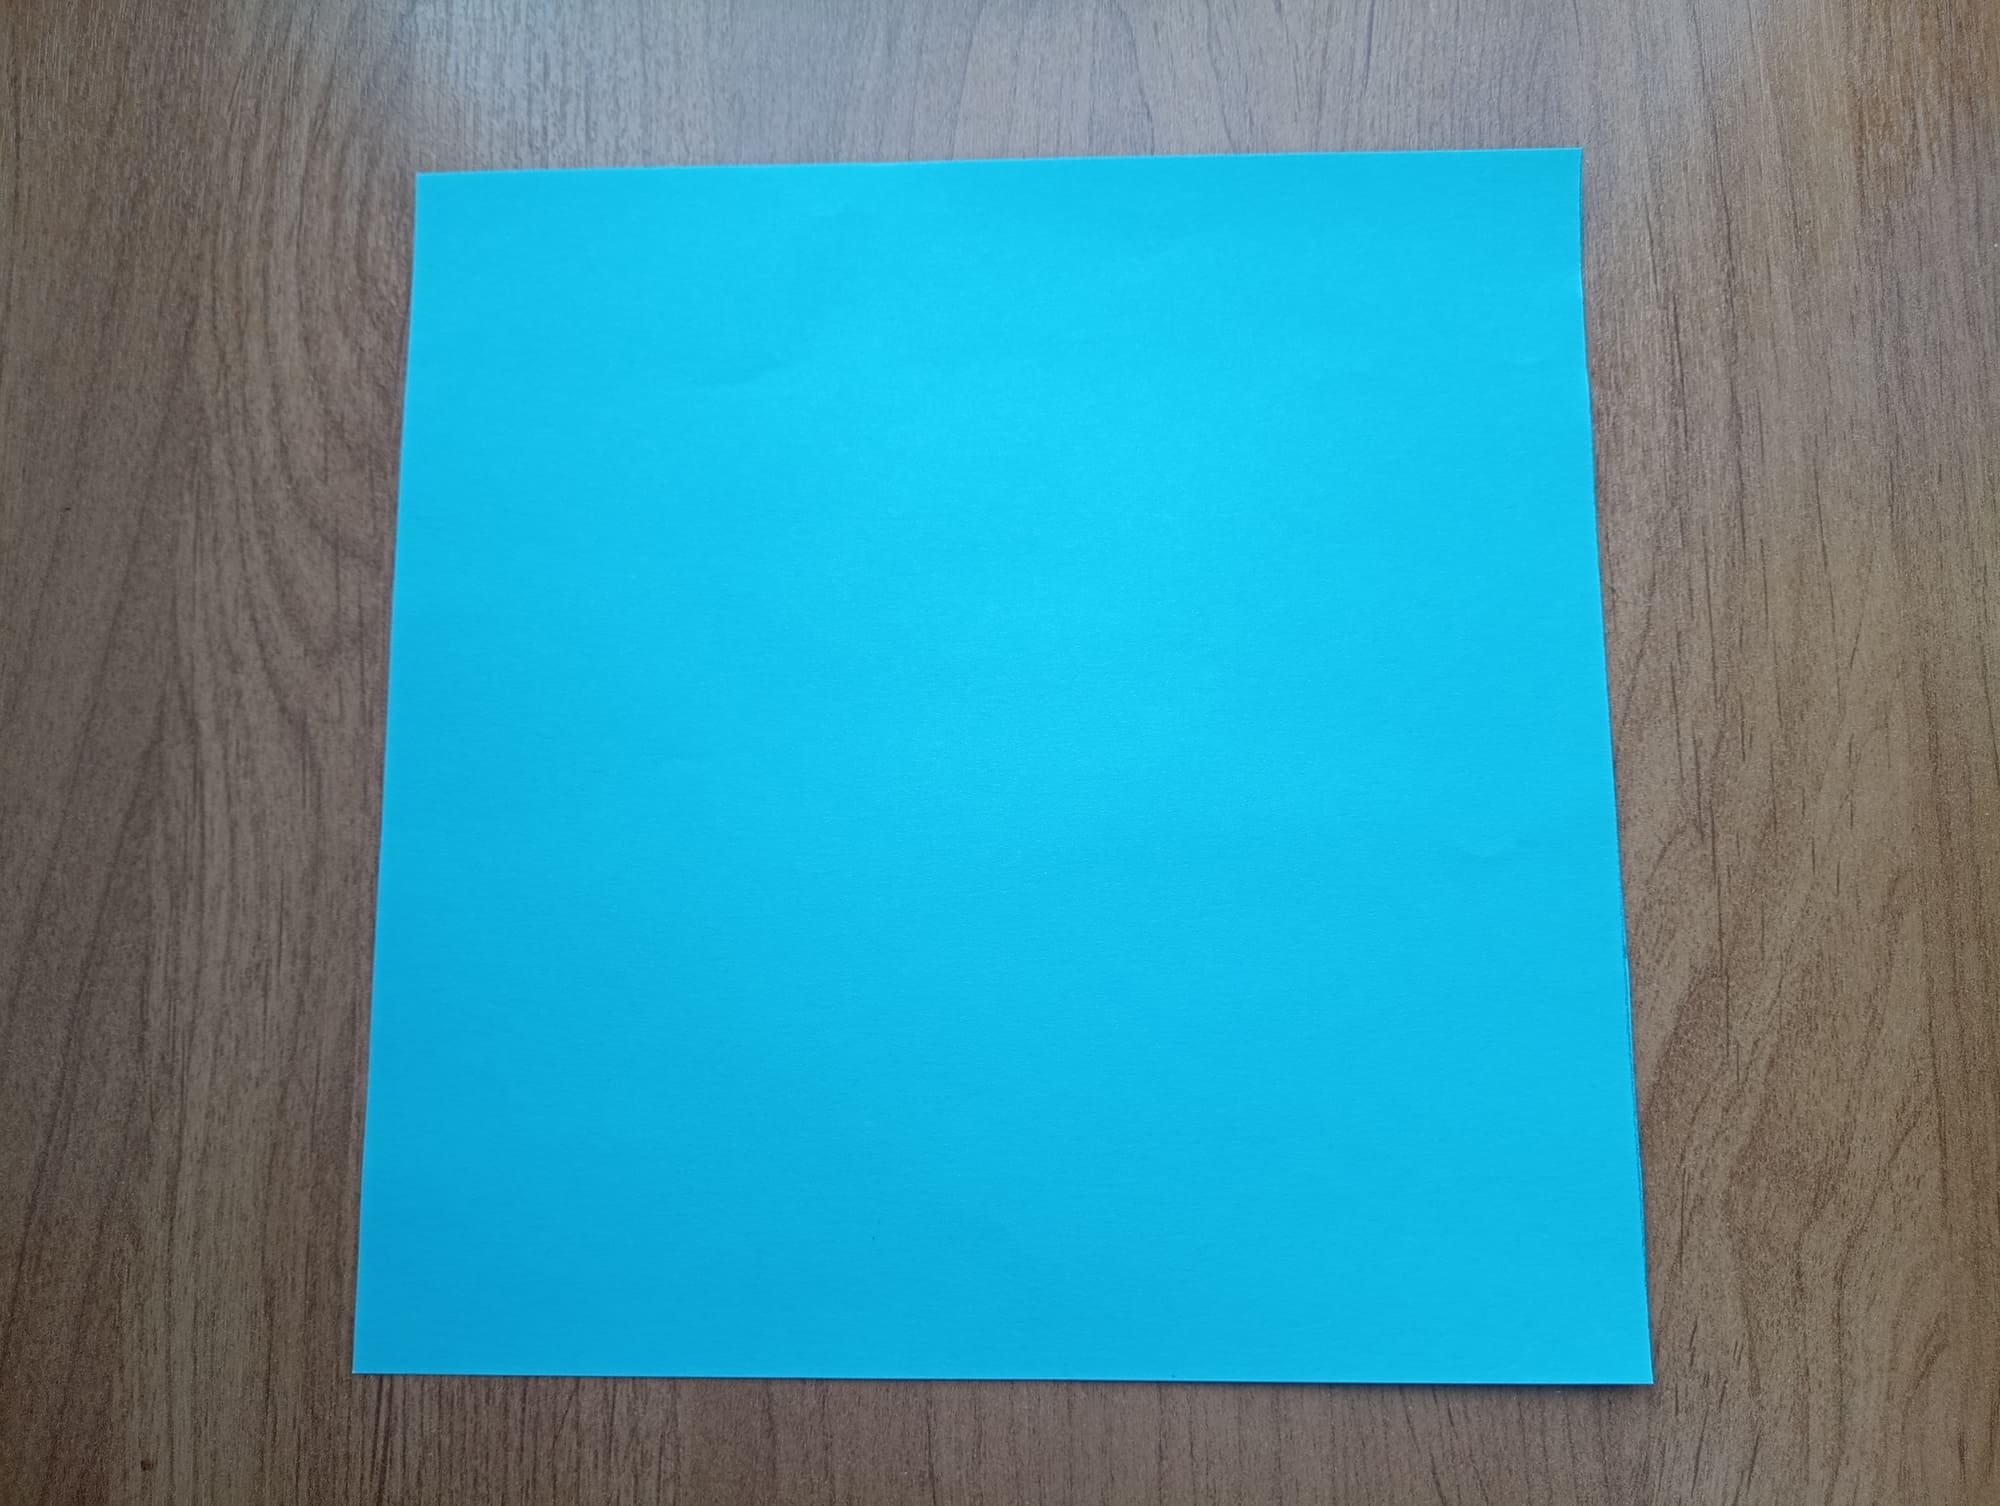
Prepare two square sheets of origami paper (size 15 x 15 cm). Choose any shade of green. Follow our instructions step by step and you will have a beautiful clover.
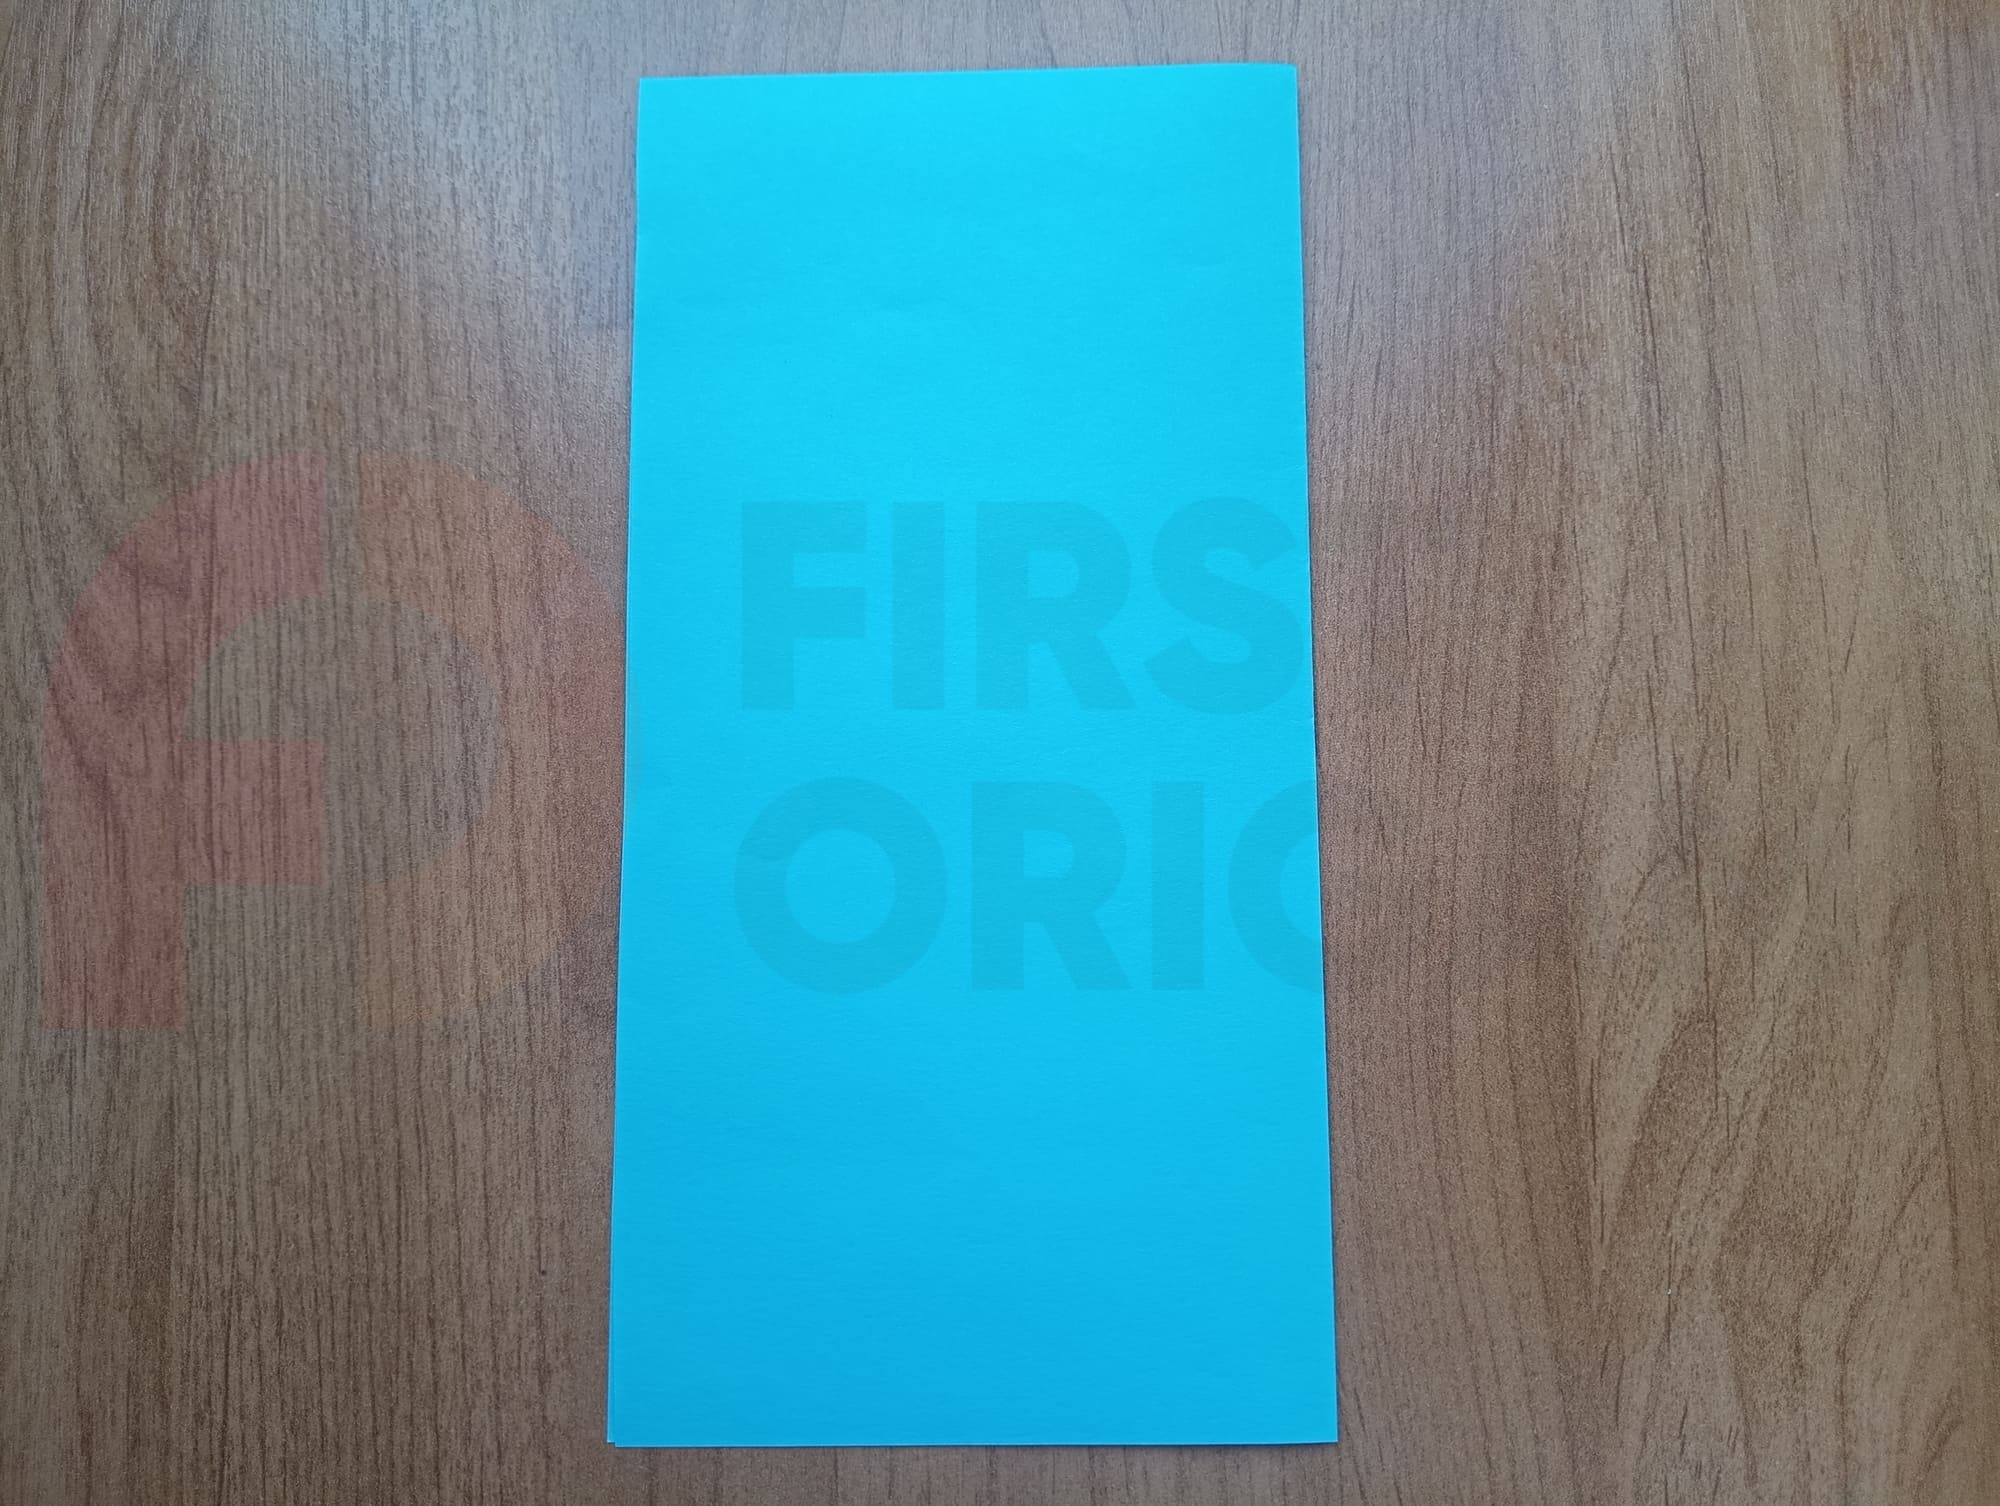
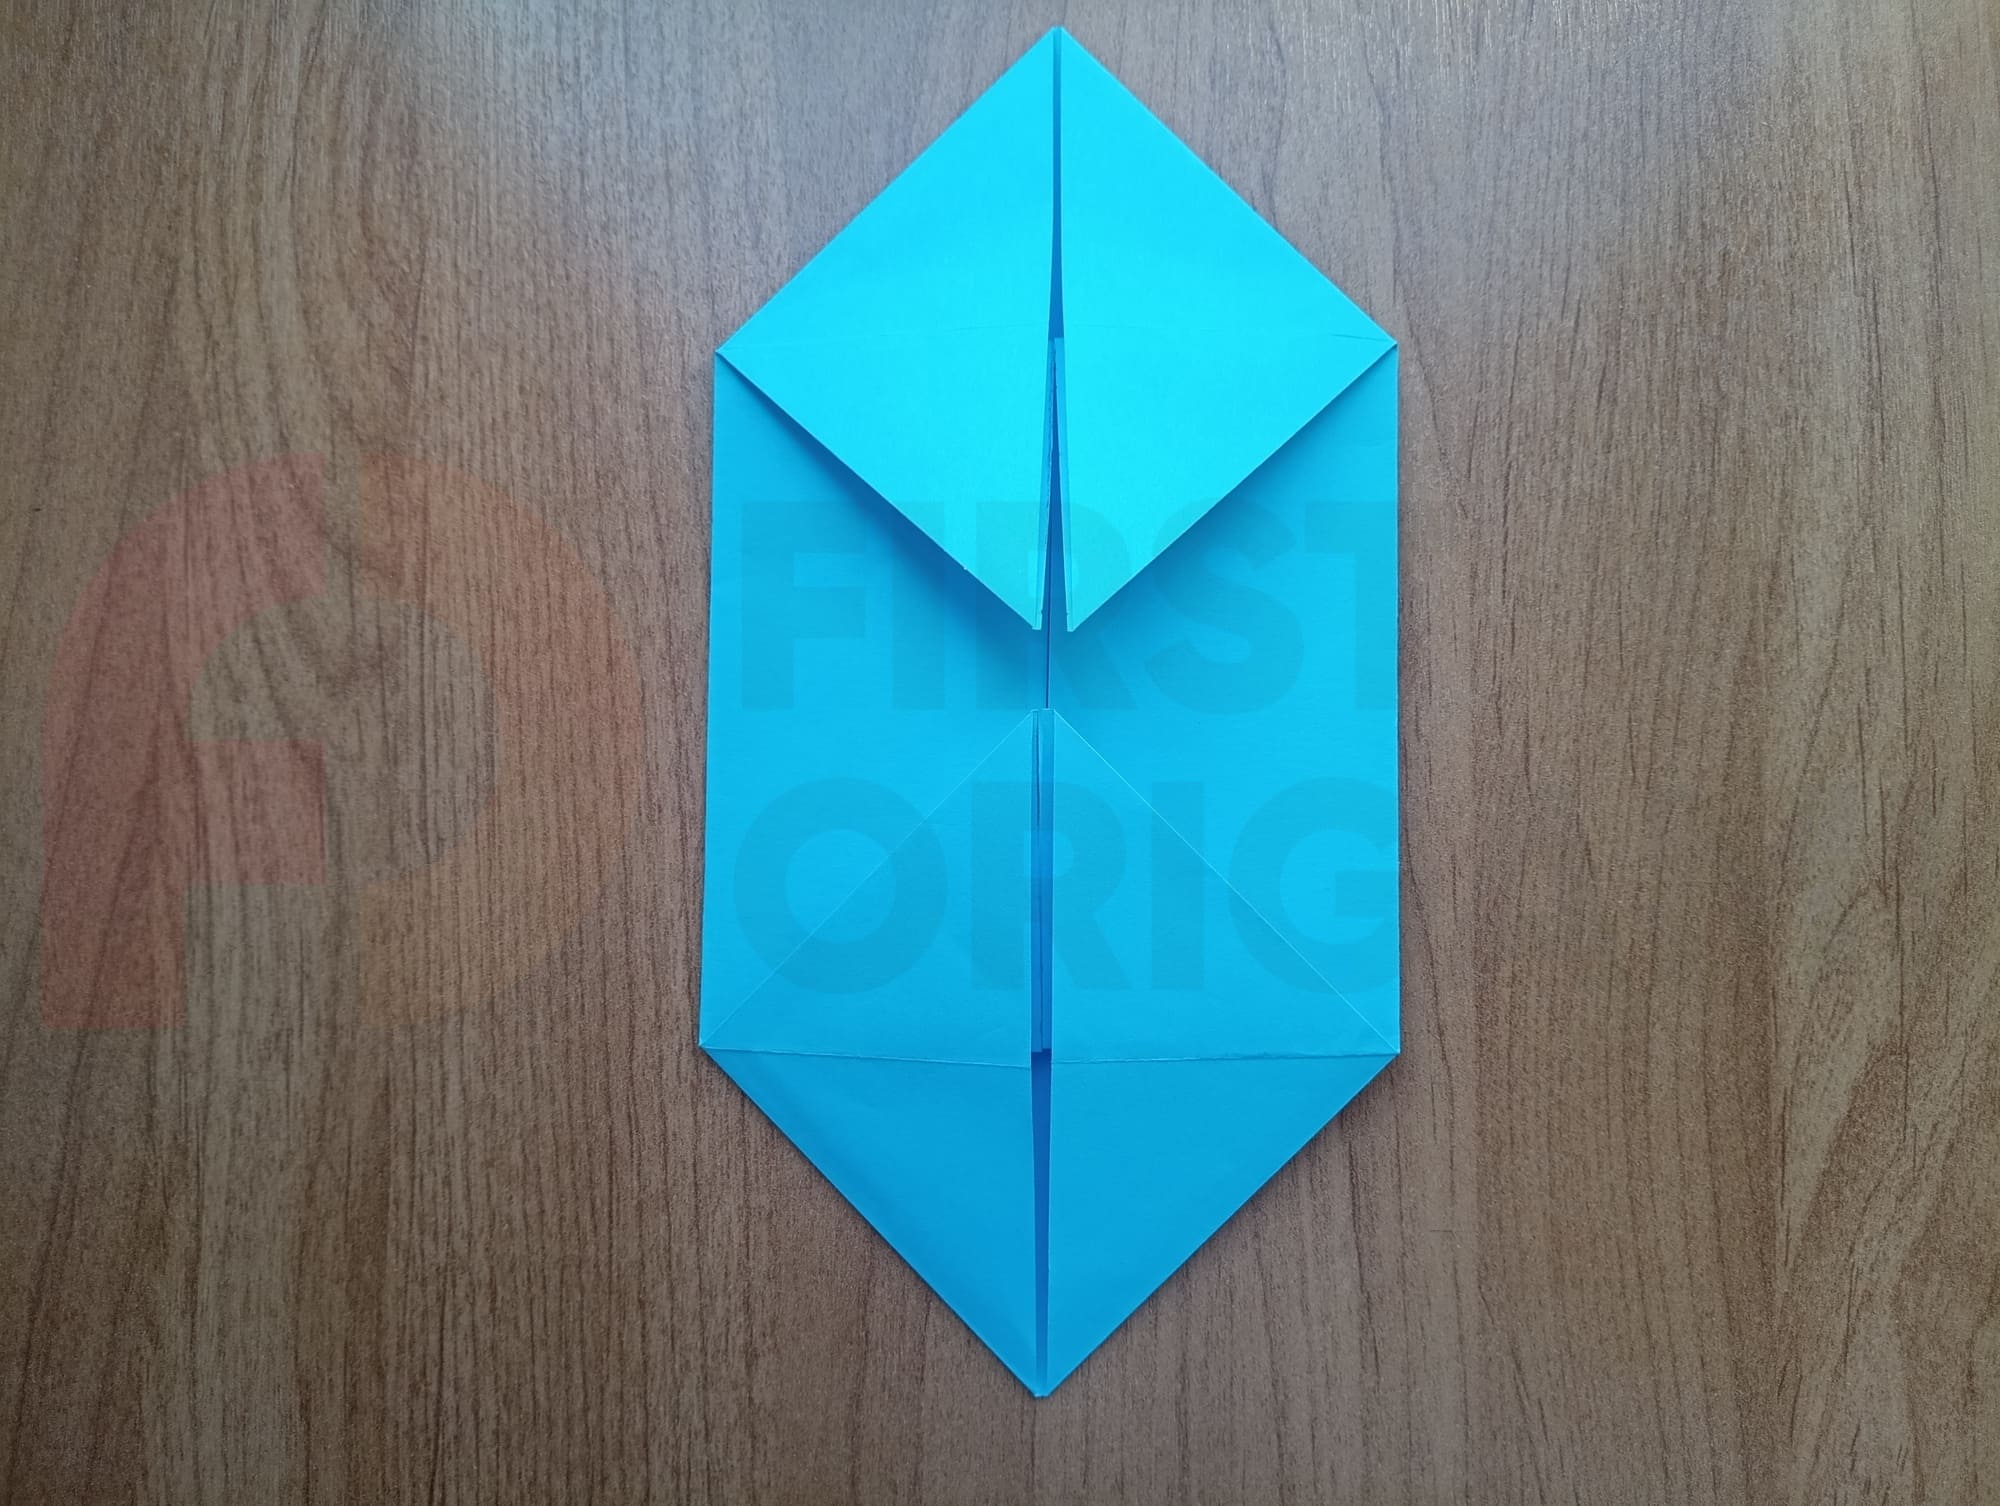
Fold the first sheet of paper in half.
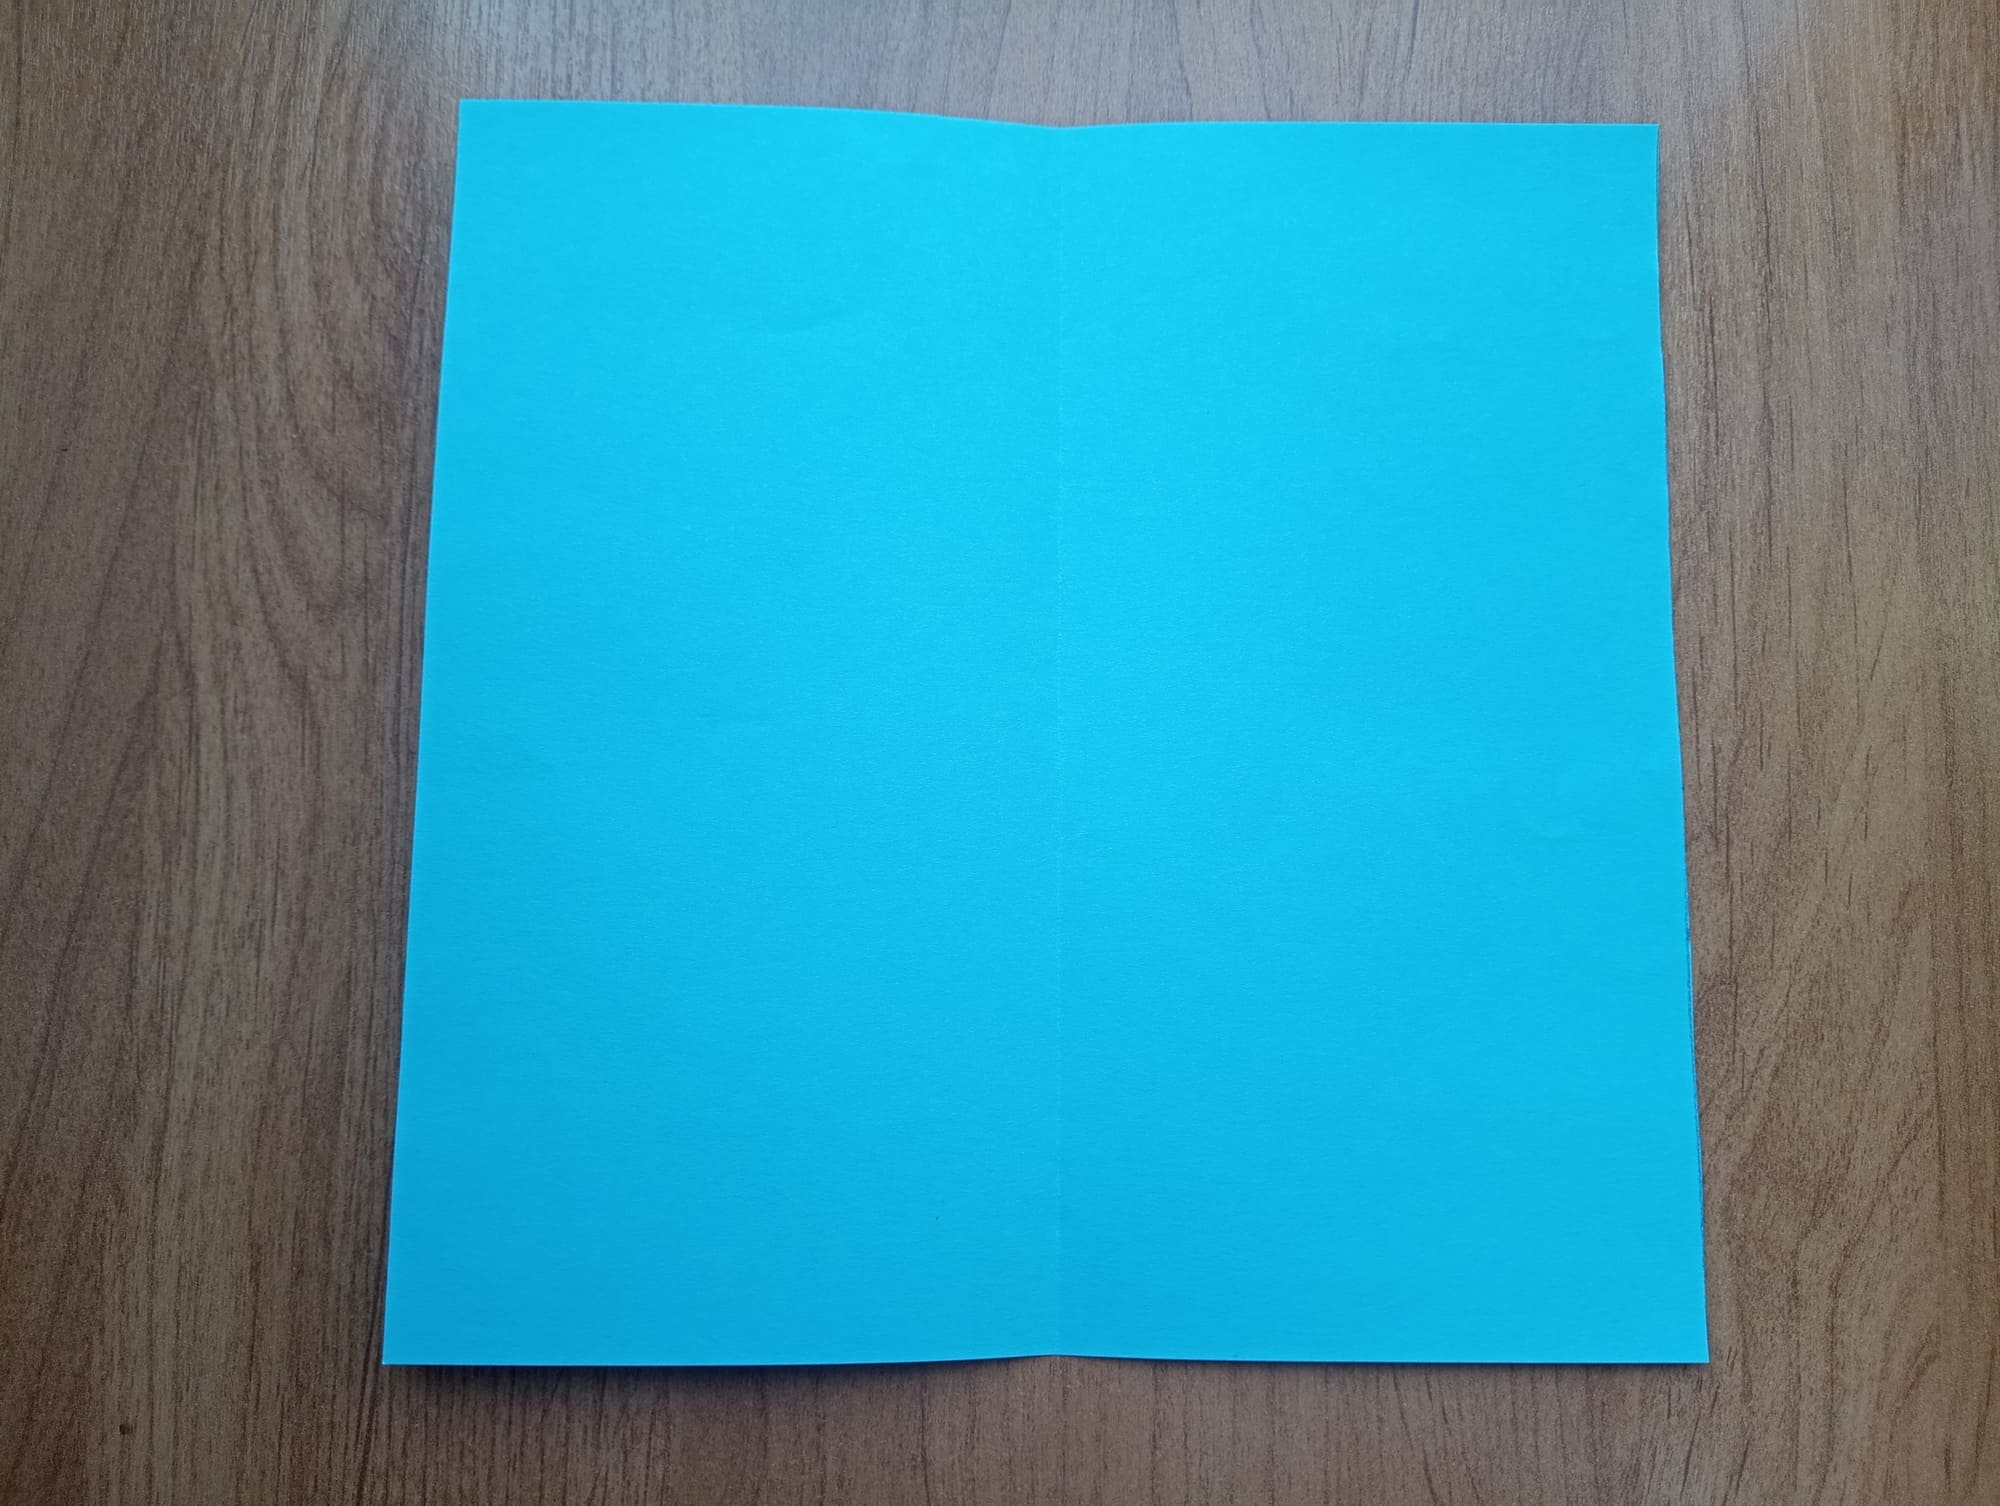
Press the fold line through and open it again.
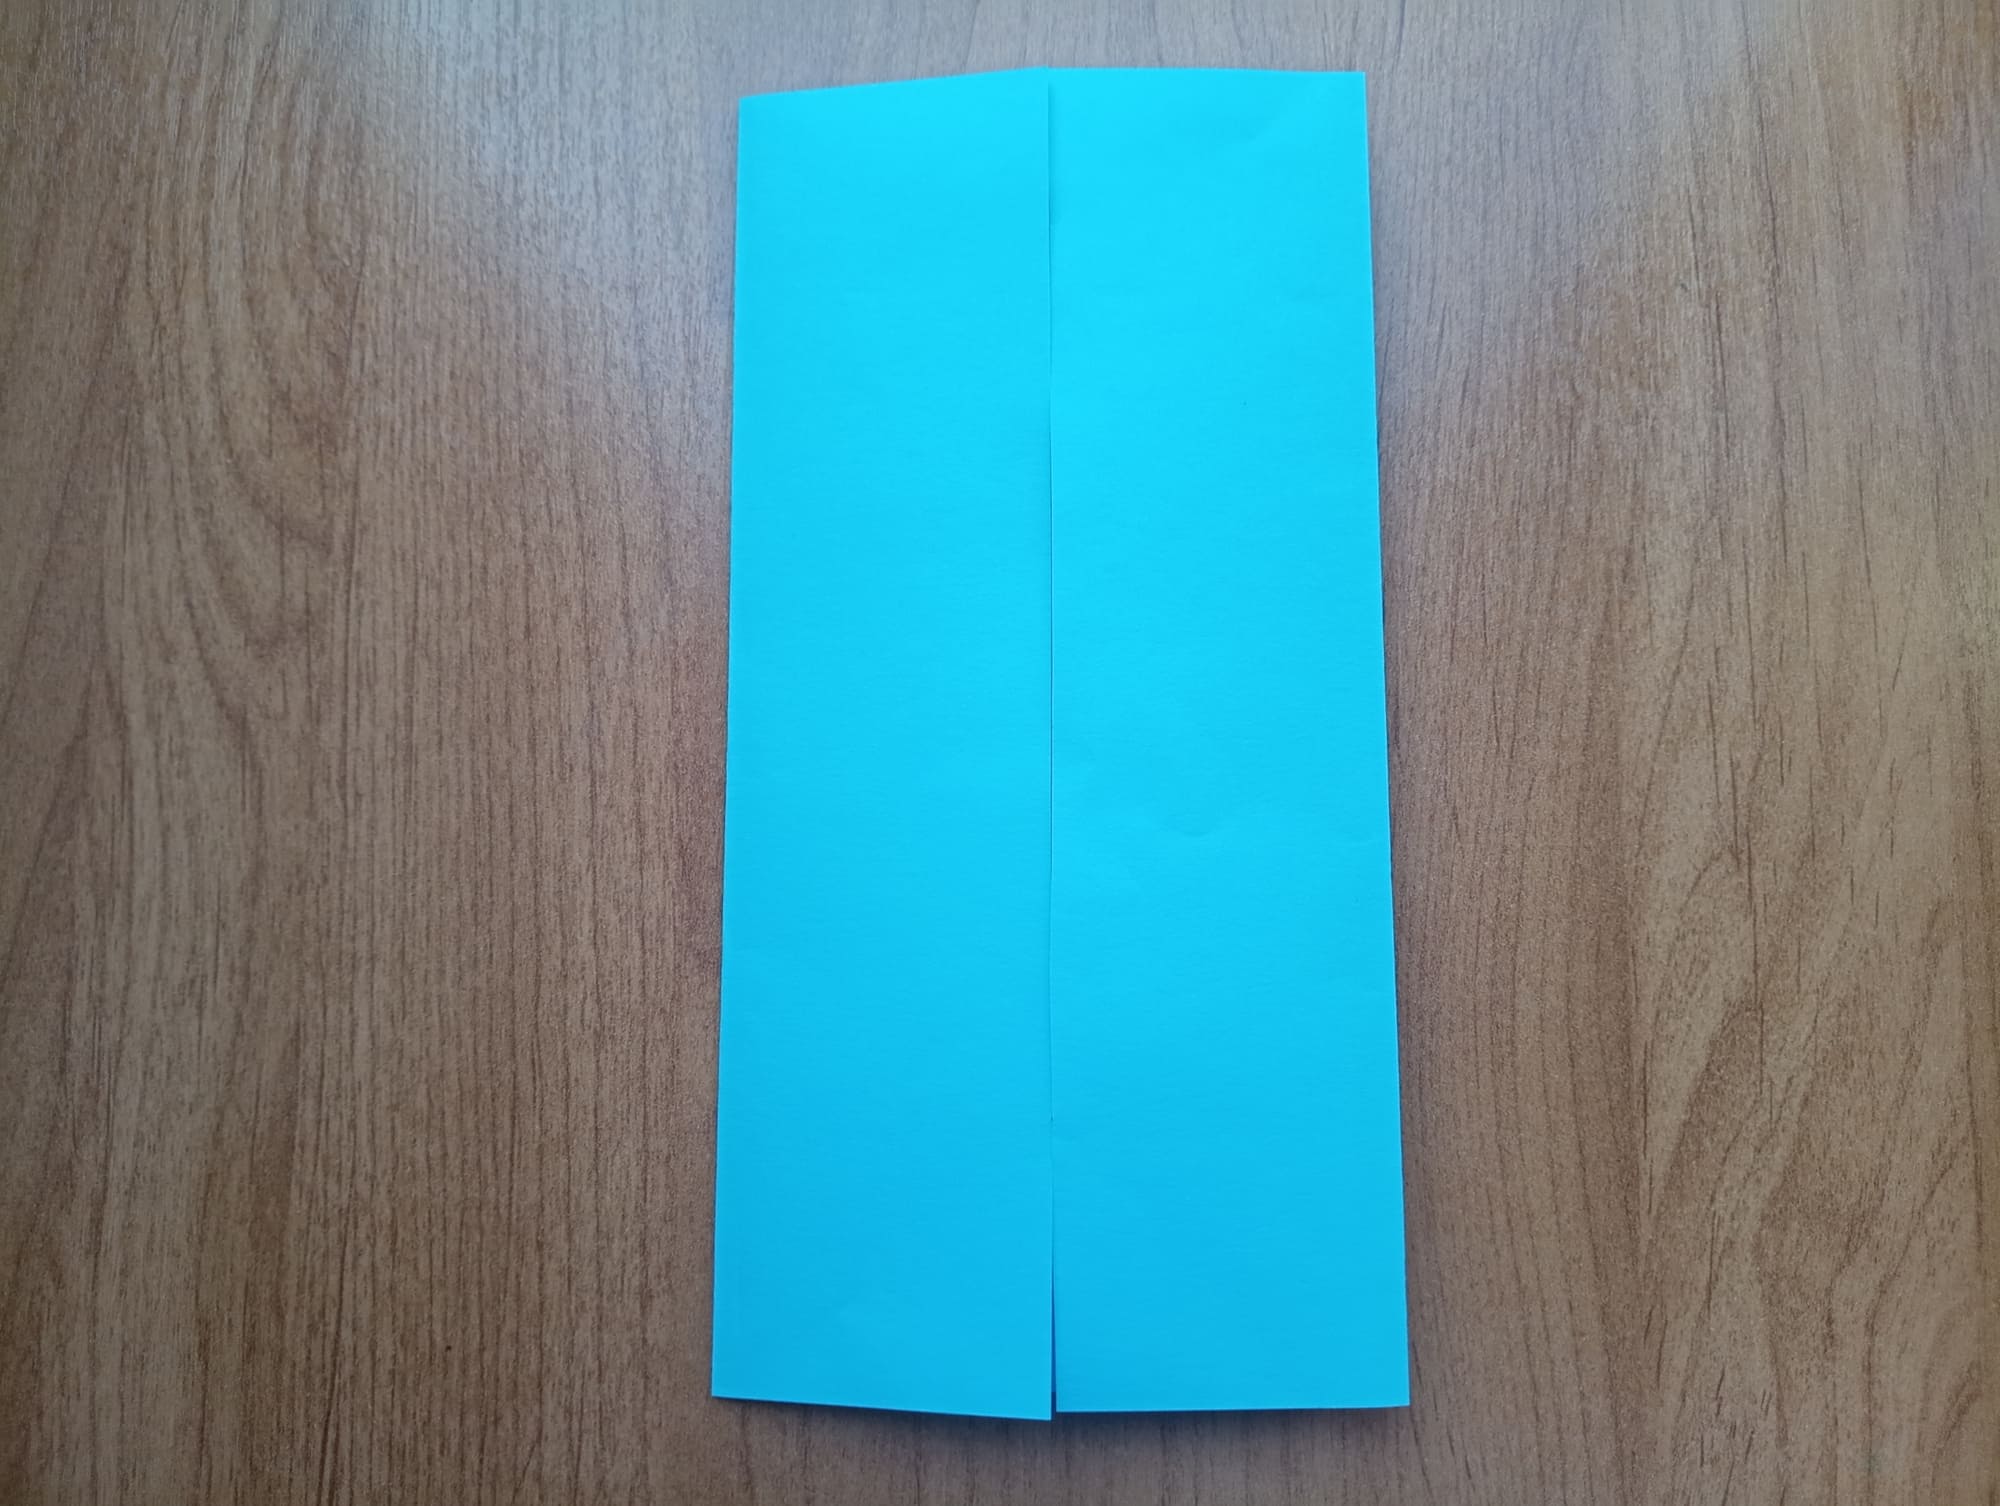
Fold the right and left sides to the center line.
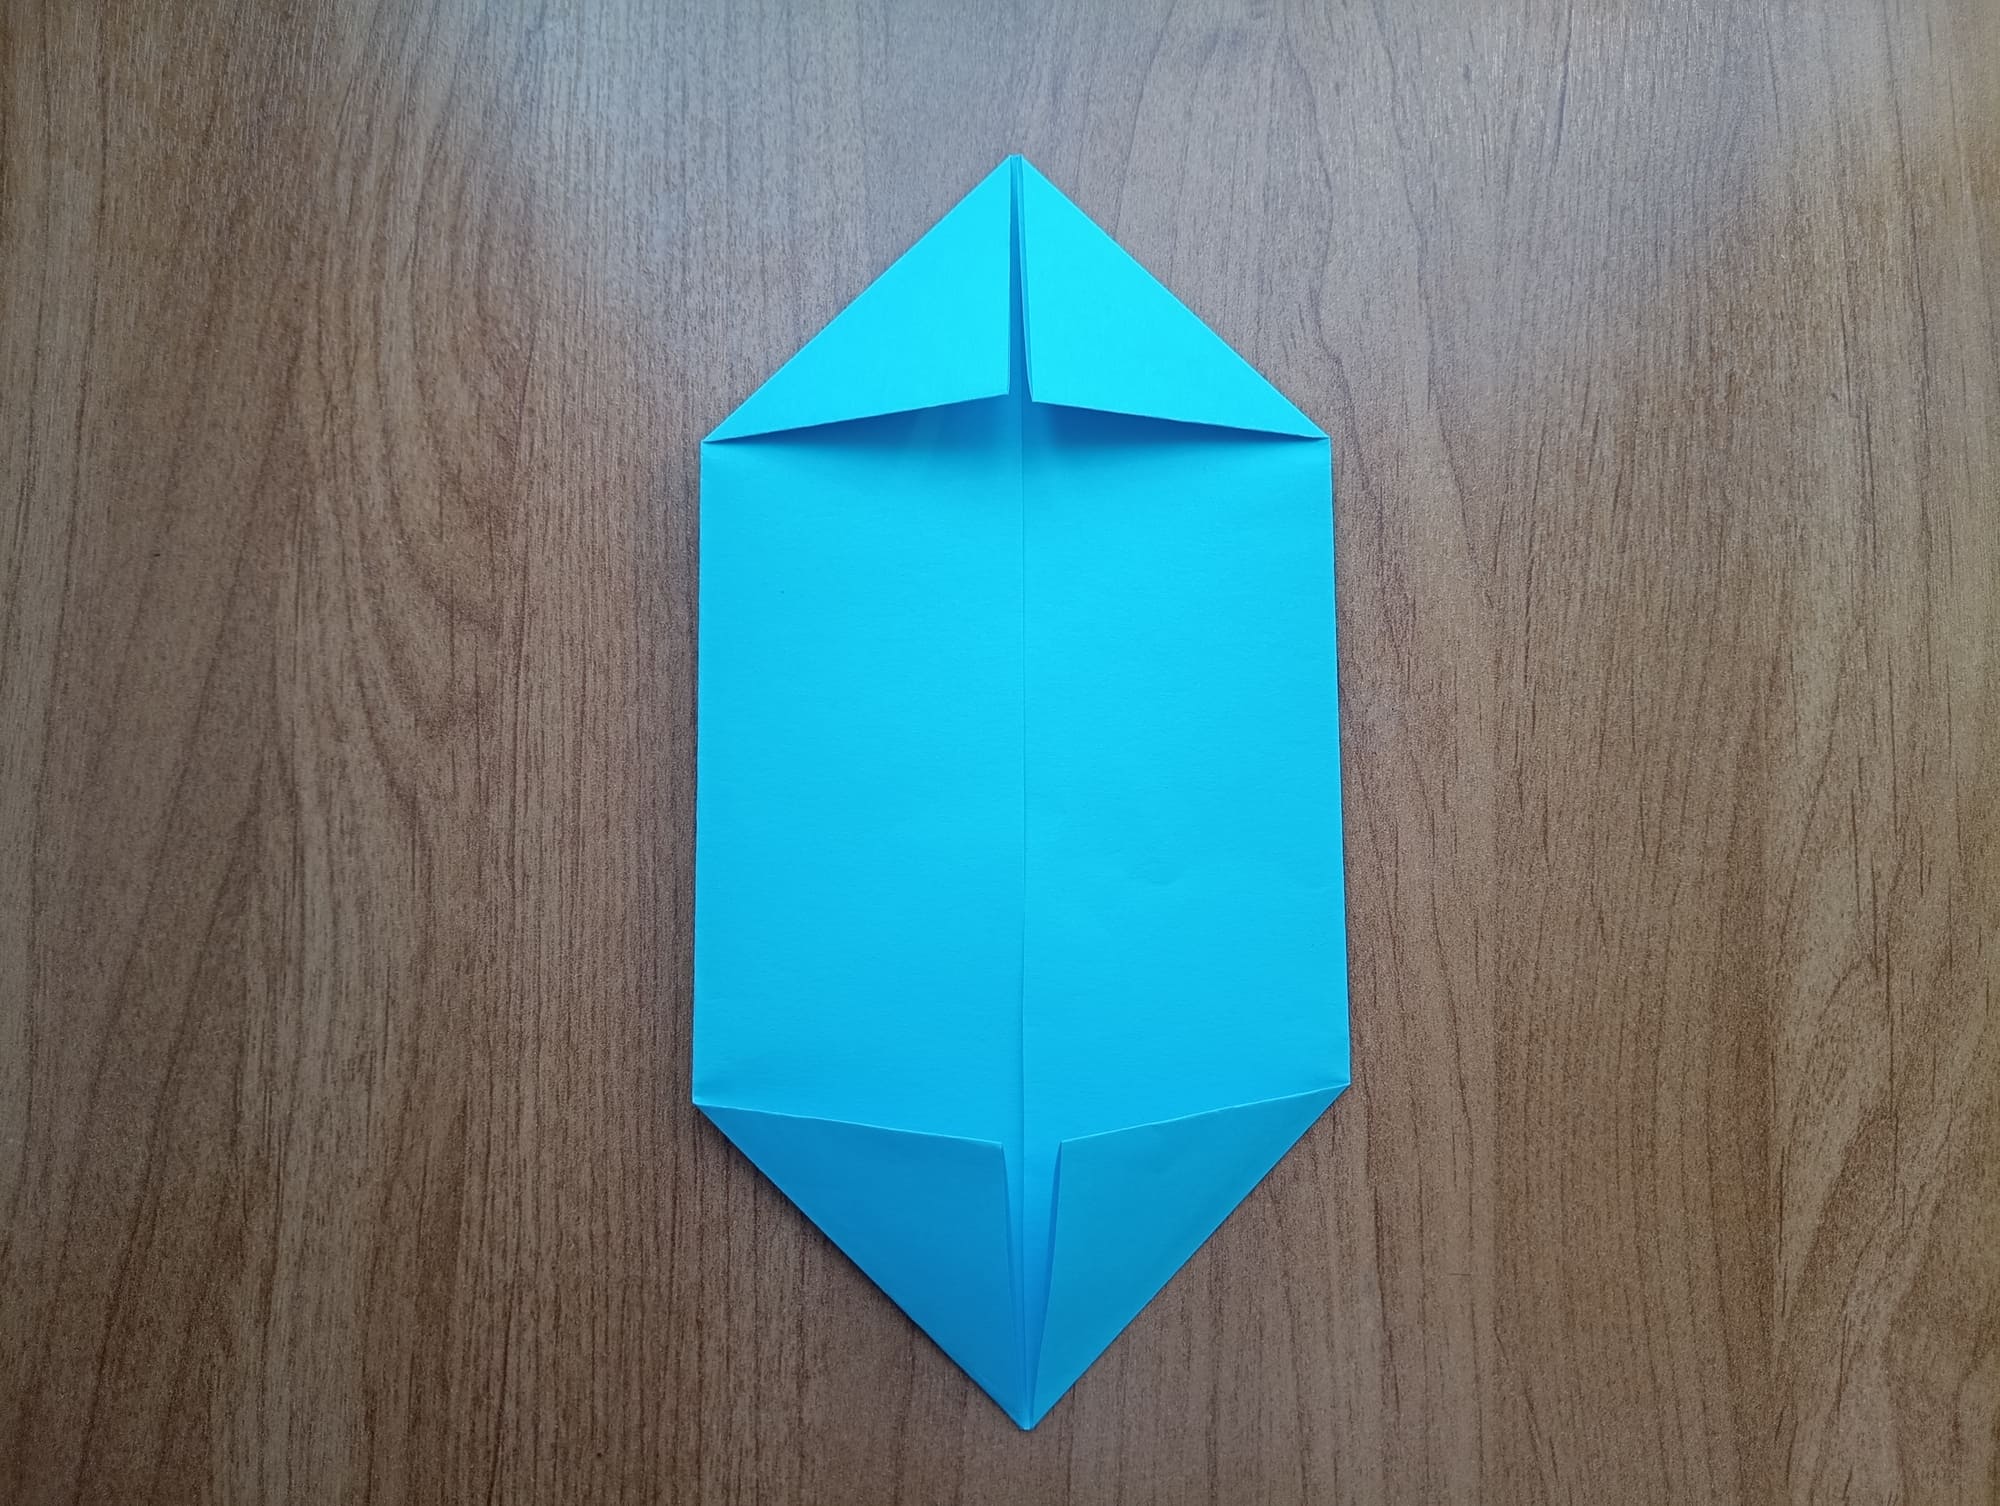
Make four diagonal folds on each side. These will be needed for the inward fold-back technique.
So make the folds and open the piece of paper.
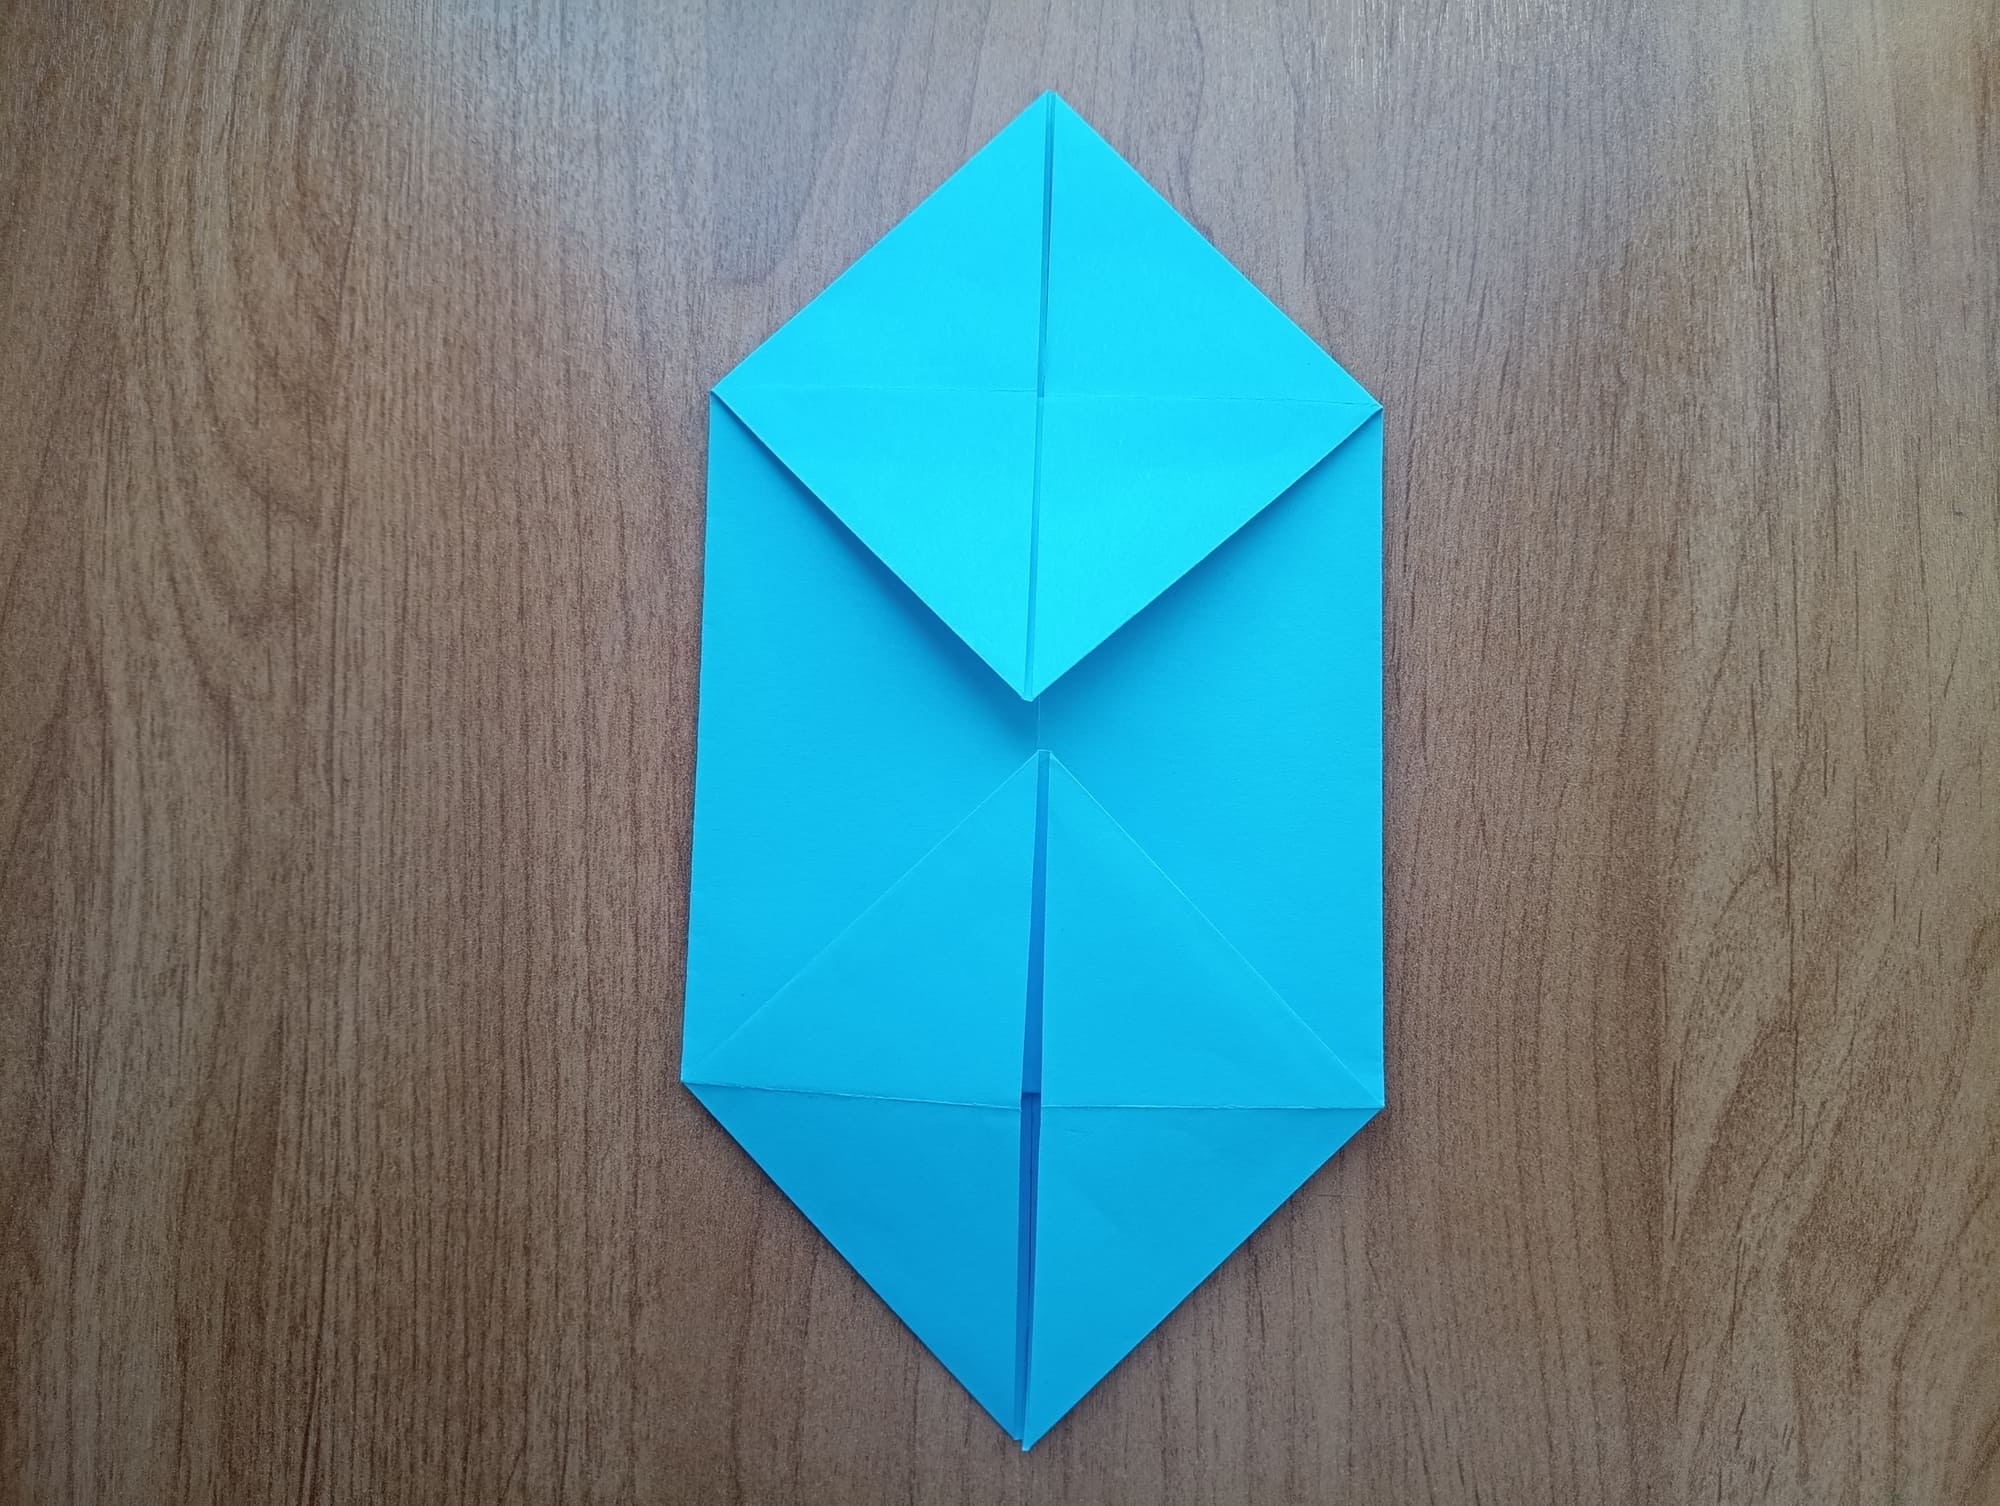
We use the folds that we made in the preliminary step. You will get four inner reverse folds. This technique in origami is called exactly so.
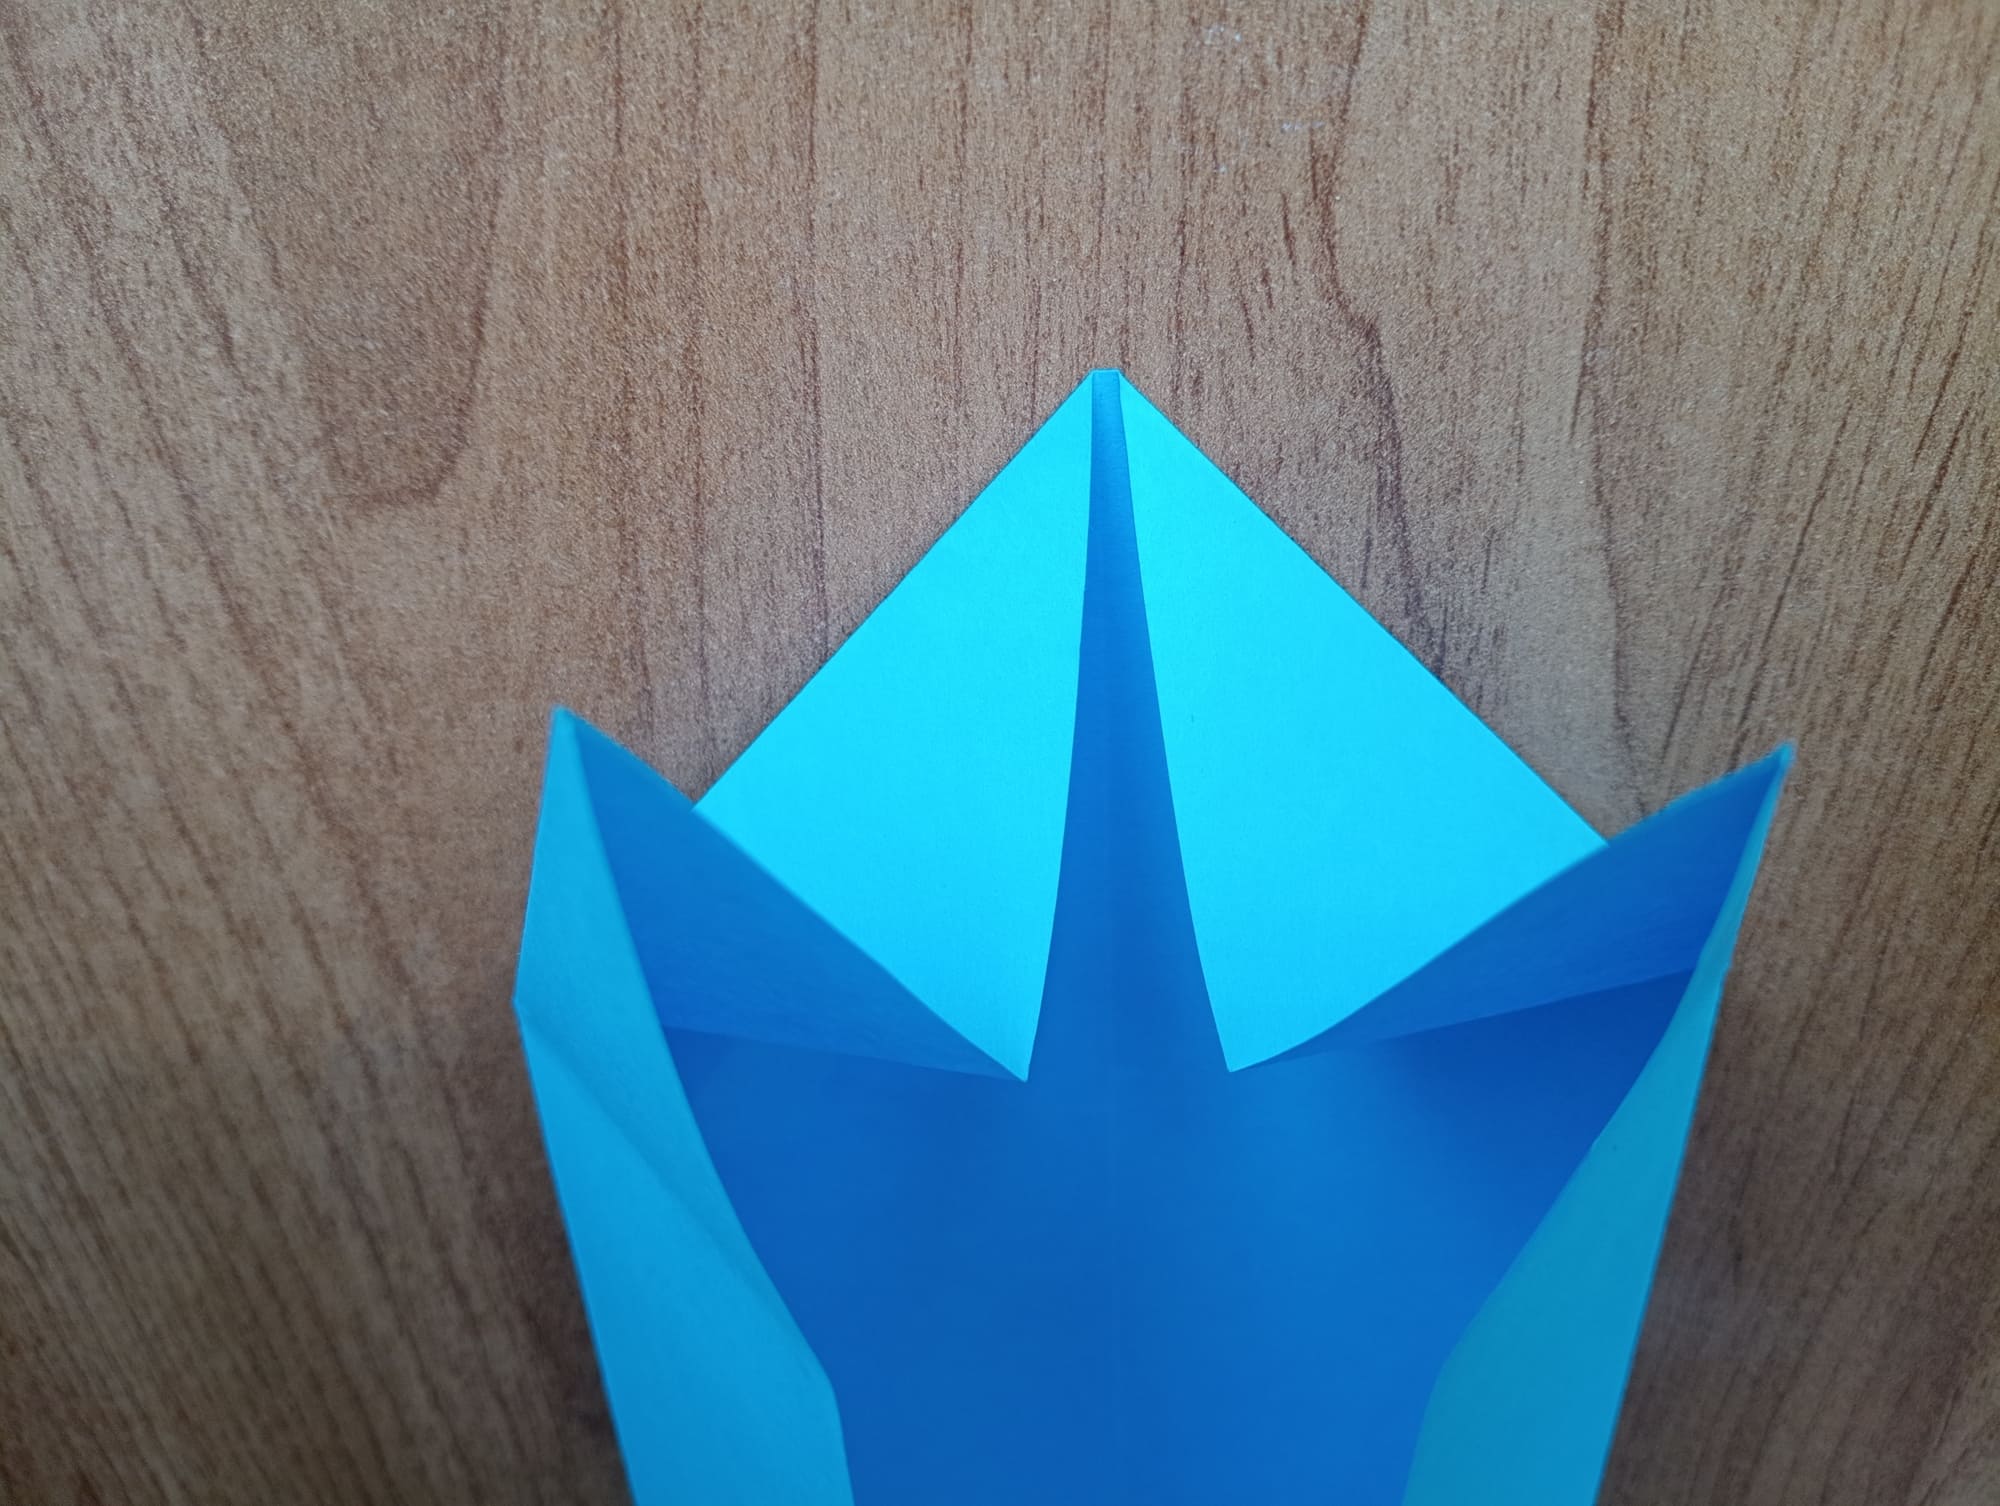
See in the photo how to perform.
The corners should be tucked into the inner side.
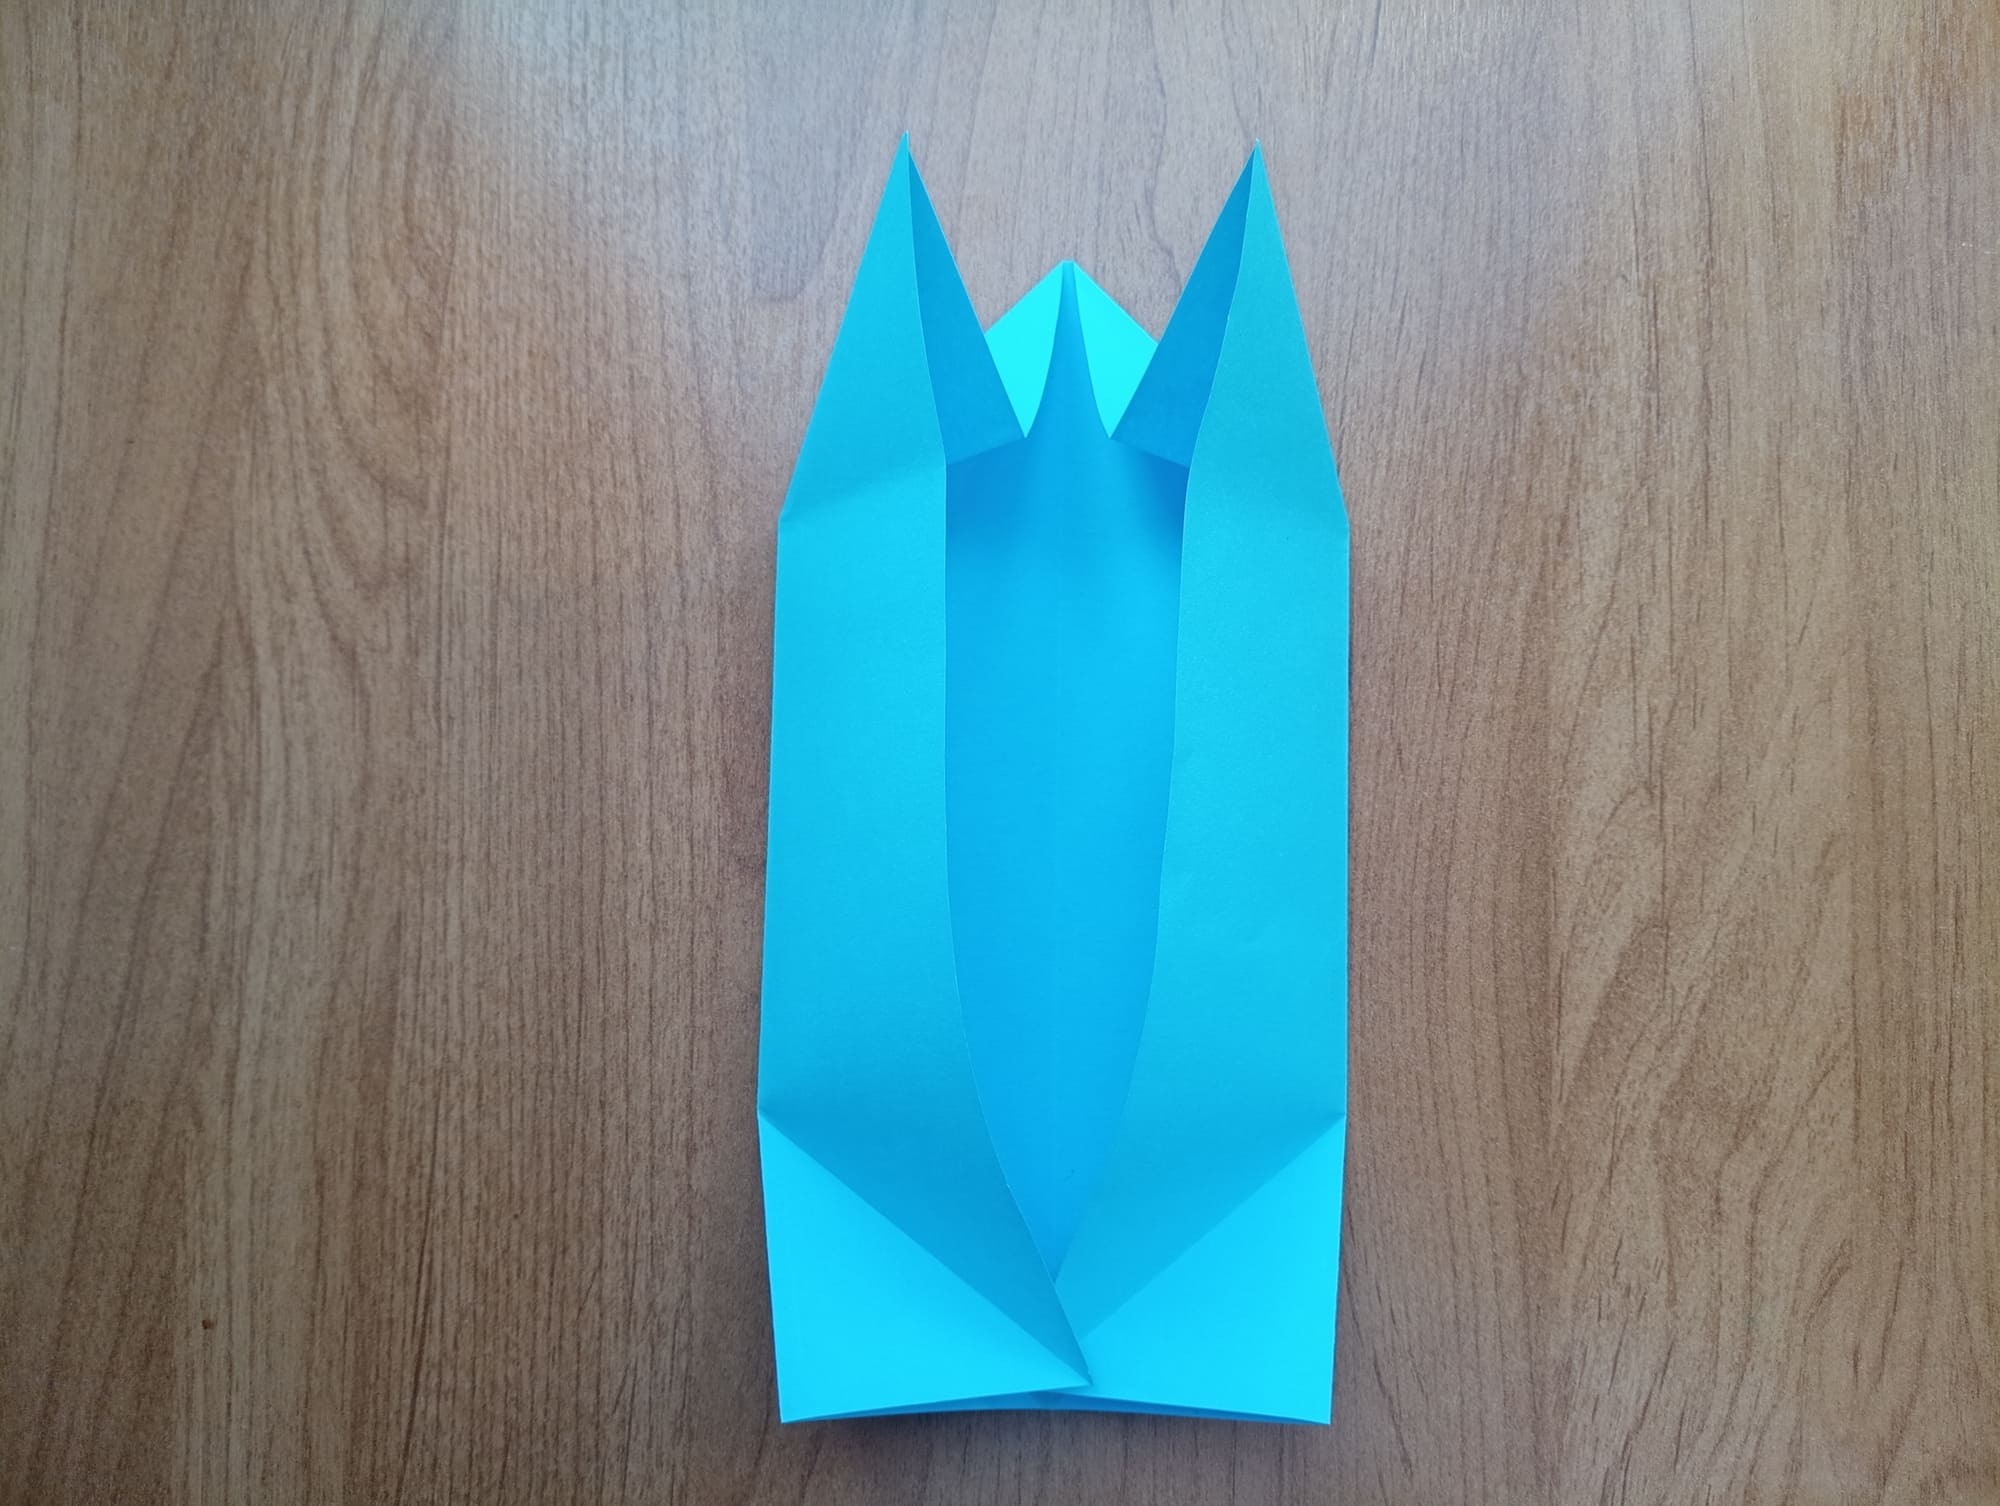
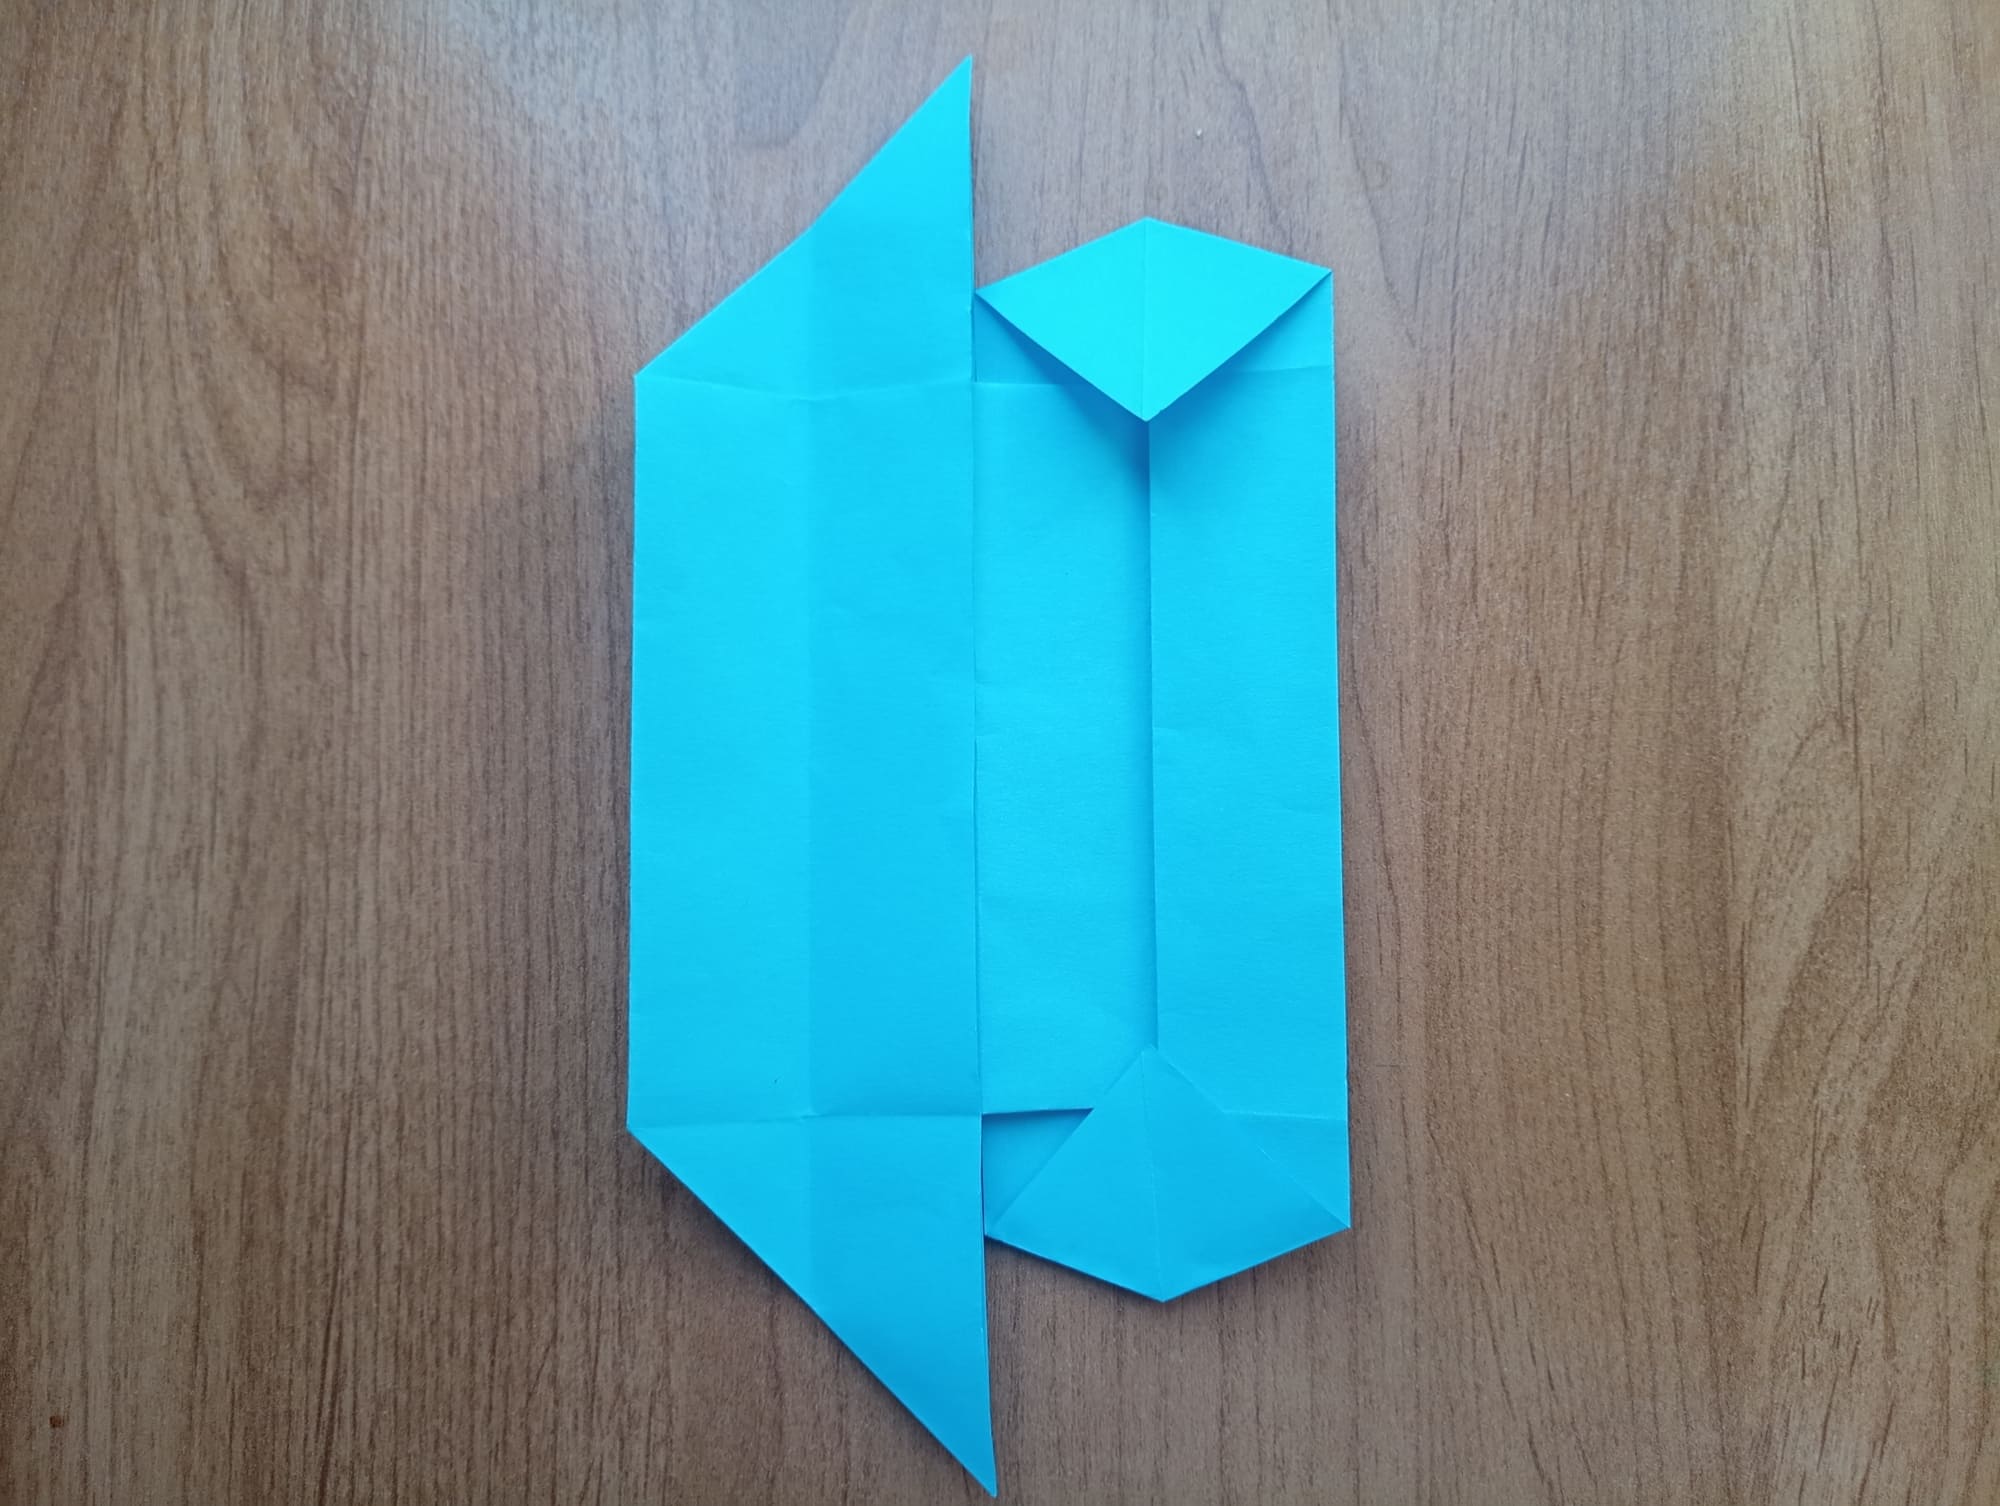
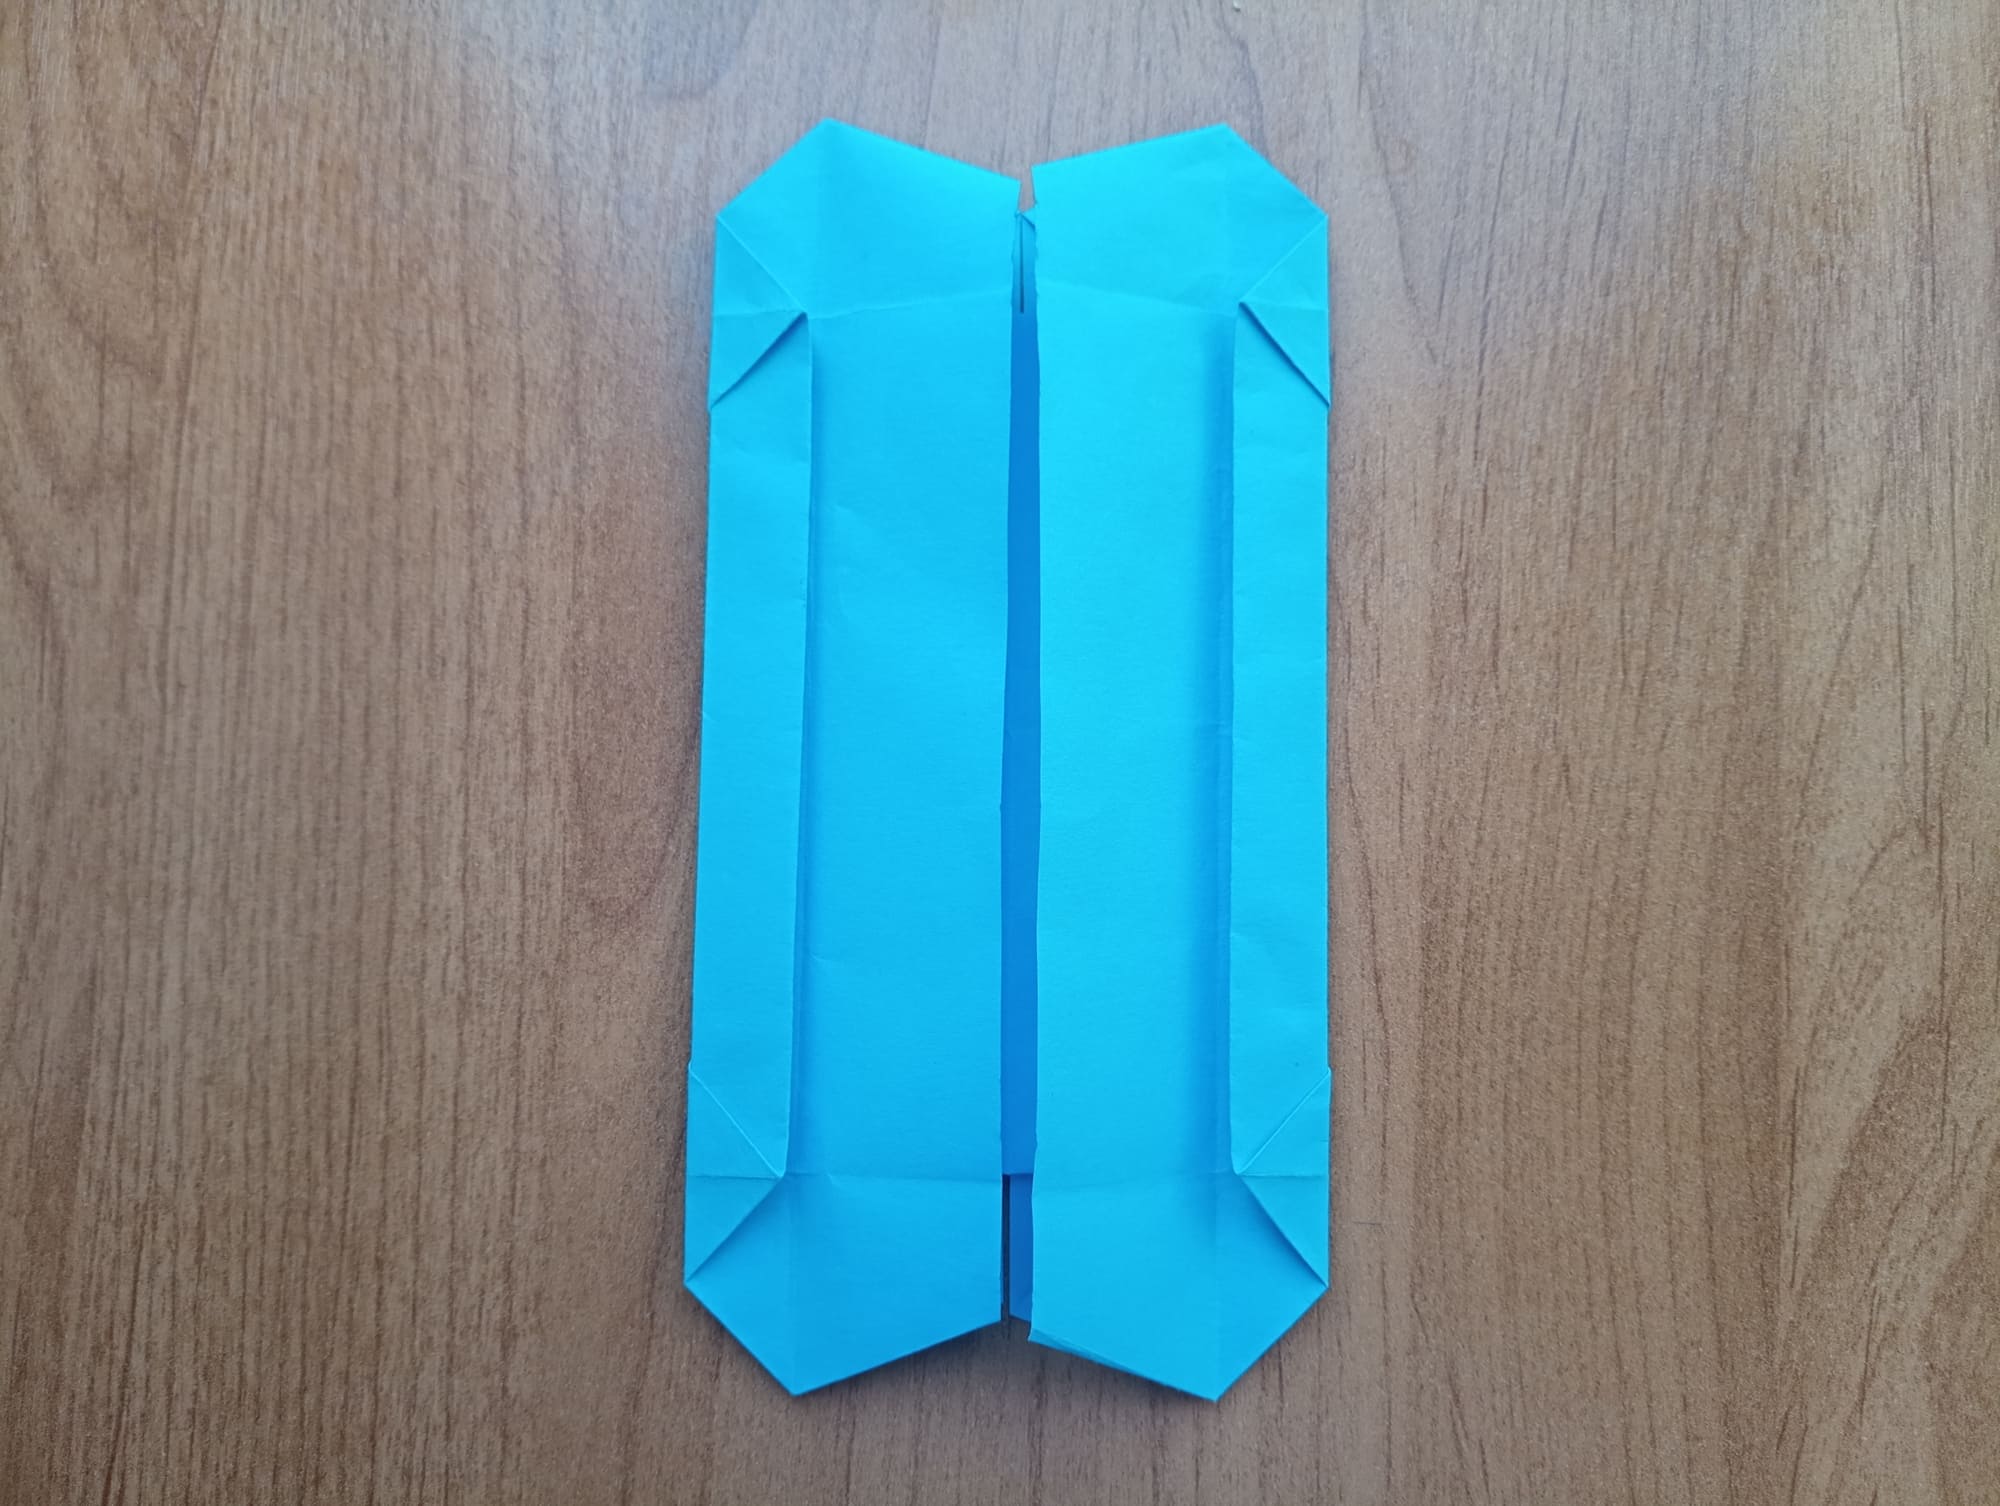
You should get such a figure. Reverse folds are made in the upper and lower parts.
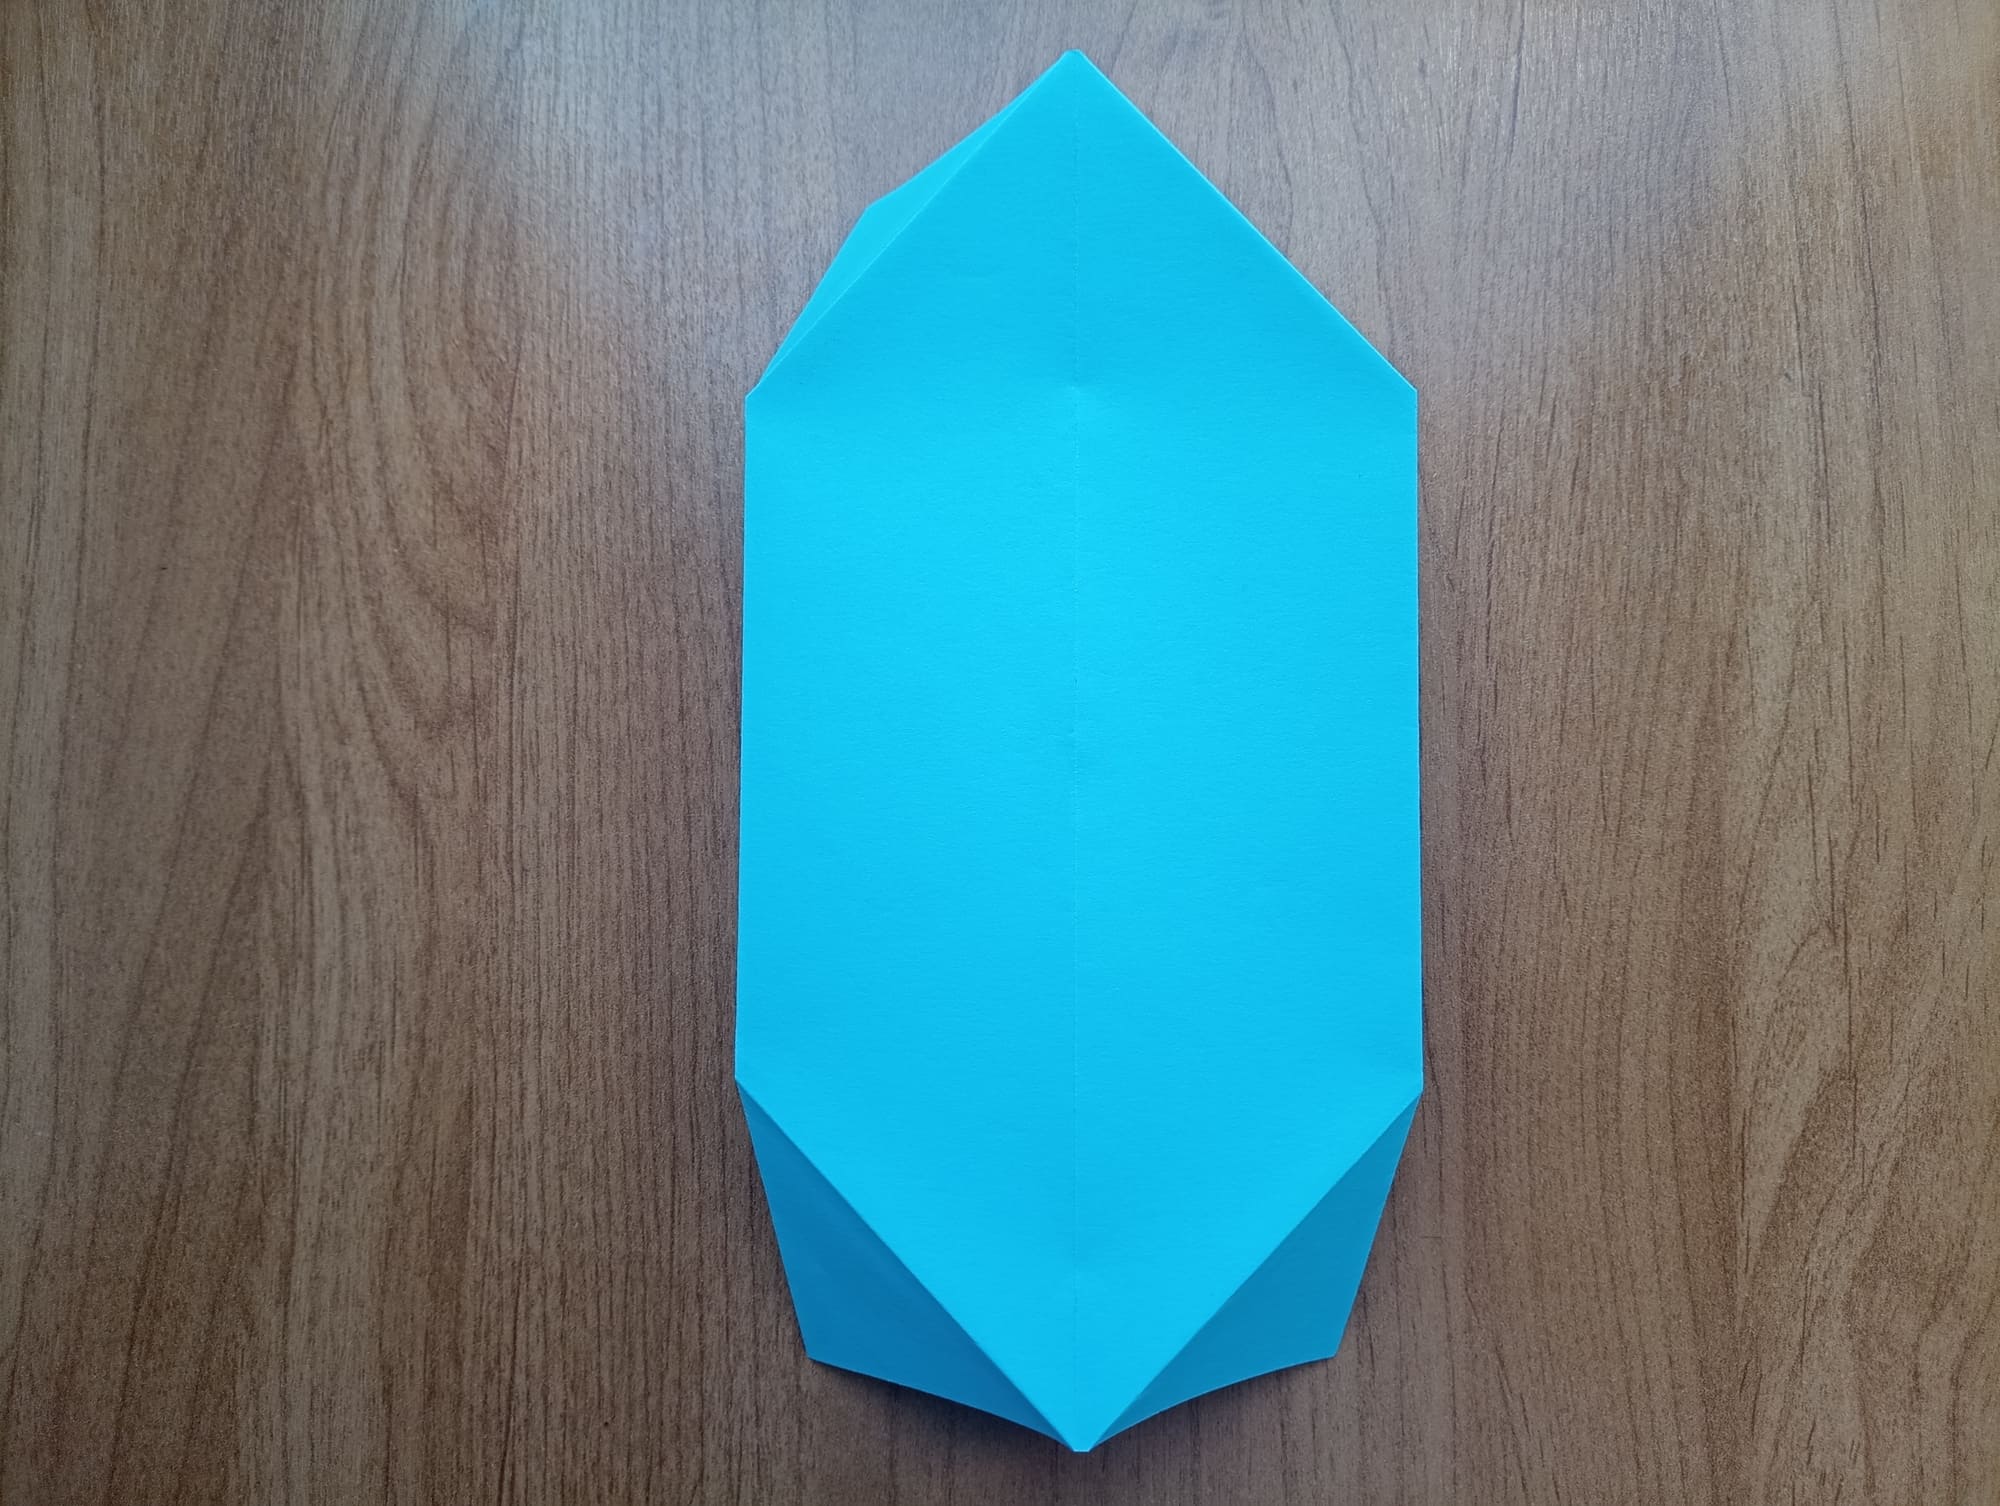
Turn the clover blank over. Fold the bottom and top ends (the layers are only the outer ones).
They should meet at the center part. See photo.
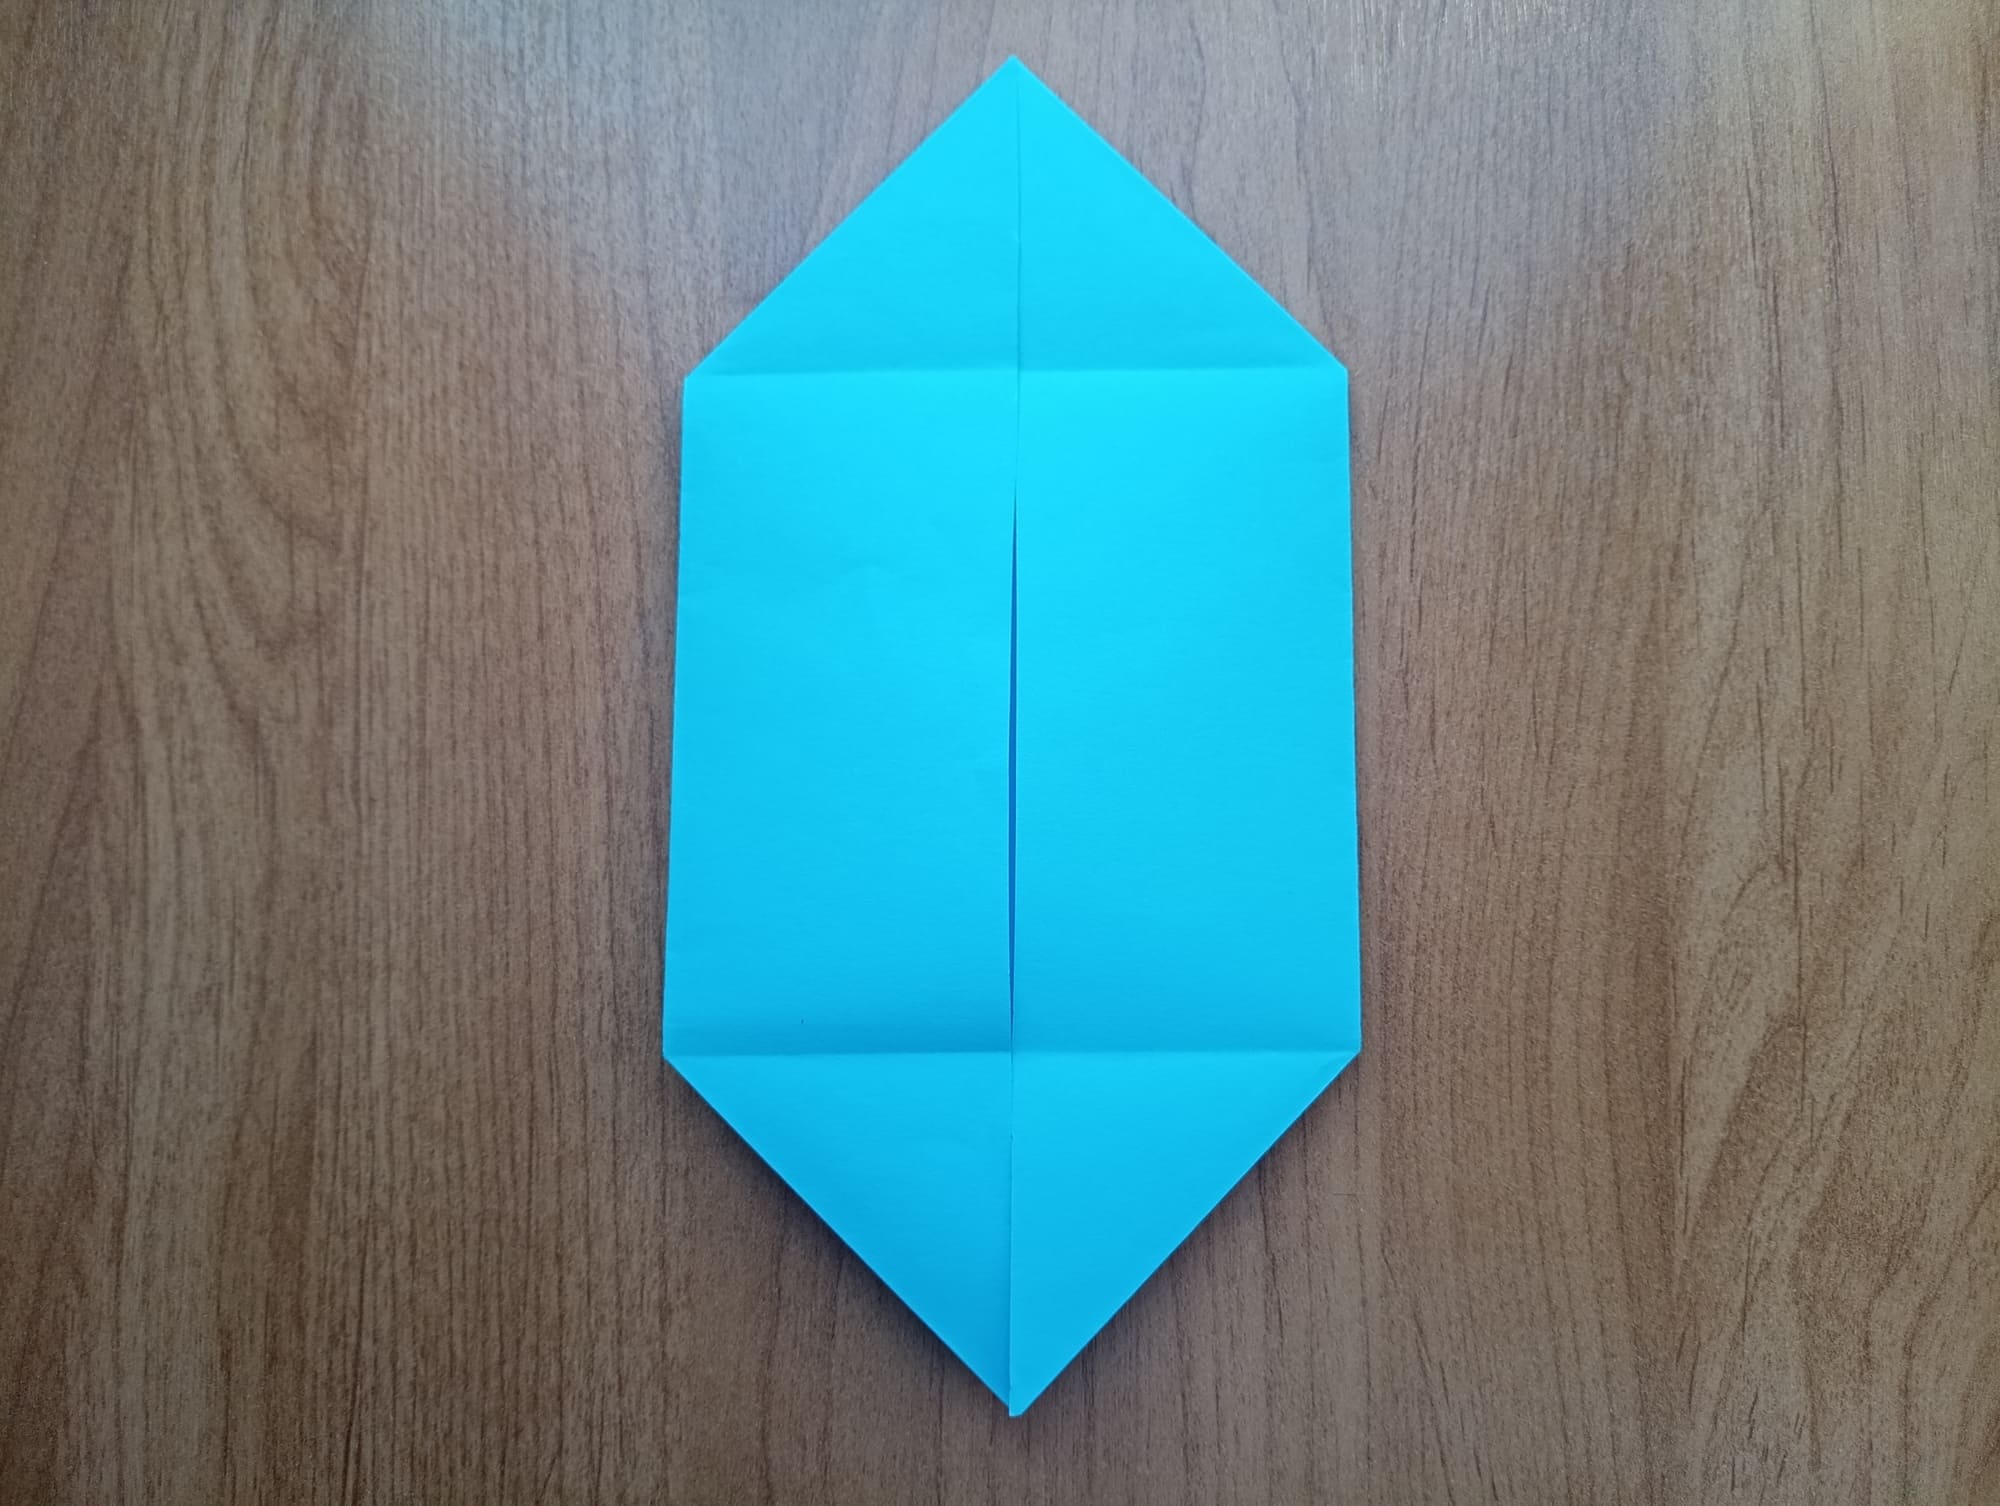
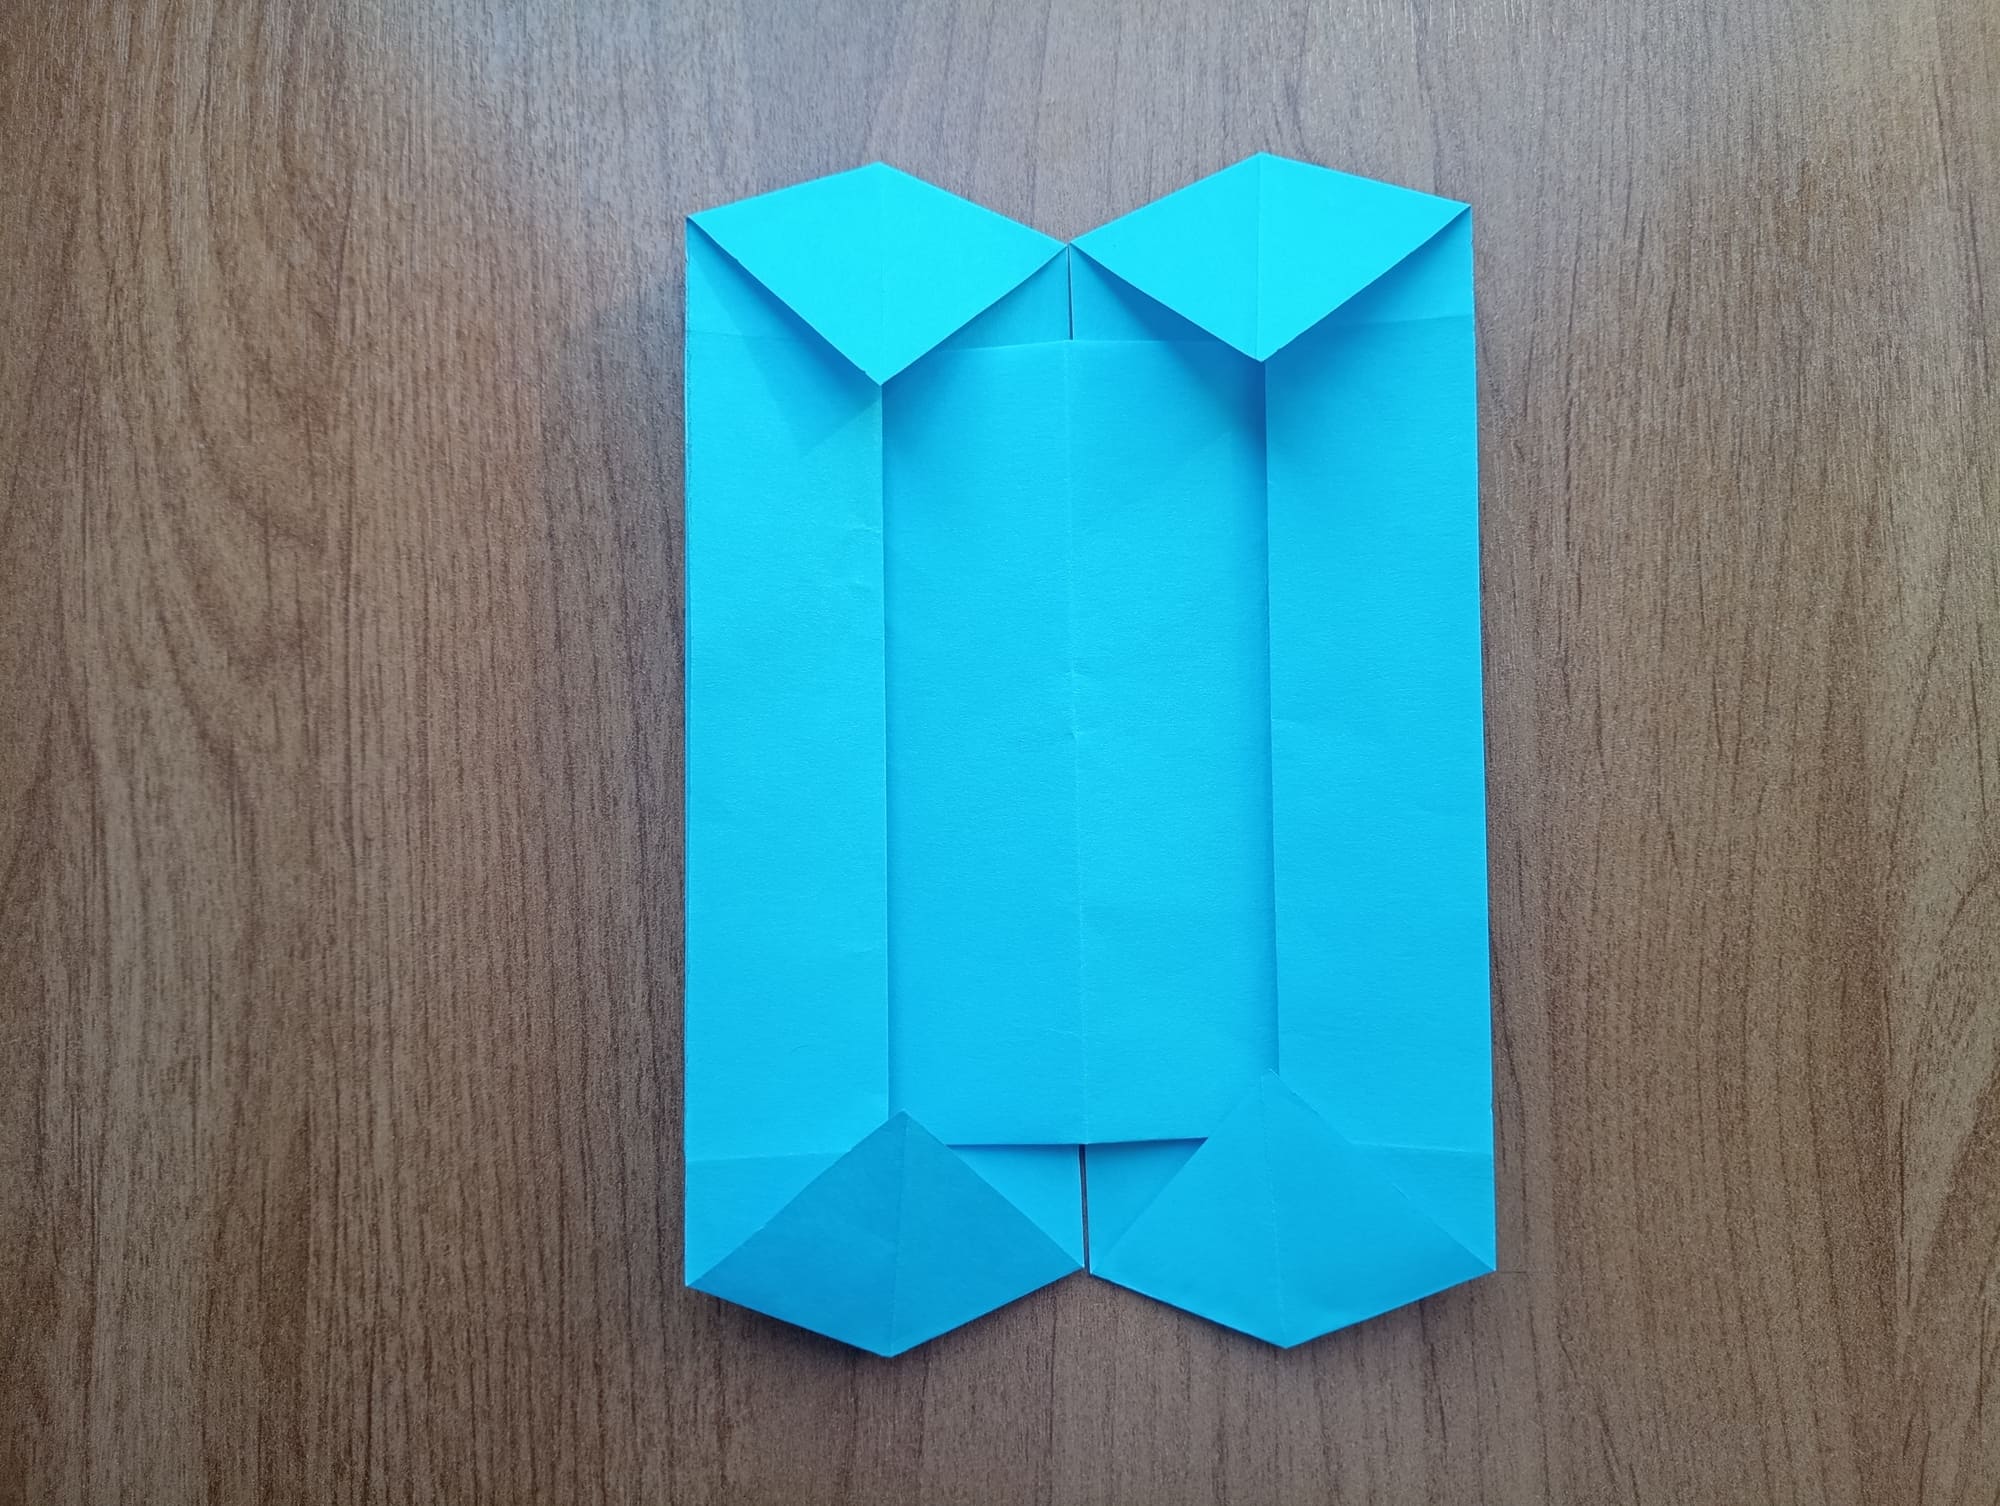
Turn the blank over again.
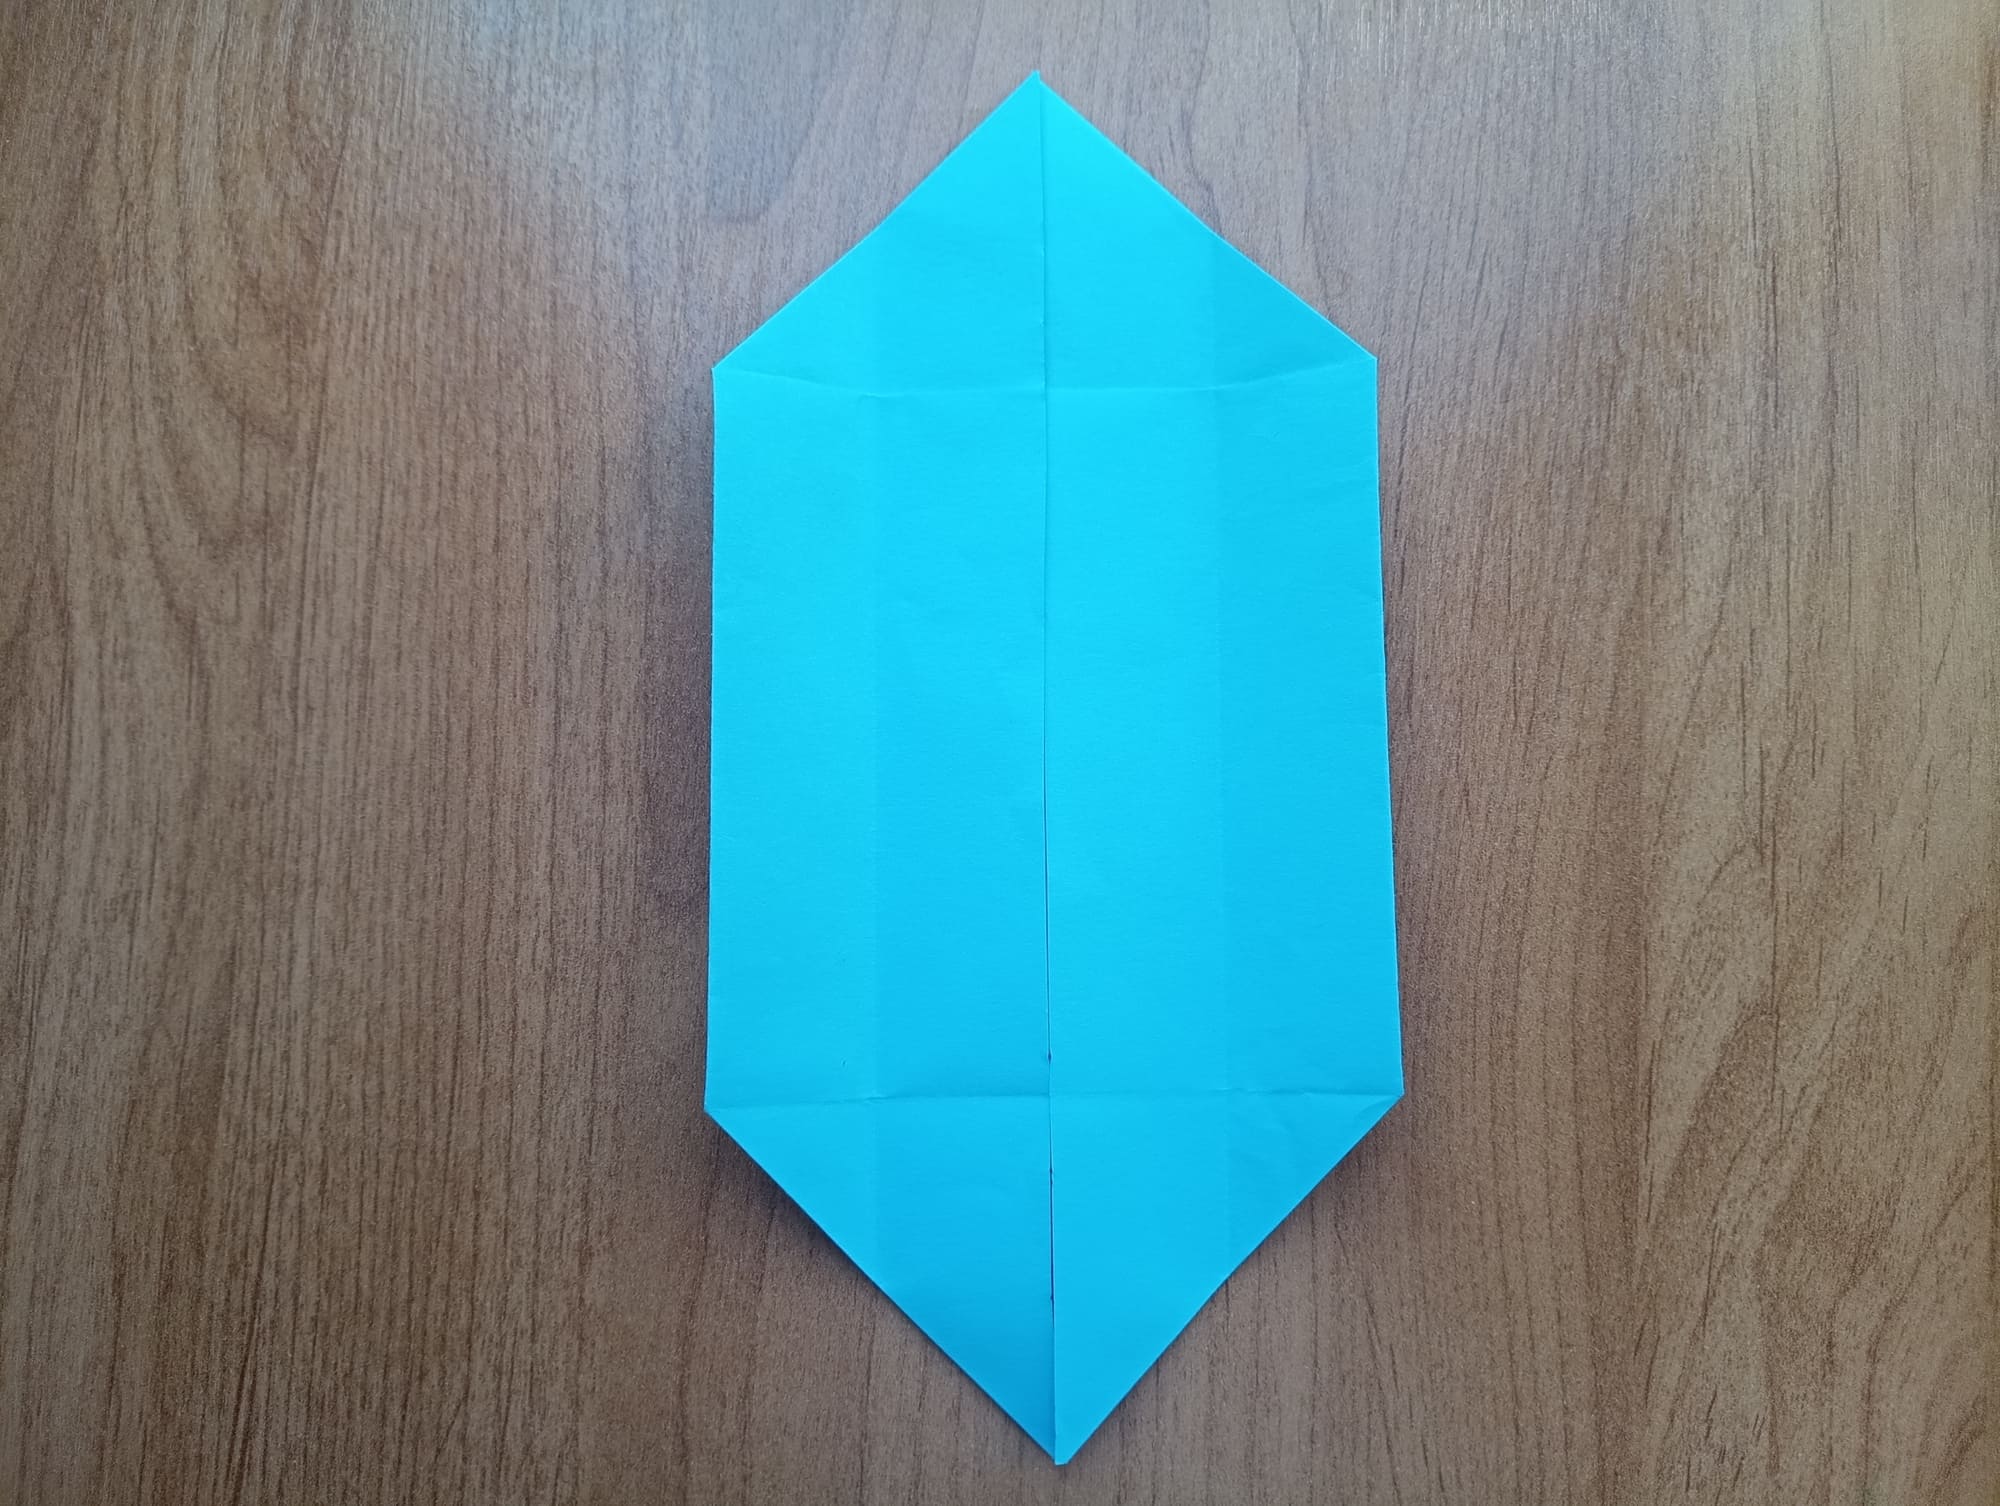
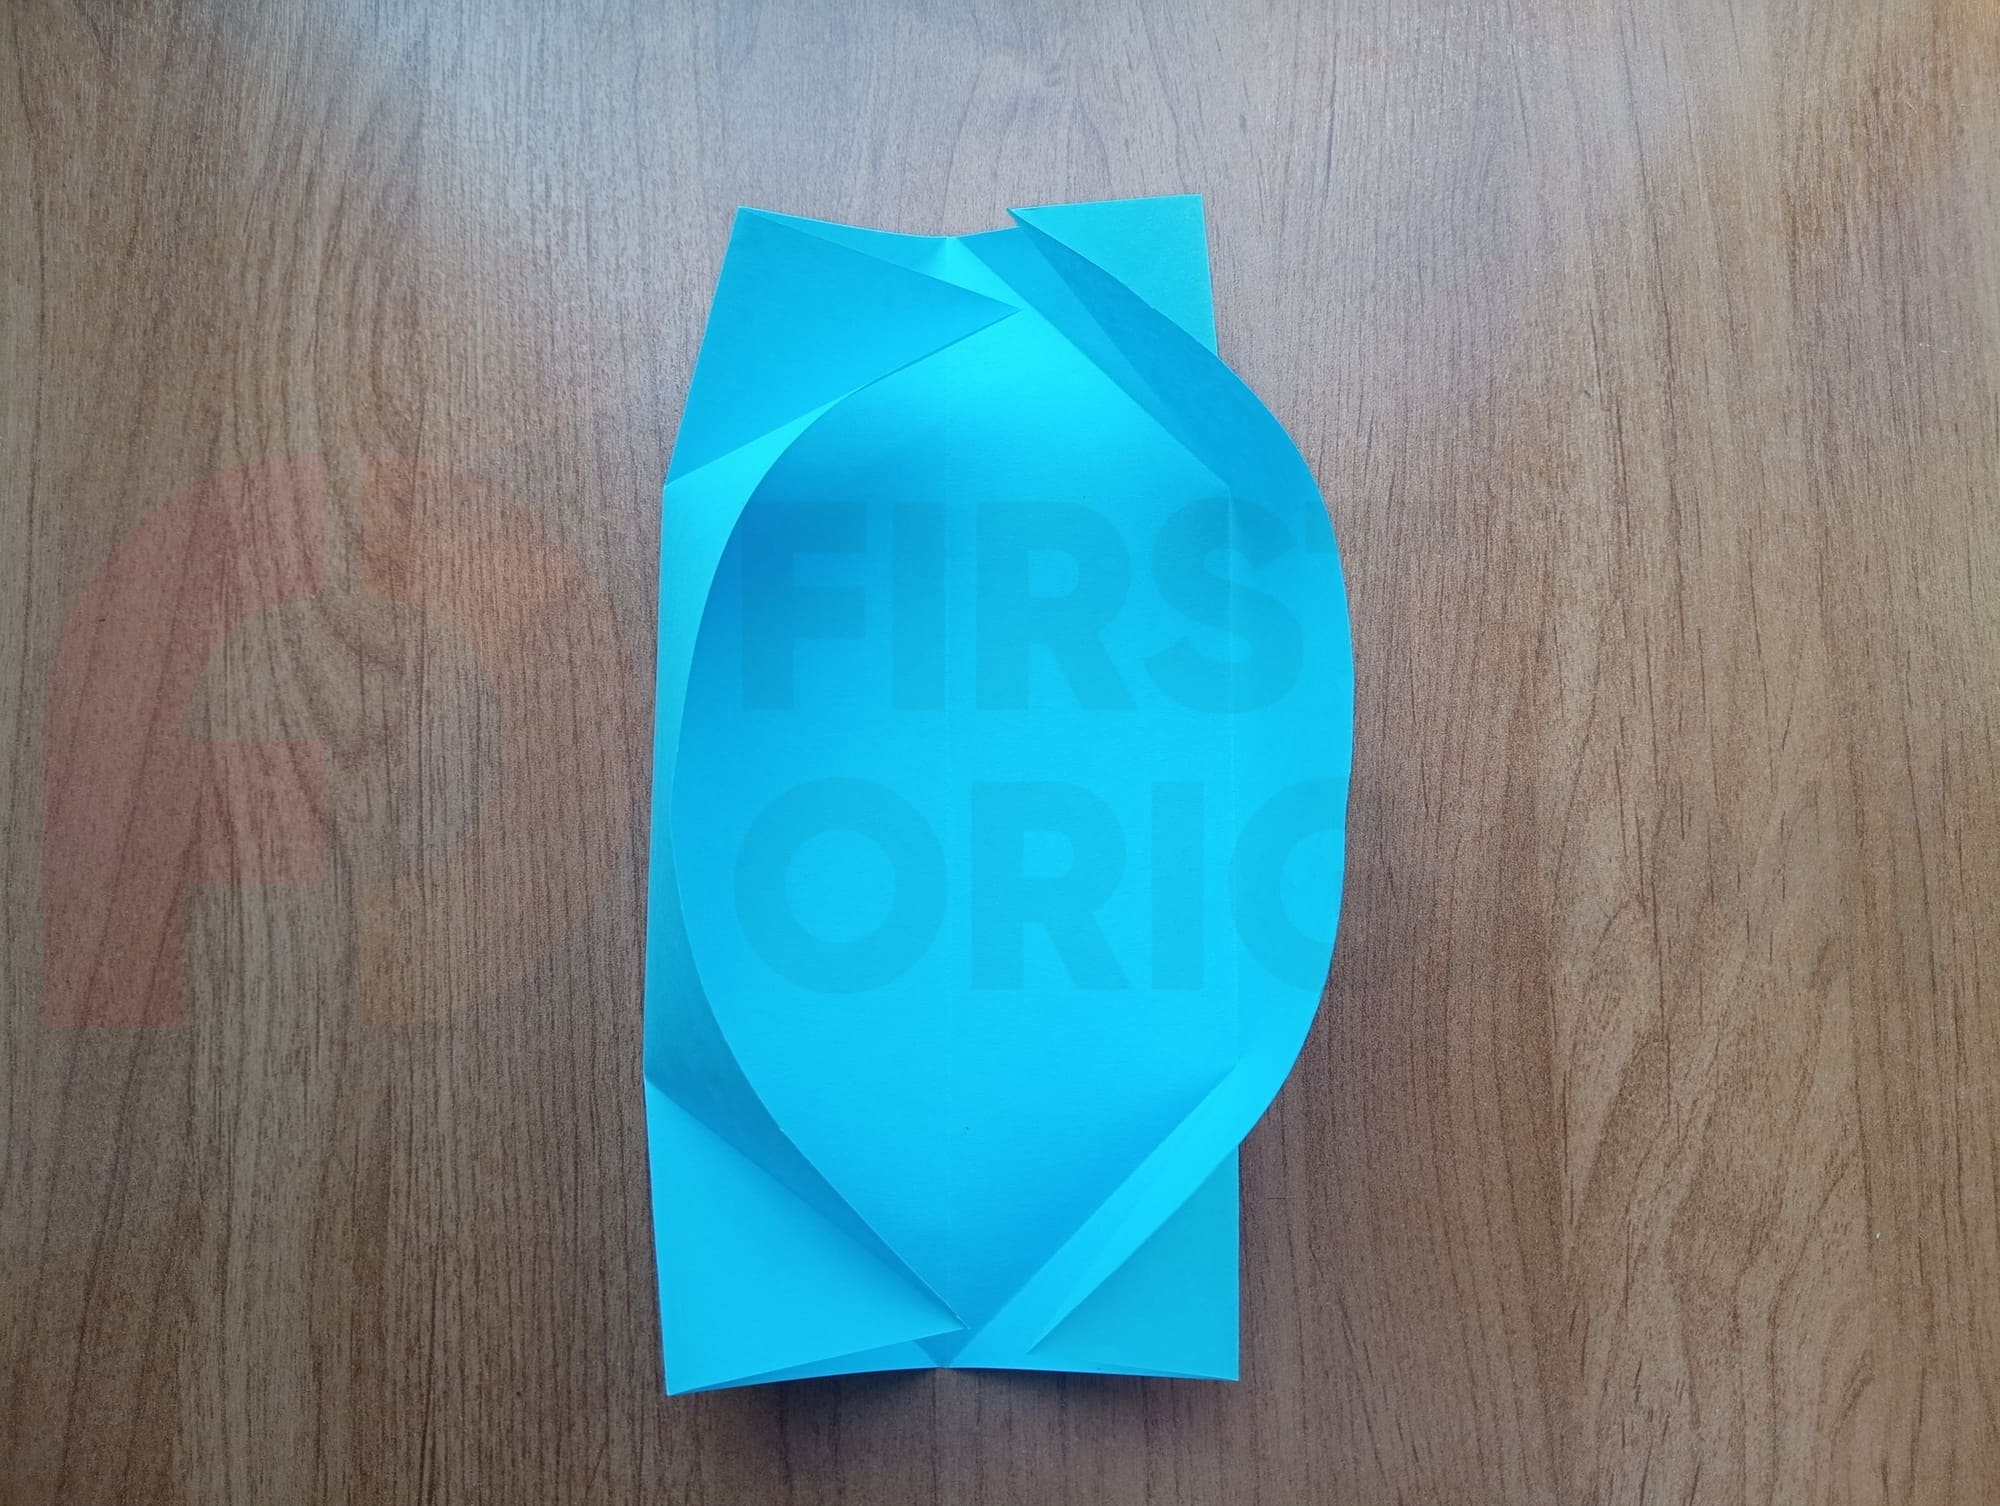
Fold the right and left sides to their outer edges on the right and left respectively.
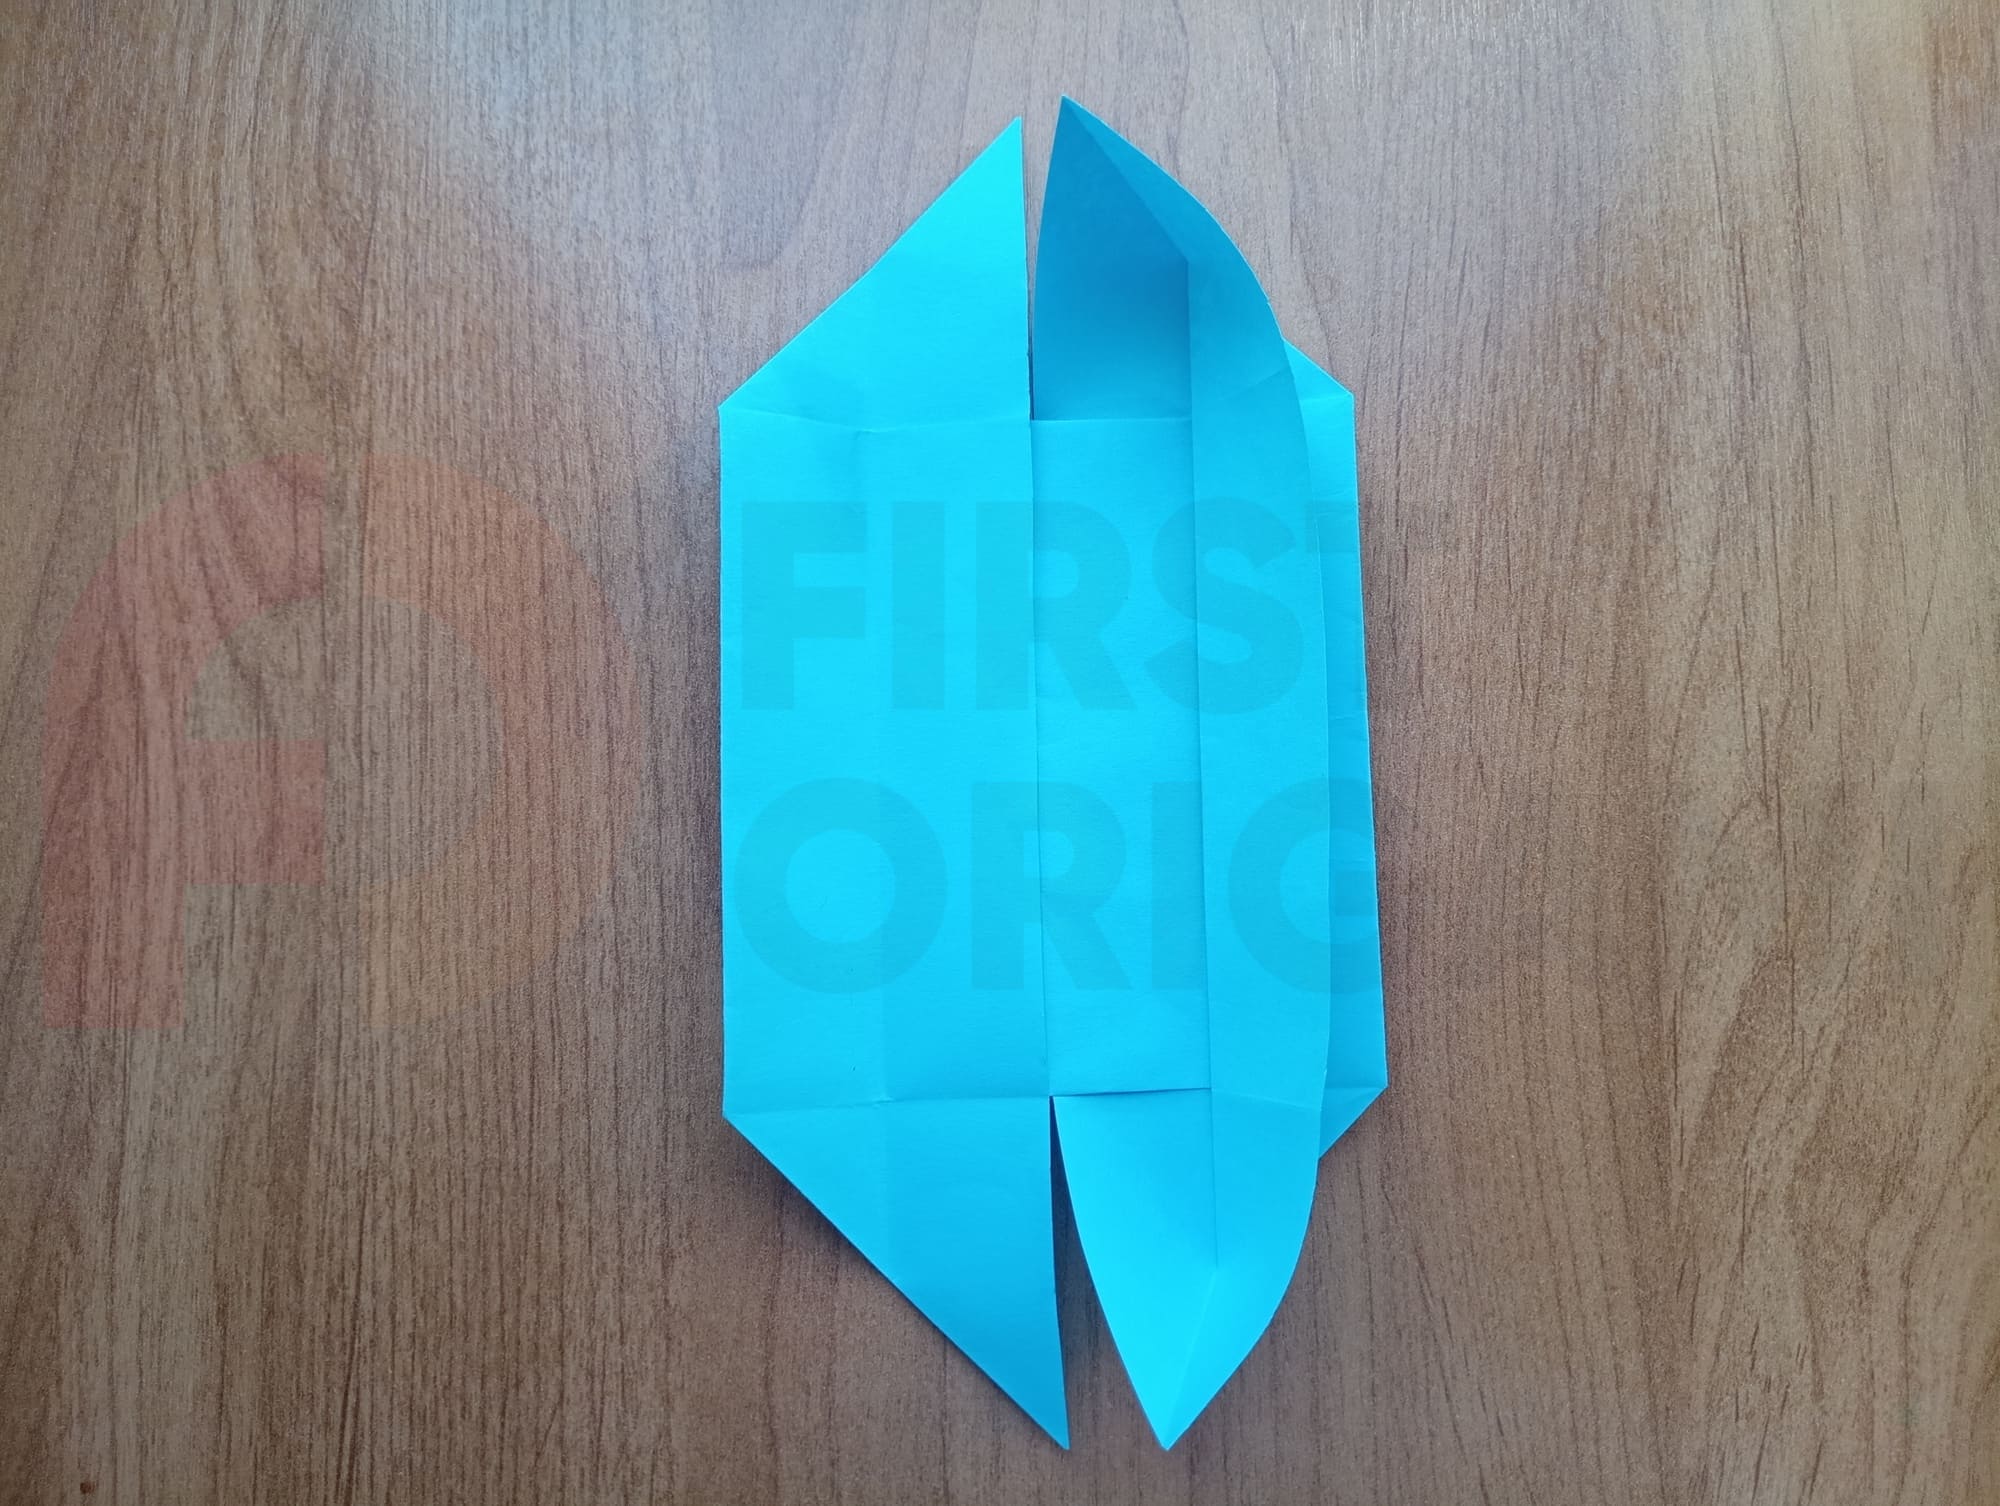
Now you need to pry the piece of paper from the right side, open to the outer edge. See how it is done in the photo – you need to squeeze the middle part well.
Make a fold at the top, and orient yourself on how the vertical lines line up into one.
Repeat the same step with the left side.
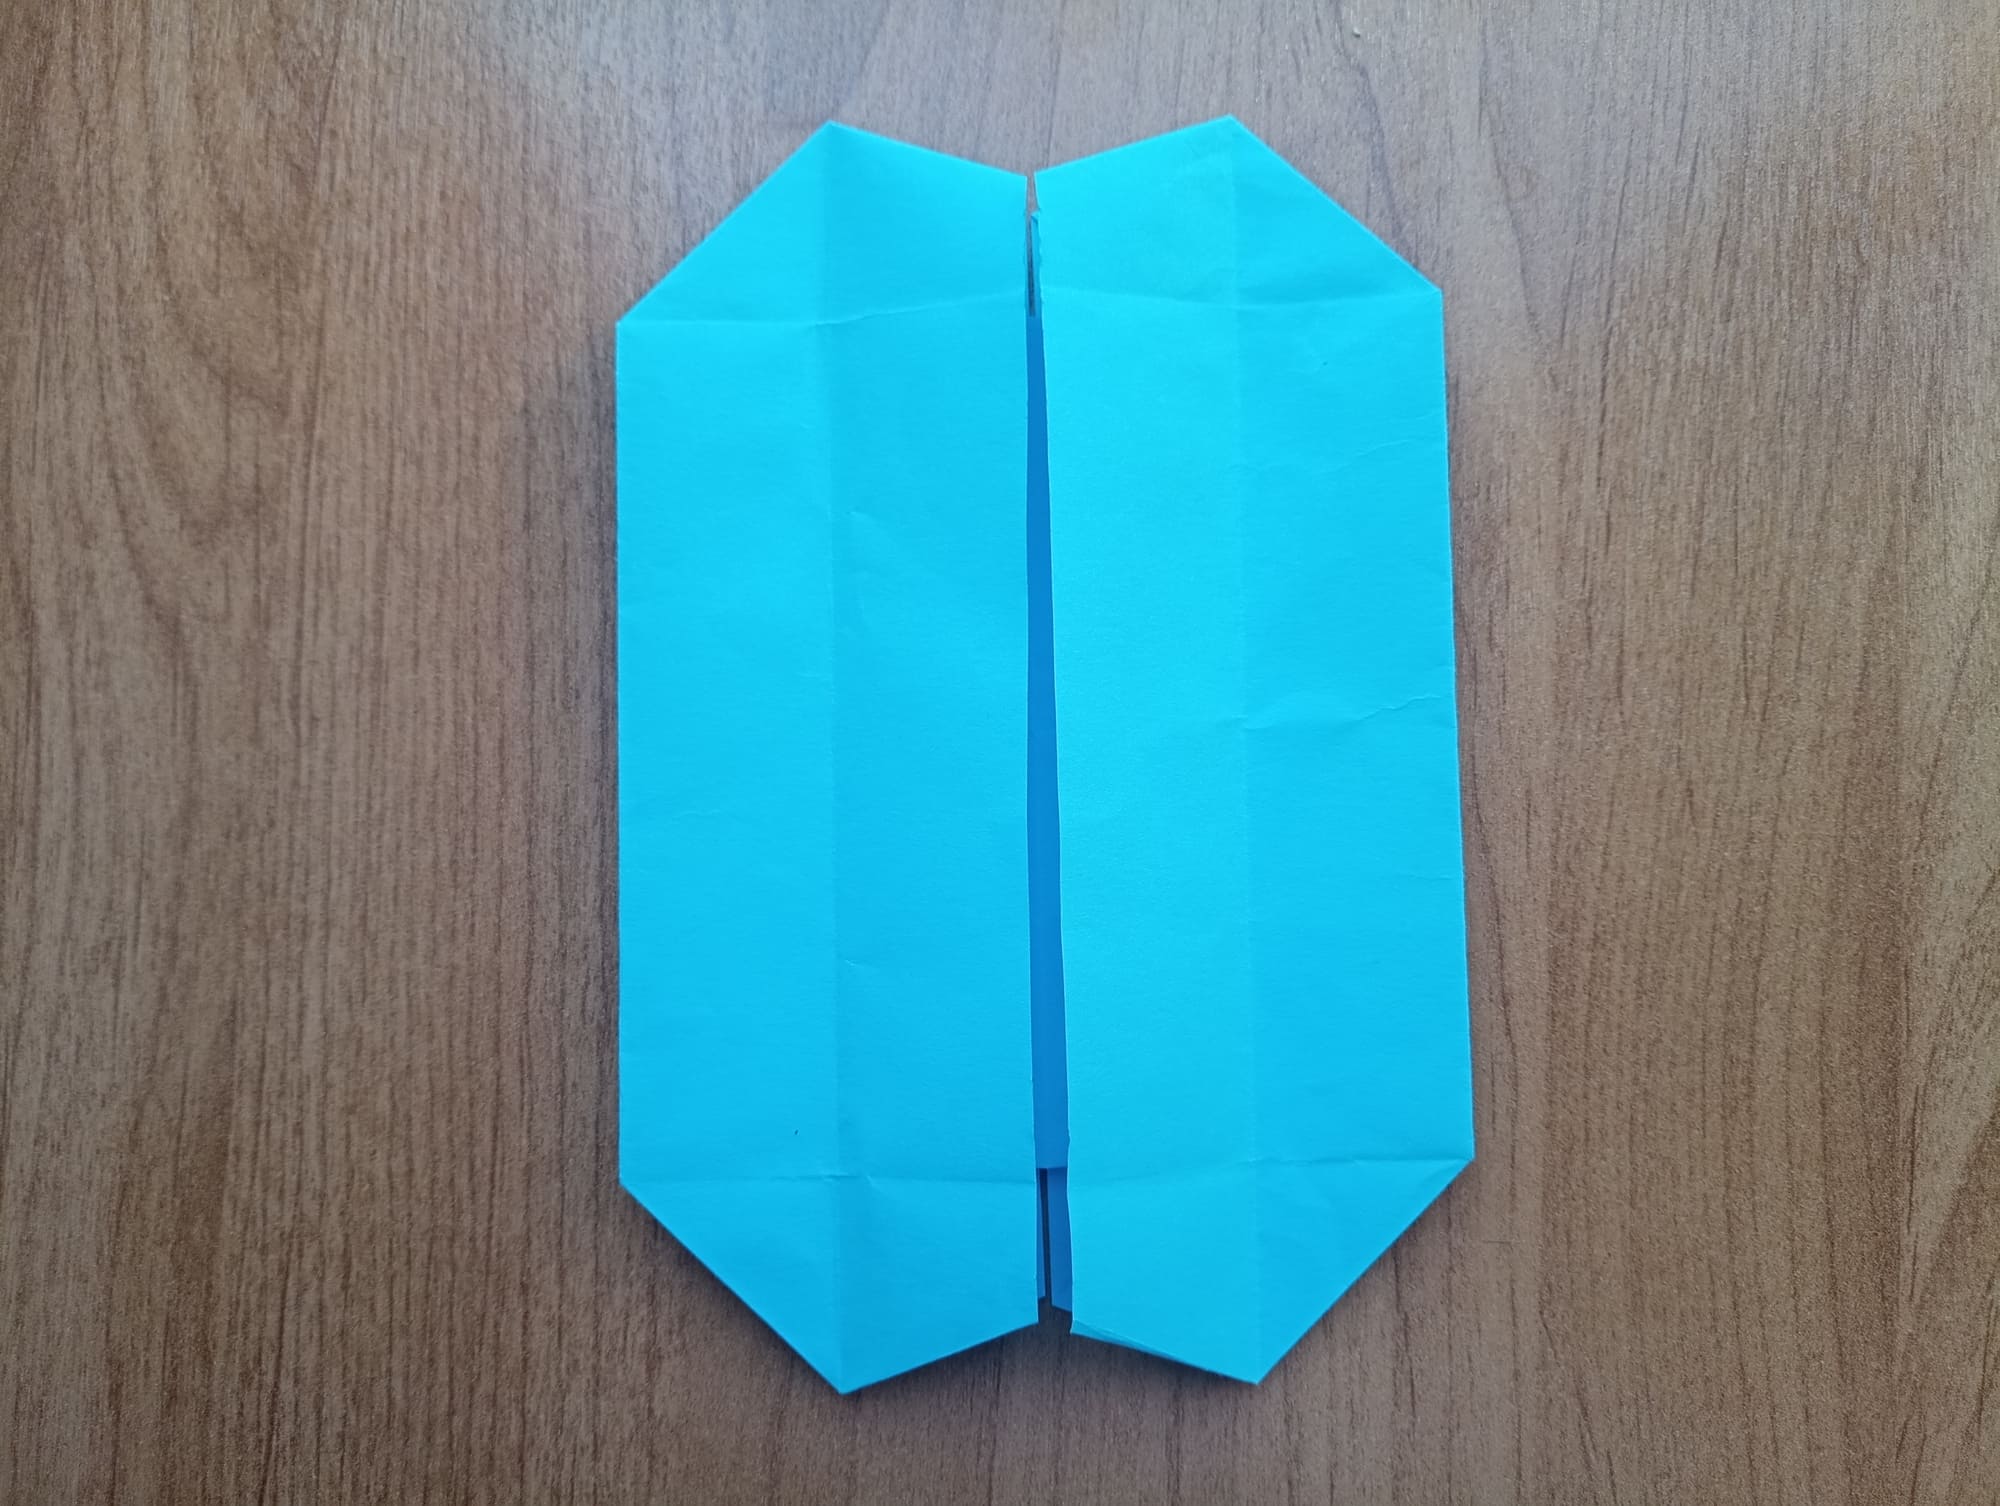
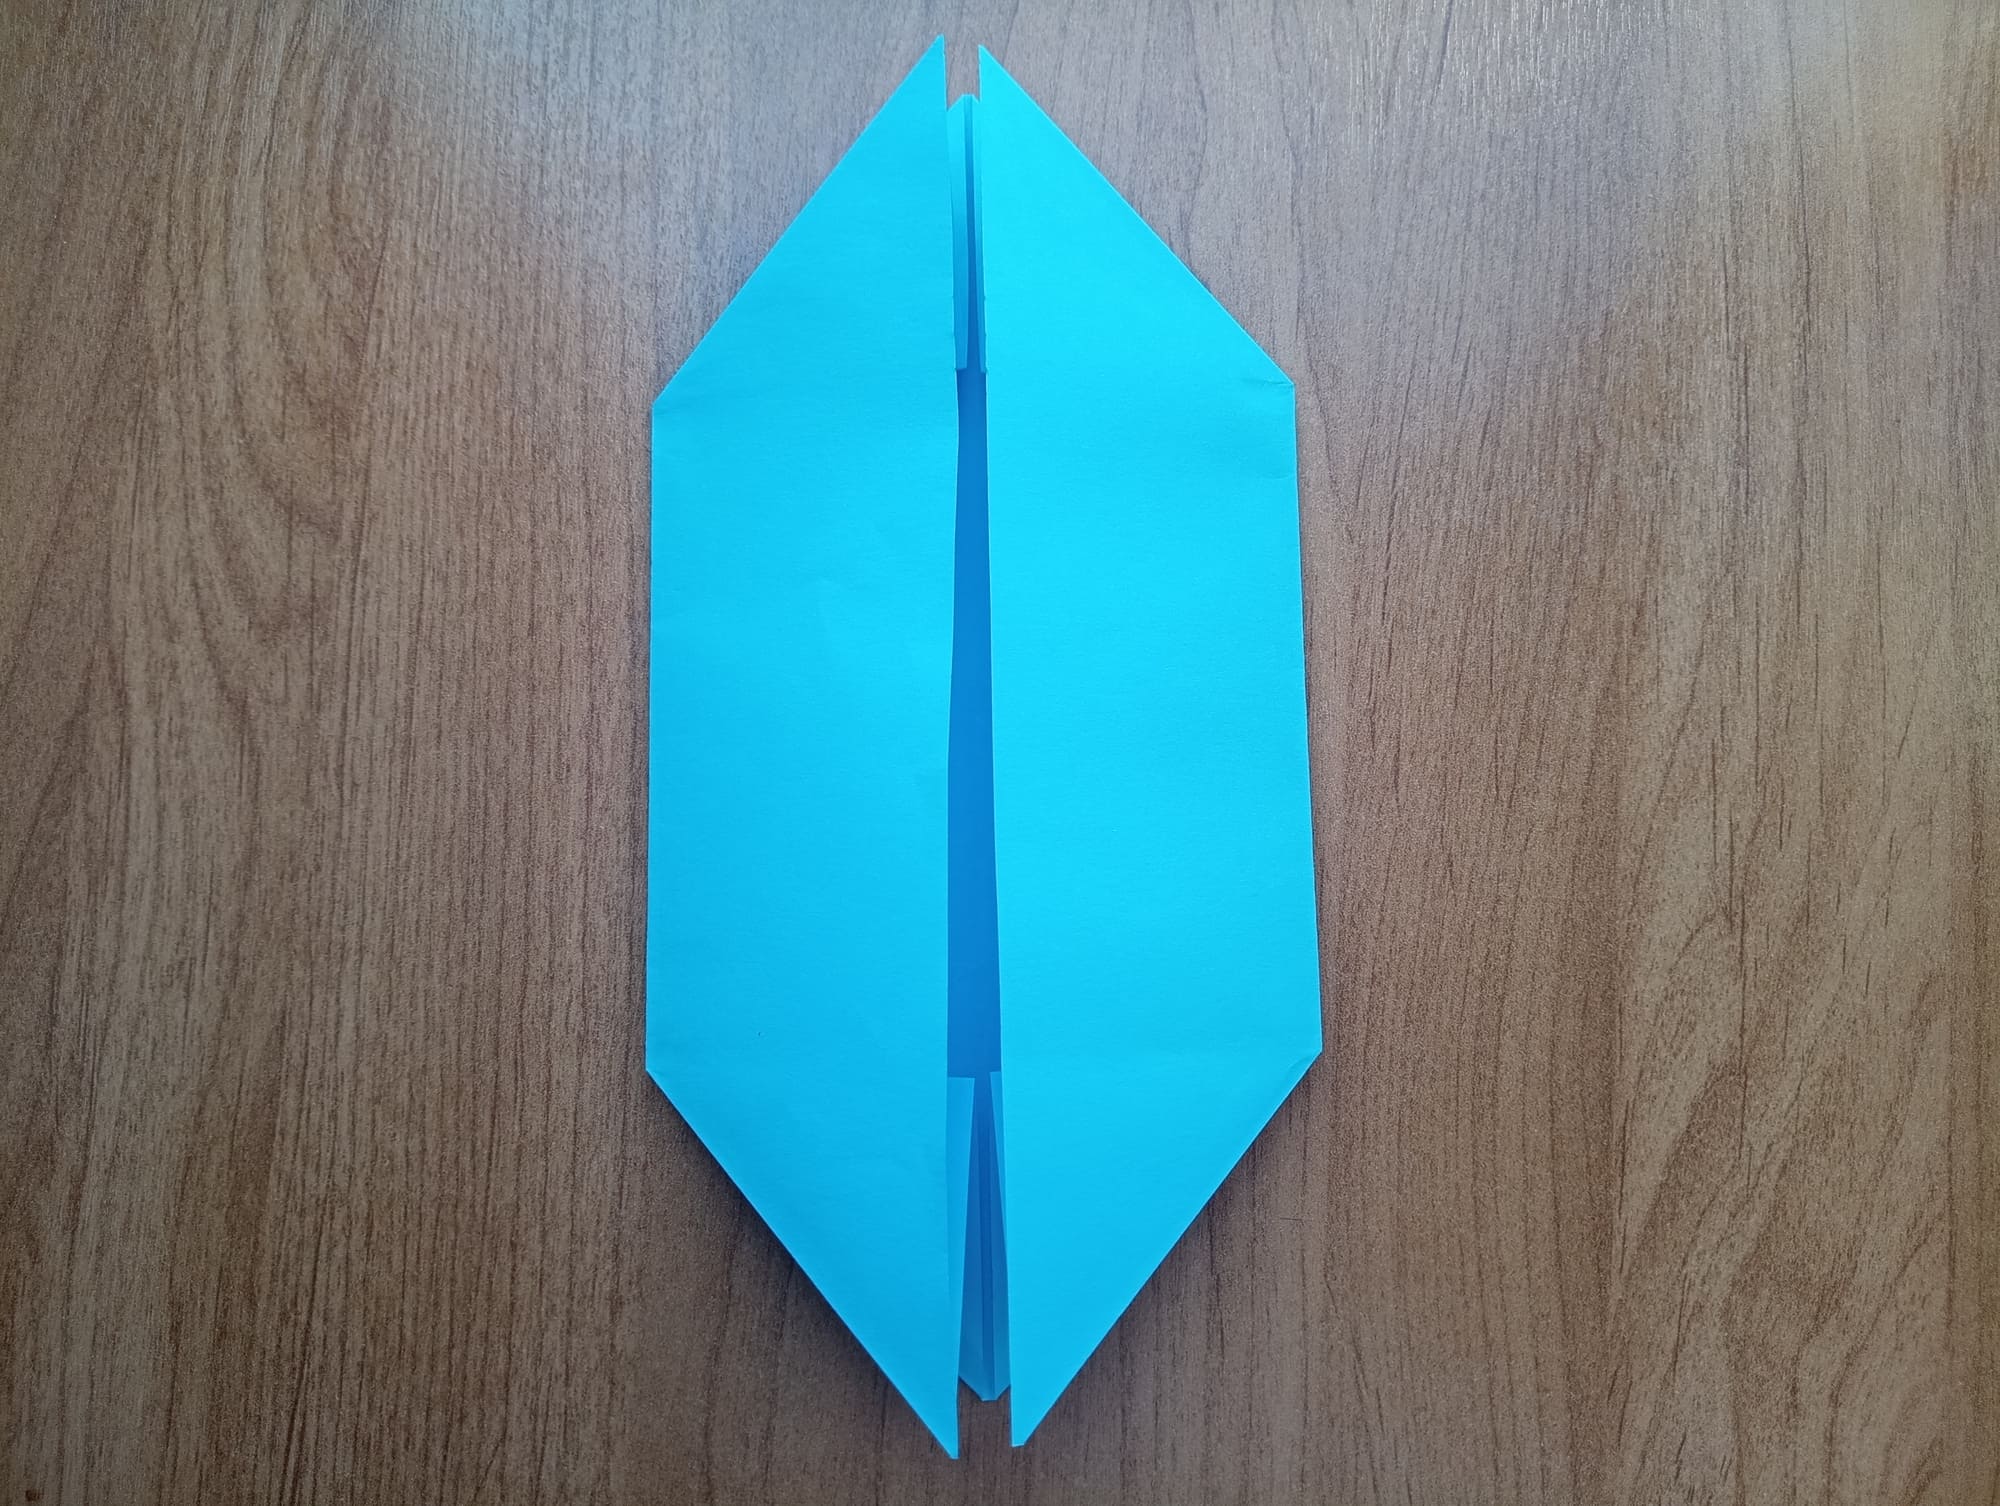
Fold the left and right sides back to the center. You get a shape like this.
The clover piece is almost ready, you just need to fold the left and right sides to the fold line closer to each side.
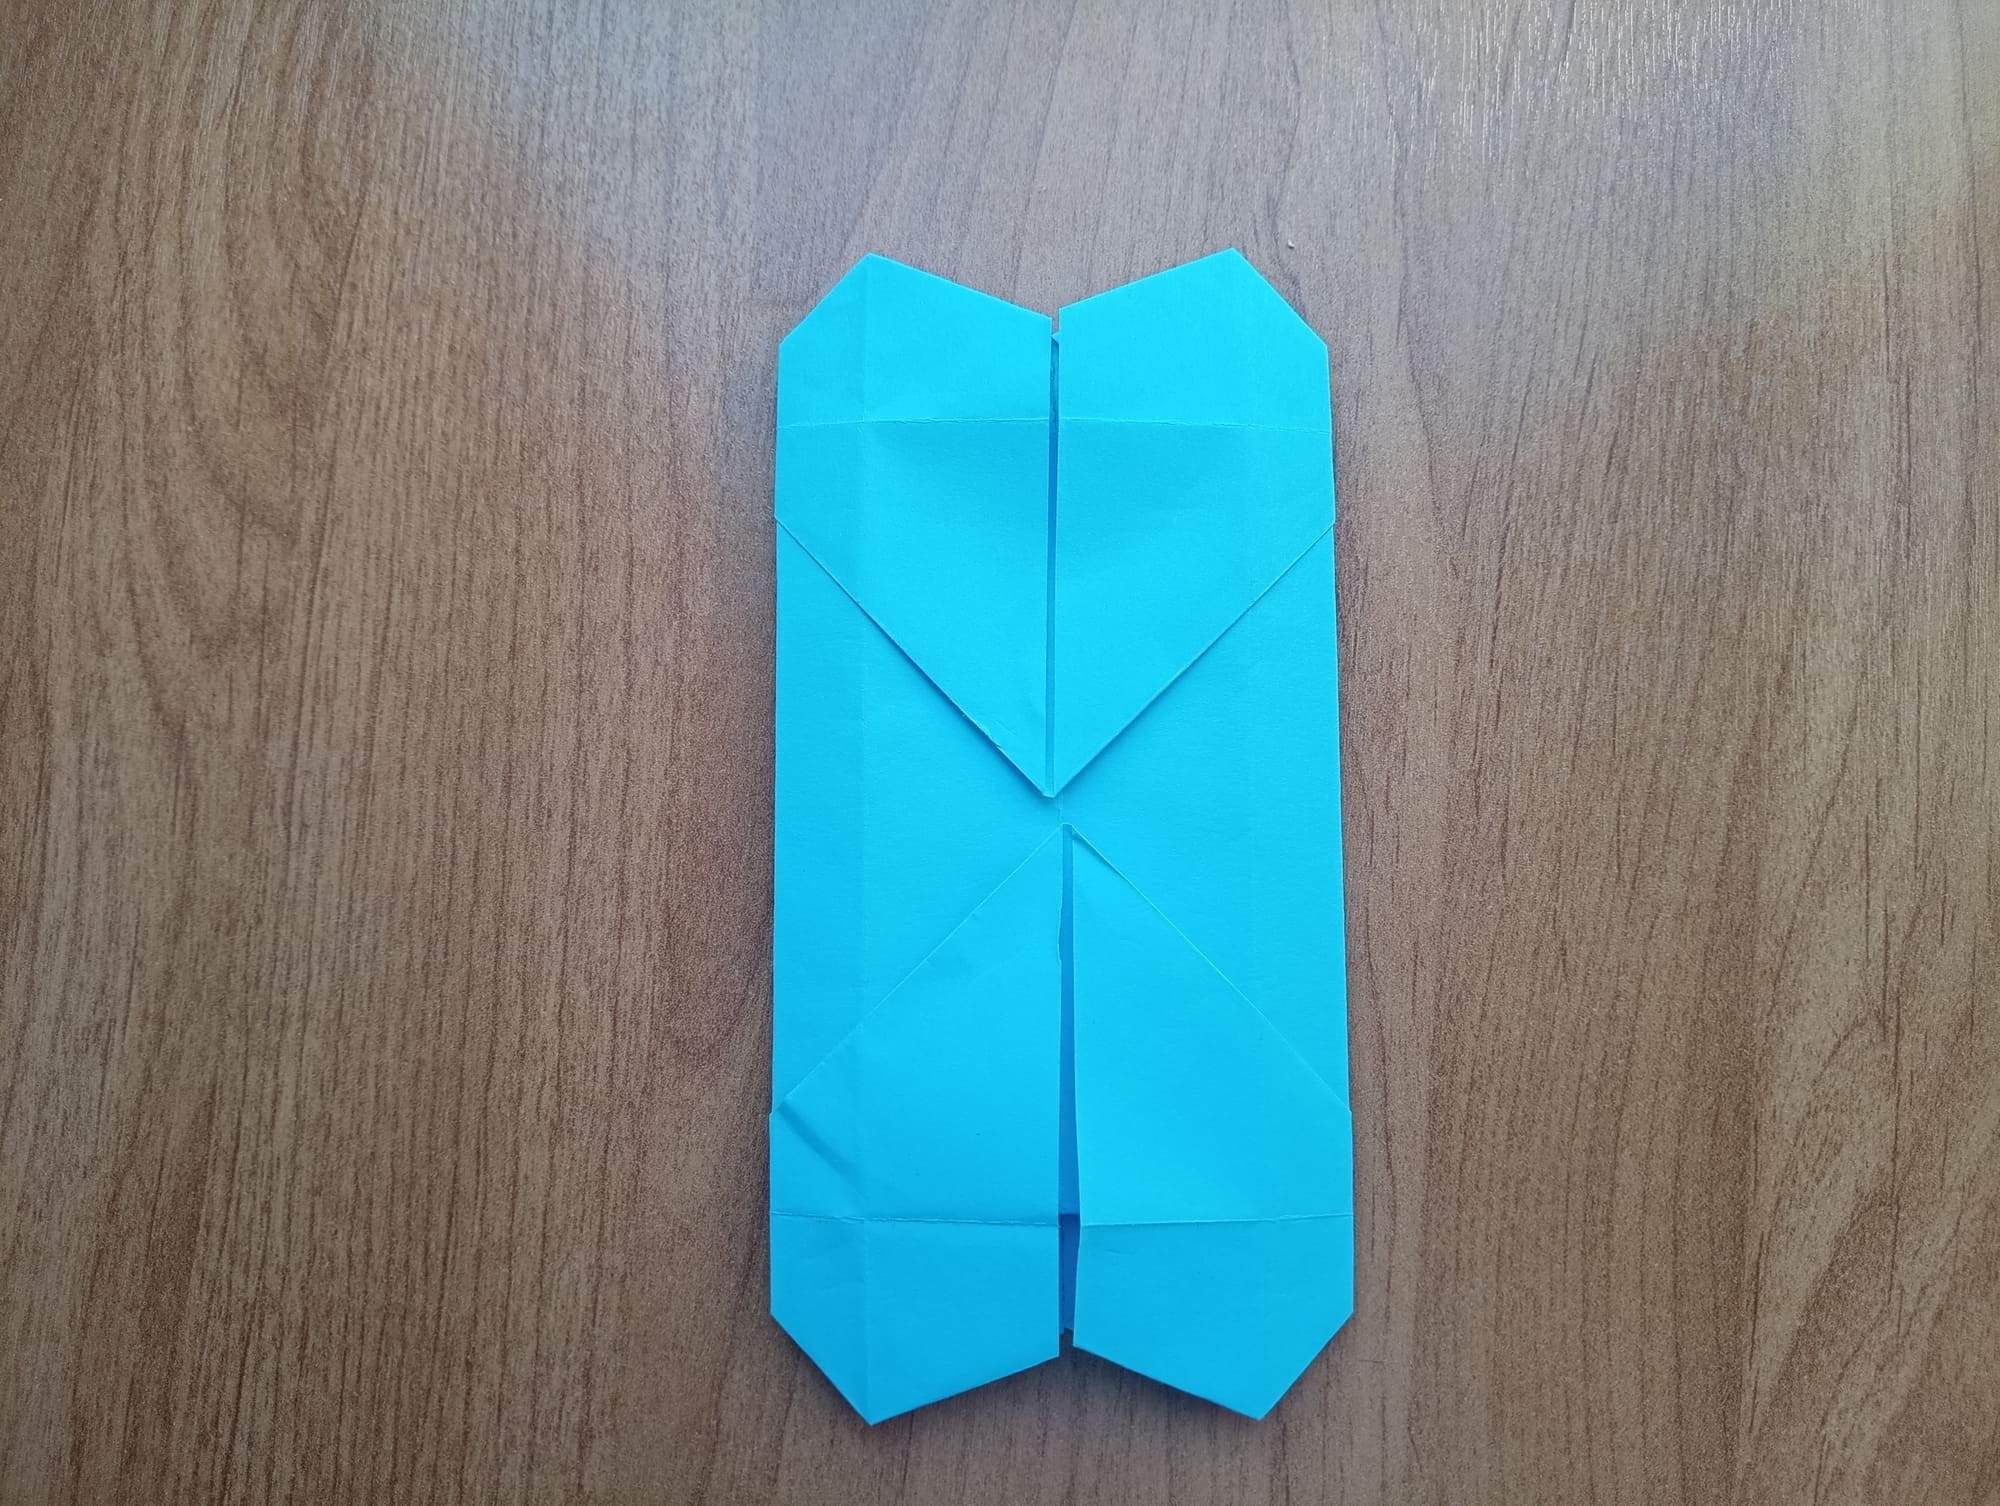
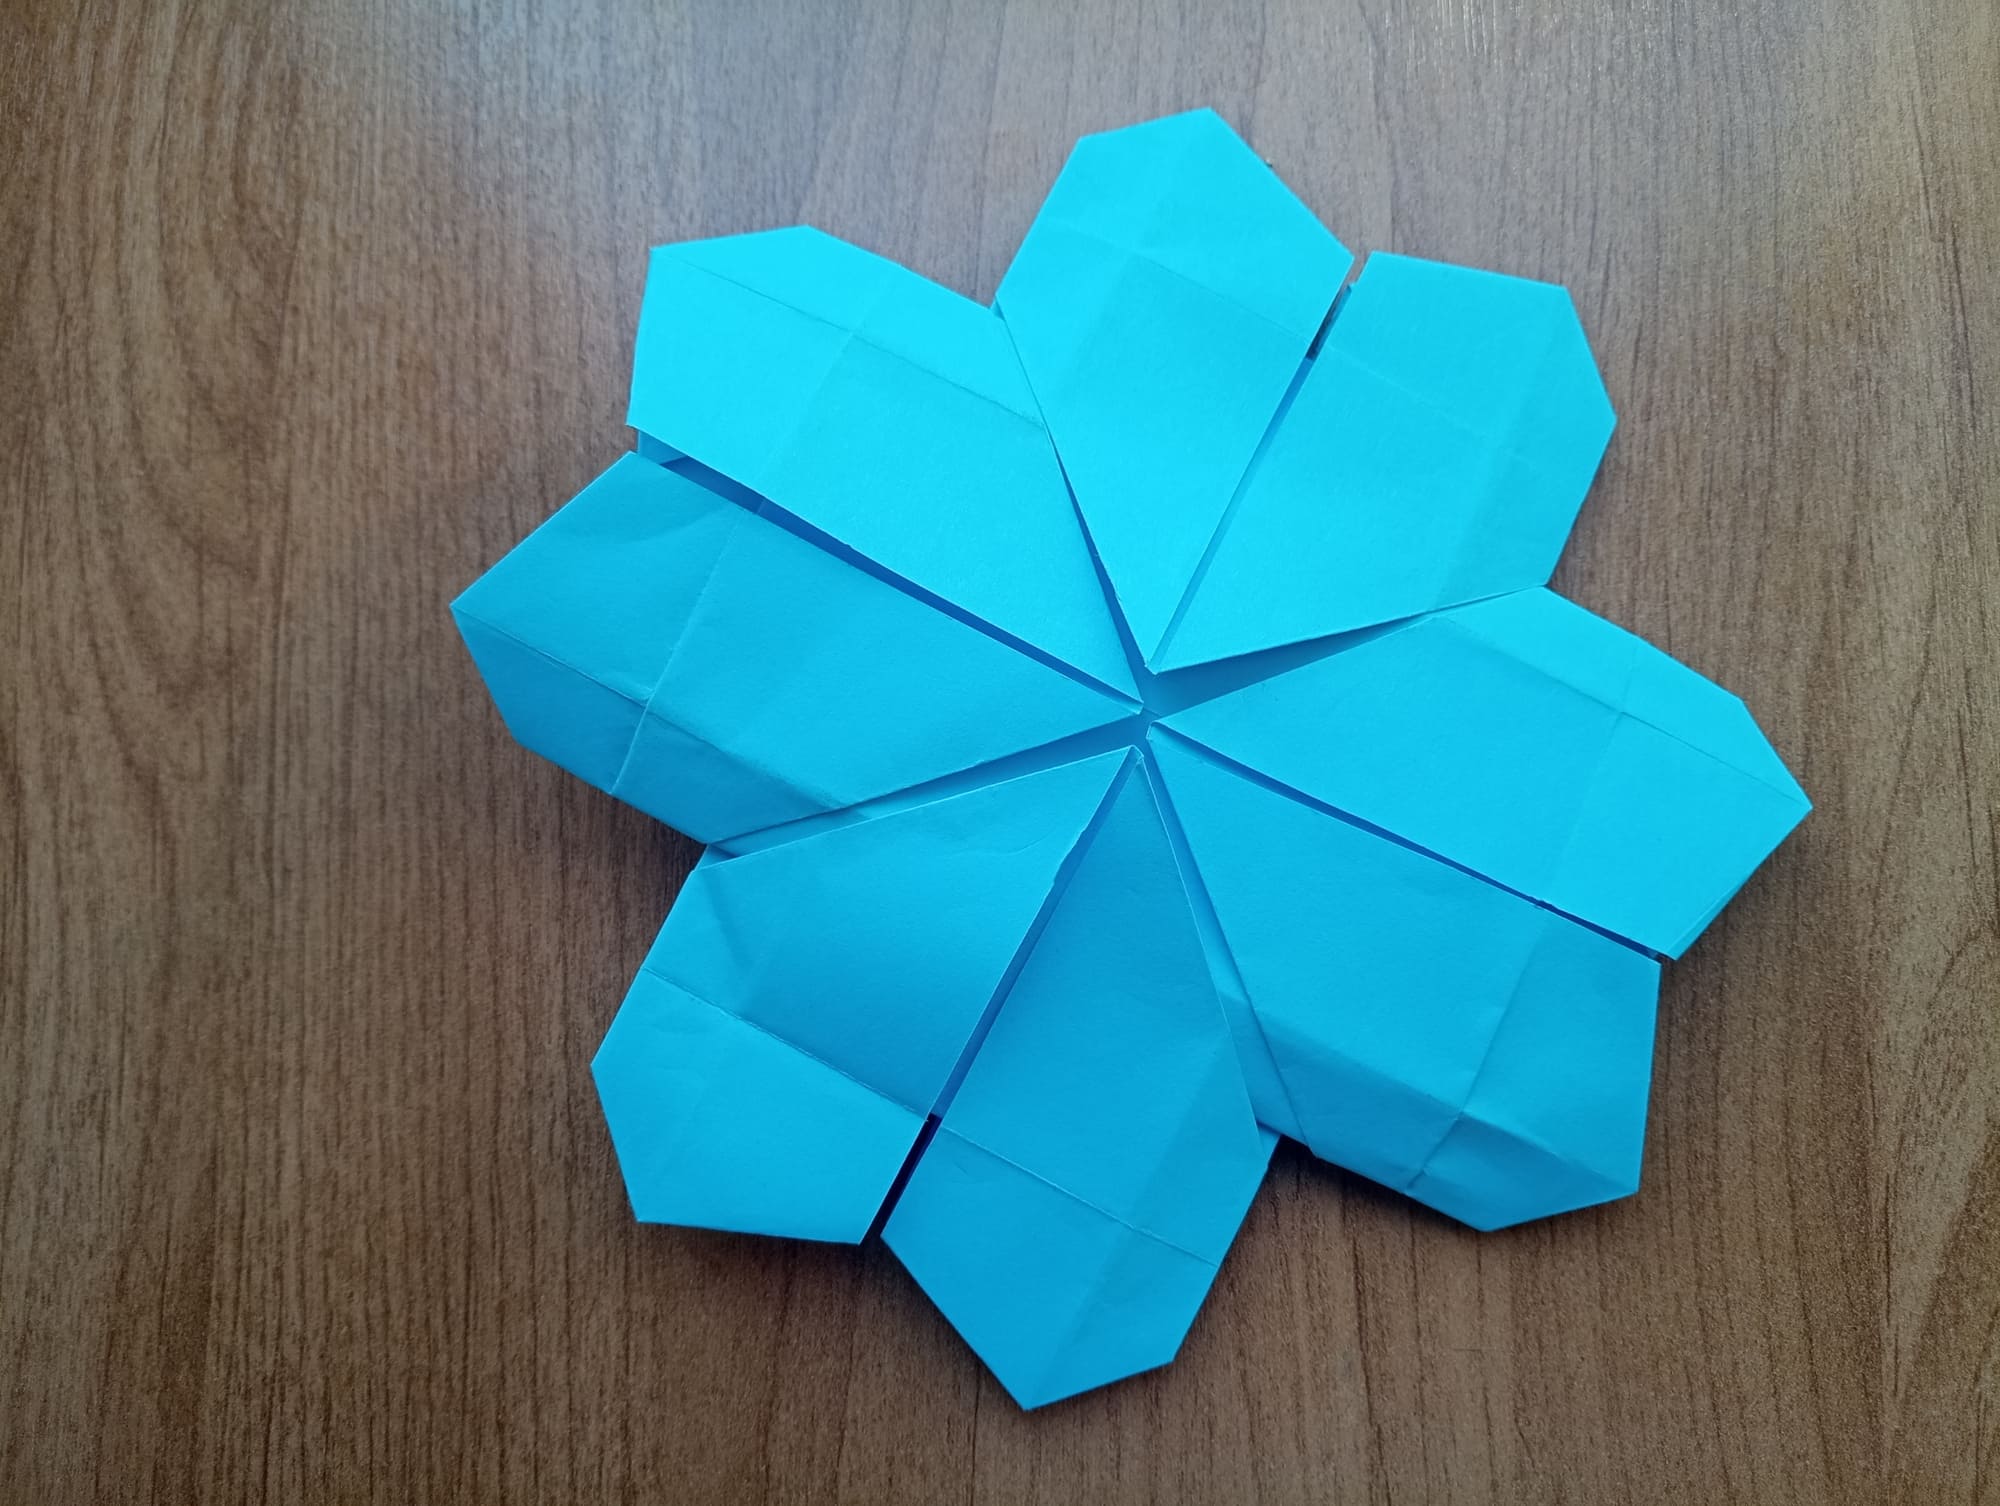
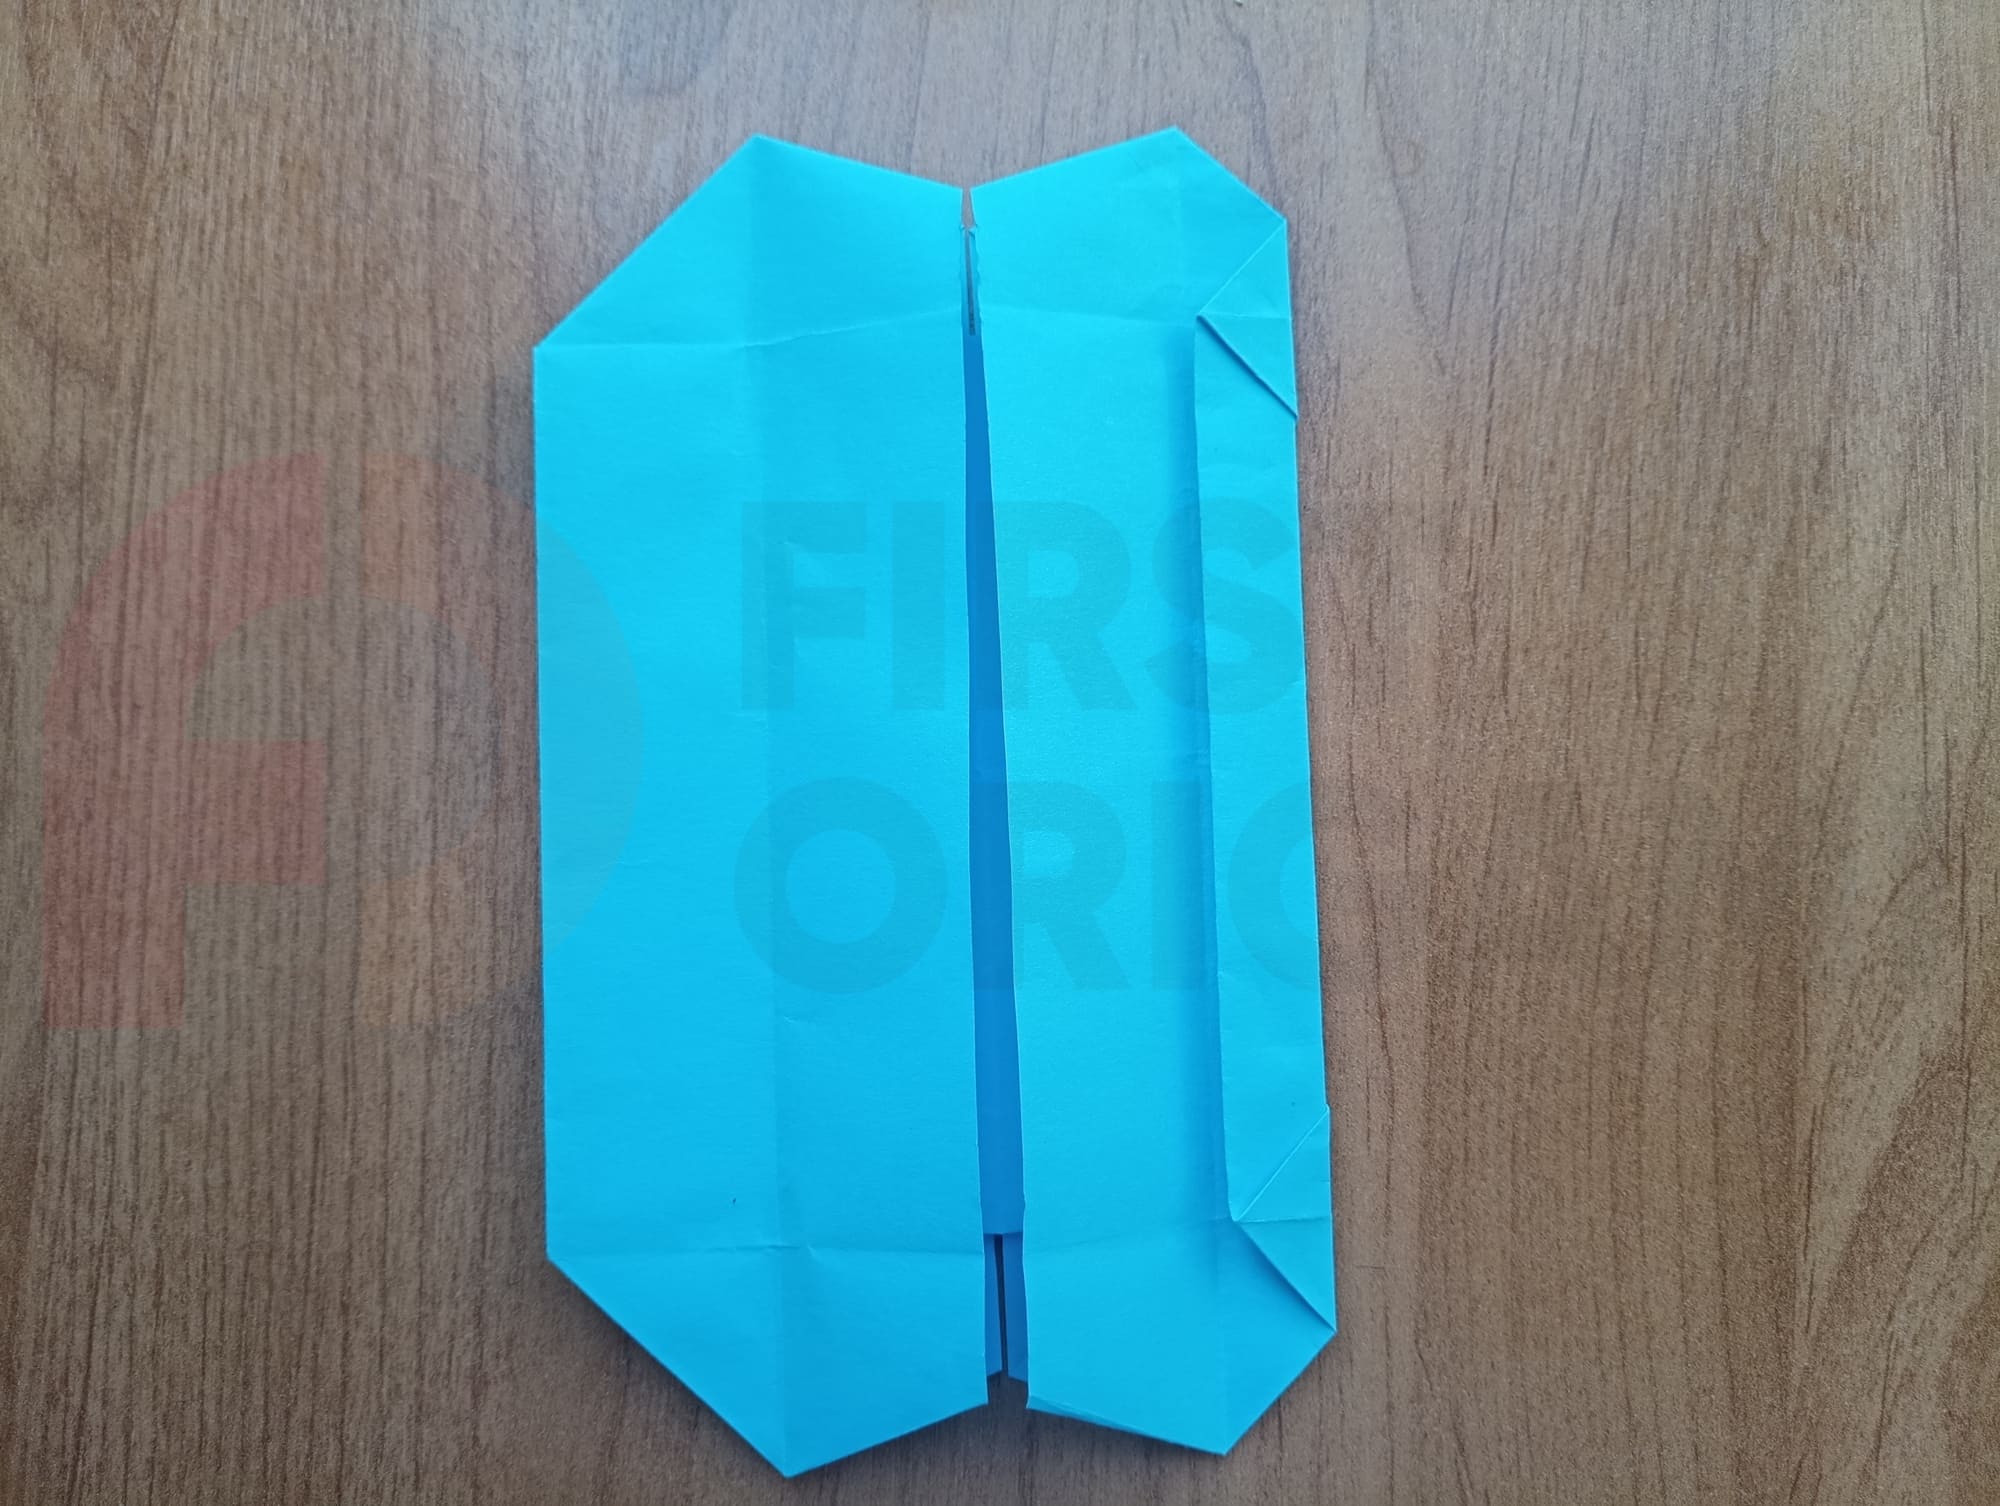
Turn the blank over and you will see half of the clover.
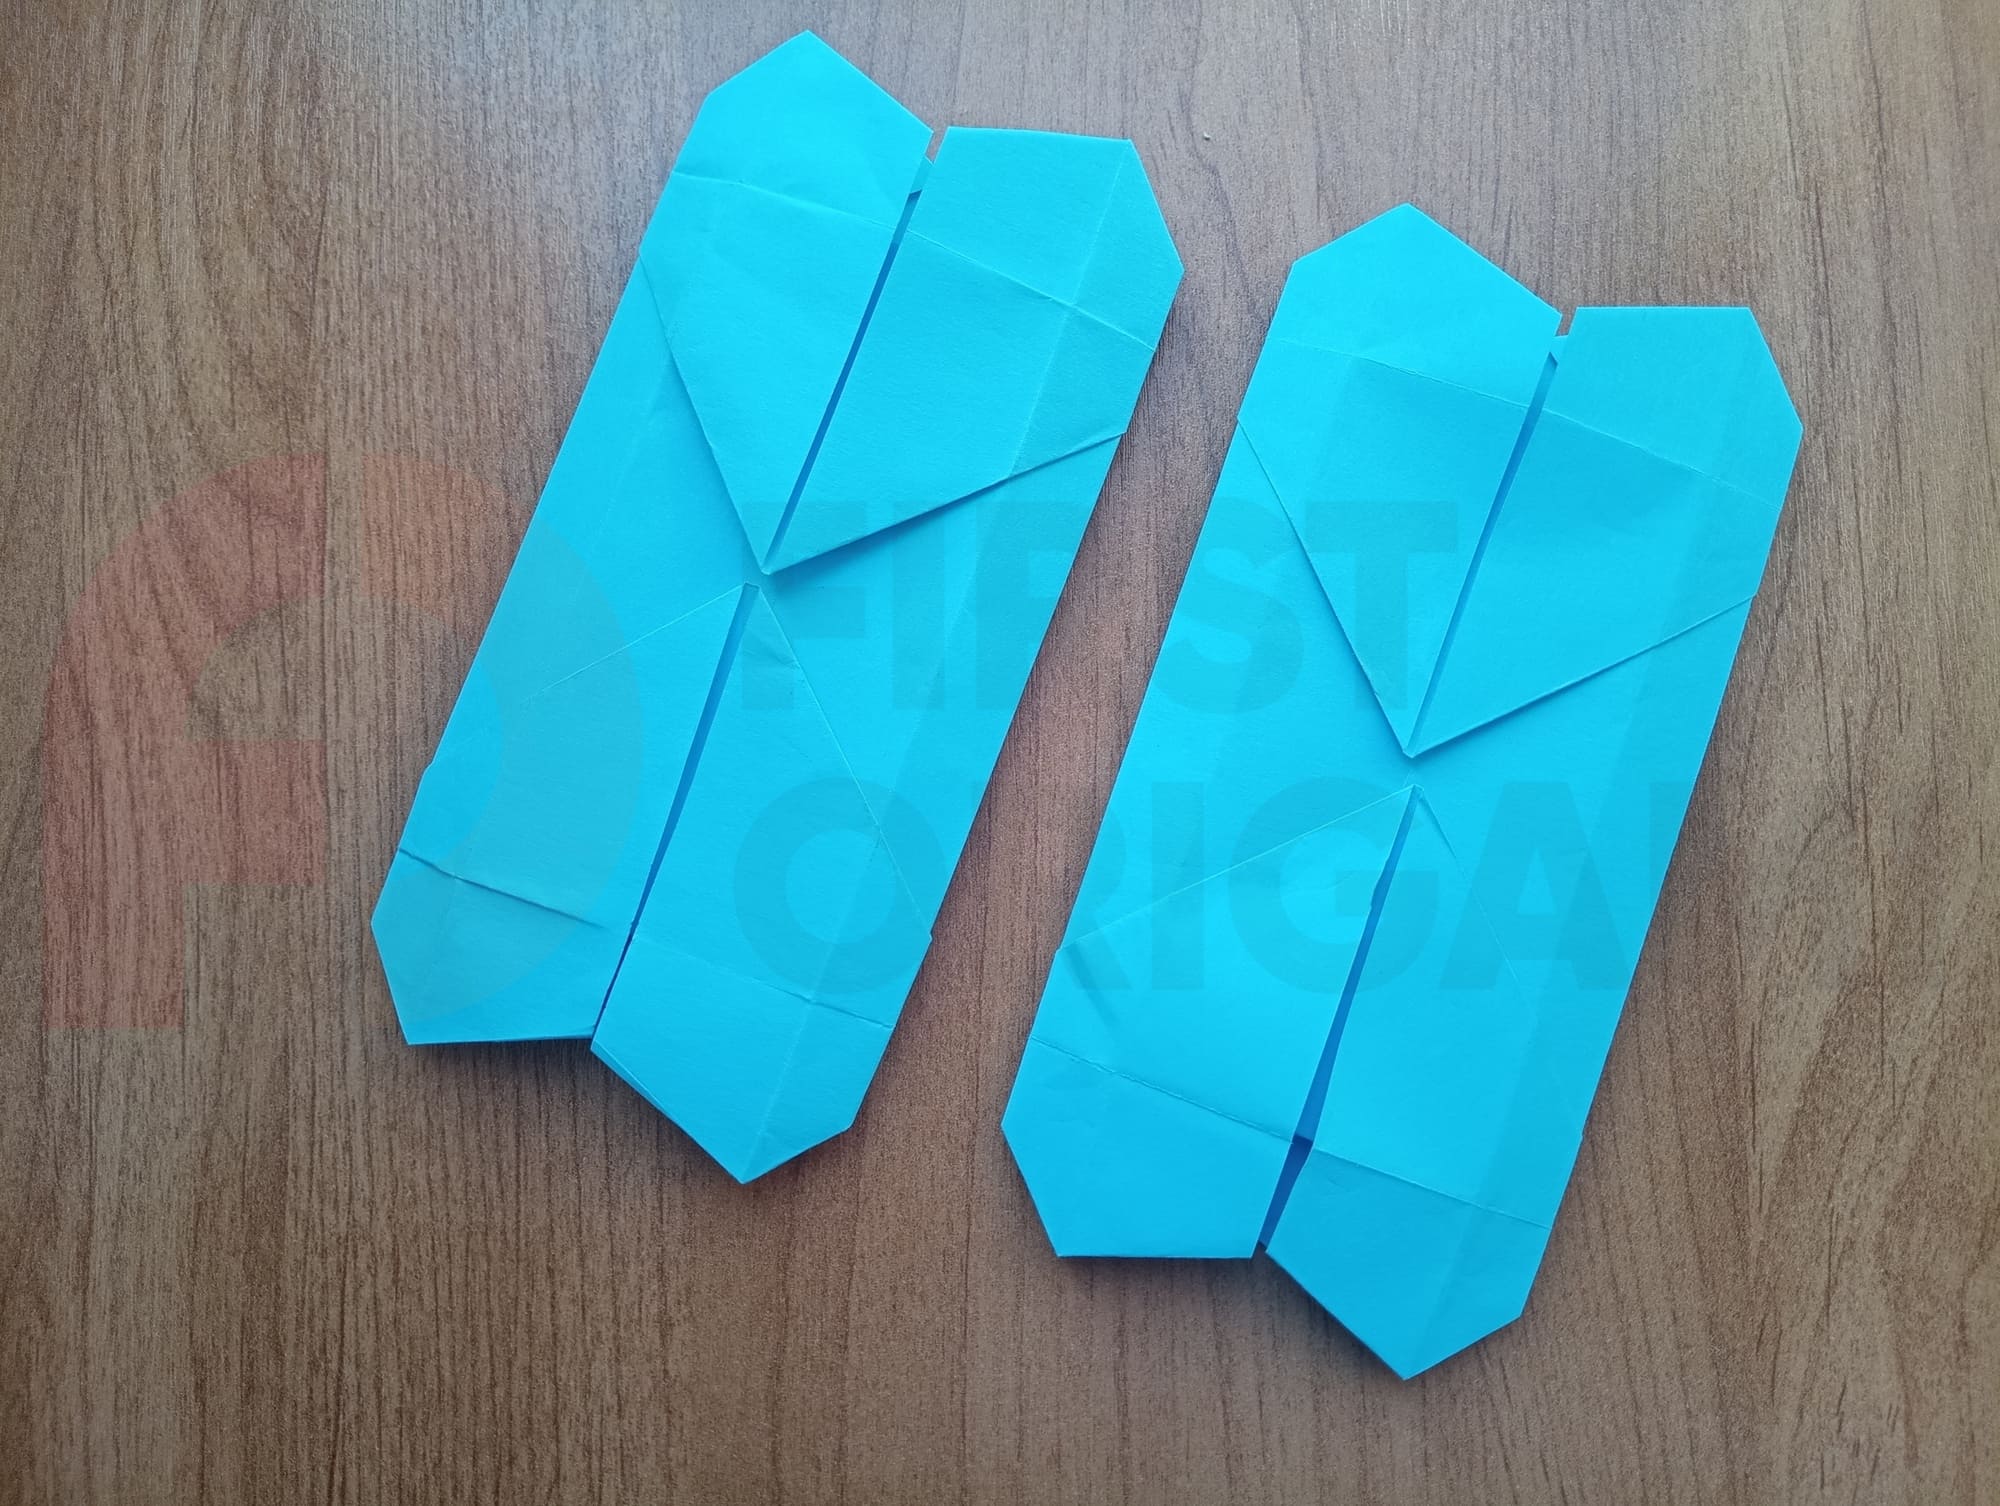
Make the other half of the blank and join them together.
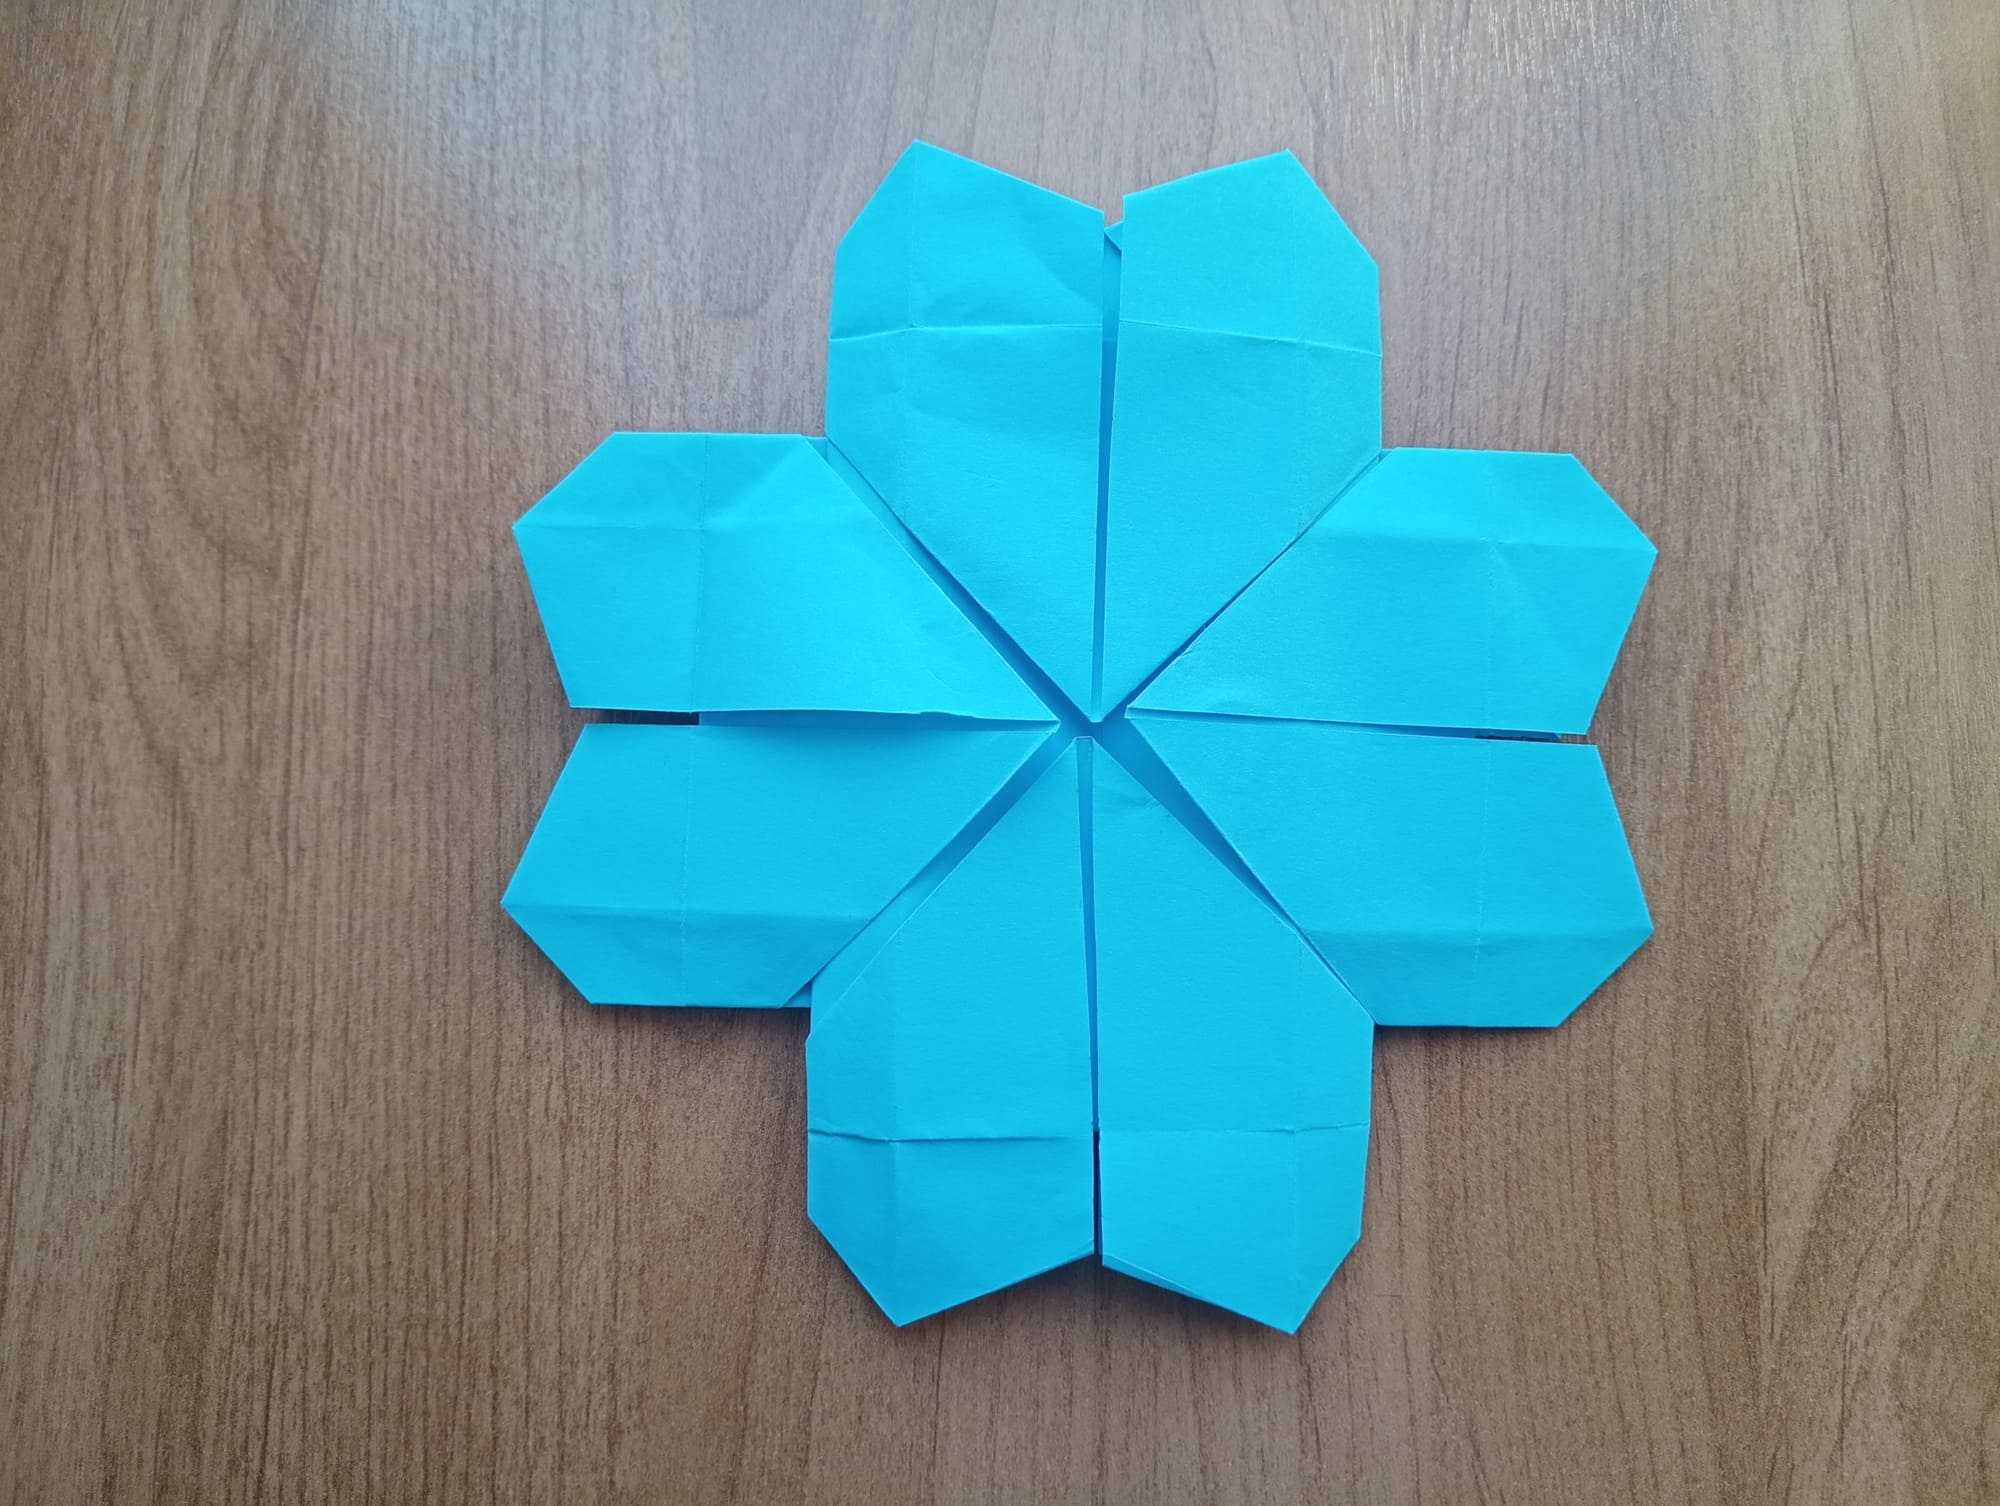
They will bind well with the tips of the formed hearts and will not fall apart.
Try it, you will definitely succeed!


