Origami Frog Base
The classic base is the initial stage for making a frog in origami technique. It can be an element for other interesting figures. Just follow the instructions and carefully repeat all the steps of the work. It is on the basis will depend on the correctness of further actions and the final result. Prepare origami paper of any color, and let’s begin!
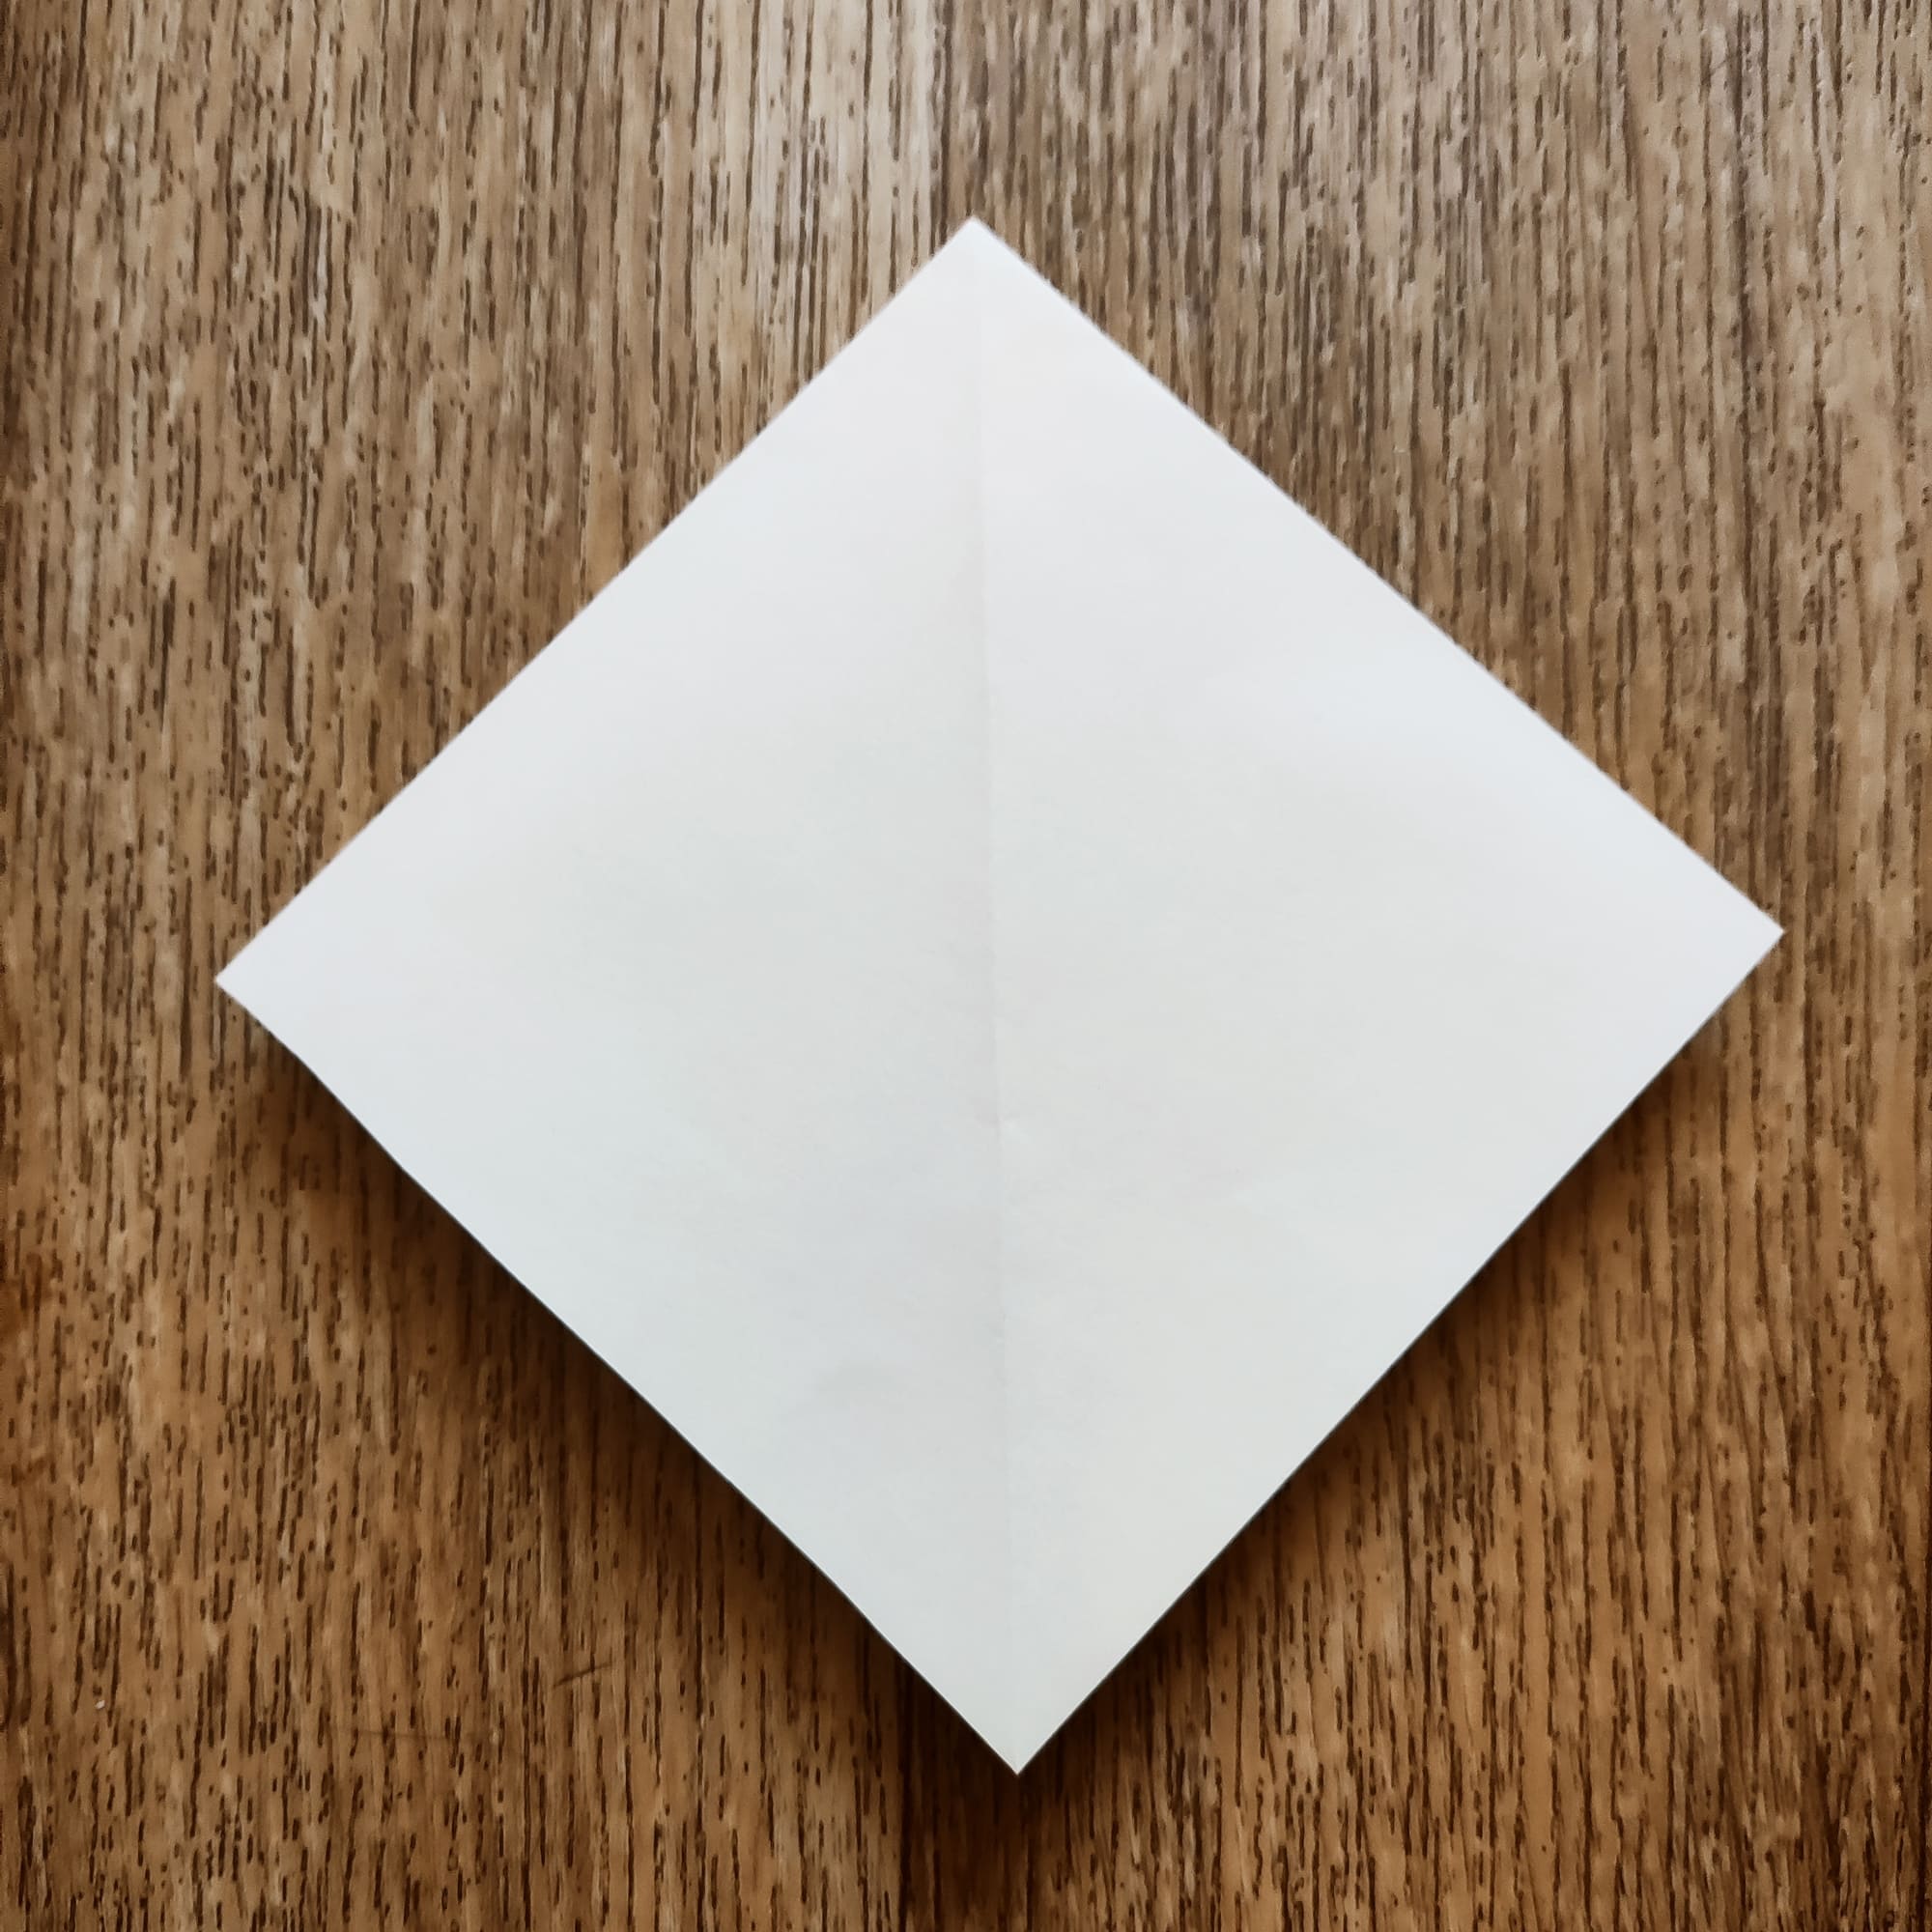
Fold a square base.
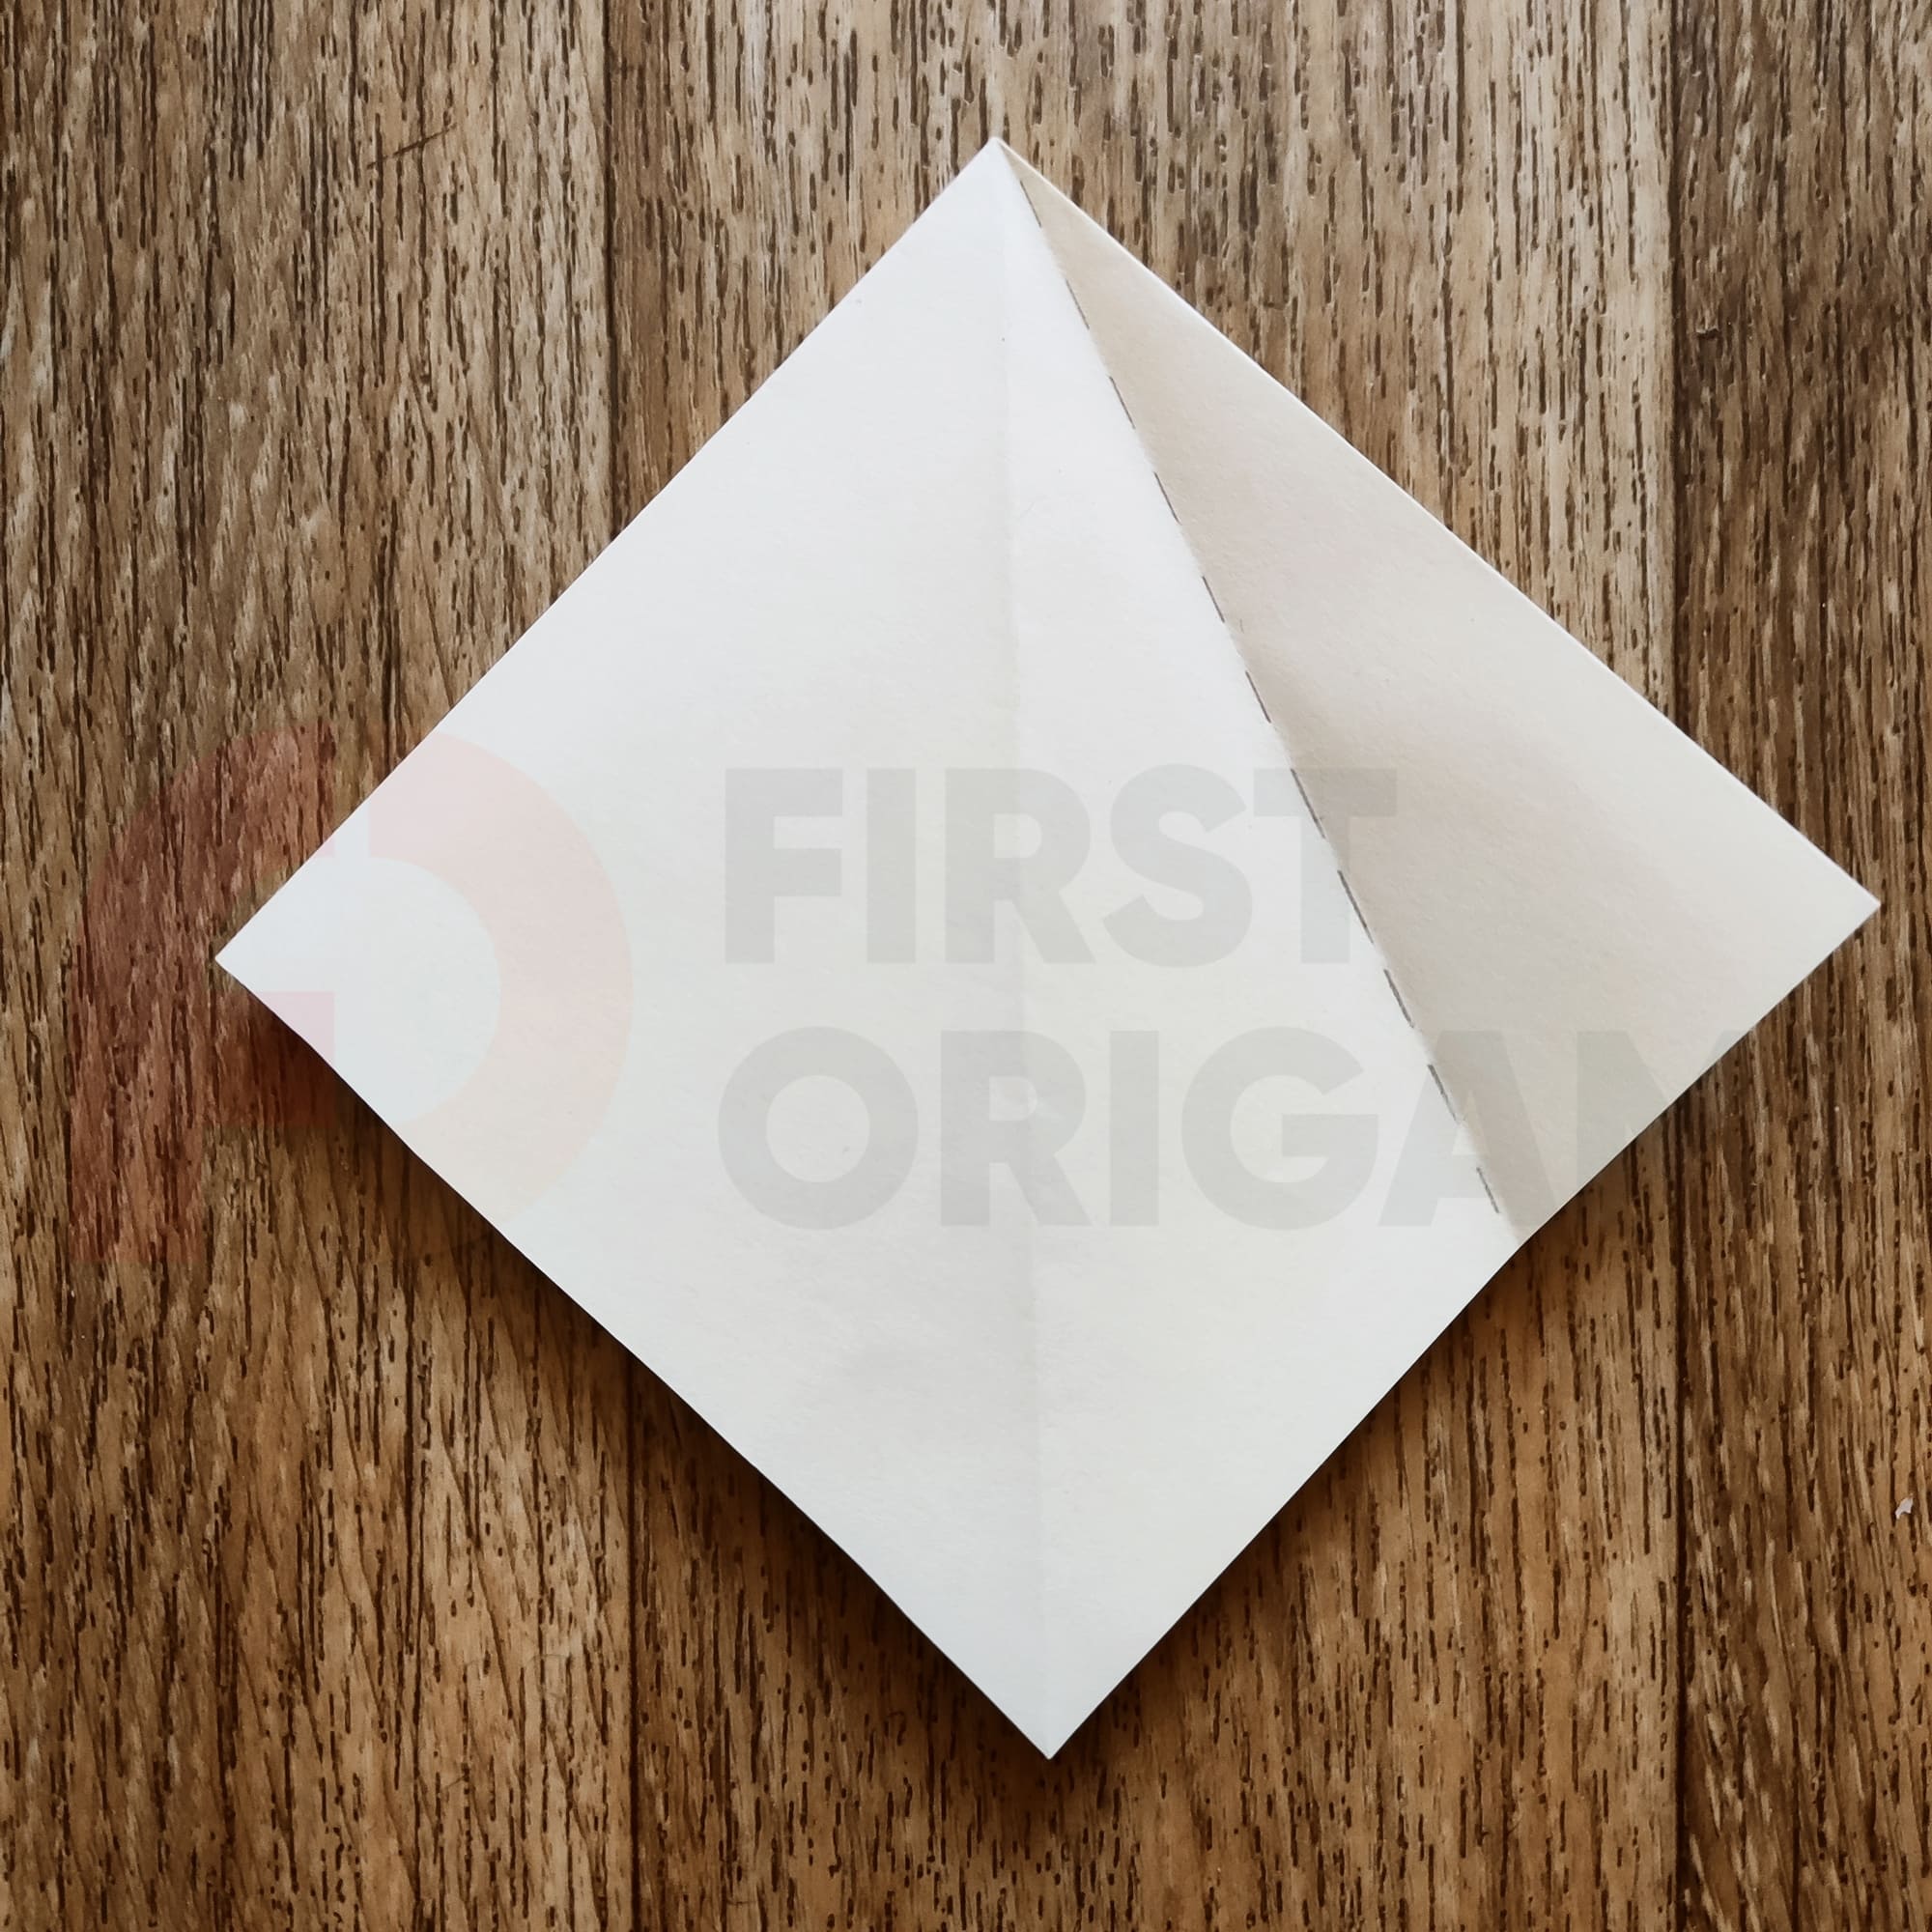
Fold the right edge to the center. Then unfold it.
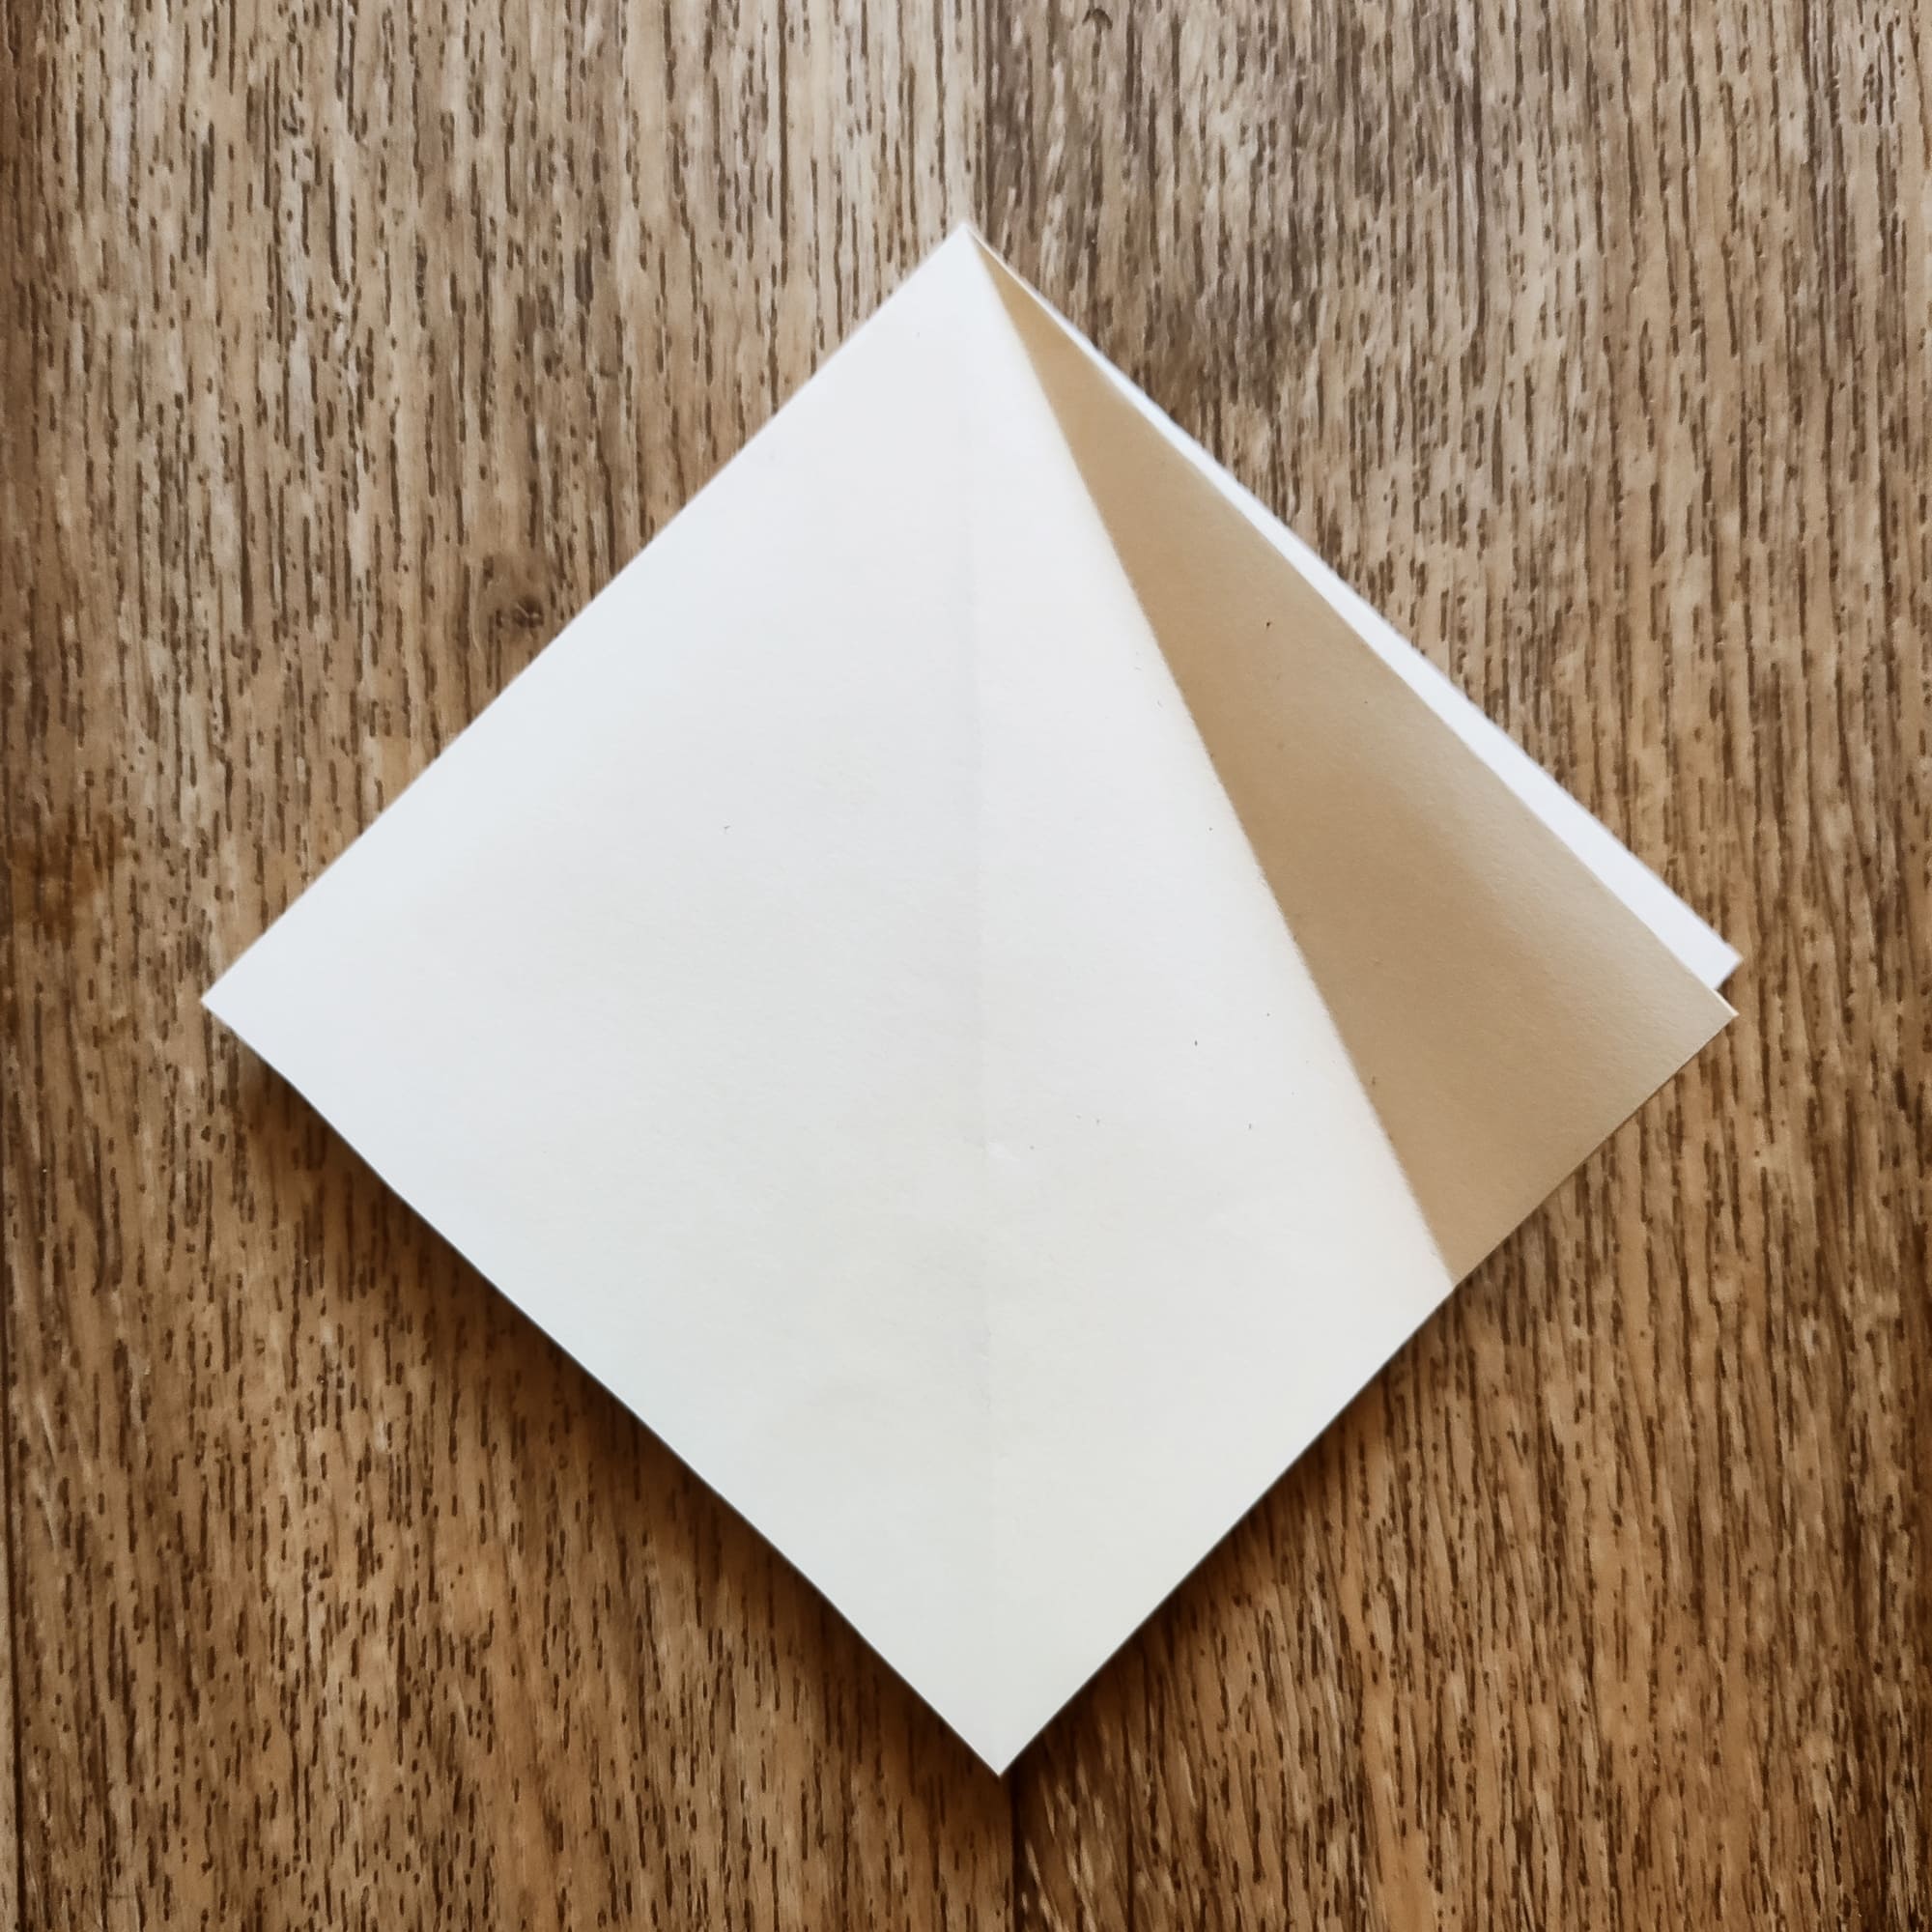
You should get the right “wing” of your rhombus sticking up.
Pull the paper apart and press well, as in the photo.
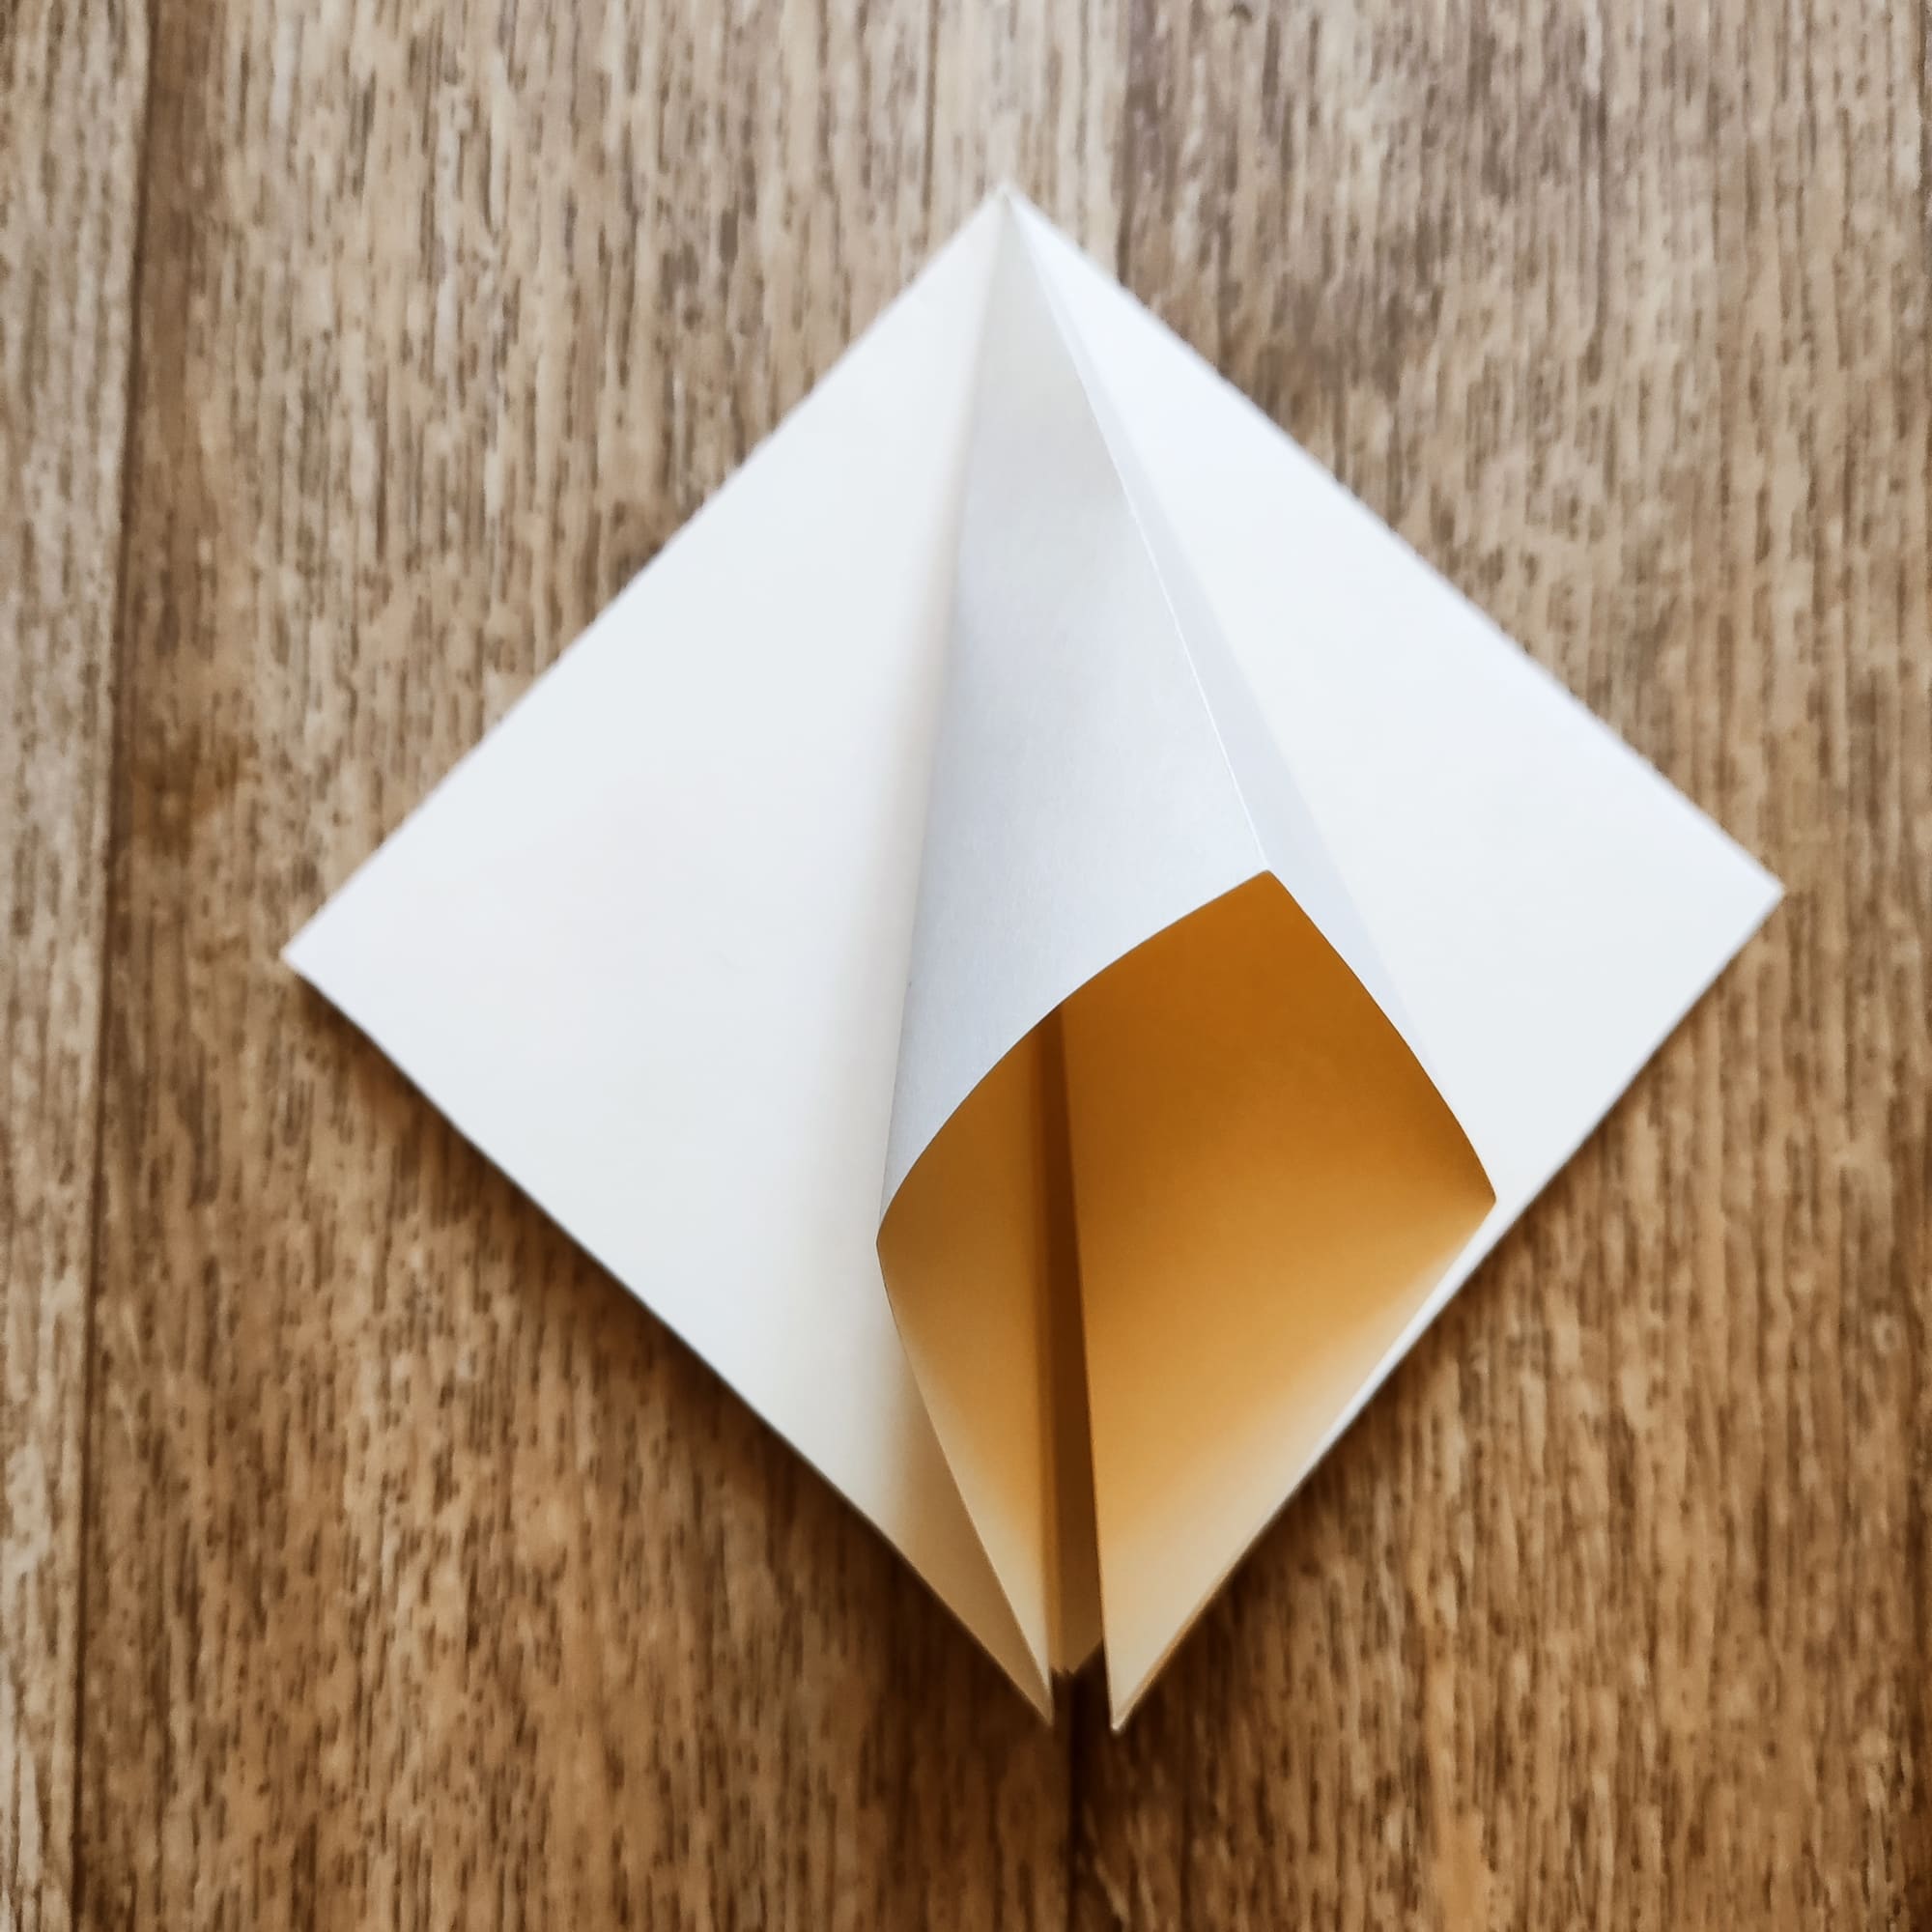
Iron the resulting figure on the surface of the table with your fingers.
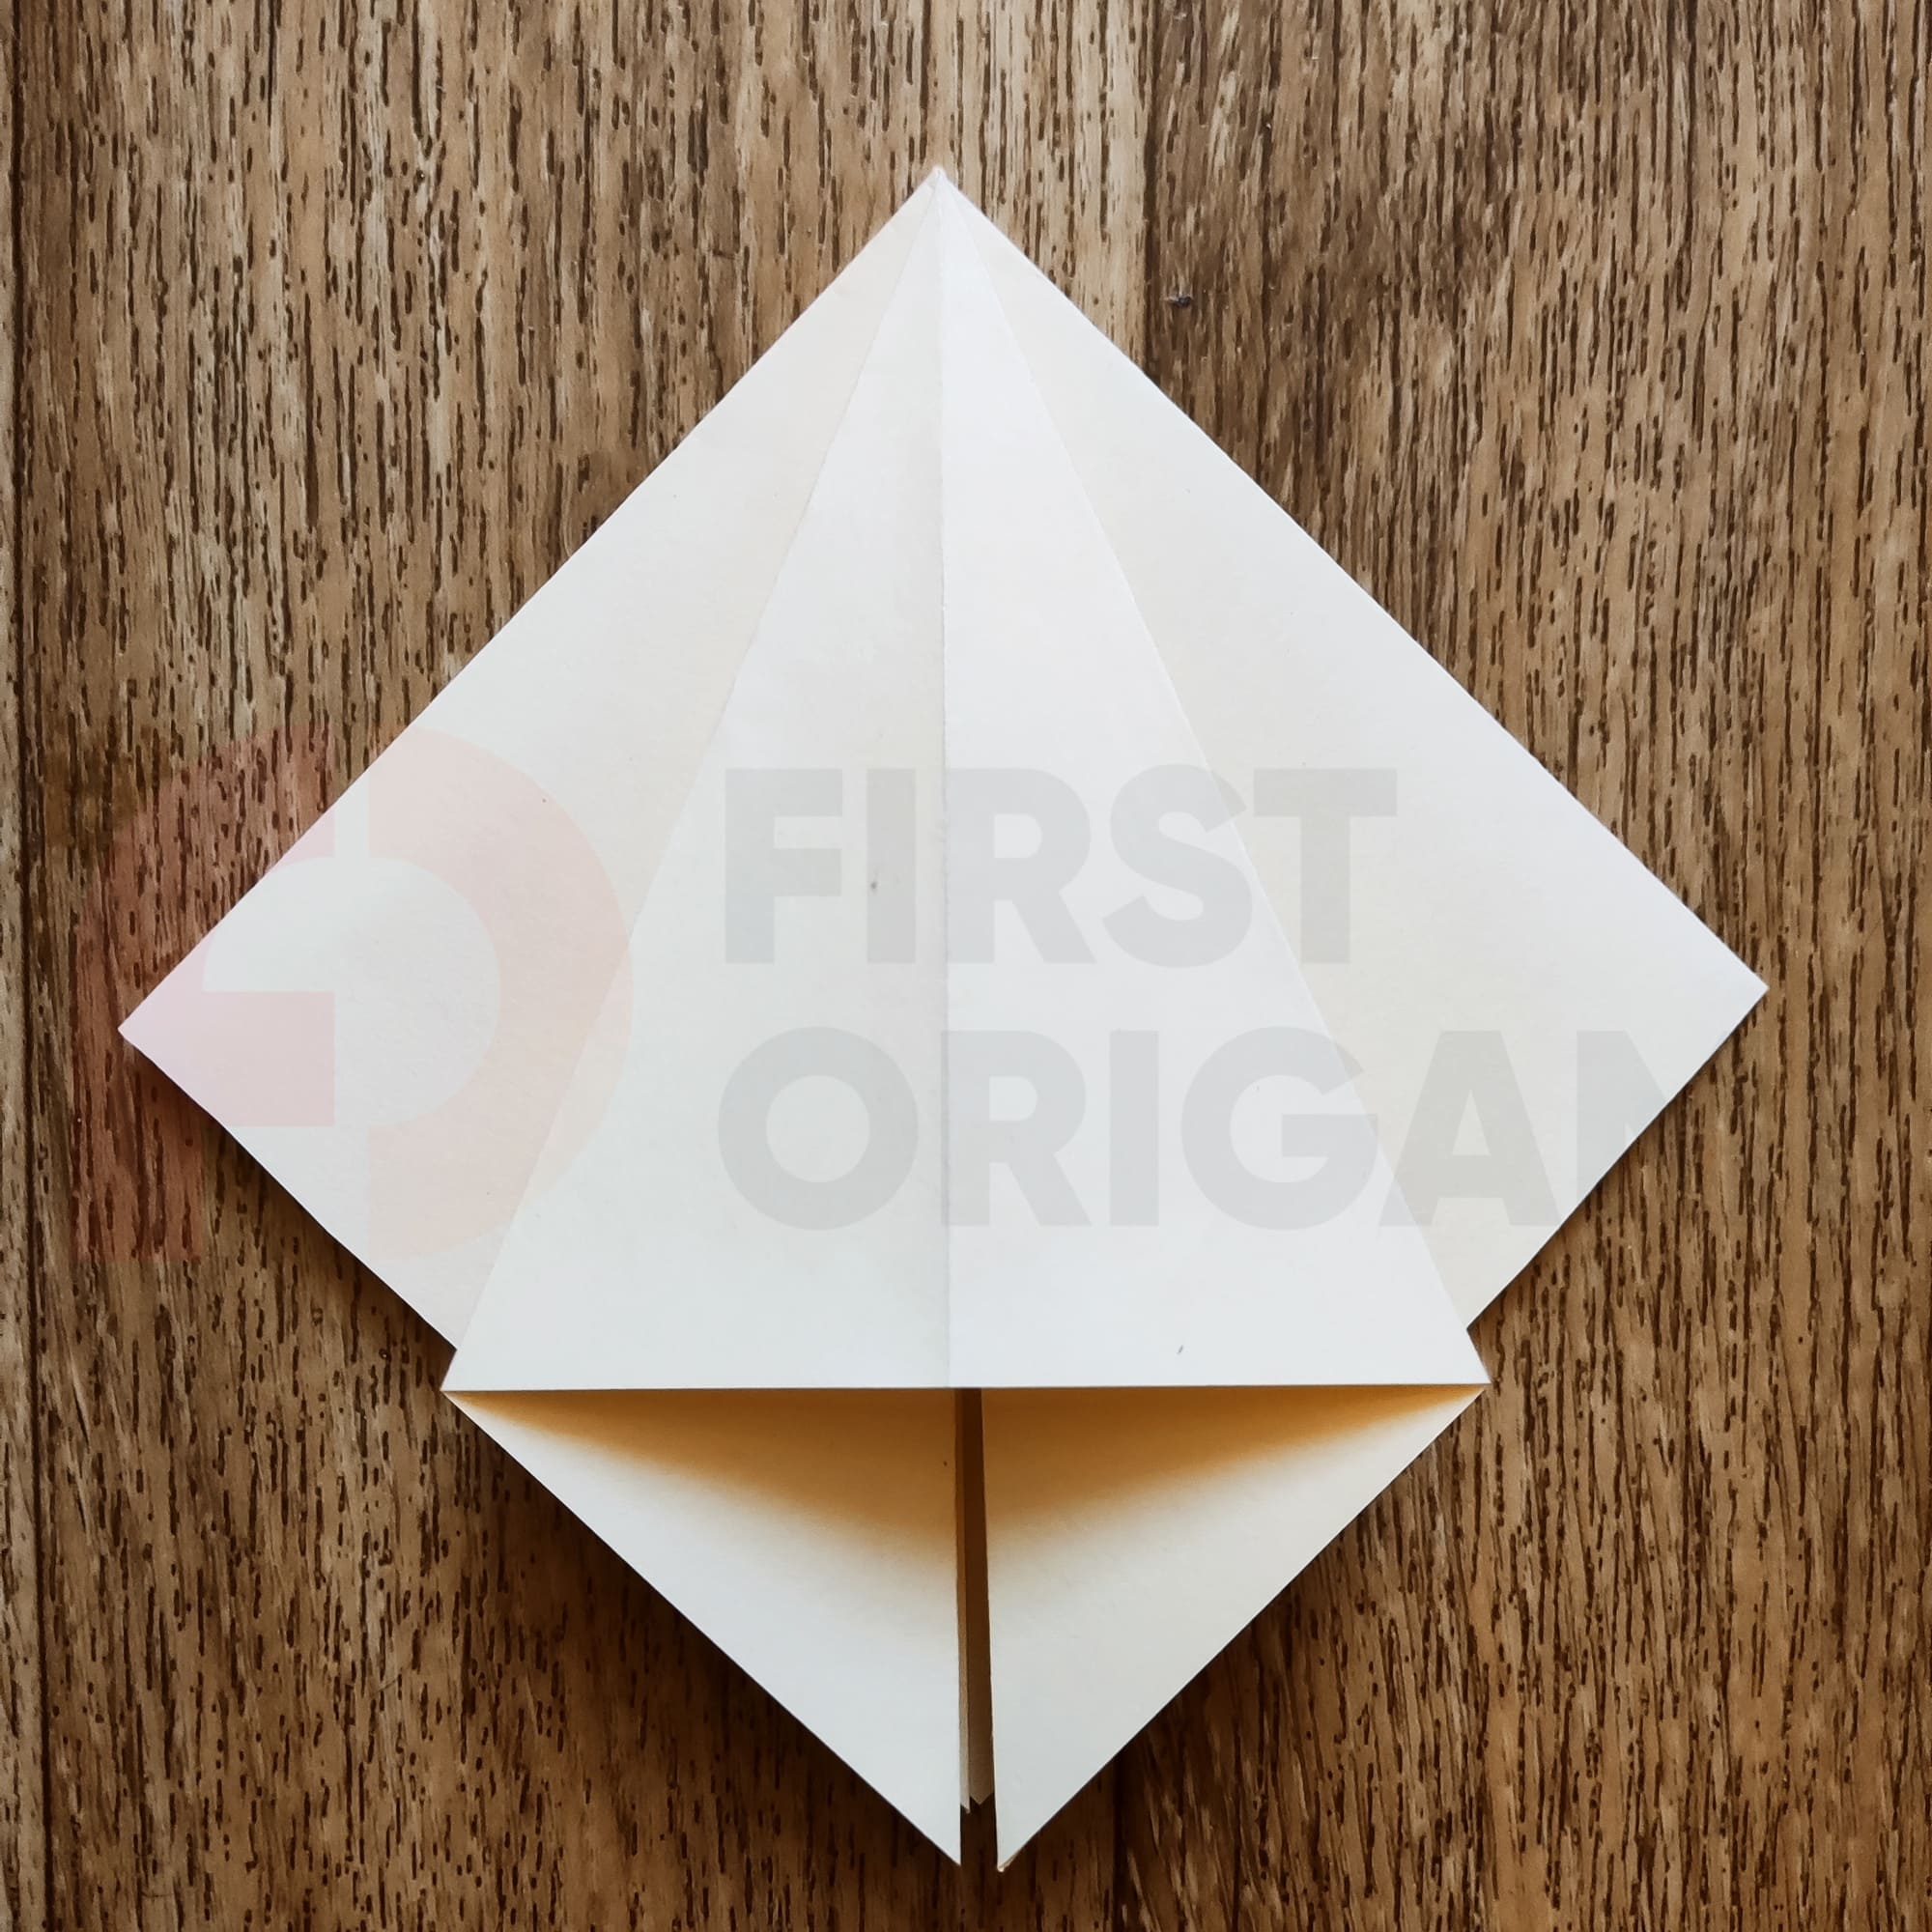
Flip to the left side.
Repeat the previous steps 3 more times.
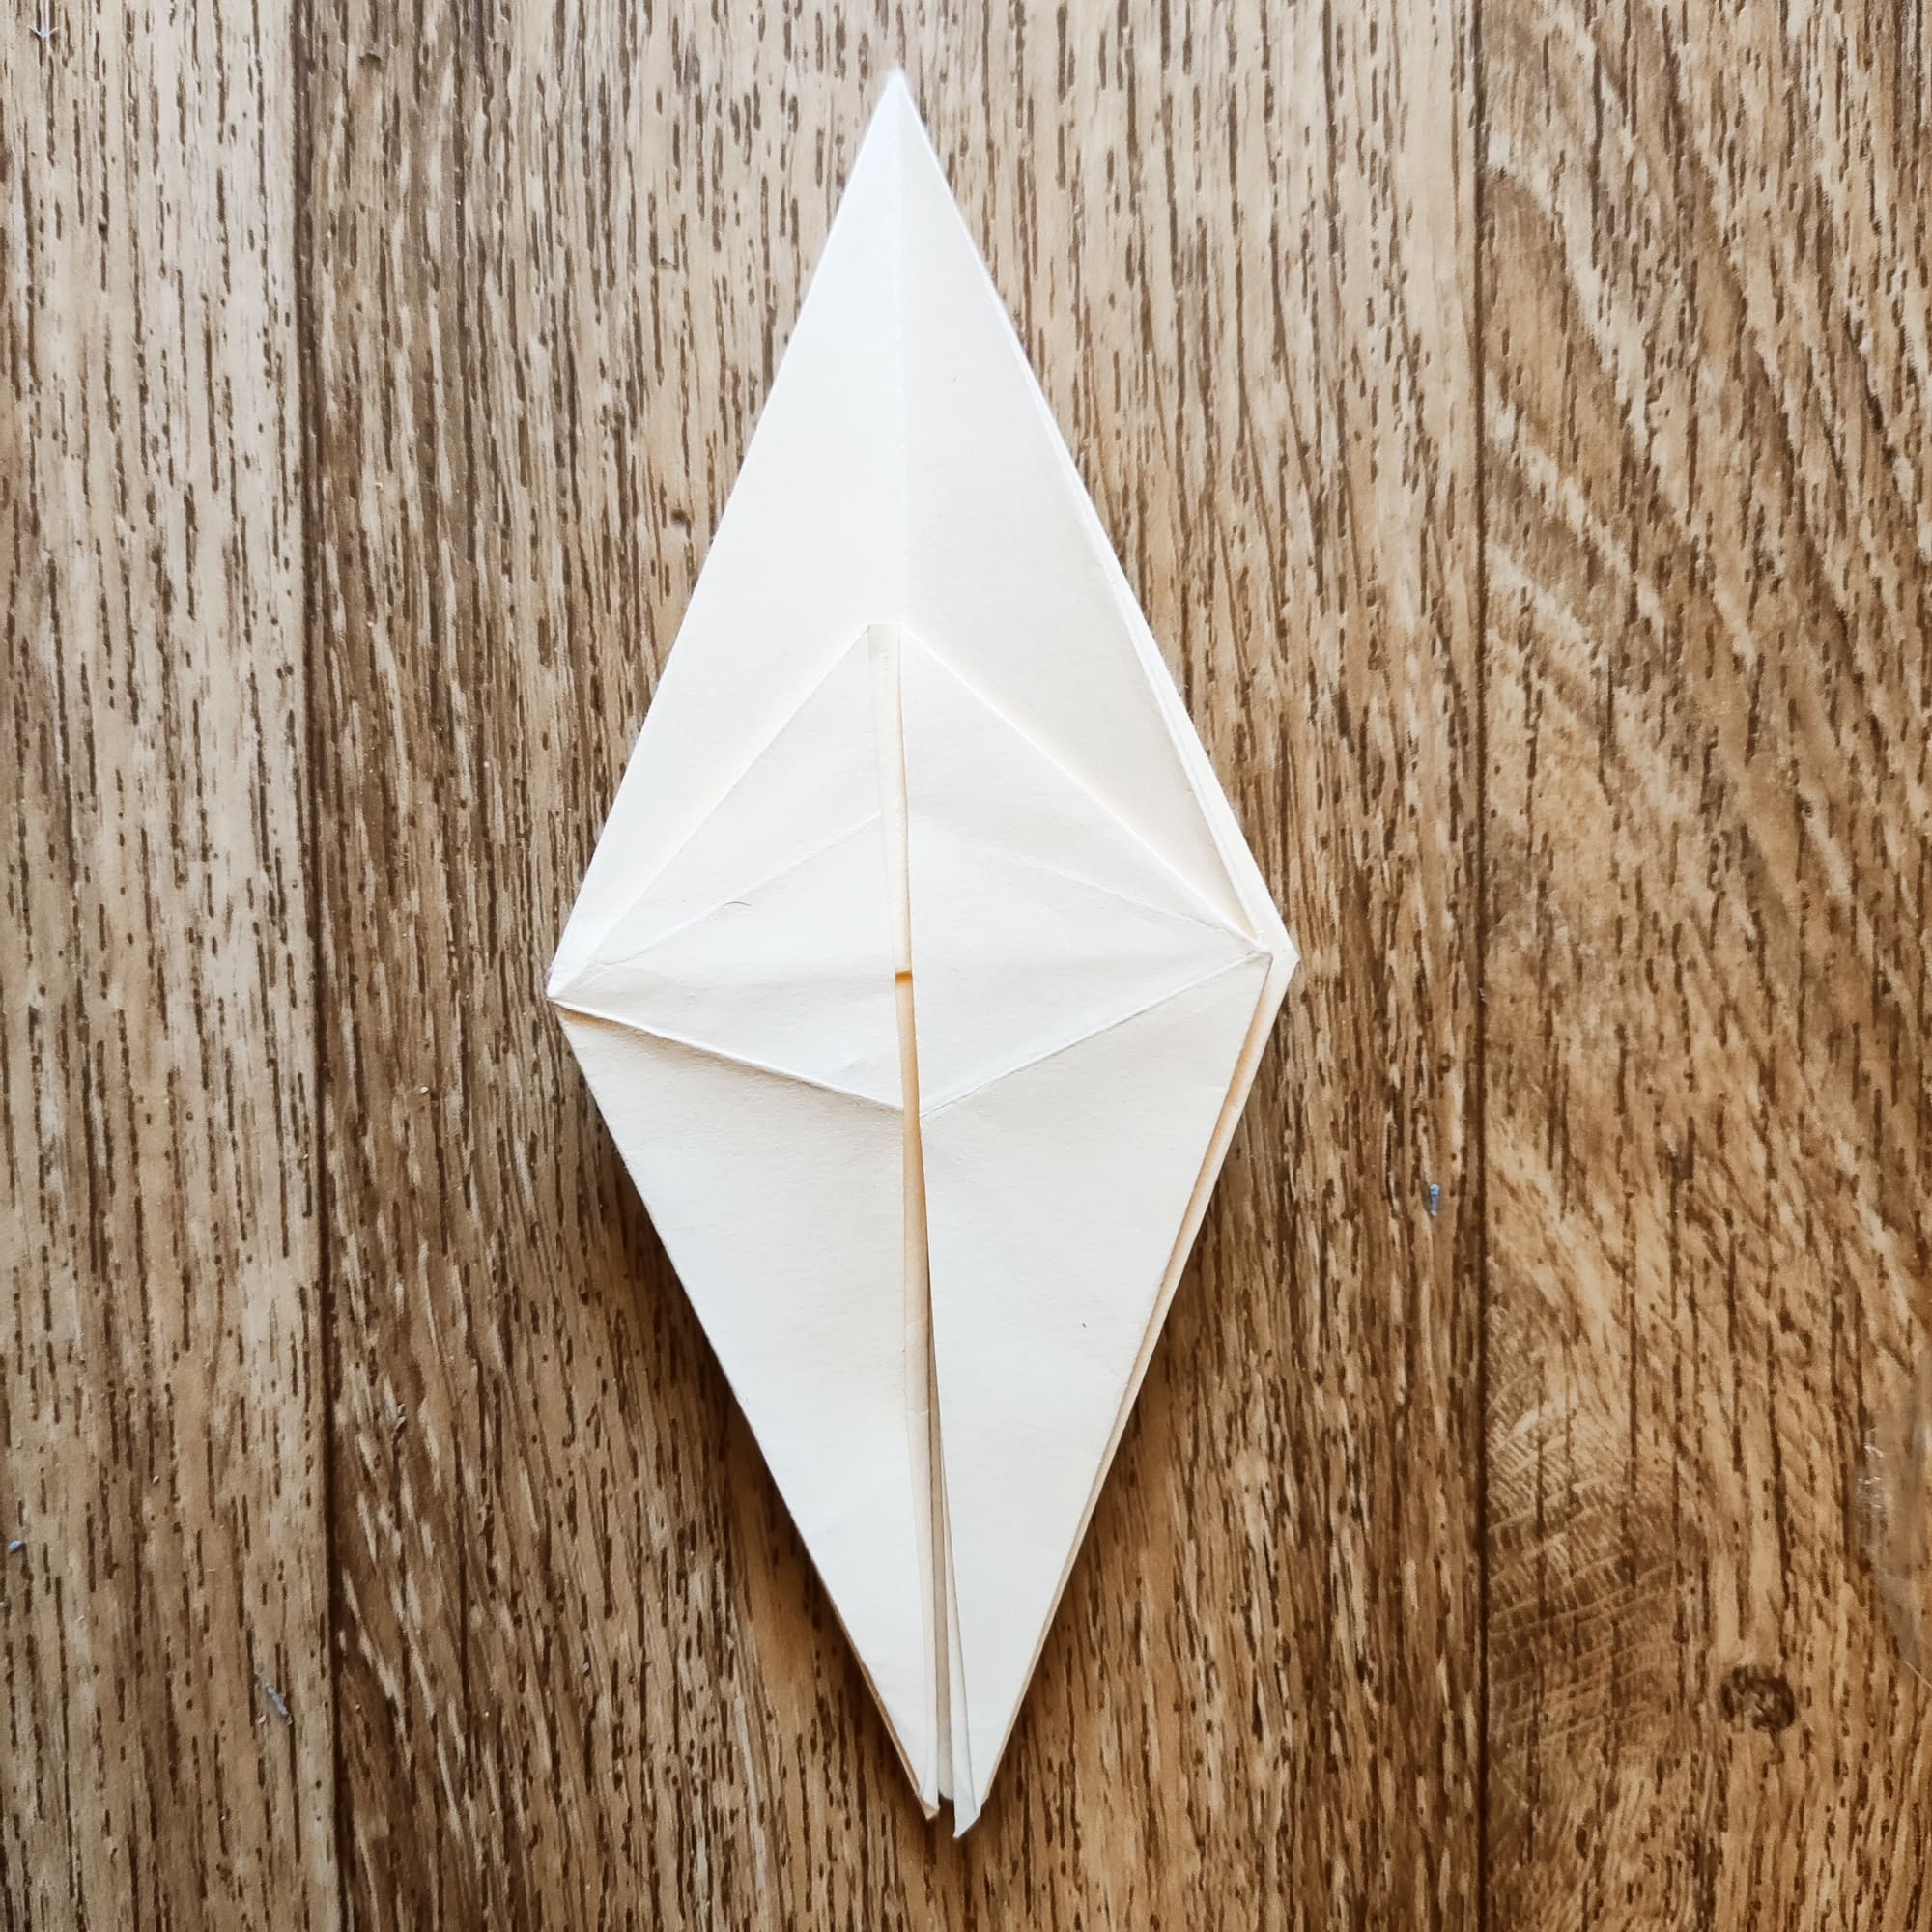
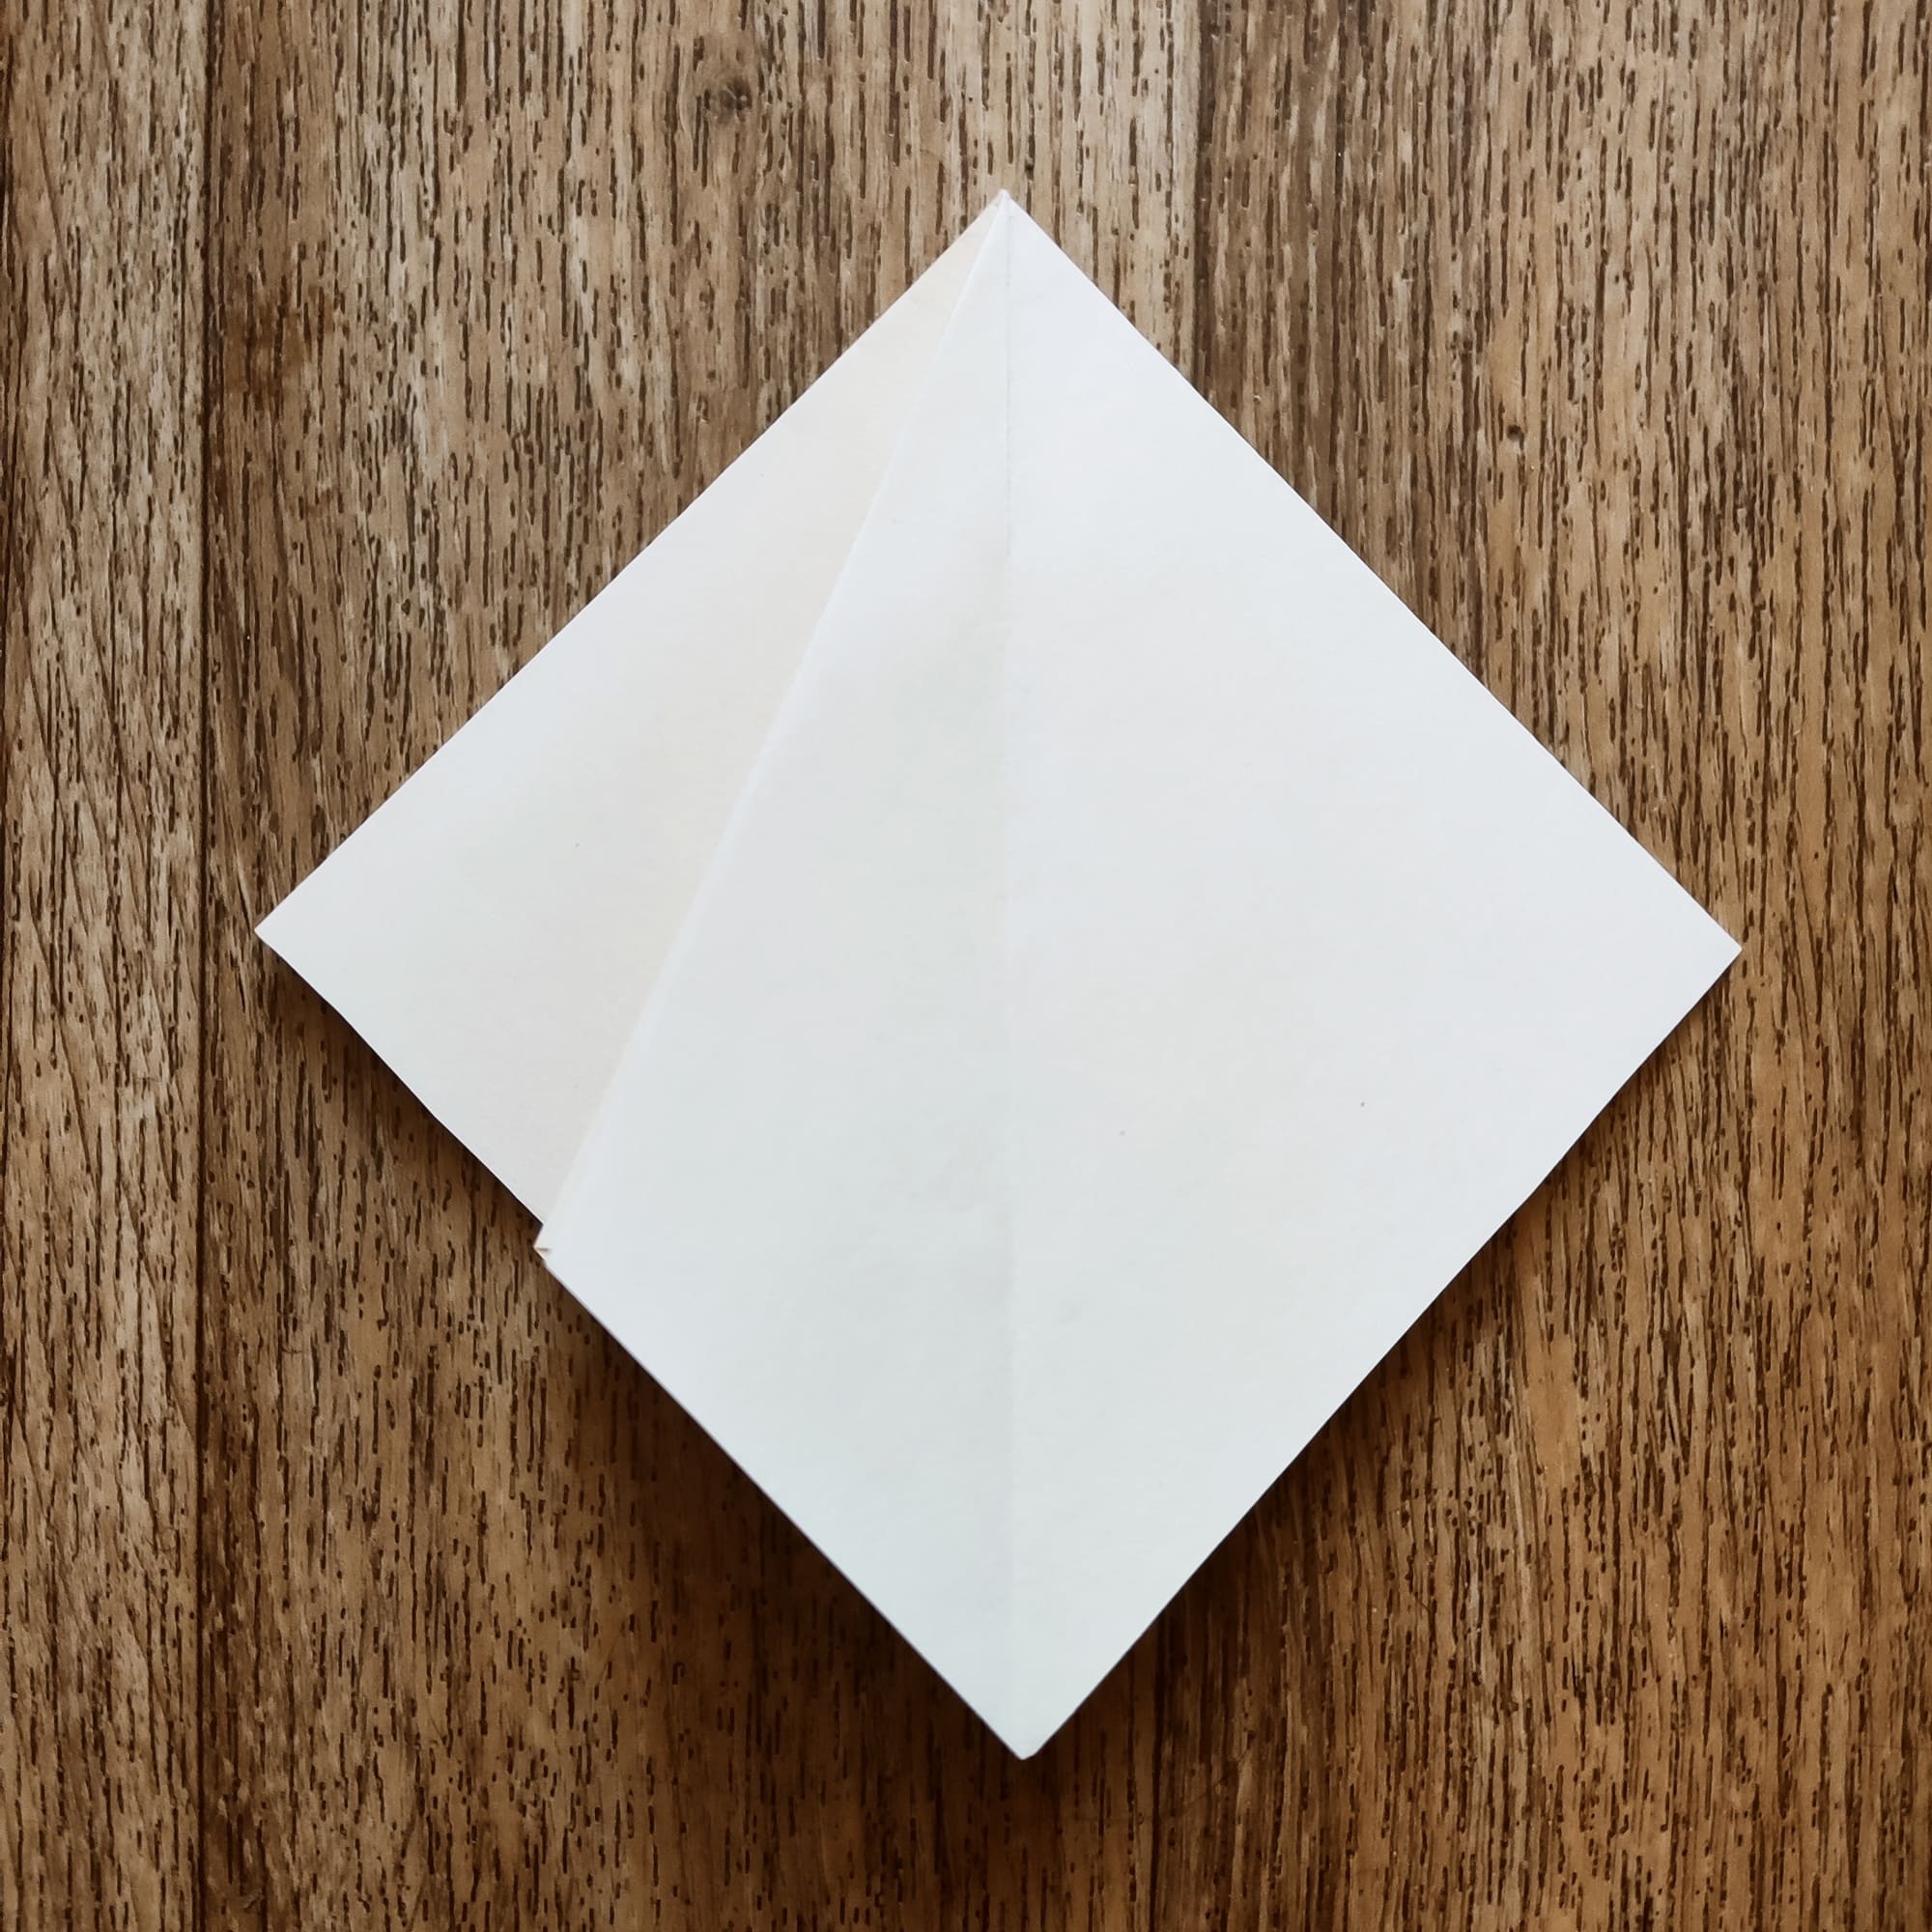
Fold one and the other side diagonally to the center, then unfold.
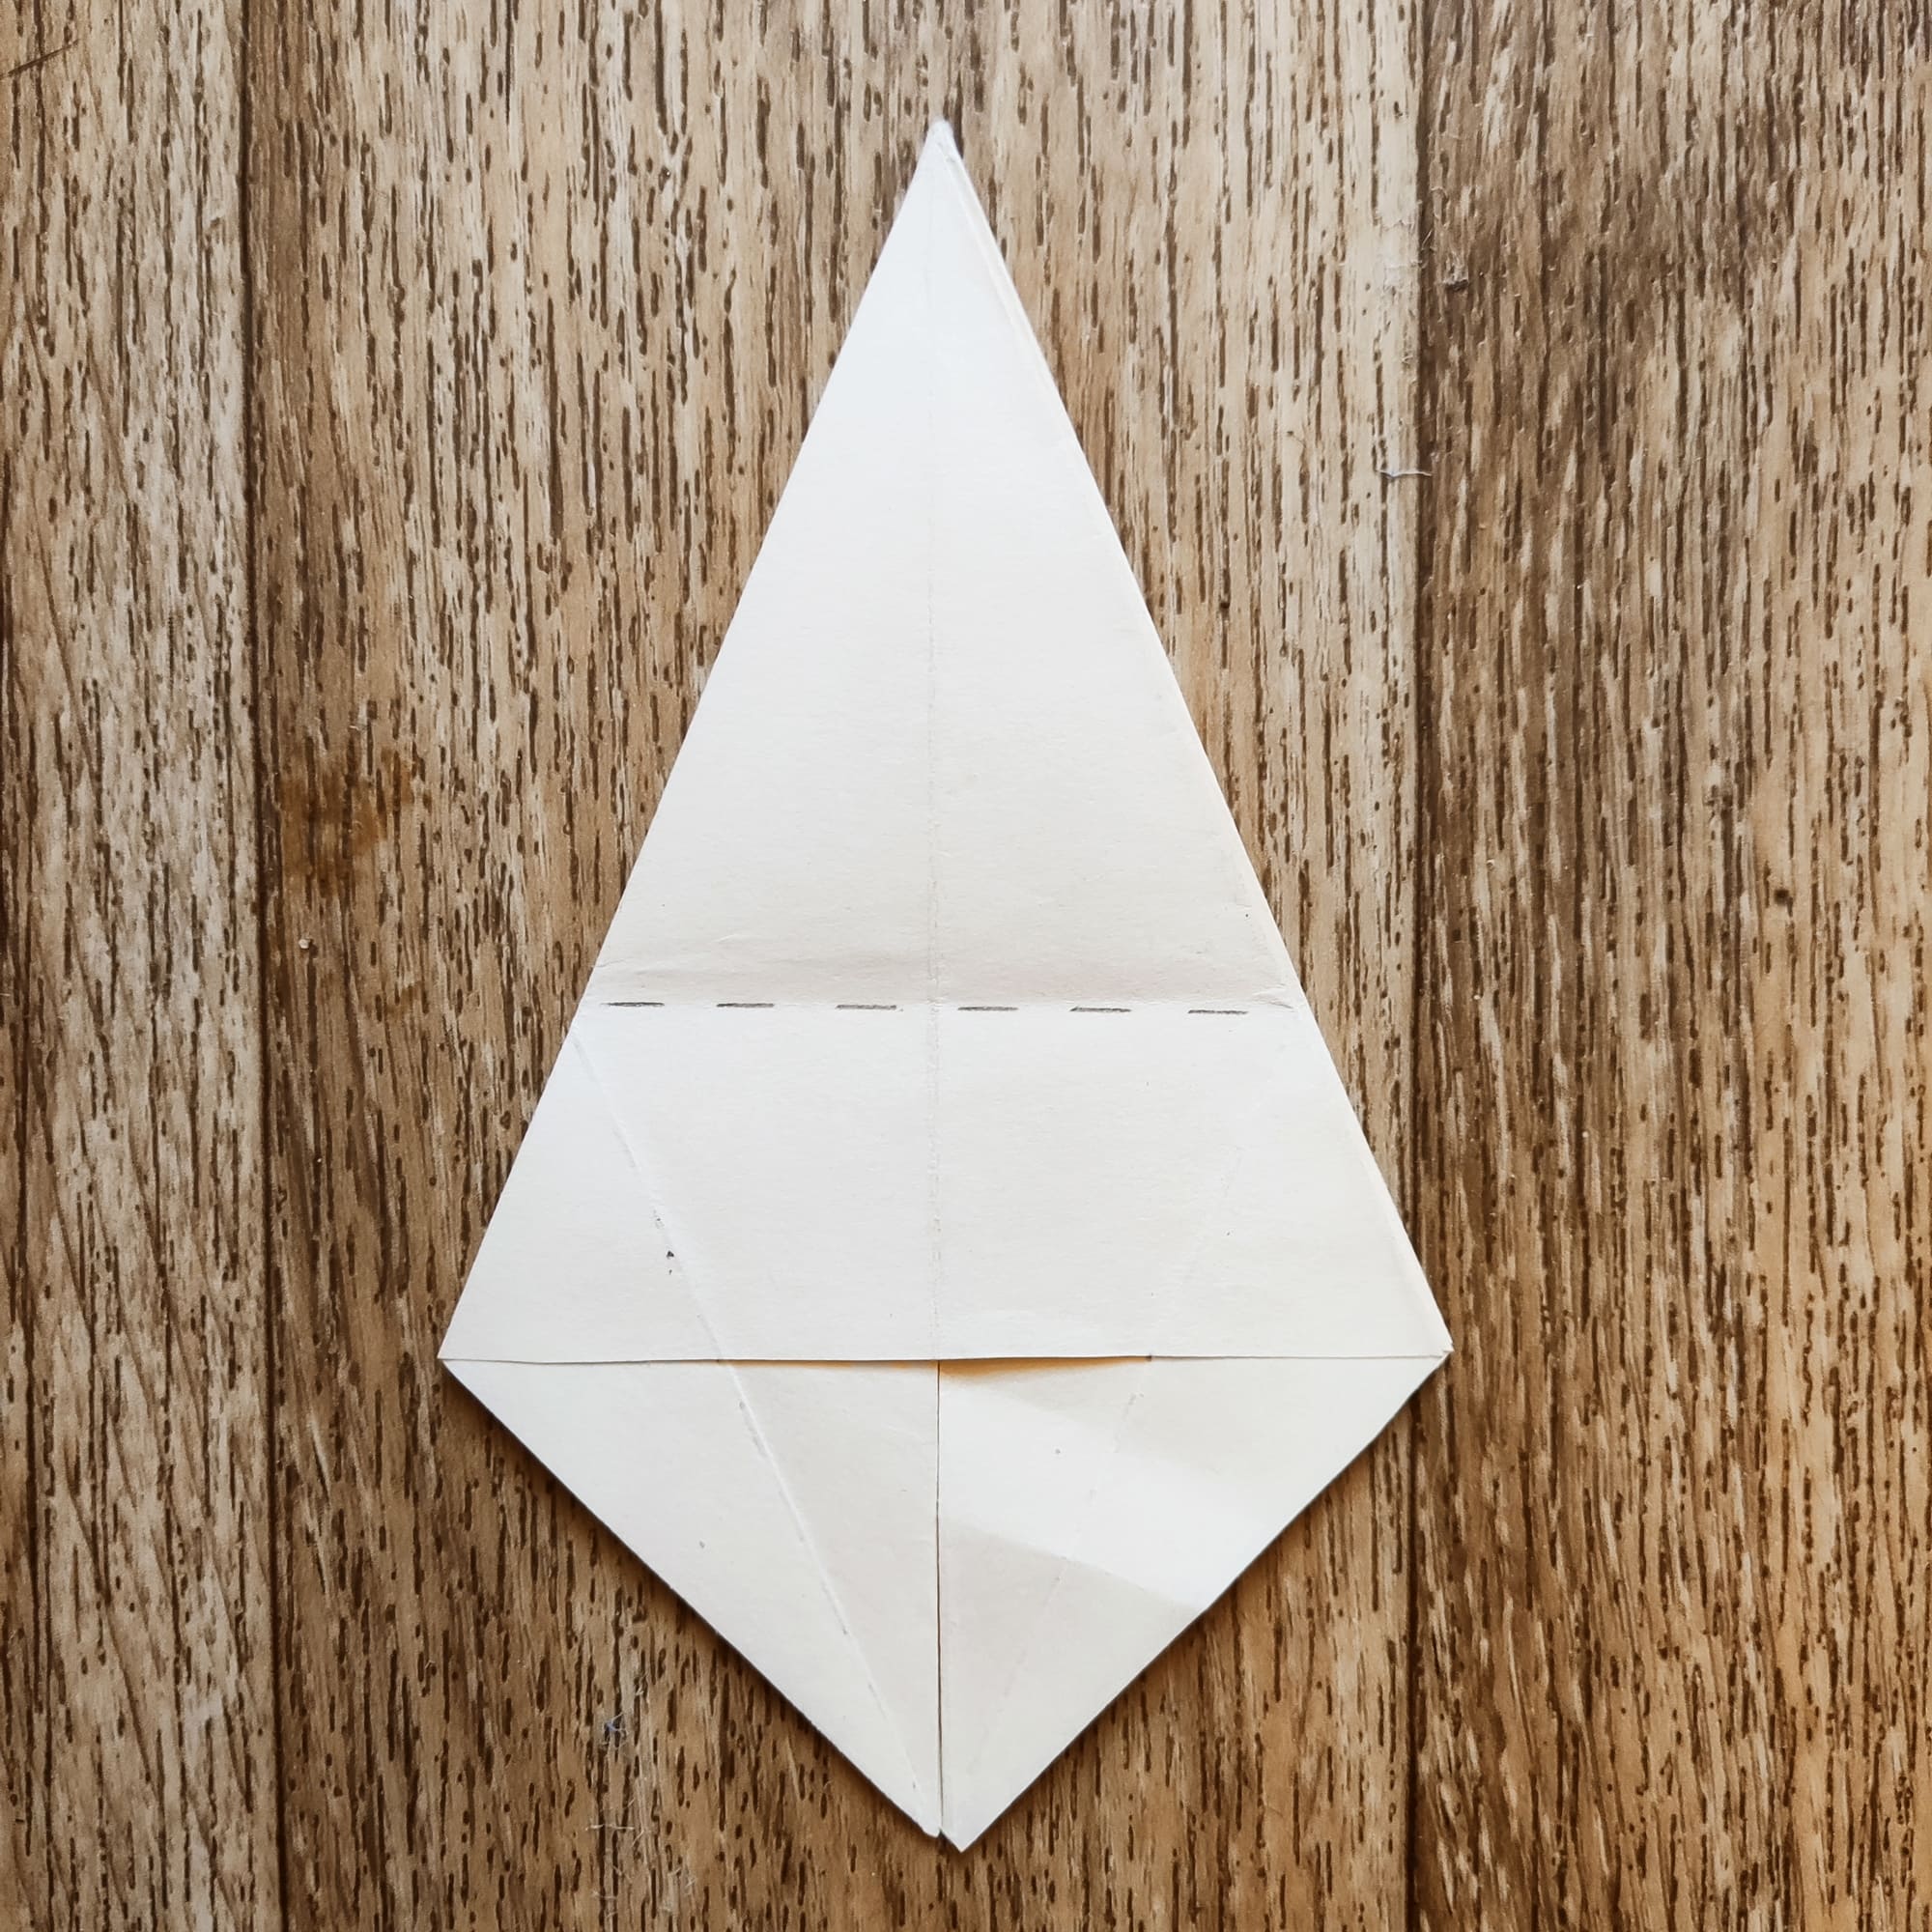
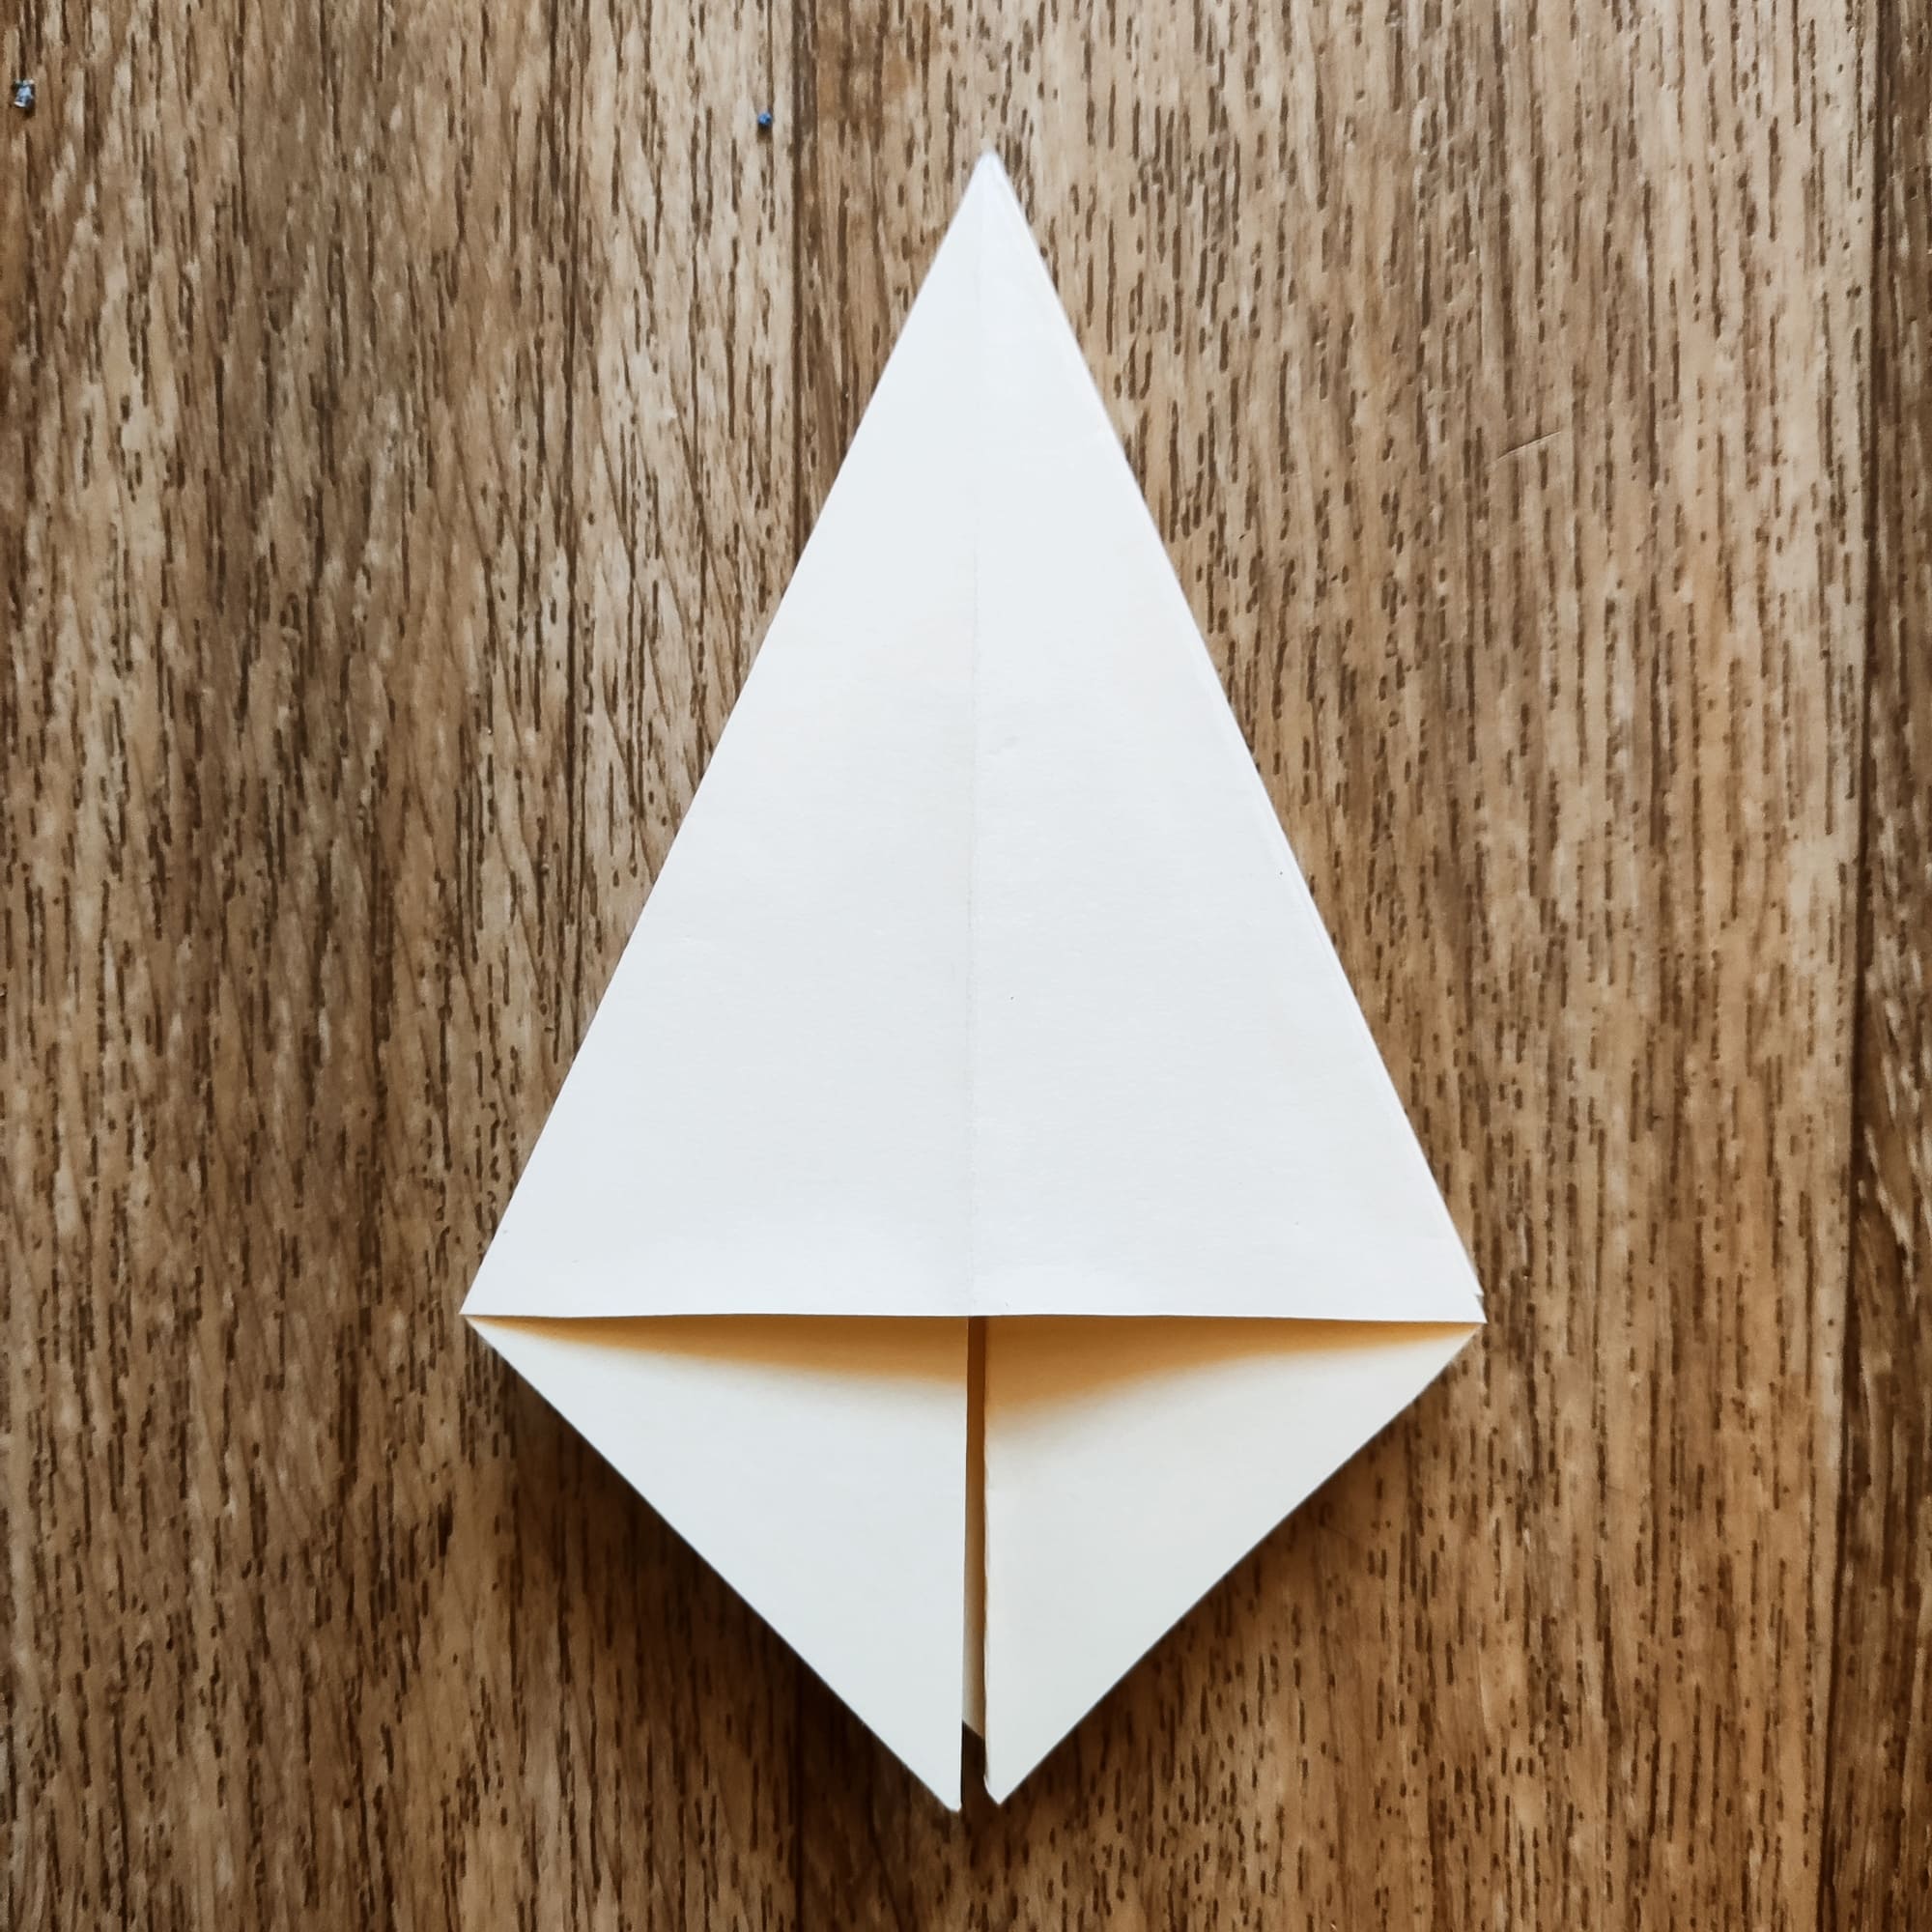
Make a horizontal fold. Bring it back to its original shape. This is the preparation for the “petal fold” technique.
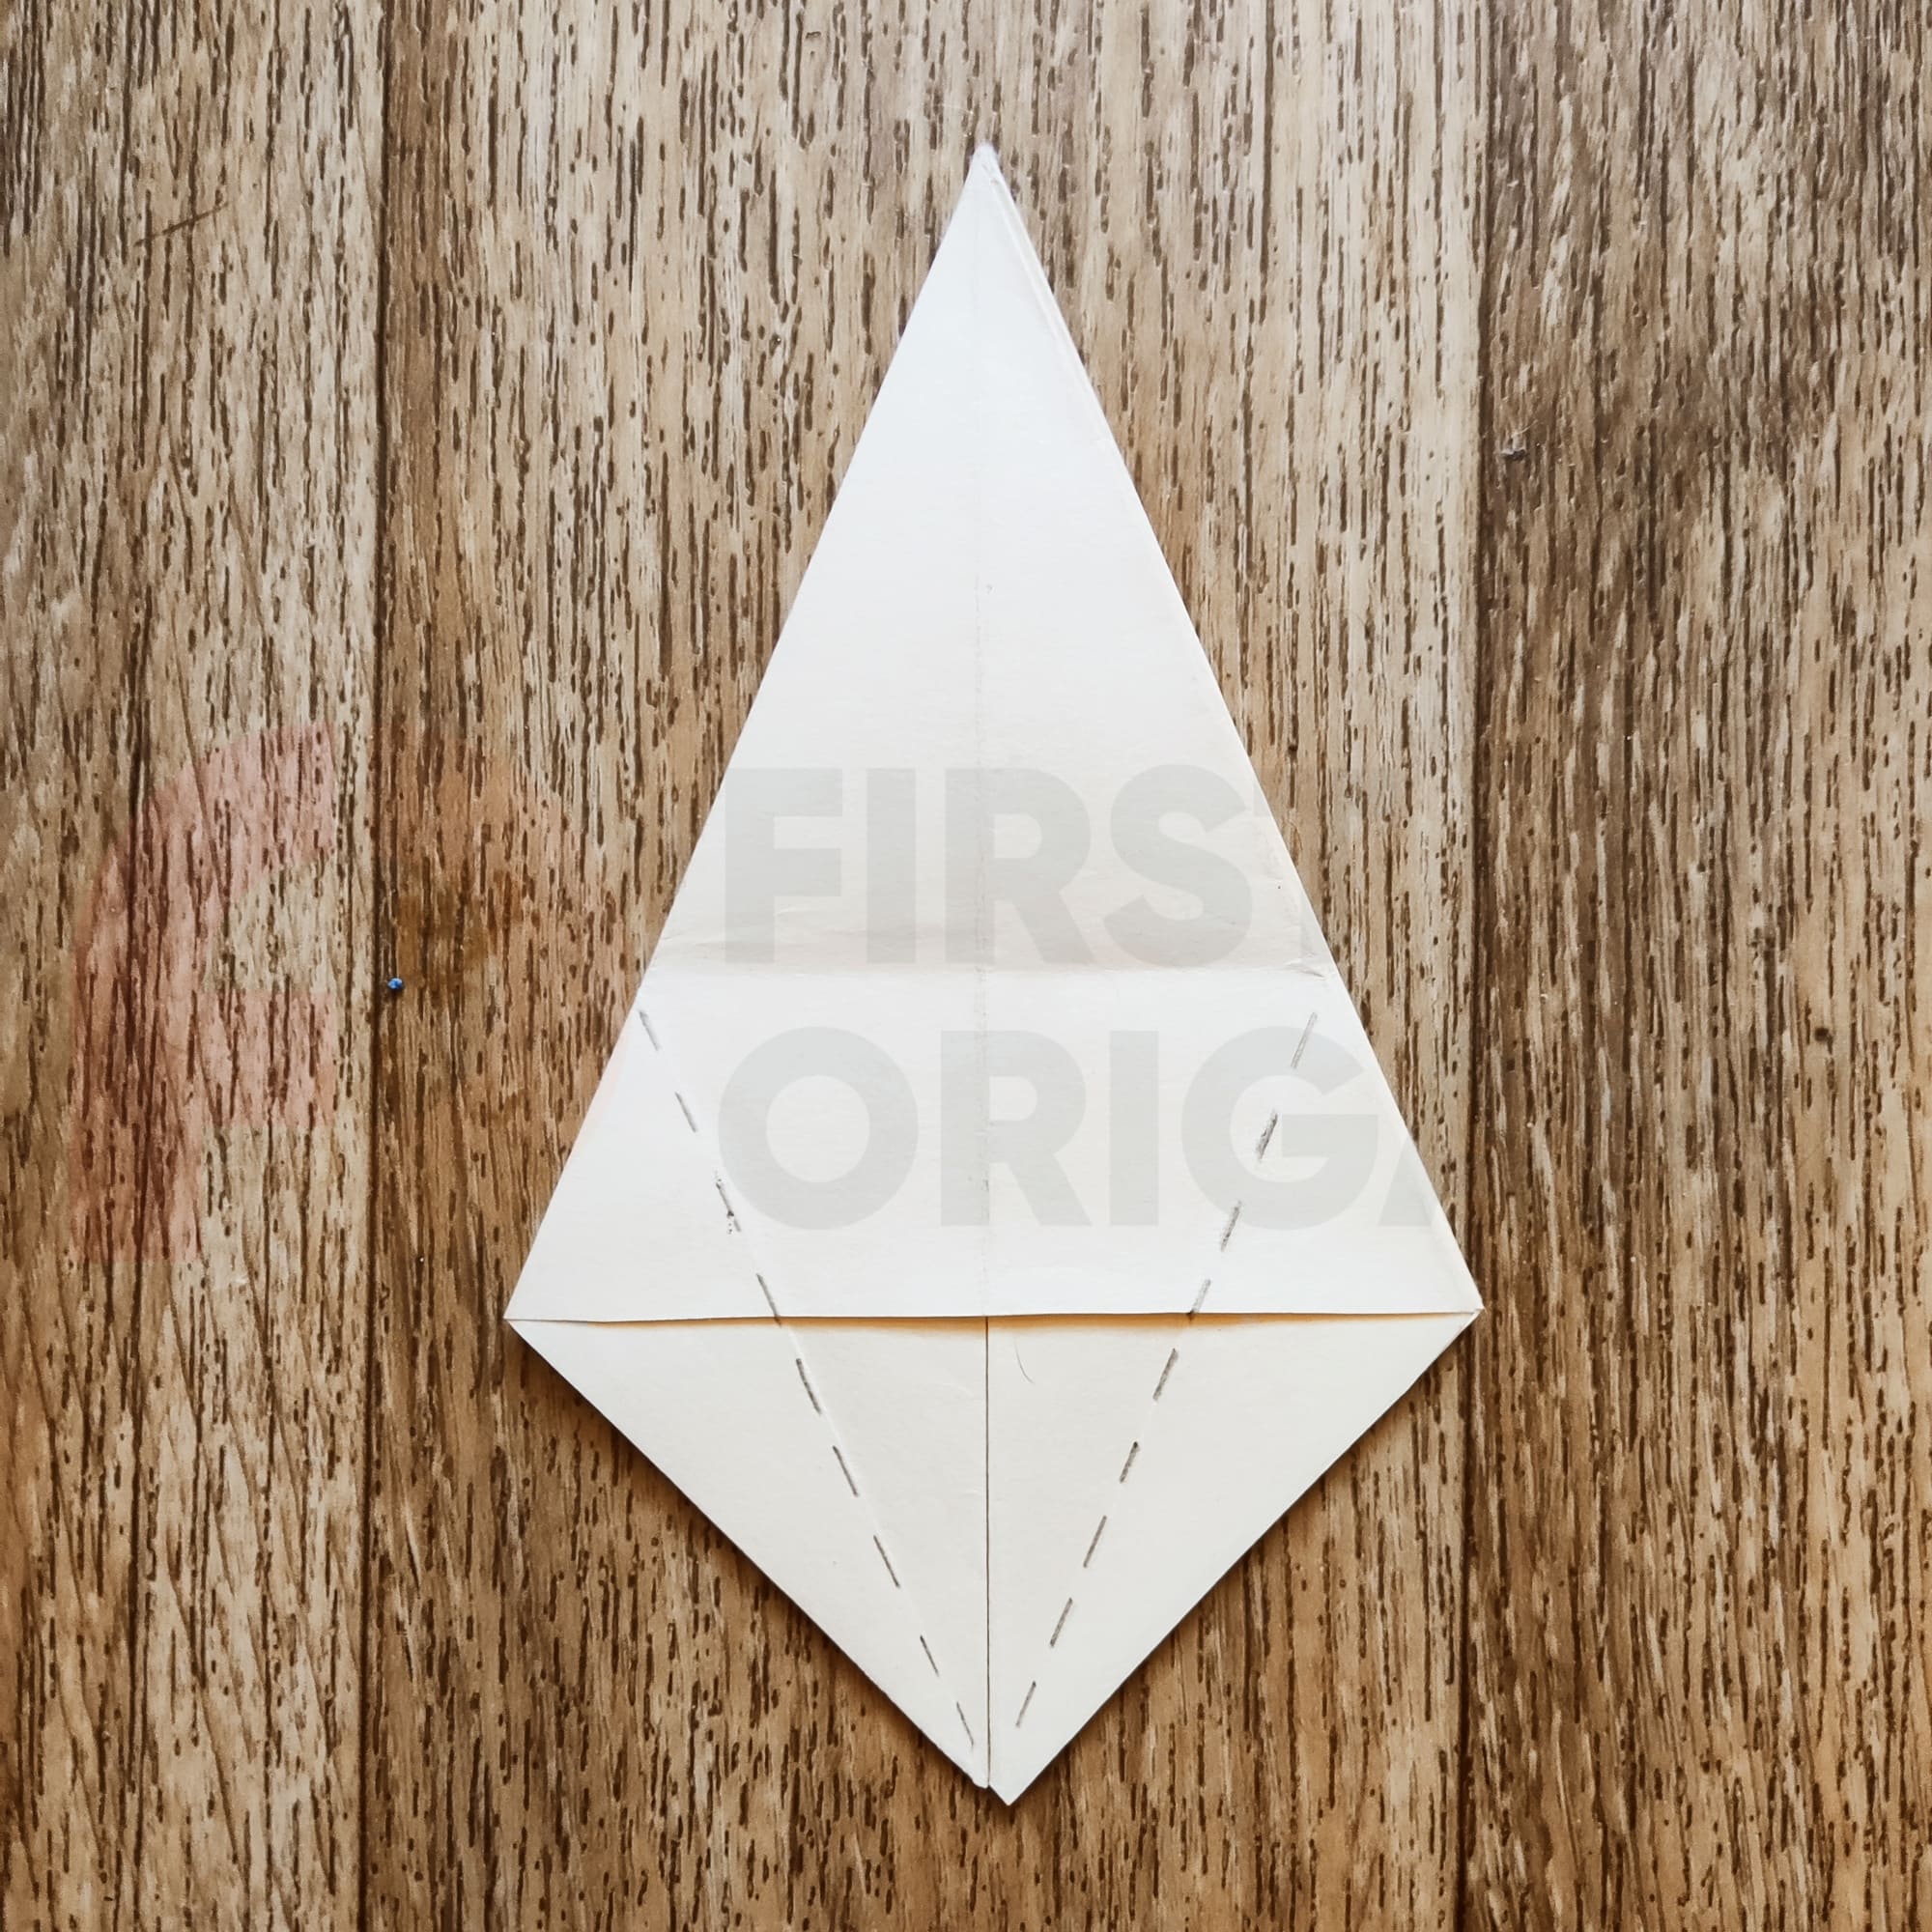
Unfold the triangle, but keep the folding line visible.
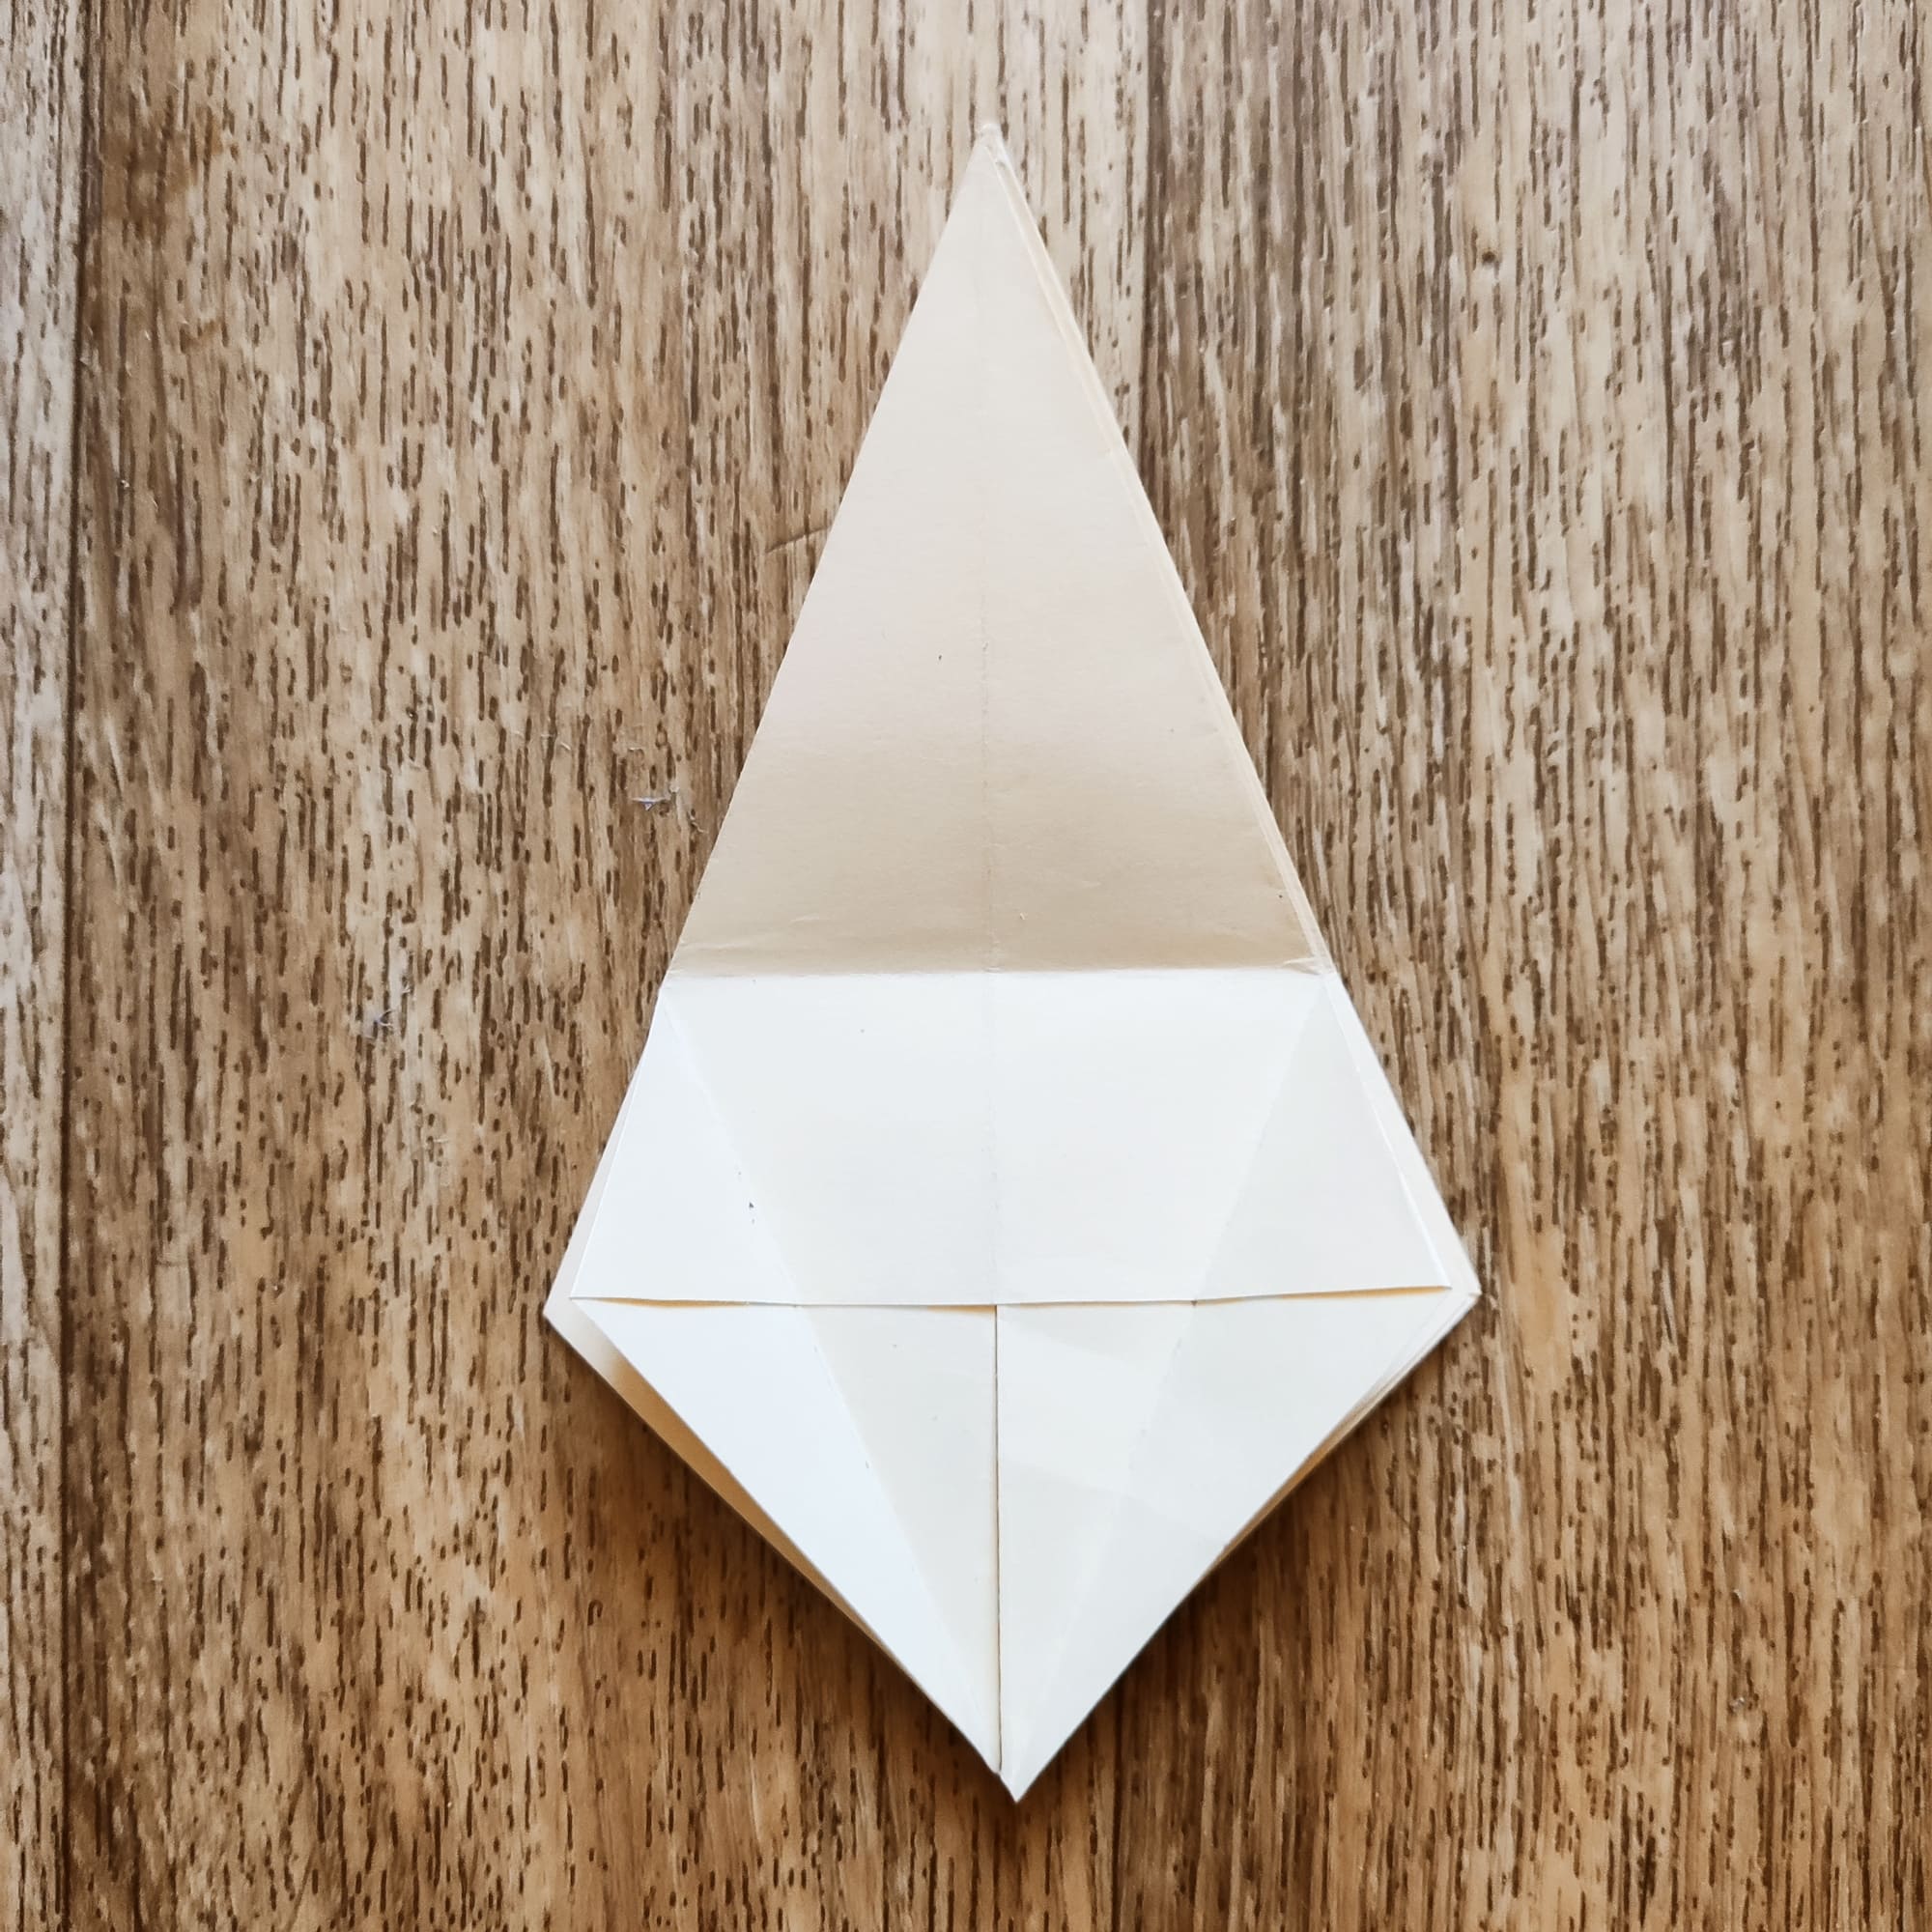
Open the paper and bring both sides to the center line.
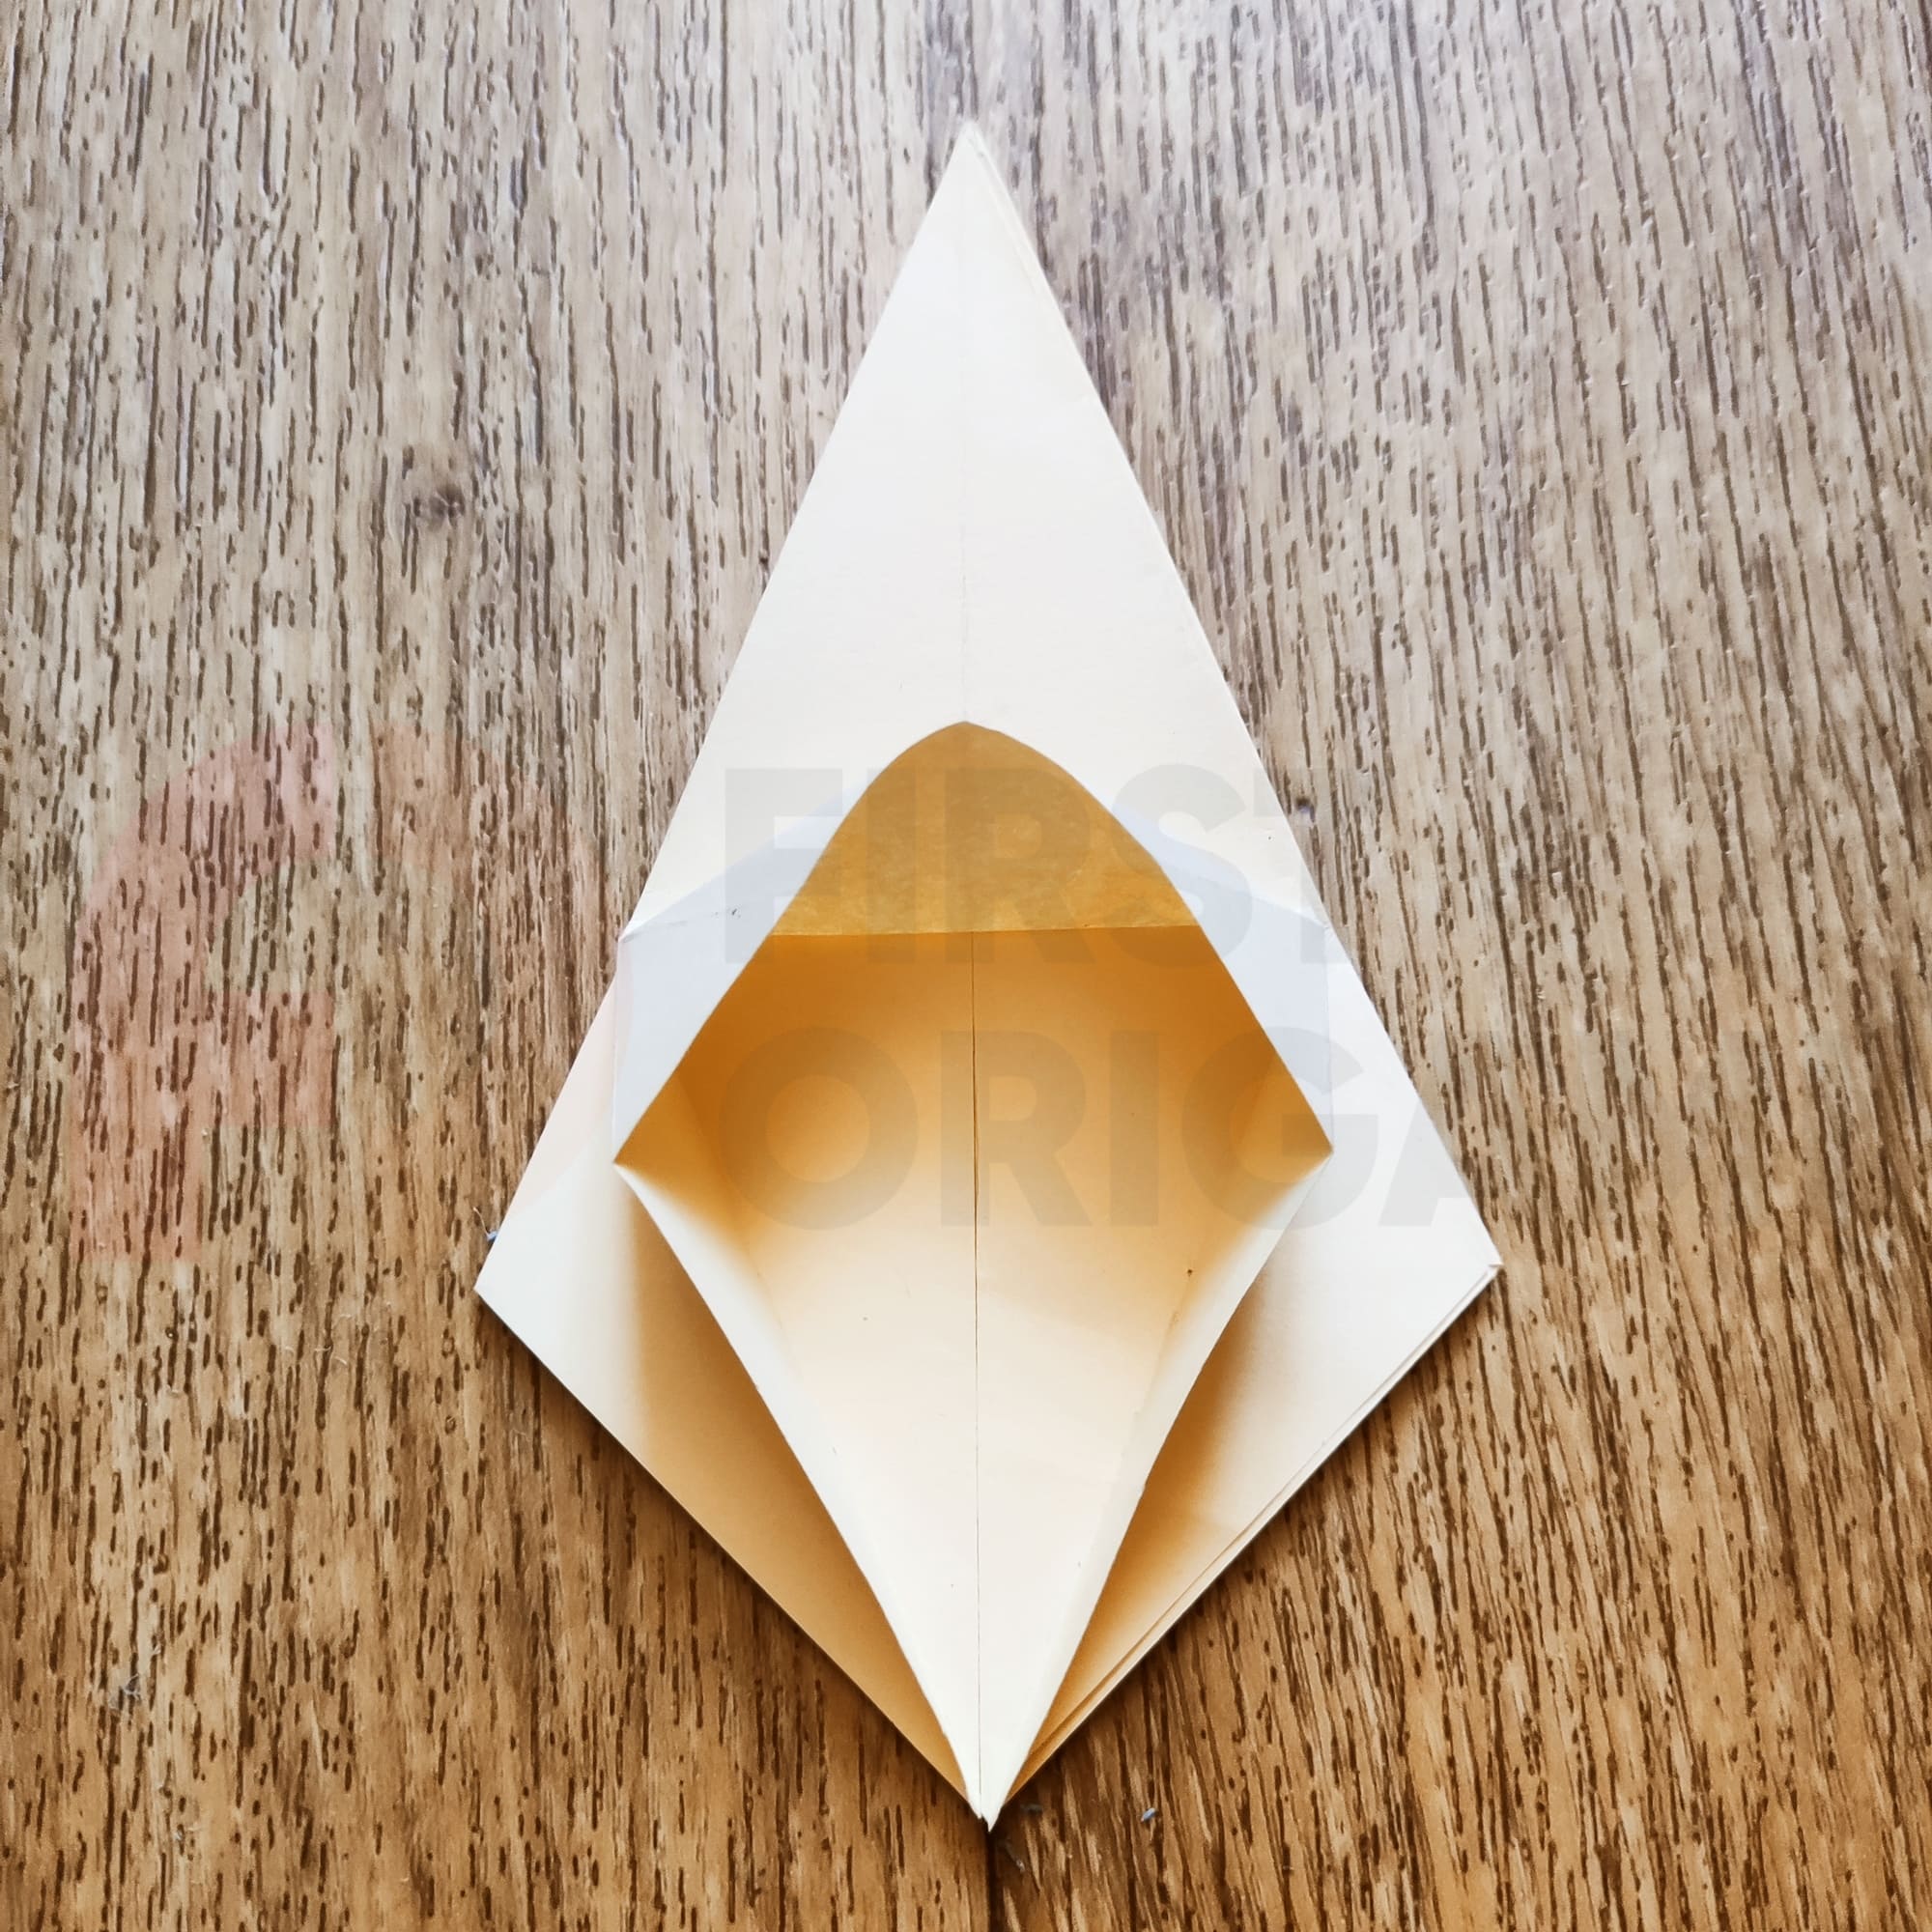
You are almost there. Just bend the small corners on the sides to the center
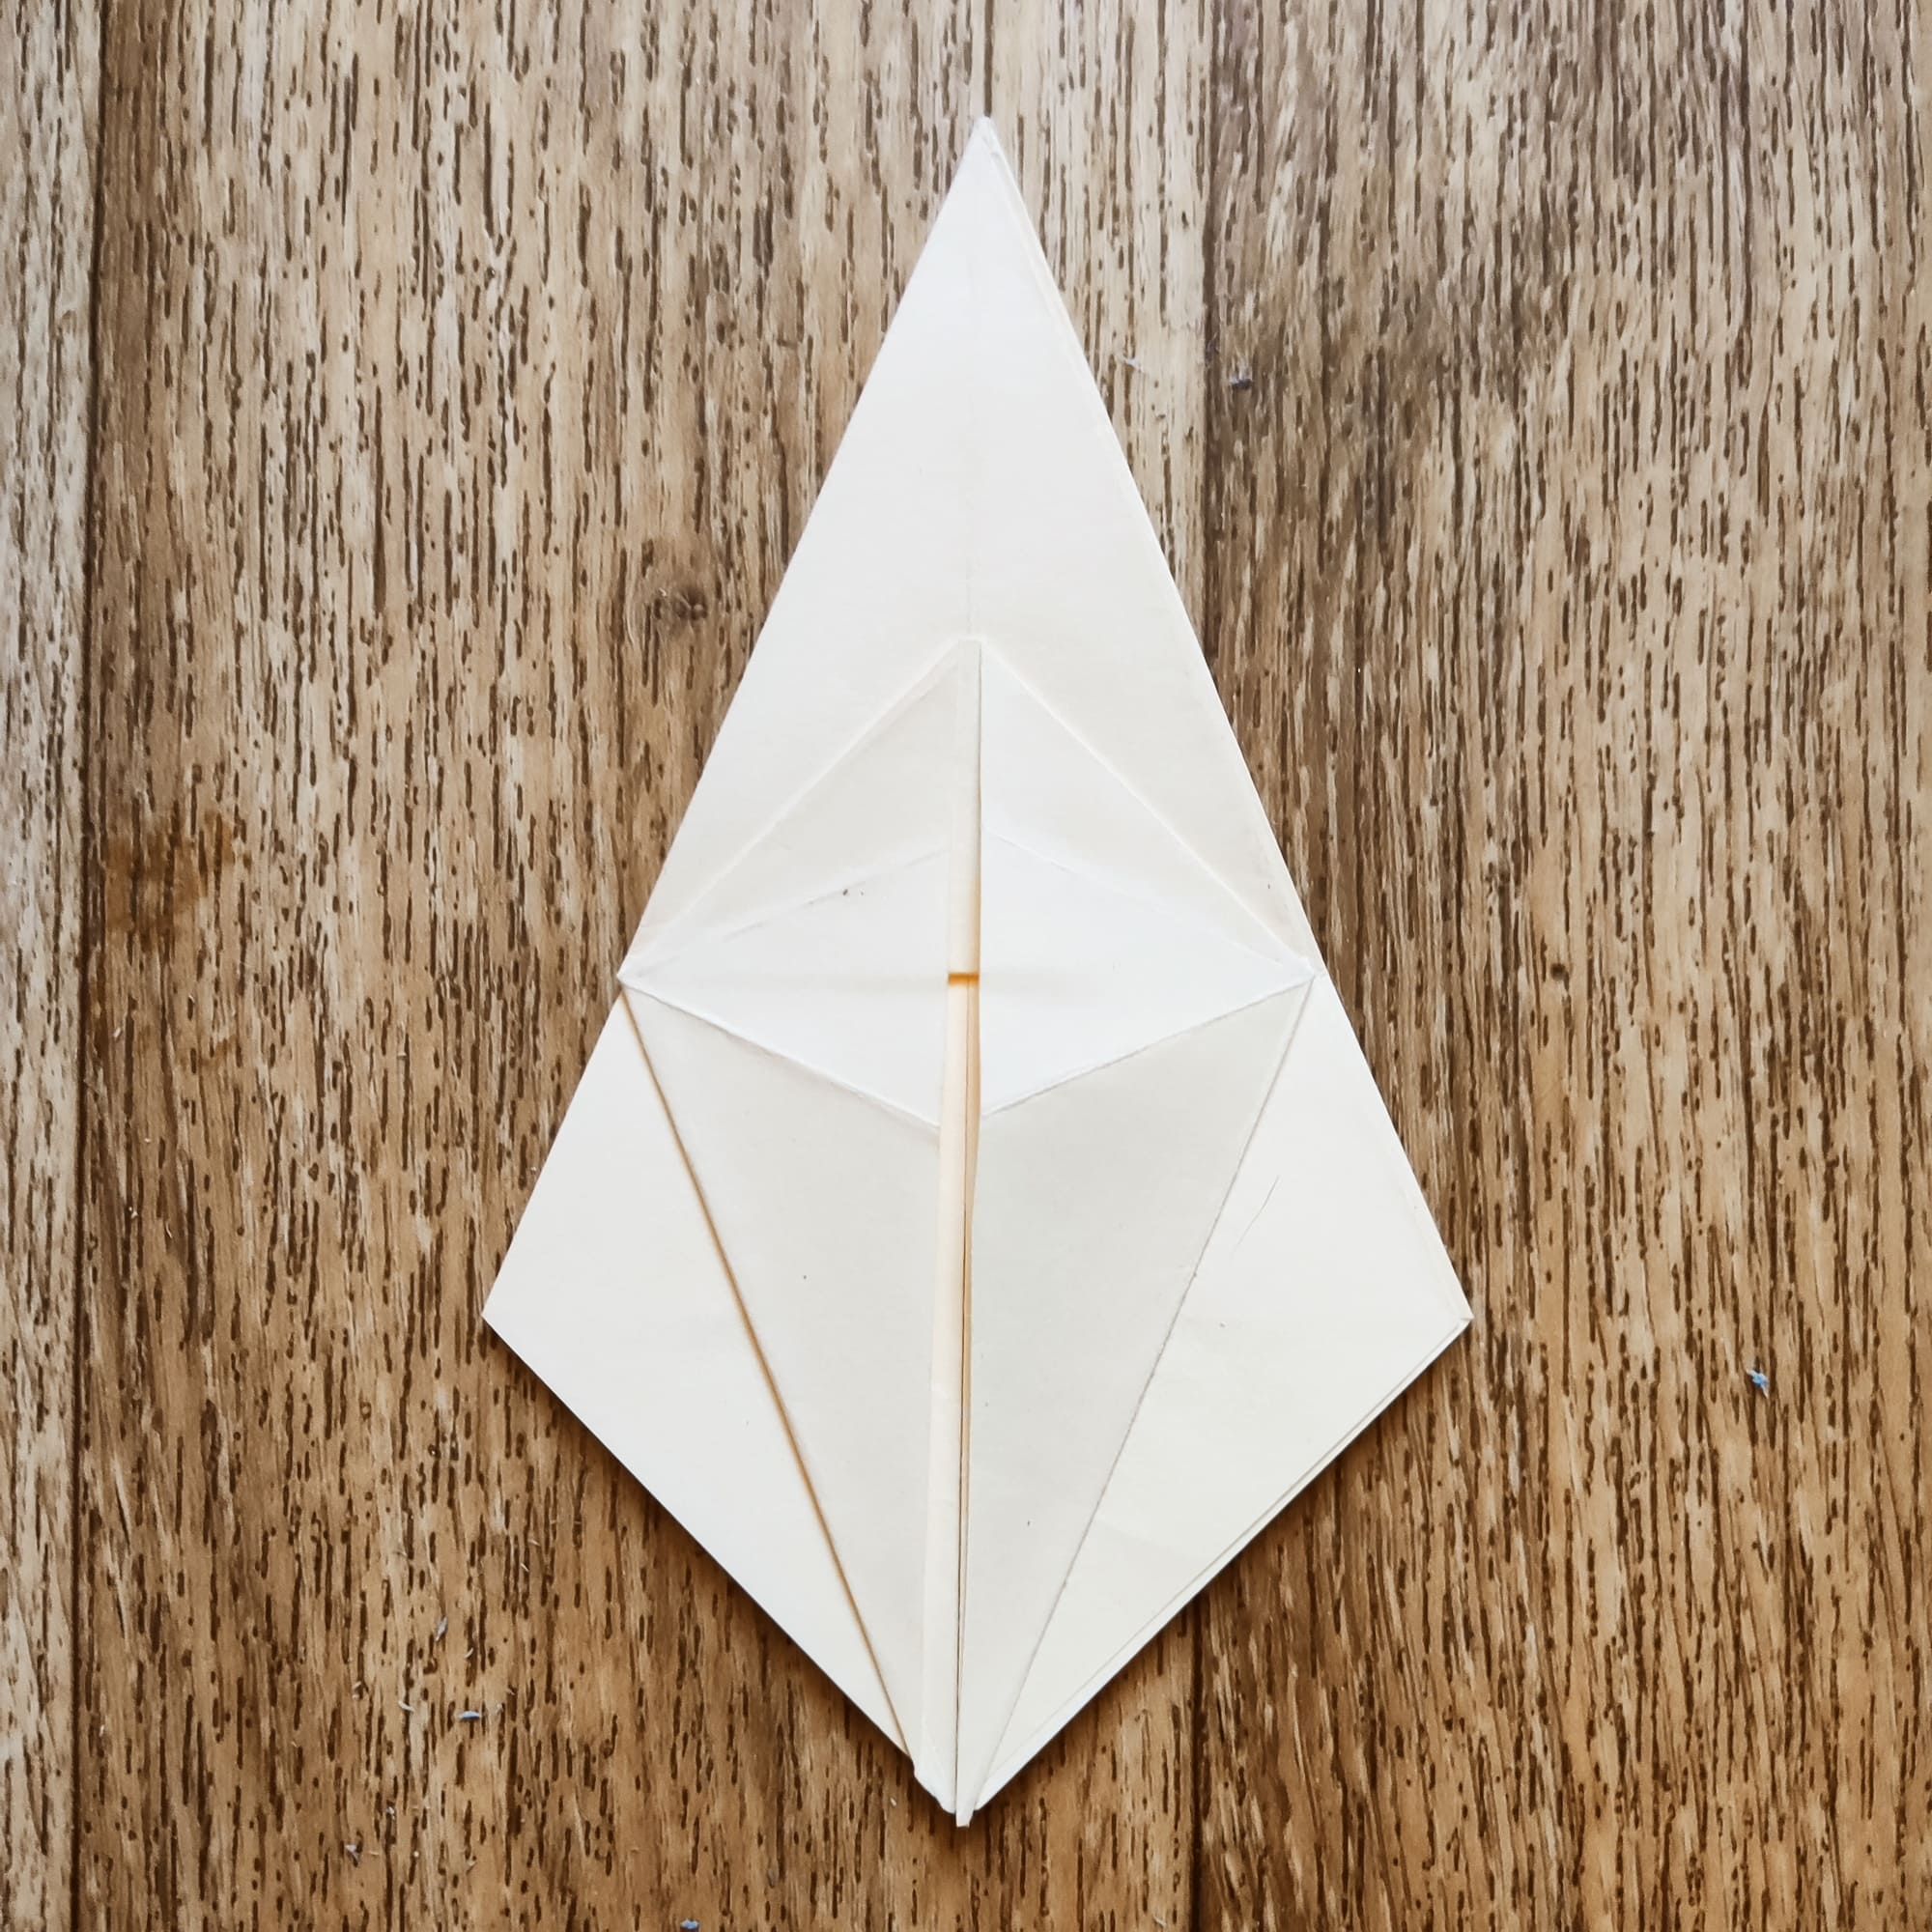
Repeat the previous steps with all remaining sides.
The classic origami frog base is ready. Now you can move on to the next steps. Do not forget to upload photos of your figures and share your impressions of the work done. Good luck in your new endeavors!