Origami Gift Package
On the eve of the New Year, the city is enveloped in a special atmosphere: colored lights, decorations, music, films… At such moments, you wish you could take the festive mood with you to enjoy it at home. We have an idea of how to do this, and at the same time have a wonderful evening with the family doing a common thing.
Using the origami technique, you can make a New Year’s garland to hang on the Christmas tree or decorate the windows with it. It is simple to make, but very beautiful and elegant. It will be given additional charm thanks to the fact that it is made with your own hands.
You will need a garland with small LED lights and colorful square origami paper. The number of sheets must correspond to the number of light bulbs on the garland.
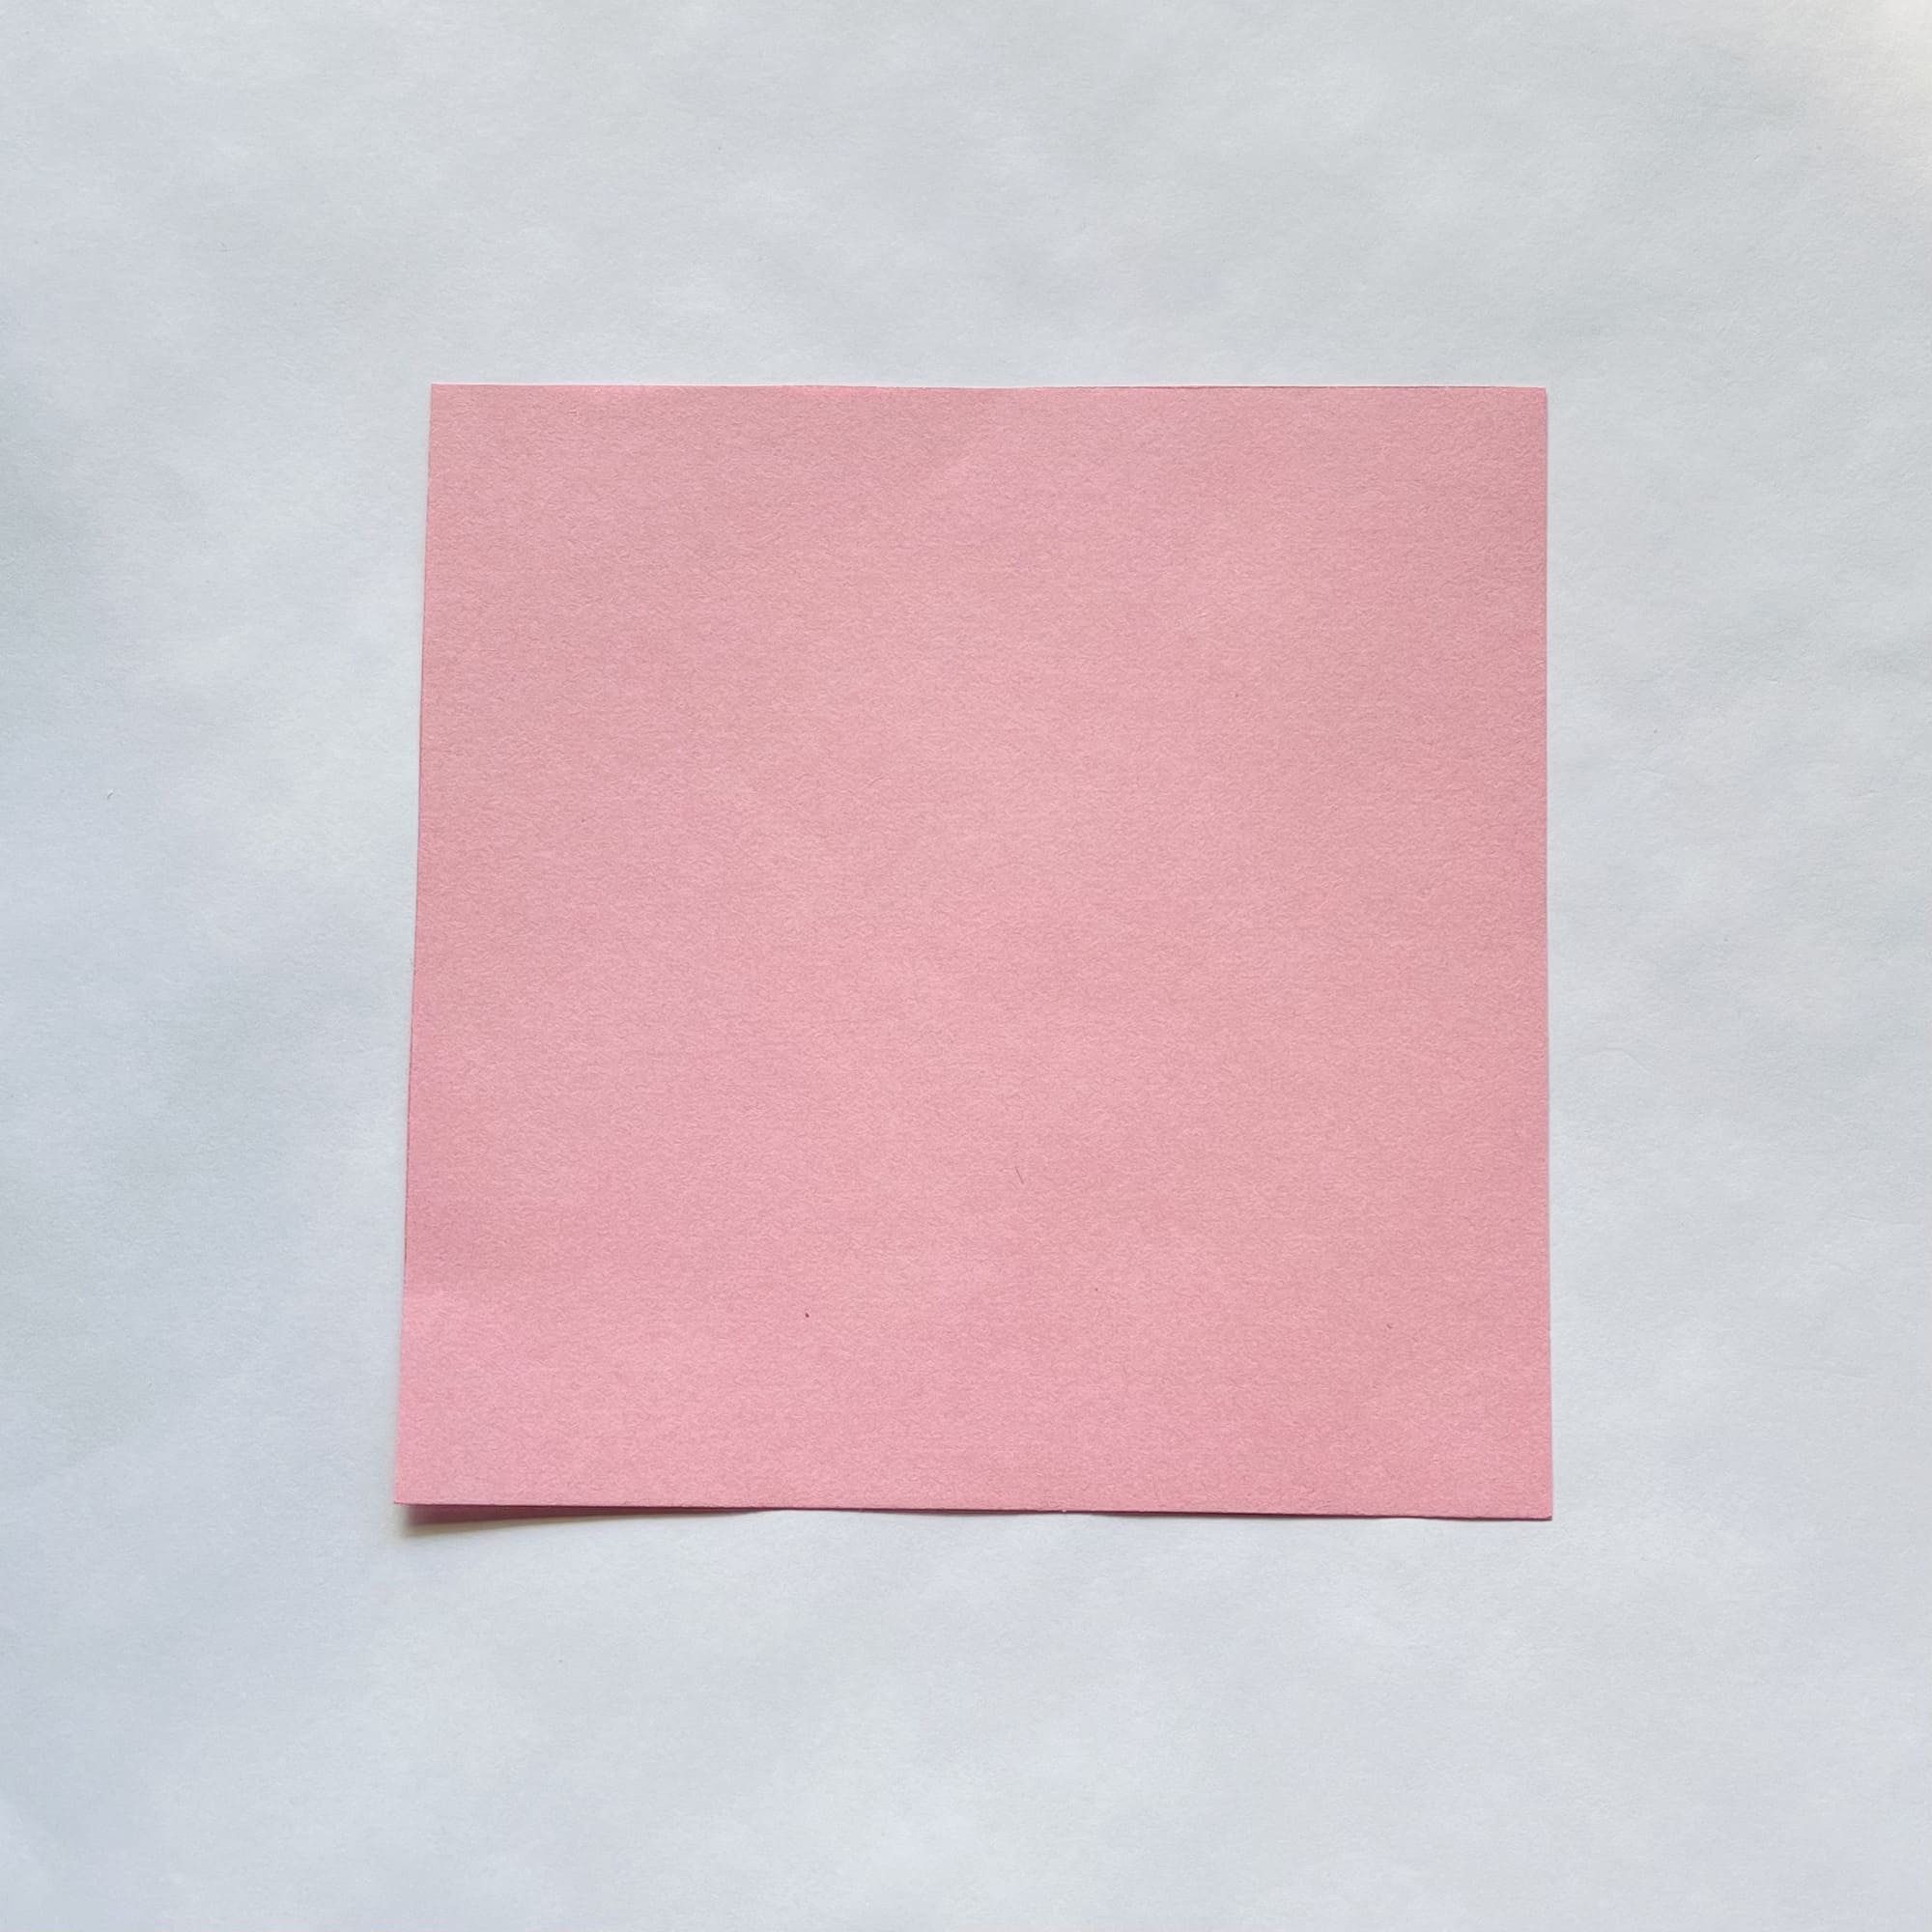
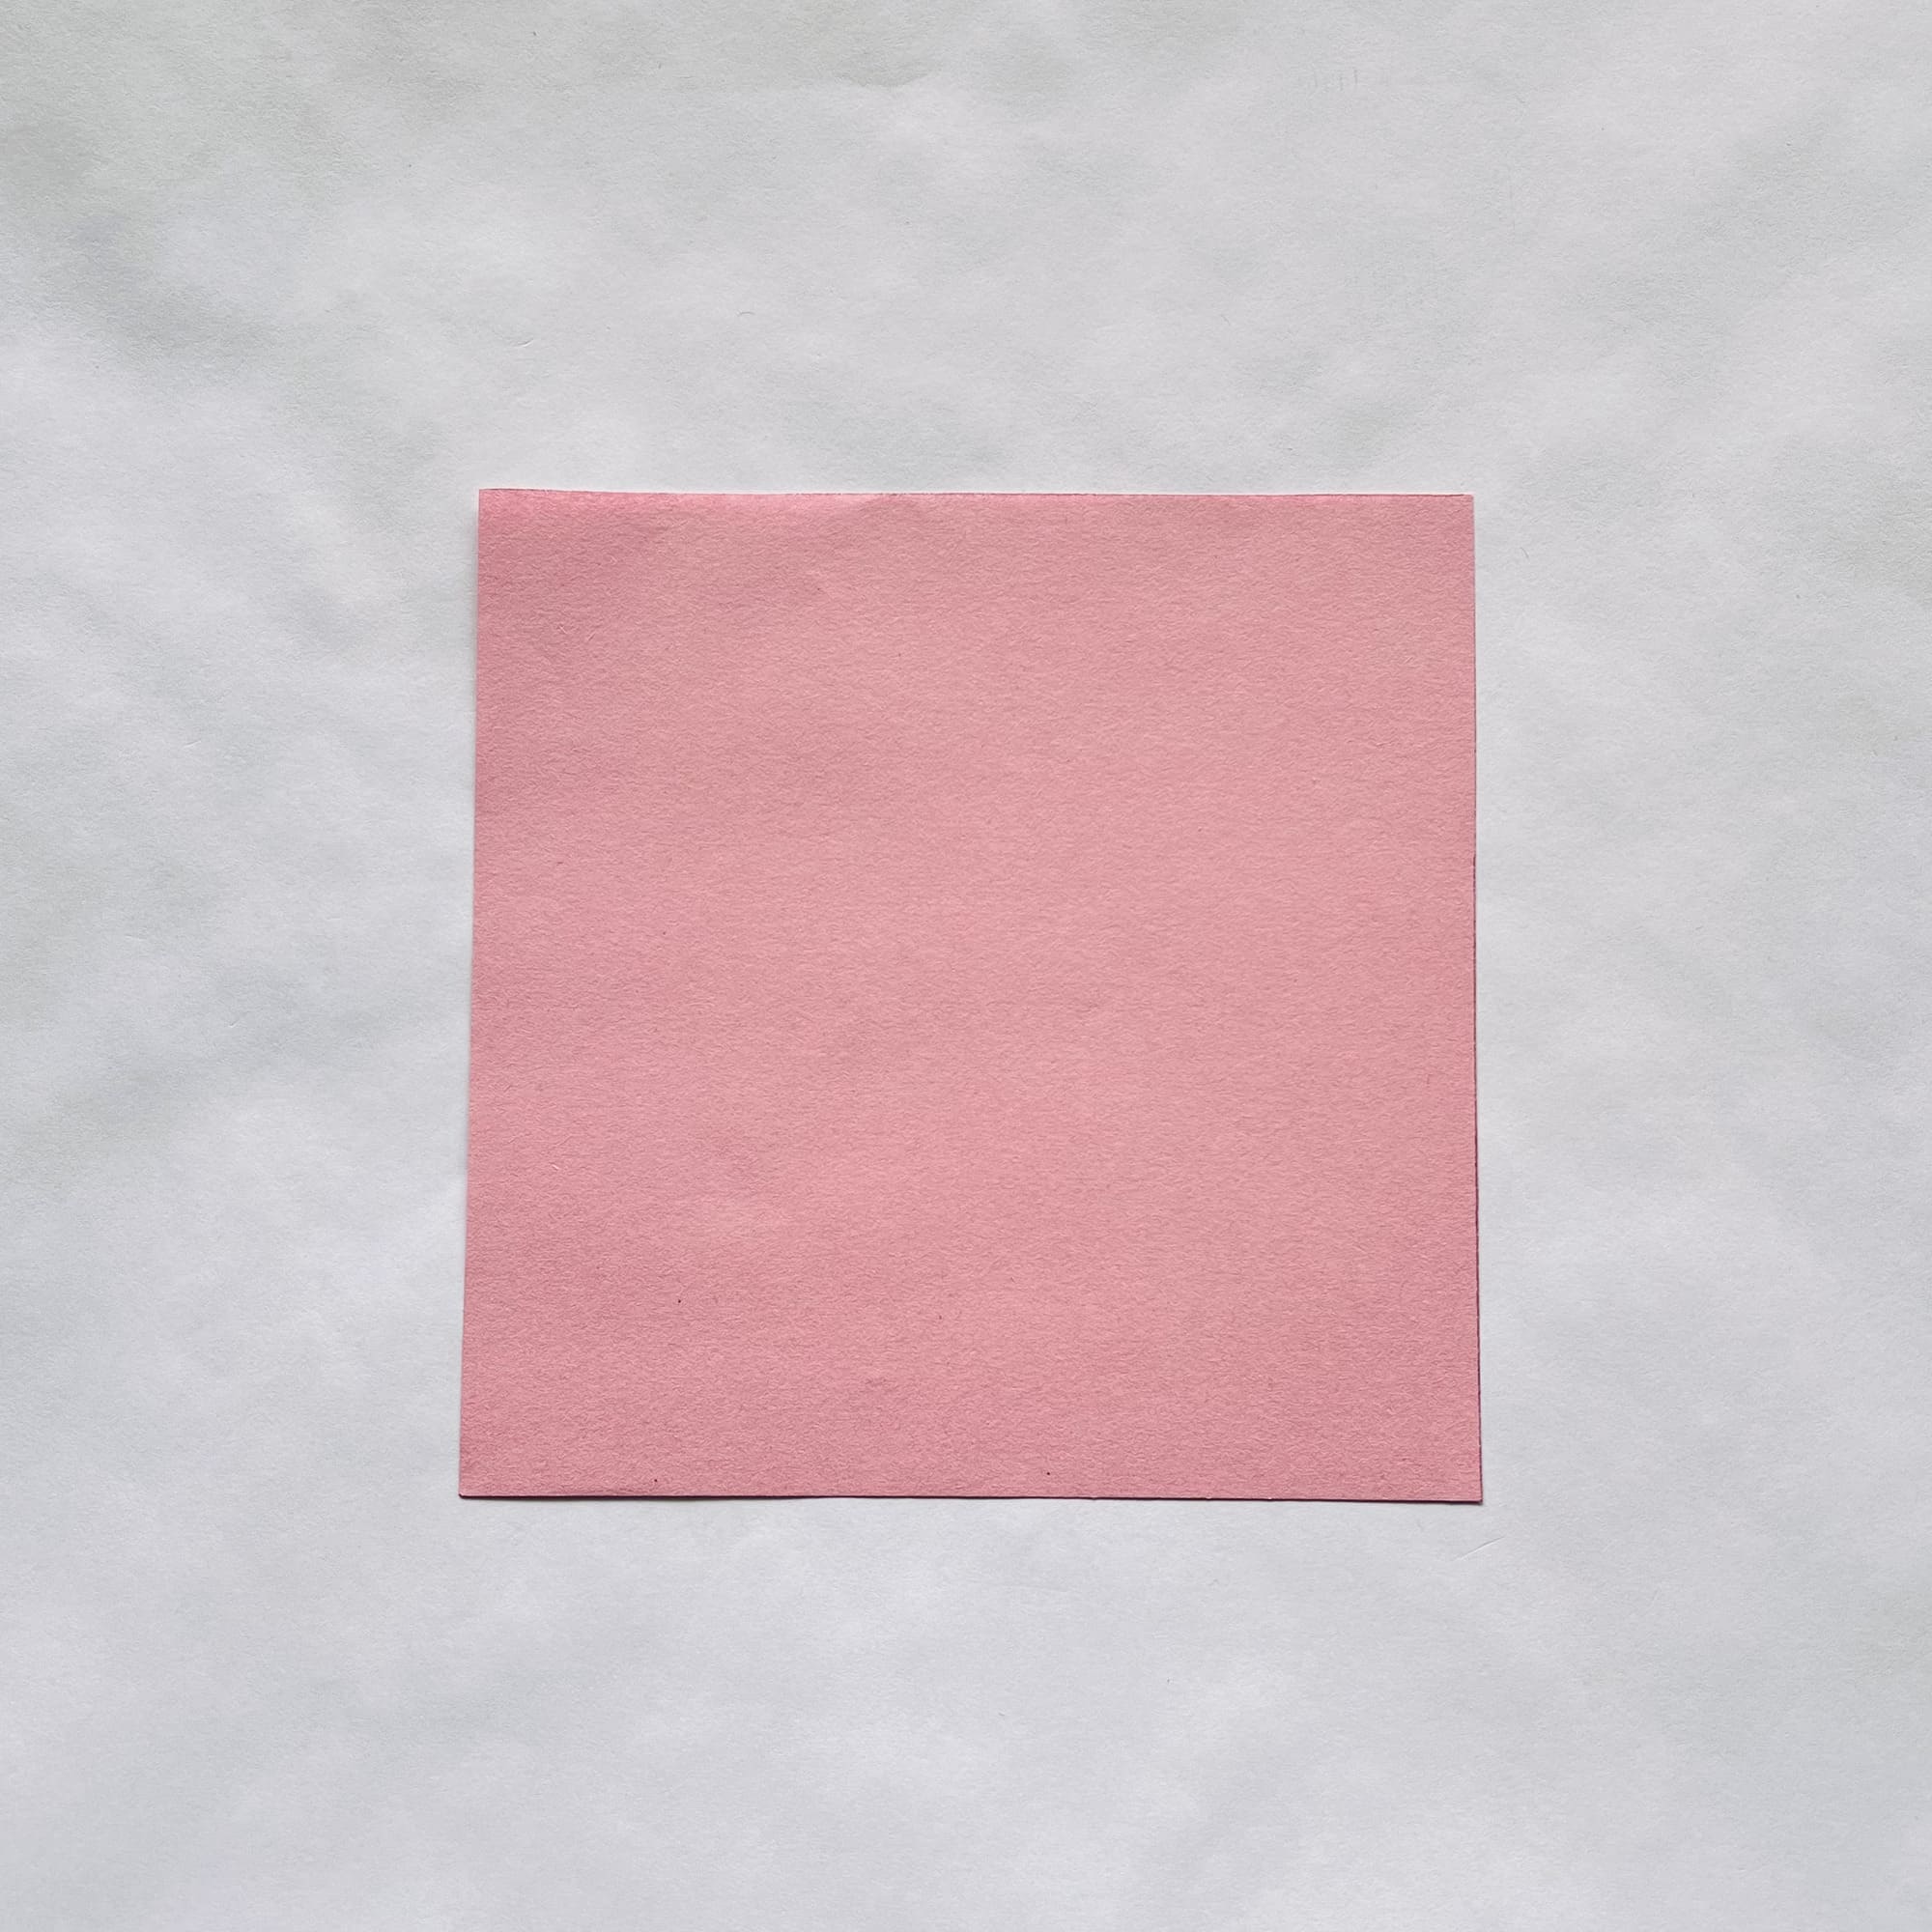
First, let’s make the base of the box: prepare a sheet of paper measuring 15×15 cm.

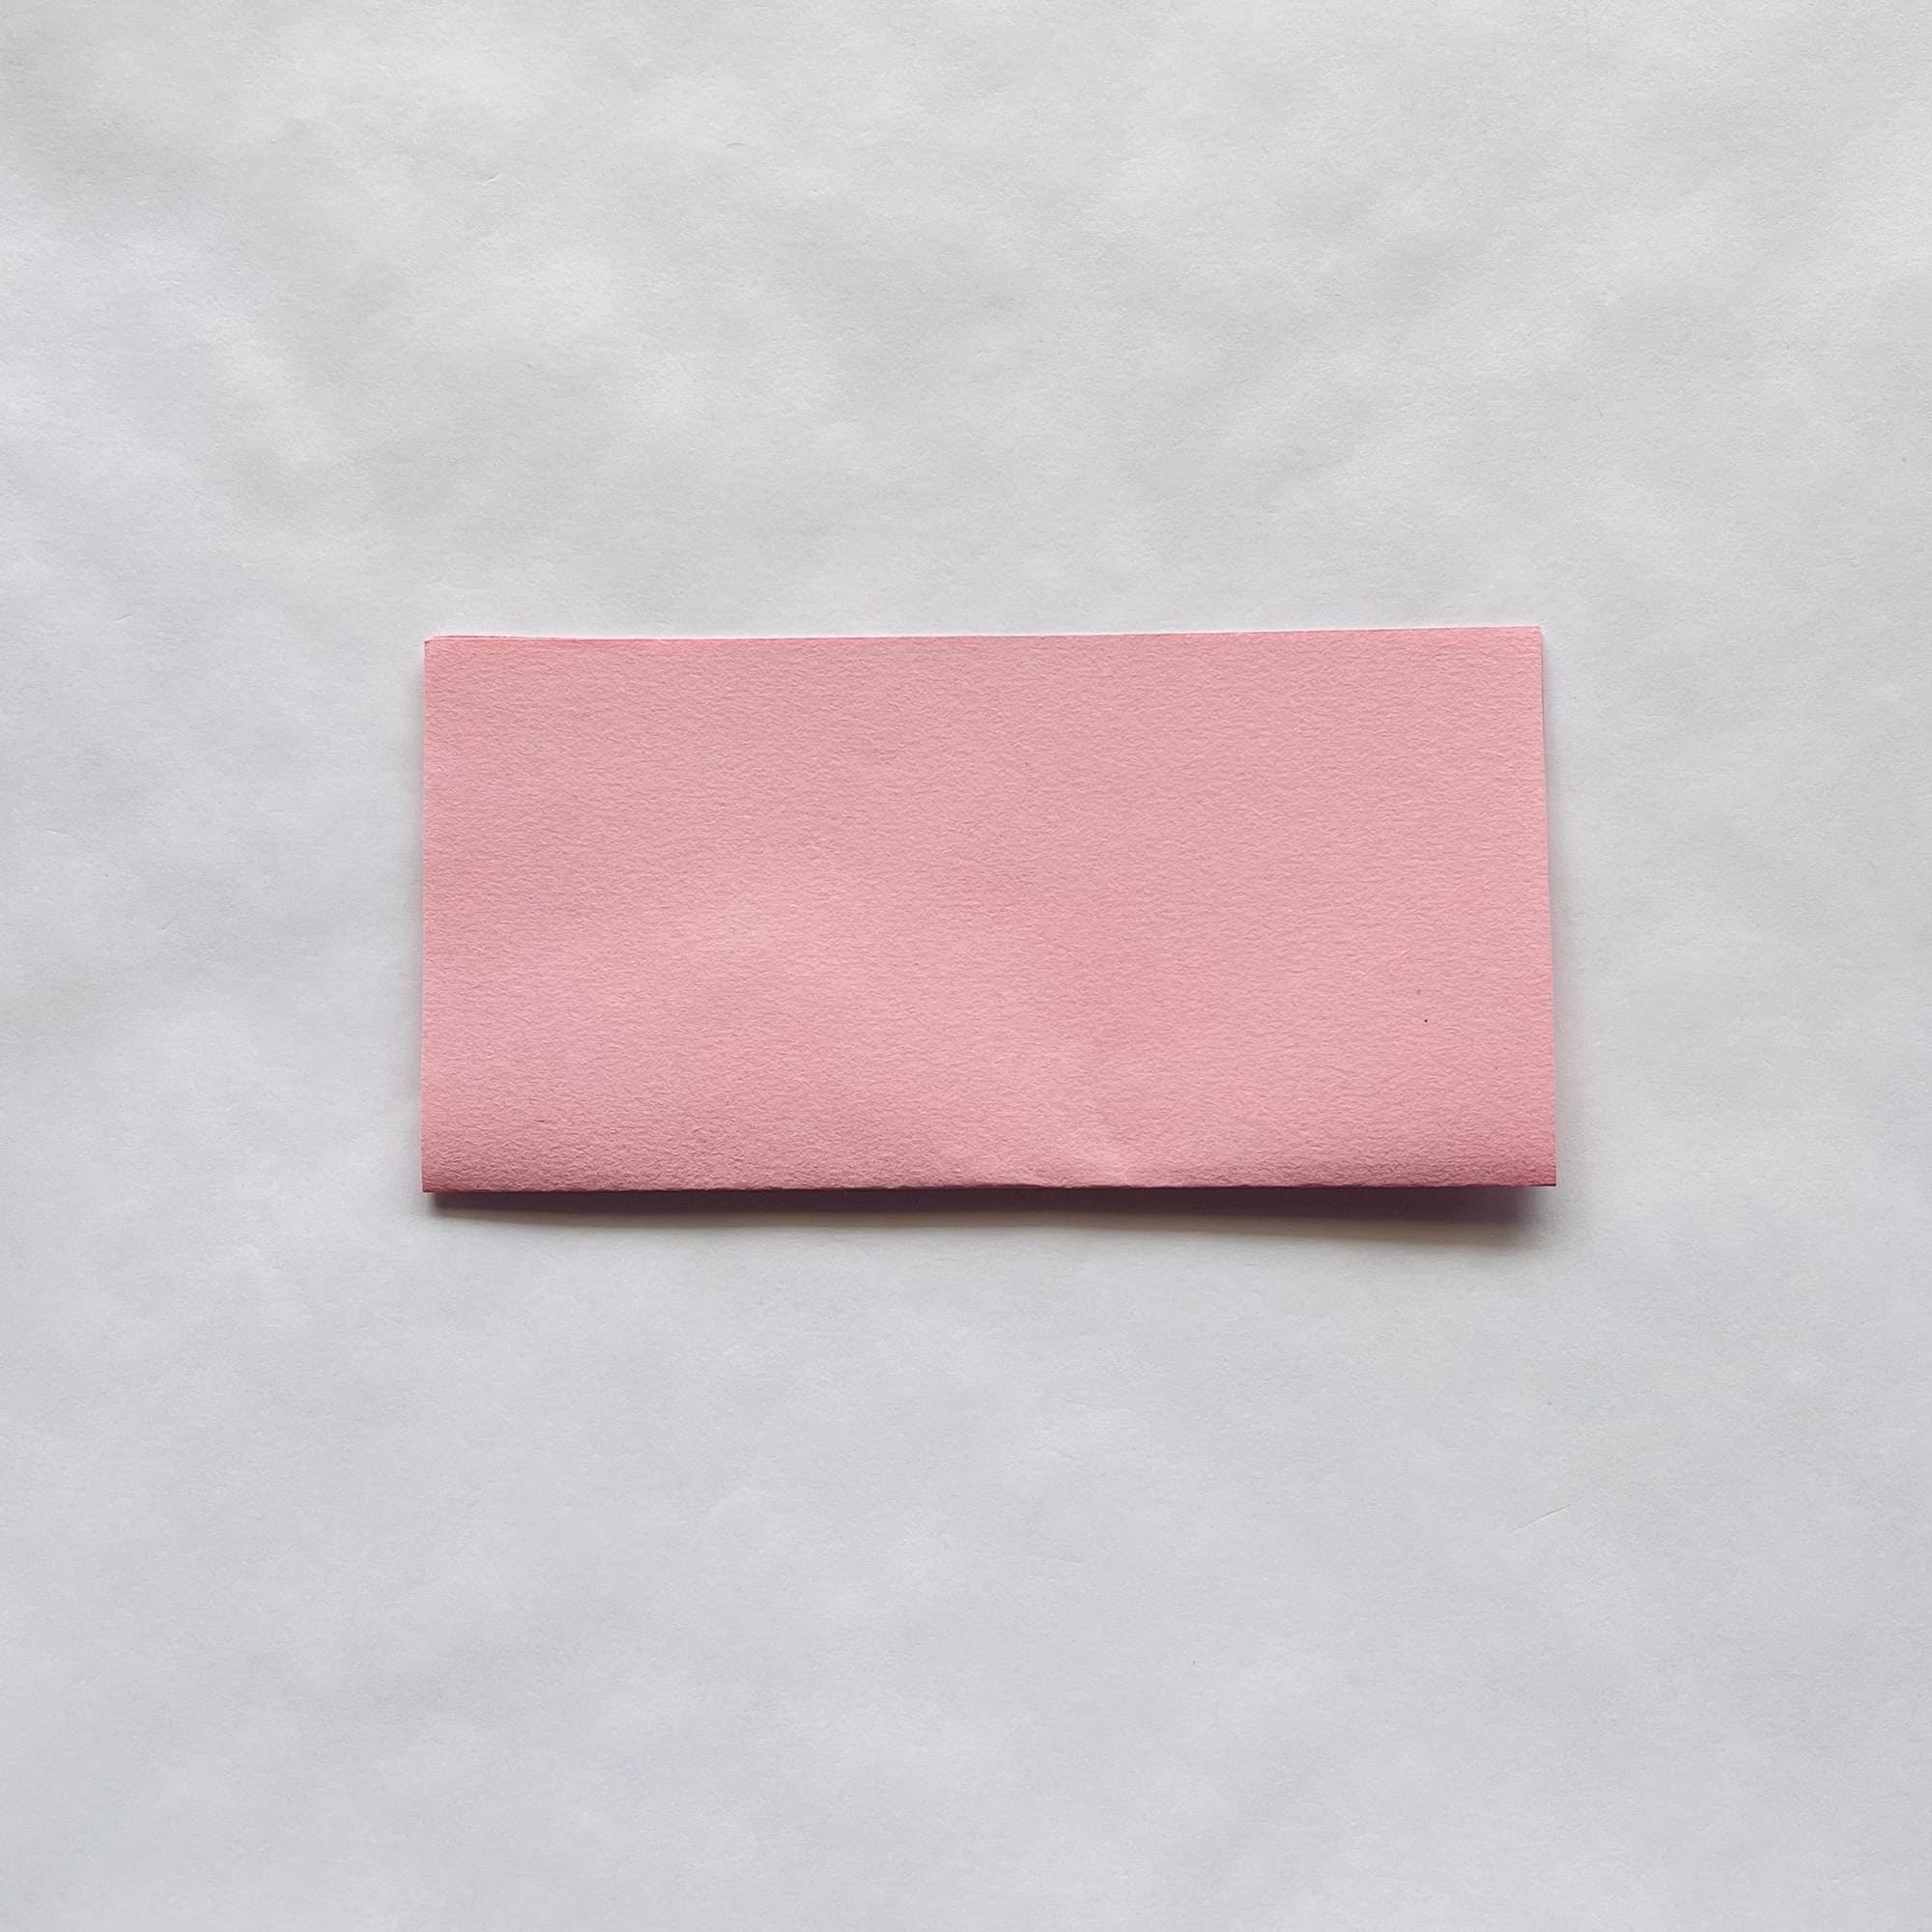
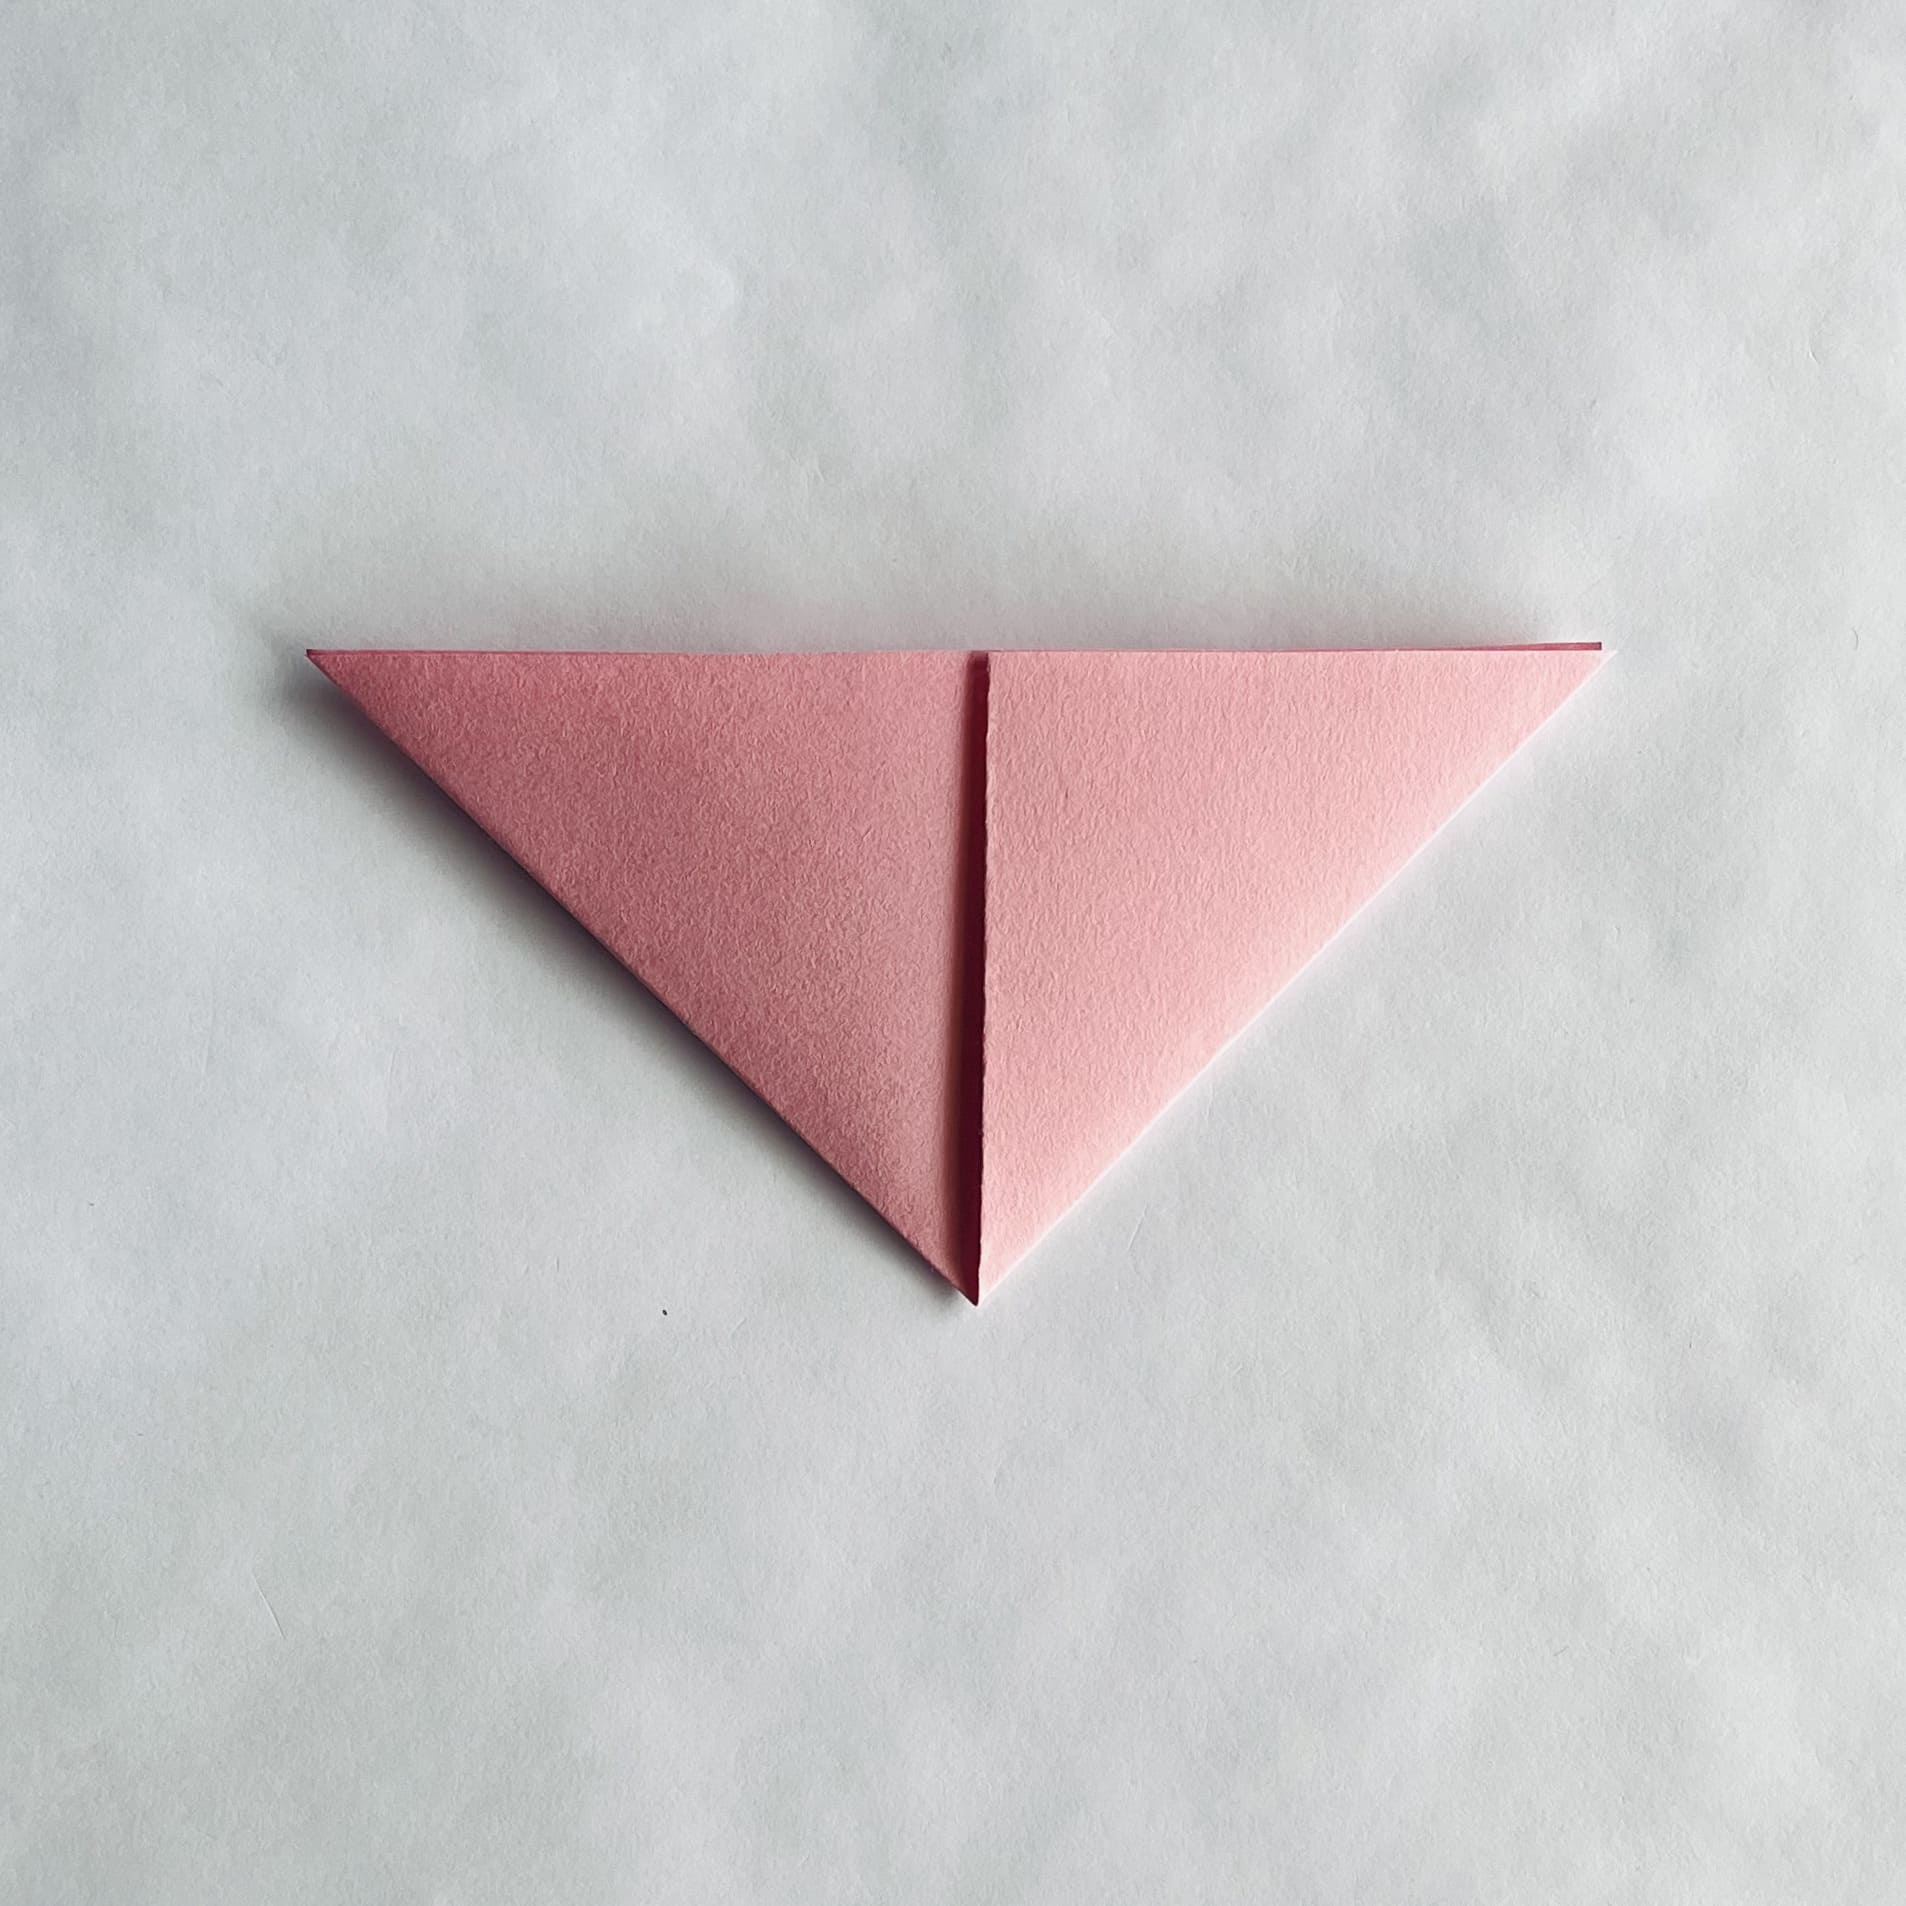
Fold the paper in half, first along the horizontal, then along the vertical axis.
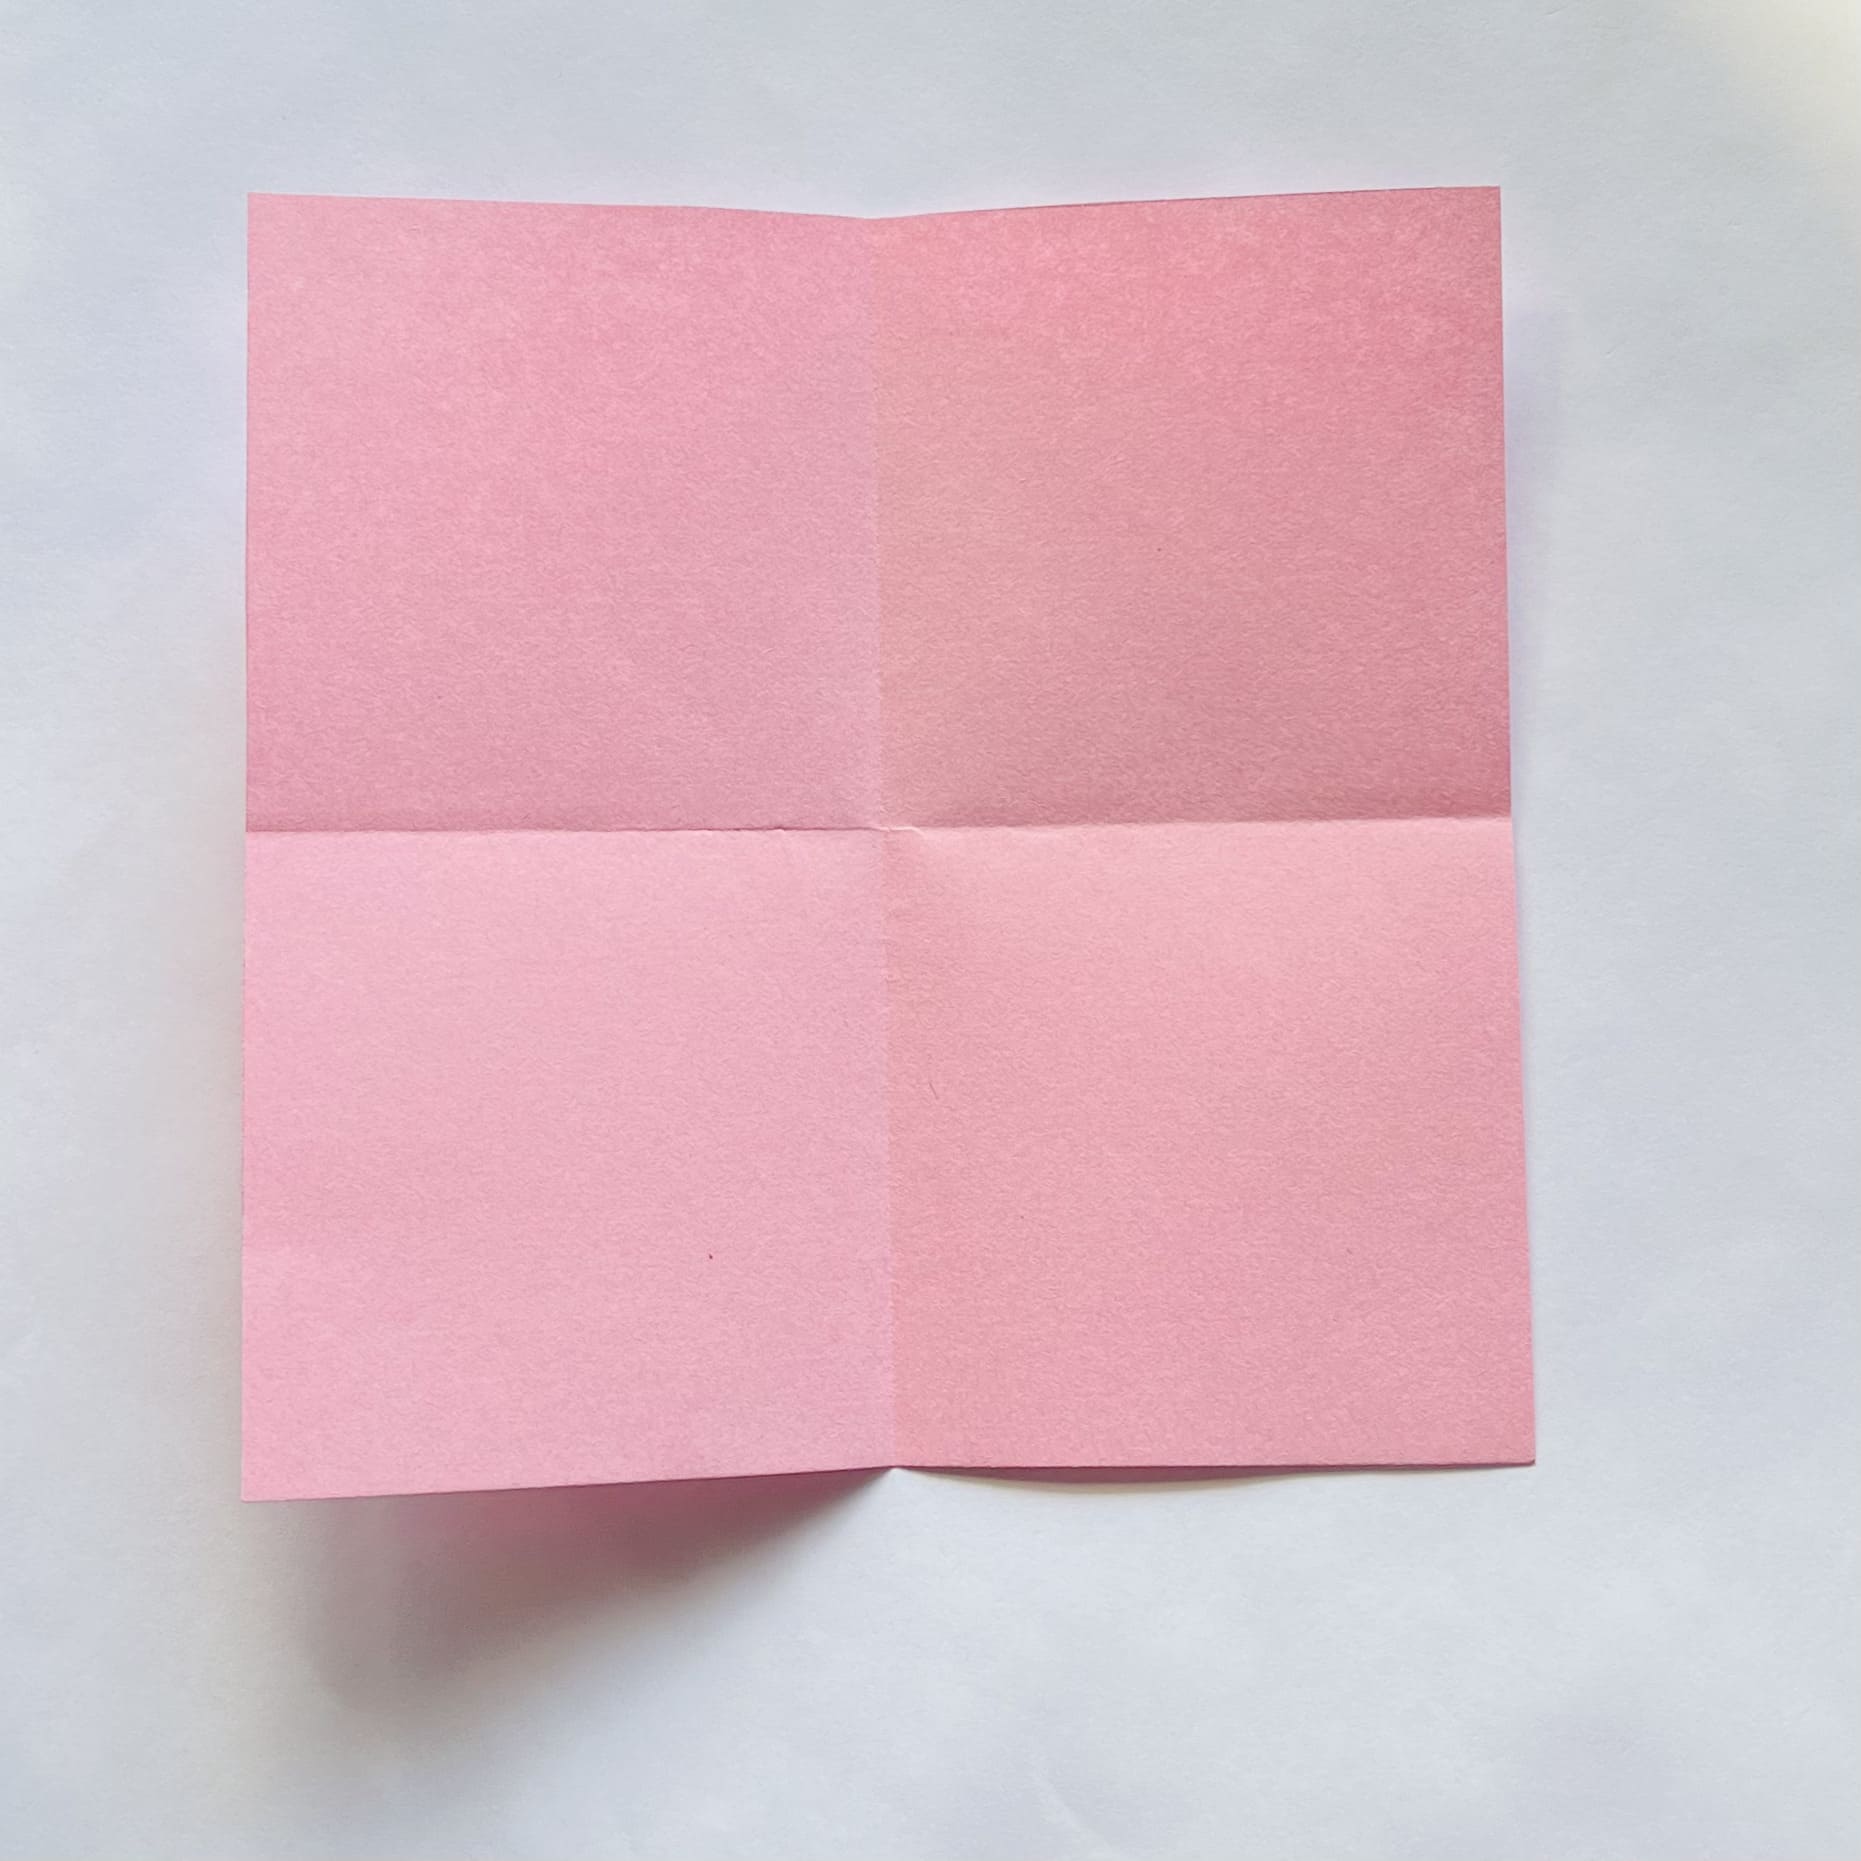
Carefully crease the fold and unfold.
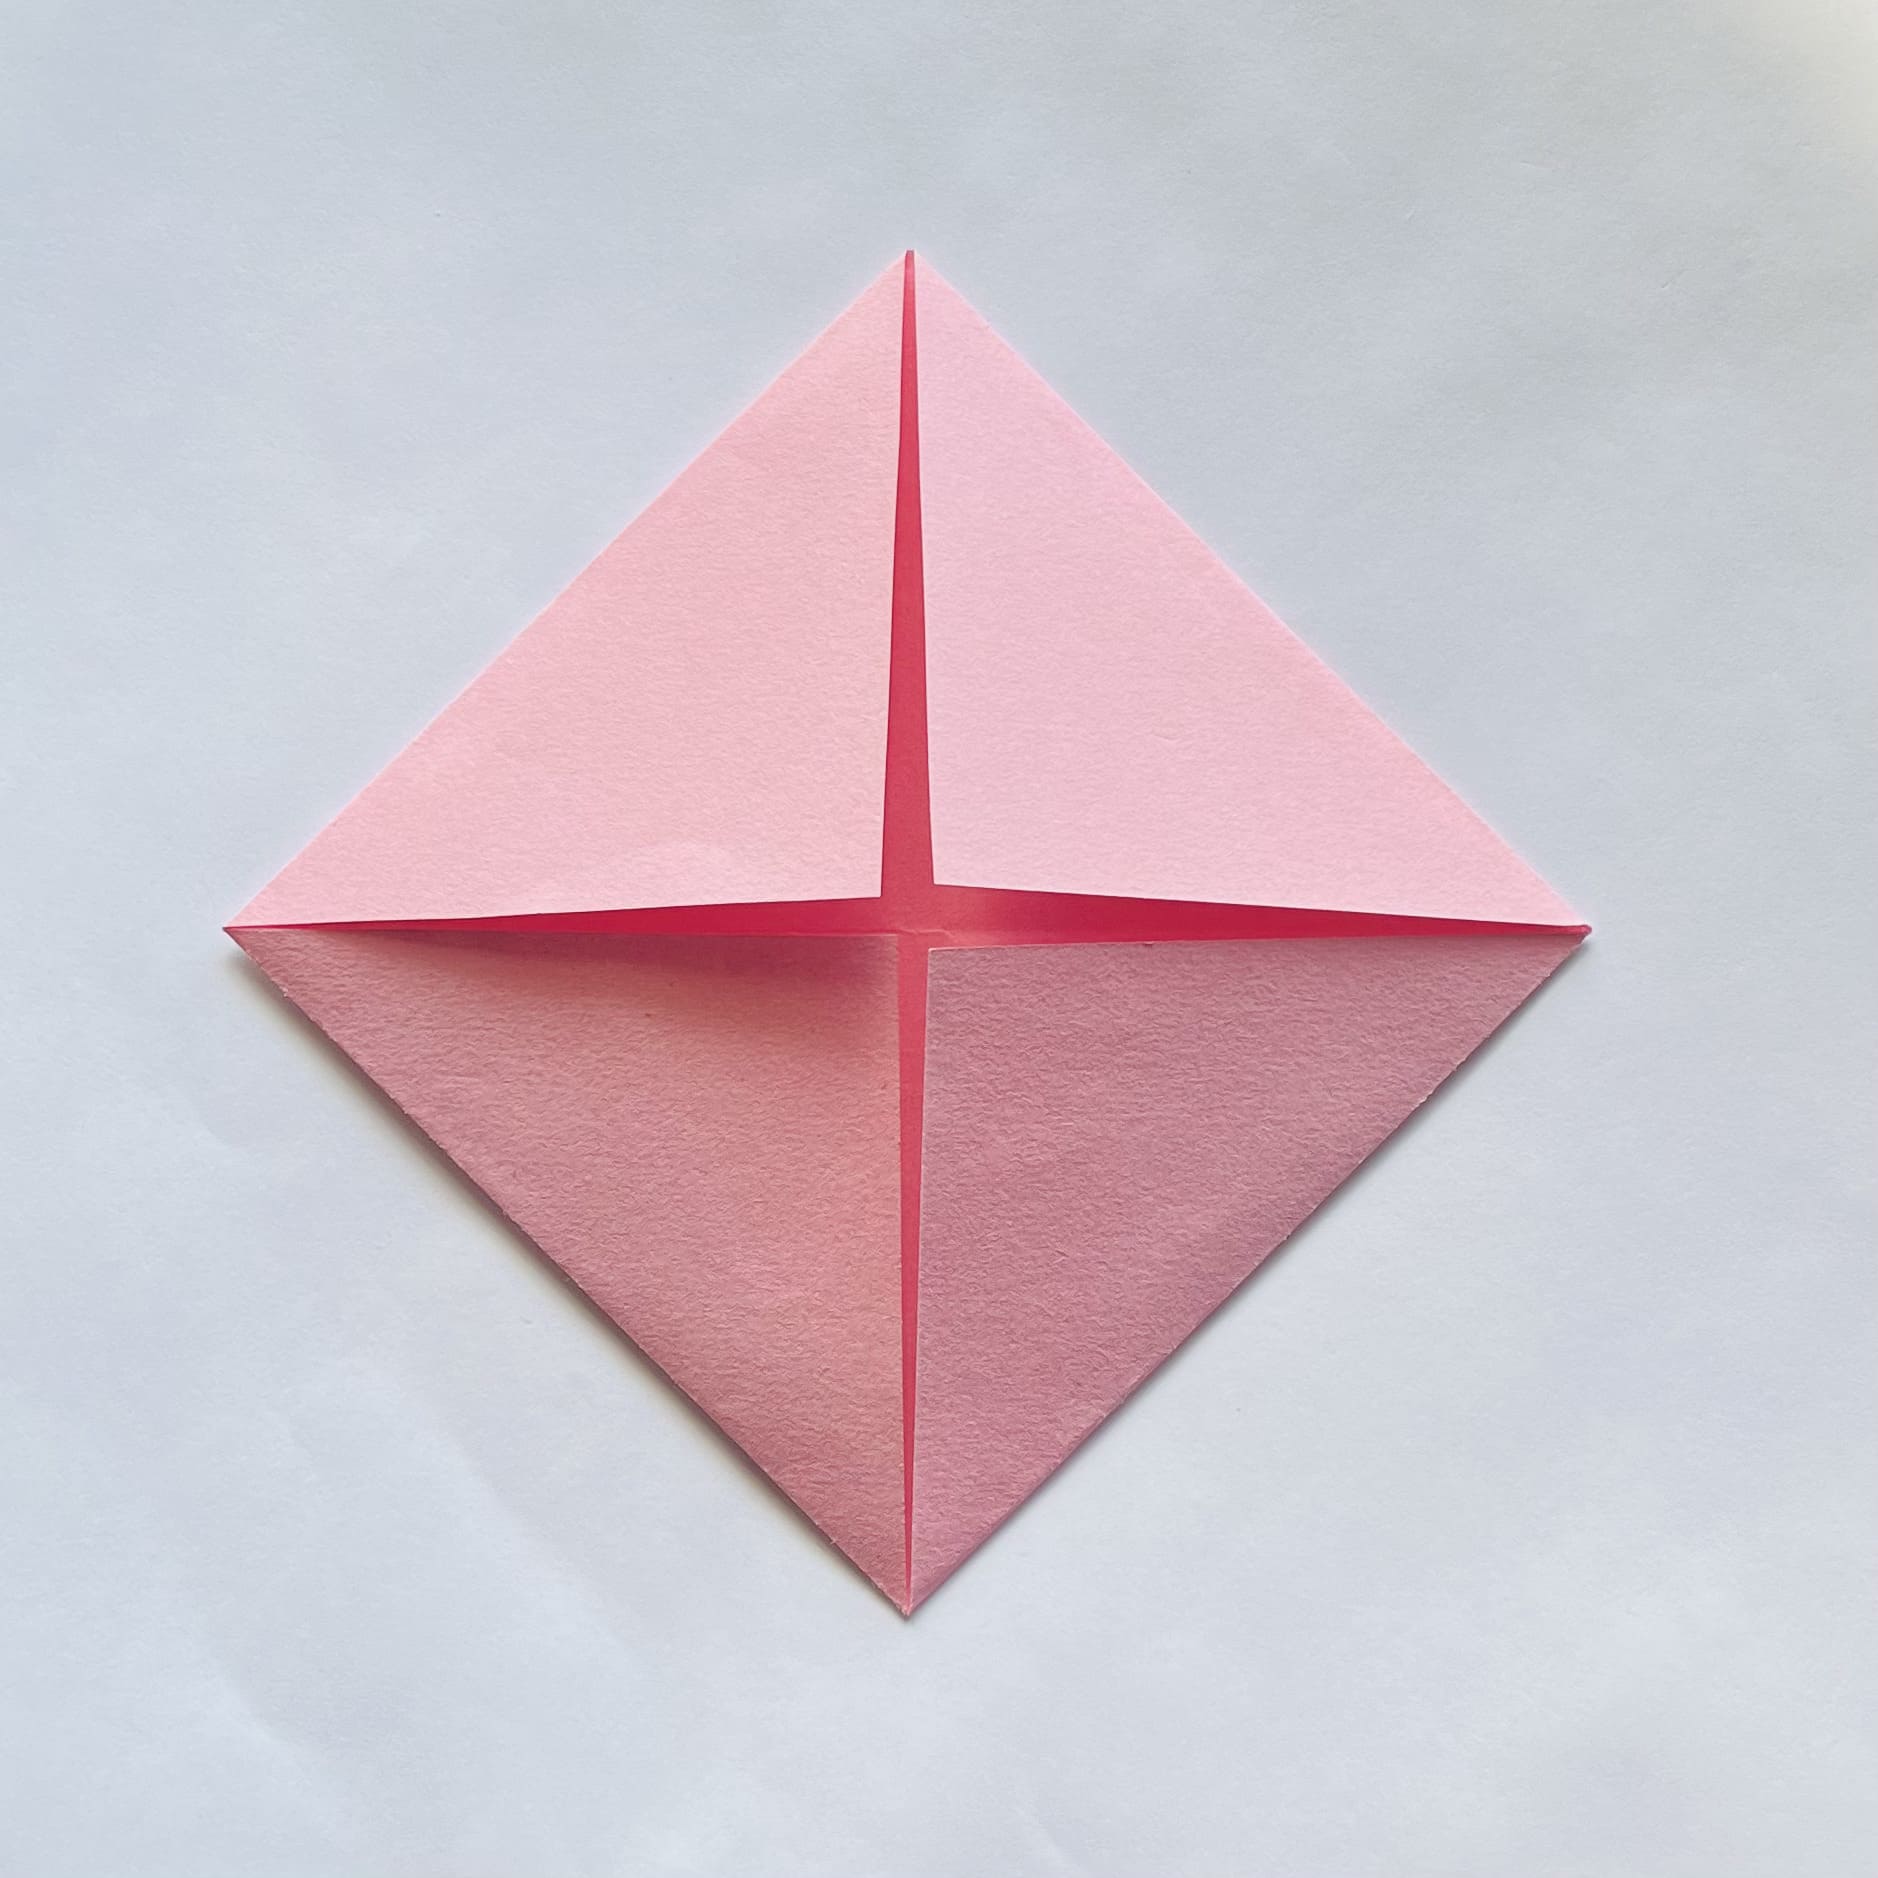
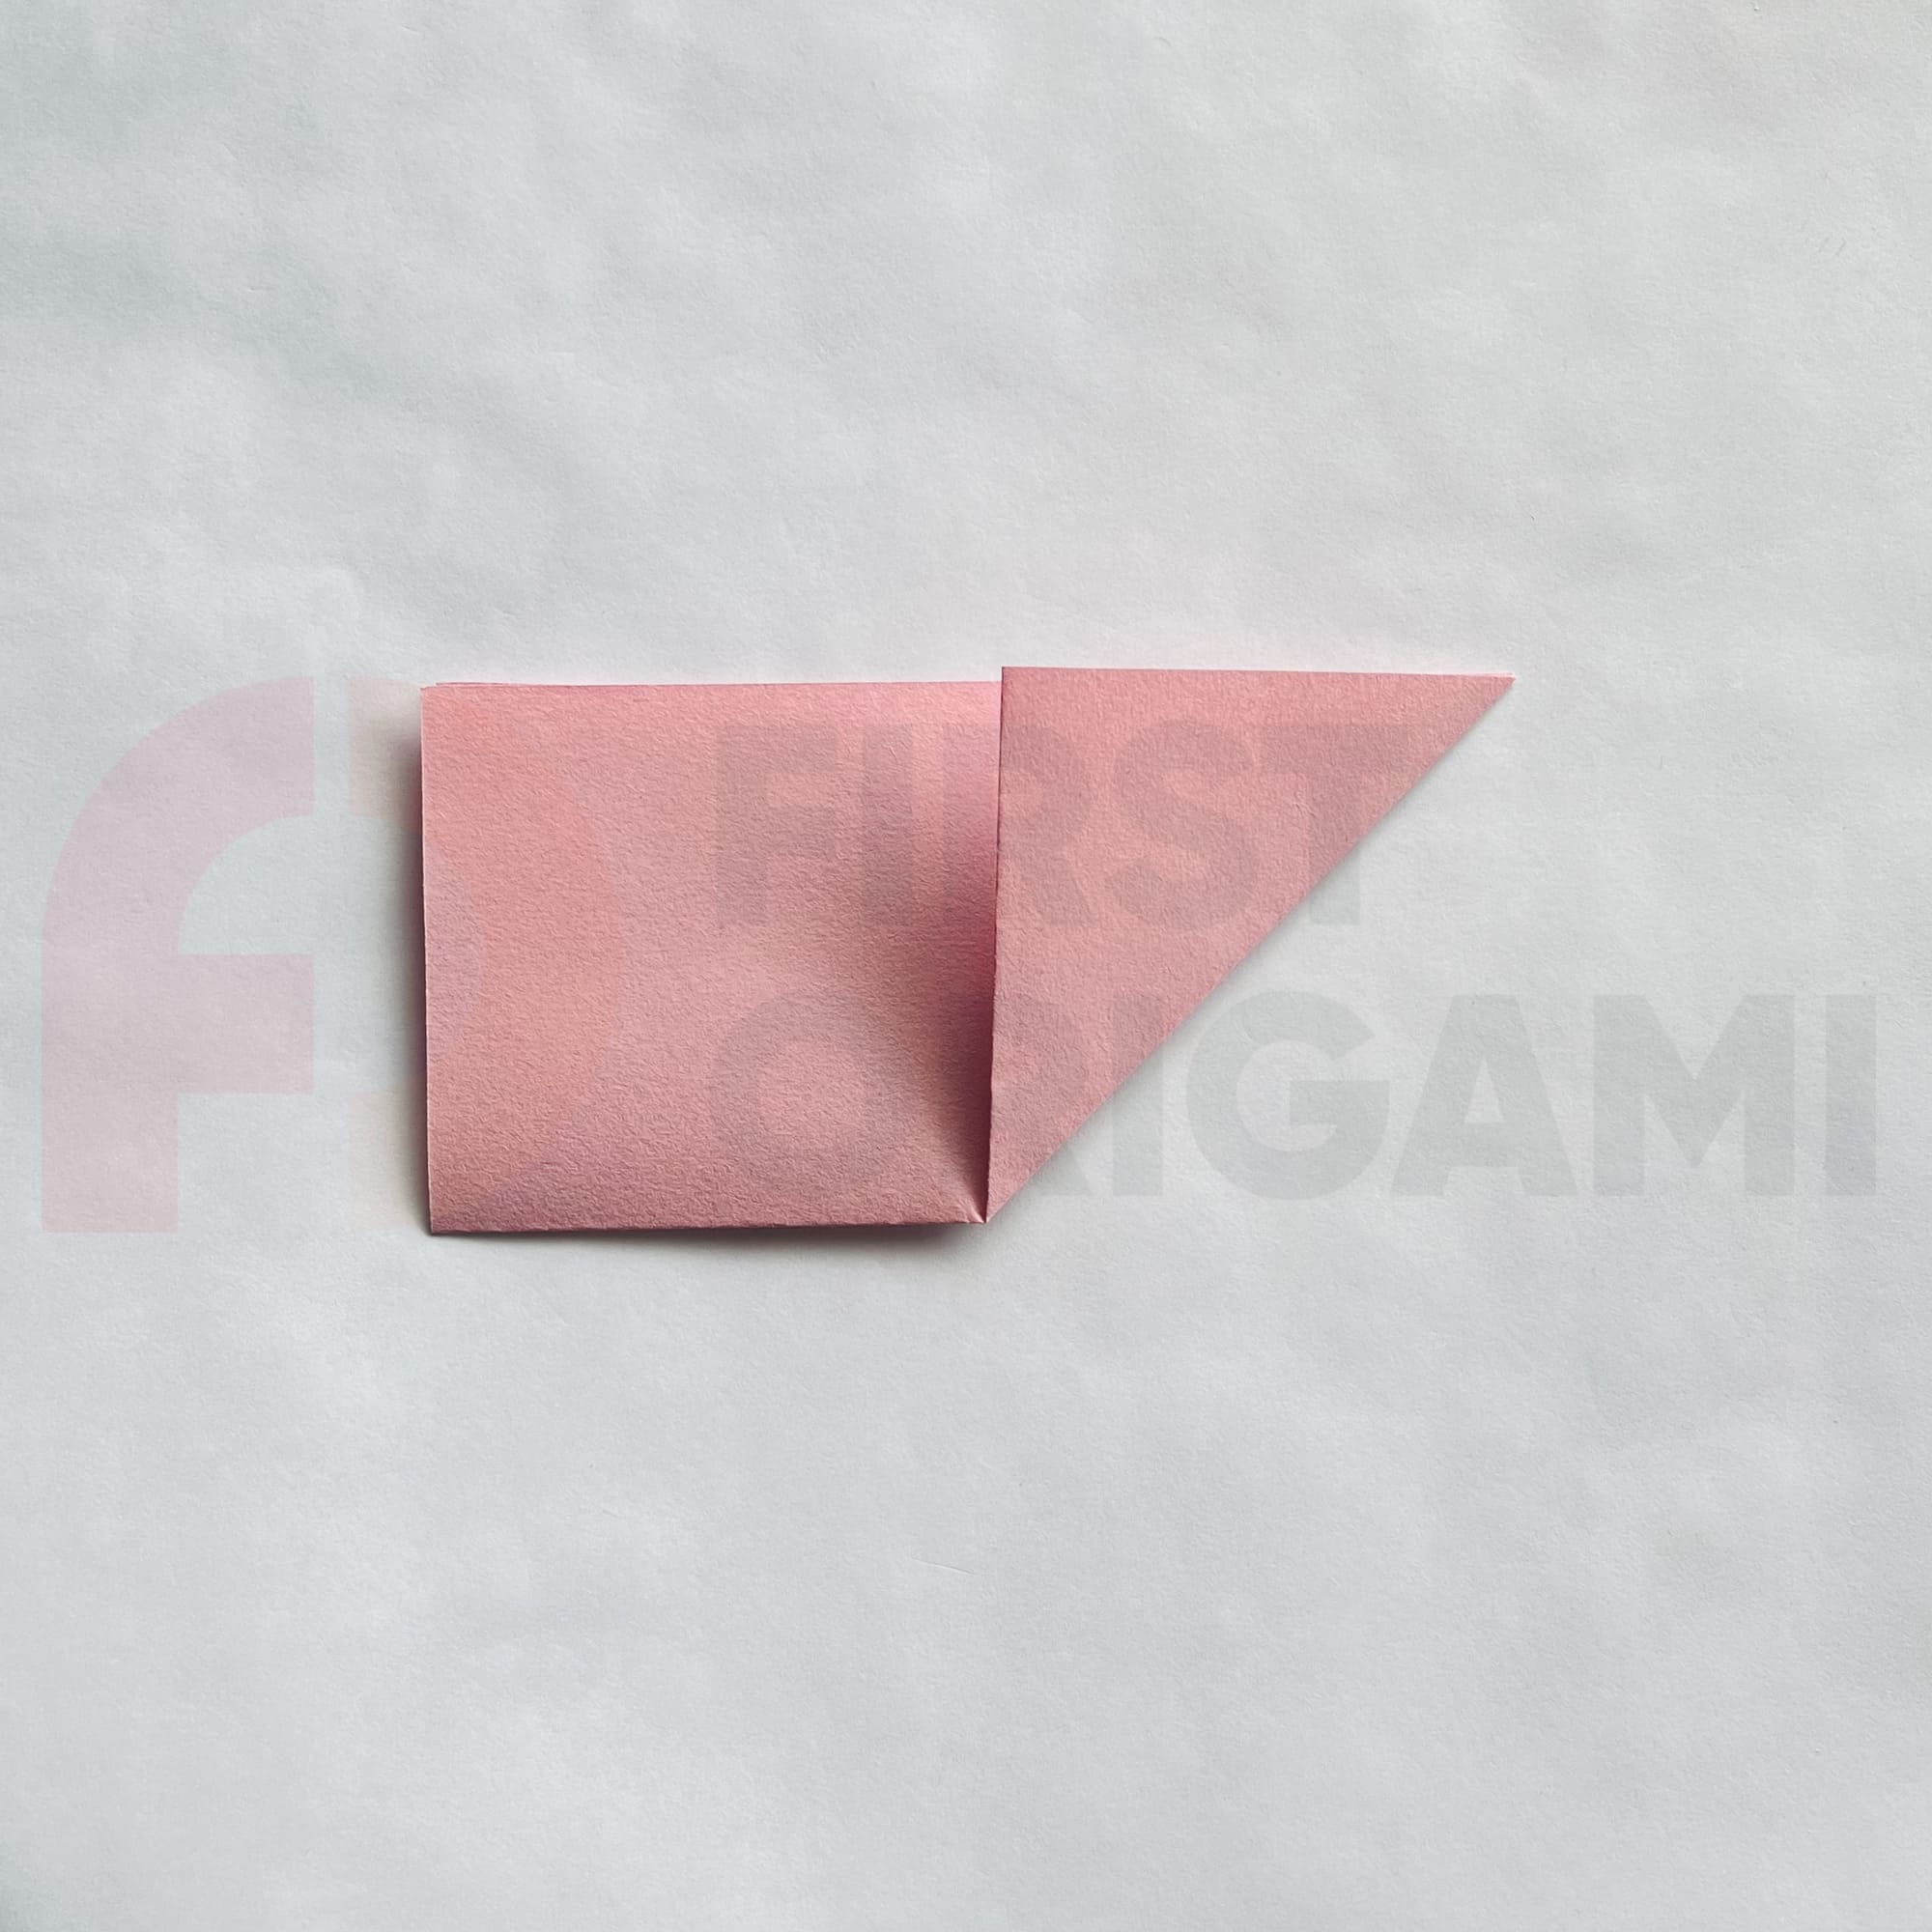
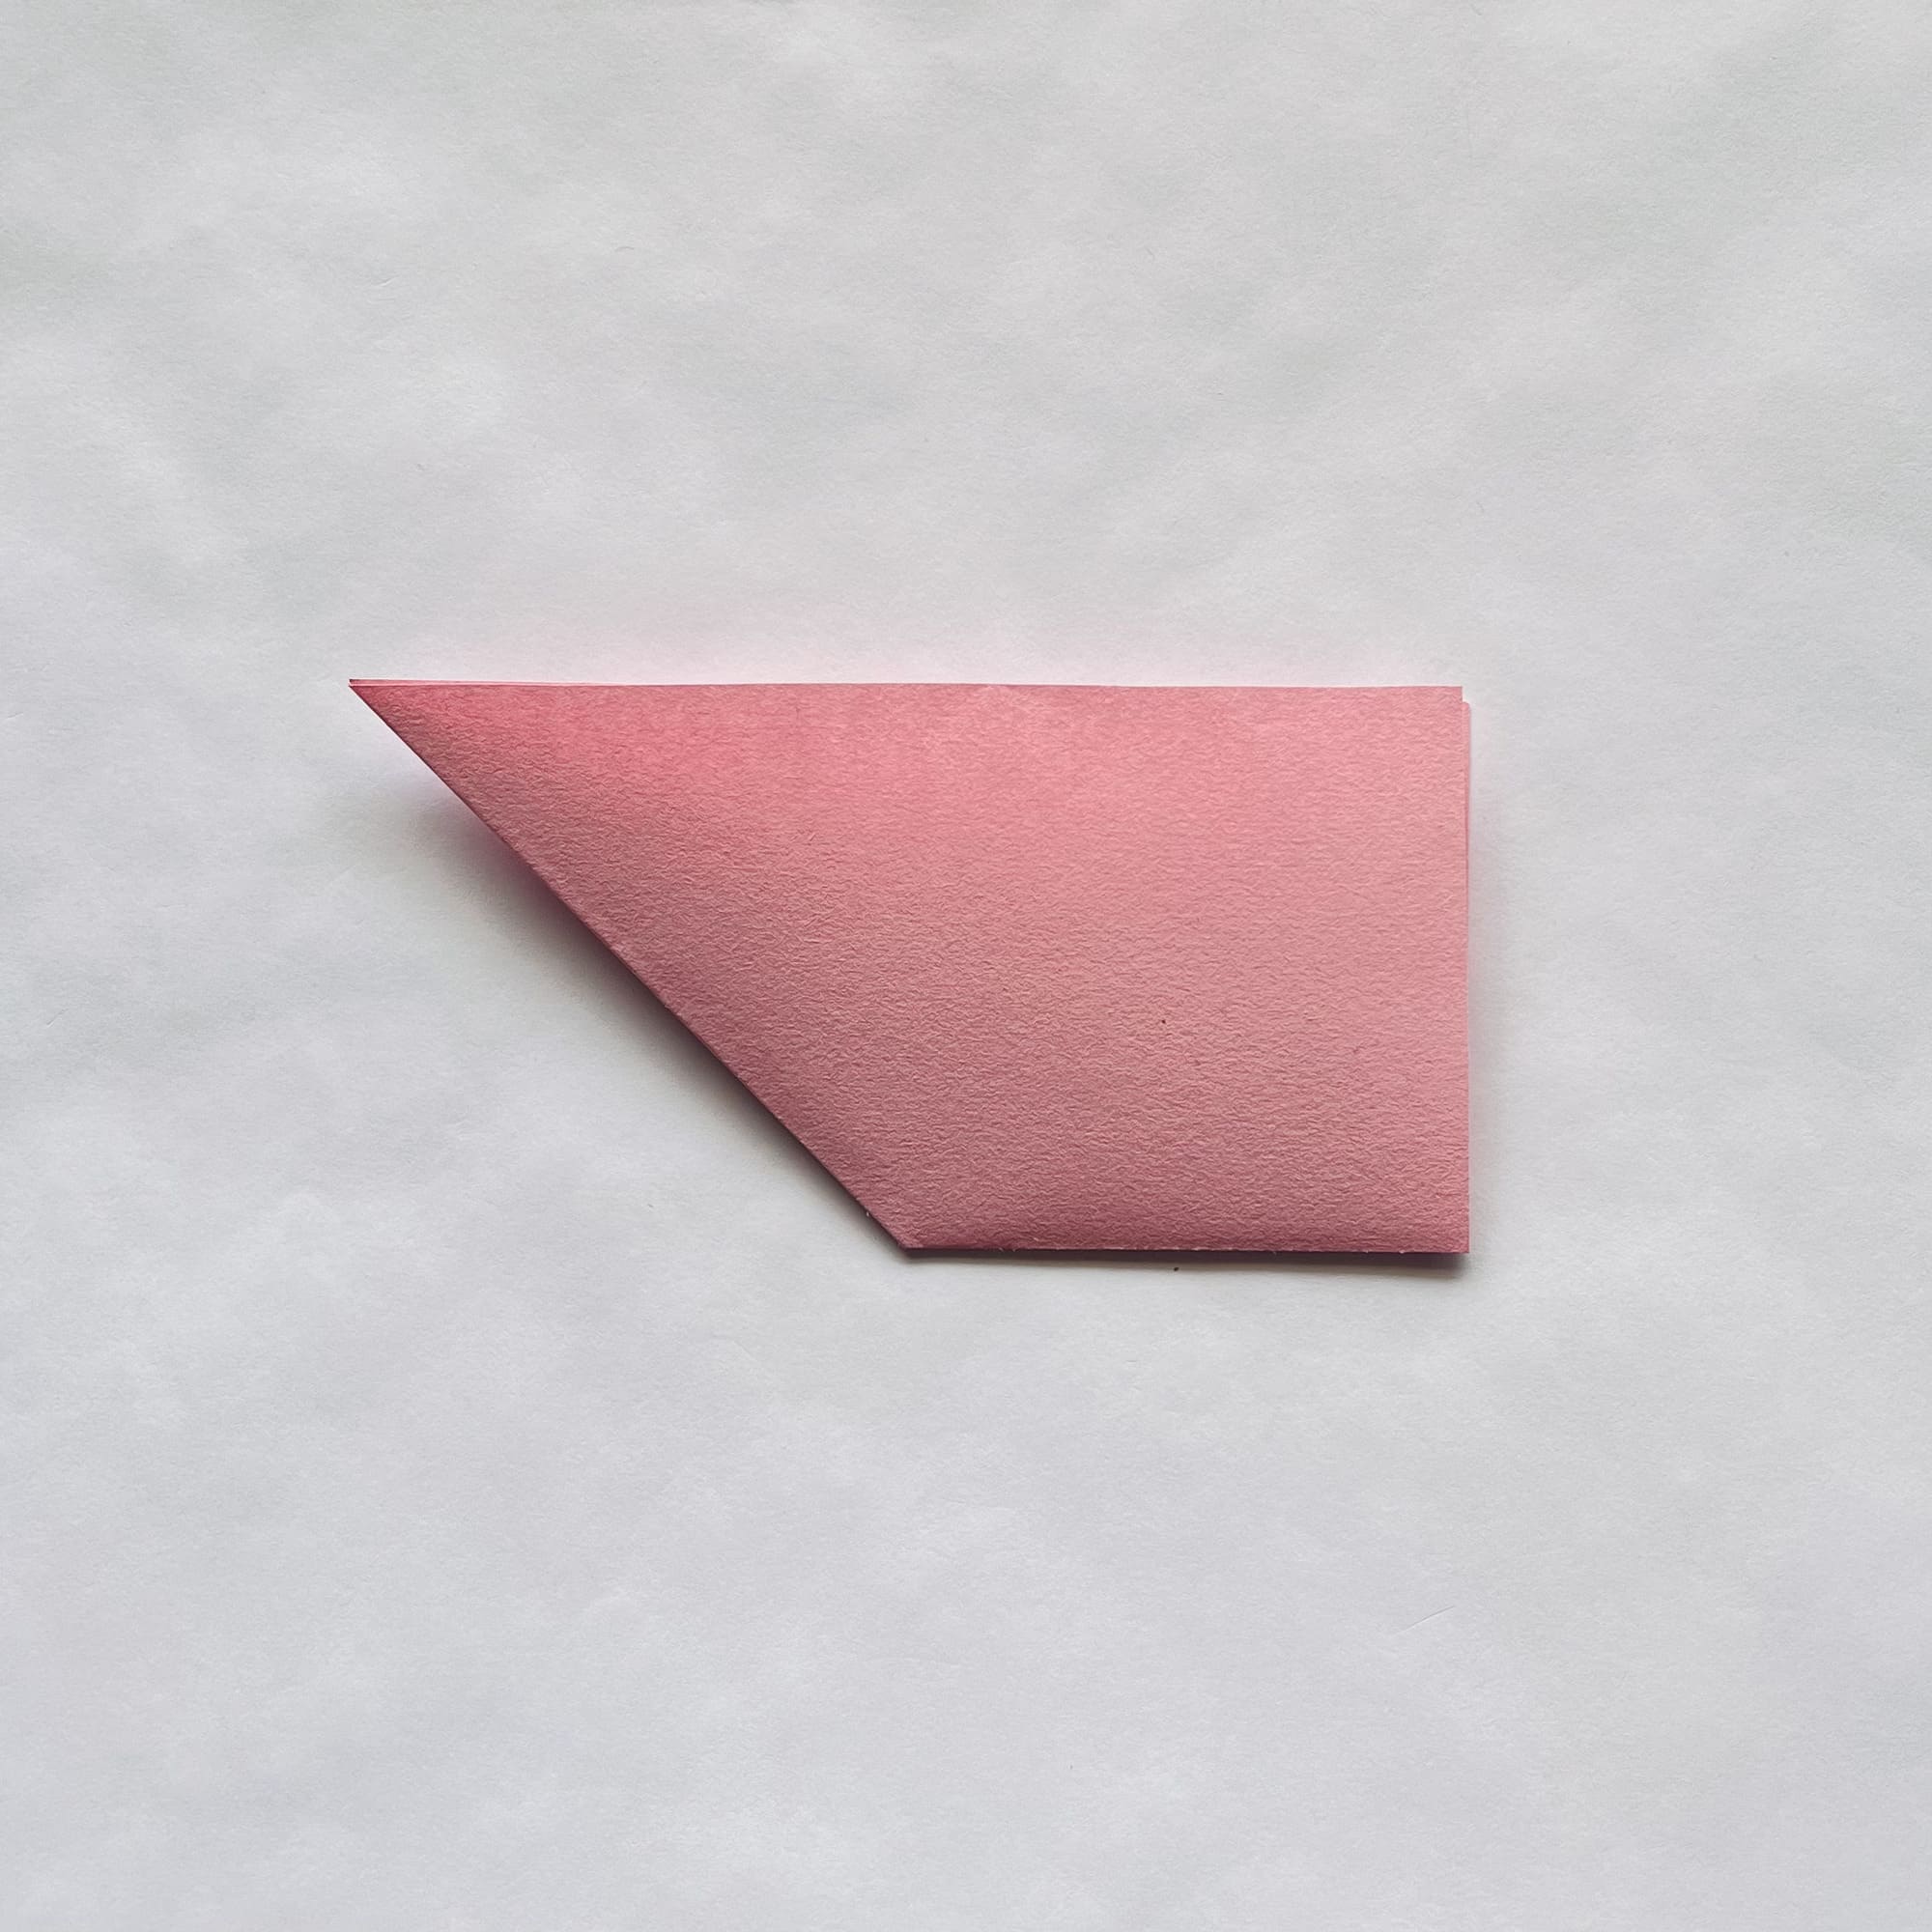
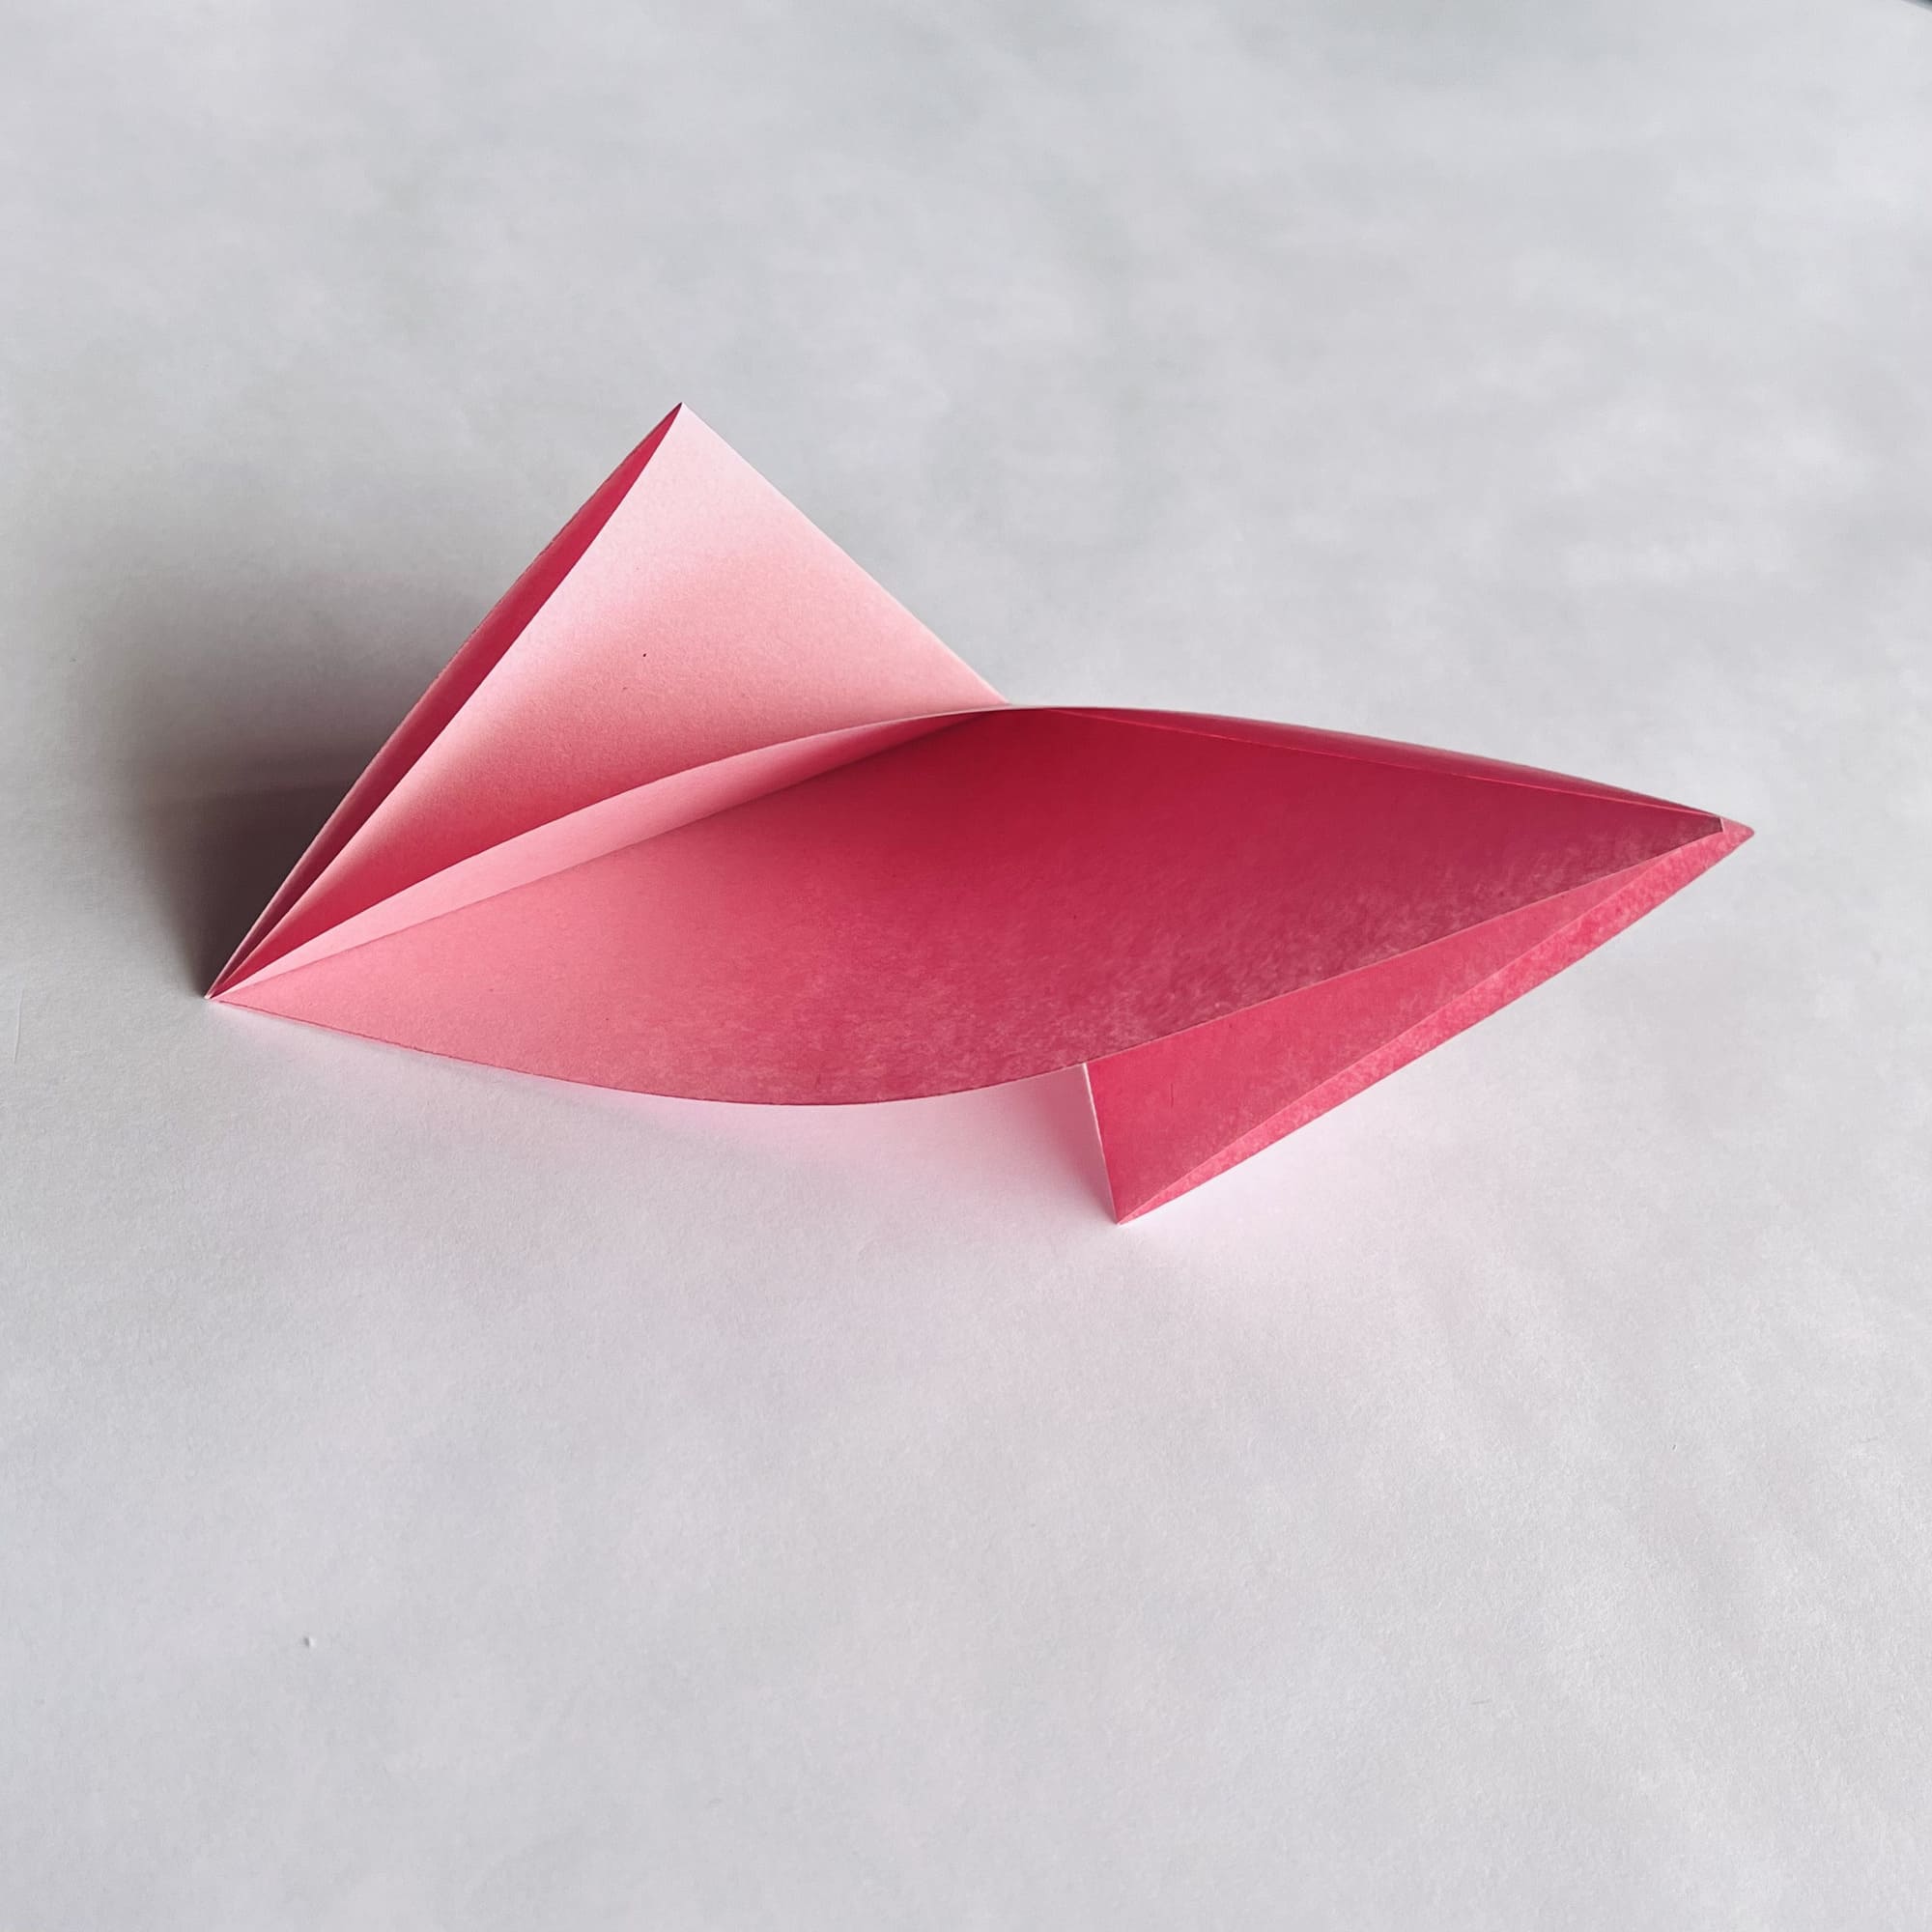
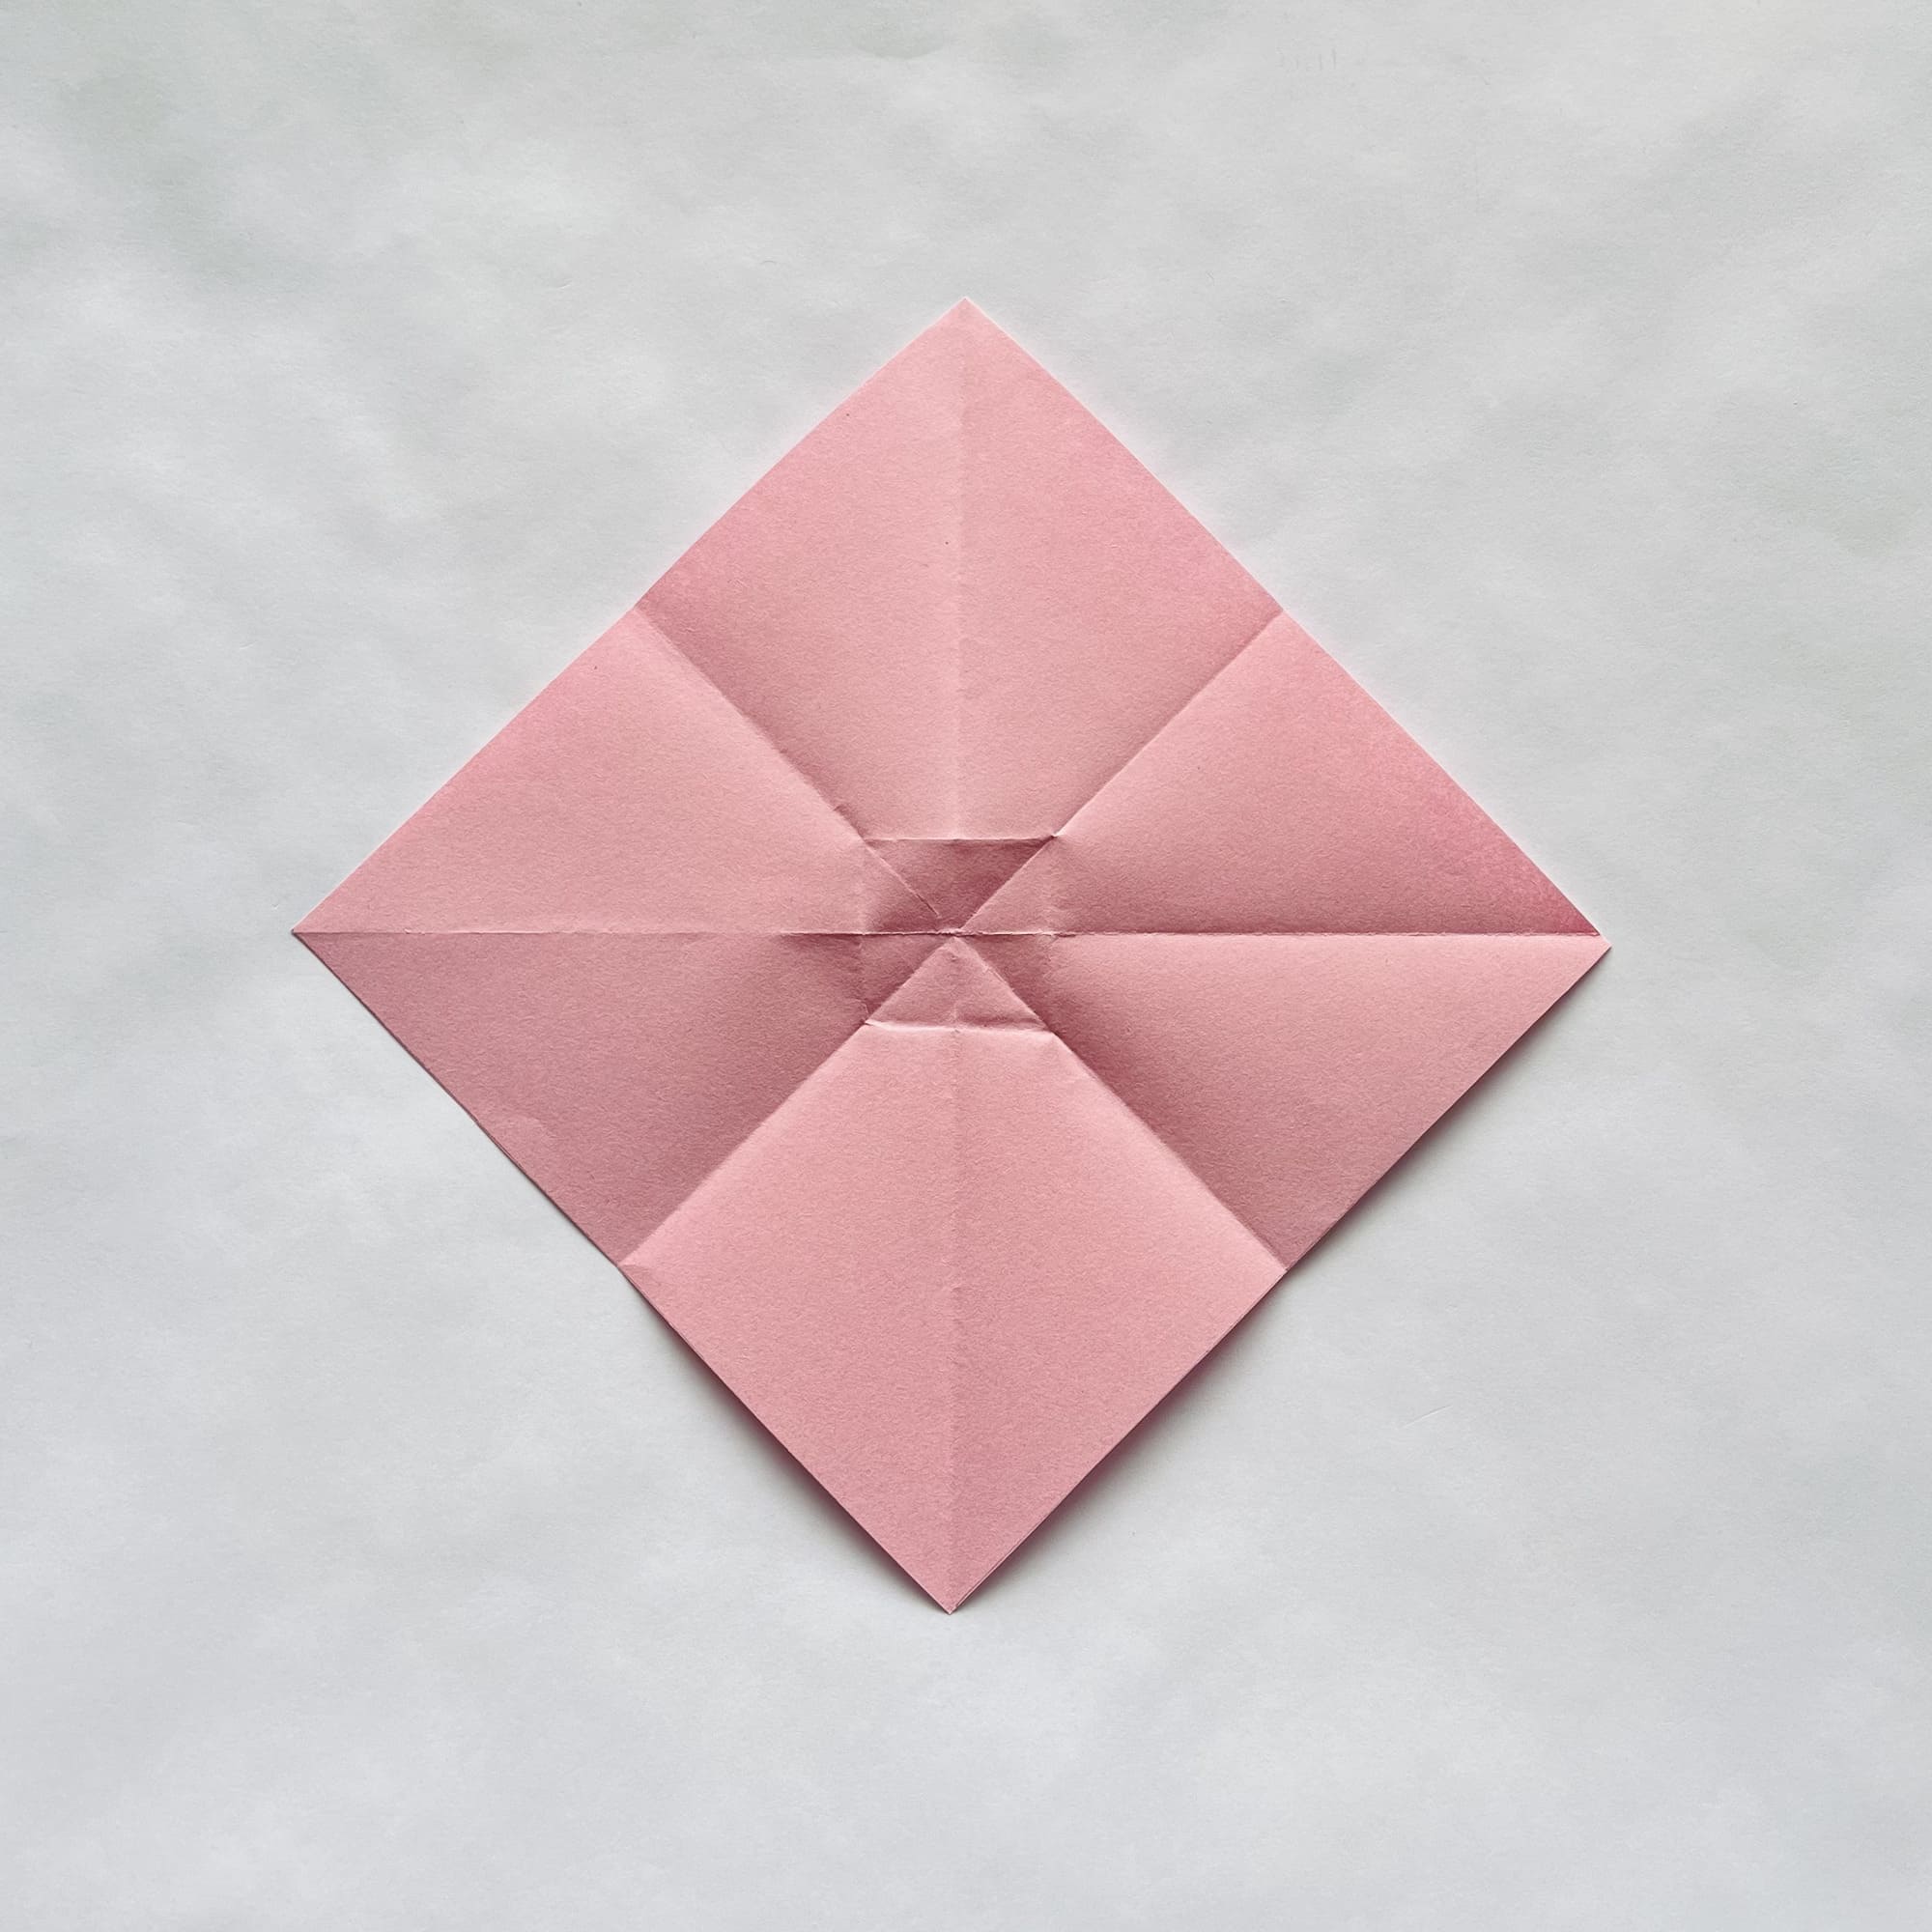
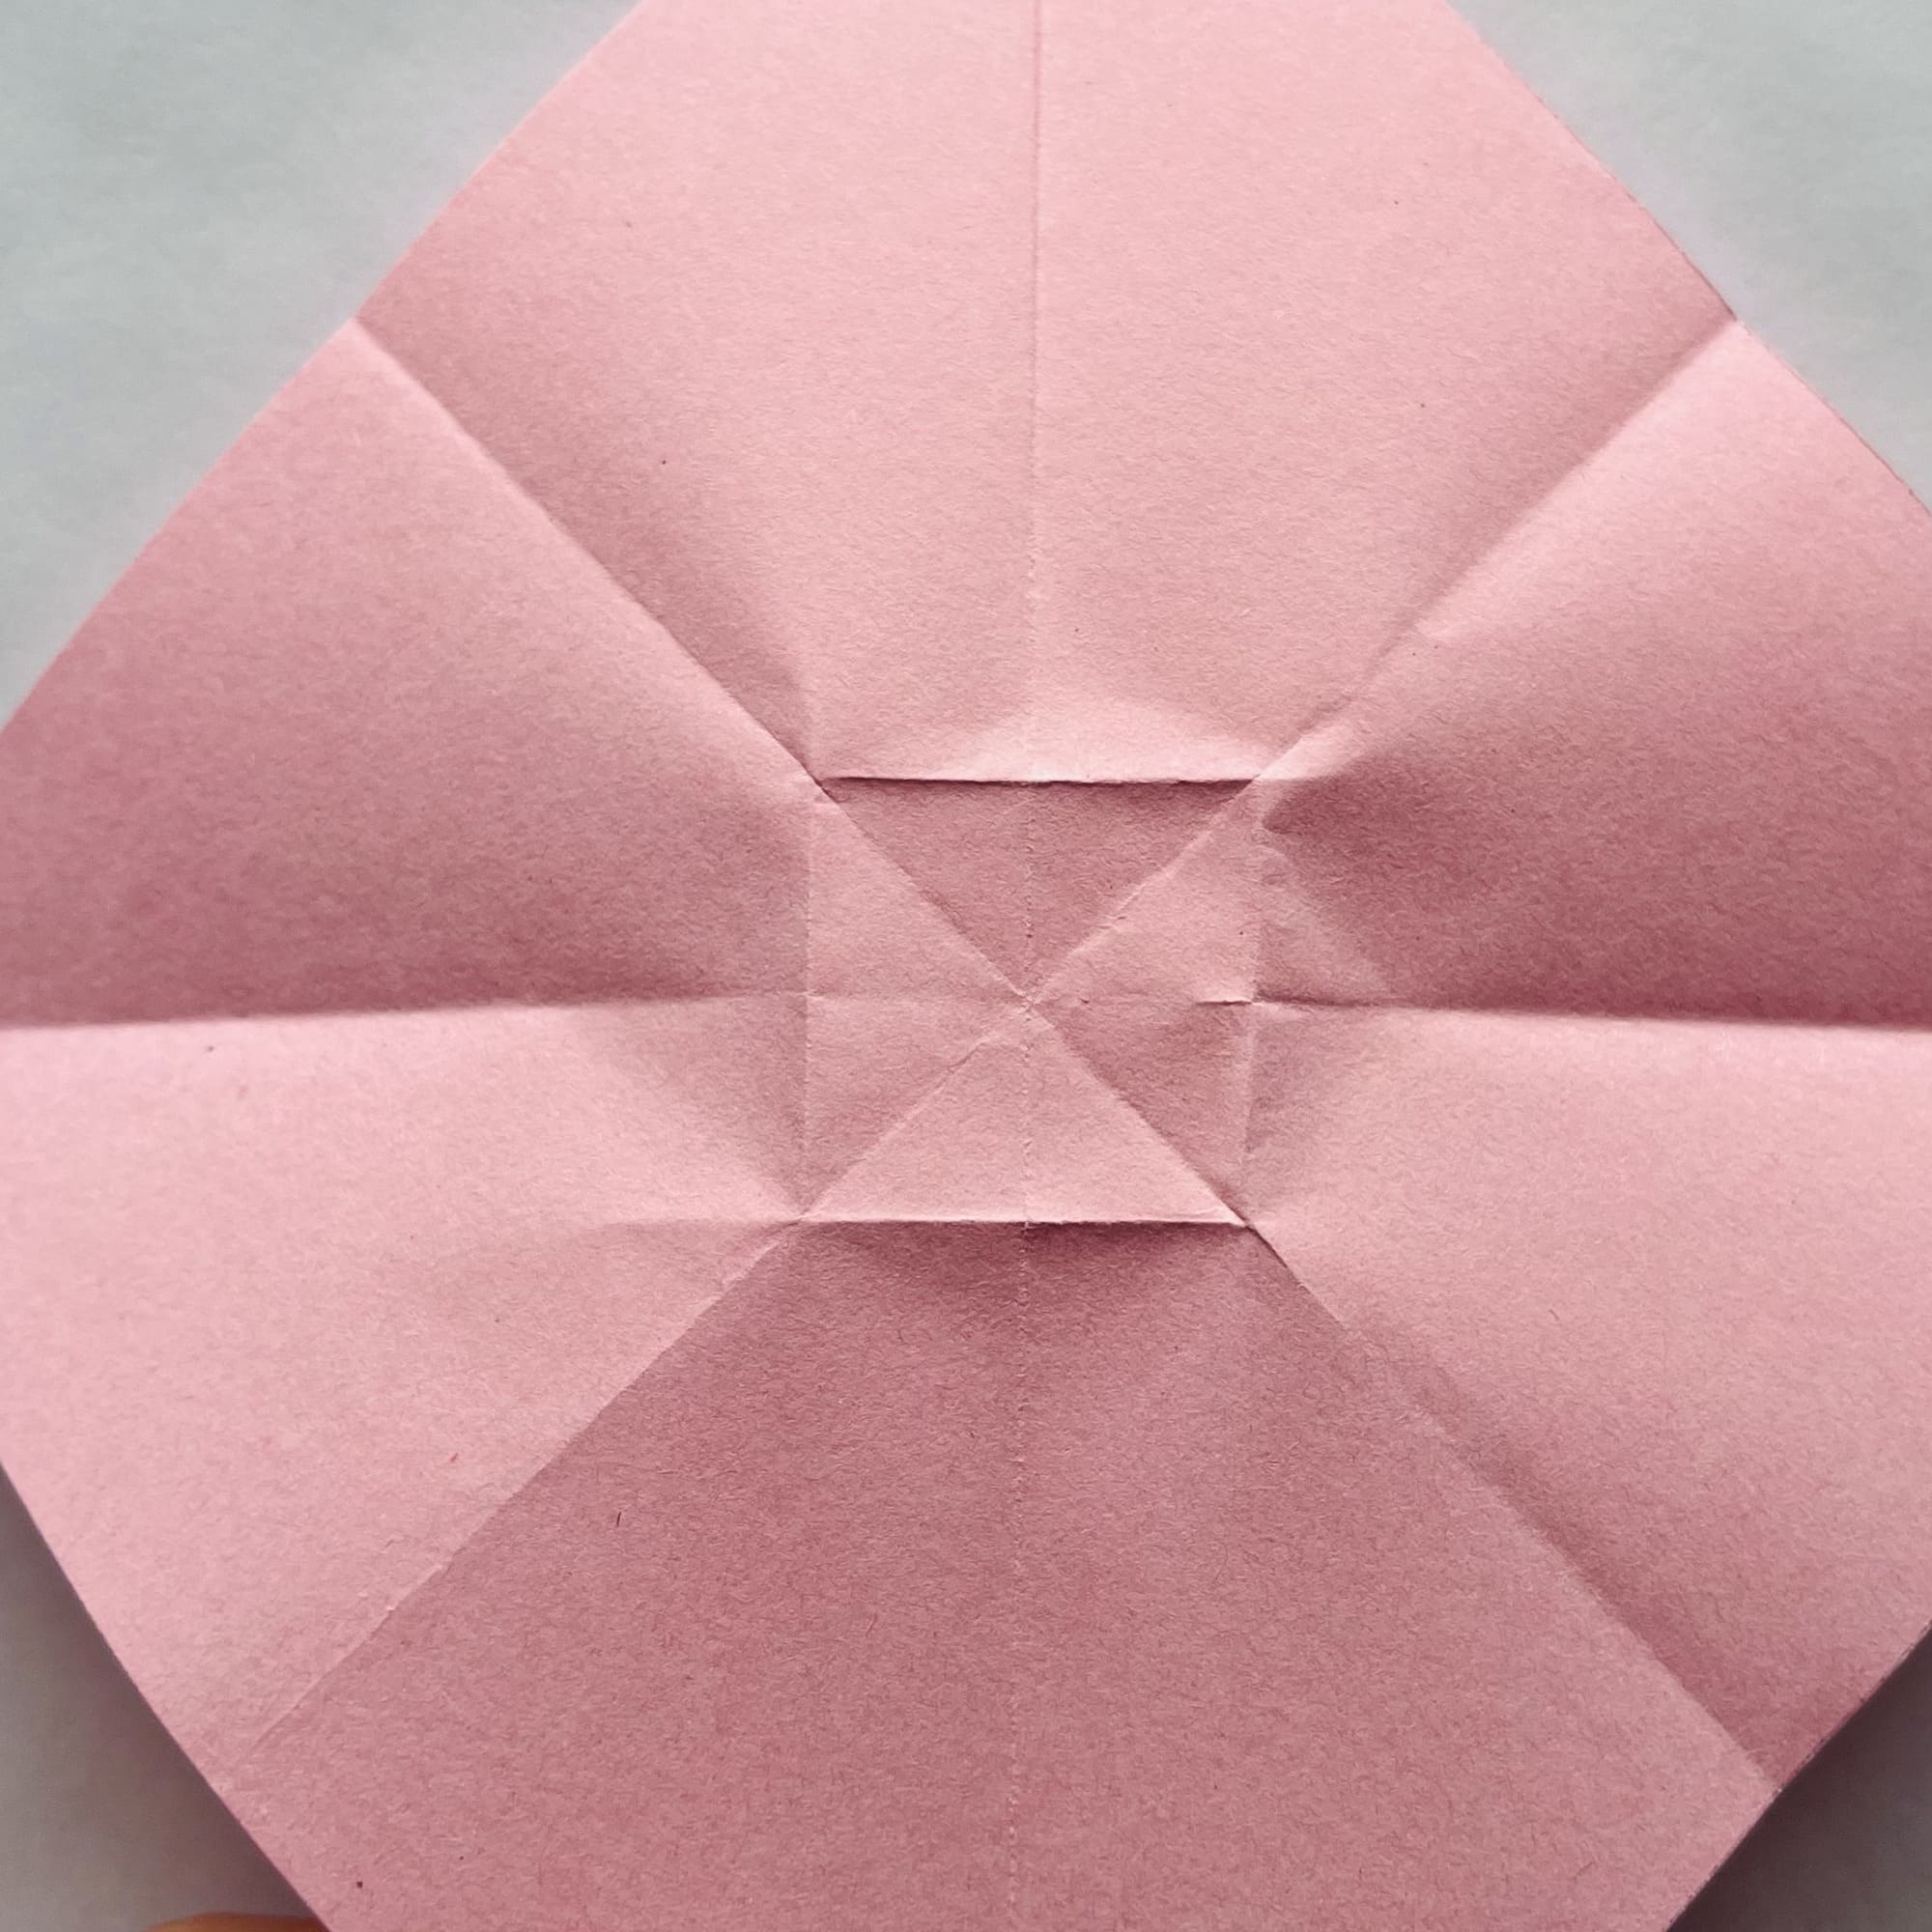
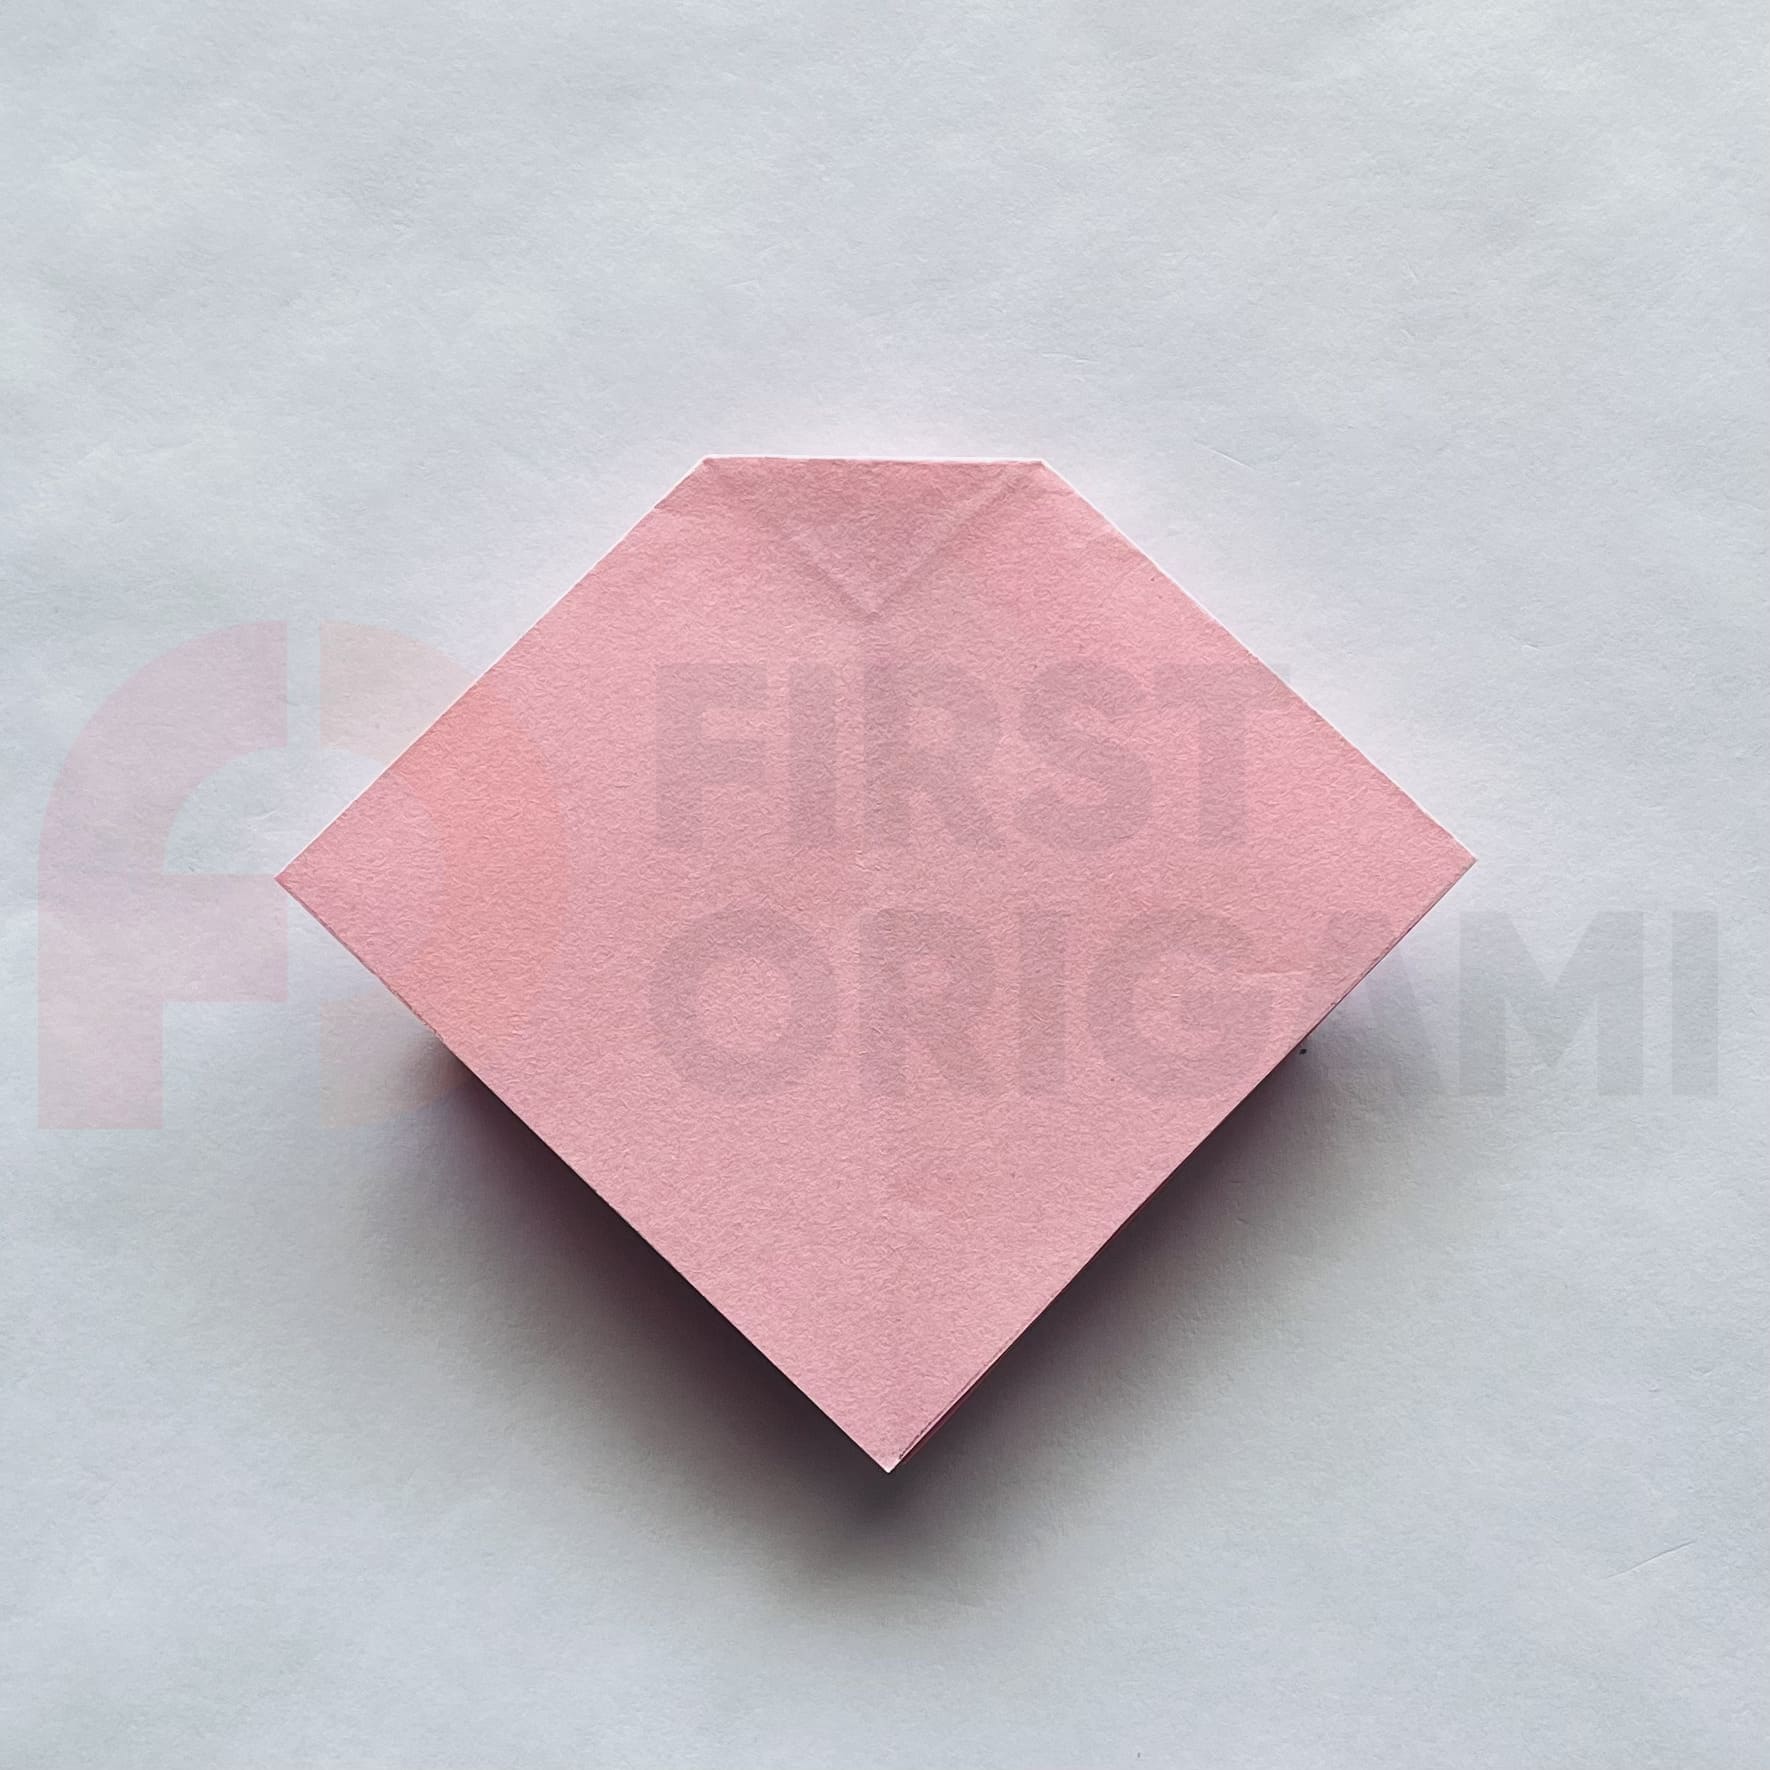
Fold all four corners to the center point.
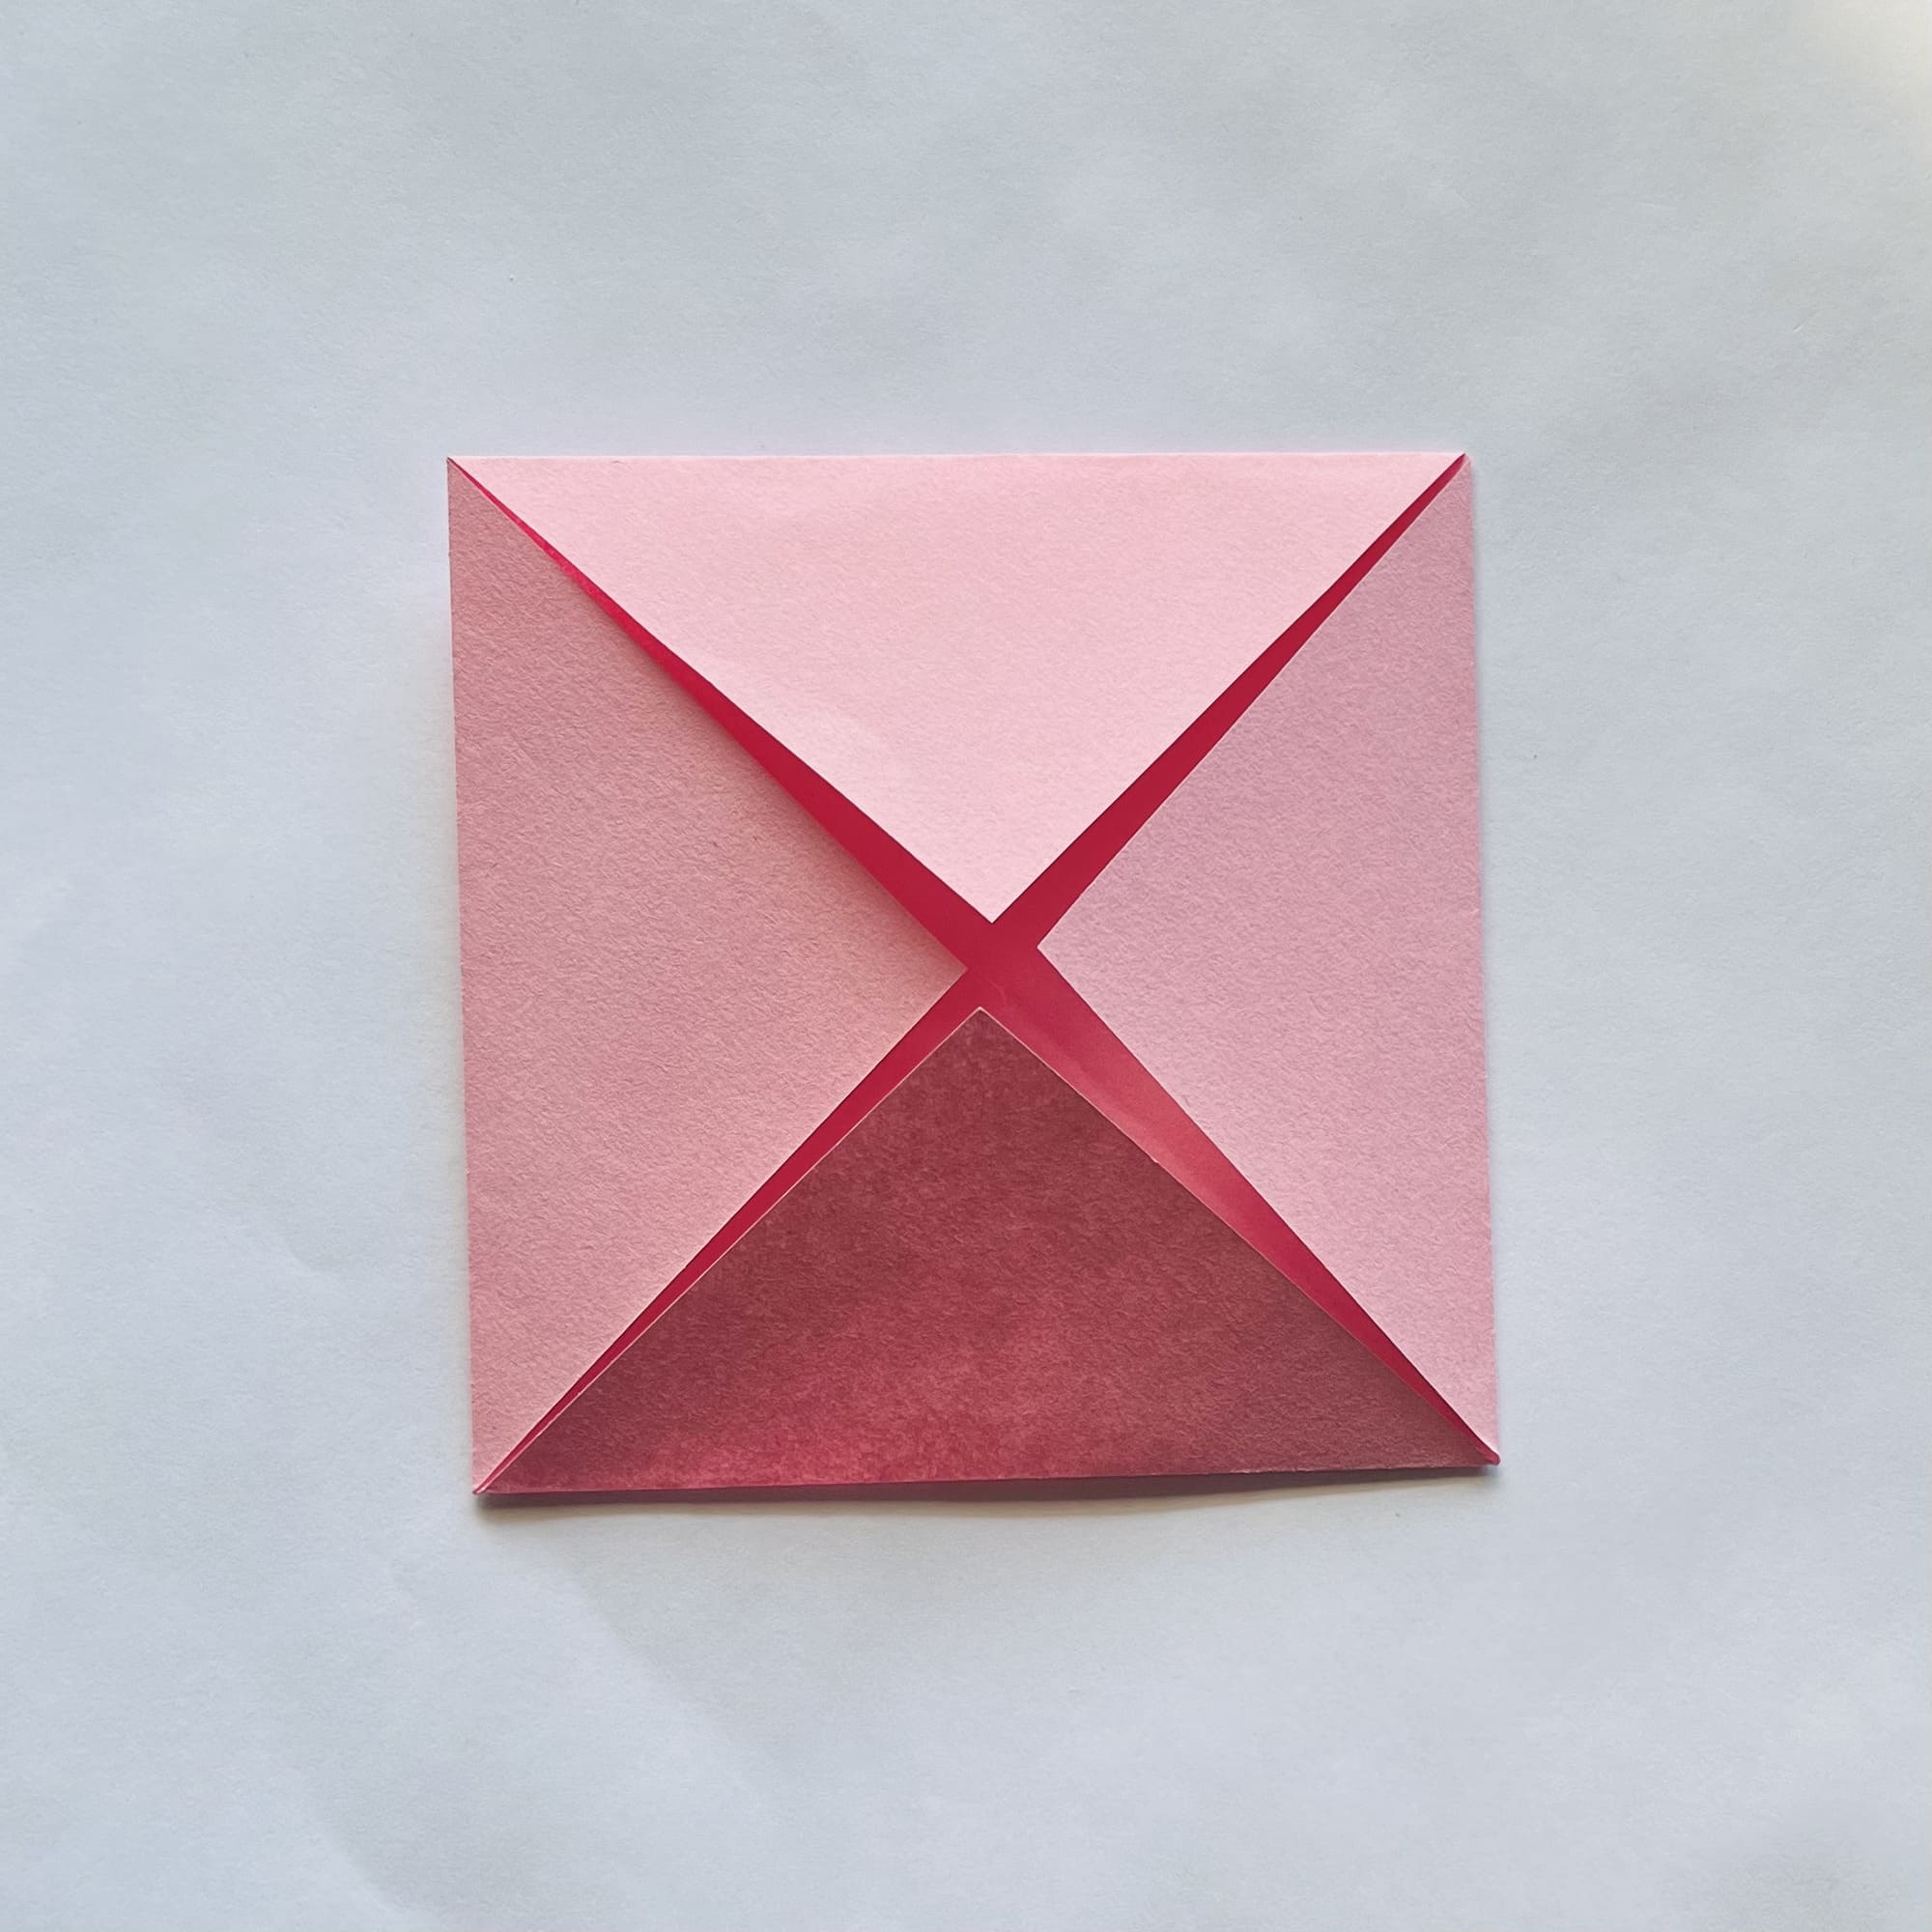
Position the paper as shown in the photo, folding the sides inward so they meet in the center.

Crease the folds and unfold.
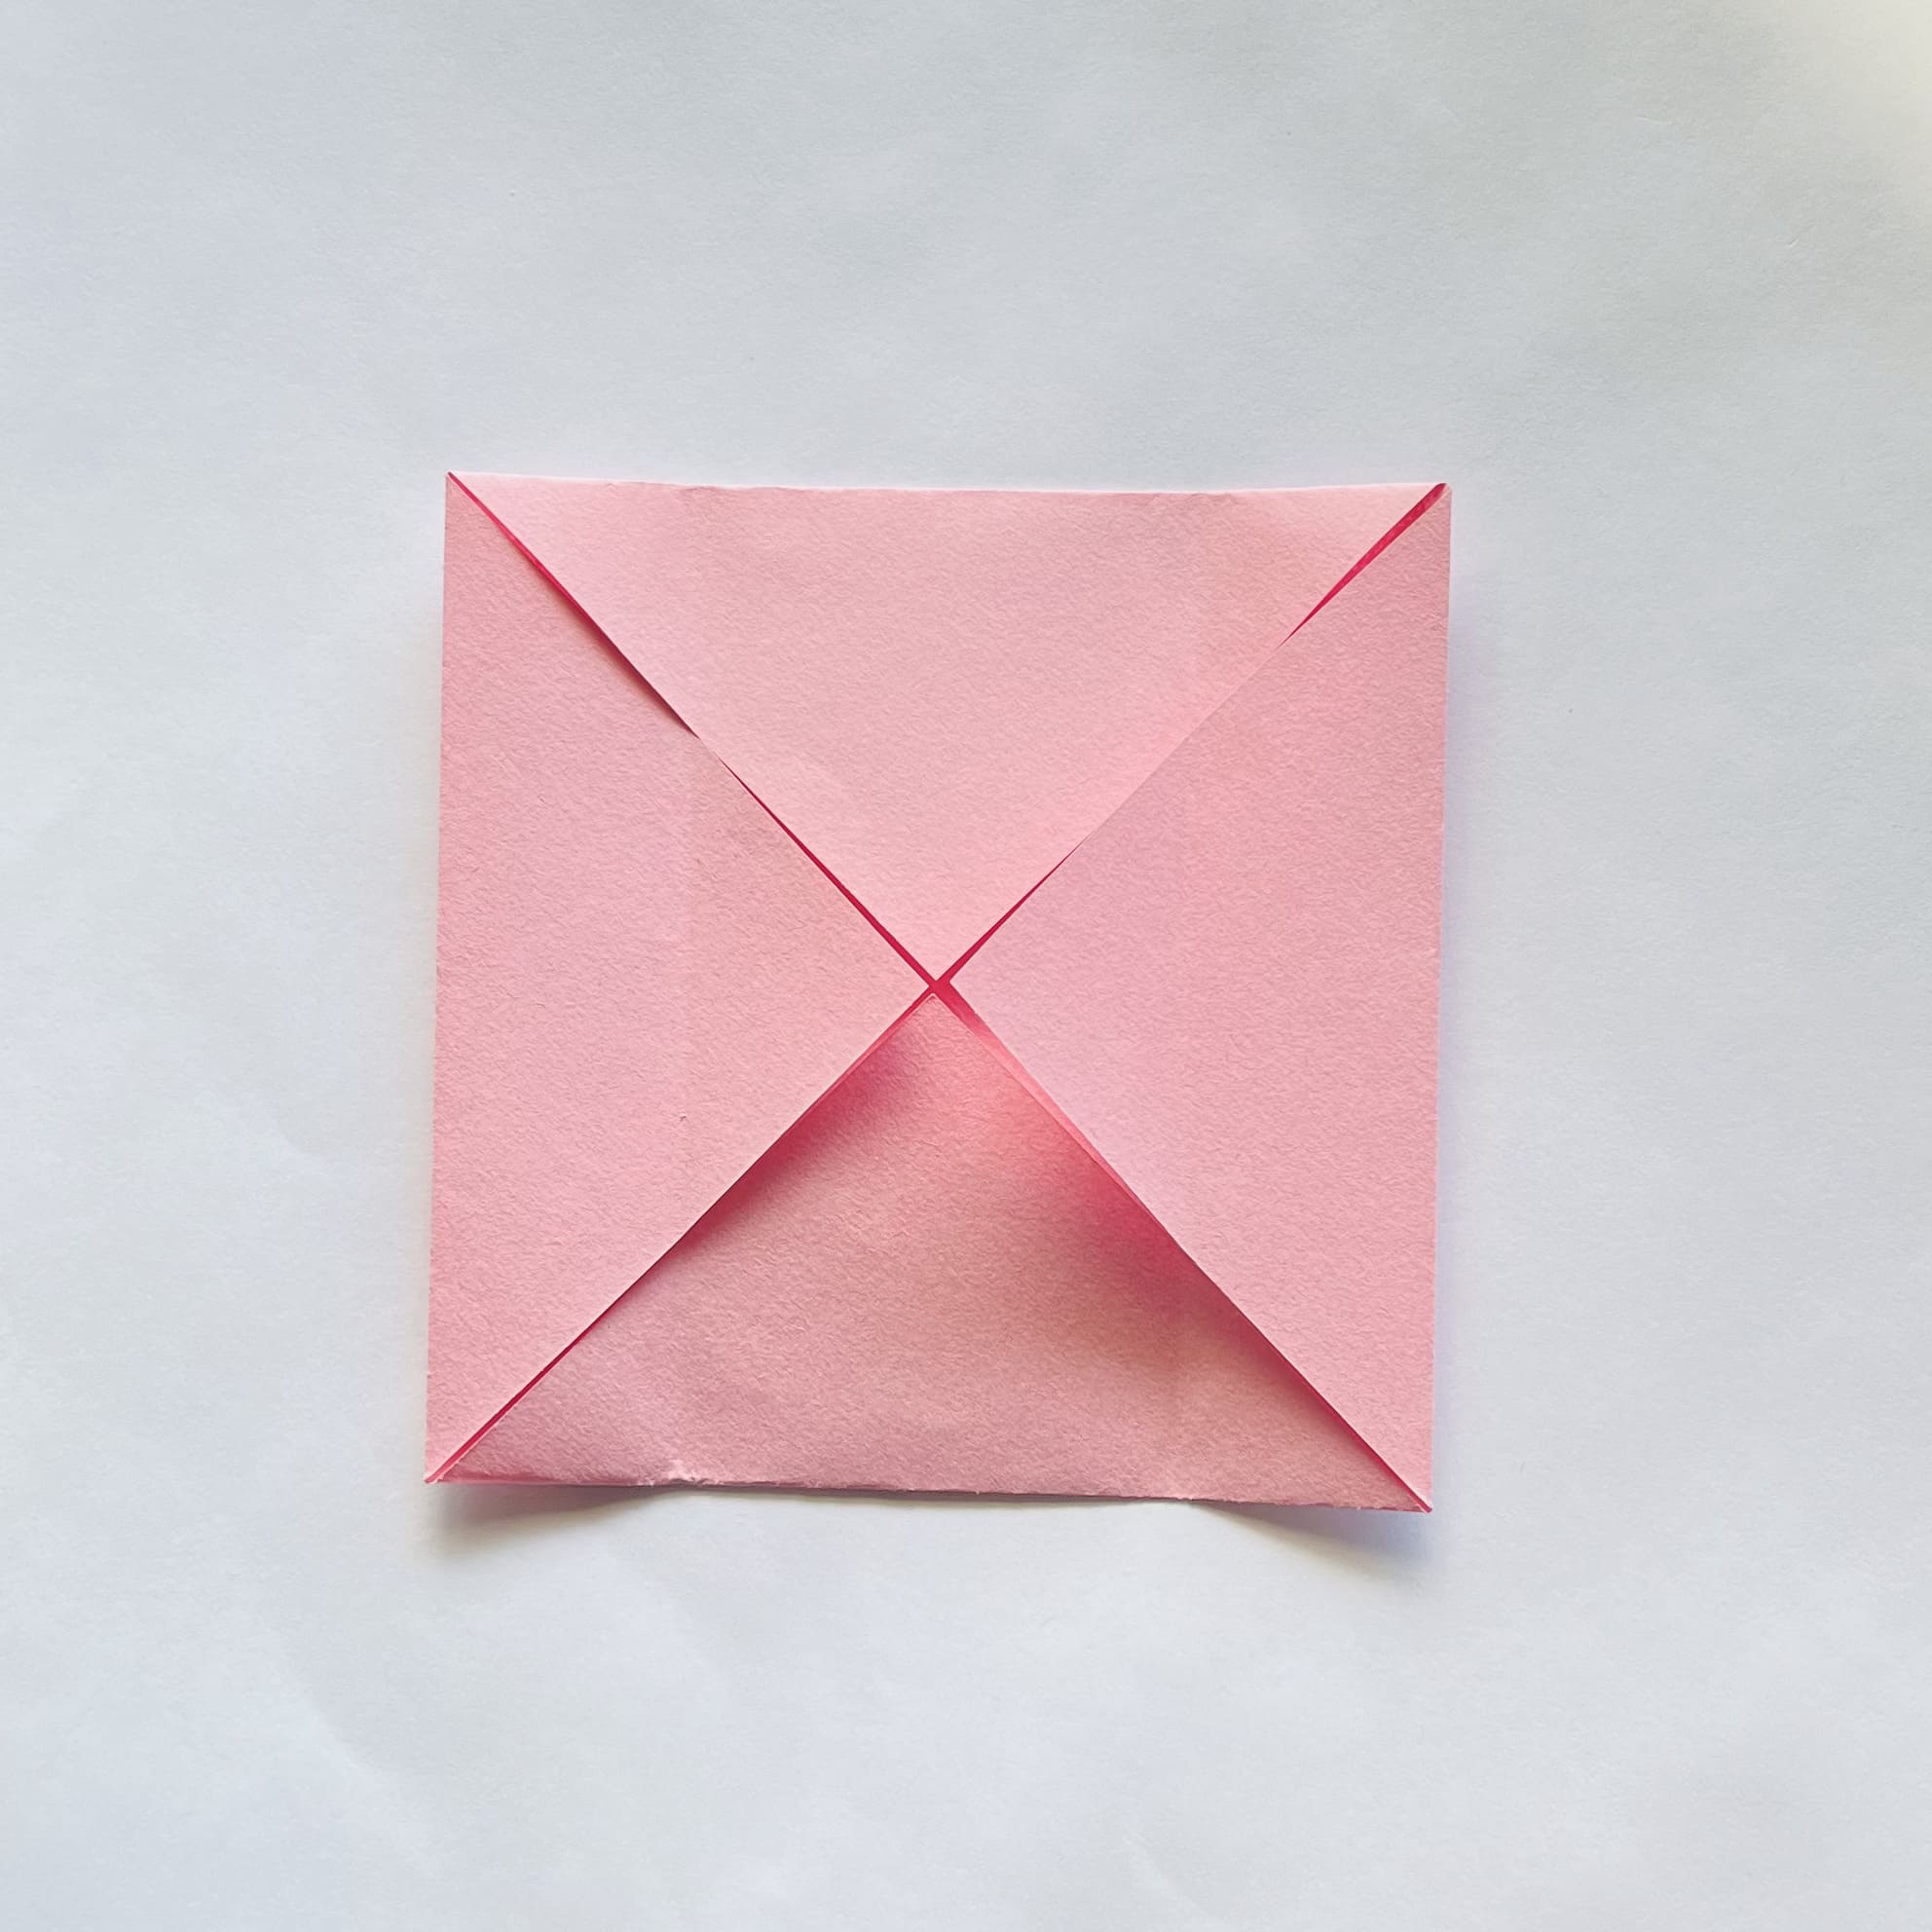
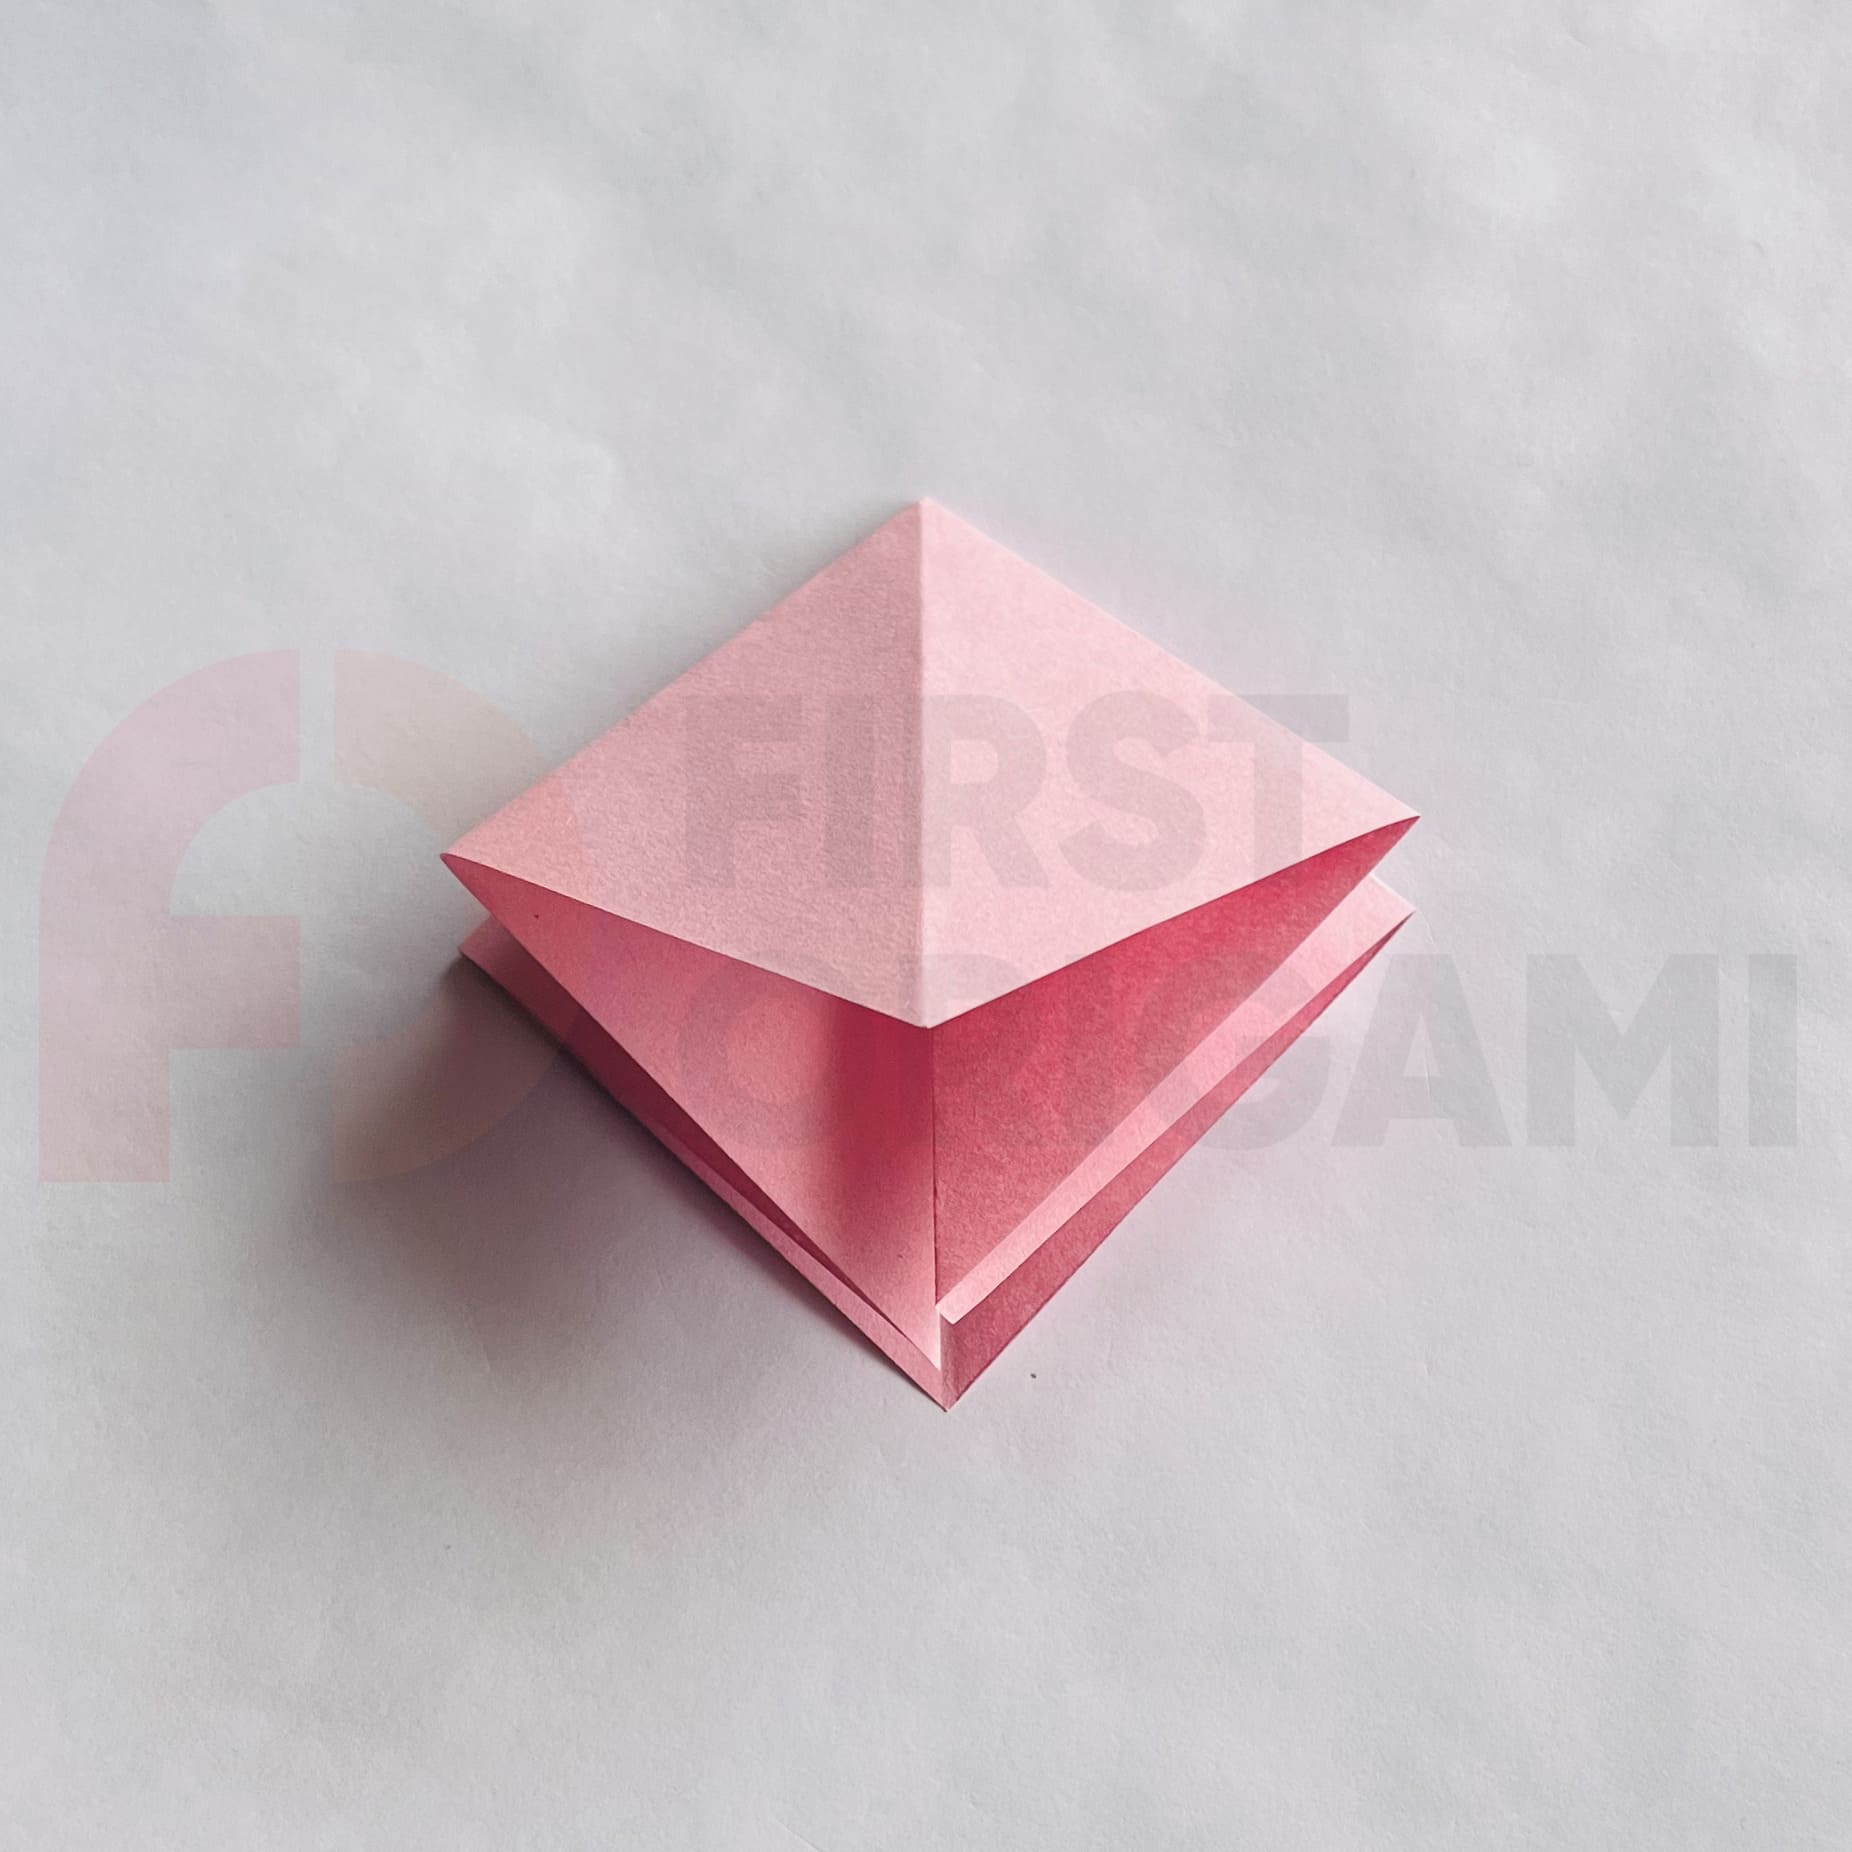
Fold the top and bottom parts inward in the same way, then unfold.

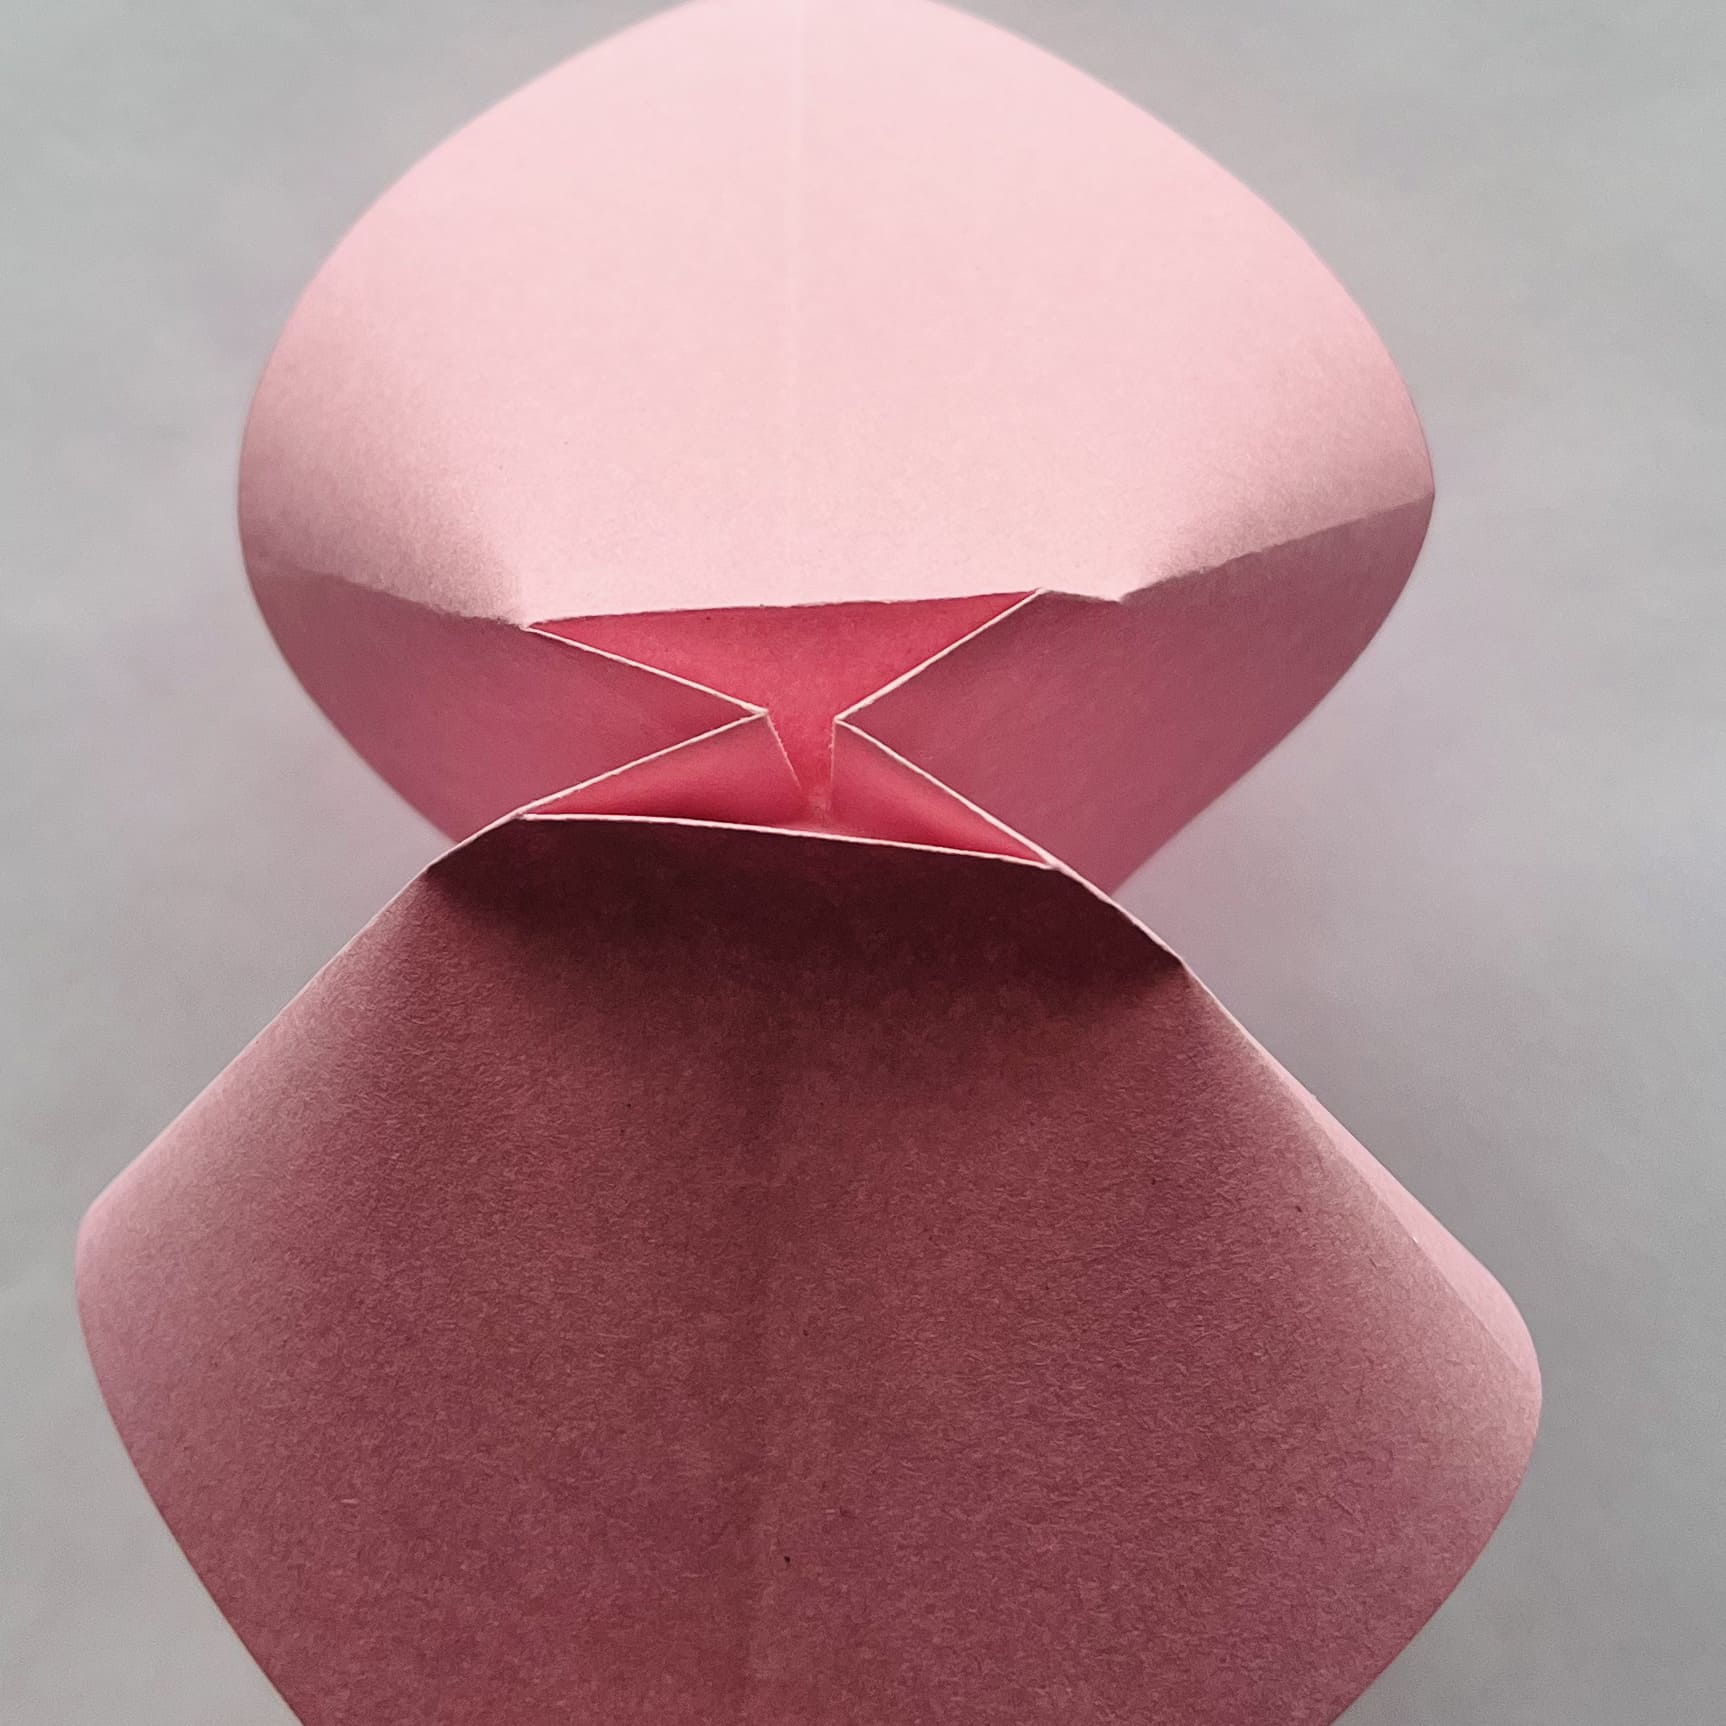
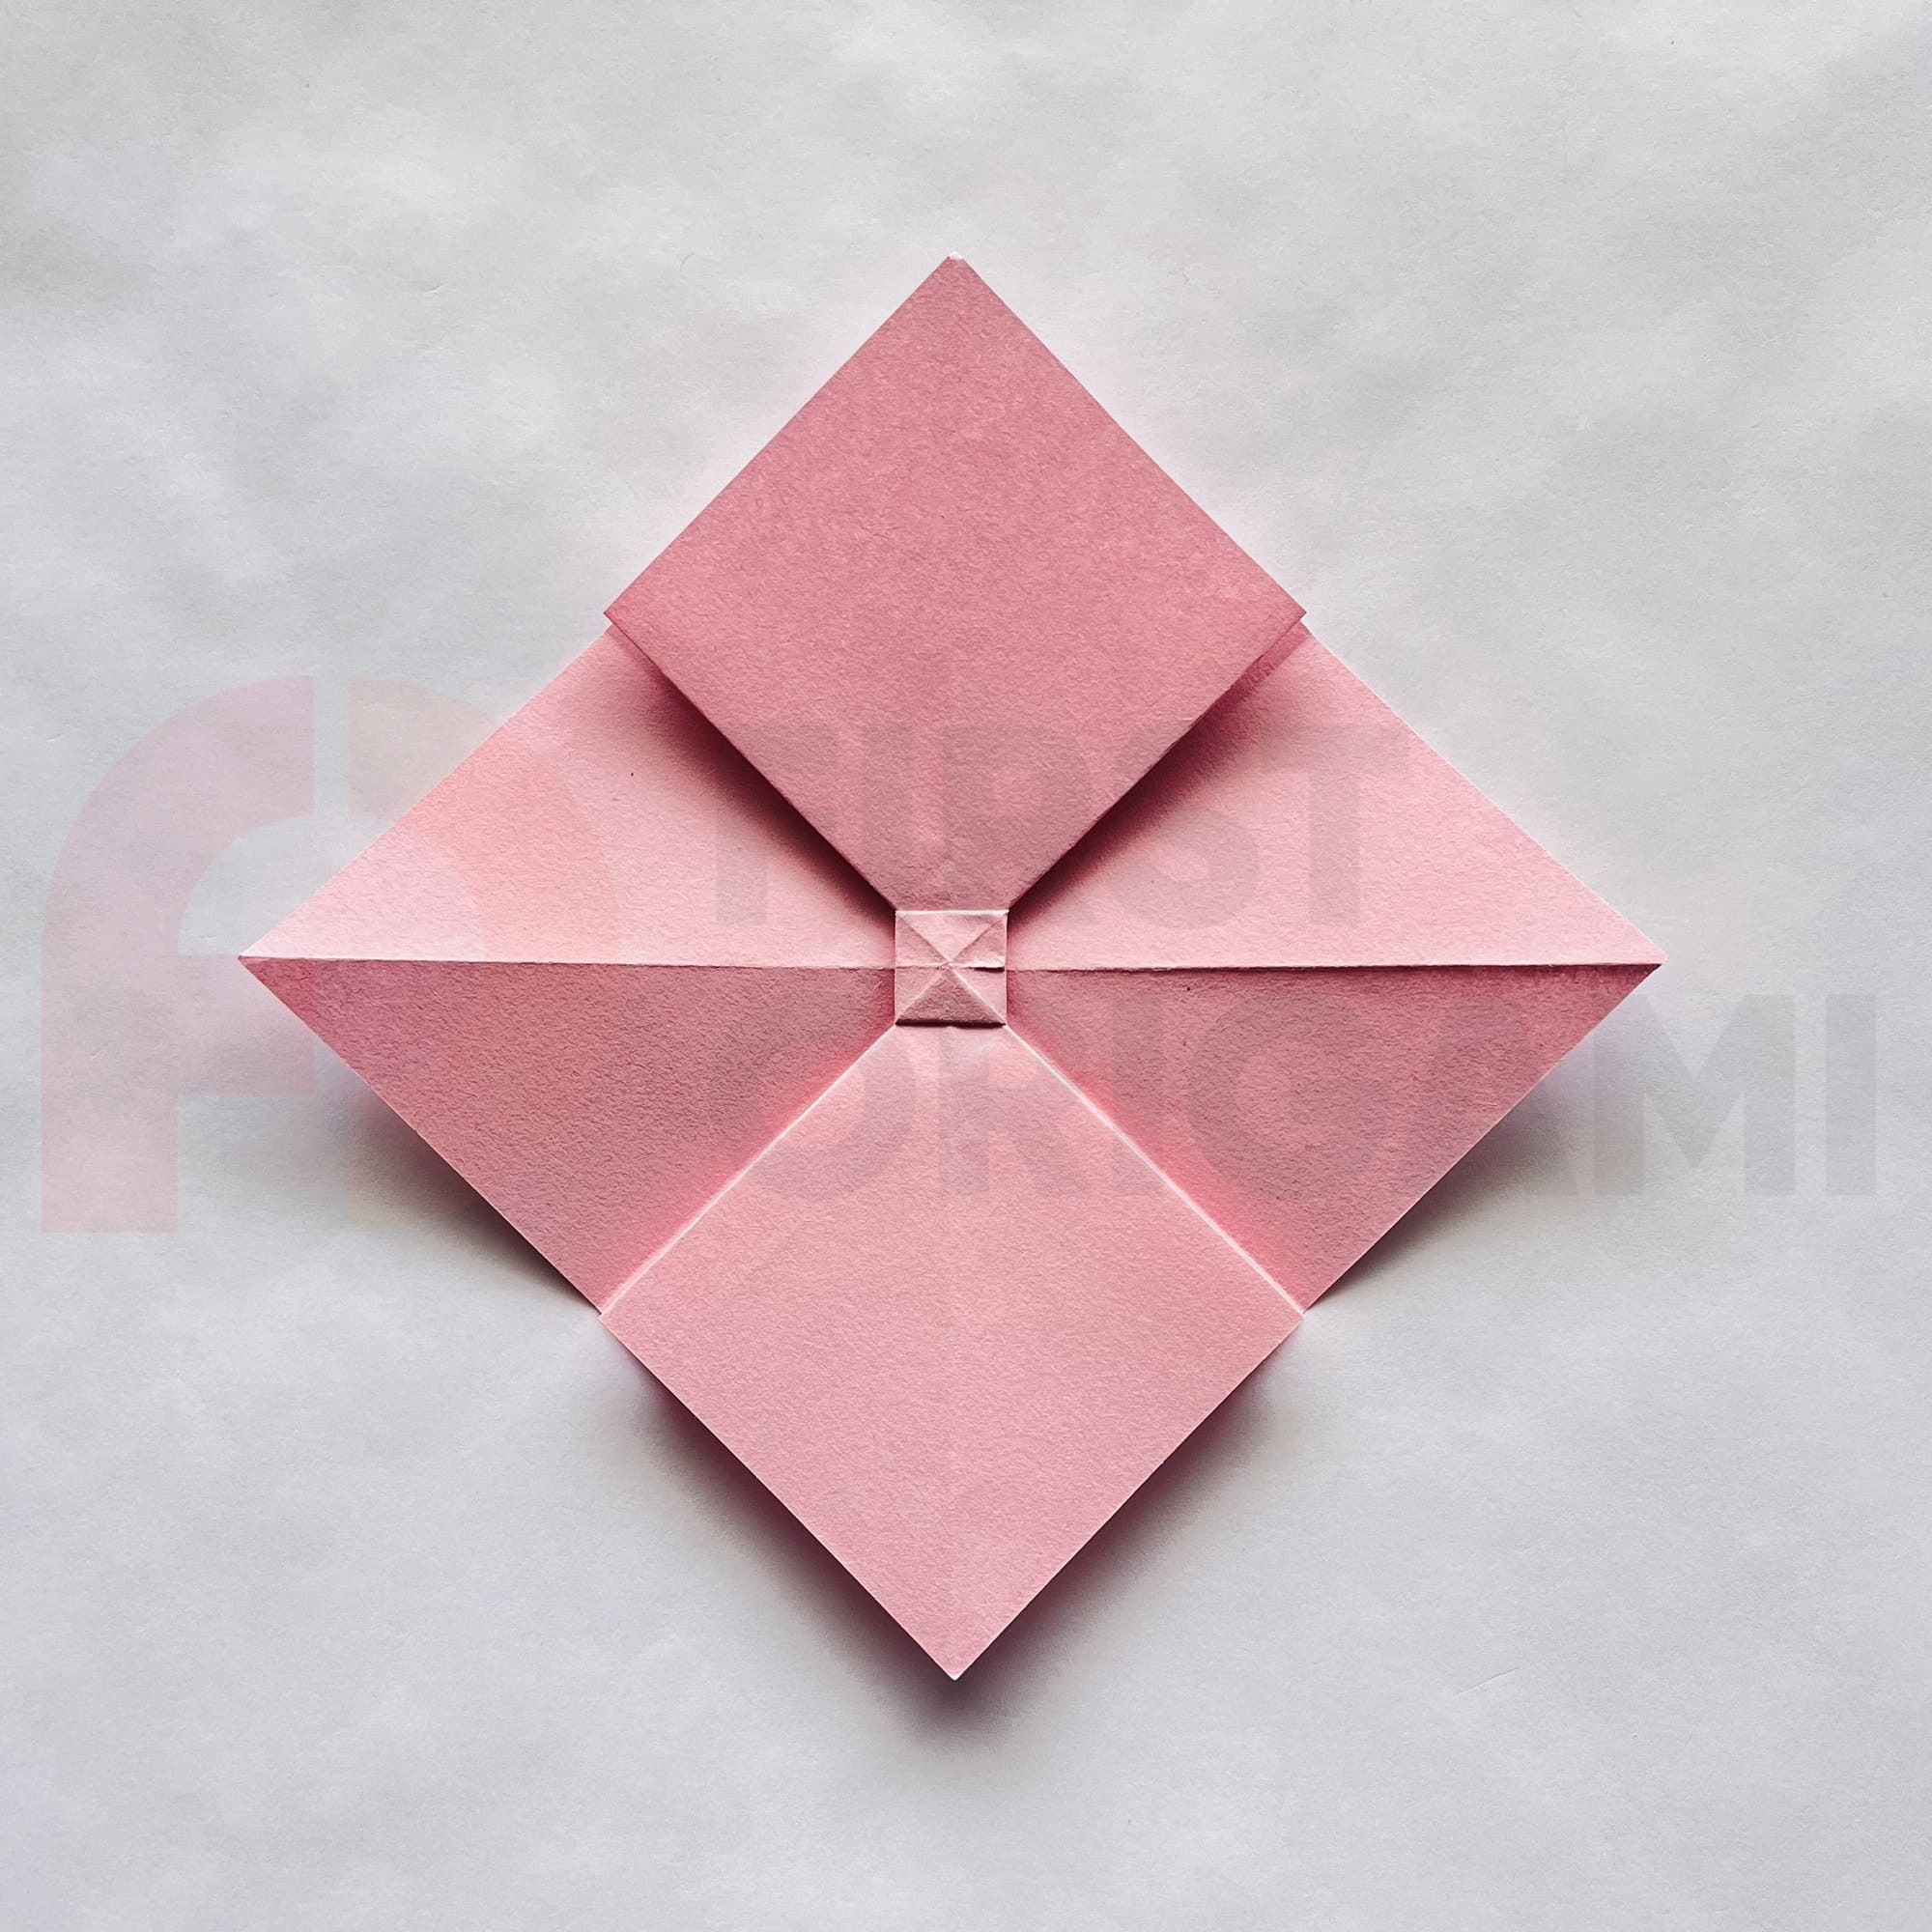
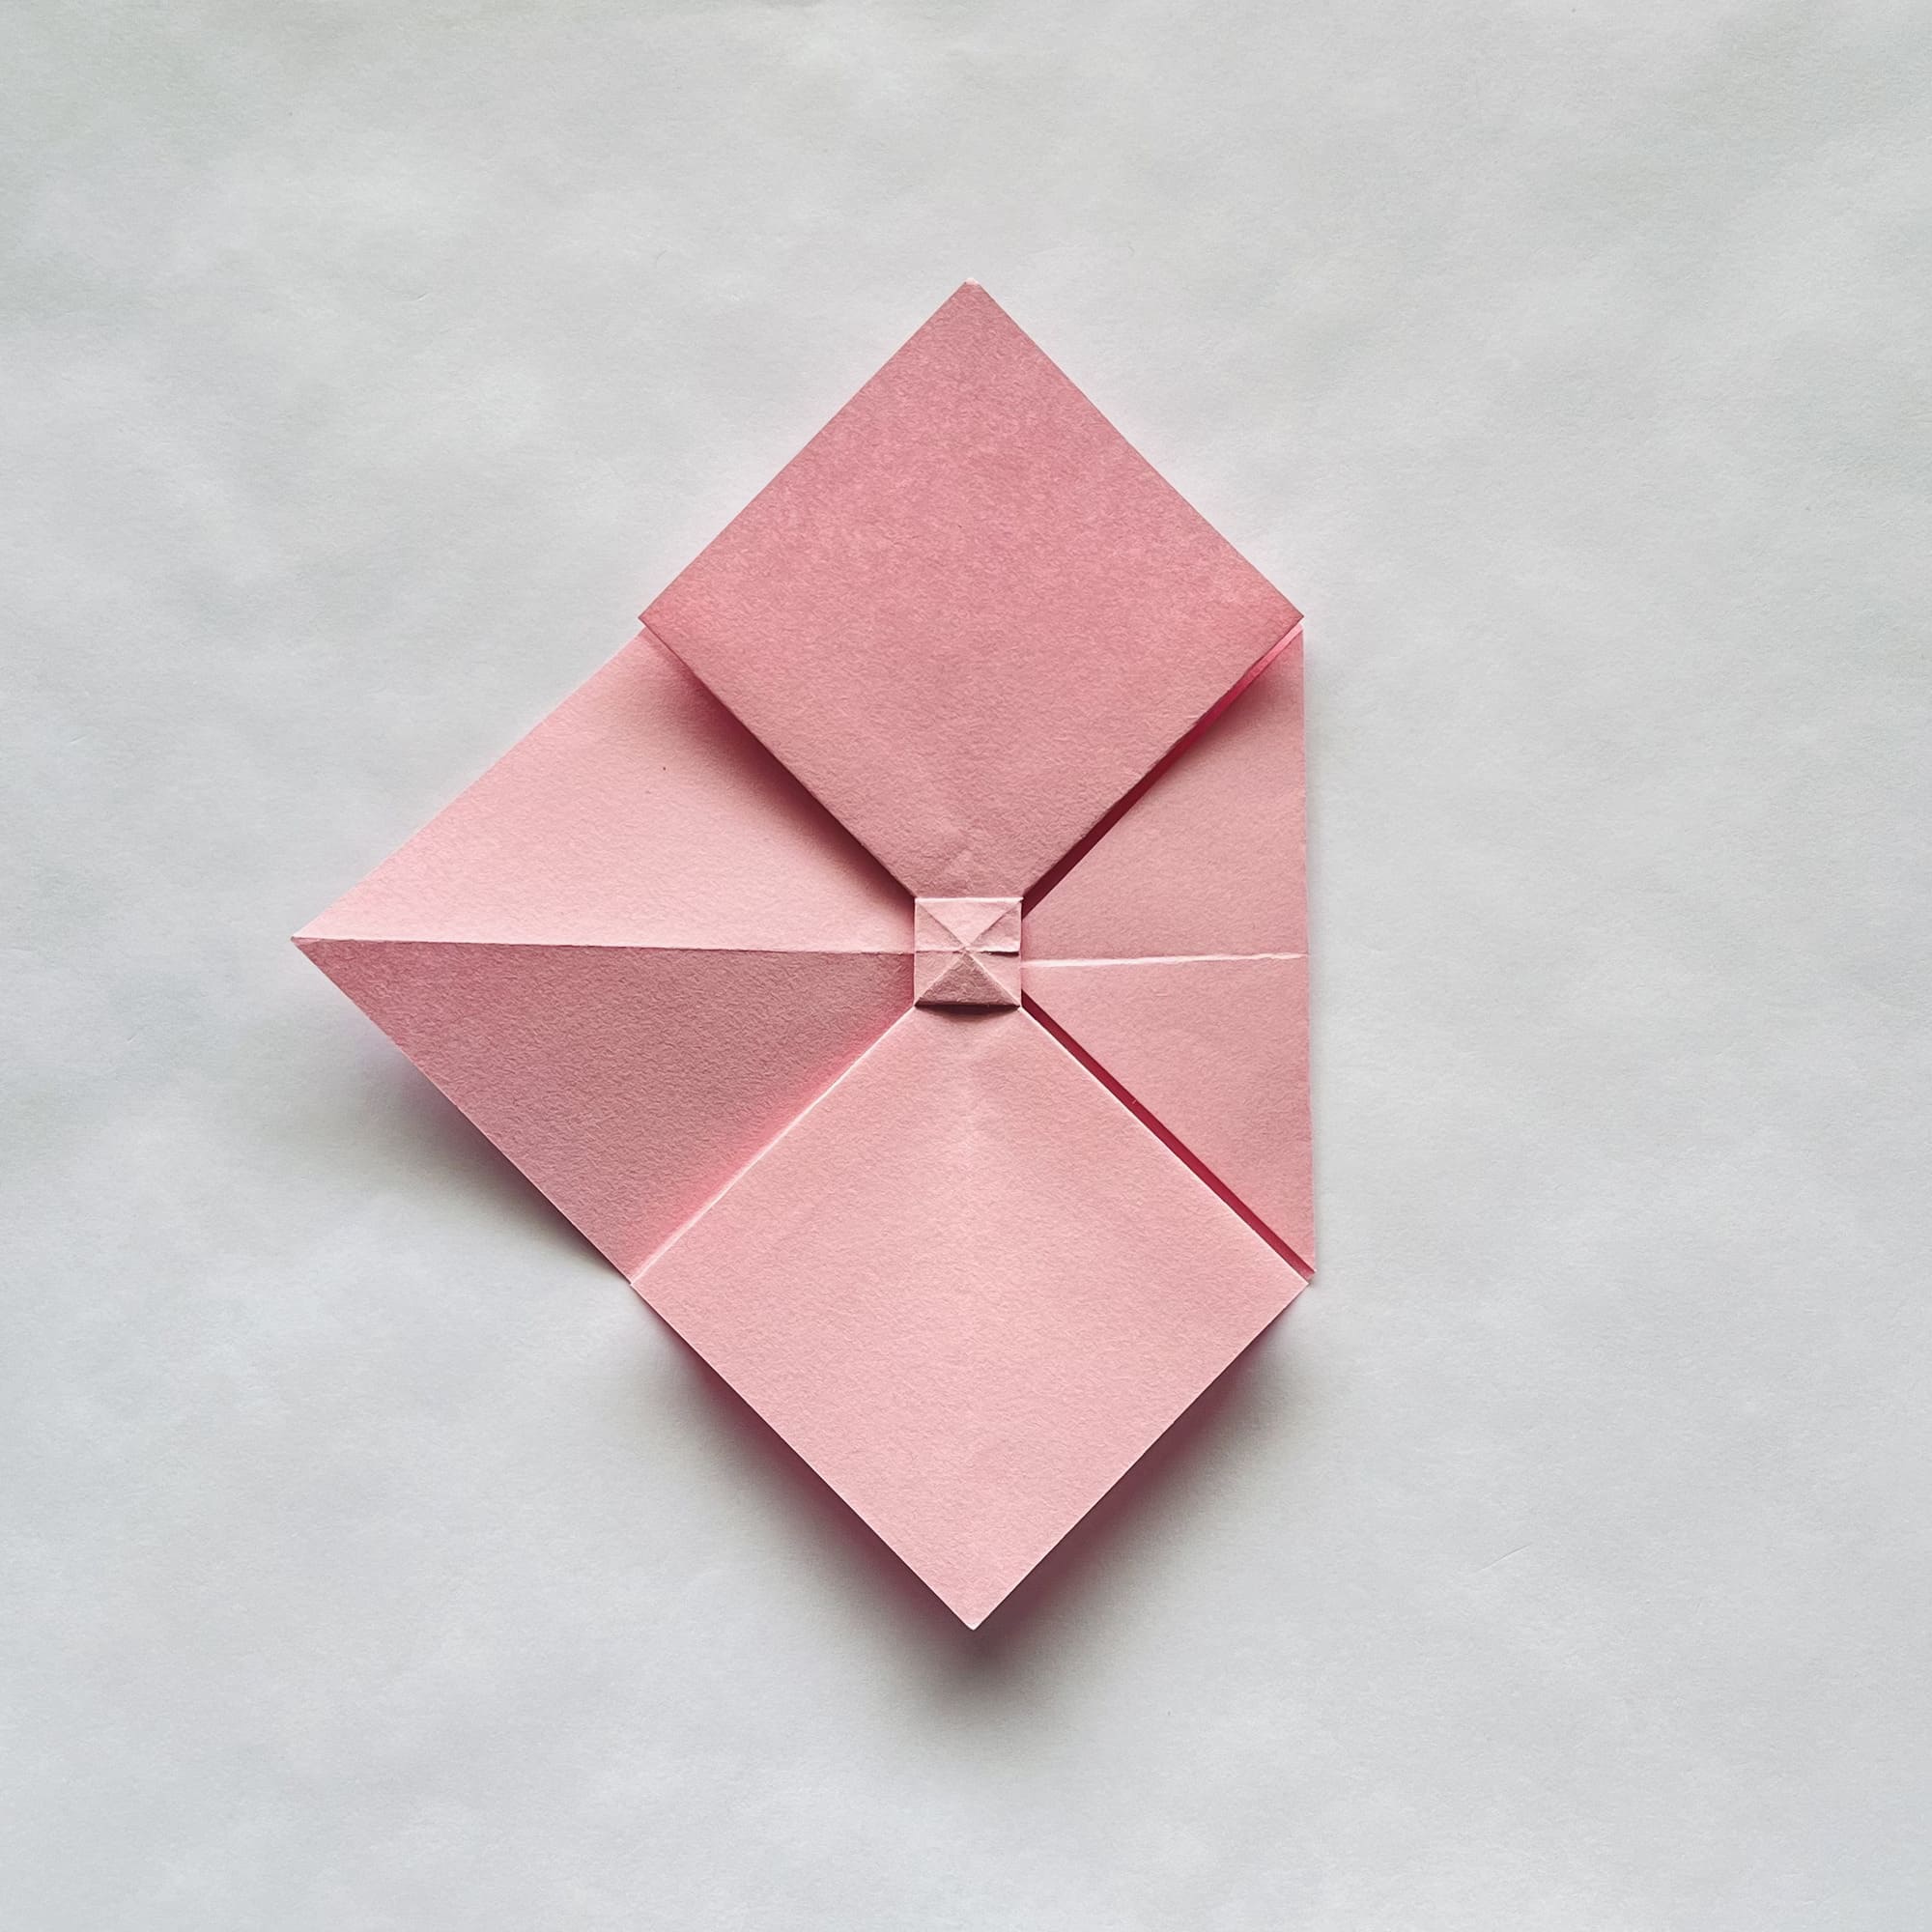
Open and straighten the top and bottom corners that you previously folded towards the center of the figure.
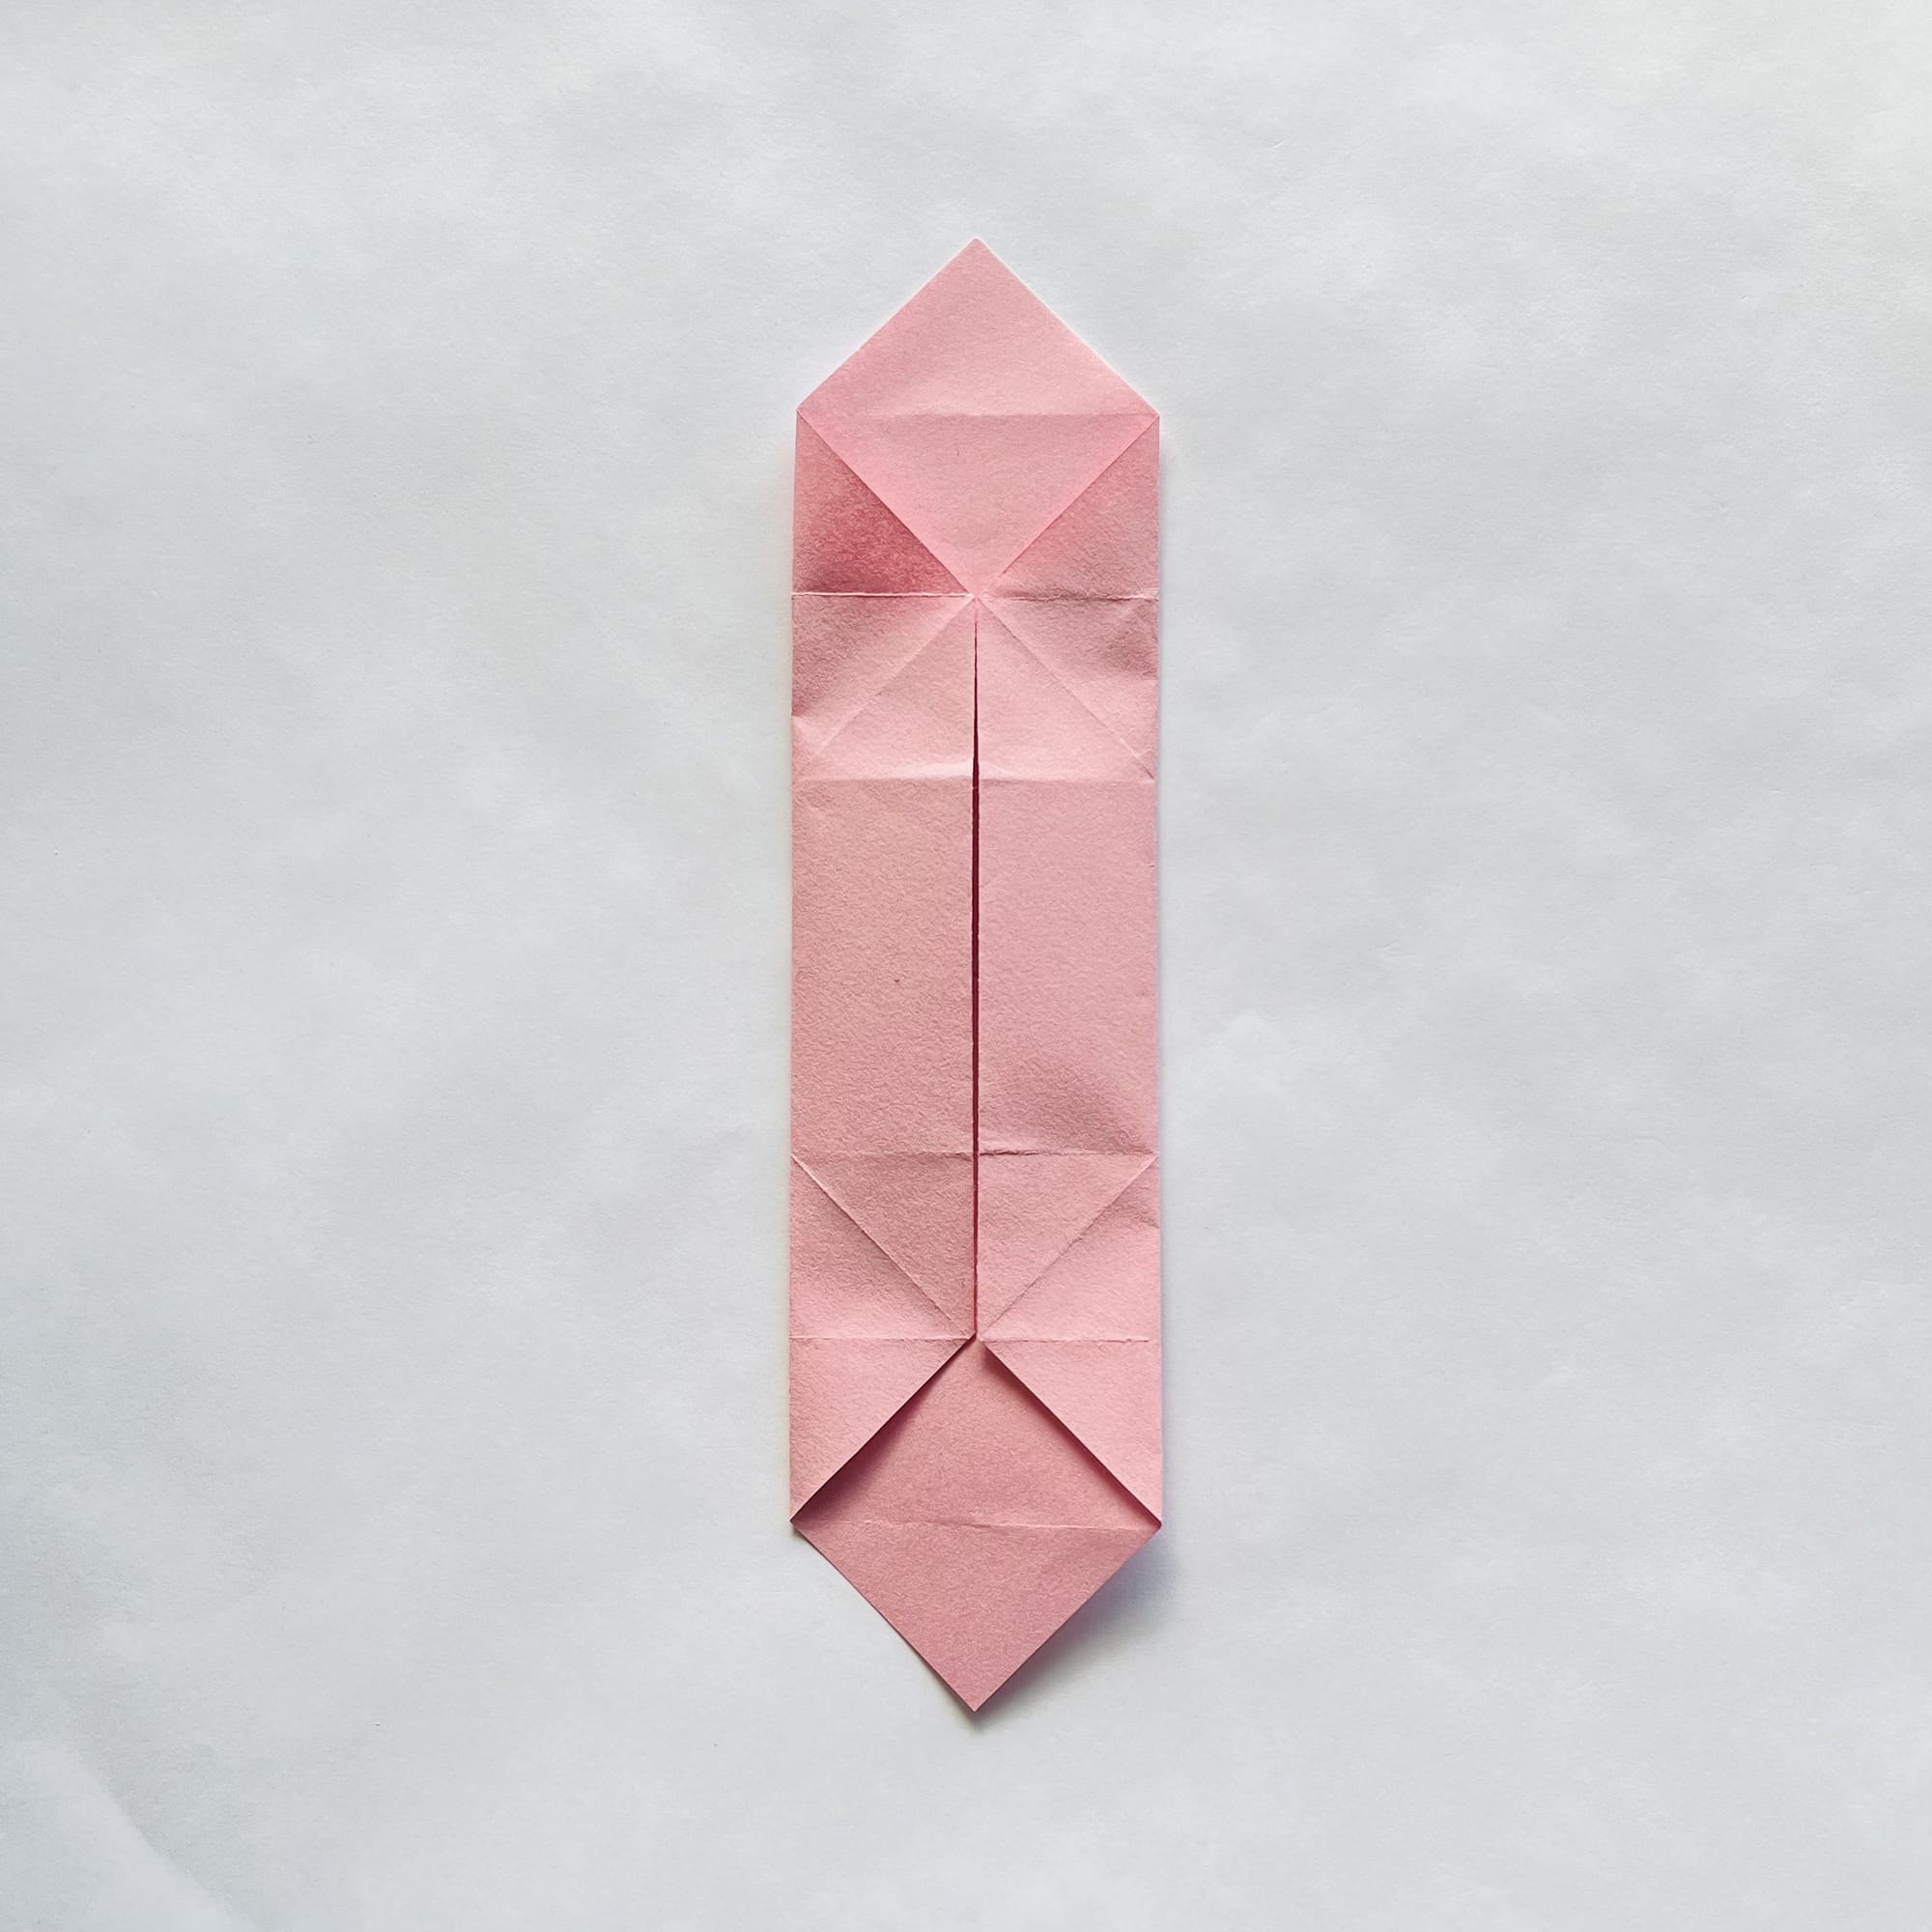
Fold the sides inward again so that their edges meet in the center.

Crease the folds, which are needed to make further steps easier.

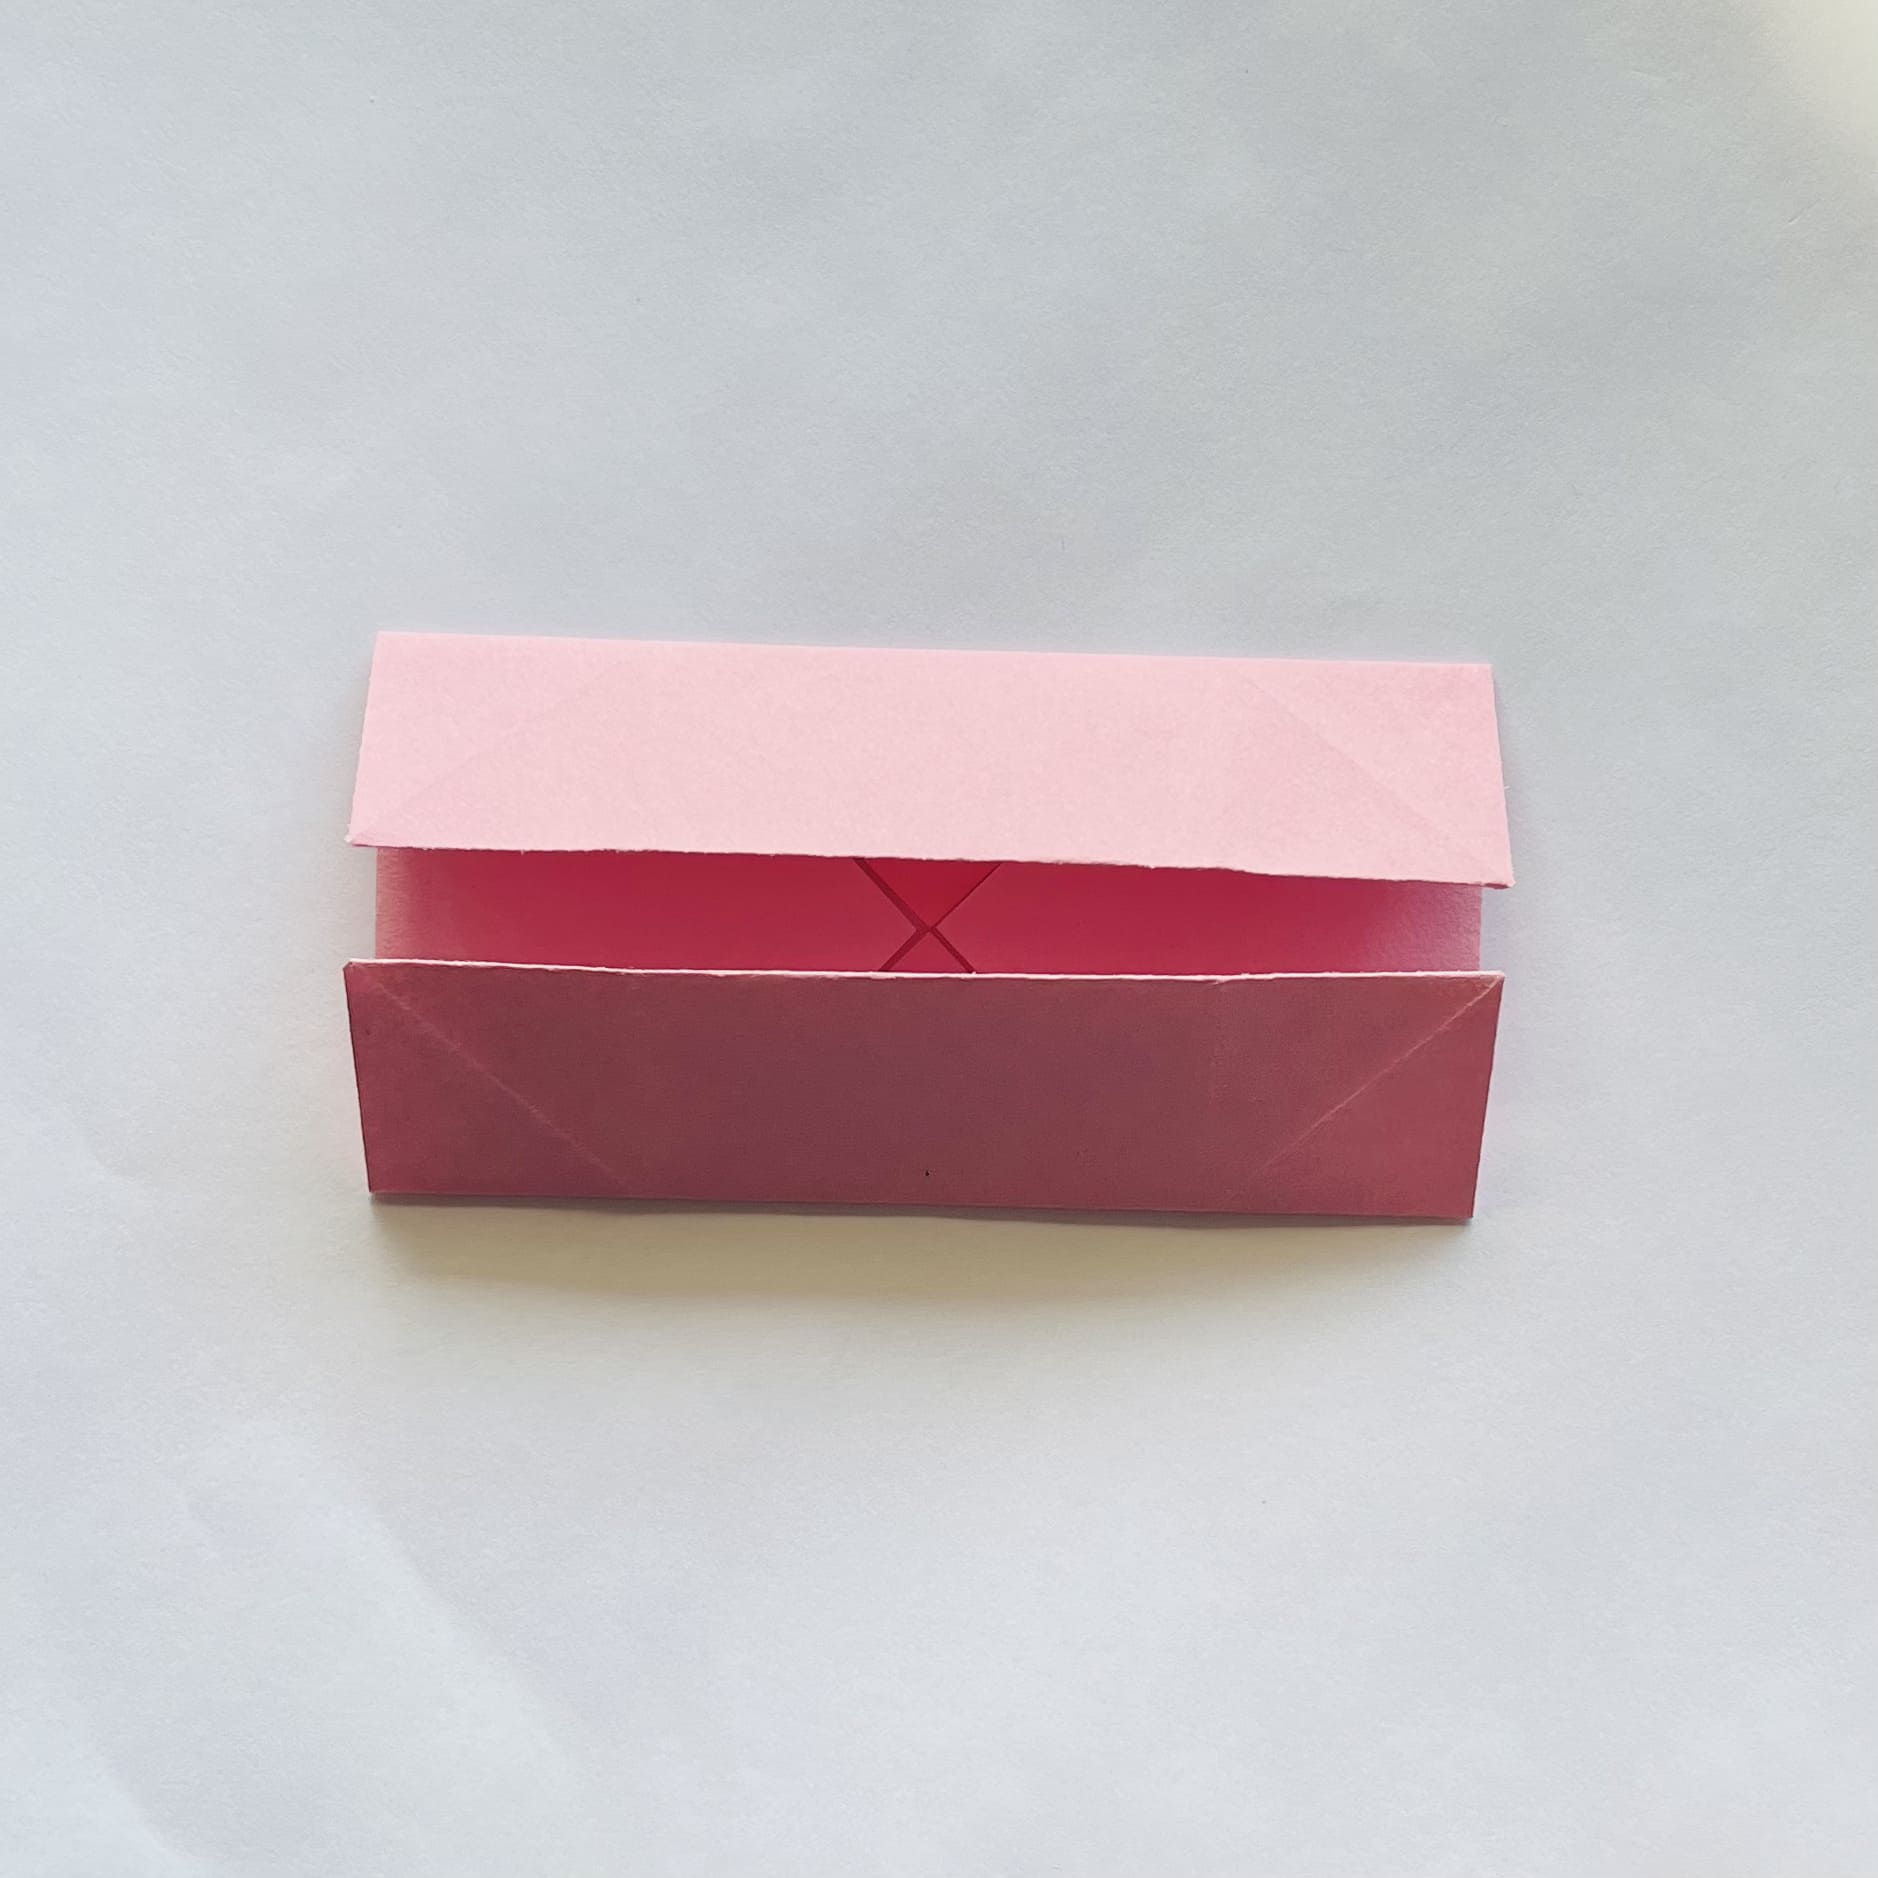
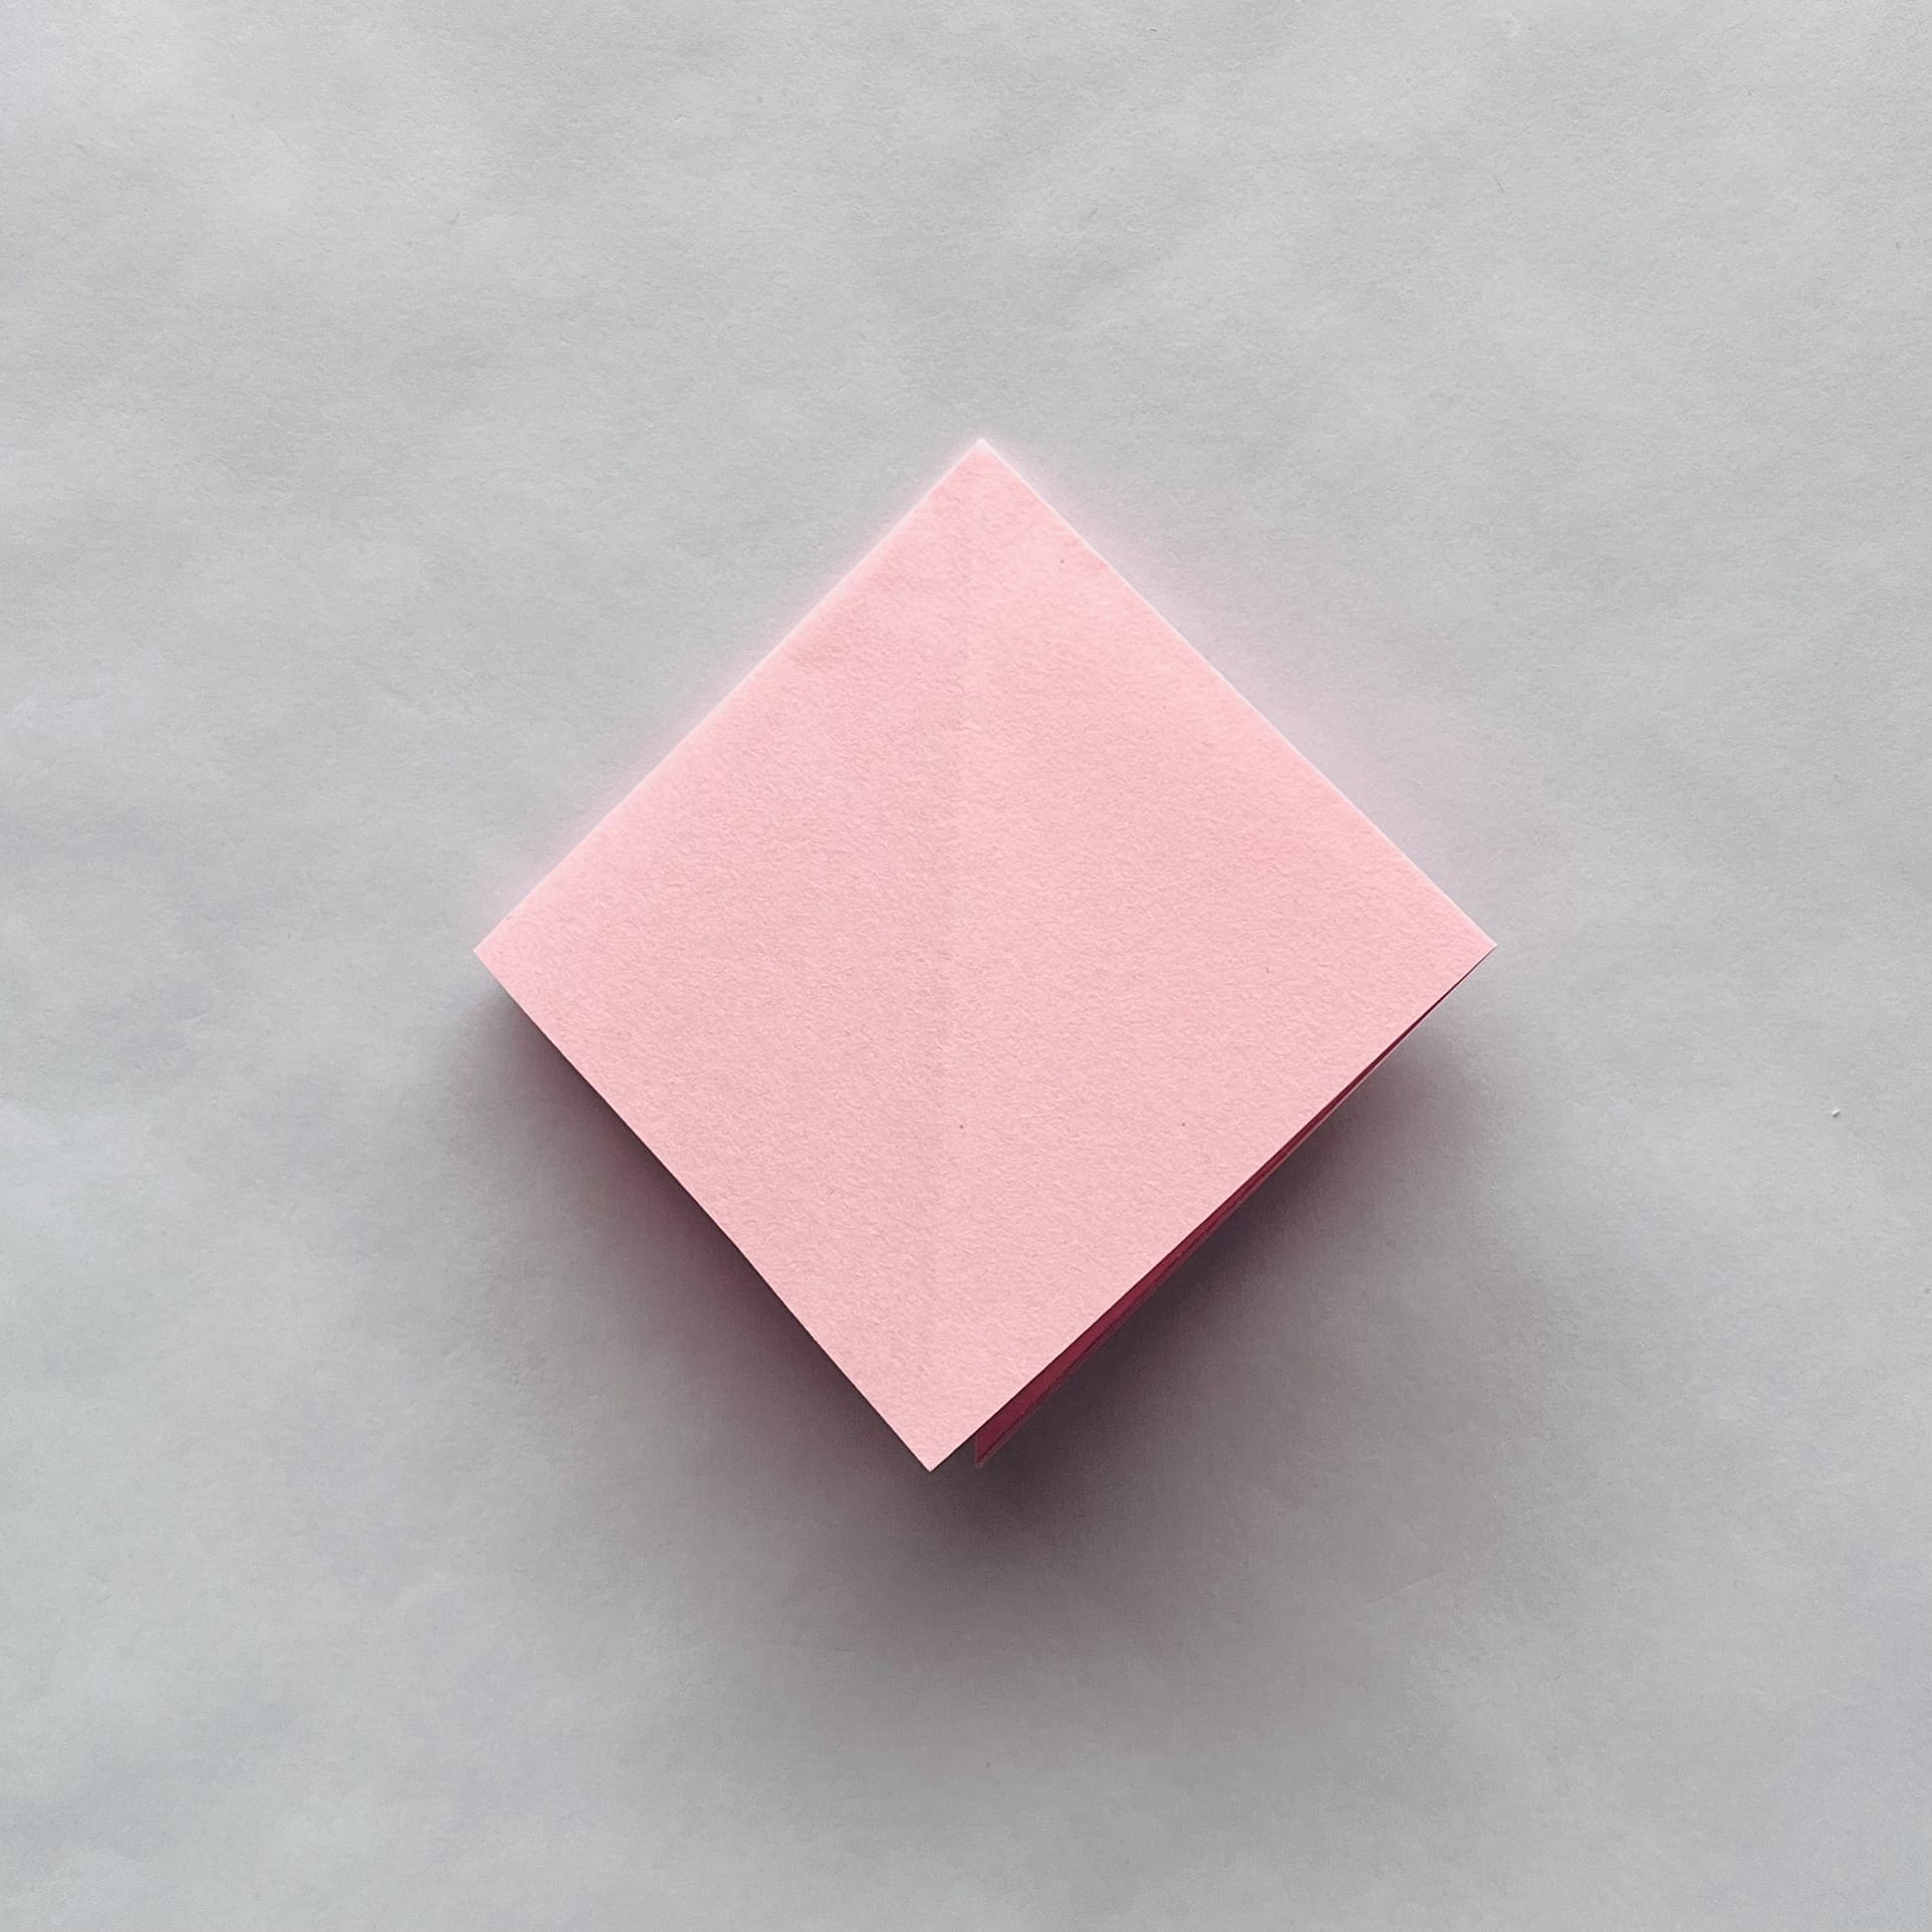
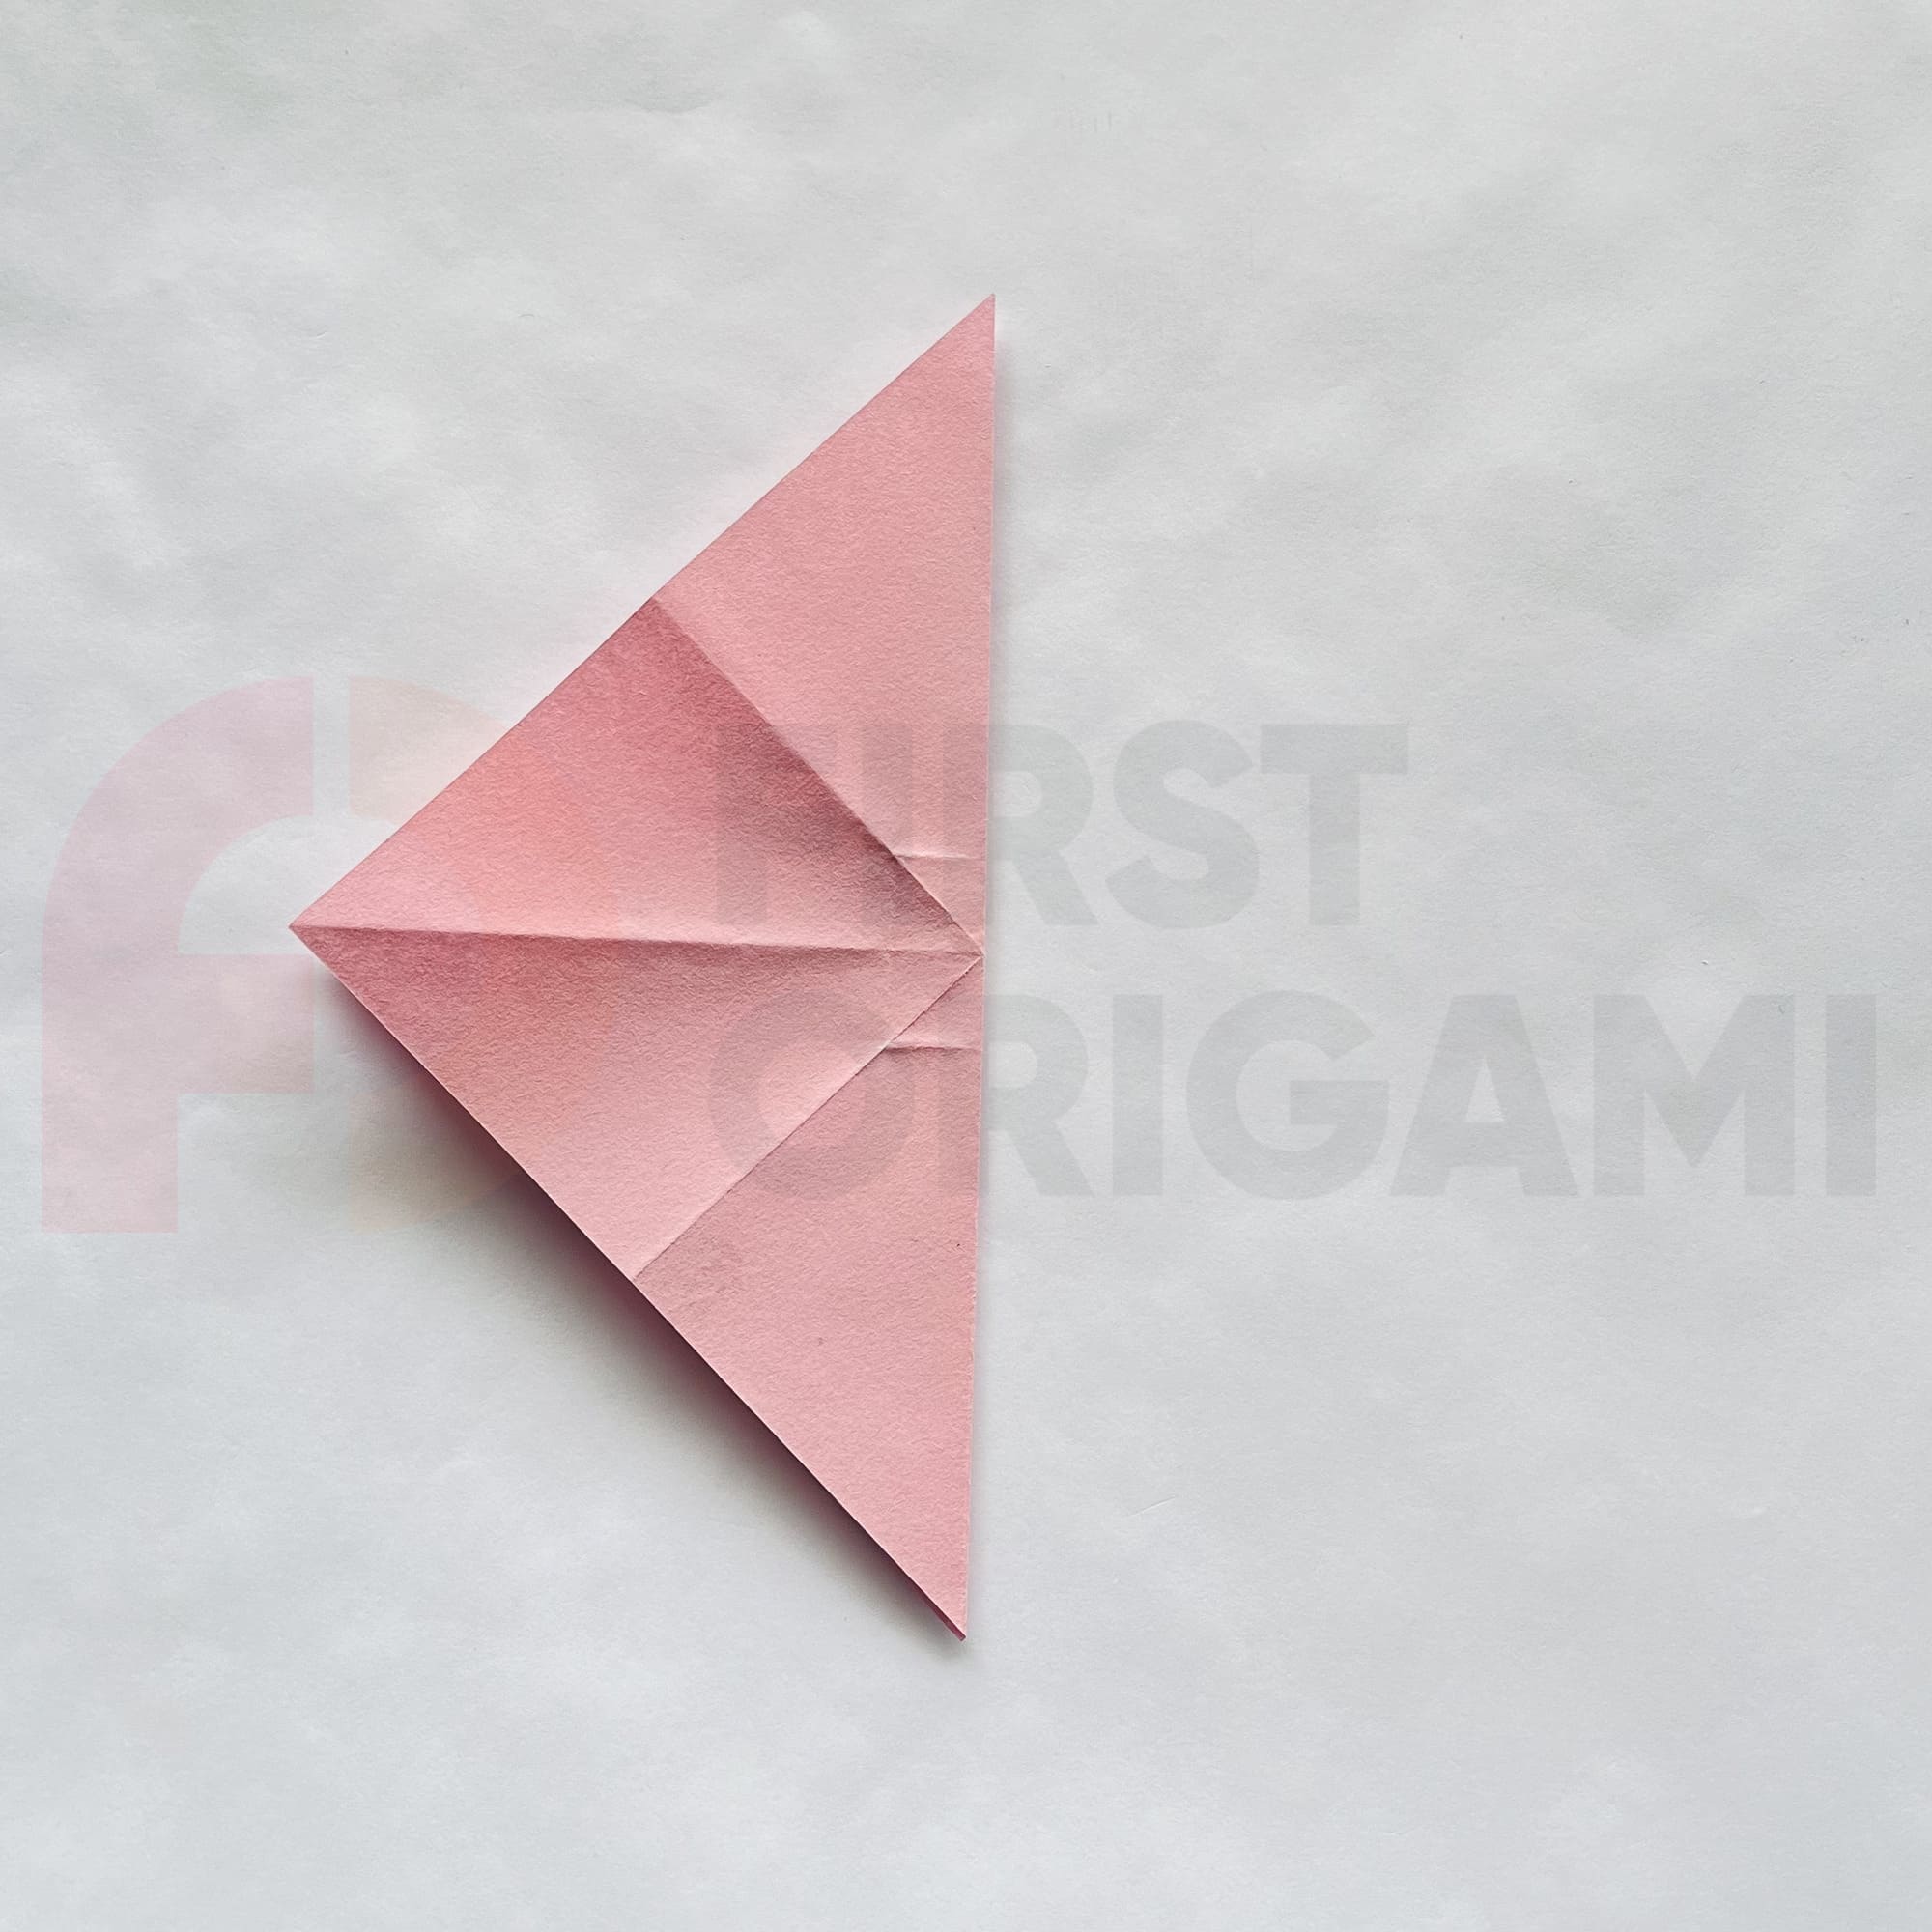
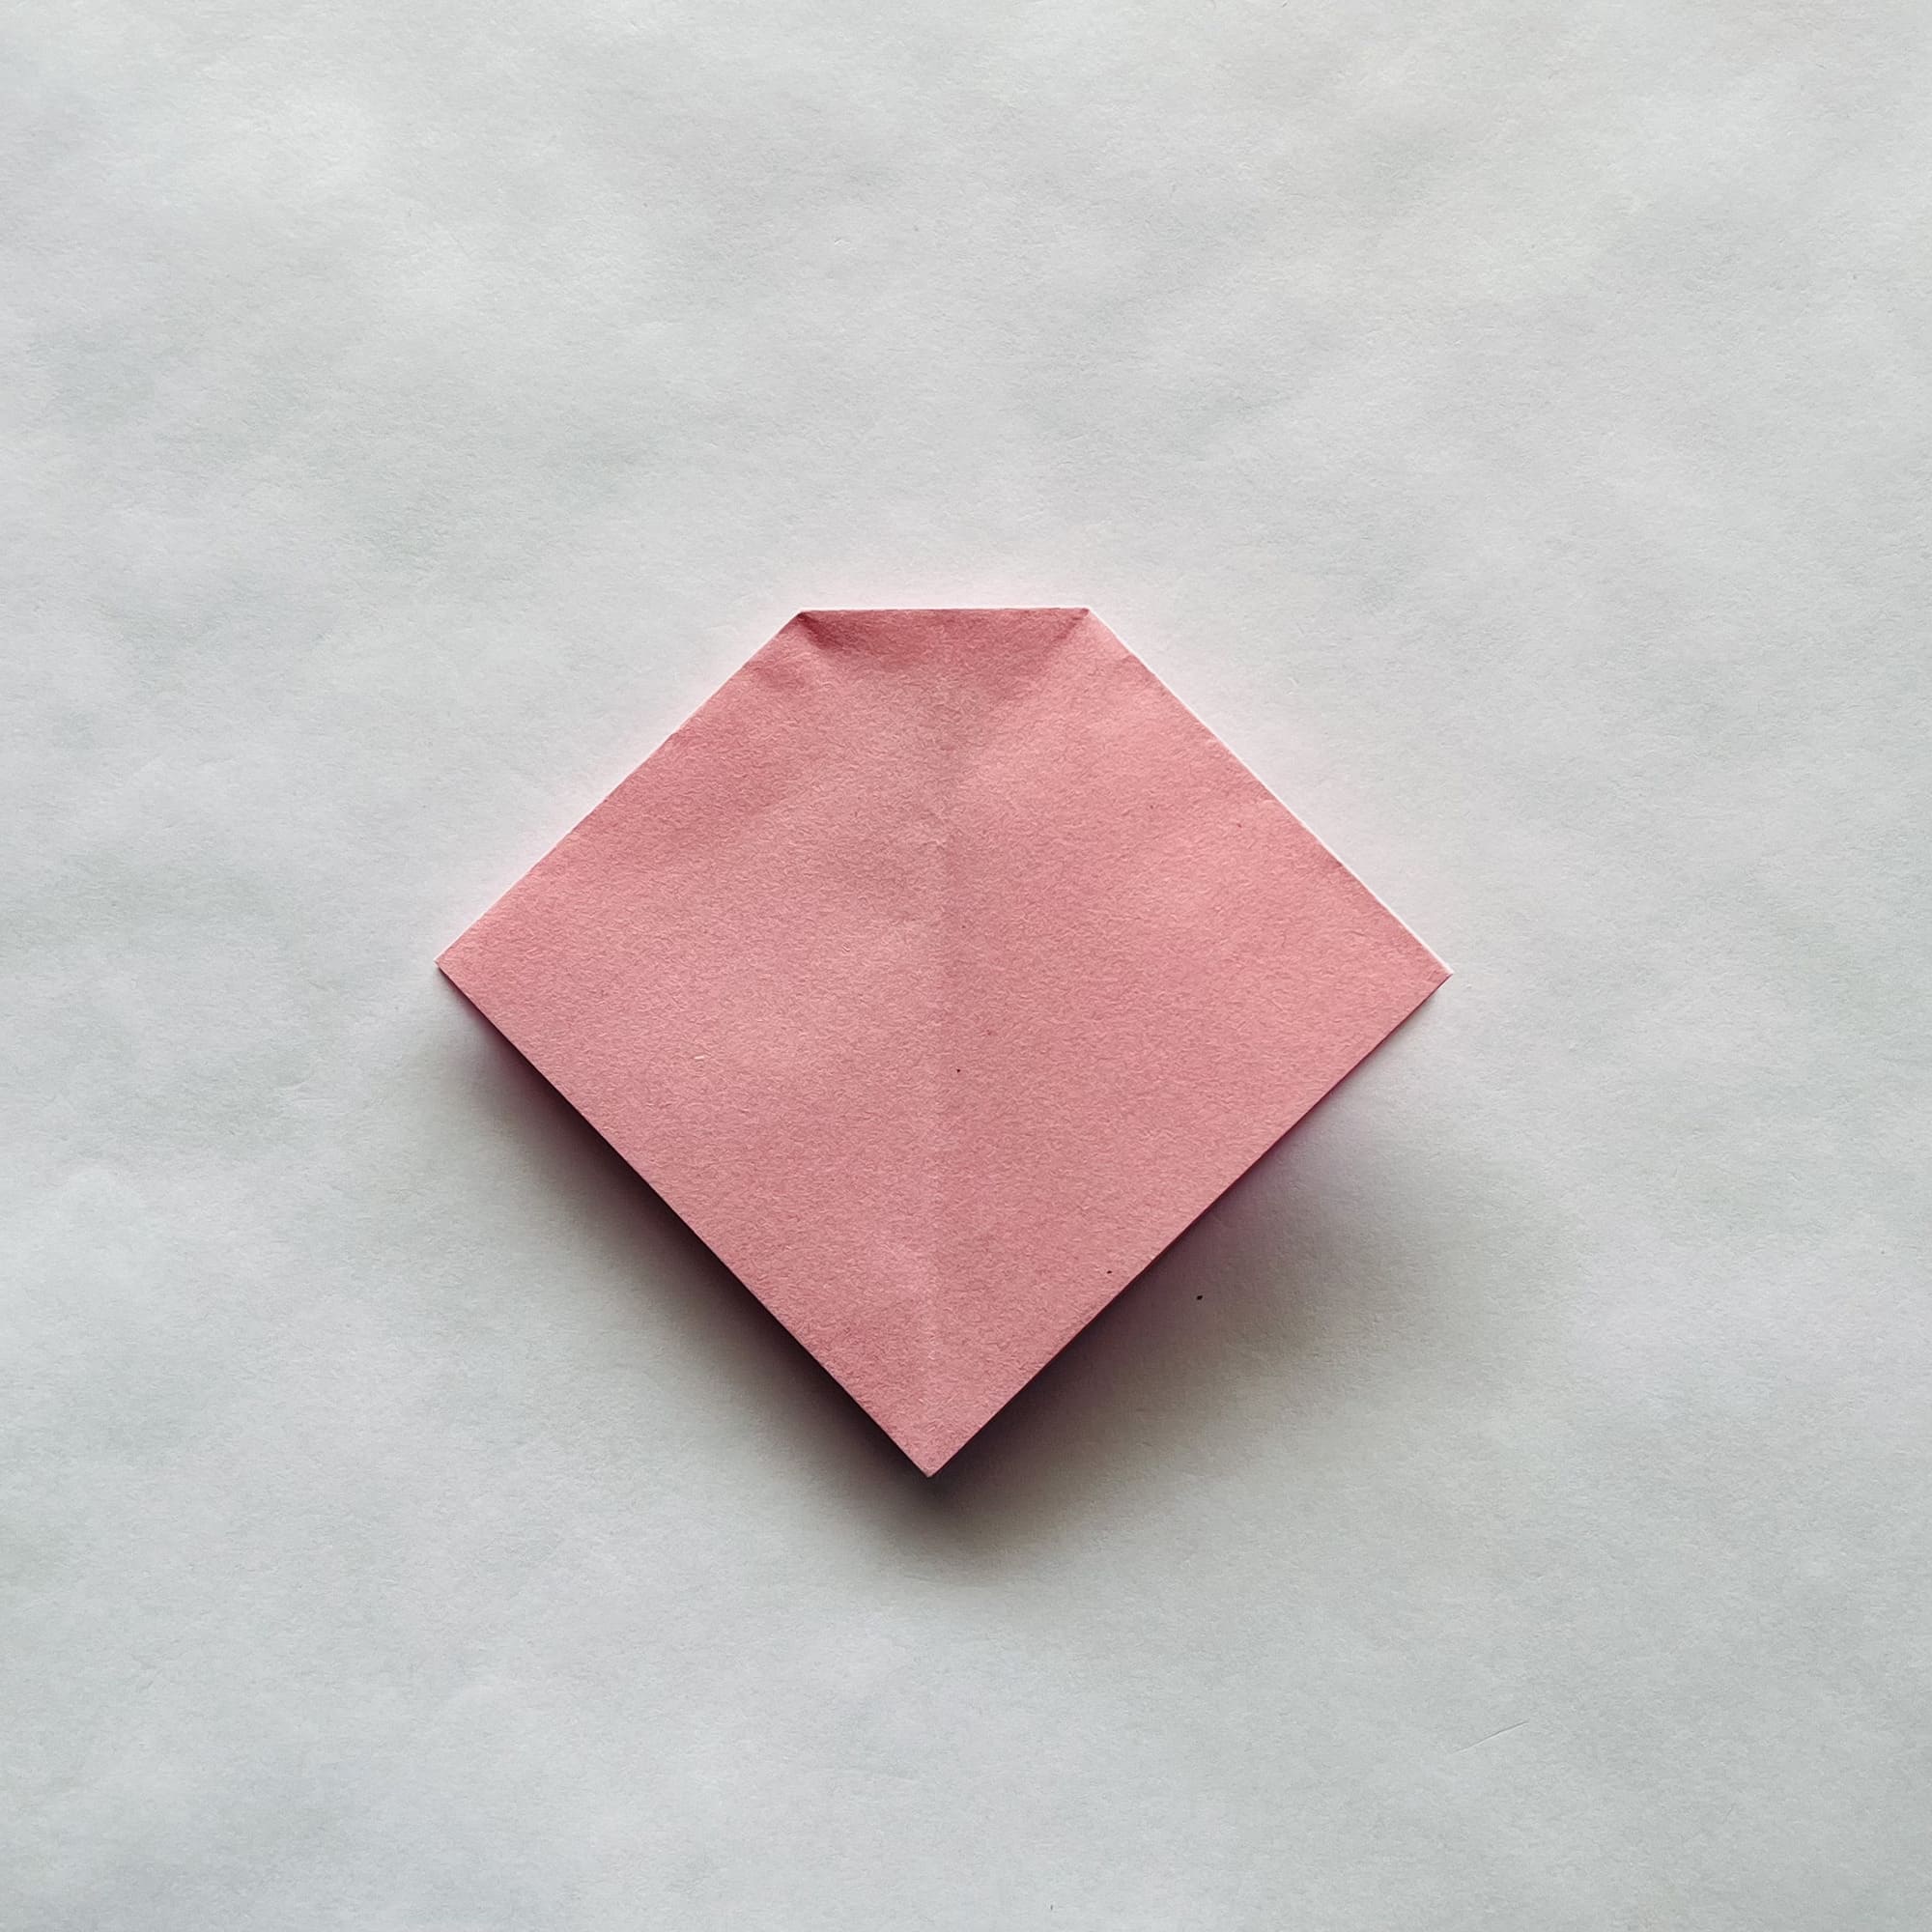
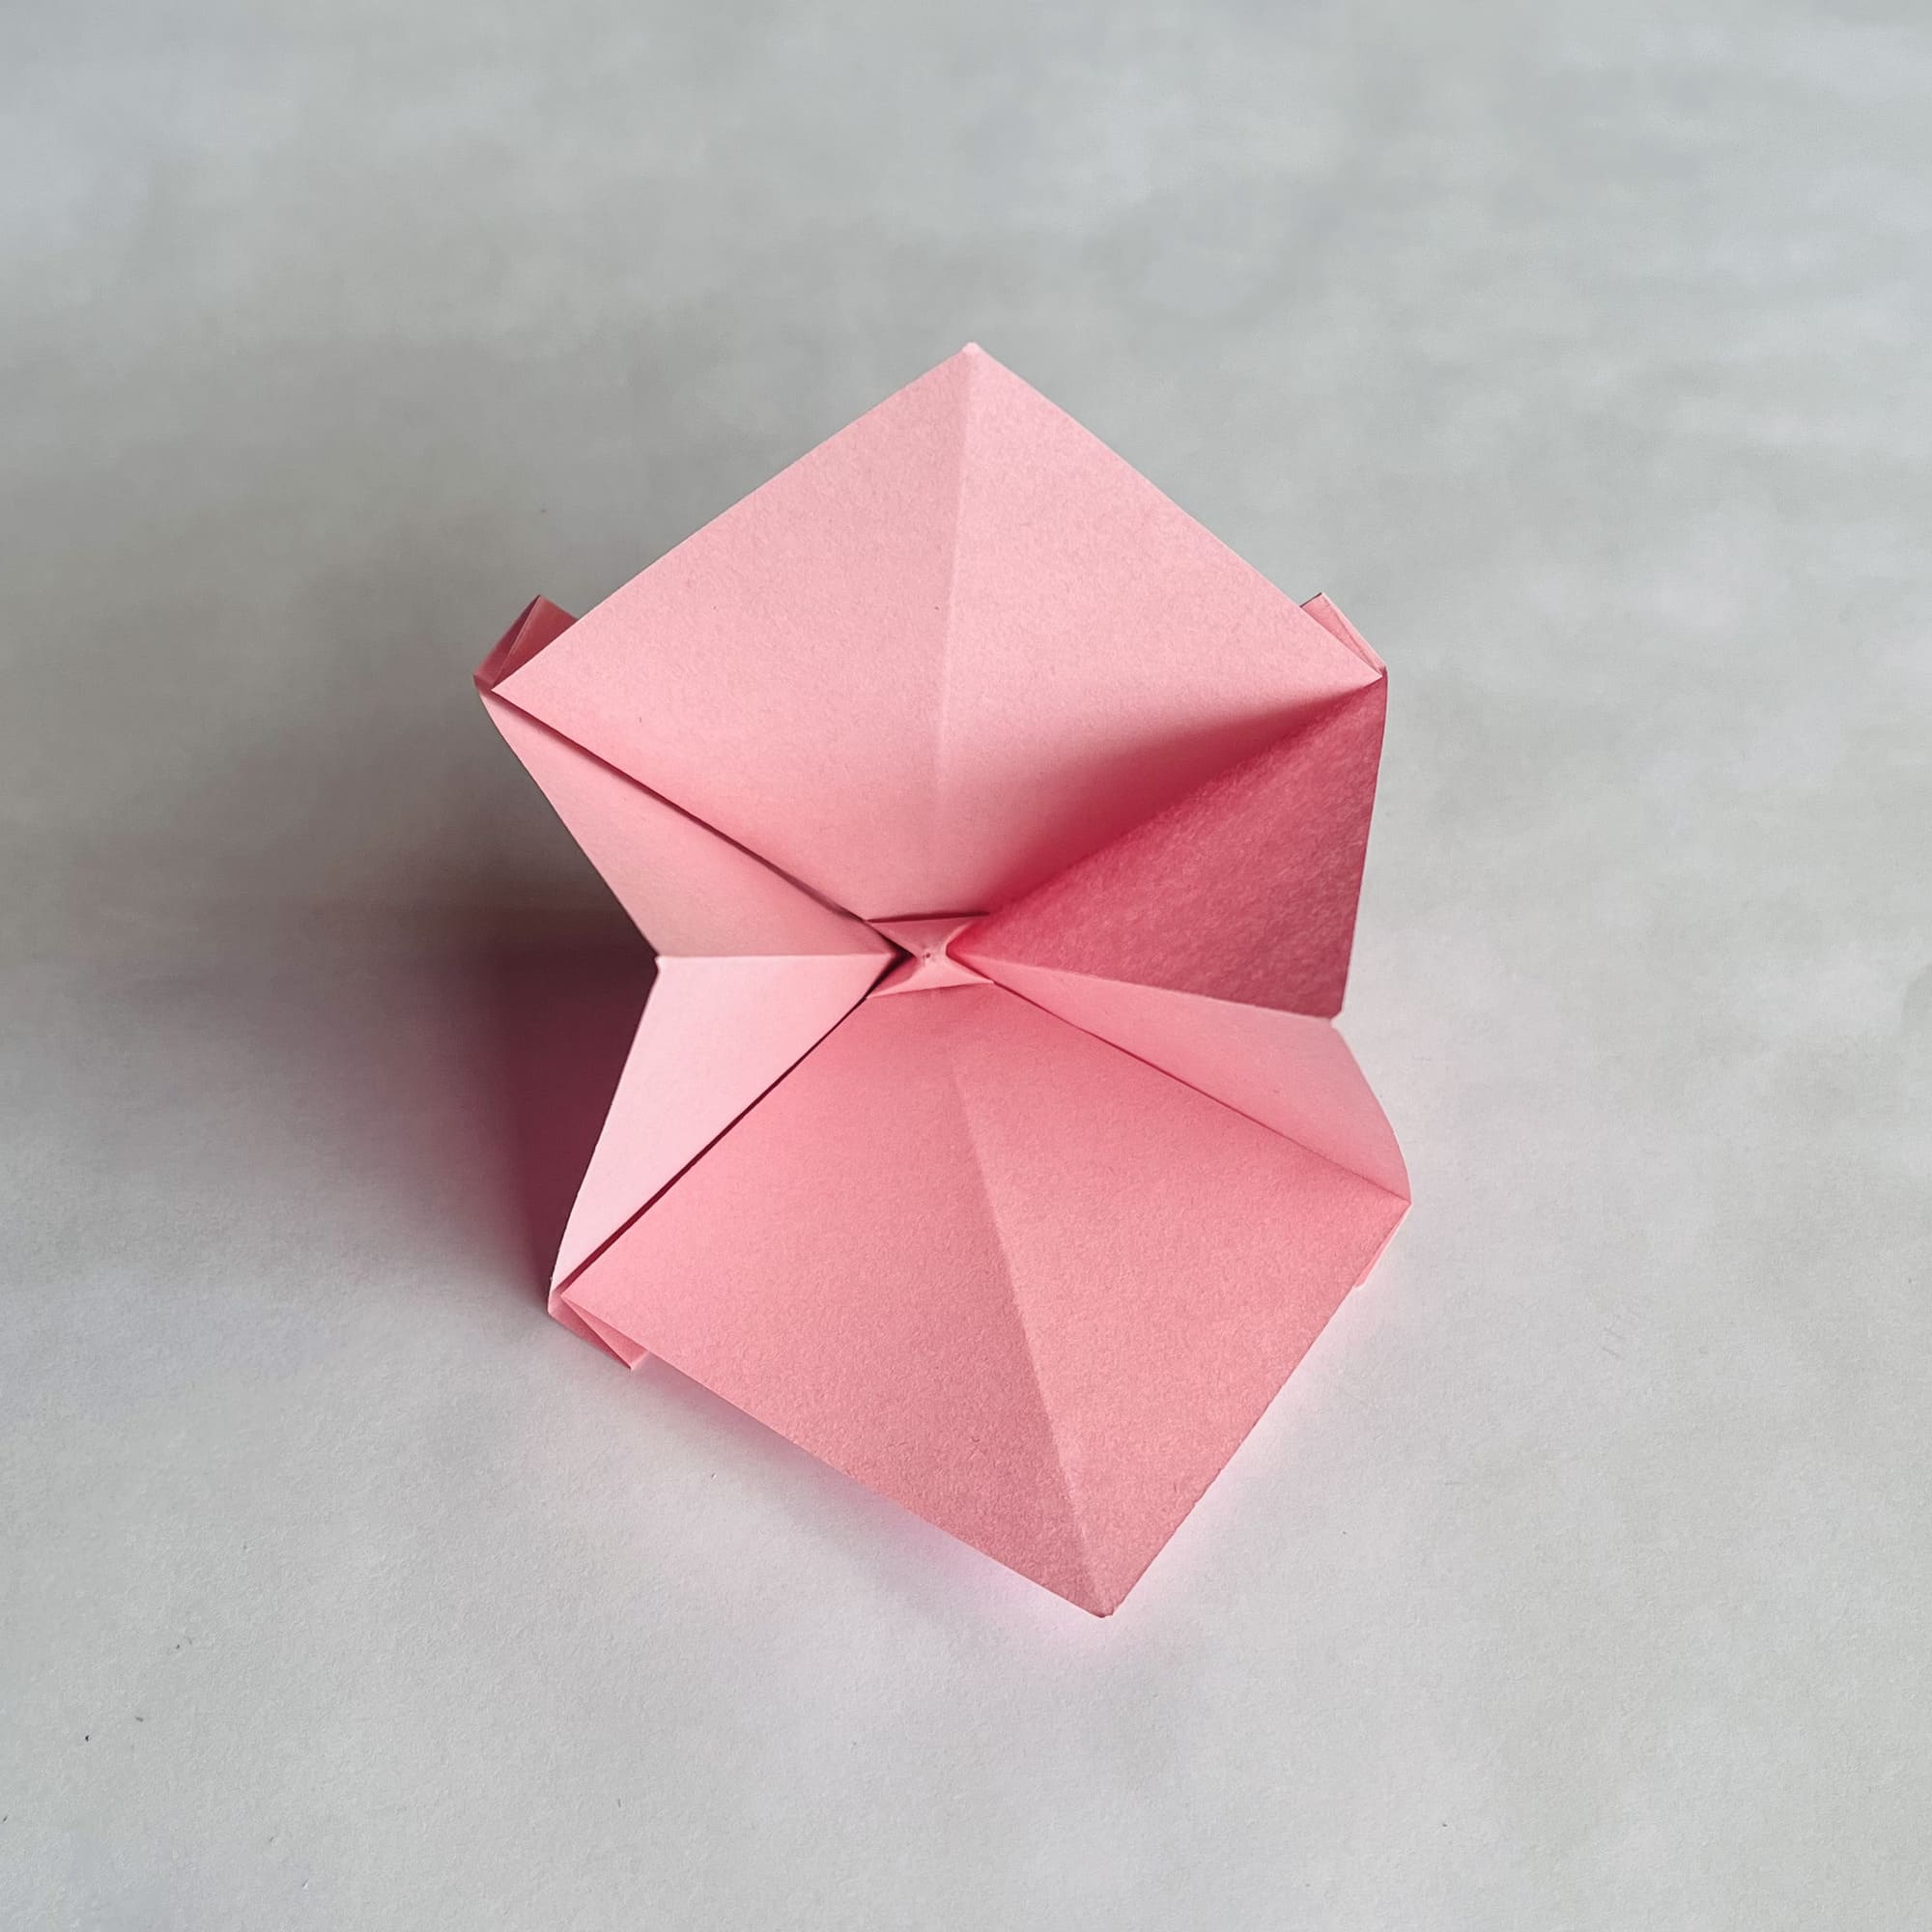
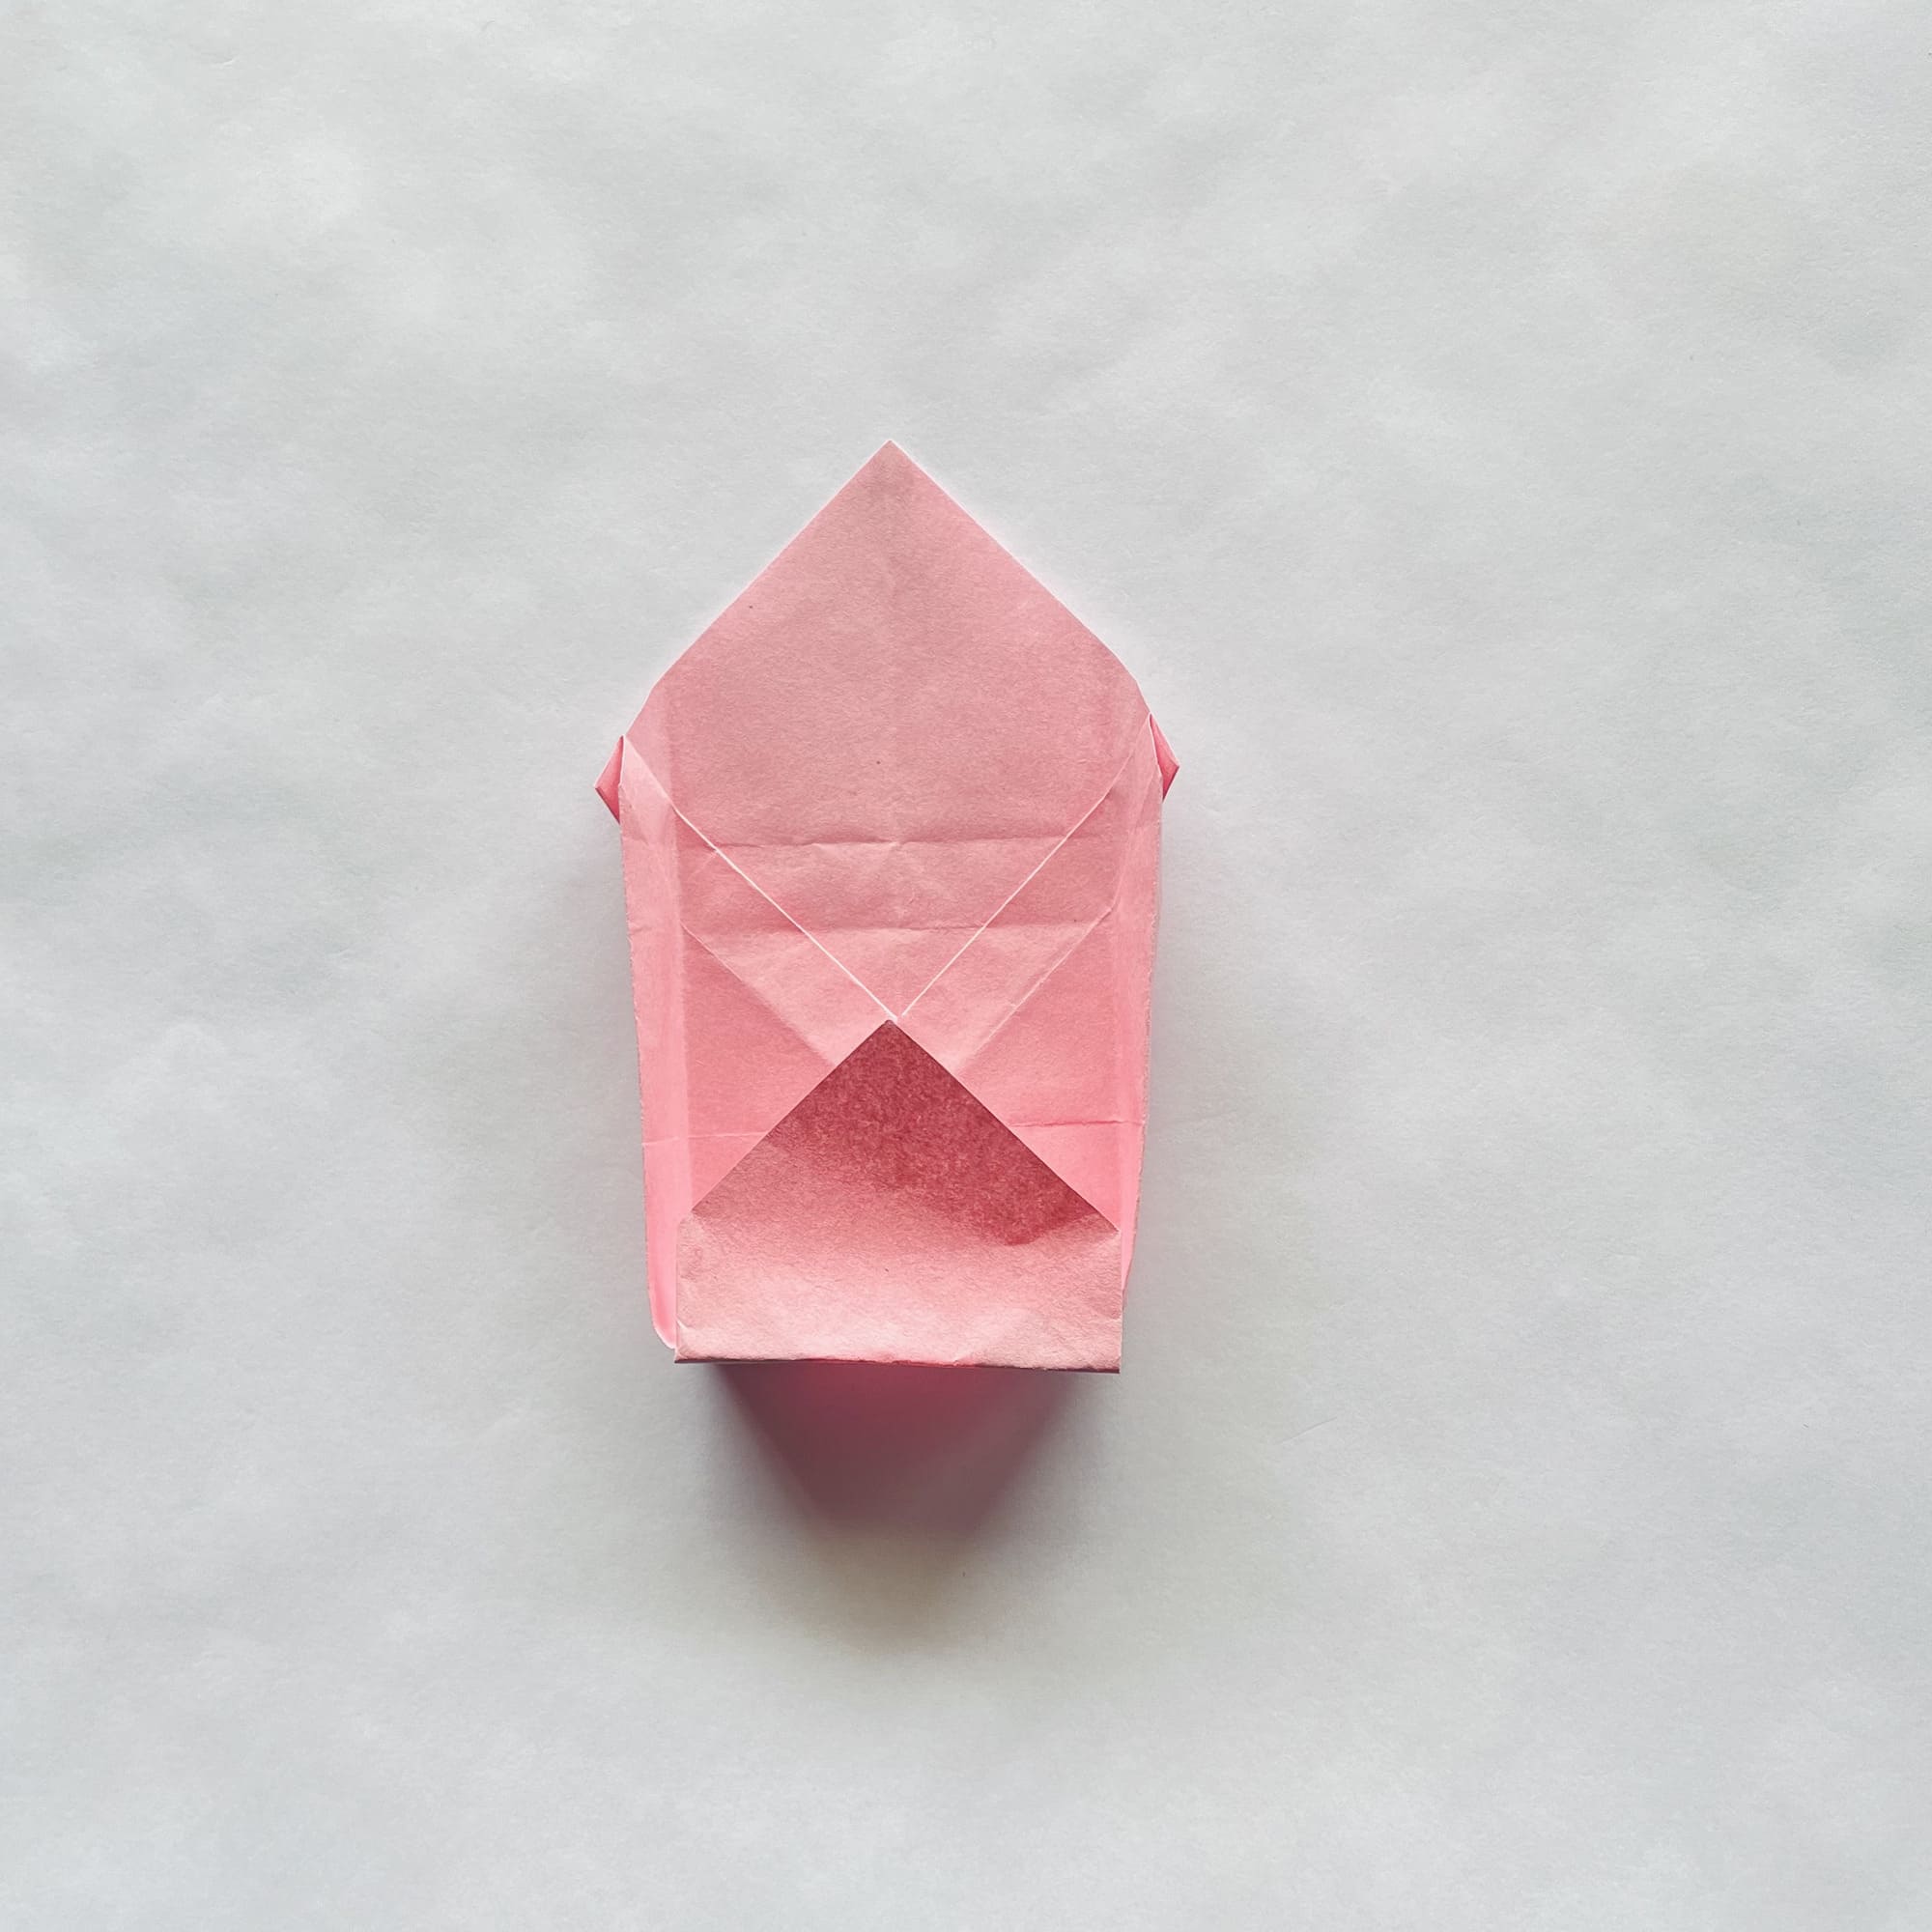
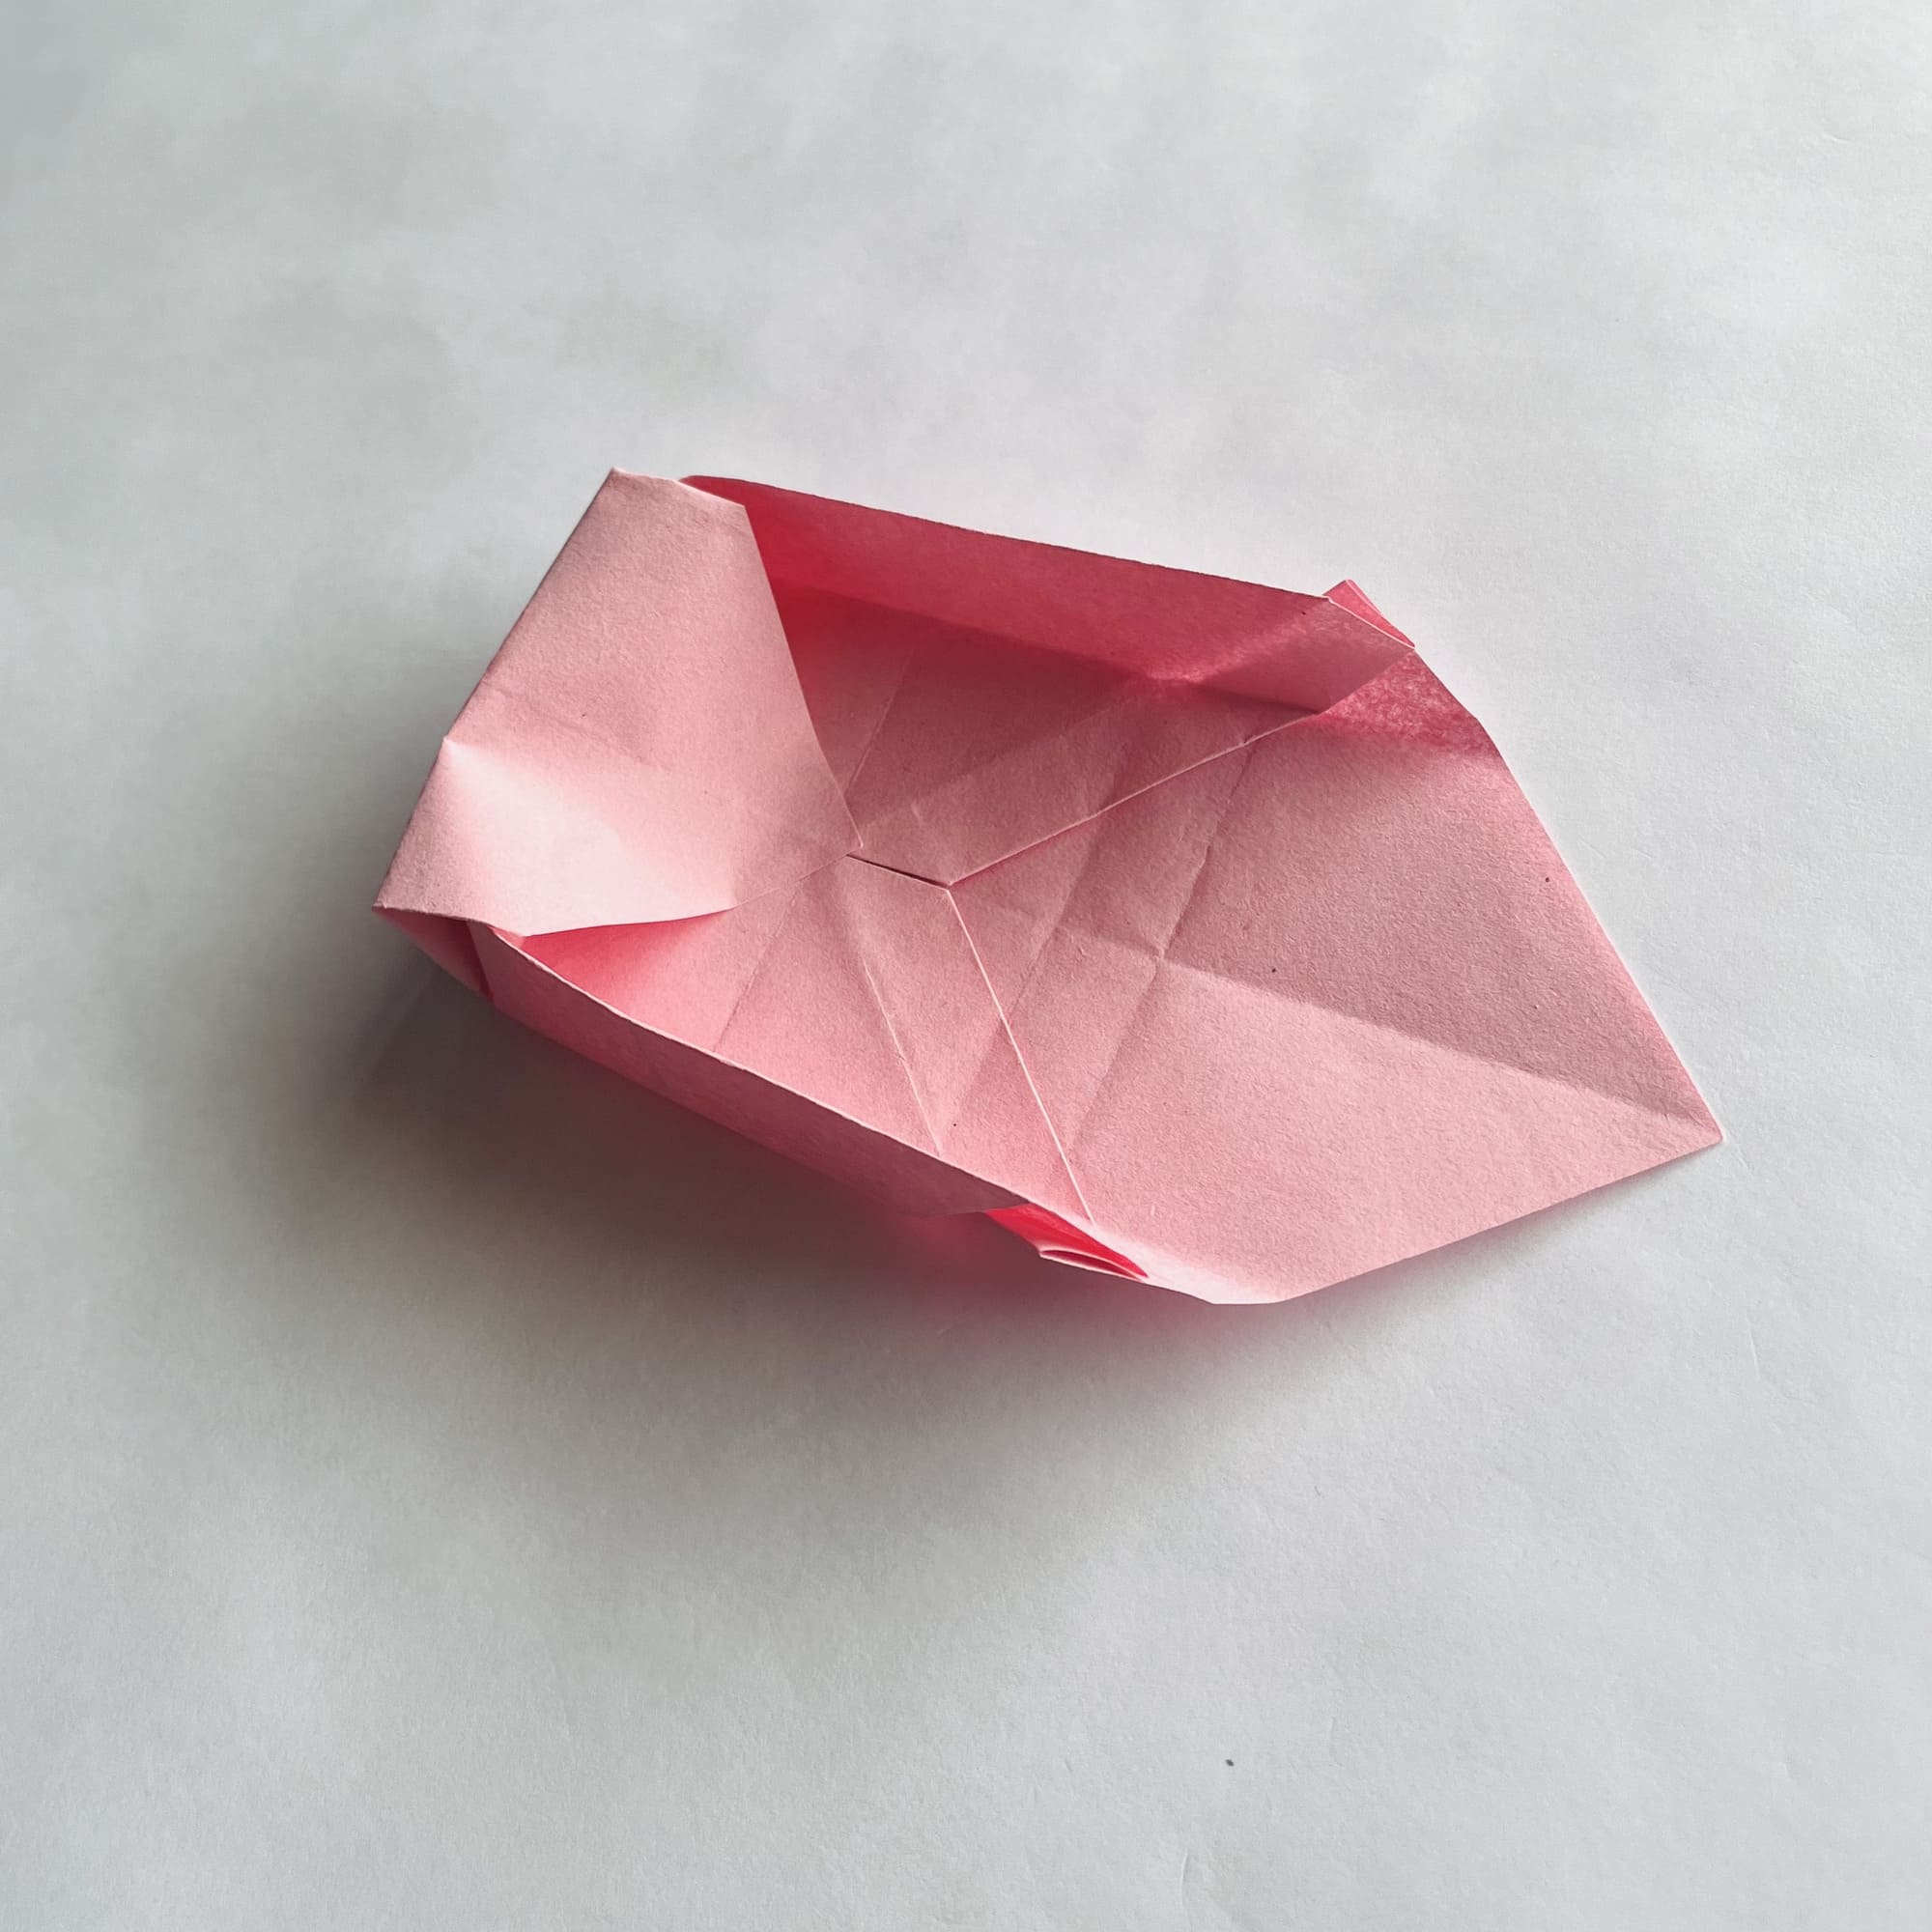
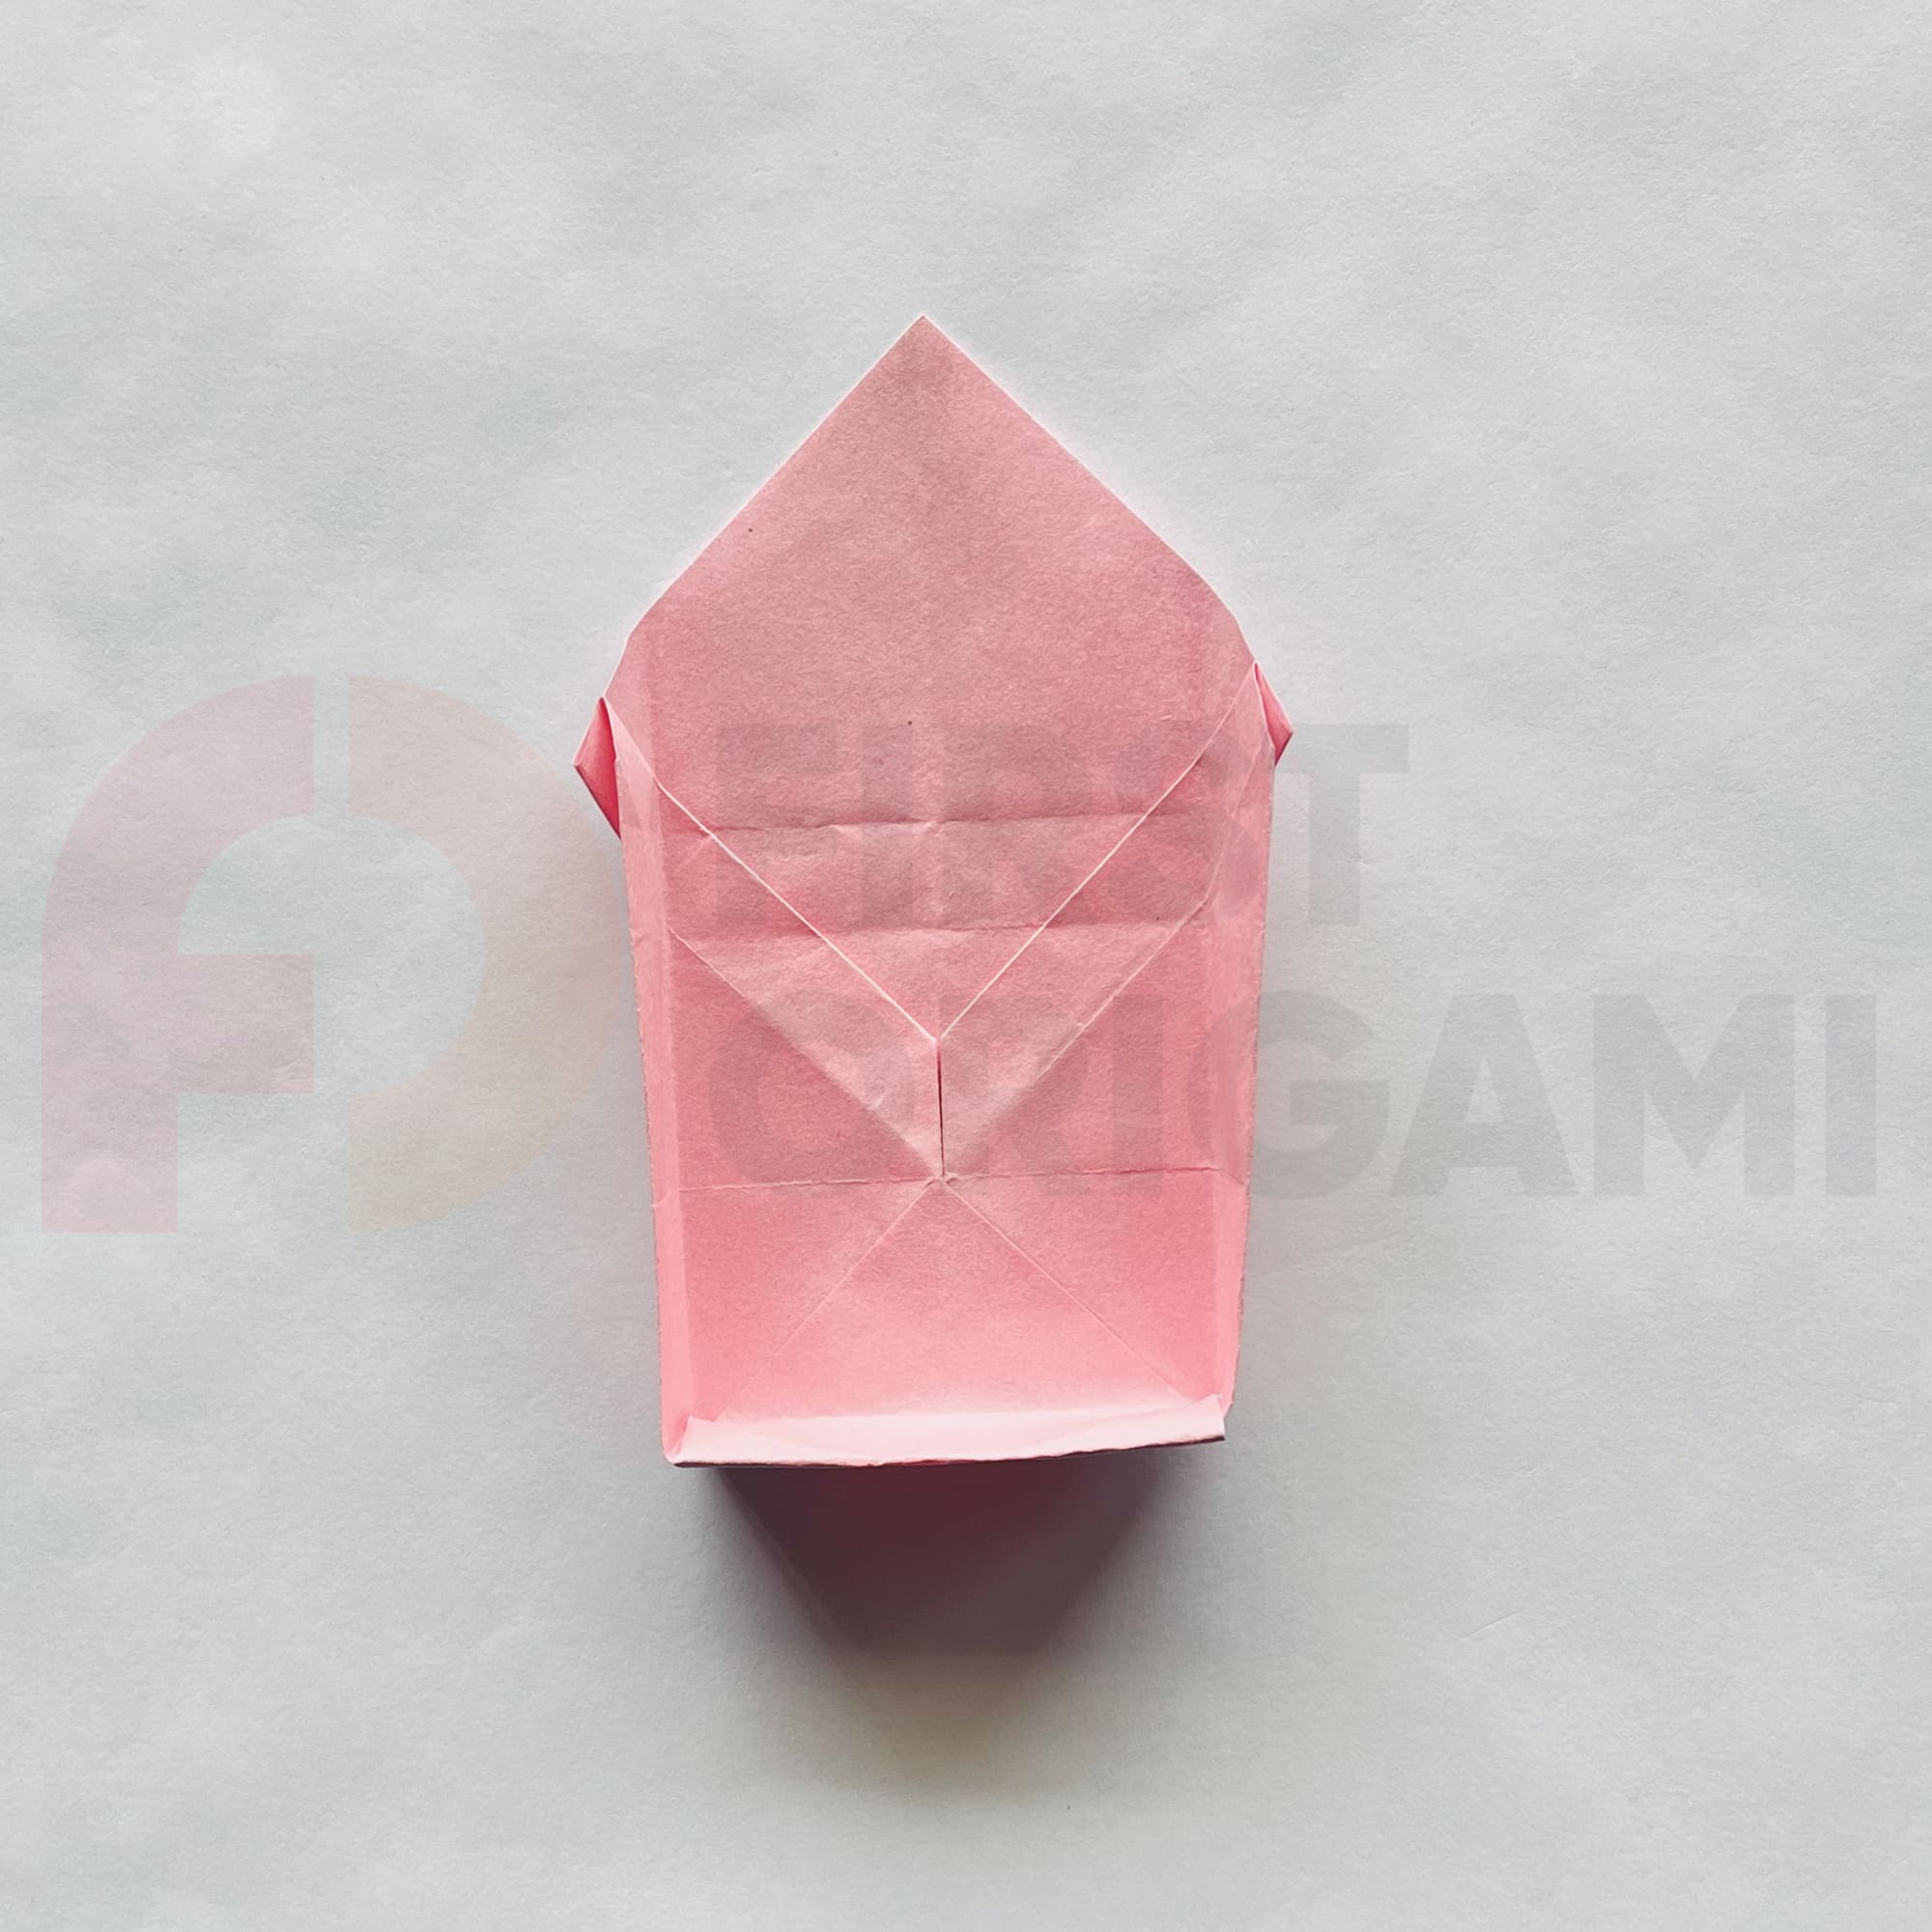
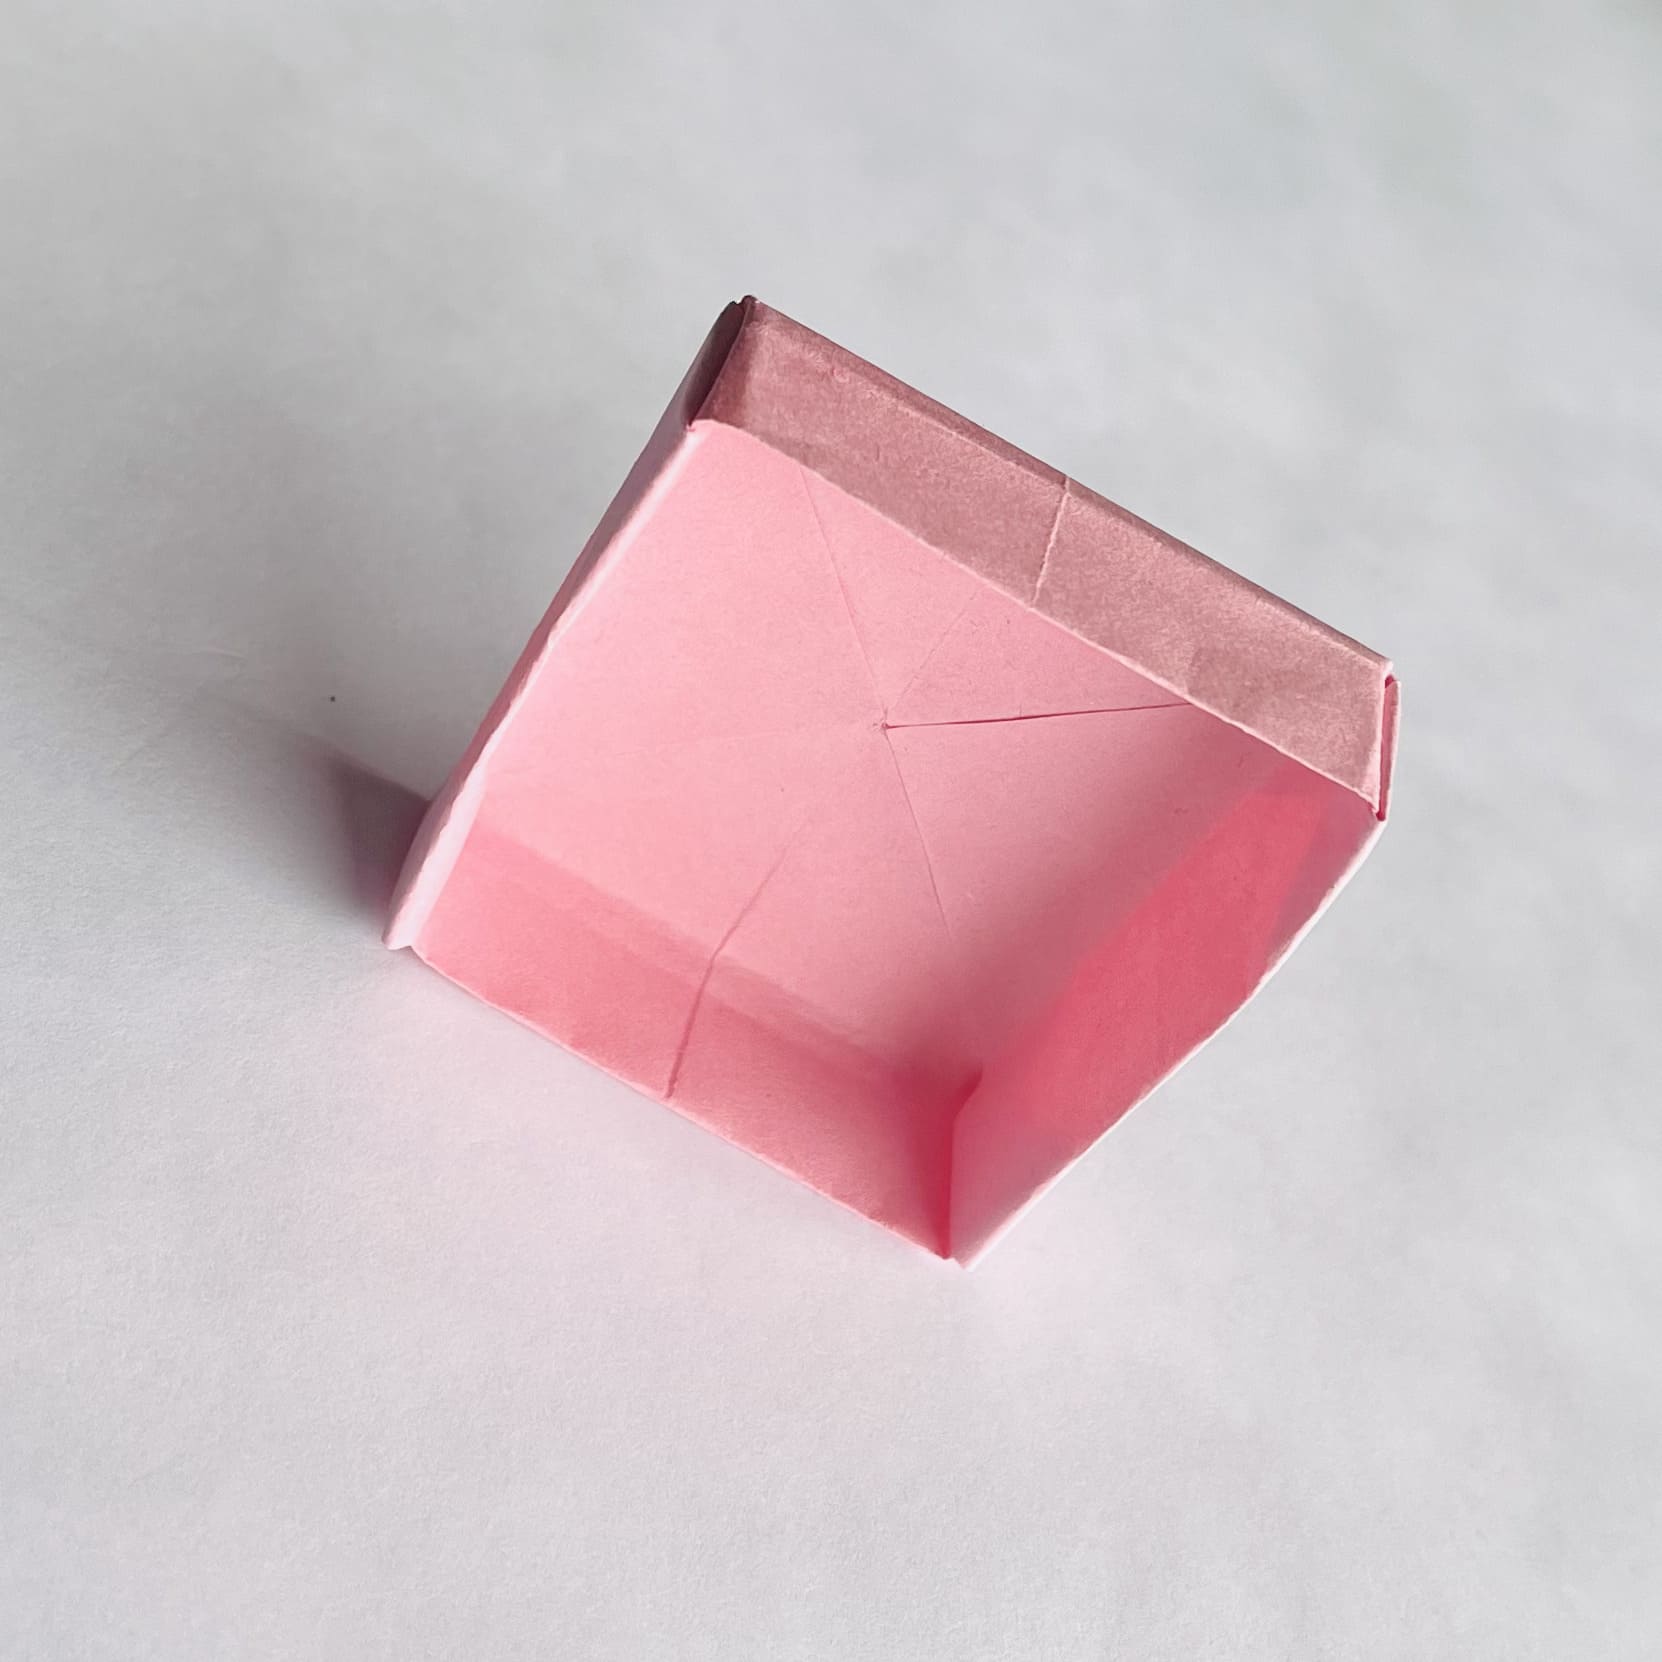
Now, you can fold the box.
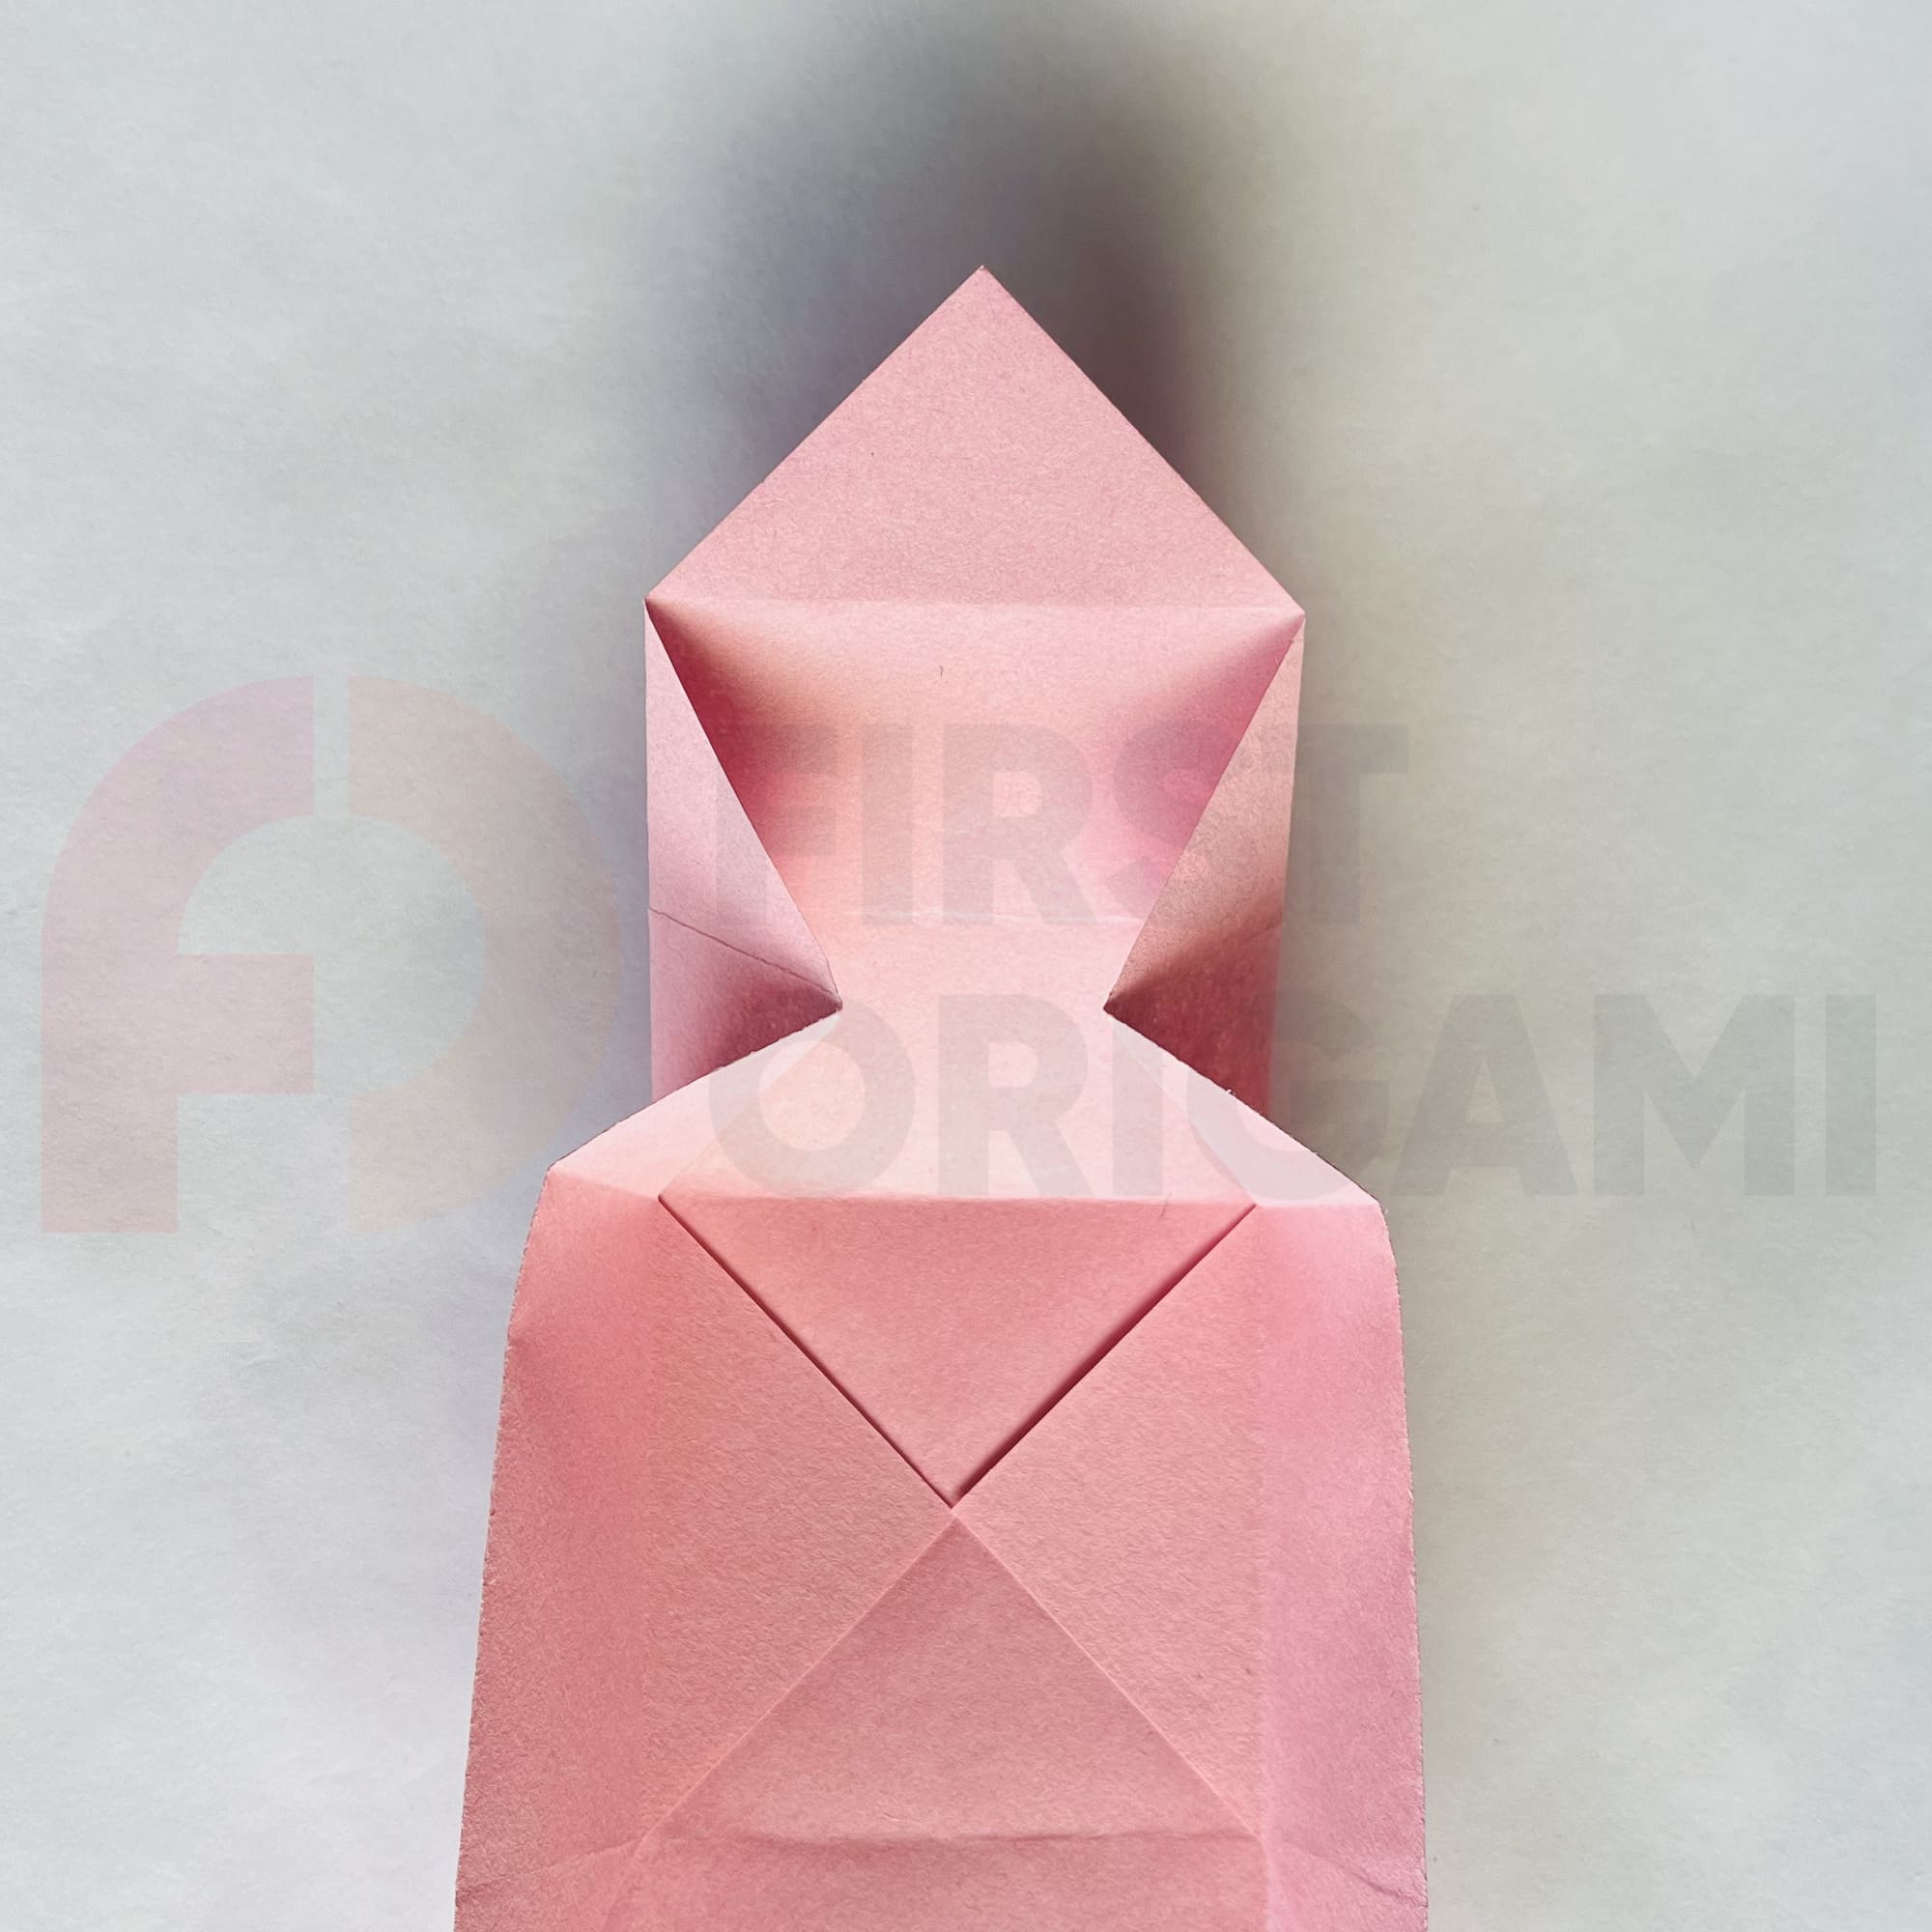
Carefully follow the step-by-step instructions to fold the side of the box.


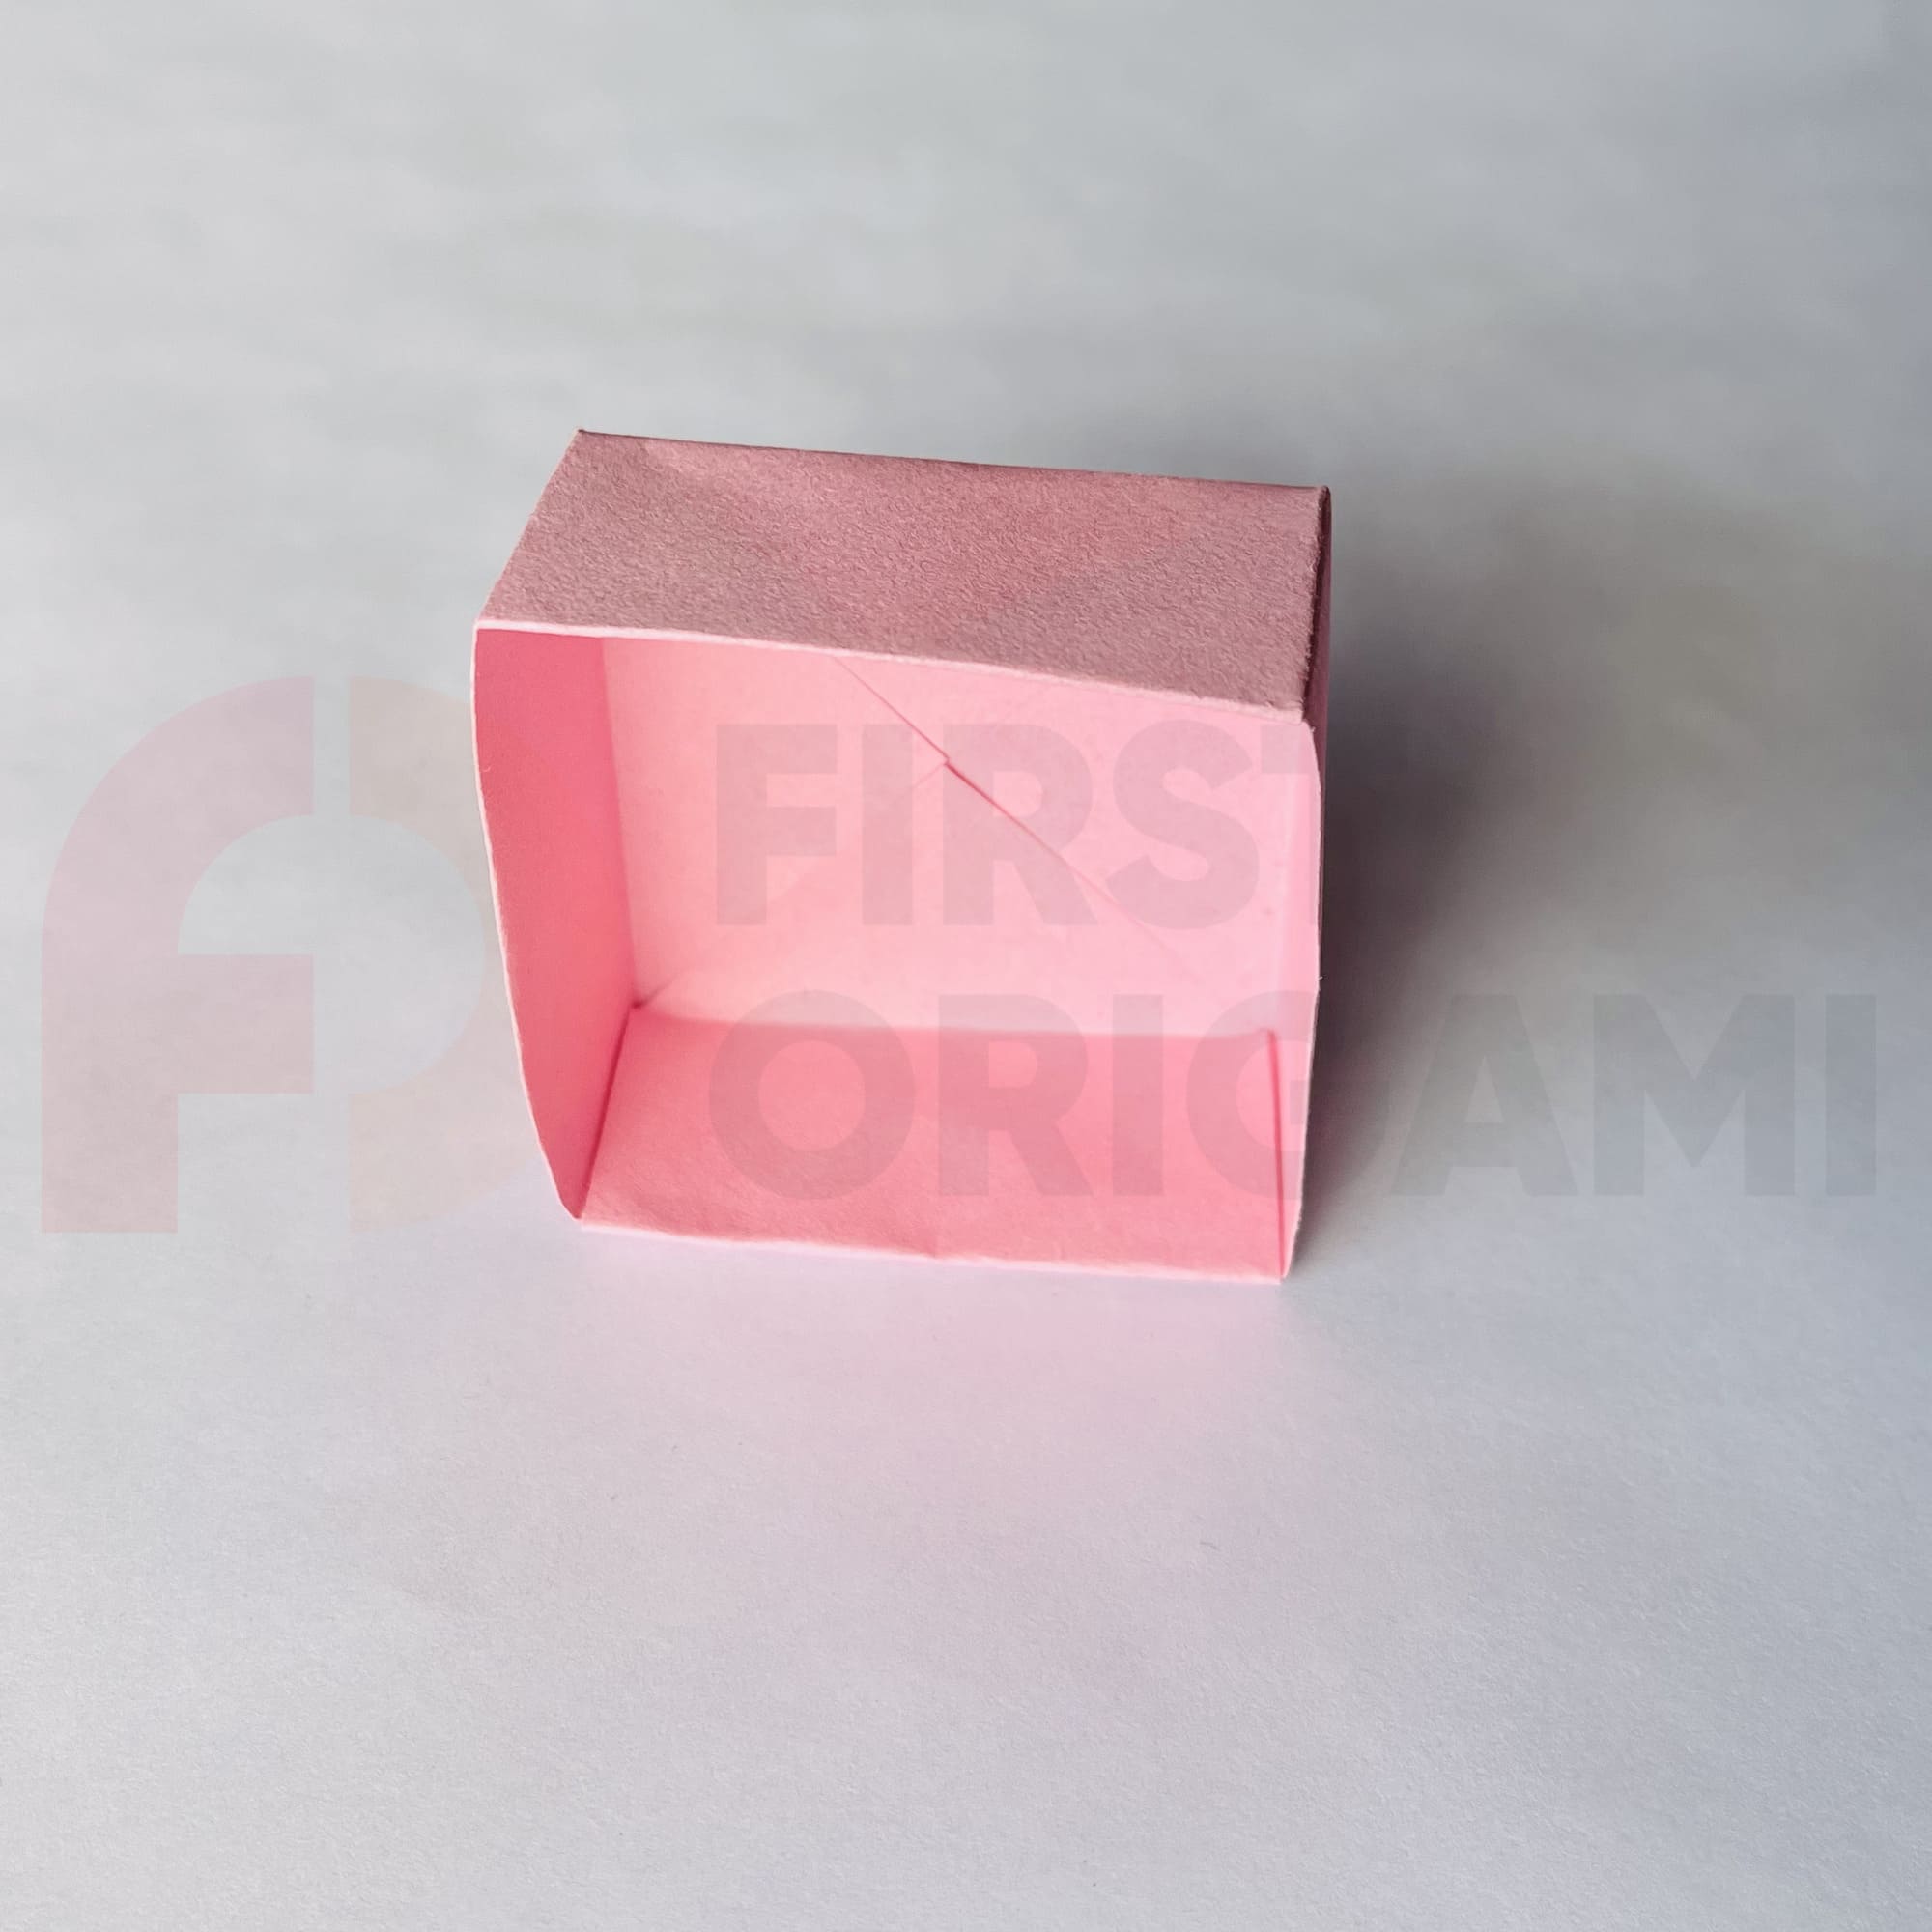
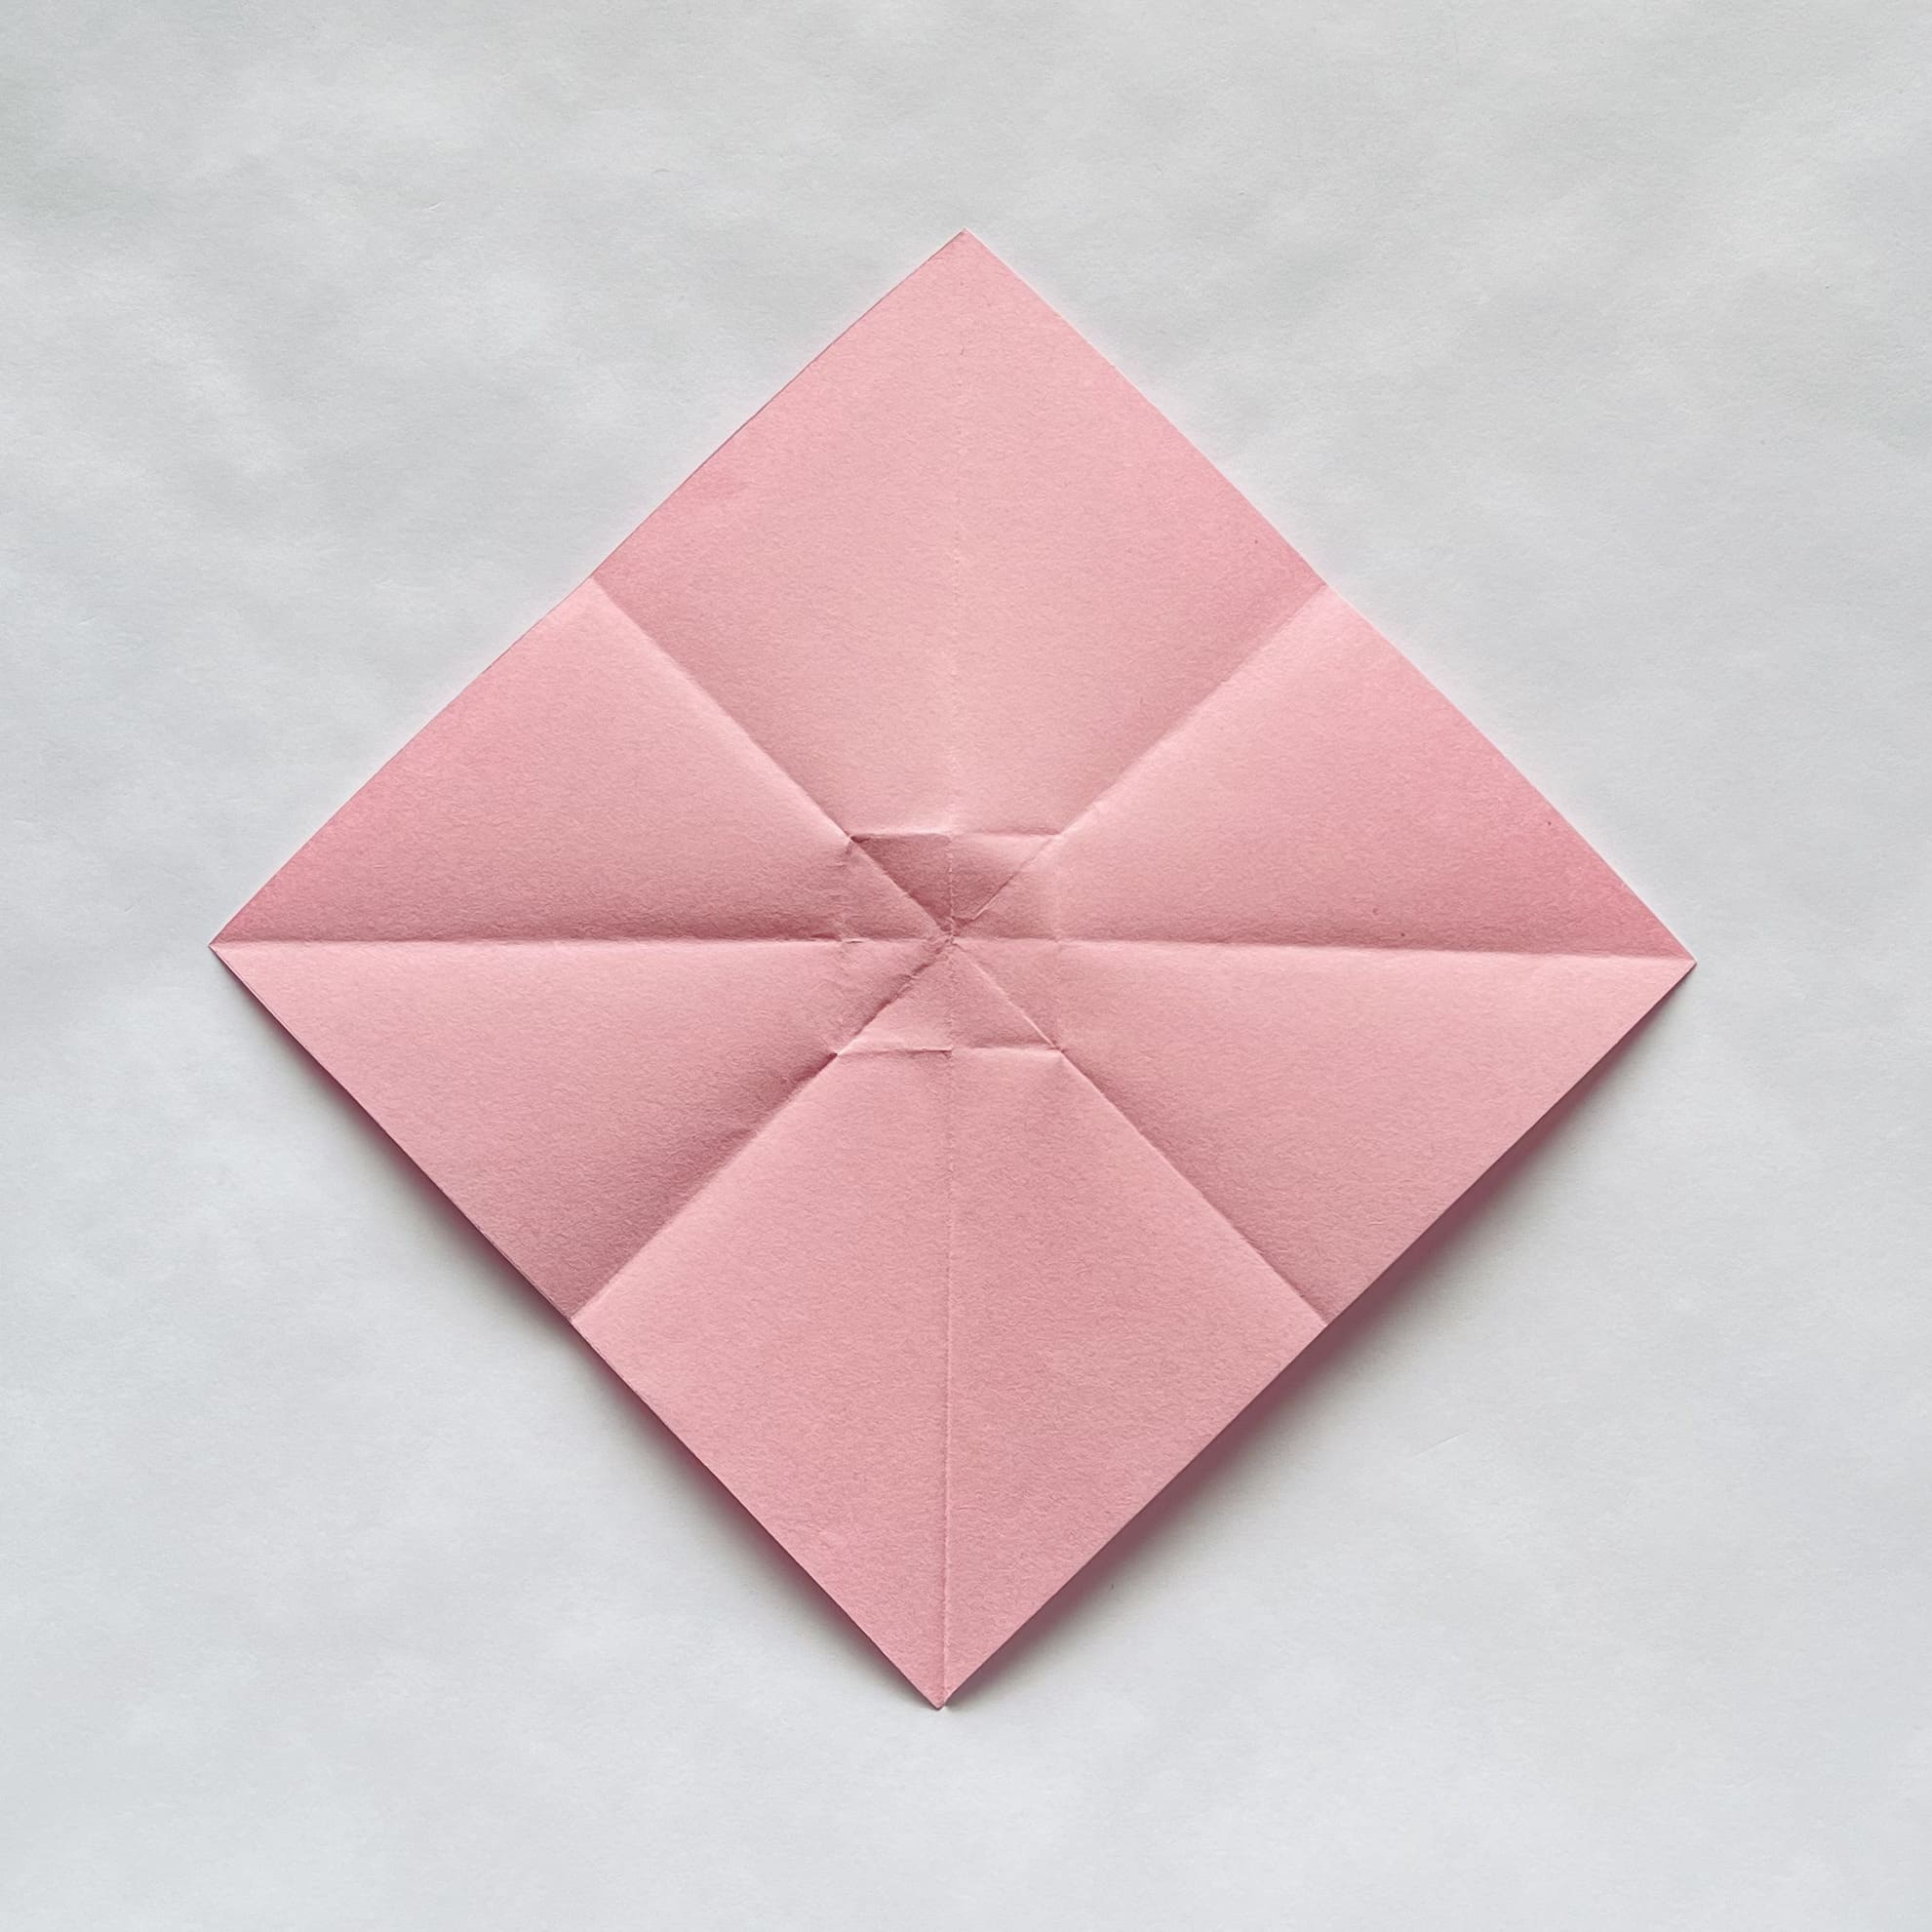
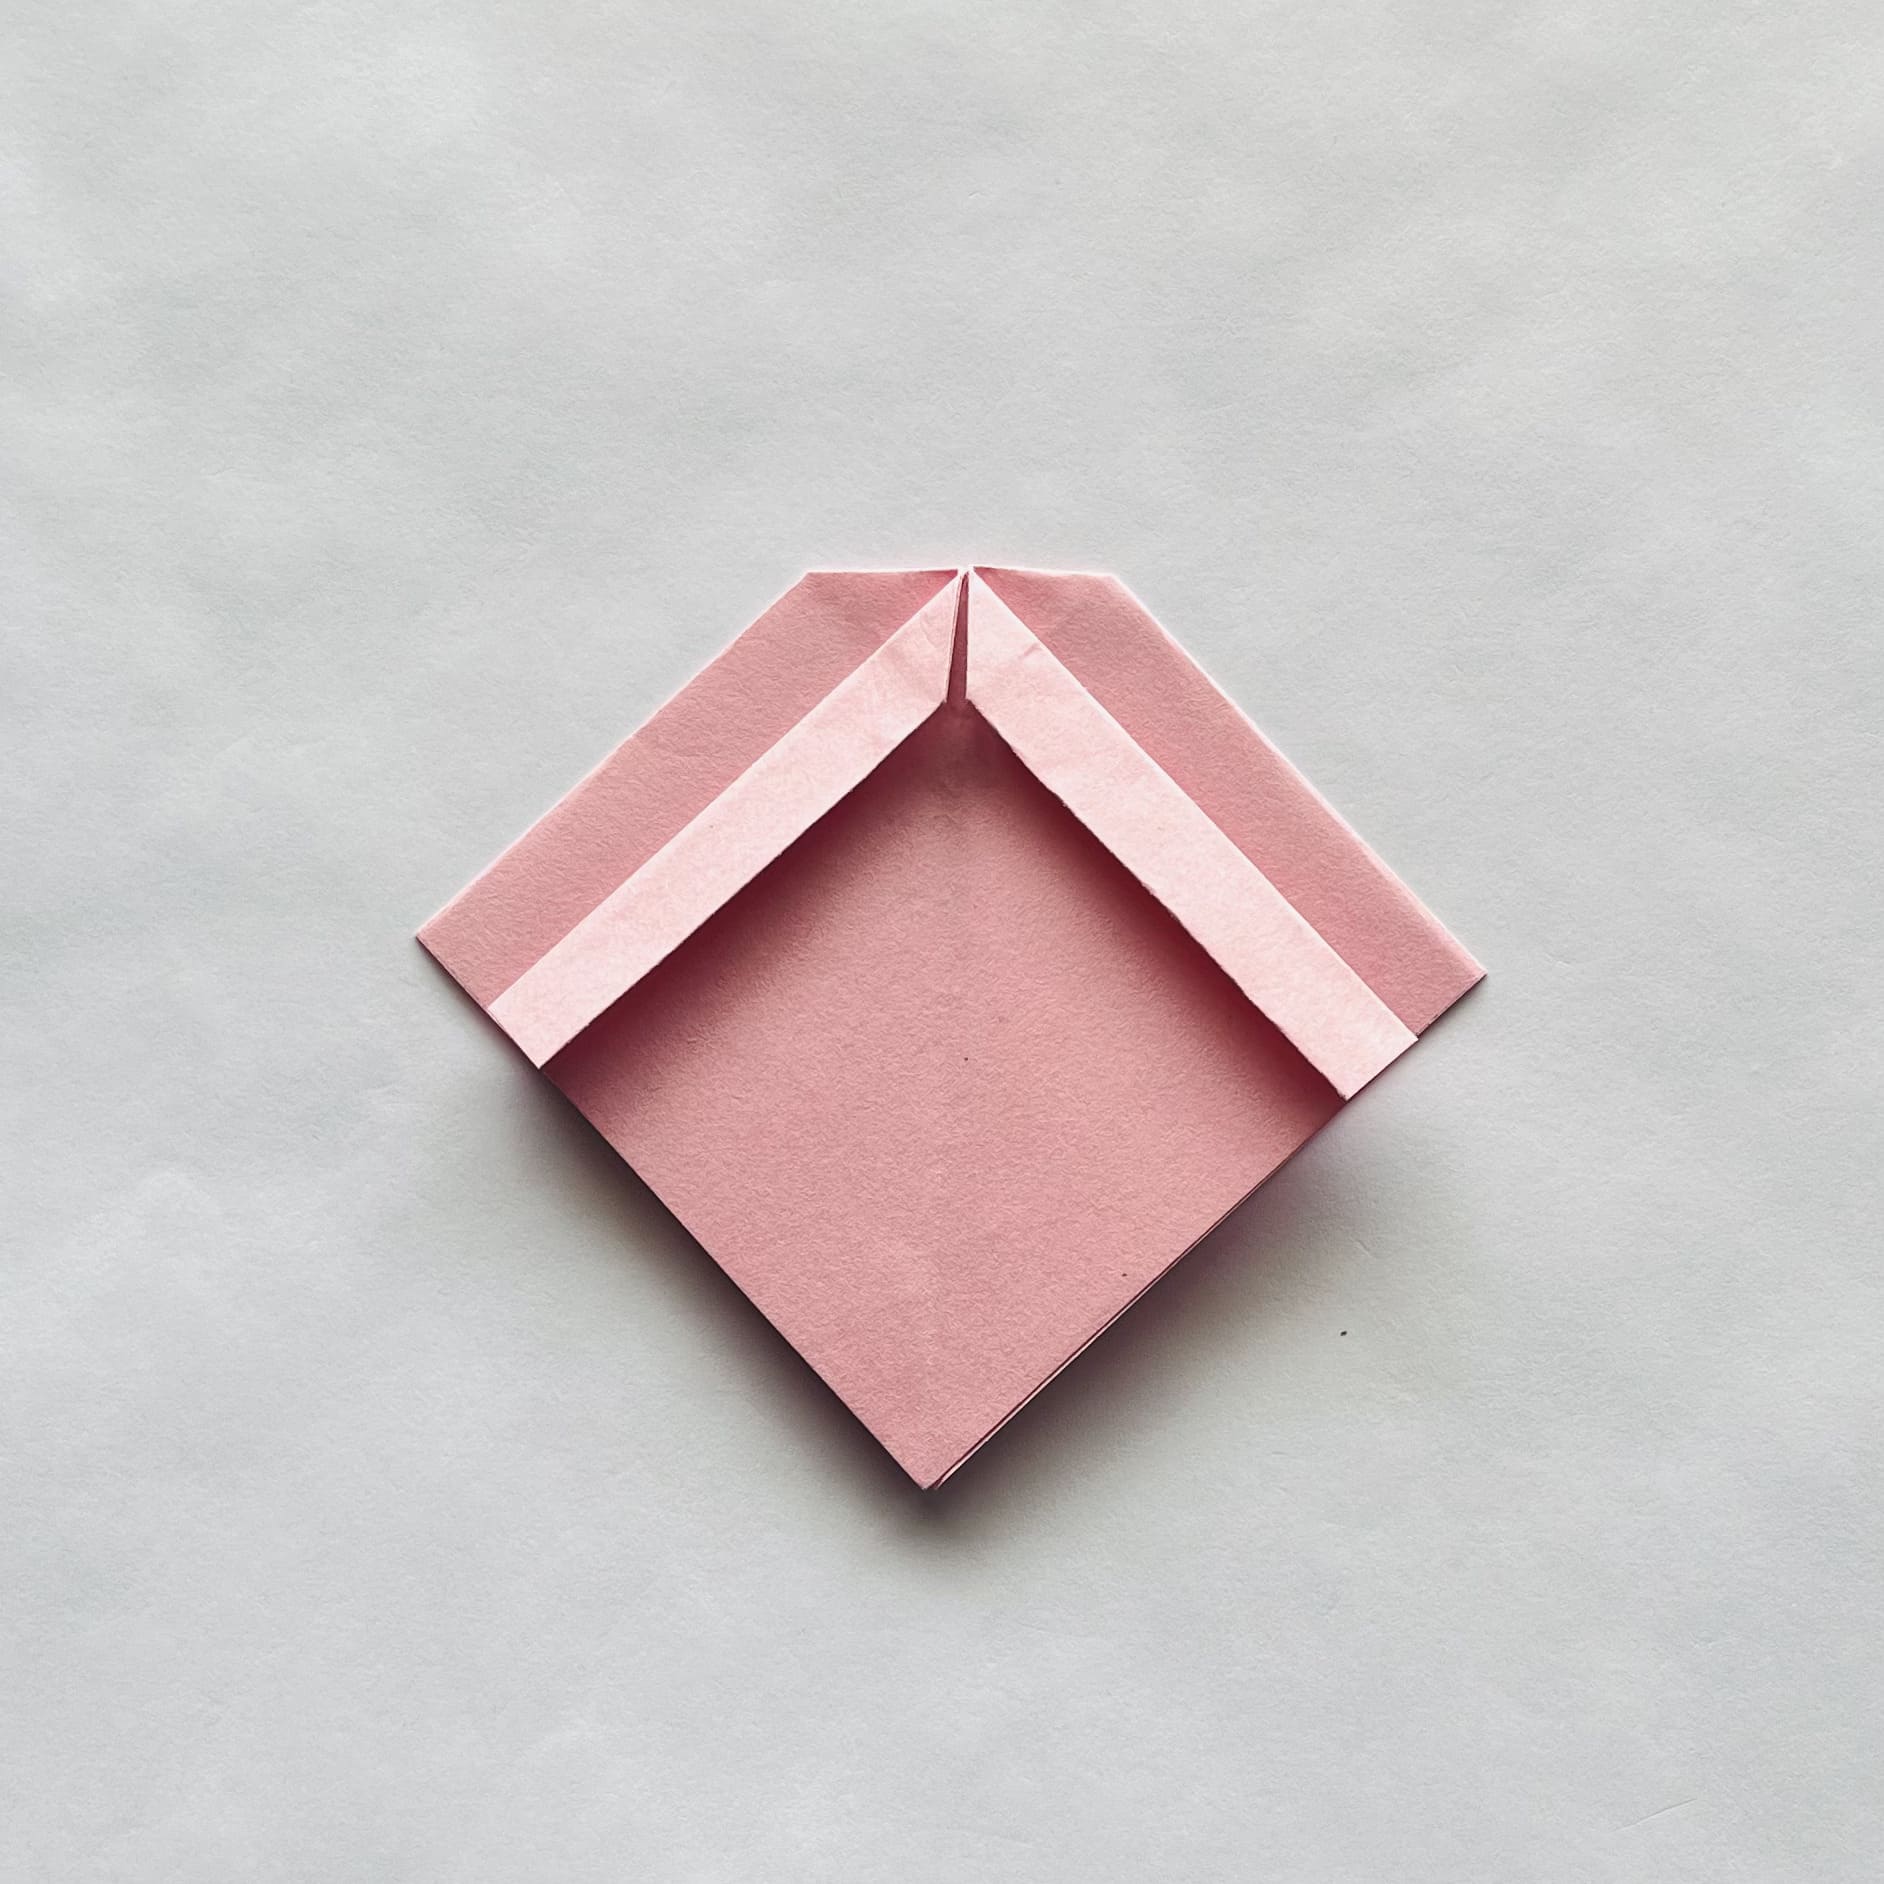
Repeat the same steps on the opposite side to create the remaining walls of our box.
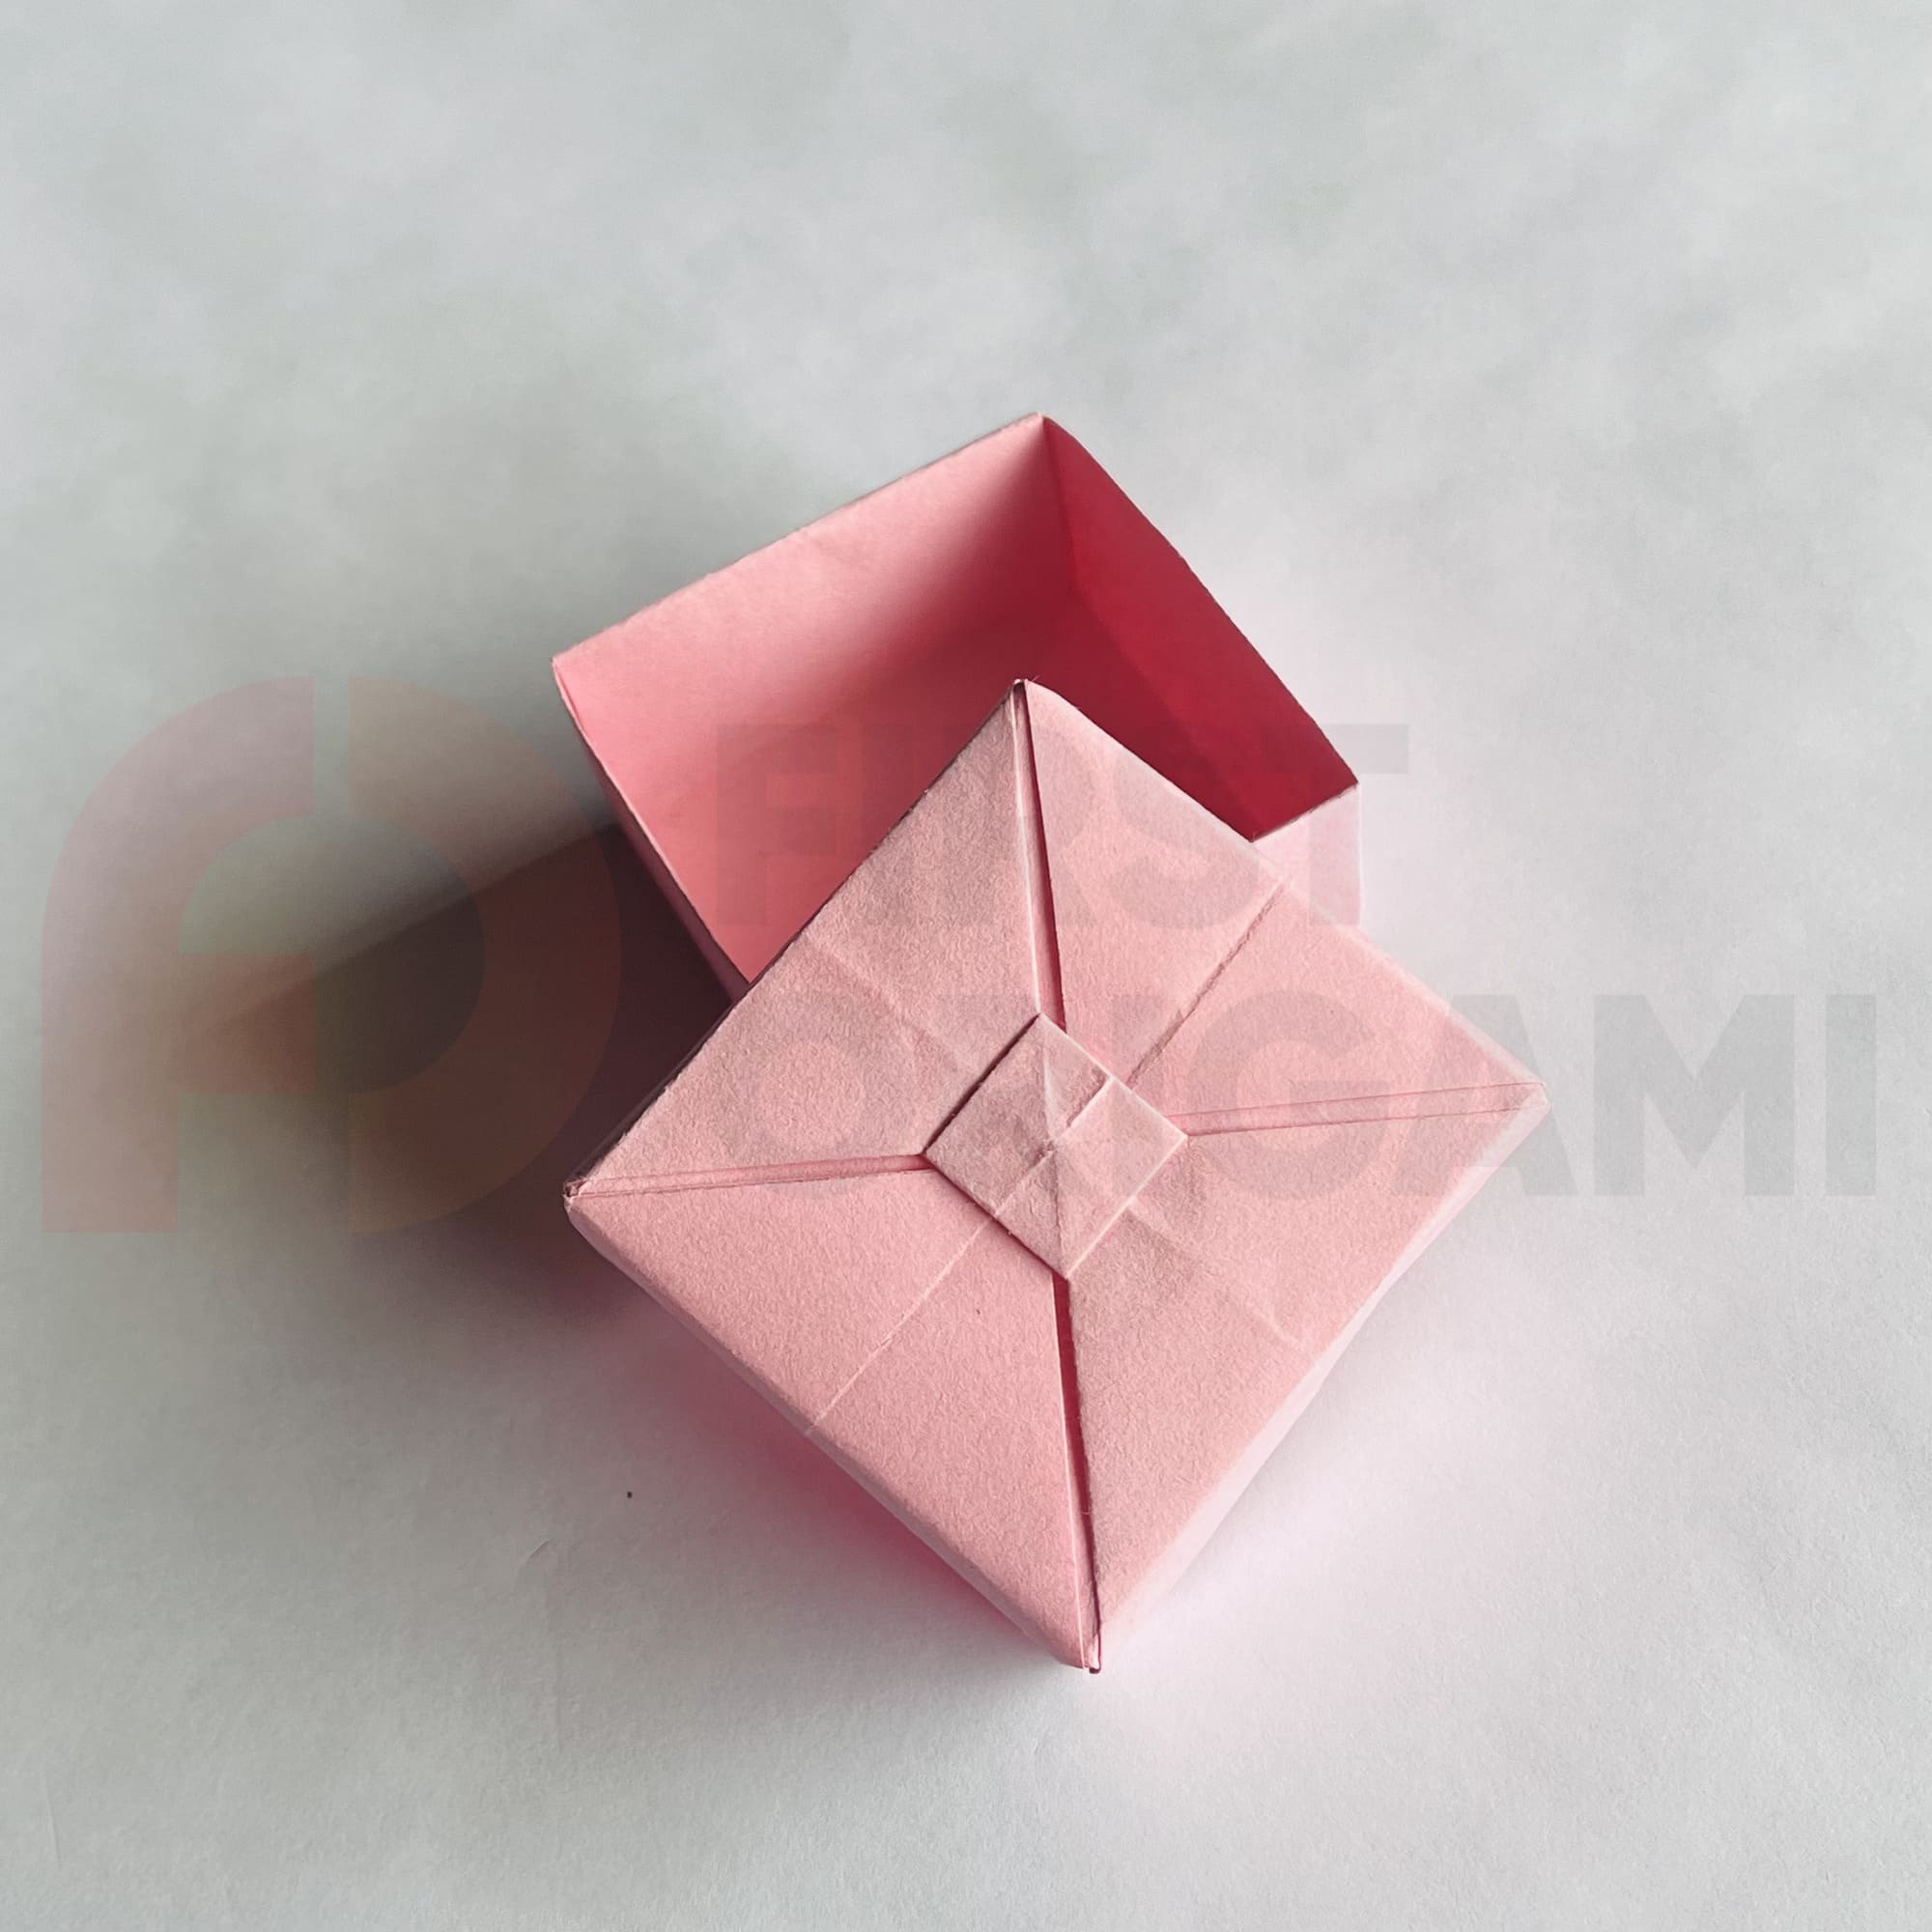
The first part is ready!
Let’s make the lid: prepare 15.5×15.5 cm paper.
Fold it in half along the horizontal axis.
Fold the bottom right corner up so that its edge is flush with the edge of the paper.
Turn the shape over and fold the bottom right corner up in the same way.
You have formed something resembling an envelope.
Unfold it and then flatten it on the table to make a square.

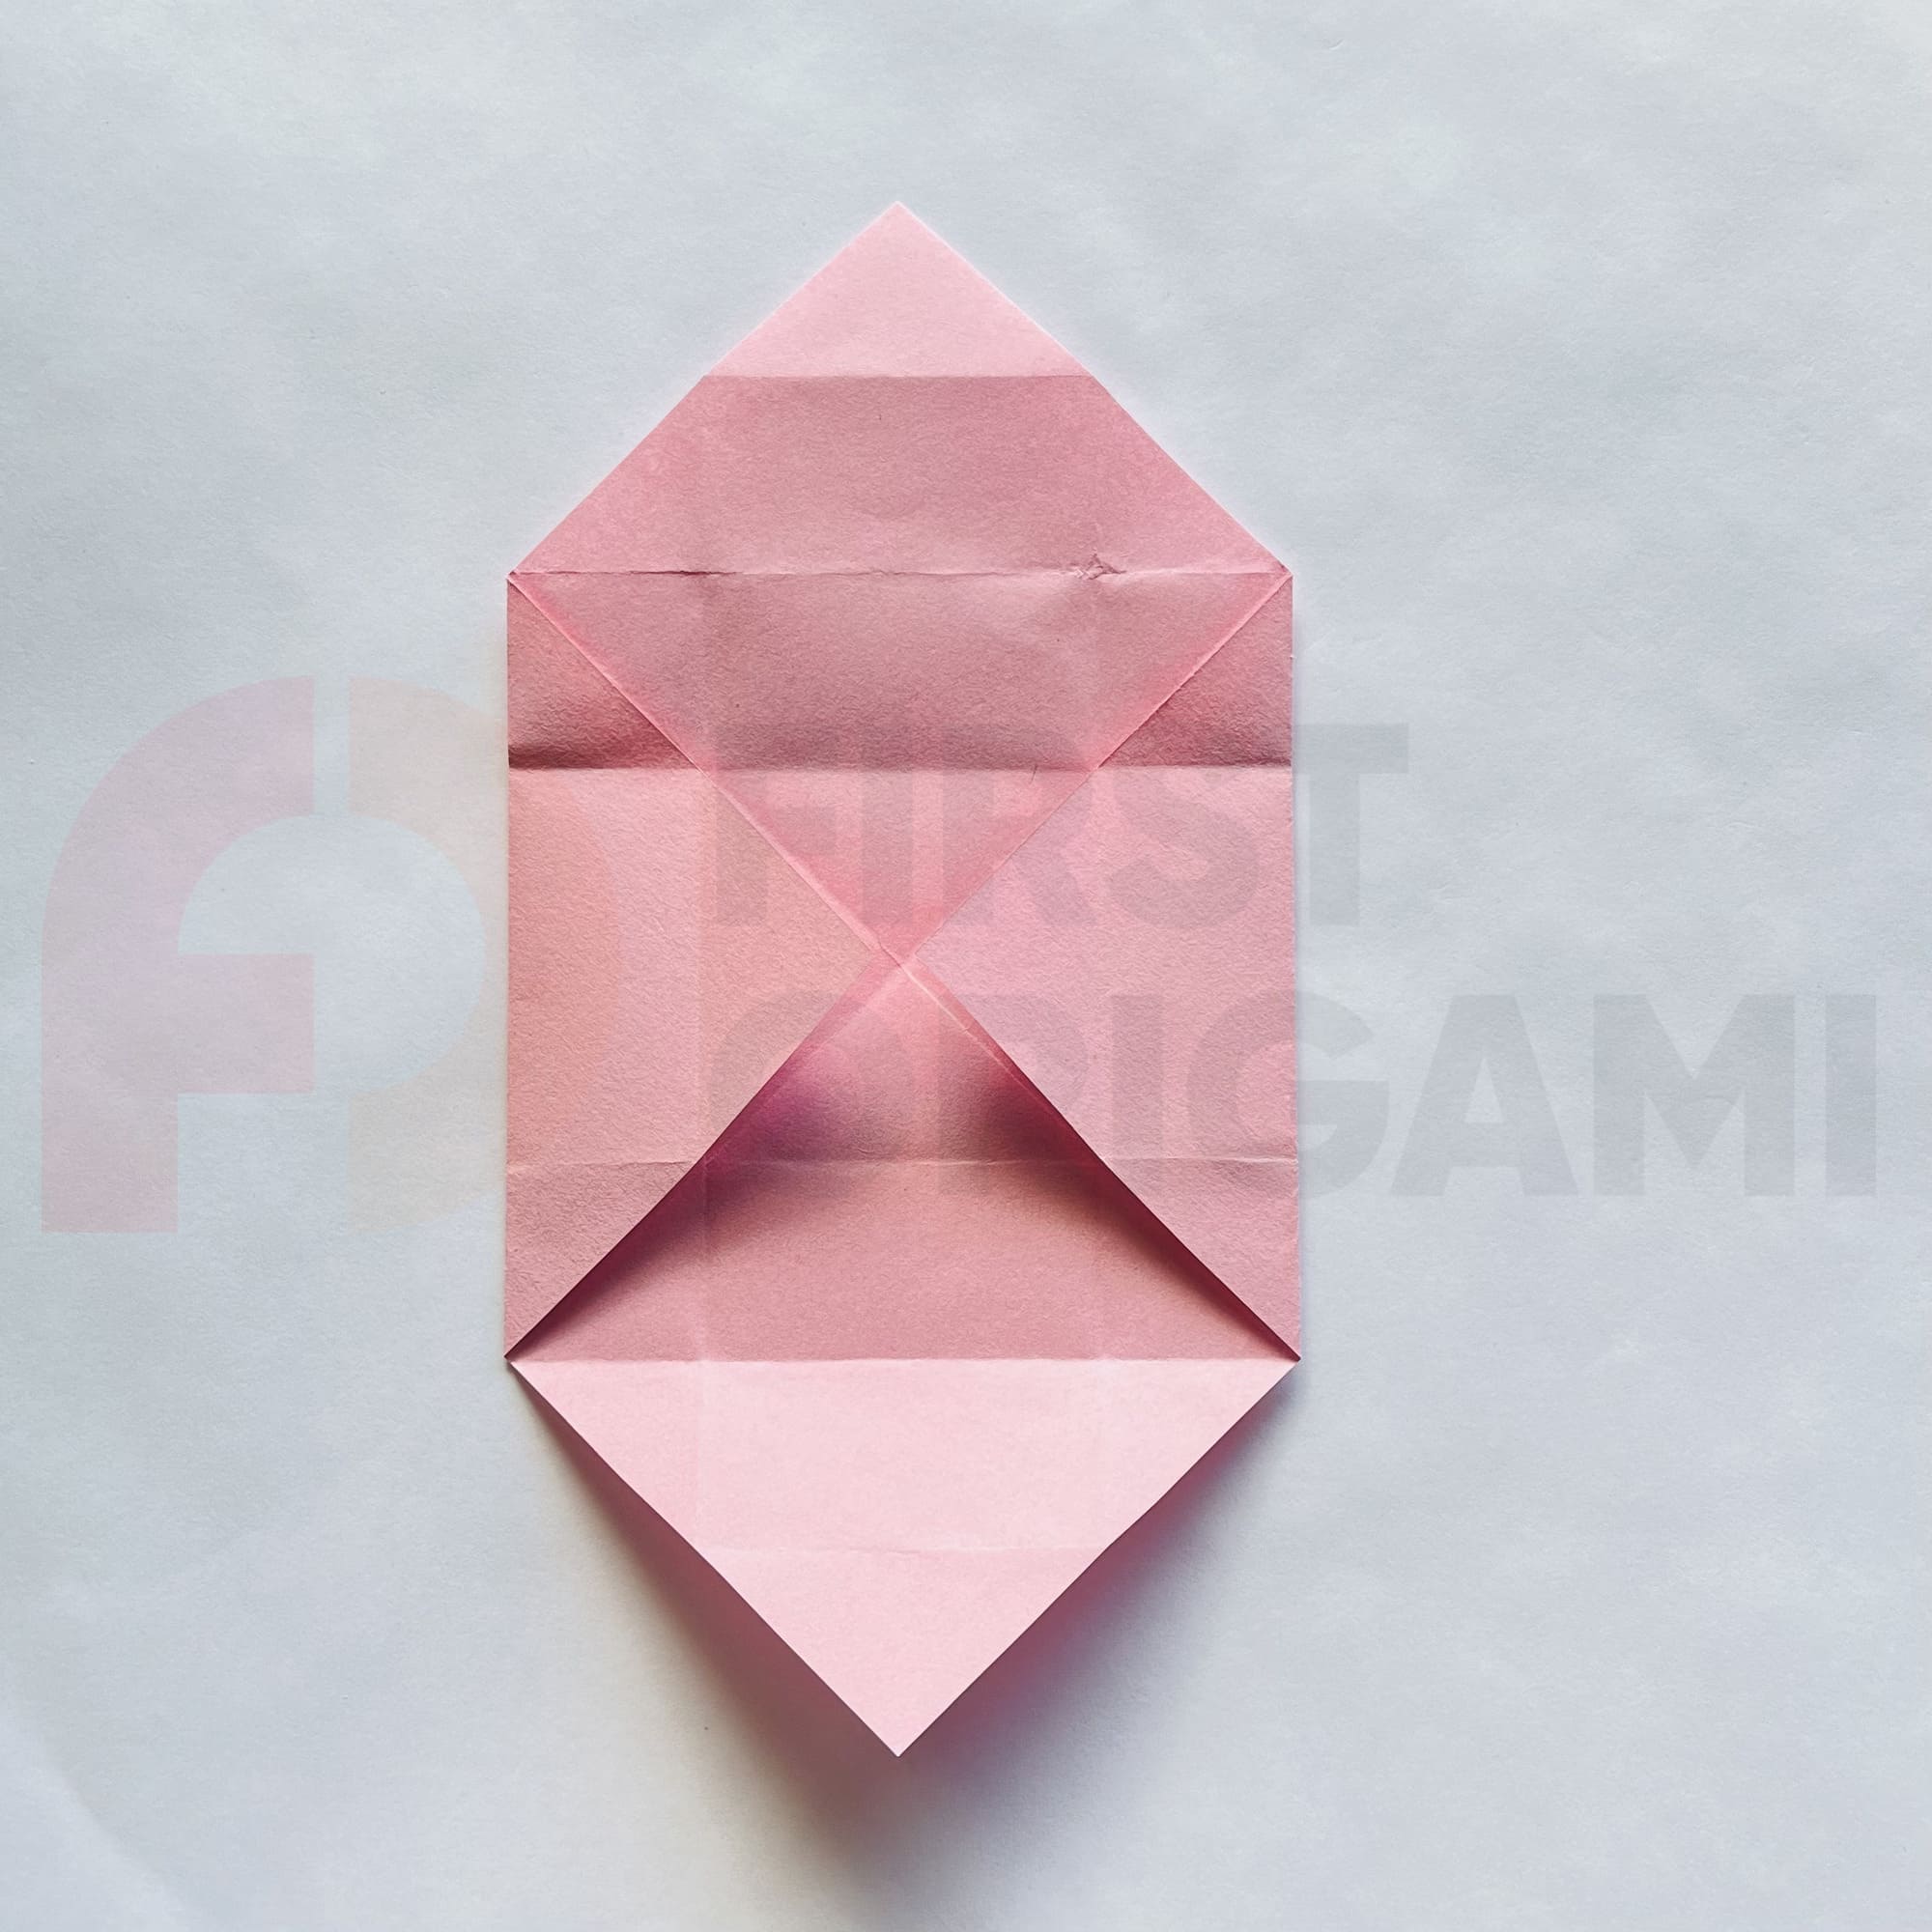
Fold the top corner inward and crease the fold.
Unfold the paper completely.
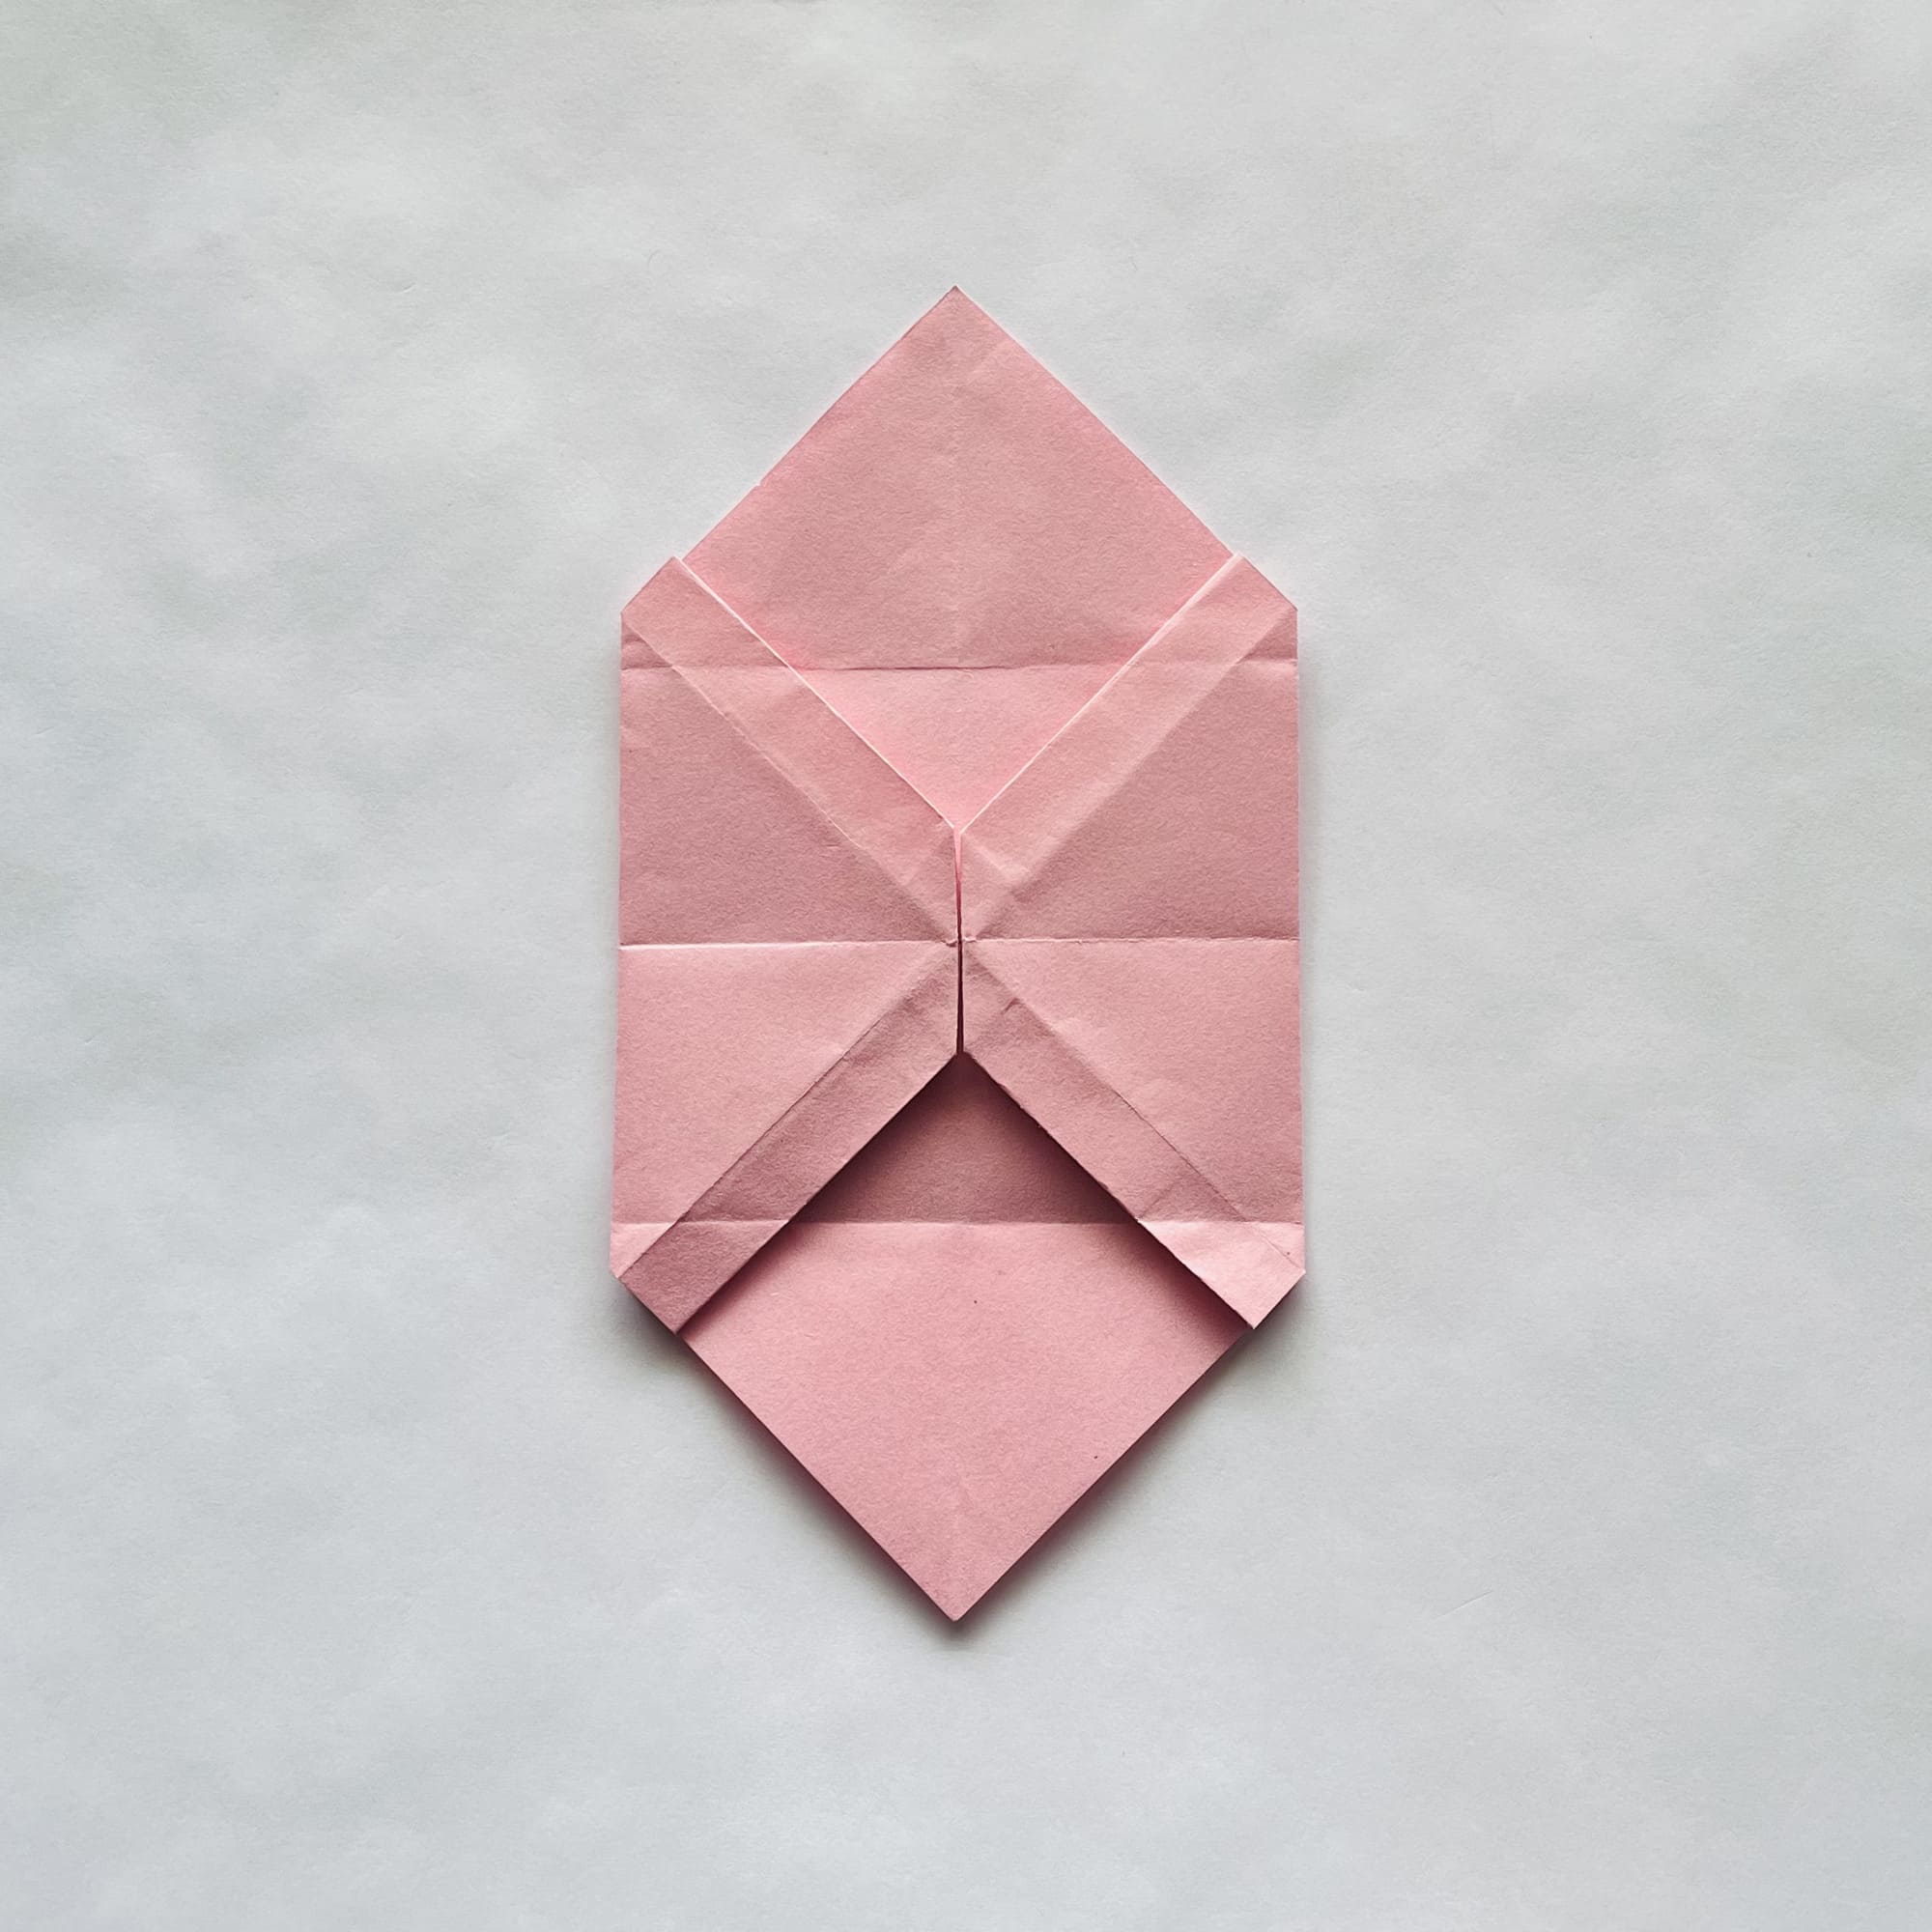
Both diagonal folds should be curved, so fold the paper along a vertical line, crease, and unfold.
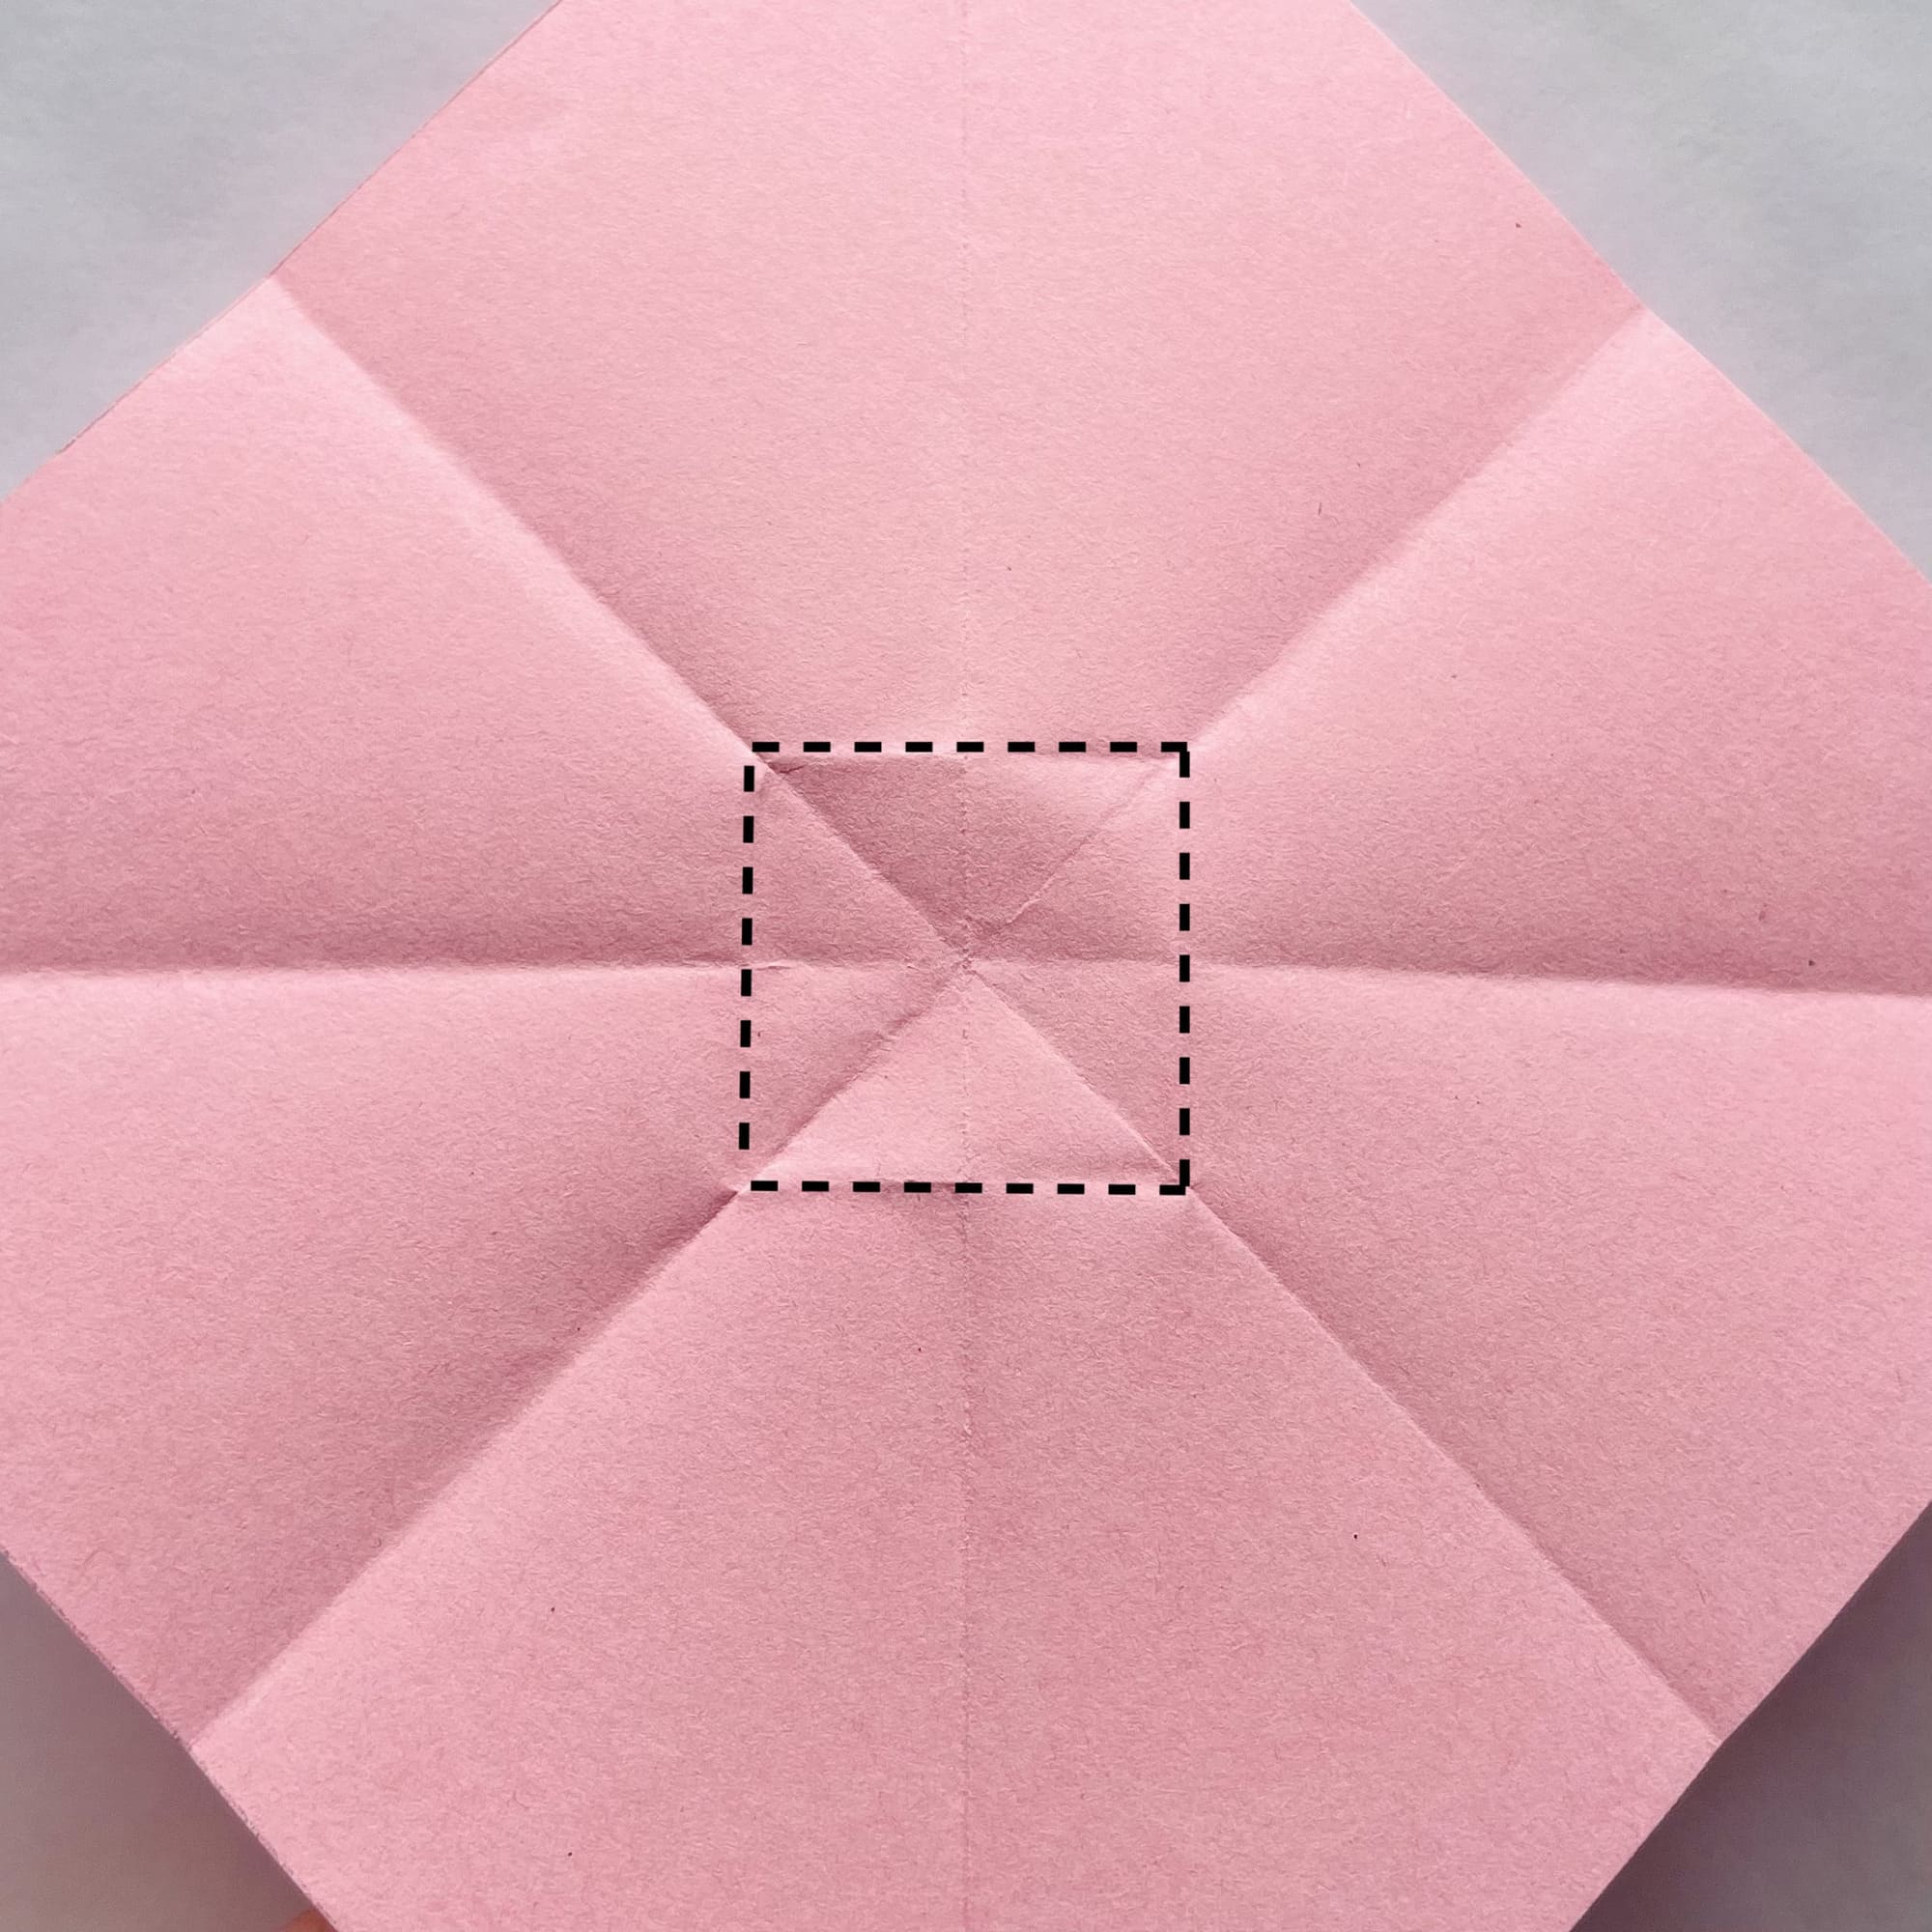
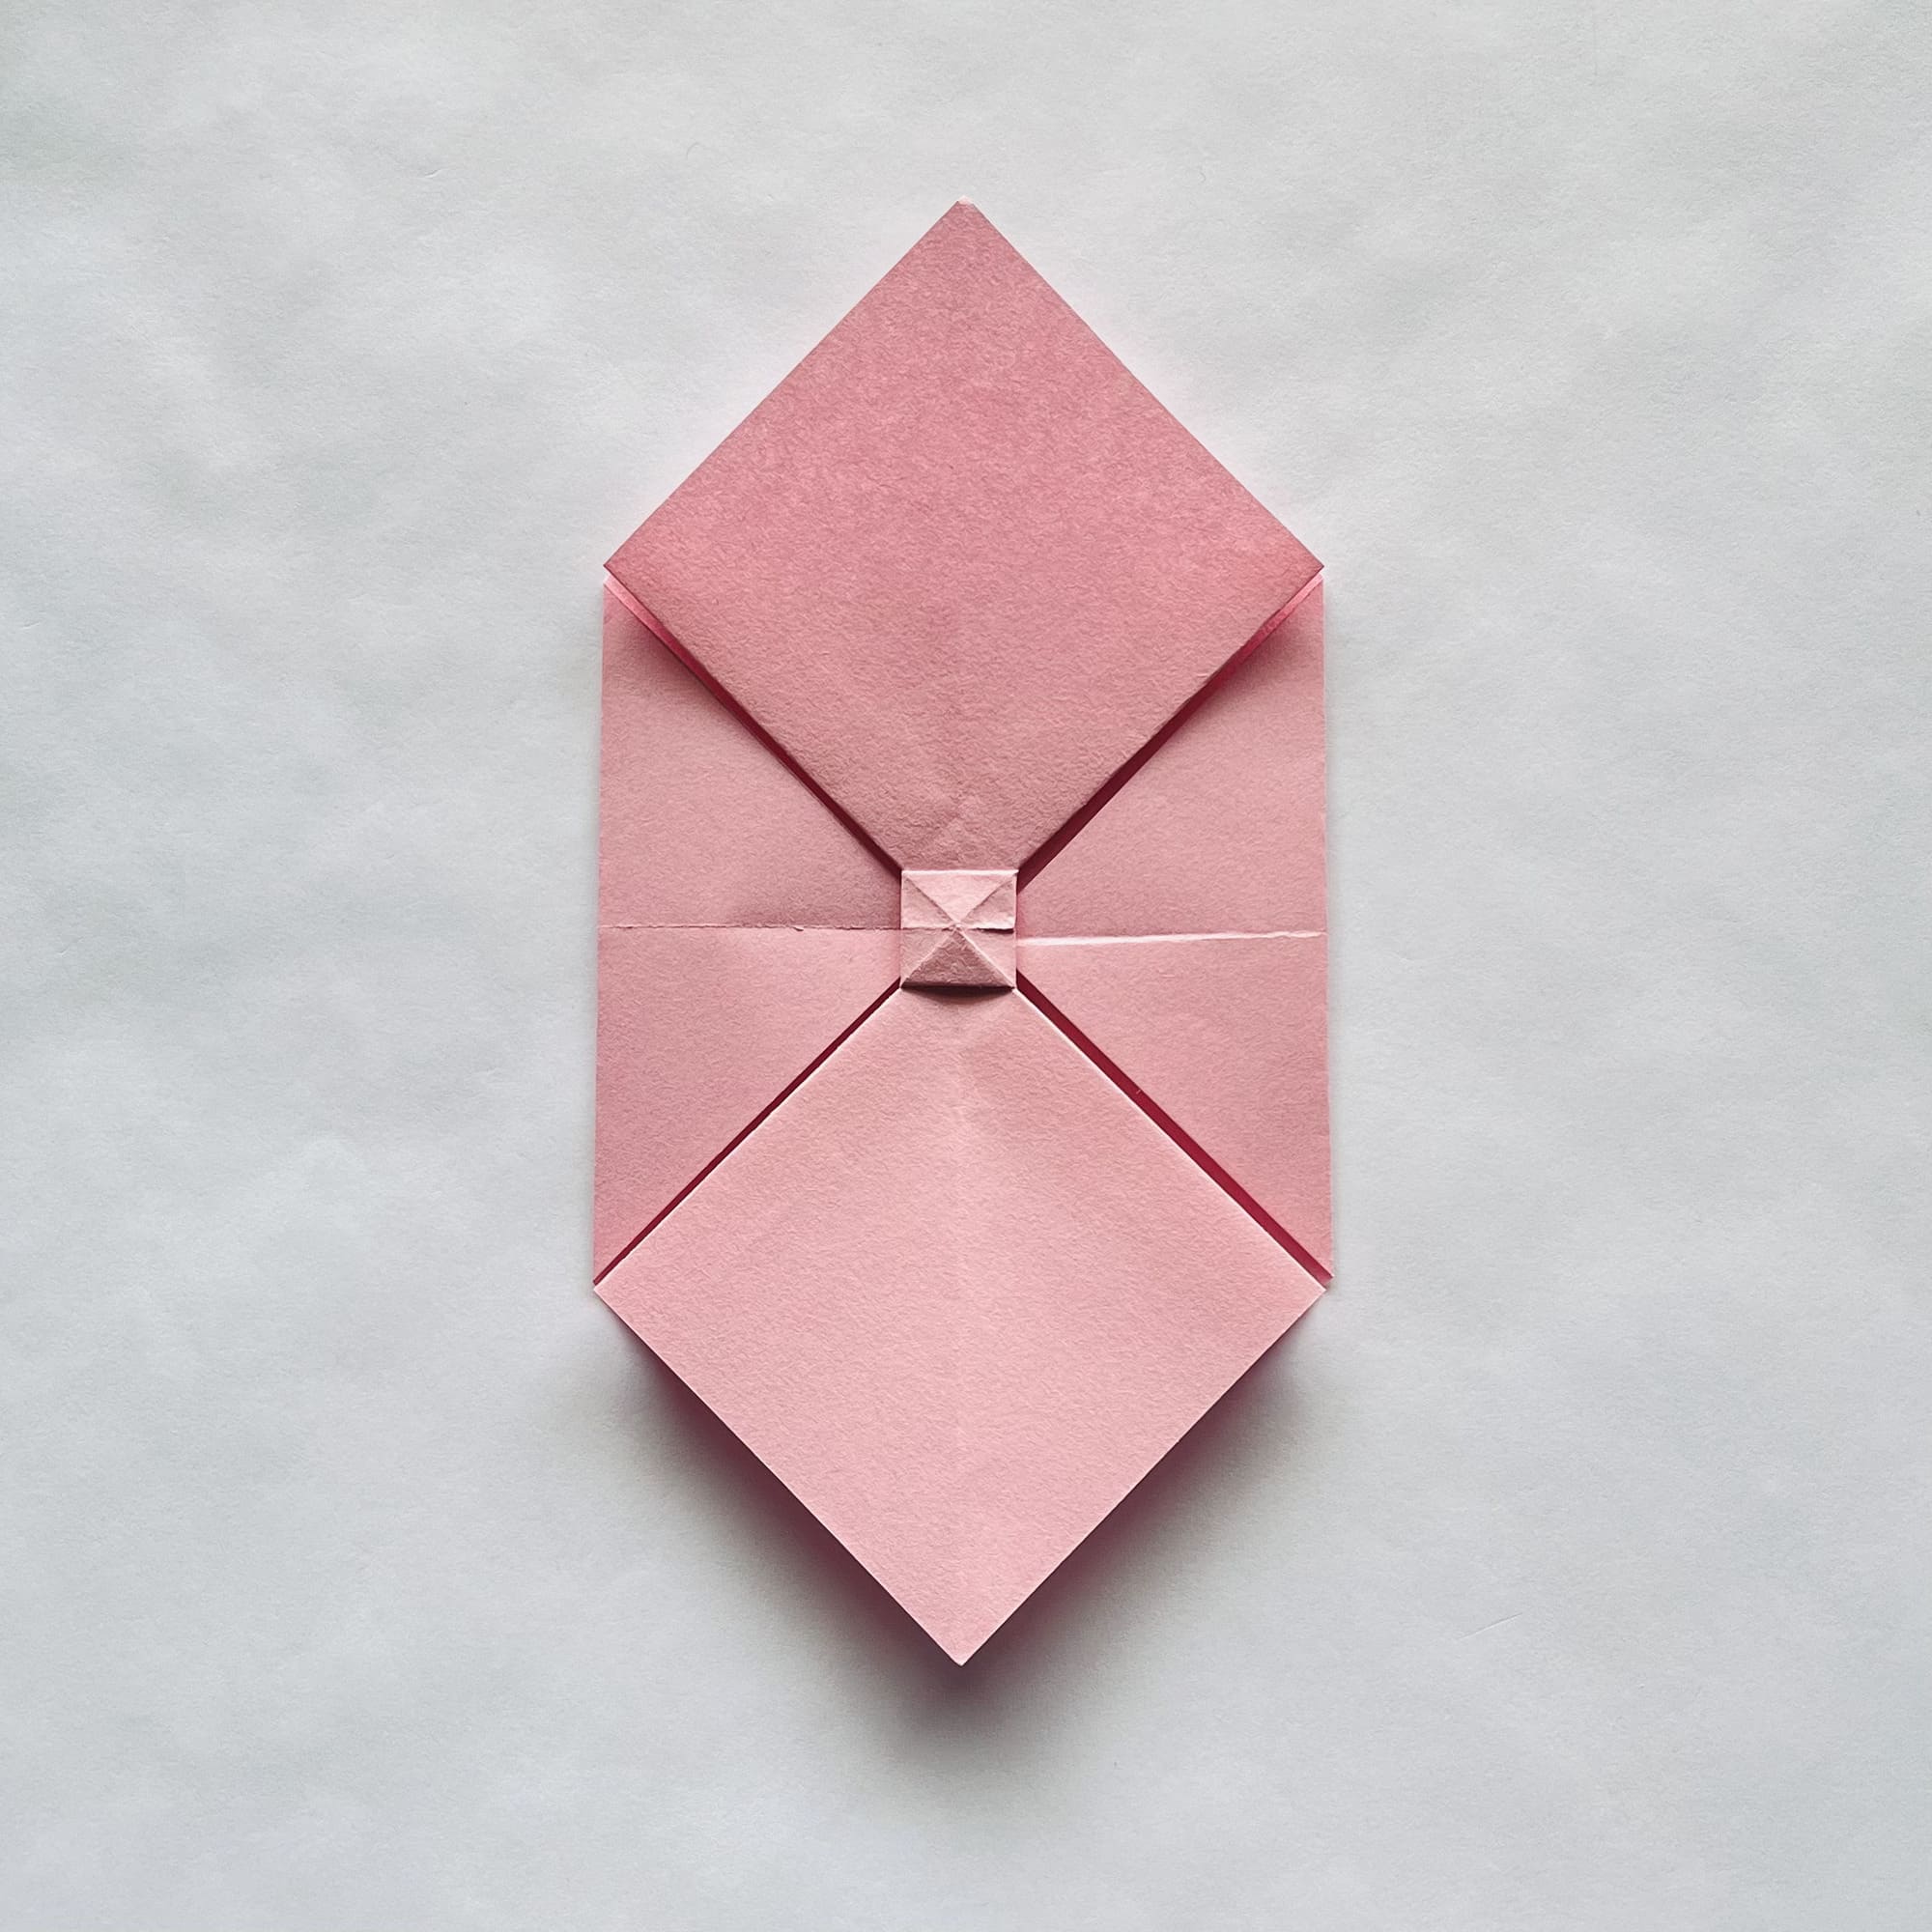
Let’s turn to the center of the figure: to recess it inward, create curved folds along the dotted lines, forming a square.

Now, the fold lines will help you recess the center of the paper inward.
After this, straighten the figure on the table.
Fold the edges of the paper at the top inward, as shown in the photo.
Turn the shape over and repeat step 37.


Carefully open the paper and lay it flat on the table.
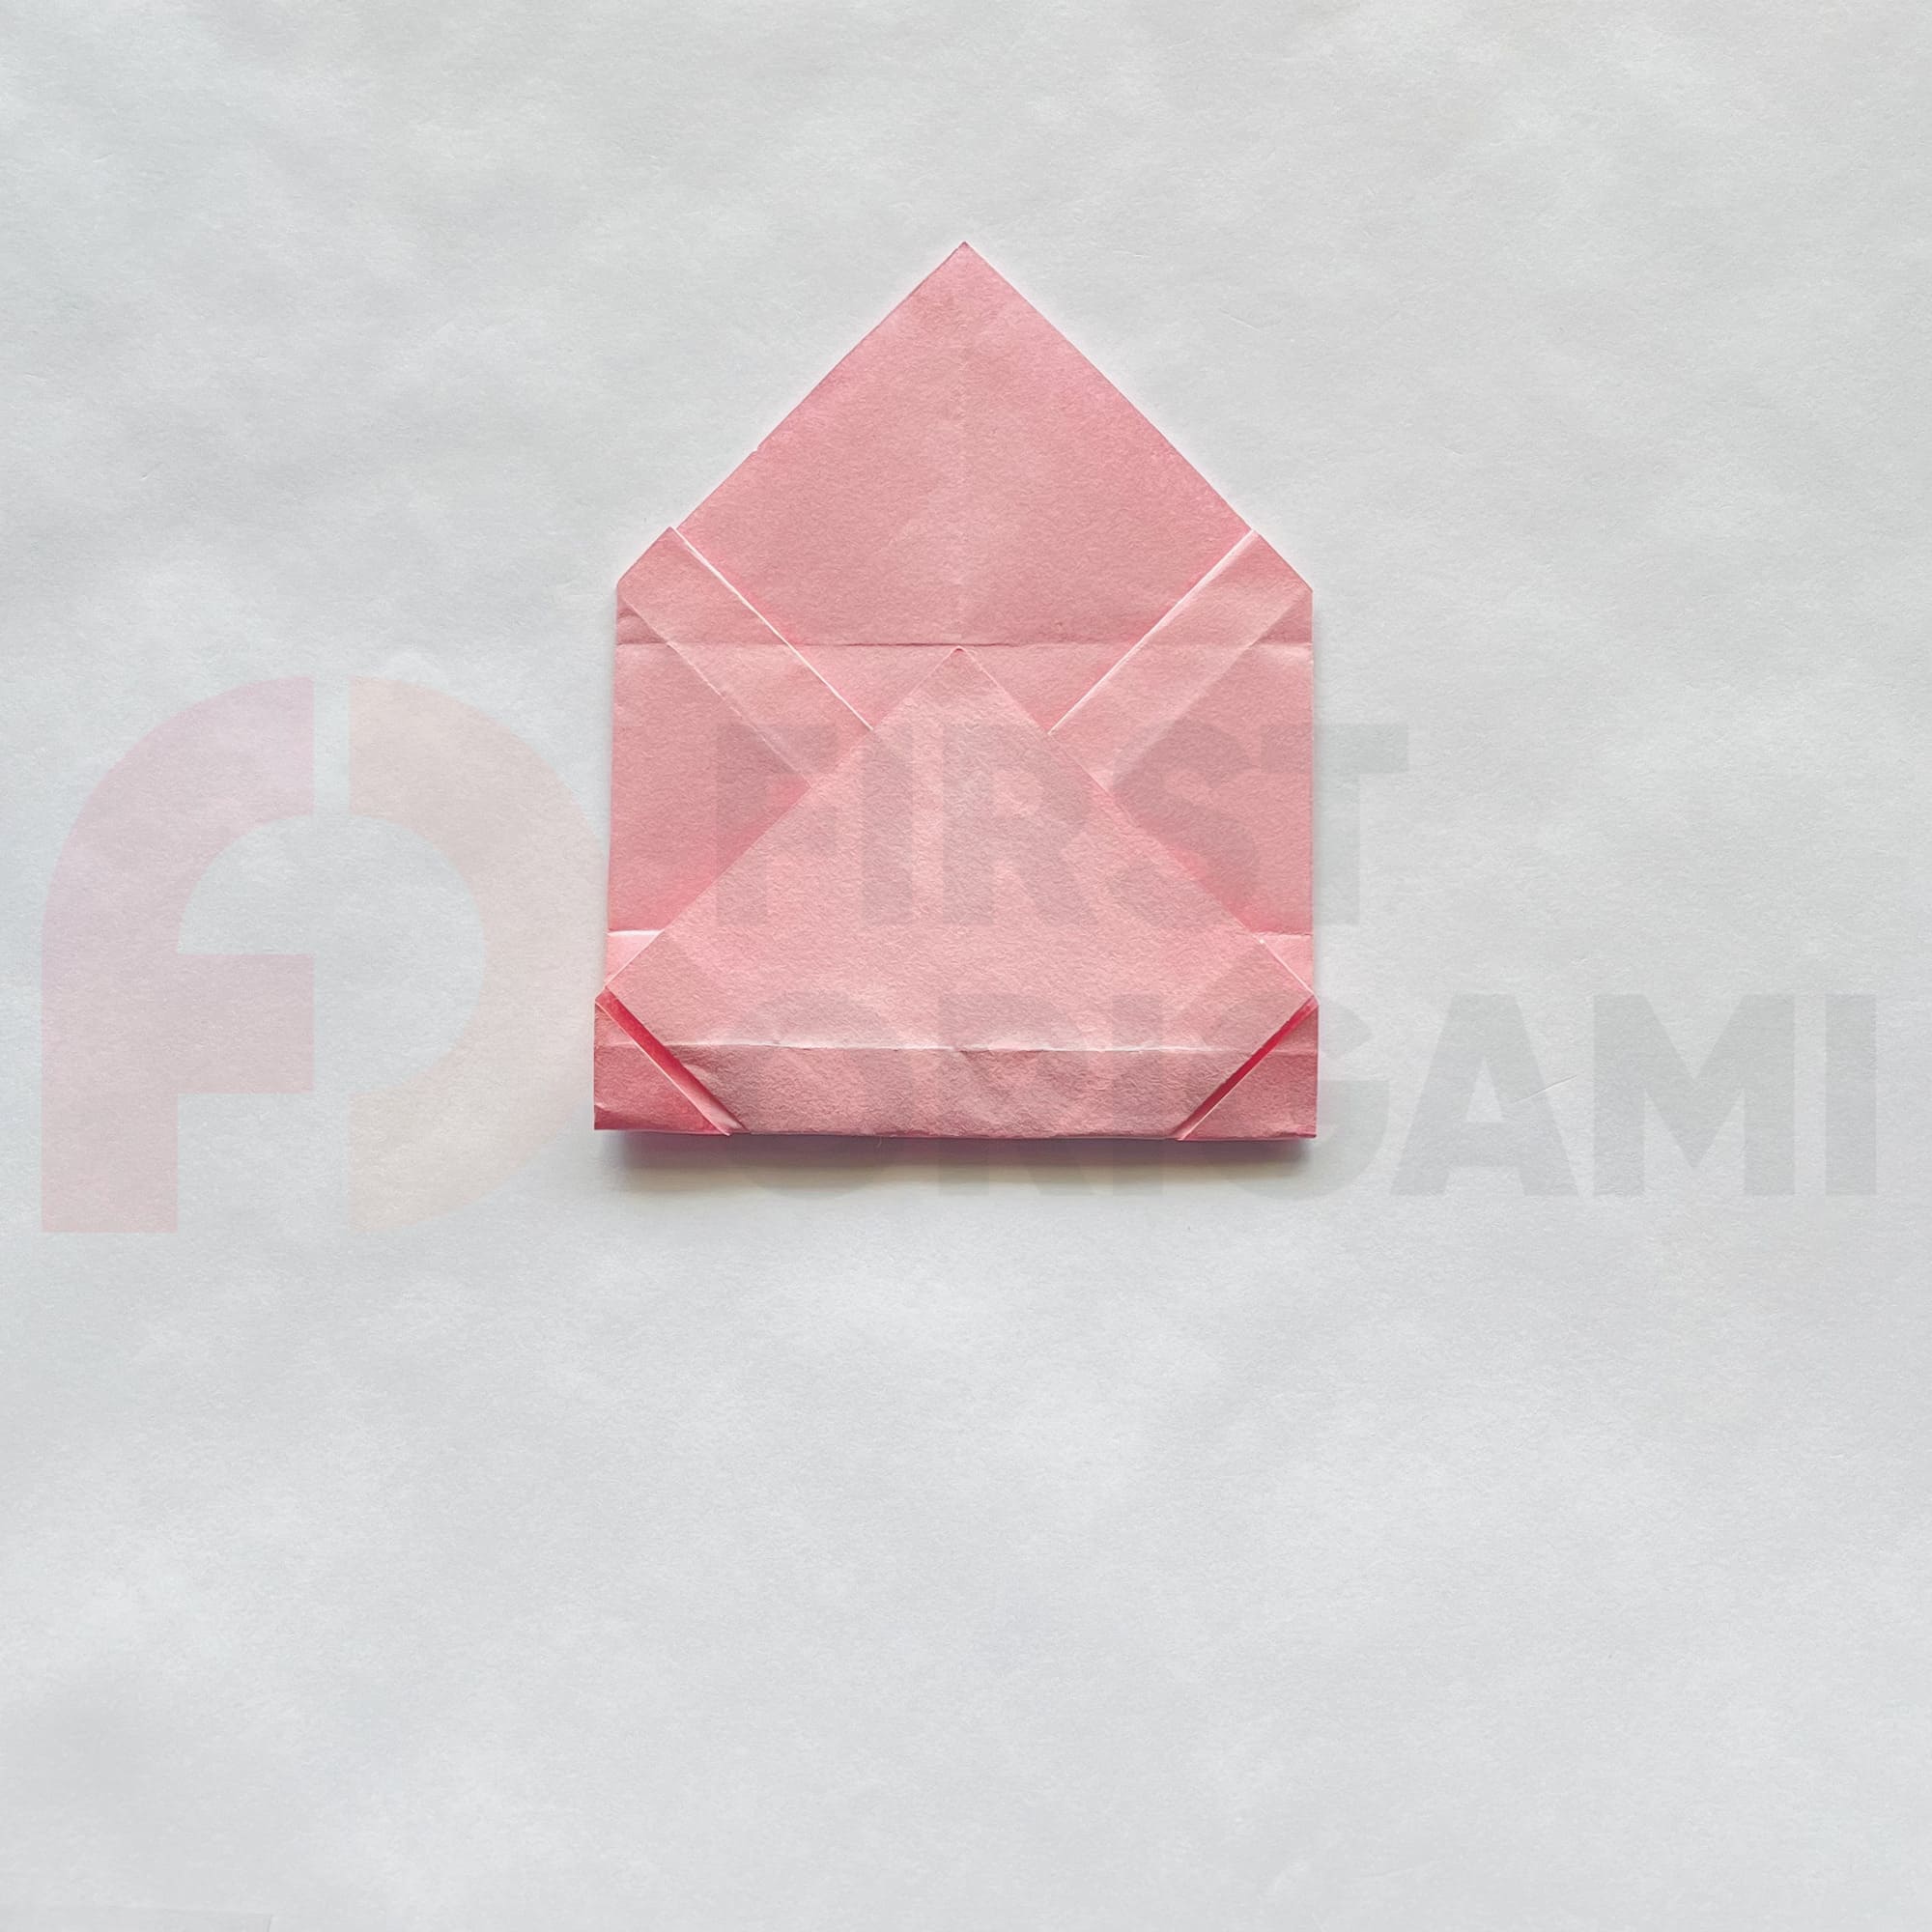
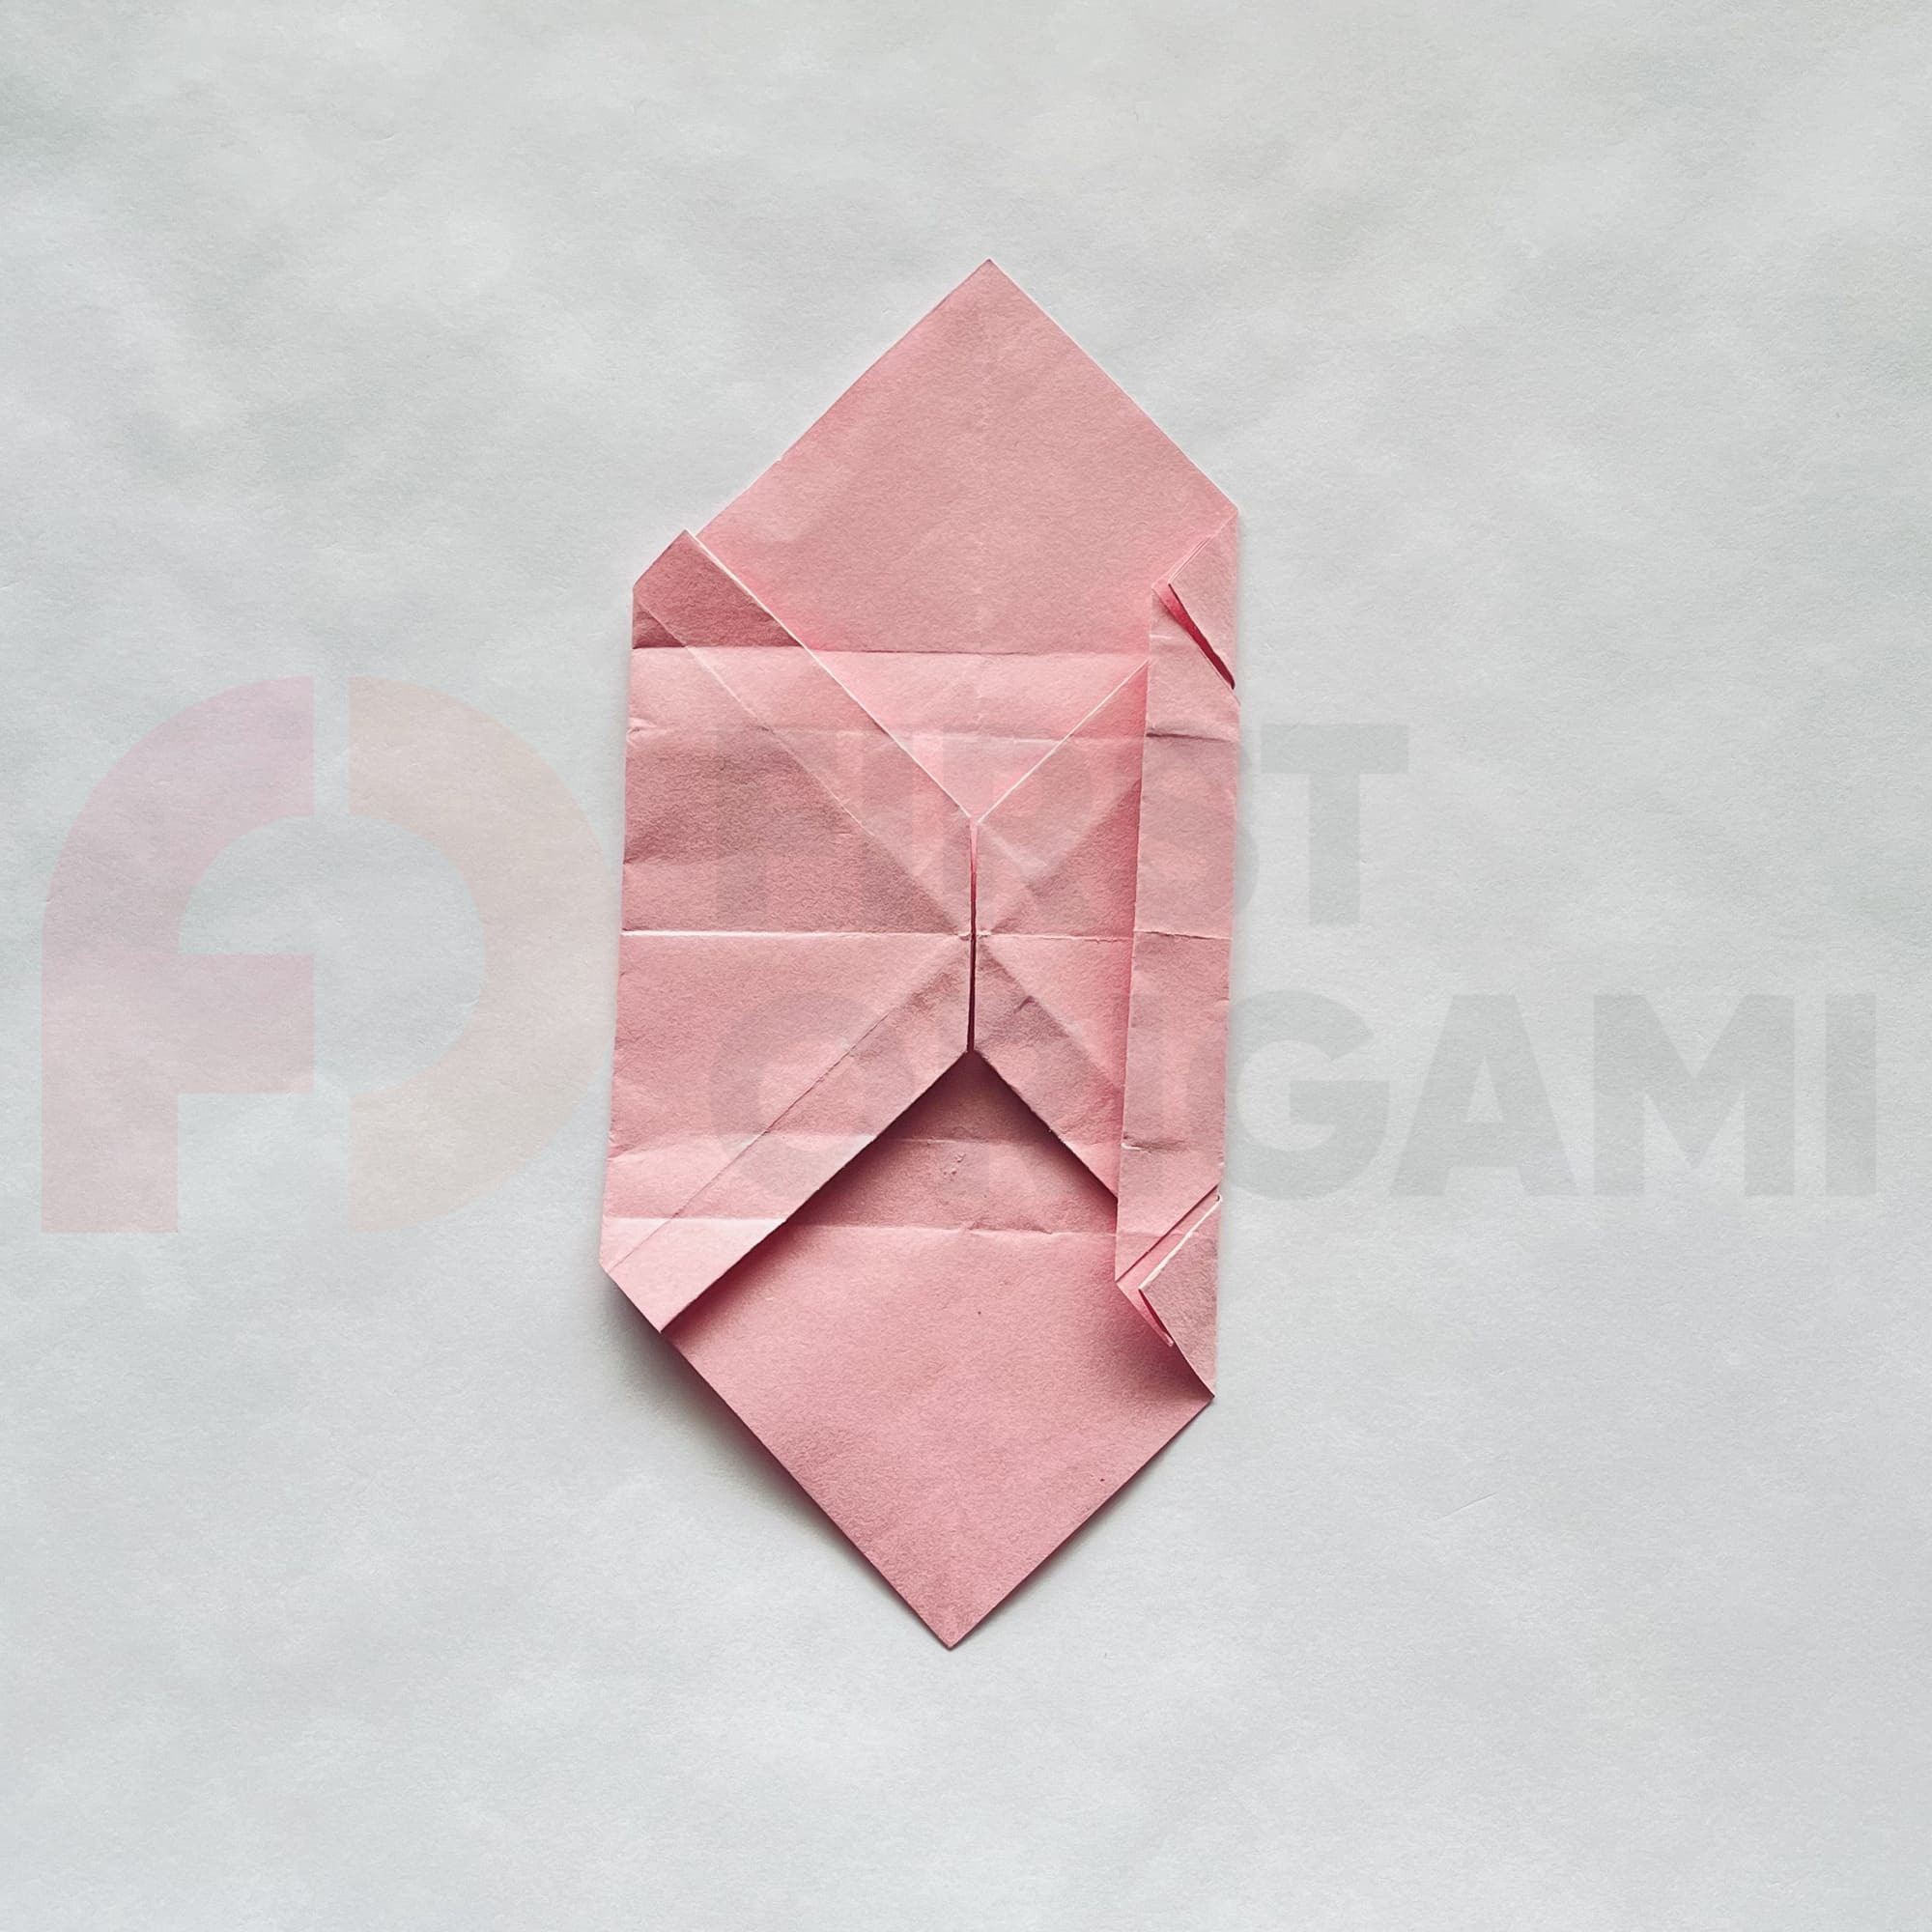
Fold the right and left corners inward and tuck them into the small square in the center.
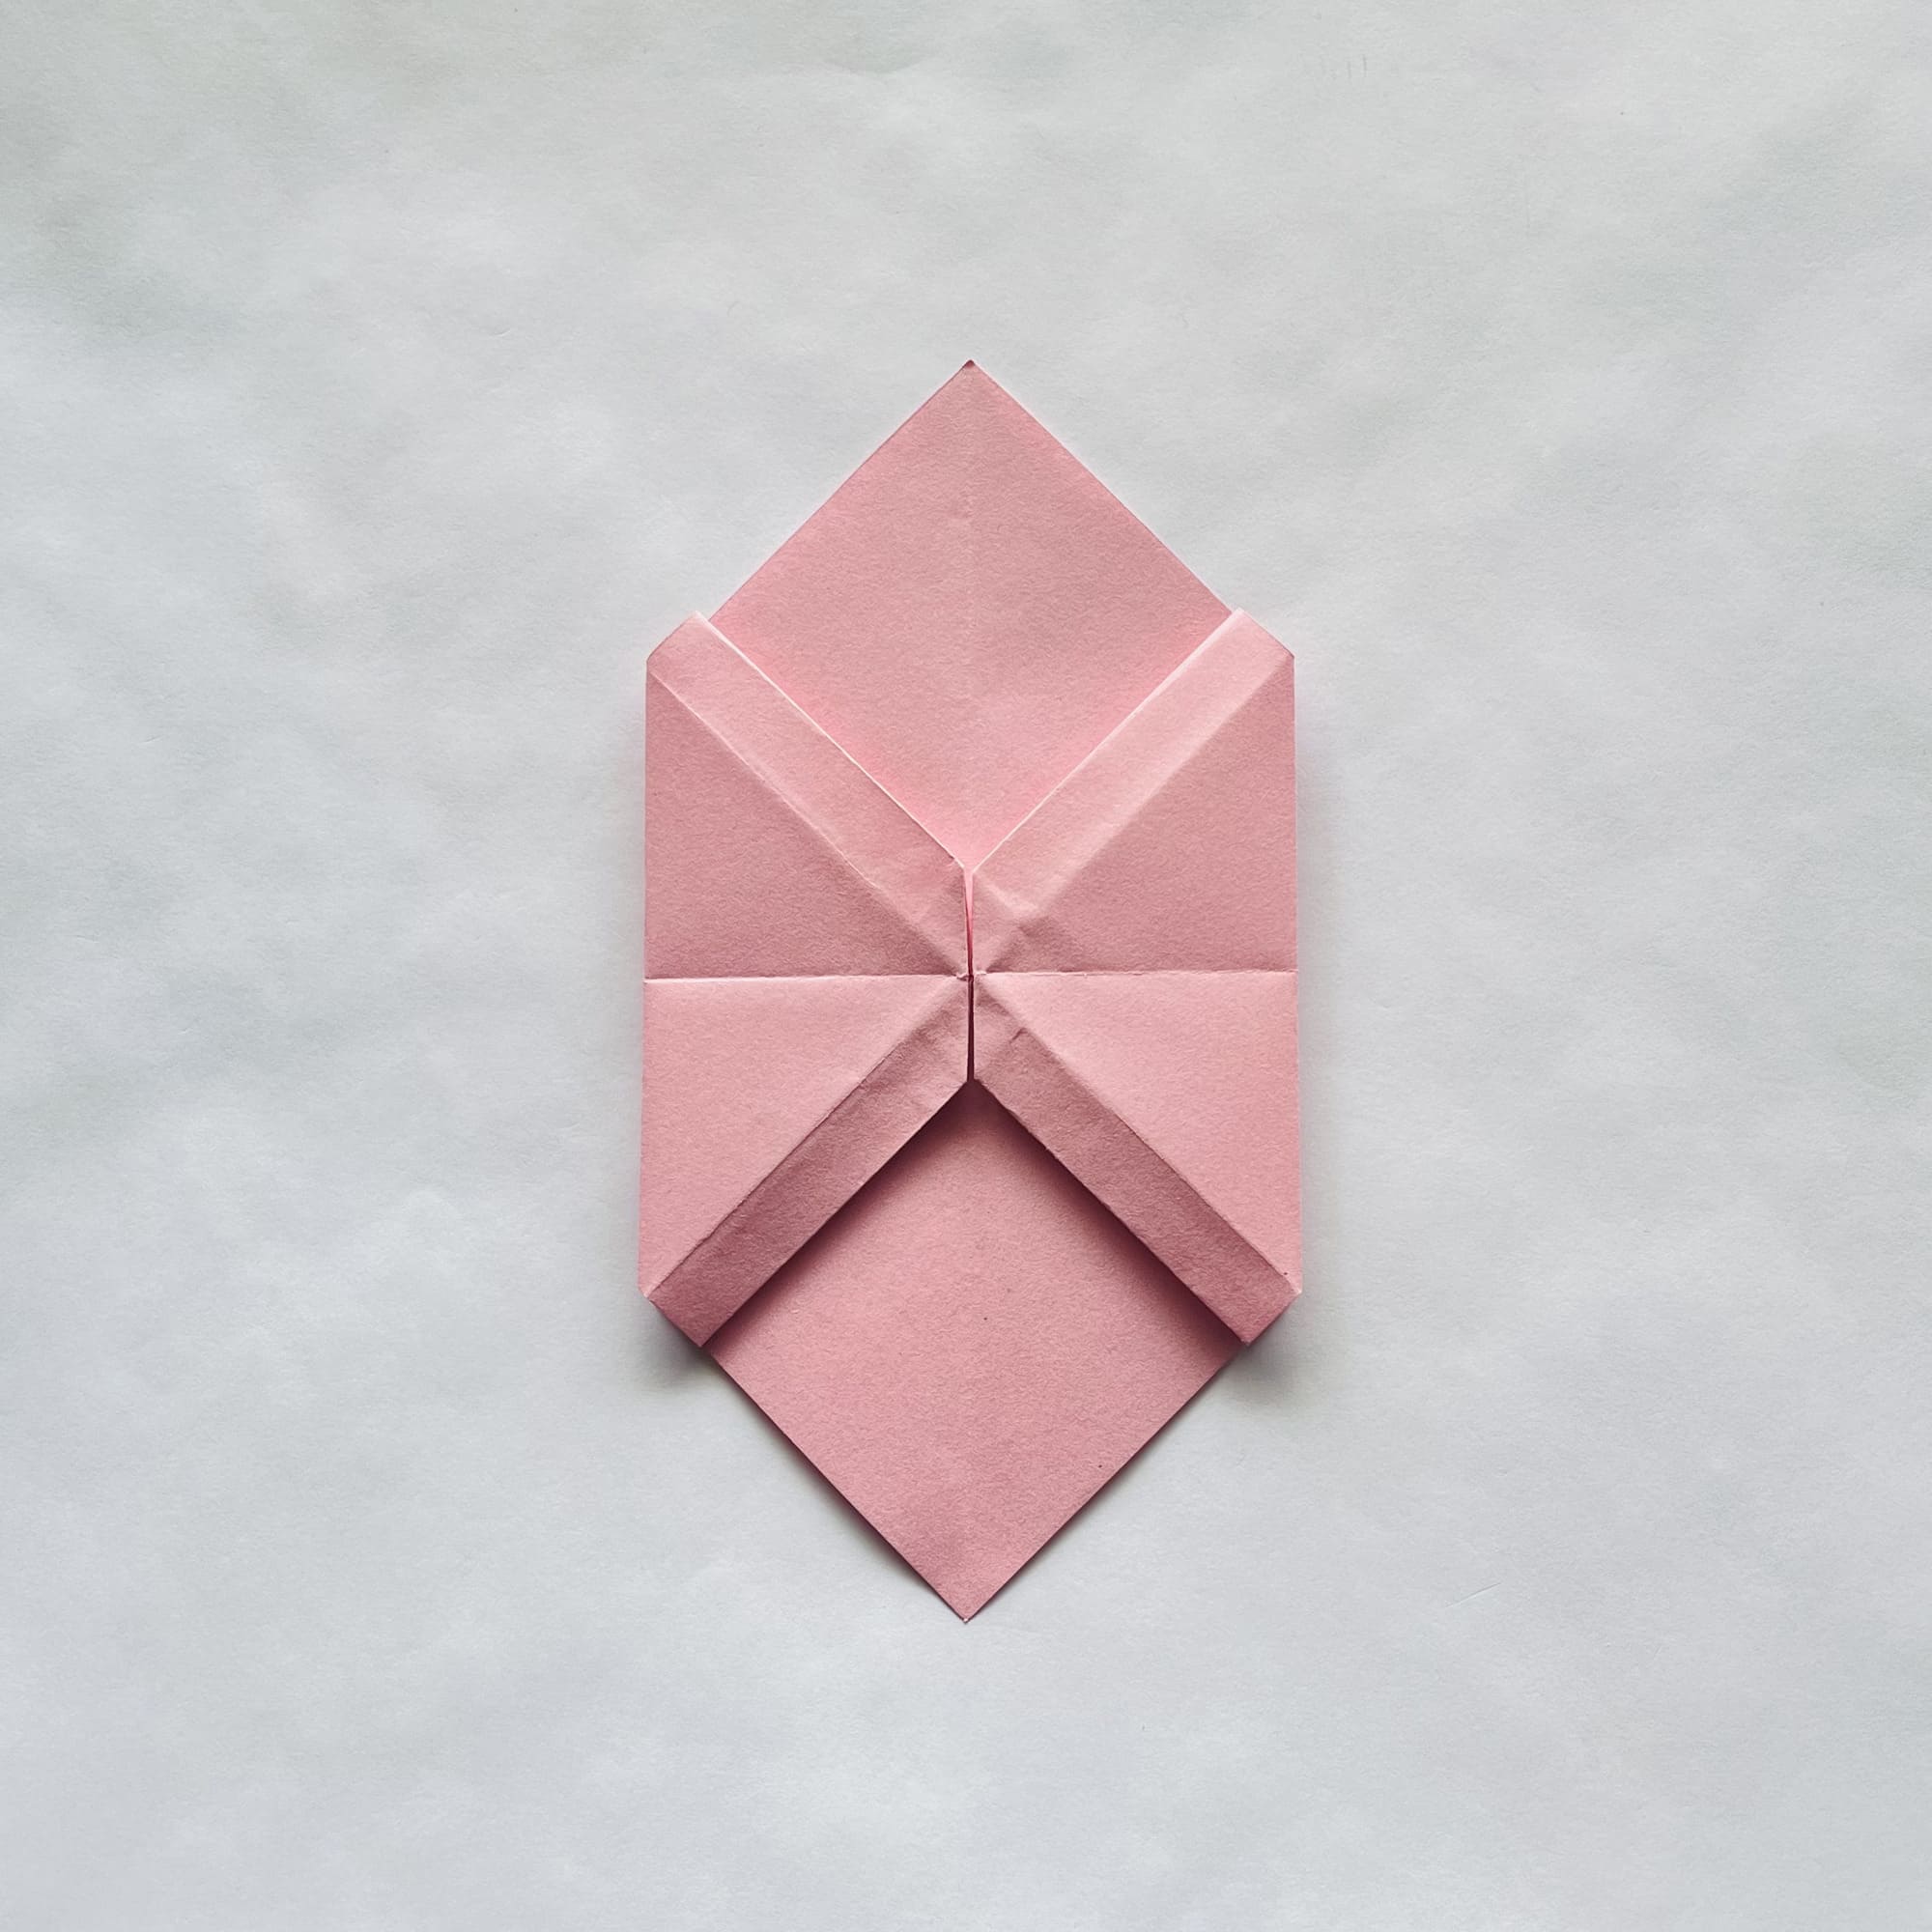
Turn the paper over.
Based on the photo instructions, bend the bottom corner inward, crease the fold, and straighten it out.

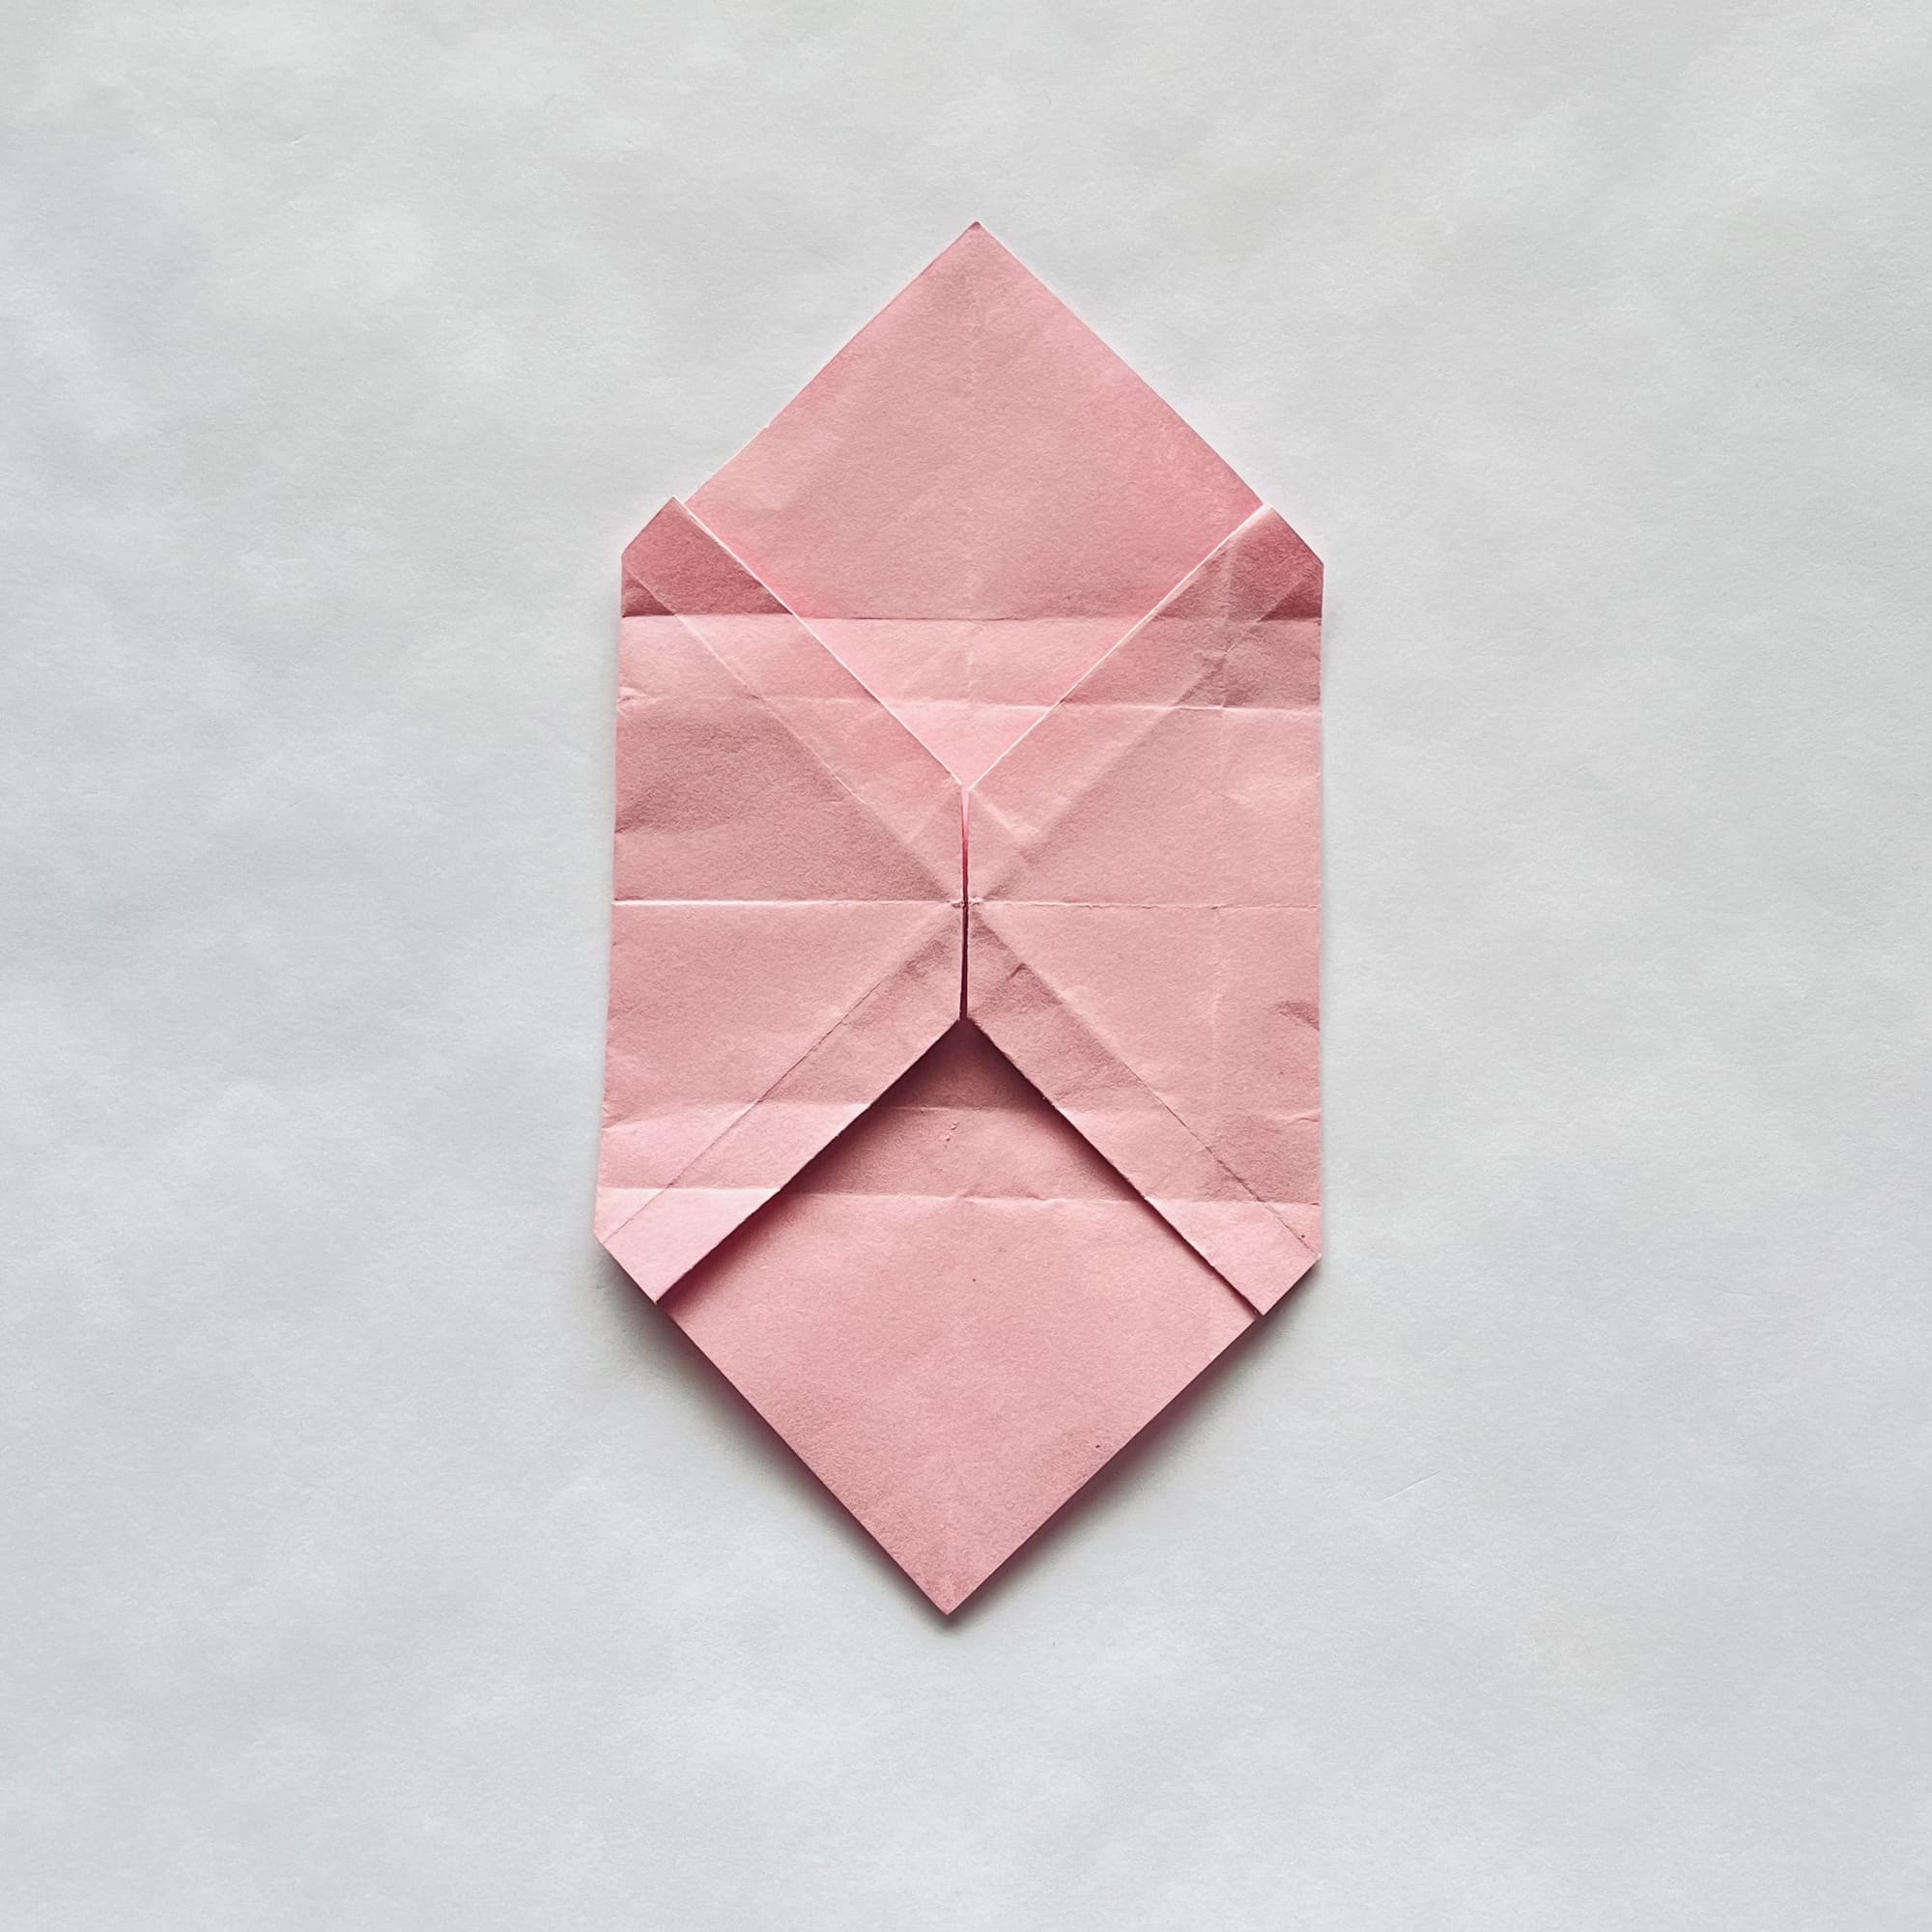
In the same way, bend the upper corner inward, then straighten it.
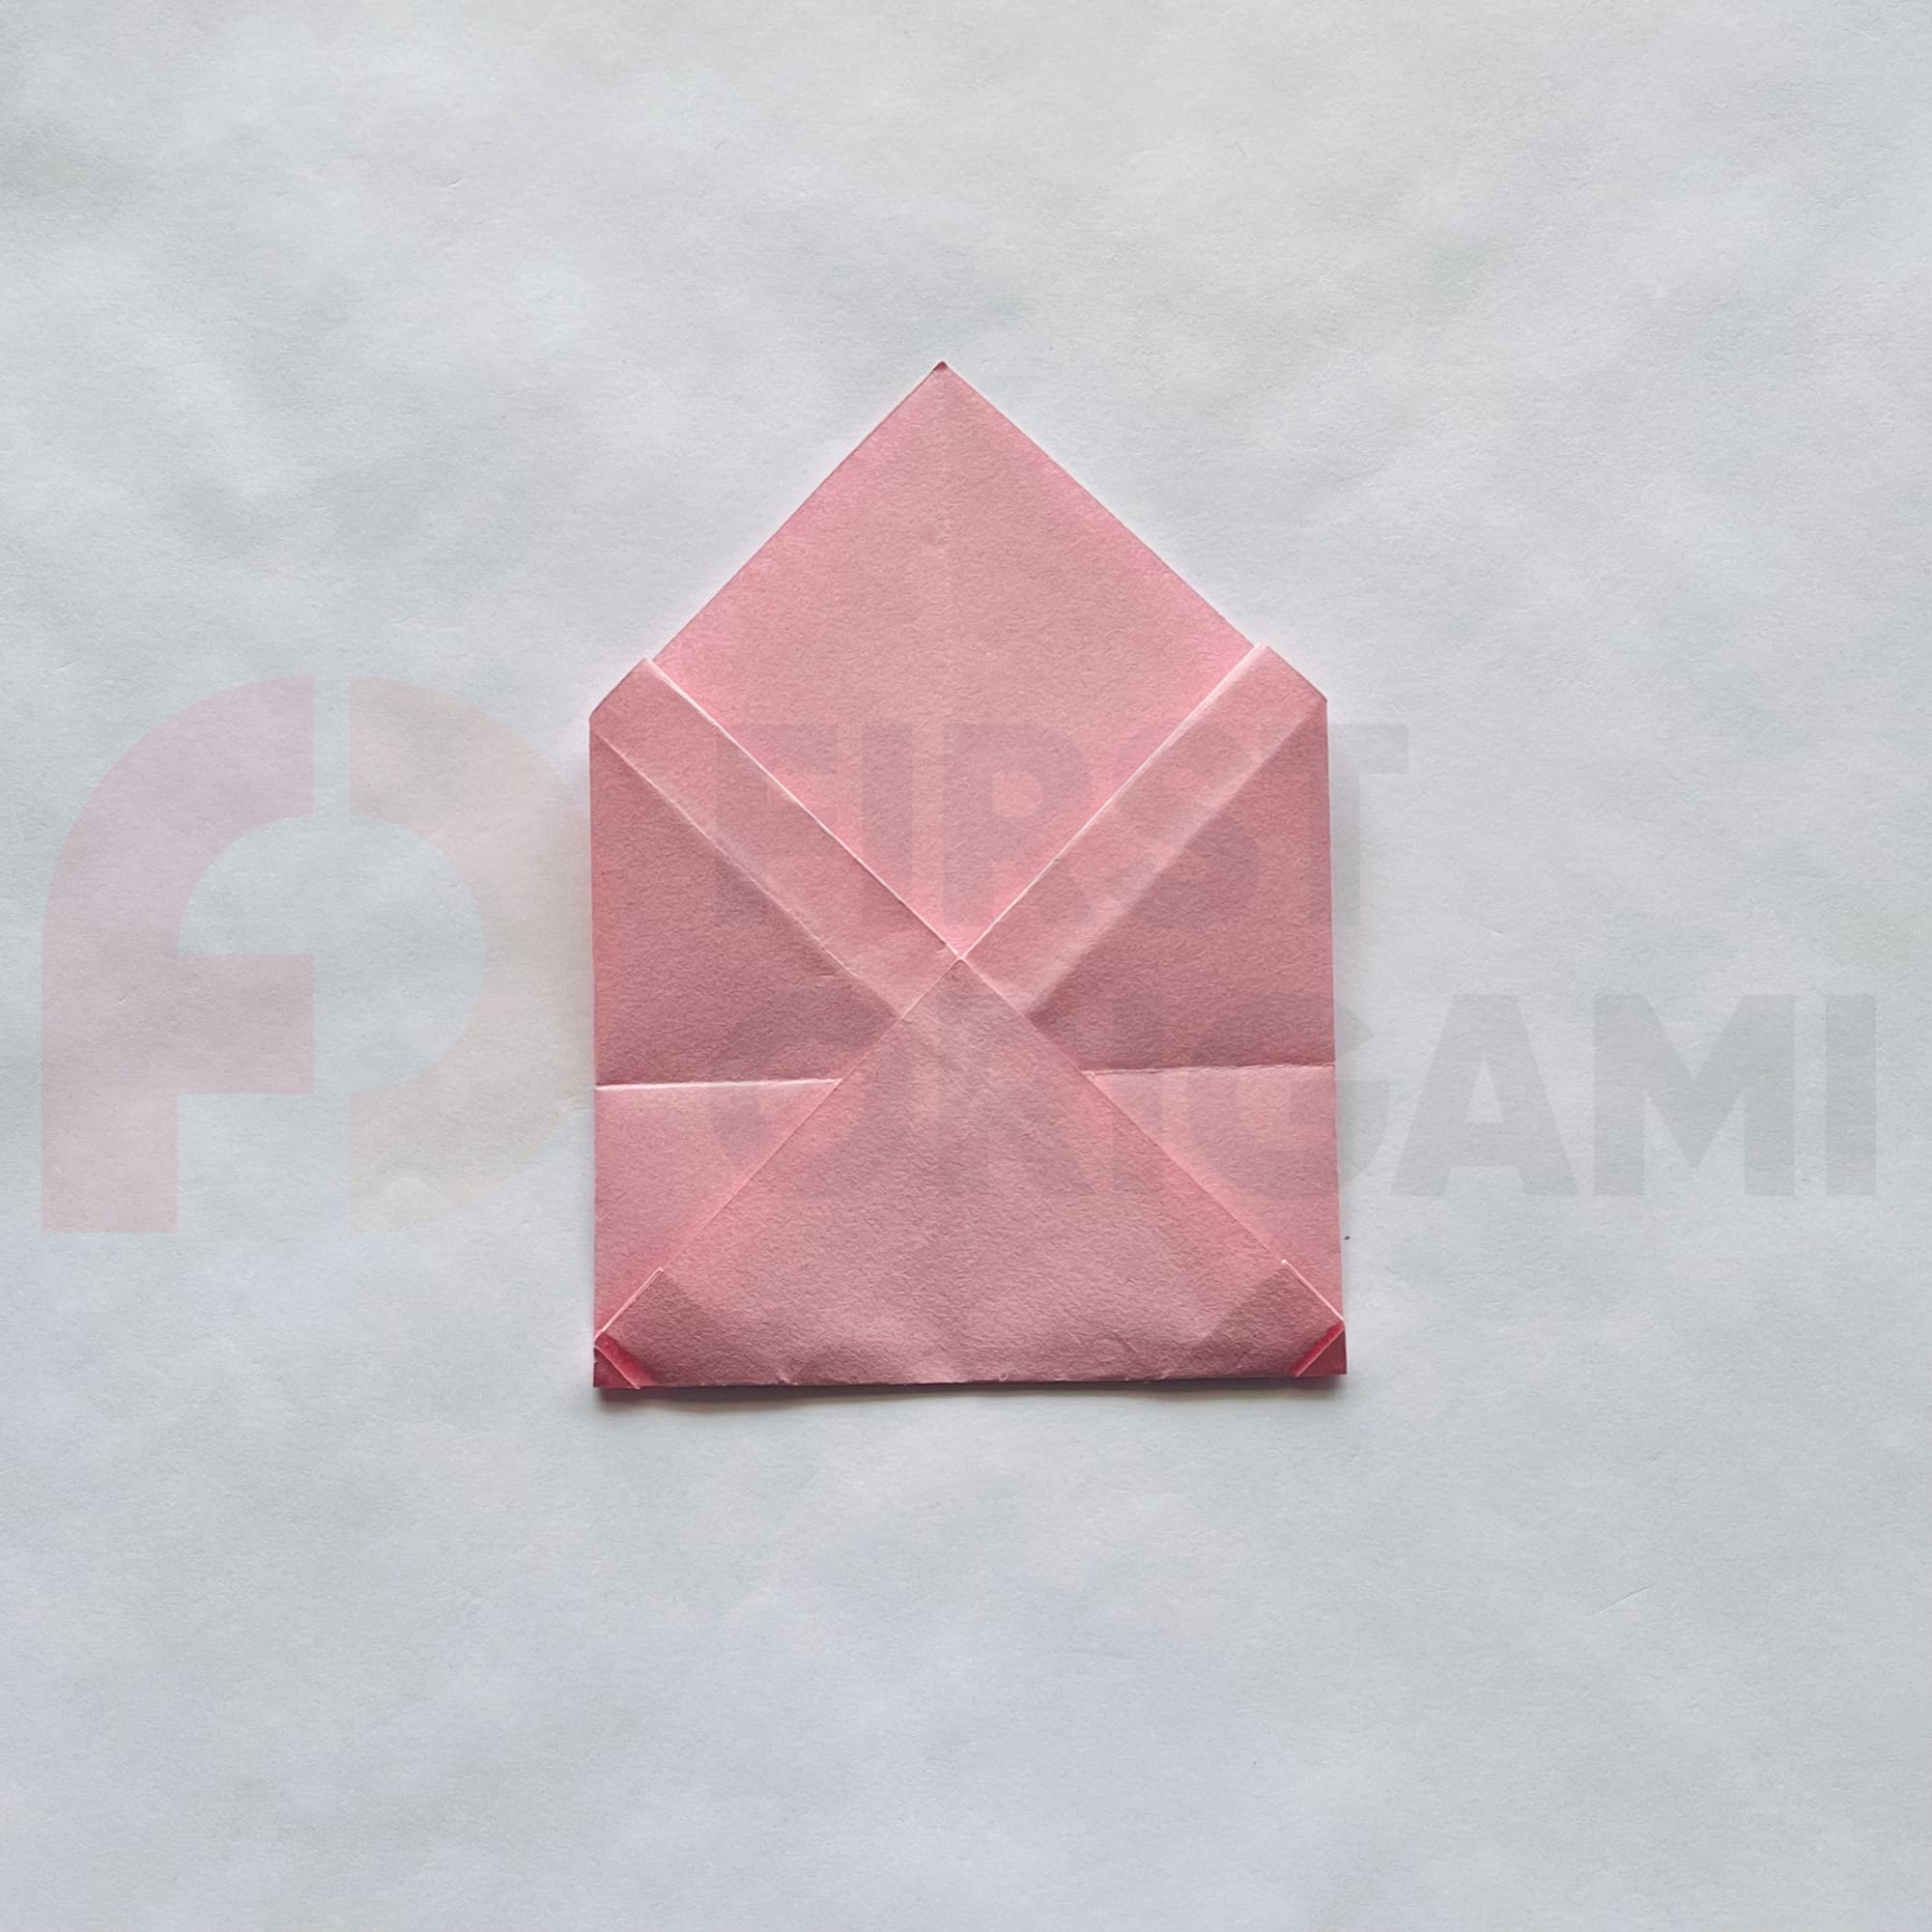
Now, fold the bottom corner up to the fold line, crease the fold line, and unfold it.
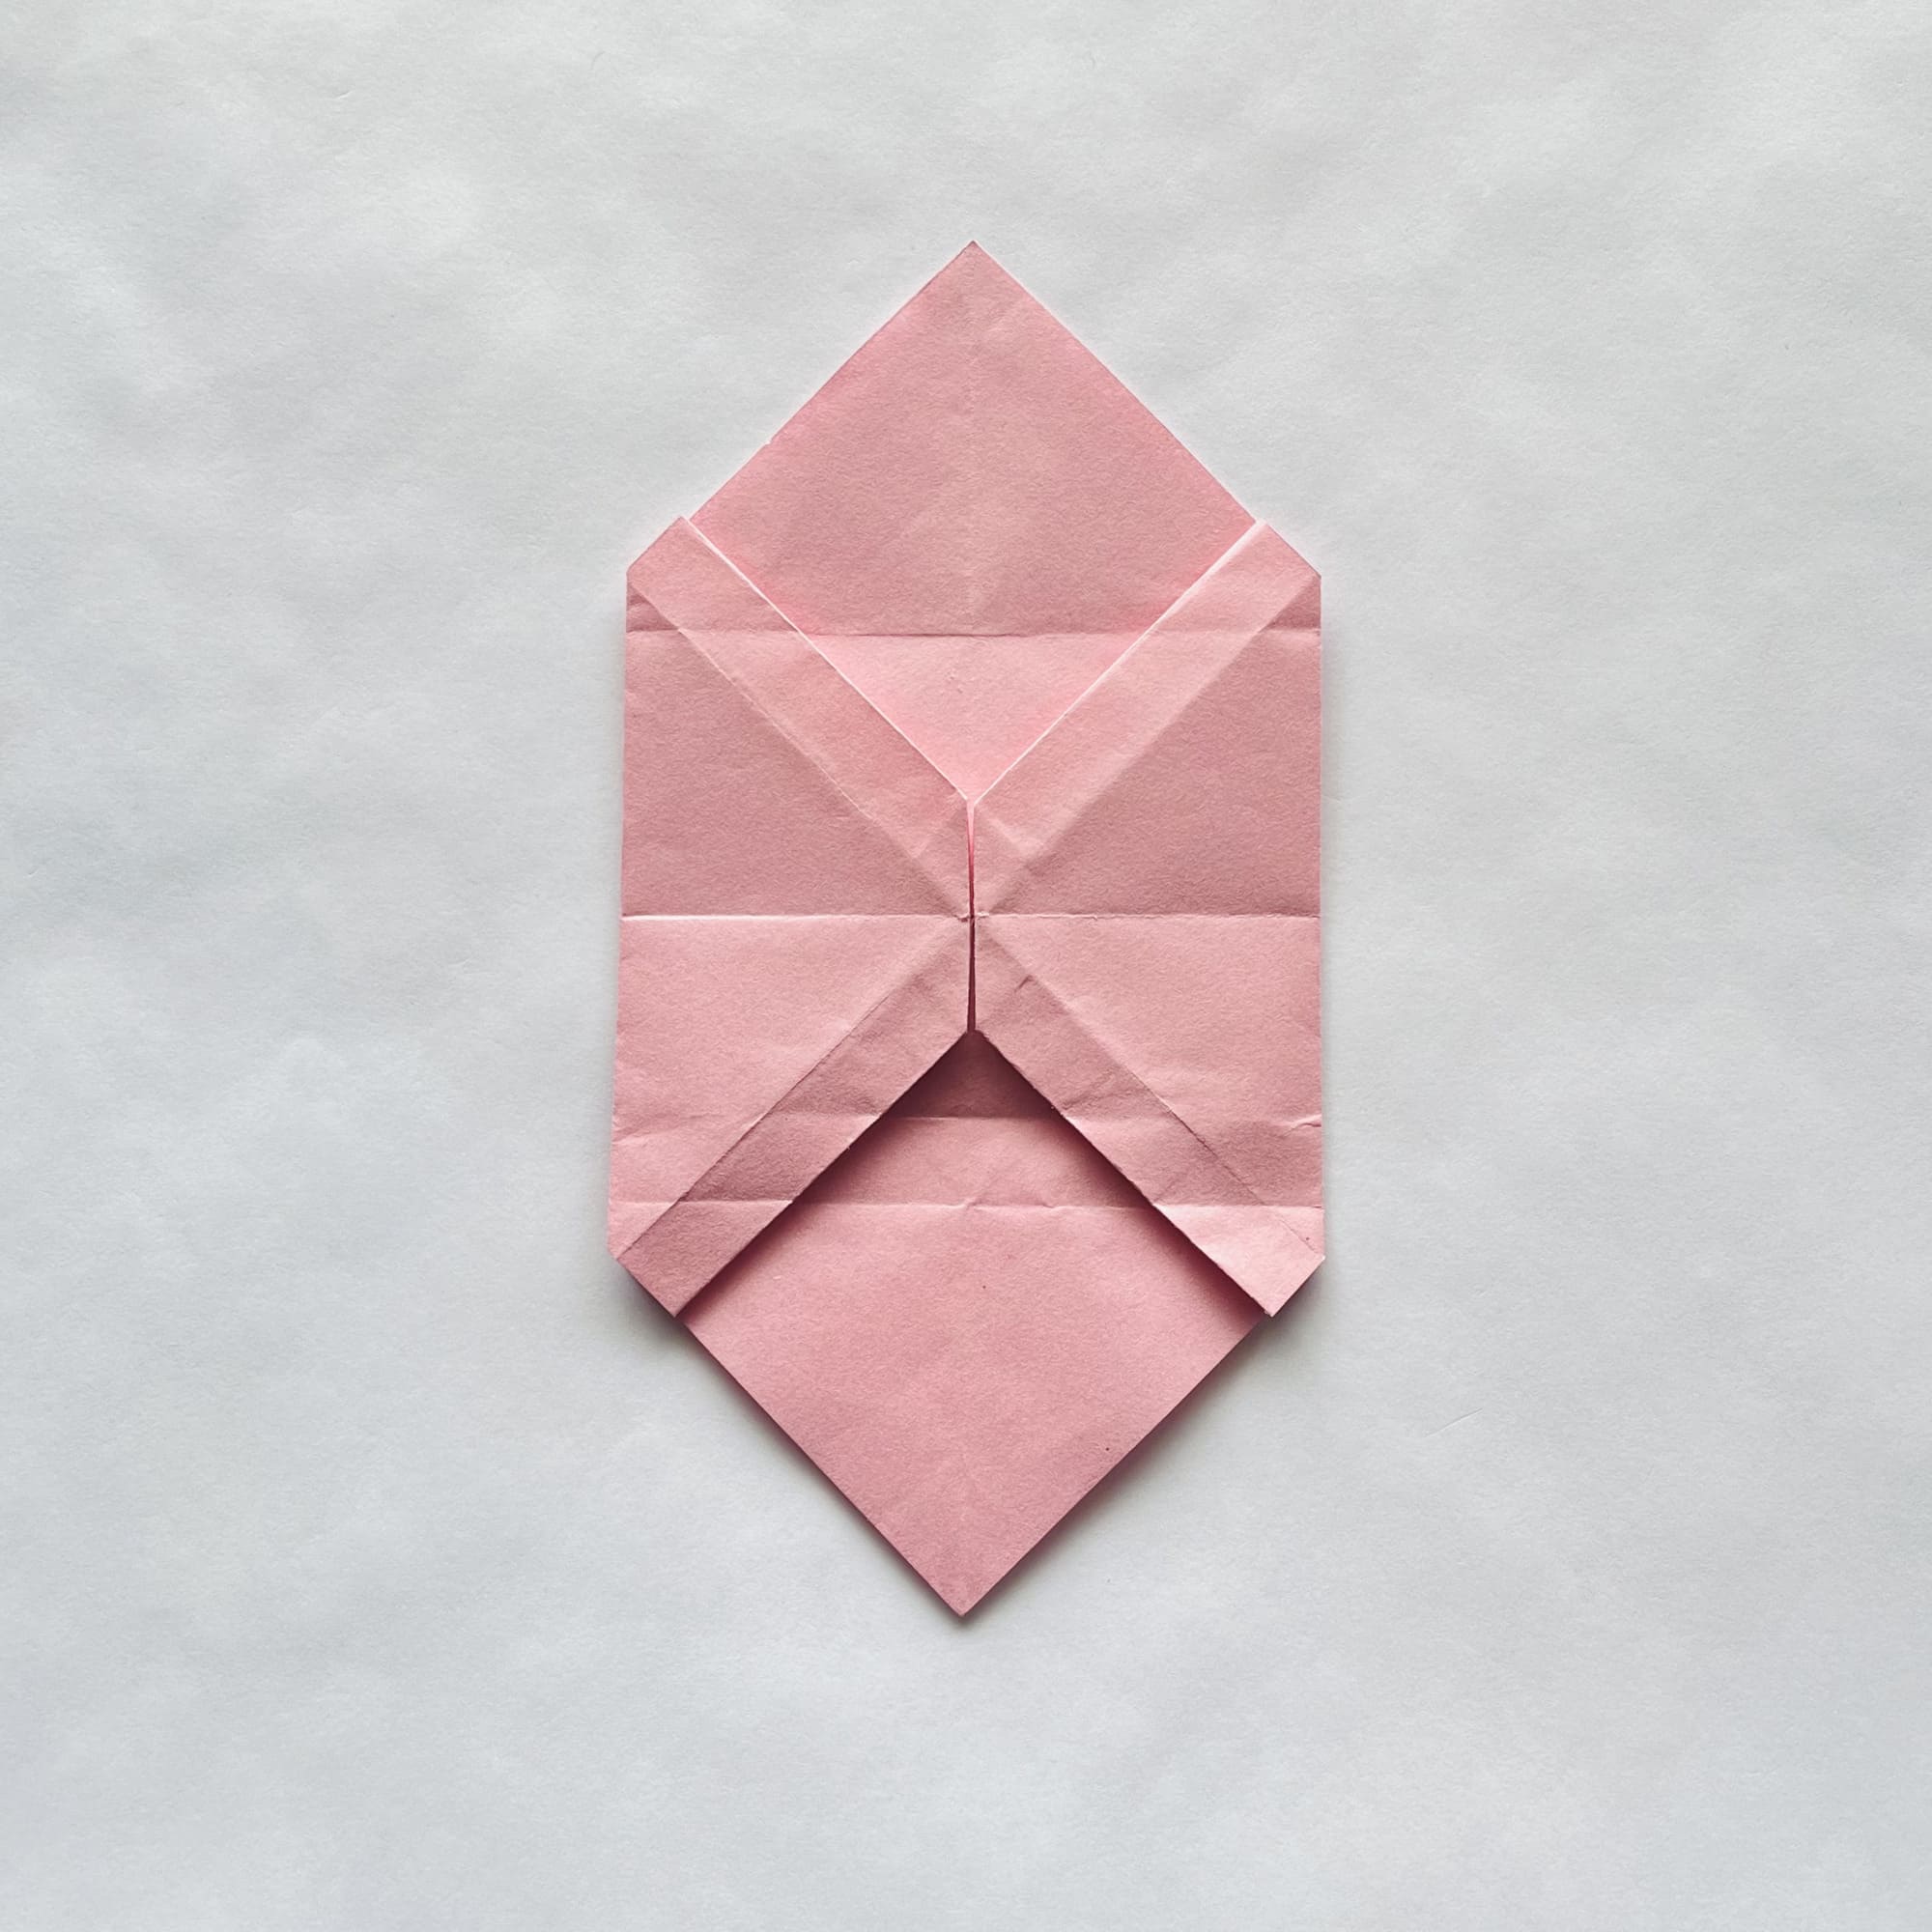

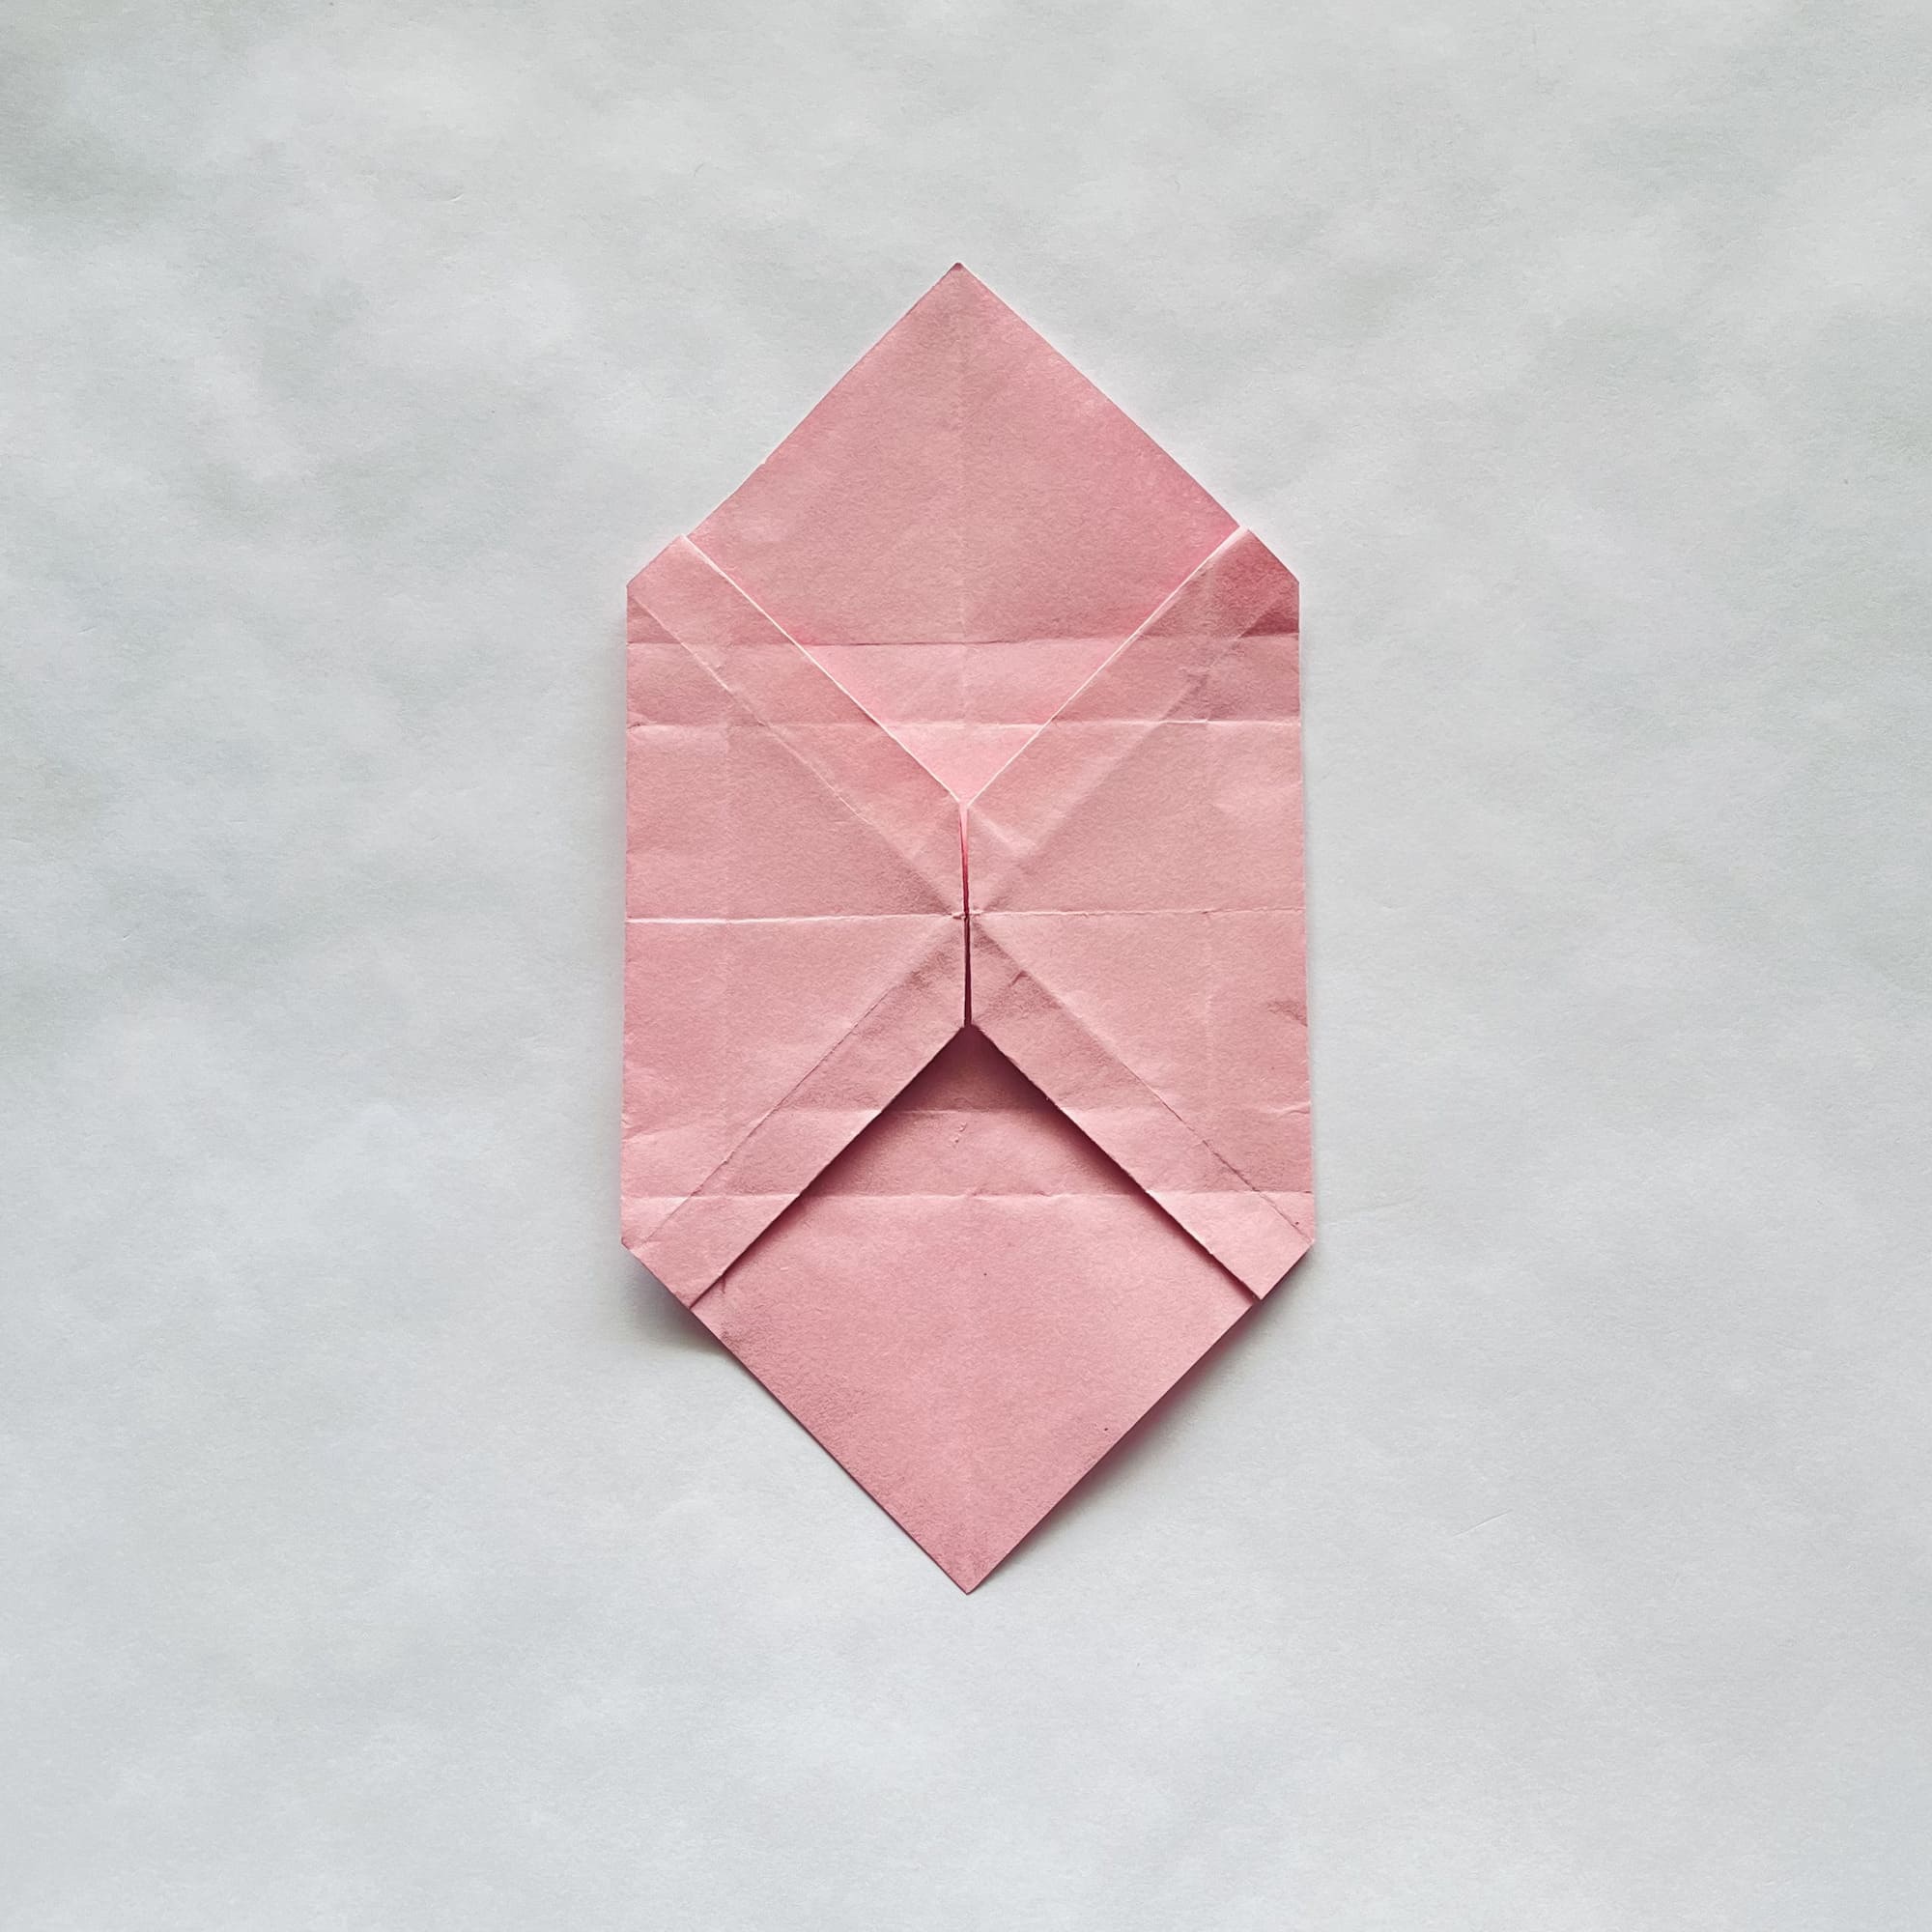
Fold the top corner inward in the same way and unfold it.
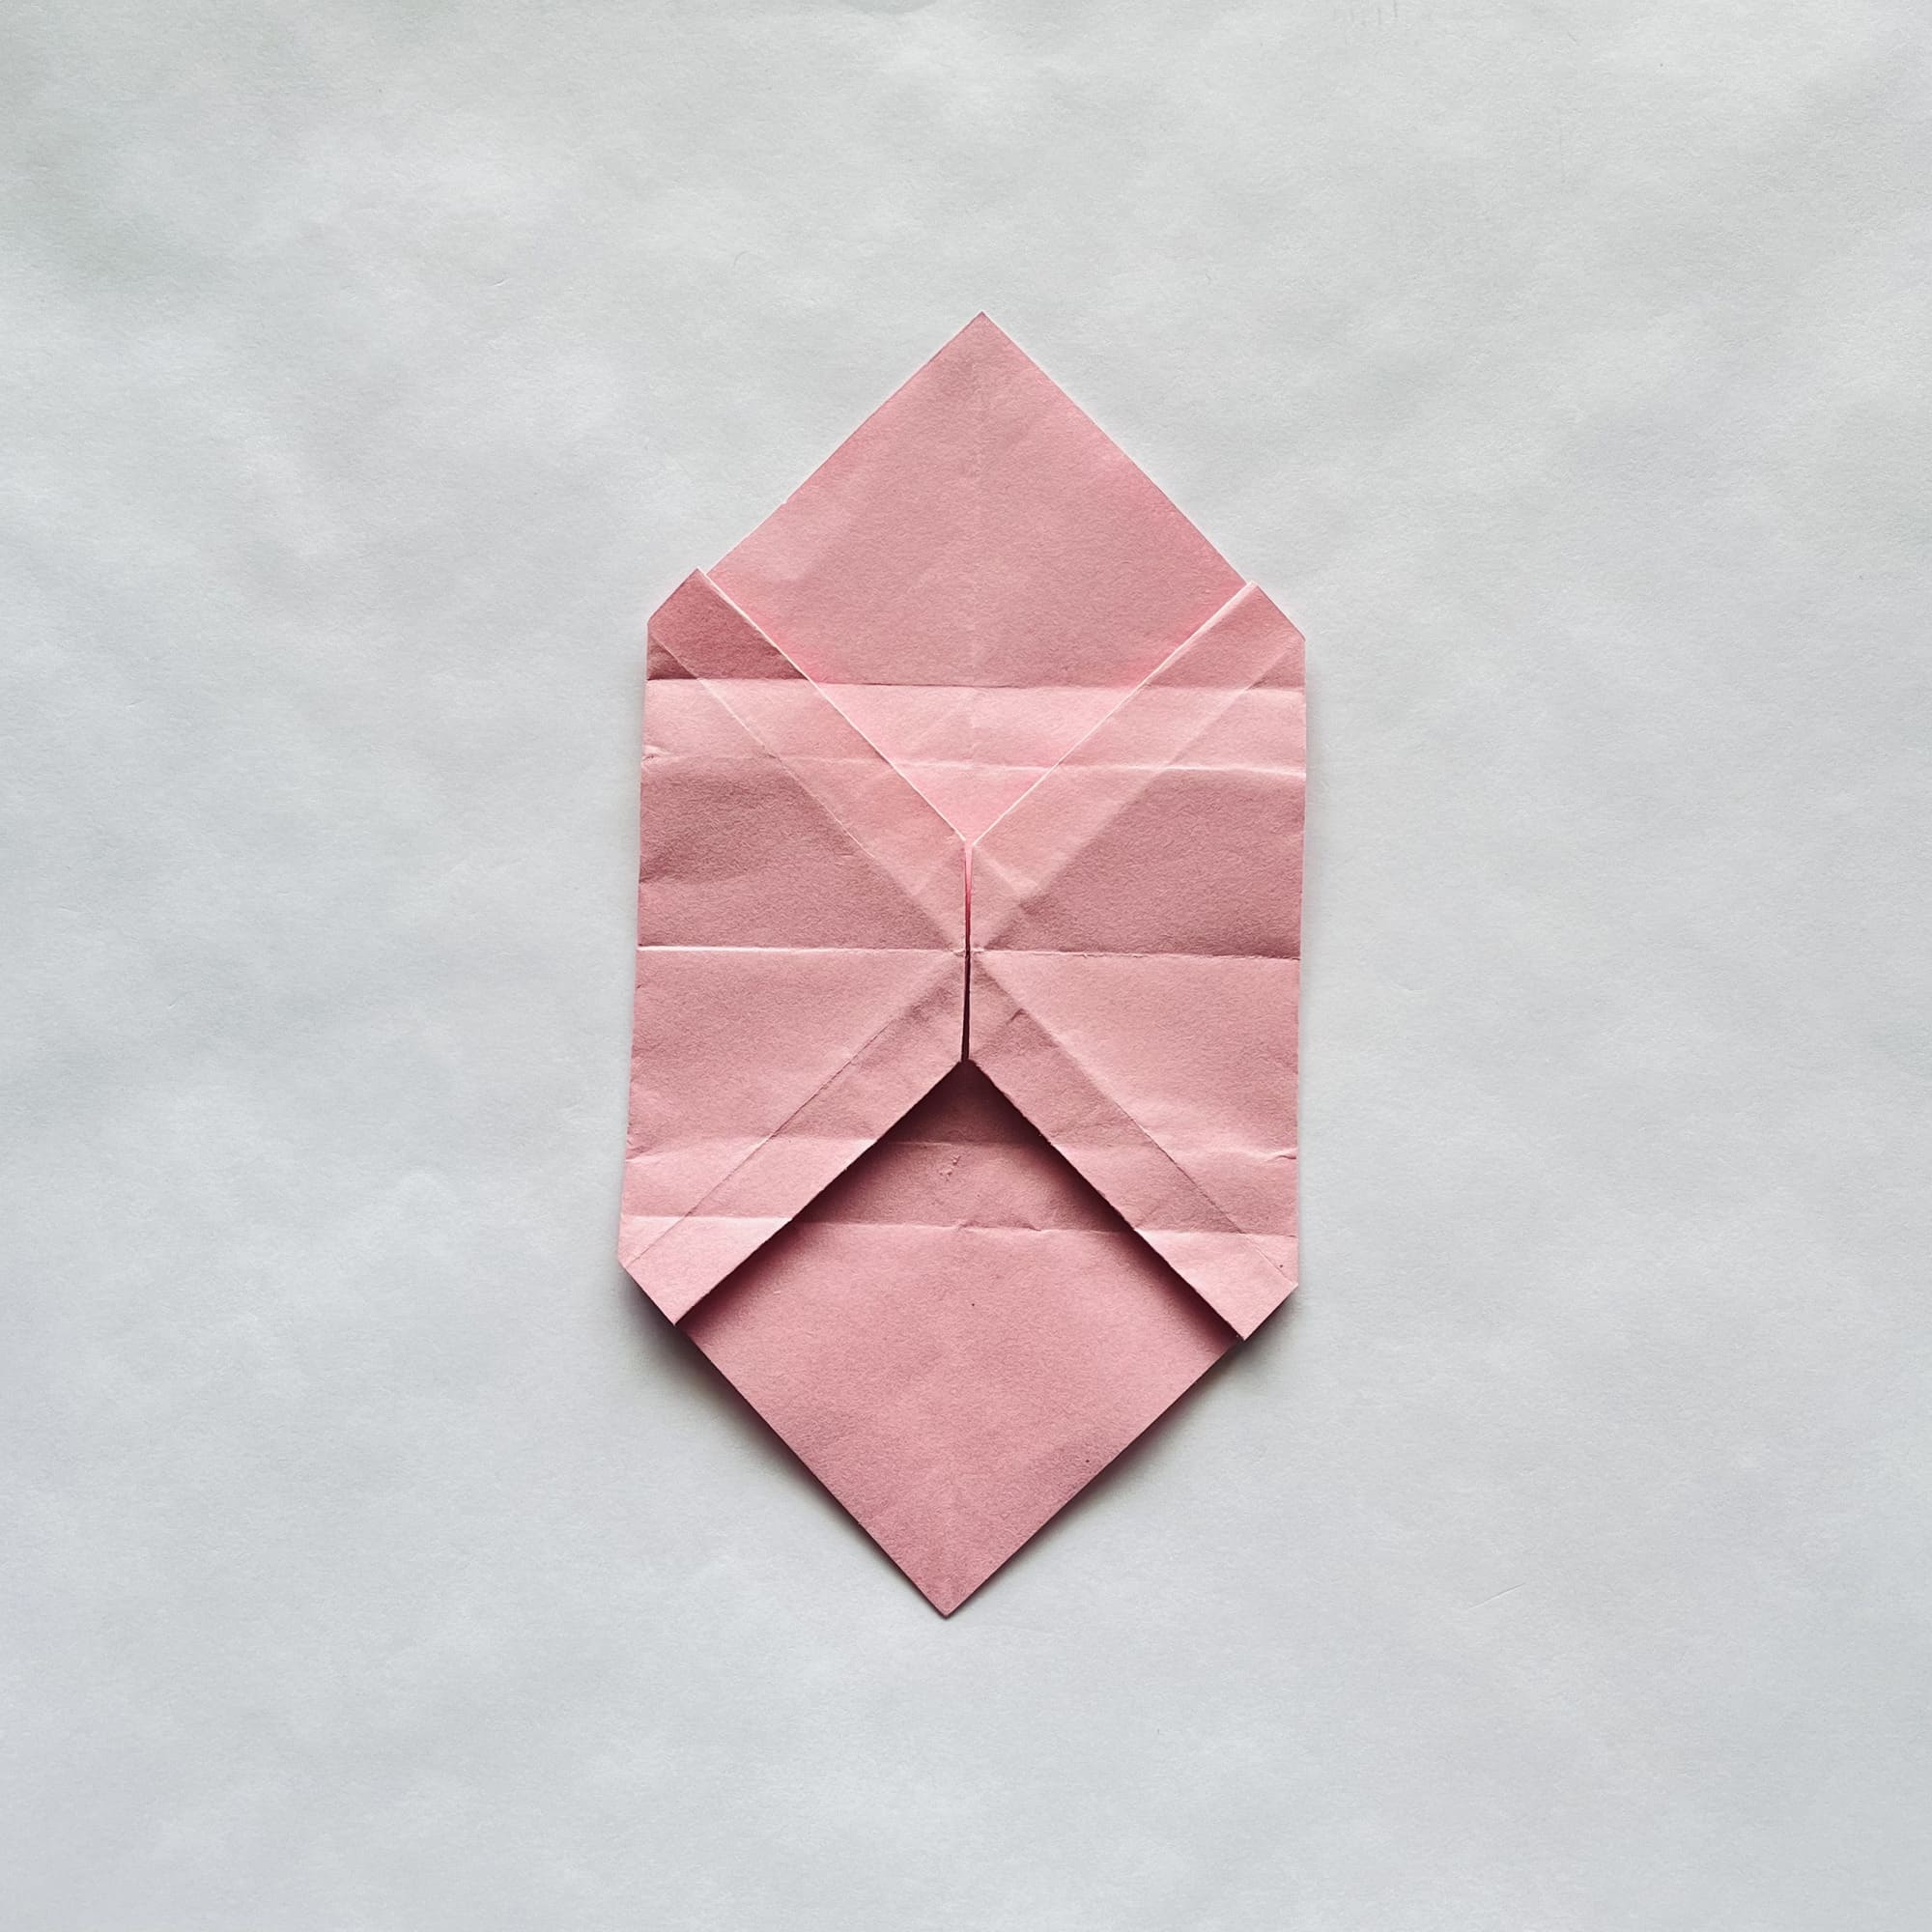
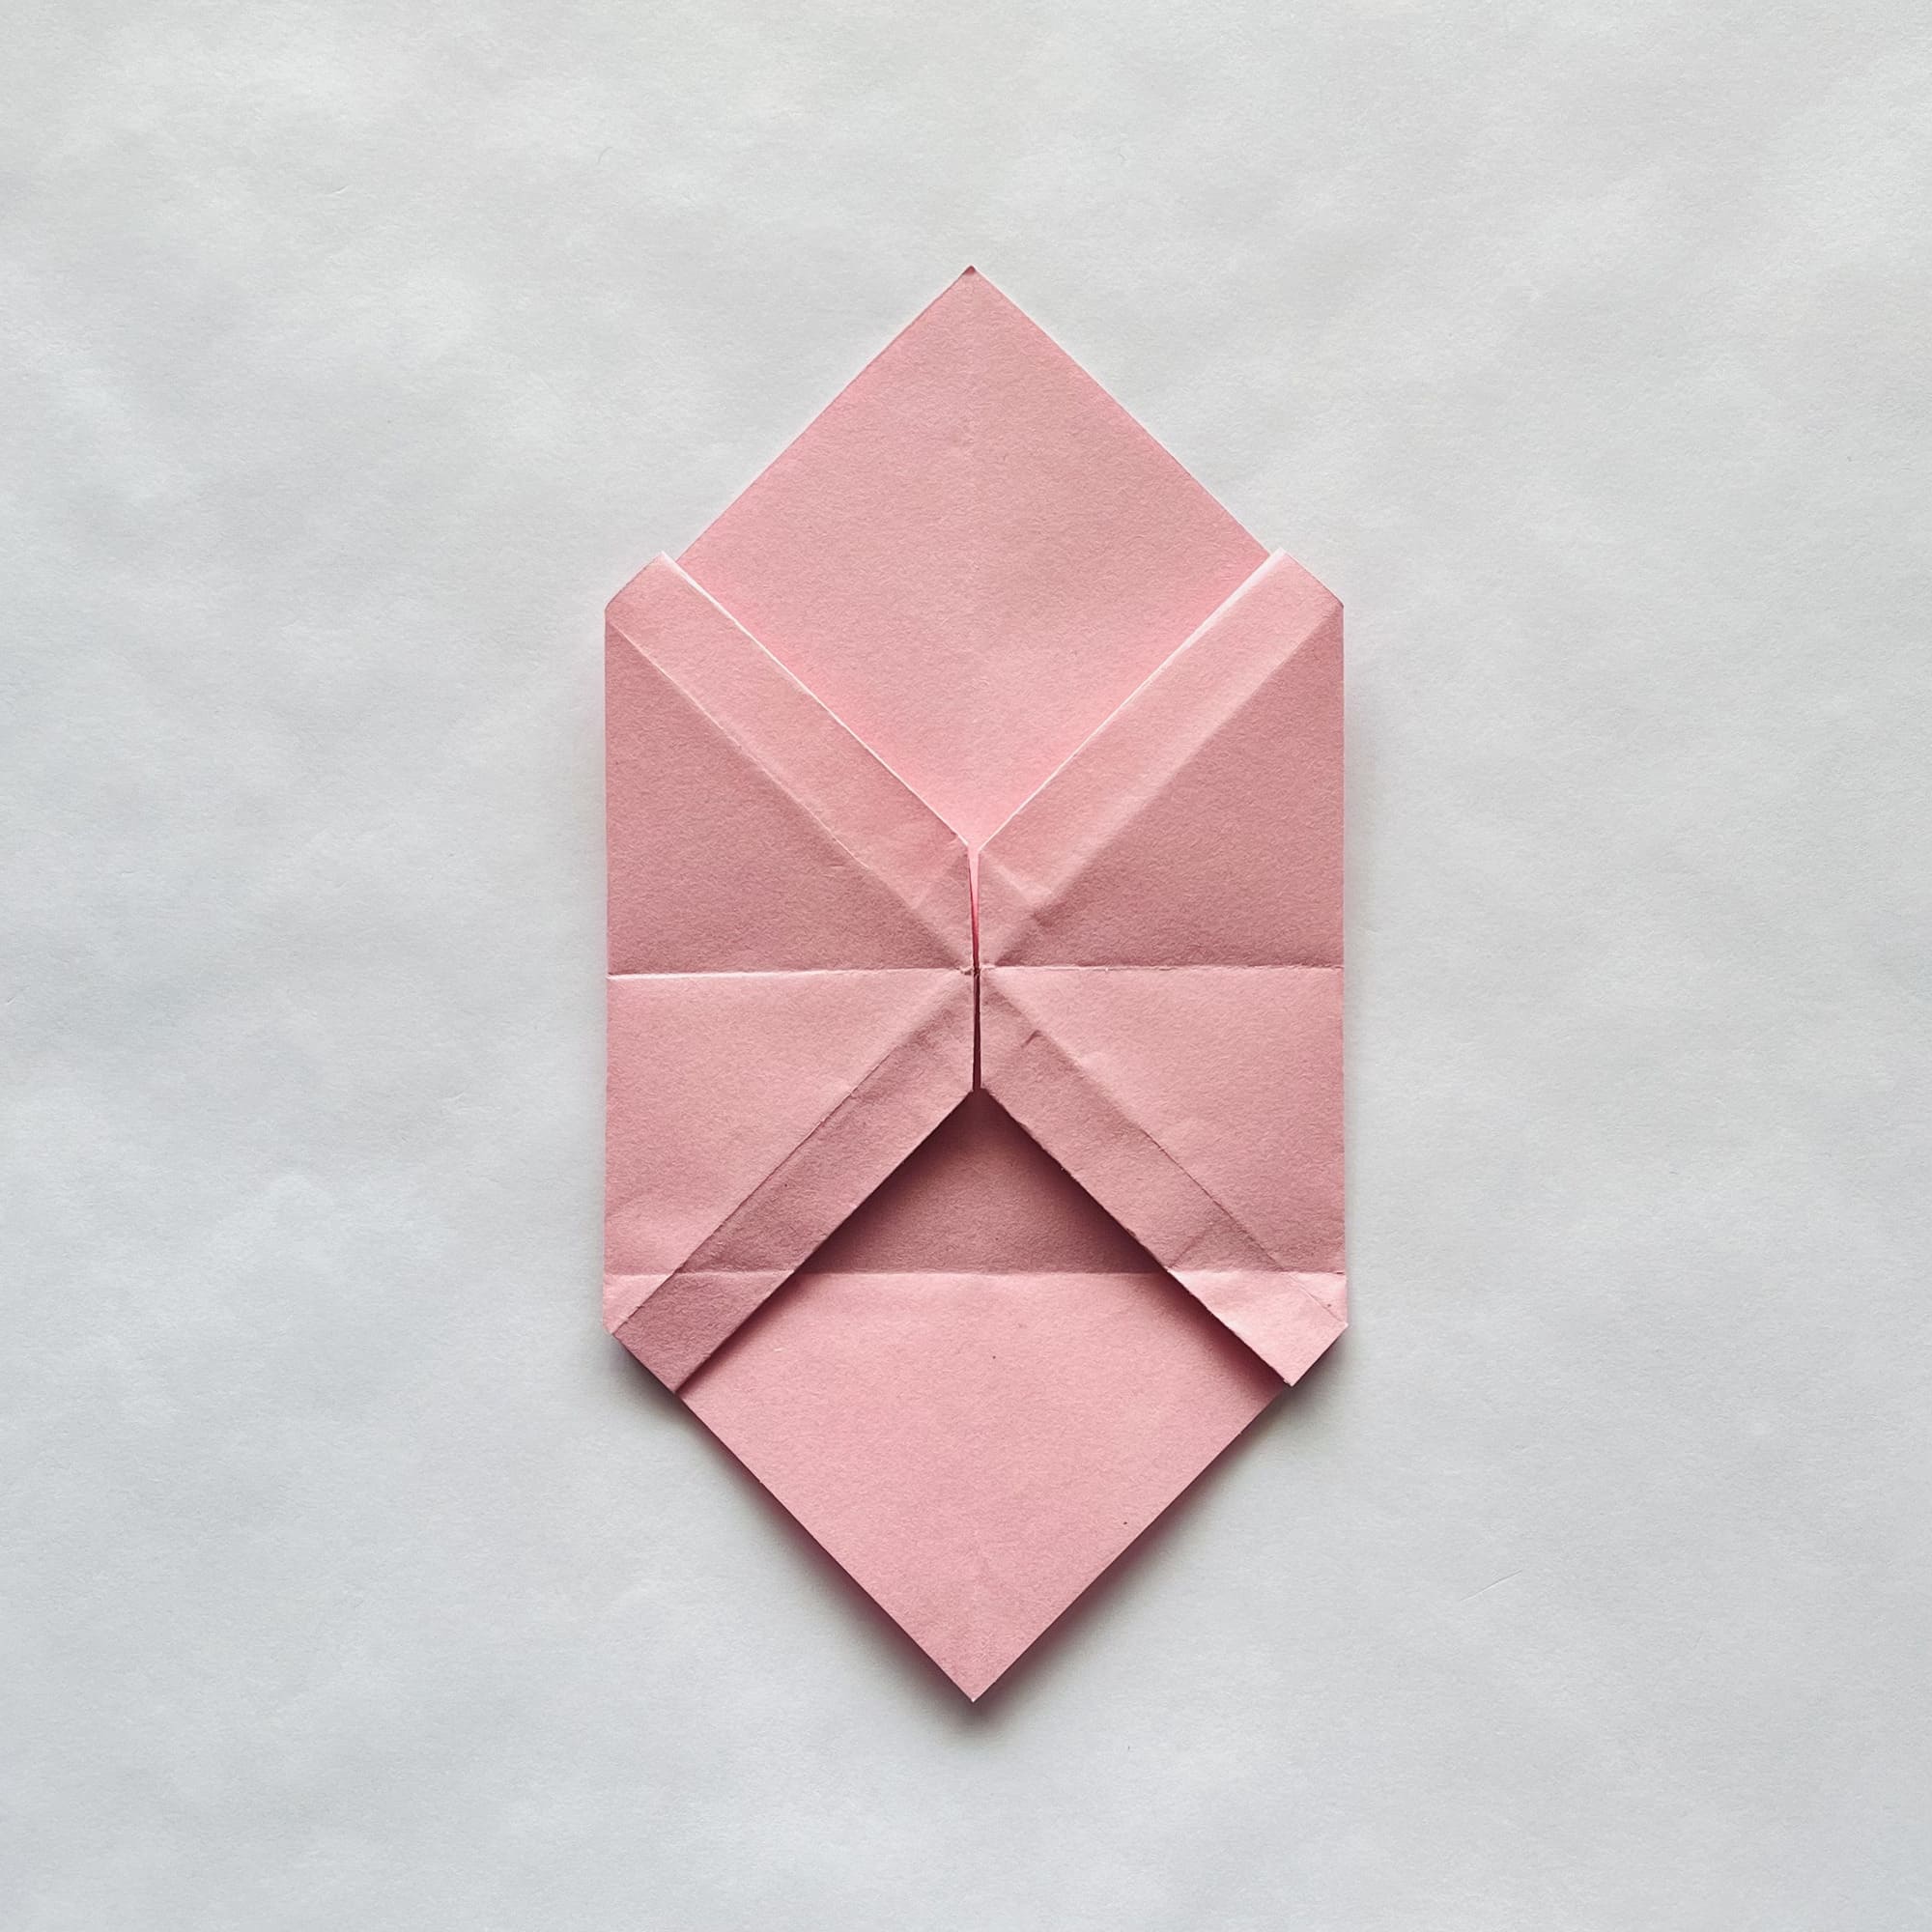
Alternately fold the right and left edges inward, and then unfold them.

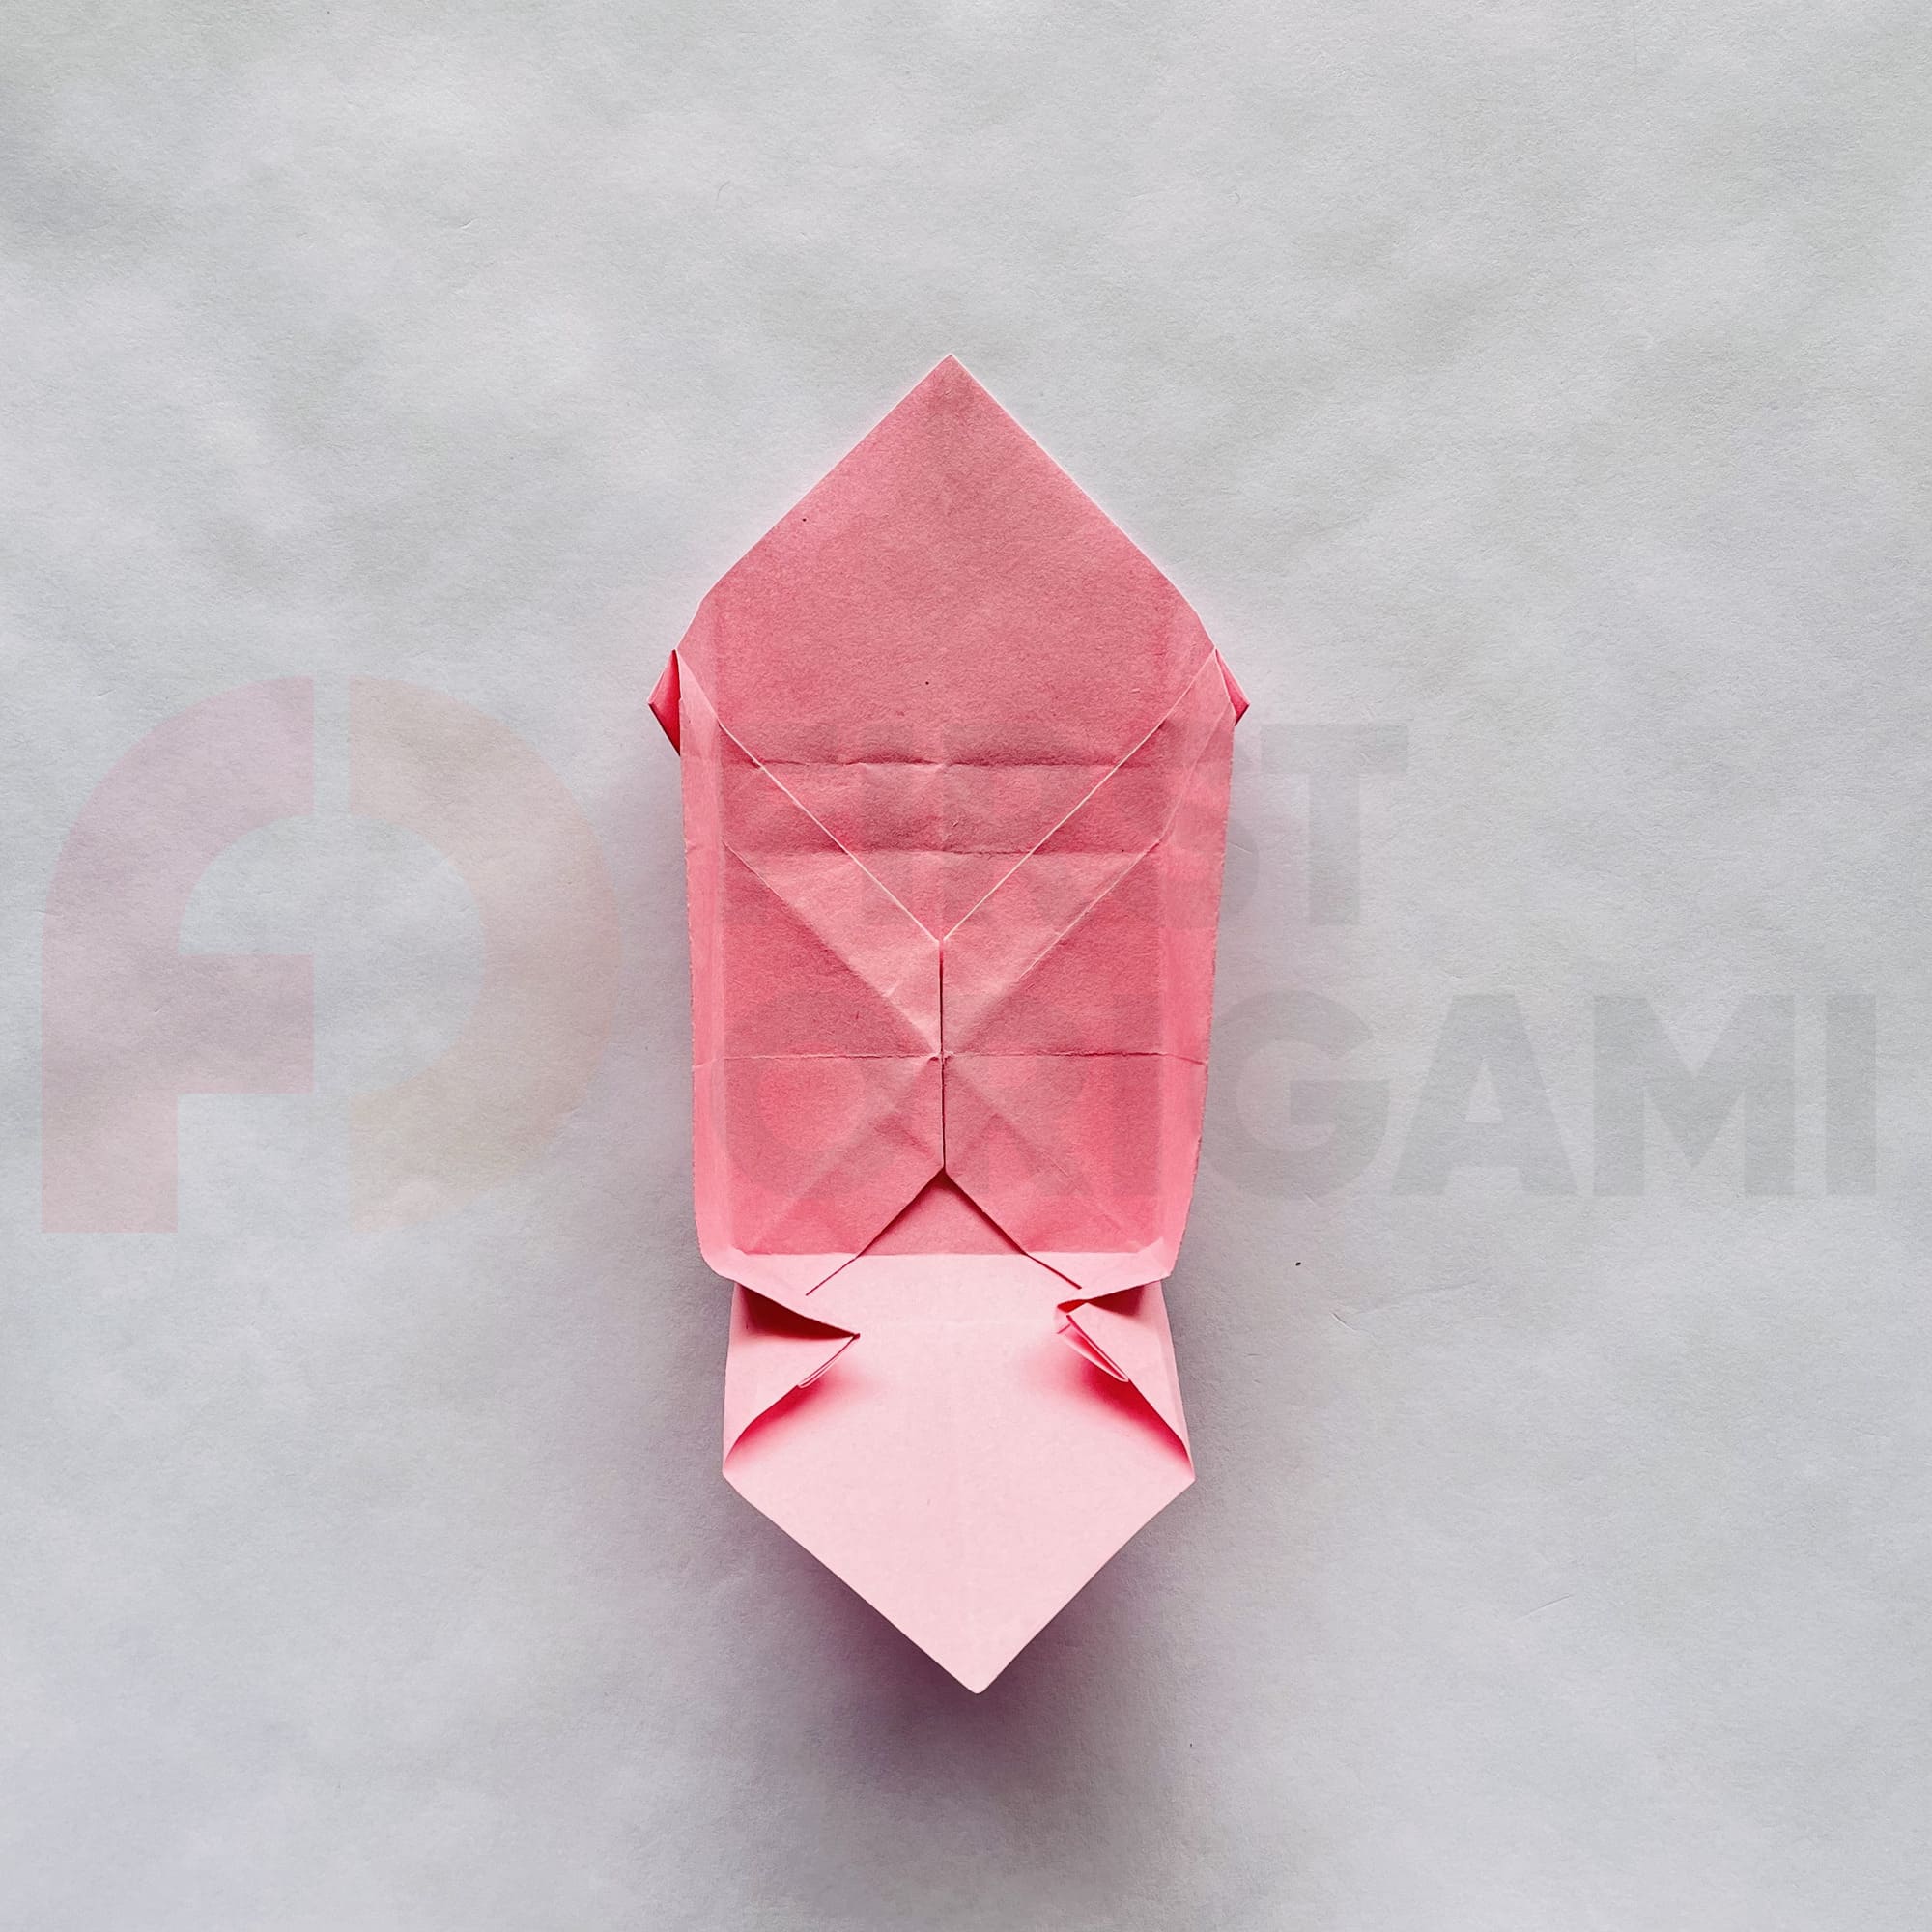
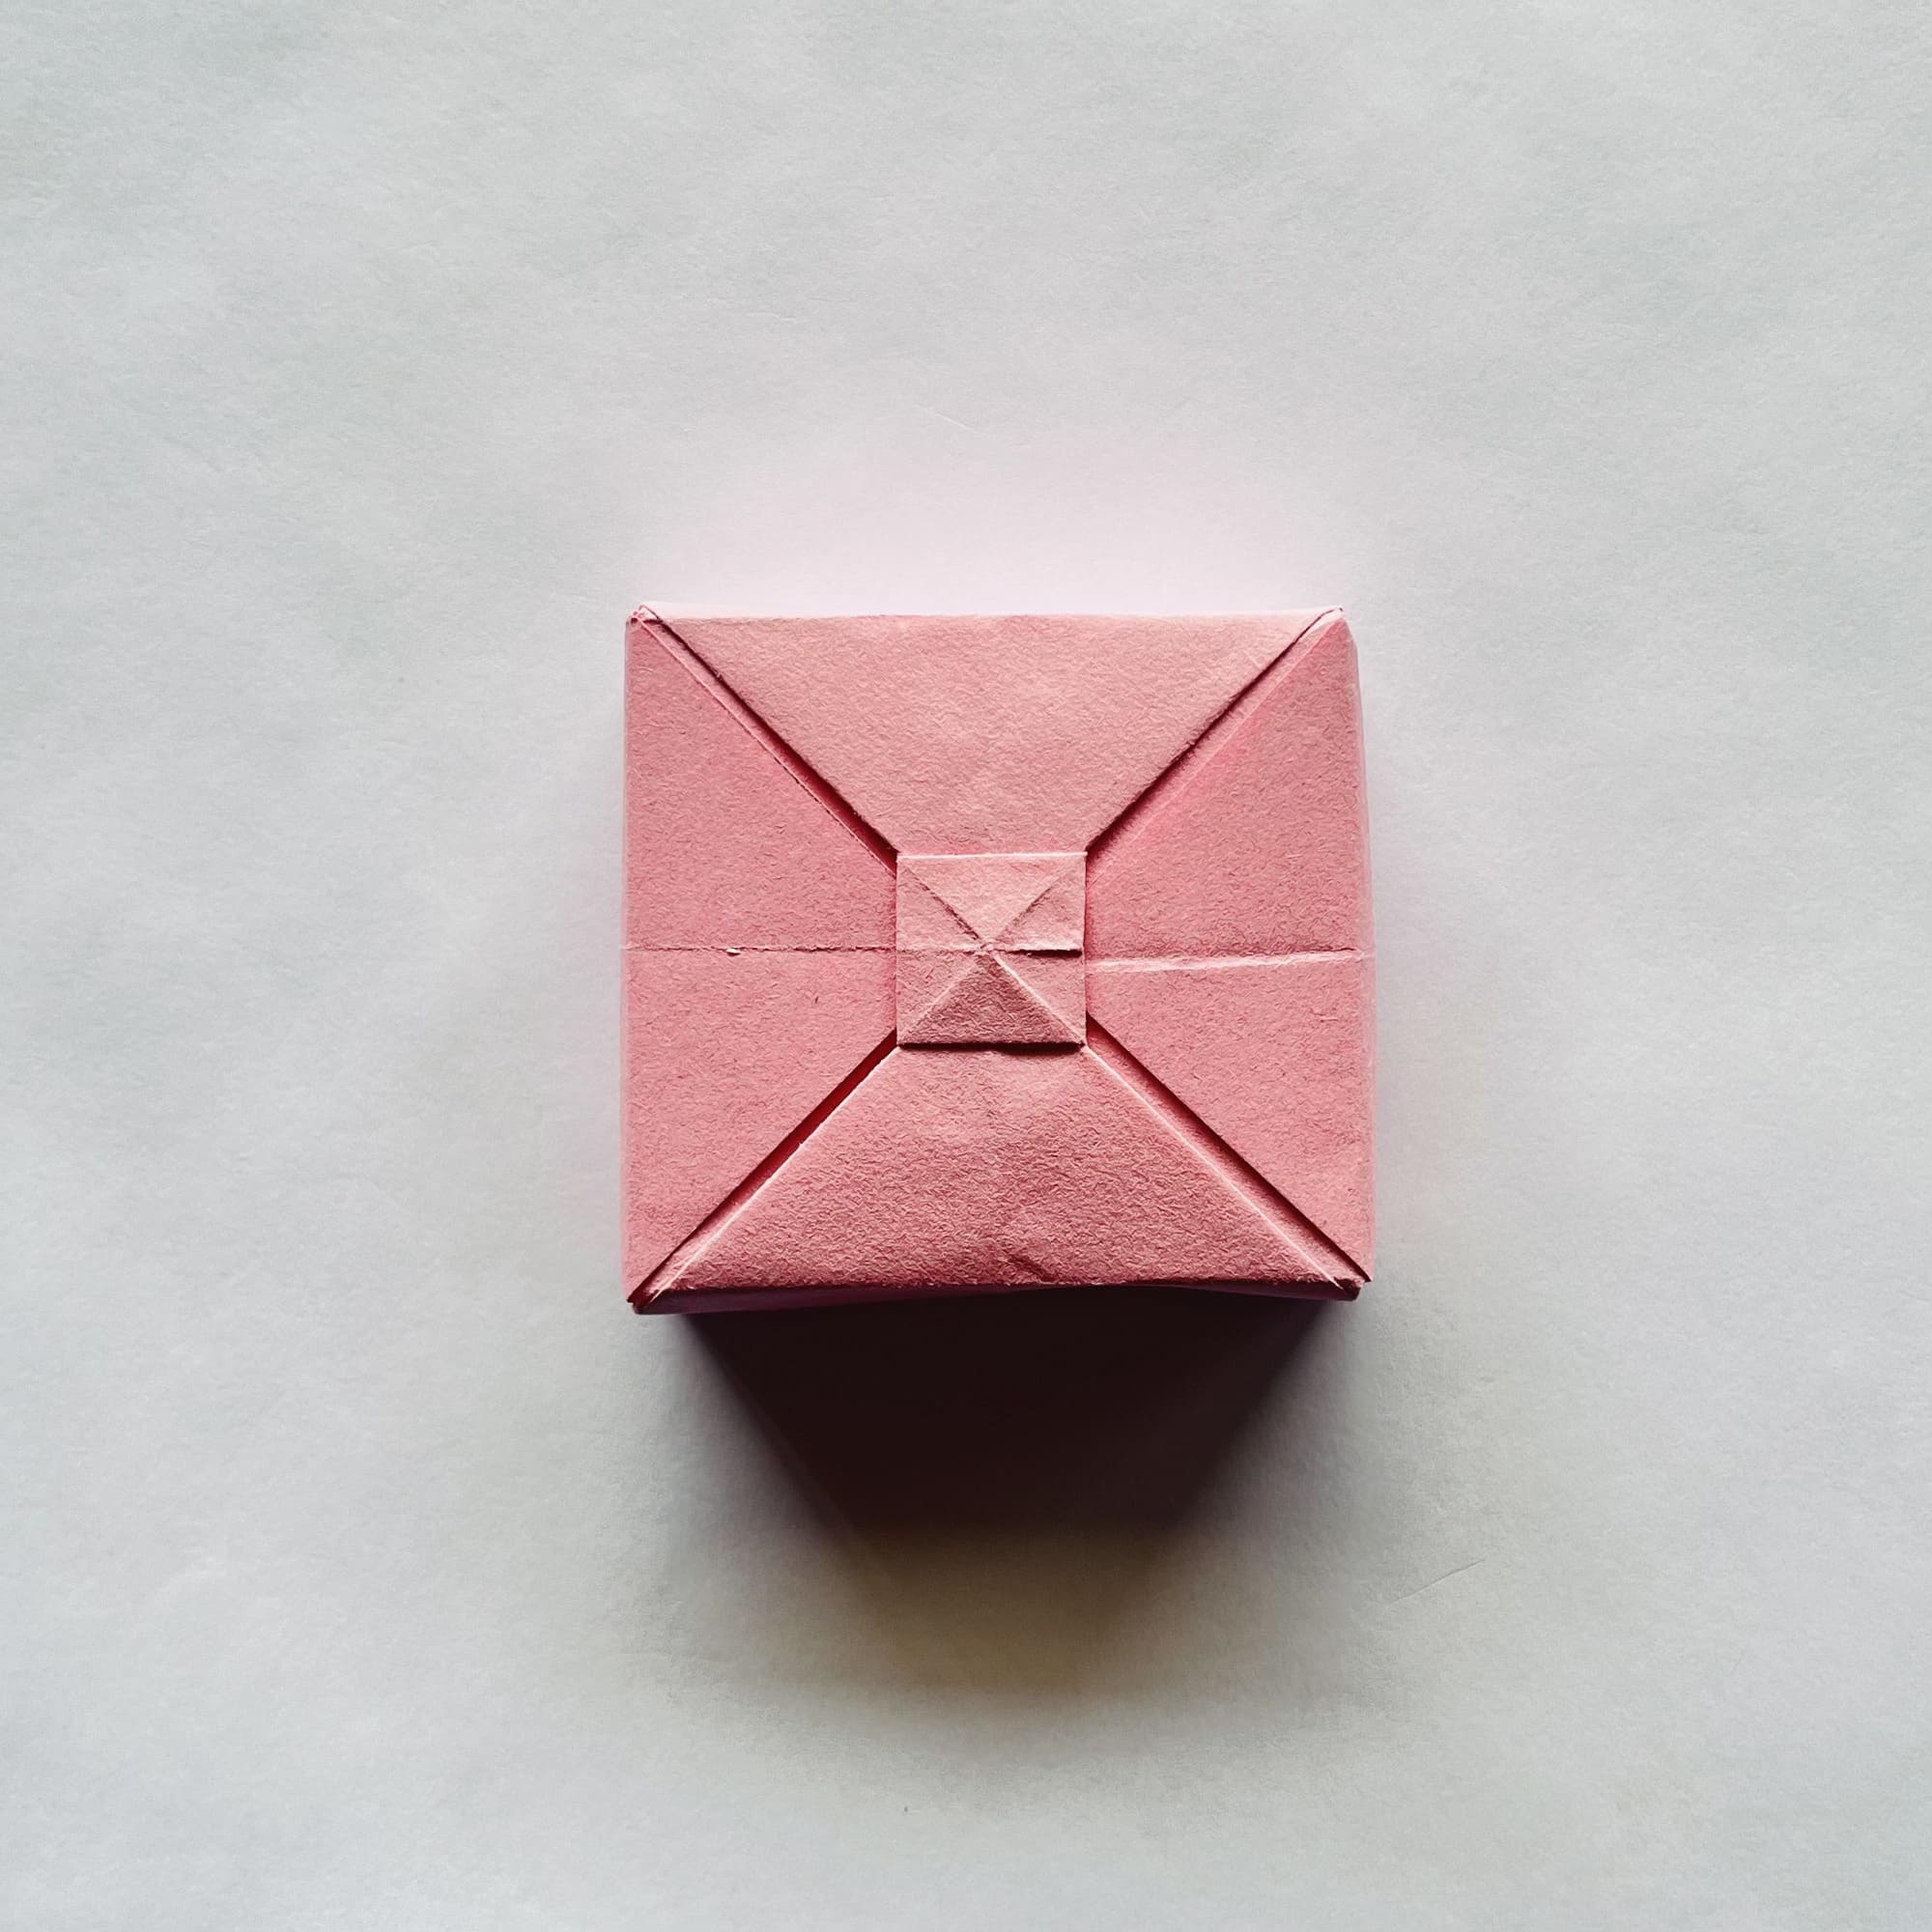
Now that all the fold lines are marked, assemble the walls of the box in the same way as you created its base.


To help the edges of the paper stick inside, you can use a glue stick.

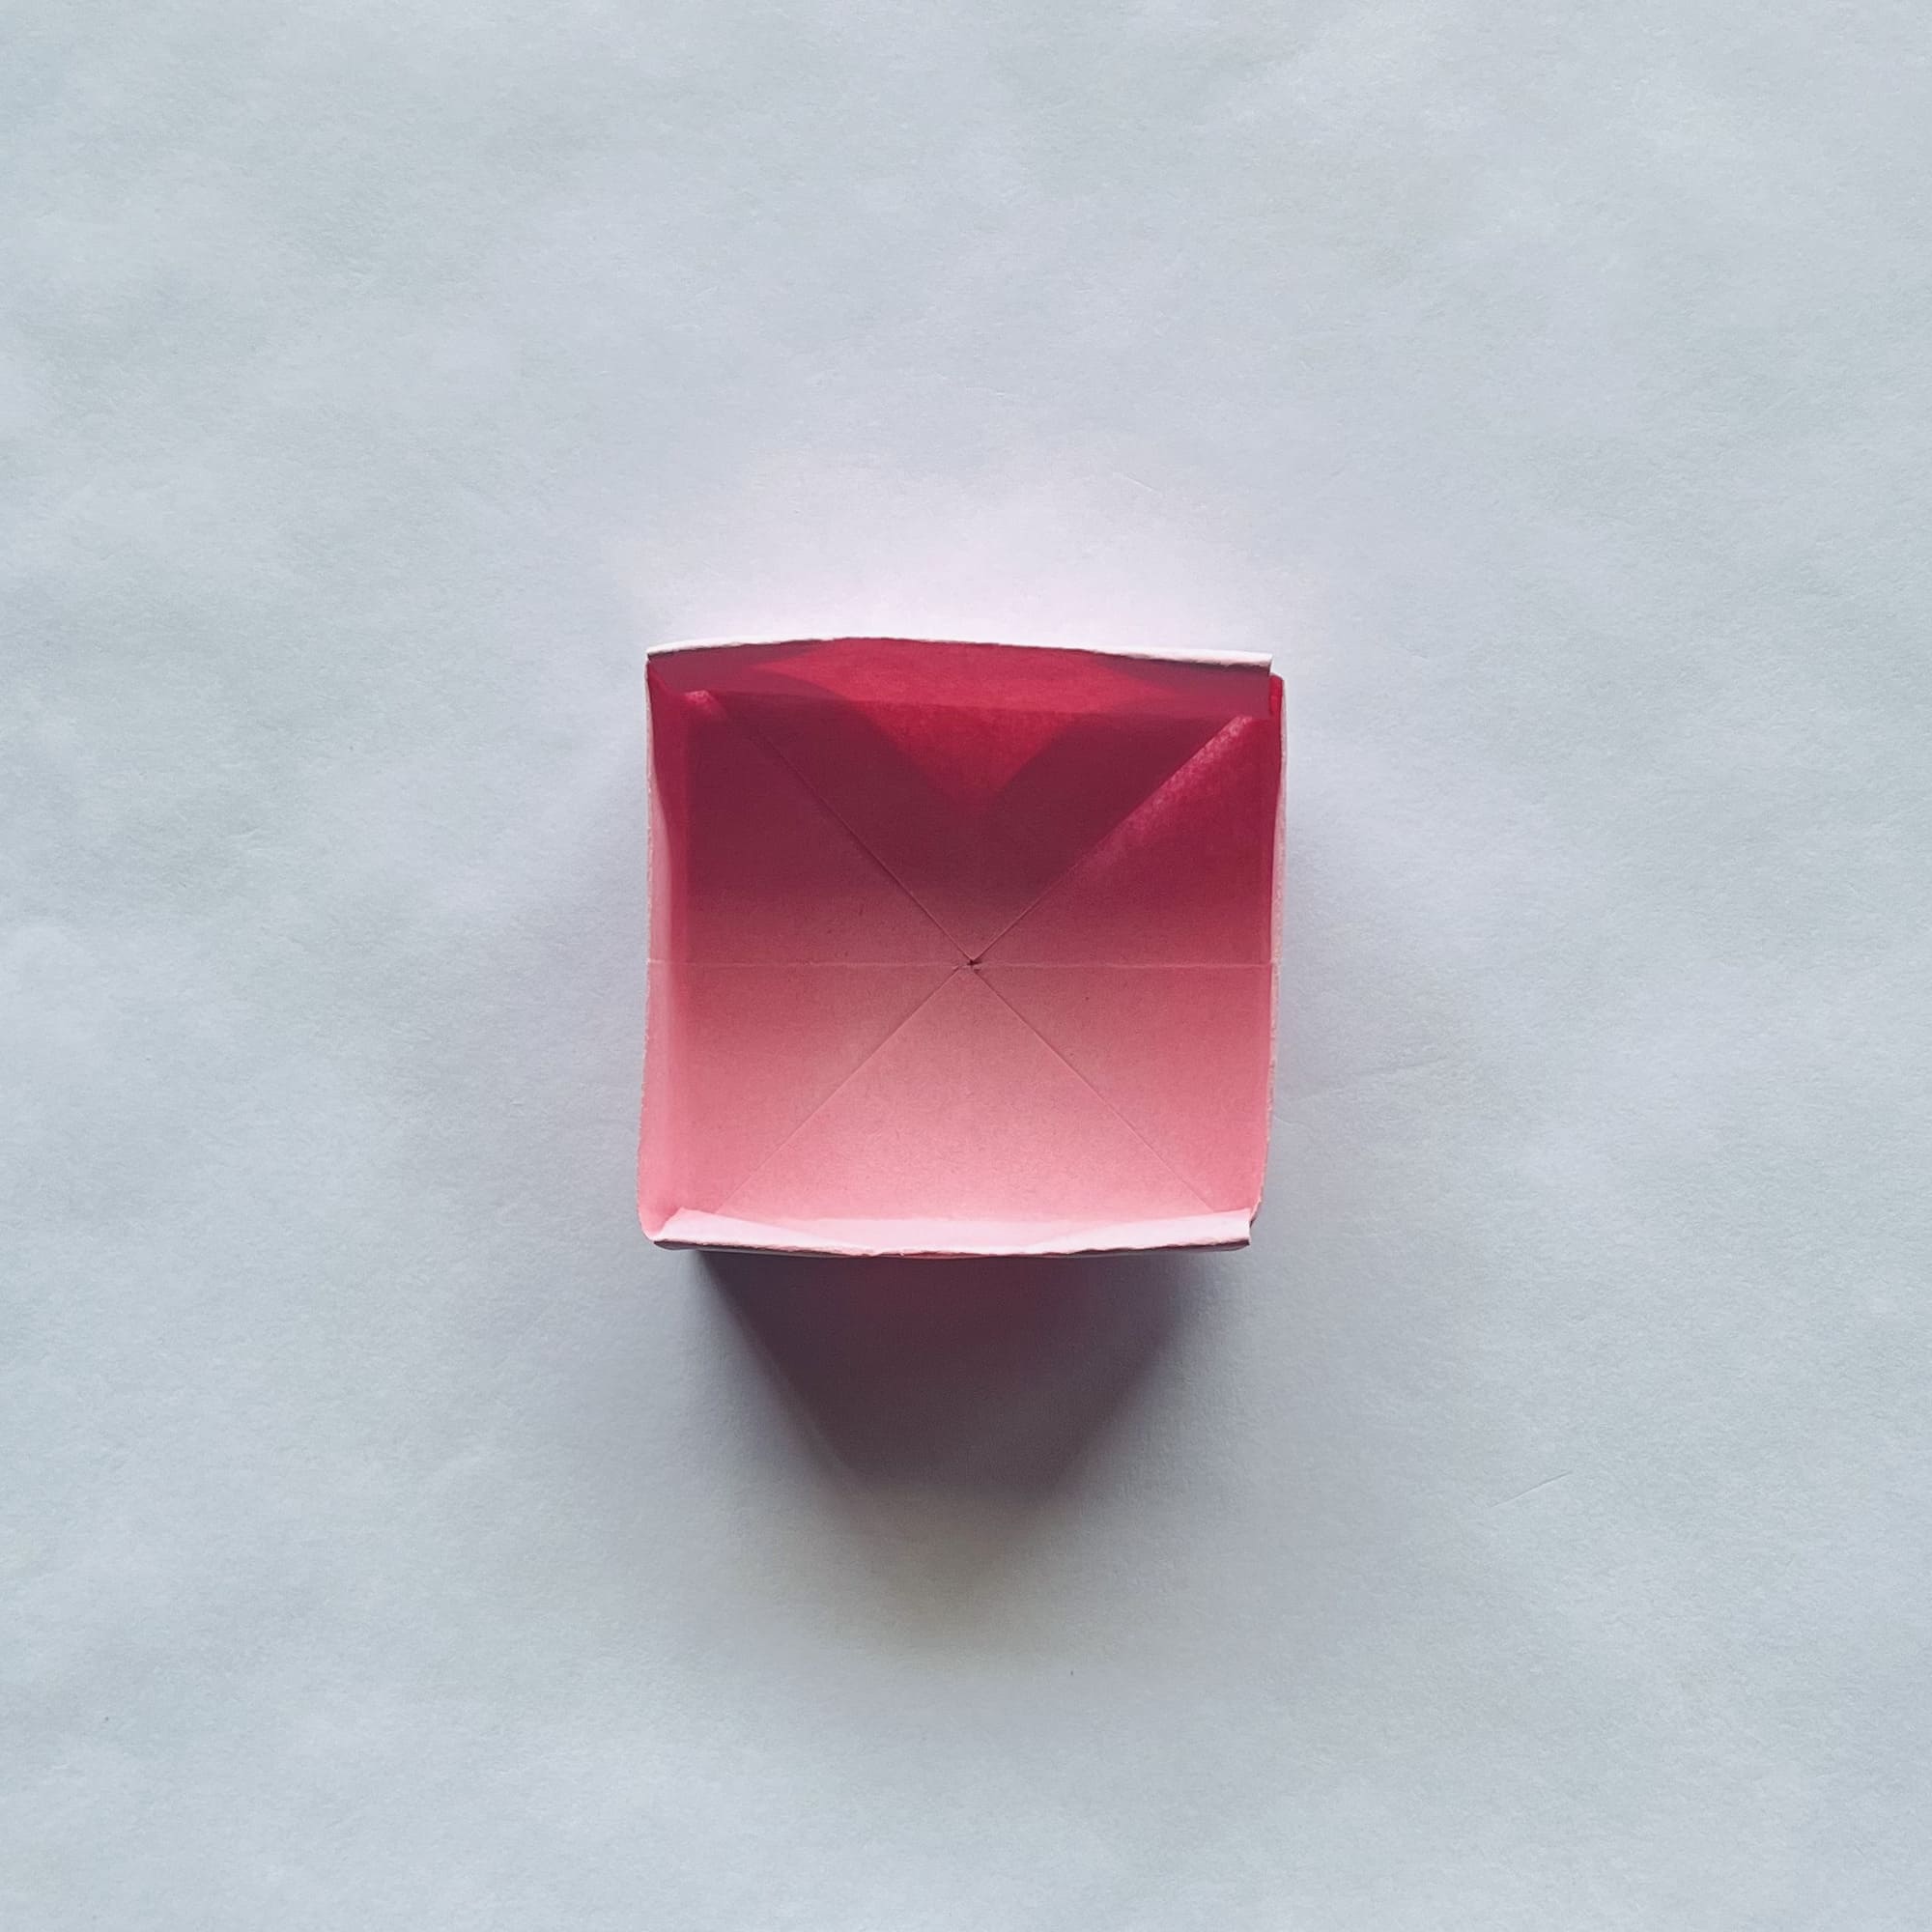
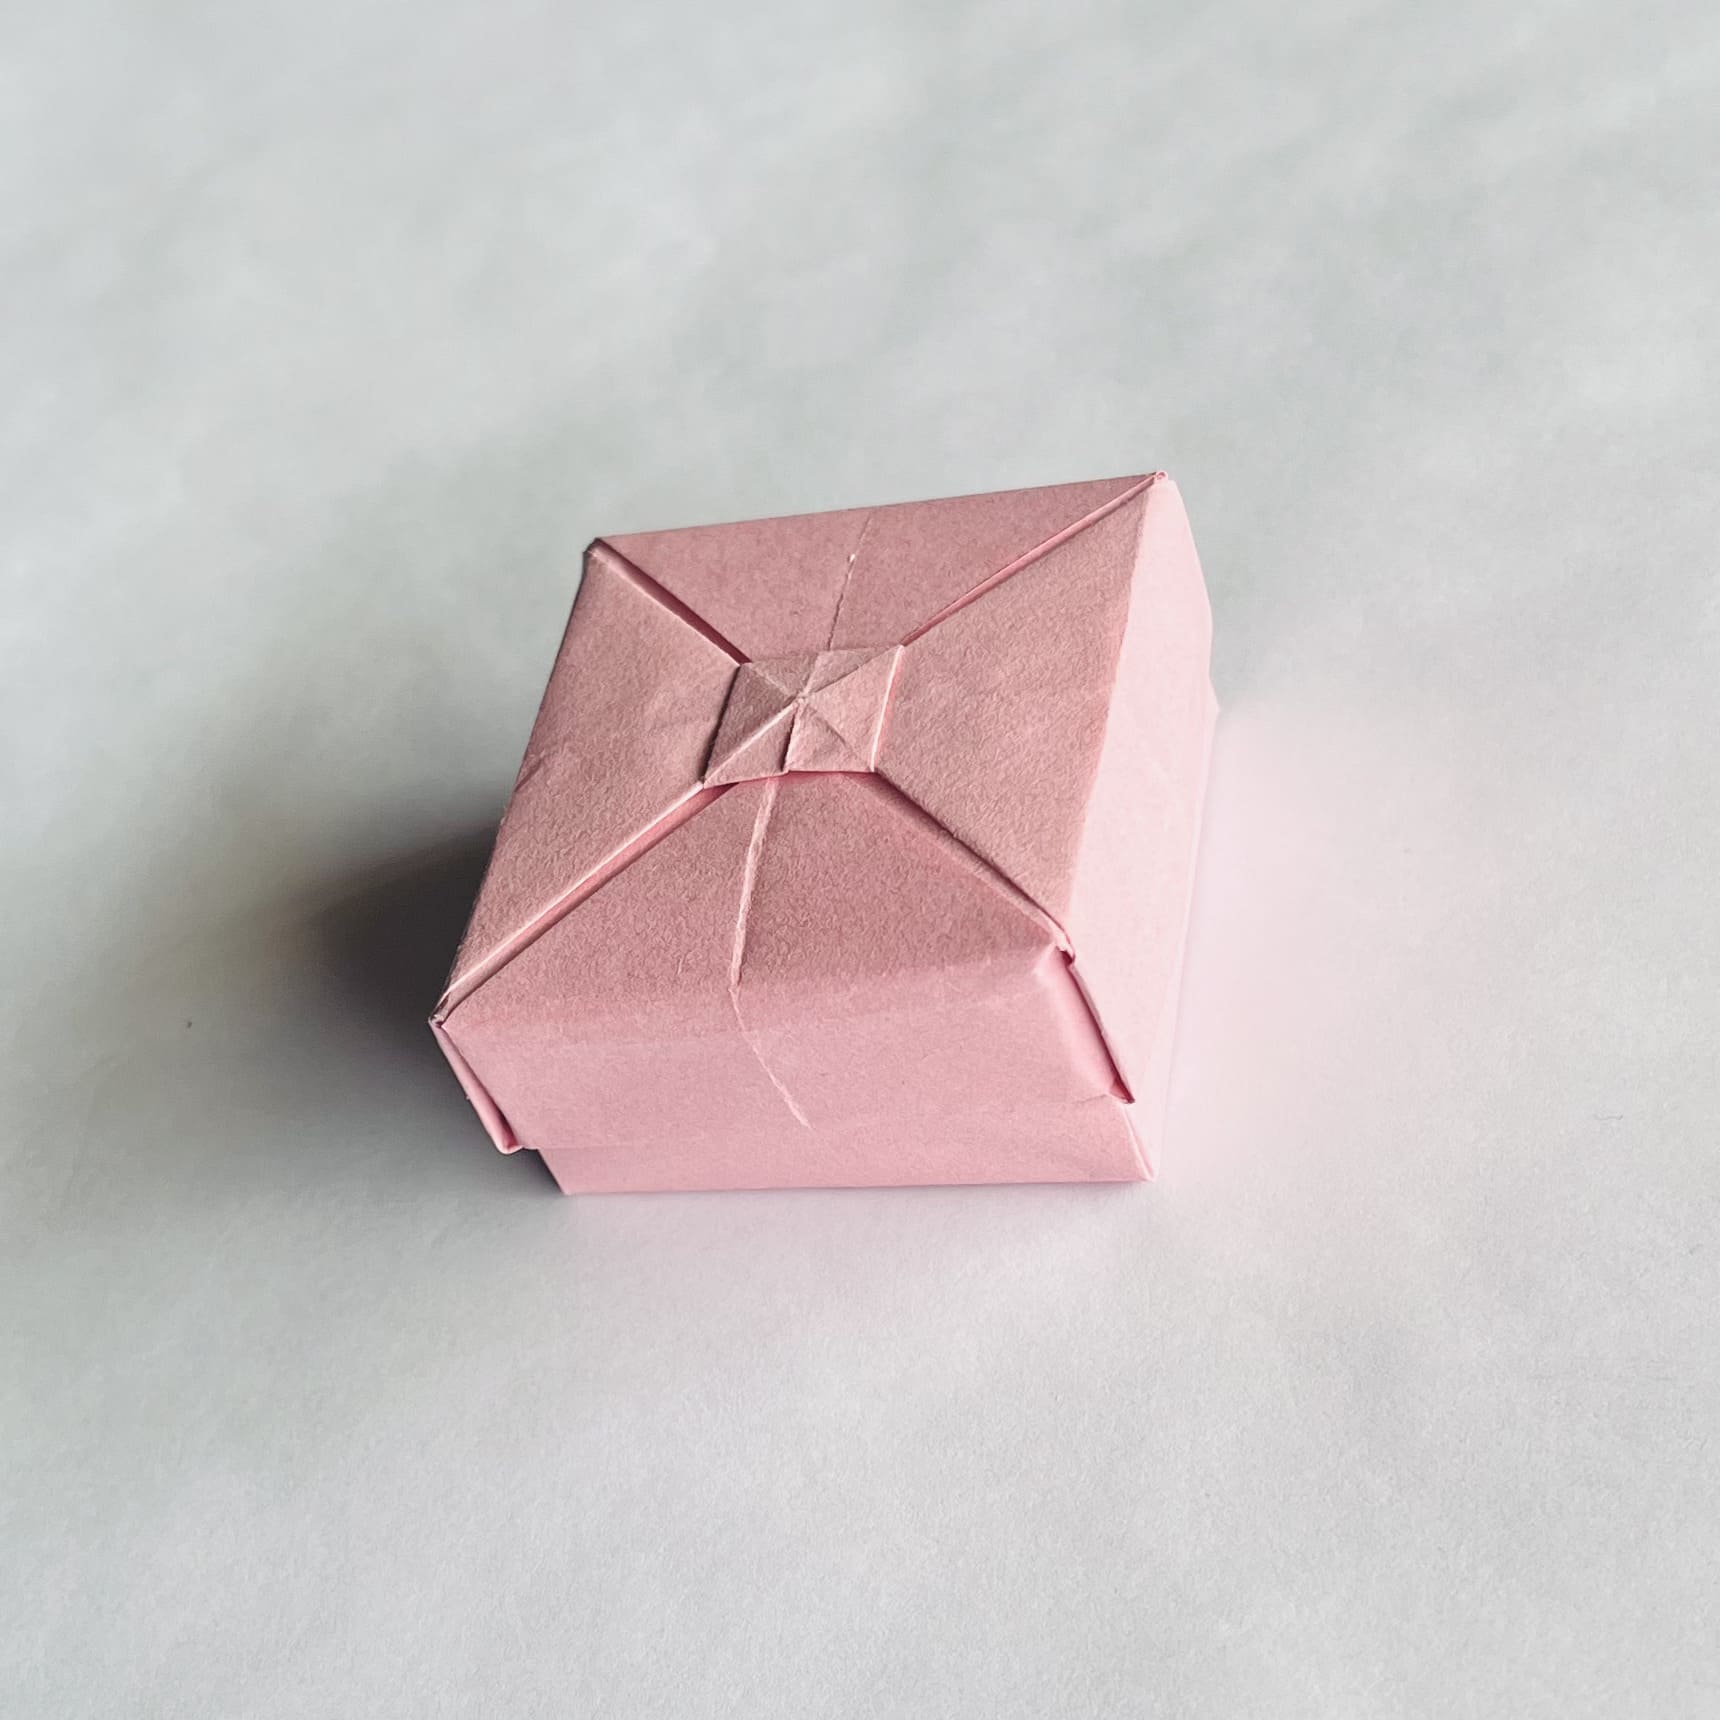
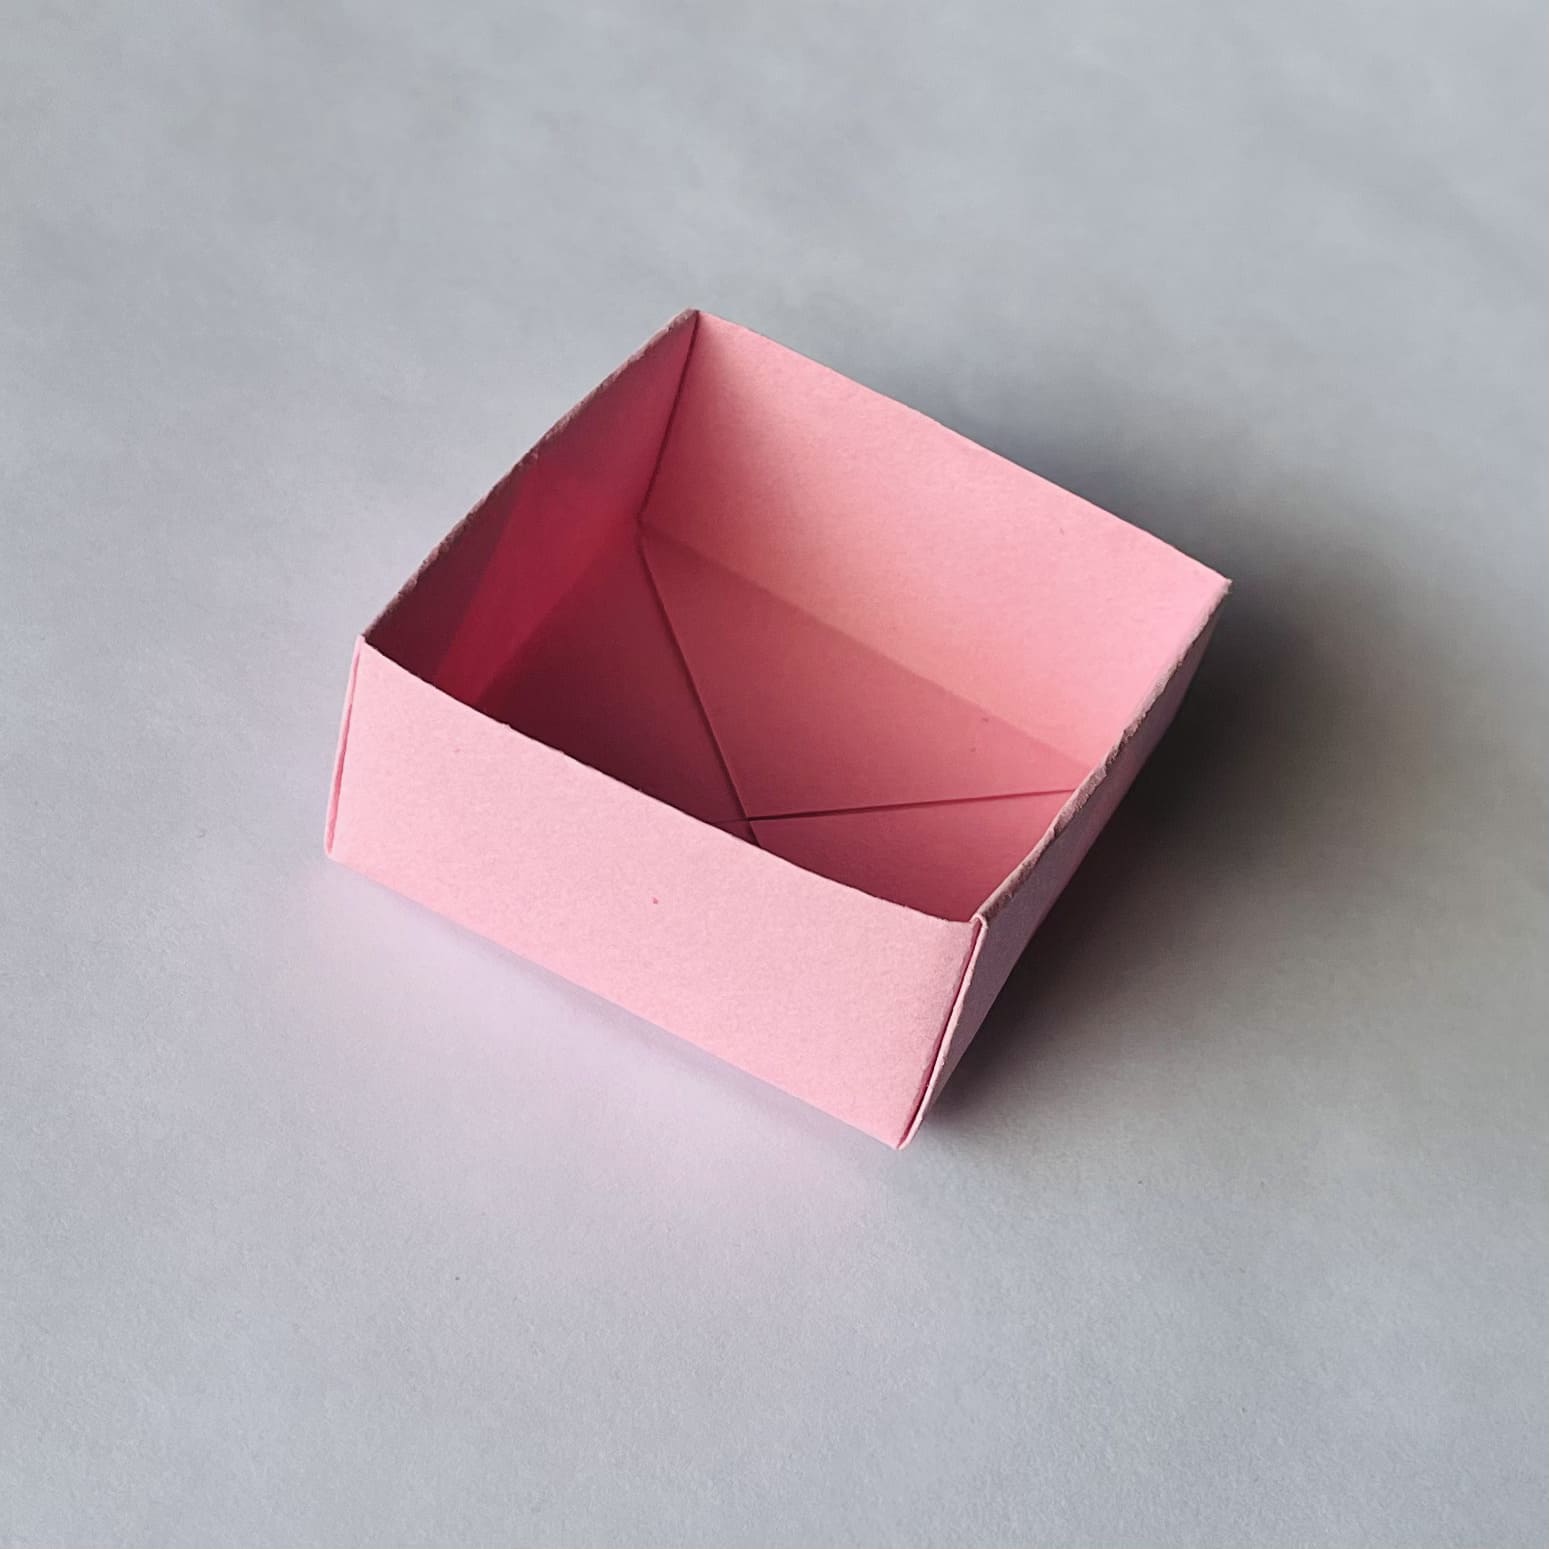
Finally, this long journey is completed.
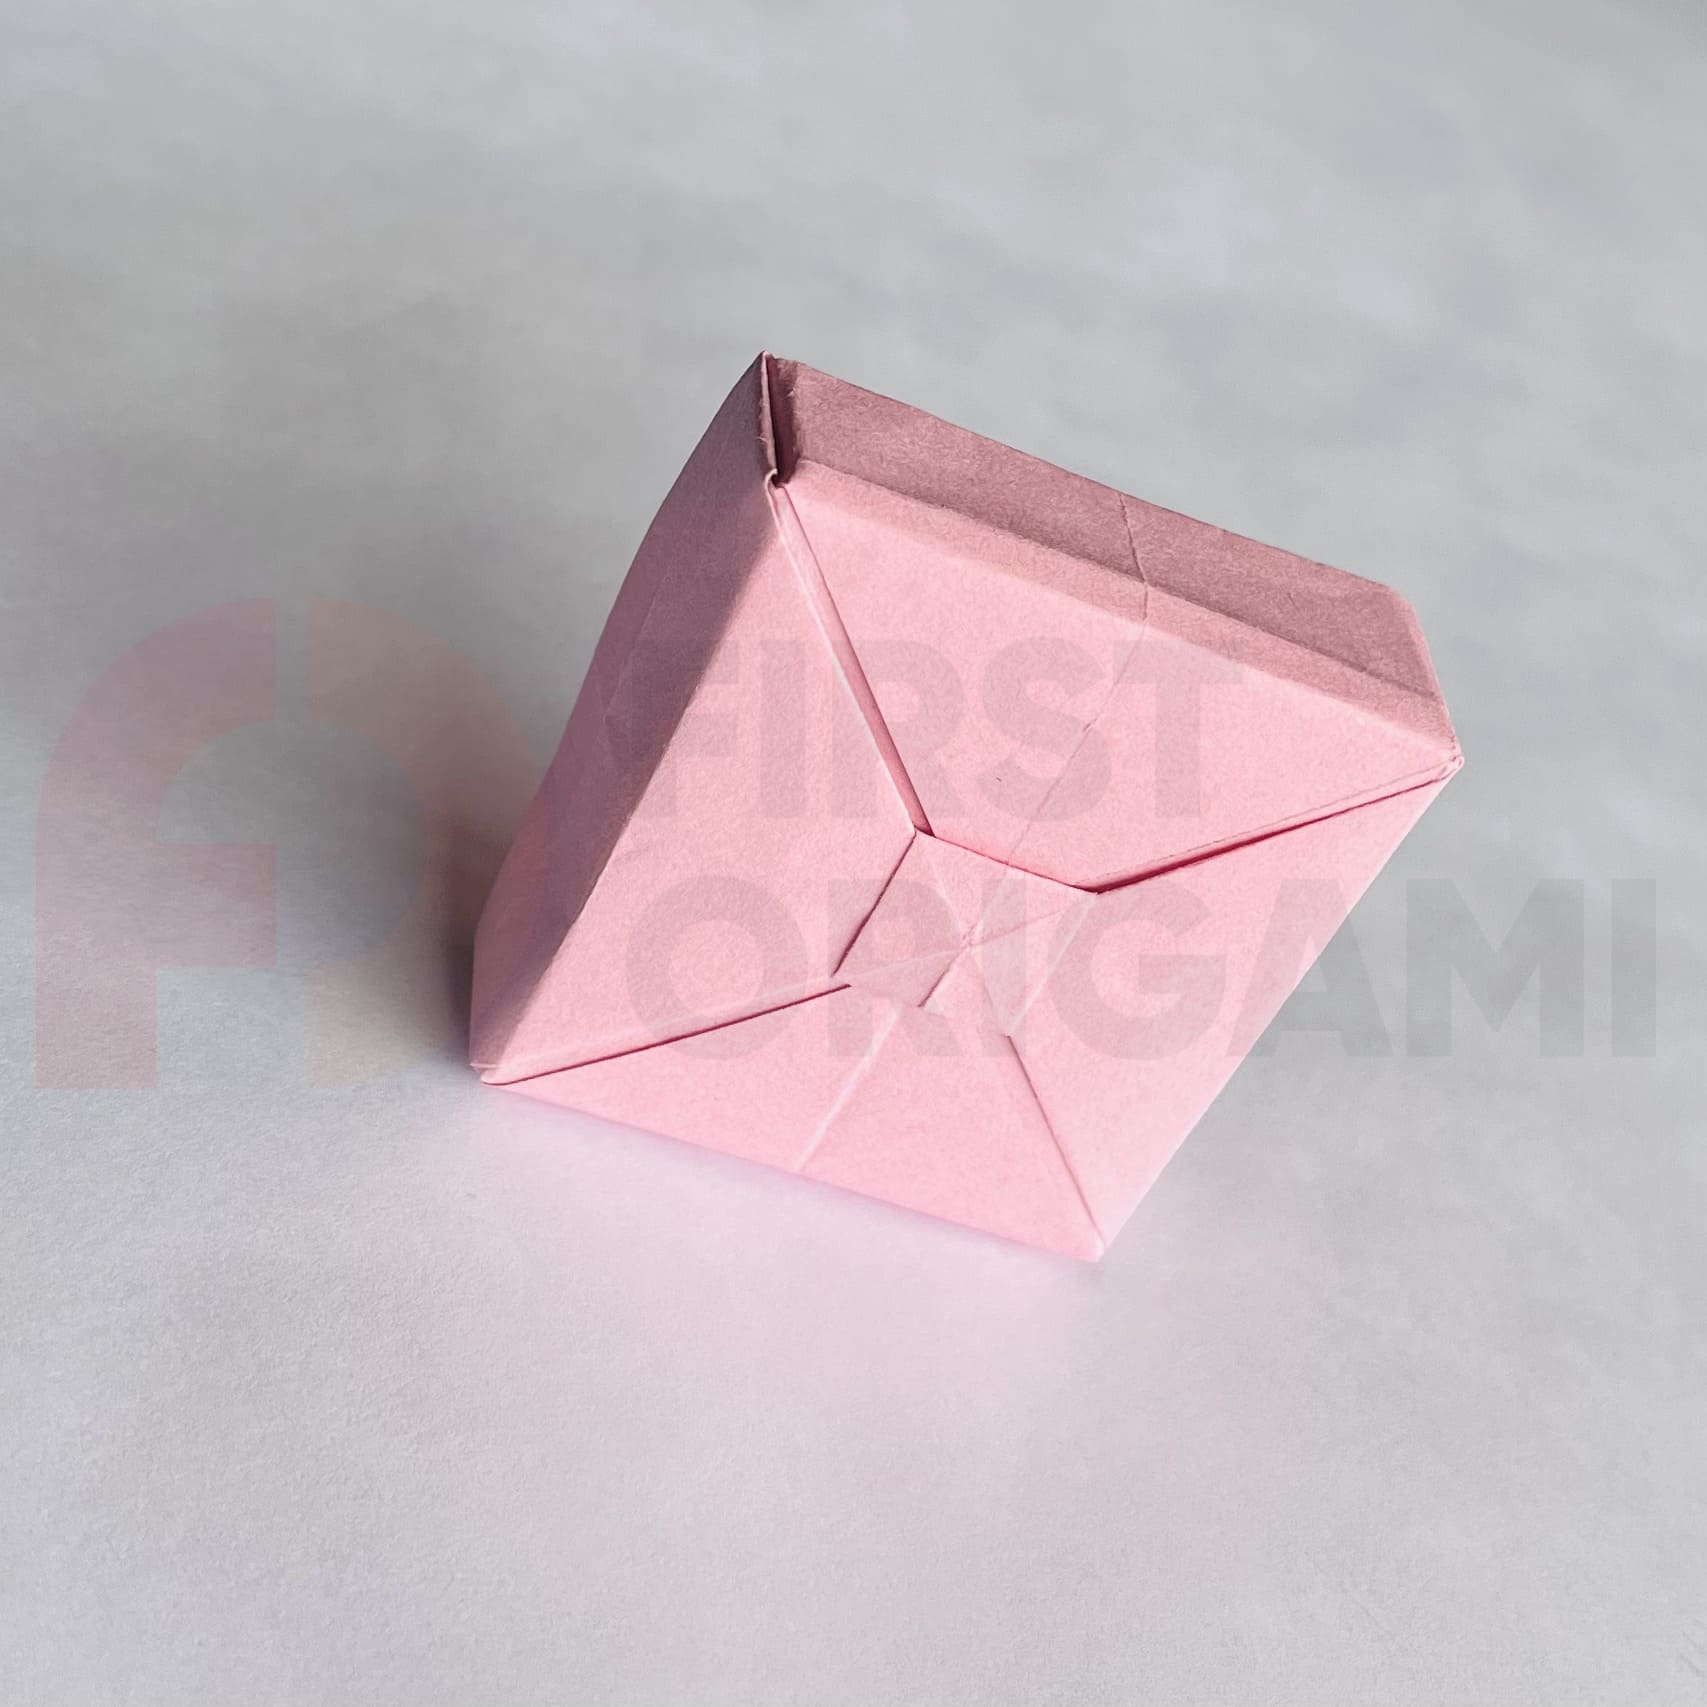
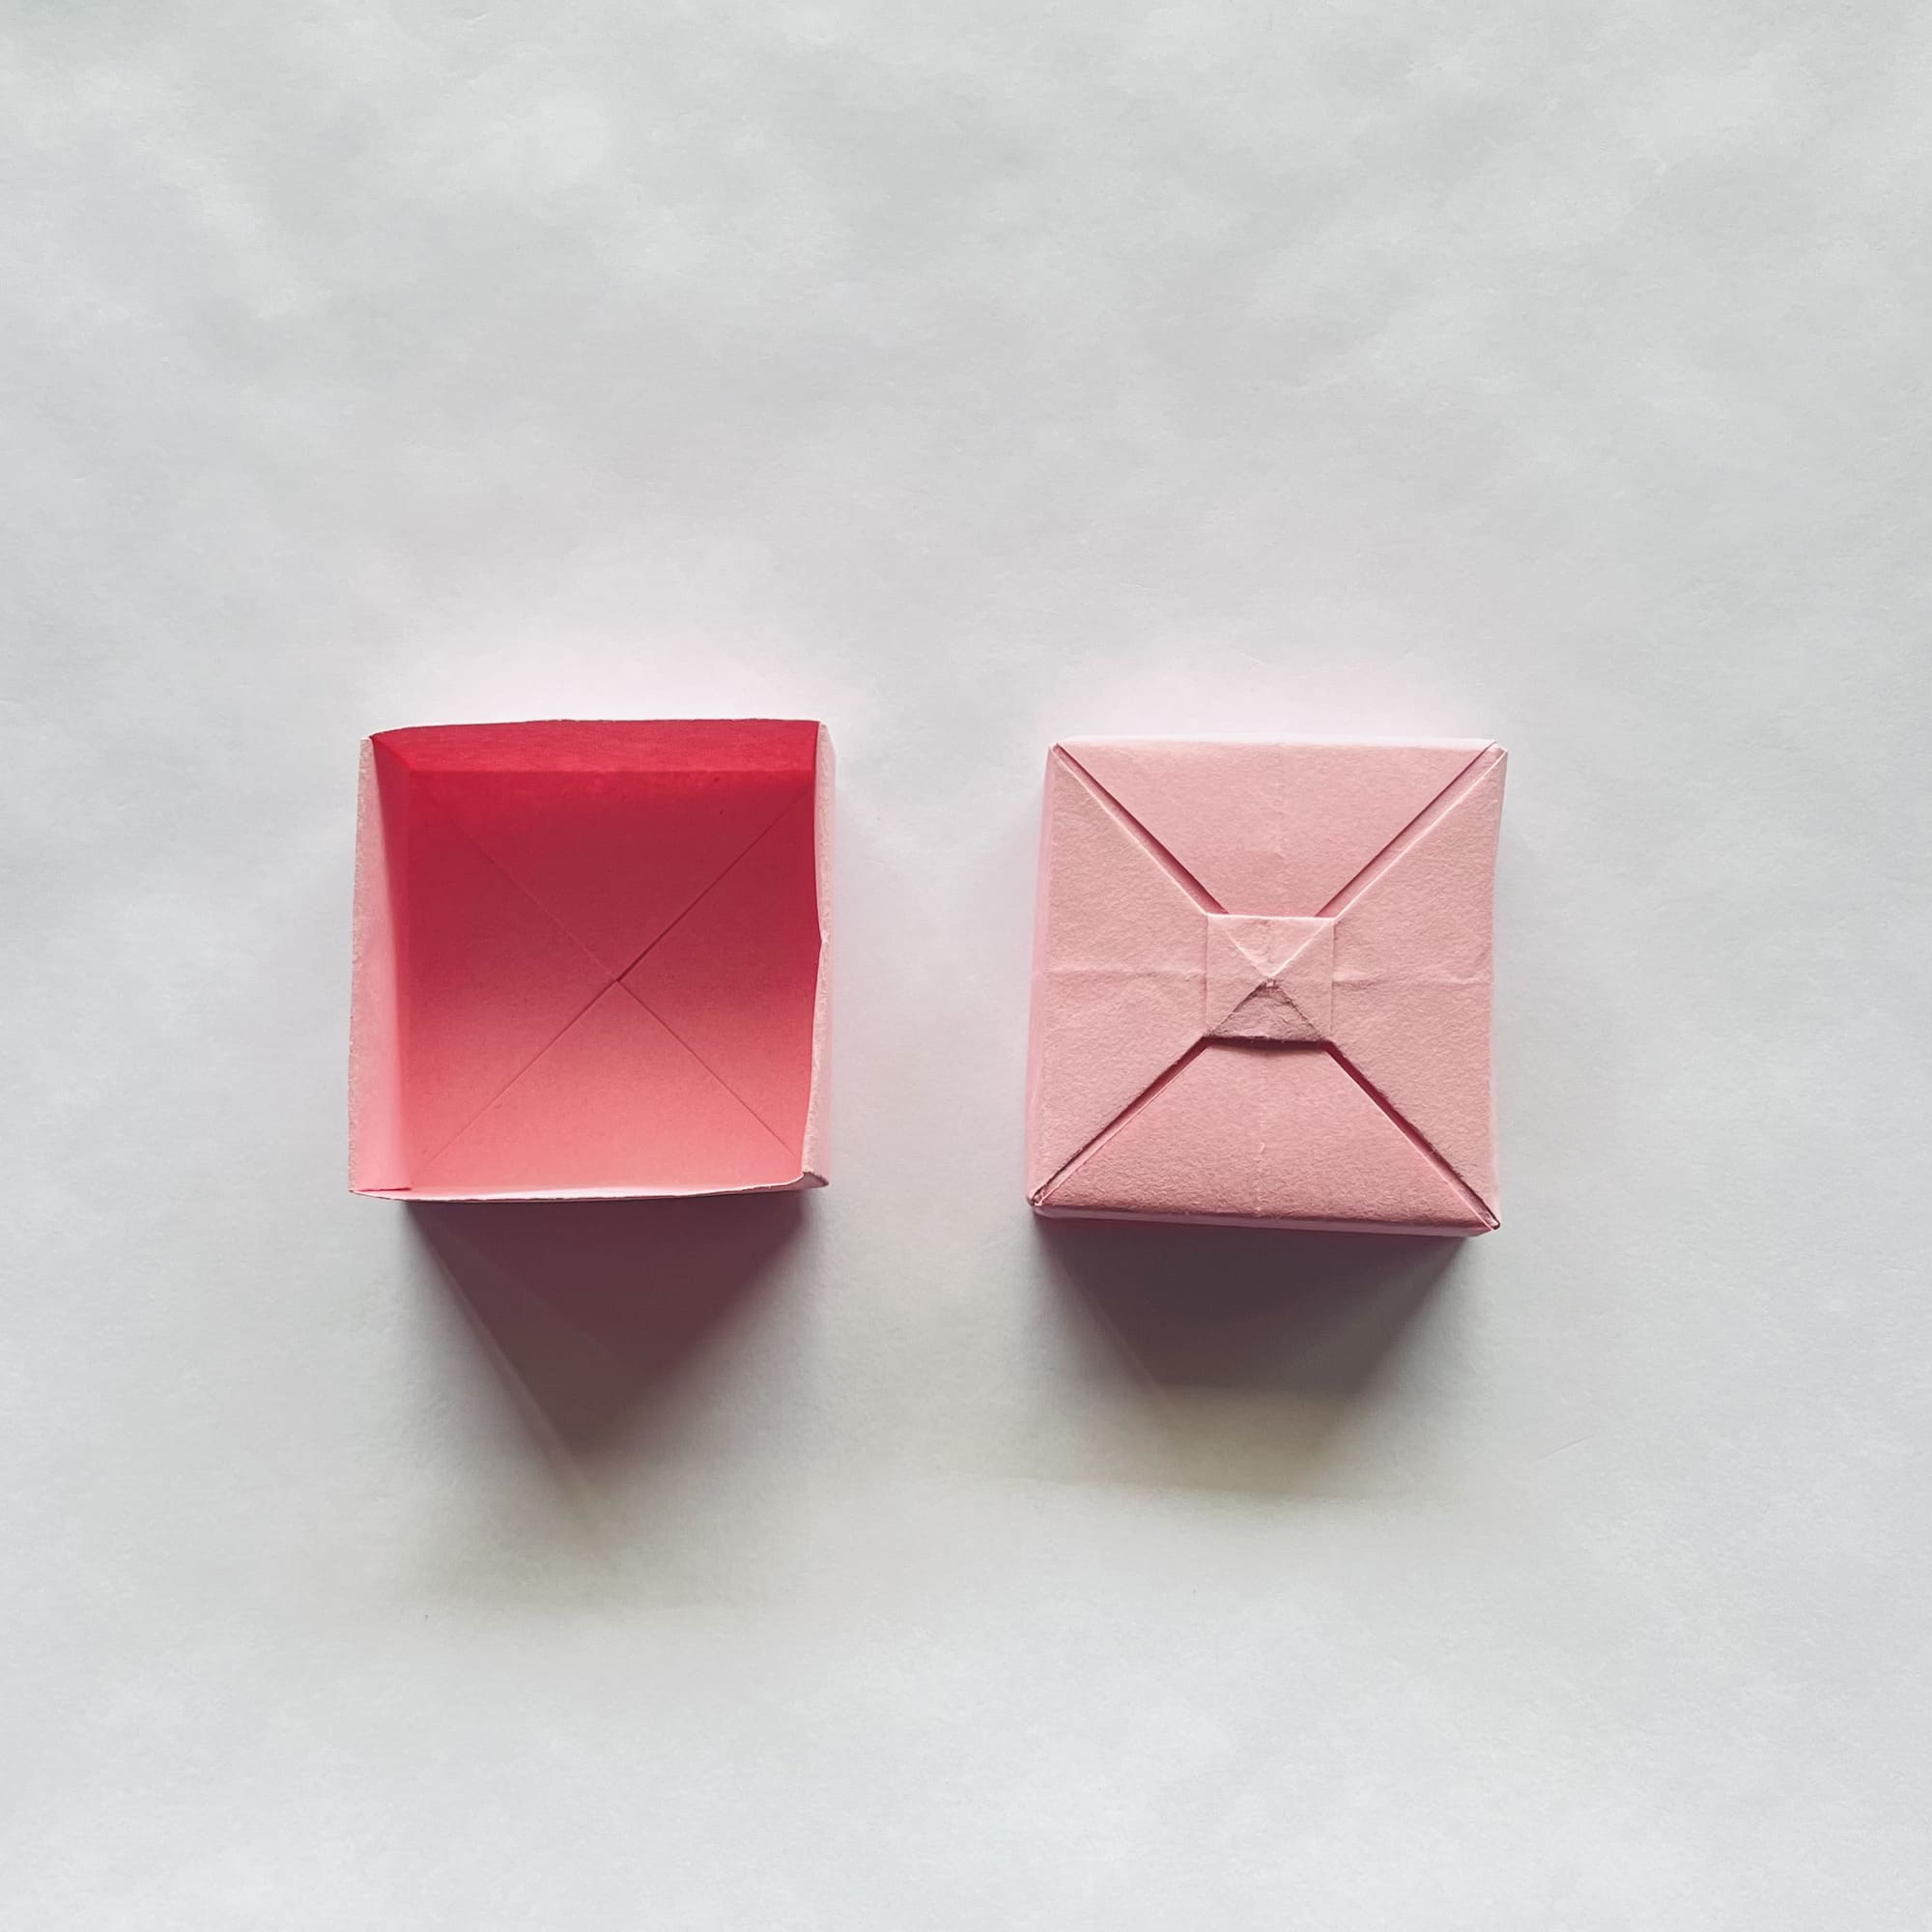
You can admire the result.
Such a cute miniature box will delight anyone. Have you already figured out what you will put inside and who you will give it to?


