Origami Gift Tags
An interesting model of a postcard or tag in the shape of a Christmas tree can be made using the origami technique. Such a creation, with words of gratitude, congratulations, or simply the name of the recipient, is a nice addition to a gift or souvenir.
An important moment when it comes to the creation of this postcard is the choice of paper. Wrapping paper with a matching print can be a great option. It is better for each side of the sheet to be a different color or shade to make the lines more expressive.
The basis is a strip of rectangular paper with an aspect ratio of 1:4. This means that the width of the paper should be 4 times the height. For example, with a paper height of 4 cm, the length should be 16 cm. The finished tag will have the height of the piece of paper used for its creation, and the width will be approximately equal to half the width of the paper.
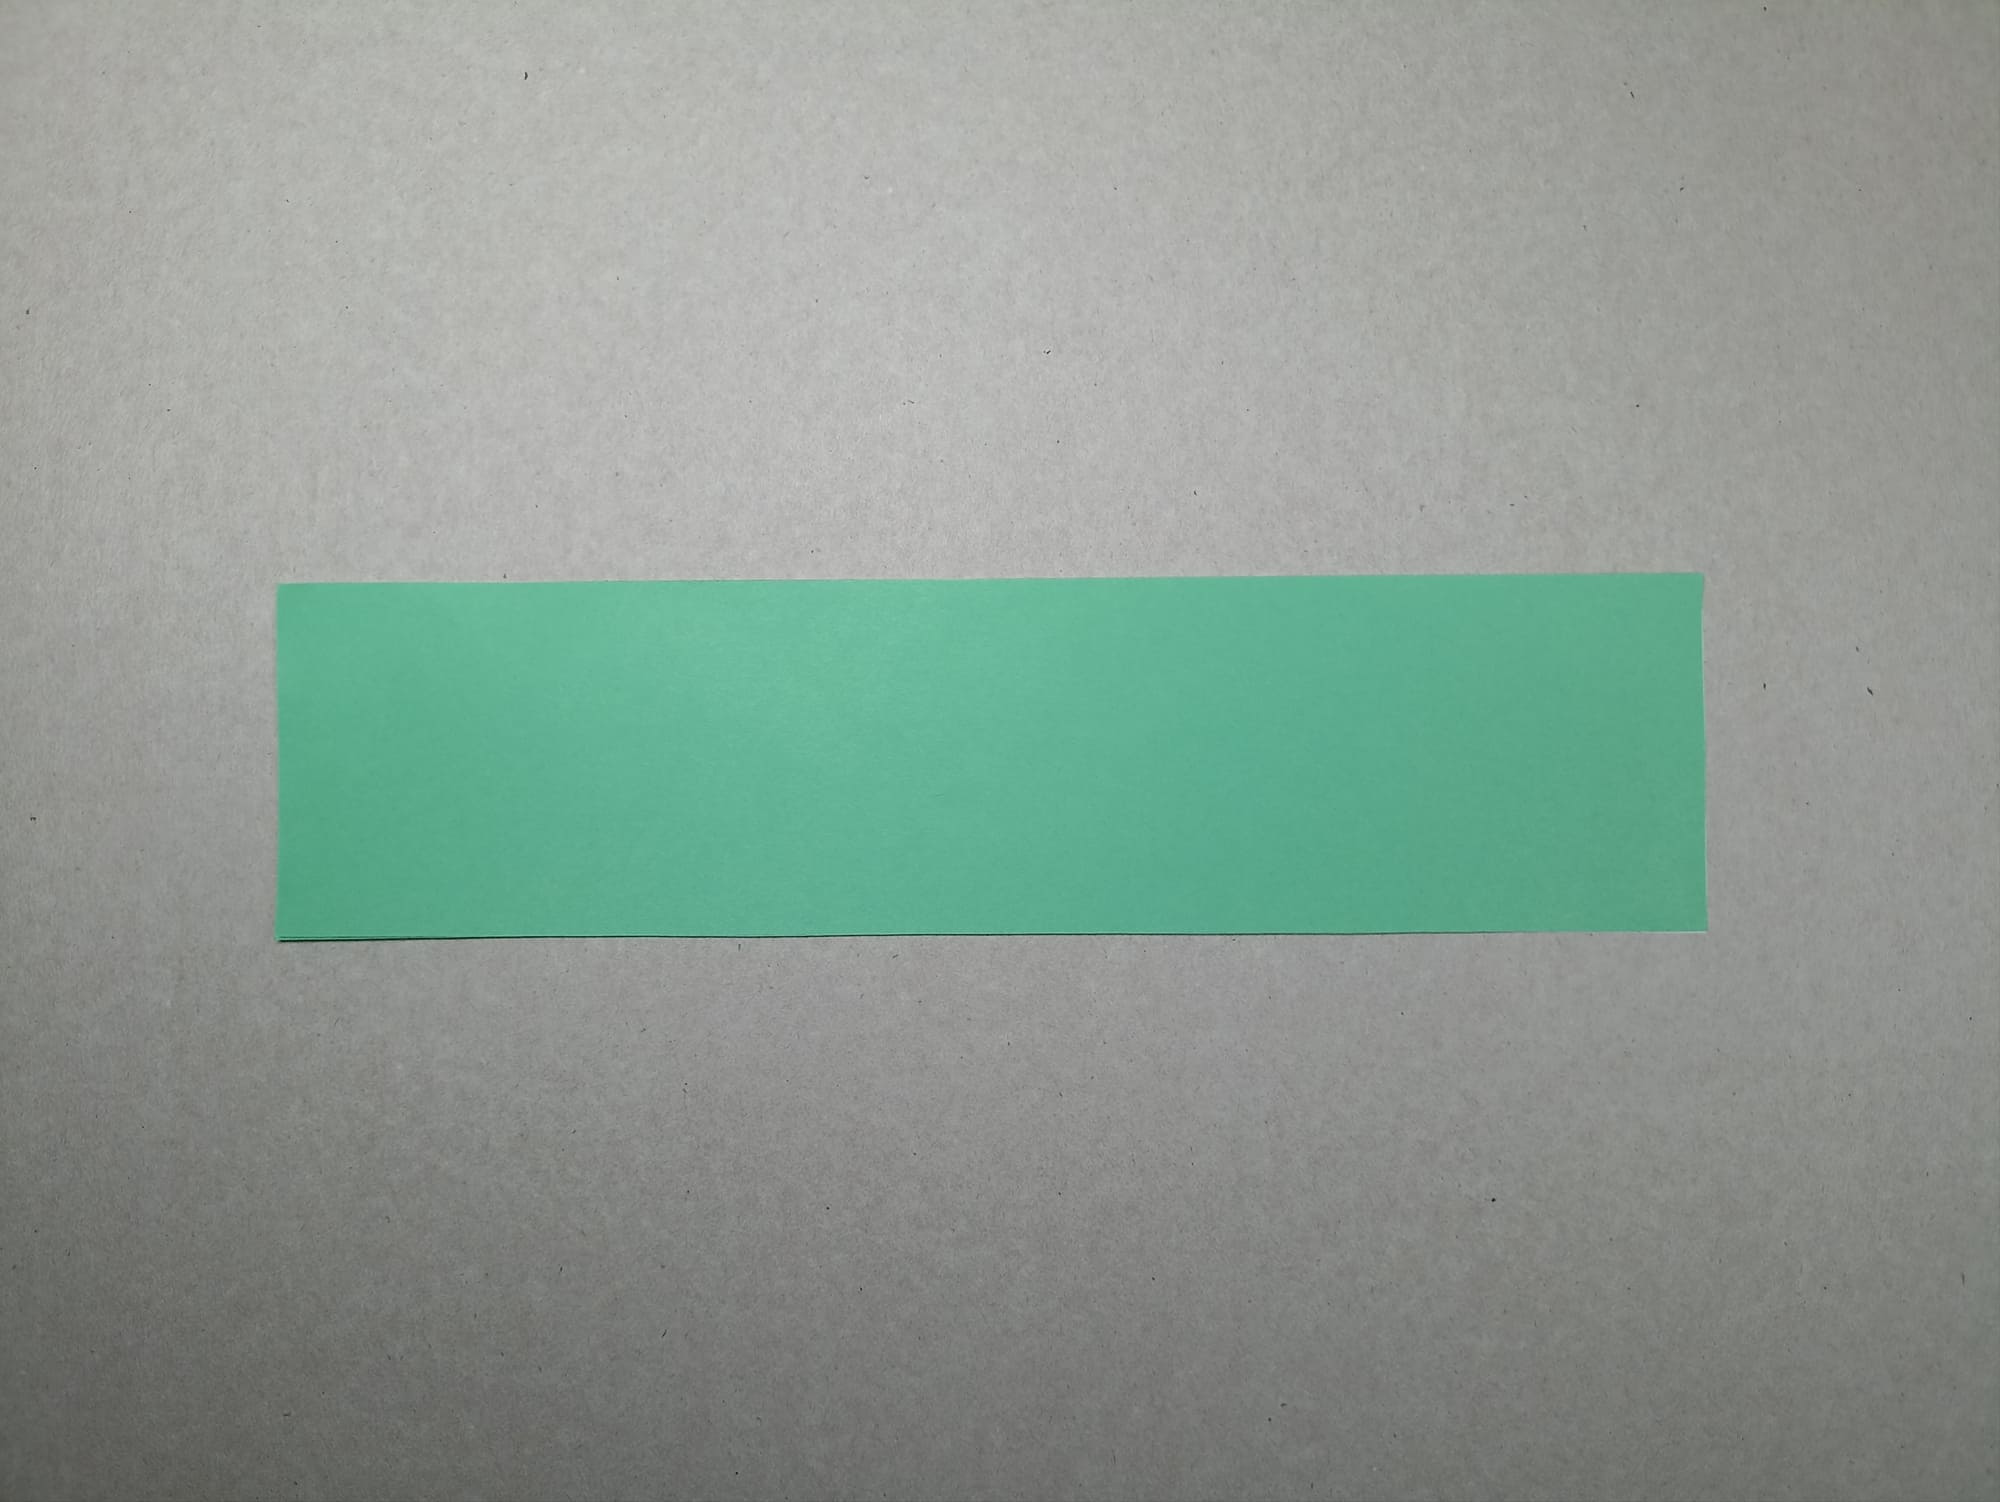
Place a piece of paper horizontally in front of you. The color of the finished Christmas tree will be the same as the side of the paper facing you.
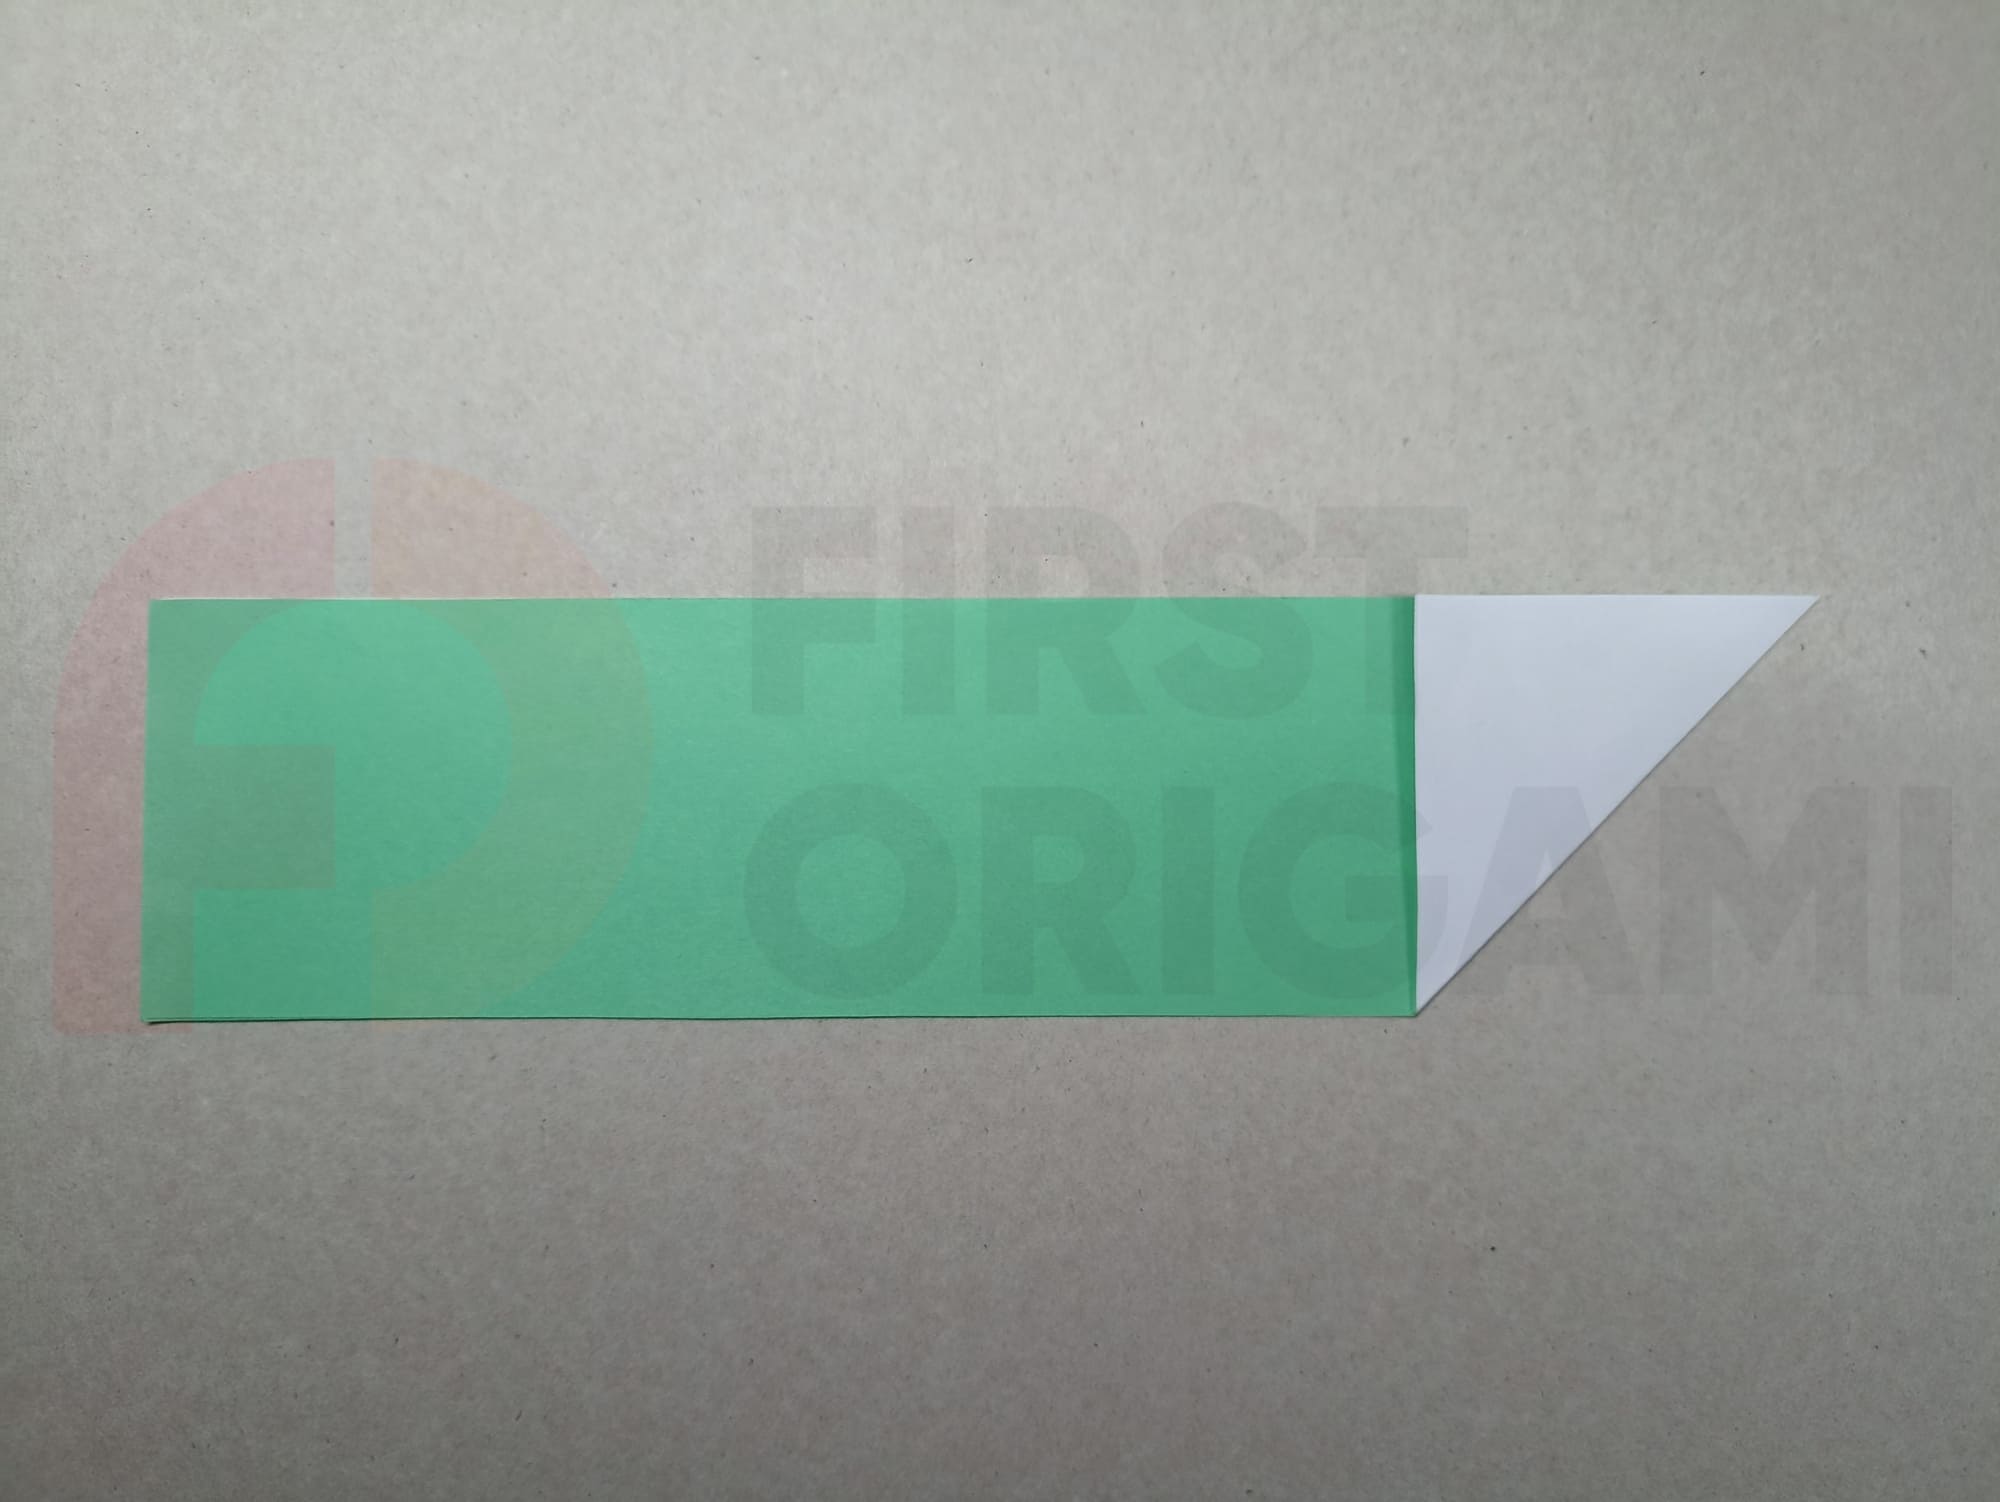
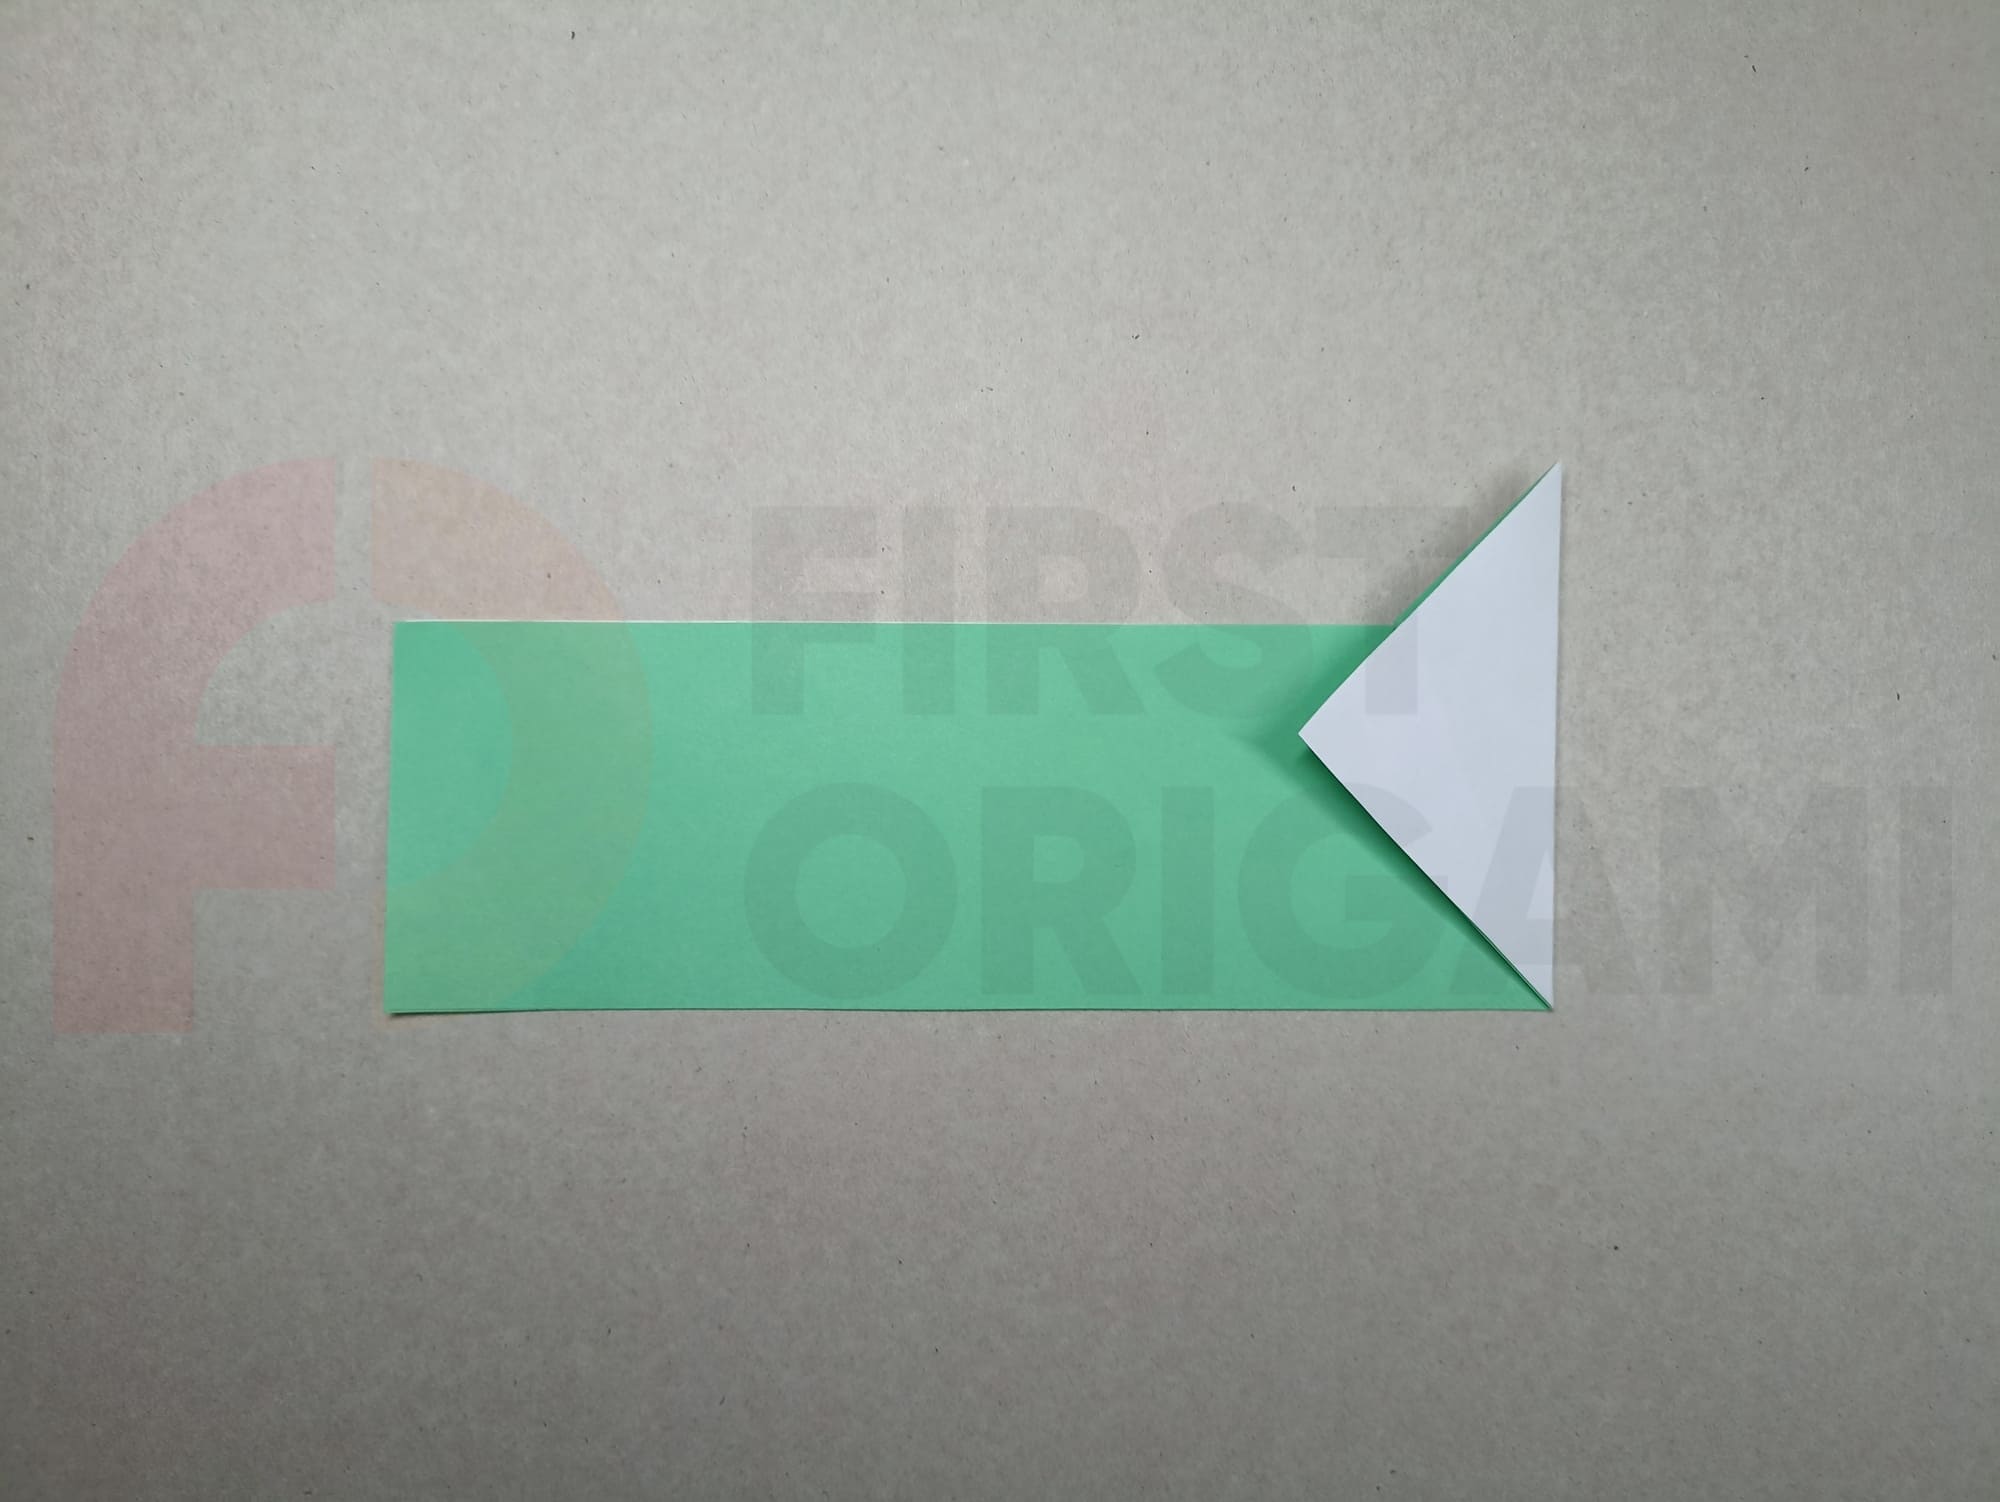
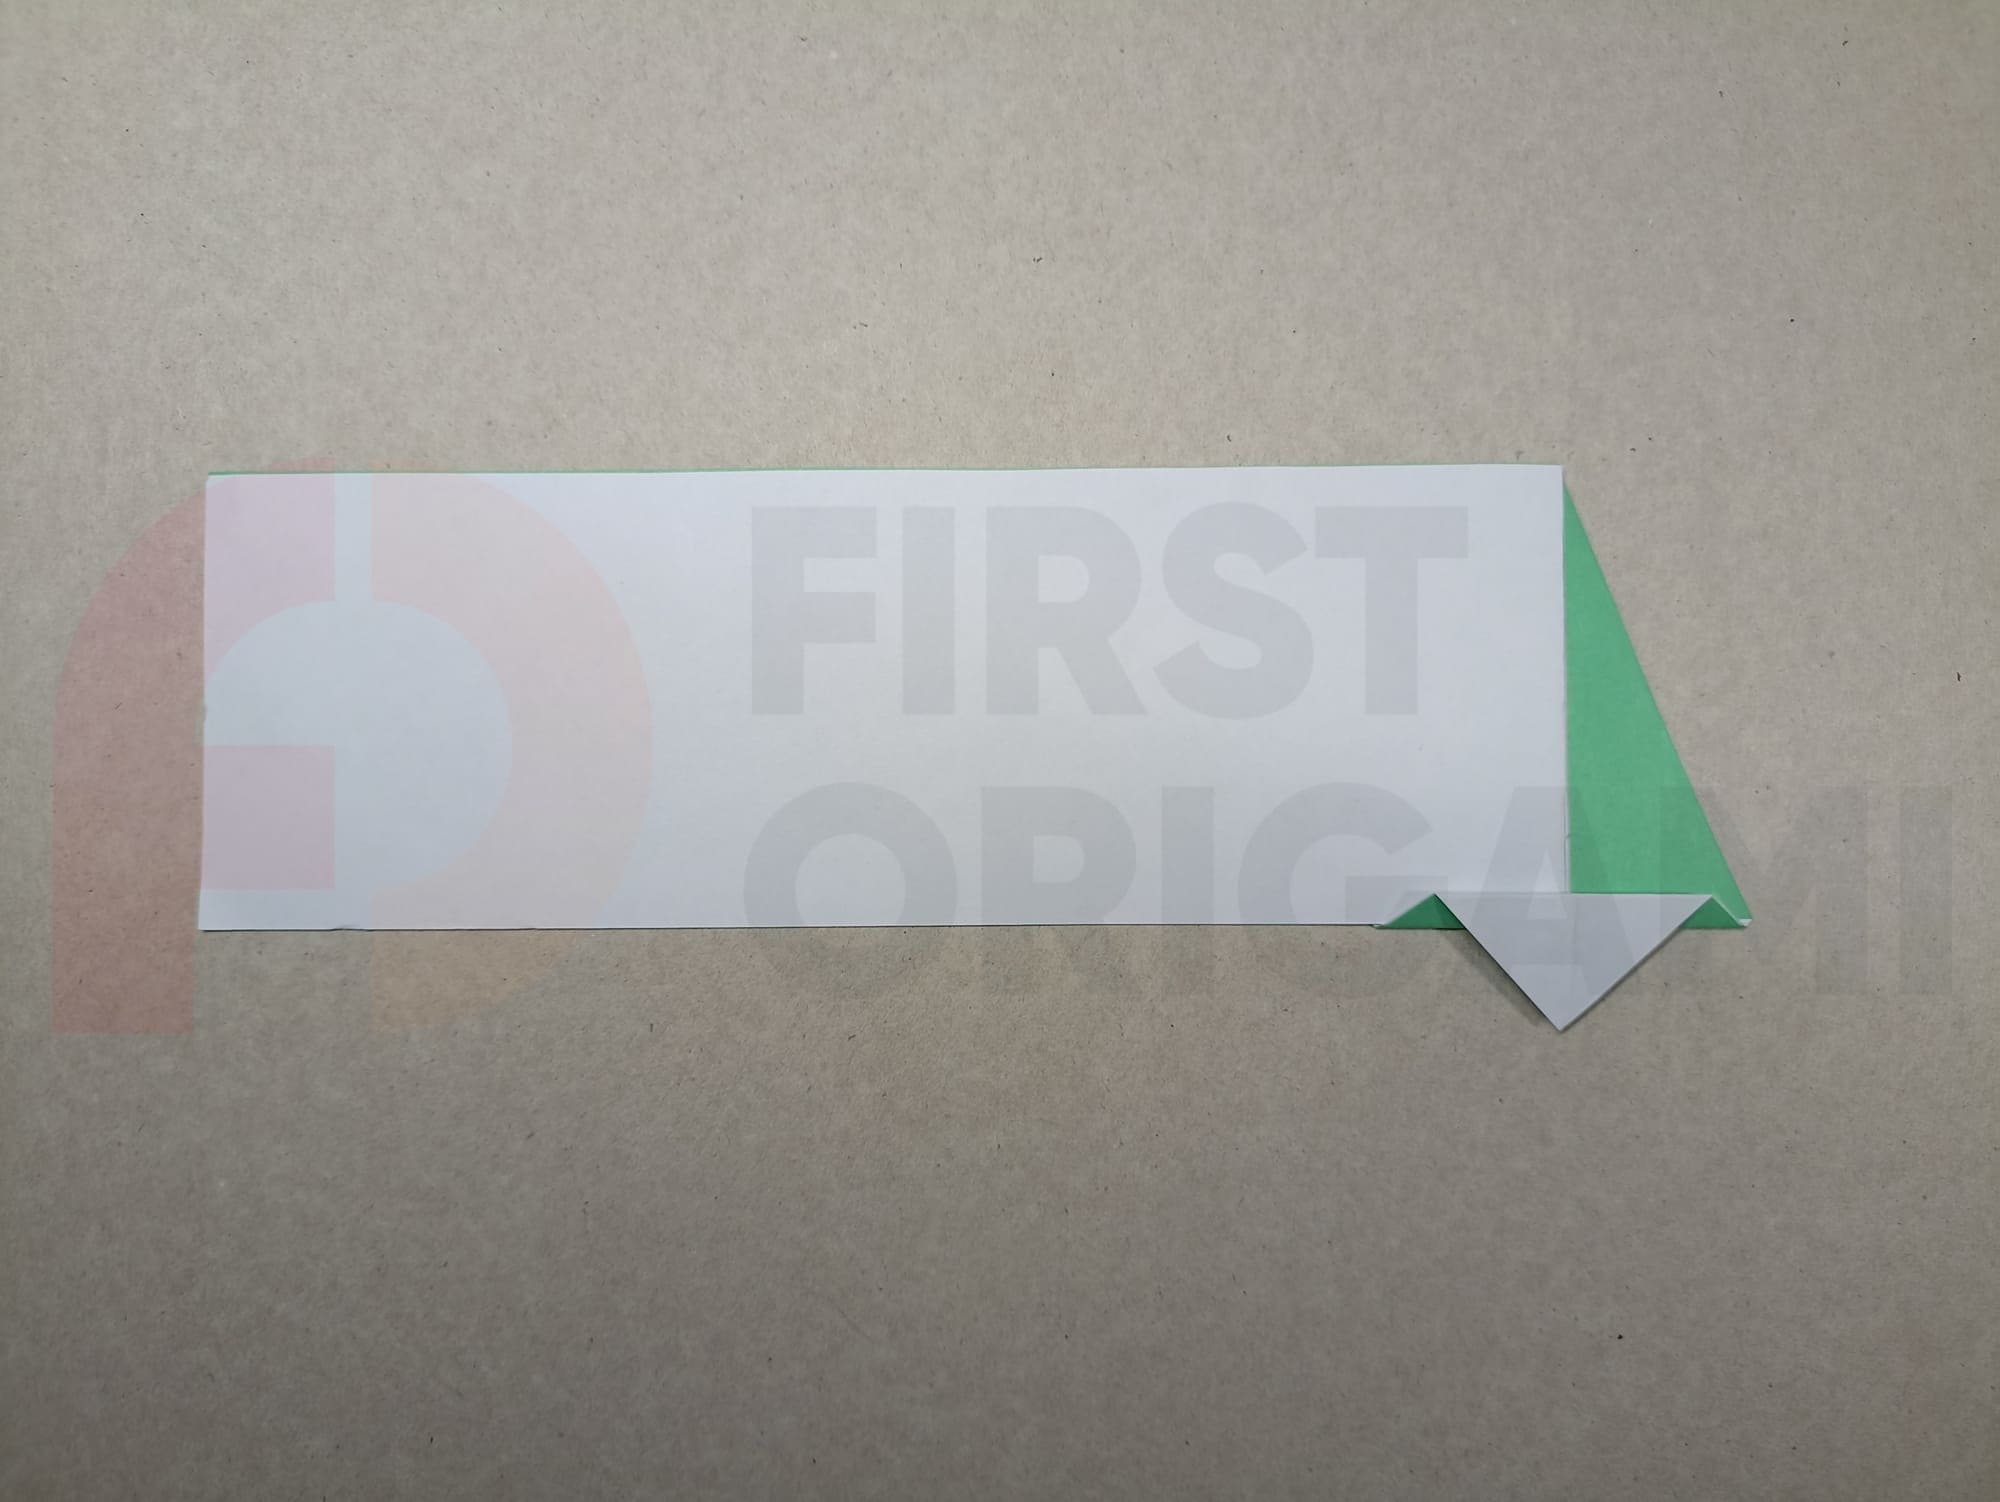
Raise the lower corner on the right up, aligning it with the top line. This diagonal fold divides the top right corner in half.

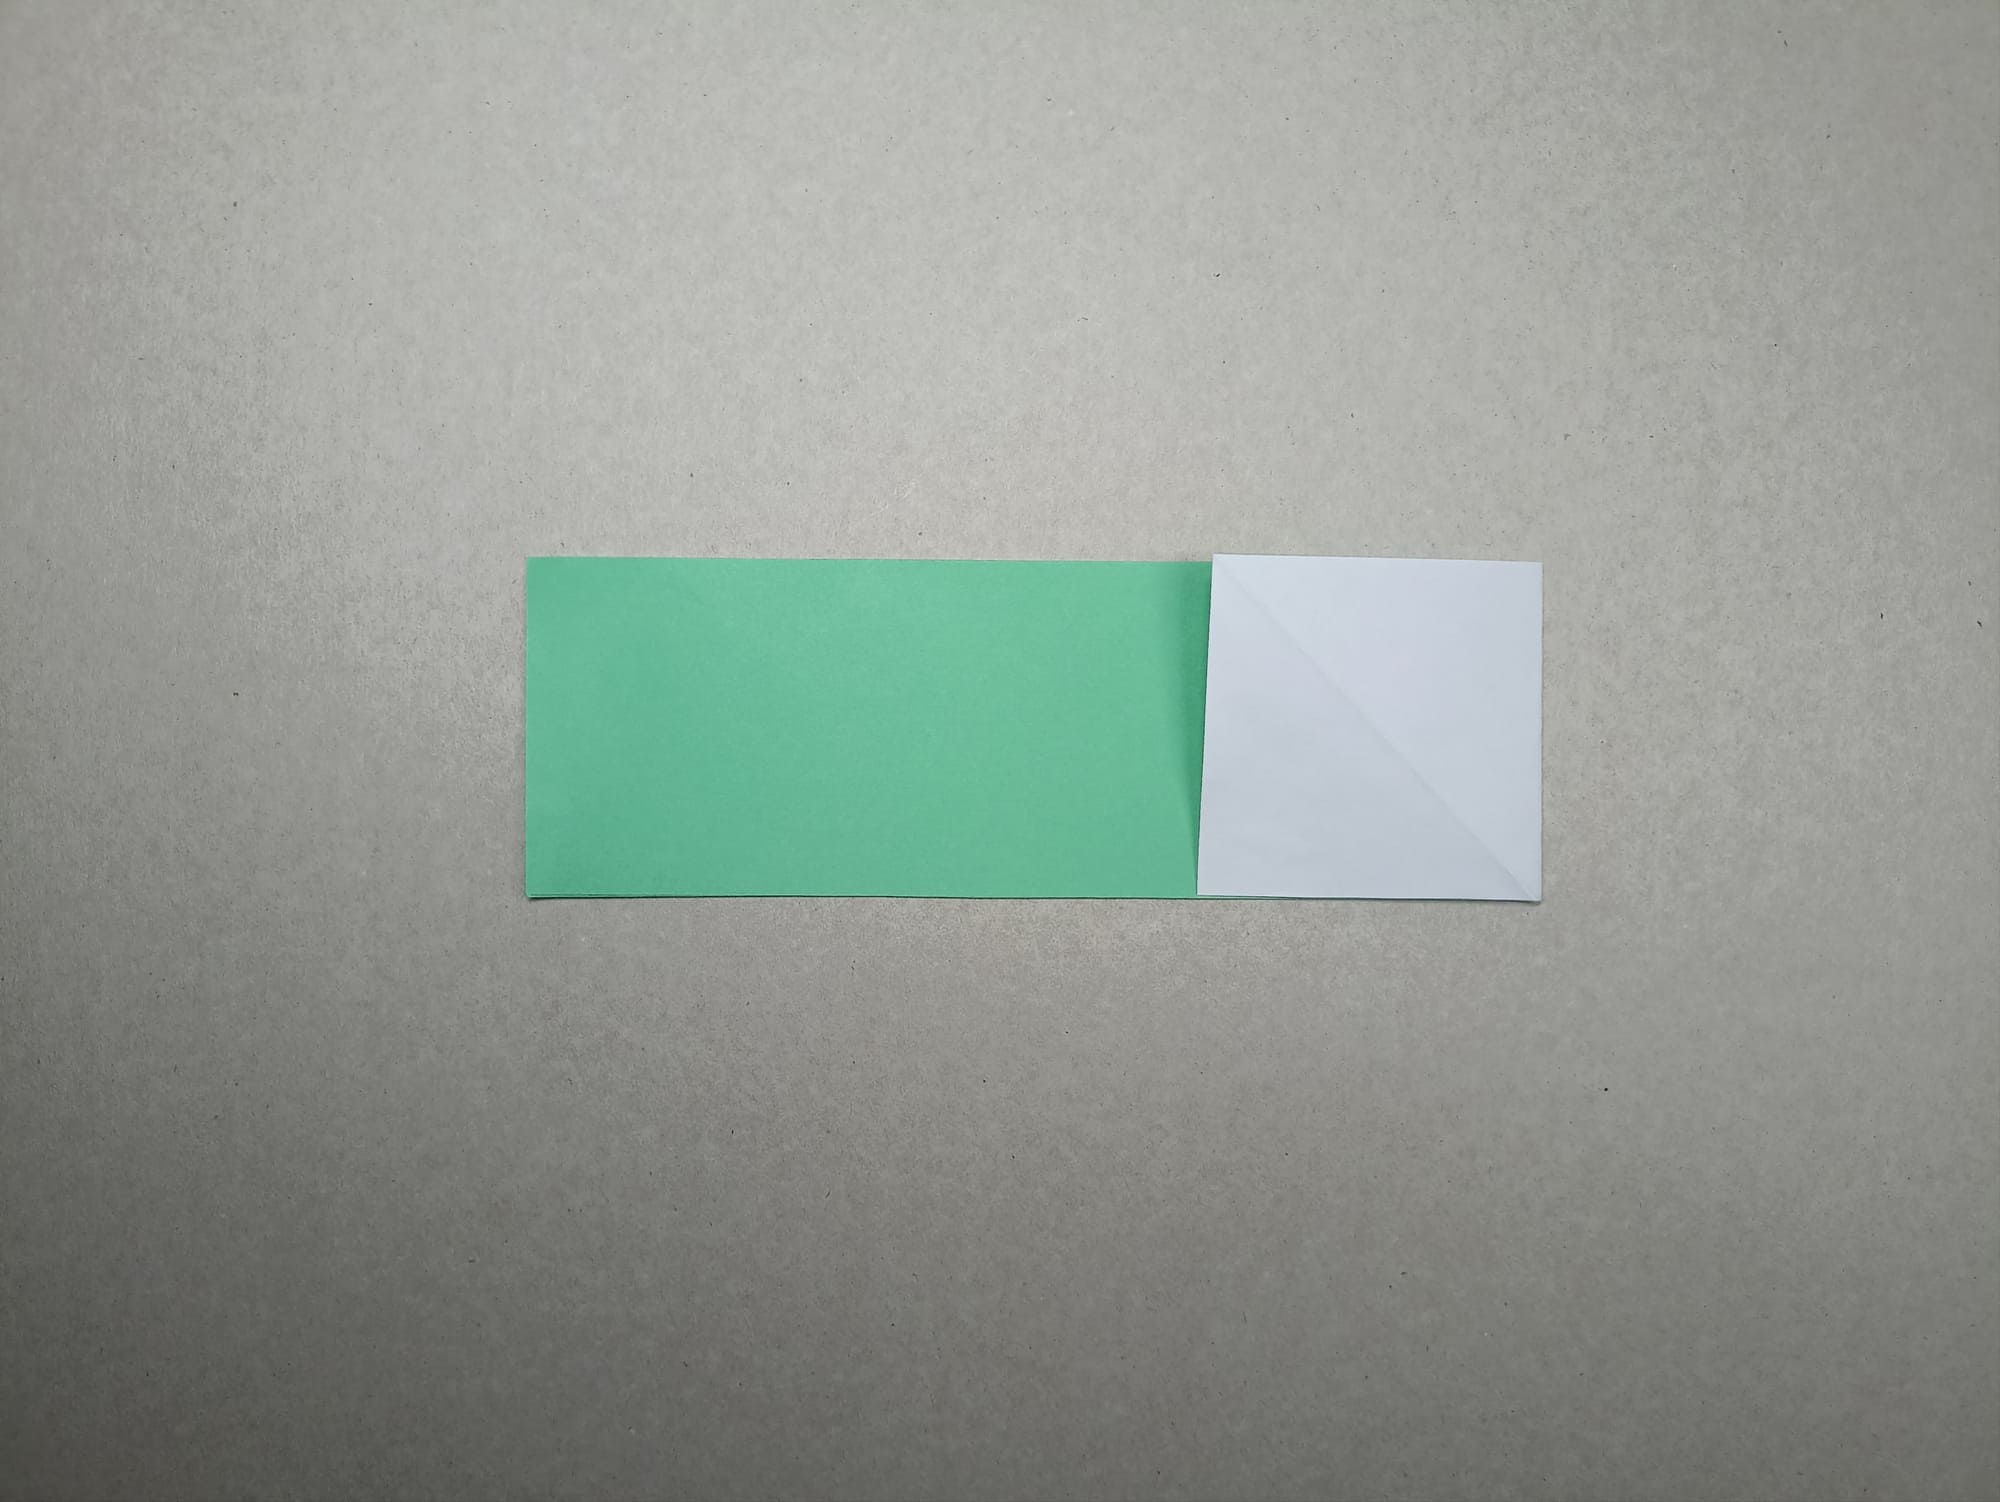
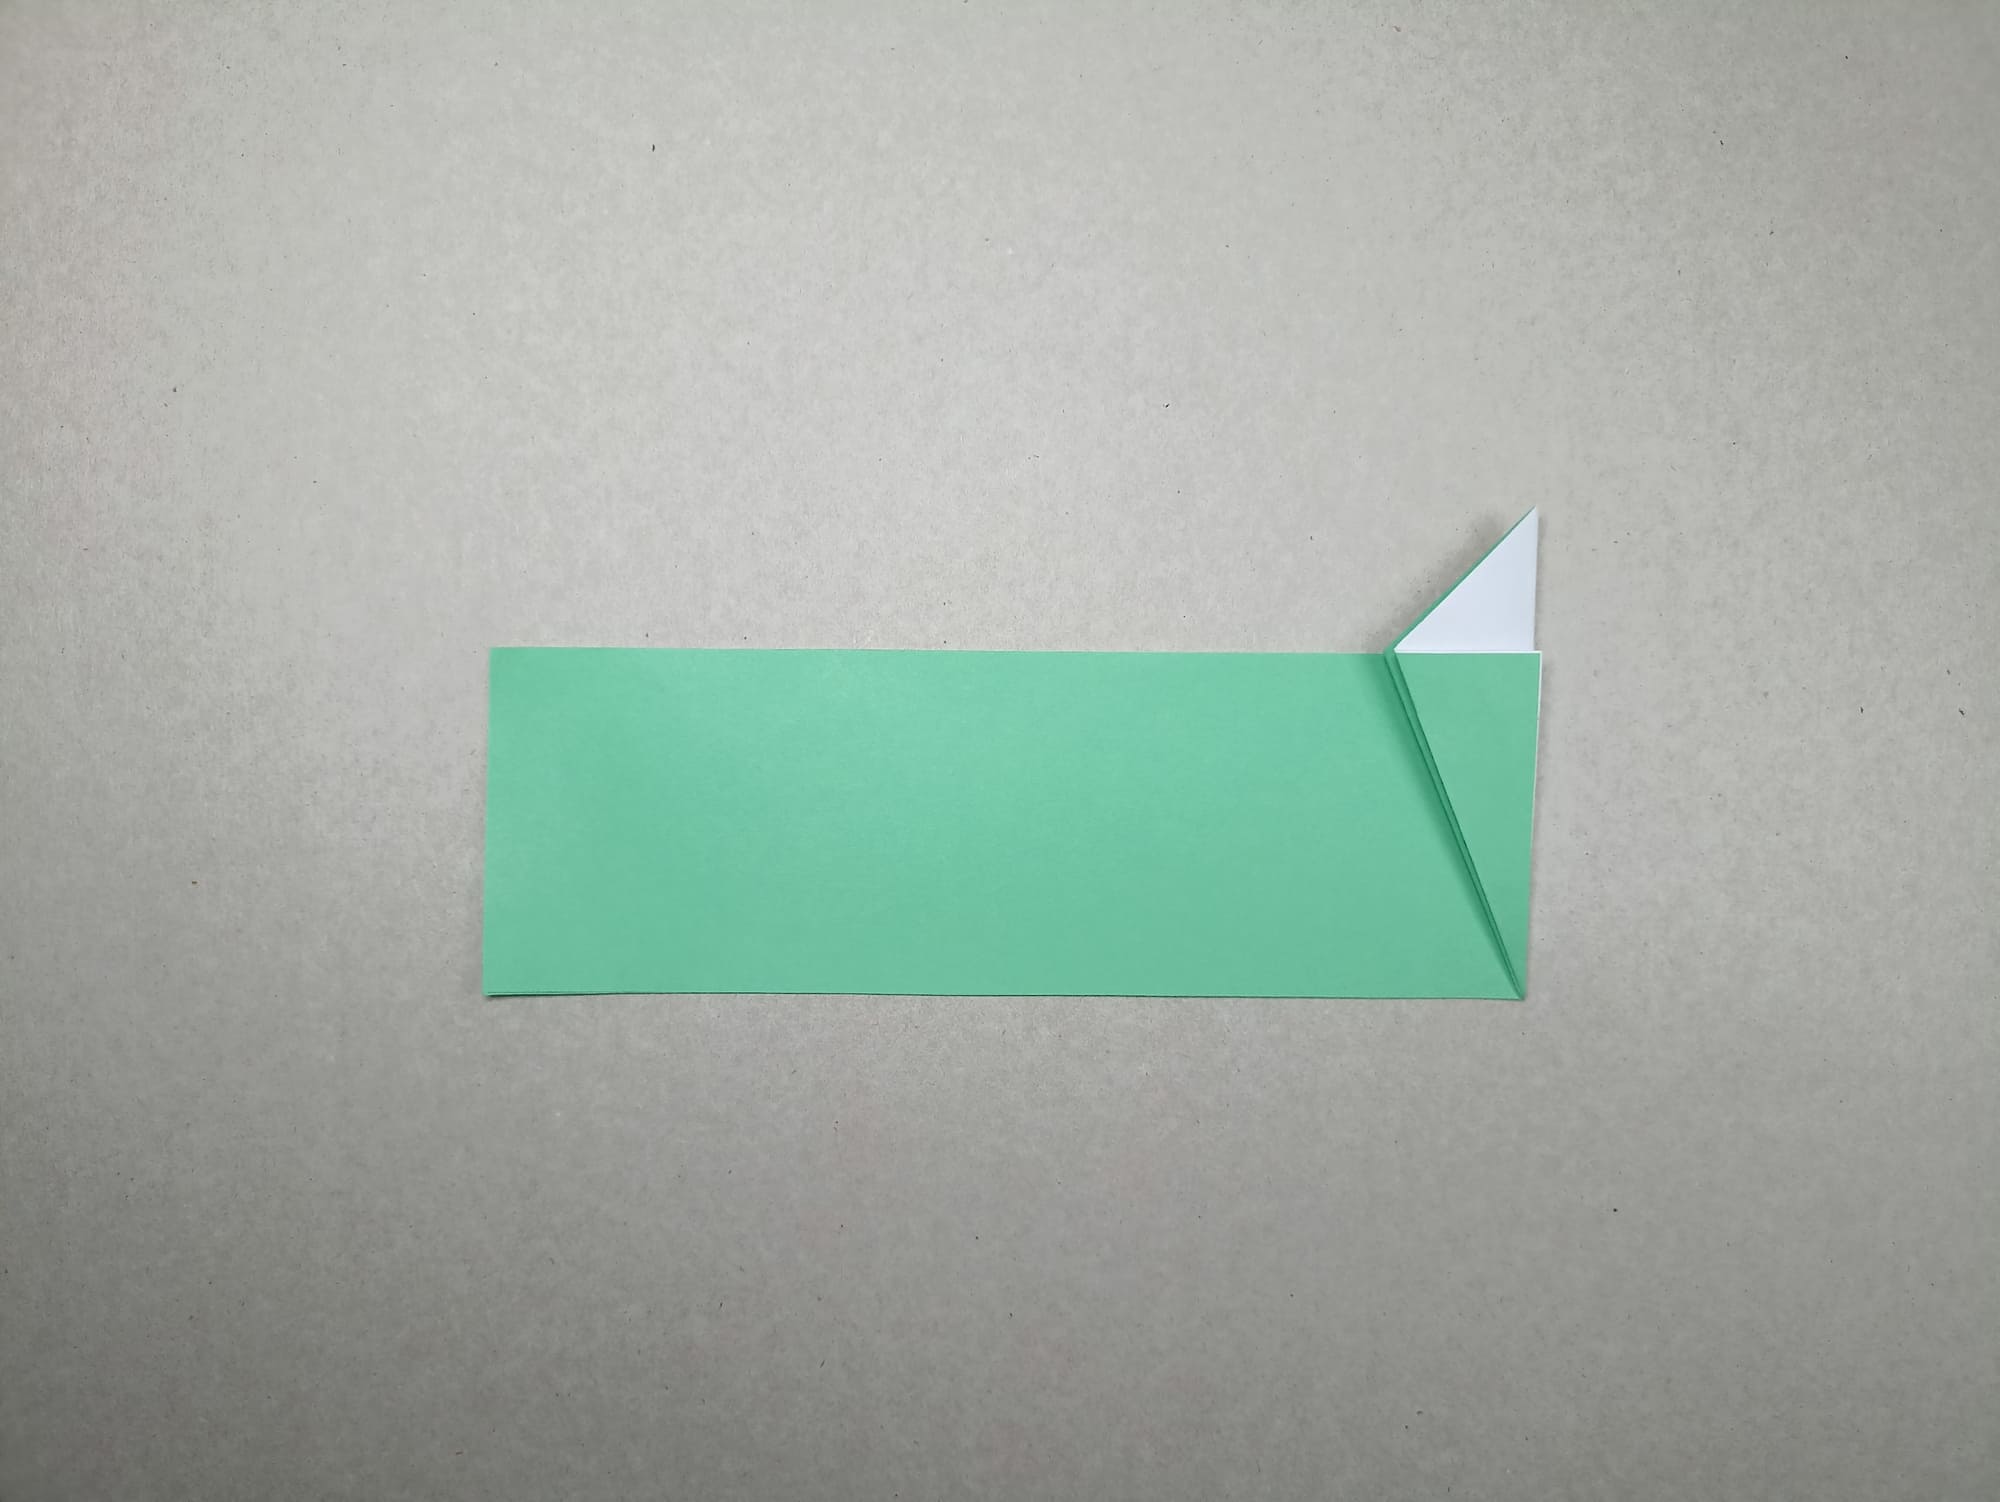
Bend the resulting triangle to the left along a vertical line, aligning the side with the top line of the paper.
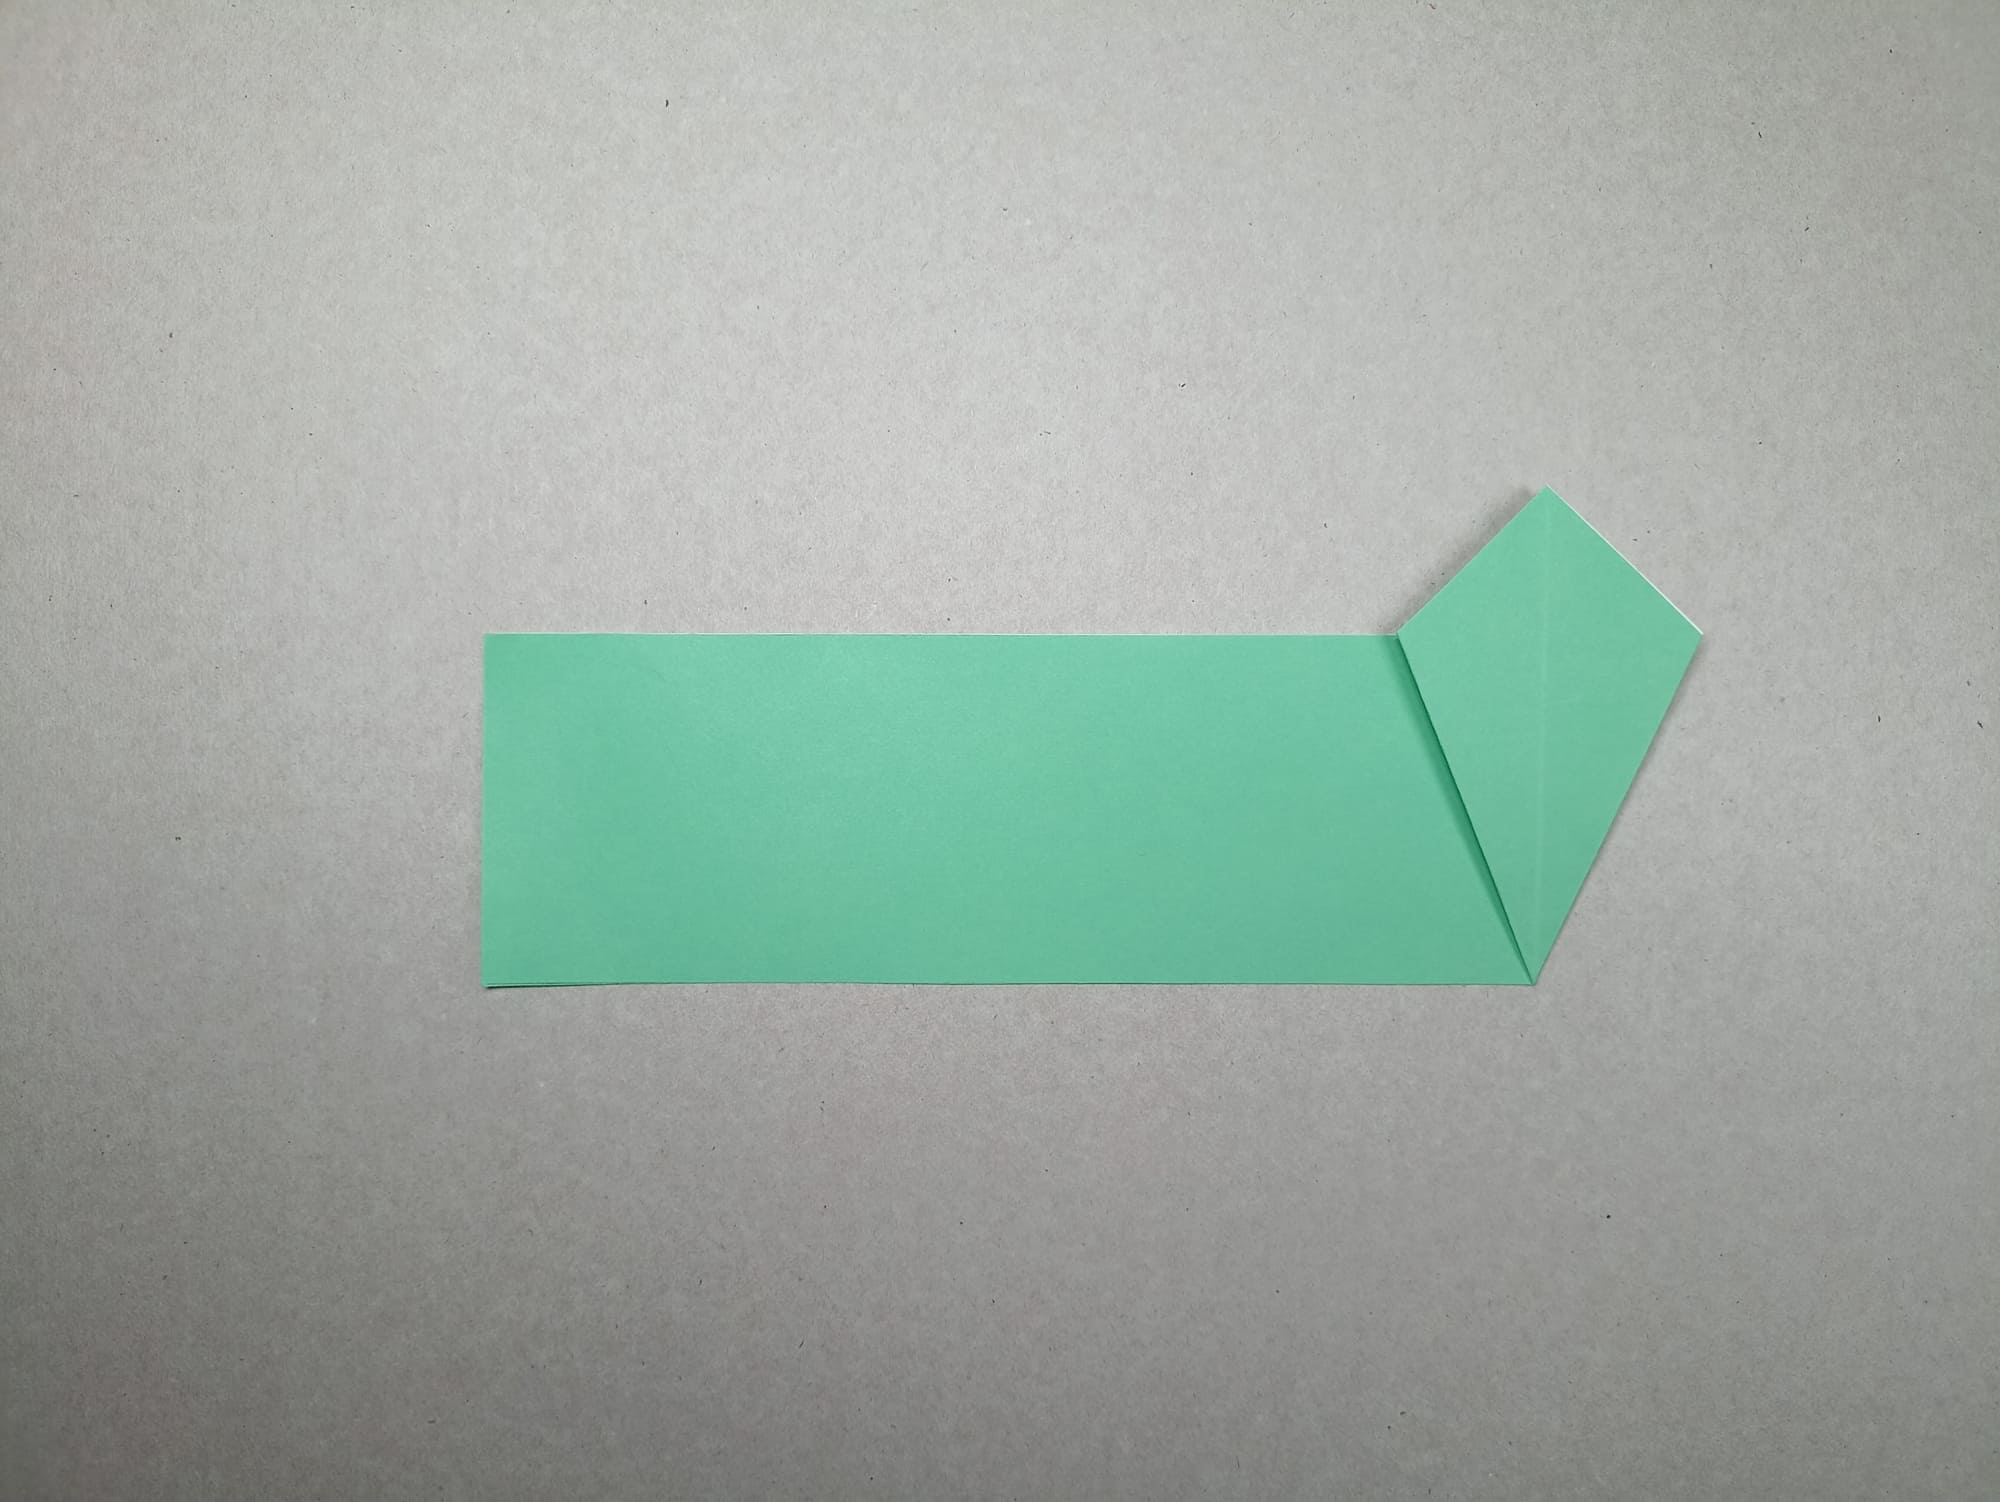
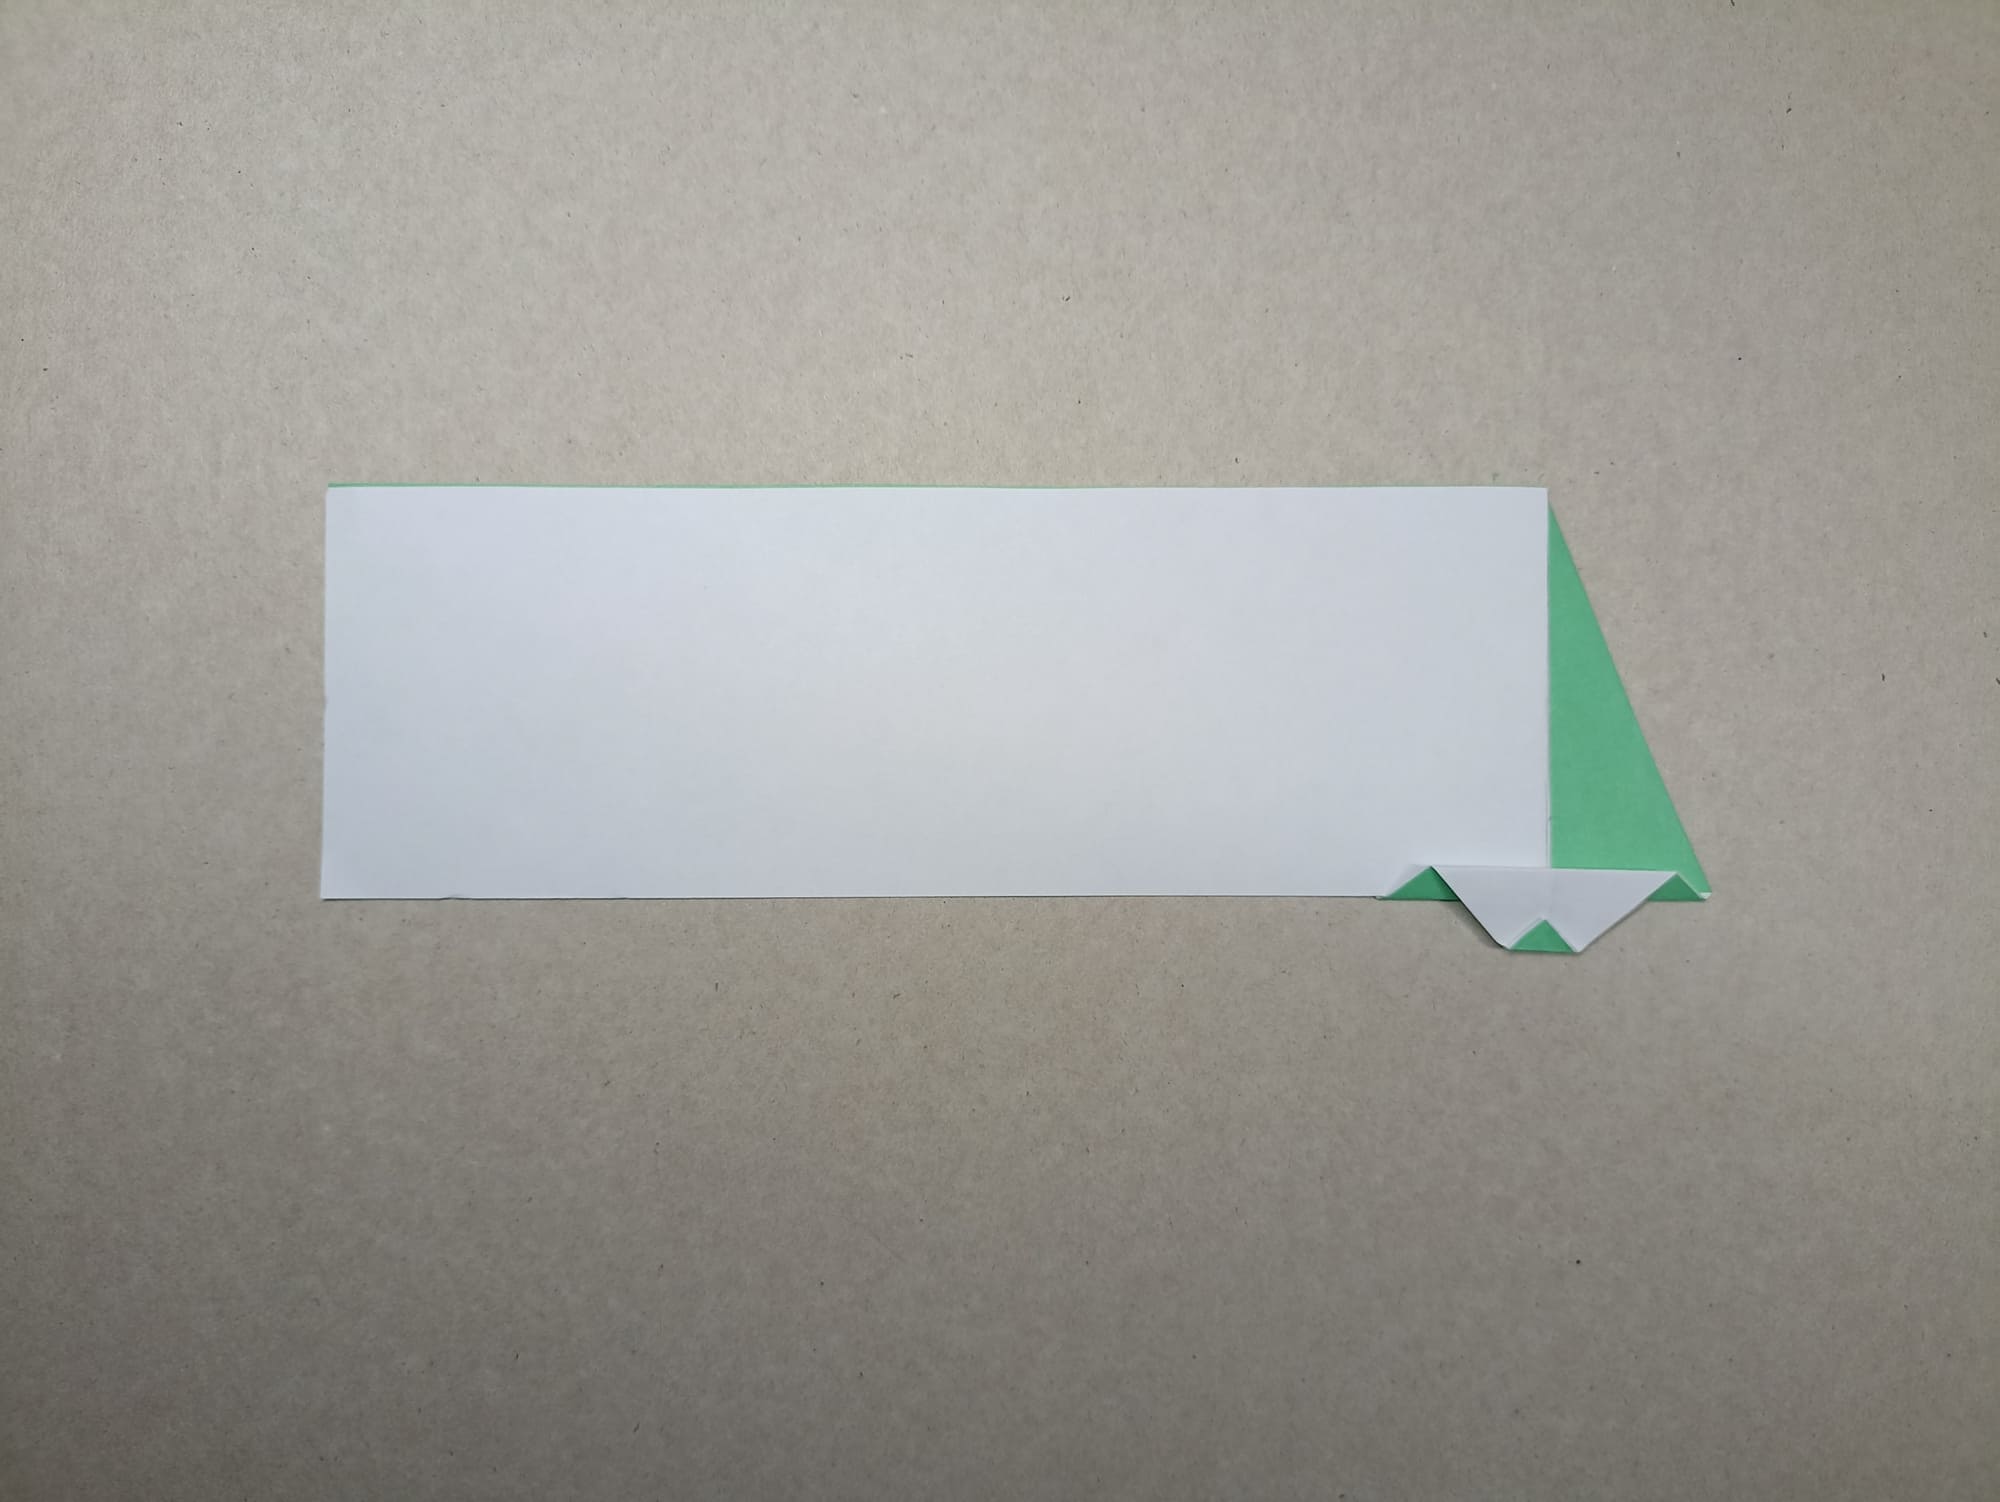
Straighten the bottom of the triangle outward to make a square.
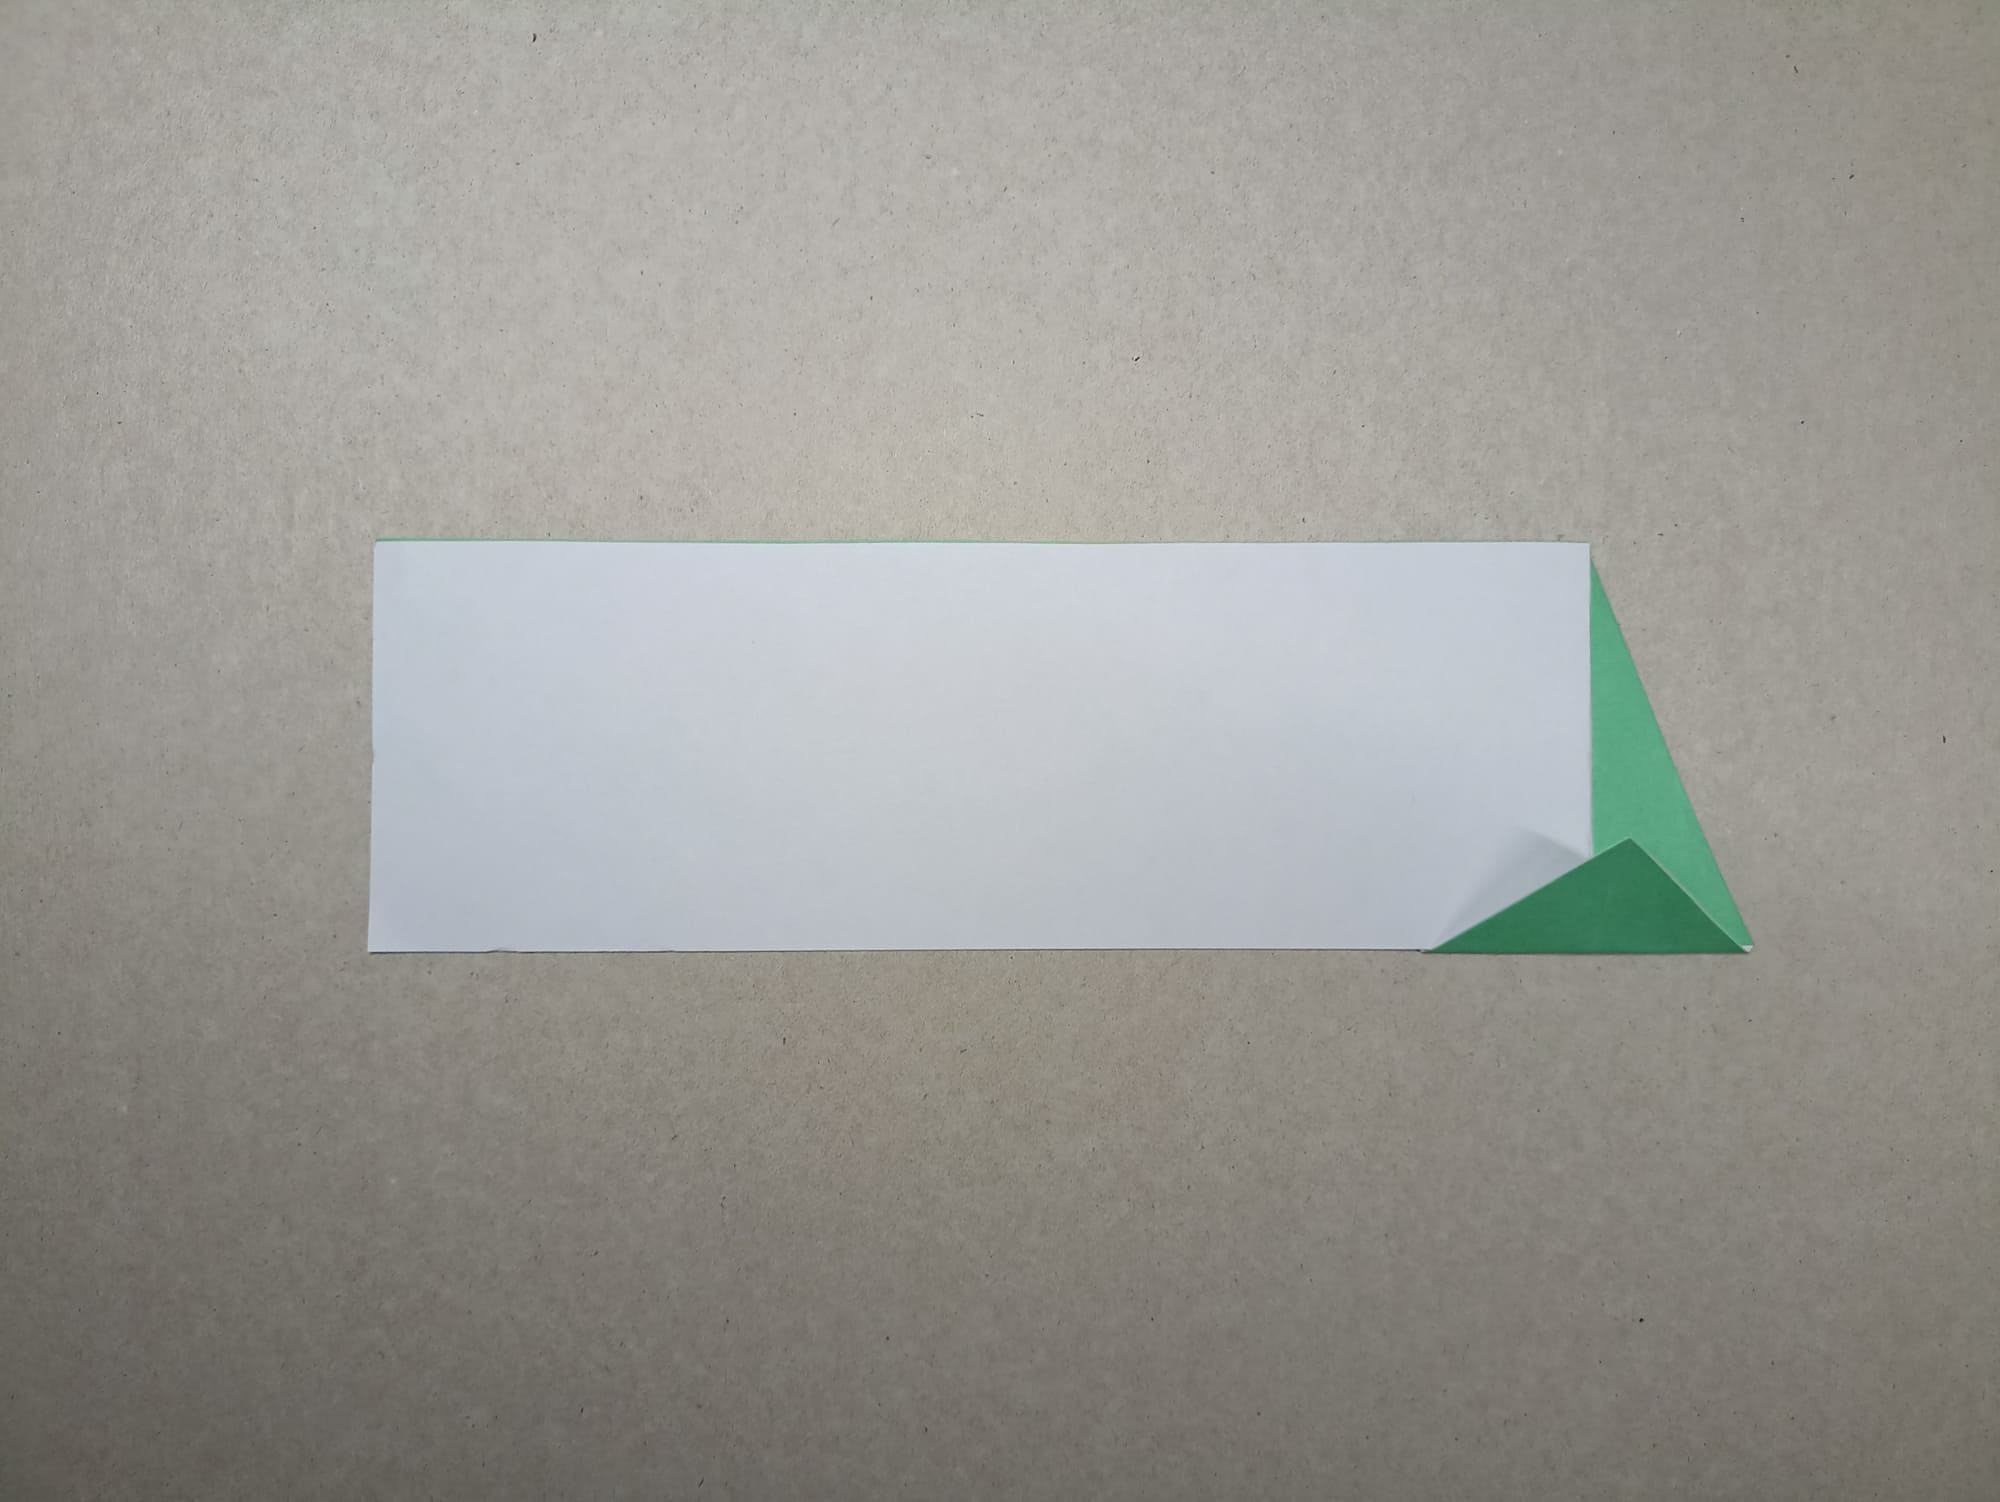
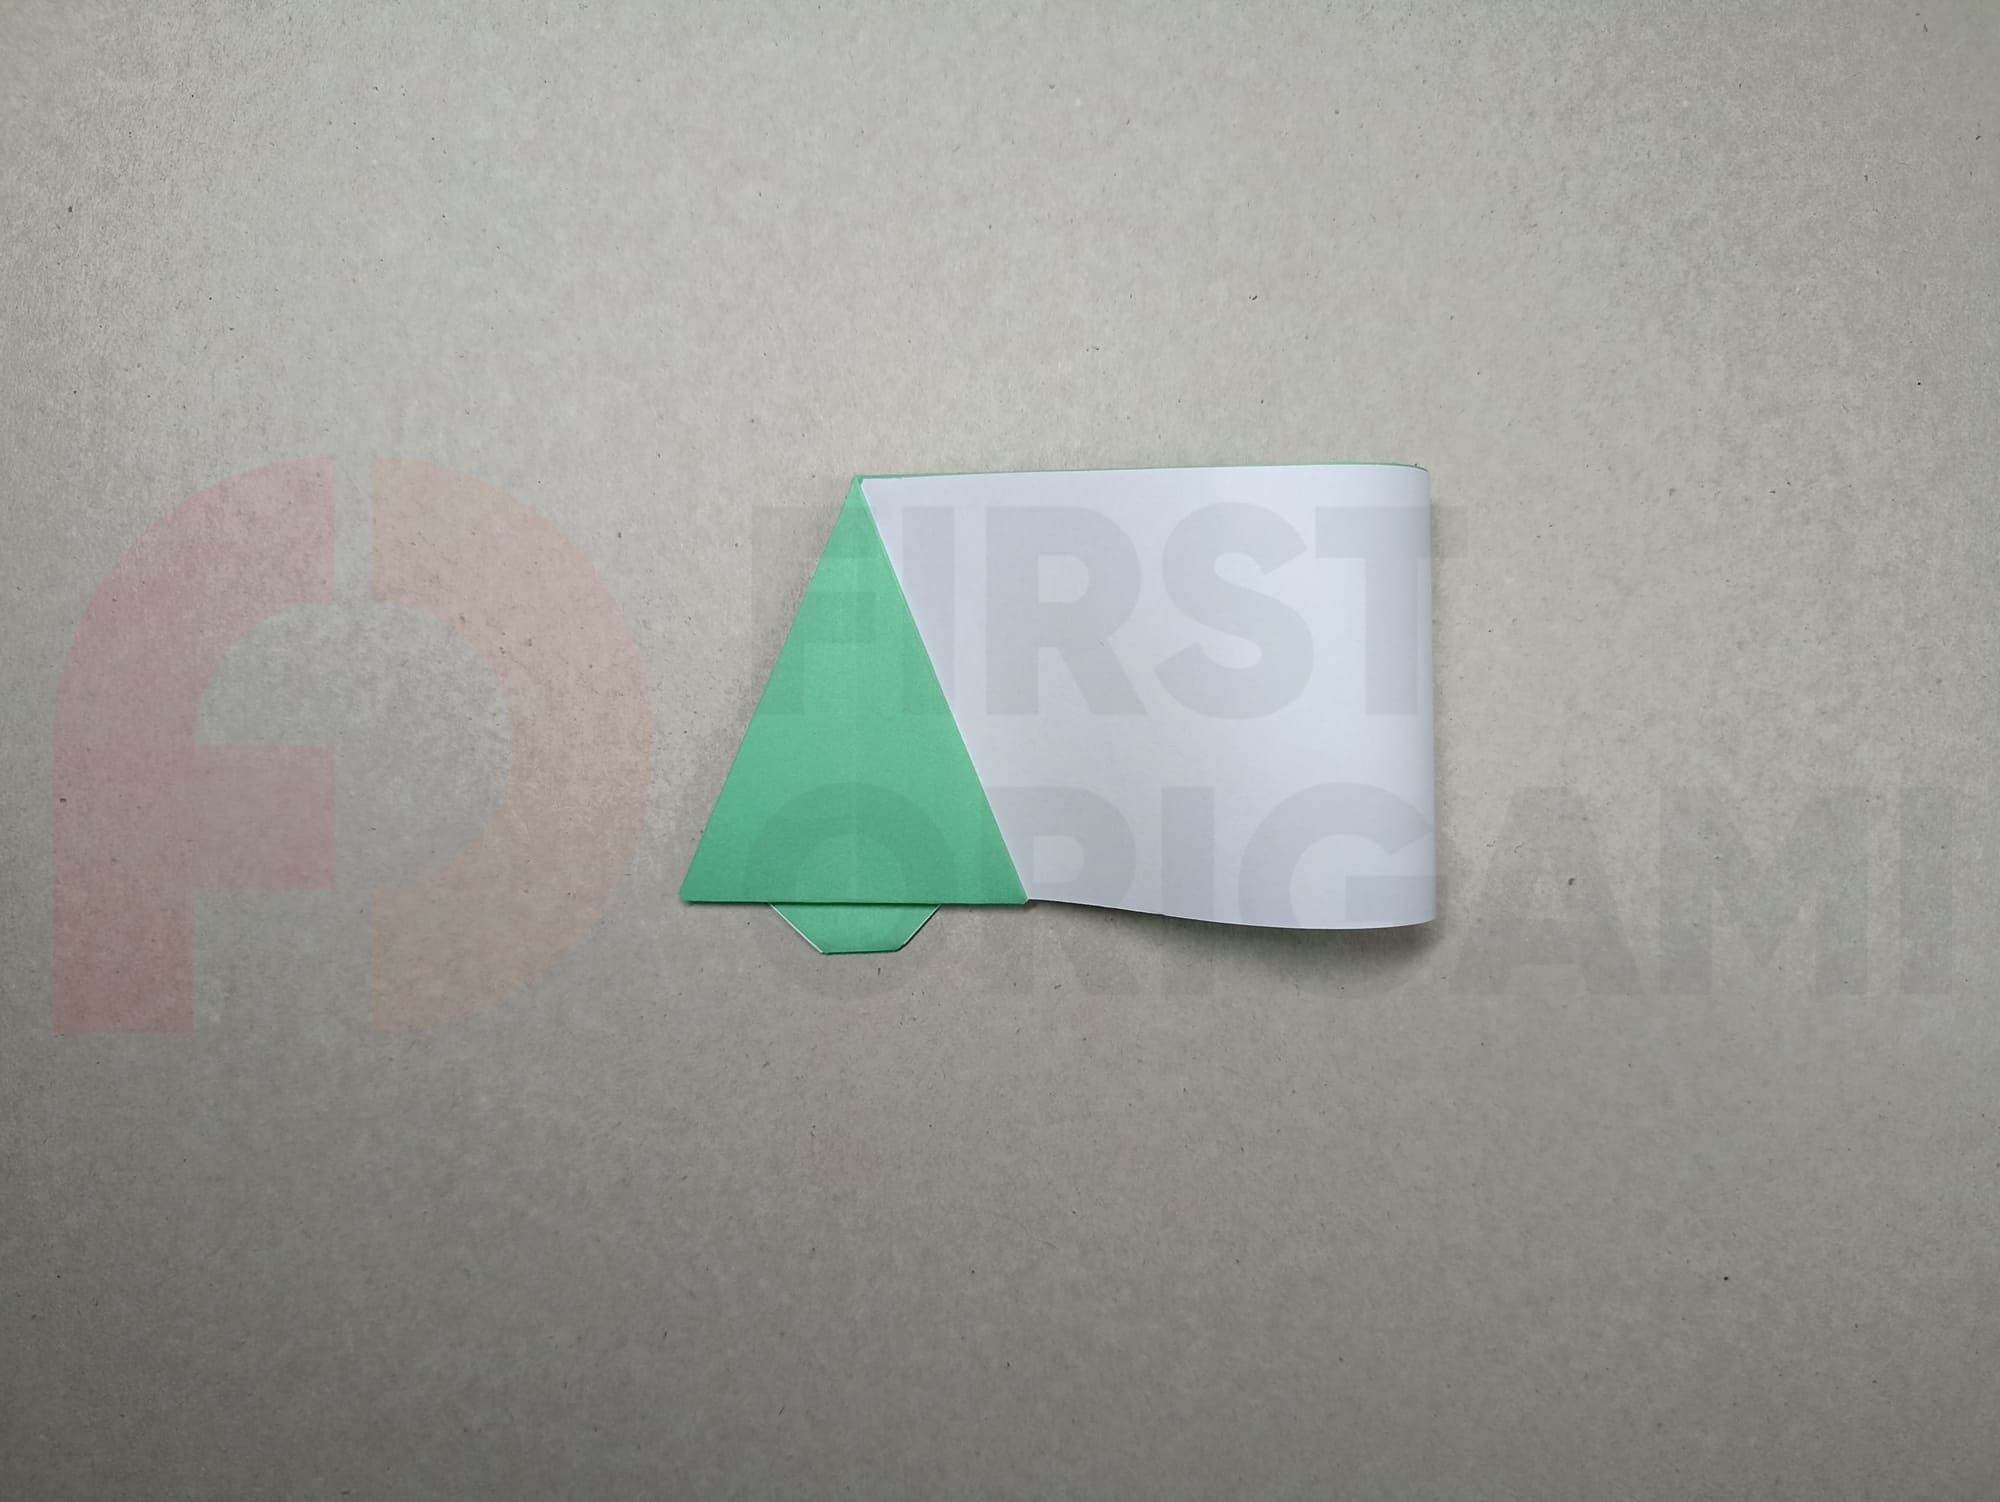
Align the diagonal line of the square with the side. The right triangle with its top at the bottom will be divided in half and remain under the left triangle. Crease invisible folds.
Align the lower side of the upper triangle with the side edge, dividing the upper triangle in half.
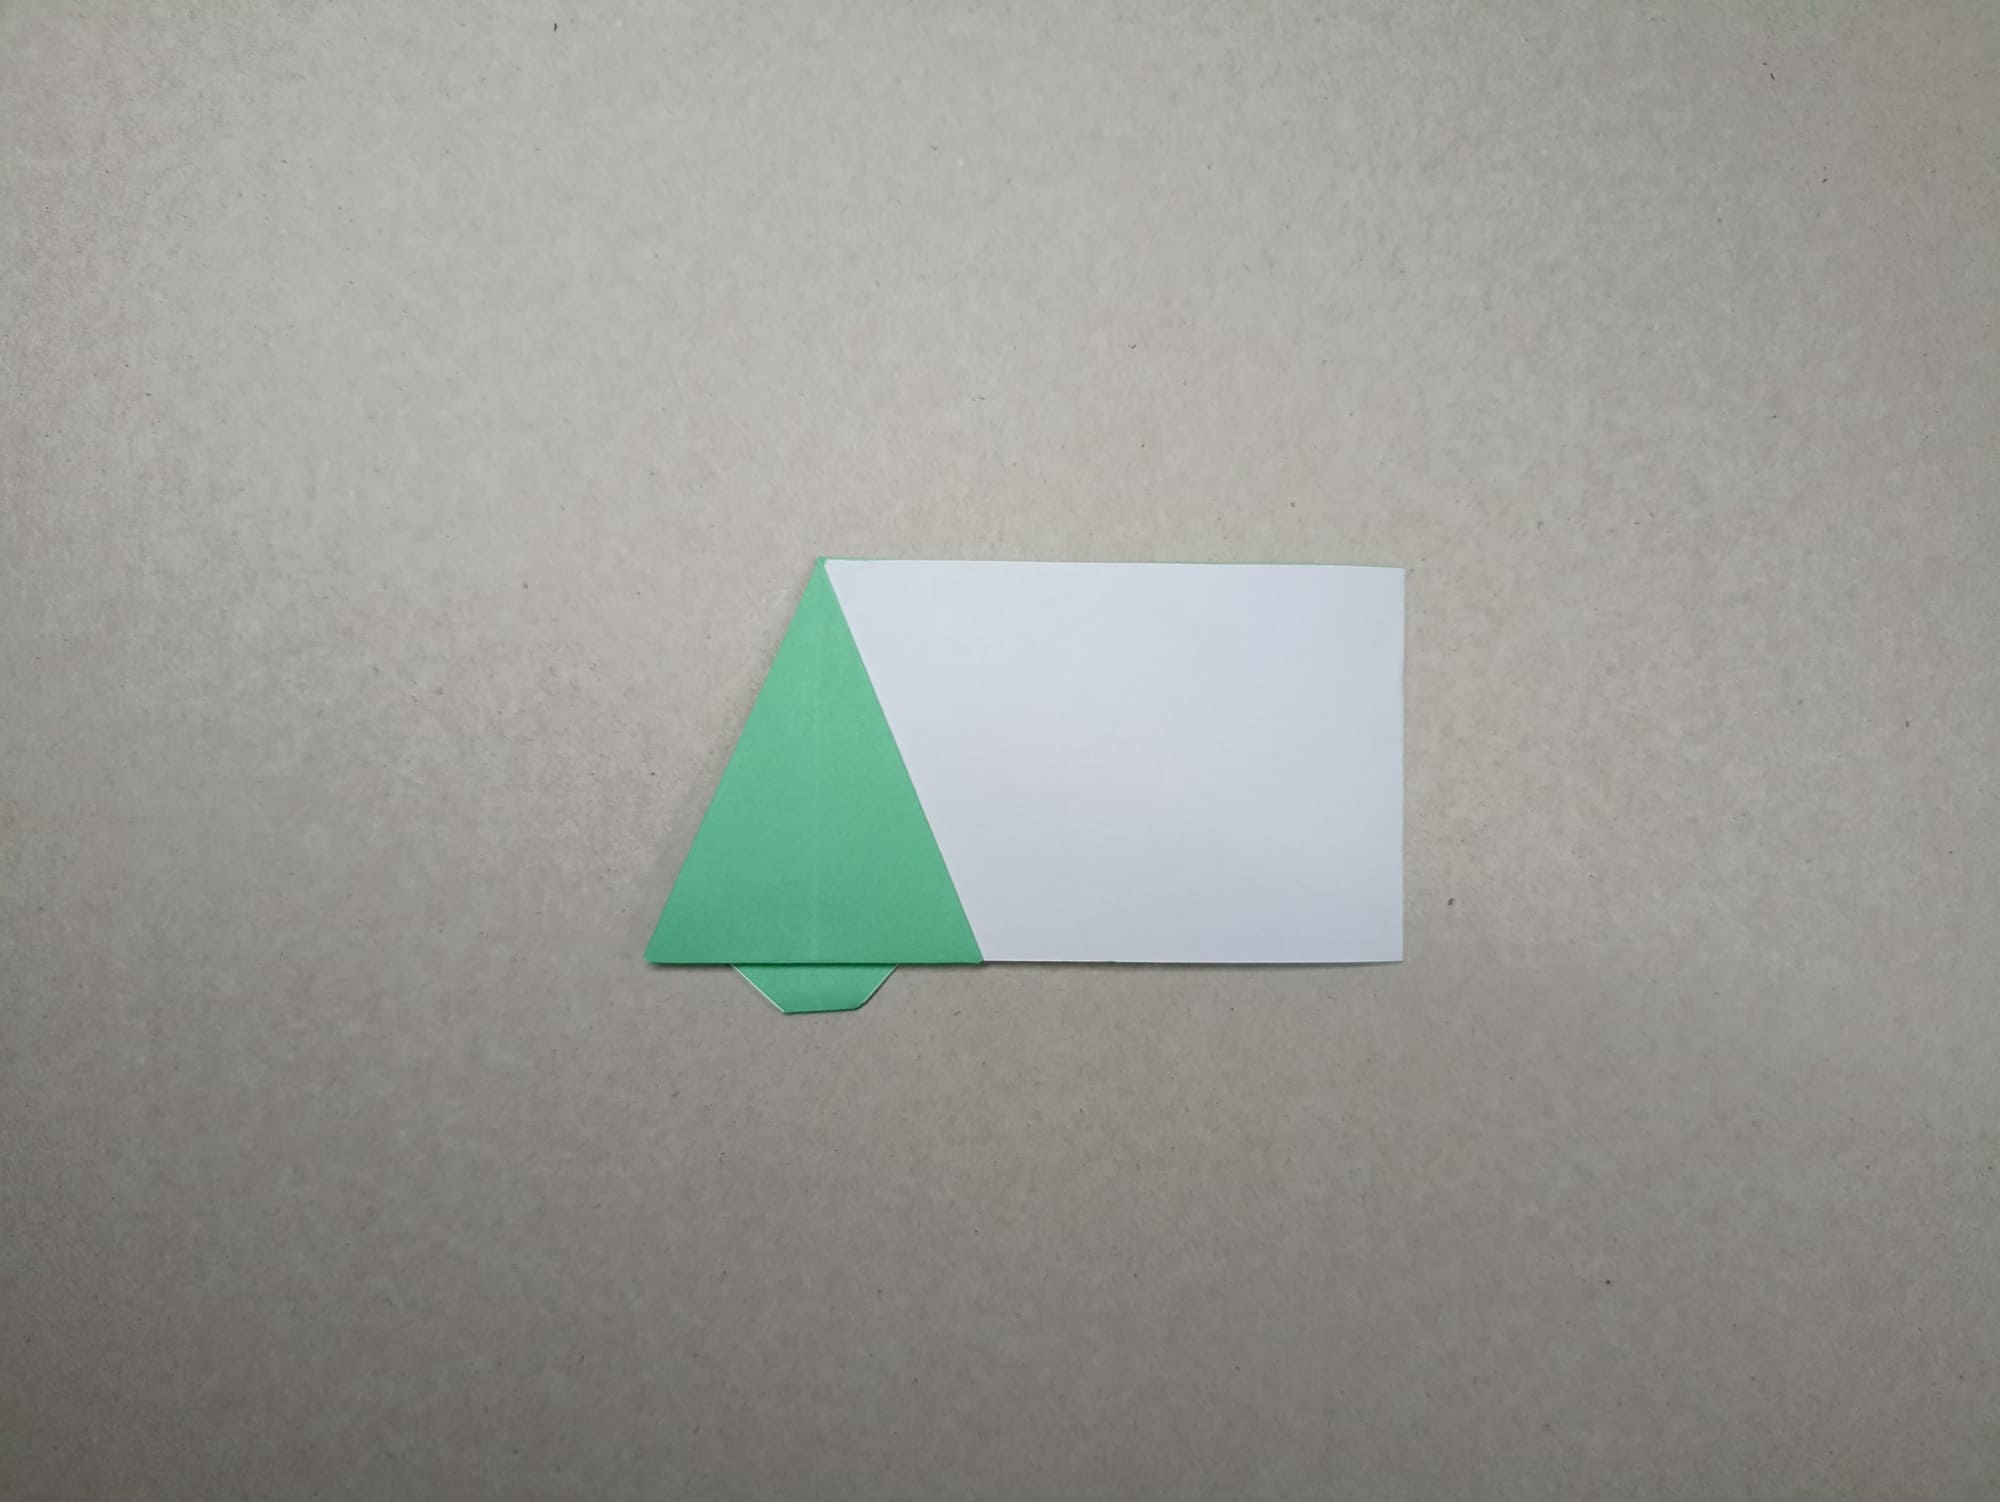
Open the top of the folds to the right to create a diamond shape.

Turn the figure over, as when turning a page of a book, and turn the protruding corner down.

Bend the lower small triangle up along the bottom line of the paper.
Bend the triangle down. The fold should be just above the bottom line of the figure.
Fold the very edge of the bottom corner of the triangle up and turn the figure over.

Direct the right side of the paper to the vertical middle line of the Christmas tree, tucking the lower corner into the resulting pocket.
Crease the fold.
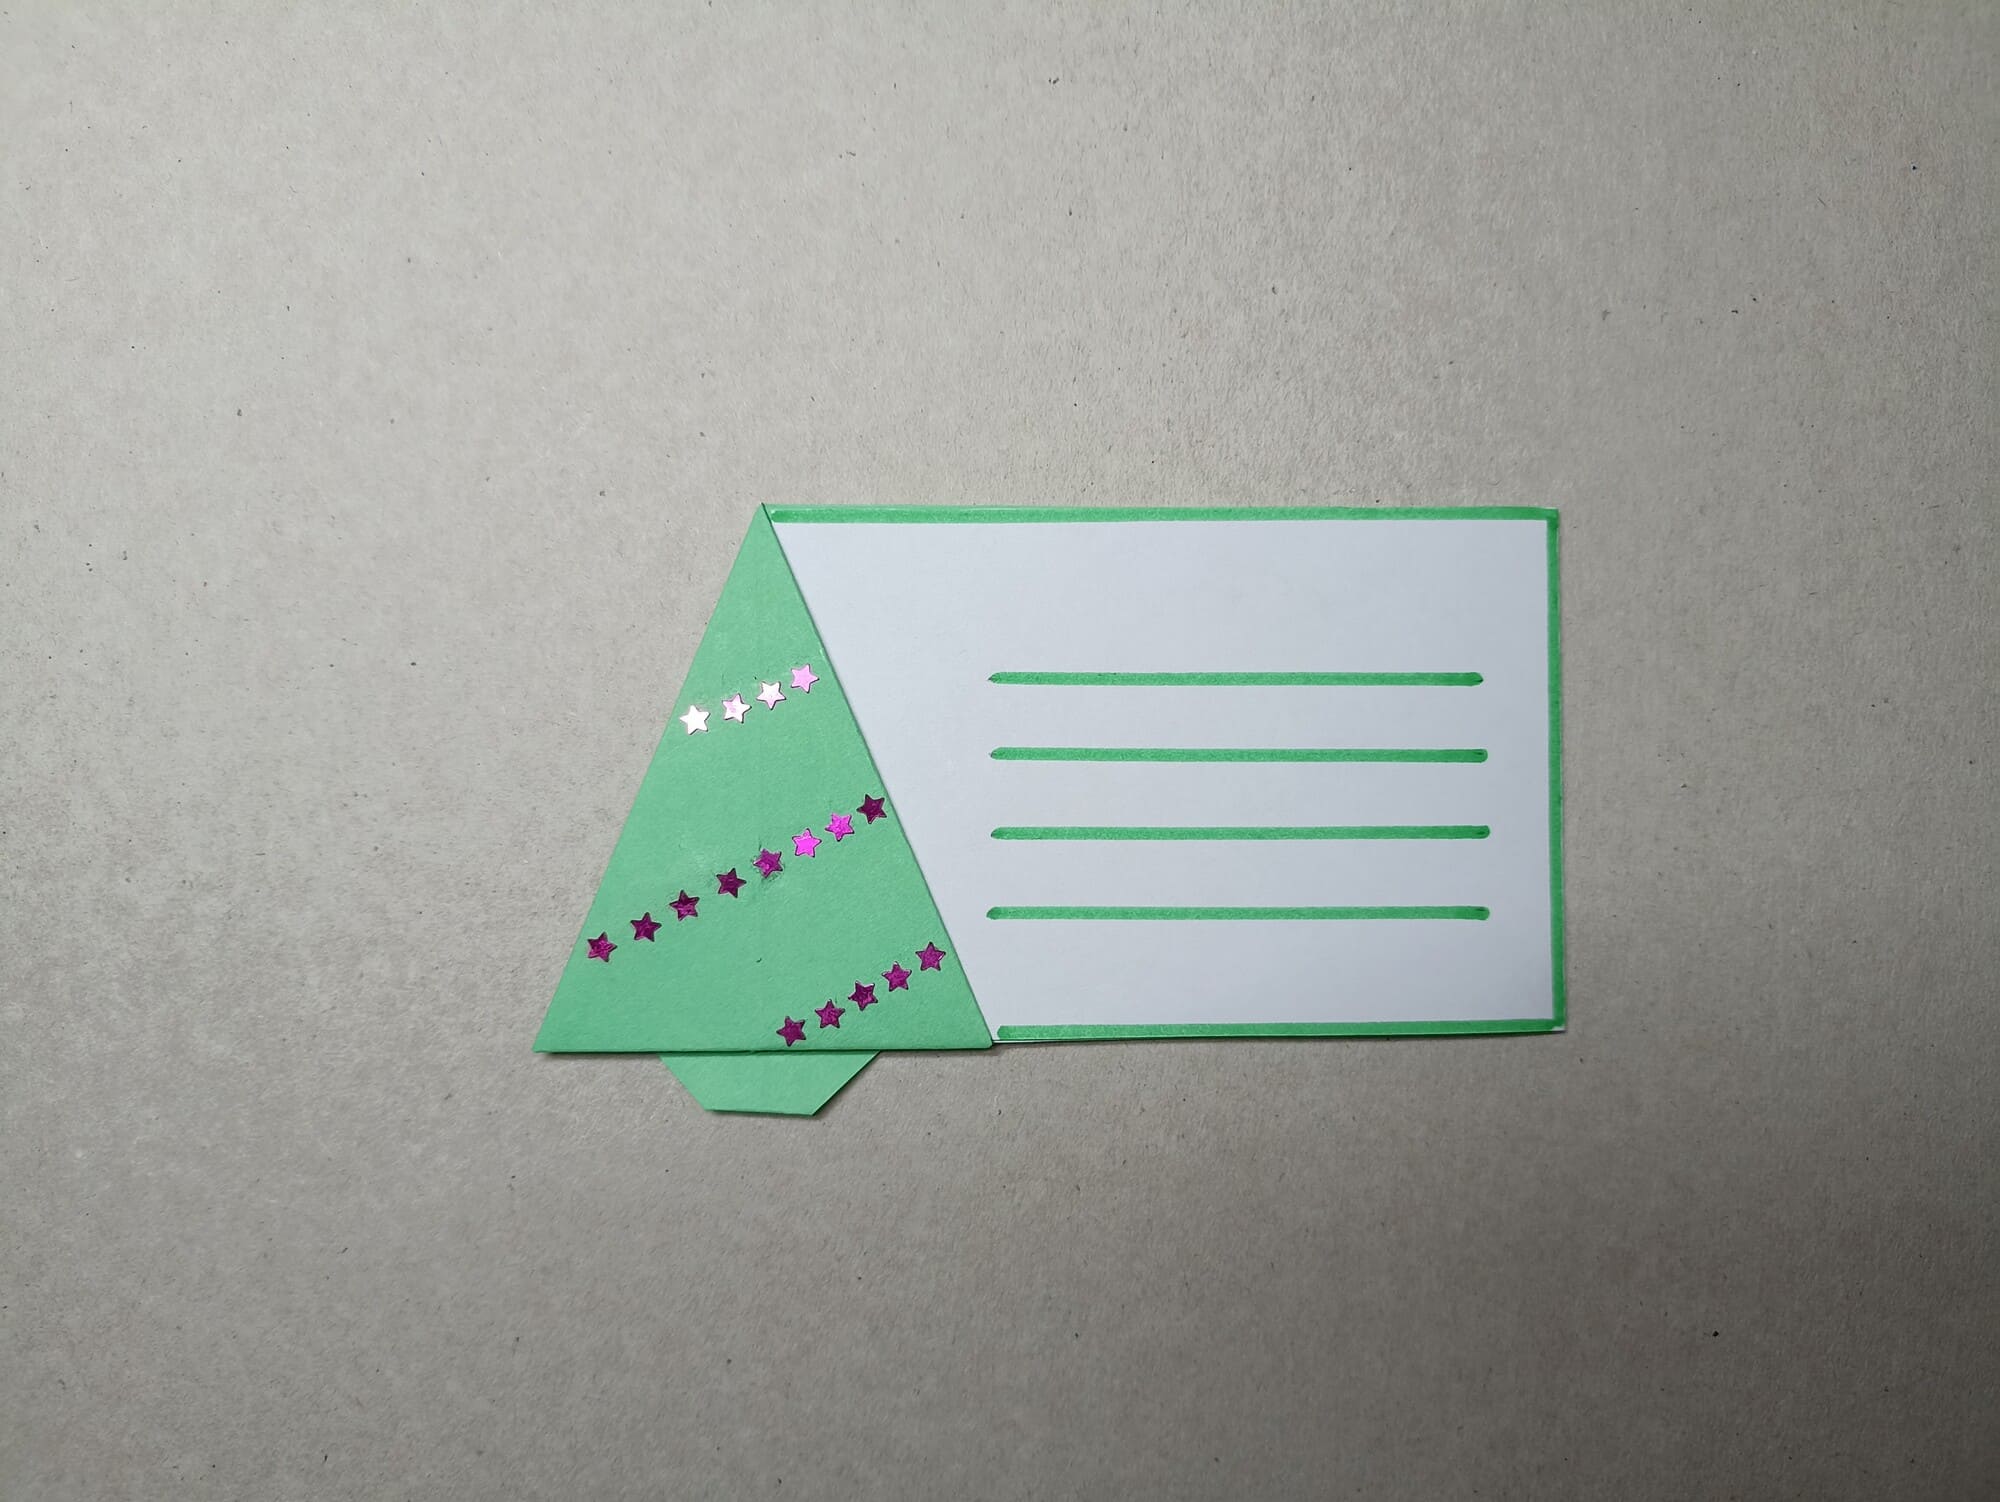
The postcard or tag for the New Year’s gift is ready!
It’s a good idea to make a postcard or tag using the proposed technique from different types of paper and decorate it with sparkles or snowflakes. Words of gratitude or wishes can be written on any side, and a secret message can be left inside, hidden from strangers.


