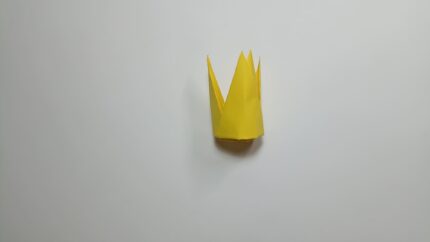
Origami Gold Crown
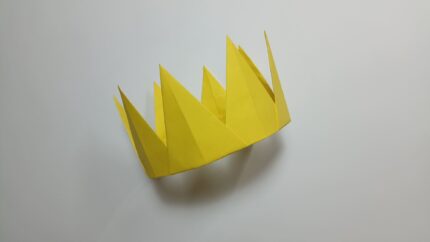
Every girl at least once in her life dreamed of becoming a princess from a fairy tale. The magical image cannot be recreated without a crown. A magnificent accessory is not only a decoration but also a way to emphasize a special moment and create a joyful and celebratory atmosphere. We offer to help you with a detailed description of the steps of creating a paper crown using the origami technique.
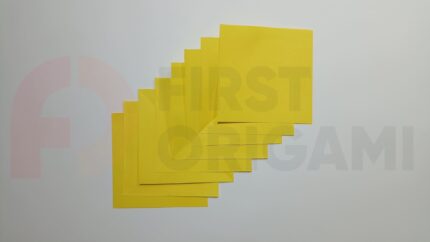
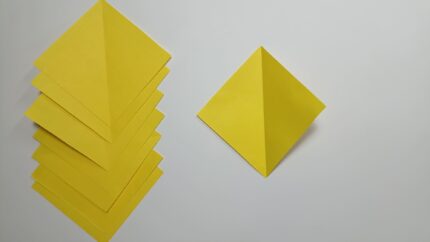
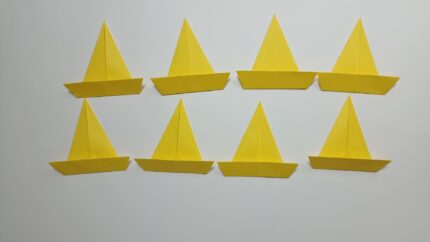
The crown consists of eight identical parts made of squares. The size and number of squares depend on the head circumference. You can calculate the required number as you work. The parts are glued together for strength. You can decorate the crown with rhinestones or beads, drawings, or stickers.
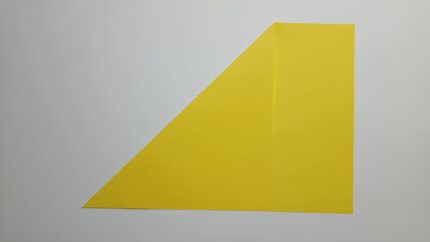
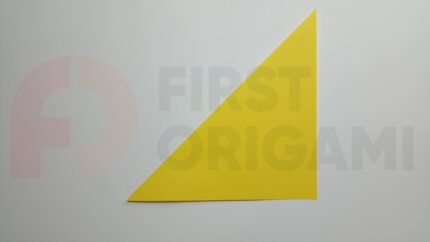
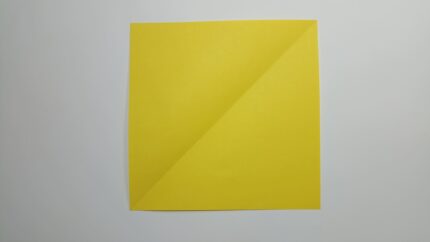
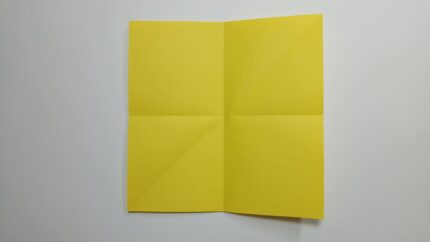
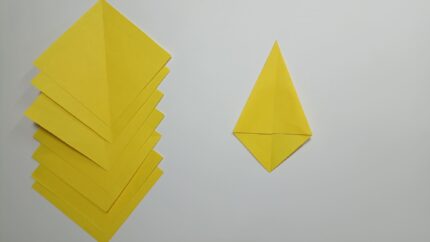
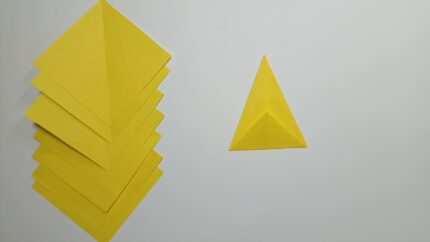
Divide the origami square into four parts, alternately aligning the opposite sides and opening them back. If you use rectangular sheets of paper for this, you need to make squares out of them. Align the top edge with the side and trim off the protruding part.
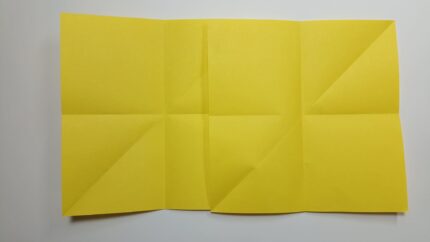
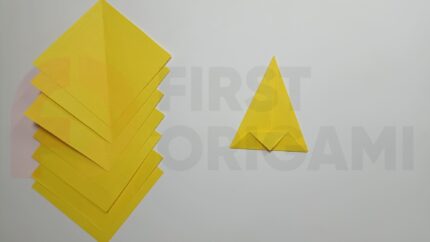
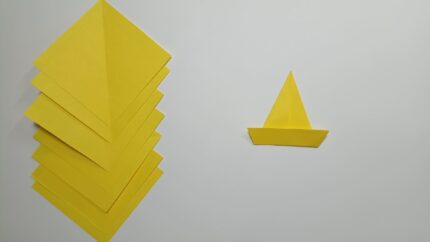
Place the workpiece at an angle toward you. Mark the middle line. Connect the side corners and open them back.
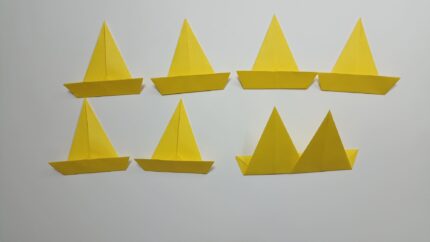
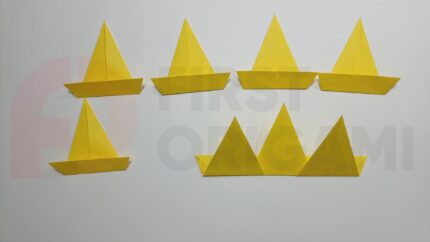
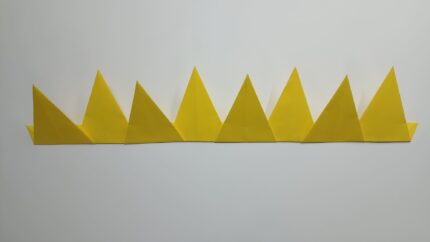
Connect the parts by inserting the protruding part of the folds inside the next part until they intersect each other on the top base line.
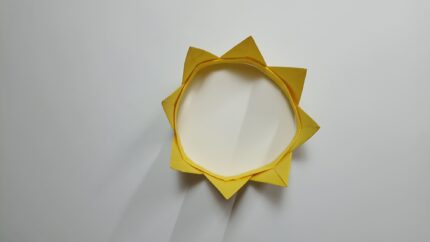
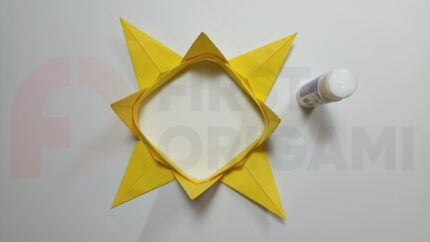
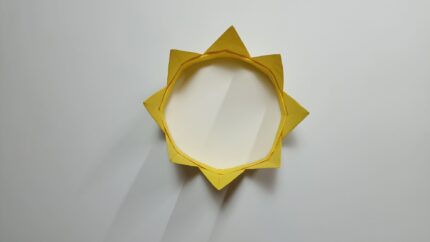
Close the parts of the crown into a circle, matching the outer parts. Secure the connection with glue or tape. At this step, try on the crown on your head. If it is necessary to reduce the size of the fold, insert it deeper. To increase the size, add an additional module, folded as described.
How about you dress it up and play out roles from fairy tales? You can also present the crown to the birthday person at a holiday party as a symbol of triumph and success. It is also a good present to the winner of a fun competition, highlighting the achievement and celebrating the will to win.
