Origami Hat
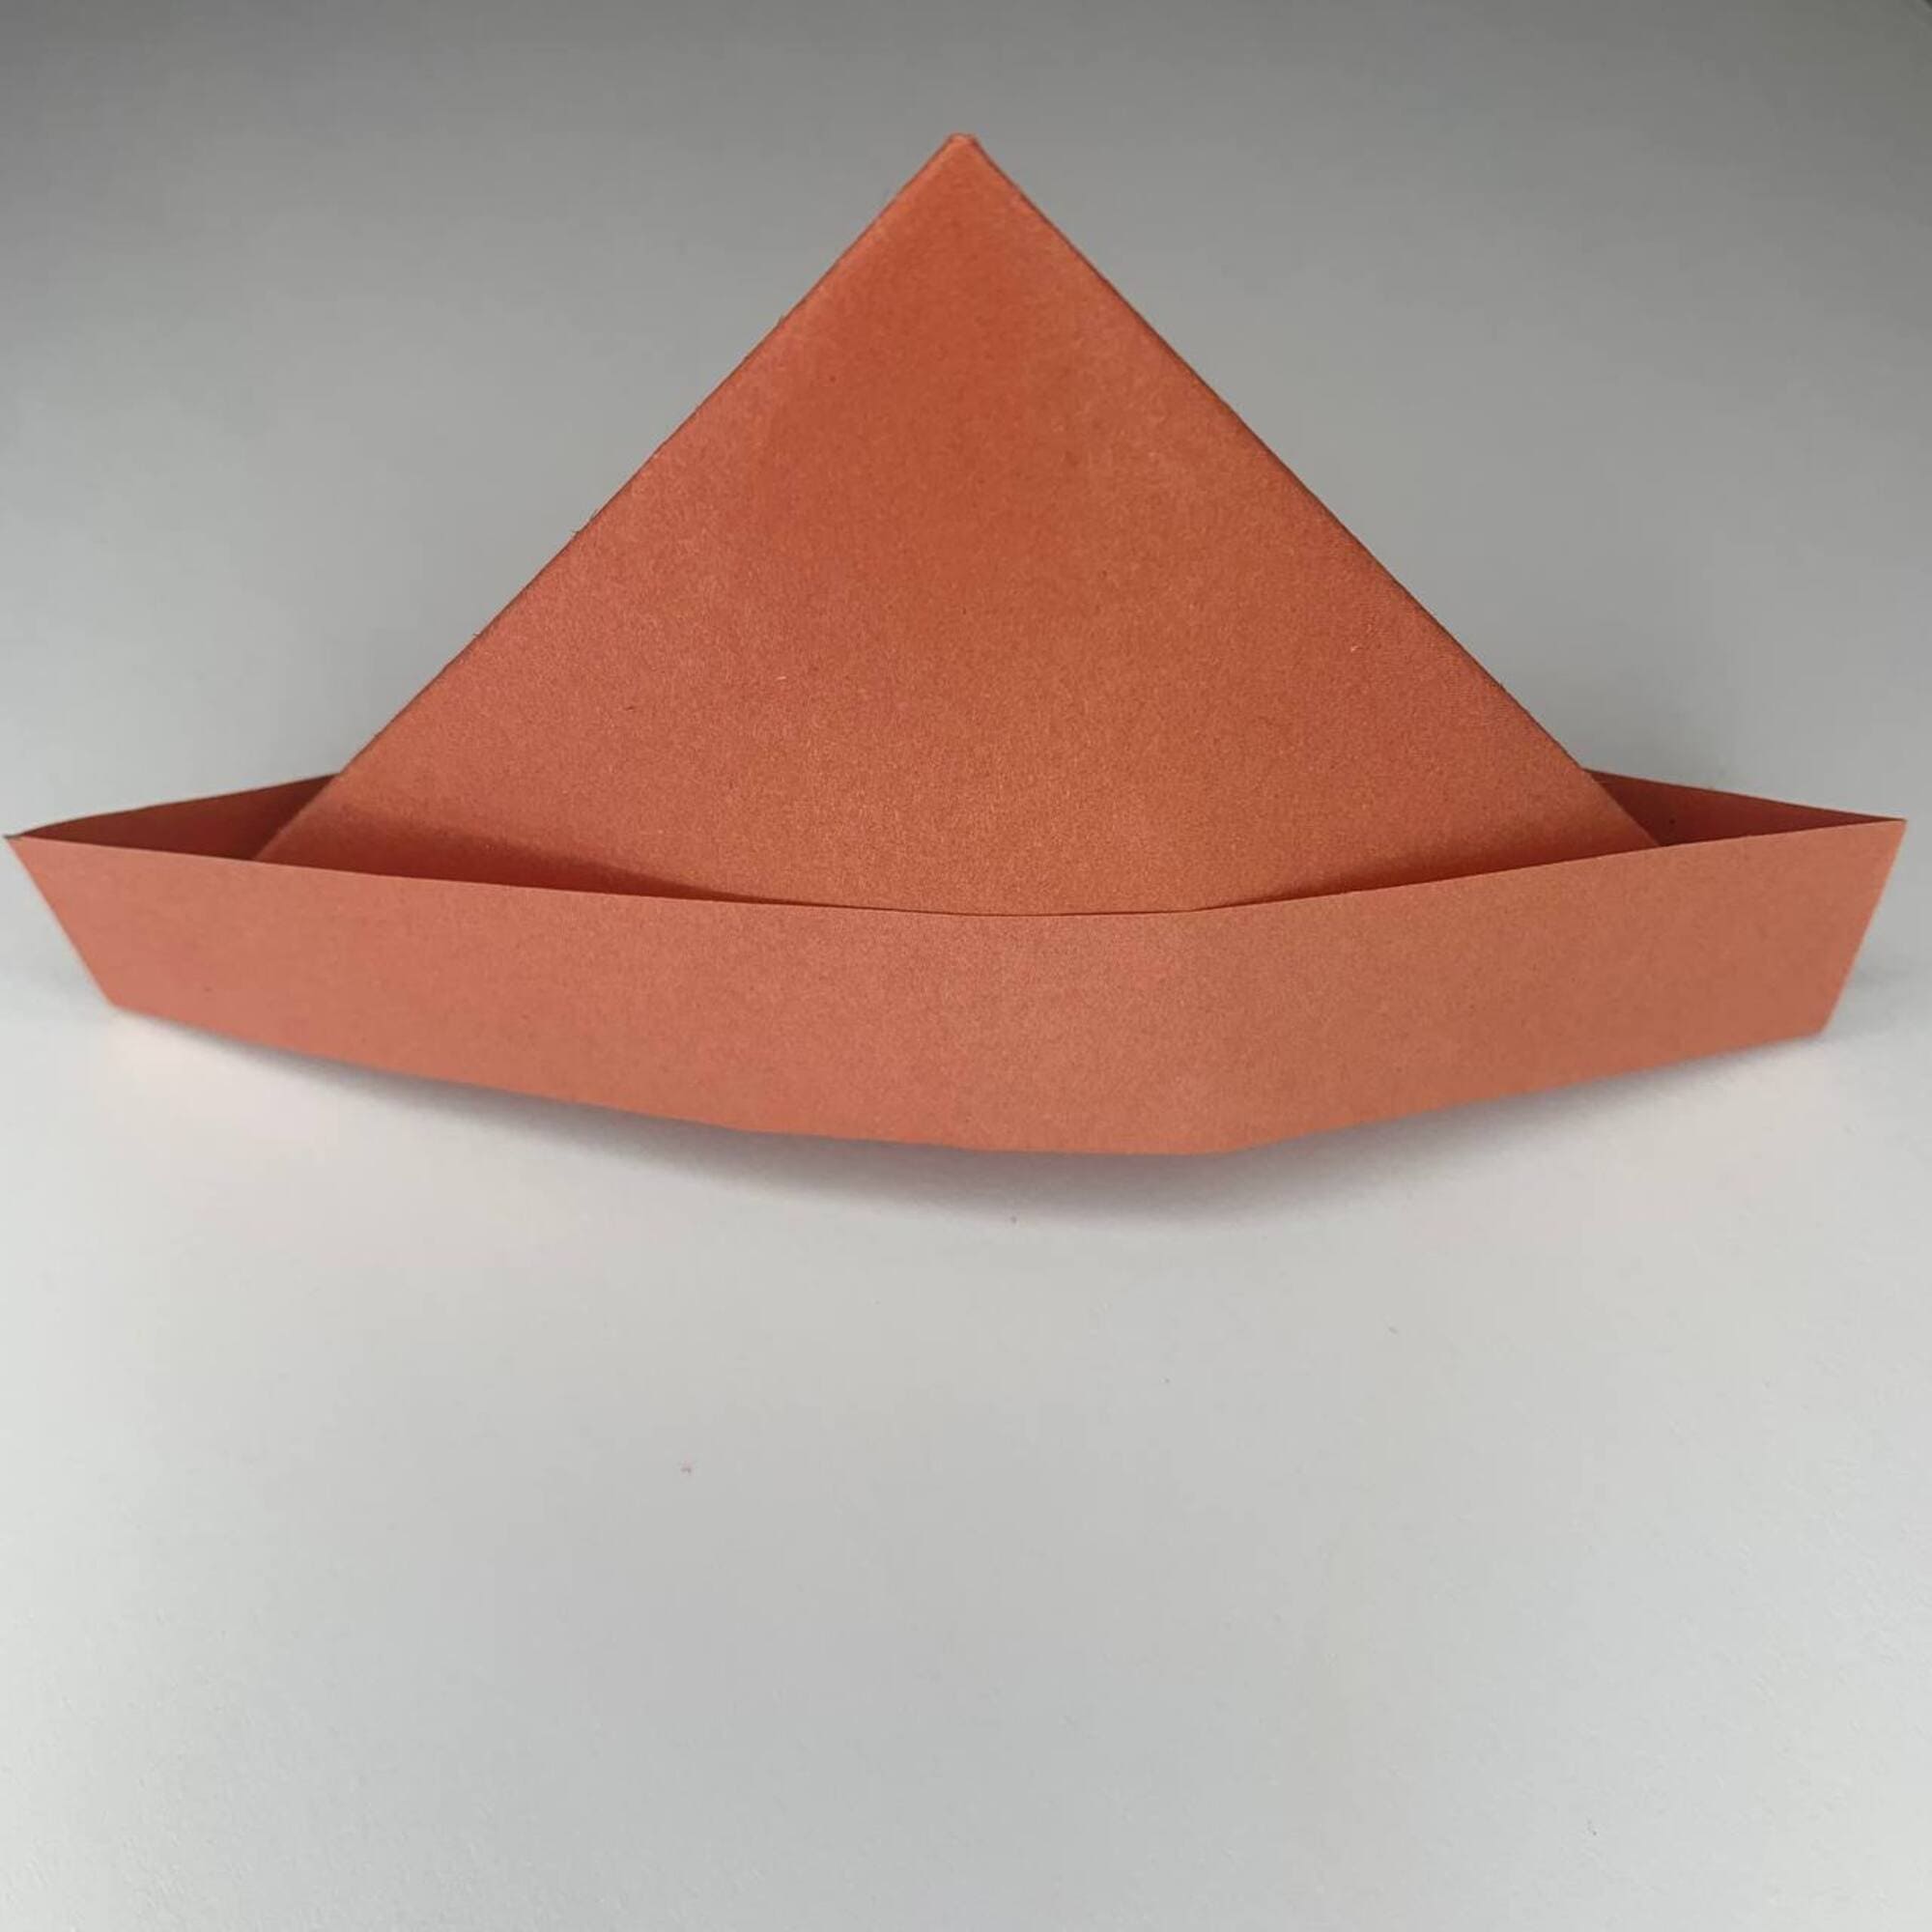
Origami hat is one of the classic models of paper crafts. It is very easy to make such a thing in the origami style. And if you choose a larger size paper, you will get a full-fledged hat, which can be worn as a real one. Origami hats made from newspapers are used all over the world as protection during sudden rain or construction processes. But if you choose the right color, this origami craft can also be used in theatrical performances.
Below you will find step-by-step instructions with photos and descriptions, which can guarantee you a perfect result. You might want to craft several hats of one color for the toys, to make up a team. Or create a family picnic look, using newspapers or wrapping paper of bright colors and patterns. This Origami hat is quite easy to make, so even making a dozen of them will not take much of your time. Shall we start?
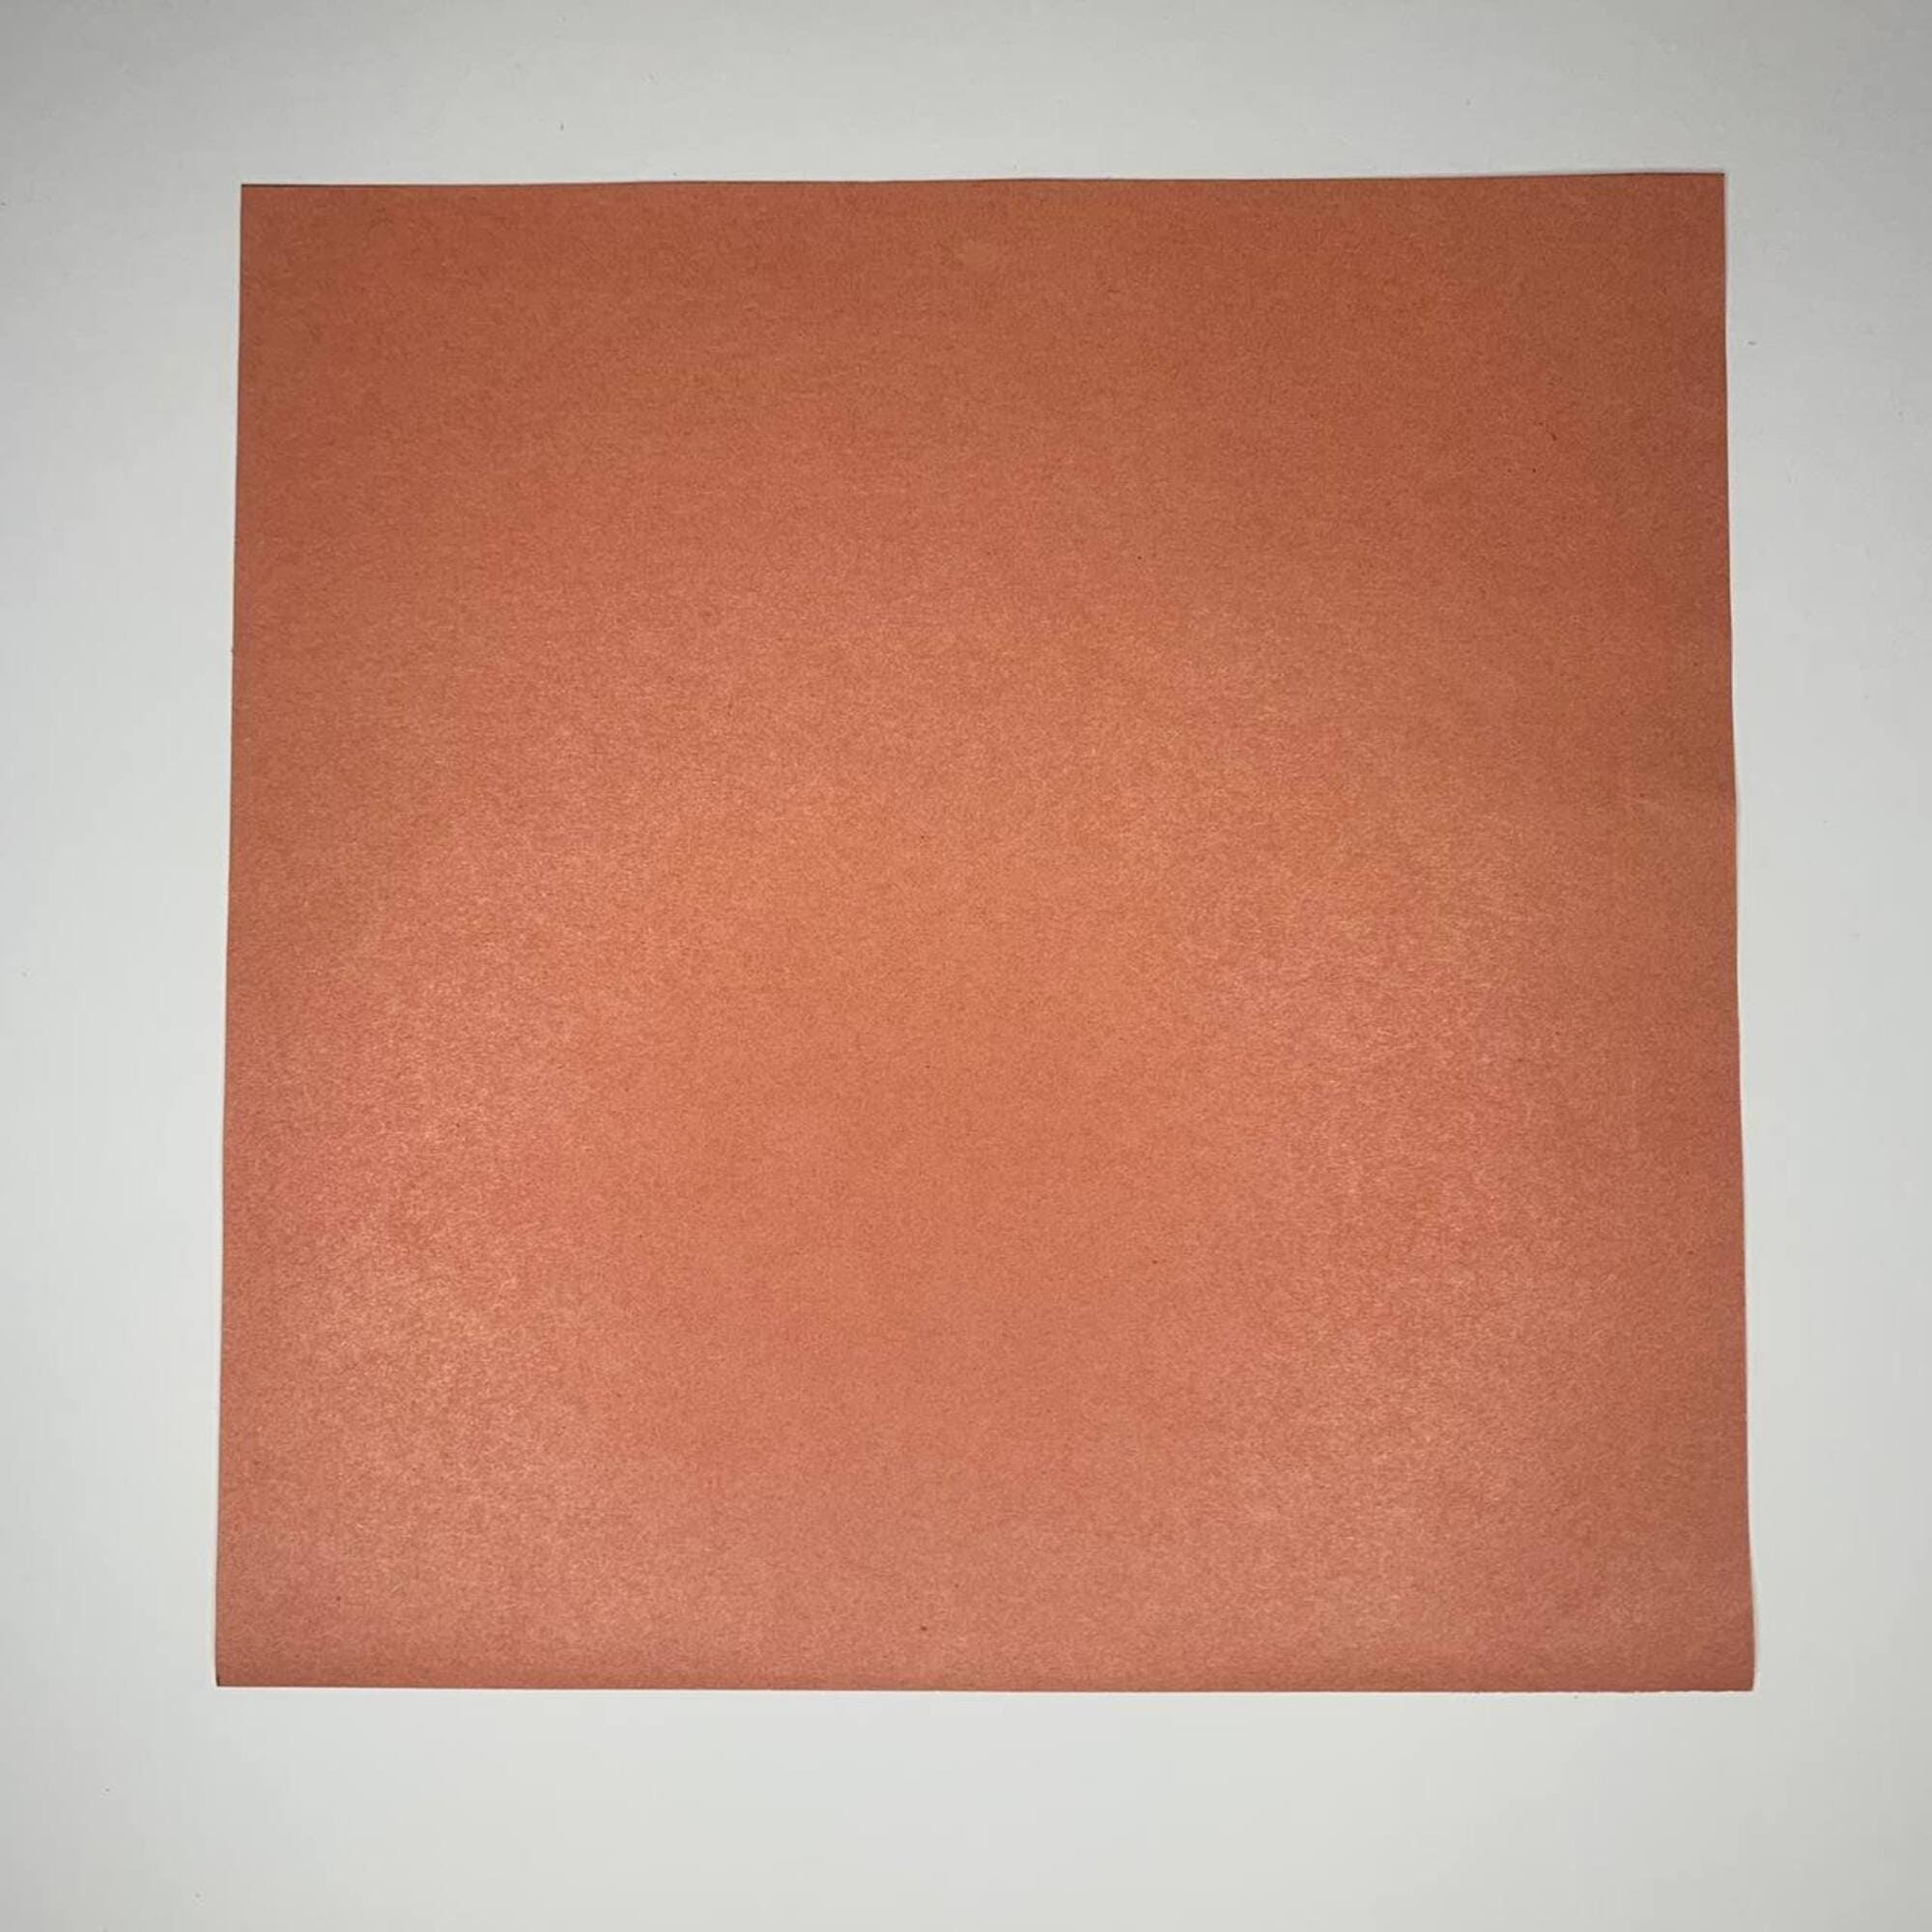
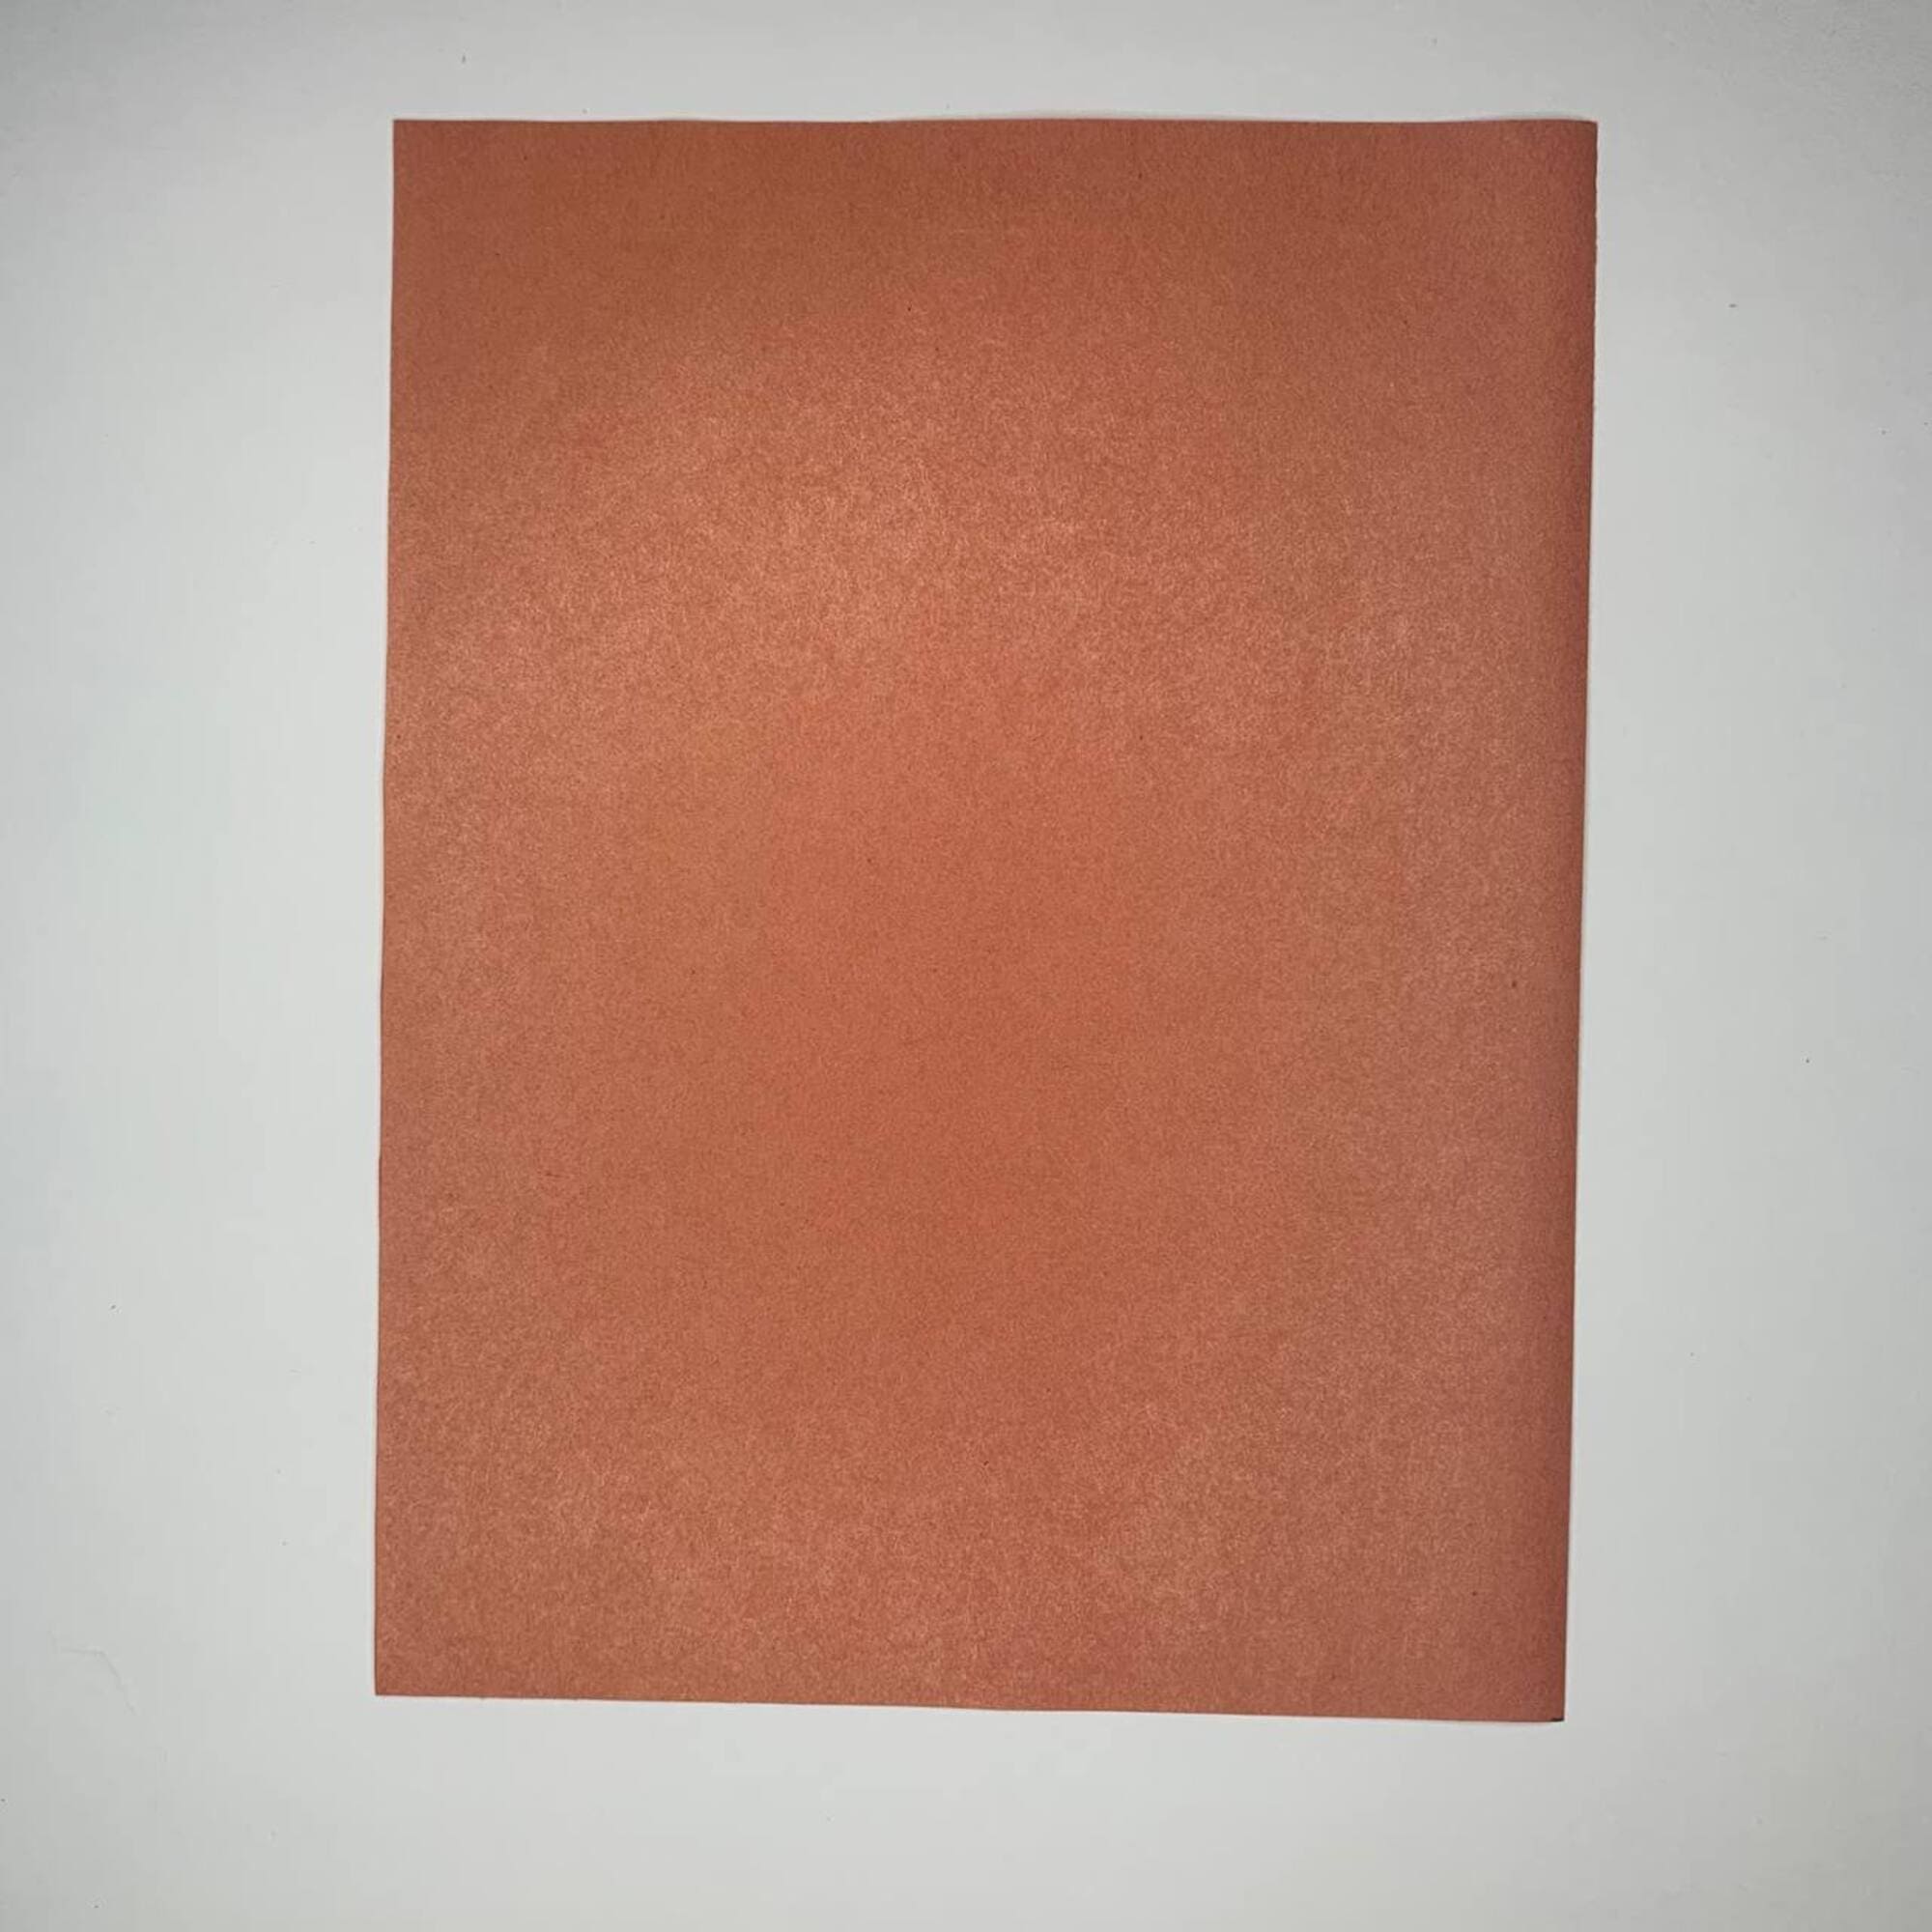
In order to construct the Origami Hat, you will need a rectangular piece of origami paper of the chosen color.
If you have a square piece, you can easily make a rectangle out of it, as shown in the first four photos below.
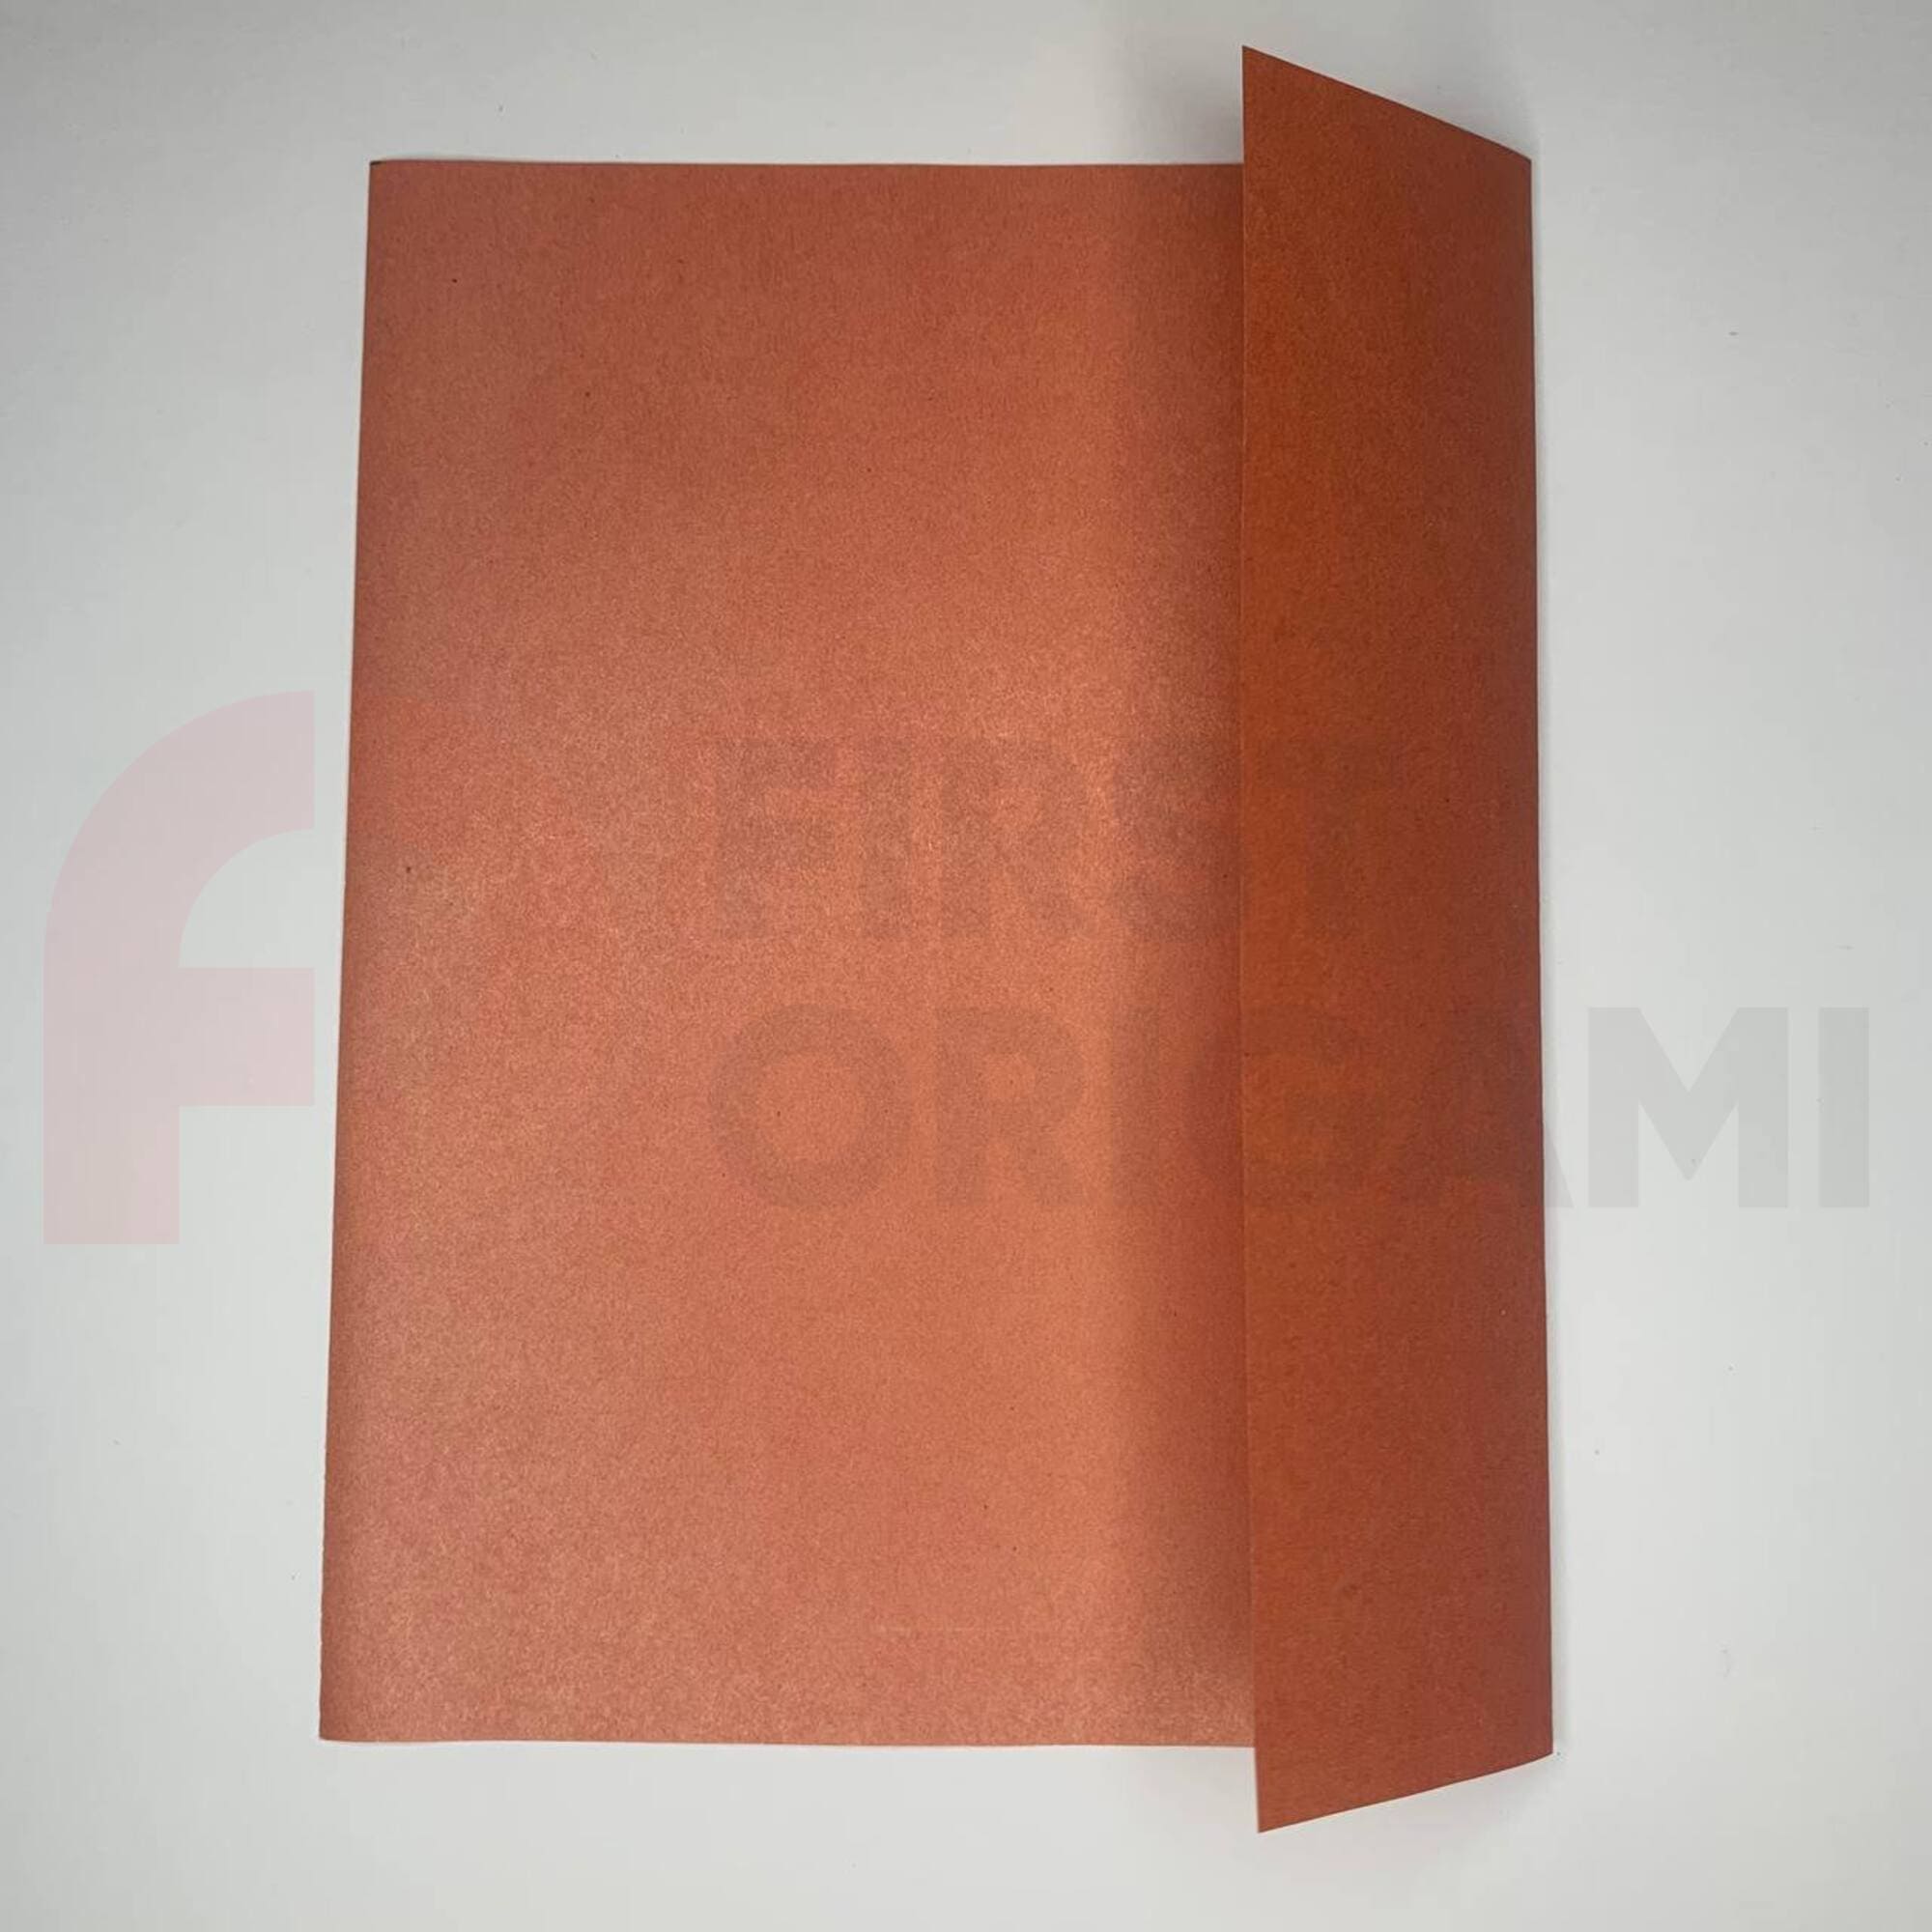
Measure about one-fourth of the square on its right side. Make the fold. It’s very important for the edges to match perfectly.
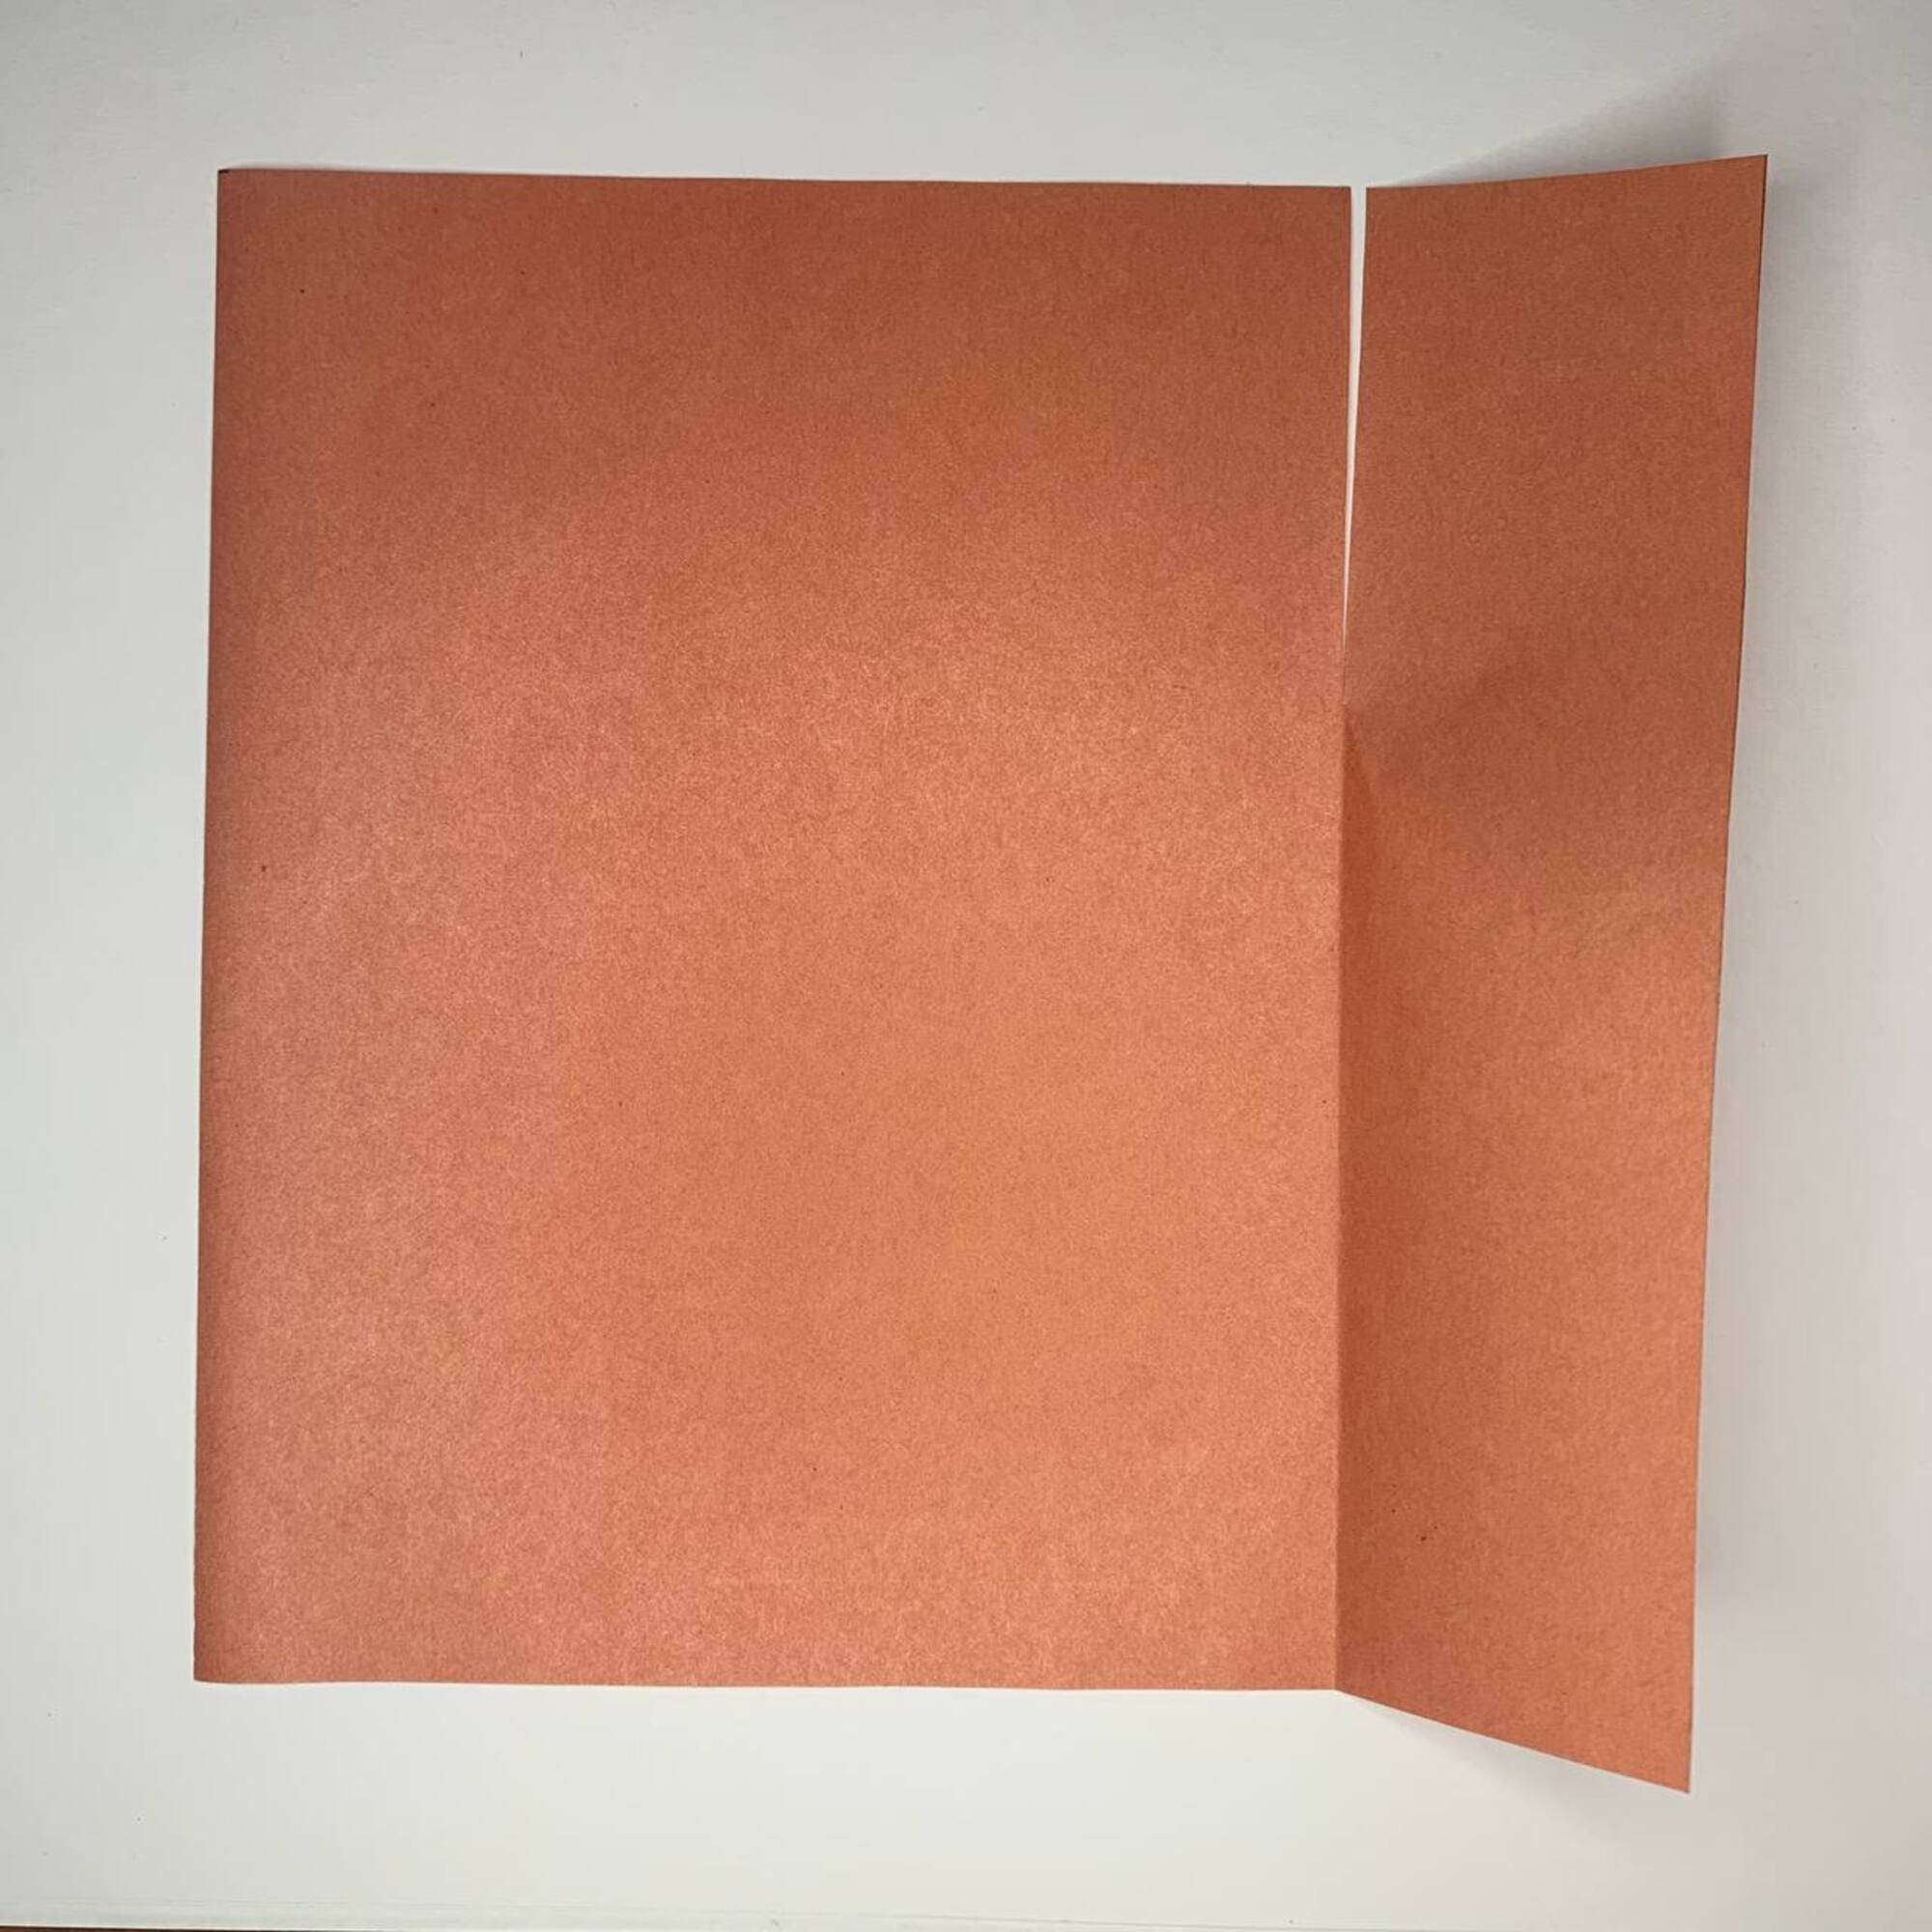
Iron the fold line and open the sheet again.
Cut off the narrow rectangle on the right, and you get the paper of the needed shape and size.
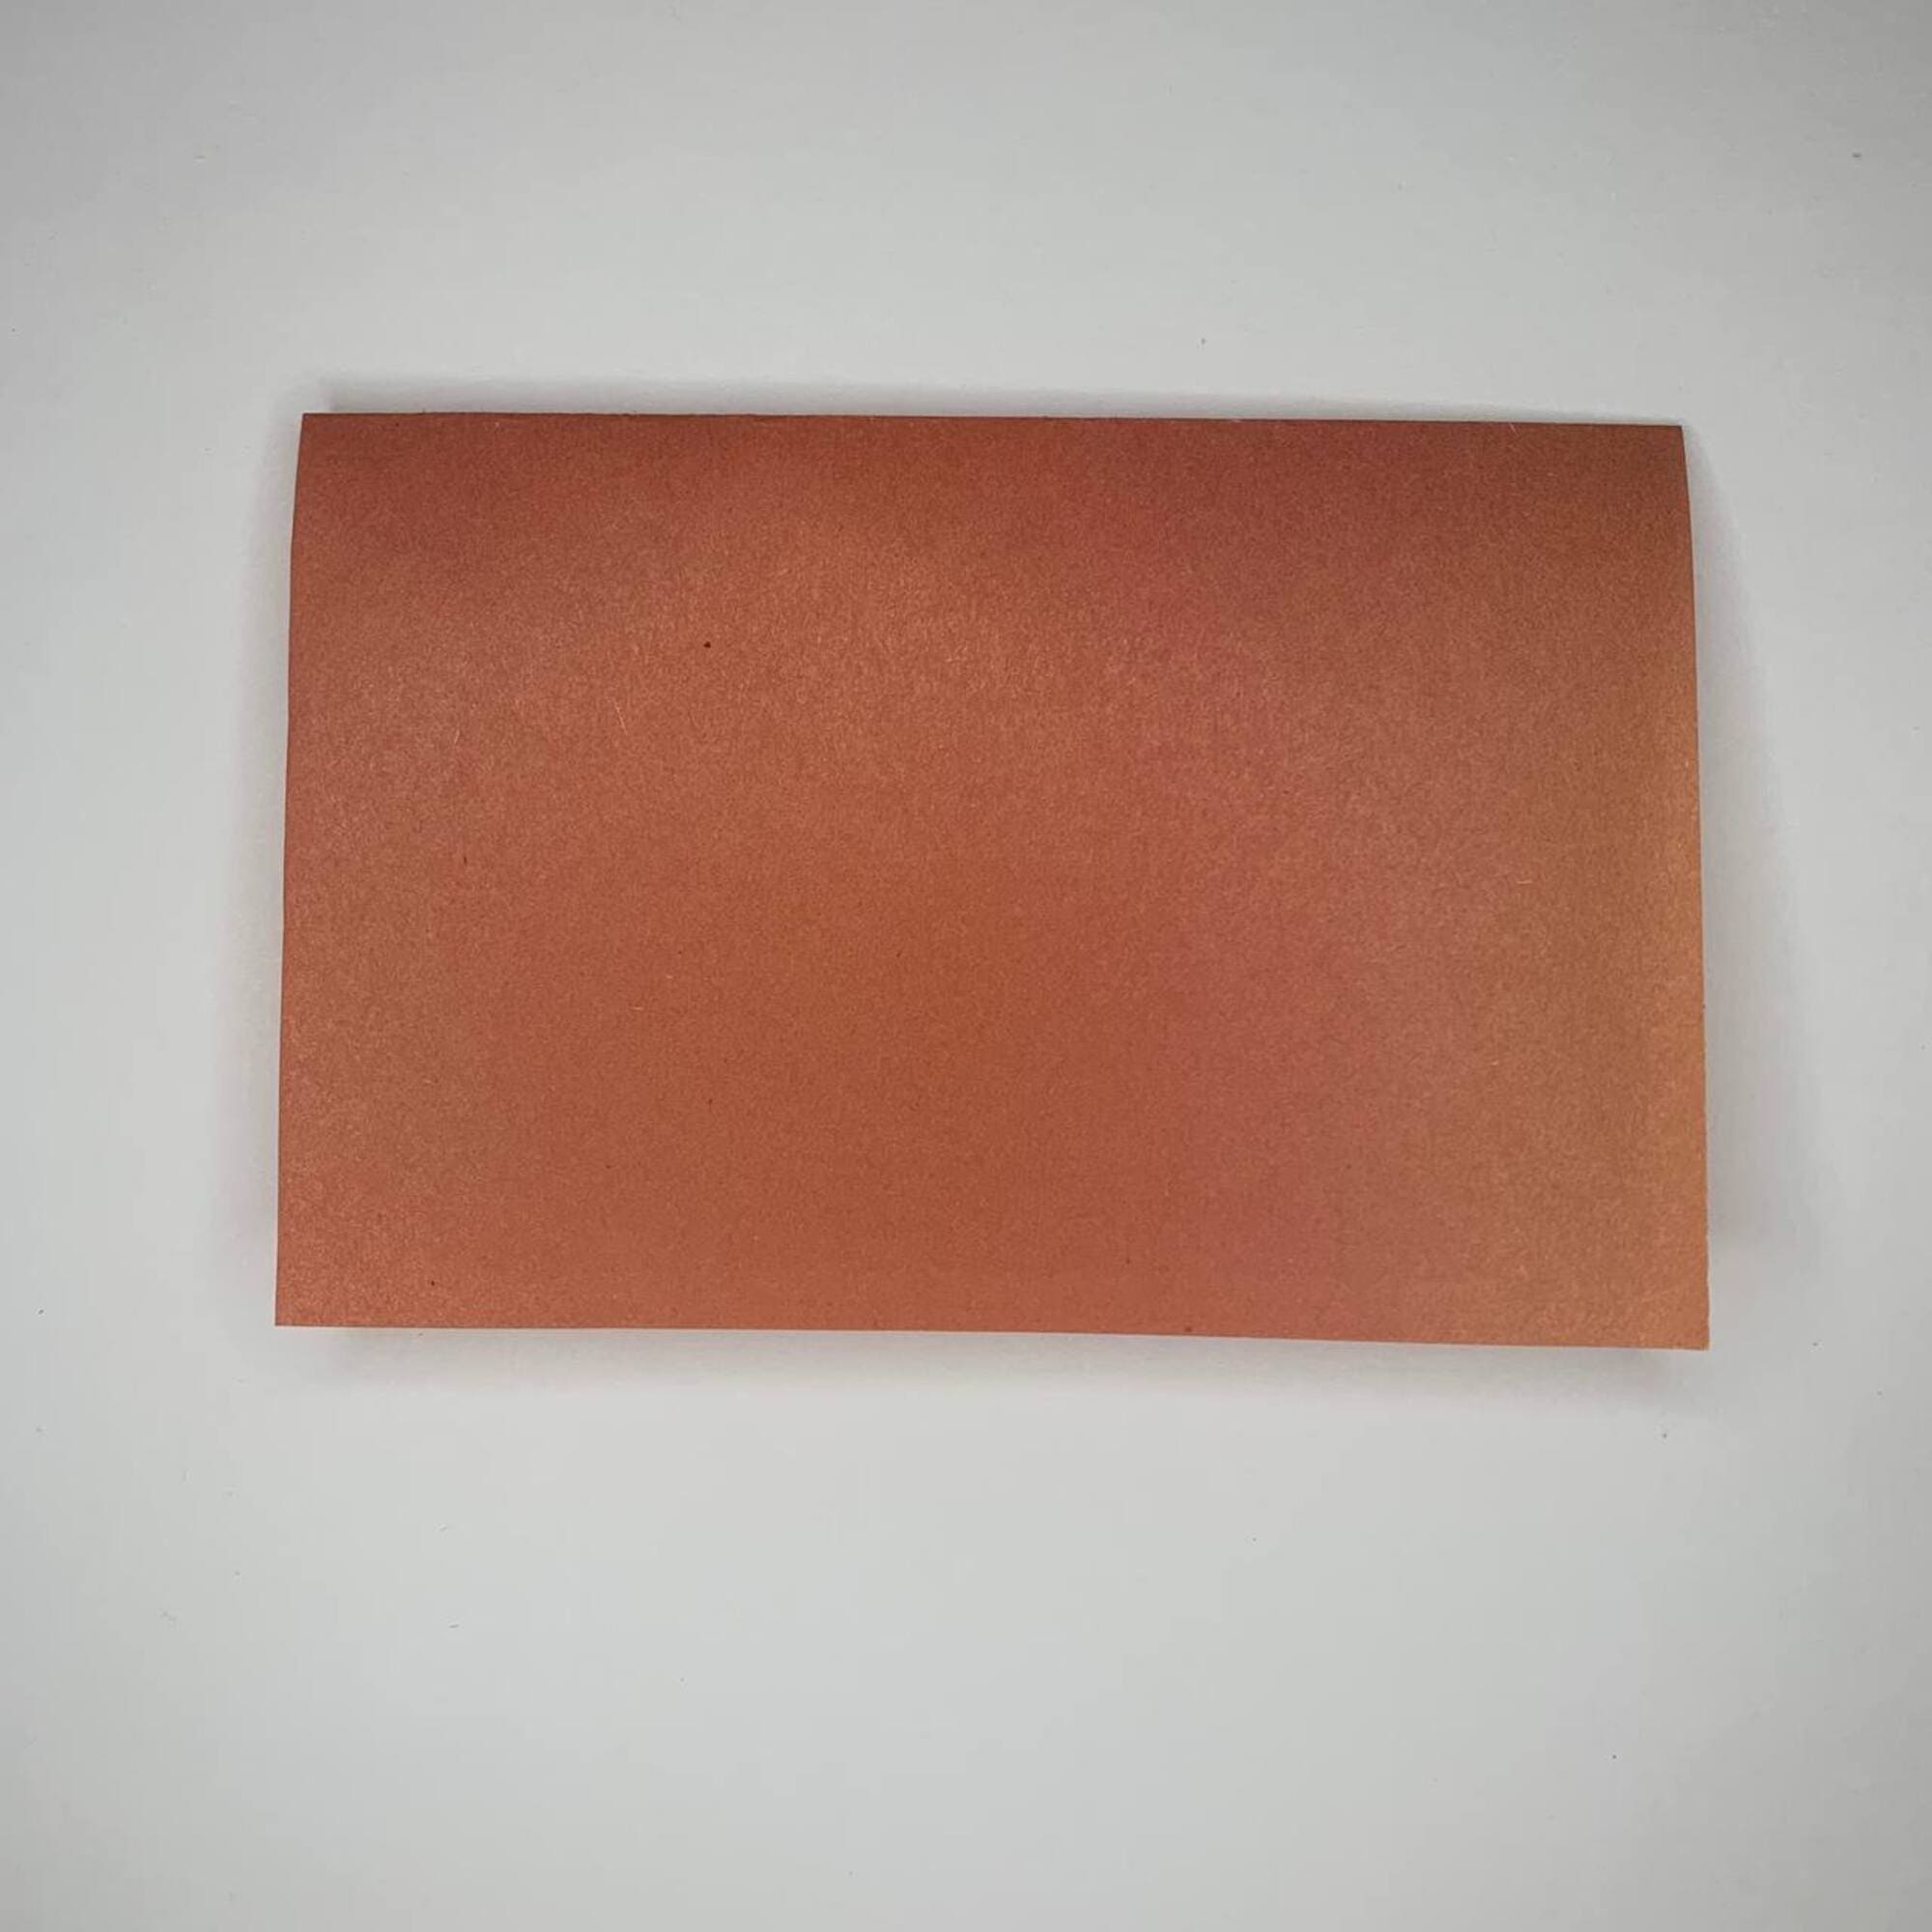
Now fold the rectangle in half.

Then fold the top corners towards the middle as shown in the photo below. Fold the corners as evenly as possible.
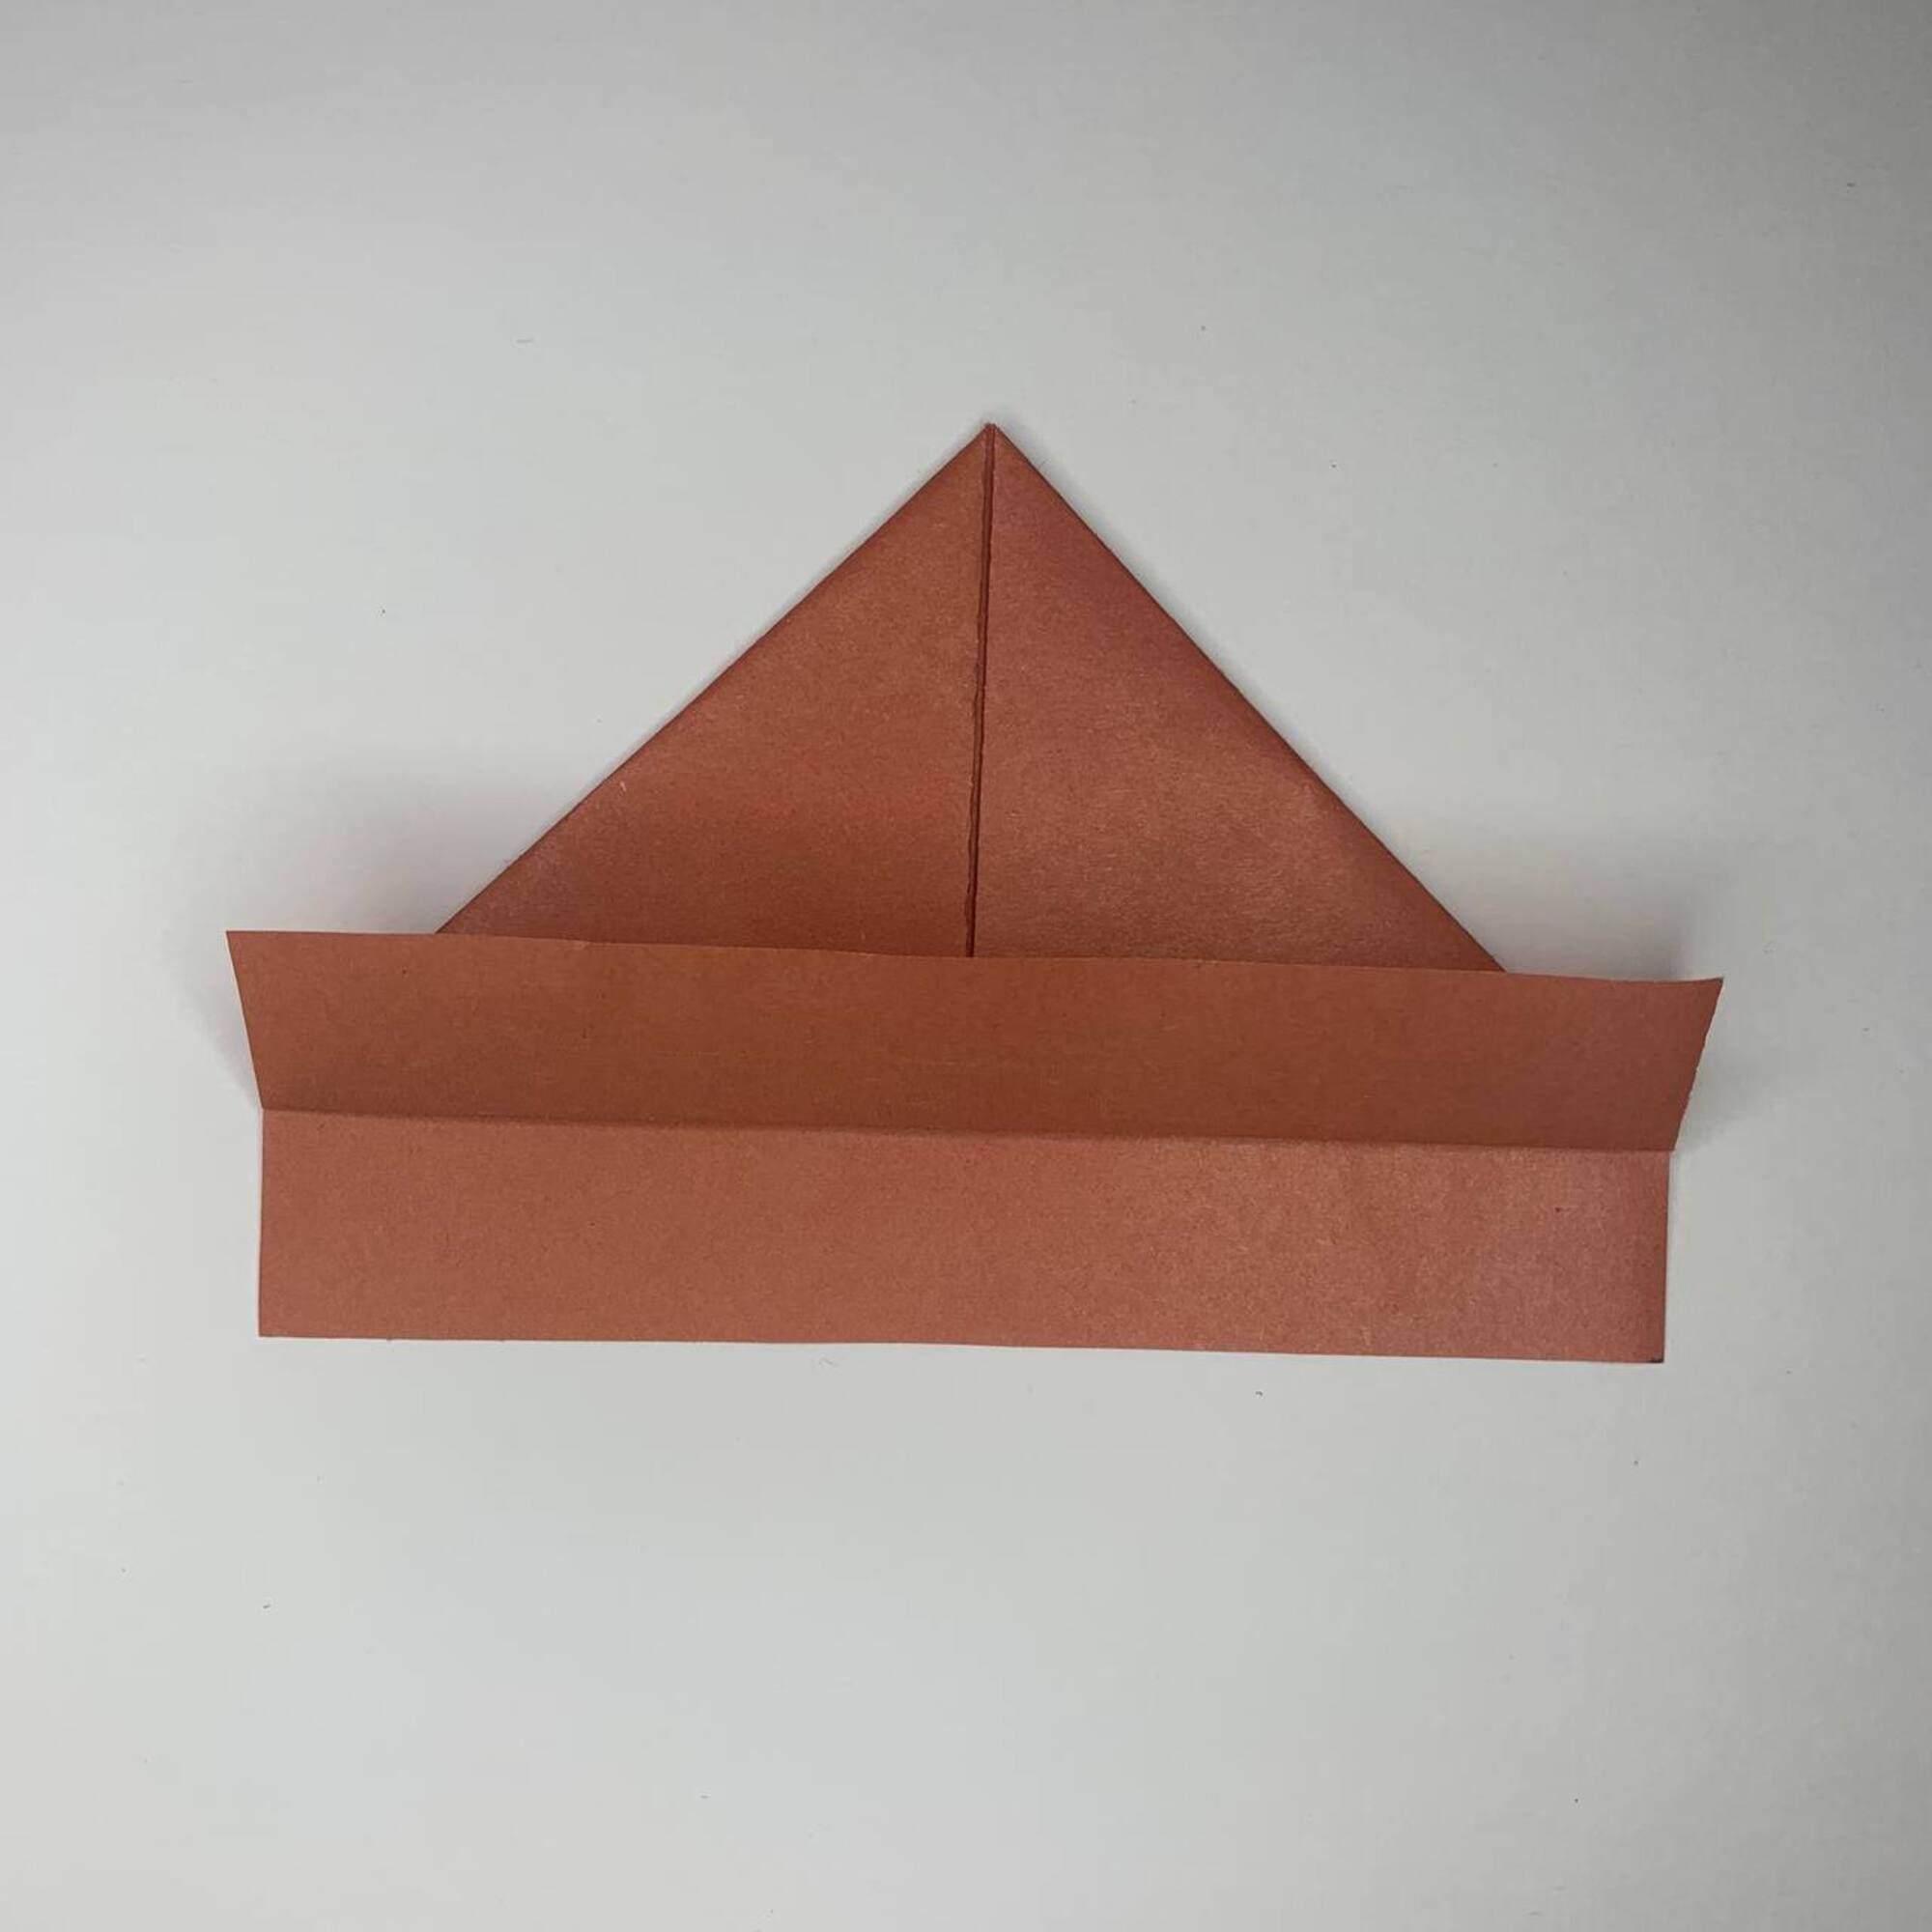
Take the bottom edge of the paper and fold it up.
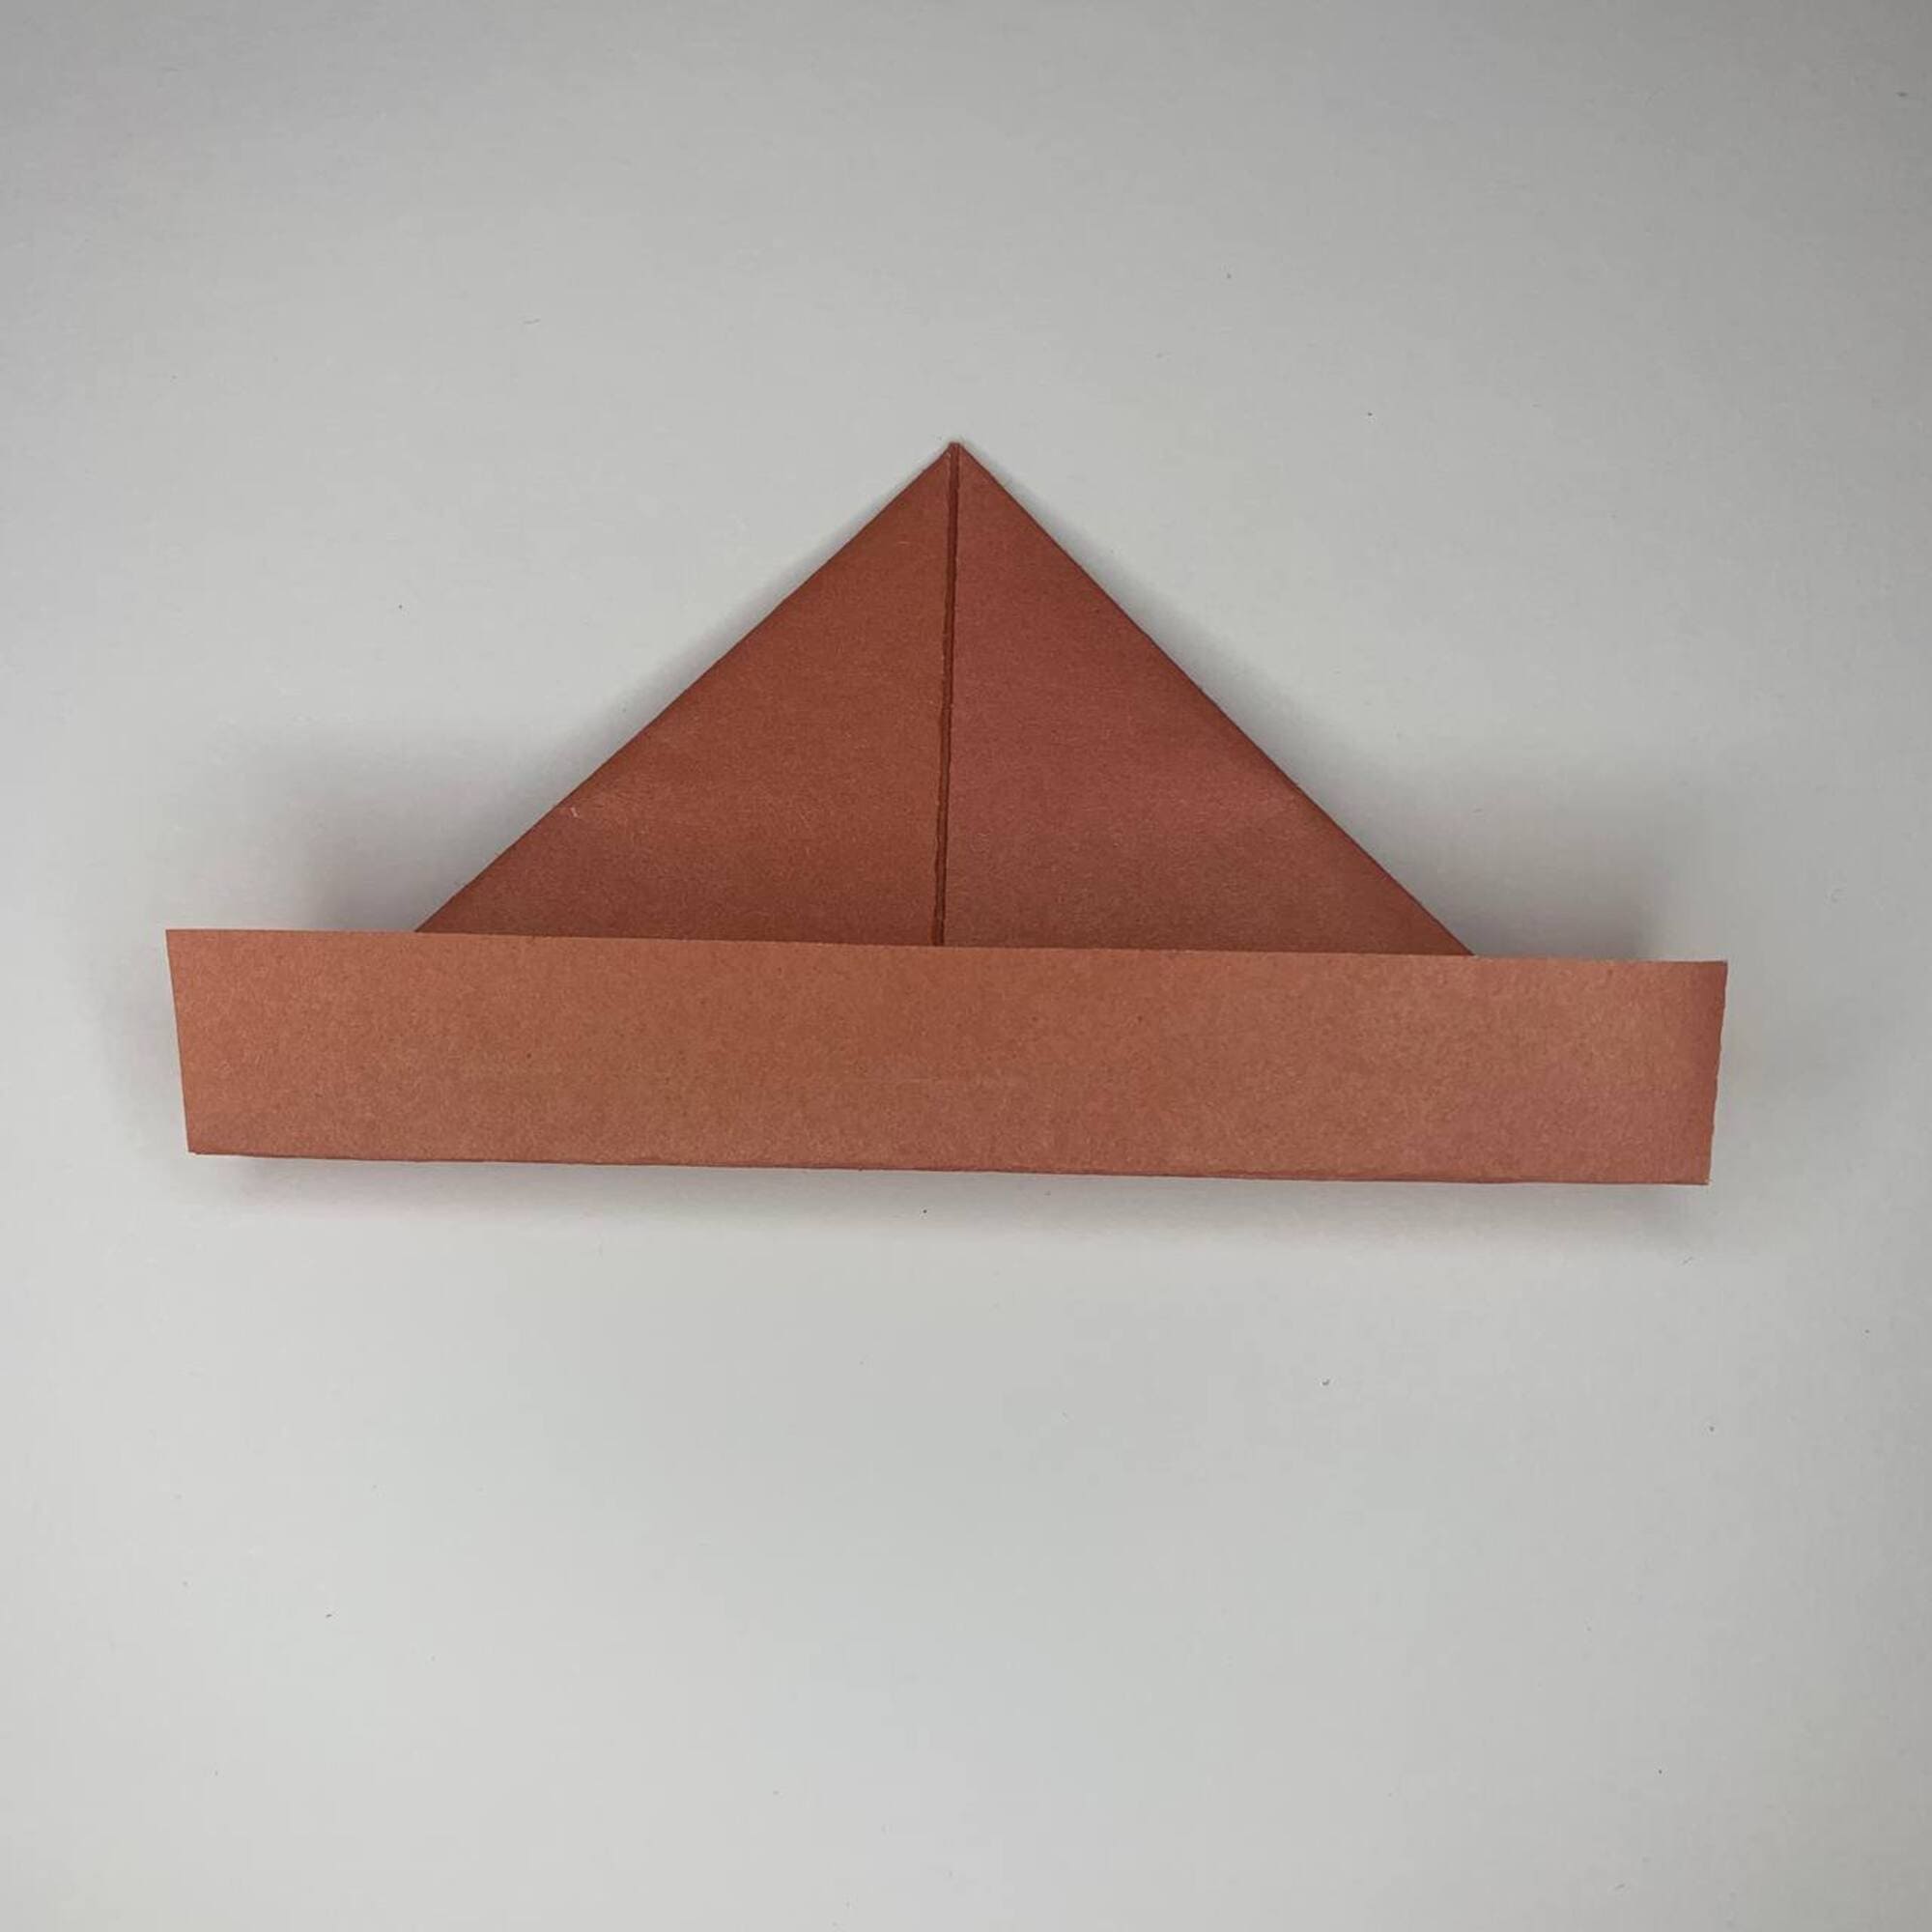
Flip the paper over and fold the other edge up. Now unfold your origami hat and enjoy the result!