Origami Heart with Stand
Among the symbols and gifts, hearts are the most romantic and desirable. It cannot be otherwise. After all, the heart is an ancient symbol of love and mercy, a beautiful manifestation of feelings that evokes positive emotions. You should definitely get yourself at least something decorated with an image of a heart to bring a little romance and tenderness into your life.
A cute heart on a stand can be made using the origami technique. Placed on a table or bookshelf, it will please the eye every day. You can add a symbol to a gift for a loved one or write a small message on it, which will take on additional meaning. A detailed description of the Steps of work with photographs of folds and creases being made will help even the most inexperienced craftsman cope with the task. Nonetheless, it will take effort and perseverance to make the craft beautiful and neat.
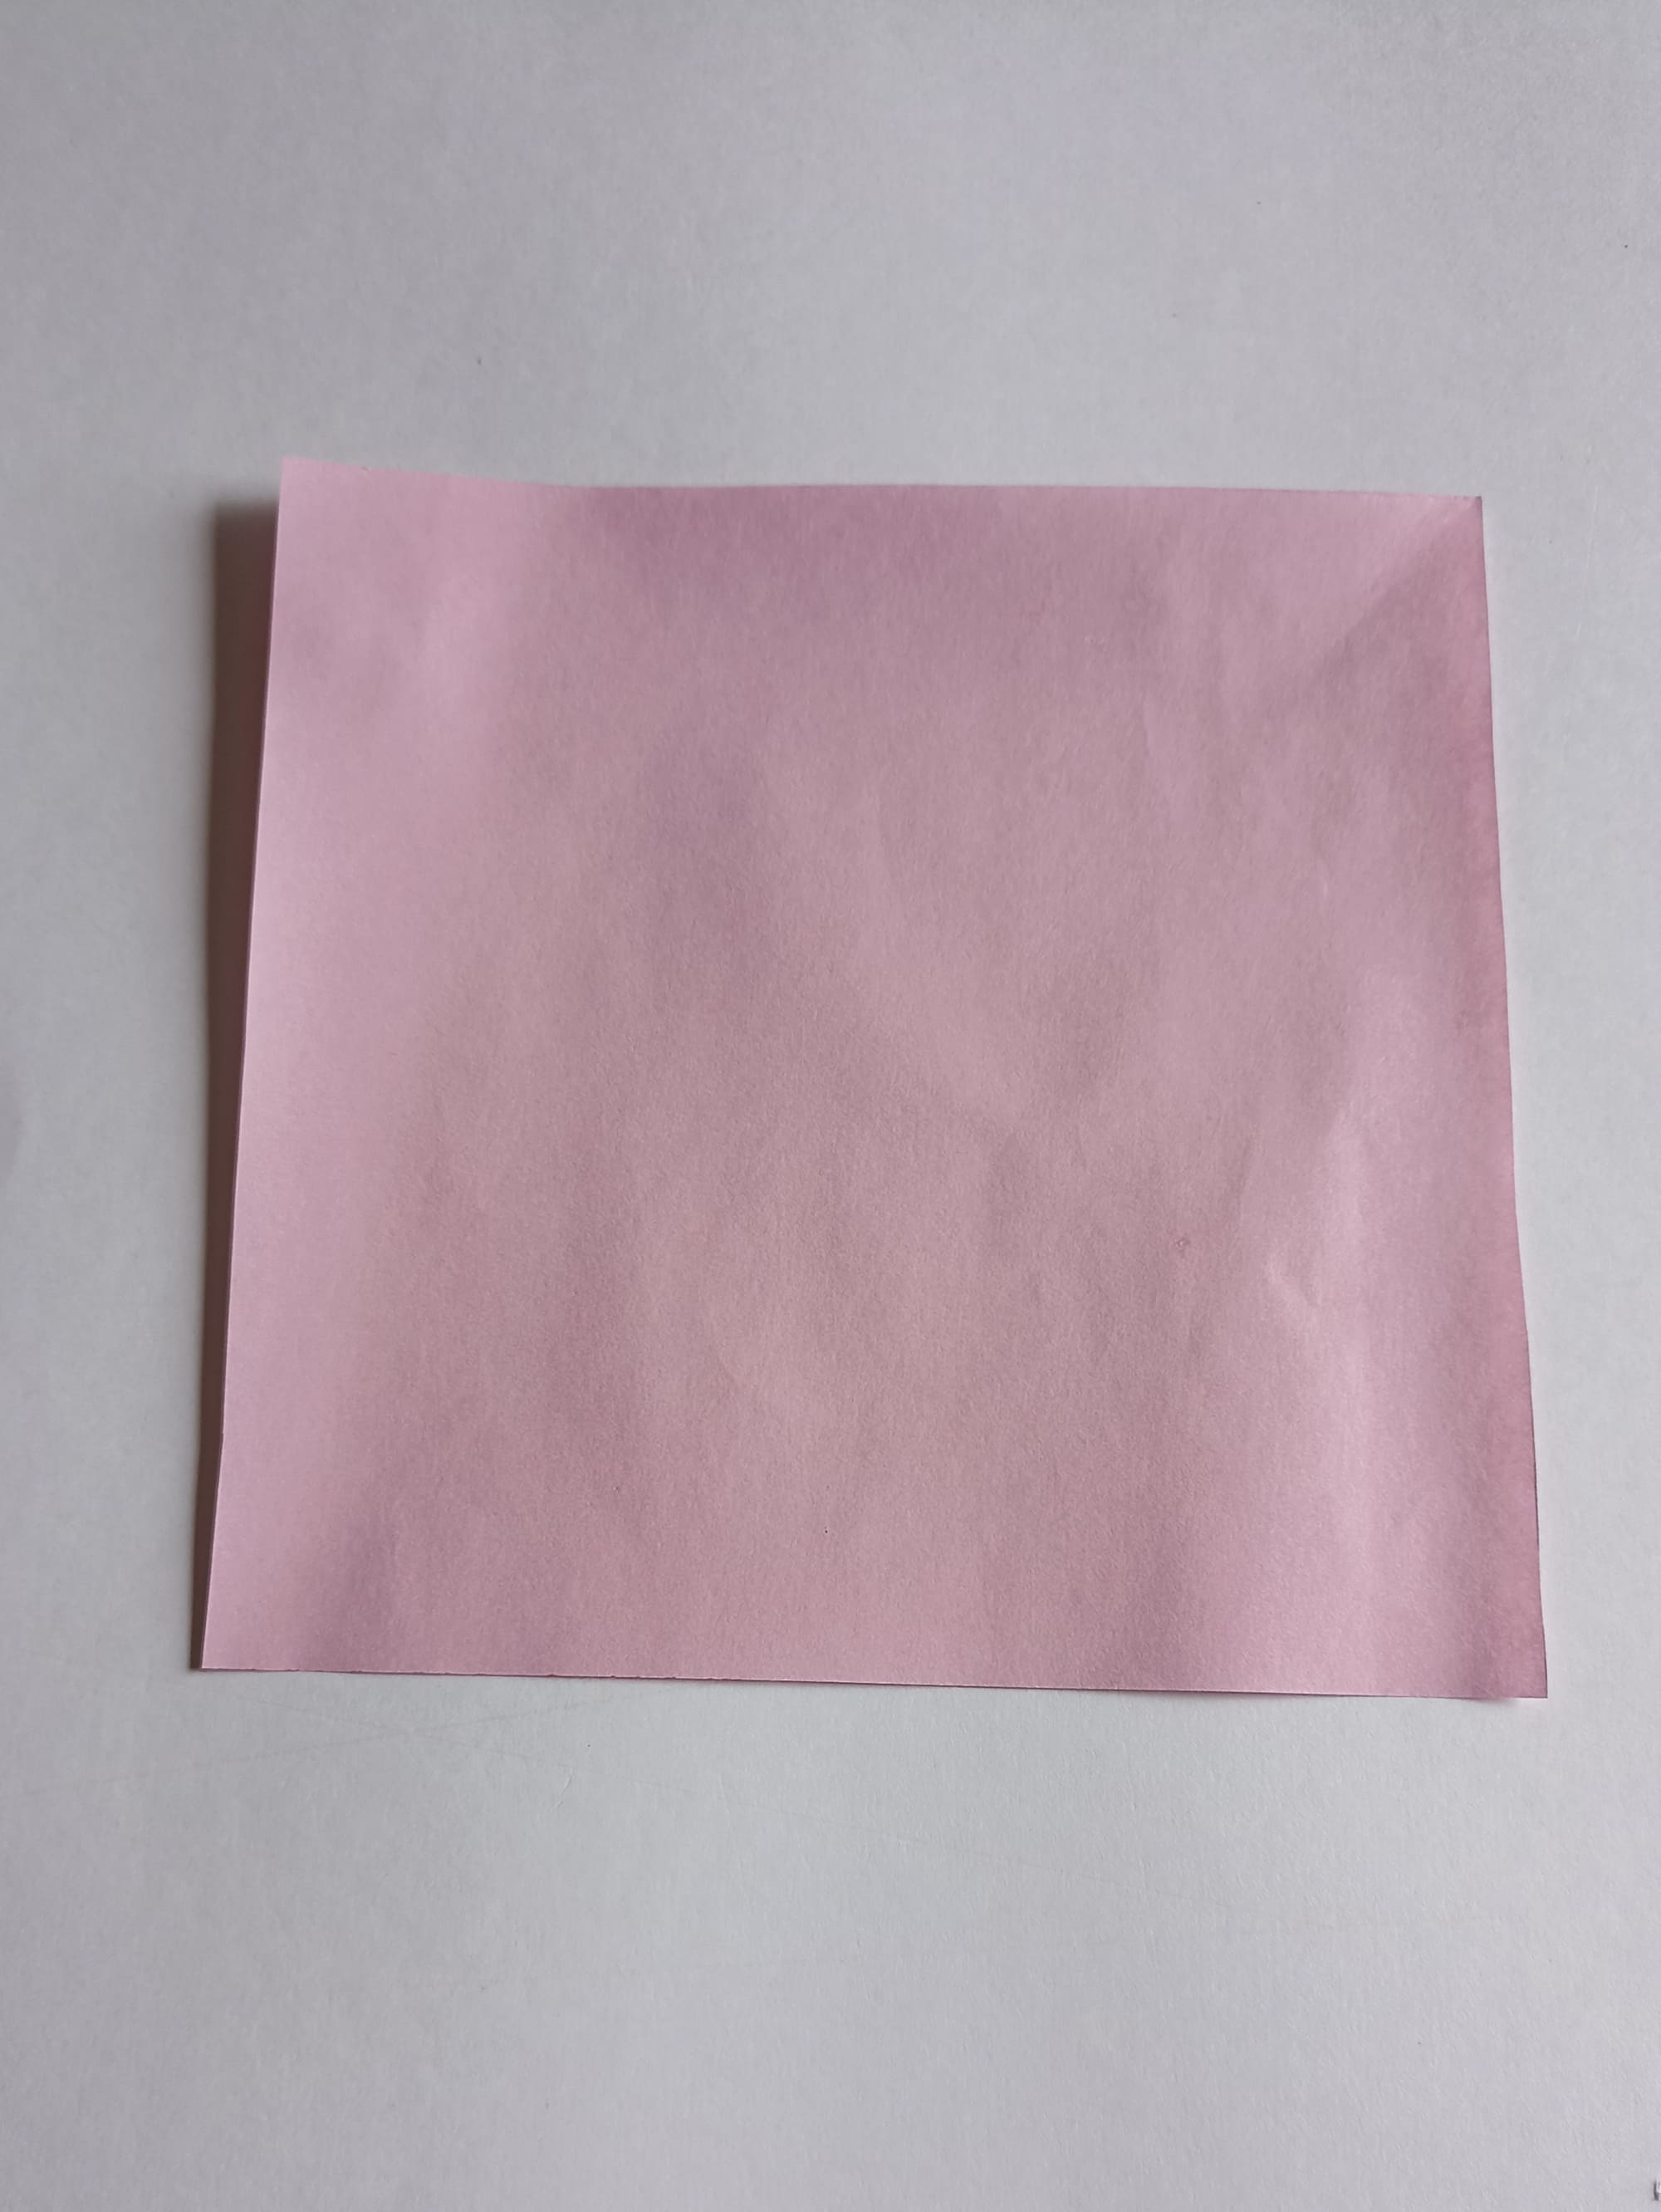
Select a square of paper to work with and place it face down. The paper can be colored on one or both sides, with a print or ornament.
Mark the horizontal center line. Fold the piece of paper in half, matching the bottom and top edges.
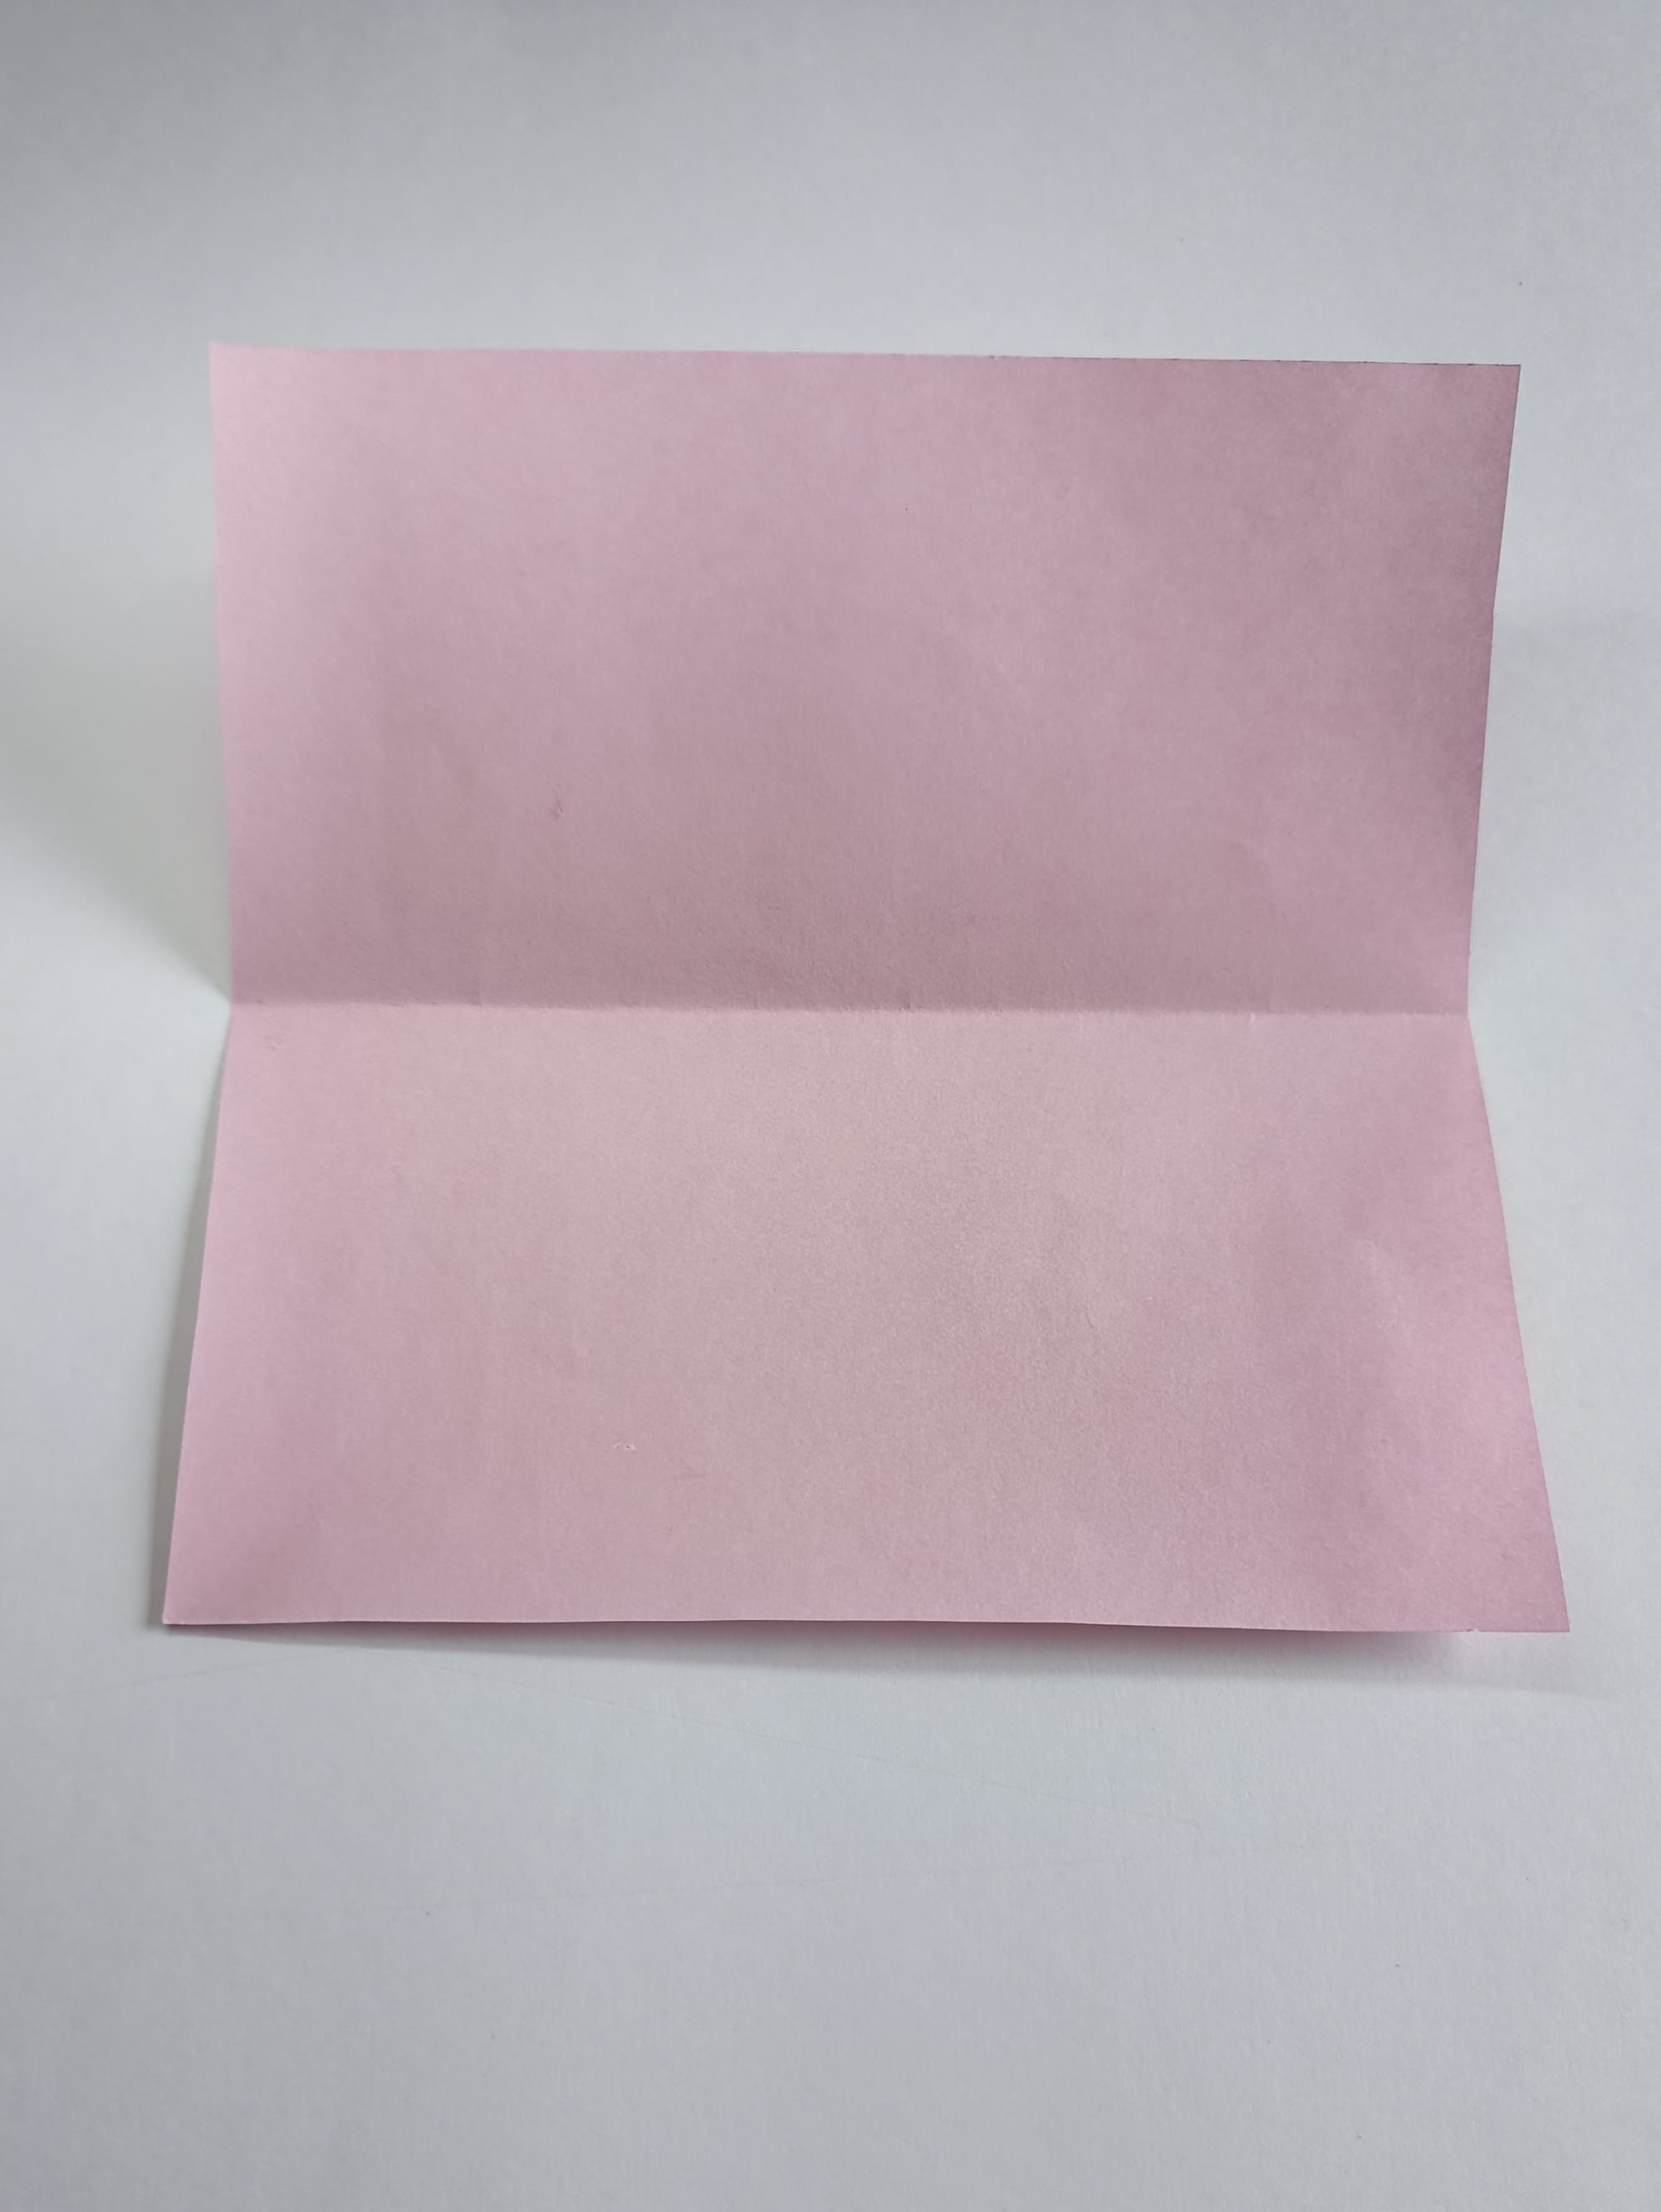
Crease the fold and open it back.

Mark the vertical center line.
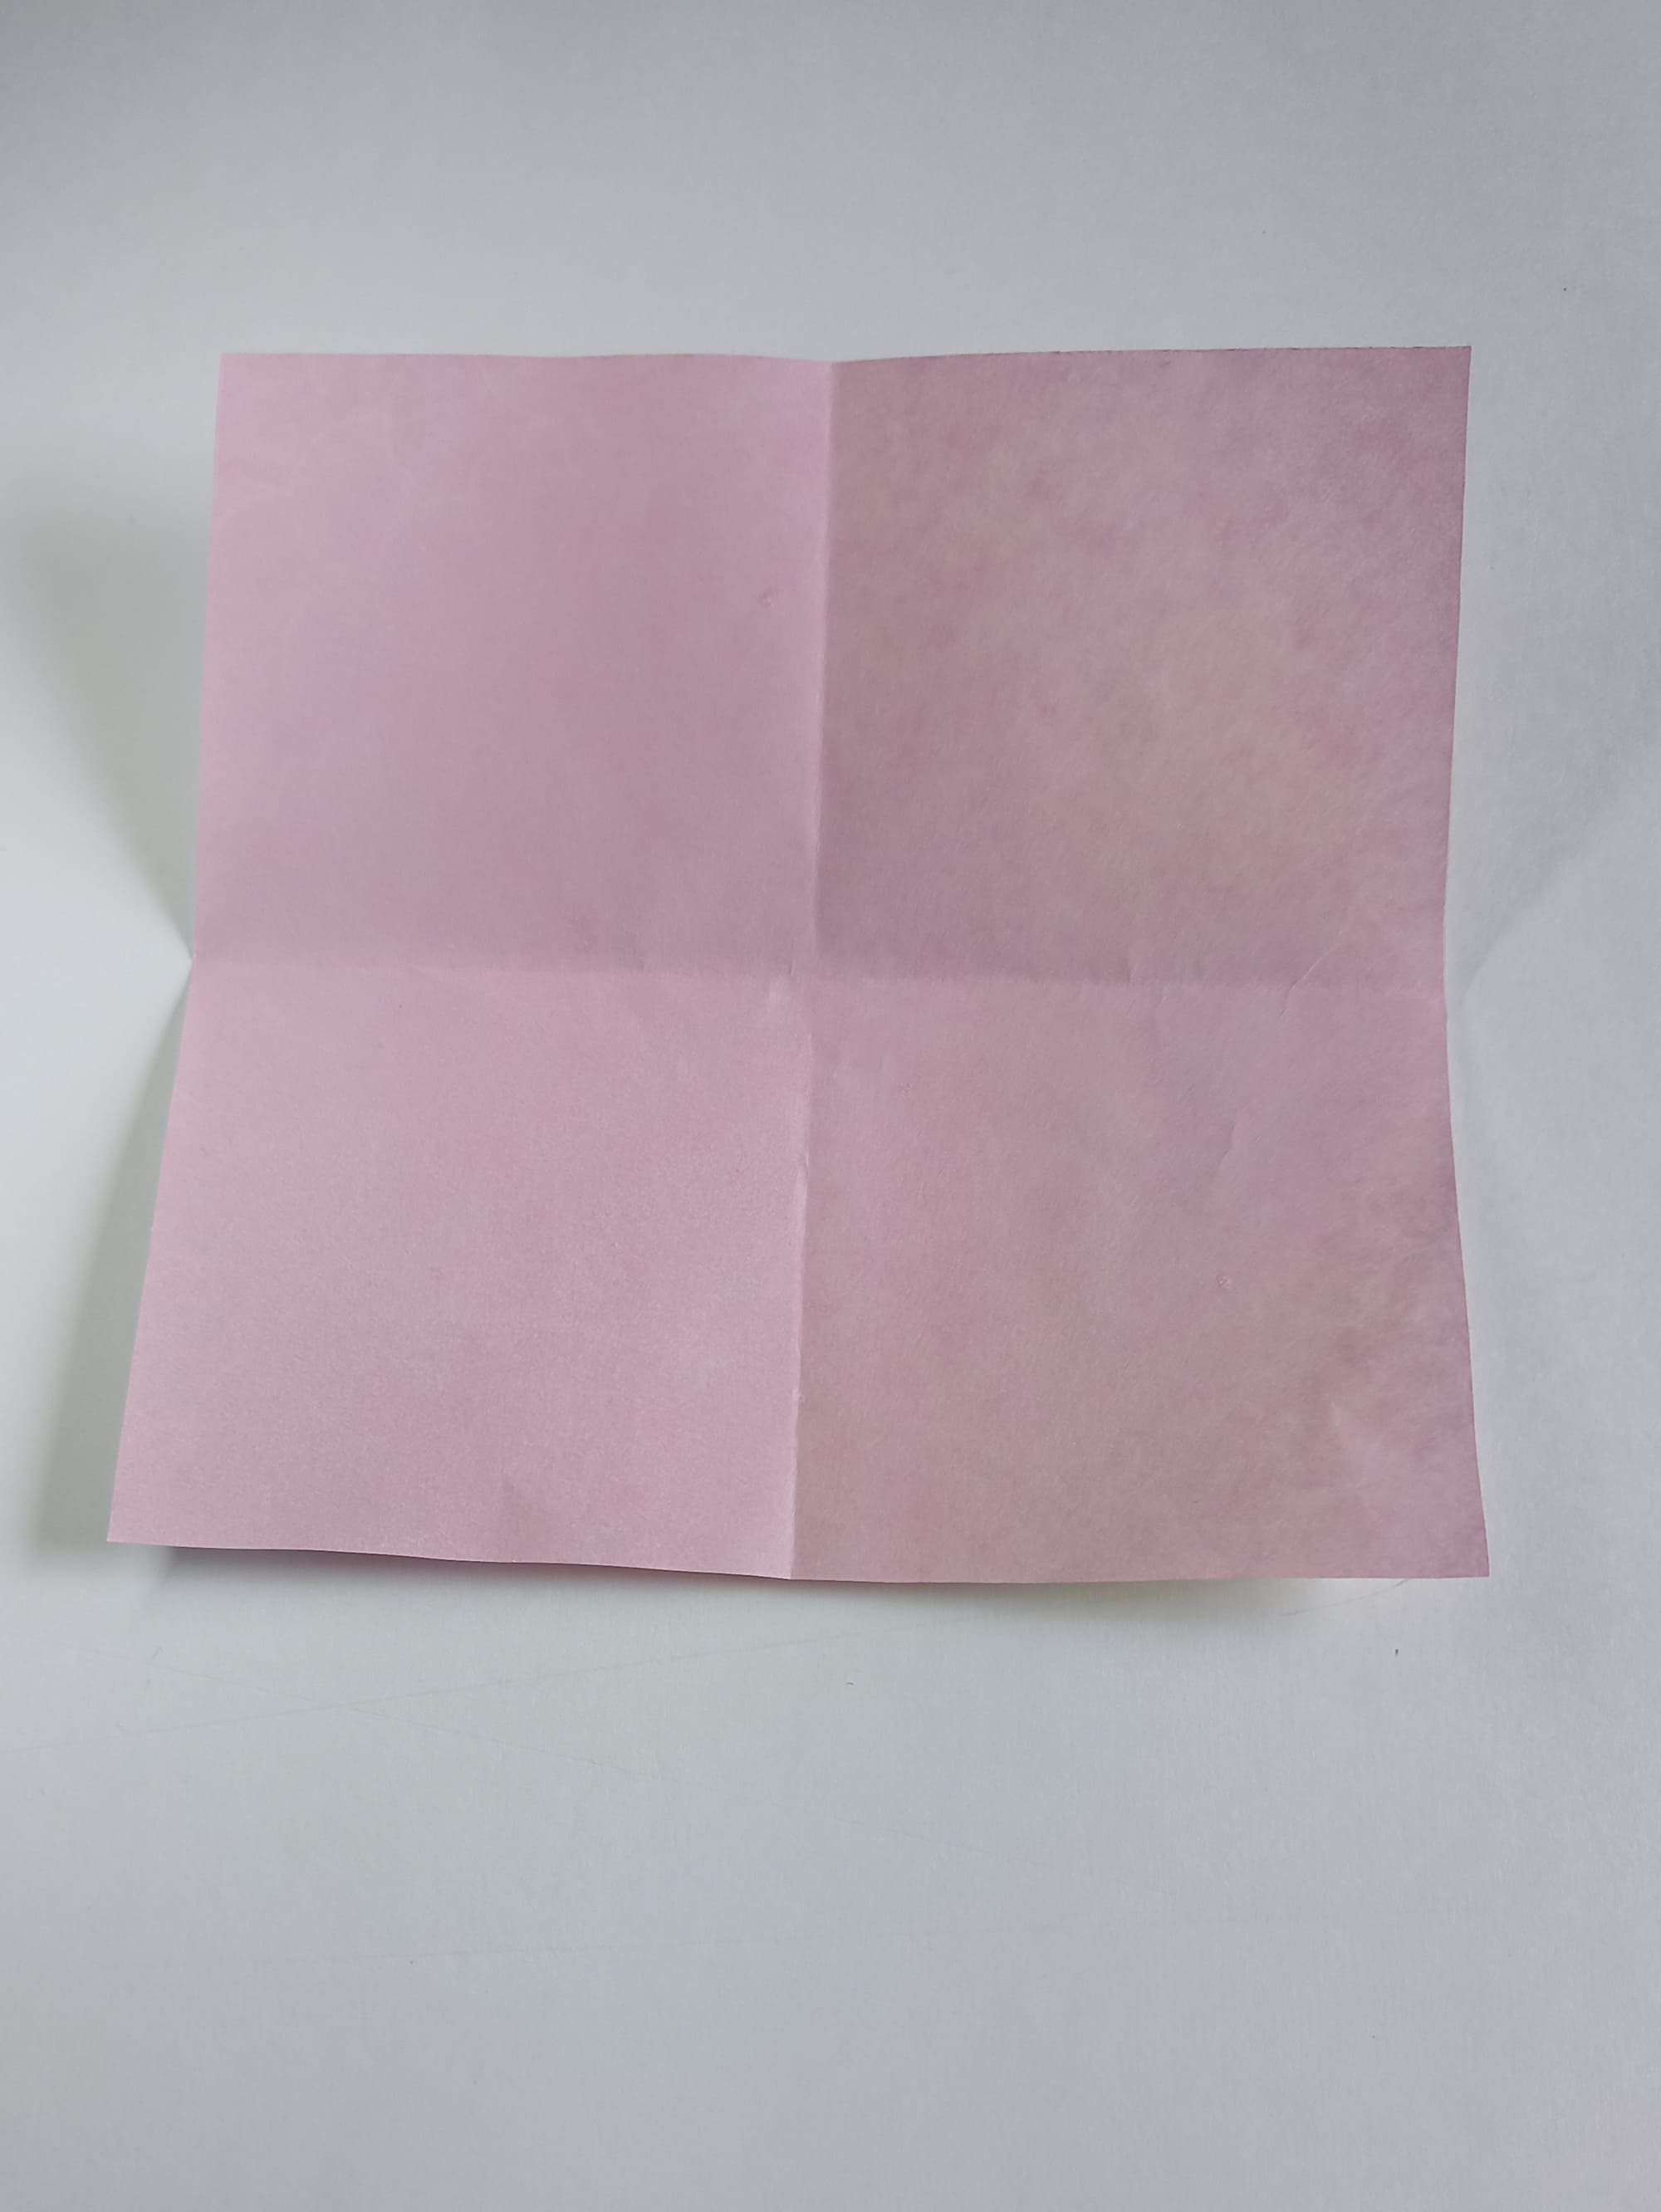
Align the right edge with the left, crease the fold, and open again.
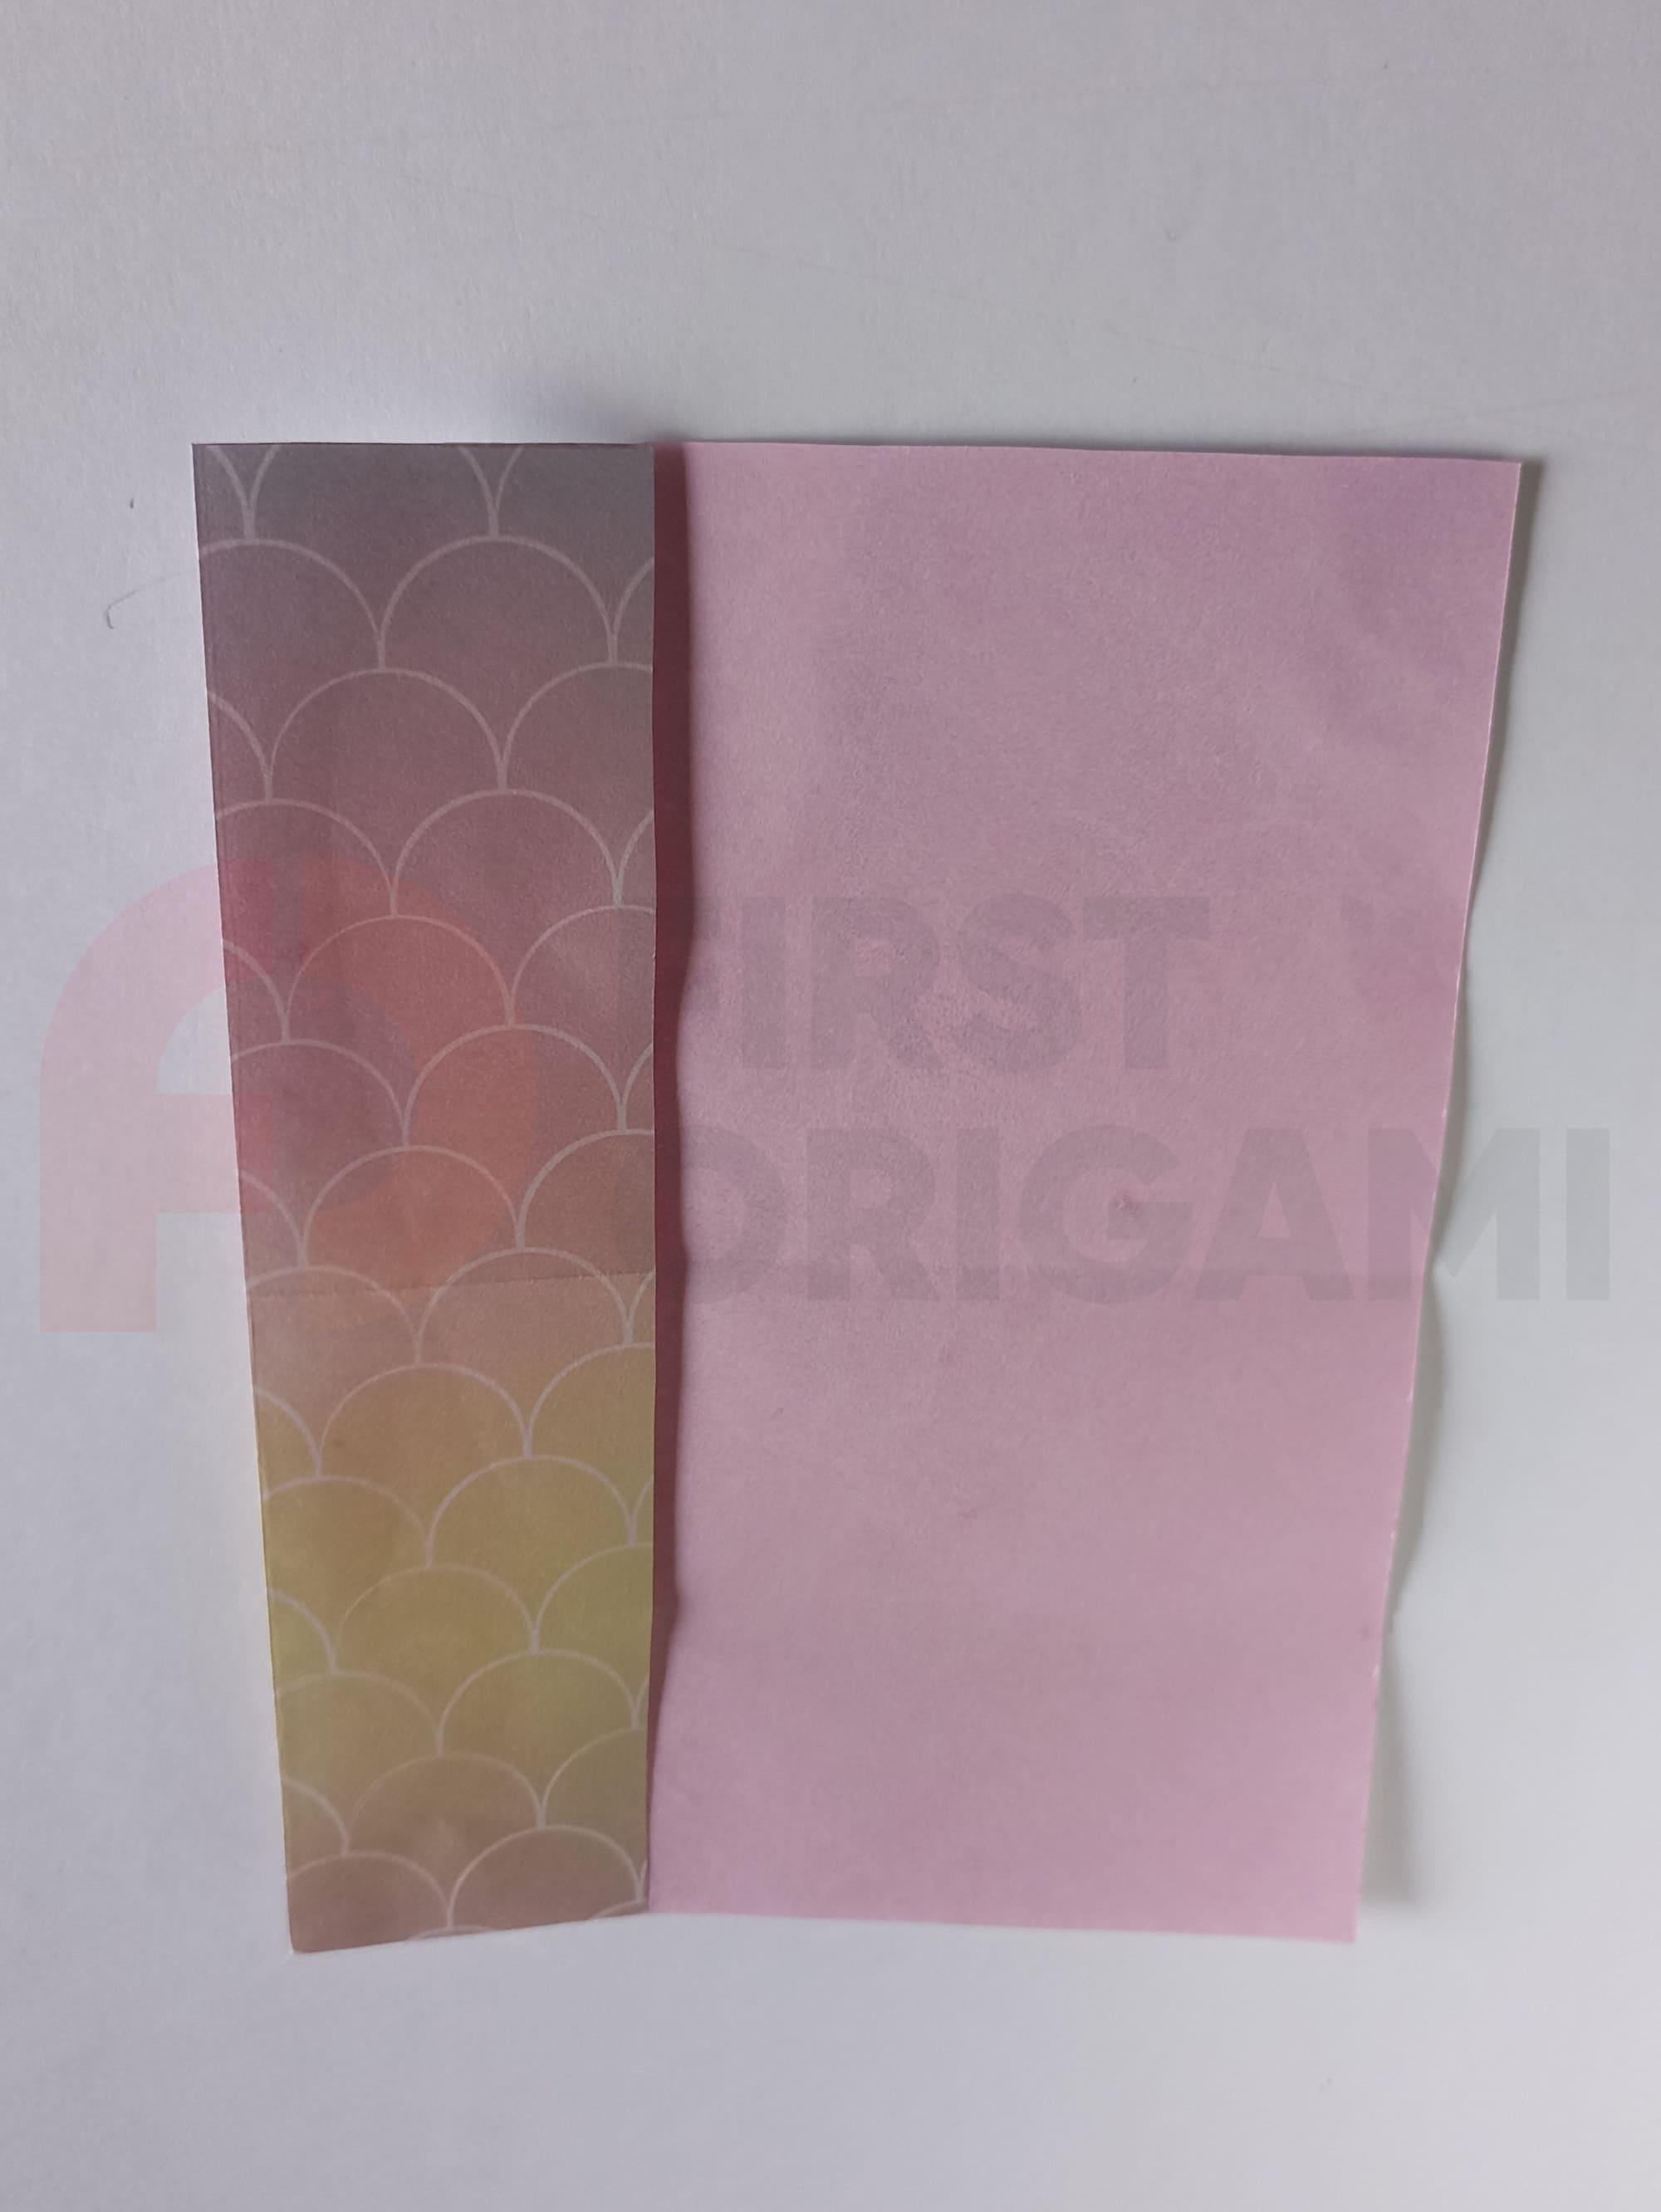
Make folds, alternately aligning the sides with the vertical line of the middle.
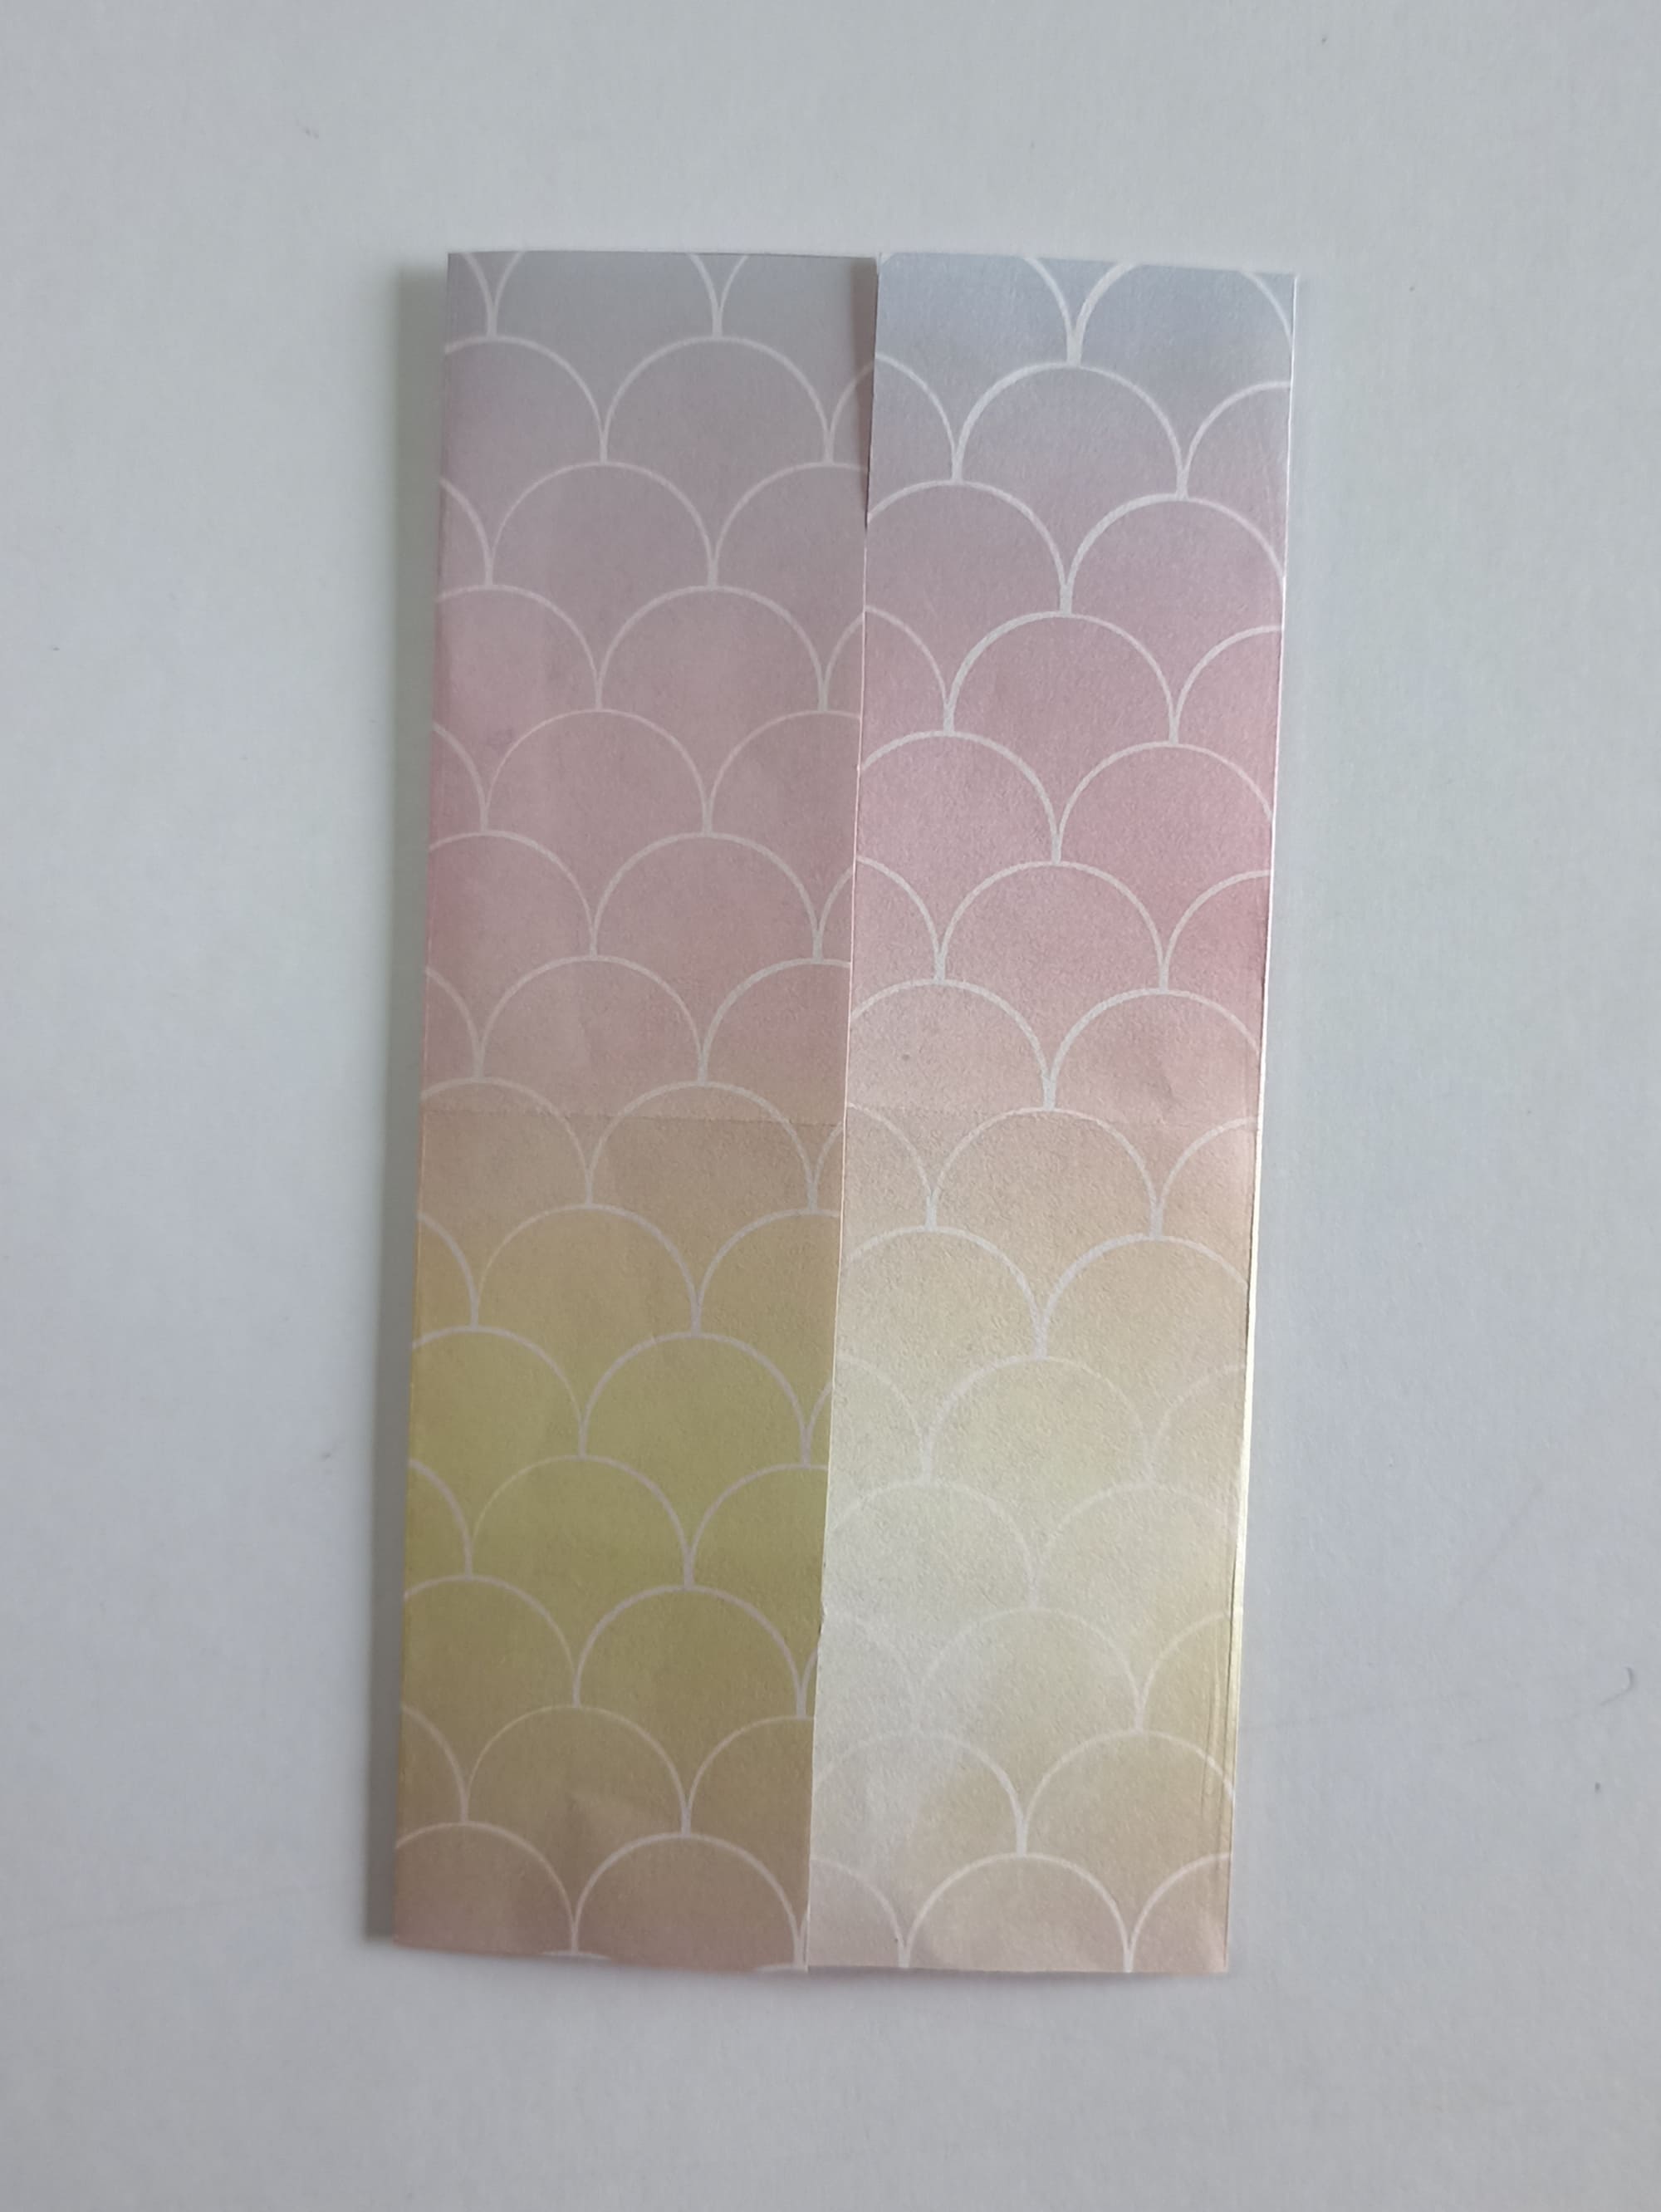
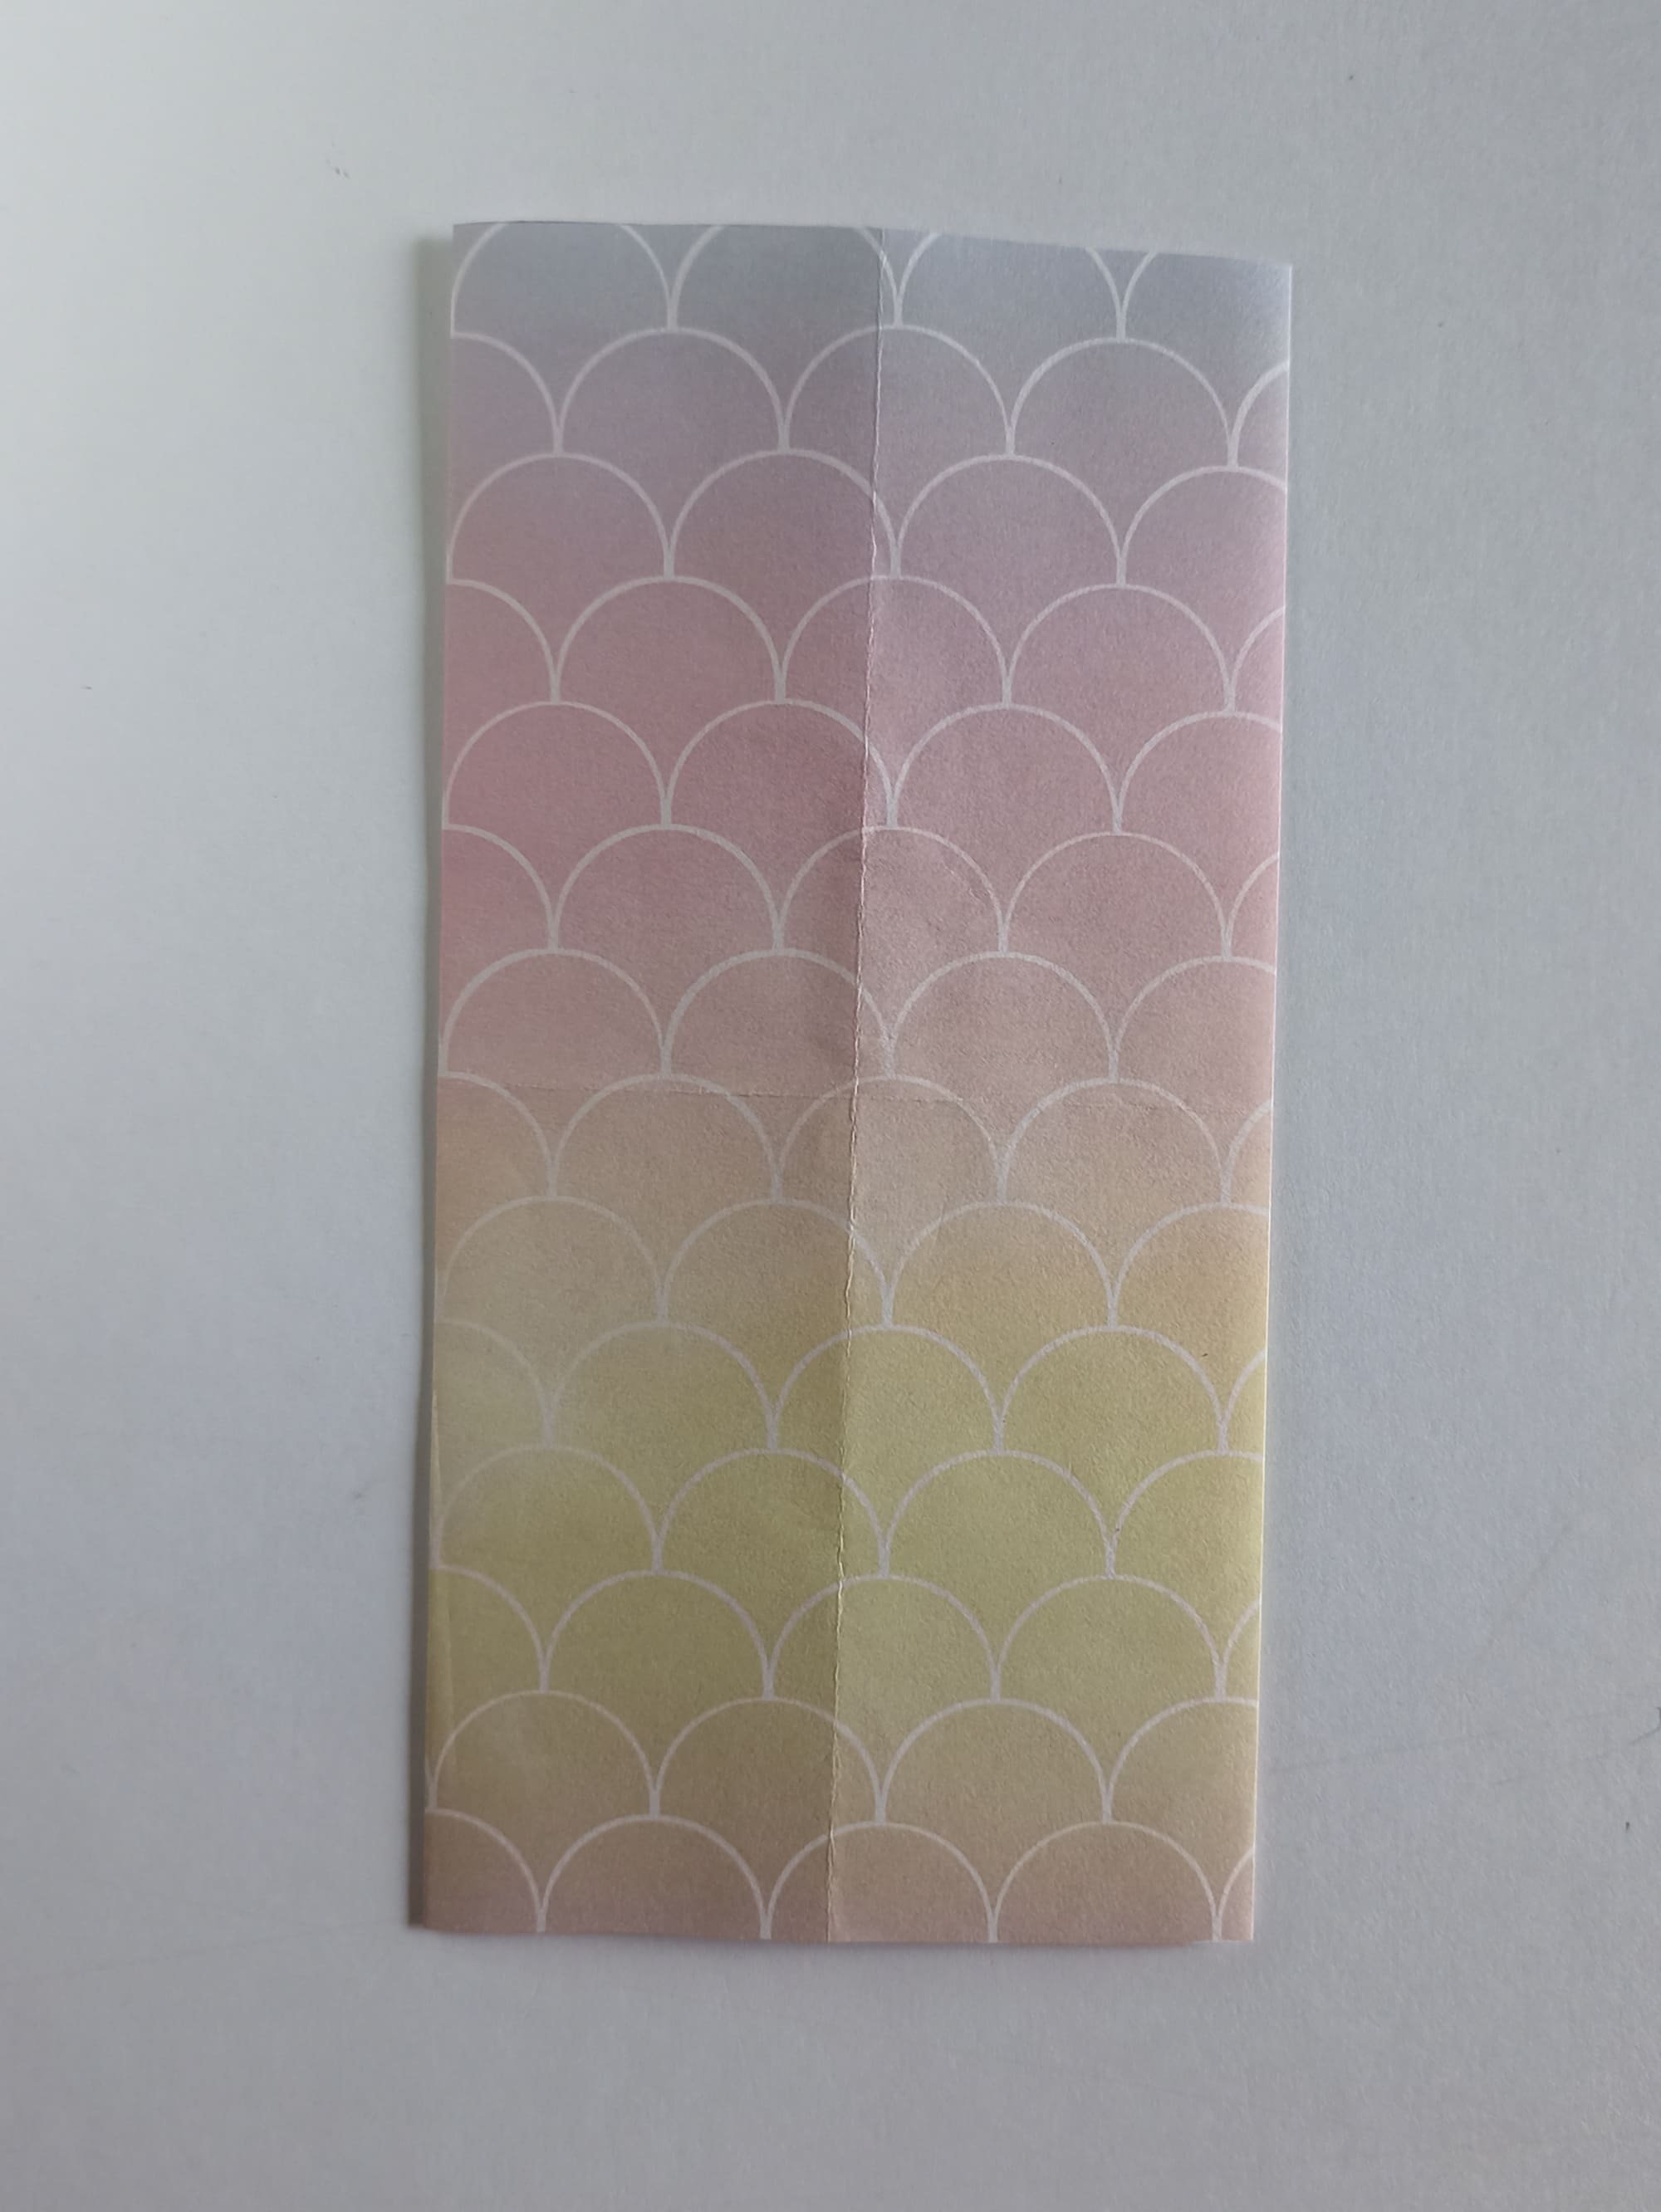
Turn the shape over with the flat side facing you, as when turning the pages of a book.
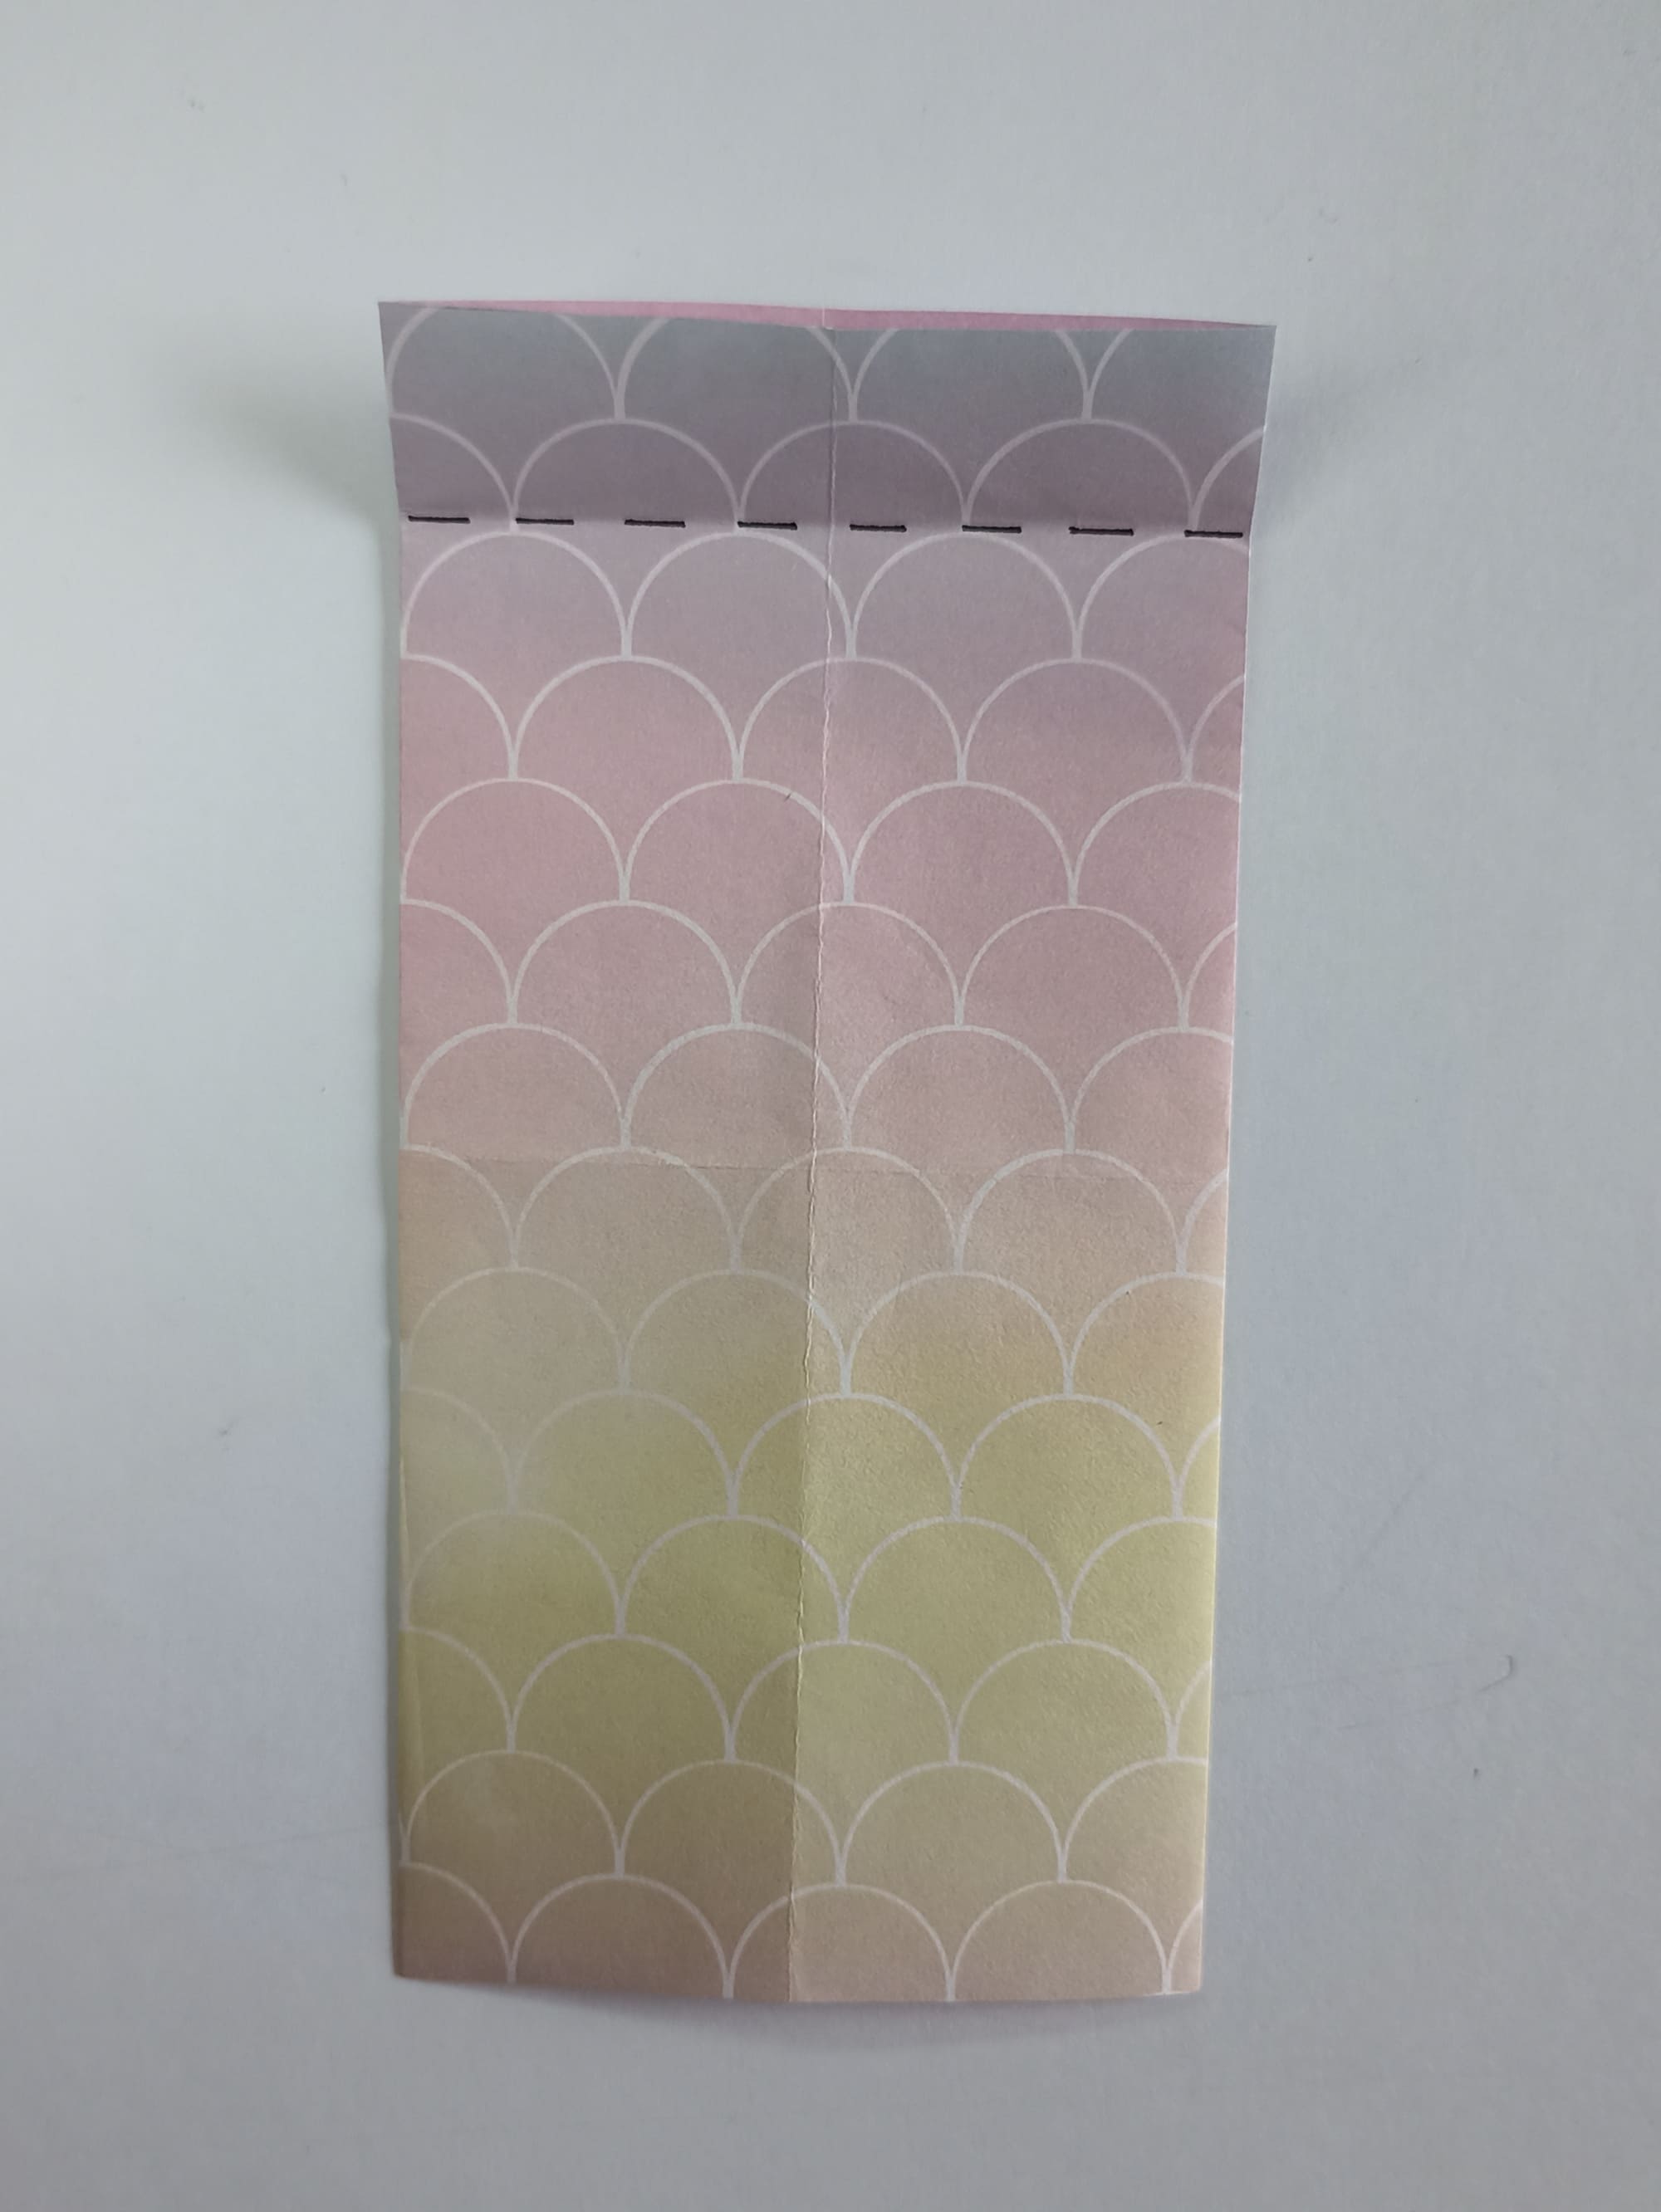
Draw a line equal to 1/8 of the height of the sheet. You can use a neat lifehack: make a tuck, aligning the top edge with the middle line, unfold and make a second tuck, aligning the top edge with the previous marker.
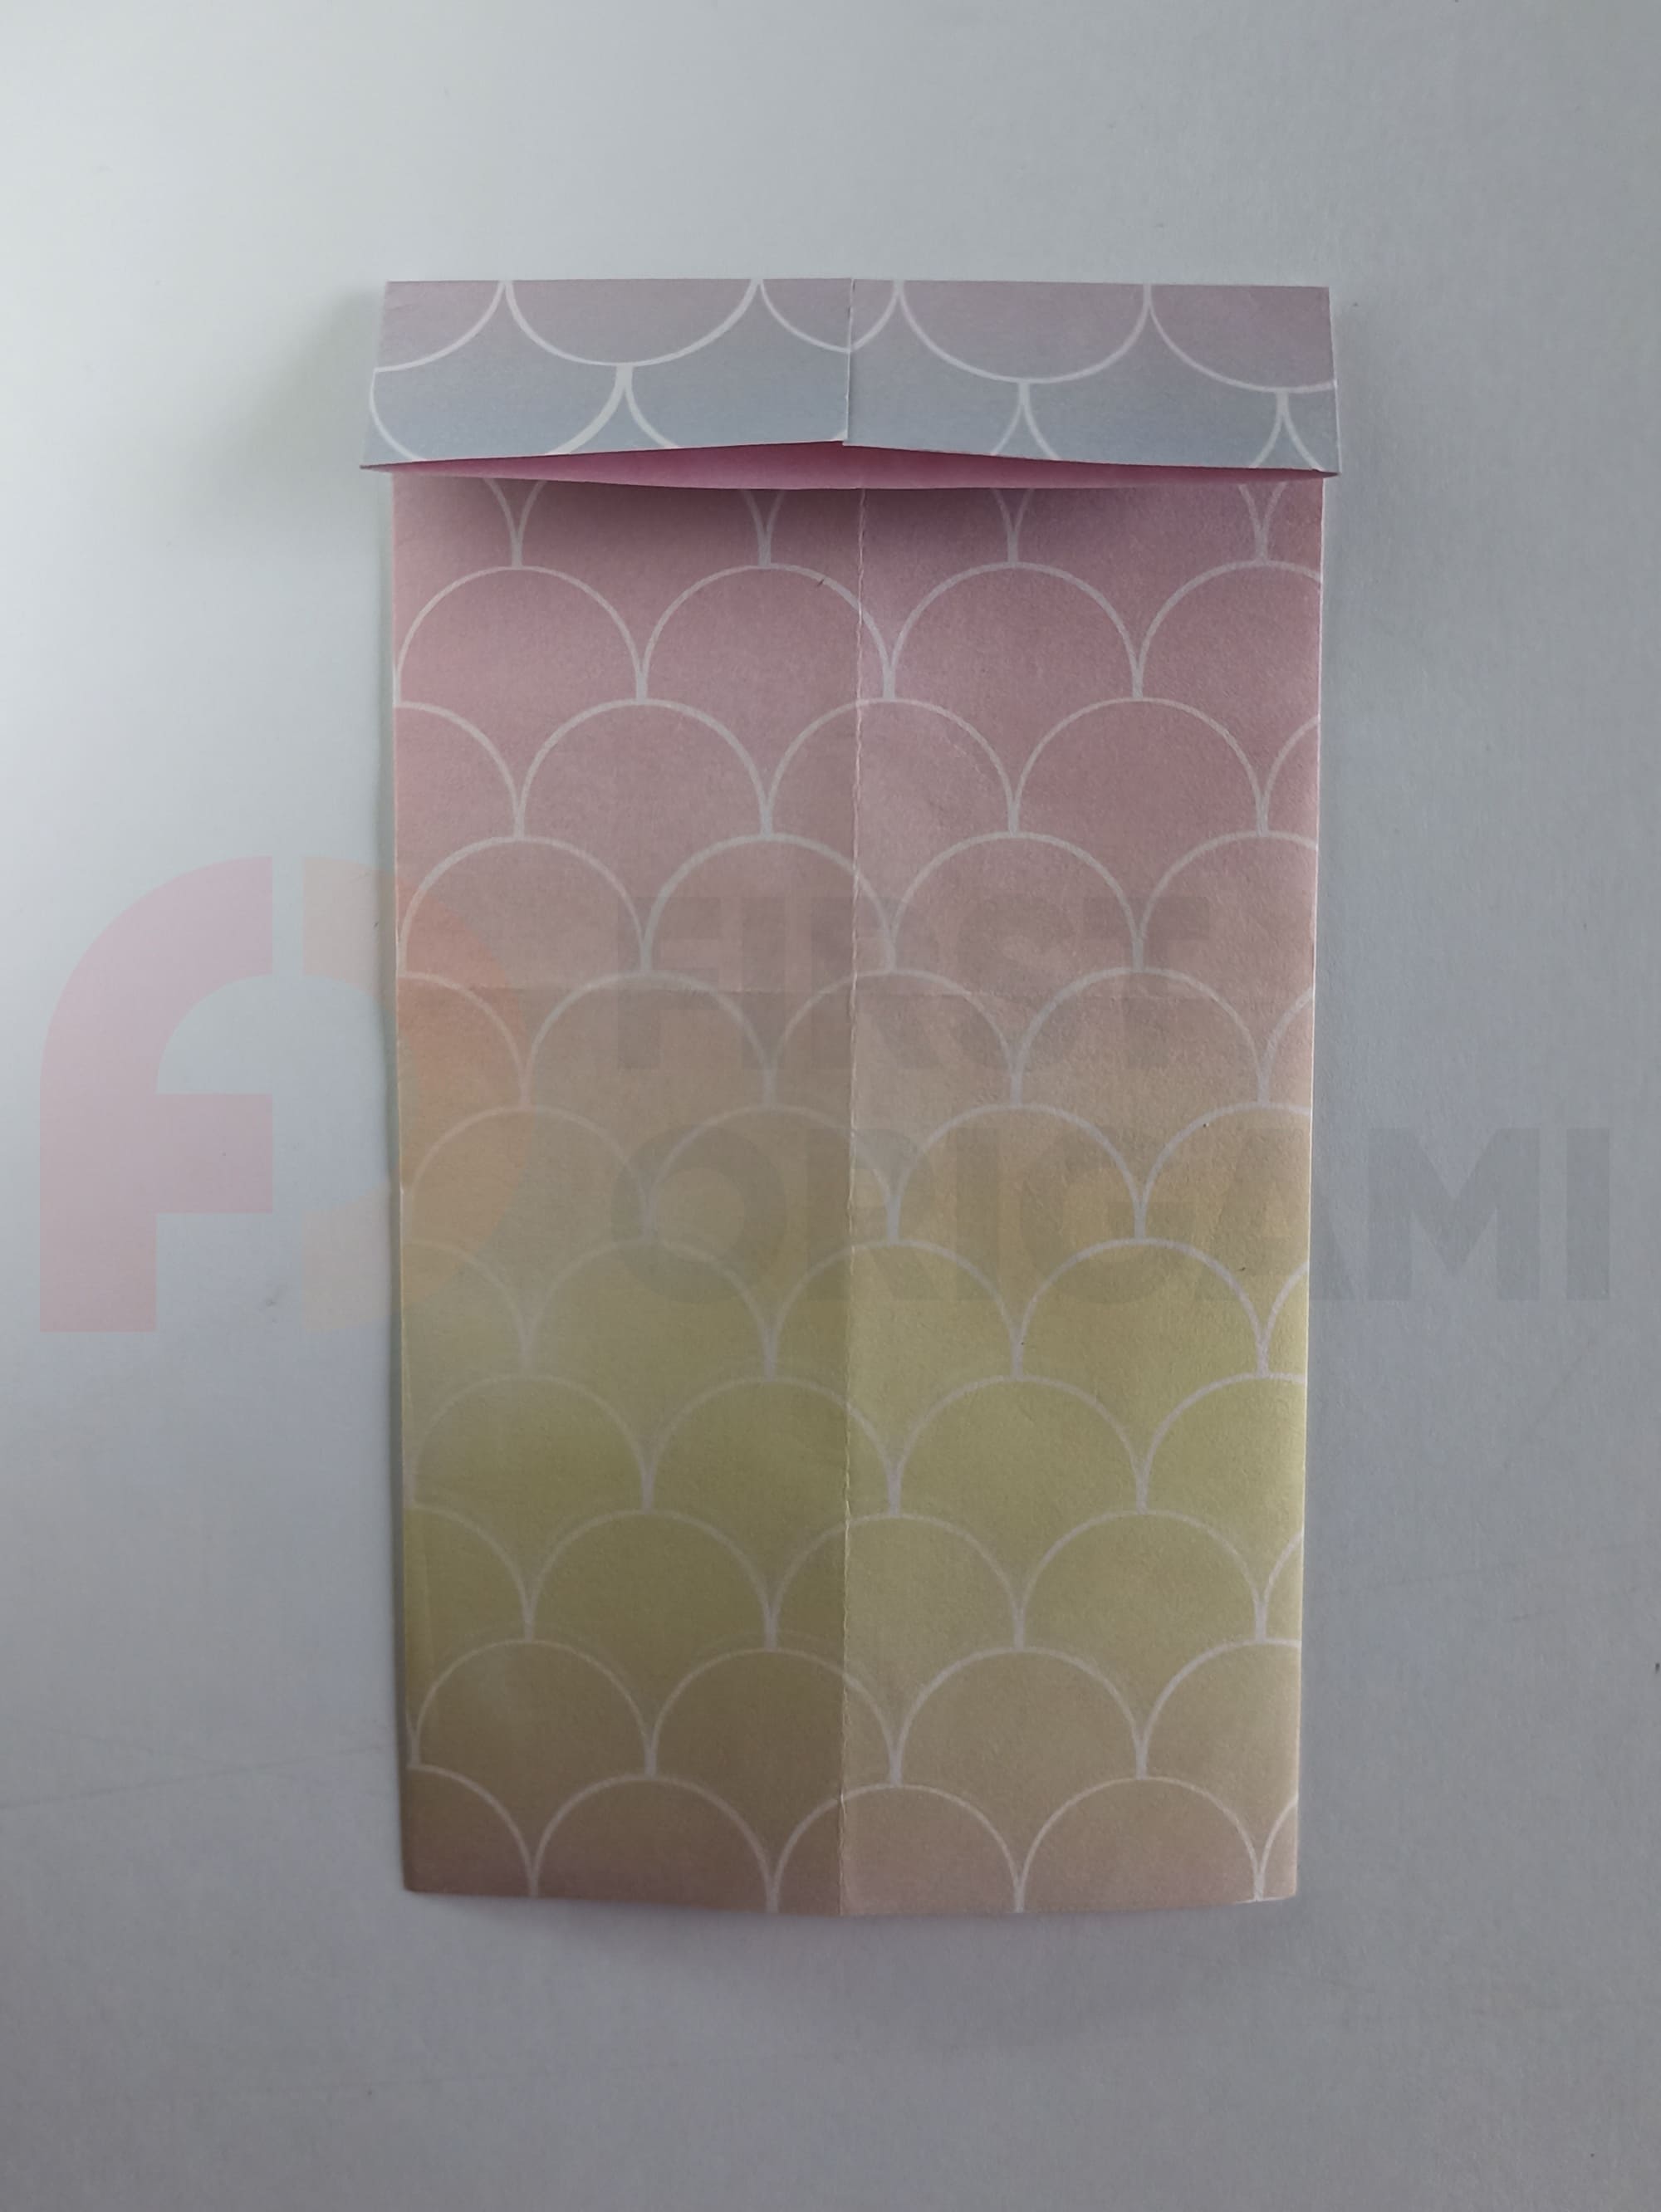
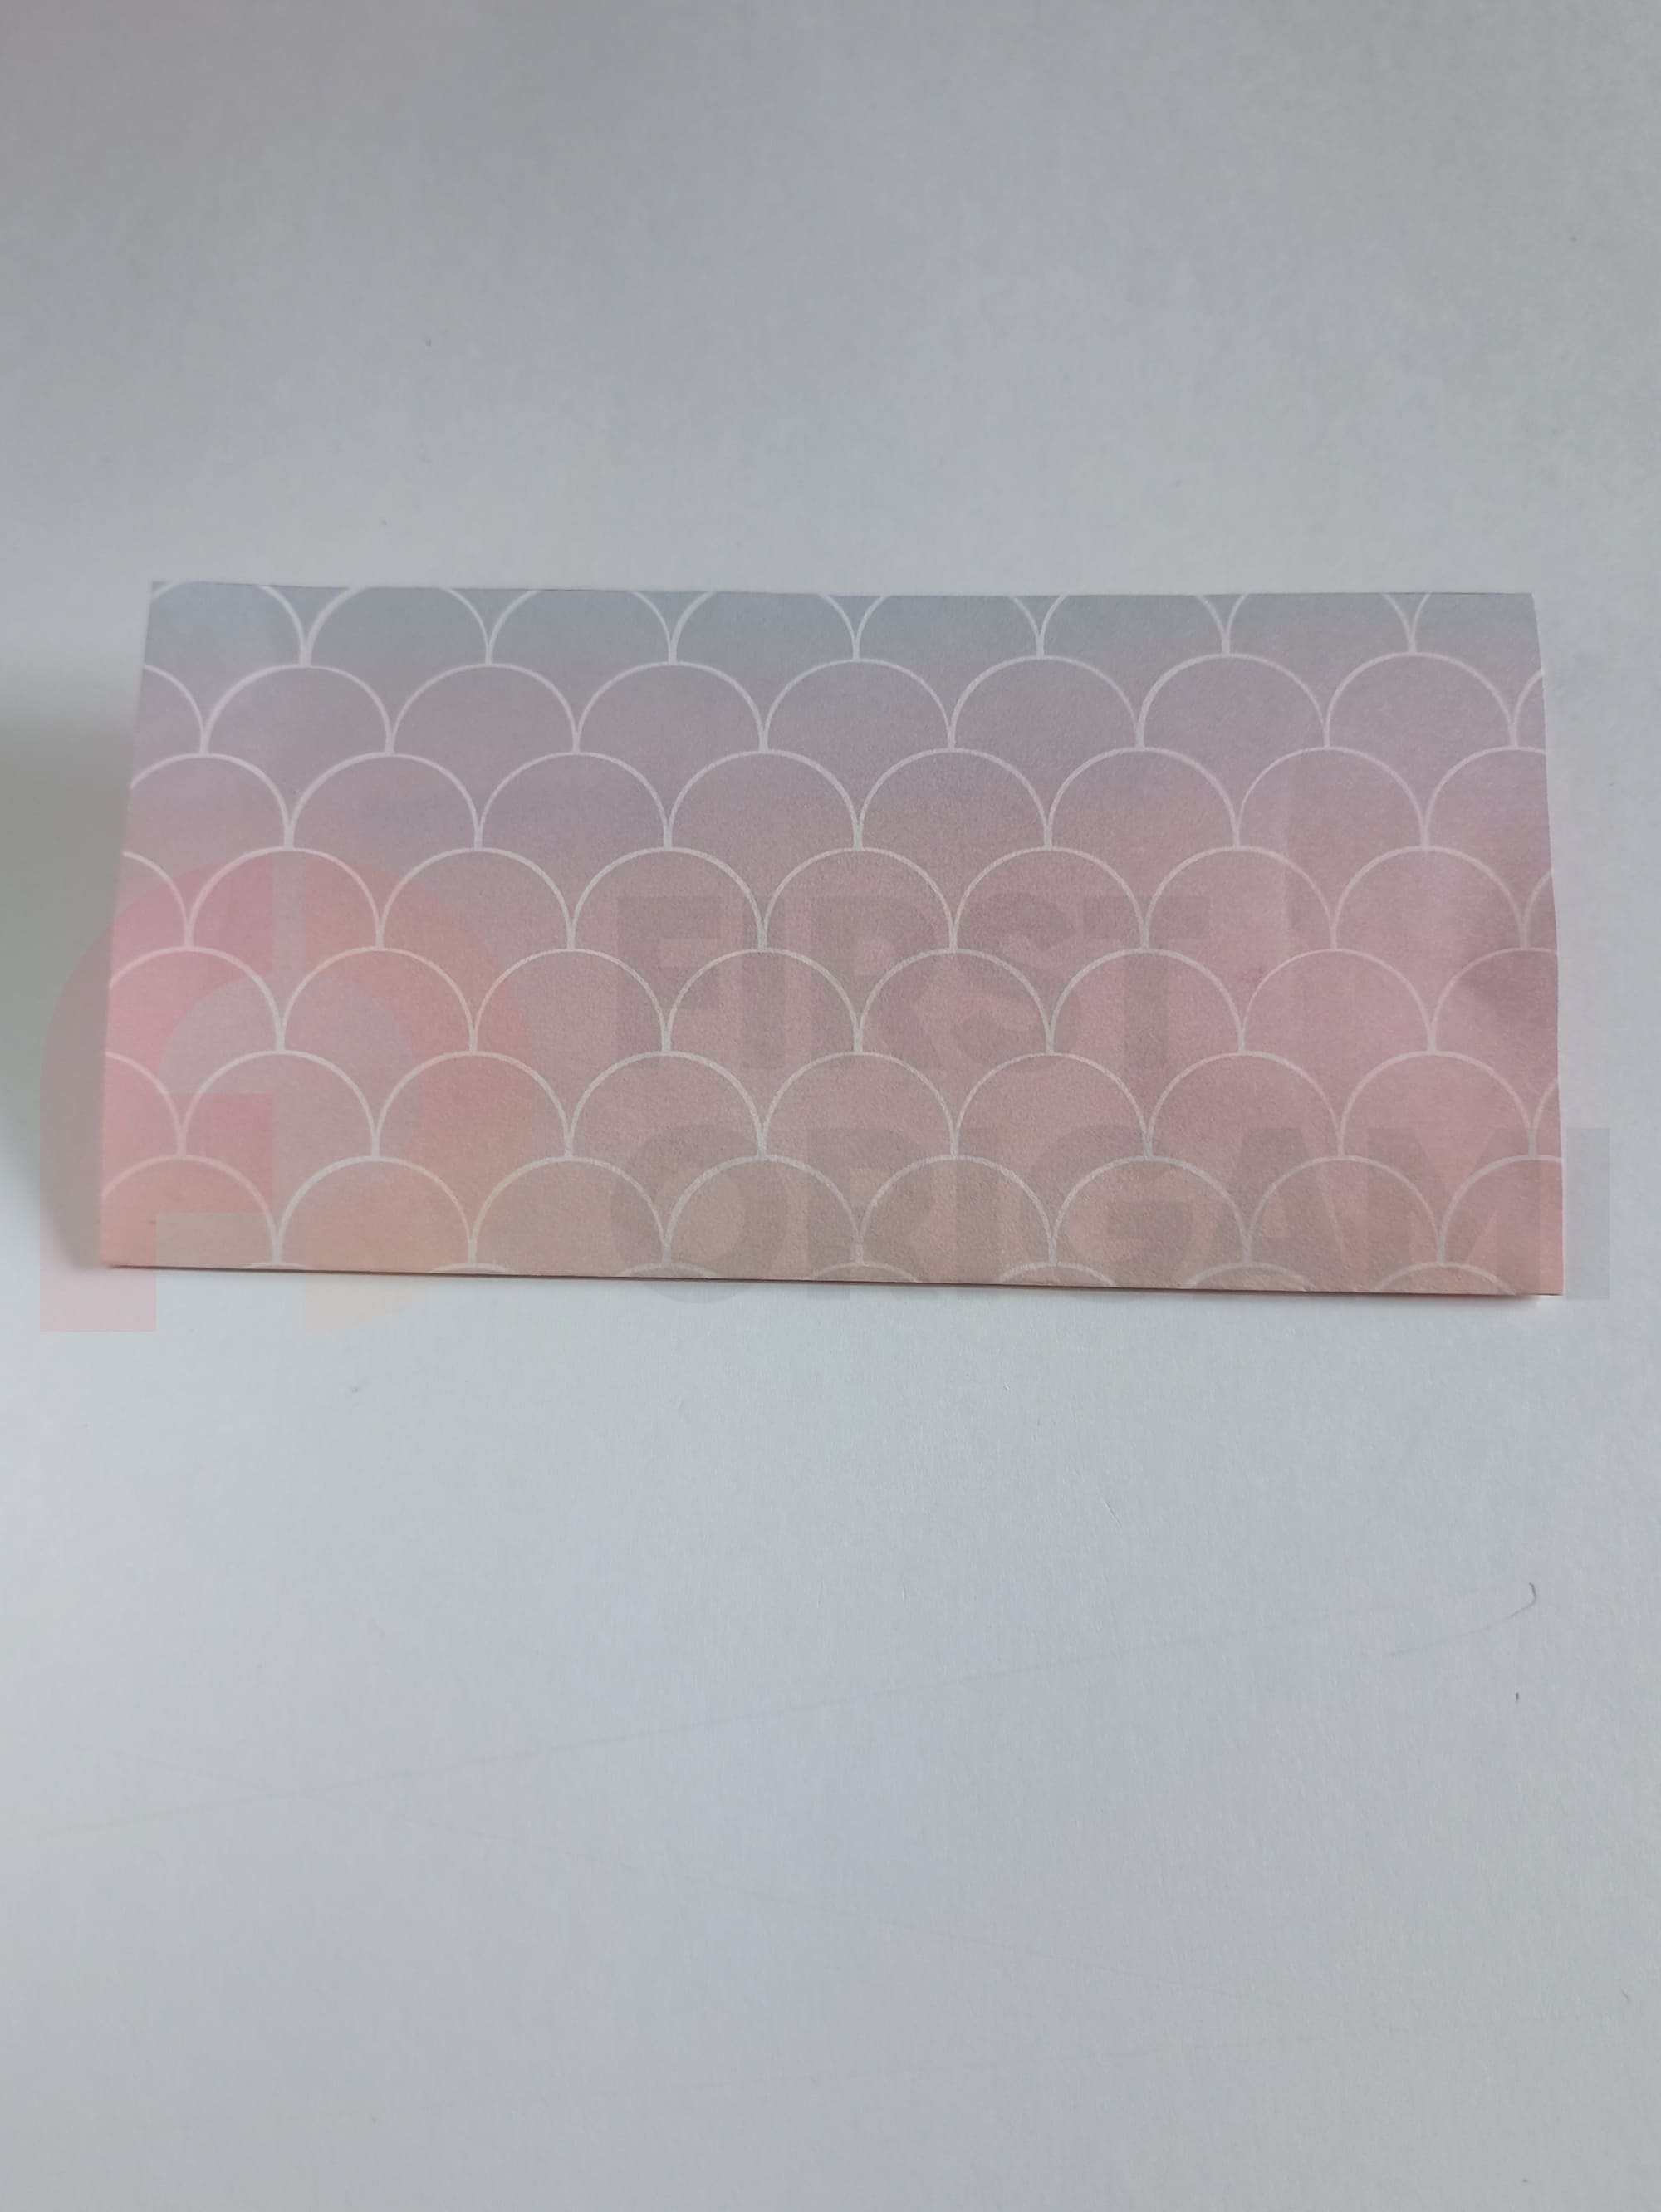
Fold the top edge down along the marked line.
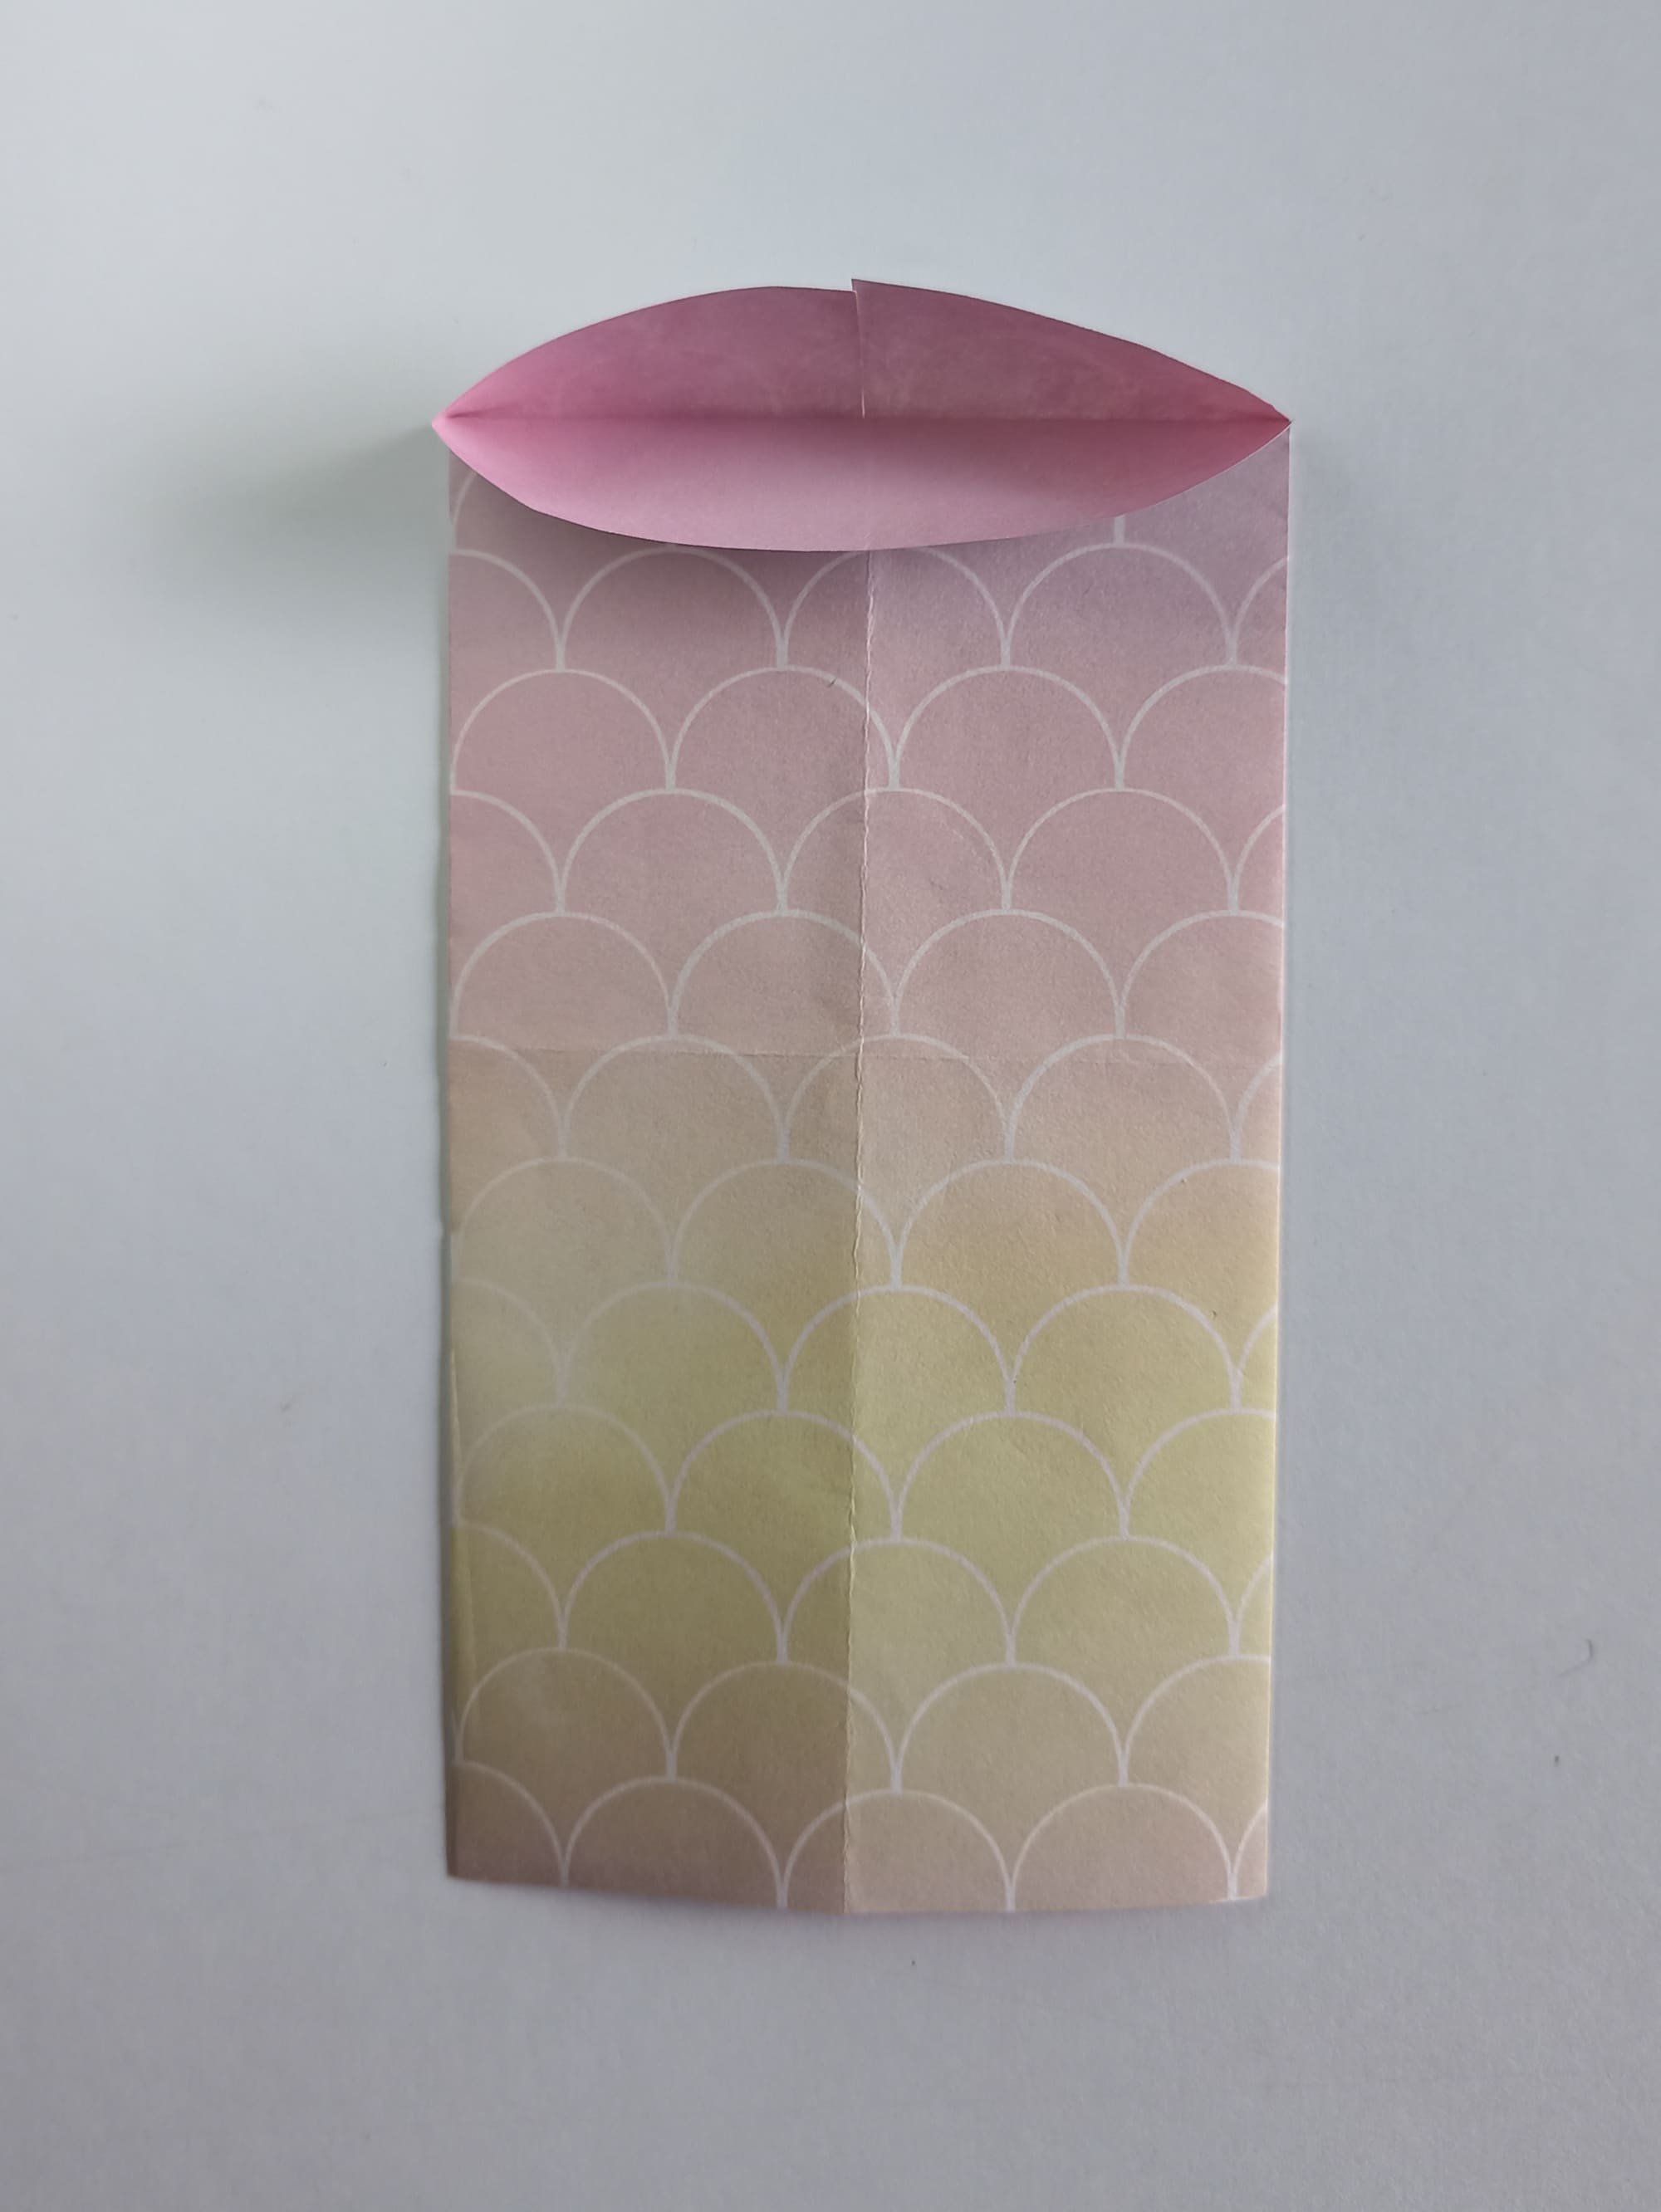
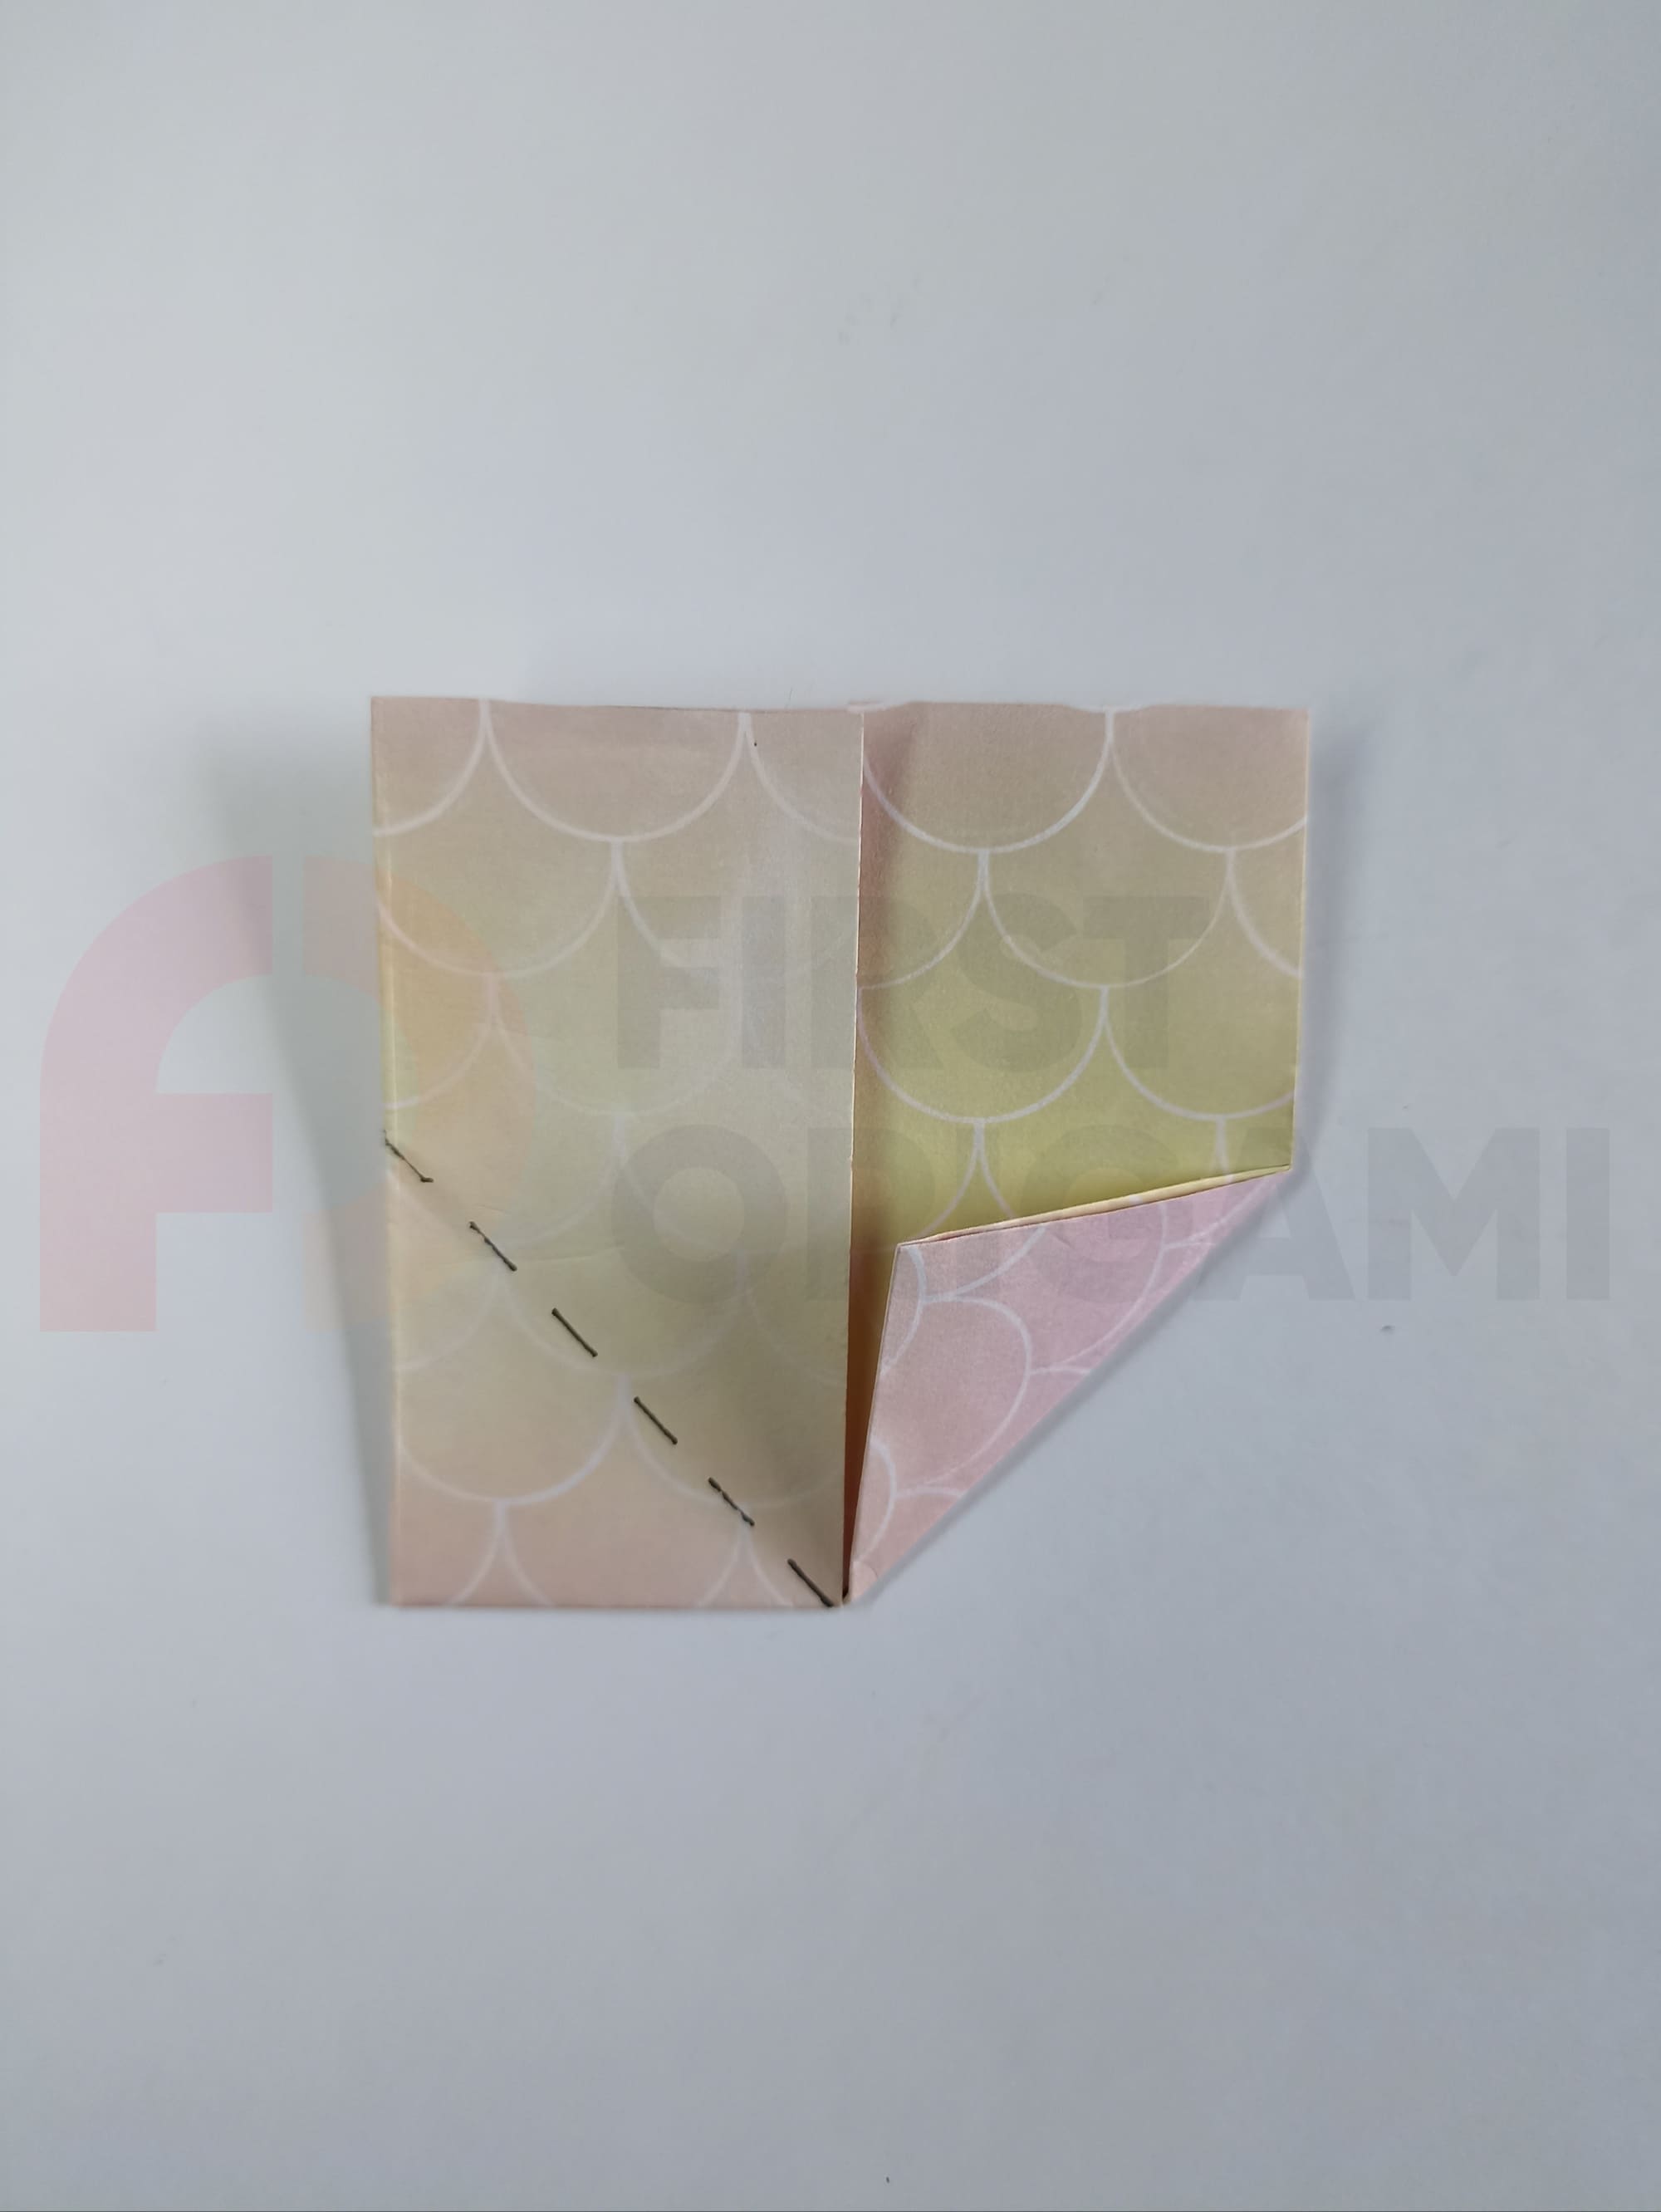
The following complex fold combination must be performed by straightening the top layer of the figure to the downward position, and the combined edges of the lower layer to the upward position.
The illustrations should help you understand the process.
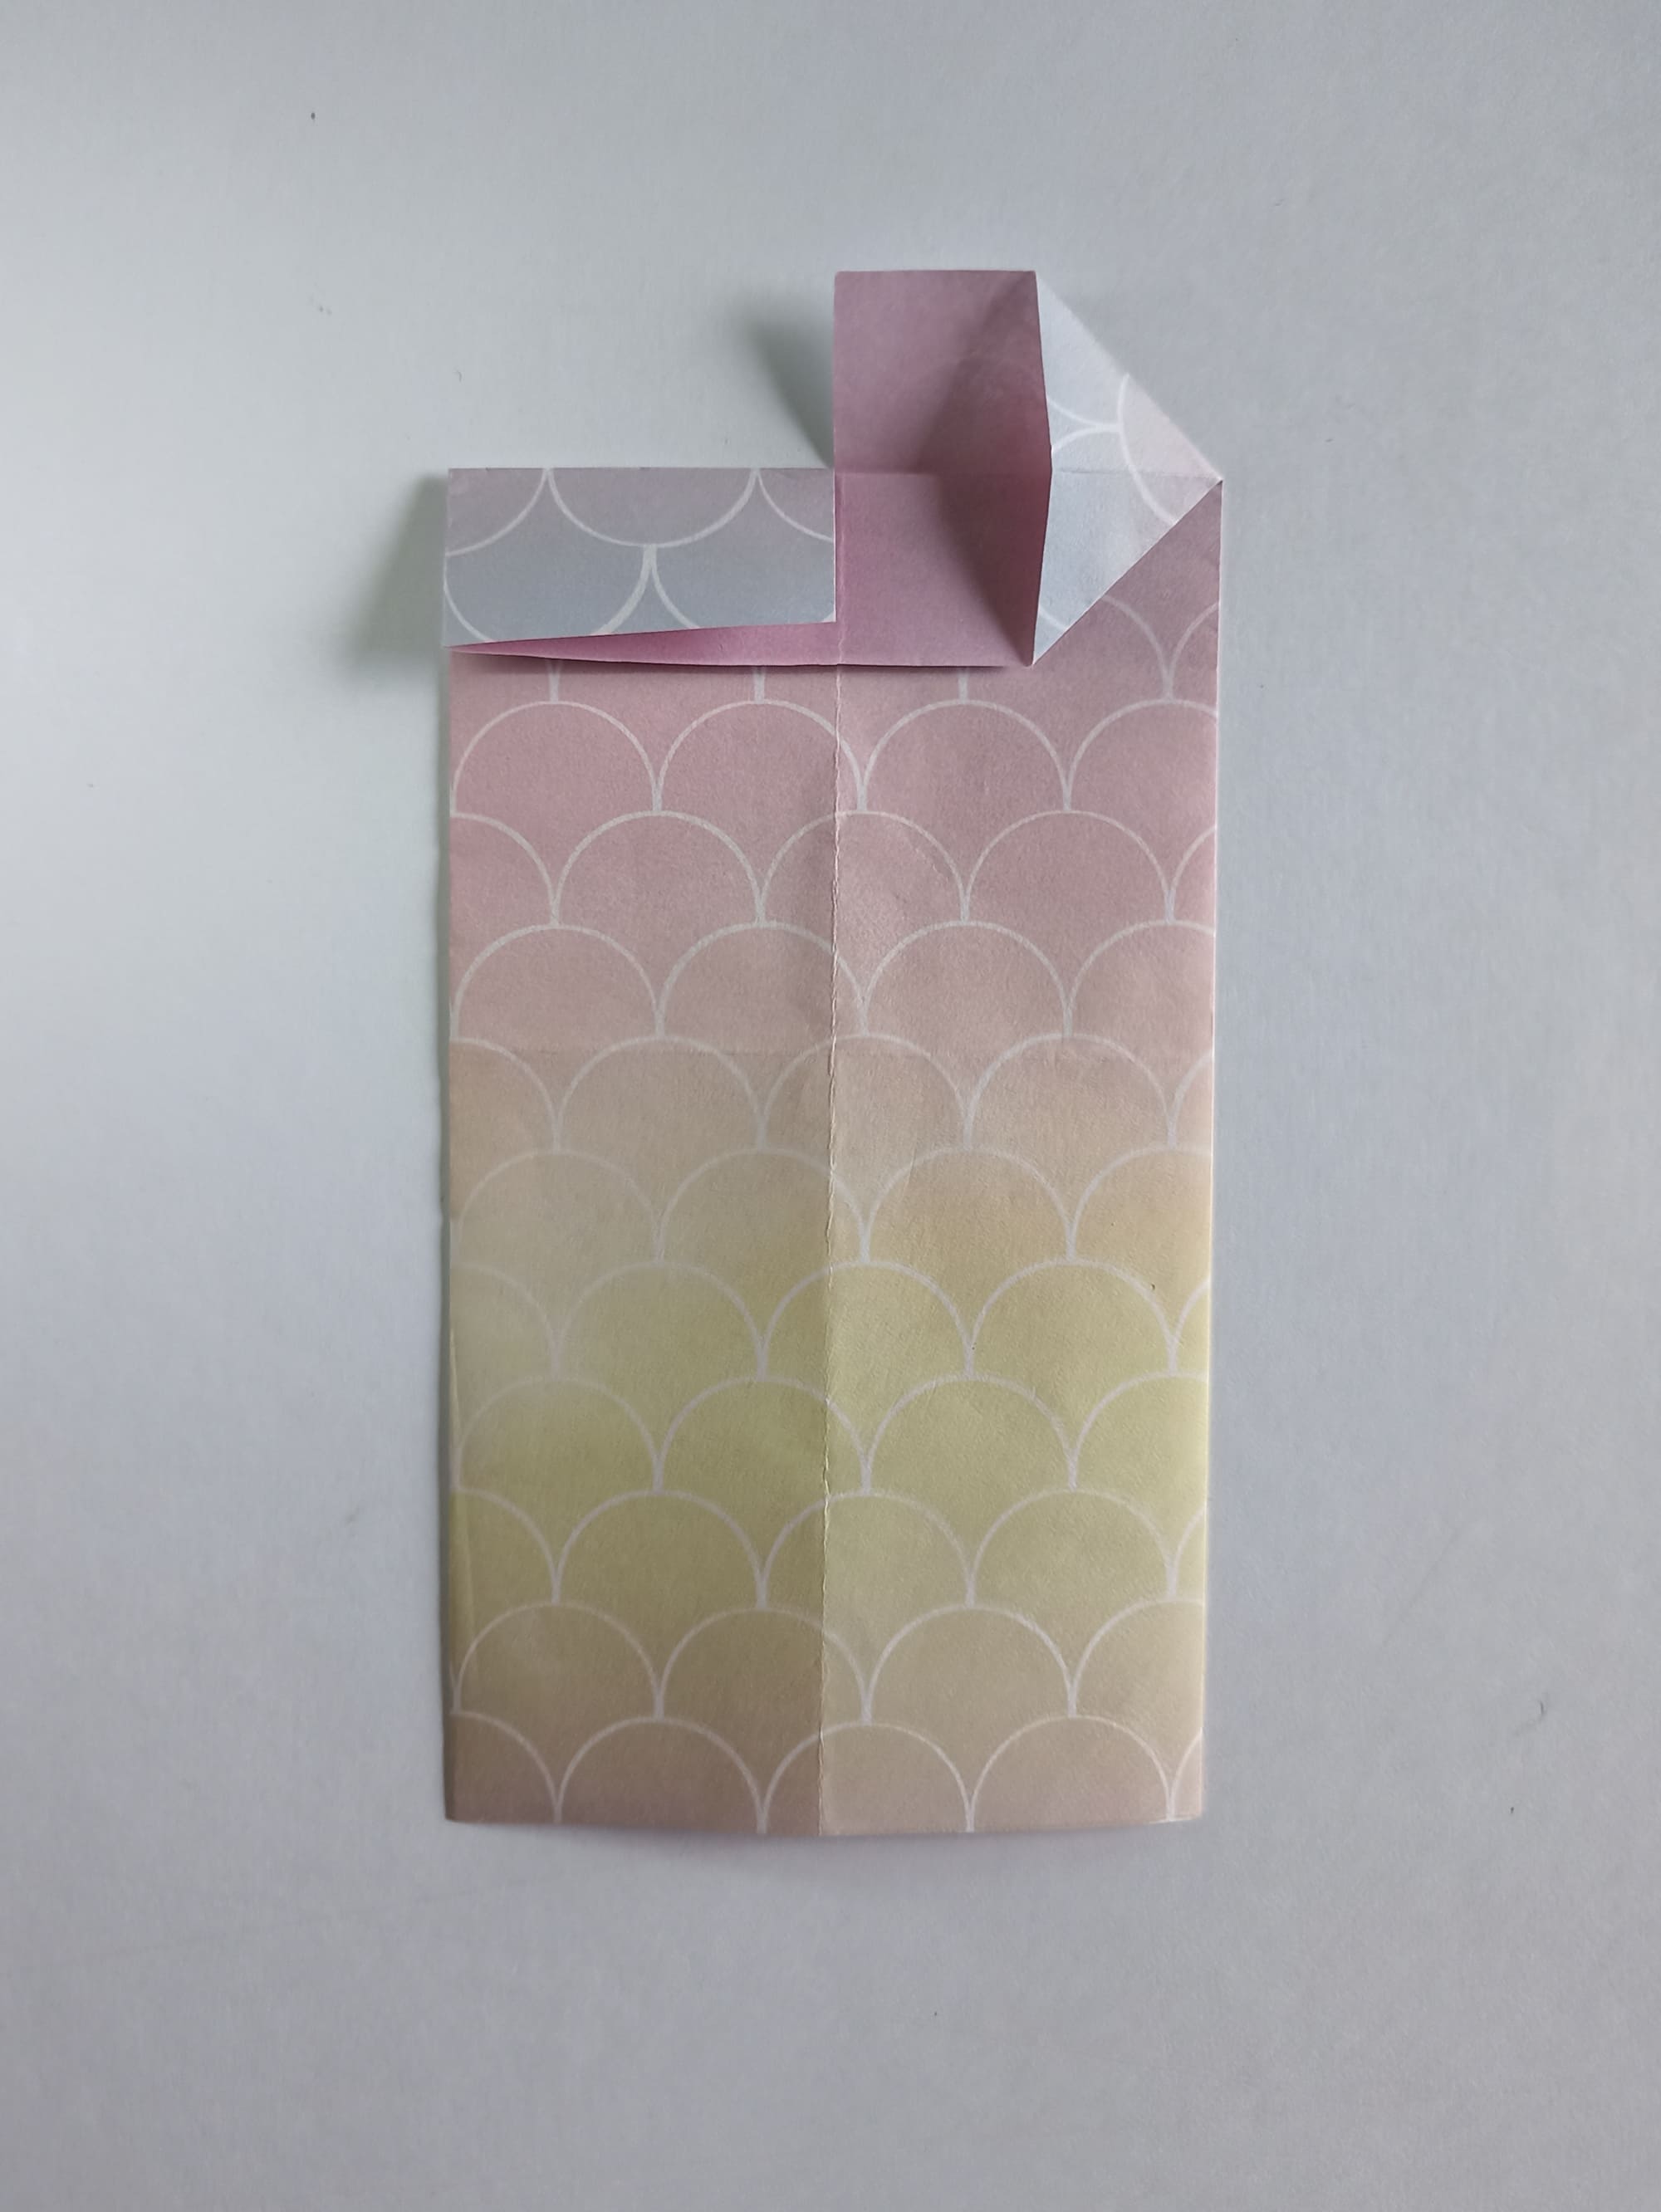
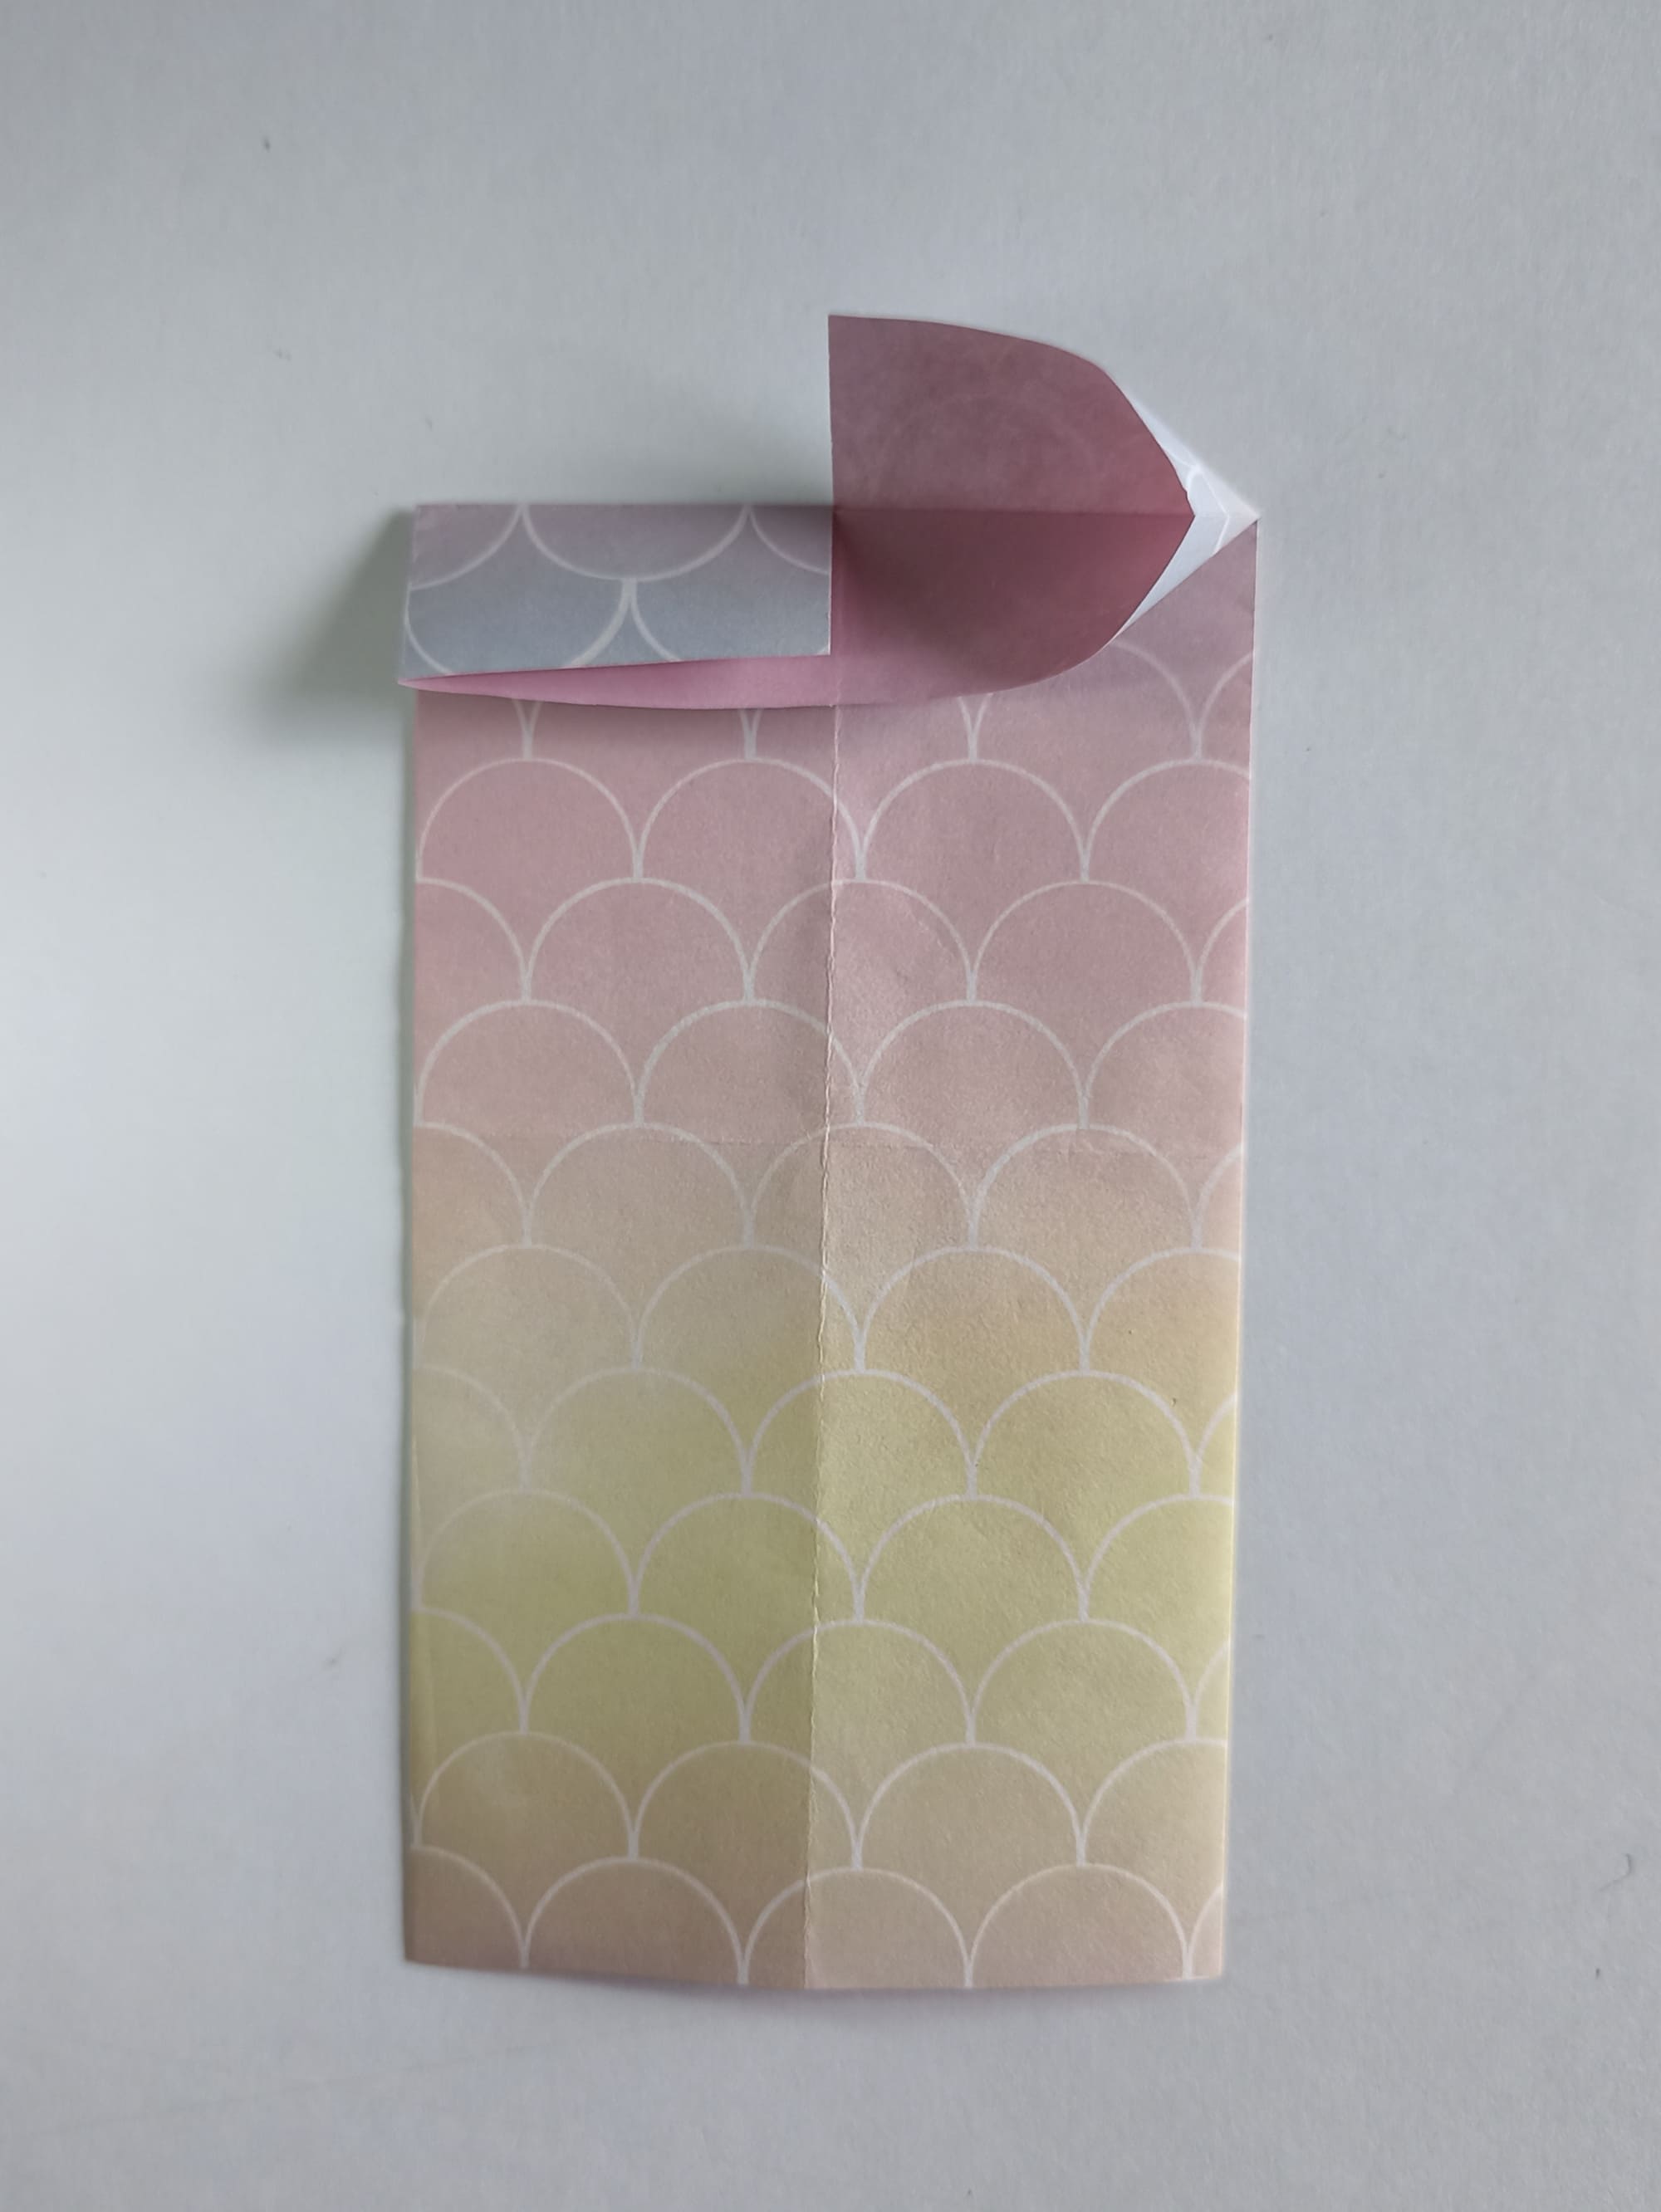
Press and smooth the right side to form a triangle. The base of the triangle is located vertically.
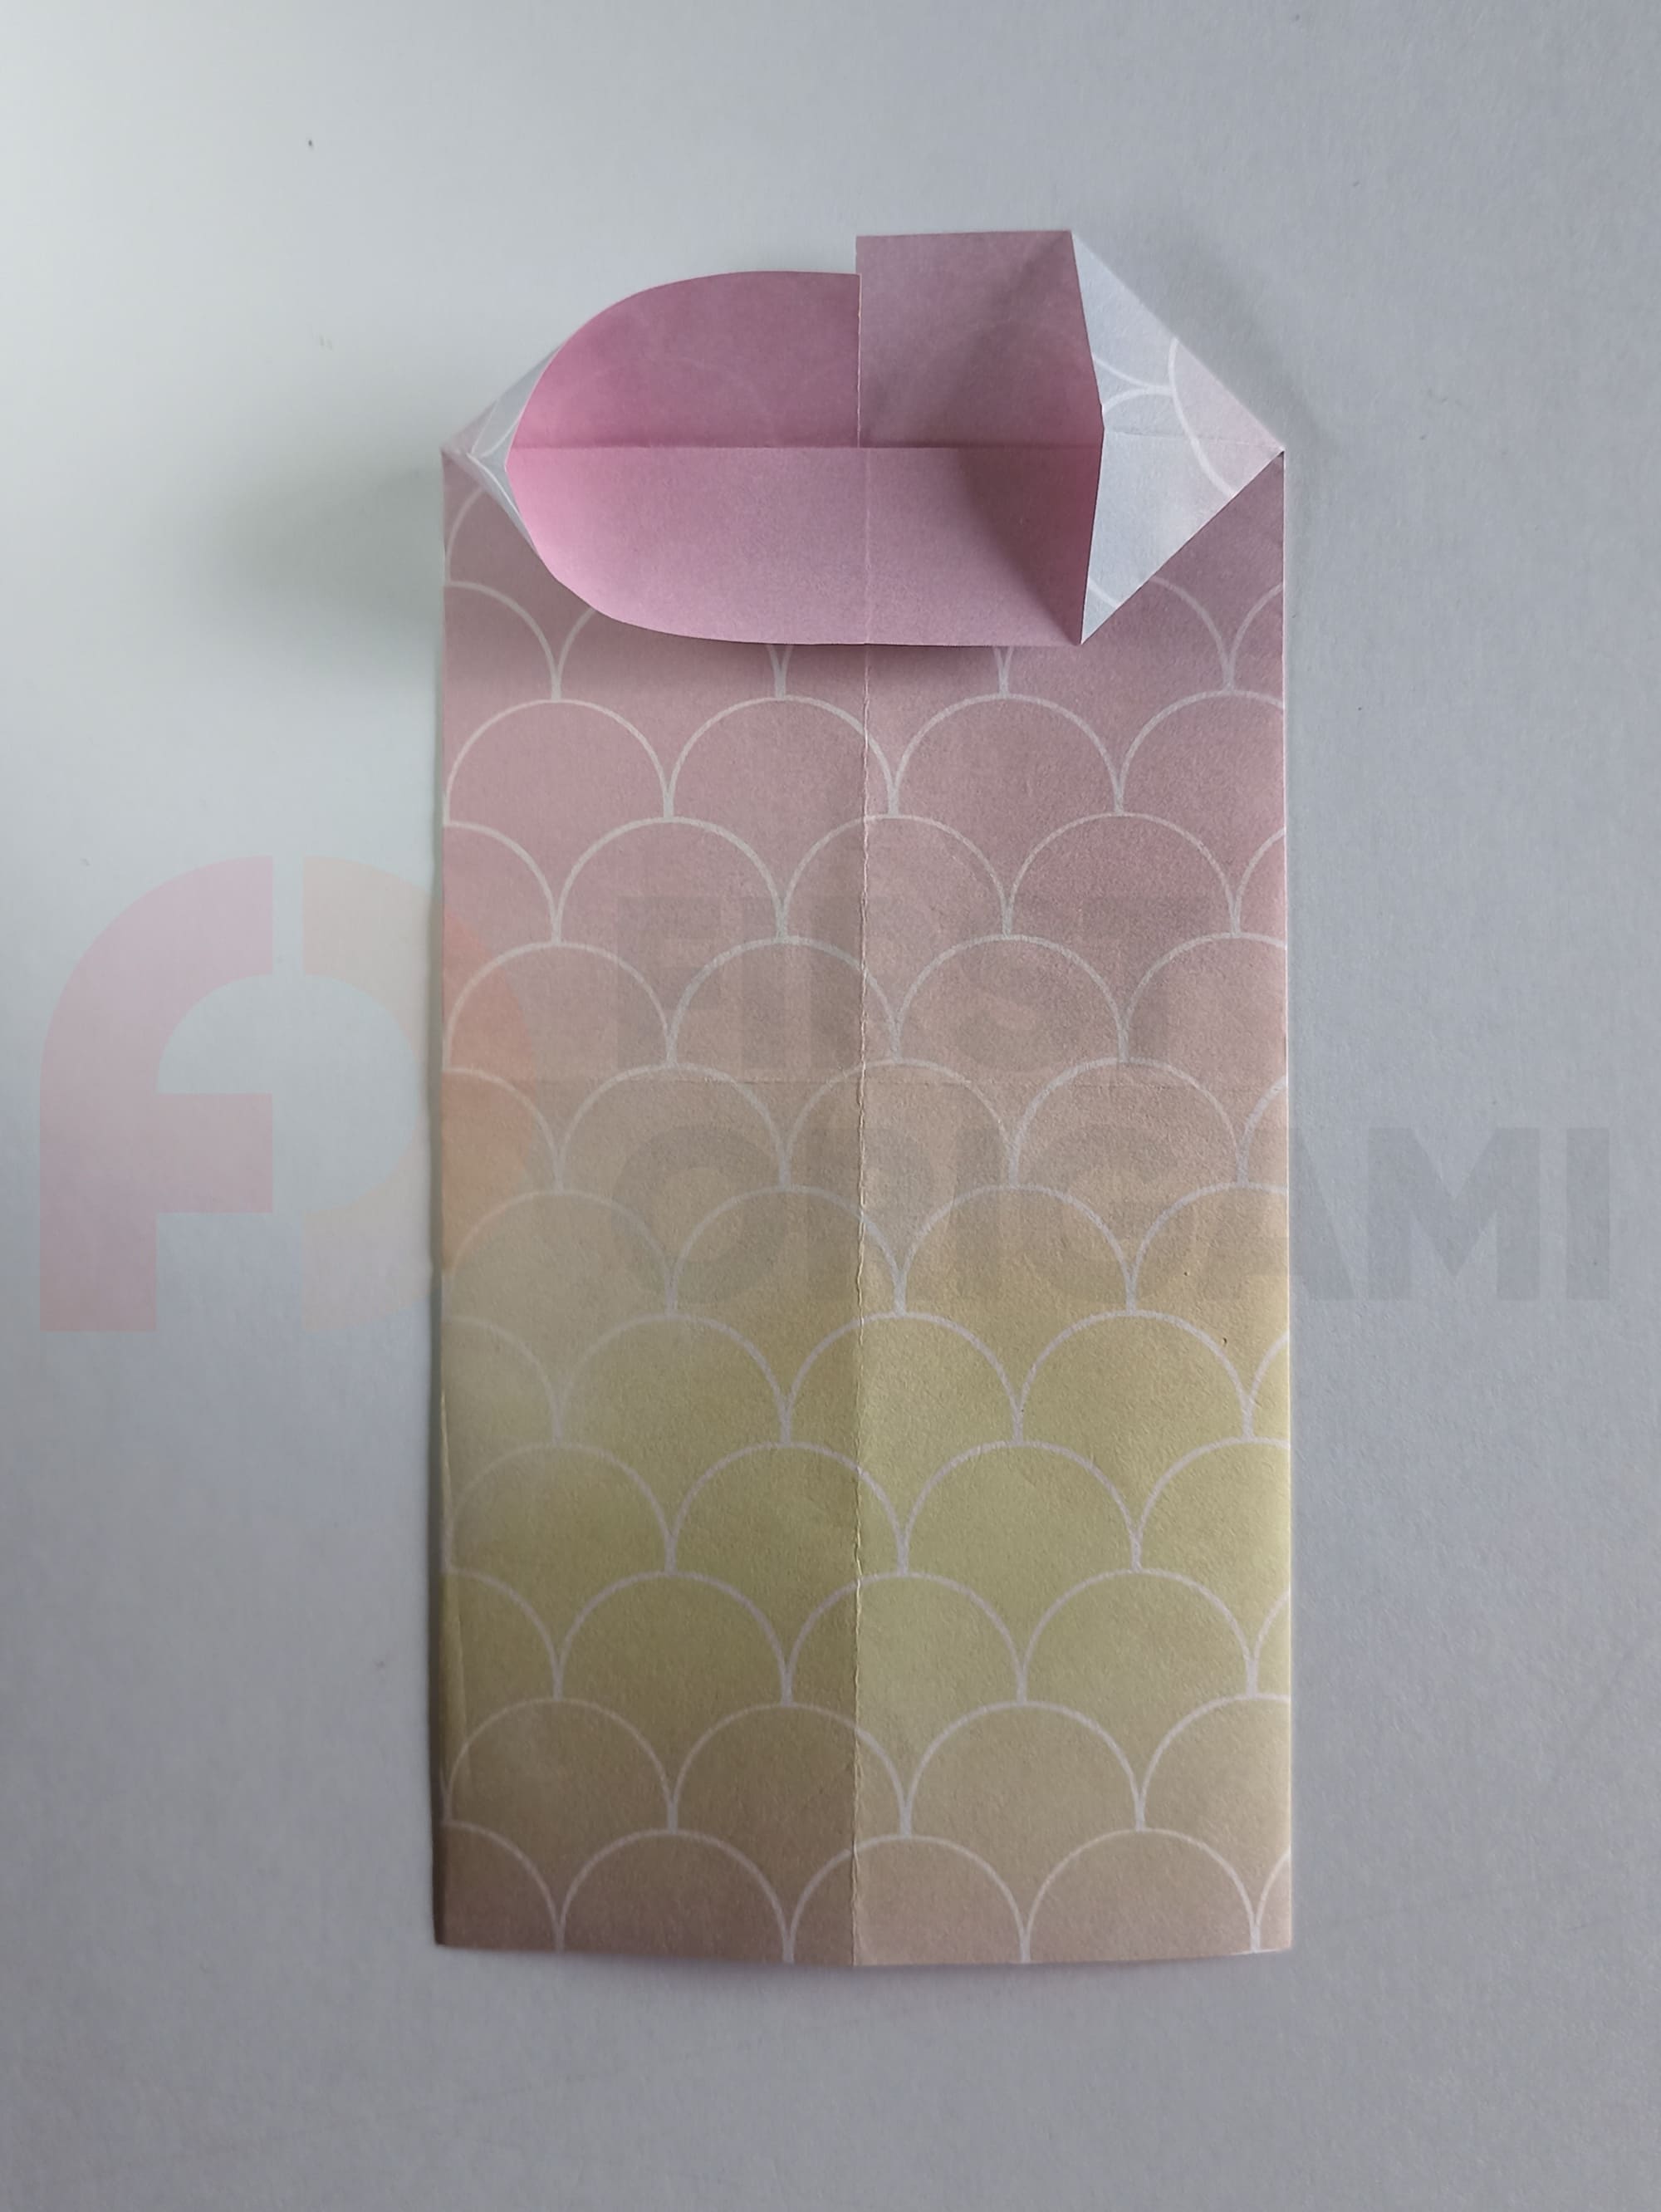
Repeat the action on the left side and crease the folds.
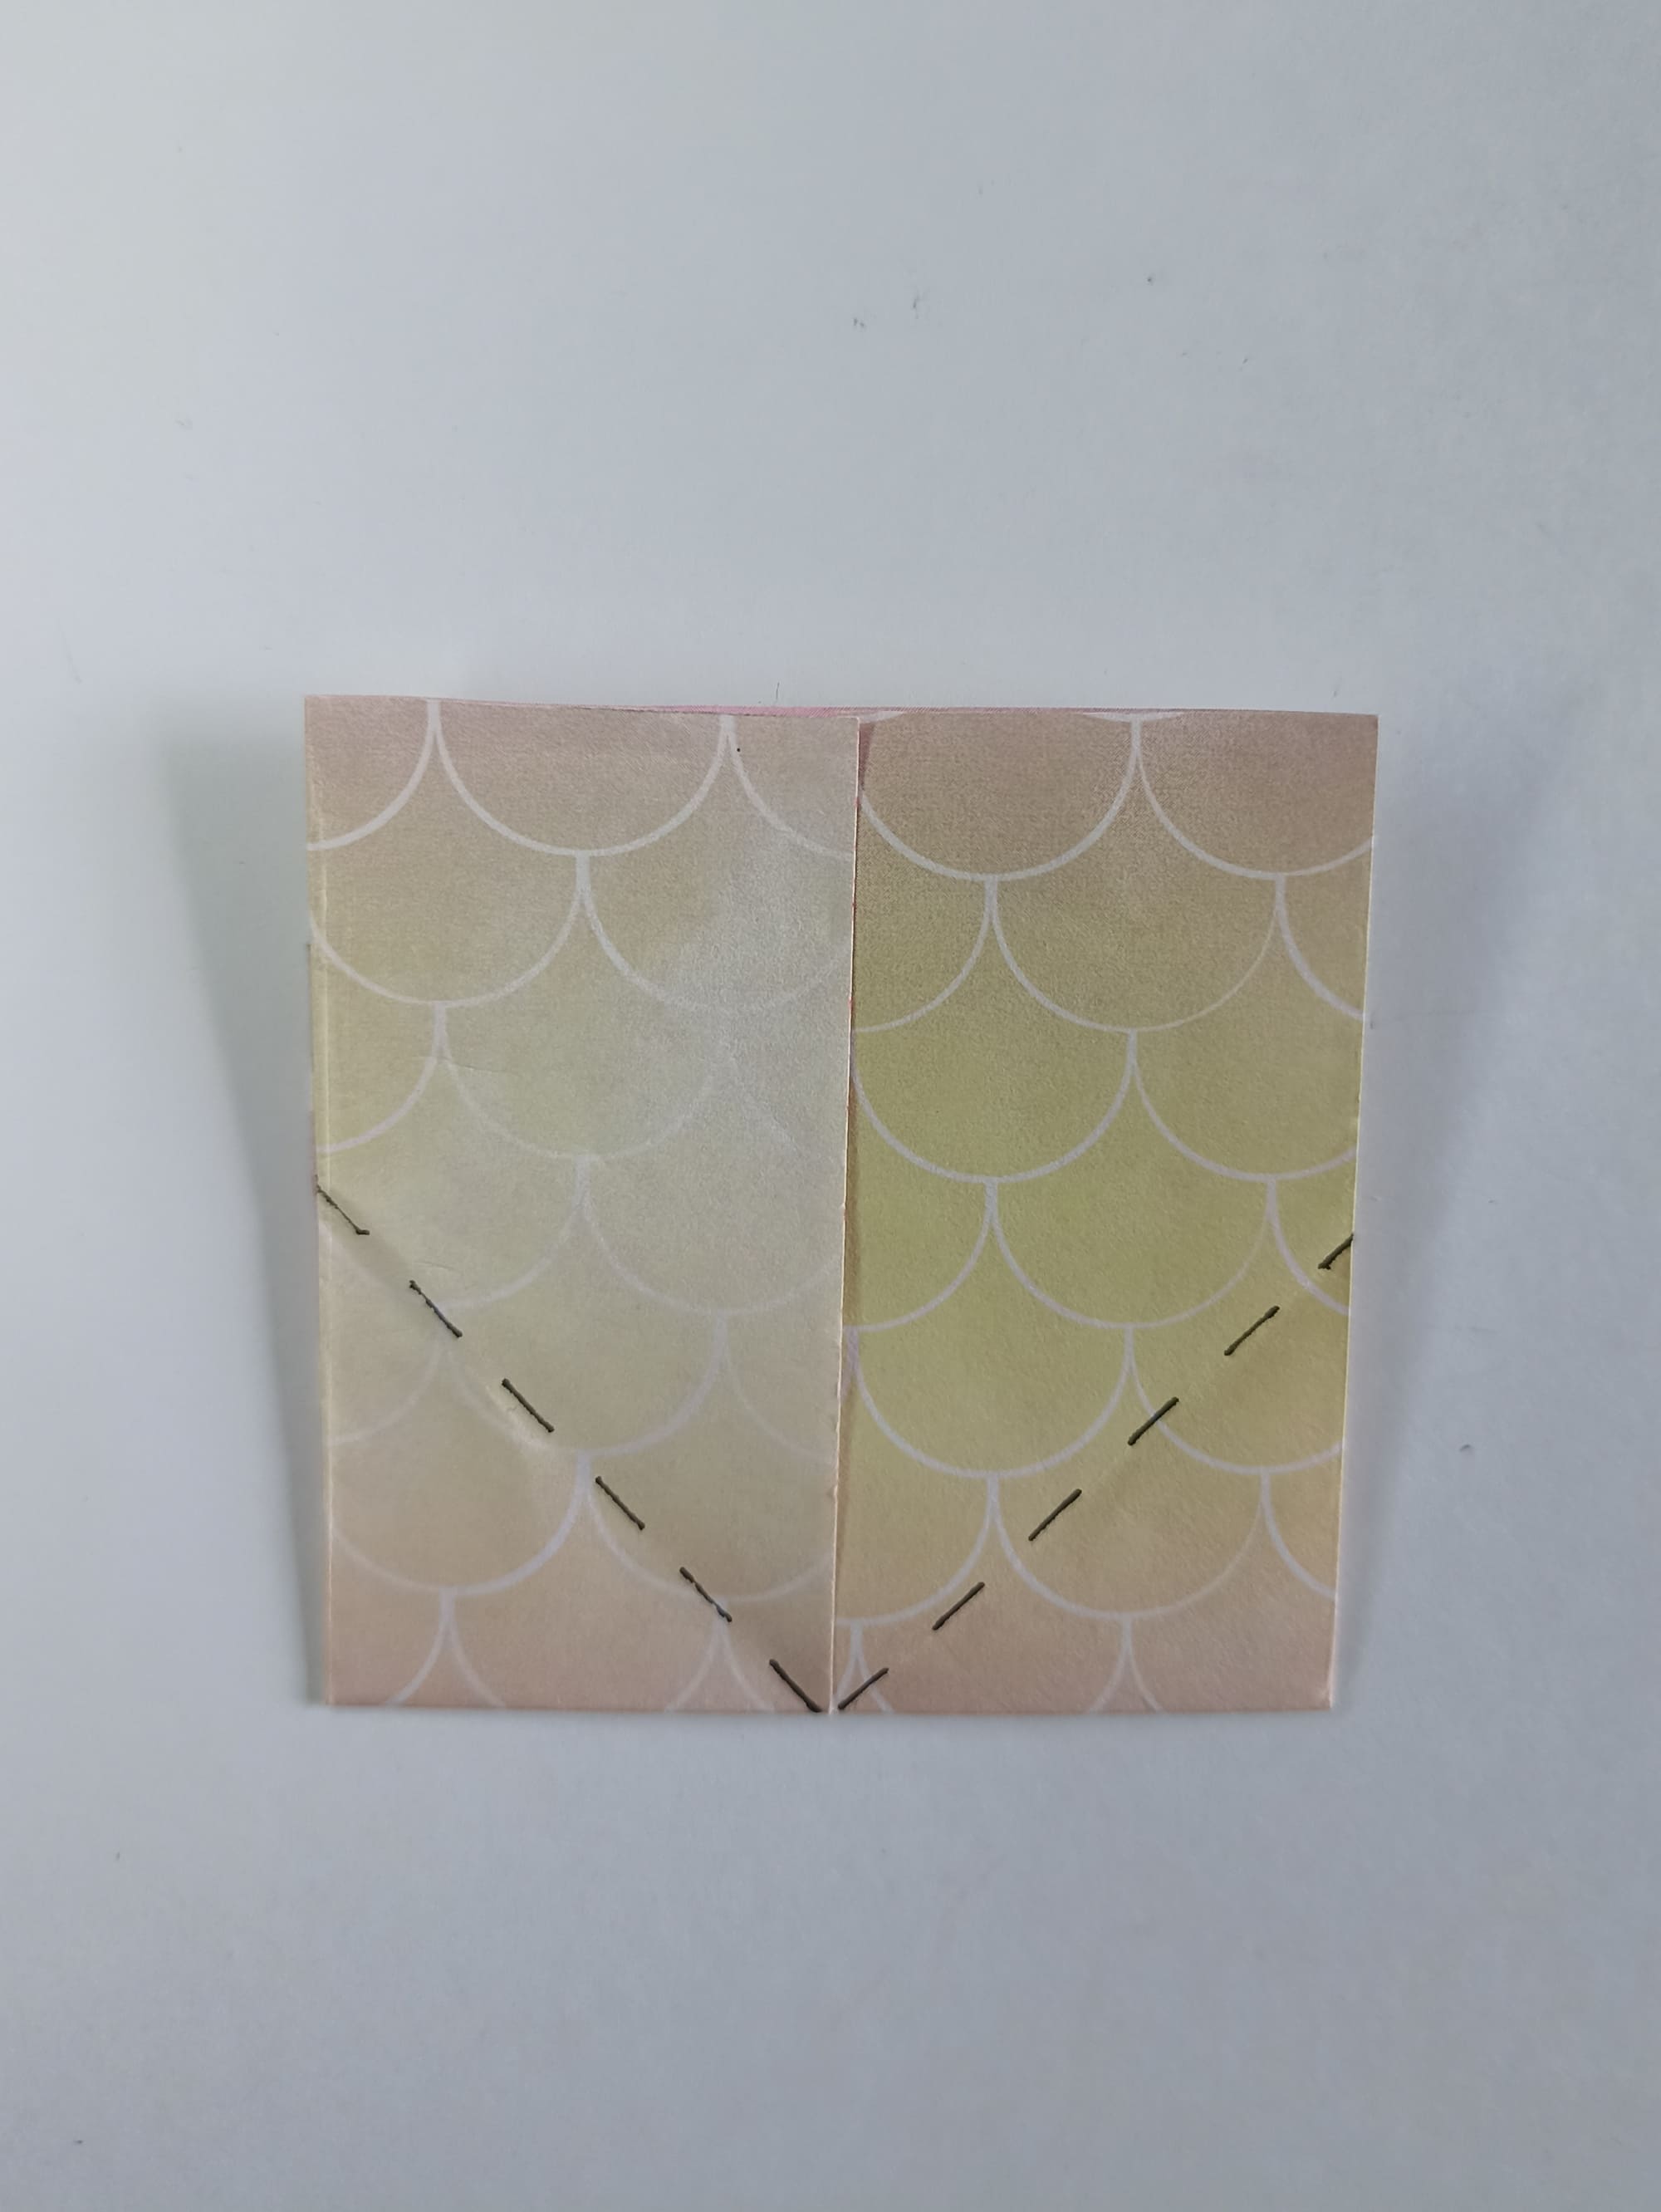
Draw lines from the upper sharp corners of the side triangles to the center of the horizontal fold.
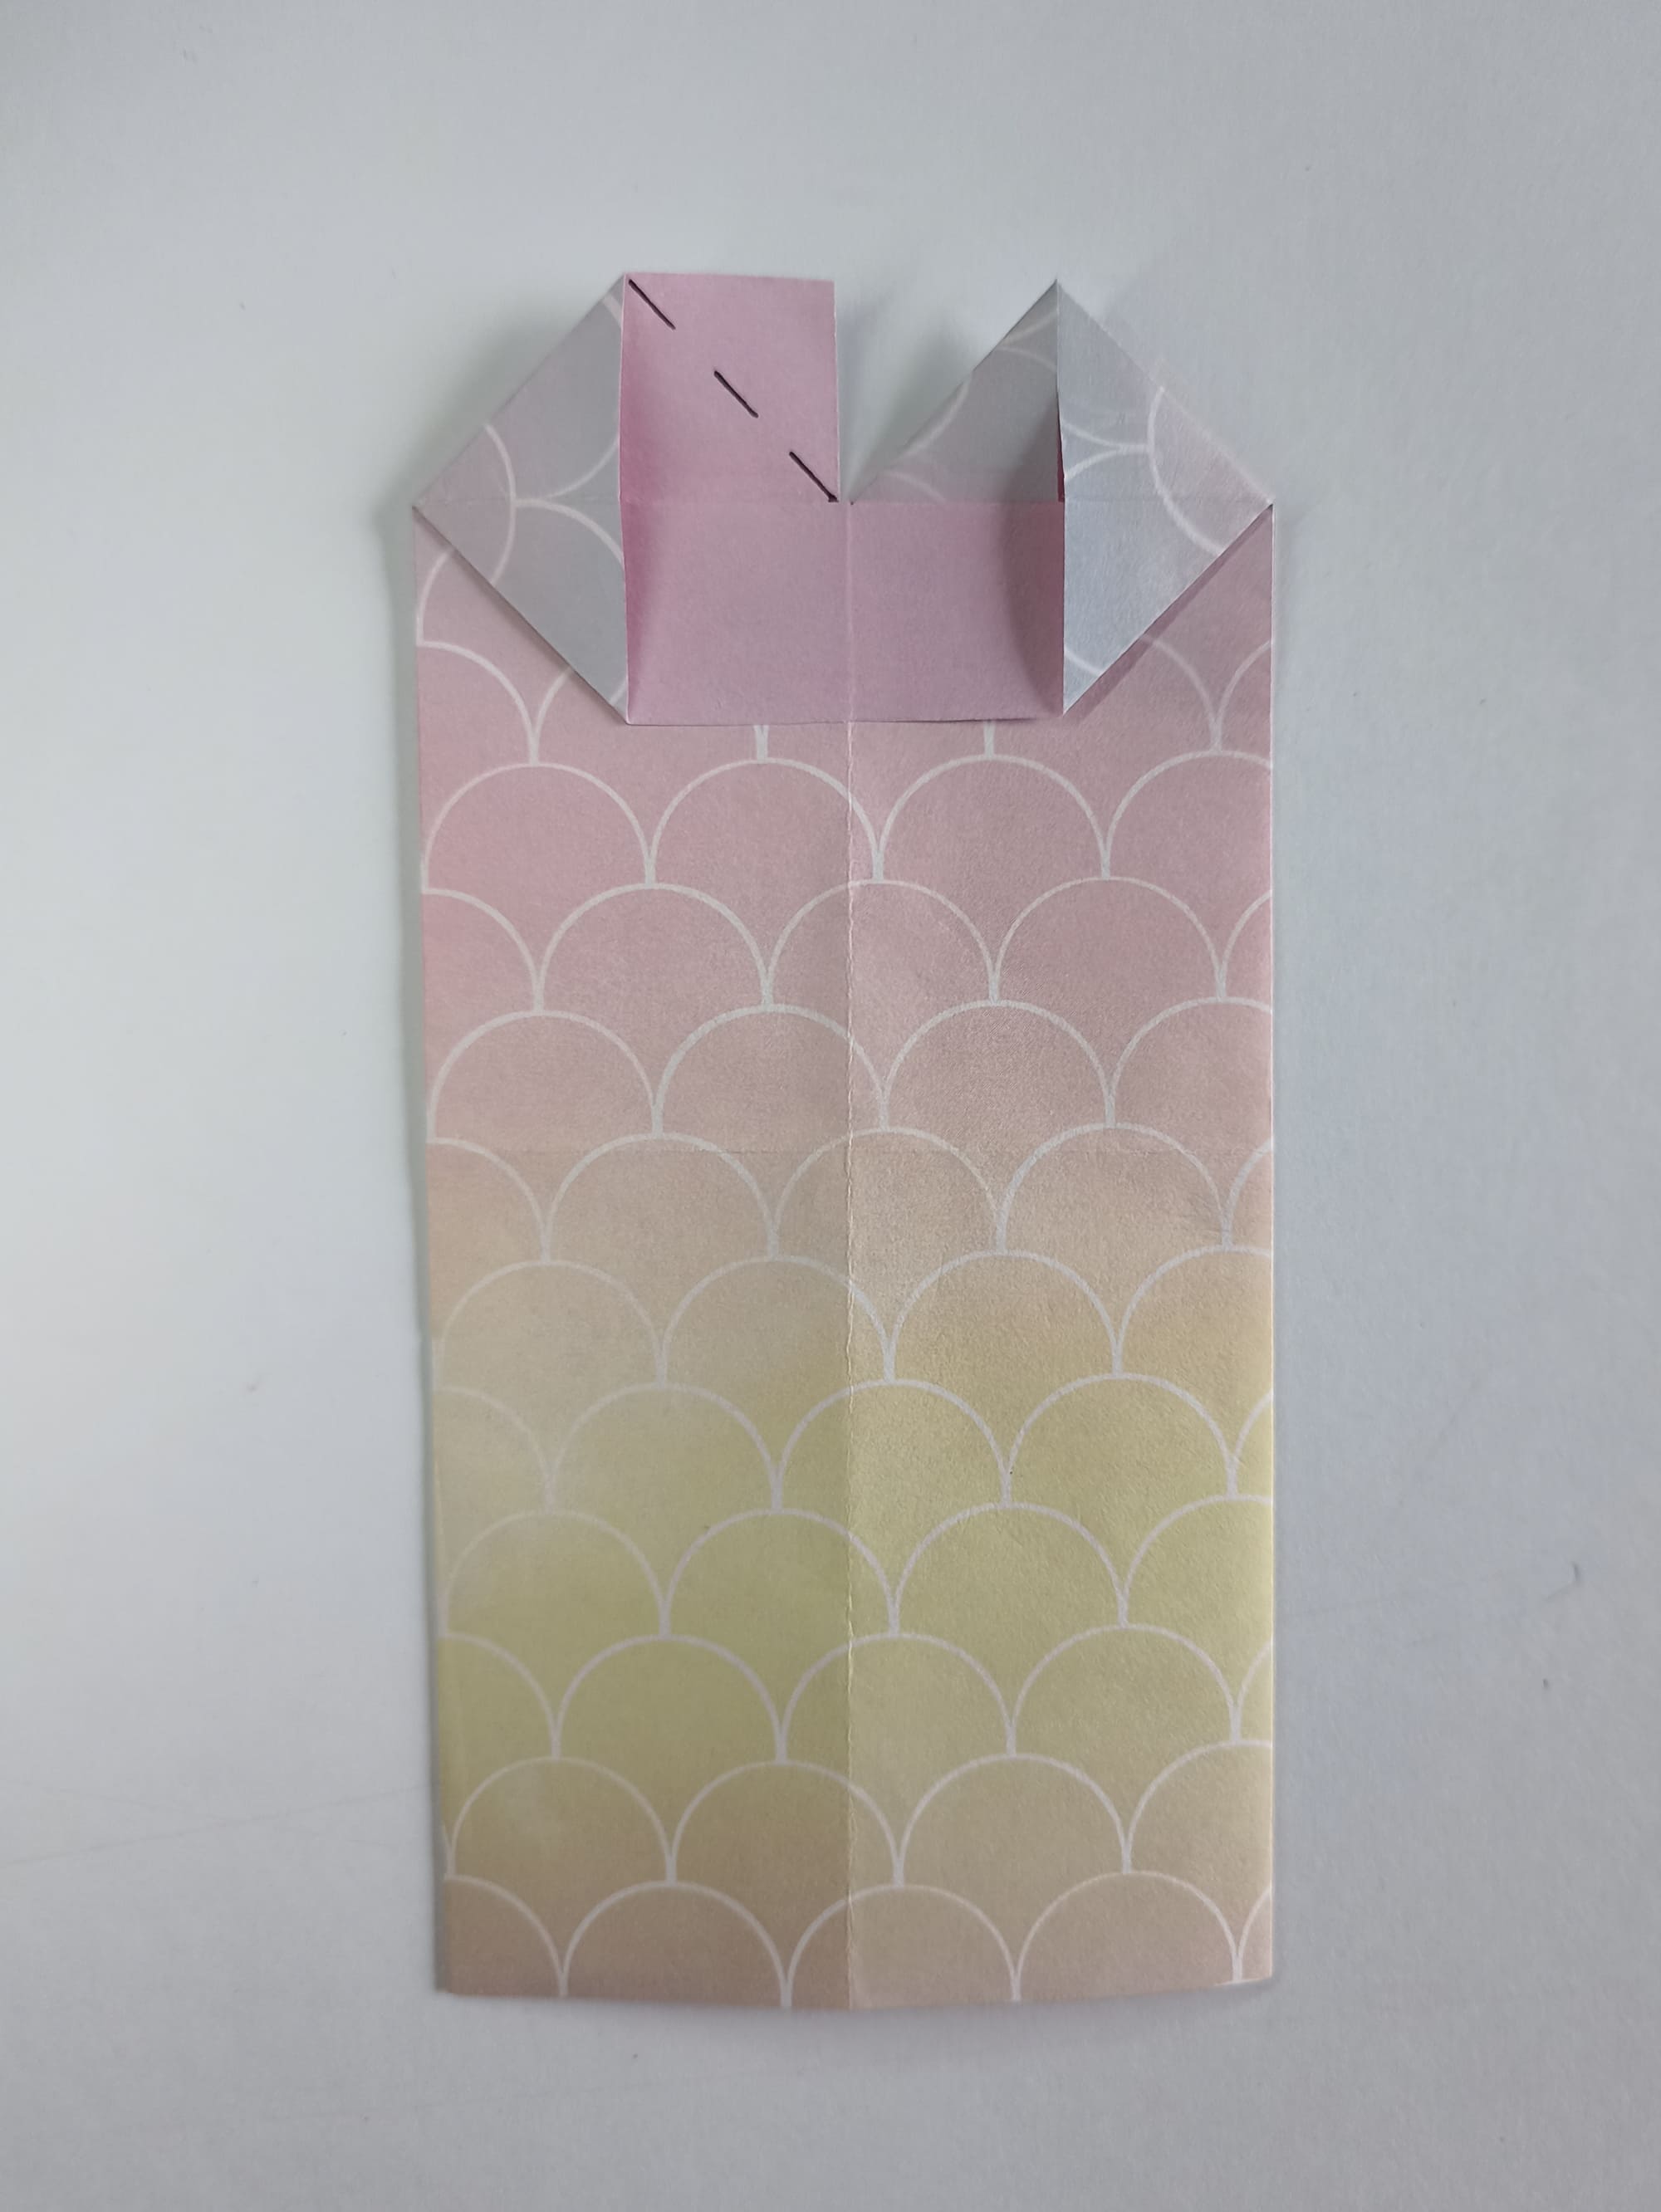
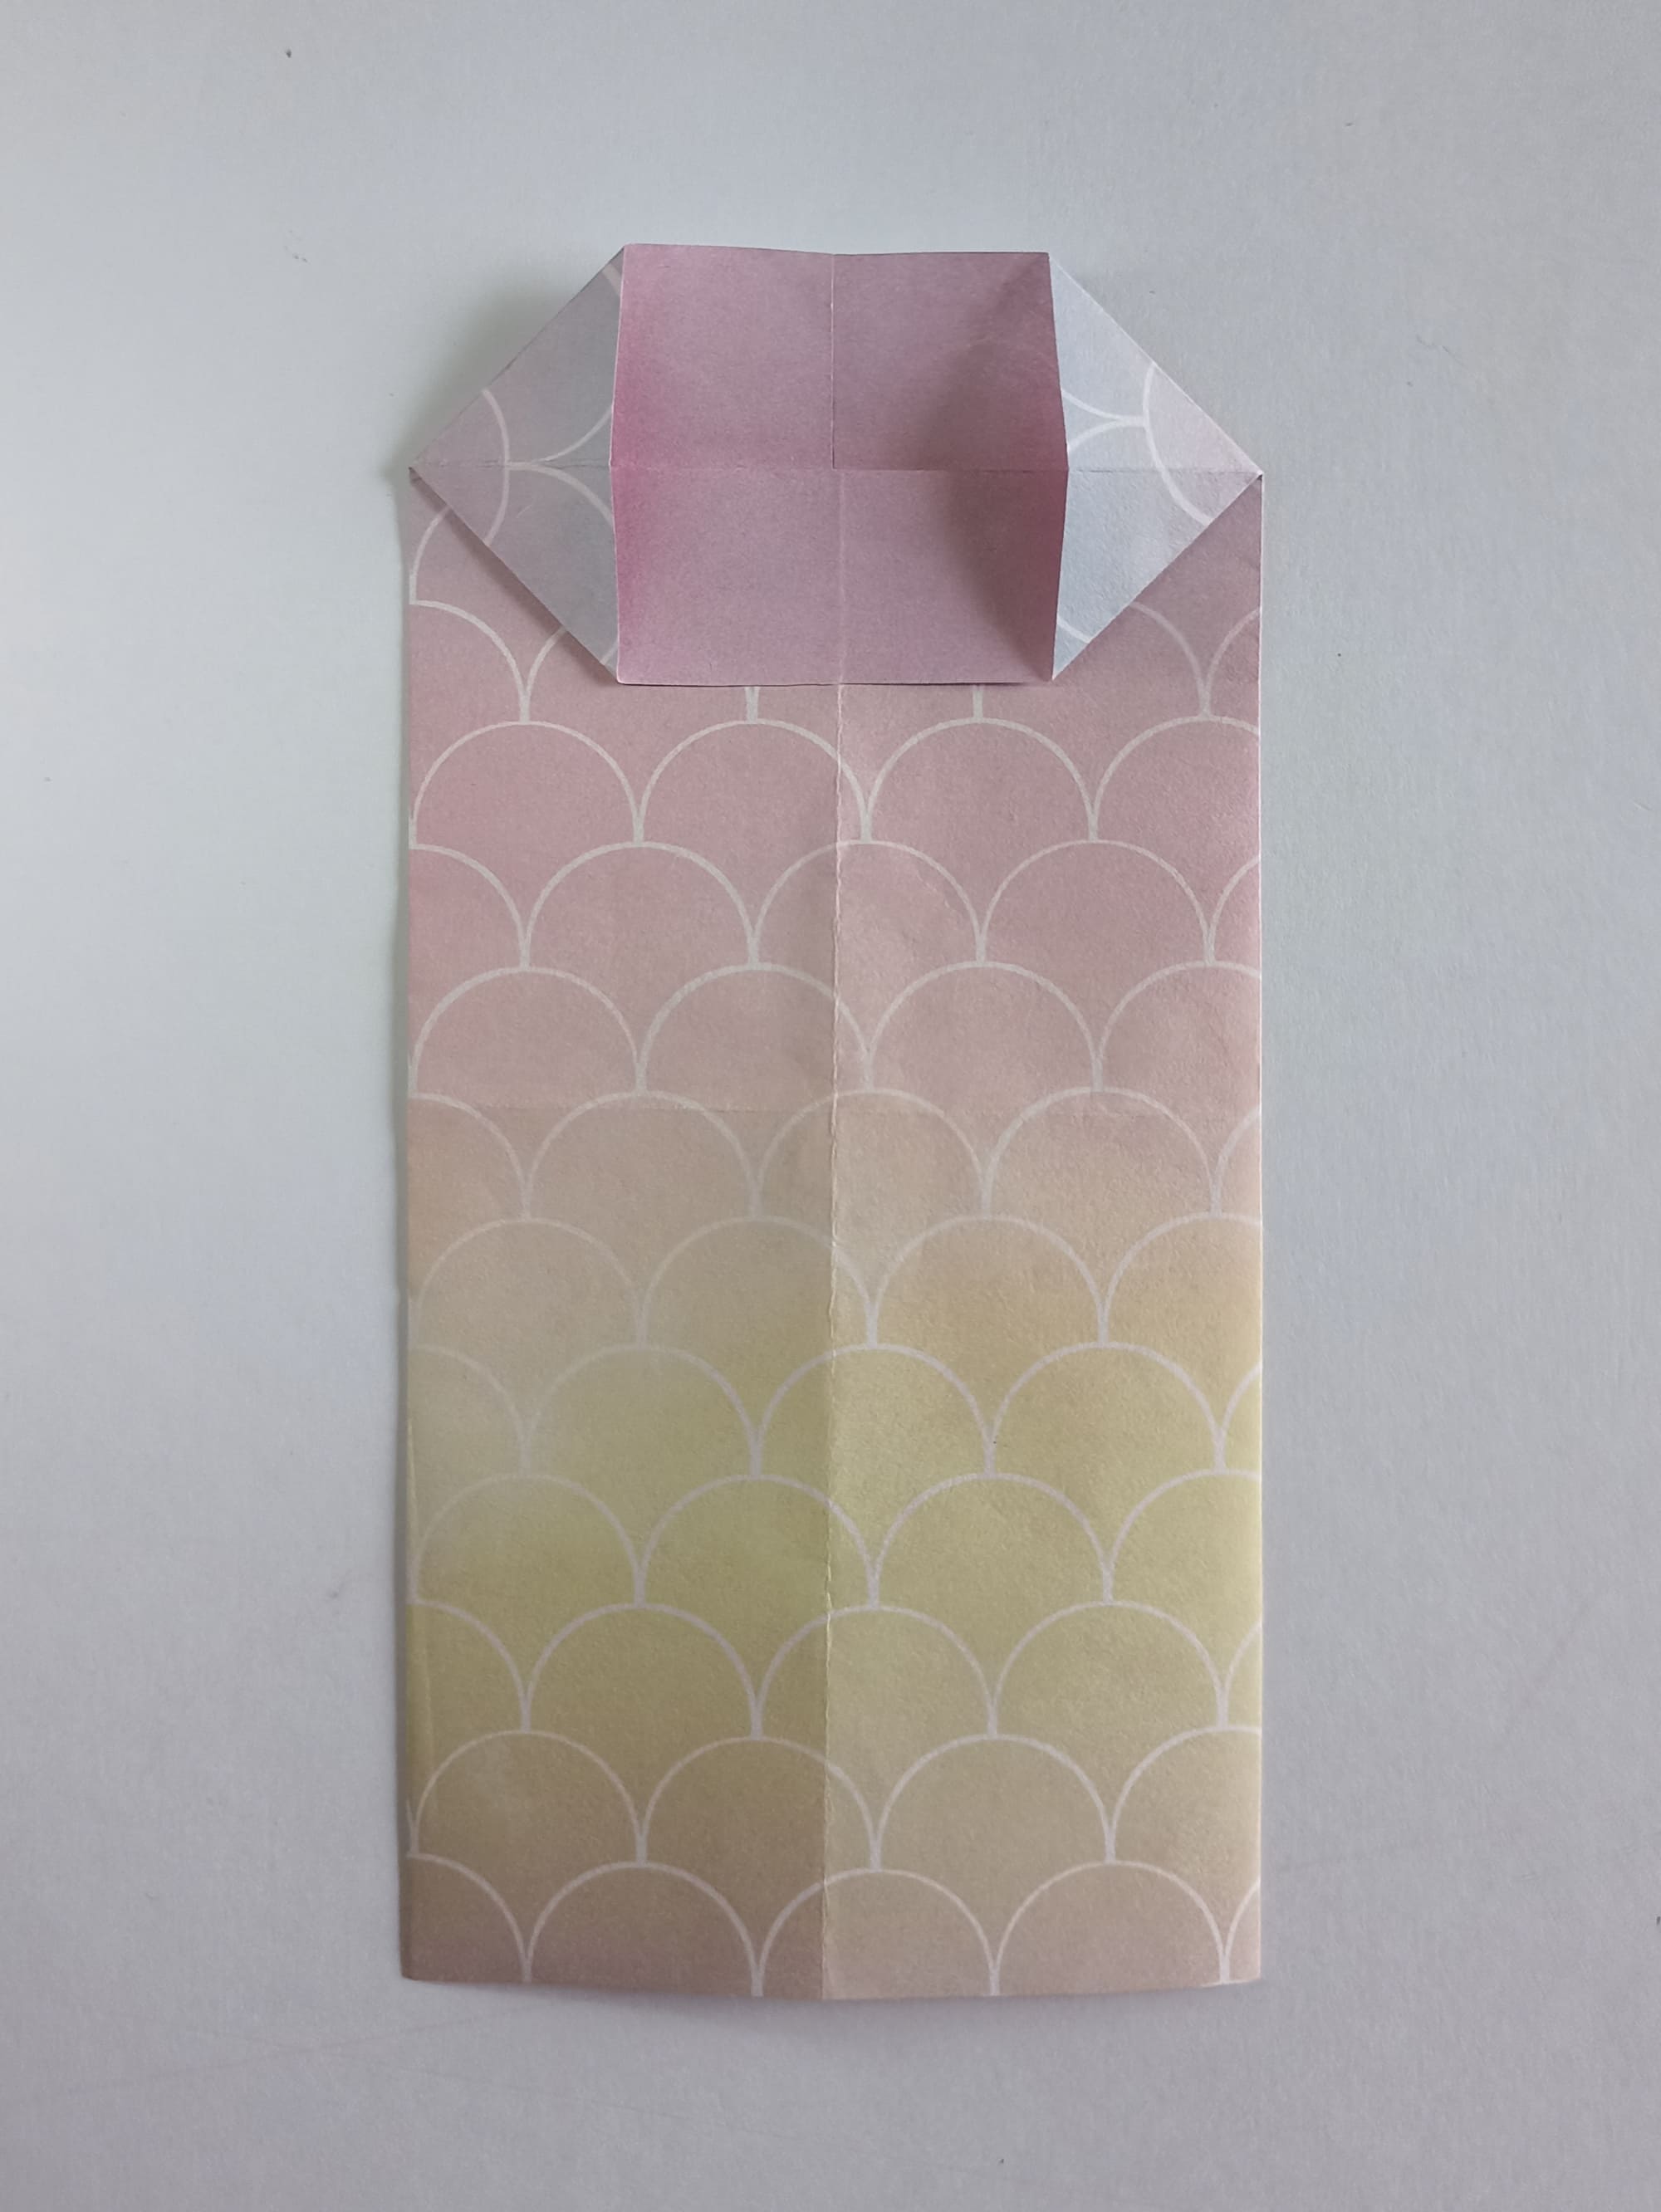
Make a fold along the marked line on the right side, then on the left, compare the result with the illustration.
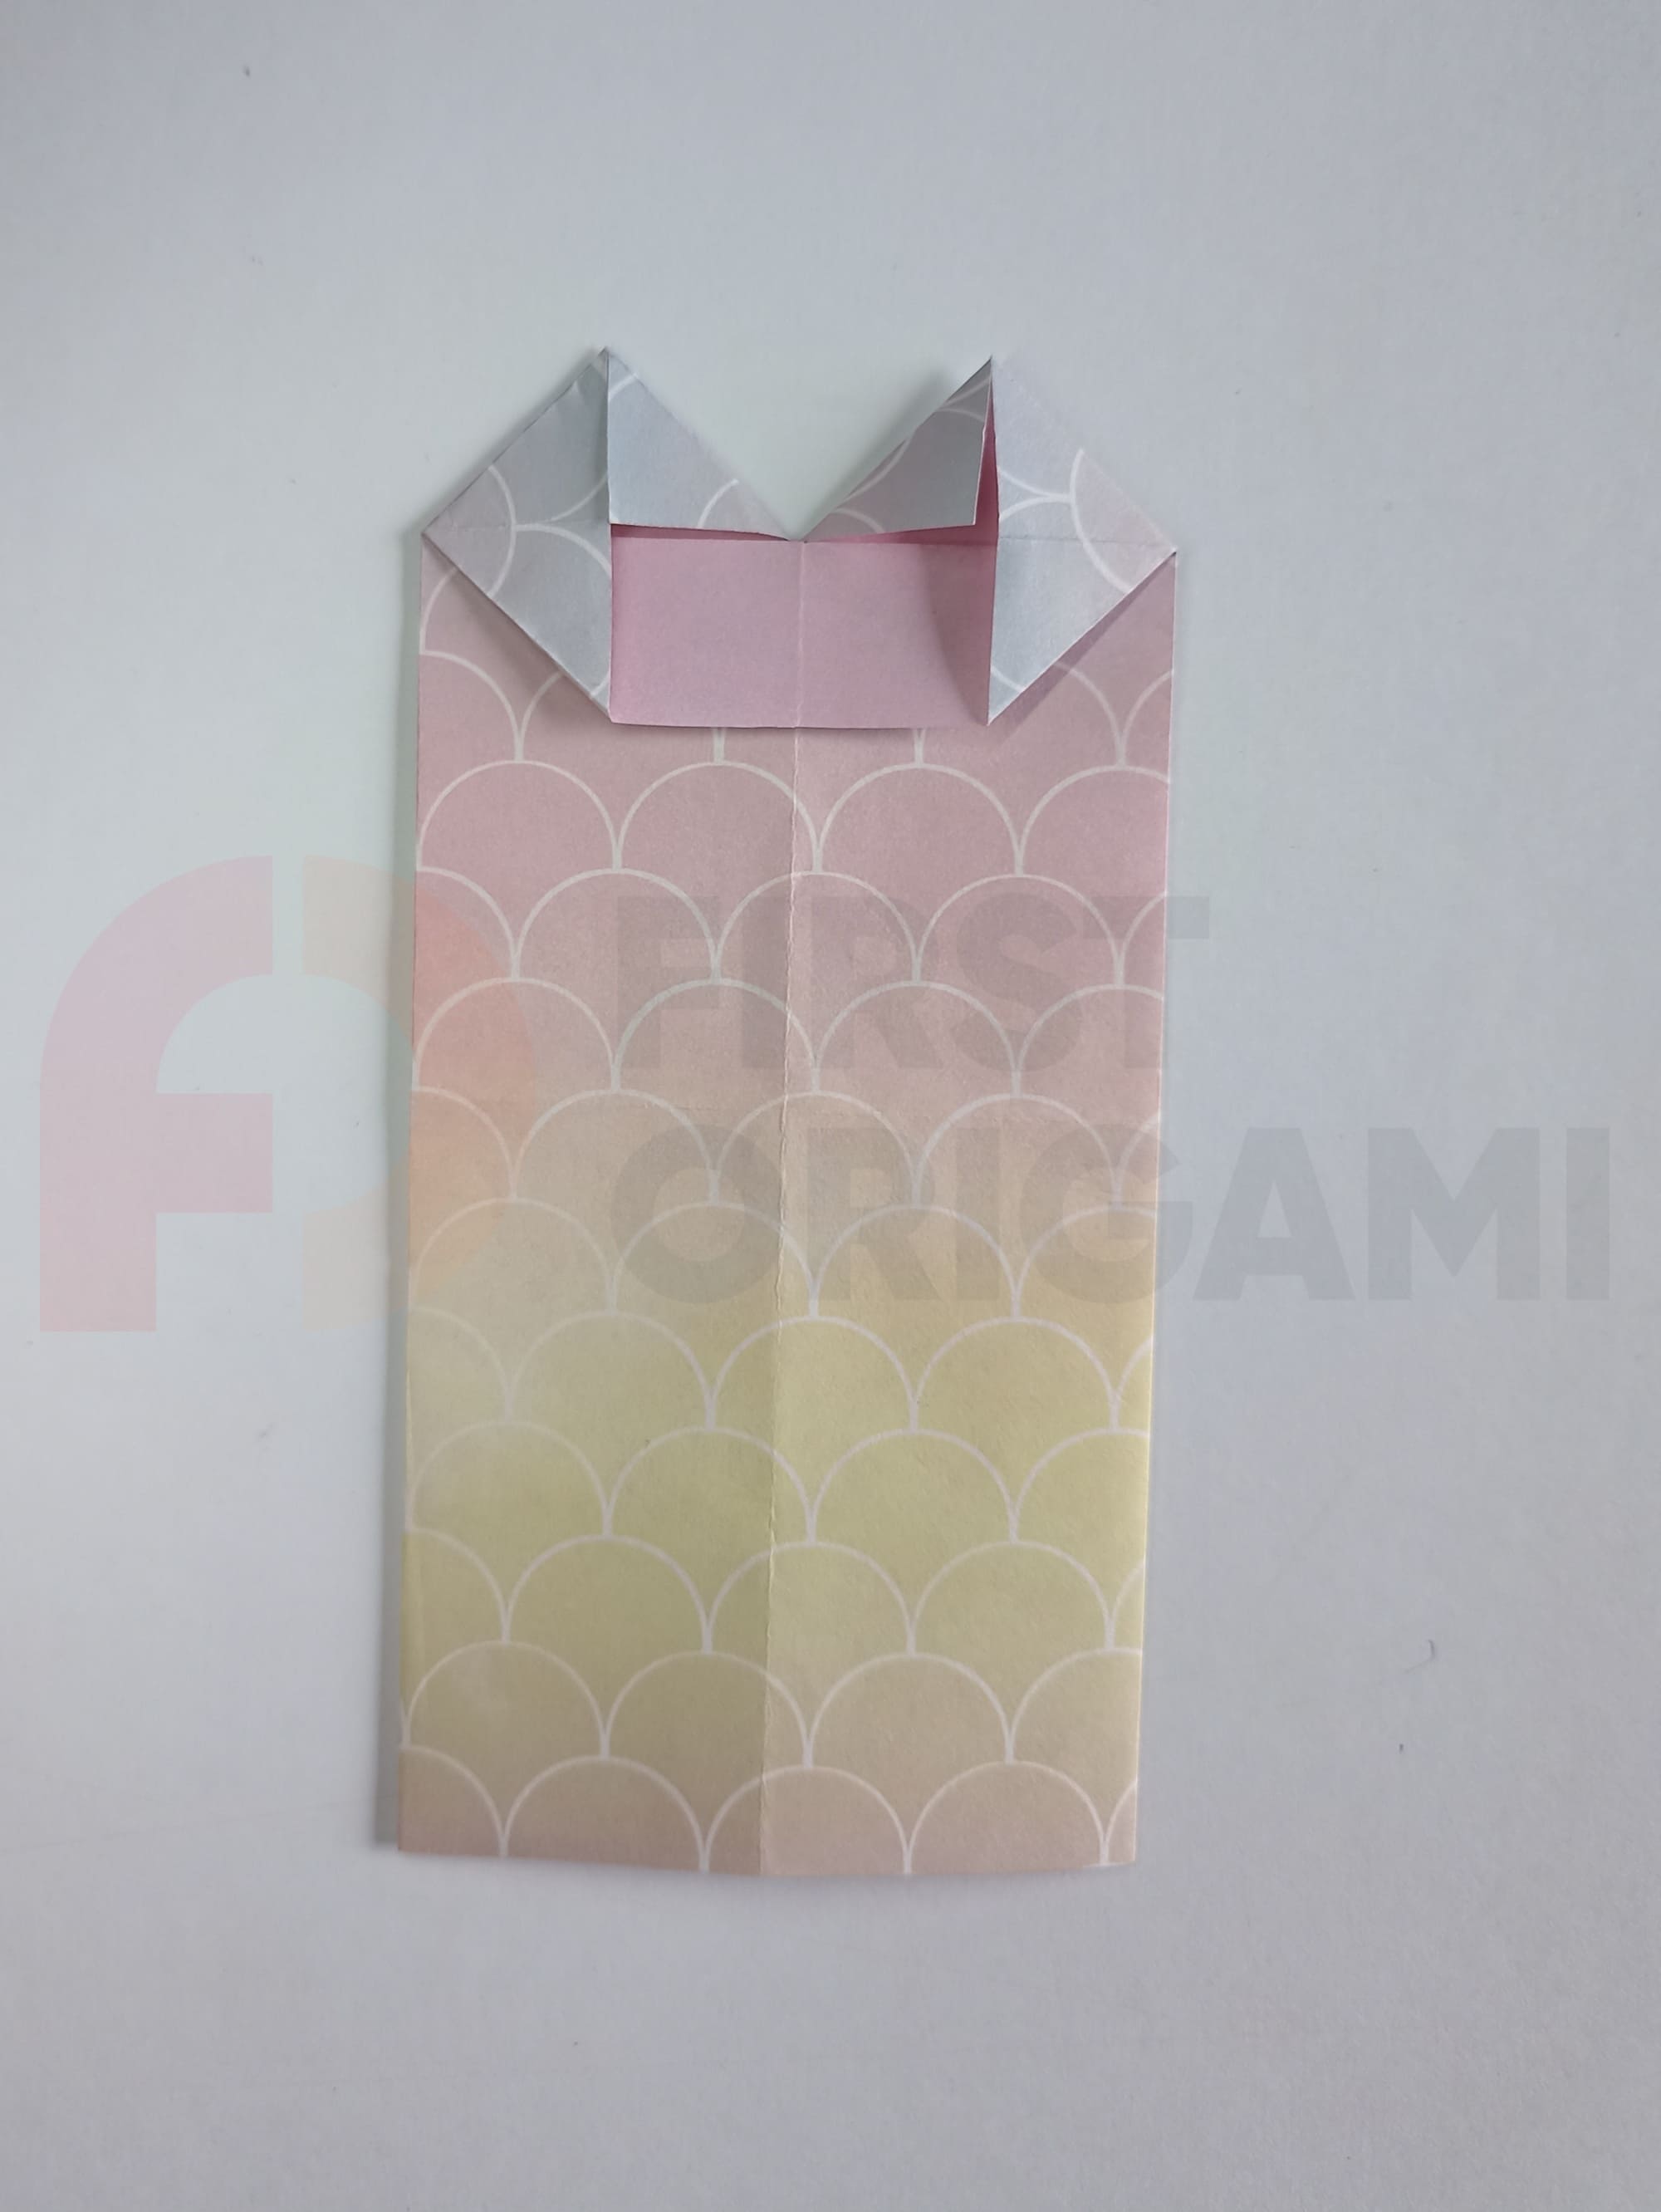
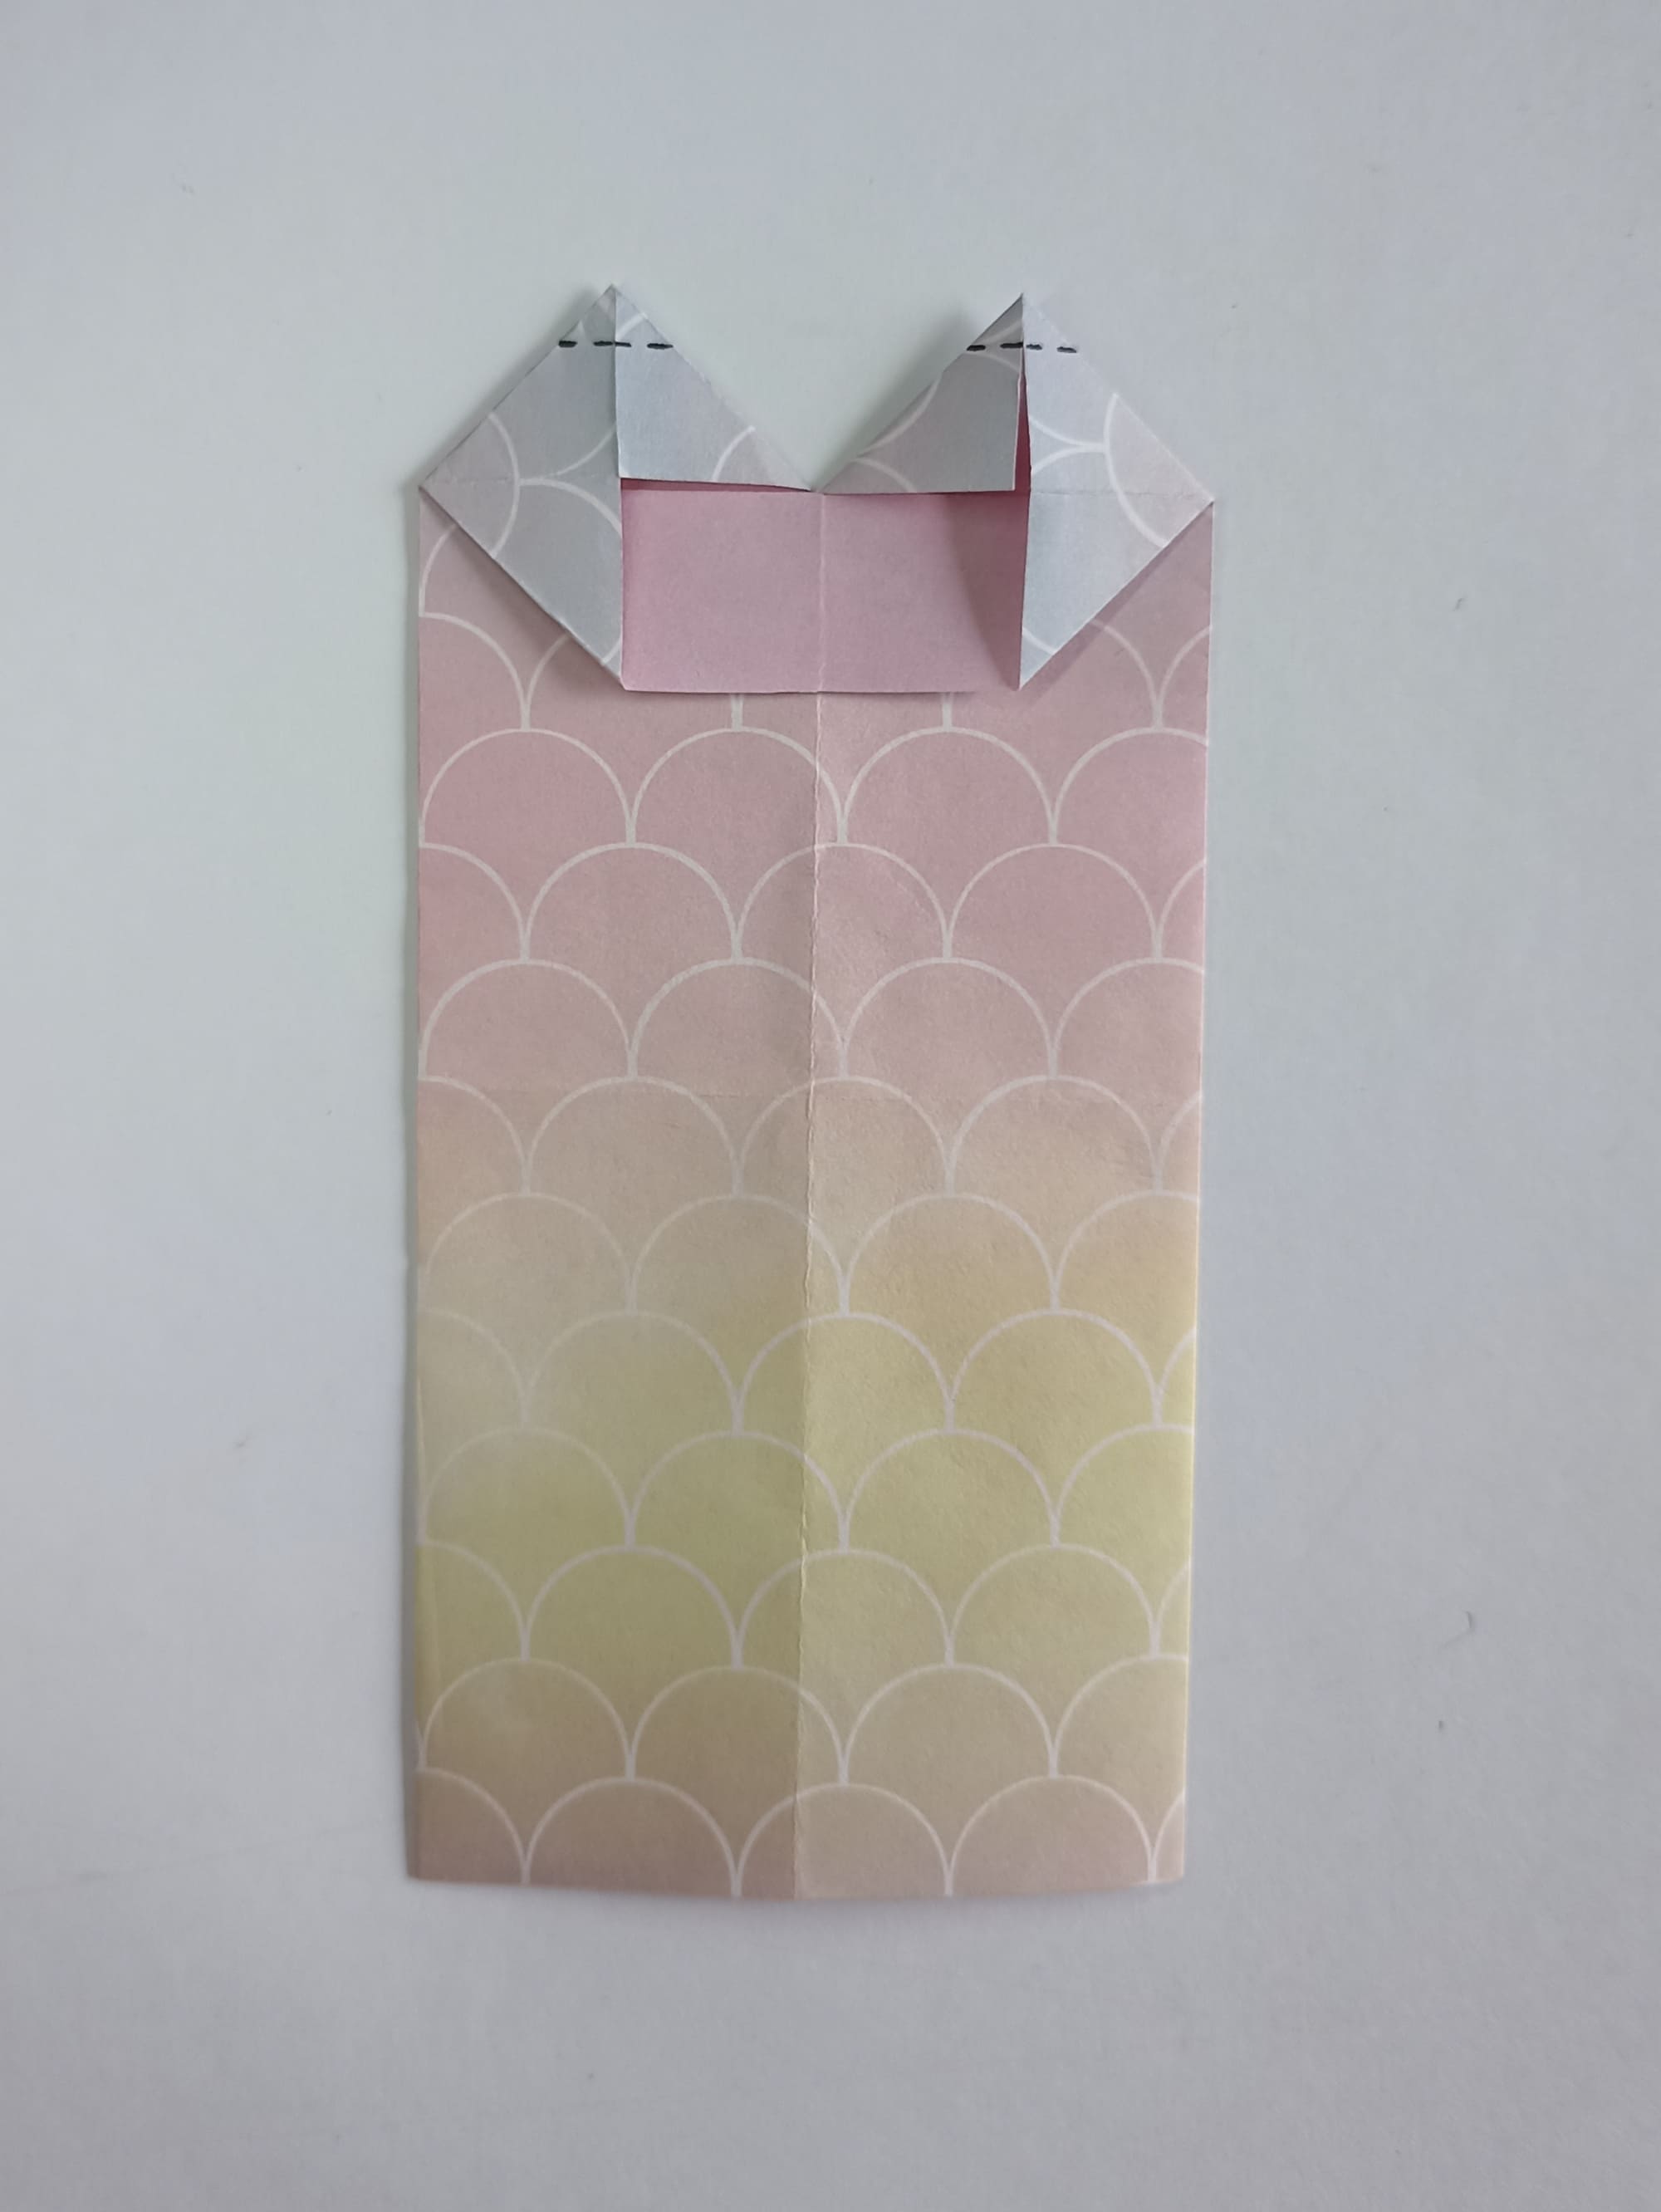
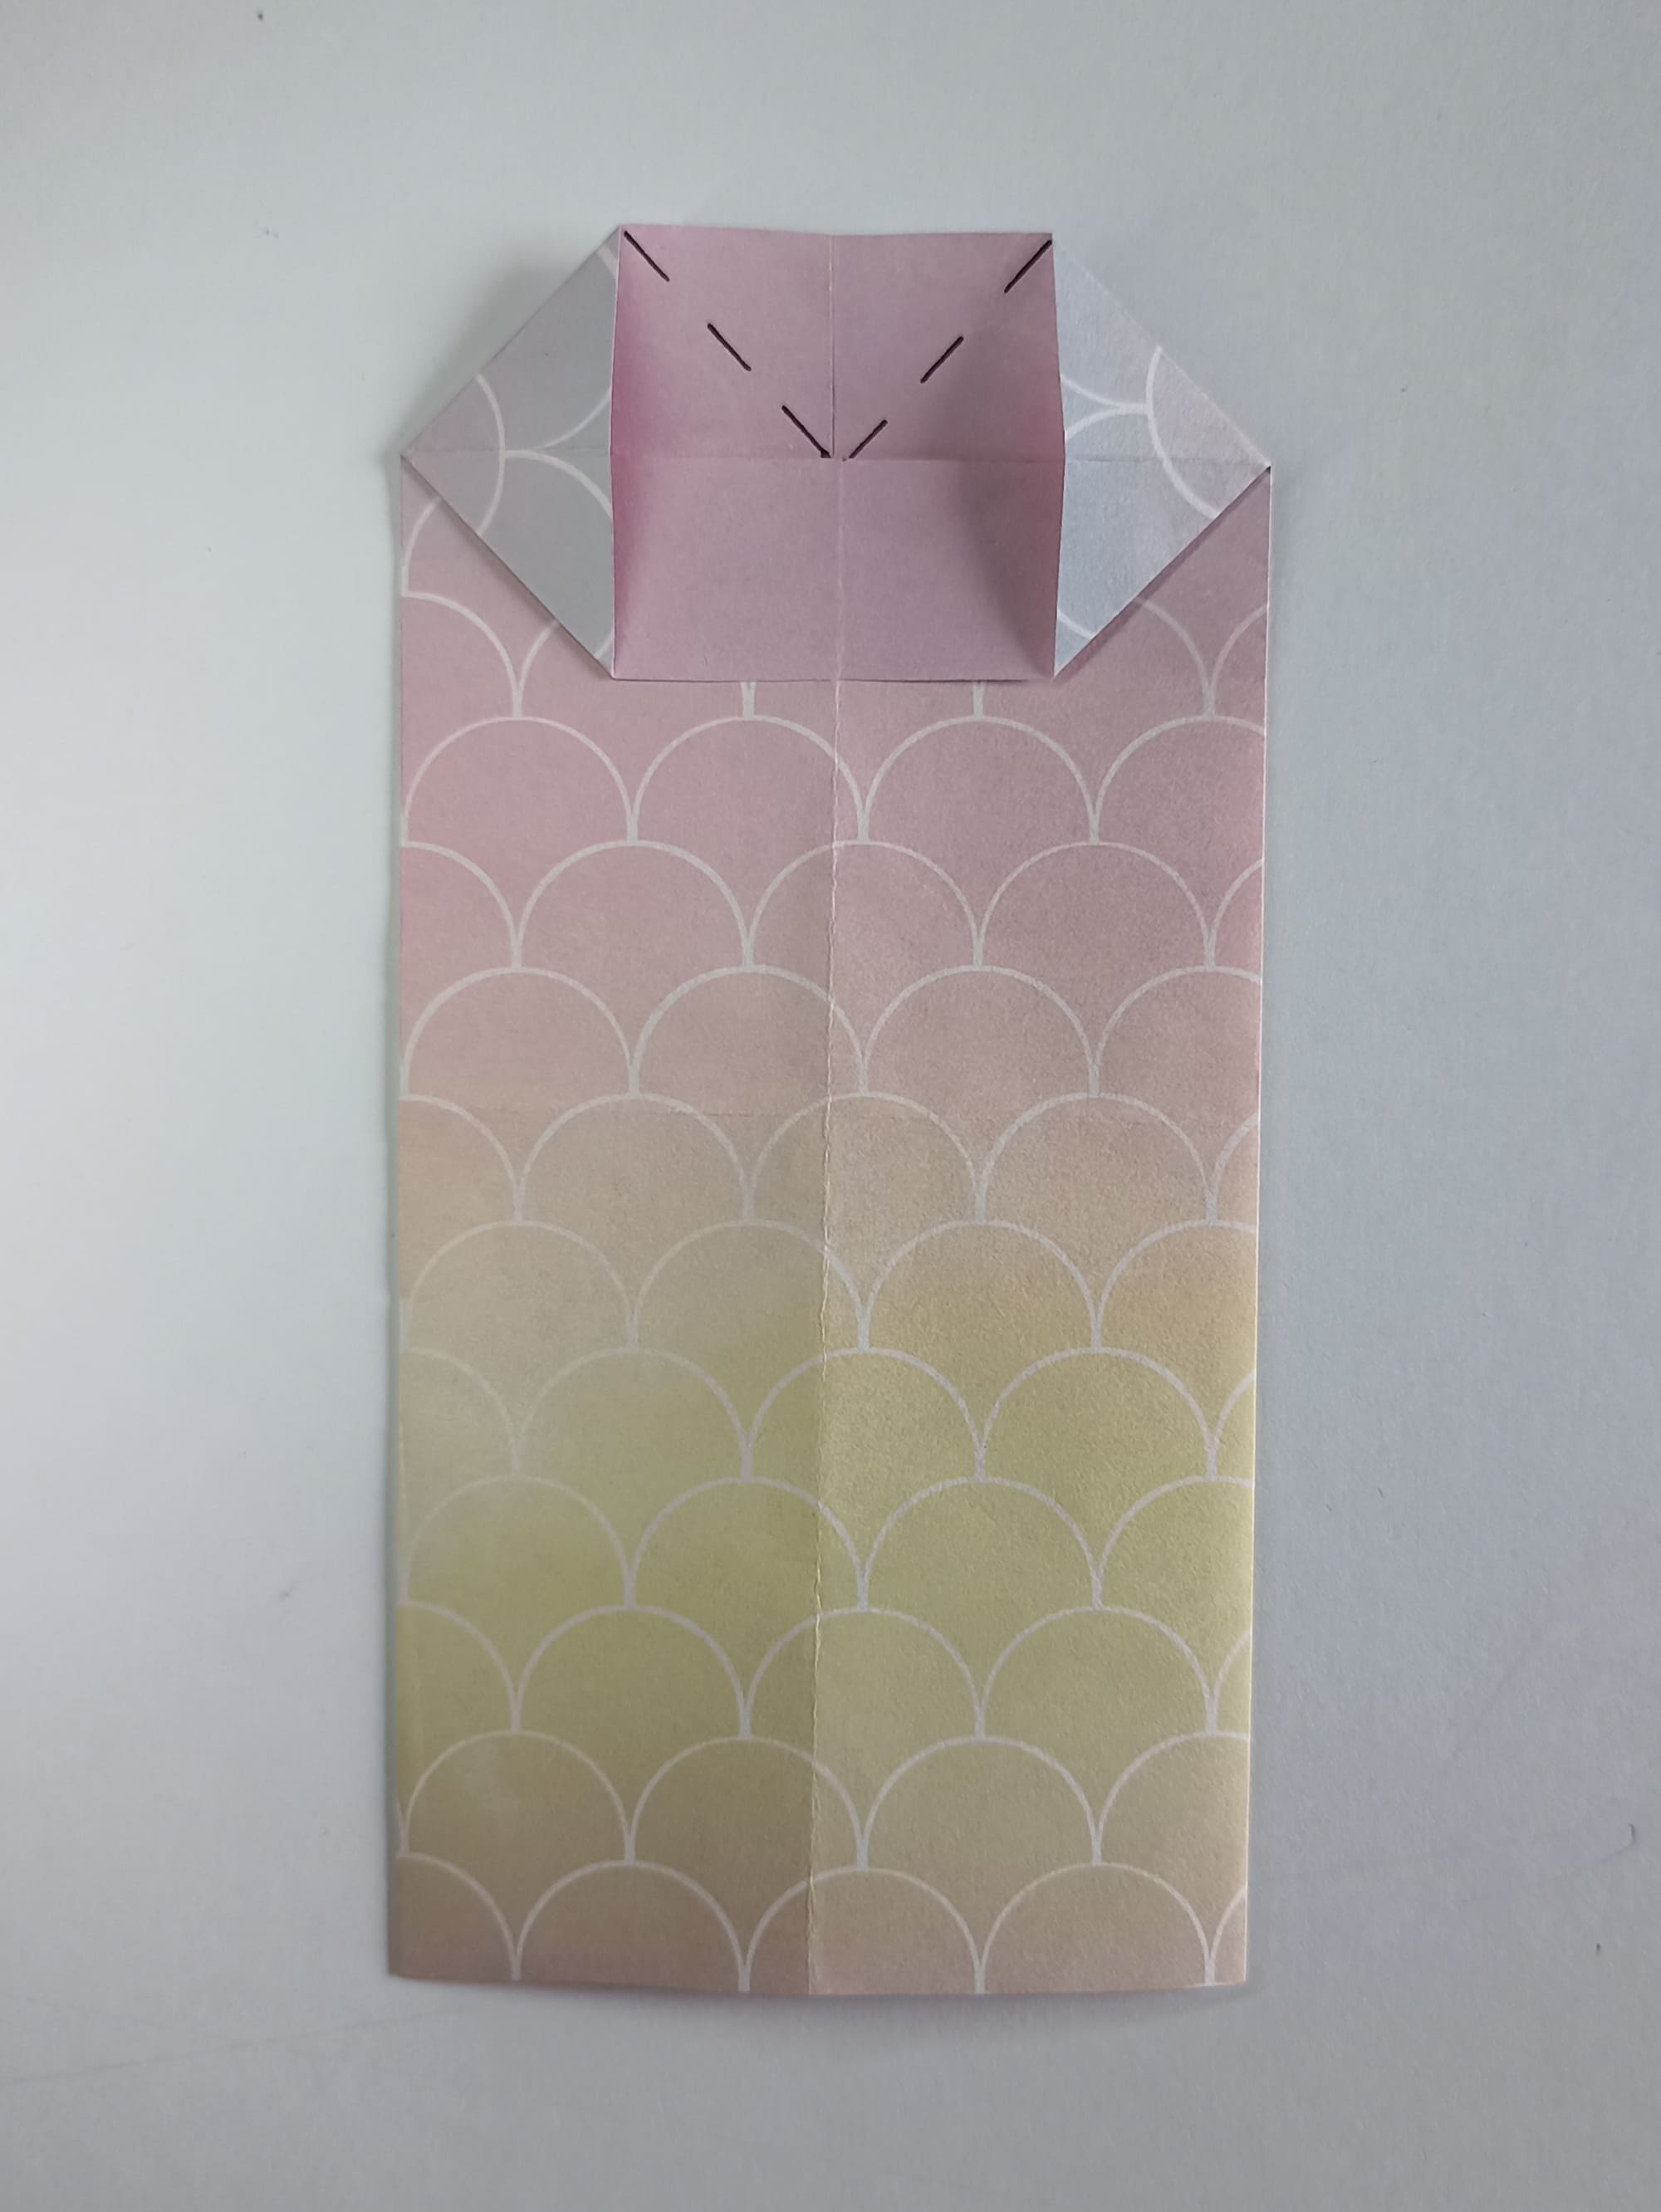
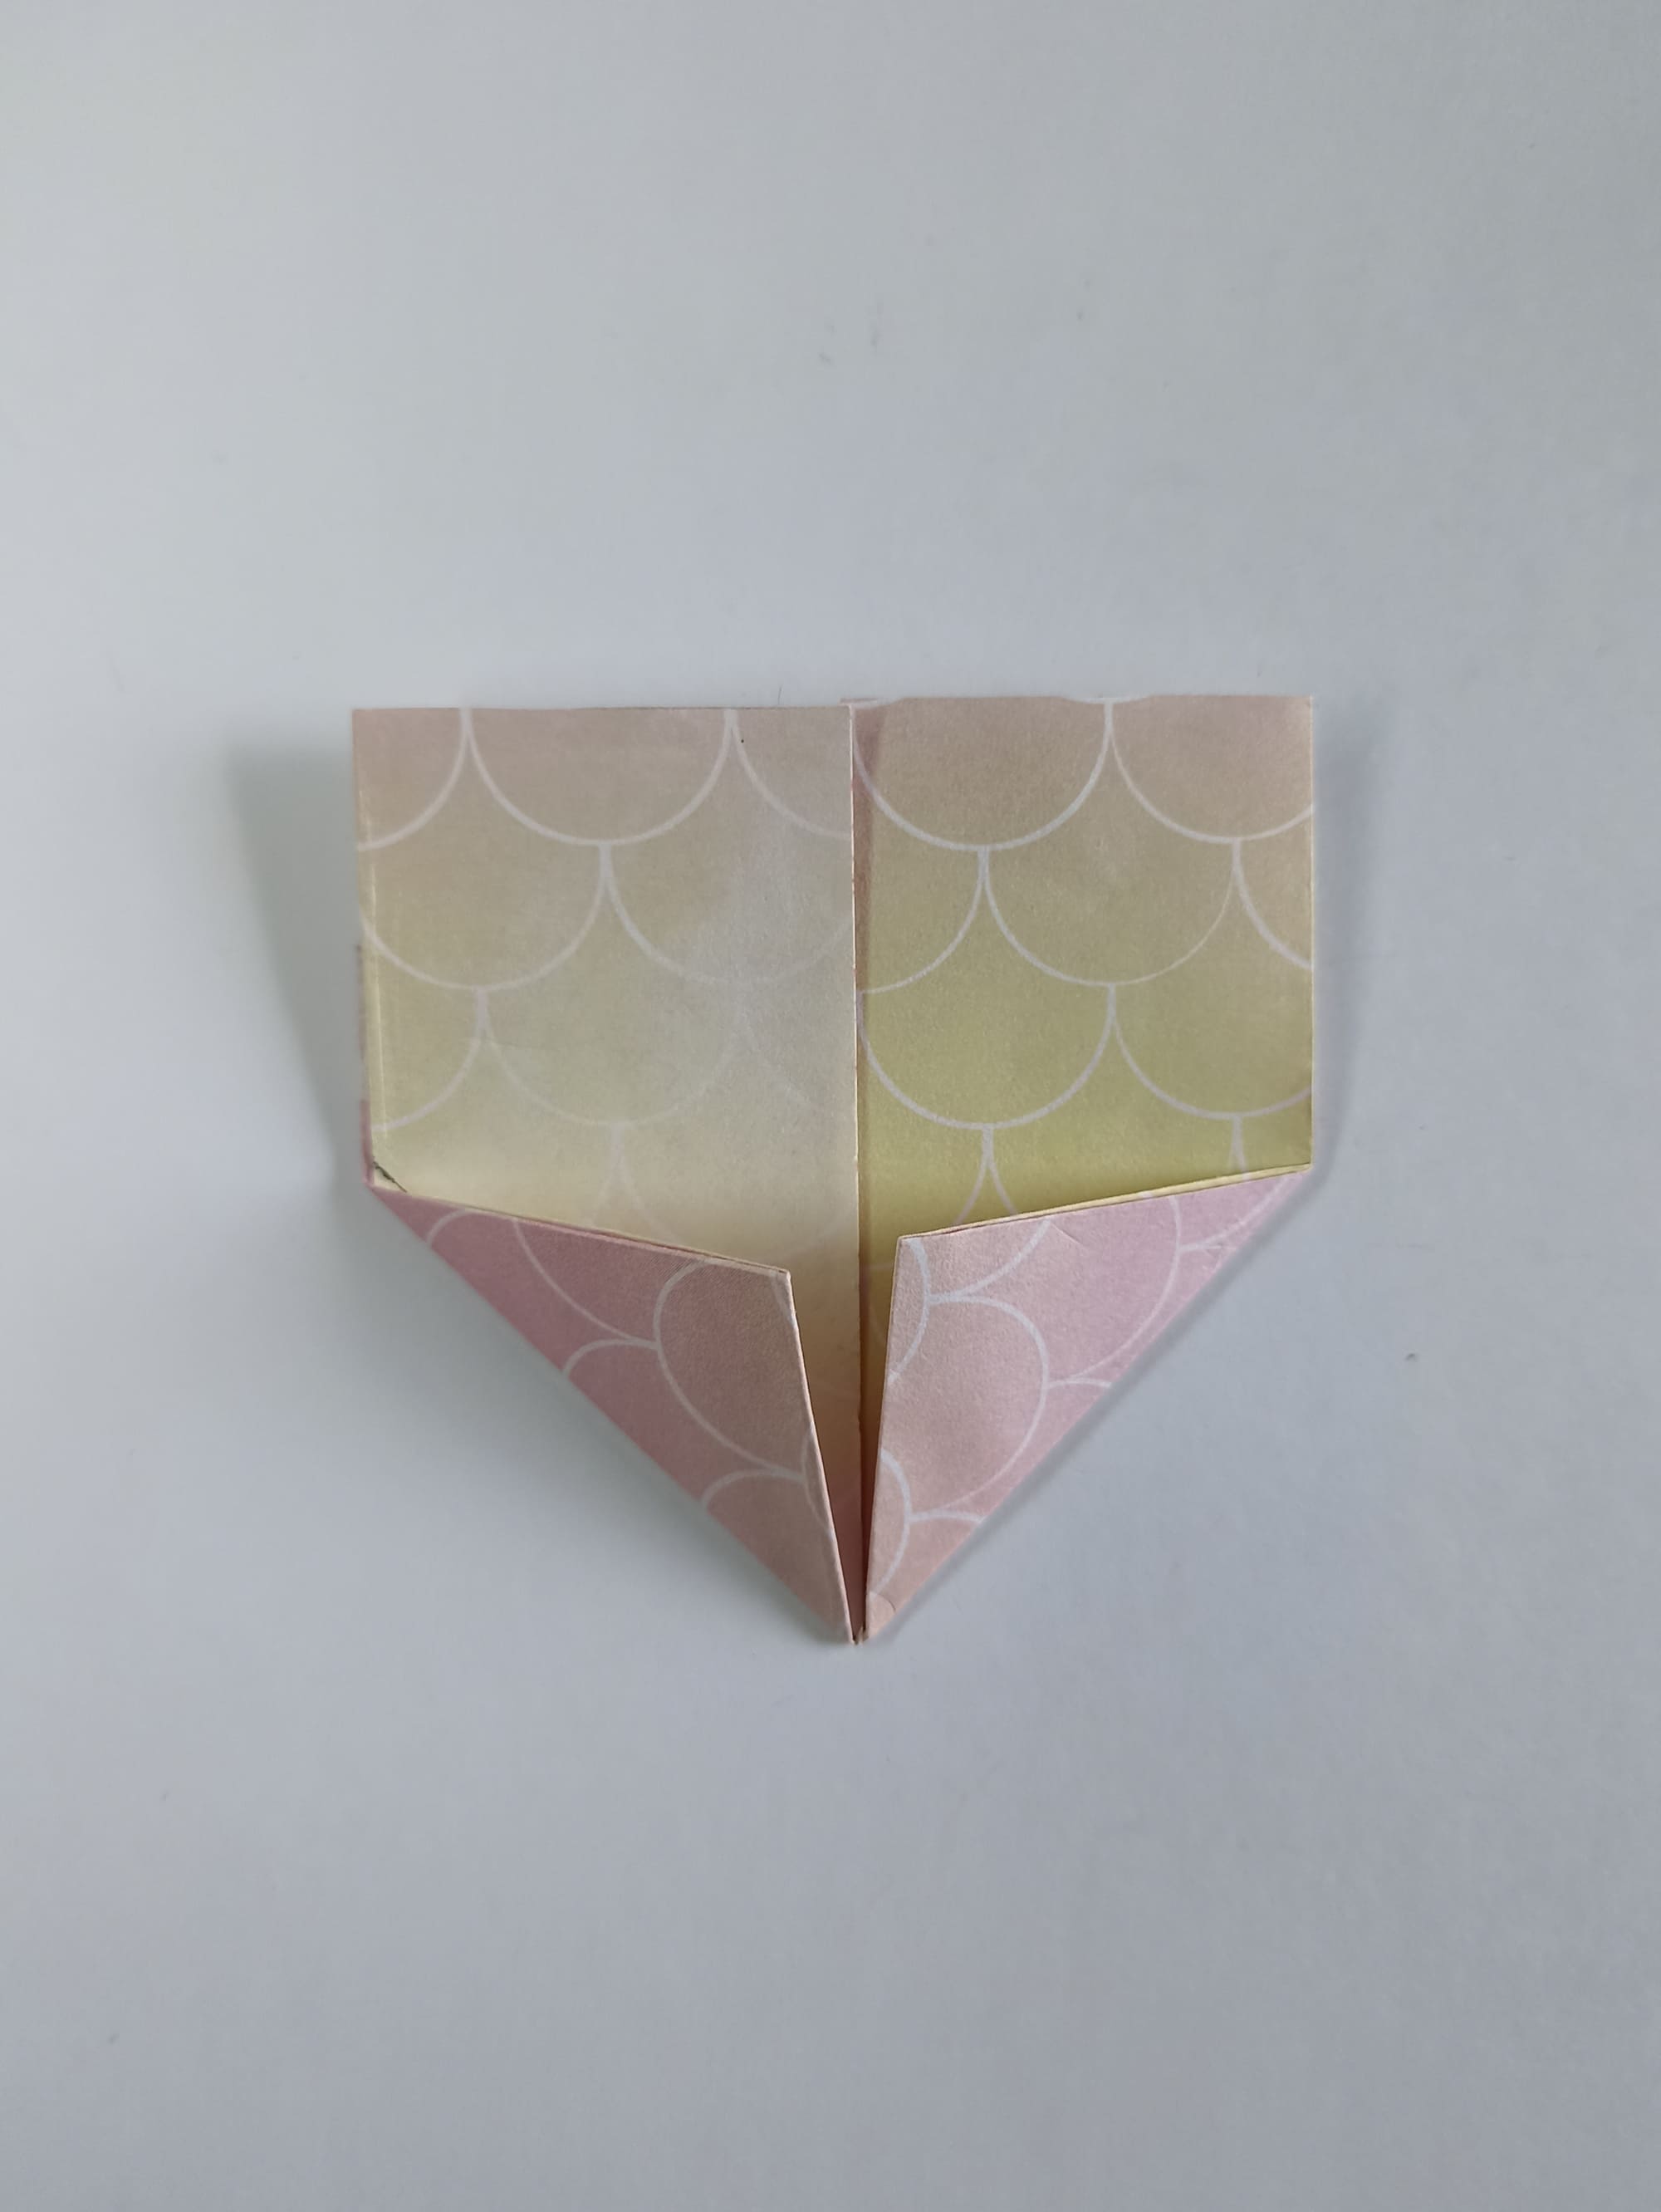
To make two more small folds, mark the middle lines of the upper triangles and bend the tops down.
By changing the height of this line, you can achieve an expressiveness of the form.
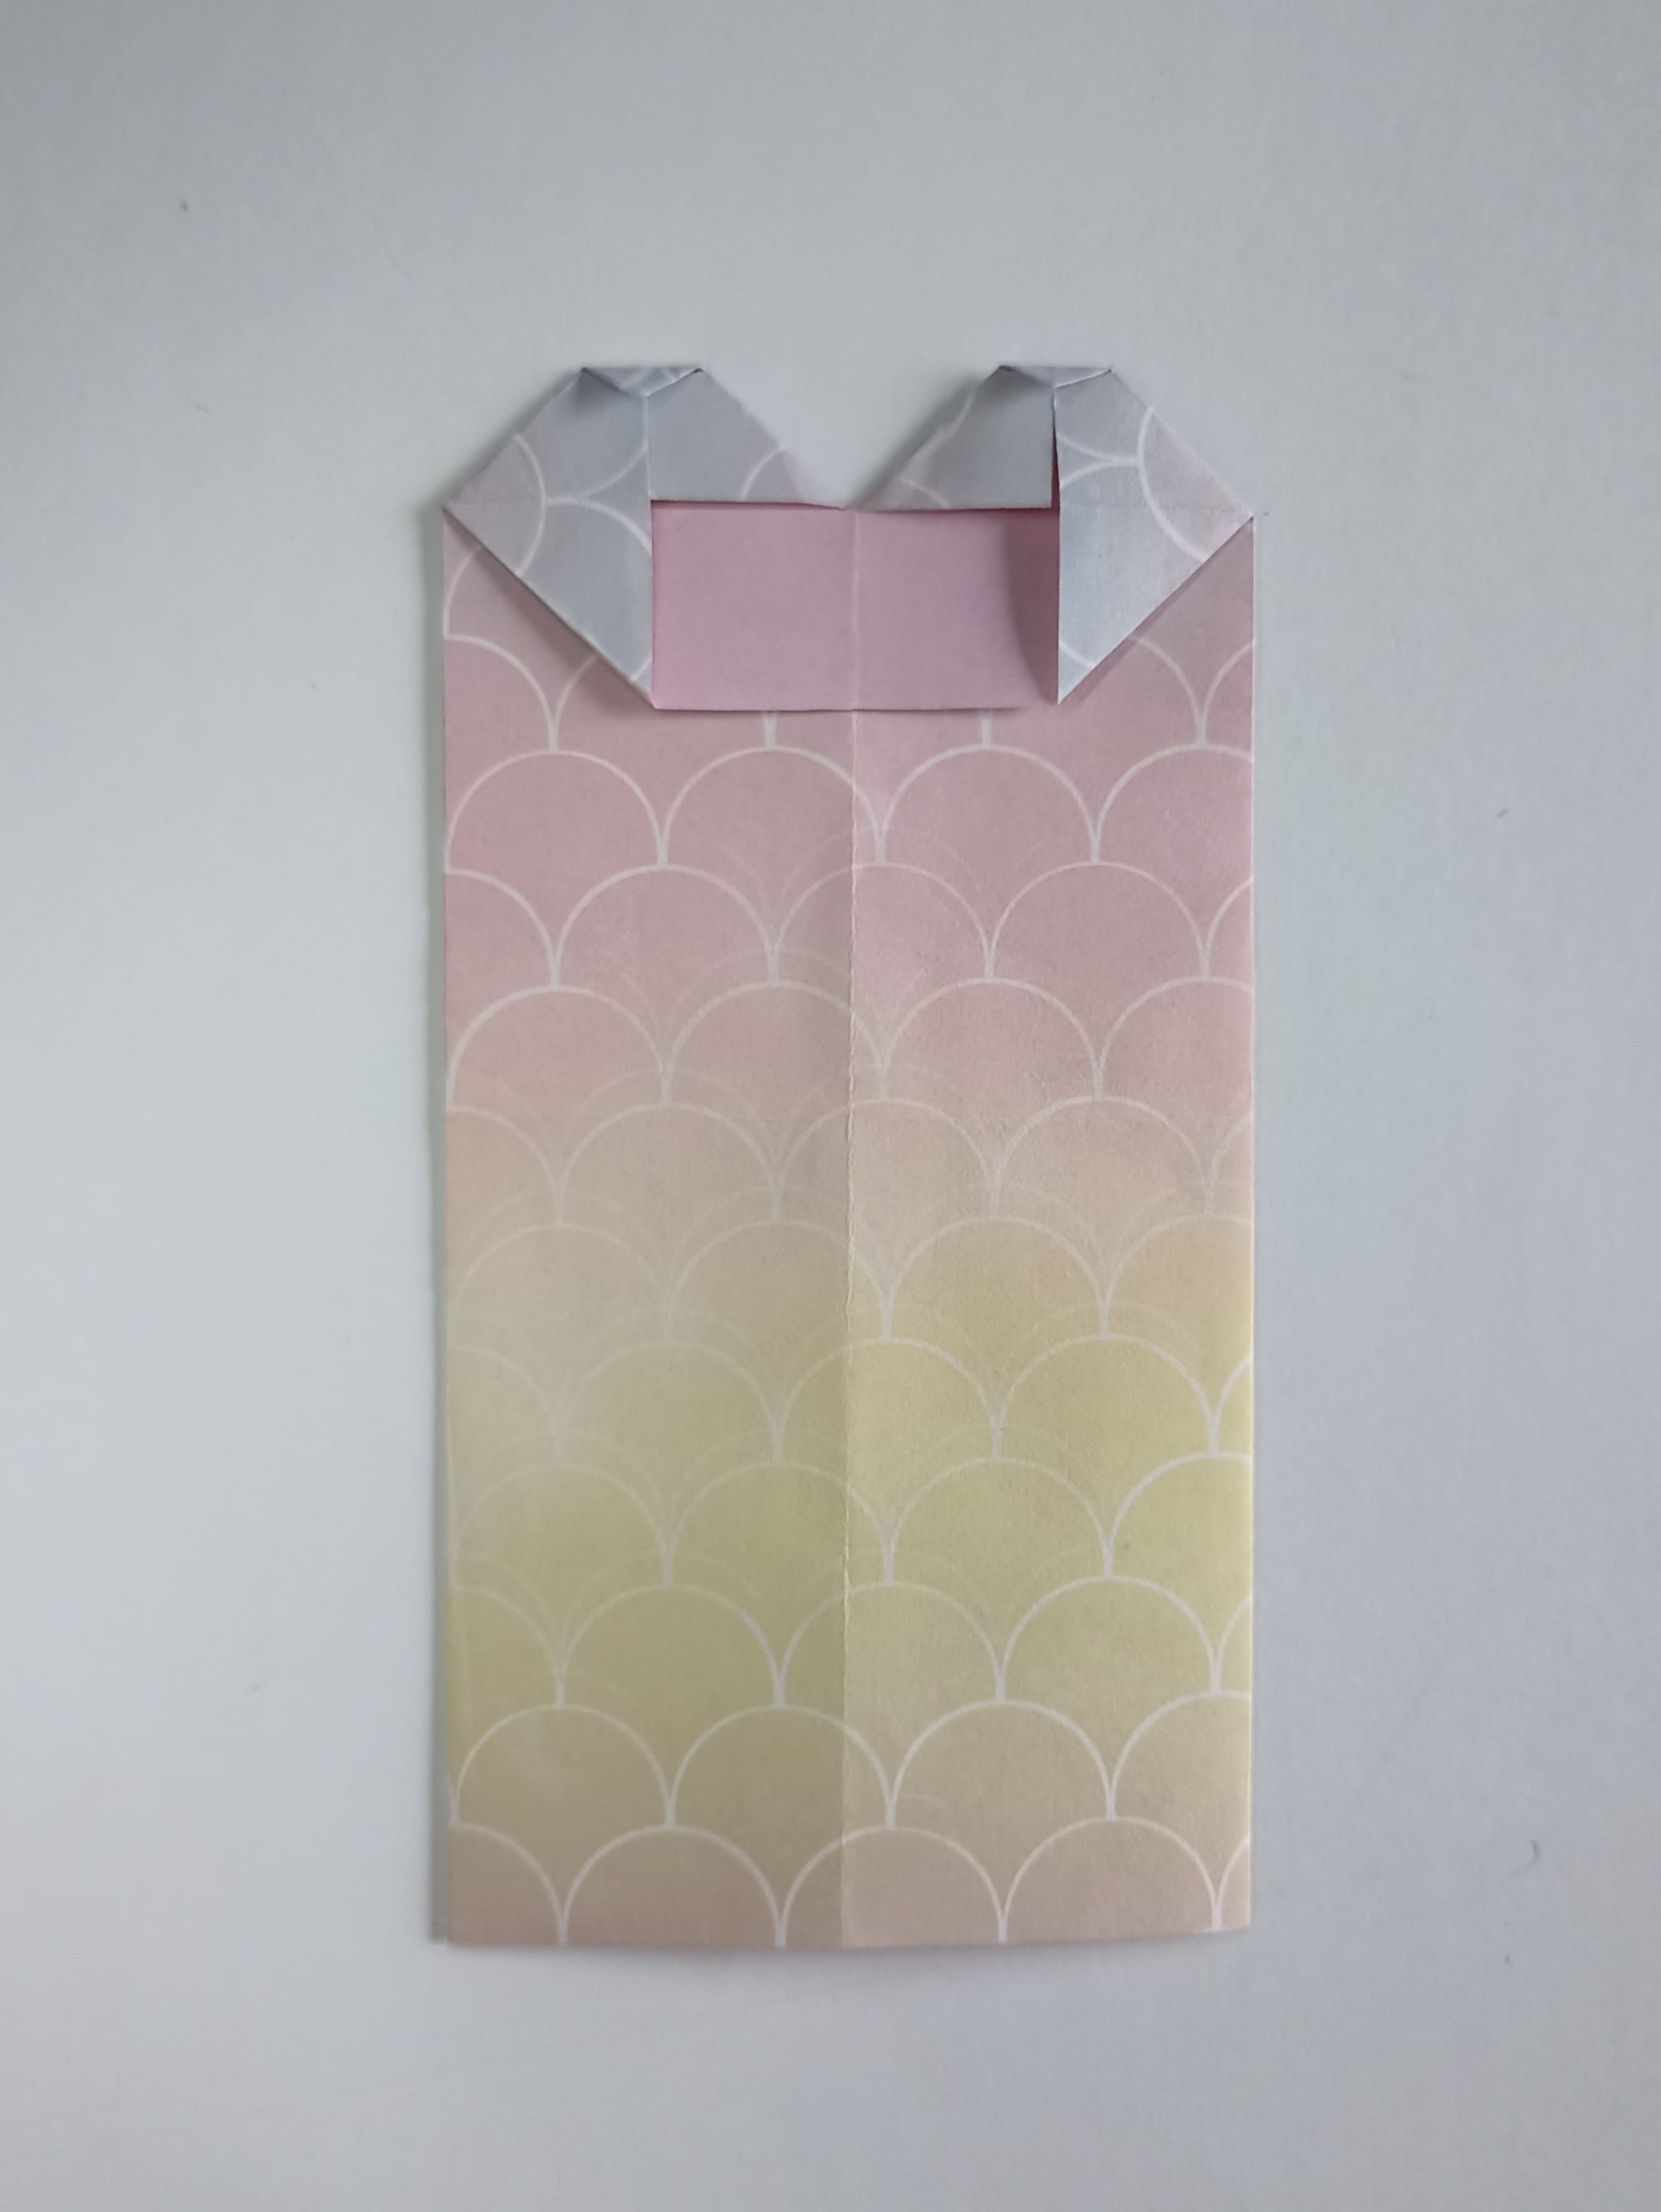
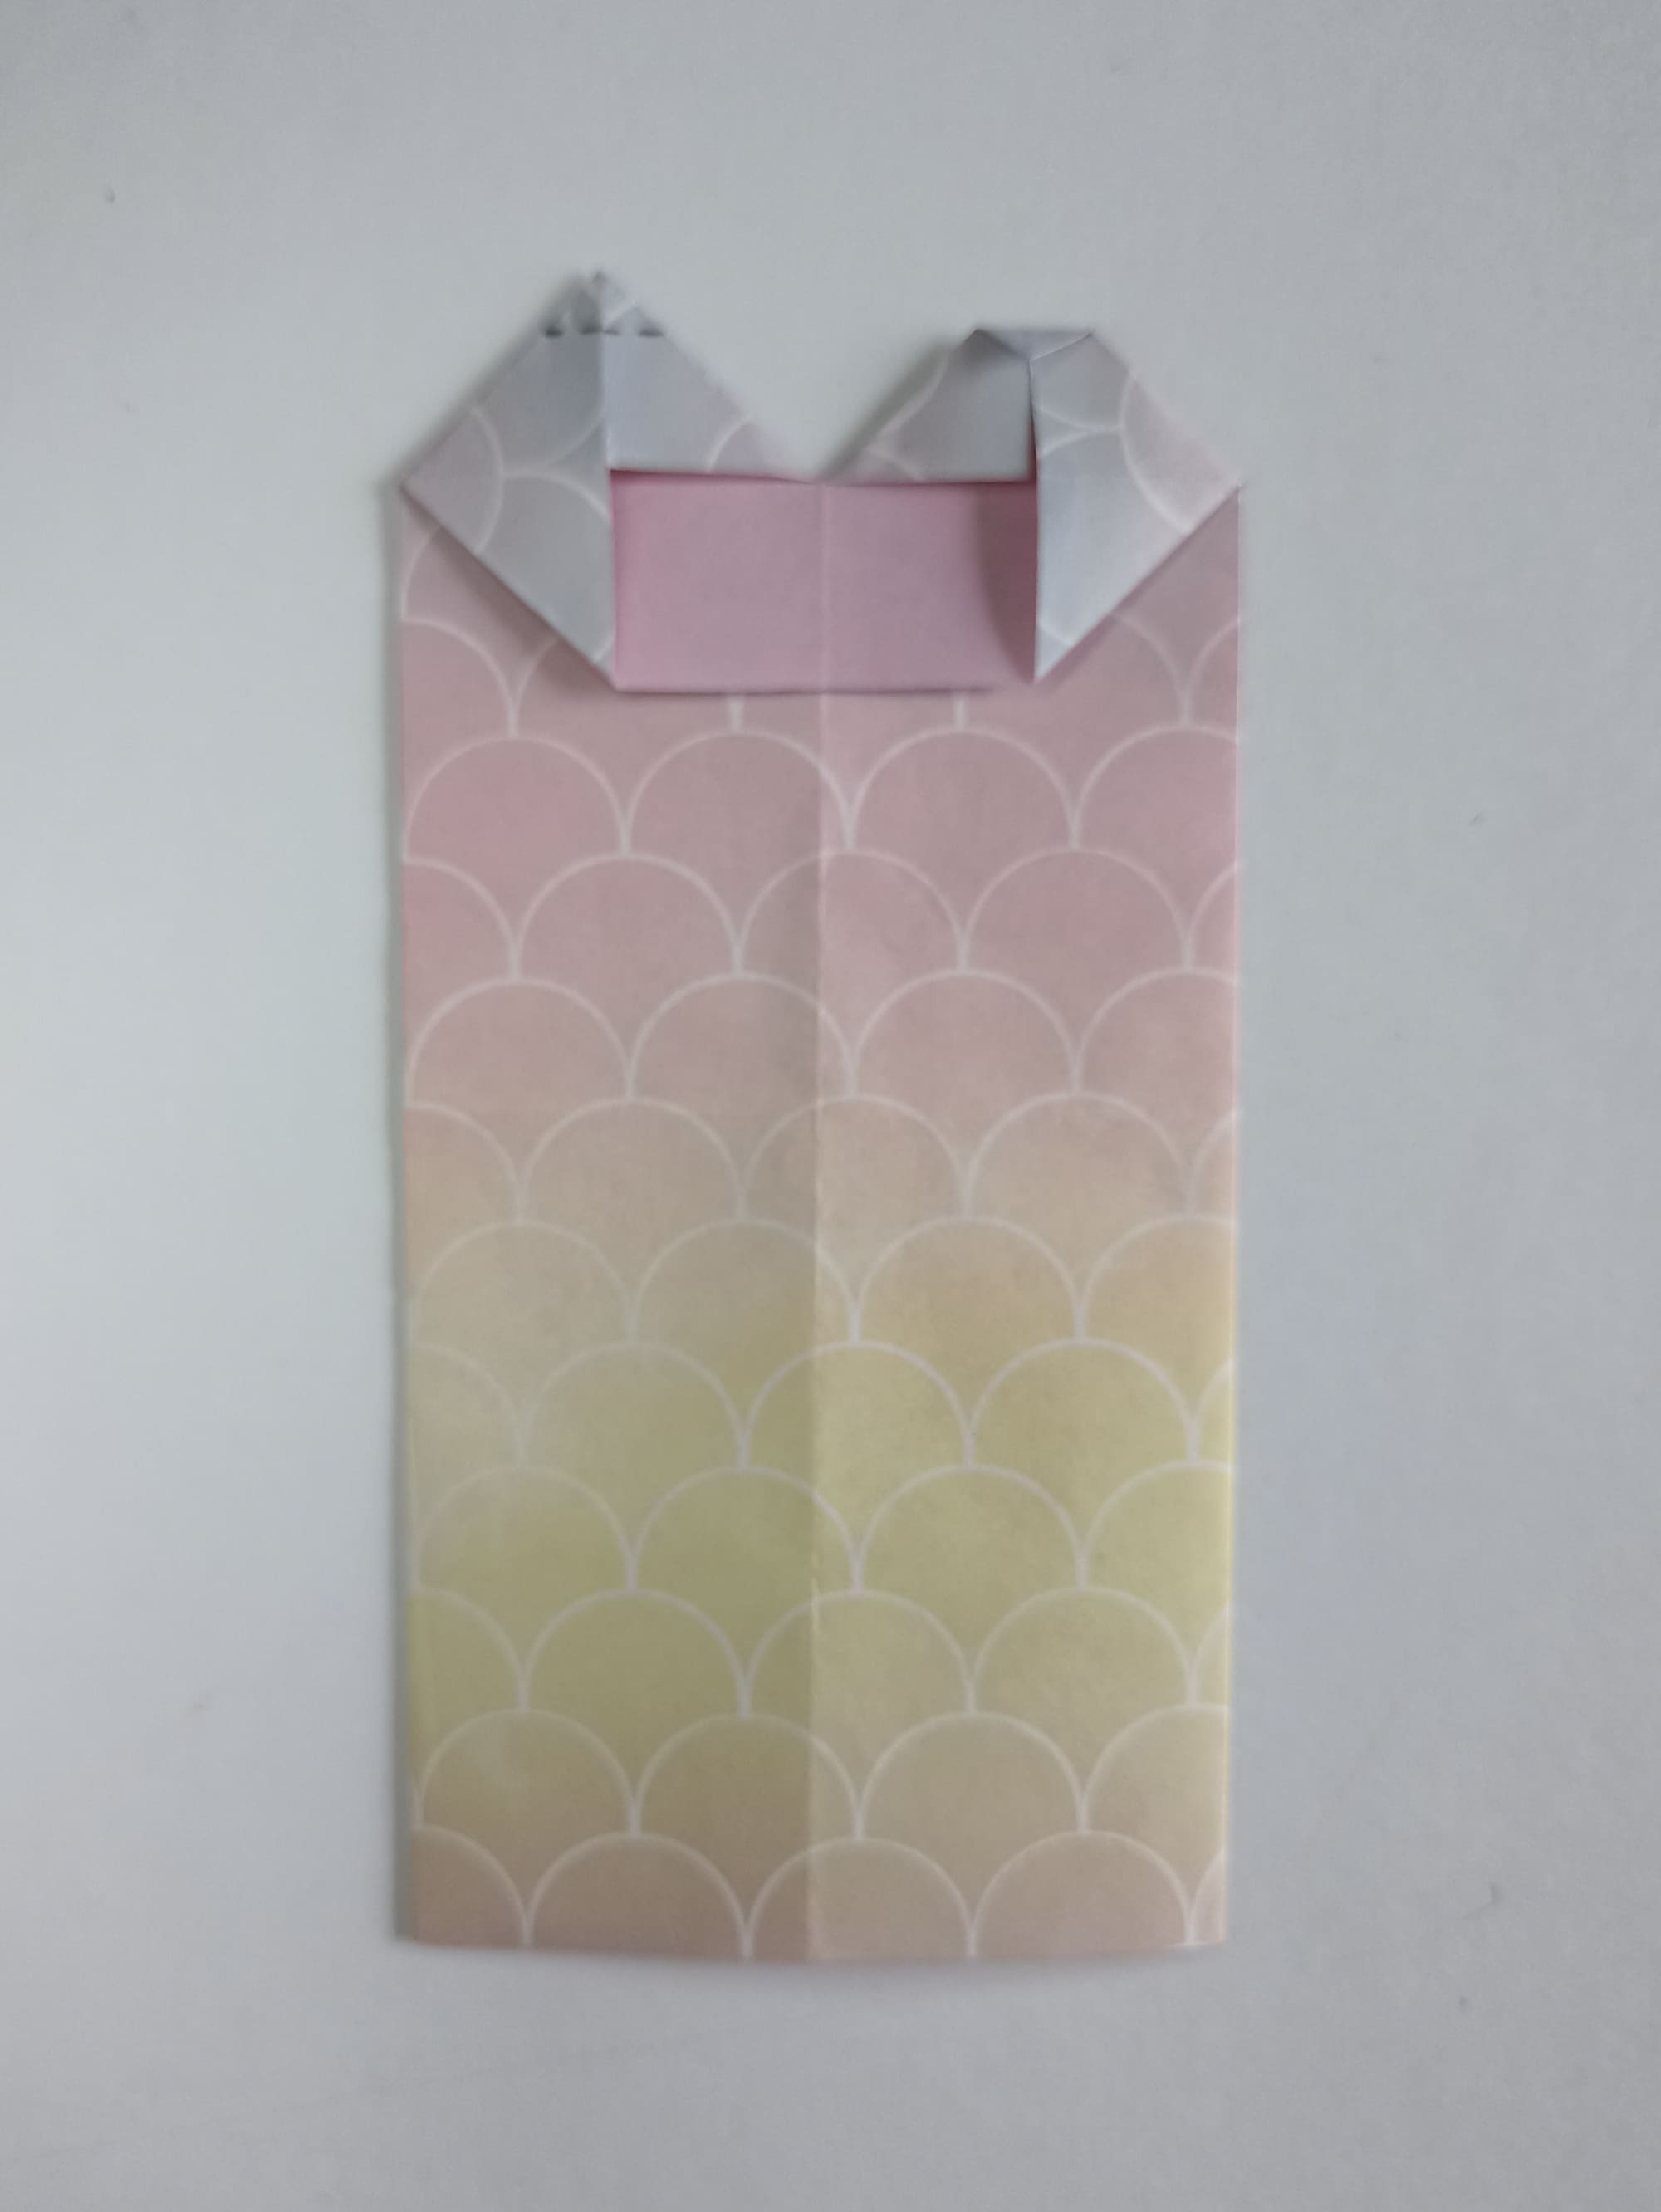
Compare the result with the illustration.
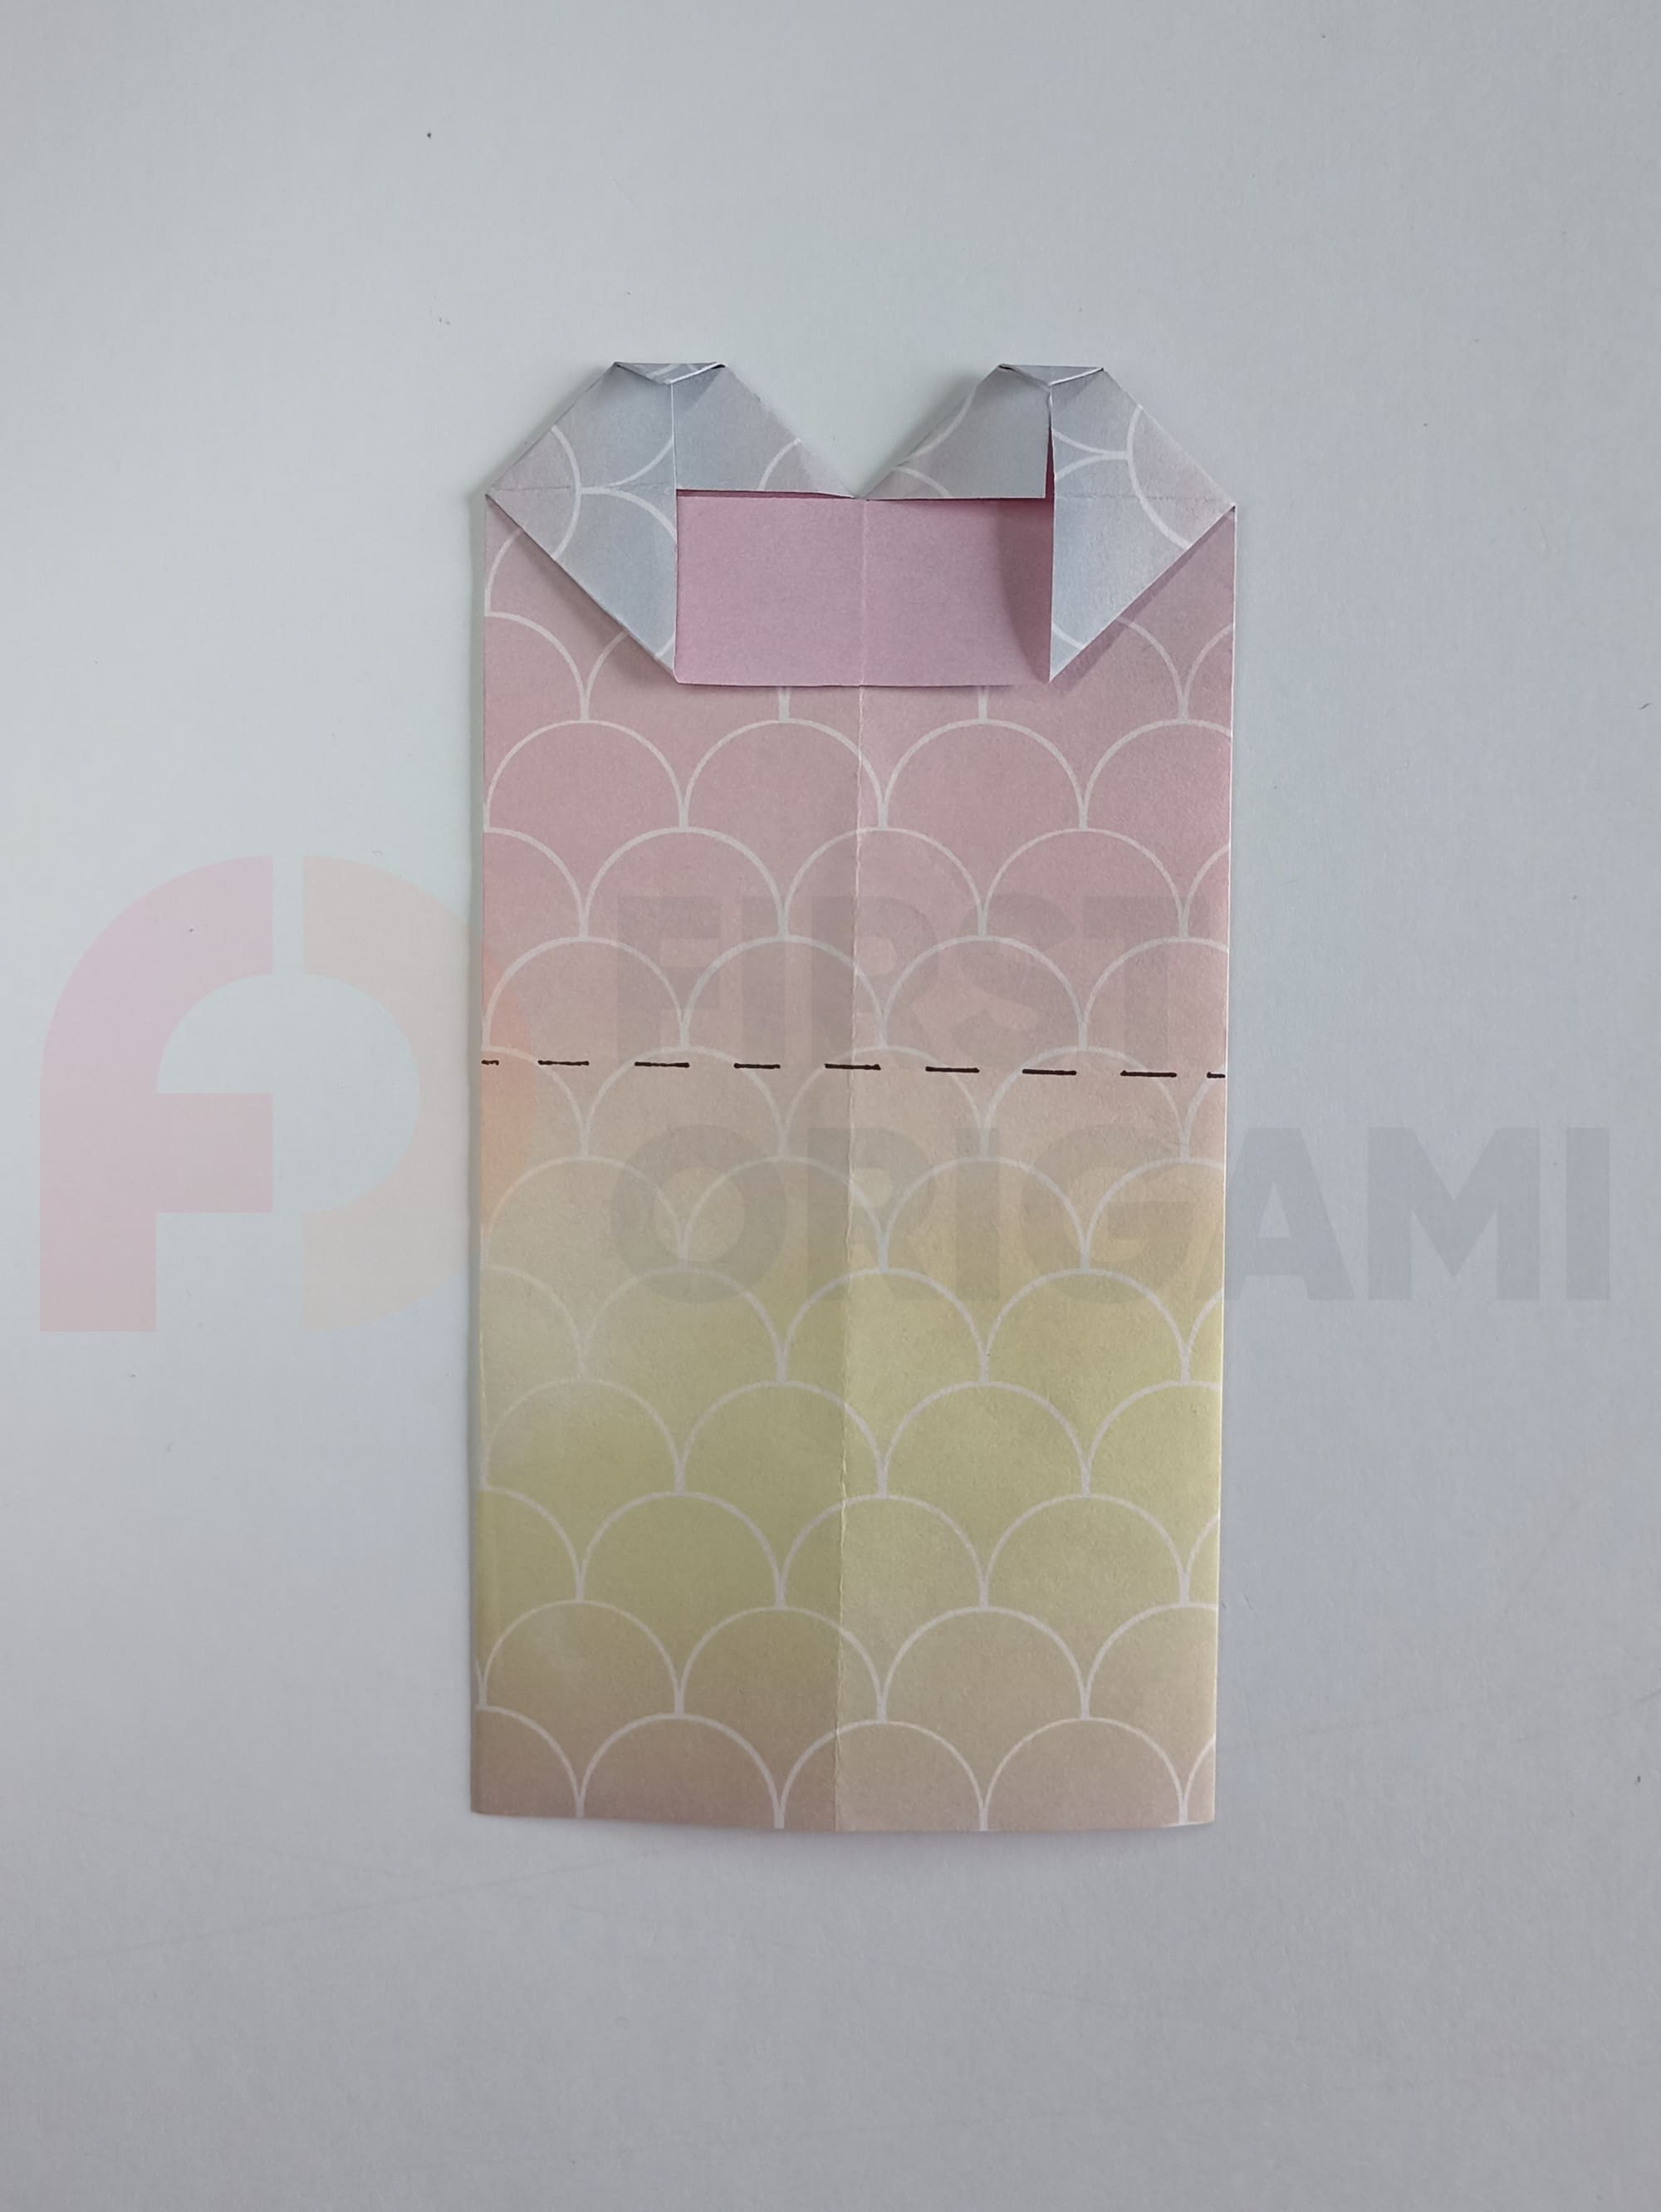
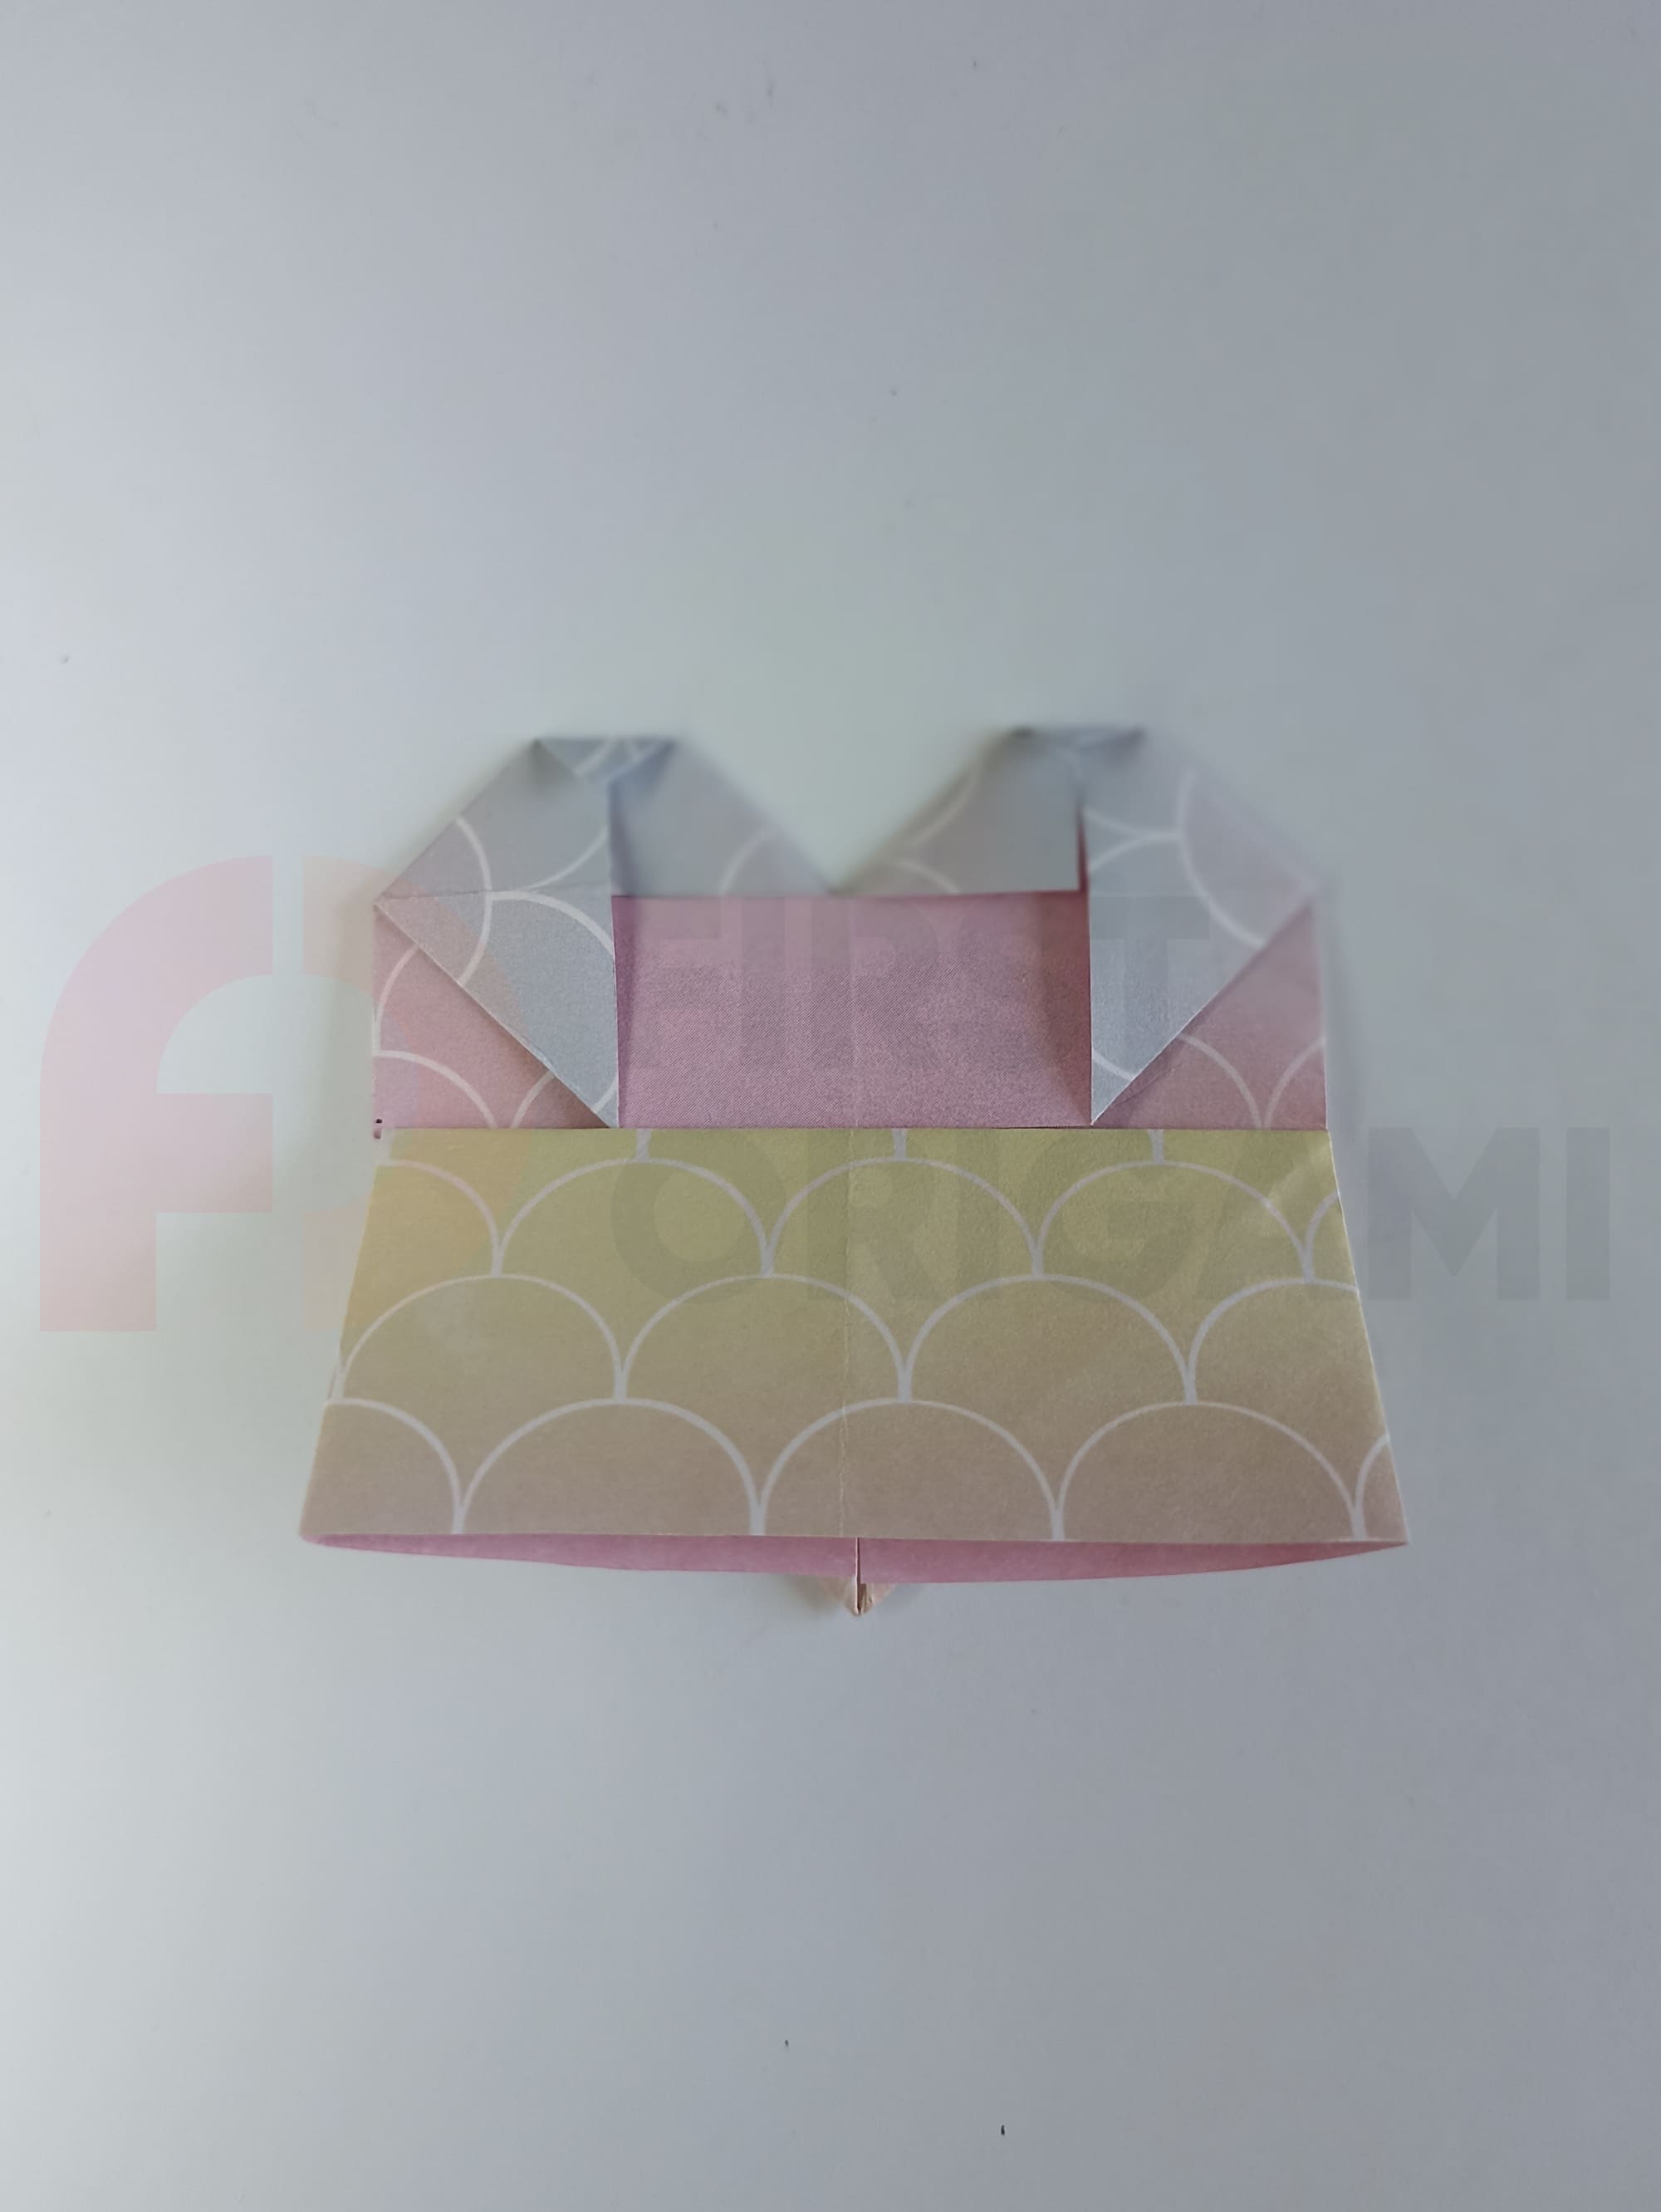
Raise the bottom edge along the middle line.
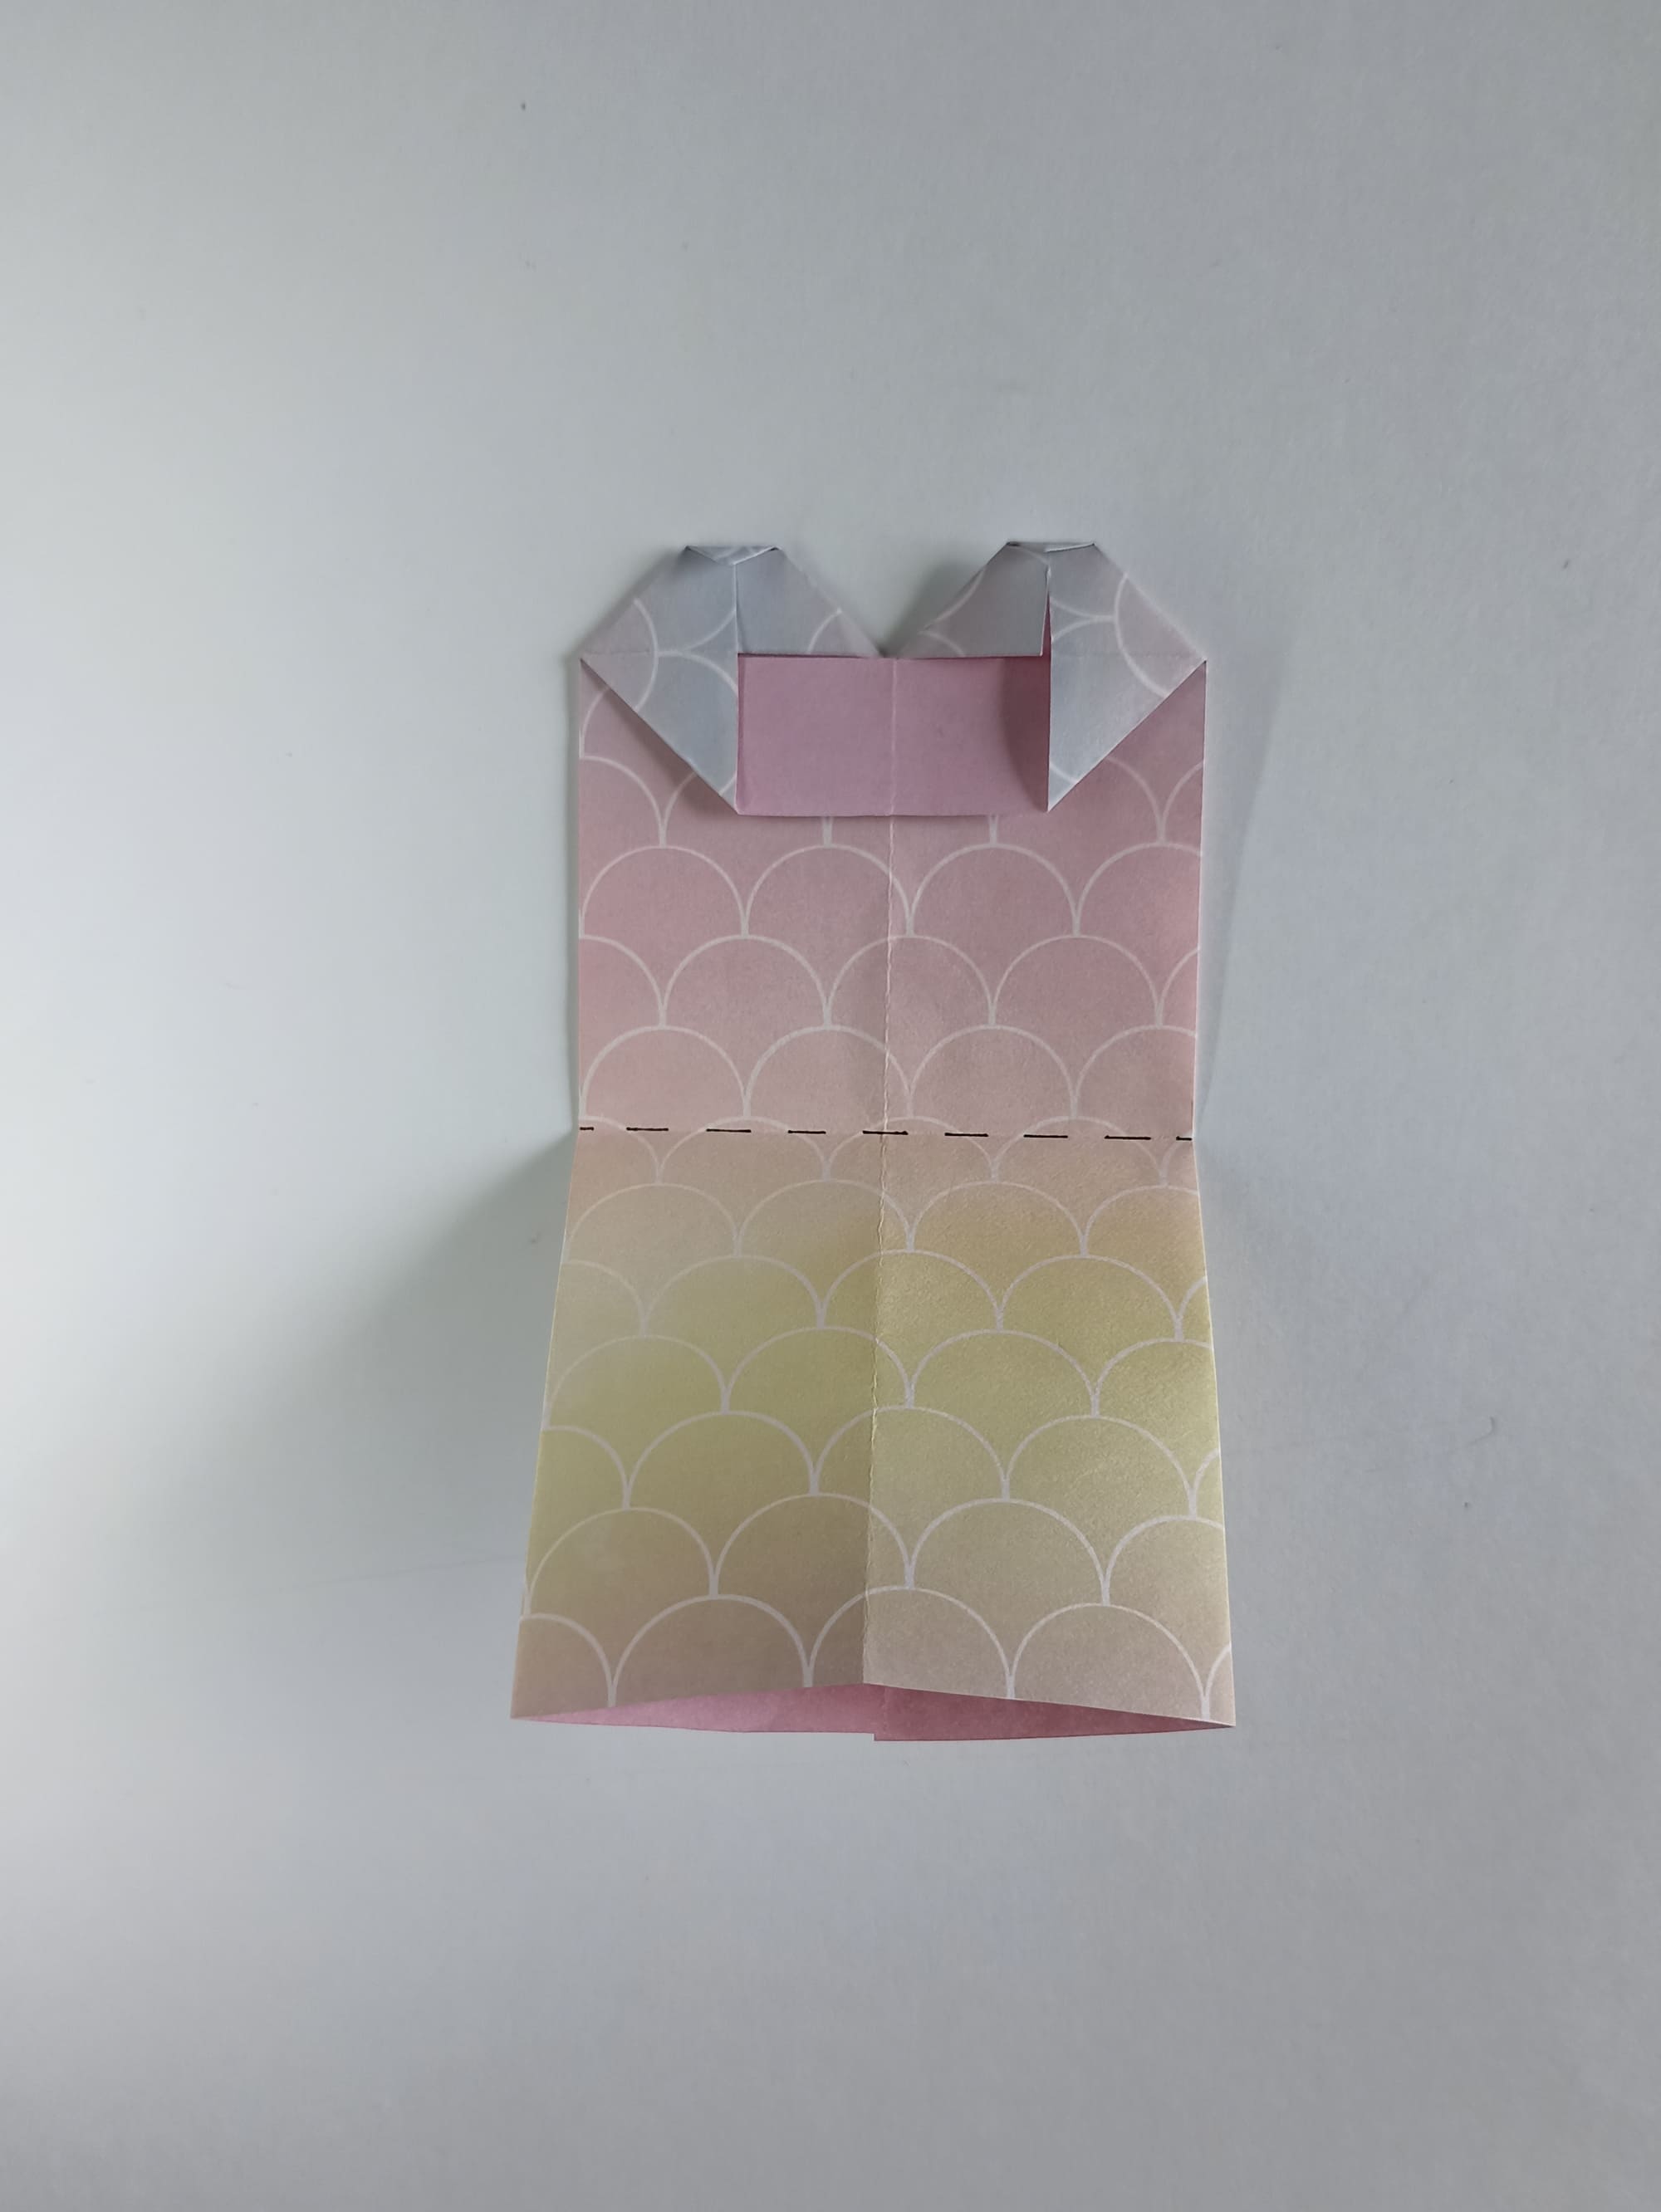
Bend the lower corners of the resulting square (right and left) towards the center.
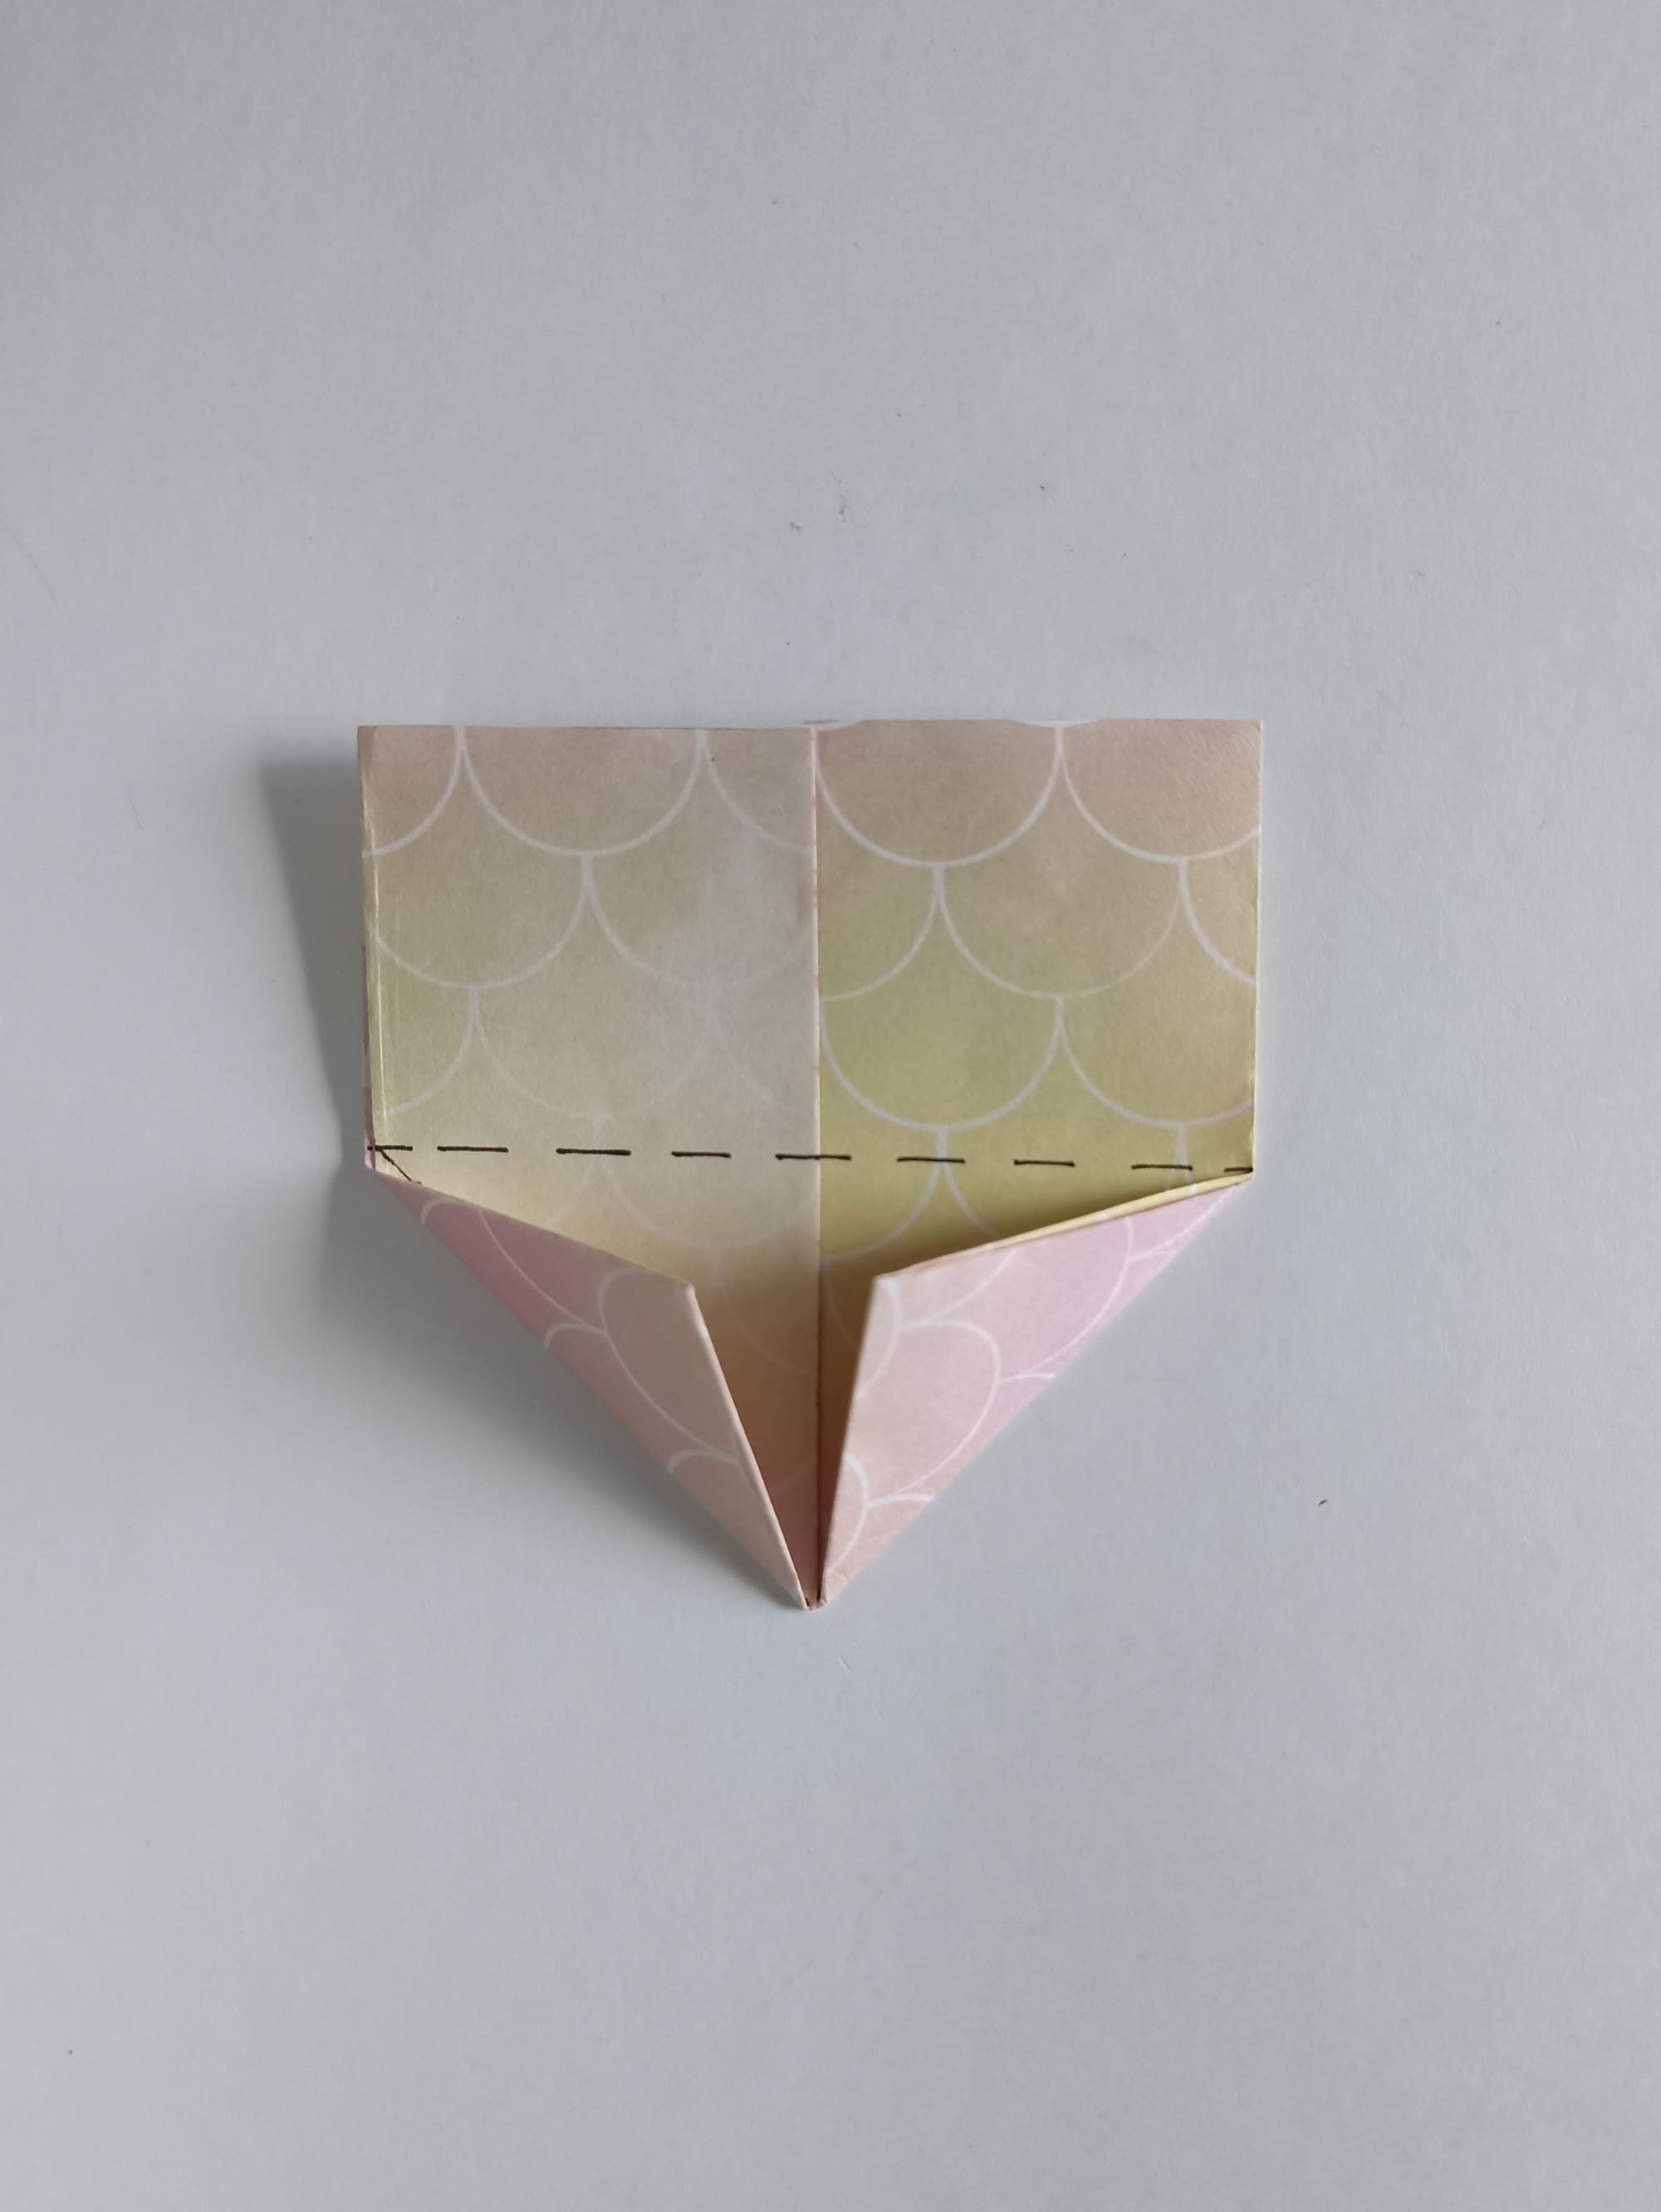
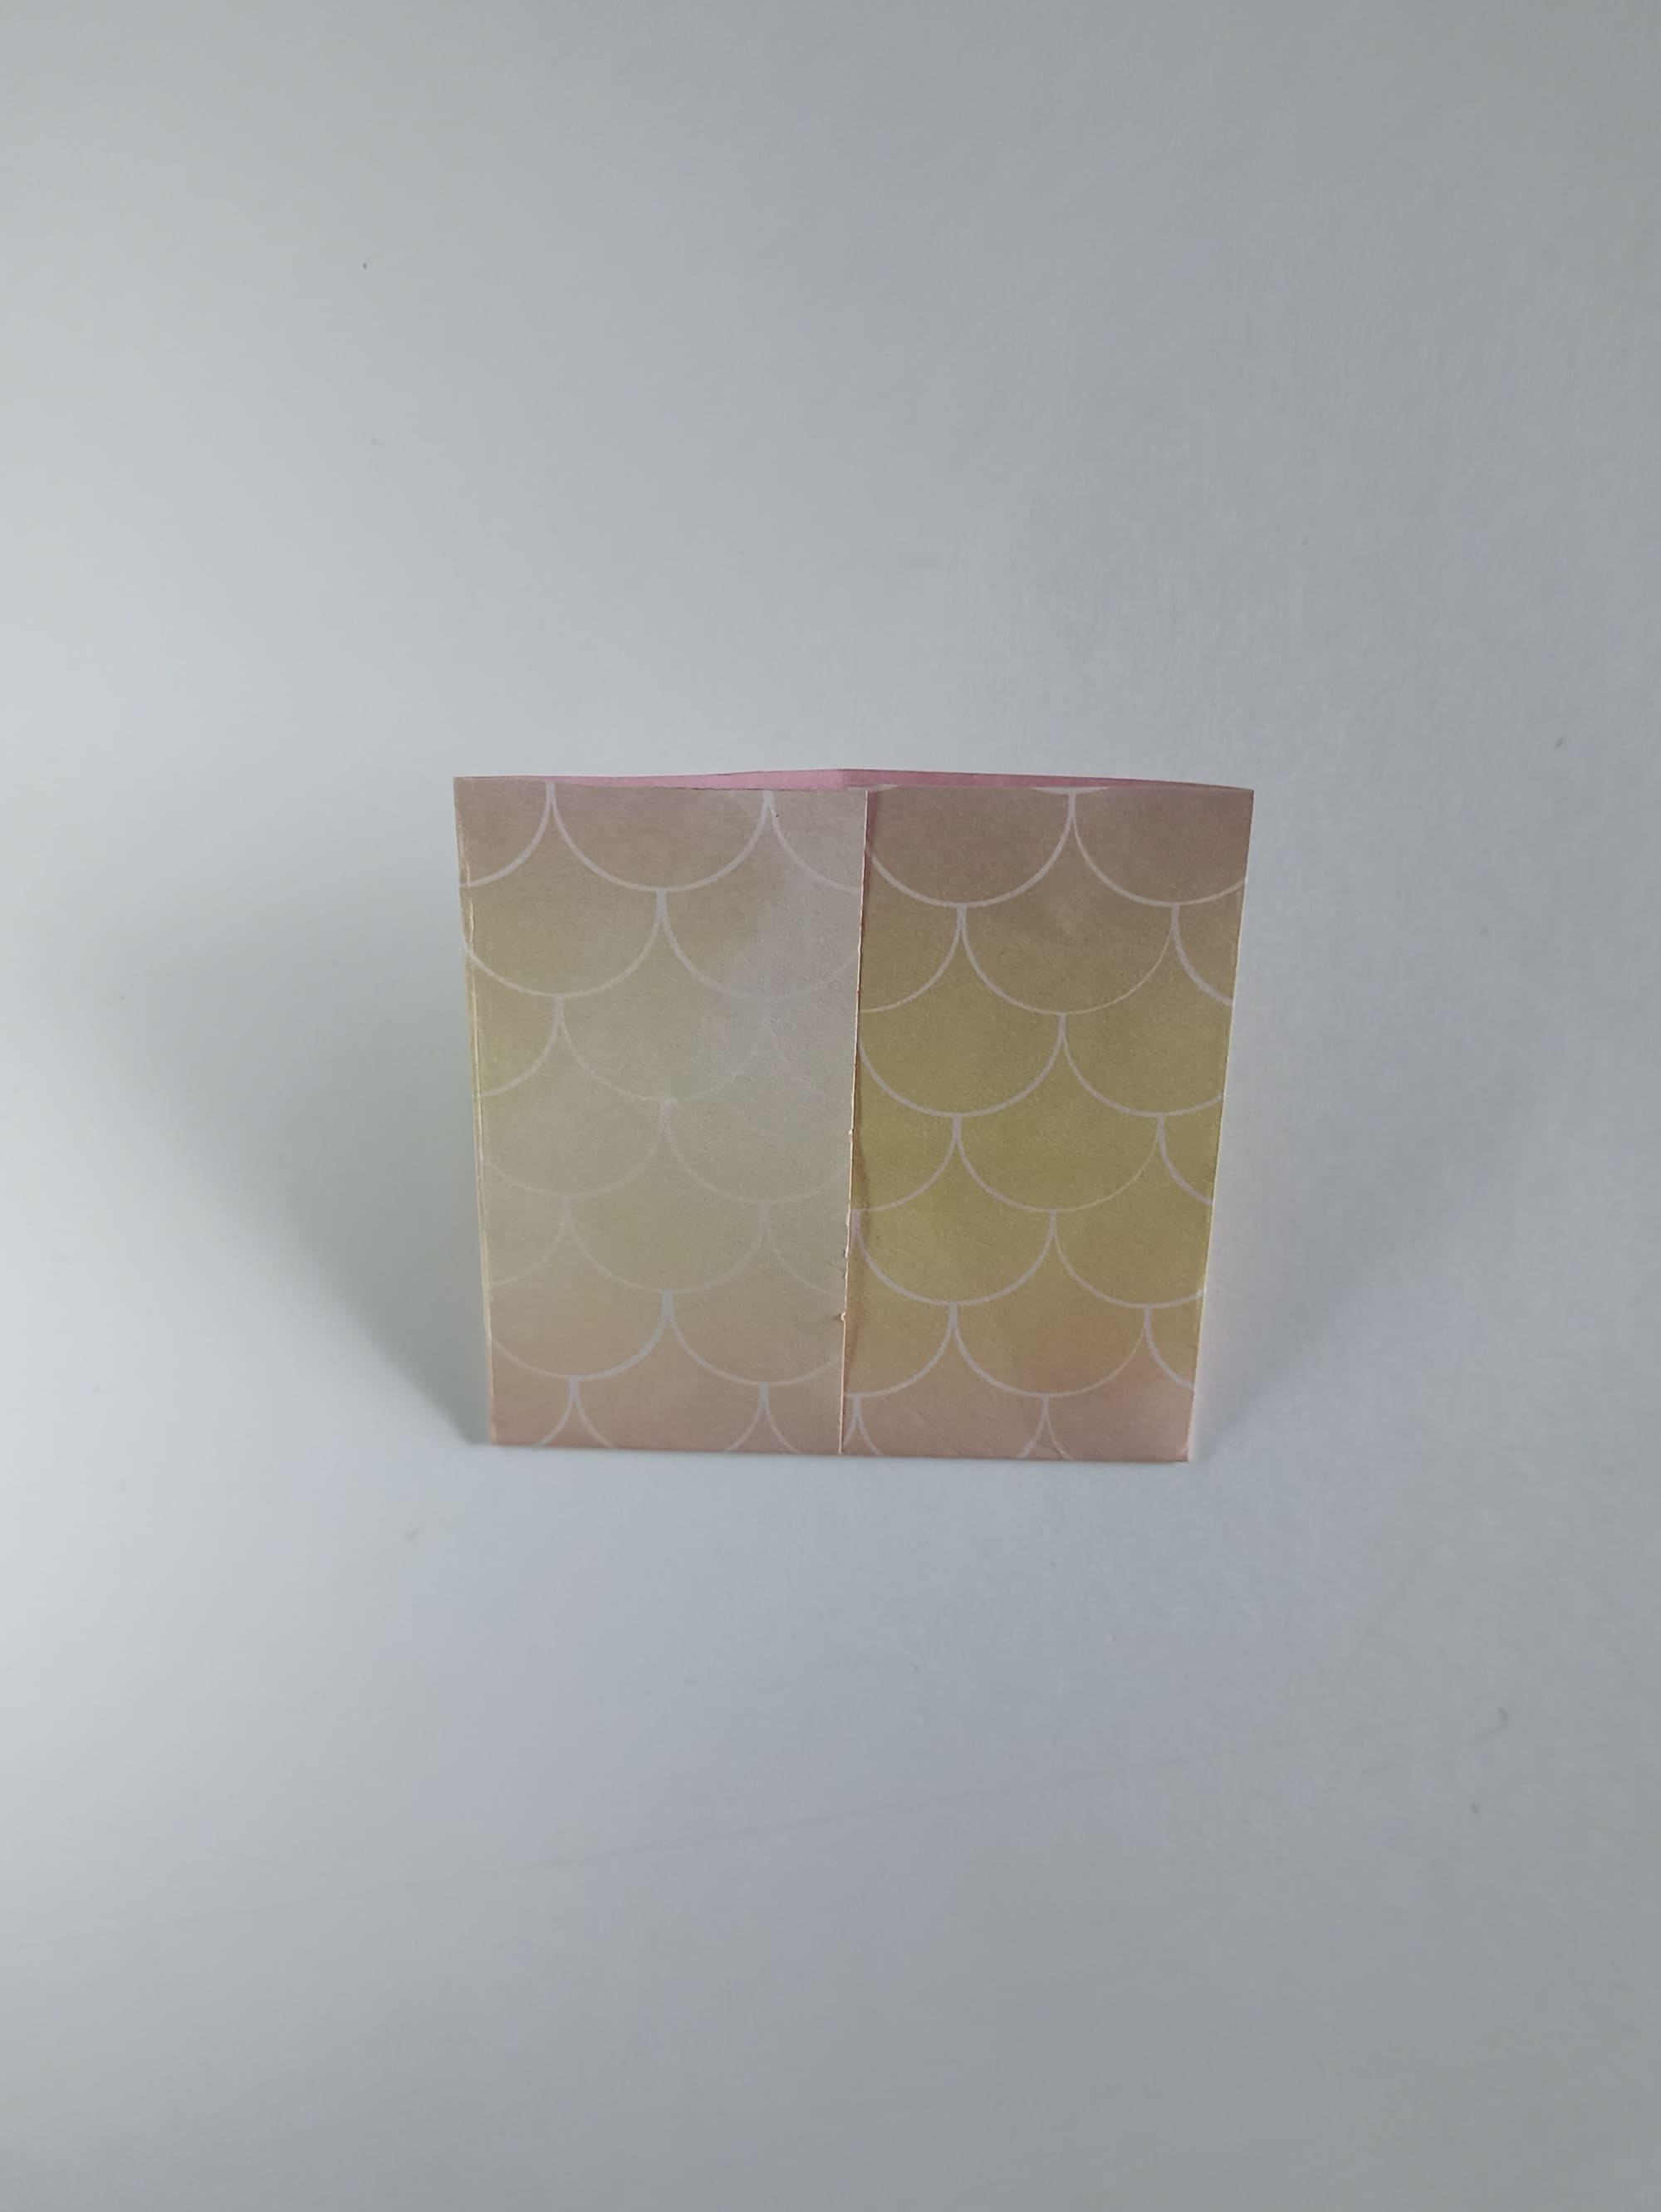
Bend the upper part of the figure down along the line where the triangles connect in the center.
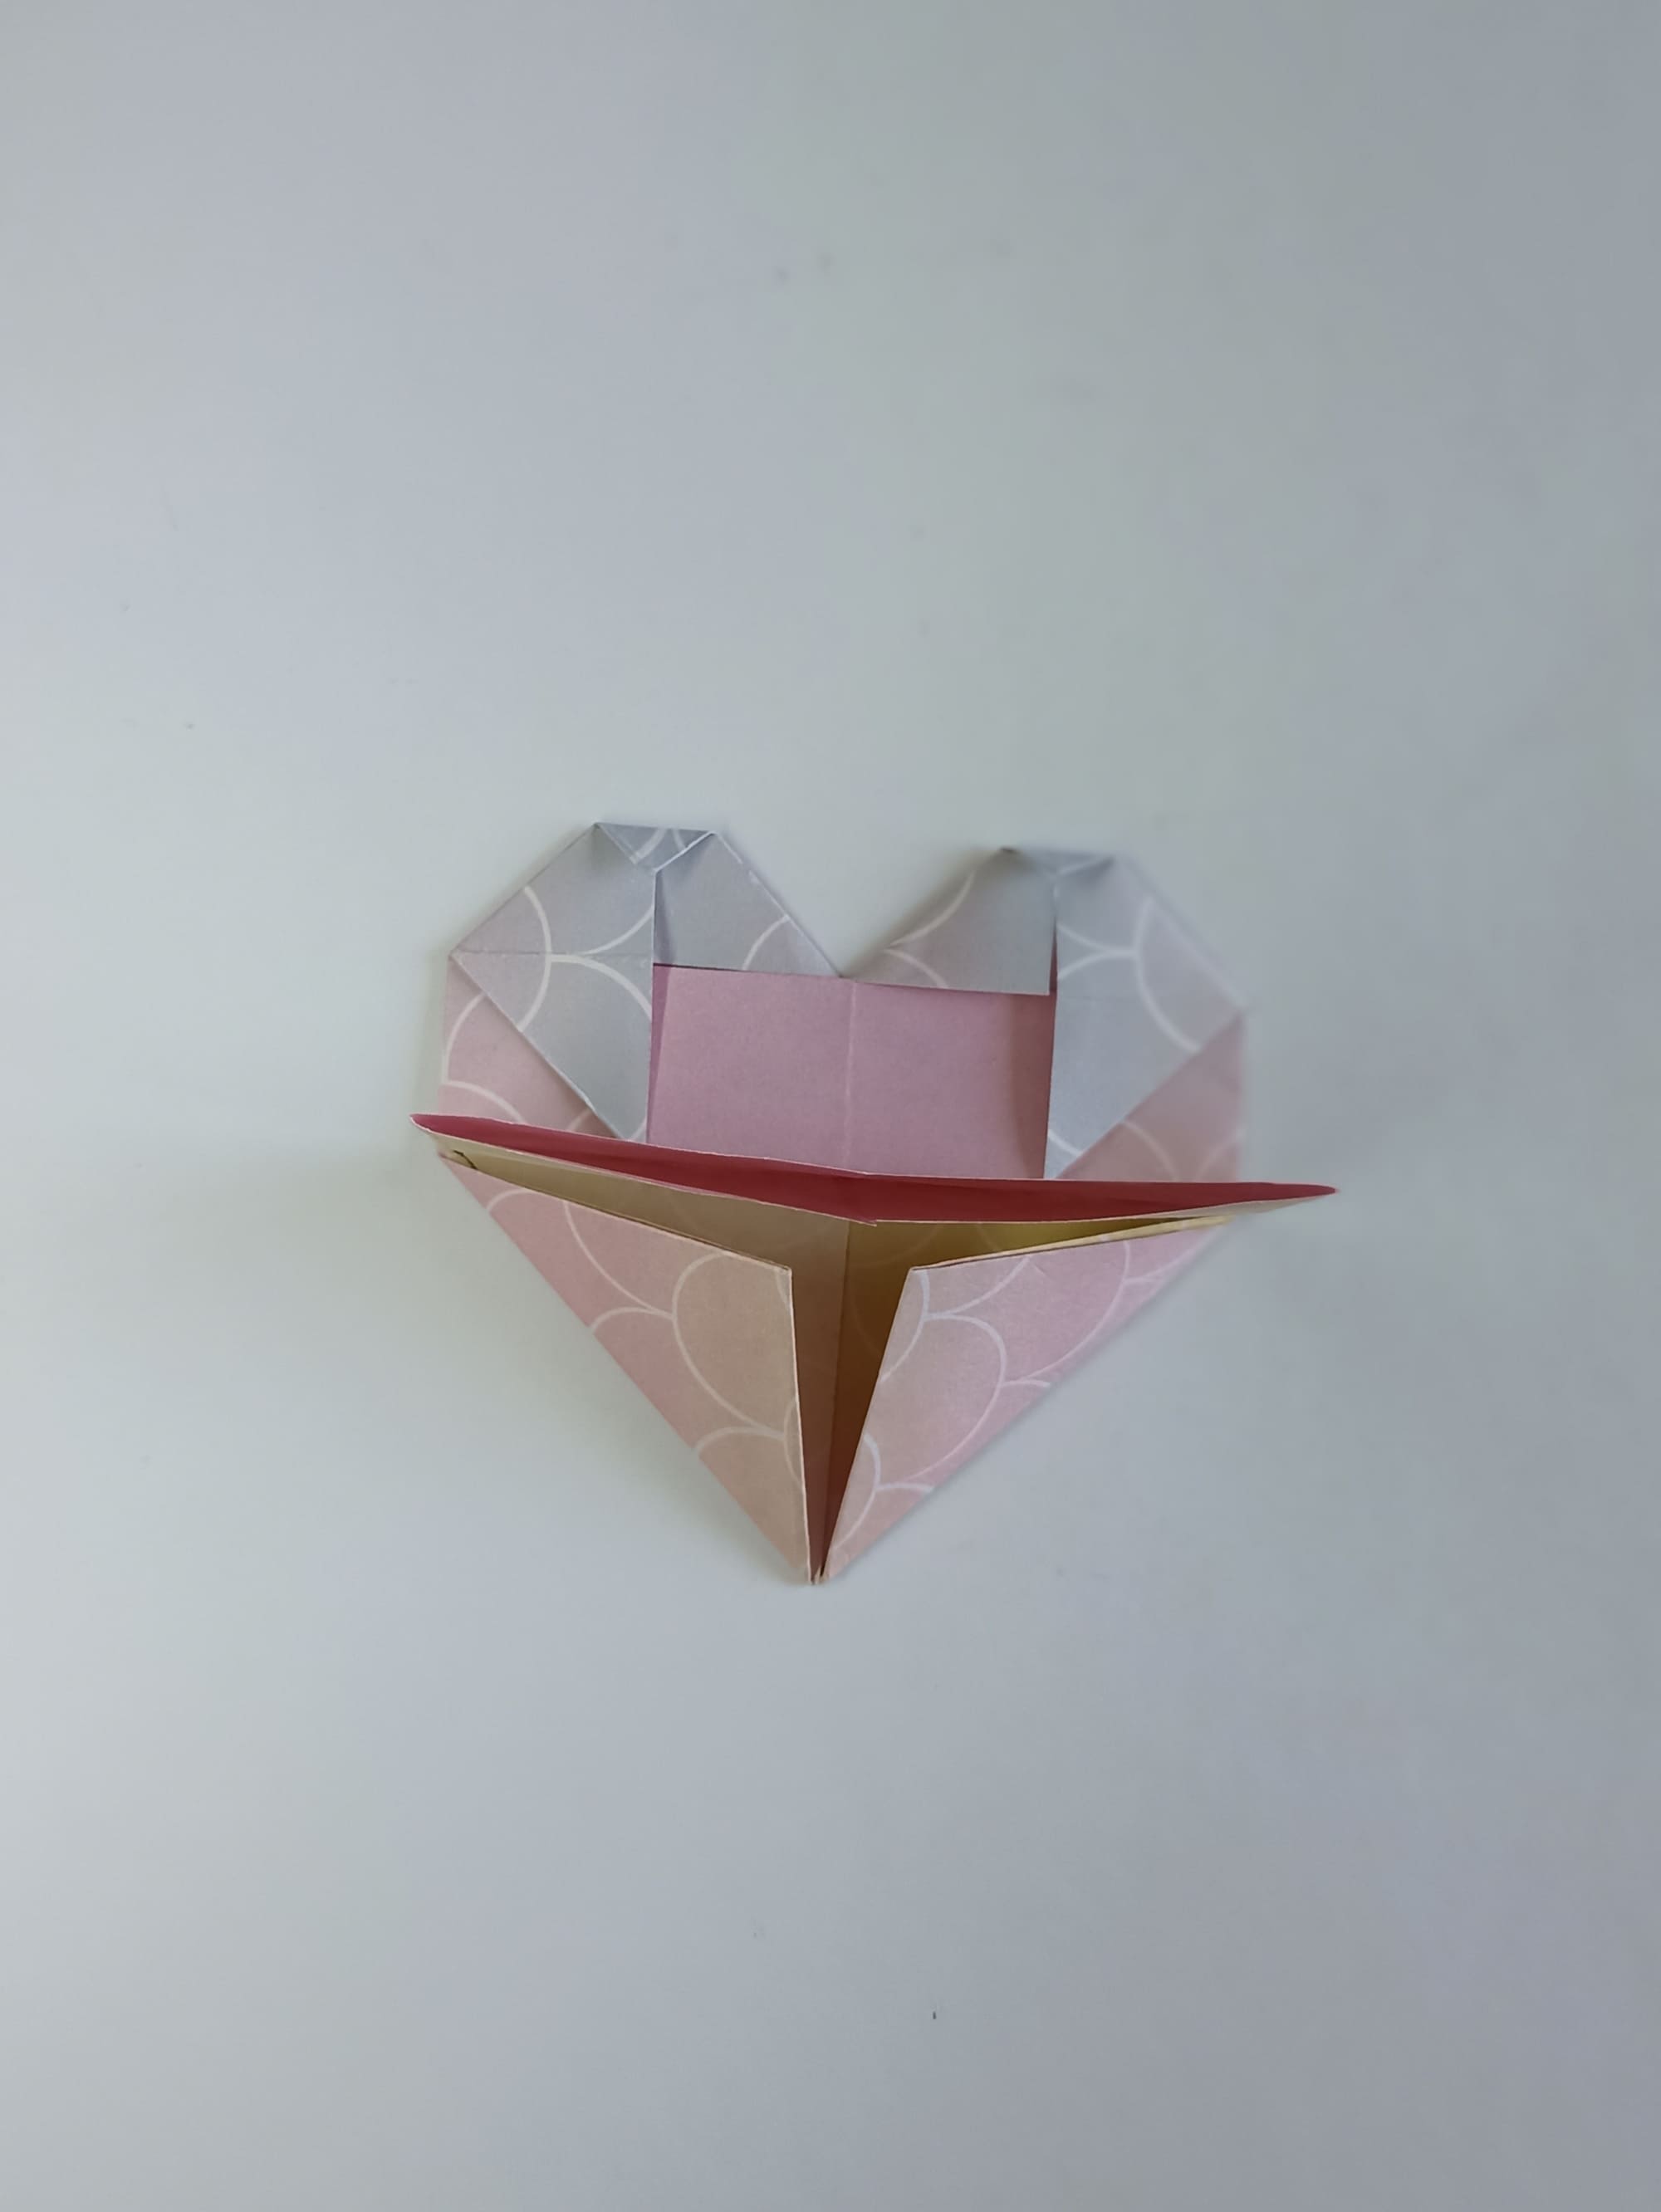
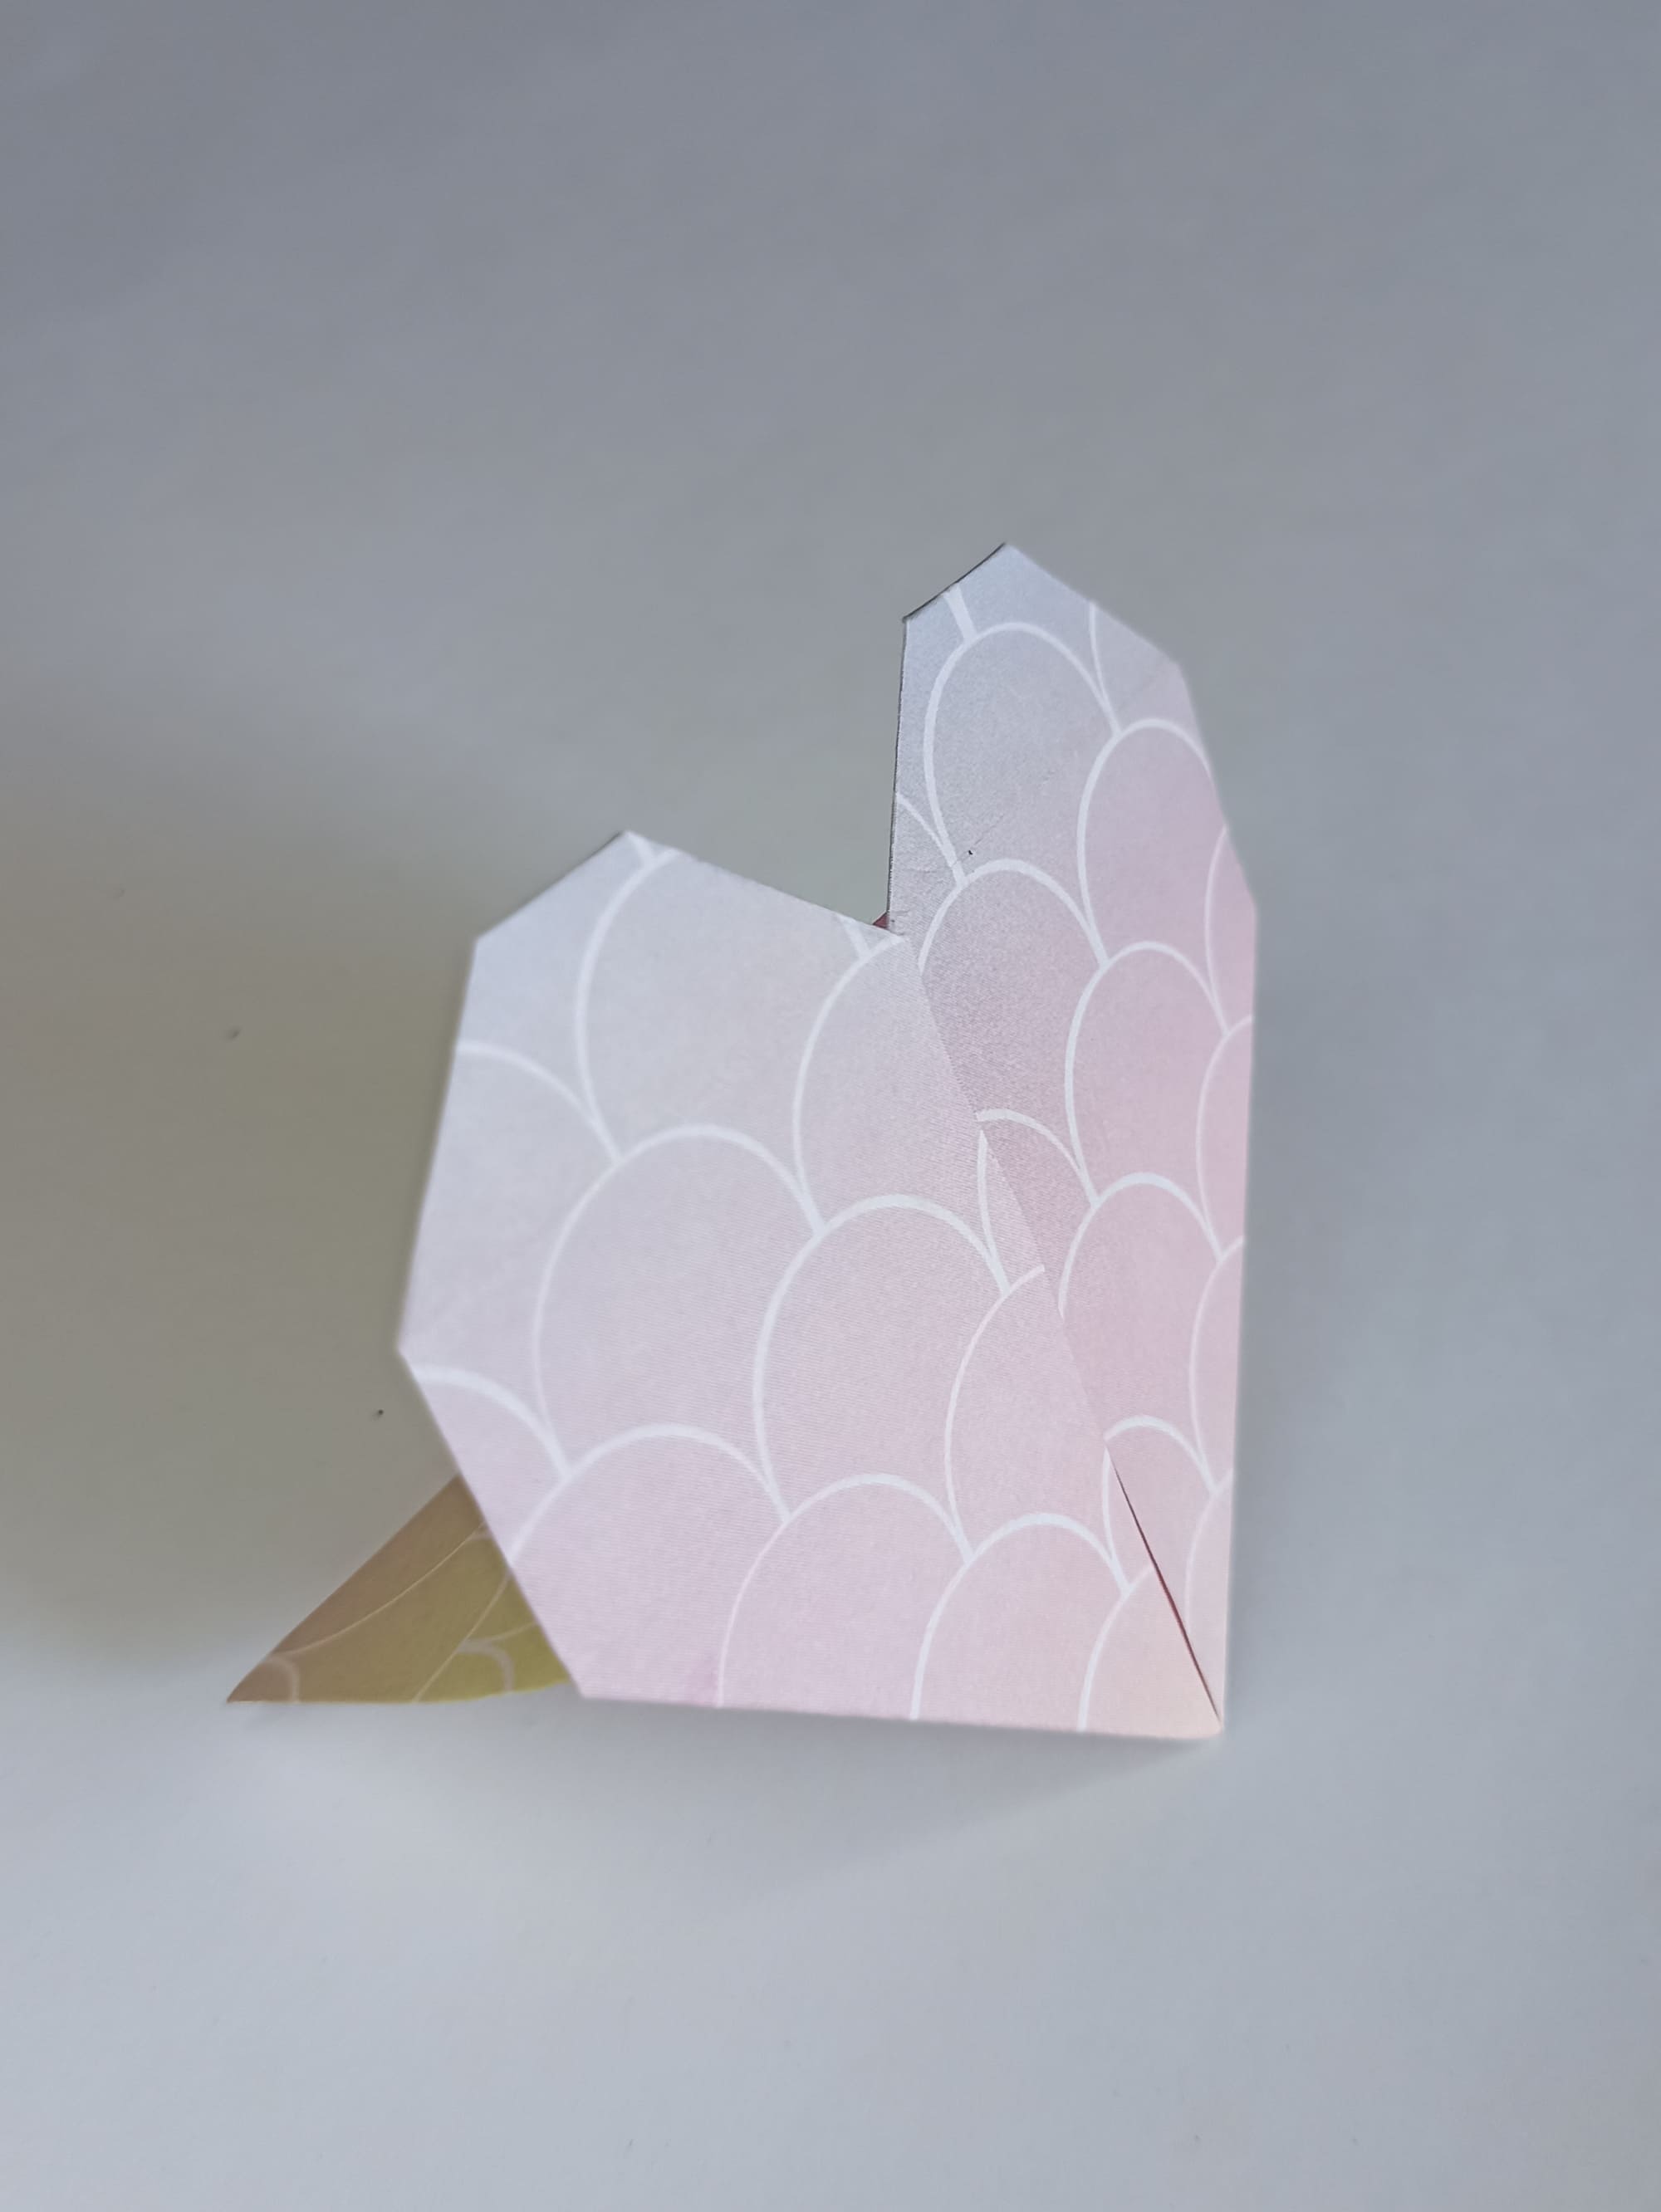
Here is the result!
Now you have a heart on a stand using the origami technique. The craft is filled with the warmth of hands, love, and kindness. Give it to a loved one, accompanied by words of love and good wishes – it is very valuable and pleasant.


