Origami Heavy-Nosed Airplane
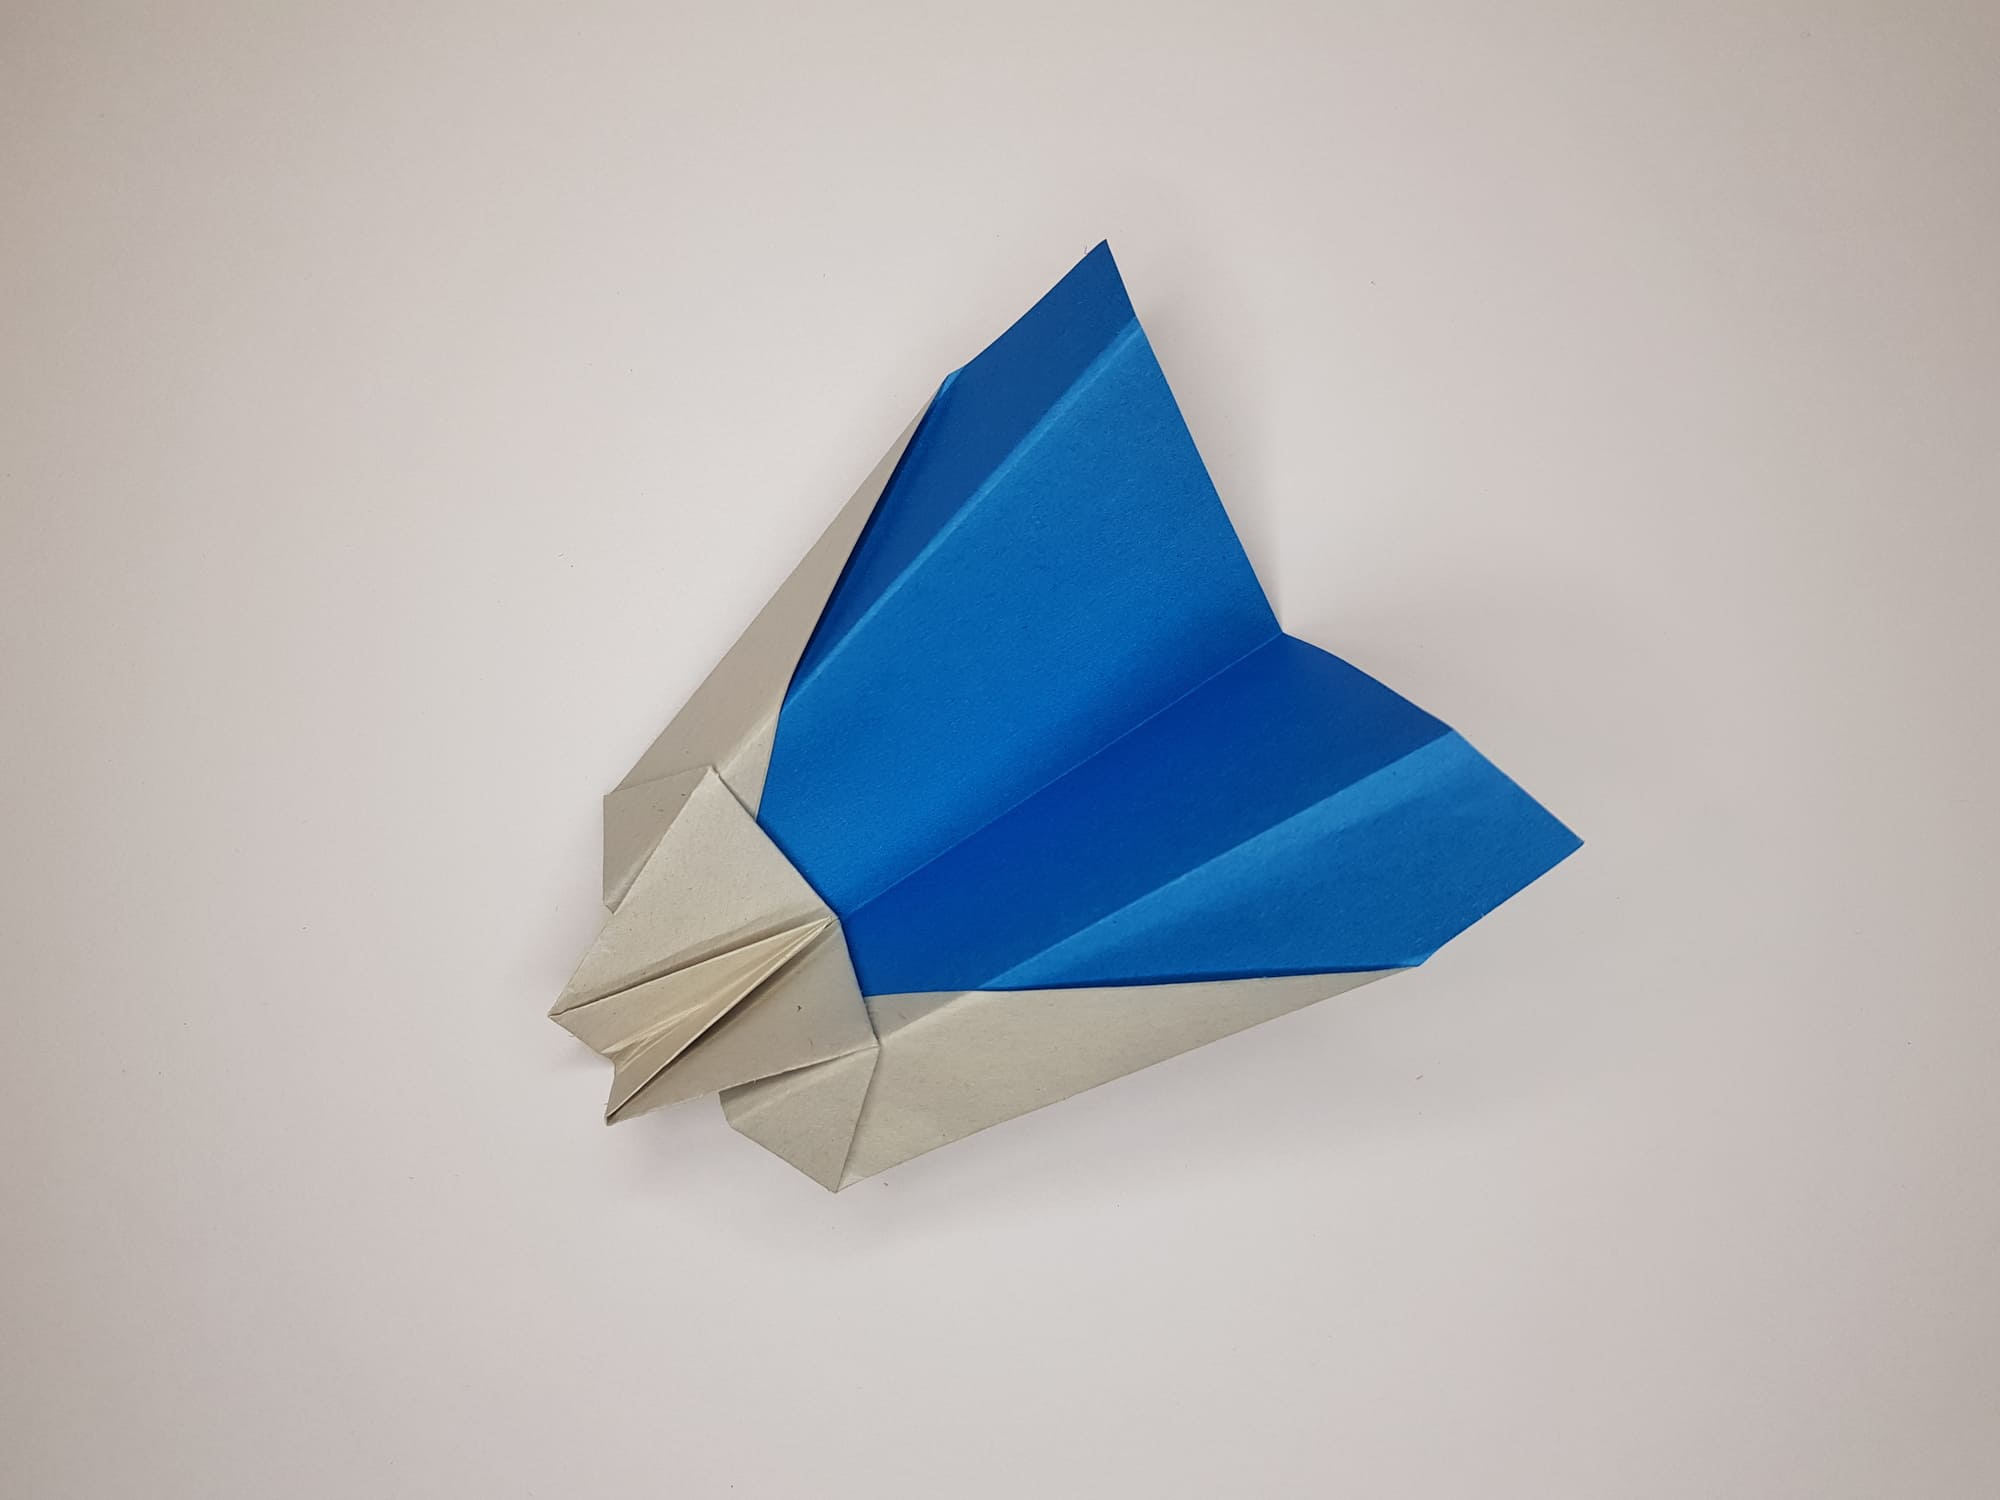
The peculiarity of this aircraft is its massive “nose”, which allows it to fly longer and further. Its assembly does not take much time and is suitable even for beginners.
To create this masterpiece, you can use single-sided, double-sided colored or white printer paper. We suggest to try making a model from different materials and doing an experiment to see which one is more suitable for it.
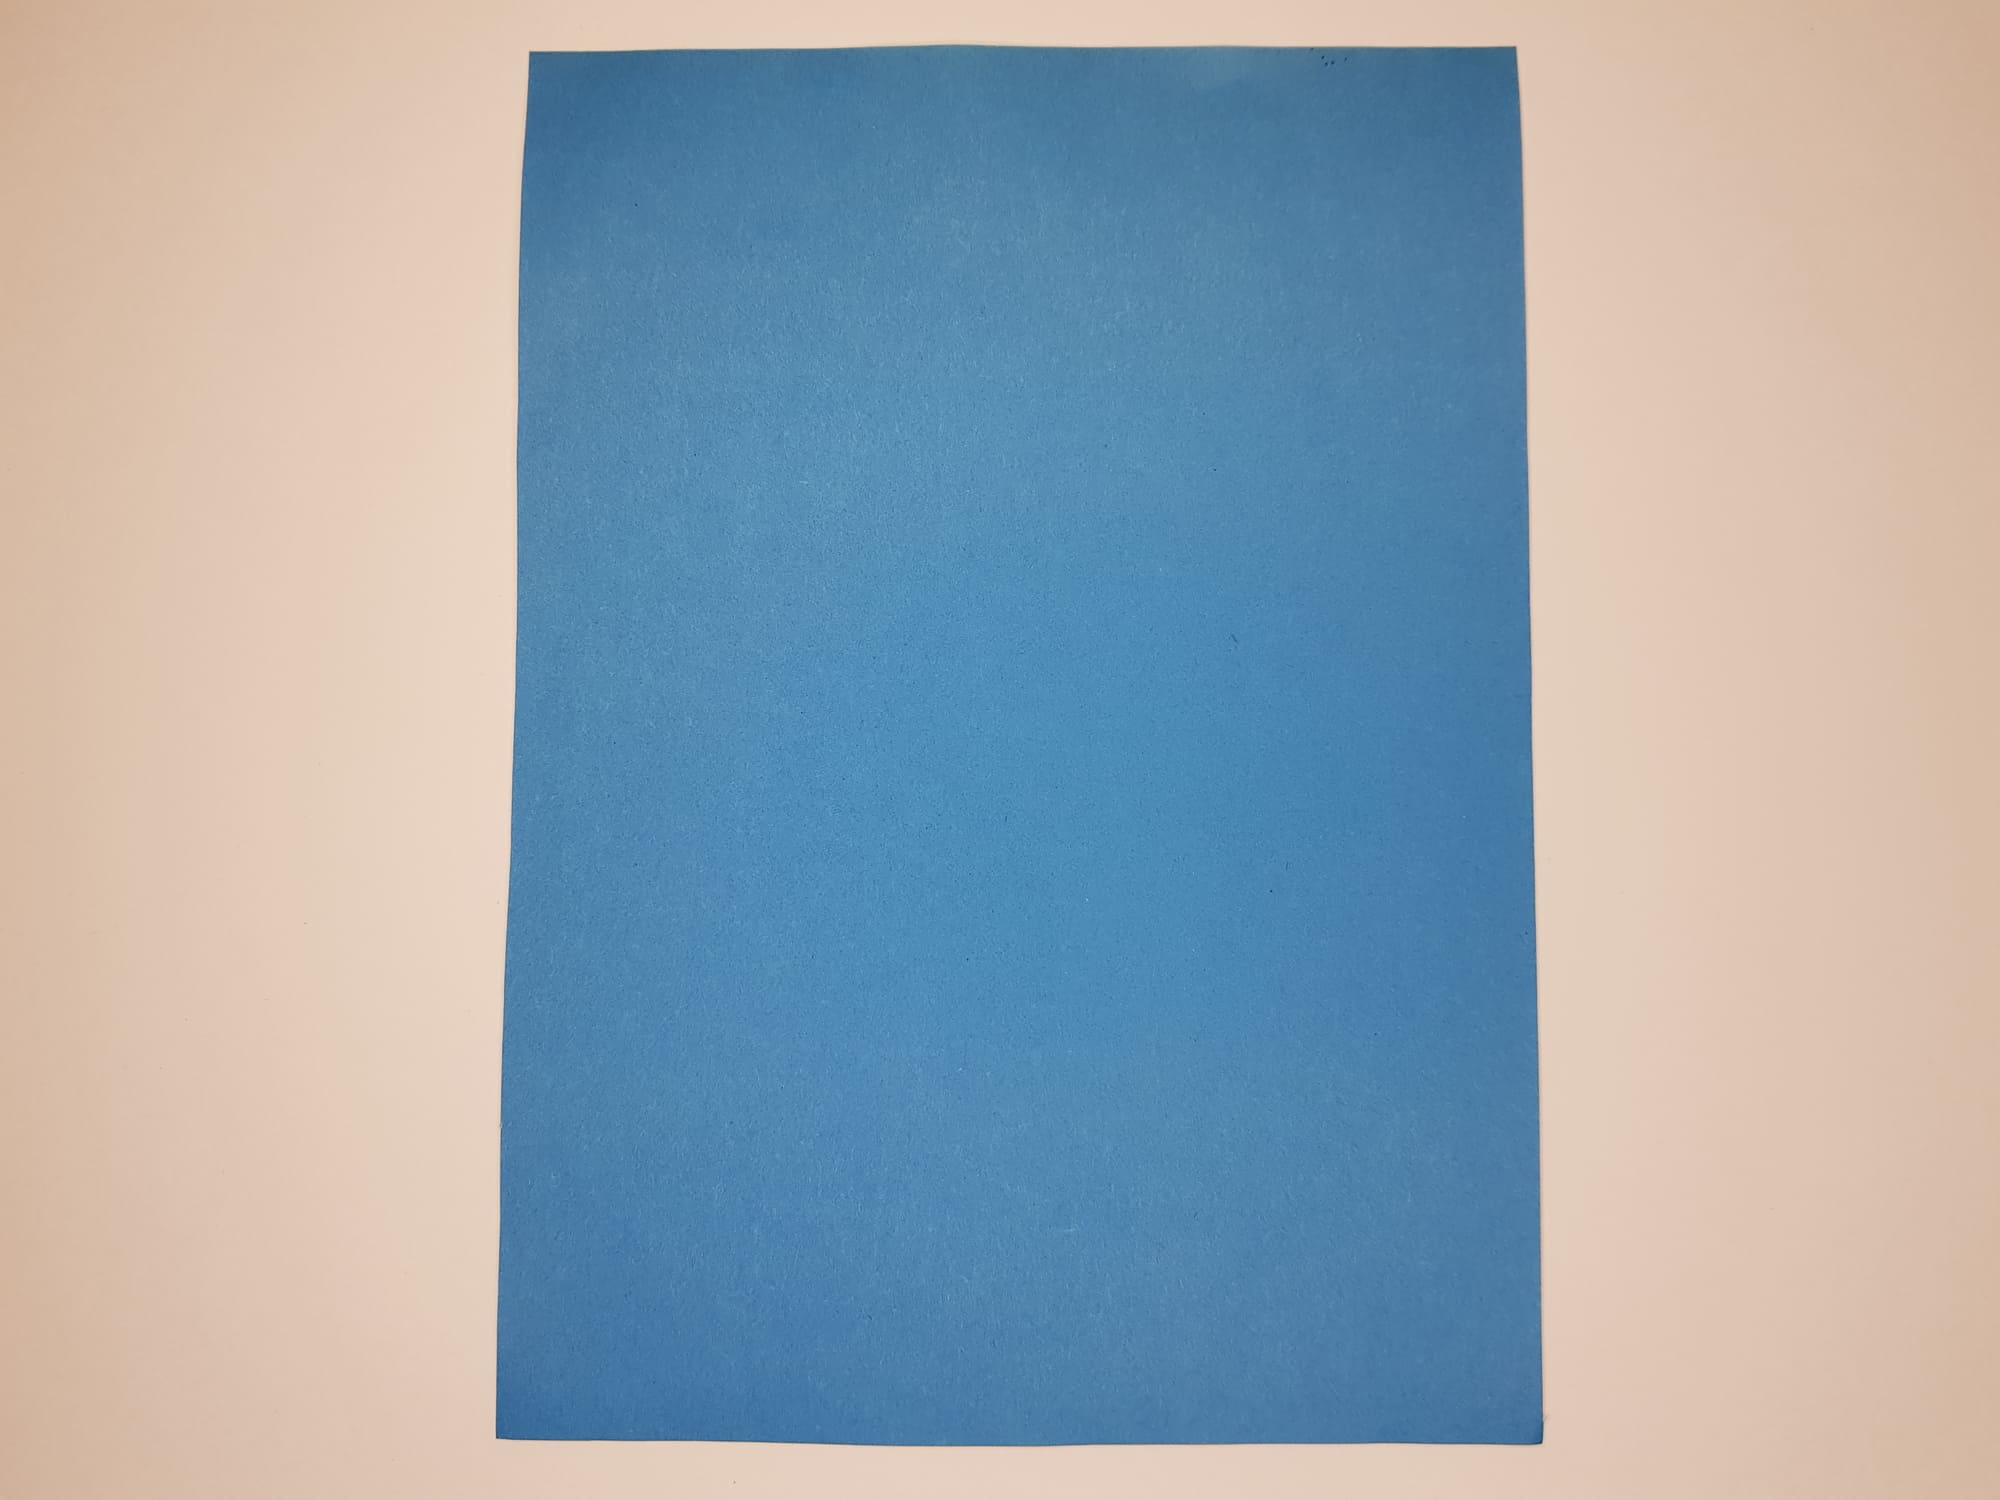
Prepare a sheet of A4 paper or another size but with a similar aspect ratio.
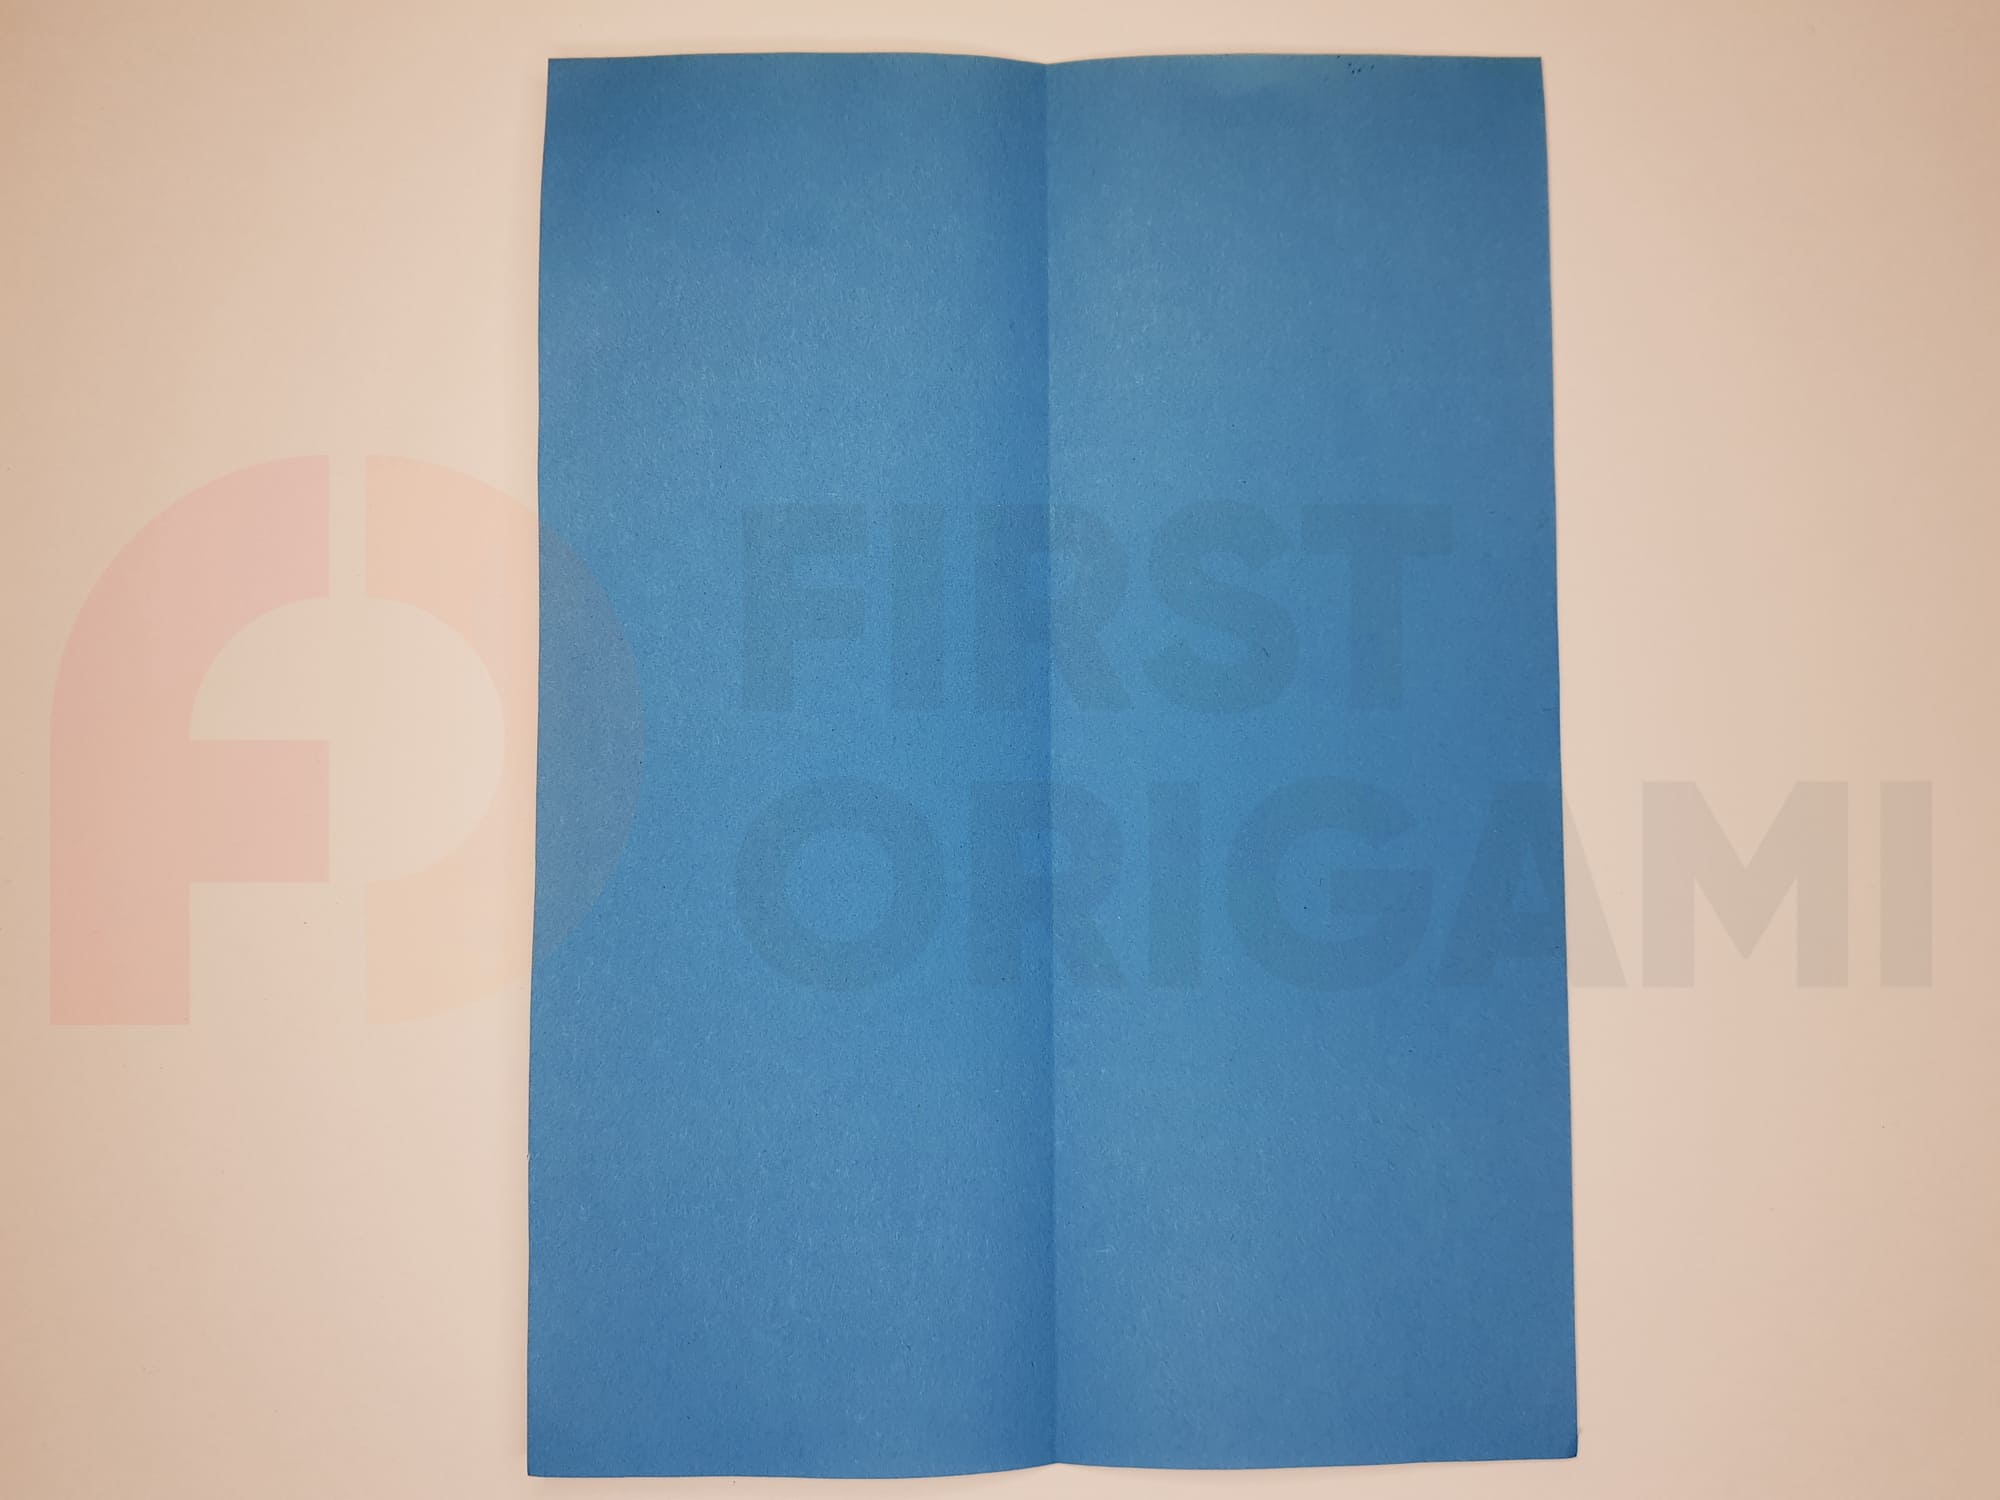
Fold it in half along the vertical axis to get a straight fold line in the middle and return it to its original position.
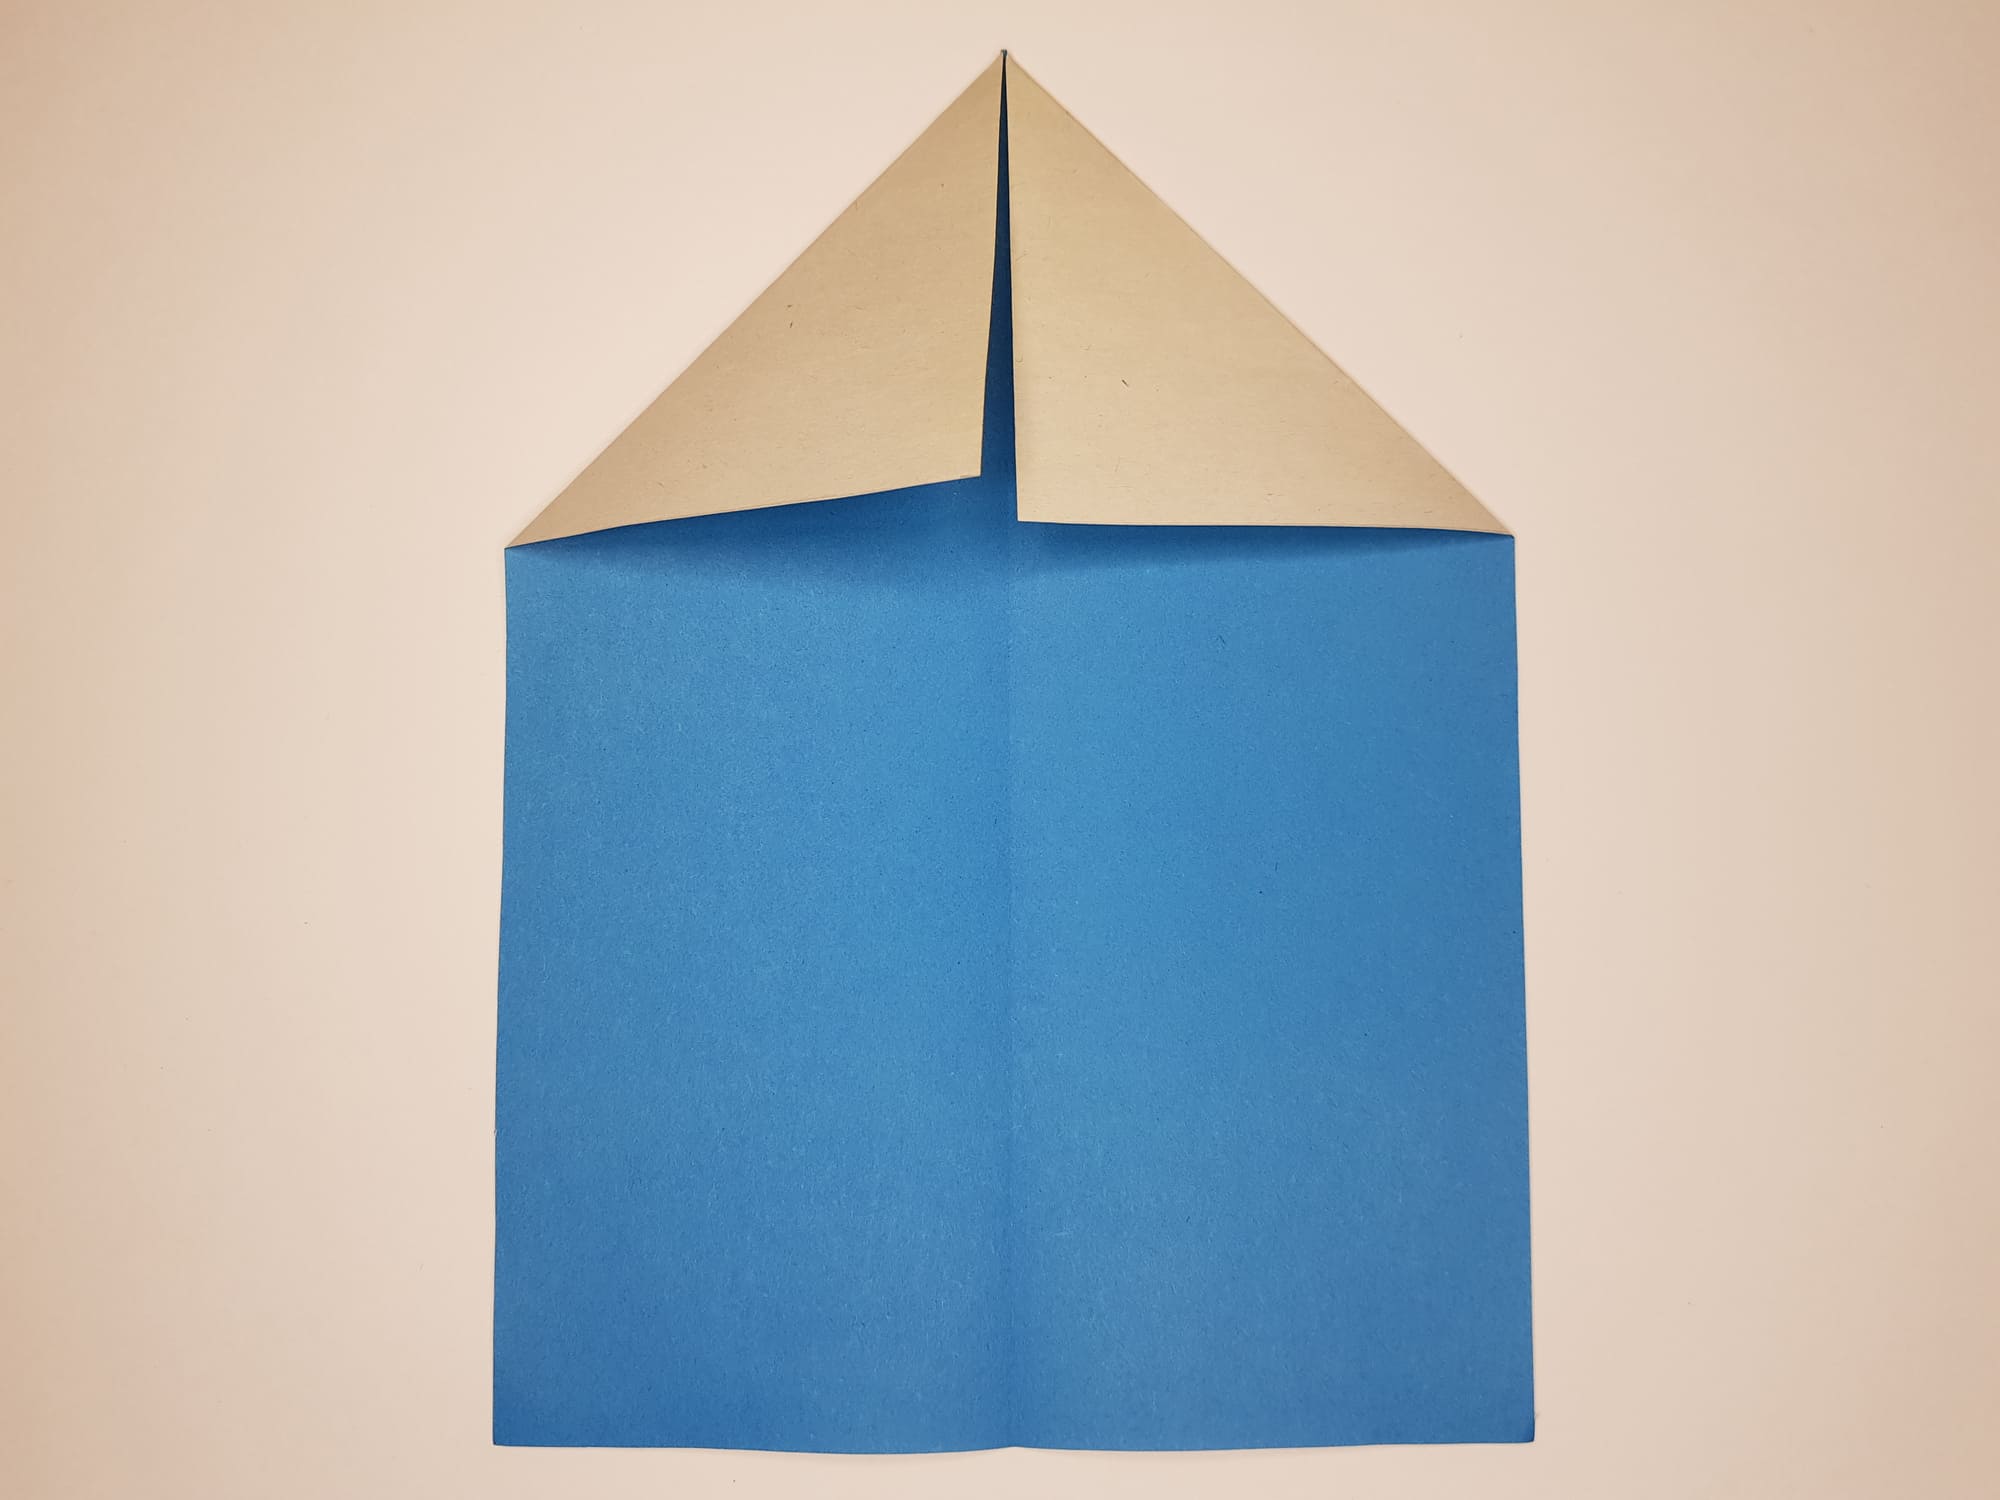
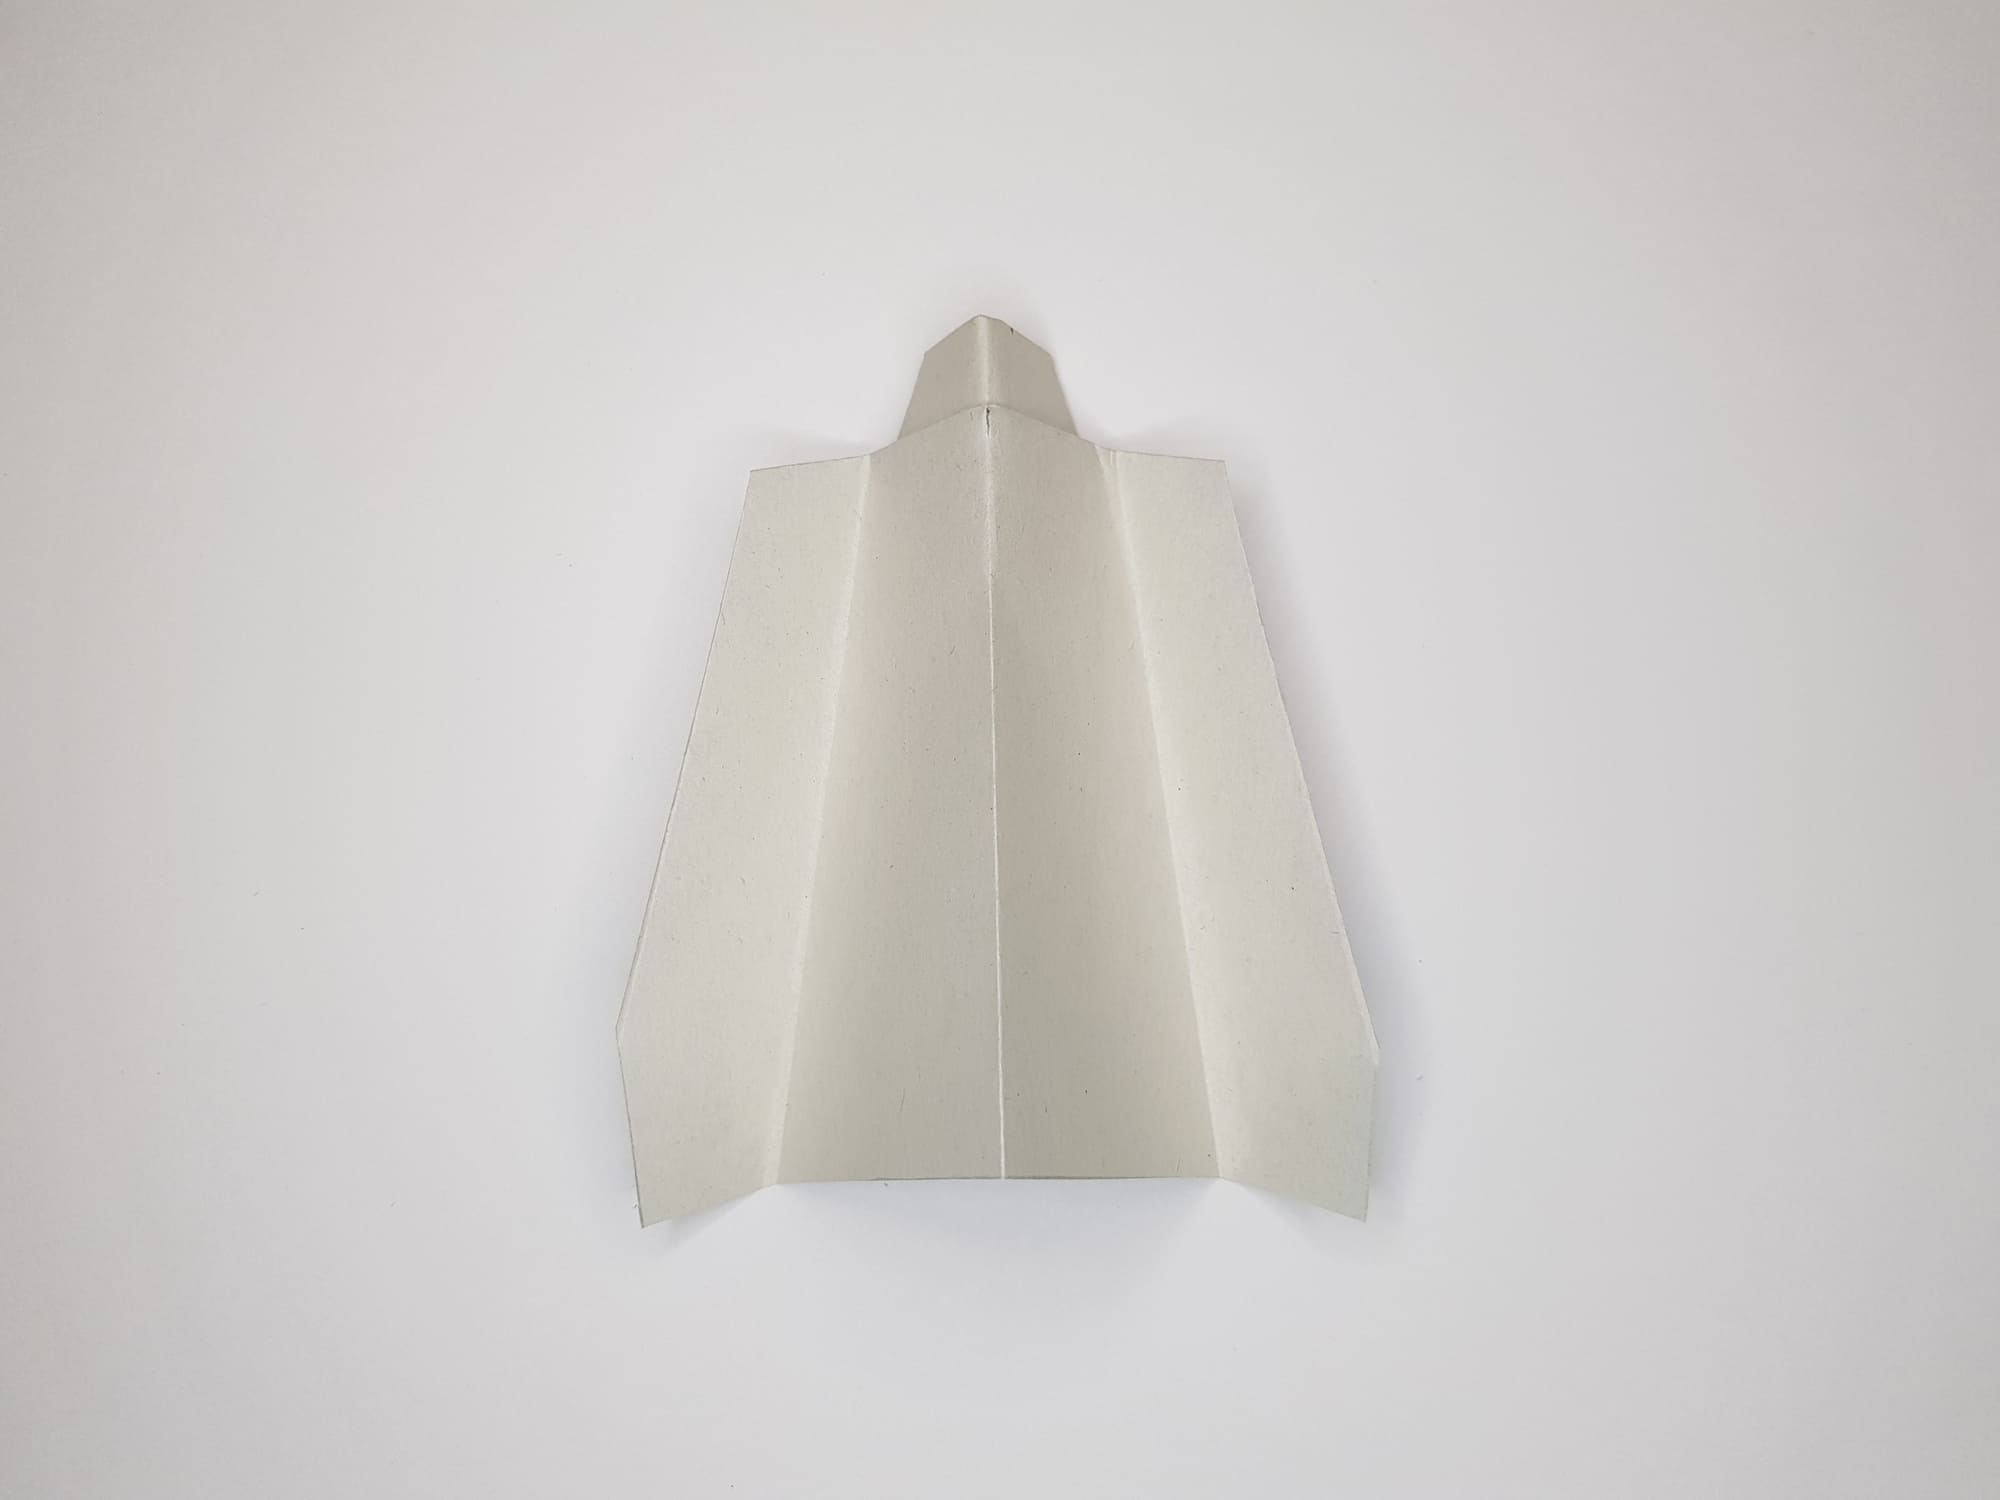
Fold the top corners of the rectangle towards the center. Crease the folds.
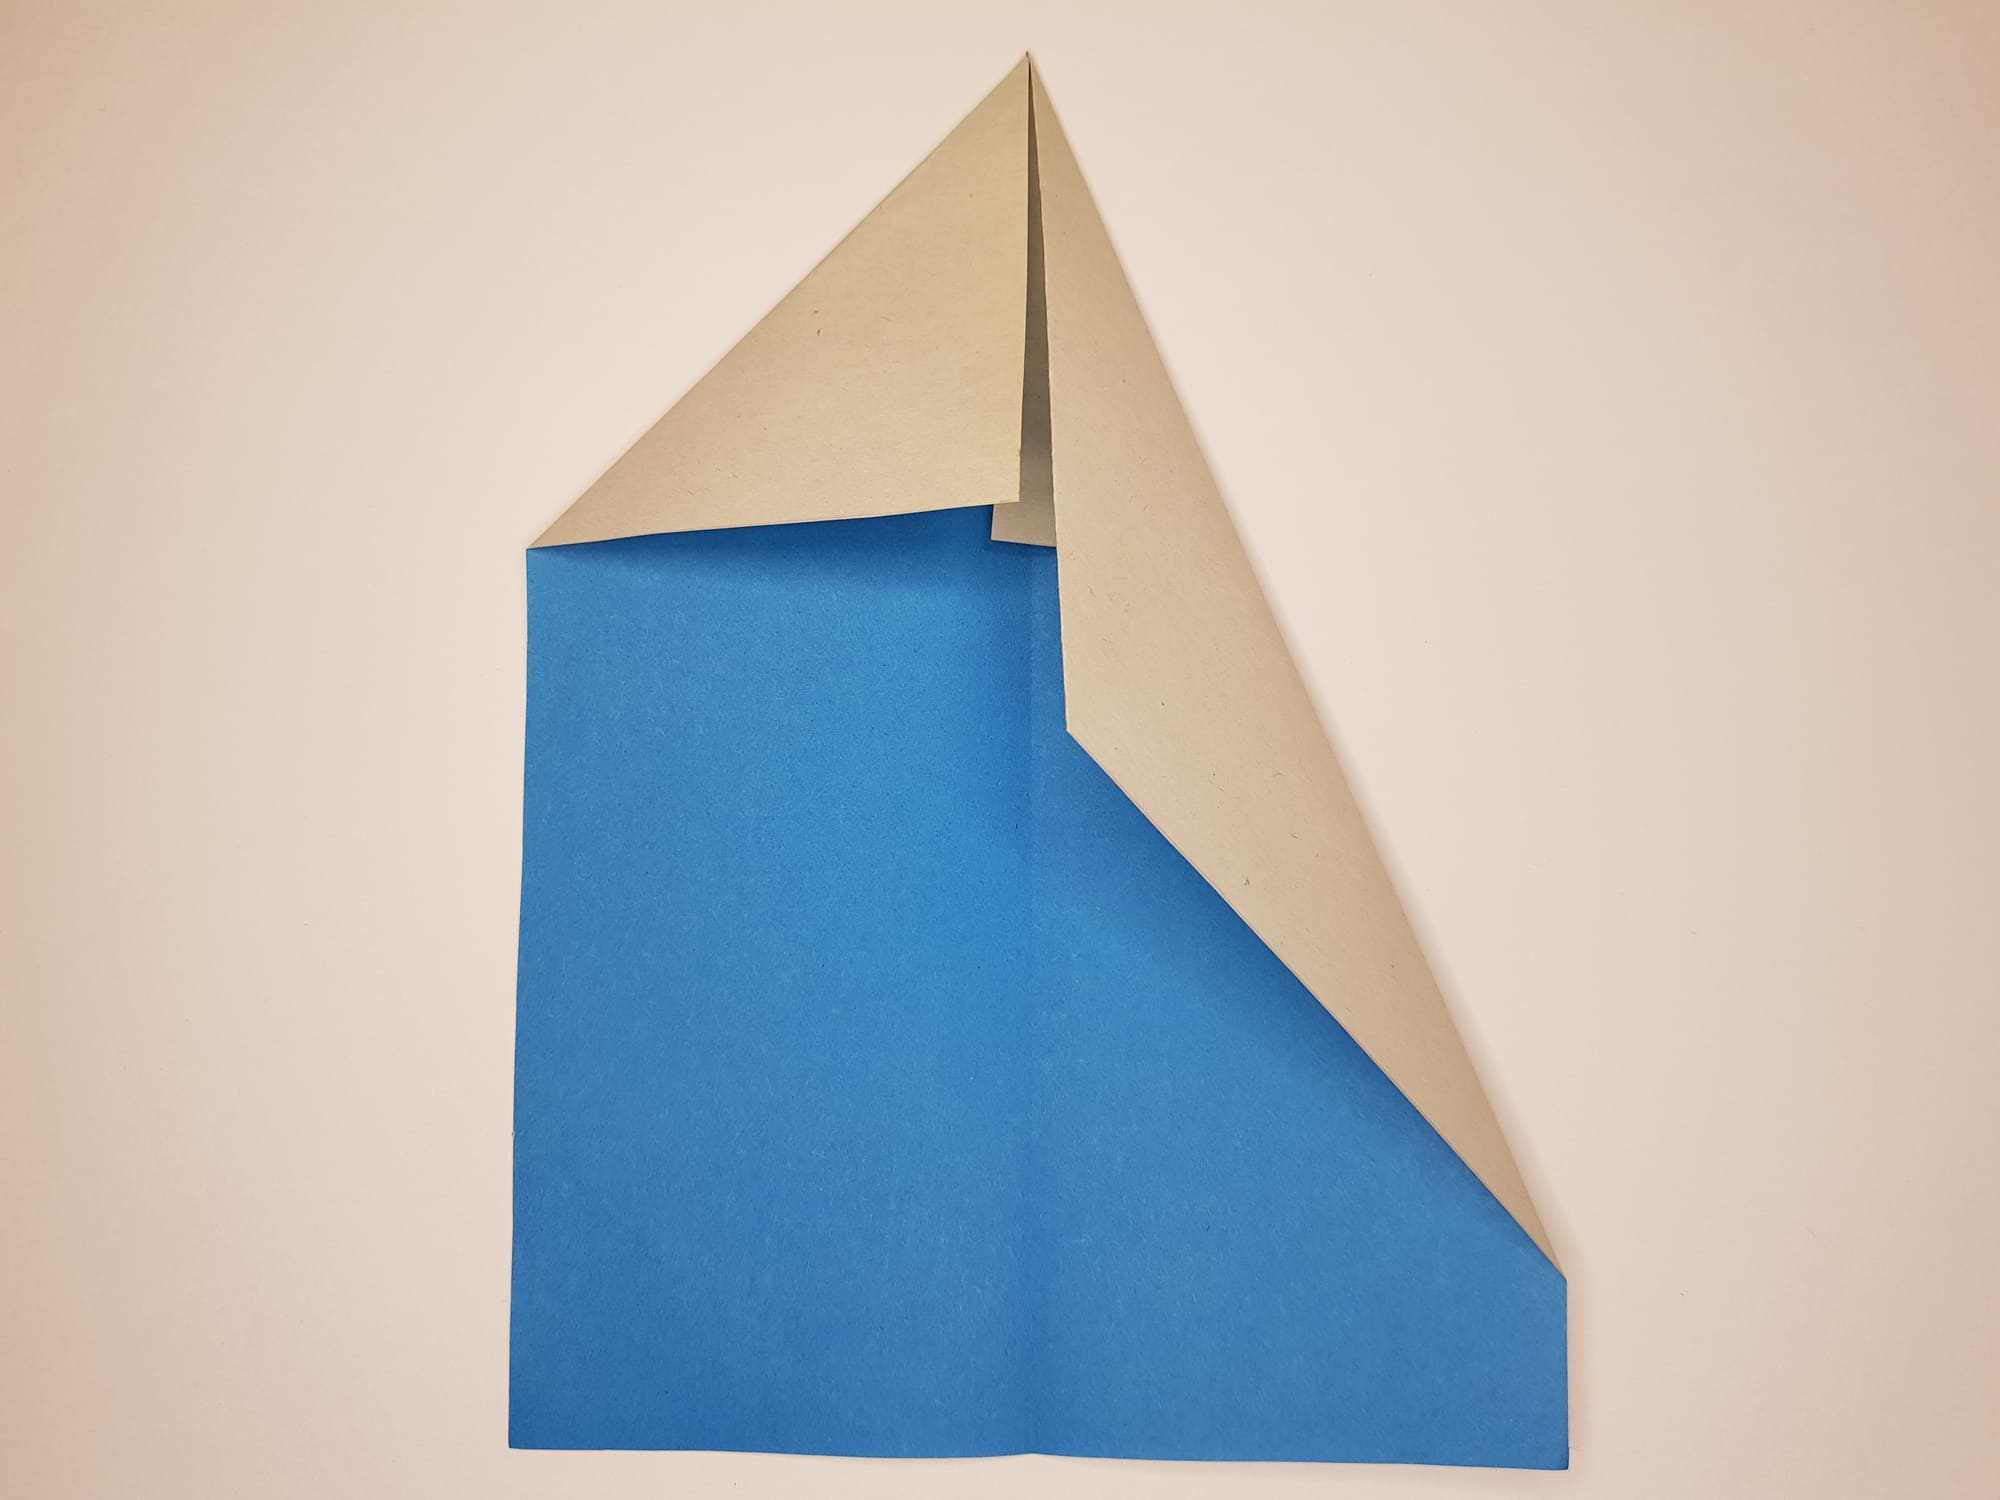
Fold the right side of the shape towards the center, as shown in the photo.
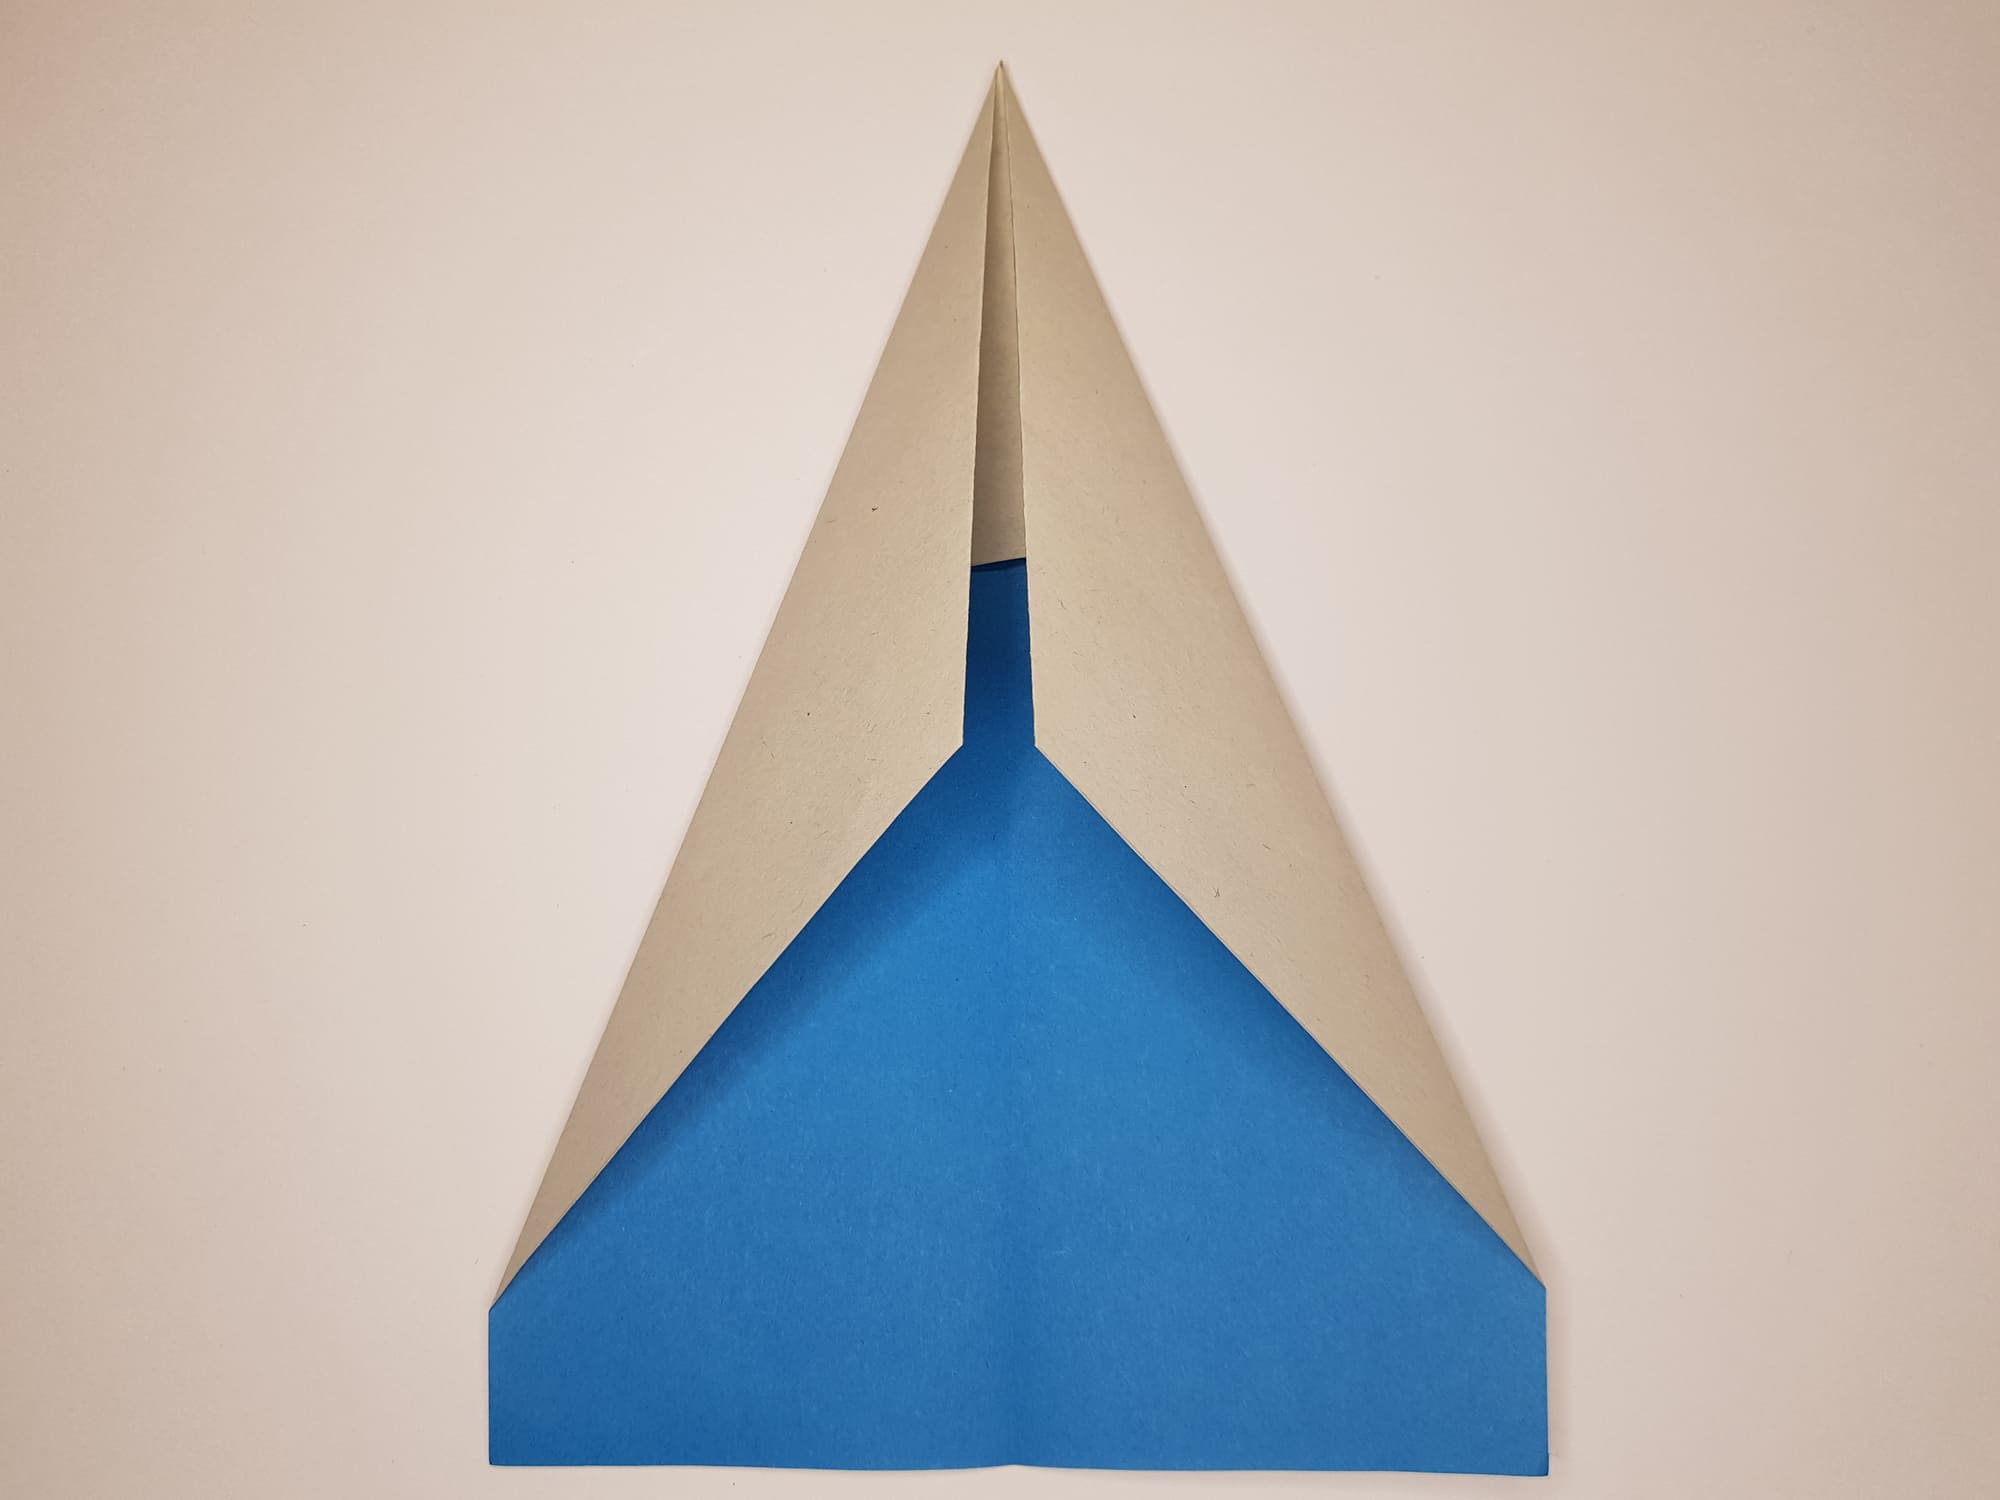
Repeat the same action on the left side.
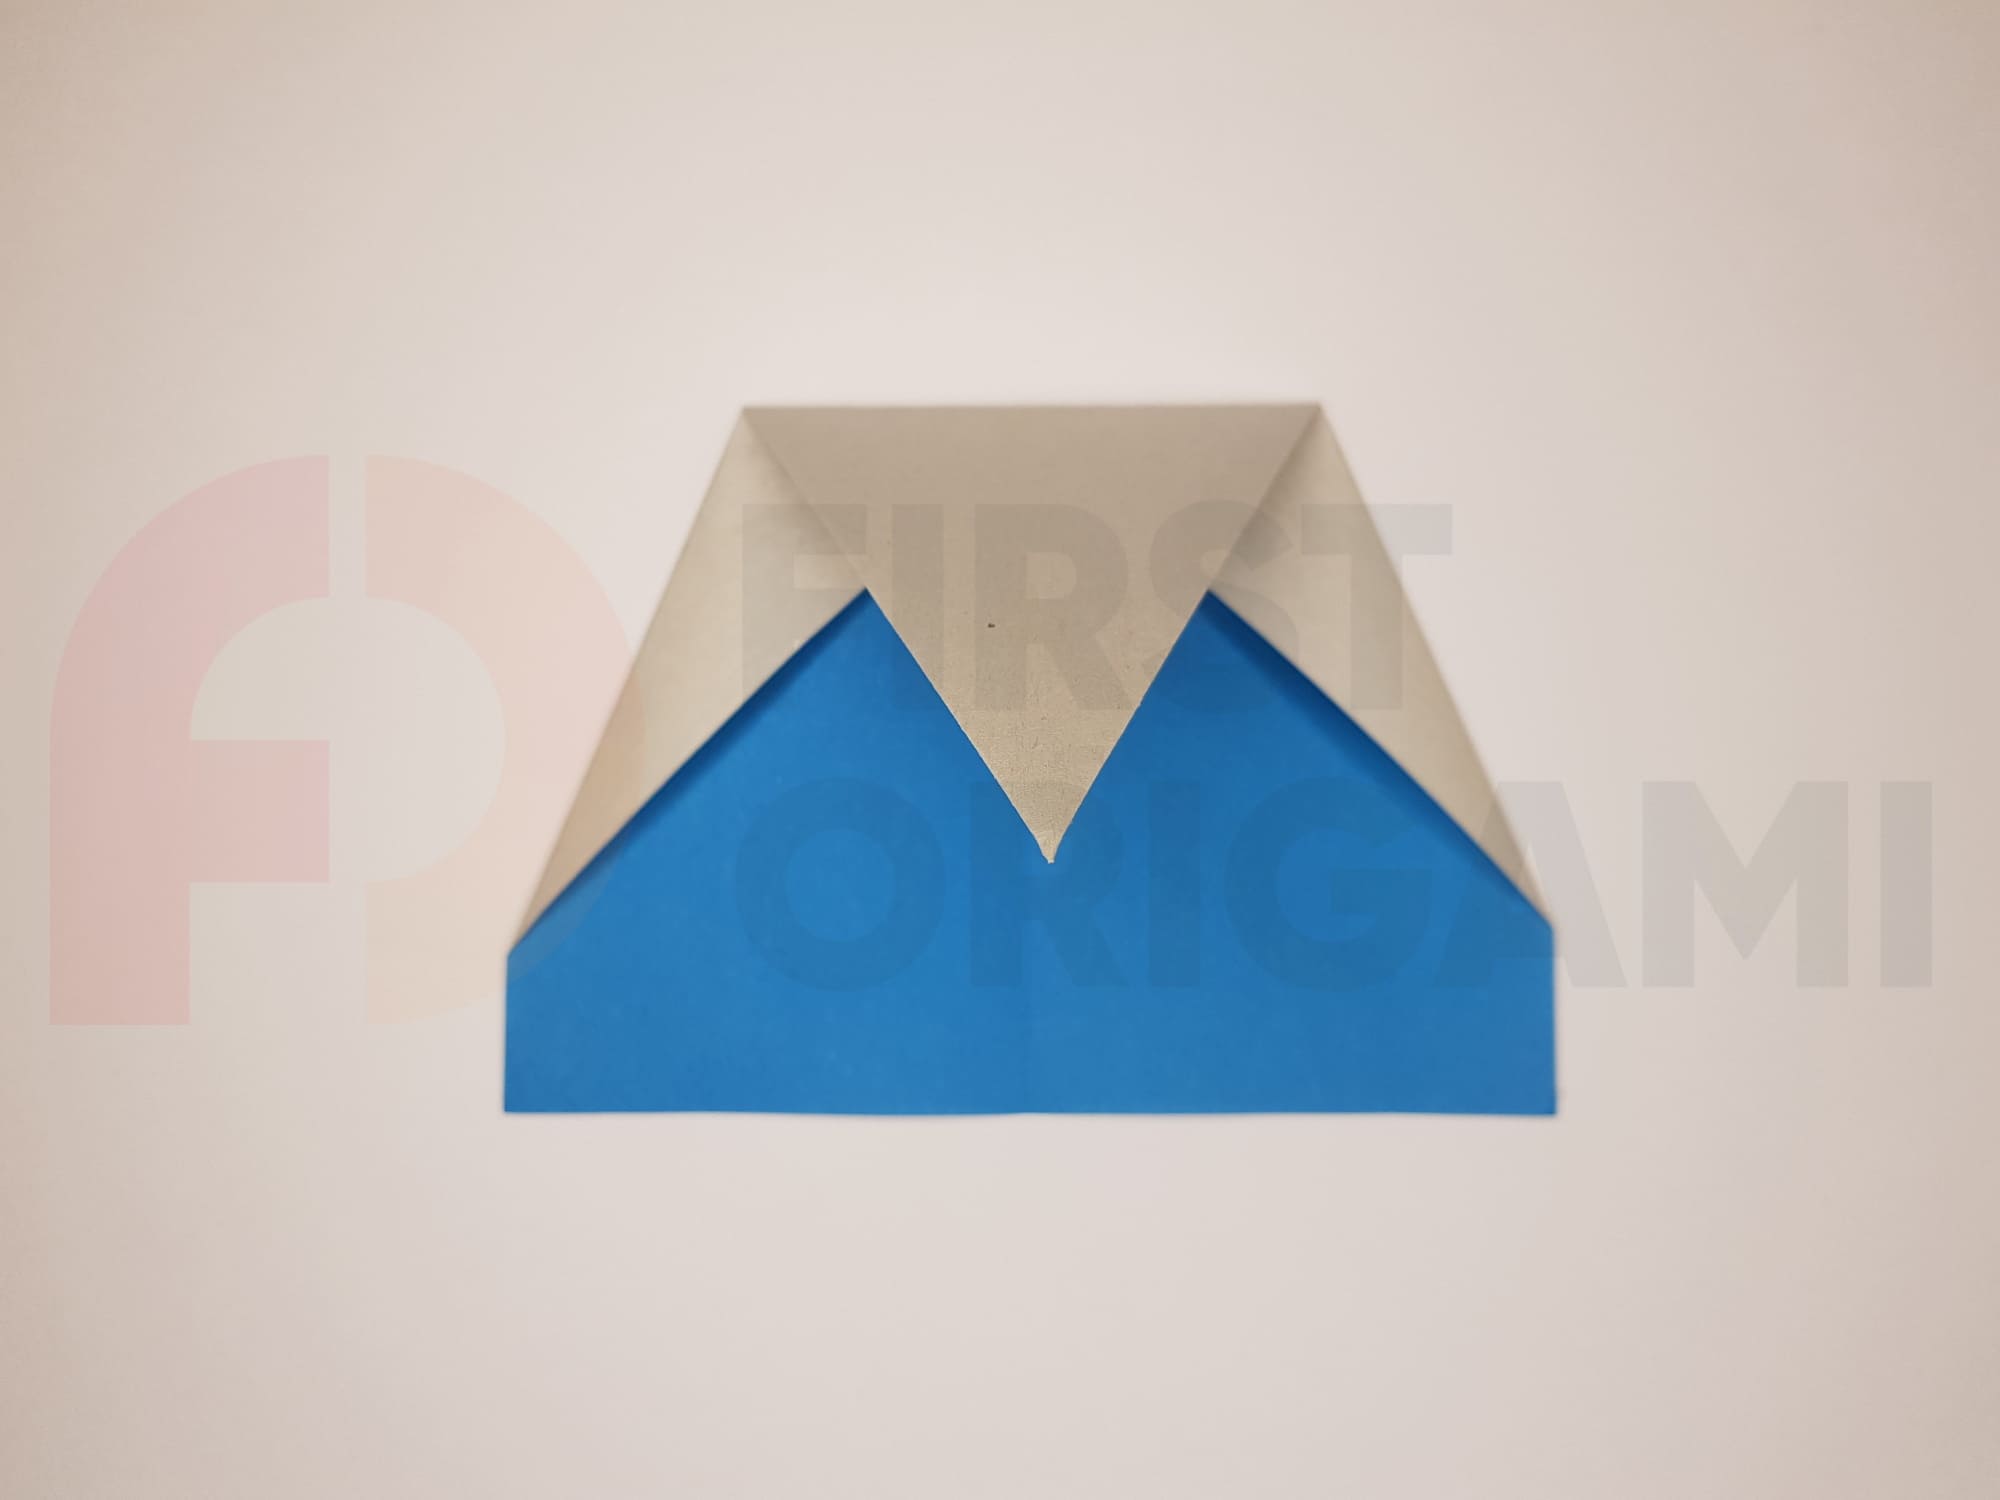
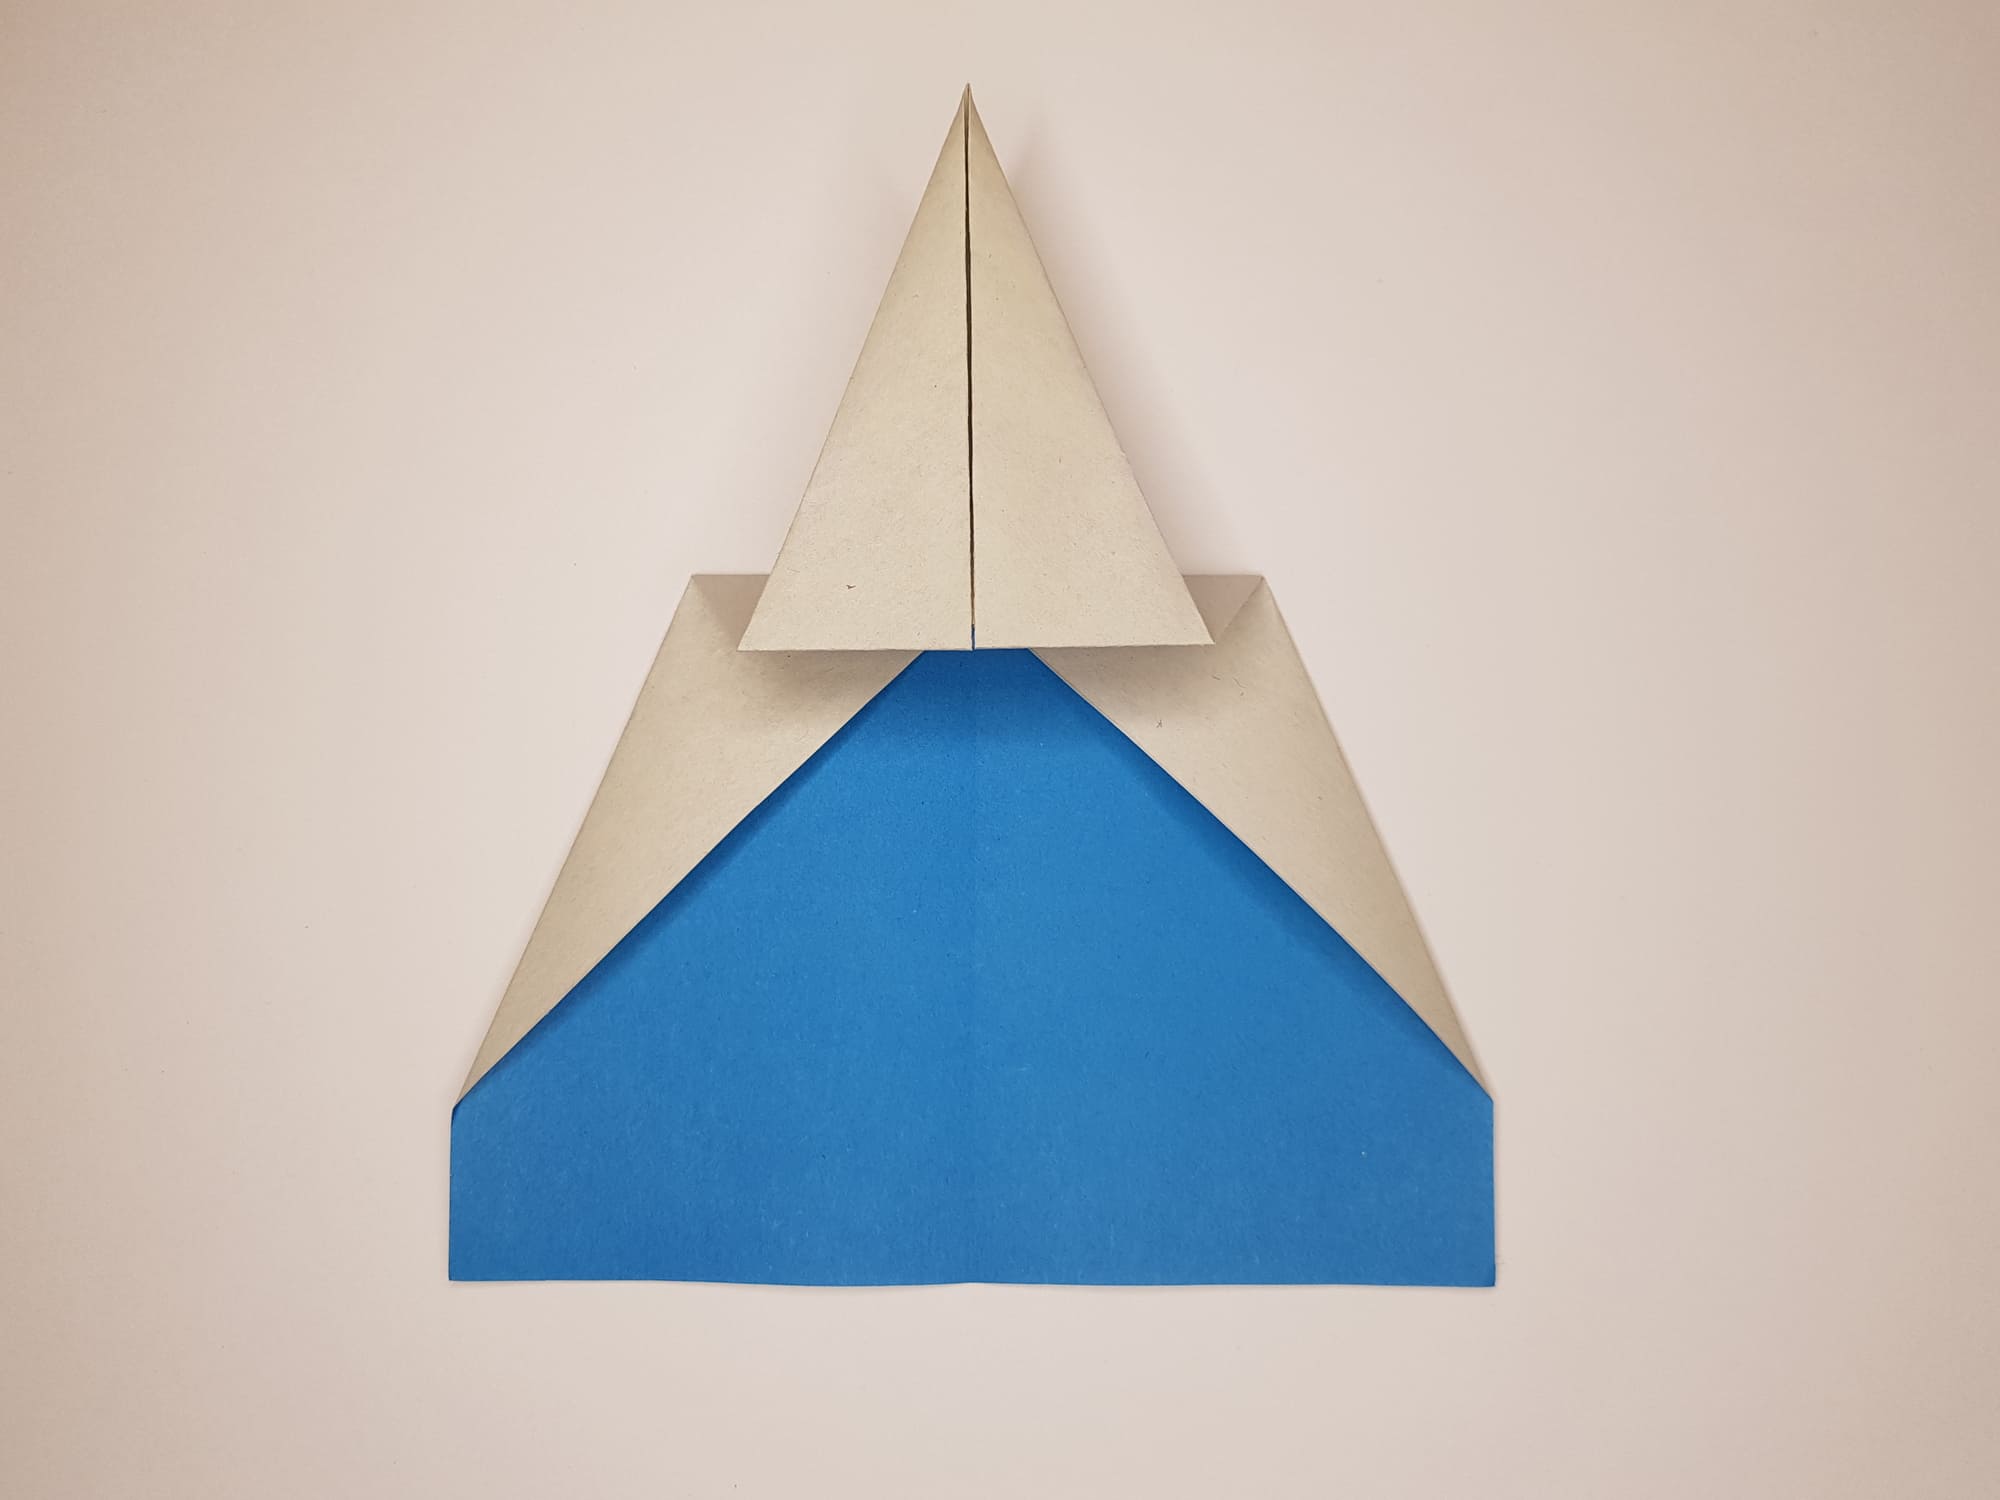
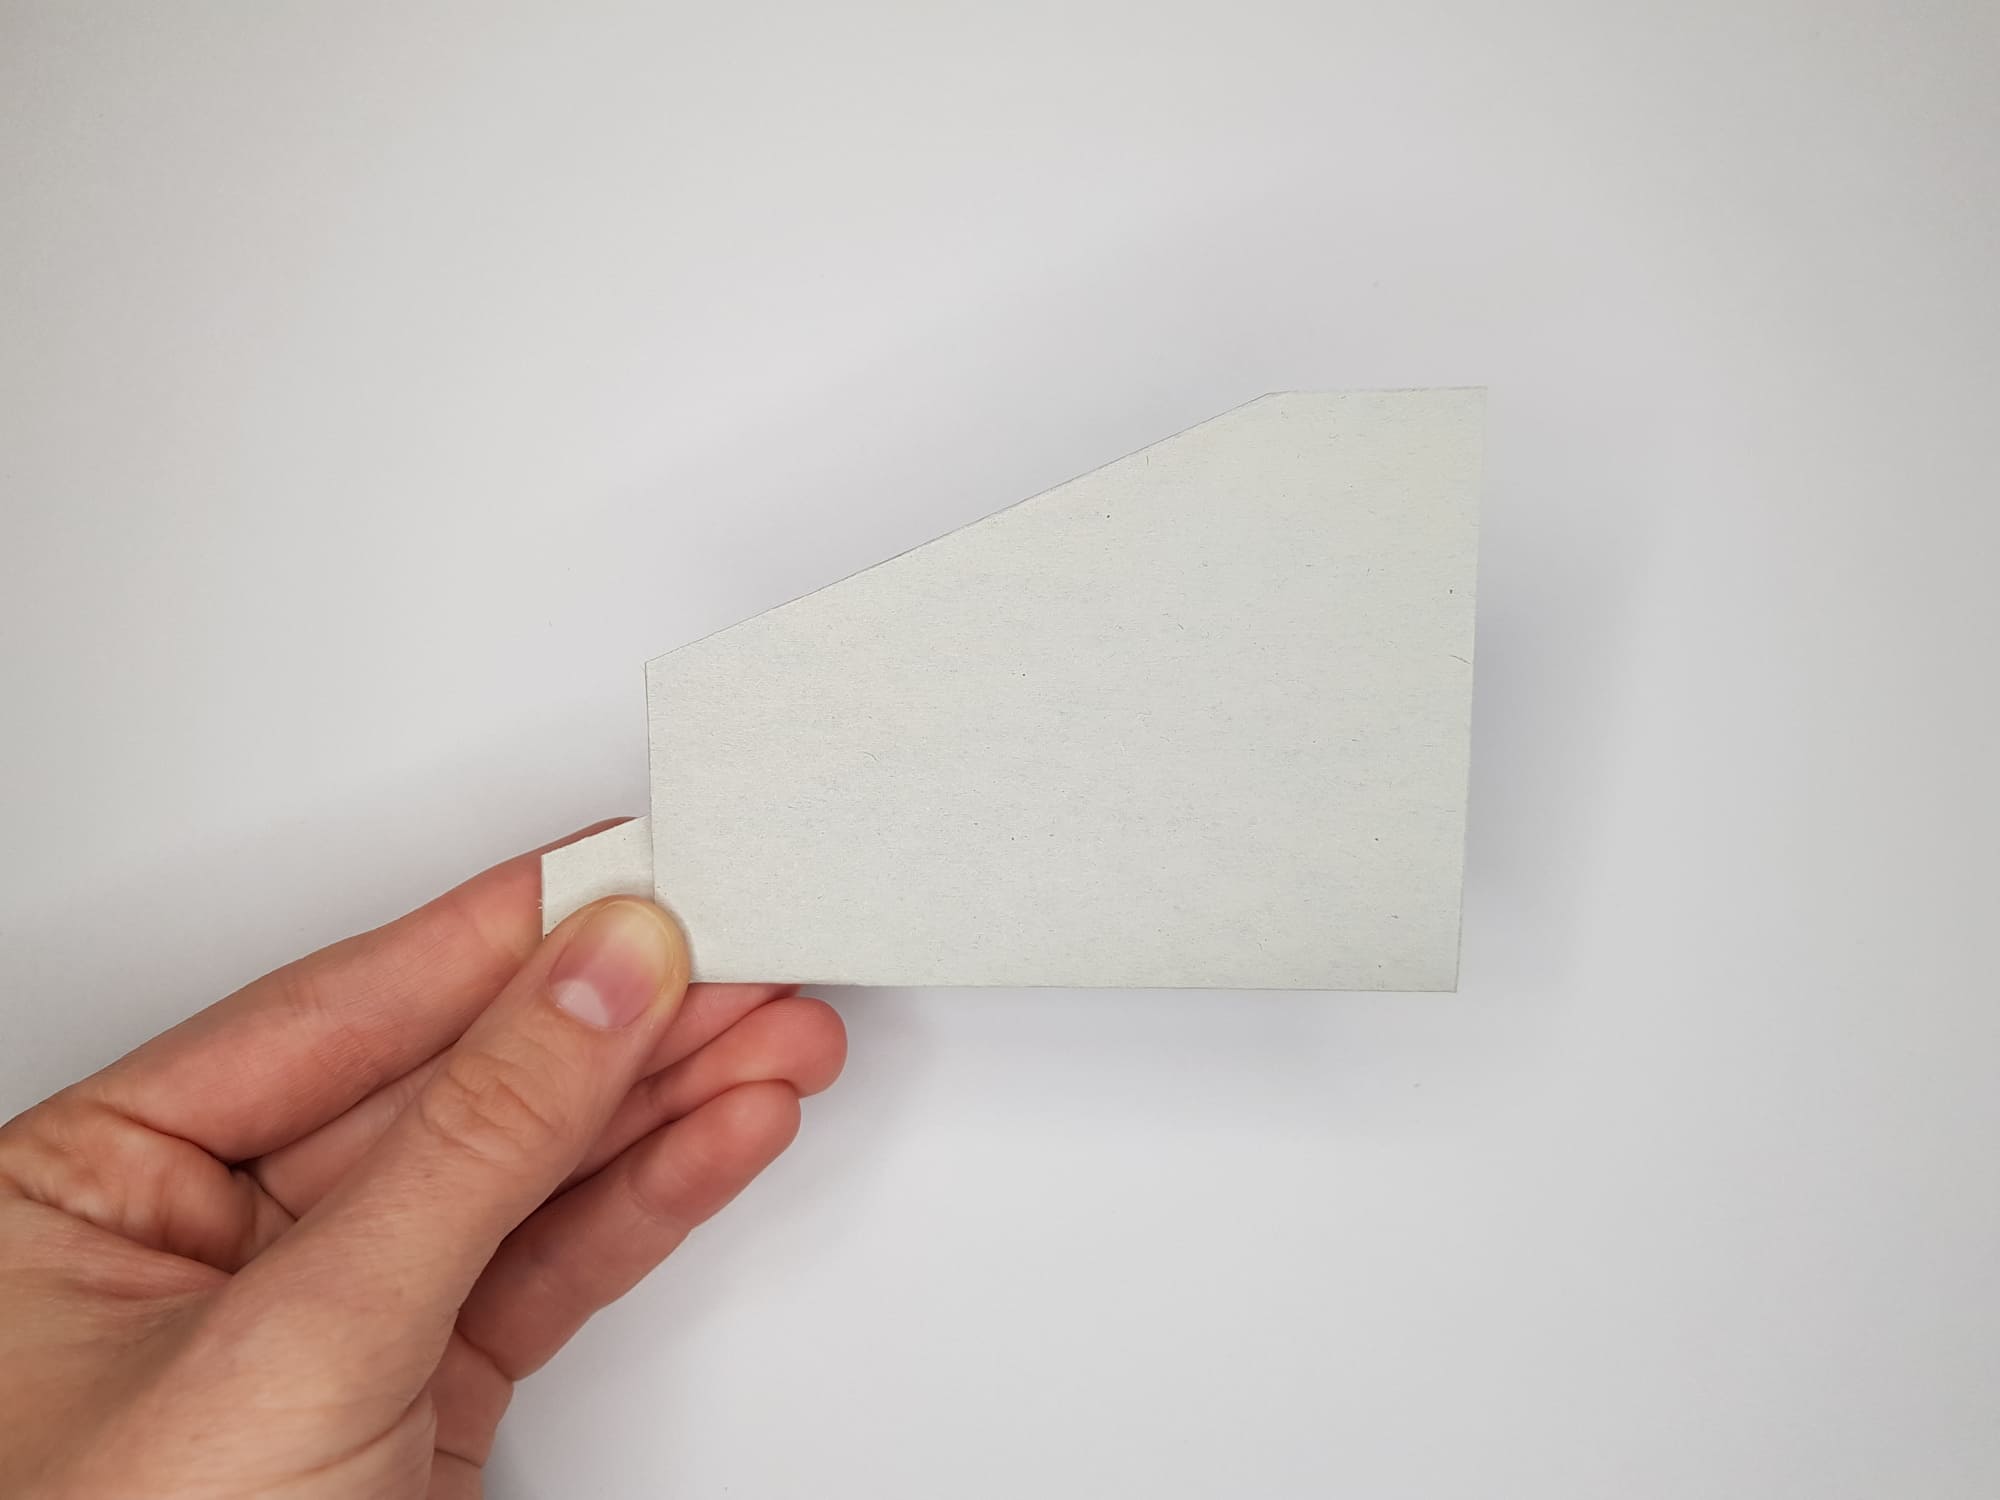
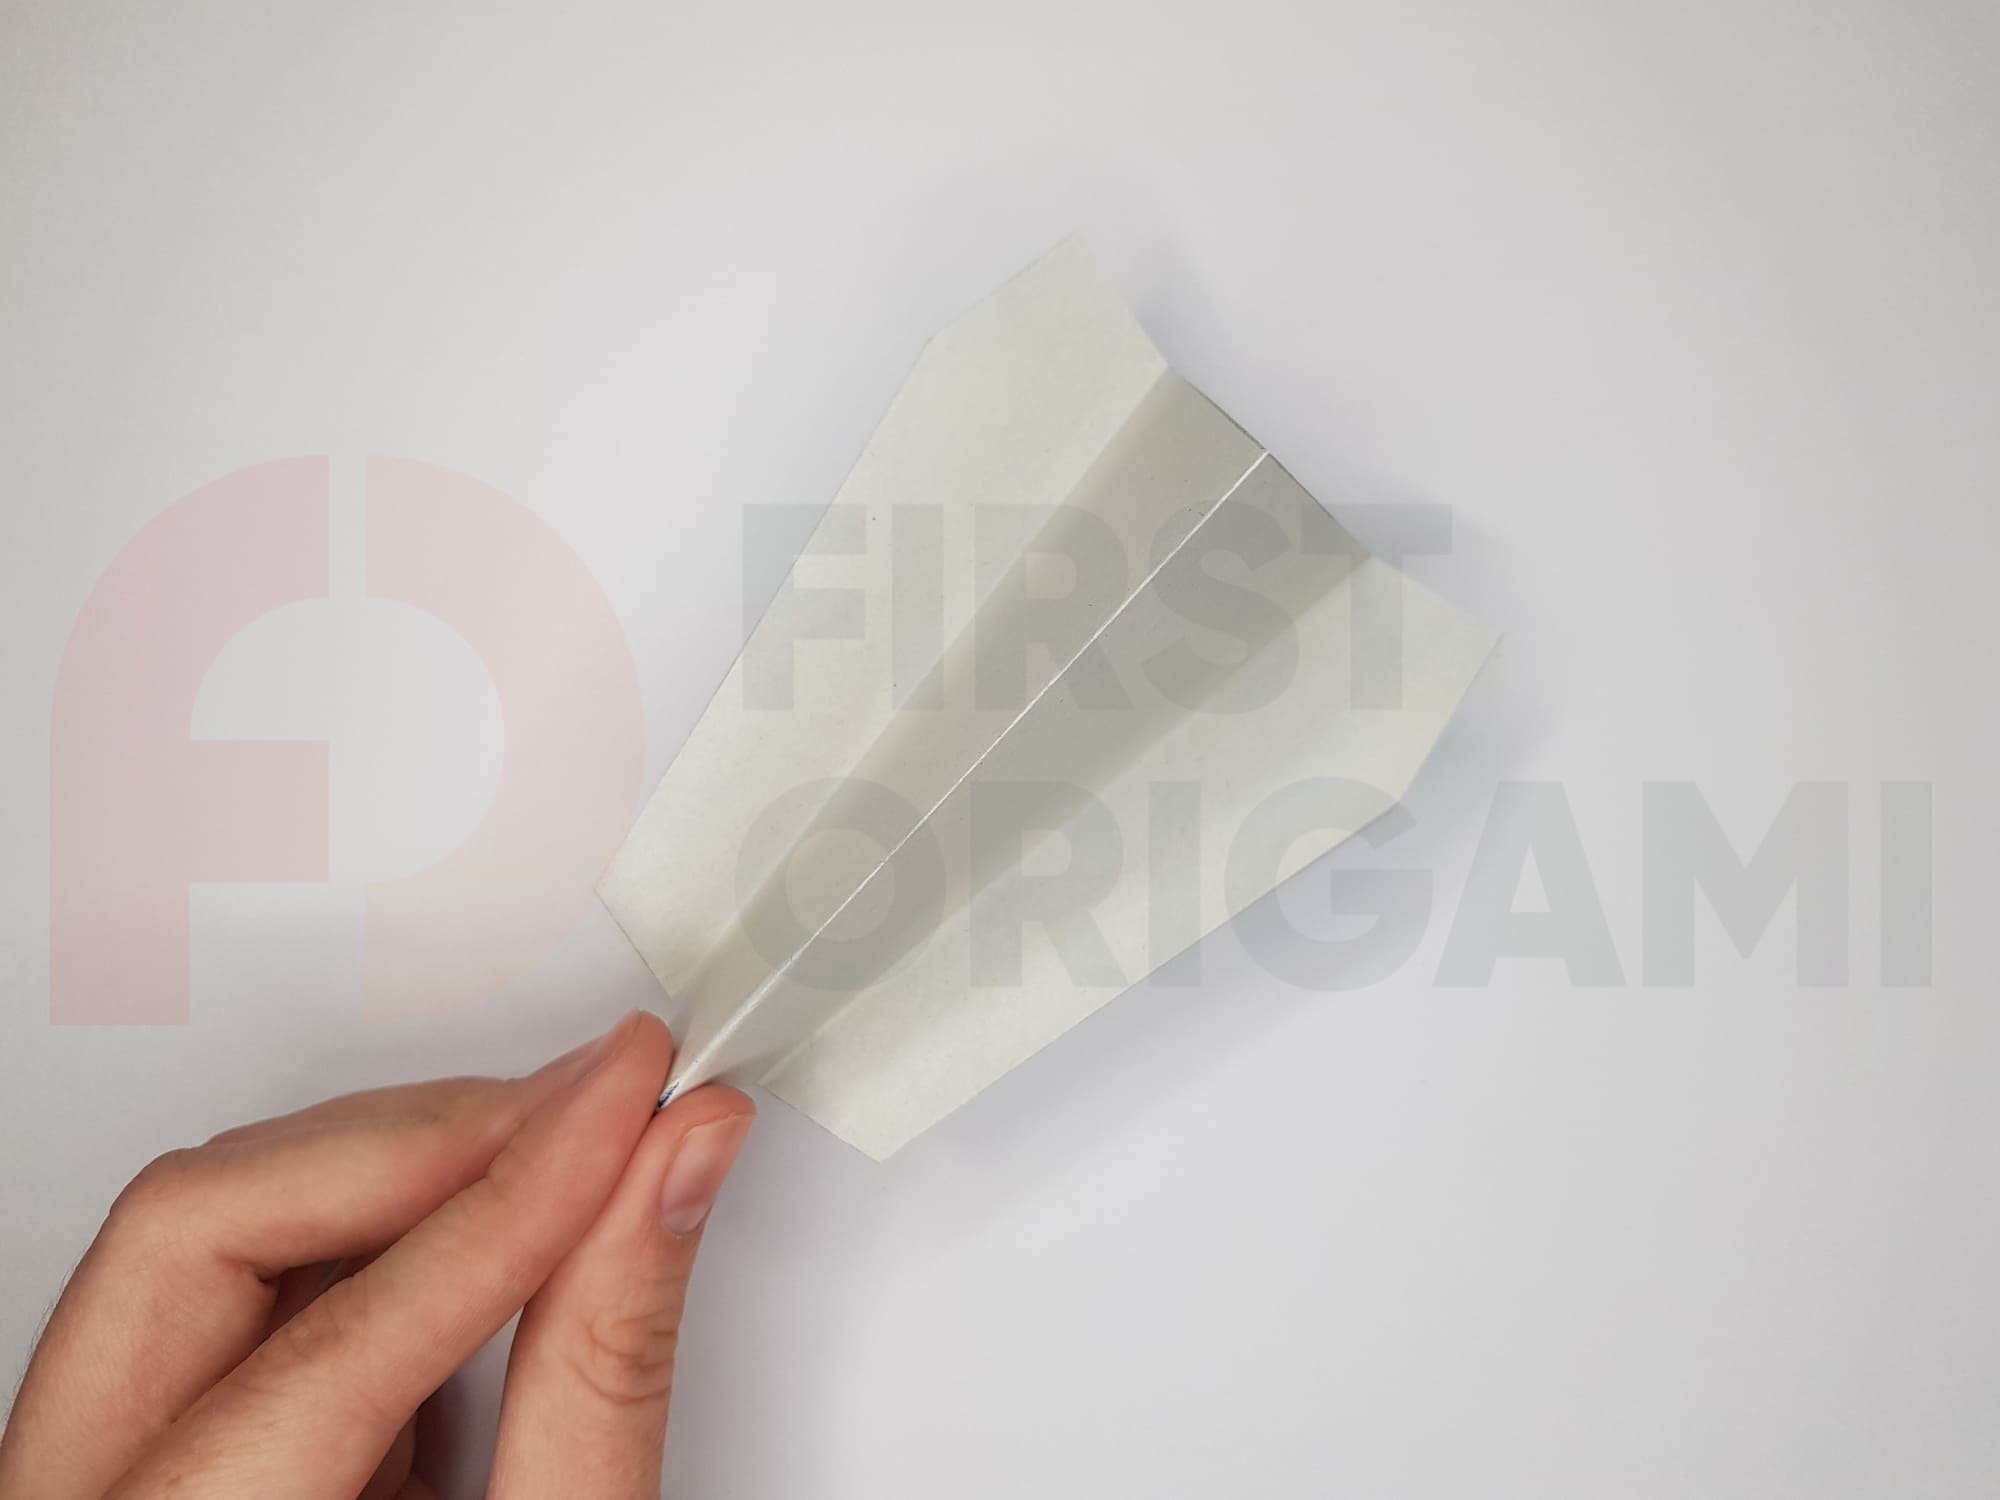
Bend the upper corner of the figure downwards, towards you, so that its edge coincides with the bottom side.
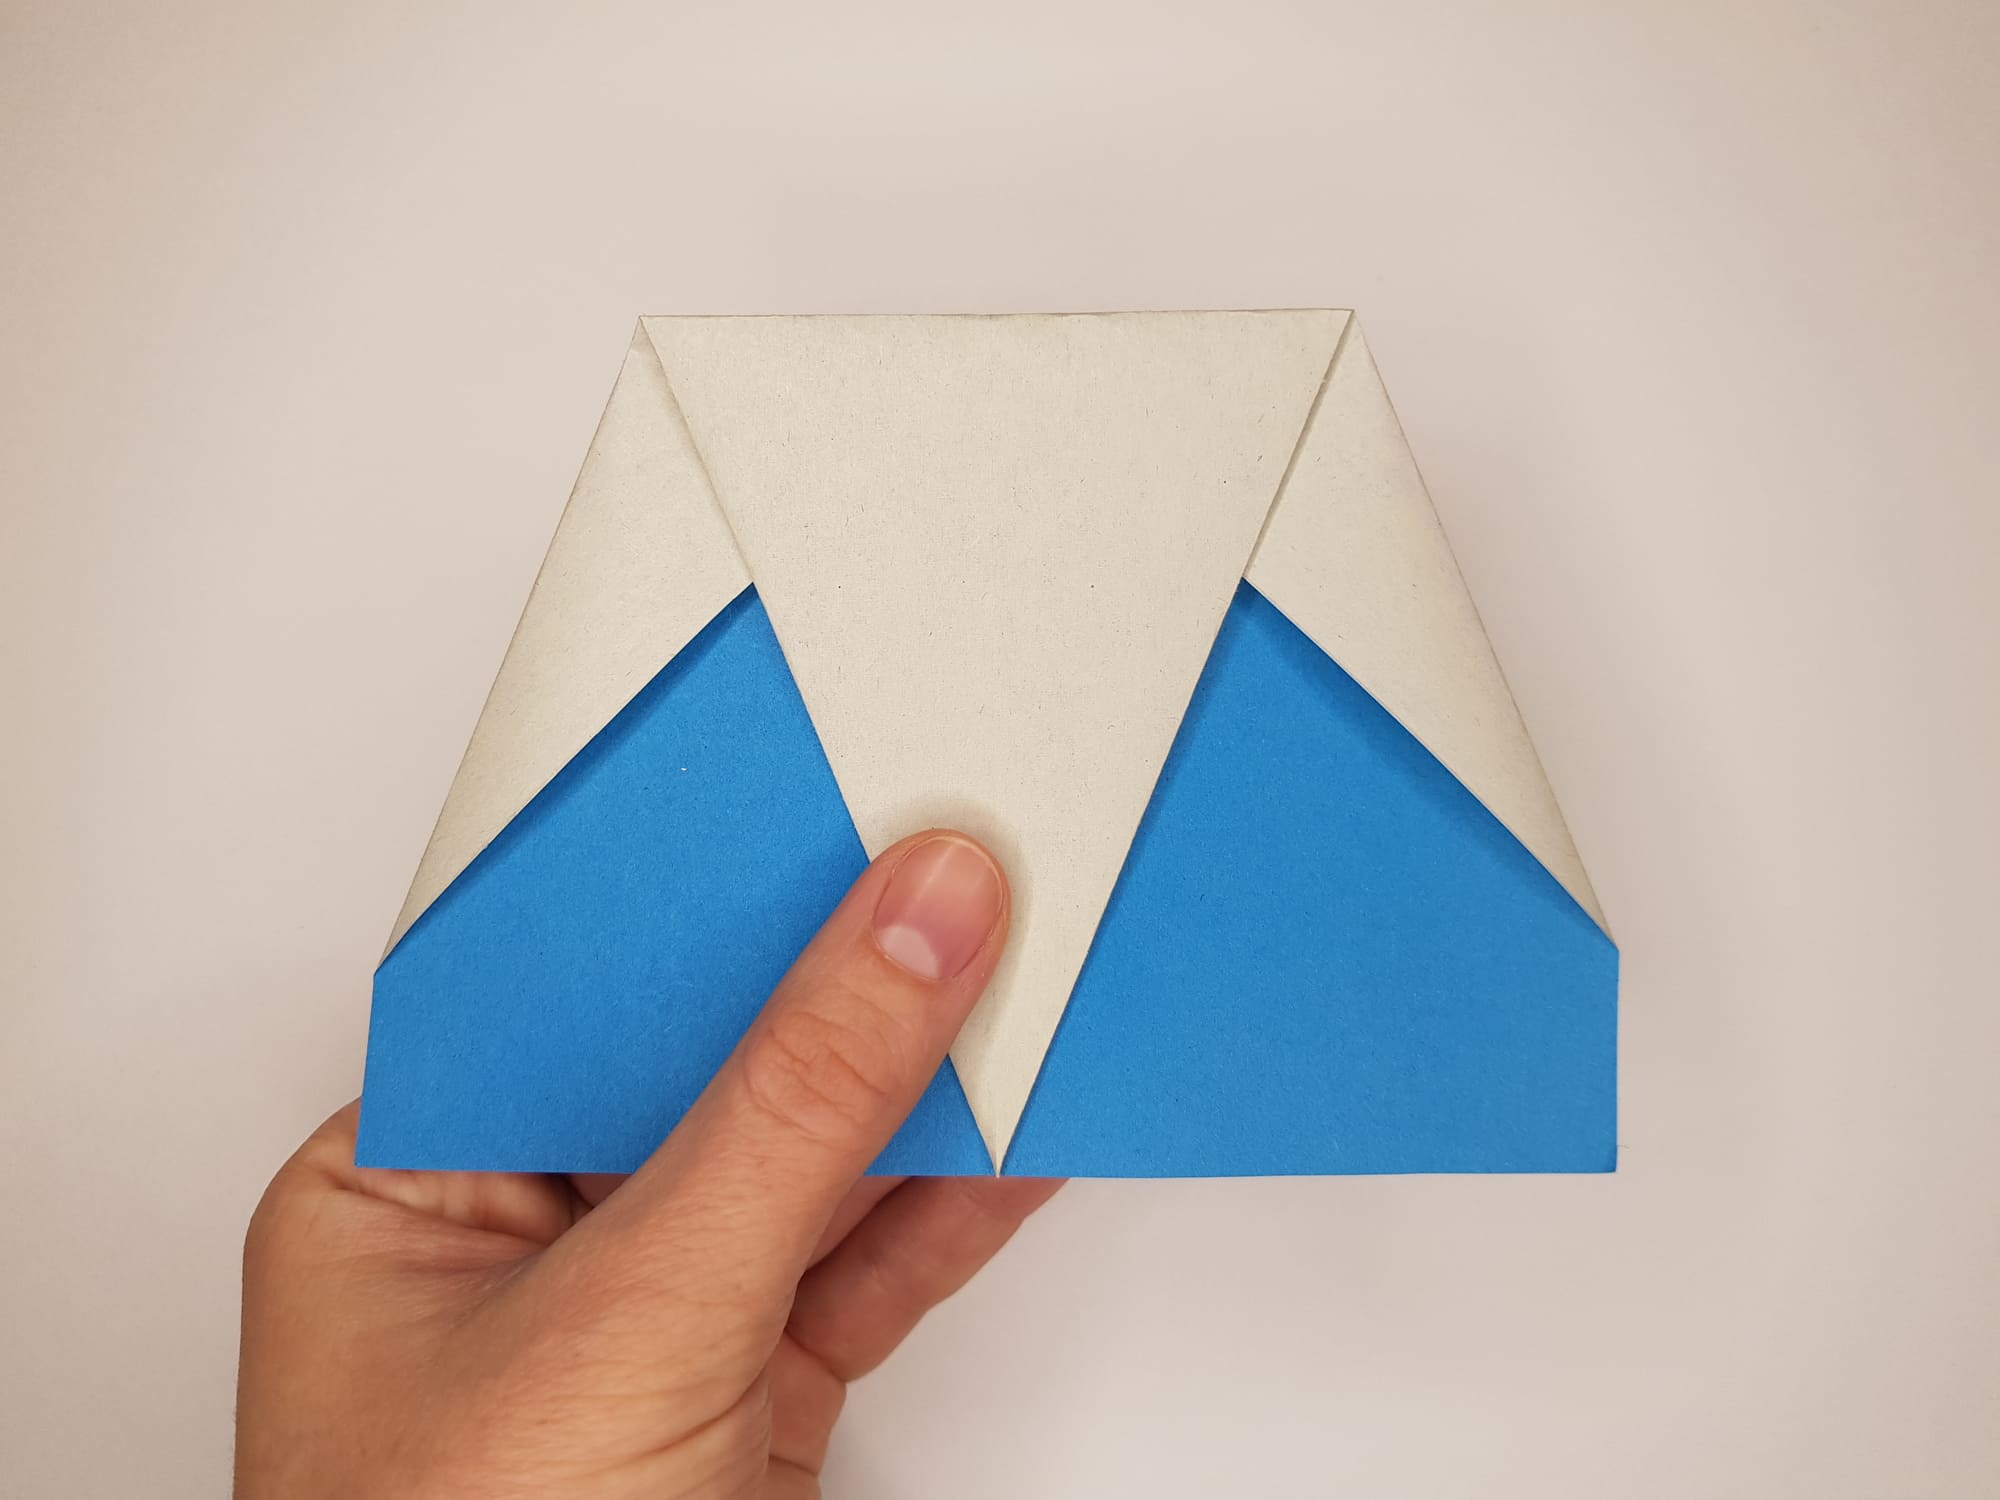
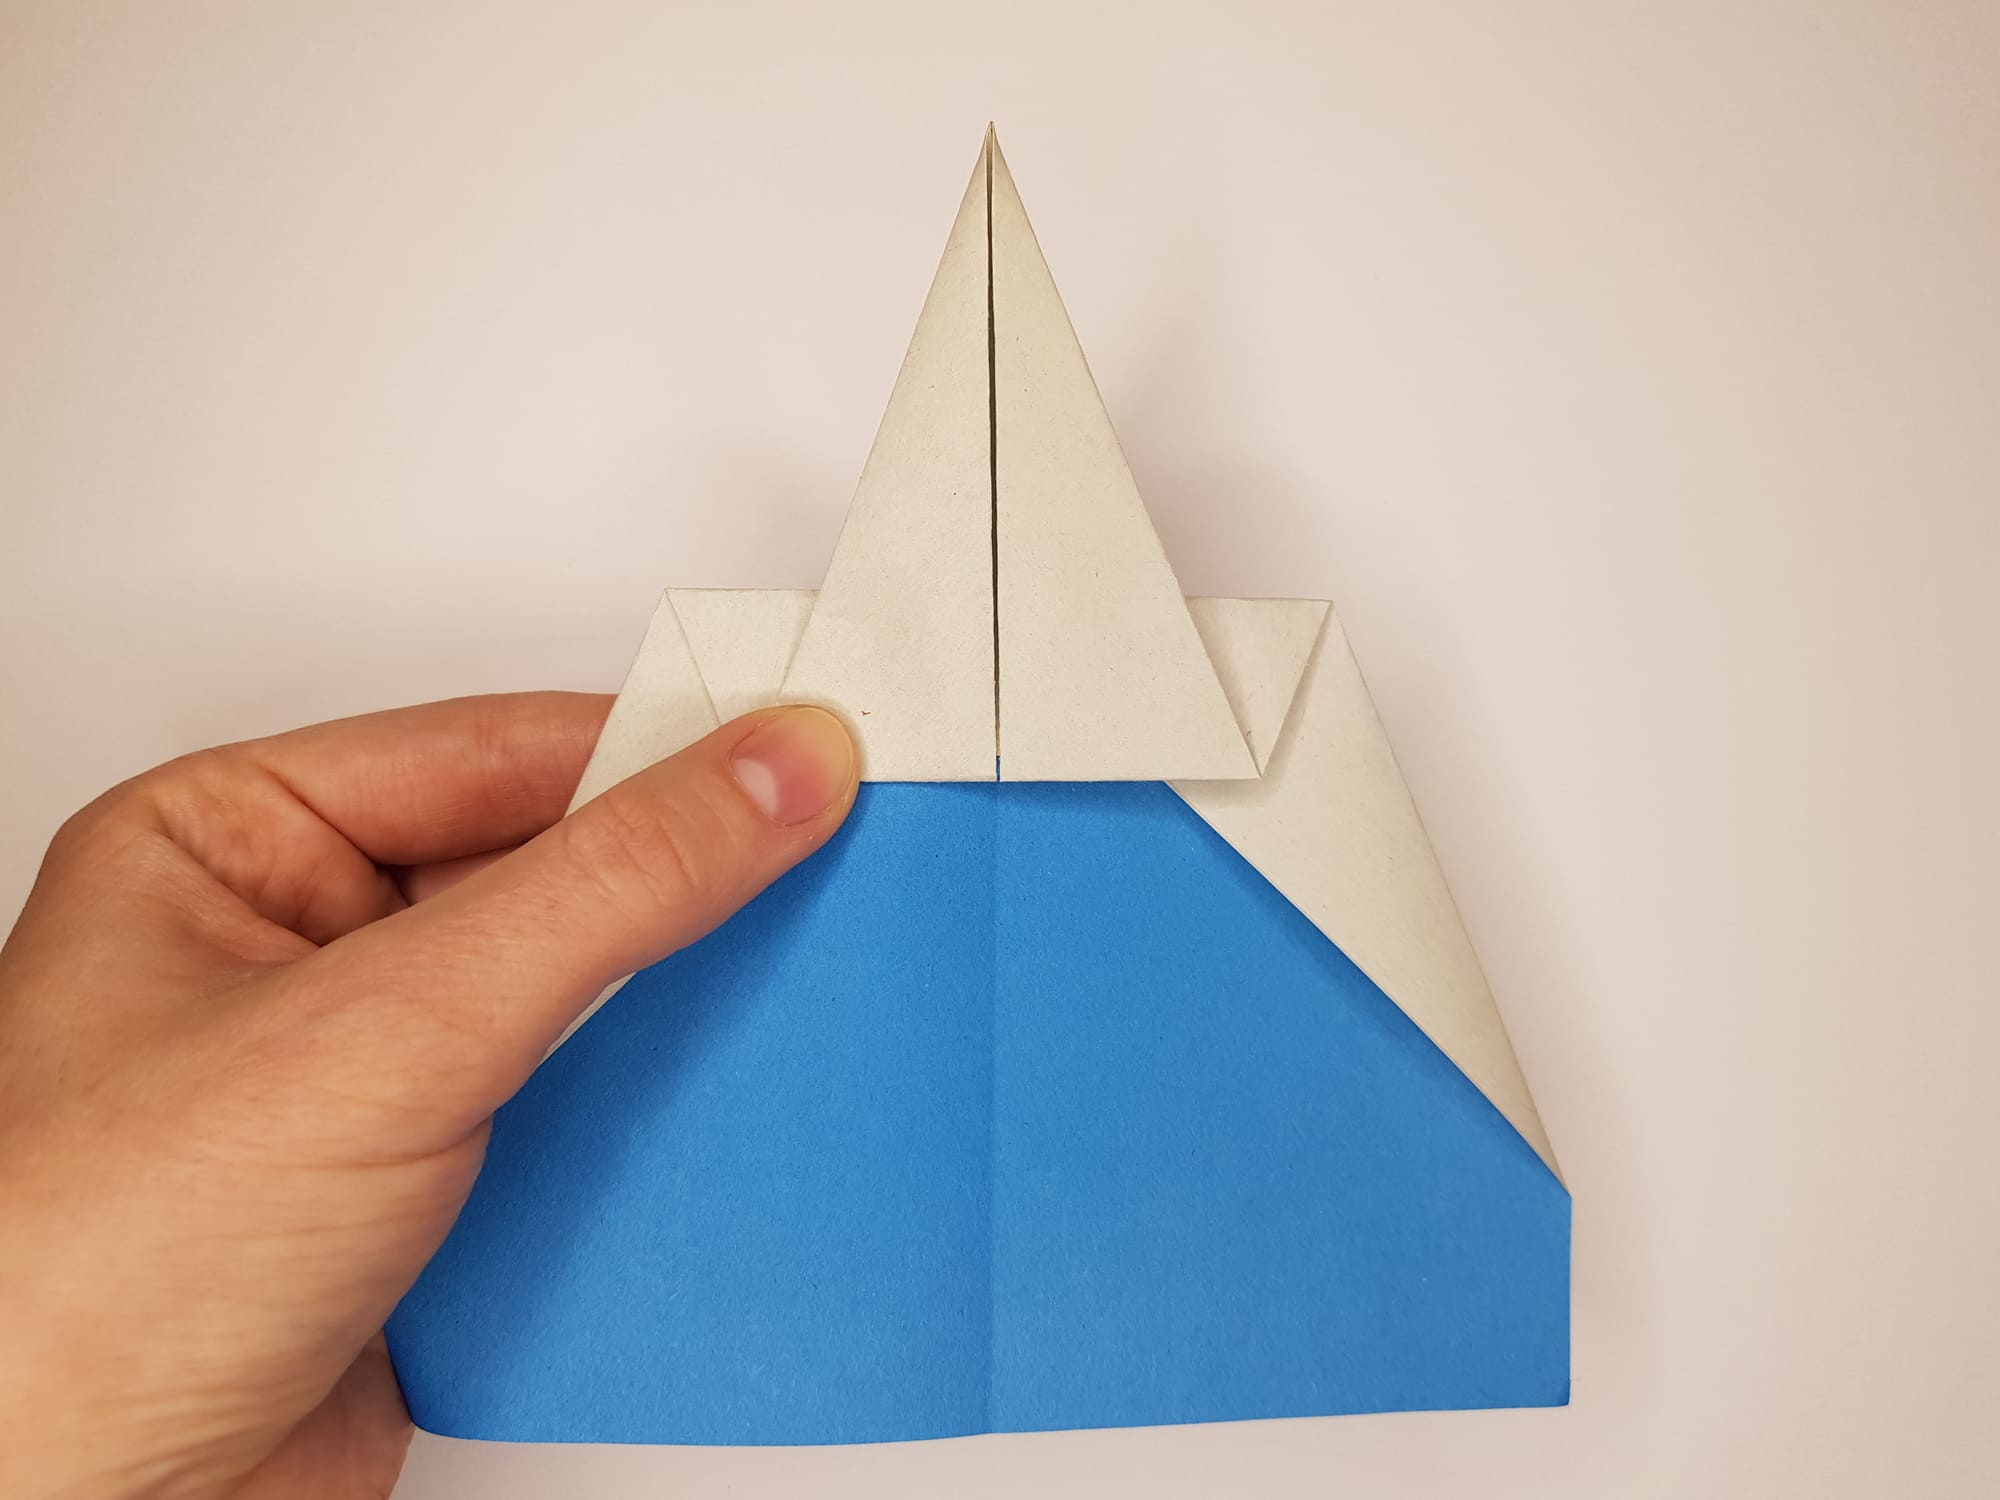
Bend it upward, away from you, as shown in the photo.
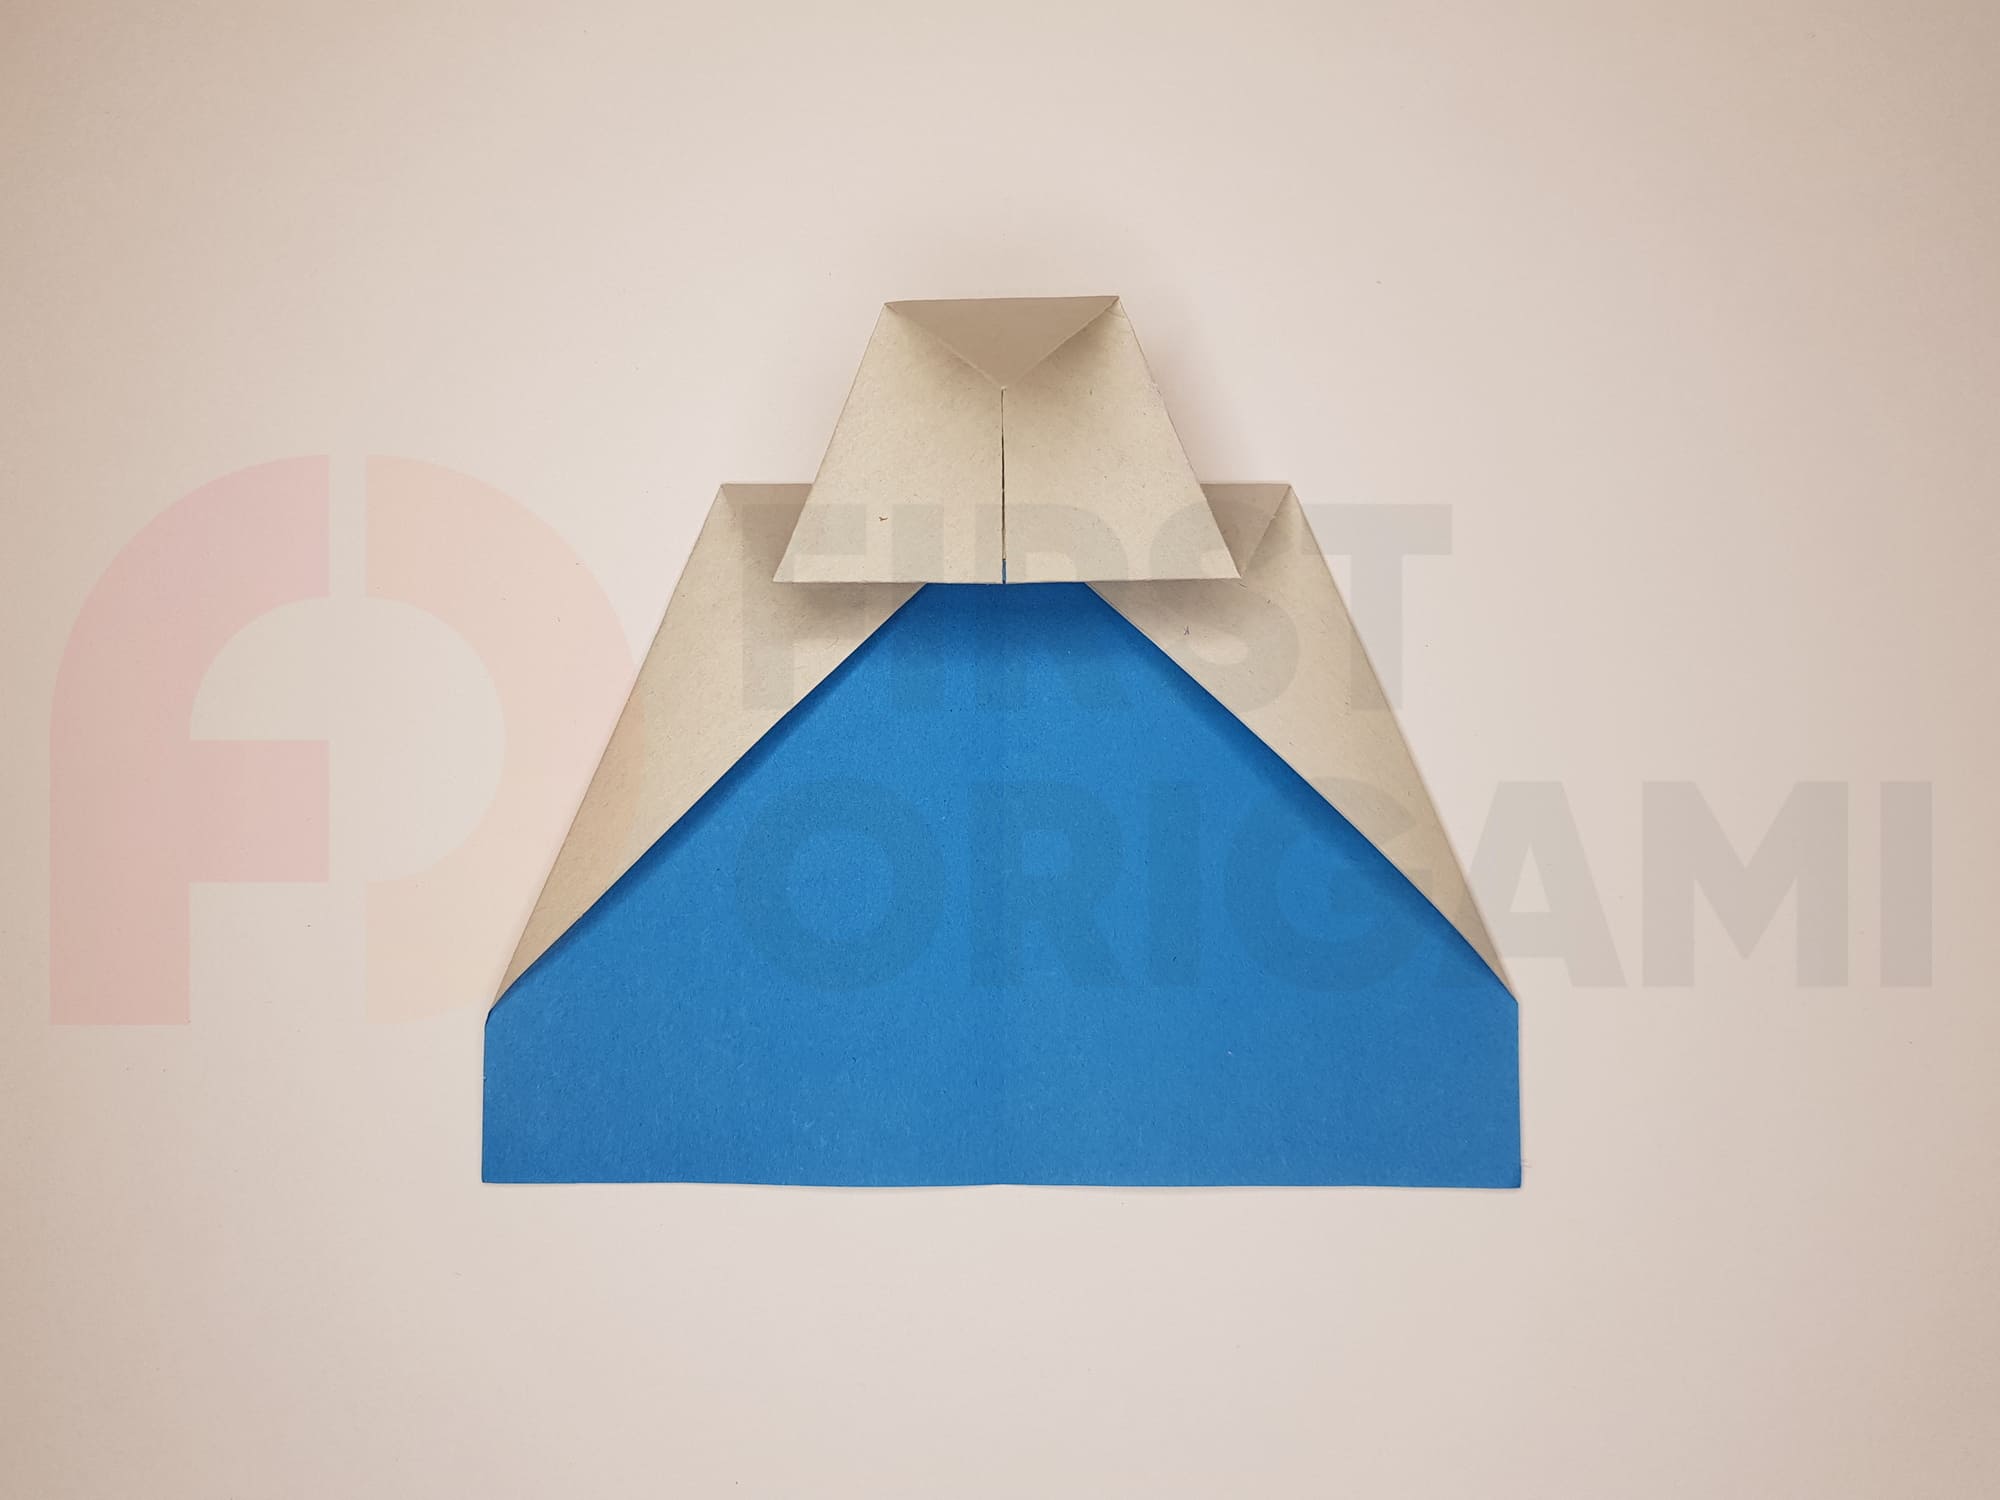
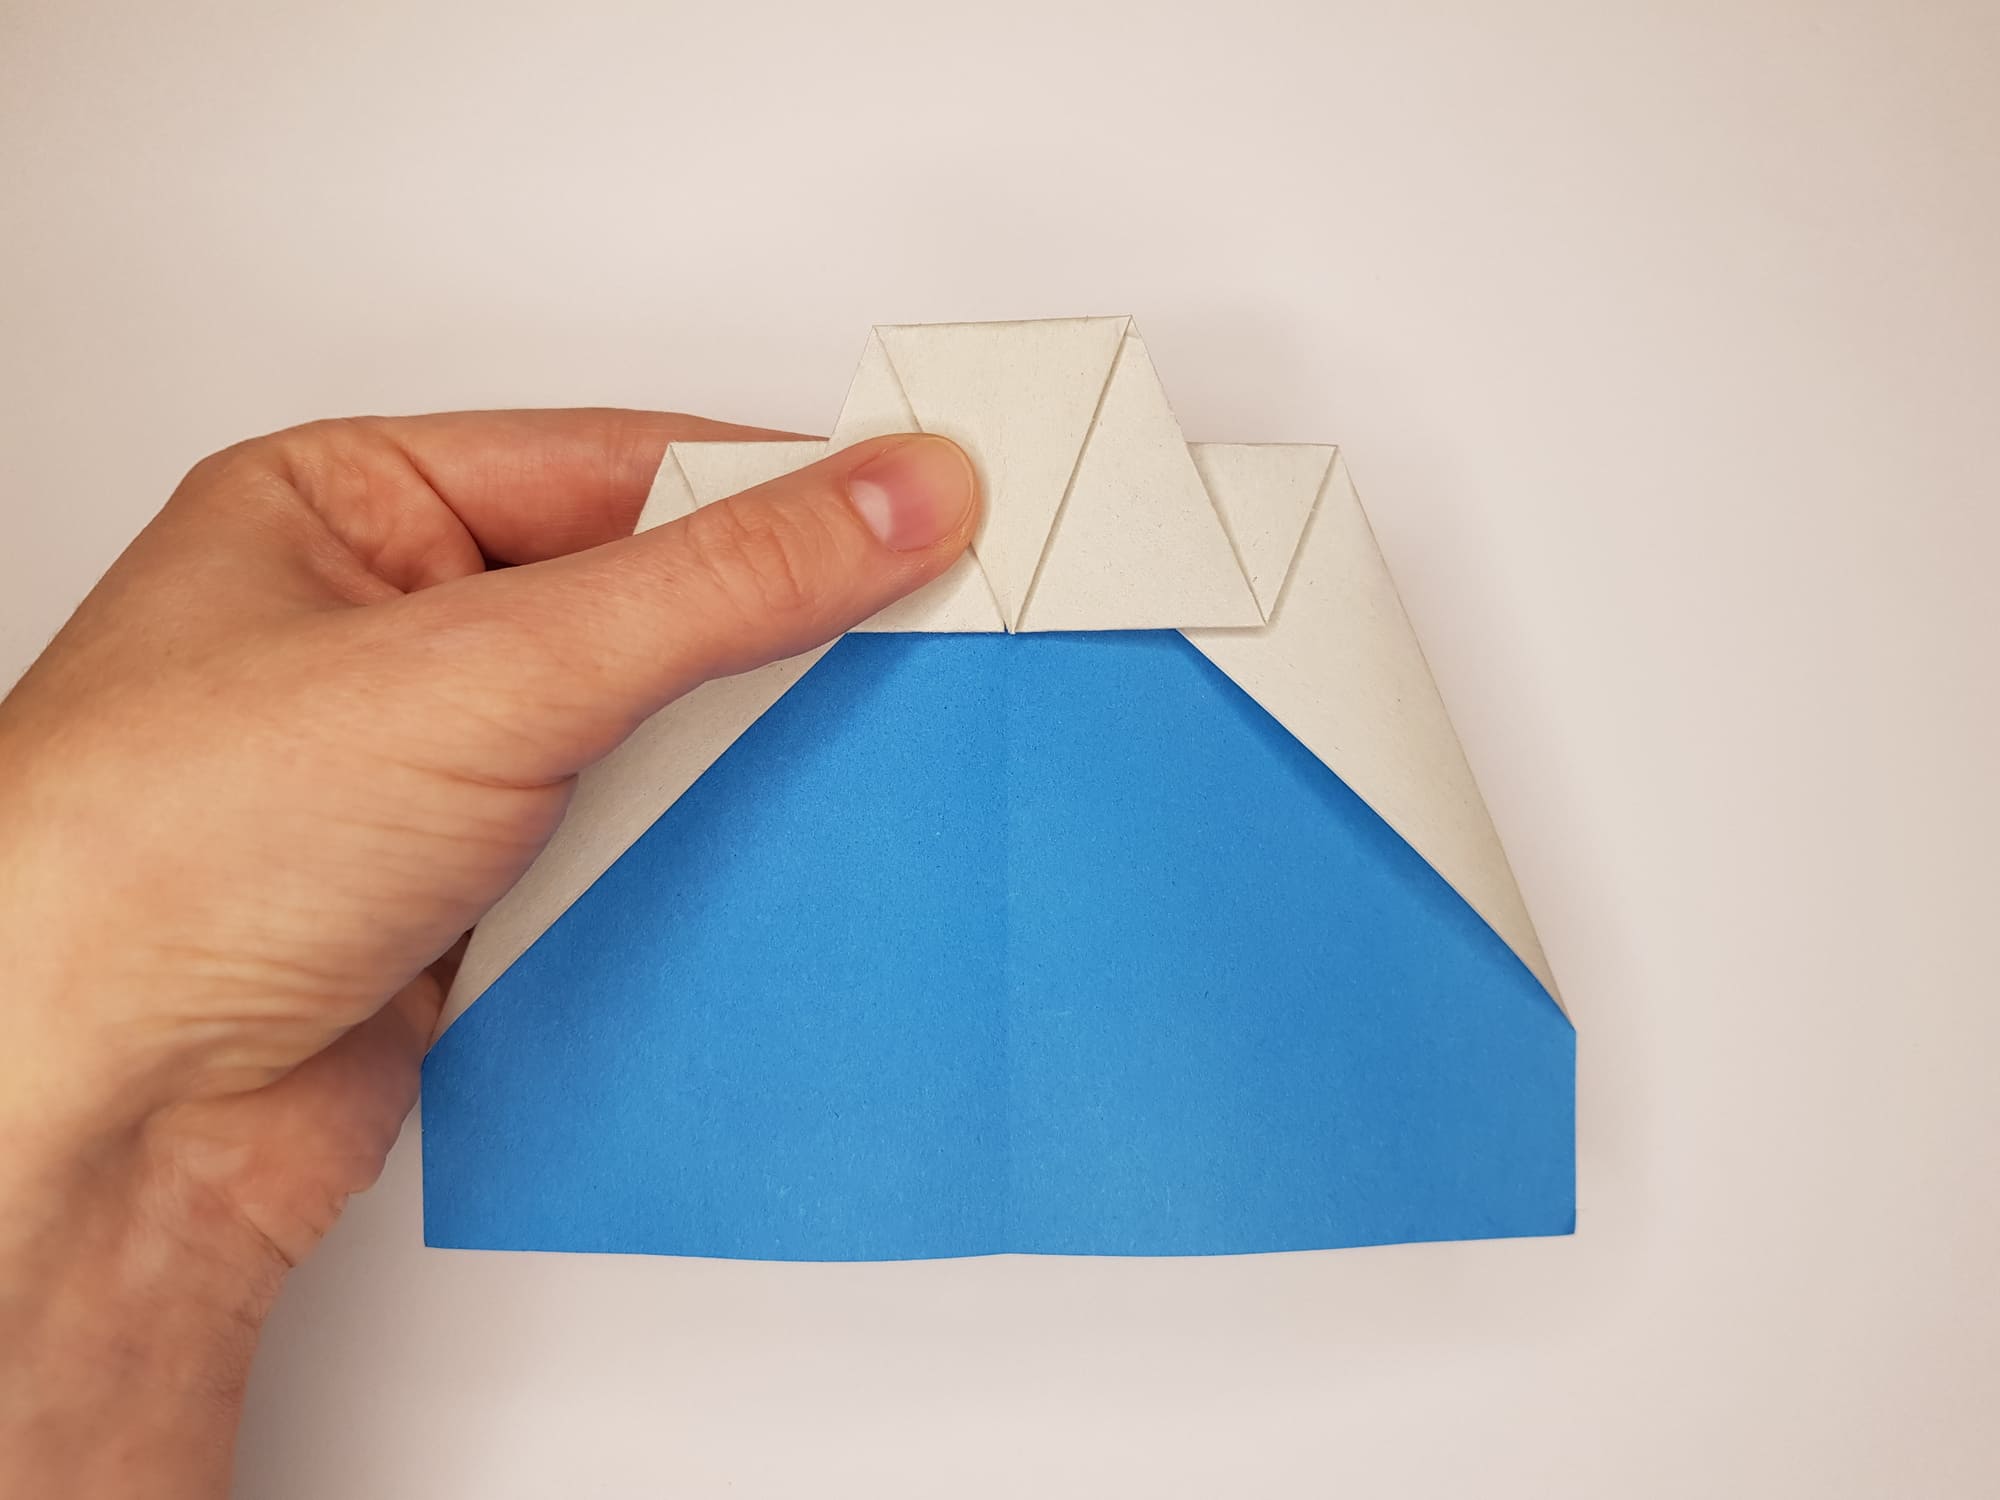
Make another small fold – bend the corner from top to bottom, as shown in the photo.
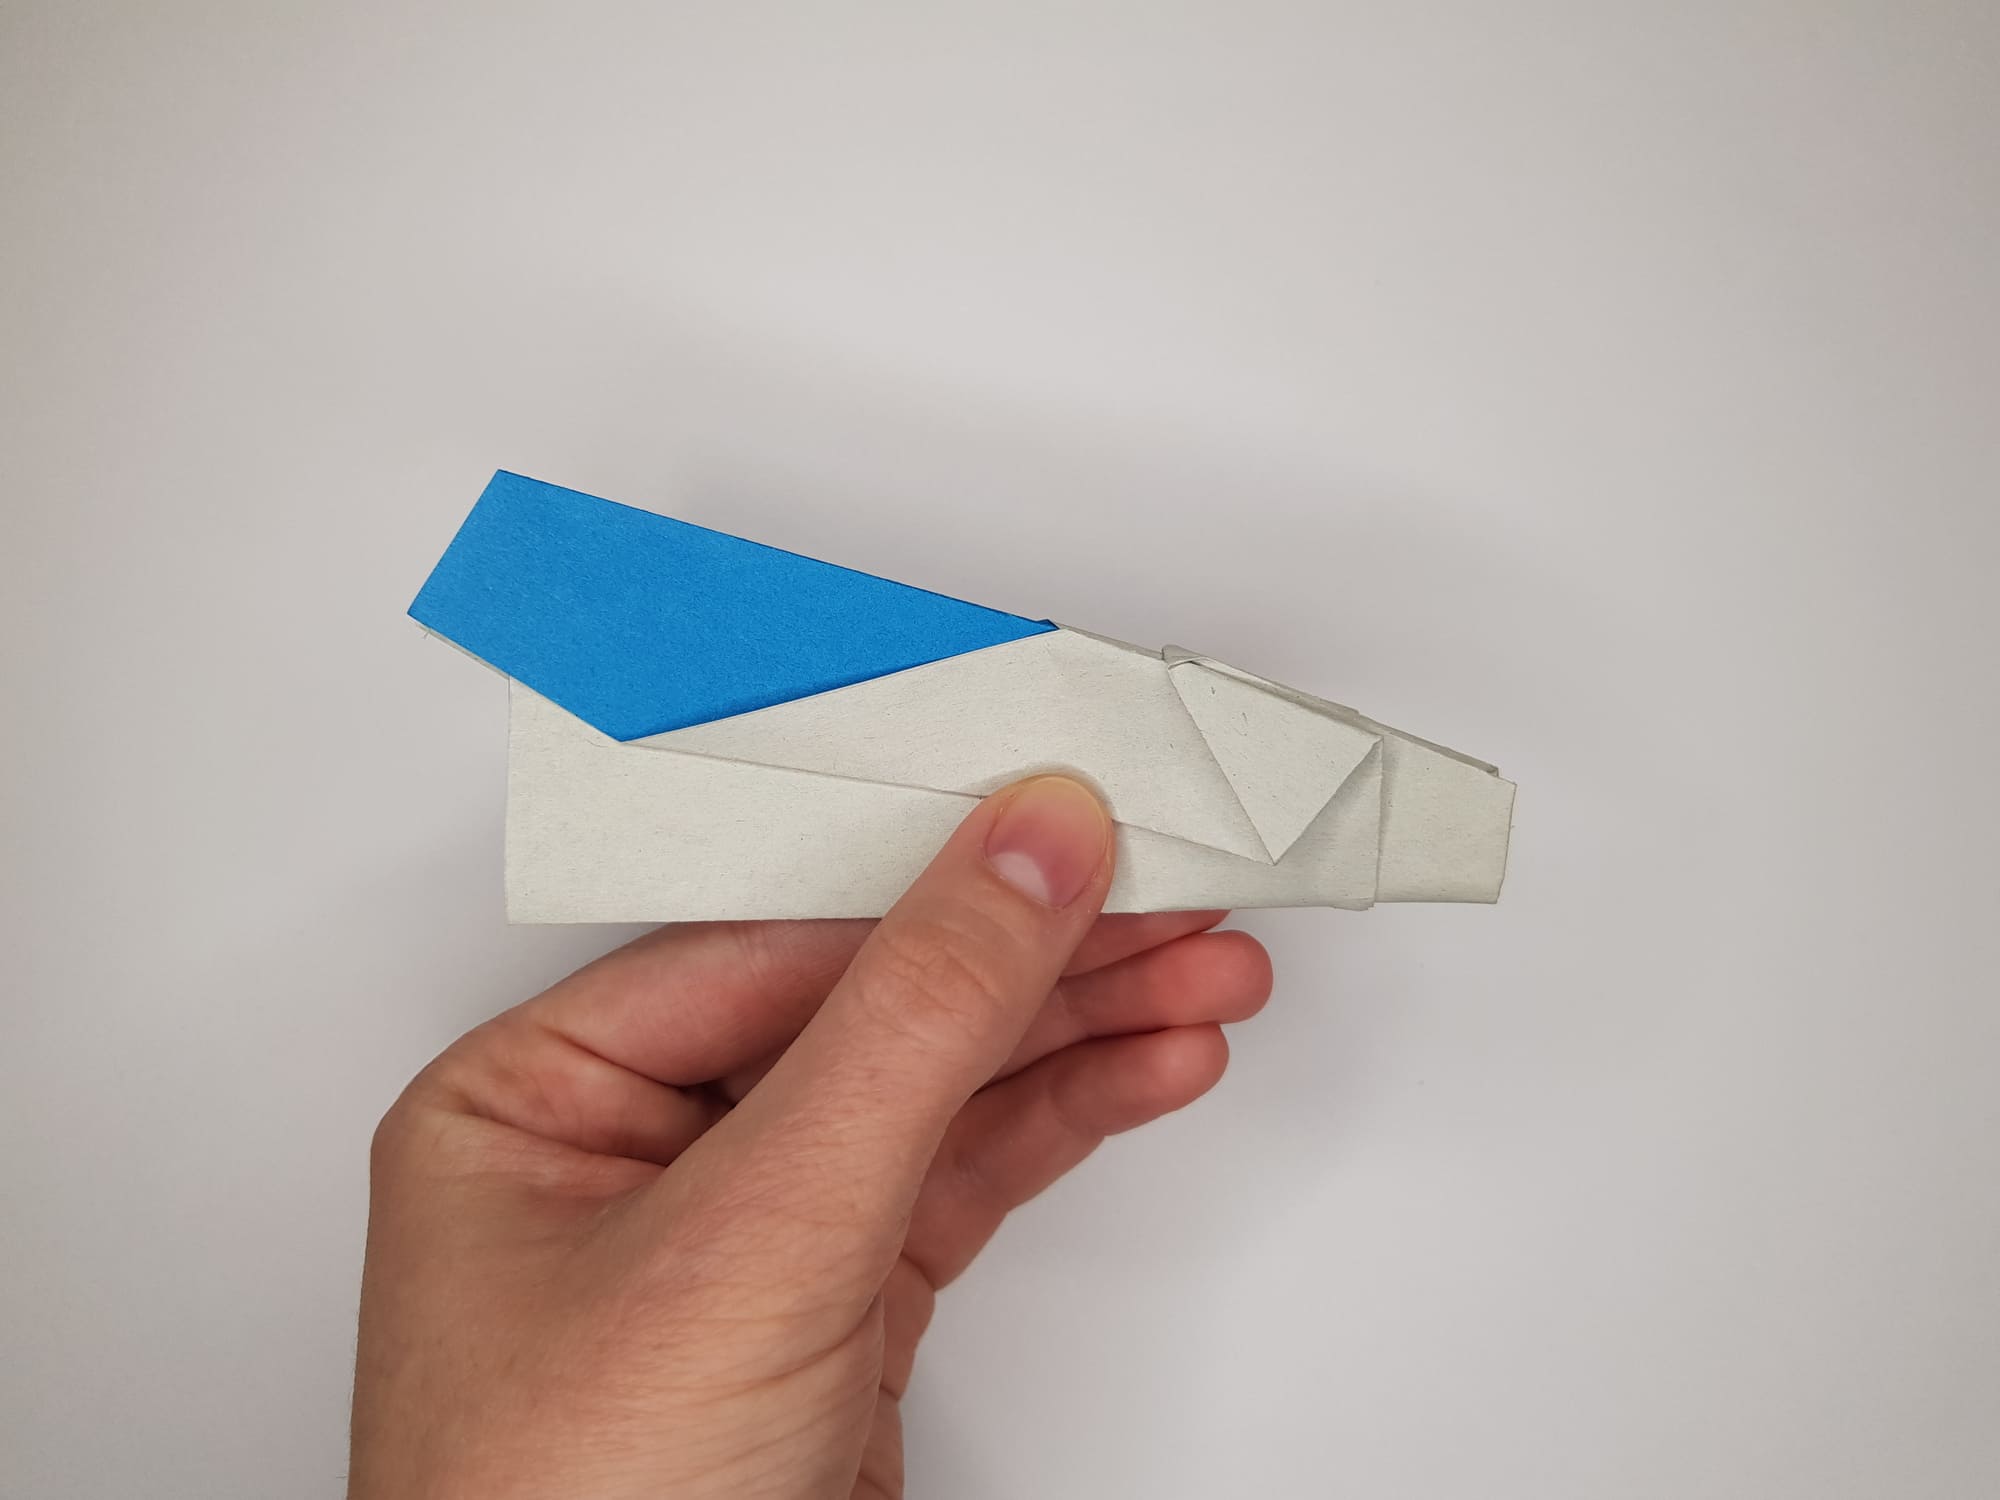
Fold the entire figure in half and crease the fold.
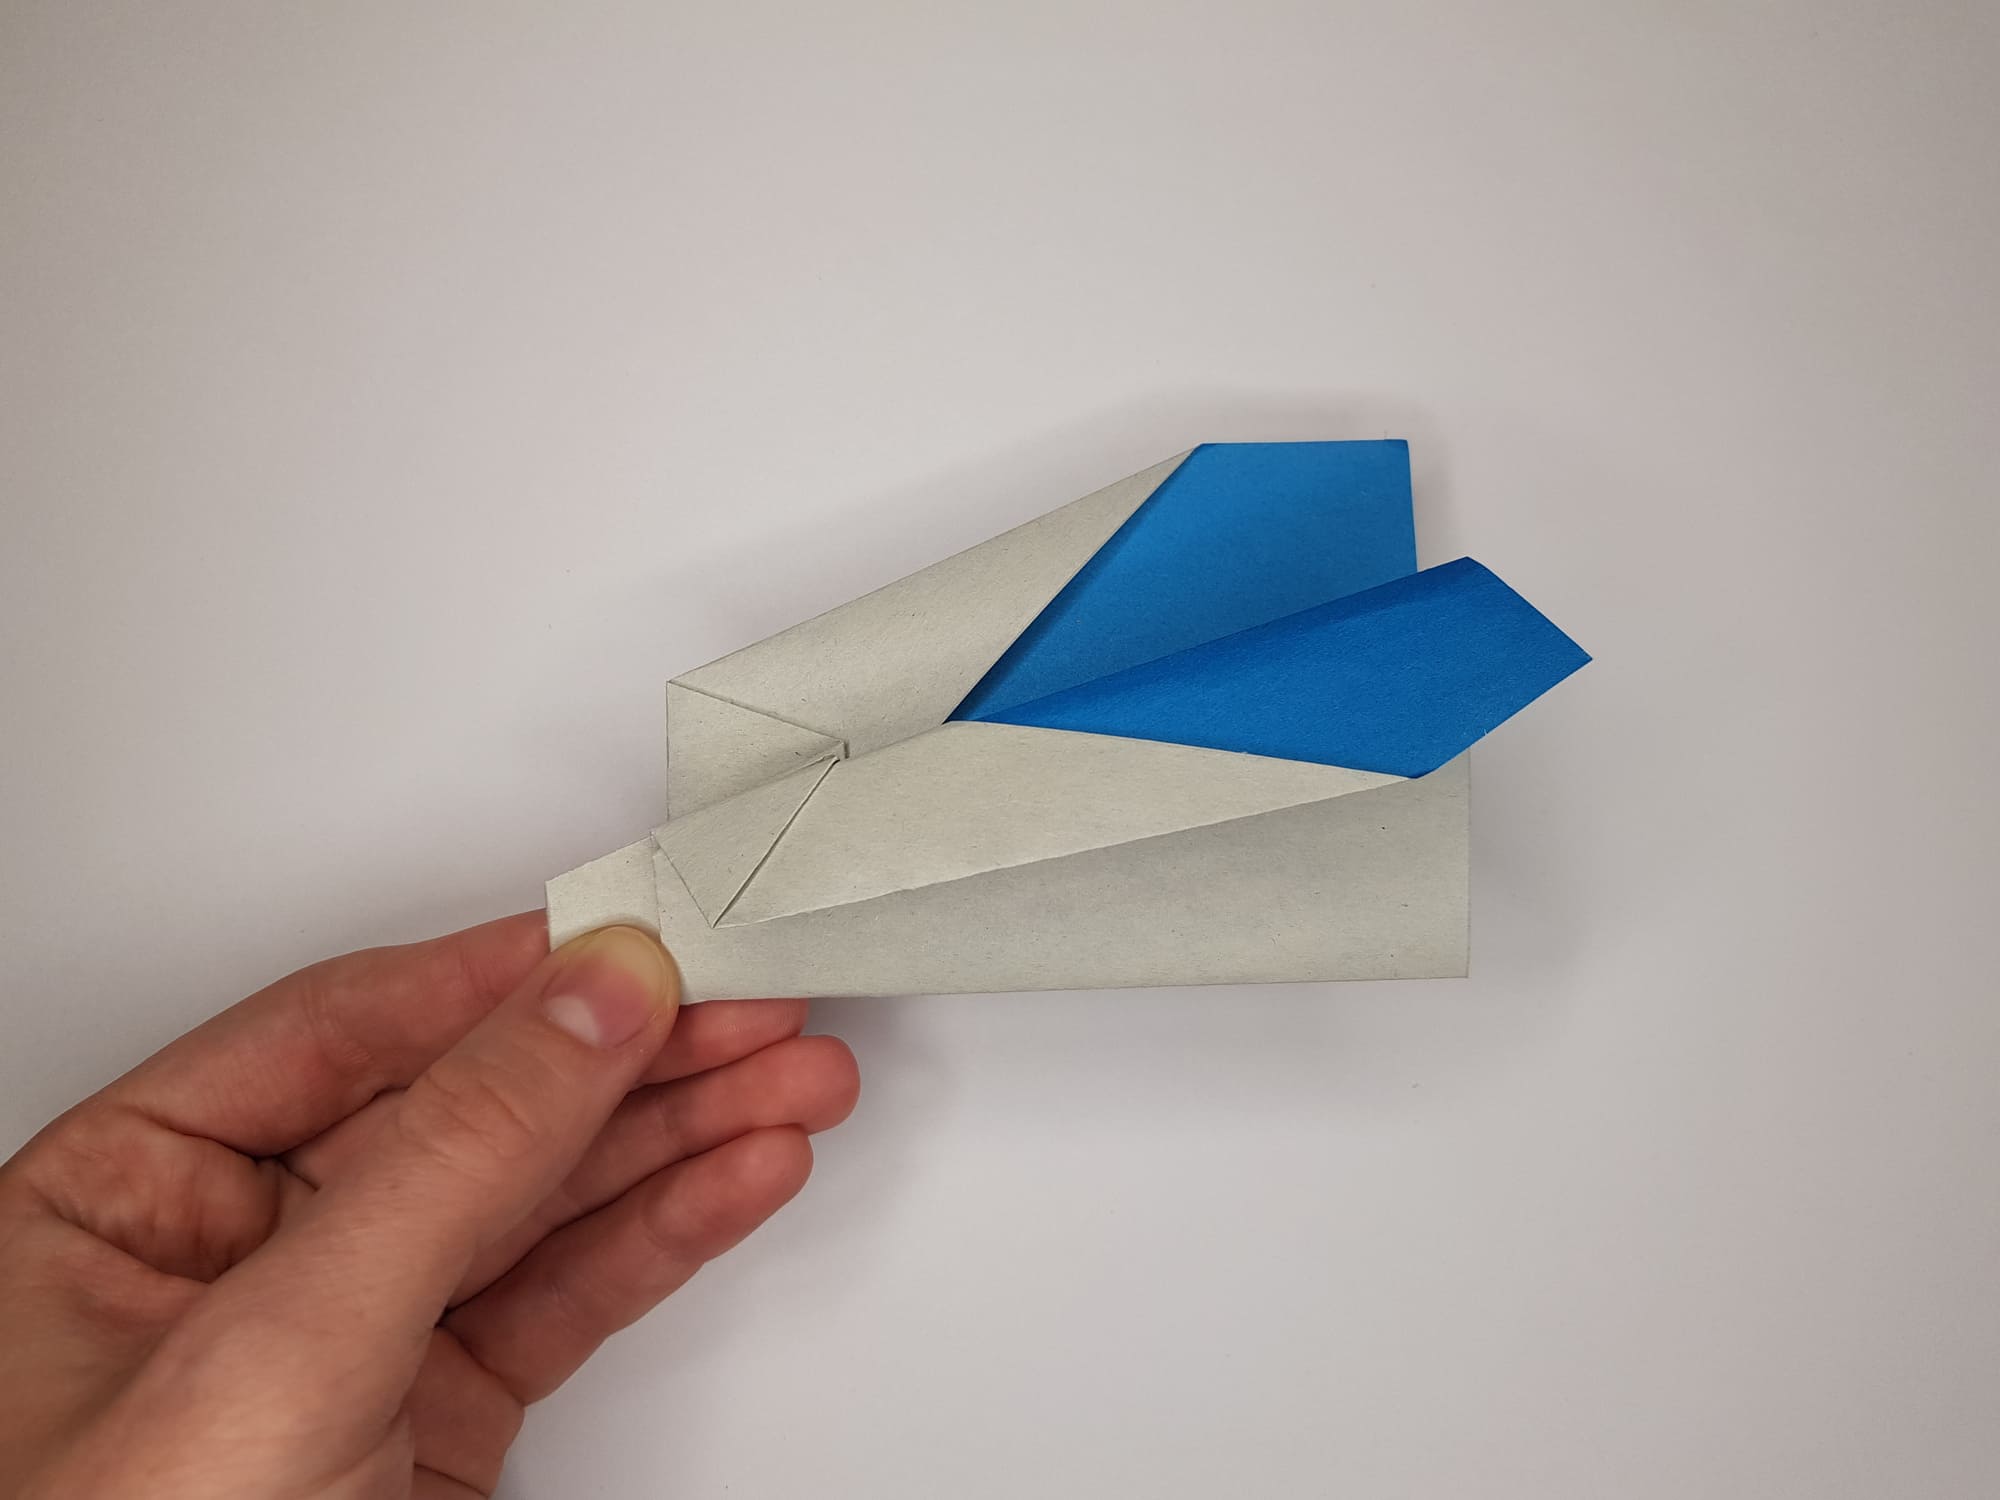
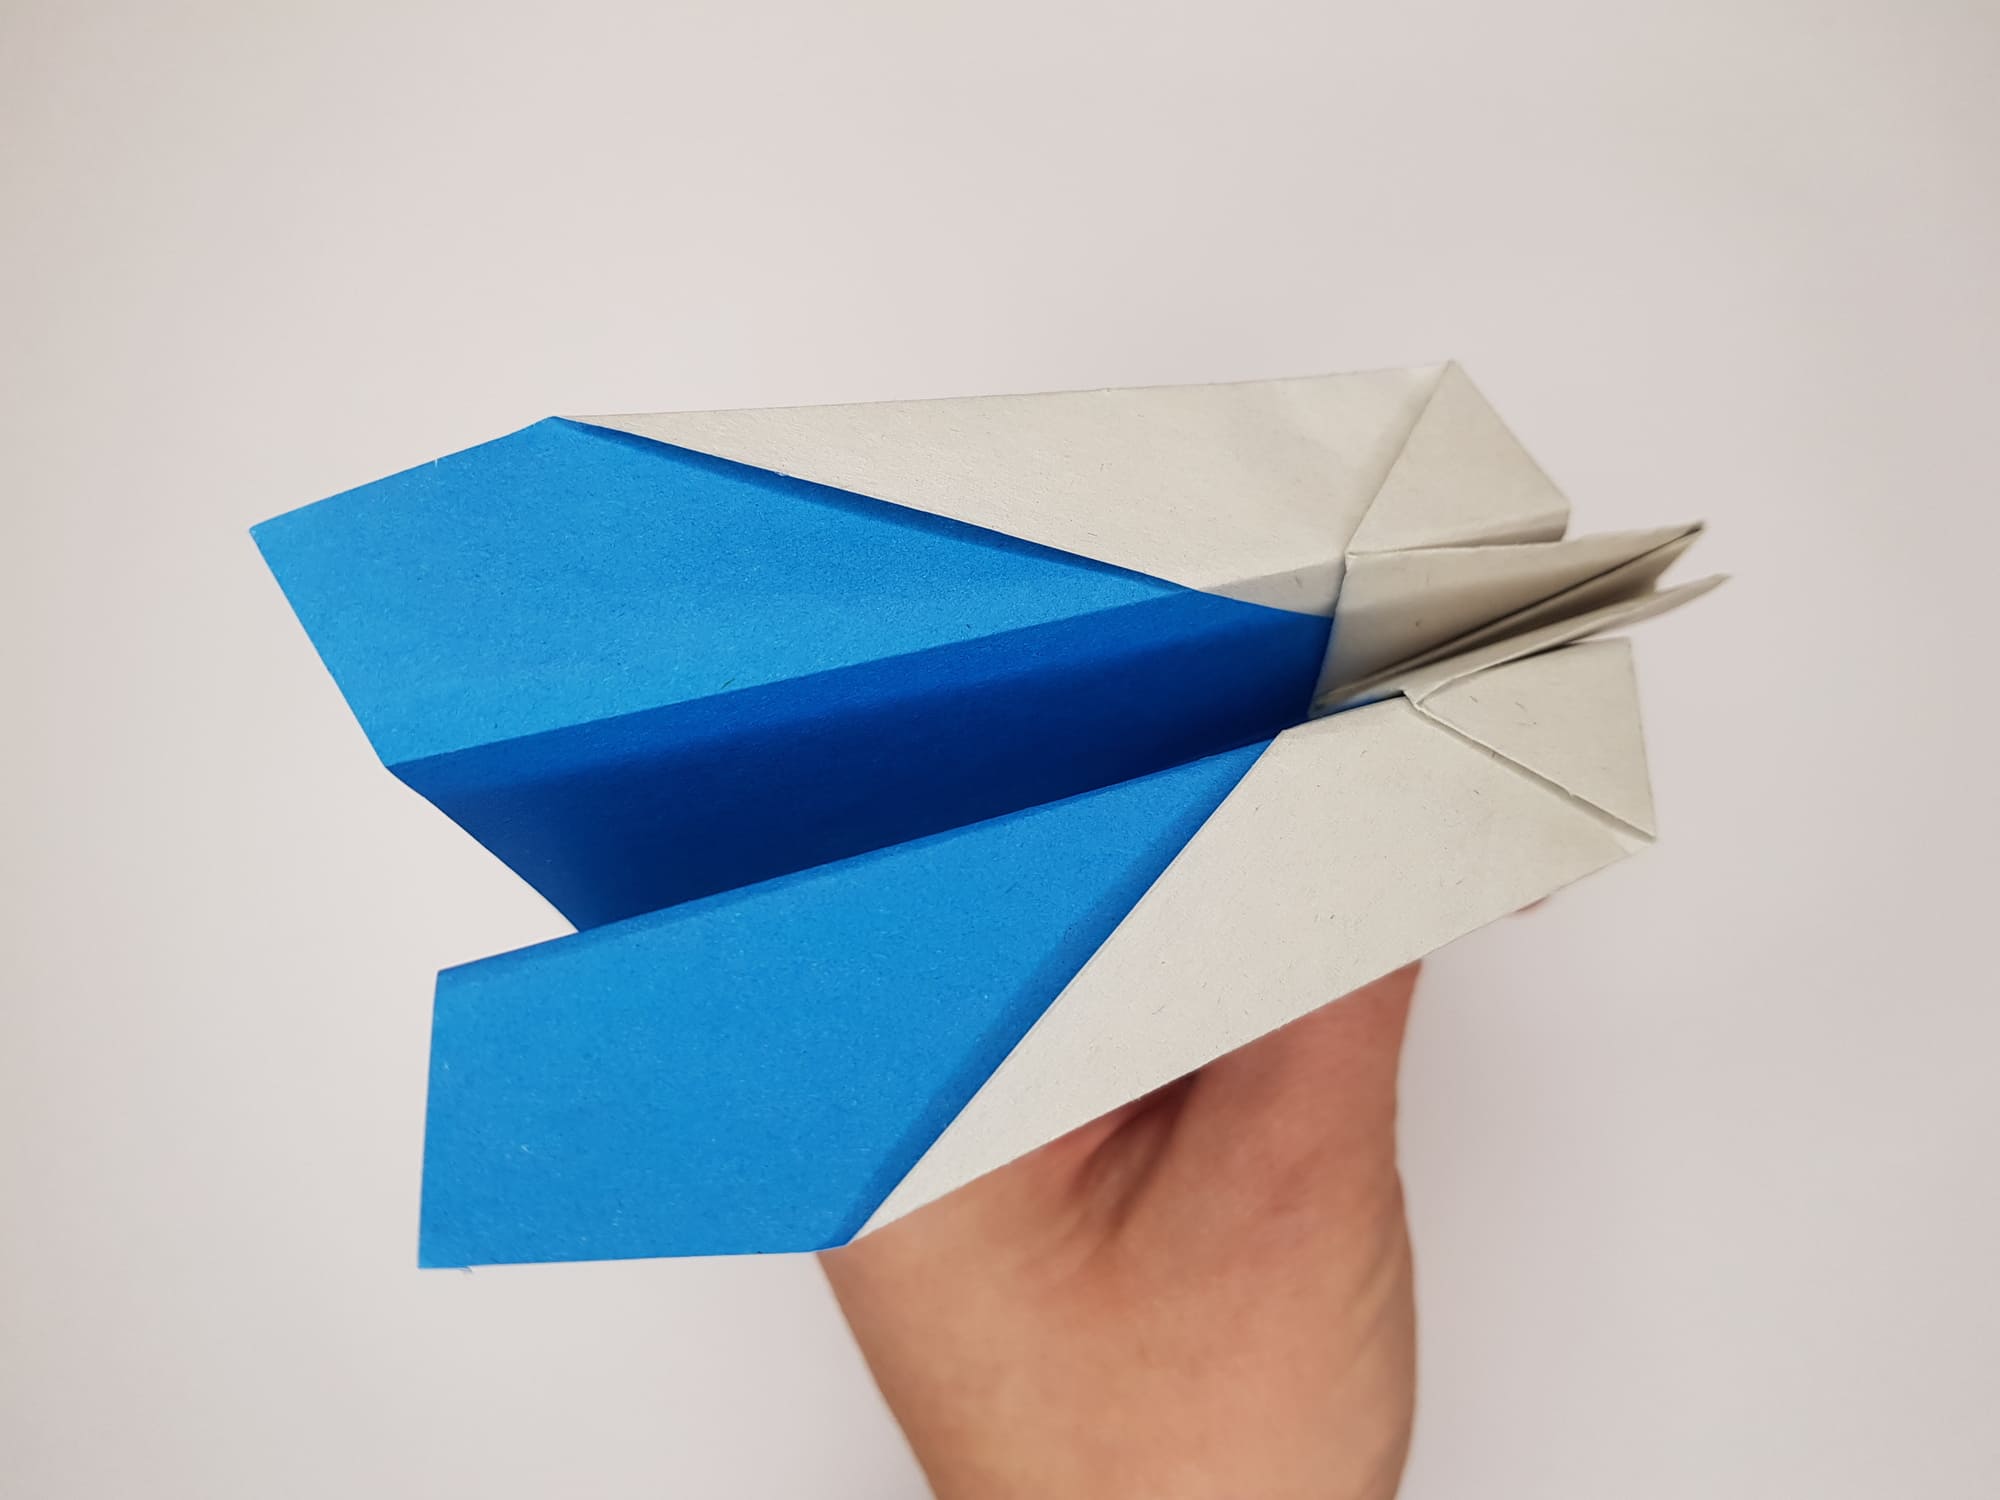
Fold the edge of the top of the figure. This will be your future airplane’s wing.

Do the same on the other side to form the second wing.
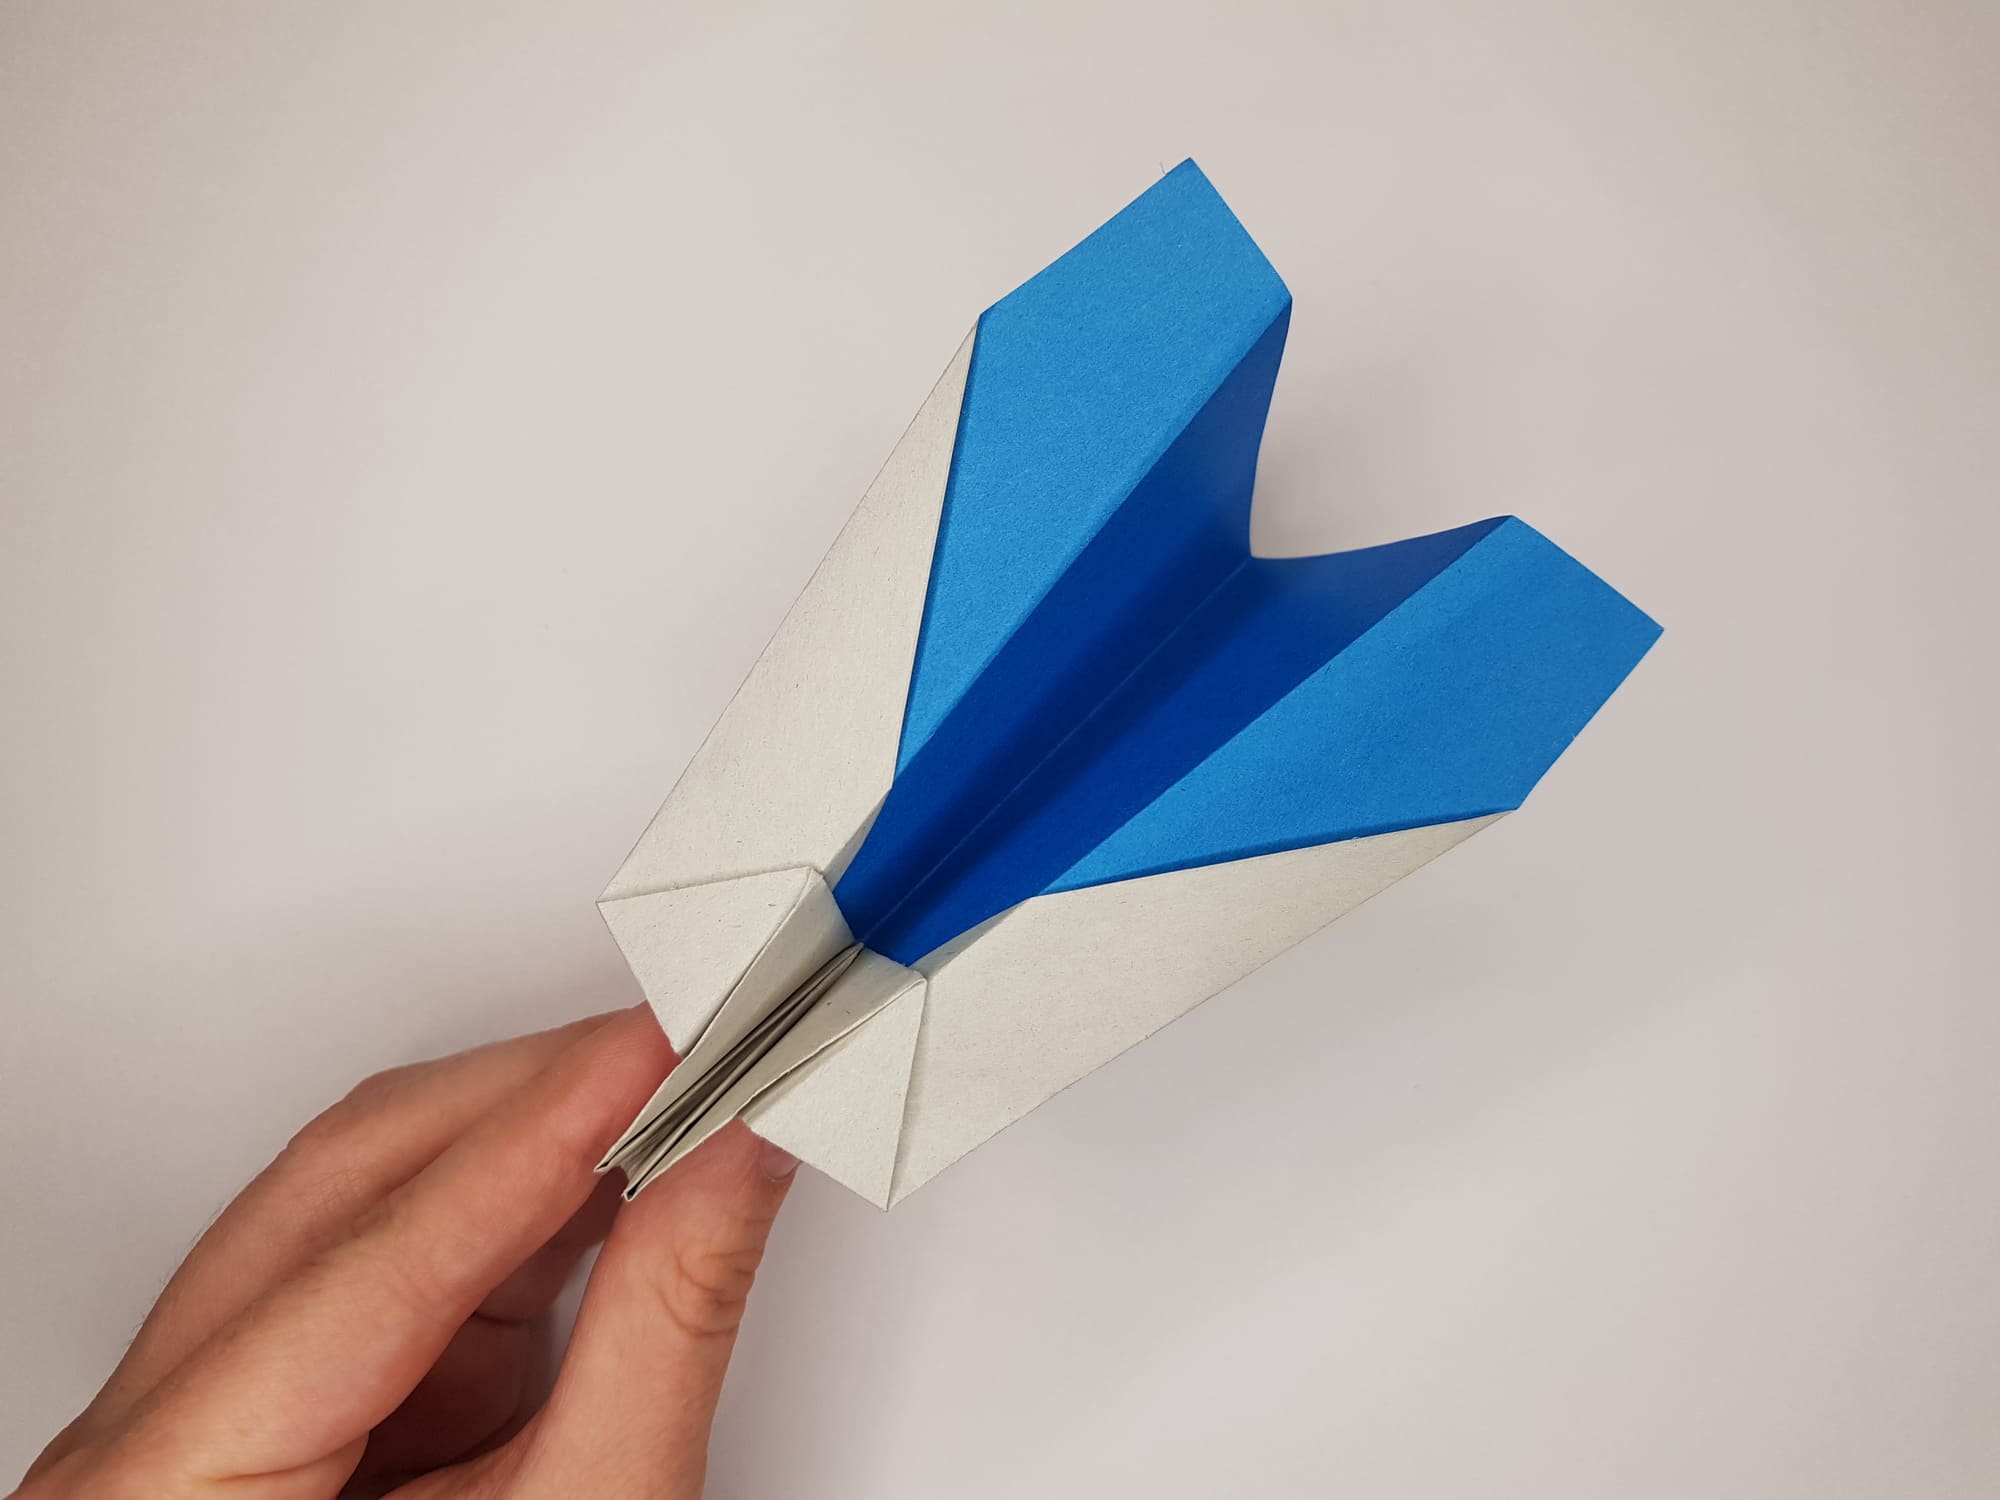
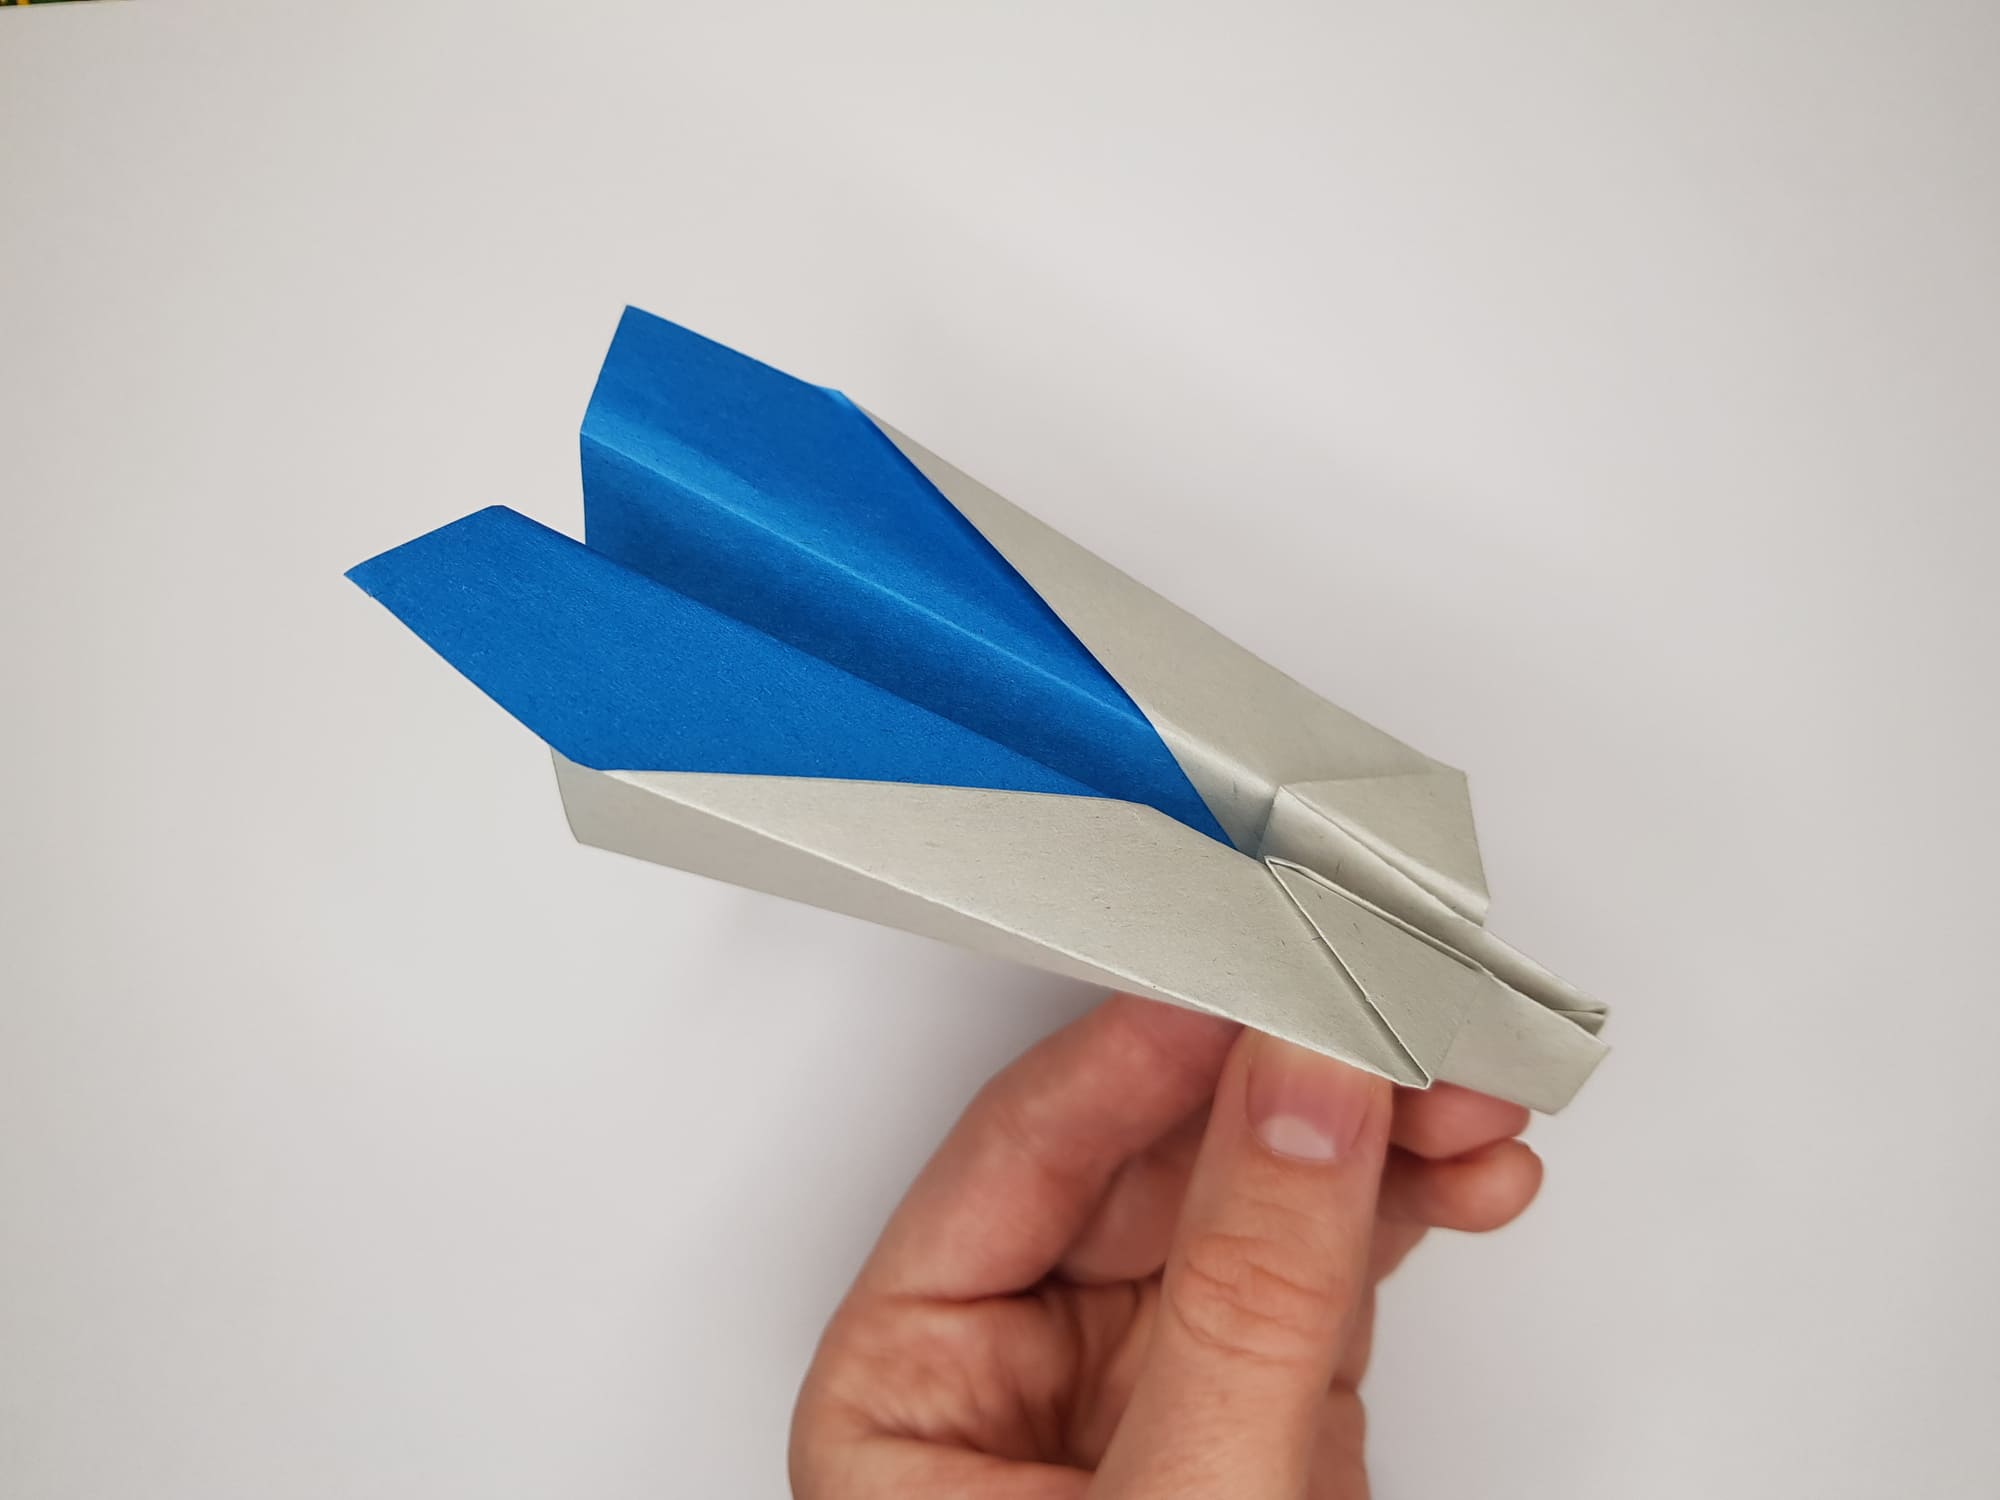
Straighten the final figure.
The airplane is ready for its first flight.
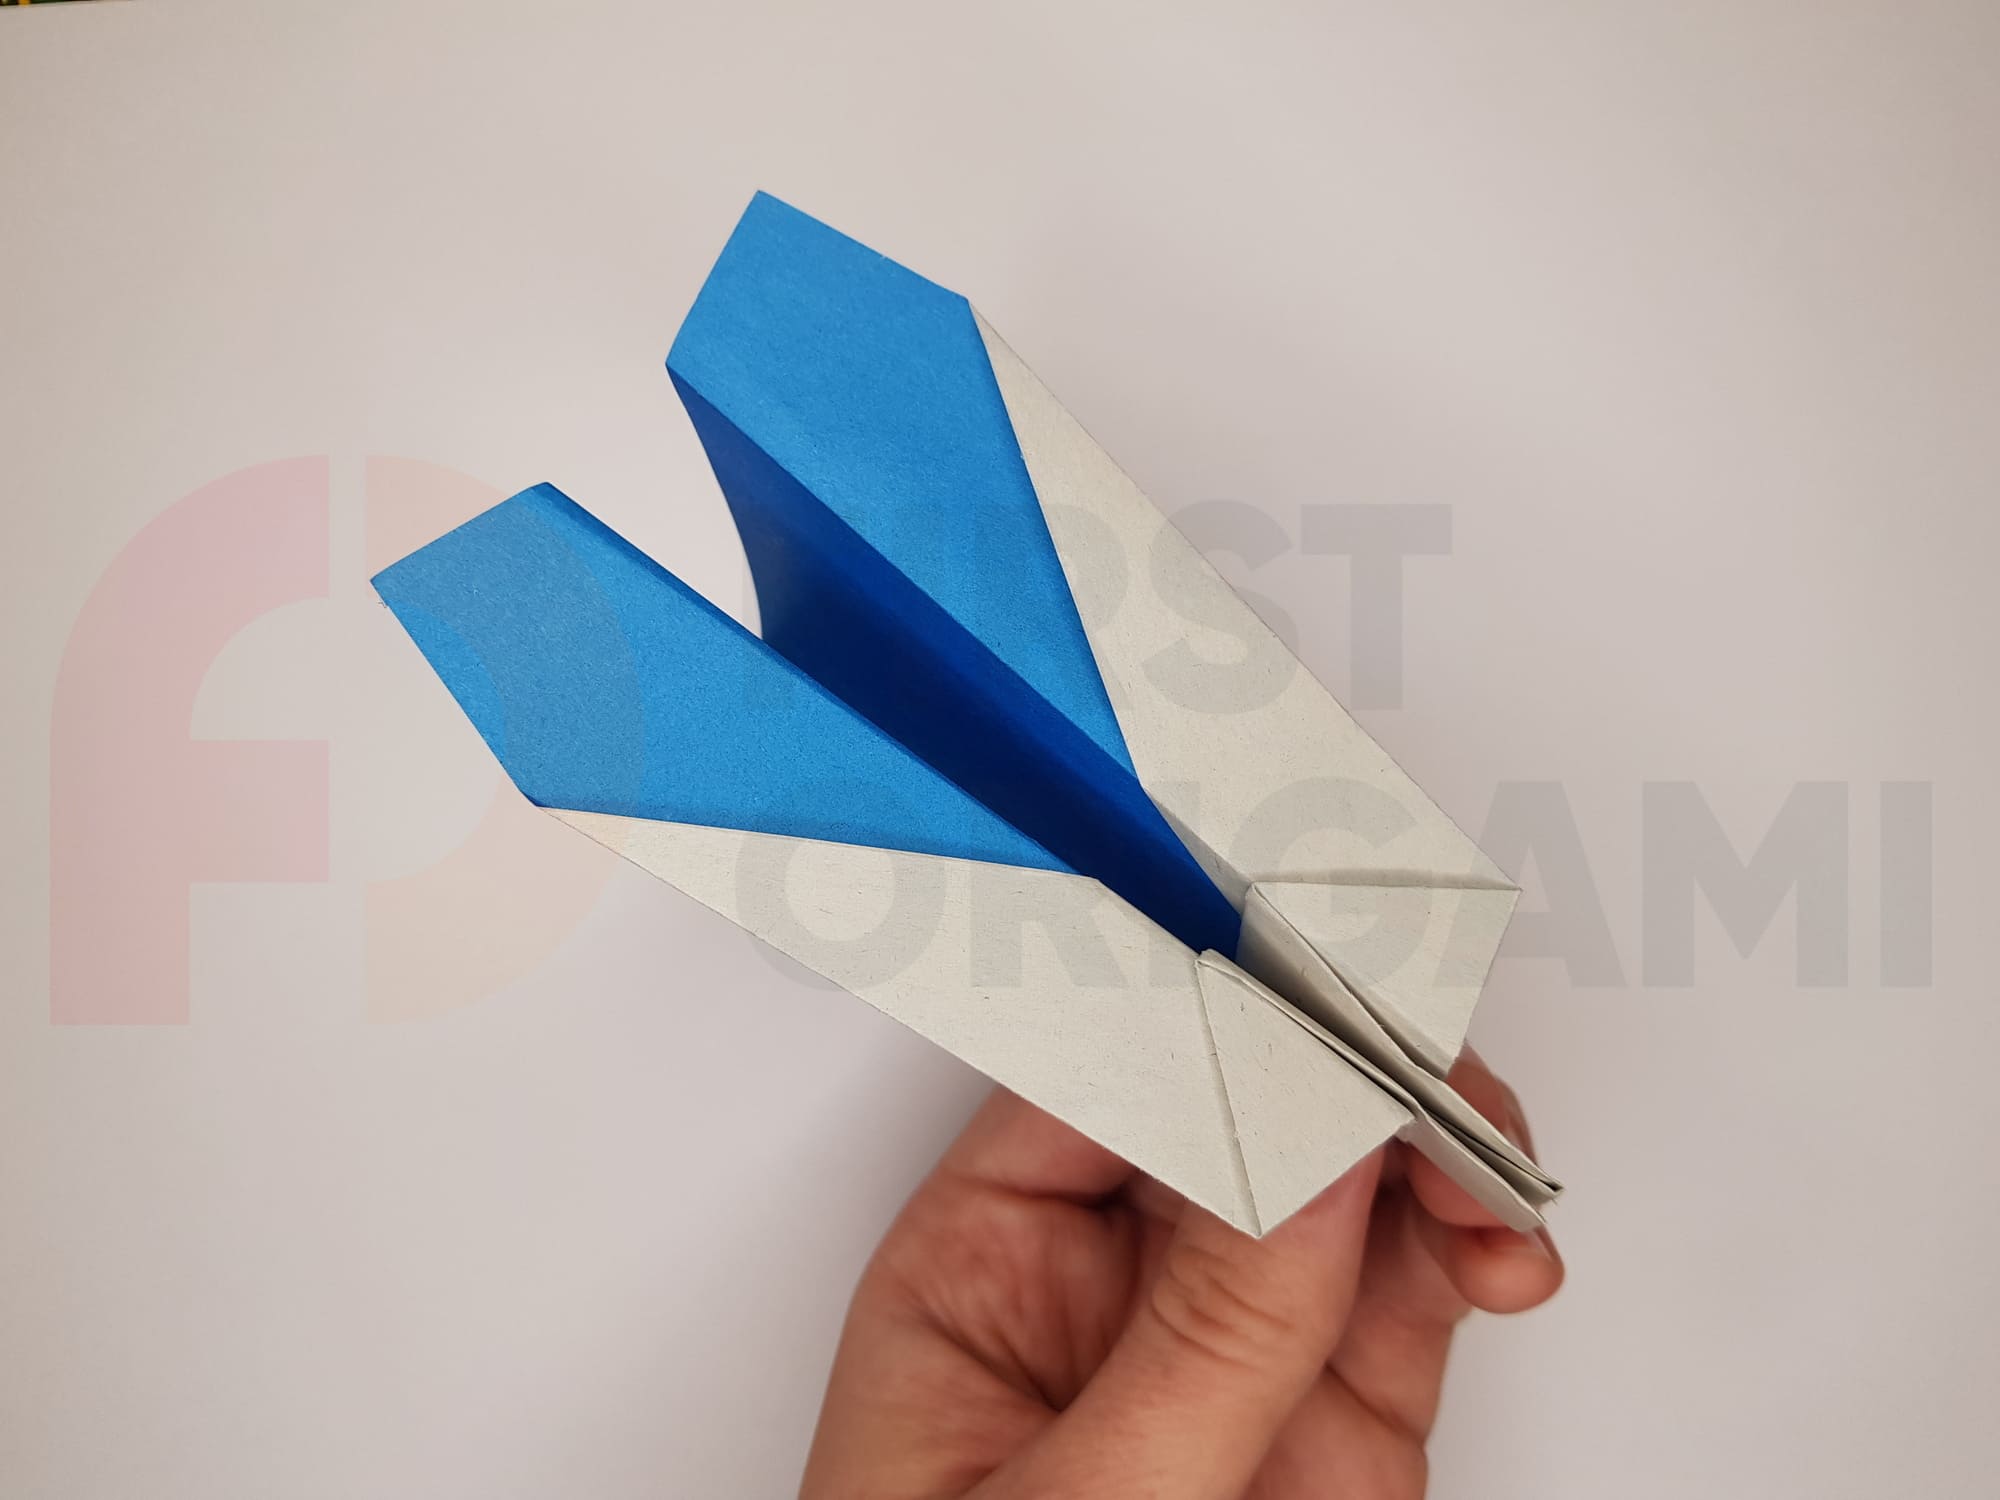
If desired, the model can be improved. For example, in steps 7 and 8, you can make the corner longer or shorter. At the end, secure the fuselage at the front with glue or a stapler. A heavier “nose” will allow the airplane to make more turns during flight, while a lighter one will increase the distance and speed of flight.


