Origami Hexahedron Spinner
Pinwheel, spinning top, buzzer, whirligig, spinner – no matter what you call this simple toy, as soon as you place the tops of the figure between your fingers and blow harder on the edge, it will begin to spin rapidly. To start rotation, you need a strong airflow, and to maintain it, a small but strictly directed breeze.
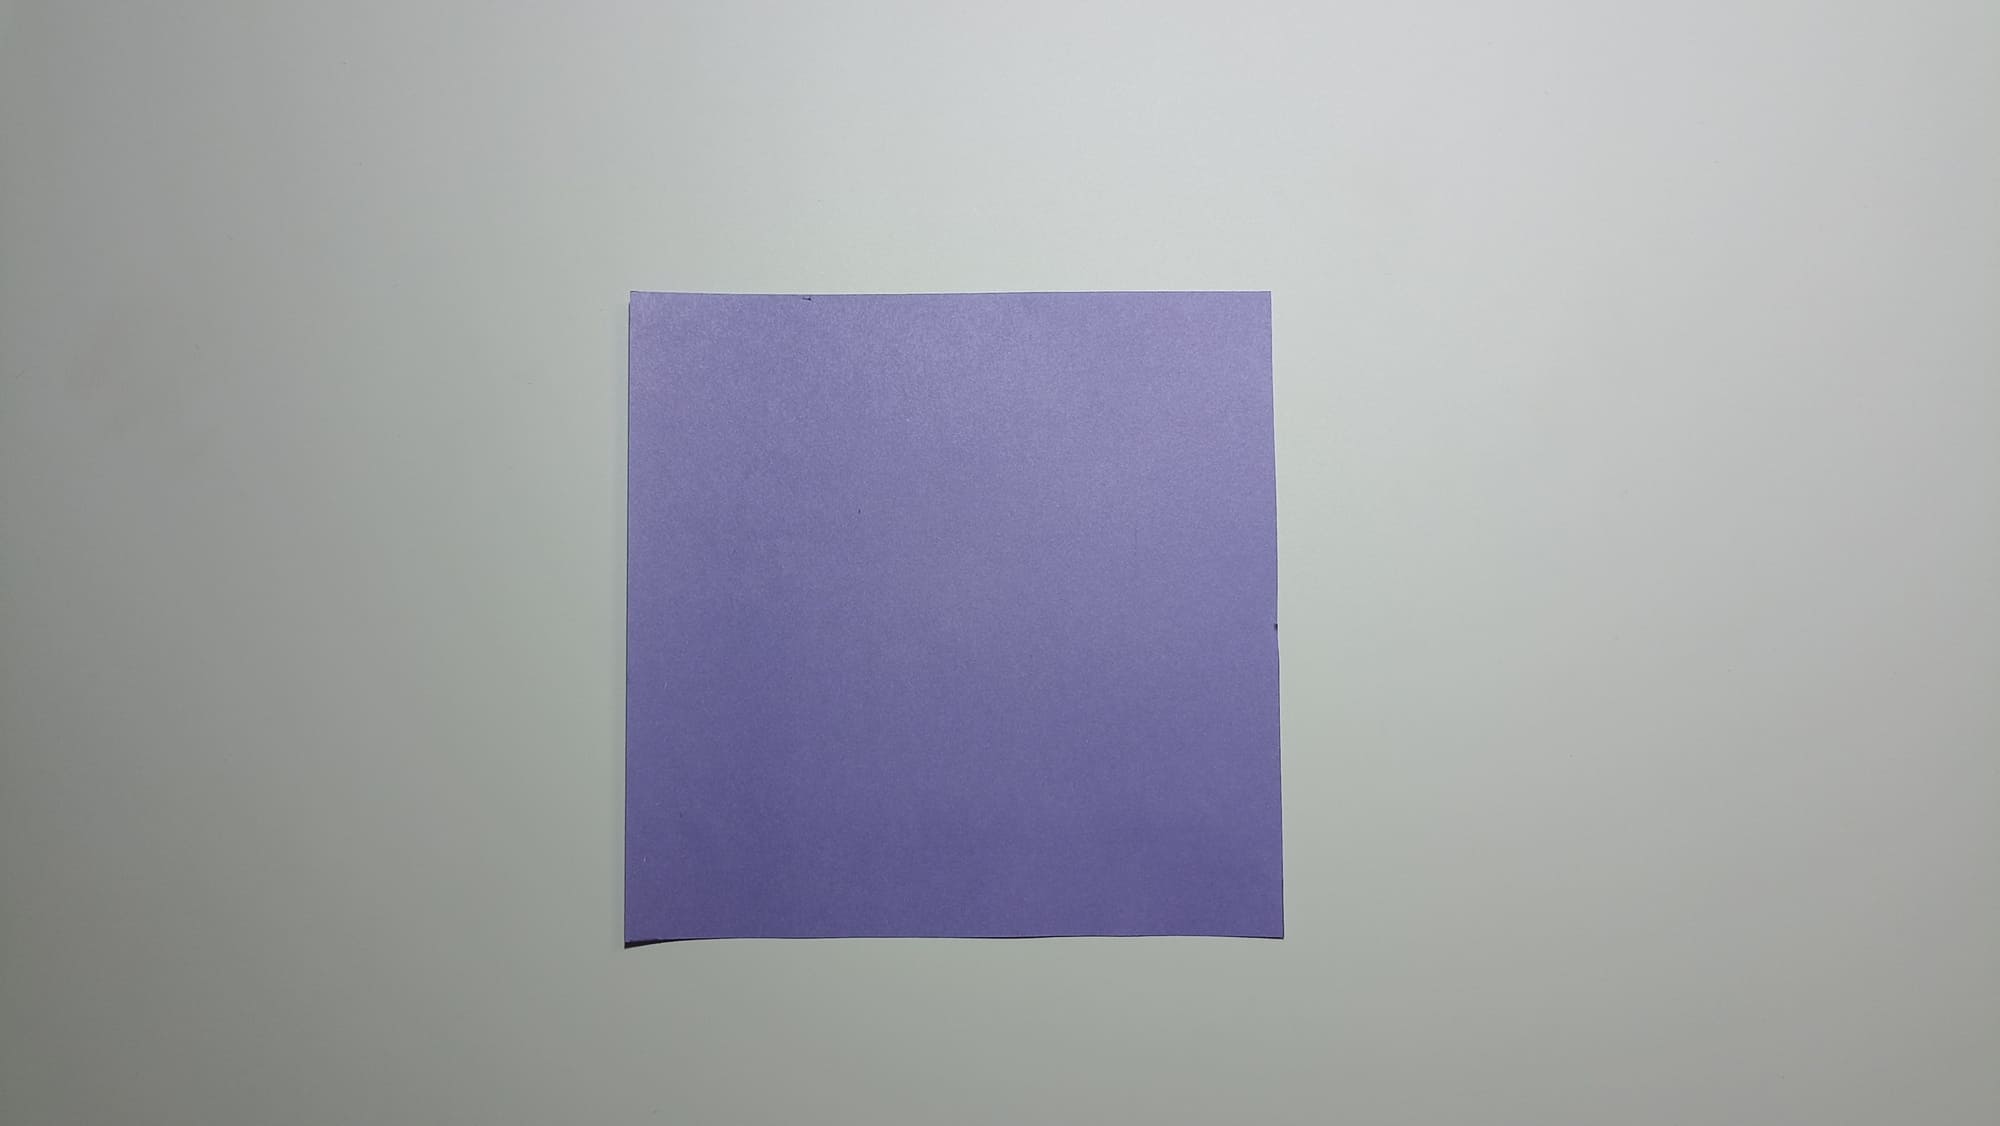
To make an accurate figure, called a double-sided tetrahedron or bipyramid in geometry, you do not need to draw a drawing, cut, and glue – just apply basic origami skills and follow the instructions provided. The only small condition for the pinwheel to fit in your hand and spin freely between your fingers without touching the edges of your palm is to take a square with a side of less than 15 centimeters. The smaller the palm, the smaller the square.
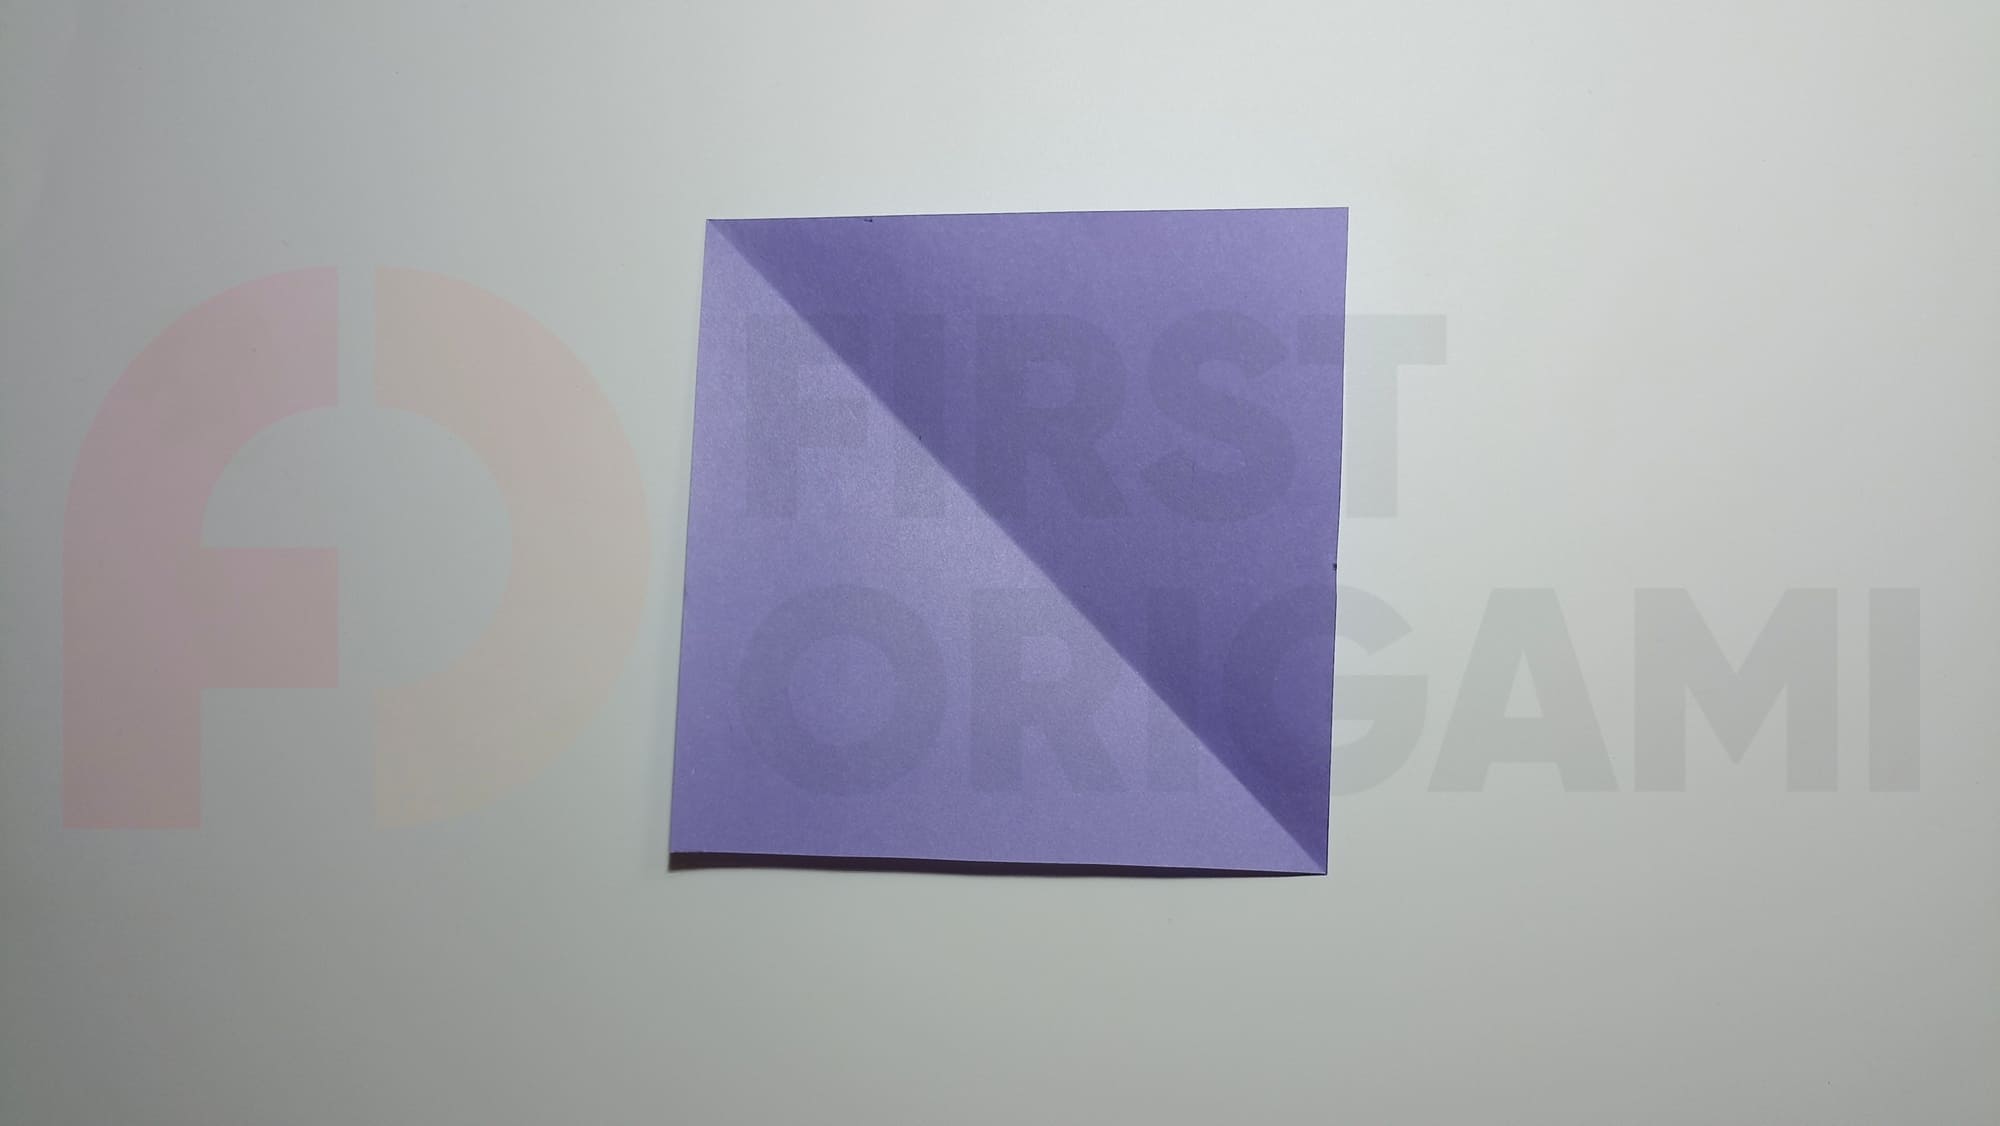
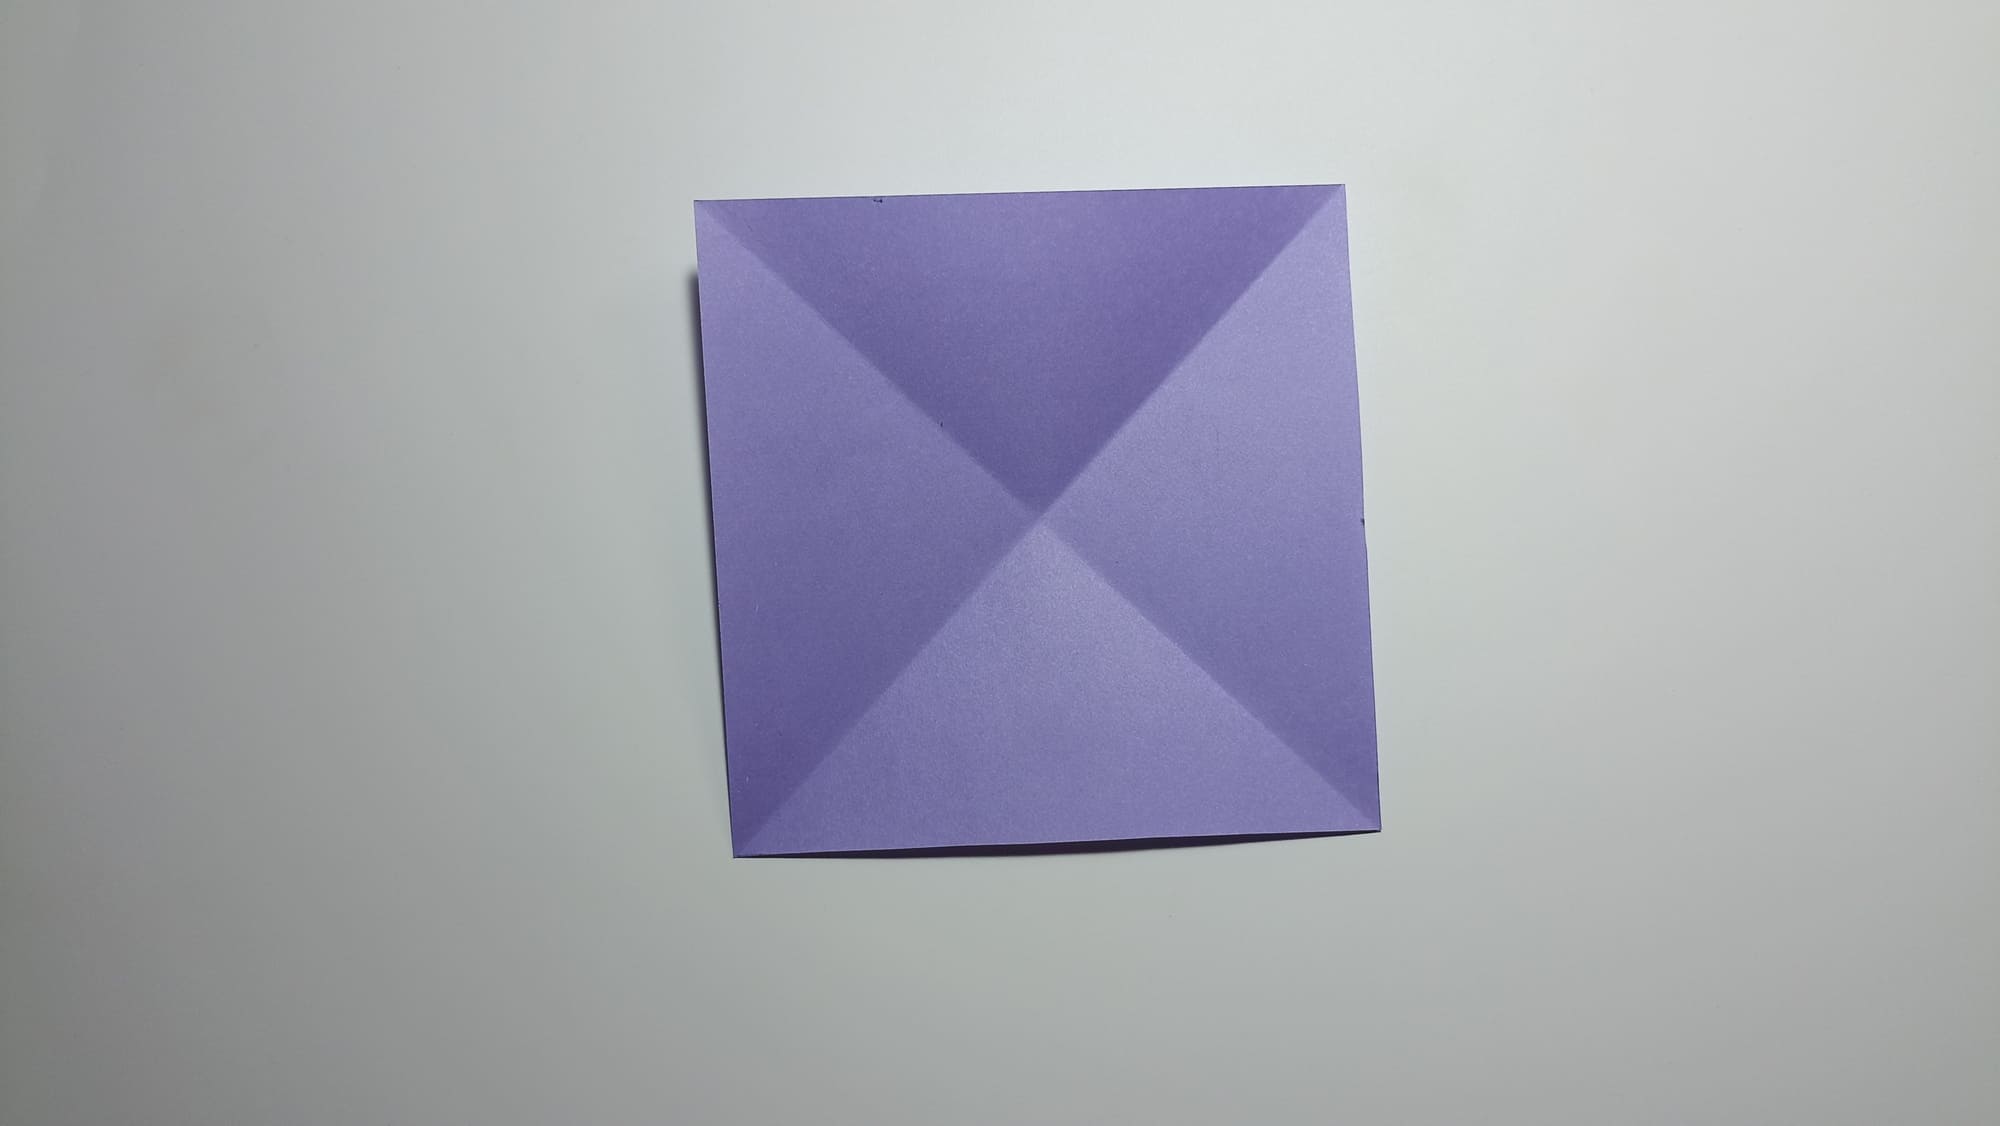
Fold the square along two diagonals, alternately aligning opposite corners, and open it.
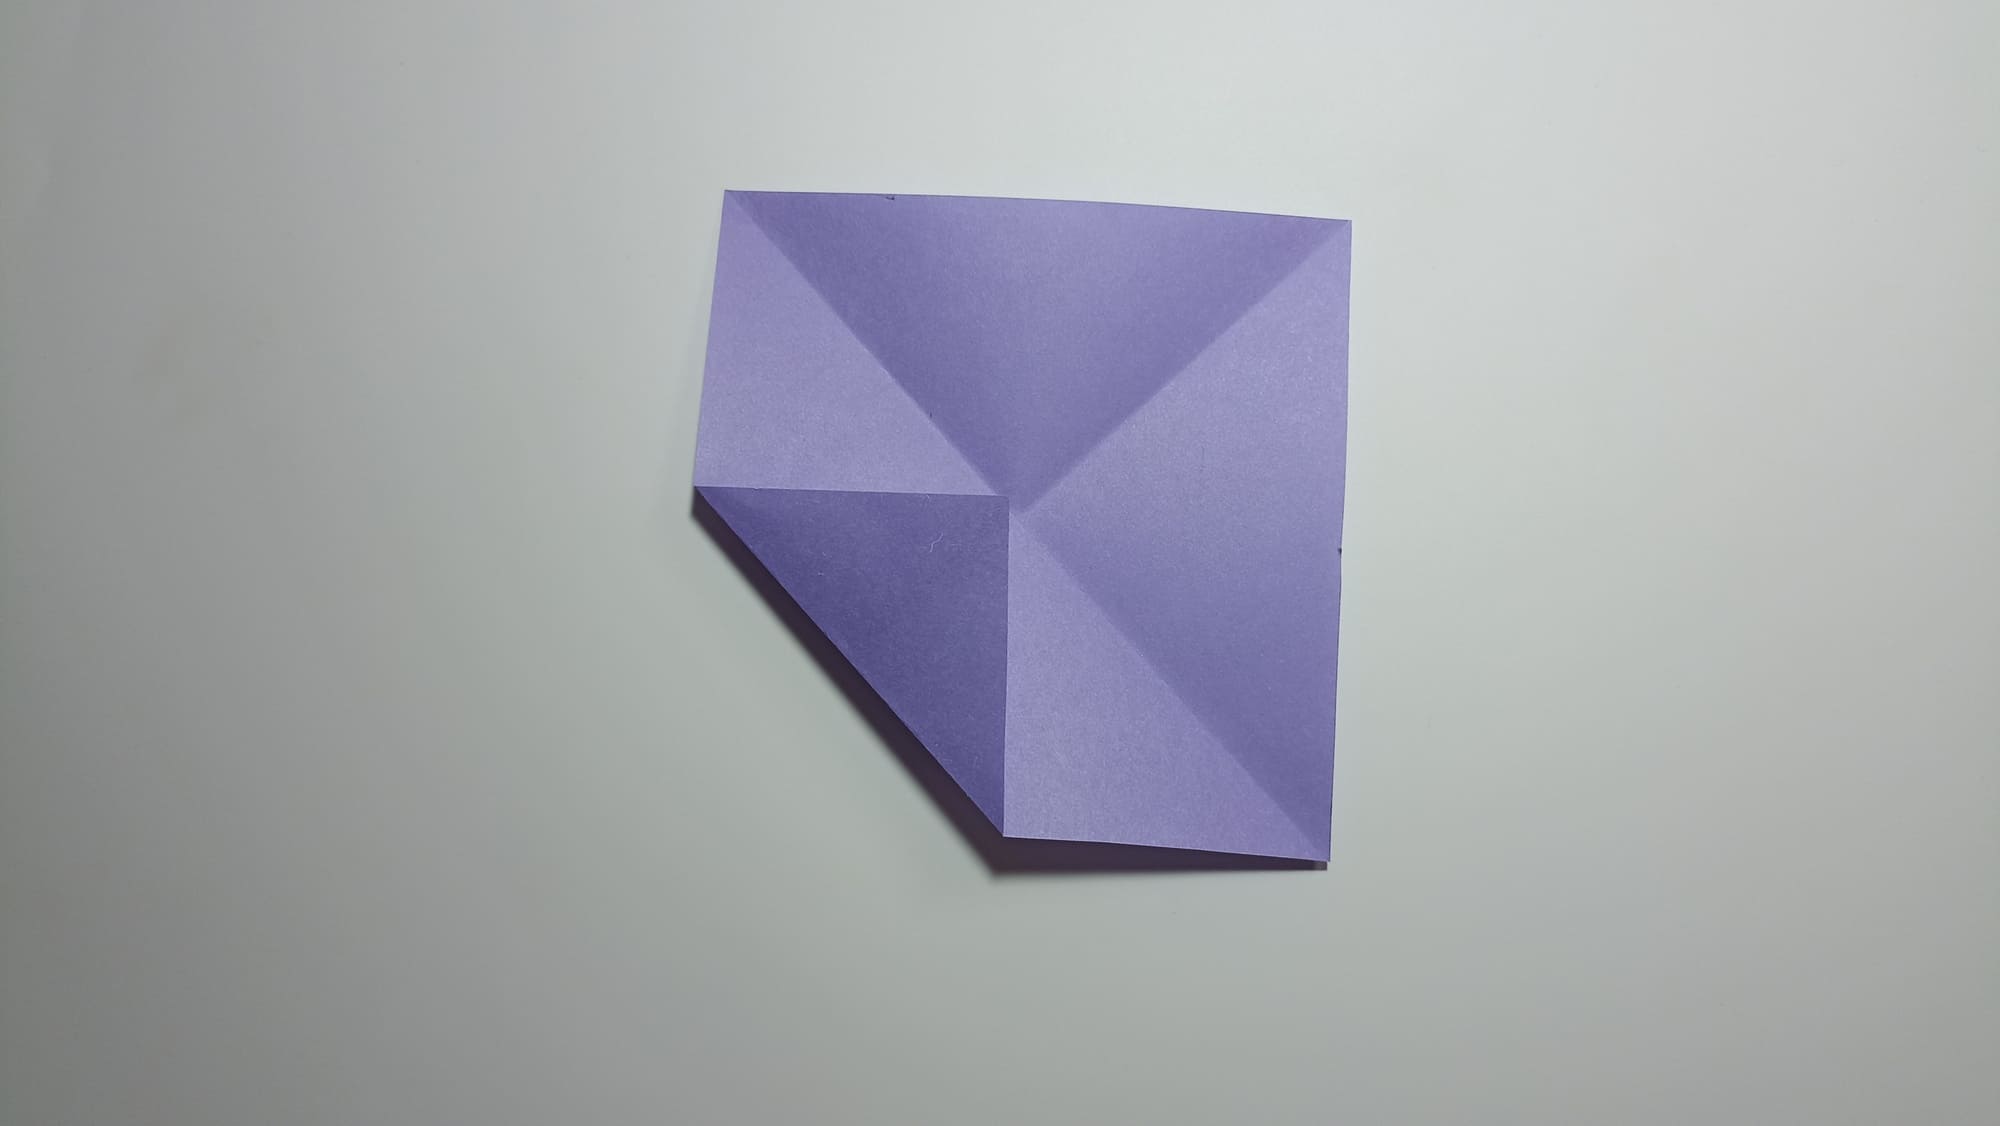
Raise the bottom corner of the square to the point of intersection of the diagonals. Crease the fold.
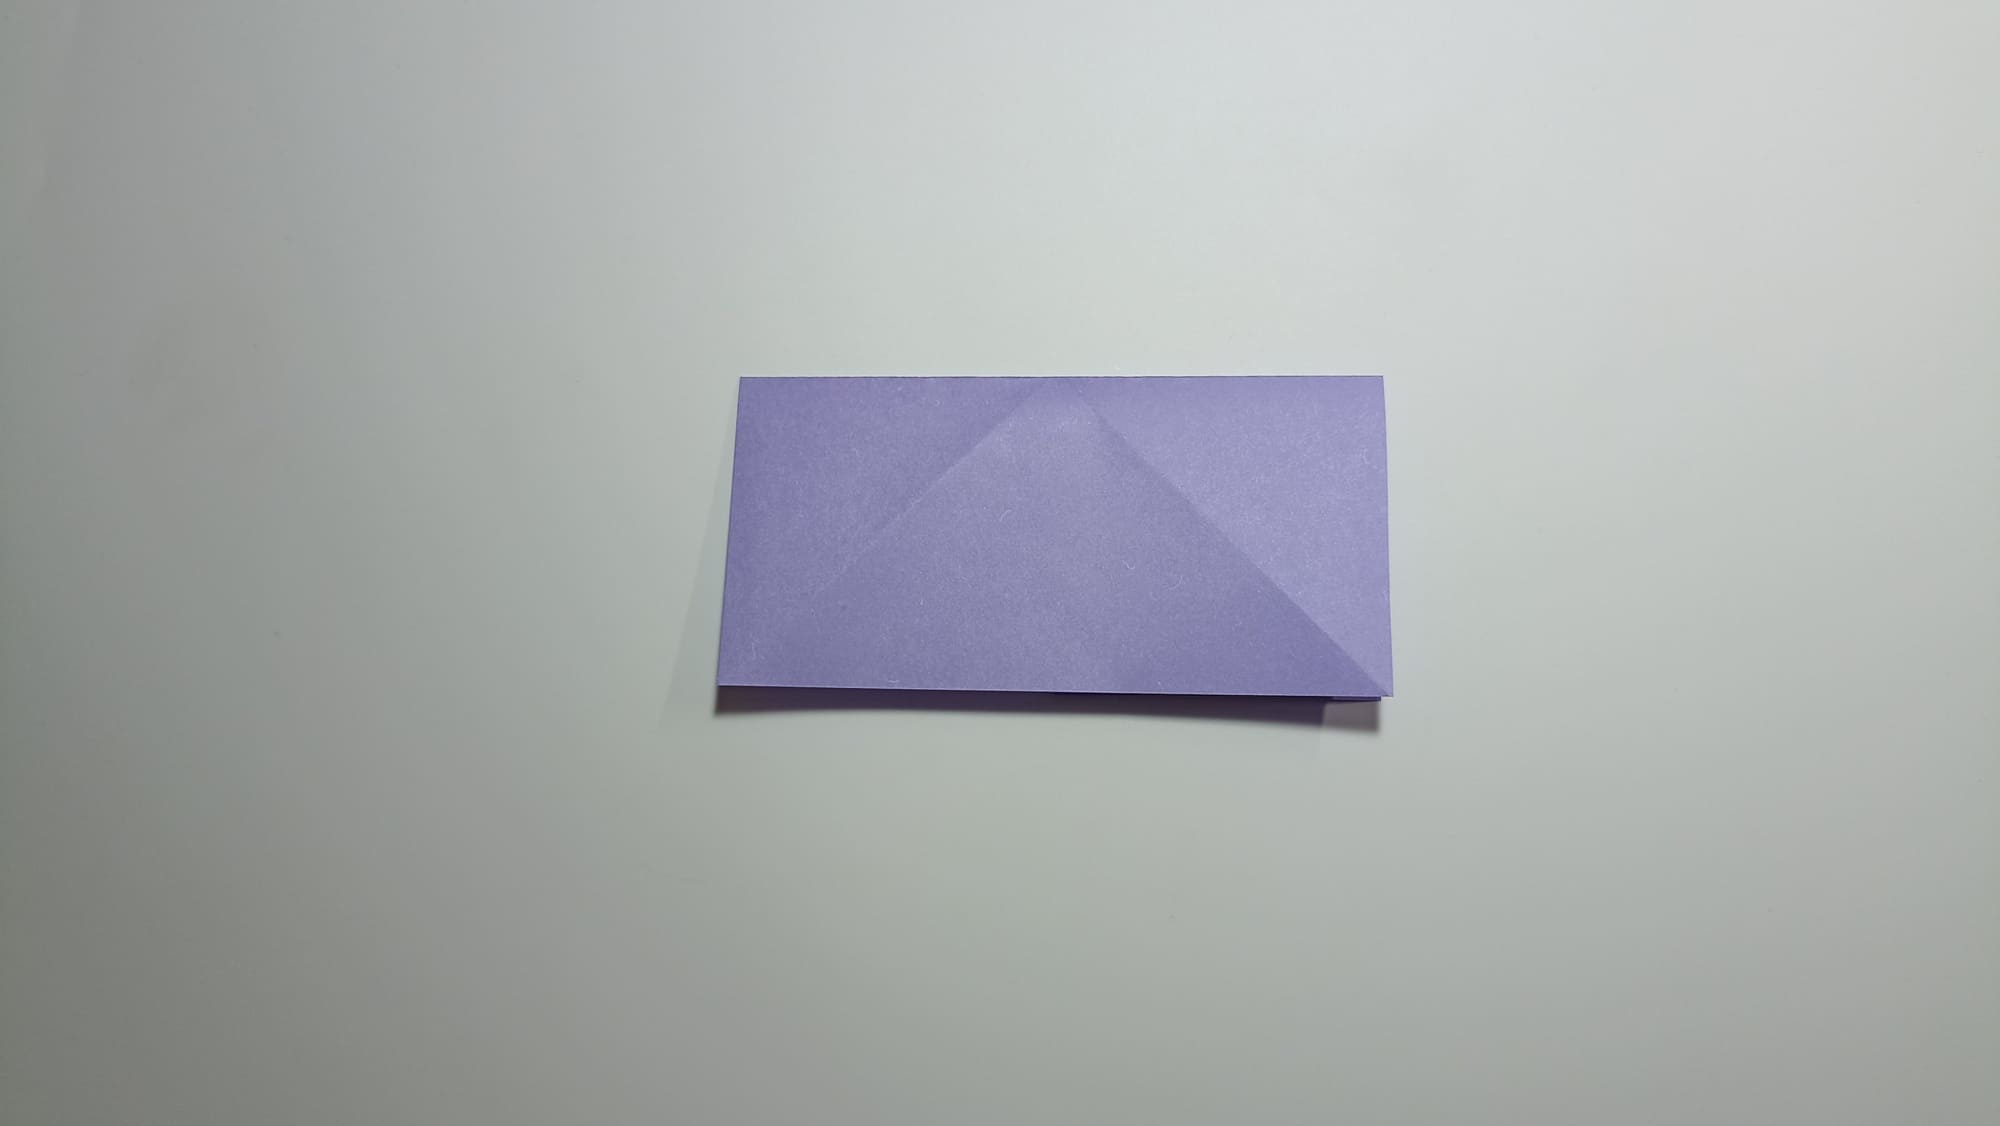
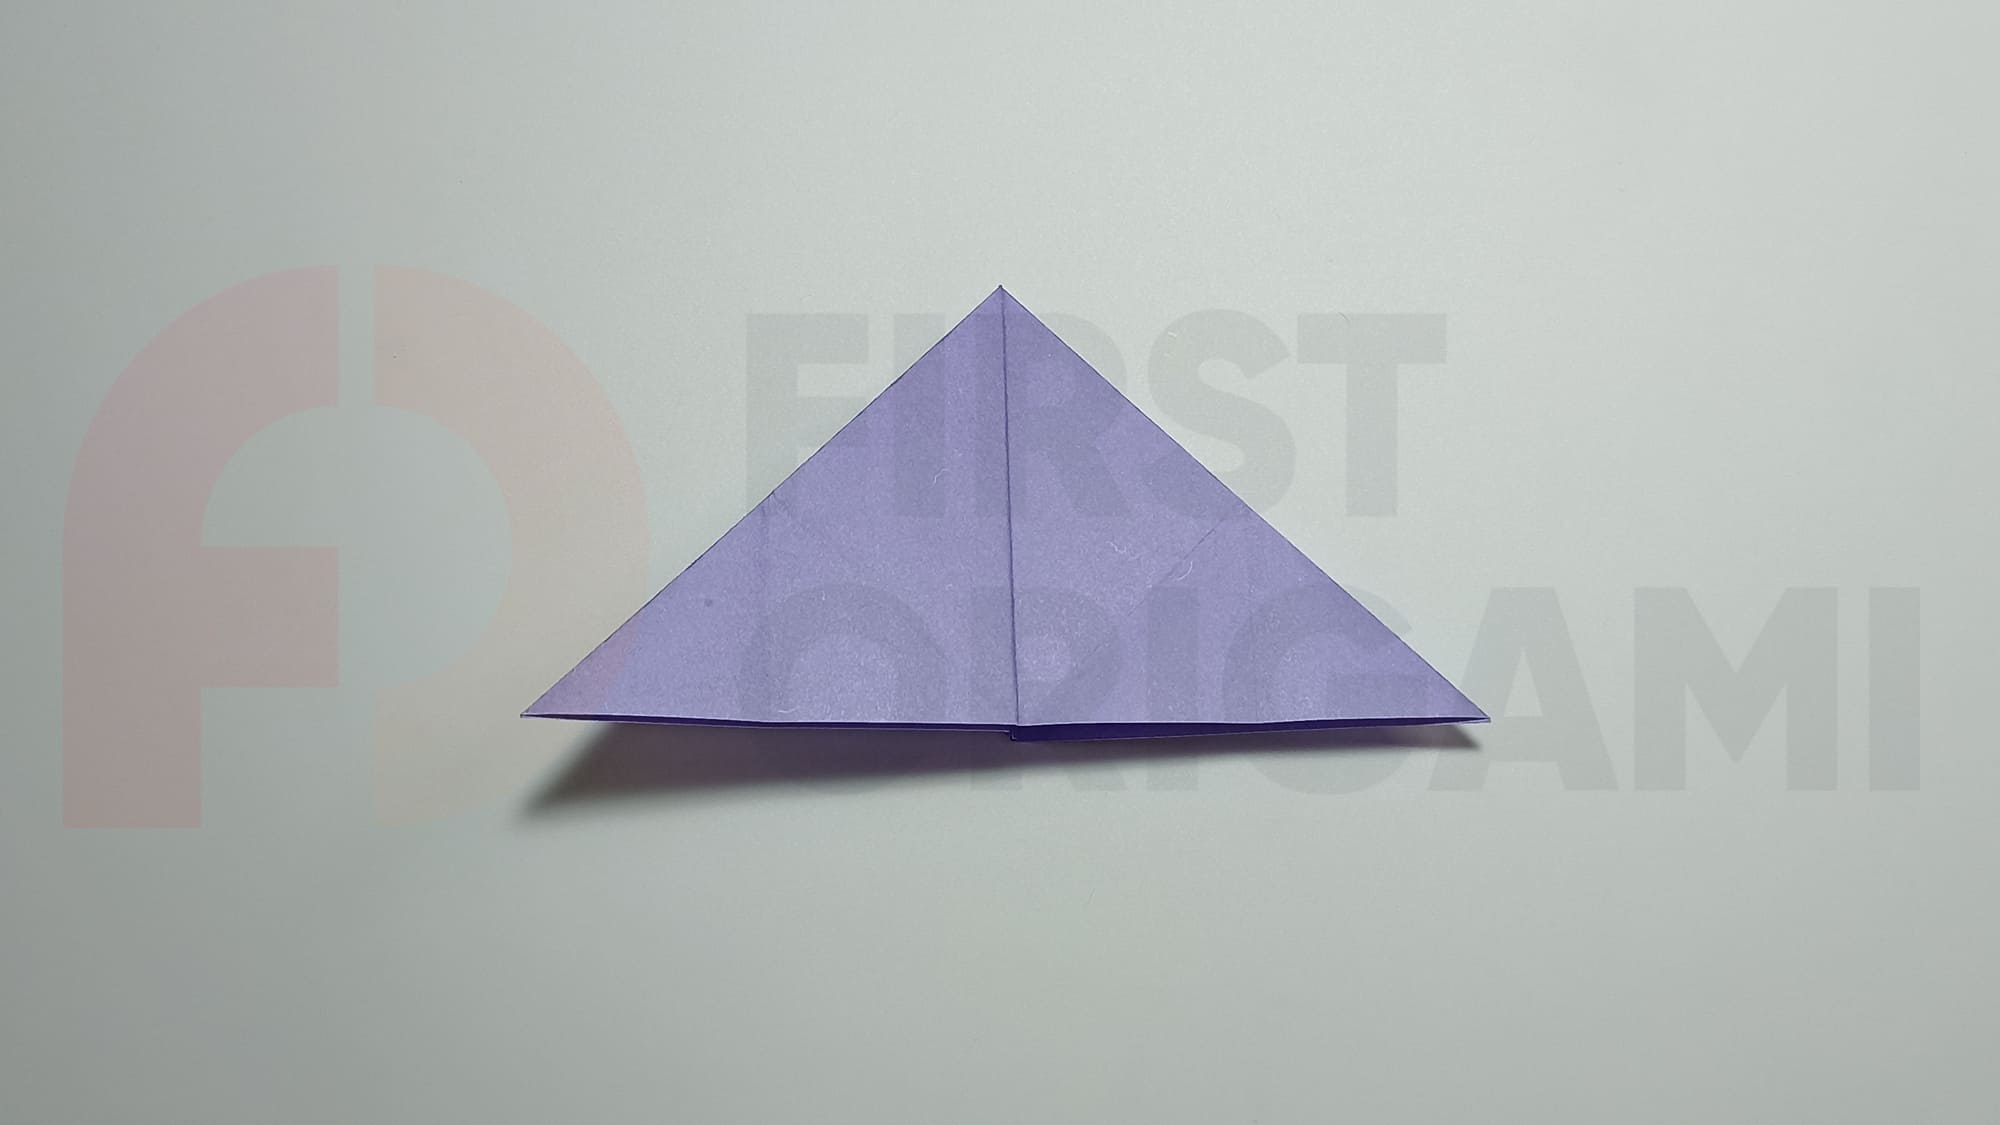
Fold the square in half in the middle, matching the top and bottom edges.
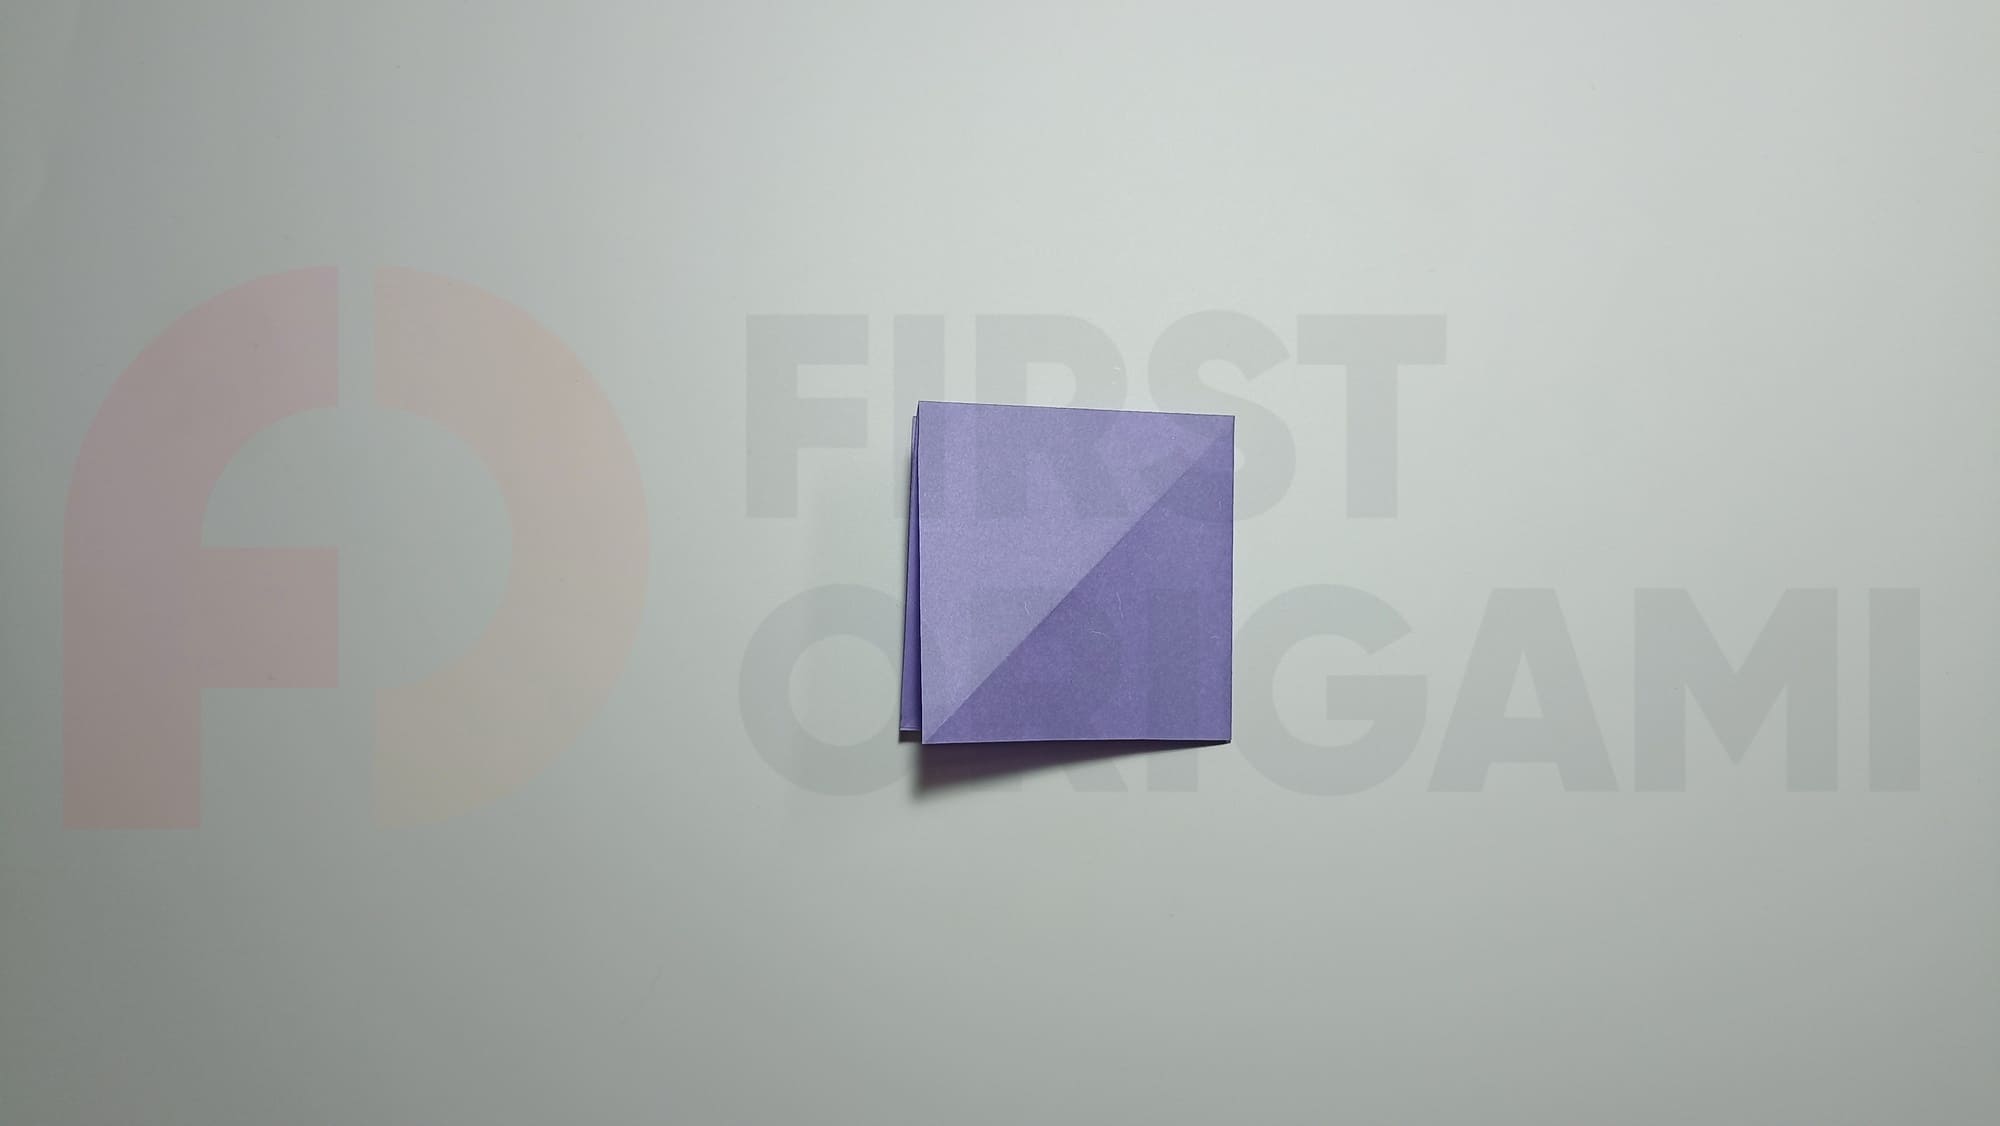
Fold the shape in half again, from right to left, aligning the sides of the figure.
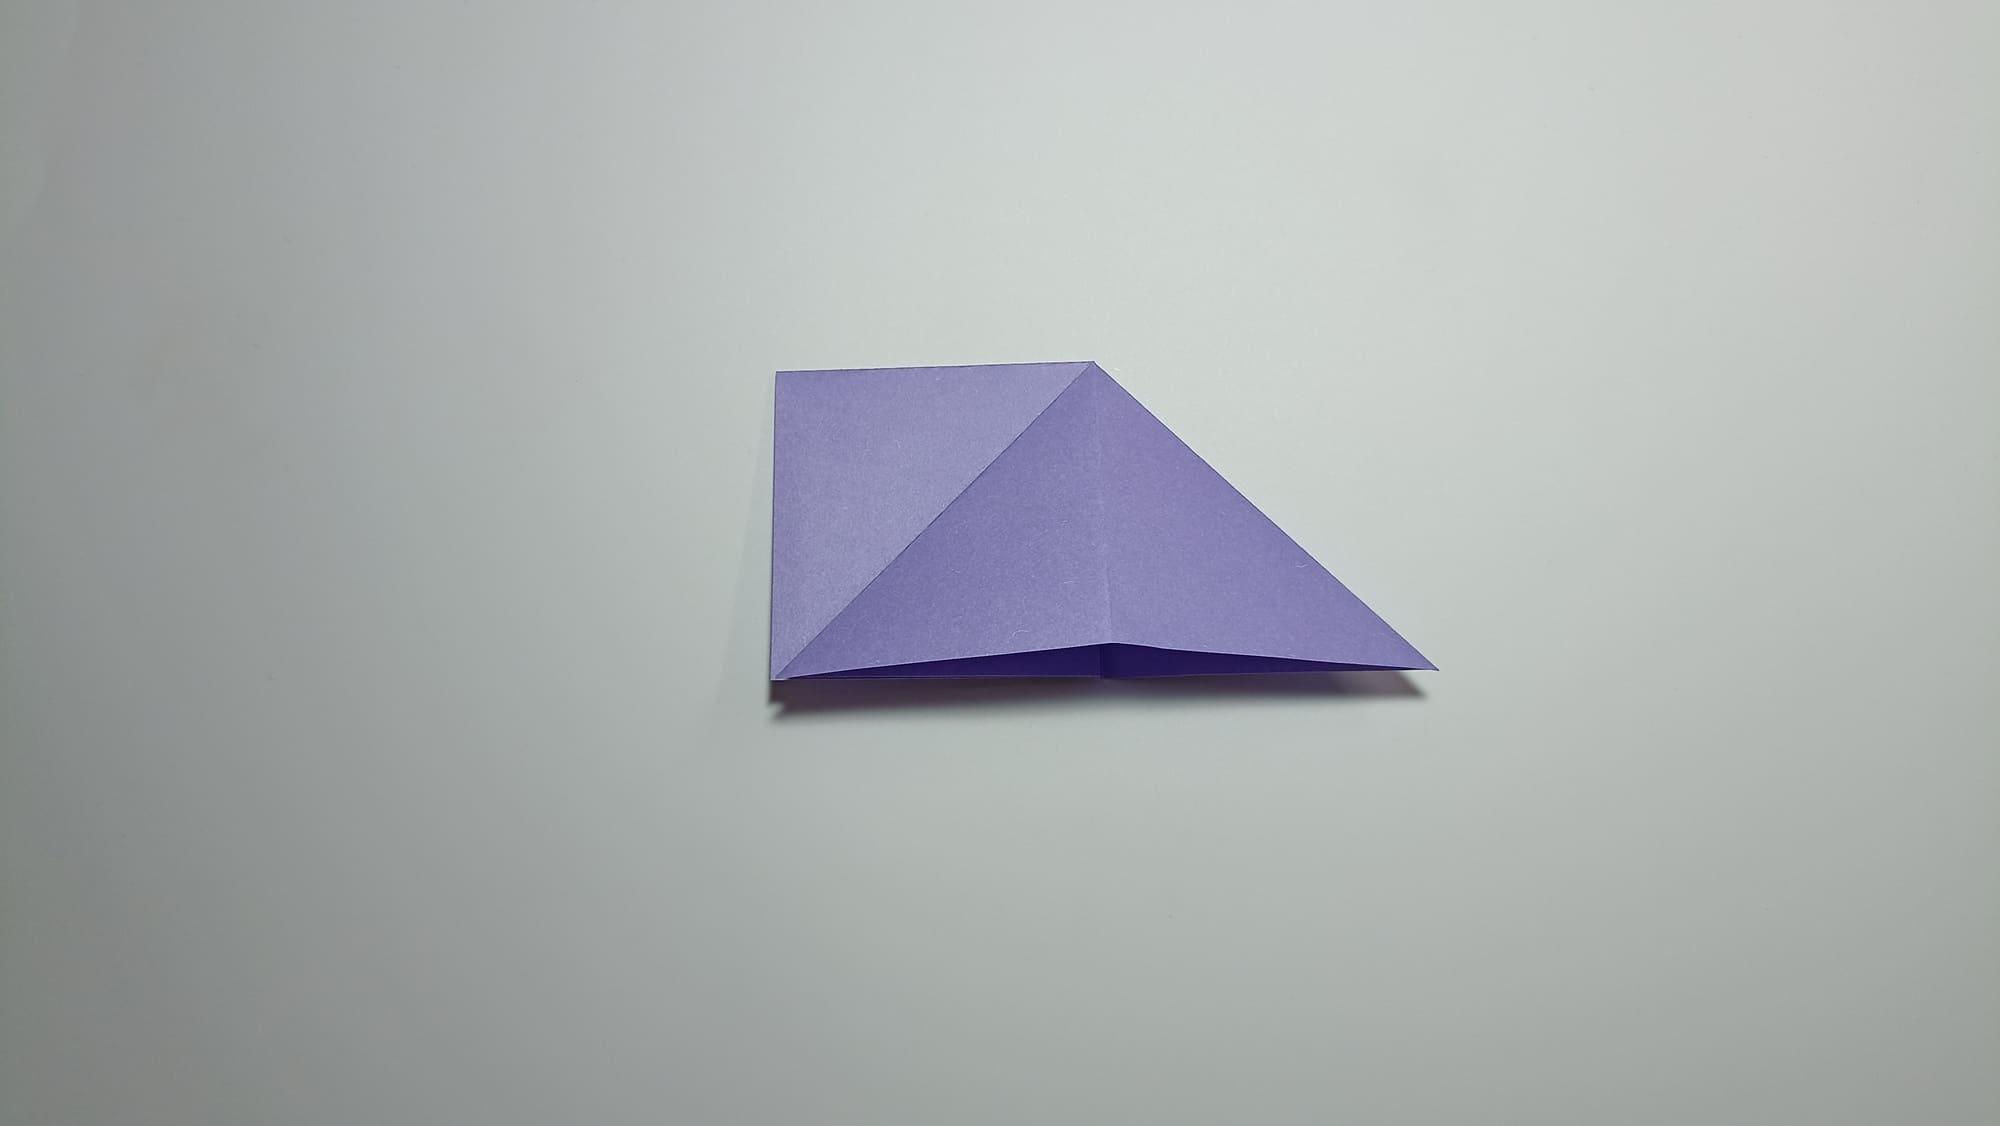
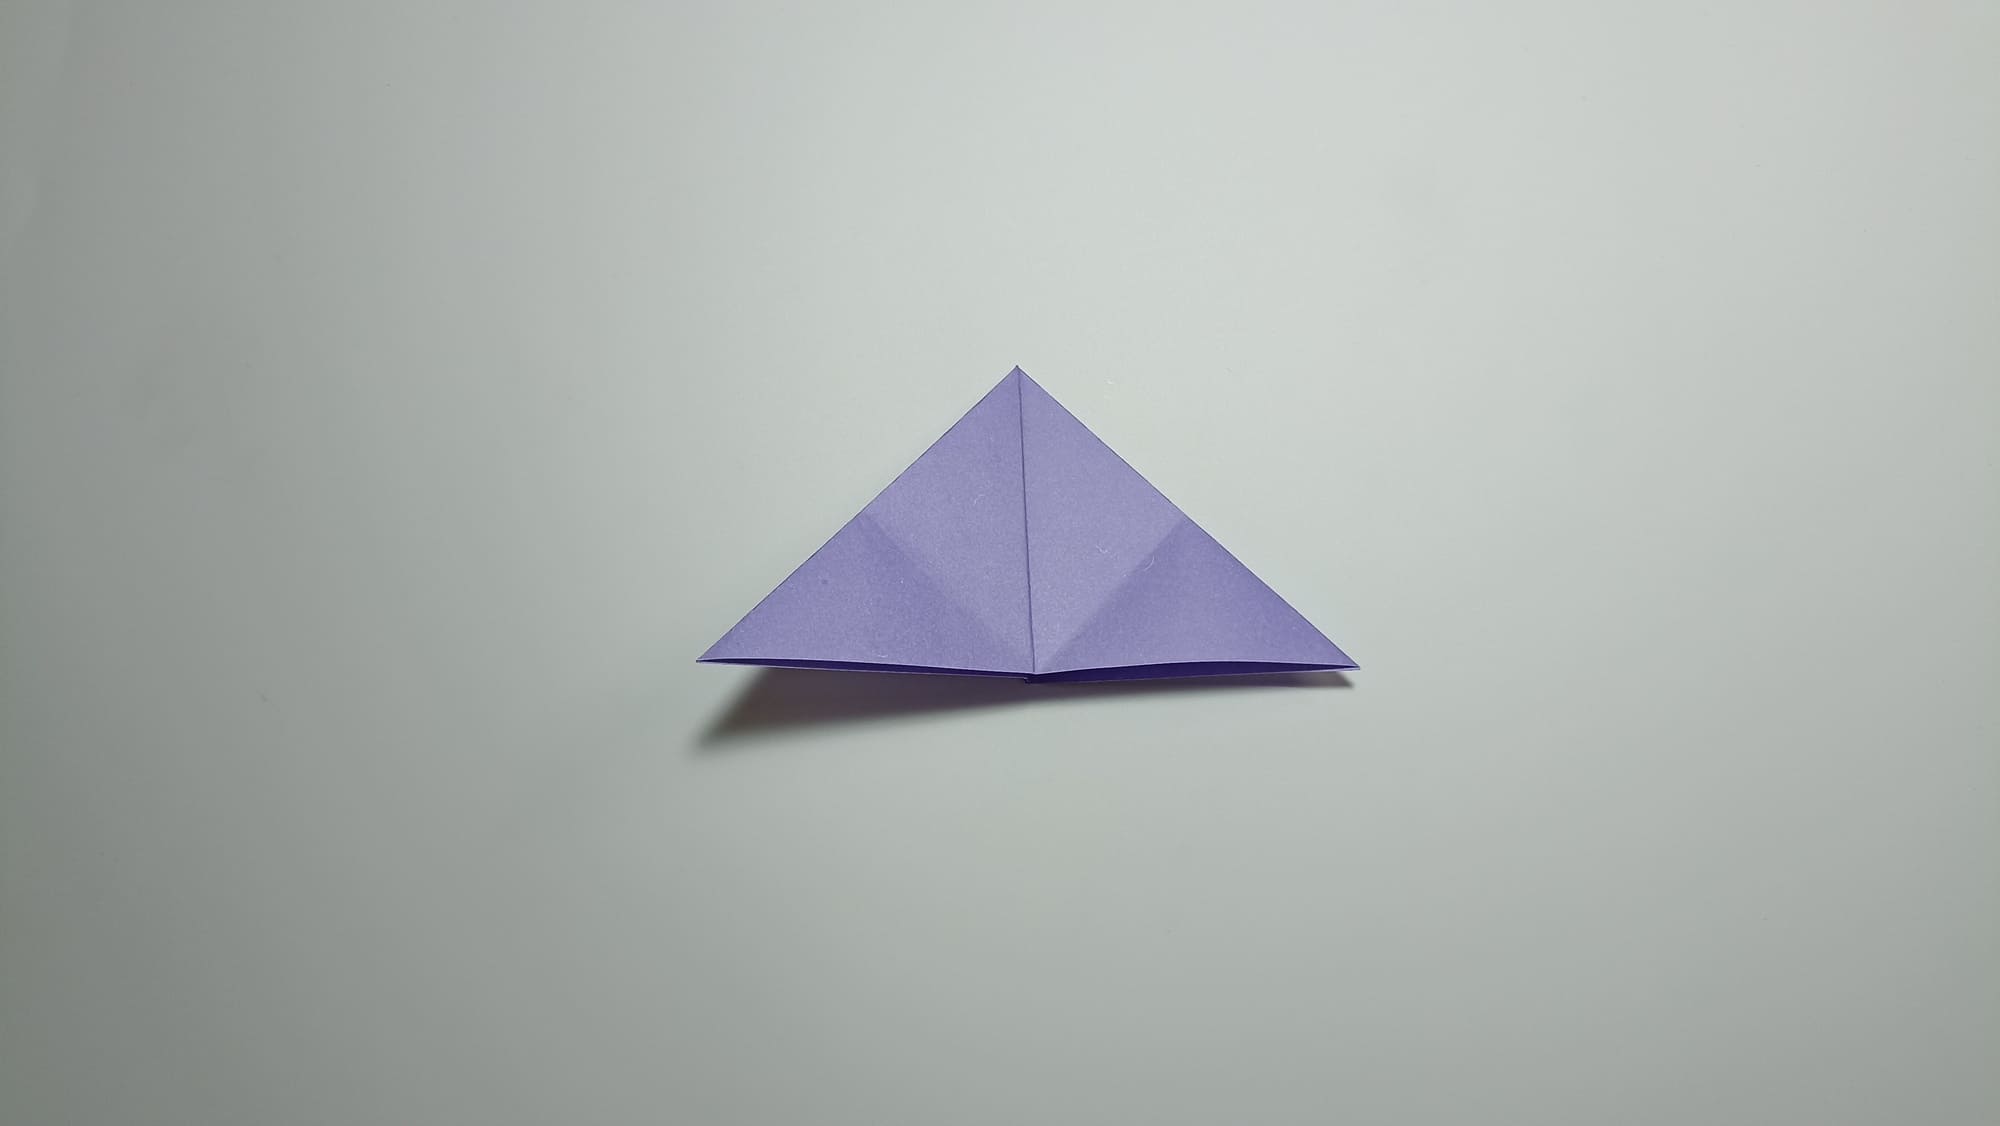
Pull the free corner of the upper folds to the right to form a triangle.
Crease the folds of the top layer of folds, bending it to the right and left, and return it back.
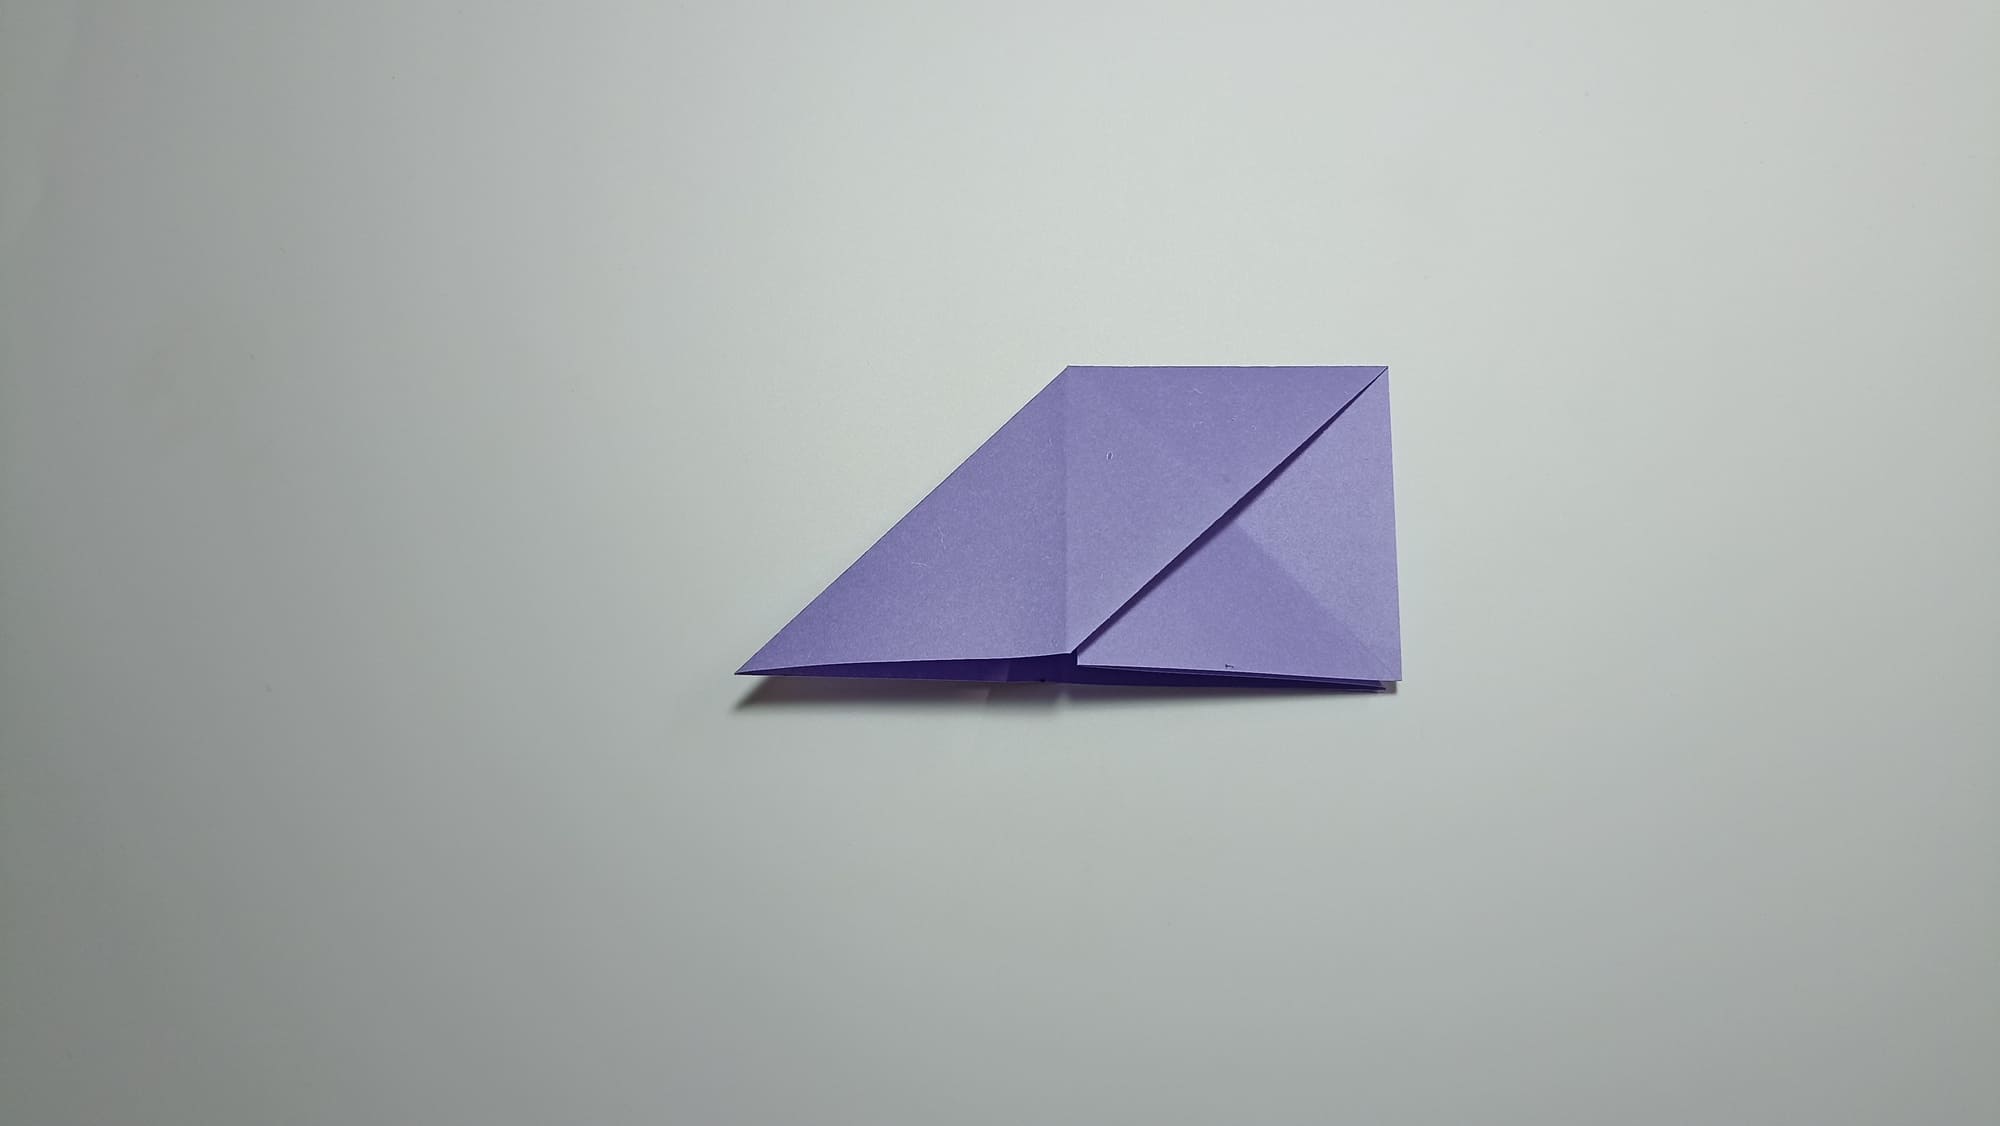
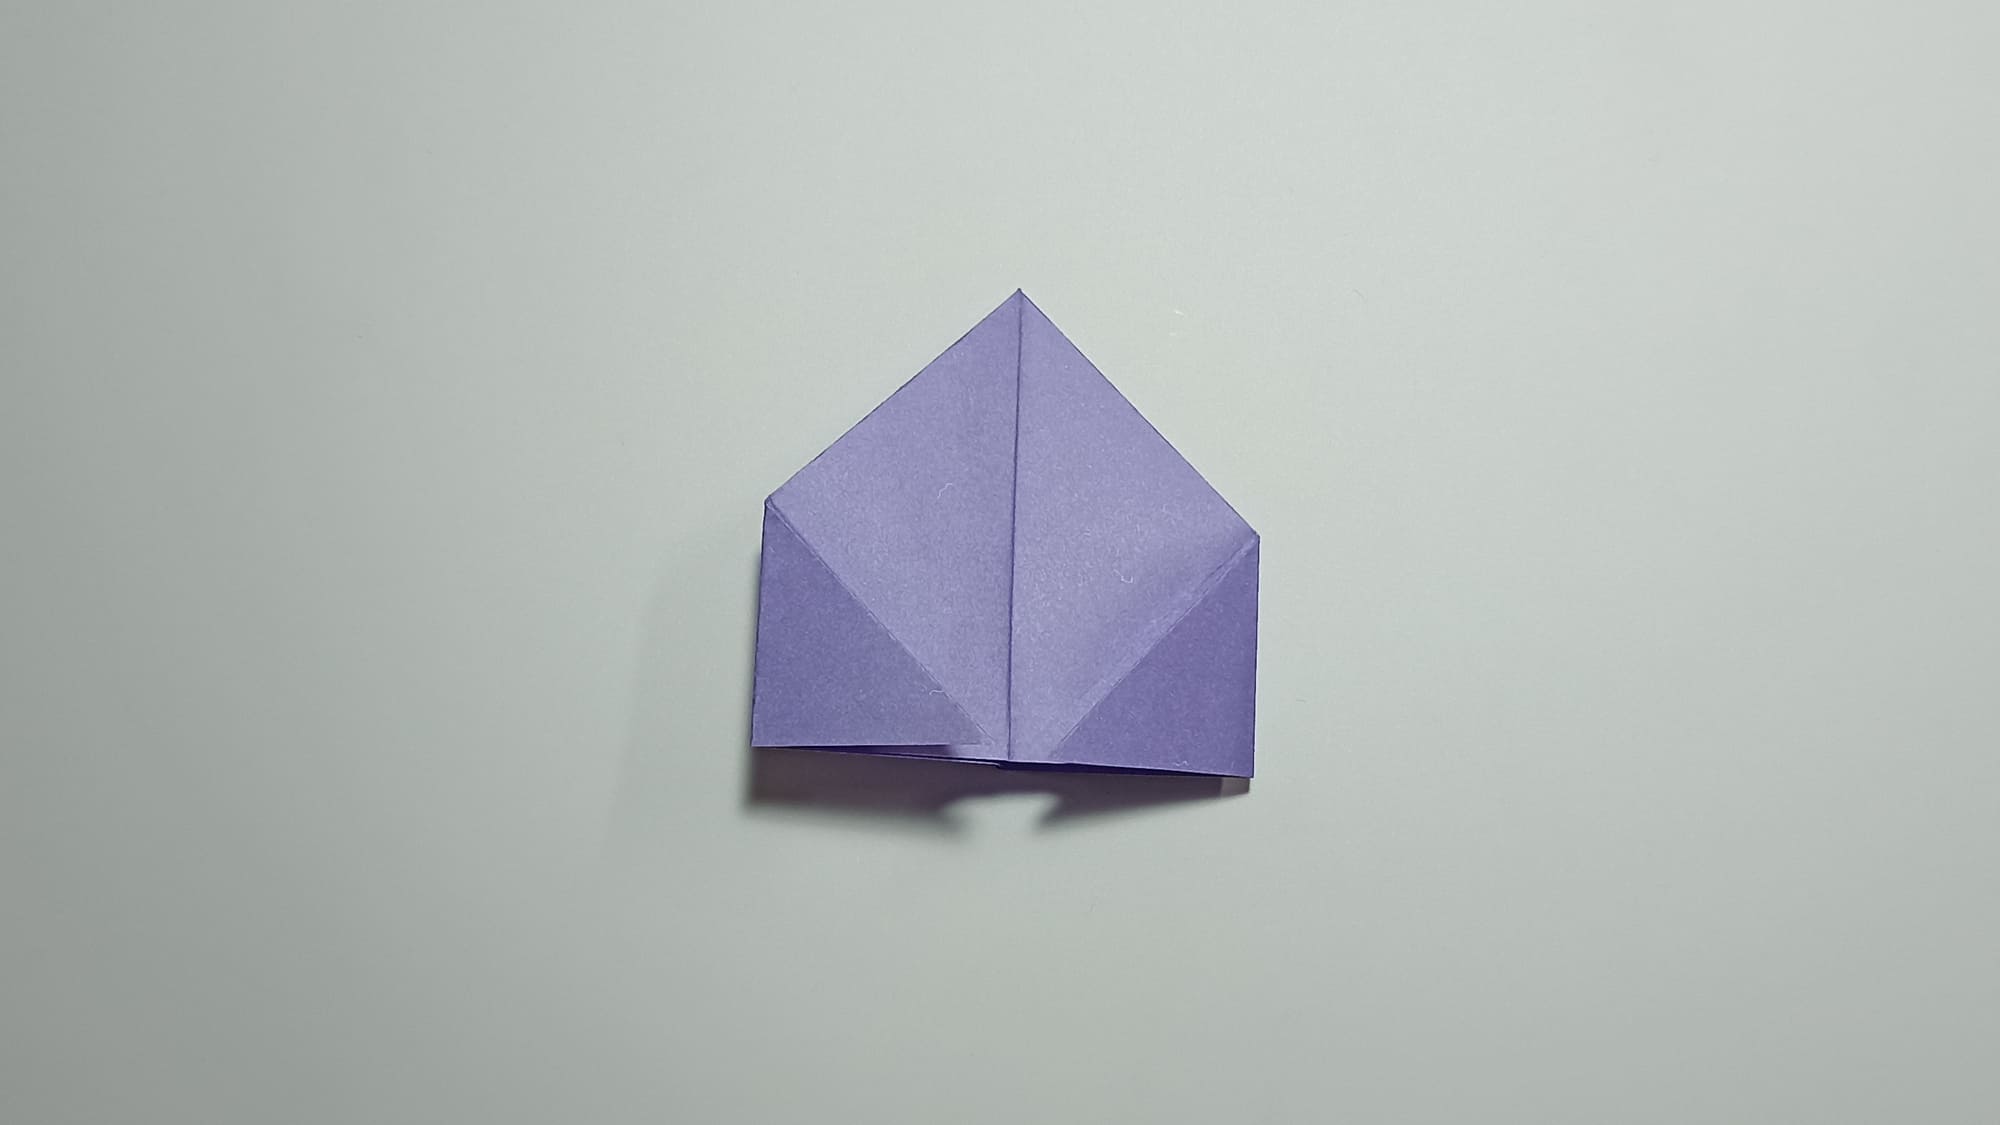
Align the right top of the rectangle with the lower left corner, while simultaneously opening the inner fold in different directions.
Align the left half of the base with the height of the triangle.
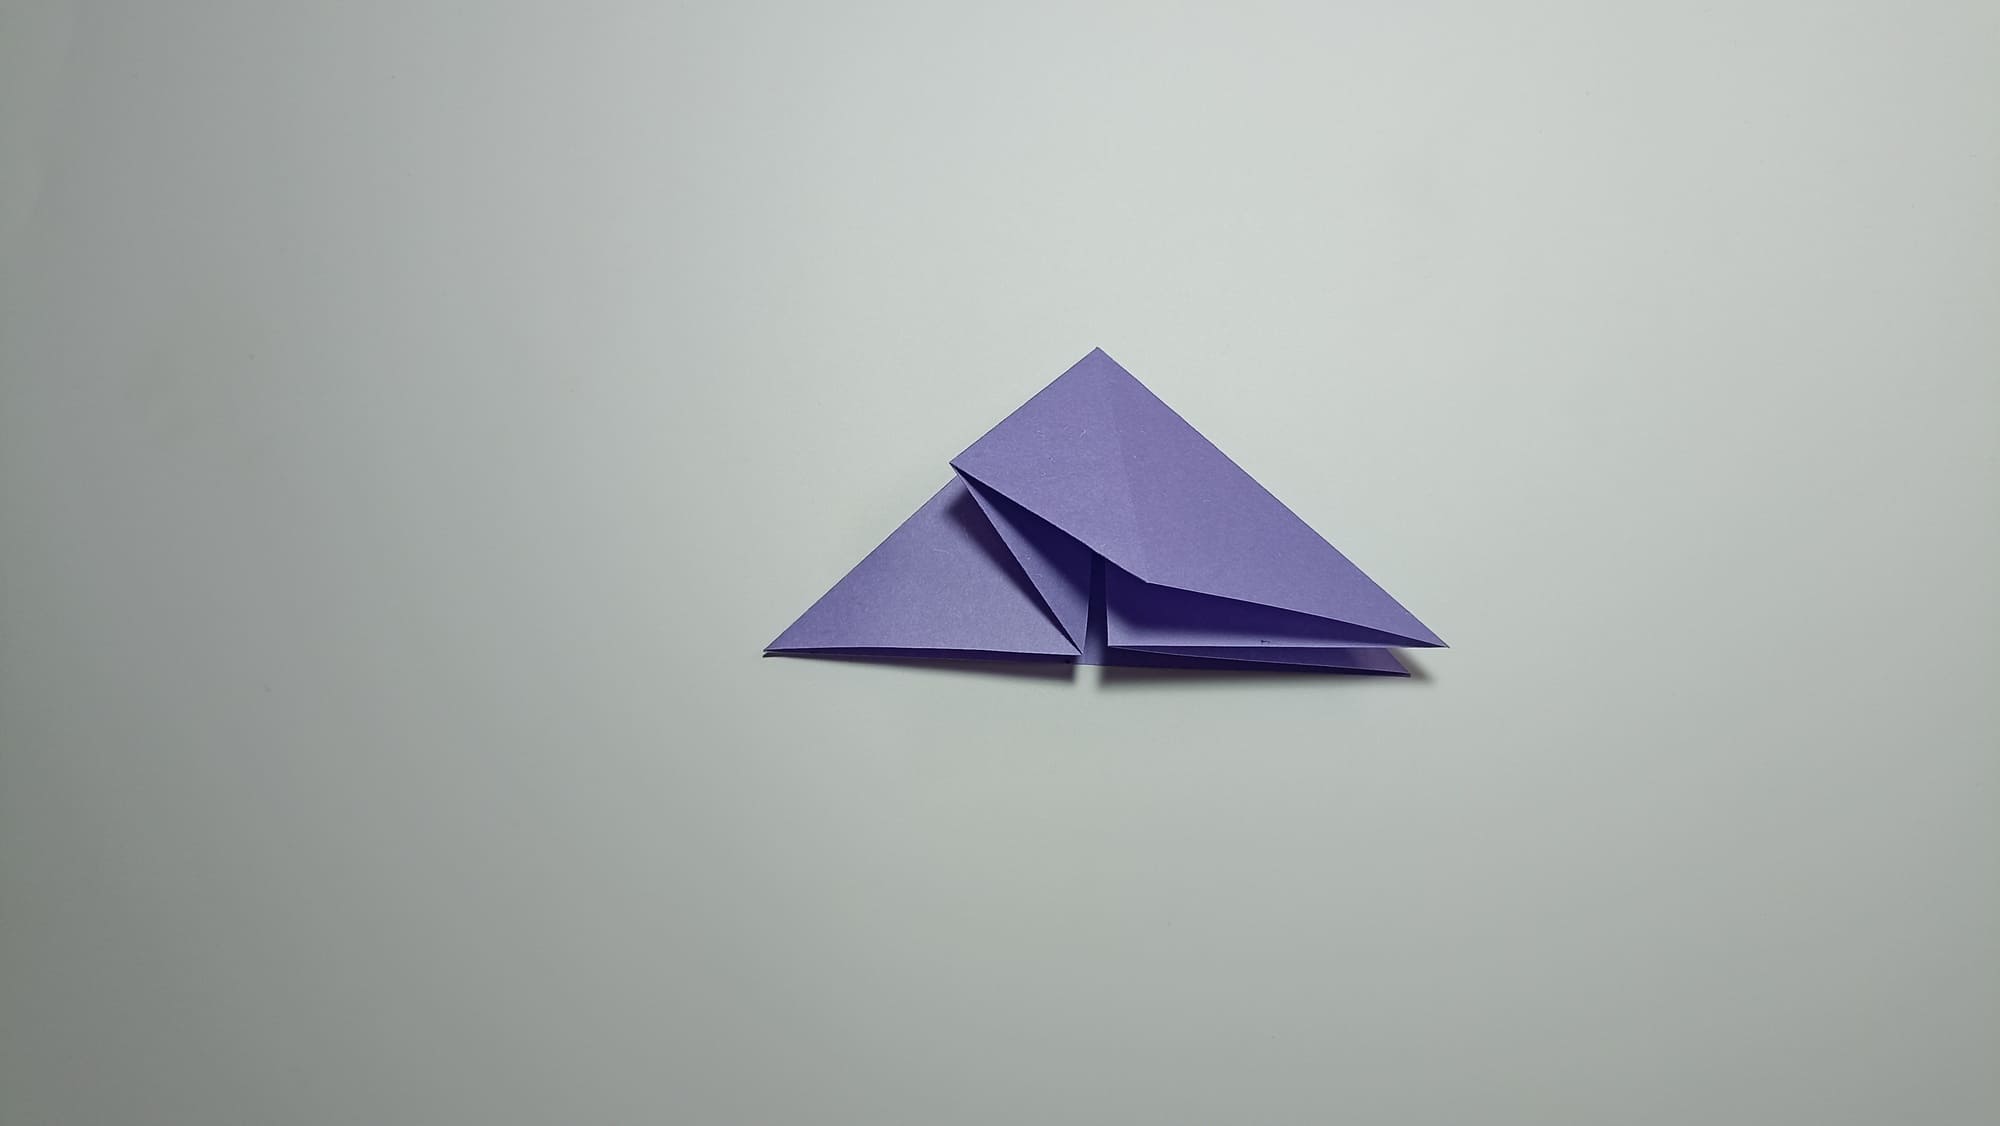
Tuck the fold inside.

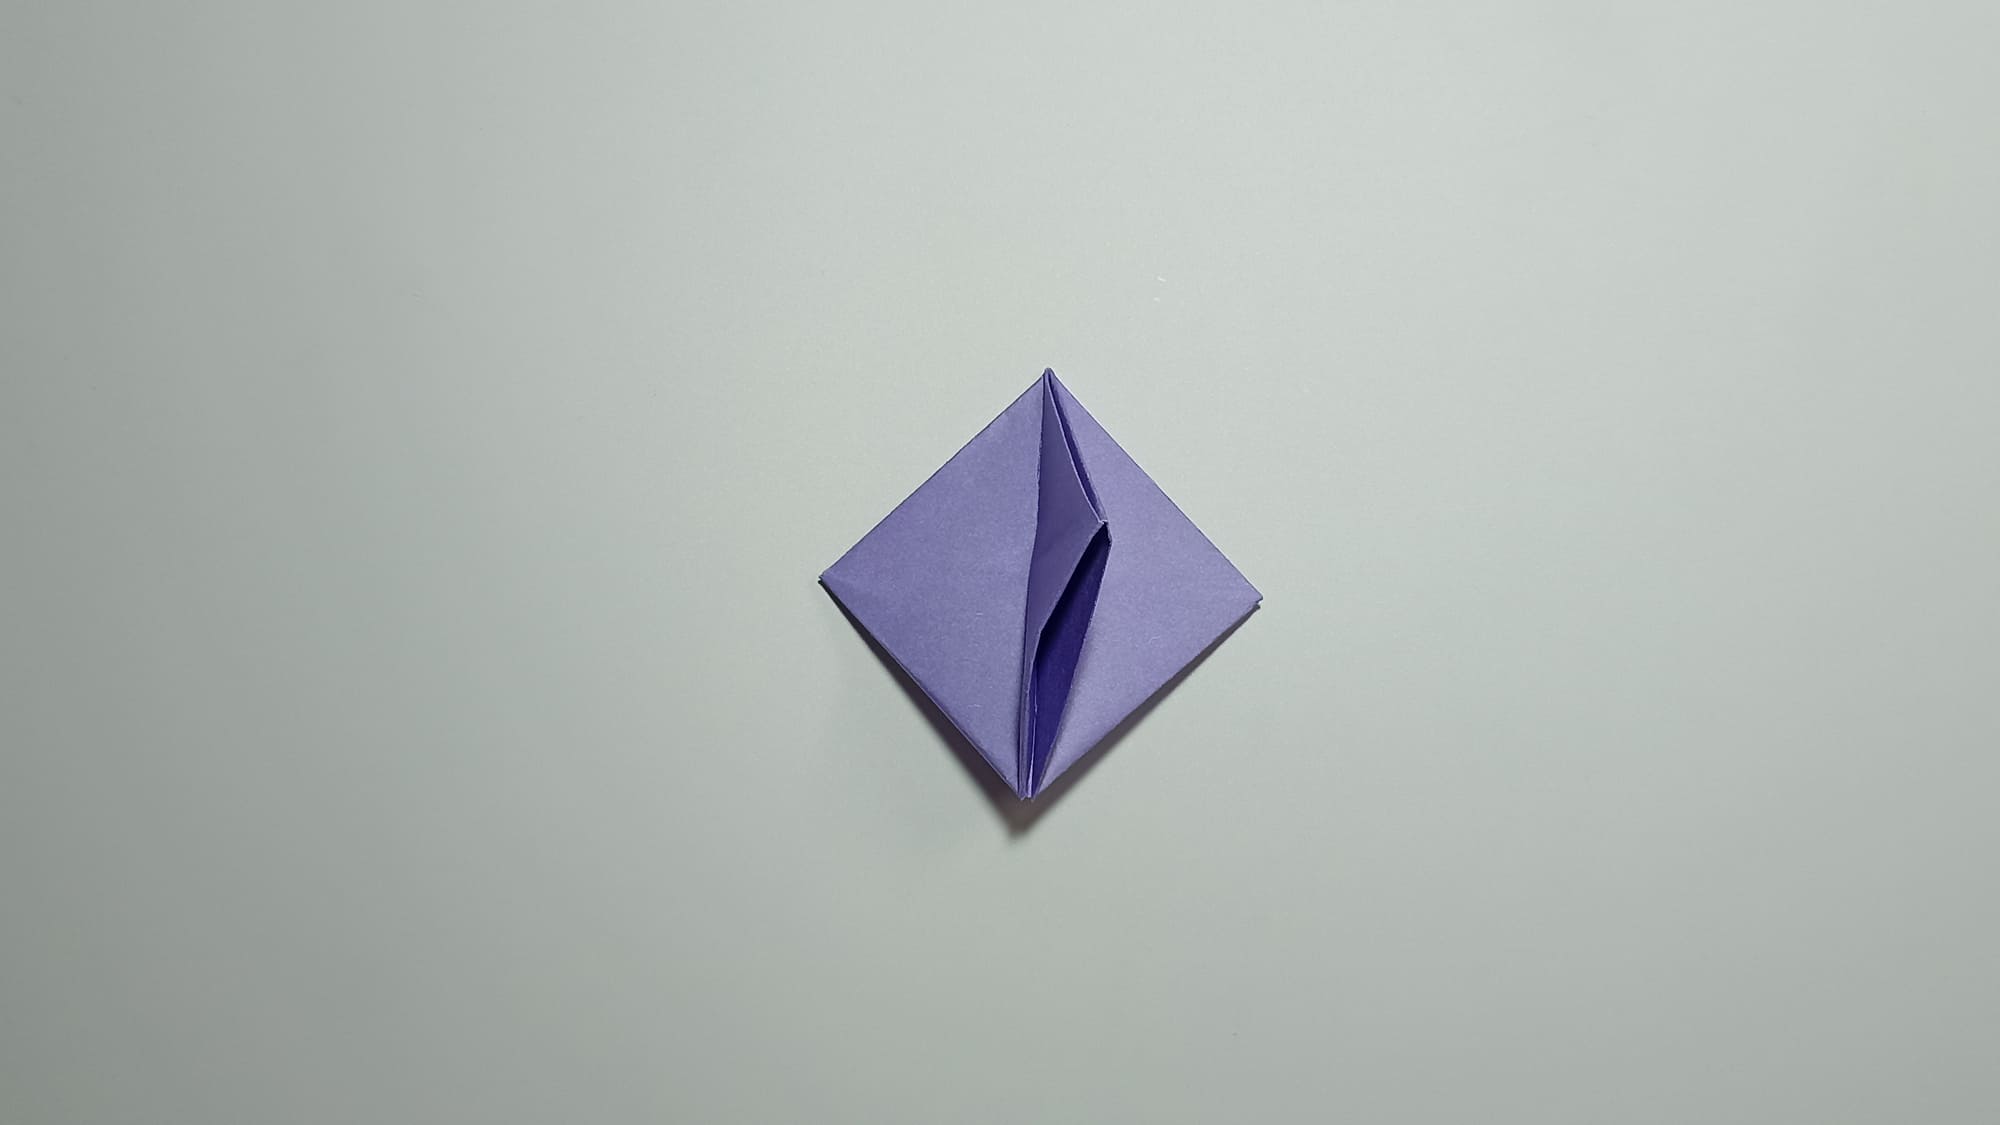
Open the figure by pulling the sharp corner.
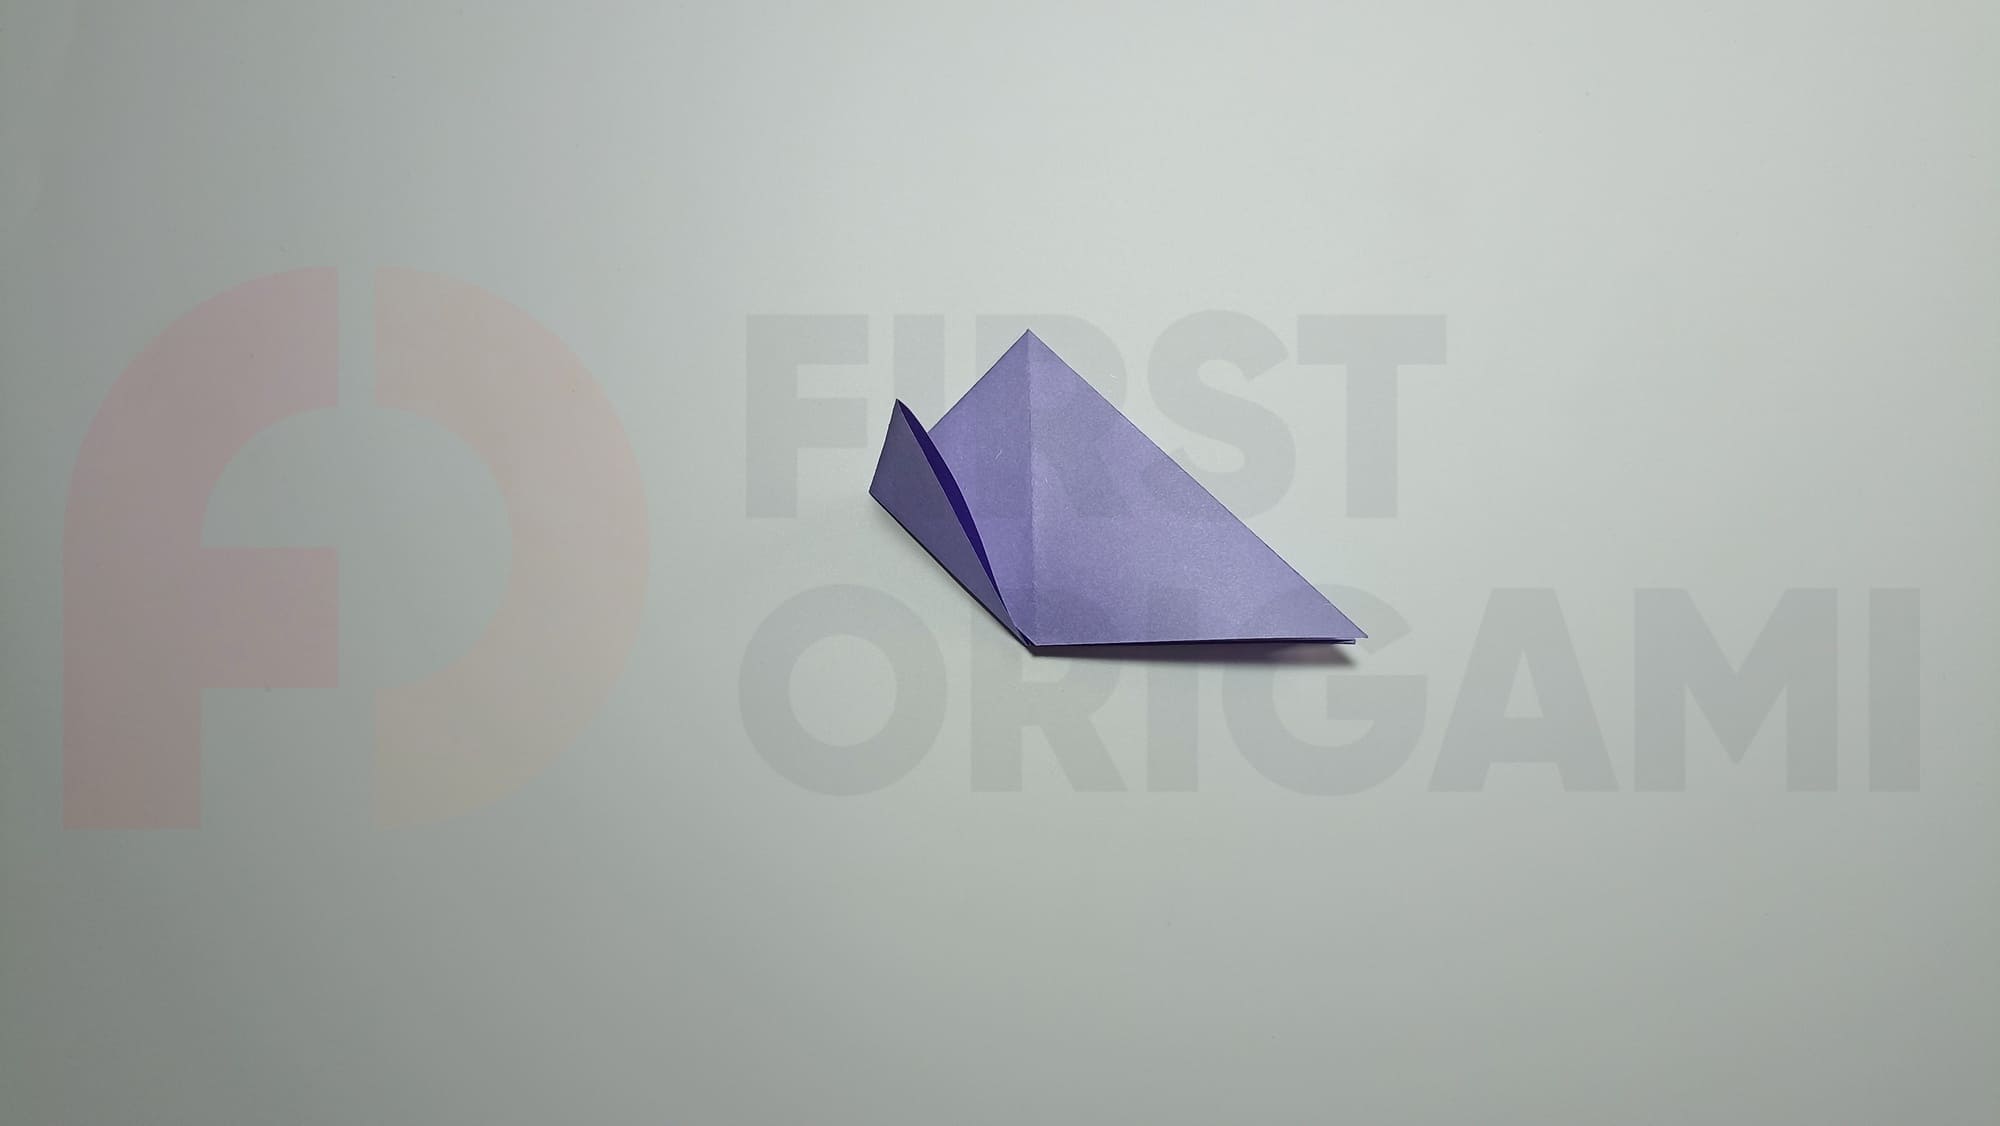
Fold the base halves up towards the middle and open them back up.
Bend the corners of the base of the triangle to the middle, aligning along the bottom line, and open.
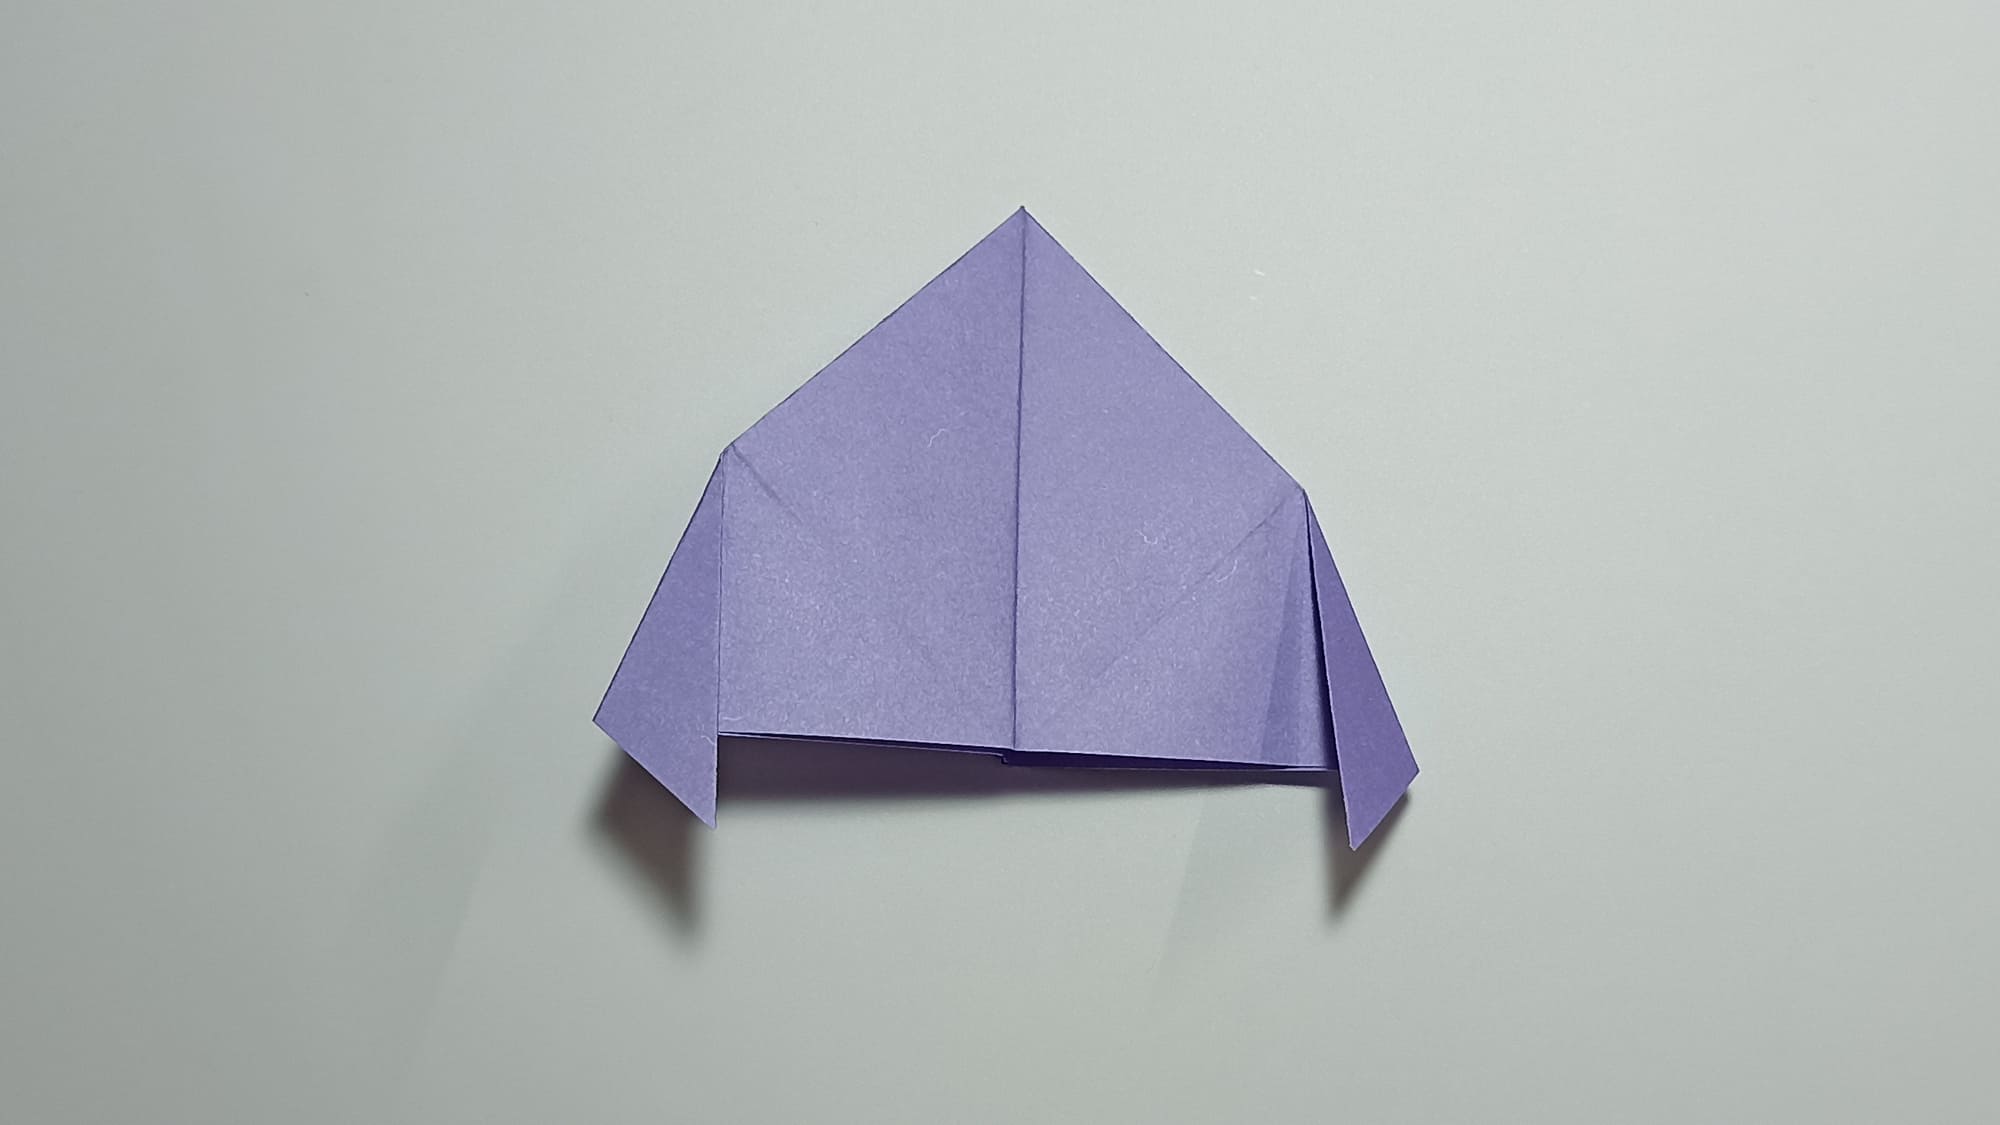
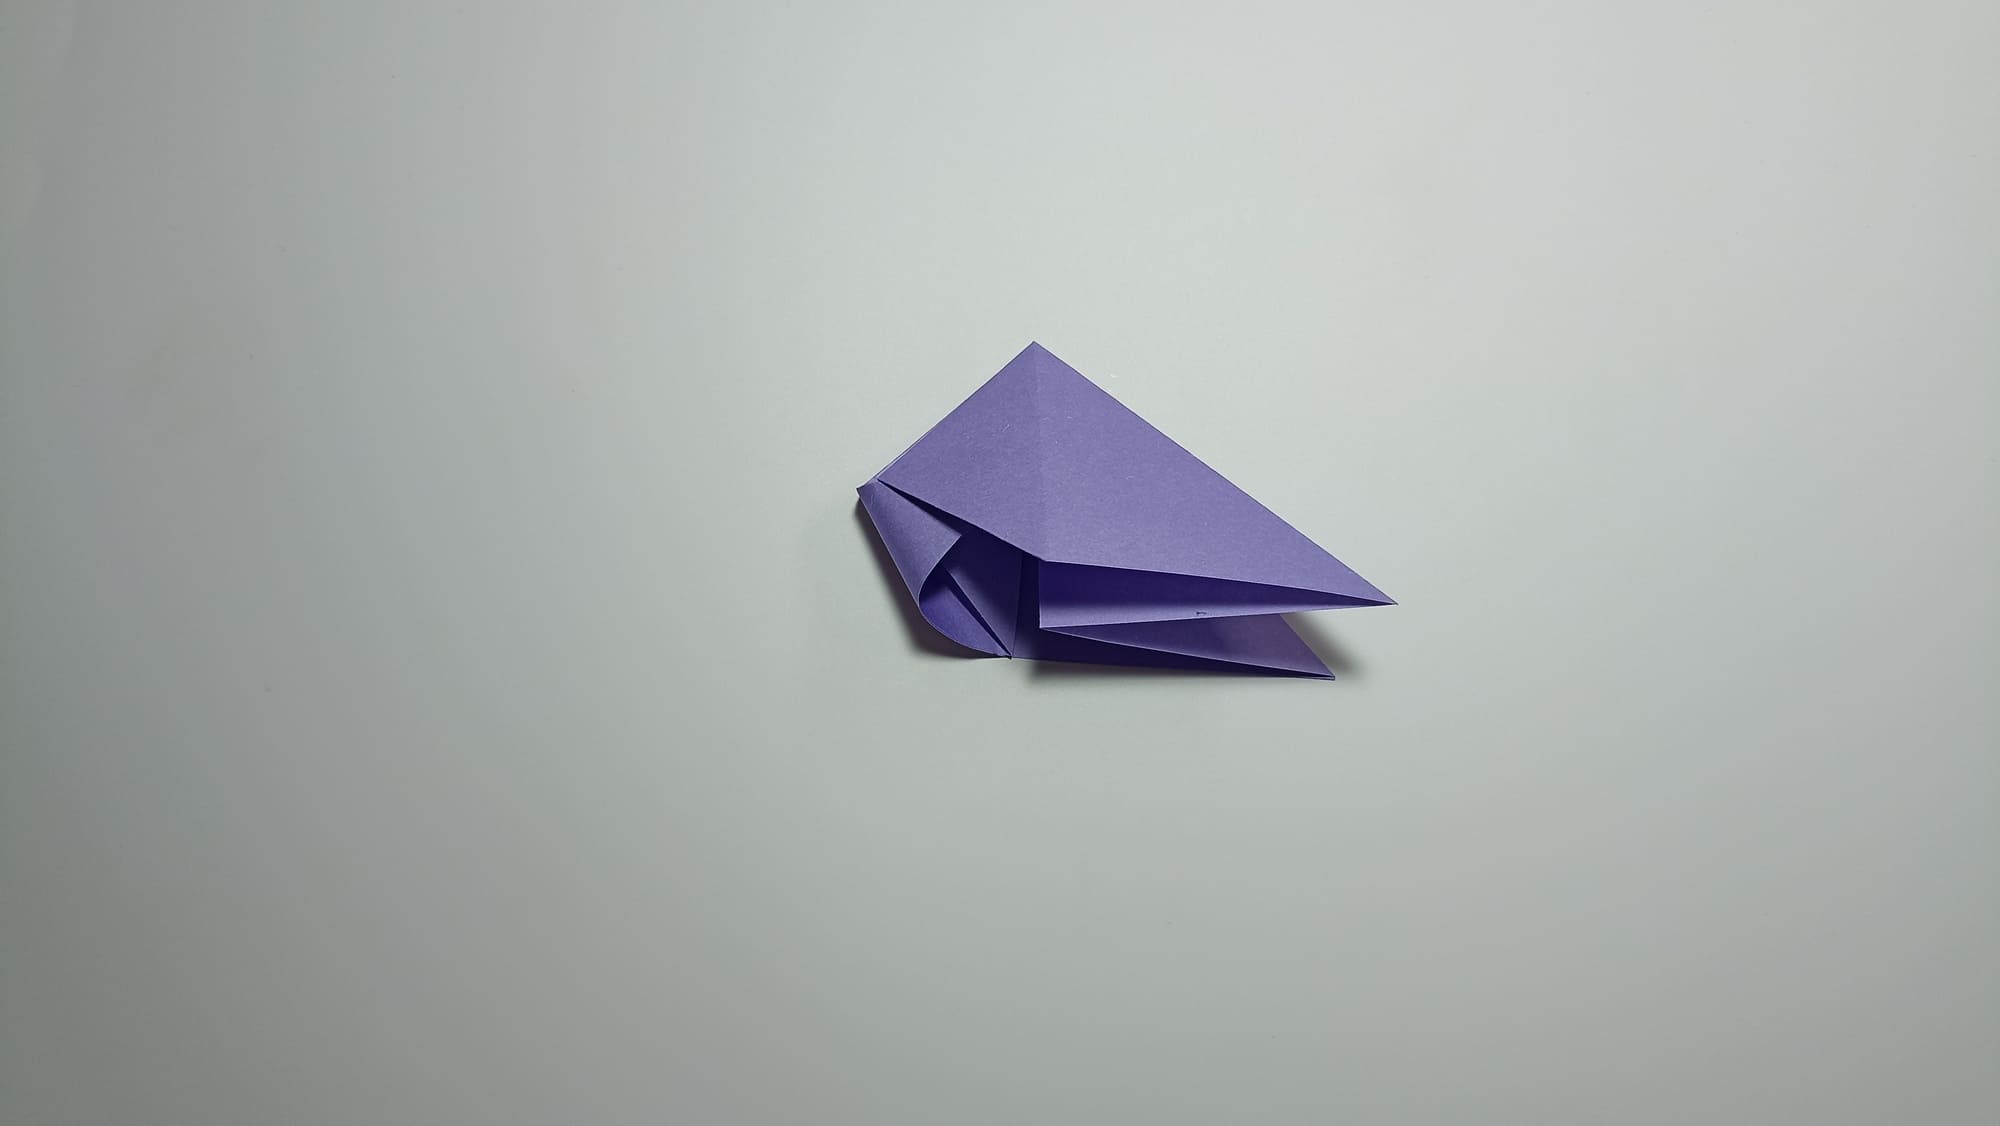
Direct the side corners down along the marked lines.
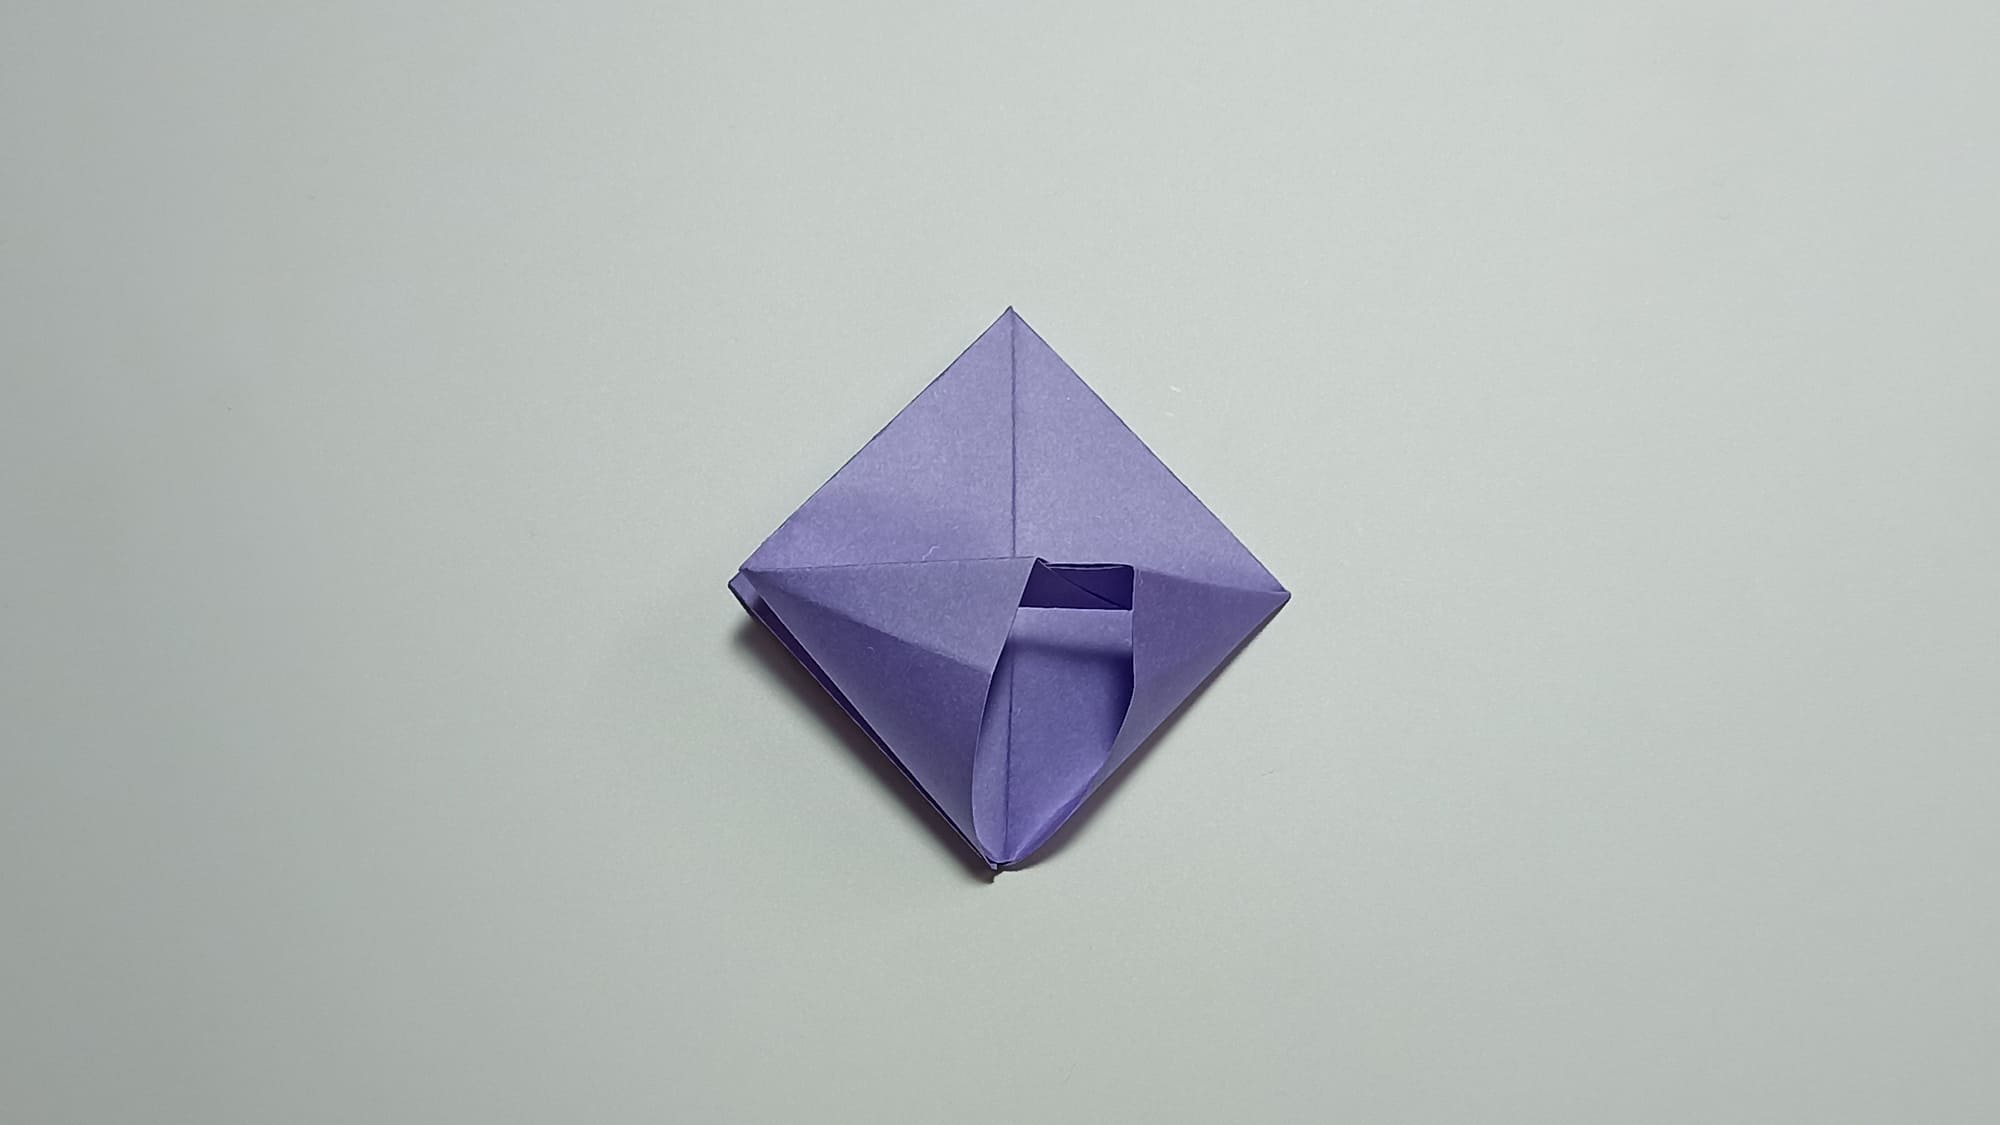
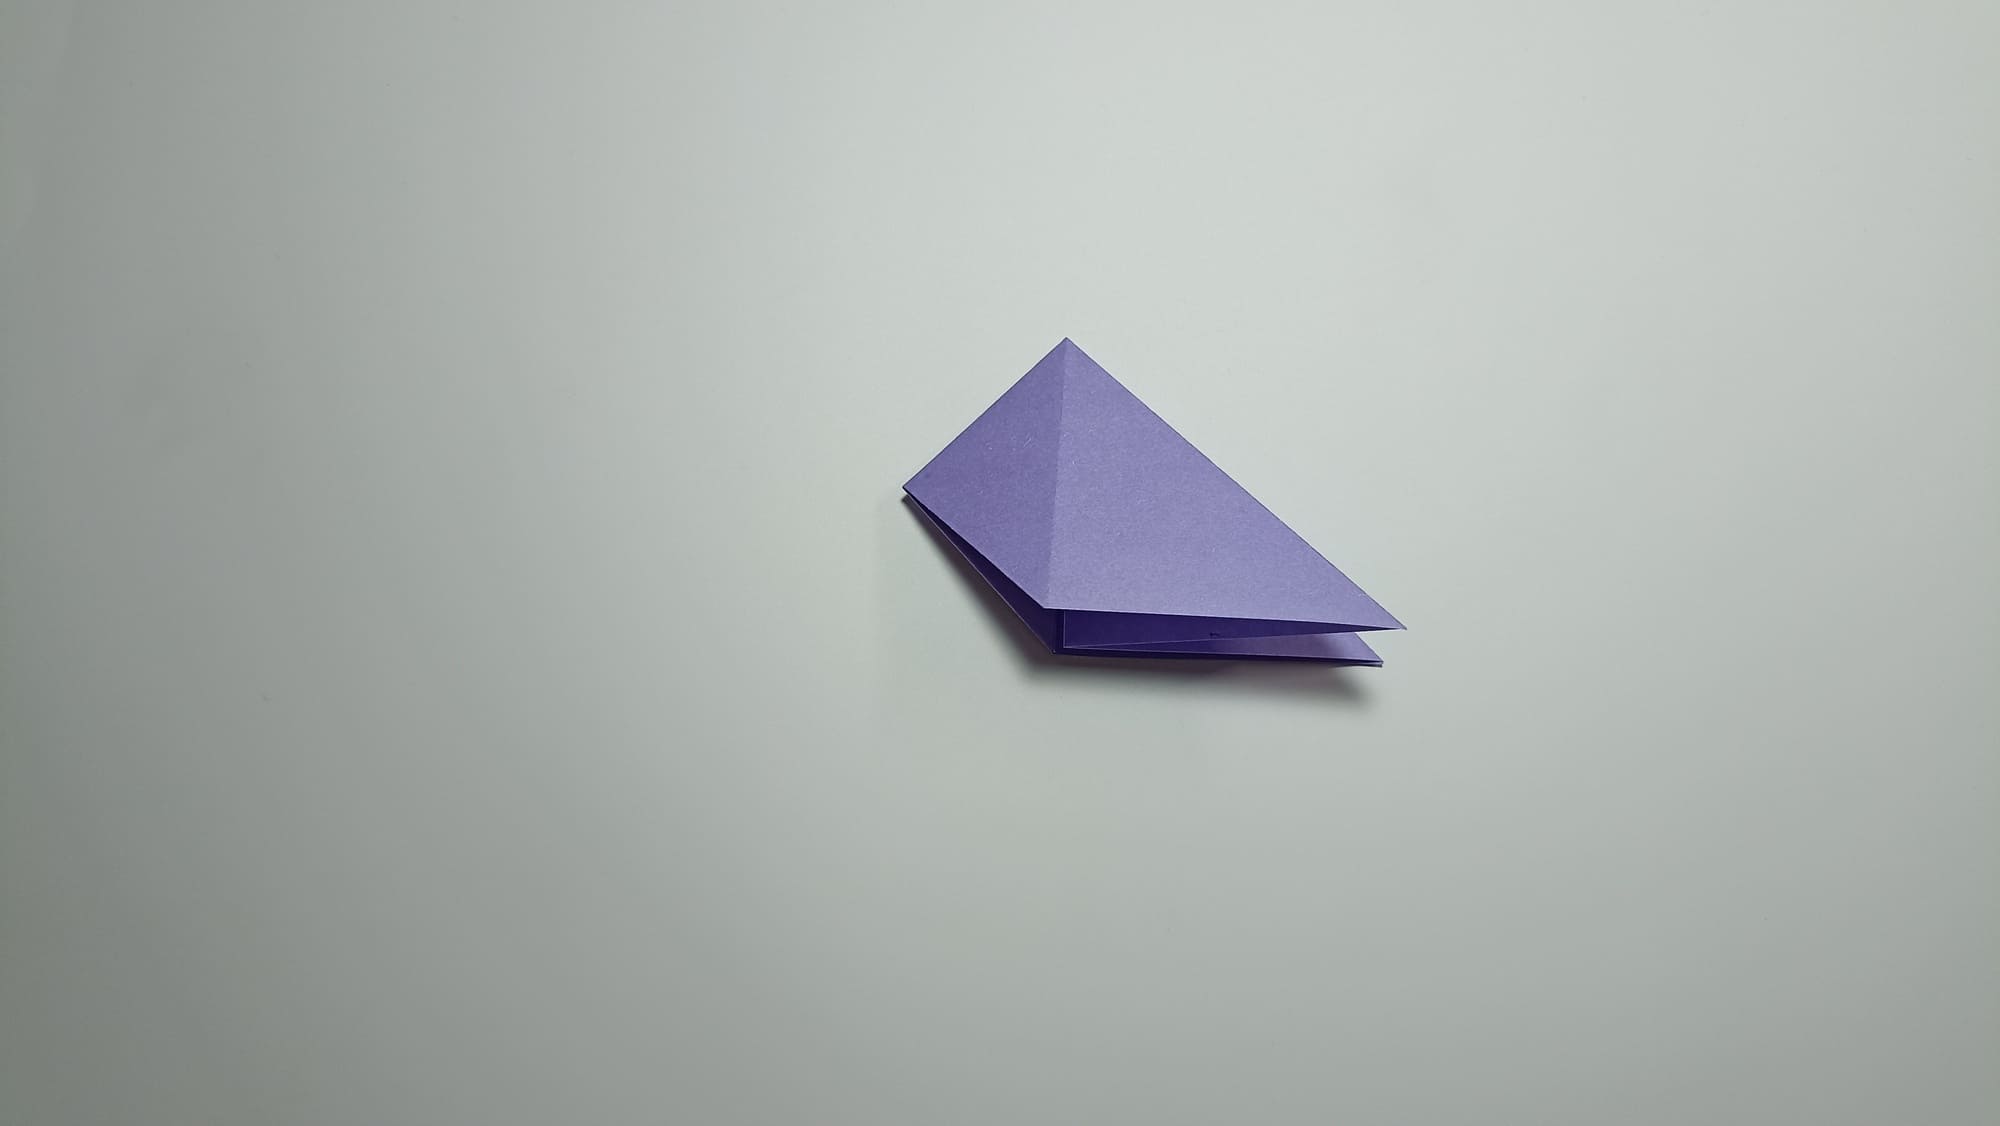
Close the last folds together, secure the connection with a horizontal fold, and compare with the example.
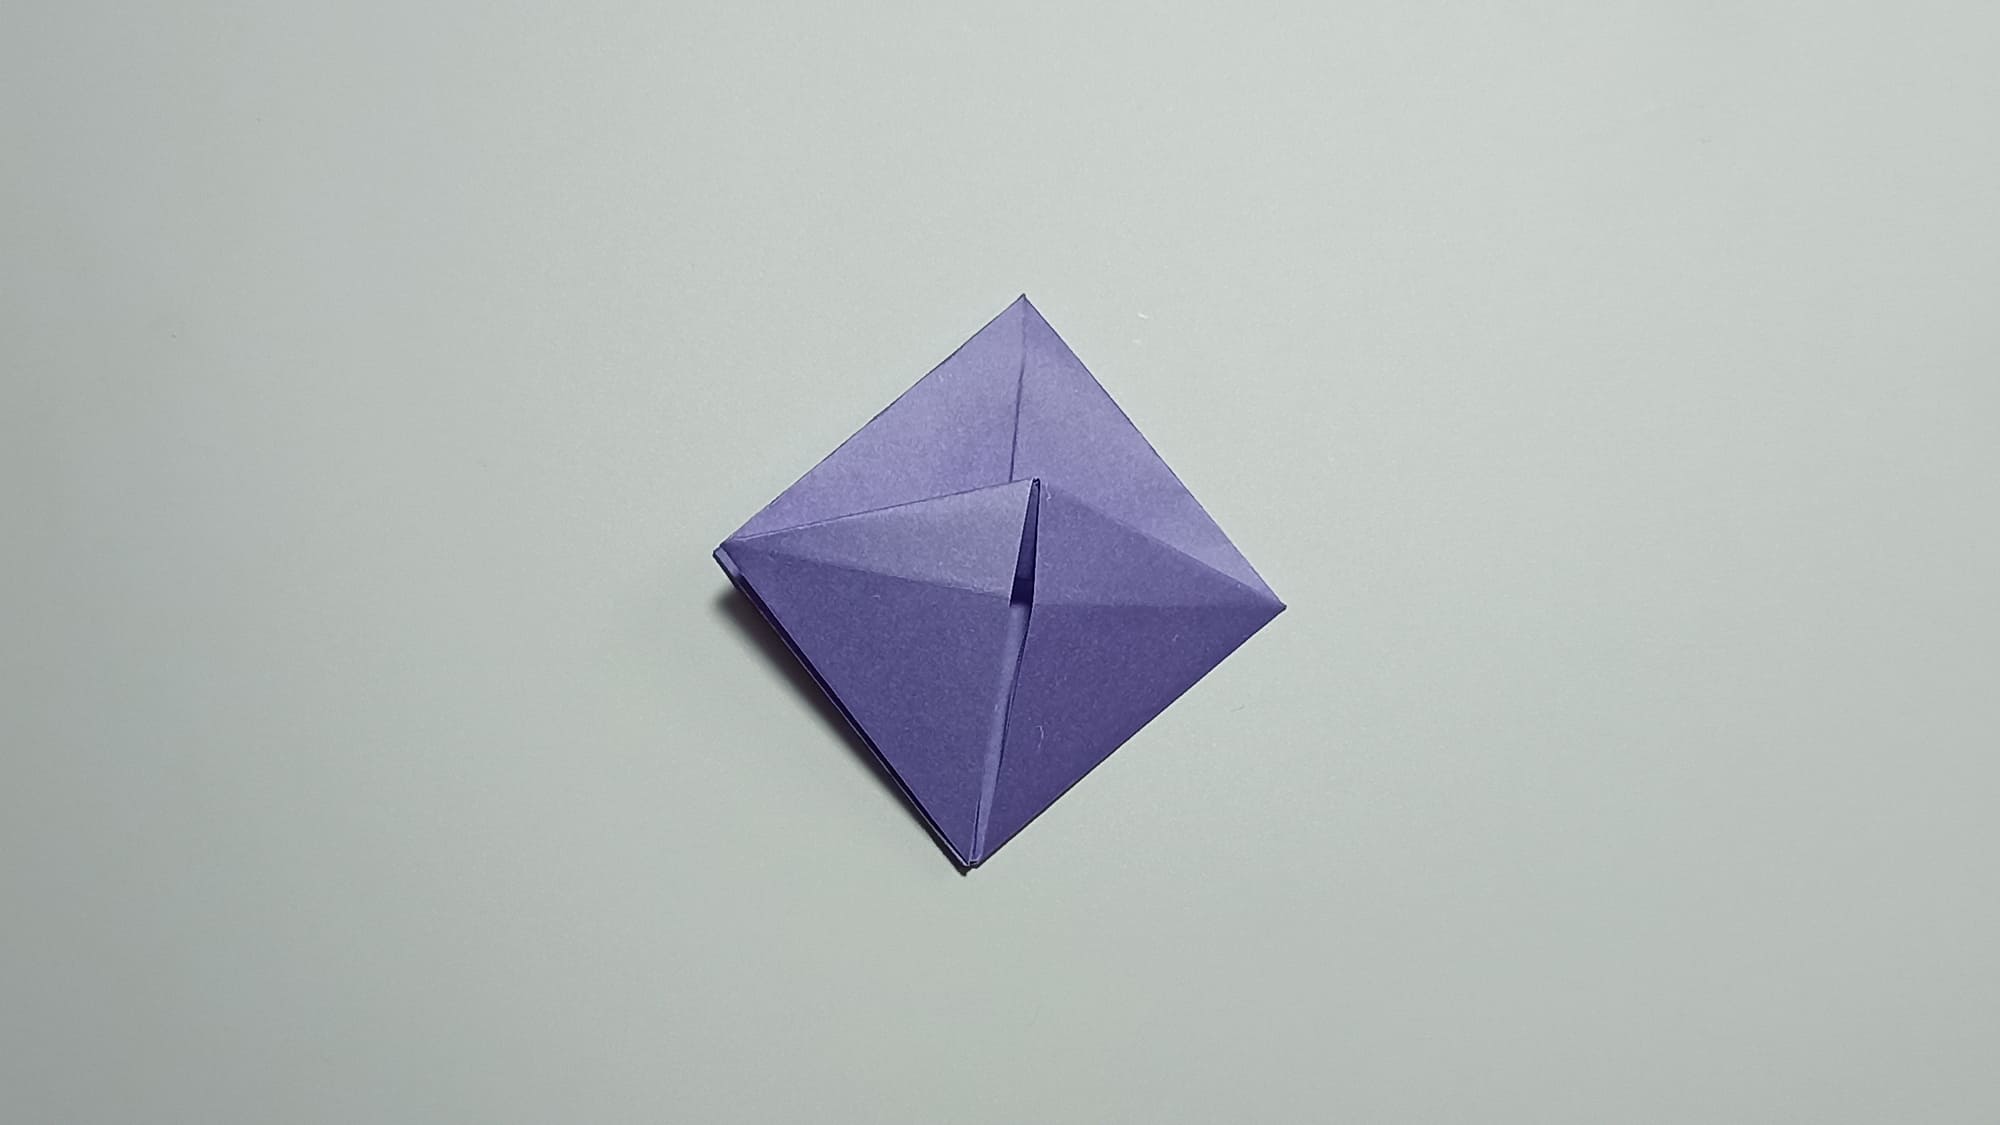
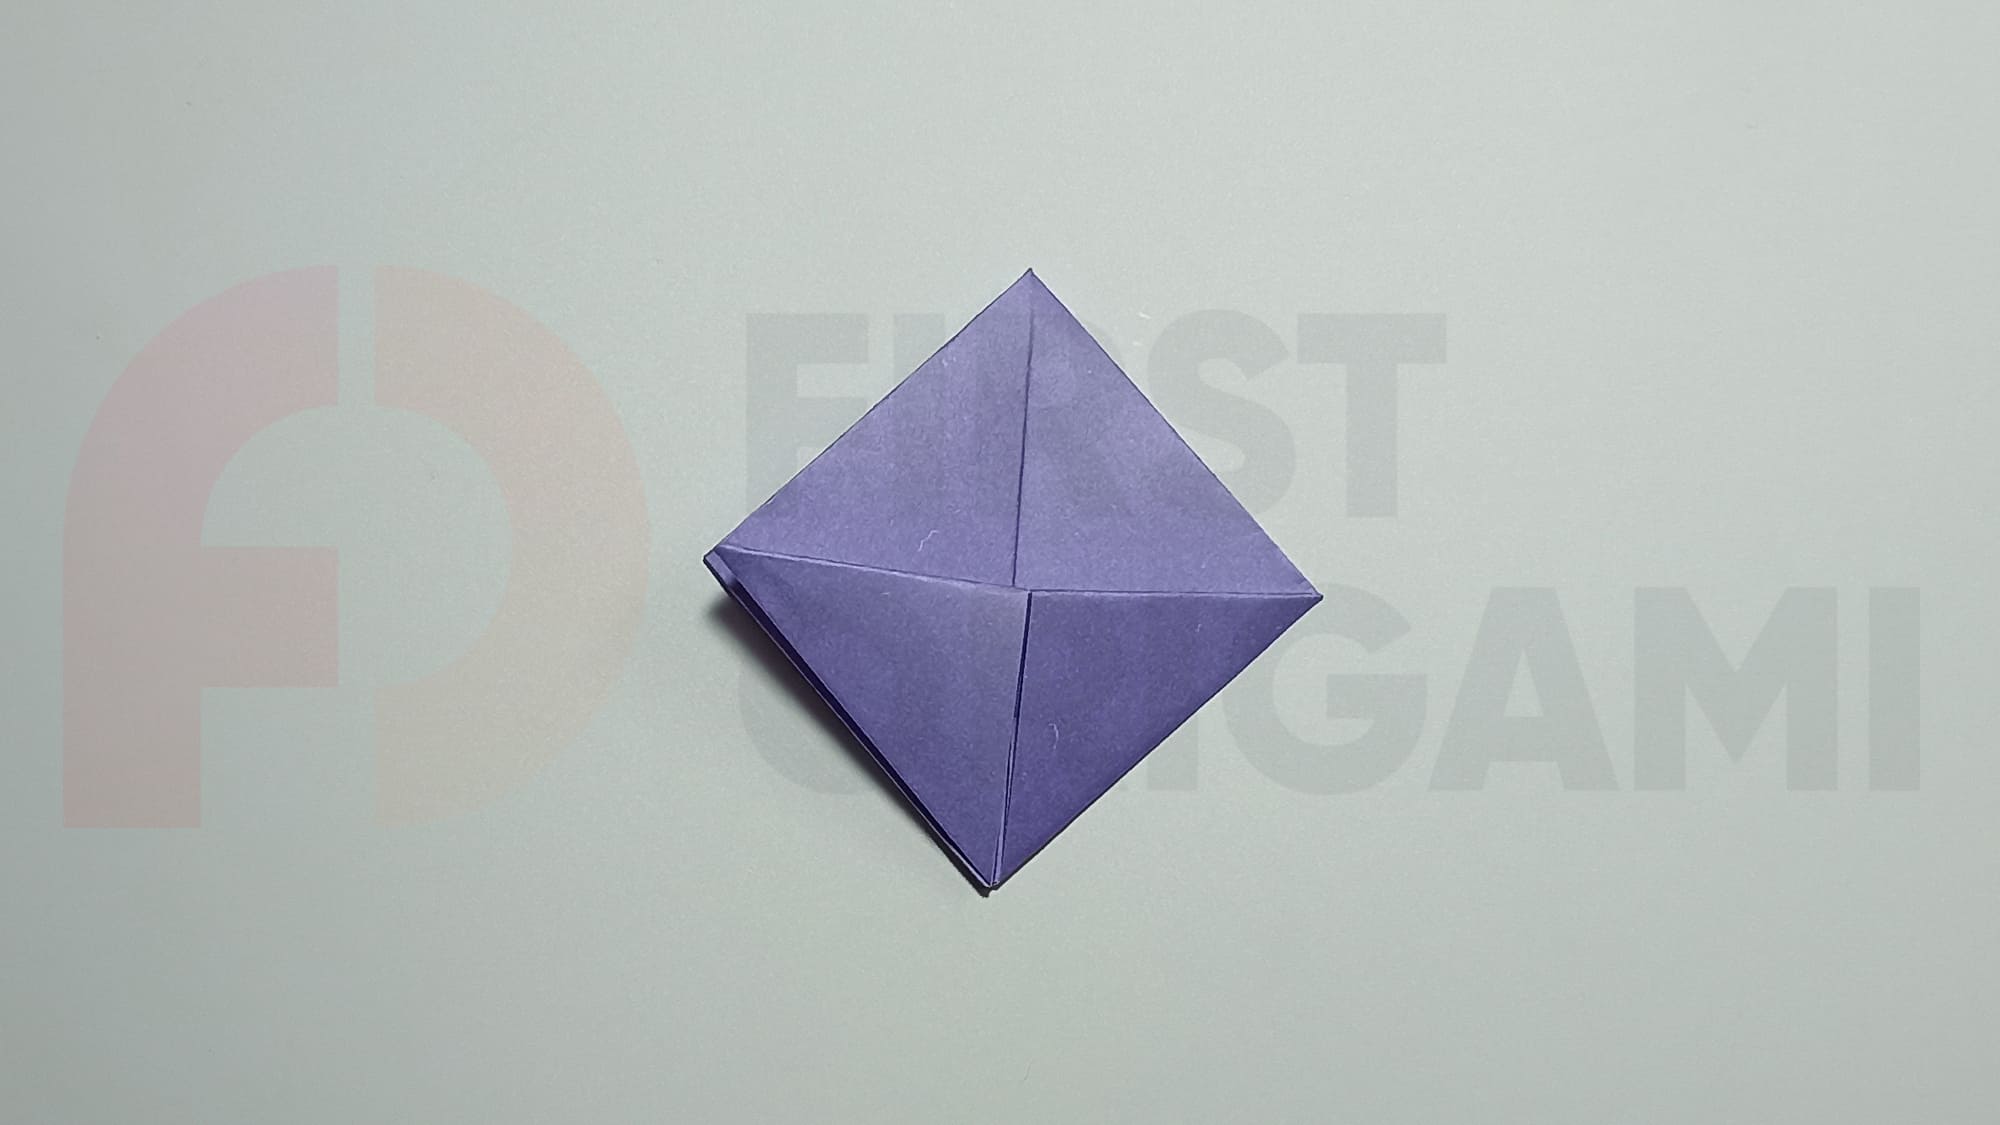
Crease the horizontal lines, folding the figure in half on both sides.
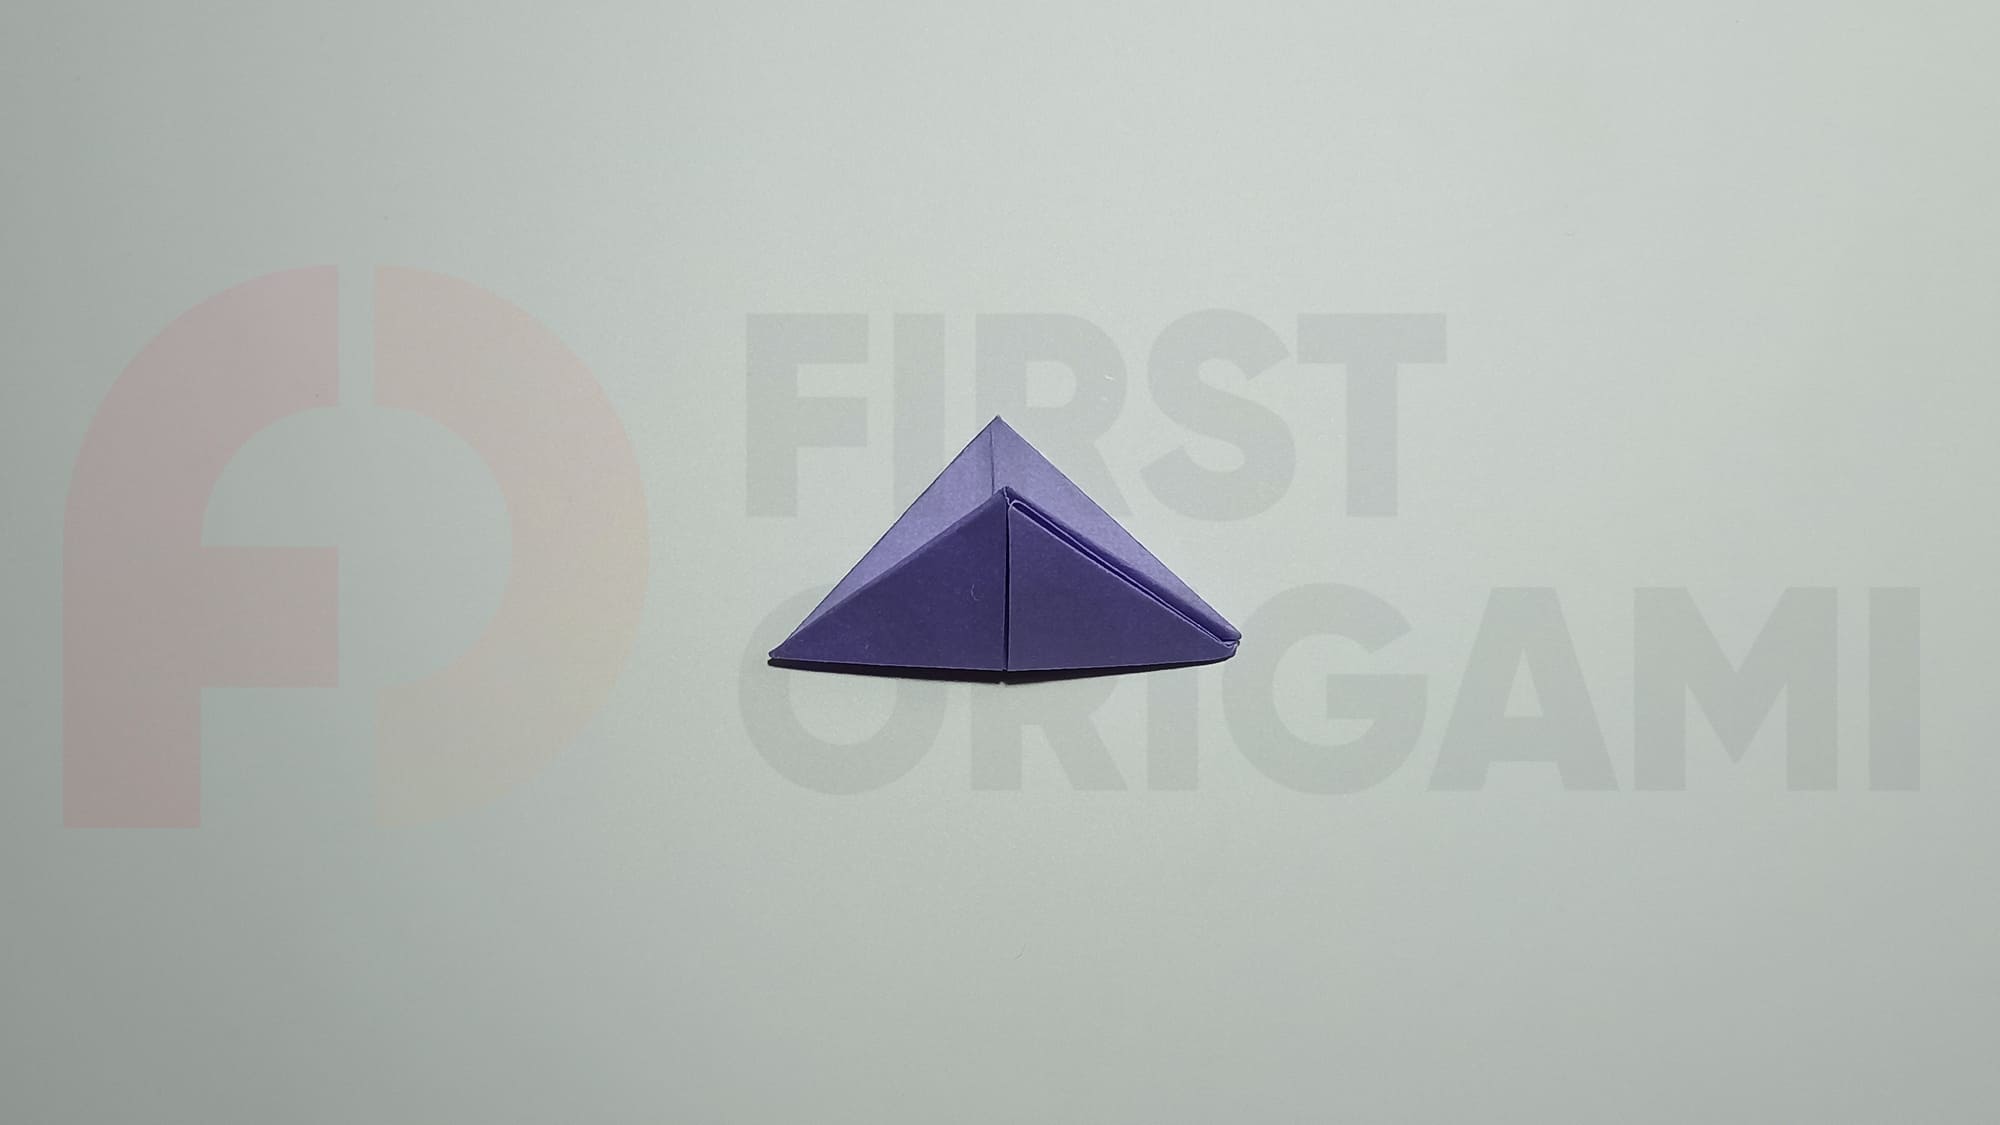
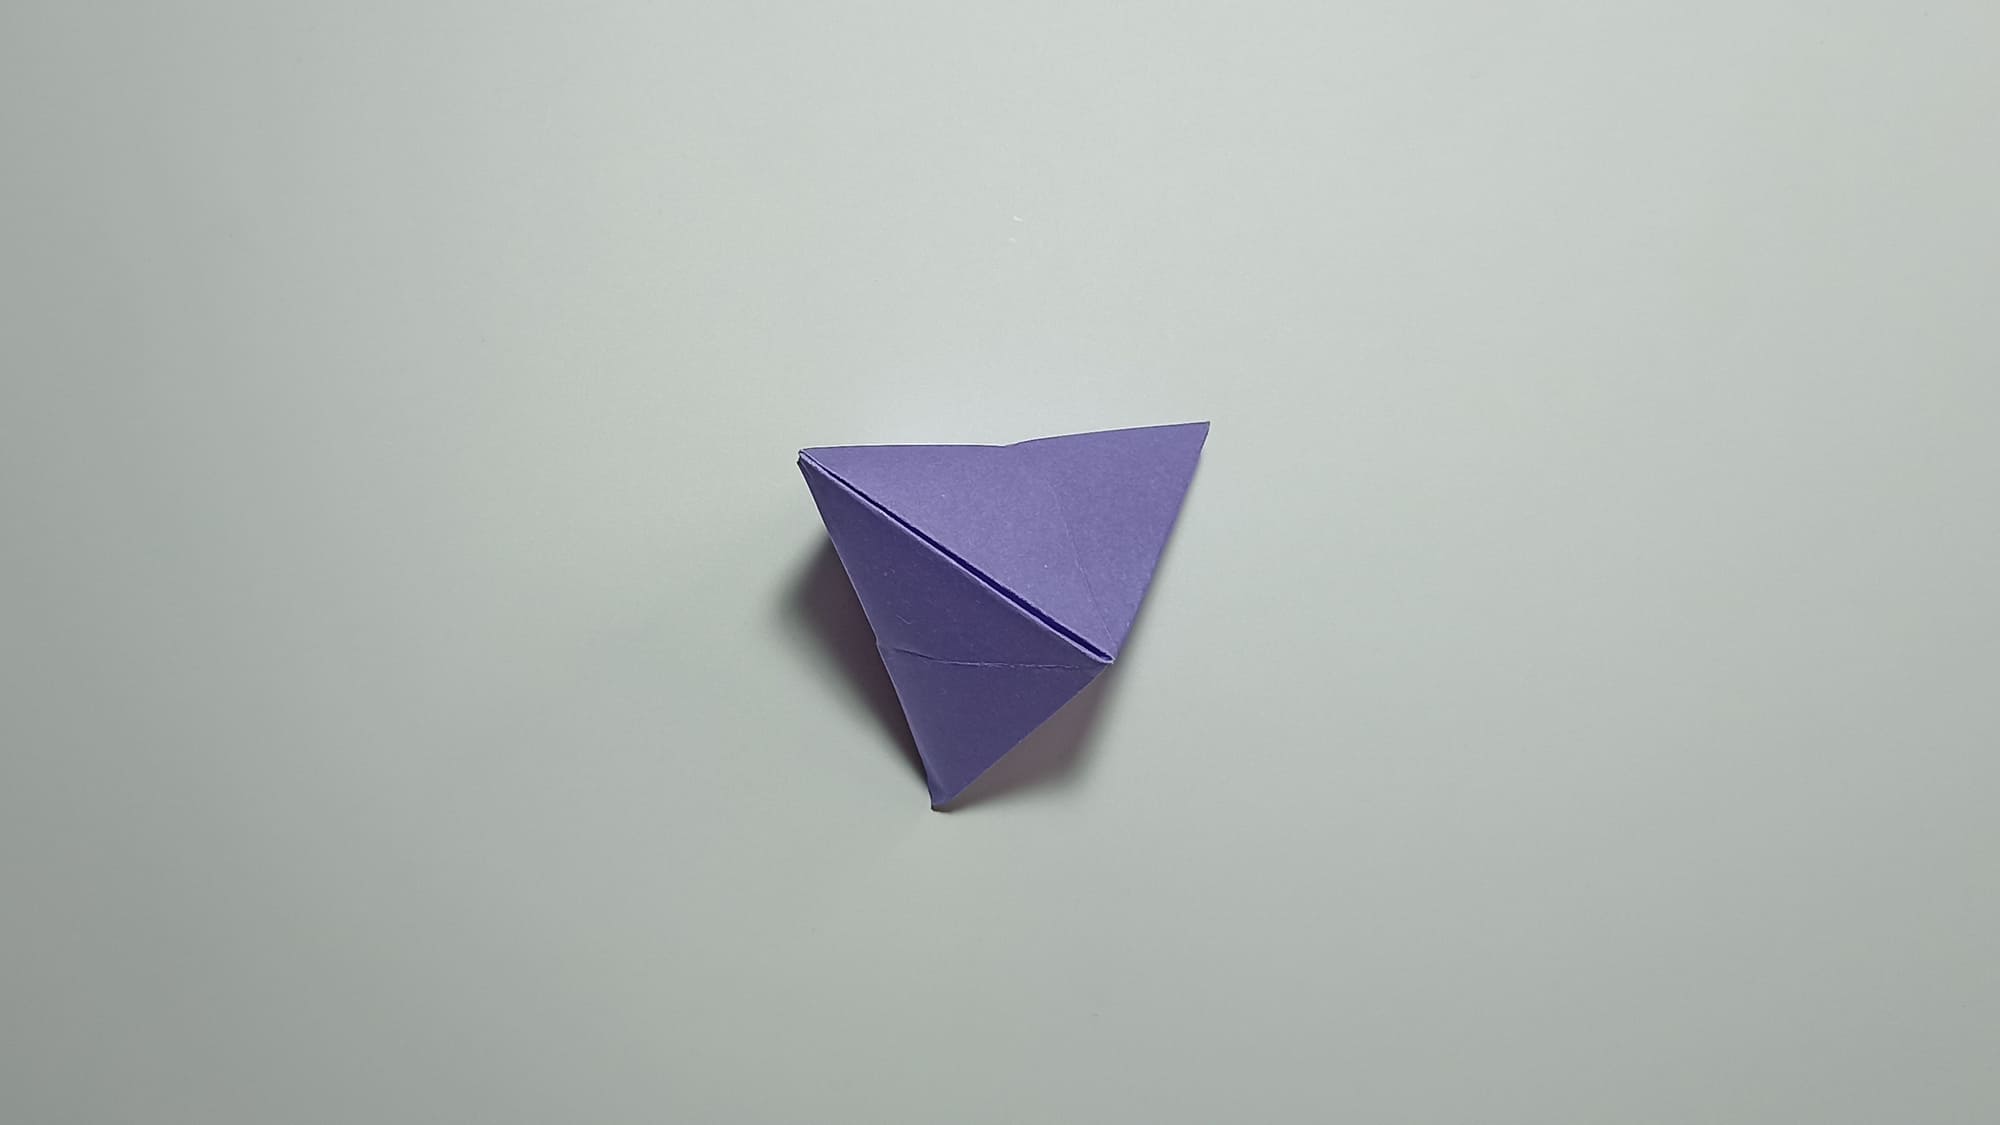
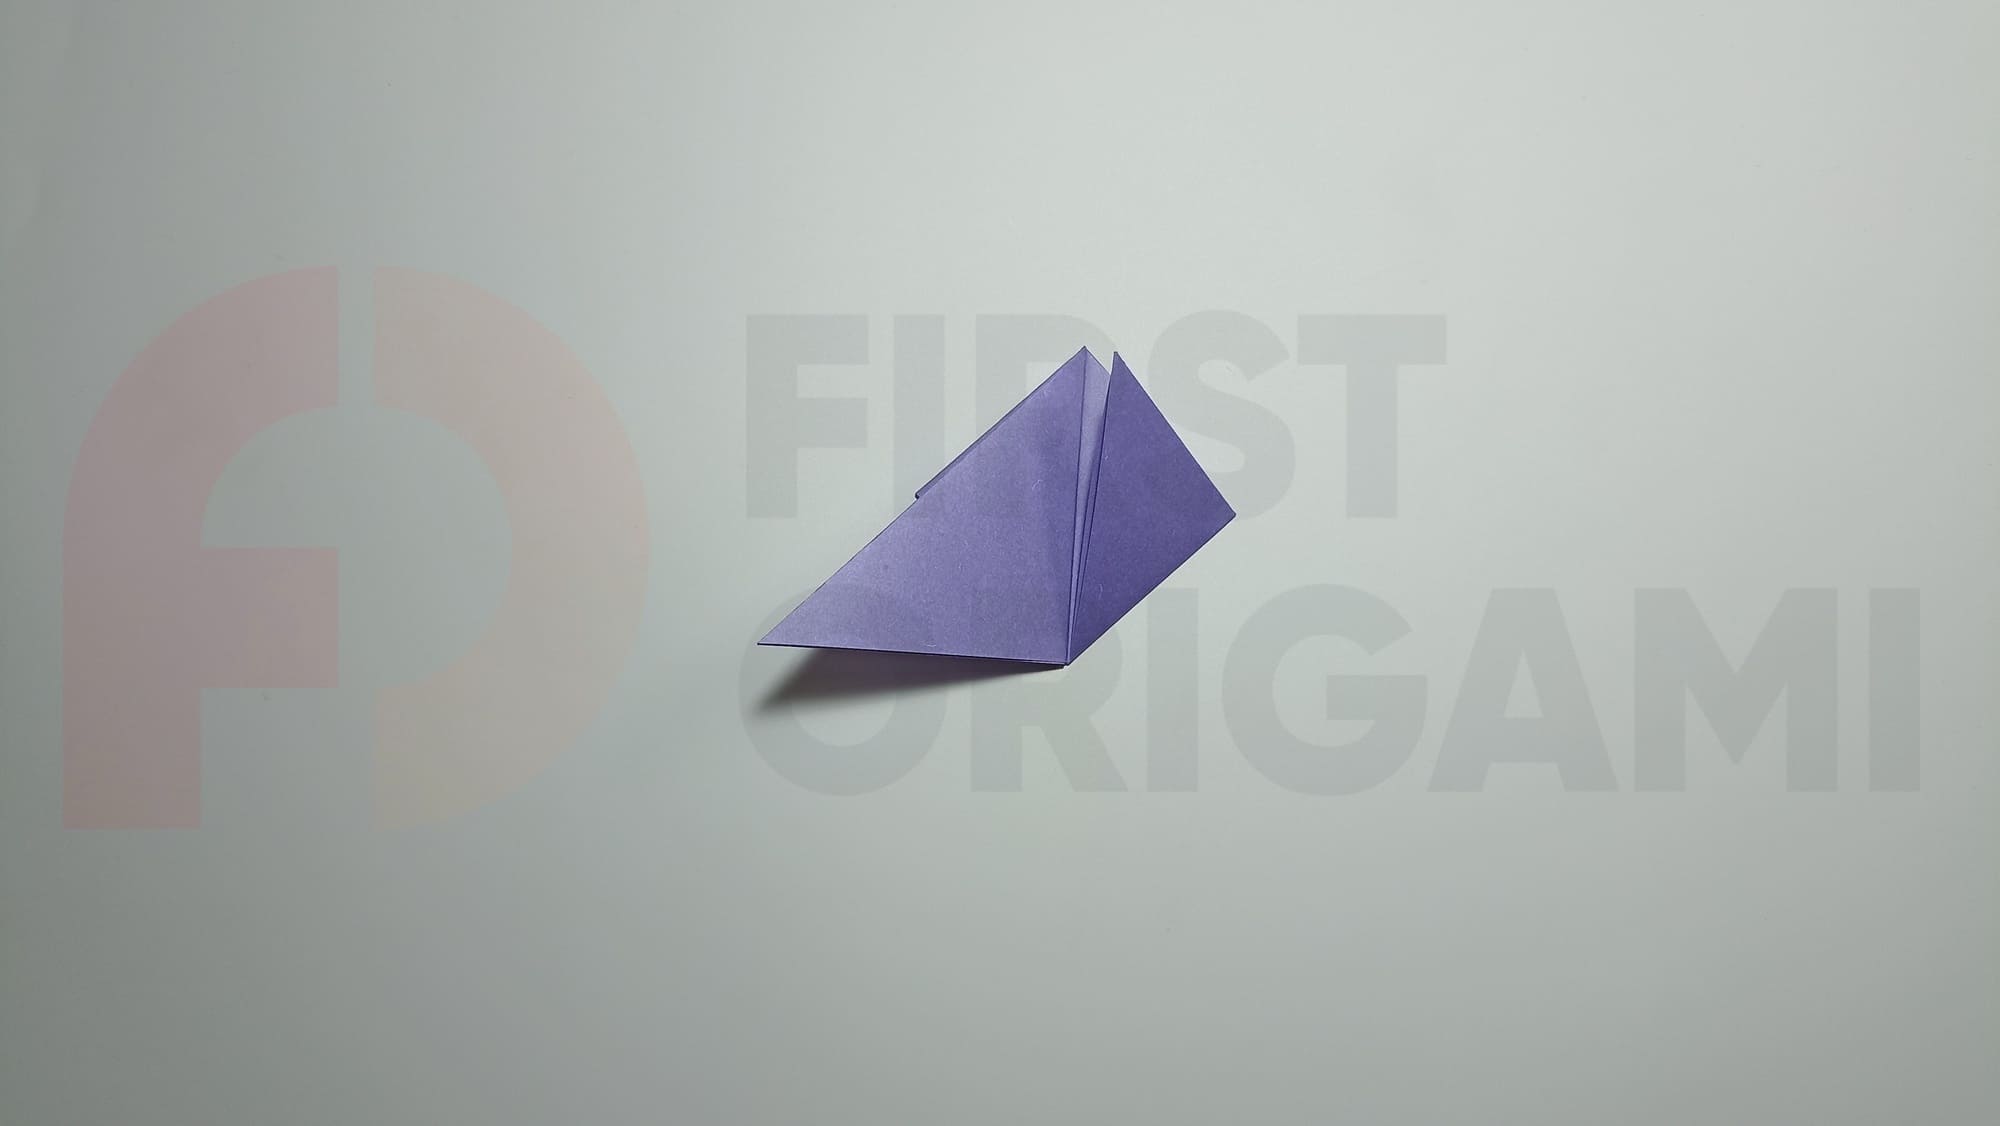
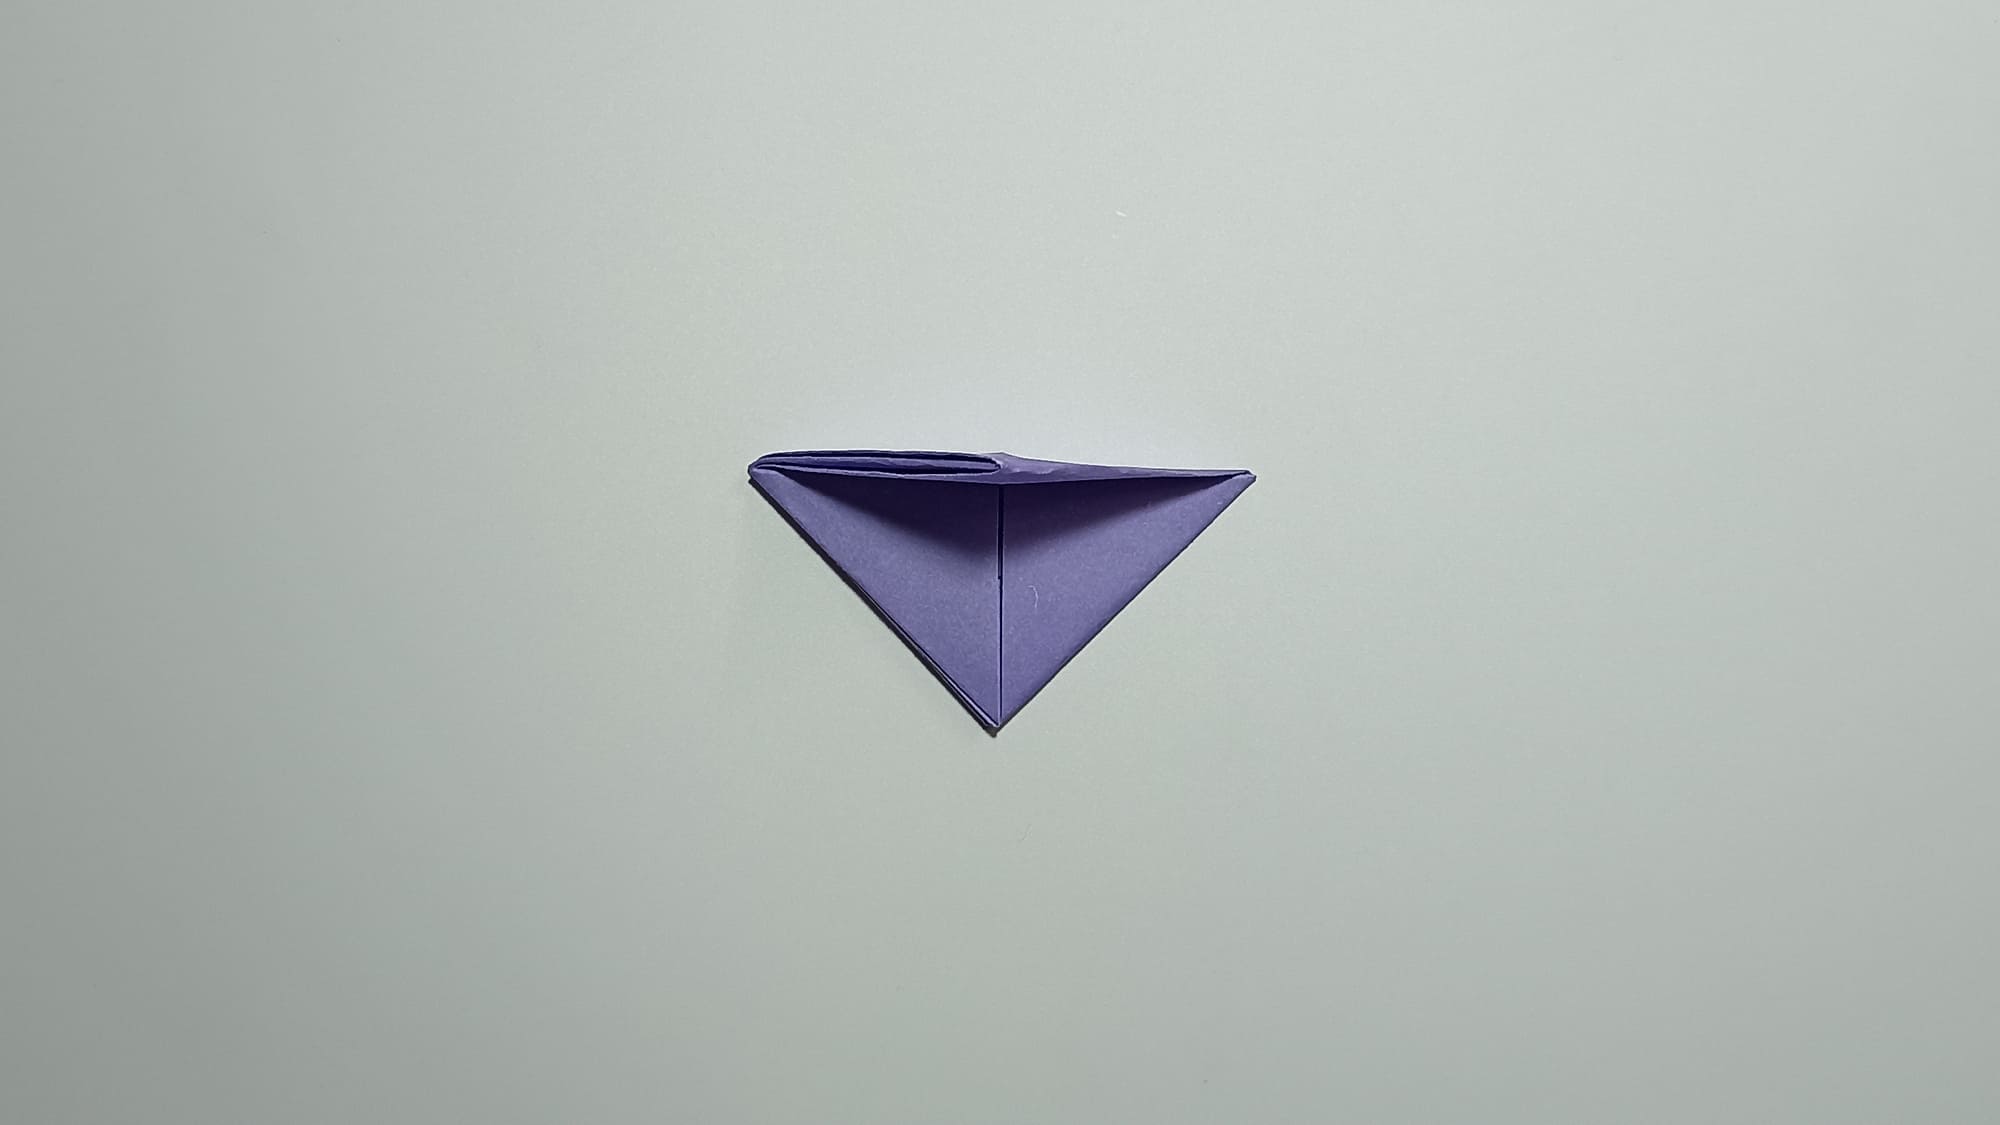
Find a side fold that penetrates inside and inflate the figure with air (with your lips or through a tube).
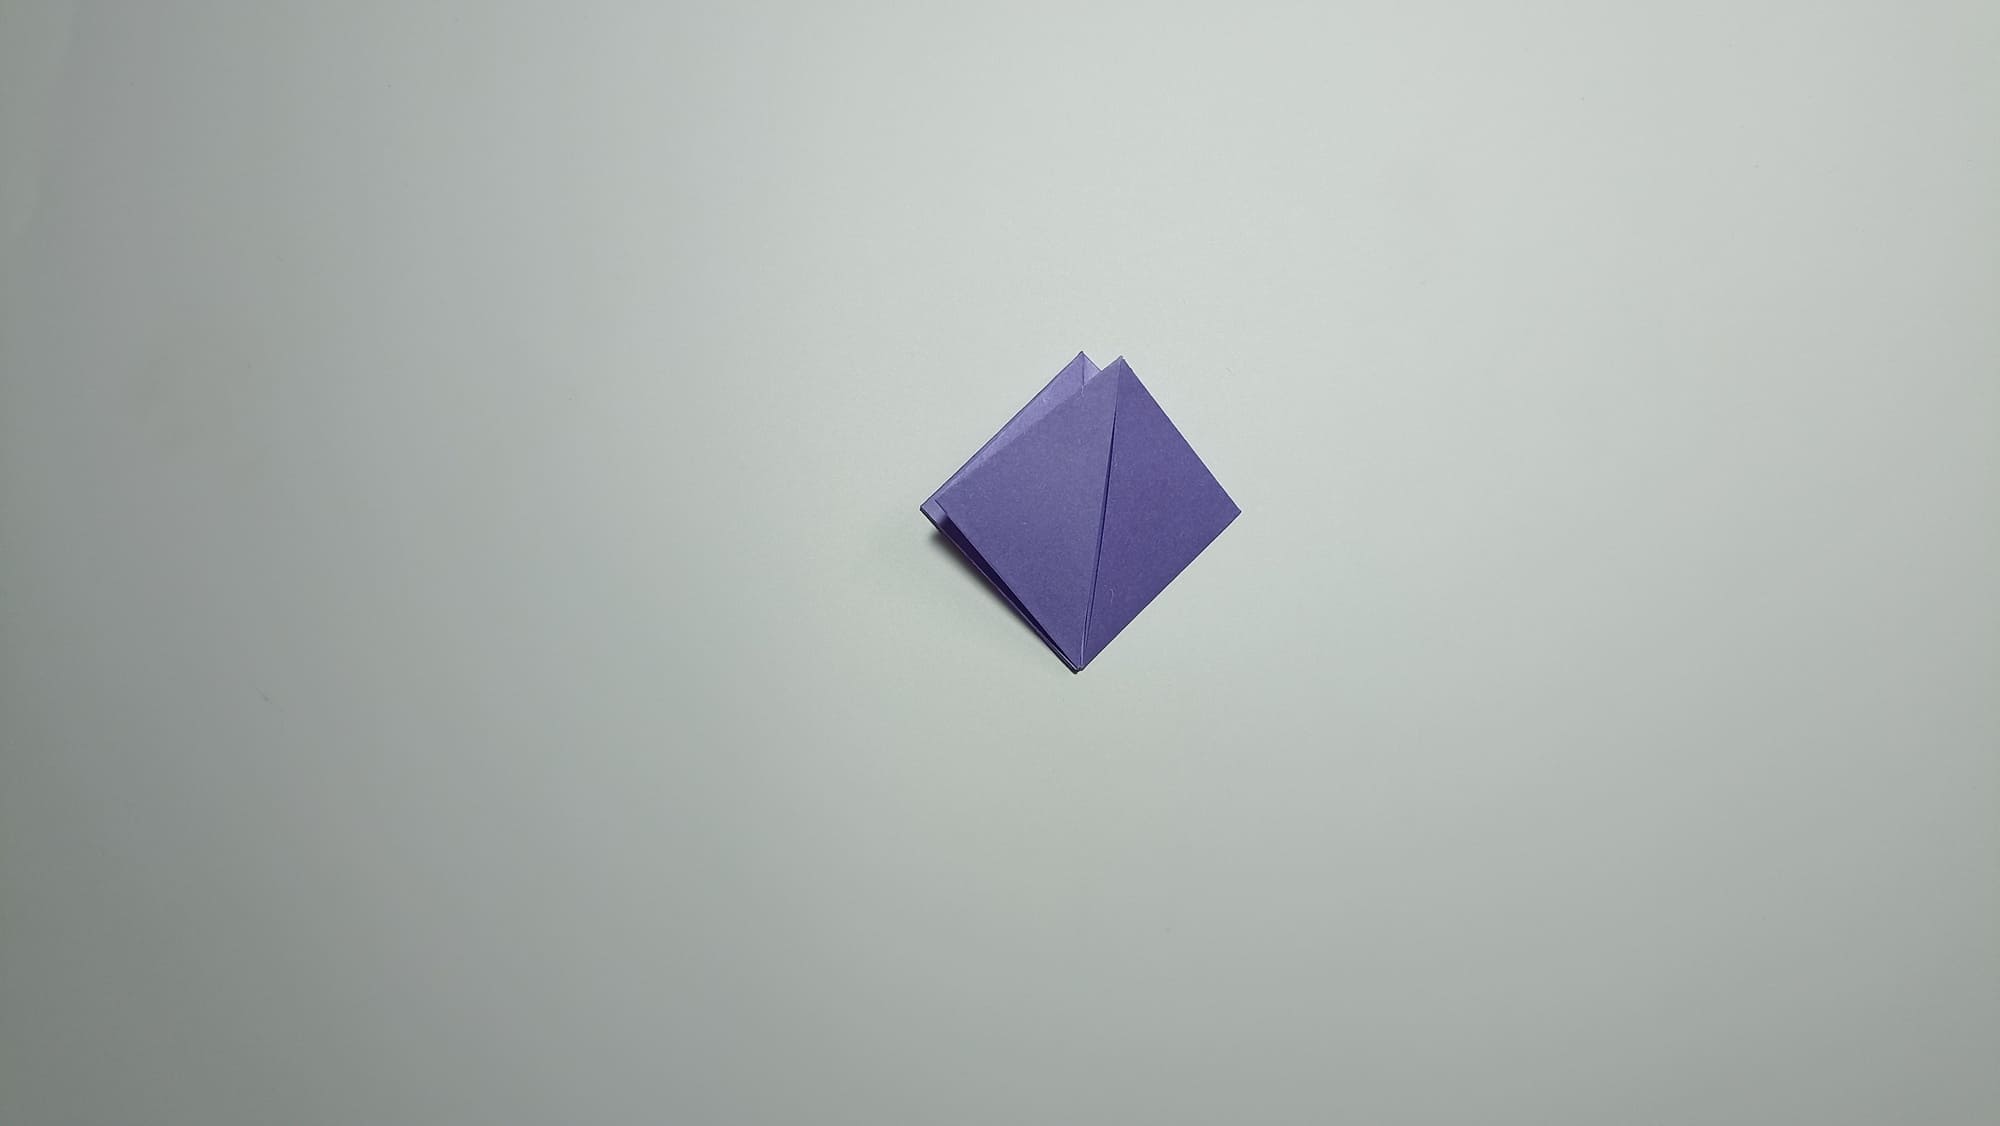
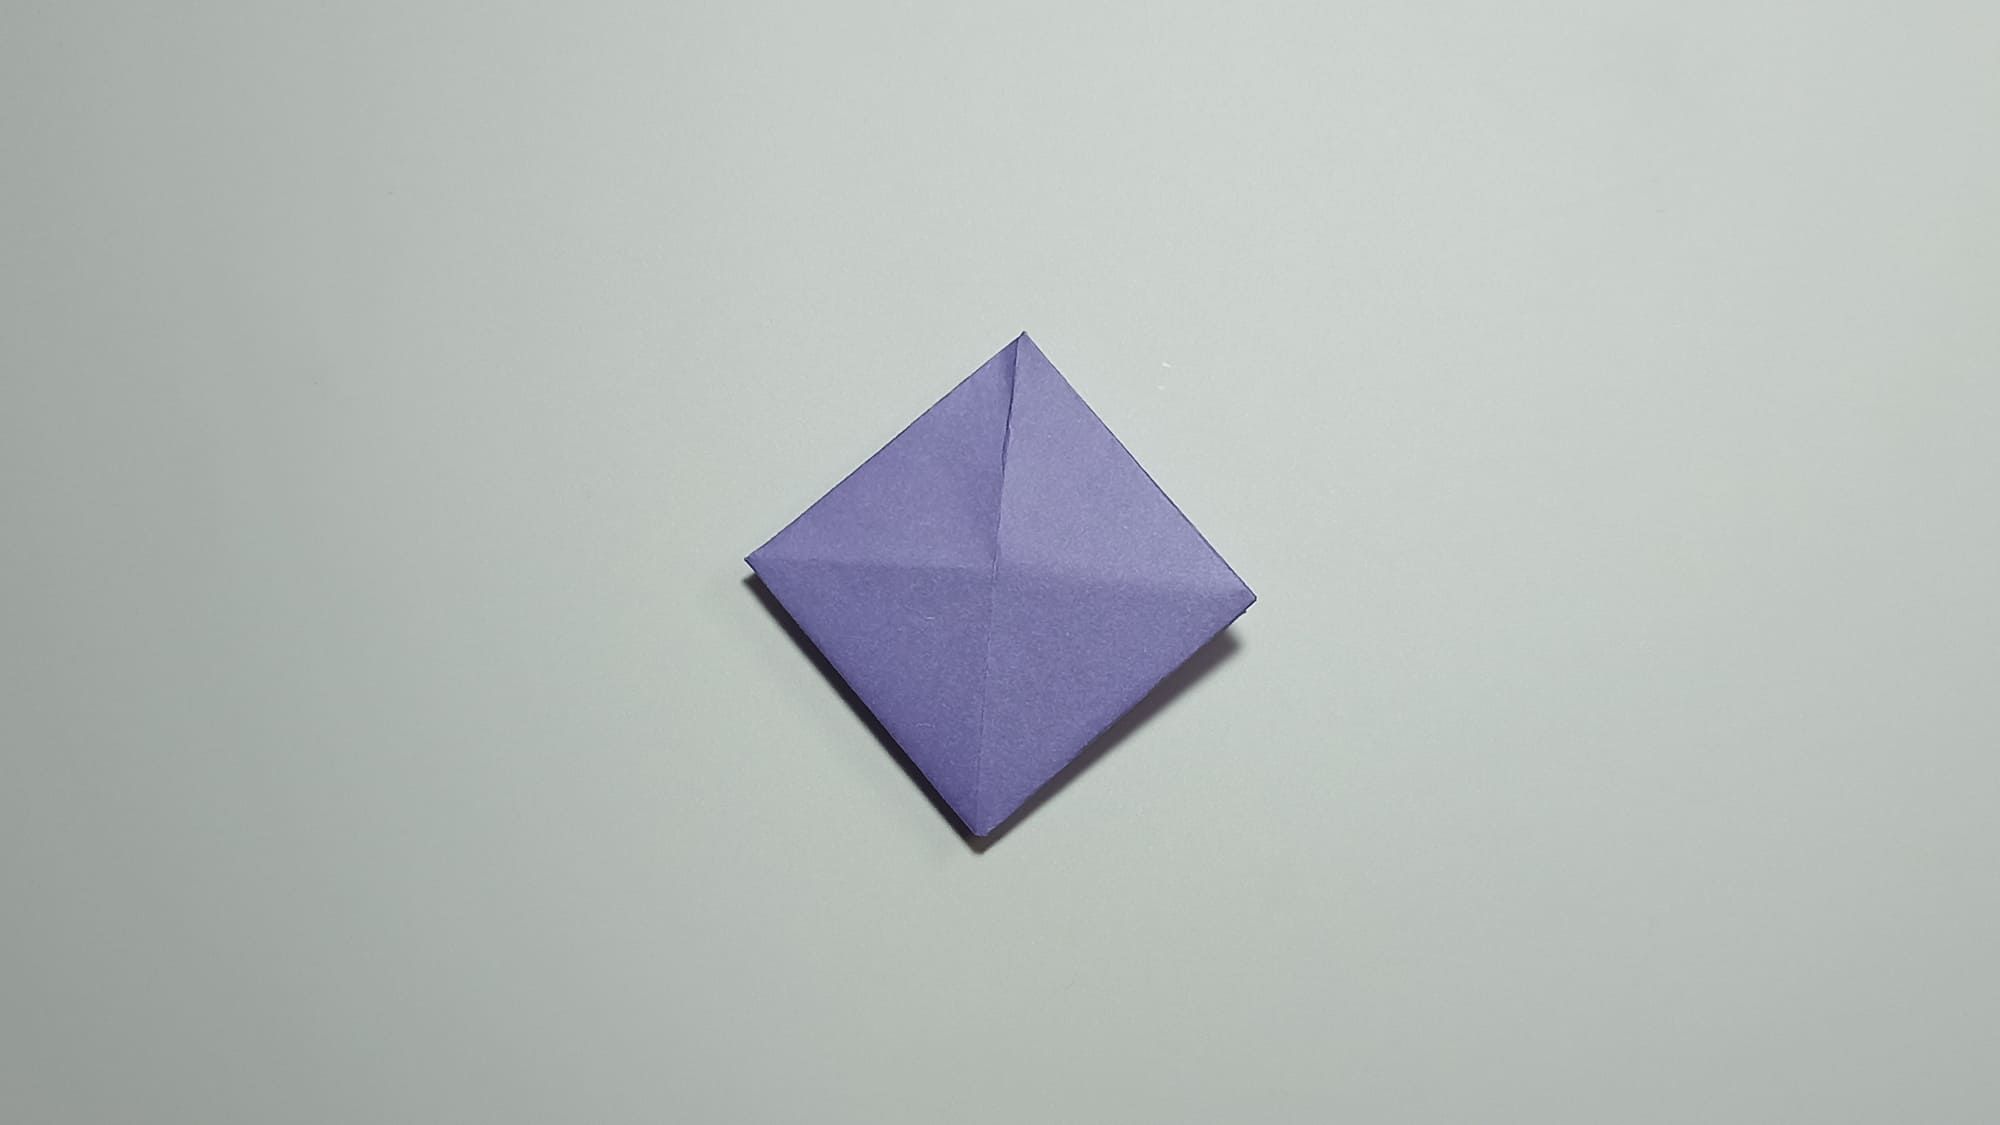
The toy is ready!
The beauty of an origami pinwheel is its ease of creation and precision of lines. A simple action – fast rotation captivates the eye and helps adults and children escape from their worries.


