Origami Horizon Airplane
This is a cool model of a paper airplane that has won the consideration of many origami lovers. “Horizon” has a memorable shape and a slightly unusual assembly technology, which doubles the interest in it. This plane also has its own superpower: it can hover in the air for a long time, thanks to which it flies quite far – up to 10 meters. Its time in the air with a tailwind can be up to 5 seconds!
The unusualness of the assembly lies in several interesting bends and the final fastening of the body. Therefore, to make this airplane, you will not need anything other than an A4 sheet of paper and time, which you will spend with pleasure.
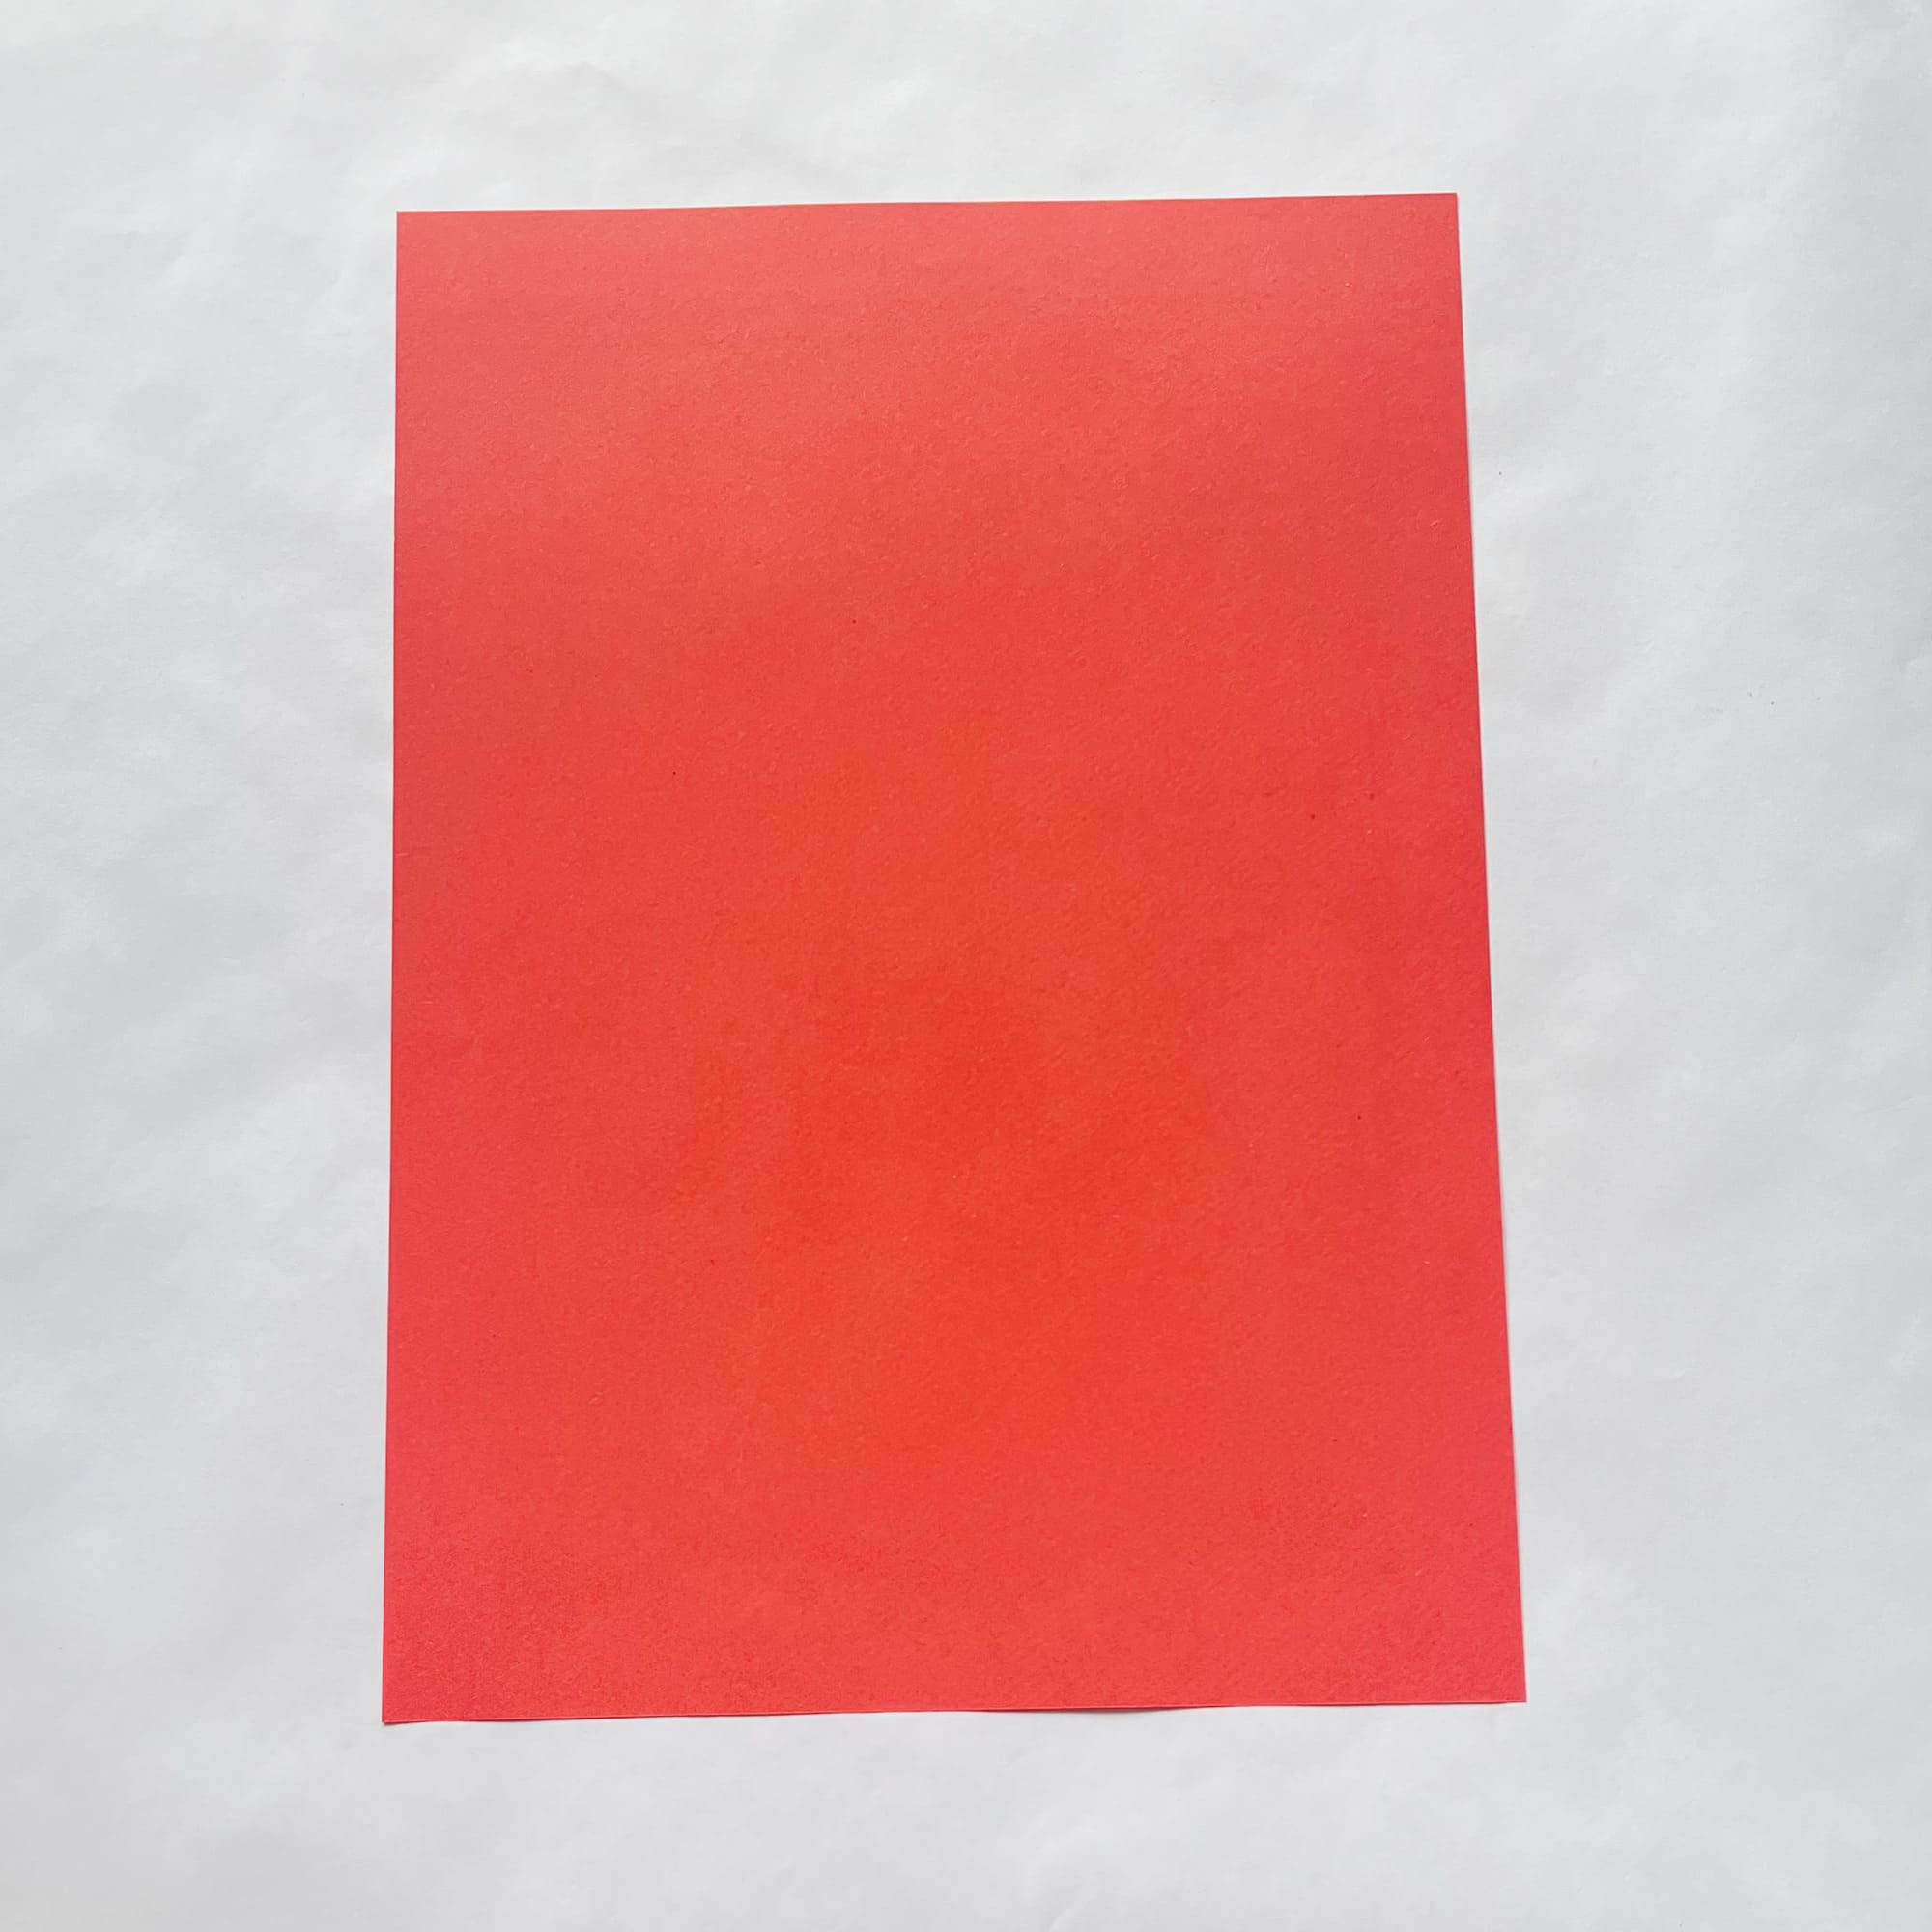
Place the sheet of paper vertically, fold it in half along the vertical axis, crease the fold, and unfold.
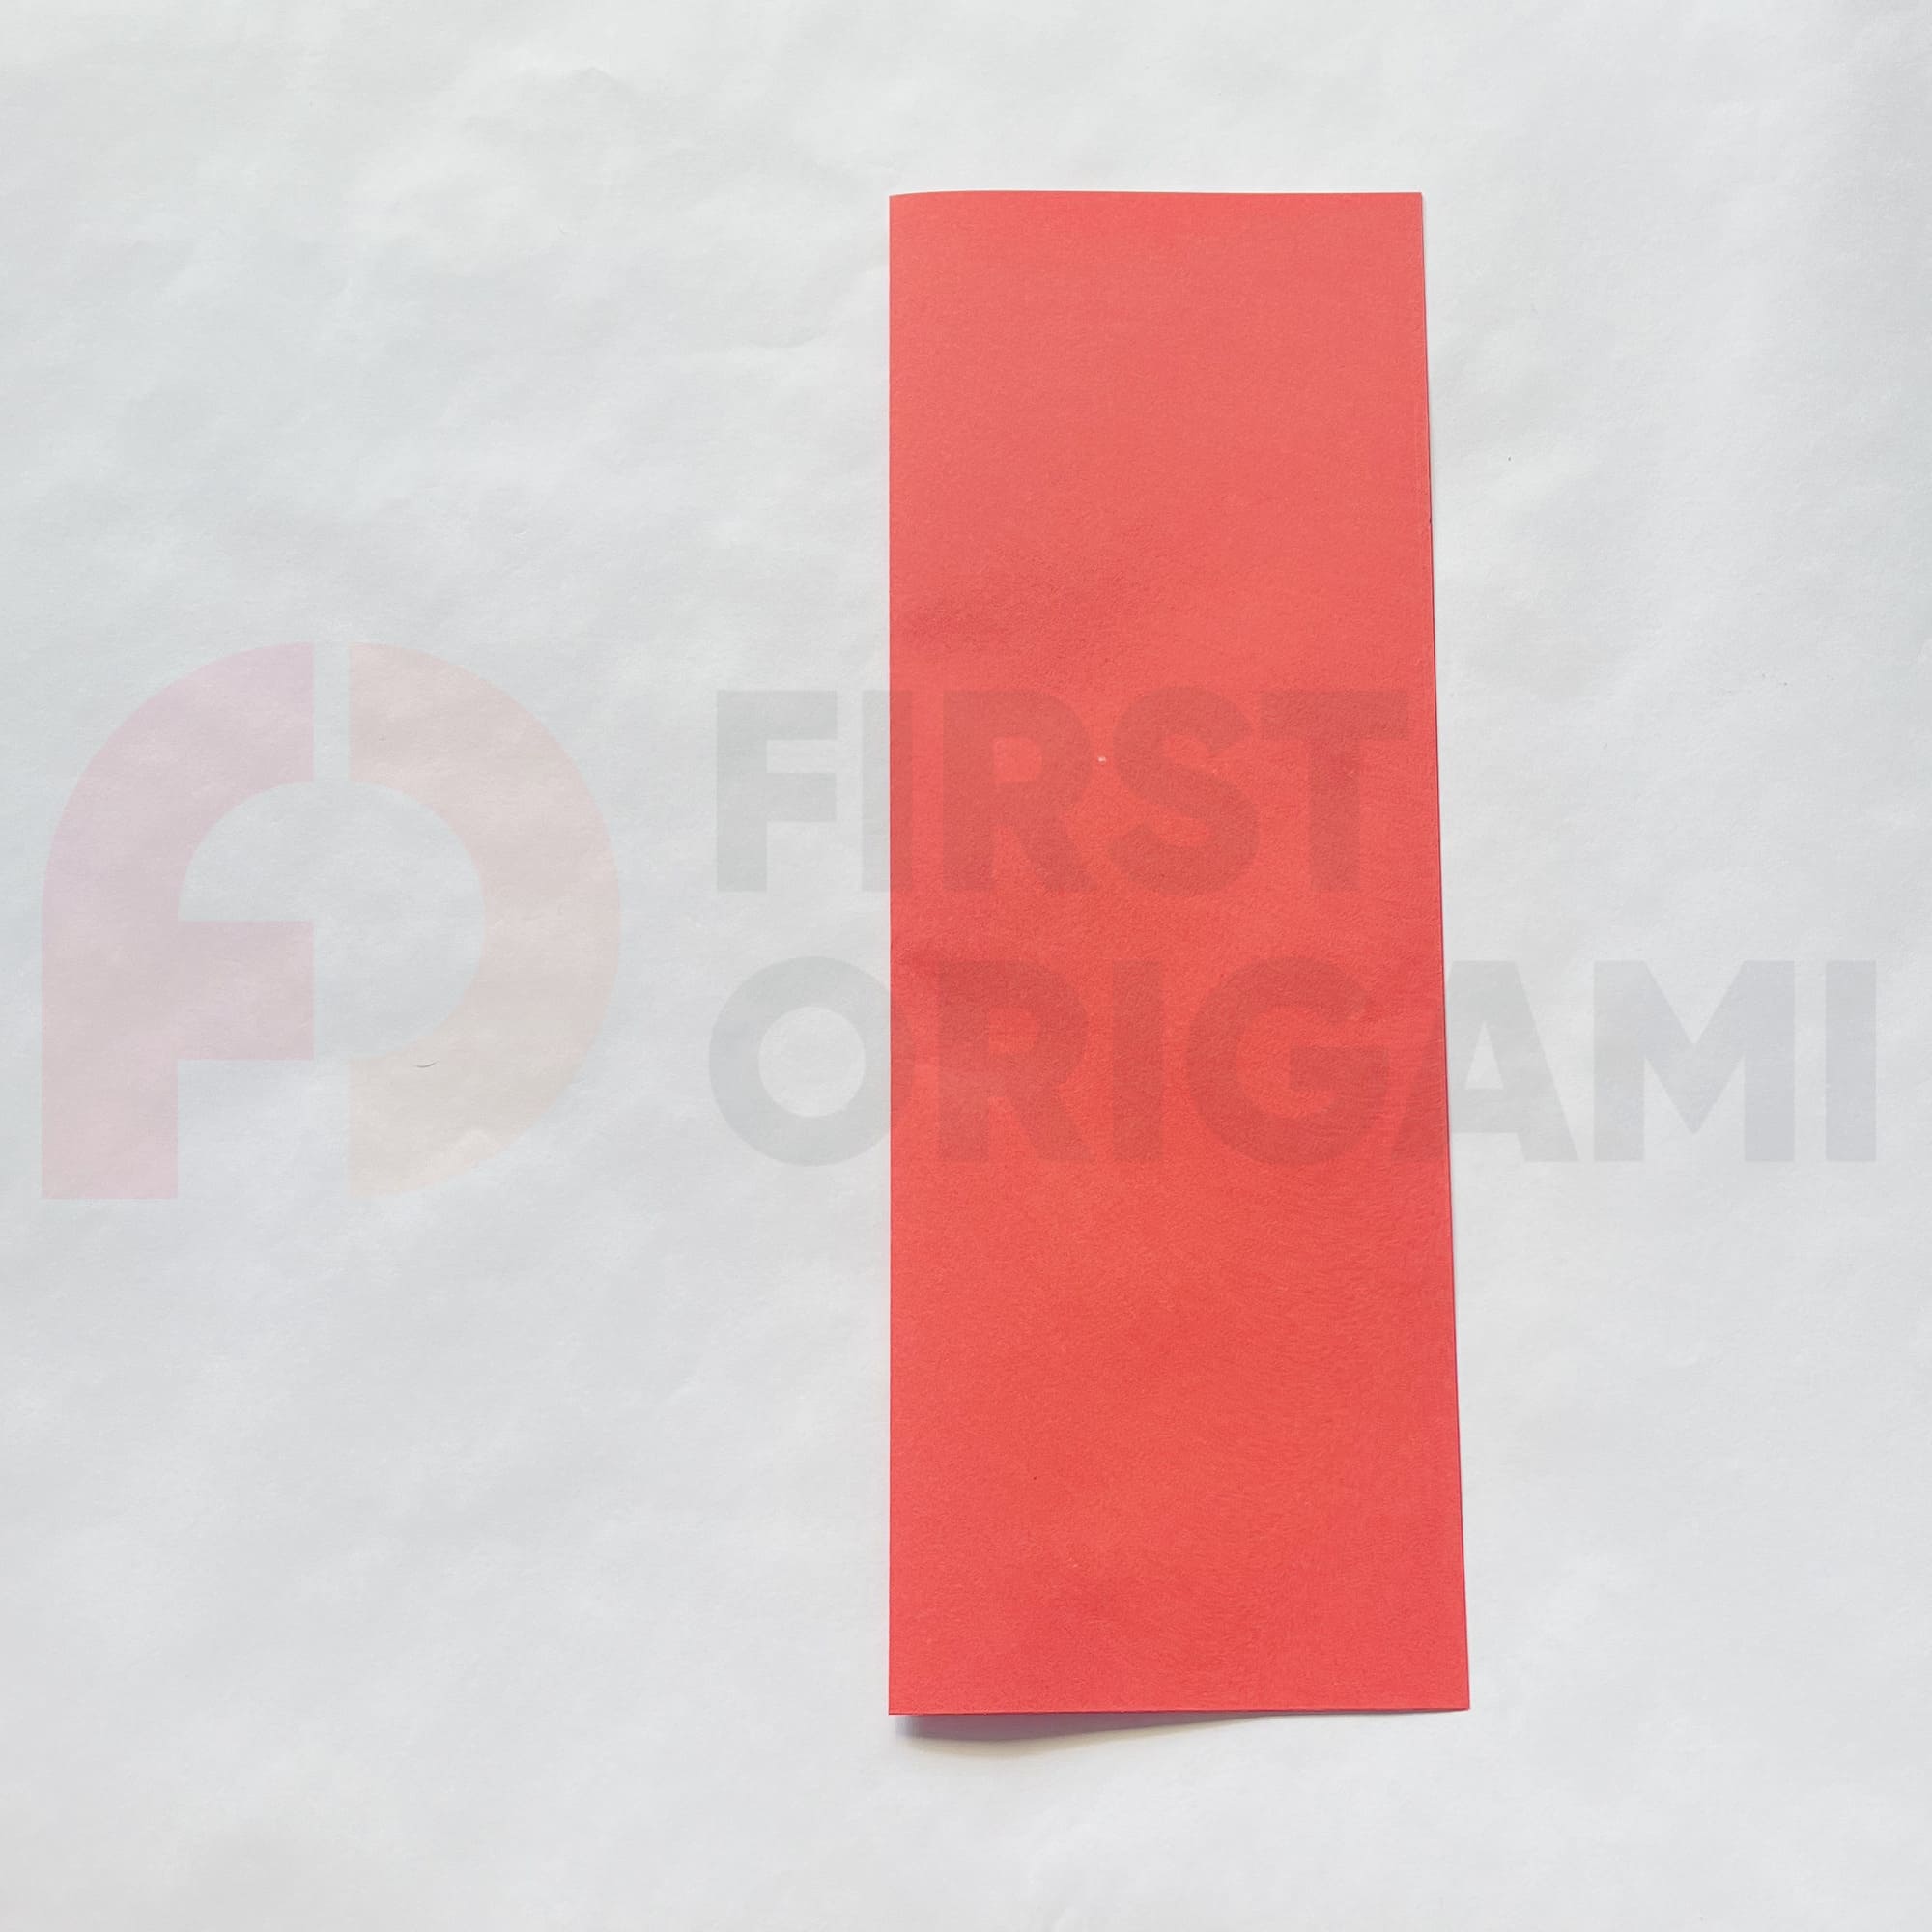

Fold the two top corners to the center line so that their edges coincide on it.
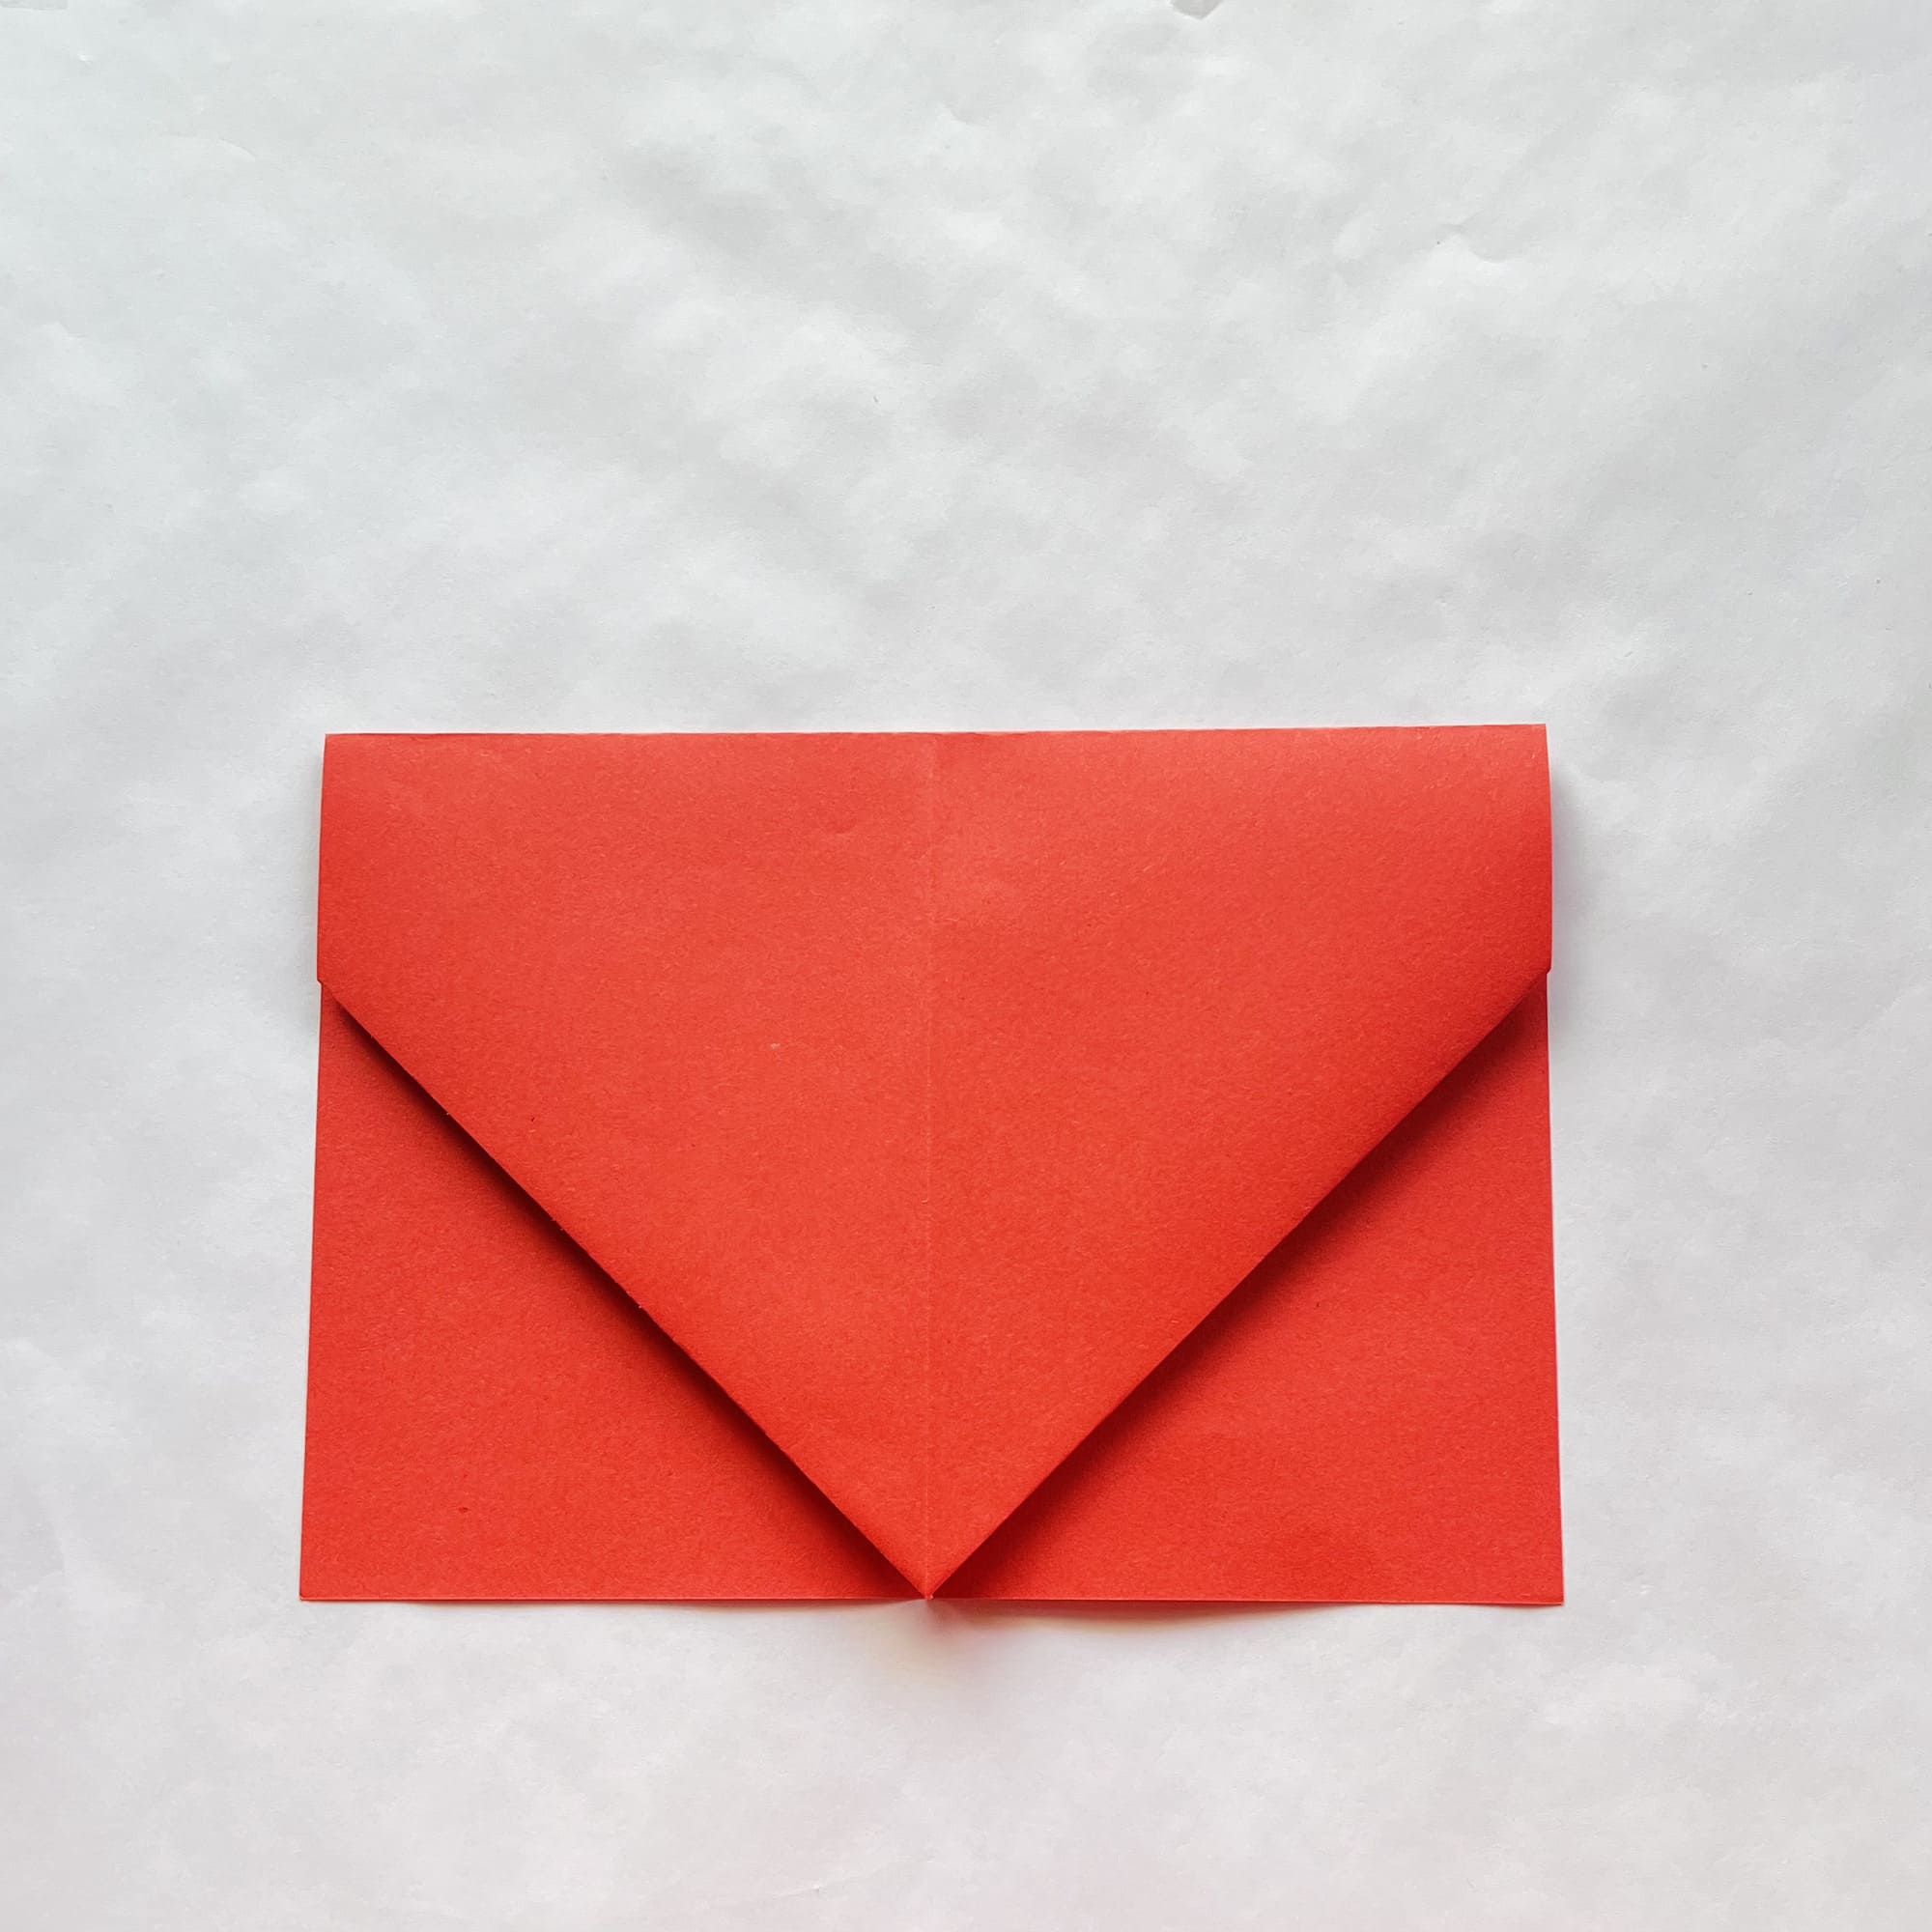
Fold the top corner down so that its tip is at the center point of the bottom edge of the paper.
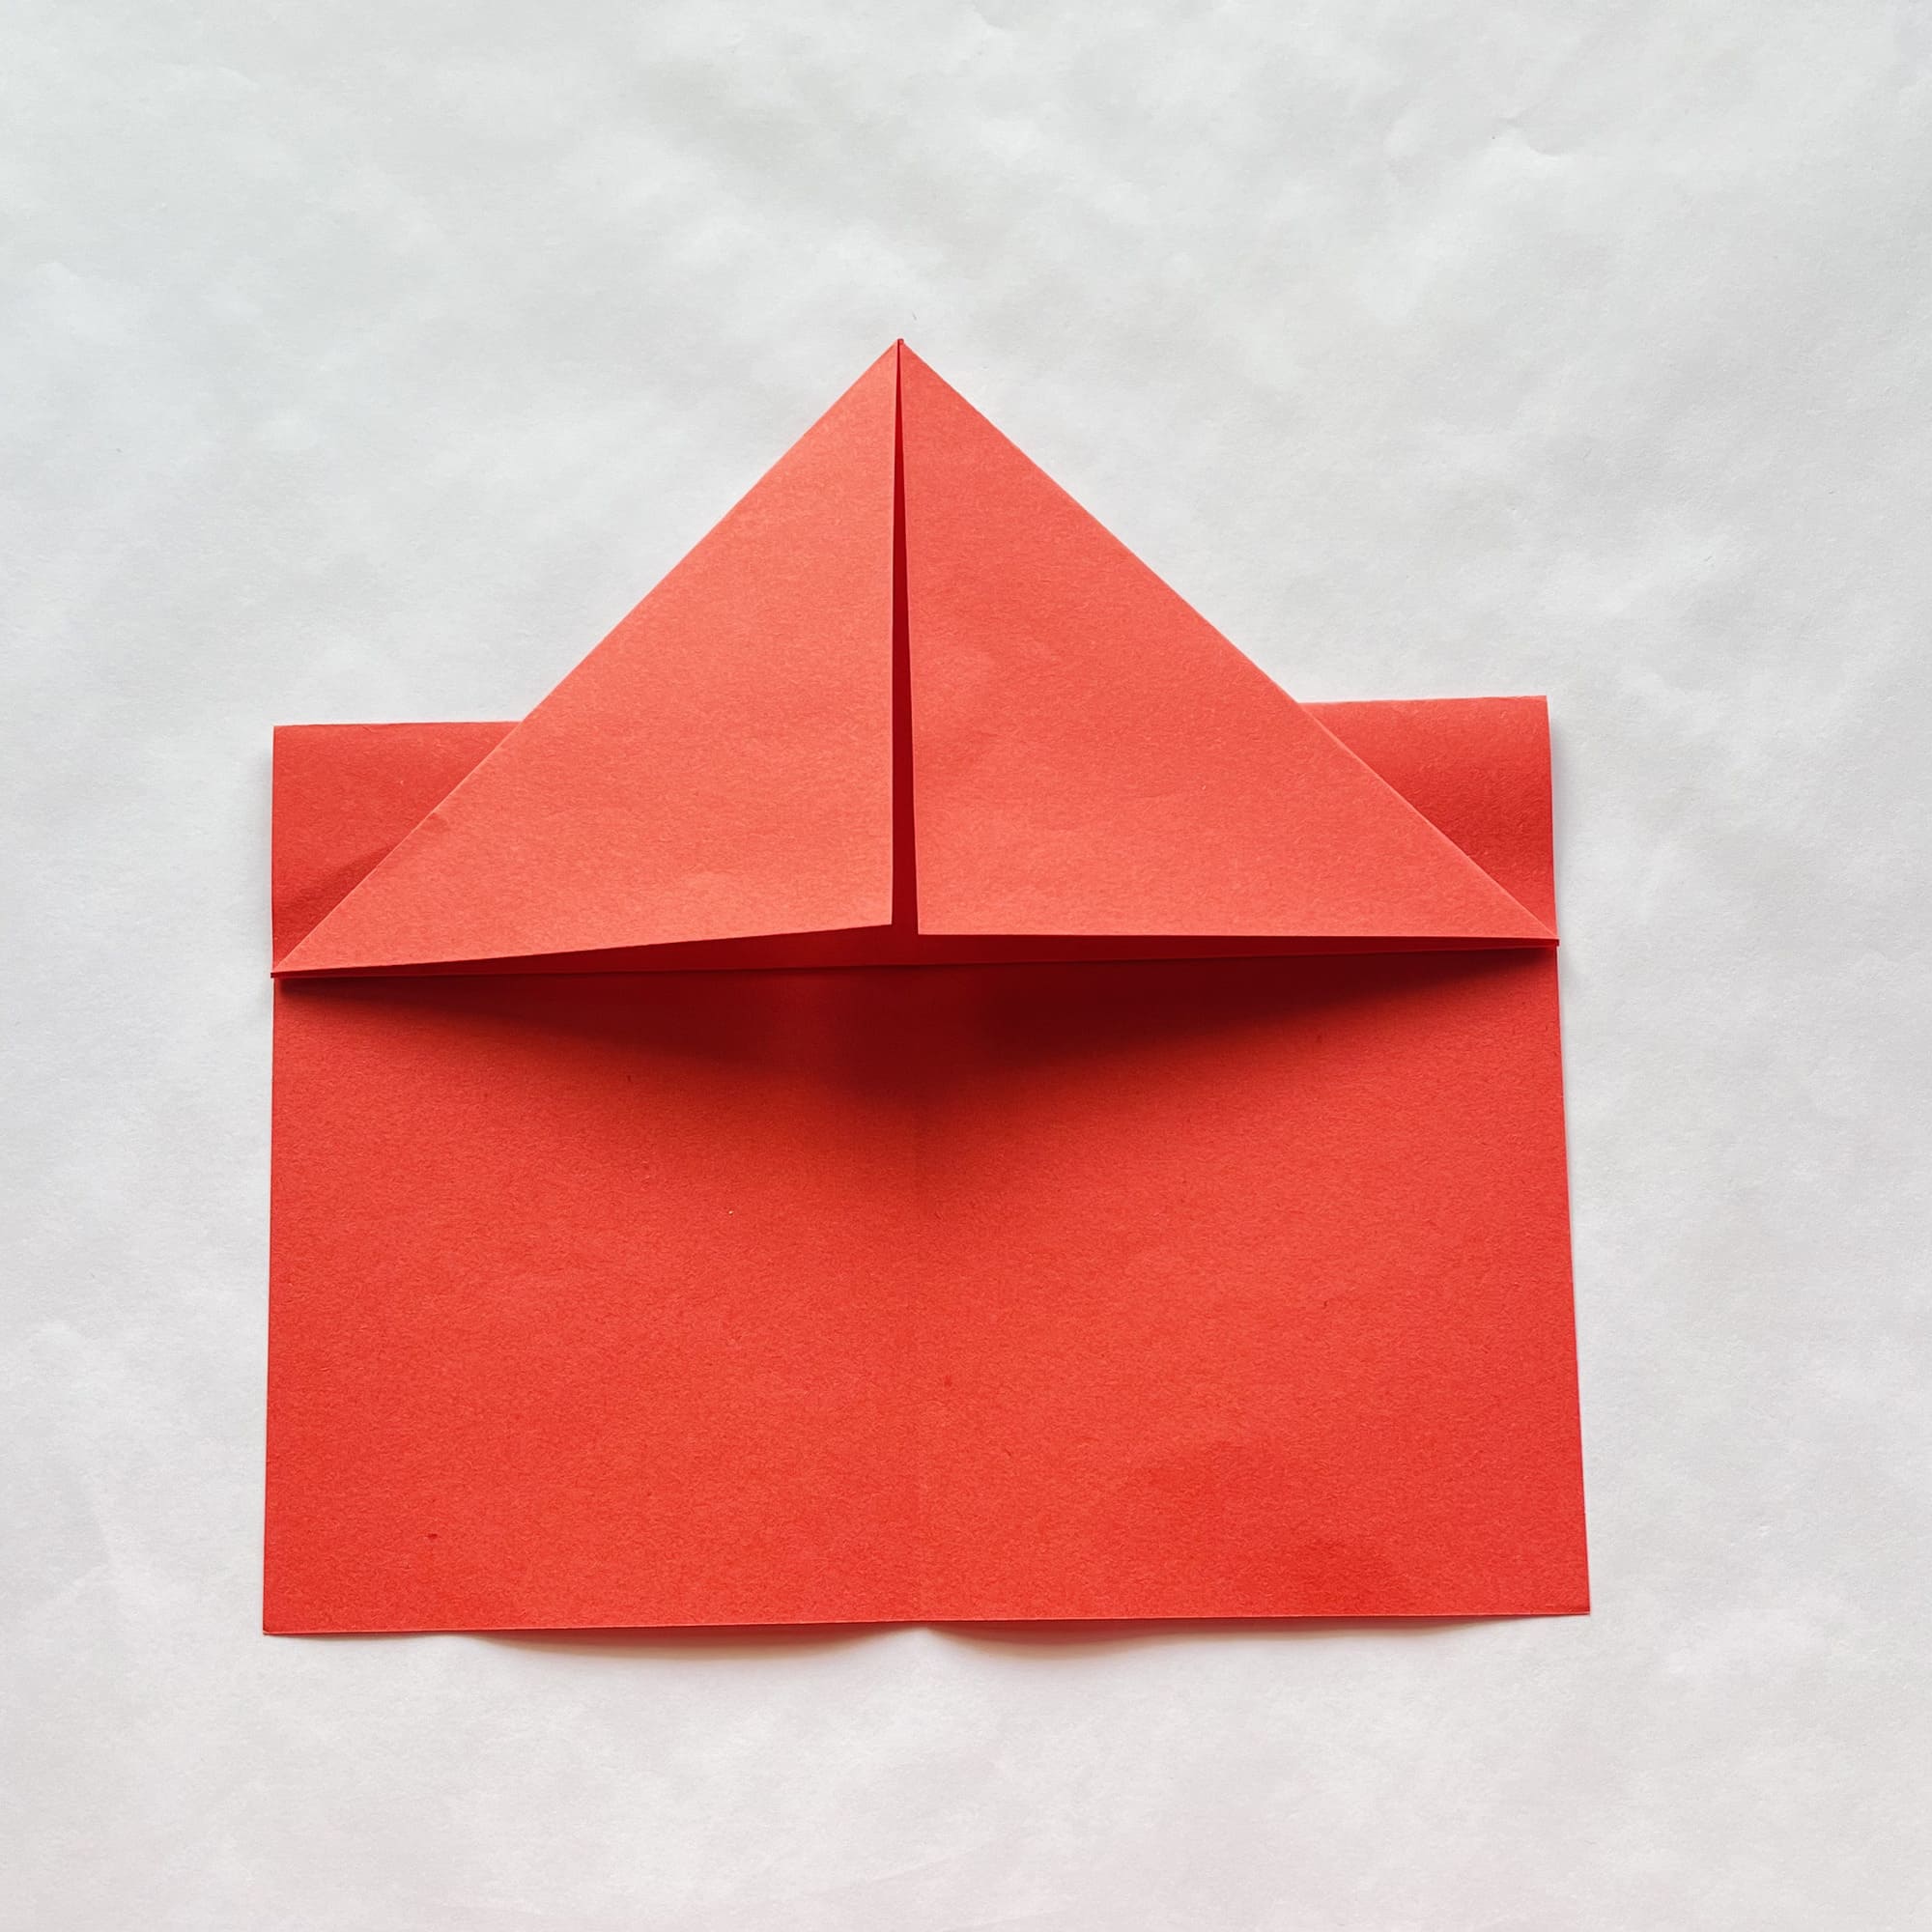
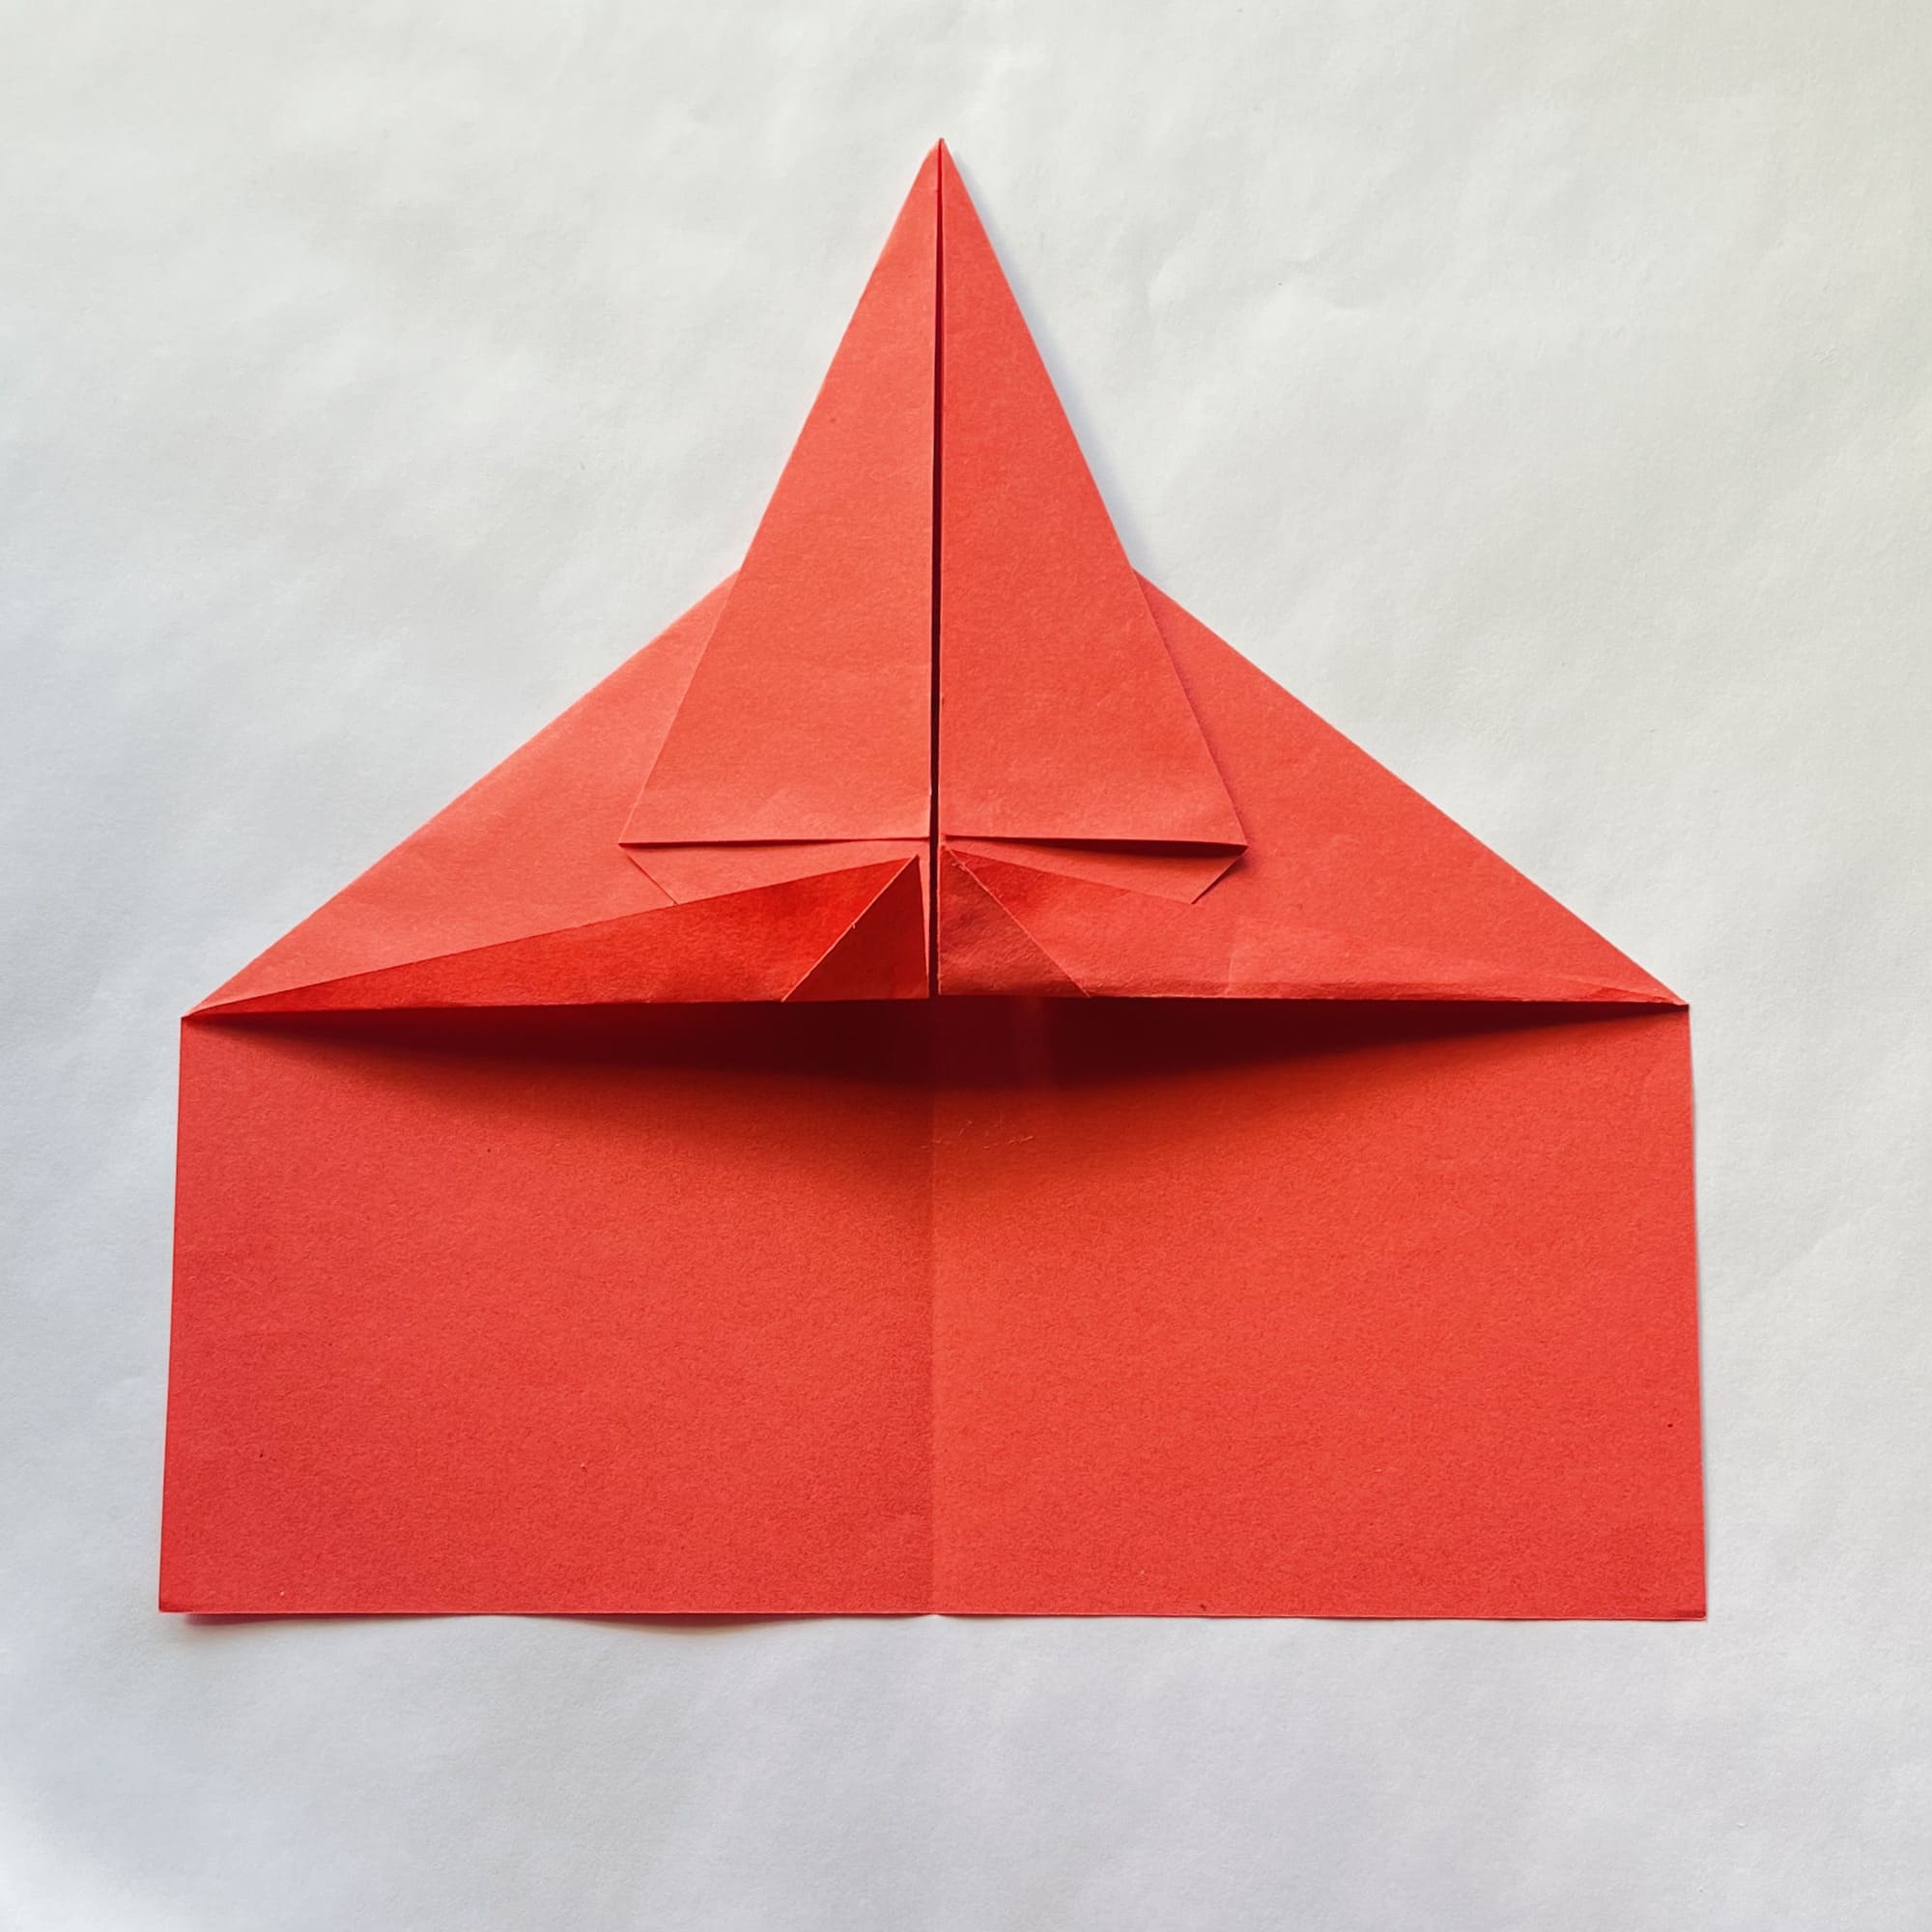
Now, bend this corner up as shown in the photo.
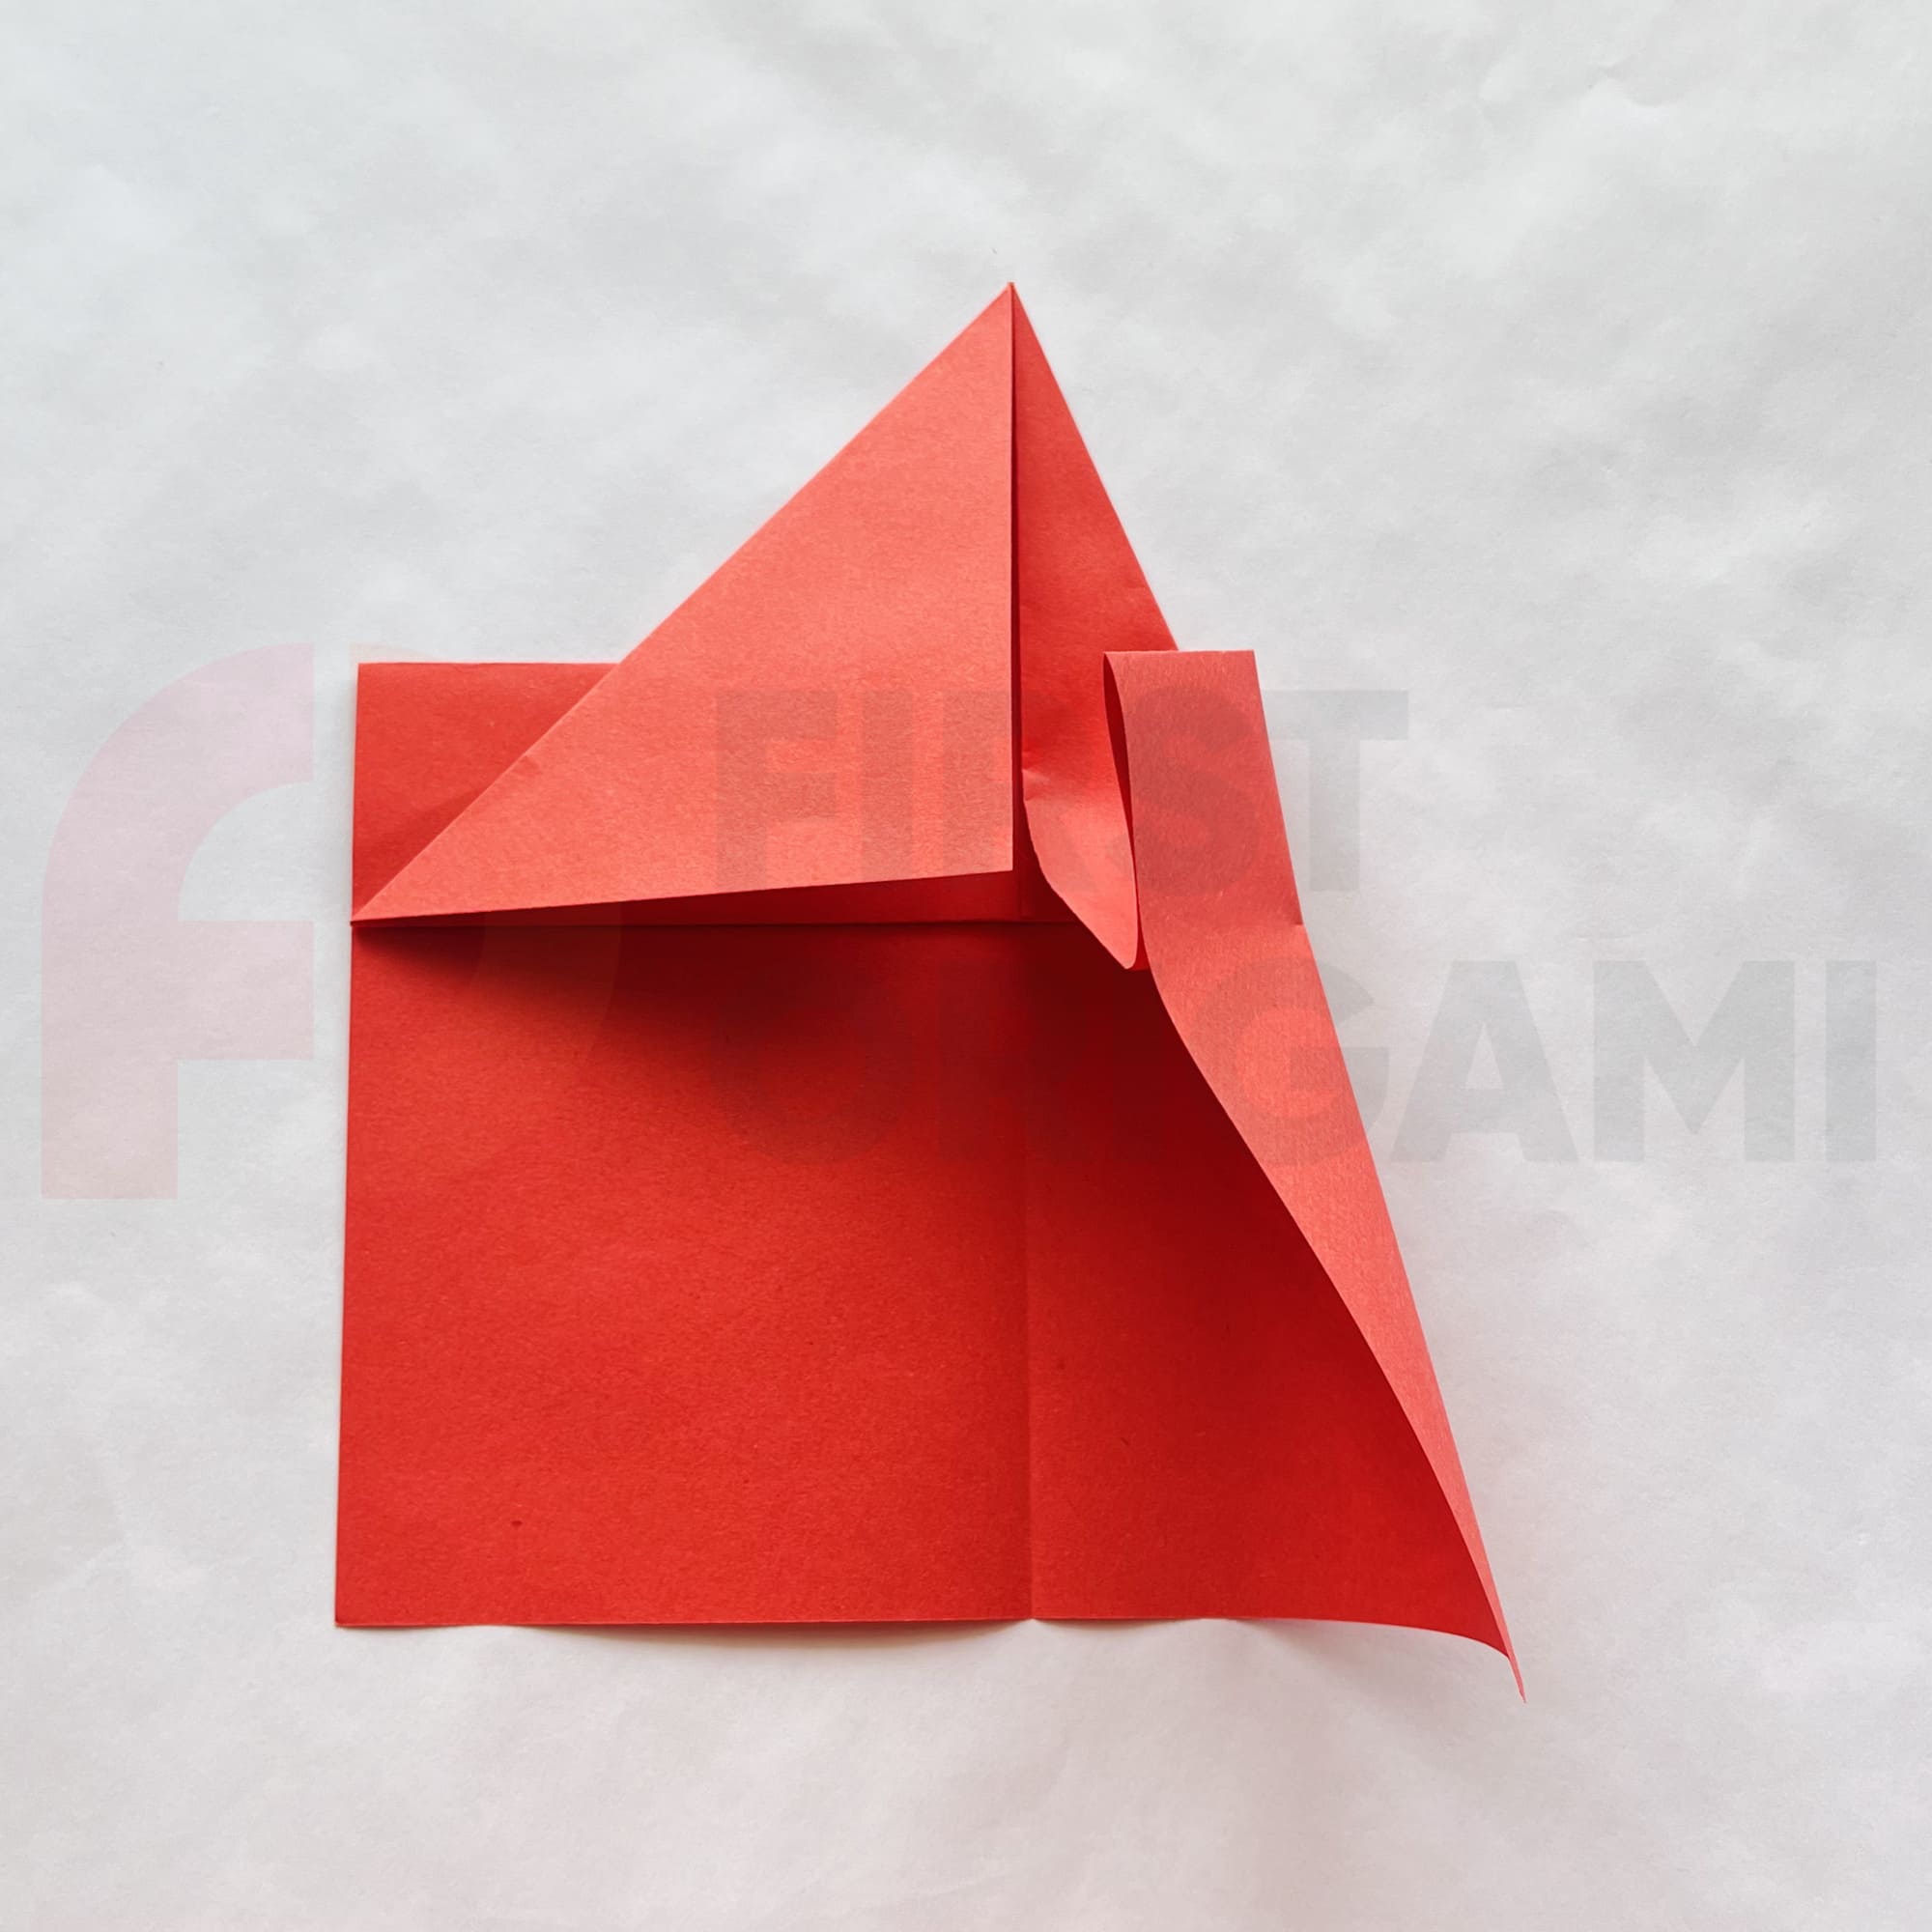
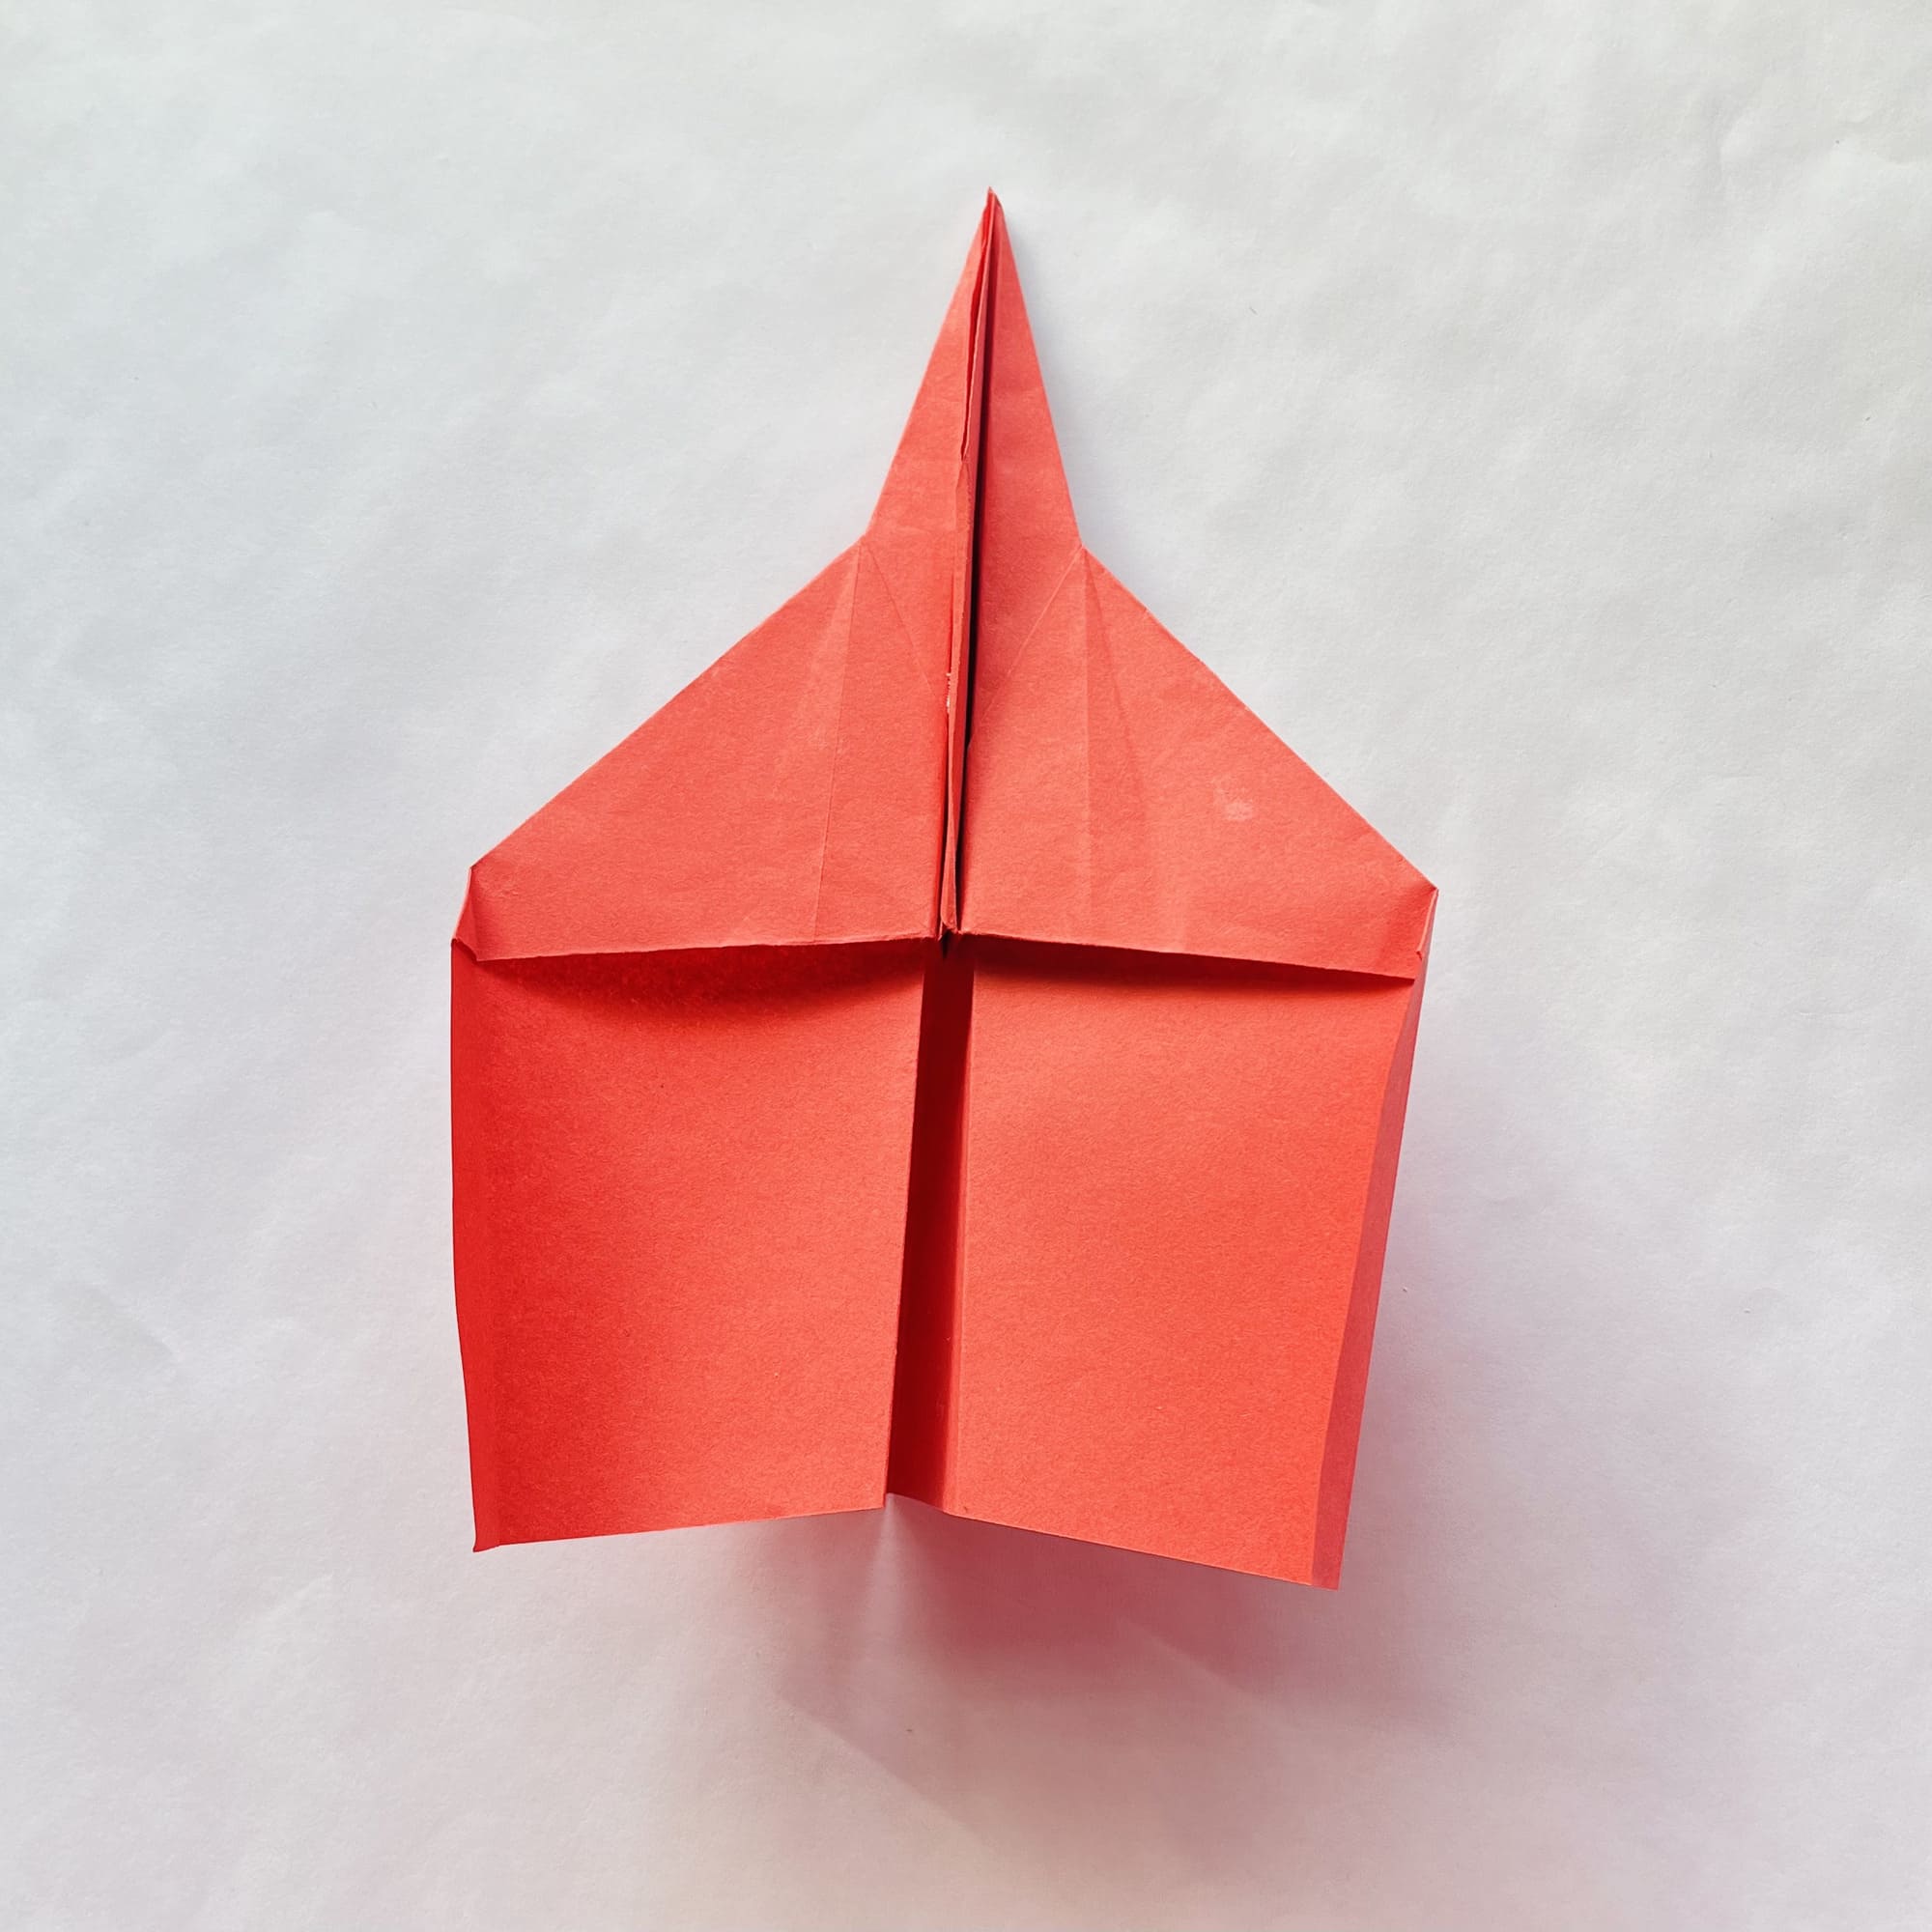
At the top, start folding the right part in half, followed by the paper in the middle and bottom parts of the figure.
Gently lay the paper flat on the table to create a flattening fold.
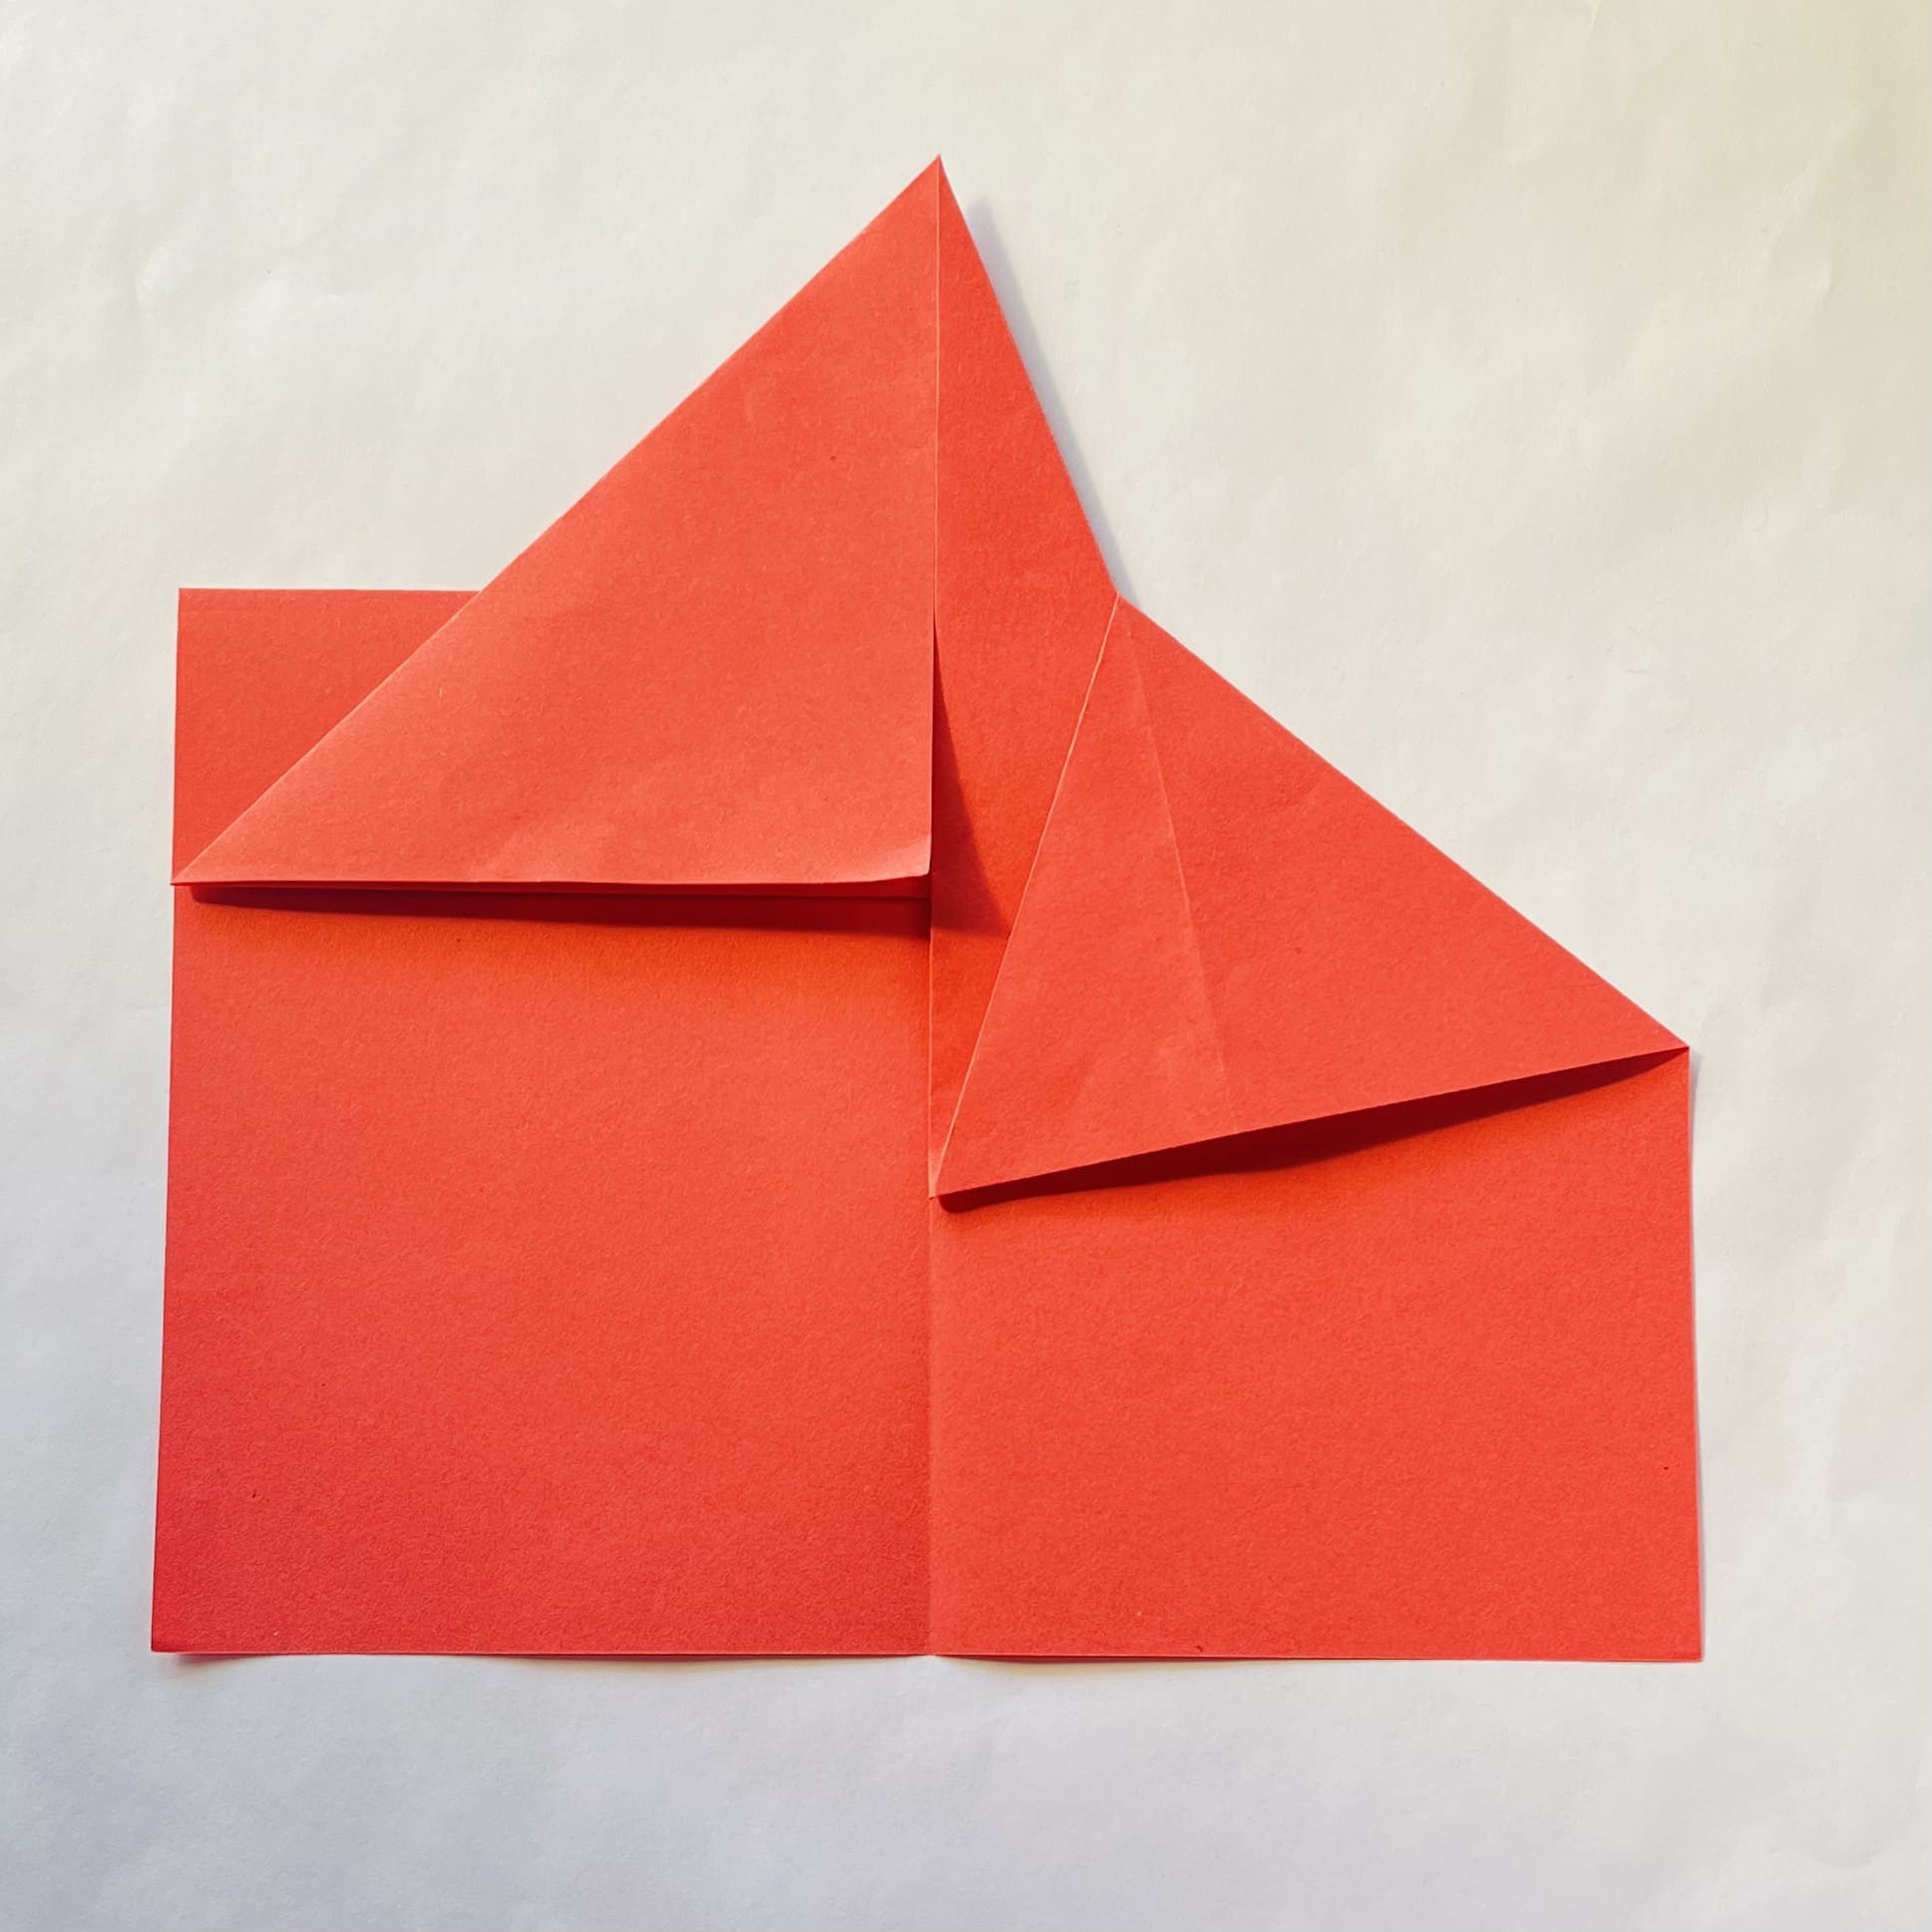
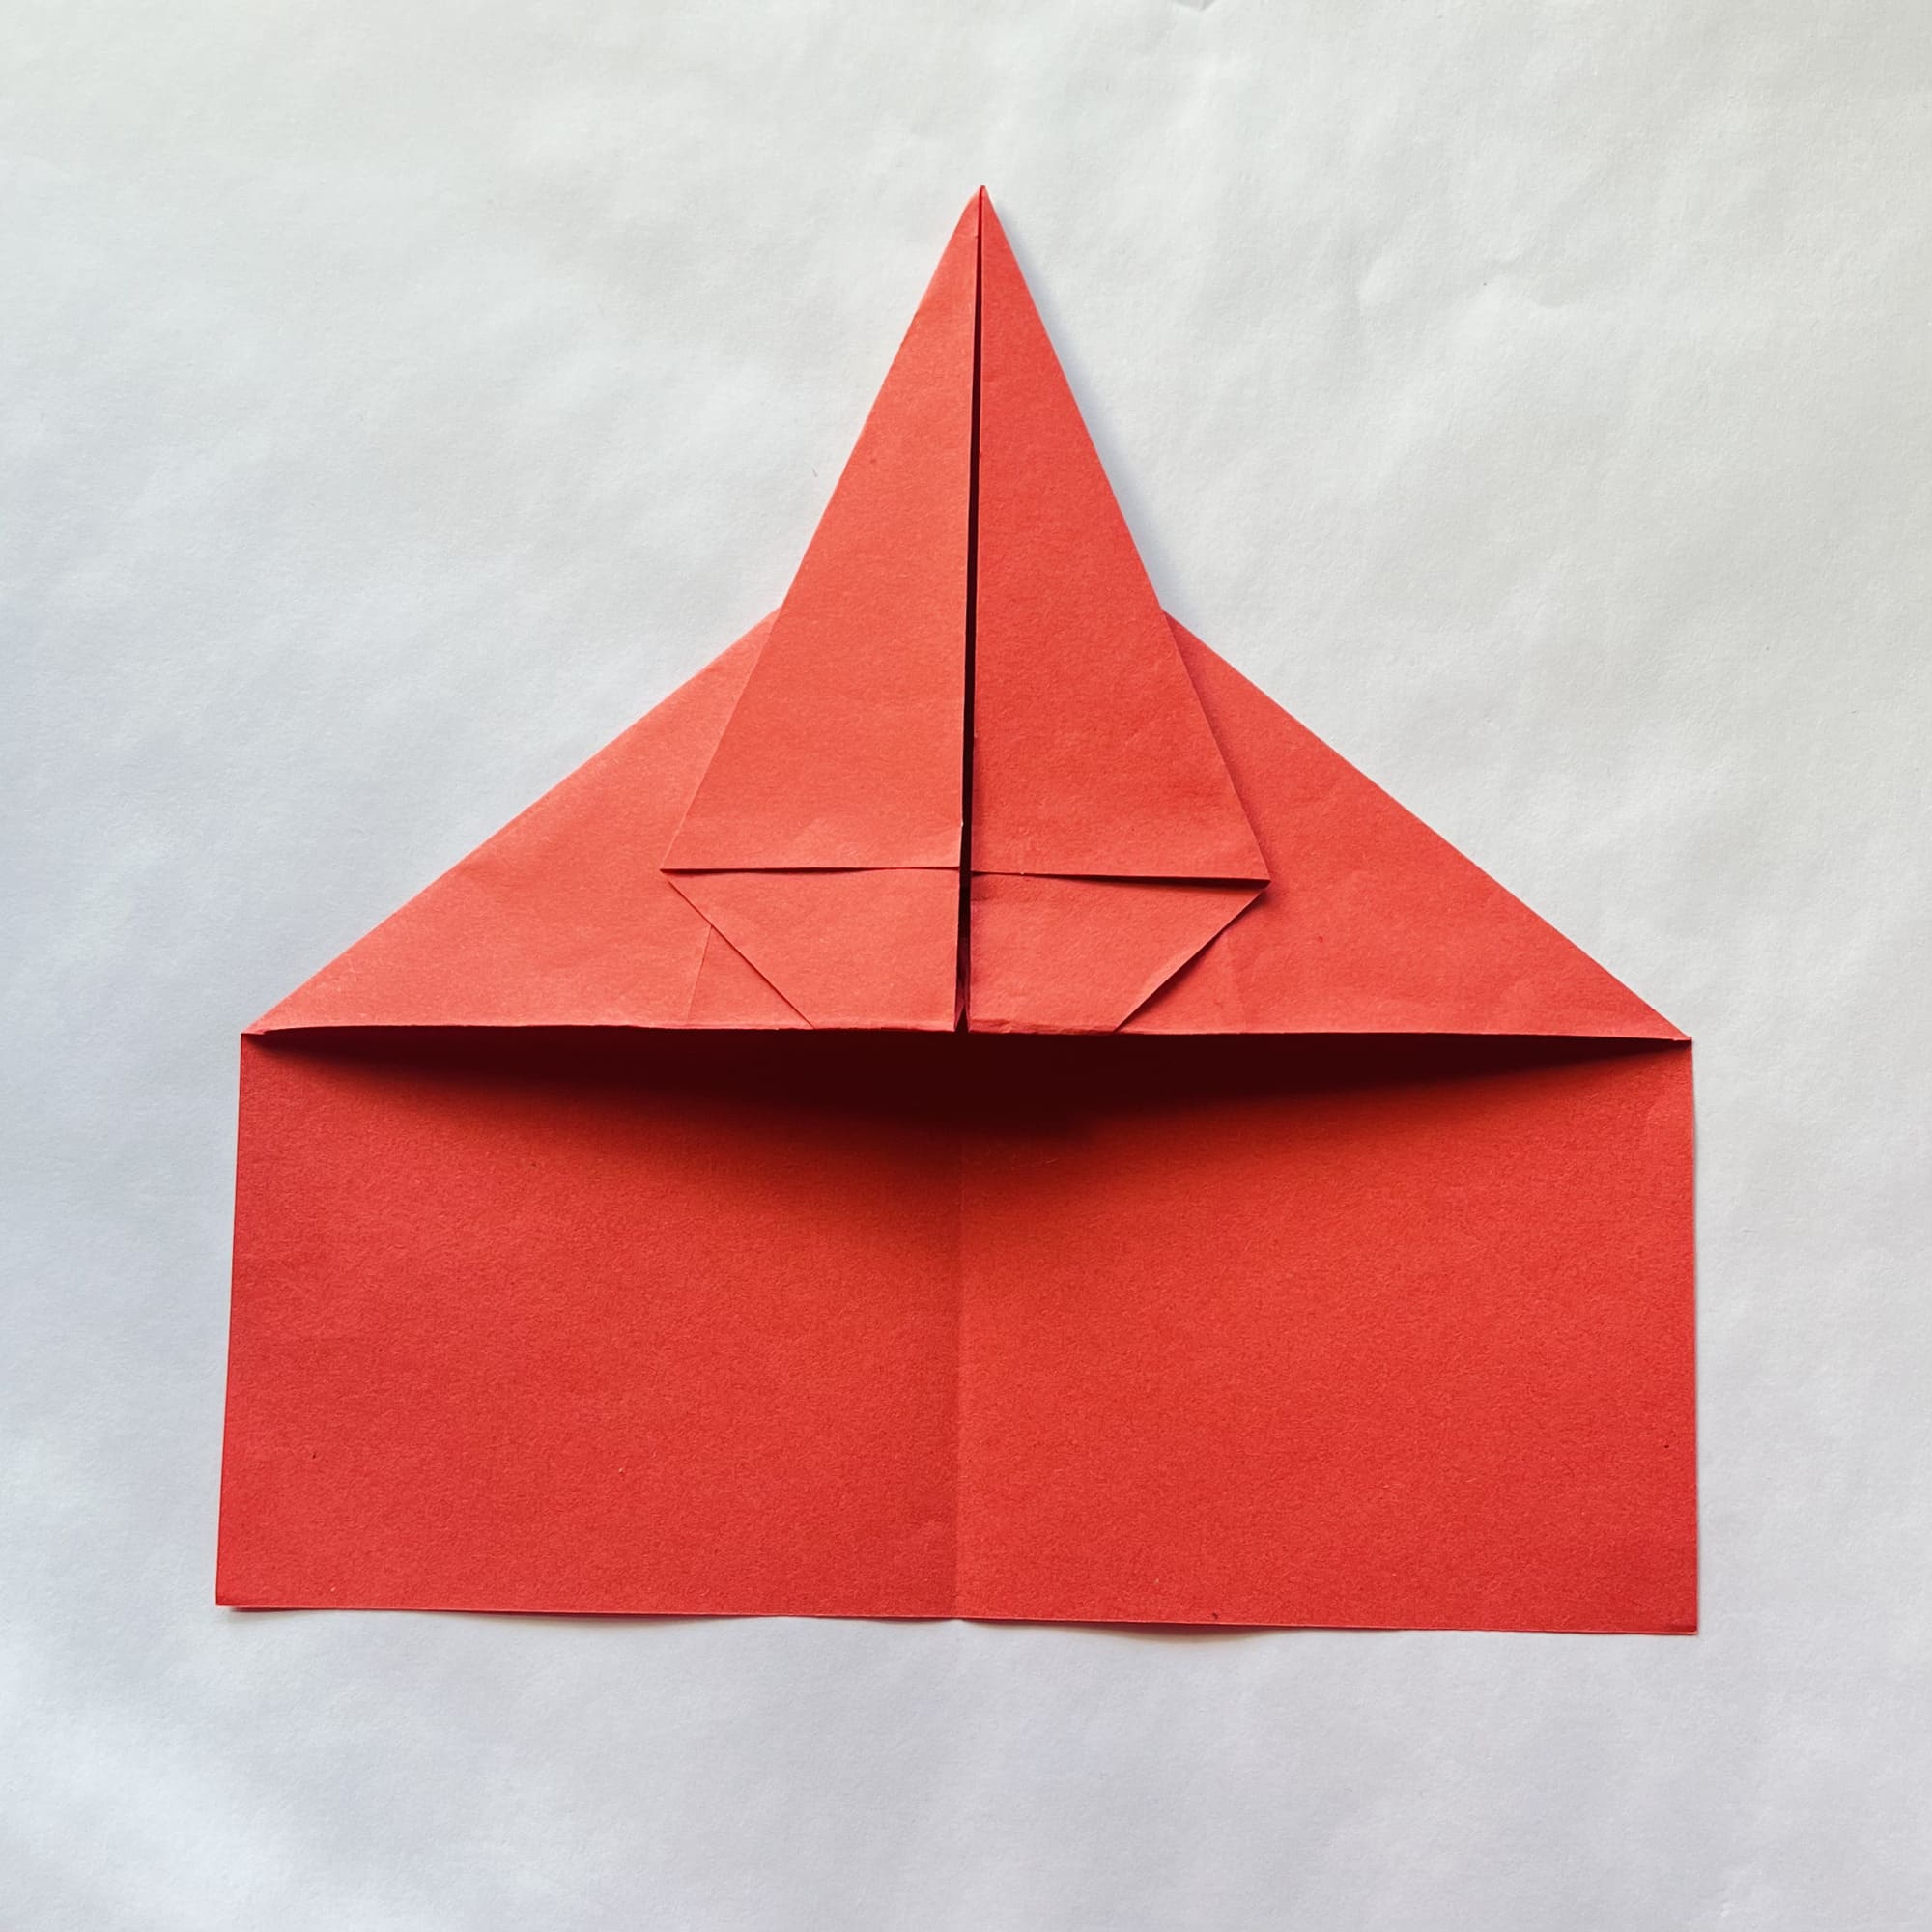
Repeat steps 6-7 on the left side so that the shape is symmetrical on this side as well.
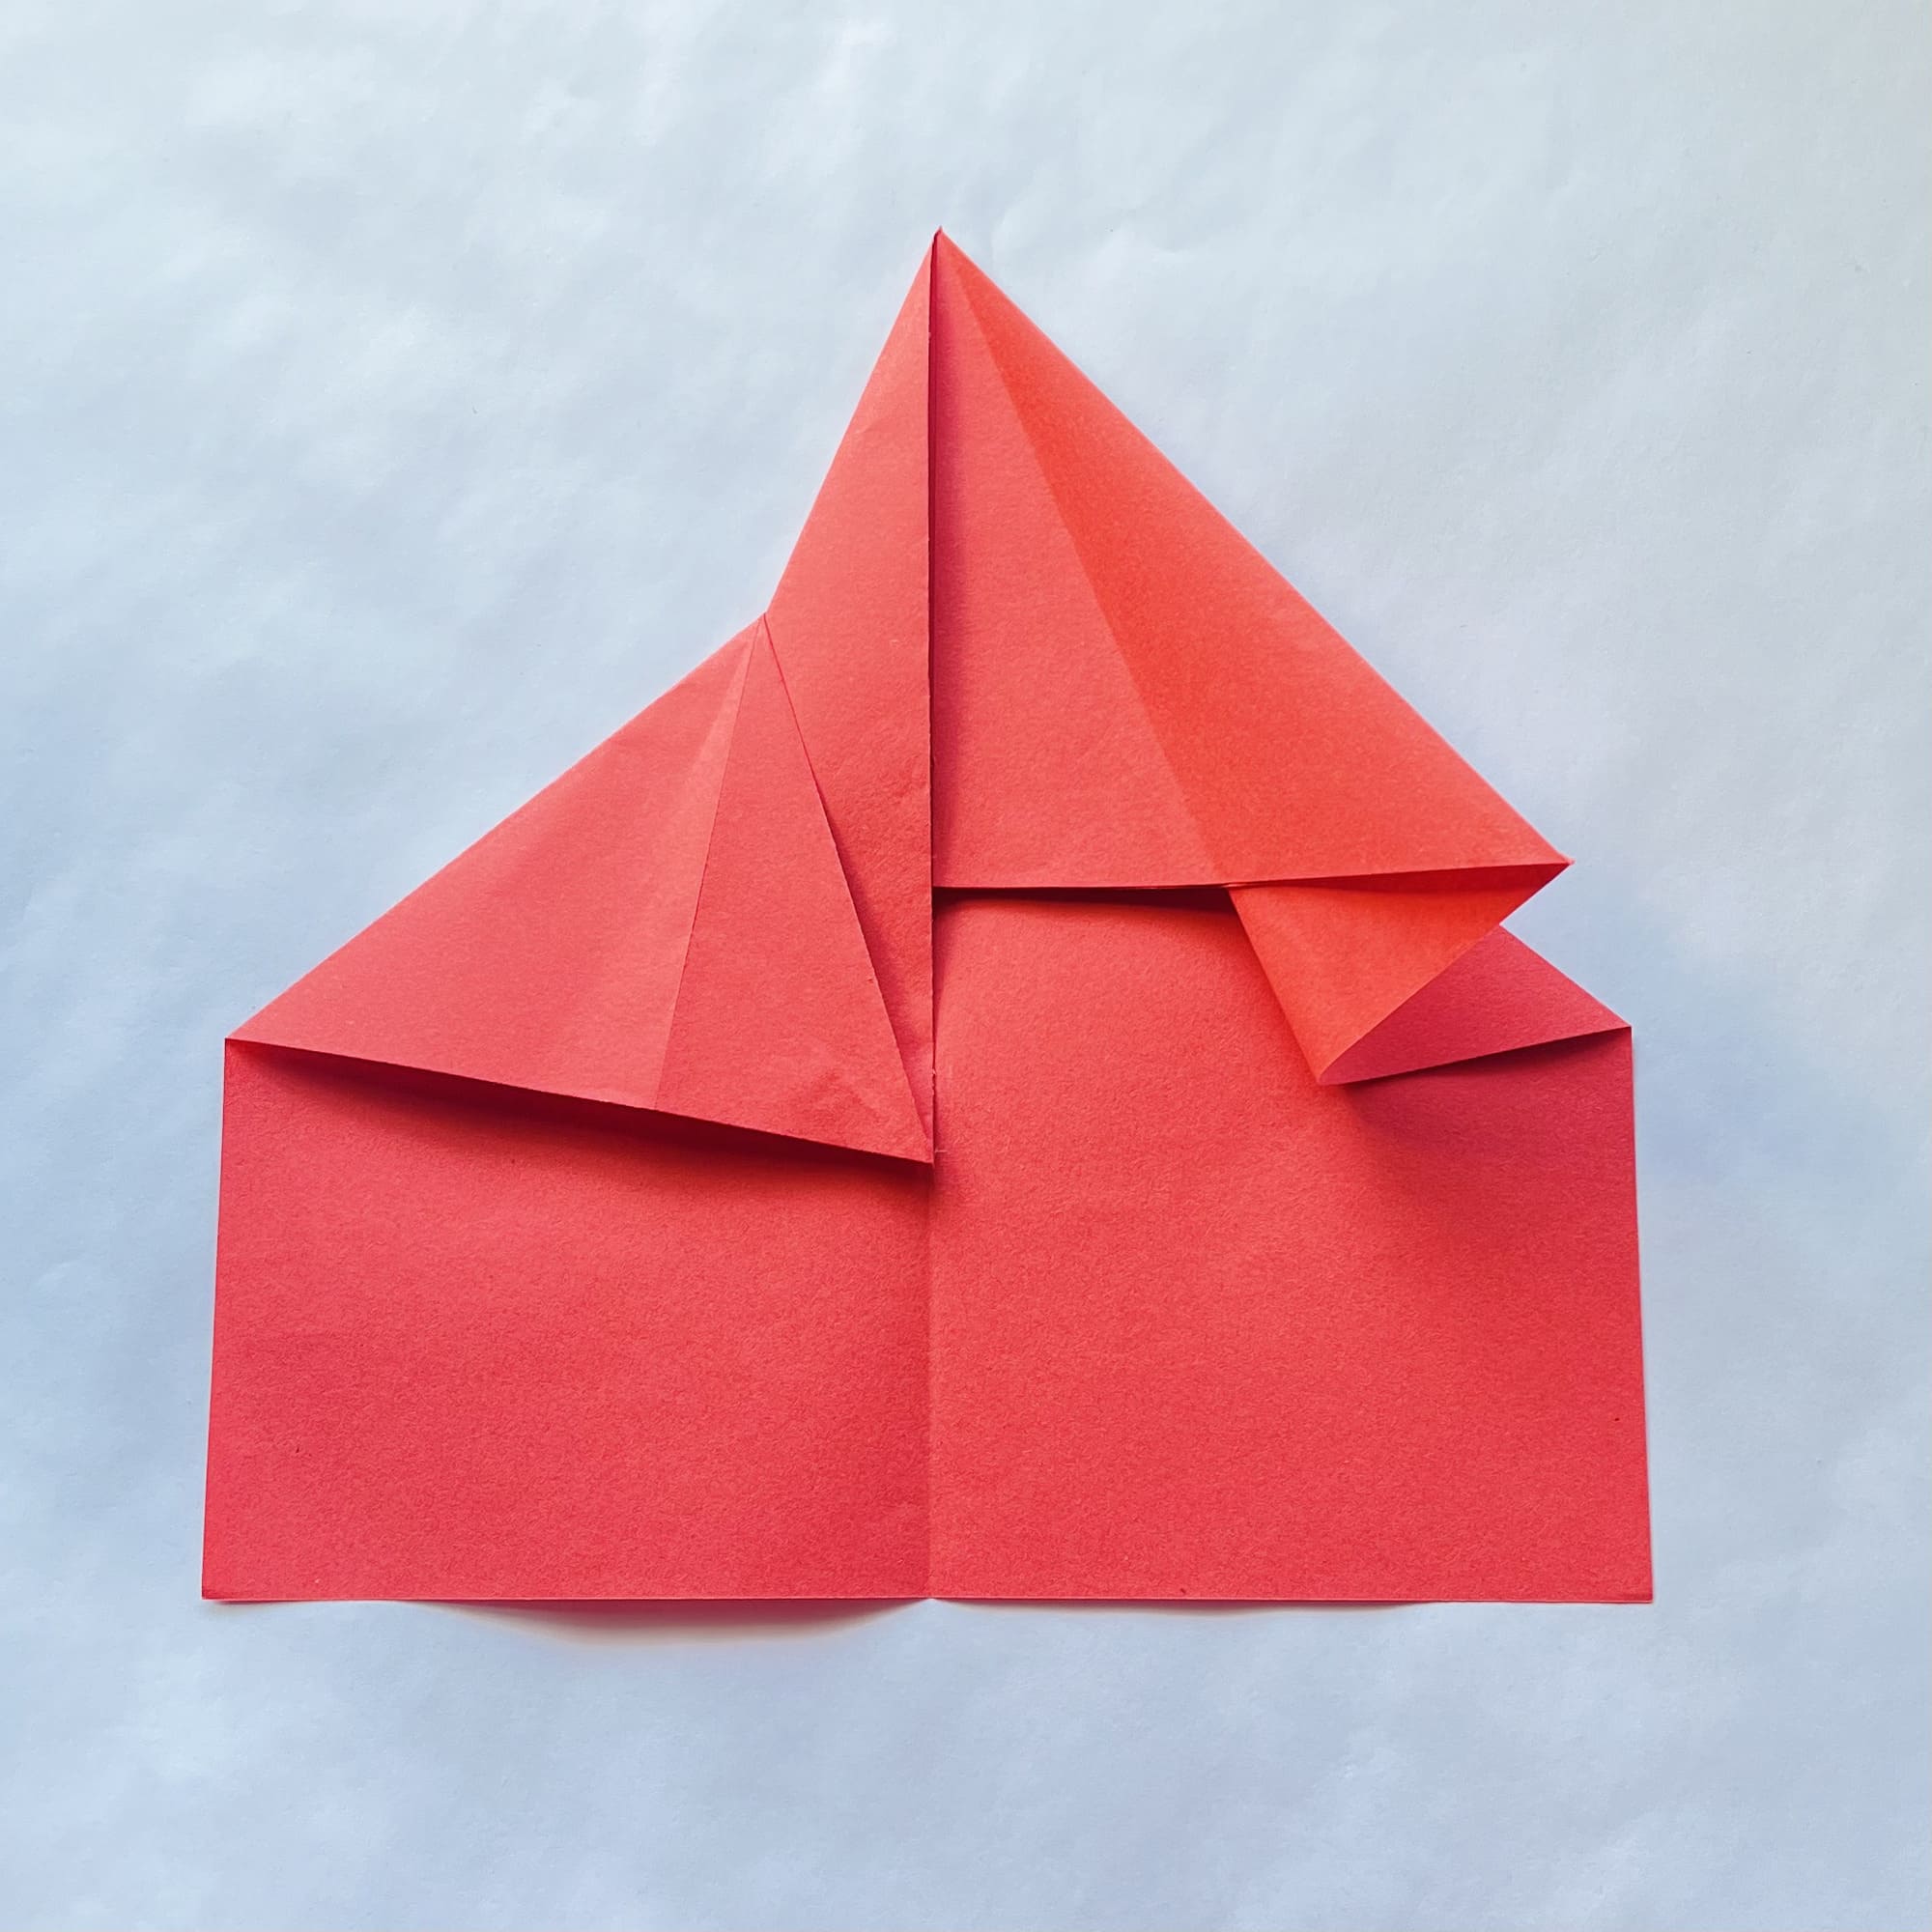
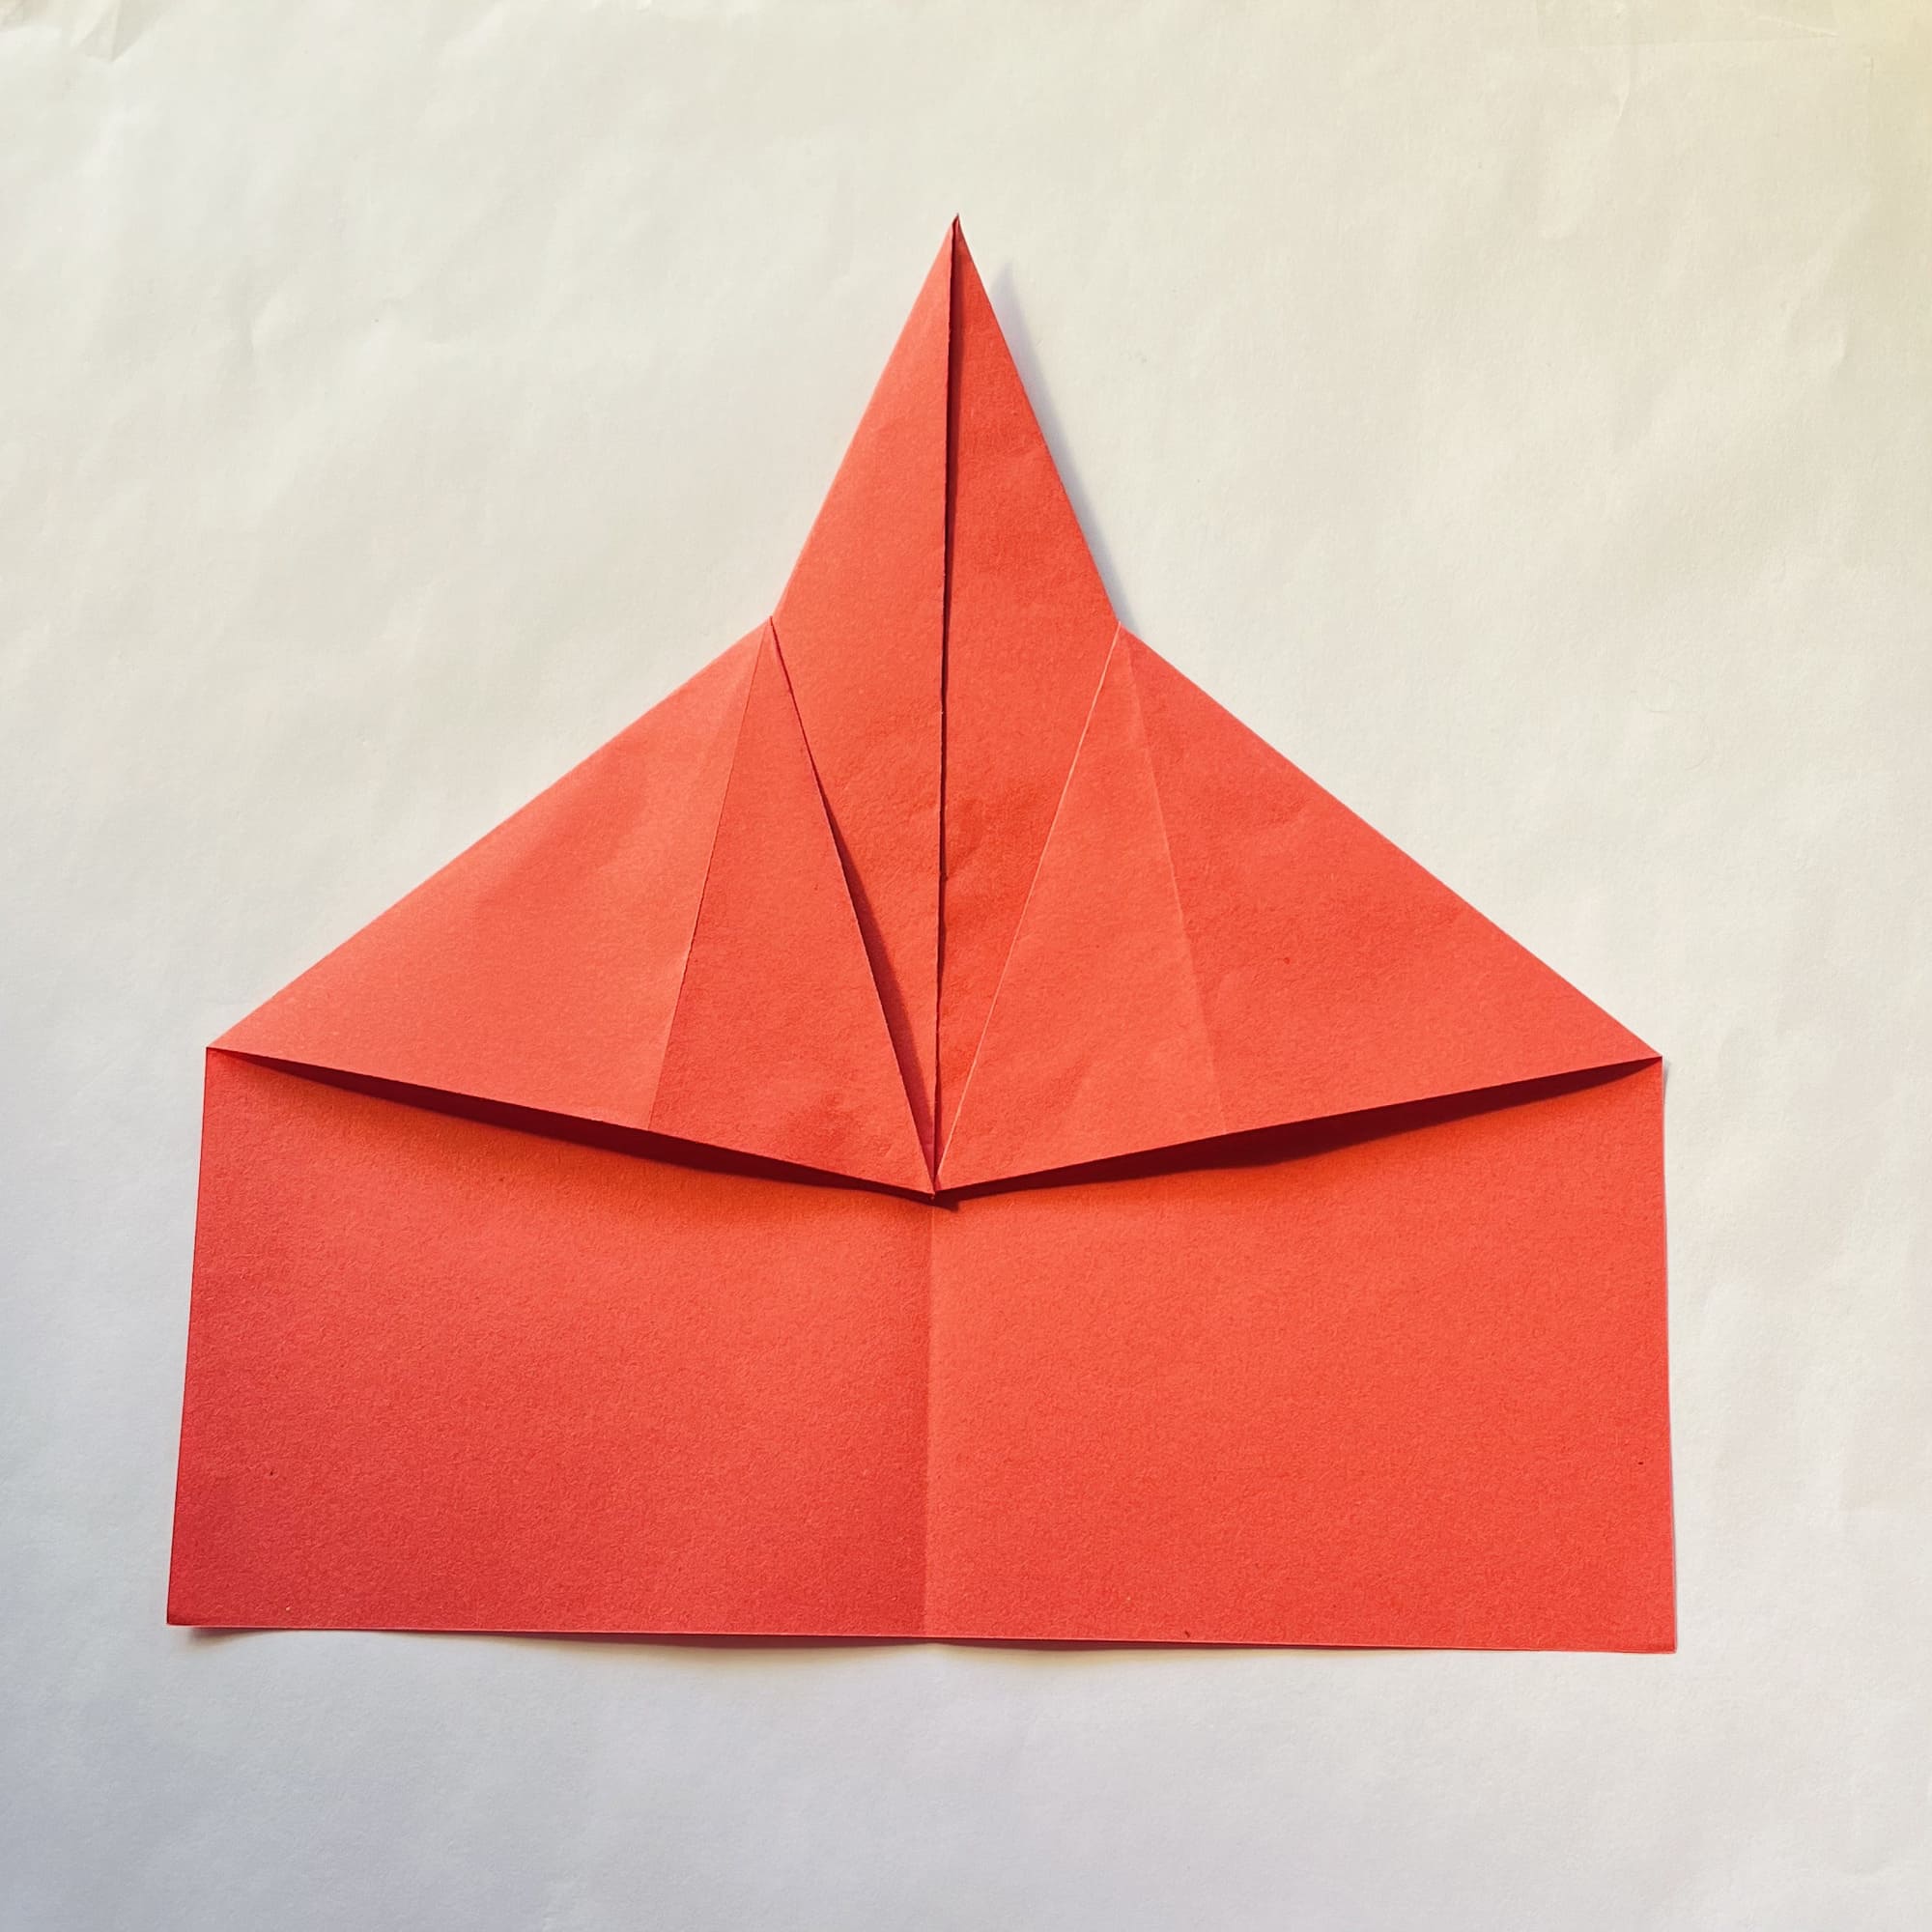
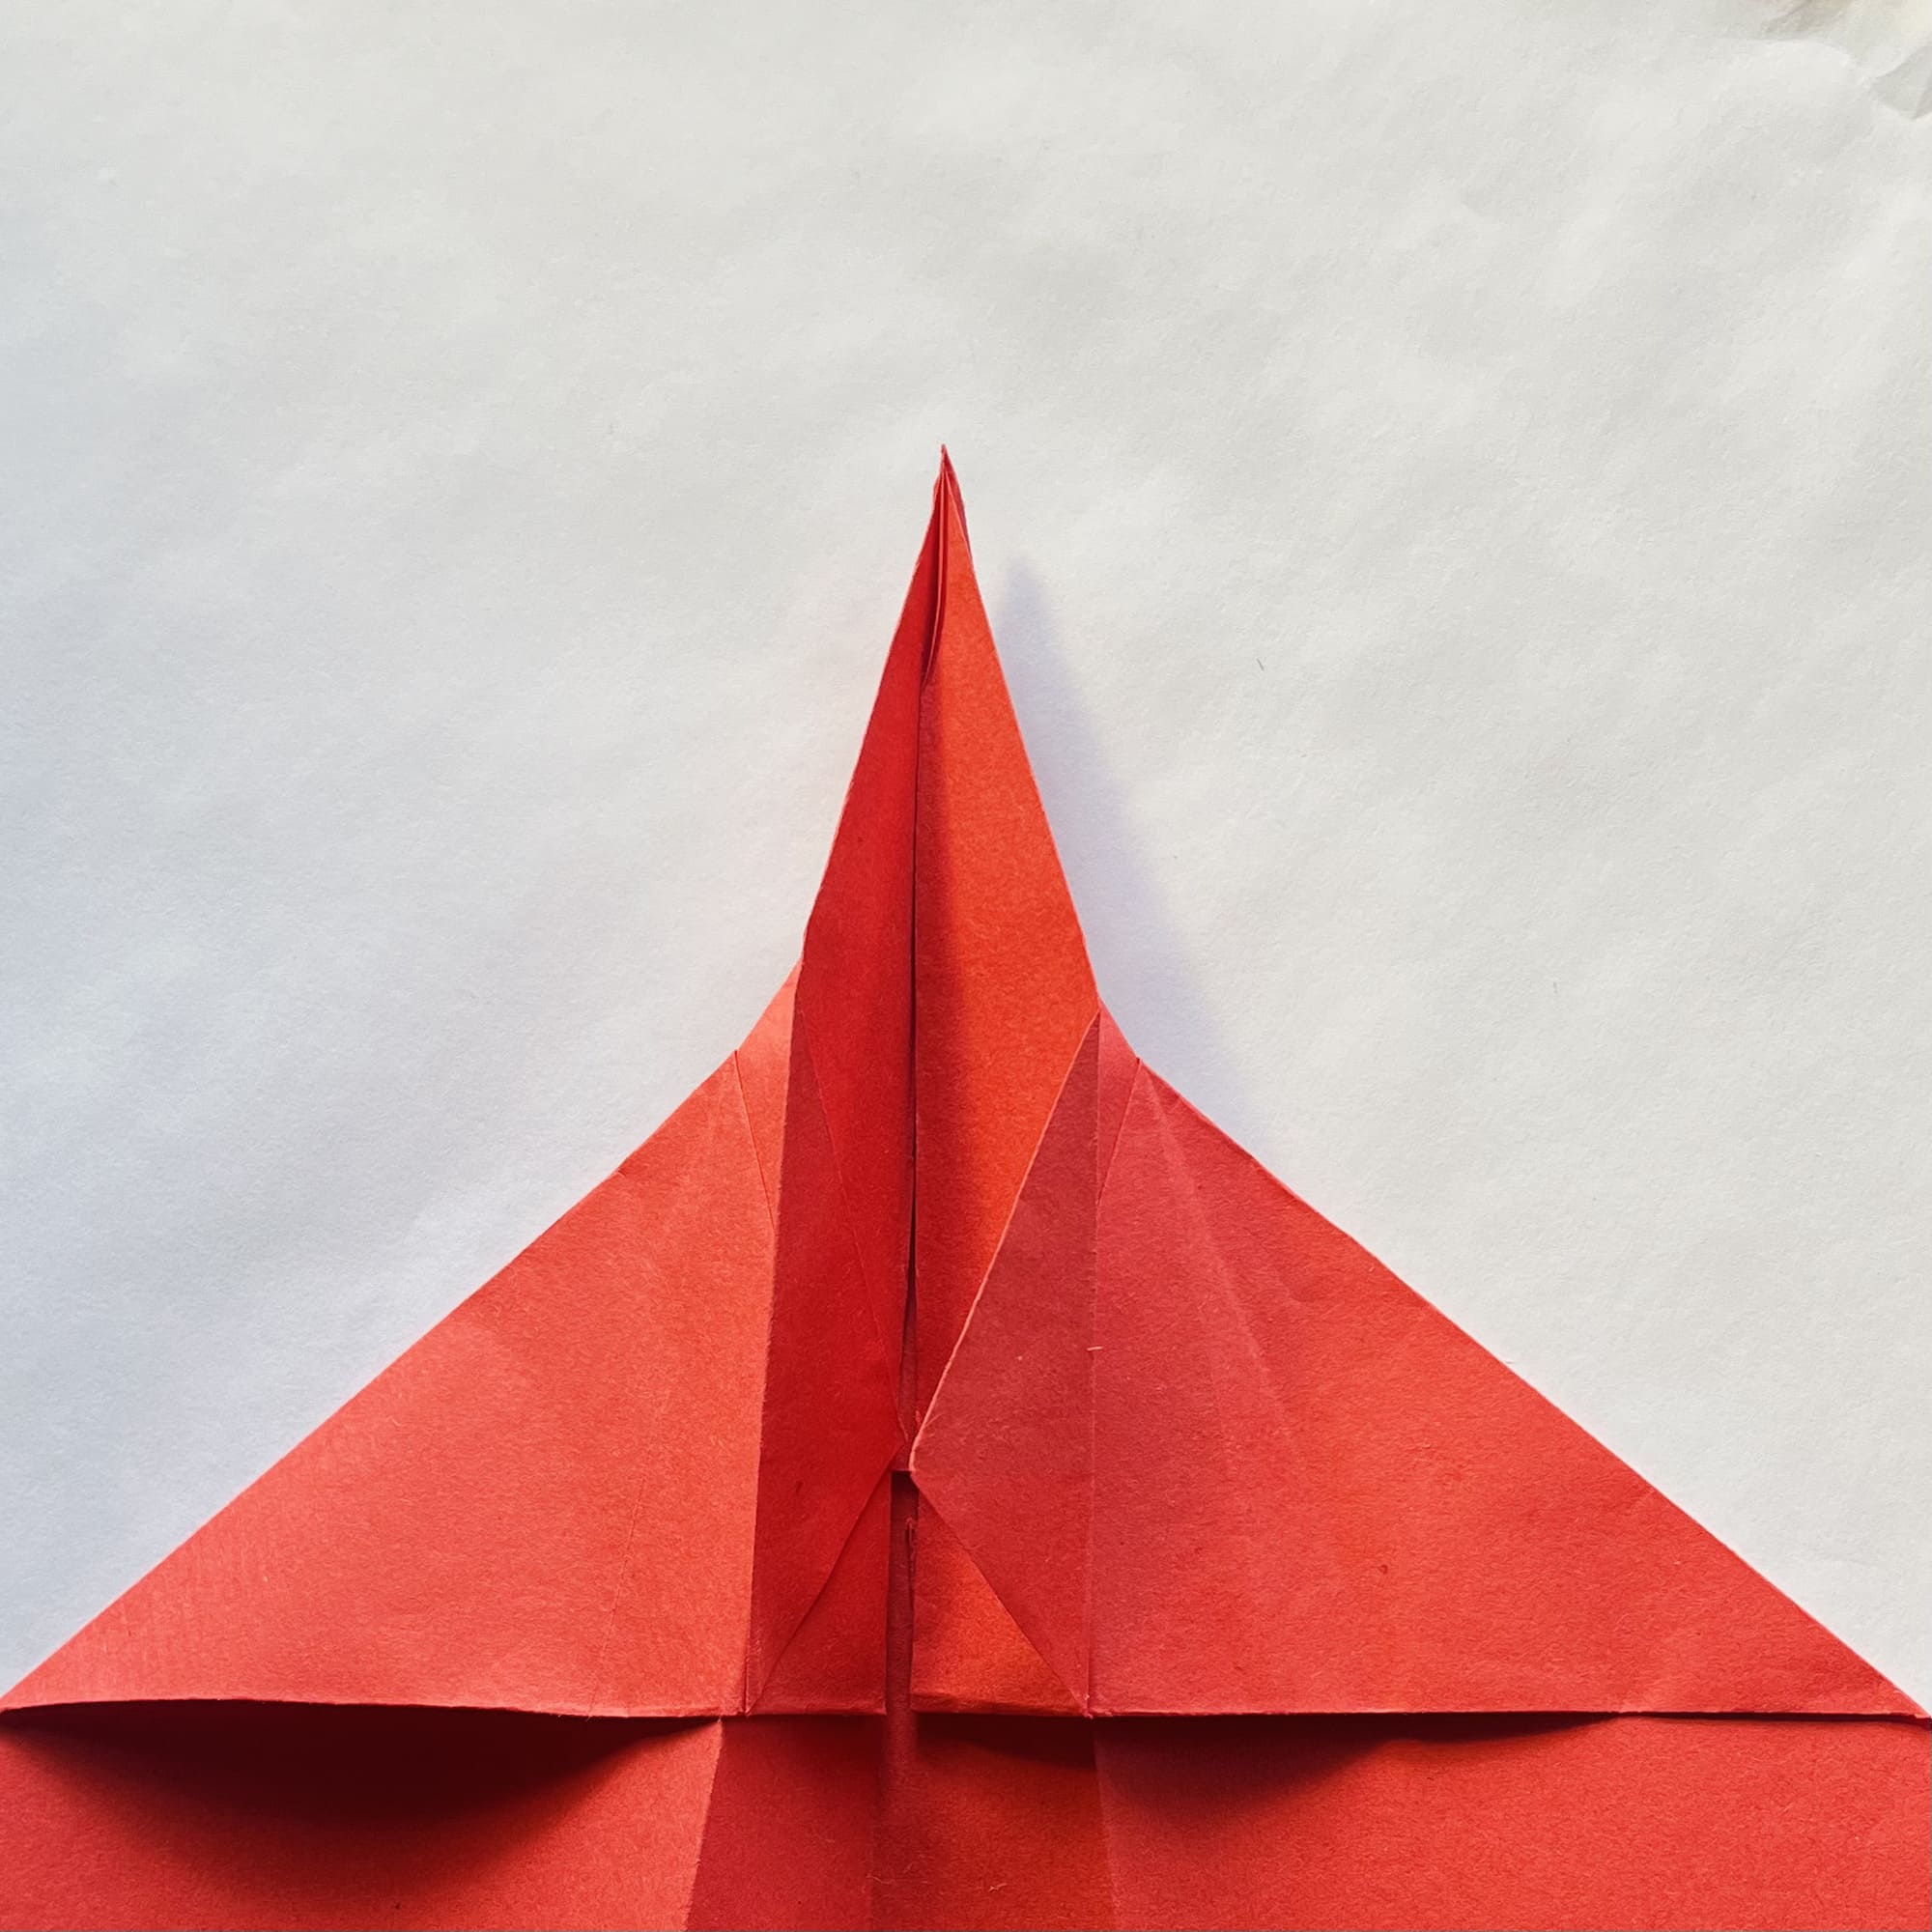
Unfold the right side at the top twice as shown in the photo.

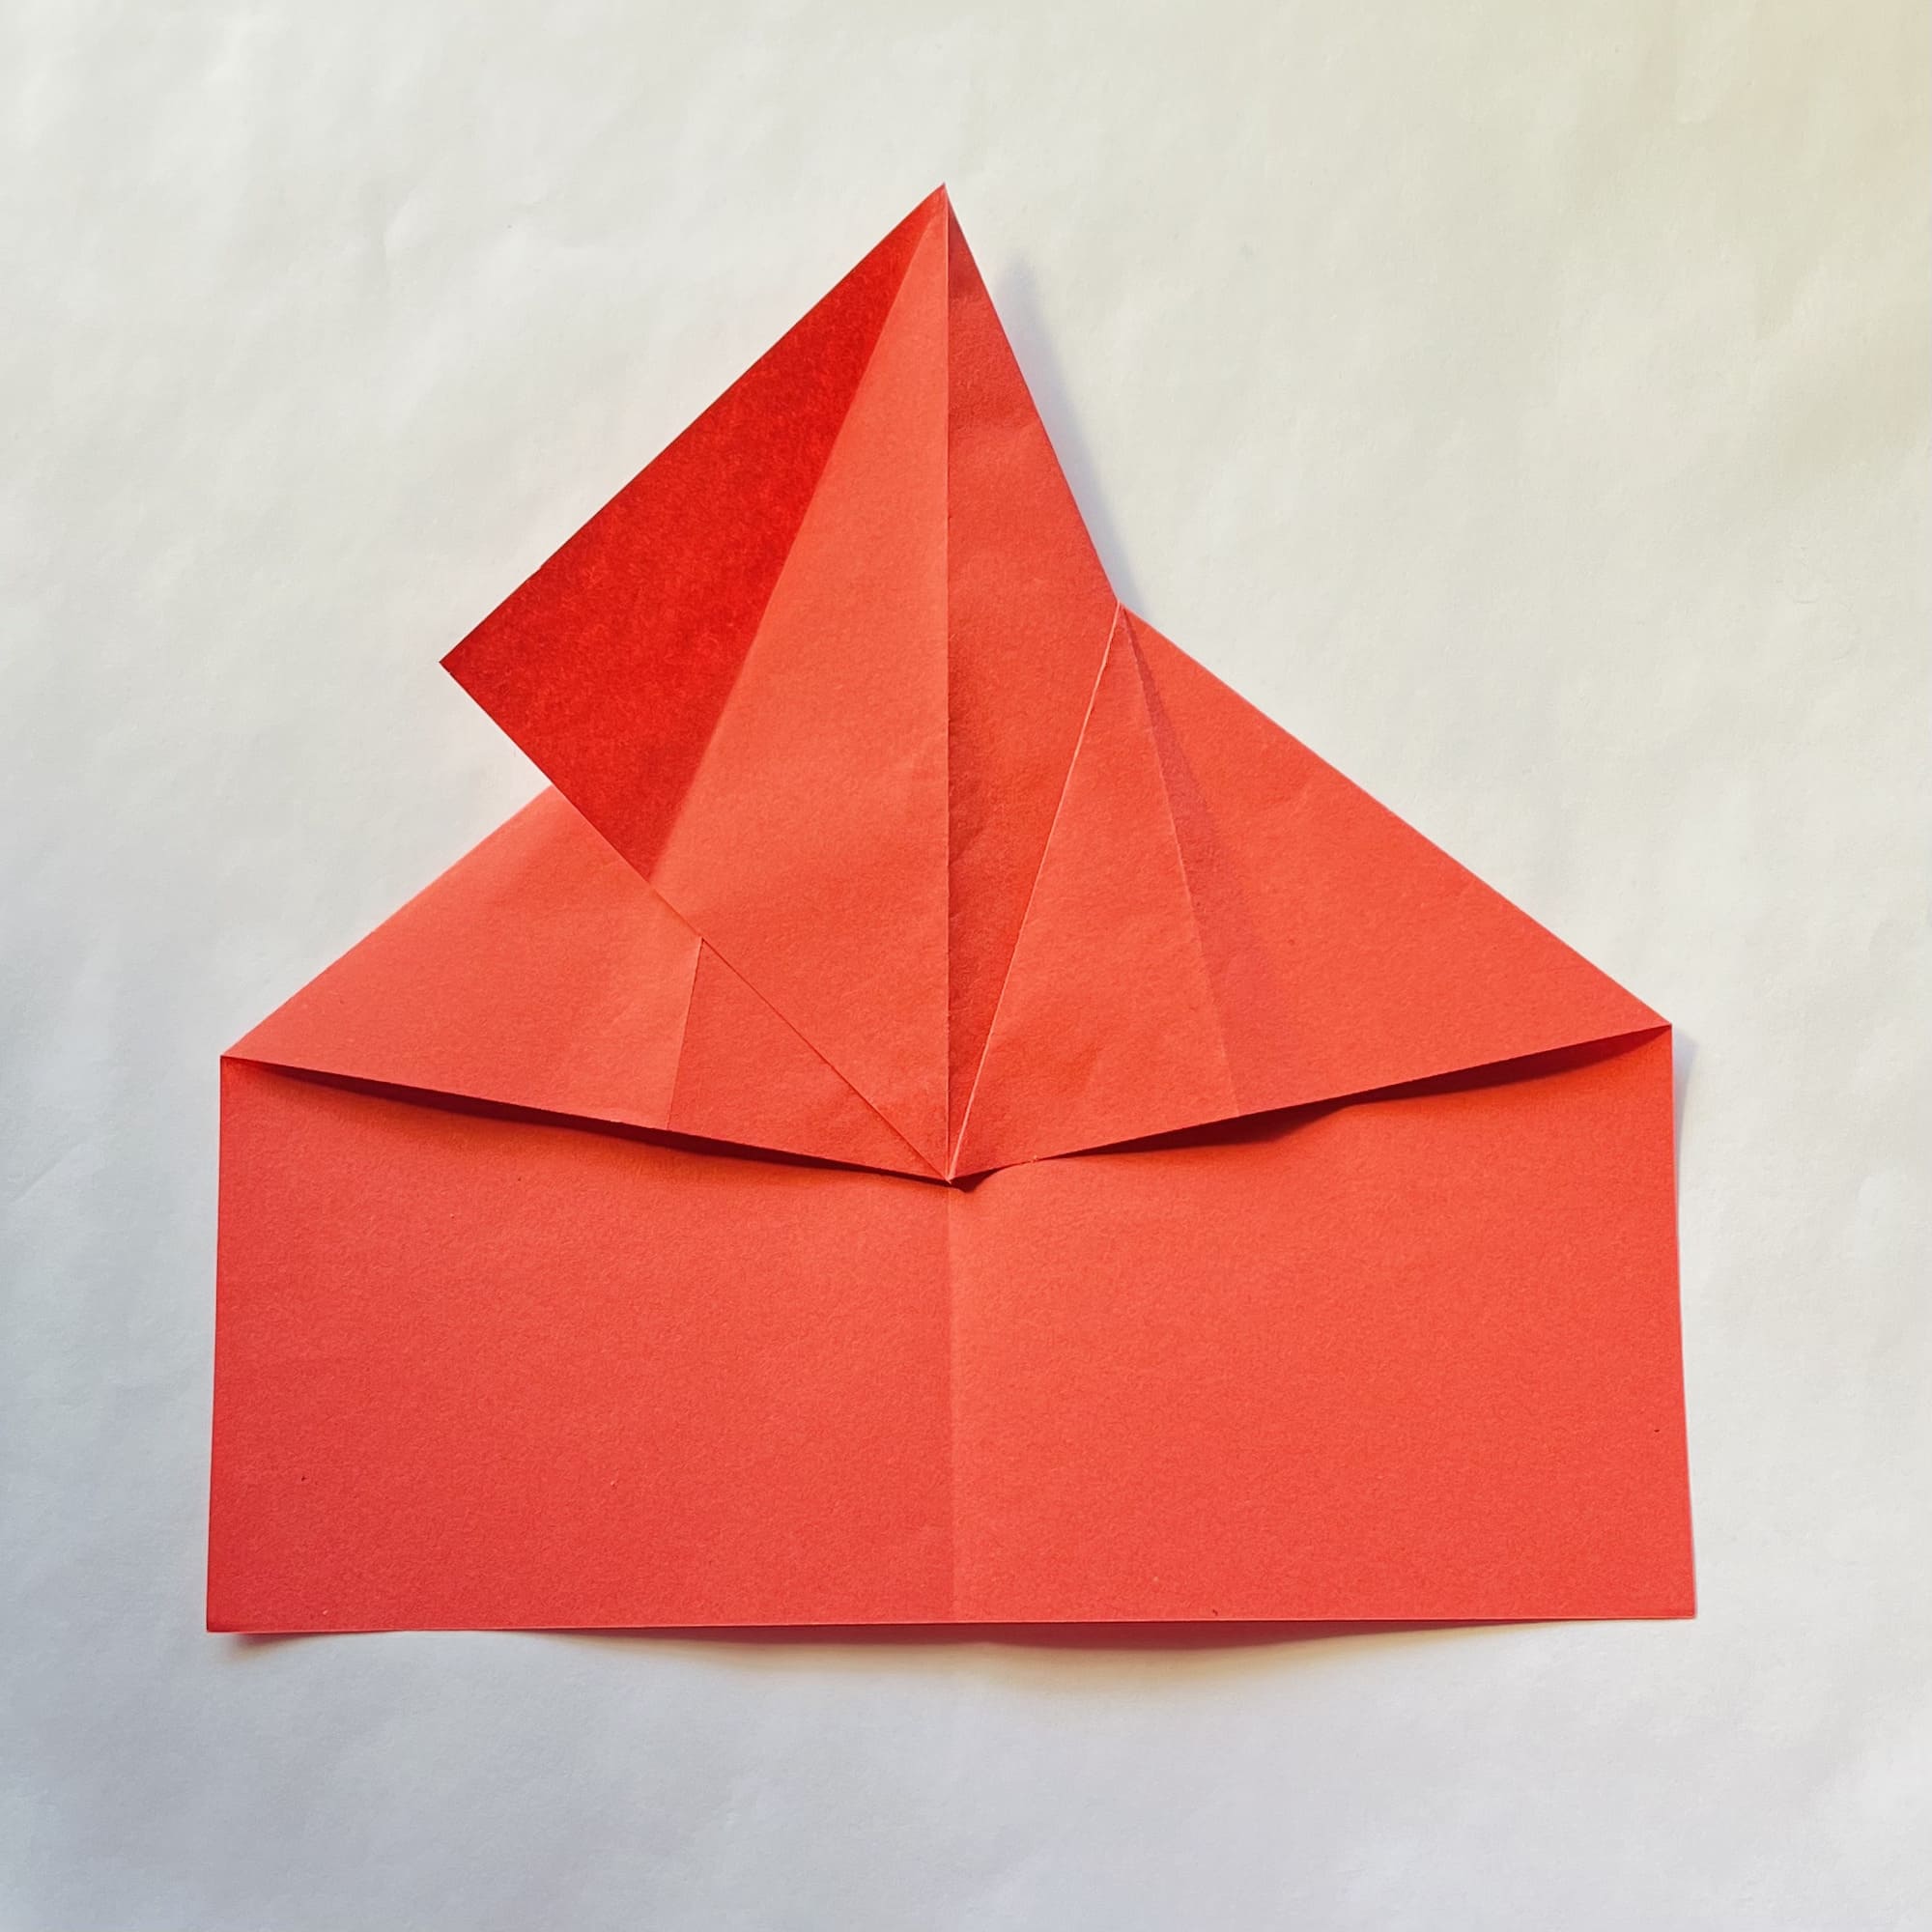
Now, fold the paper accordion-style inward.

If you have any difficulties, refer to the video instructions.
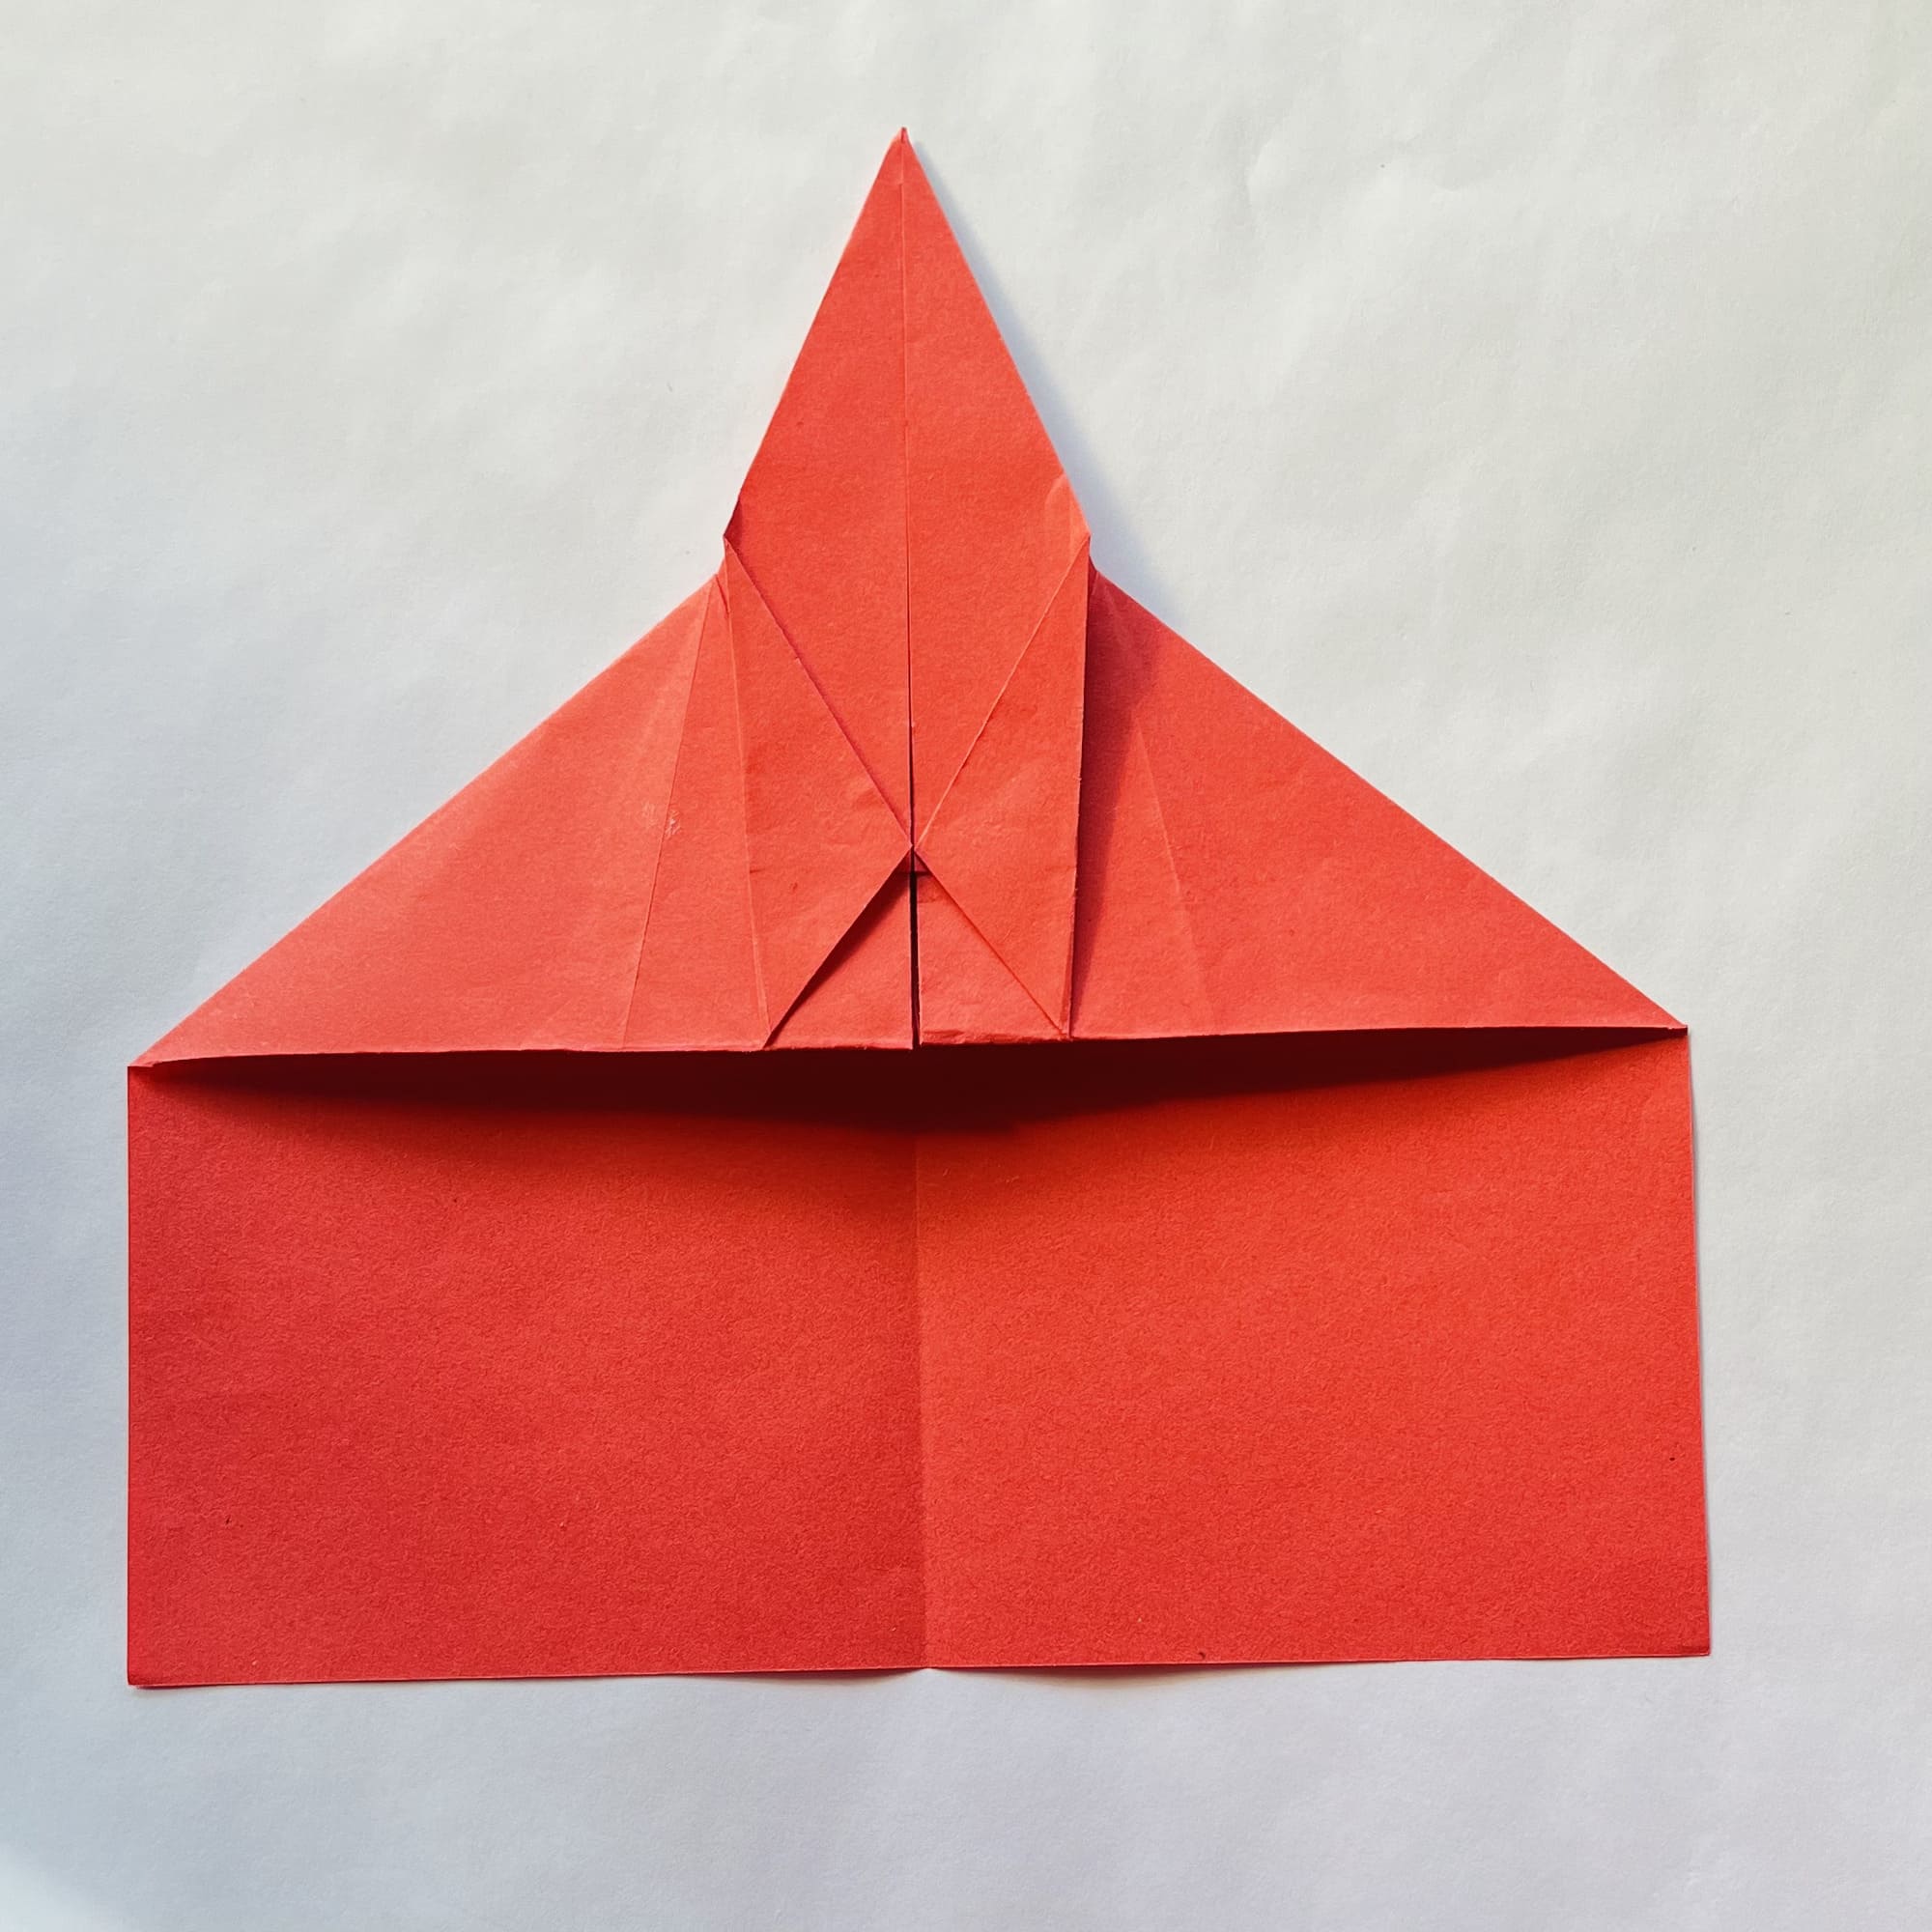
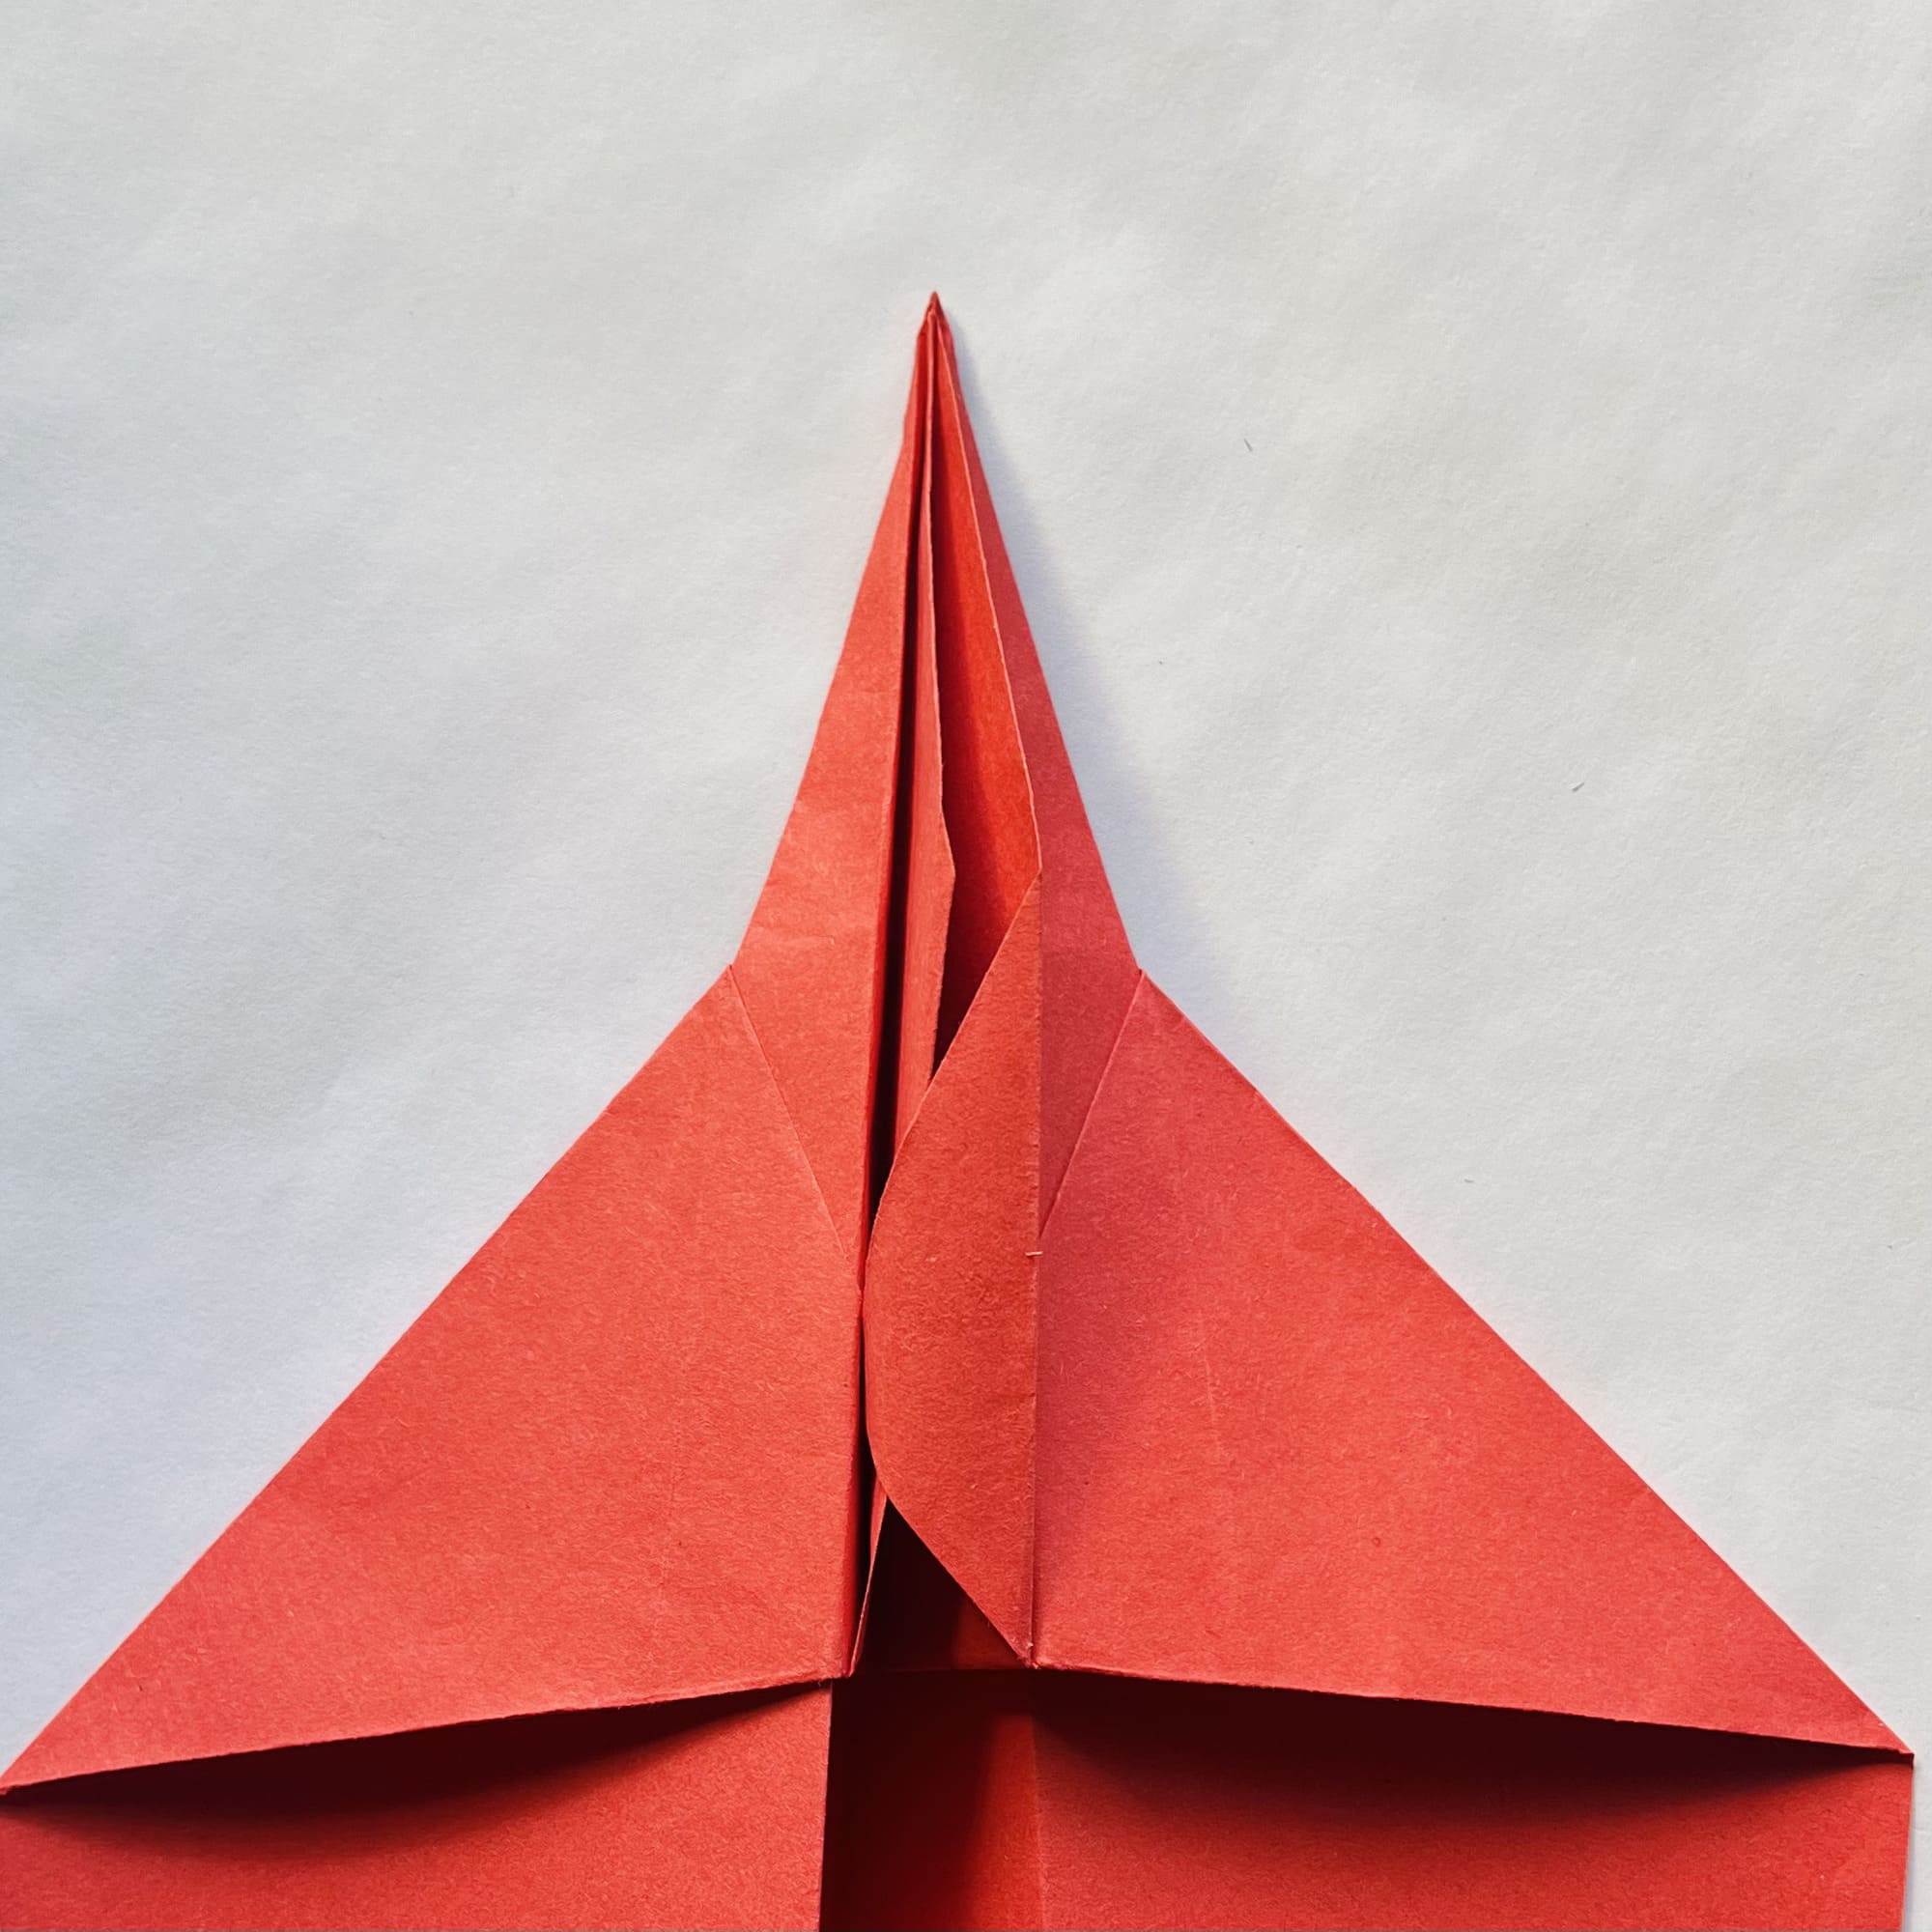
Fold the paper on the left in the same way, repeating steps 9-13.
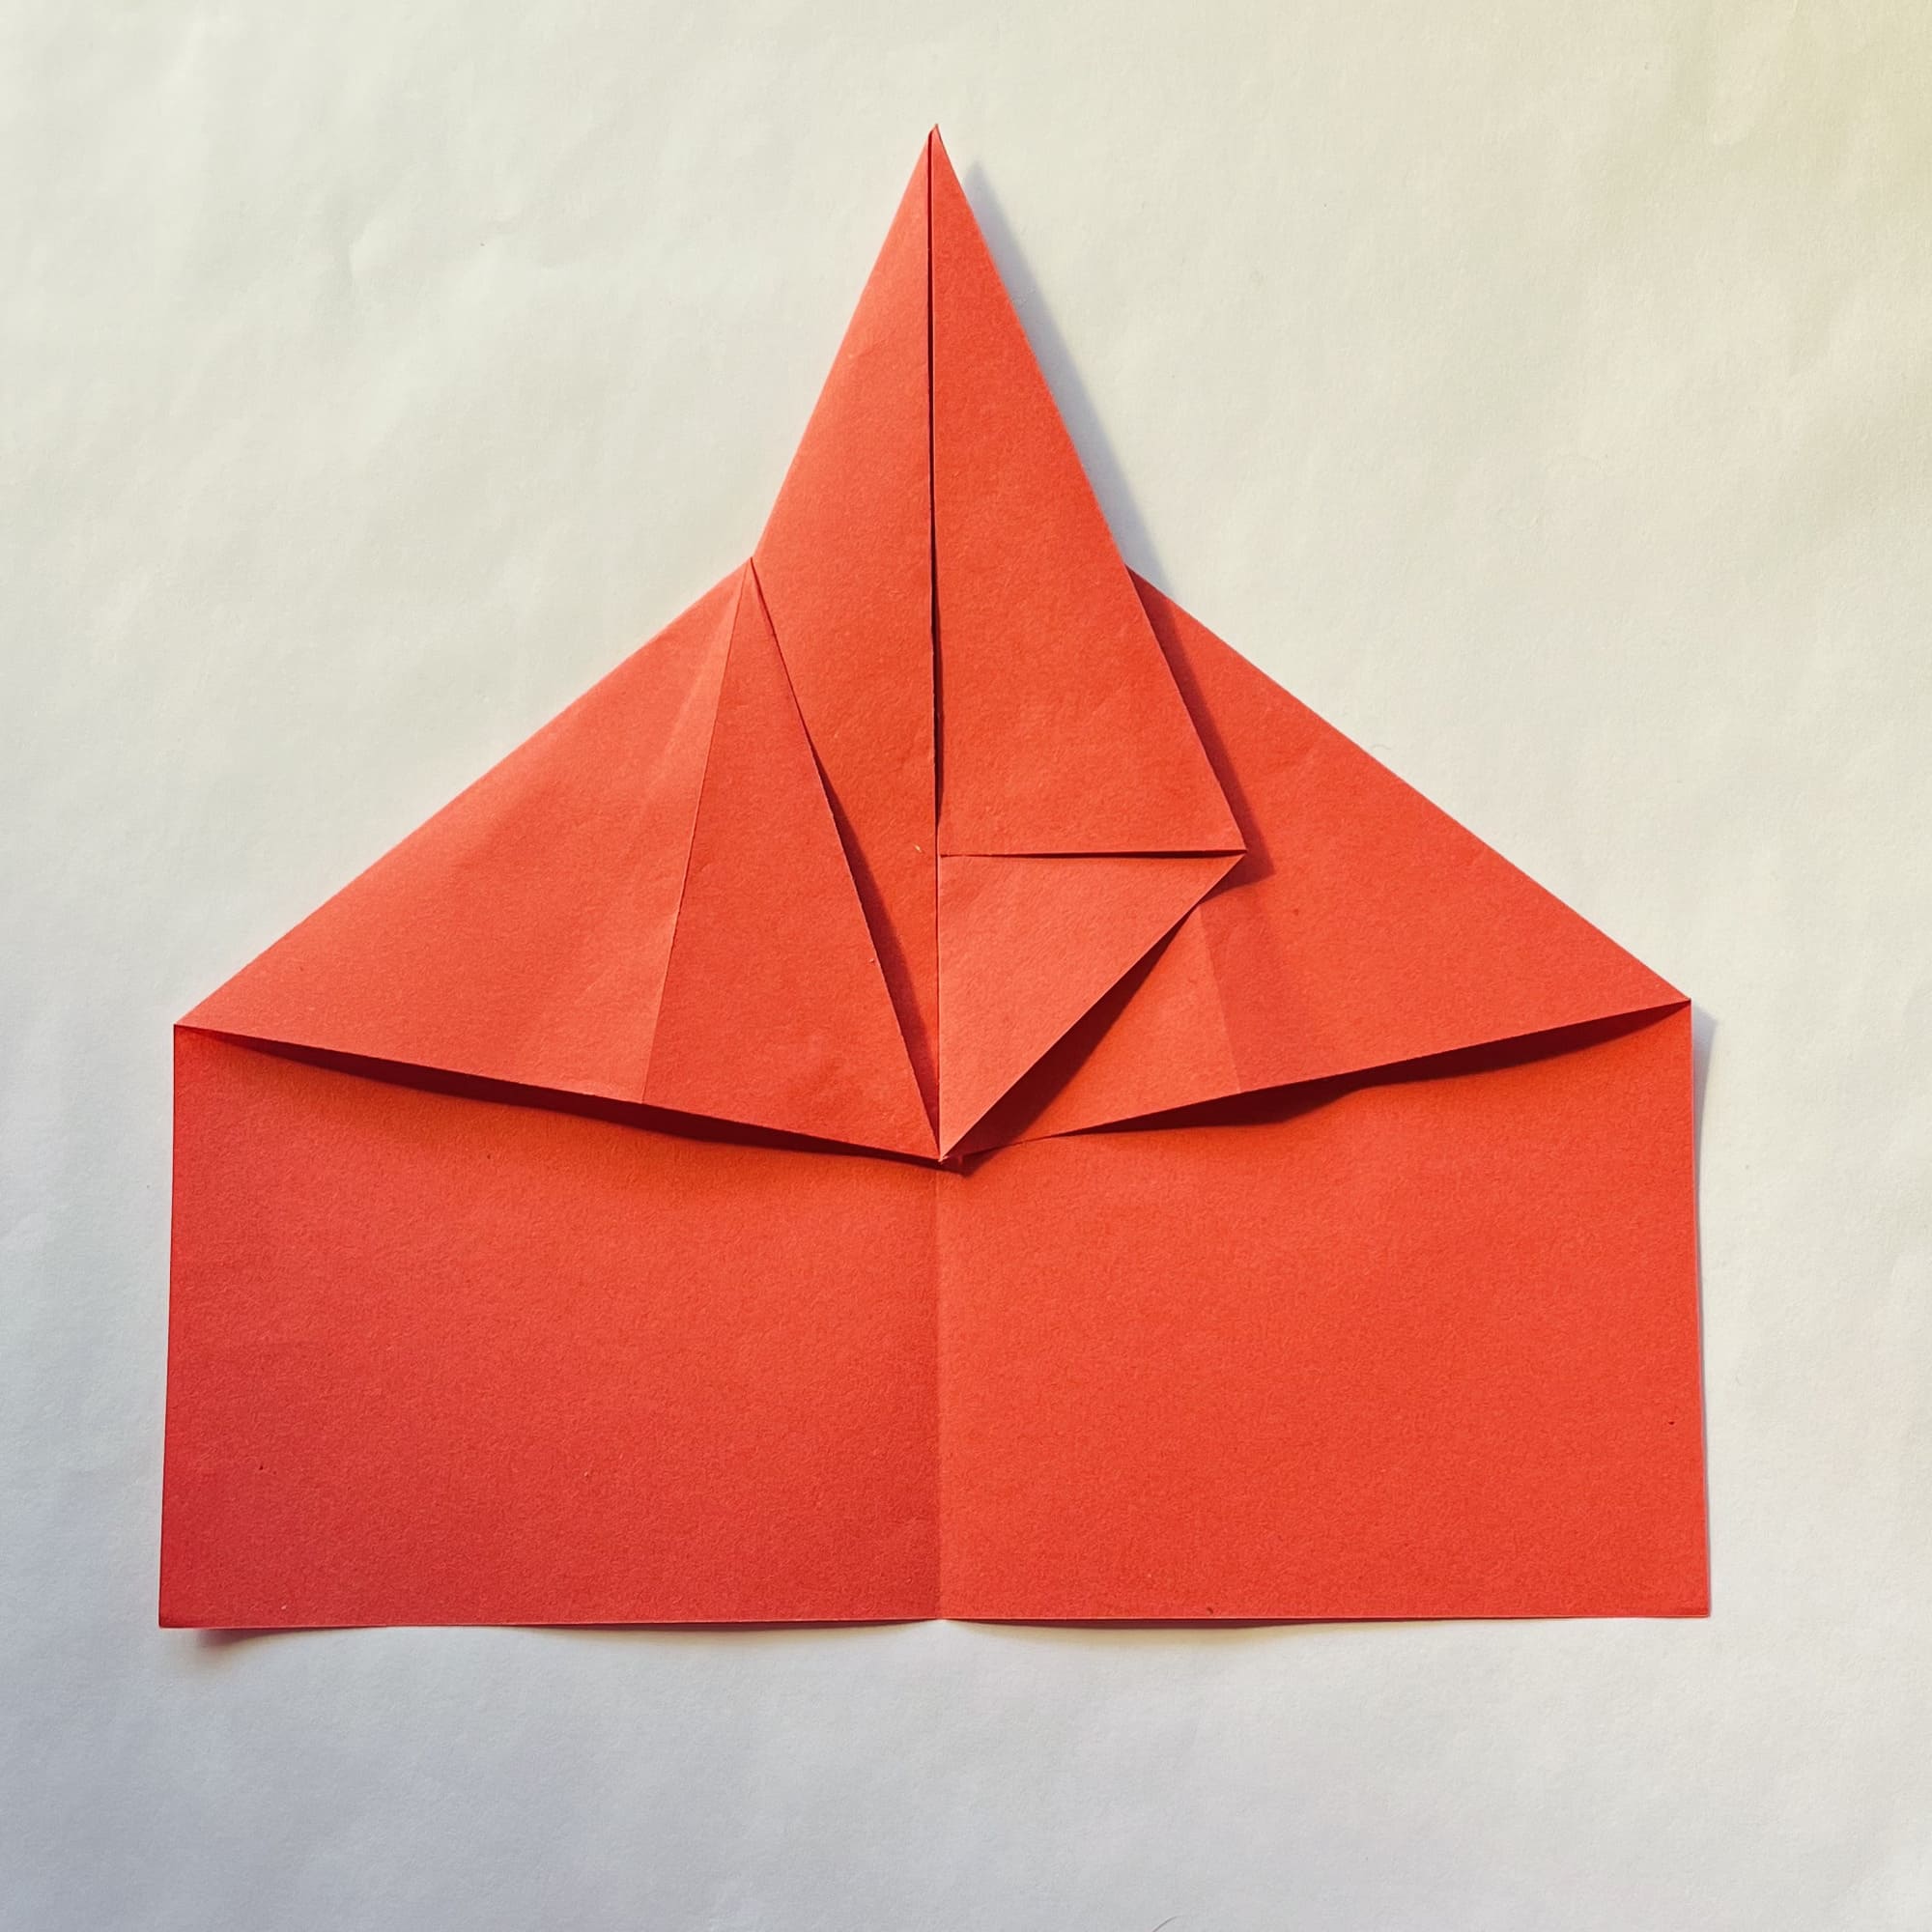
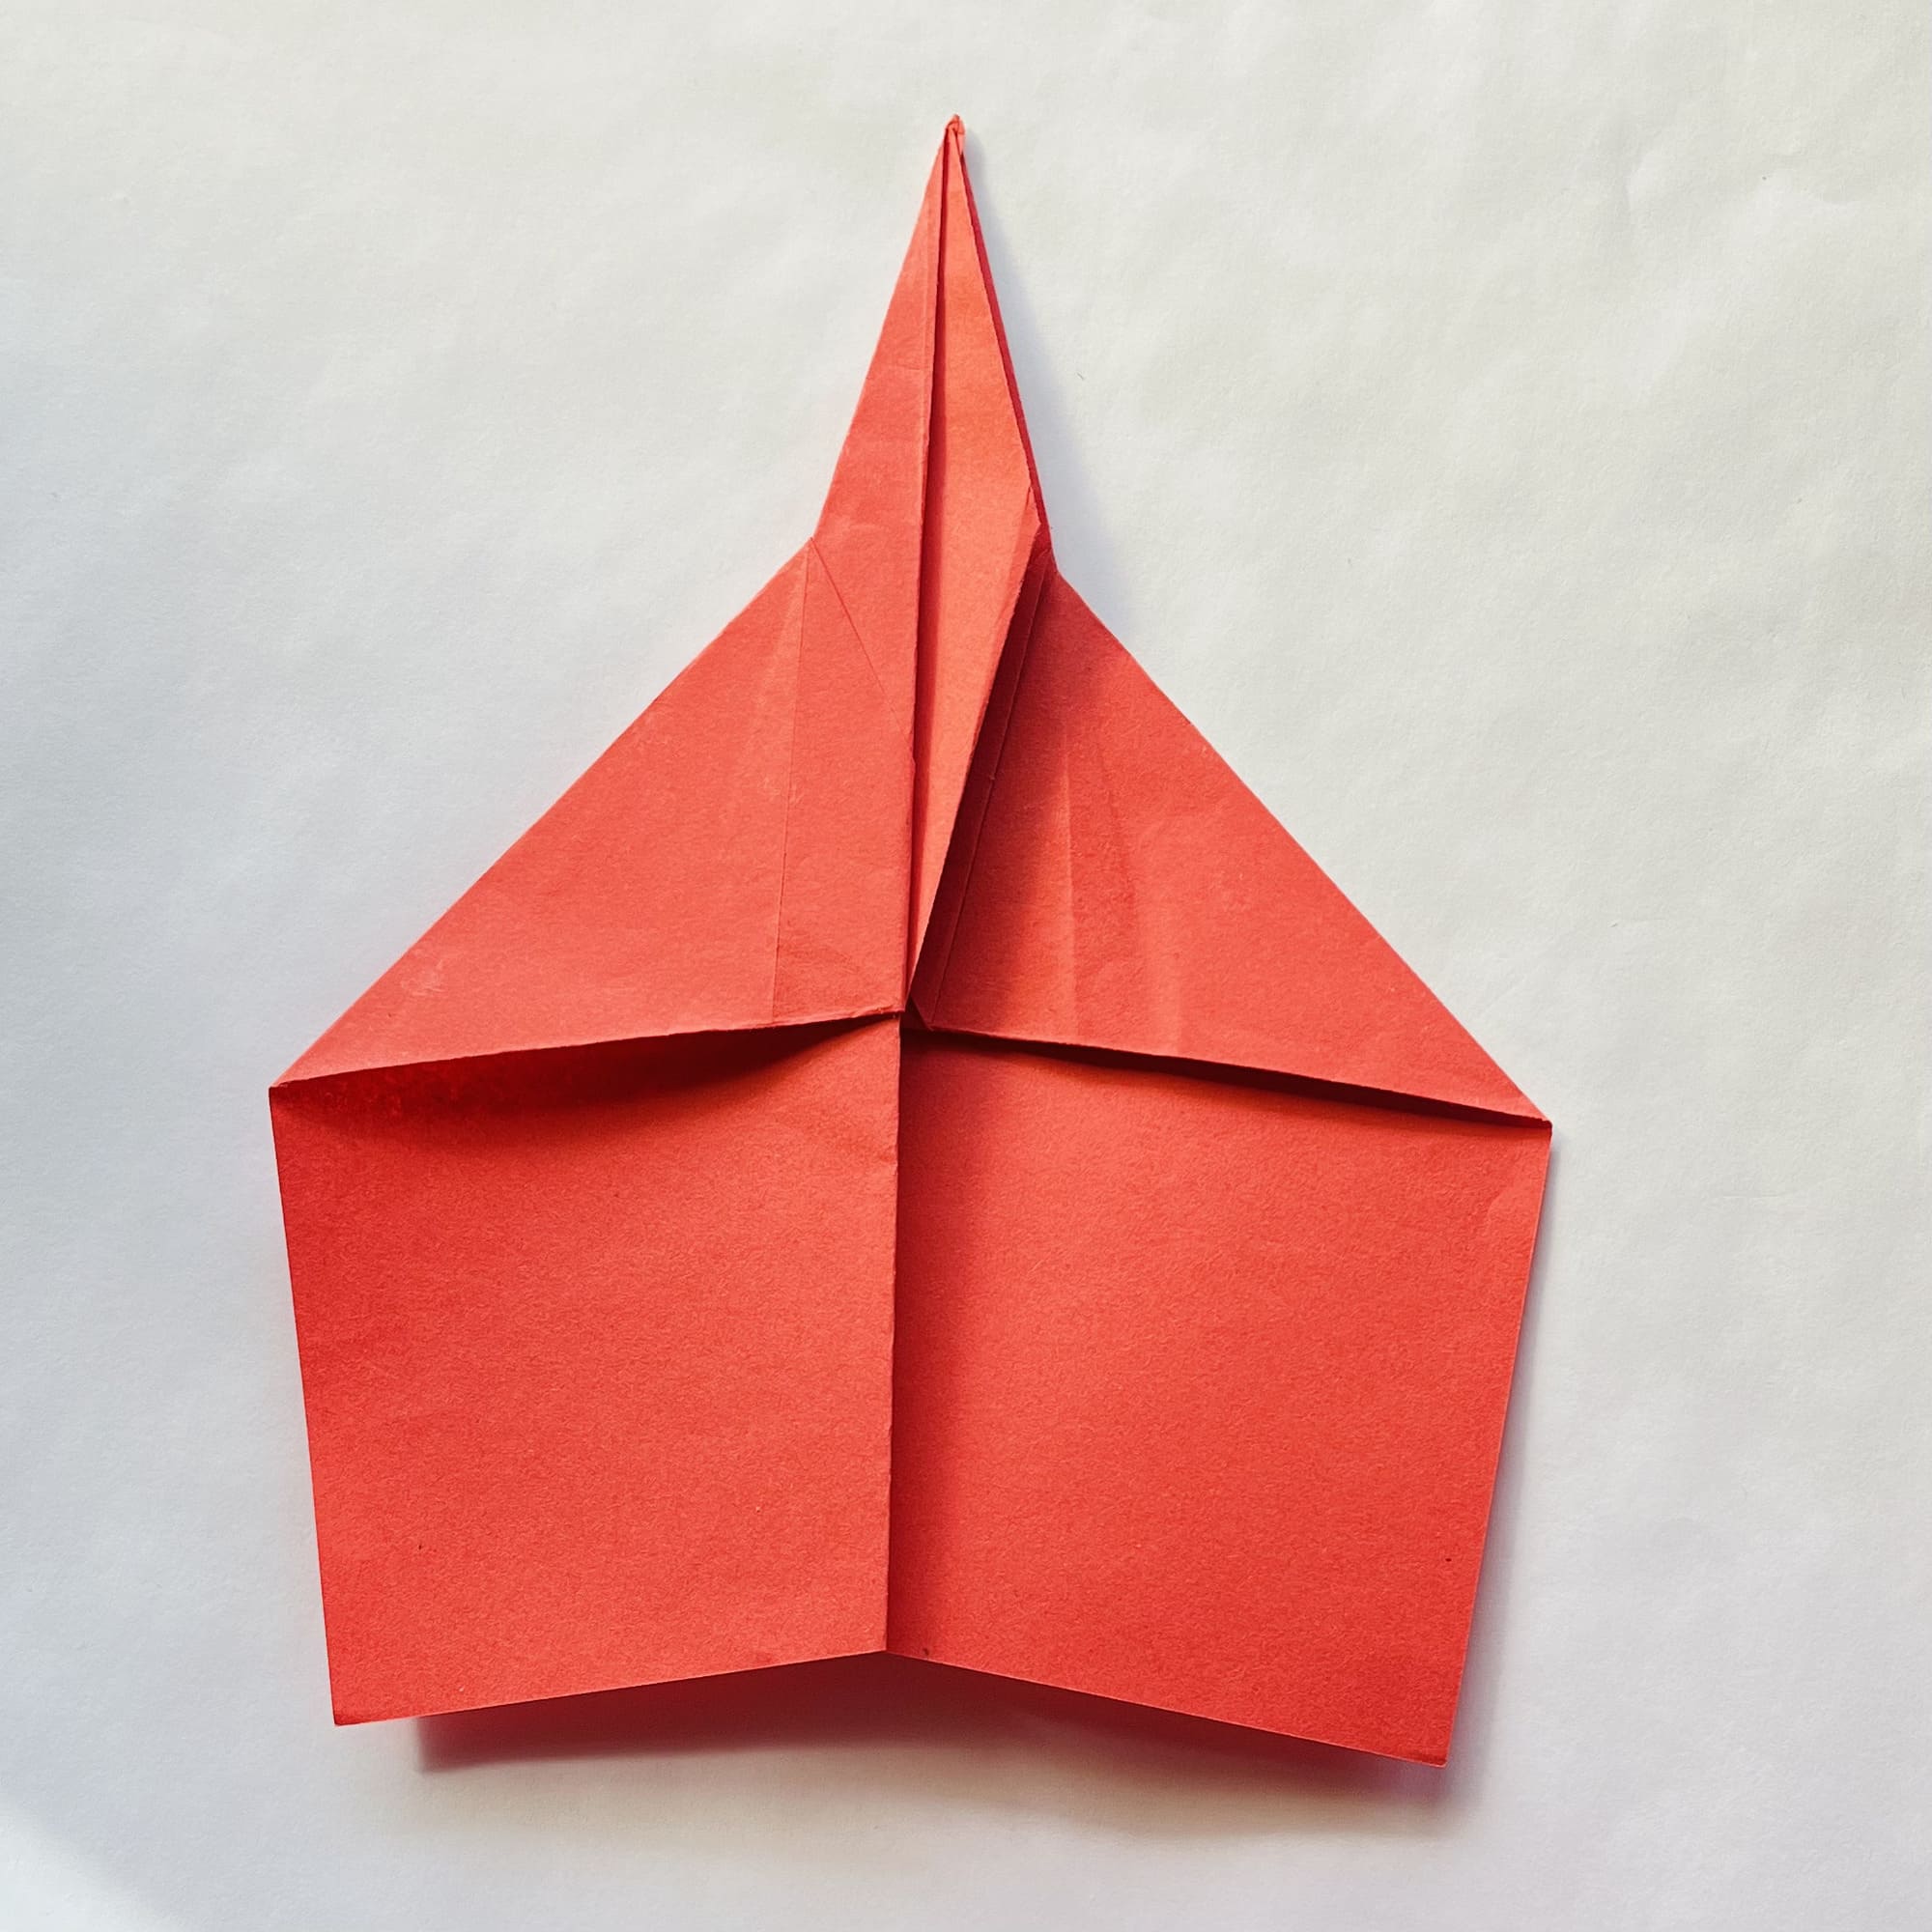
In the center of the shape, fold the edges of the top layer up to create straight lines.
Crease the folds well, then fold these edges of the paper inward along them.
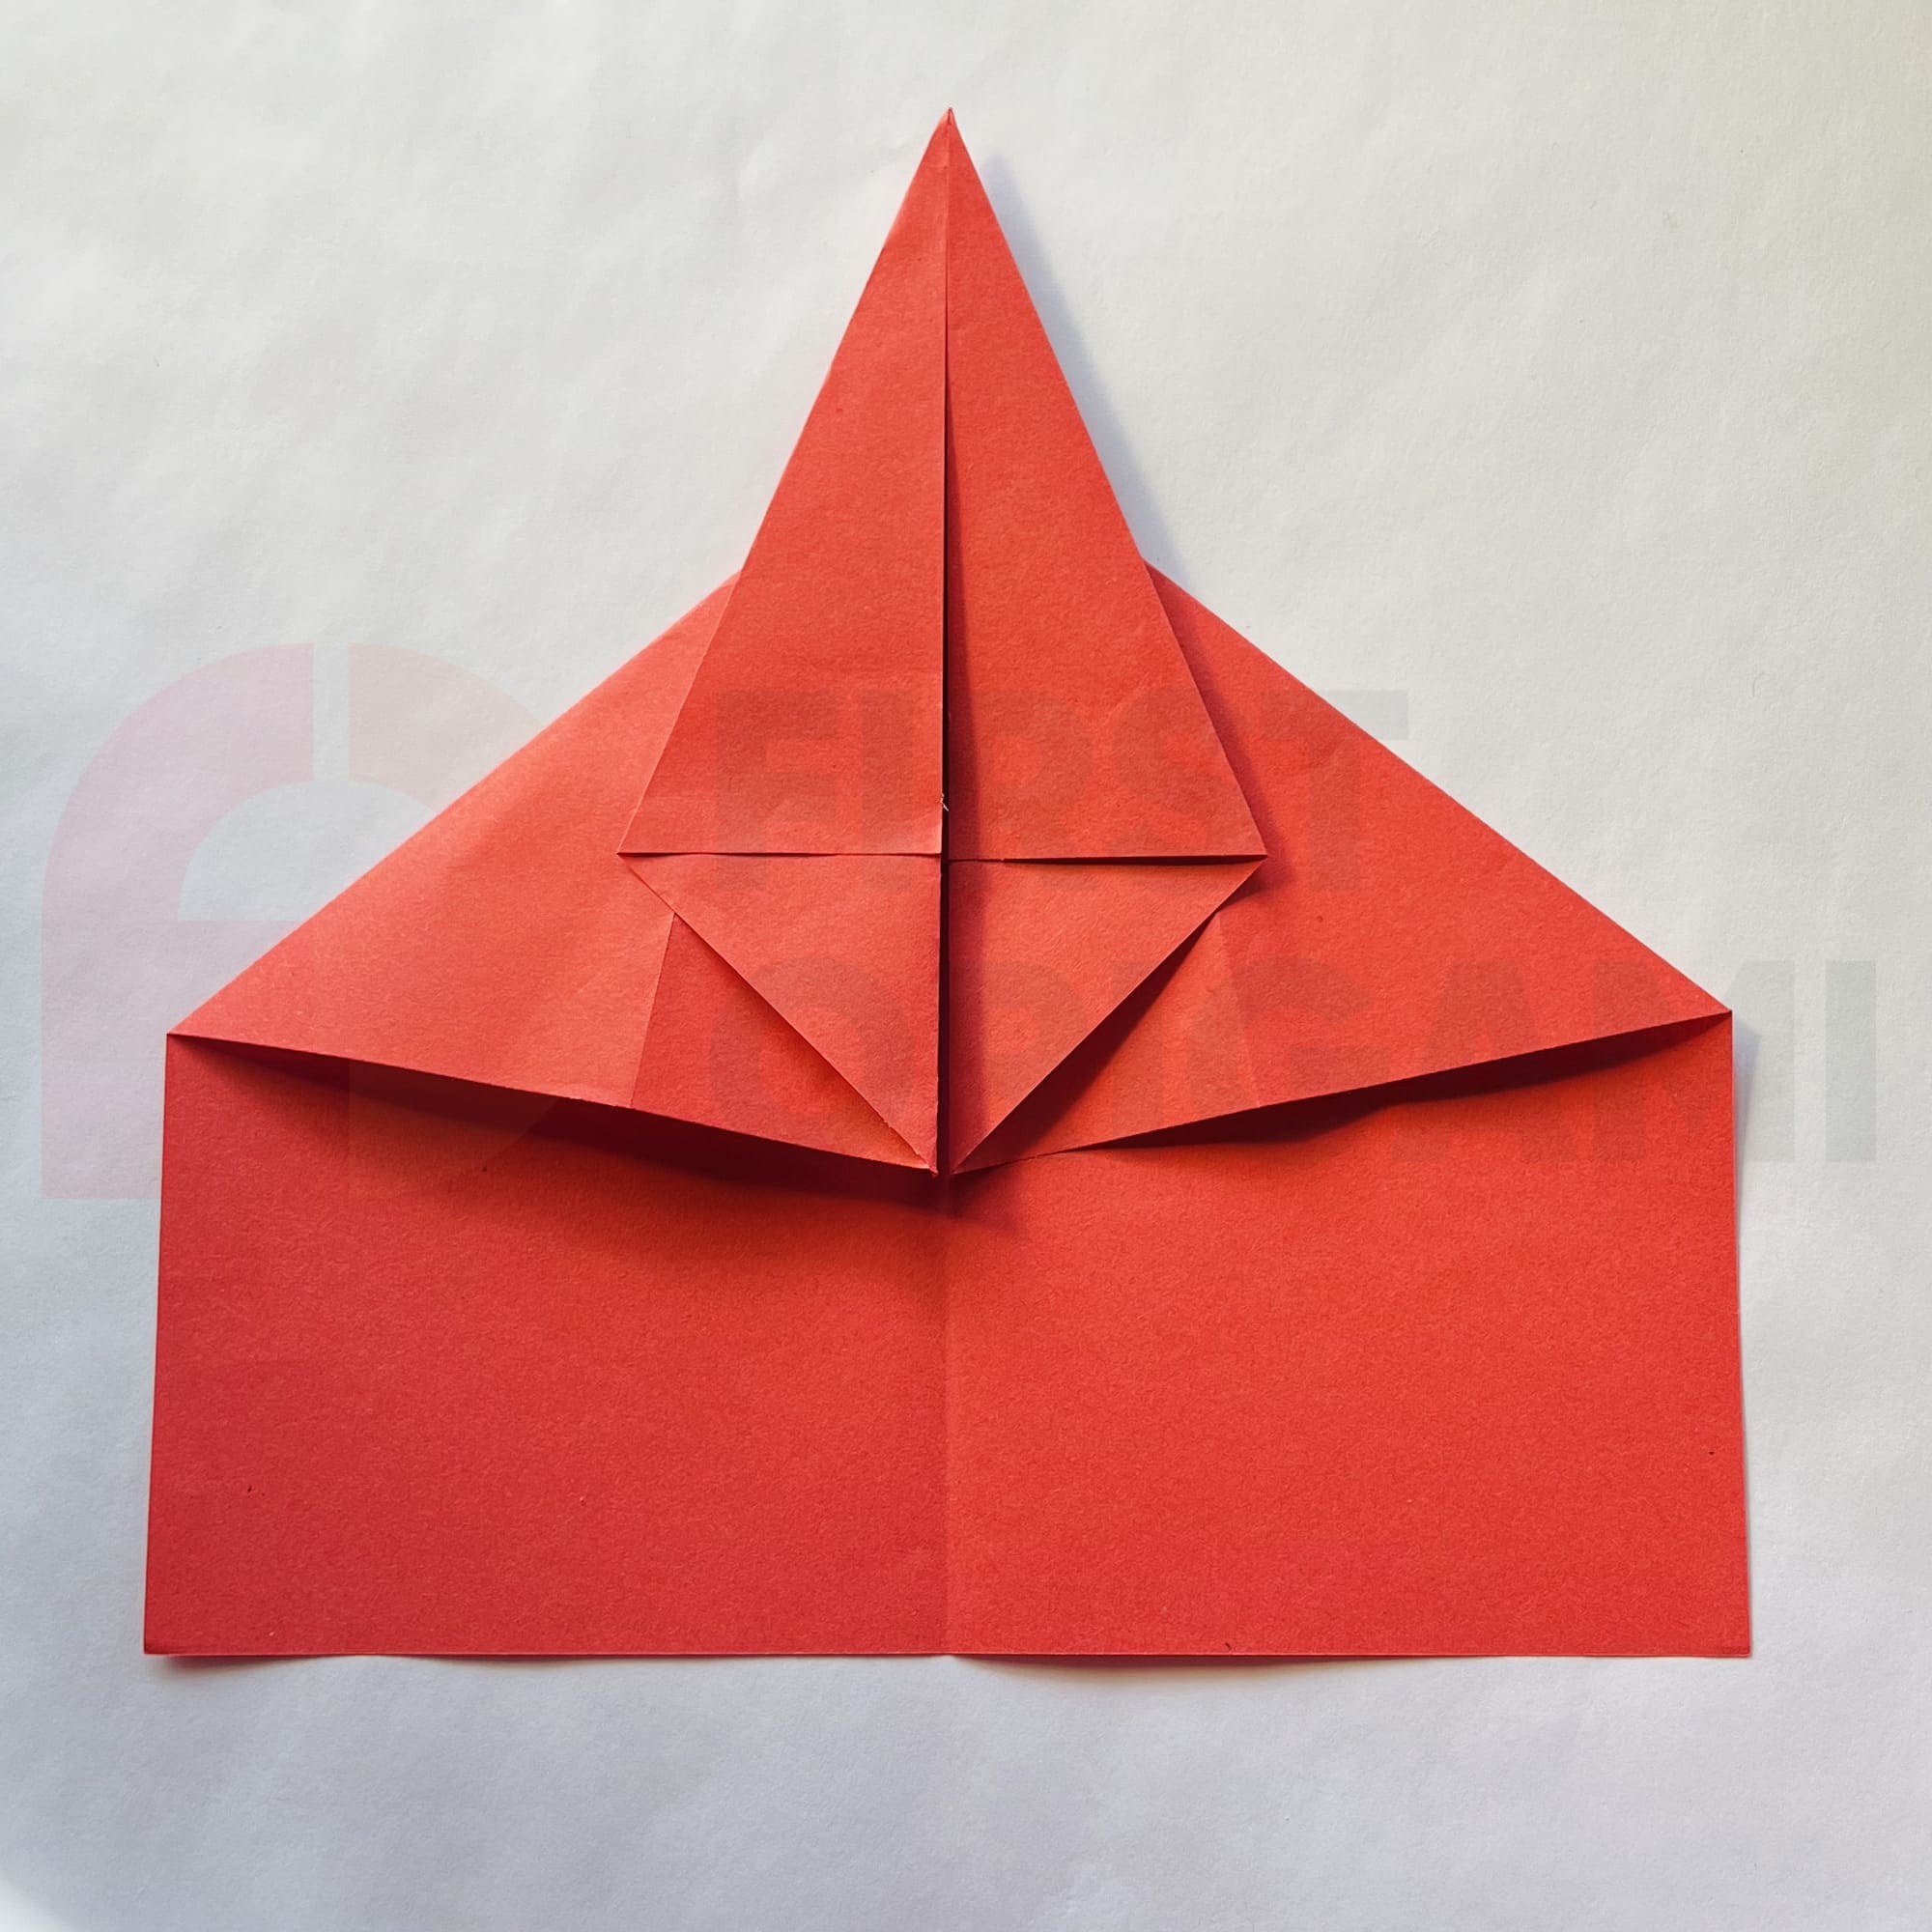
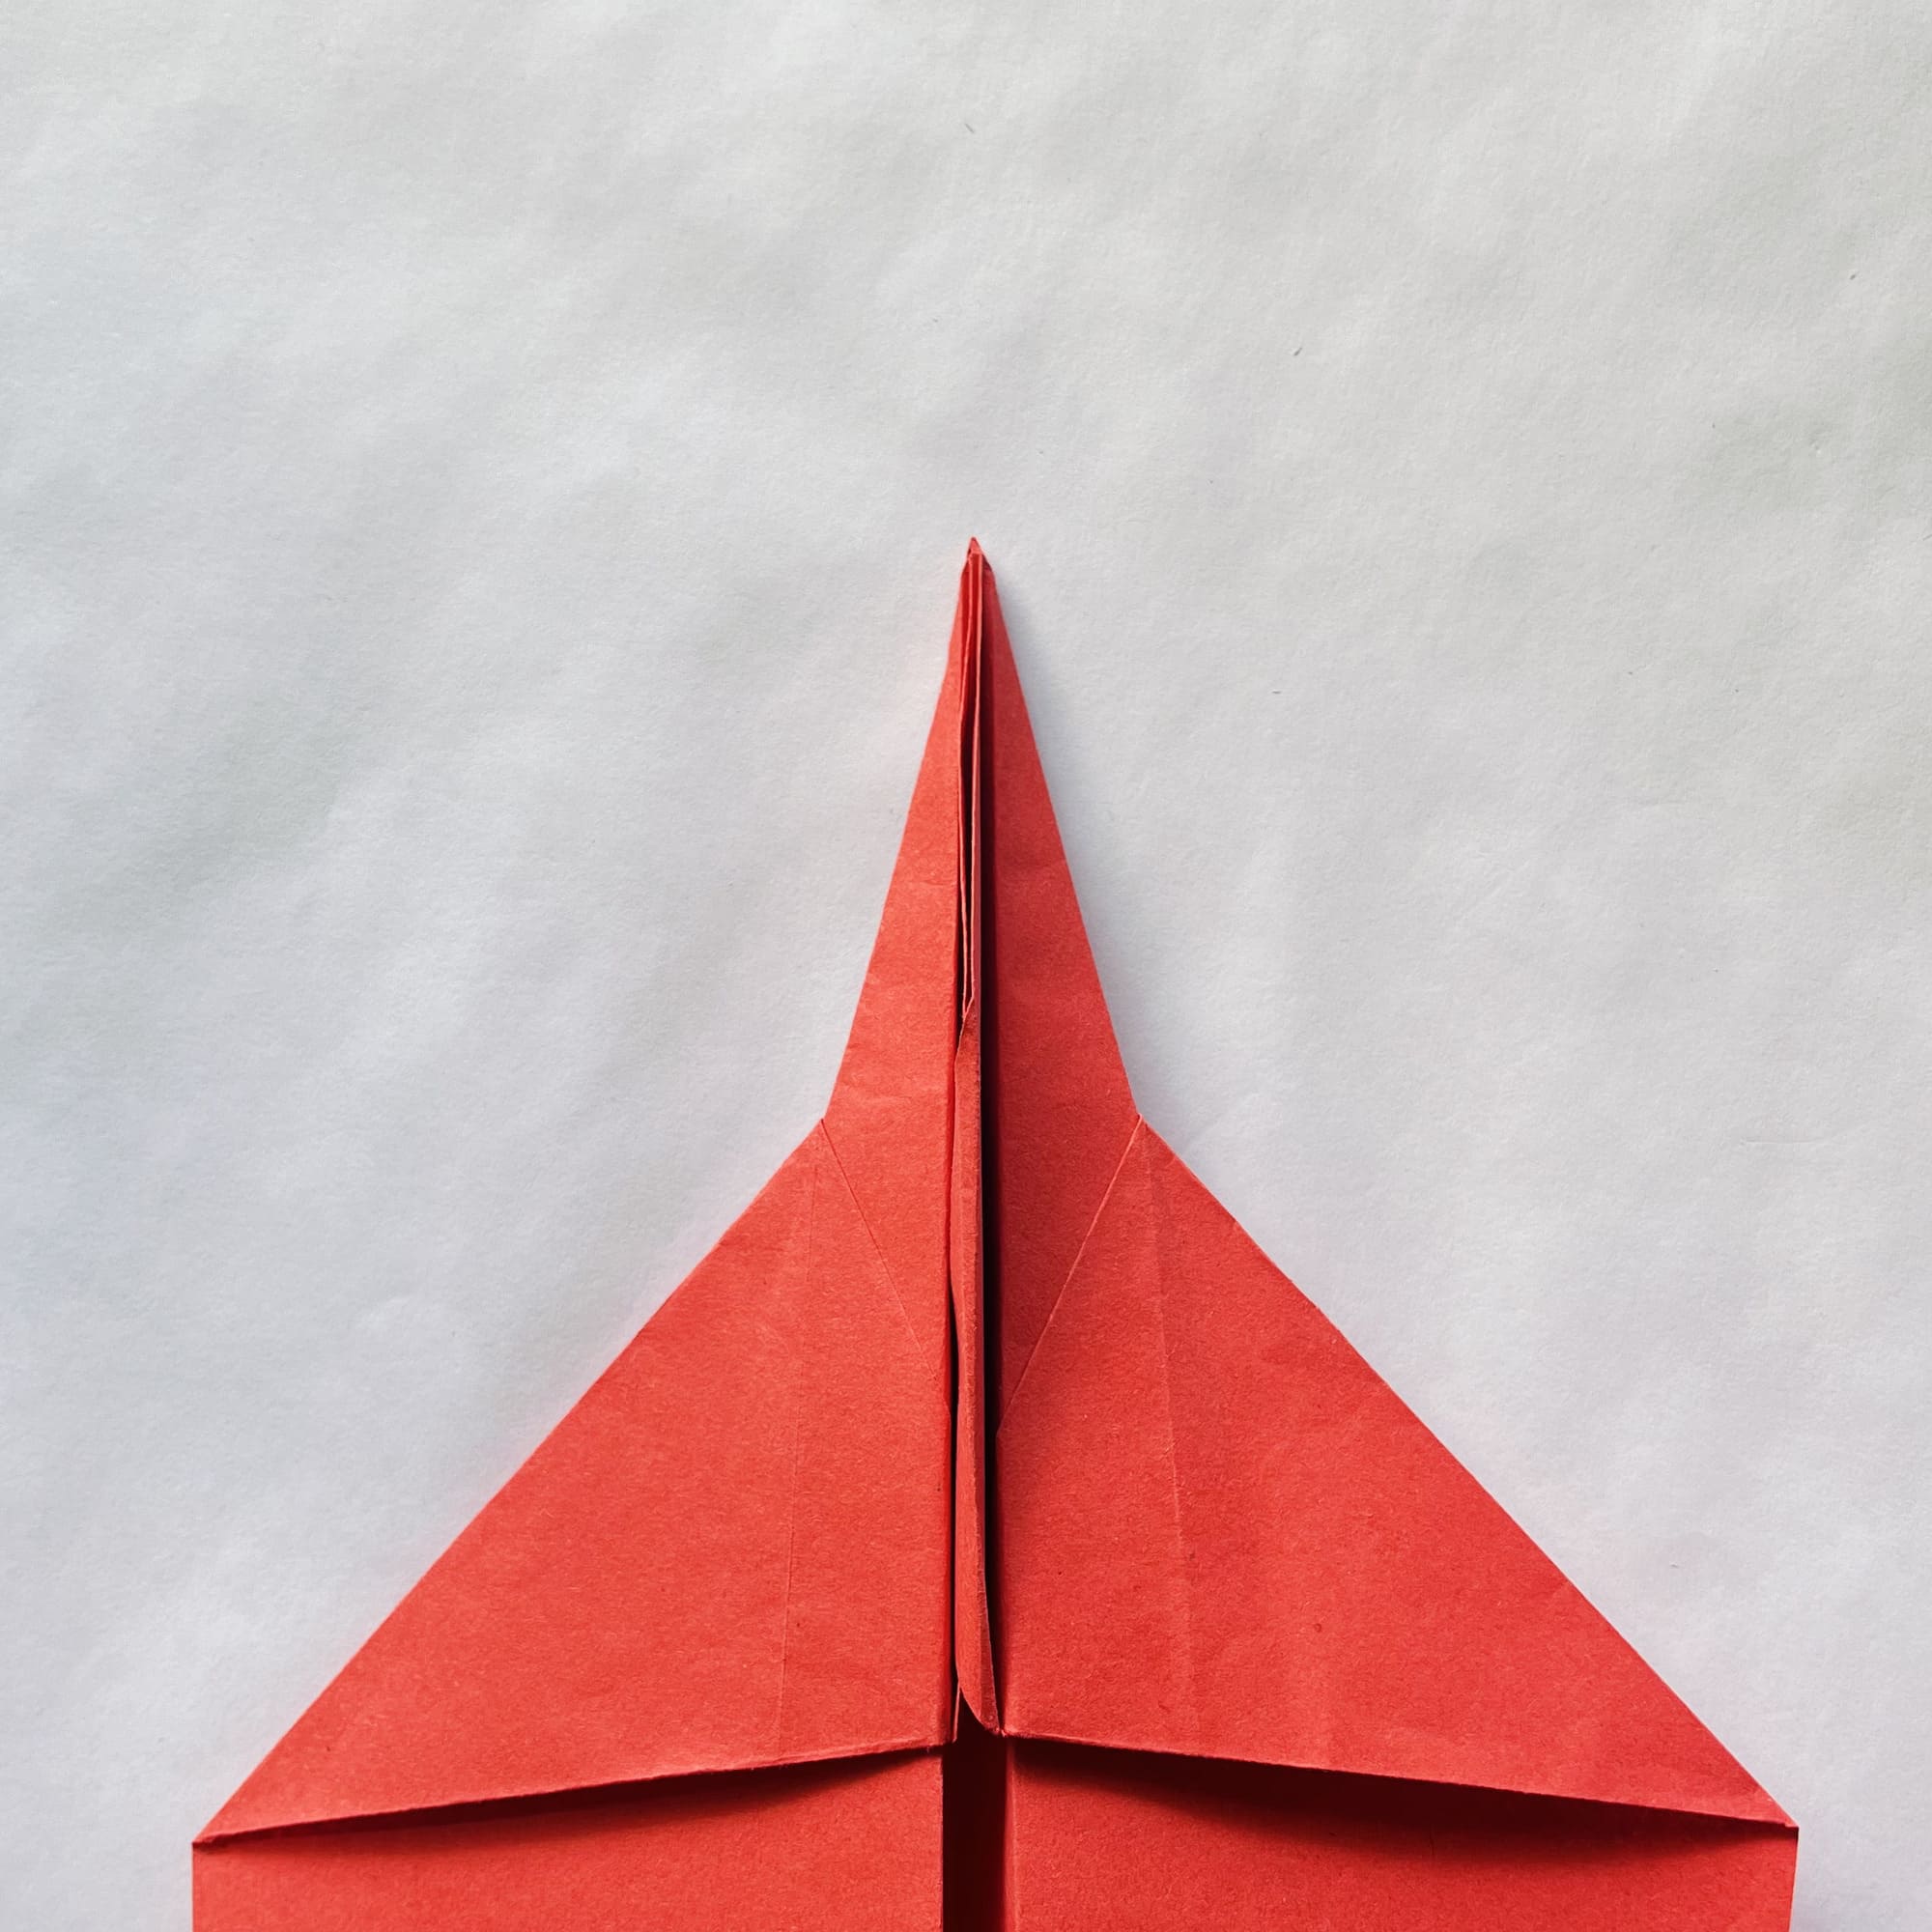
old the right and left inner corners to the center line.
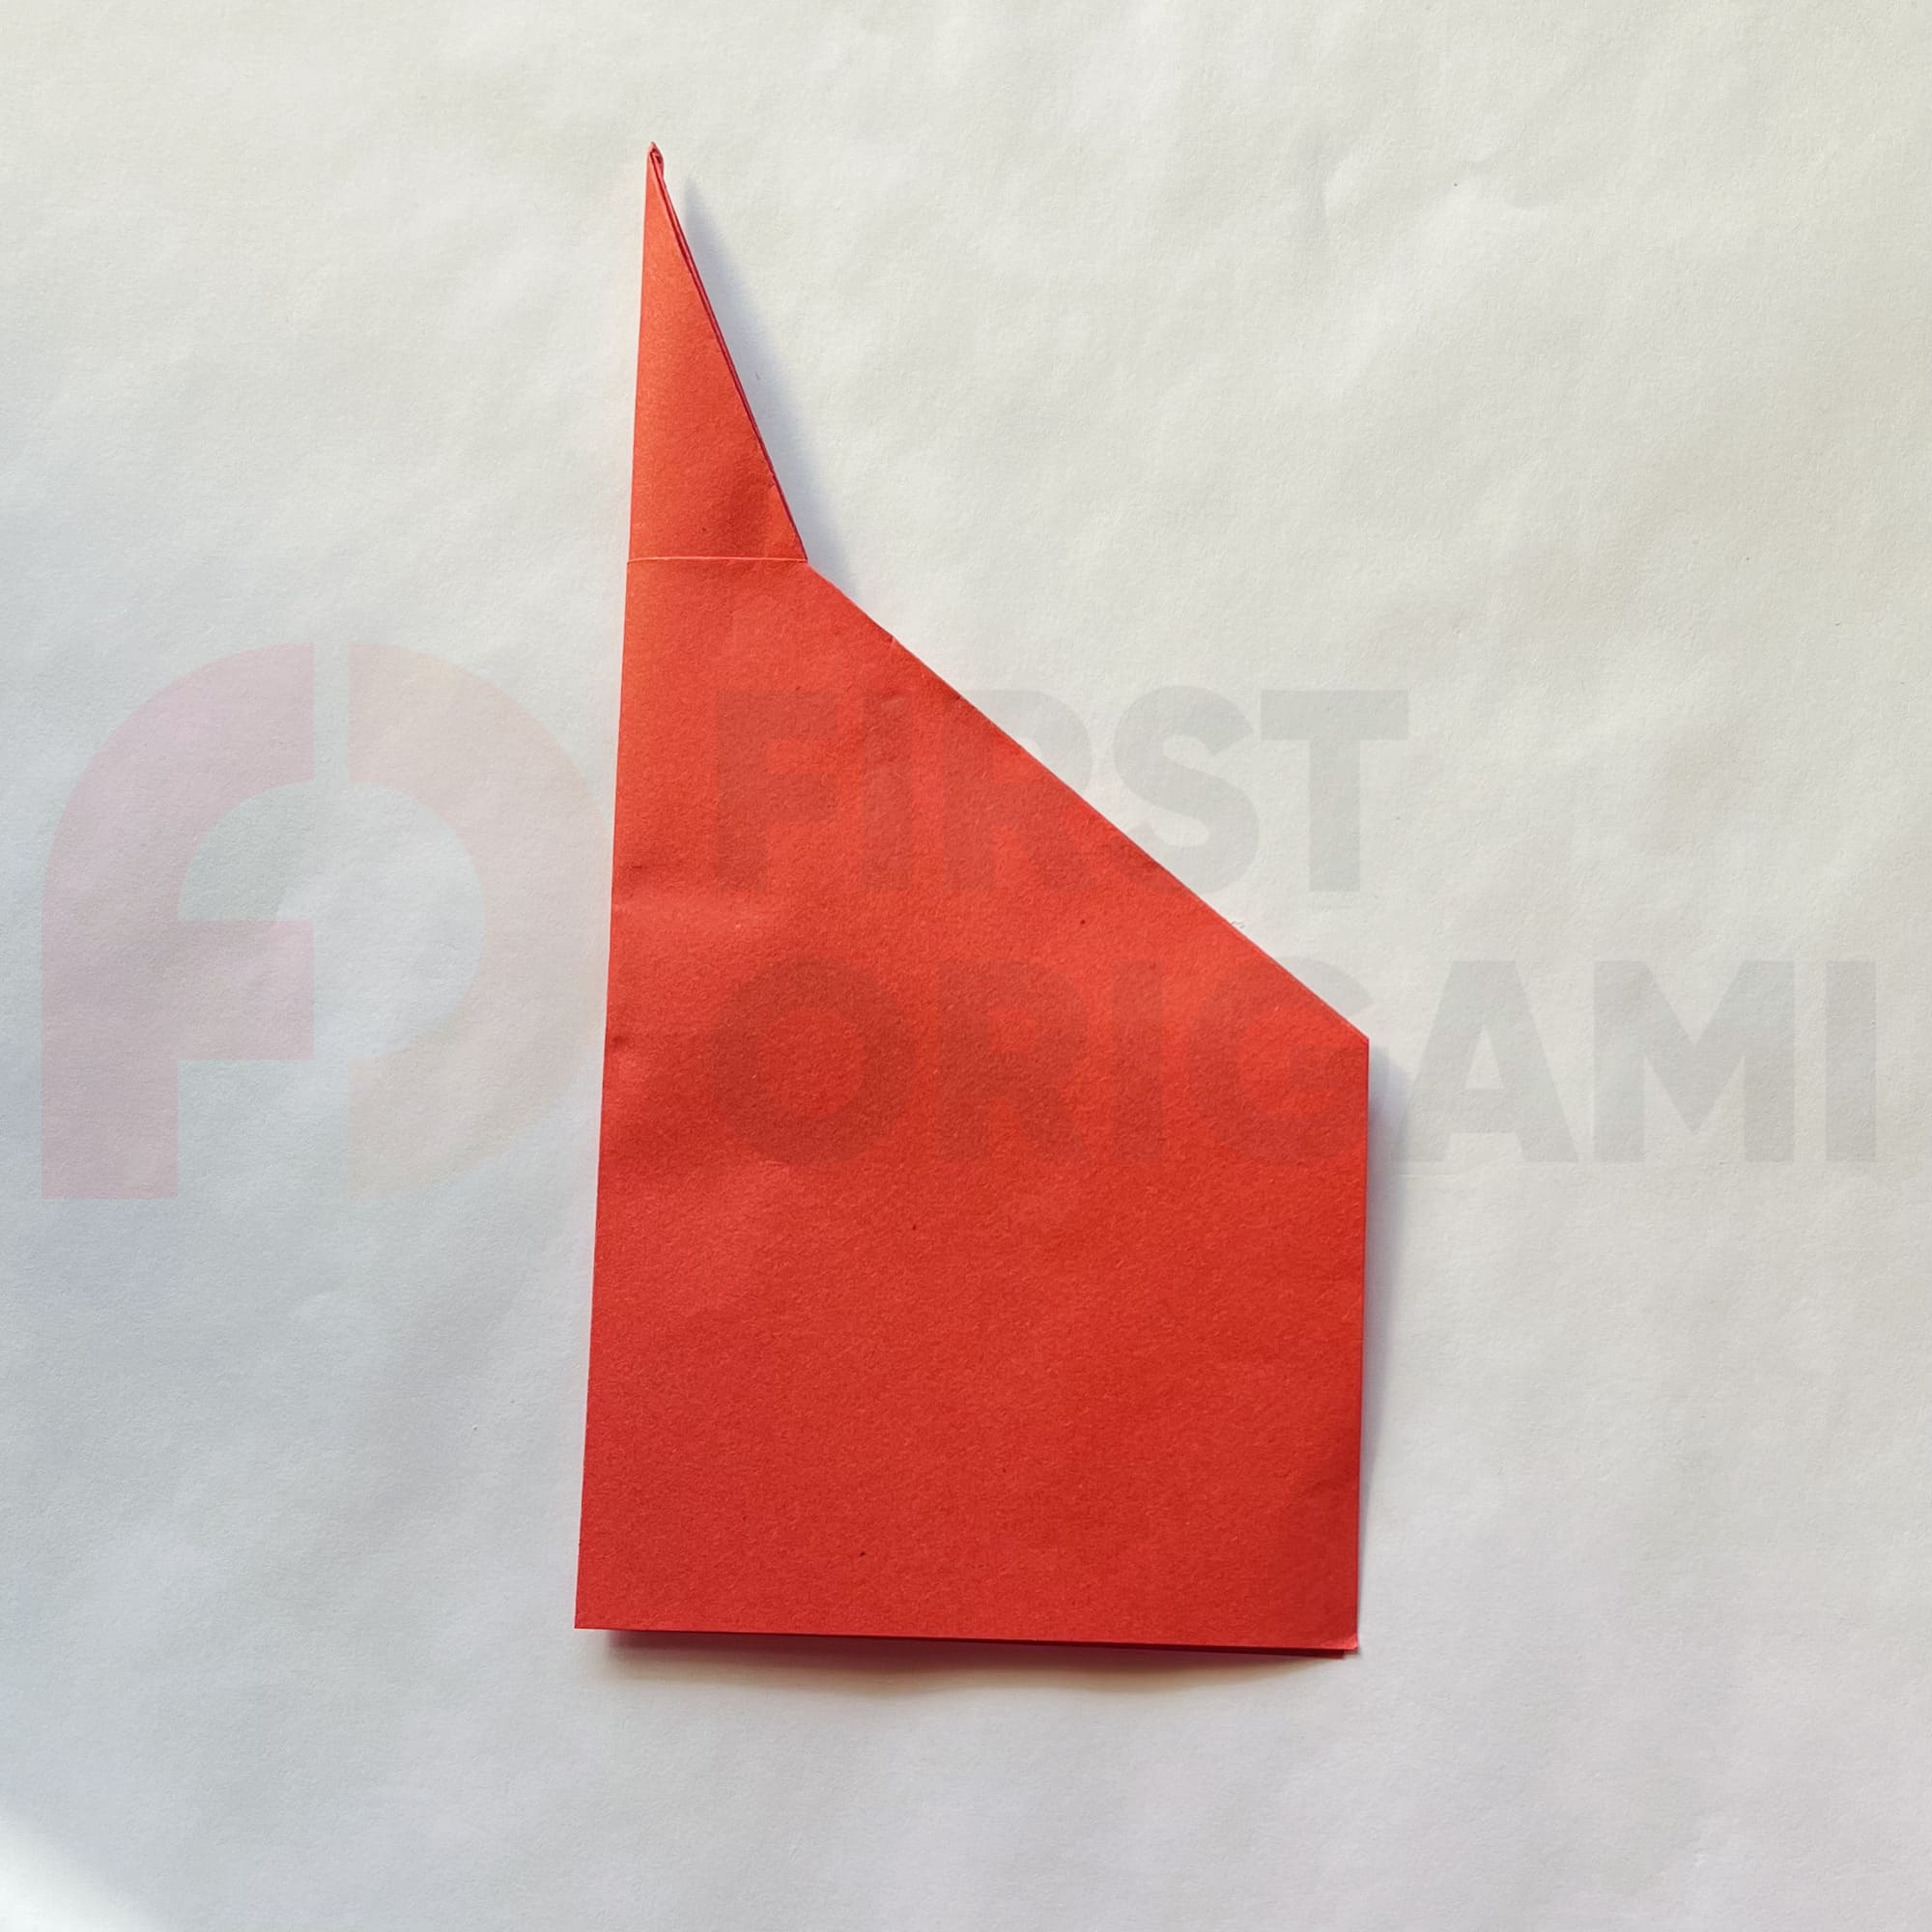
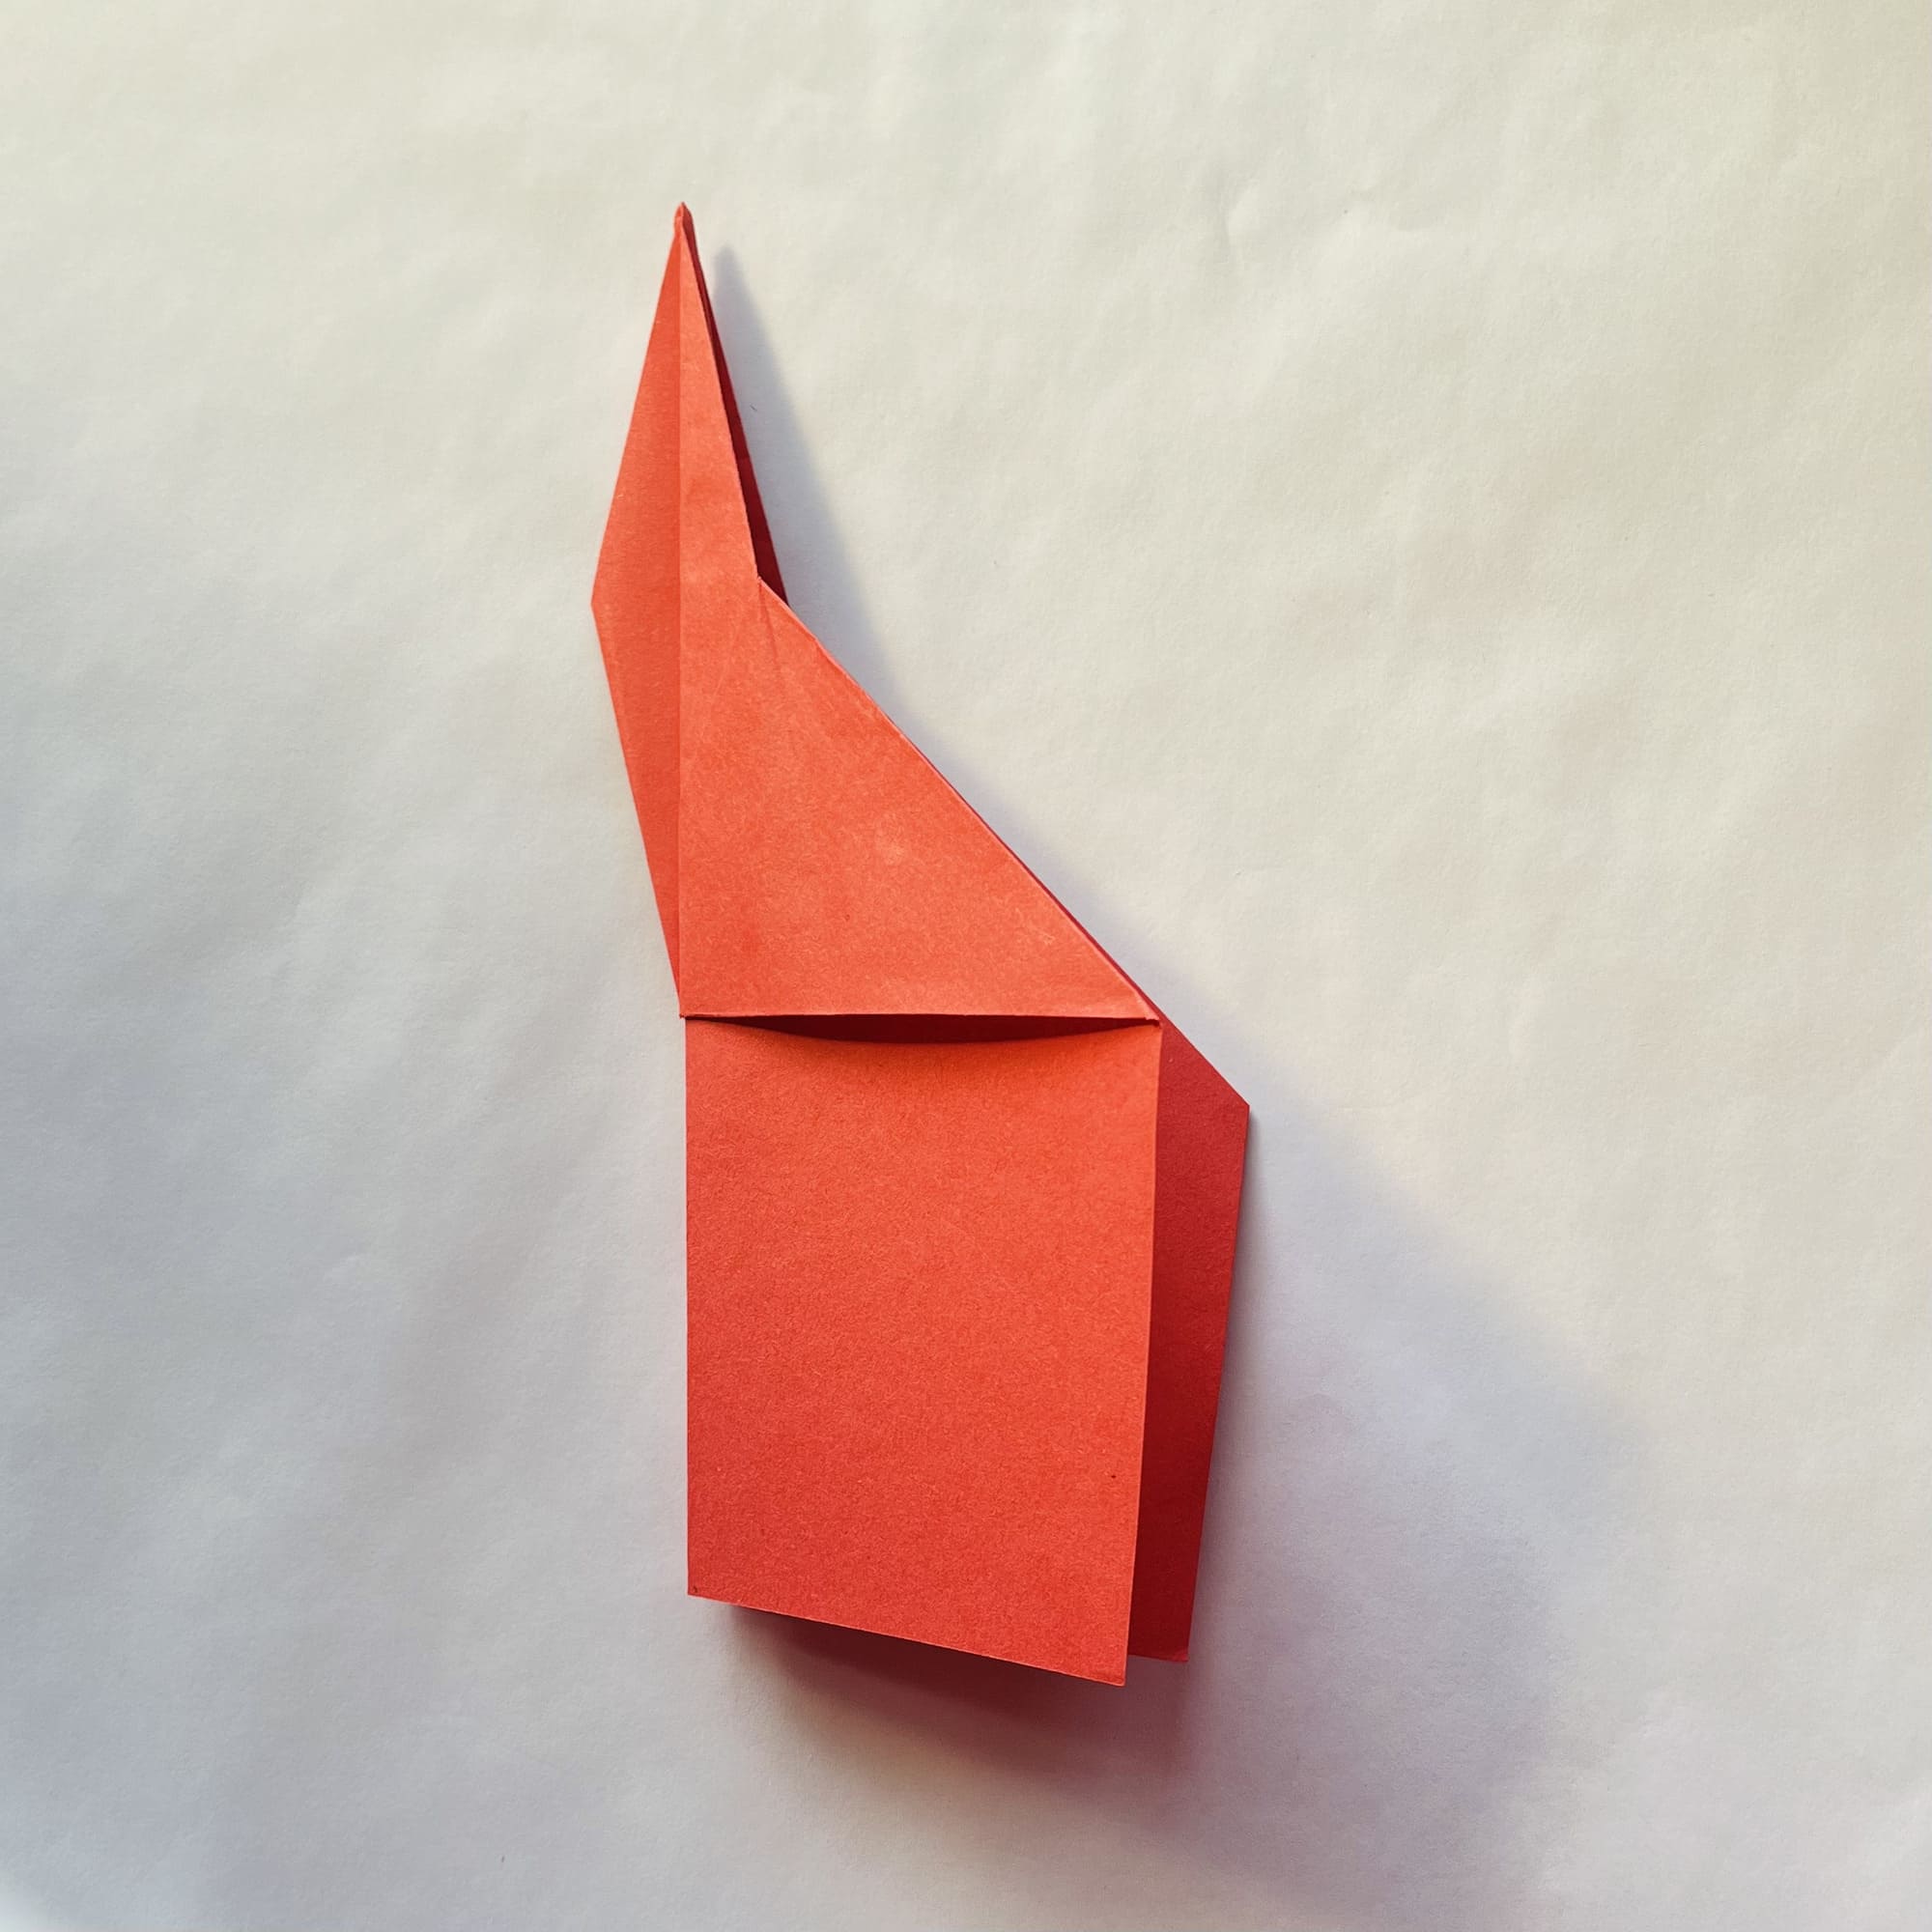
Fold the shape in half, as shown in the photo.
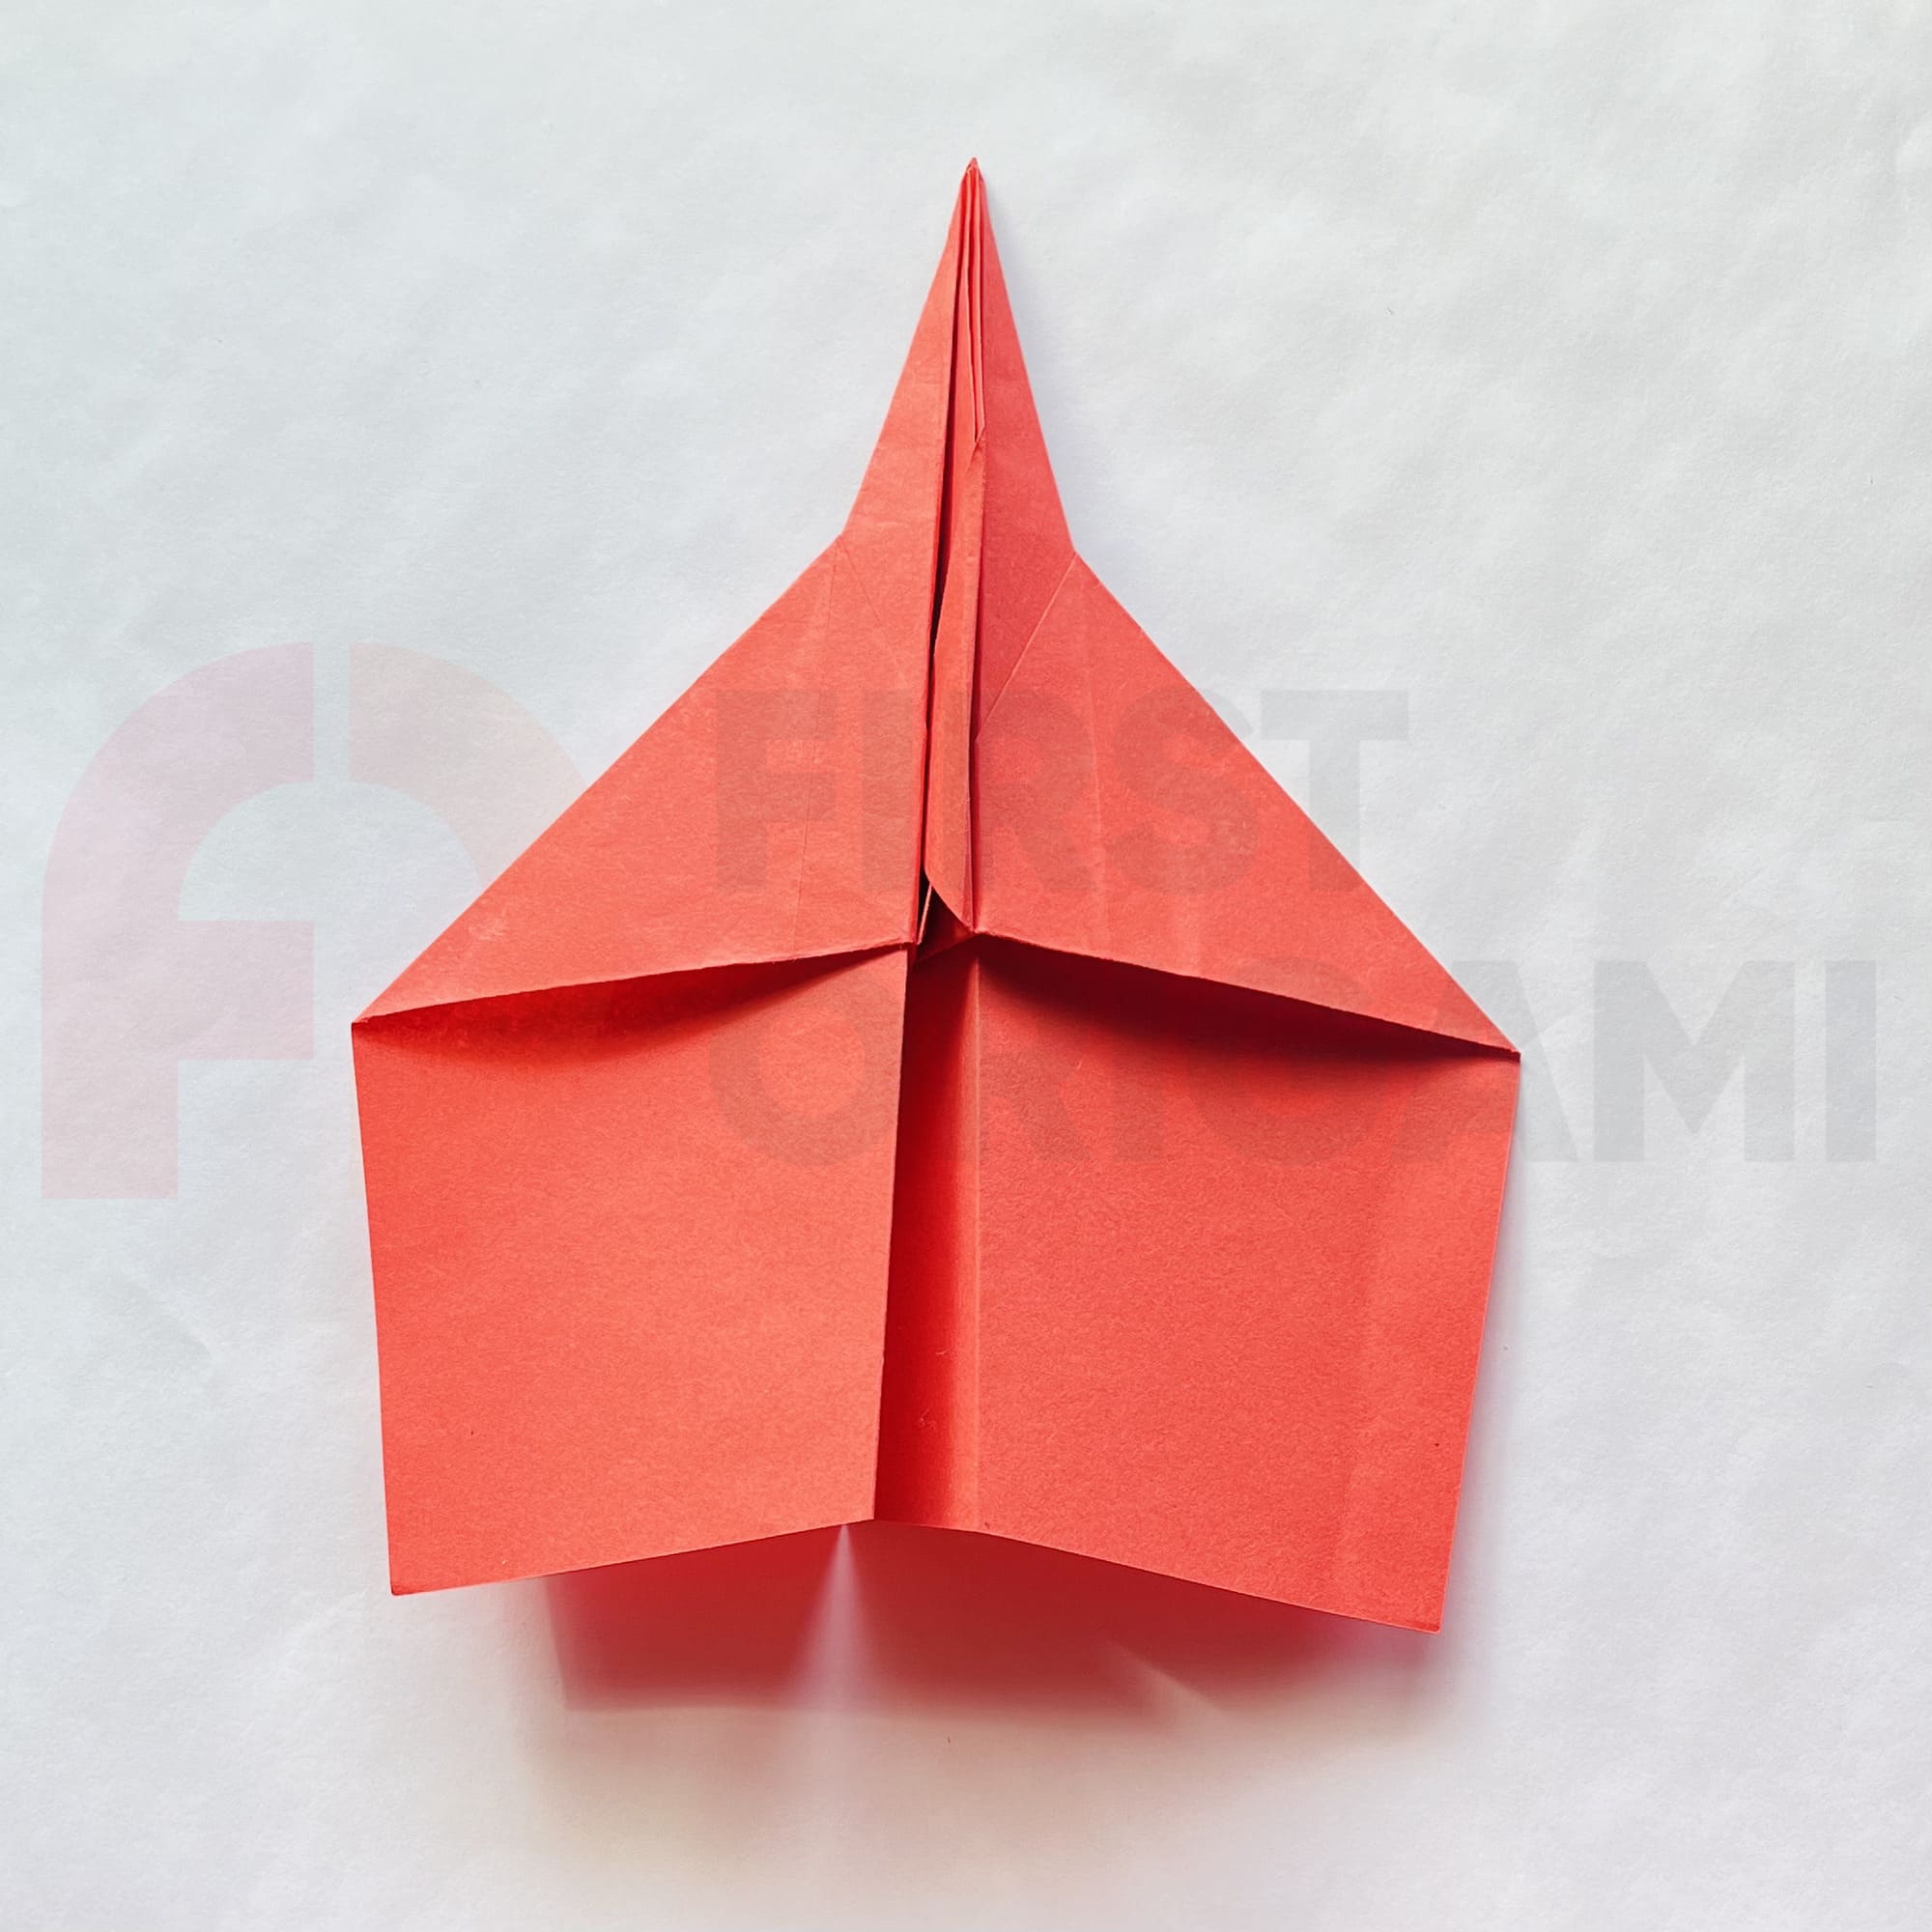
Make two folds to define the wings.
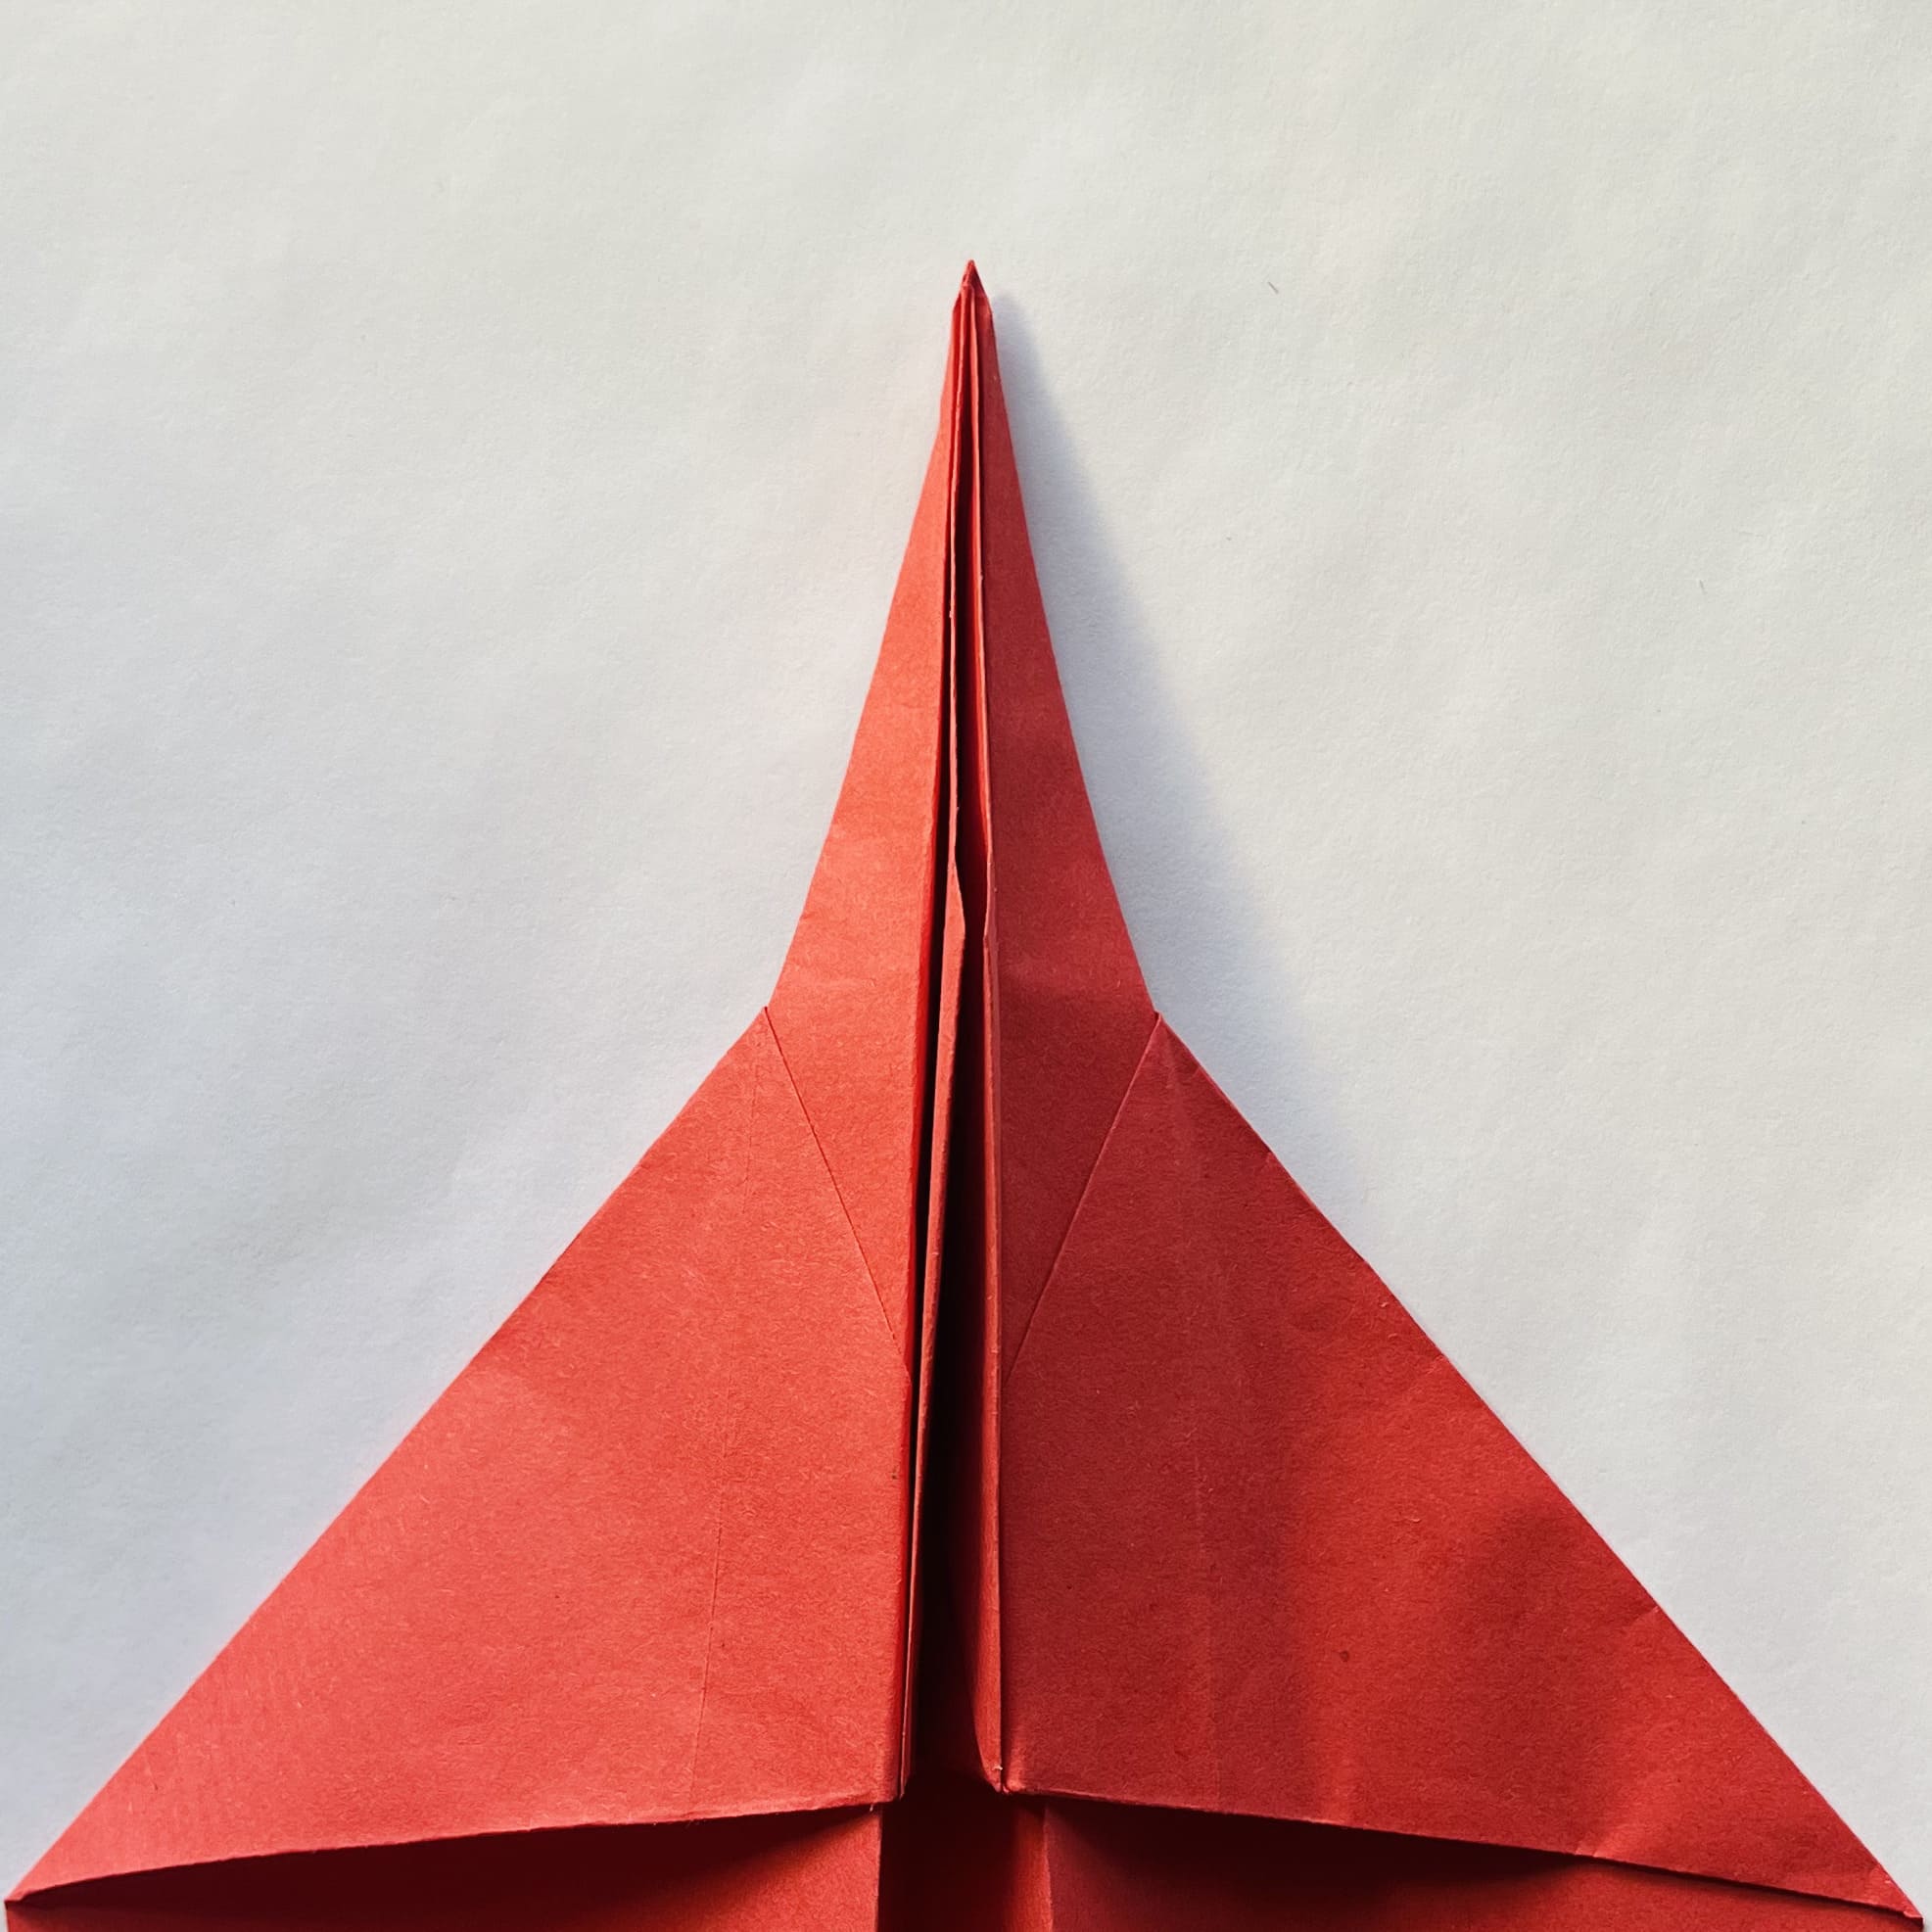
Now, you need to fasten the airframe.
Open it a little, bend one of the inner corners, and tuck it into the pocket on the opposite side.
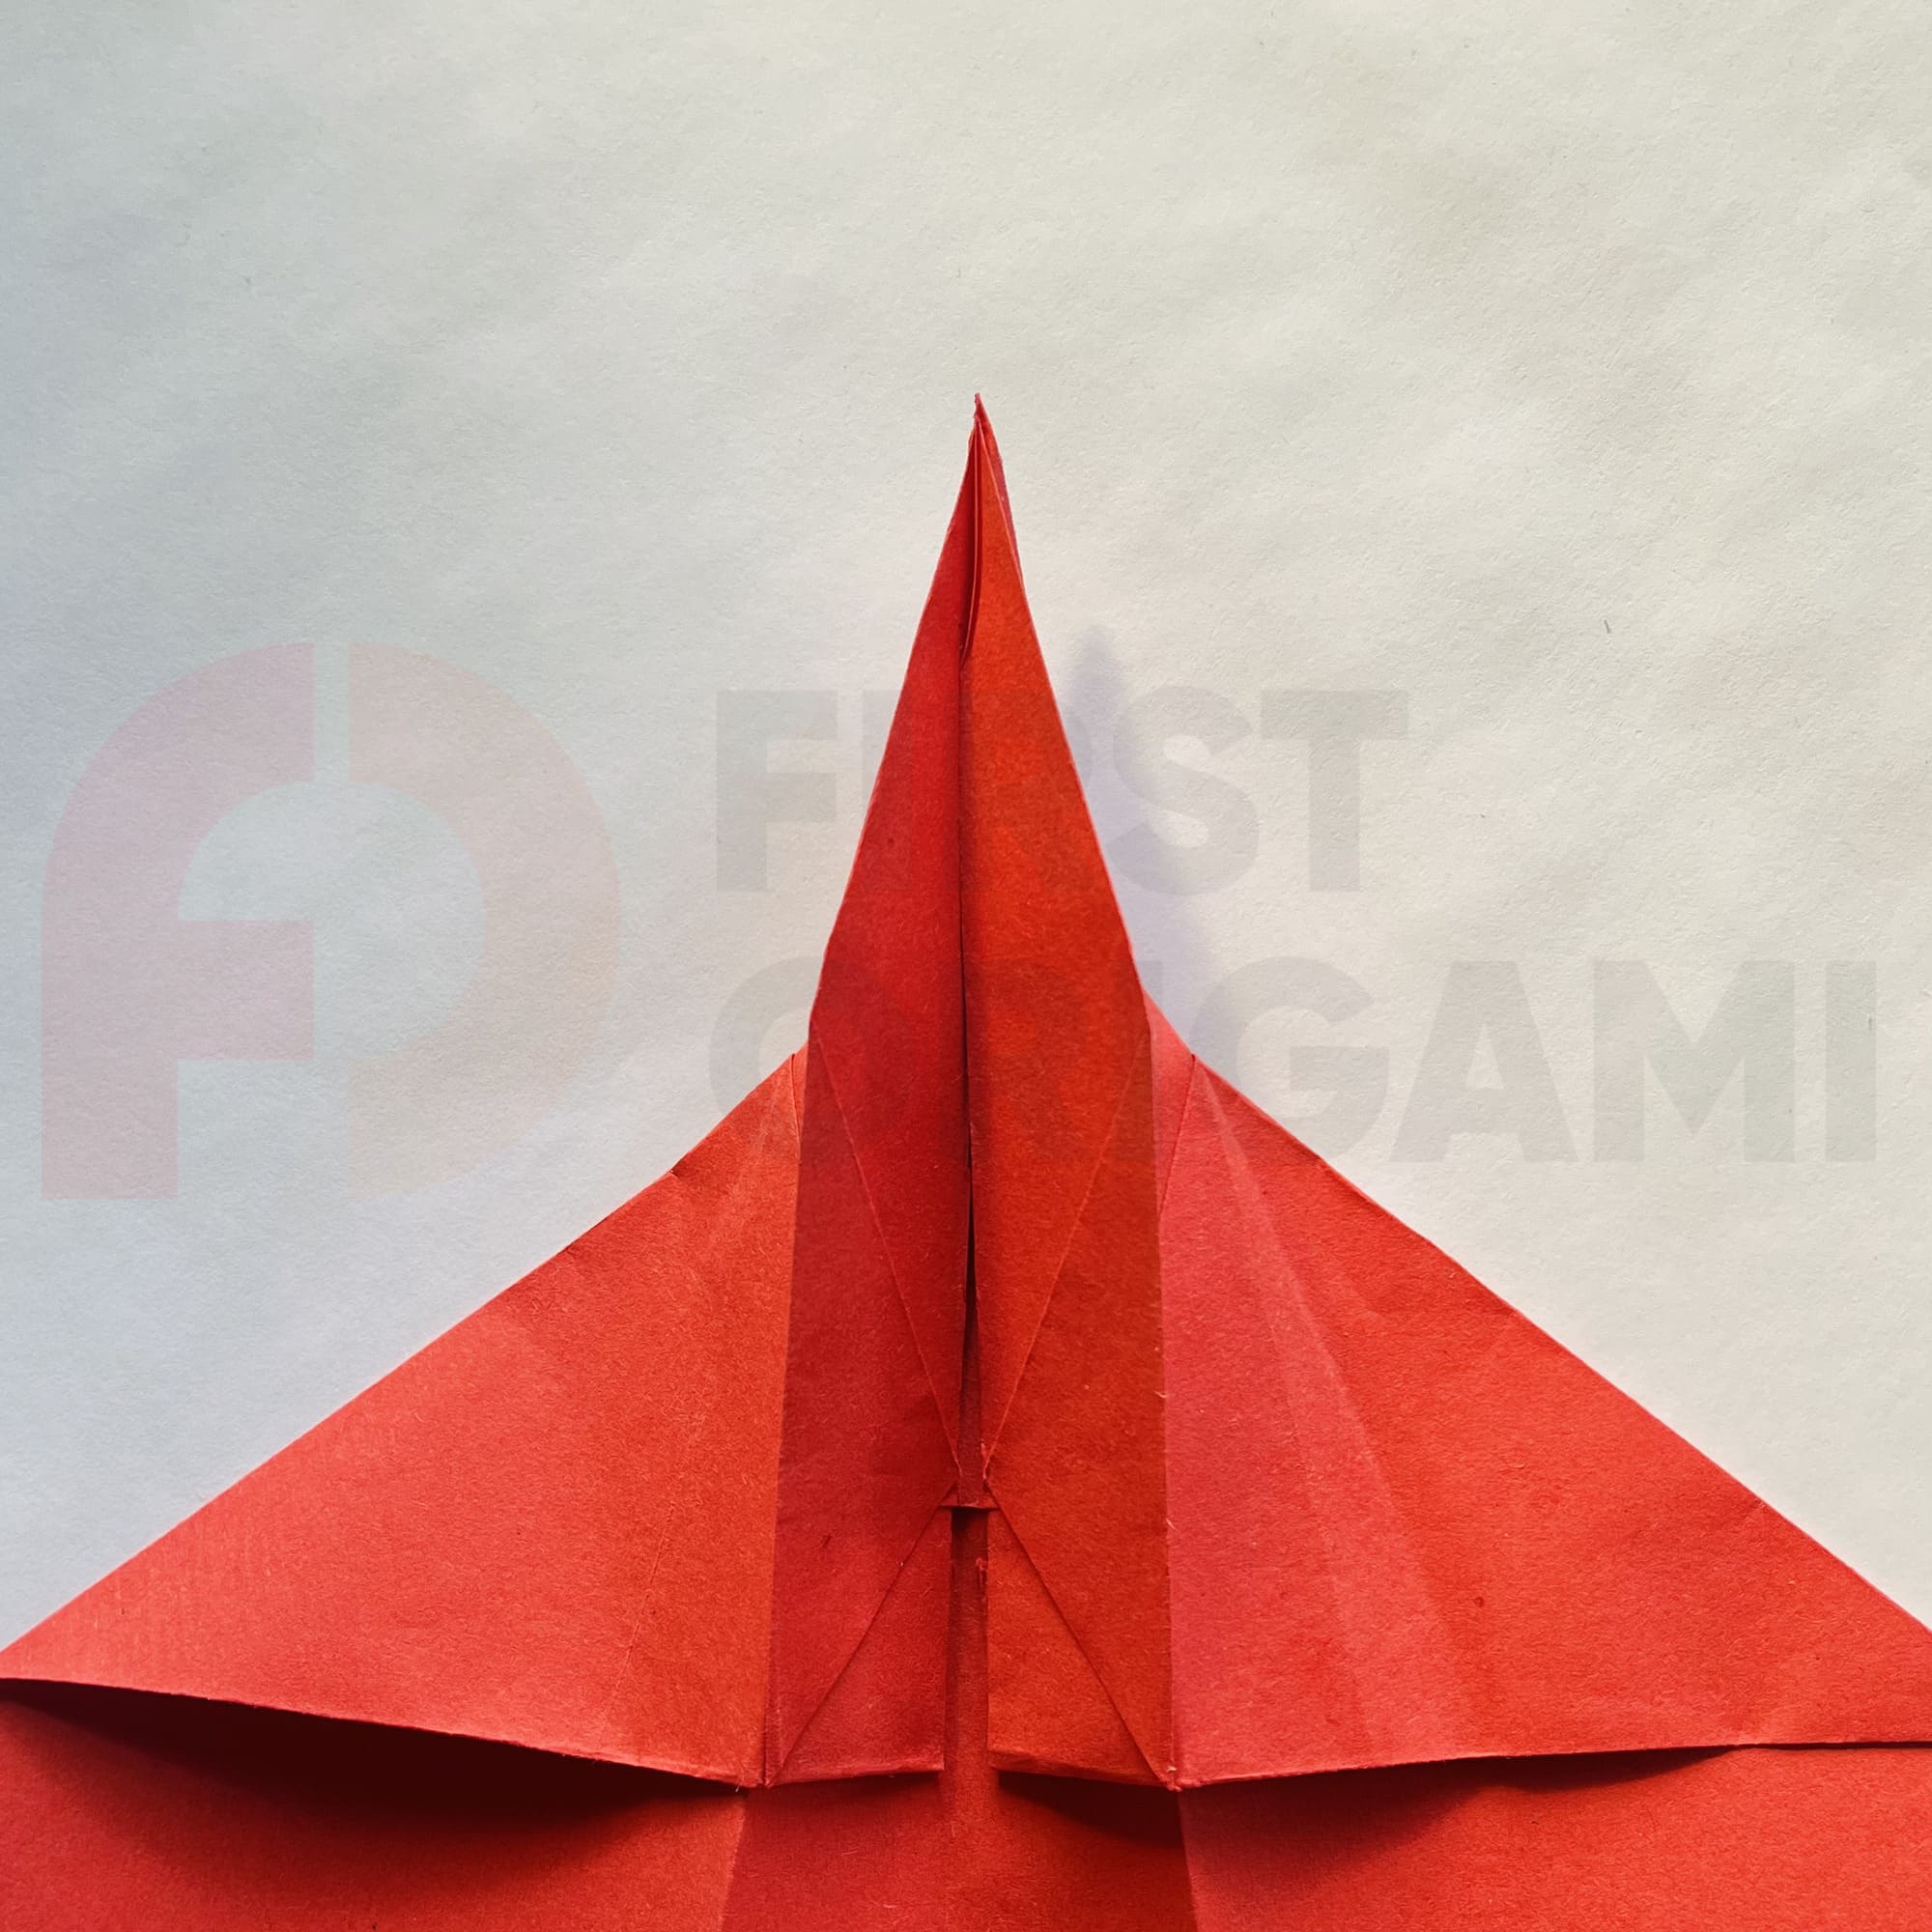
Final touch: fold the edges of the wings up, leaving about 1 cm.
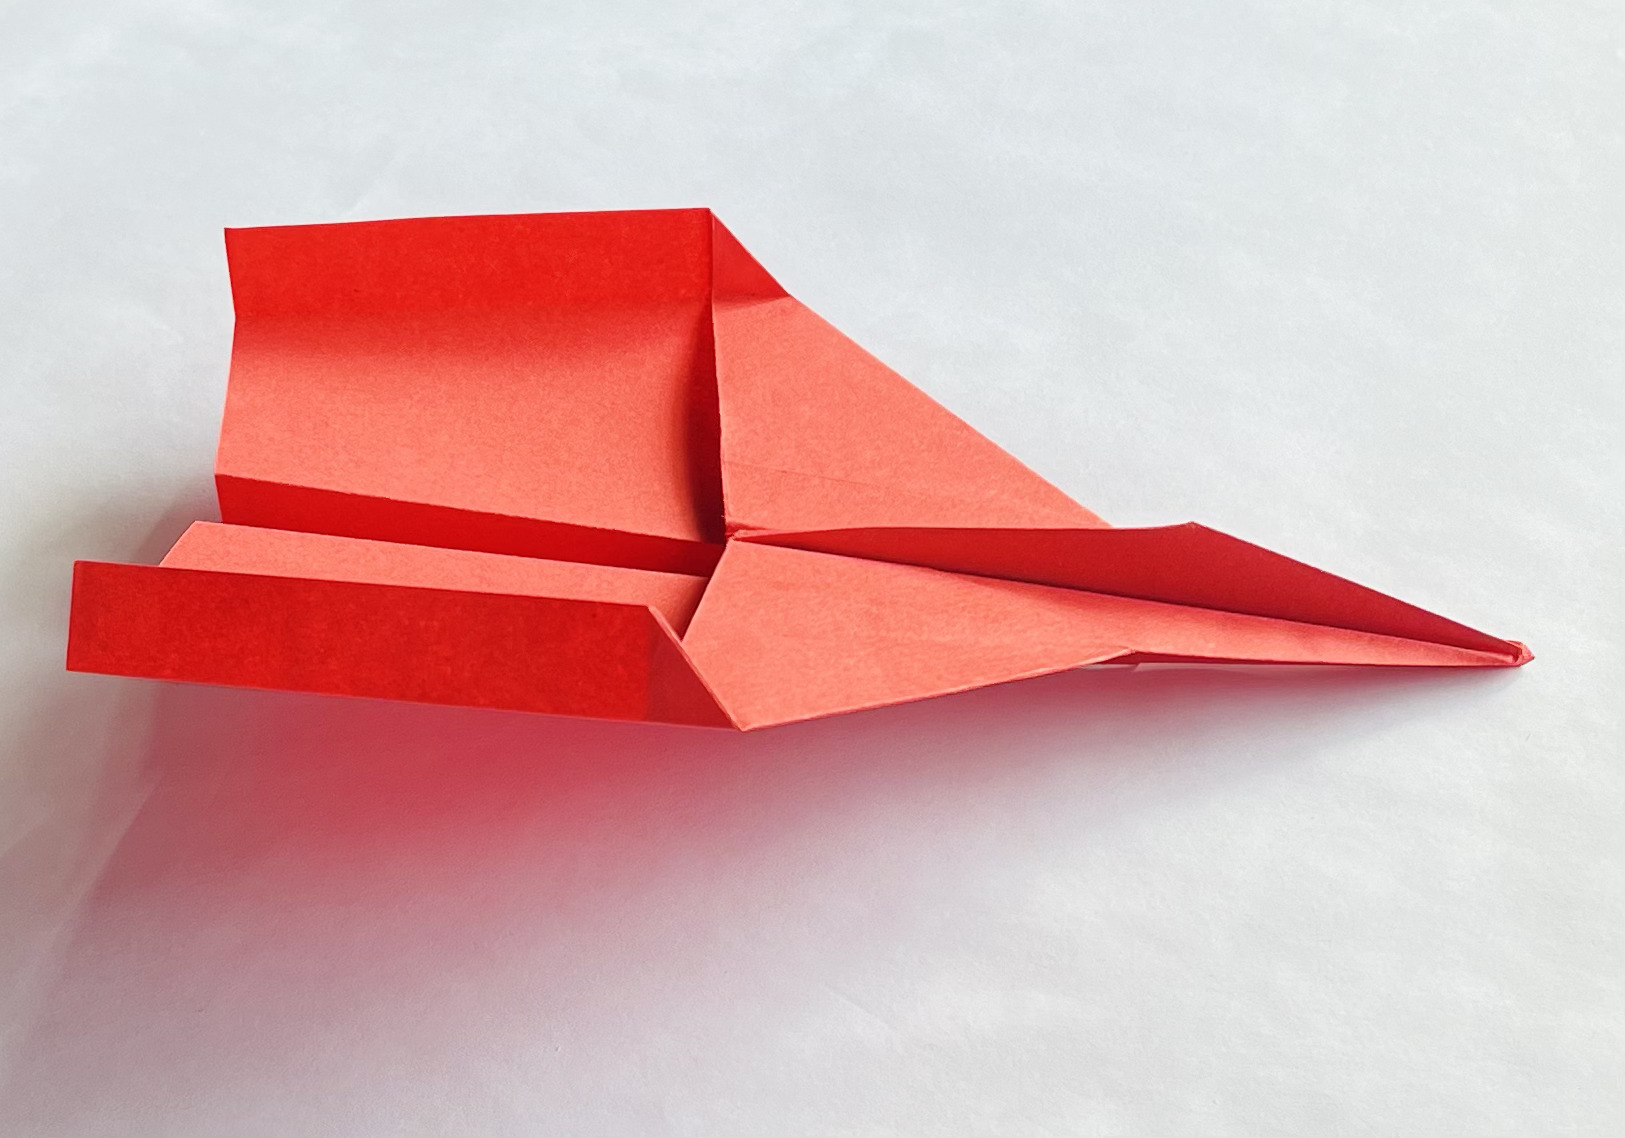
Ready! If desired, you can additionally secure the body with a small amount of adhesive tape. Launch the plane as hard as you can upward at a slight angle.